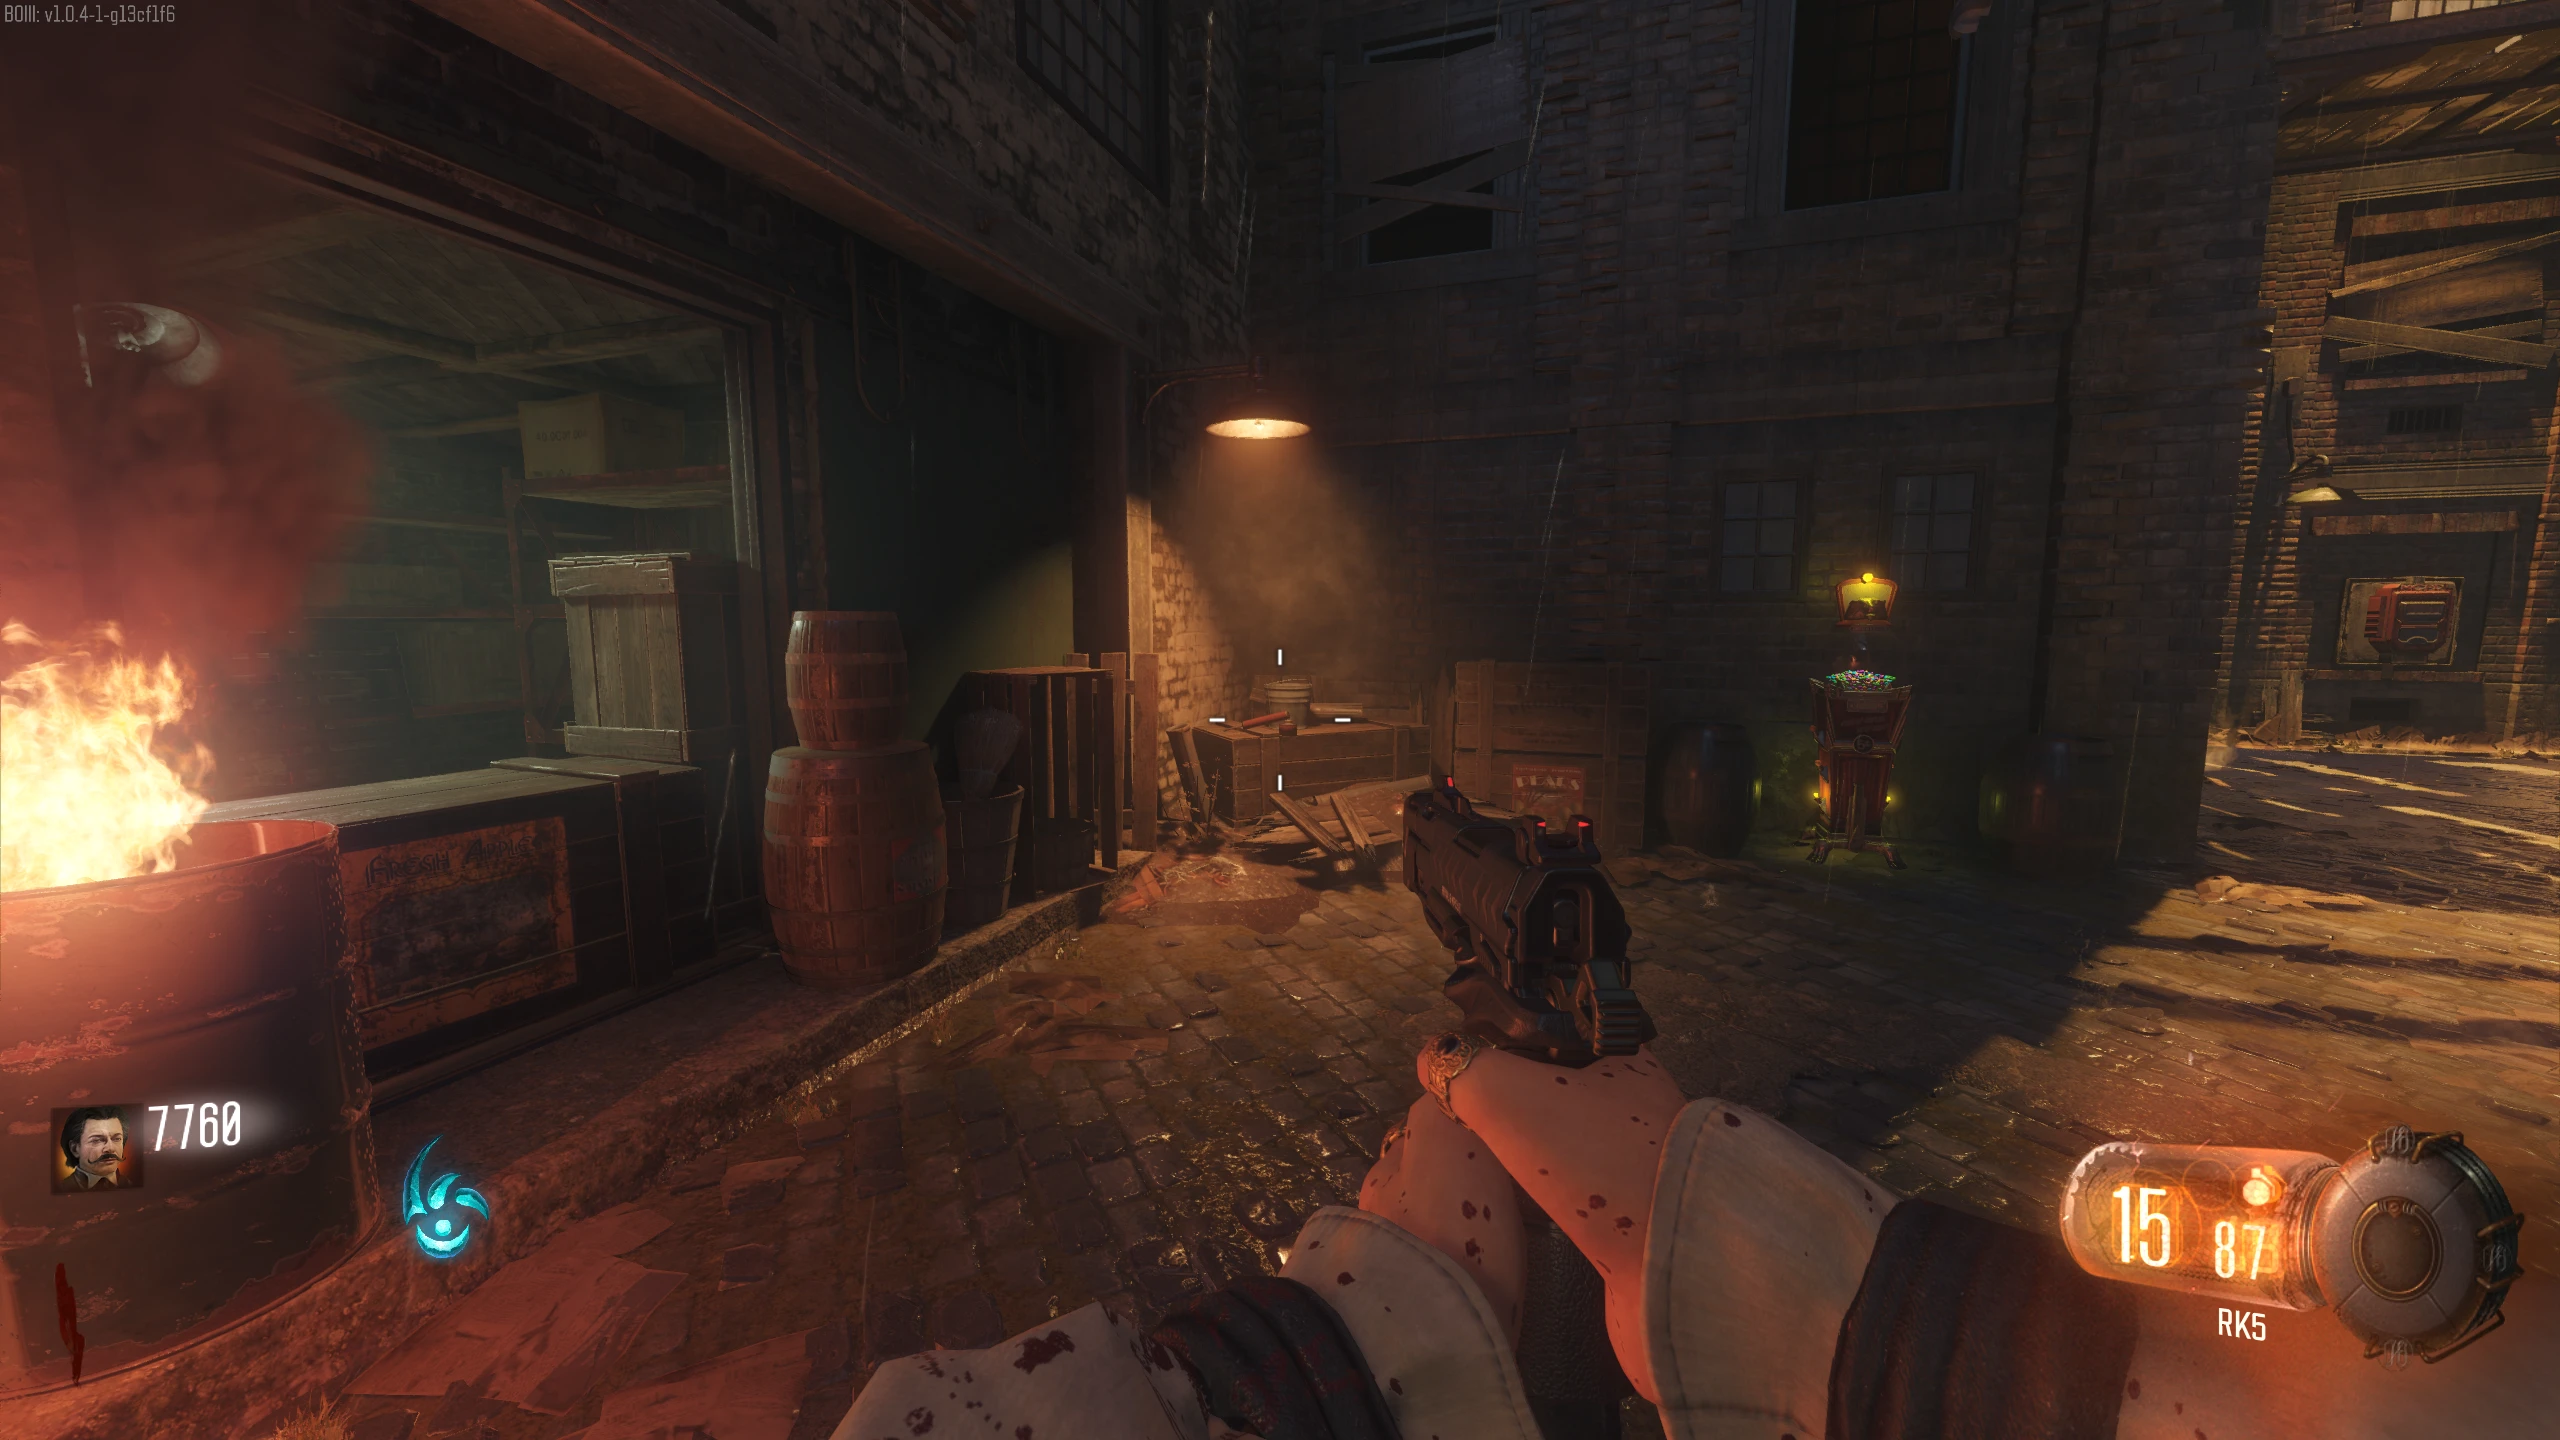
Pack-a-Punch
- To access Pack-a-Punch, you need to complete four rituals in any order, then a fifth and final one. Any ritual can be done by any player, regardless of which character it's tied to.
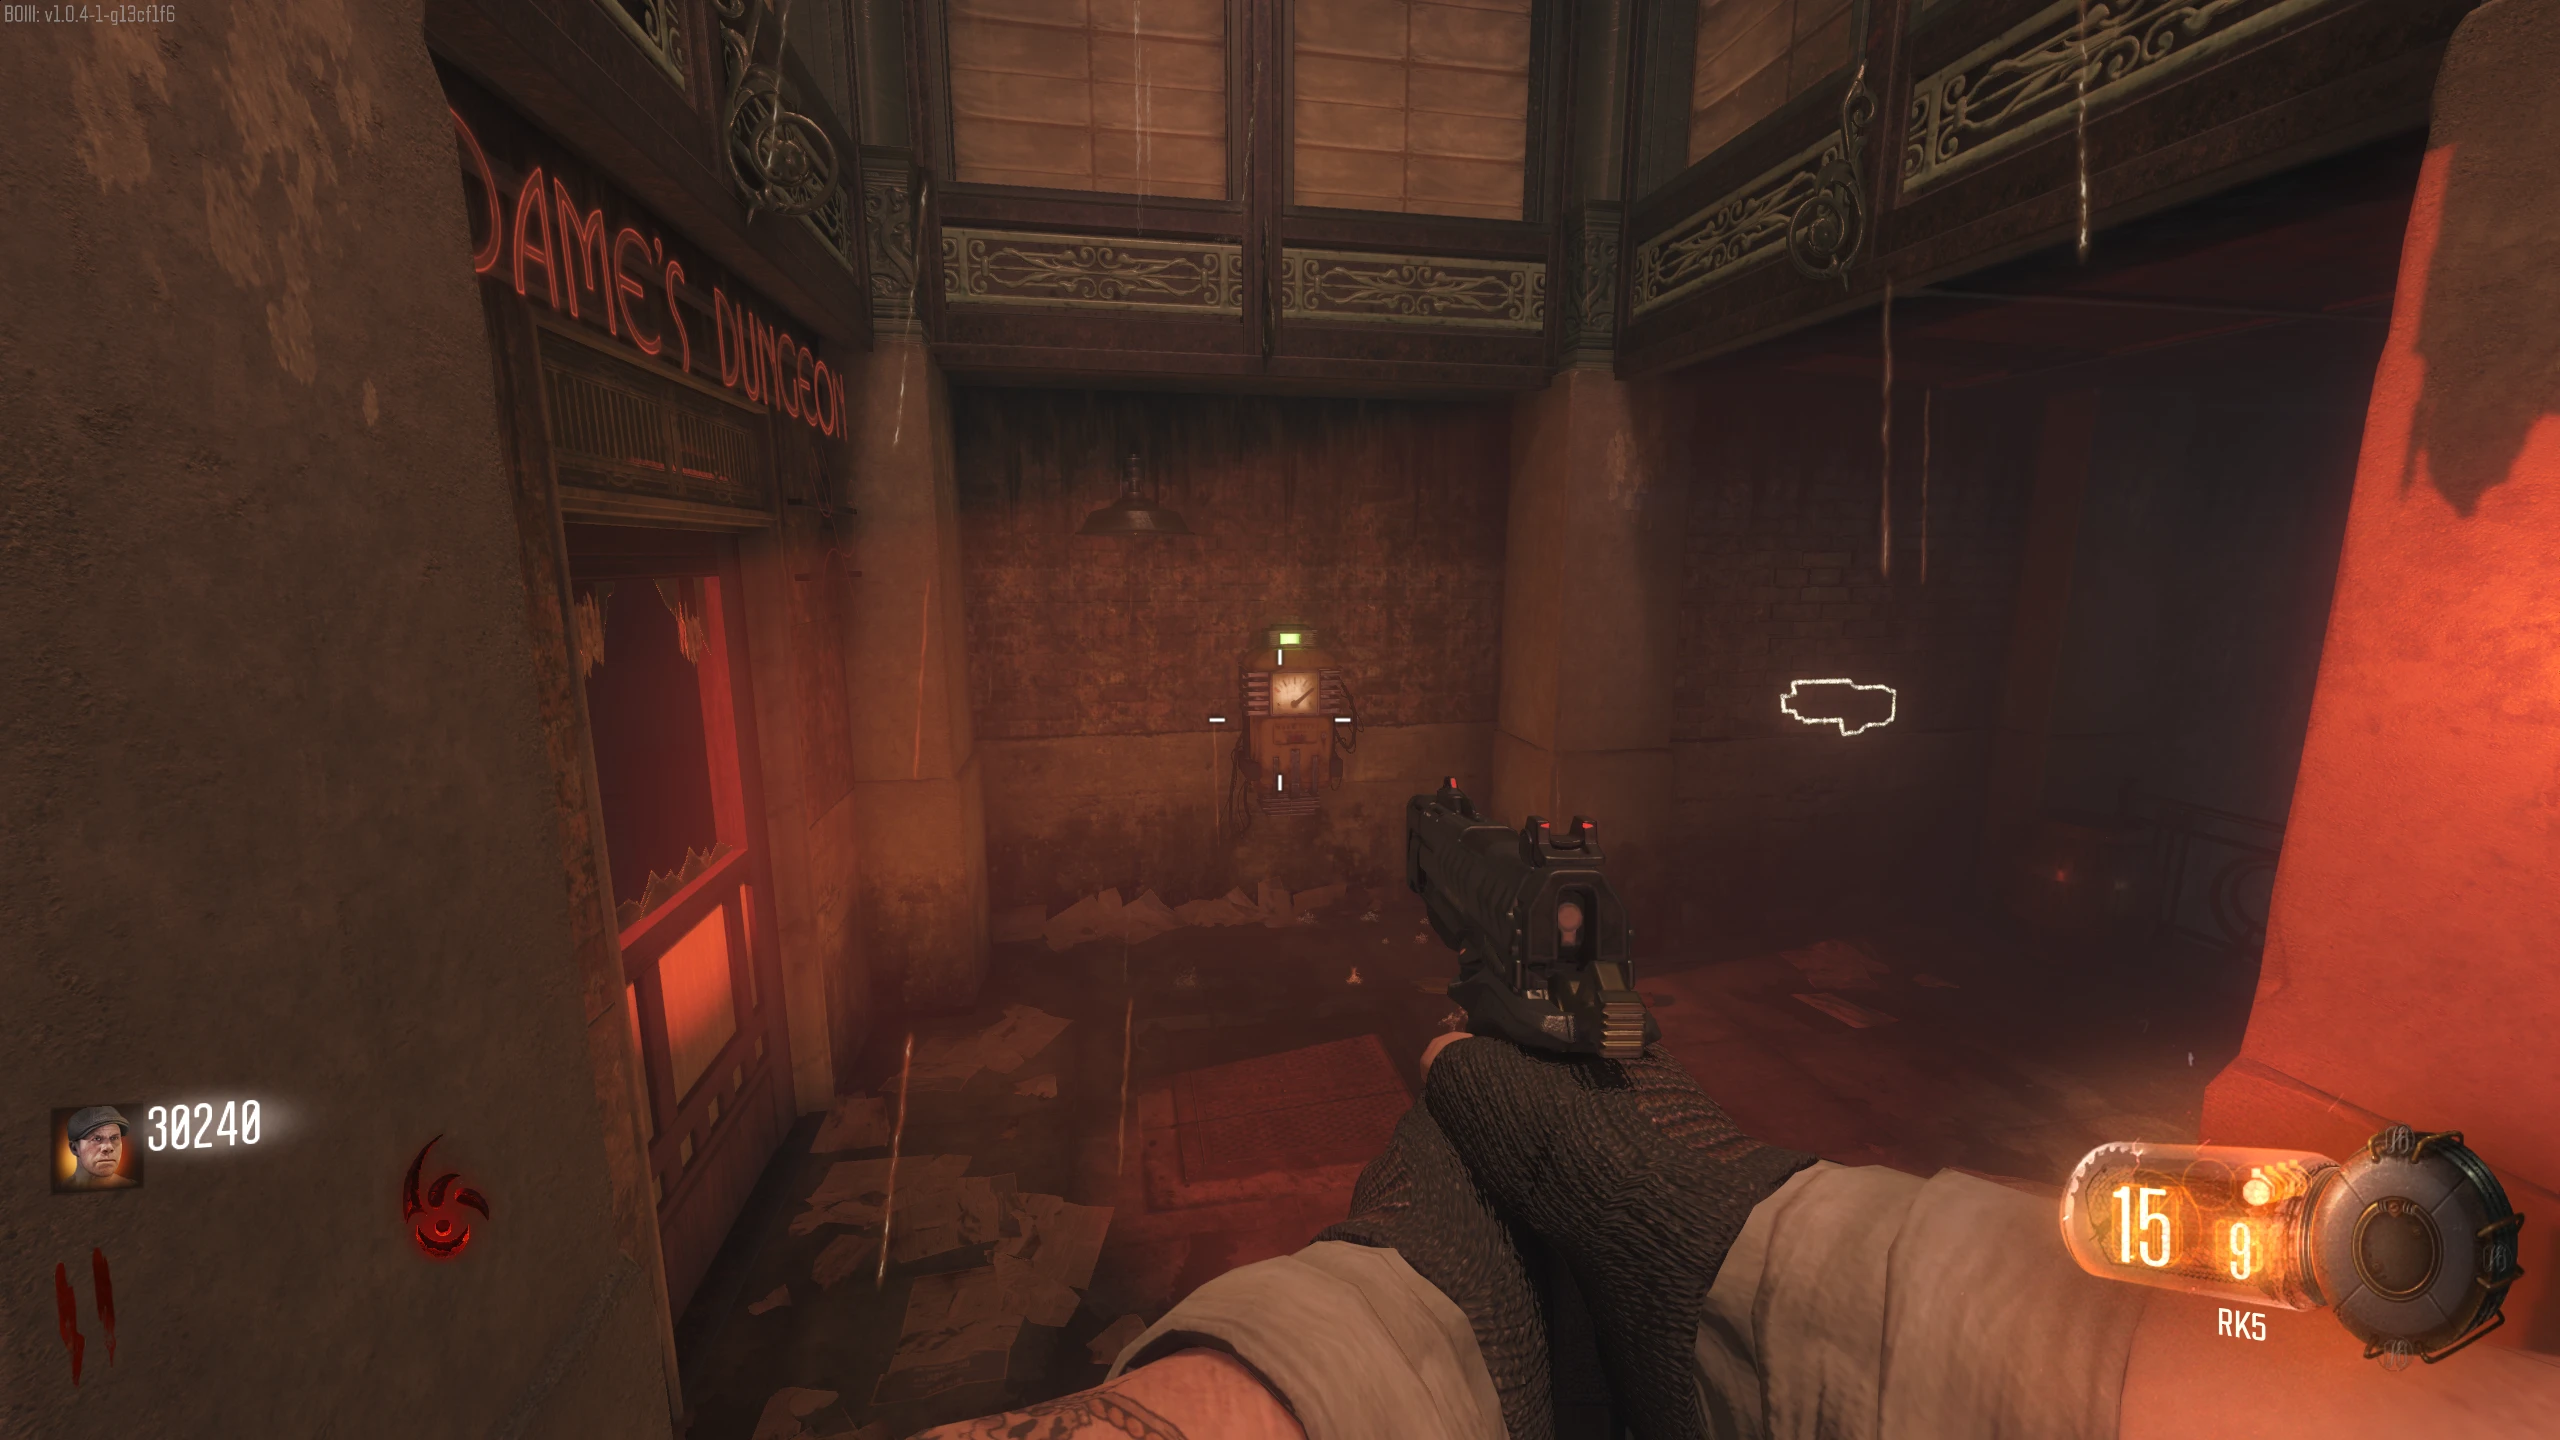
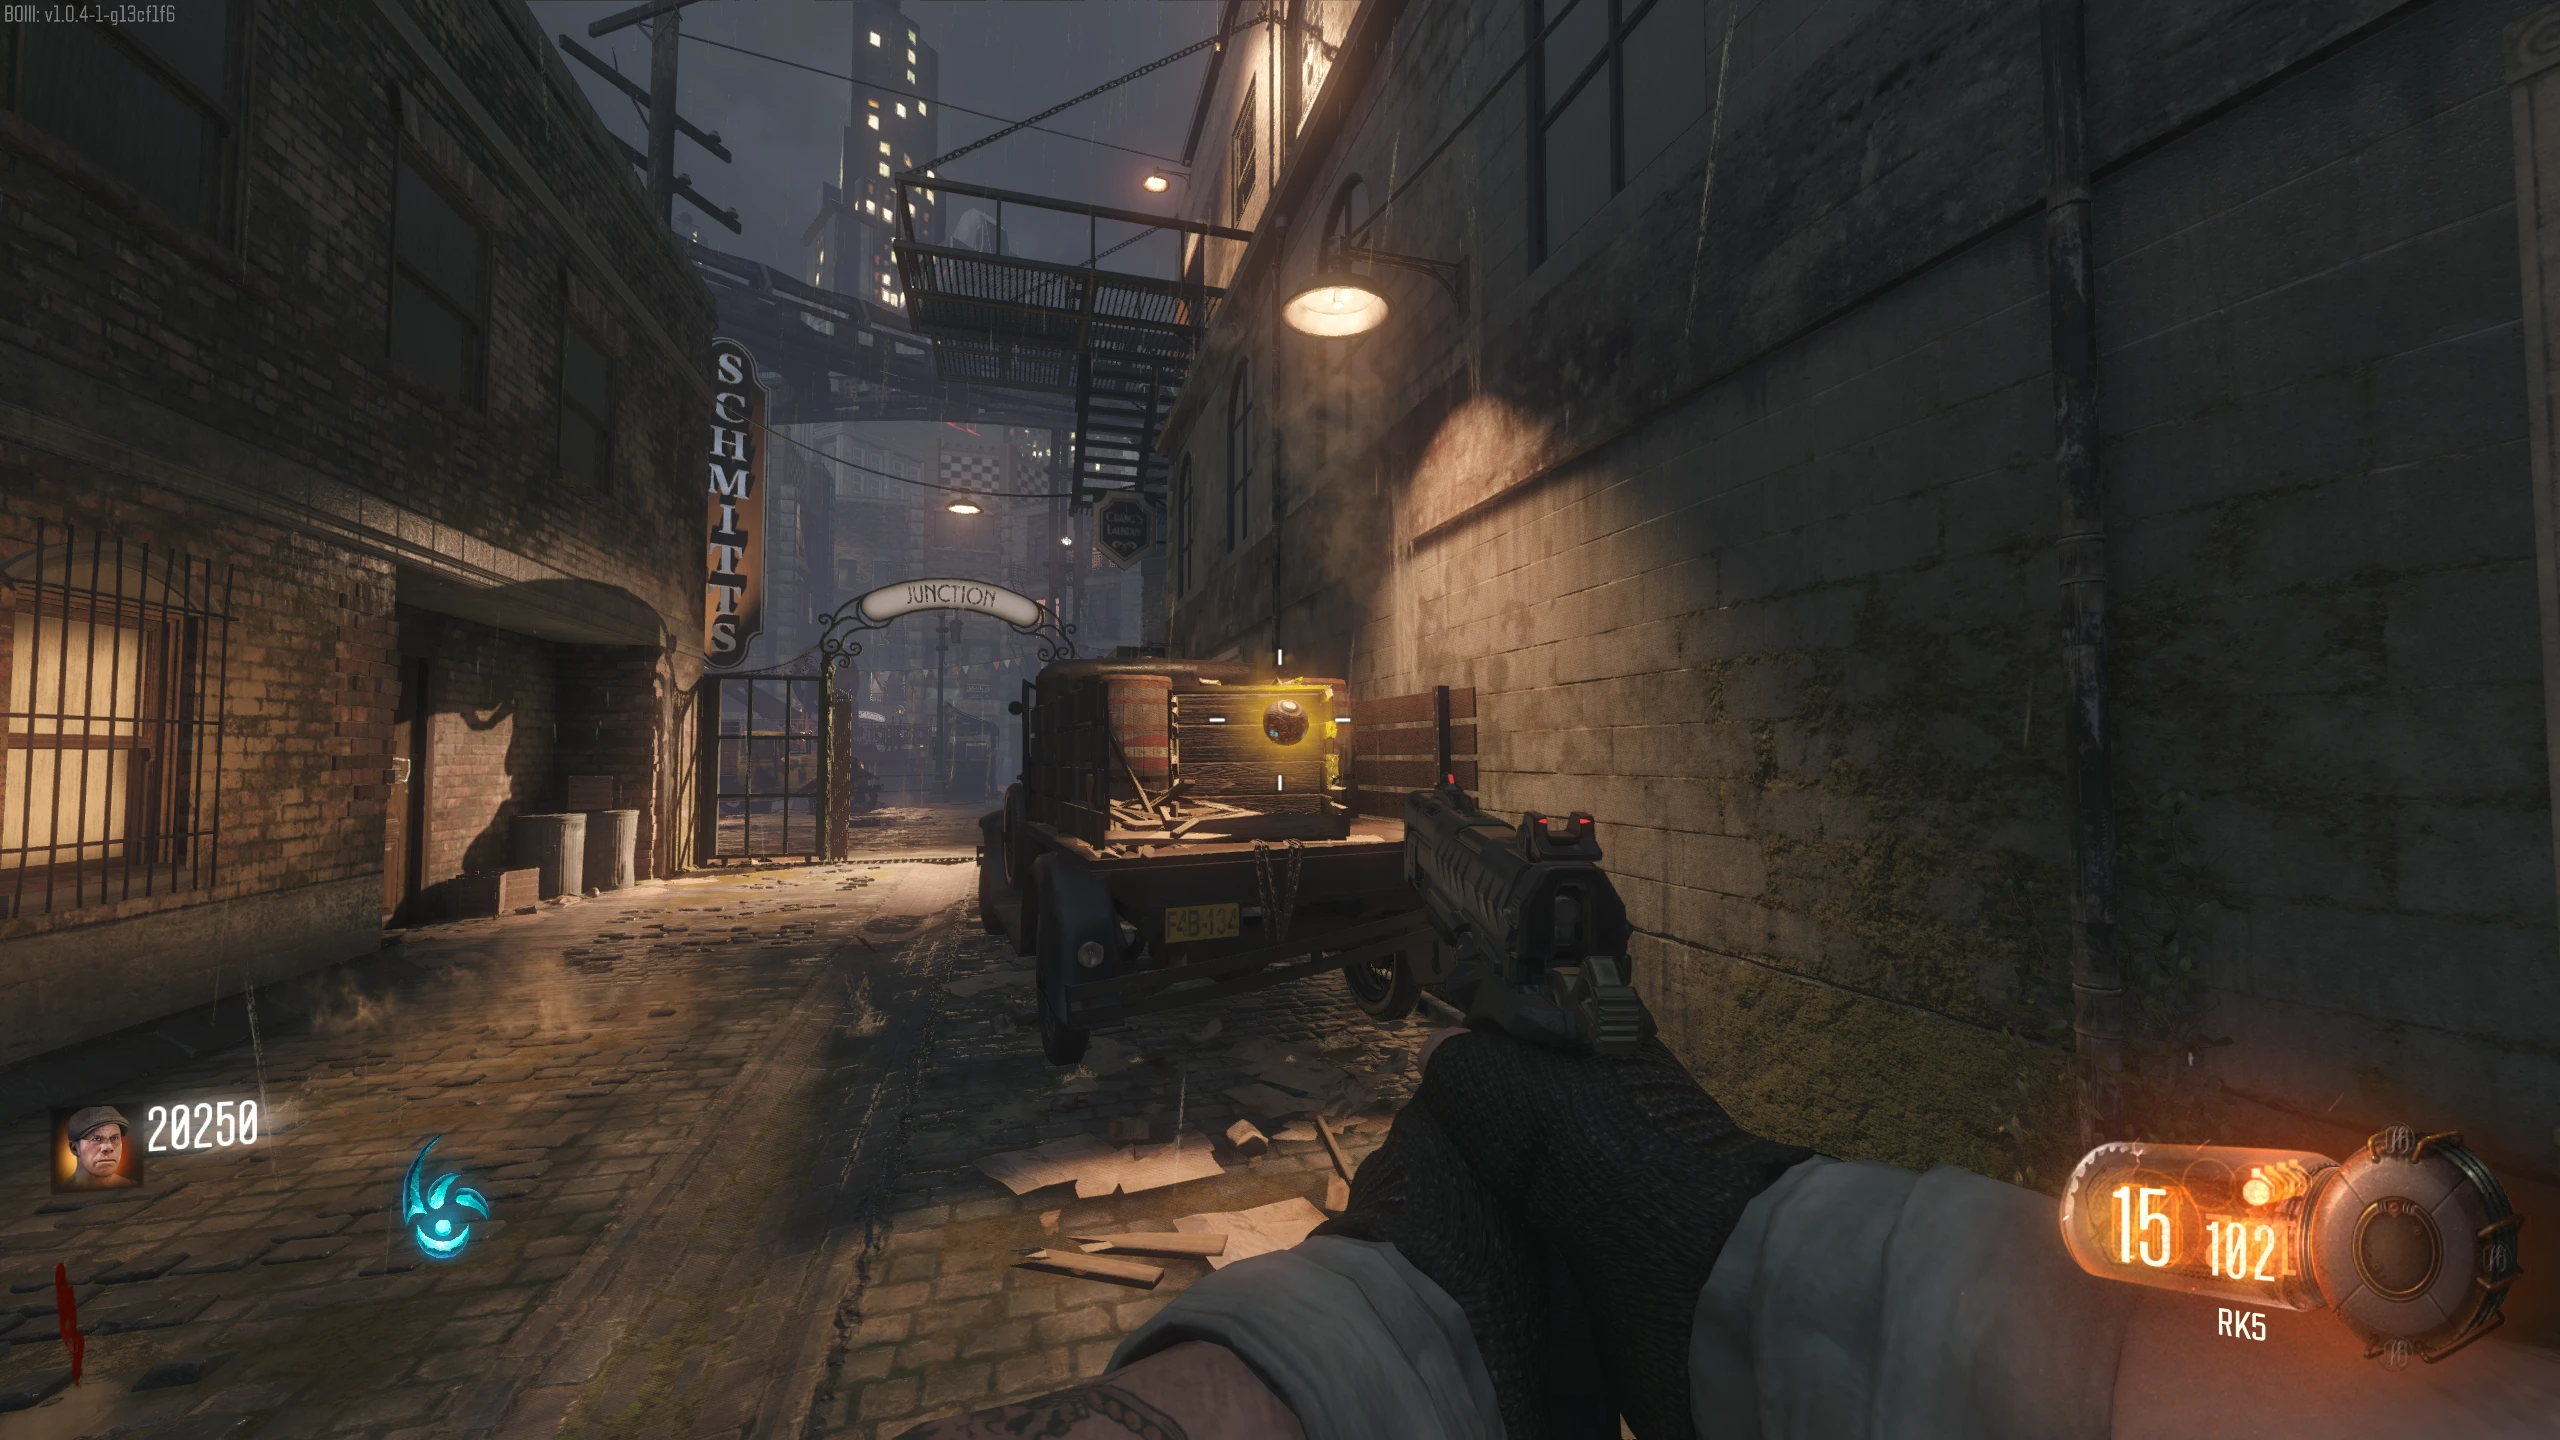
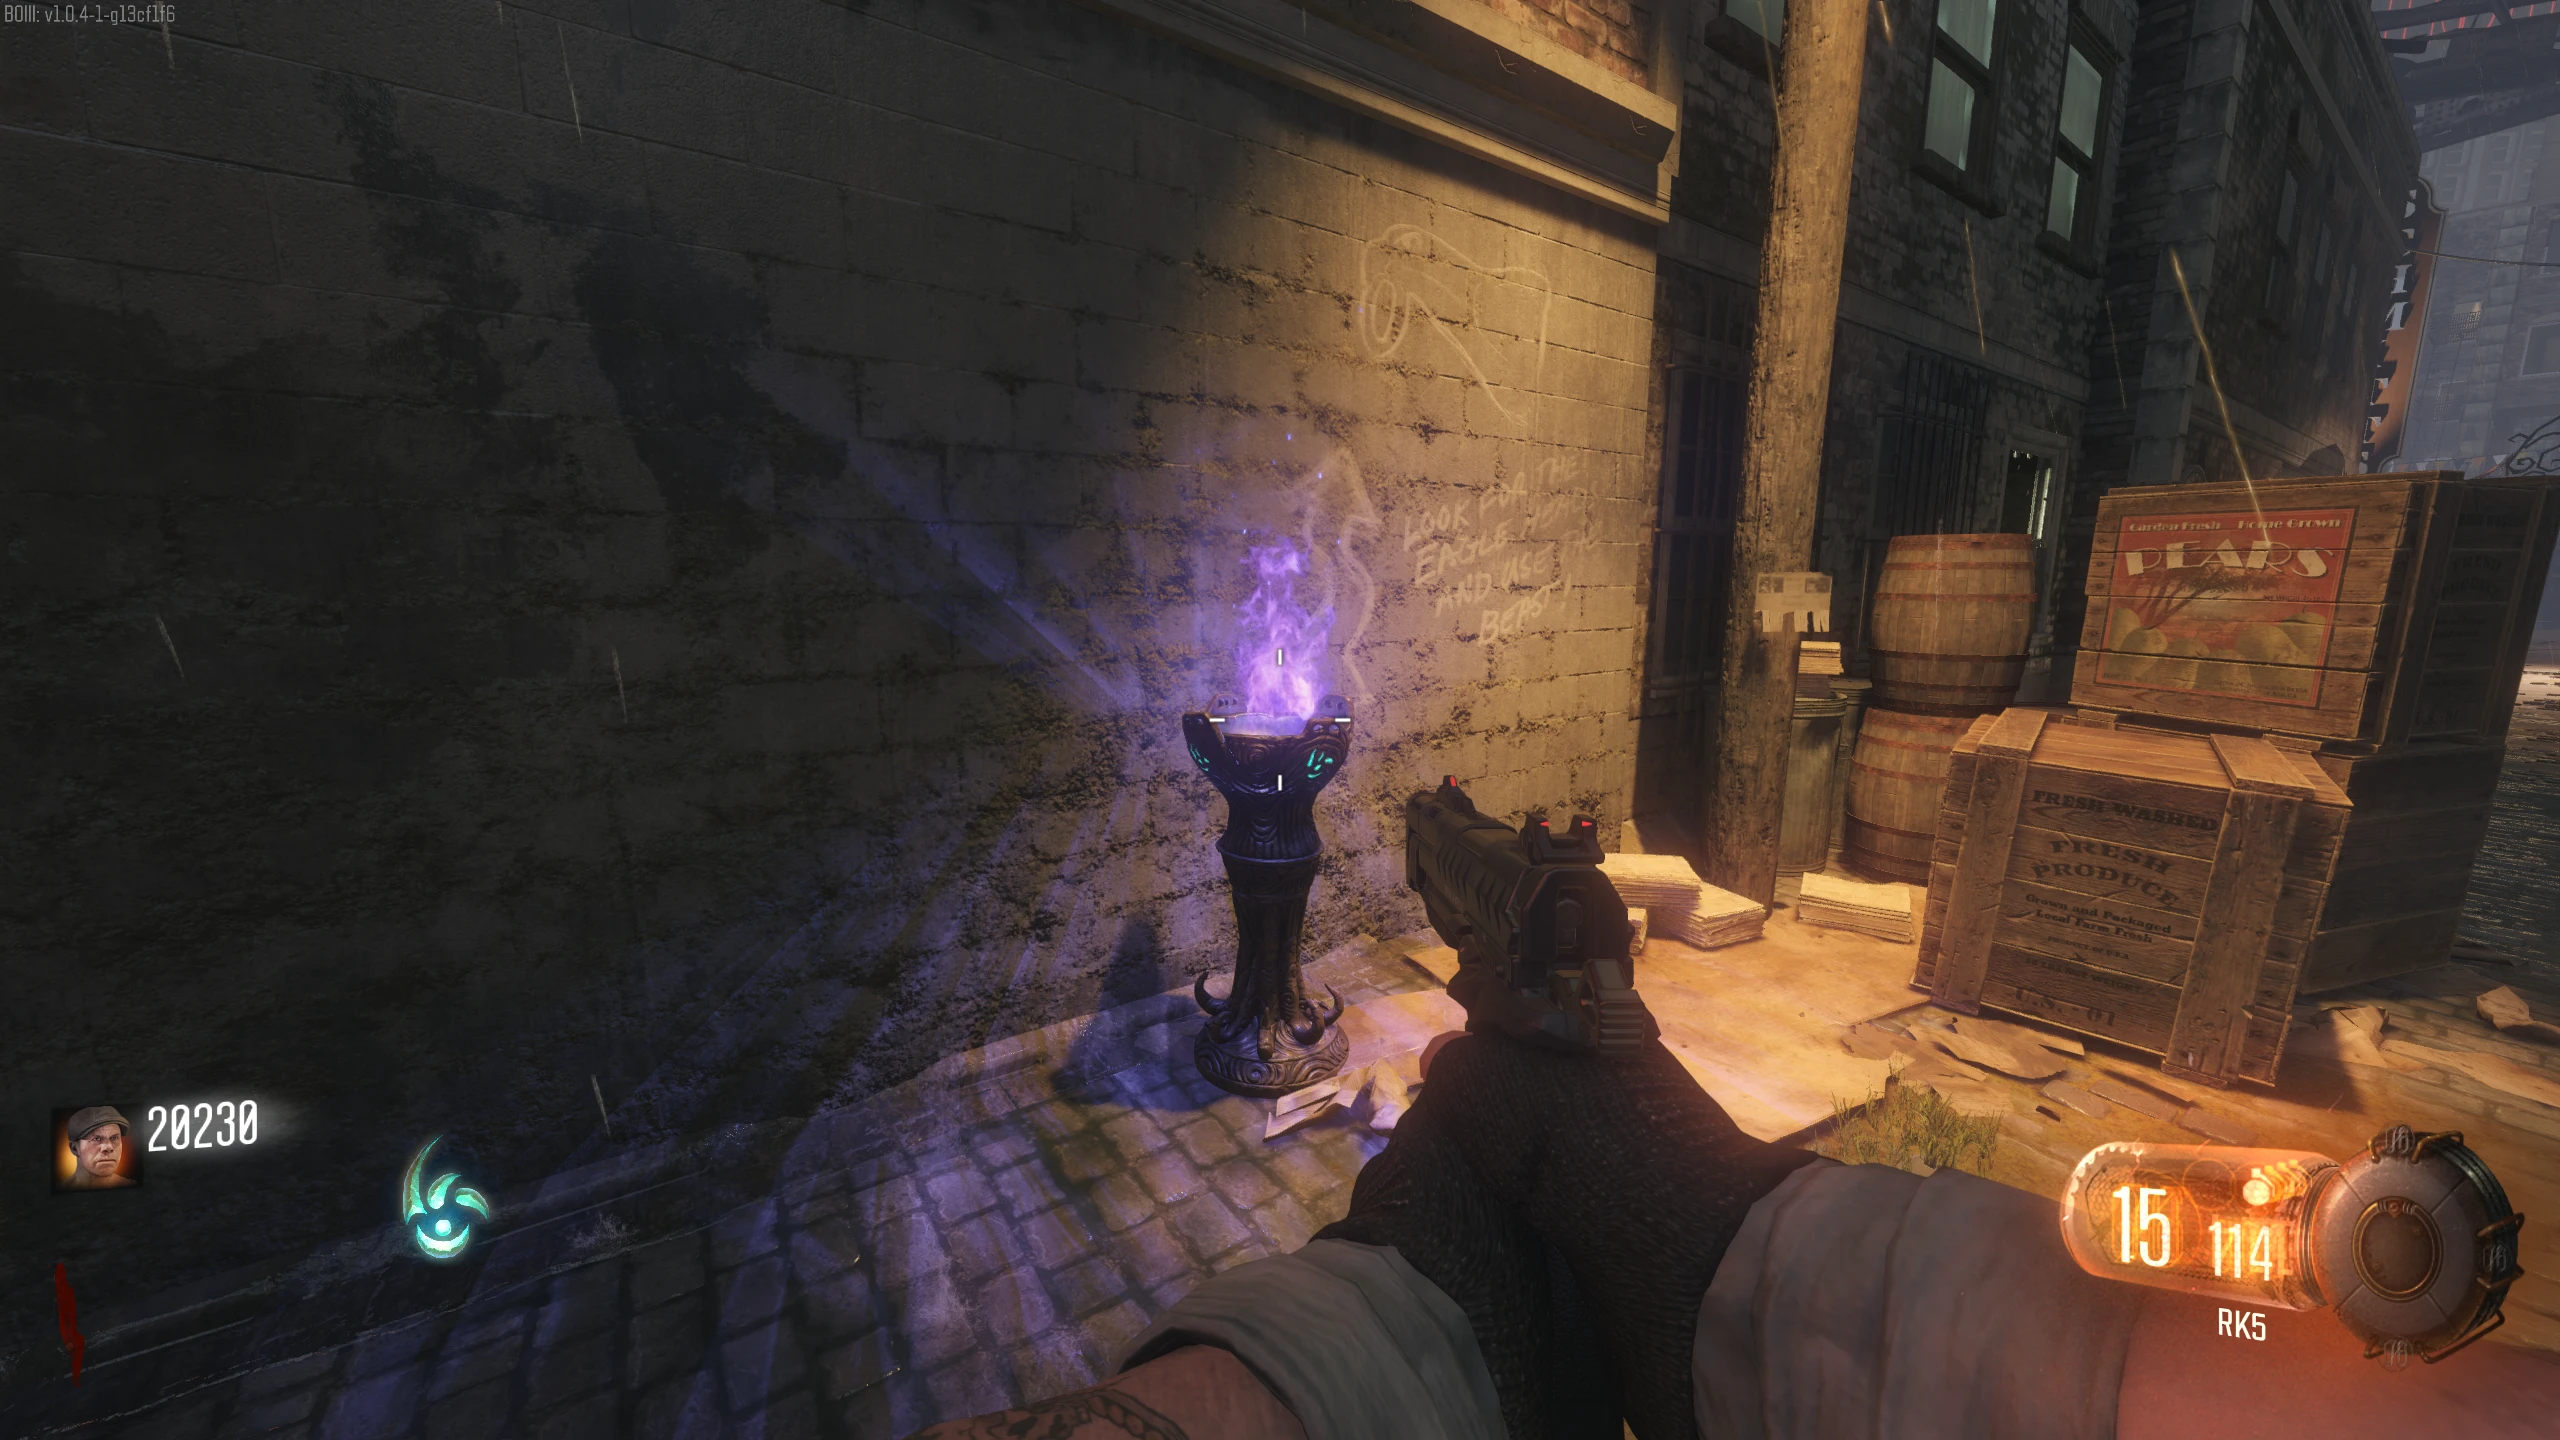
- Before you can start any of the rituals, you'll need the Summoning Key. To get it, enter Beast Mode, and melee the crate on the back of the truck, left of the RK5 wallbuy, in Spawn. Once open, you can pick up the Summoning Key from the crate.
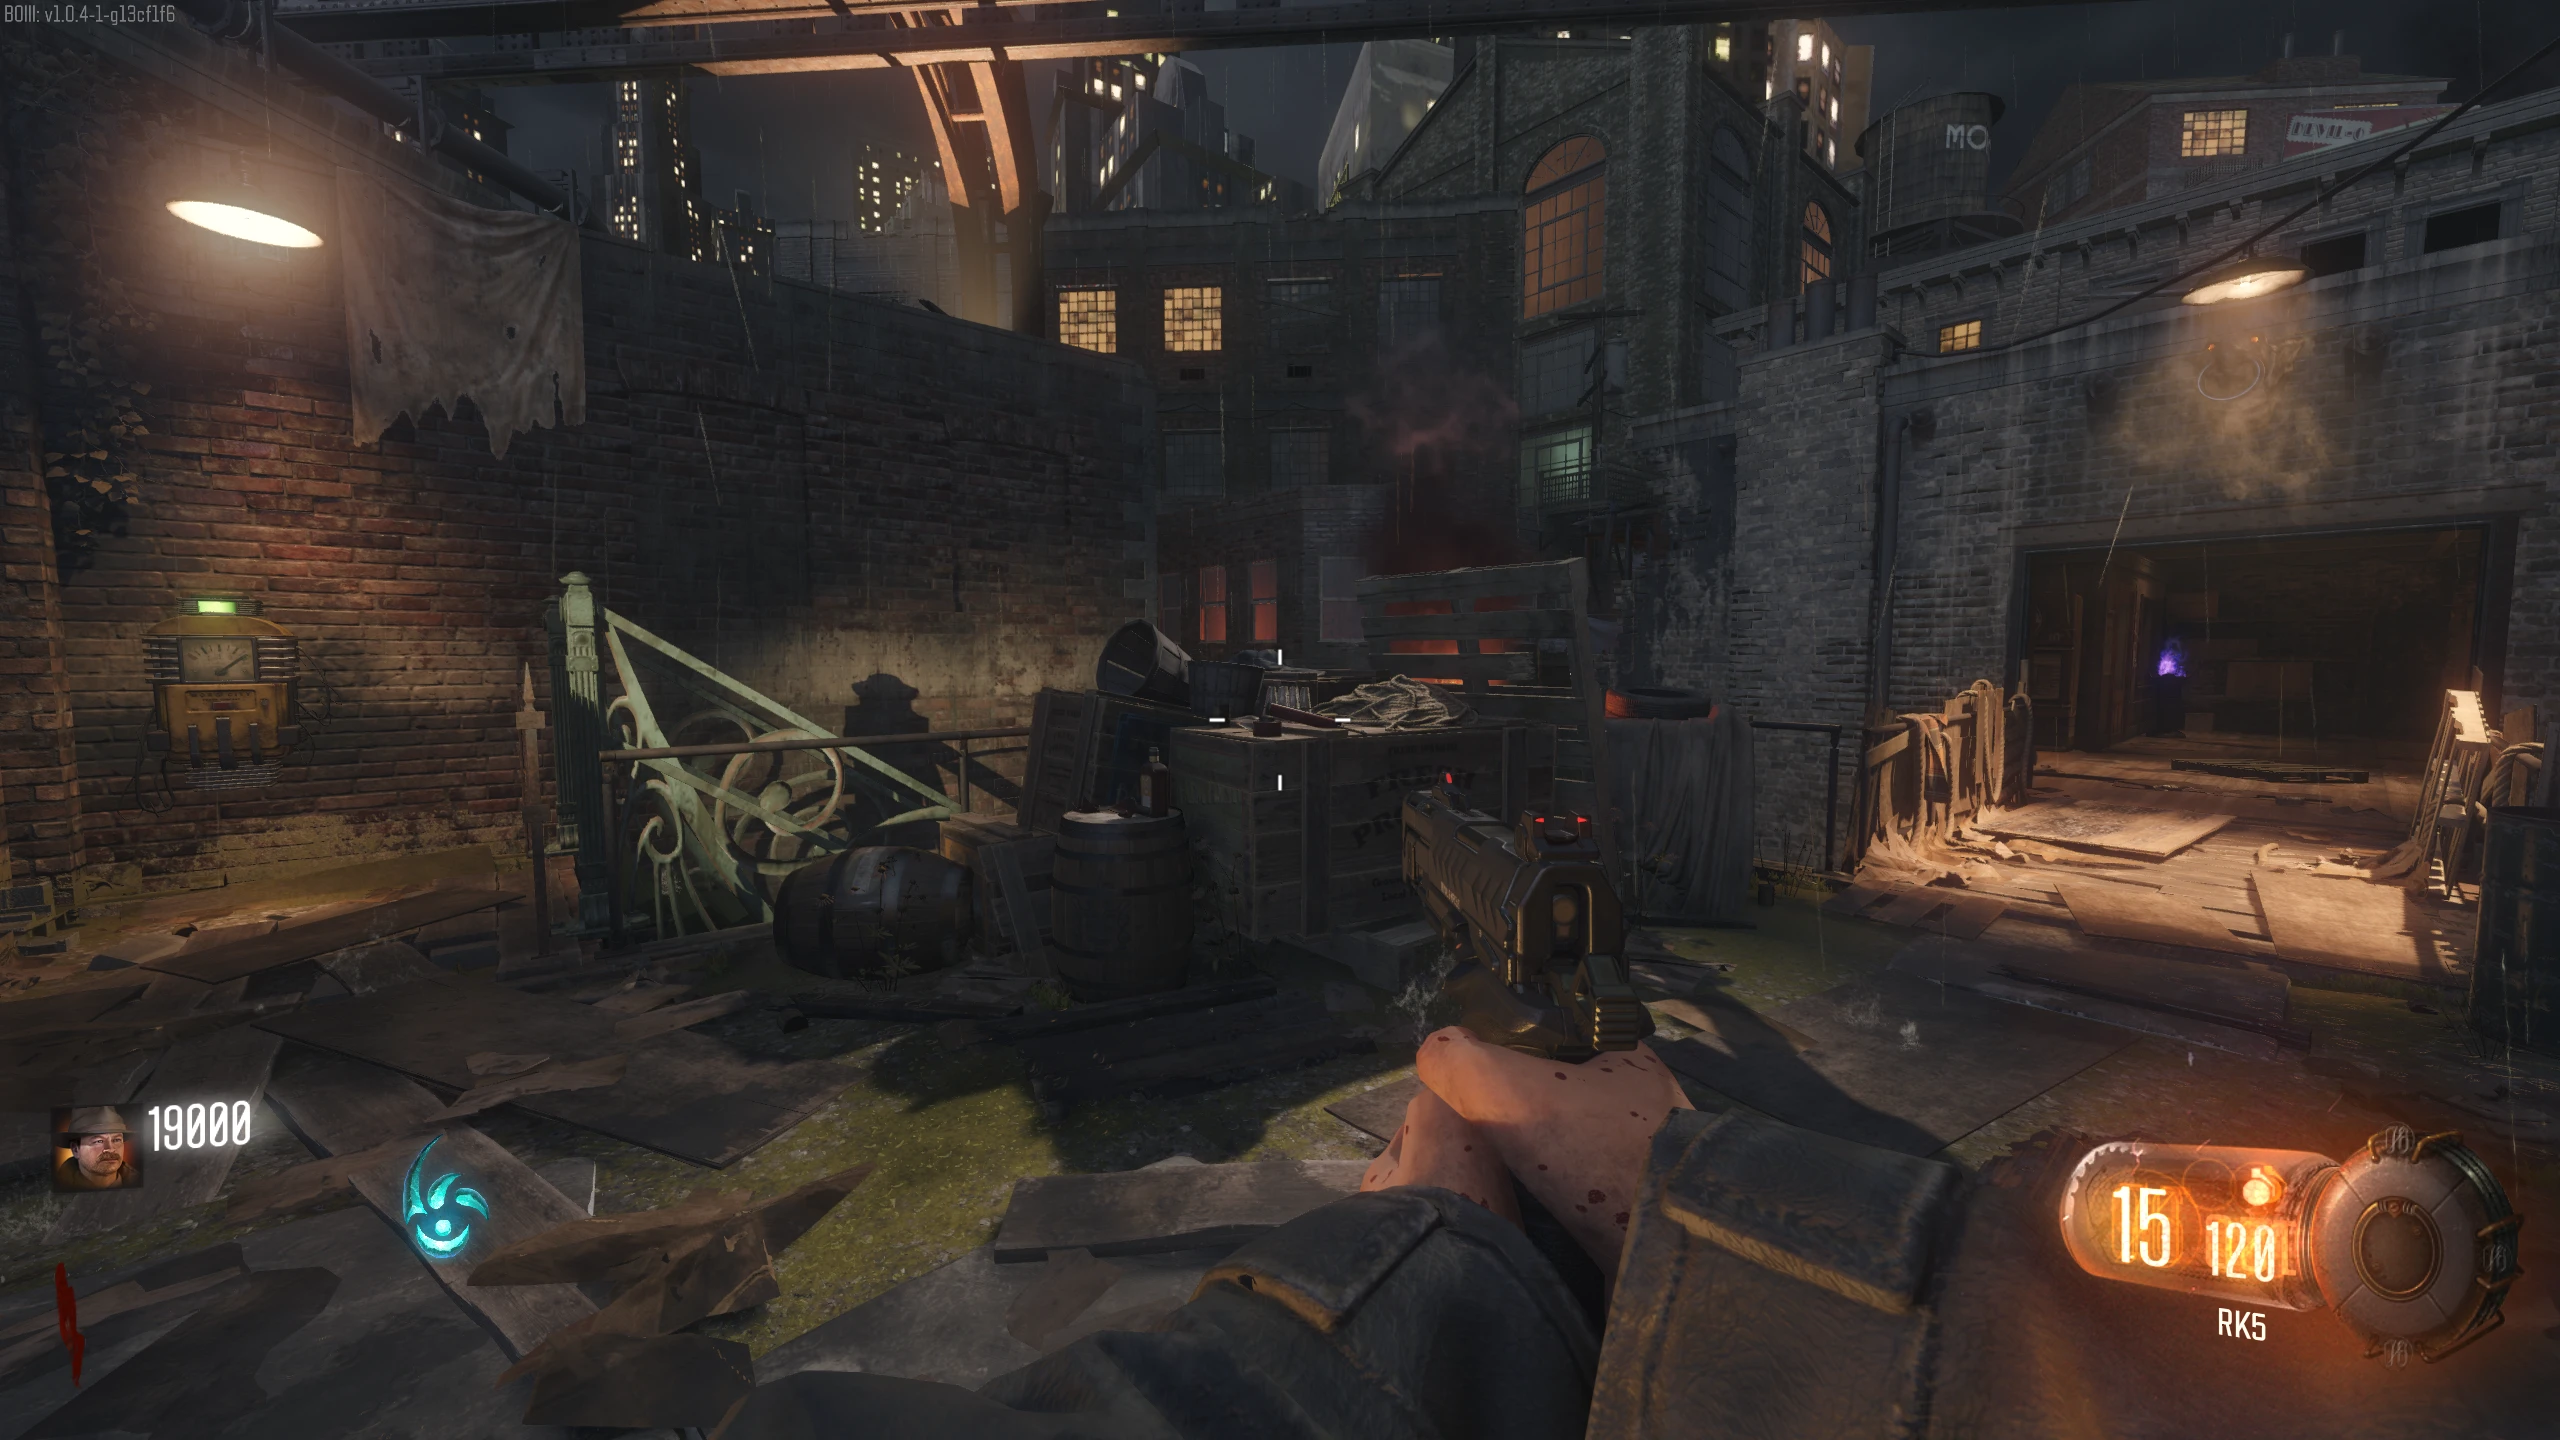
- How to complete each district's ritual:
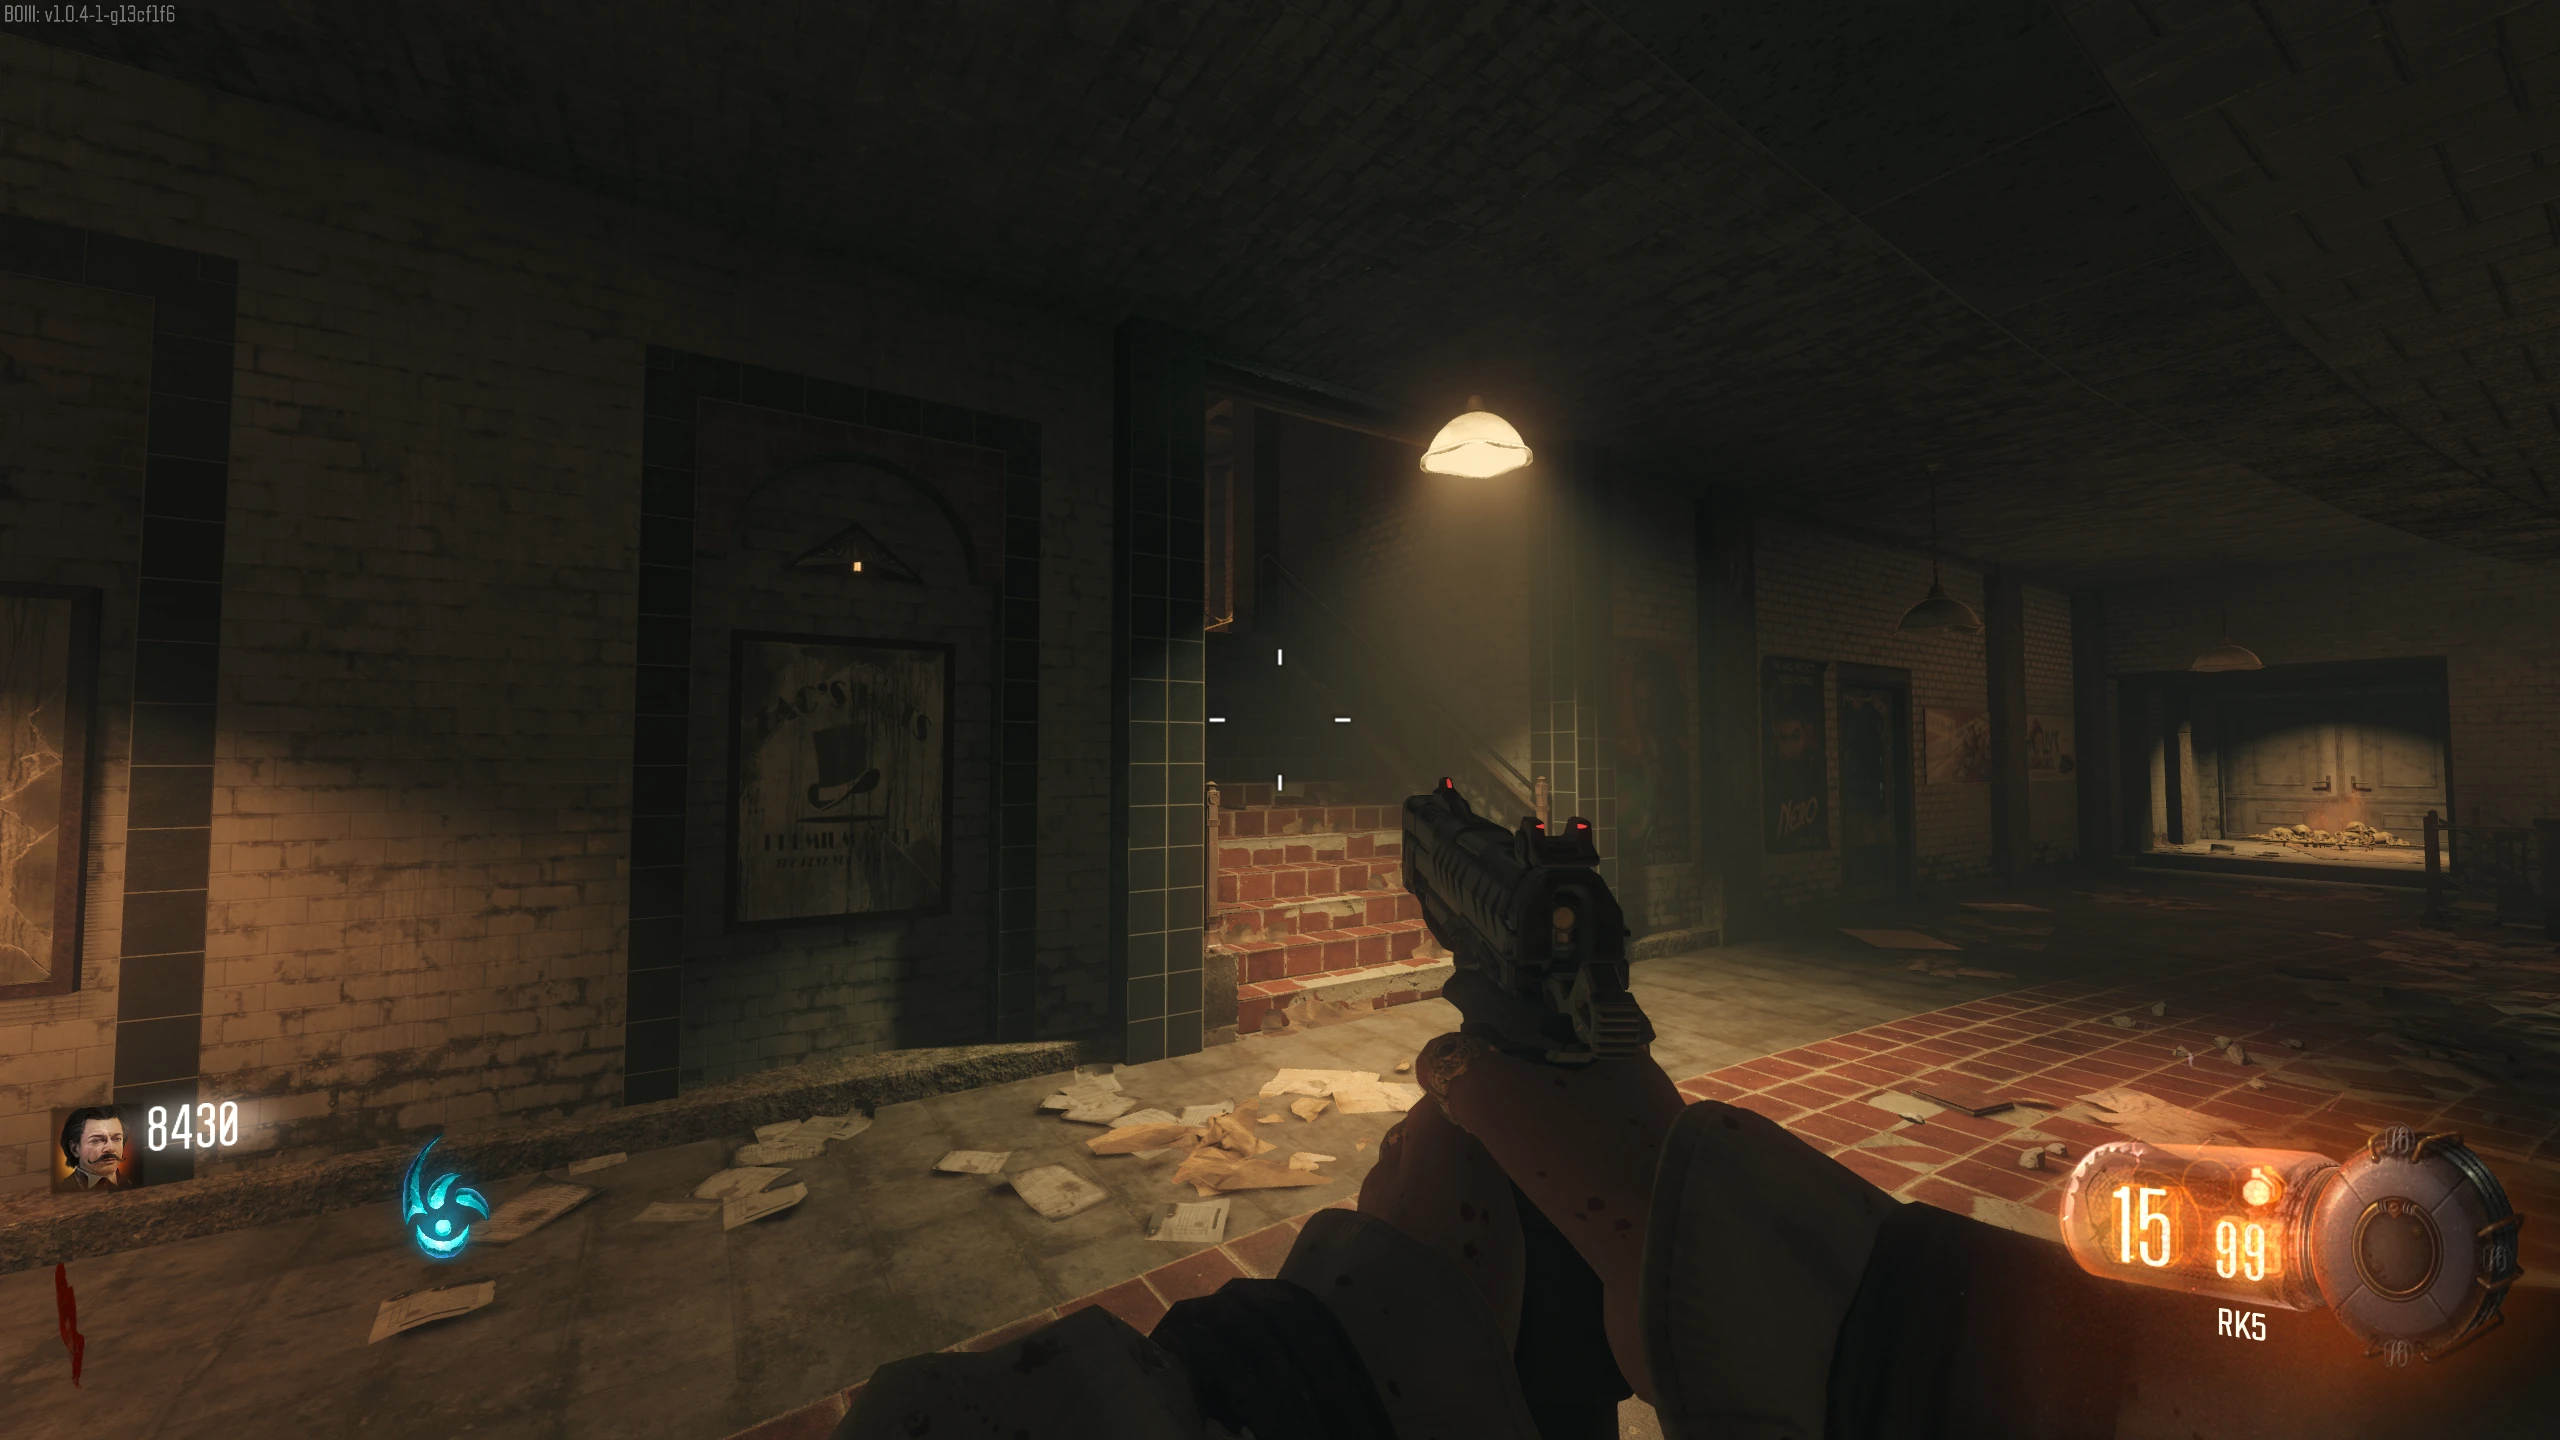
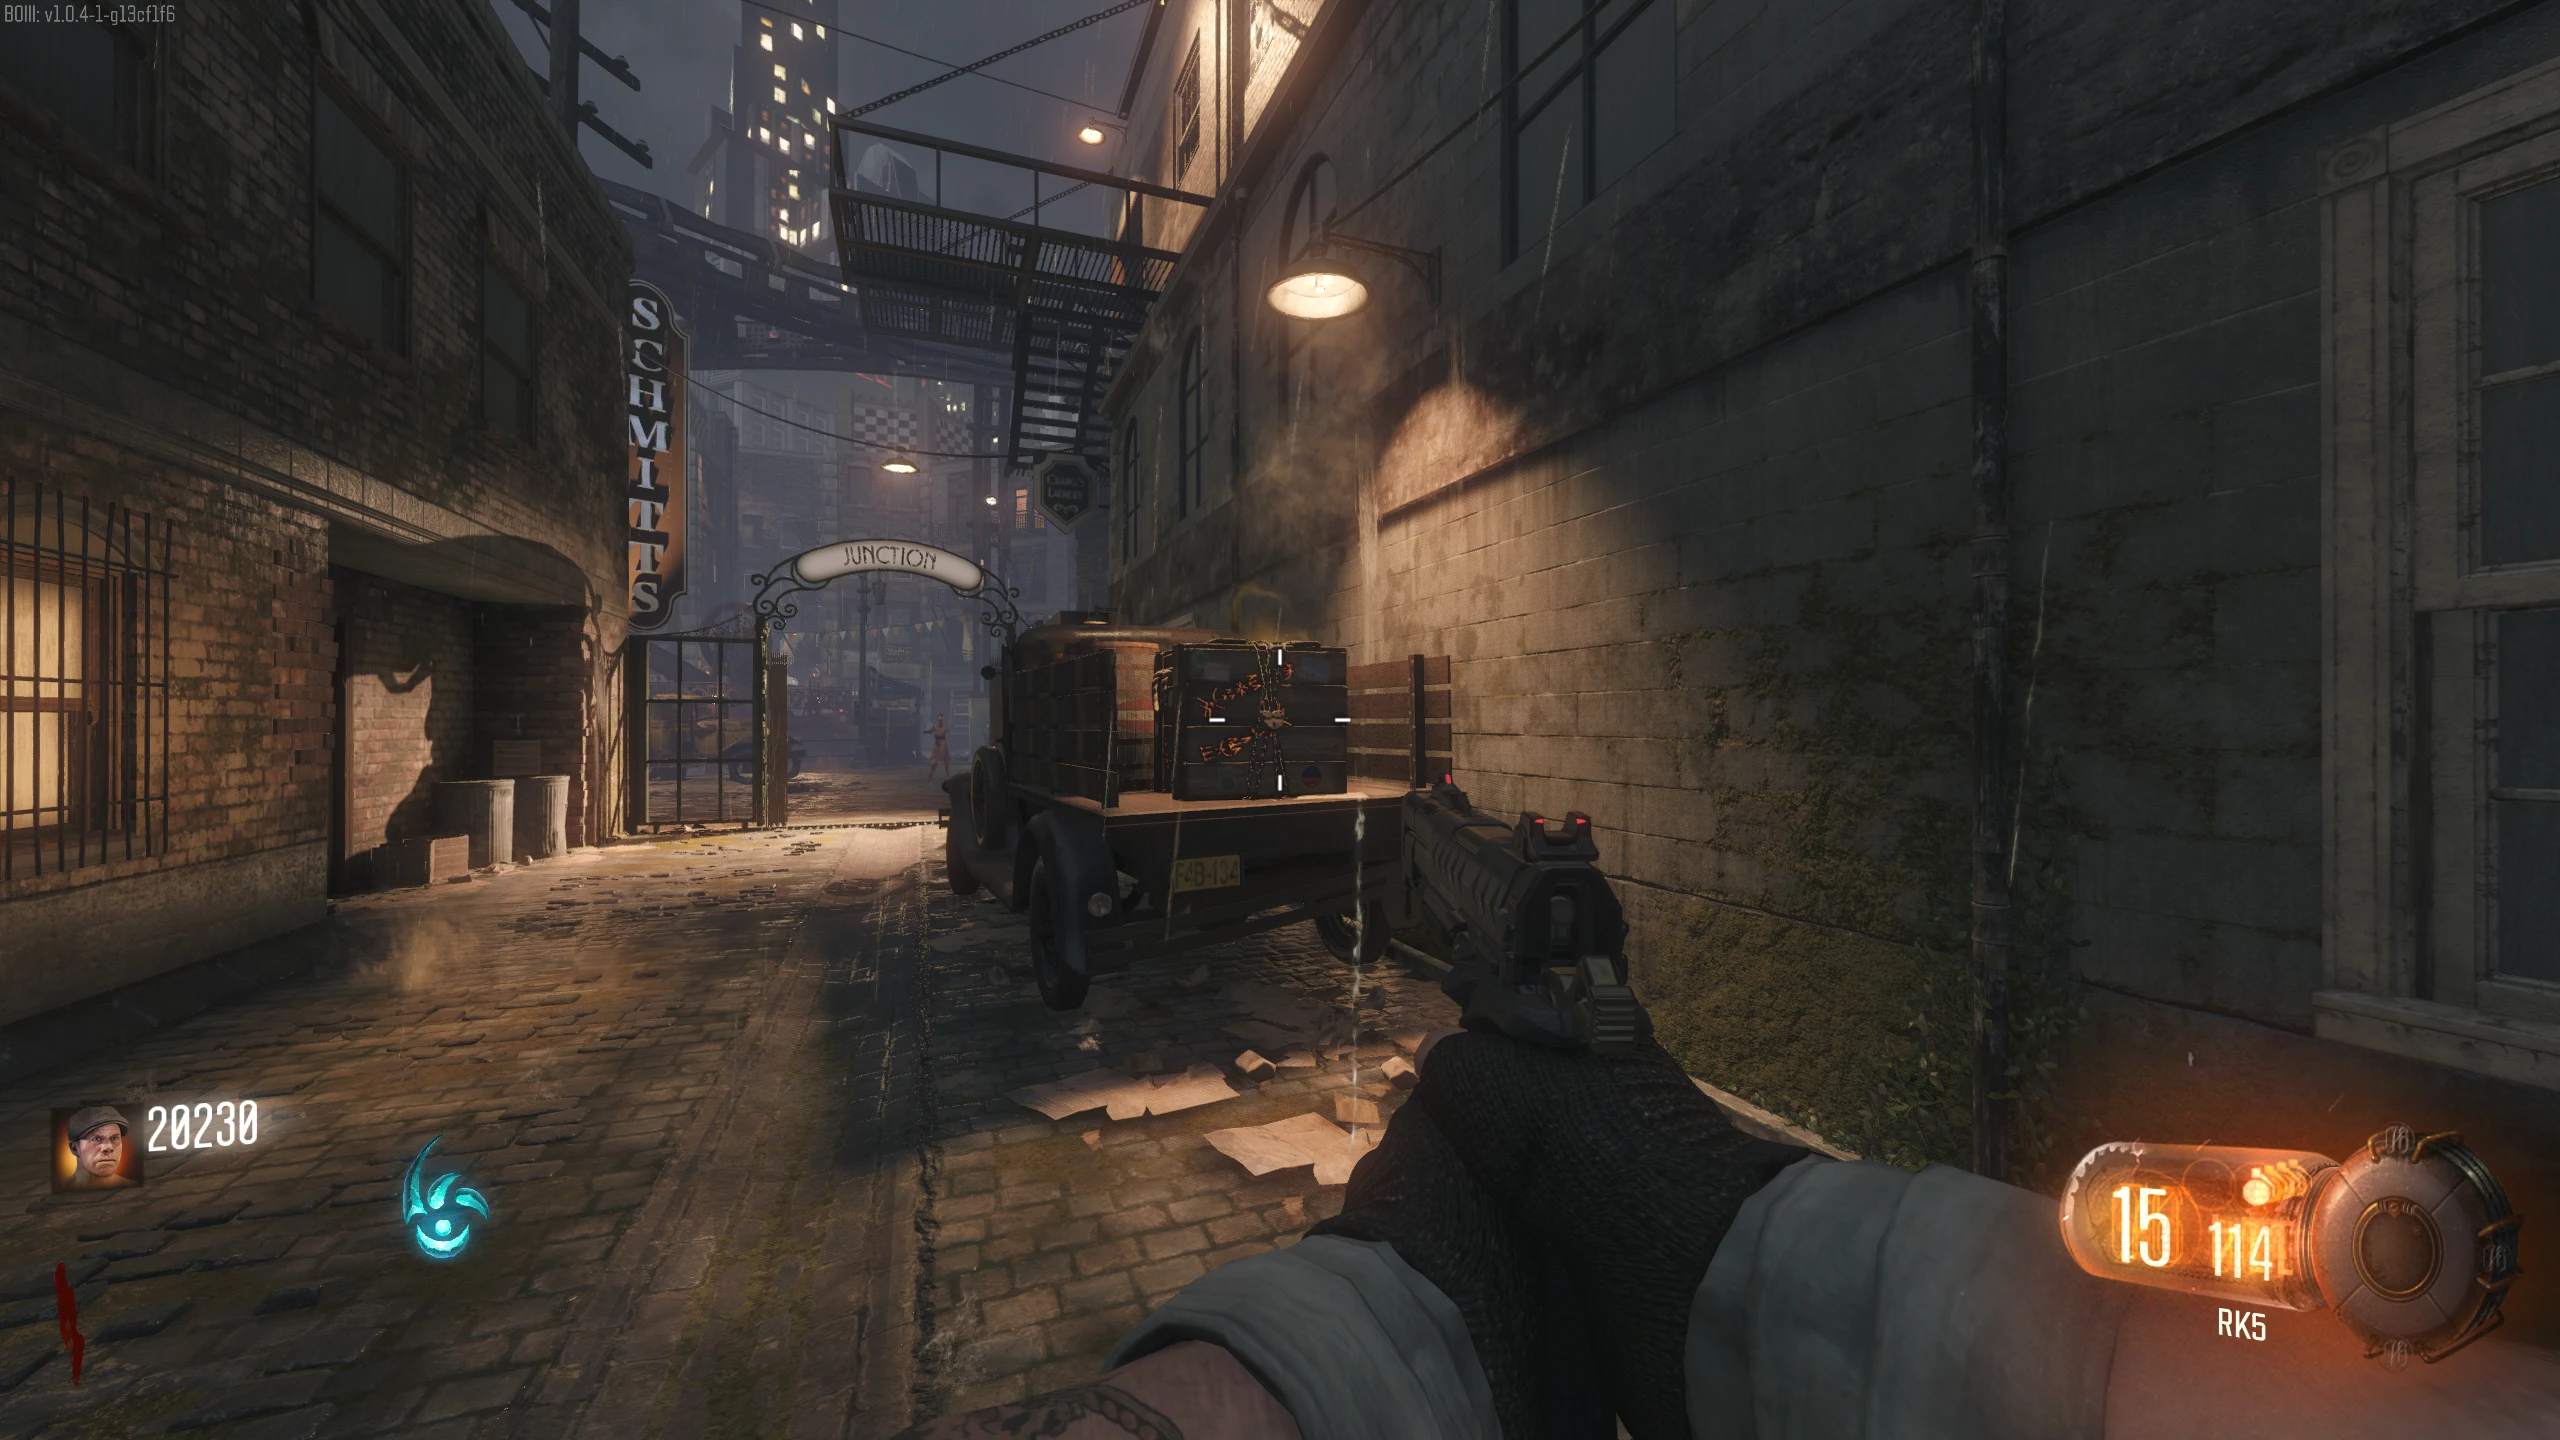
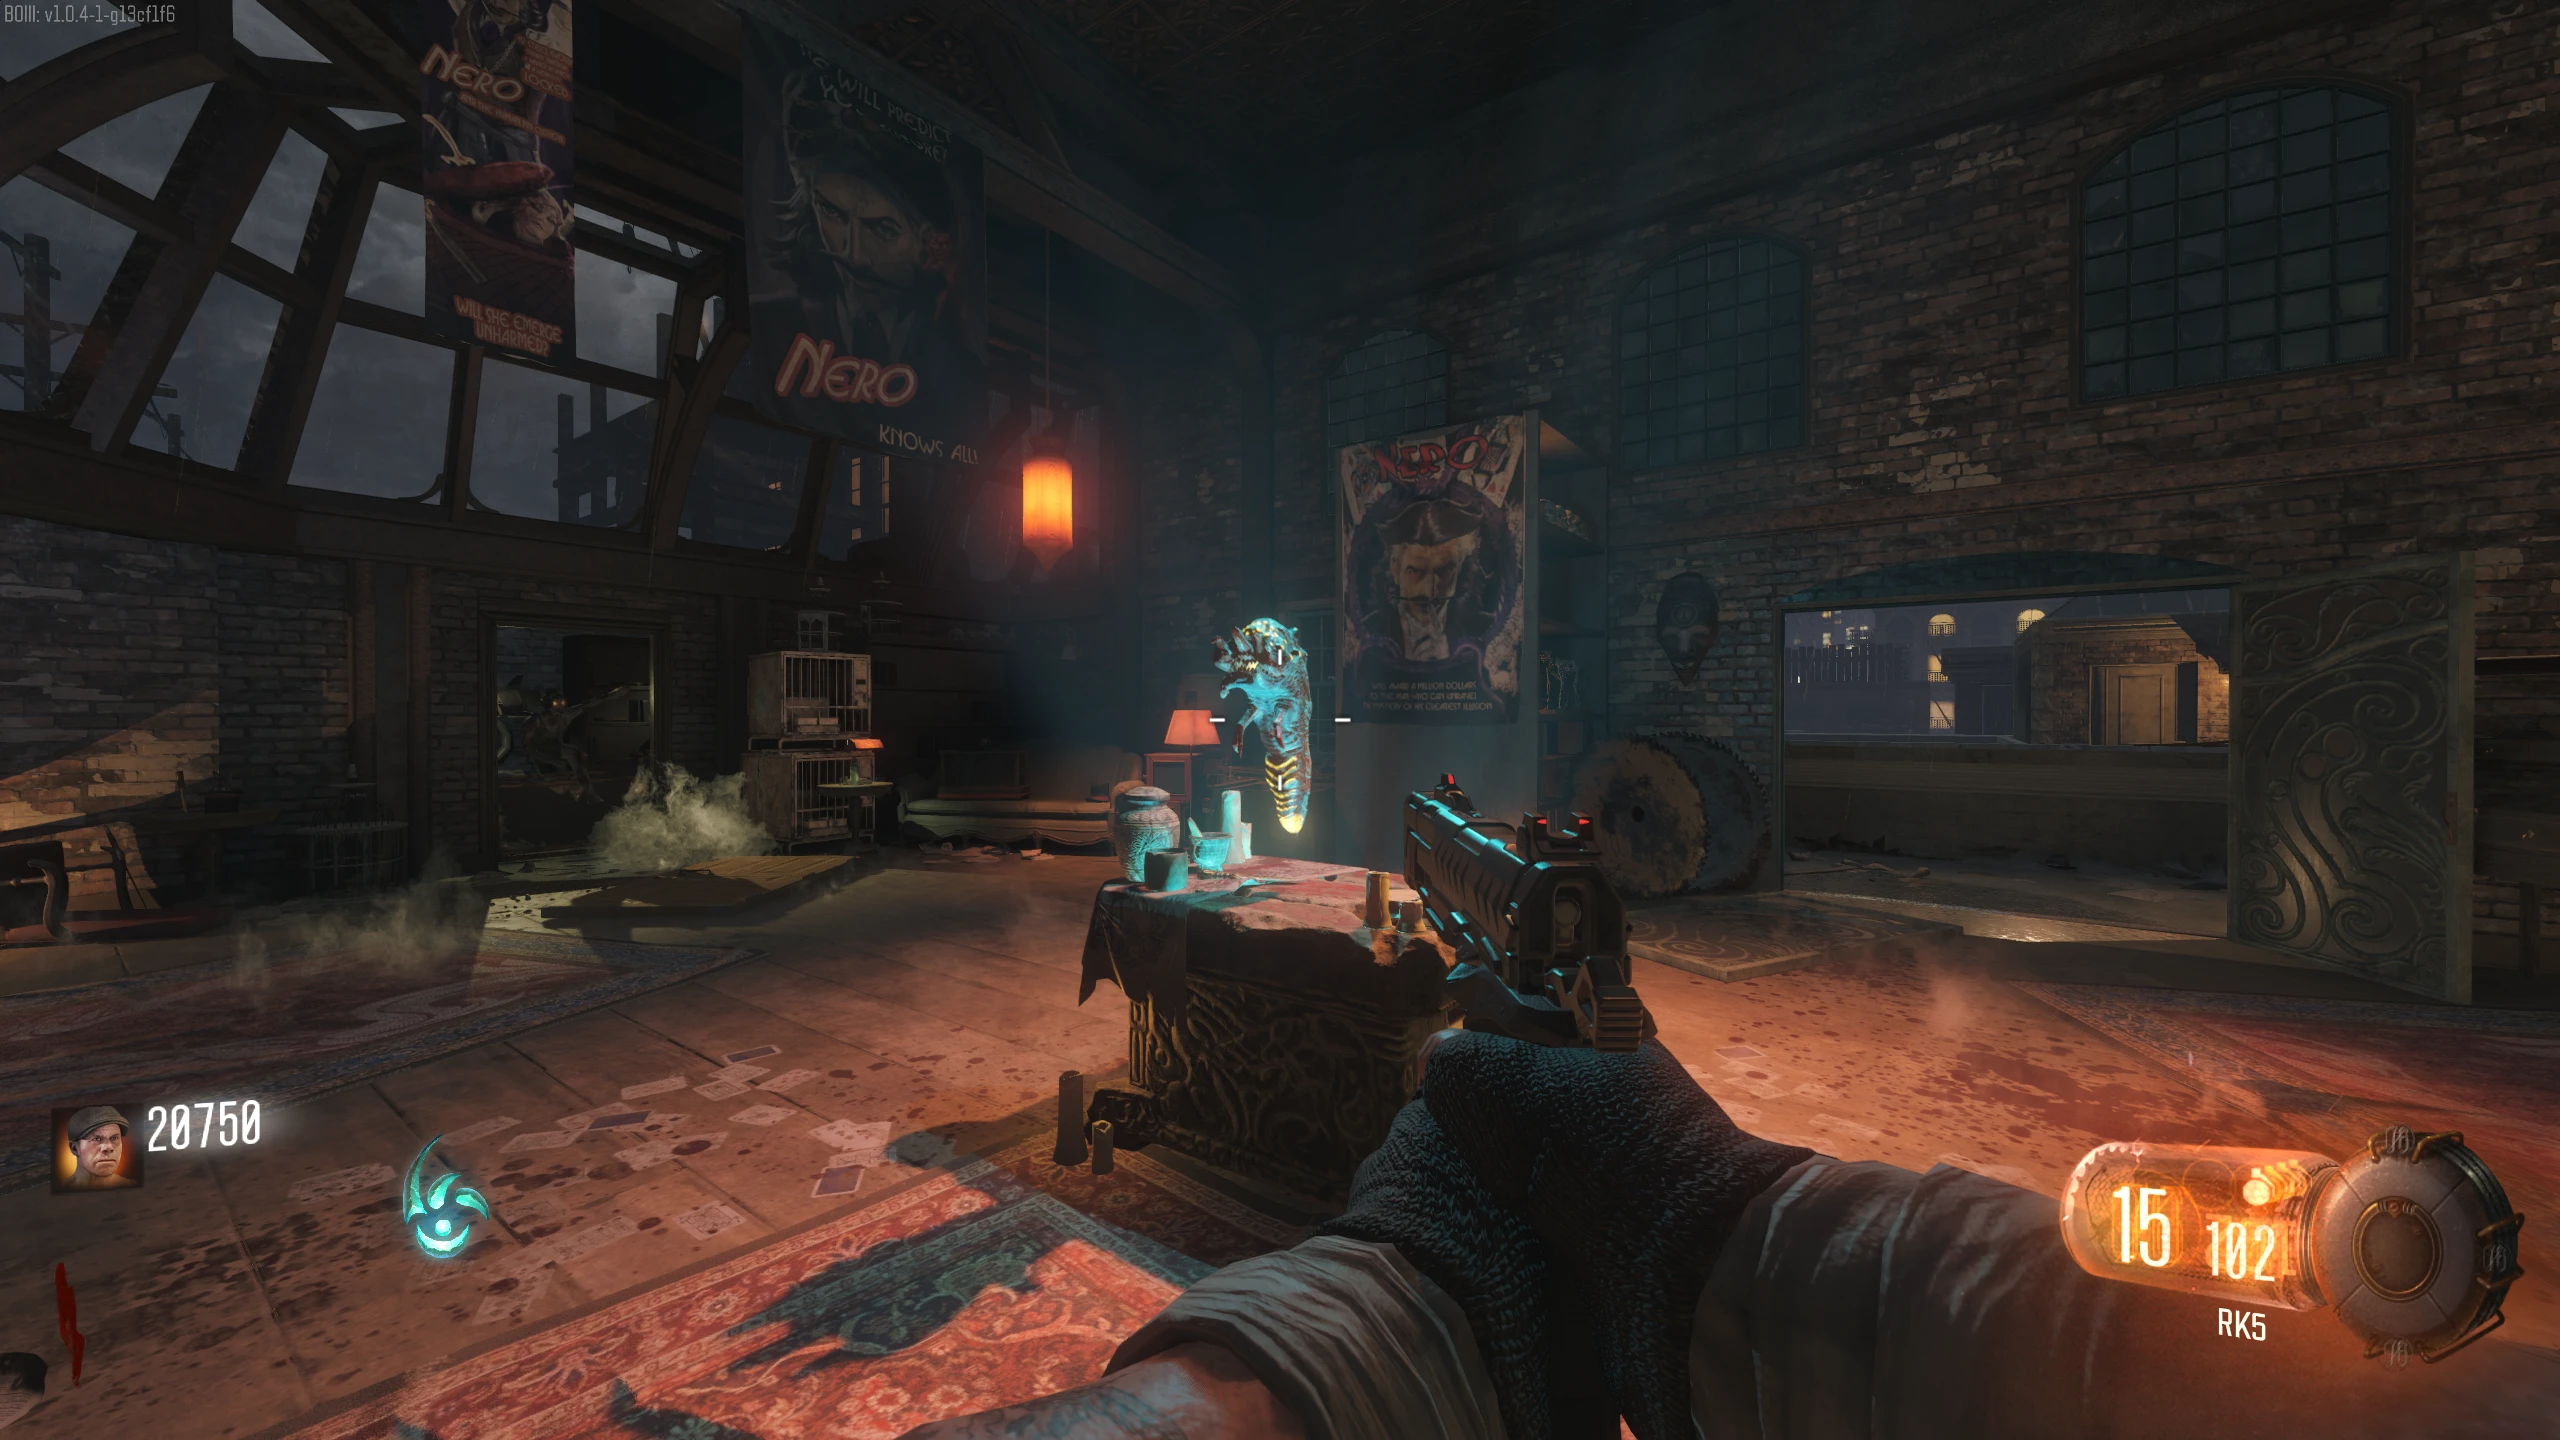
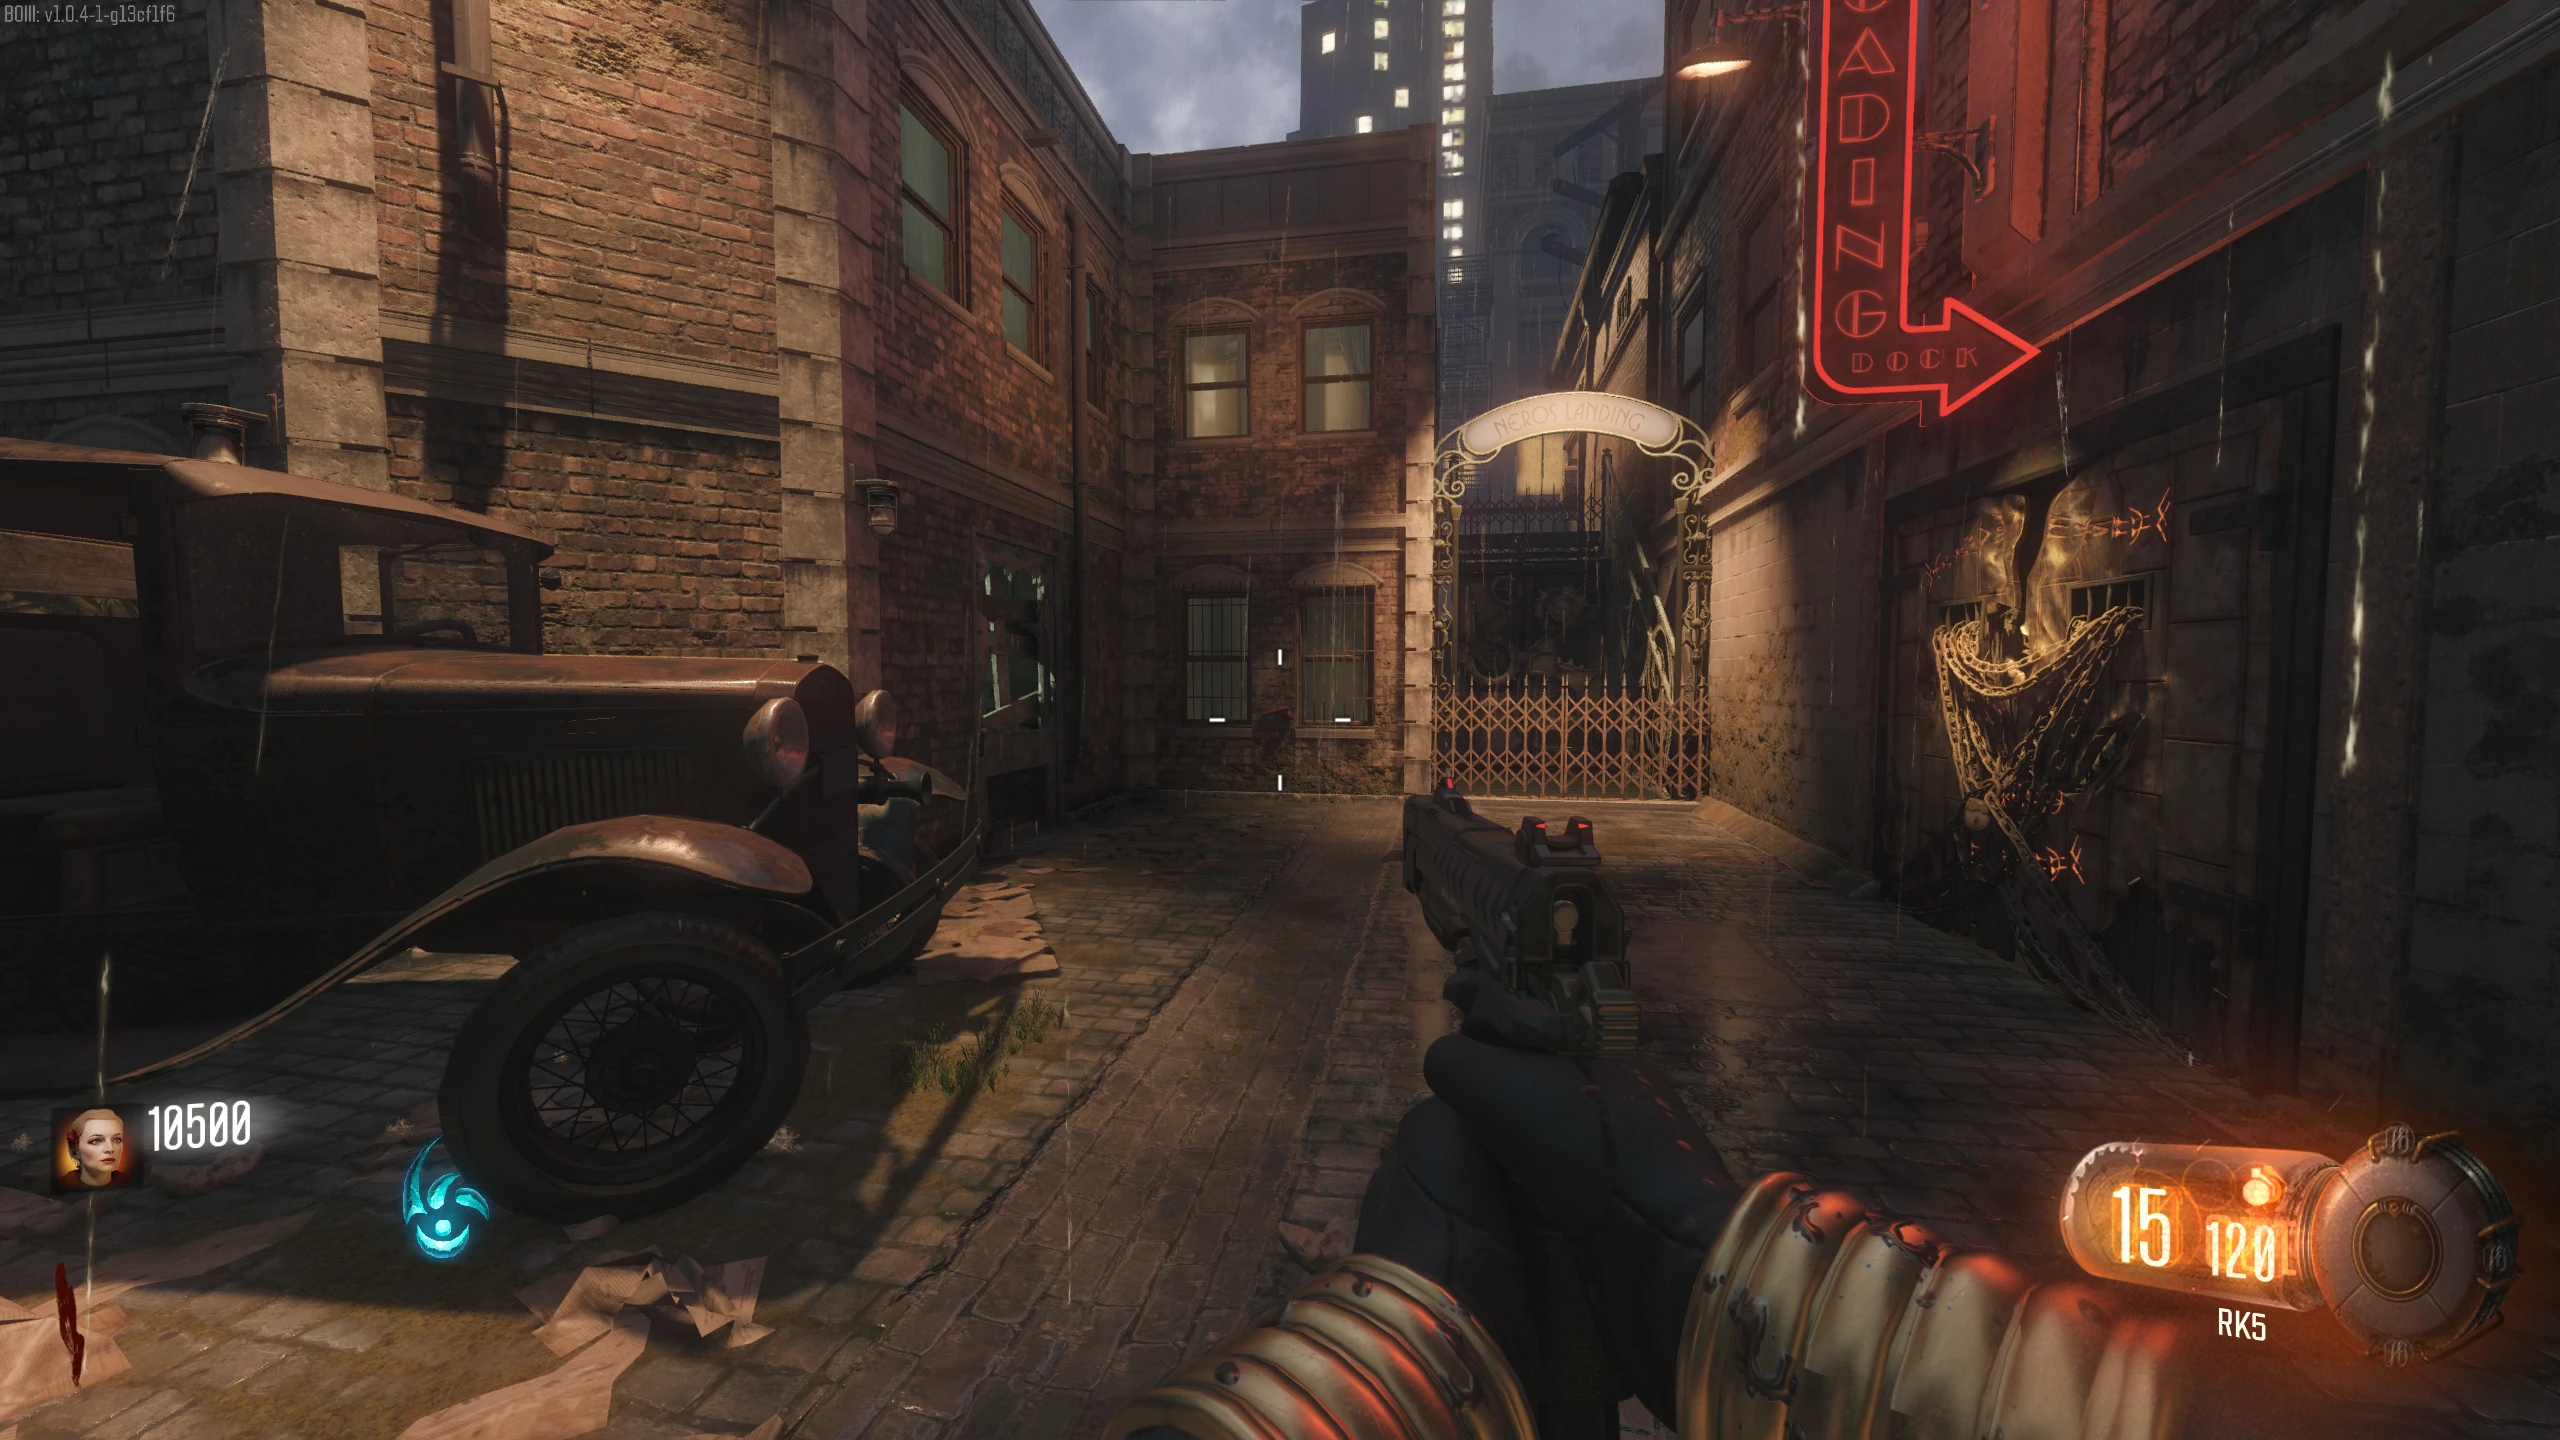
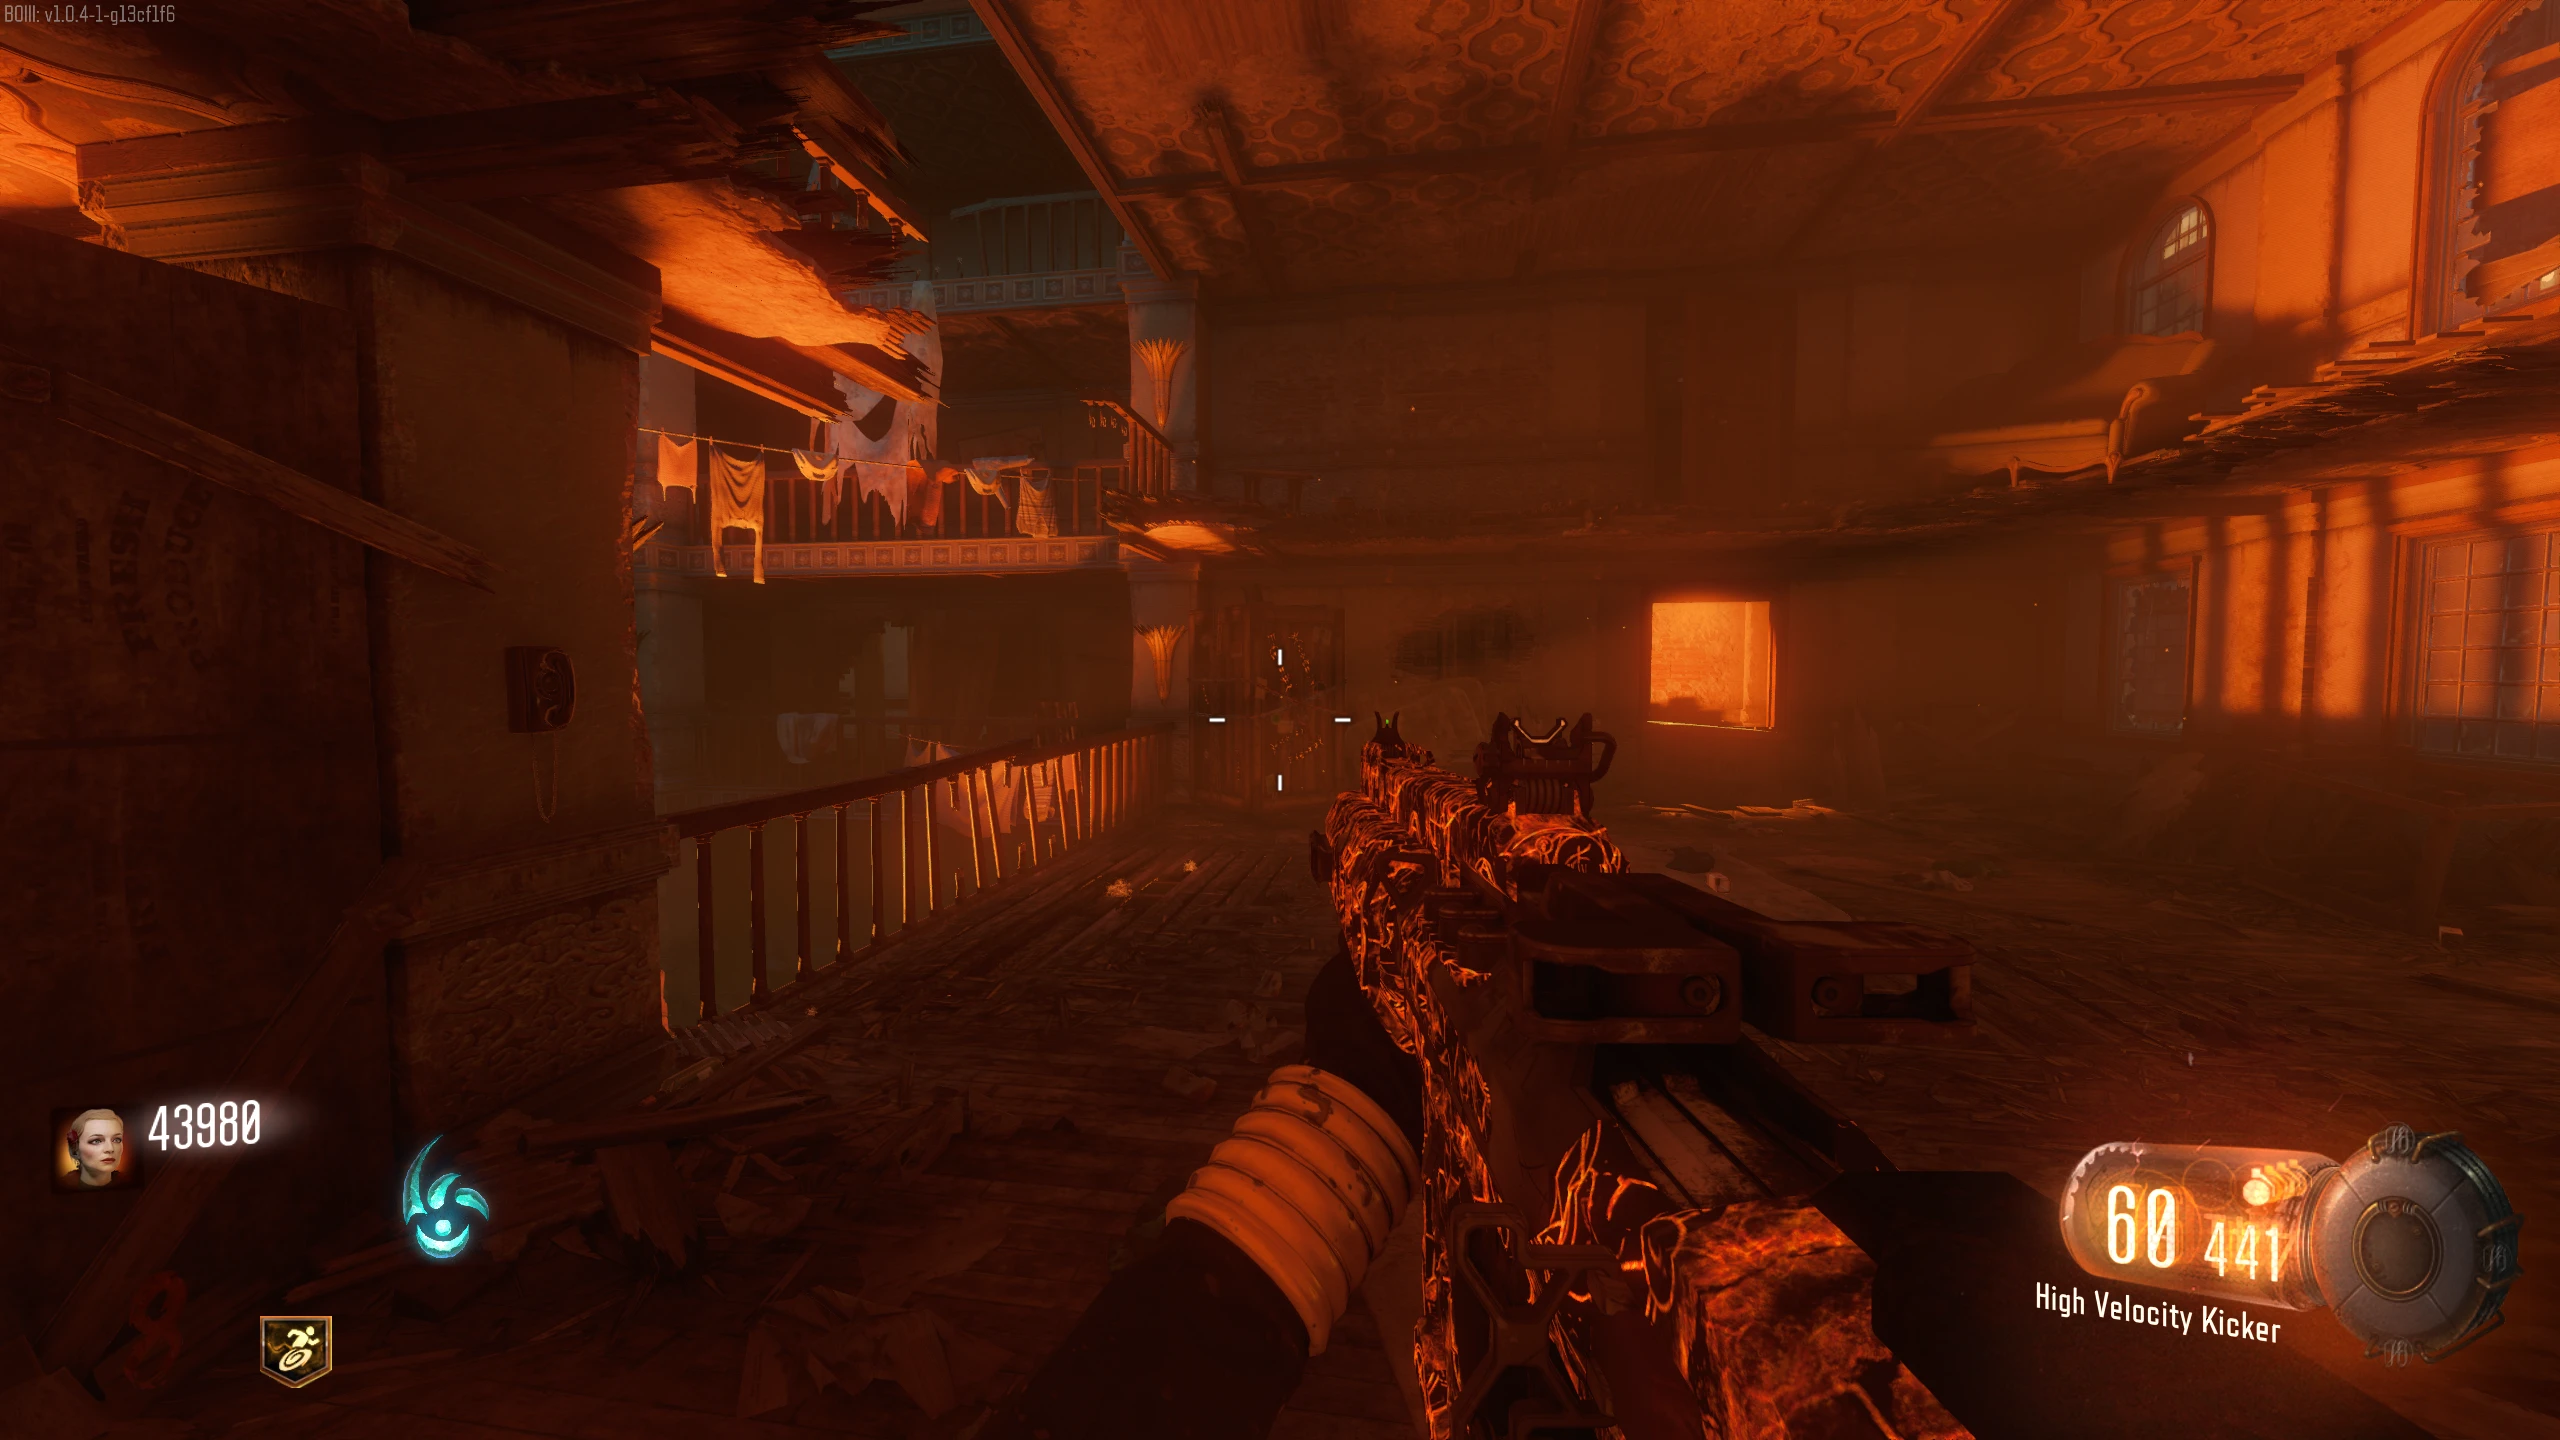
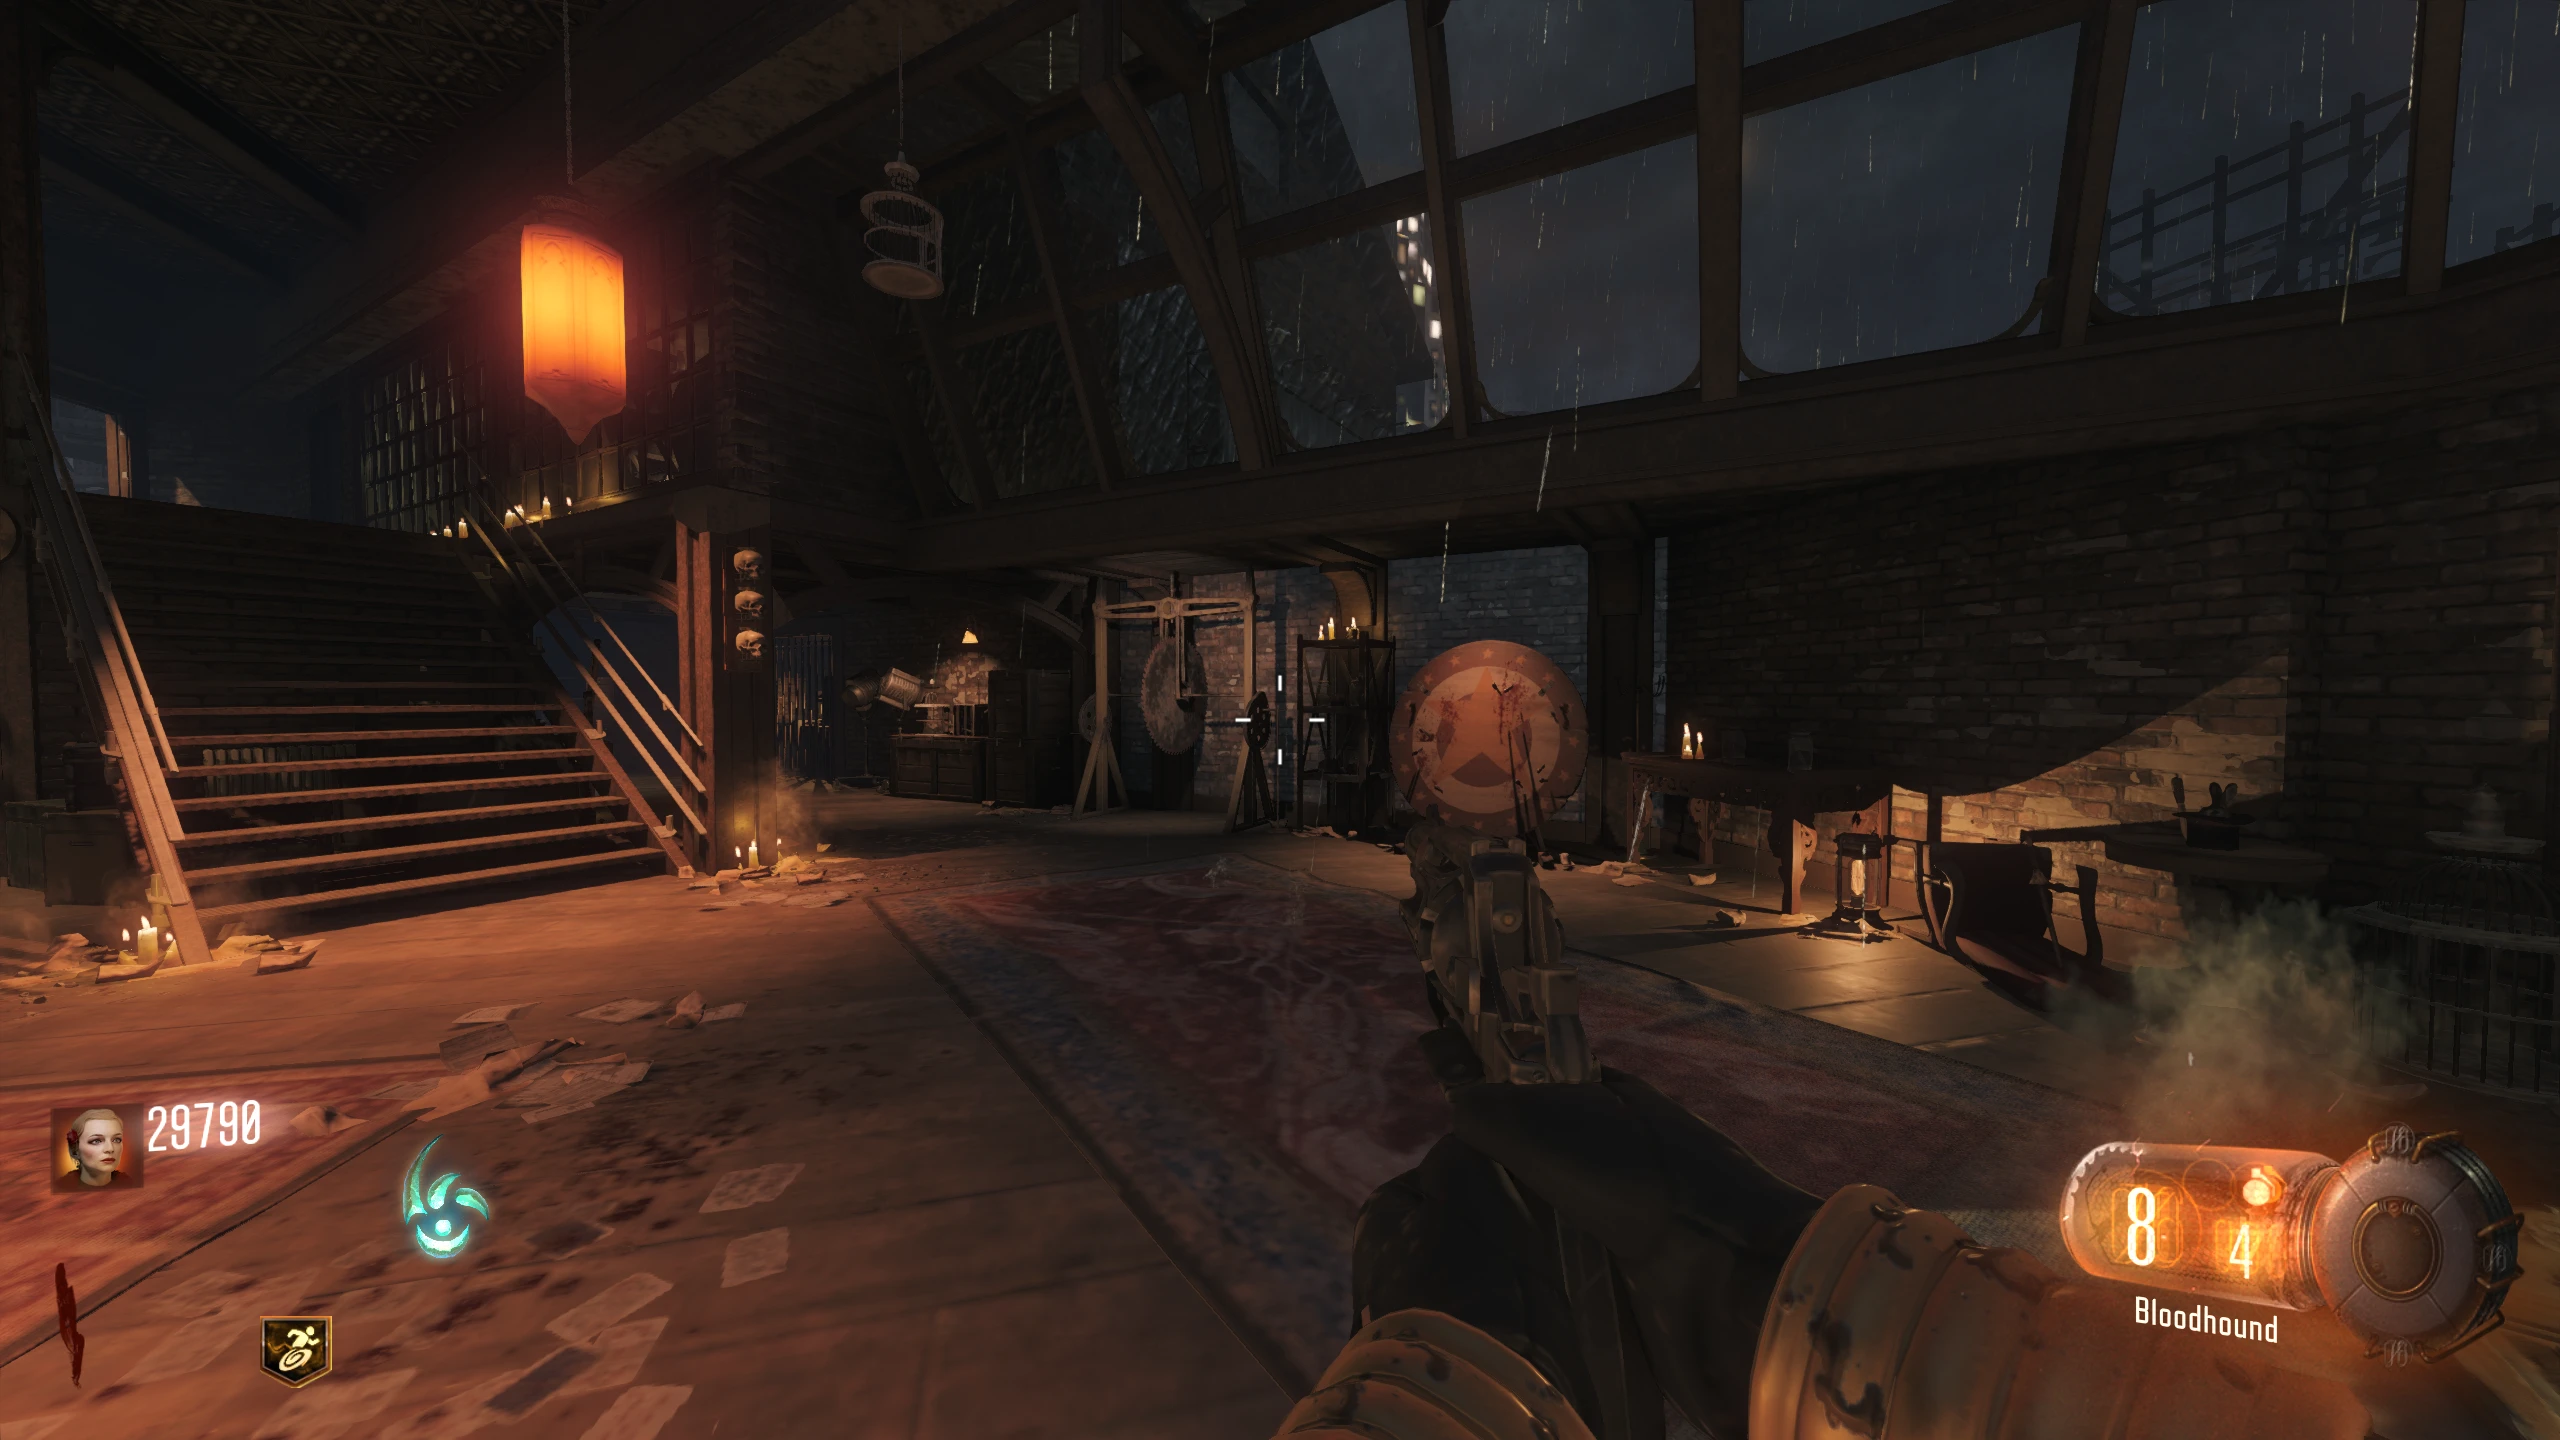
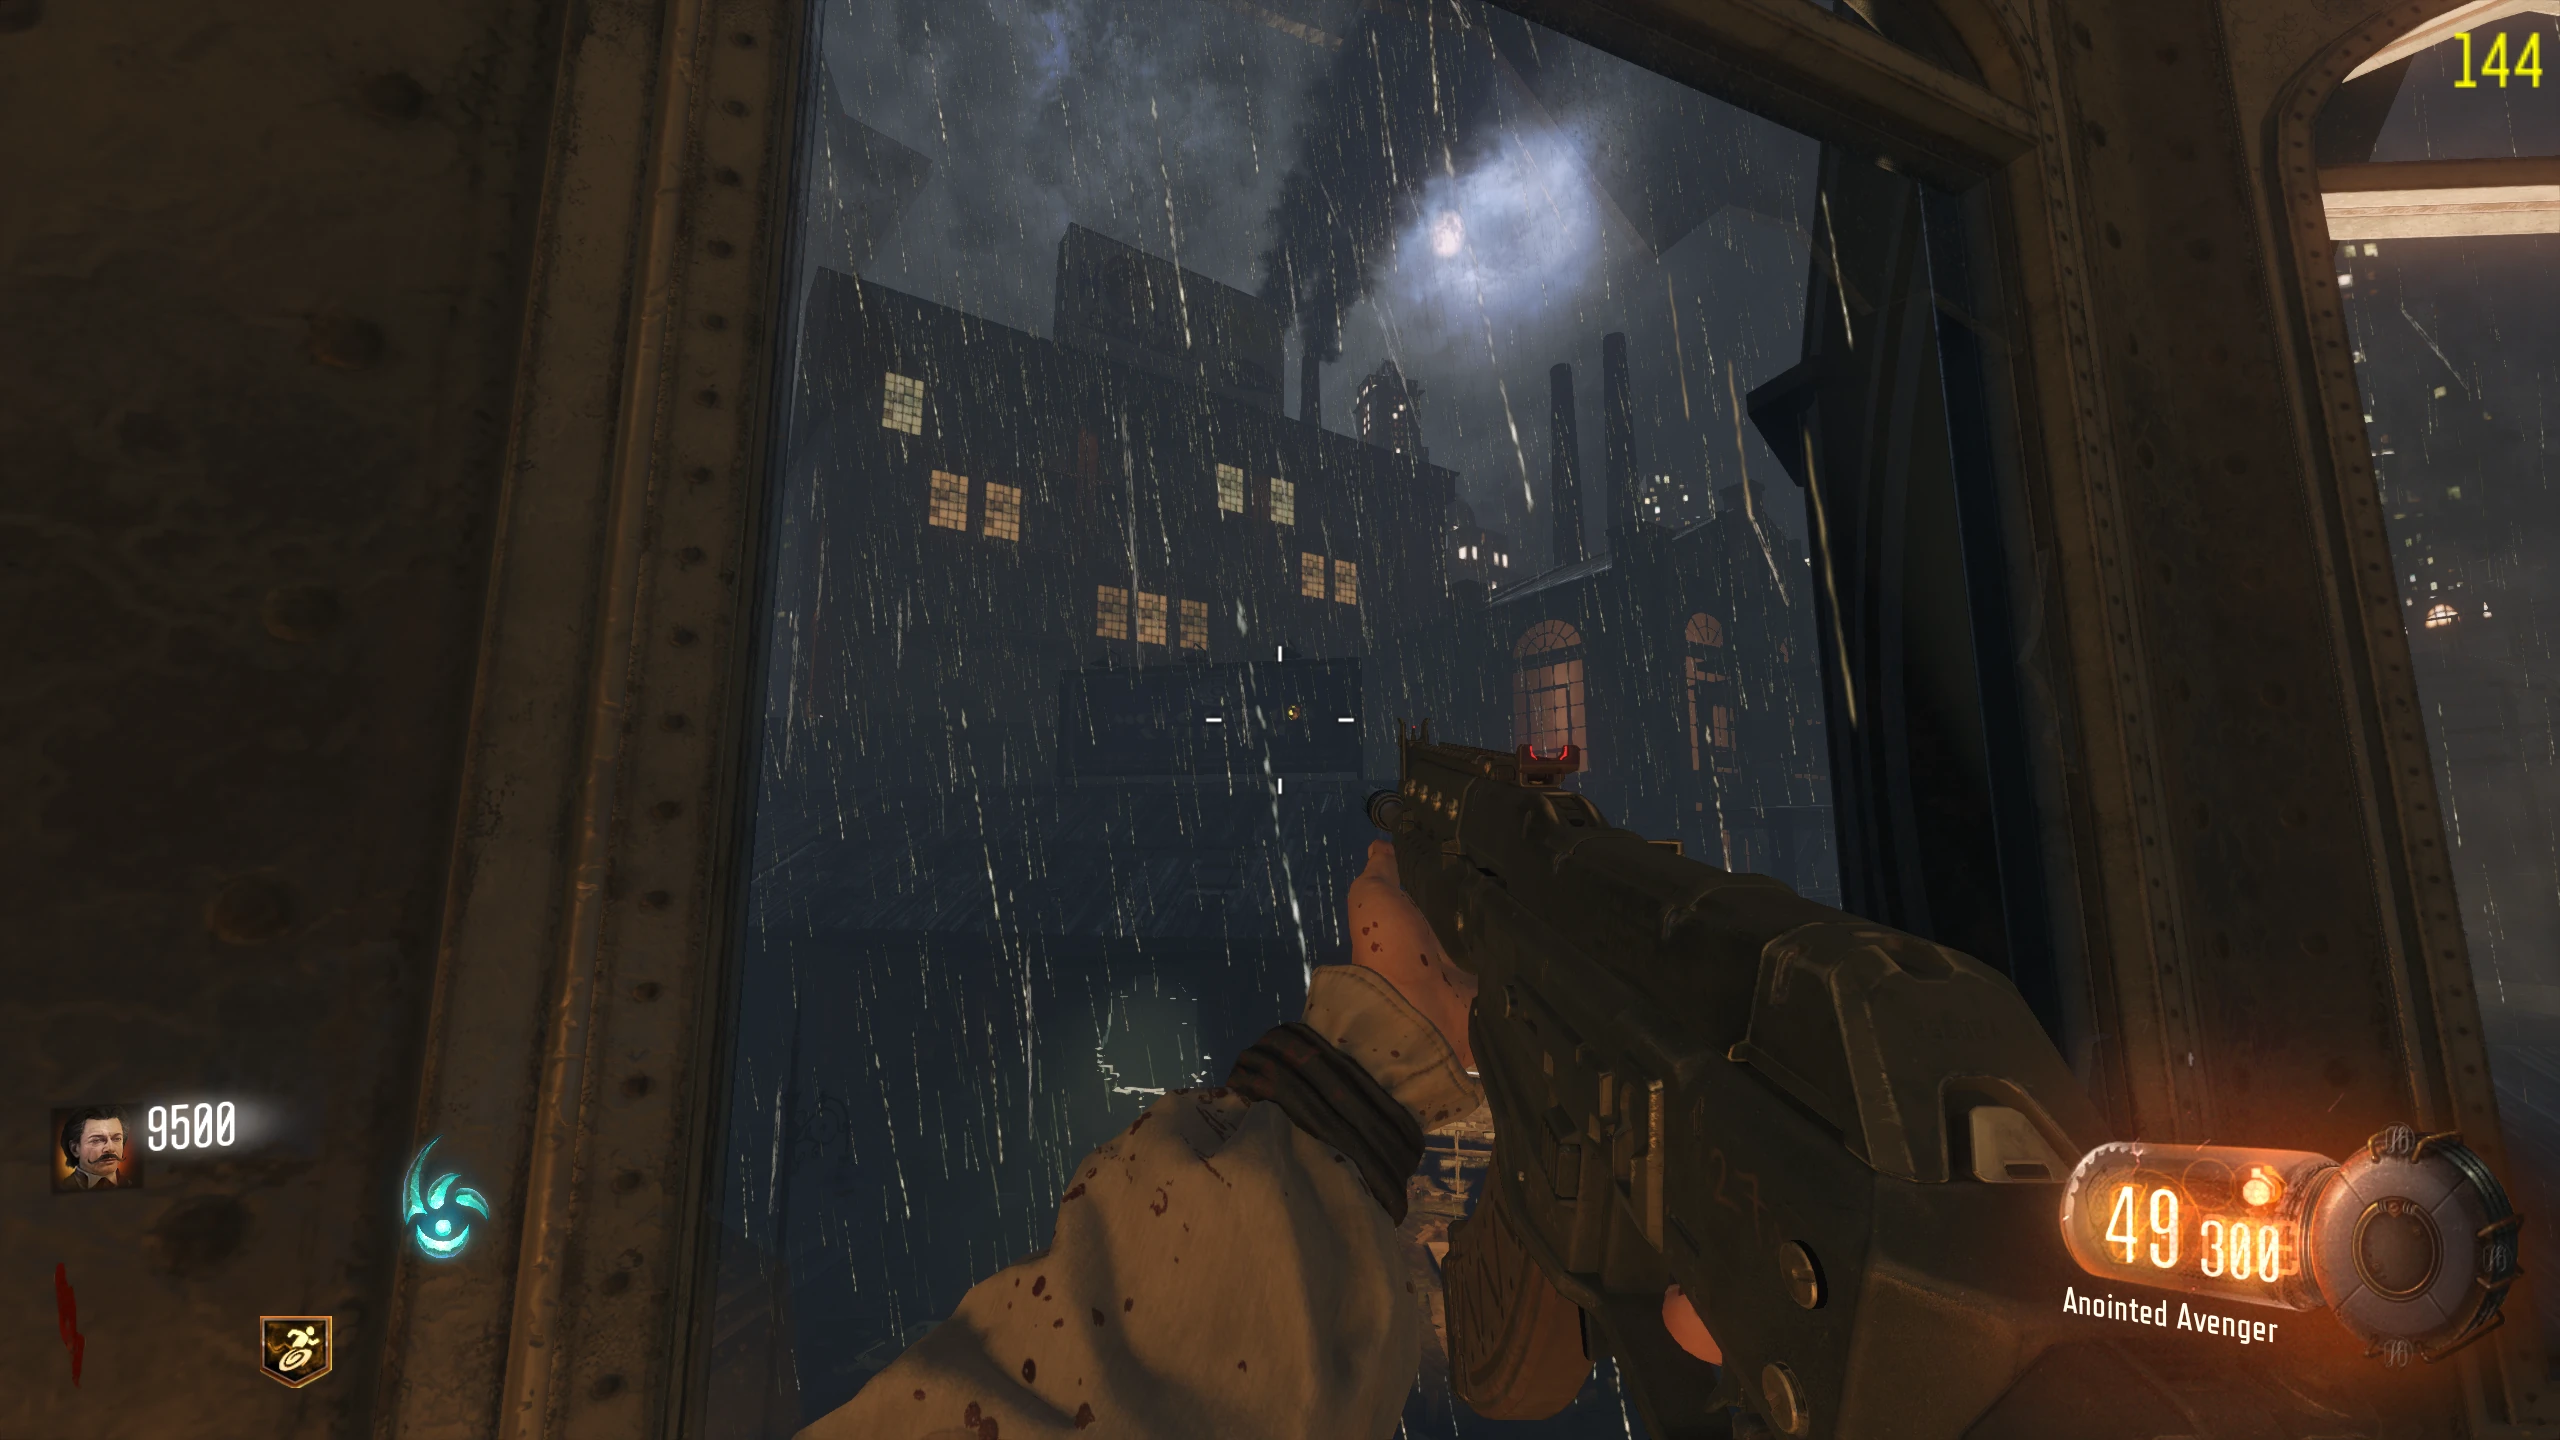
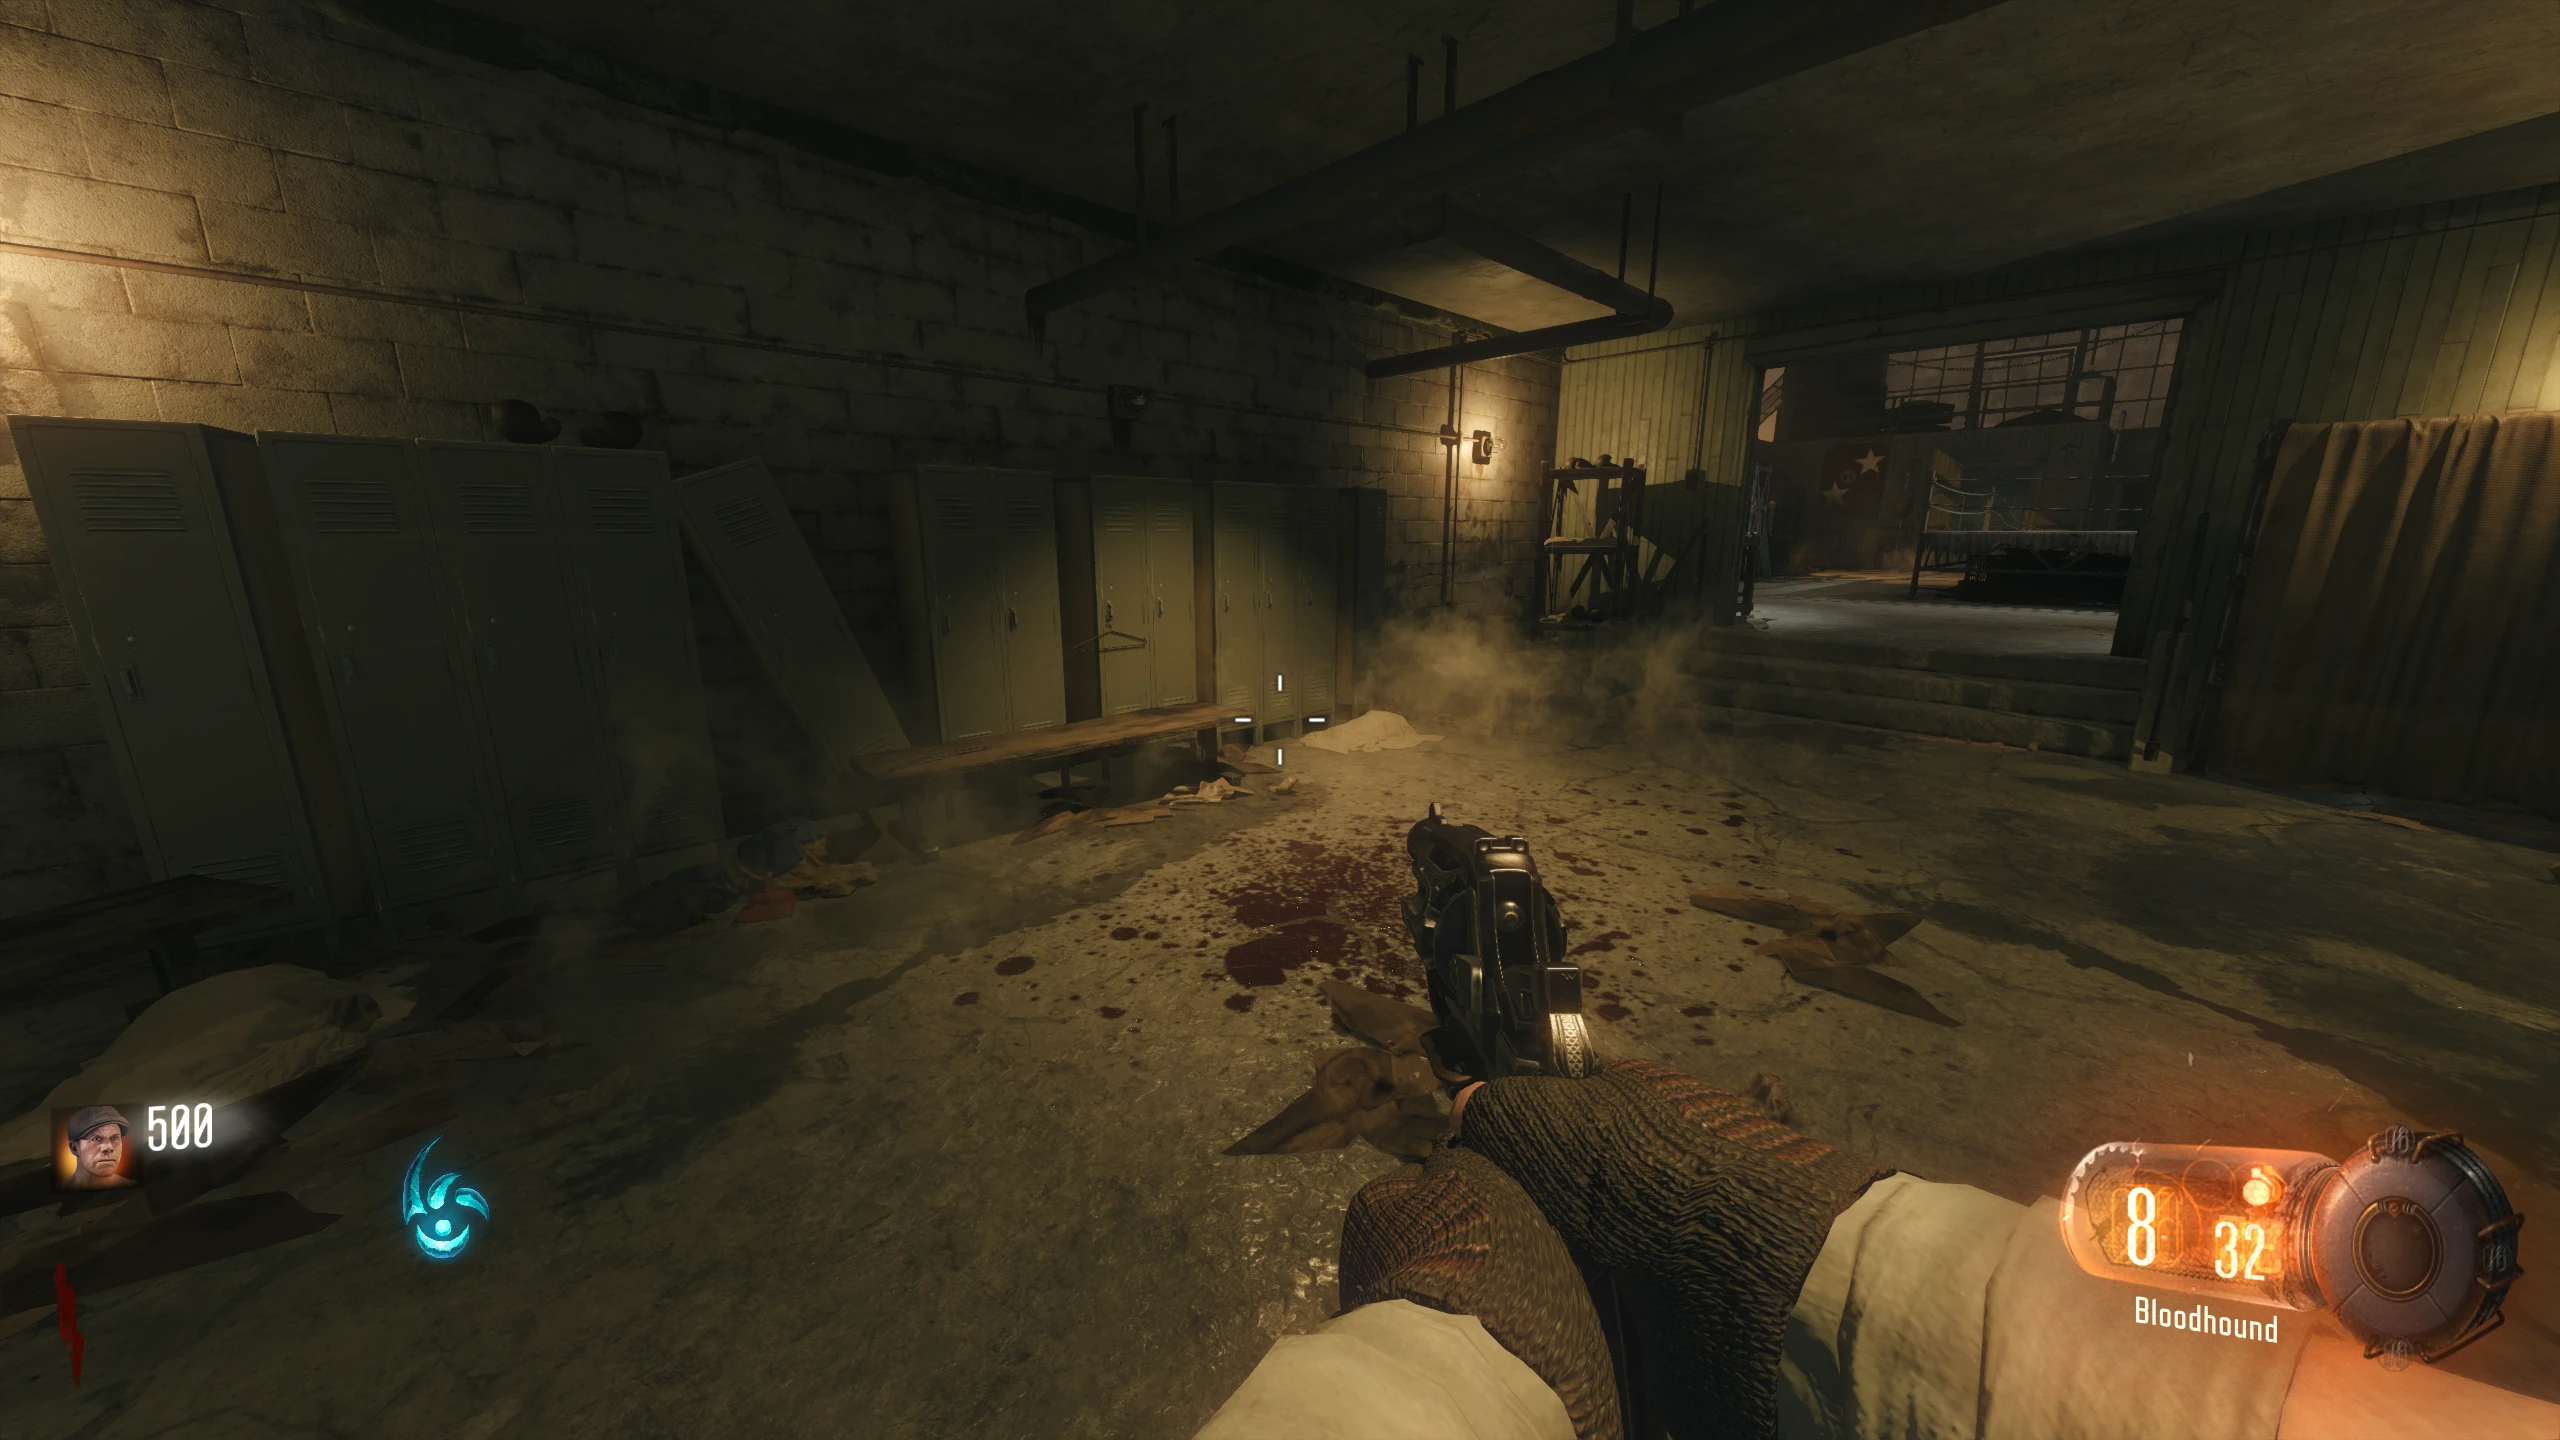
Junction/Spawn - Nero Blackstone
See this Video (YouTube) for the optimal way to open the Junction in one Beast Mode use.
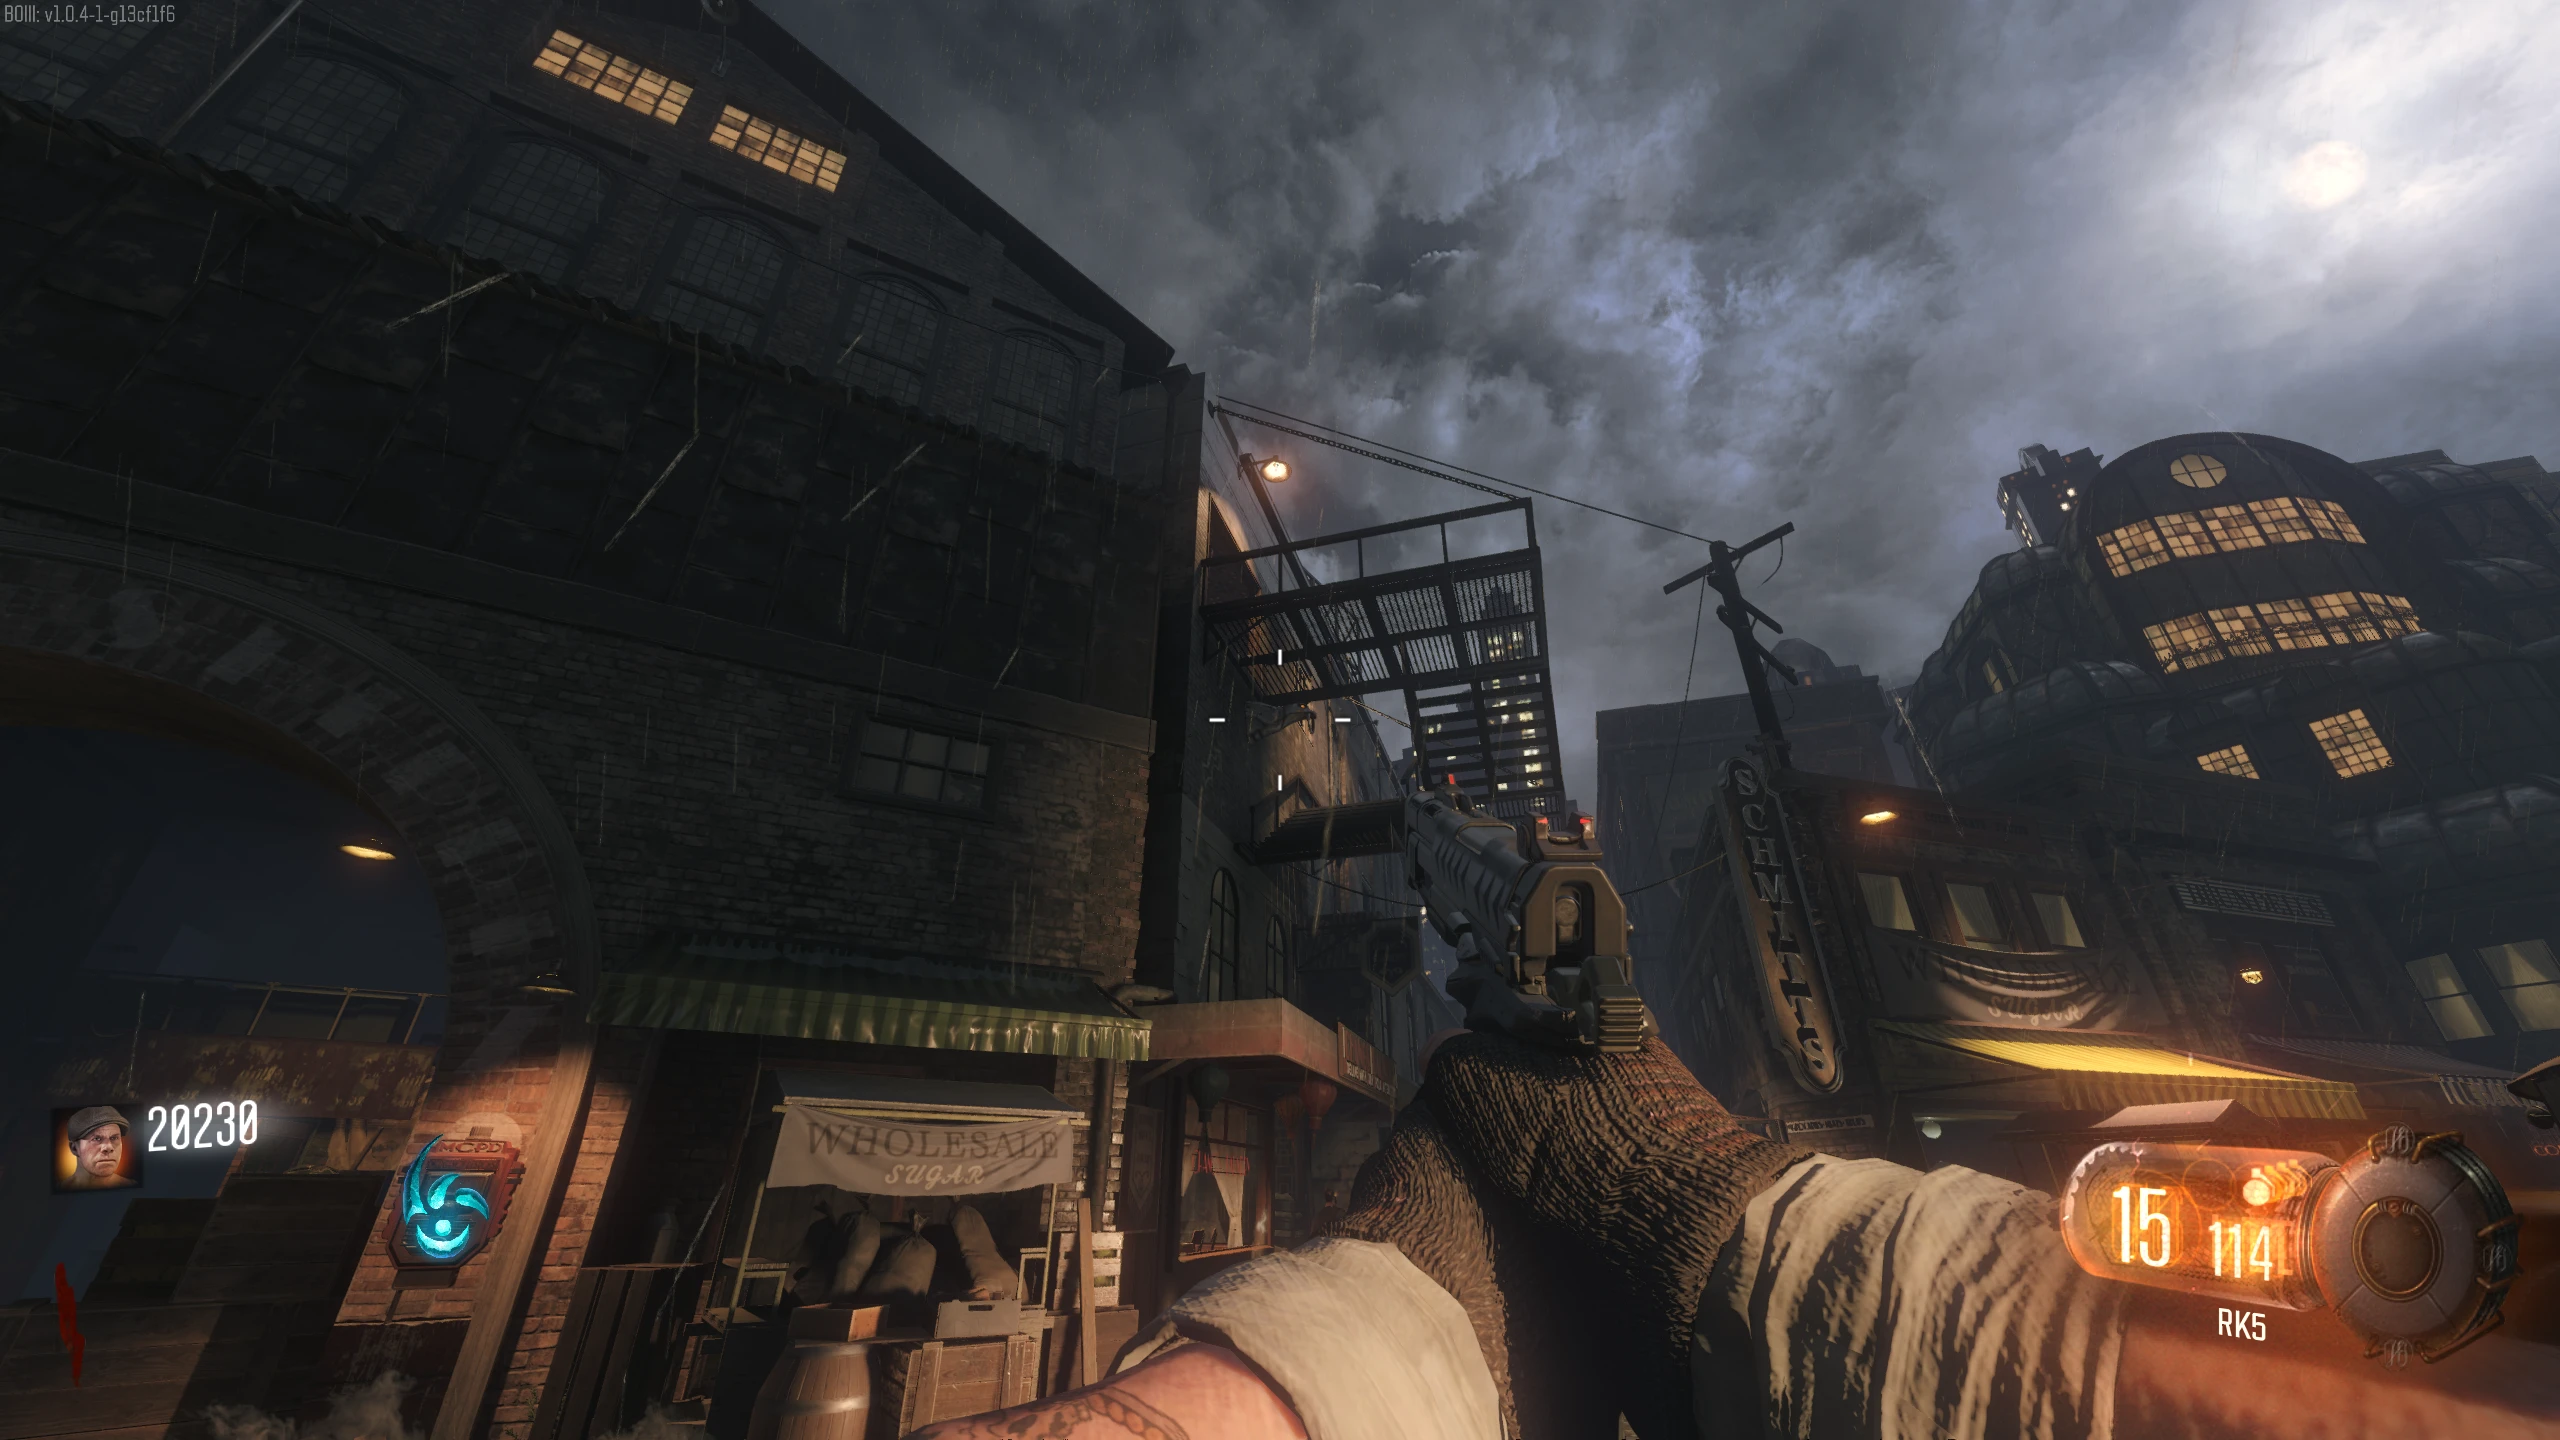
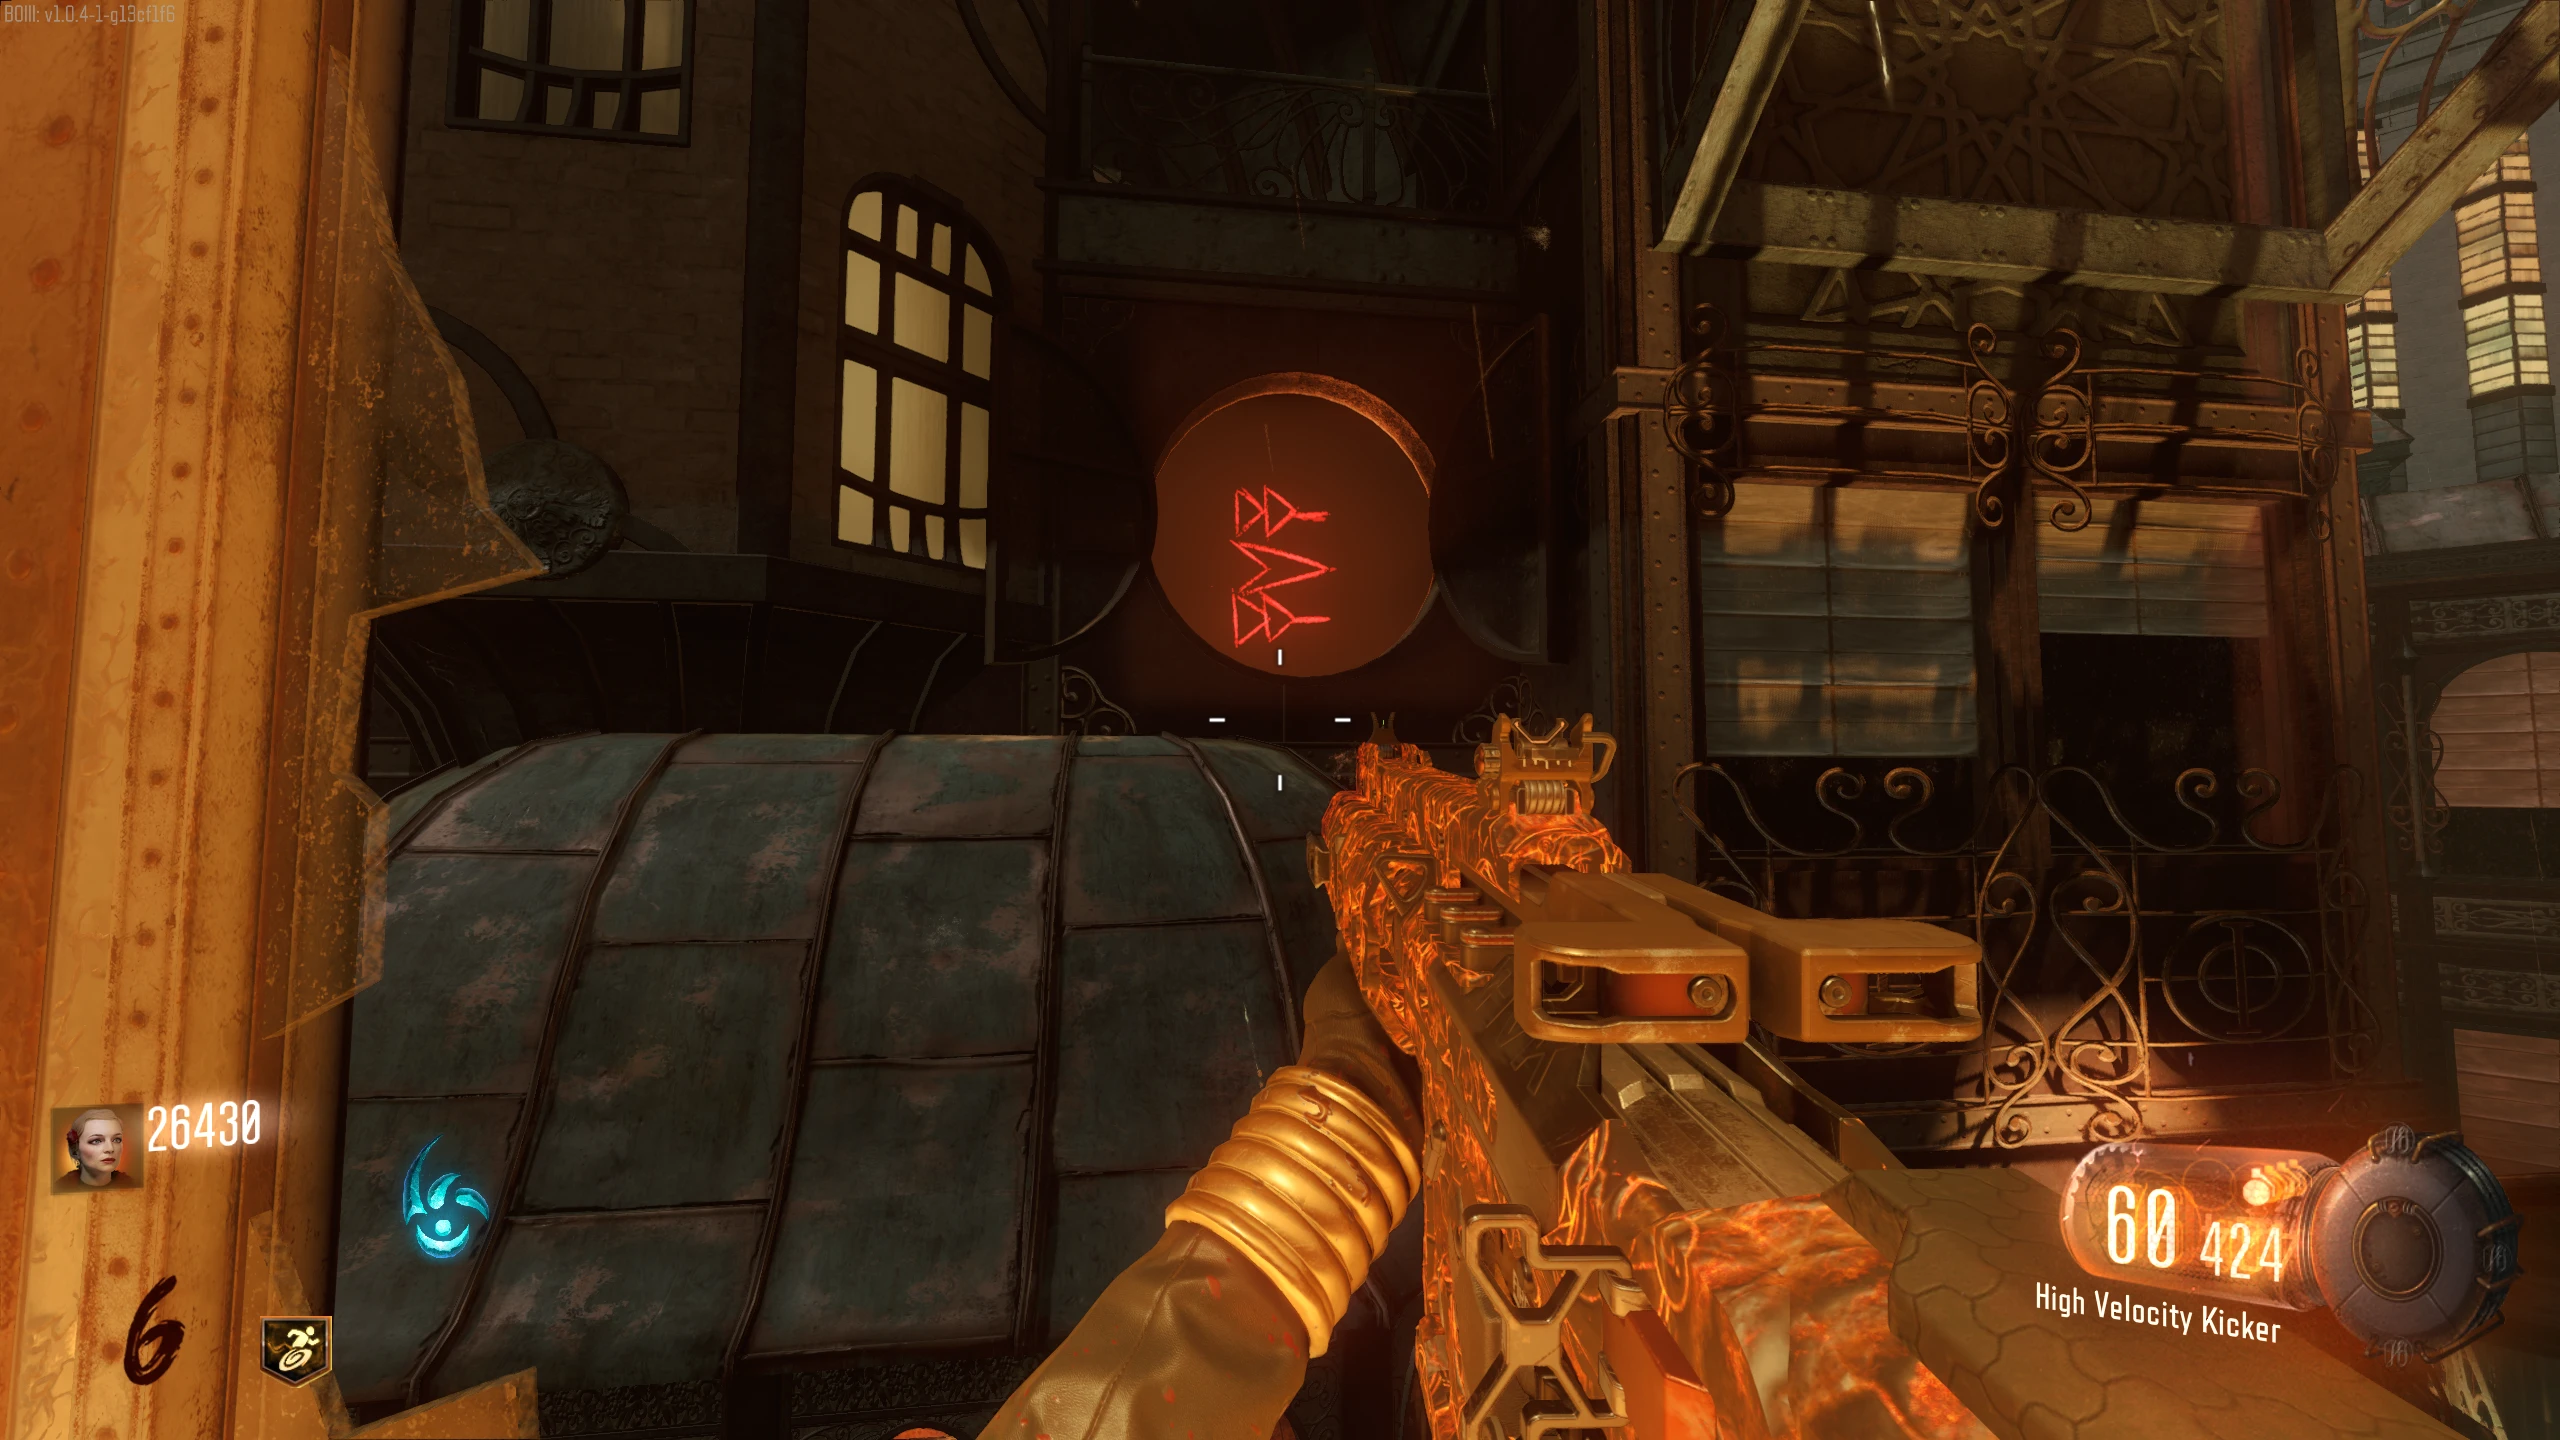
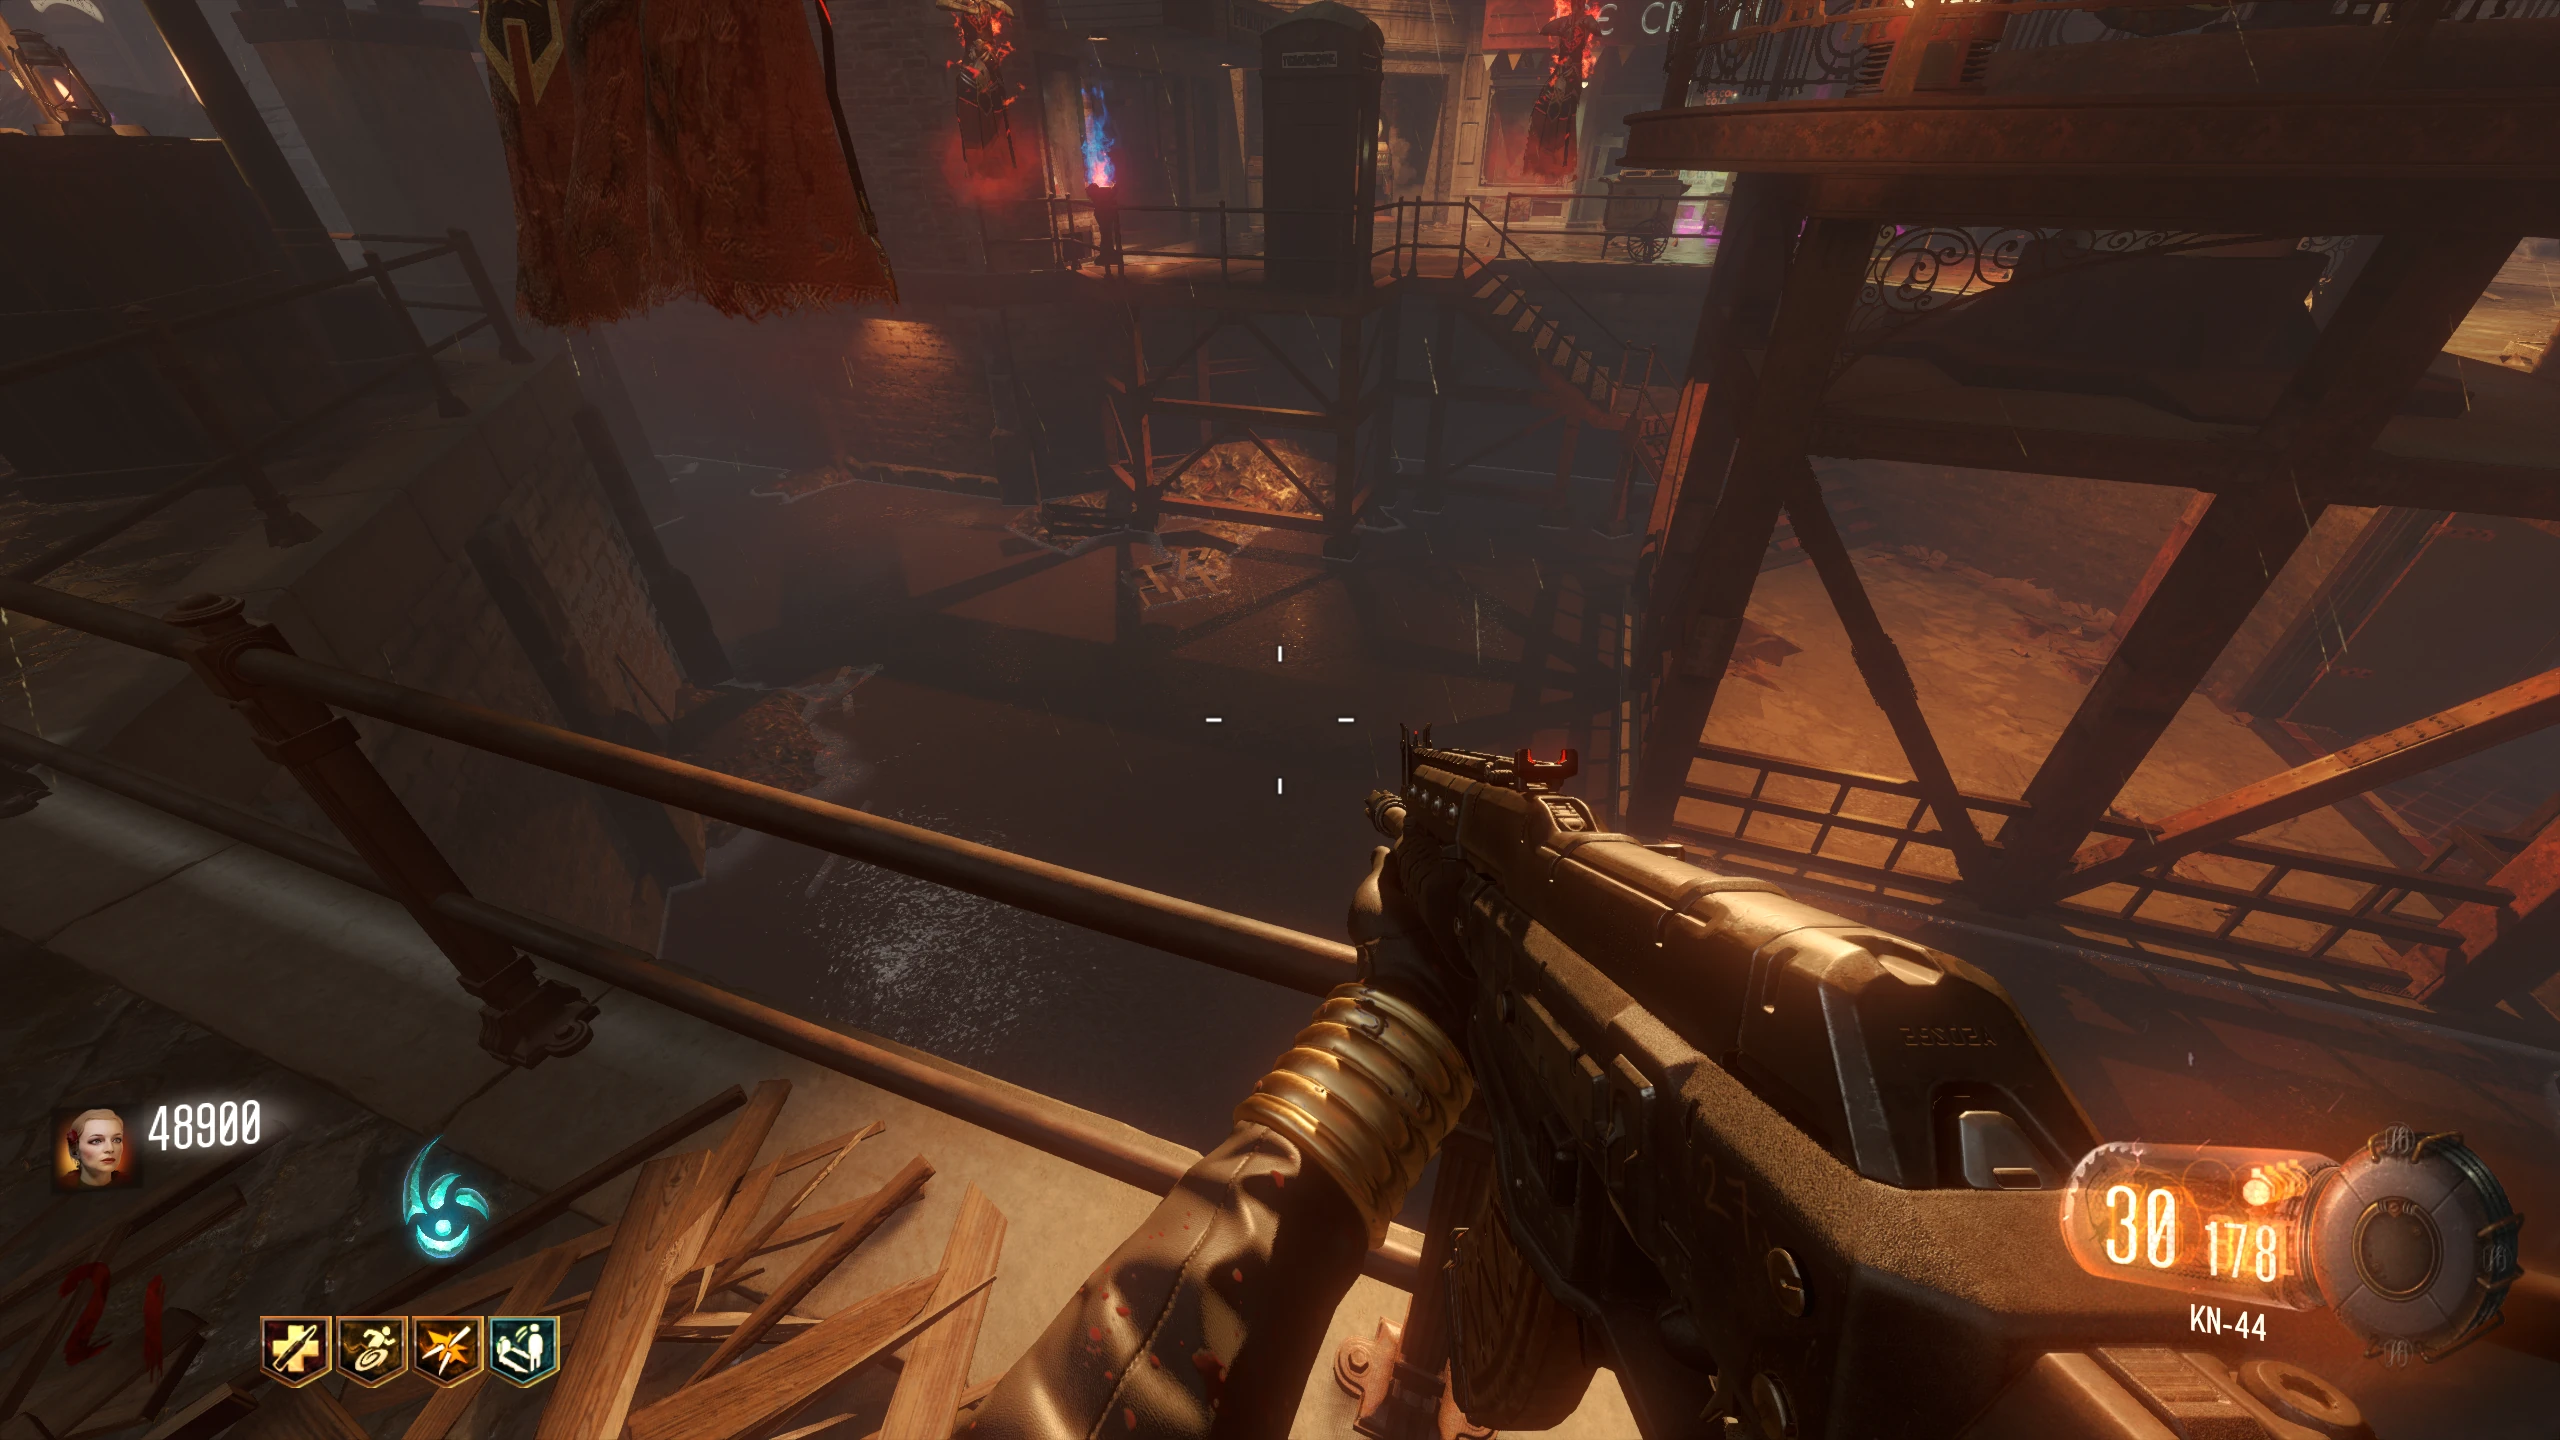
- Enter Beast Mode and electrocute the crane's fuse box in the middle of the Junction.
- While (still) in Beast Mode, grapple up to Nero's room through the fire escape above the door out of Spawn.
- Once inside Nero's room, follow the path until you reach a fuse box outside. Electrocute the fuse box to open the staircase from the Spawn up to Nero's room. You can now exit Beast Mode.
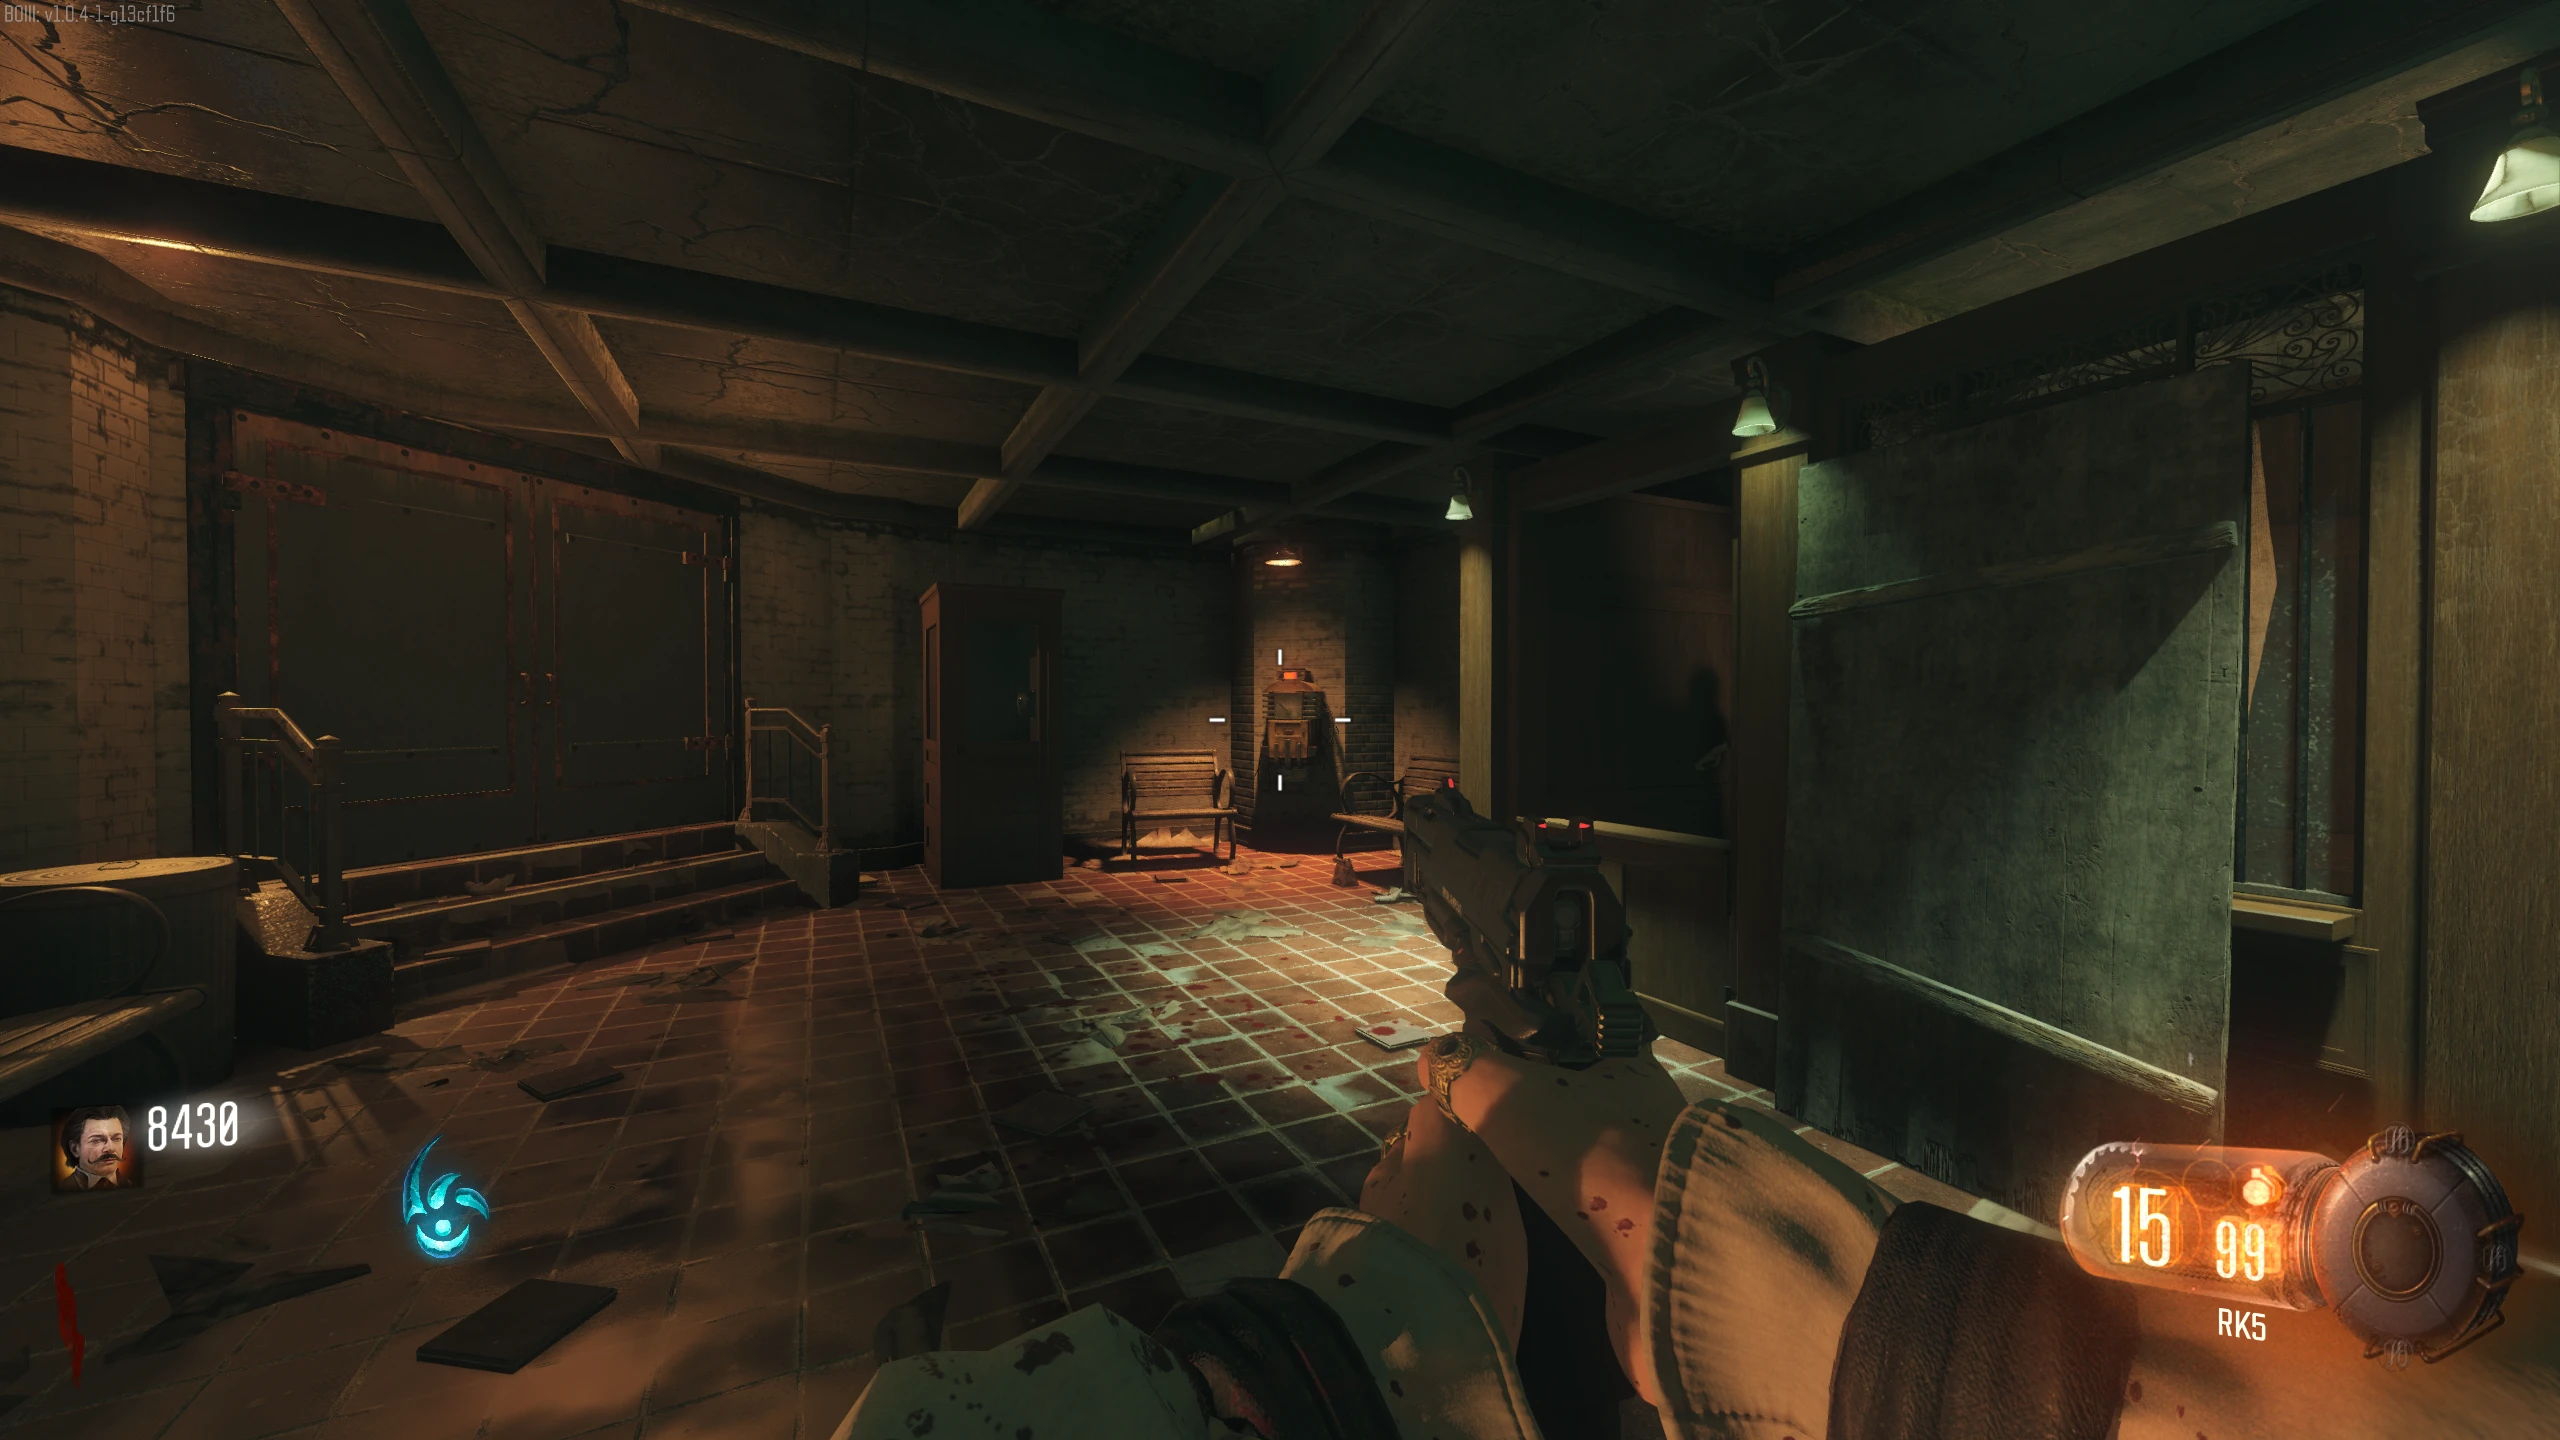
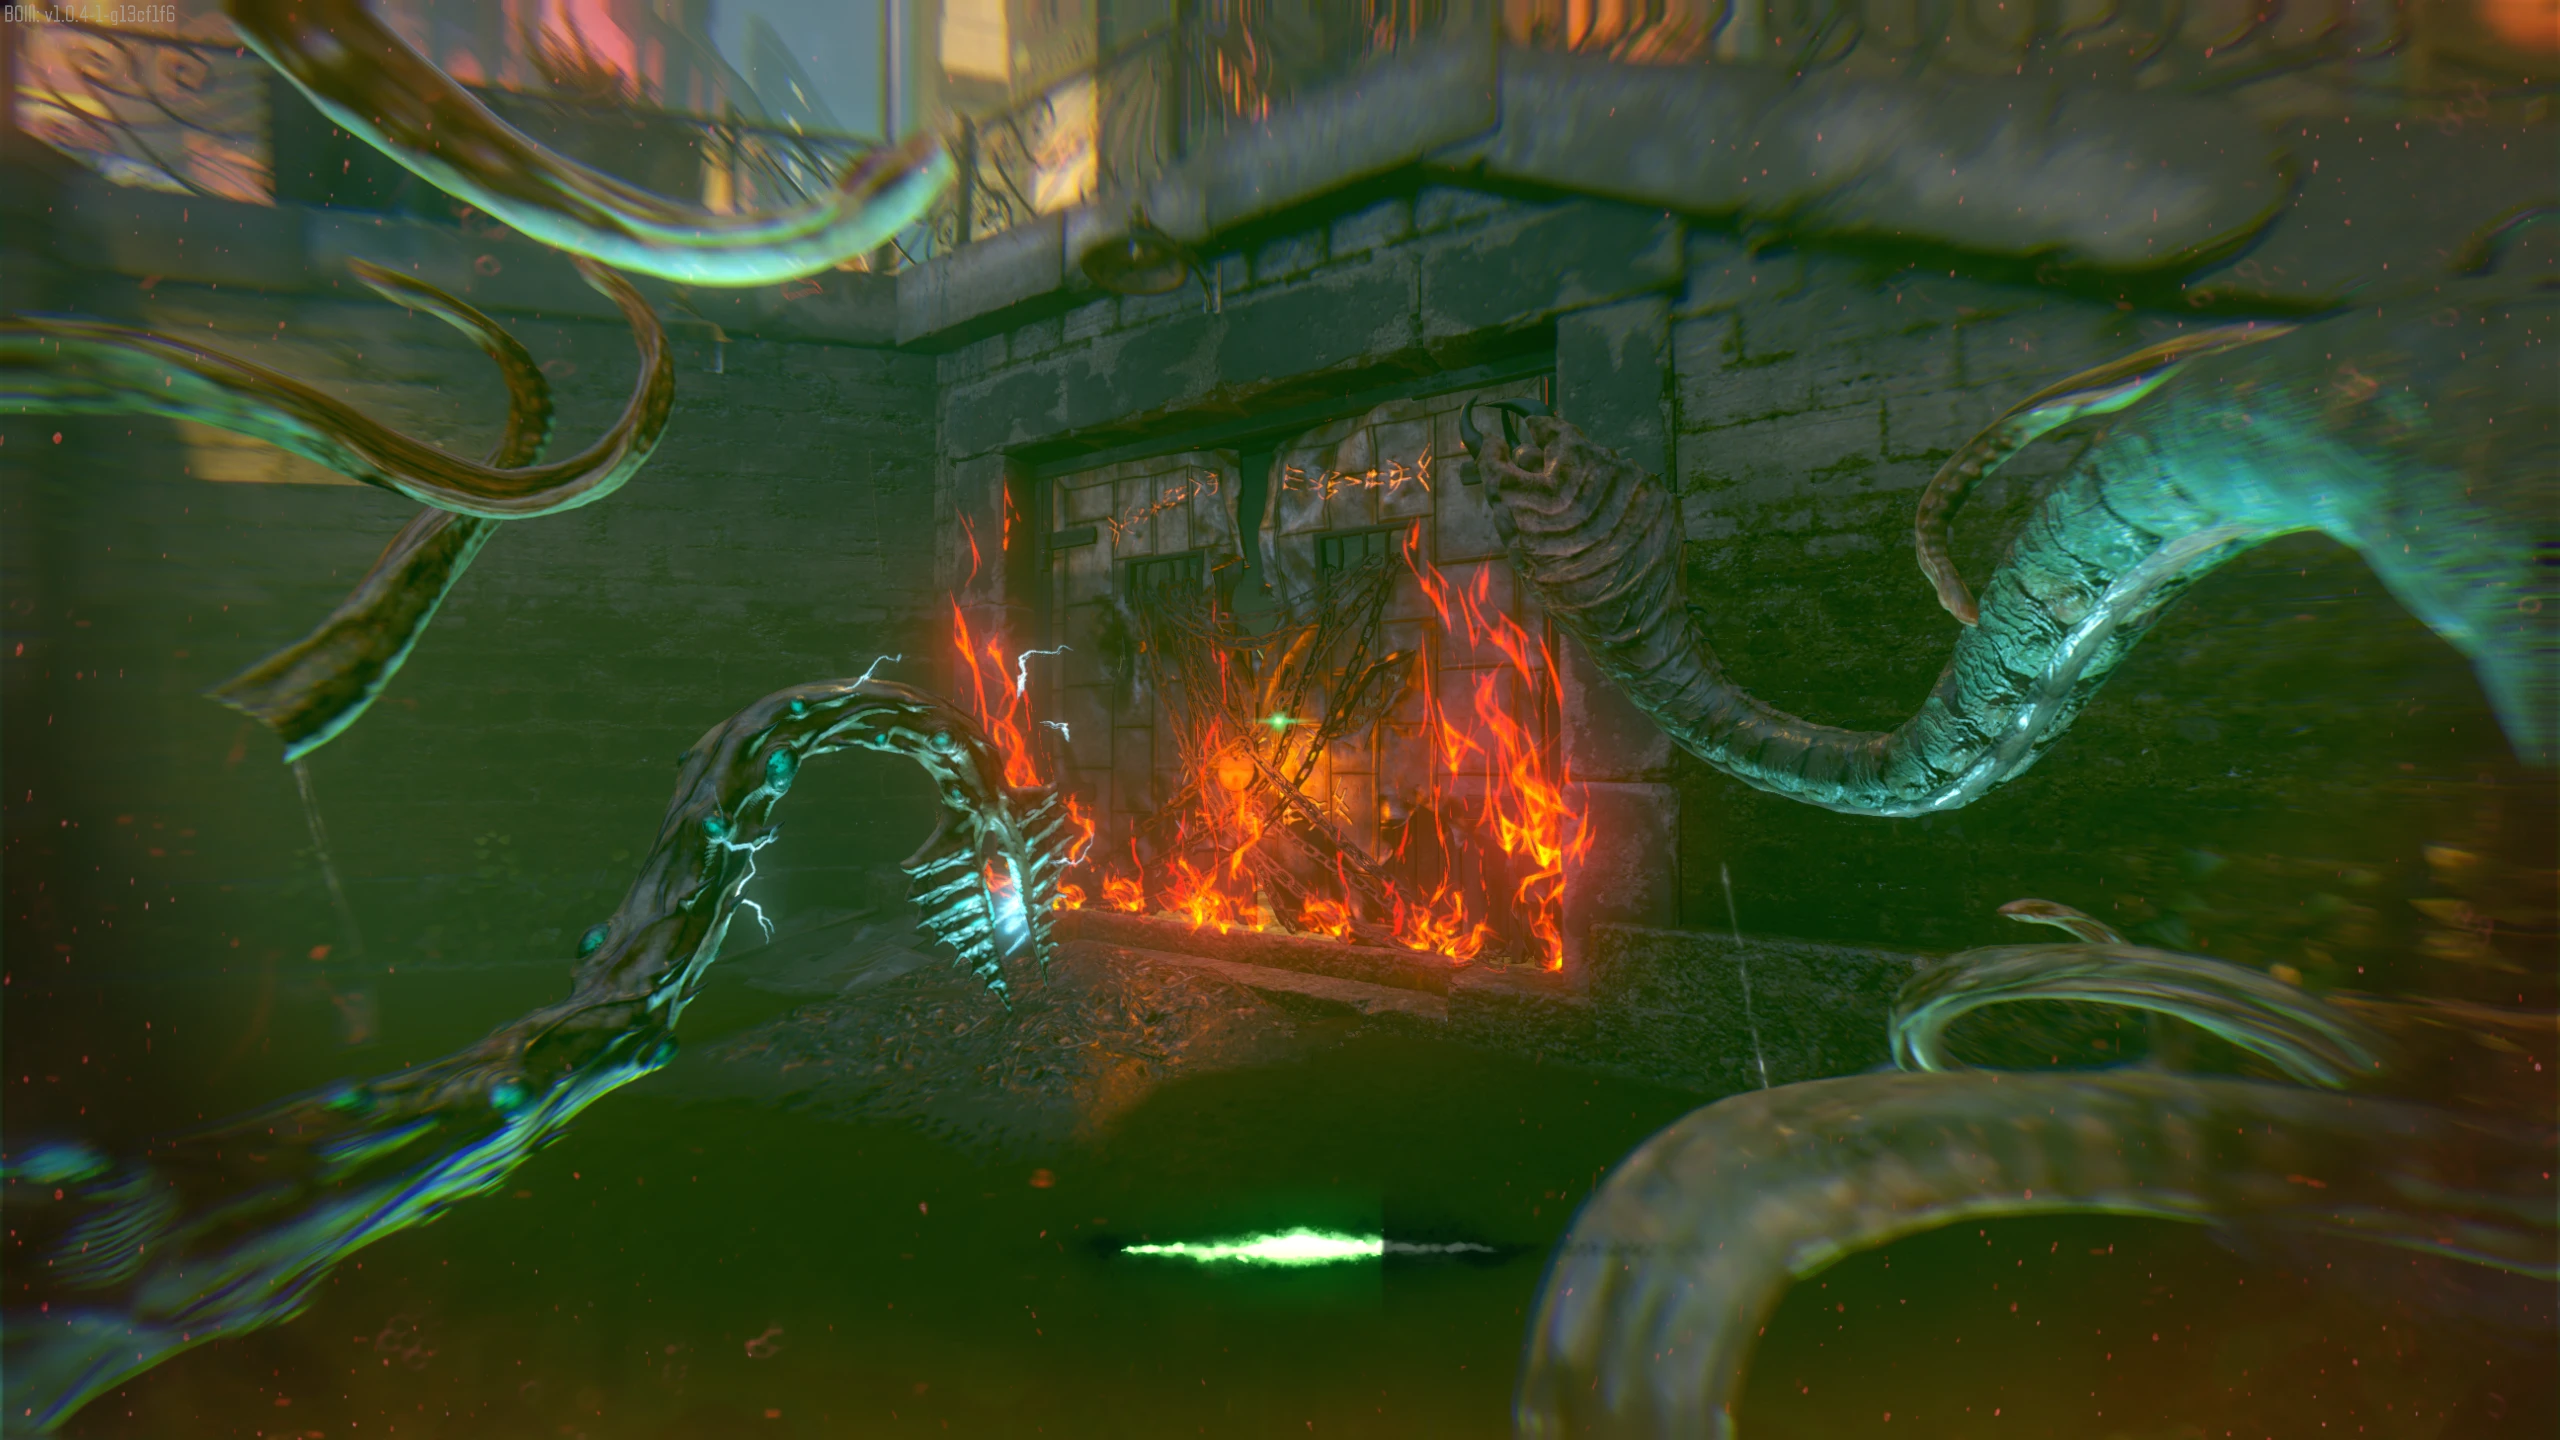
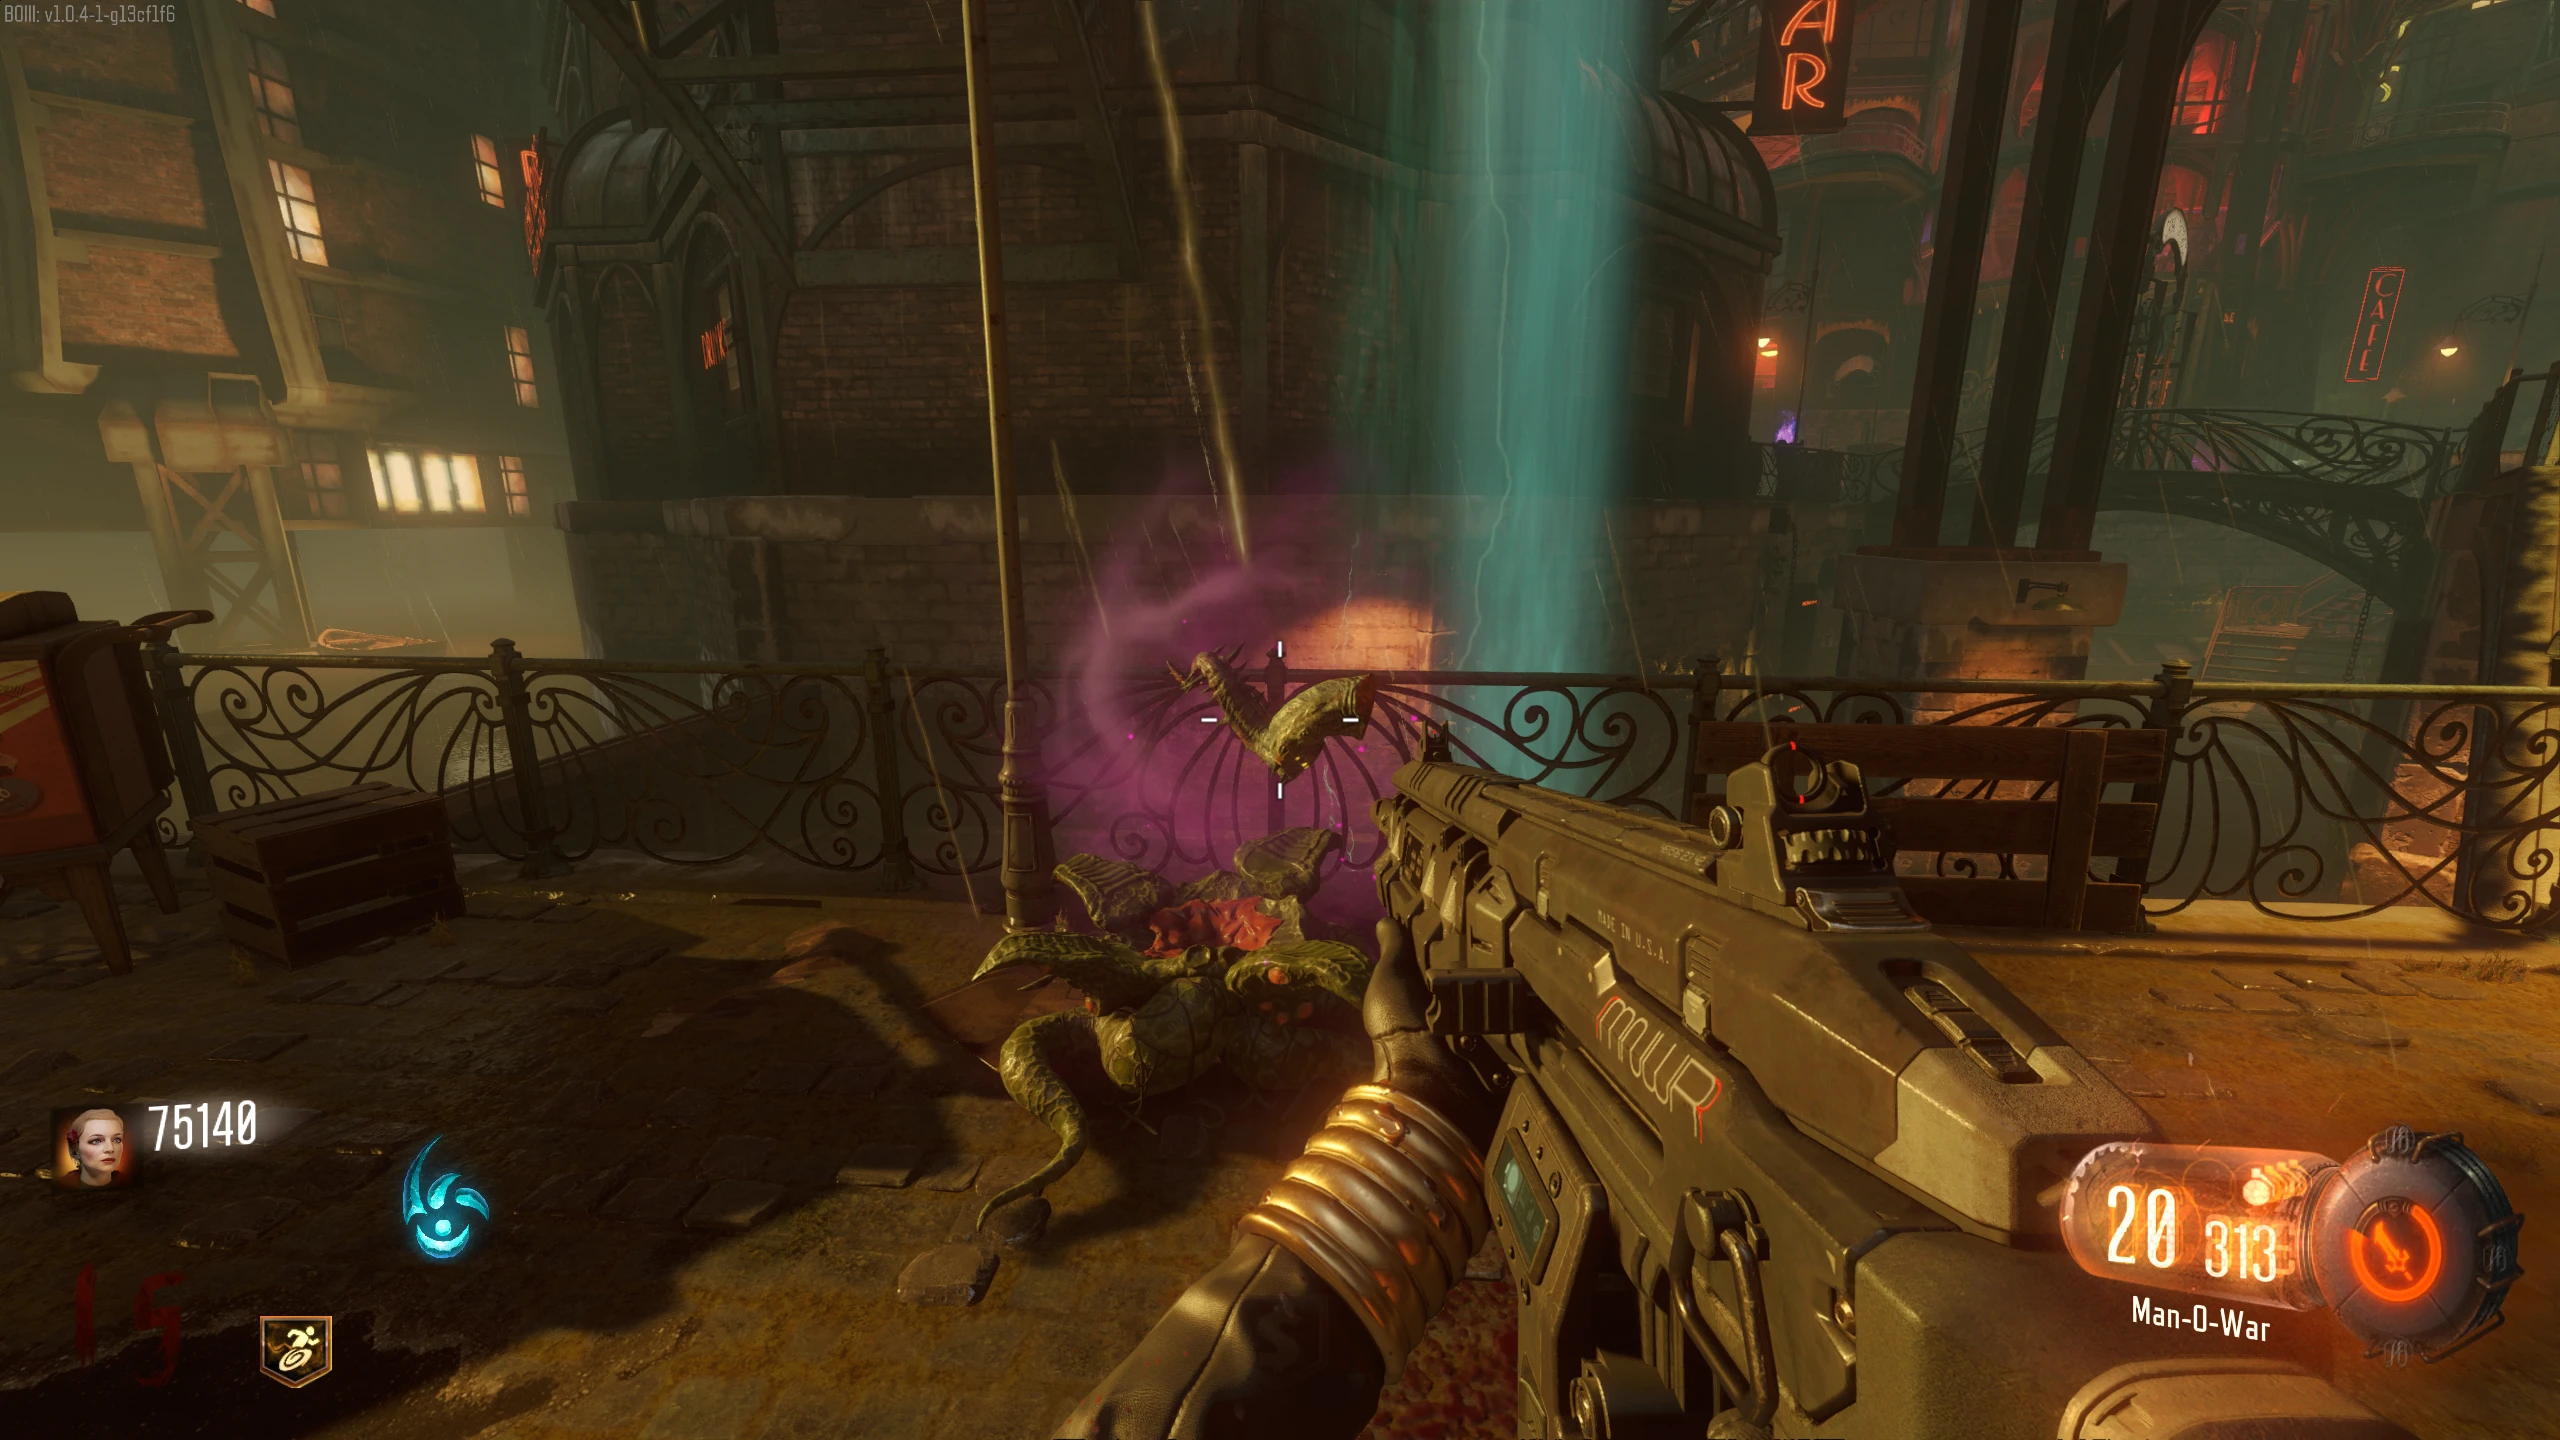
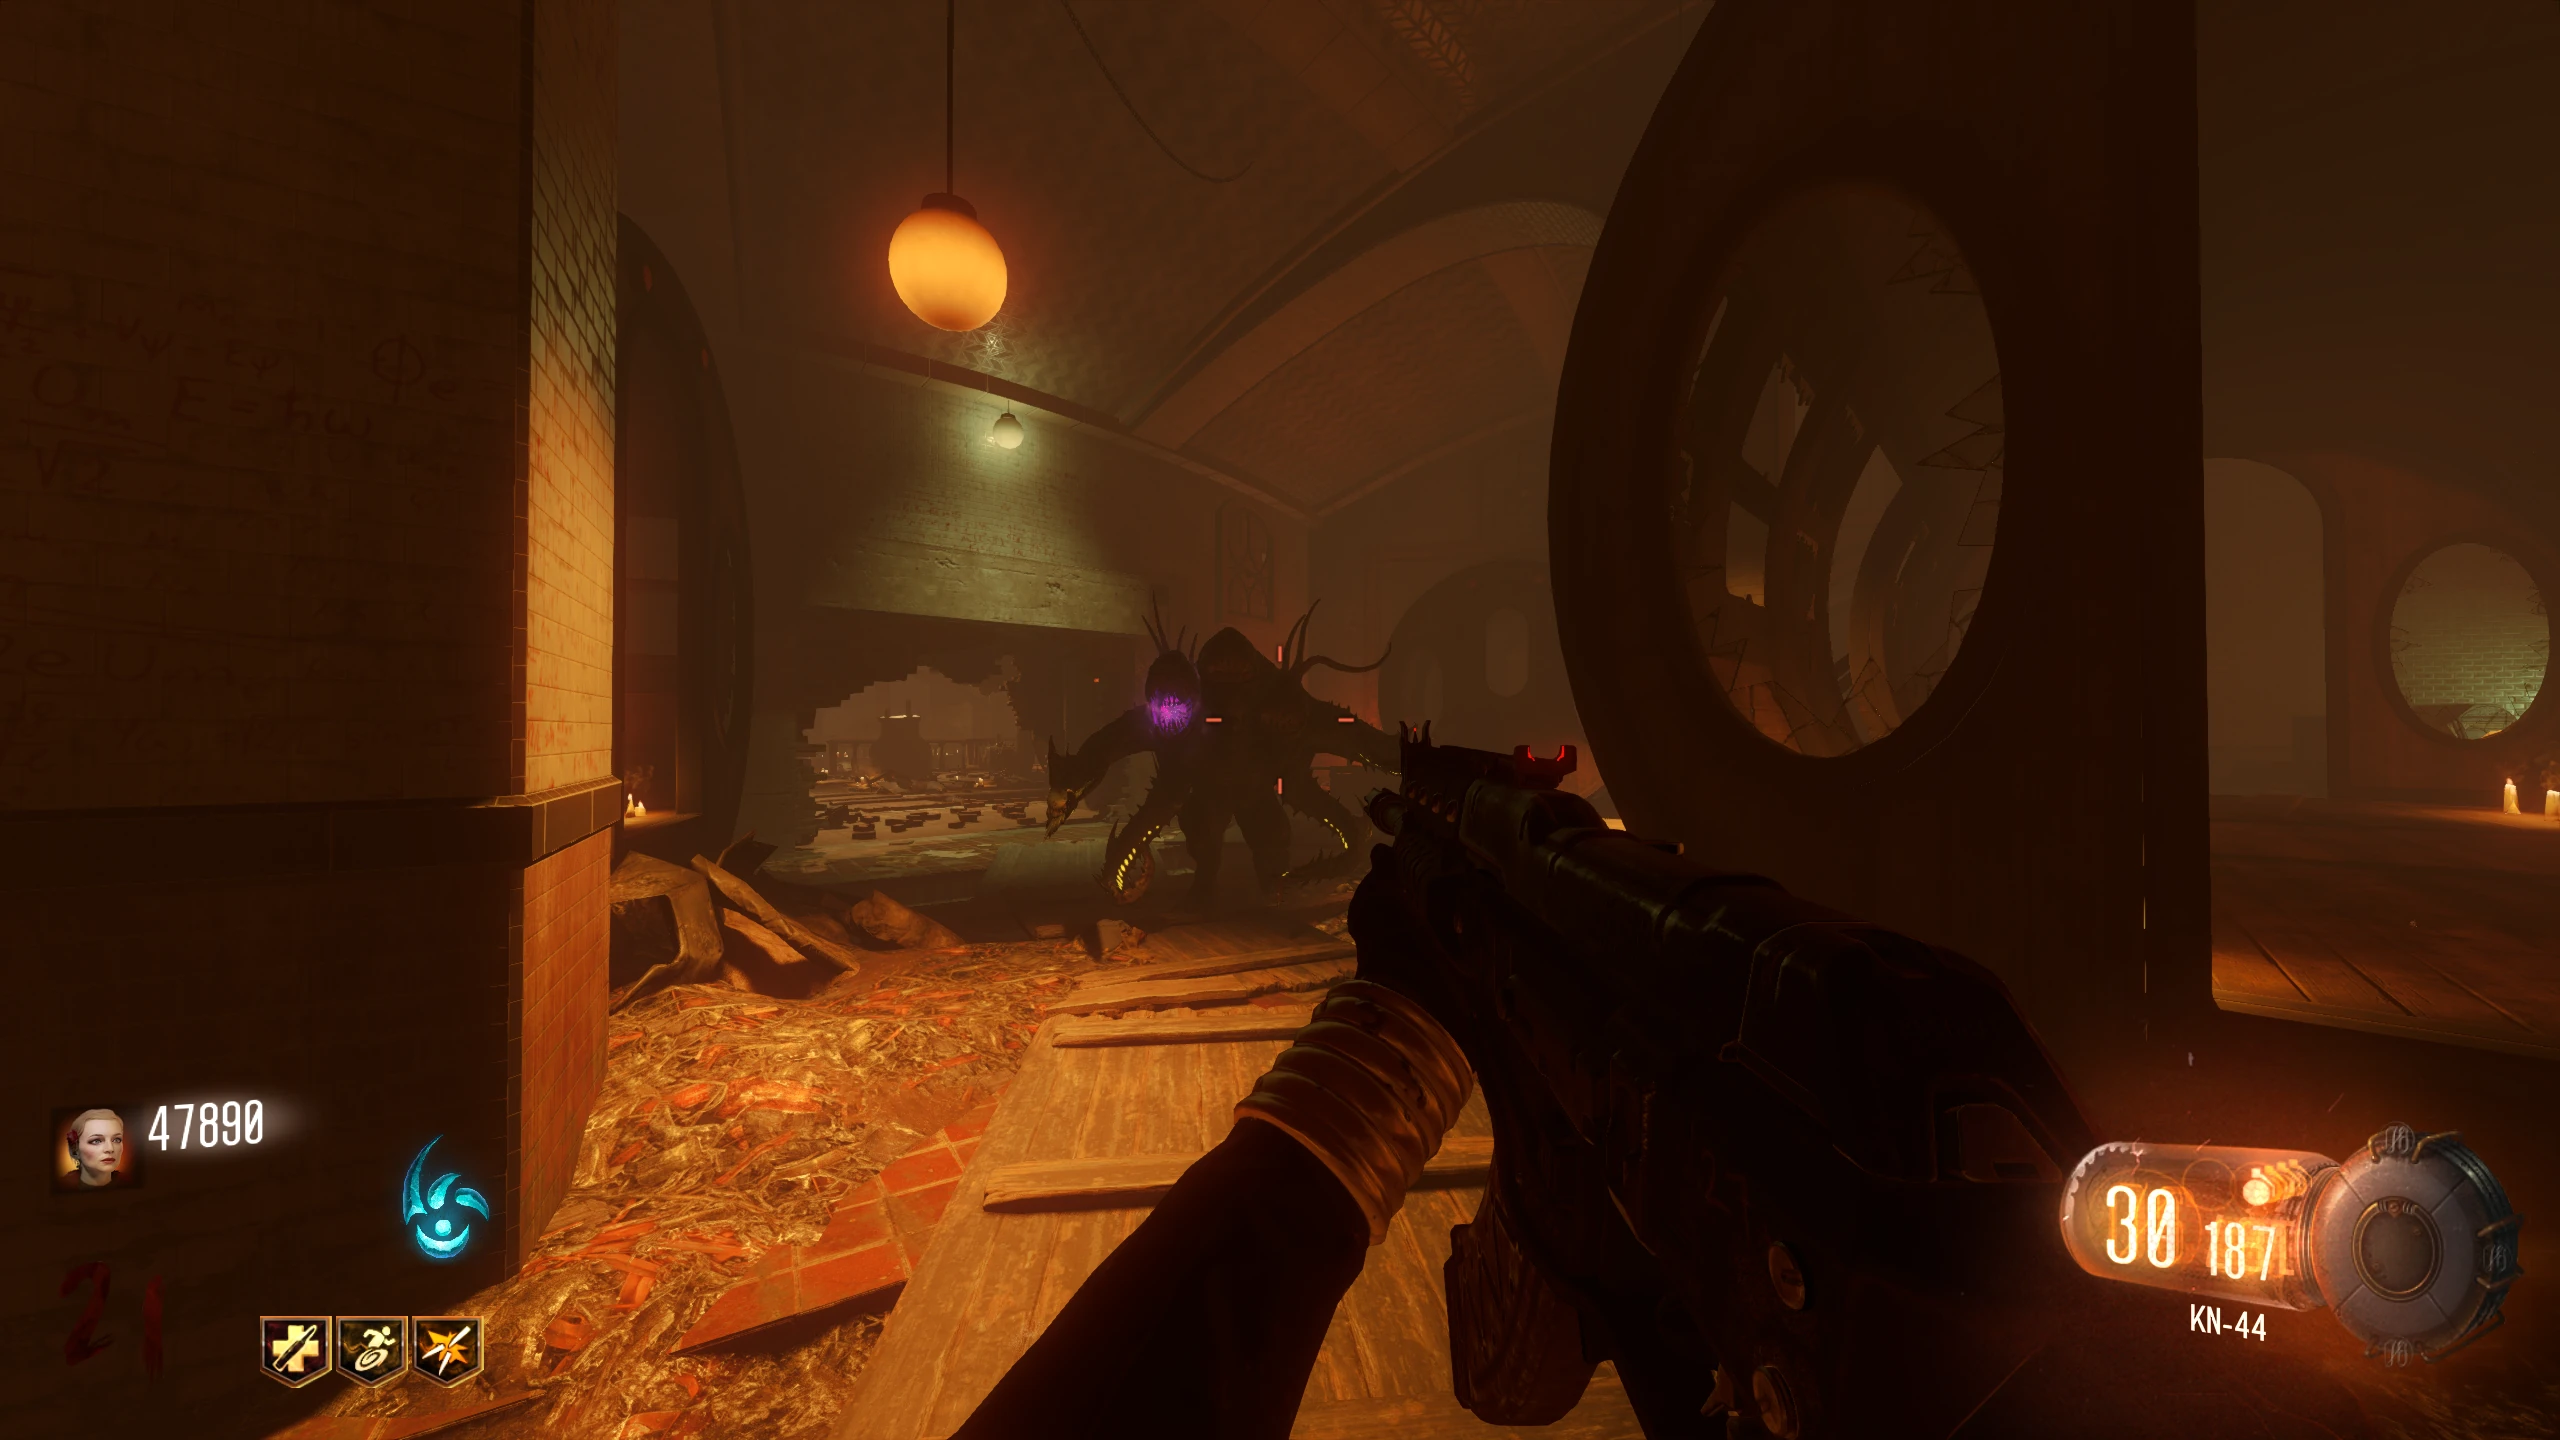
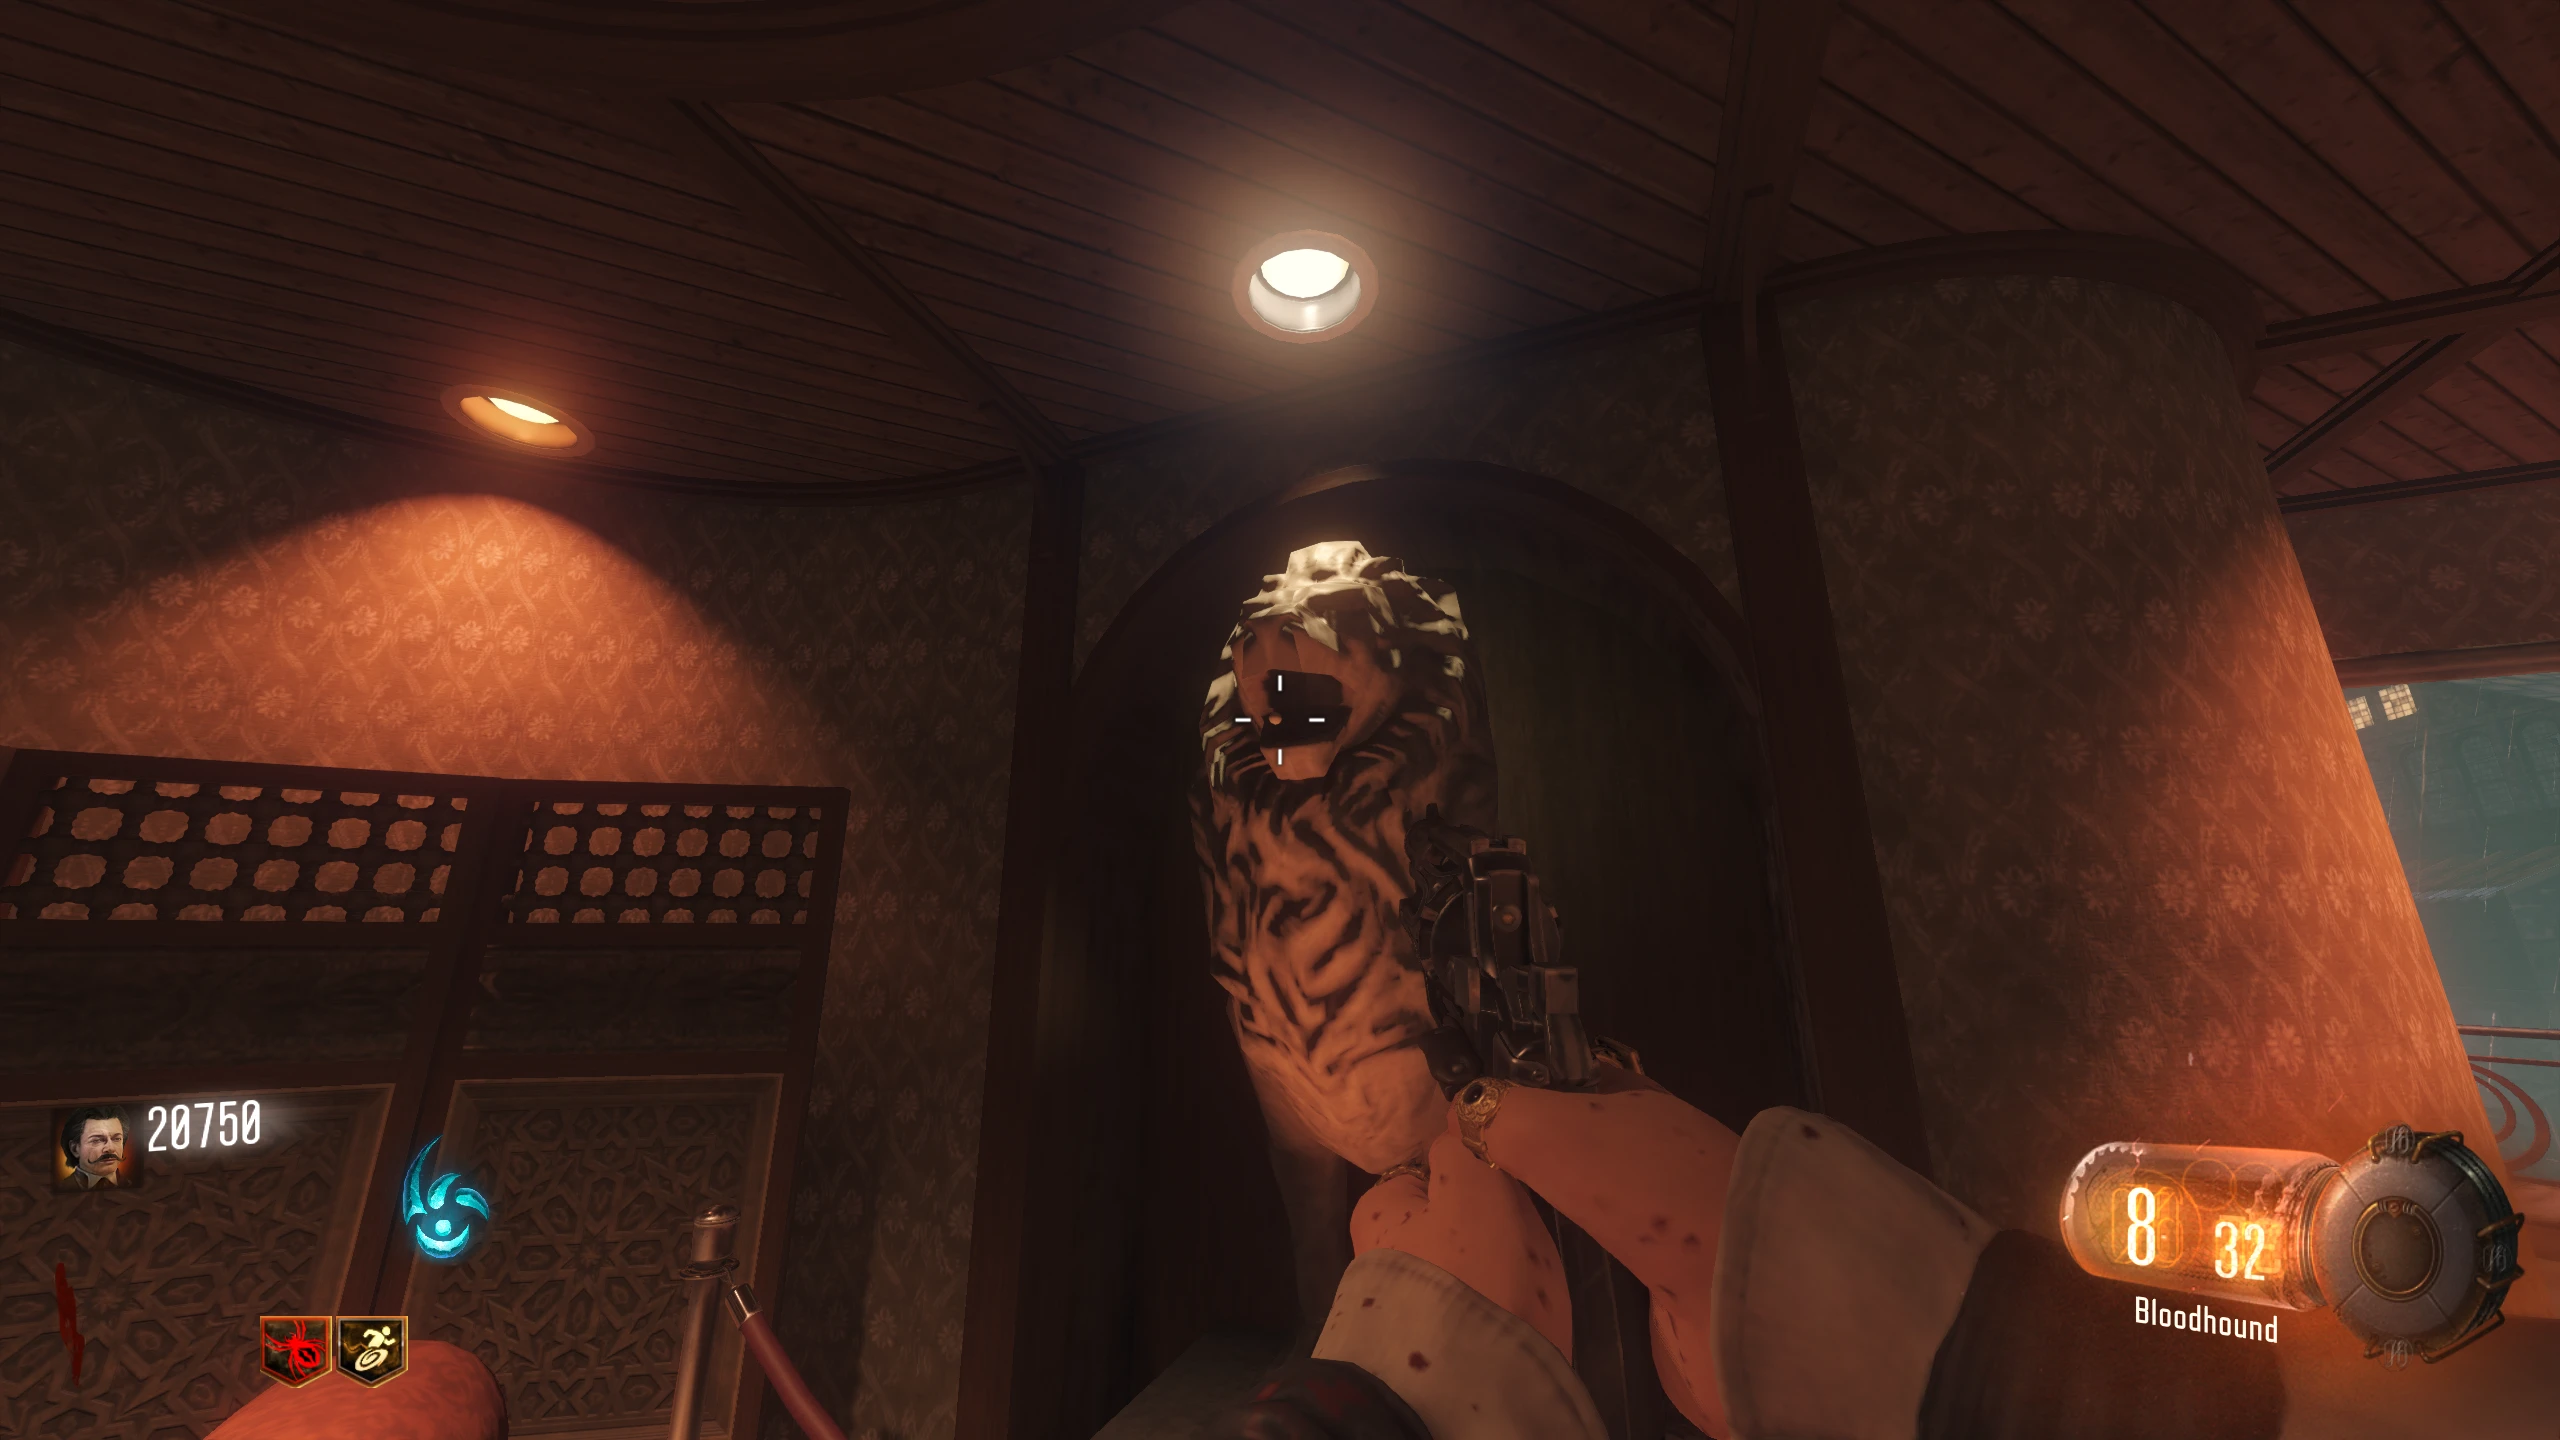
- Once the fuse box is shocked, the Crane will move, dropping a box with the Lawyer's Pen inside. Pick it up; two Keepers will spawn.
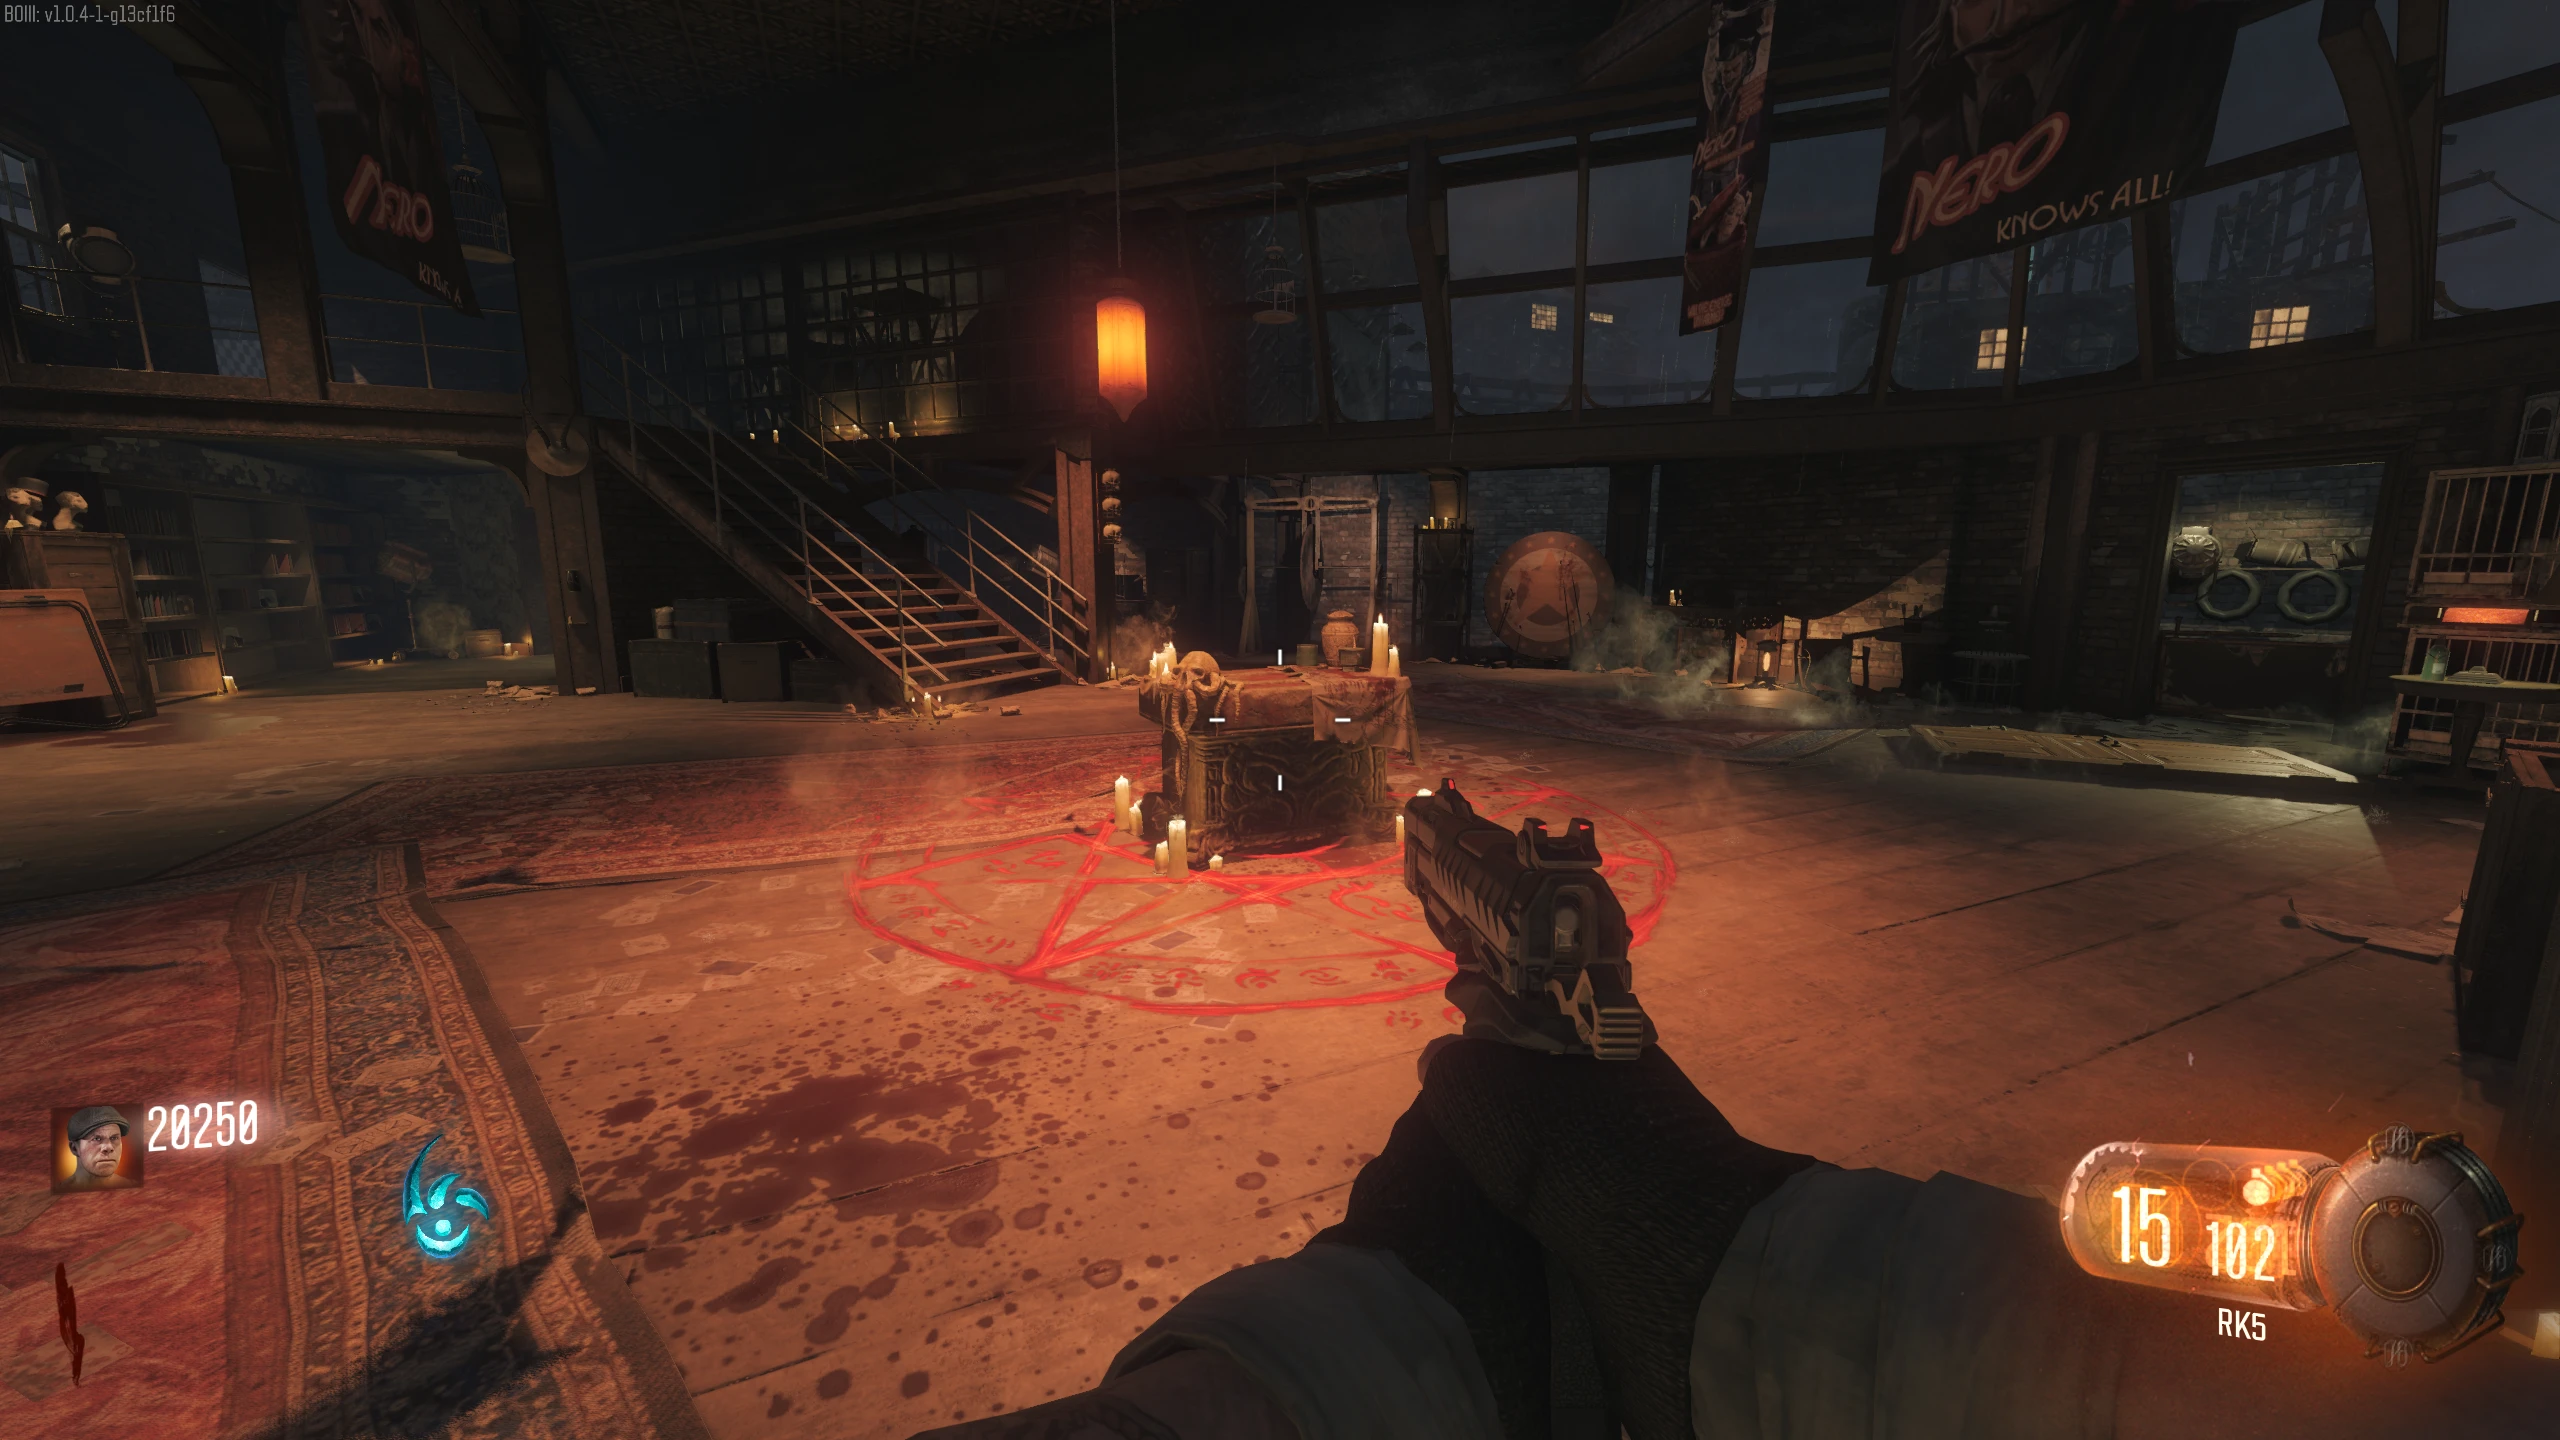
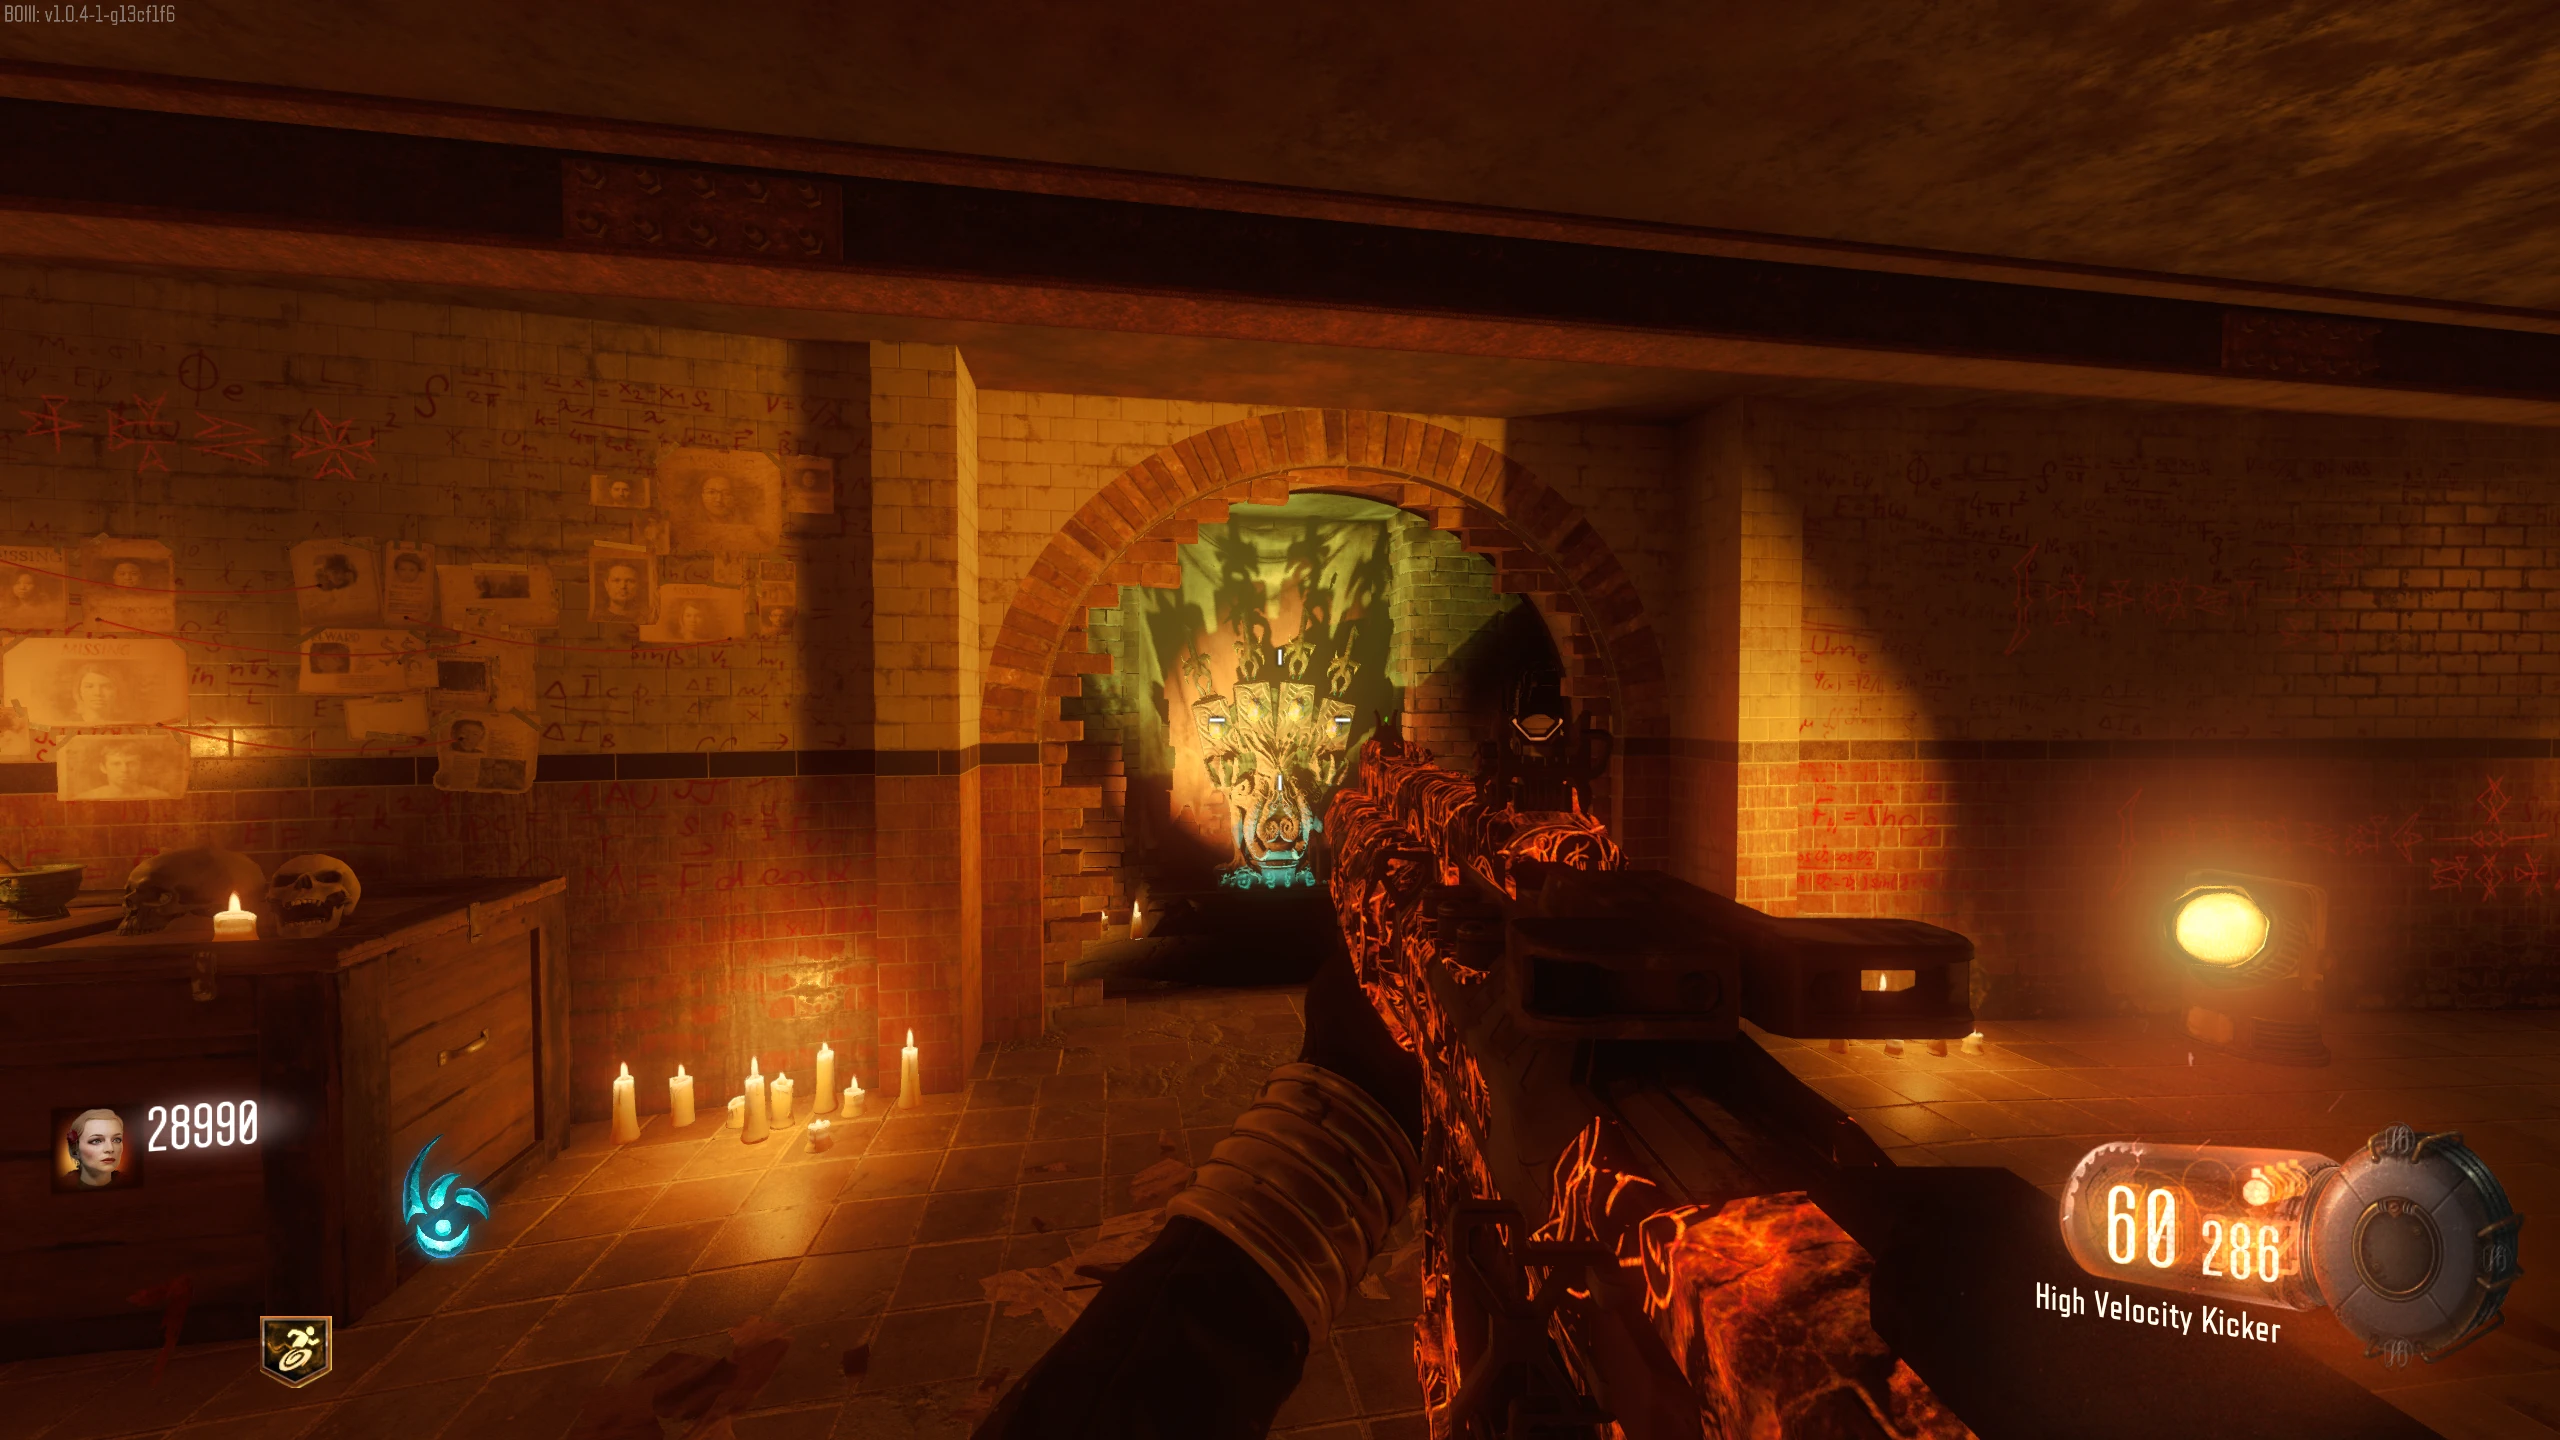
- Go up to Nero's room and place the Pen on the Ritual Table.
- Interact with the table to start the ritual. During the ritual, you'll be locked inside Nero's room, and Keepers will start spawning. Survive until the ritual is over.
- In Co-op, it'll take longer based on the number of players in the game not participating.
- Players can't enter mid-ritual, so make sure to wait for everyone before you start.
- Once the ritual is finished, a short animation will play above the table, followed by a Gateworm spawning for you to pick up. If this is the second or fourth ritual completed, a Margwa will spawn.
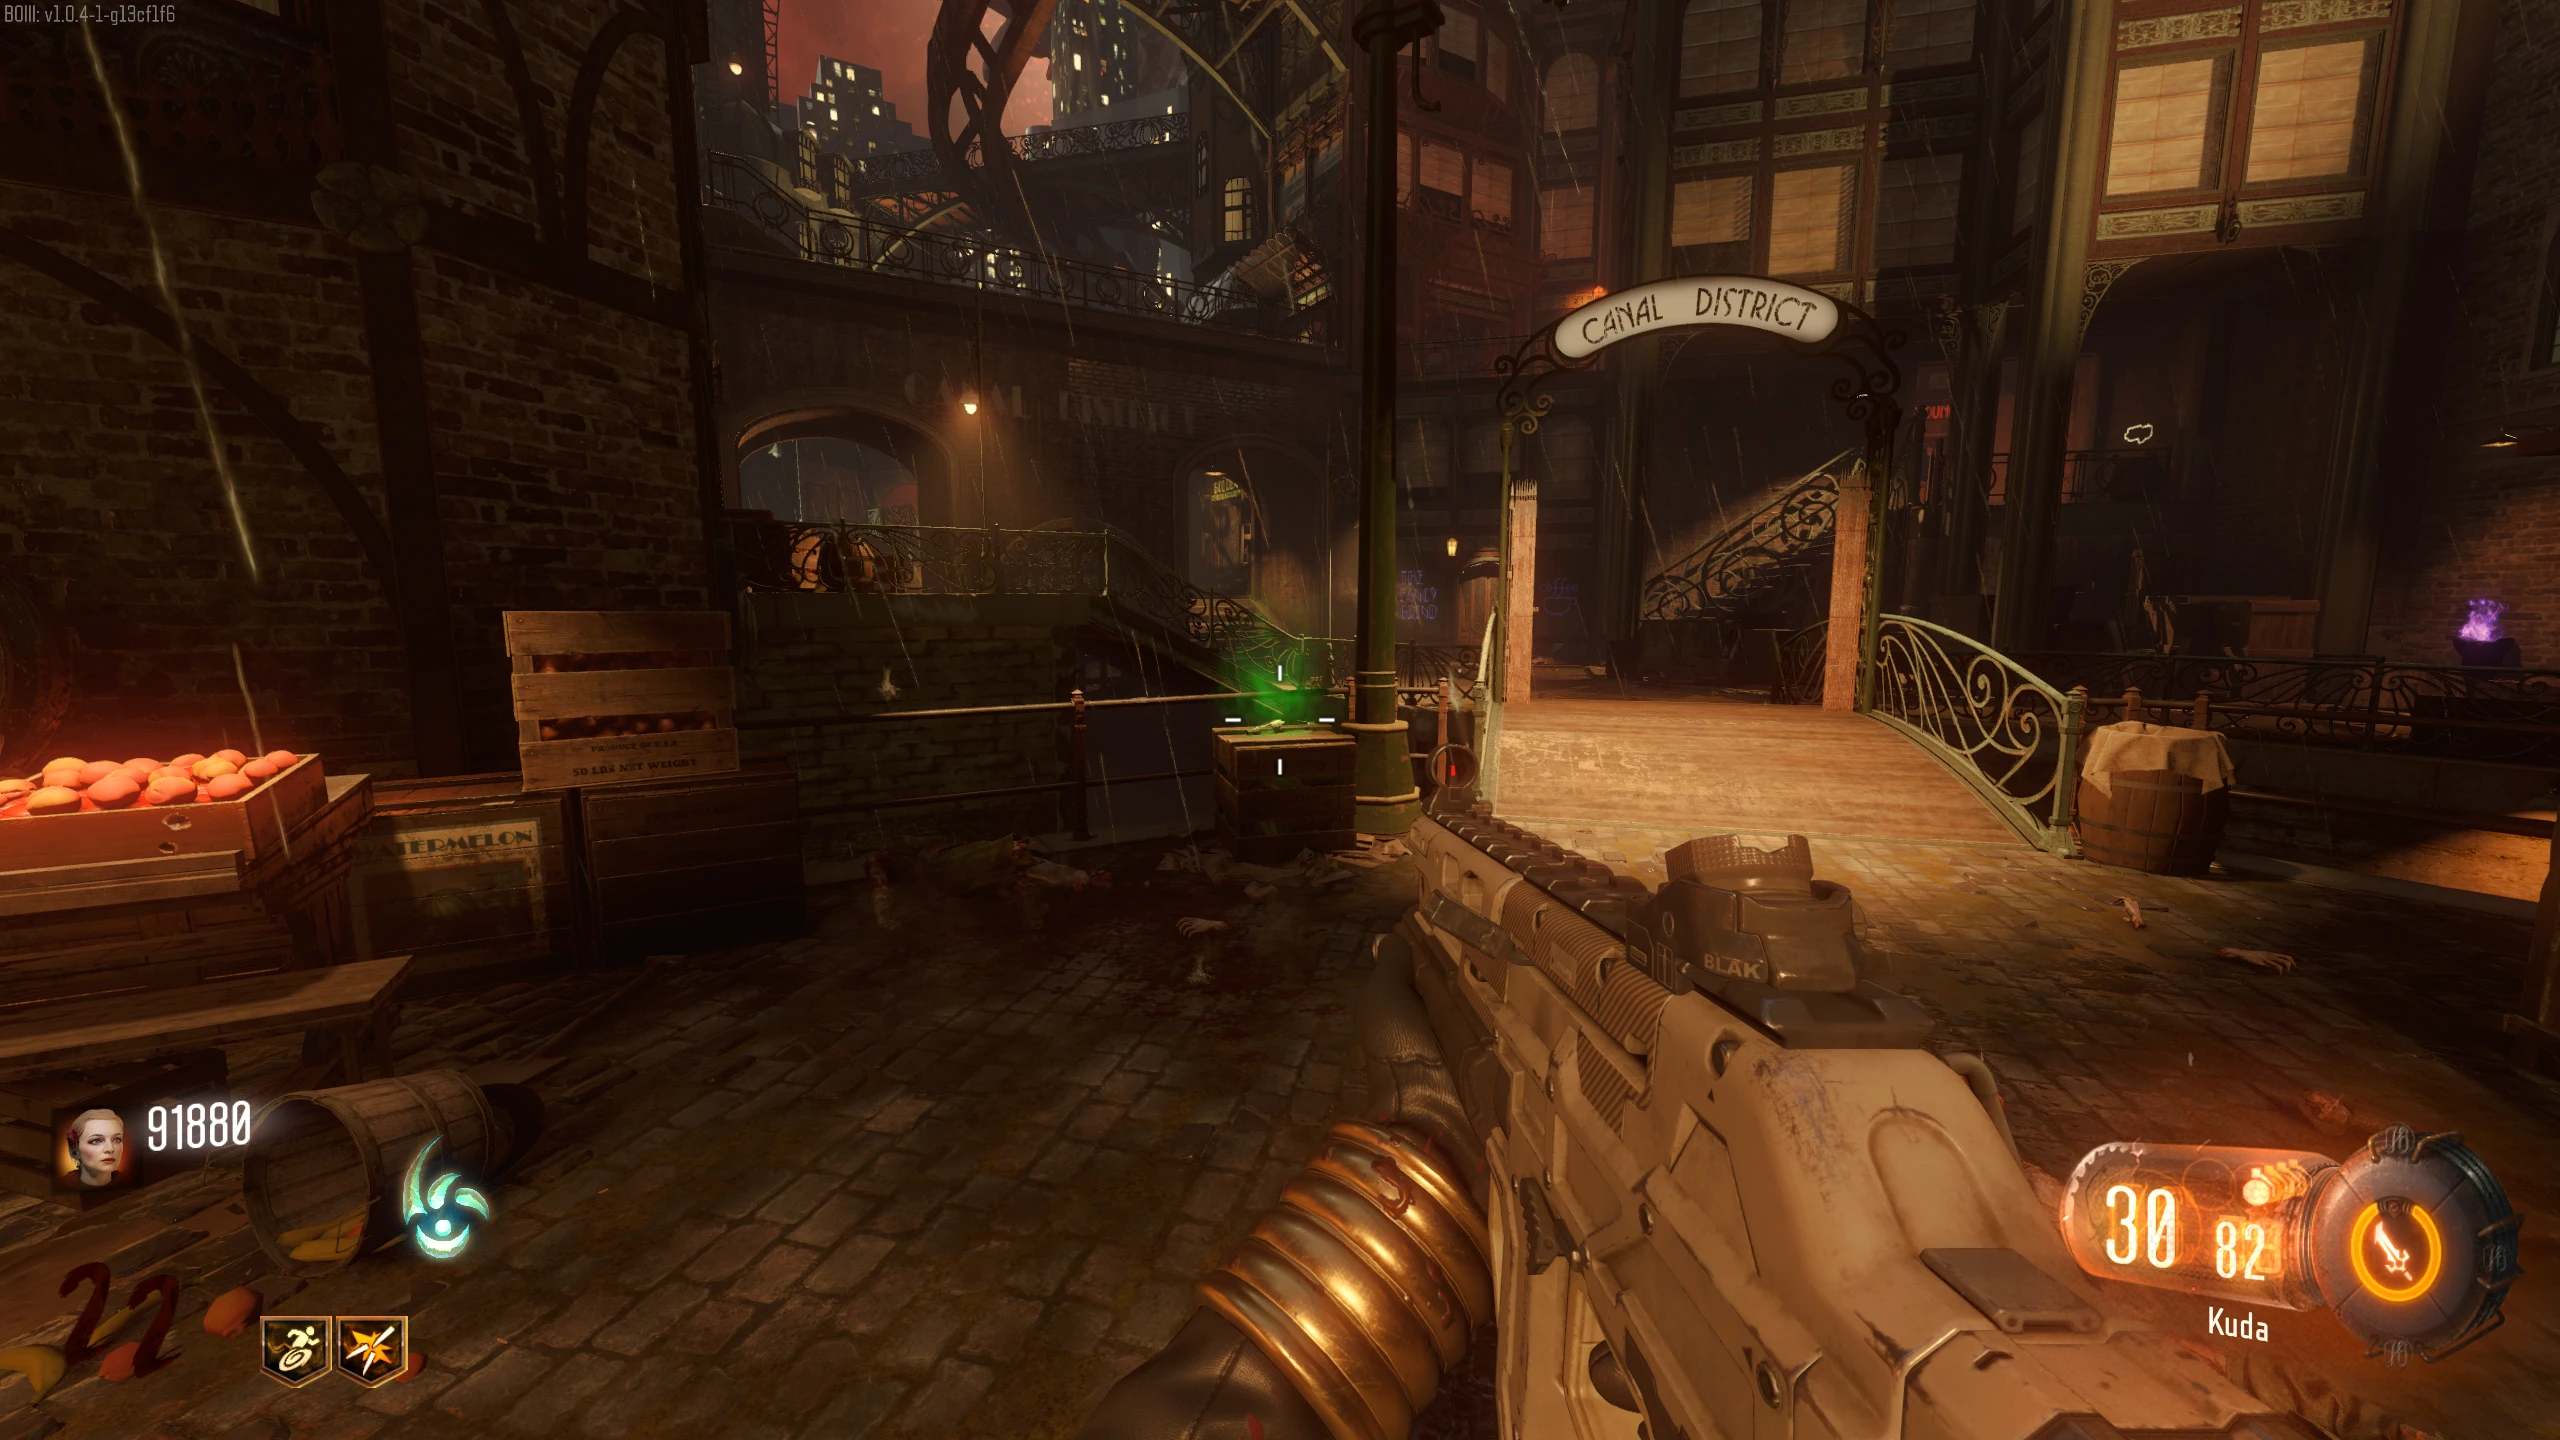
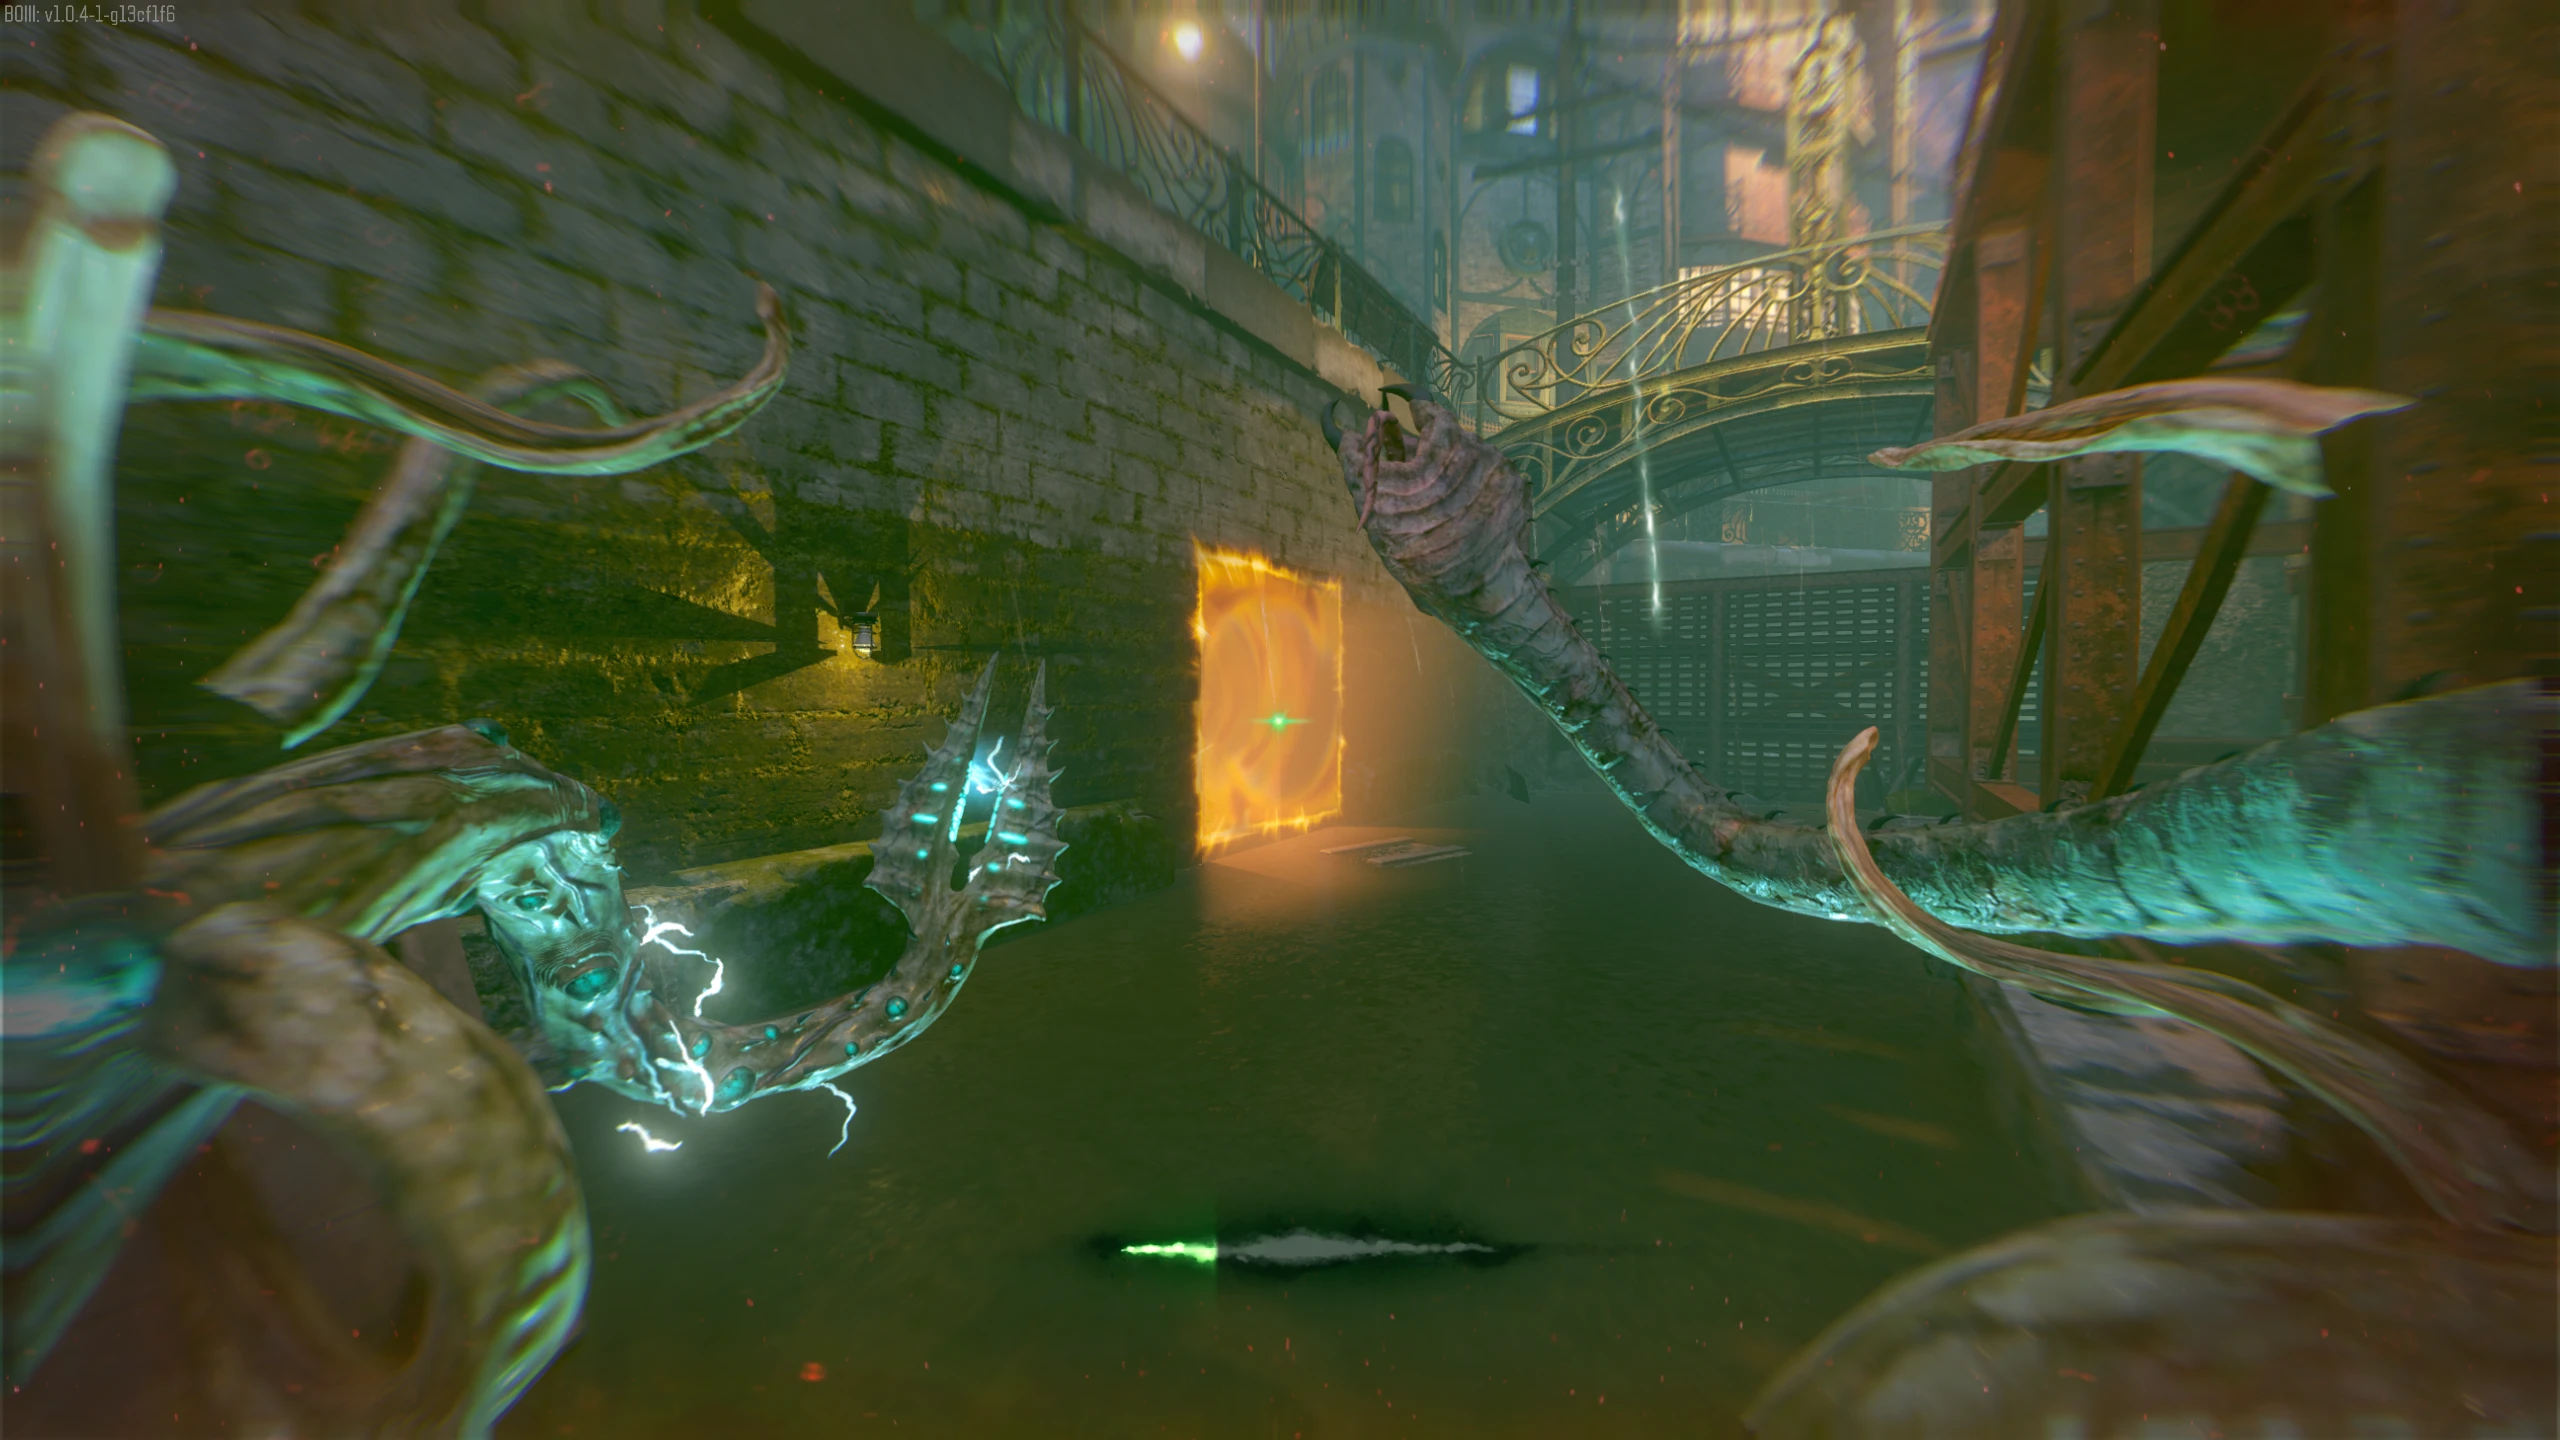
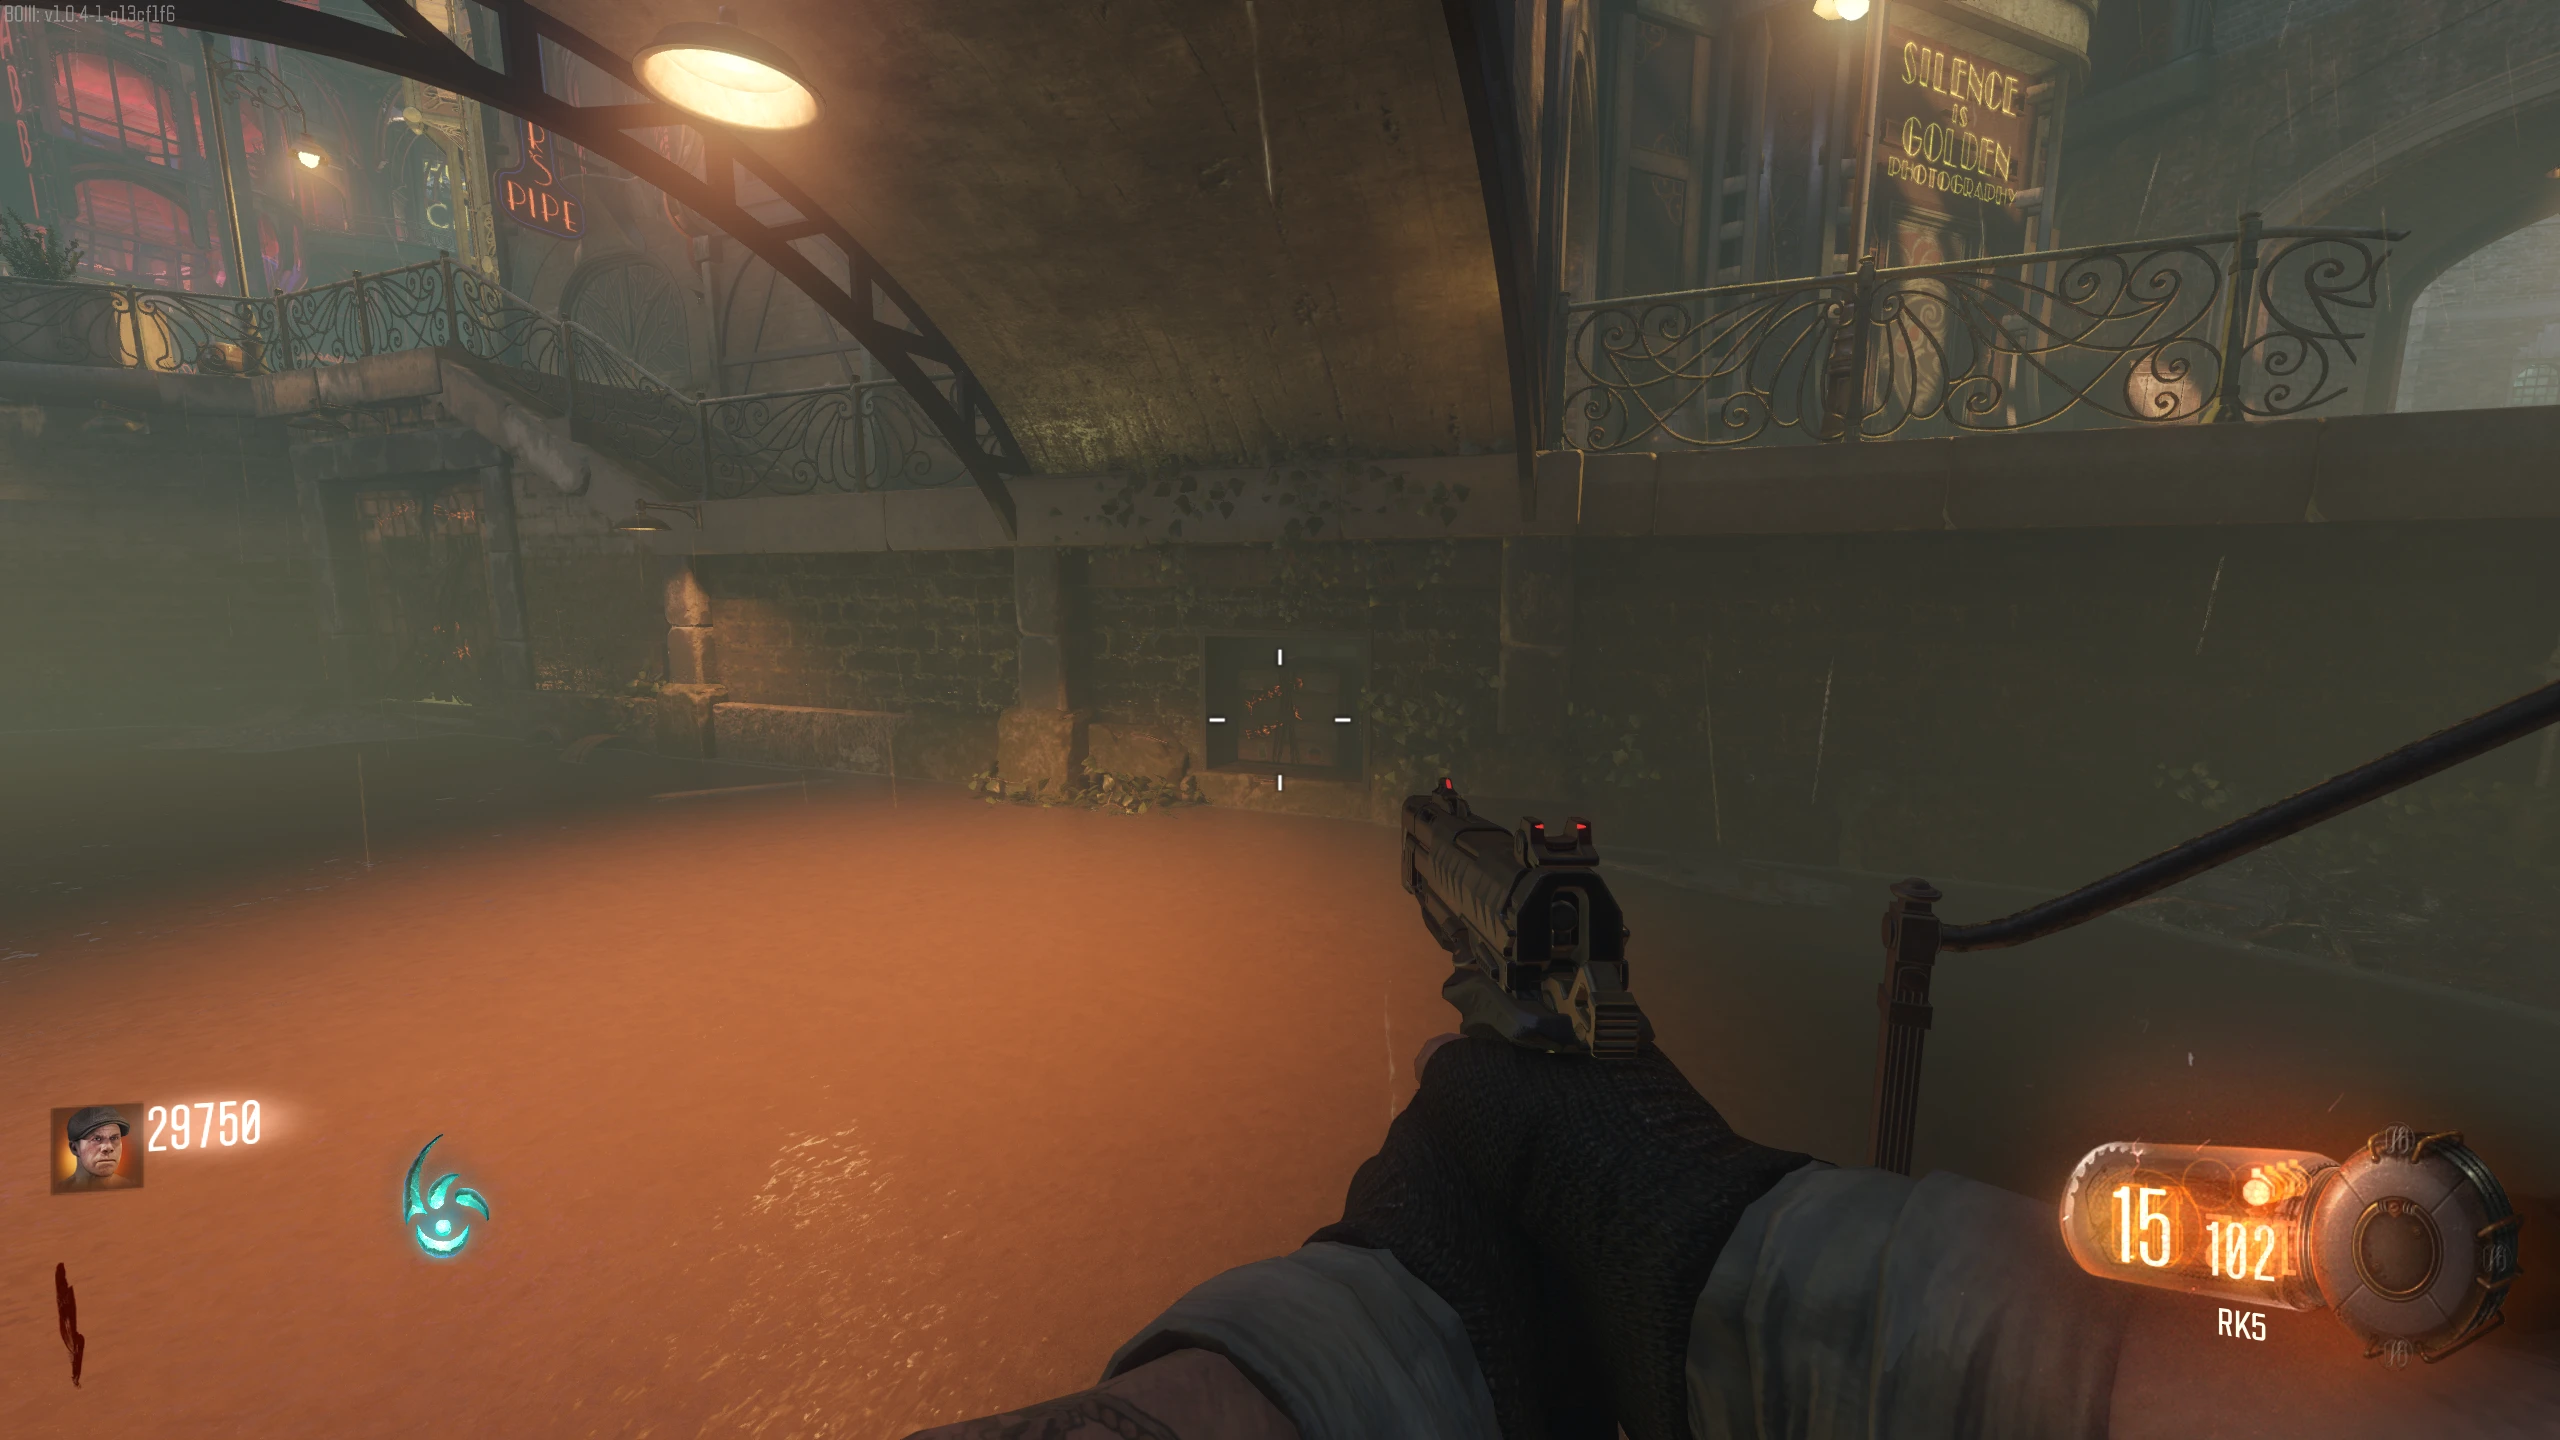
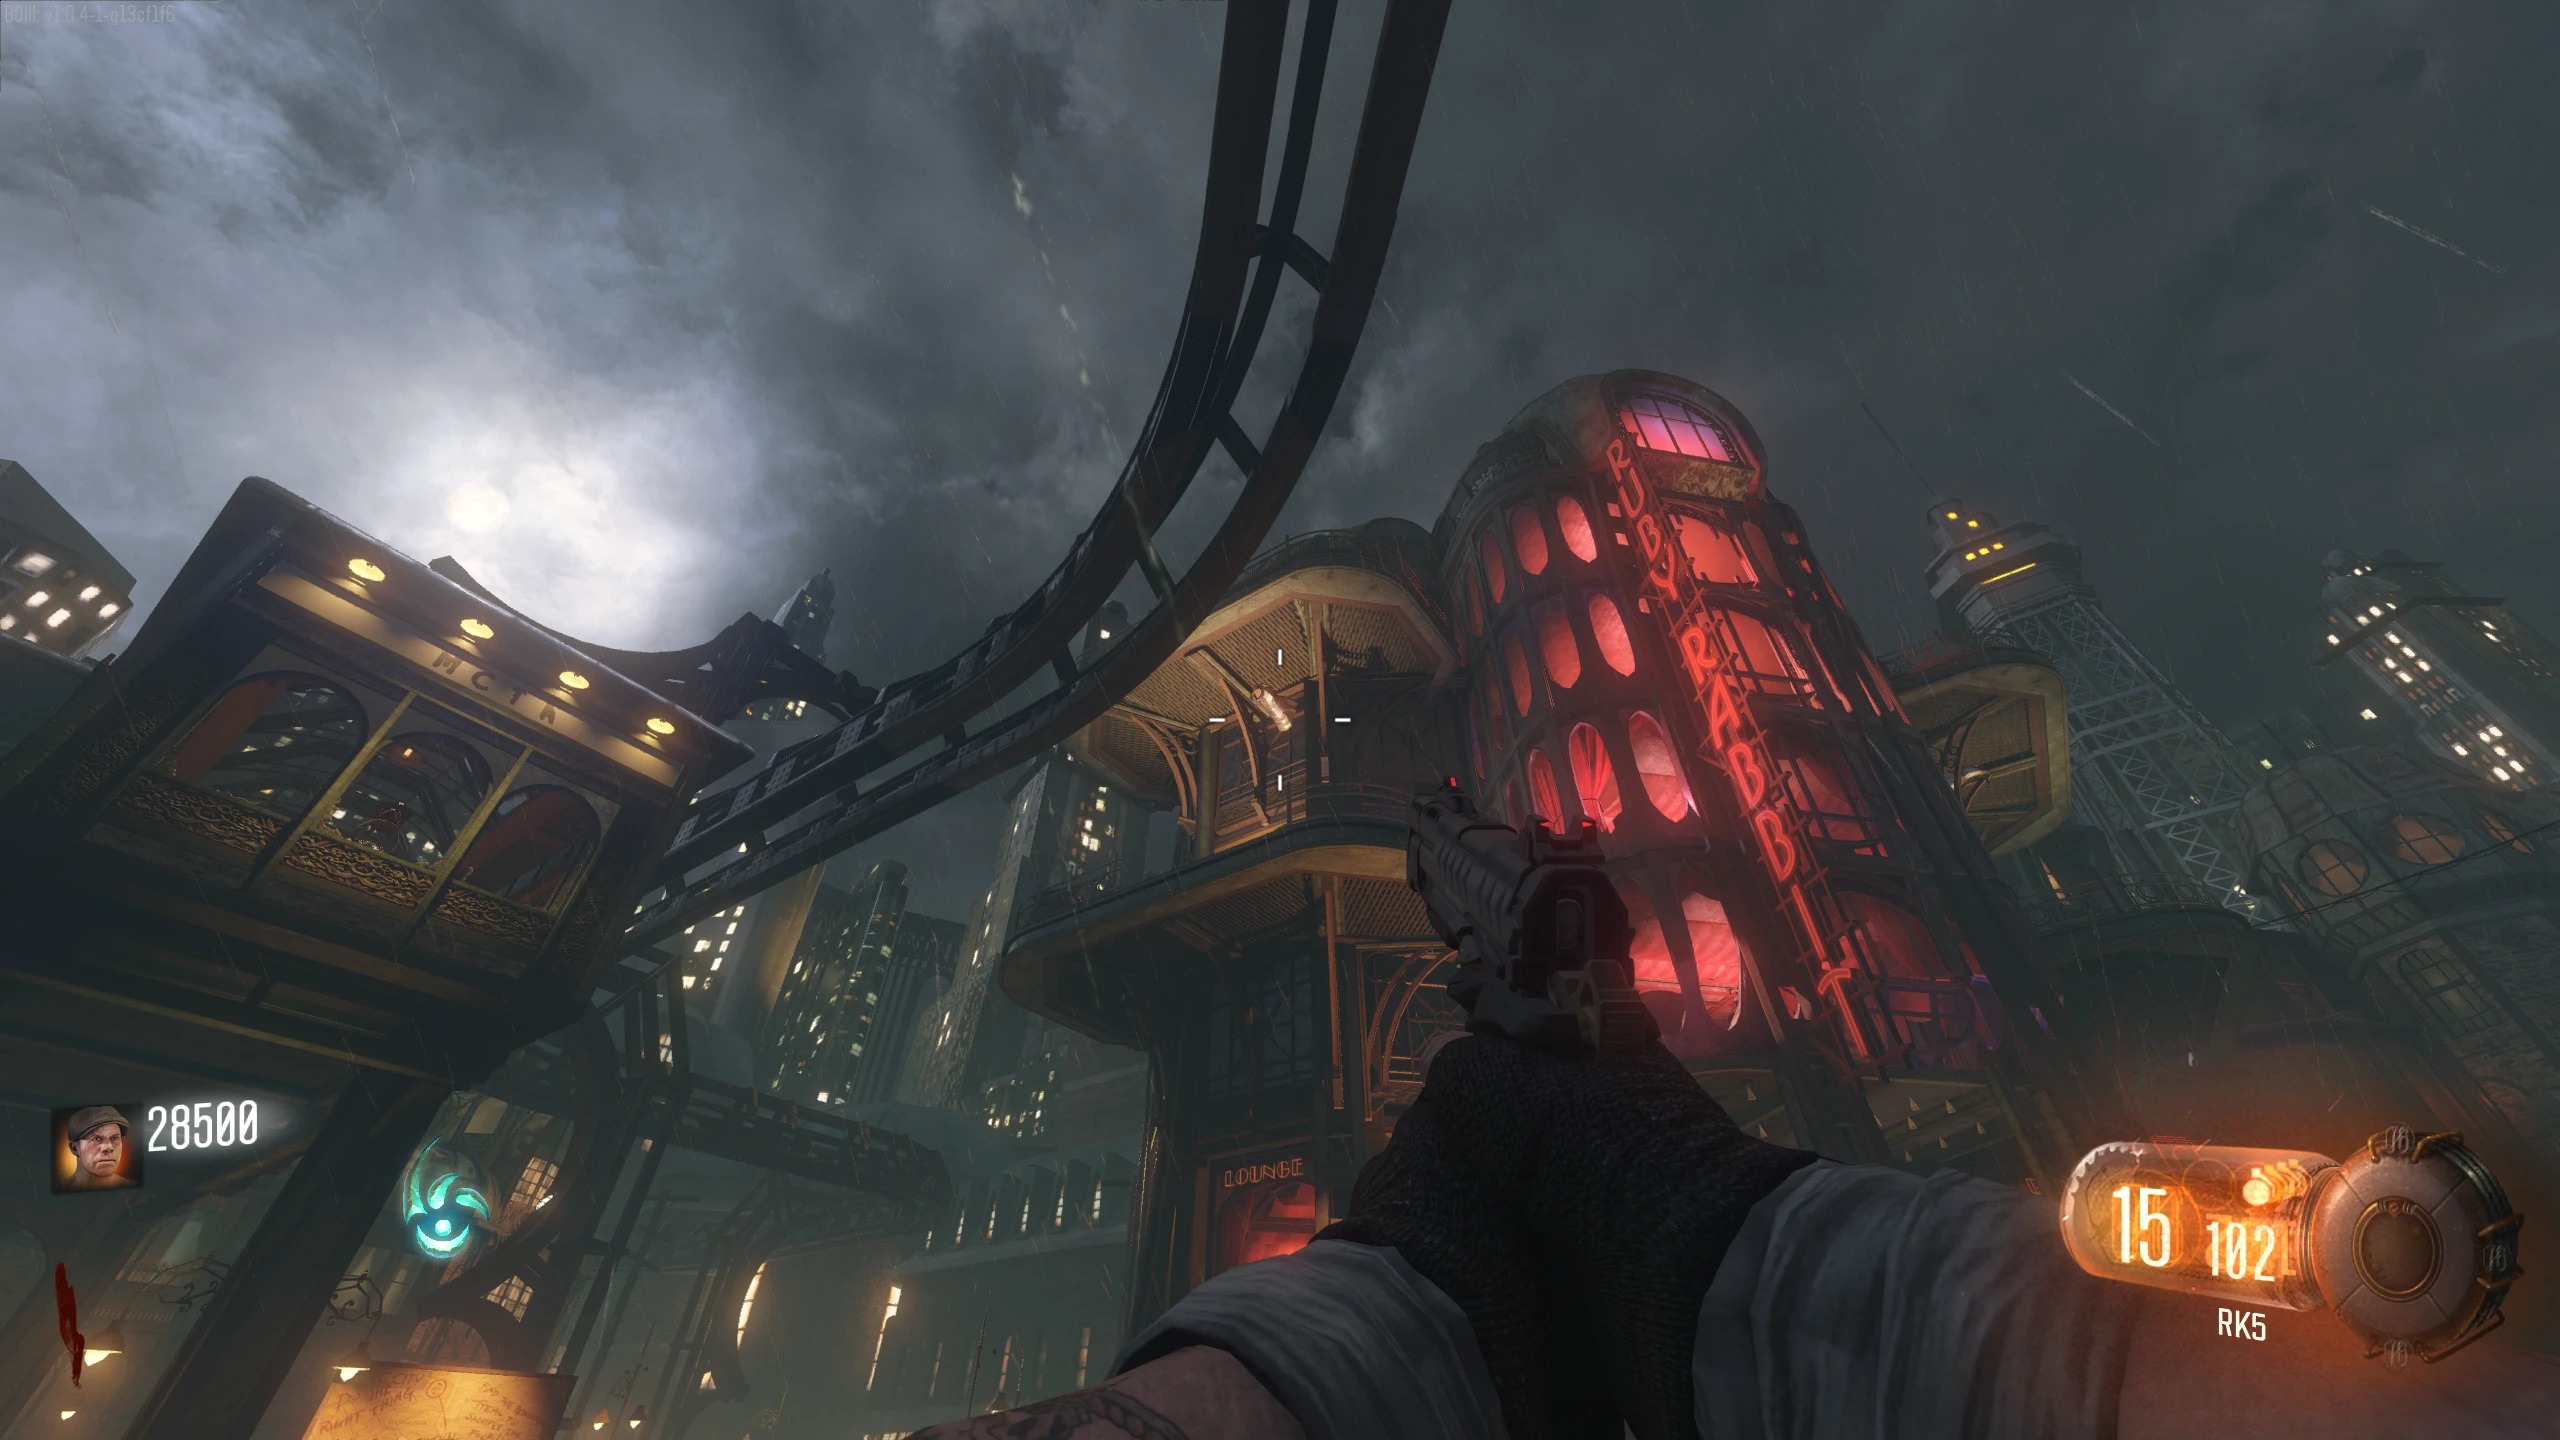
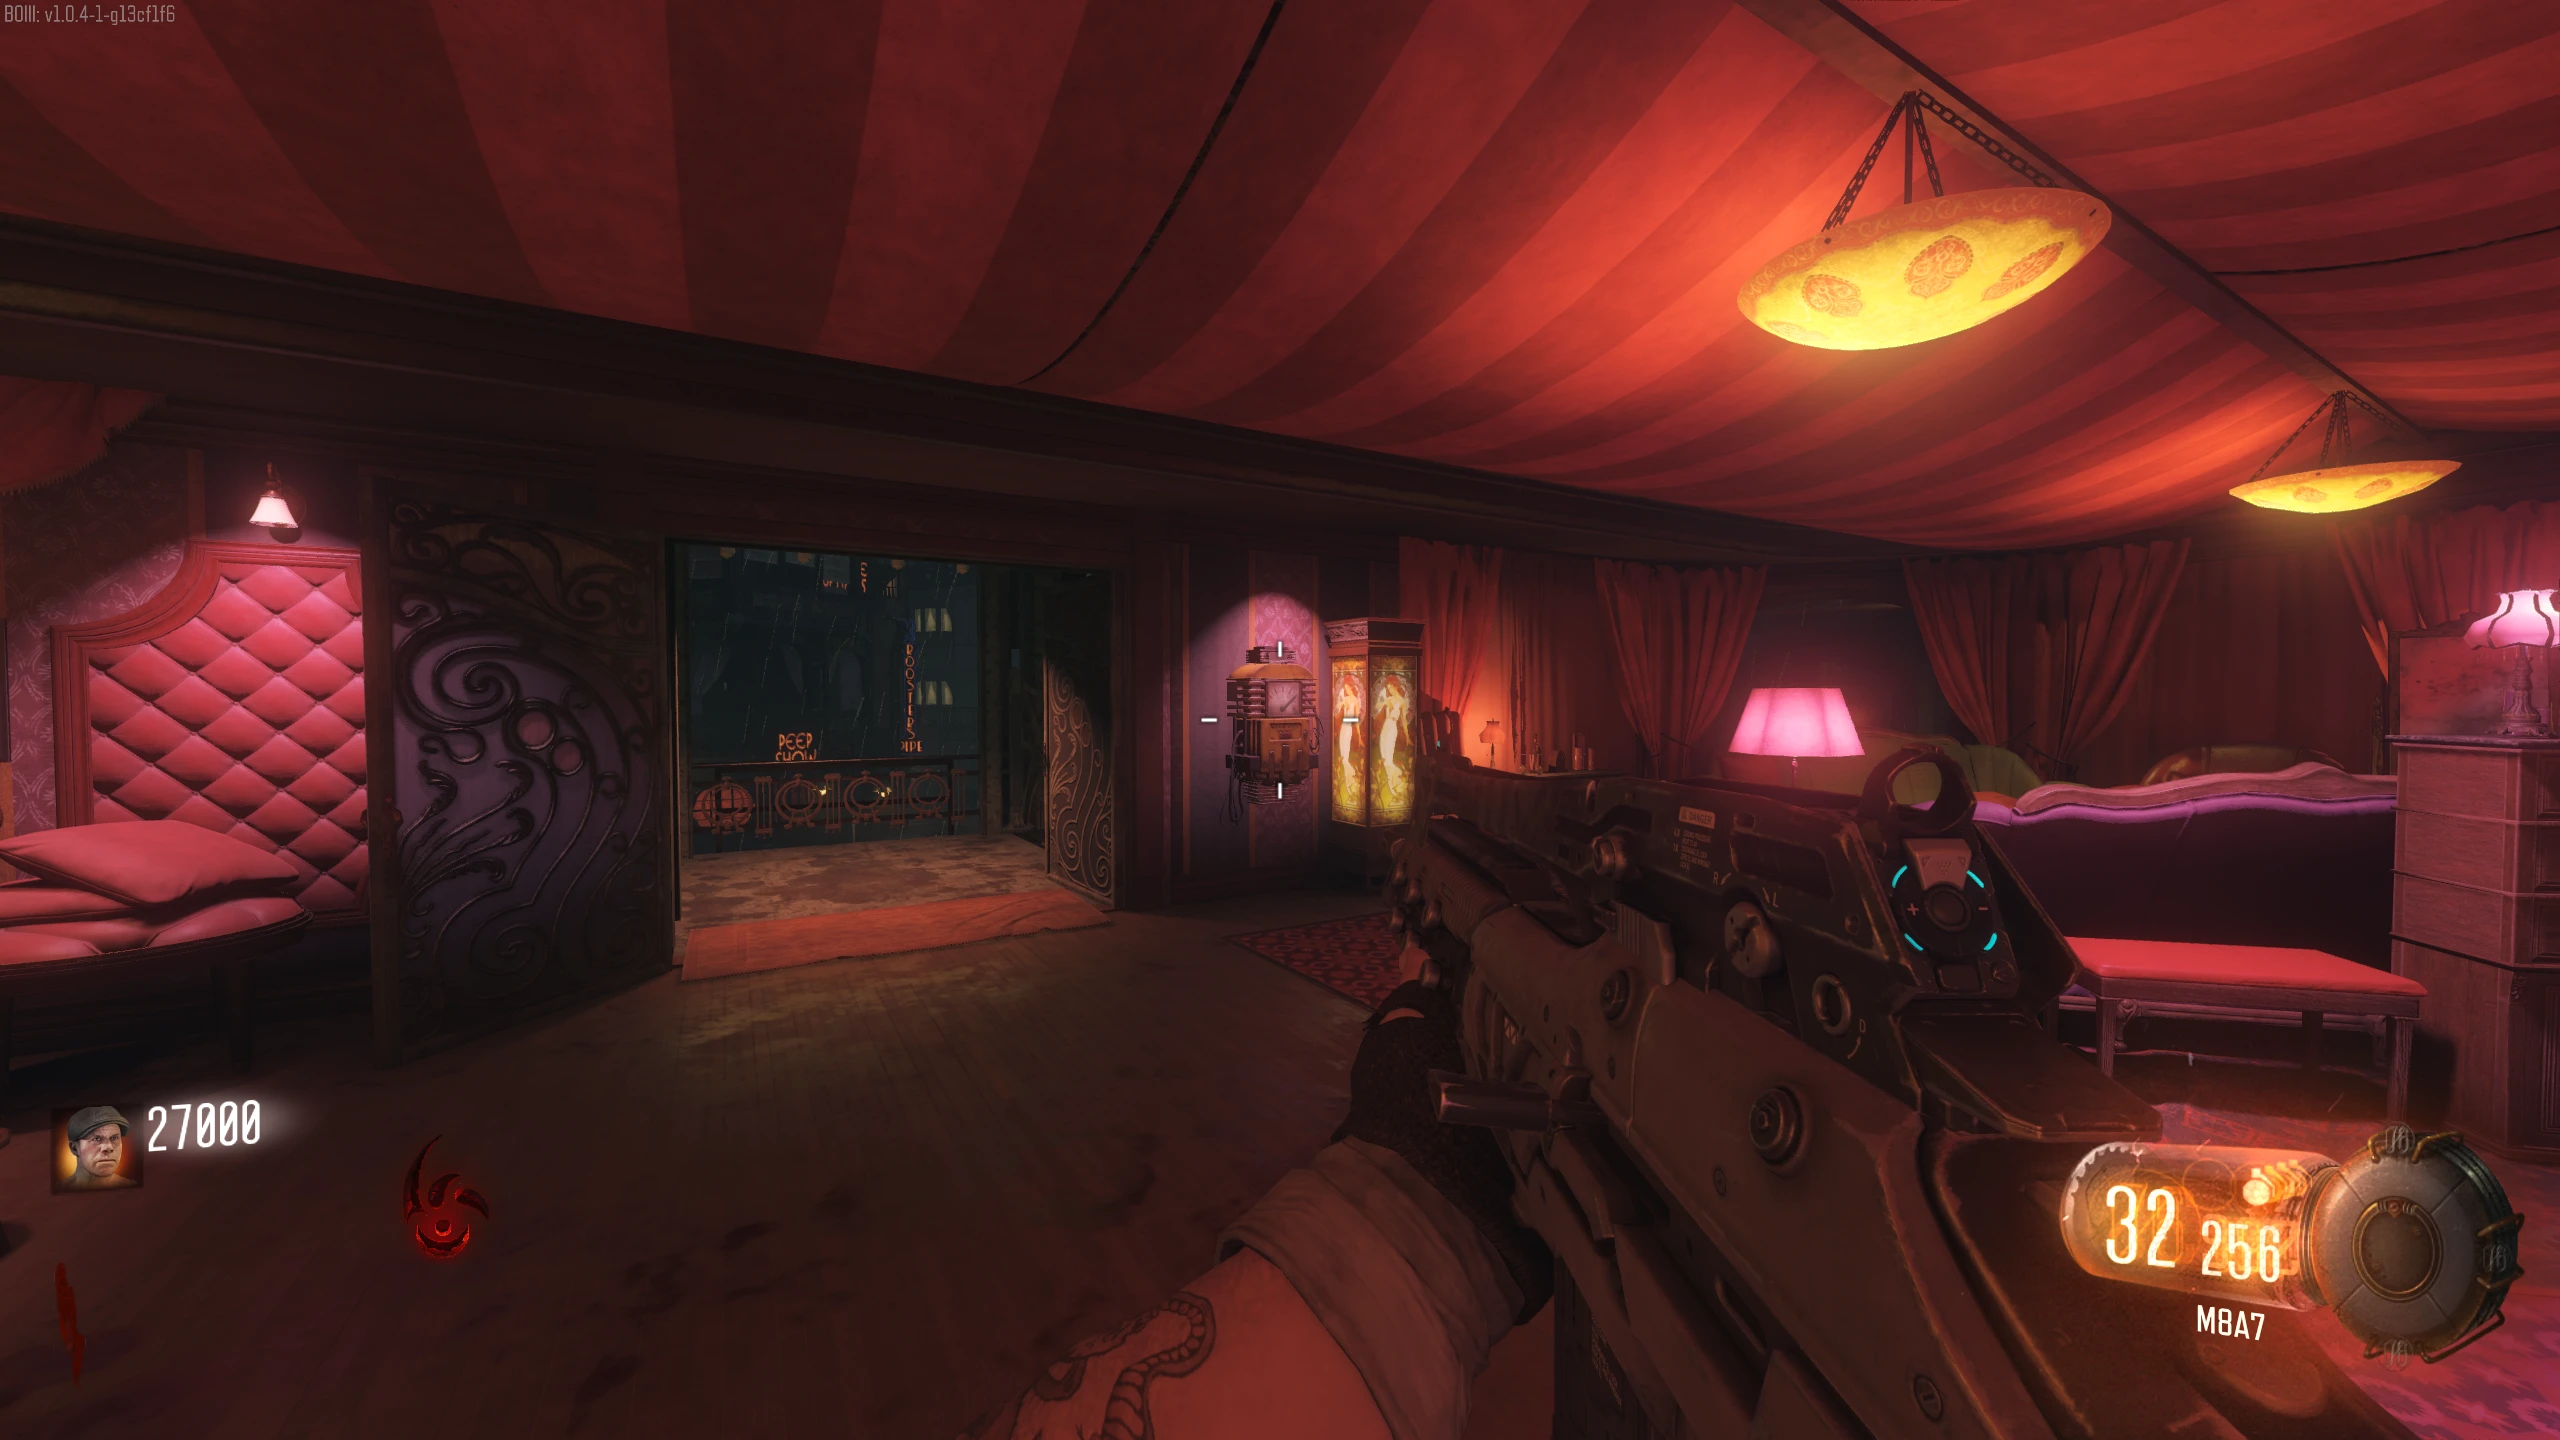
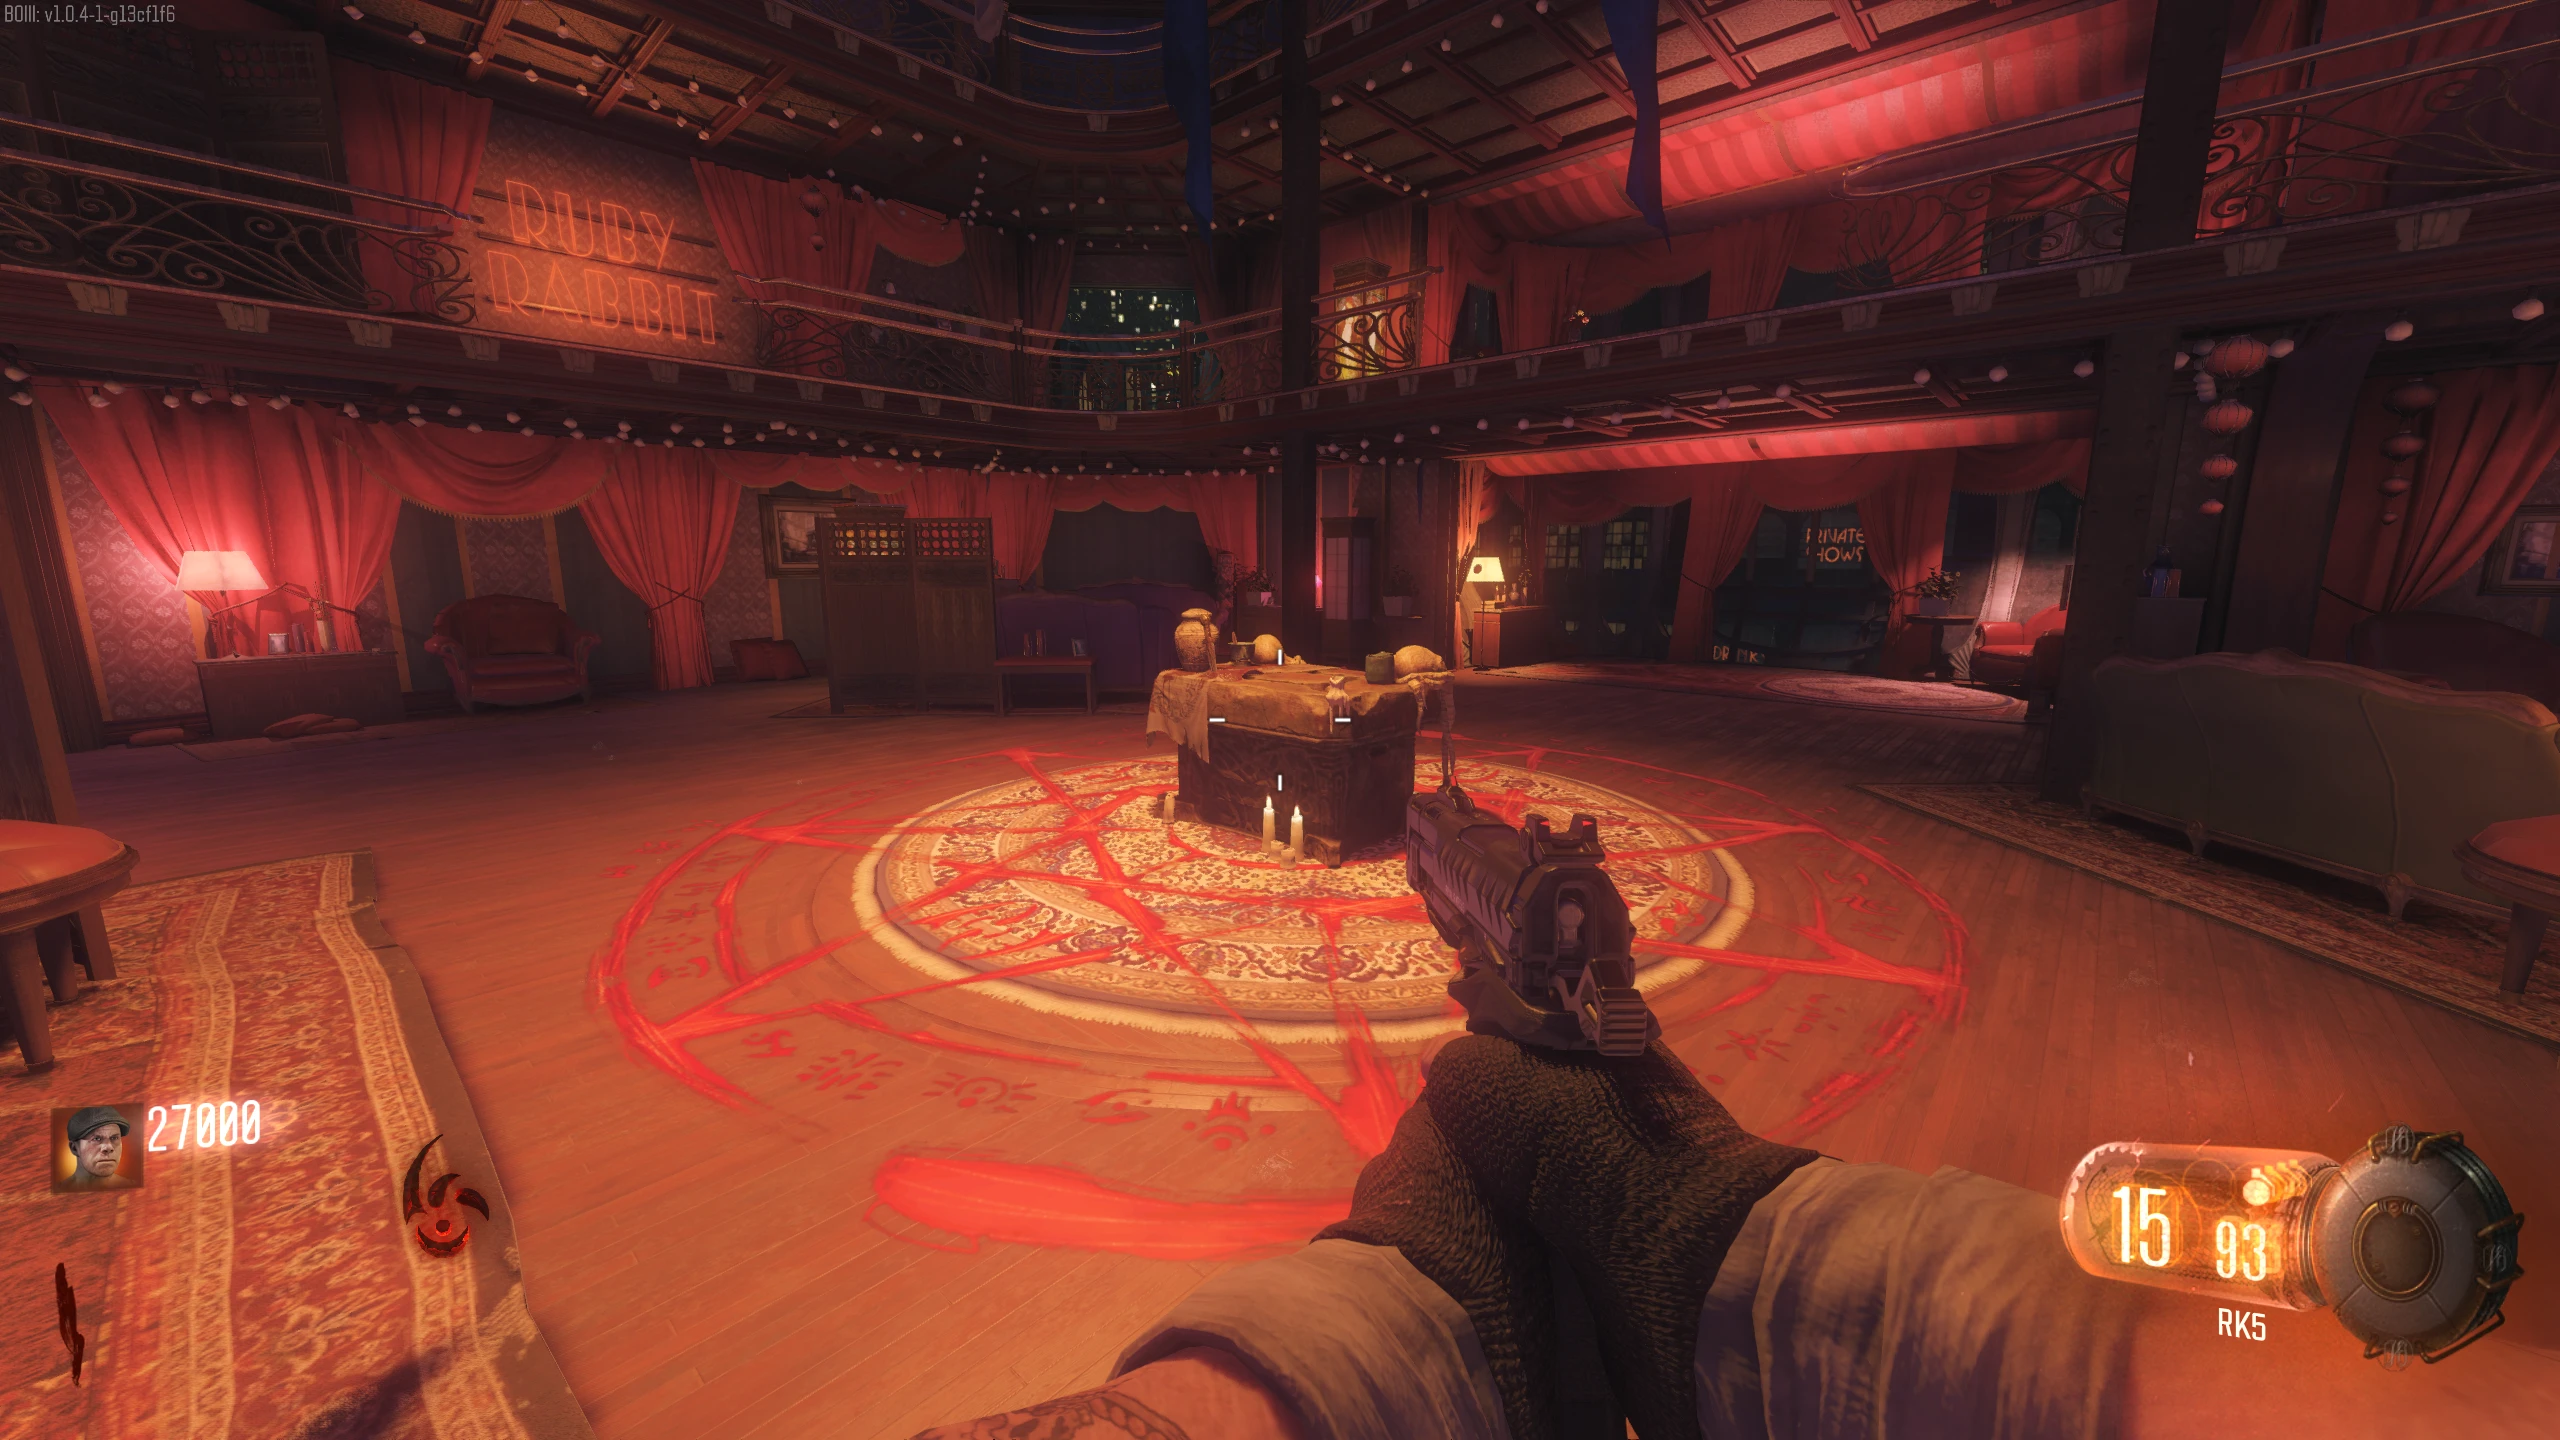
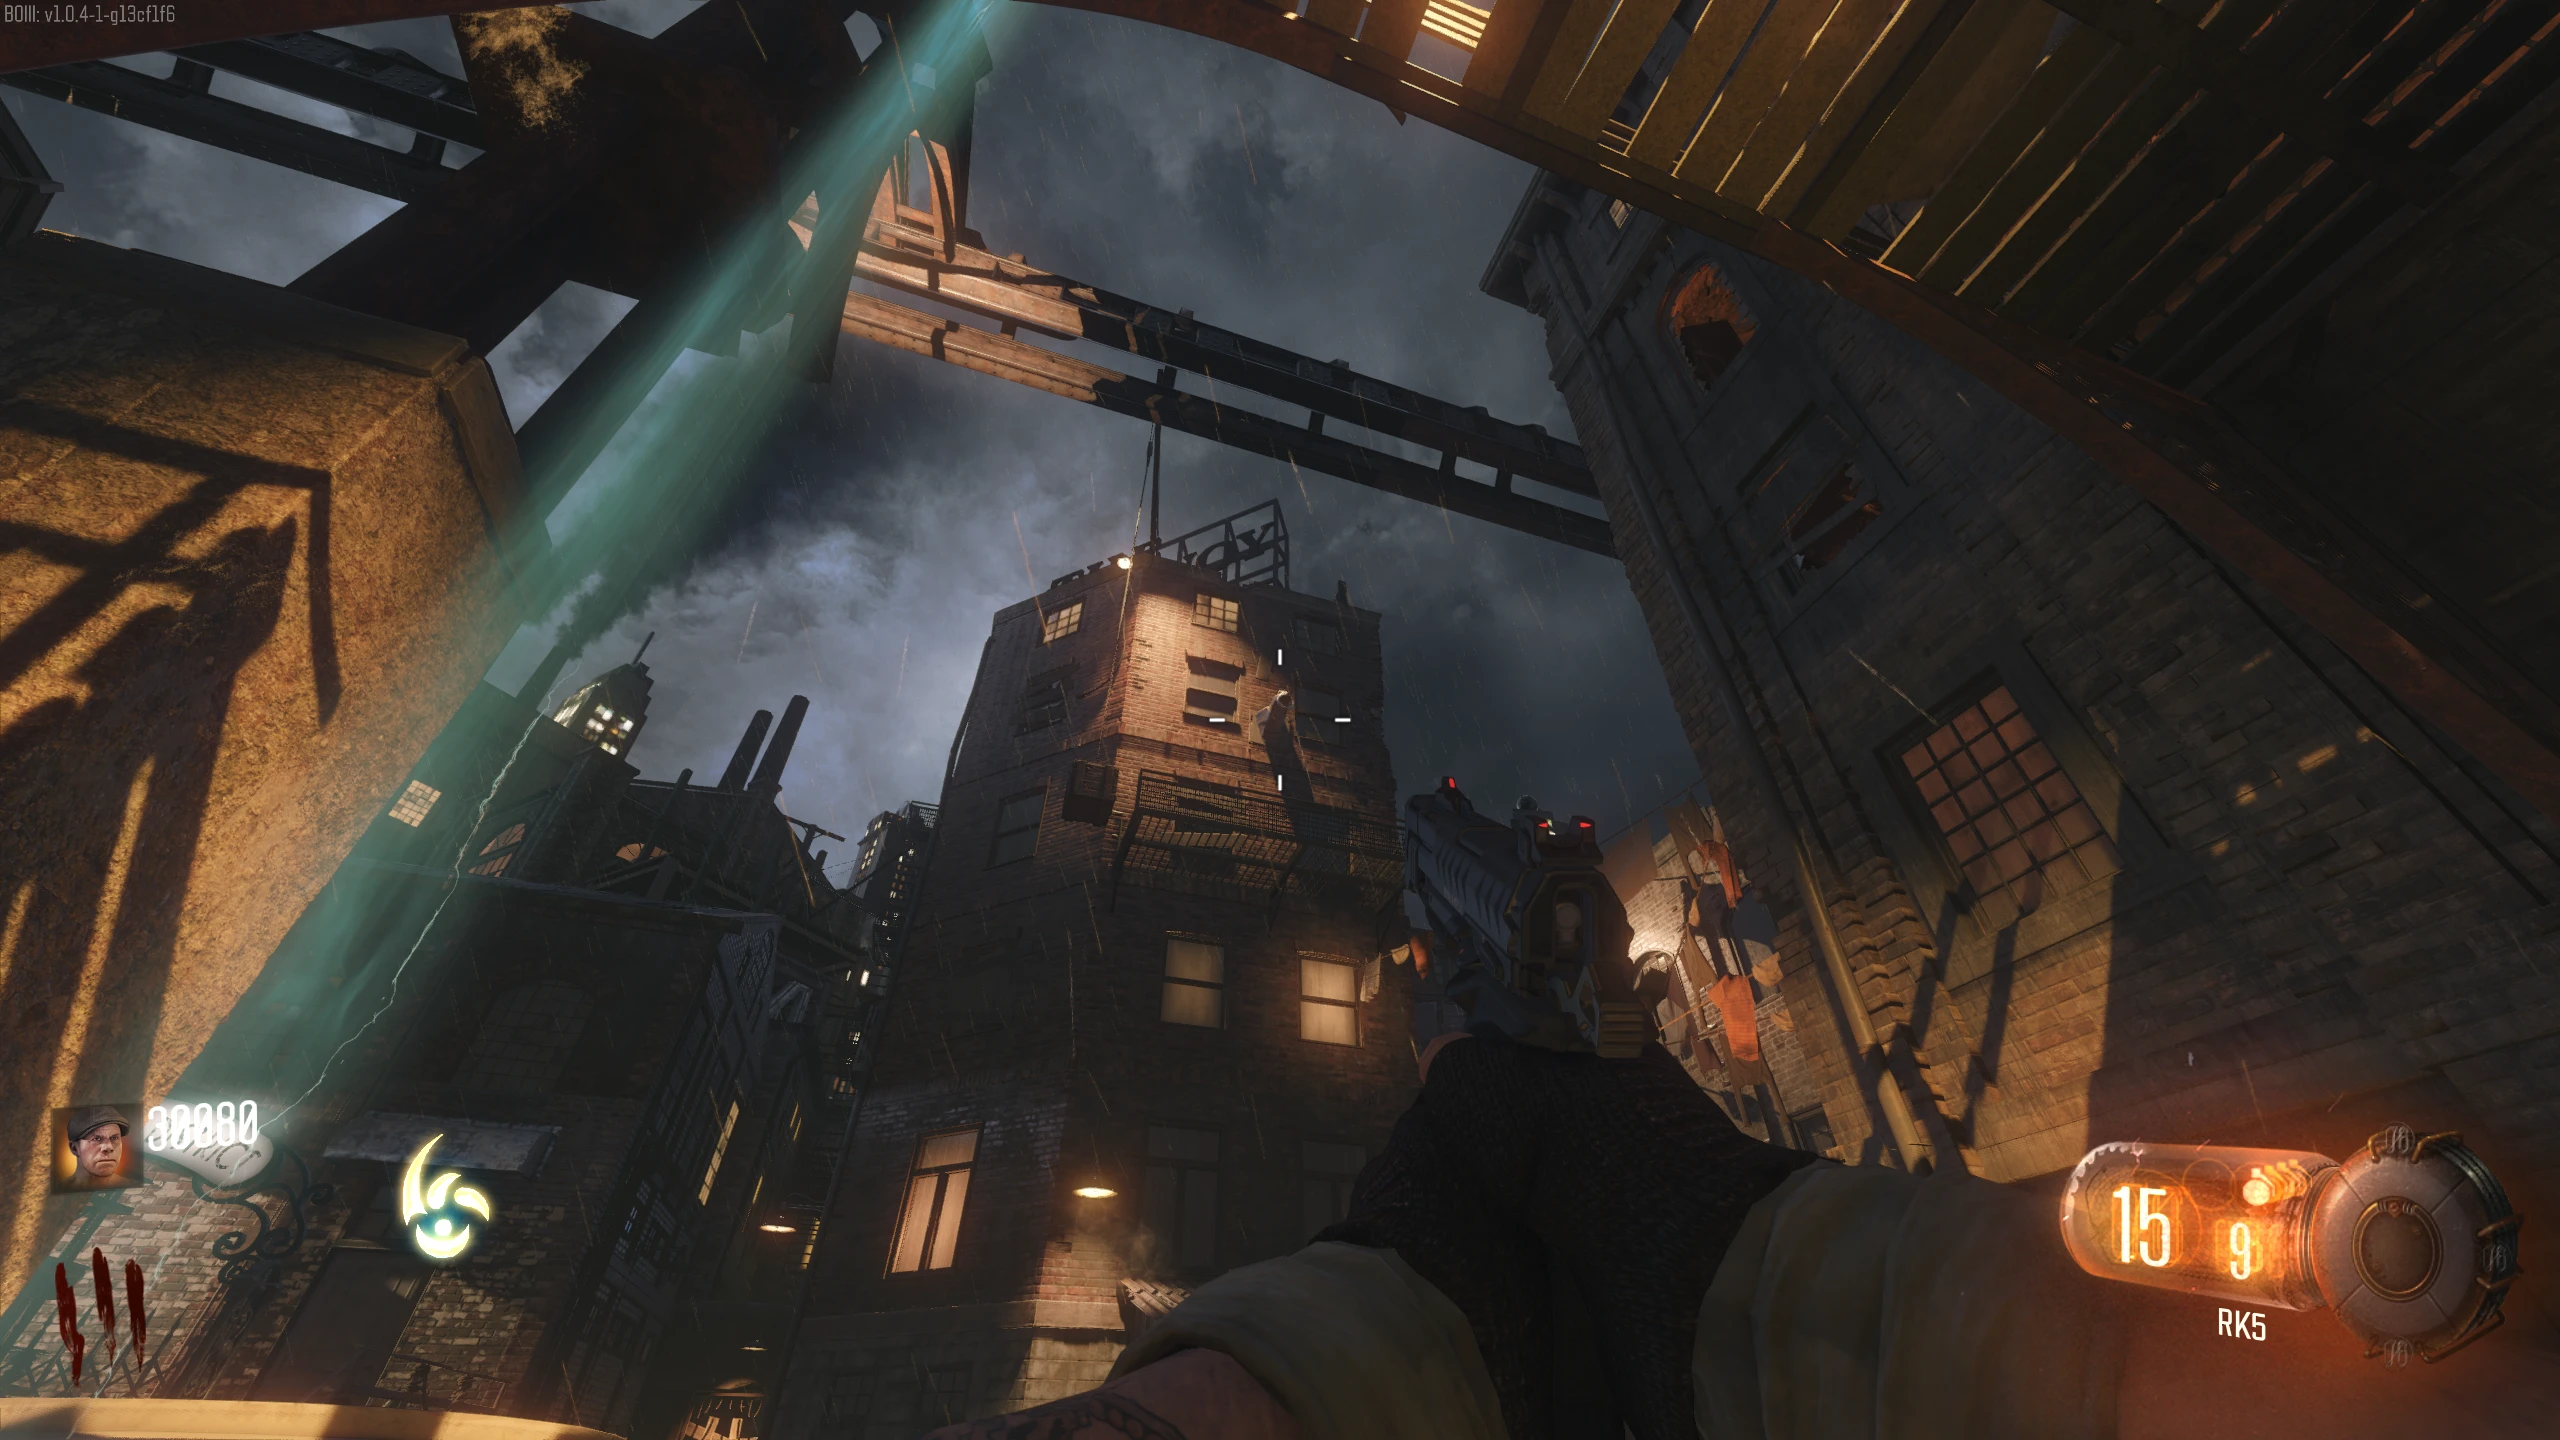
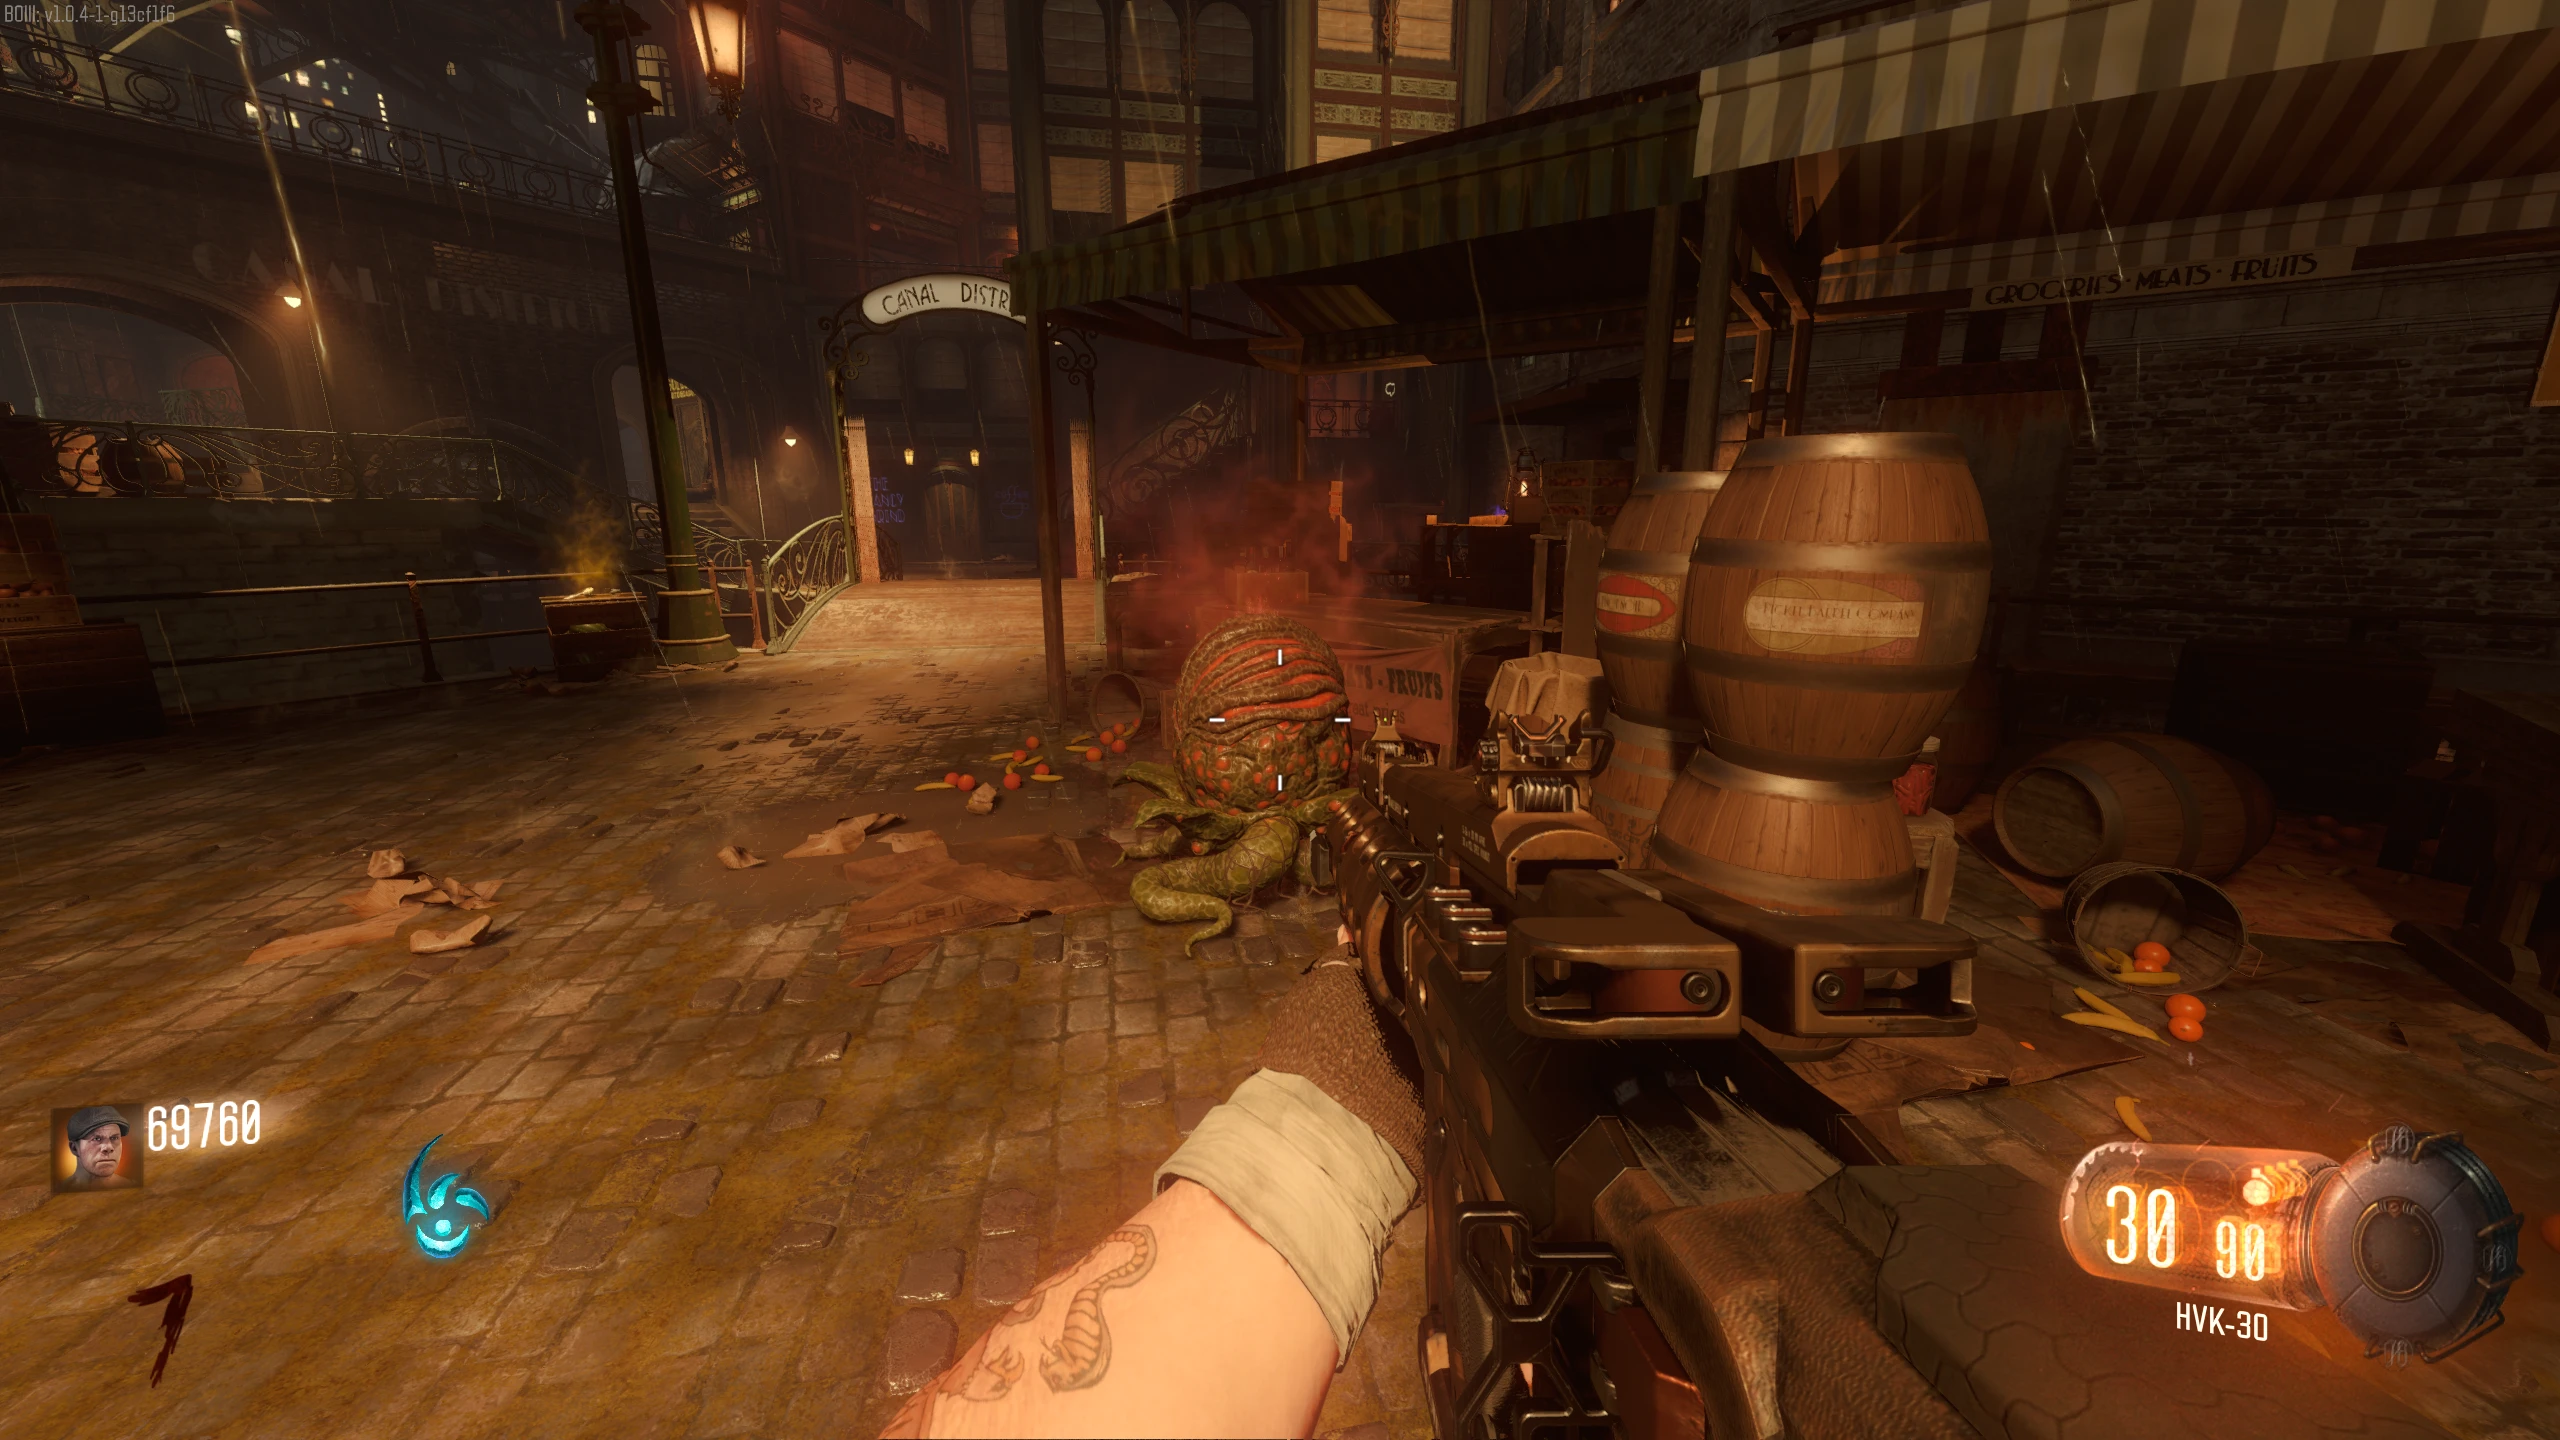
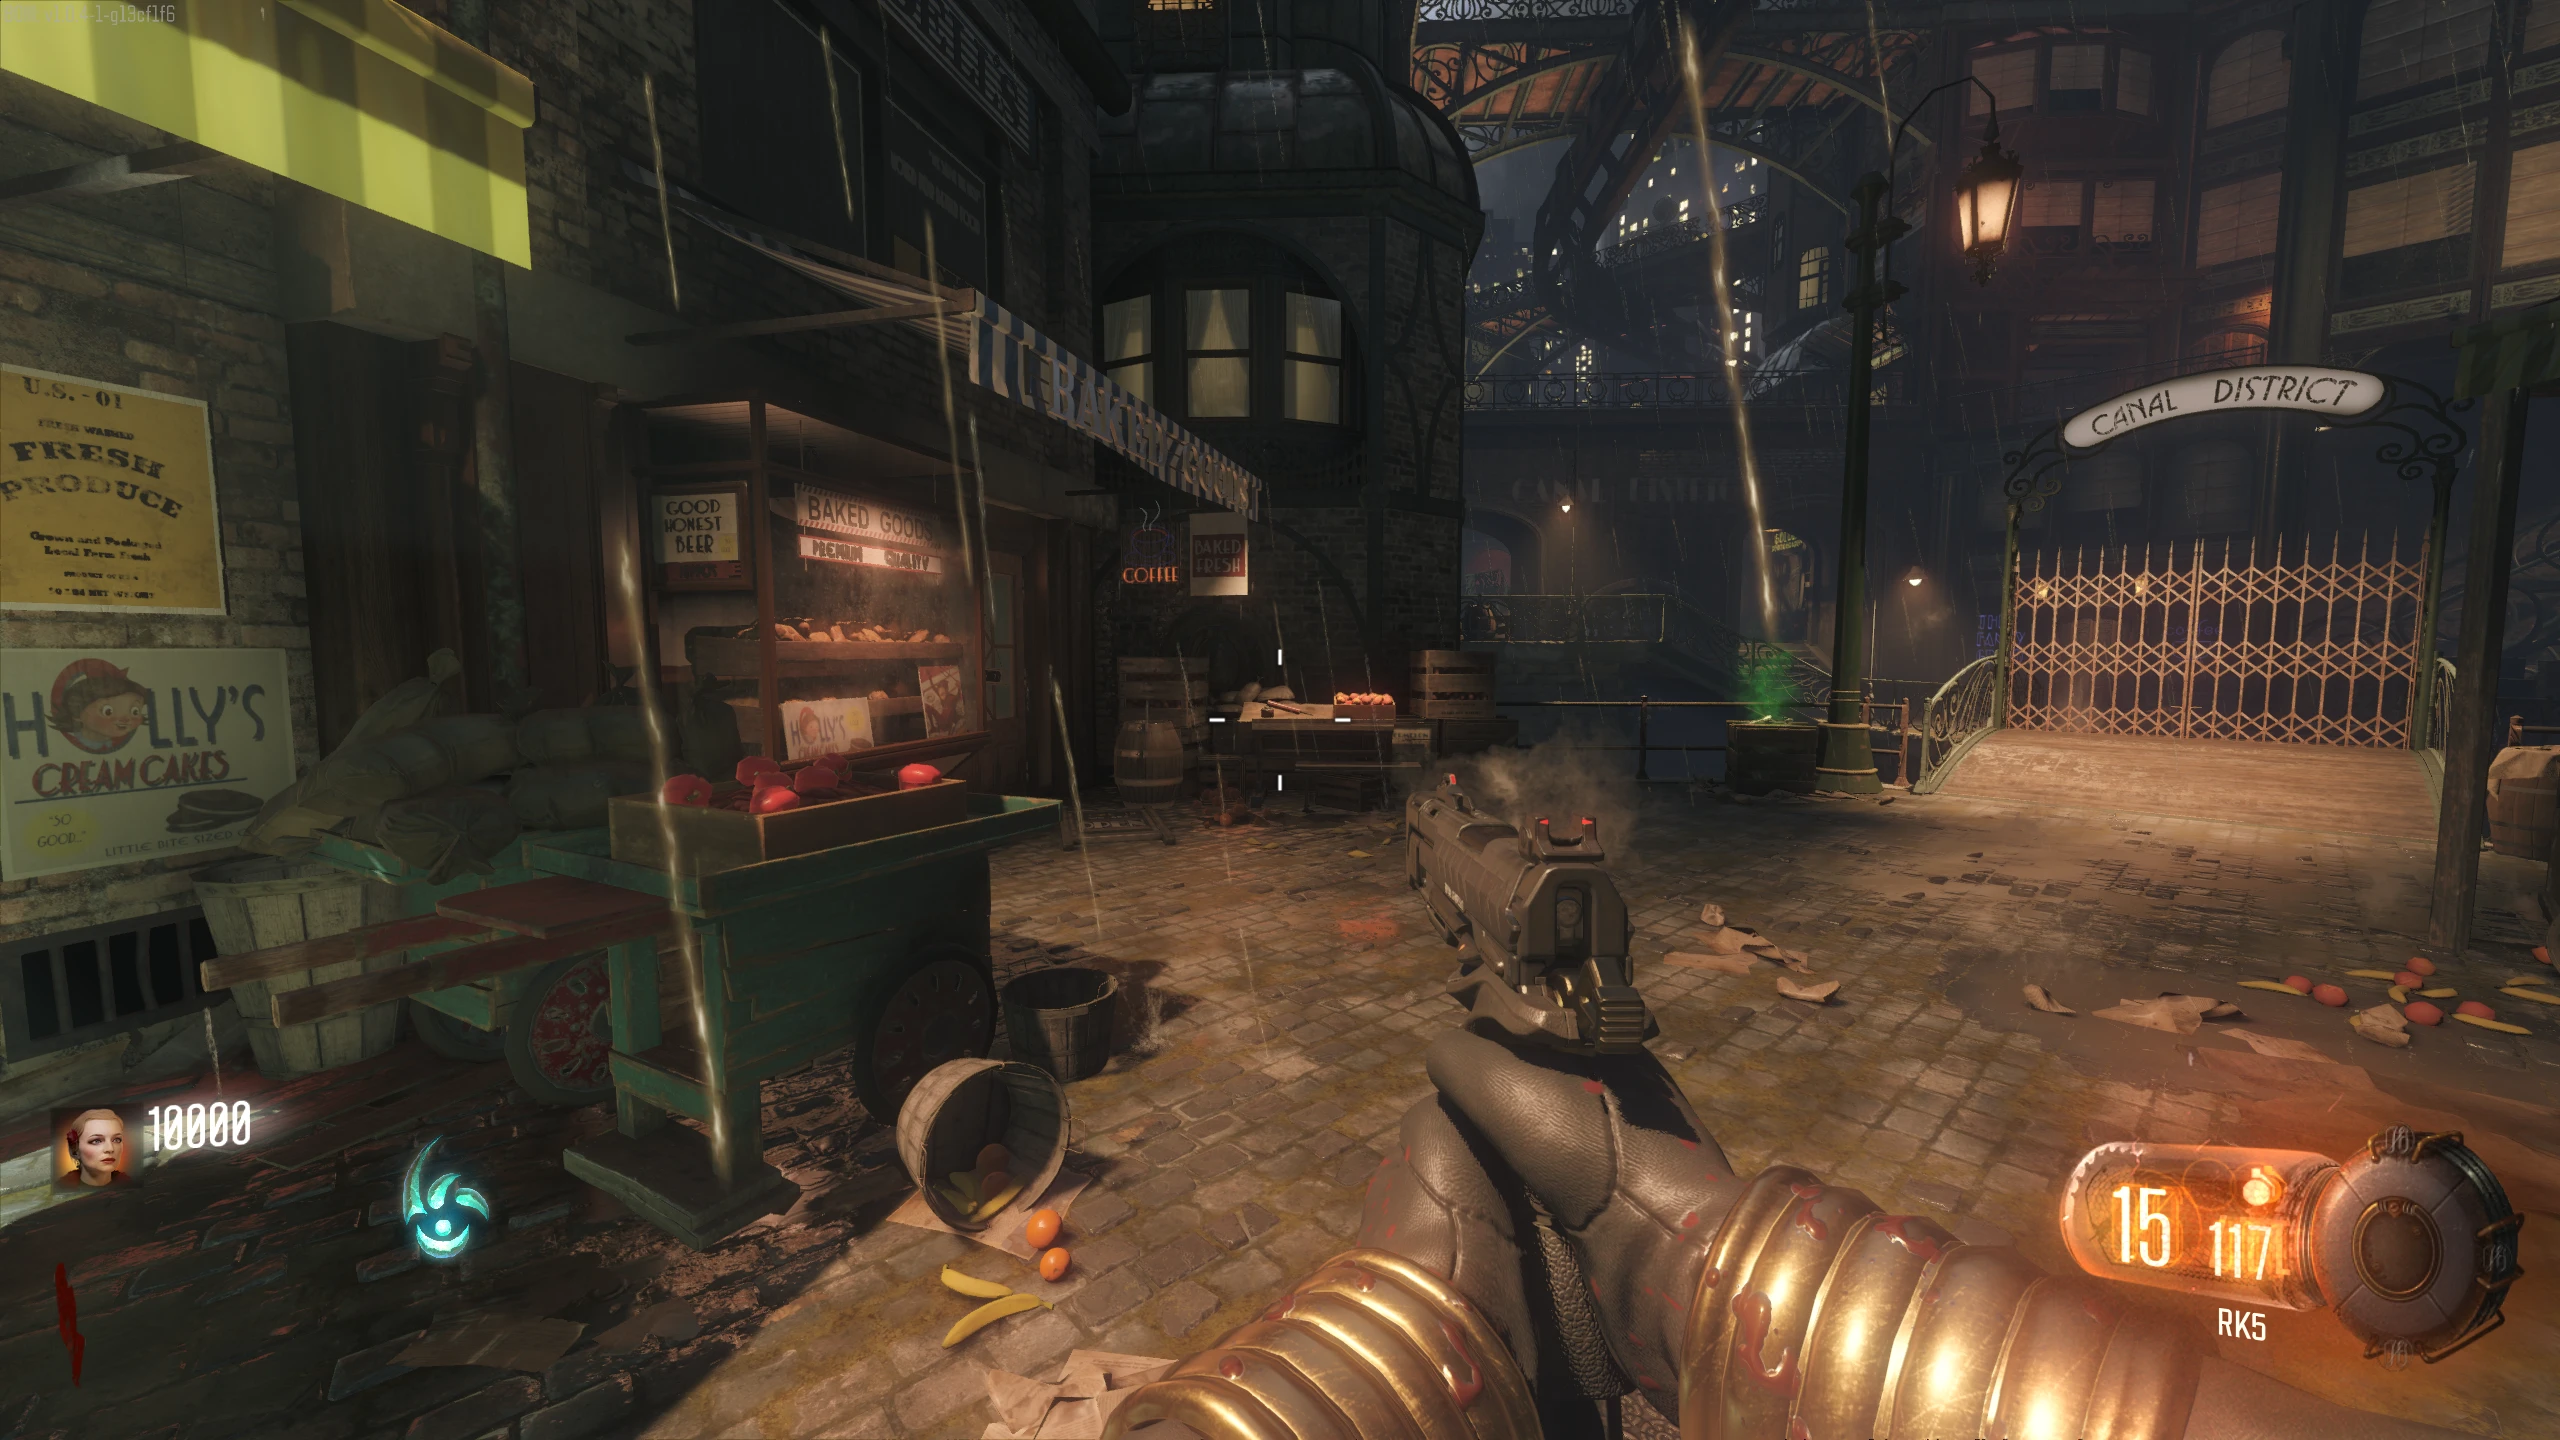
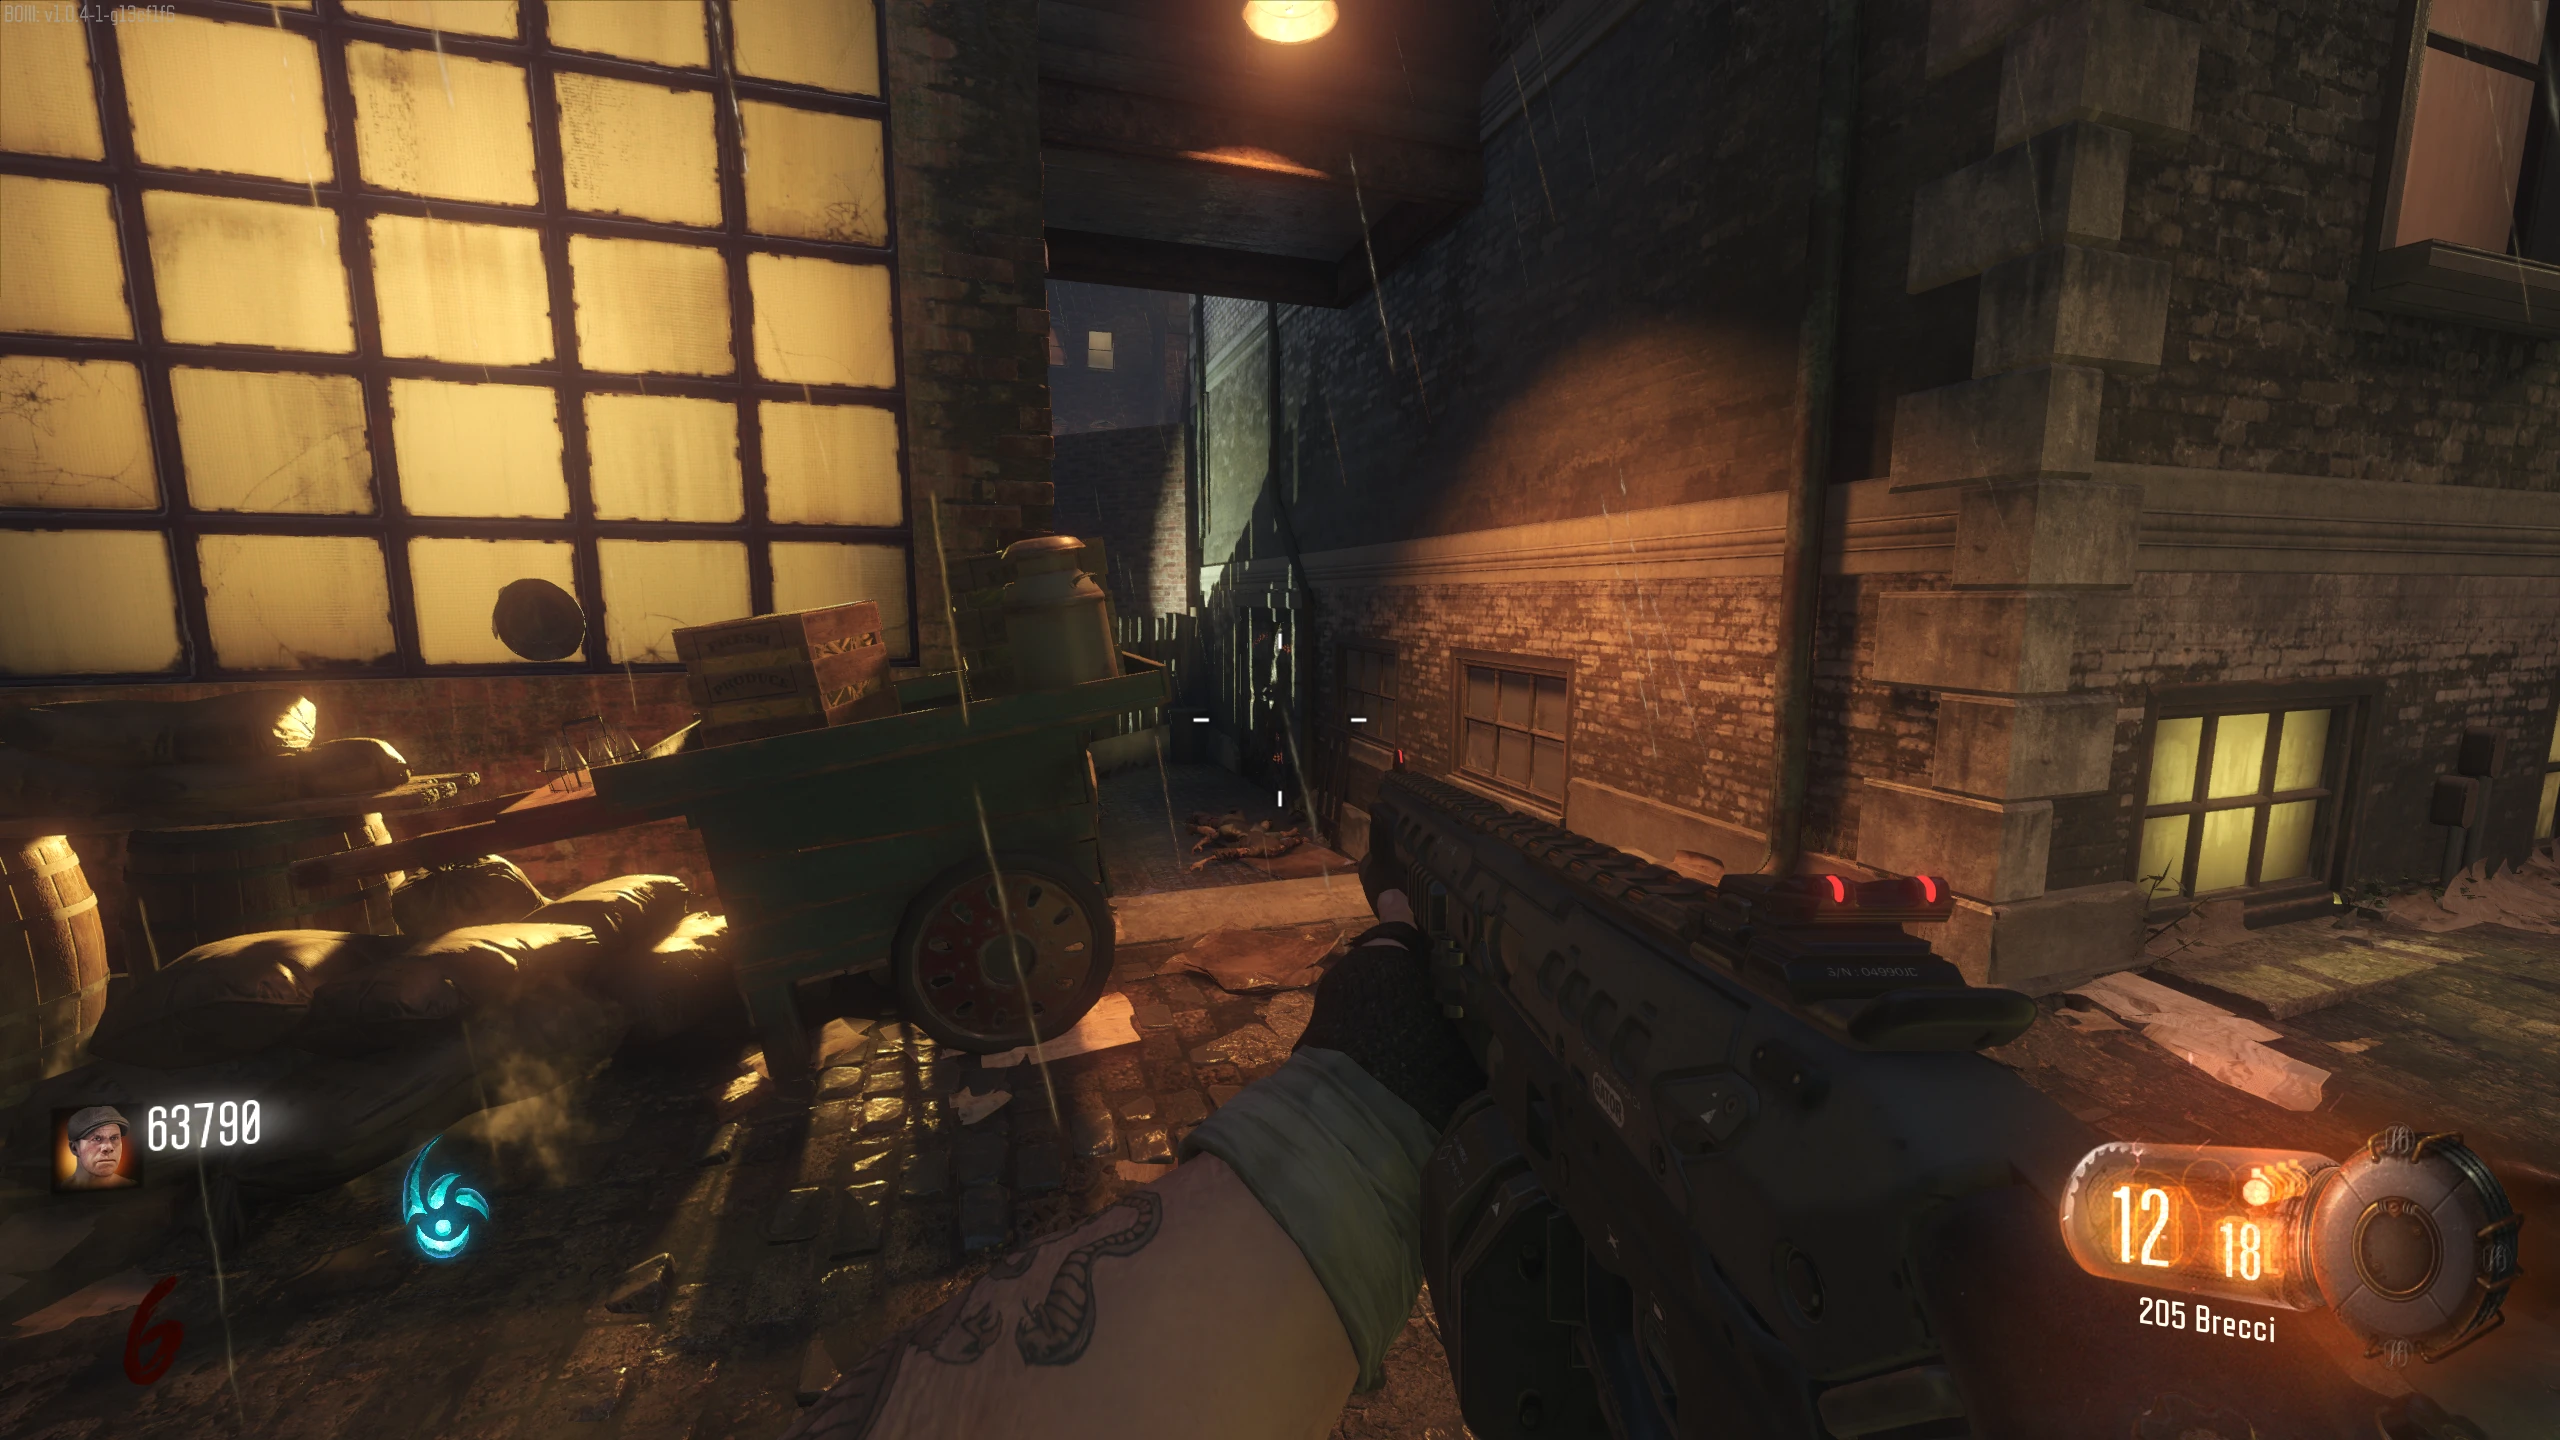
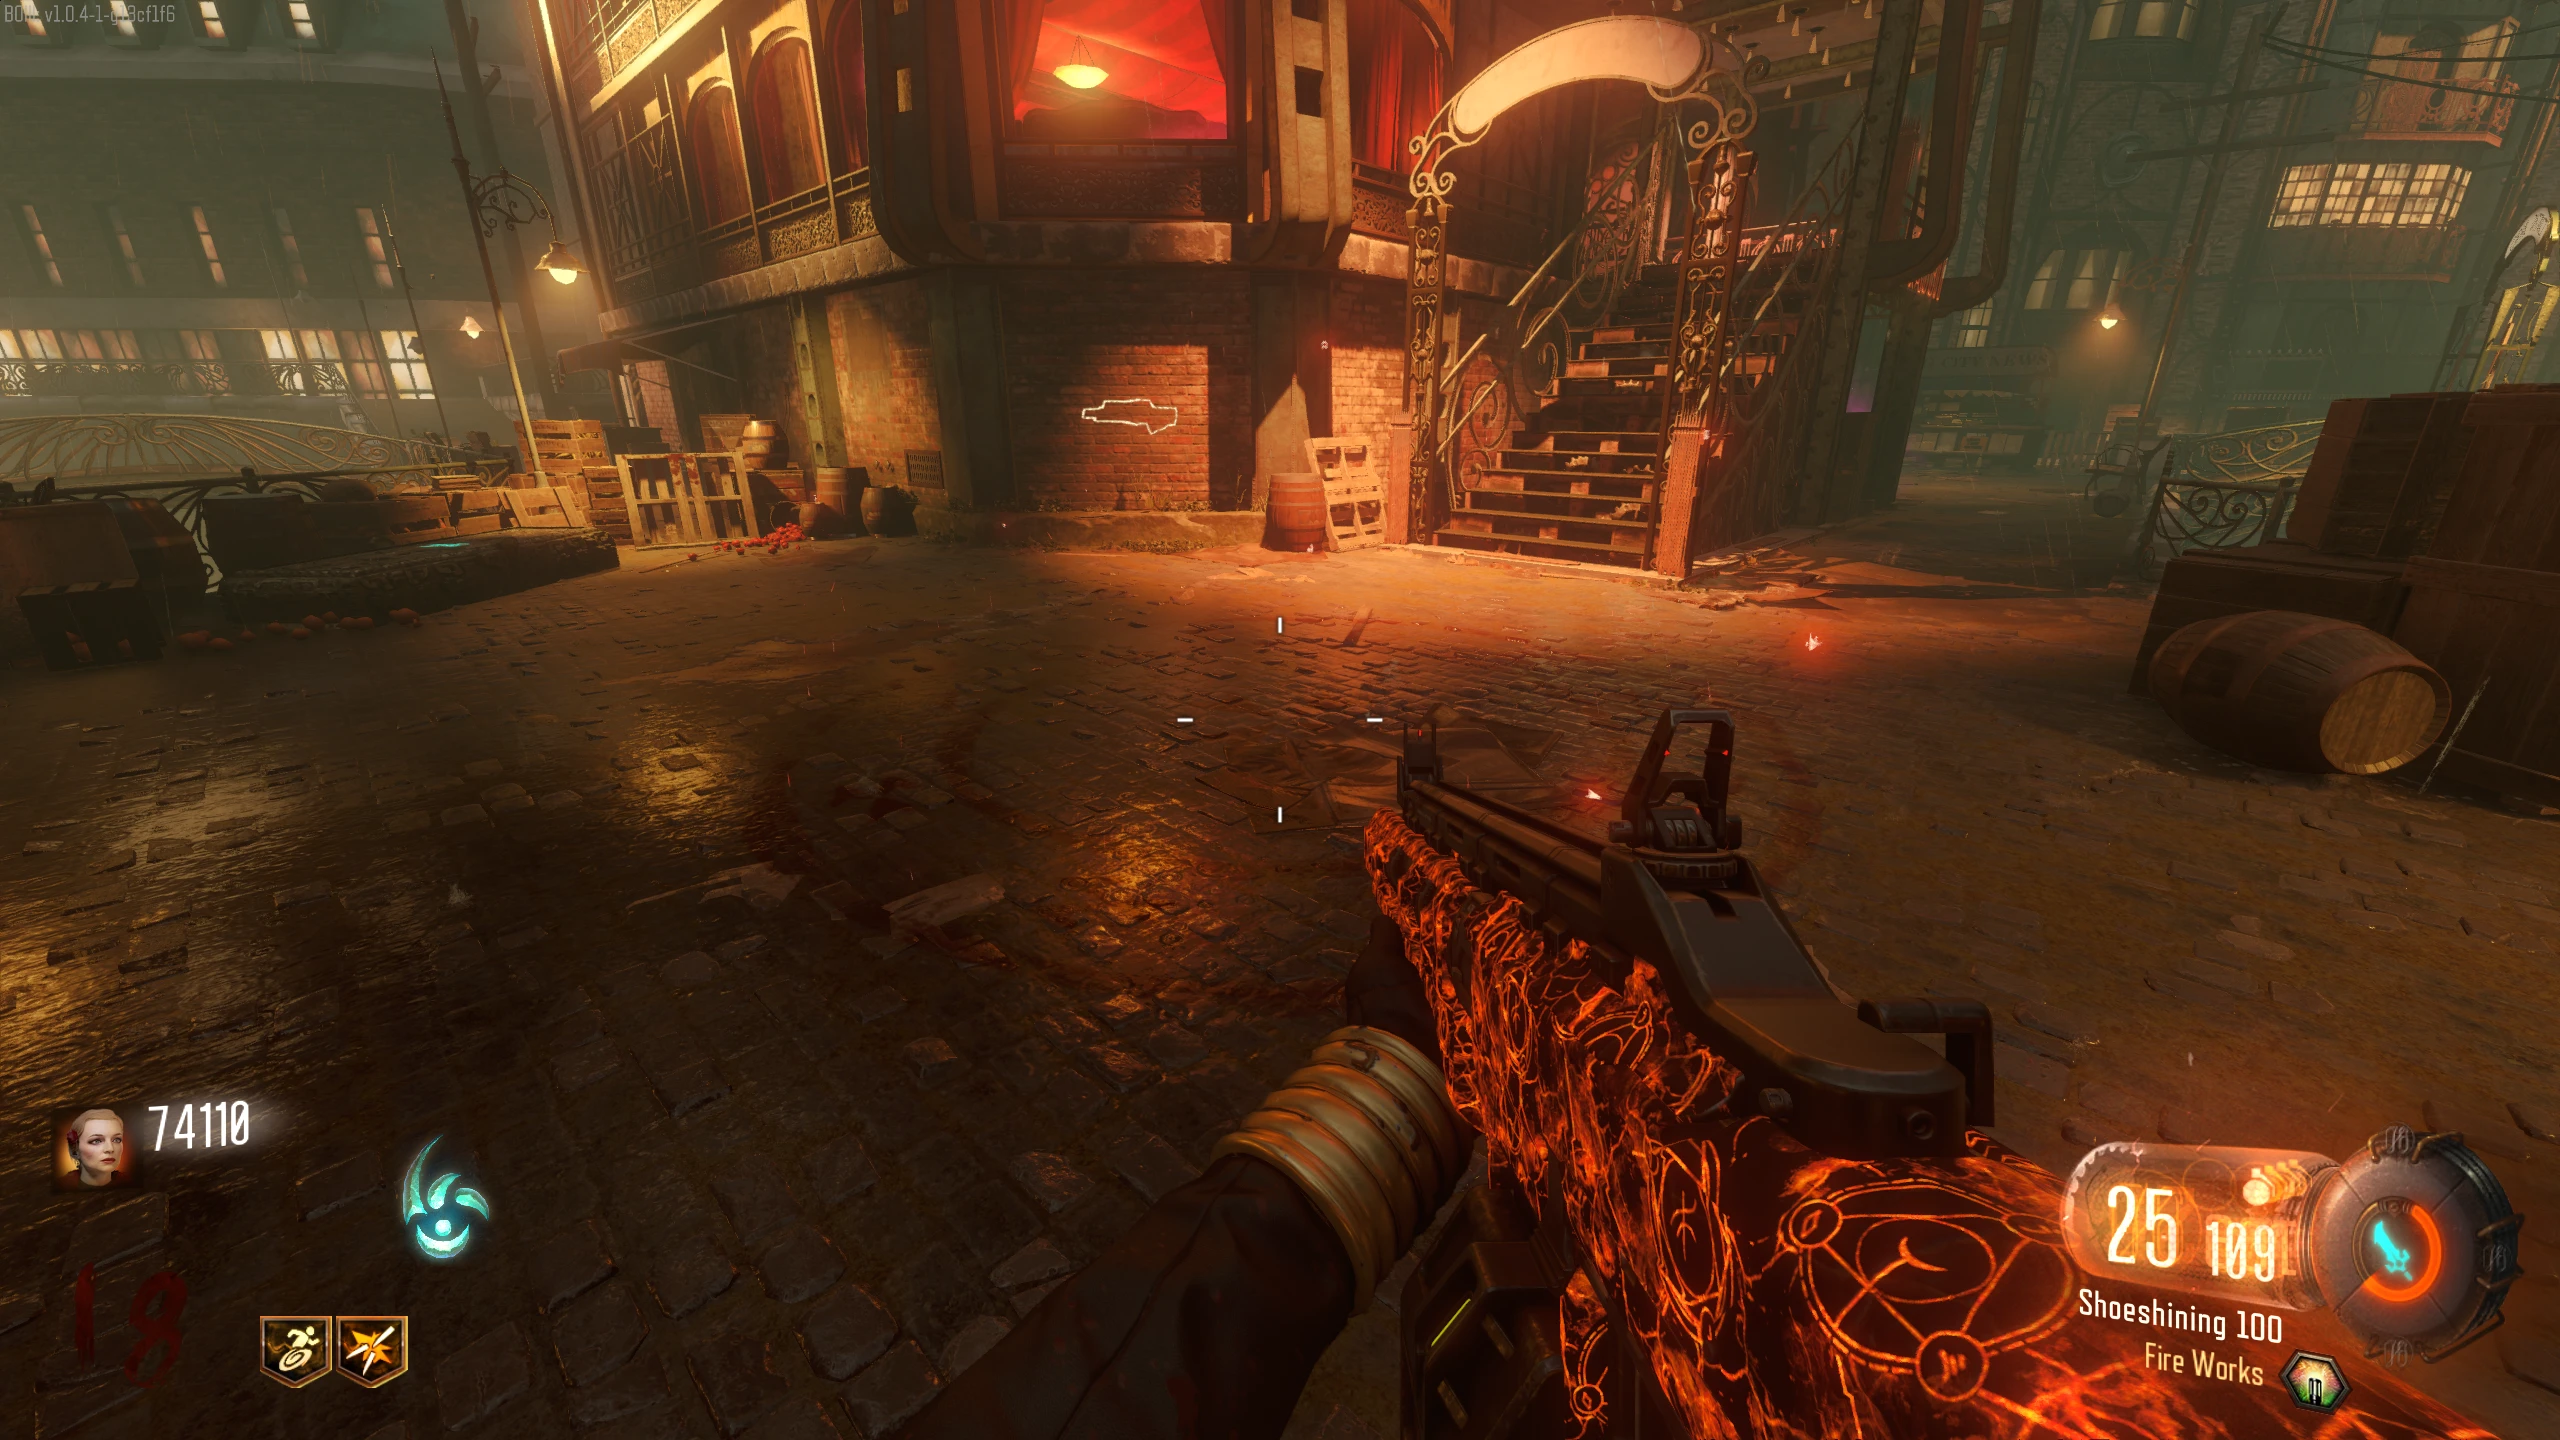
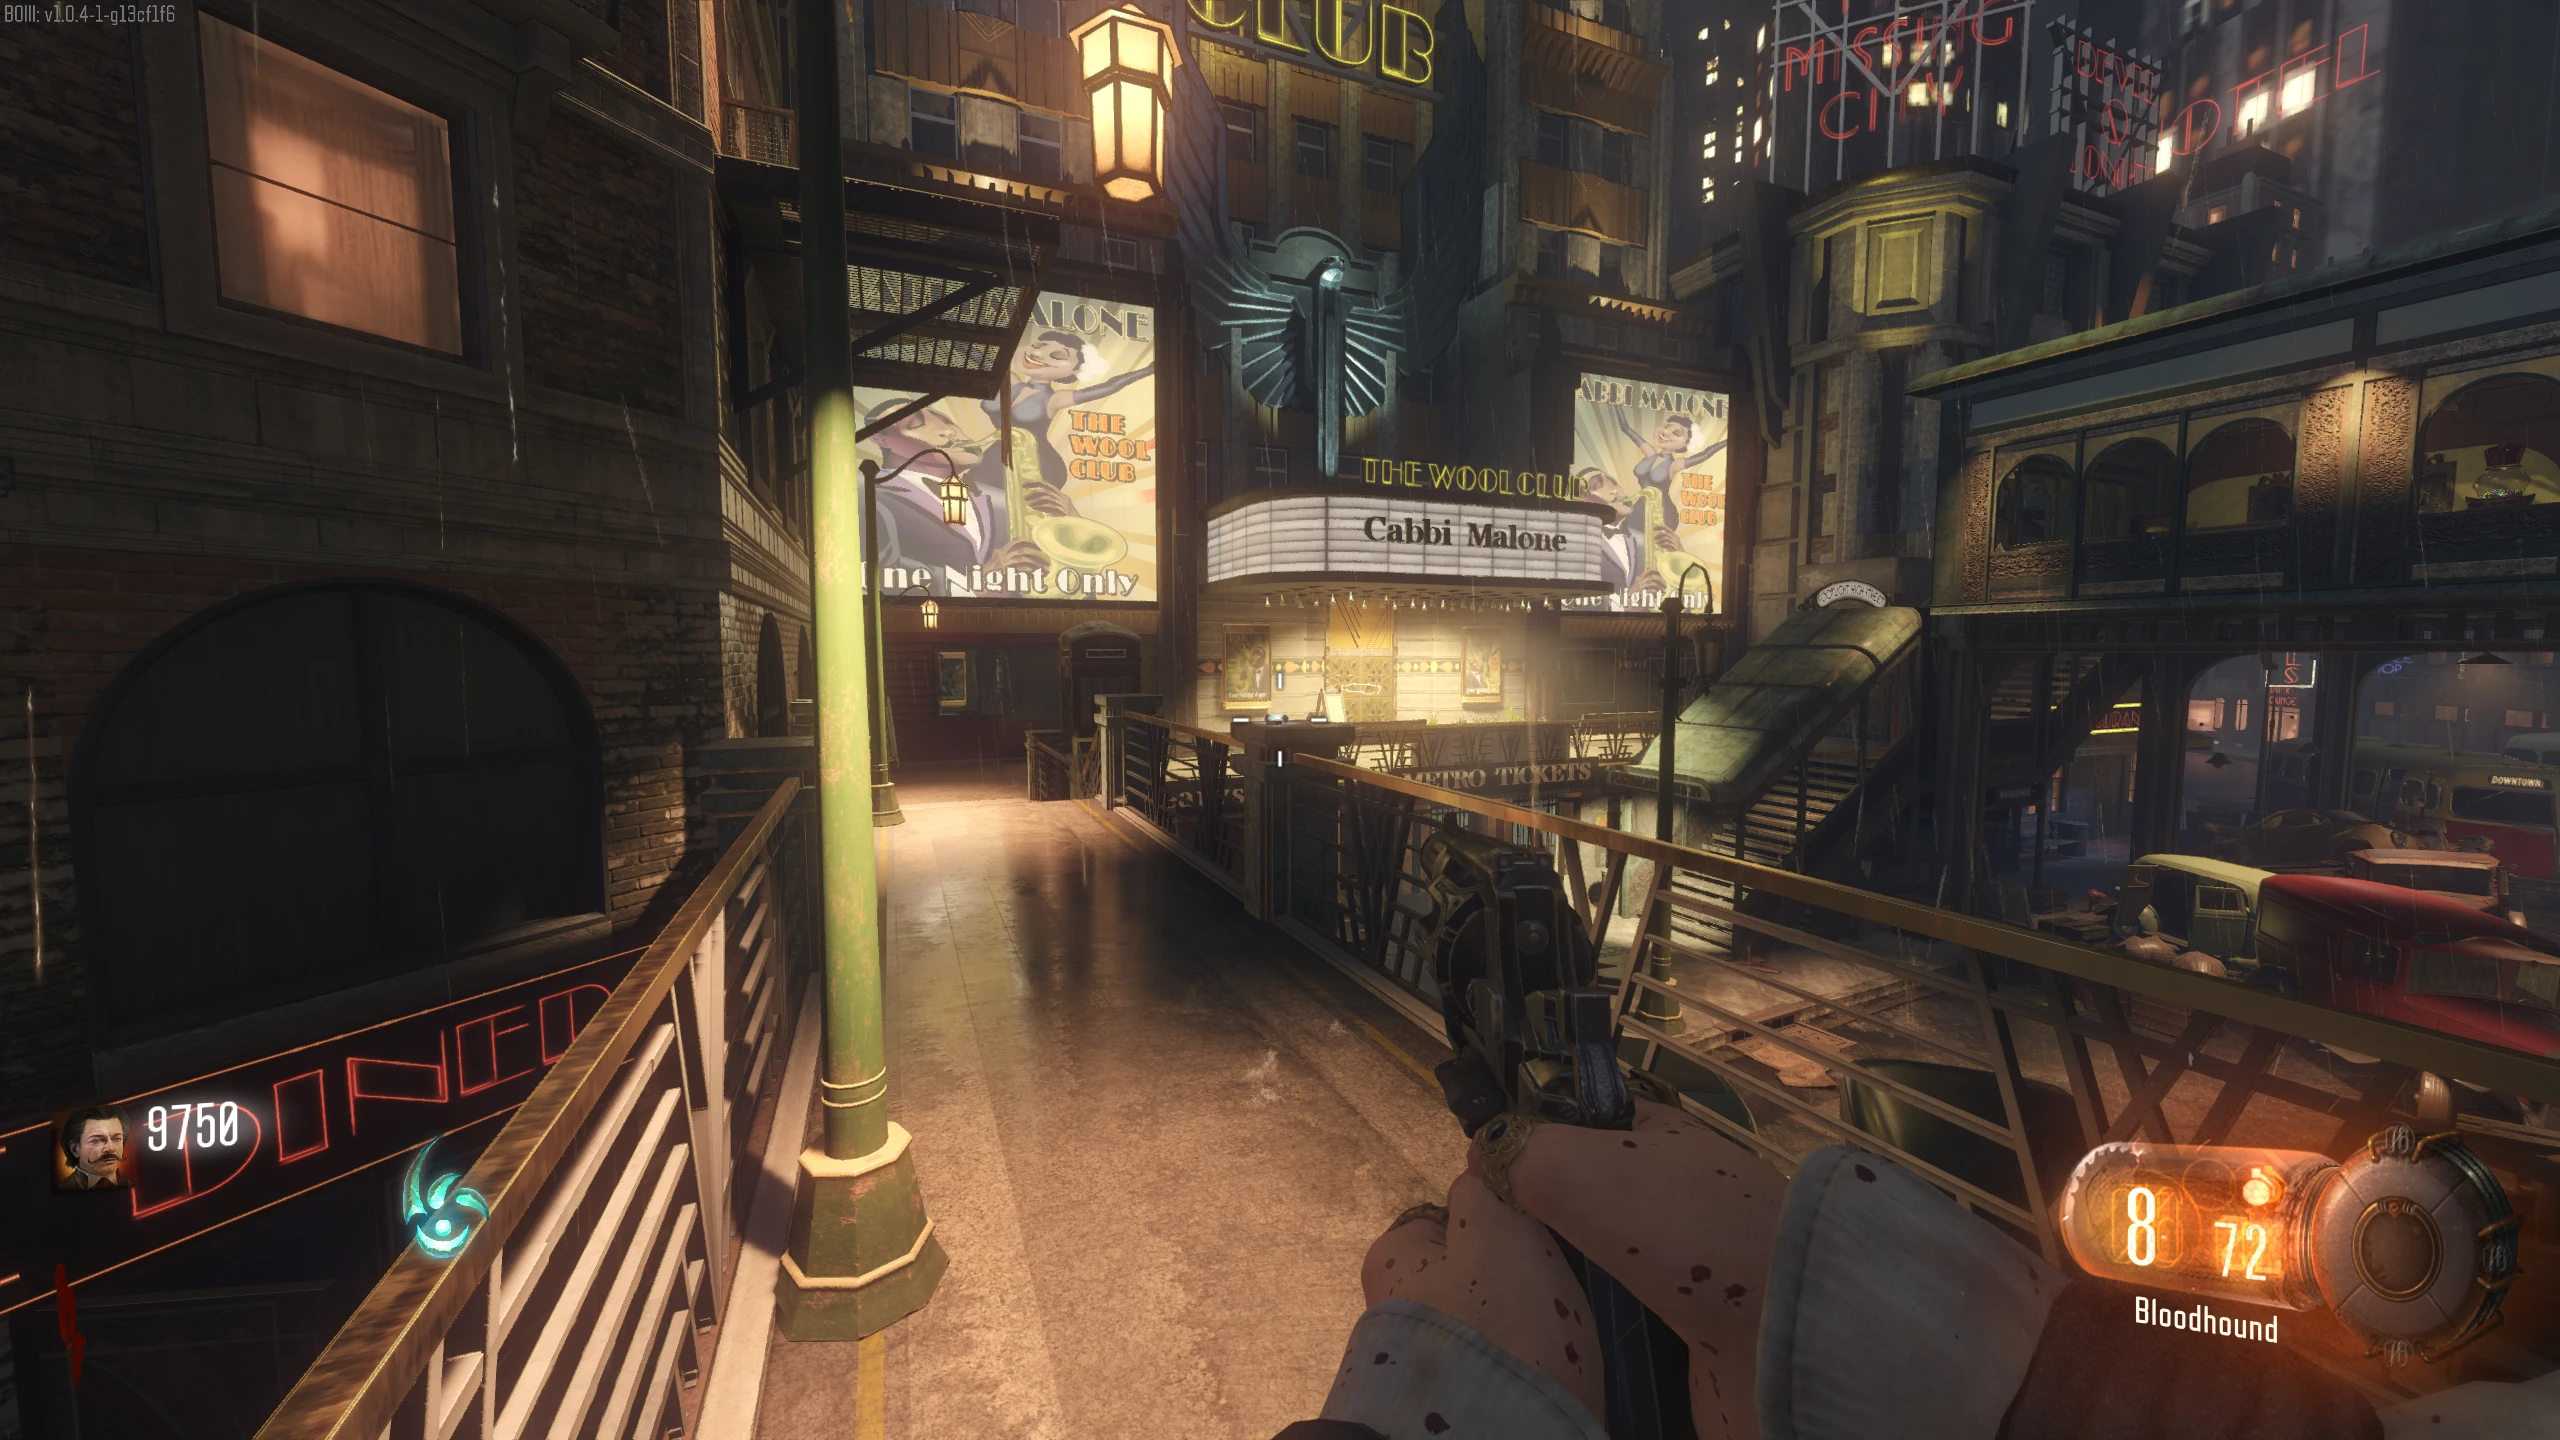
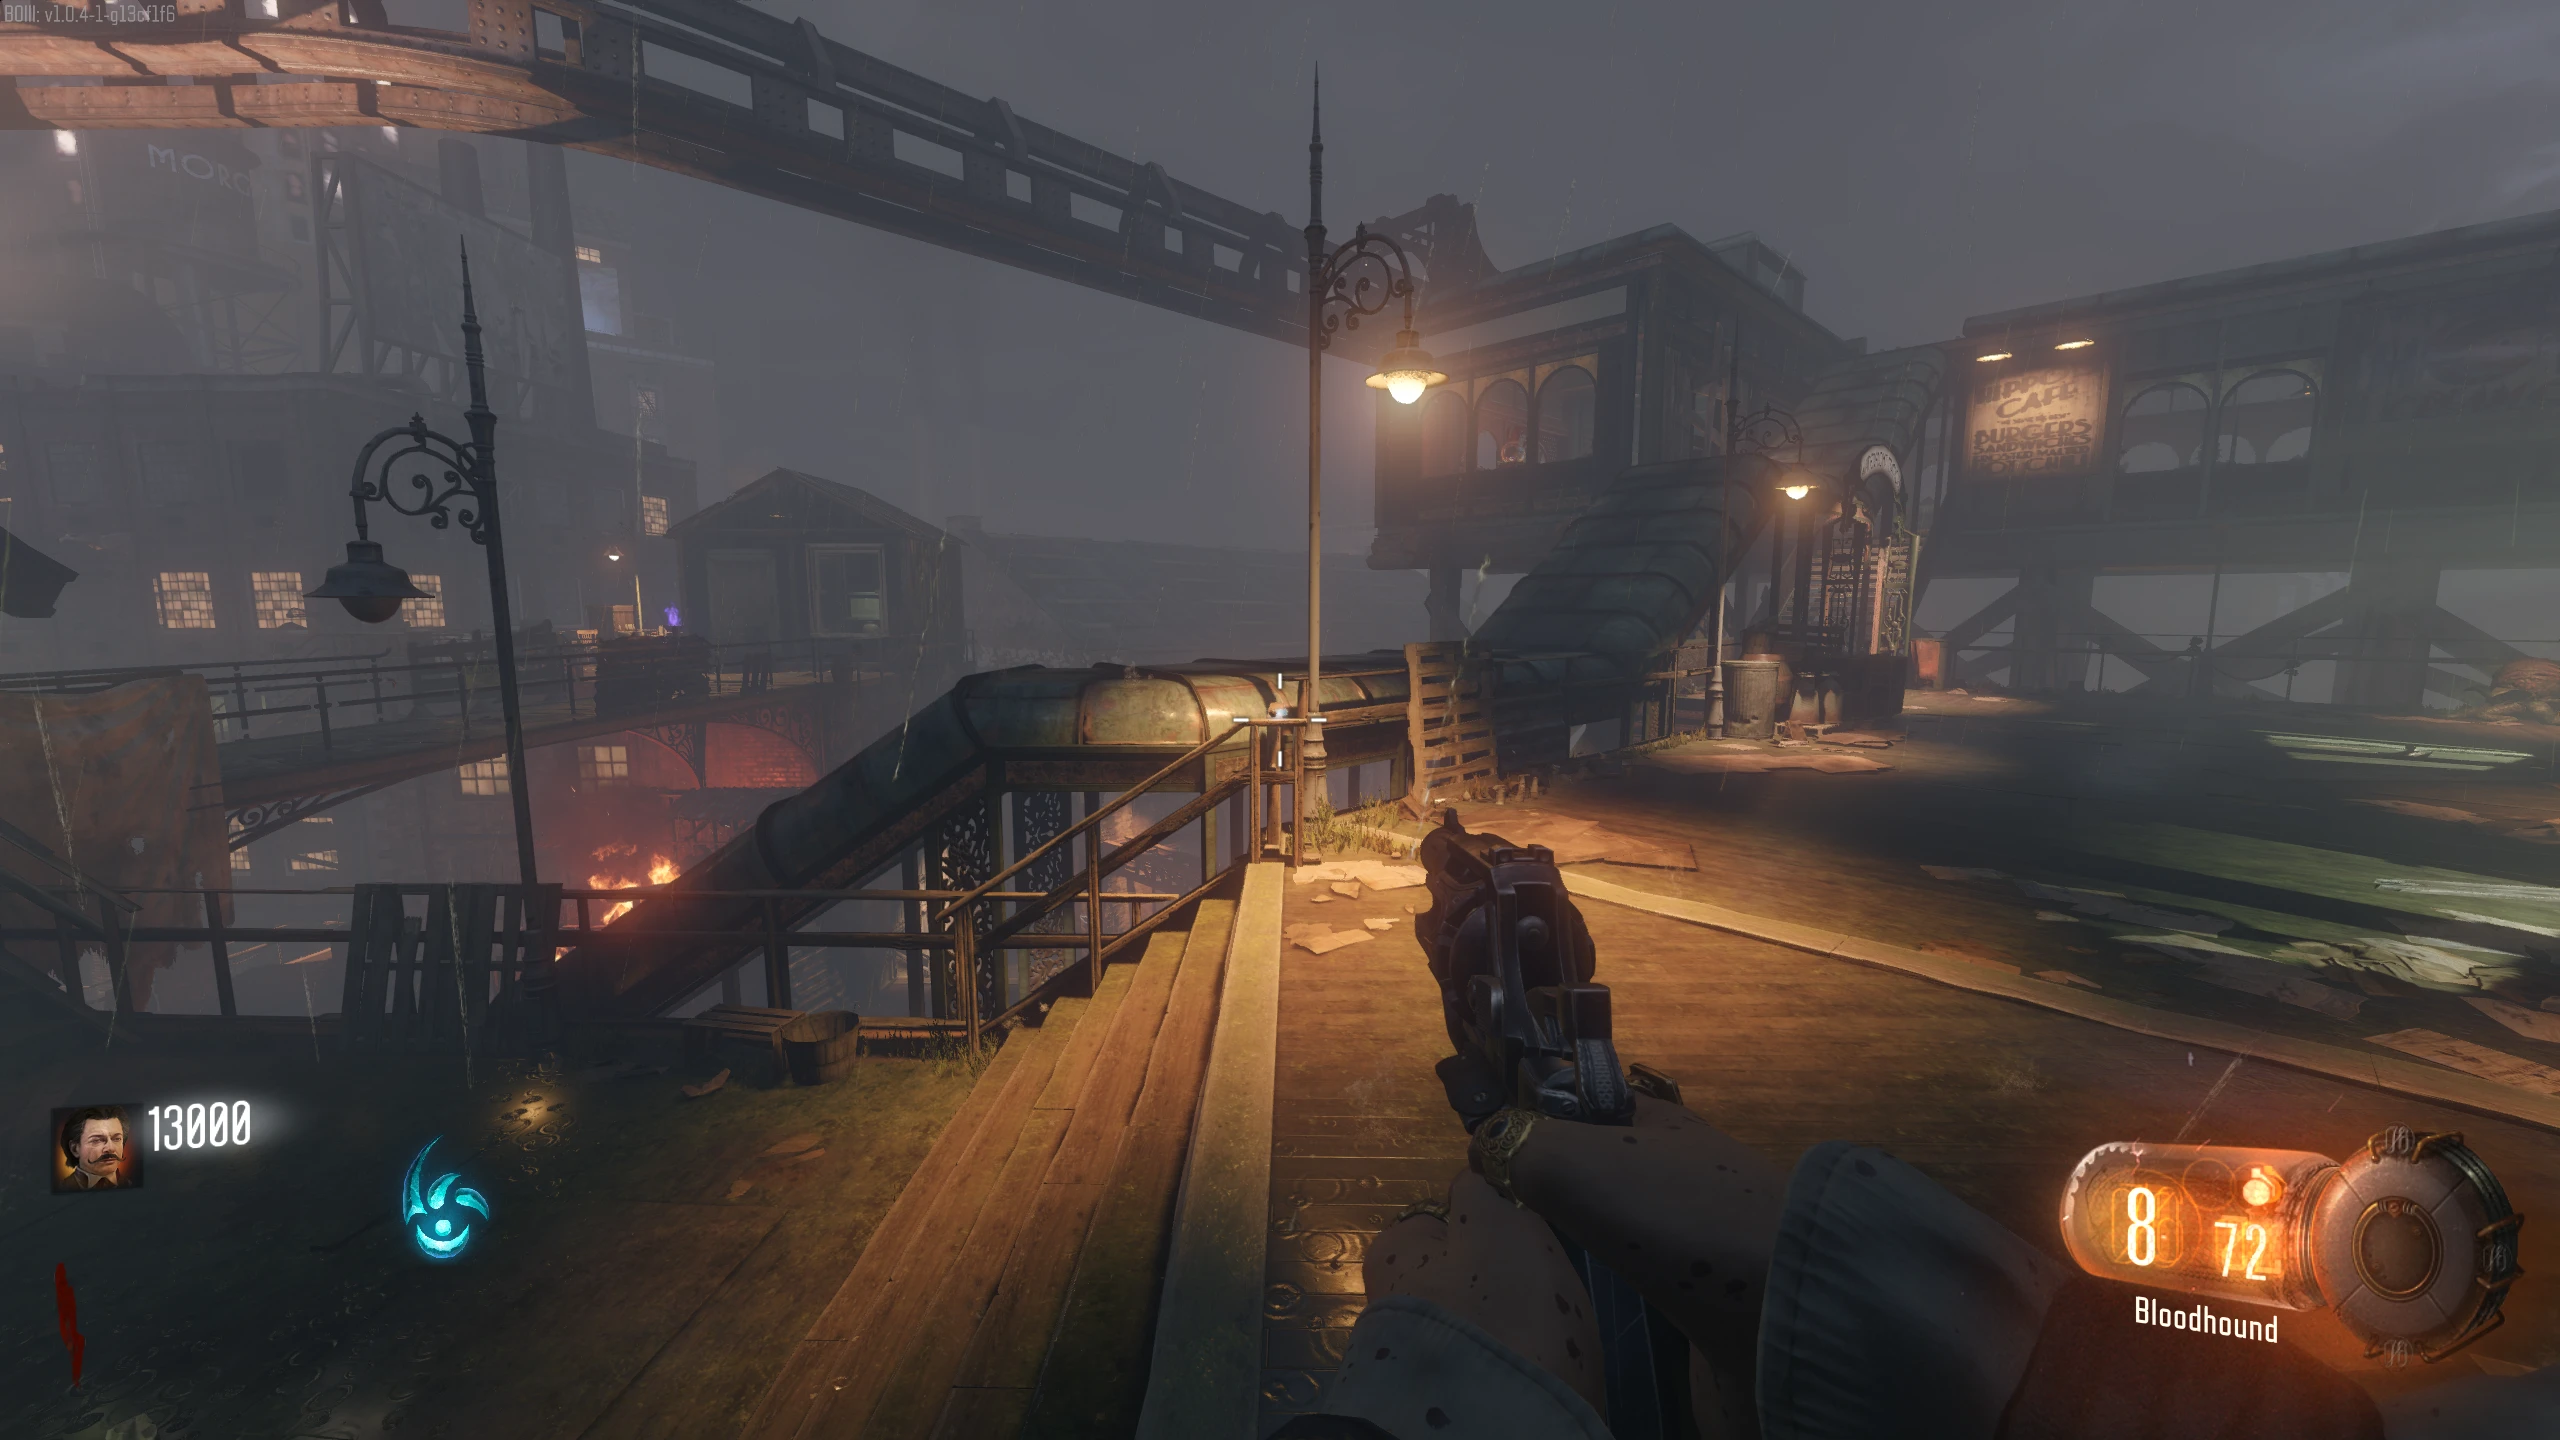
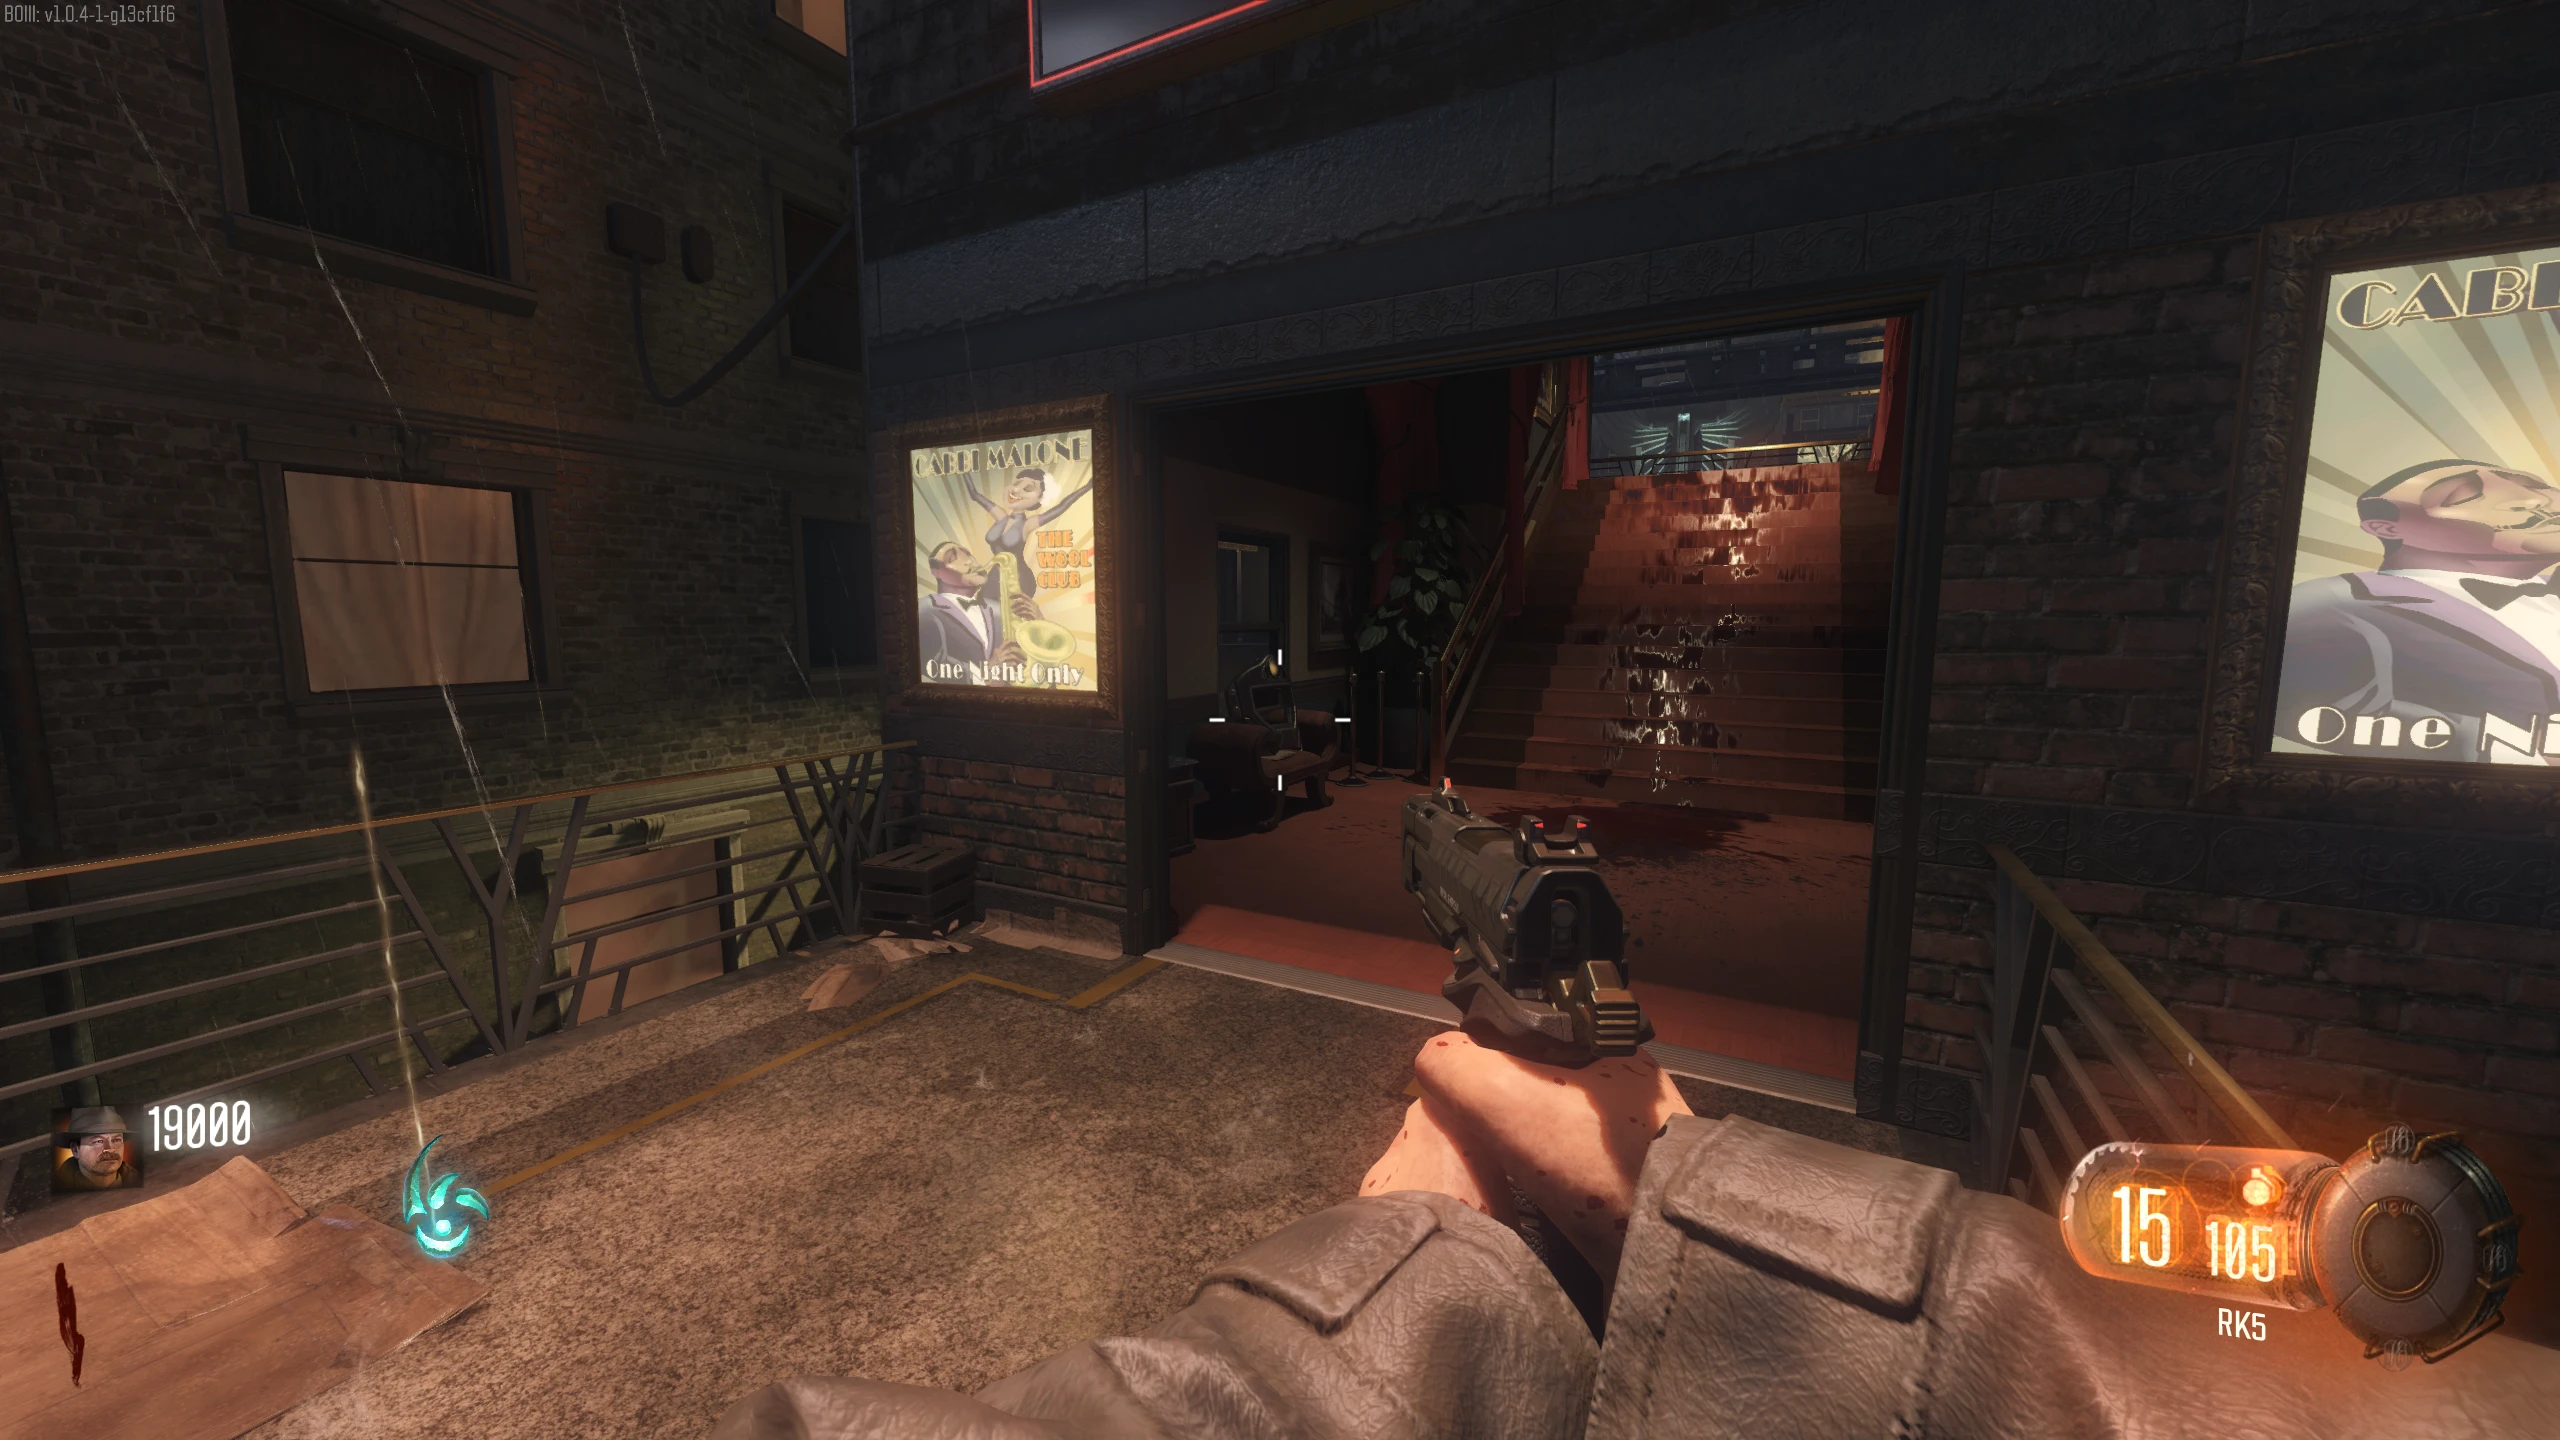
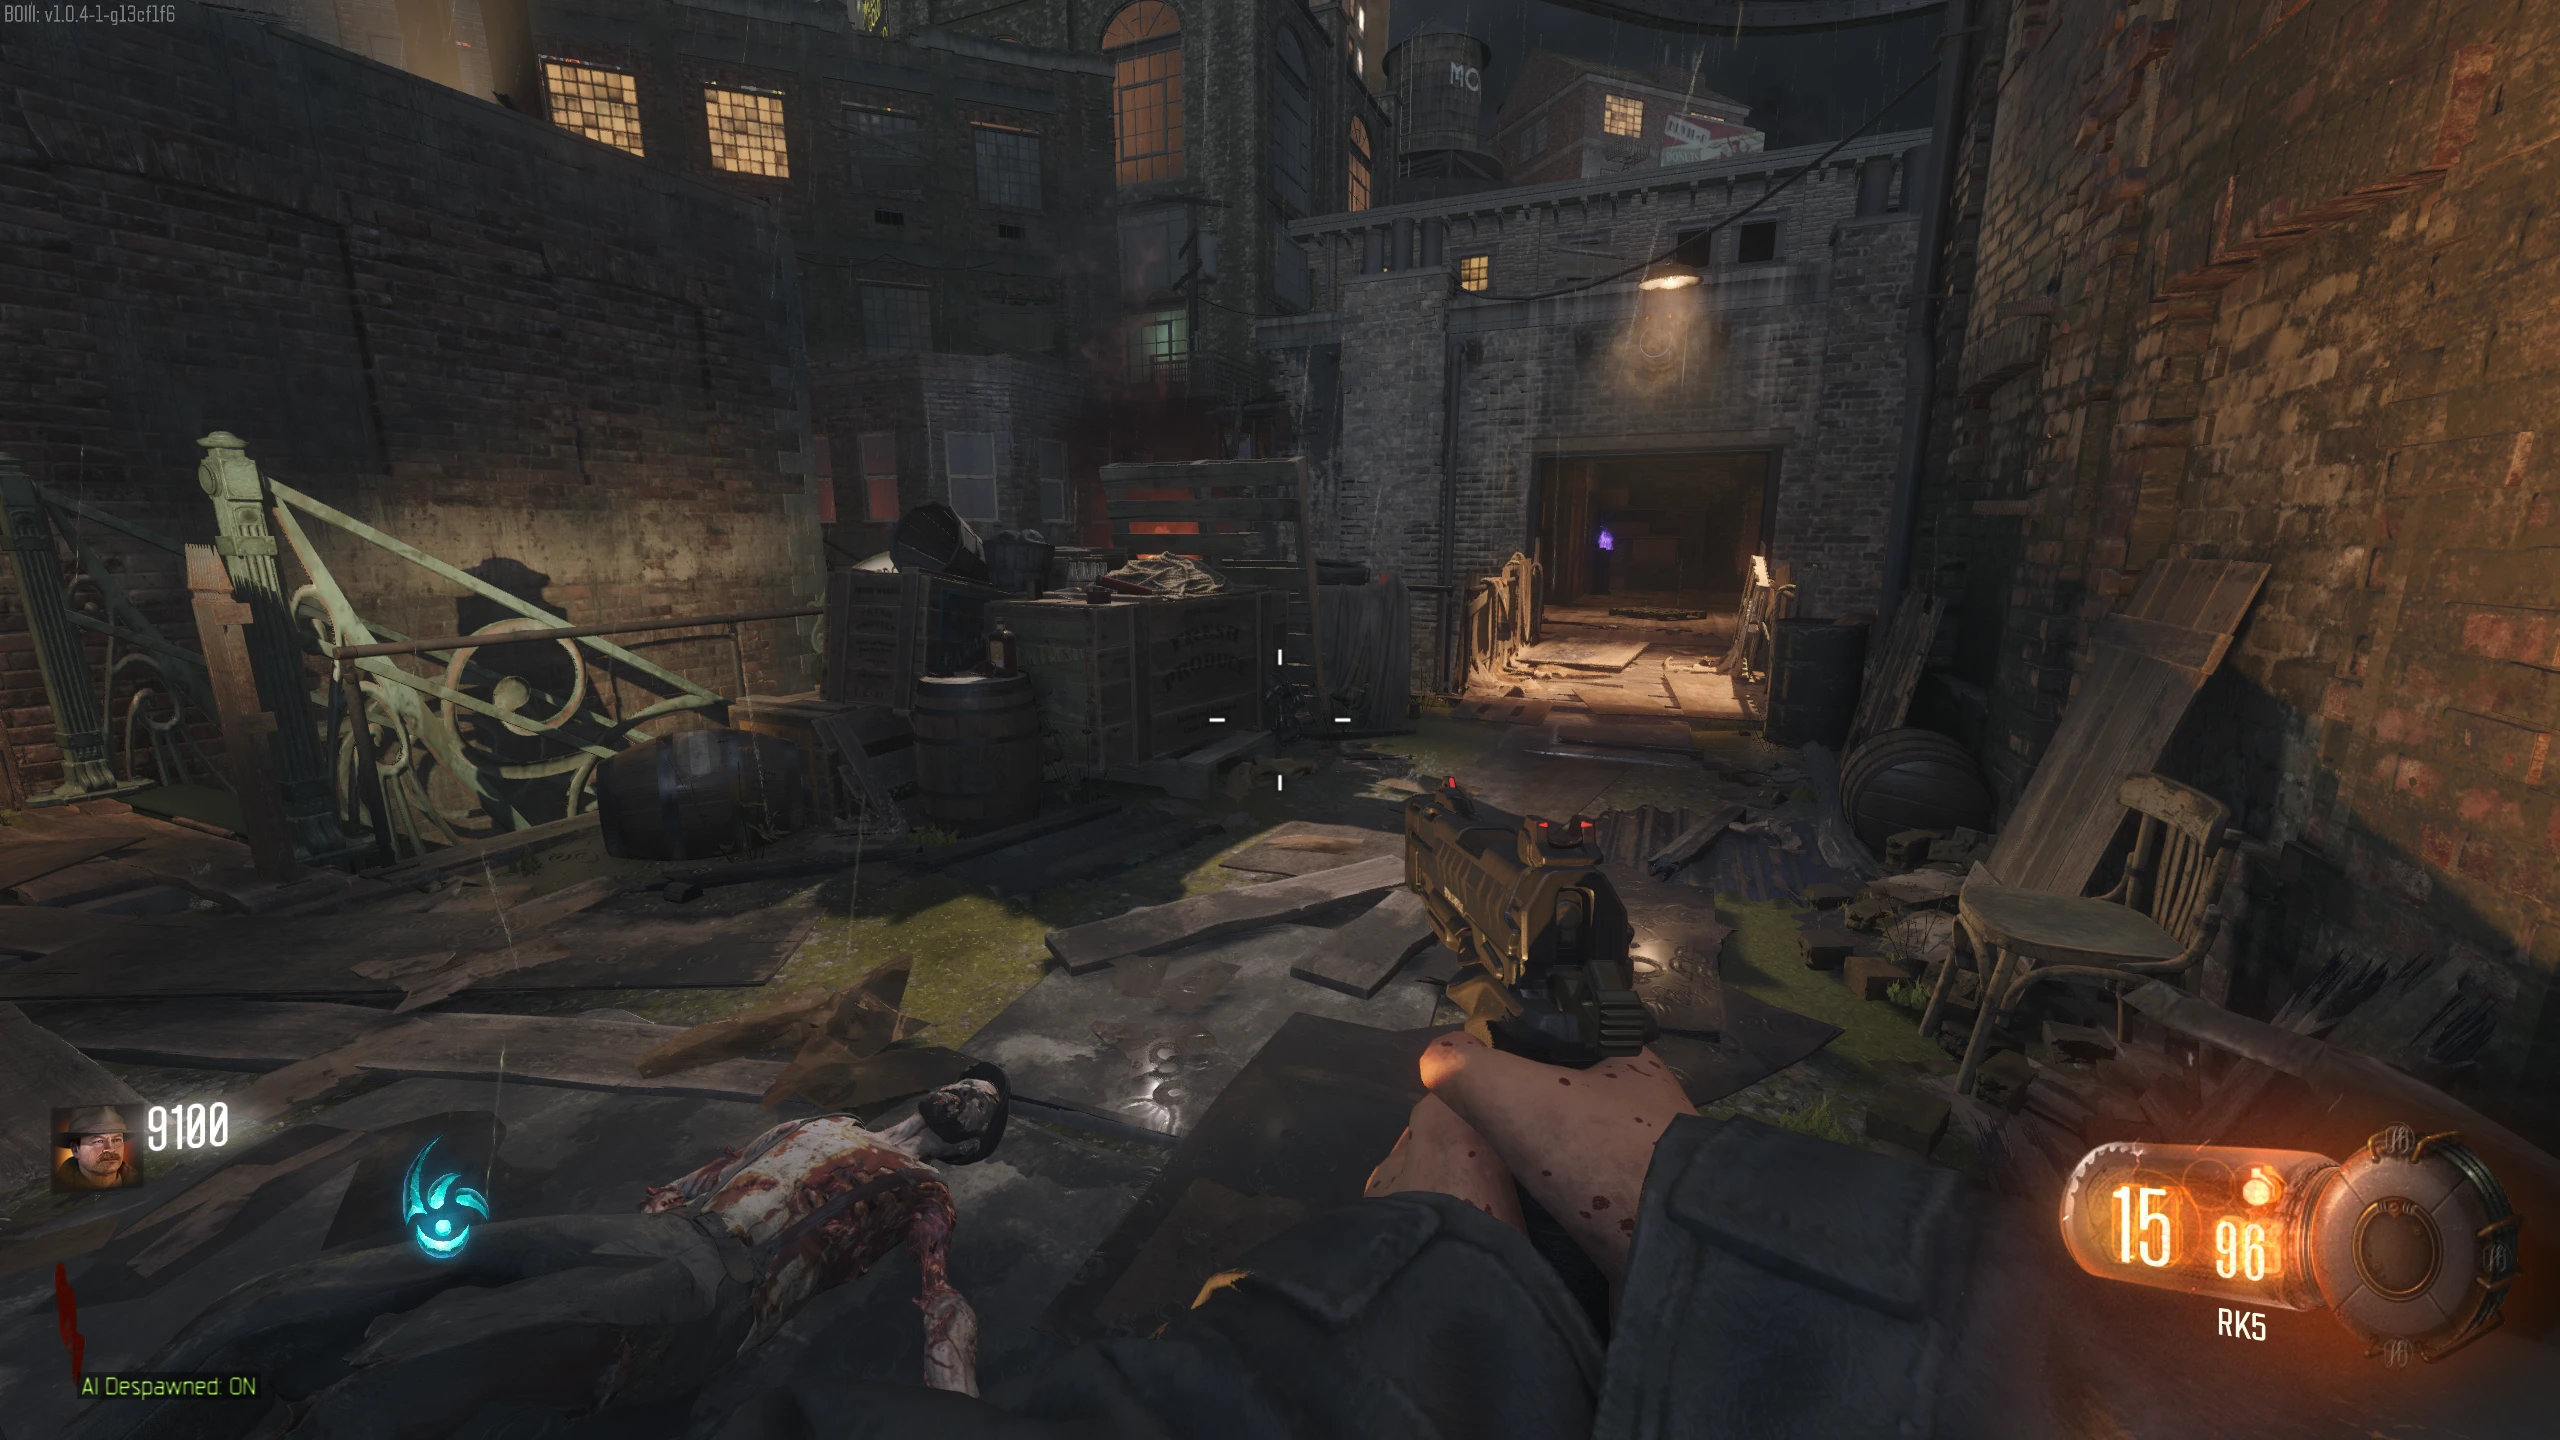
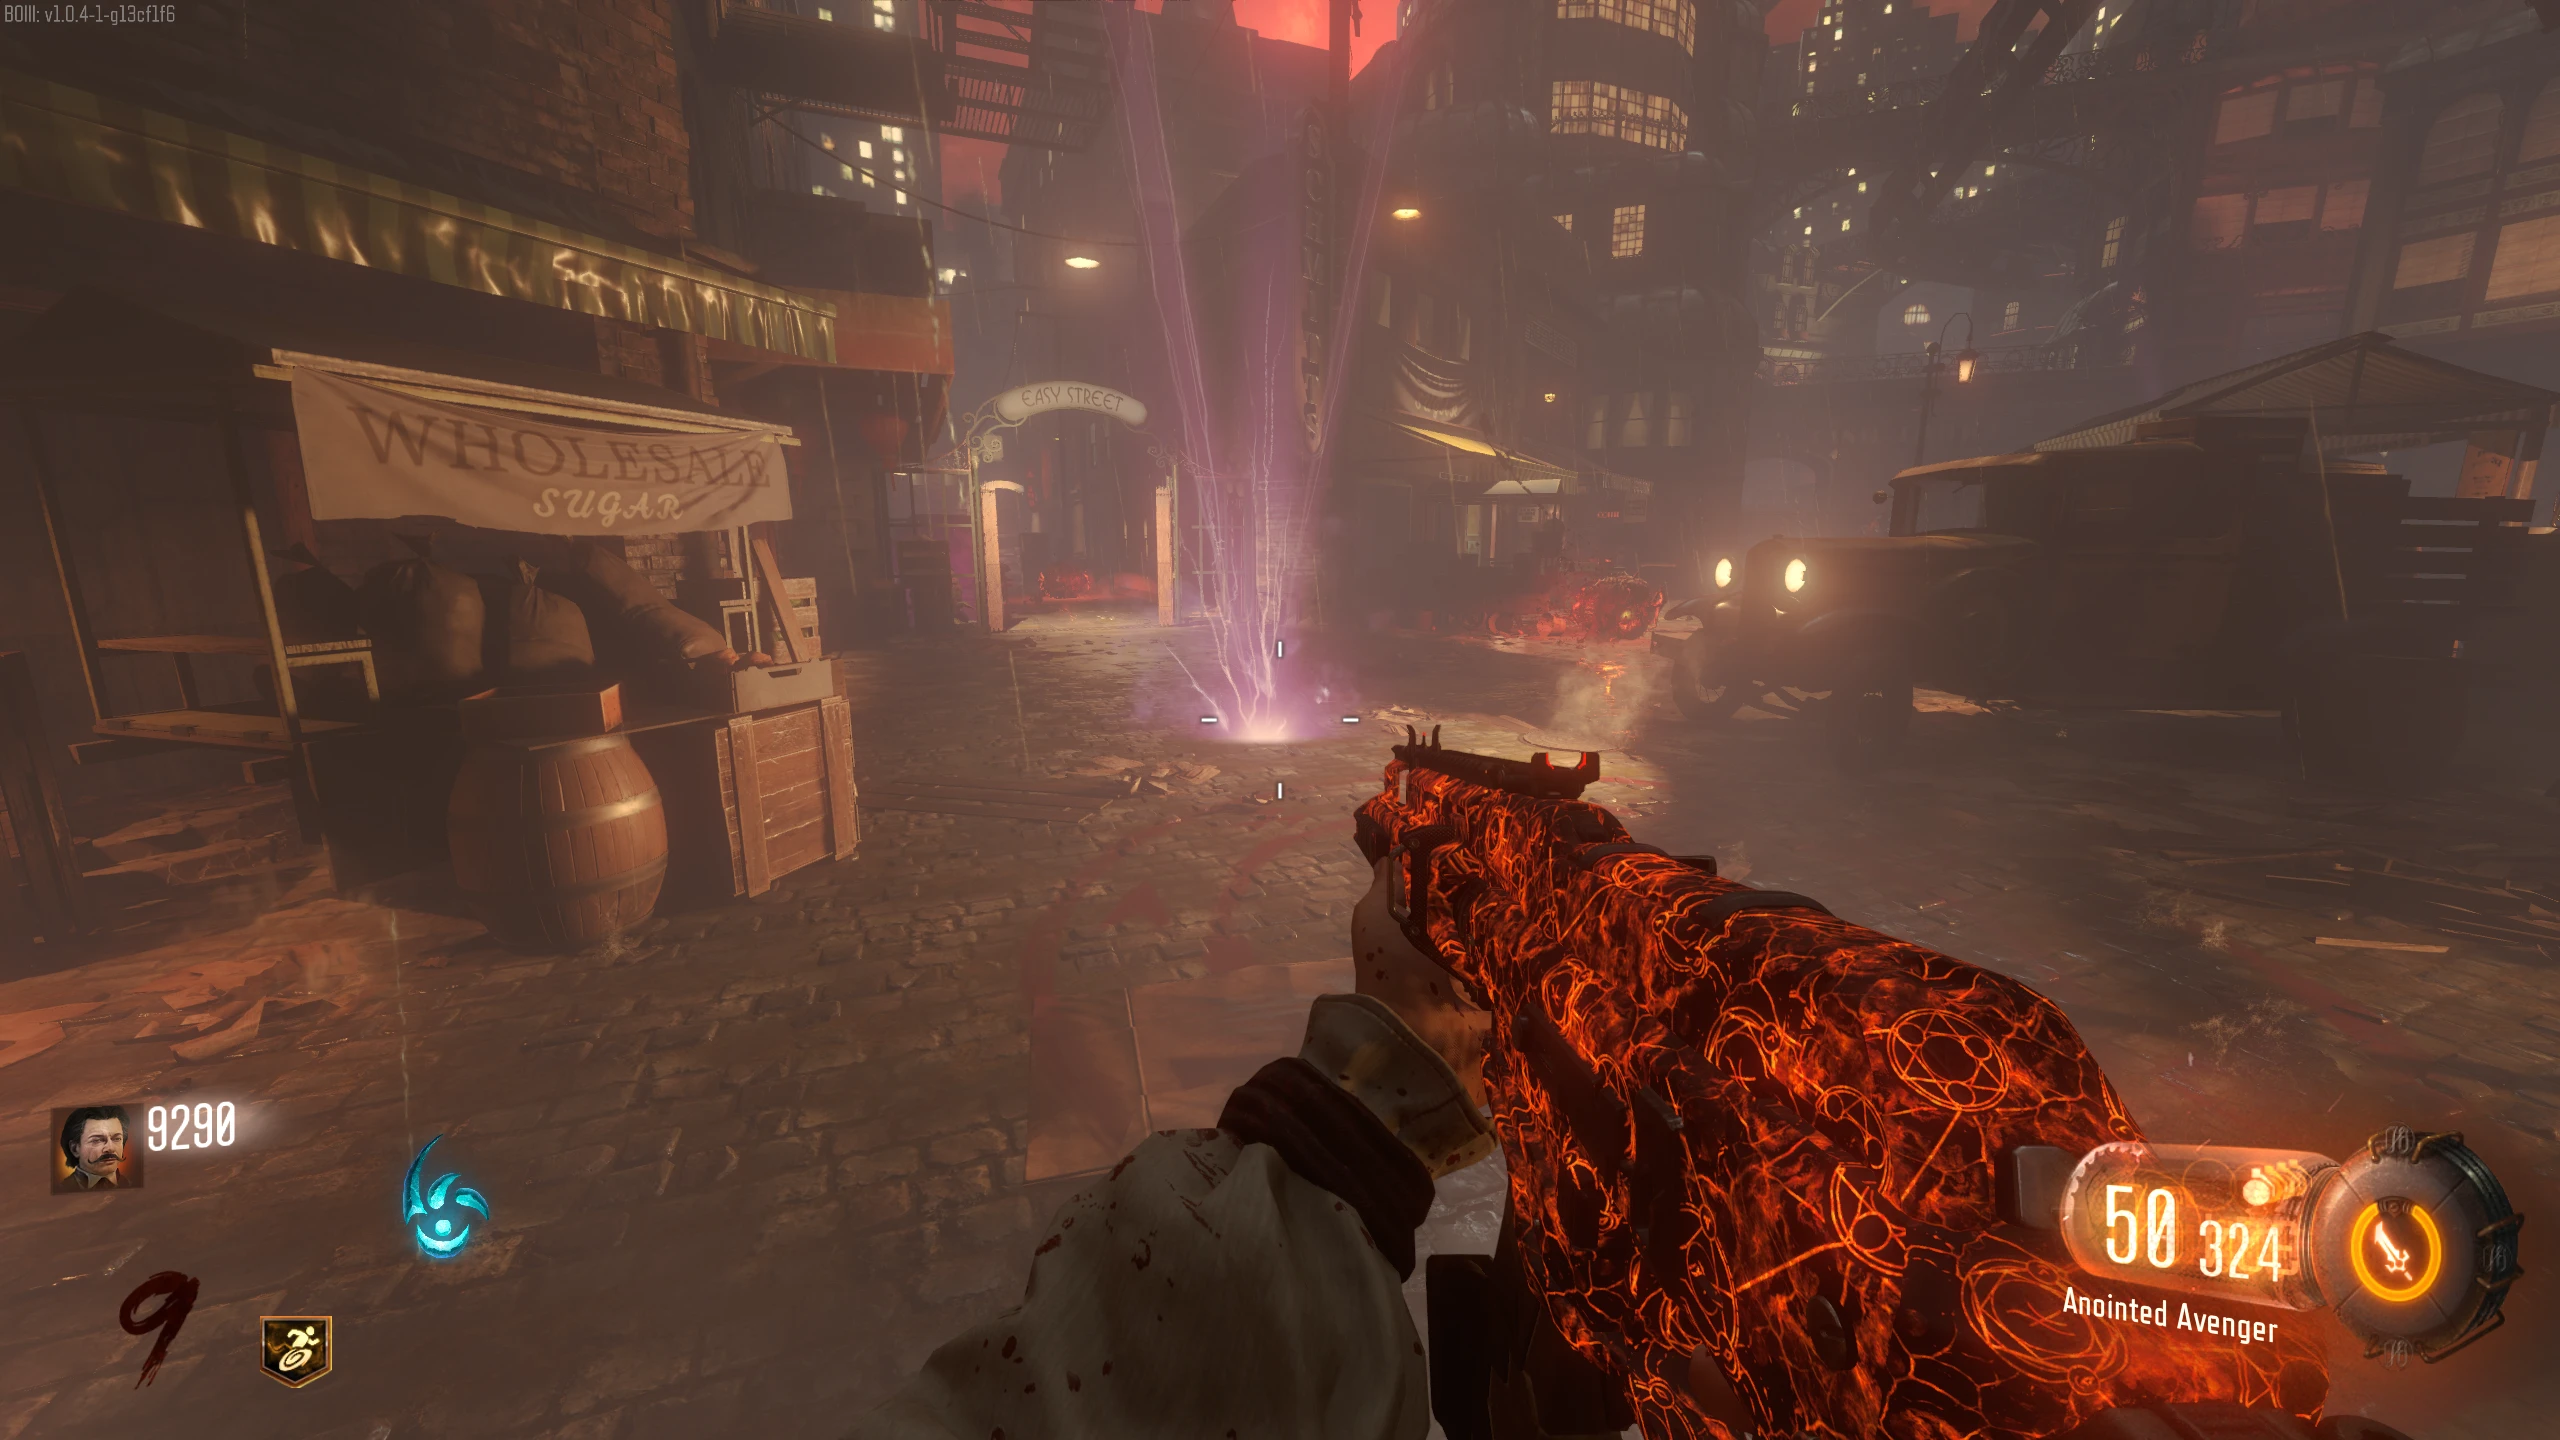
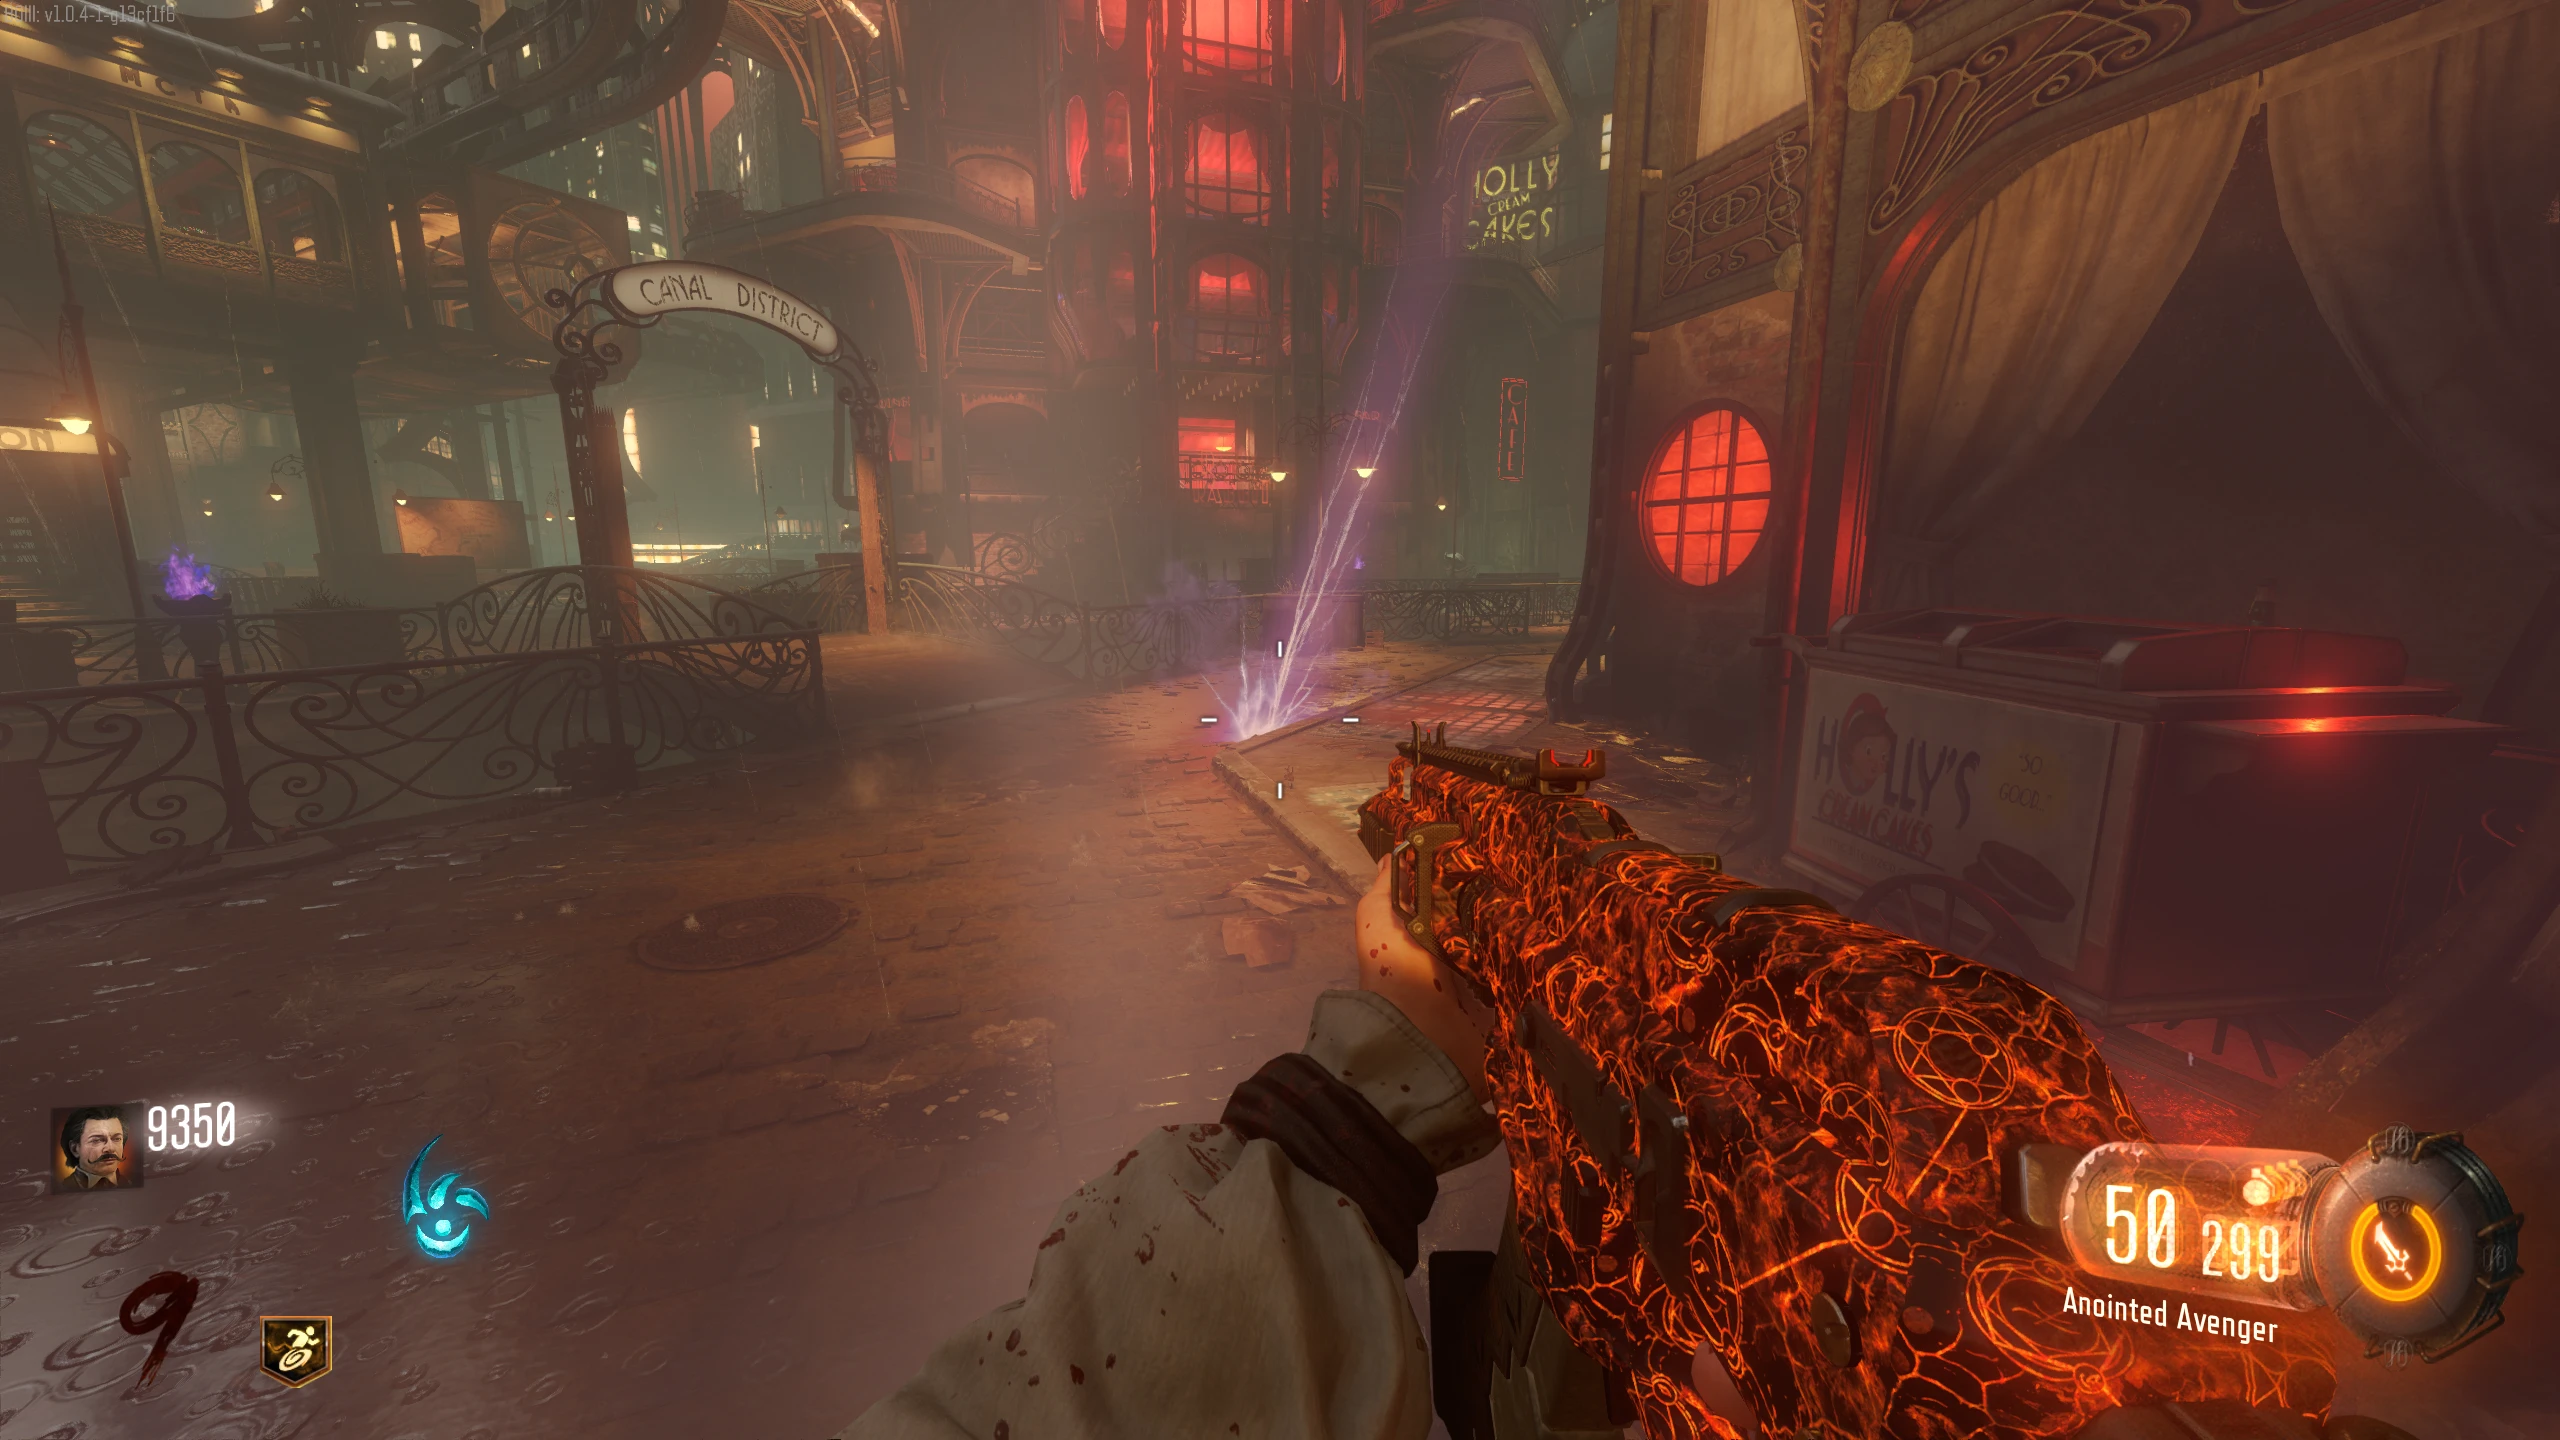
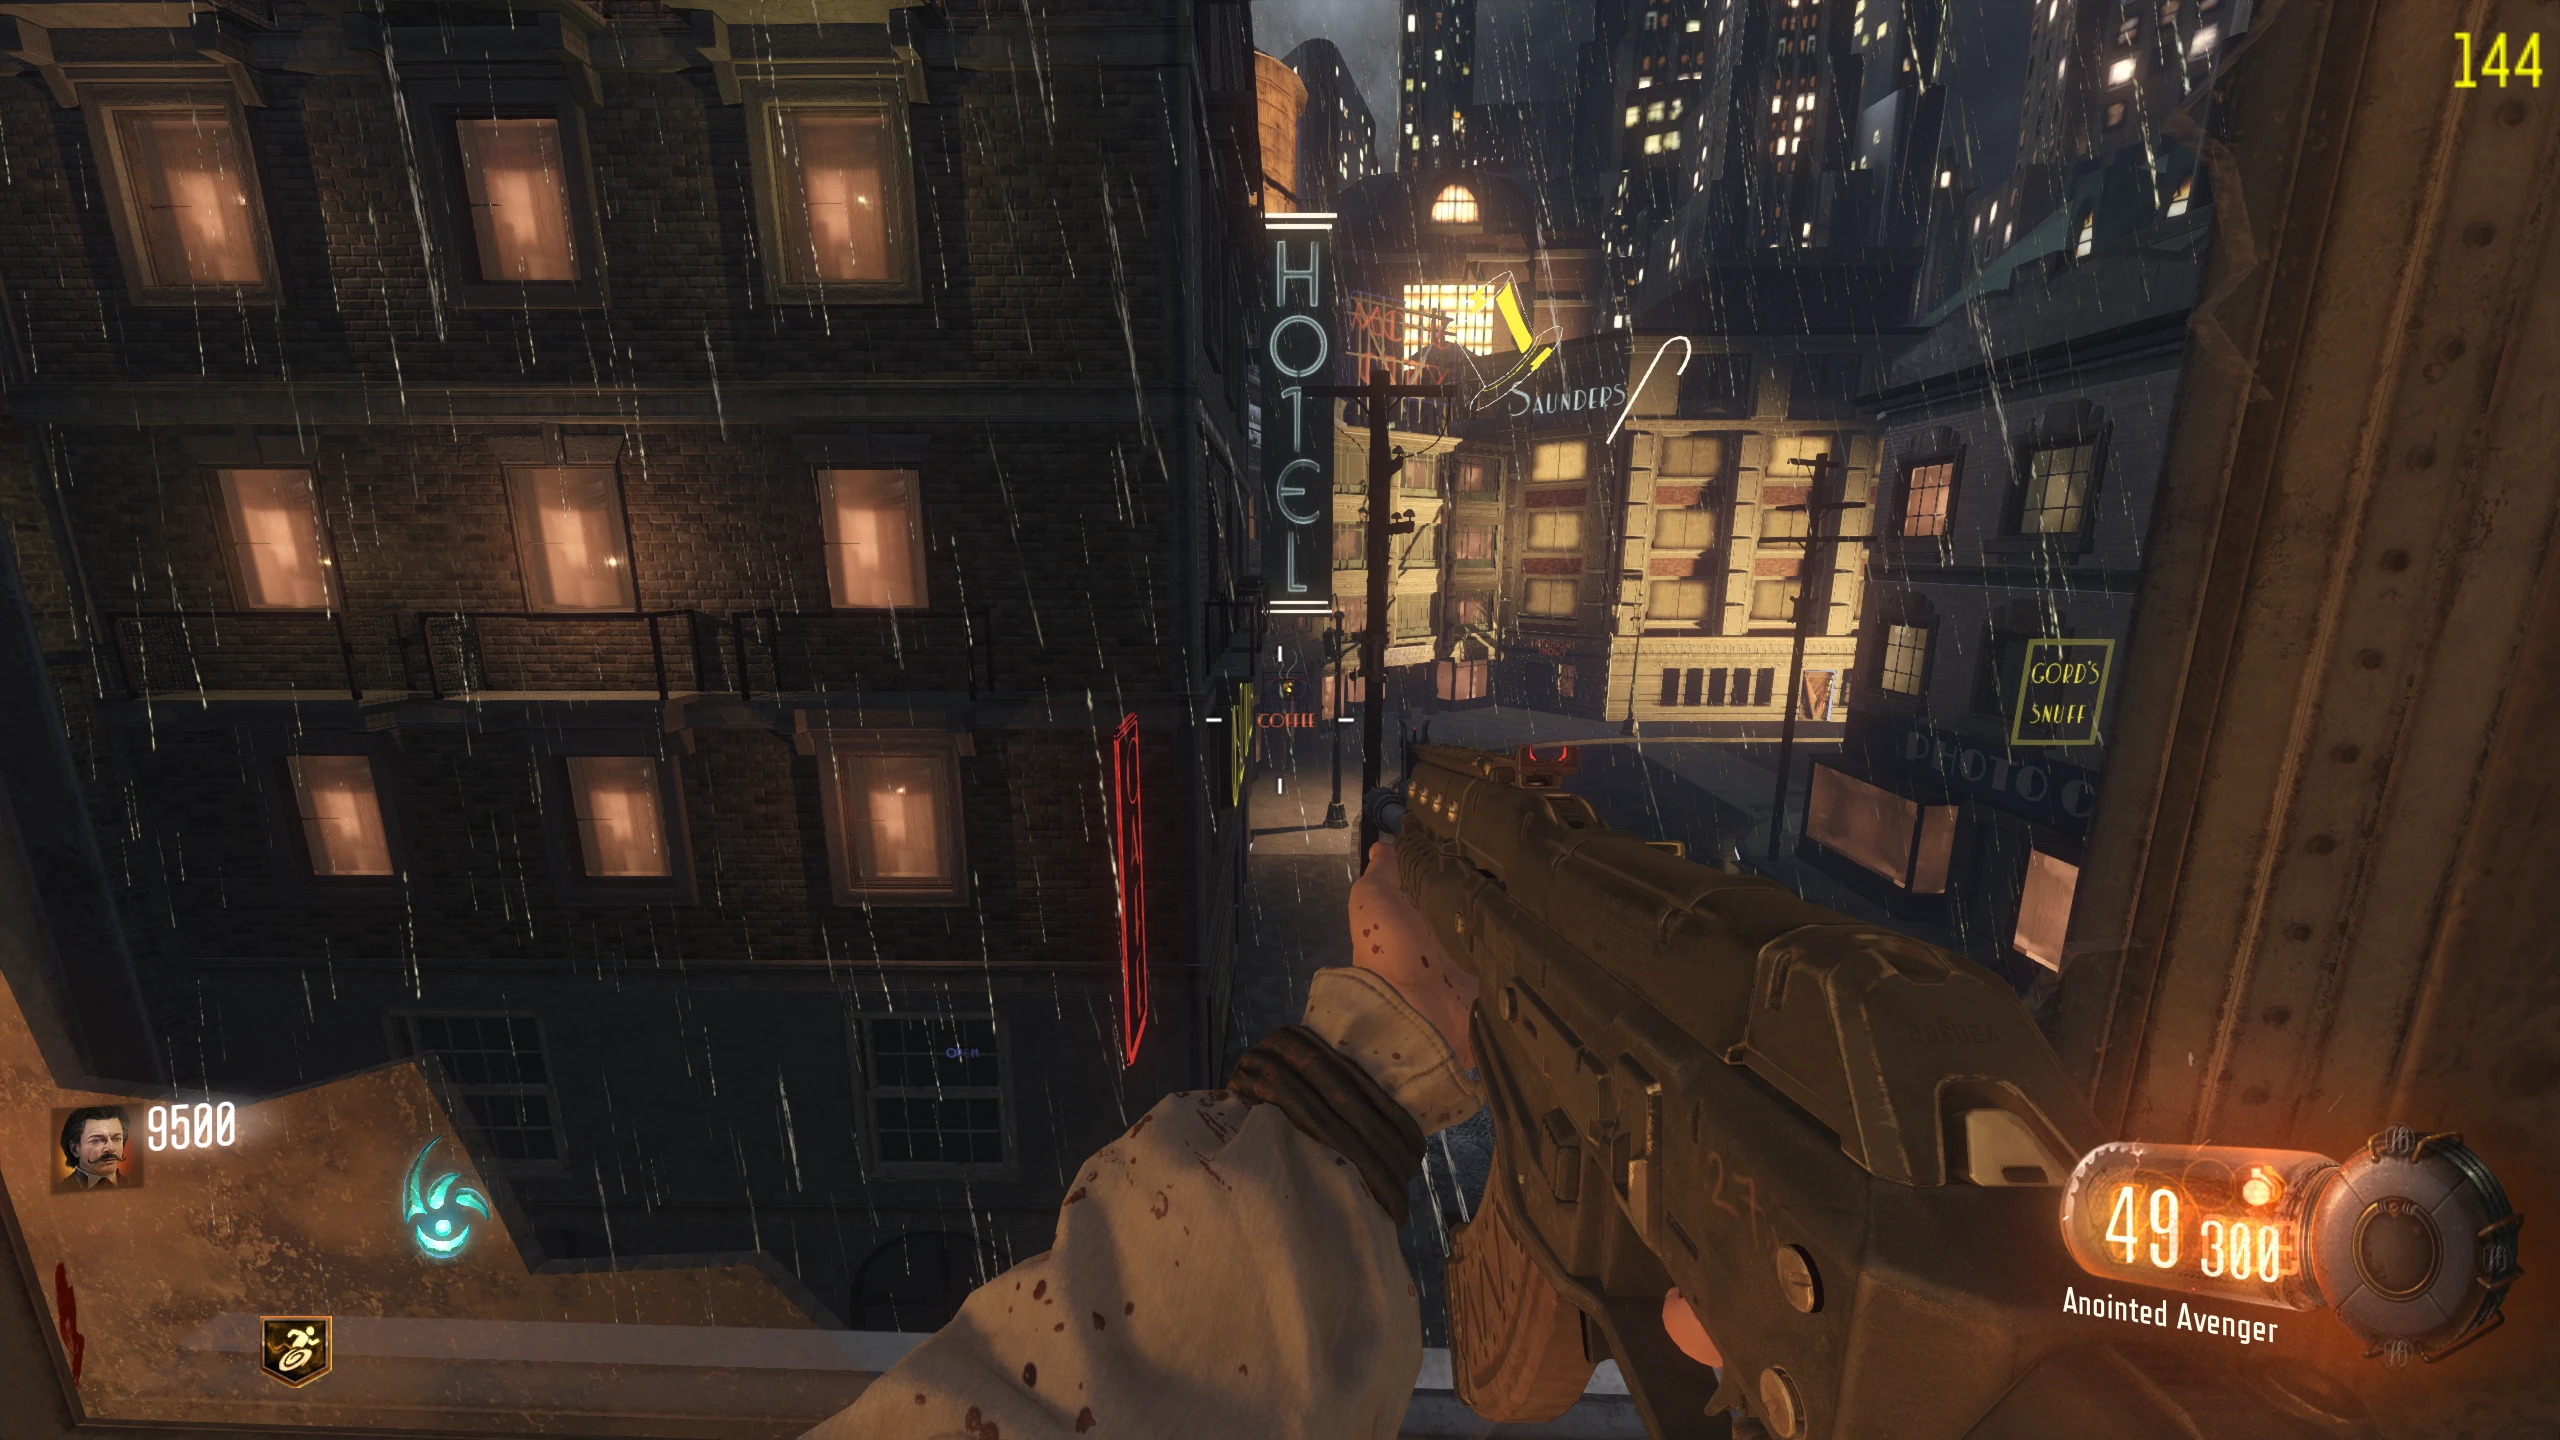
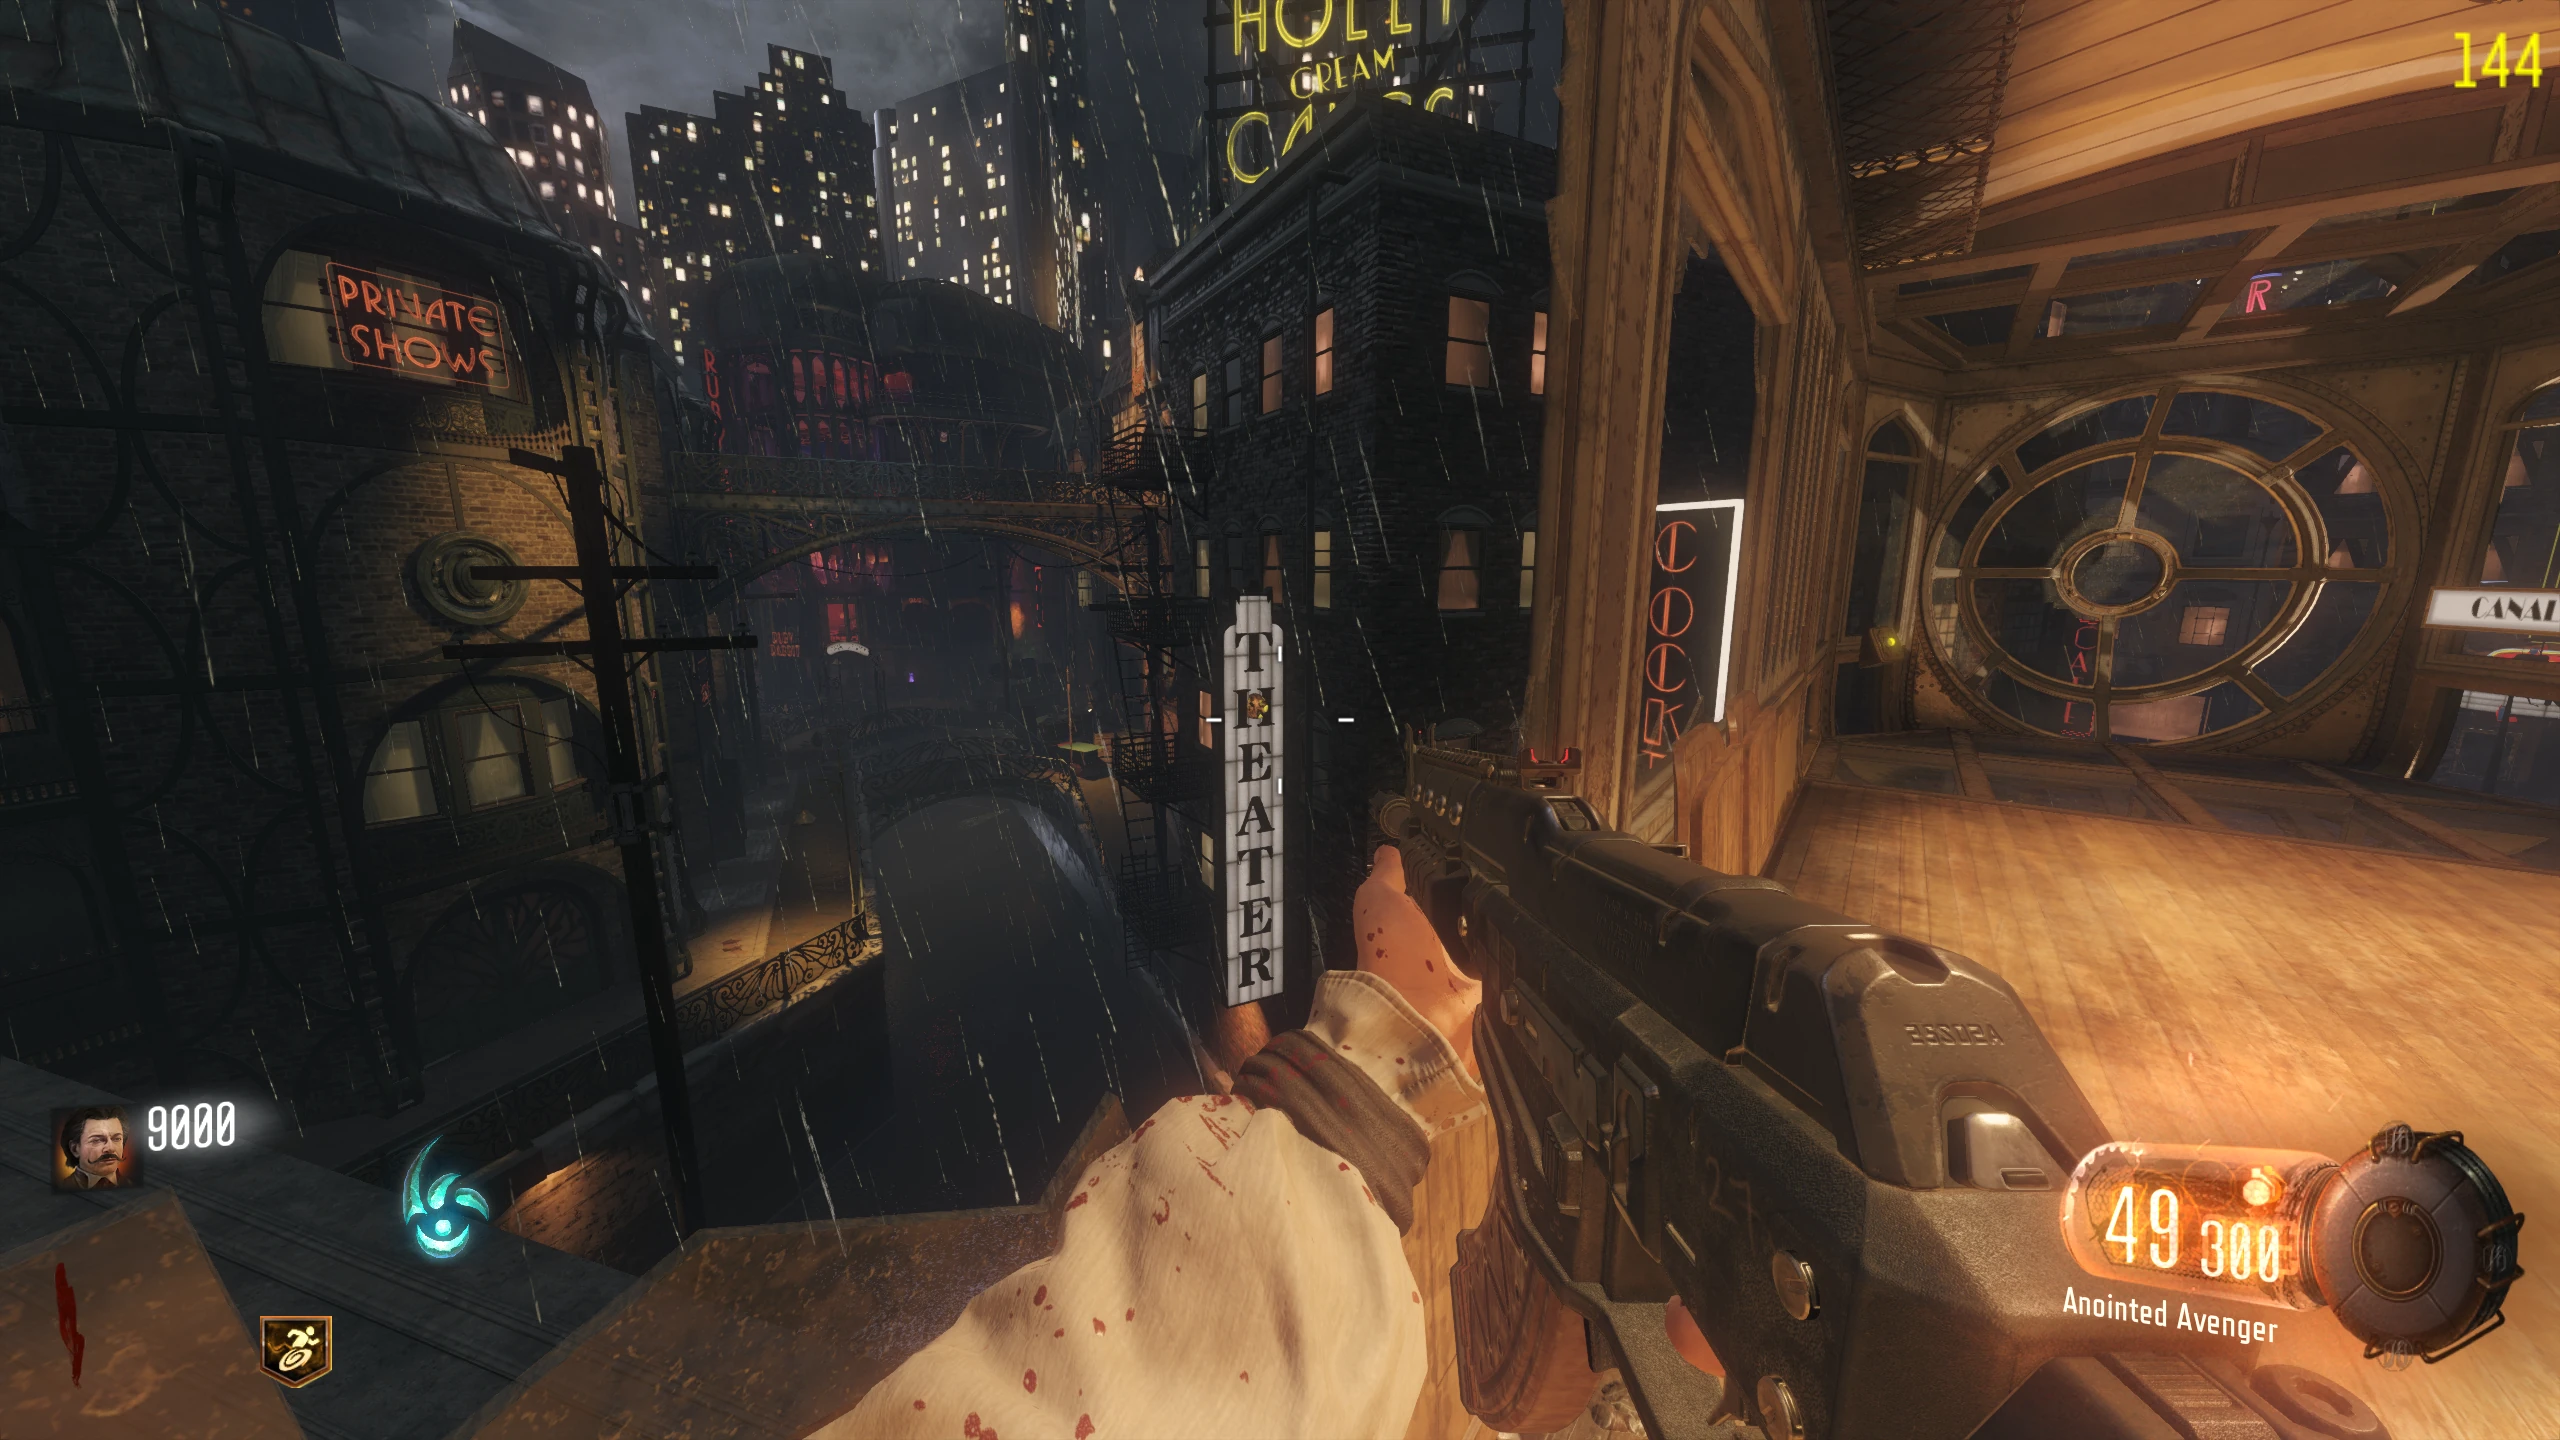
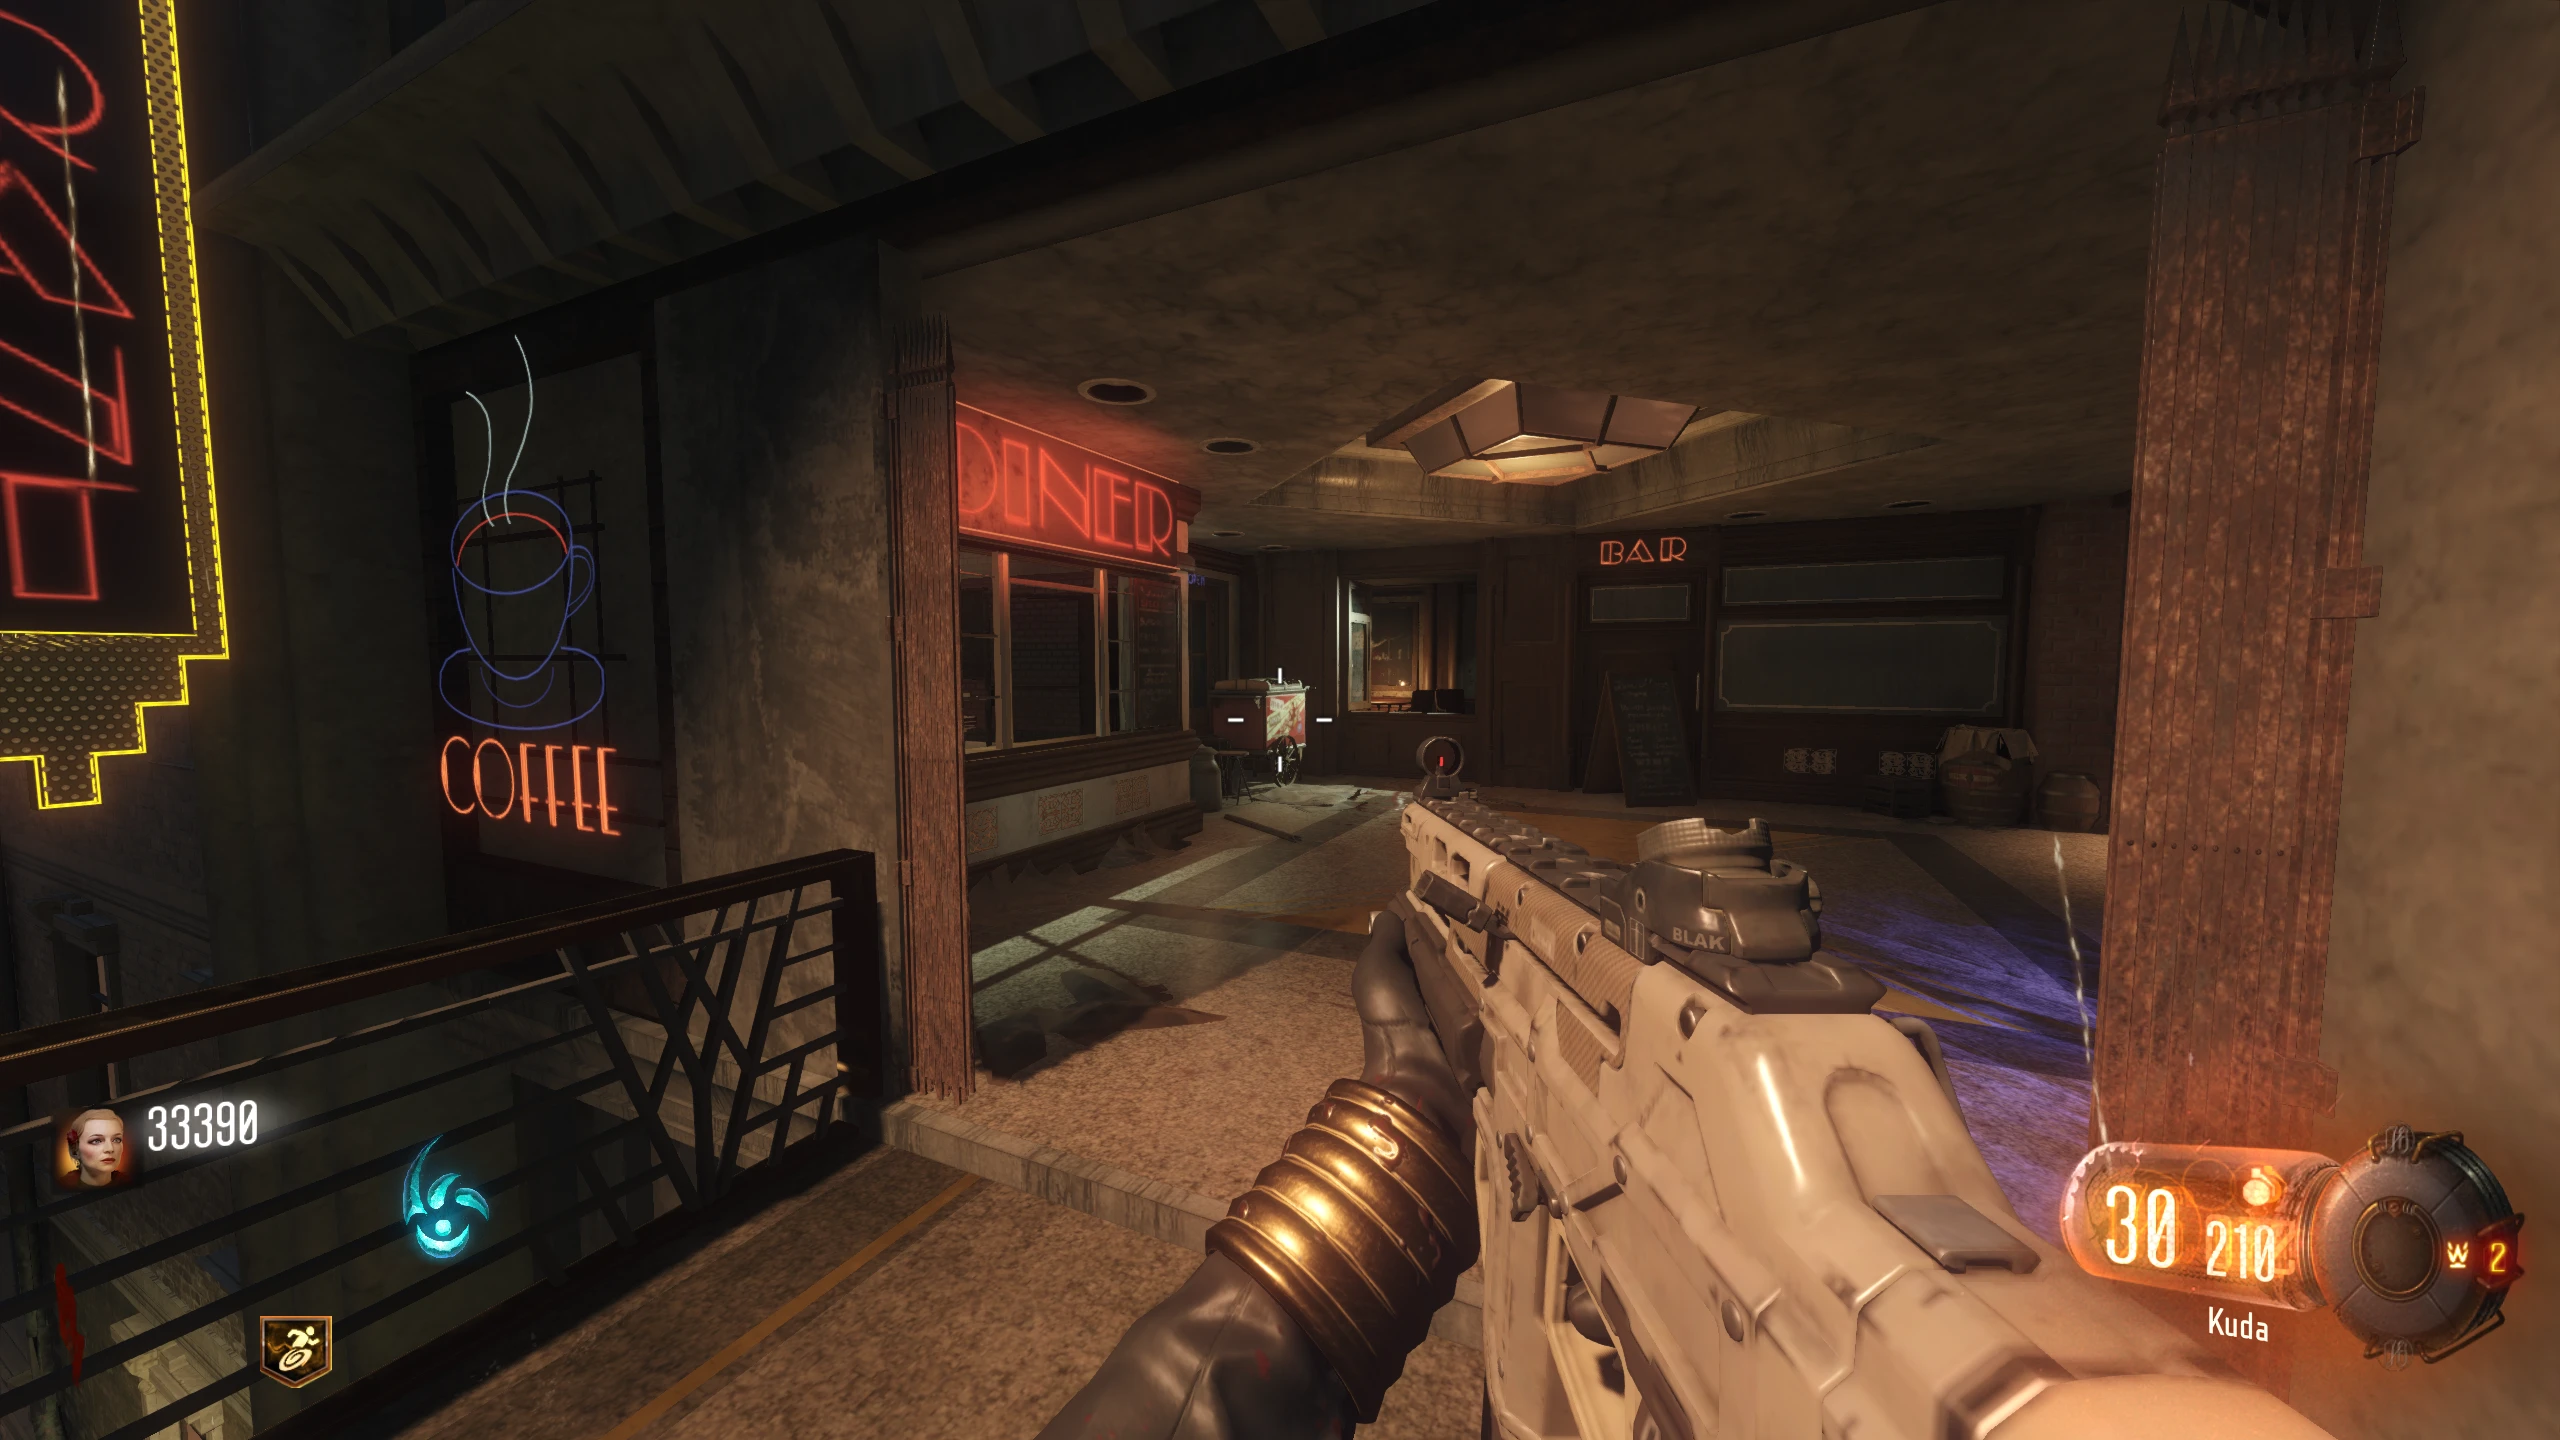
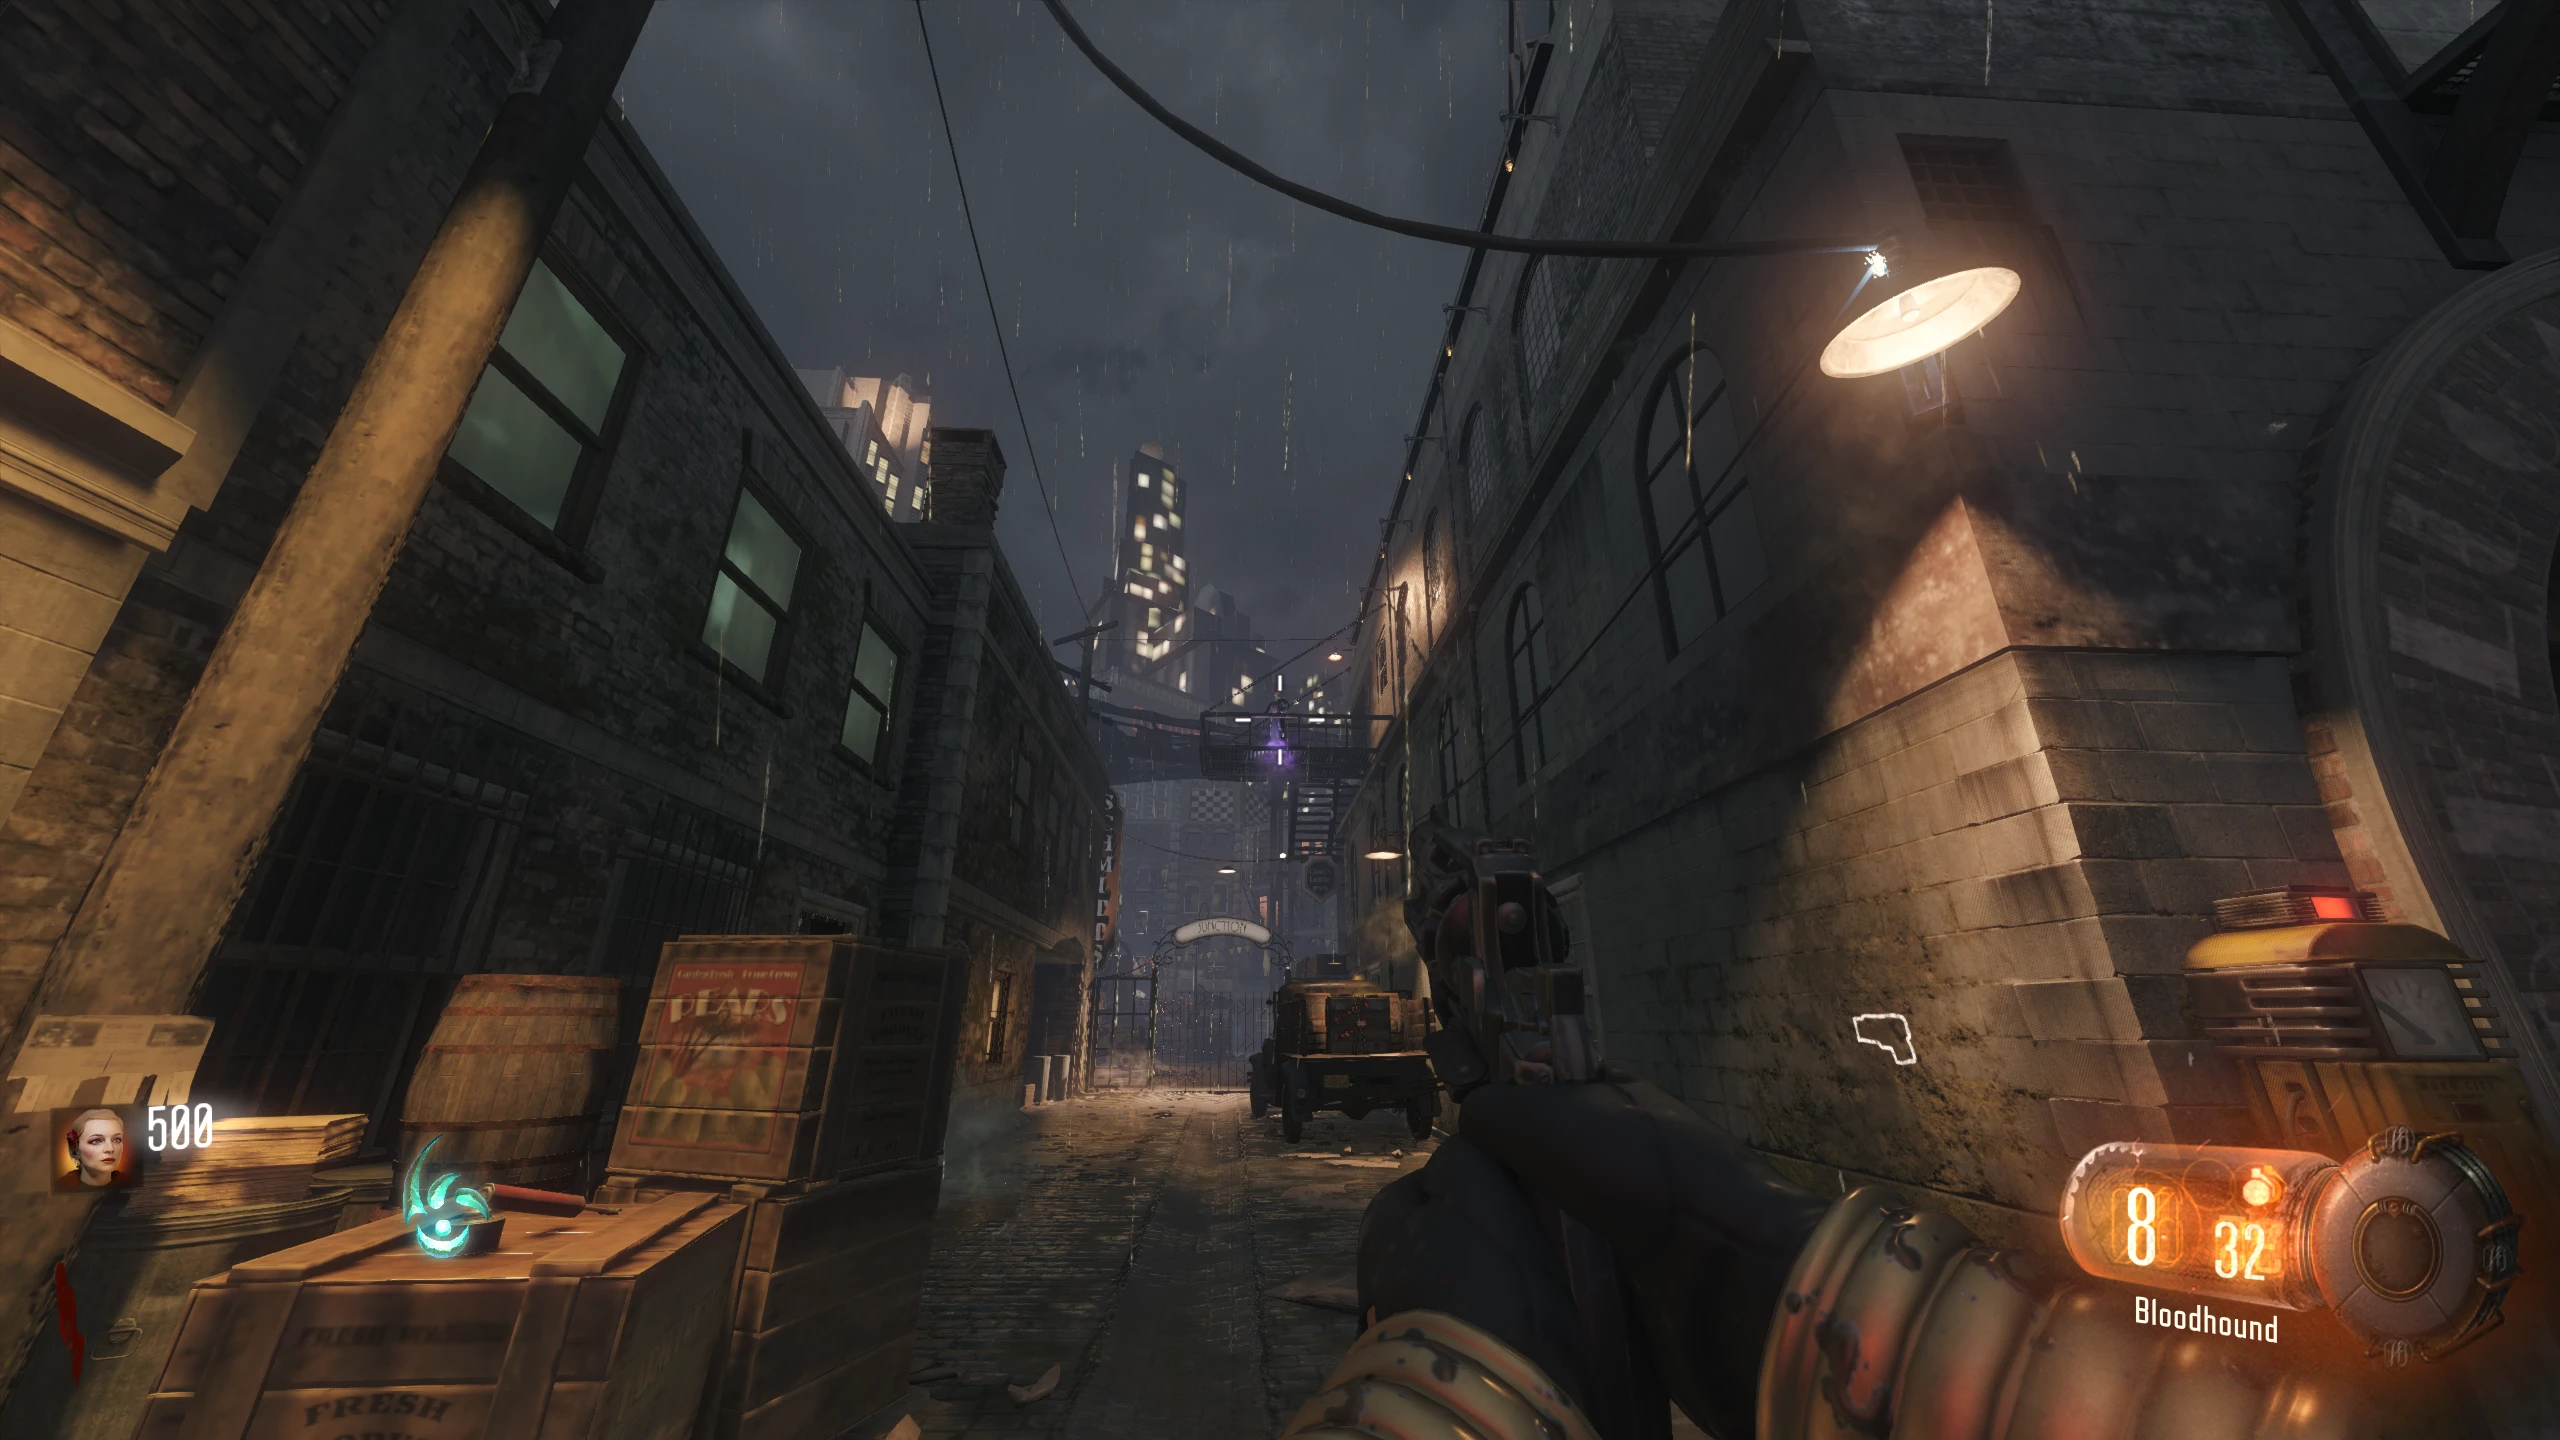
Canals District - Jack Vincent
See this Video (YouTube) for the optimal way to open the Canals in one Beast Mode use.
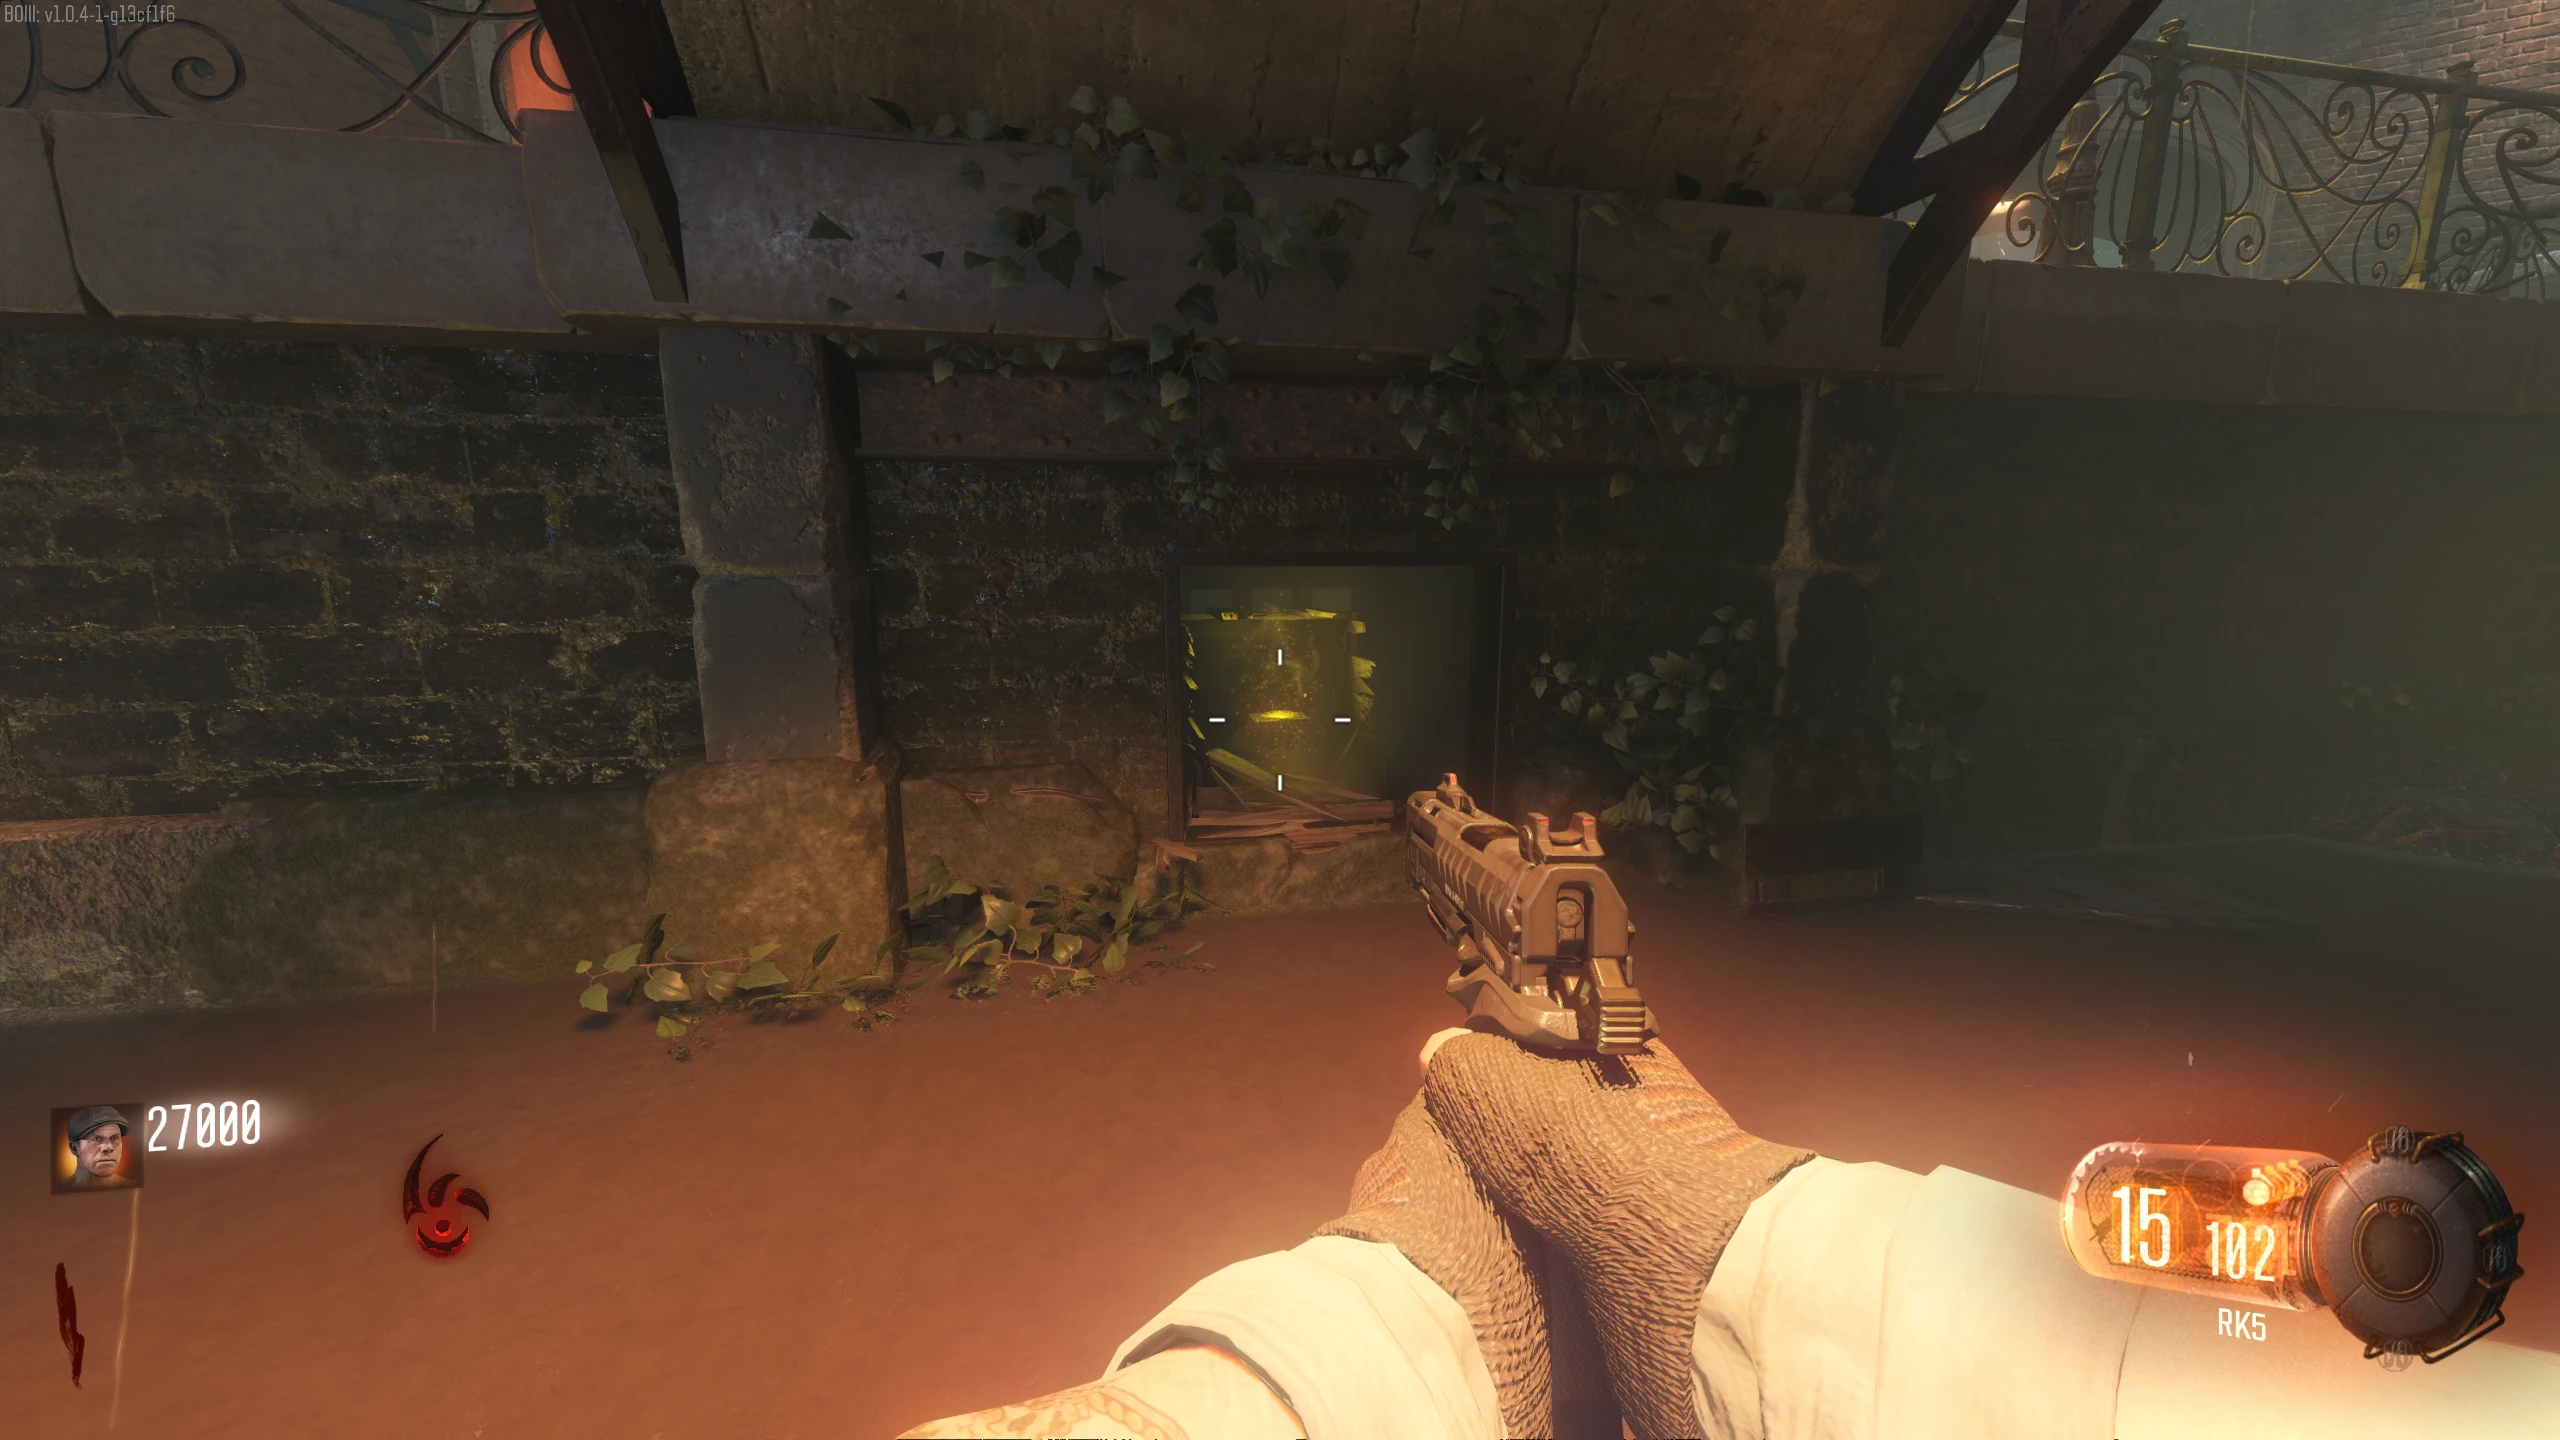
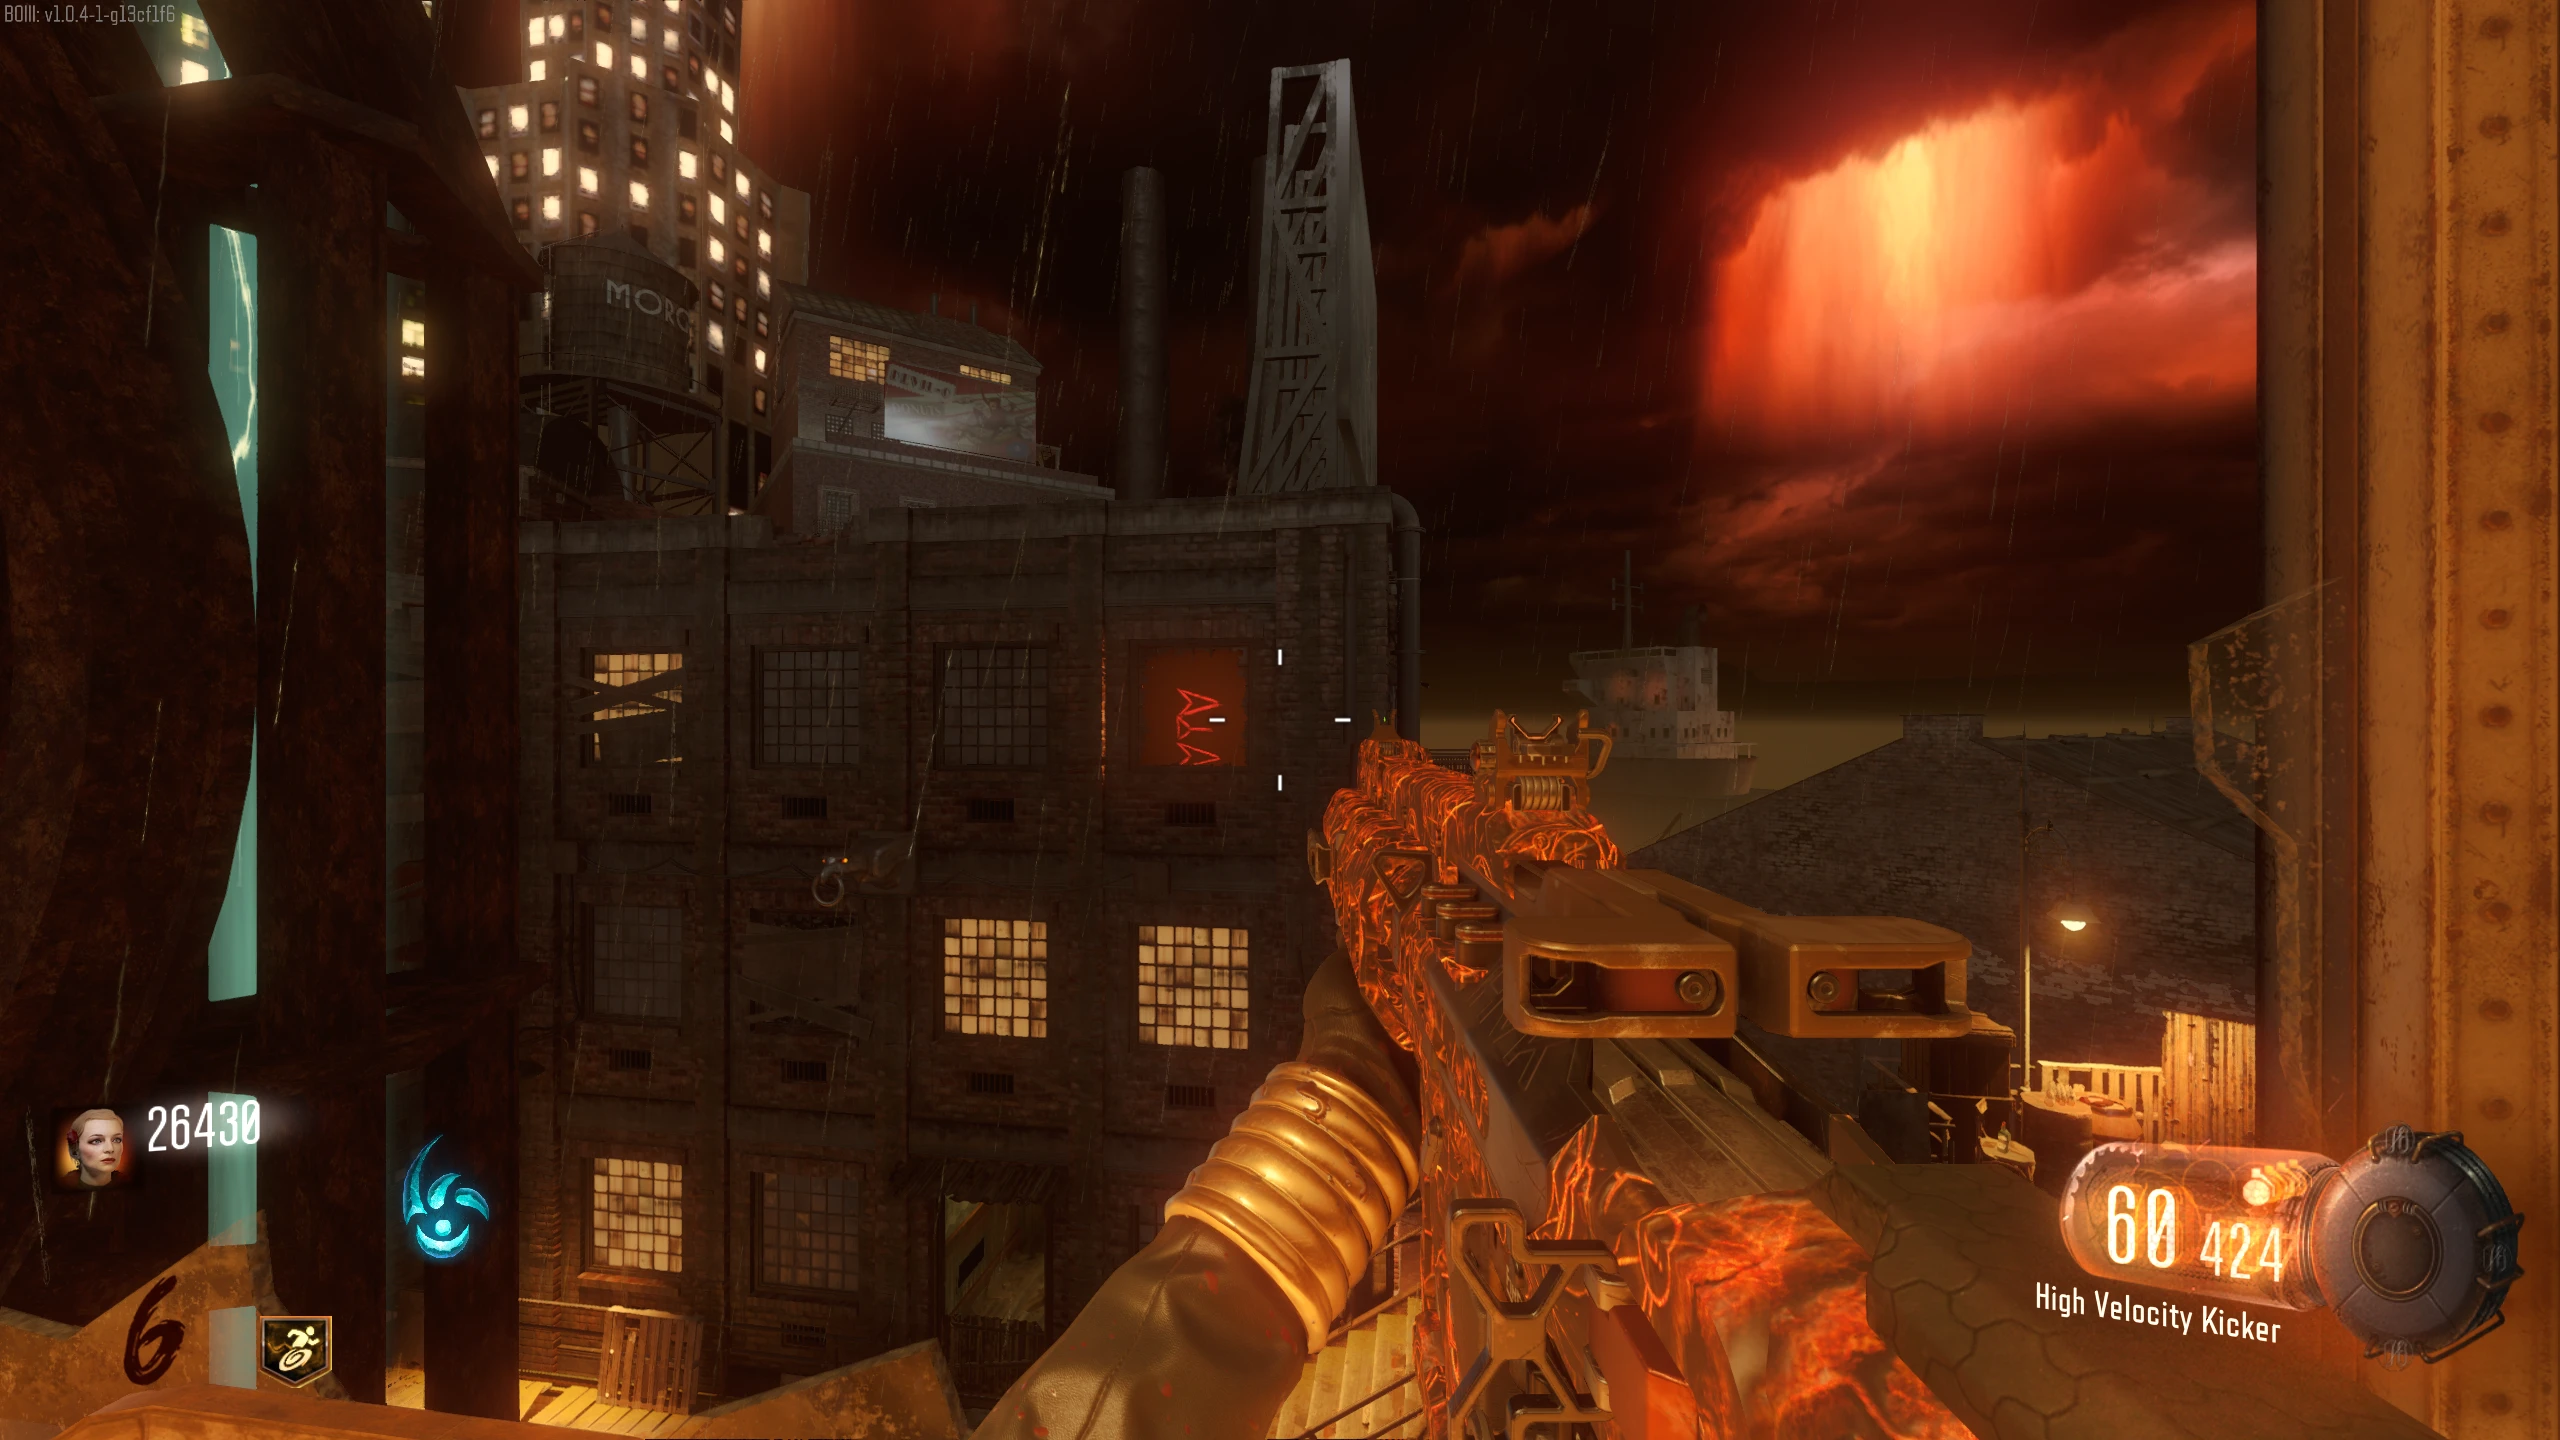
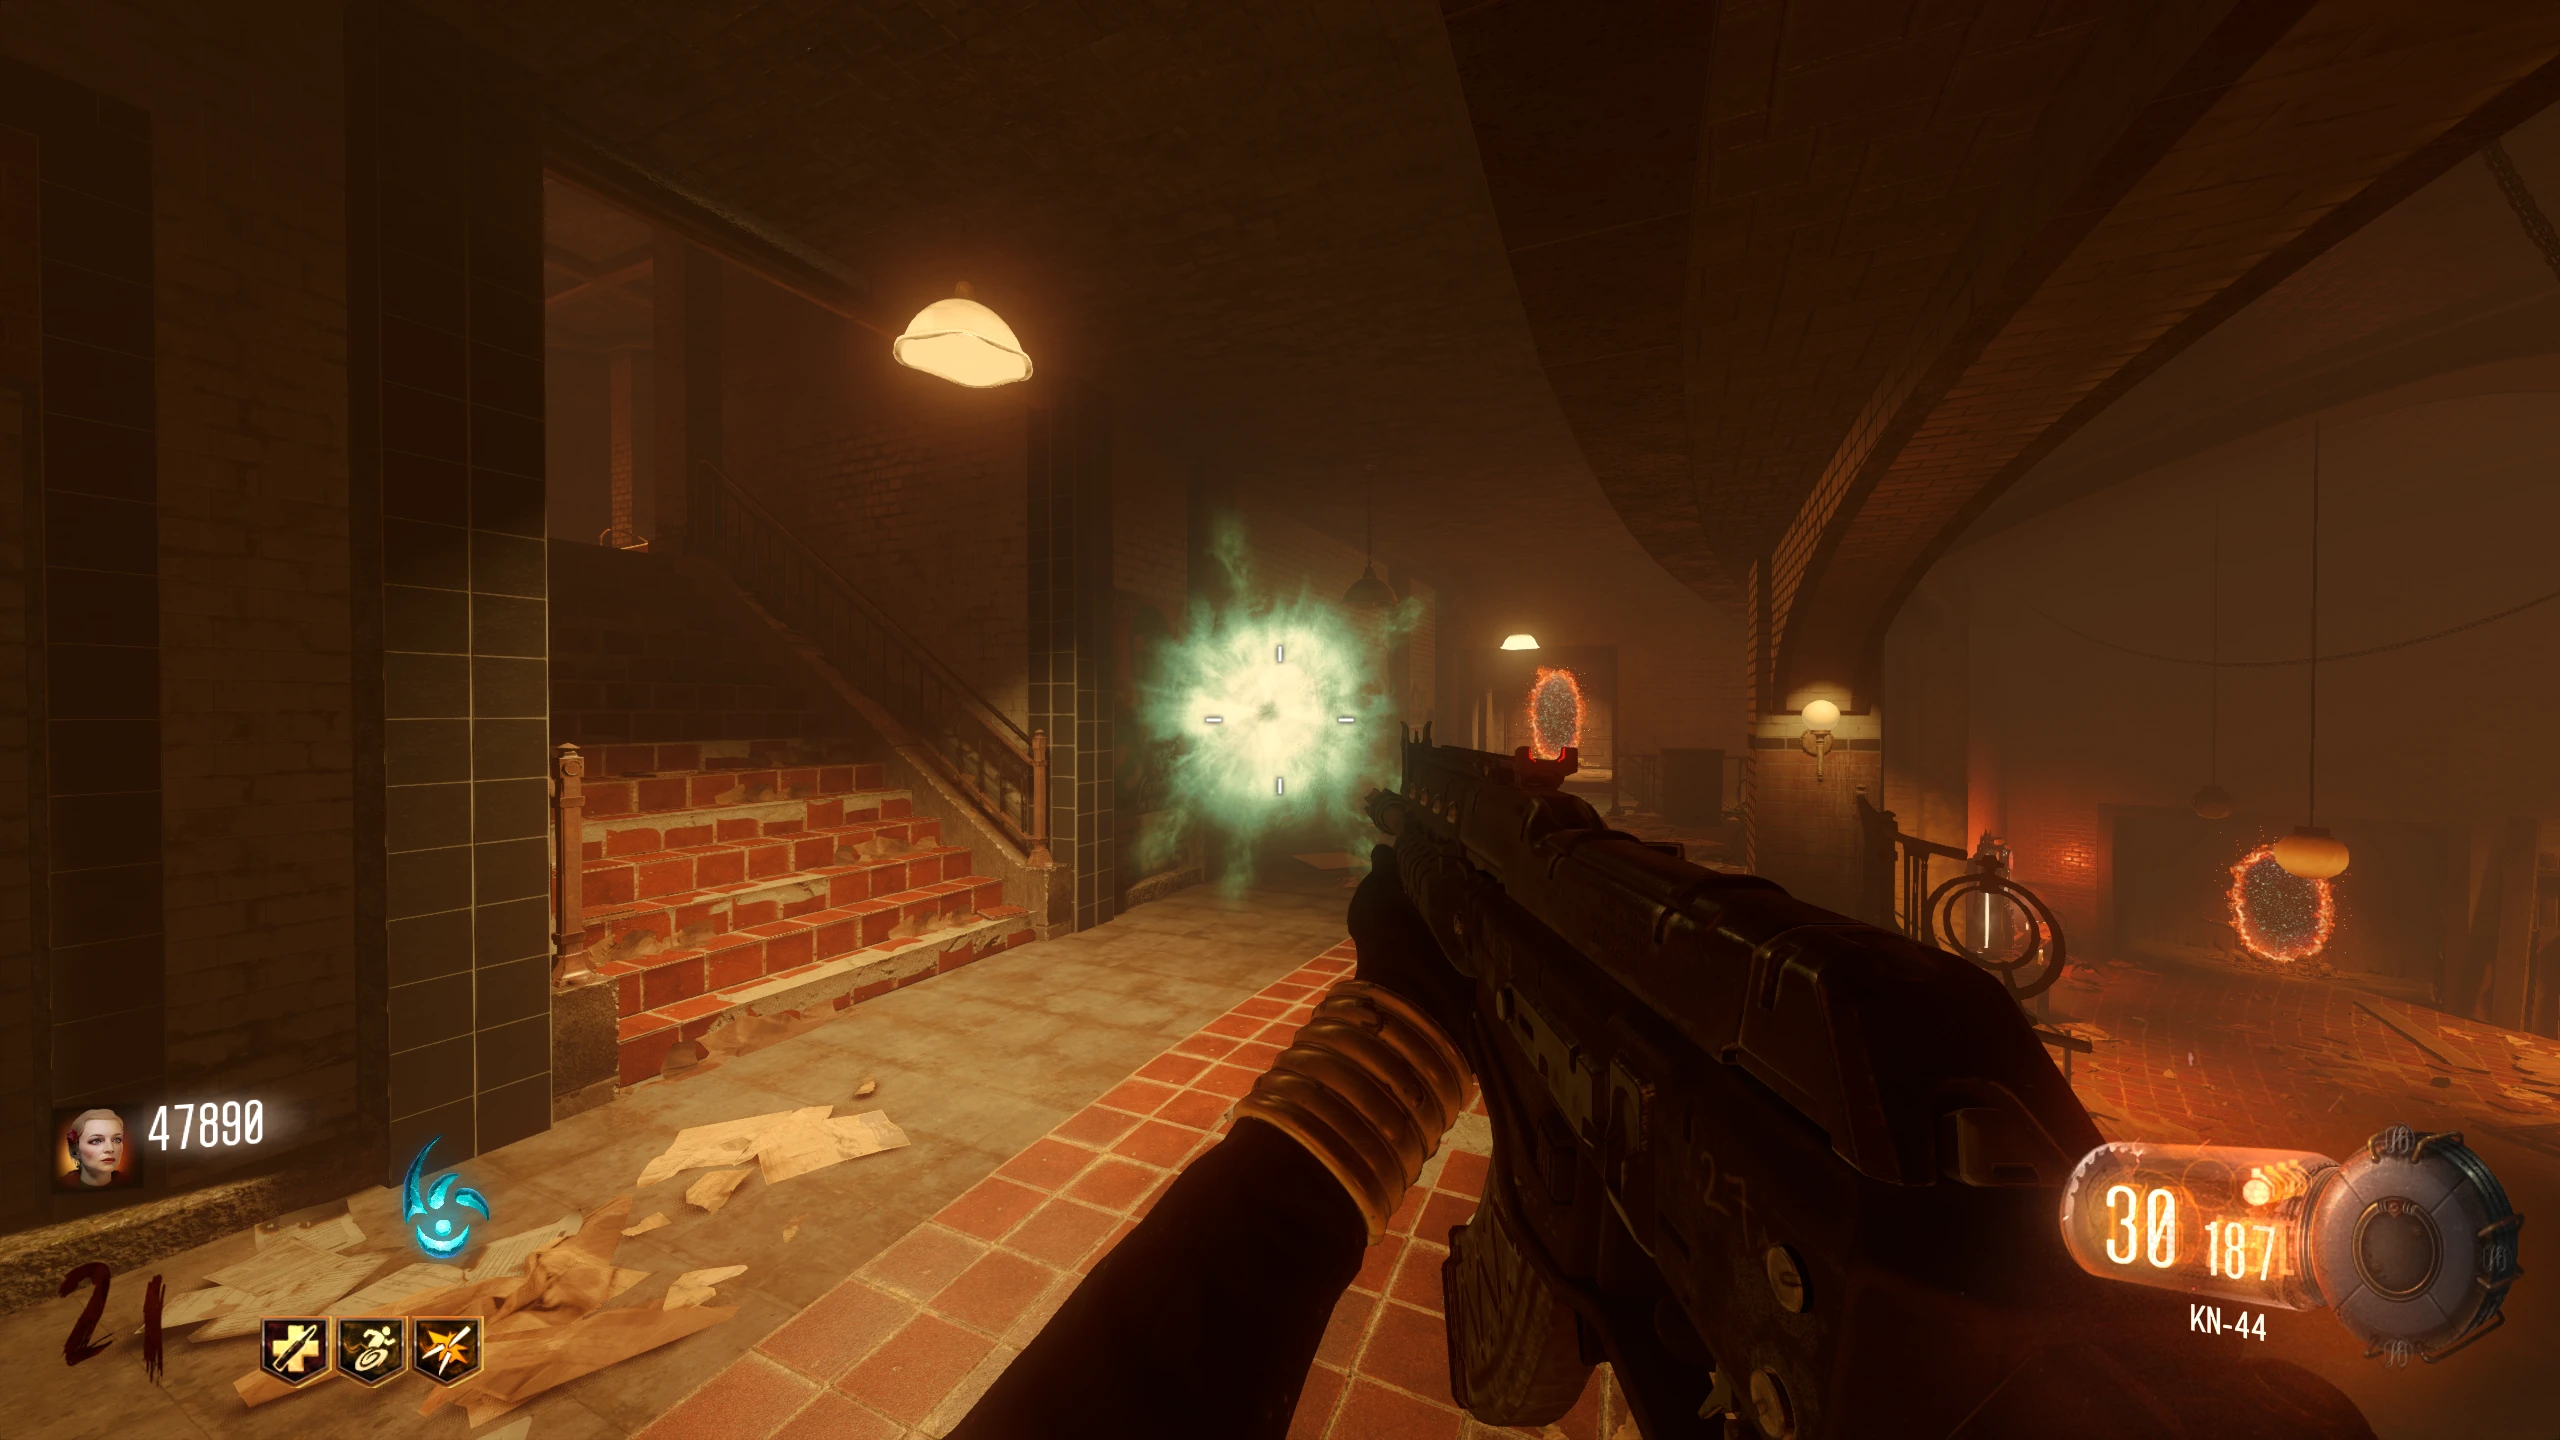
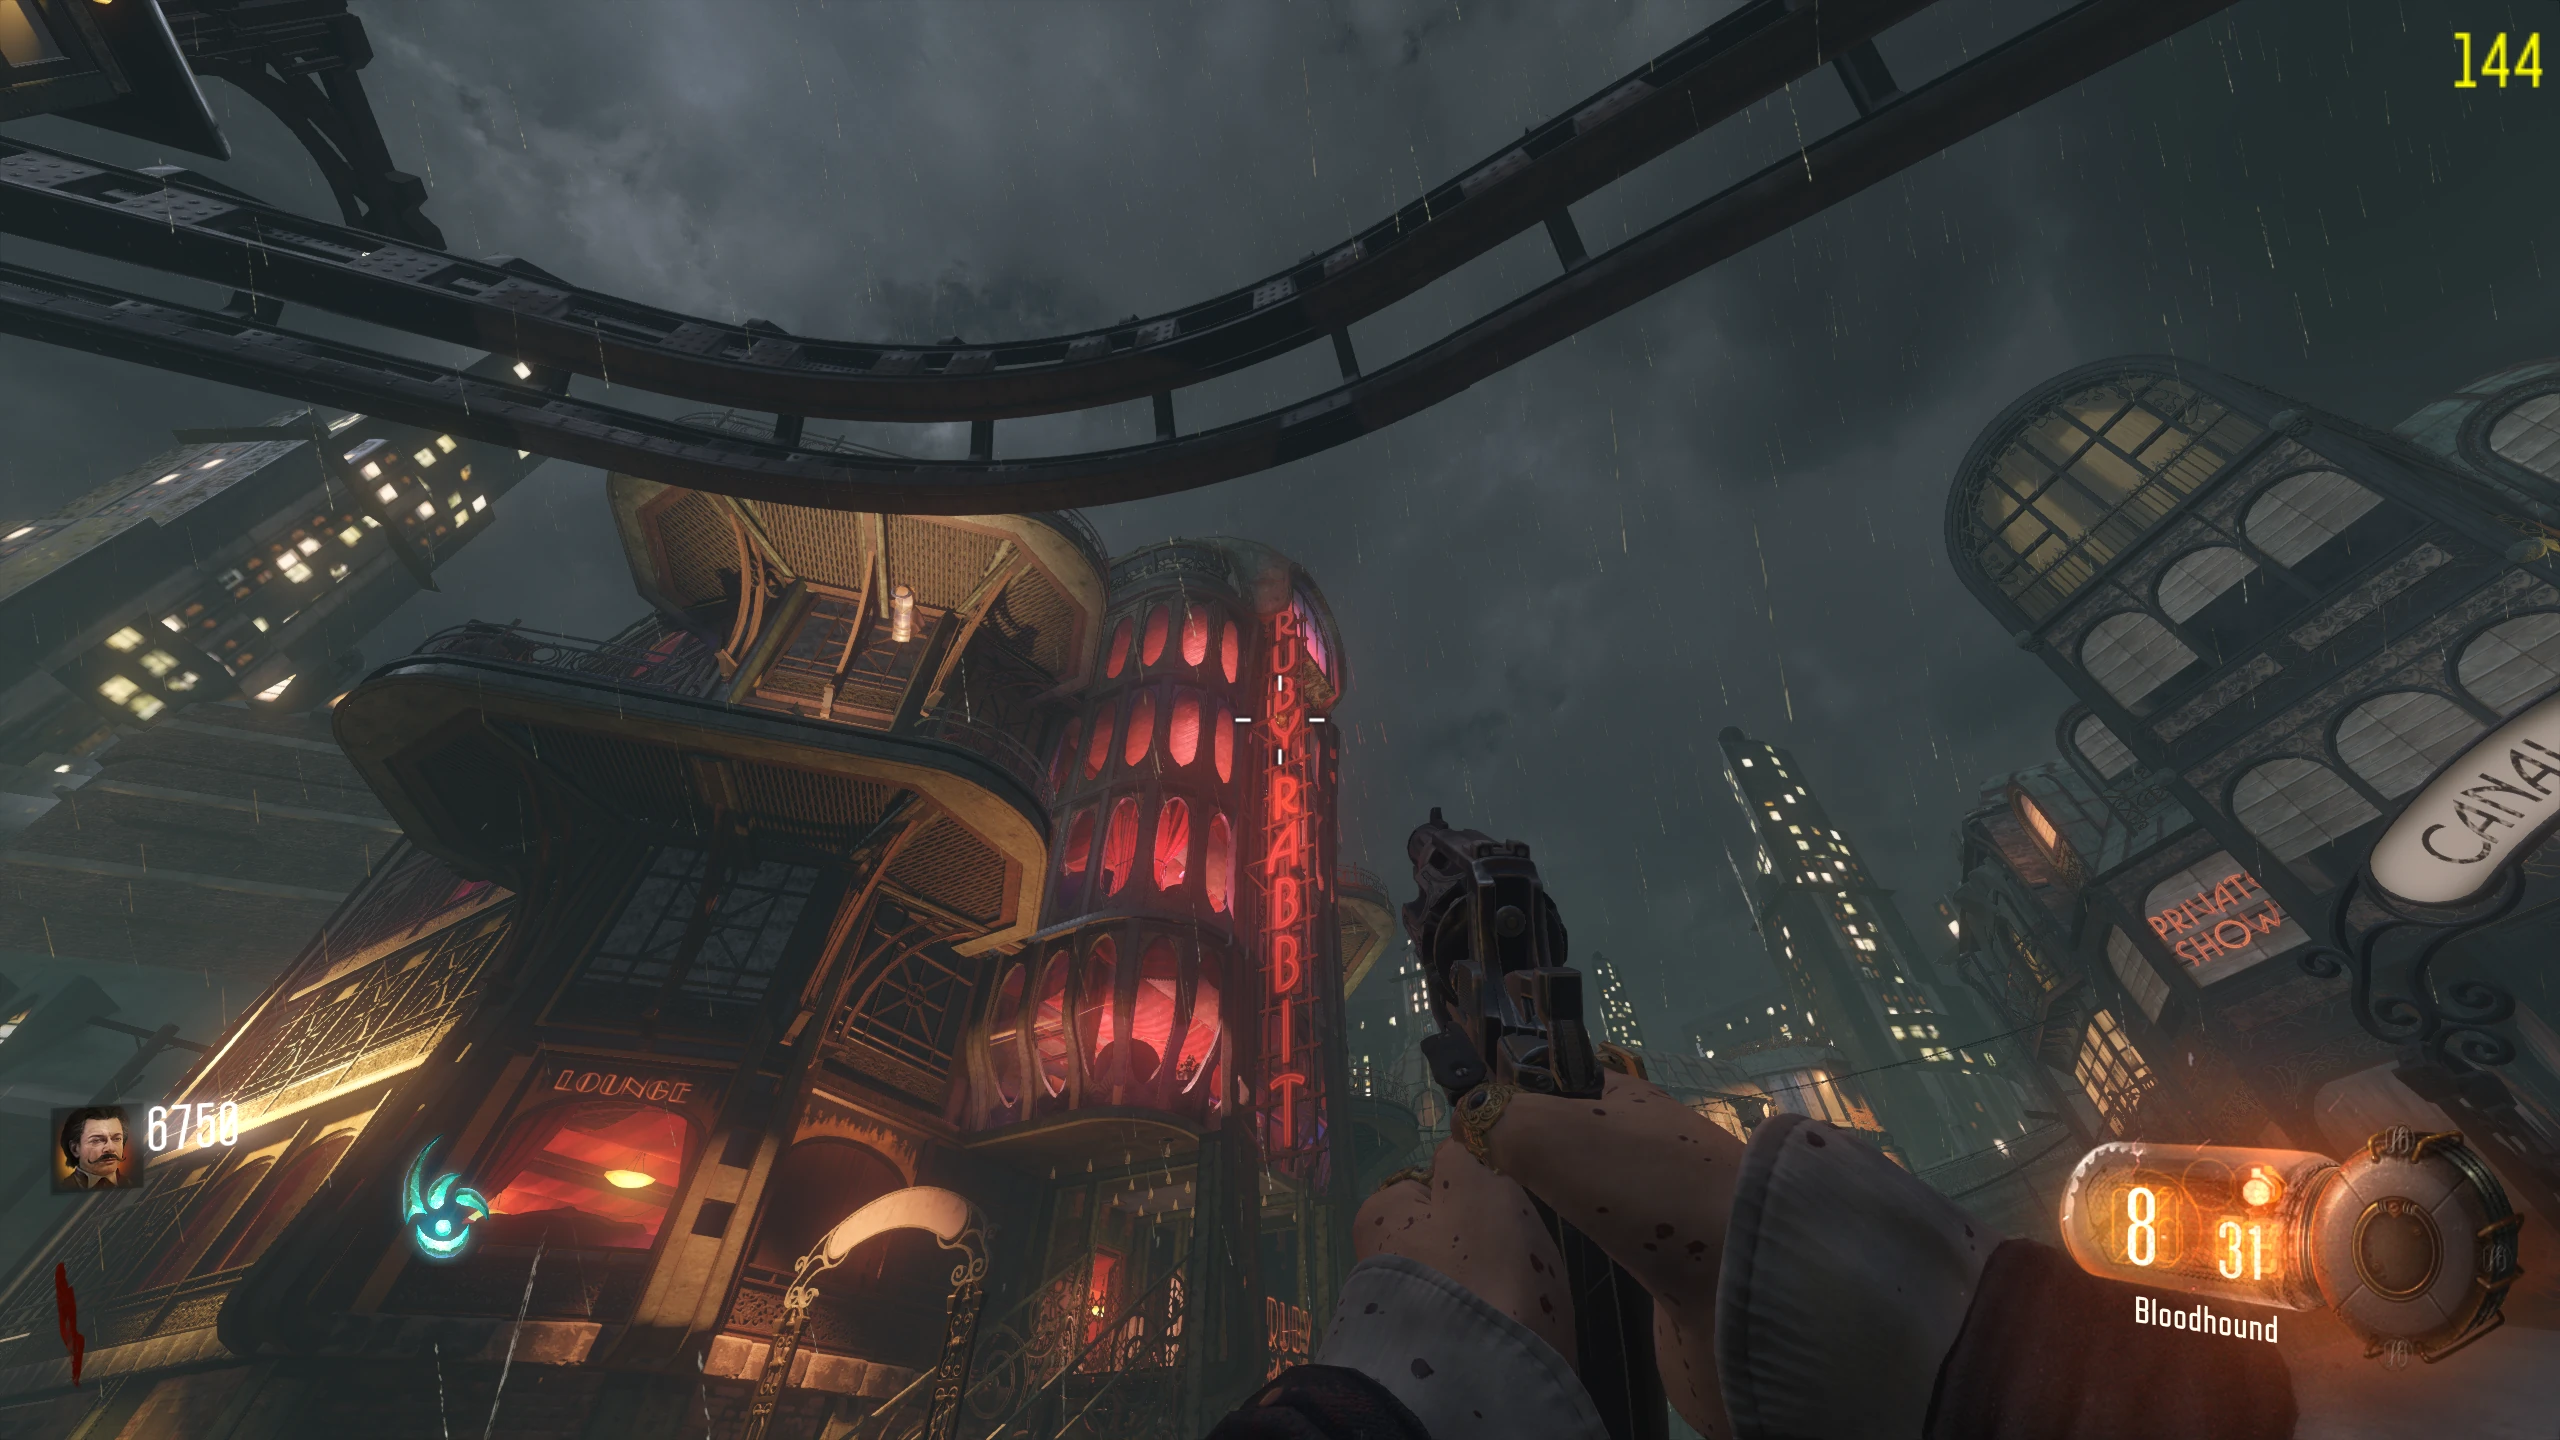
- Enter Beast Mode and shock the fuse box through the "ethereal" wall at the end of the Canals (part farthest from Spawn).
- While (still) in Beast Mode, melee the box in the wall beside the Rift Portal in the "middle" of the Canals.
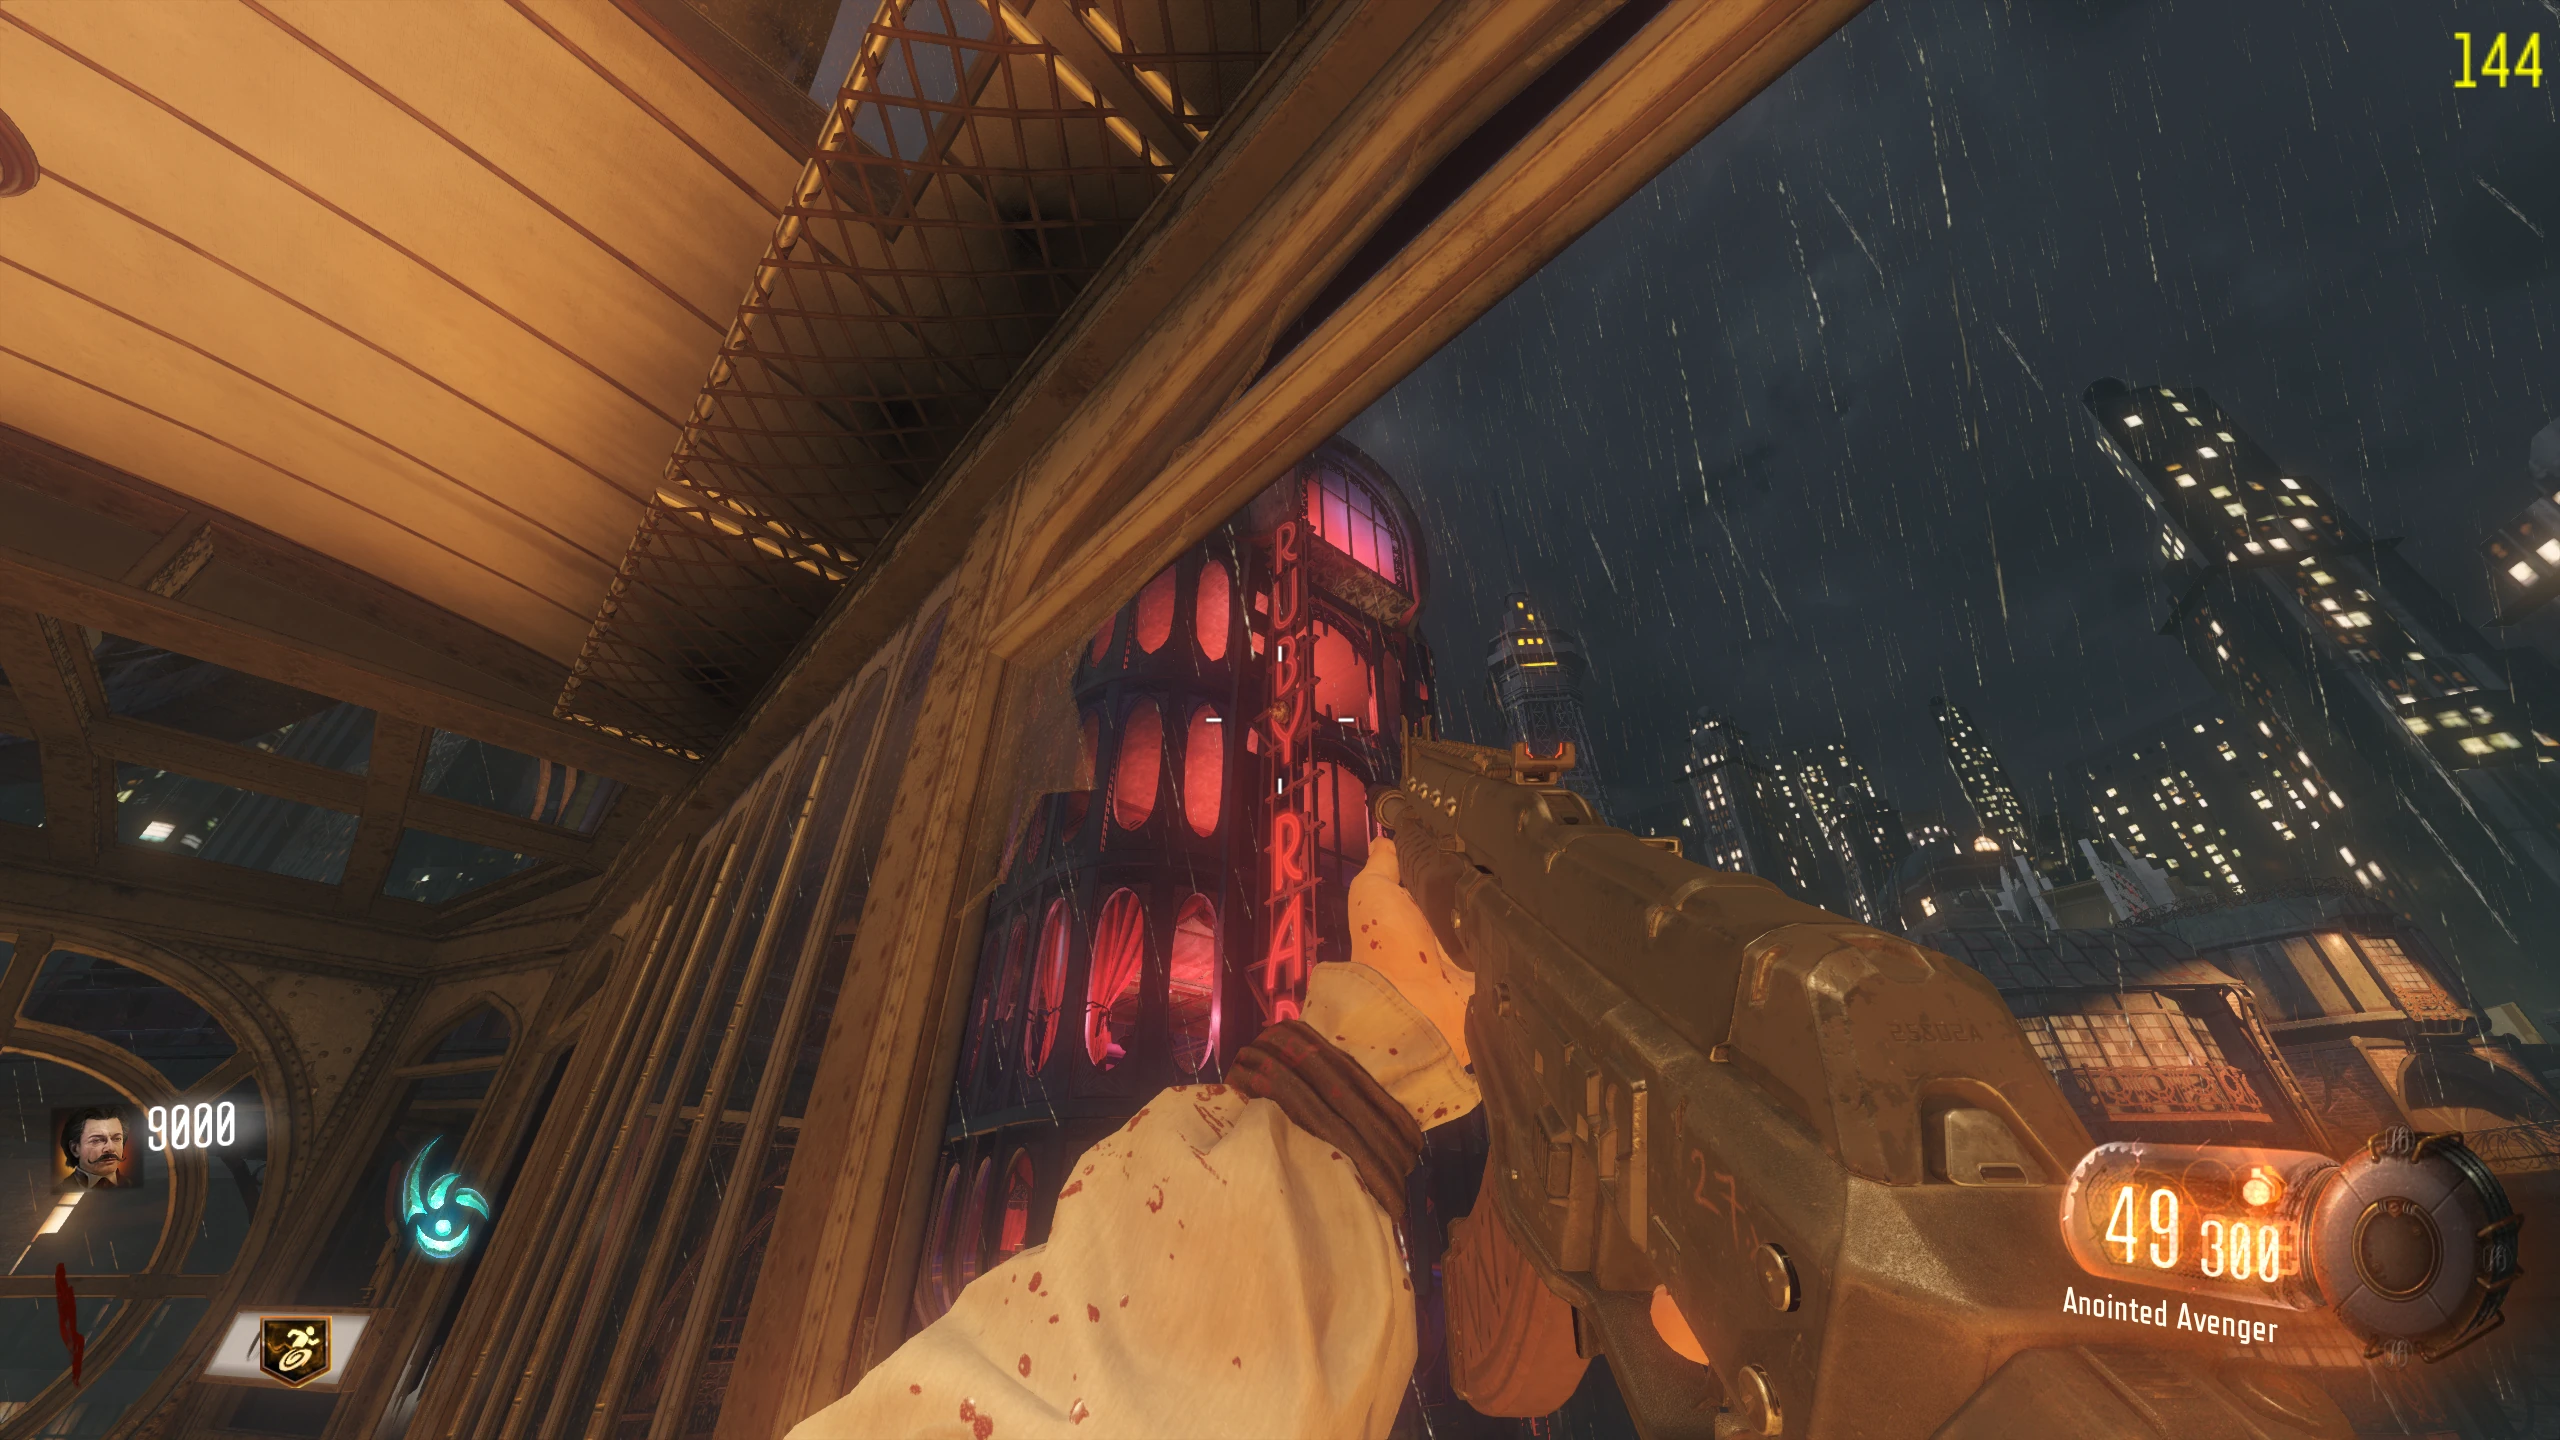
- Grapple up to the top of the 'Ruby Rabbit Nightclub' at the "back" of the Canals. Run down the stairs and shock the fuse box to open the stairs. You can now exit Beast Mode.
- Pick up the Detective's Badge from the broken box; two Keepers will spawn.
- Go to the top of the 'Ruby Rabbit Nightclub' and place the Detective's Badge on the Ritual Table.
- Interact with the table to start the ritual. During the ritual, you'll be locked inside the room, and Keepers will start spawning. Survive until the ritual is over.
- In Co-op, it'll take longer based on the number of players in the game not participating.
- Players can't enter mid-ritual, so make sure to wait for everyone before you start.
- Once the ritual is finished, a short animation will play above the table, followed by a Gateworm spawning for you to pick up. If this is the second or fourth ritual completed, a Margwa will spawn.
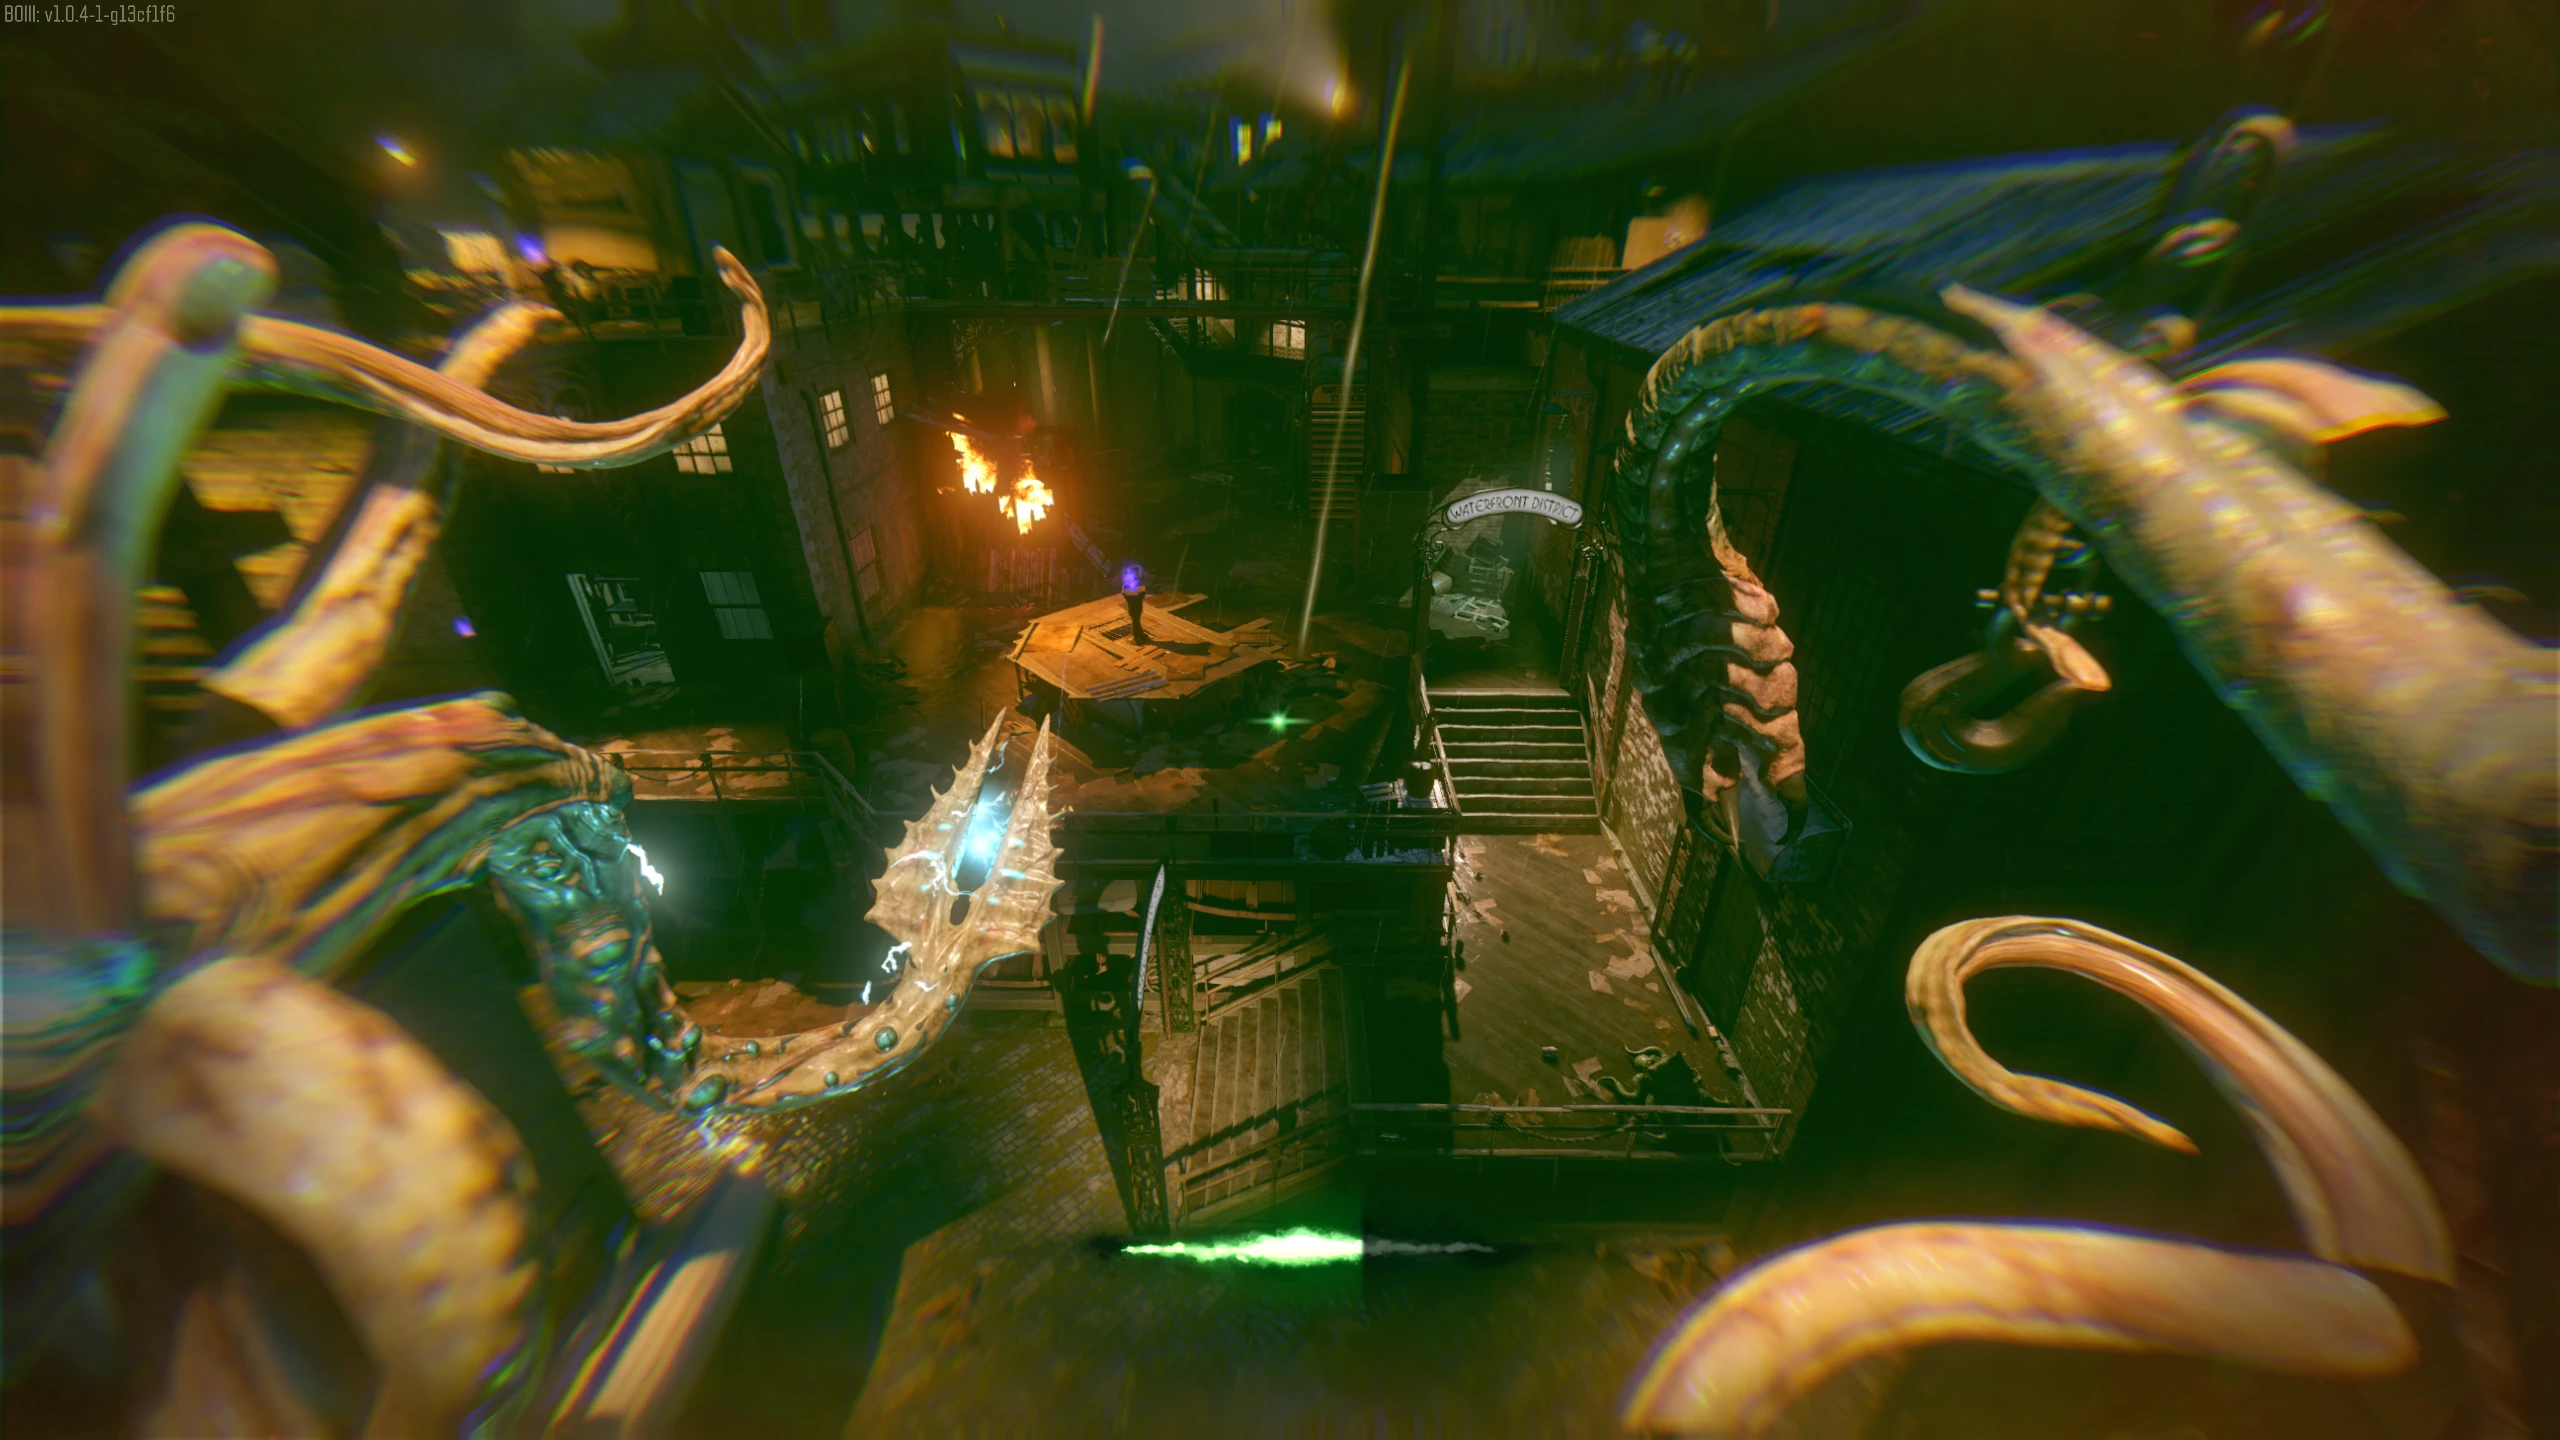
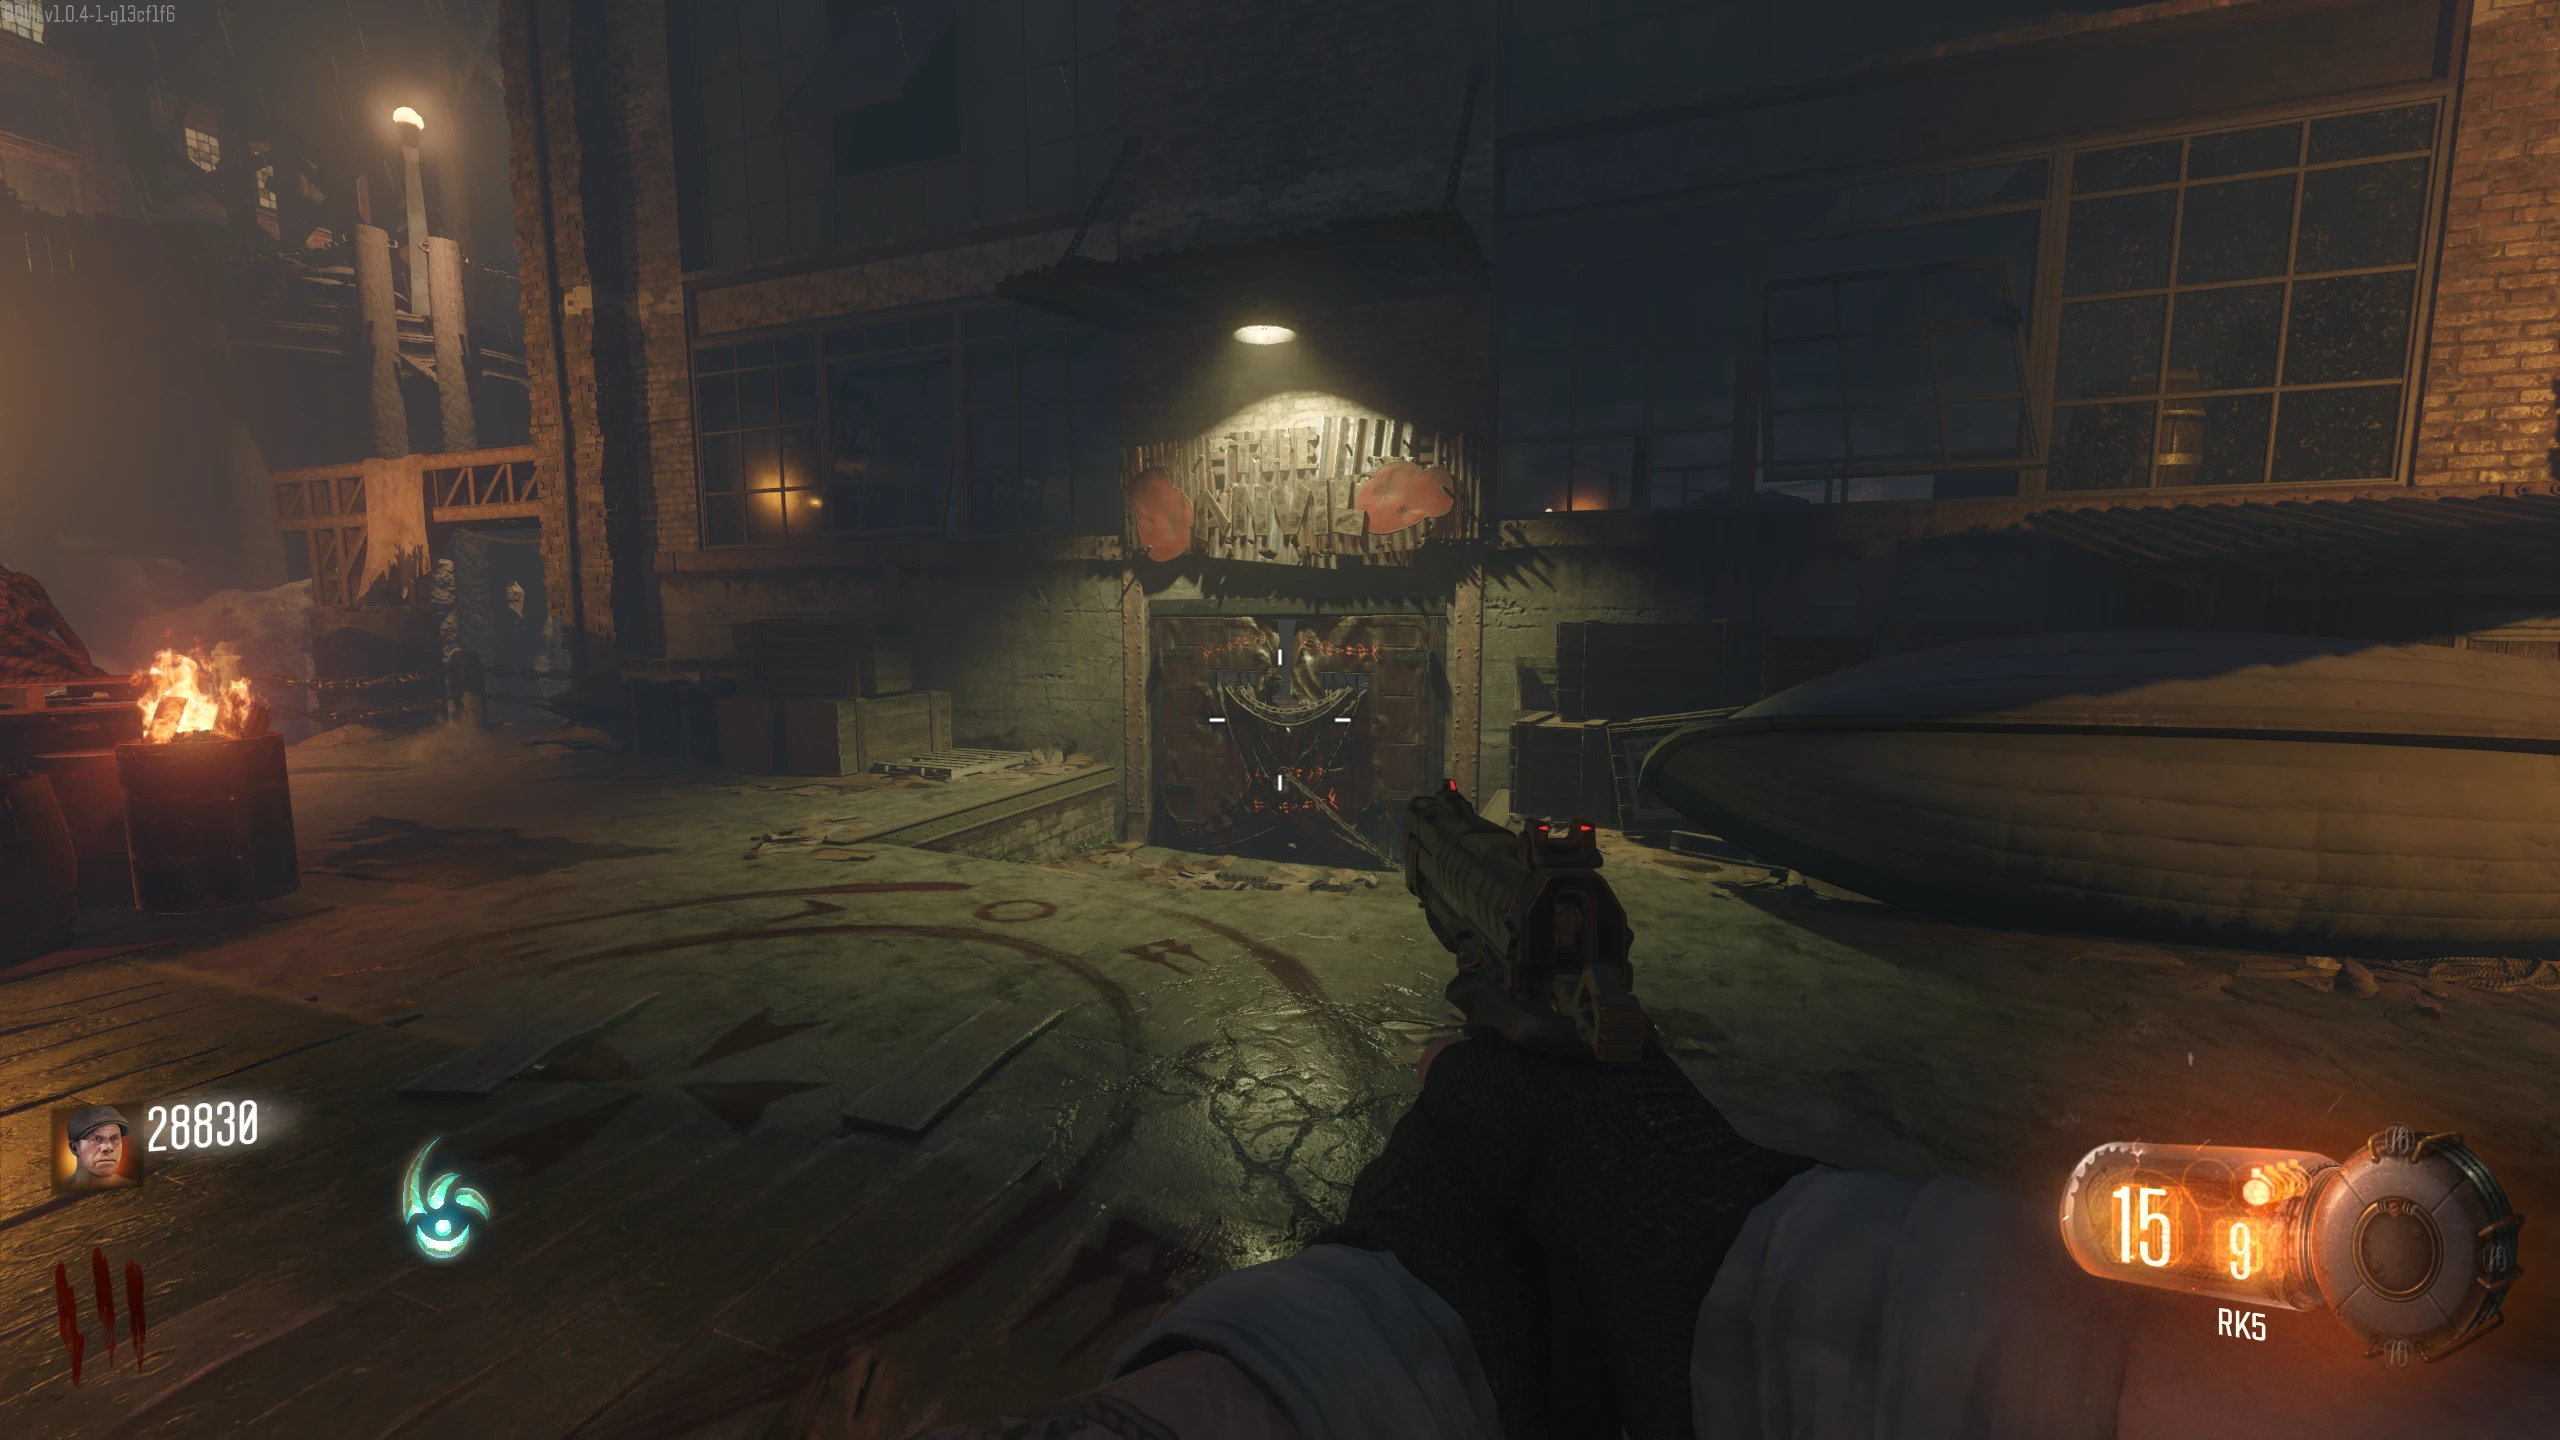
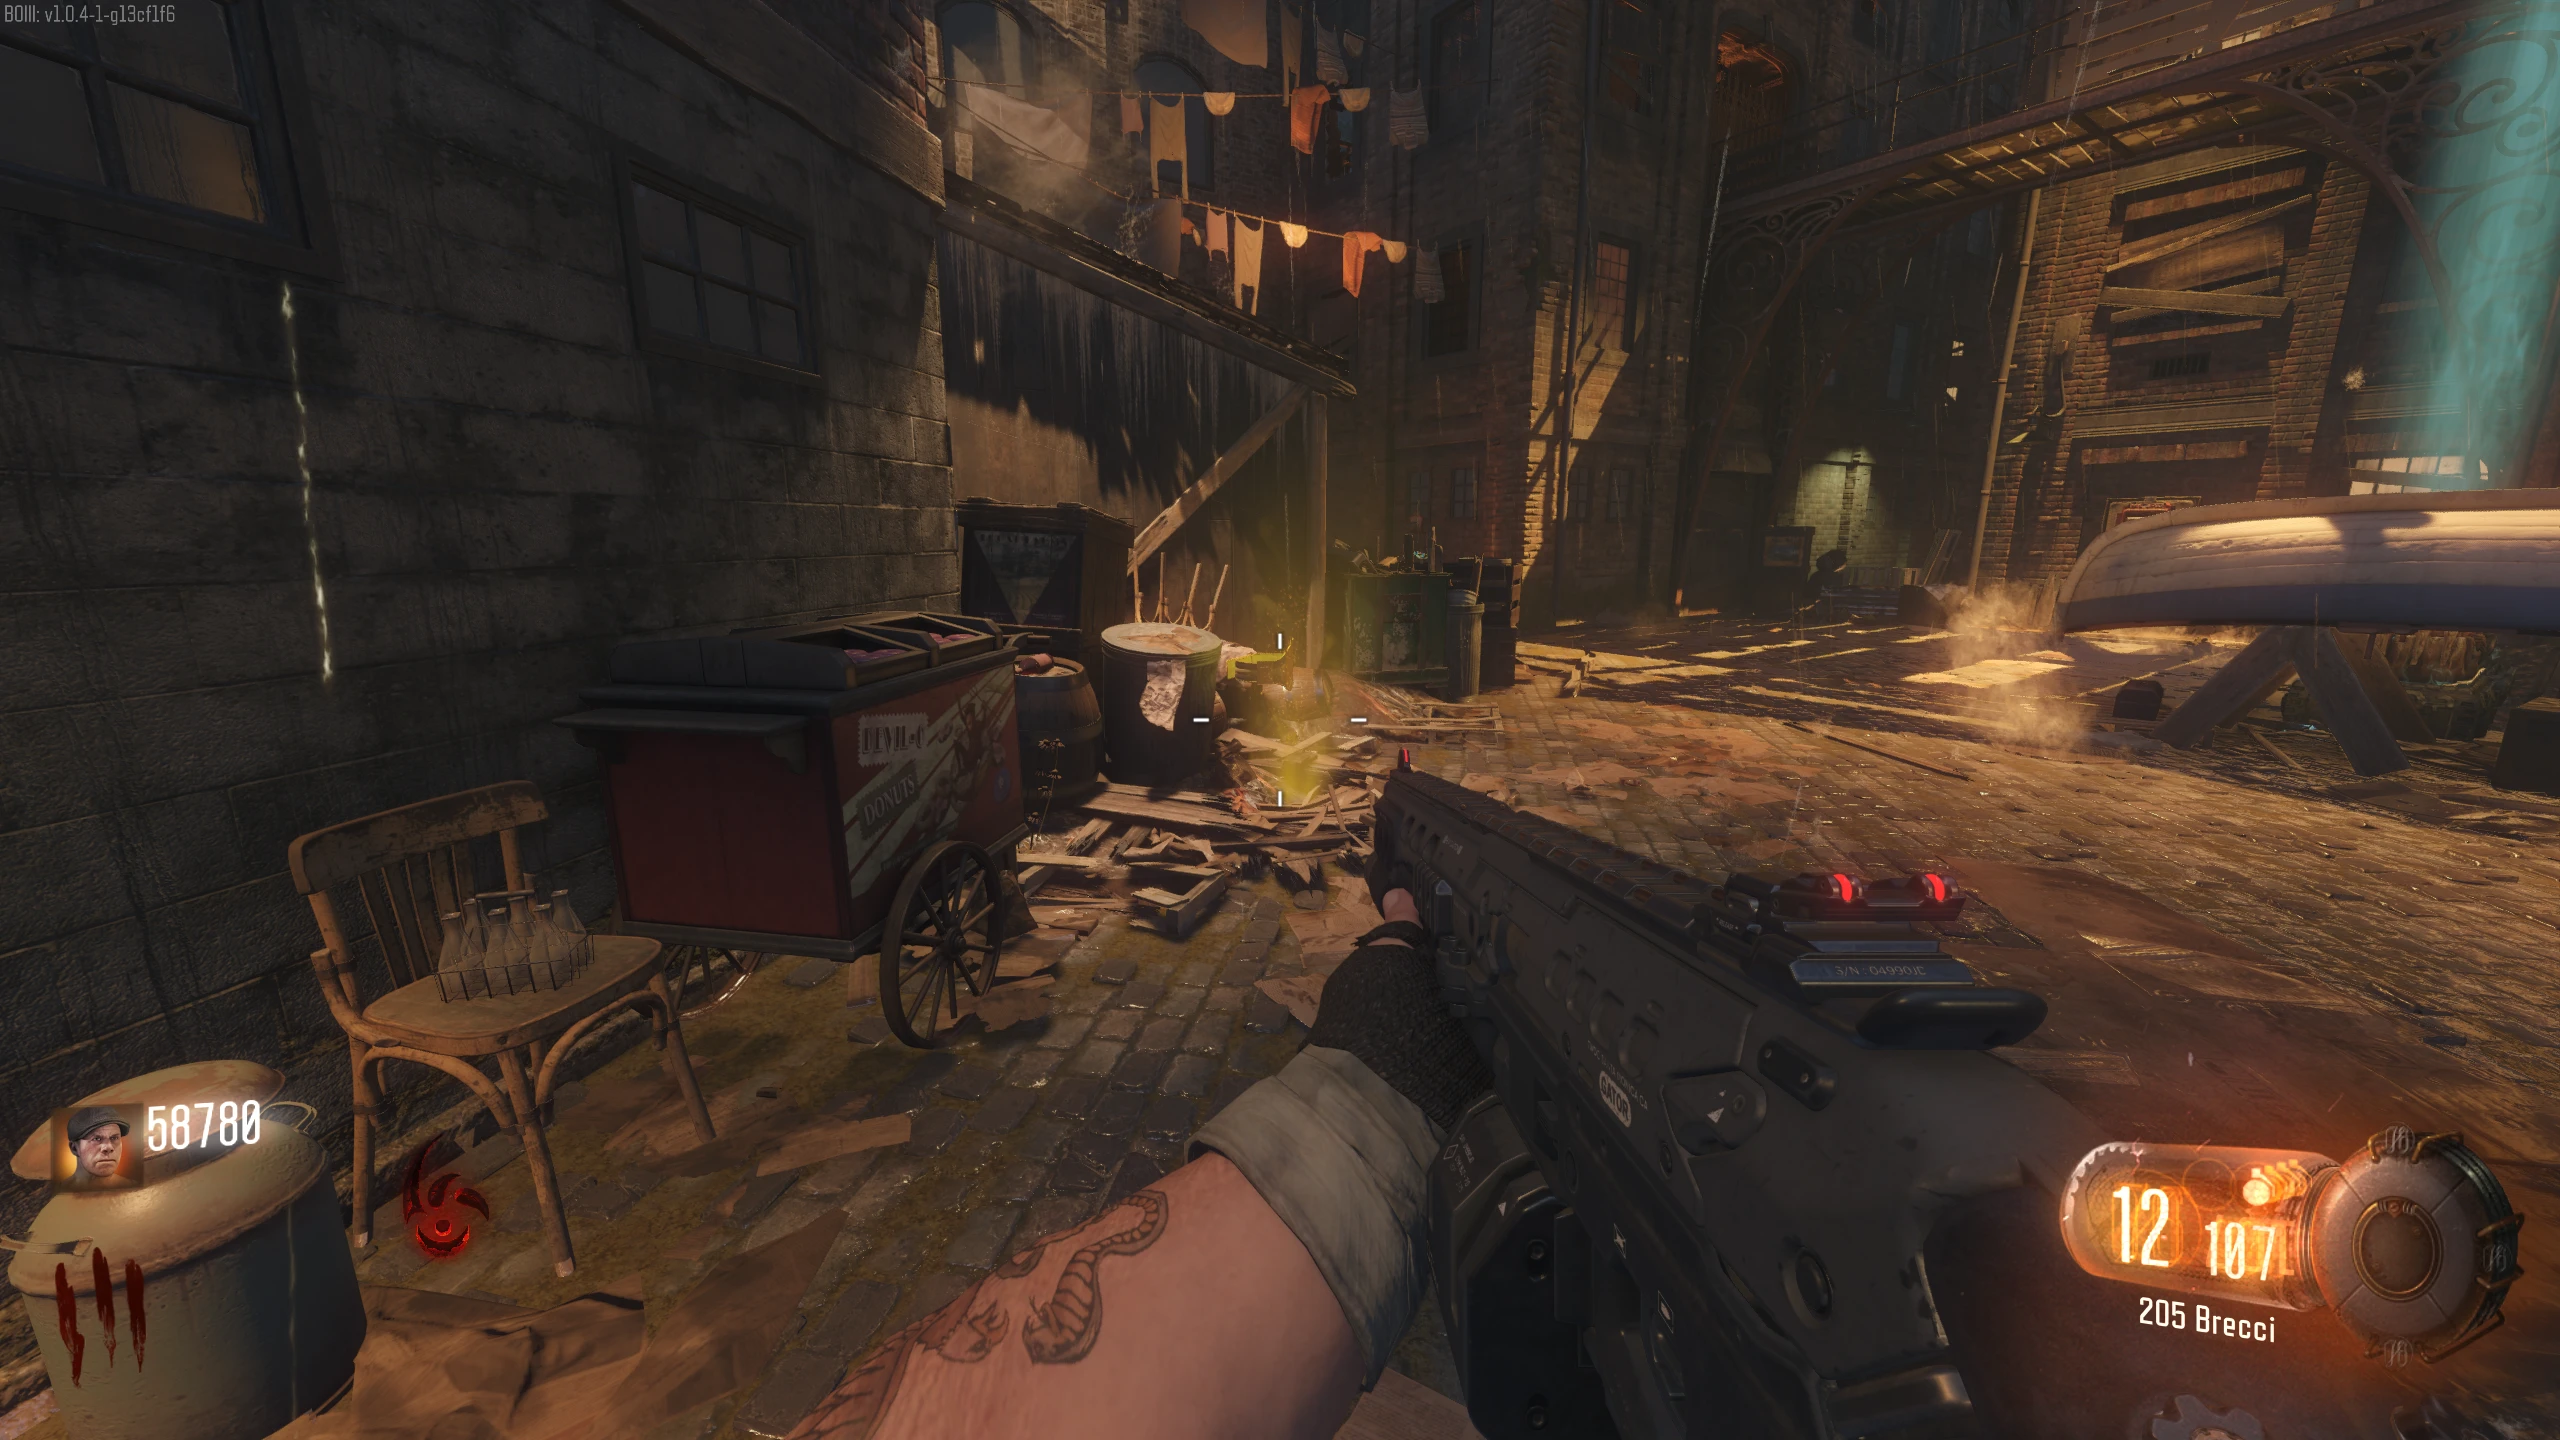
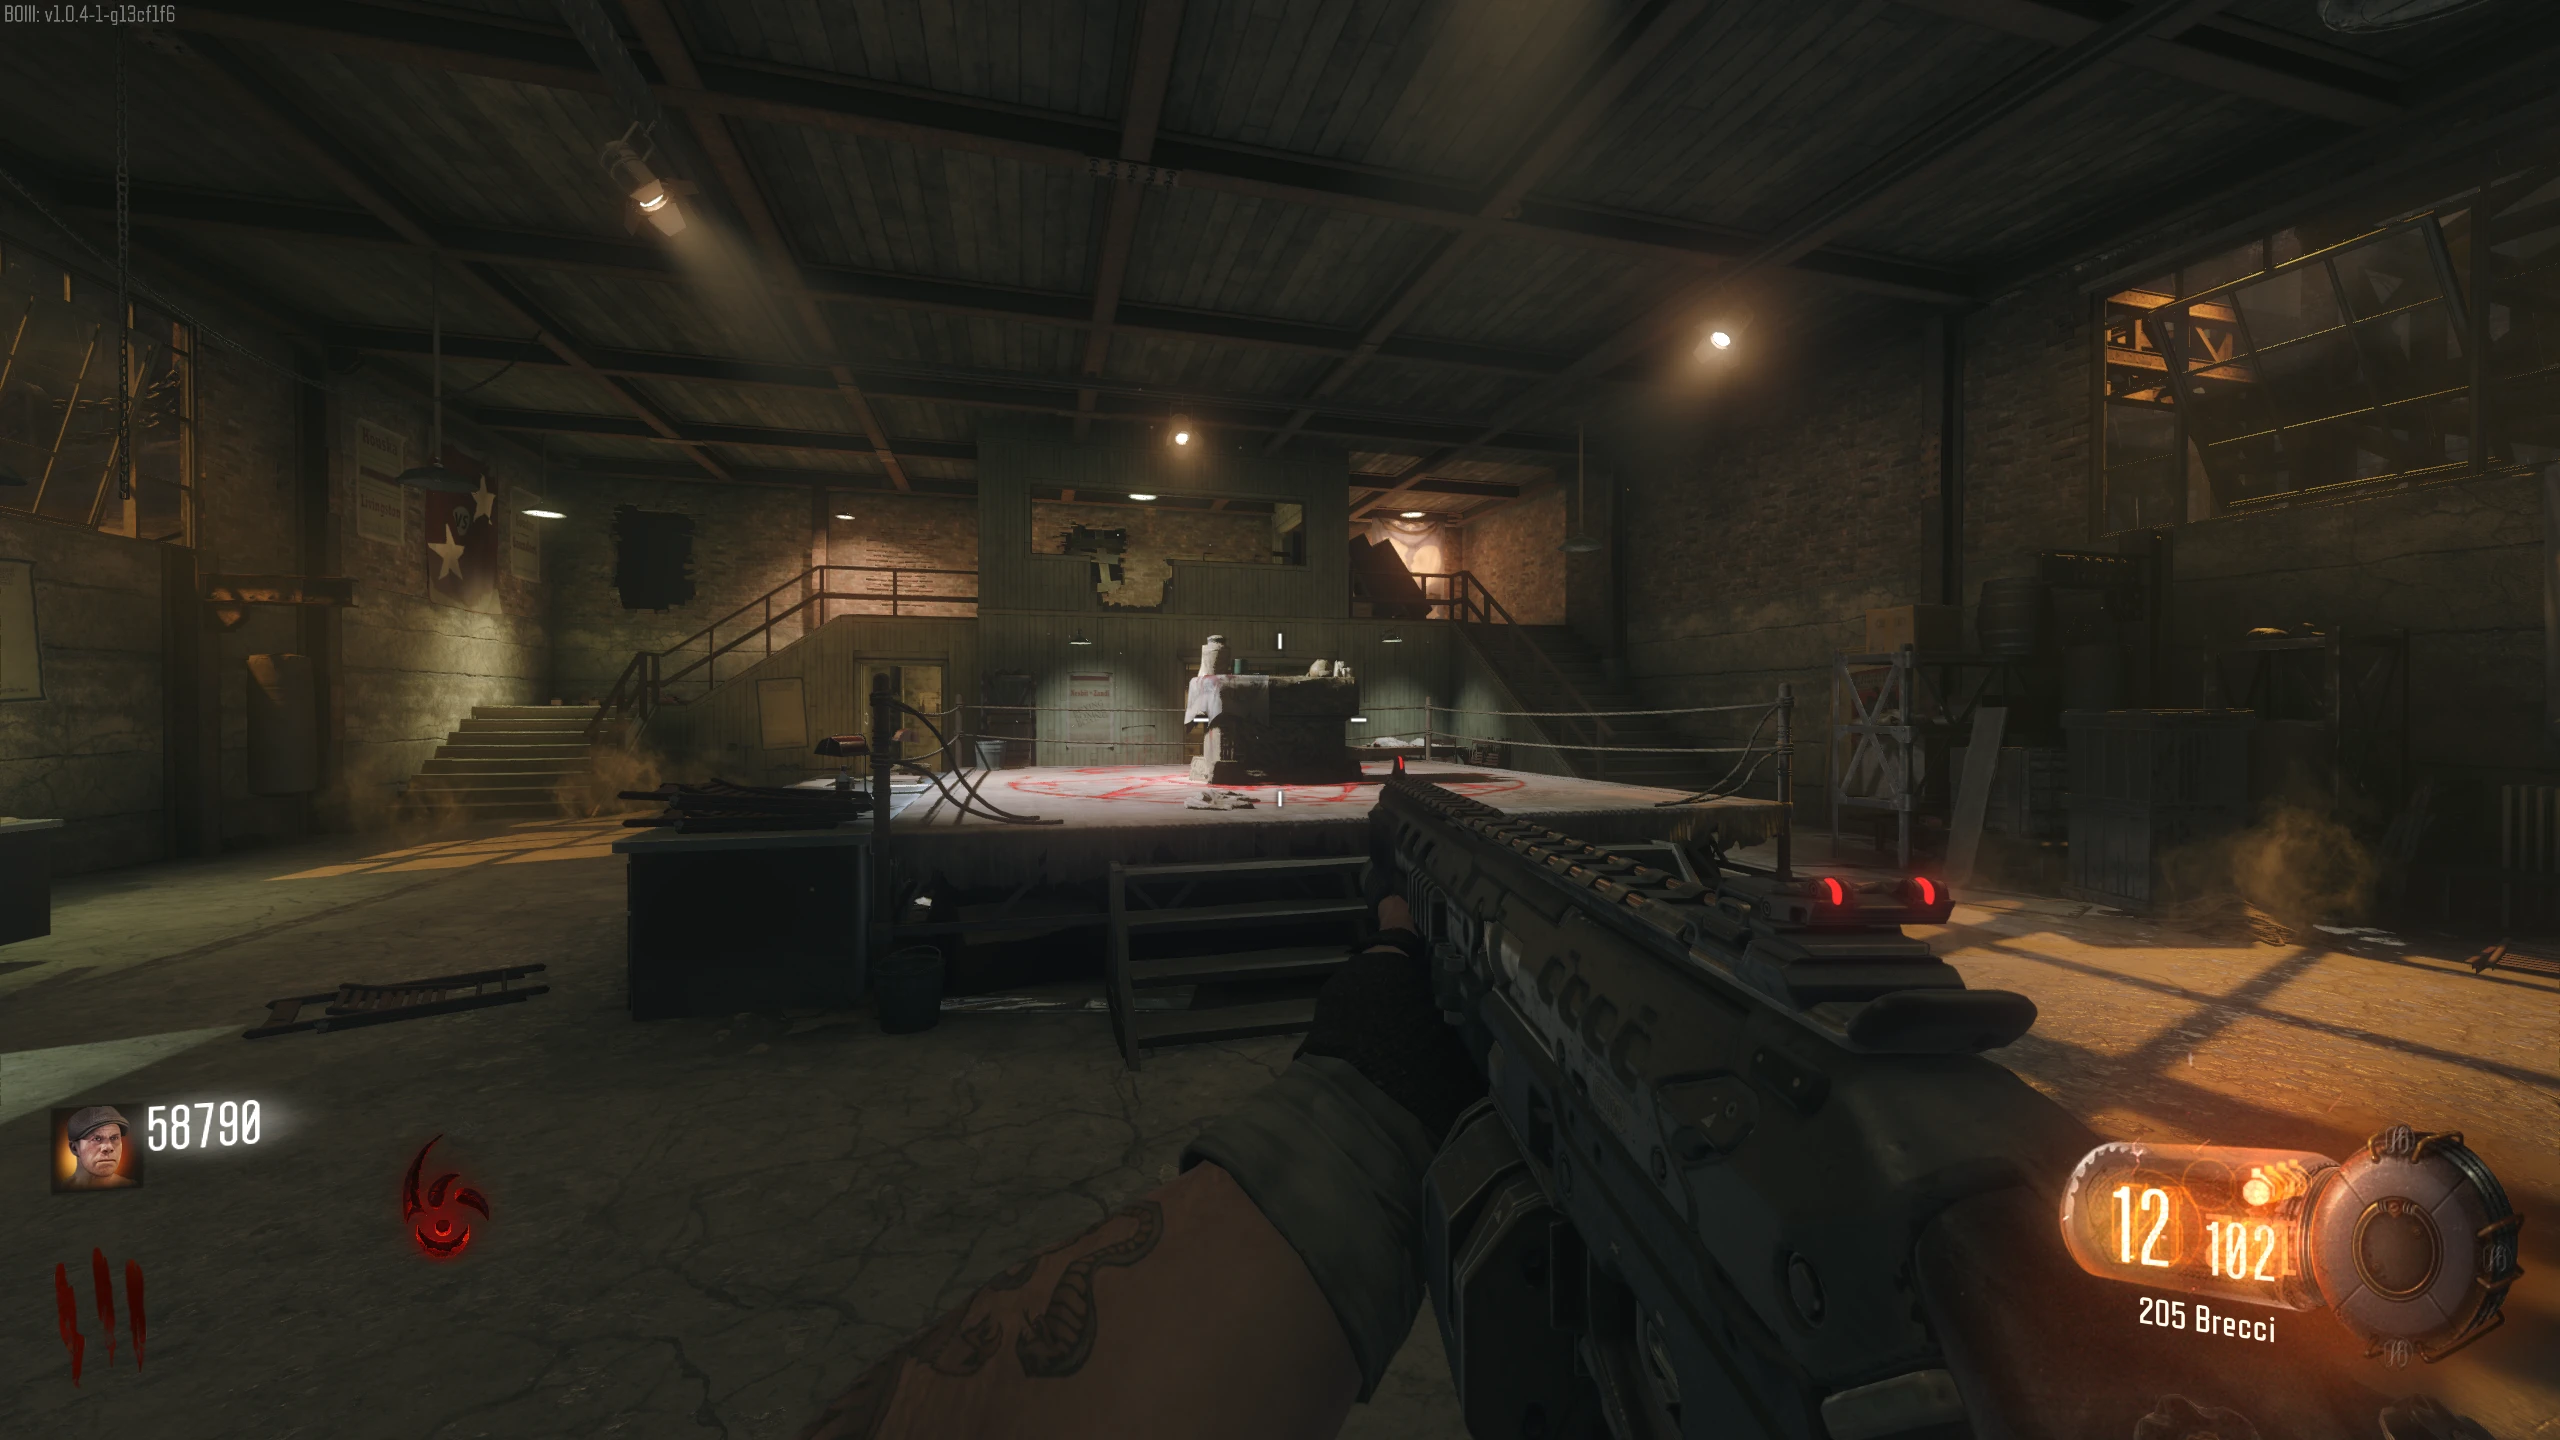
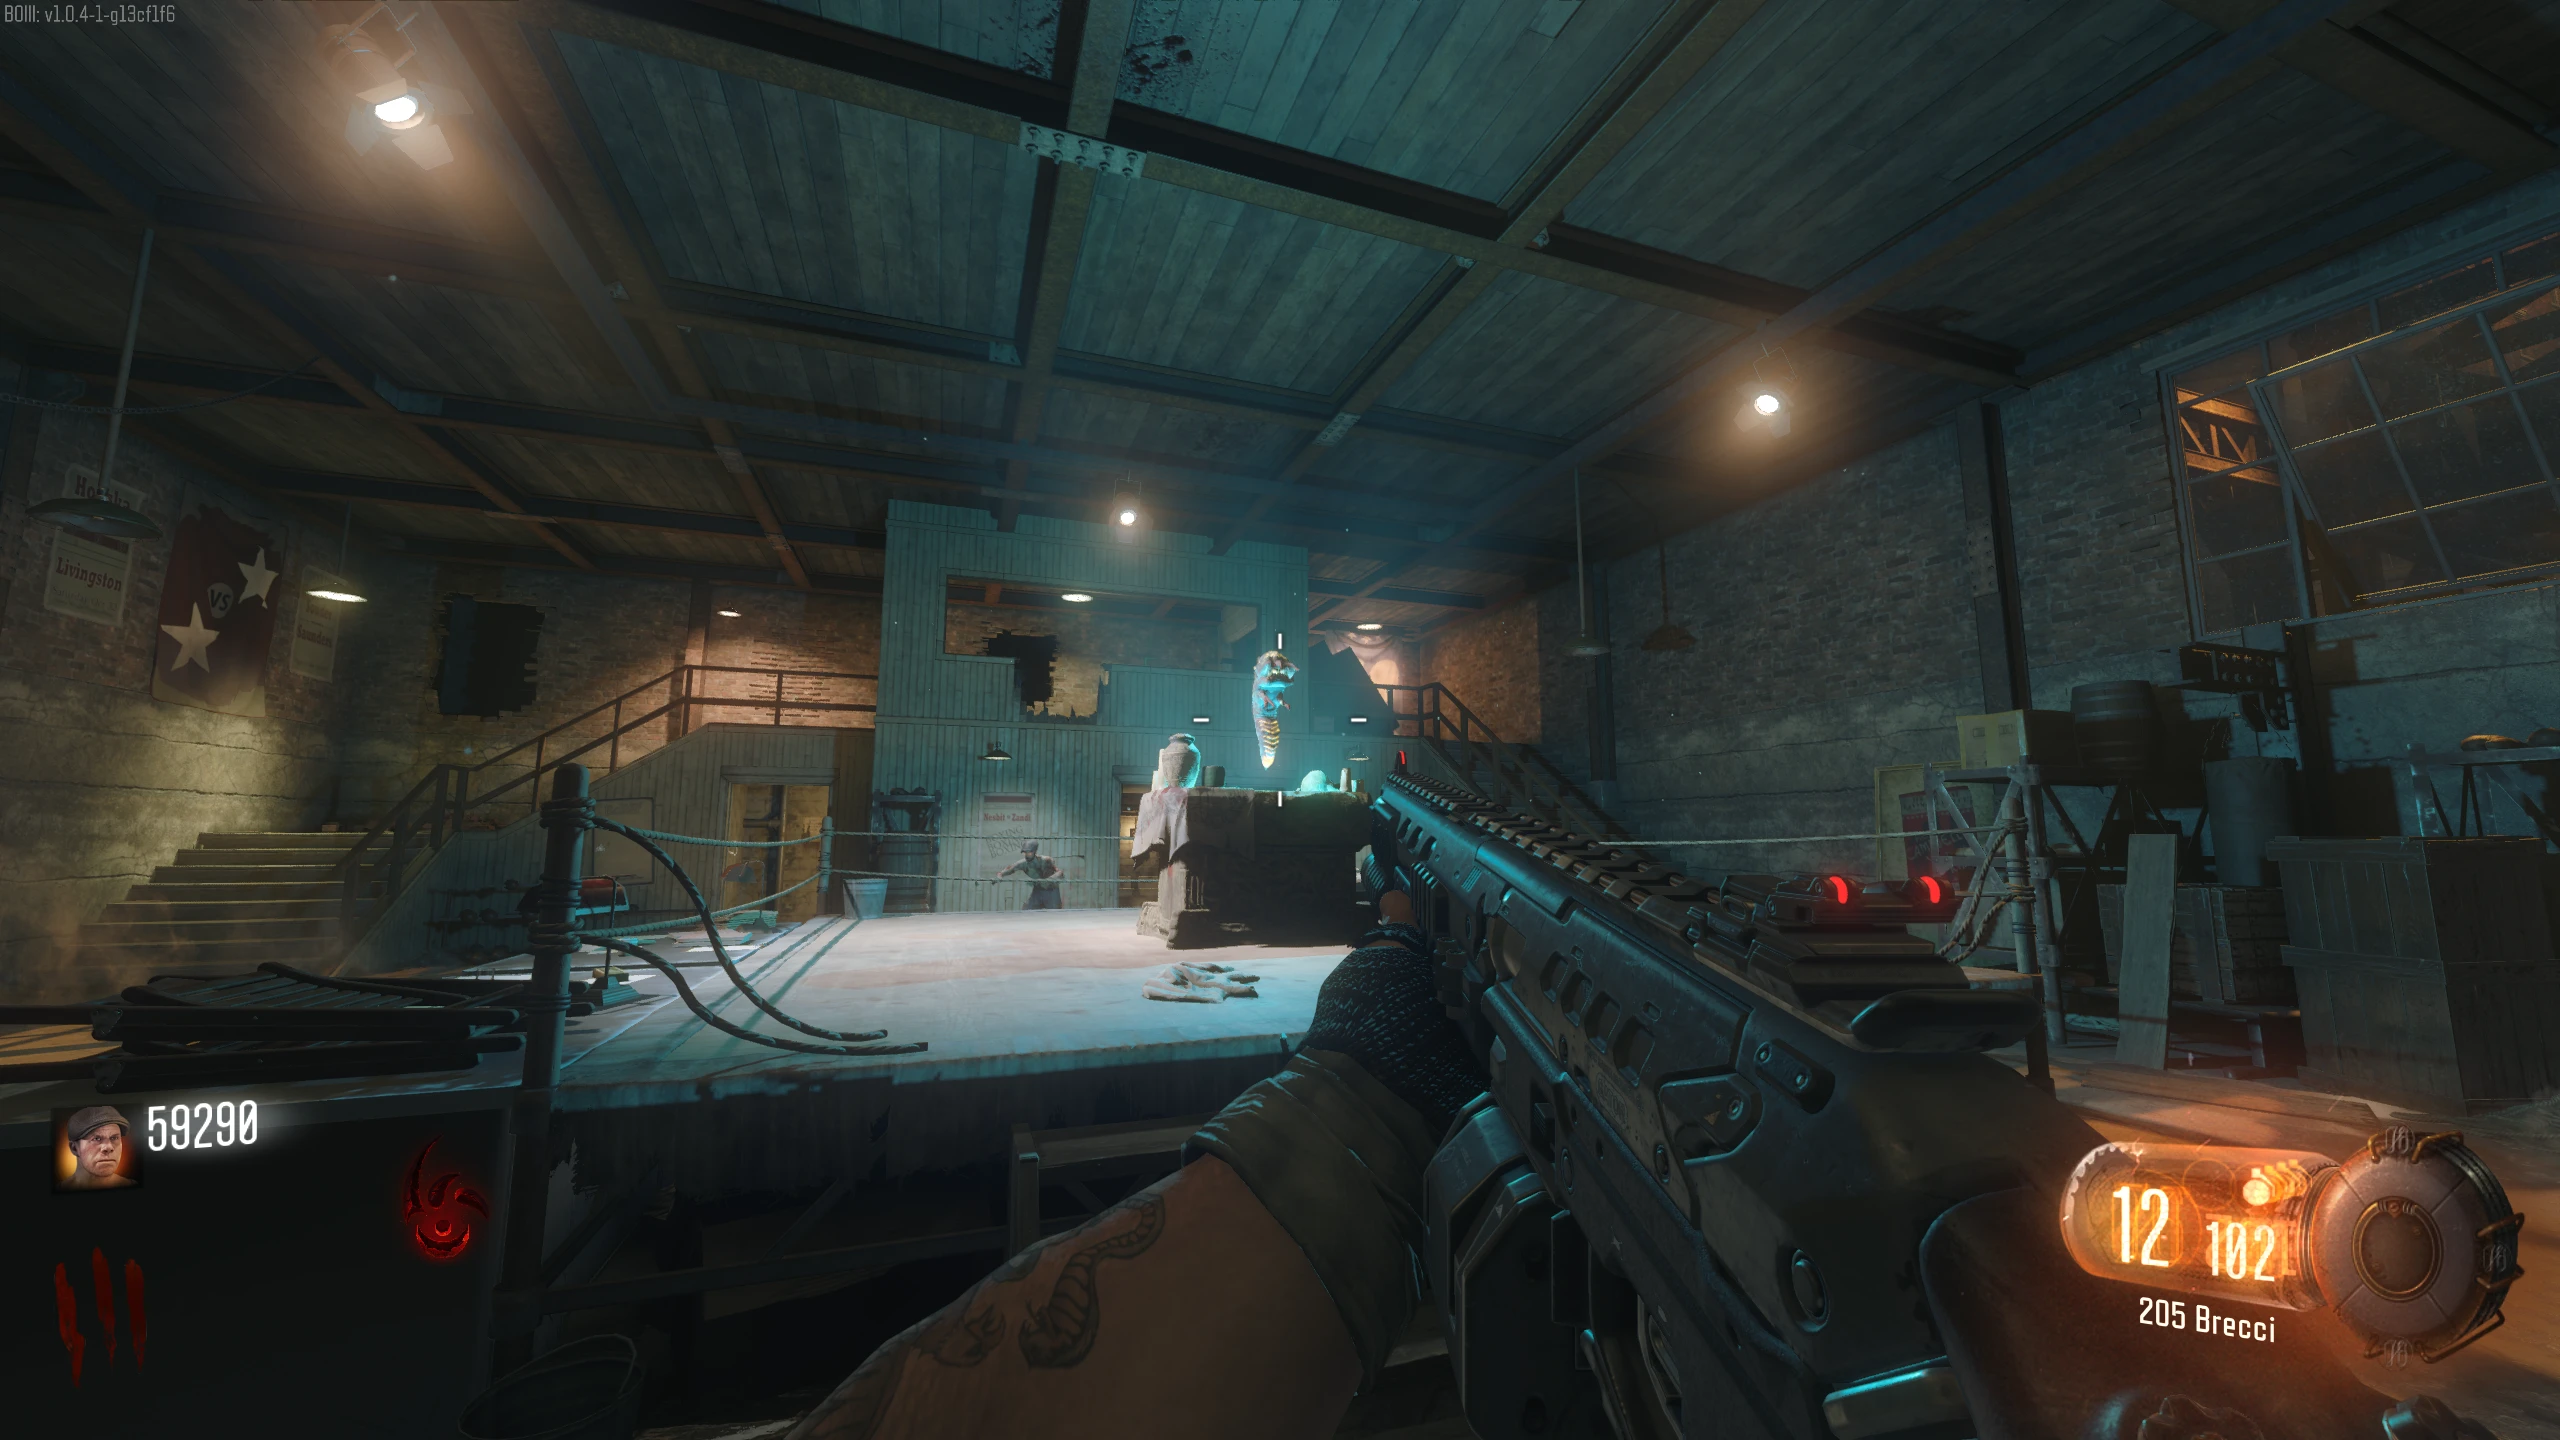
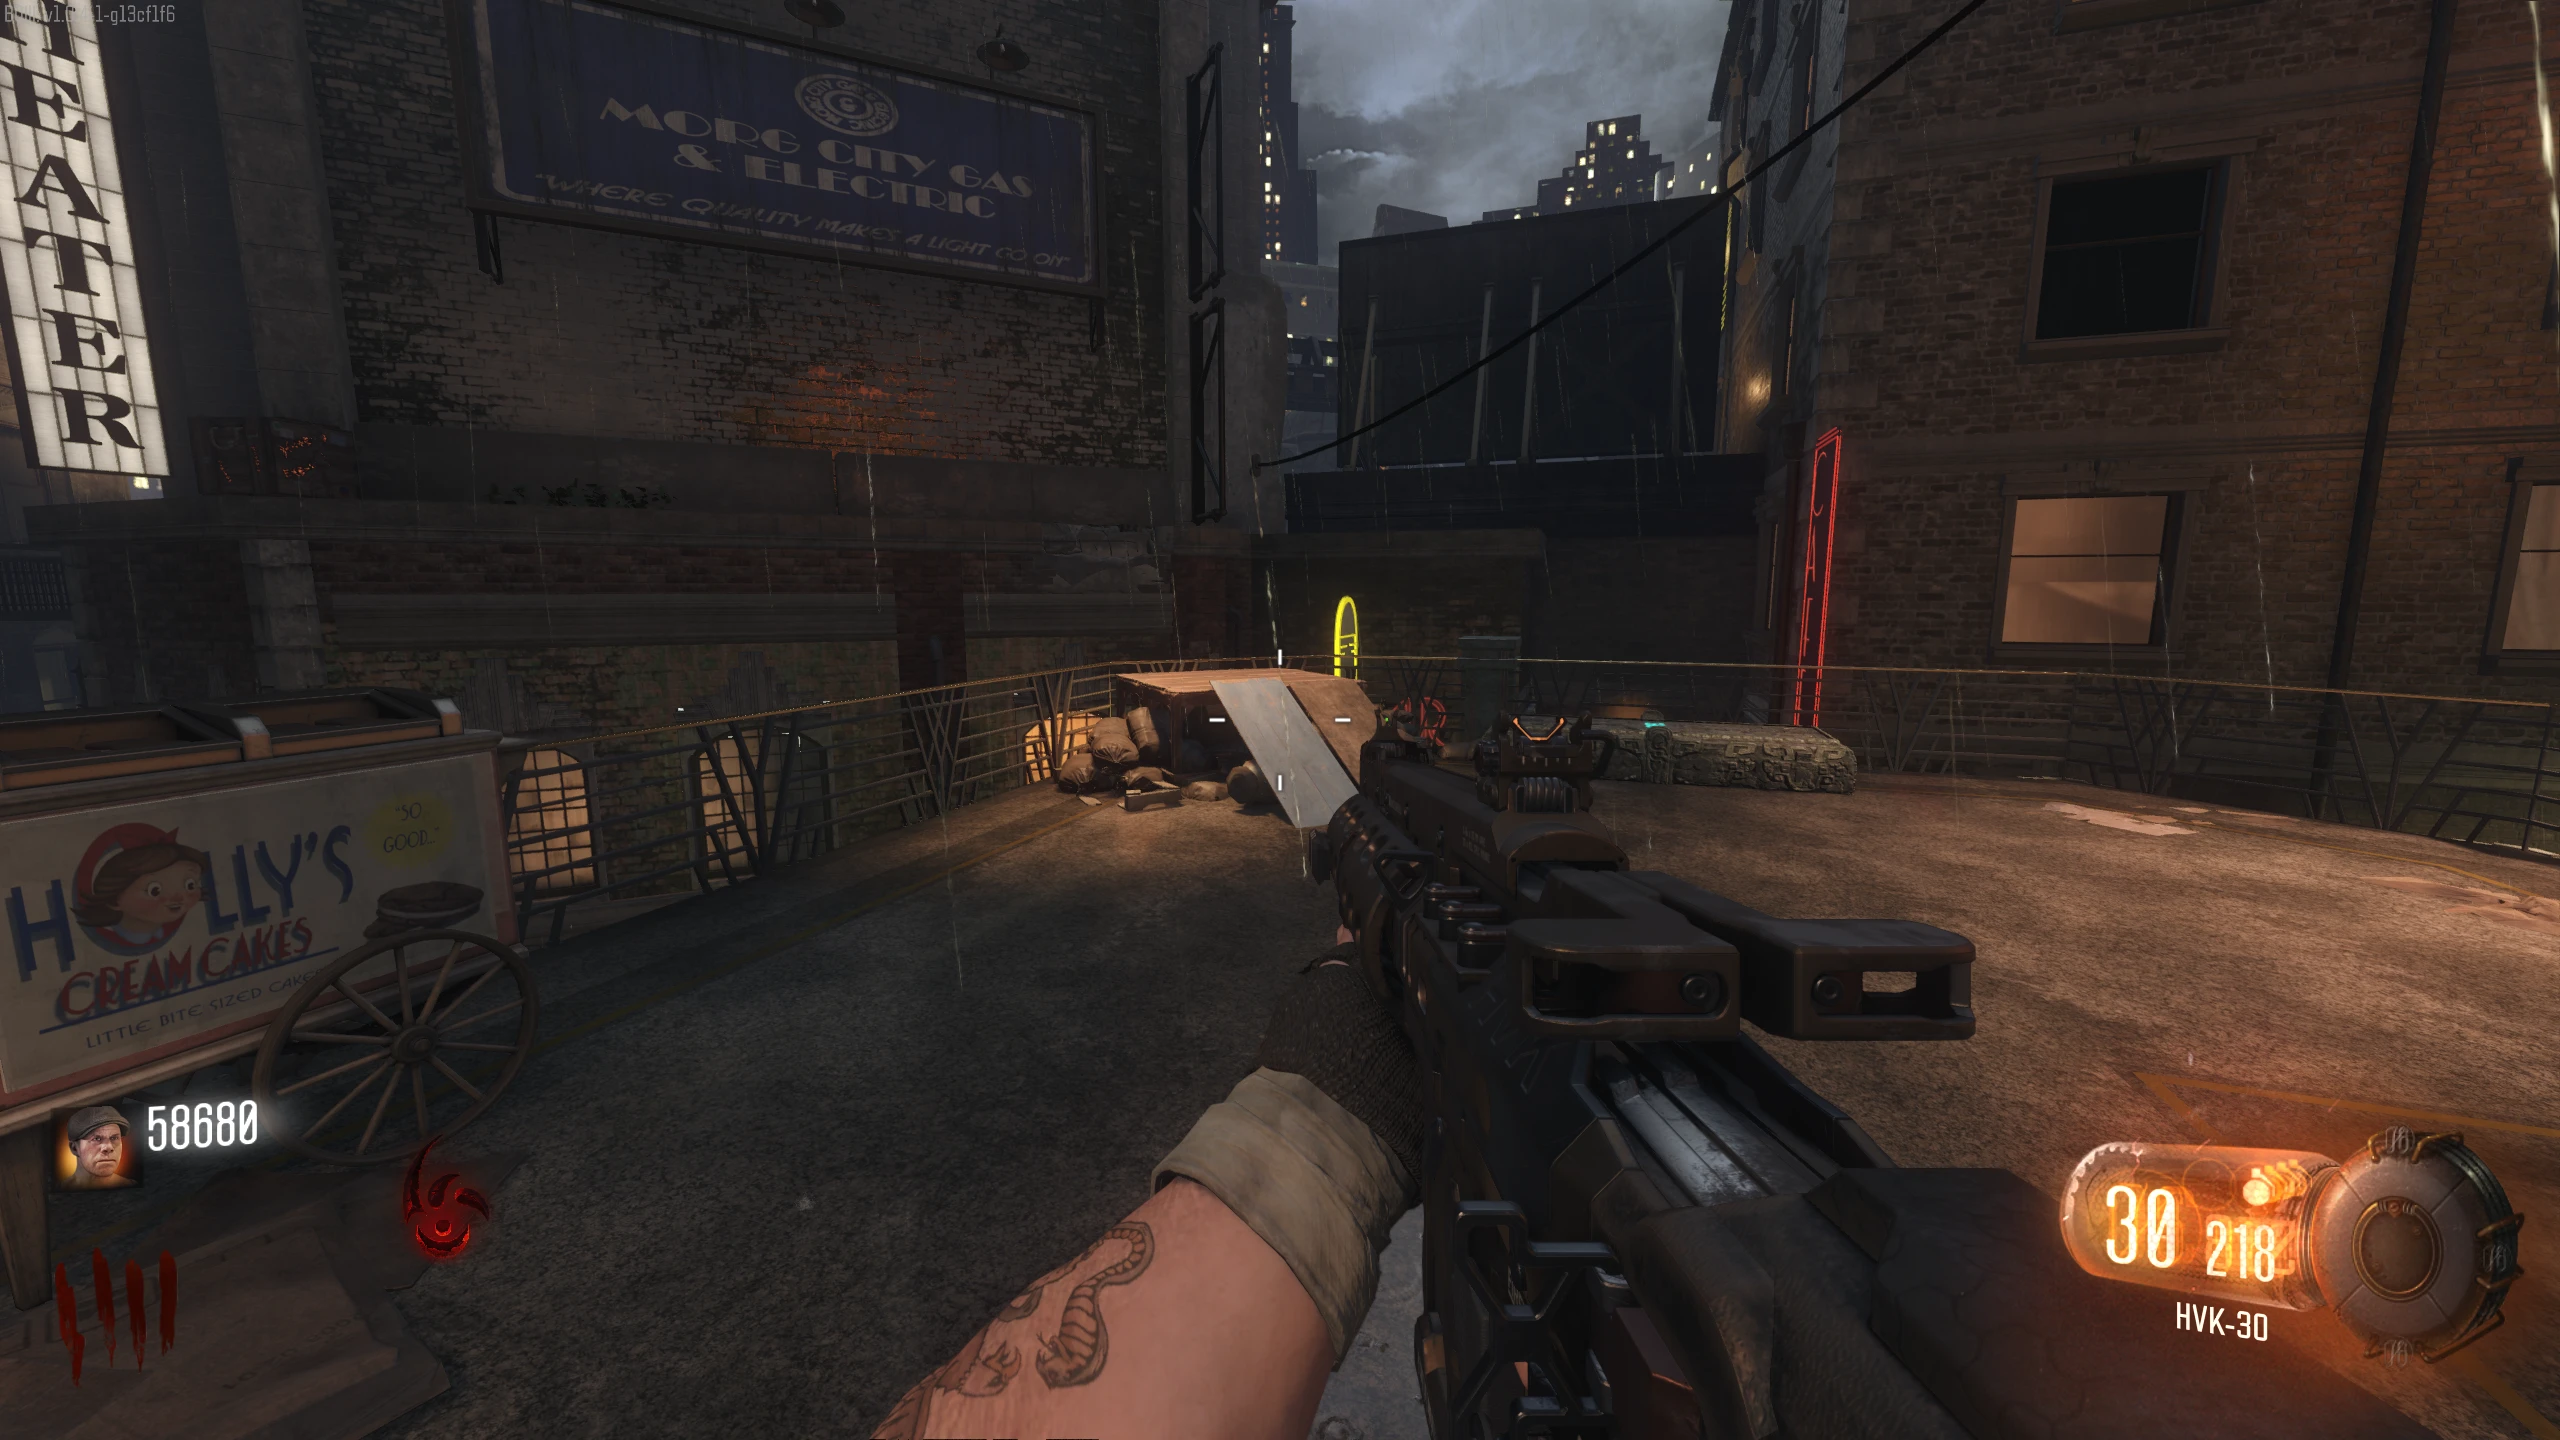
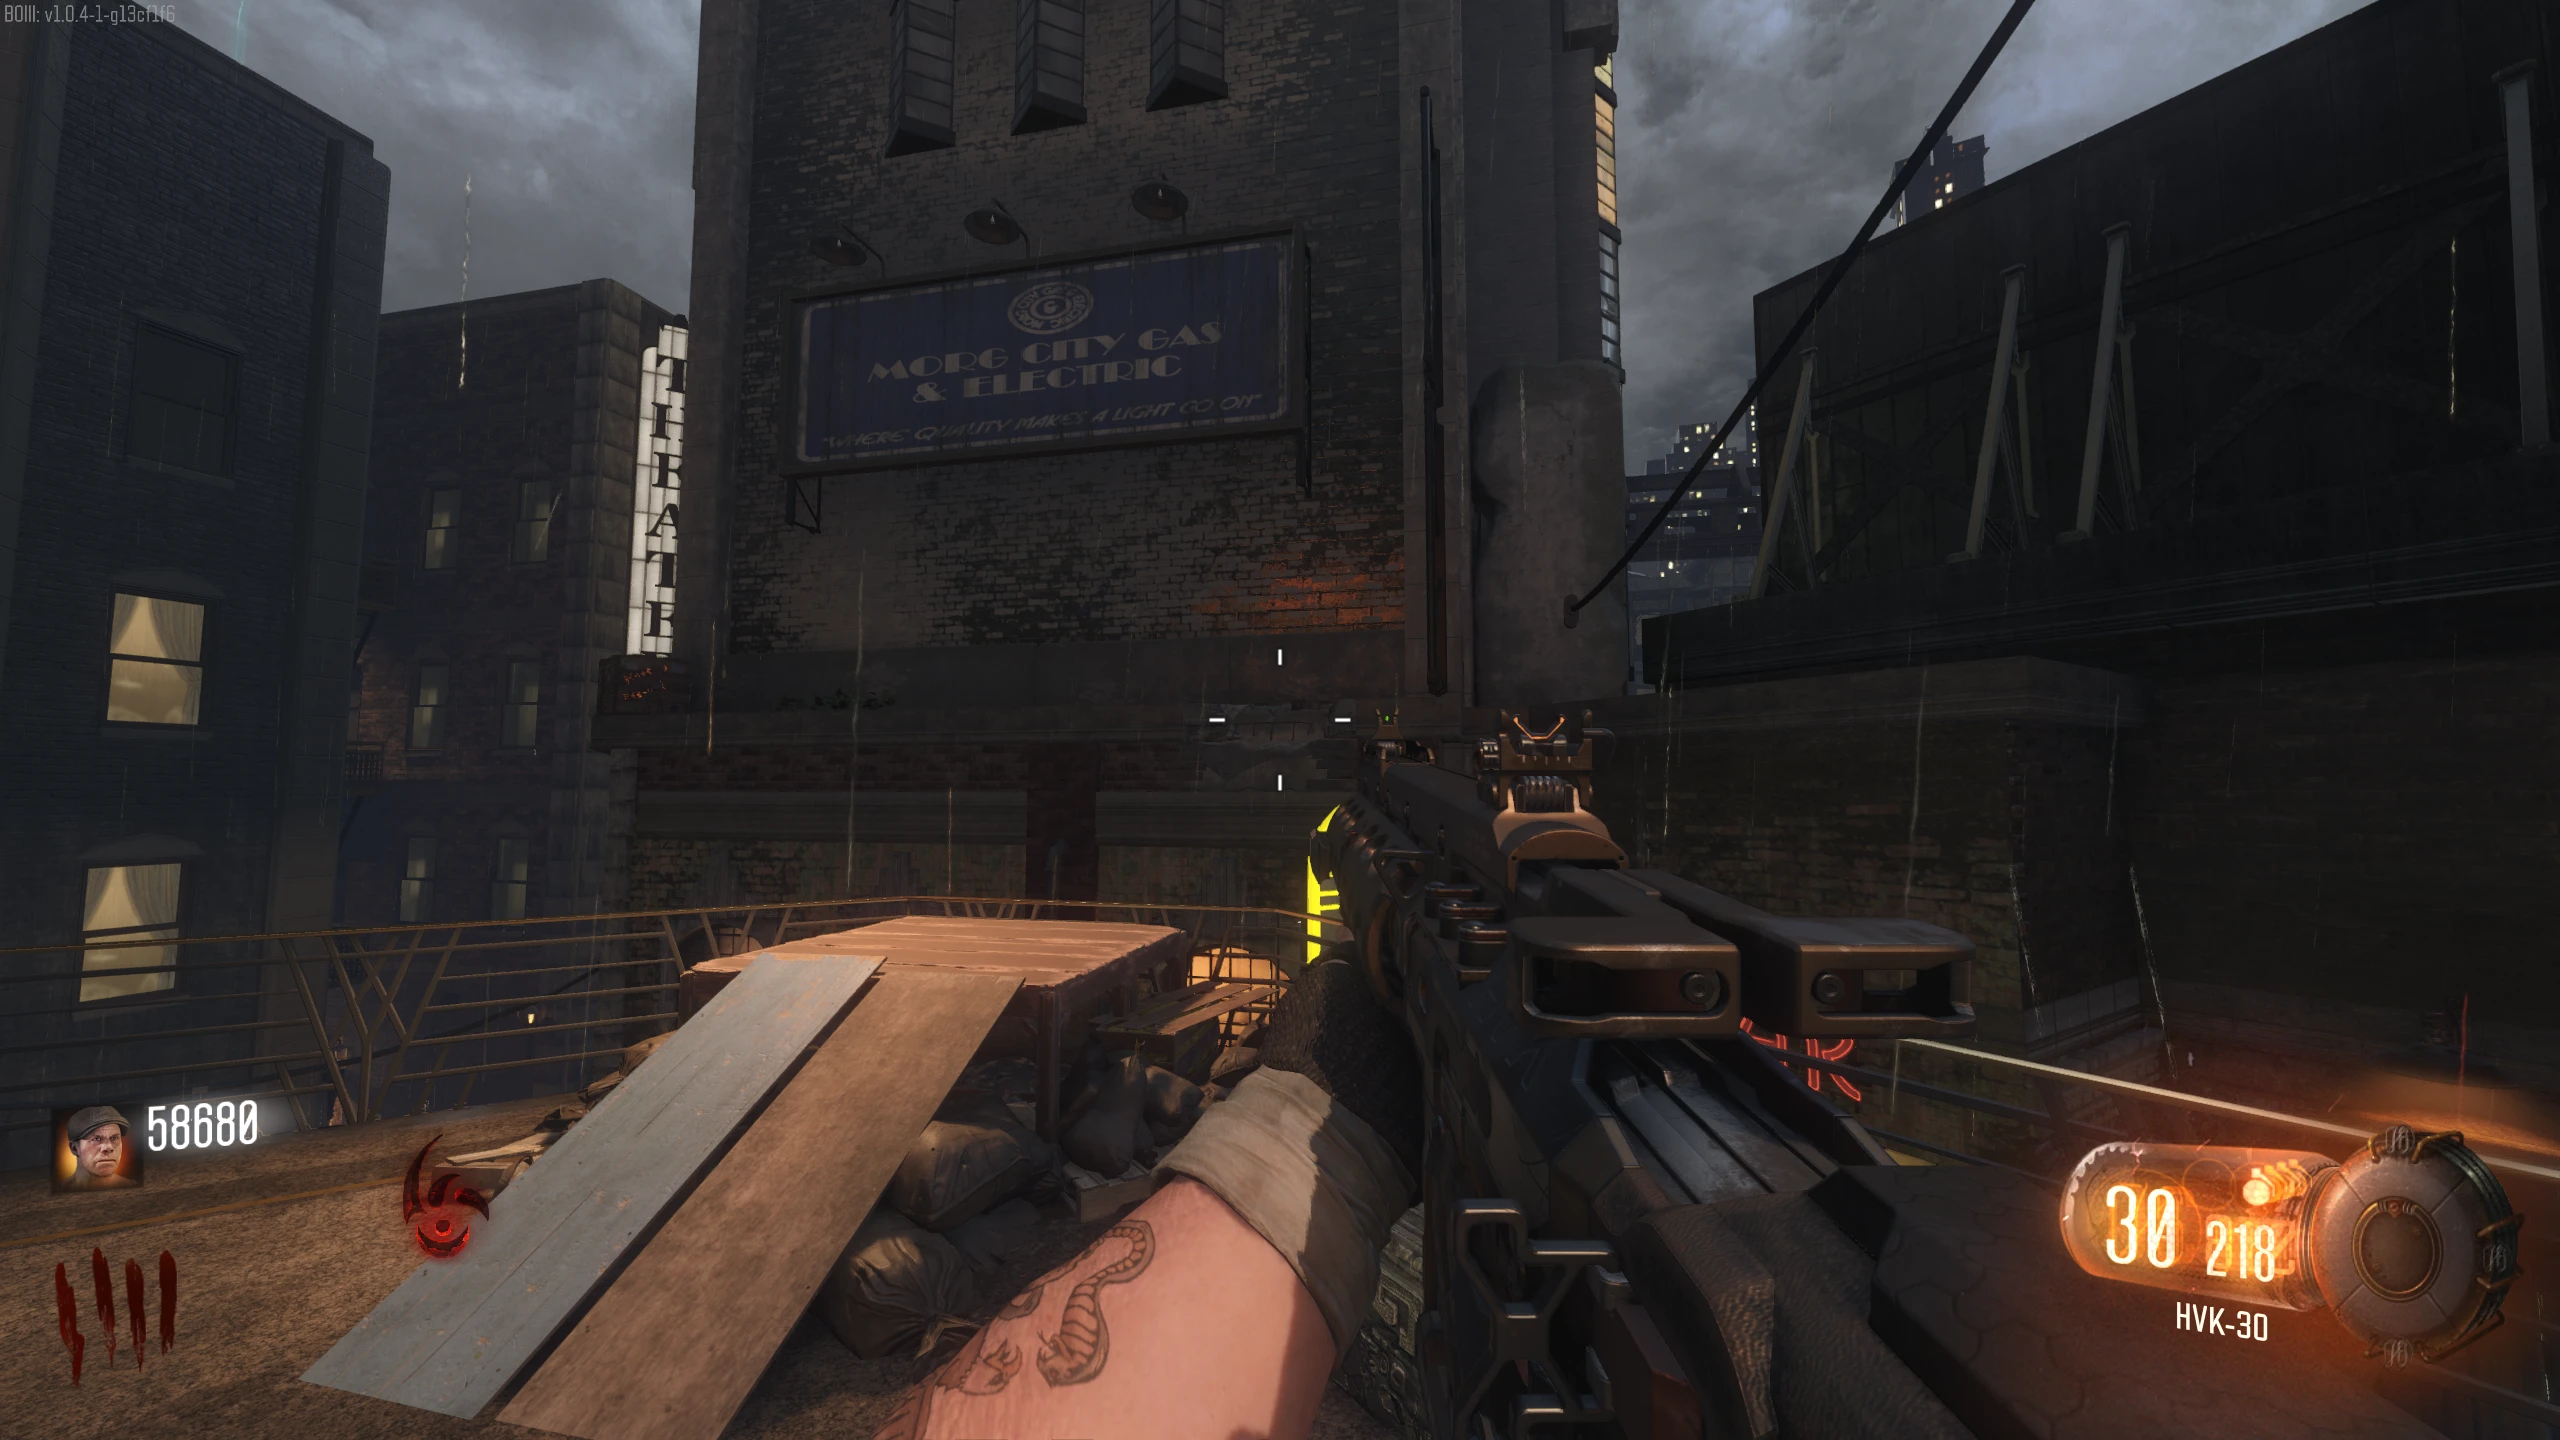
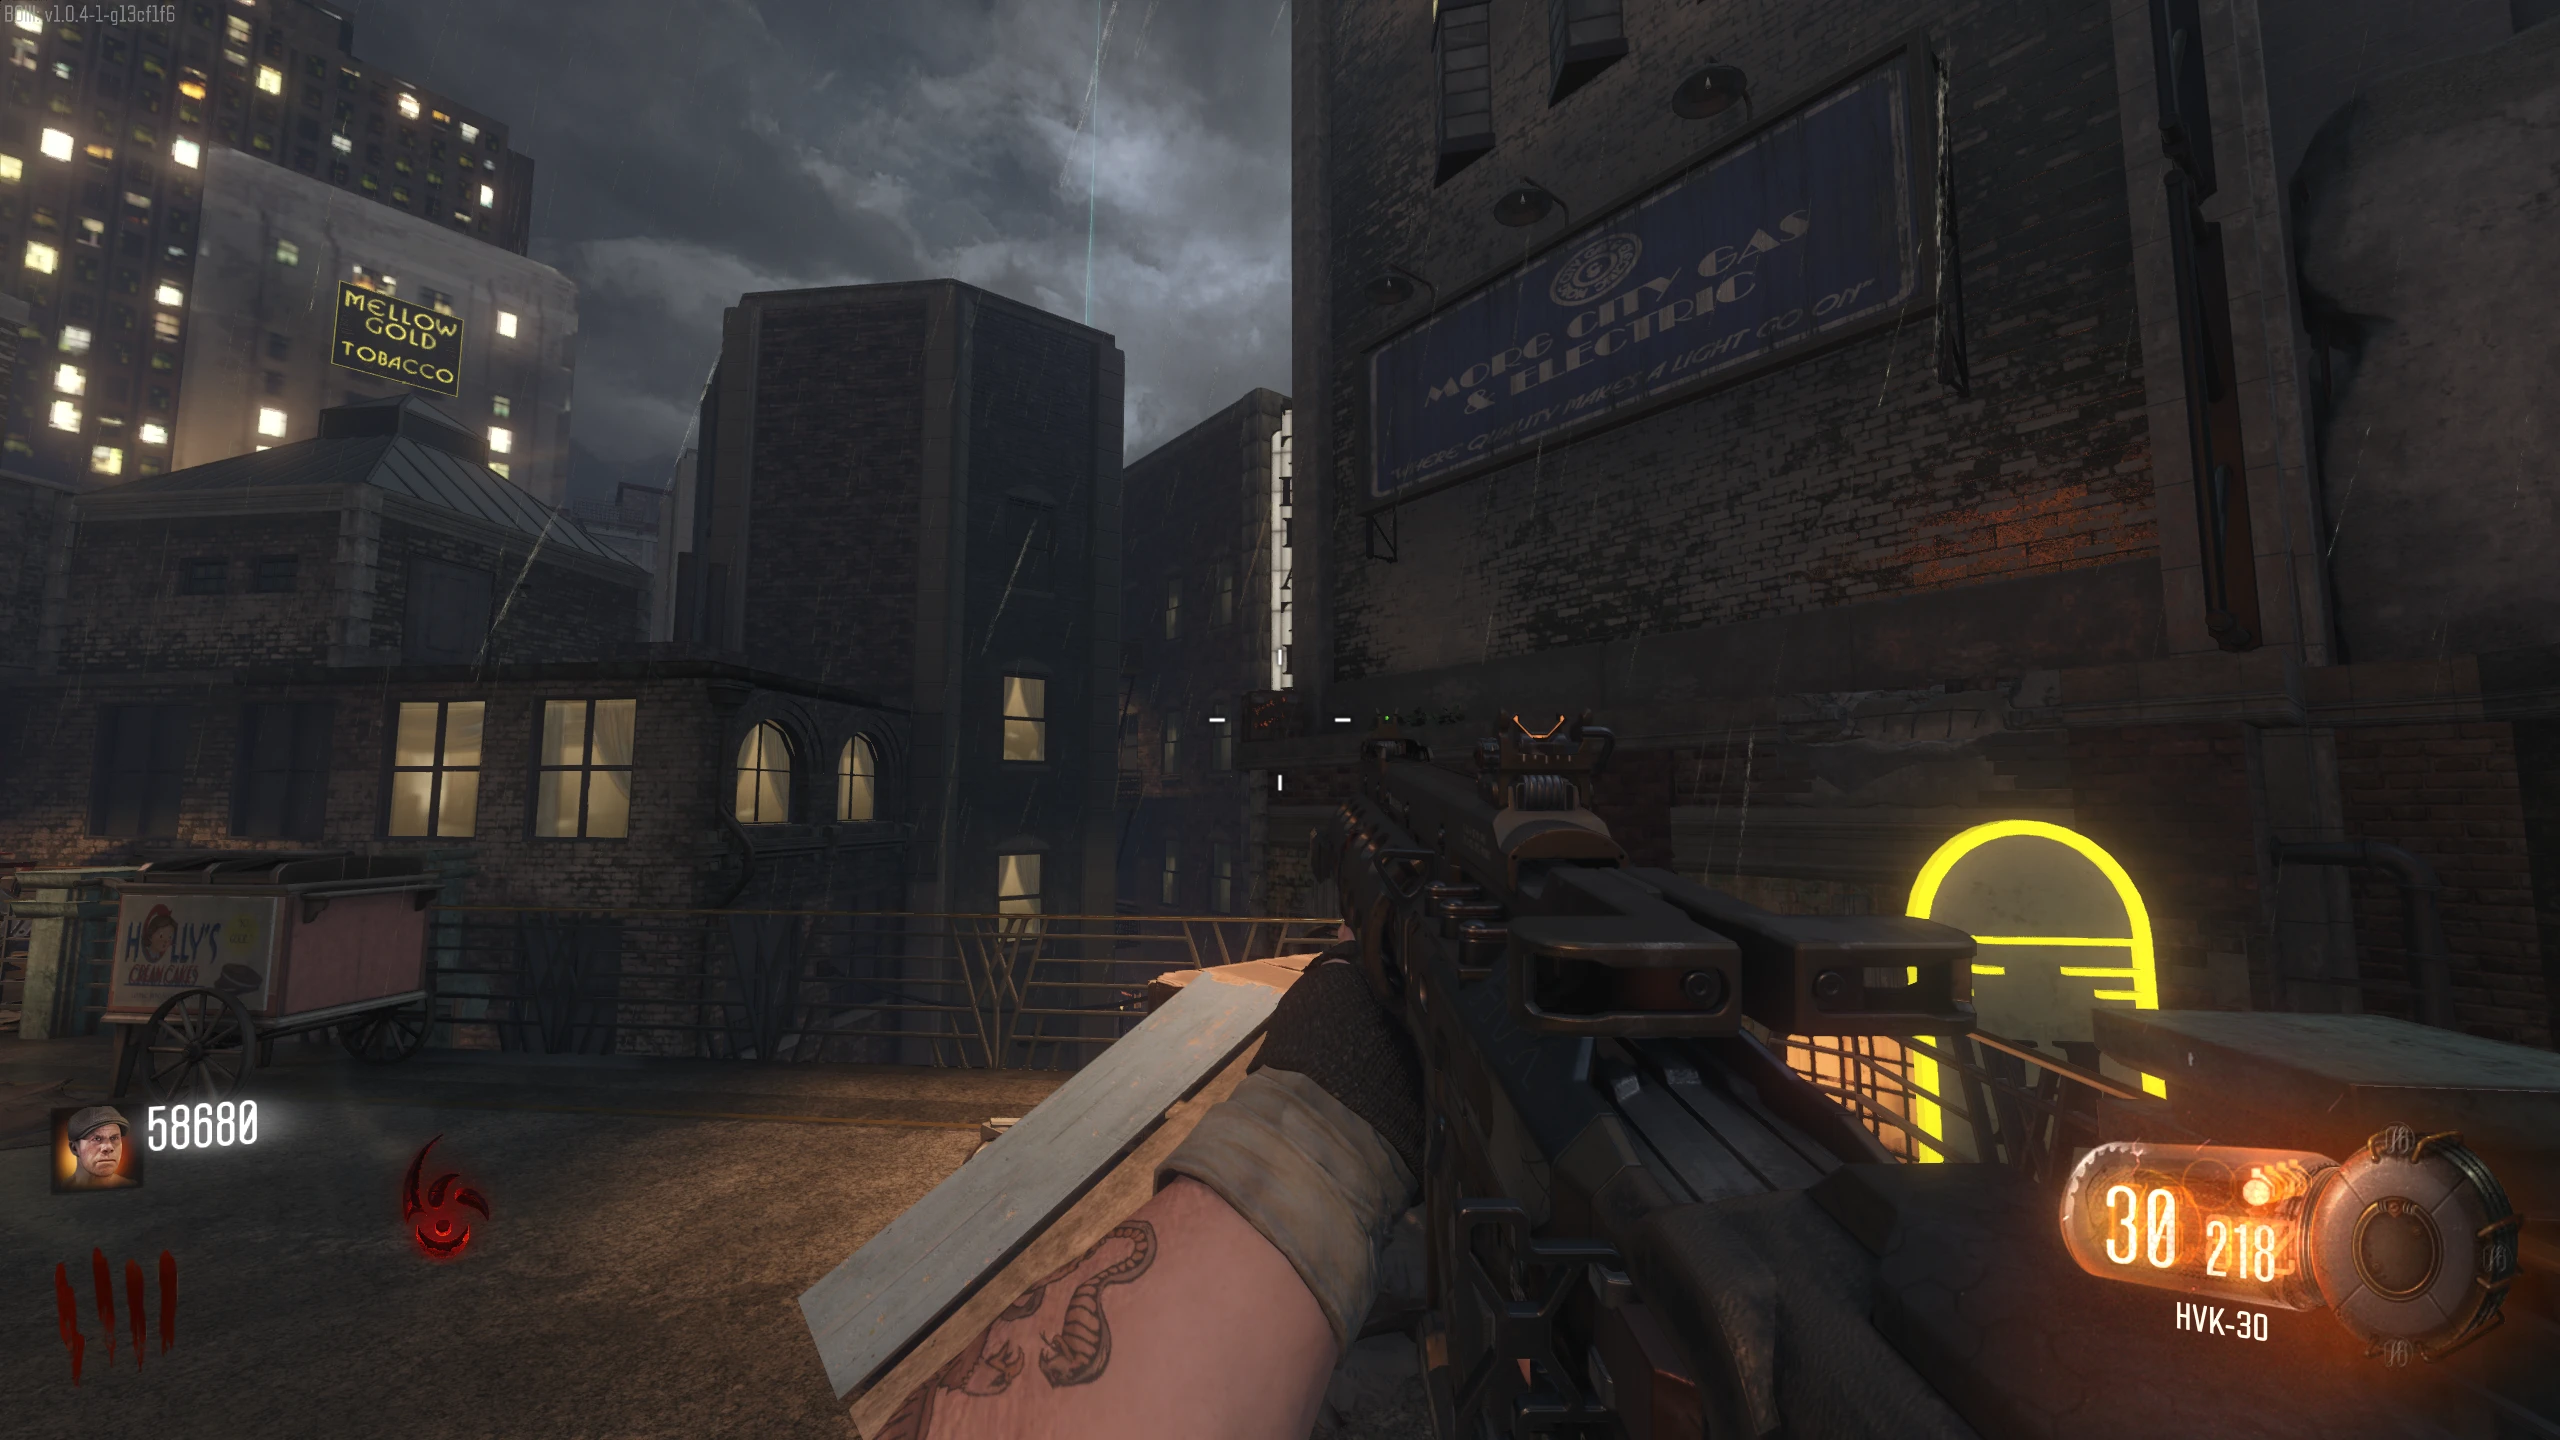
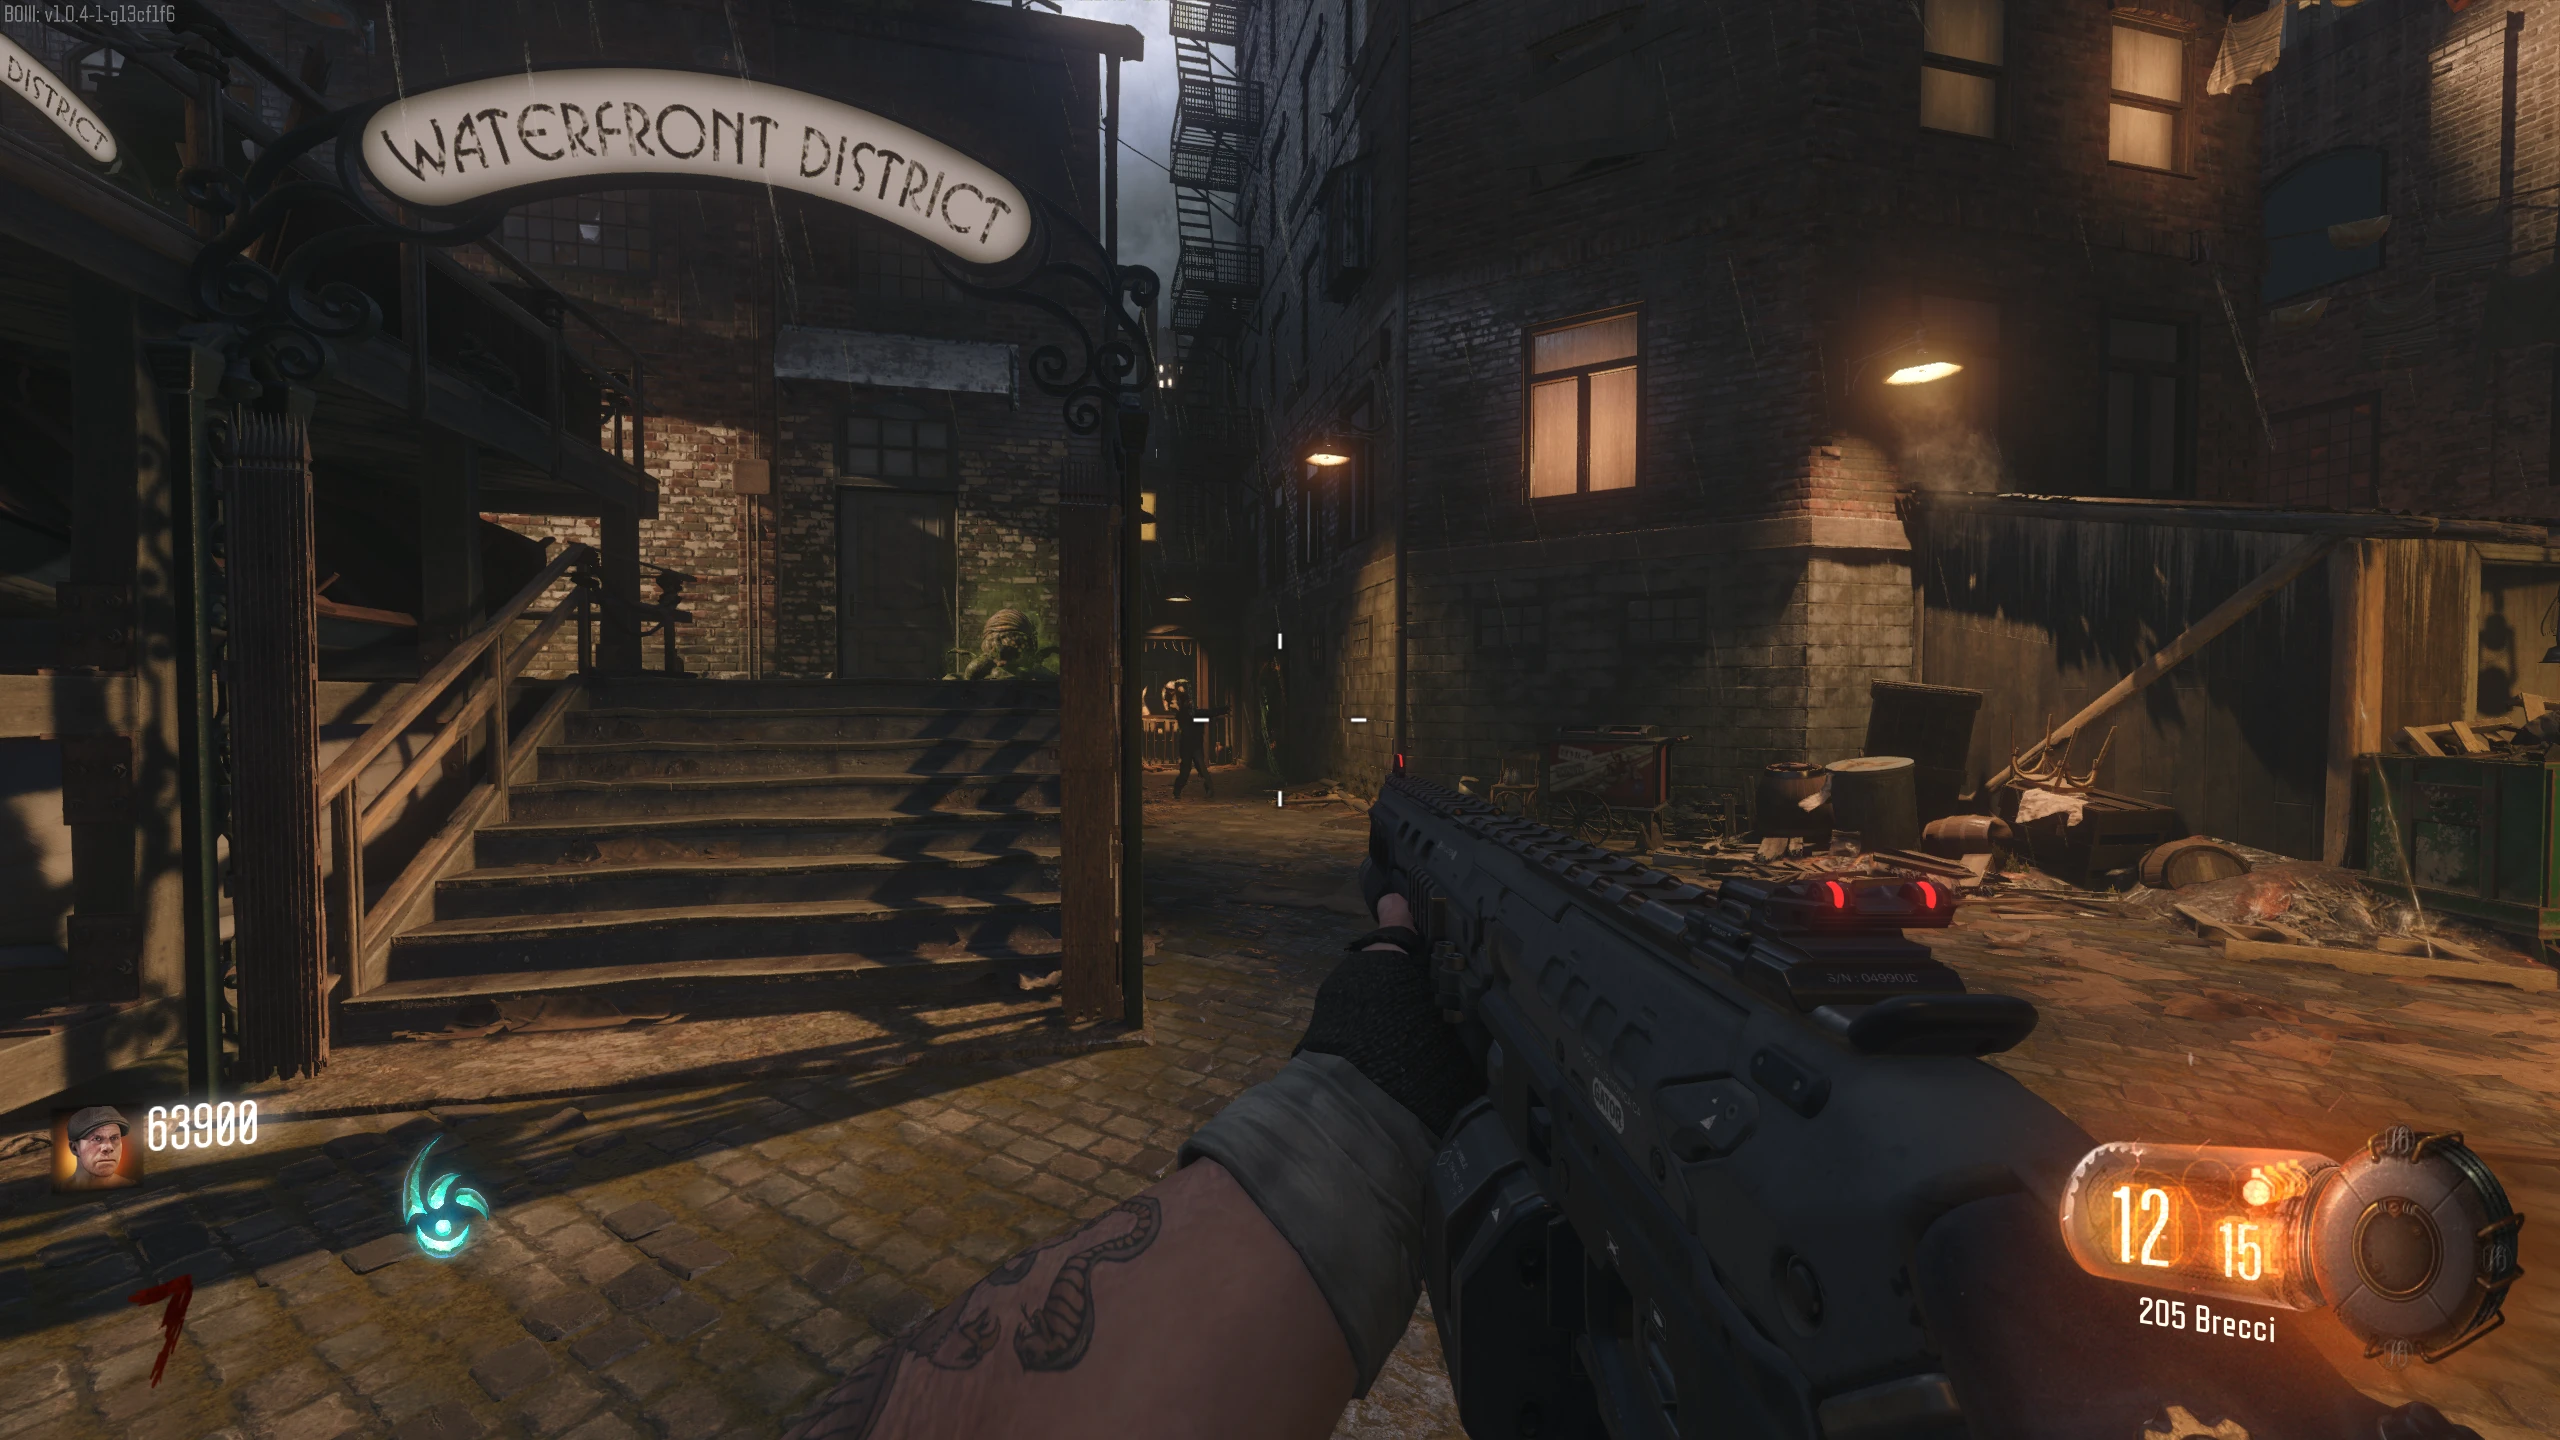
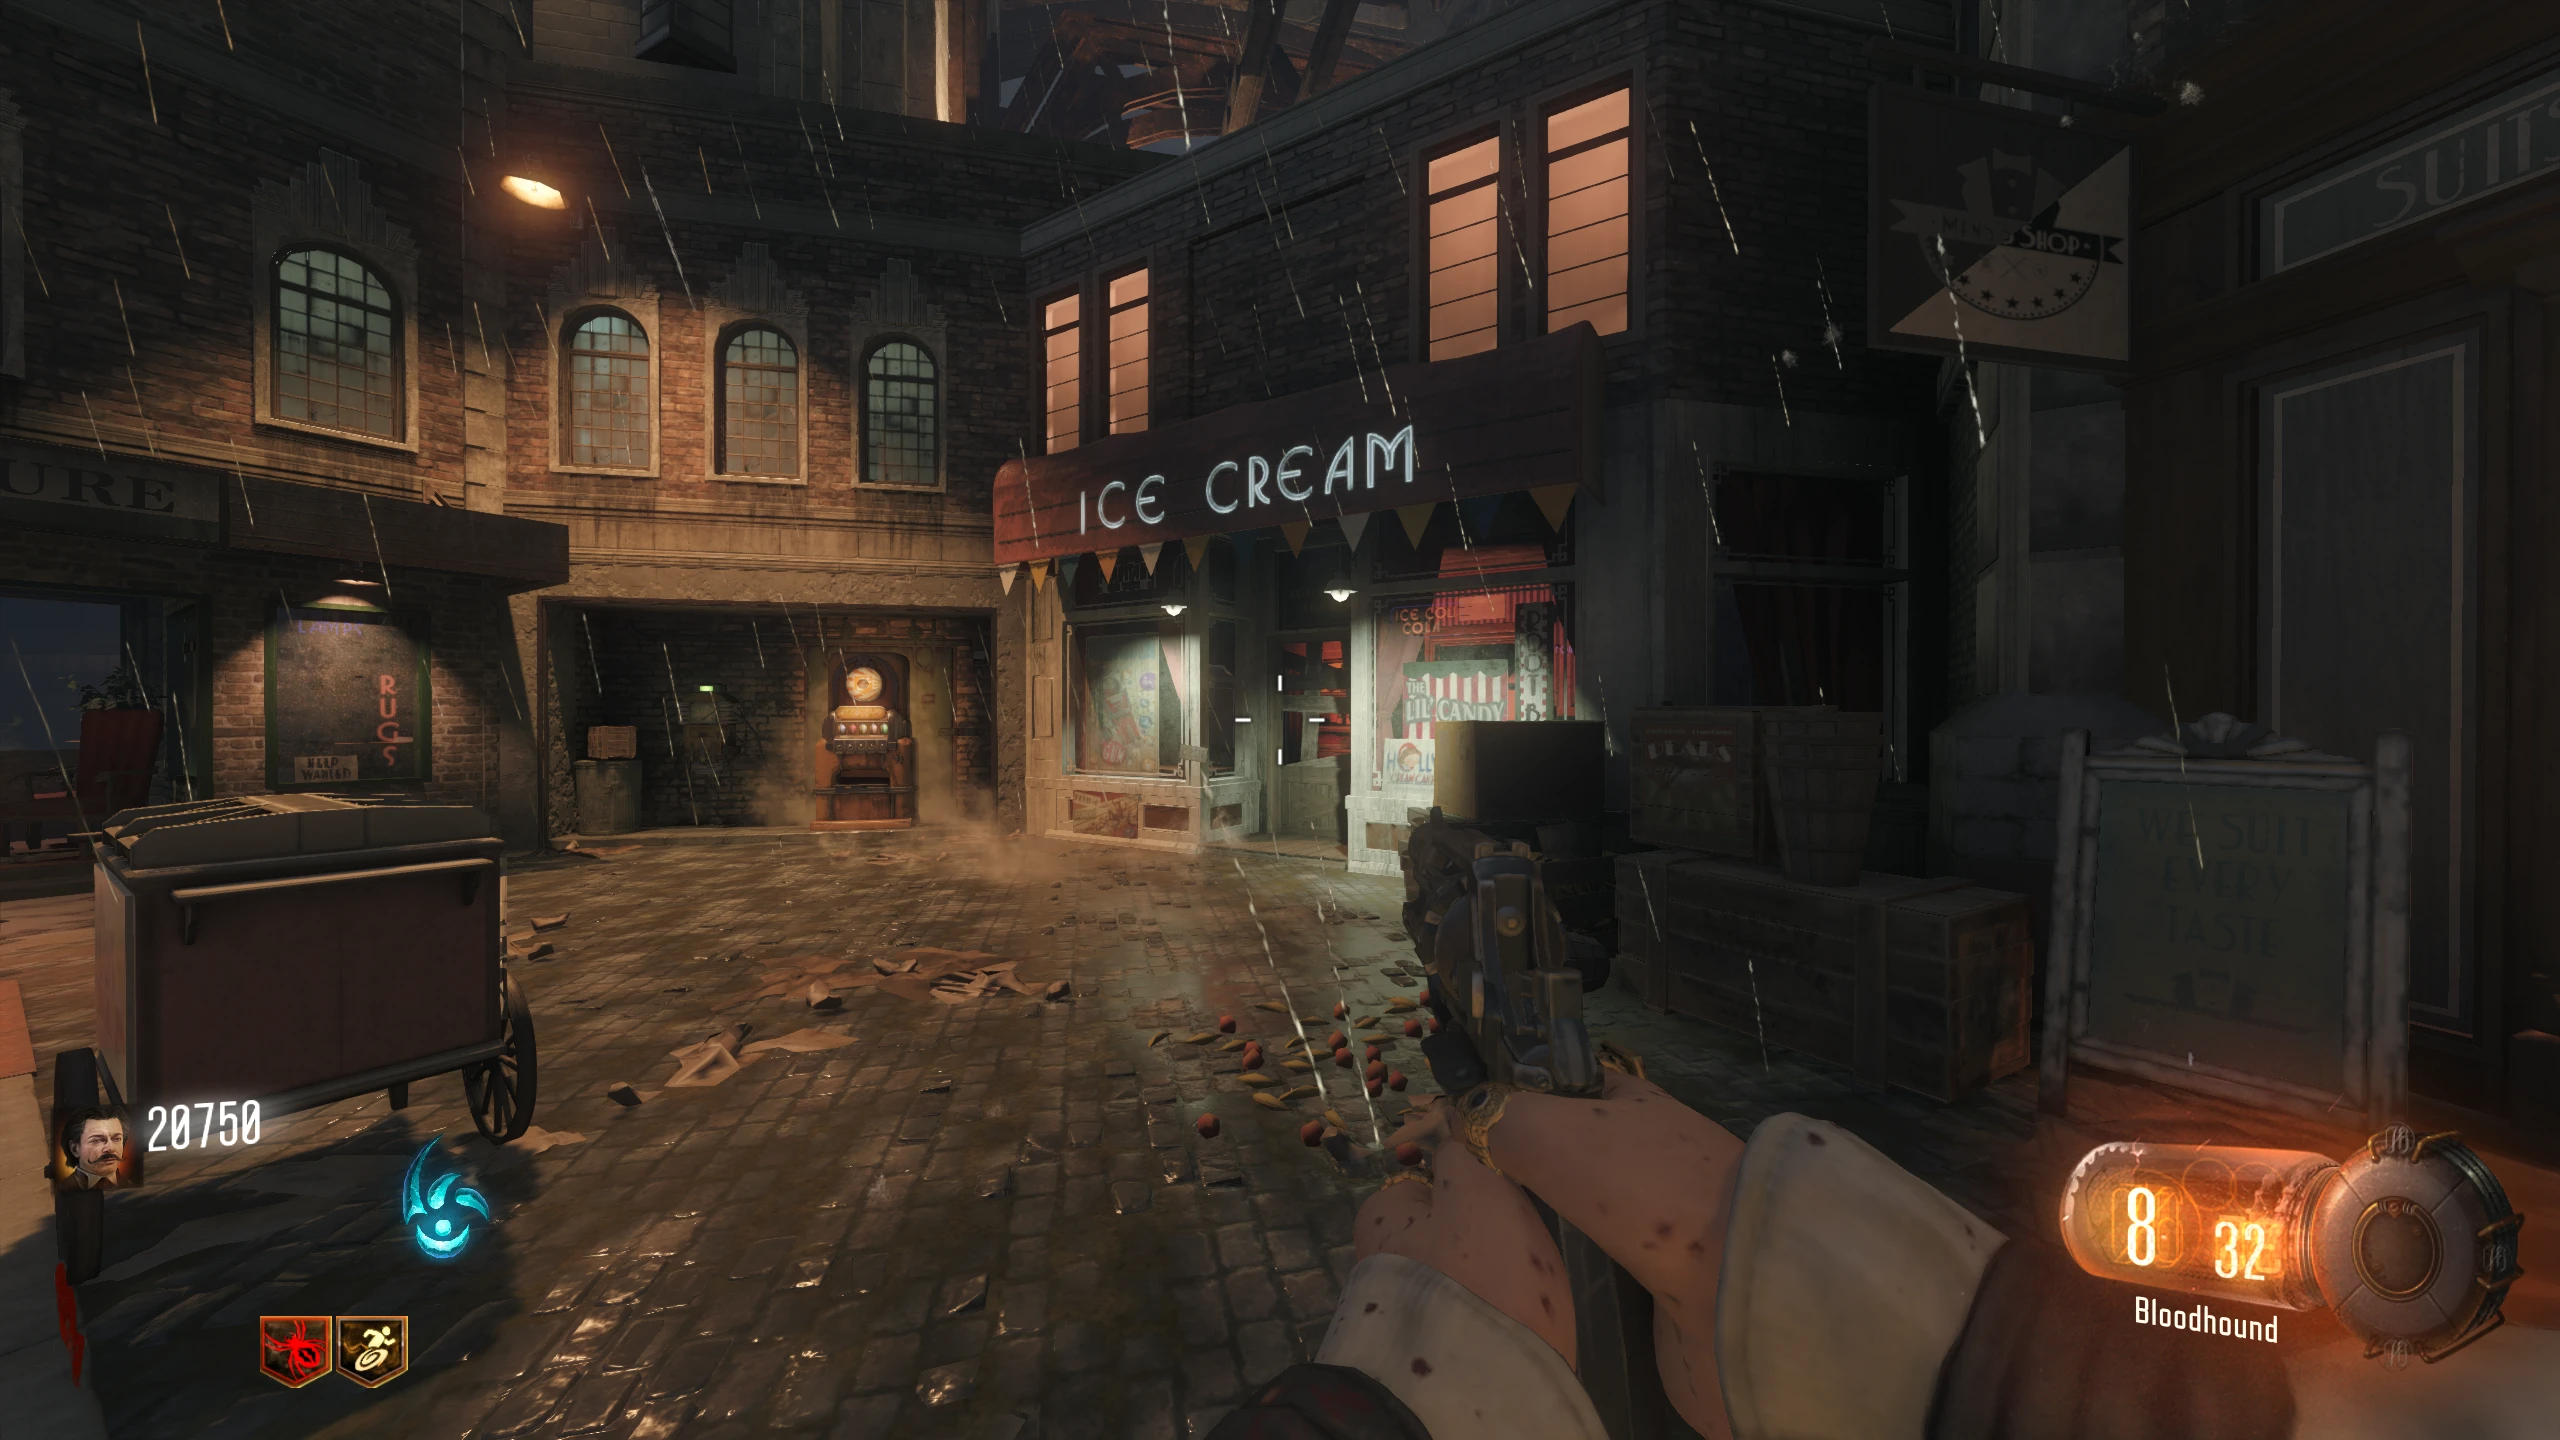
Waterfront District - Floyd Campbell
See this Video (YouTube) for the optimal way to open the Waterfront in one Beast Mode use.
- Enter Beast Mode, grapple up to the fire escape above the Mystery Box location in the middle of the district and melee the box.
- Jump down (to the area toward the water), run down to the front of the Boxing Gym and melee the door open. You can now exit Beast Mode.
- Pick up the Championship Belt from the fallen box; Two keepers will spawn.
- Go to the 'Boxing Gym,' and place the Championship Belt on the Ritual Table in the middle of the Boxing Ring.
- Interact with the table to start the ritual. During the ritual, you'll be locked inside the room, and Keepers will start spawning. Survive until the ritual is over.
- In Co-op, it'll take longer based on the number of players in the game not participating.
- Players can't enter mid-ritual, so make sure to wait for everyone before you start.
- Once the ritual is finished, a short animation will play above the table, followed by a Gateworm spawning for you to pick up. If this is the second or fourth ritual completed, a Margwa will spawn.
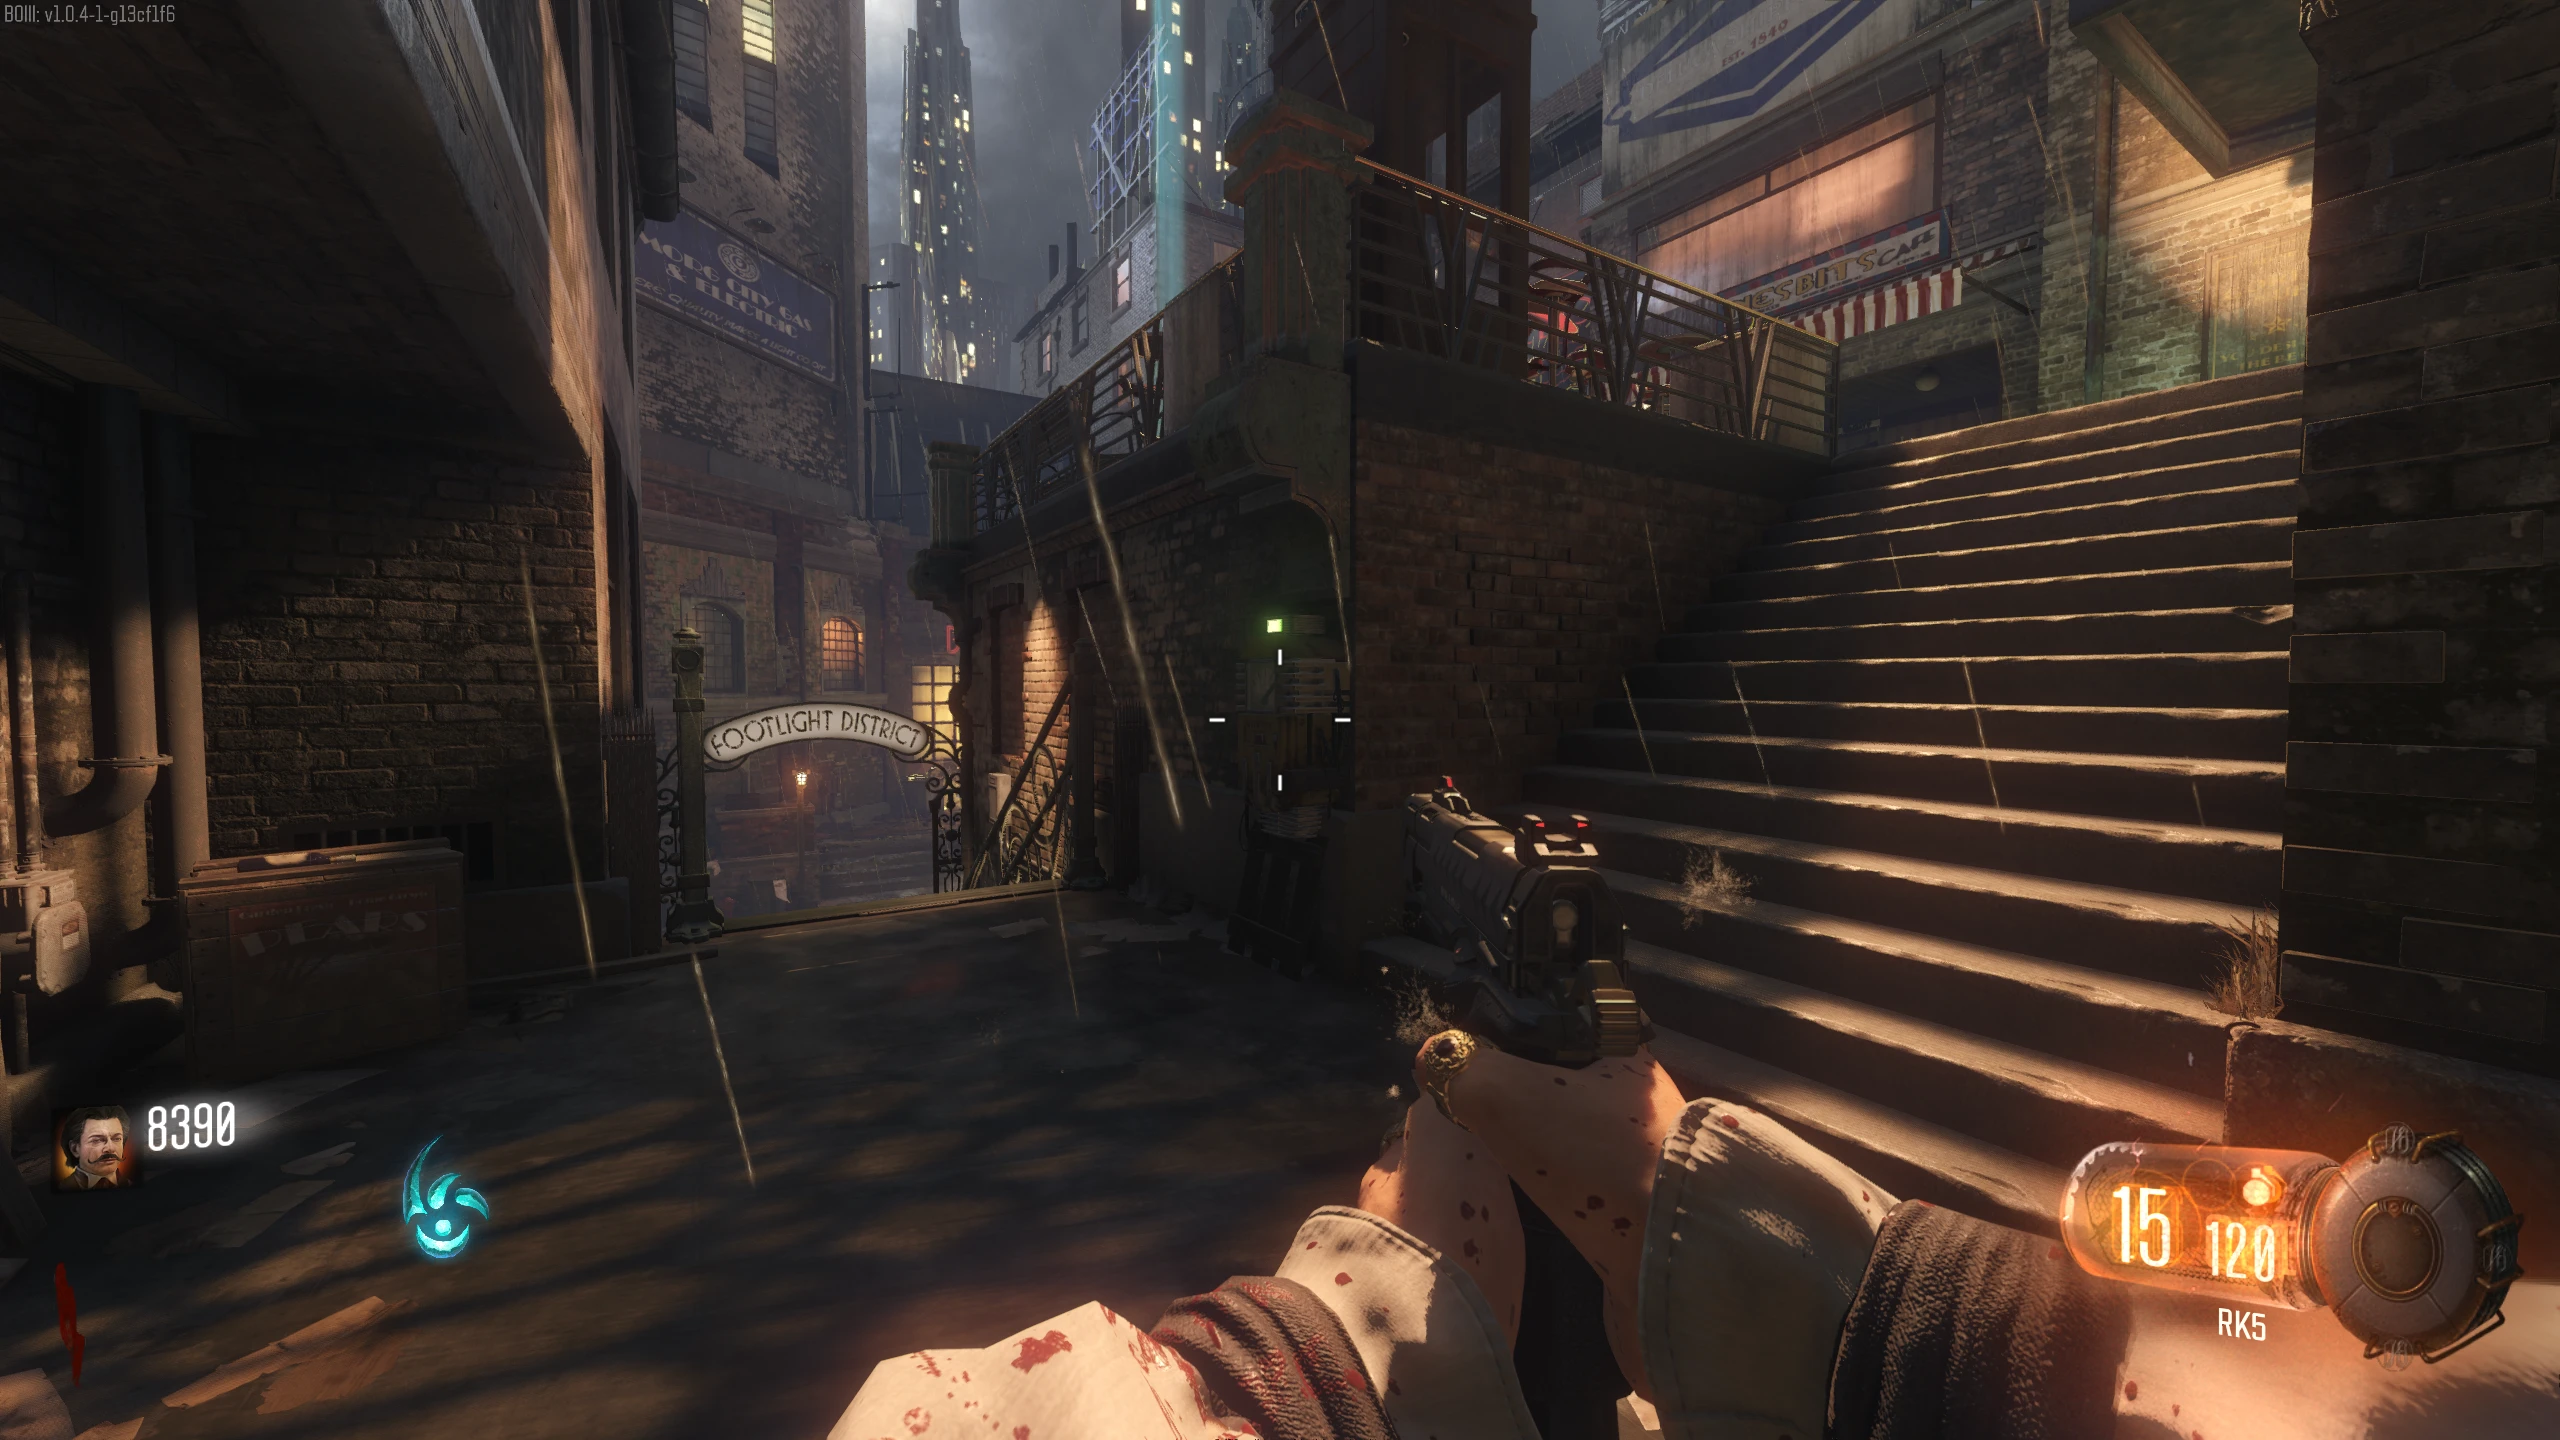
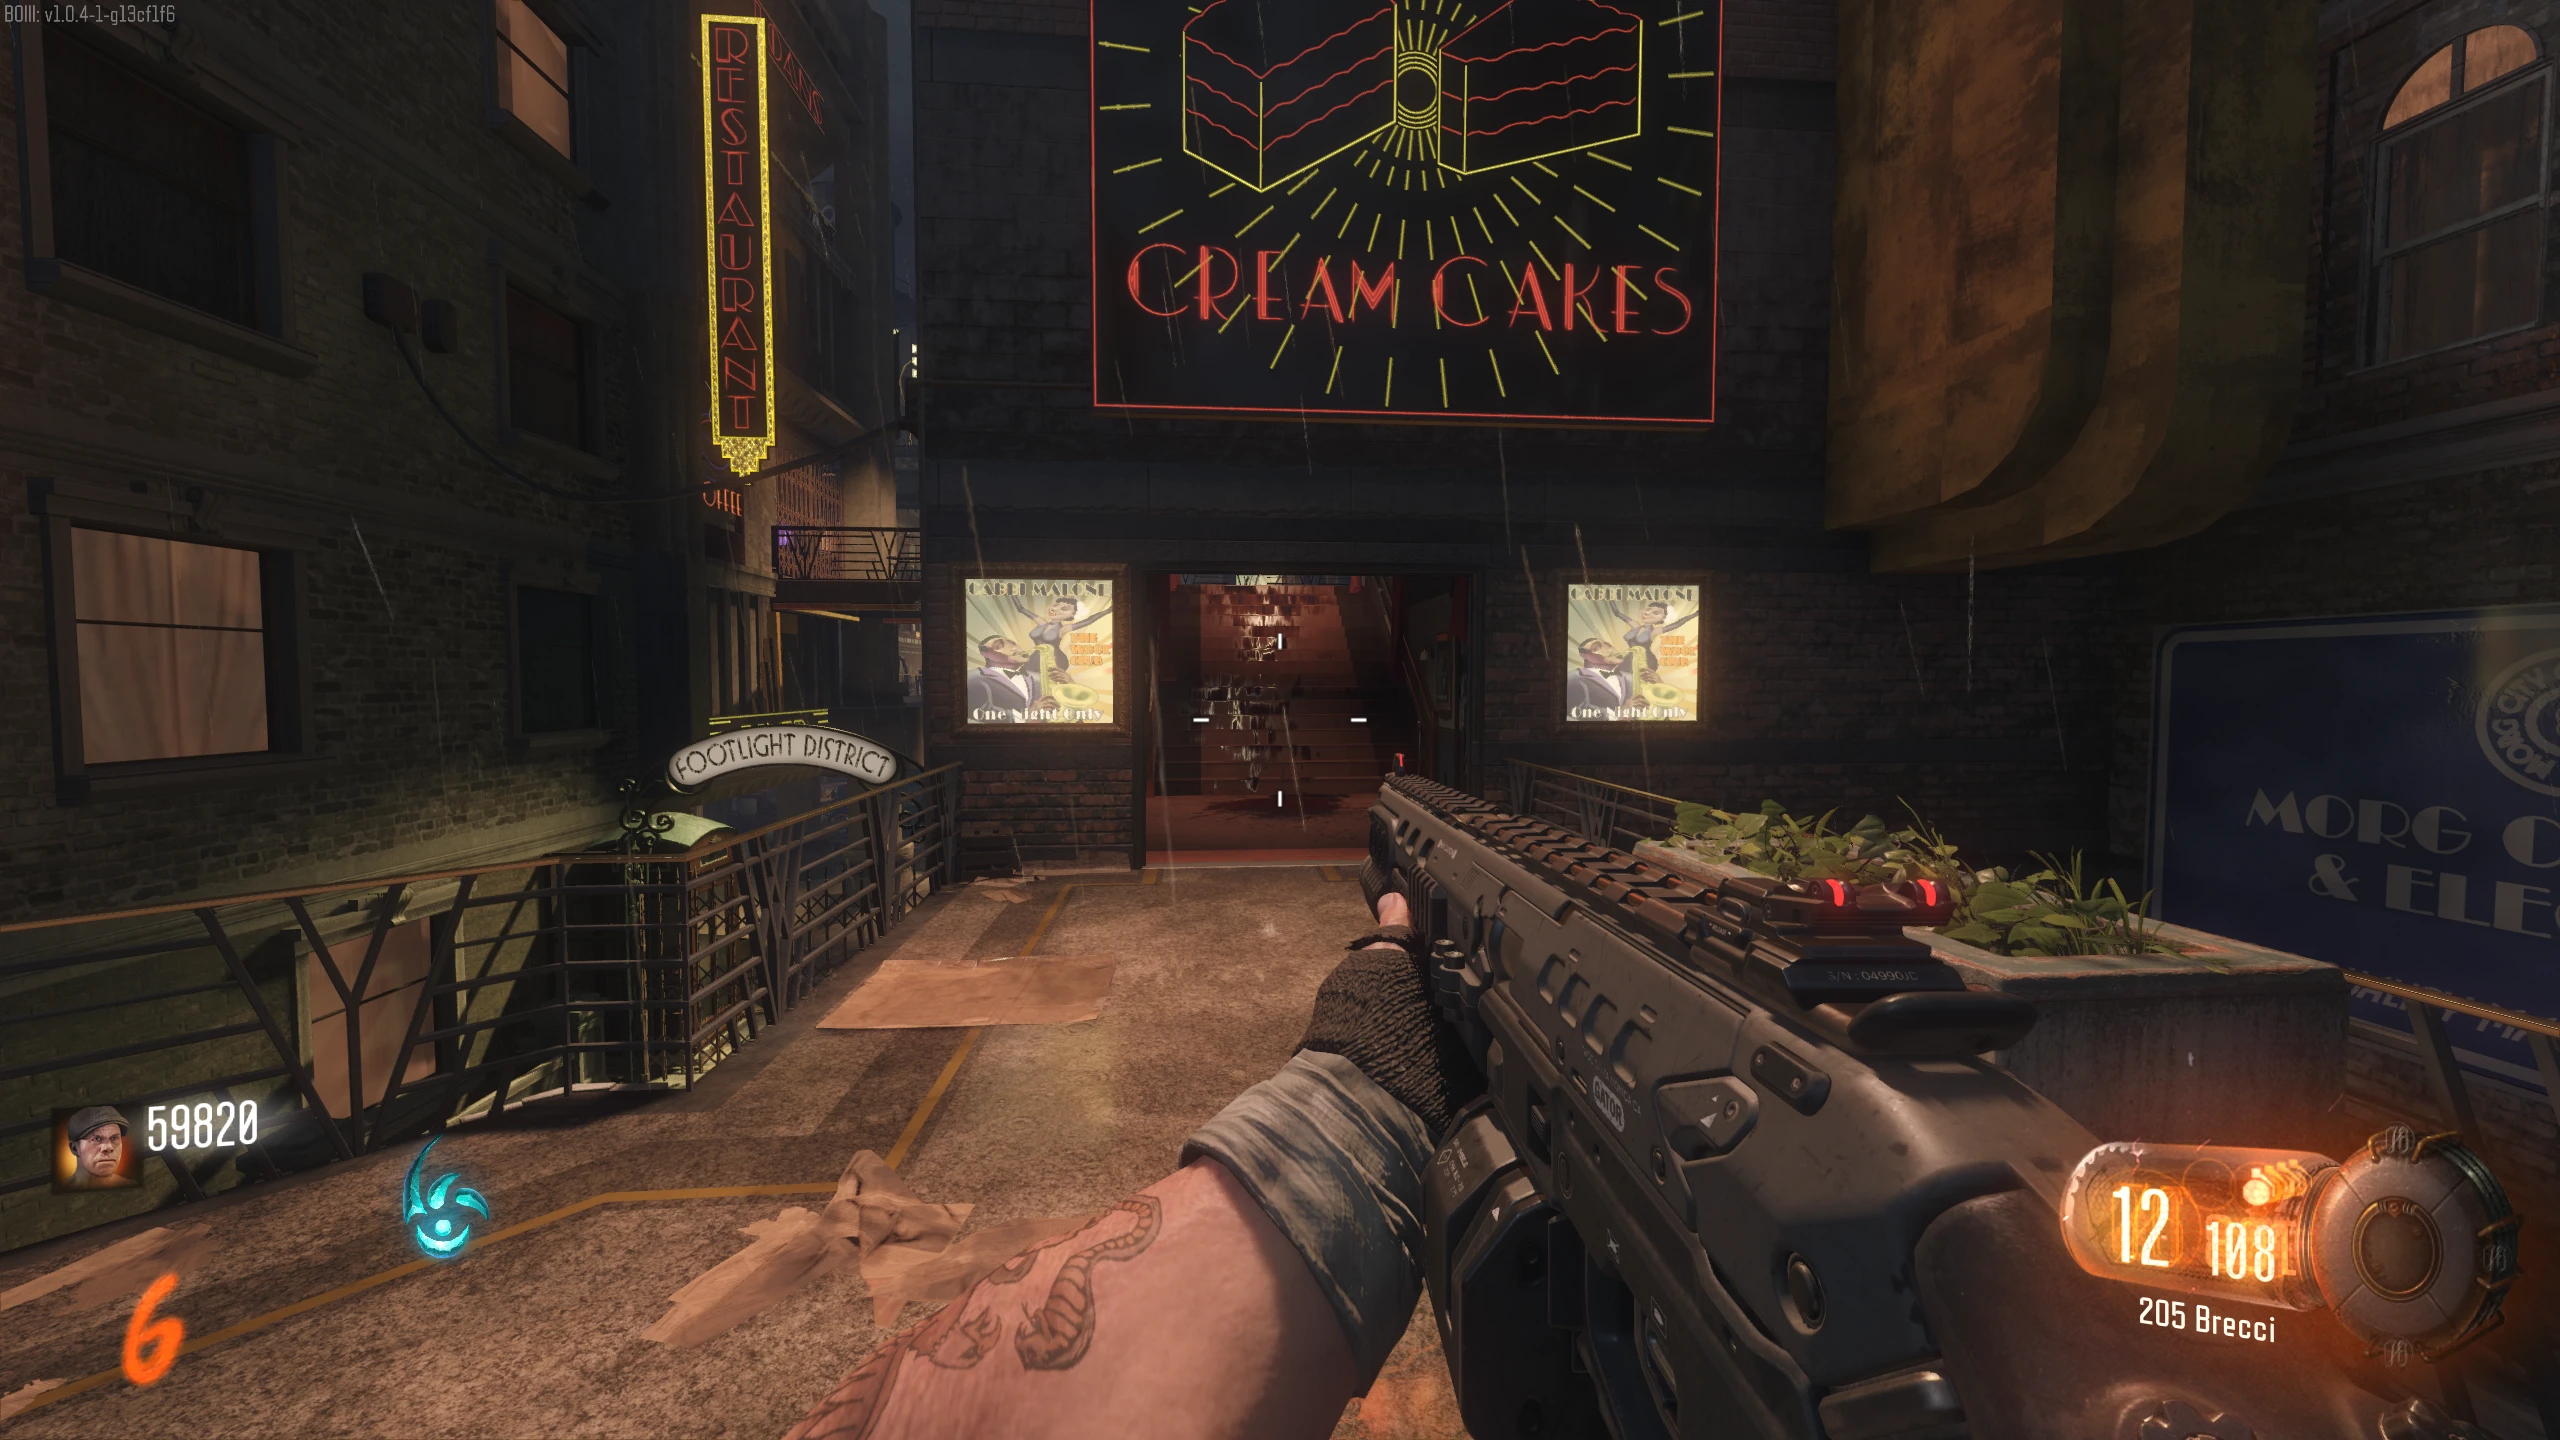
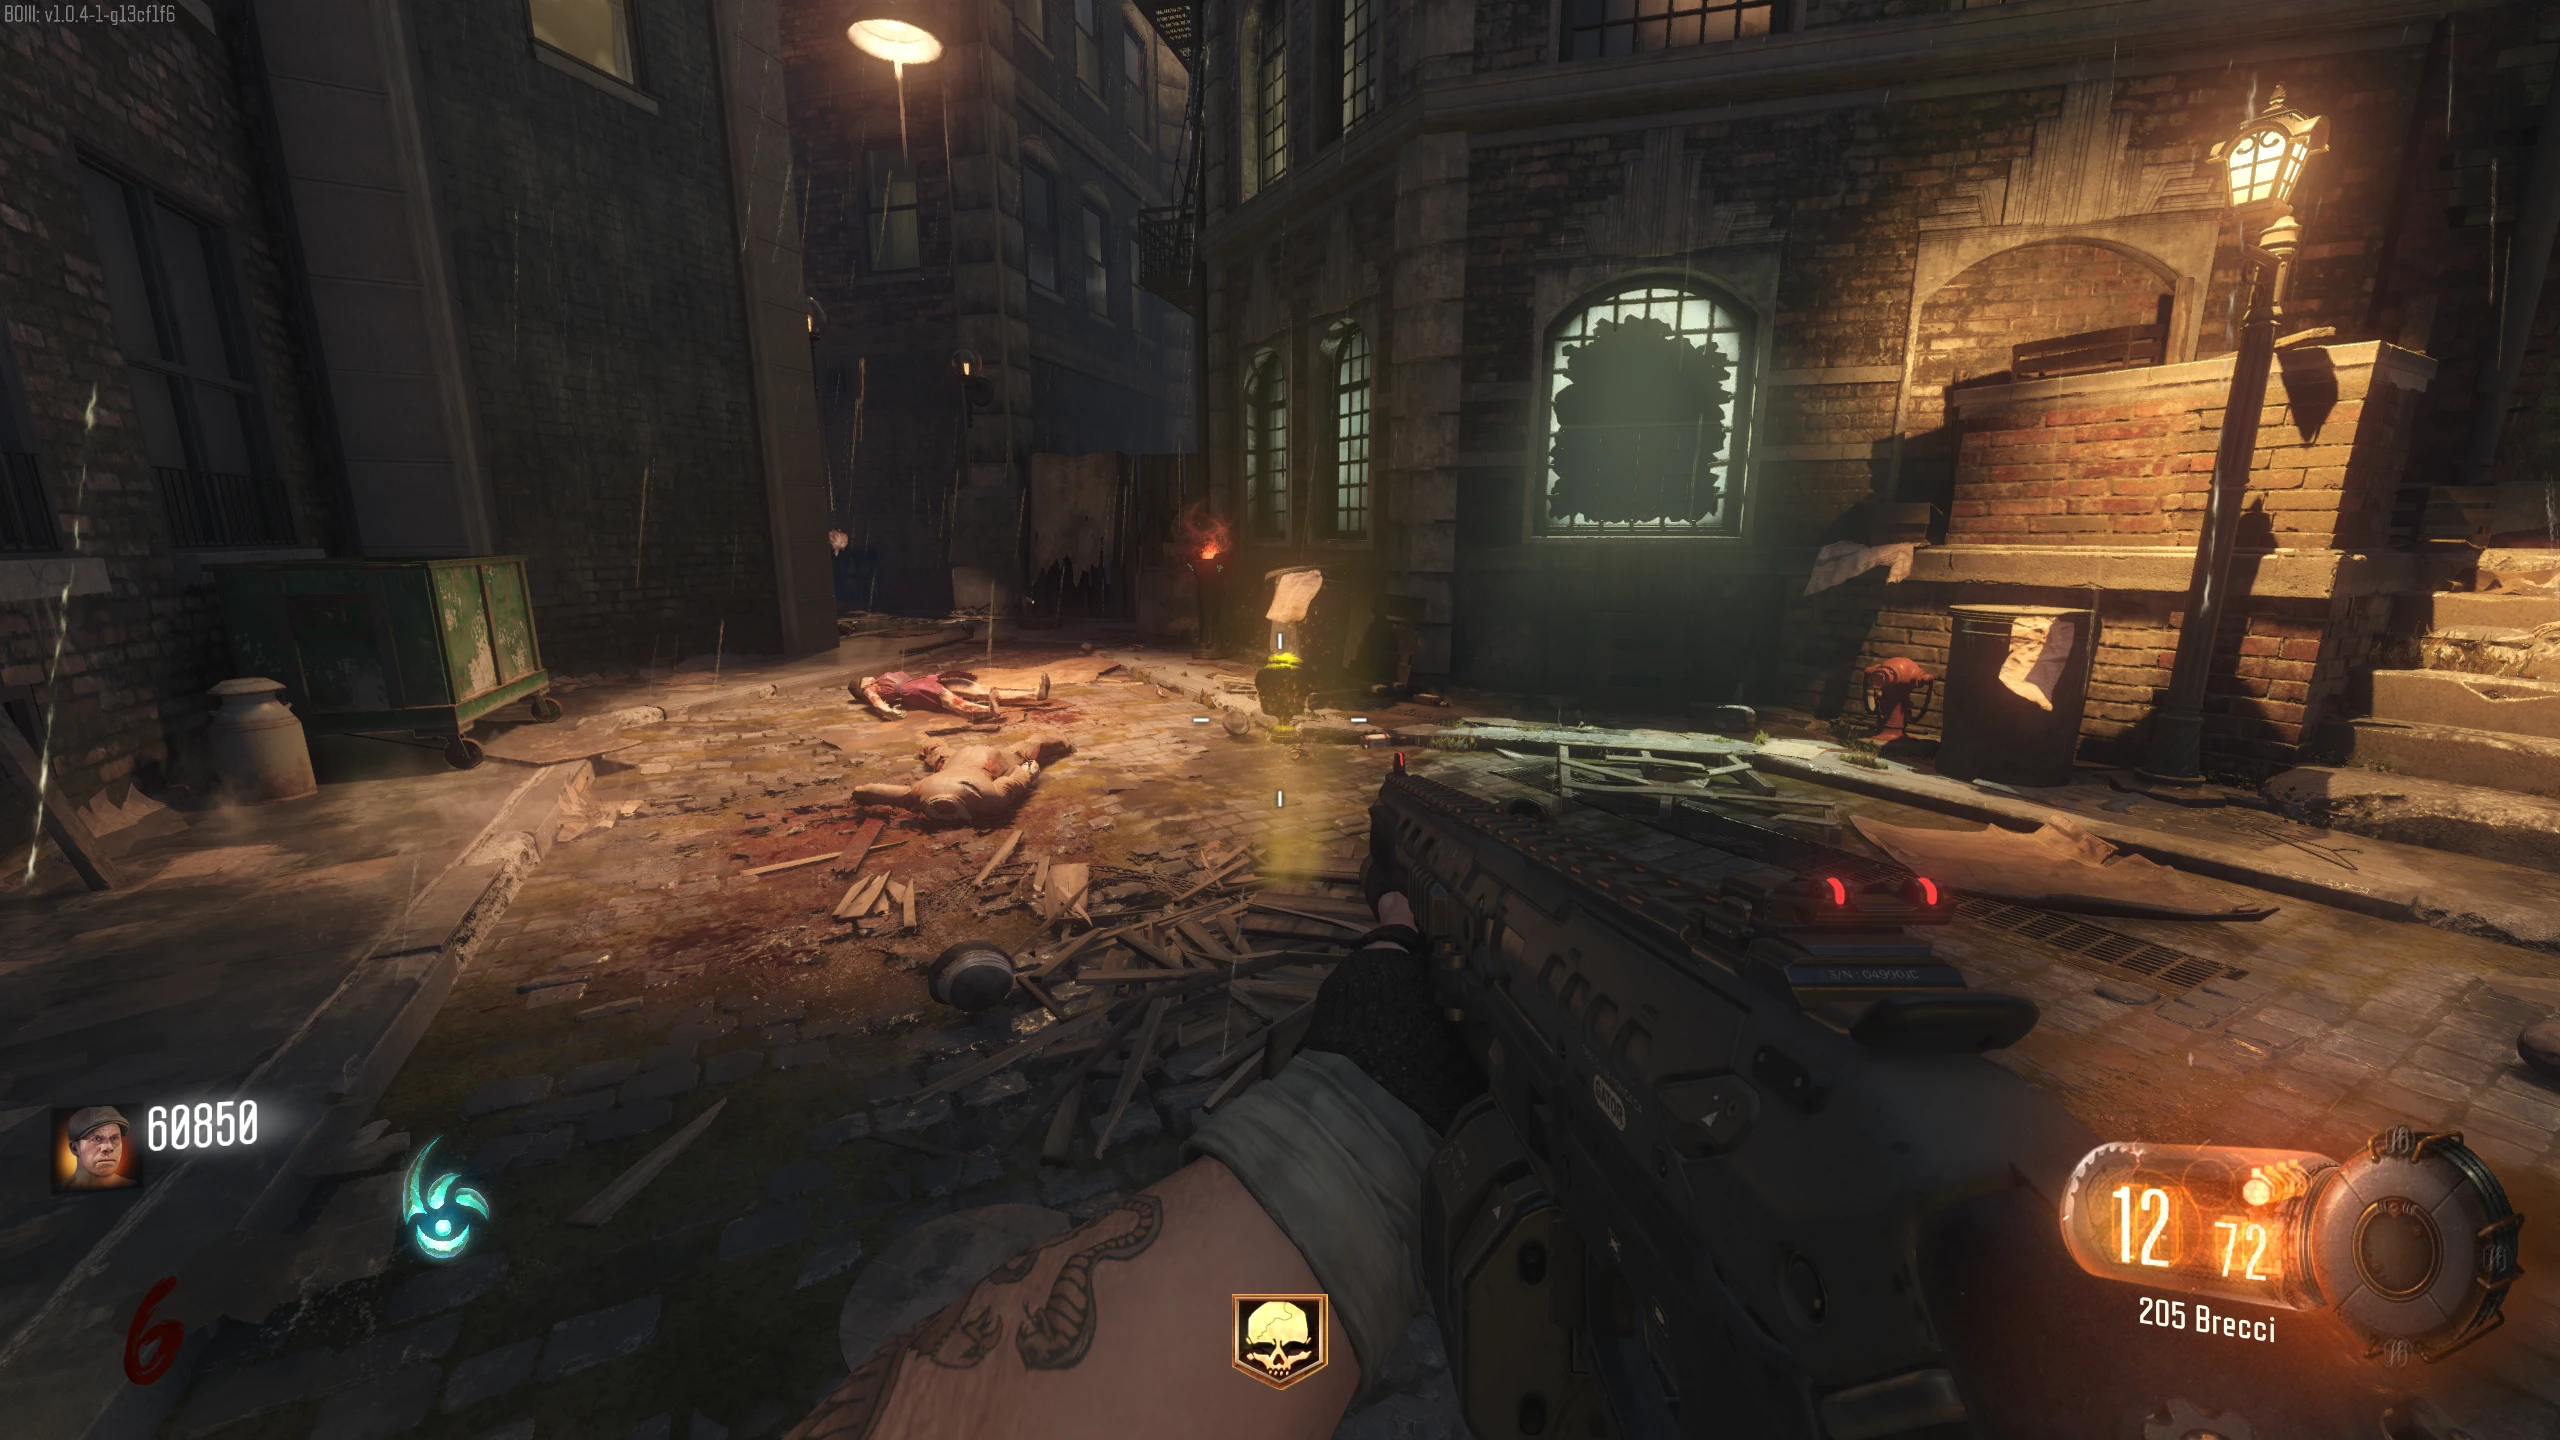
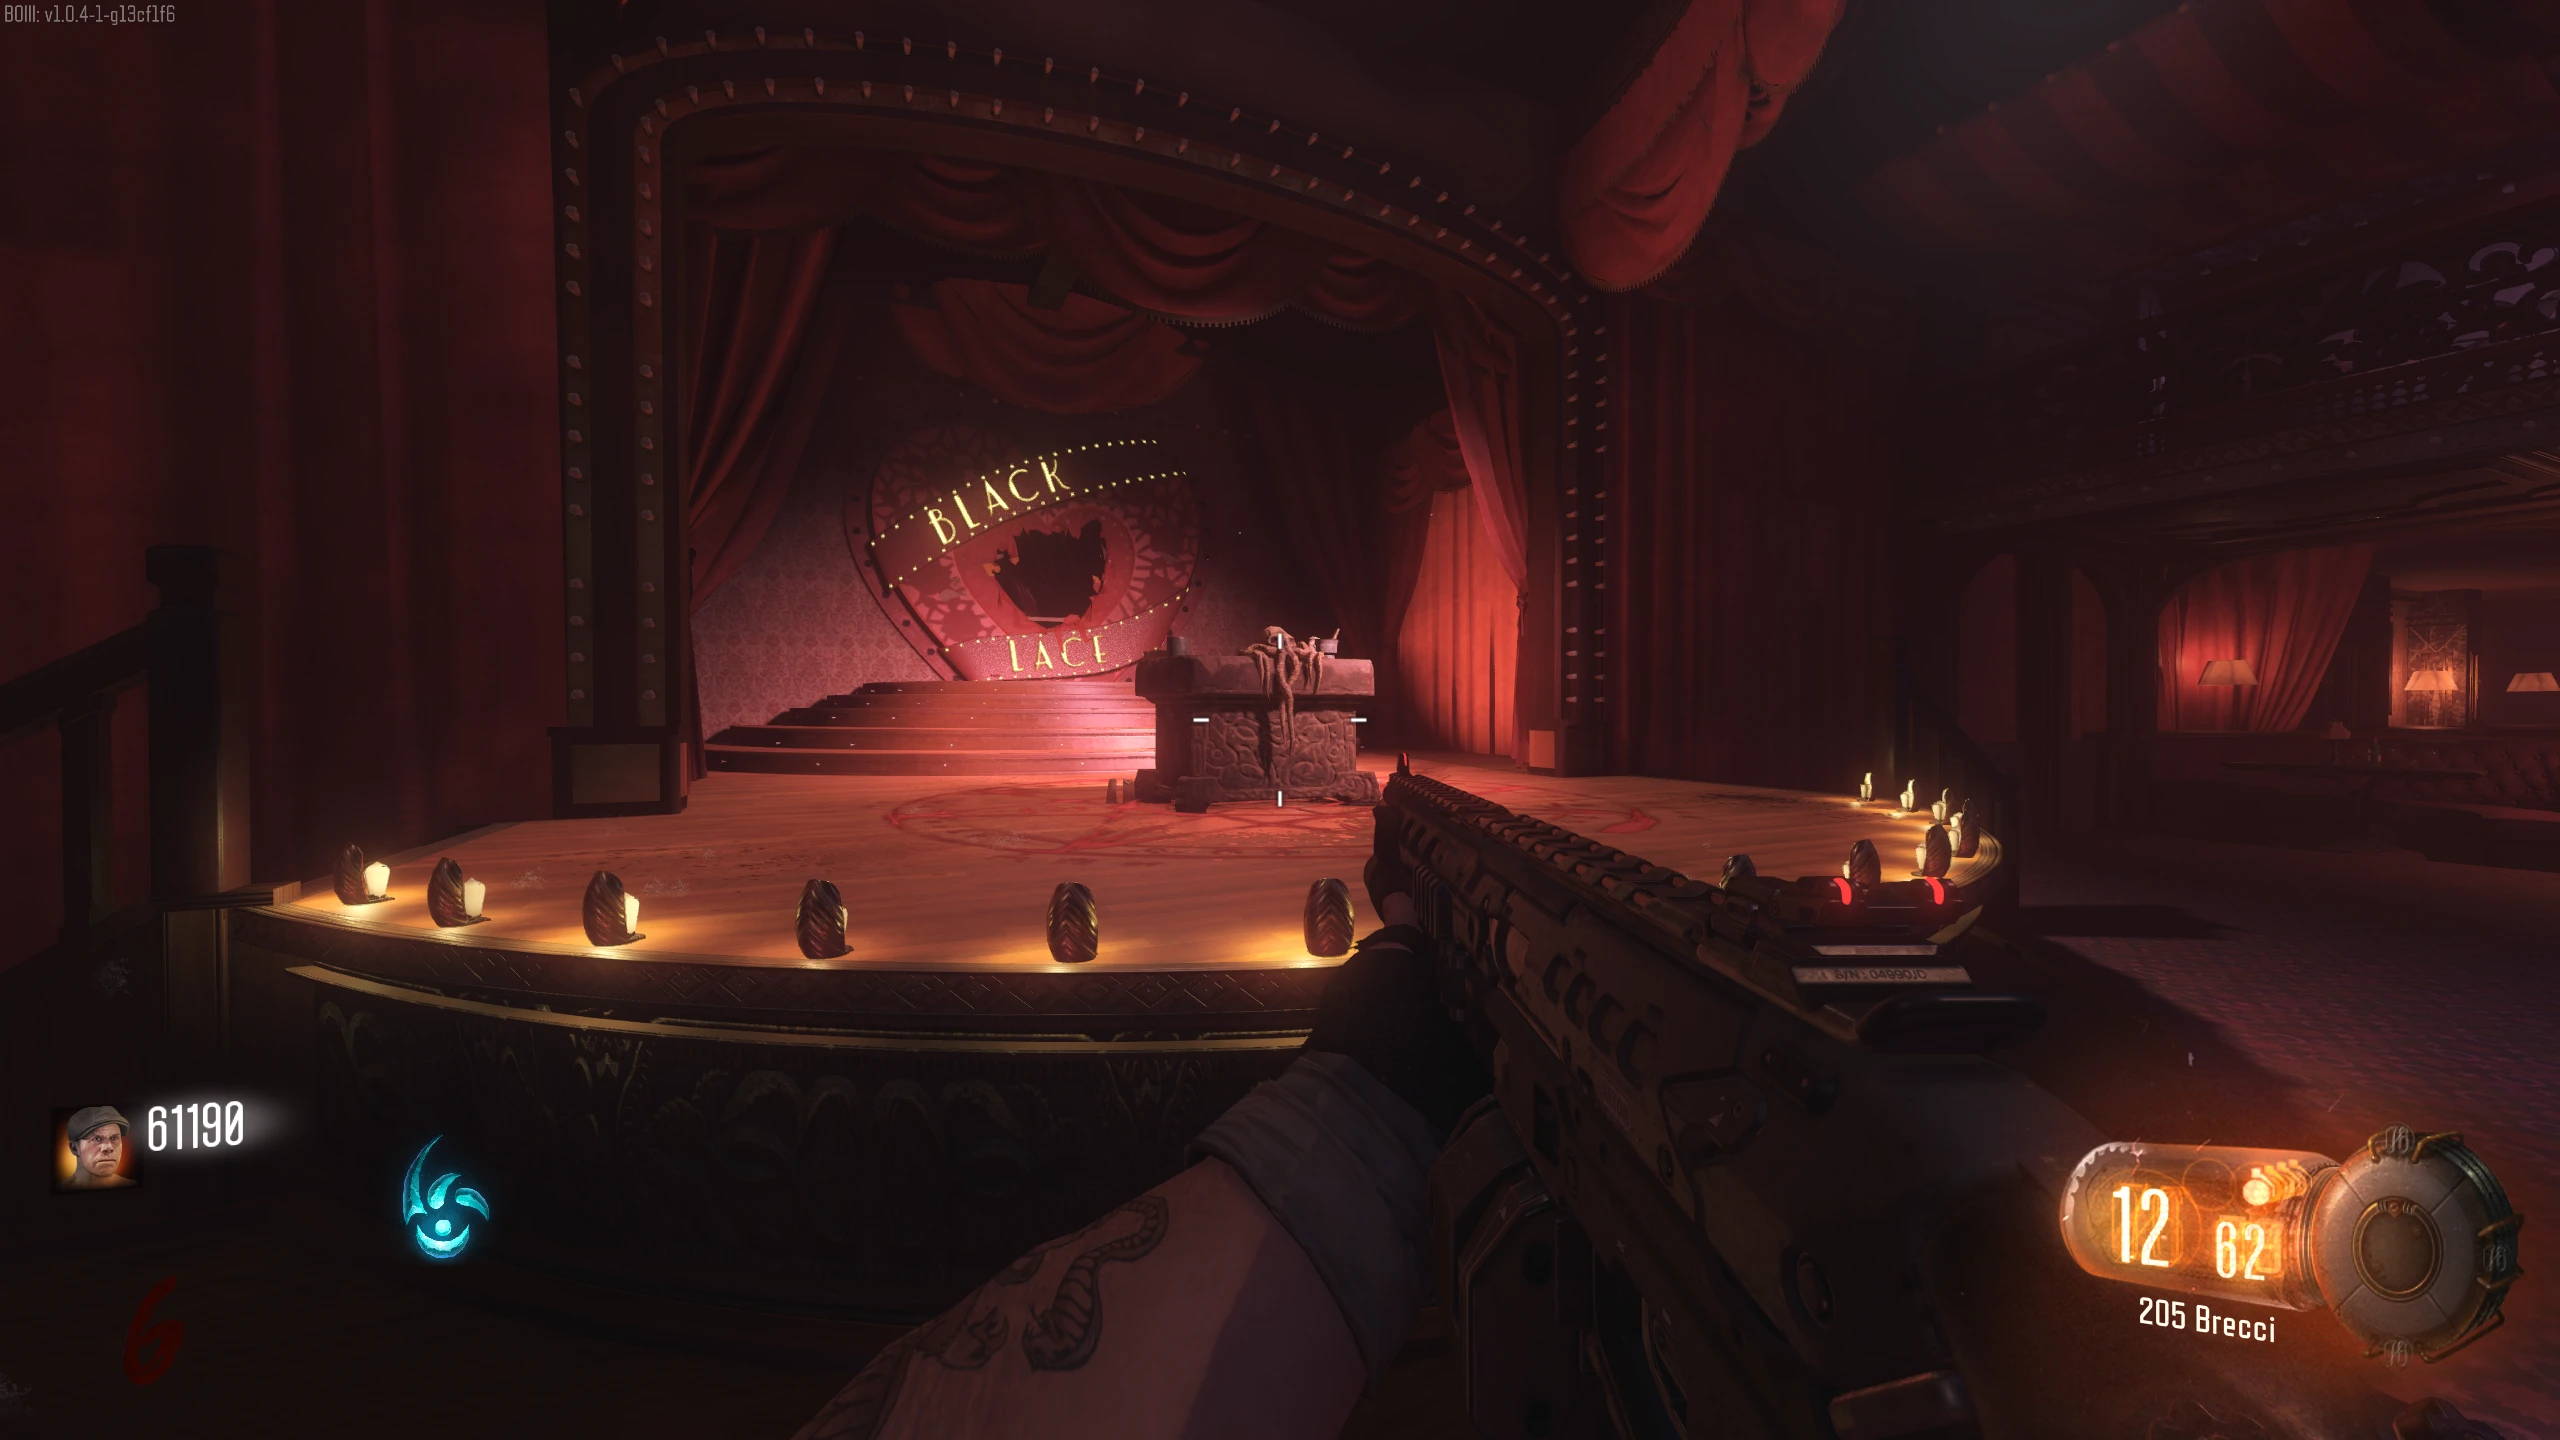
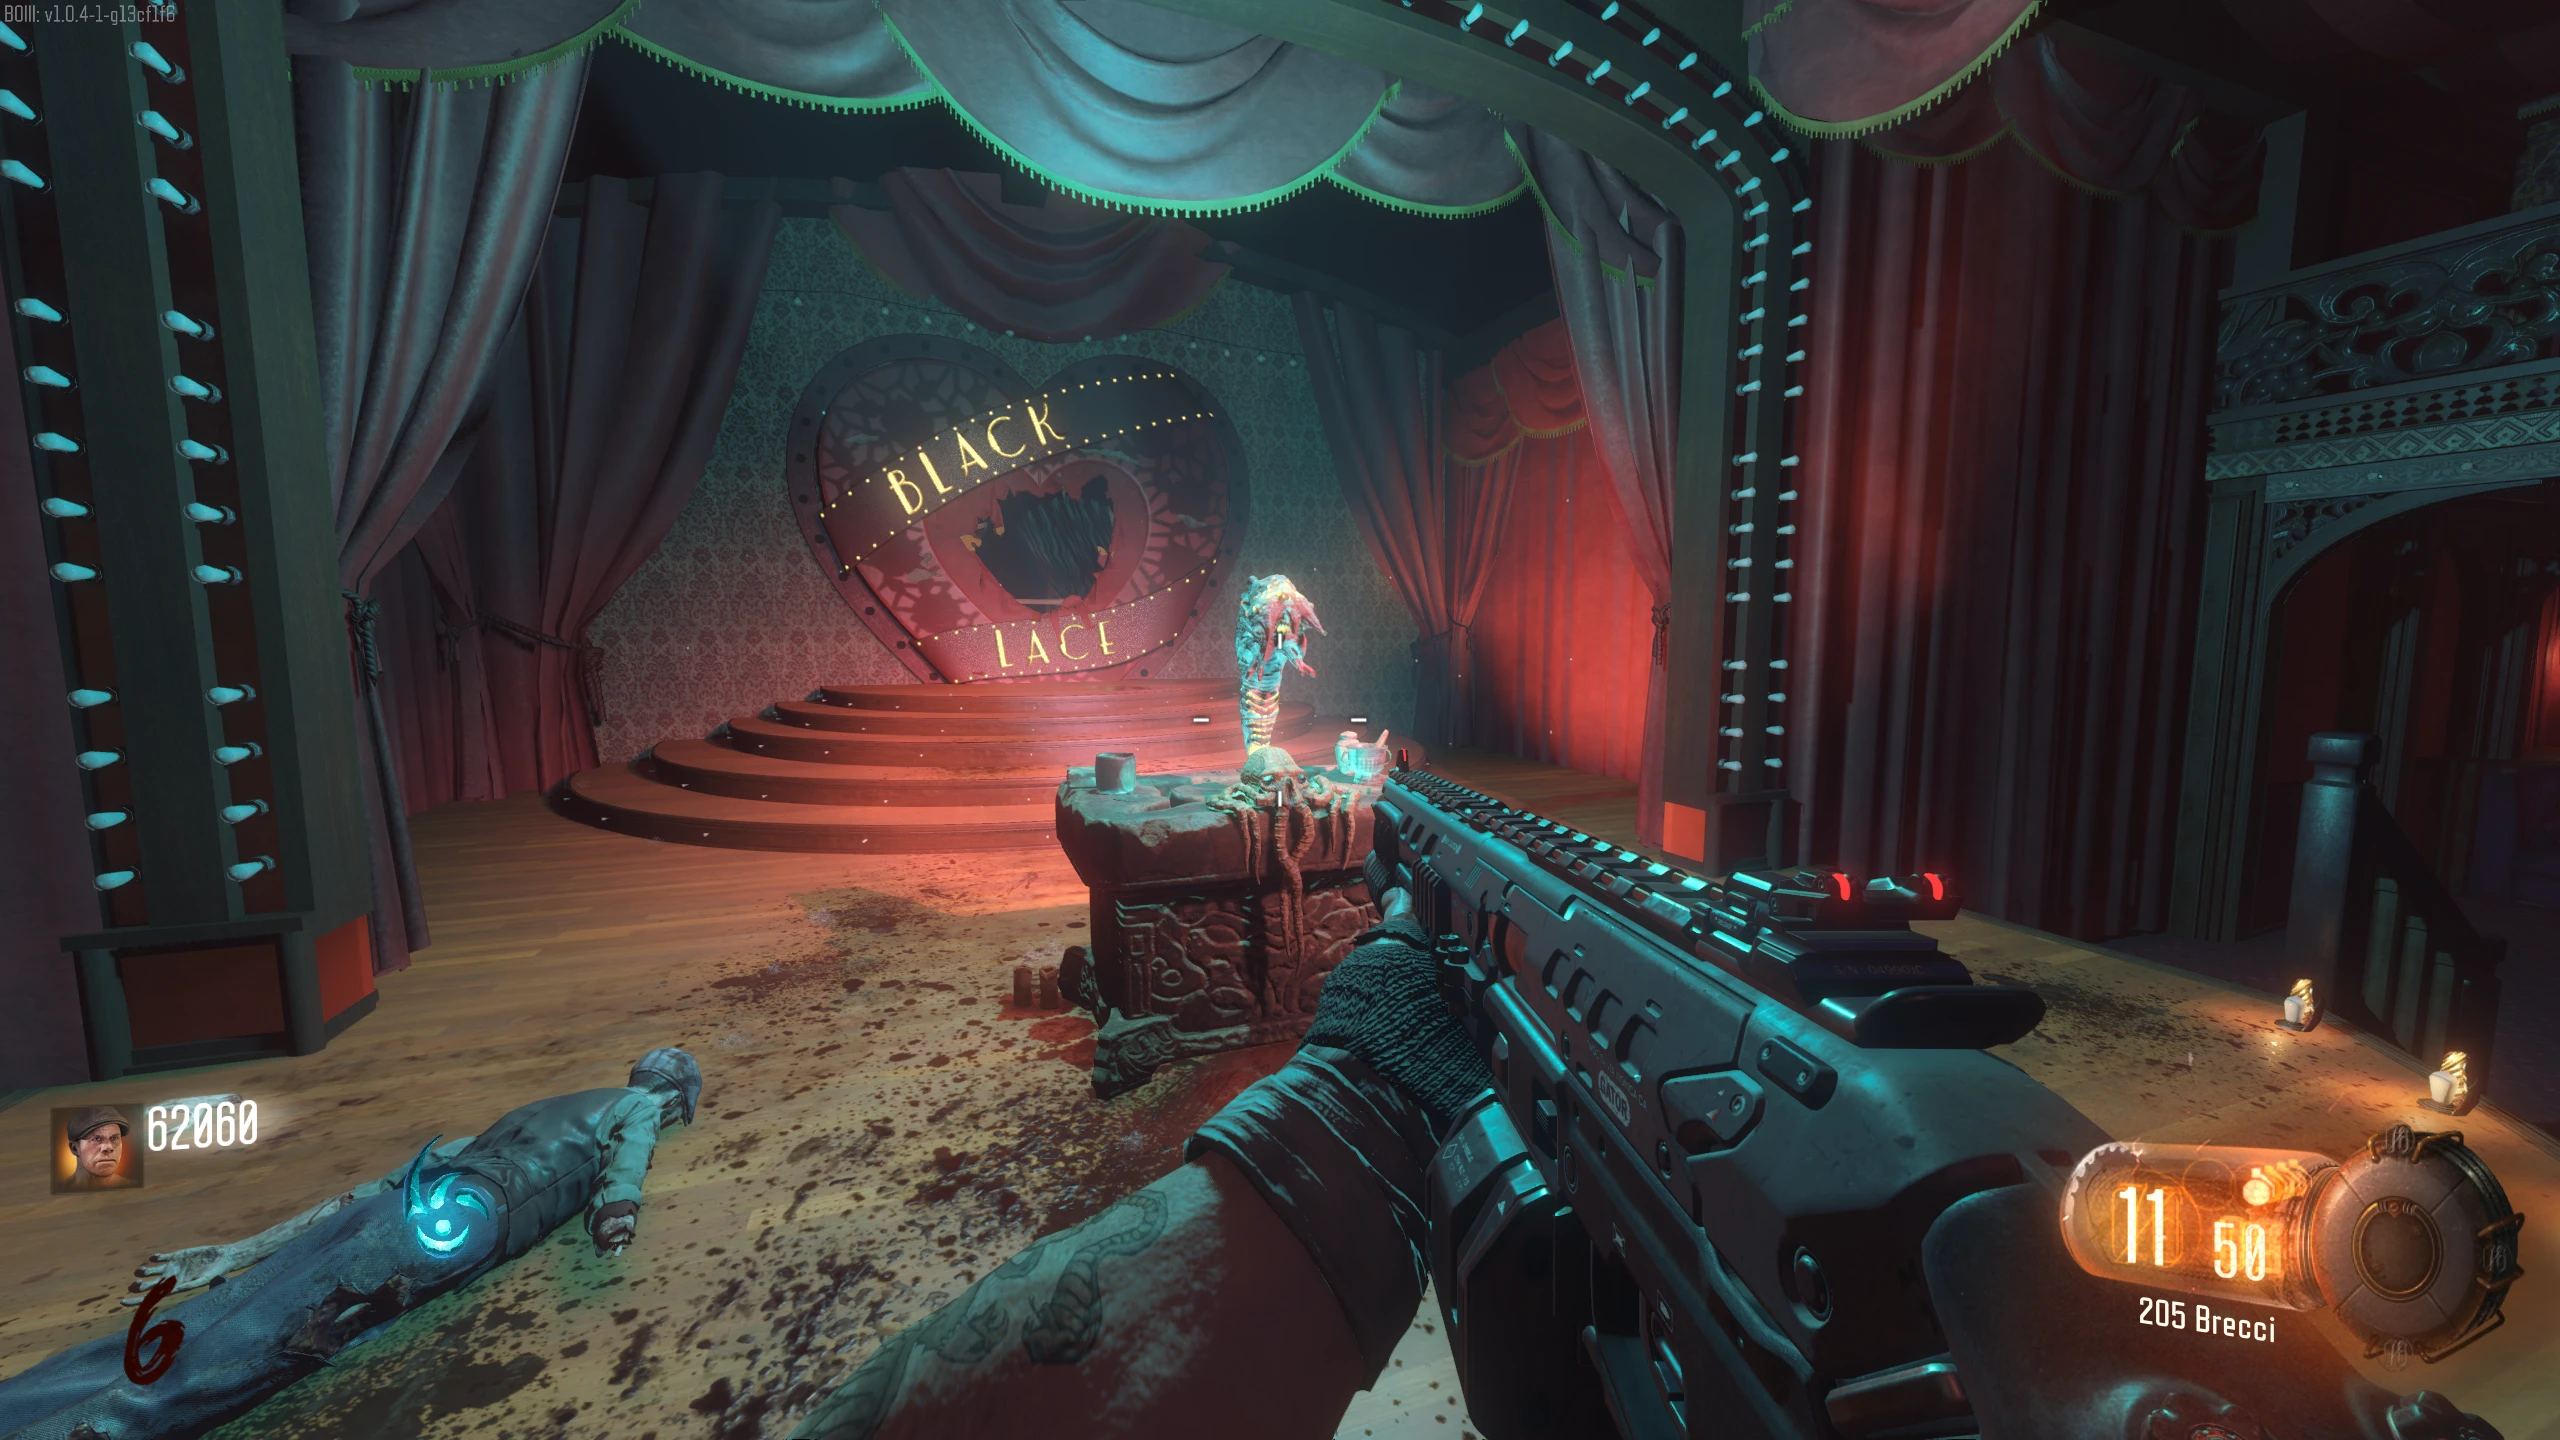
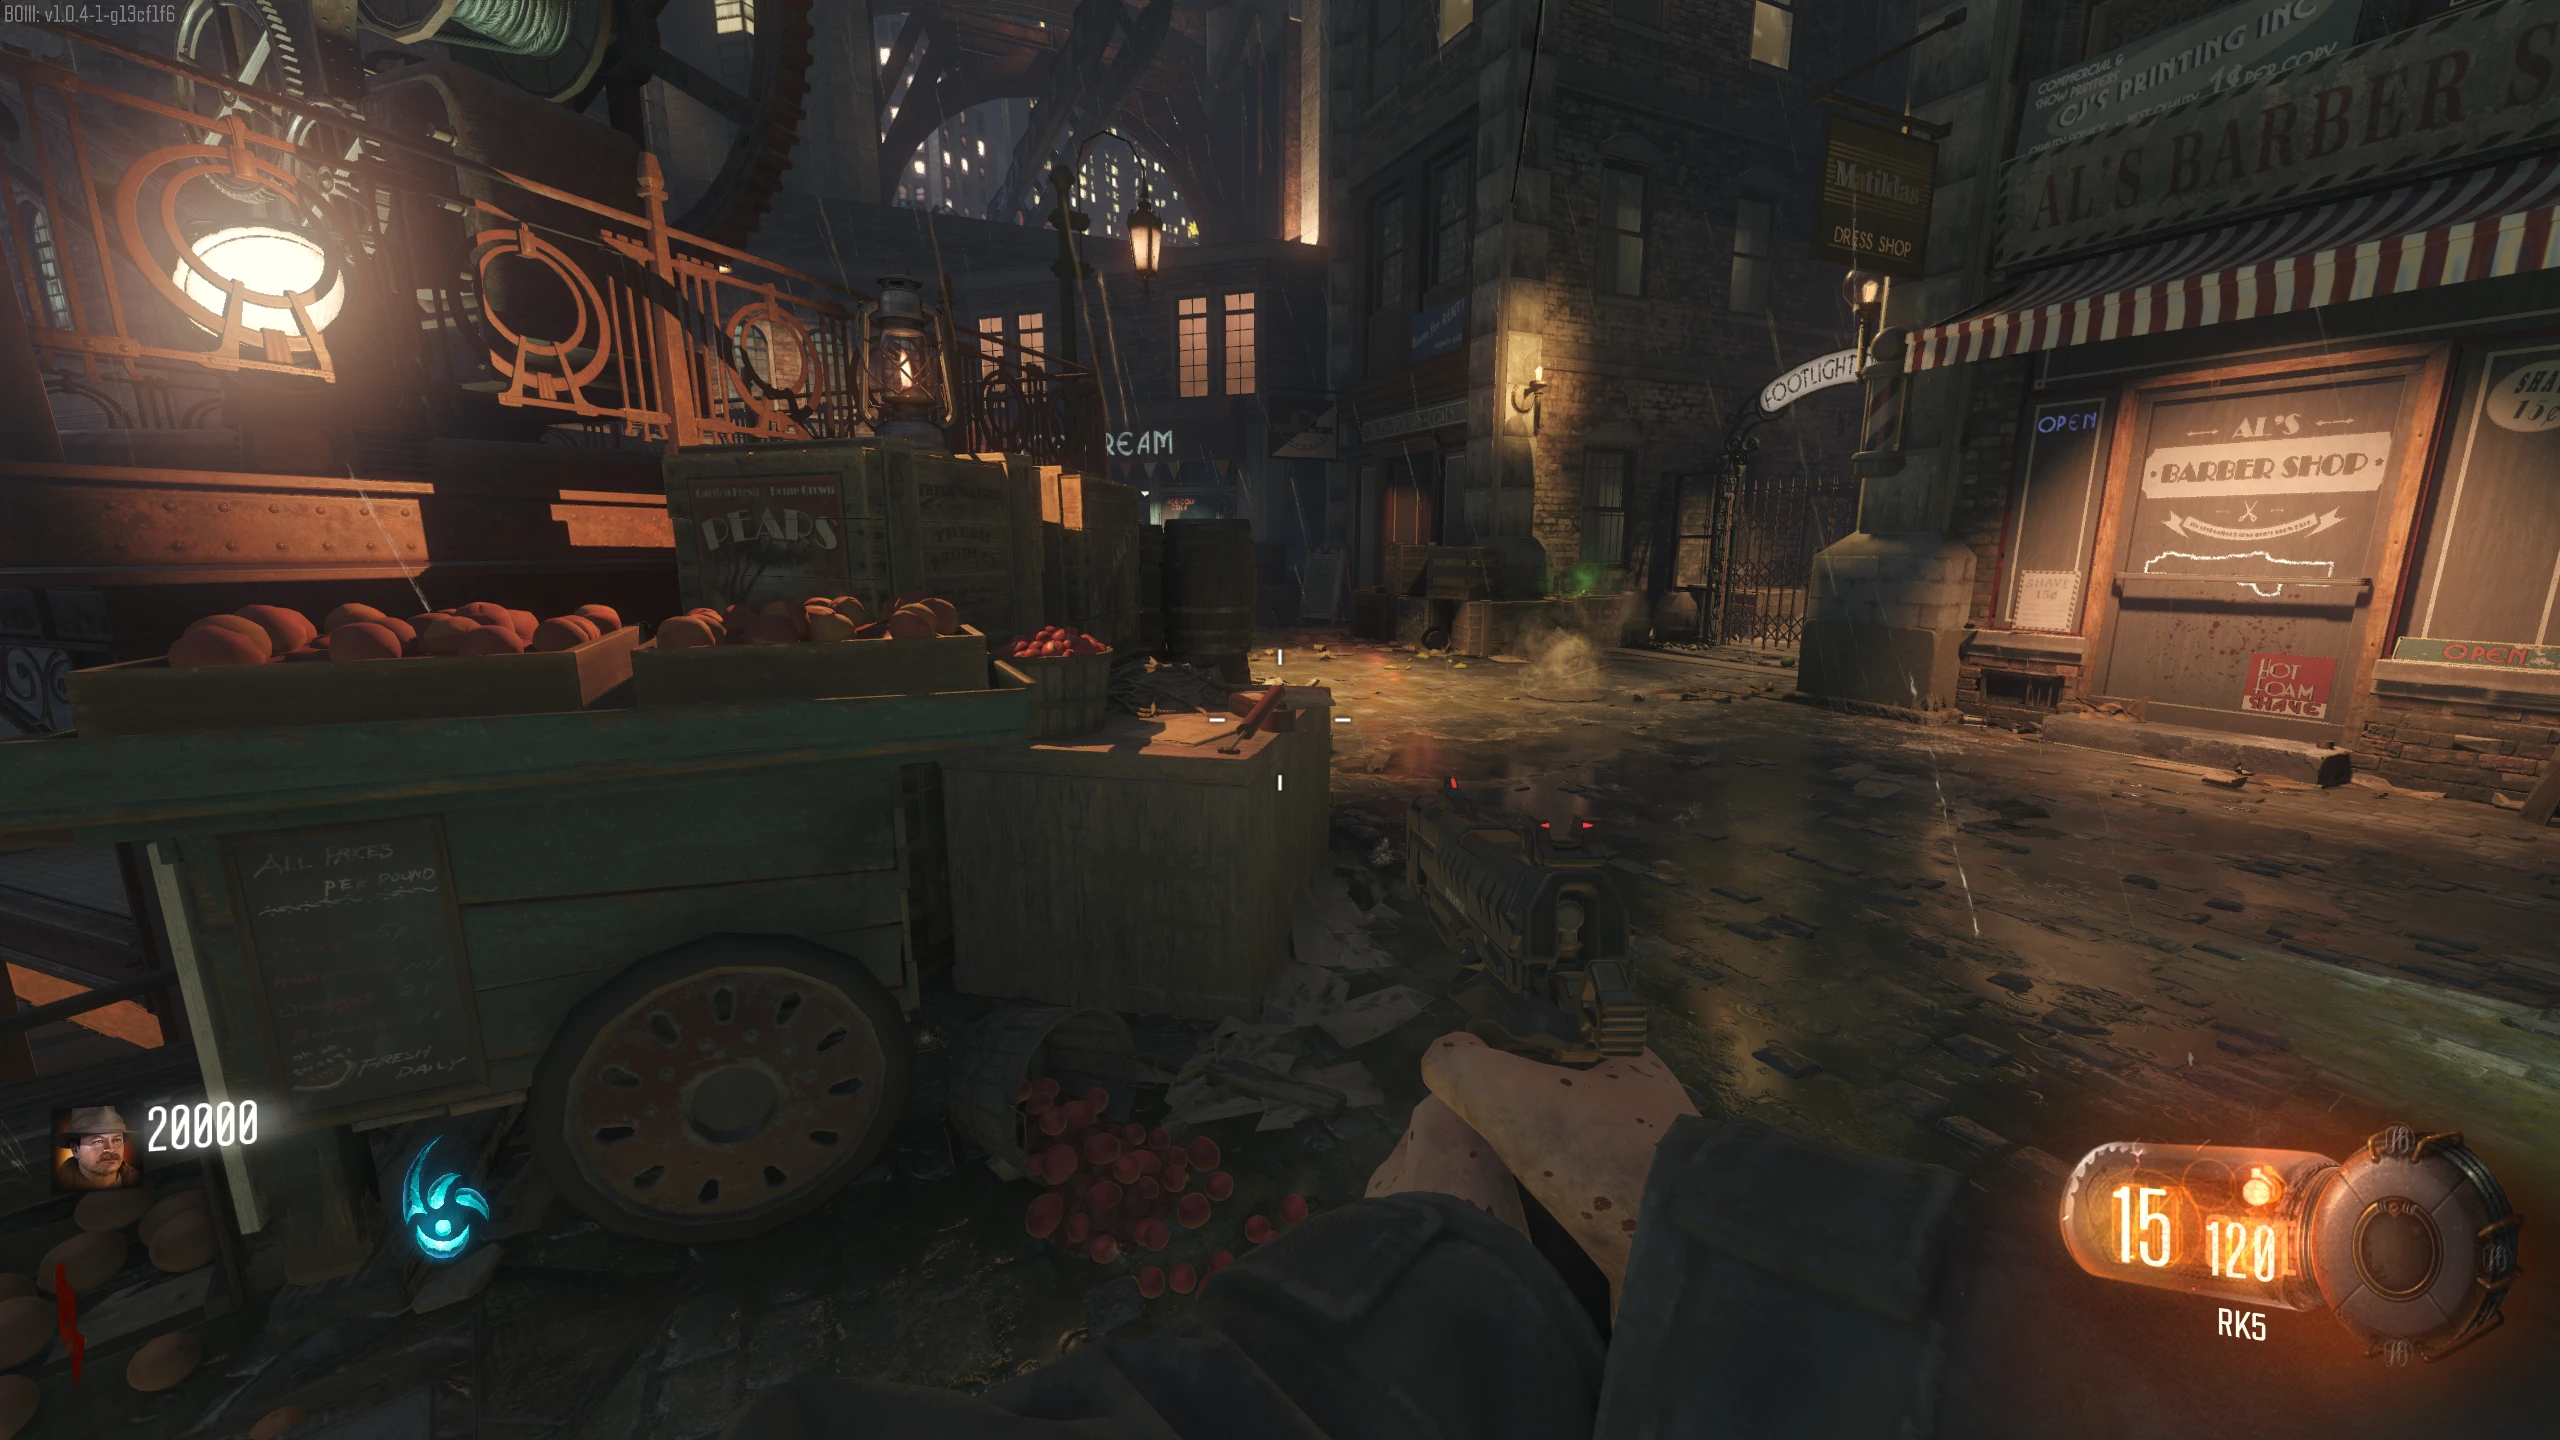
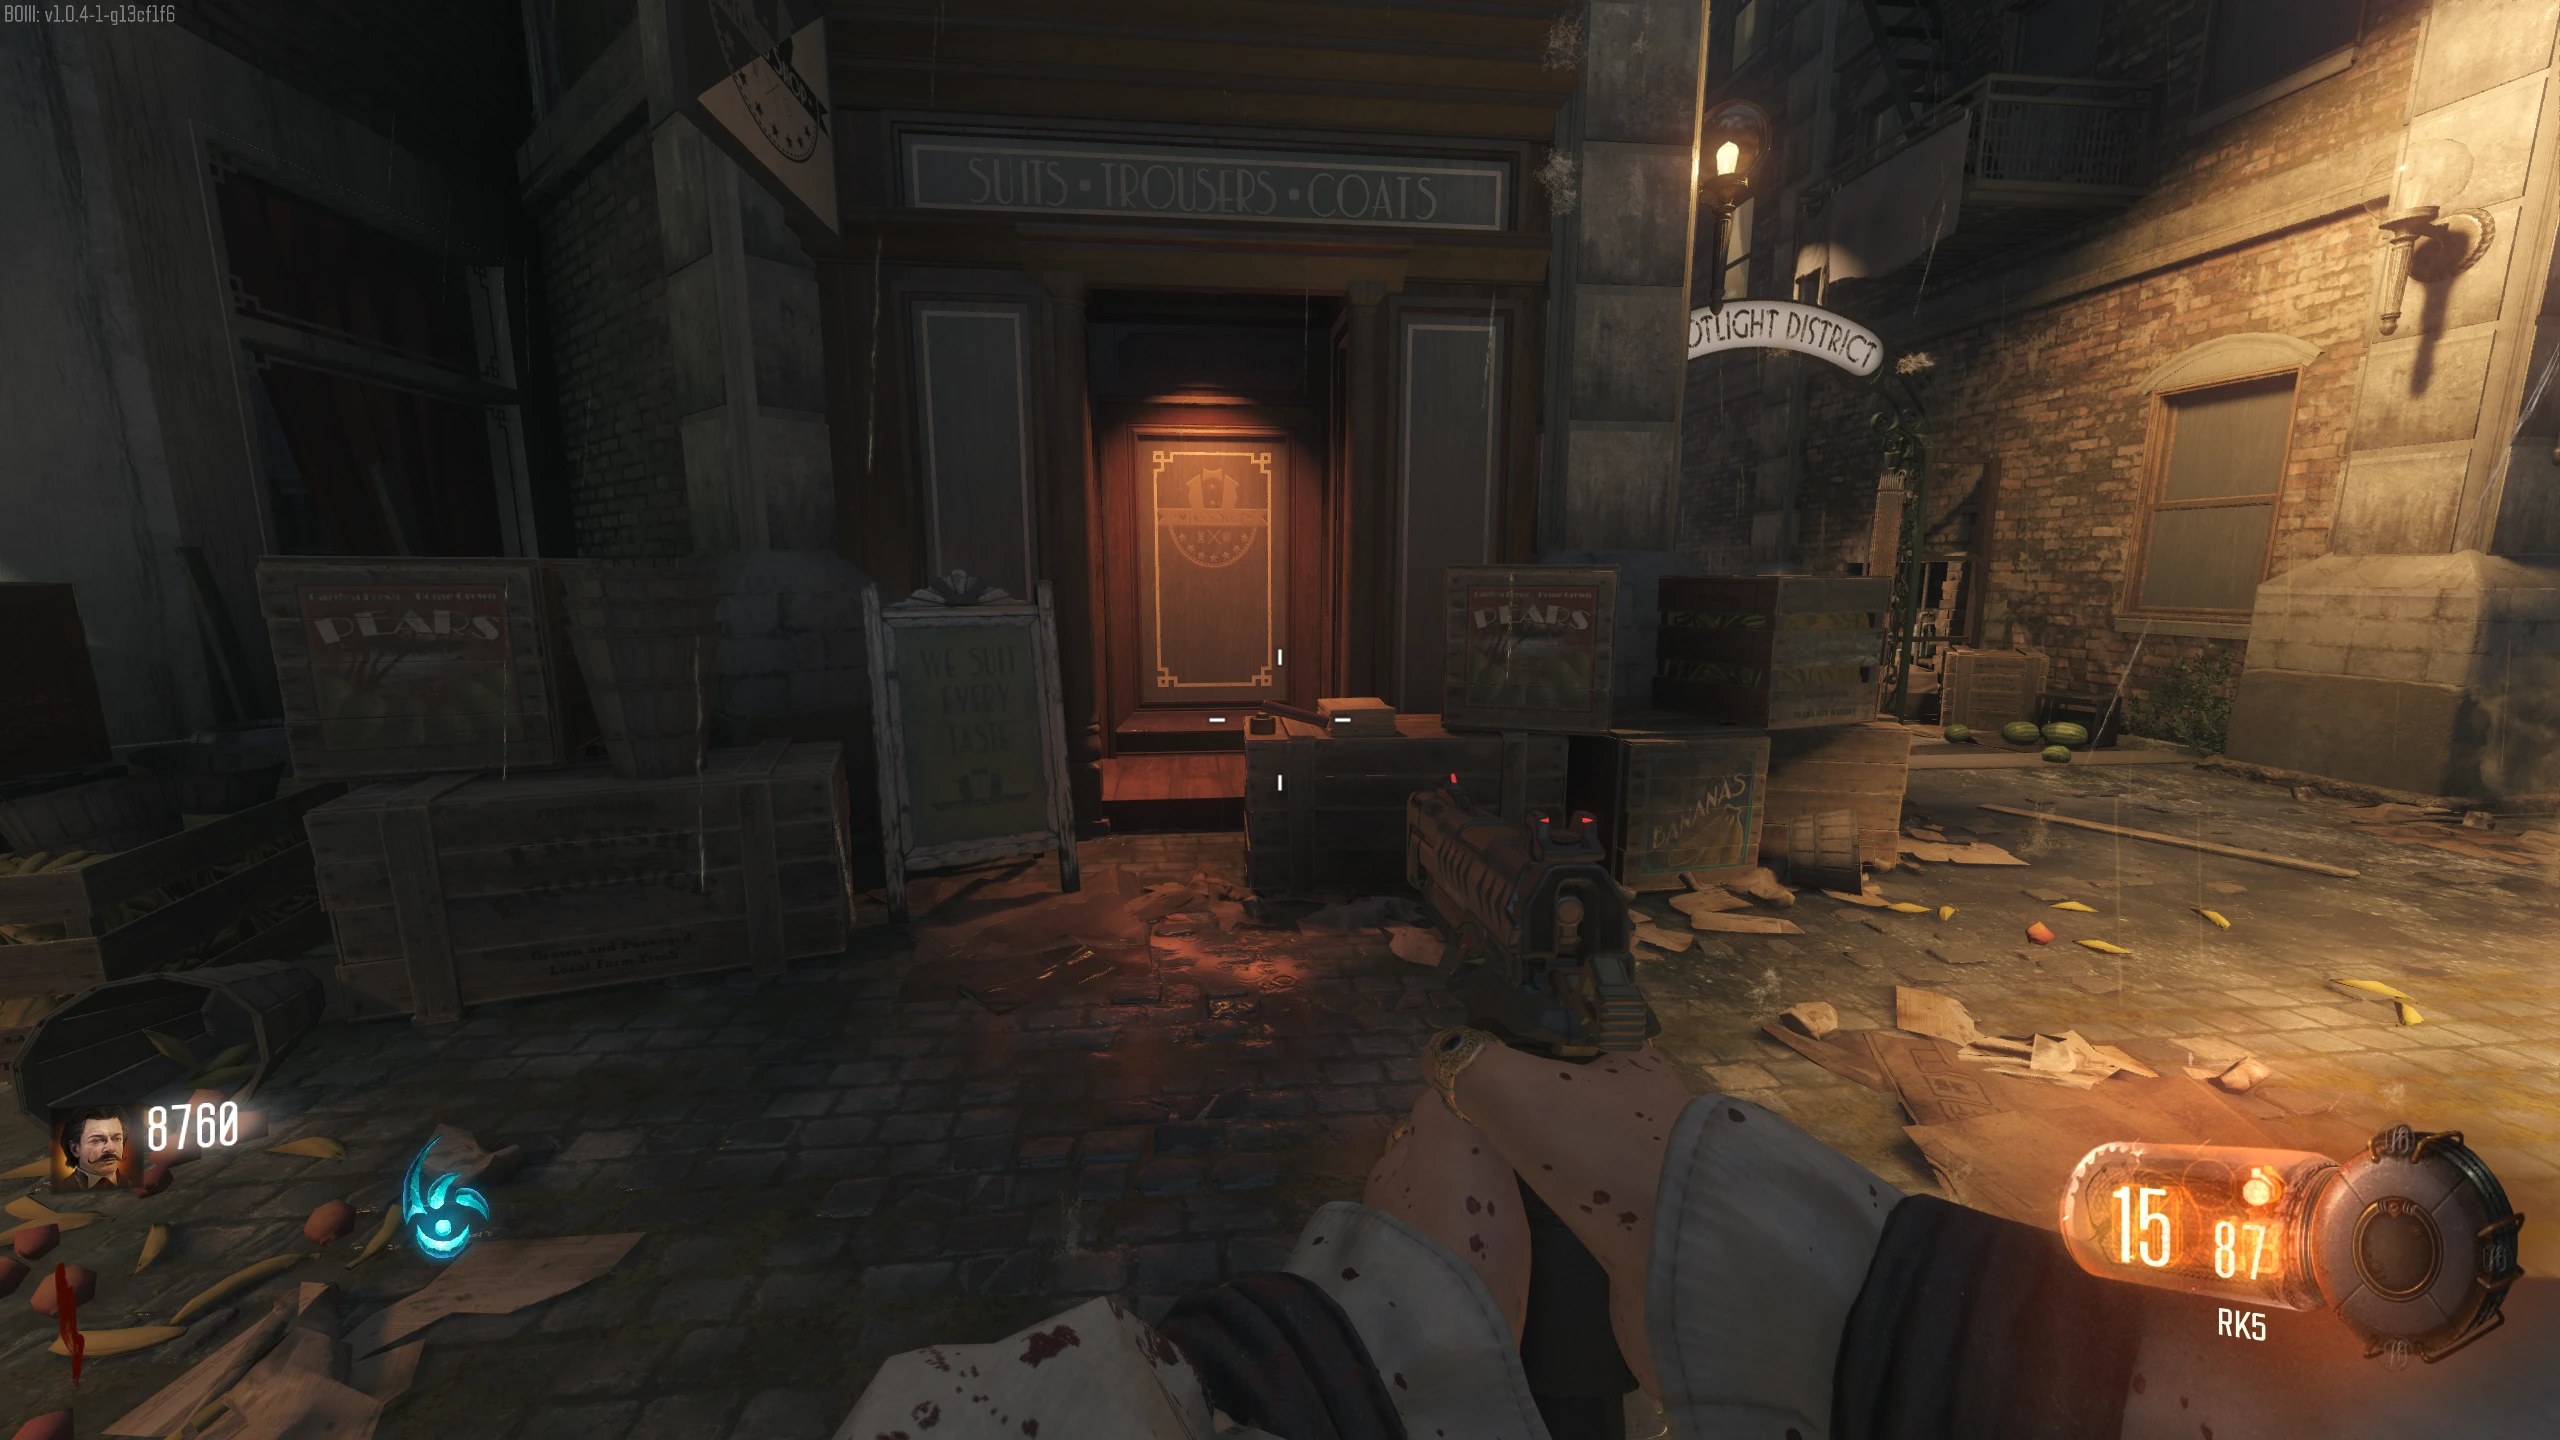
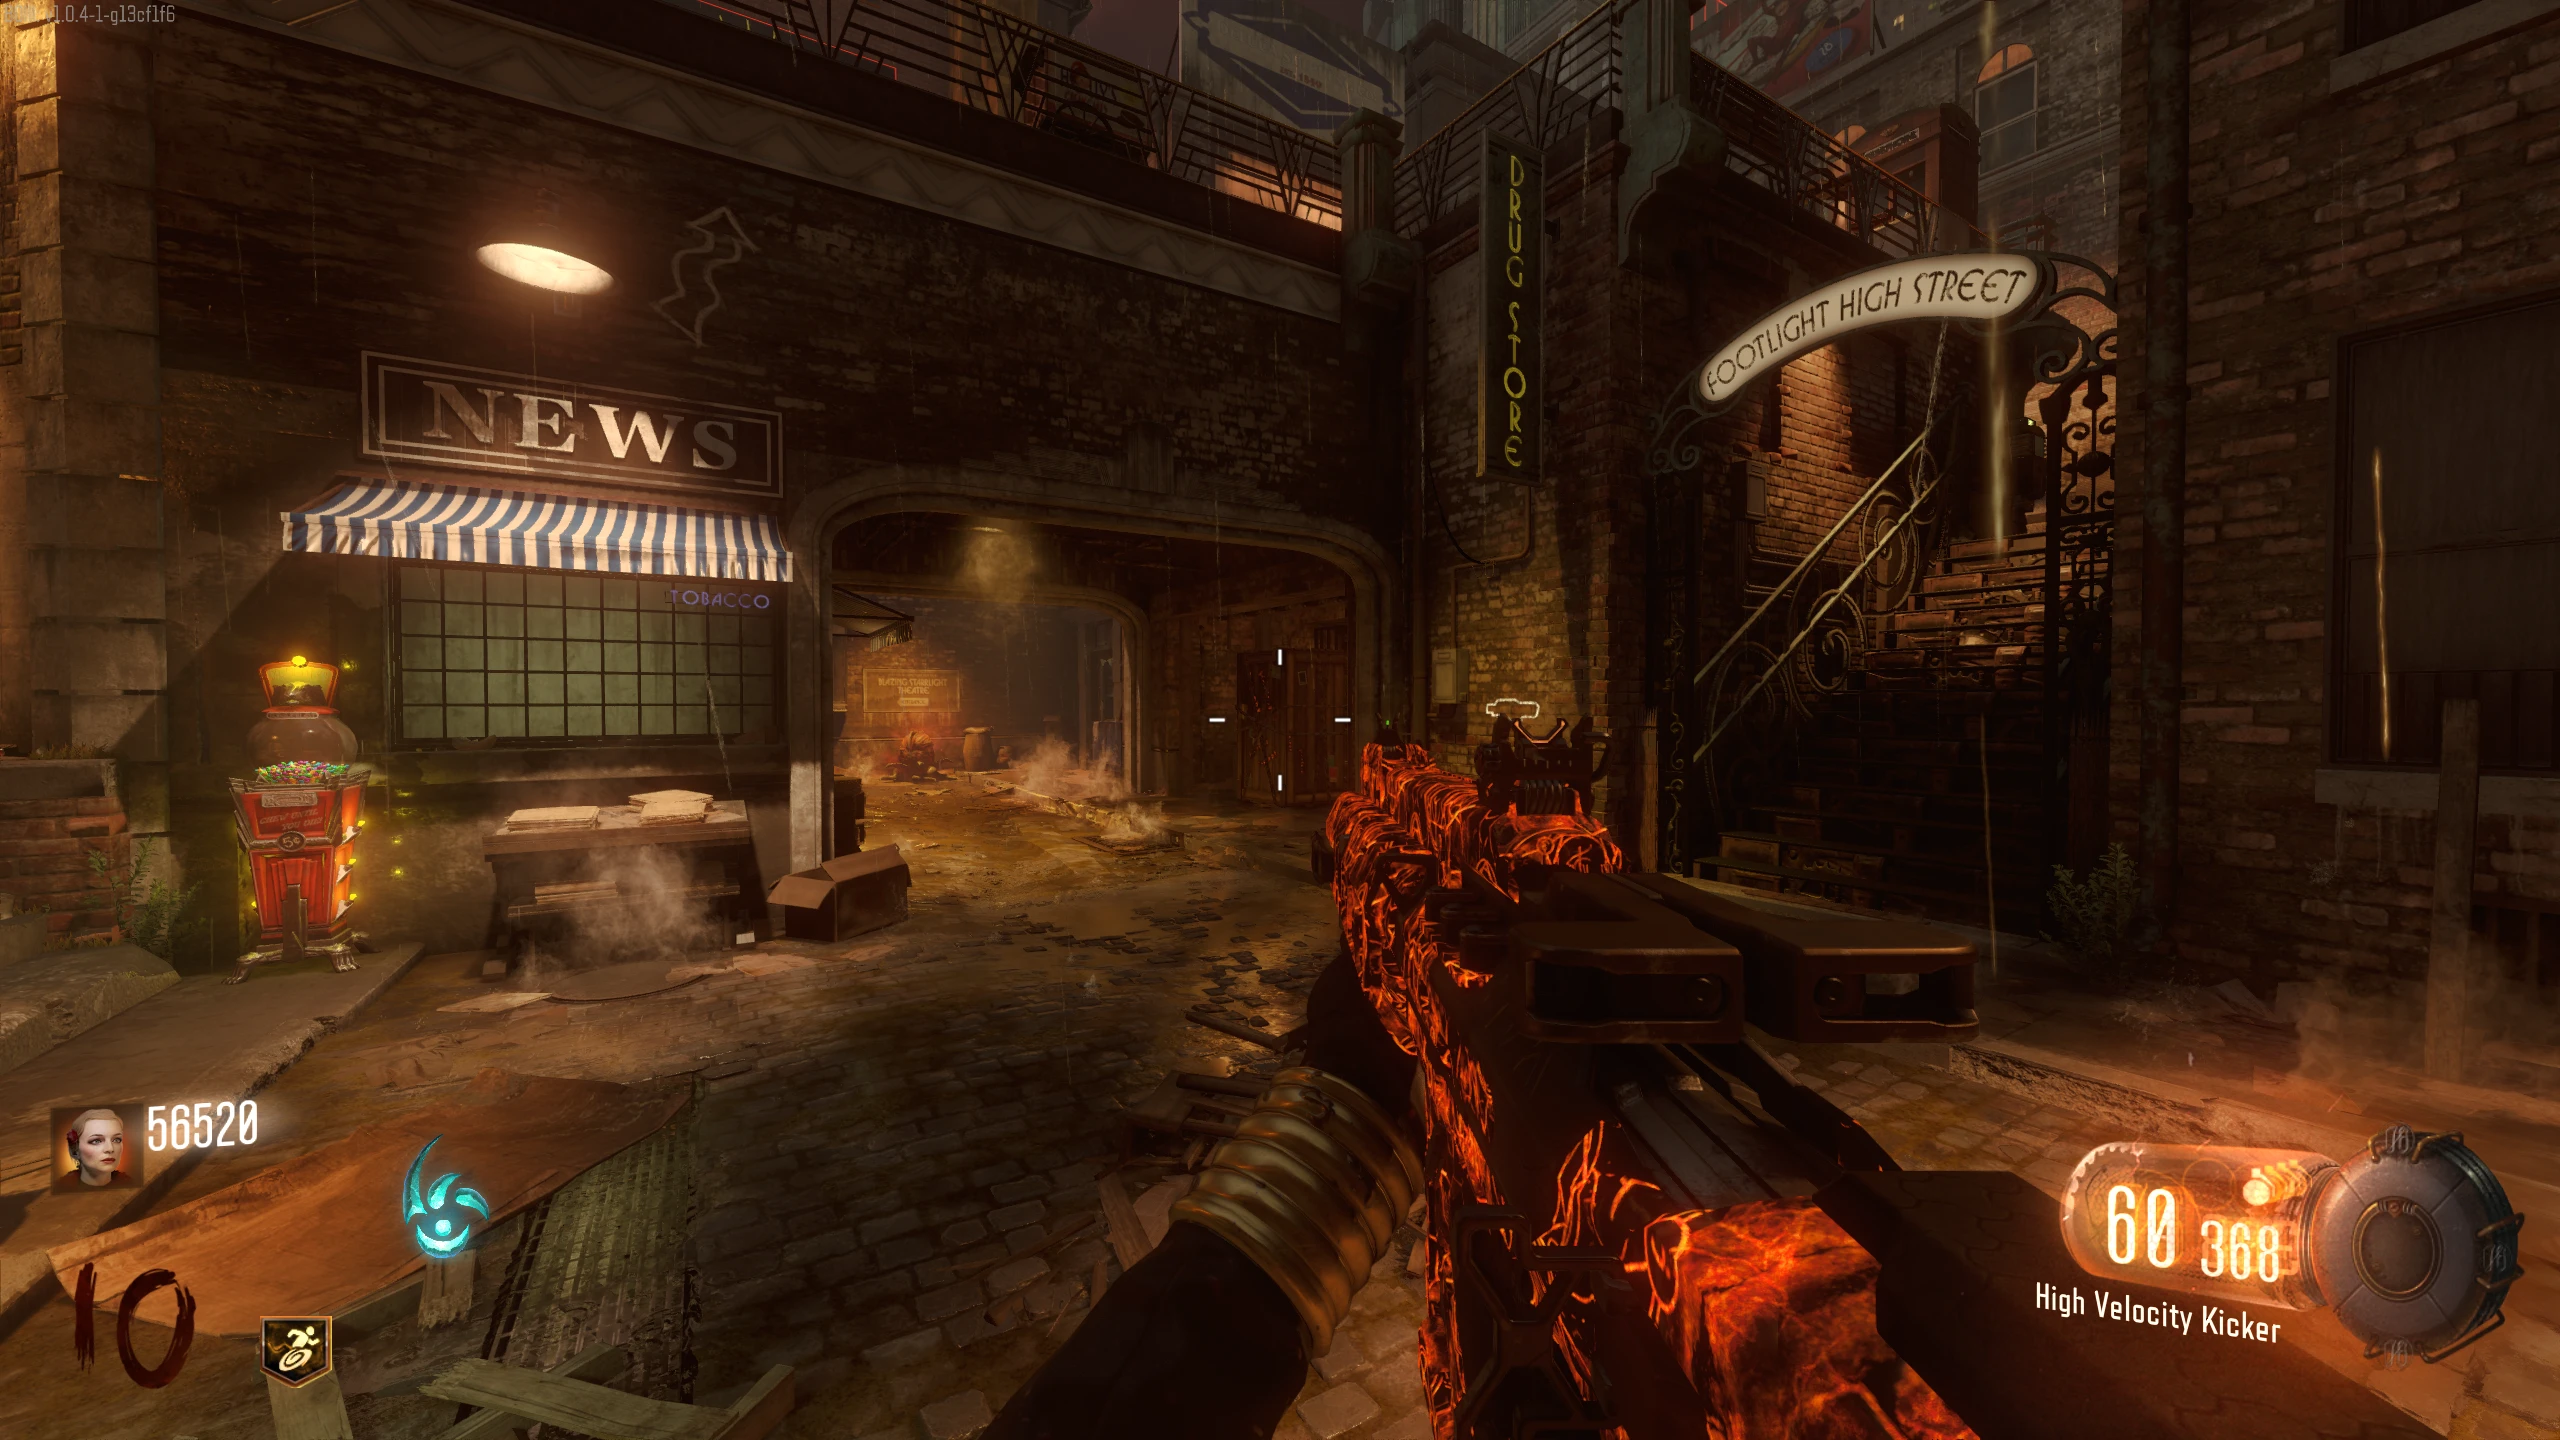
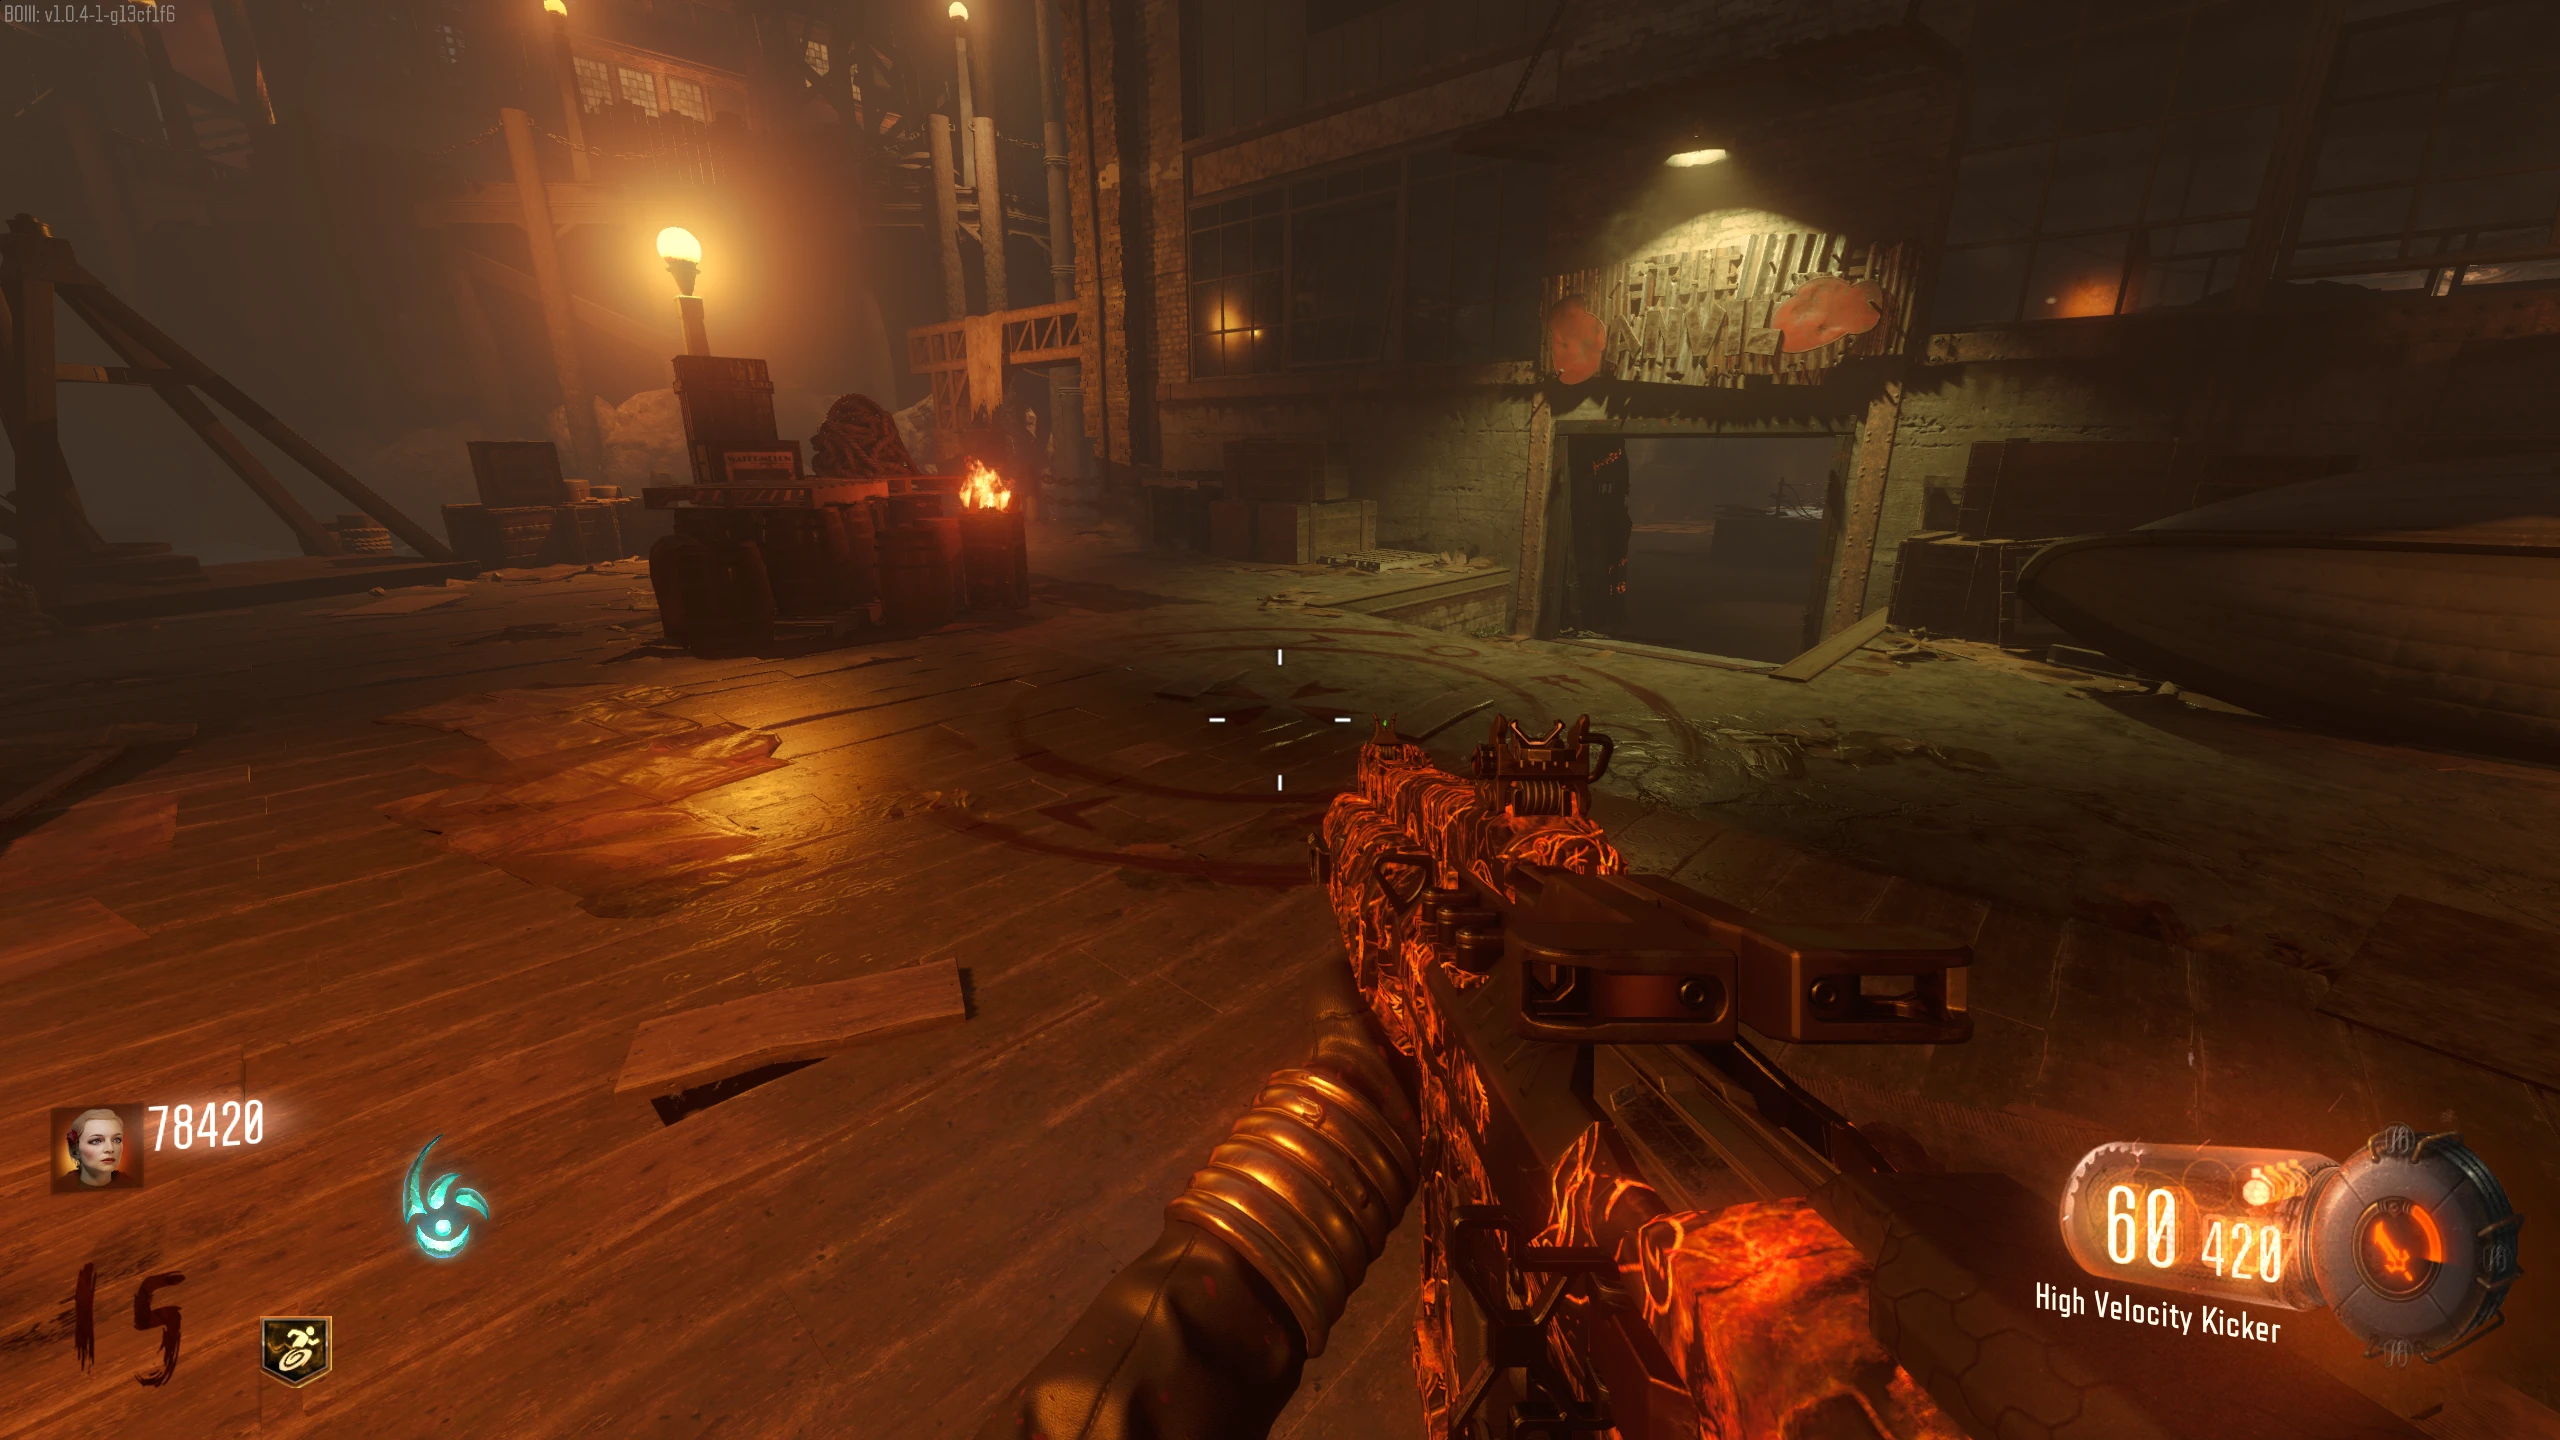
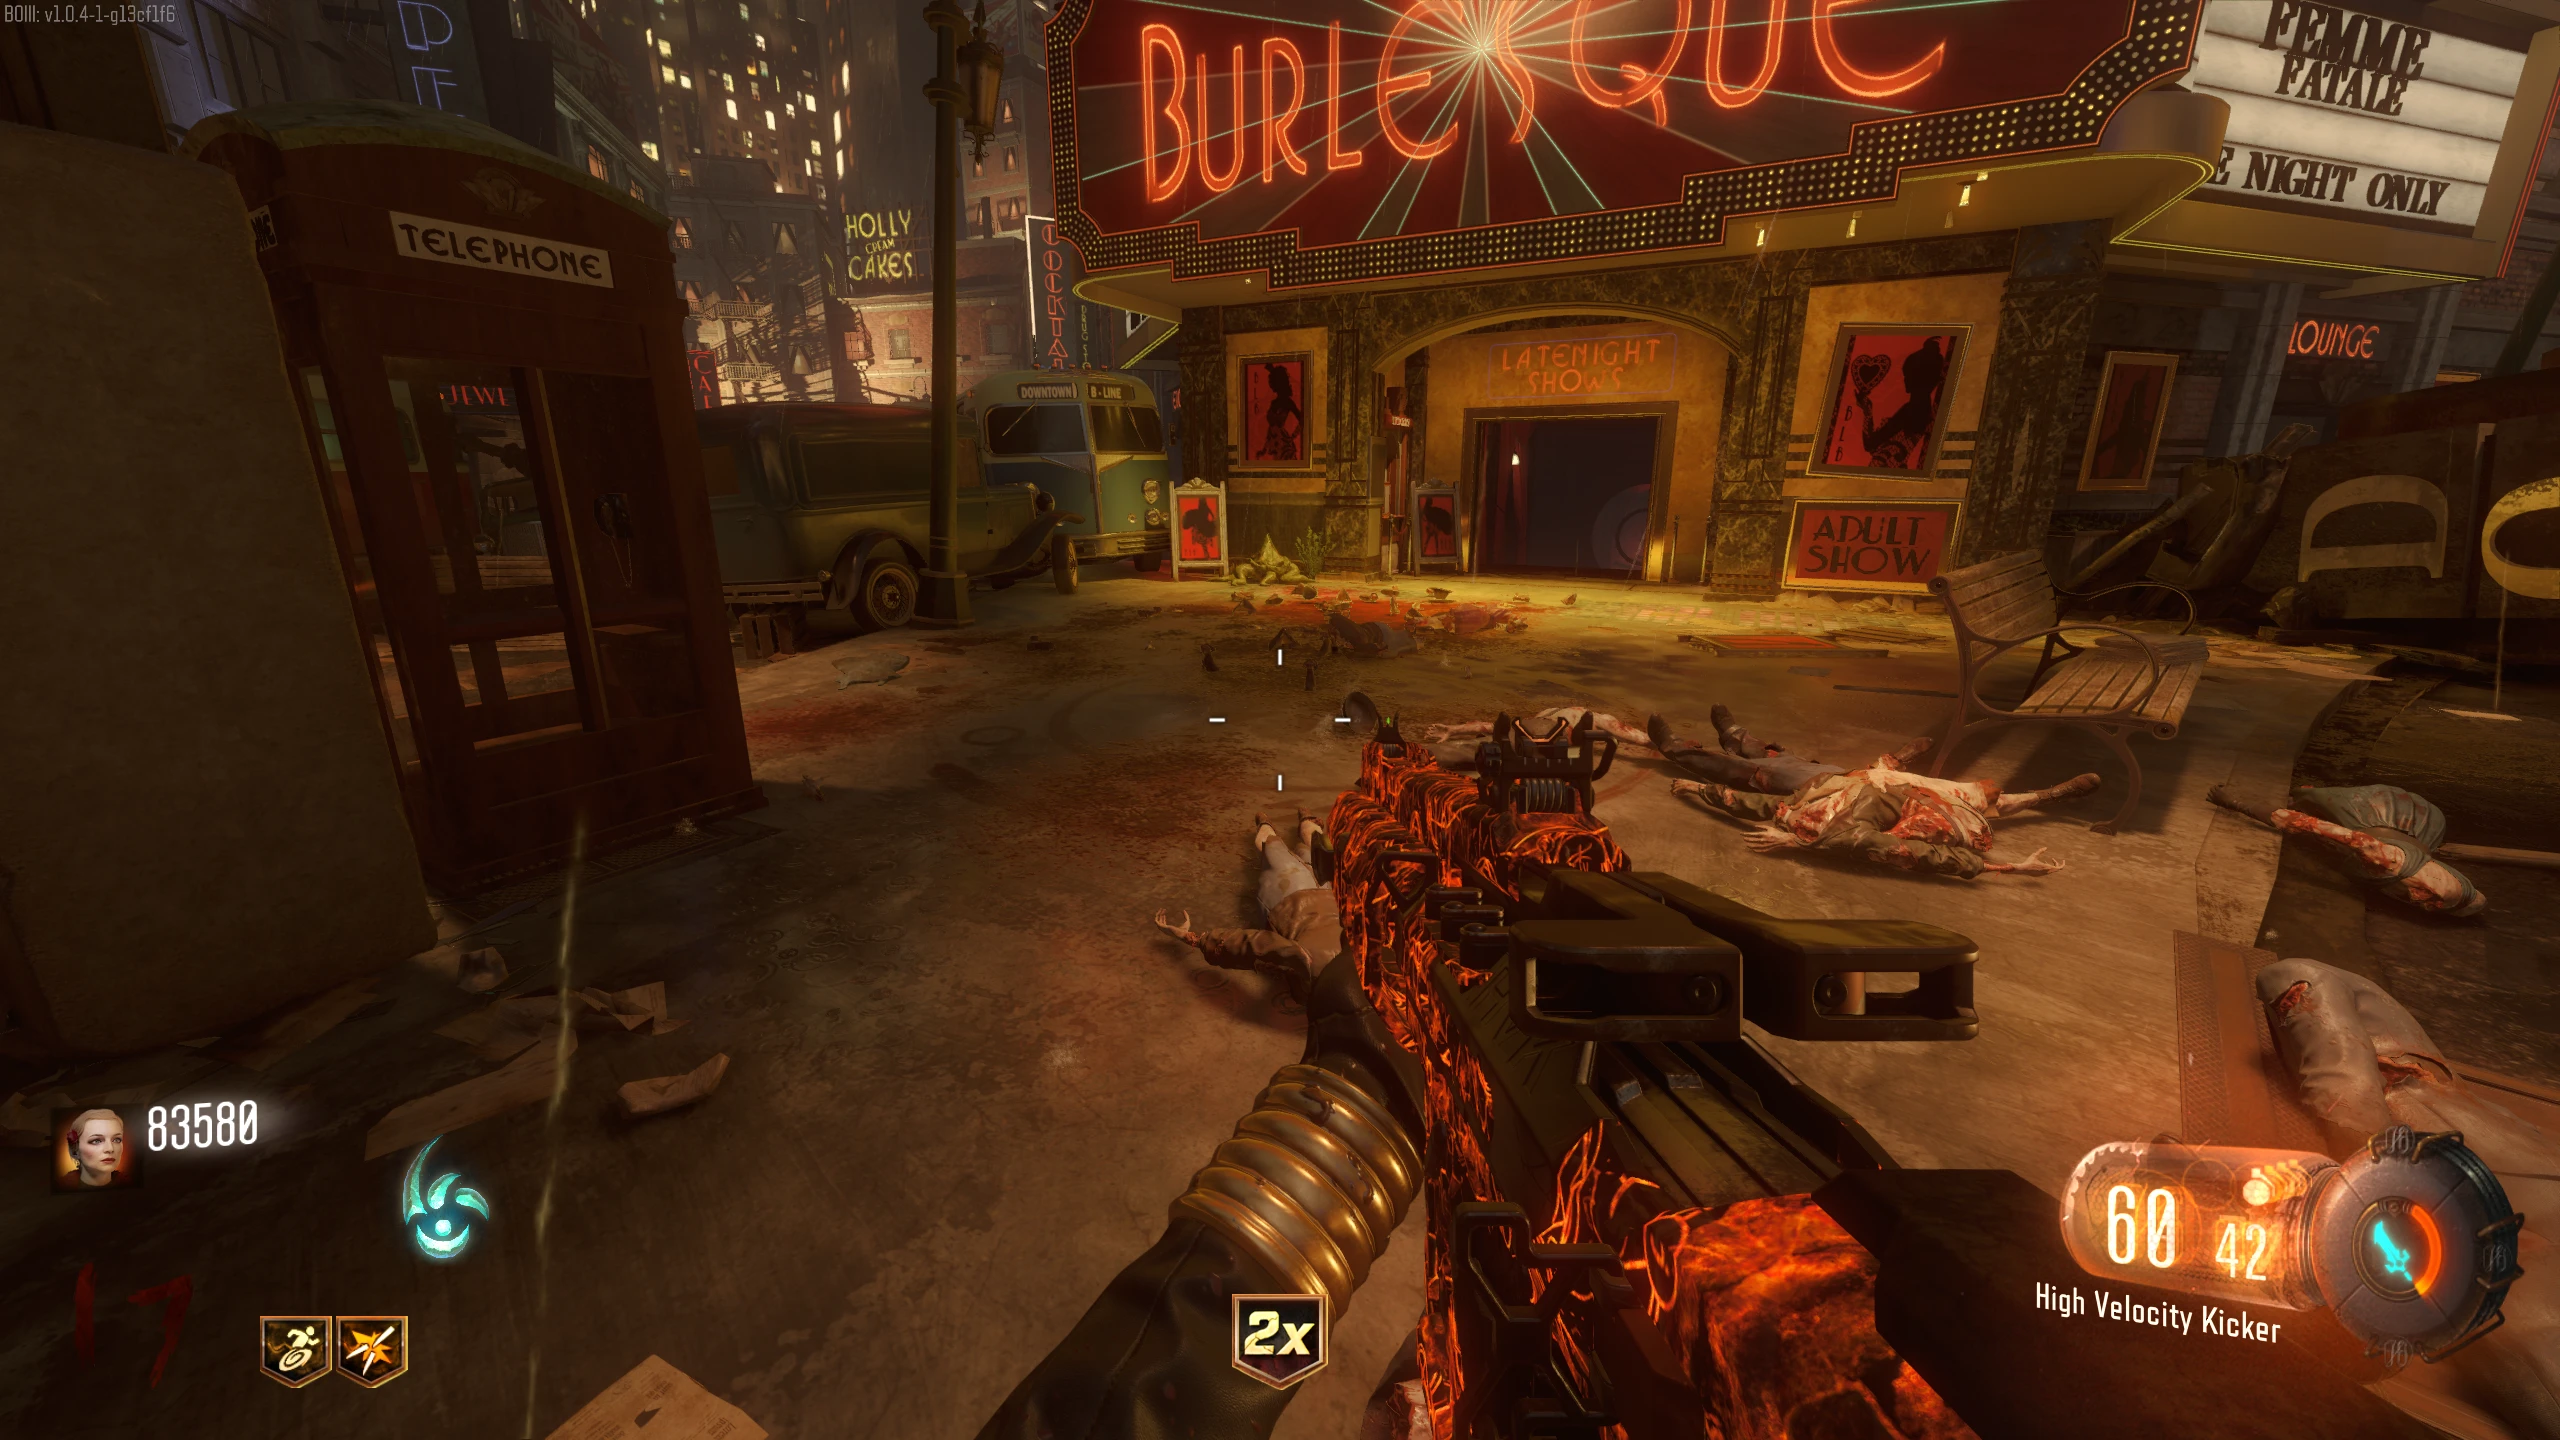
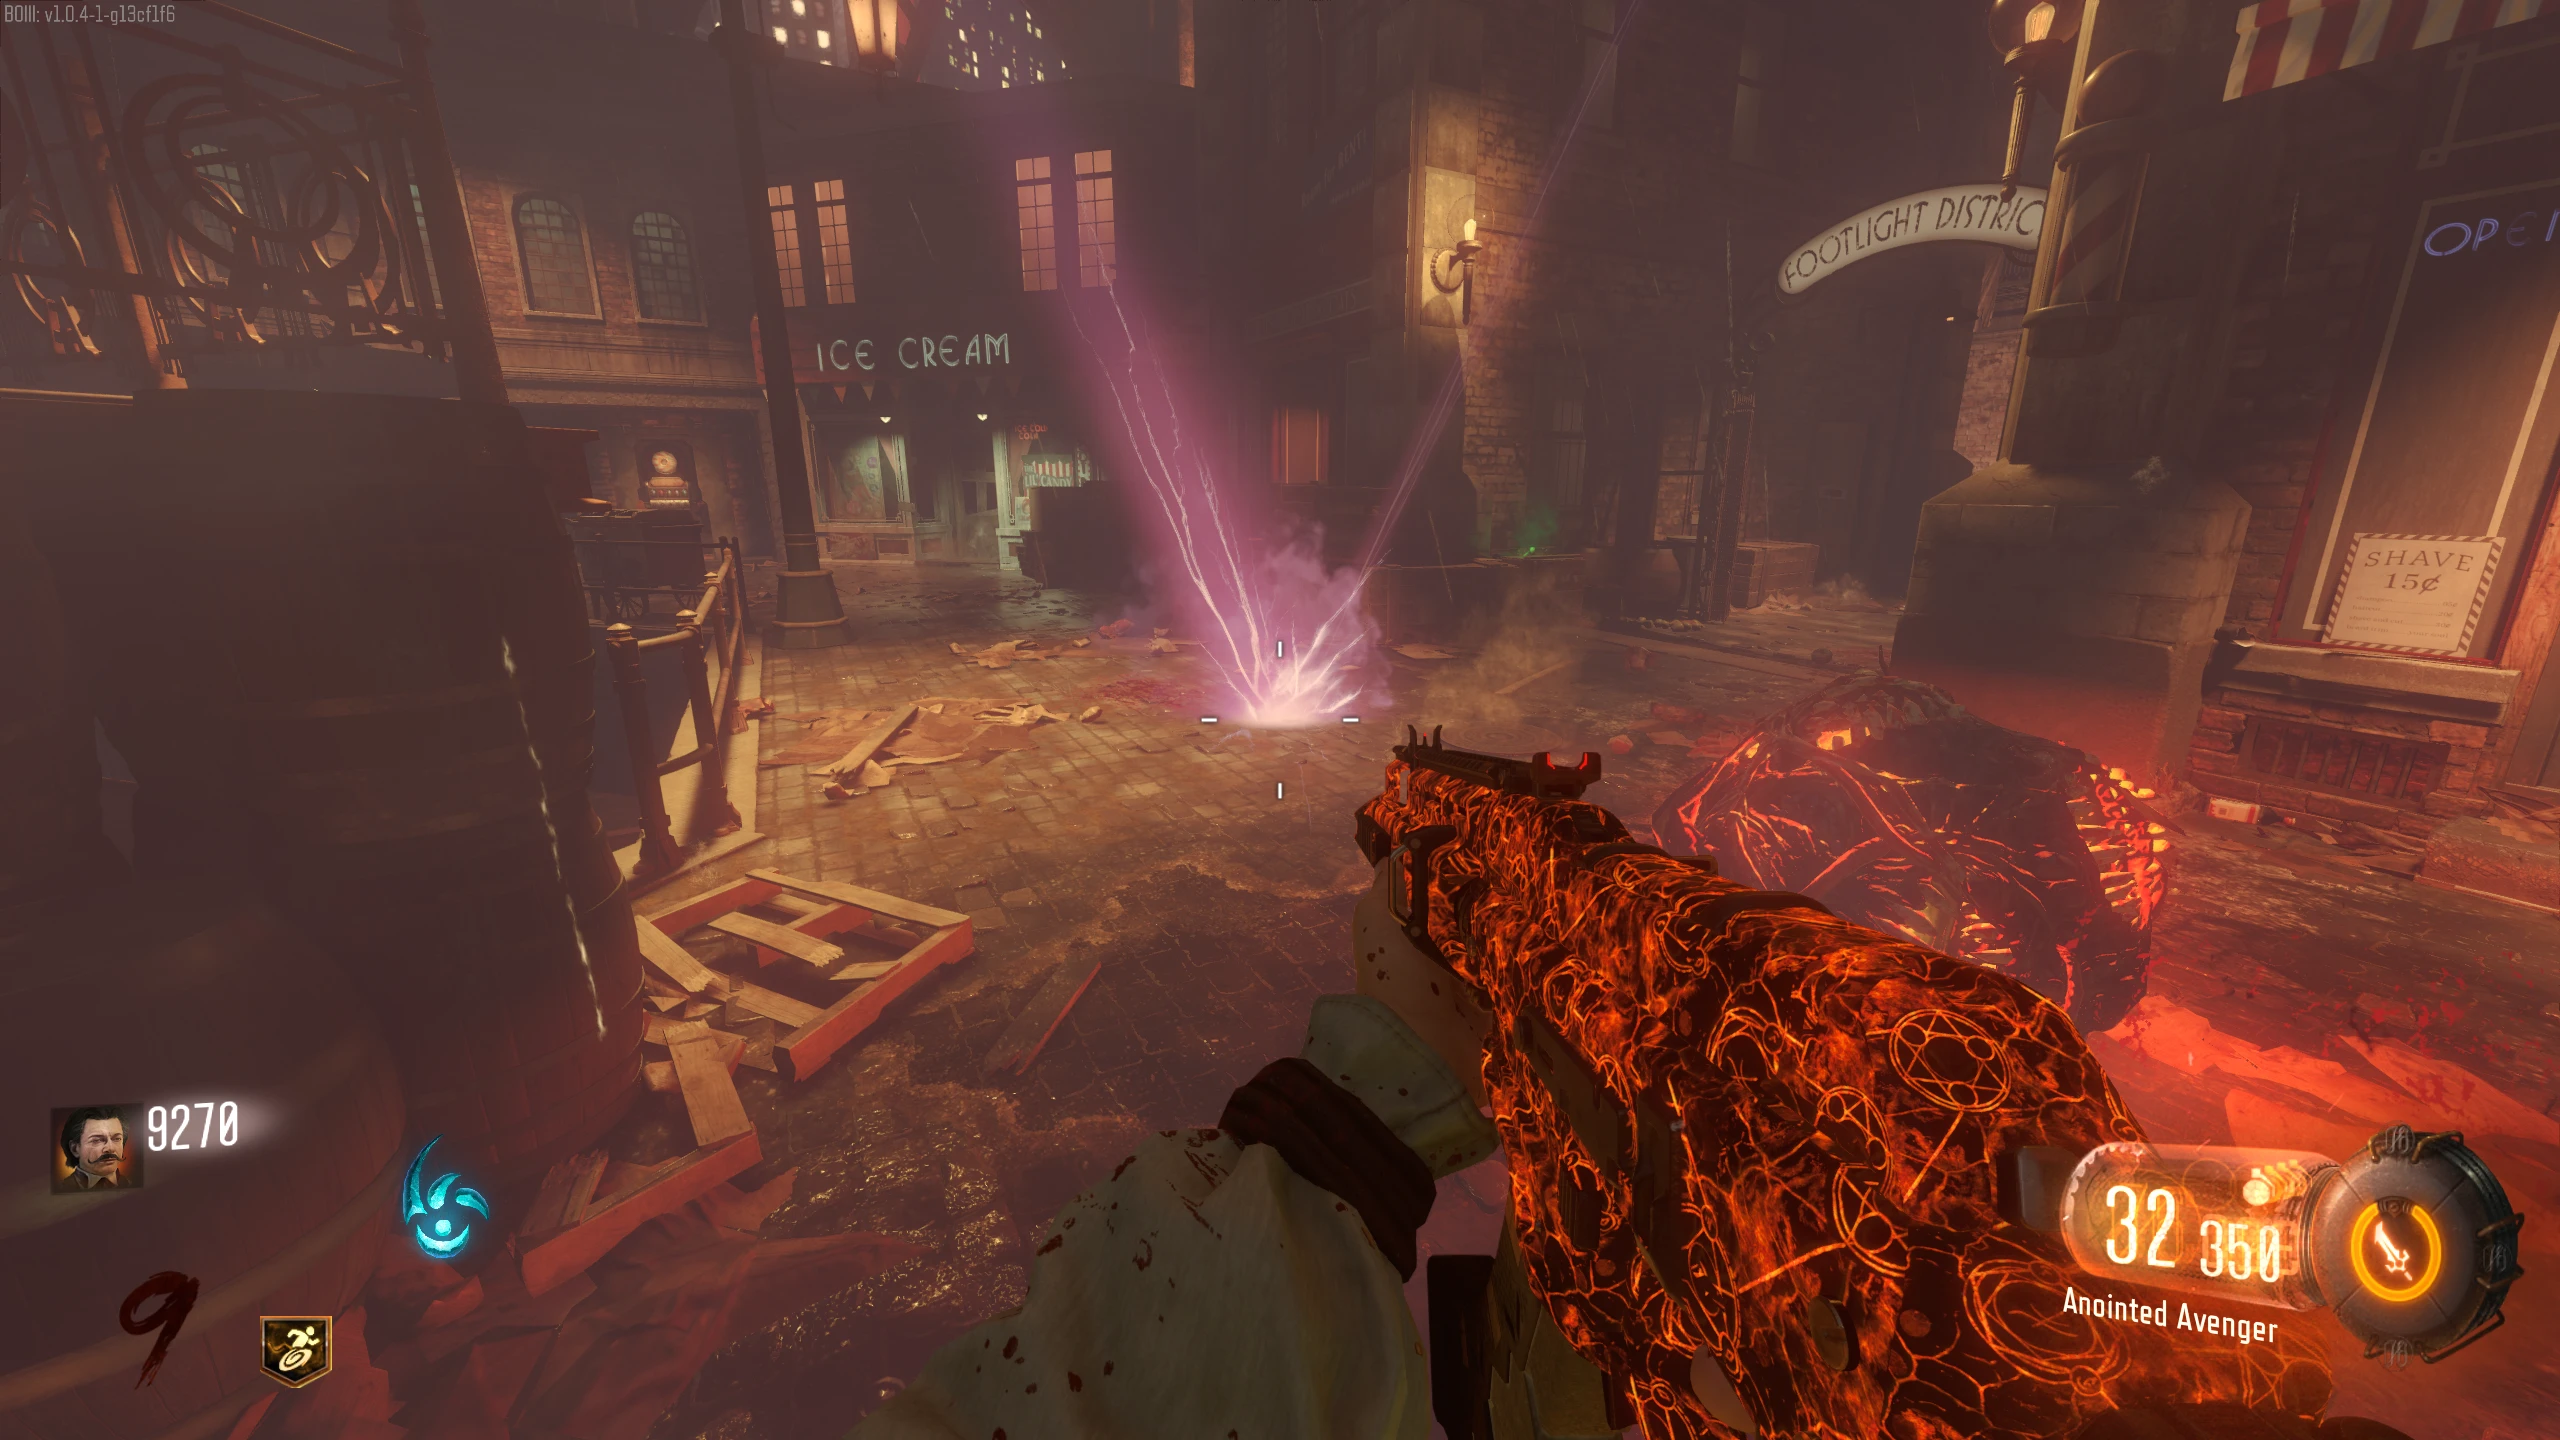
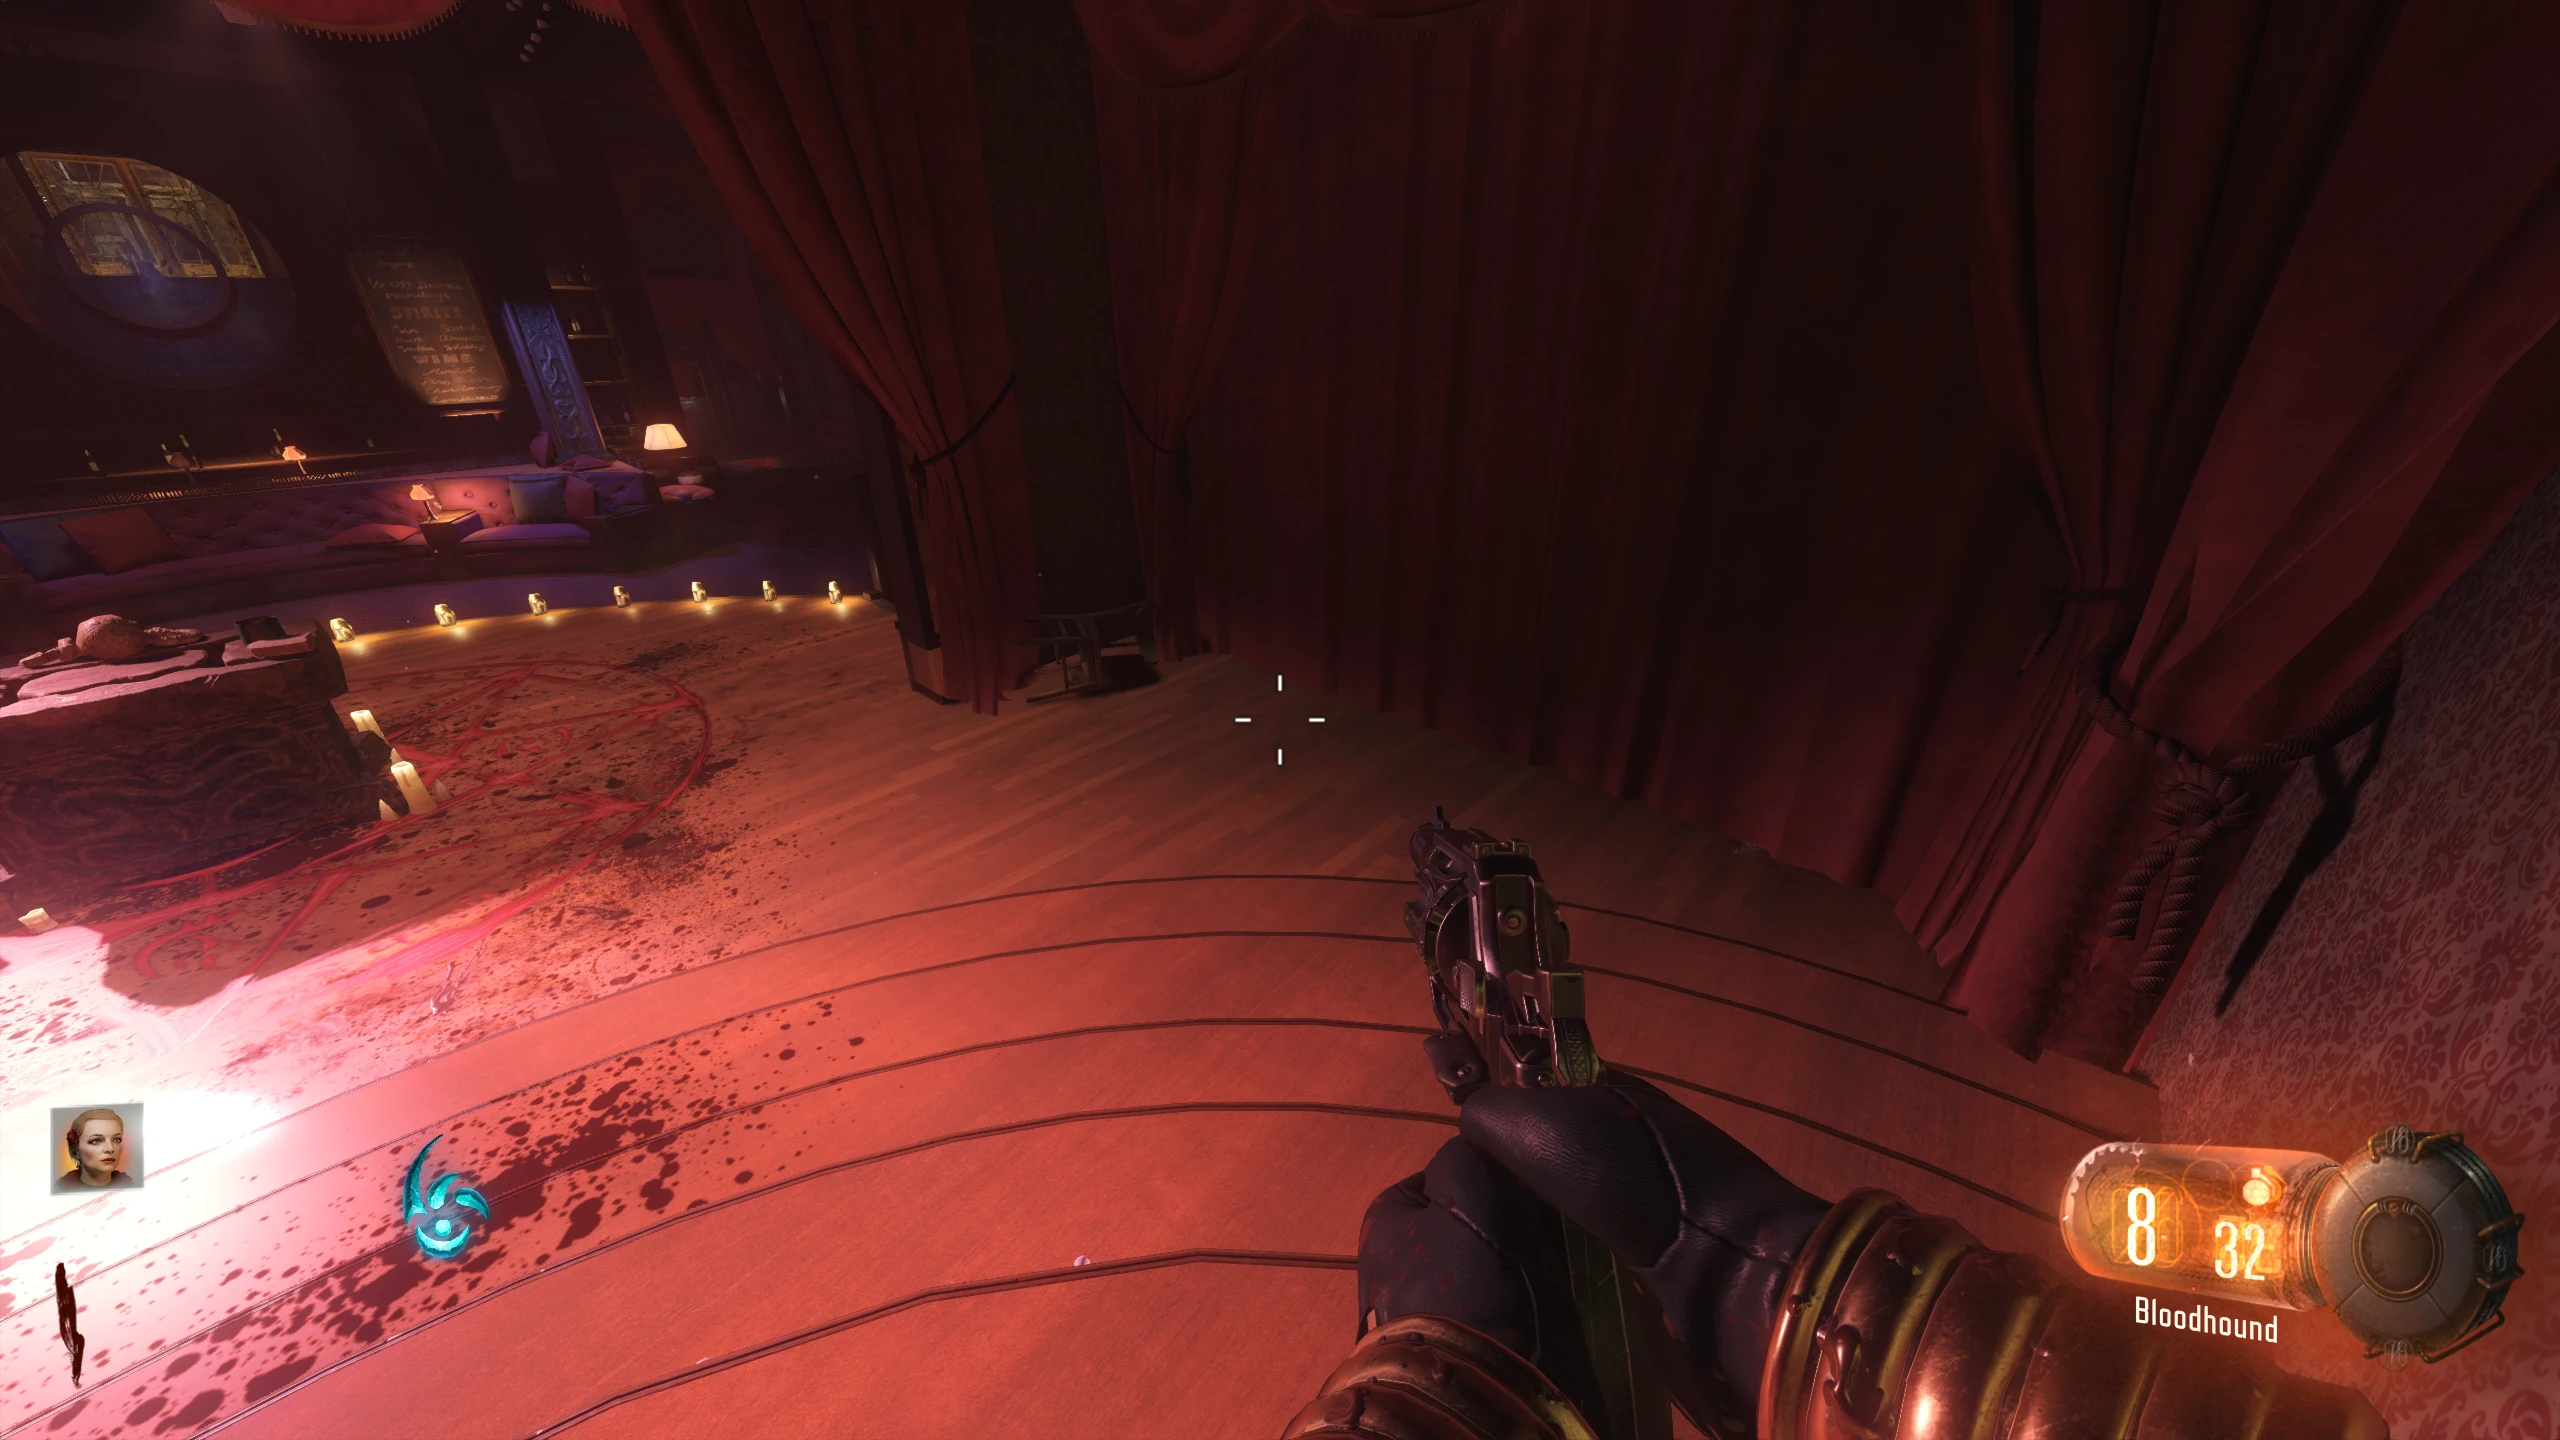
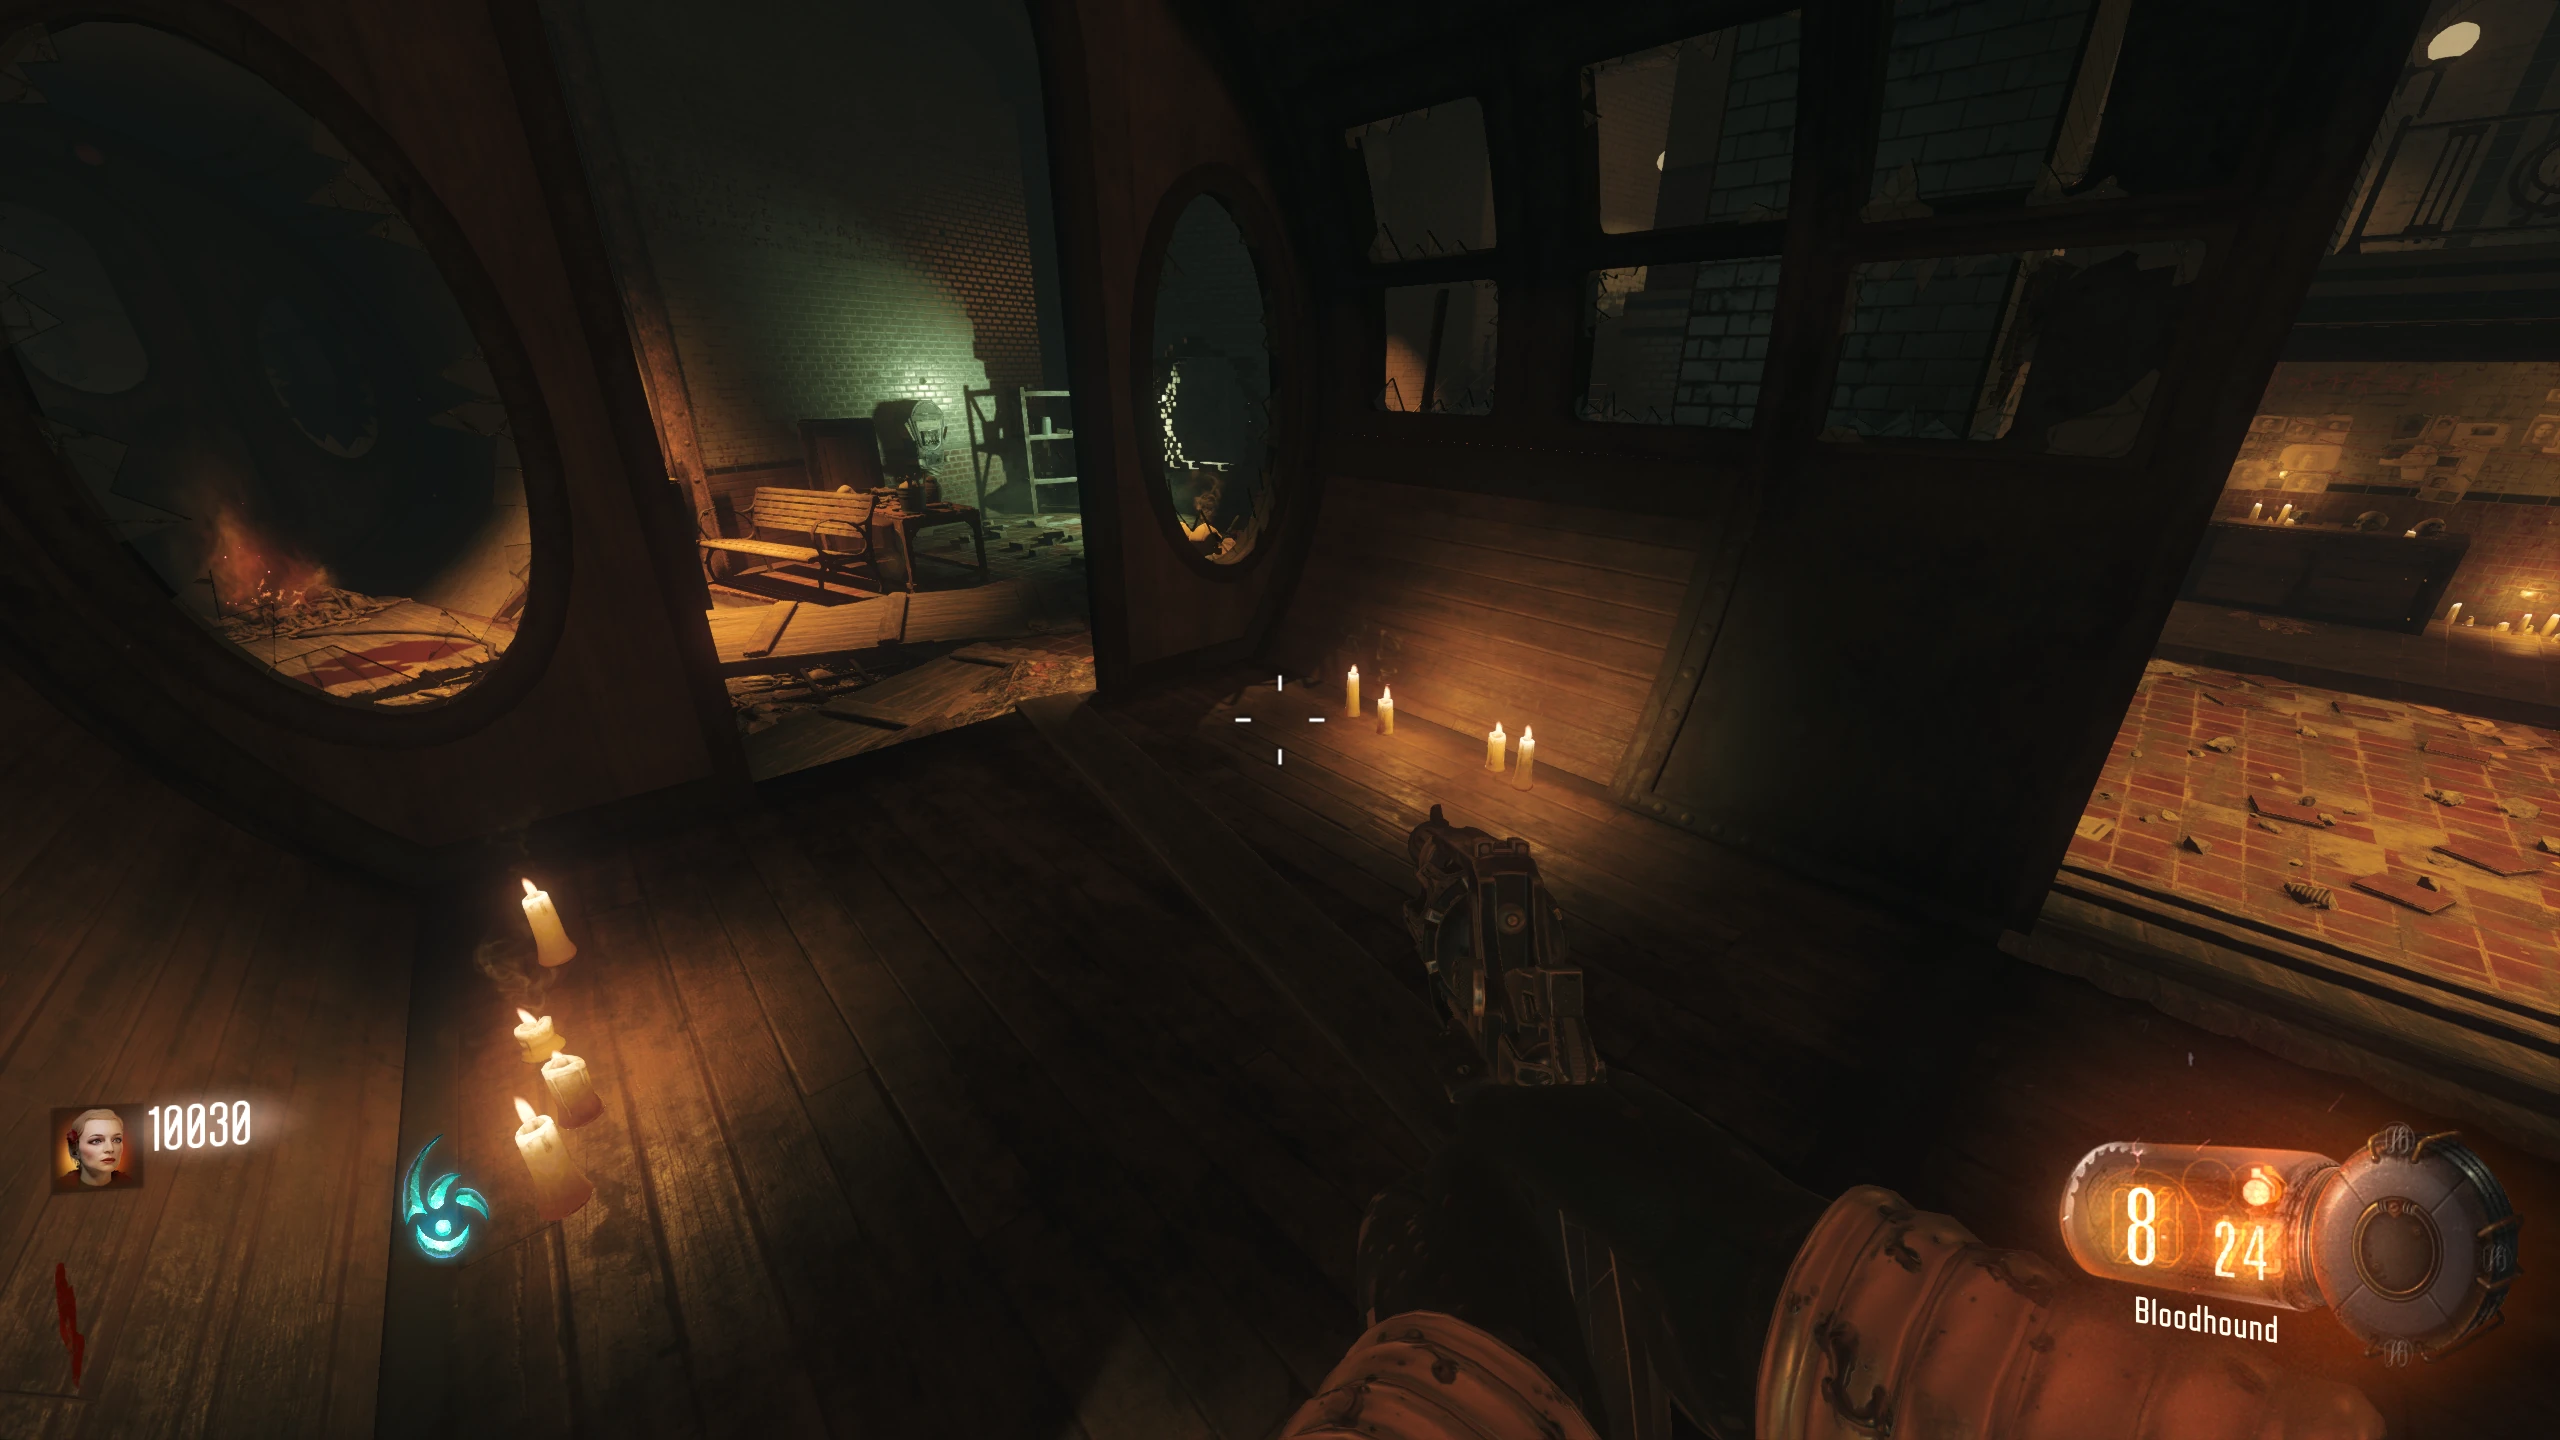
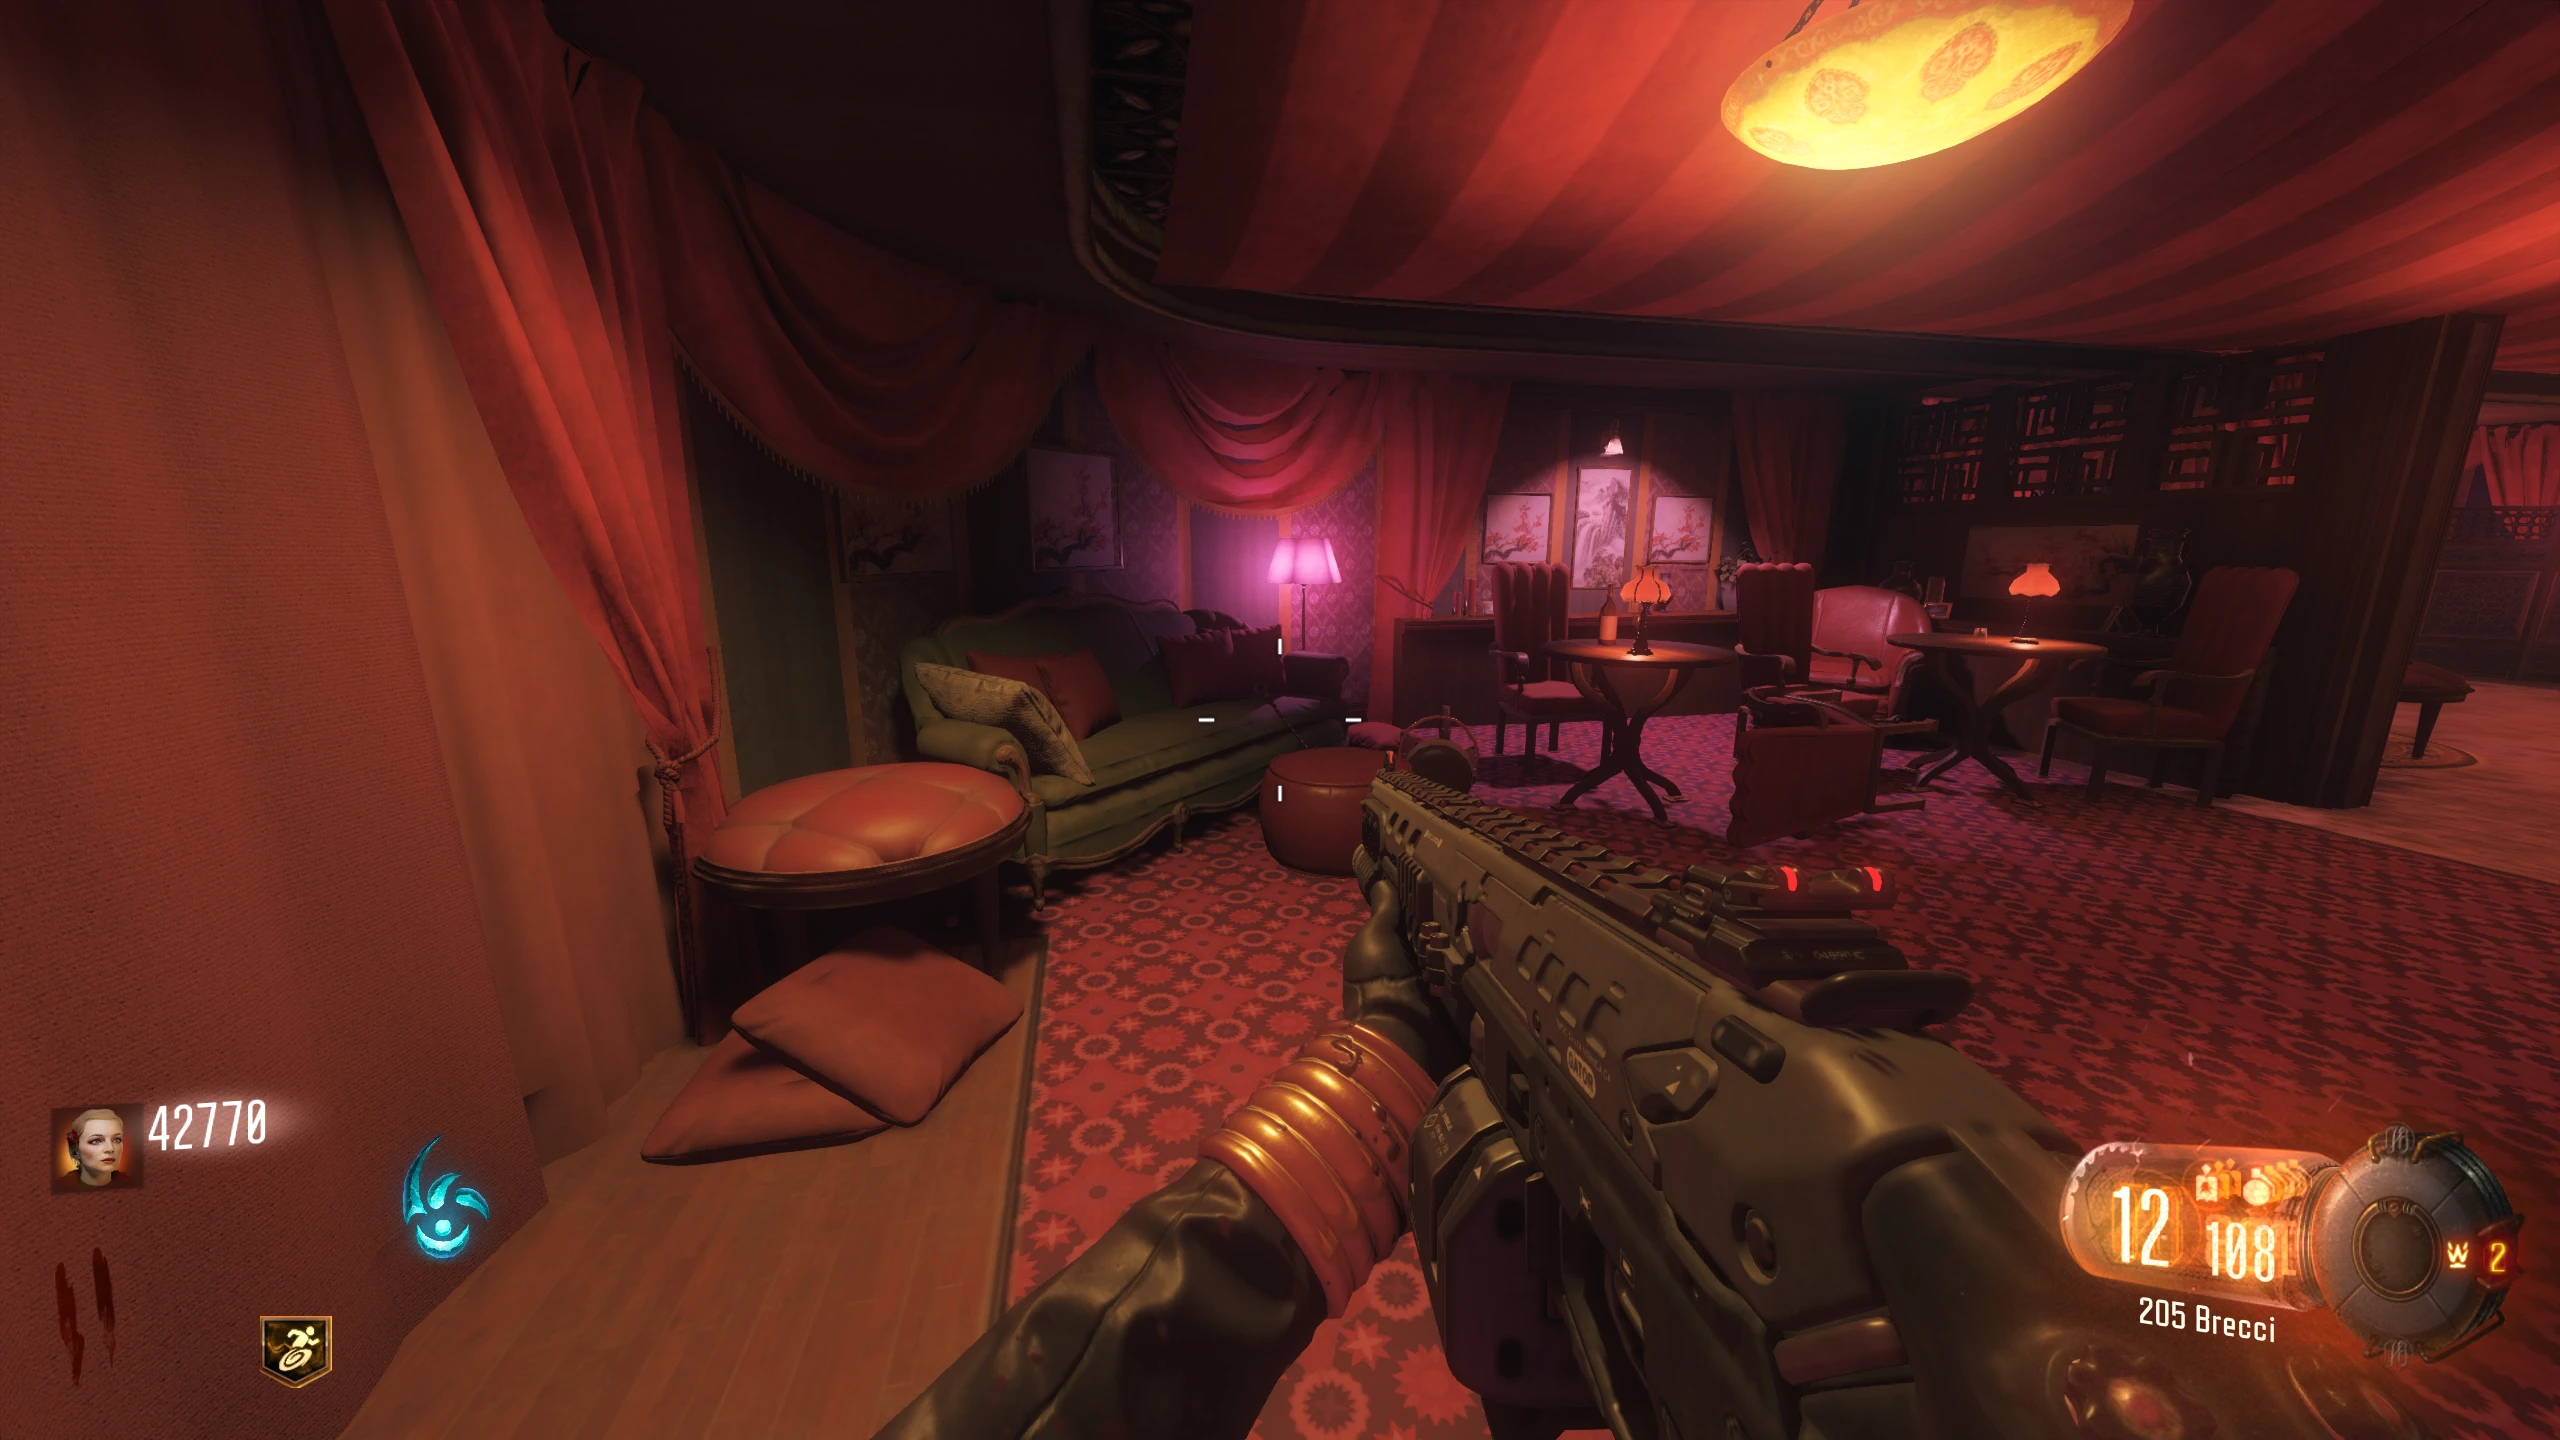
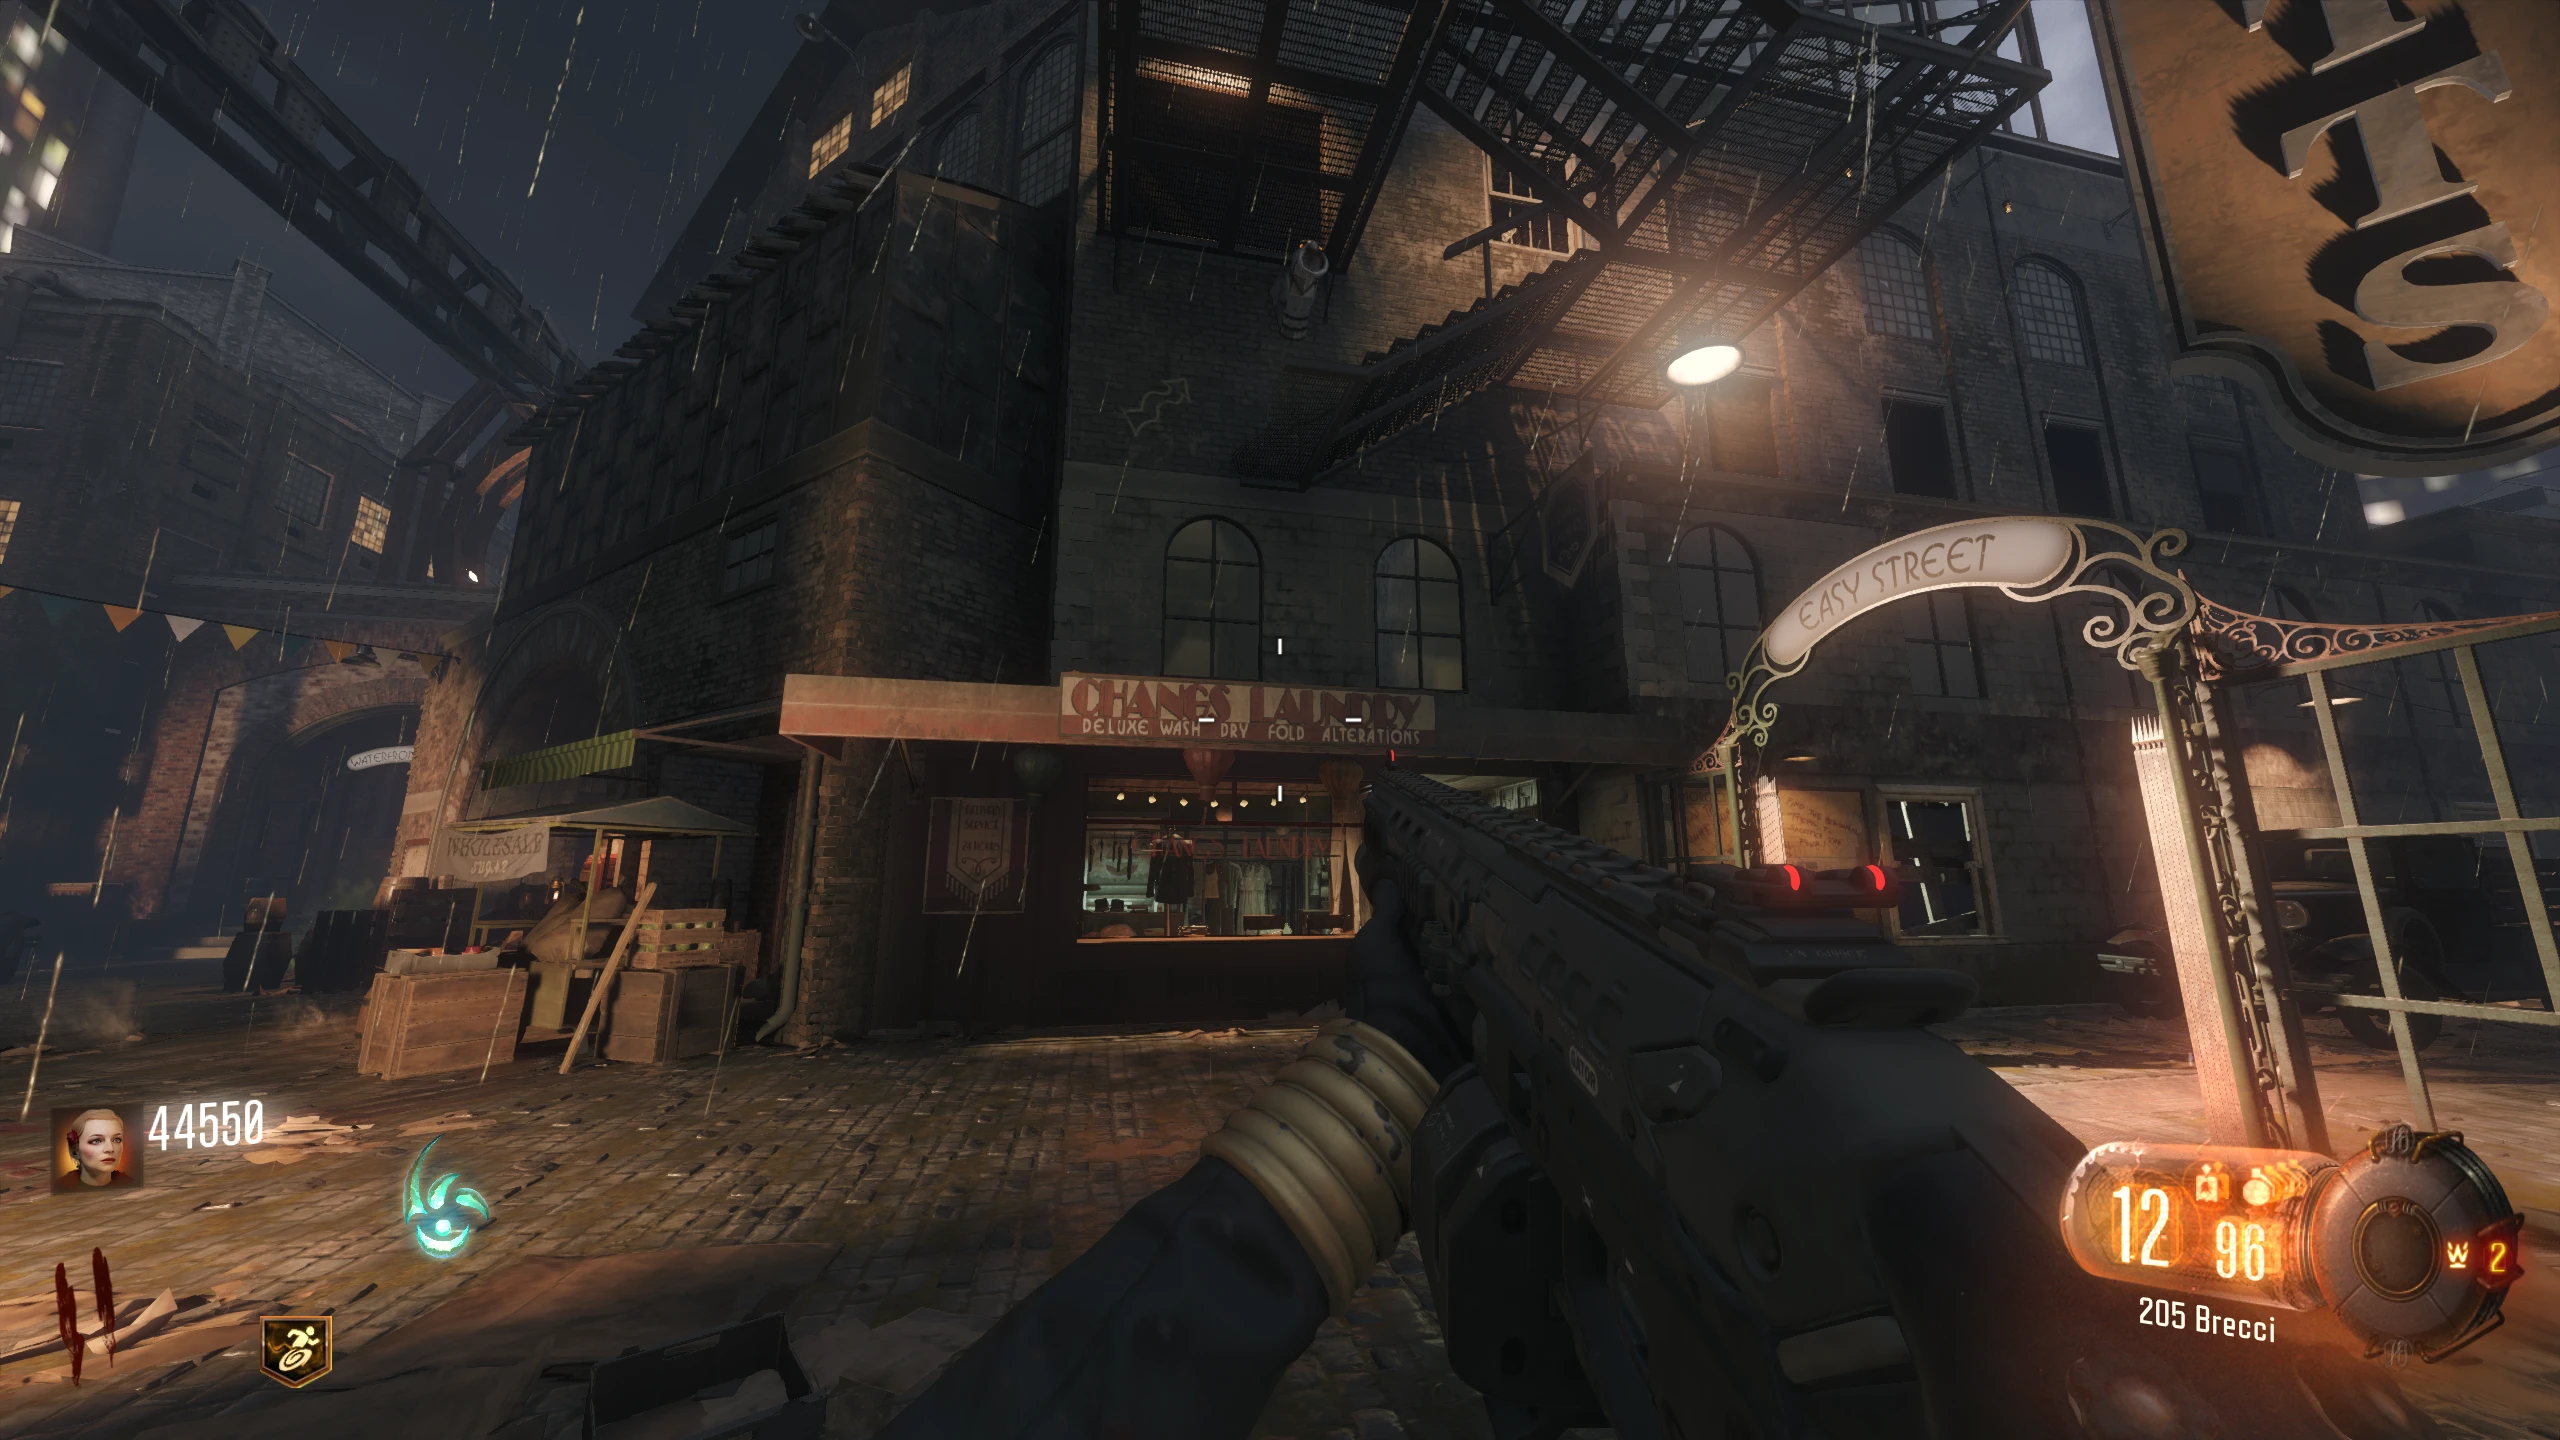
Footlight District - Jessica Rose
See this Video (YouTube) for the optimal way to open the Footlight in one Beast Mode use.
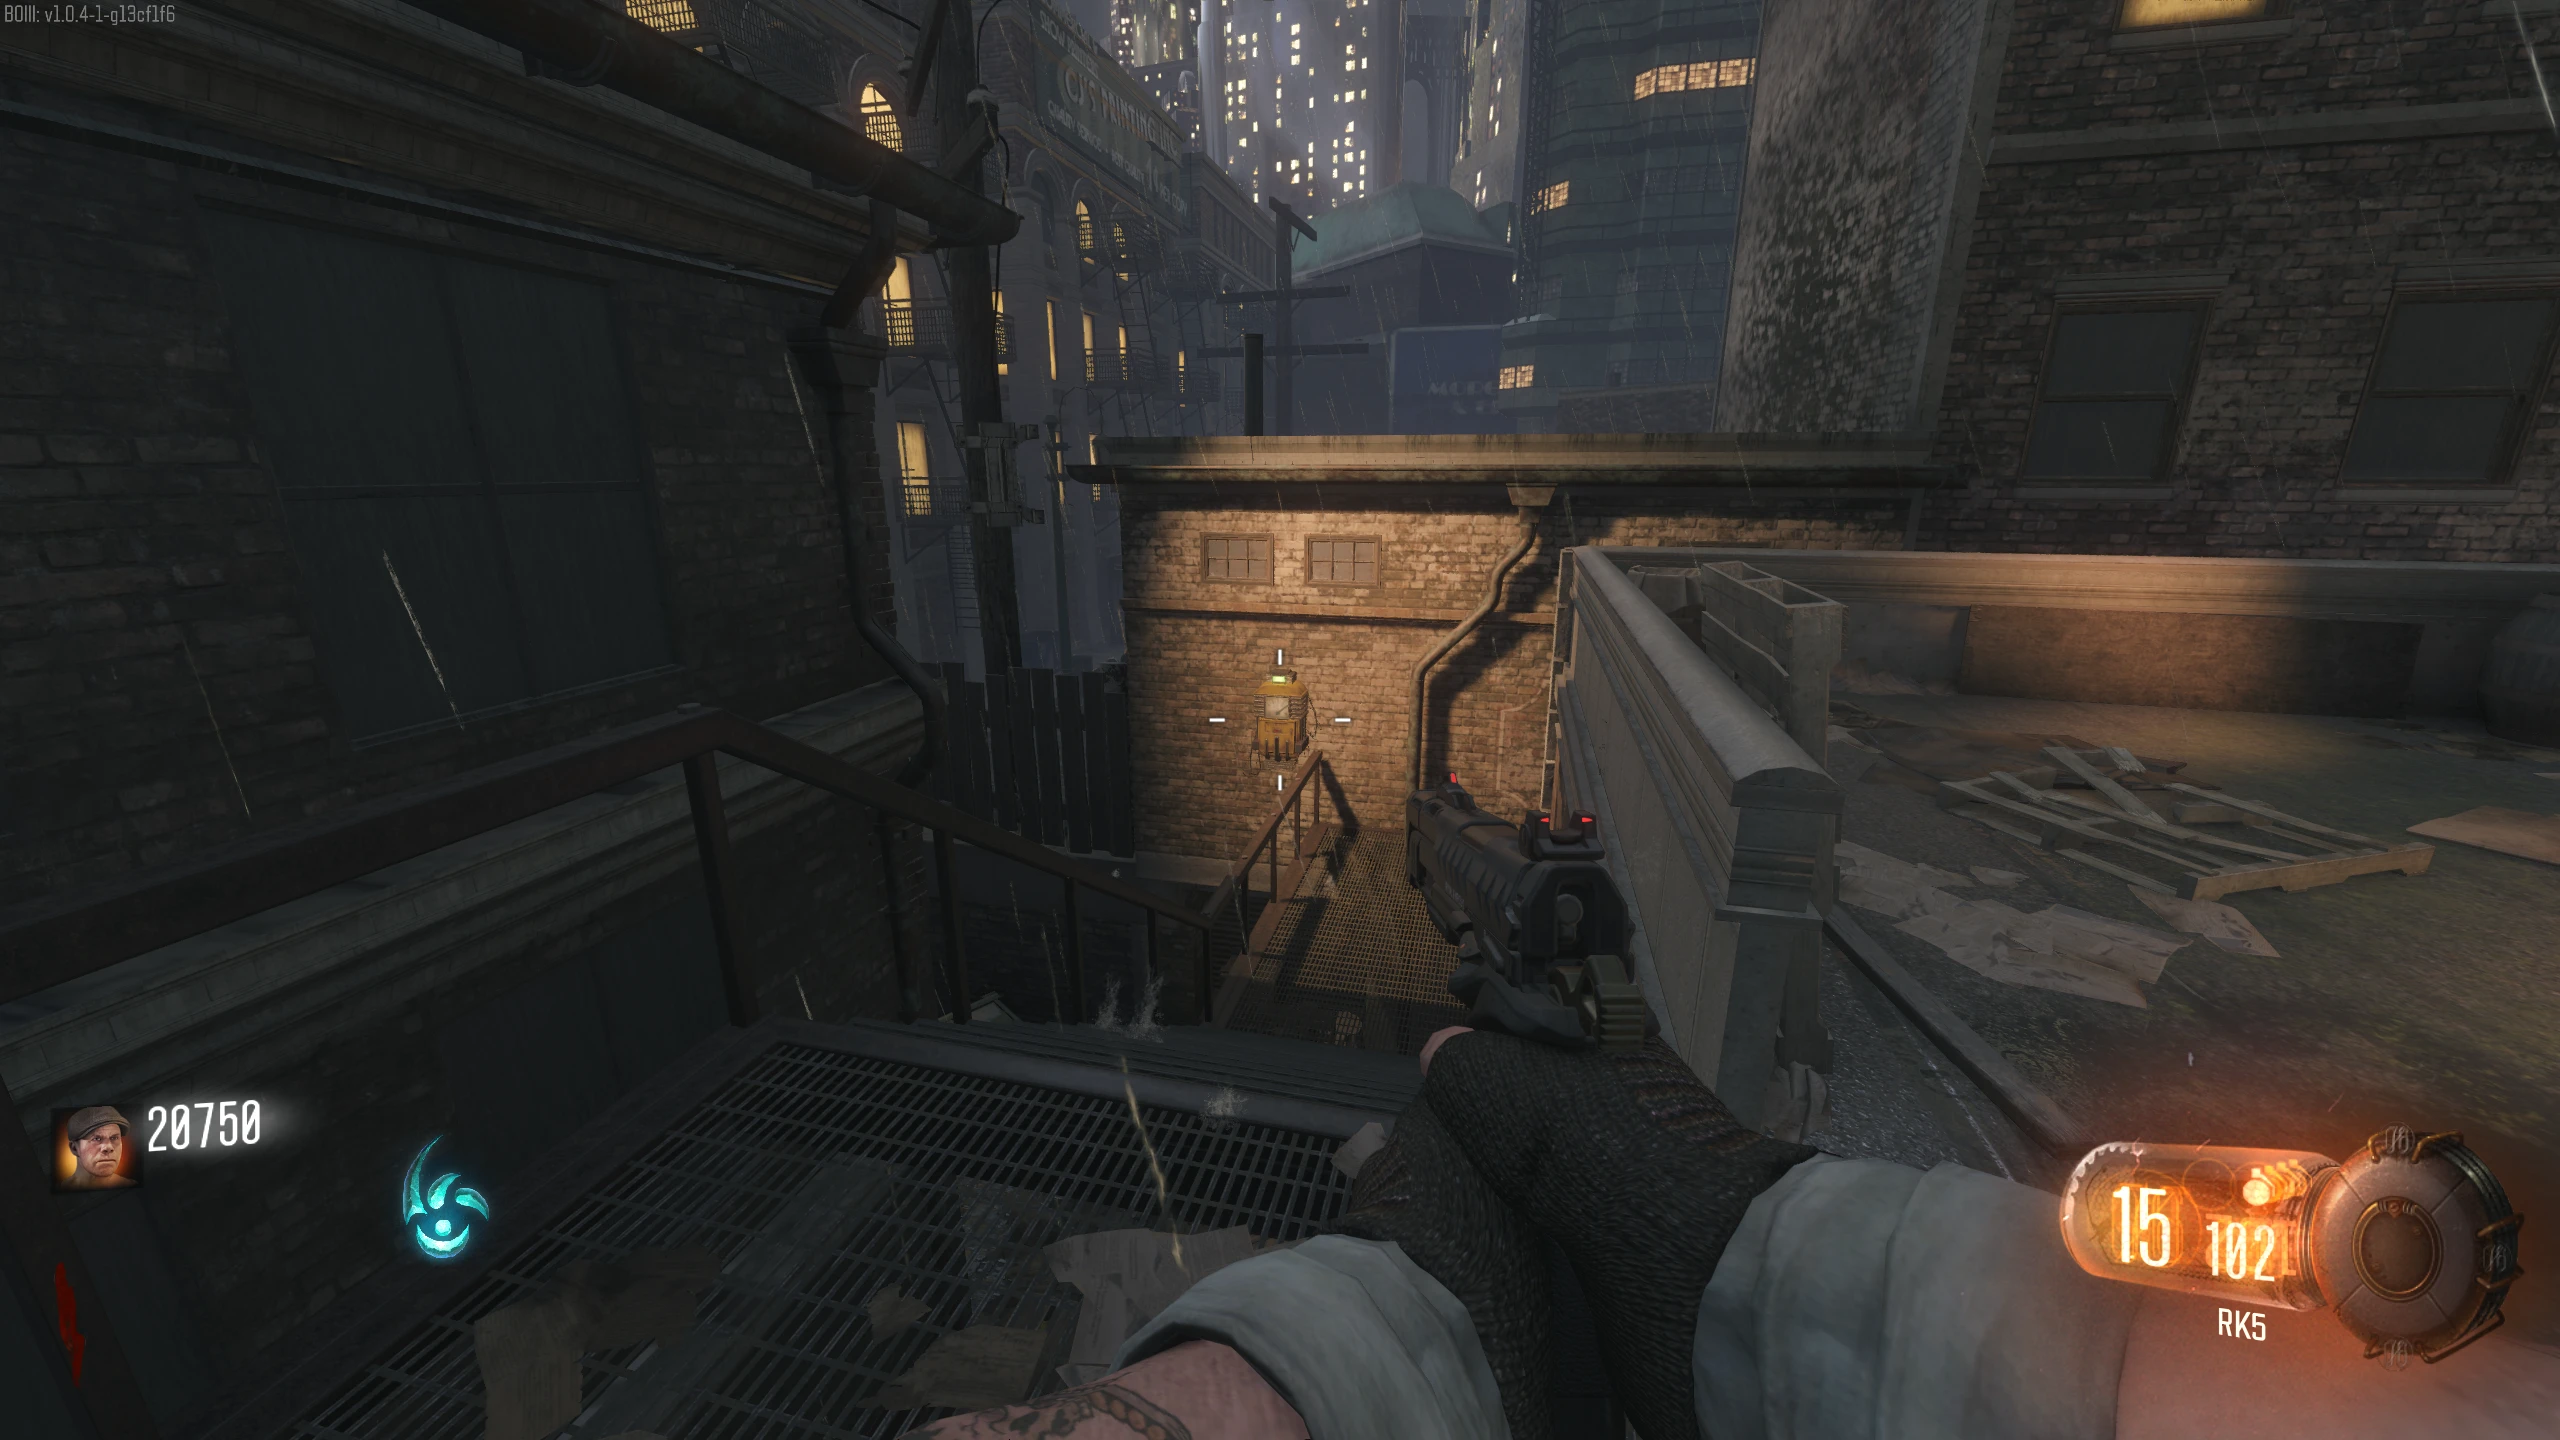
- Enter Beast Mode and grapple up to the upper level near the entrance of the district.
- Using the ramp left of the Mystery Box location, jump the ledge with the Box on it. Melee the box.
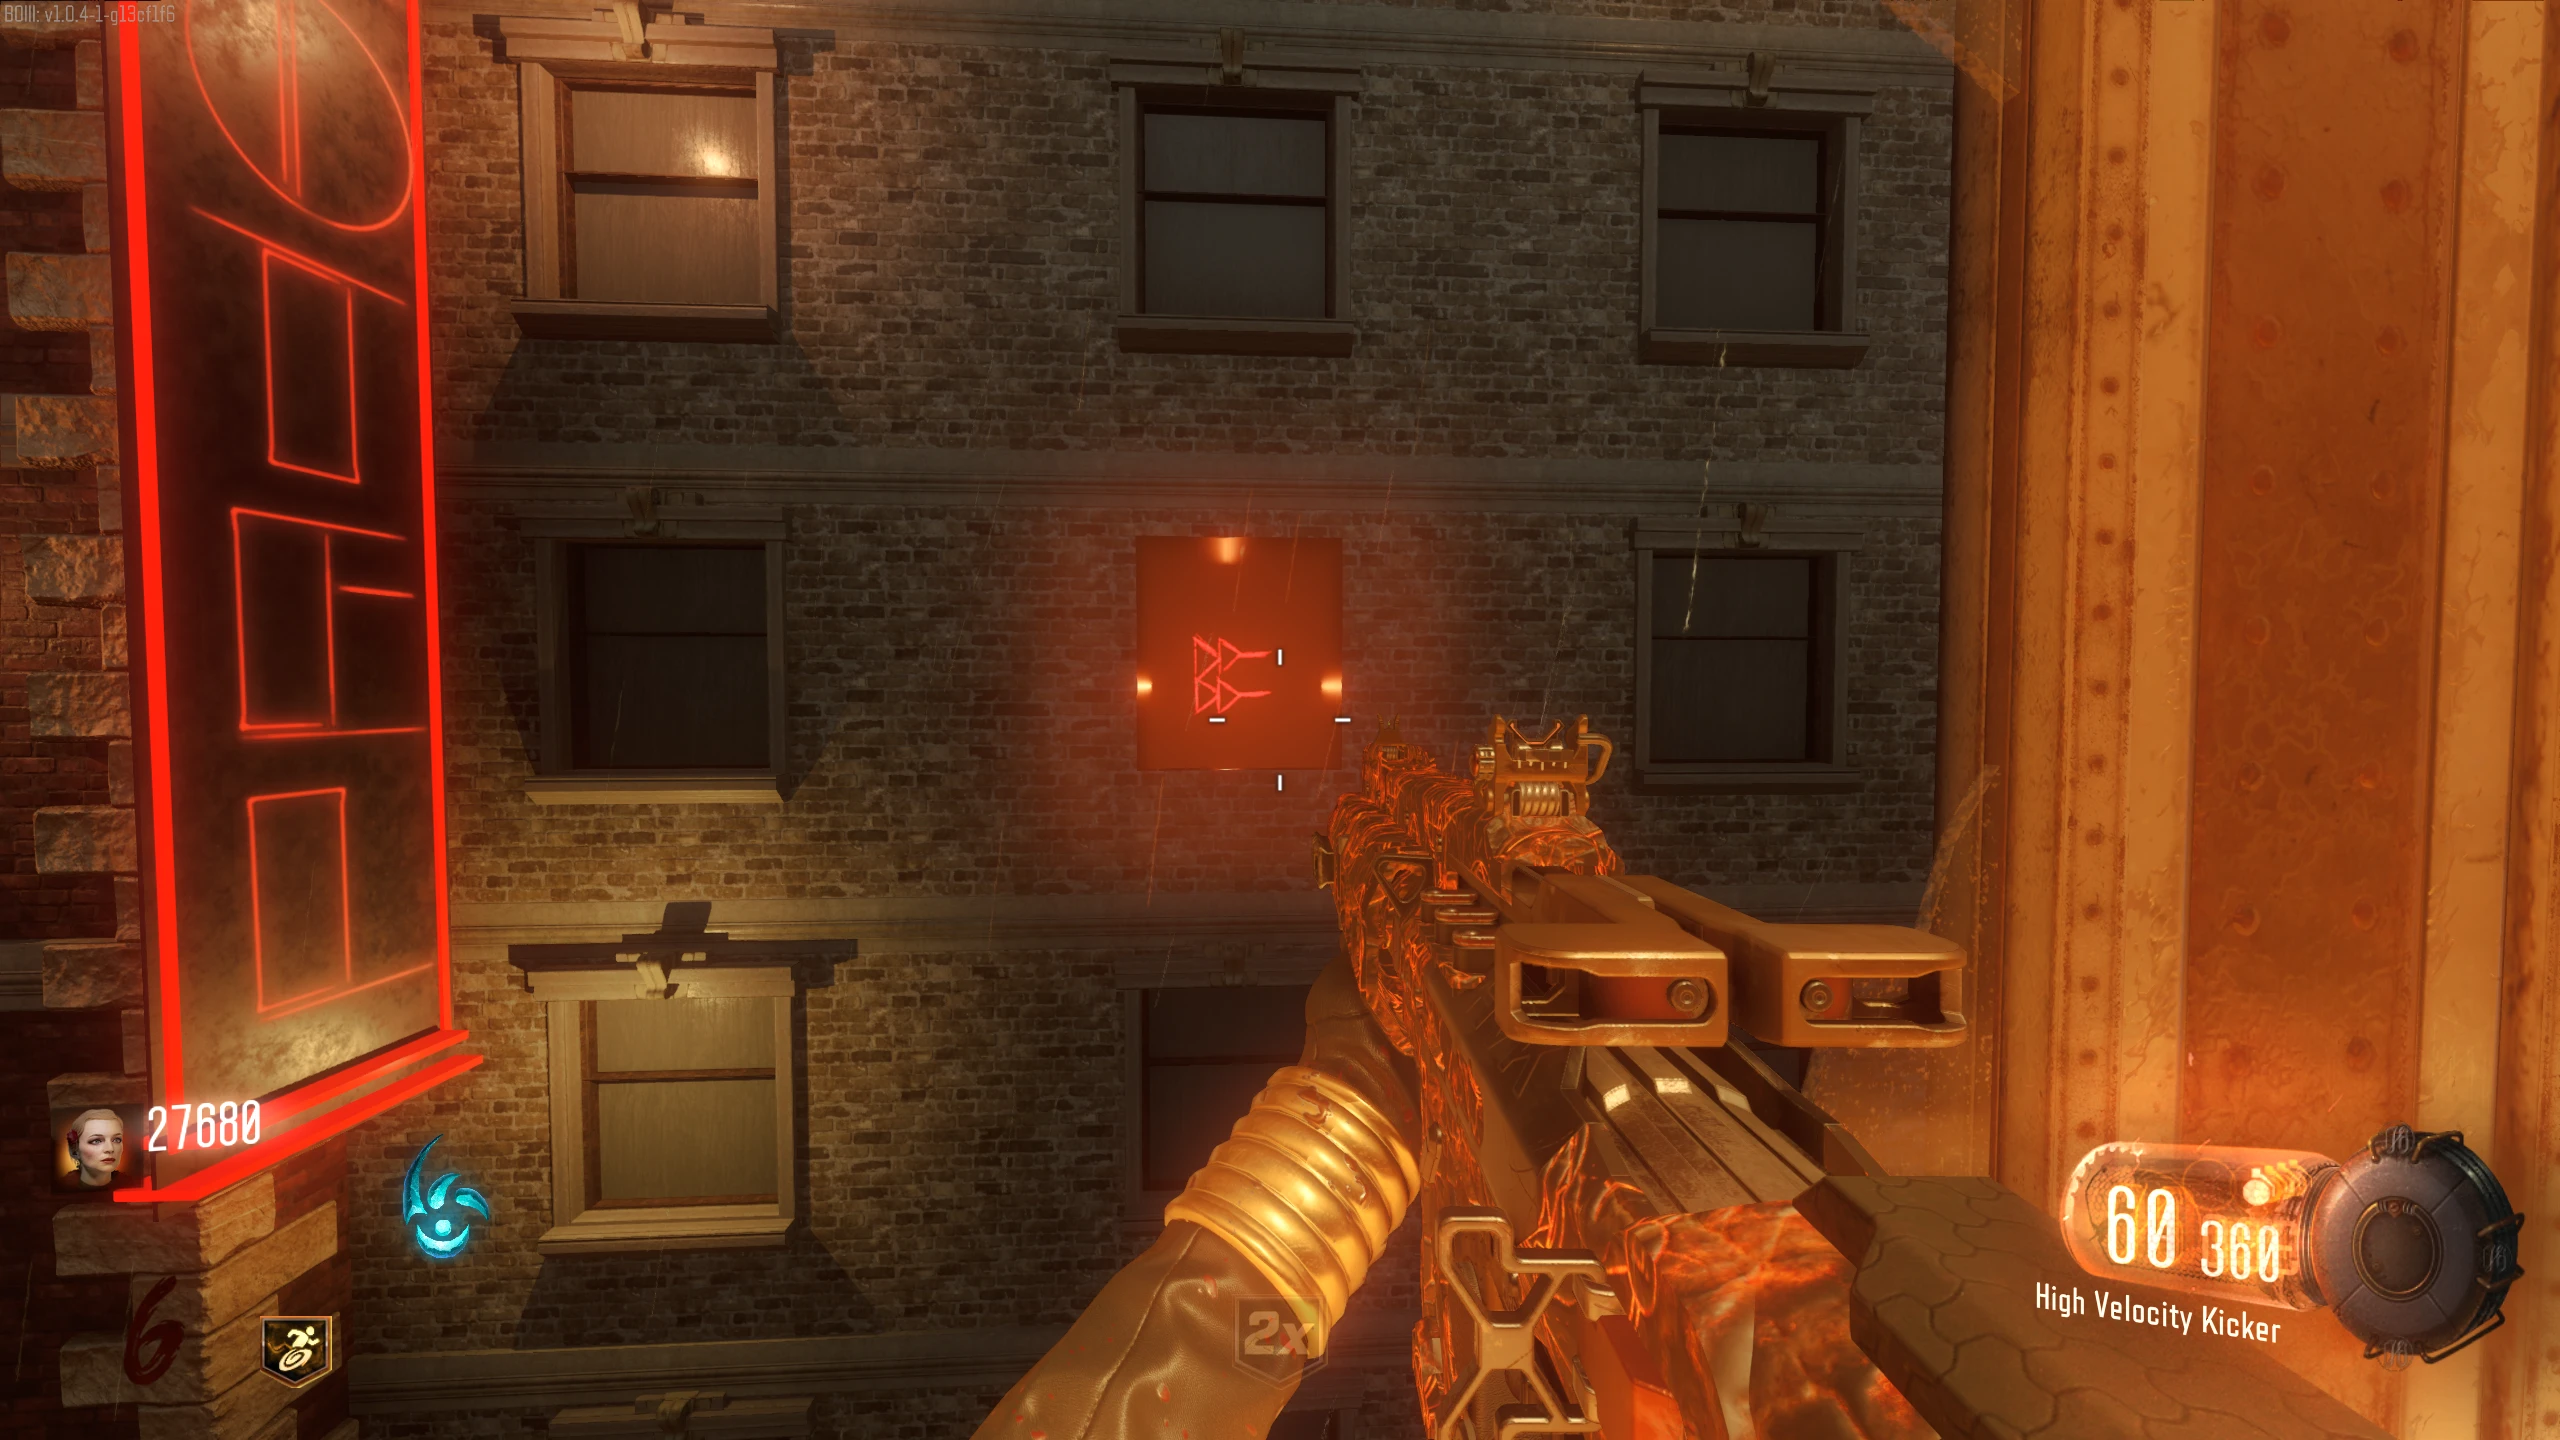
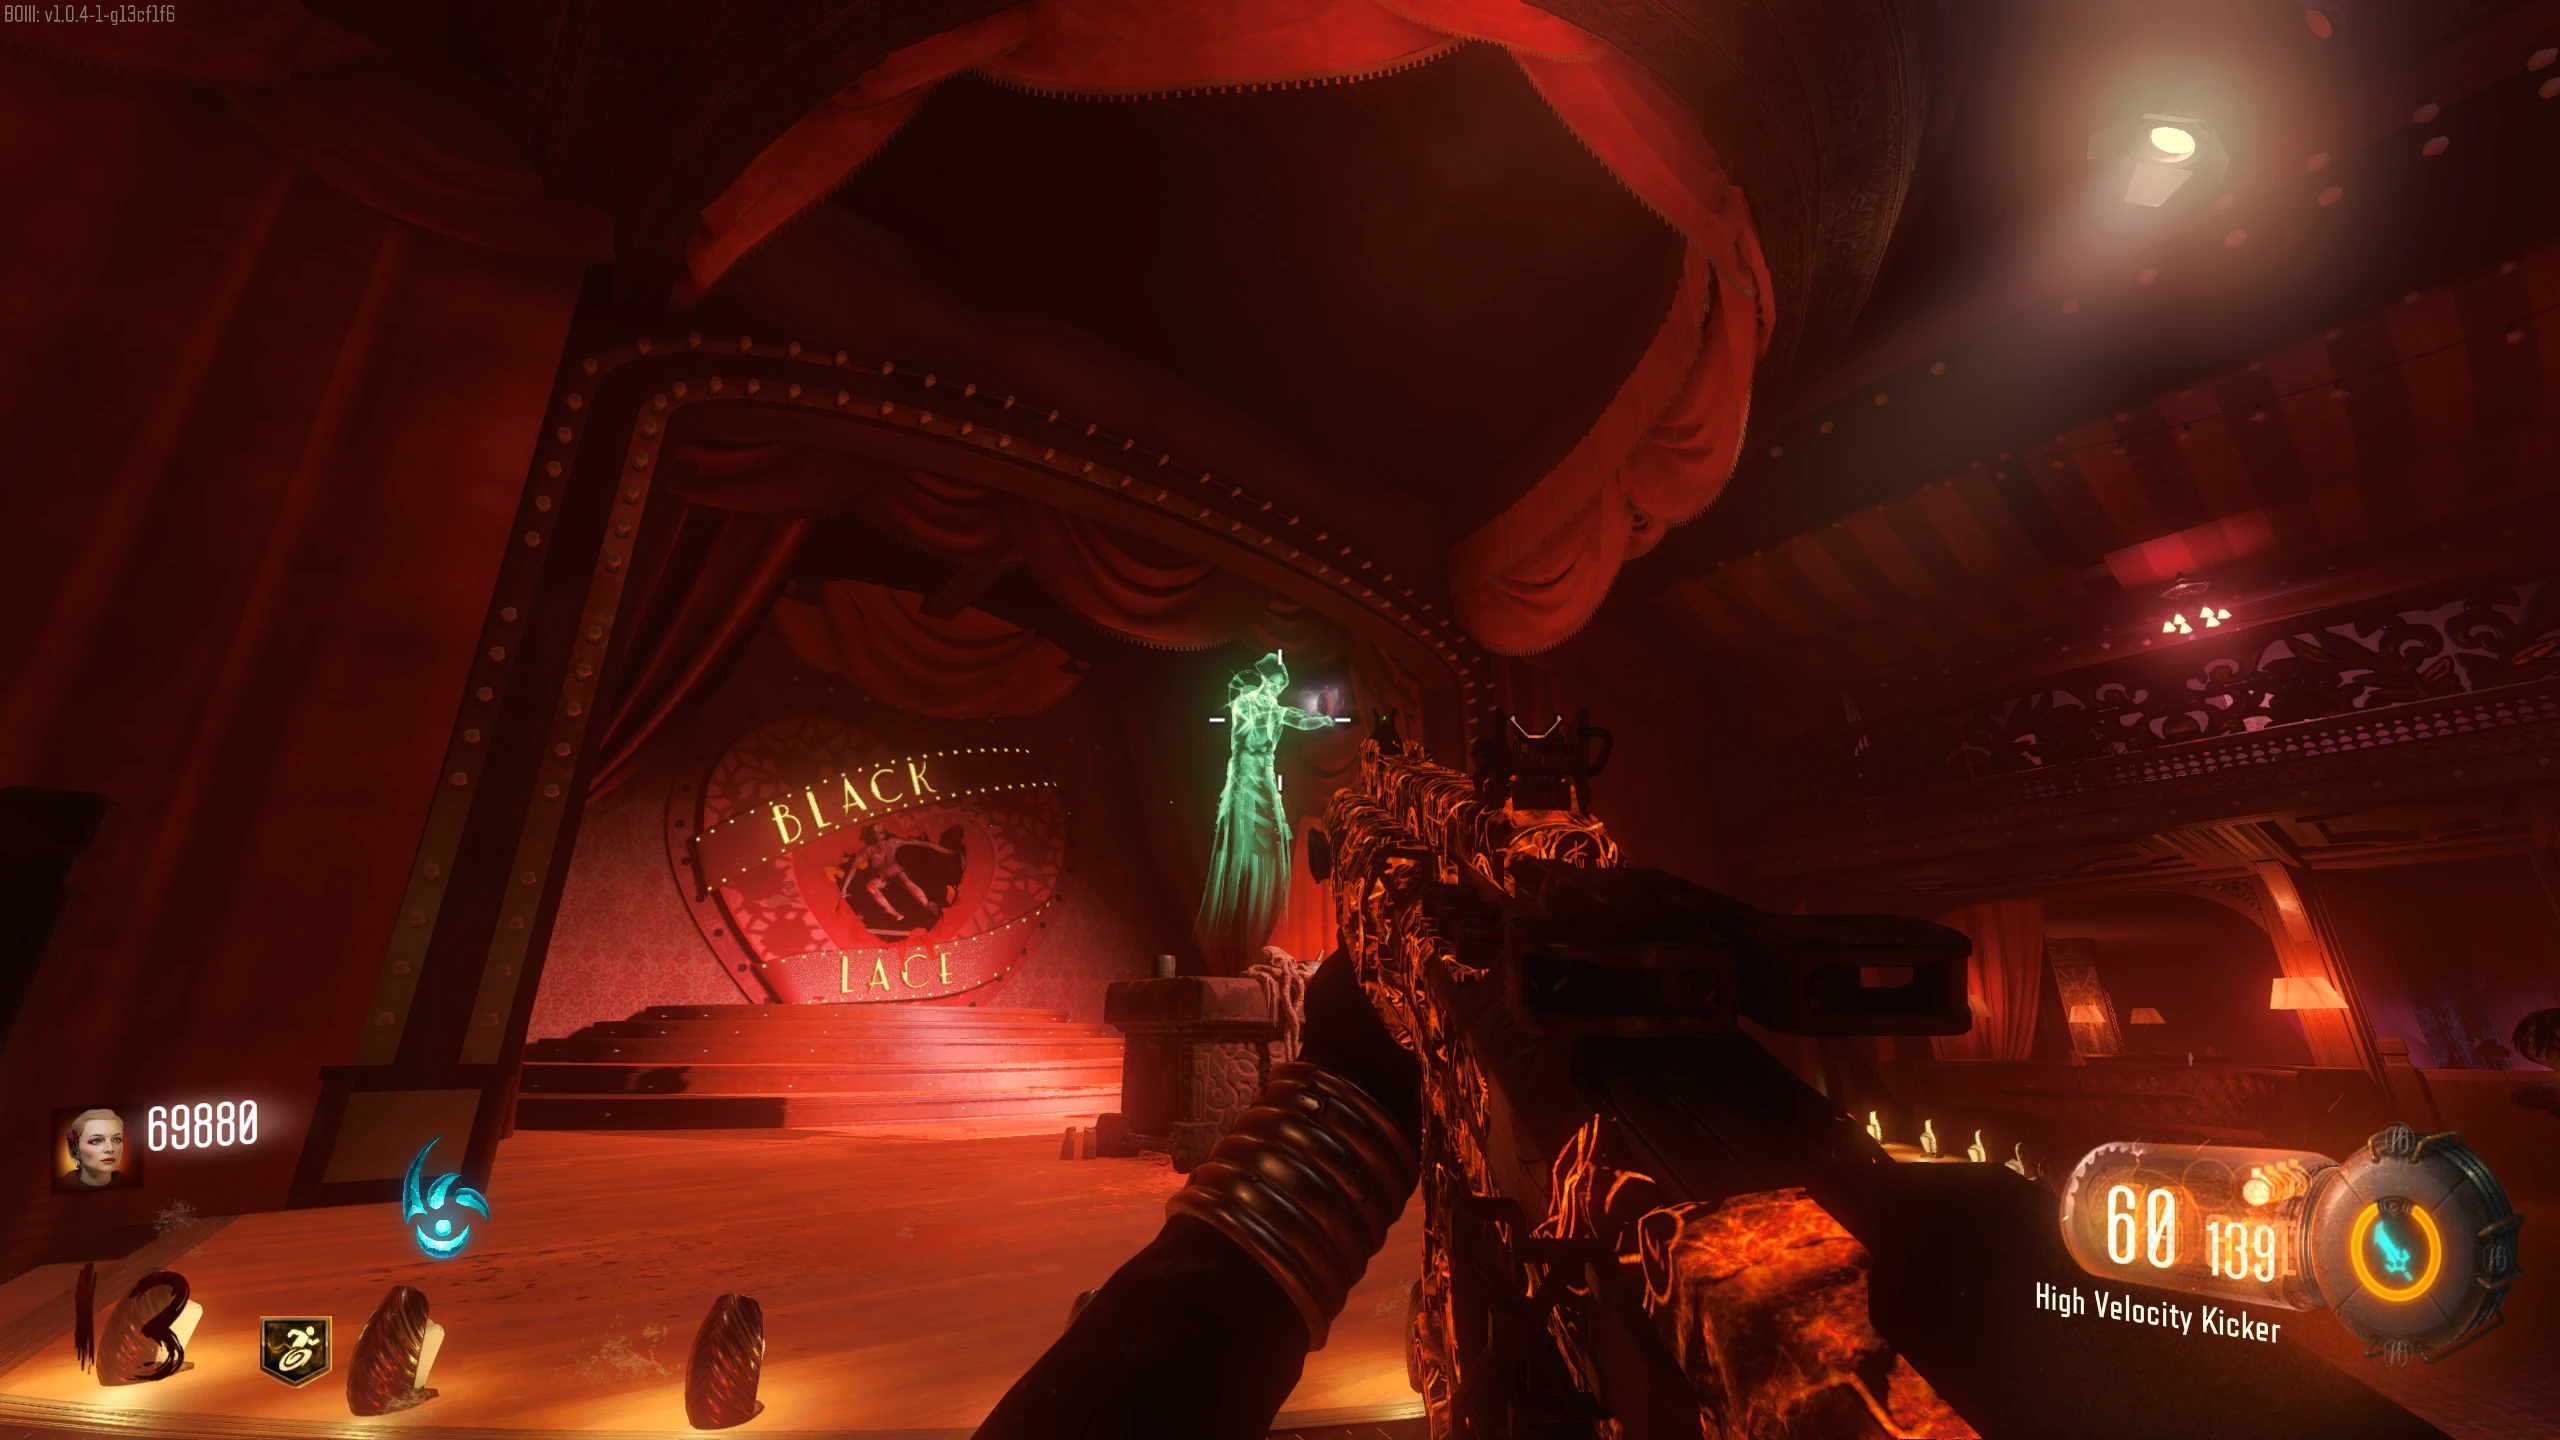
- Jump back across and run up the stairs right of the Mystery Box location. Grapple over to the 'Black Lace Burlesque' and shock the fuse box on the back of the sign. You can now exit Beast Mode.
- Pick up the Producer's Toupee from the fallen box; two Keepers will spawn.
- Go to the 'Black Lace Burlesque' and place the Producer's Toupee on the Ritual Table in the middle of the stage.
- Interact with the table to start the ritual. During the ritual, you'll be locked inside the room, and Keepers will start spawning. Survive until the ritual is over.
- In Co-op, it'll take longer based on the number of players in the game not participating.
- Players can't enter mid-ritual, so make sure to wait for everyone before you start.
- Once the ritual is finished, a short animation will play above the table, followed by a Gateworm spawning for you to pick up. If this is the second or fourth ritual completed, a Margwa will spawn.
Final Ritual
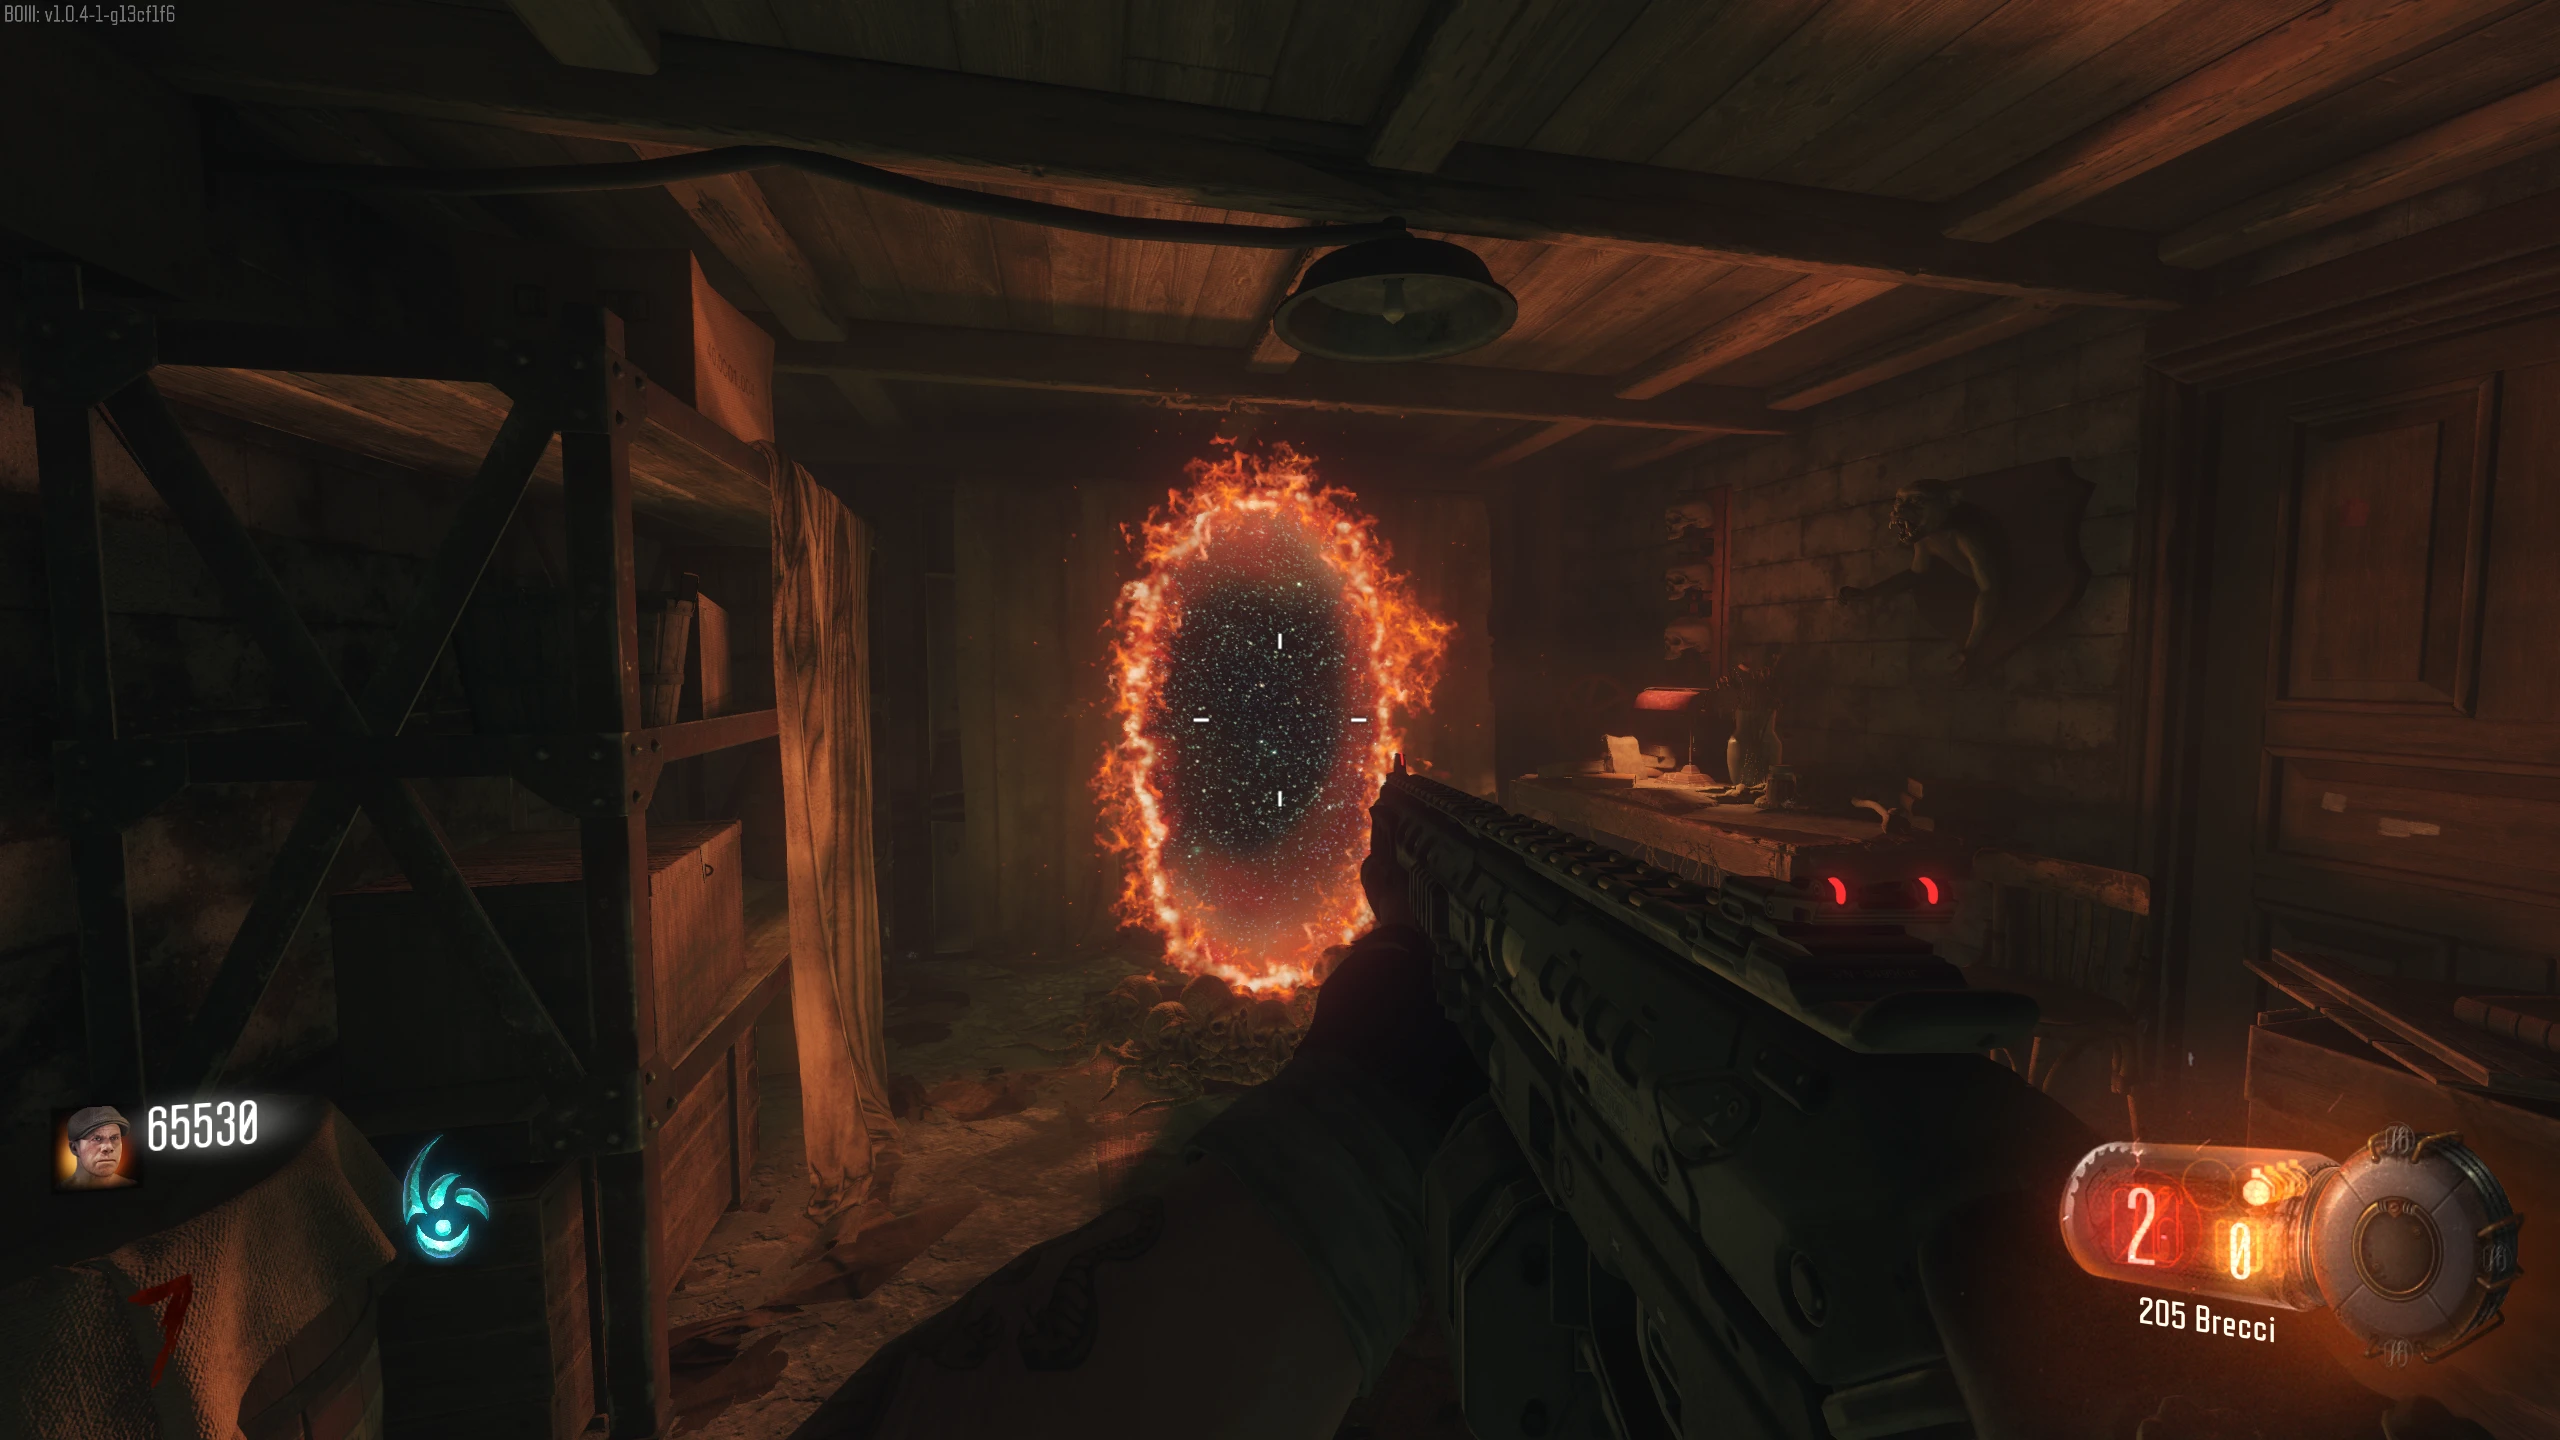
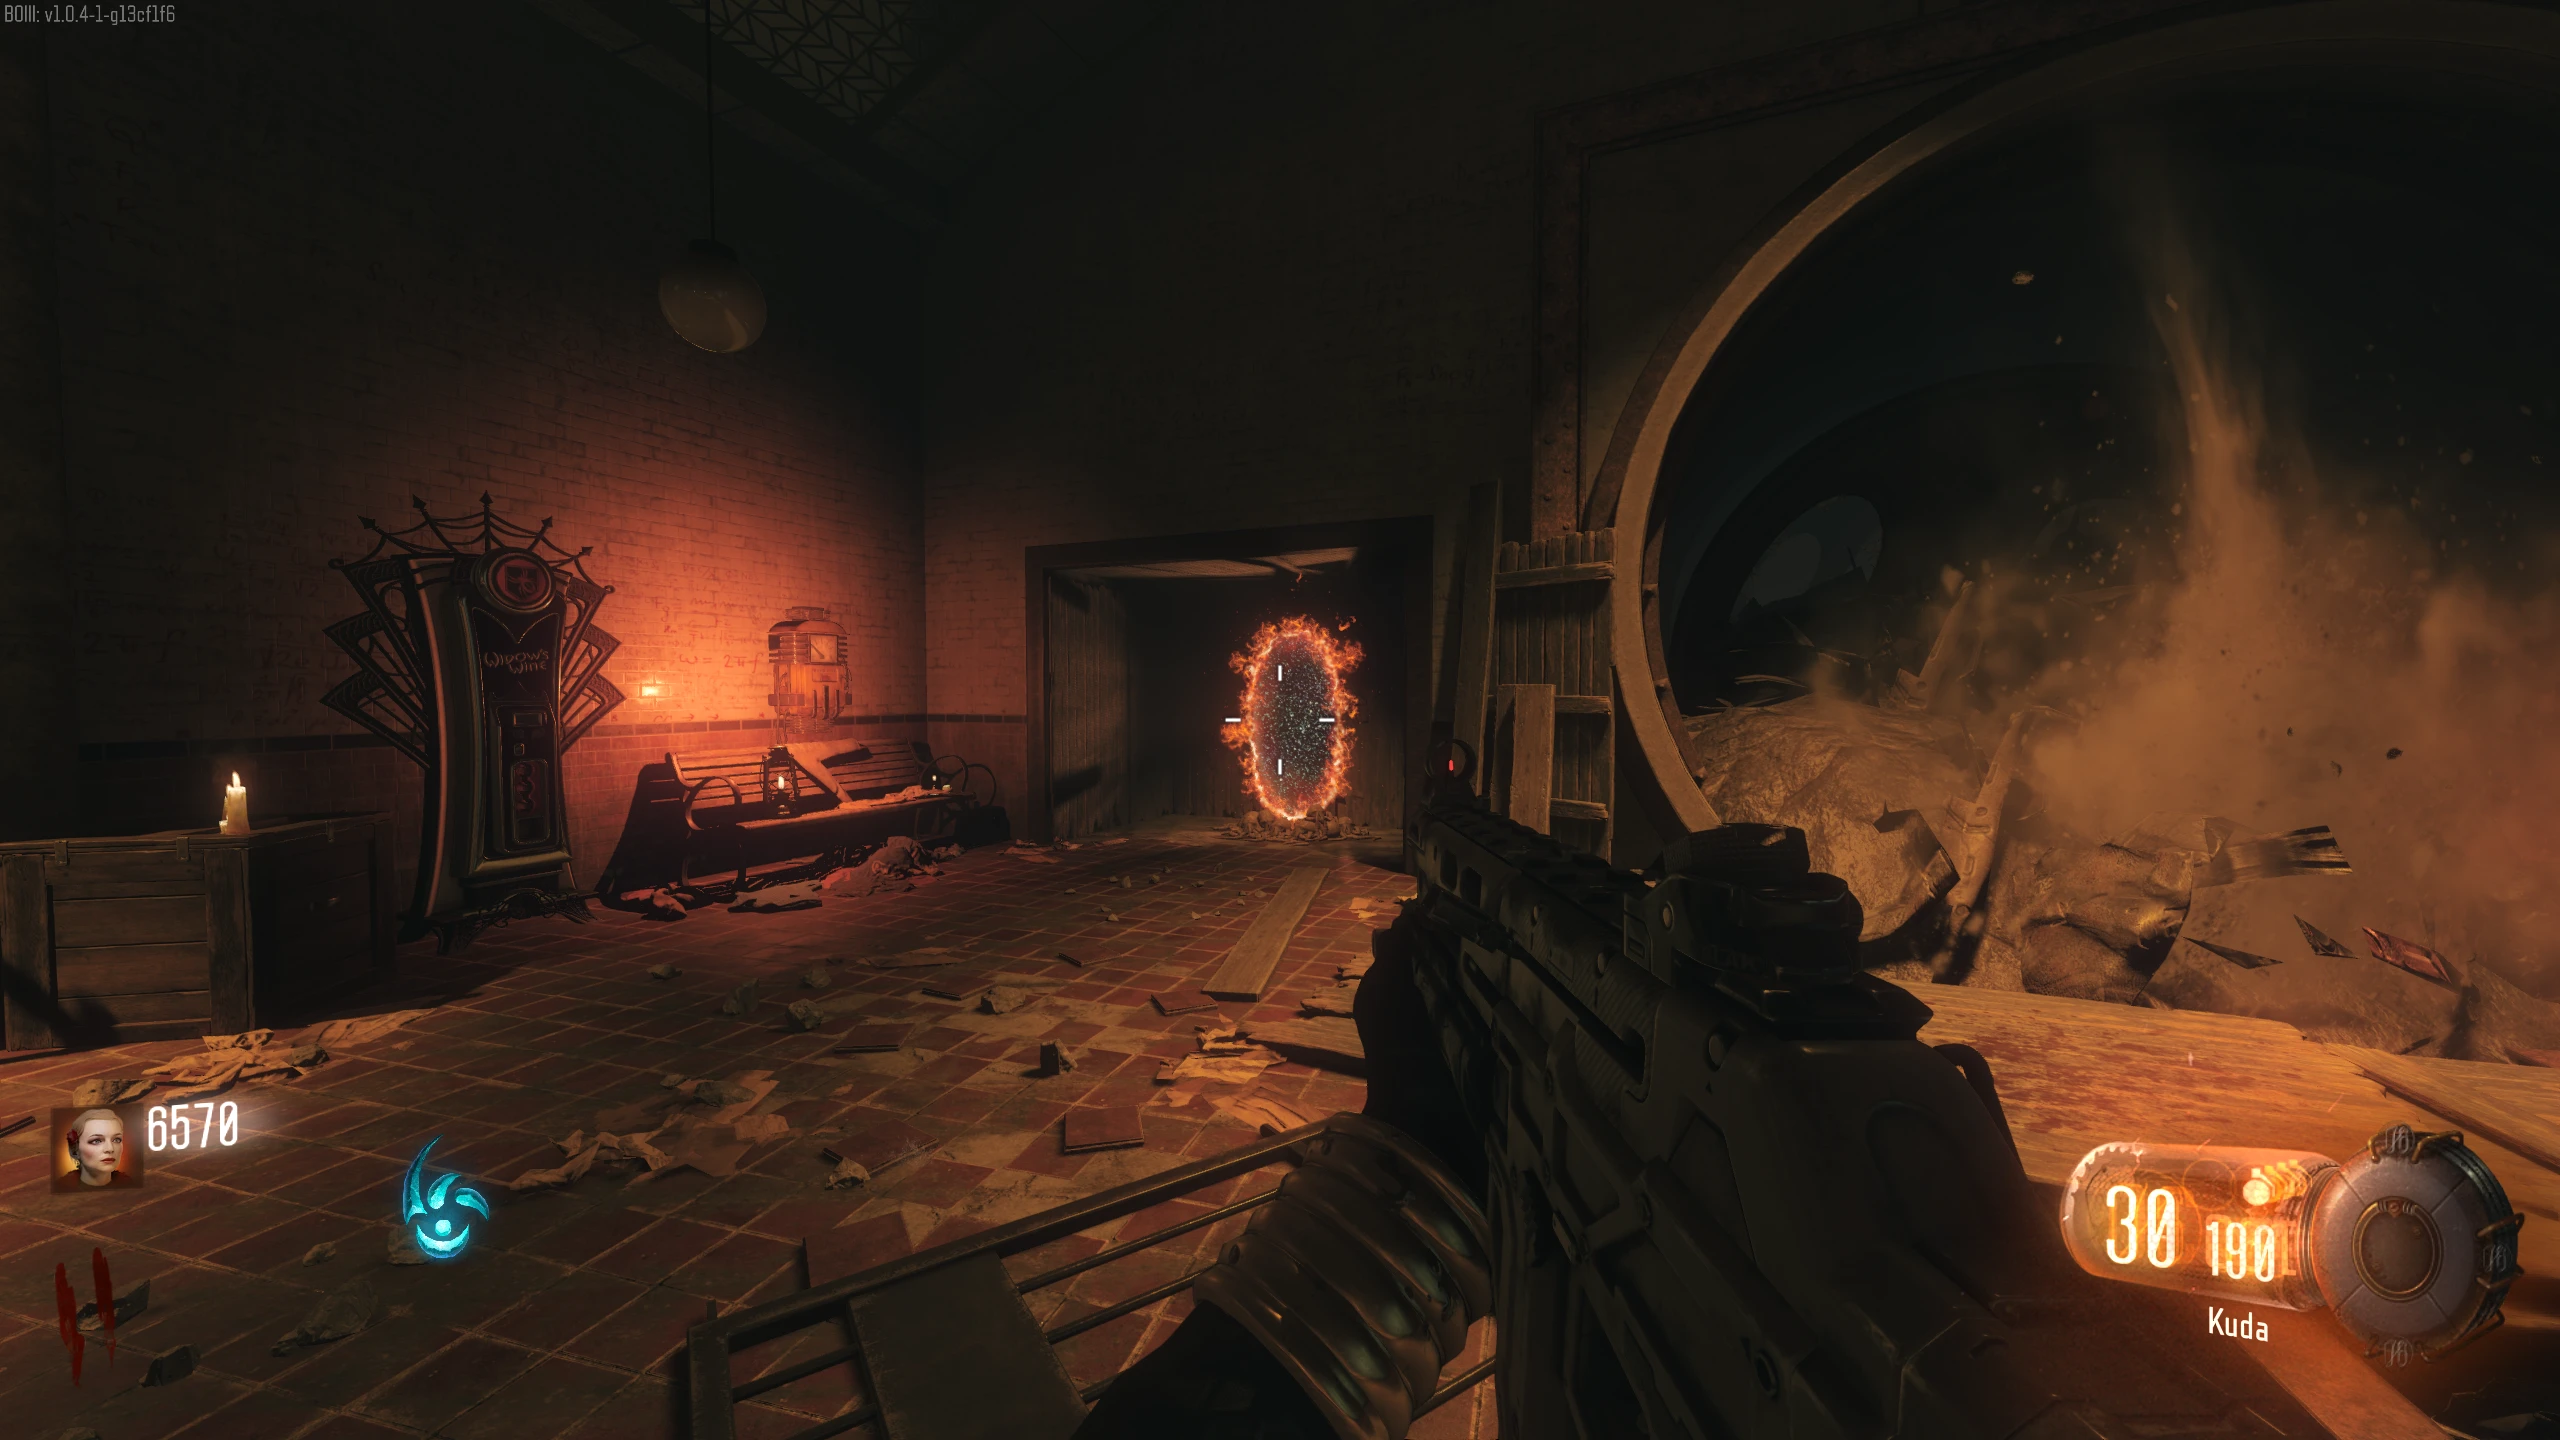
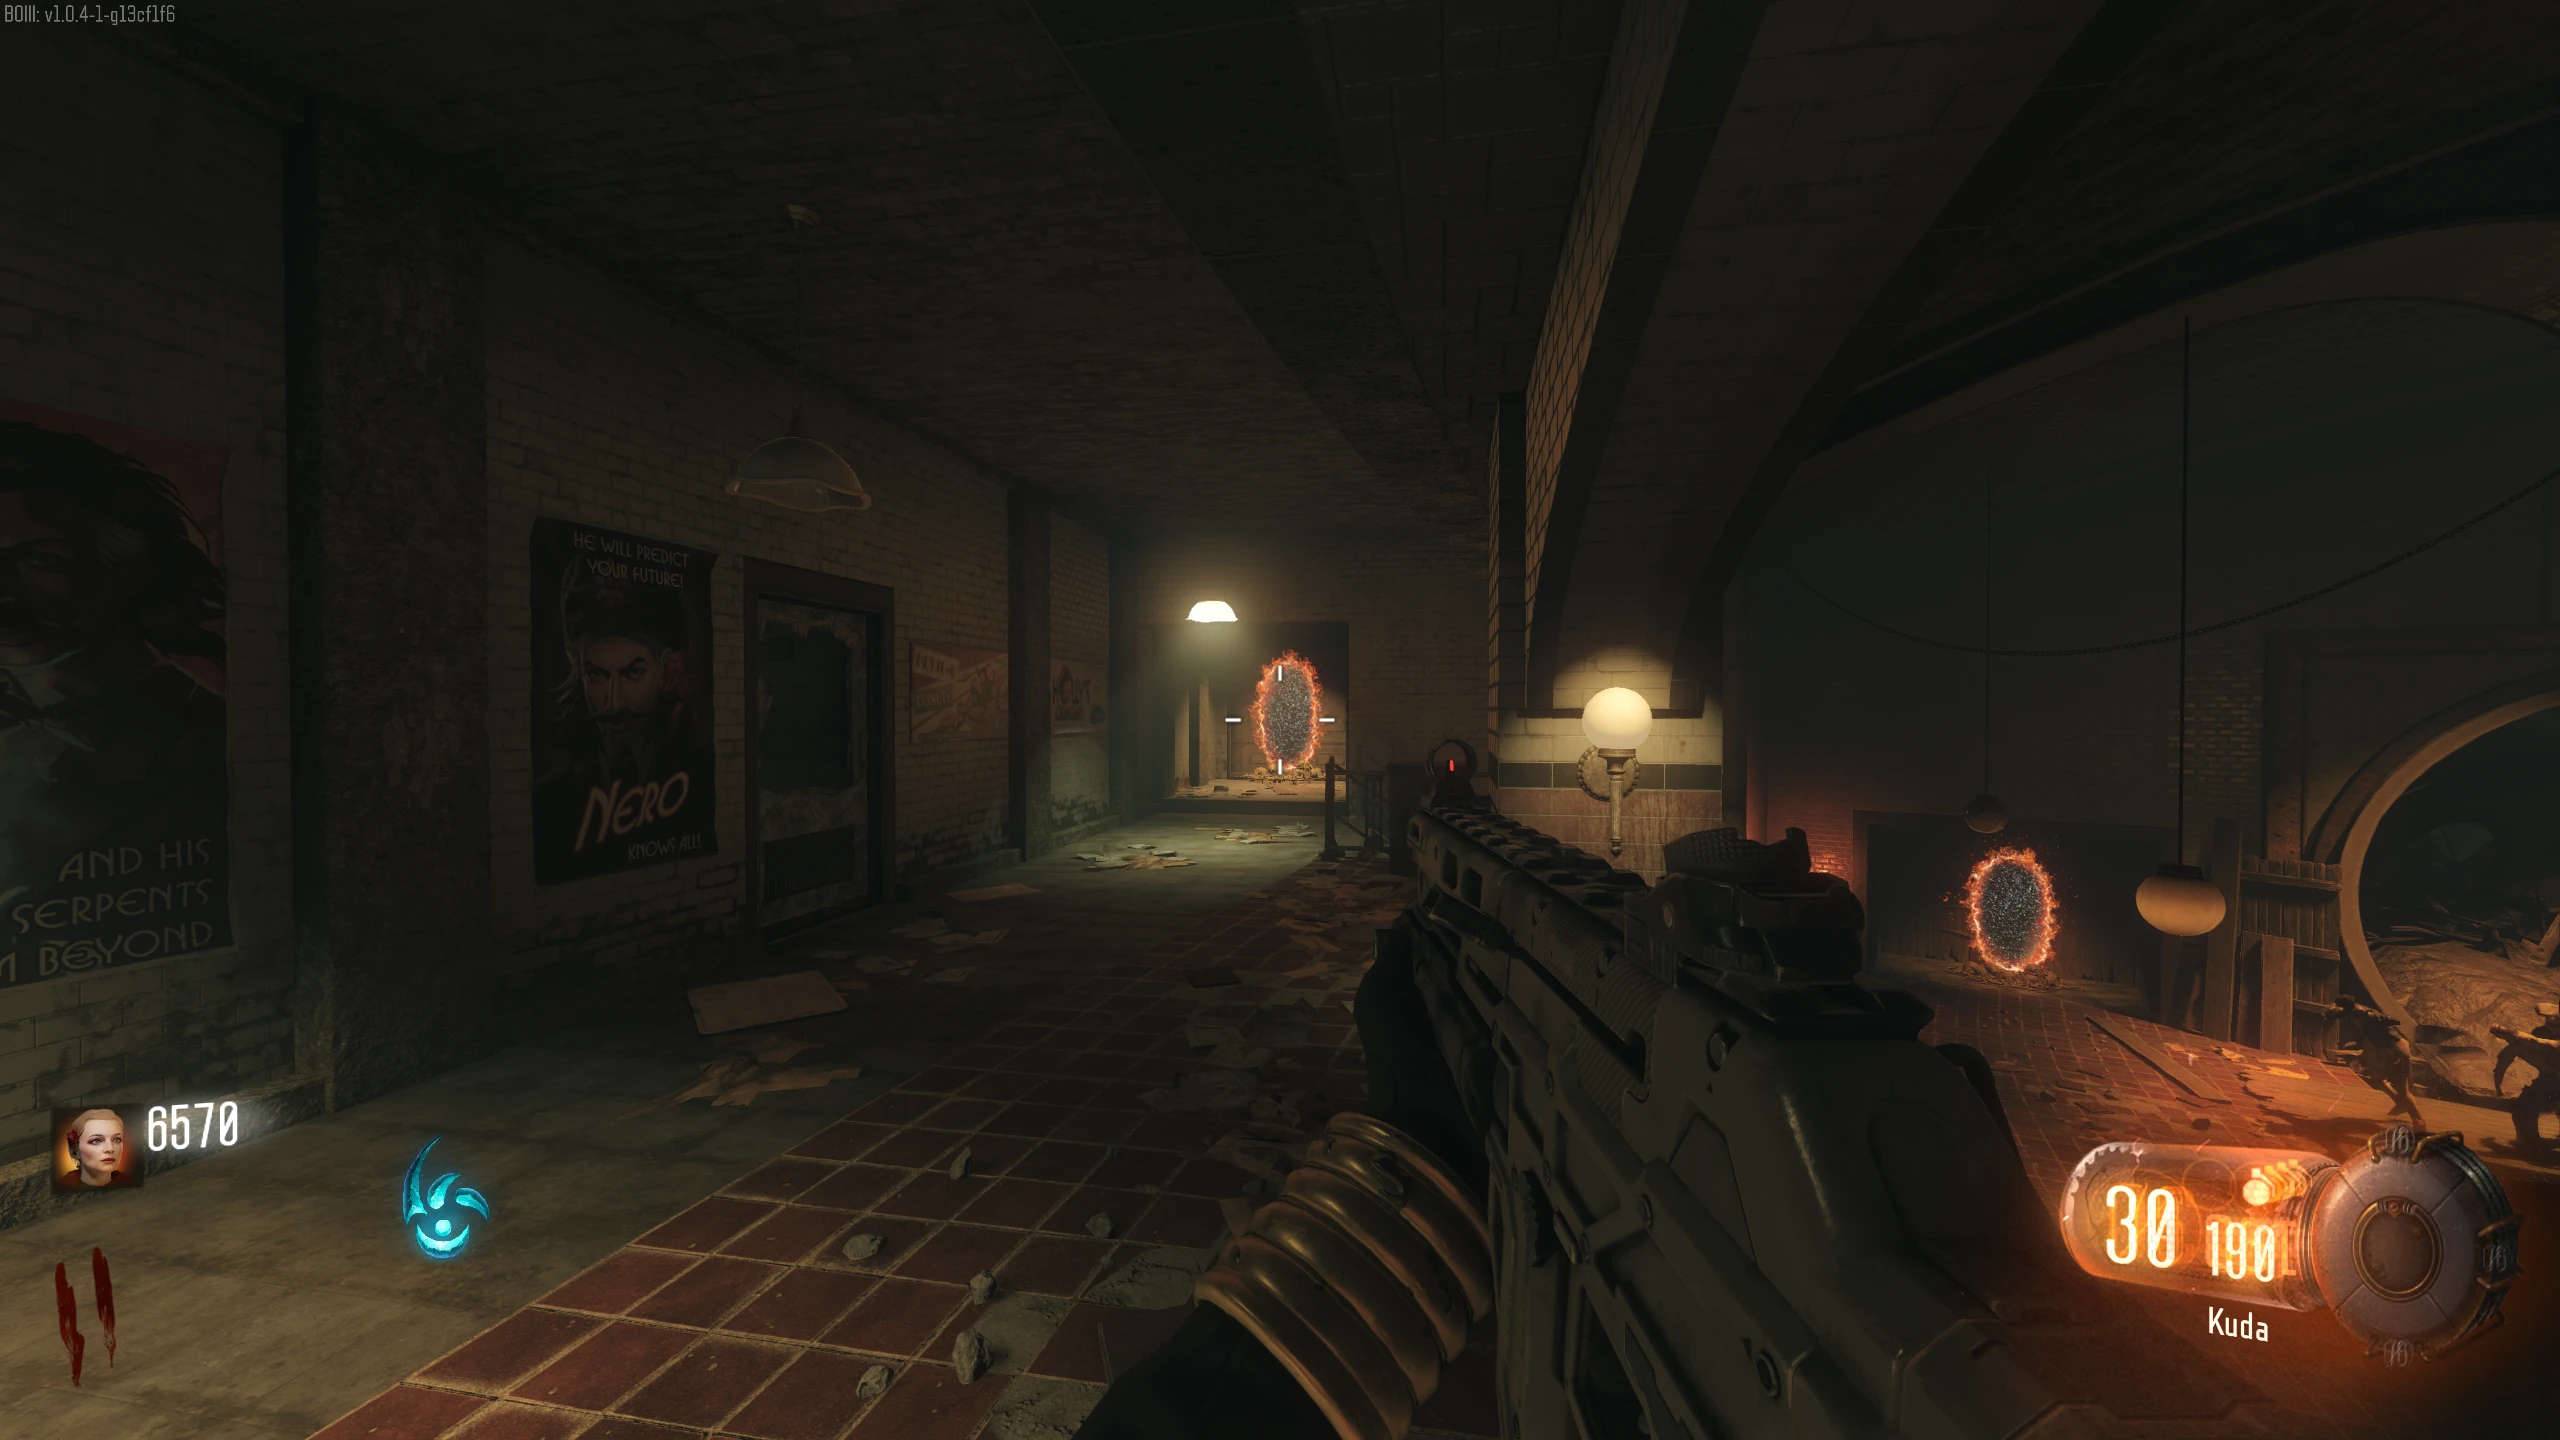
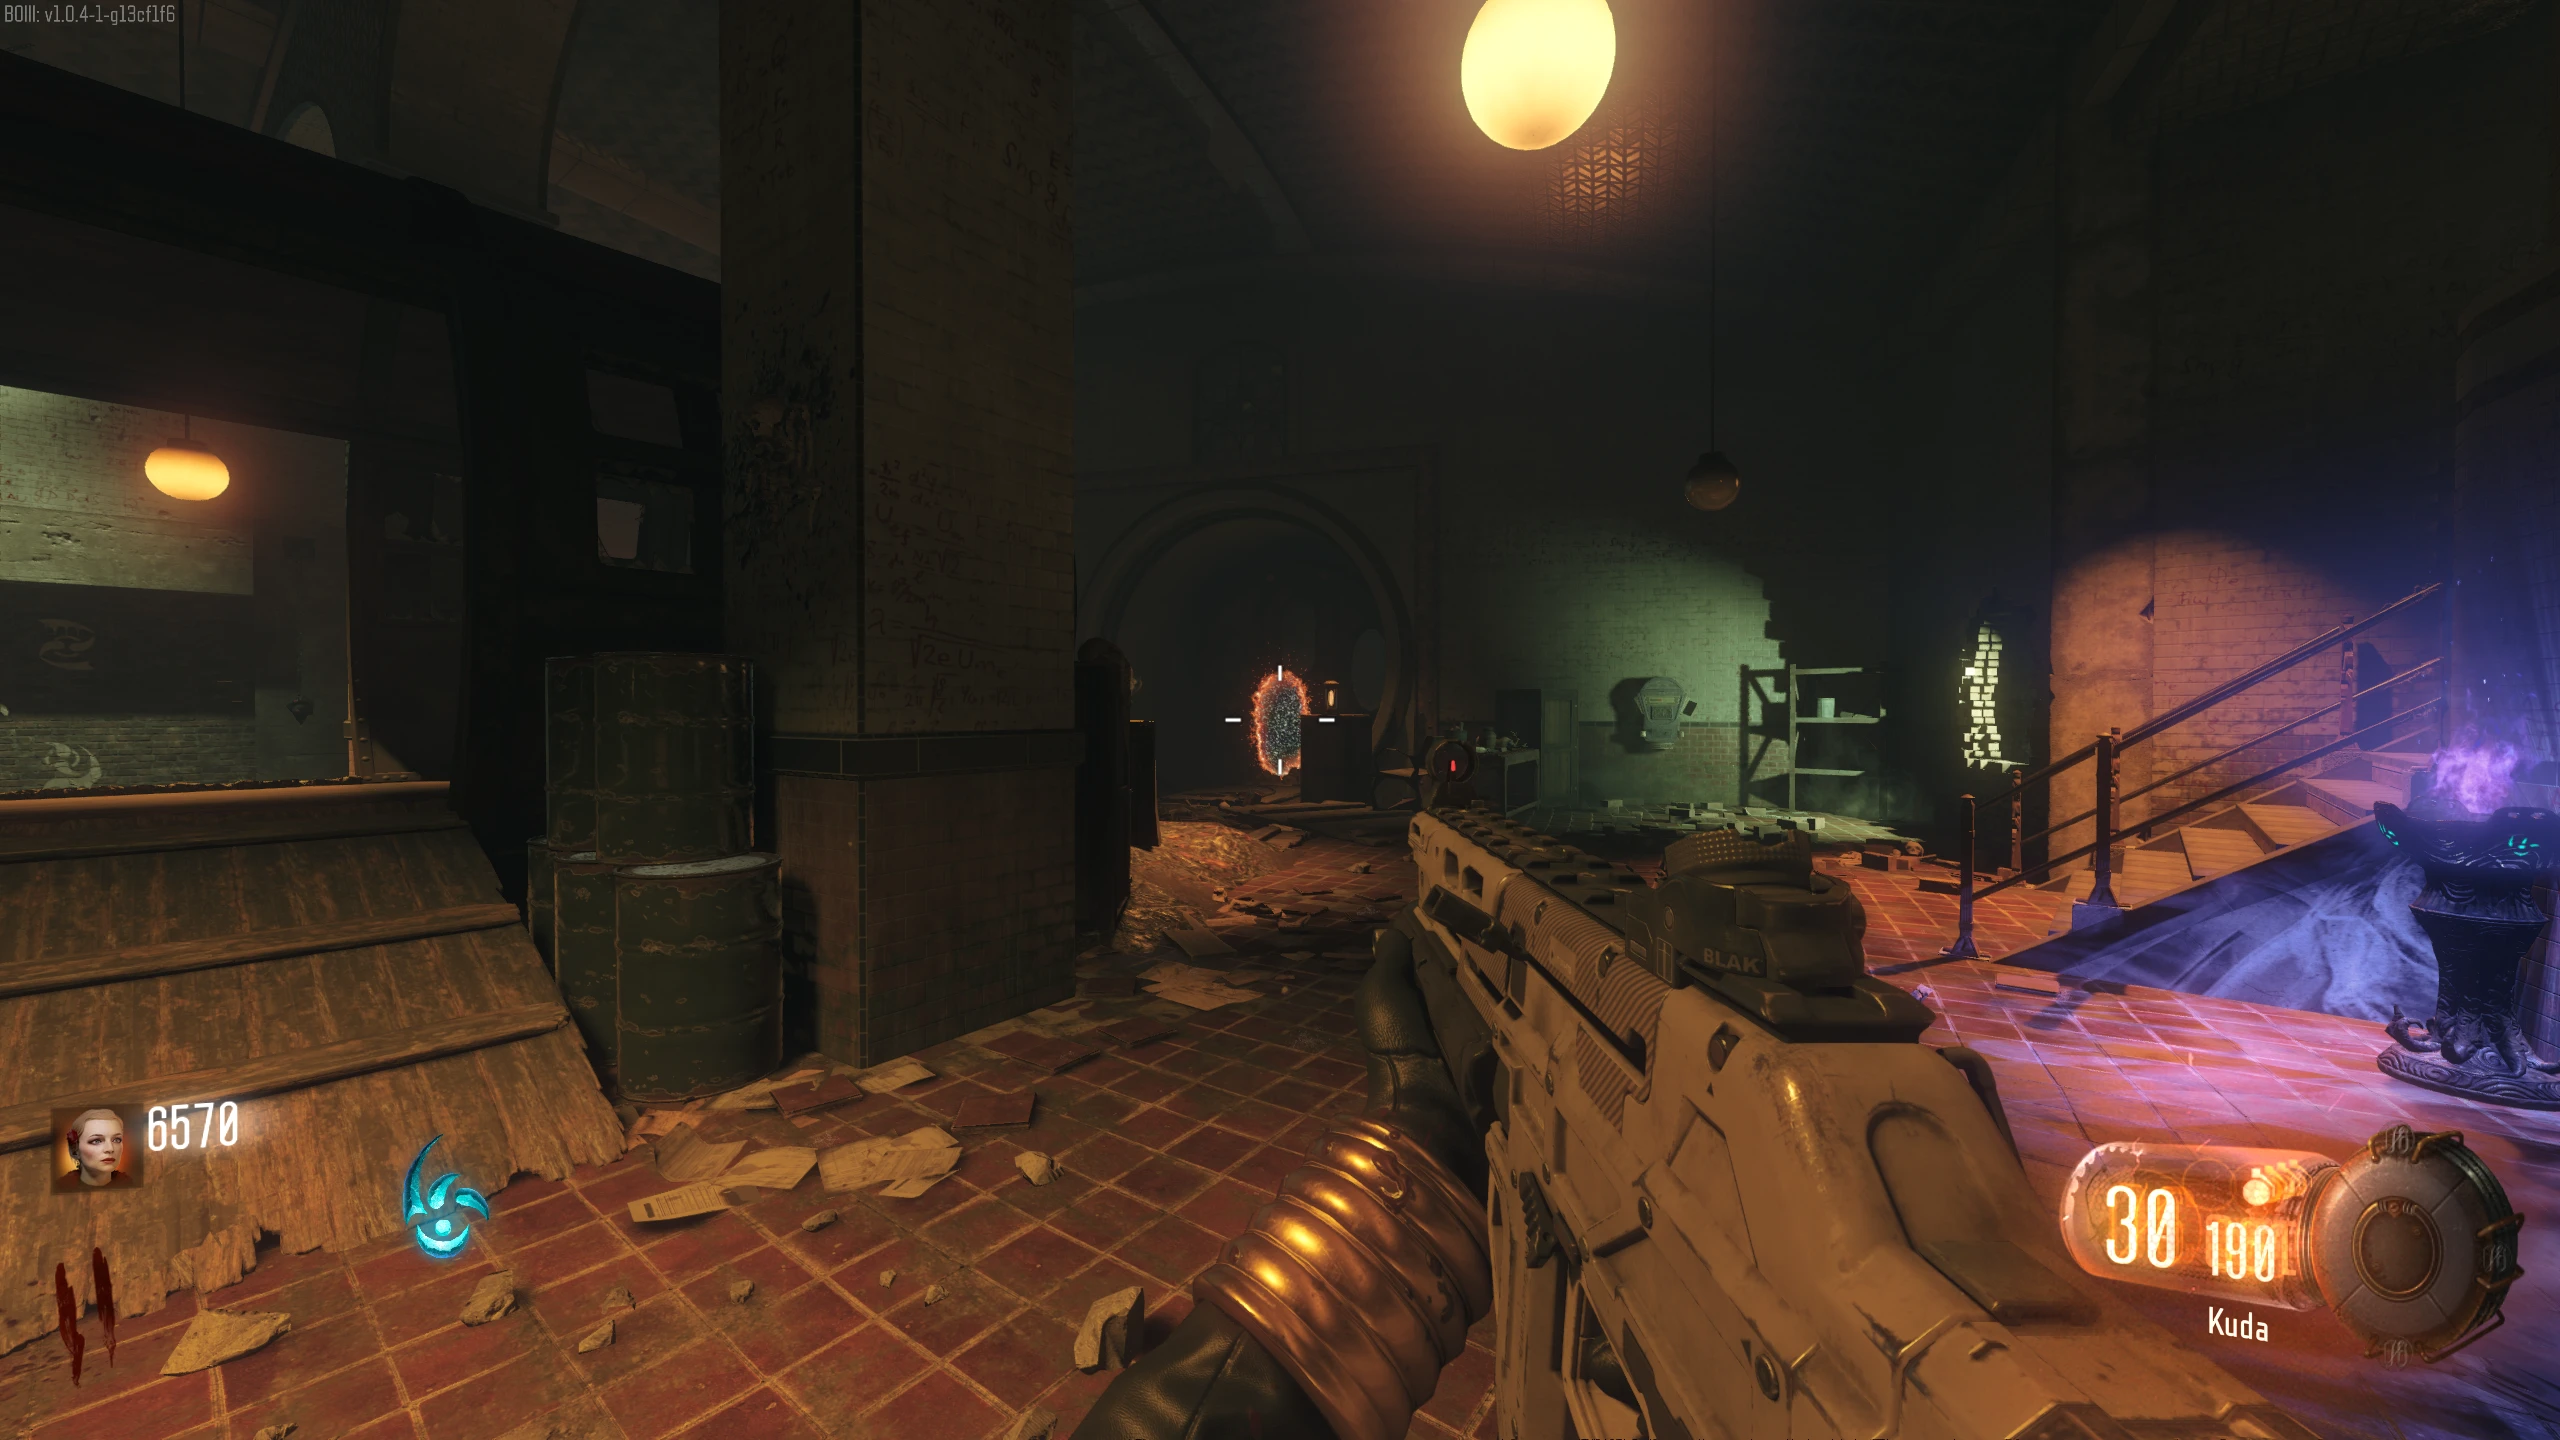
- Once you have completed all four rituals, and you have all four Gateworms, go down to the Subway Station (called the Underground) using one of the Rift Portals.
- The first time you enter the Underground, four Keepers will spawn.
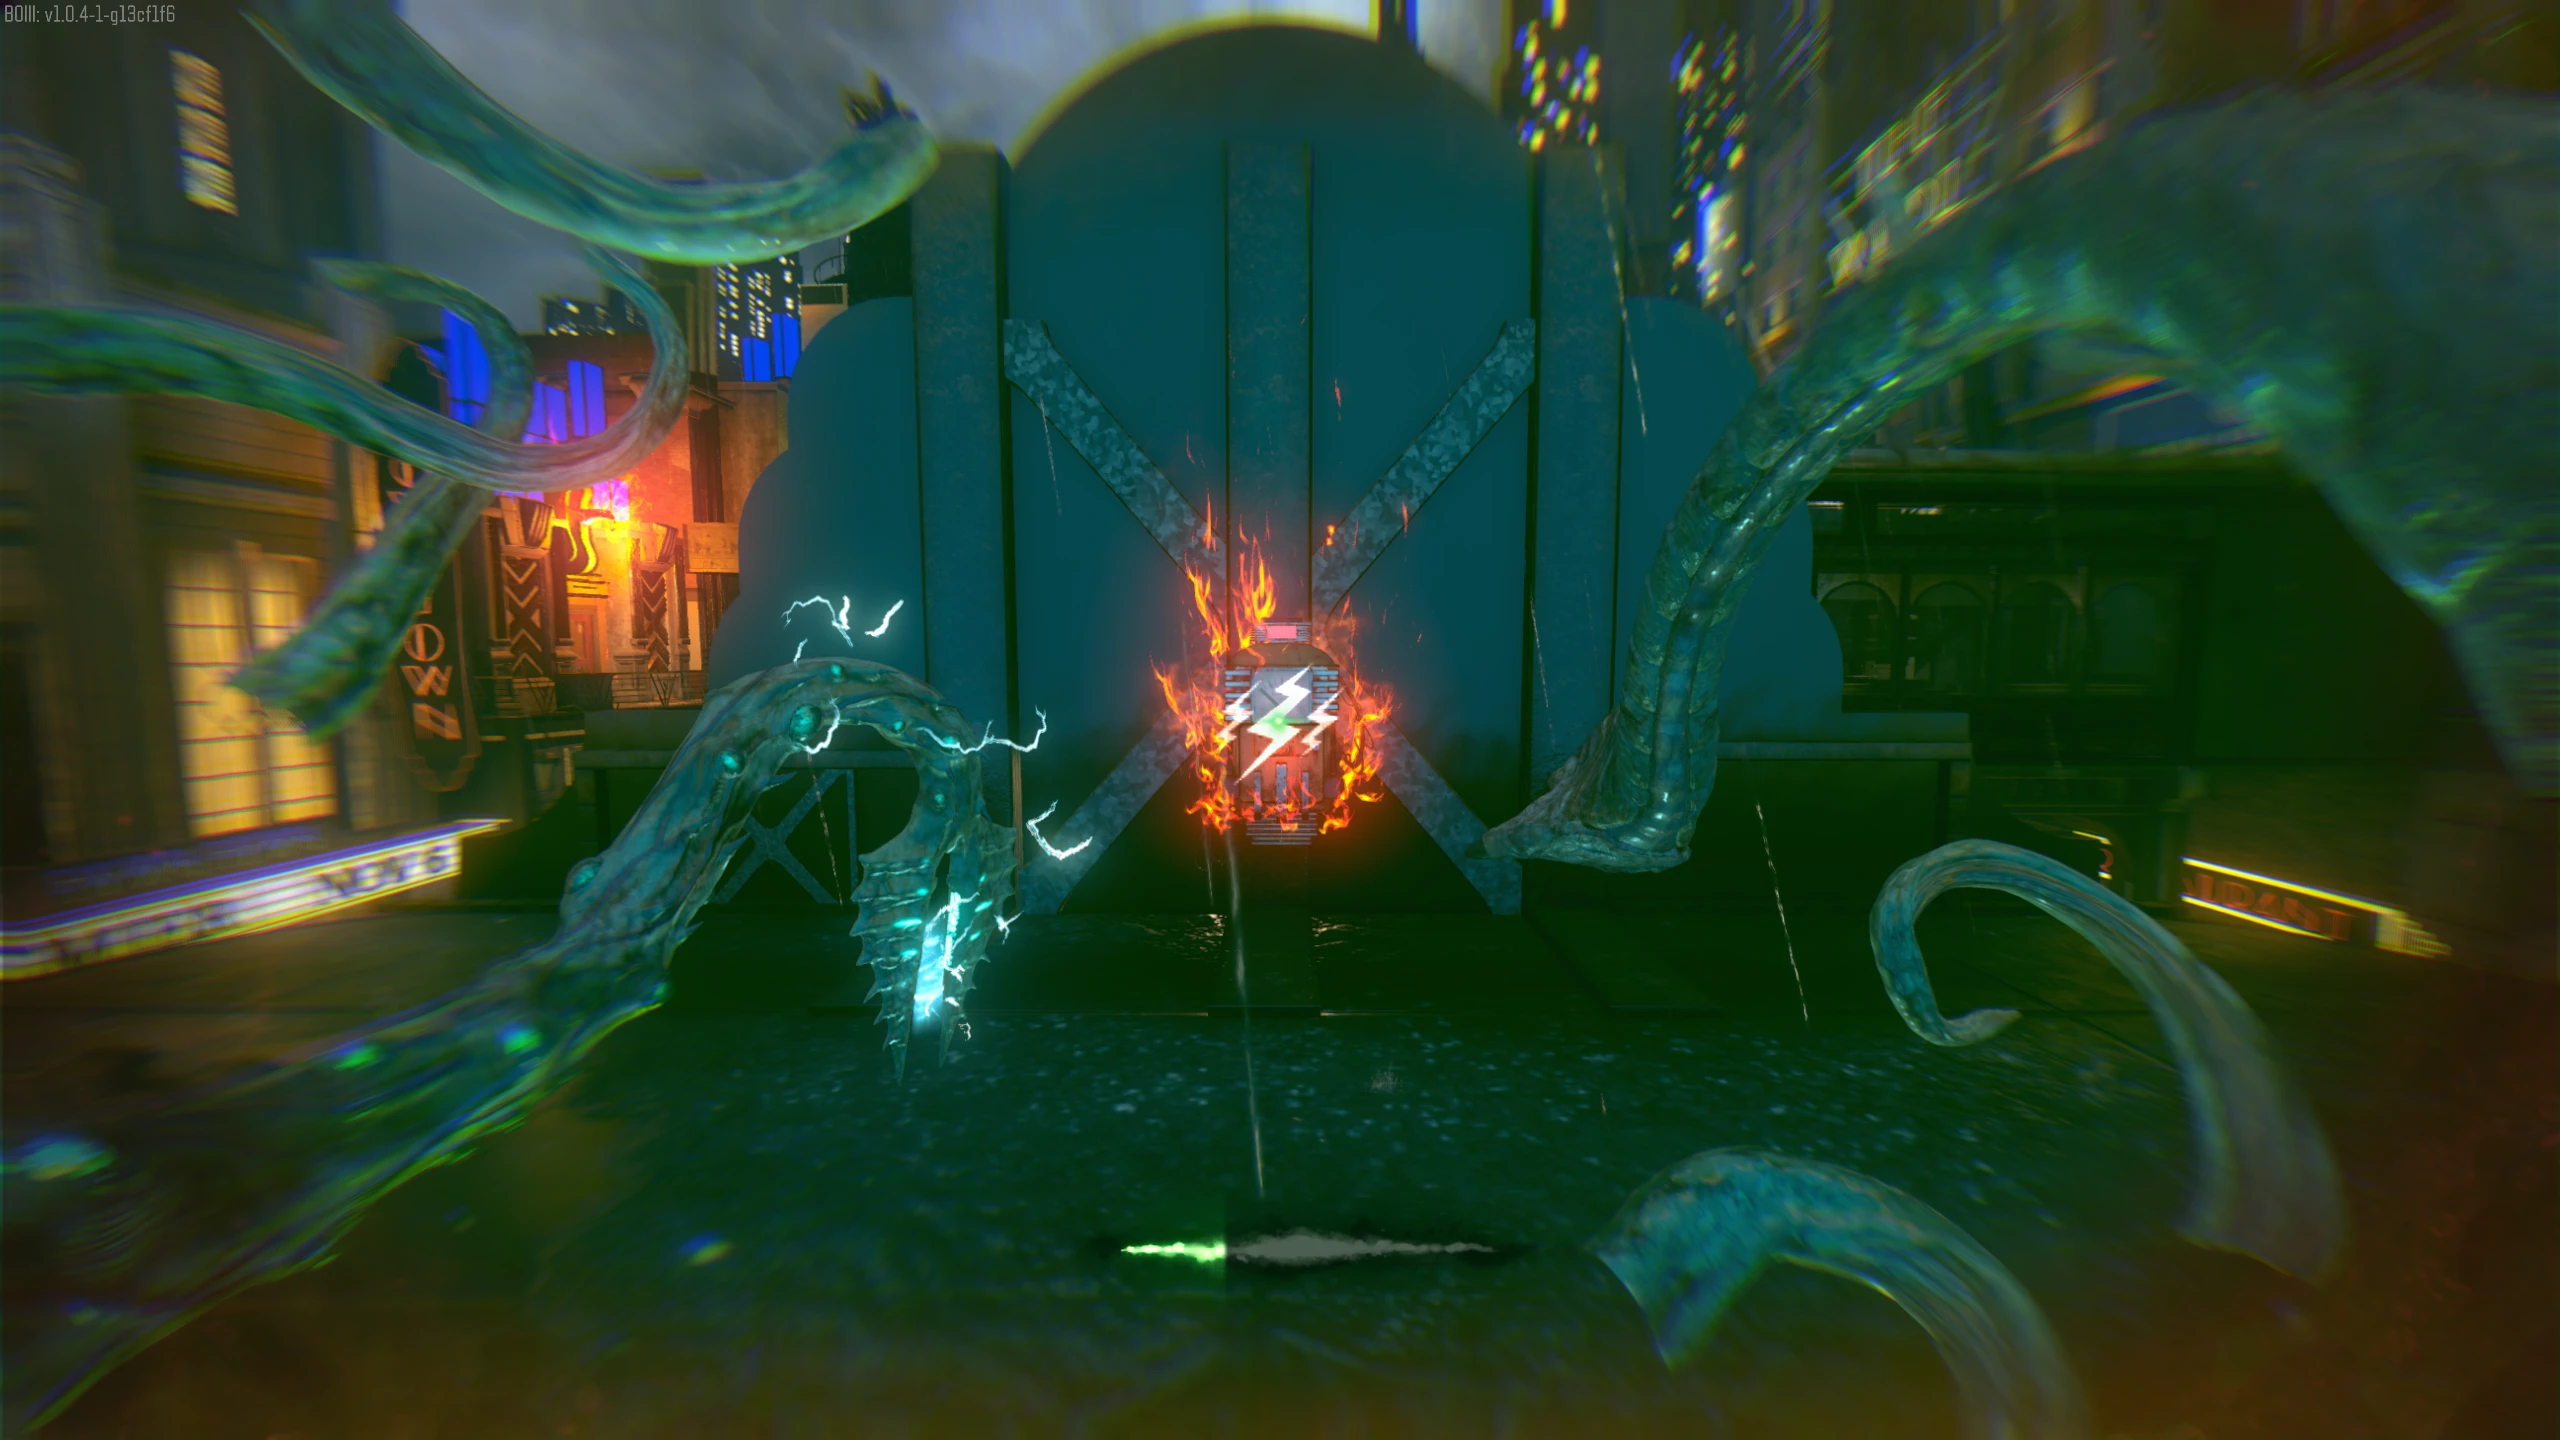
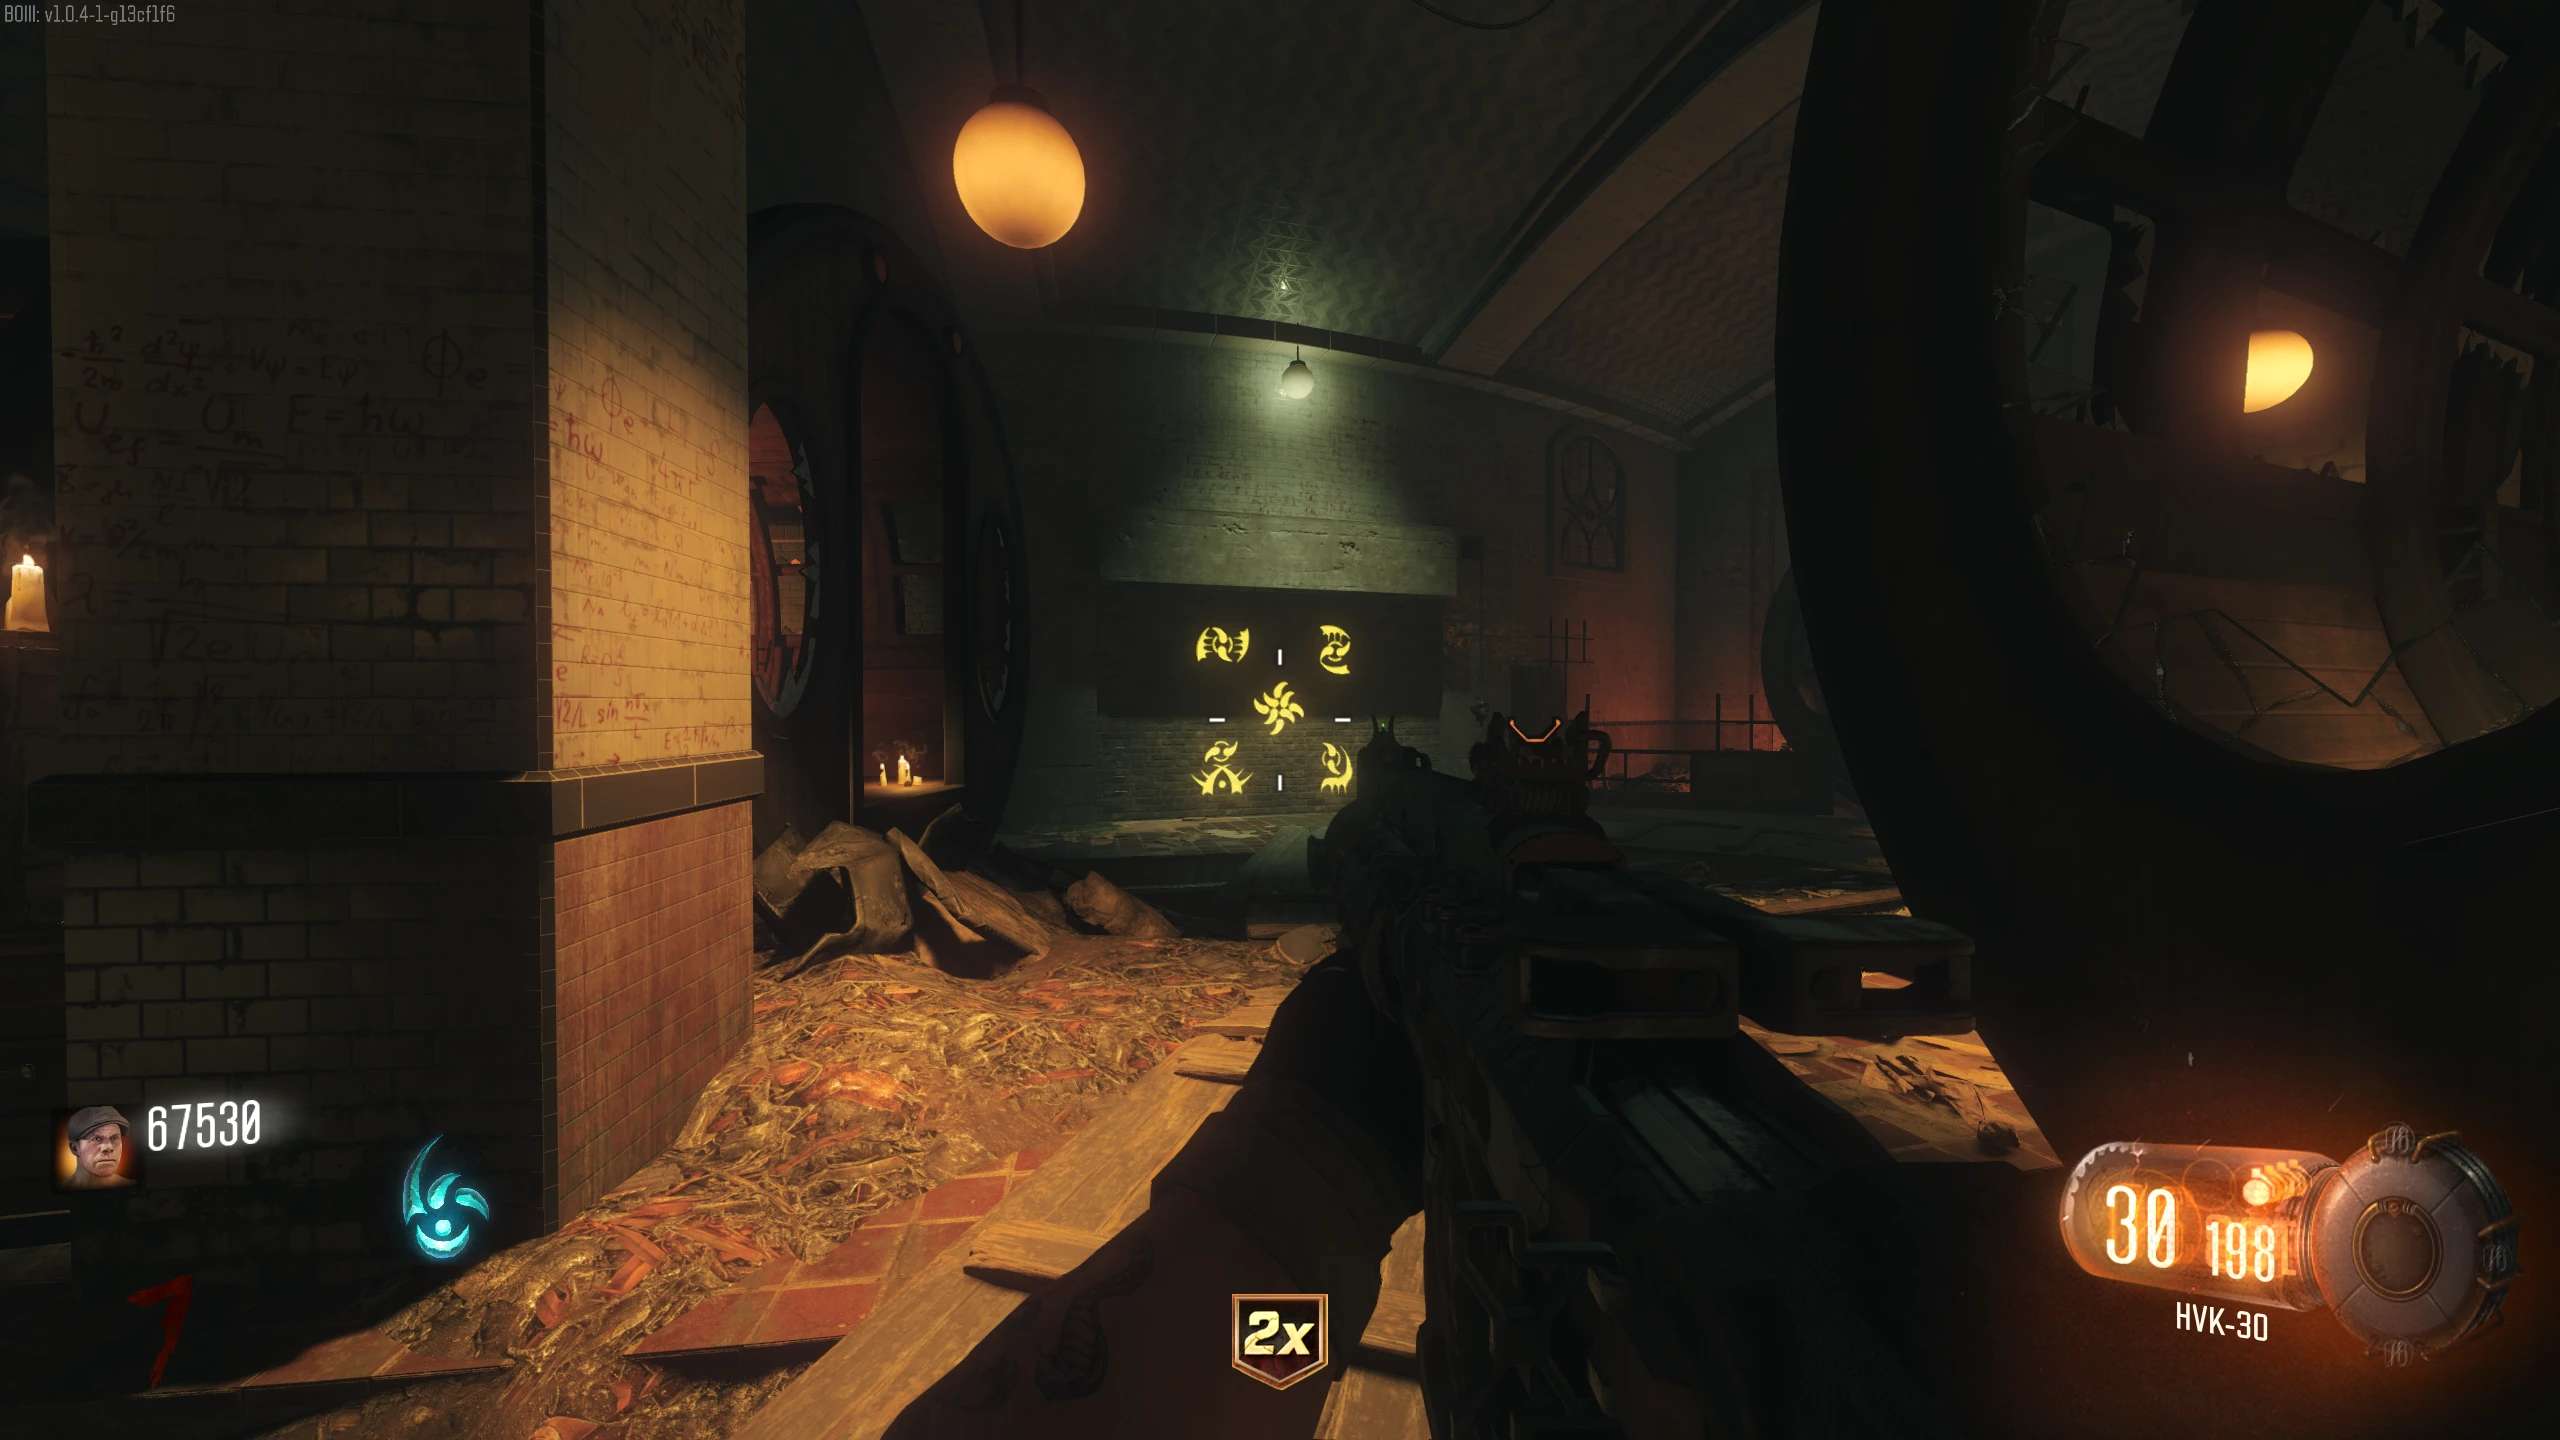
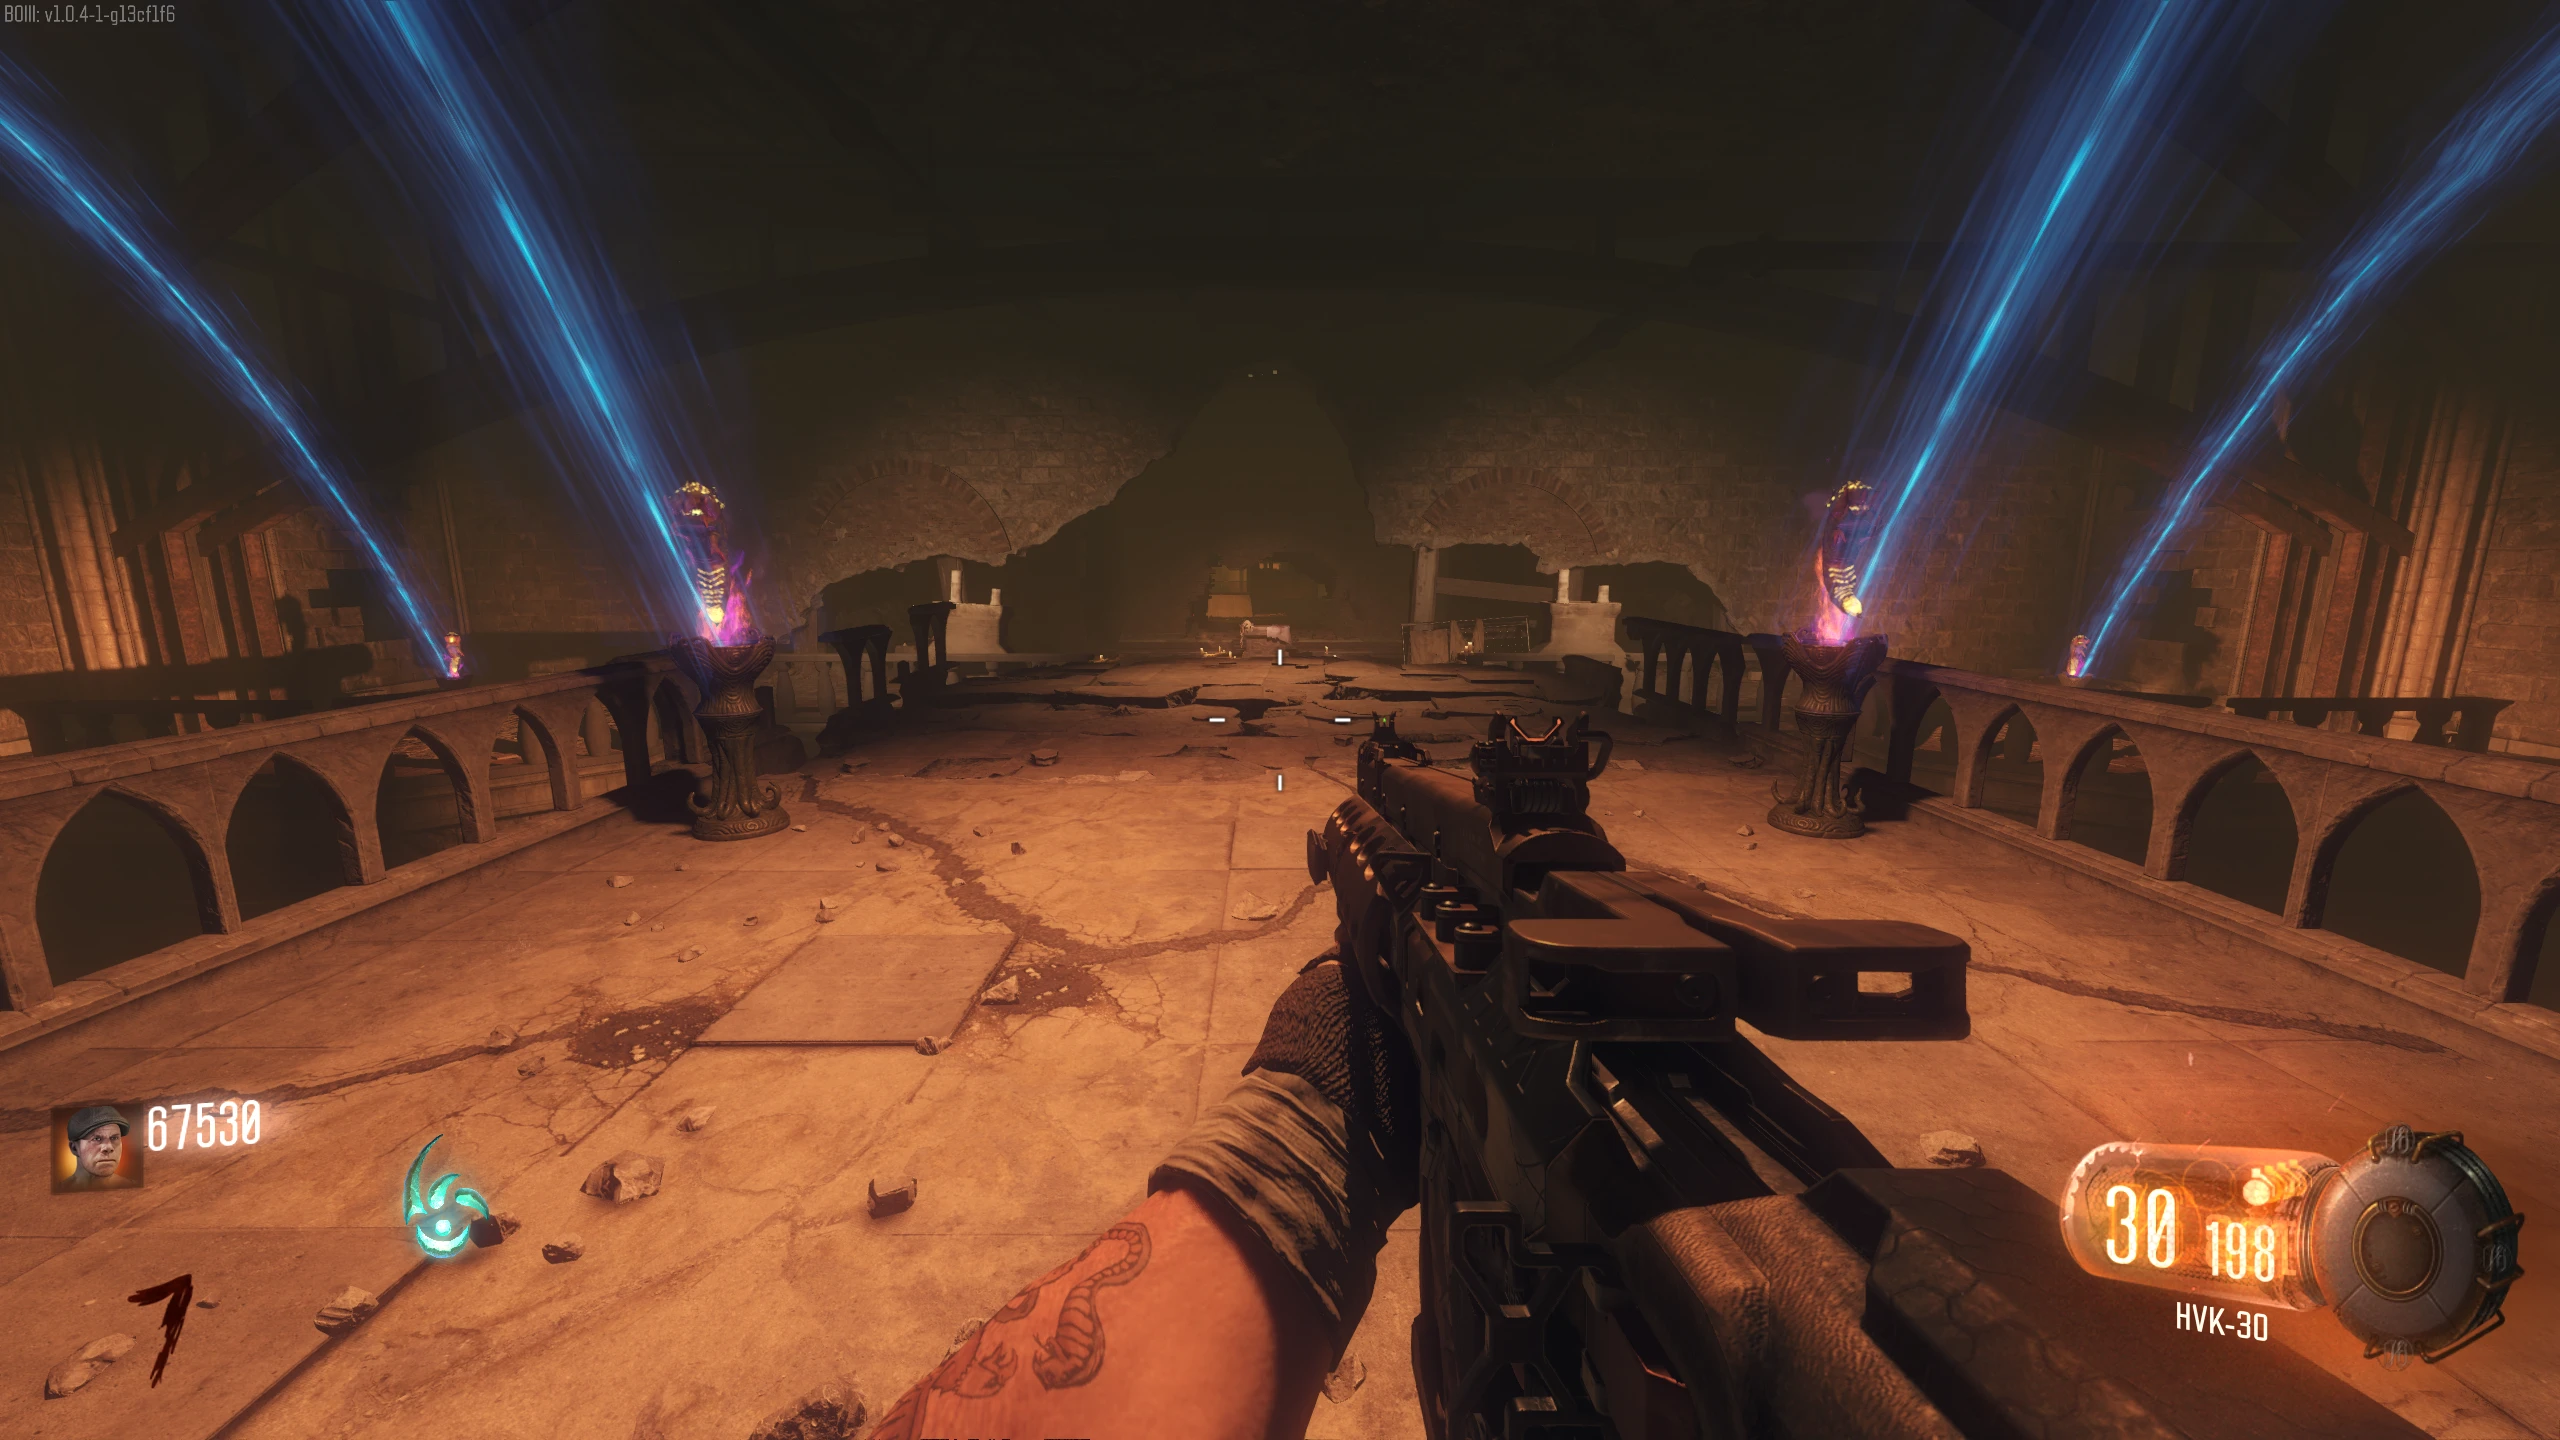
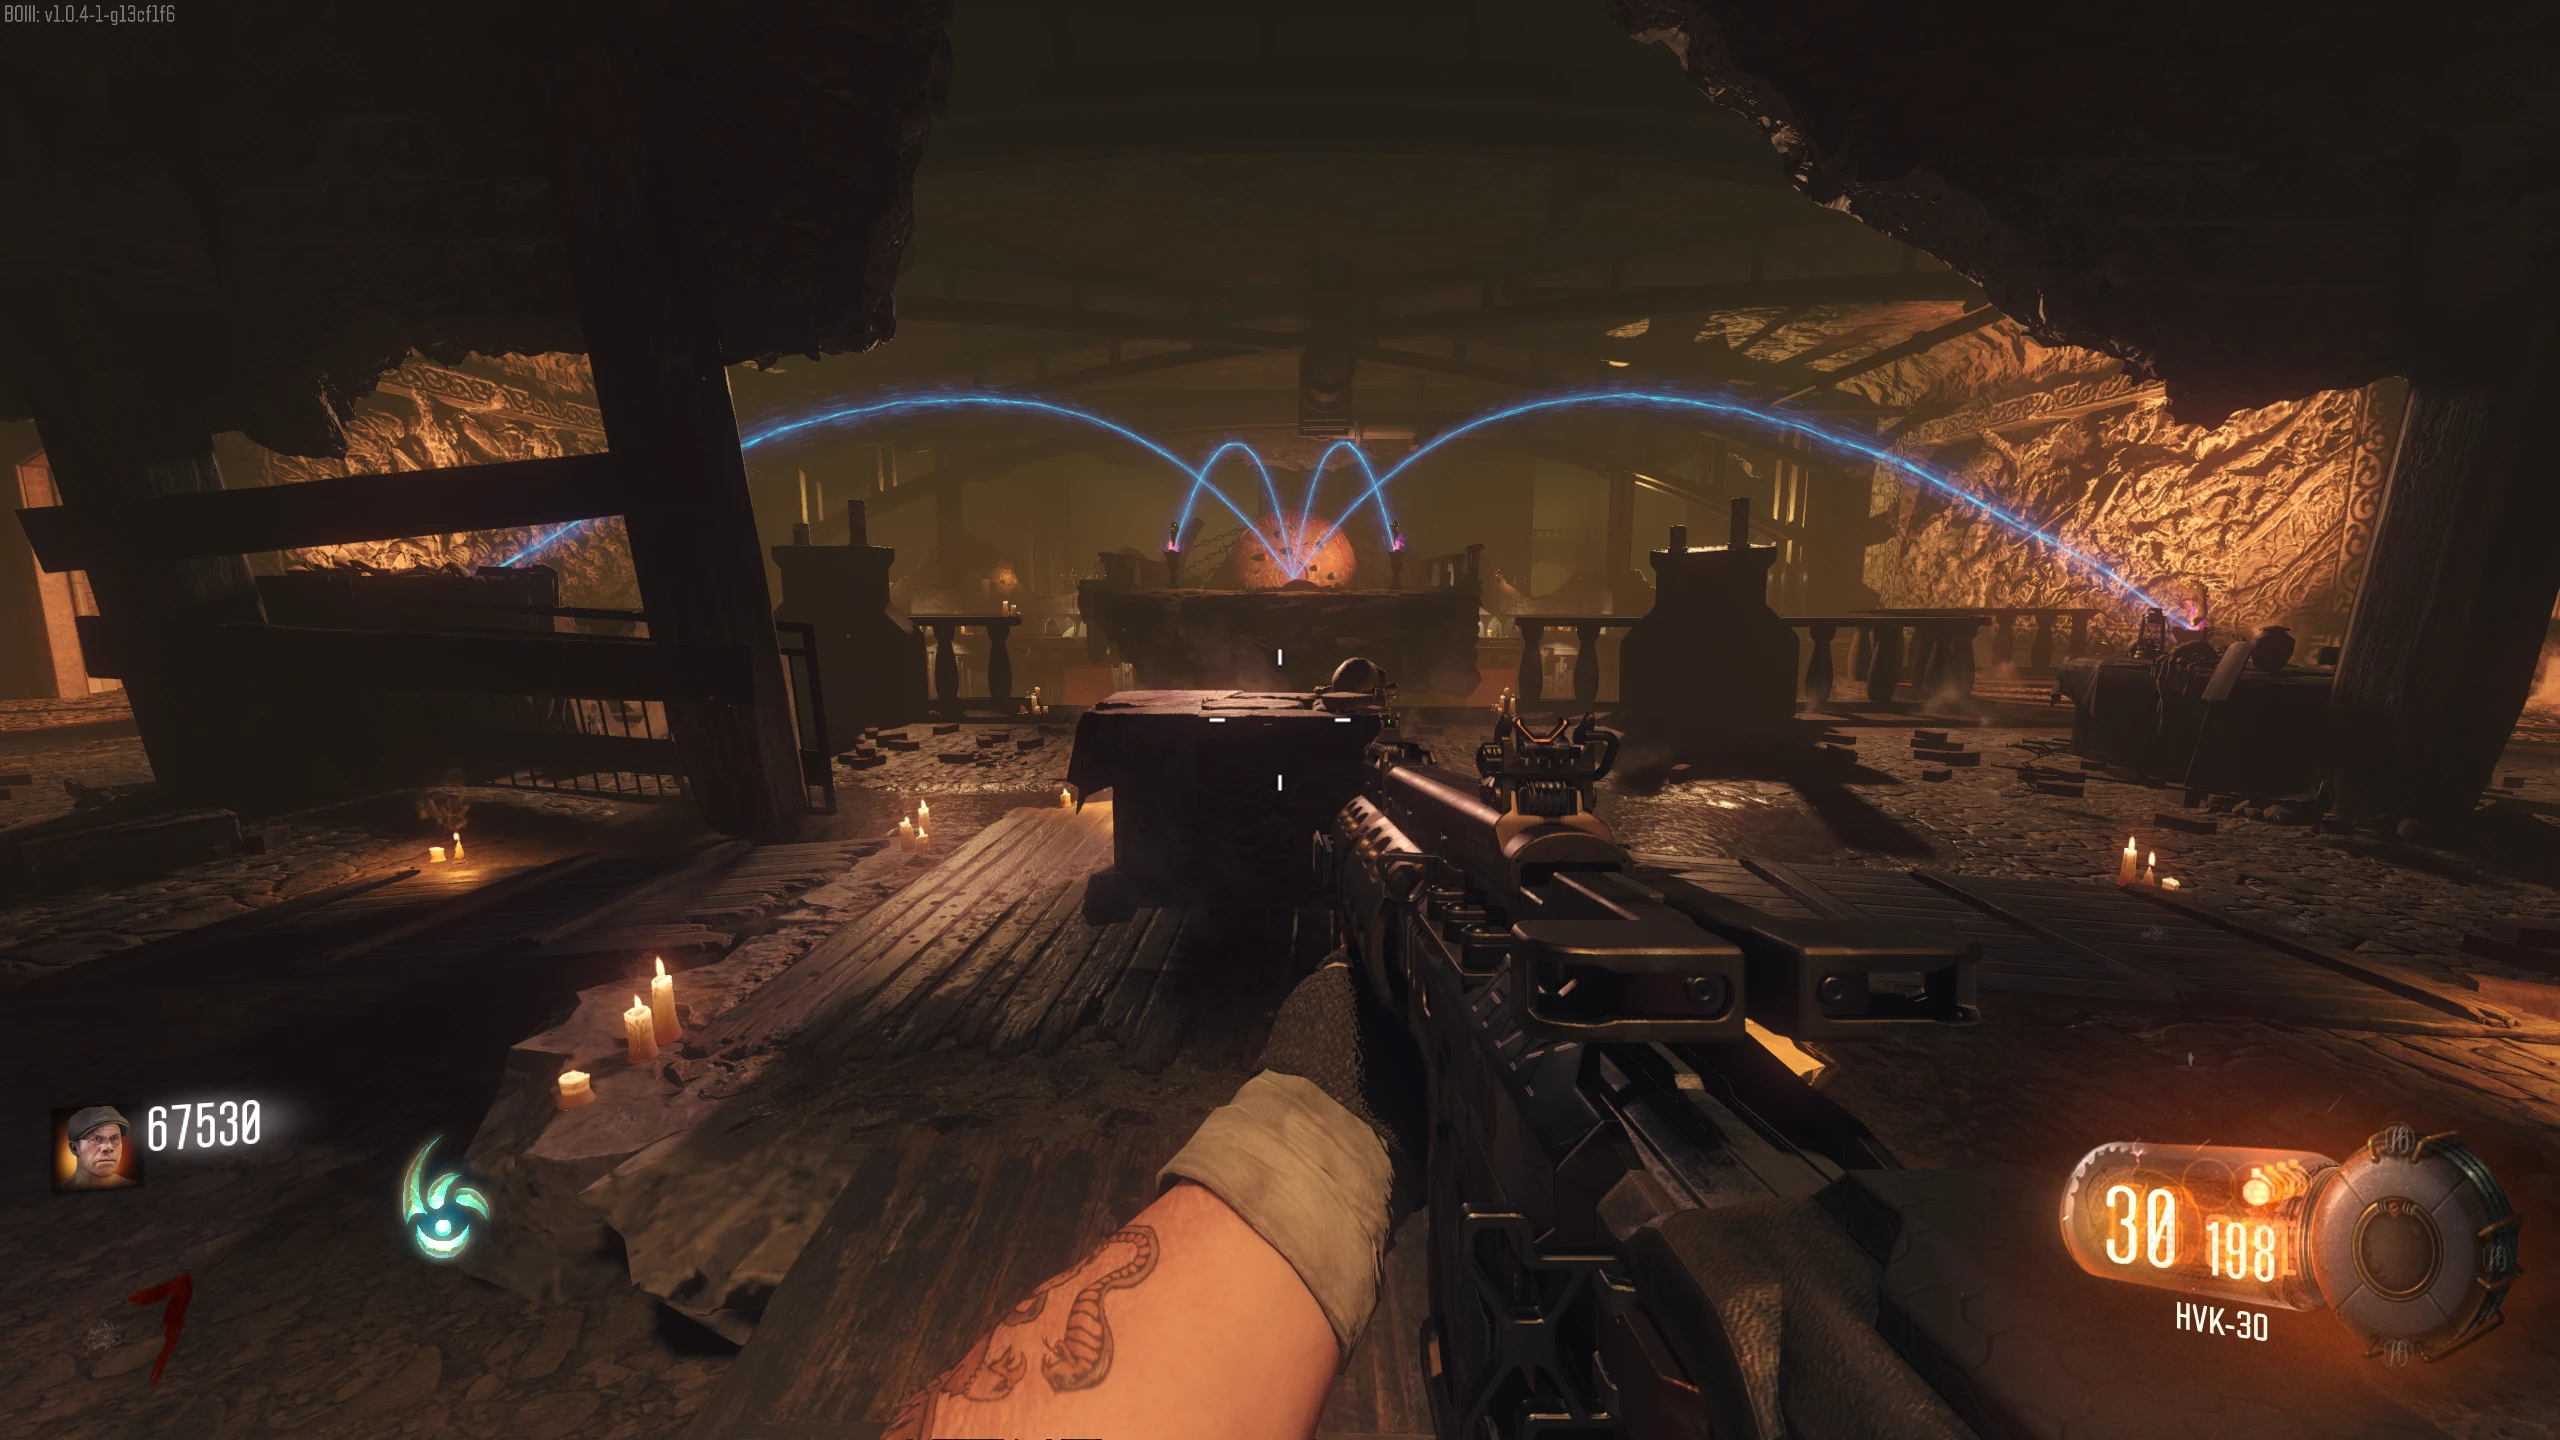
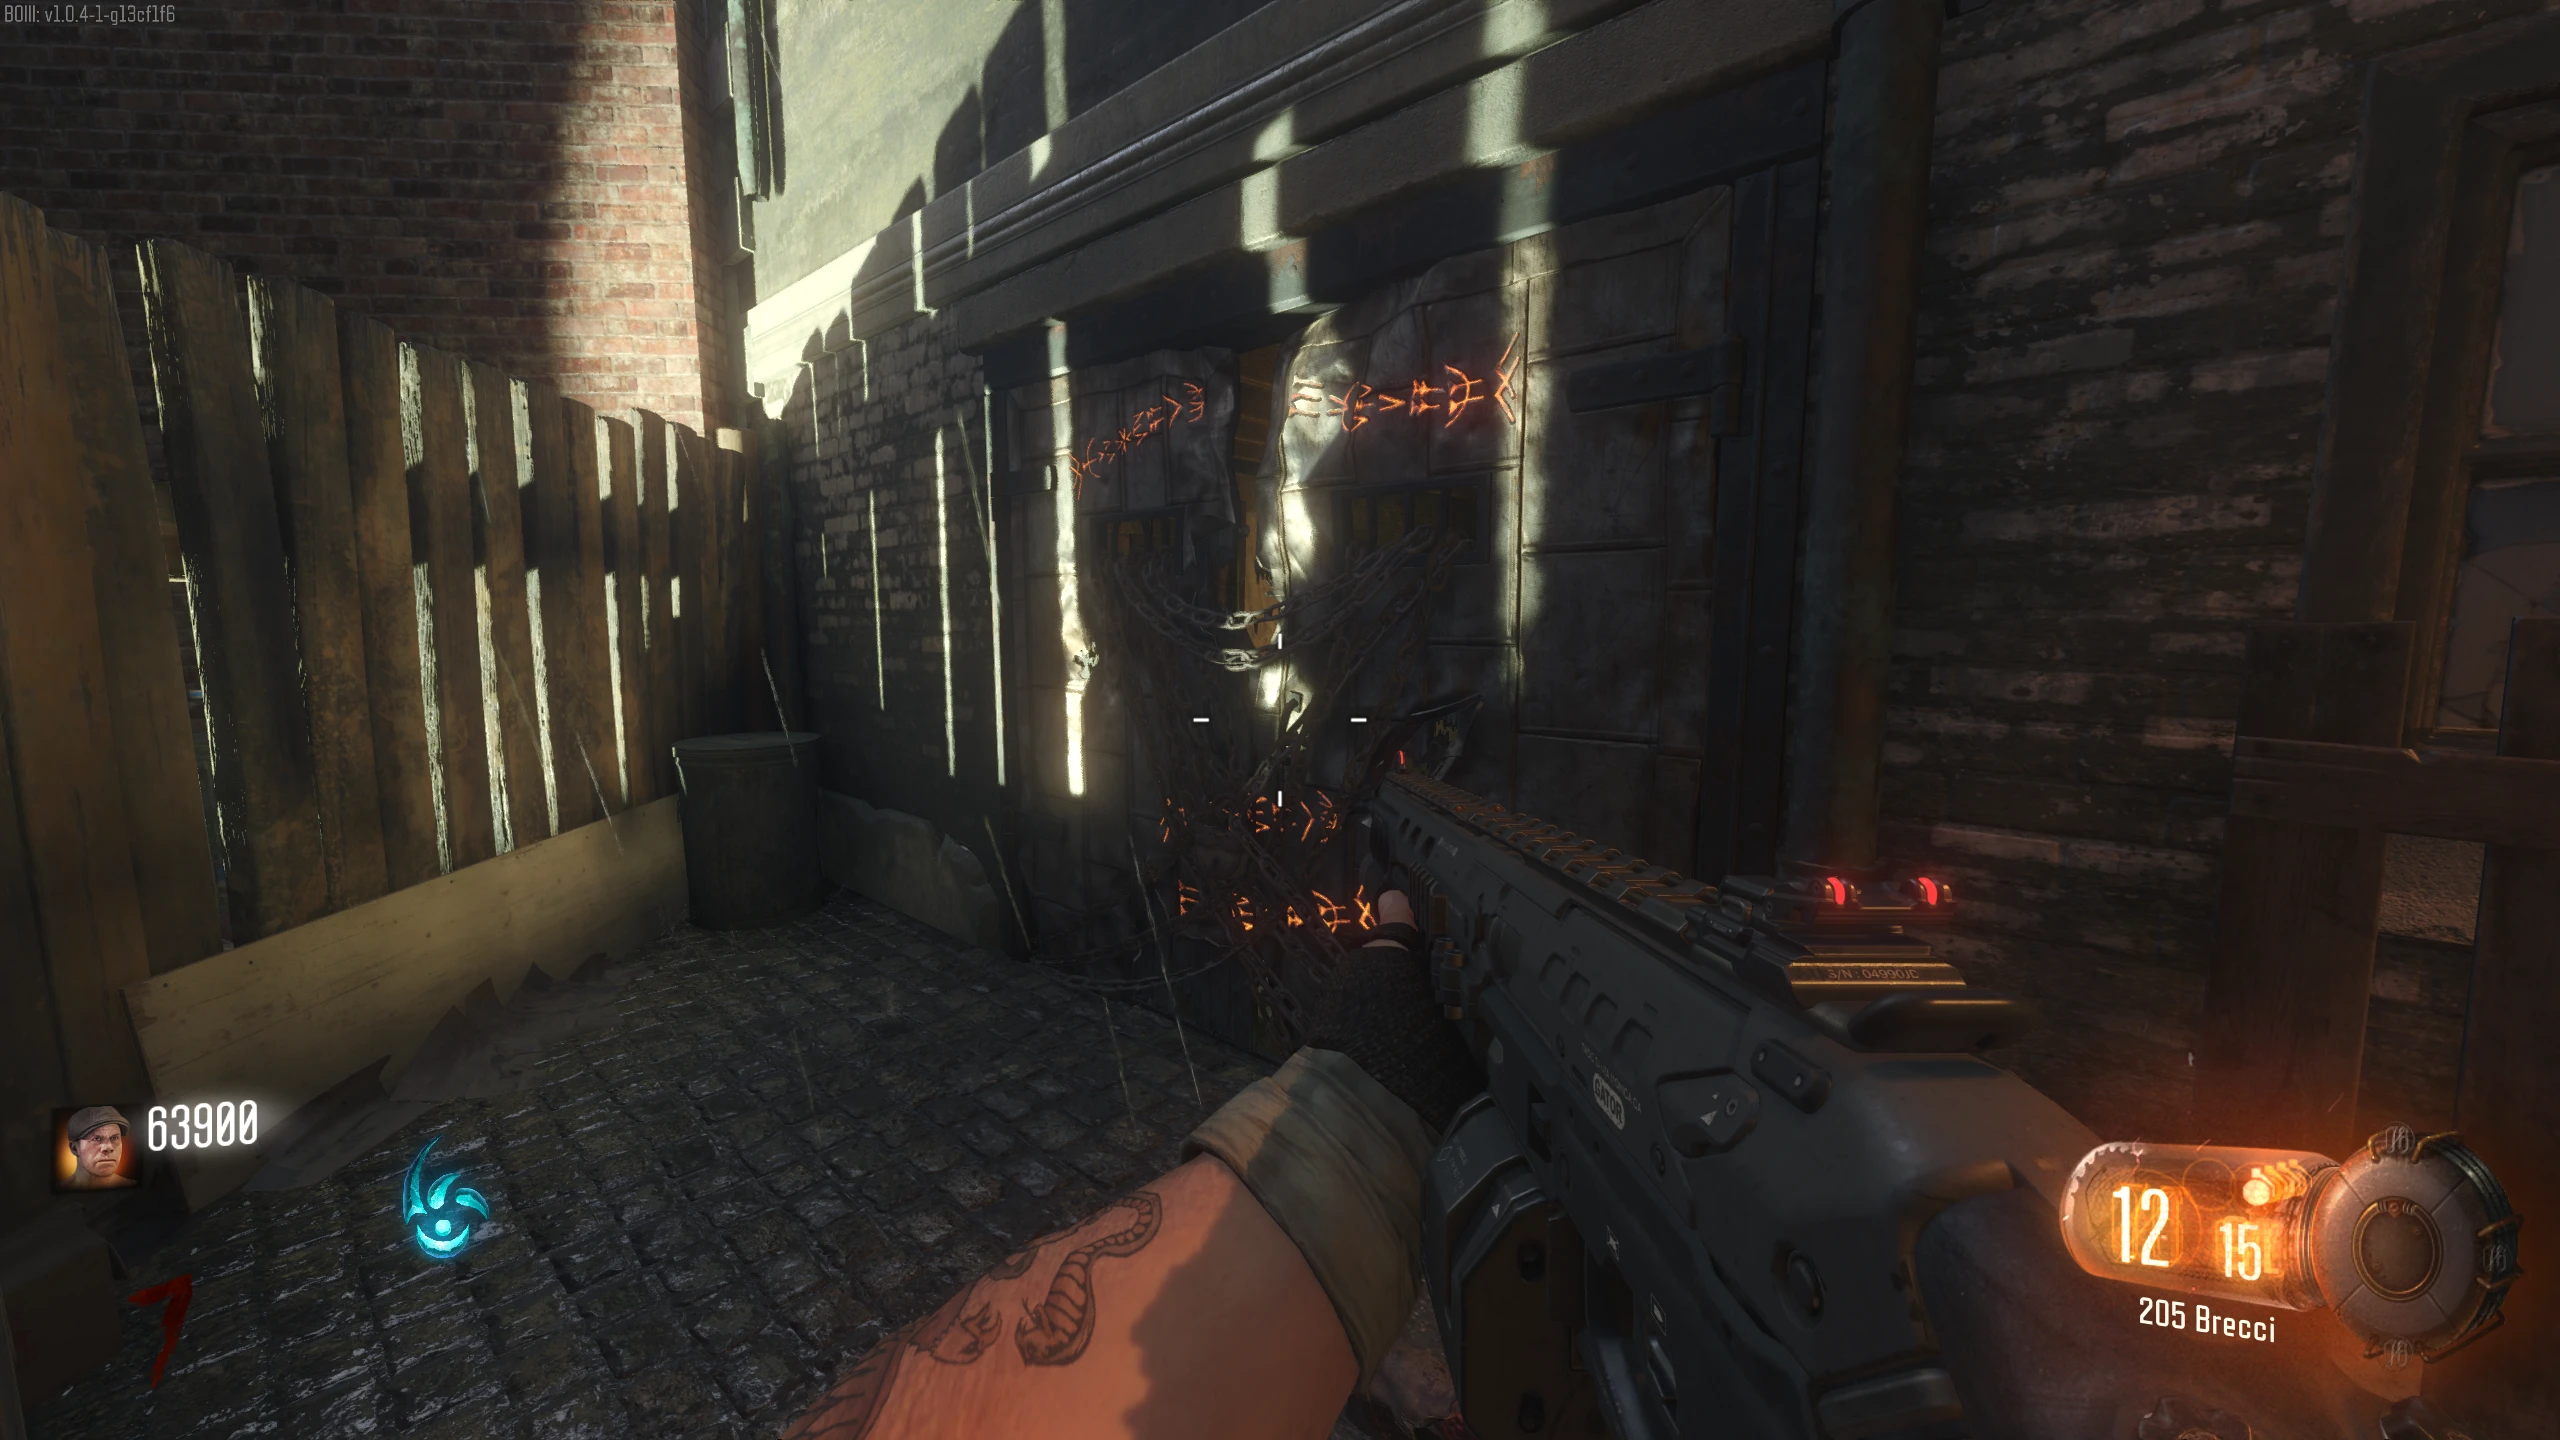
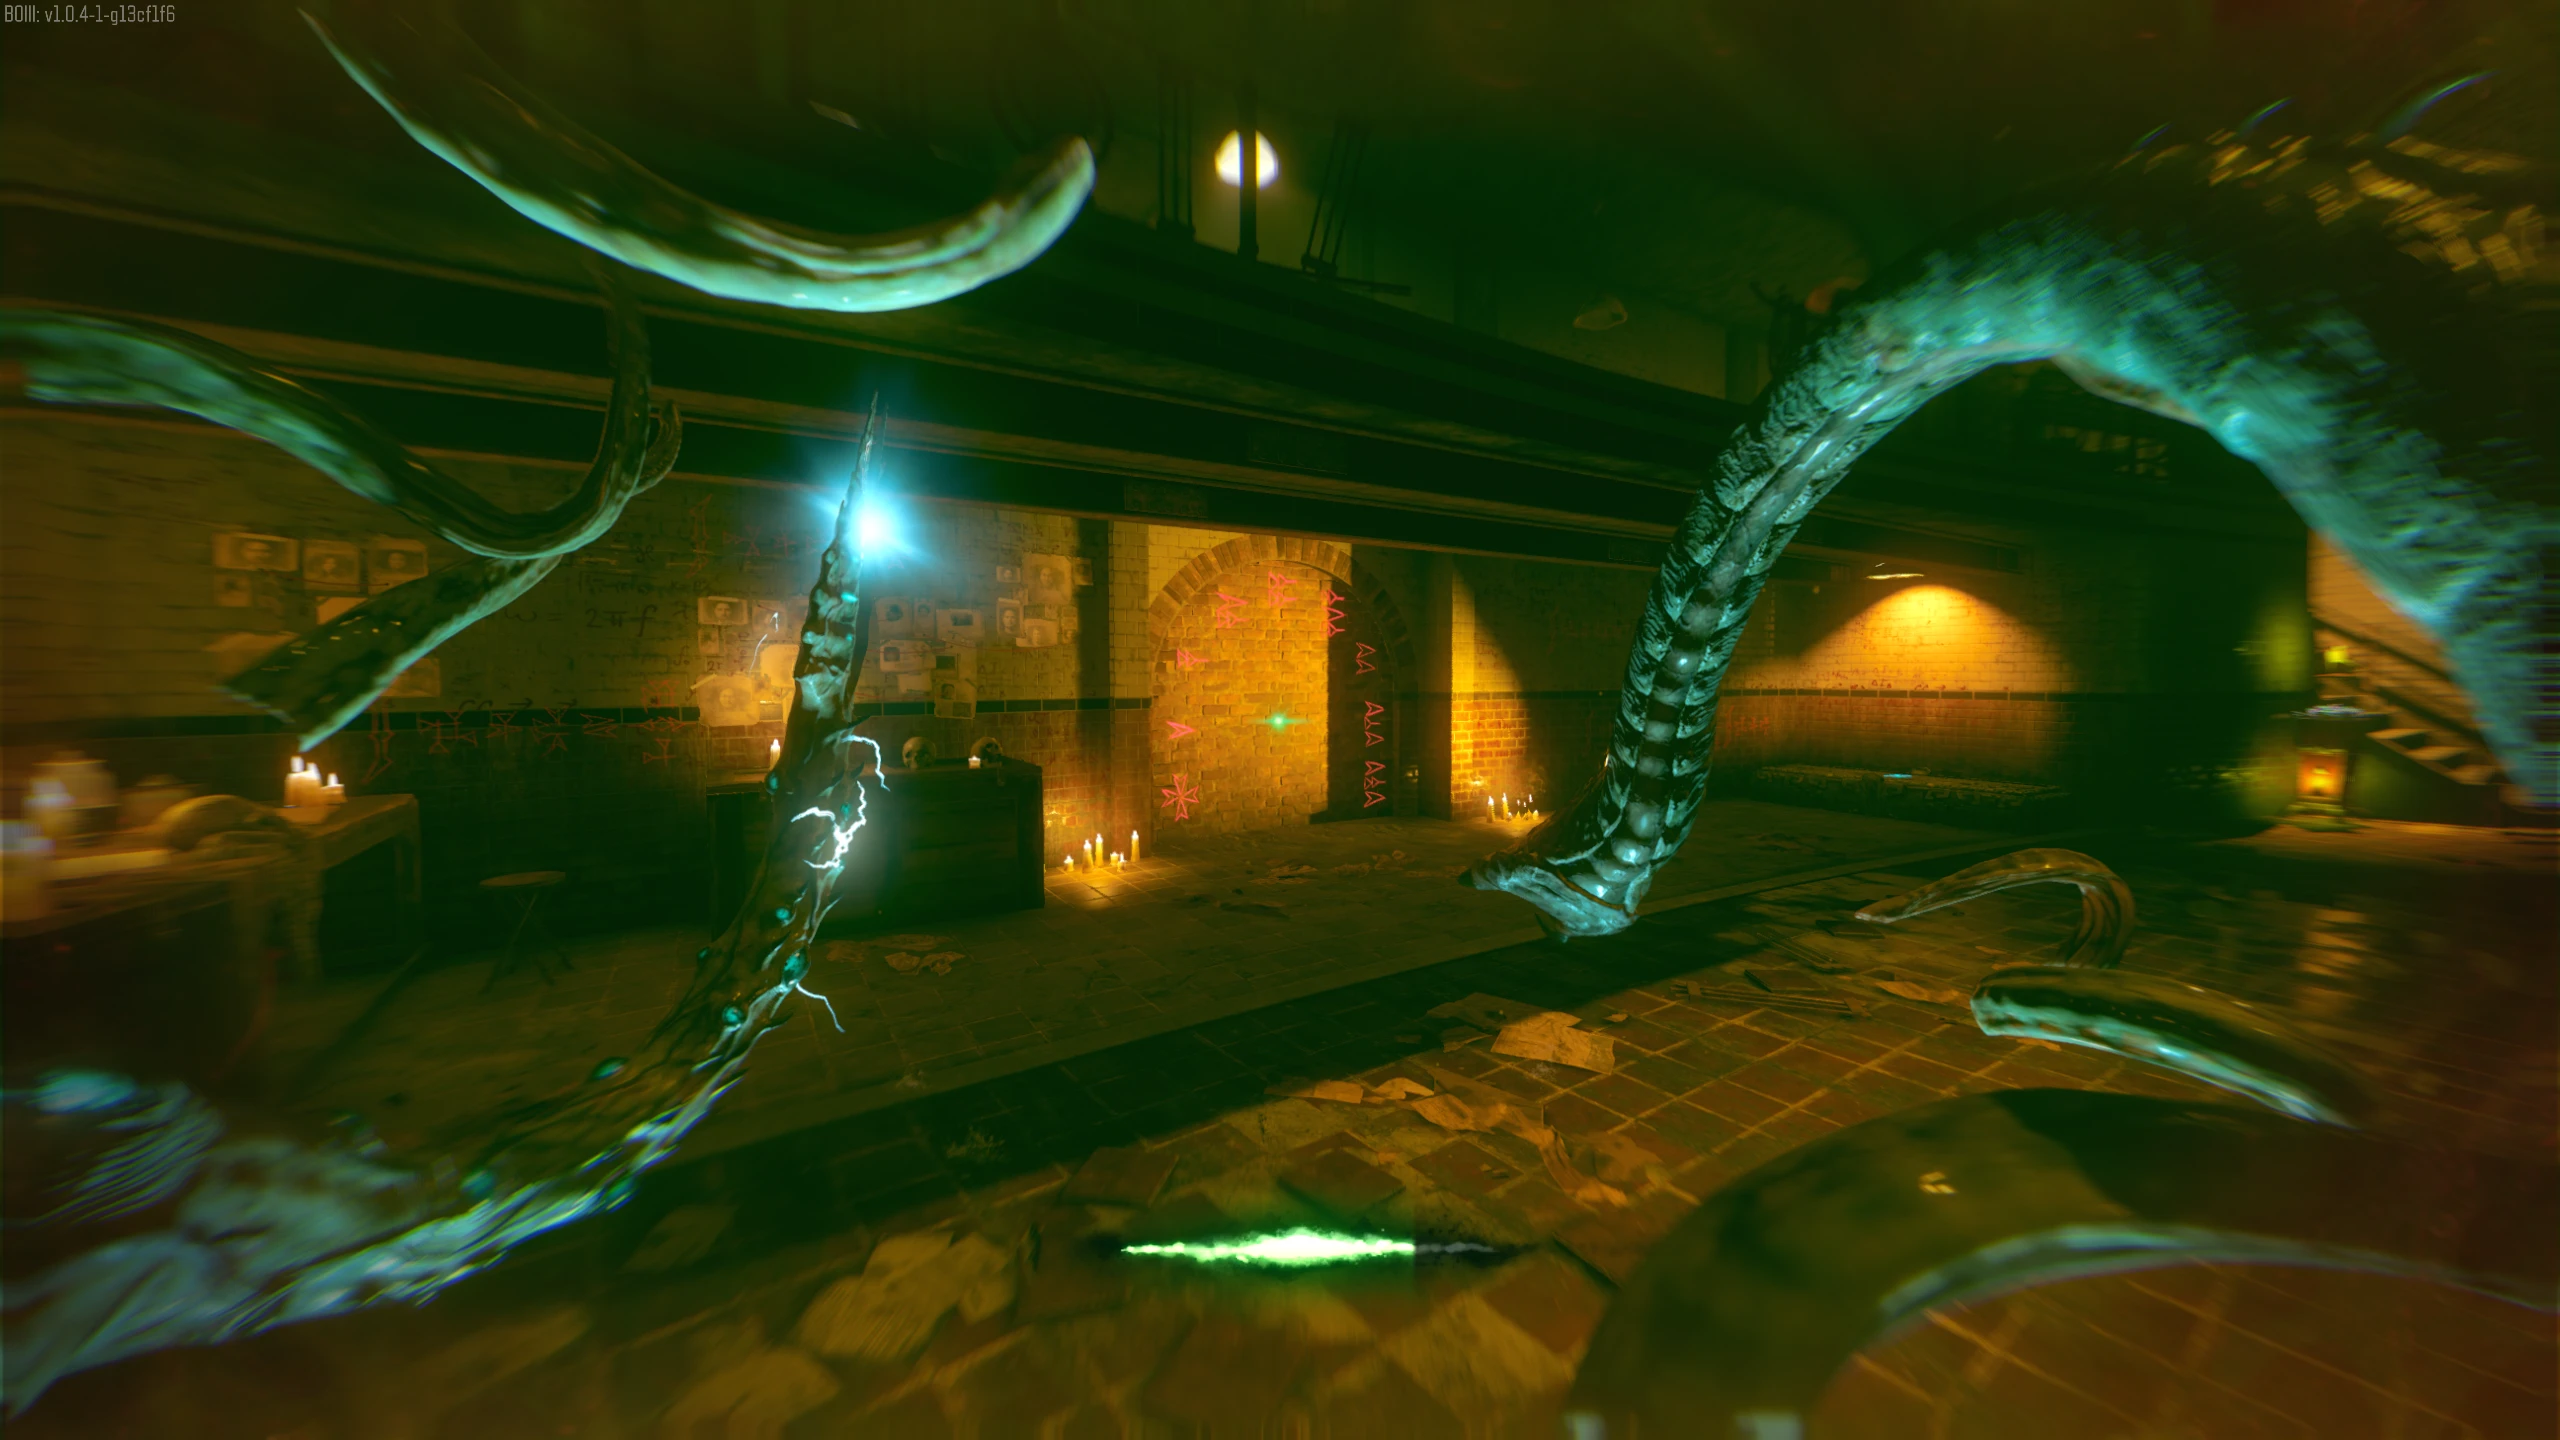
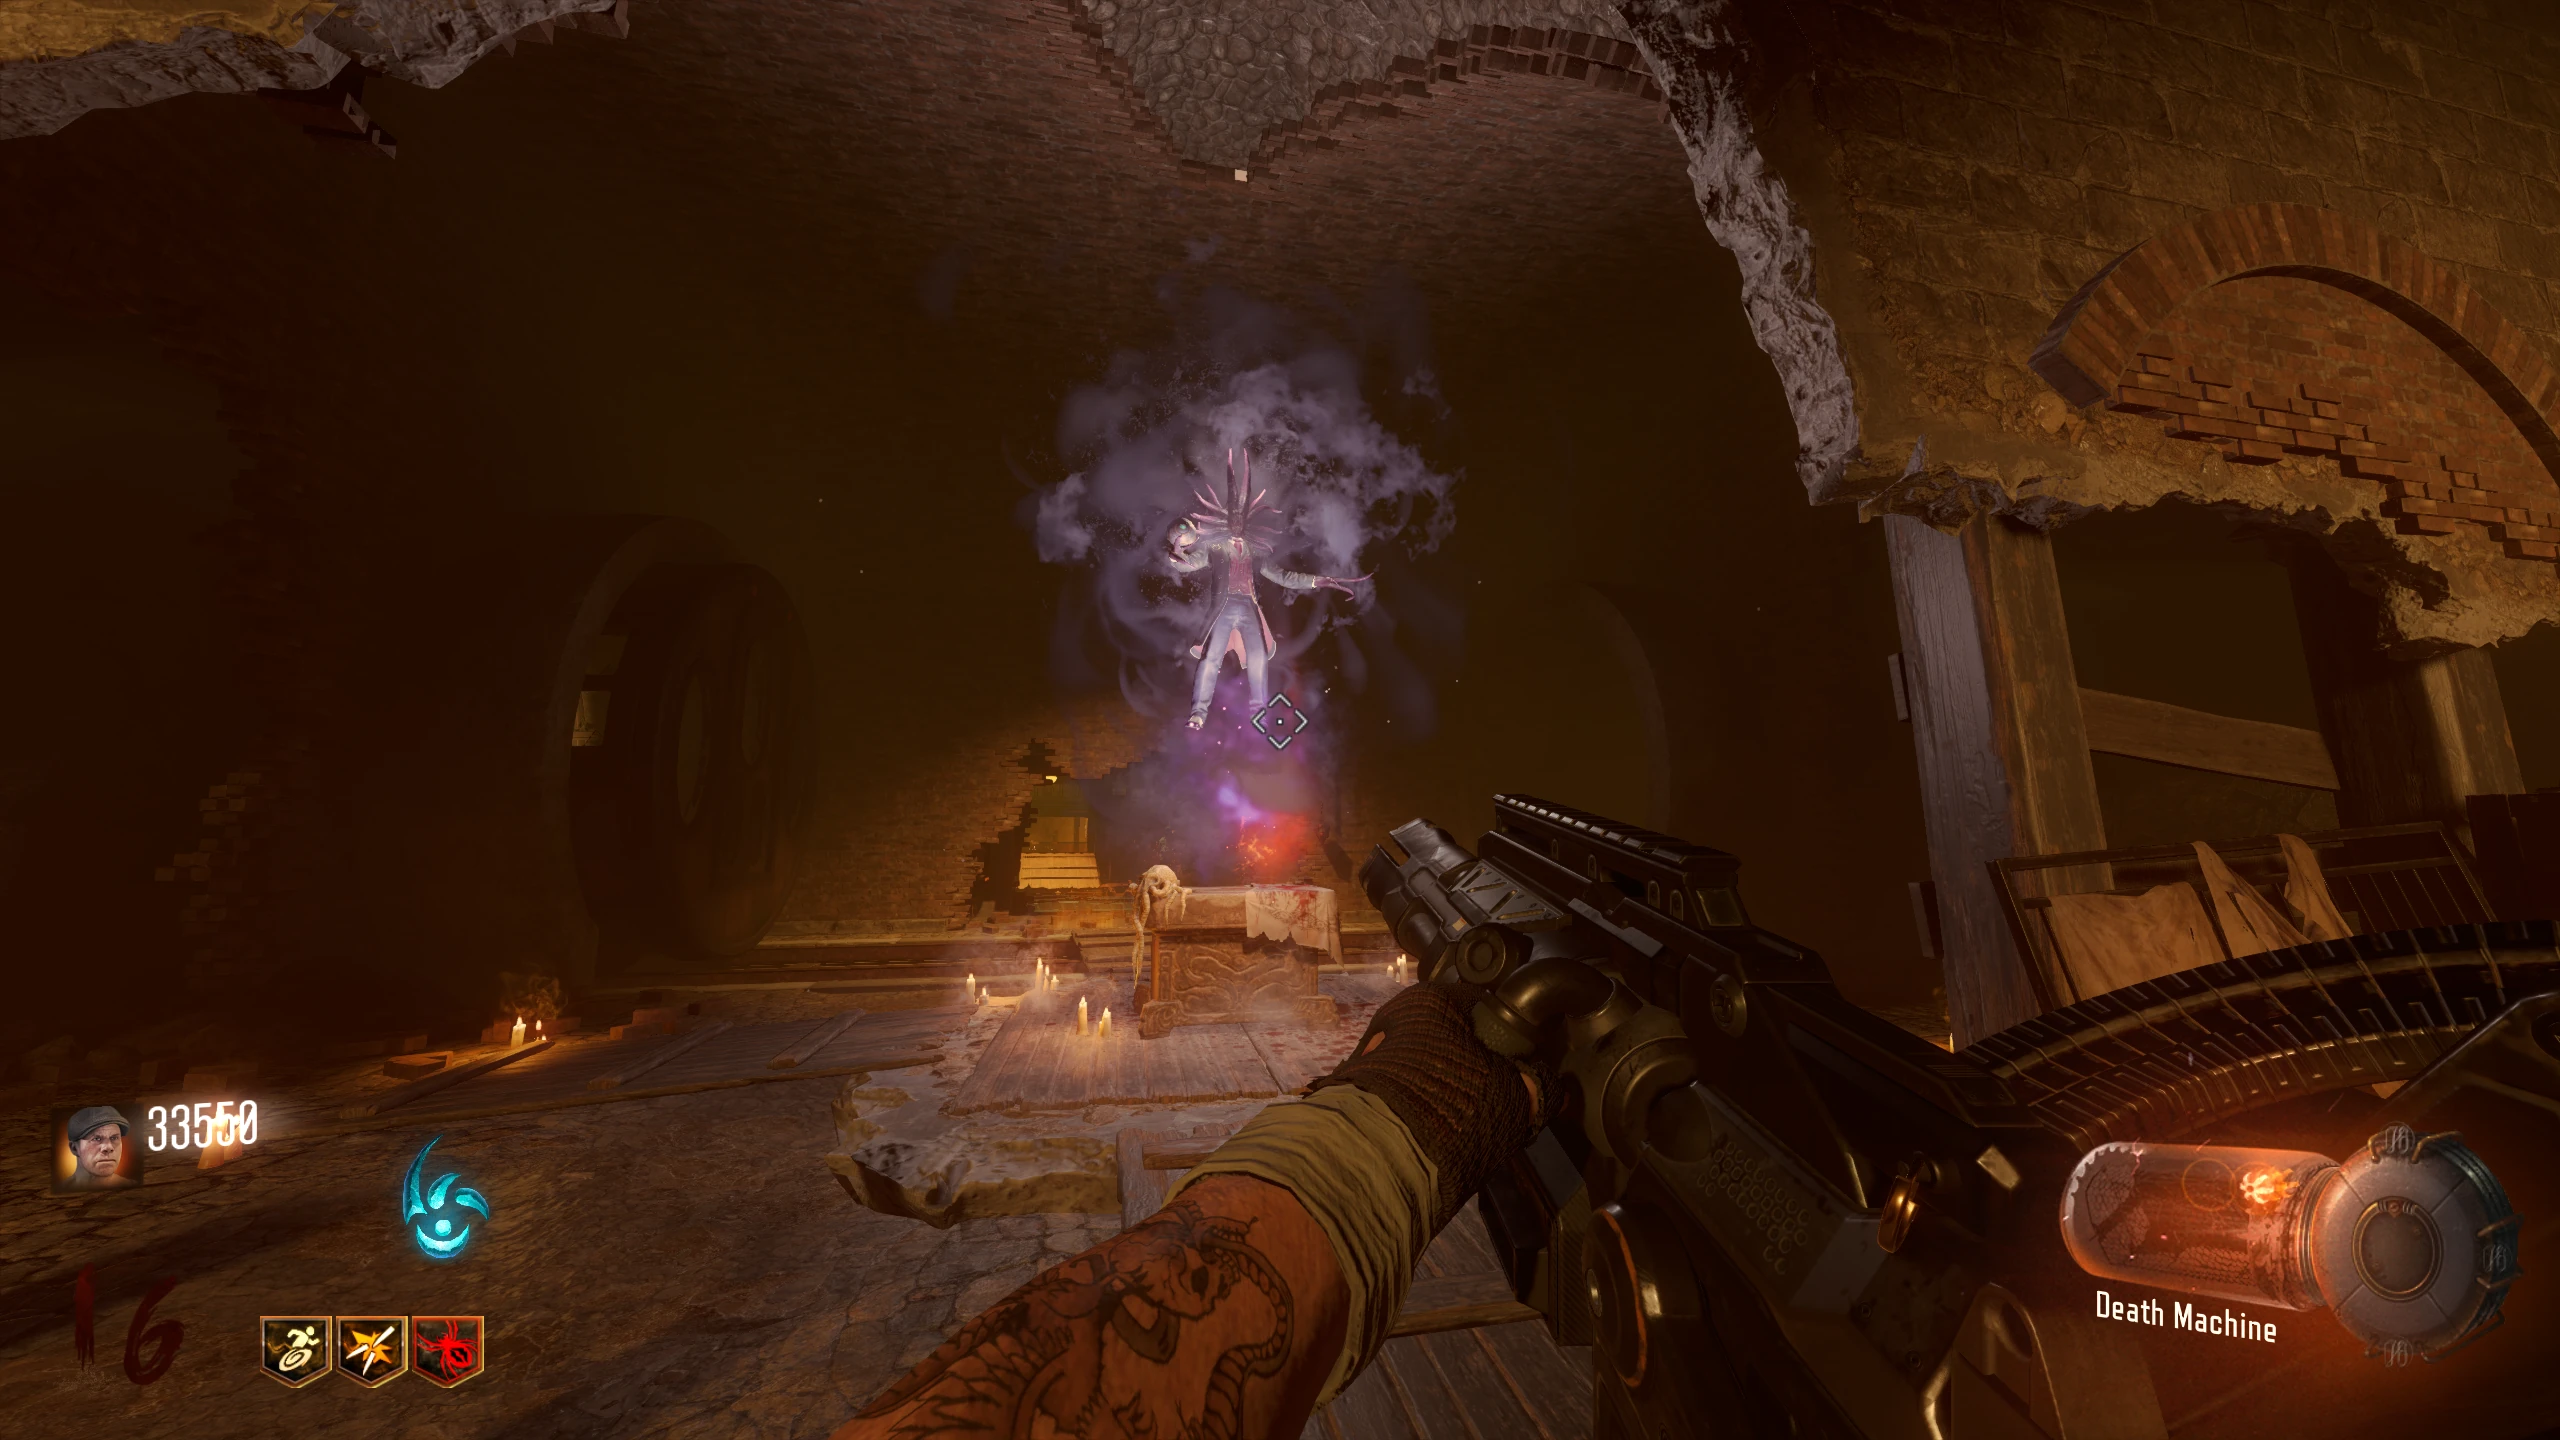
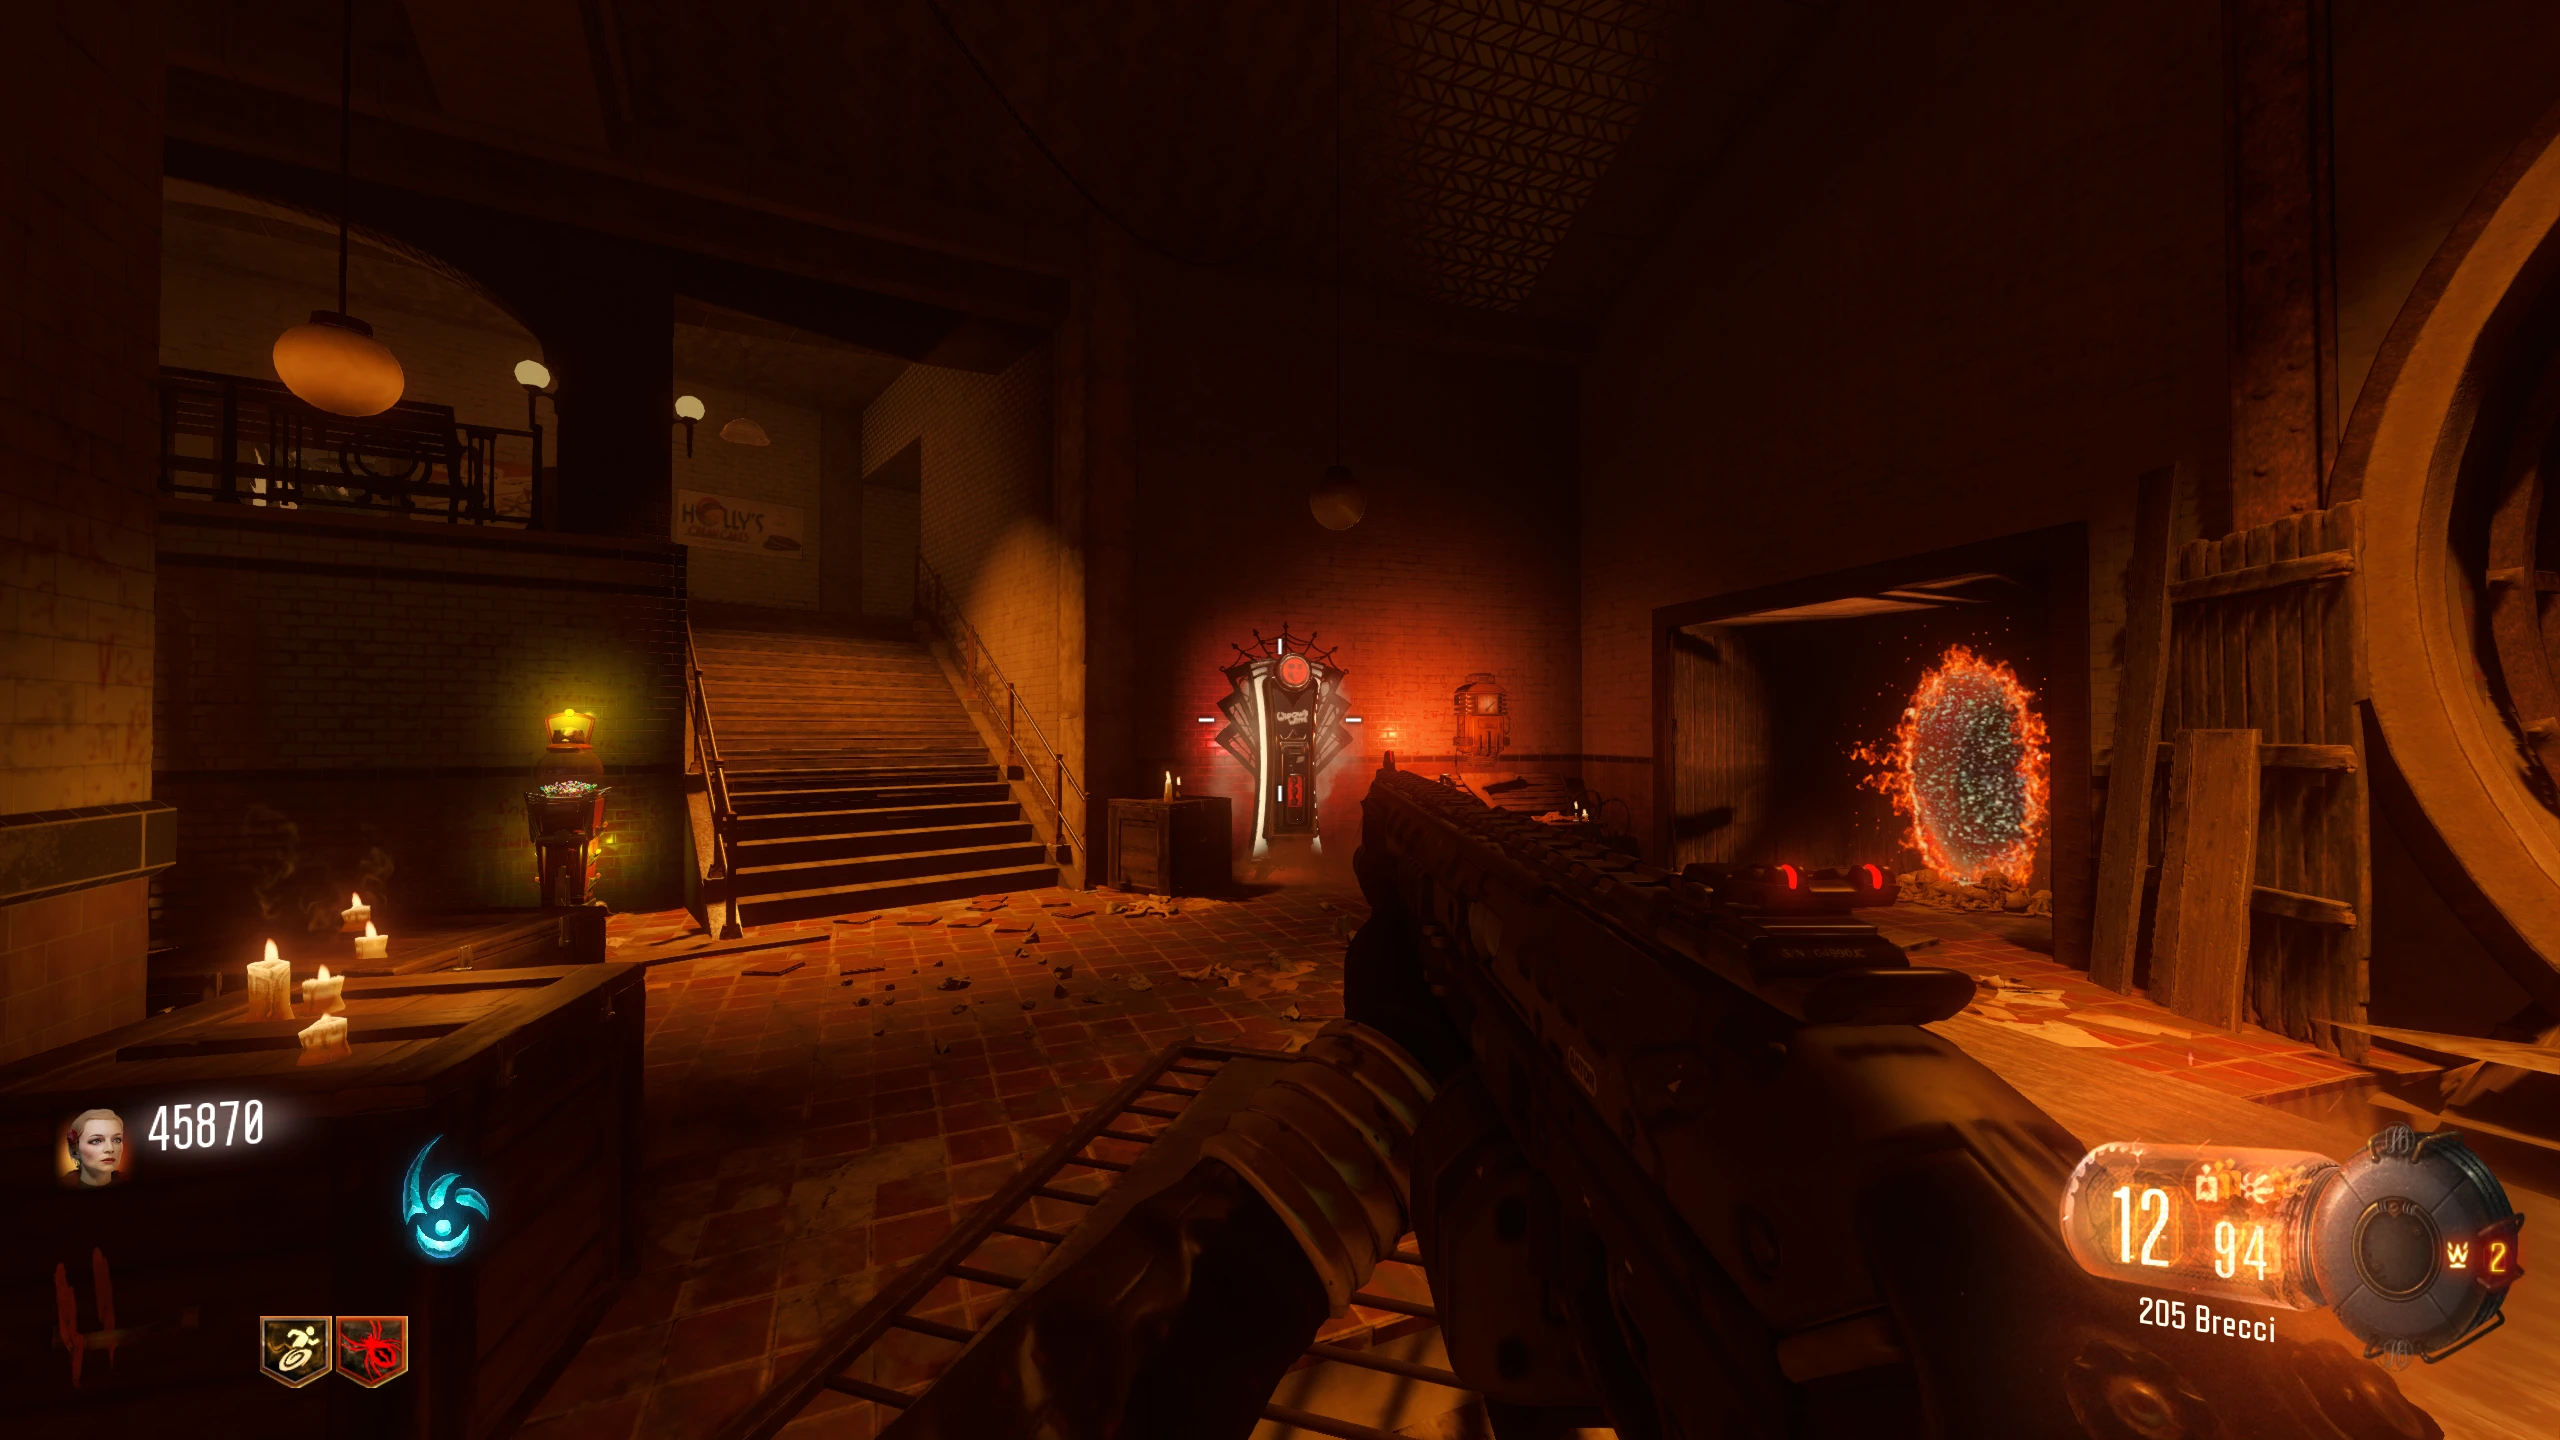
- Go up to the wall with the glowing symbols; it should dissolve, revealing a large ritual room.
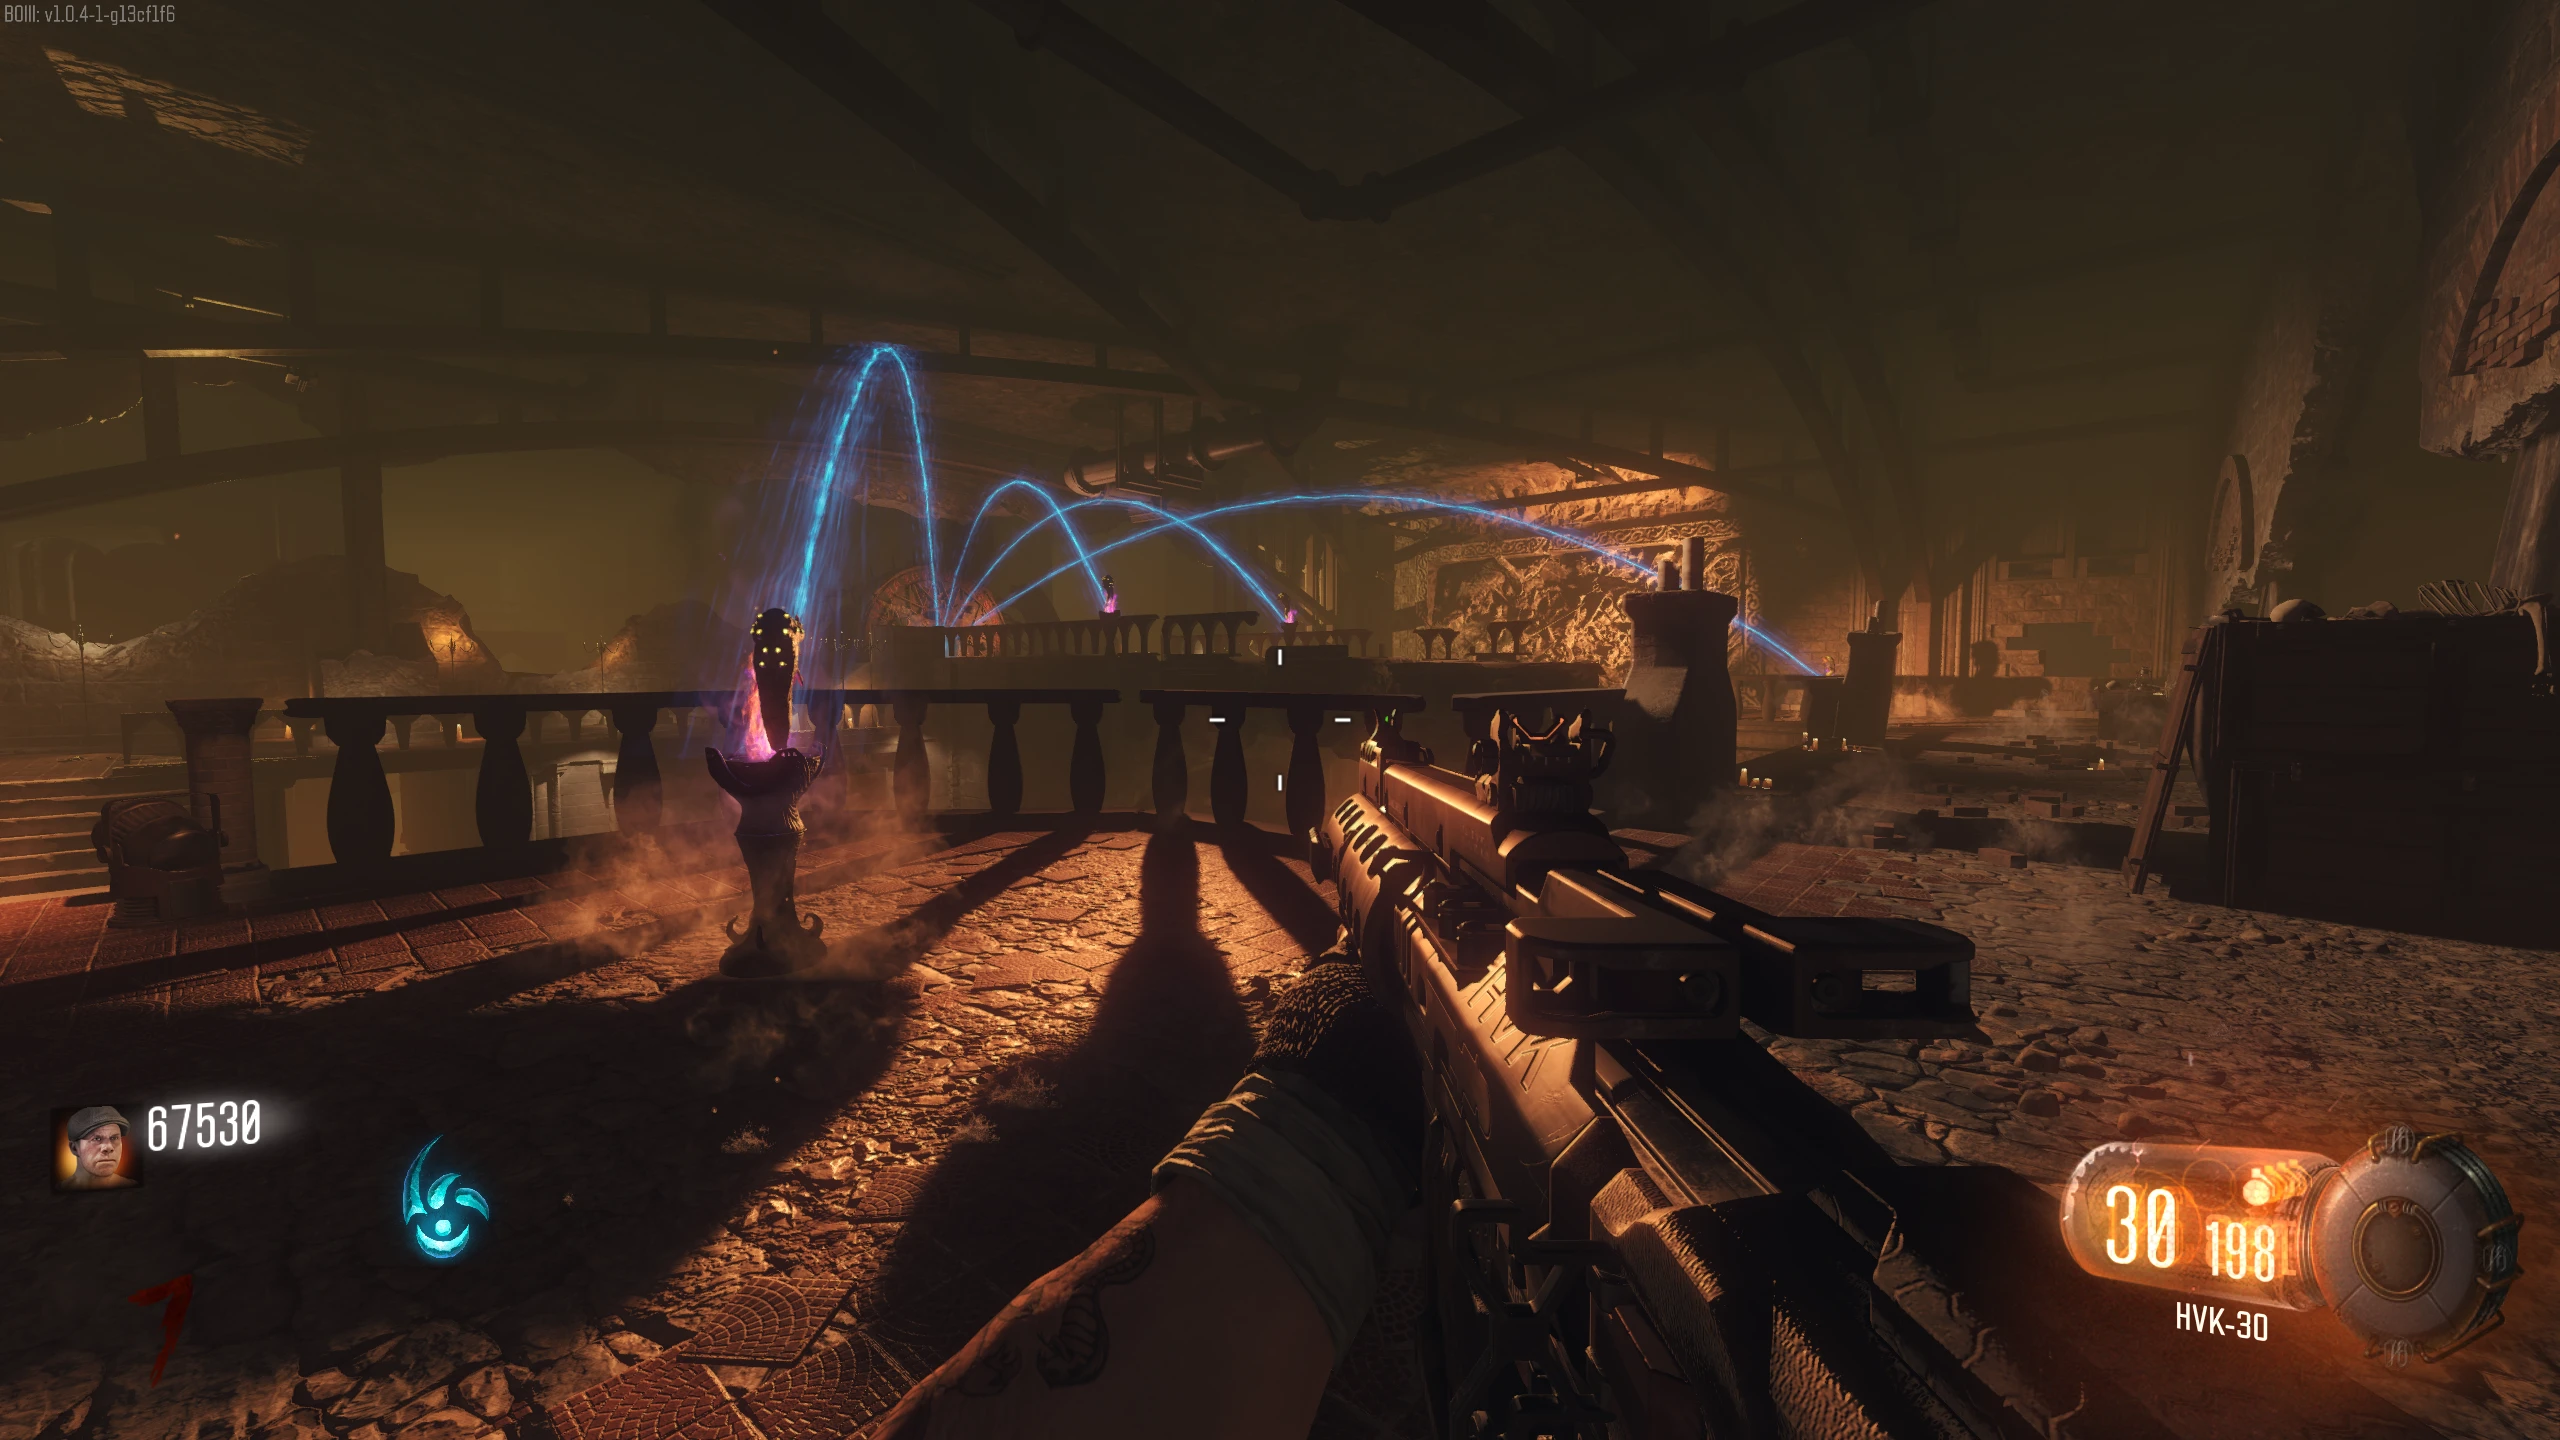
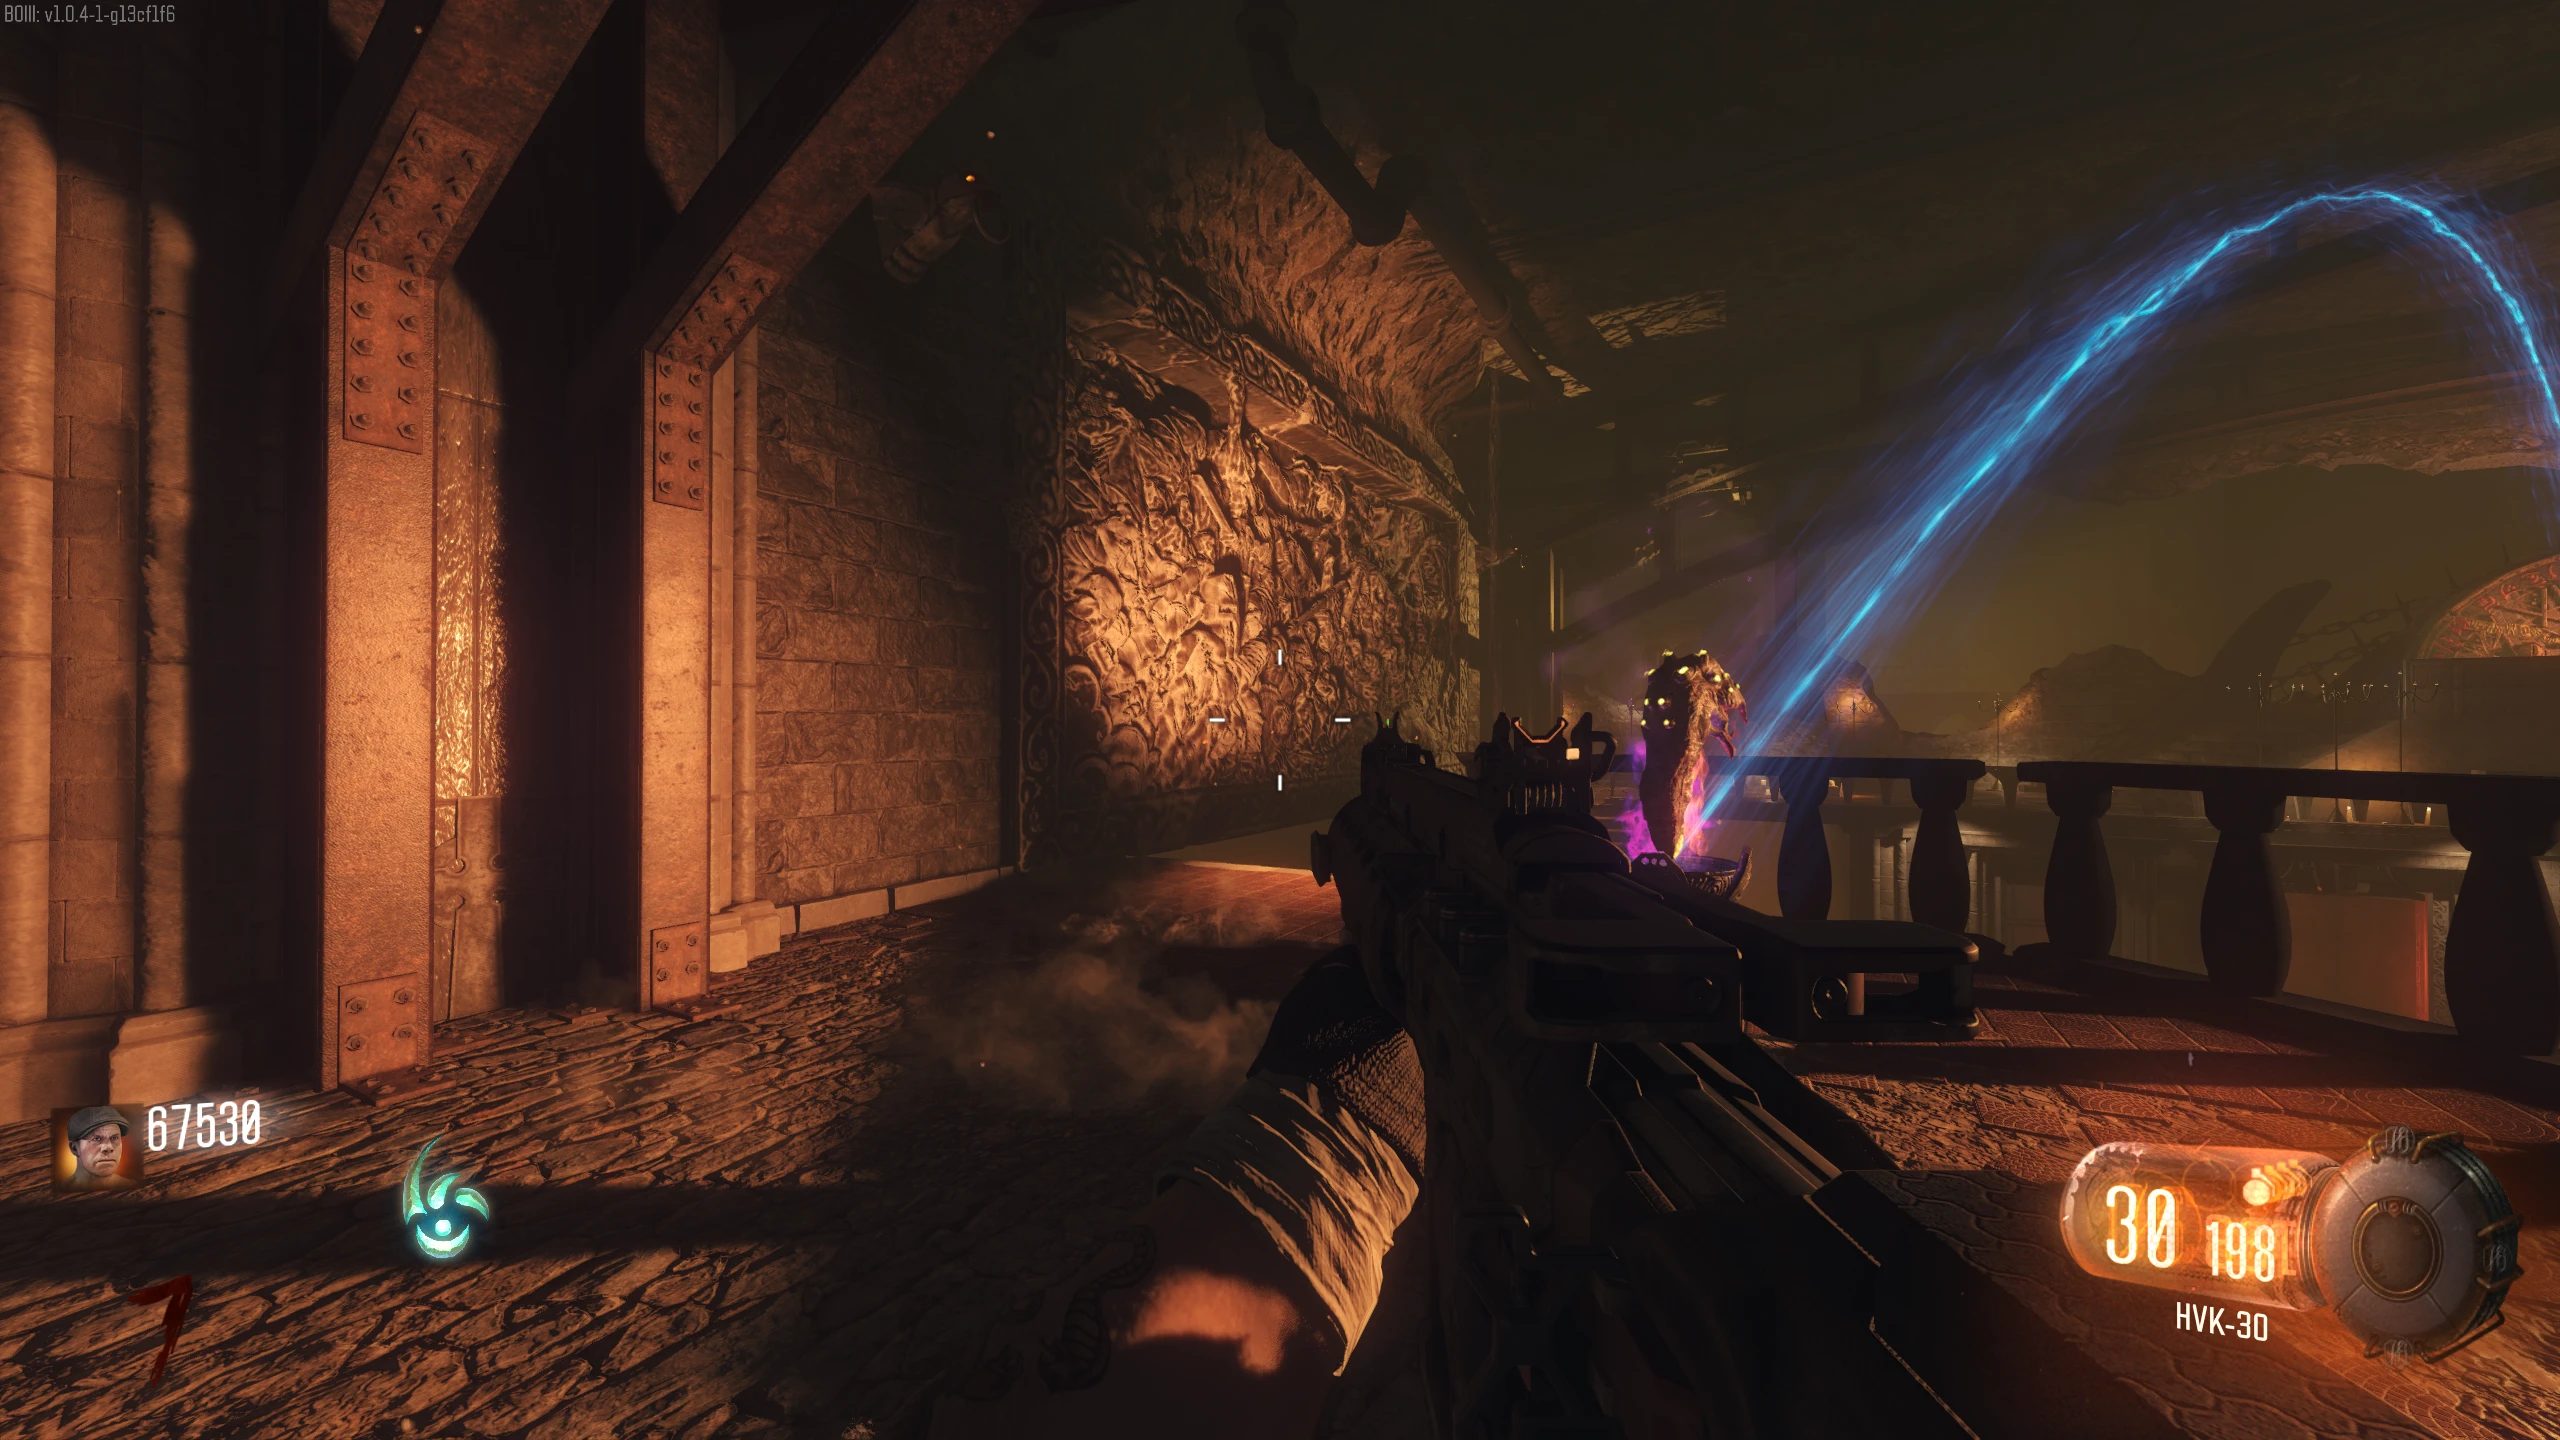
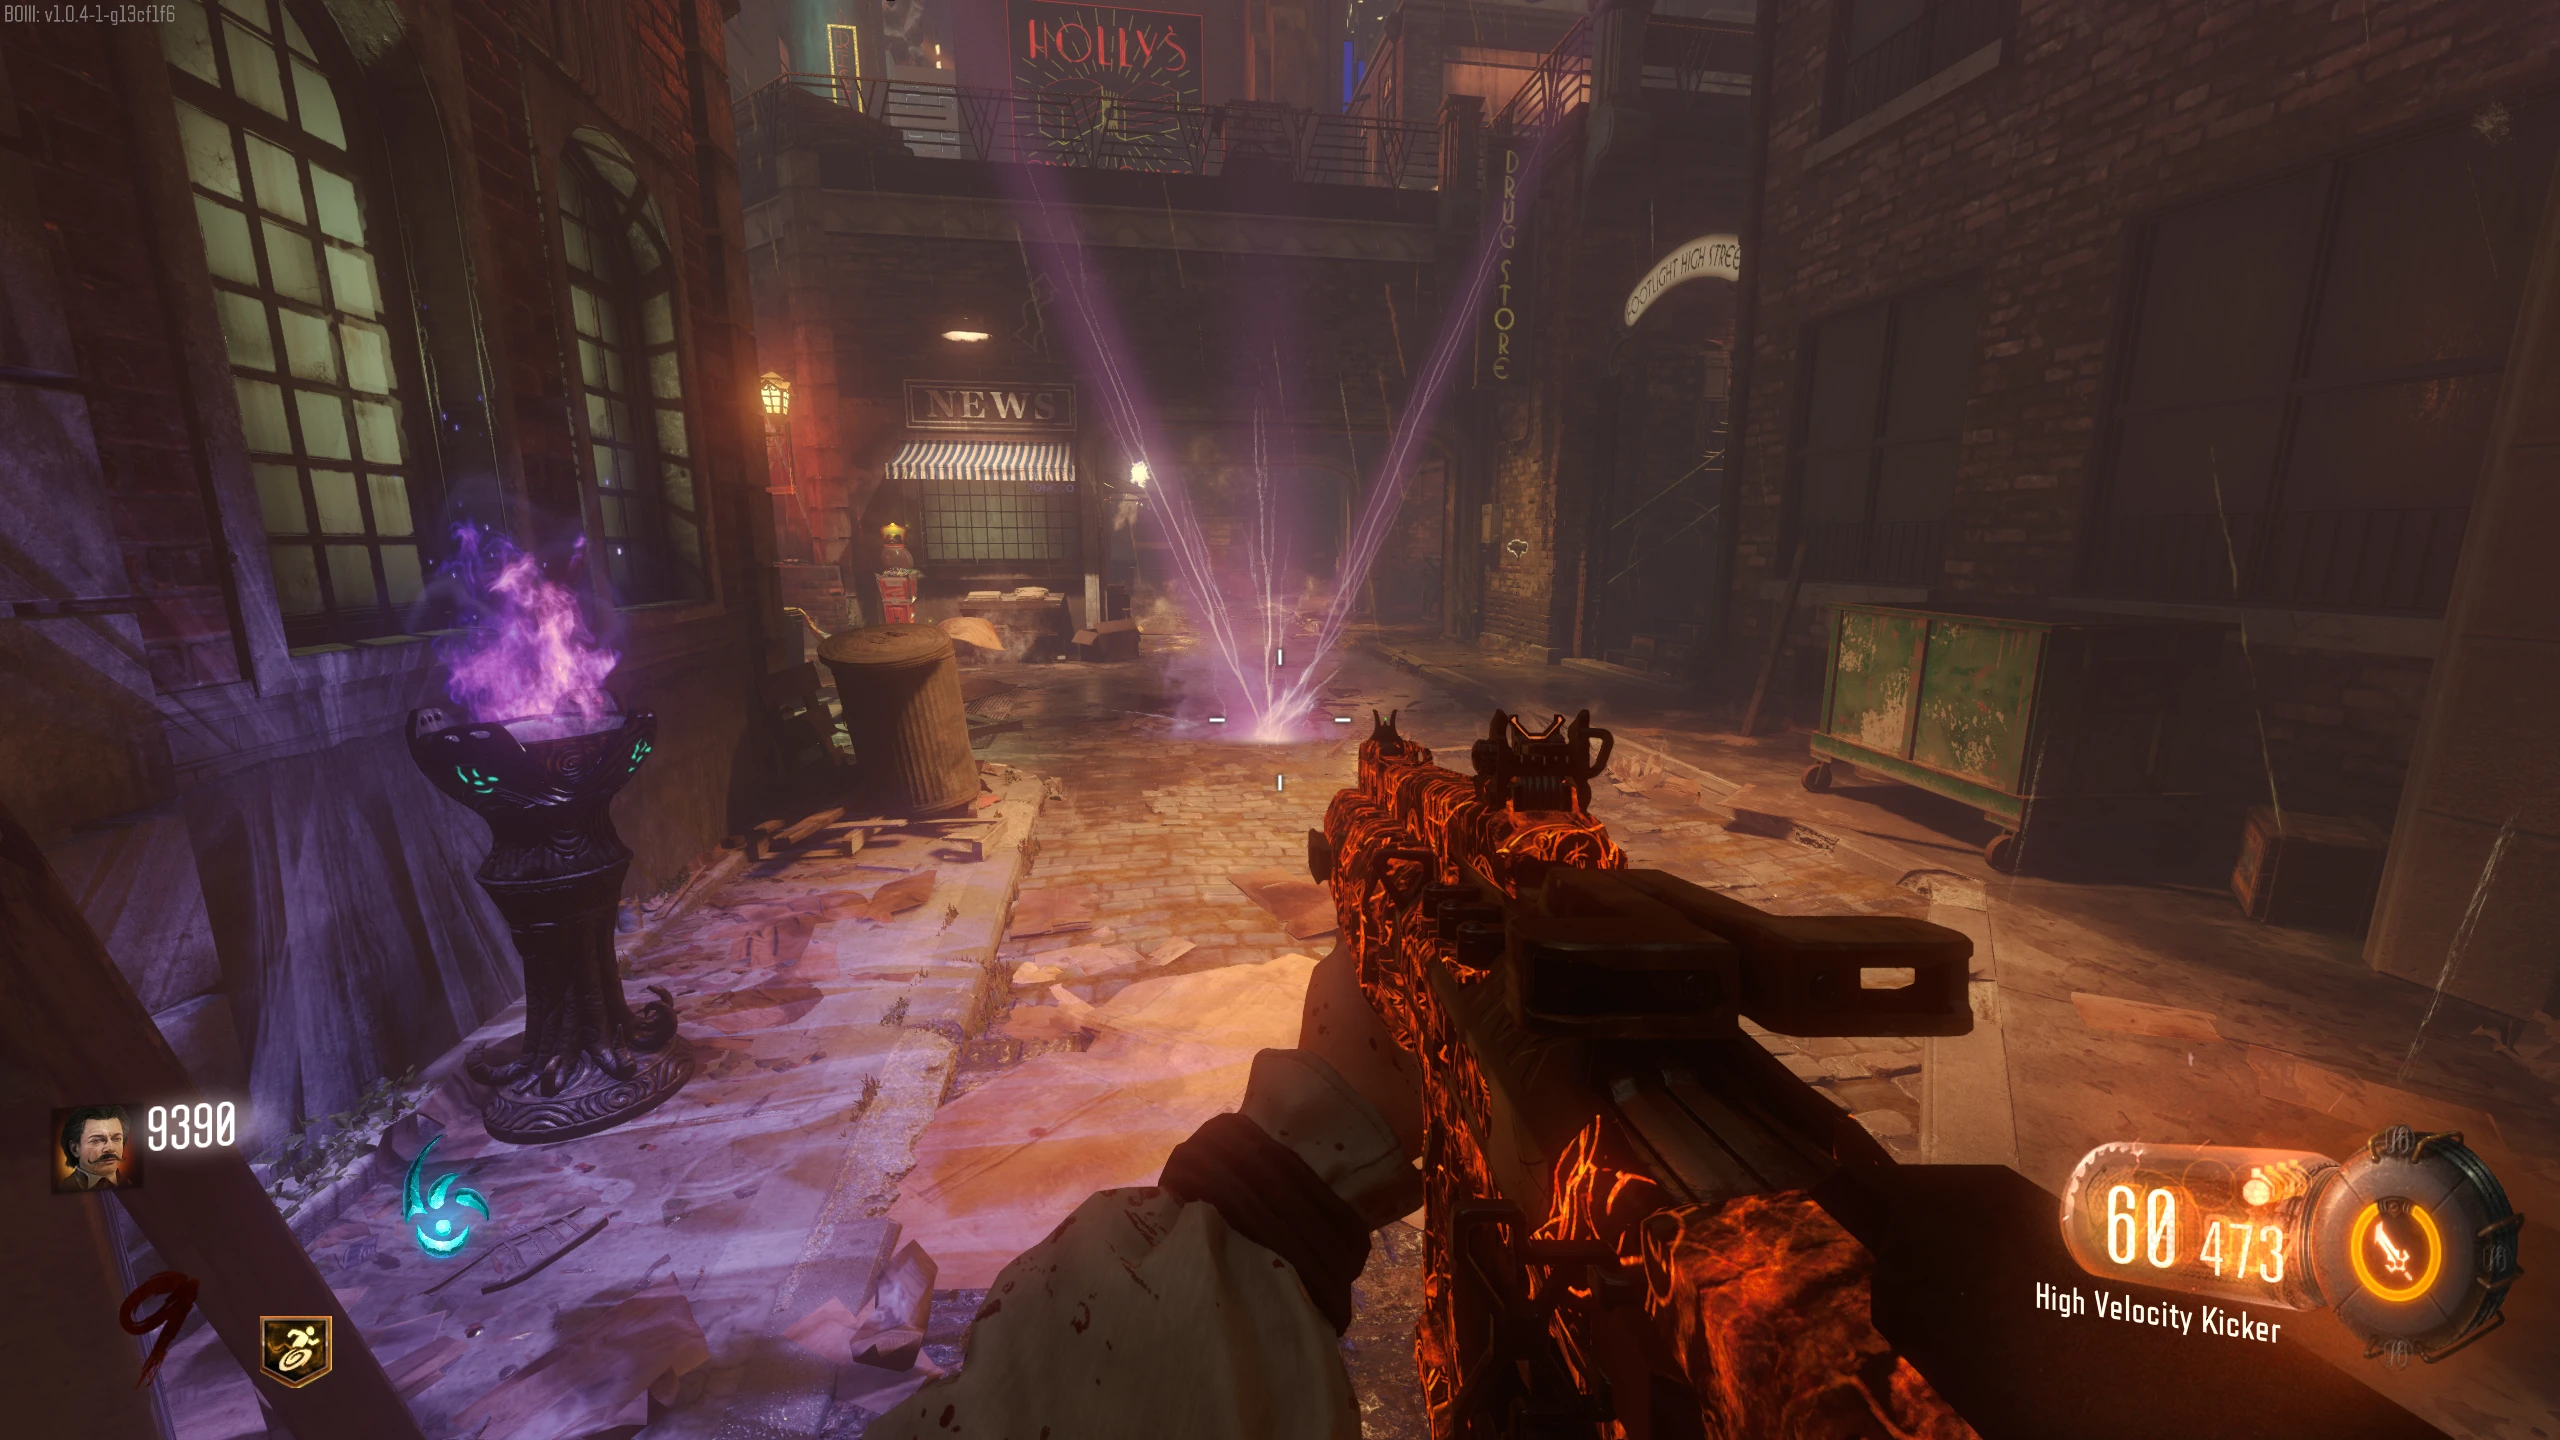
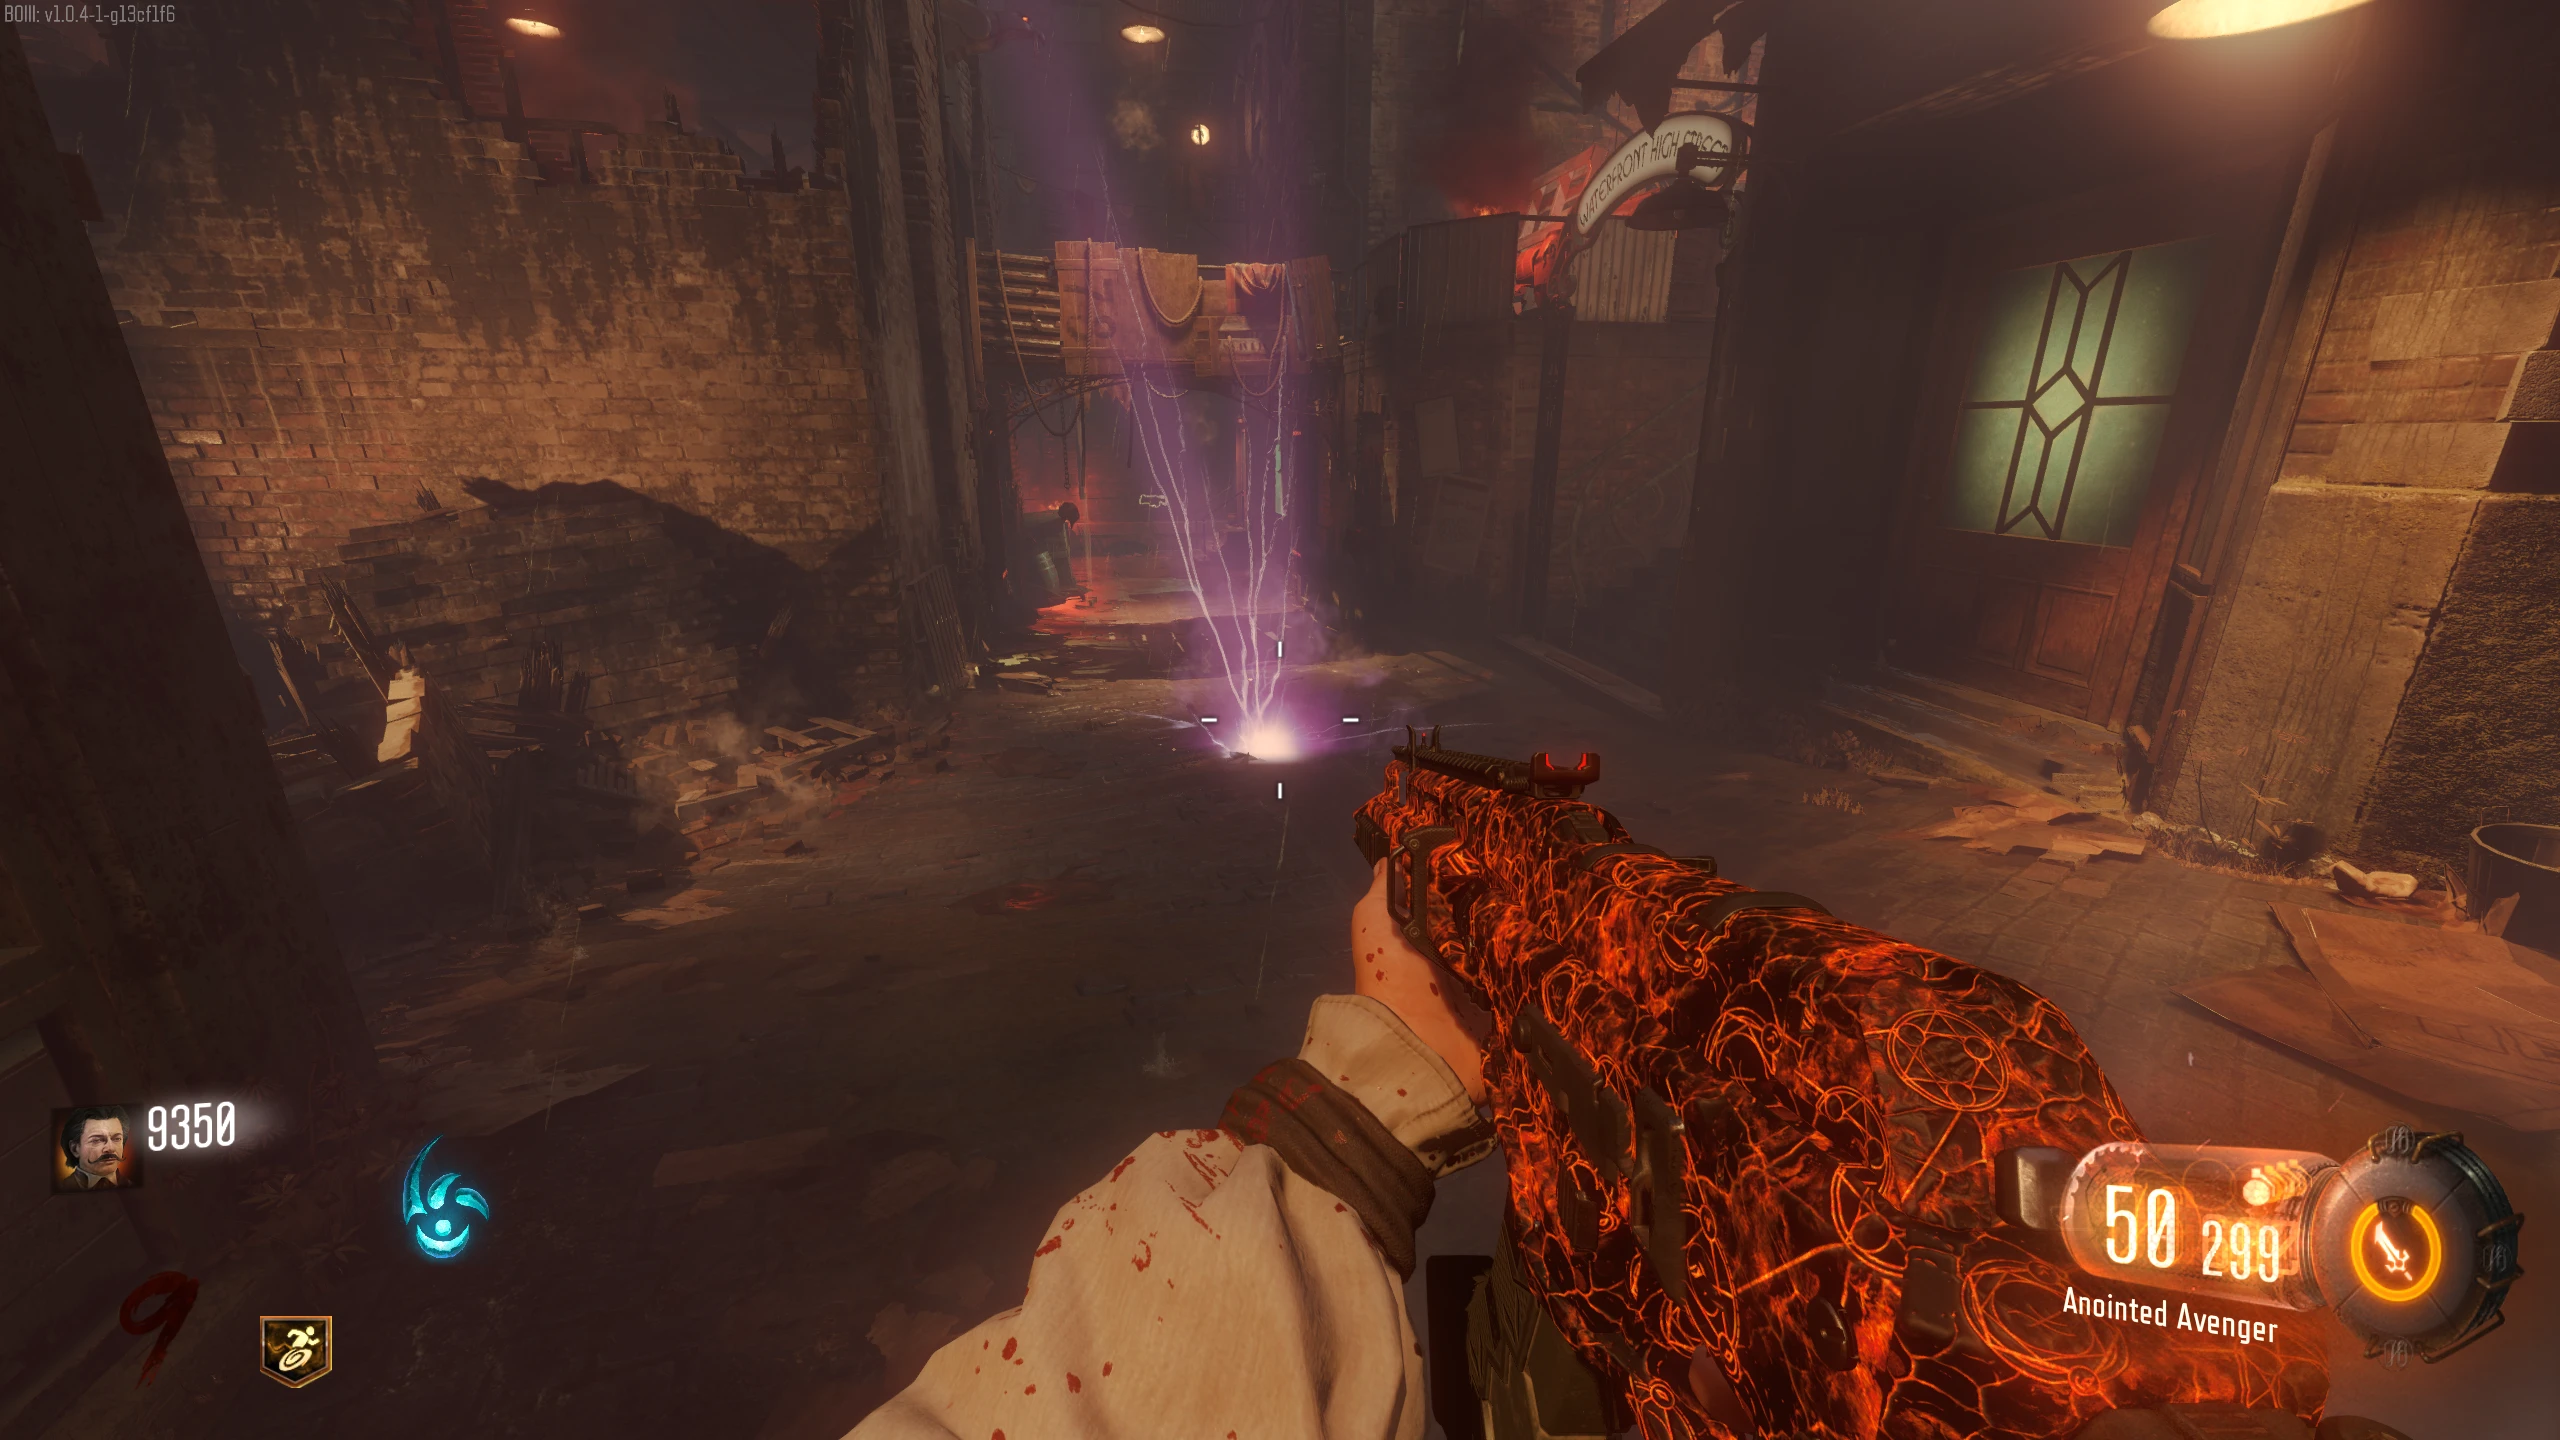
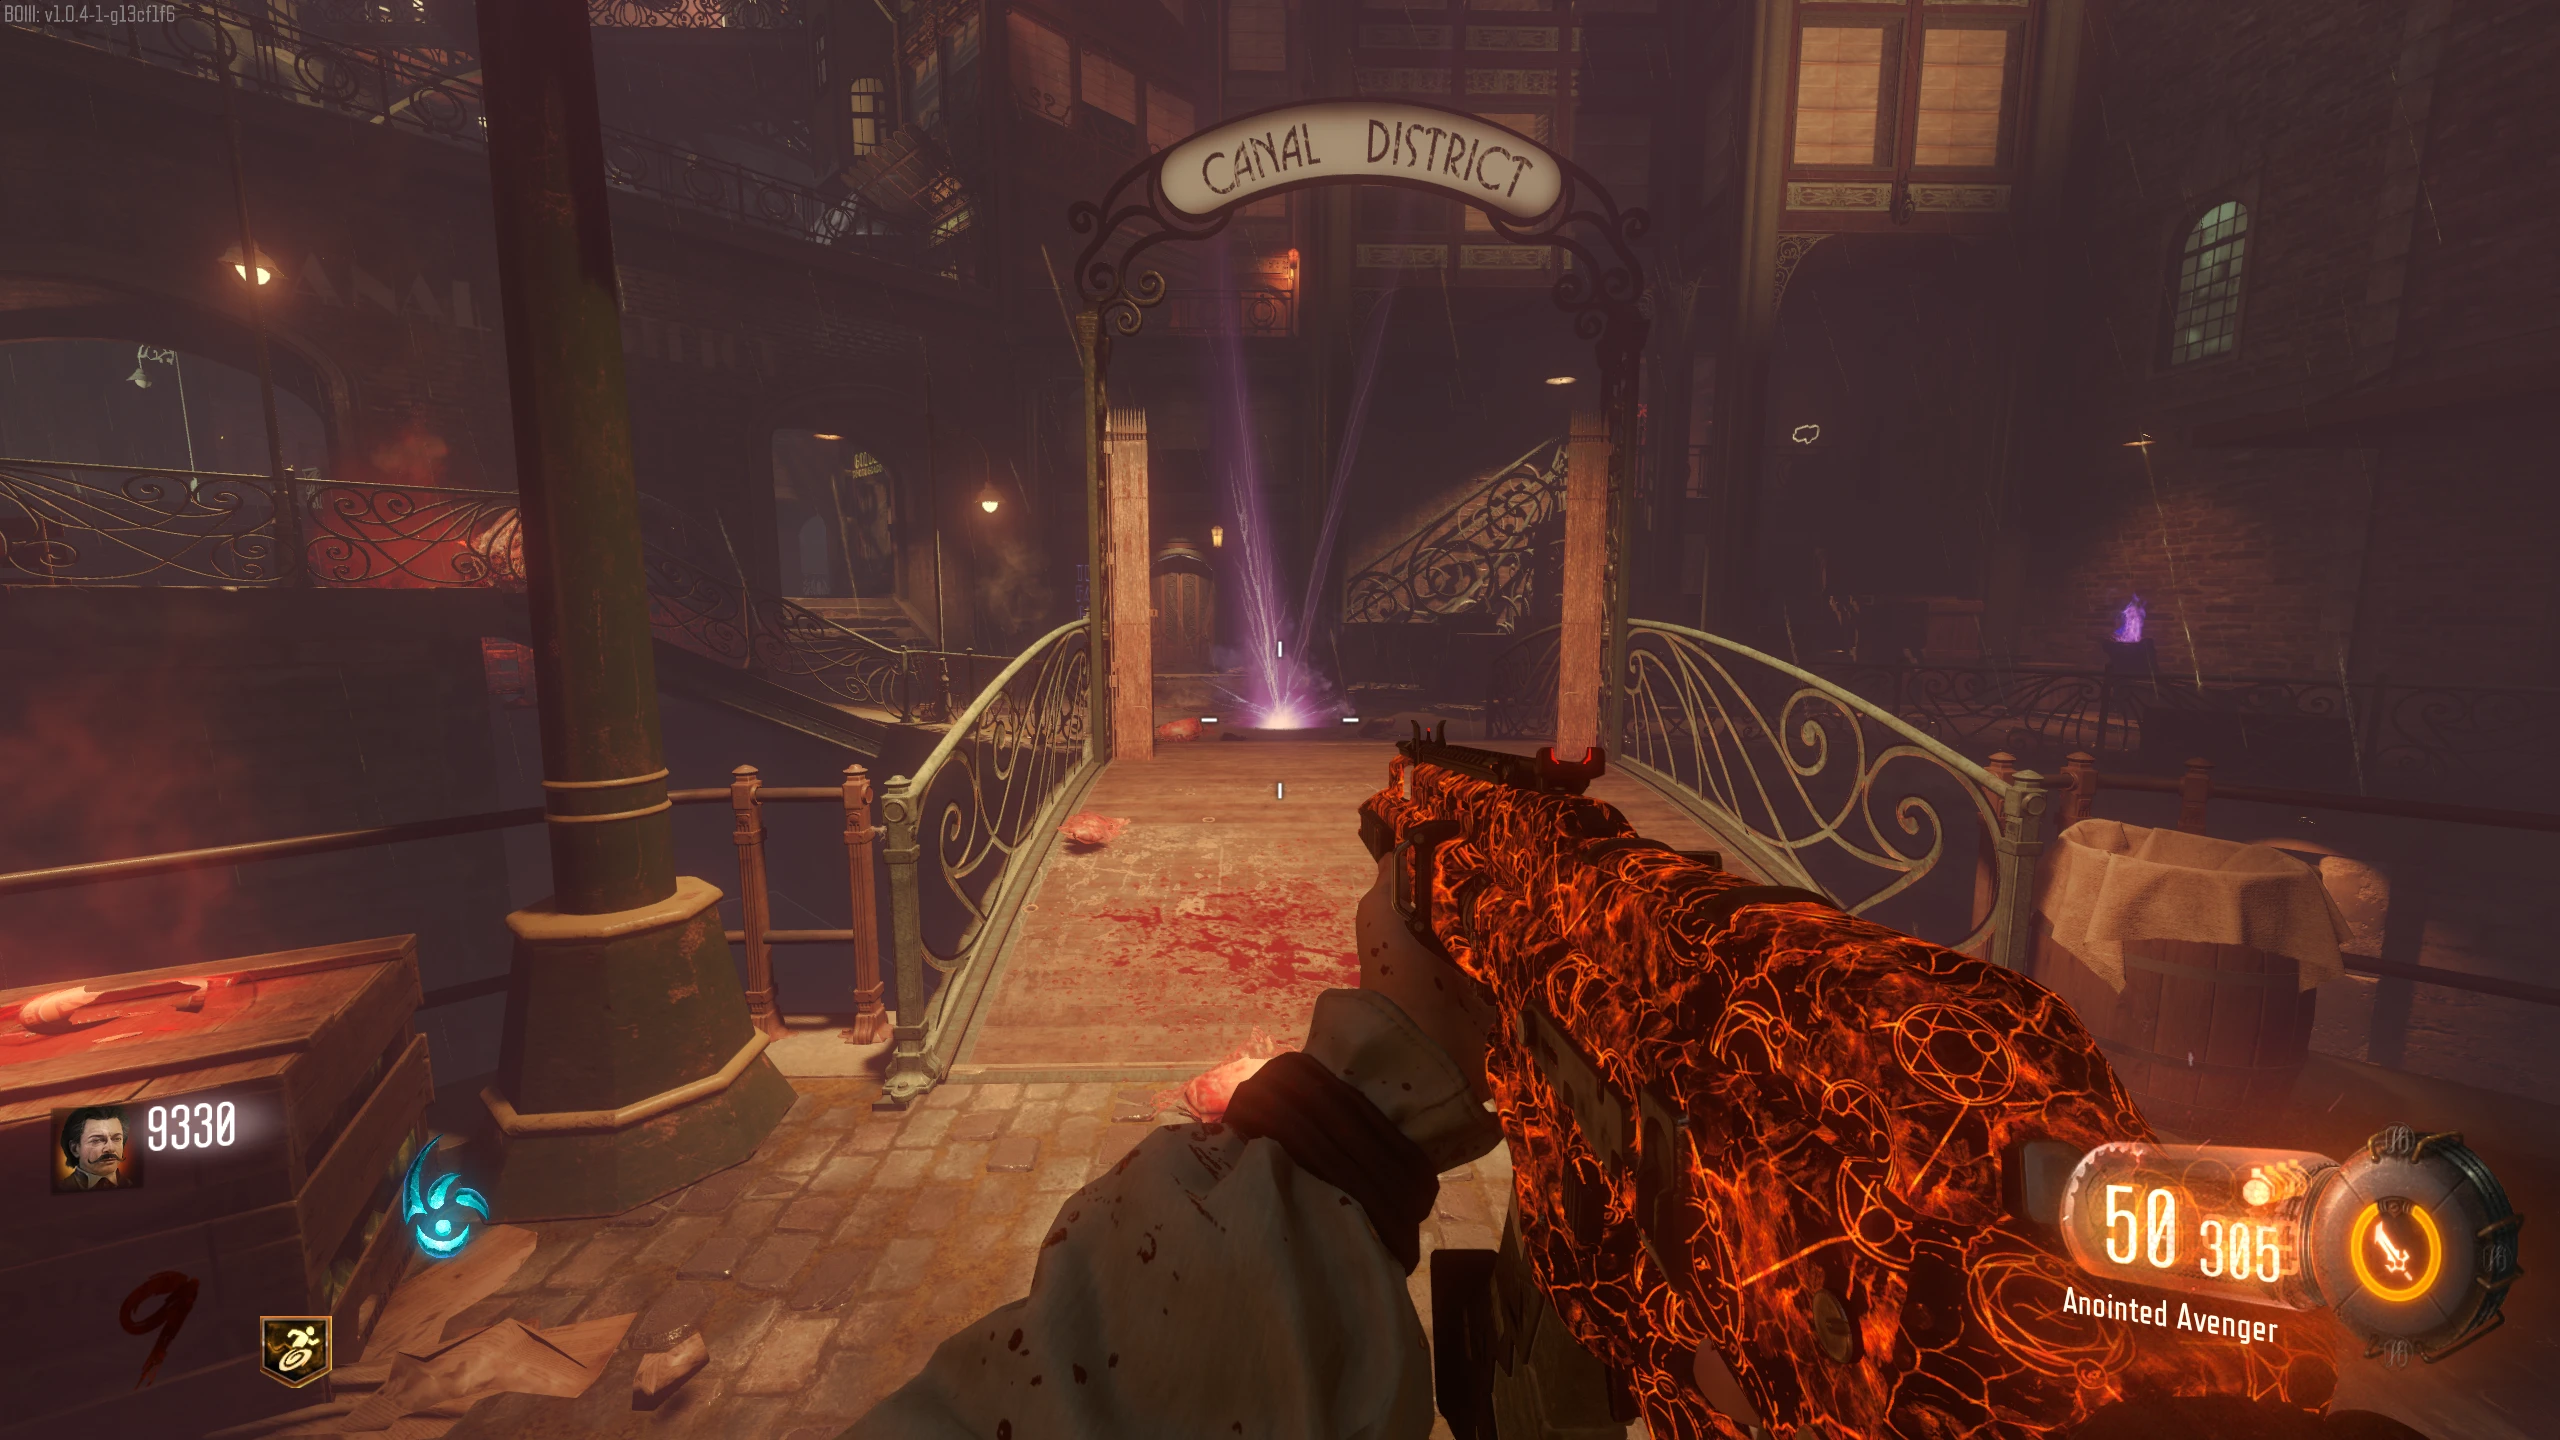
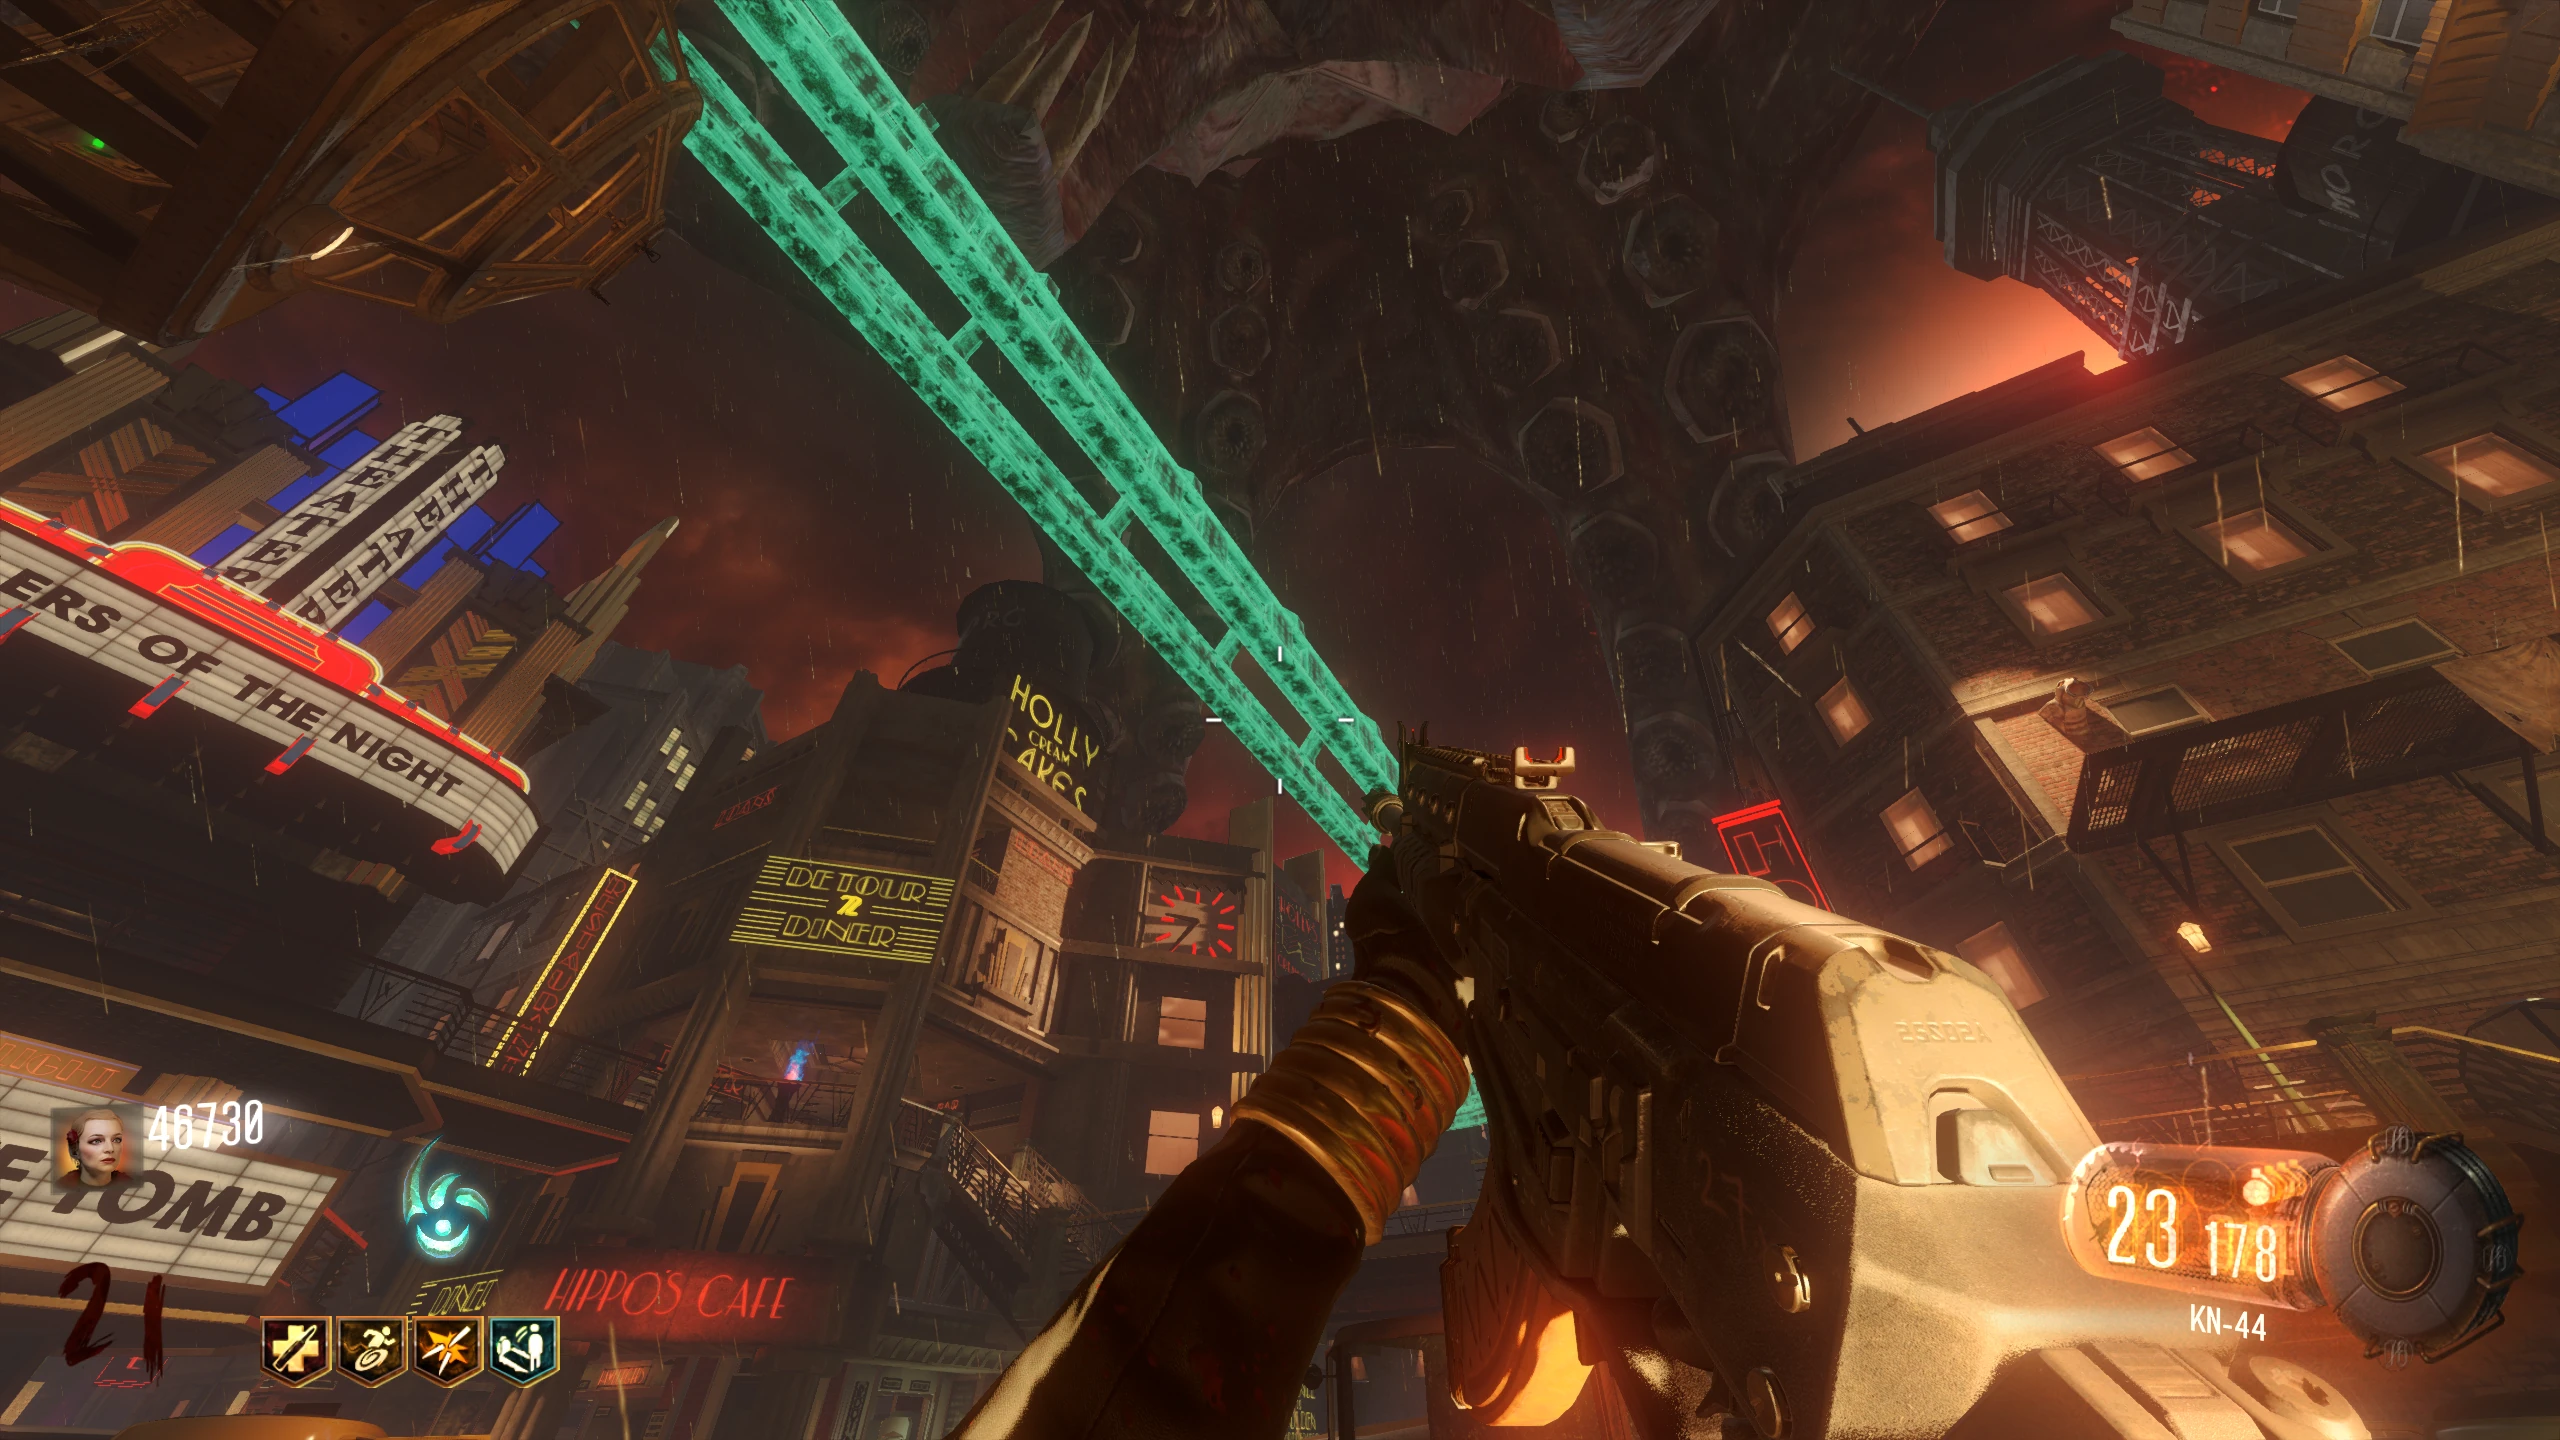
- Place a Gateworm in each of the four pedestals (follow the blue beams in the picture) around the room.
- There are two near the walls on the side of the room you entered from. Placing these Gateworms will repair the walls near them. You can wallrun on these walls (sprint and jump at them) to get to the other side.
- You can fall to your death (or be downed and teleported back if you have Quick Revive or are in Co-op) if you stop running on the wall or a Zombie jumps at you.
- The other two pedestals are on the bridge in the middle of the room, on the "other" side of the room (the side you need to wallrun to). Placing these will repair the bridge to the other side (there will be a short gap at the end that you need to jump).
- Once you've placed all four gateworms, interact with the Ritual Table by the entrance to the room to start the final ritual. You'll be locked in the room, with Keepers spawning.
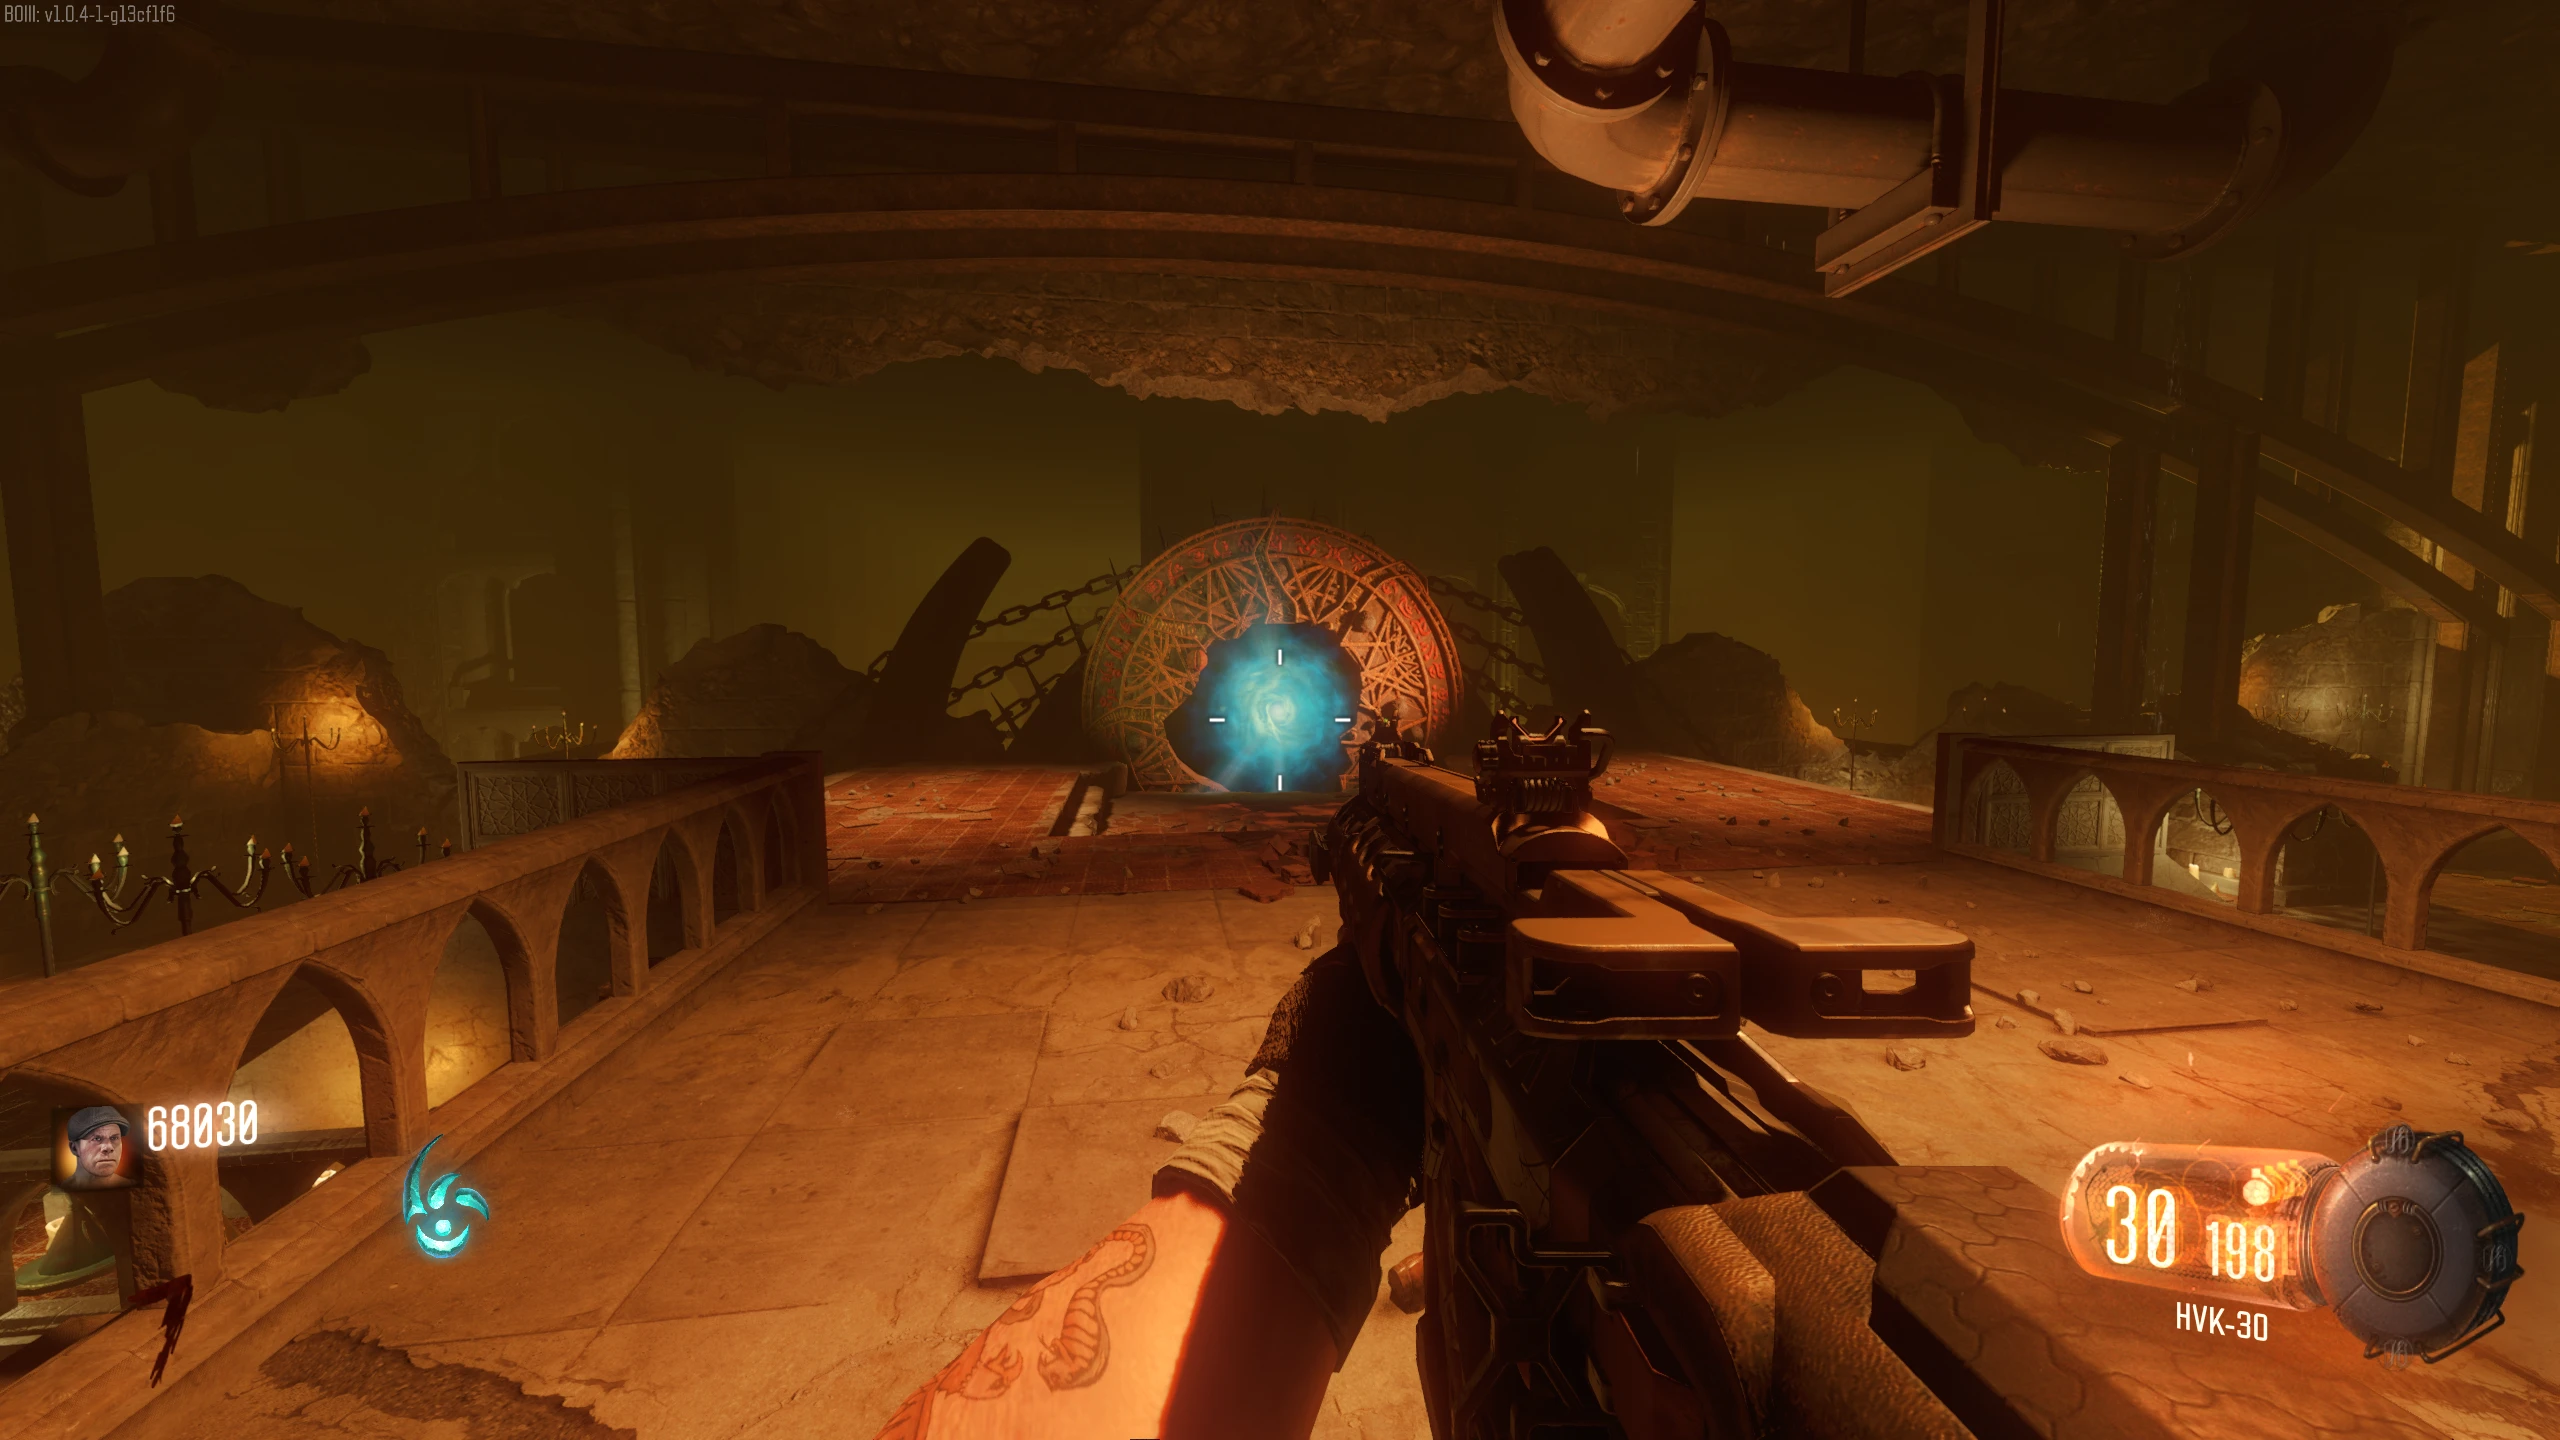
- Once the ritual is complete, a Margwa will spawn, and Pack-a-Punch will become available as a blue rift on the far side of the room.
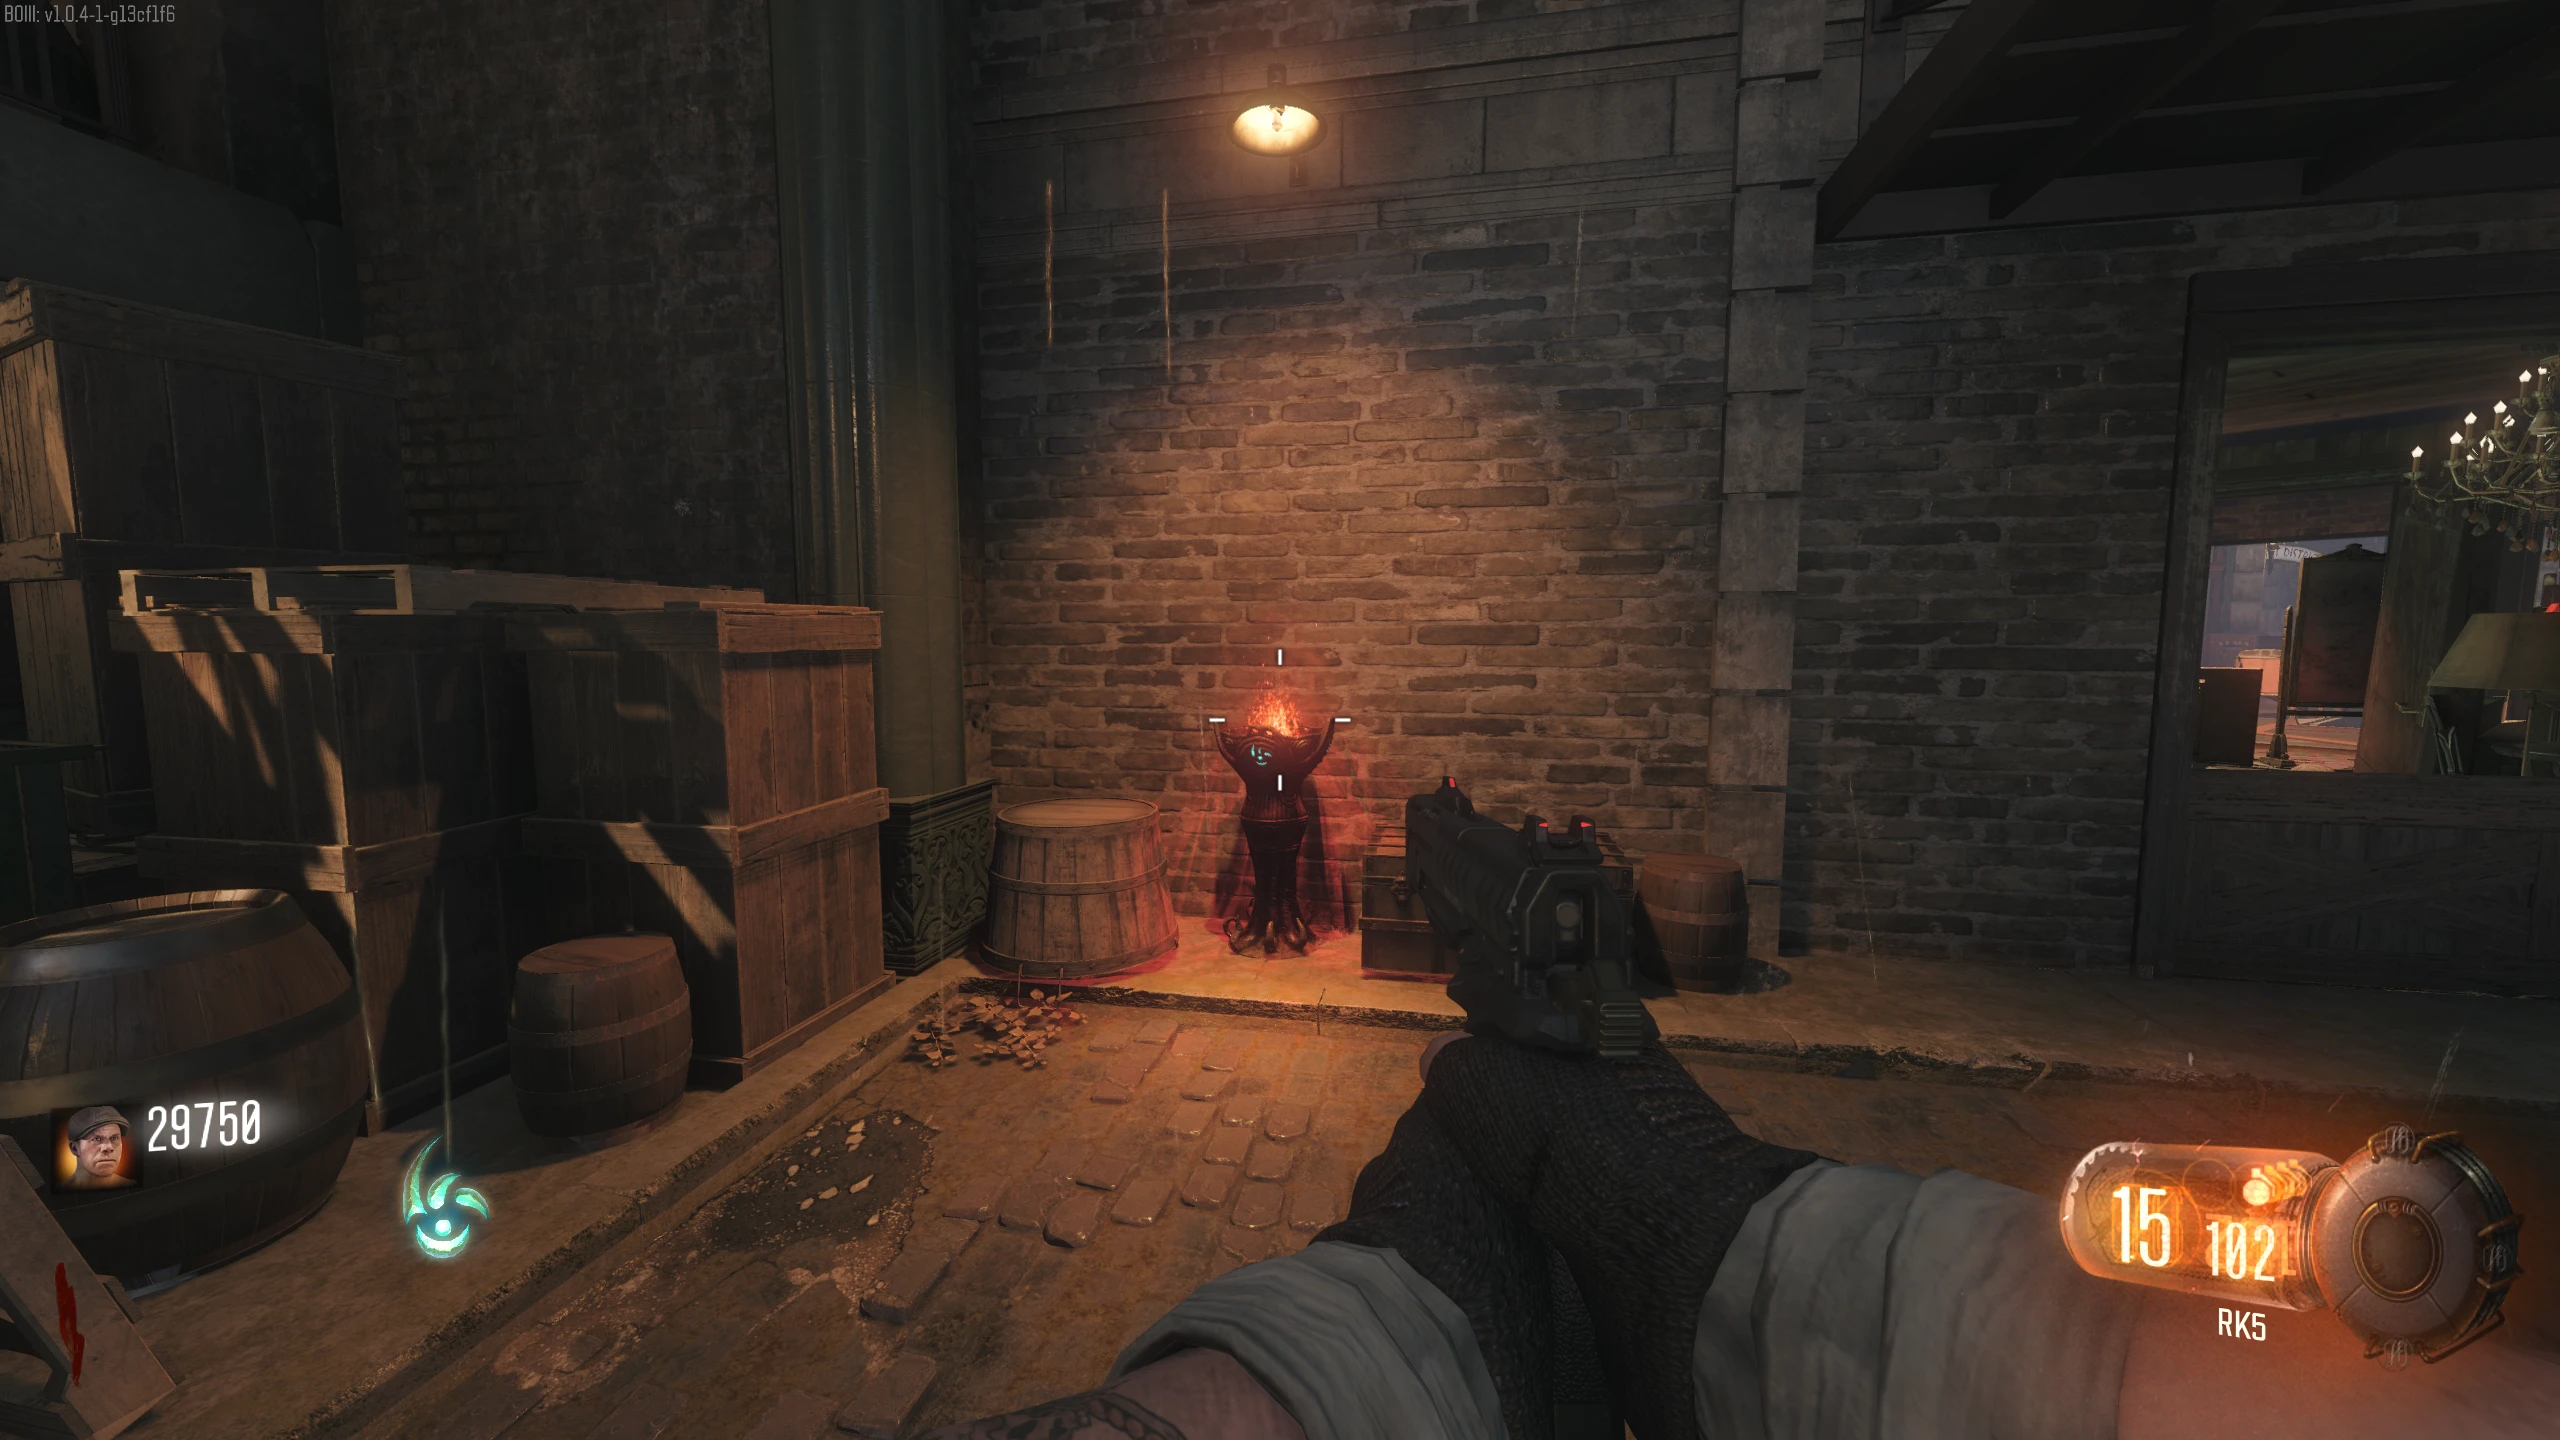
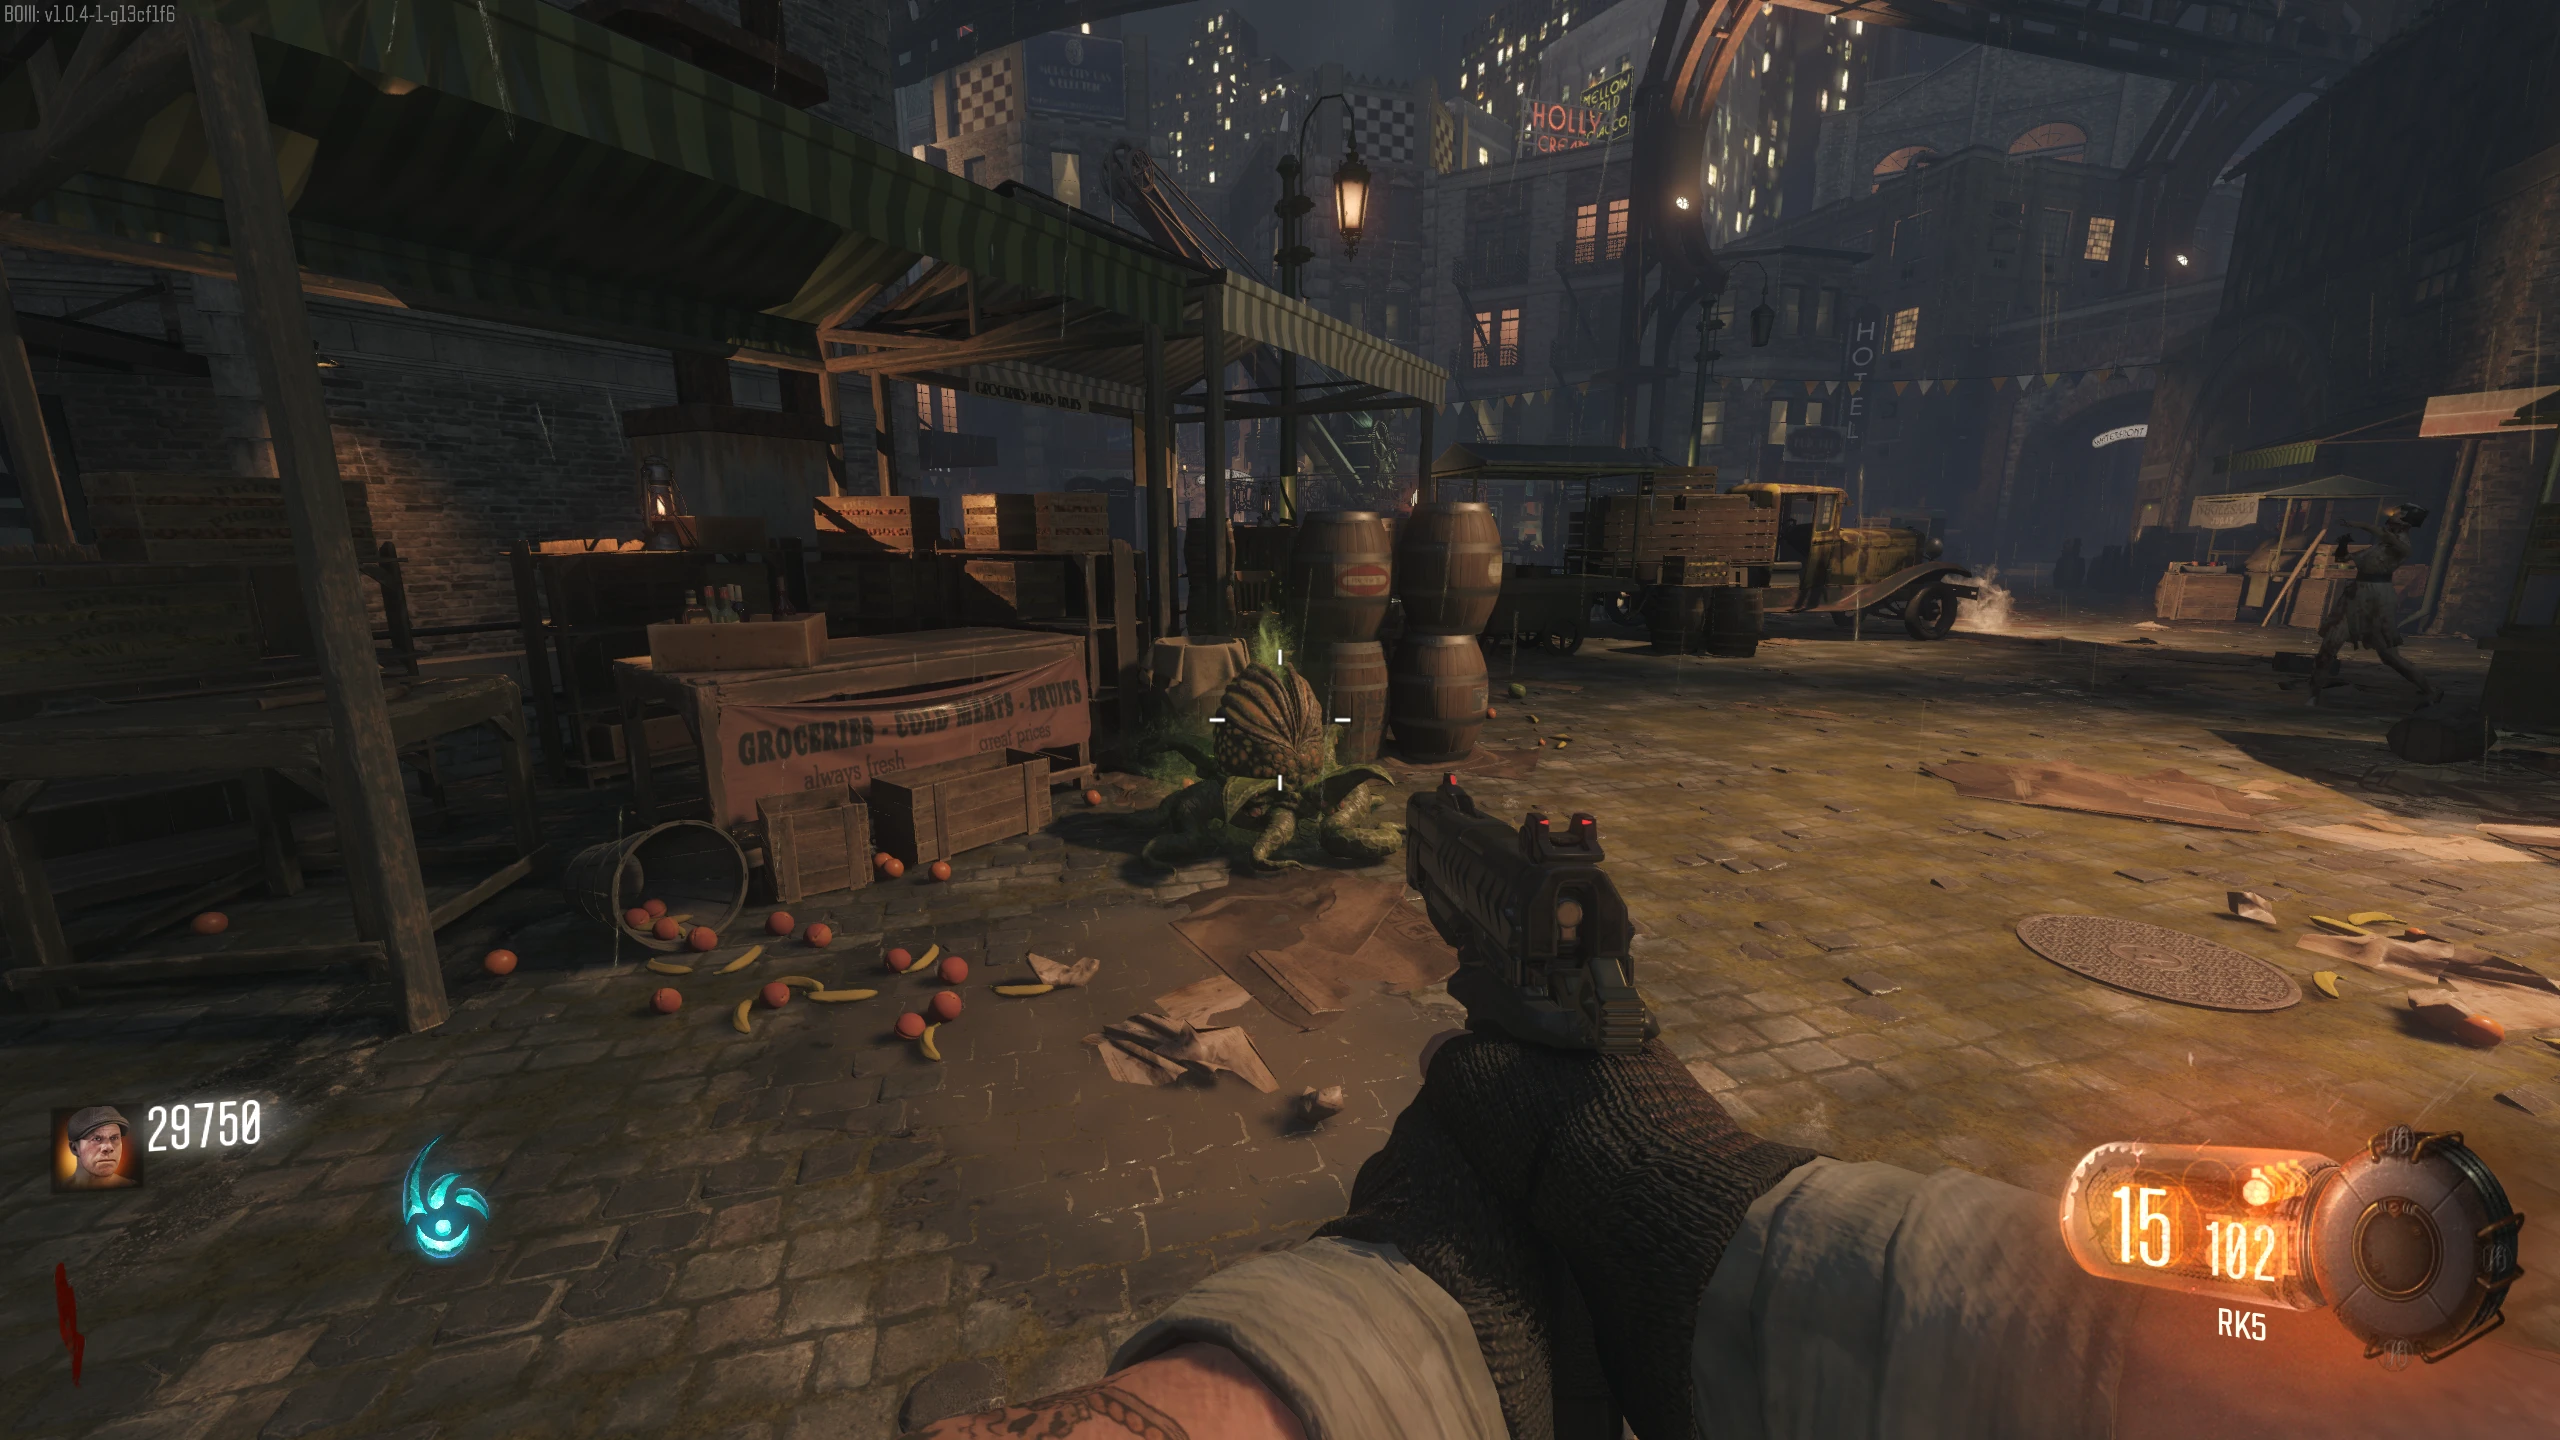
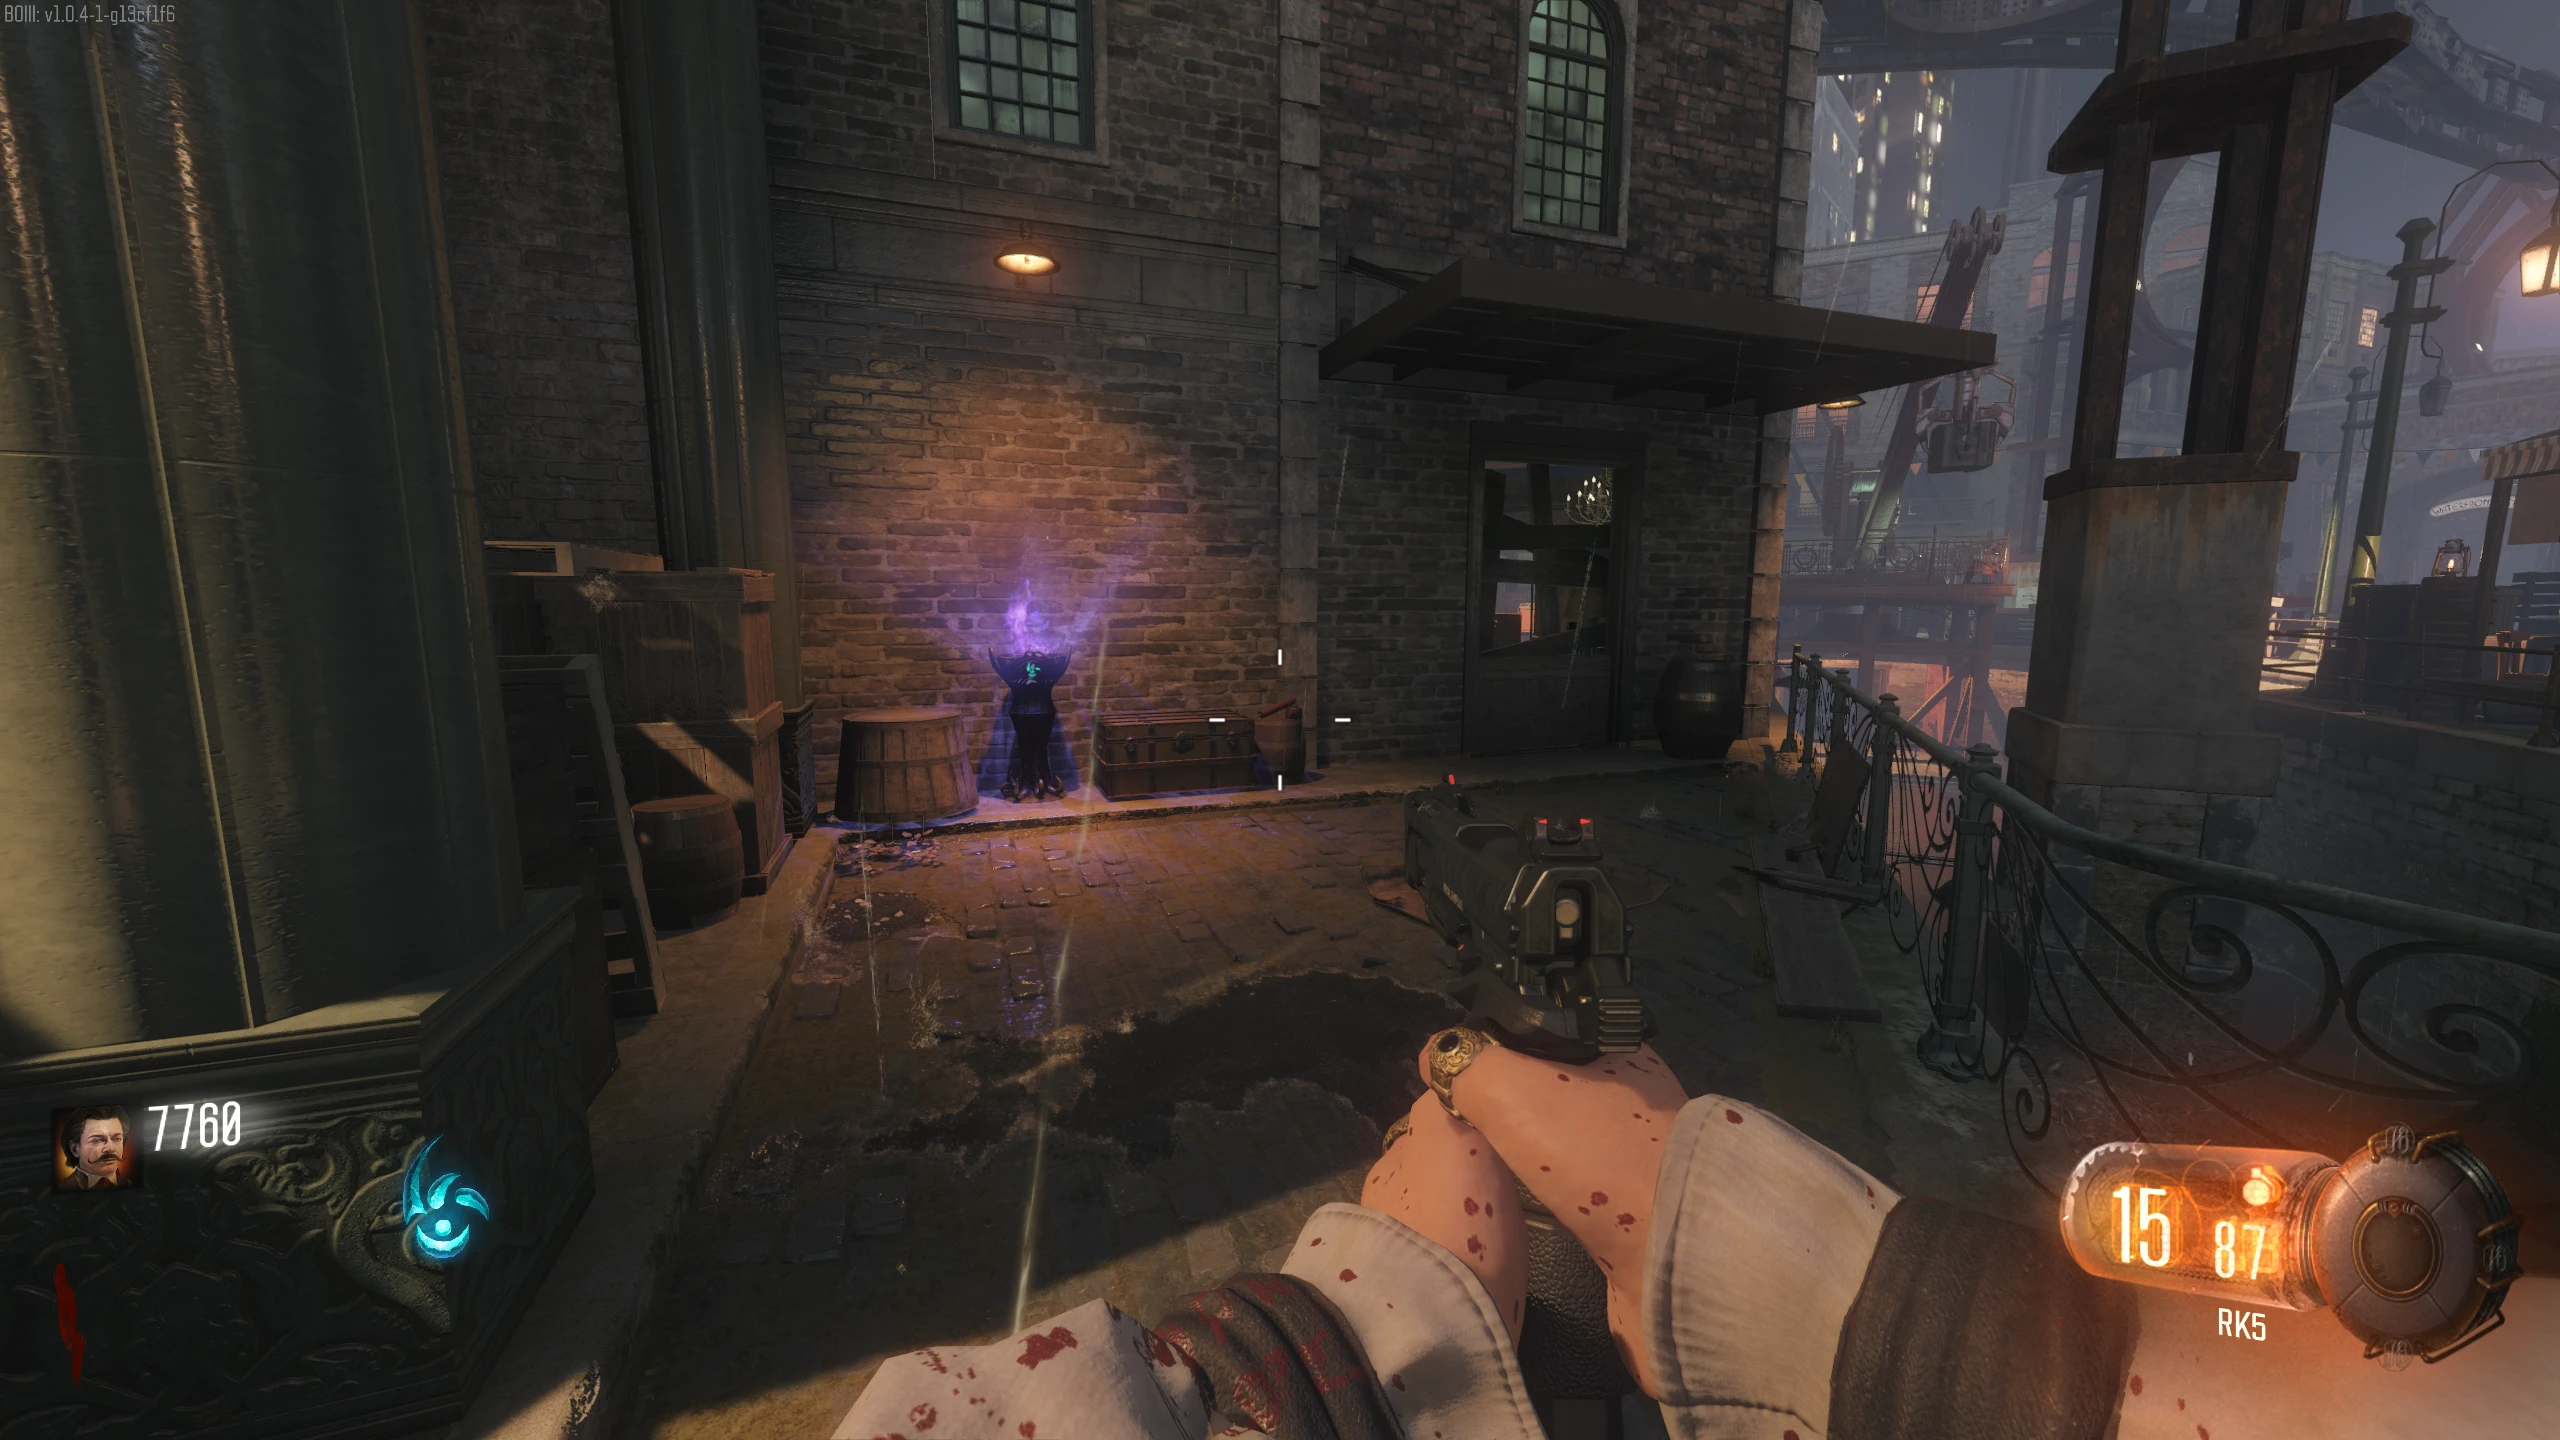
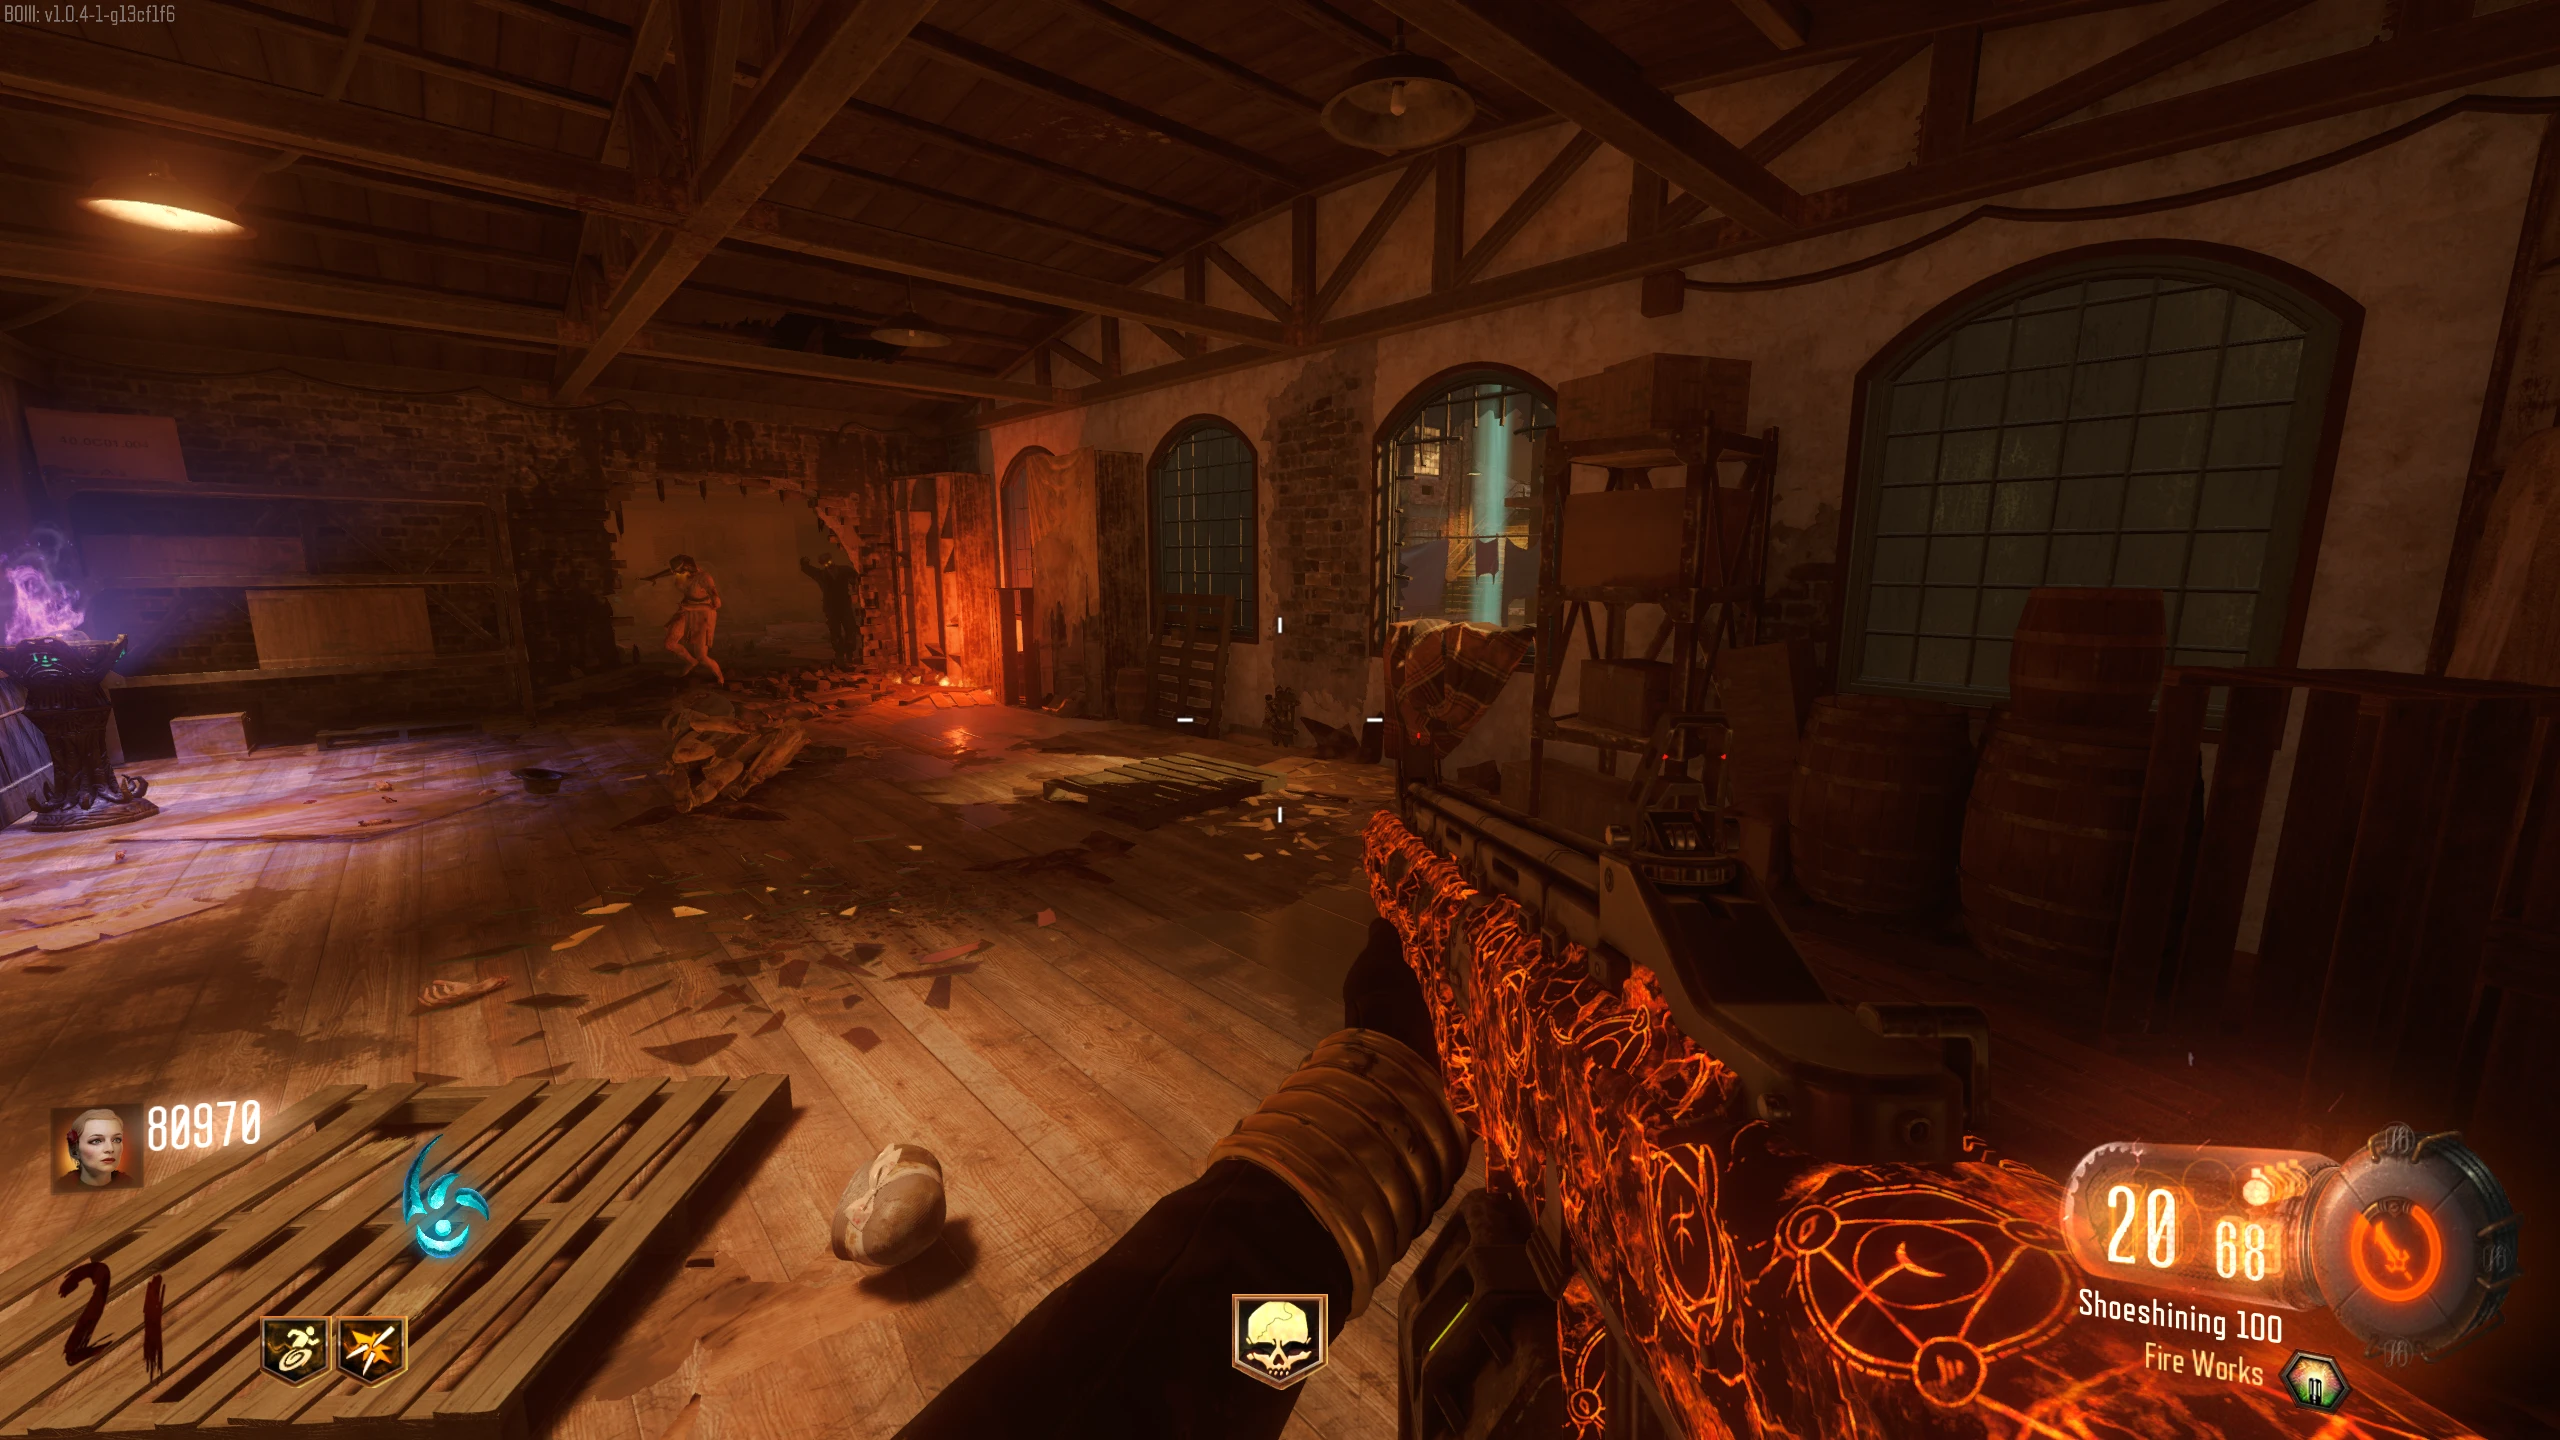
Apothicon Servant
The Apothicon Servant fires a purple vortex that sucks in nearby Zombies, instantly killing them regardless of the round. After a few seconds, the vortex explodes, damaging any Zombies still in the area. The Apothicon Servant can't be Pack-a-Punched or upgraded.
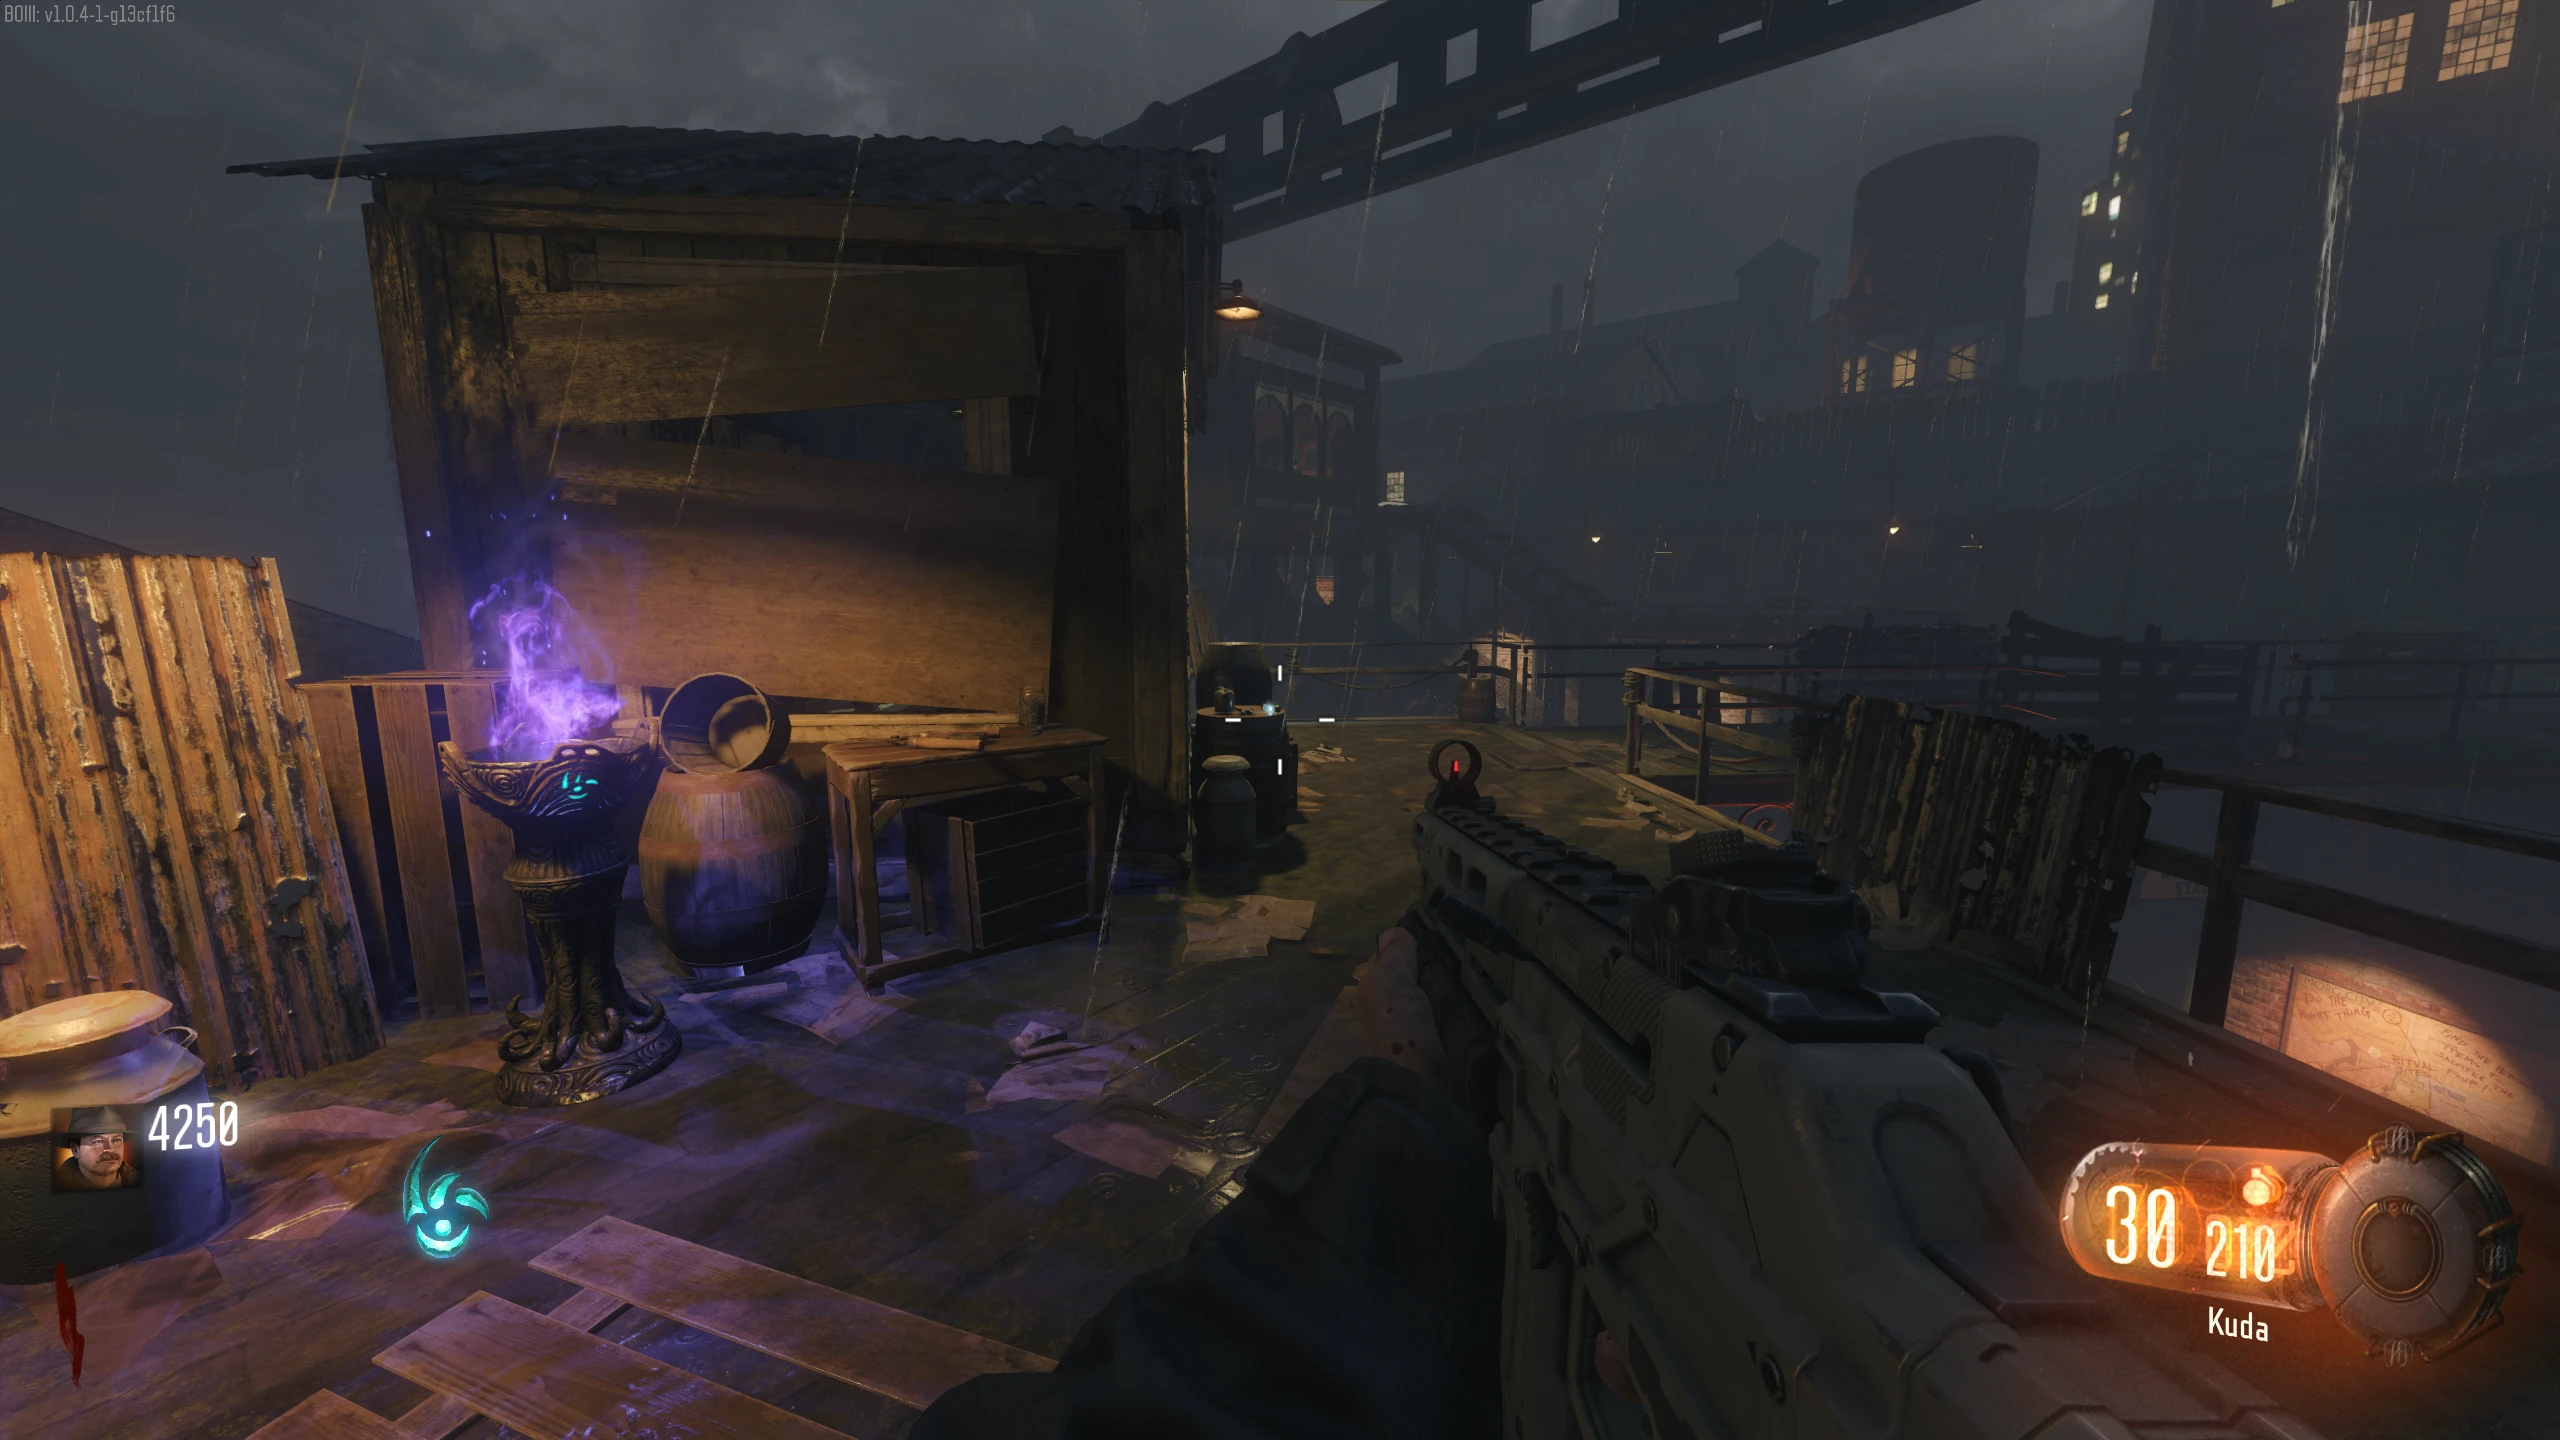
- The Apothicon Servant requires three parts to be built:
- Once you have all three parts, the Apothicon Servant can be crafted at the Crafting Table in the Waterfront (behind the Gym), Canals (in front of the Ruby Rabbit), or Footlight ("below" the train station) districts.
Rocket Shield
- The Rocket Shield requires three parts to be built. There is one part in each of the three Districts:
- Once you have all three parts, the Rocket Shield can be crafted at the Crafting Table in the Waterfront (behind the Gym), Canals (in front of the Ruby Rabbit), or Footlight ("below" the train station) districts.
Goddard Apparatus Shield Upgrade
This upgrade is tracked individually, so each player has their own progress. It is not shared between players.
- Obtain the Rocket Shield.
- Charge through at least 10 Zombies with the Rocket Shield's boost attack. Doing so correctly will play a bowling strike sound. Repeat this 12 times in a row.
- Failing to get 10 kills in one charge resets your progress, requiring all 12 sets to be done again.
- The 120 kills don't have to be in a row, or with the same shield.
- Once you get the 12th set of kills, a cheering sound effect will play, and your shield will be replaced with the upgraded one.
- The Shield now has more health than the normal Rocket Shield, and has one extra (total four) rocket charge.
"Apocalypse Averted" Main Quest
Stats: Difficulty - 4/10 Solo (5/10 4-Player), Est. Completion Time - 1 Hr to 1:30 Hr (1:30 to 2 Hrs 4-Player)
To complete this Main Quest, you'll need four players. If you don't have four players, you can still complete the Boss Fight, but the final sequence (and the final cutscene) won't start.
Prerequisites
- Unlock Pack-a-Punch.
- Every player needs to obtain an Upgraded Sword.
Flag Defence
- Once every player has an Upgraded Sword, go to Nero's room and interact with the open book on the floor in front of the bookshelf. It should begin floating.
- This will cause a Flag to fall from the ceiling near the Widow's Wine Perk Machine in the Underground.
- Picking up this flag will start a defence objective, so make sure you have Max Ammo and Pack-a-Punched weapons.
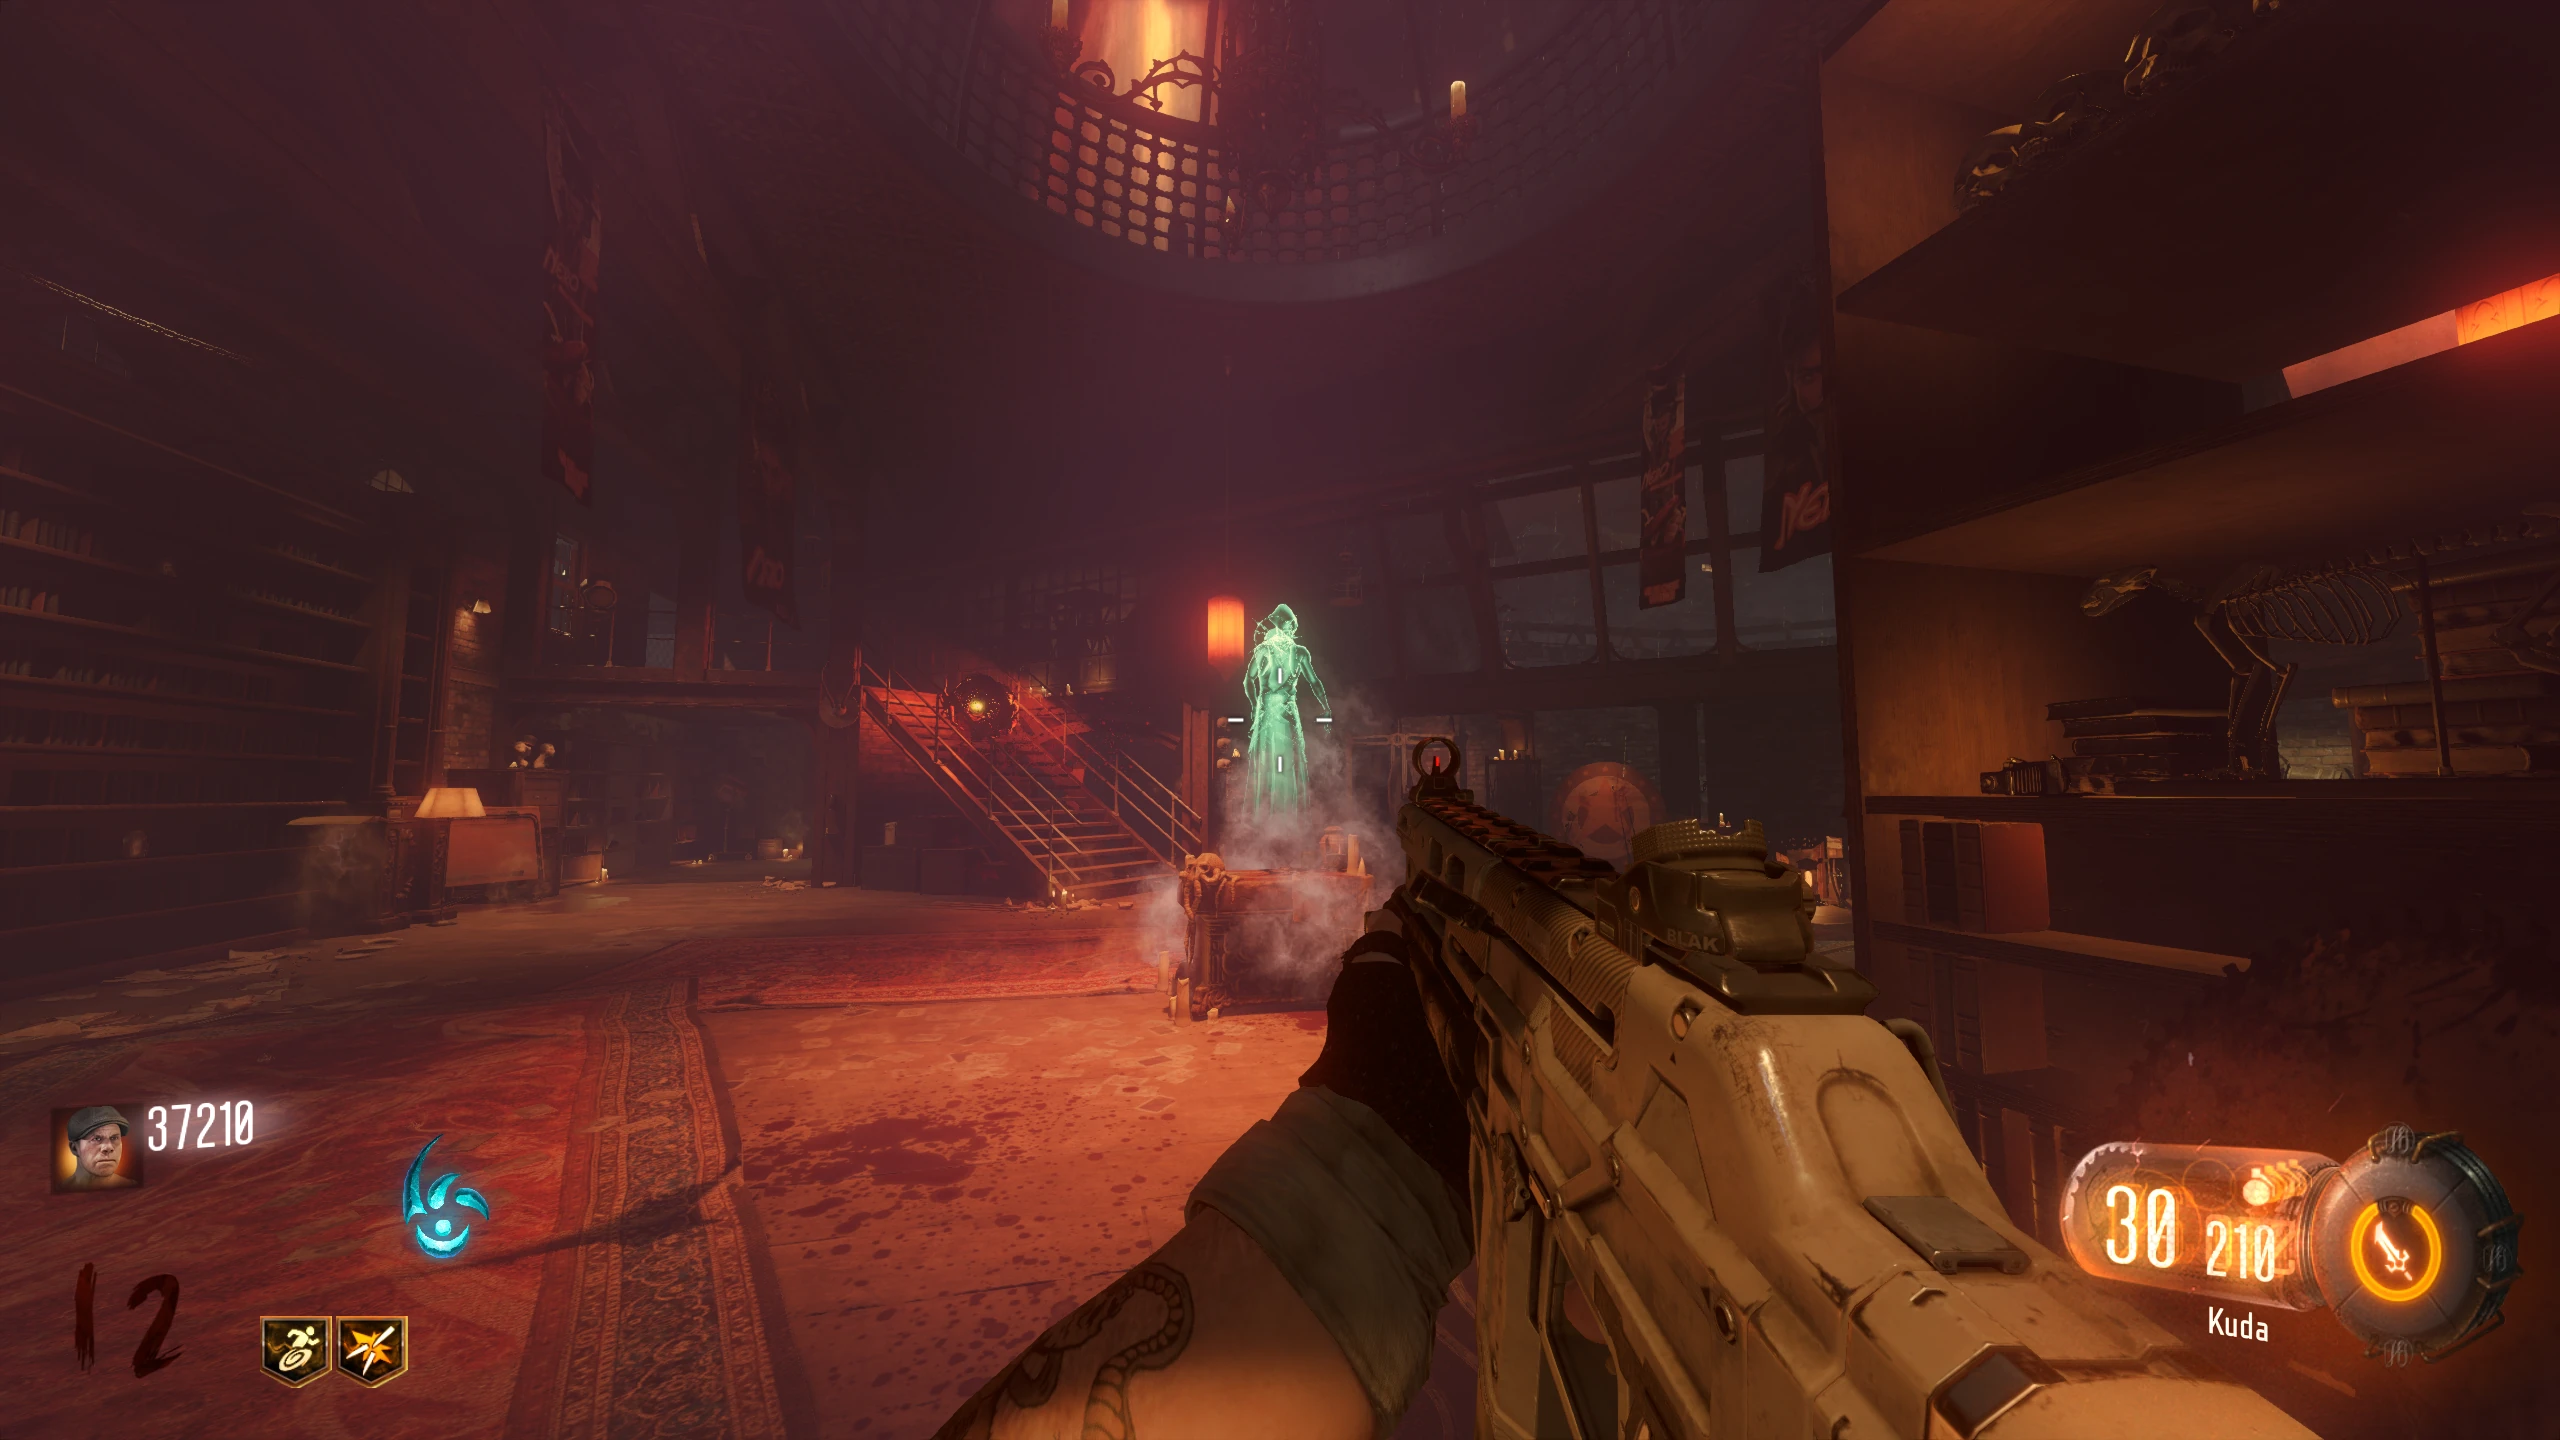
- When you pick up the flag, all enemies will despawn, and only Meatballs and Parasites will spawn. You need to defend the flag at two locations (indicated by lightning on the ground) per district, then bring the flag to the Ghost Keeper at that district's Ritual Table. When you place the flag at a defence location, the Meatballs will start going after the flag. You must kill them before they reach the flag. If it takes too much damage, it breaks, and you'll have to end the round to retry. While you're defending the flag, the Shadowman will occasionally spawn in the air around the flag; shoot him to make him disappear. Failing to shoot him in time will cause him to spawn a lot of parasites. Defence locations:
- Junction
- Footlight
- Waterfront
- Canals
- After 30 seconds, the flag will make a sound and start pulsing red; you can now pick it up and bring it to the next location.
- A Max Ammo might spawn above the flag when you pick it up, so make sure to grab it.
- Once you've given the Flag to one district's Keeper, you'll need to end the current round to respawn the flag to do another district.
- Once all four Keepers have been given flags, they will spawn beside the Gateworm pedestals in the Pack-a-Punch room. Each player must interact with a Keeper to give it their upgraded Sword.
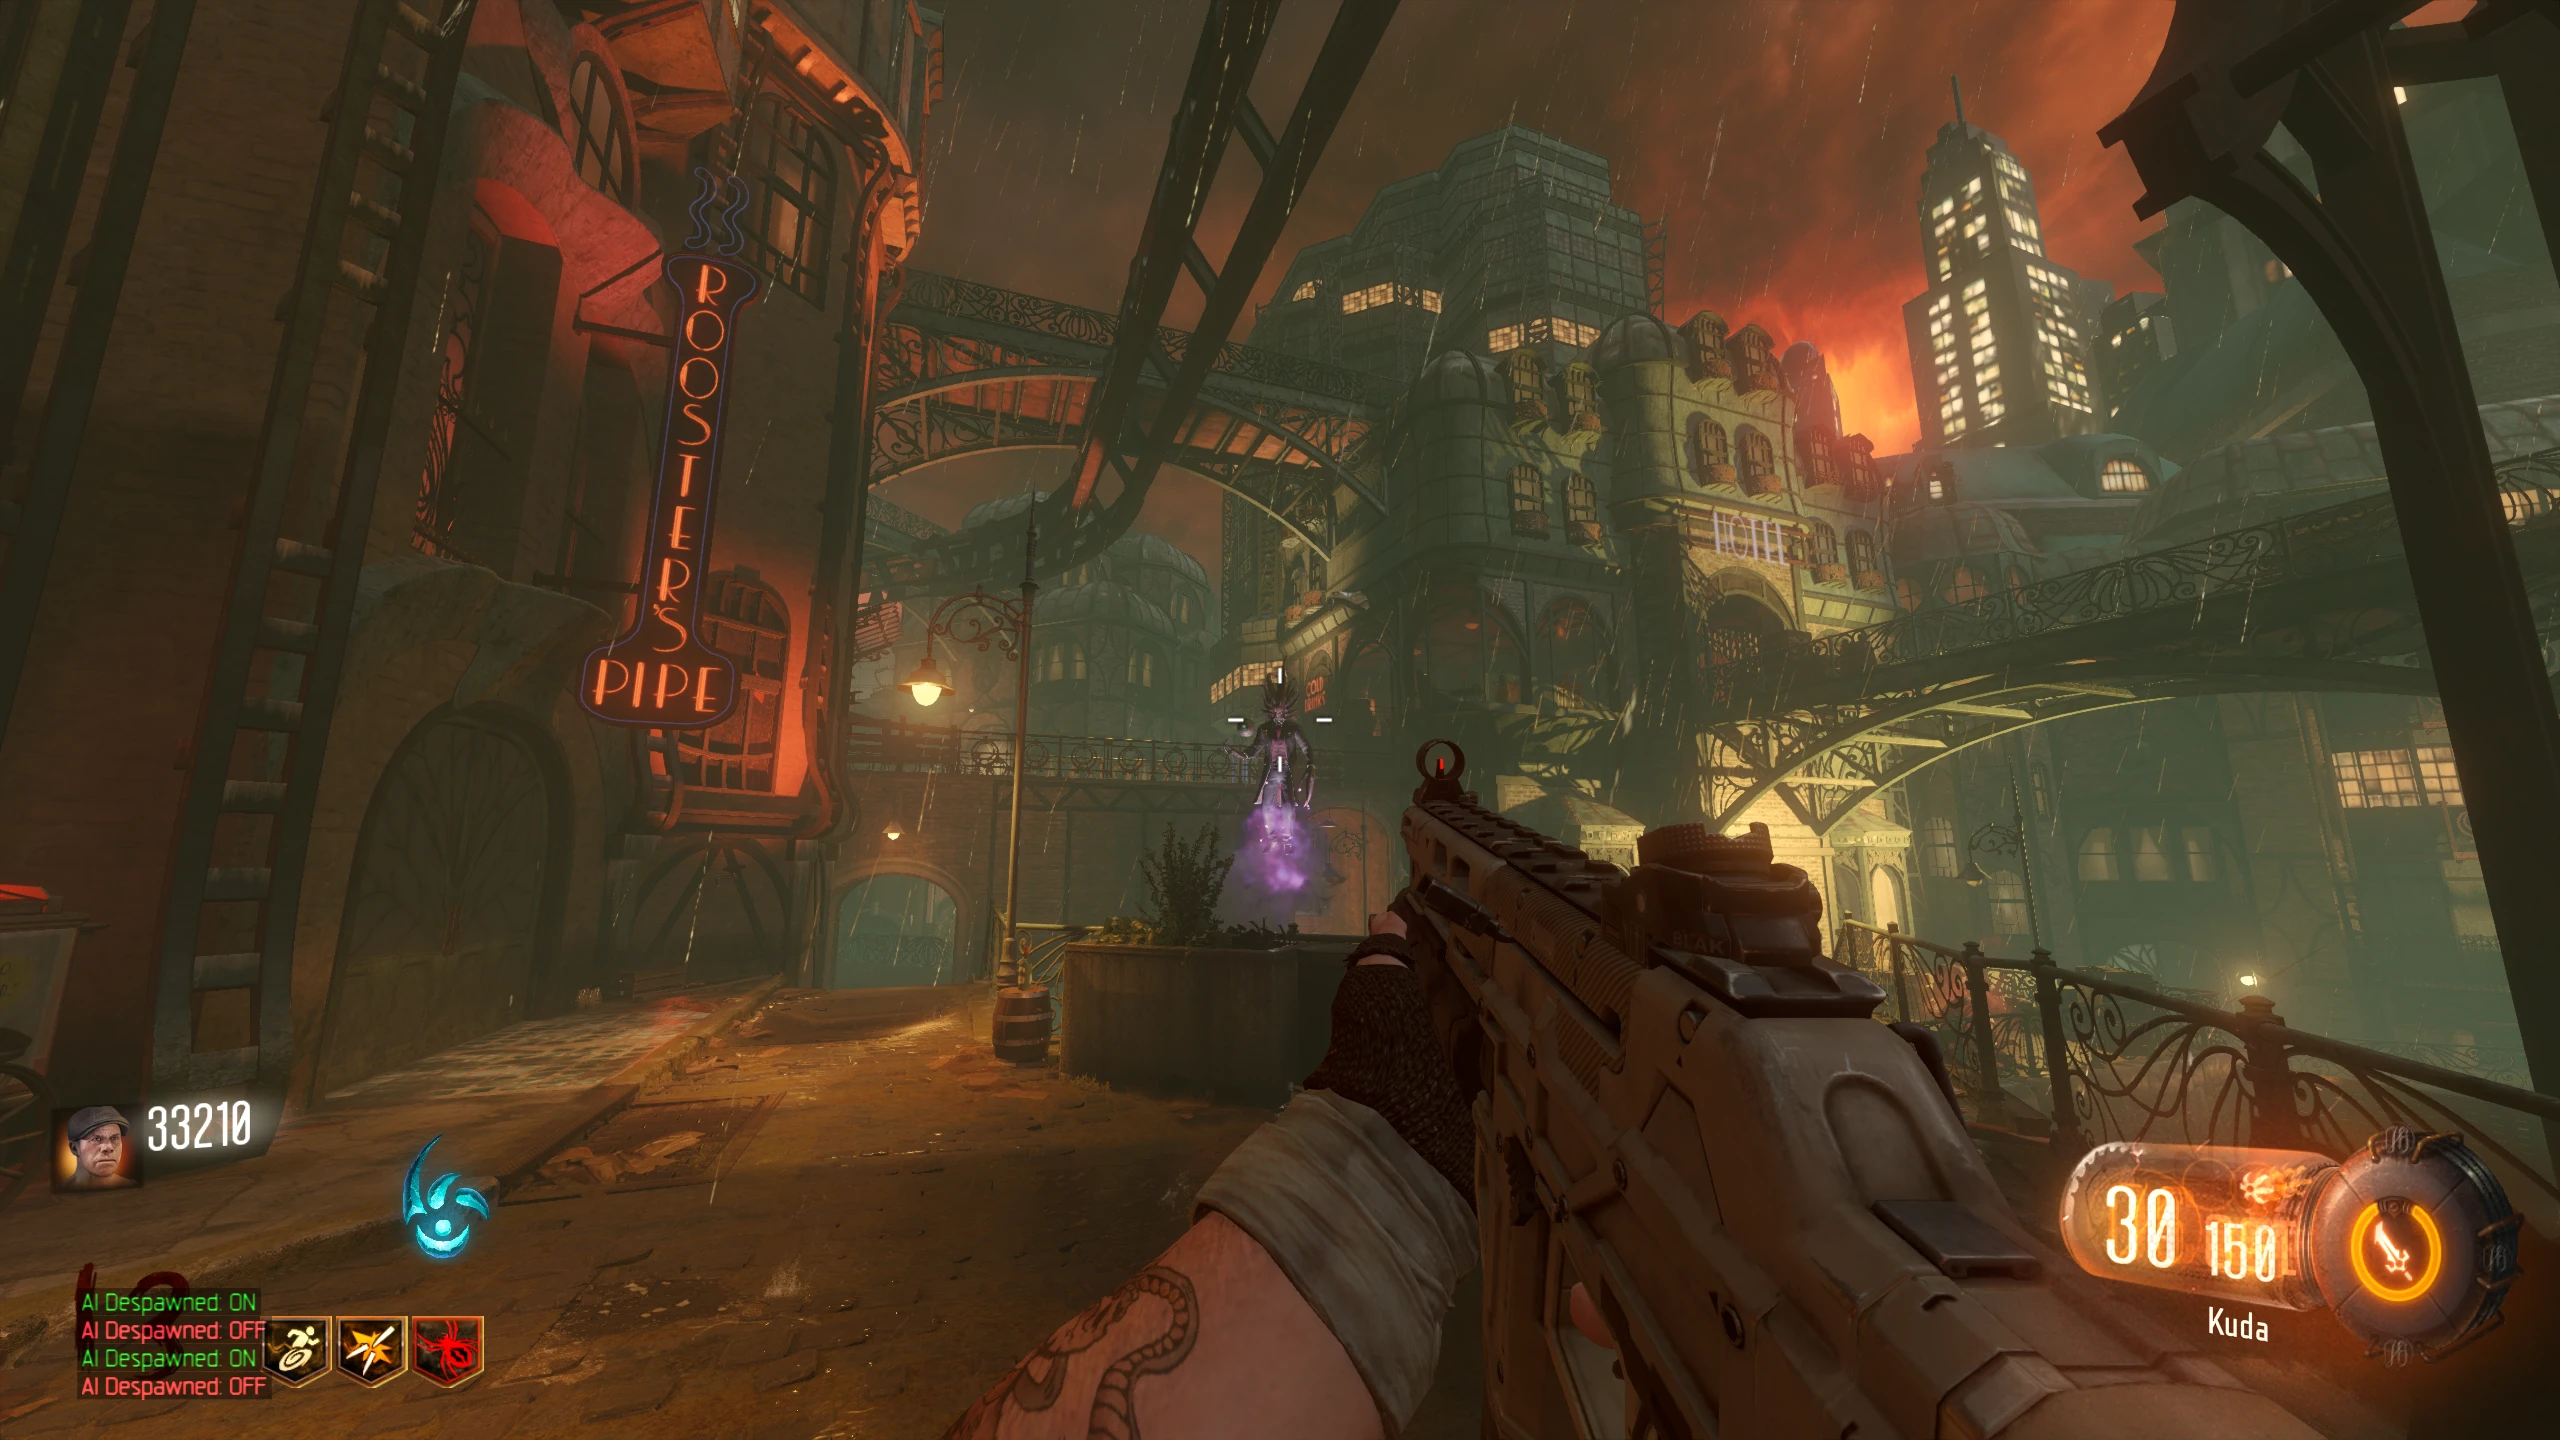
Shadowman Boss Fight
- Once the last keeper is given a Sword, the Boss Fight will start.
- The Shadowman will appear in the middle of the room with a shield around him. The Keepers will fire a beam at him, breaking the shield and stunning the Shadowman.
- While the Shadowman is stunned, quickly shoot him to make him teleport around the arena. Keep shooting him until he's above the Ritual Table near the entrance to the room. You have 9 seconds to get him to the Ritual Table before he teleports back.
- Once the Shadowman is over the table, interact with the table to capture the Shadowman in the Summoning Key. If you capture the Shadowman, the Boss Fight will end, and you can skip the remainder of this section.
- If you take too long to get the Shadowman to the Ritual Table, he'll recover from the stun and teleport back to the middle of the room with the shield, and a Margwa will spawn.
- If you don't capture the Shadowman, you must activate each Keeper again. Once activated, they'll break the Shadowman's shield, and you can try to capture him by shooting him around the room again. With each failure to capture the Shadowman, 2 seconds will be added to the time you have to get him to the Ritual Table.
- Once the Shadowman's shield is broken, a Max Ammo power-up will spawn beside one of the Keepers/Gateworms near the Shadowman.
- The Shadowman has an attack that can deactivate all currently activated Keepers, making you have to activate them again. He will hold the Summoning Key above his head, and it will start to glow purple. Once the attack is started, you have about 8-10 seconds to cancel it. This attack can only be cancelled by activating all four Keepers before he attacks.
- Once you've captured the Shadowman in the Summoning Key, the boss fight will end. If you don't have four players in the game, the Main Quest will end here, and you can continue your game as normal. There's no reward.
Destroy the Giant Gateworm (4-Player Only)
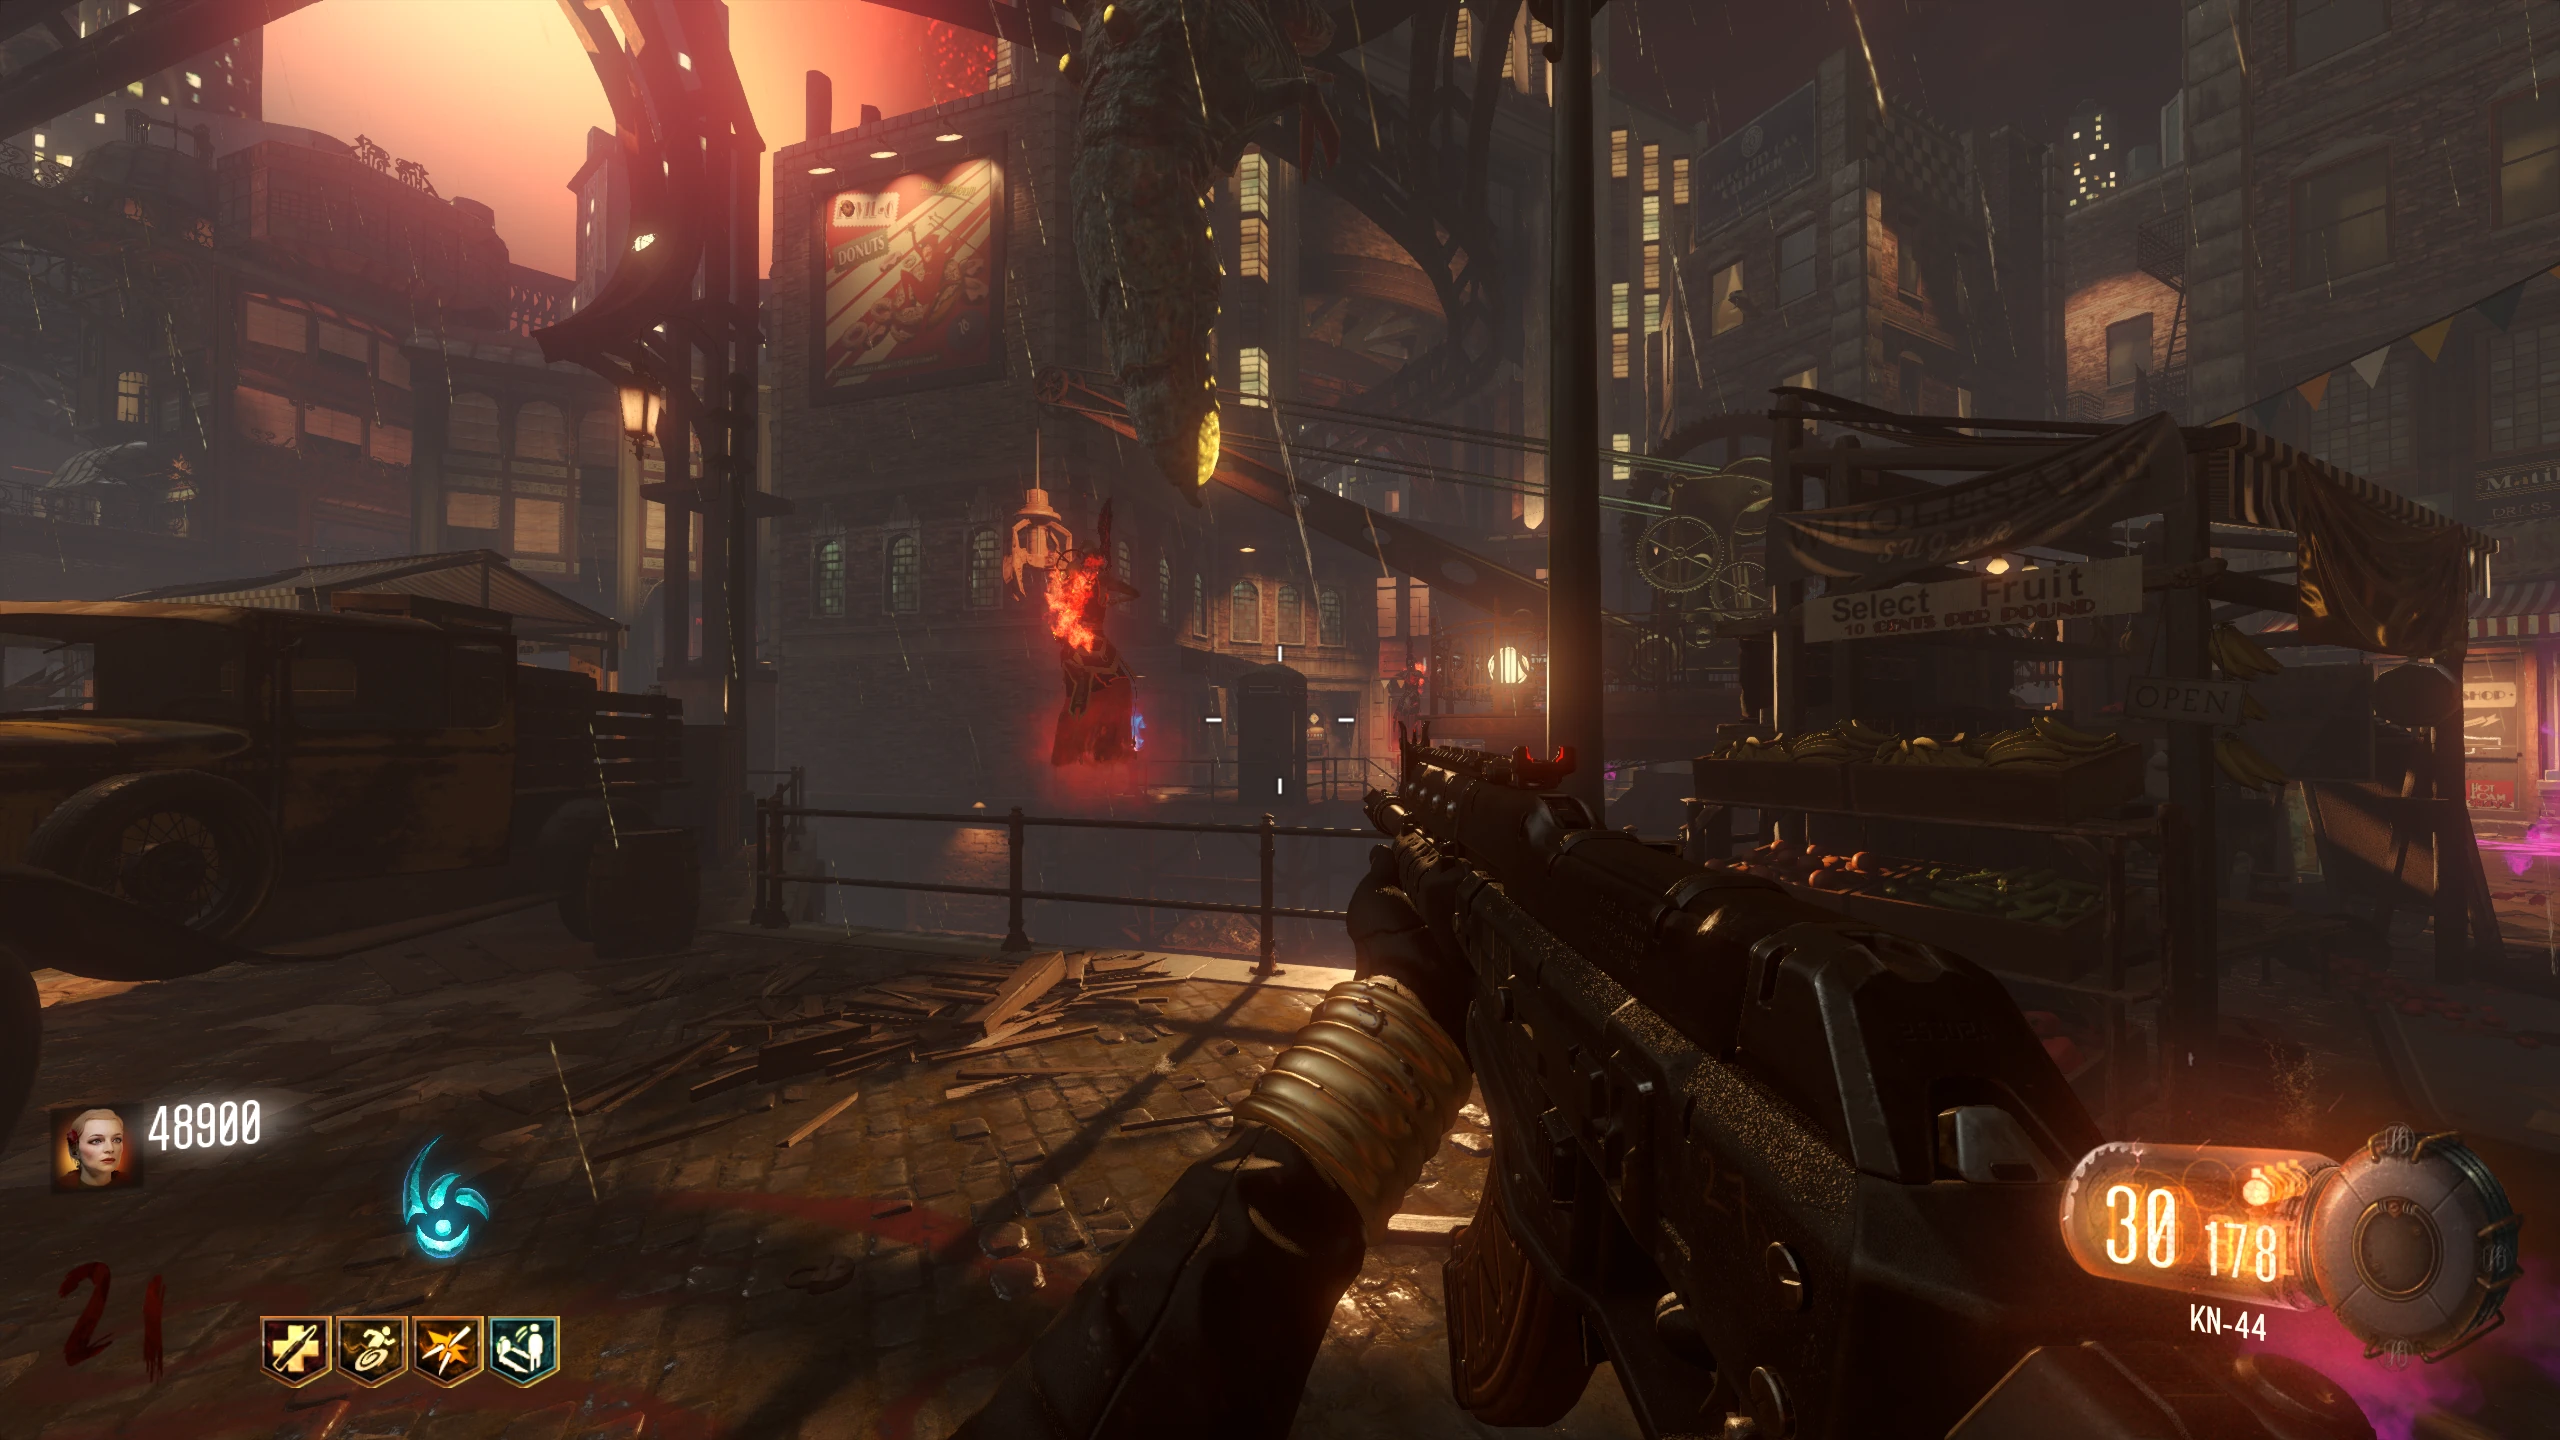
- If you do have four players, a giant Gateworm will appear on top of the ritual table, where you captured the Shadowman. After a couple of seconds, the giant Gateworm will disappear and all players will become "corrupted" (indicated by the red mist on screen).
- You must find a white orb and walk into it to temporarily clean the corruption (a white orb will always spawn on the ritual table). Once you see the corruption on screen, you'll have 15 seconds to cleanse it, or you'll be downed. If you're in Beast Mode when you get corrupted, and you fail to cleanse, you will lose 40% of your Beast Mode "health." This corruption will return every 30-45 seconds. This corruption will linger until you complete this section of the Main Quest.
- Zombies will no longer spawn, instead purple-mouth Margwas will spawn. Killing one of these Margwas will activate a couple of Beast Mode chalices around the map.
- During this part of the Main Quest, your Beast Mode will have an infinite duration, but Margwas can still see and attack you. Taking damage in Beast Mode will take chunks off your Beast Mode meter; if it hits zero, you'll be removed from Beast Mode.
- In the middle of the Junction, the giant Gateworm and three Keepers will spawn where the train tracks from each district meet.
- Your overall goal is to destroy the giant creature in the sky. To do this, you'll need to destroy the giant Gateworm in the middle of the Junction by hitting it with the train, then shock the three Keepers while the tracks are electrified. If the tracks and Keepers are electrified while the giant Gateworm is gone, the Keepers will fire a beam at the creature, ending the Main Quest.
- If you fail to fire the beam, the giant Gateworm will respawn, and you can retry as soon as you're ready.
- Since rounds no longer progress, any players that bleed-out will be respawned immediately when the train is called to a station.
- To explain this easier, I will divide this part into what each player needs to do:
- Player 1 - Shock the Rails:
- Enter Beast Mode and wait inside any of the train stations. Player 1 (or Player 2) should have the train in their station.
- Once the train is in motion (described later), you need to shock the power box in the train station to electrify the rails. The rails will glow blue when electrified. The rails only stay electrified for 30 seconds, so it's recommended to just spam shock the box until you win, or fail and need to reset.
- Make sure to either leave Beast Mode and kill any nearby Margwas, or kite them away from the station, so they don't bother you when you're shocking the rails.
- All Train Station Fuse Box Locations:
- Player 2 - Shock the Rails:
- Player 2's role is the same as Player 1. Enter Beast Mode, and spam shock the rails when the train is moving.
- Player 3 - Call the Train and Shock the Rails:
- Stay out of Beast Mode to be able to call the train to your train station.
- Once all other players are ready, call the train. While it's in motion, you need to quickly enter Beast Mode and shock your station's rails (like Players 1 and 2).
- Player 4 - Shock the Keepers:
- Enter Beast Mode, and wait in the Canals below the giant Gateworm. Margwas can't get to you when you're in the Canal.
- Once the train is in motion, shock the bottom of all three Keepers. All three Keepers need to be electrified once the giant Gateworm is destroyed. It's recommended to just spam shock the Keepers as soon as Player 3 calls the train, and don't stop till you see them fire a beam into the sky.
- A few seconds after the Keepers fire the beam, the final cutscene will start.
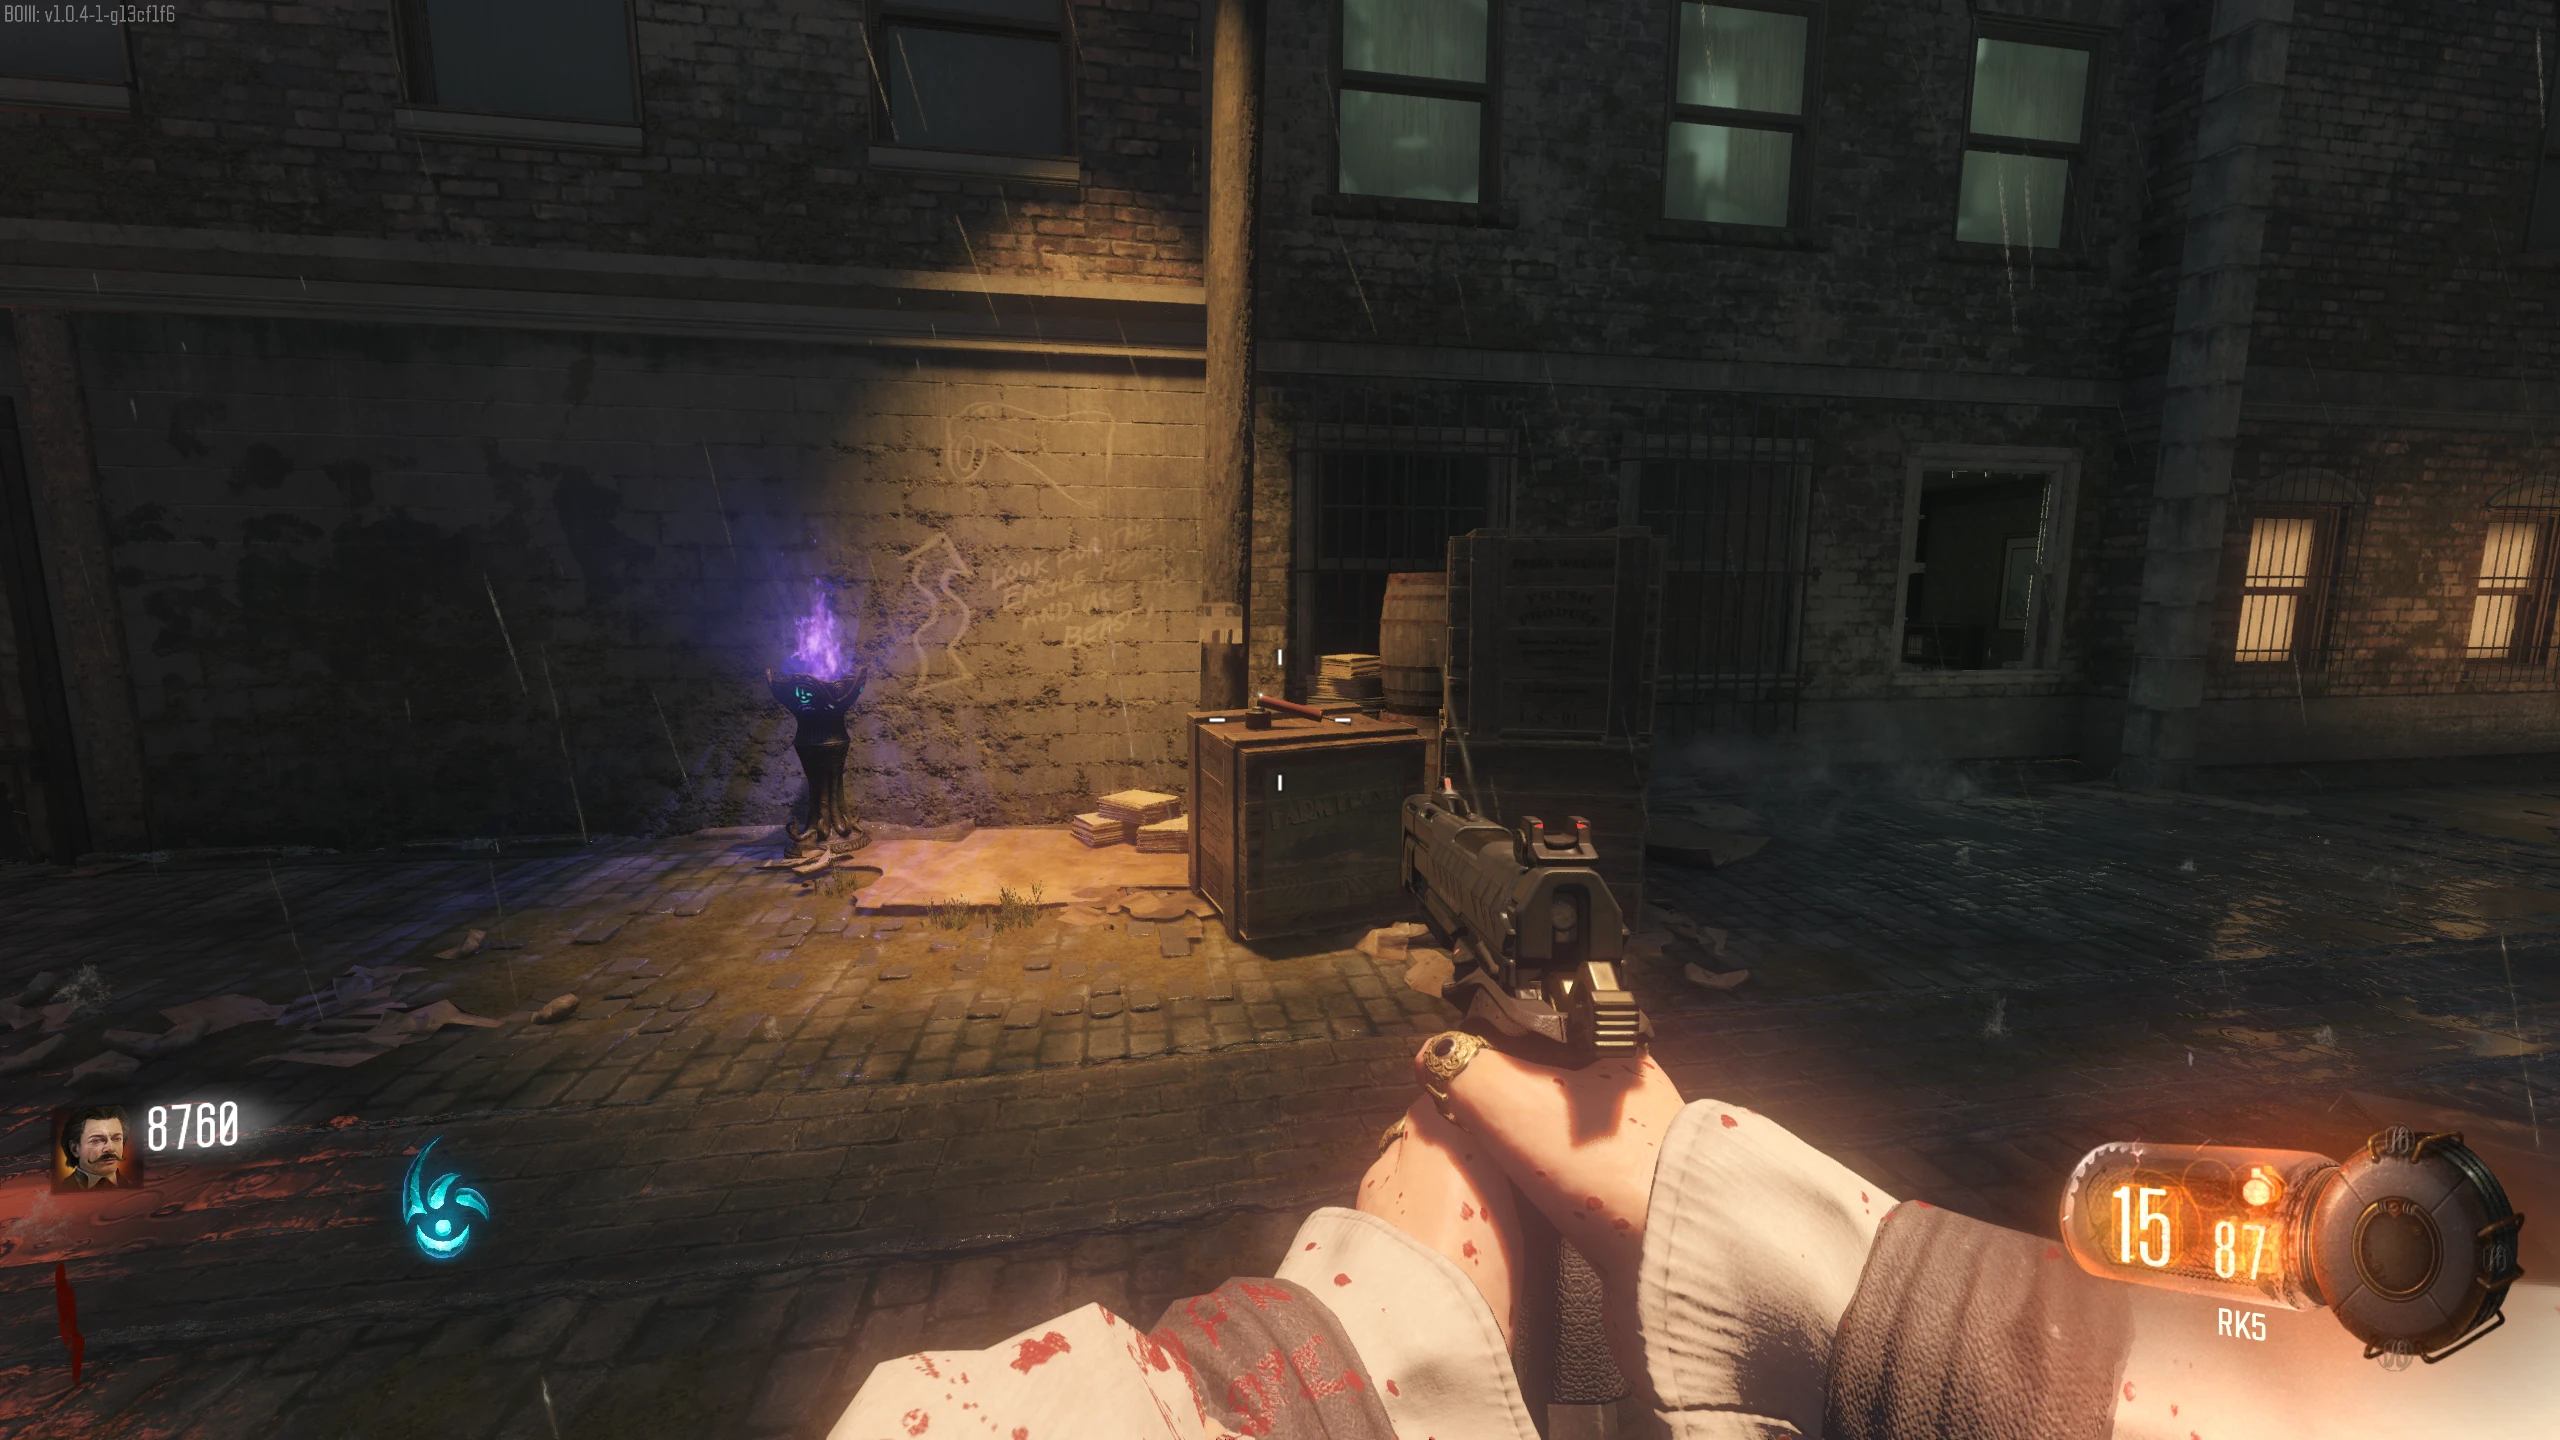
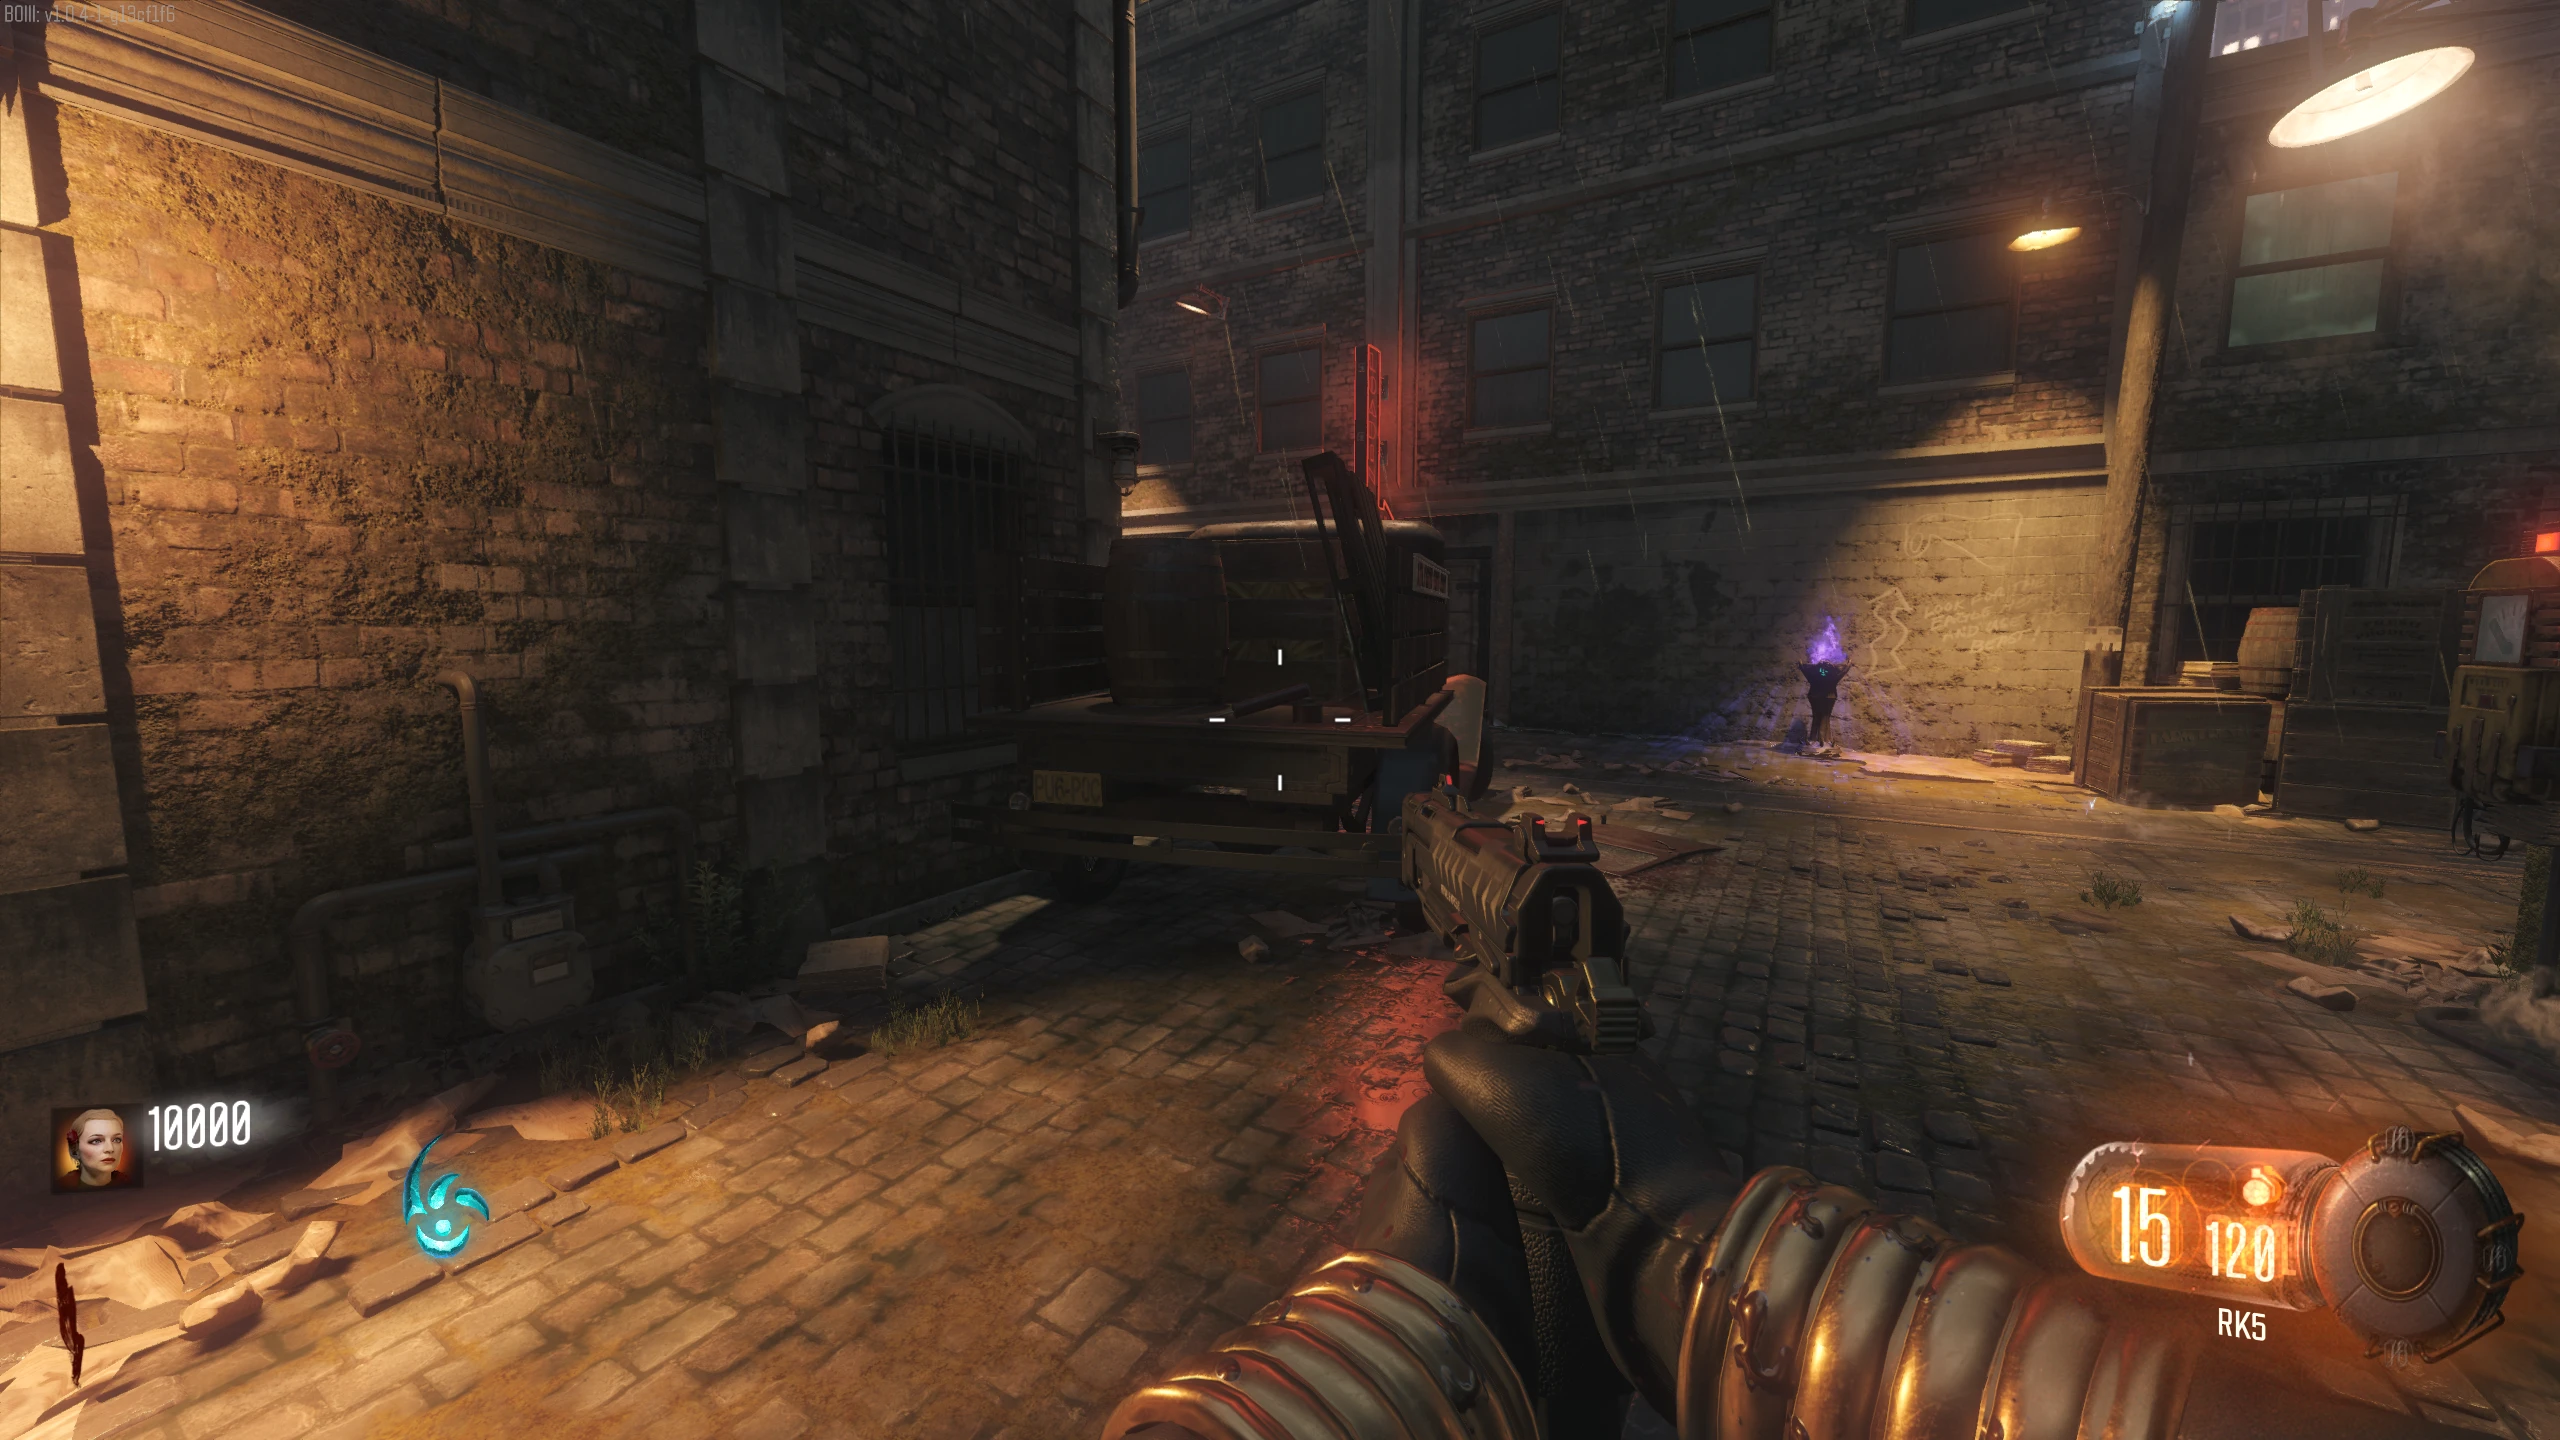
Noire Mode (Black and White Visual Filter)
The Noire Mode filter can't be deactivated once activated.
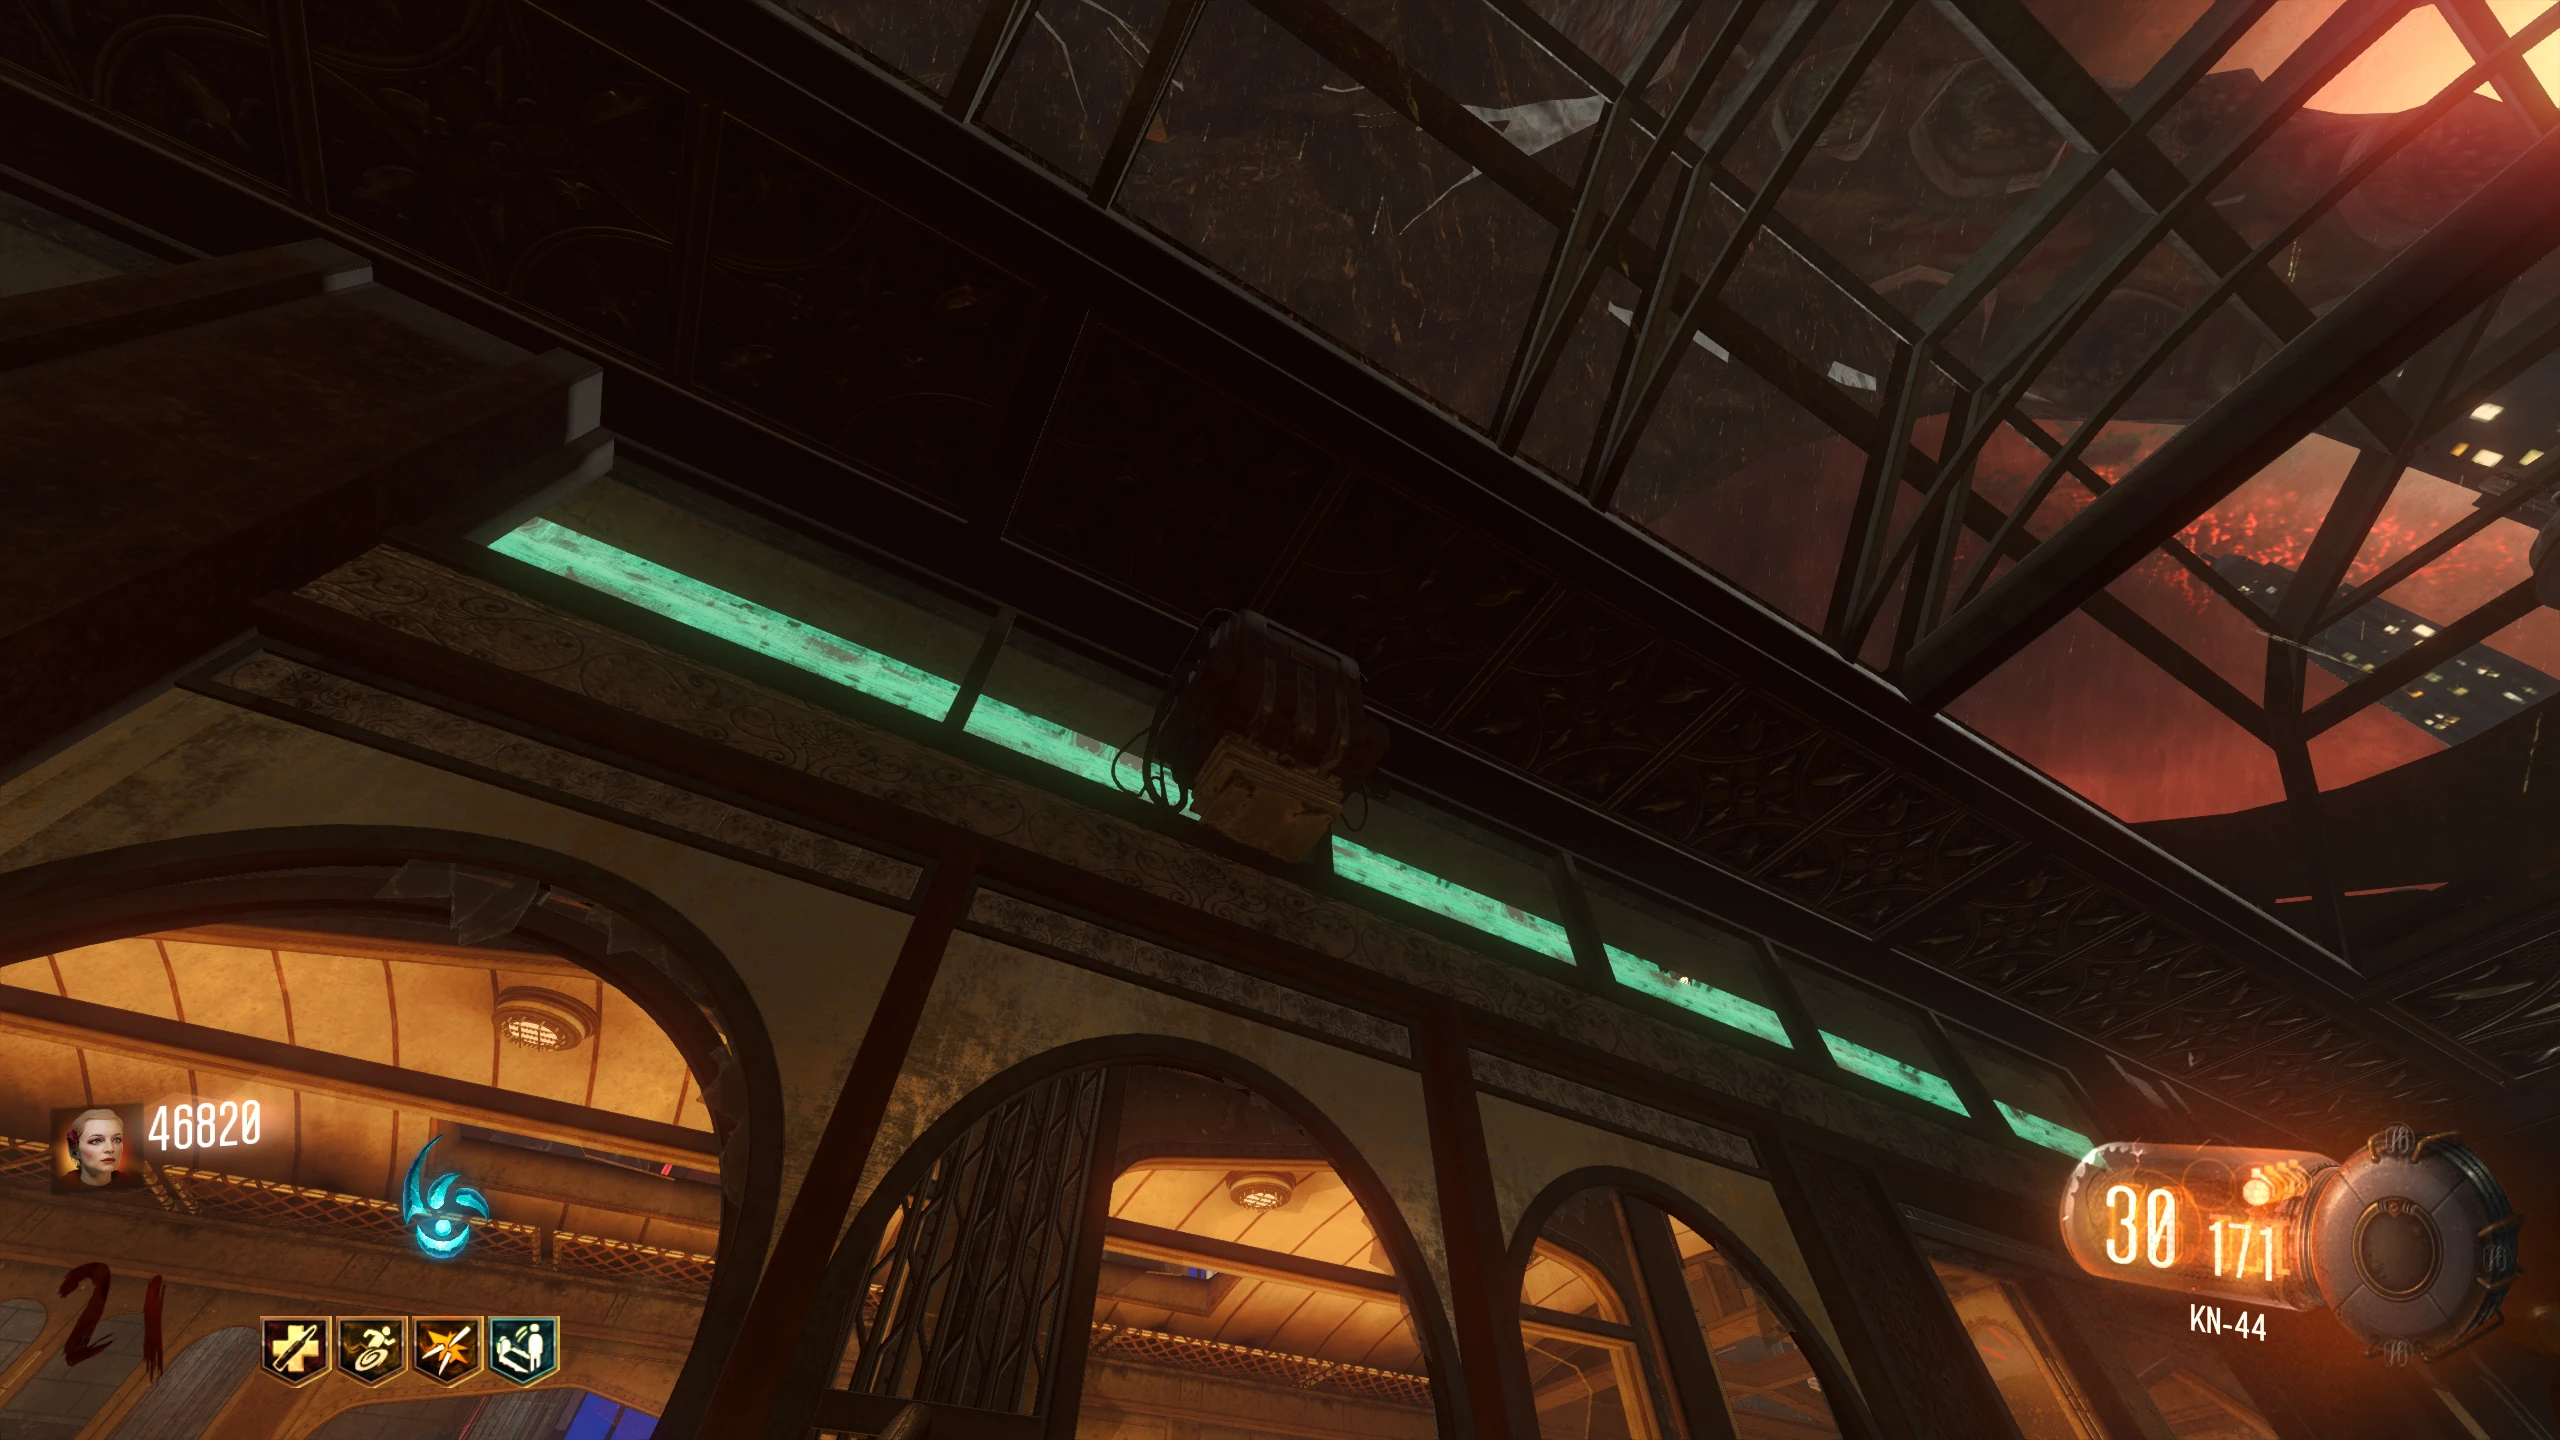
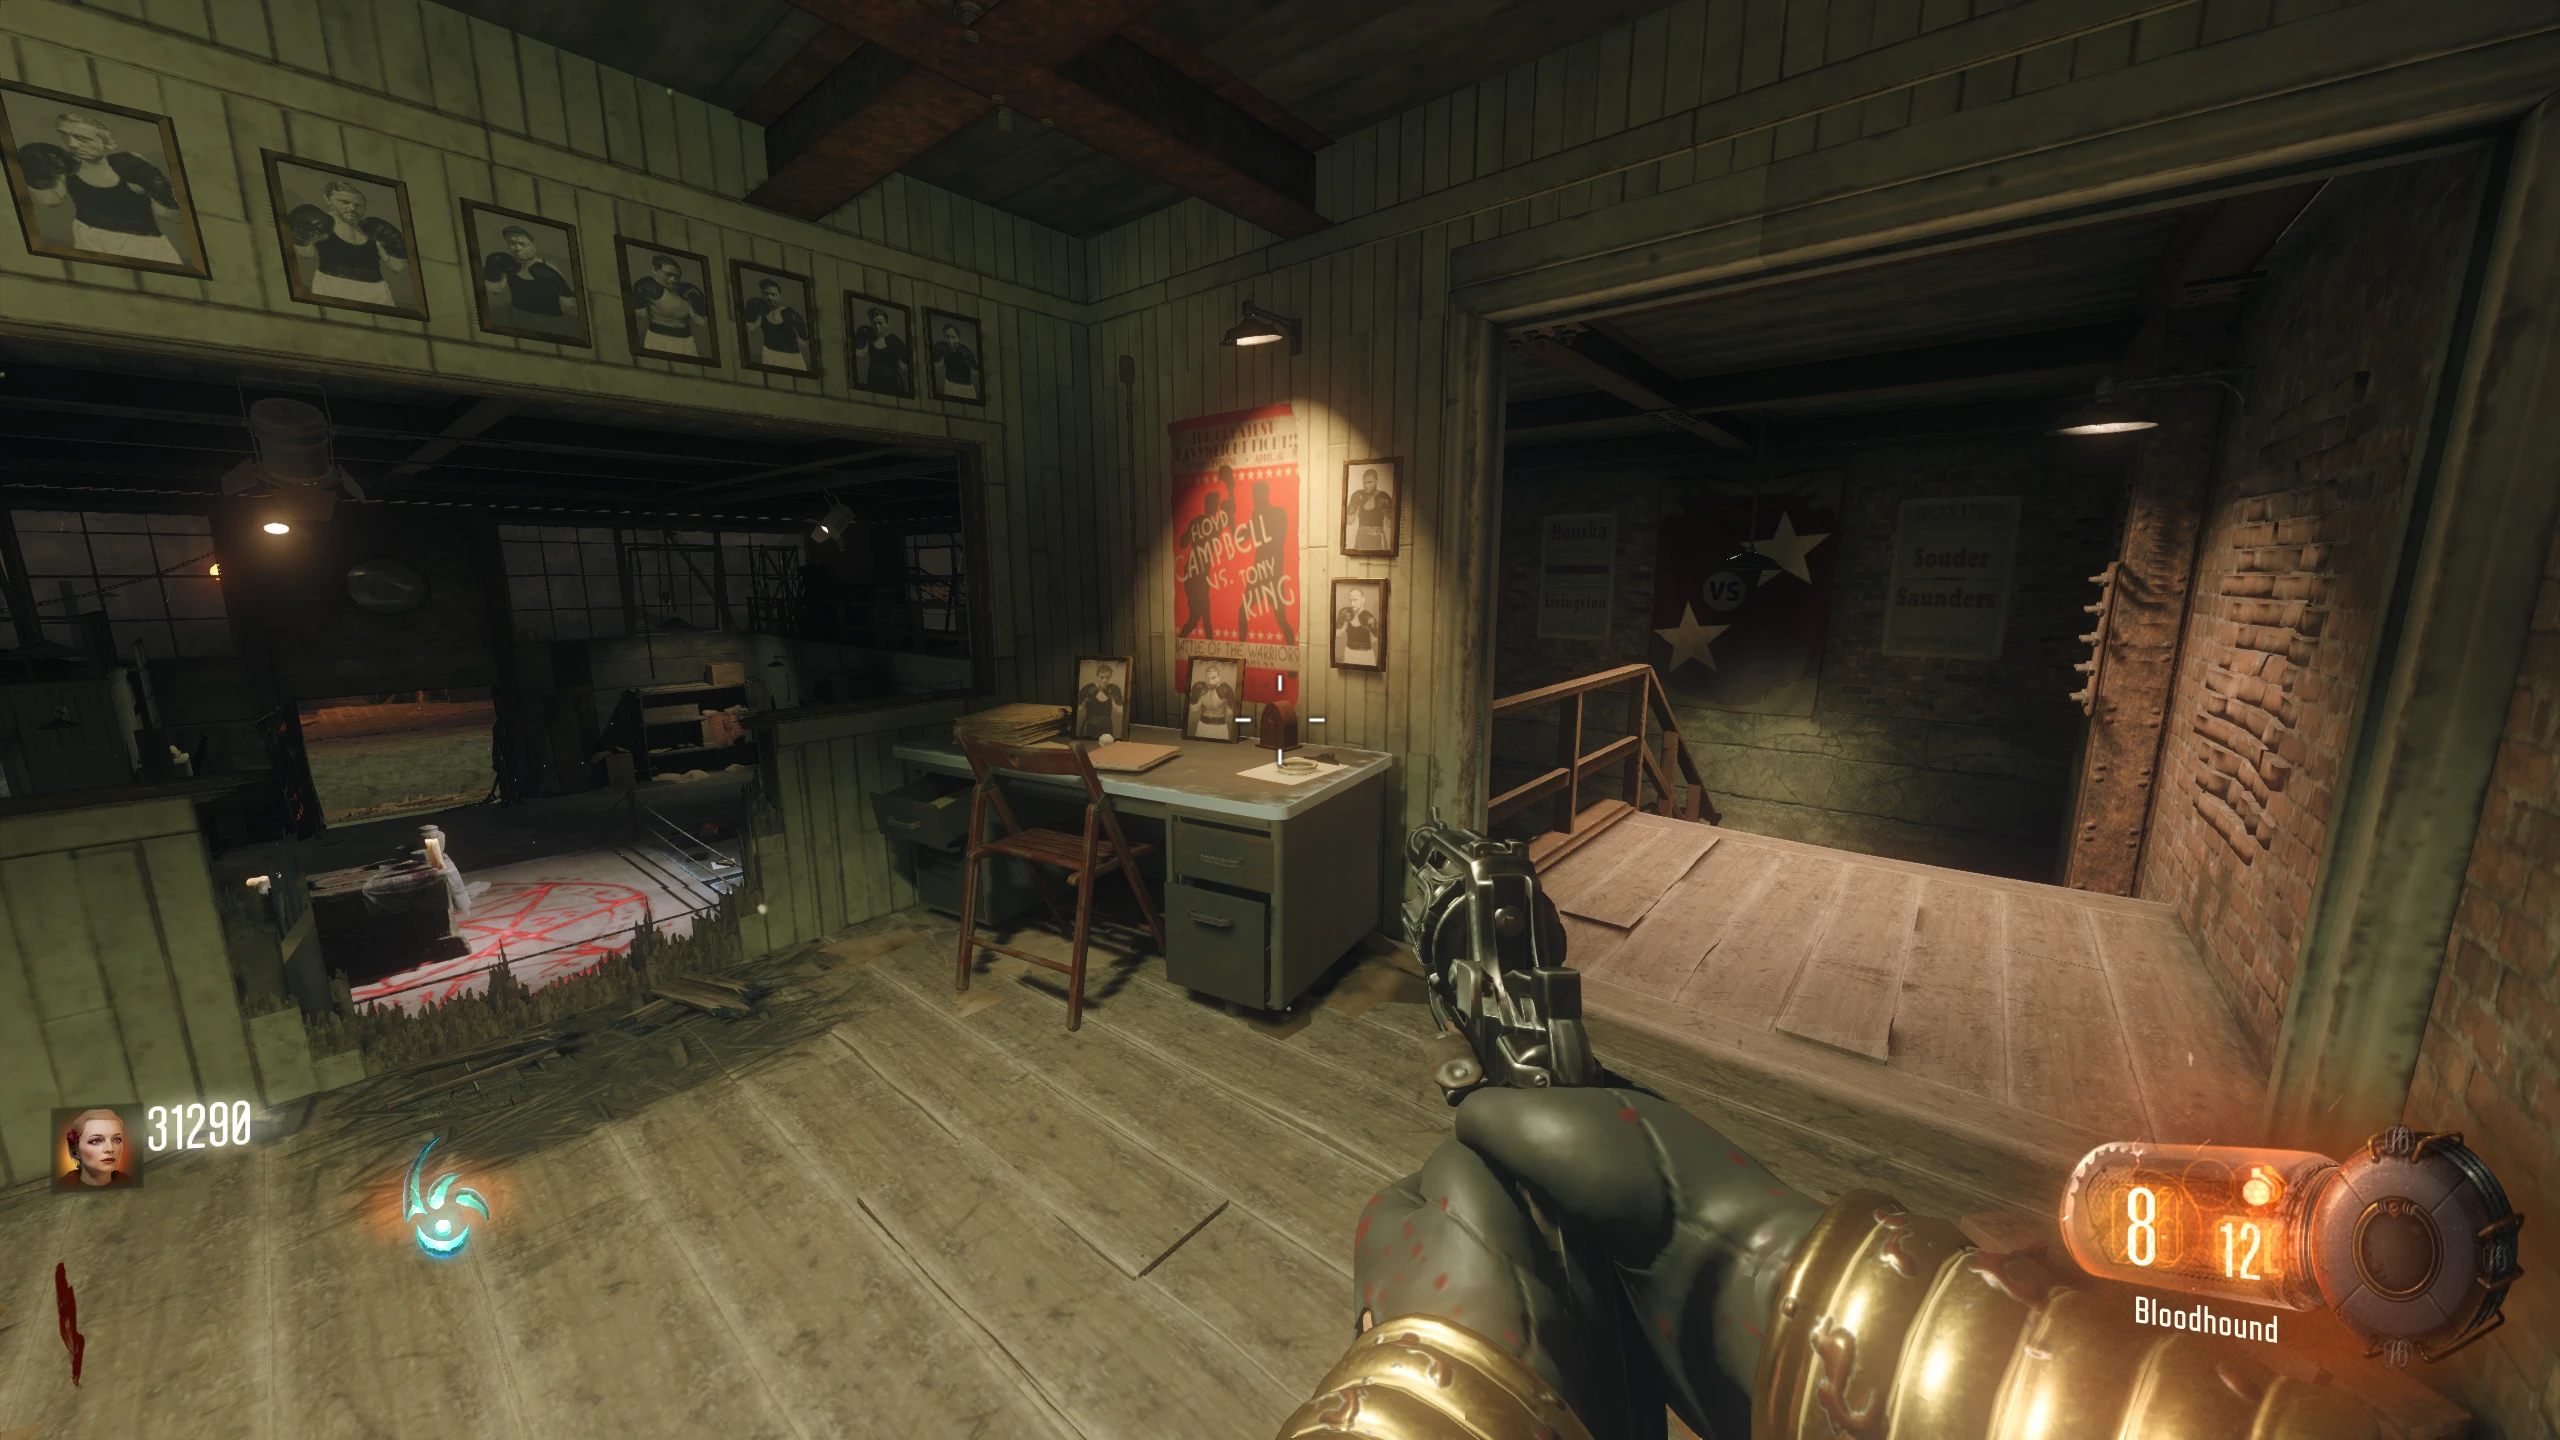
- Go to the Boxing Gym, in the Waterfront District. Go up the stairs in the back, and there should be a line of pictures above the window overlooking the Boxing Ring.
- Crouch in front of the desk's front-right corner. Hold the reload button and look at your feet. While holding the reload button, move your crosshair up in a straight line to this picture on the wall (the one left of the cypher picture) Video Example (Youtube).
- If done correctly, your screen should turn black and white.
 Tips
Tips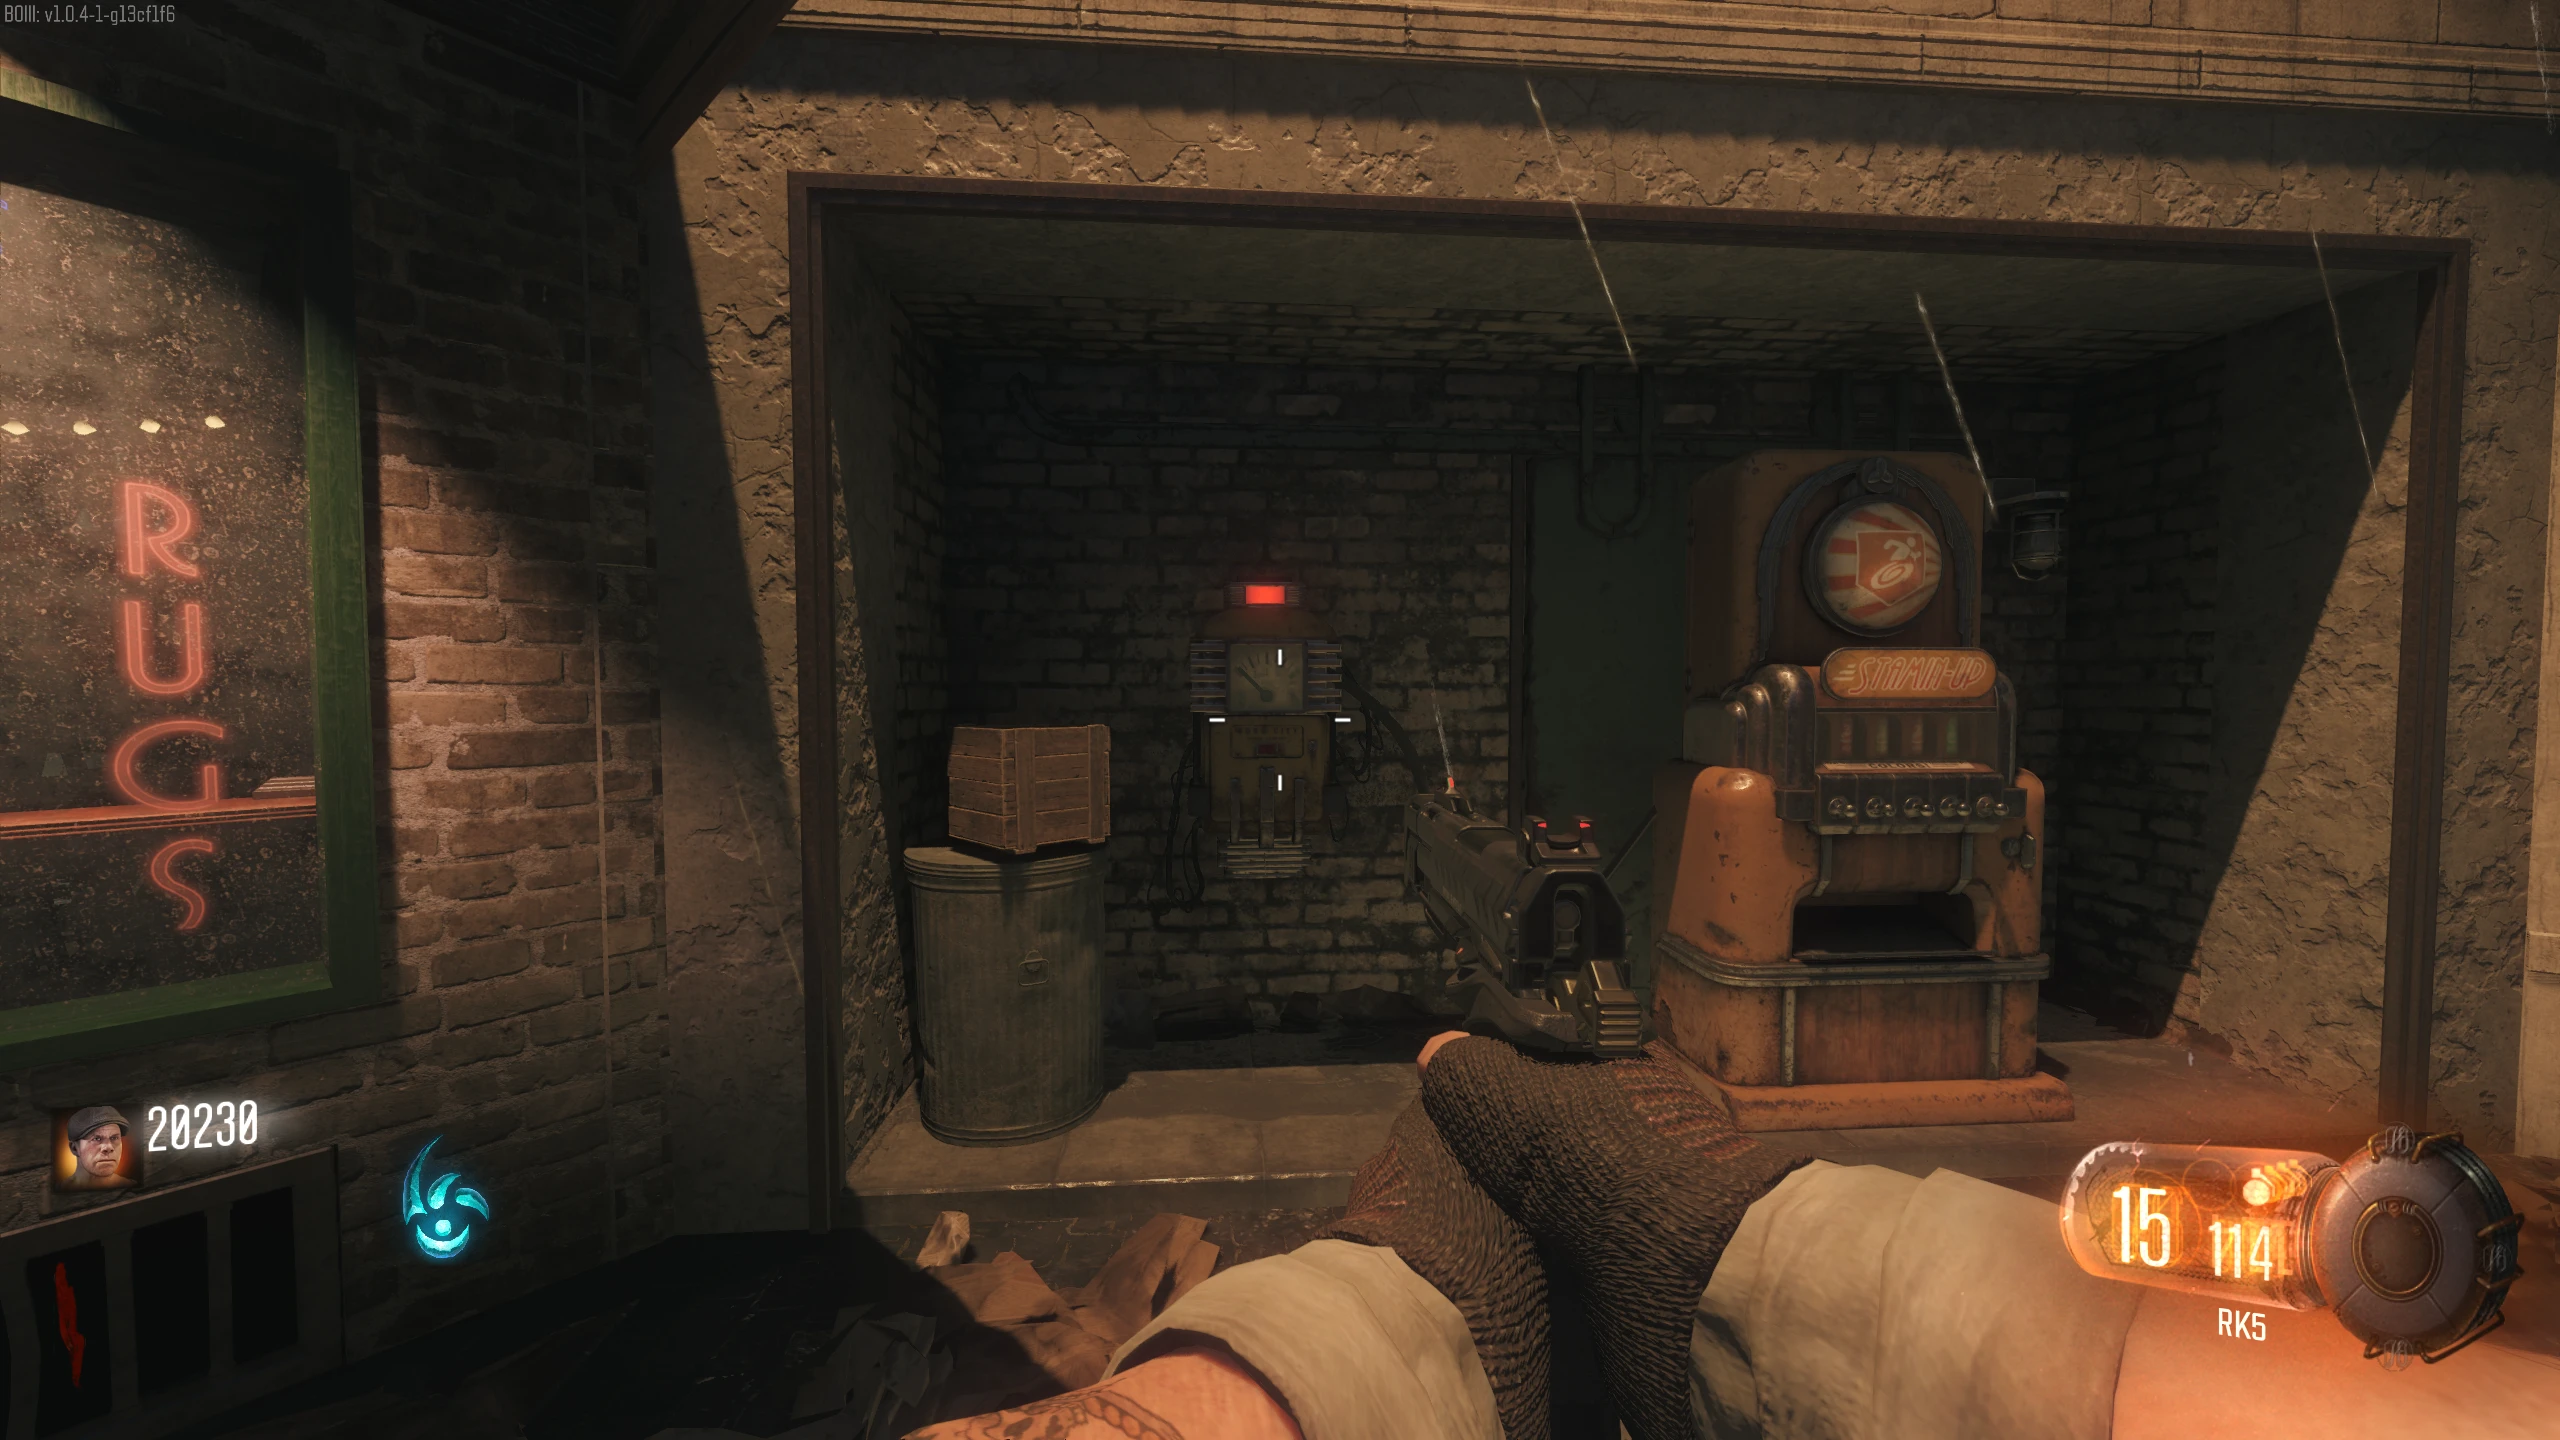