'Apocalypse Averted' Main Quest
Stats: Difficulty - 4/10 Solo (5/10 4-Player), Est. Completion Time - 1 Hr to 1:30 Hr (1:30 to 2 Hrs 4-Player)
To complete this Main Quest, you'll need four players. If you don't have four players, you can still complete the Boss Fight, but the final sequence (and the final cutscene) won't start.
-
Prerequisites
- Unlock Pack-a-Punch.
- Every player needs to obtain an Upgraded Sword.
-
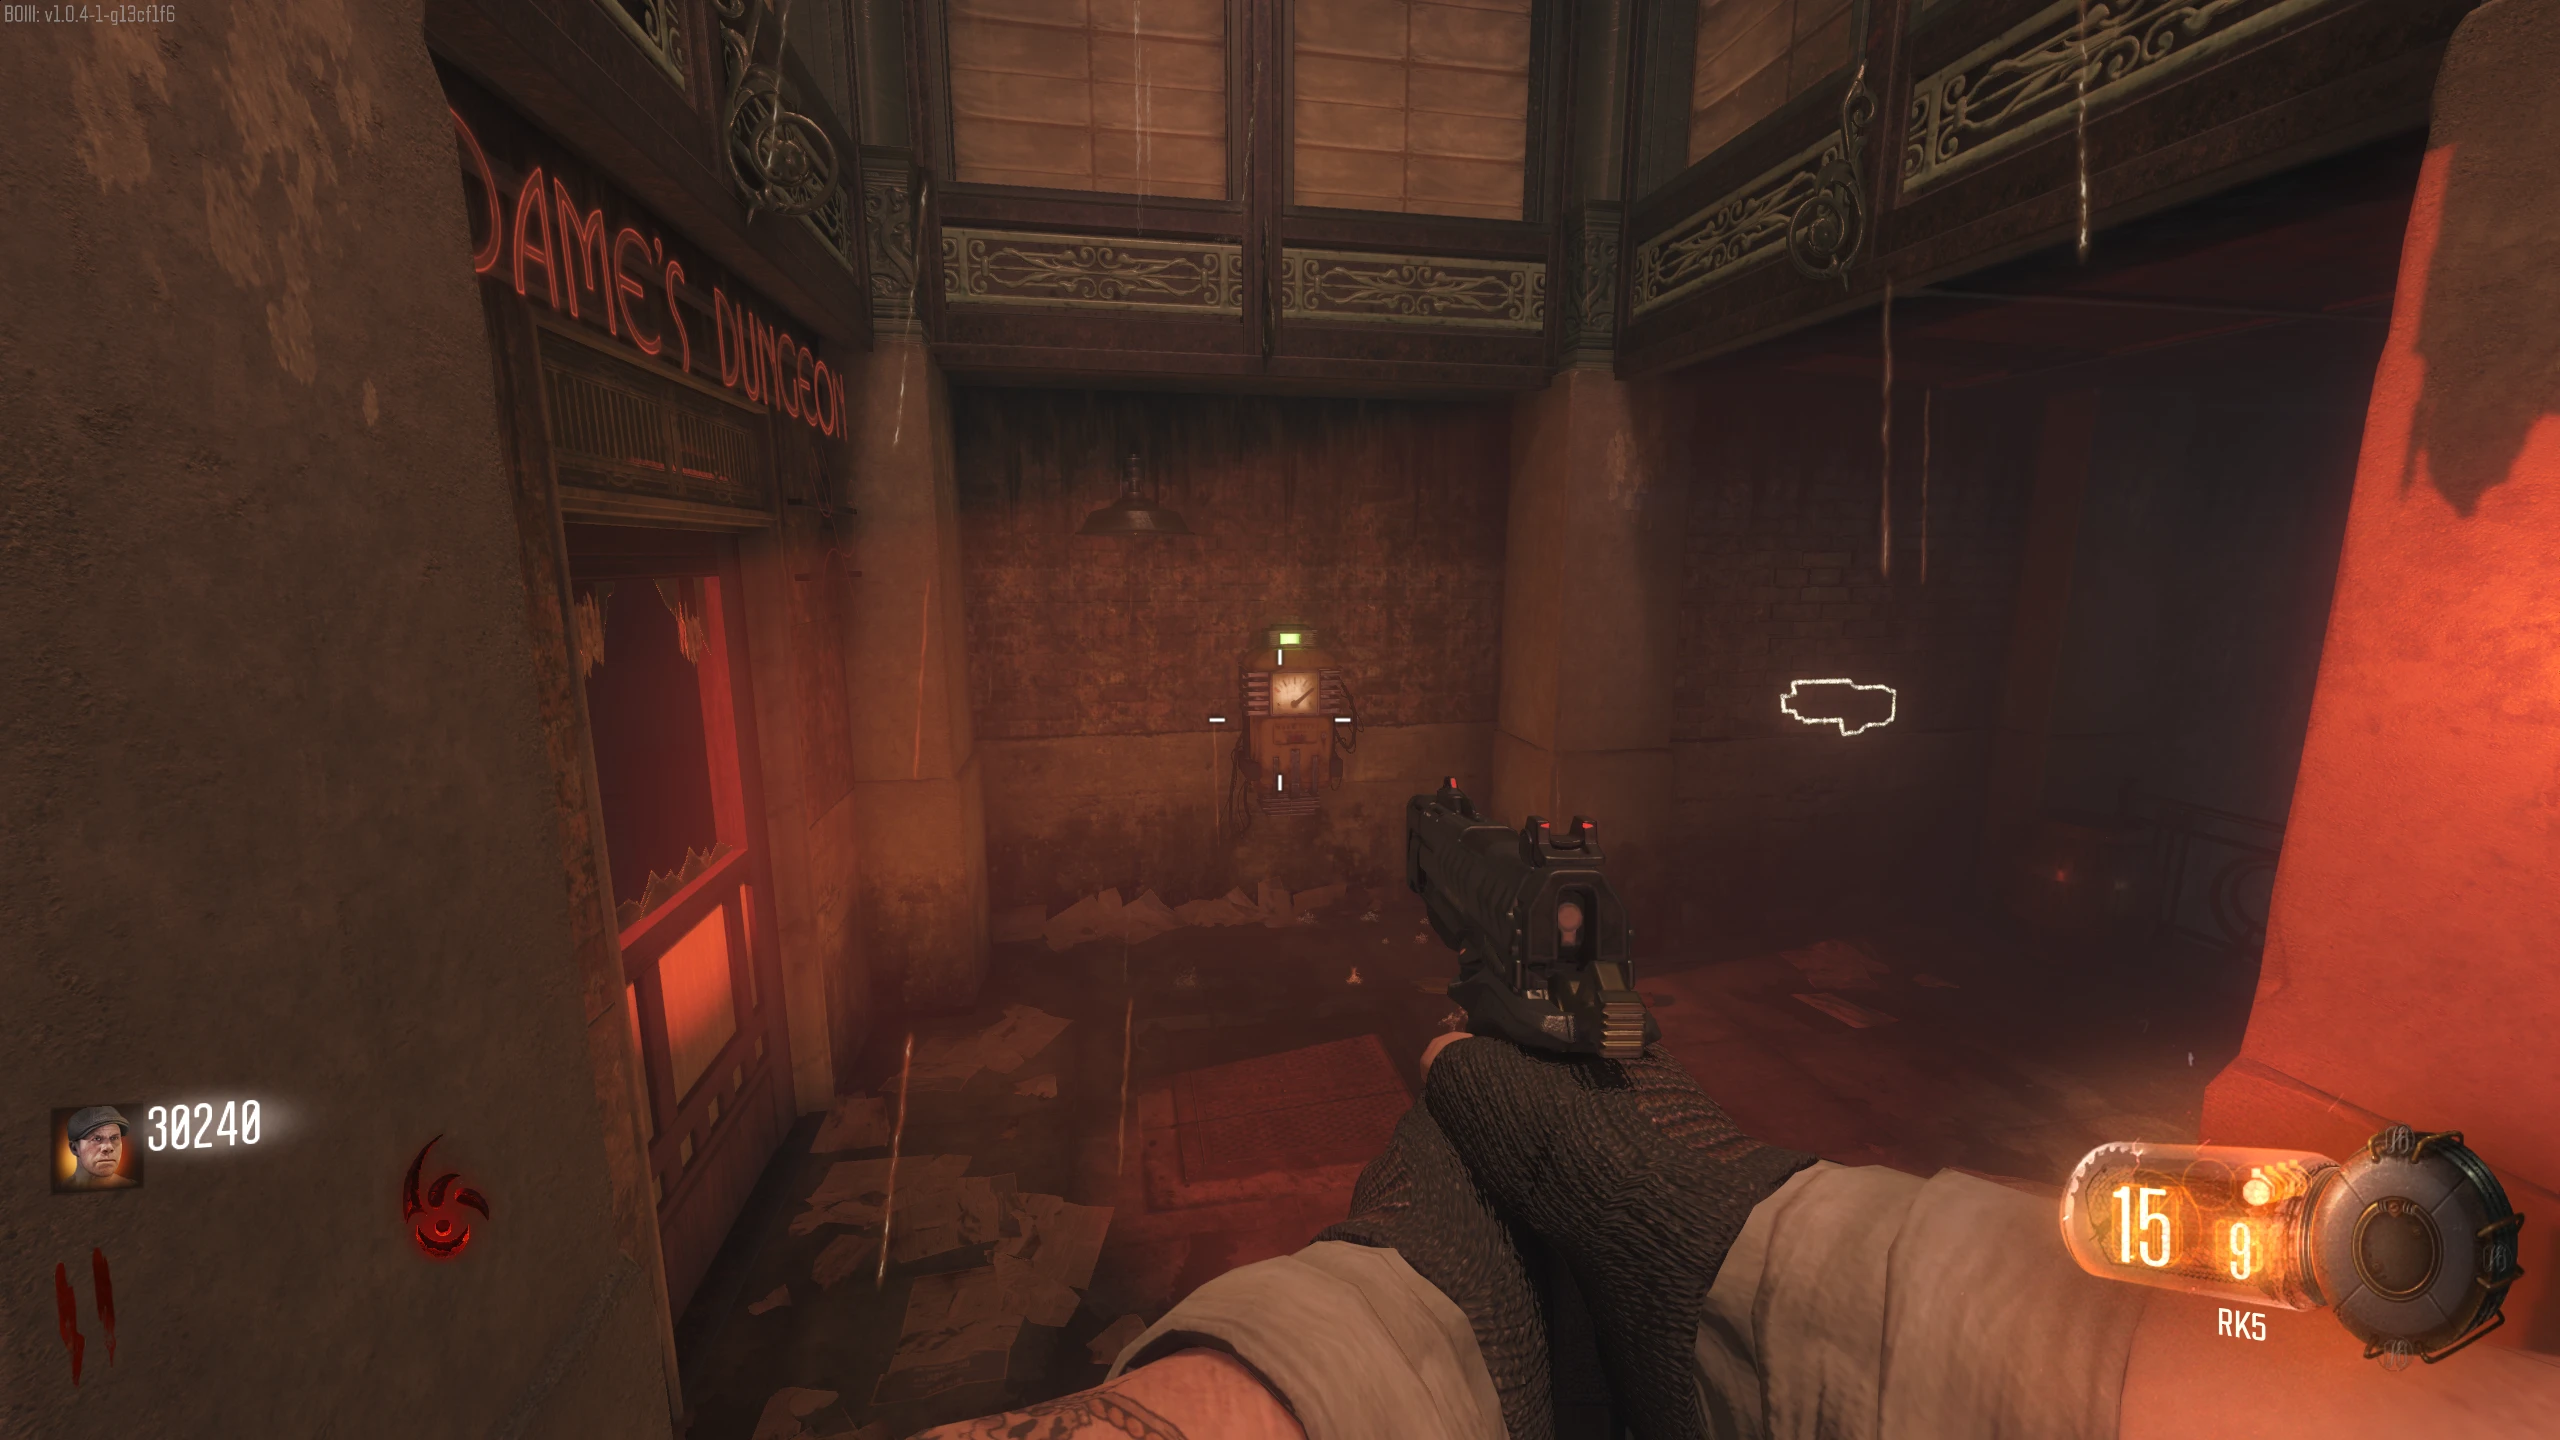
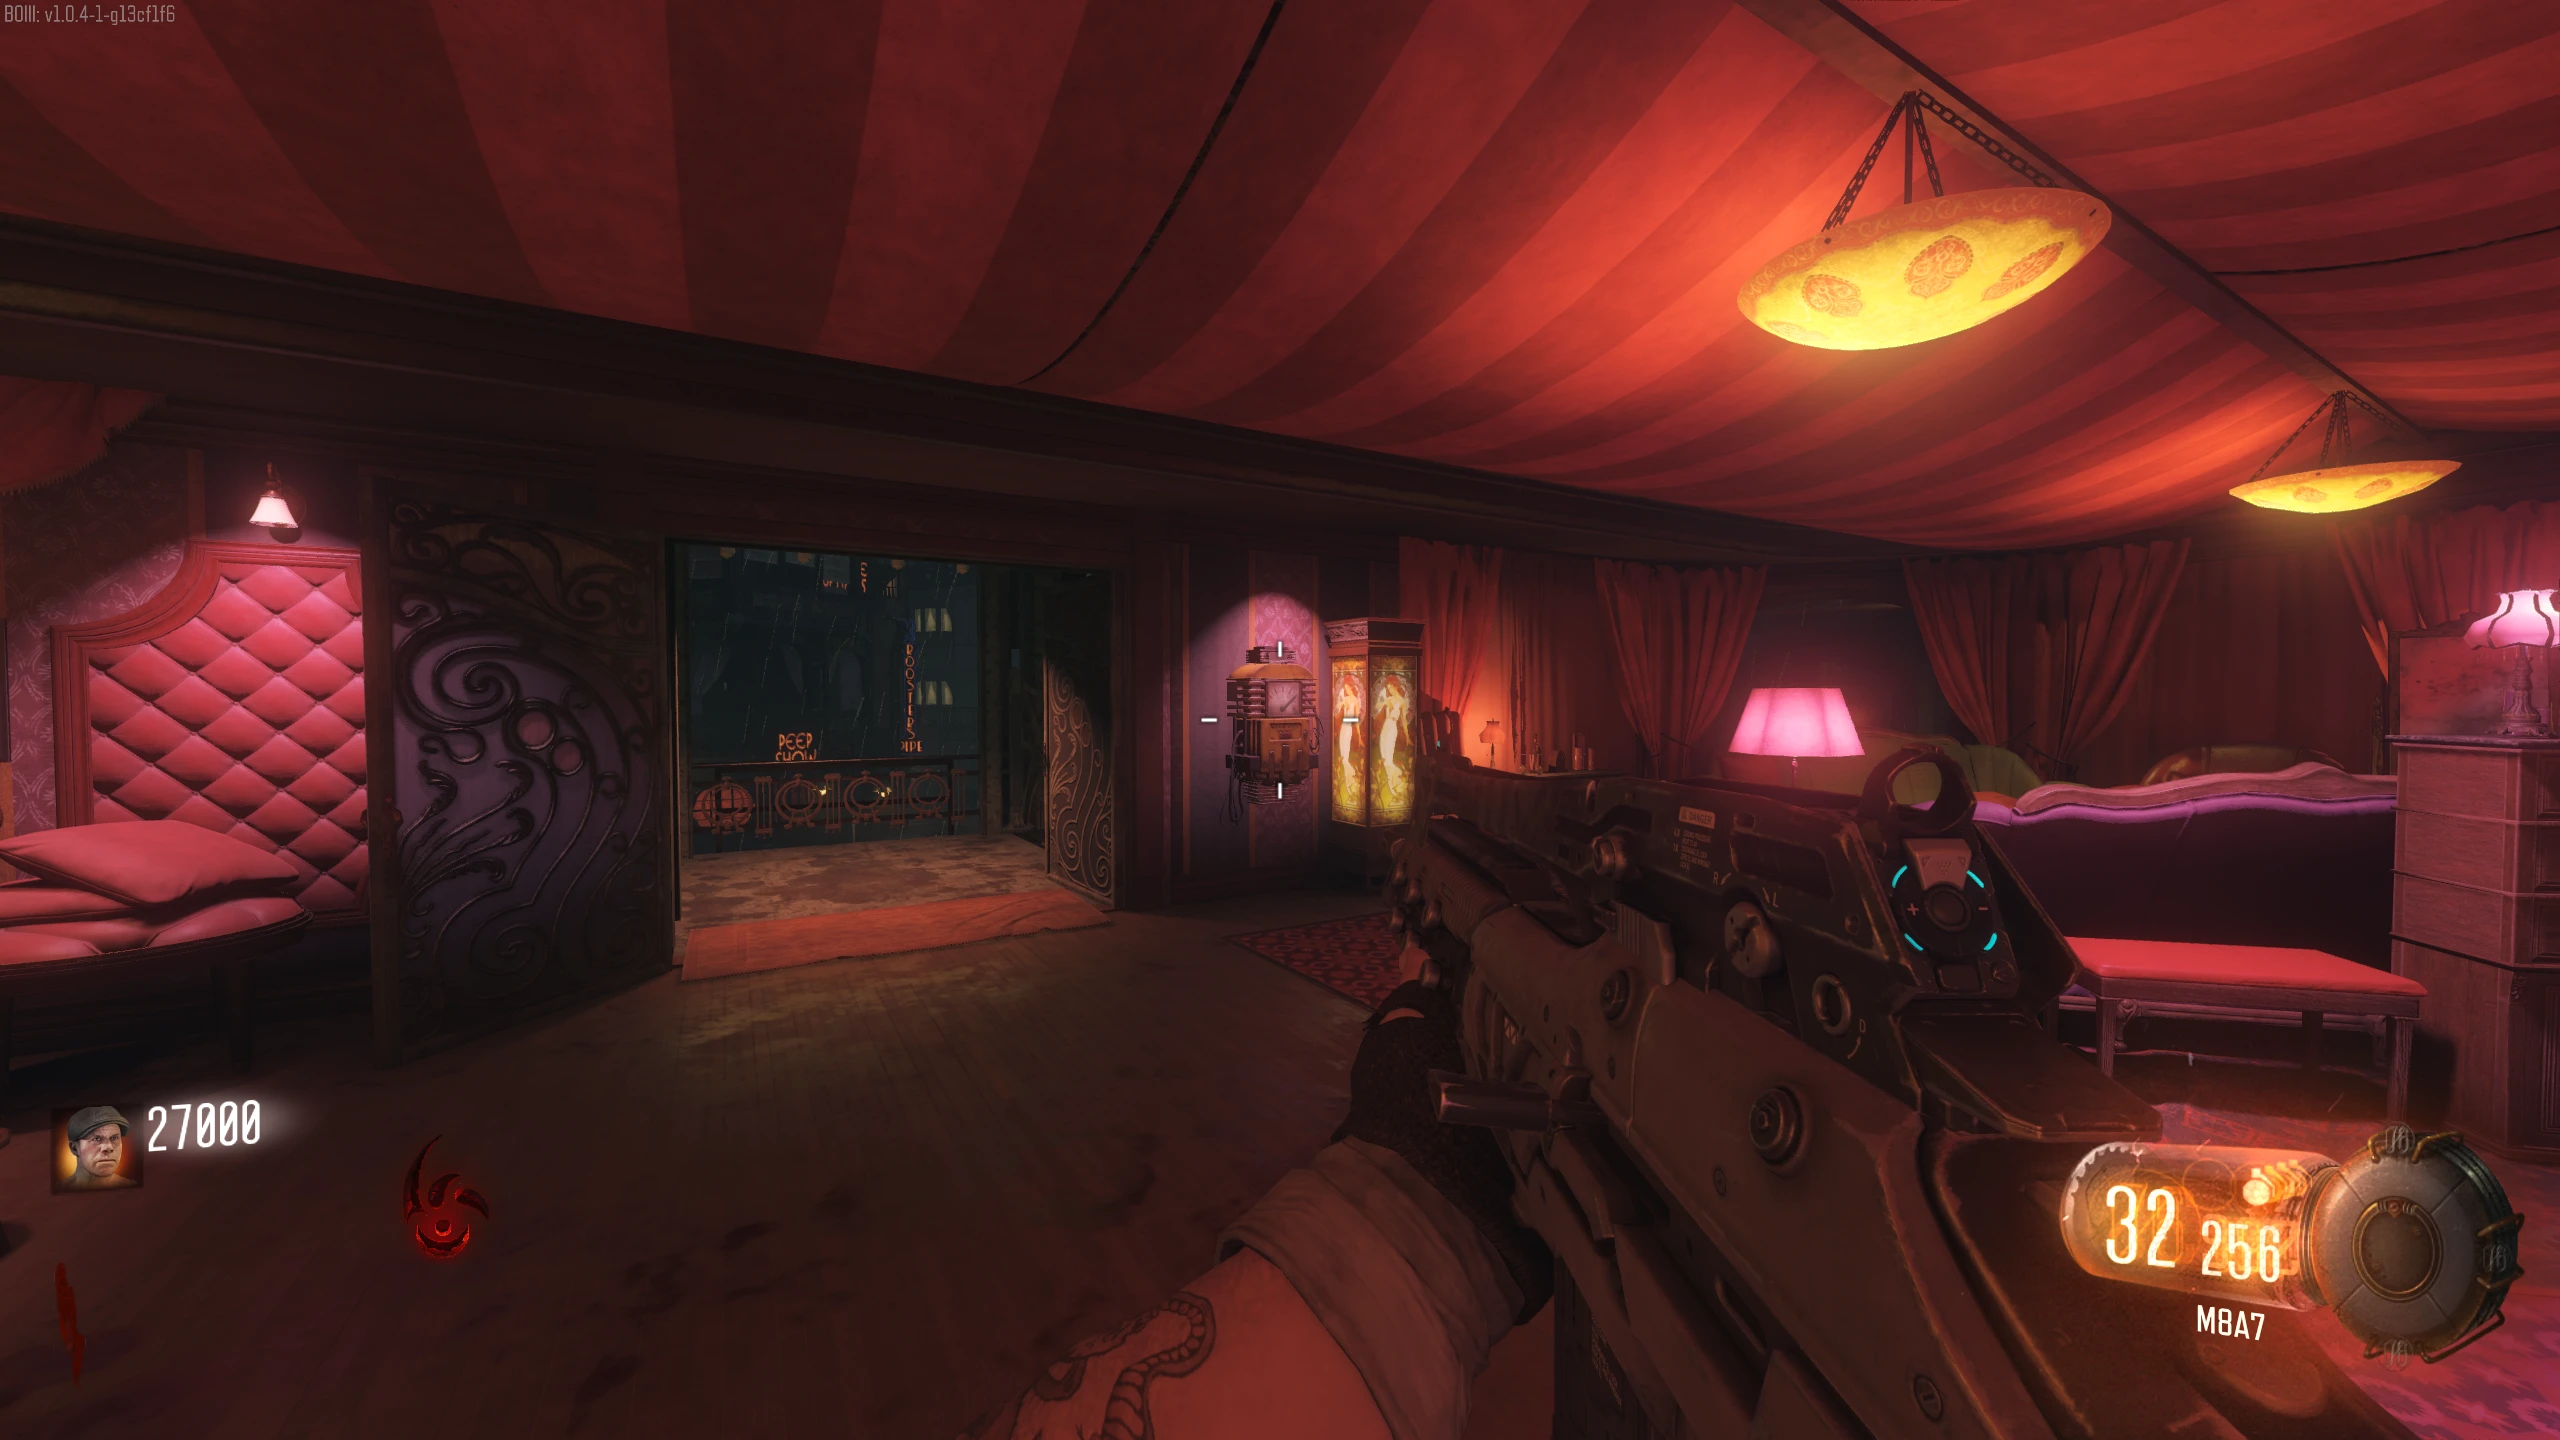
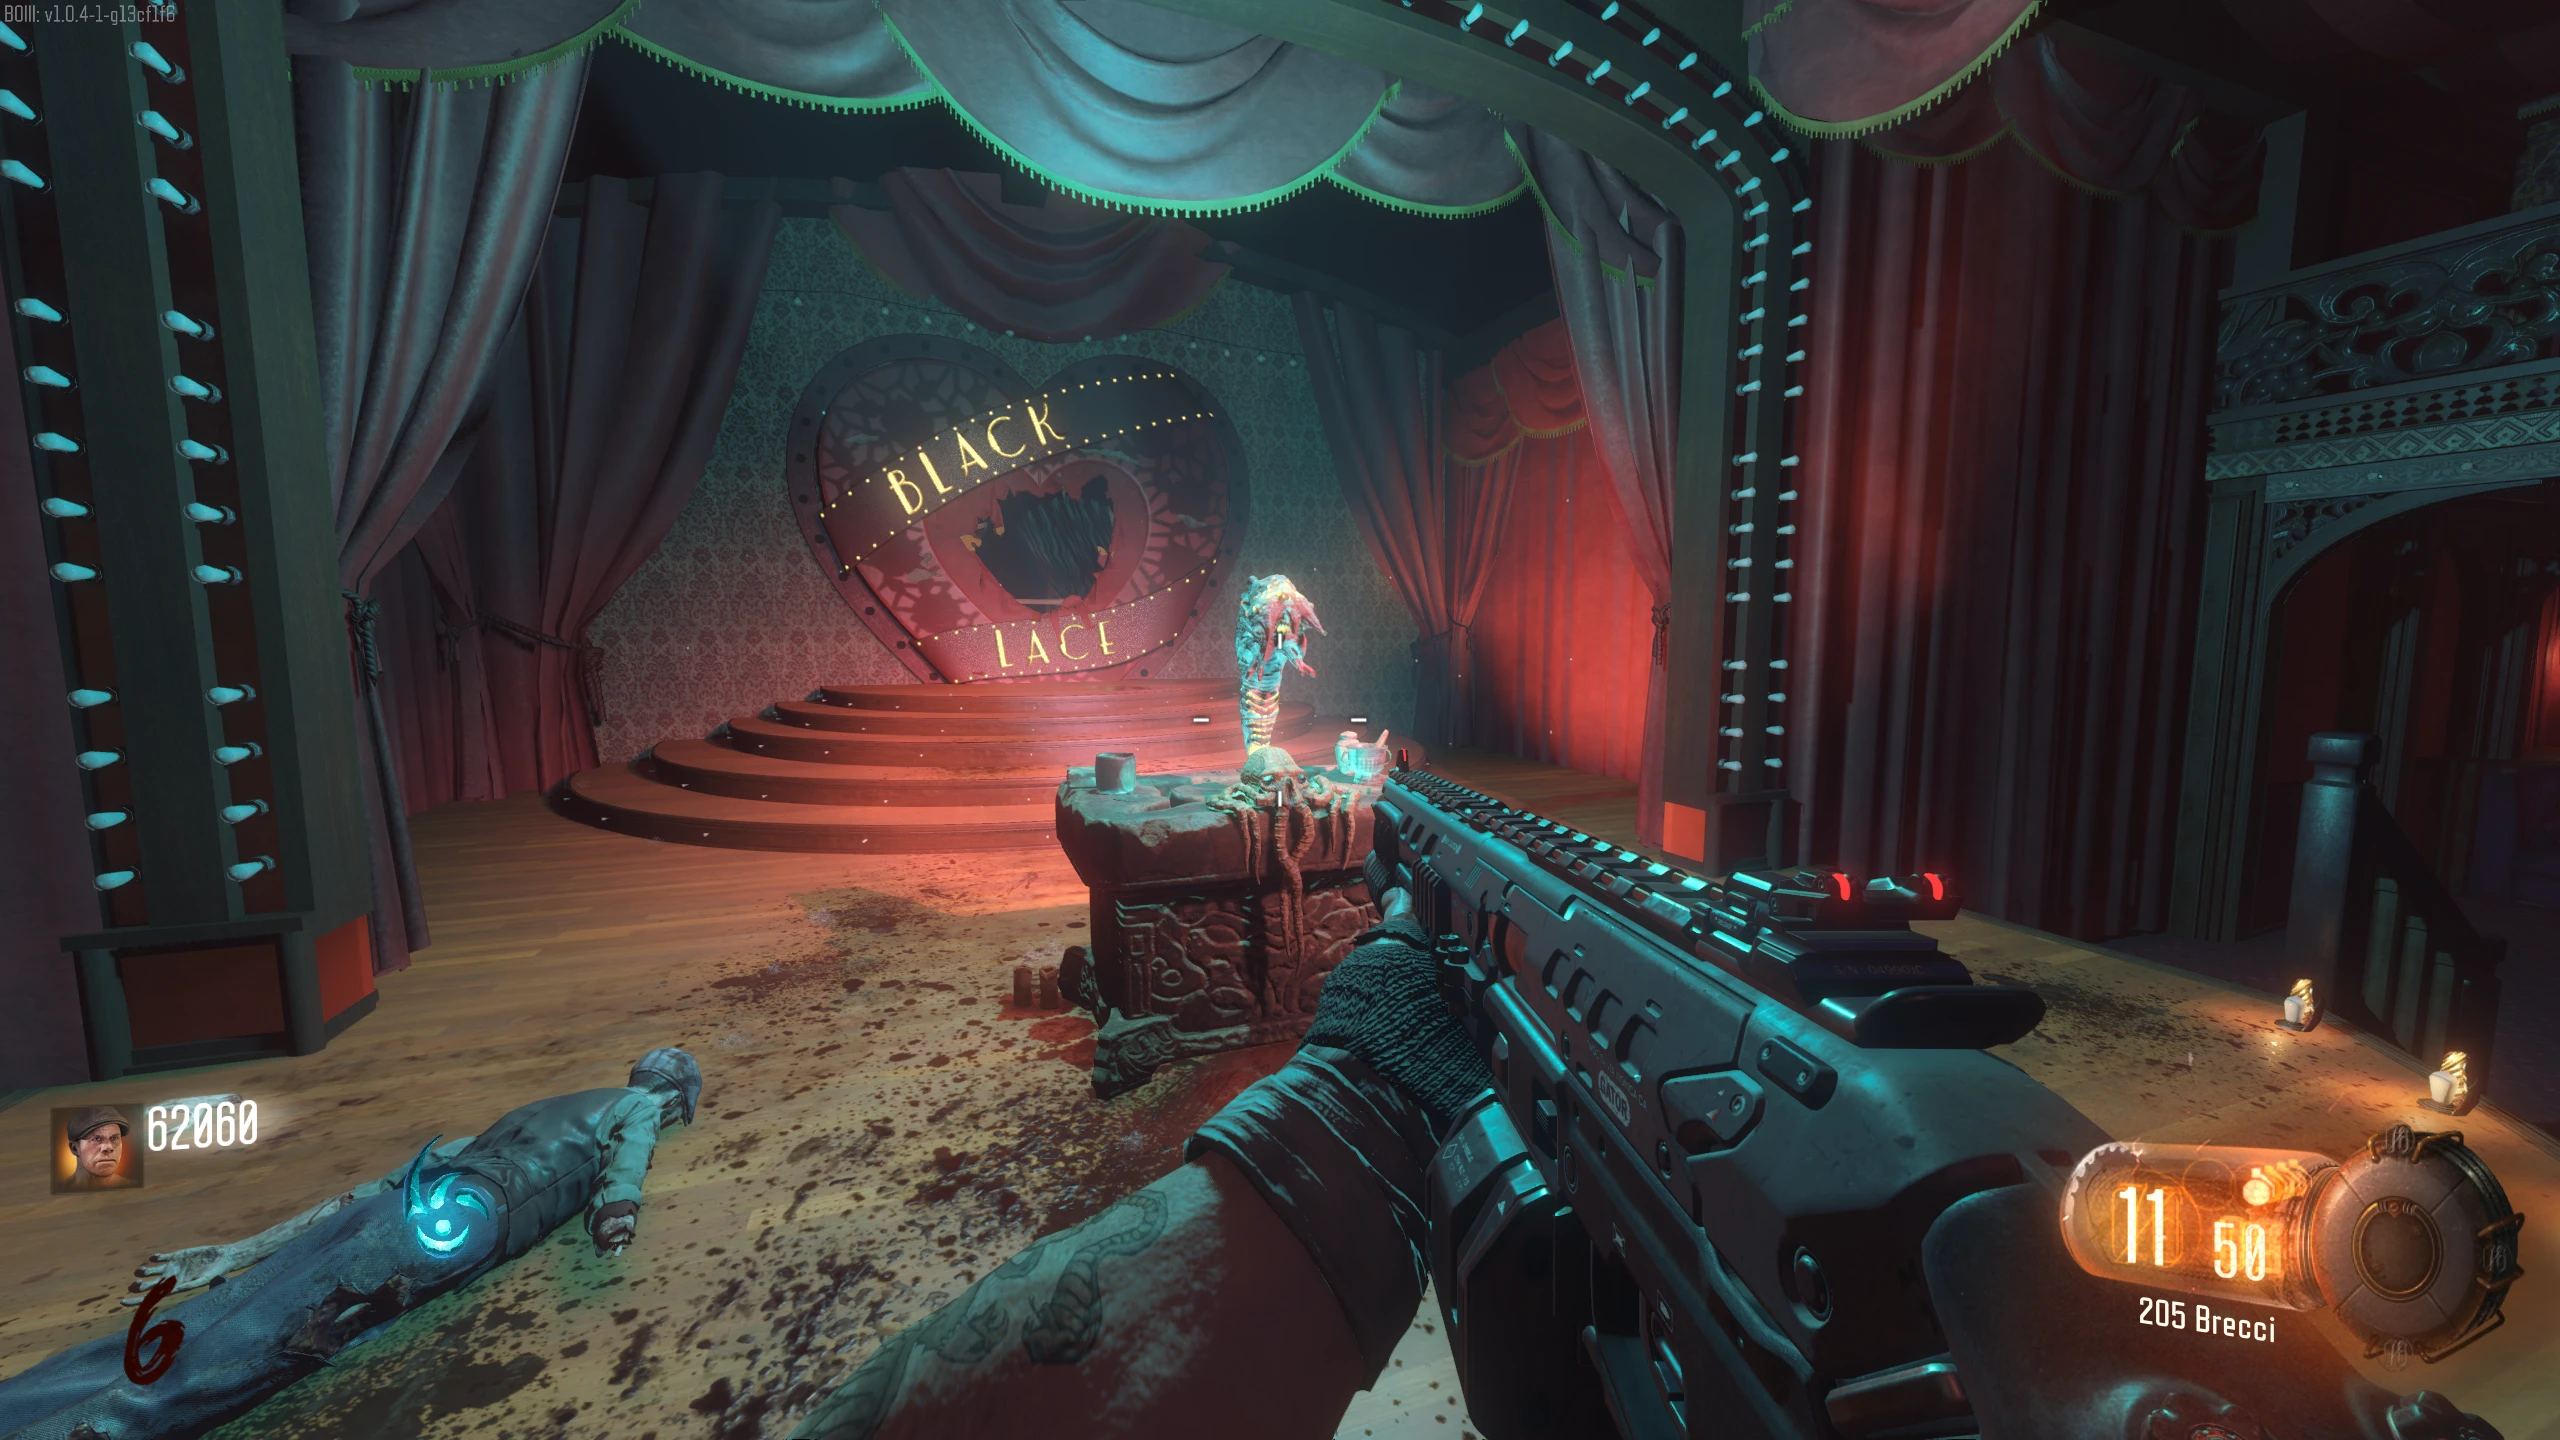
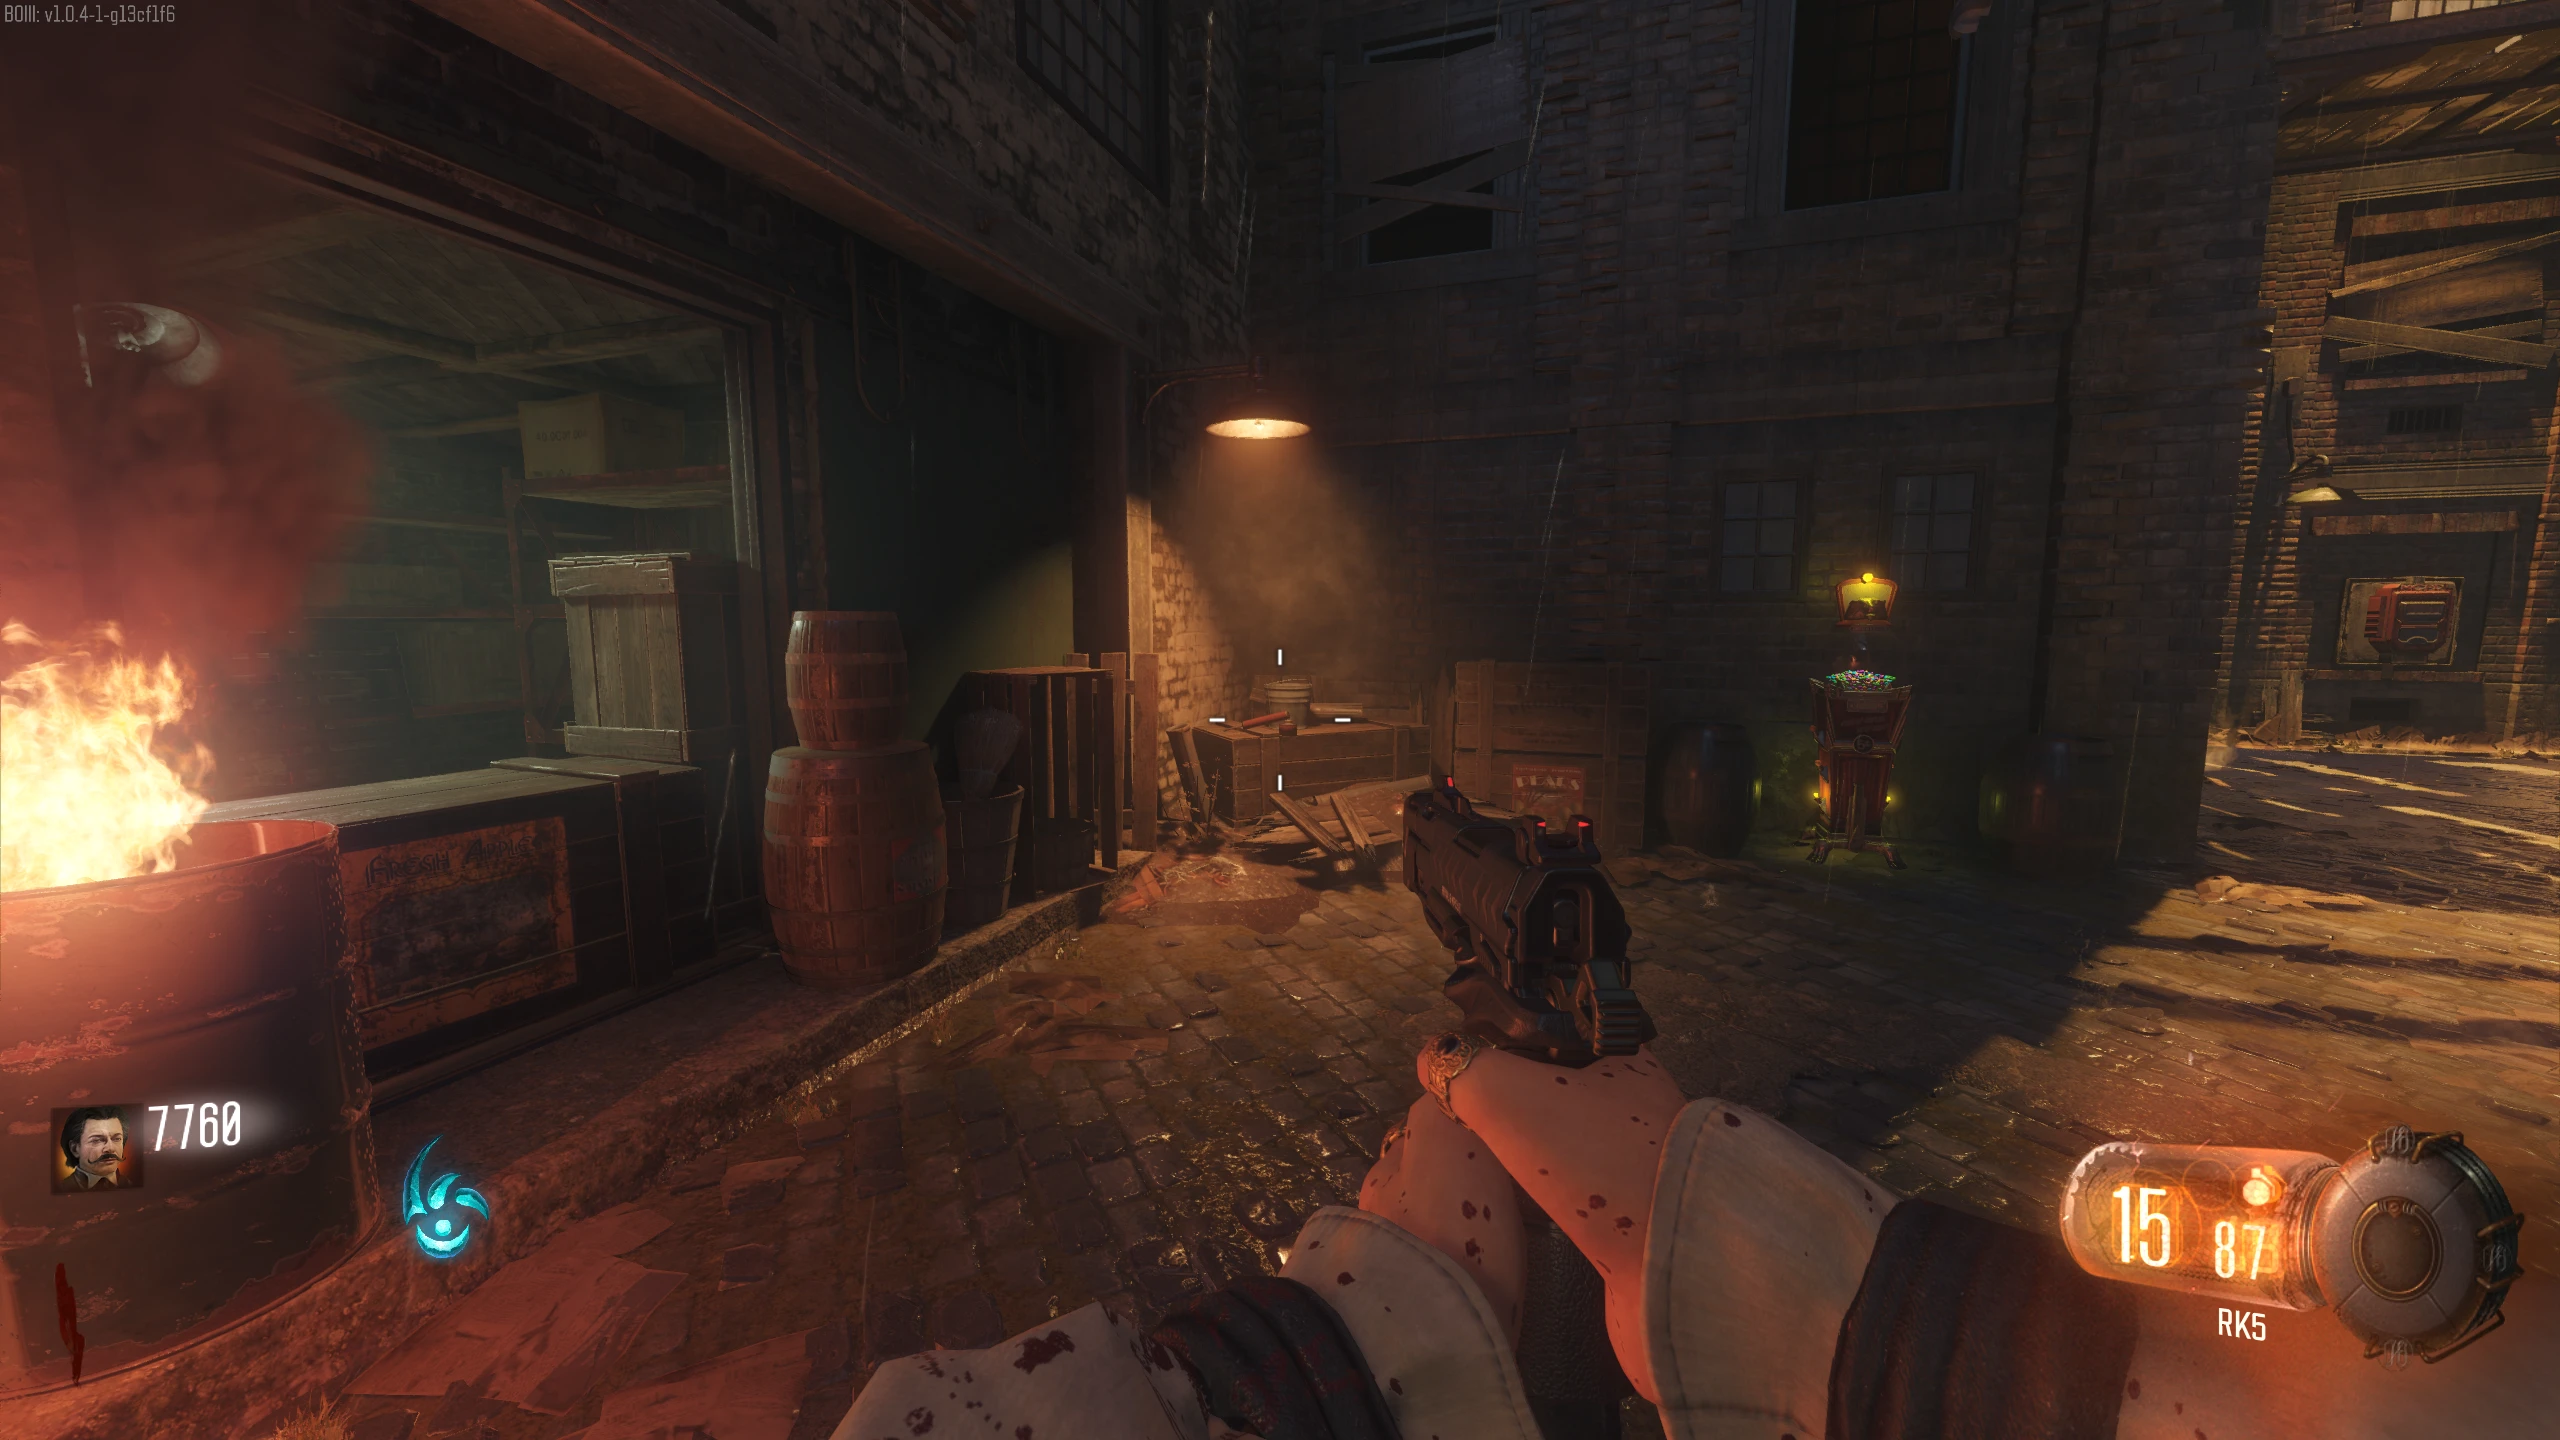
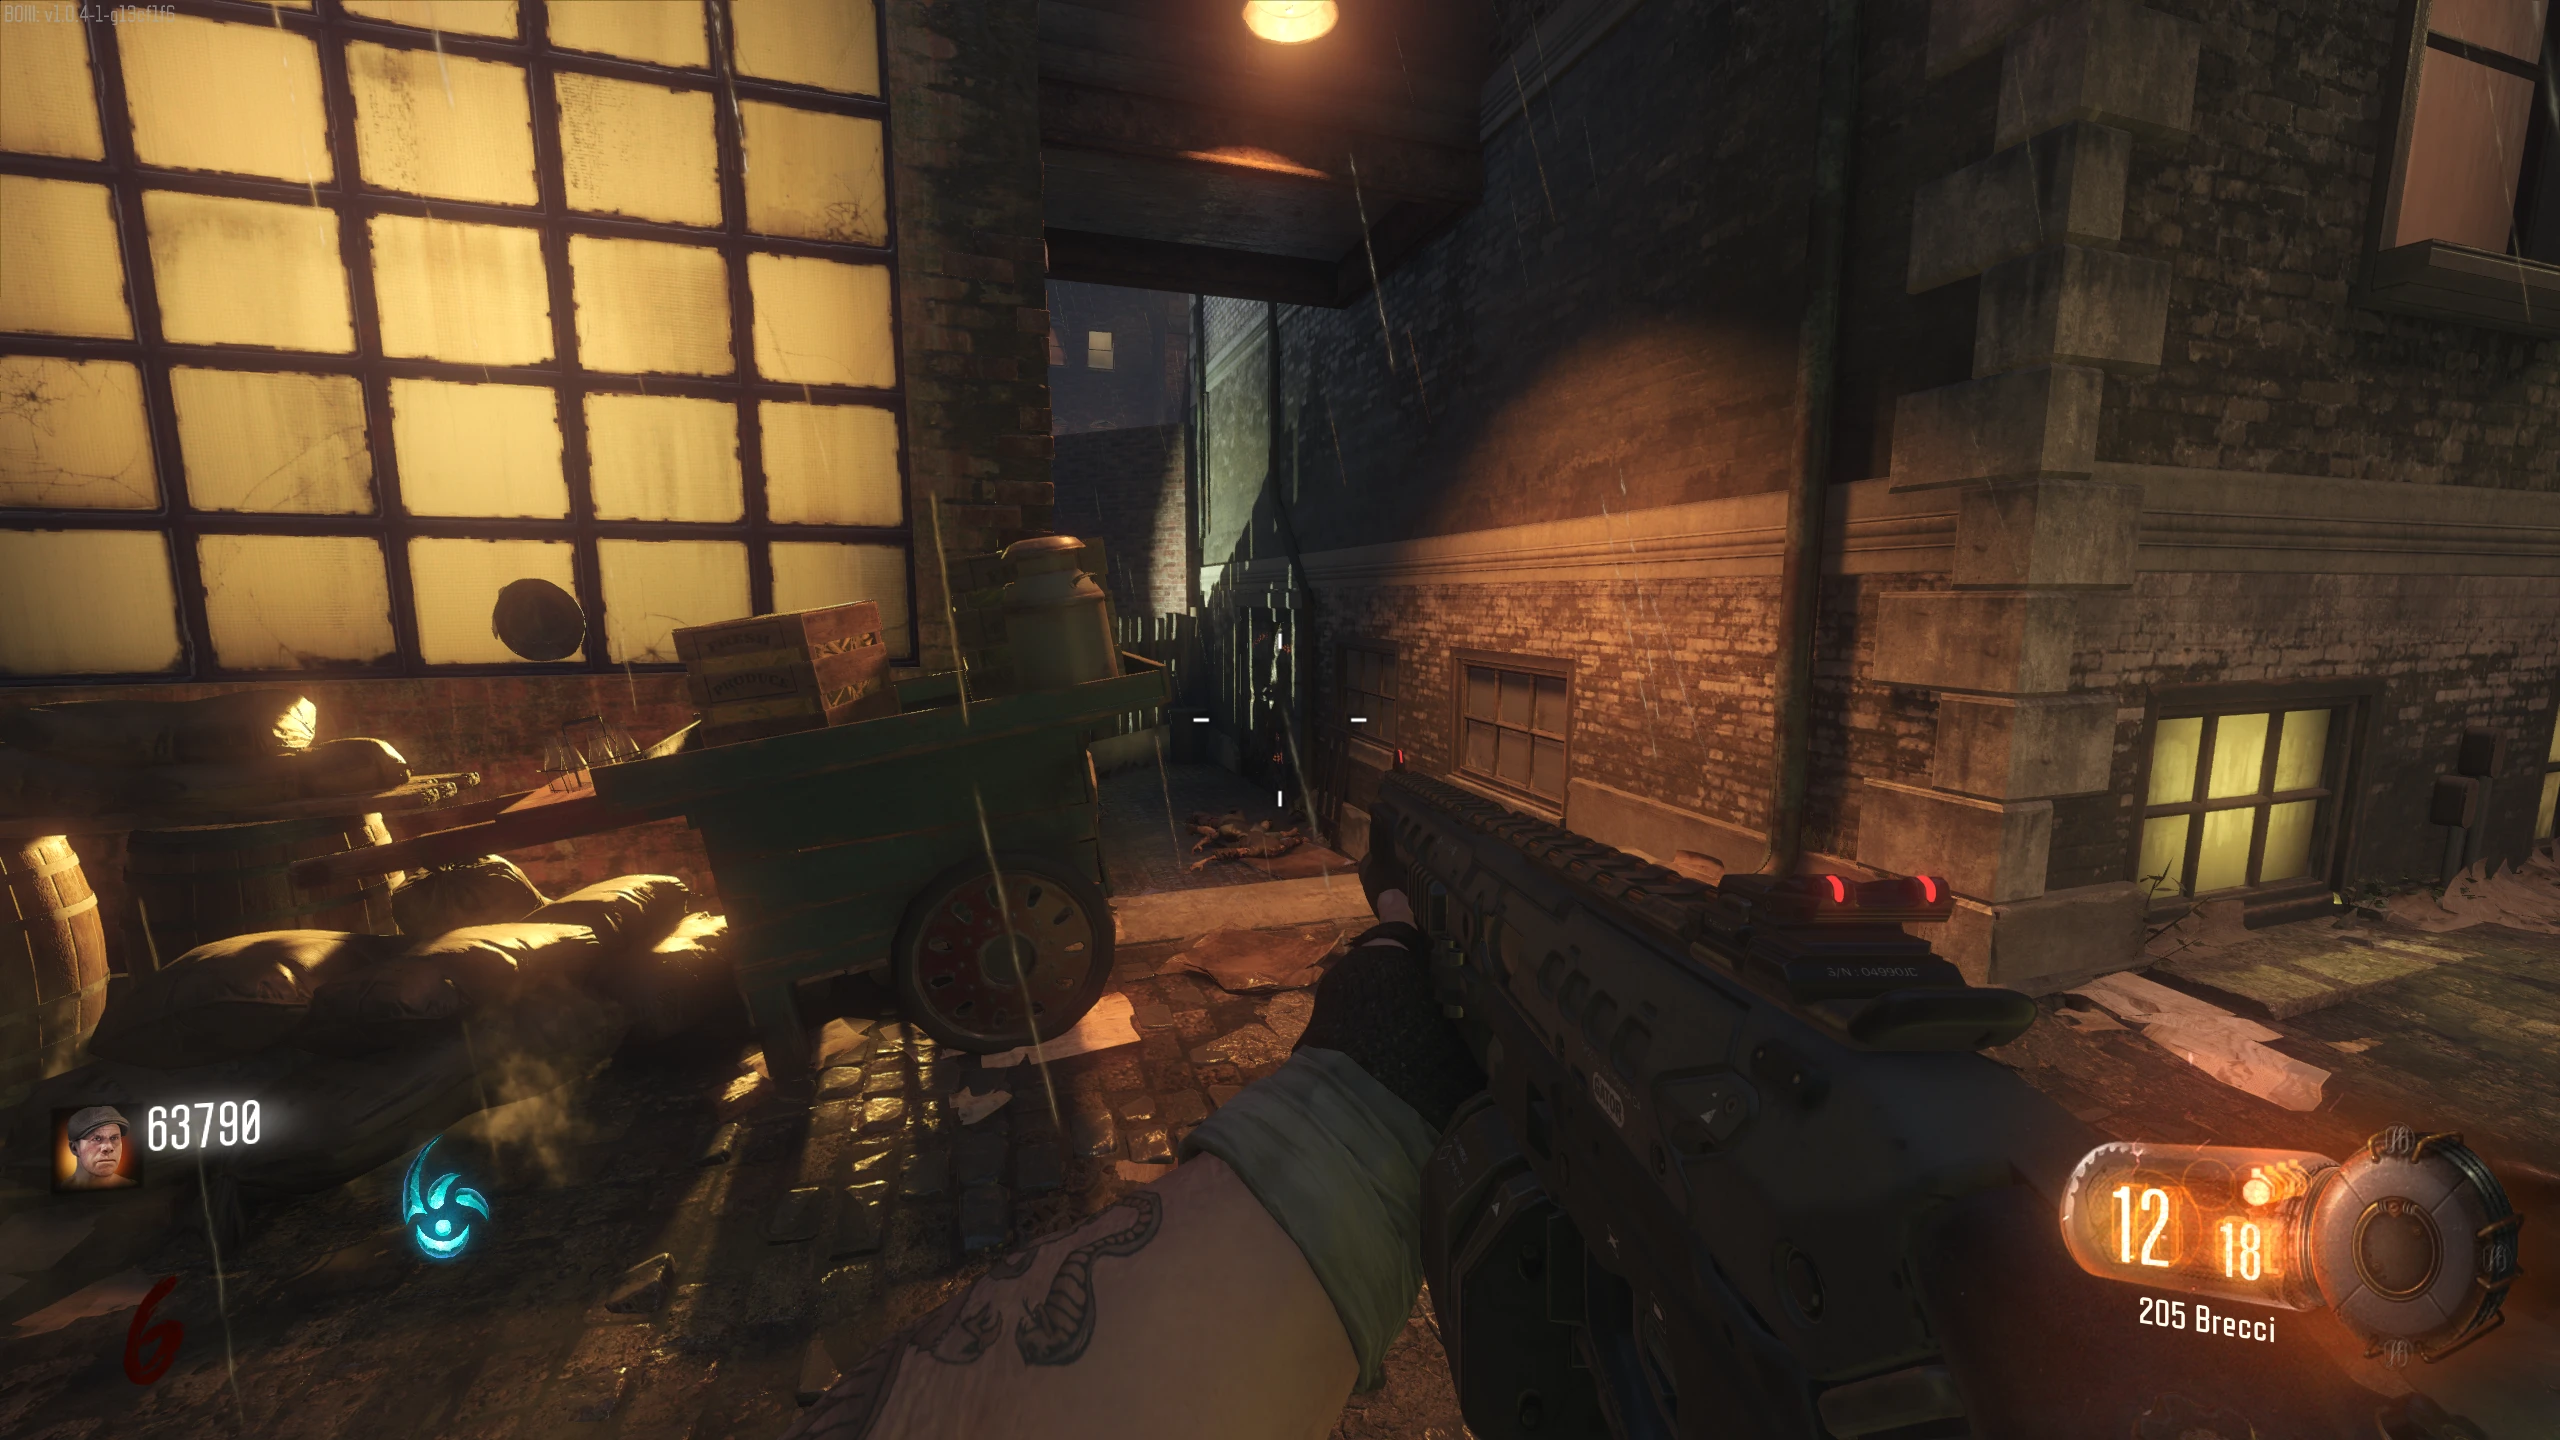
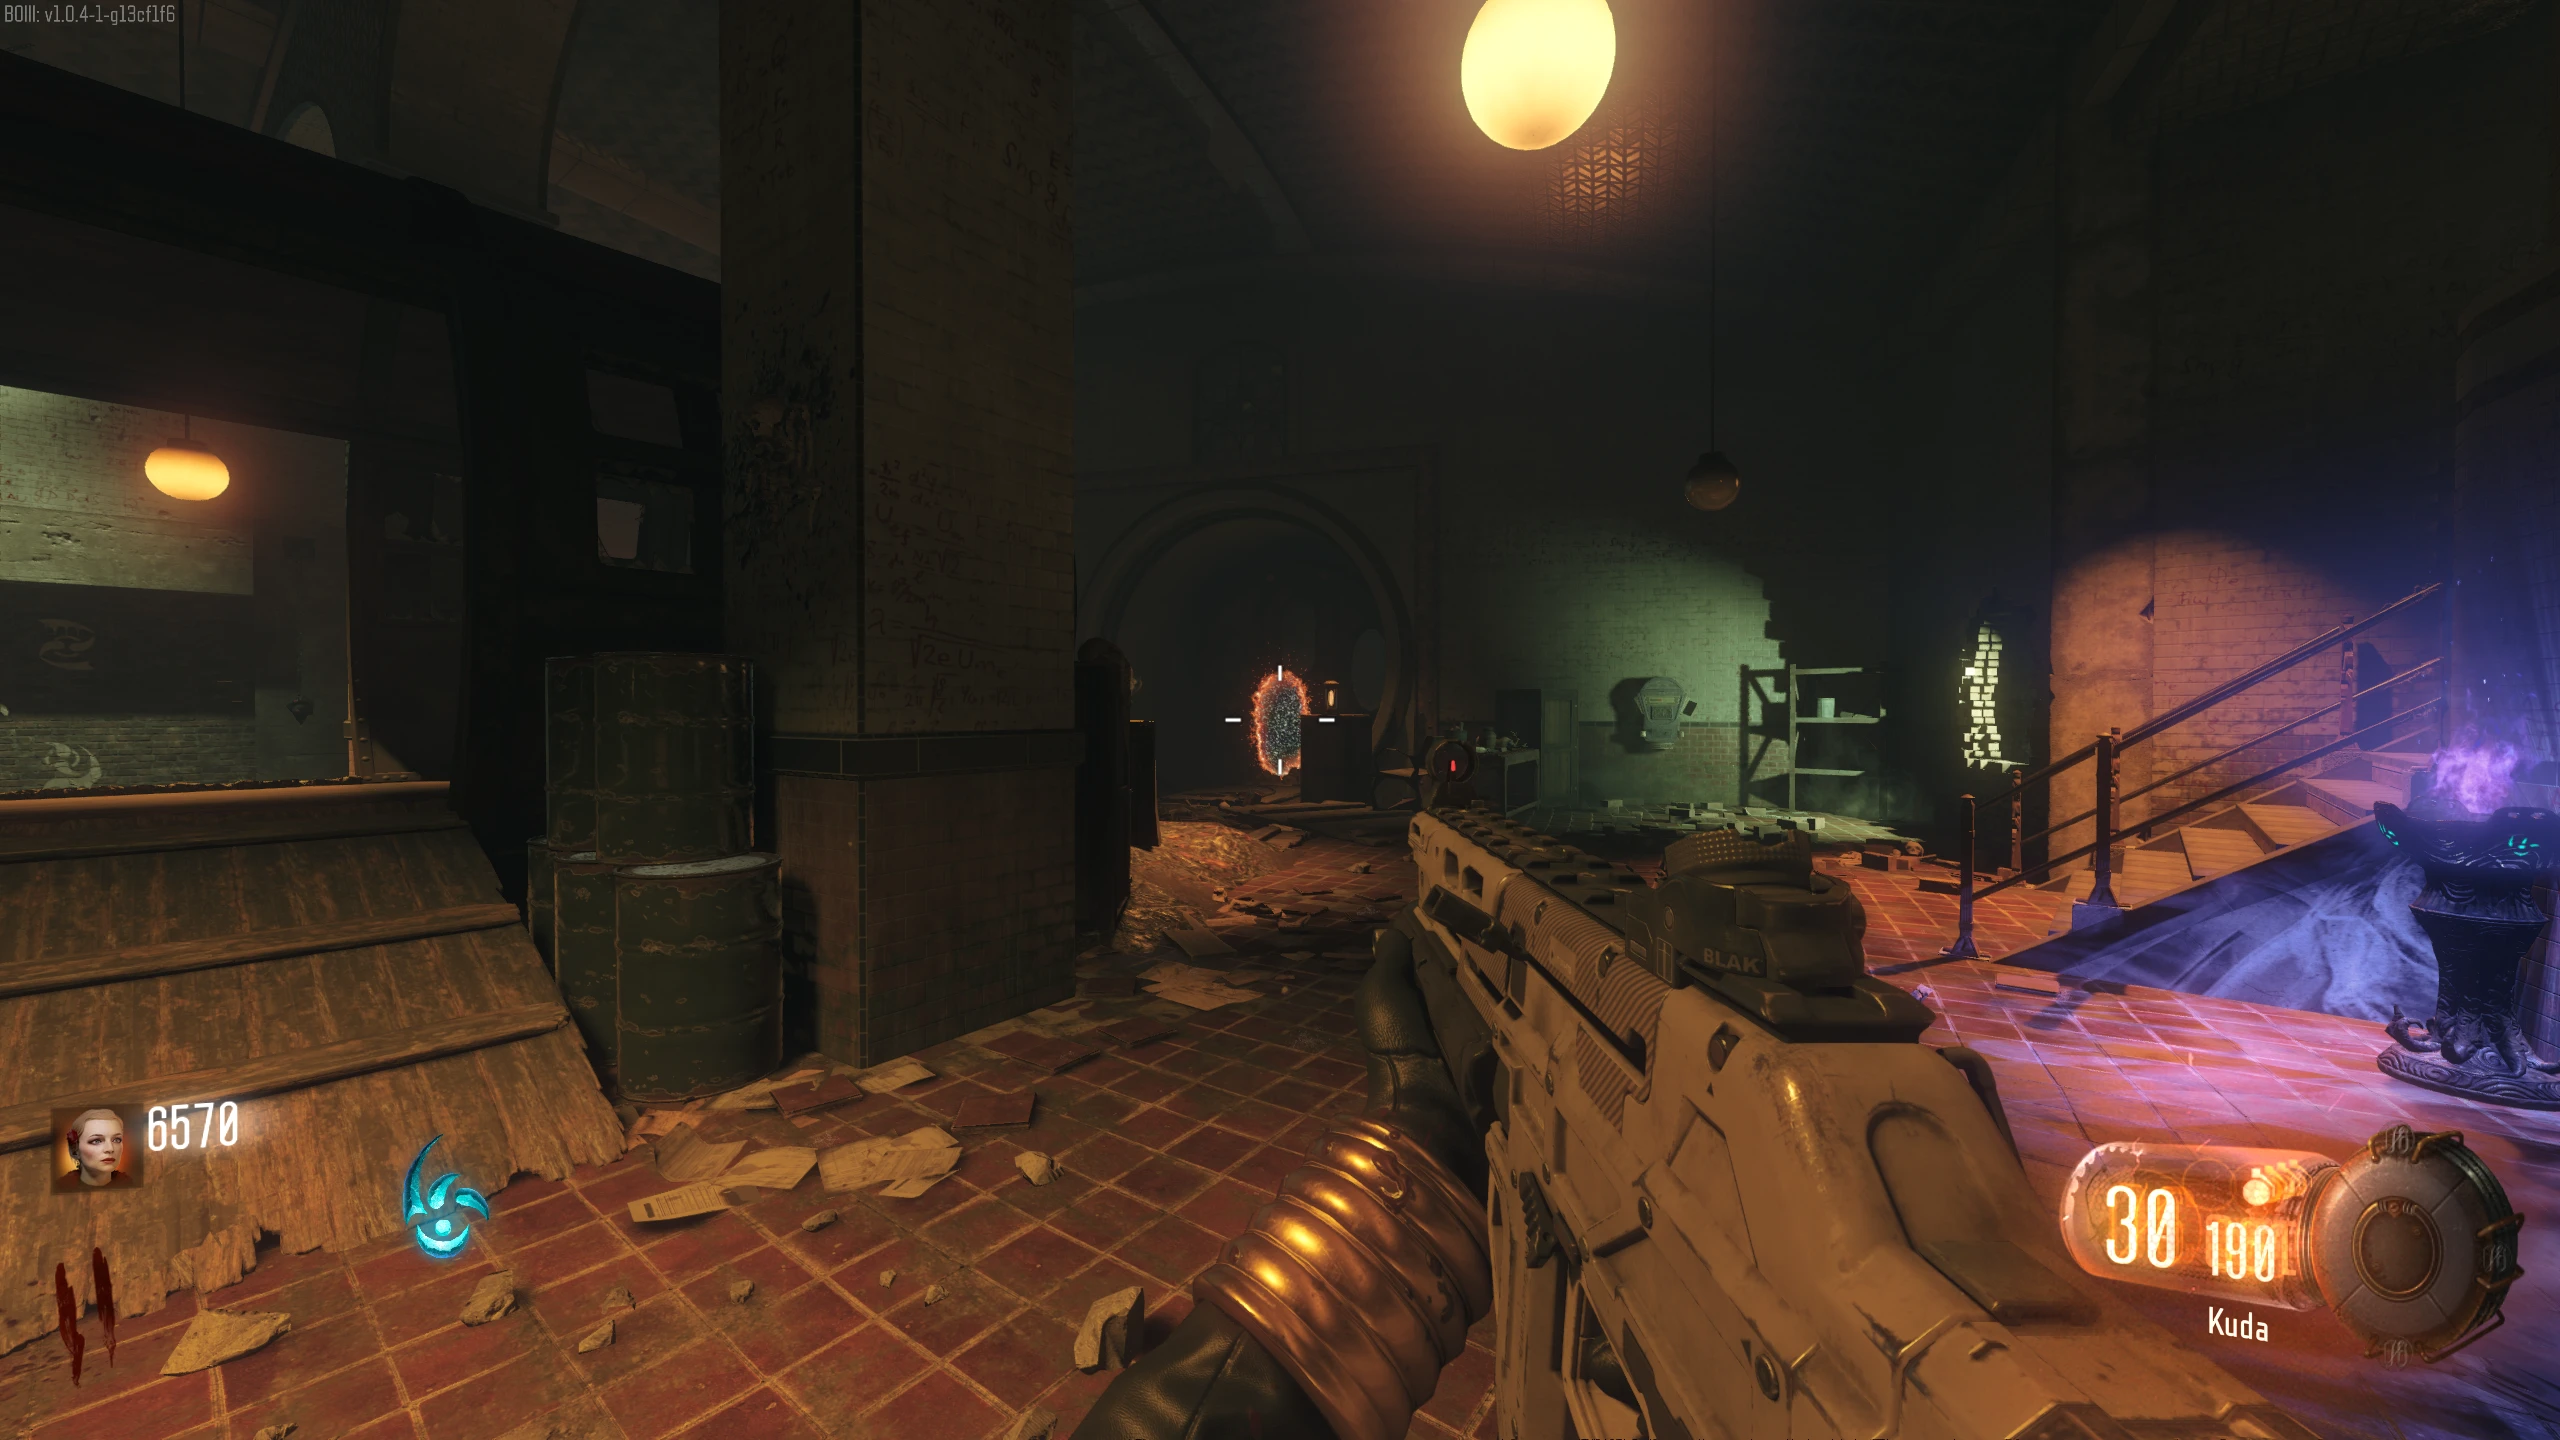
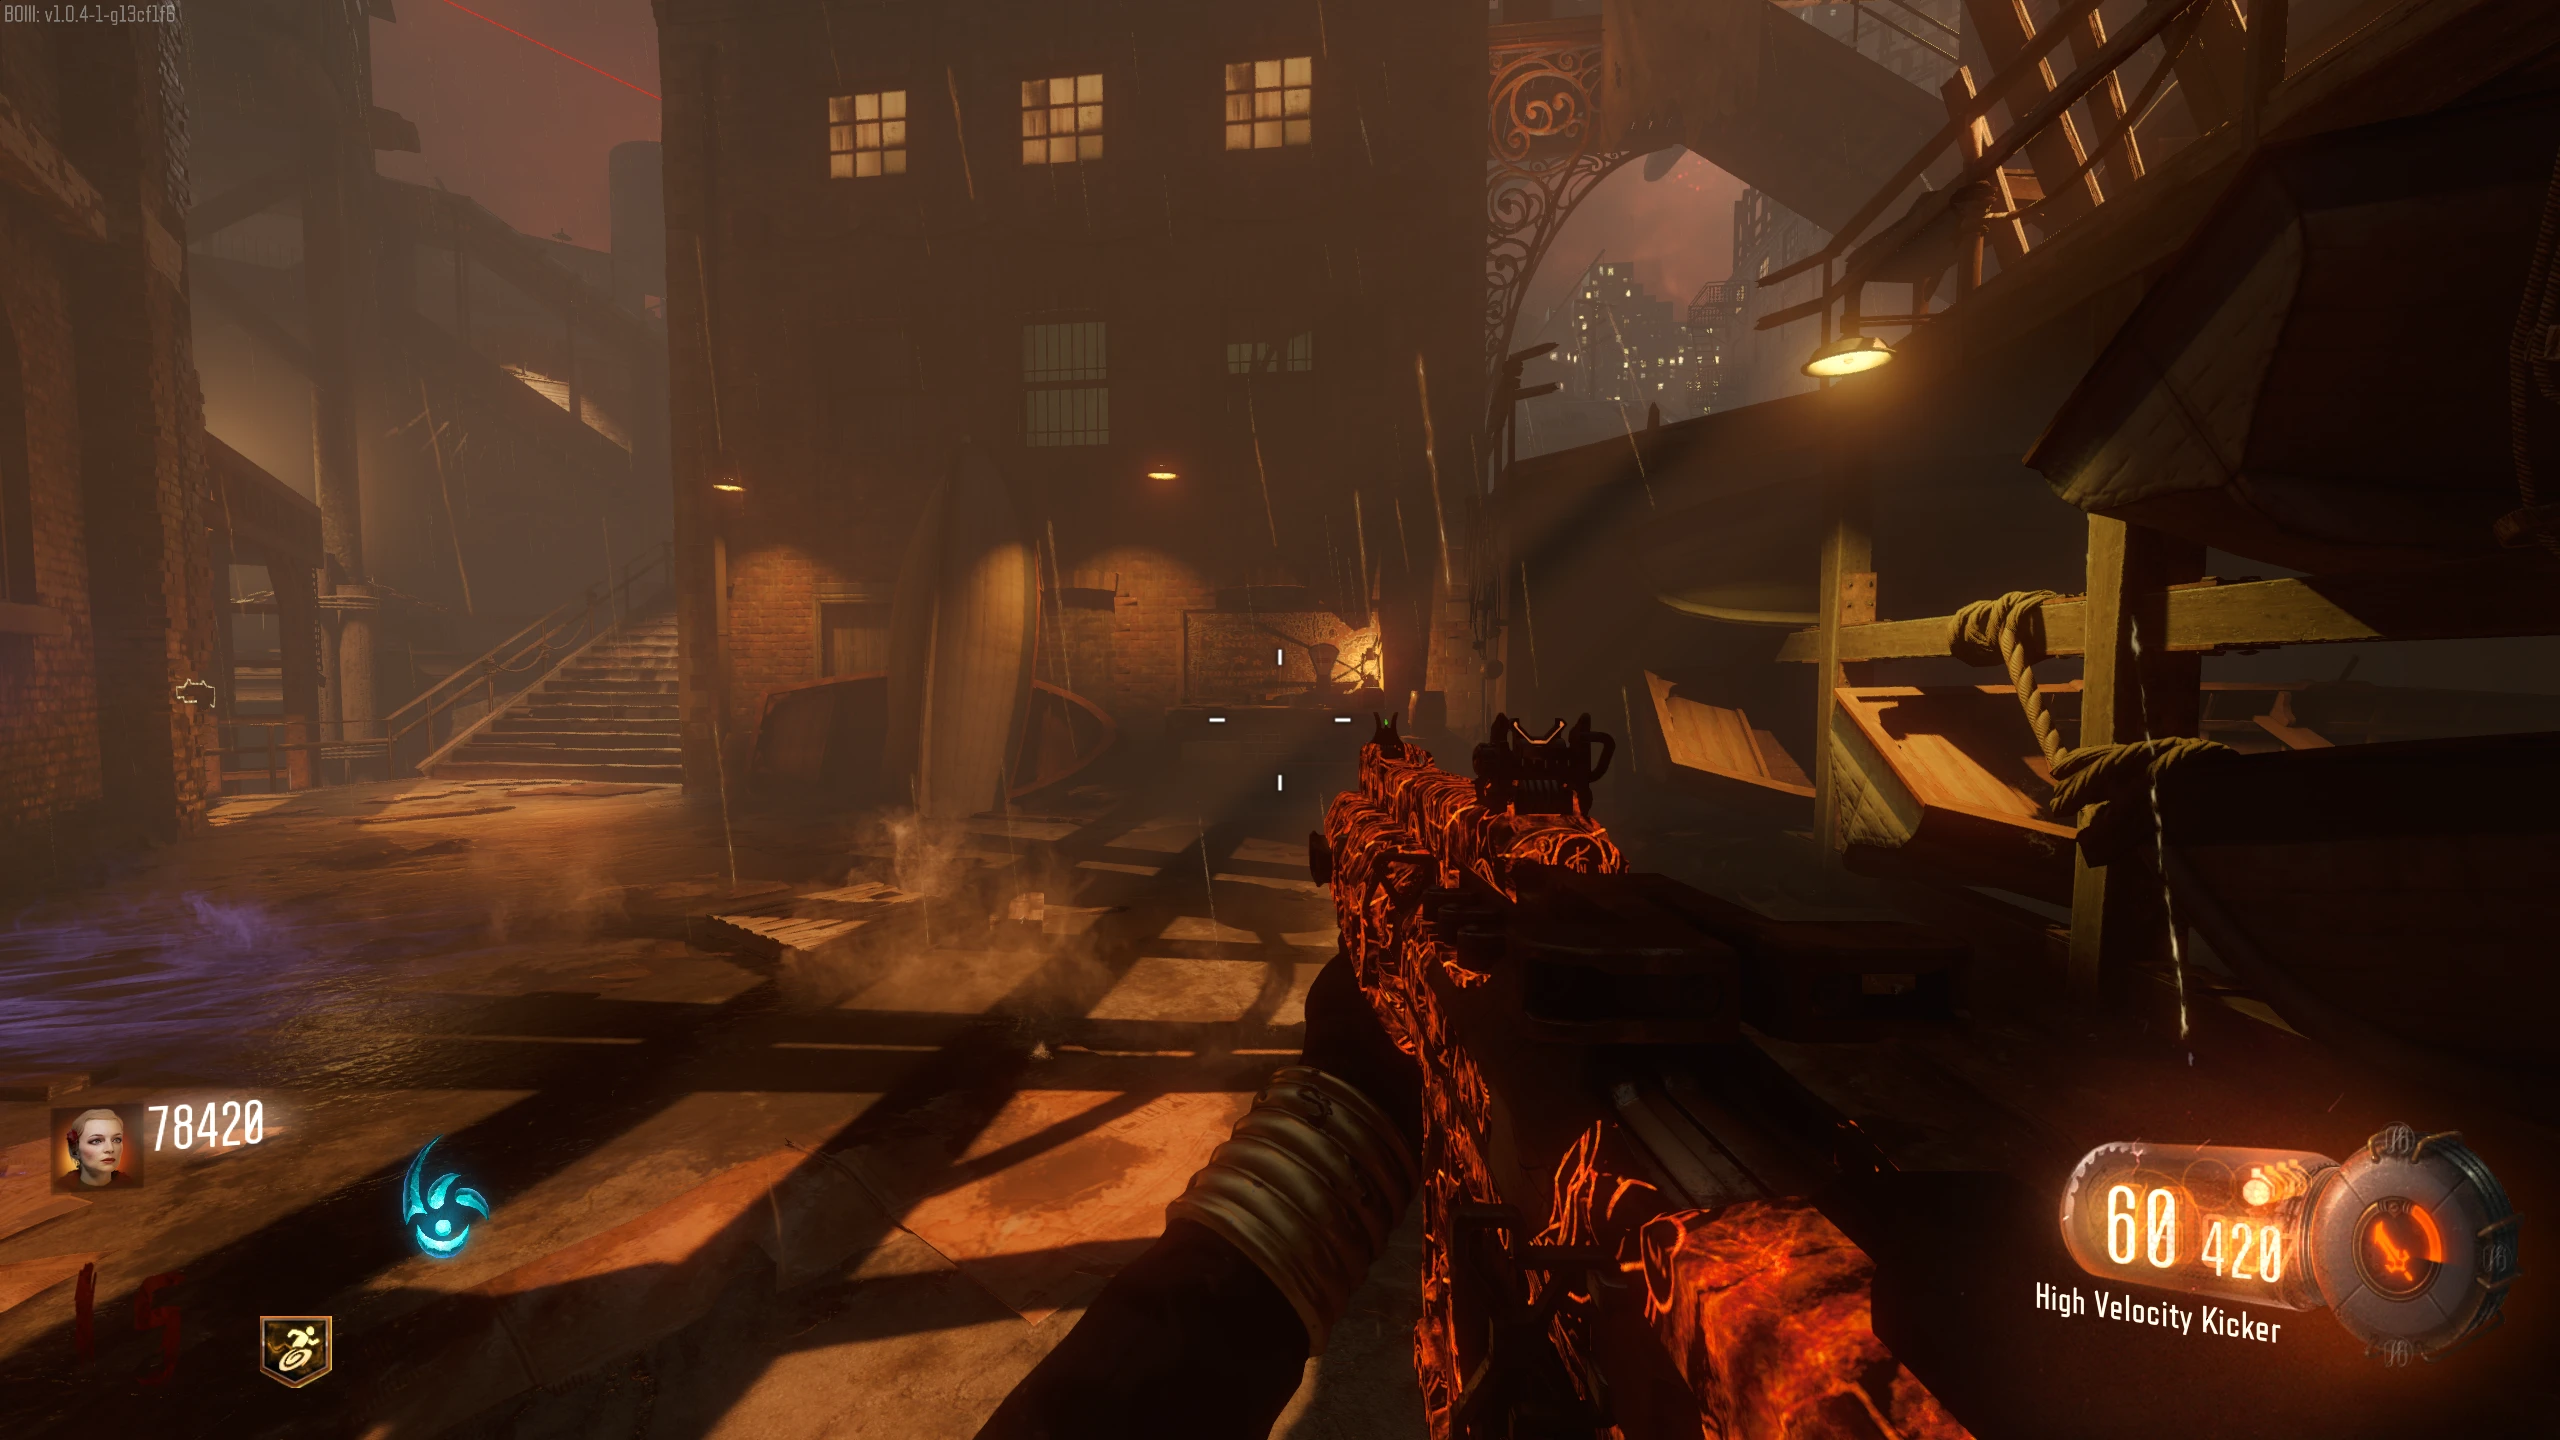
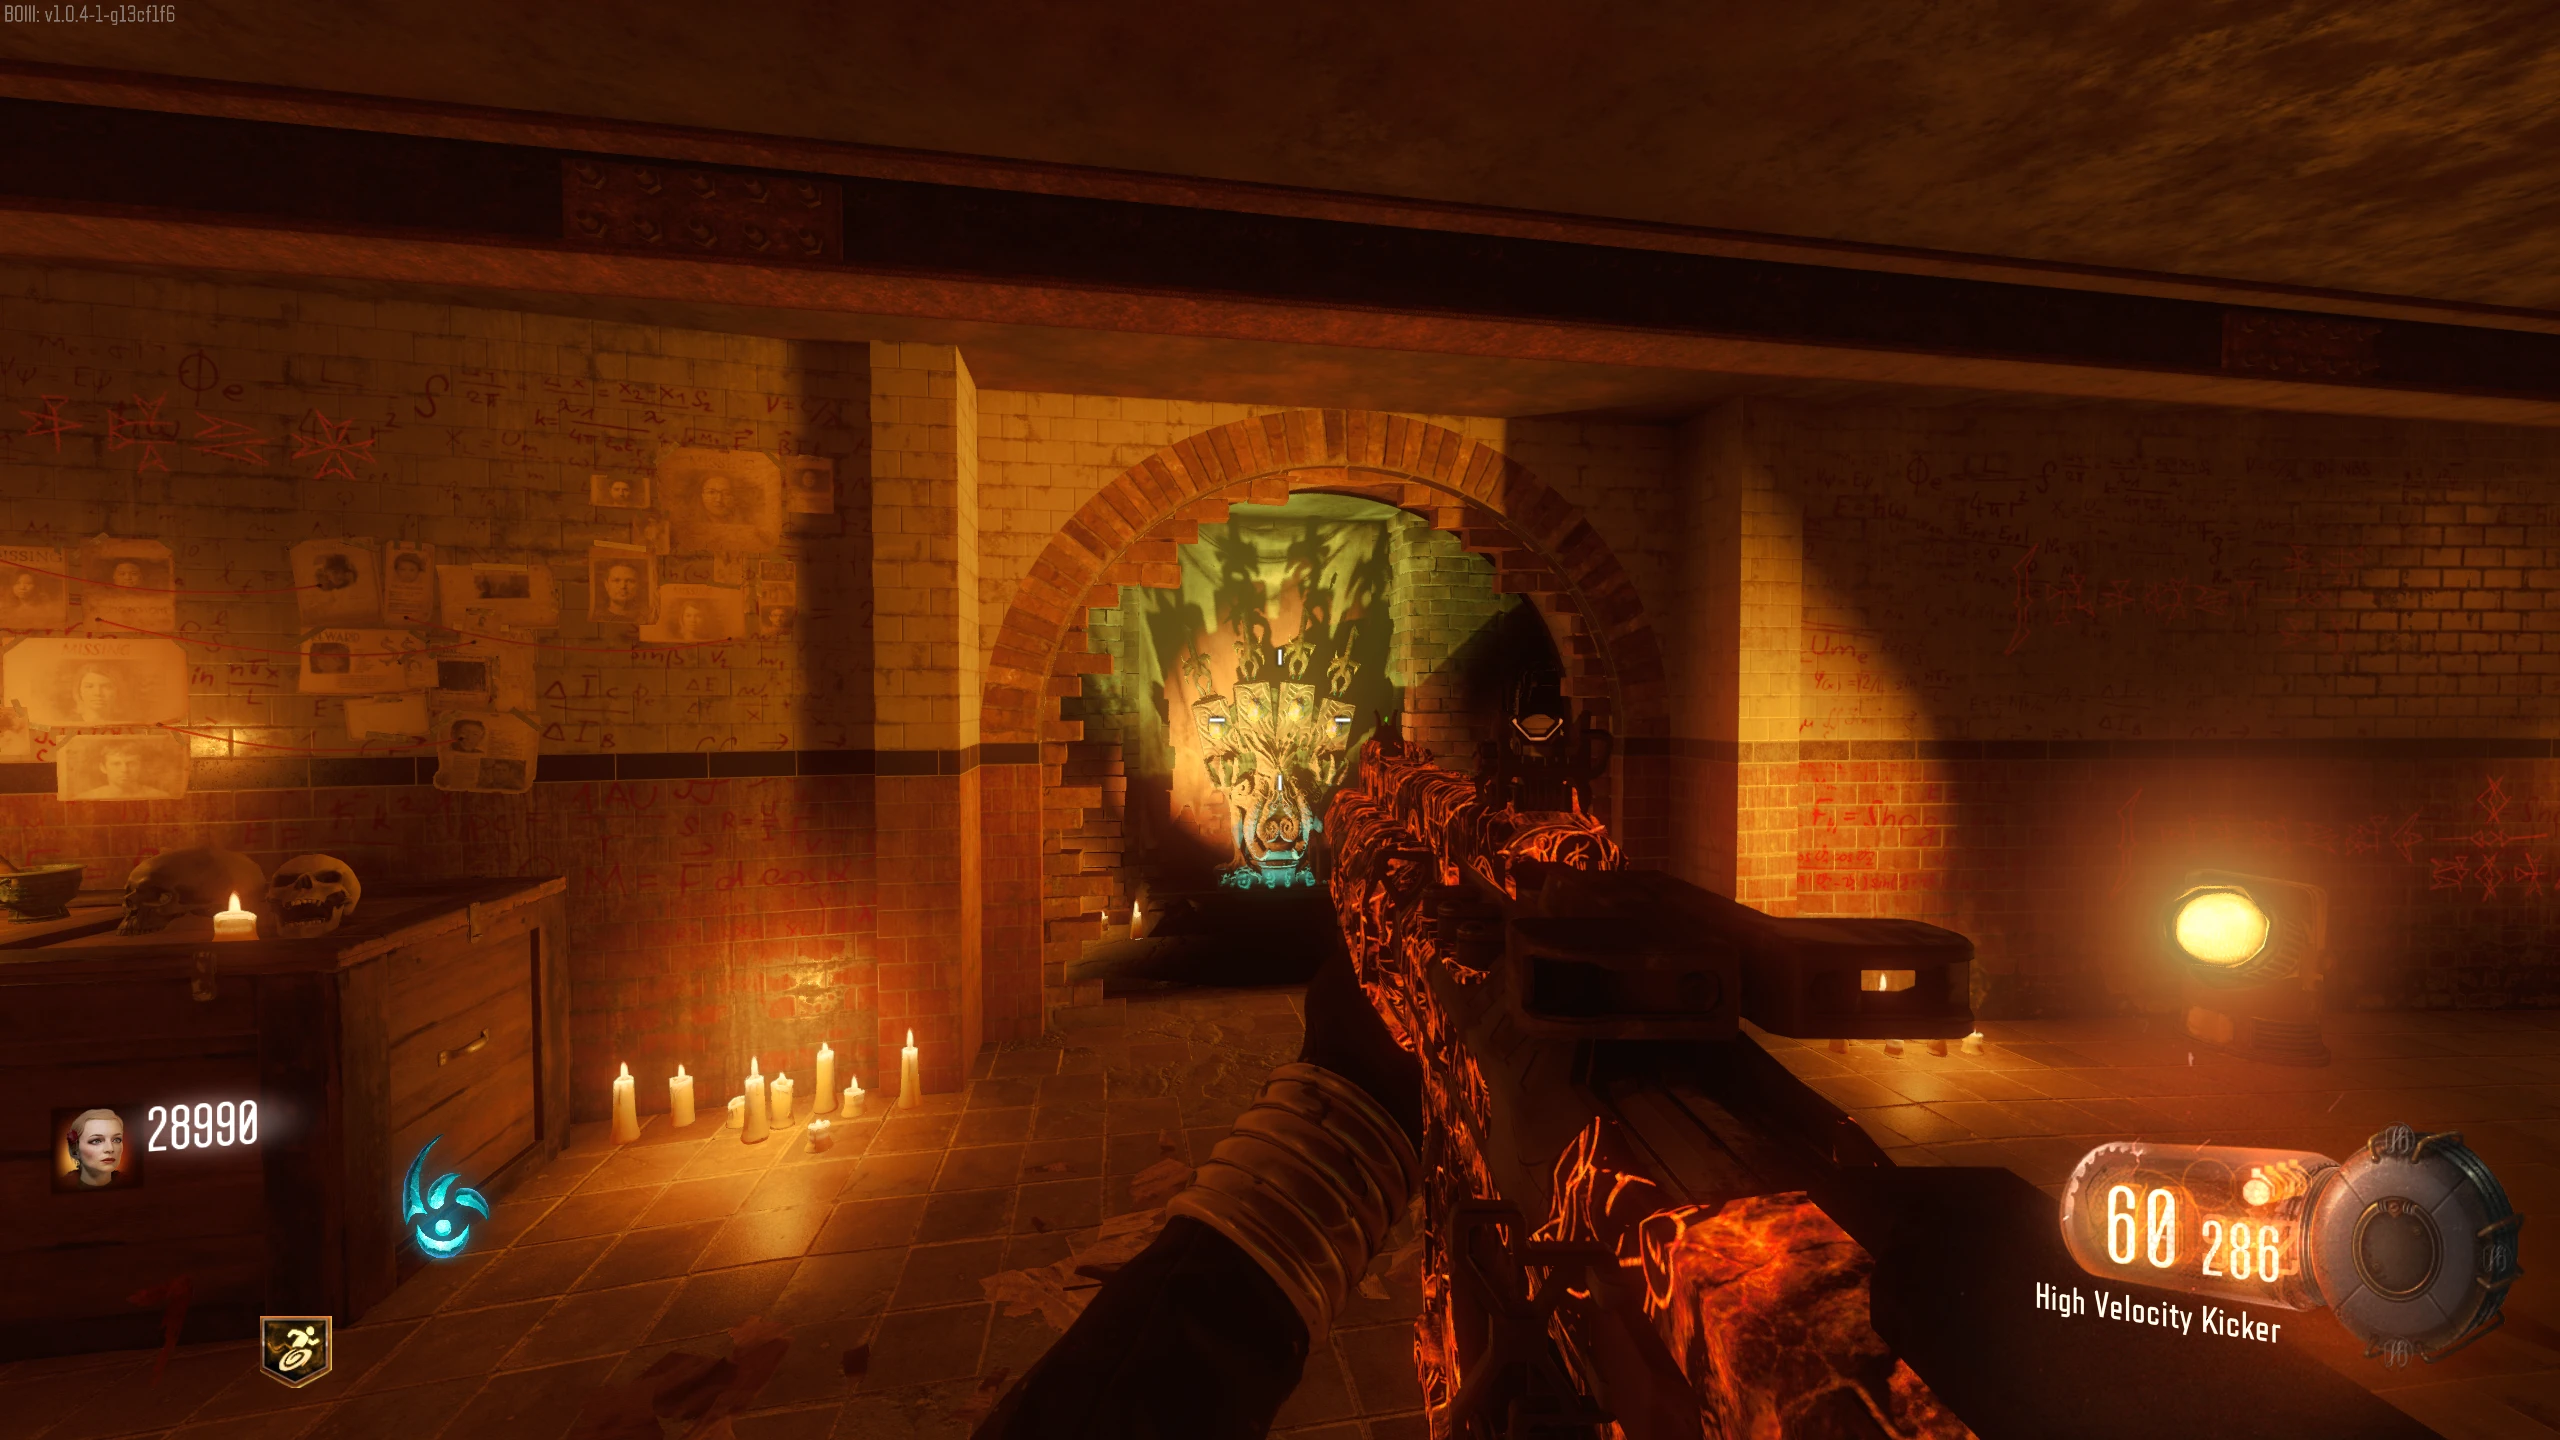
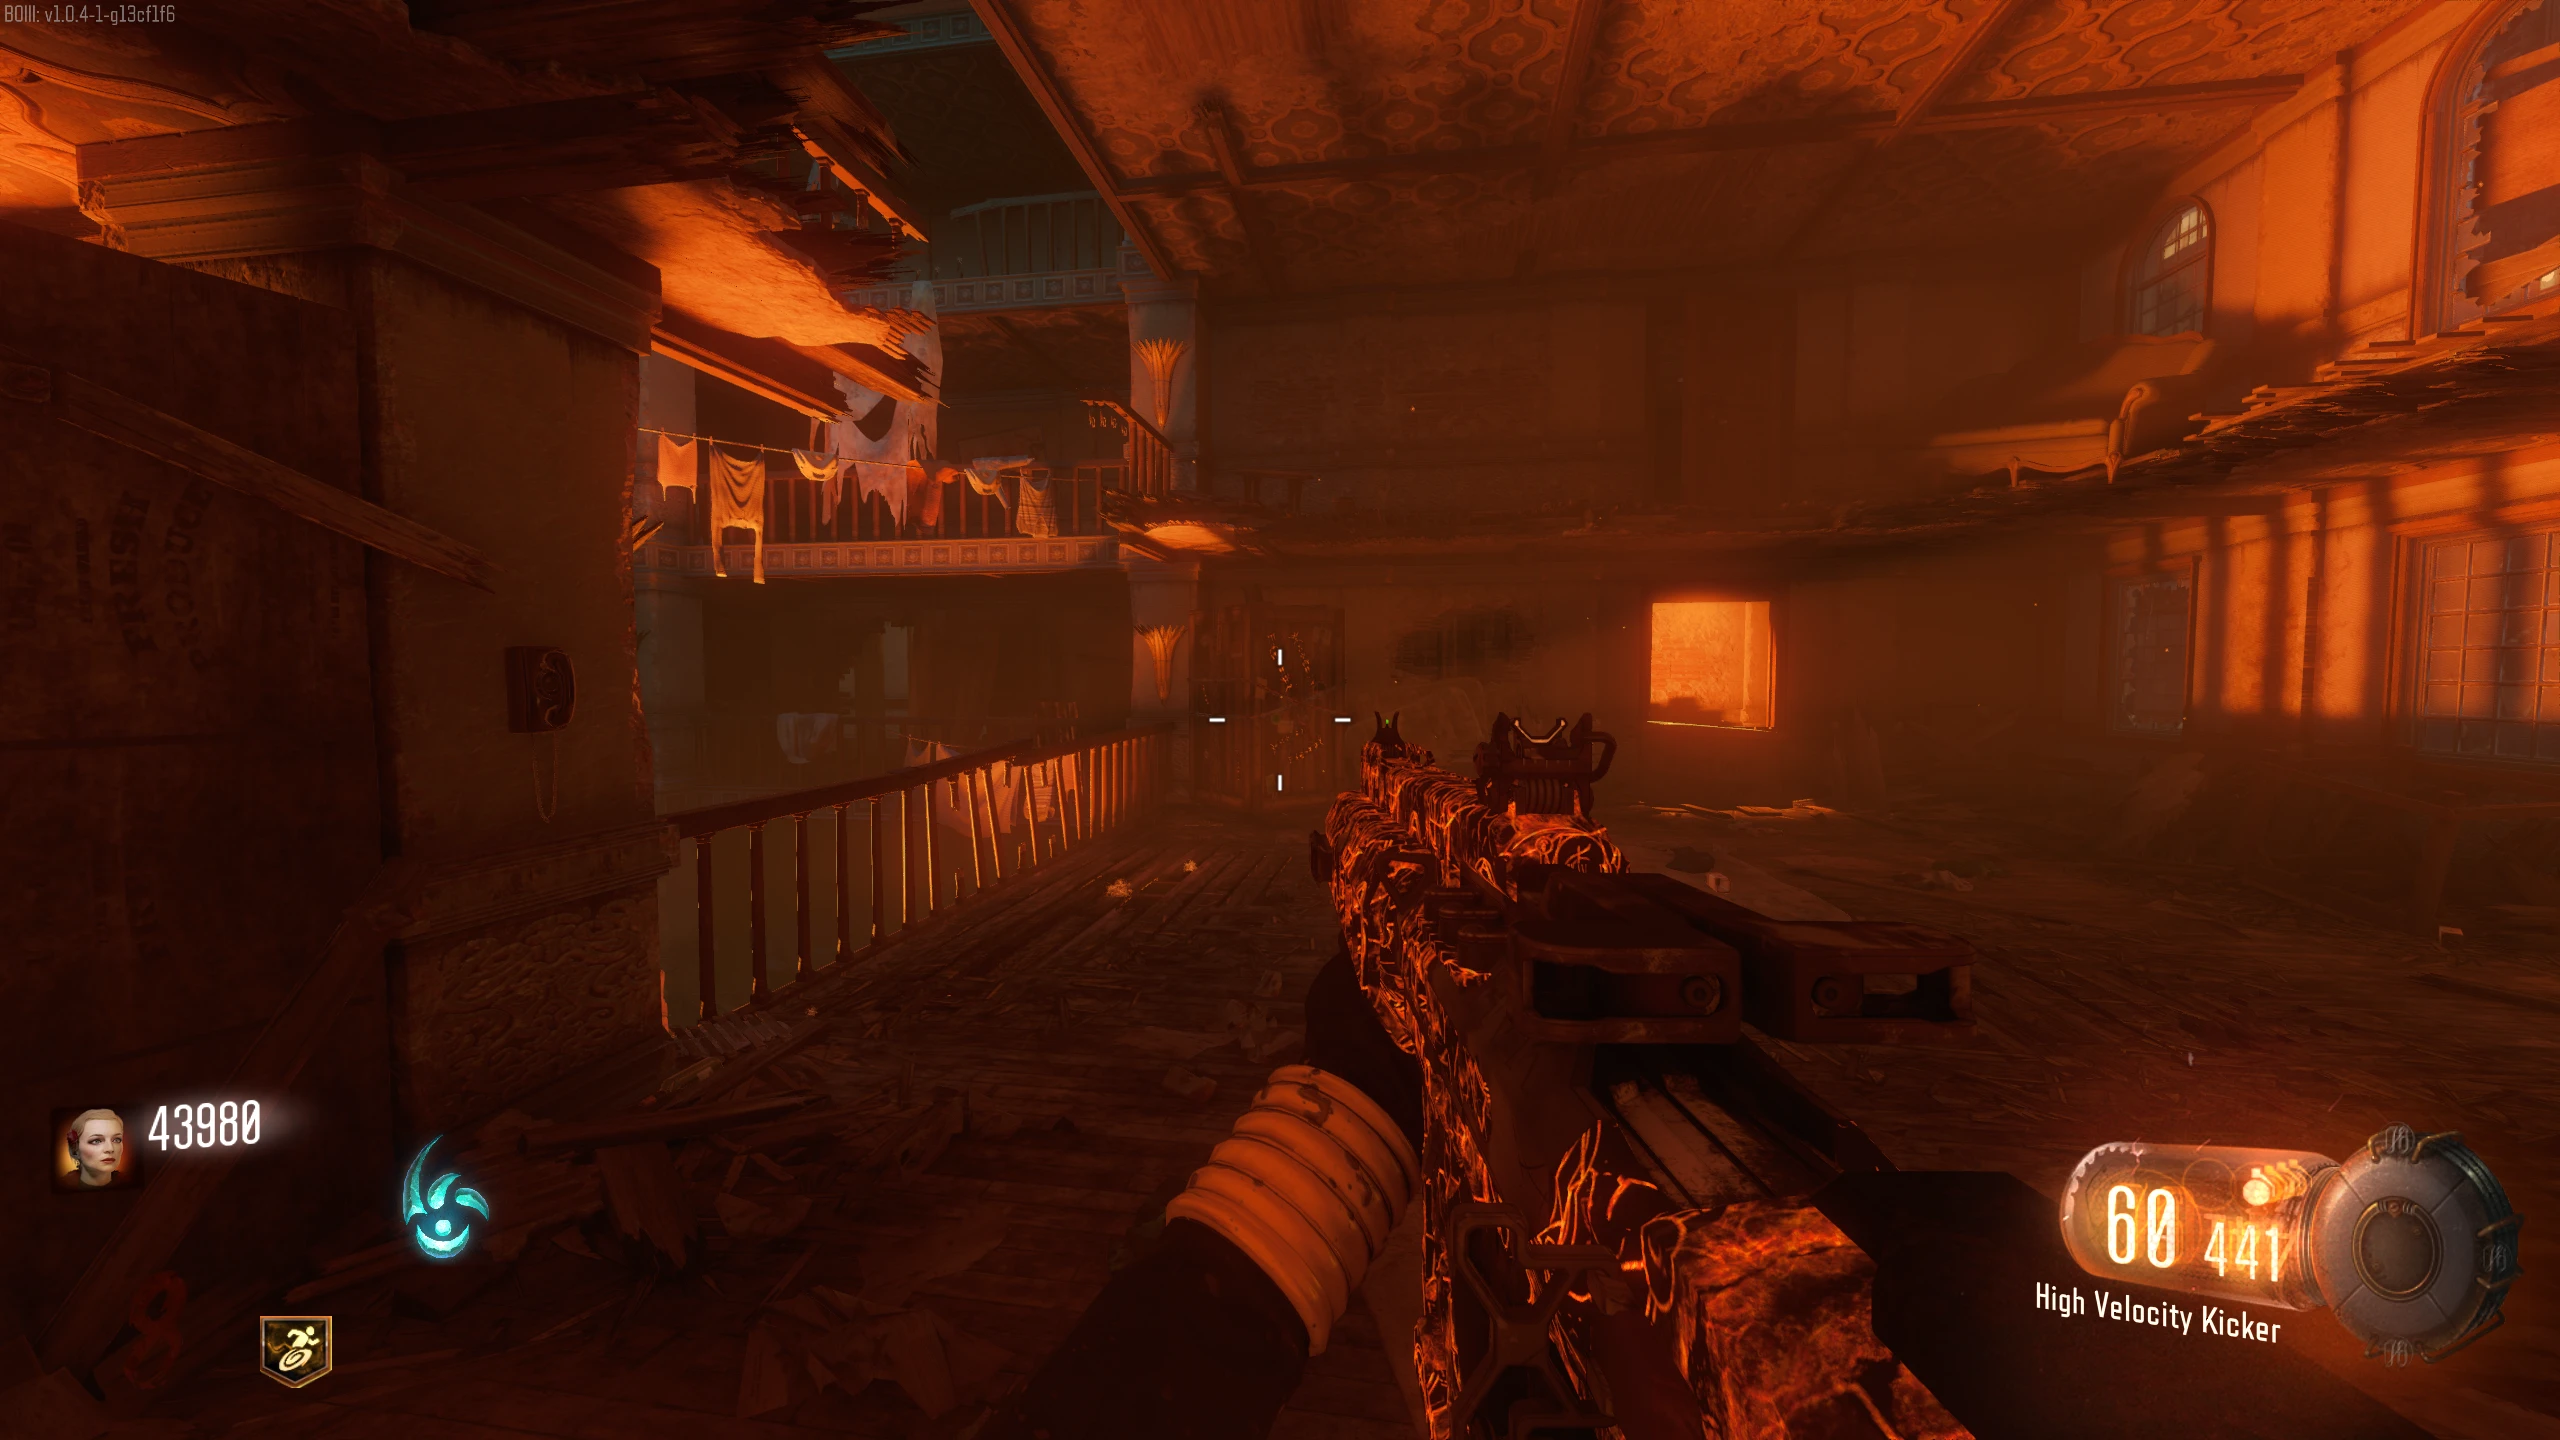
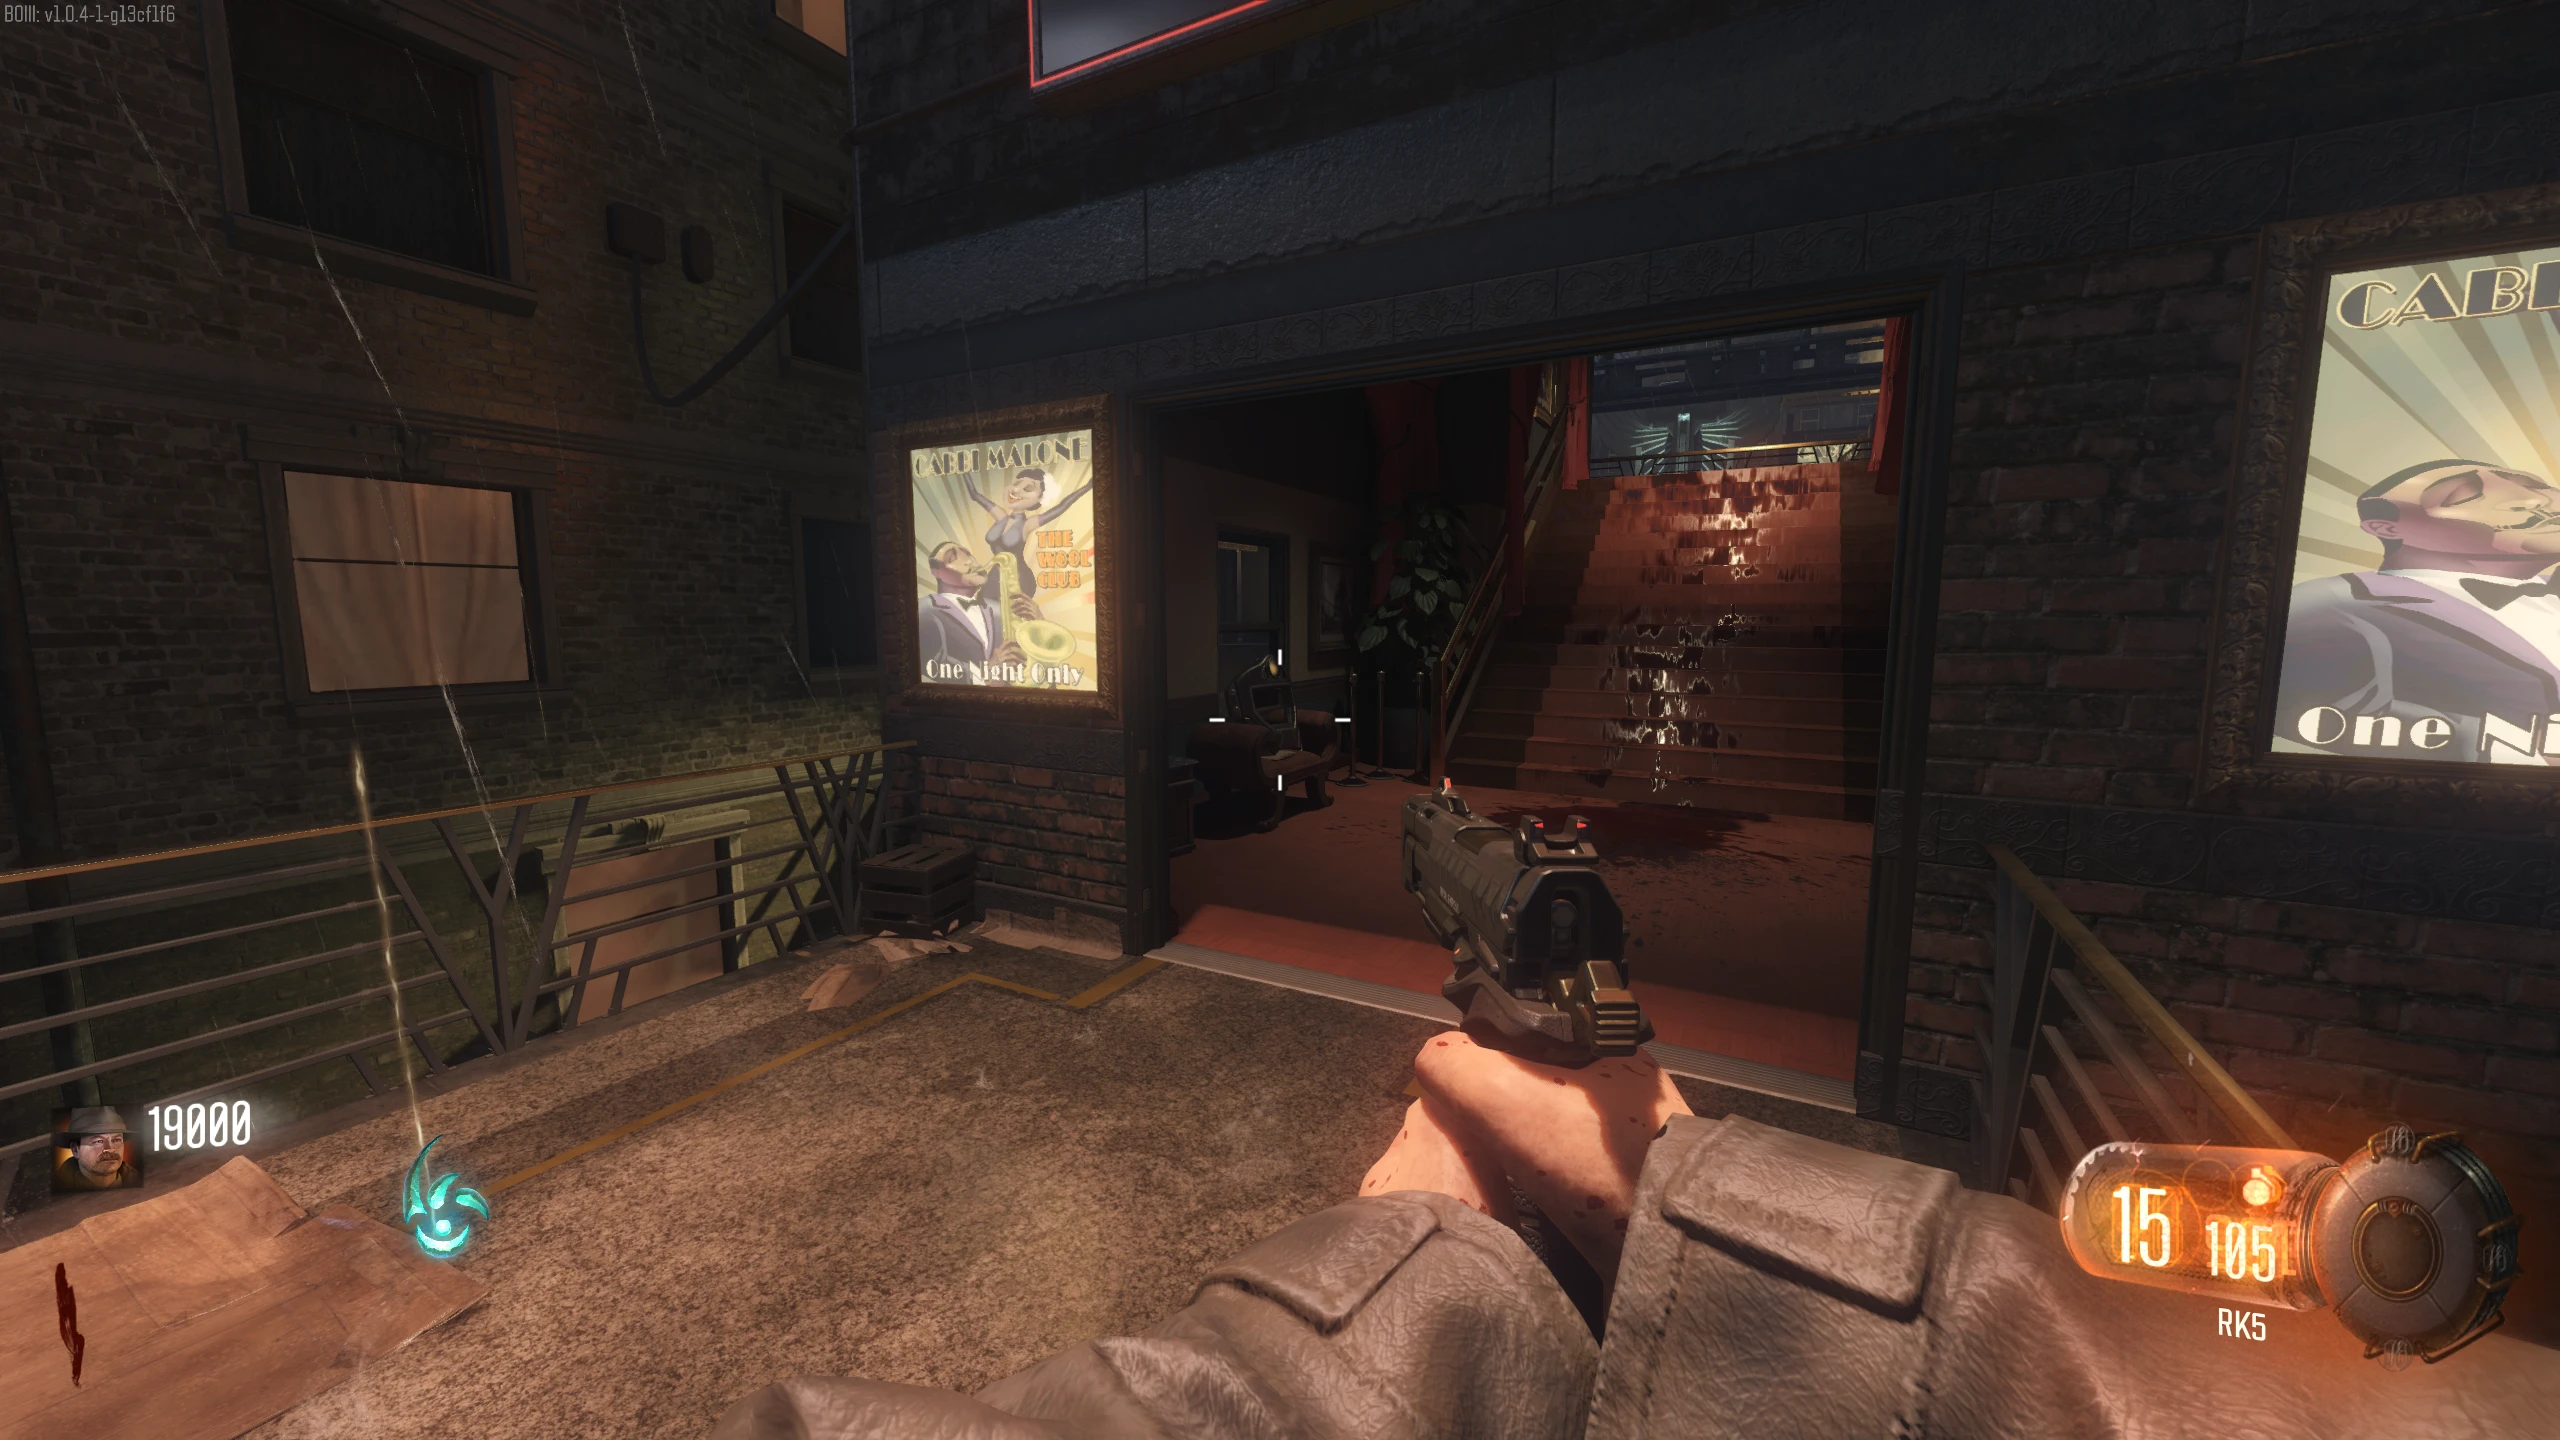
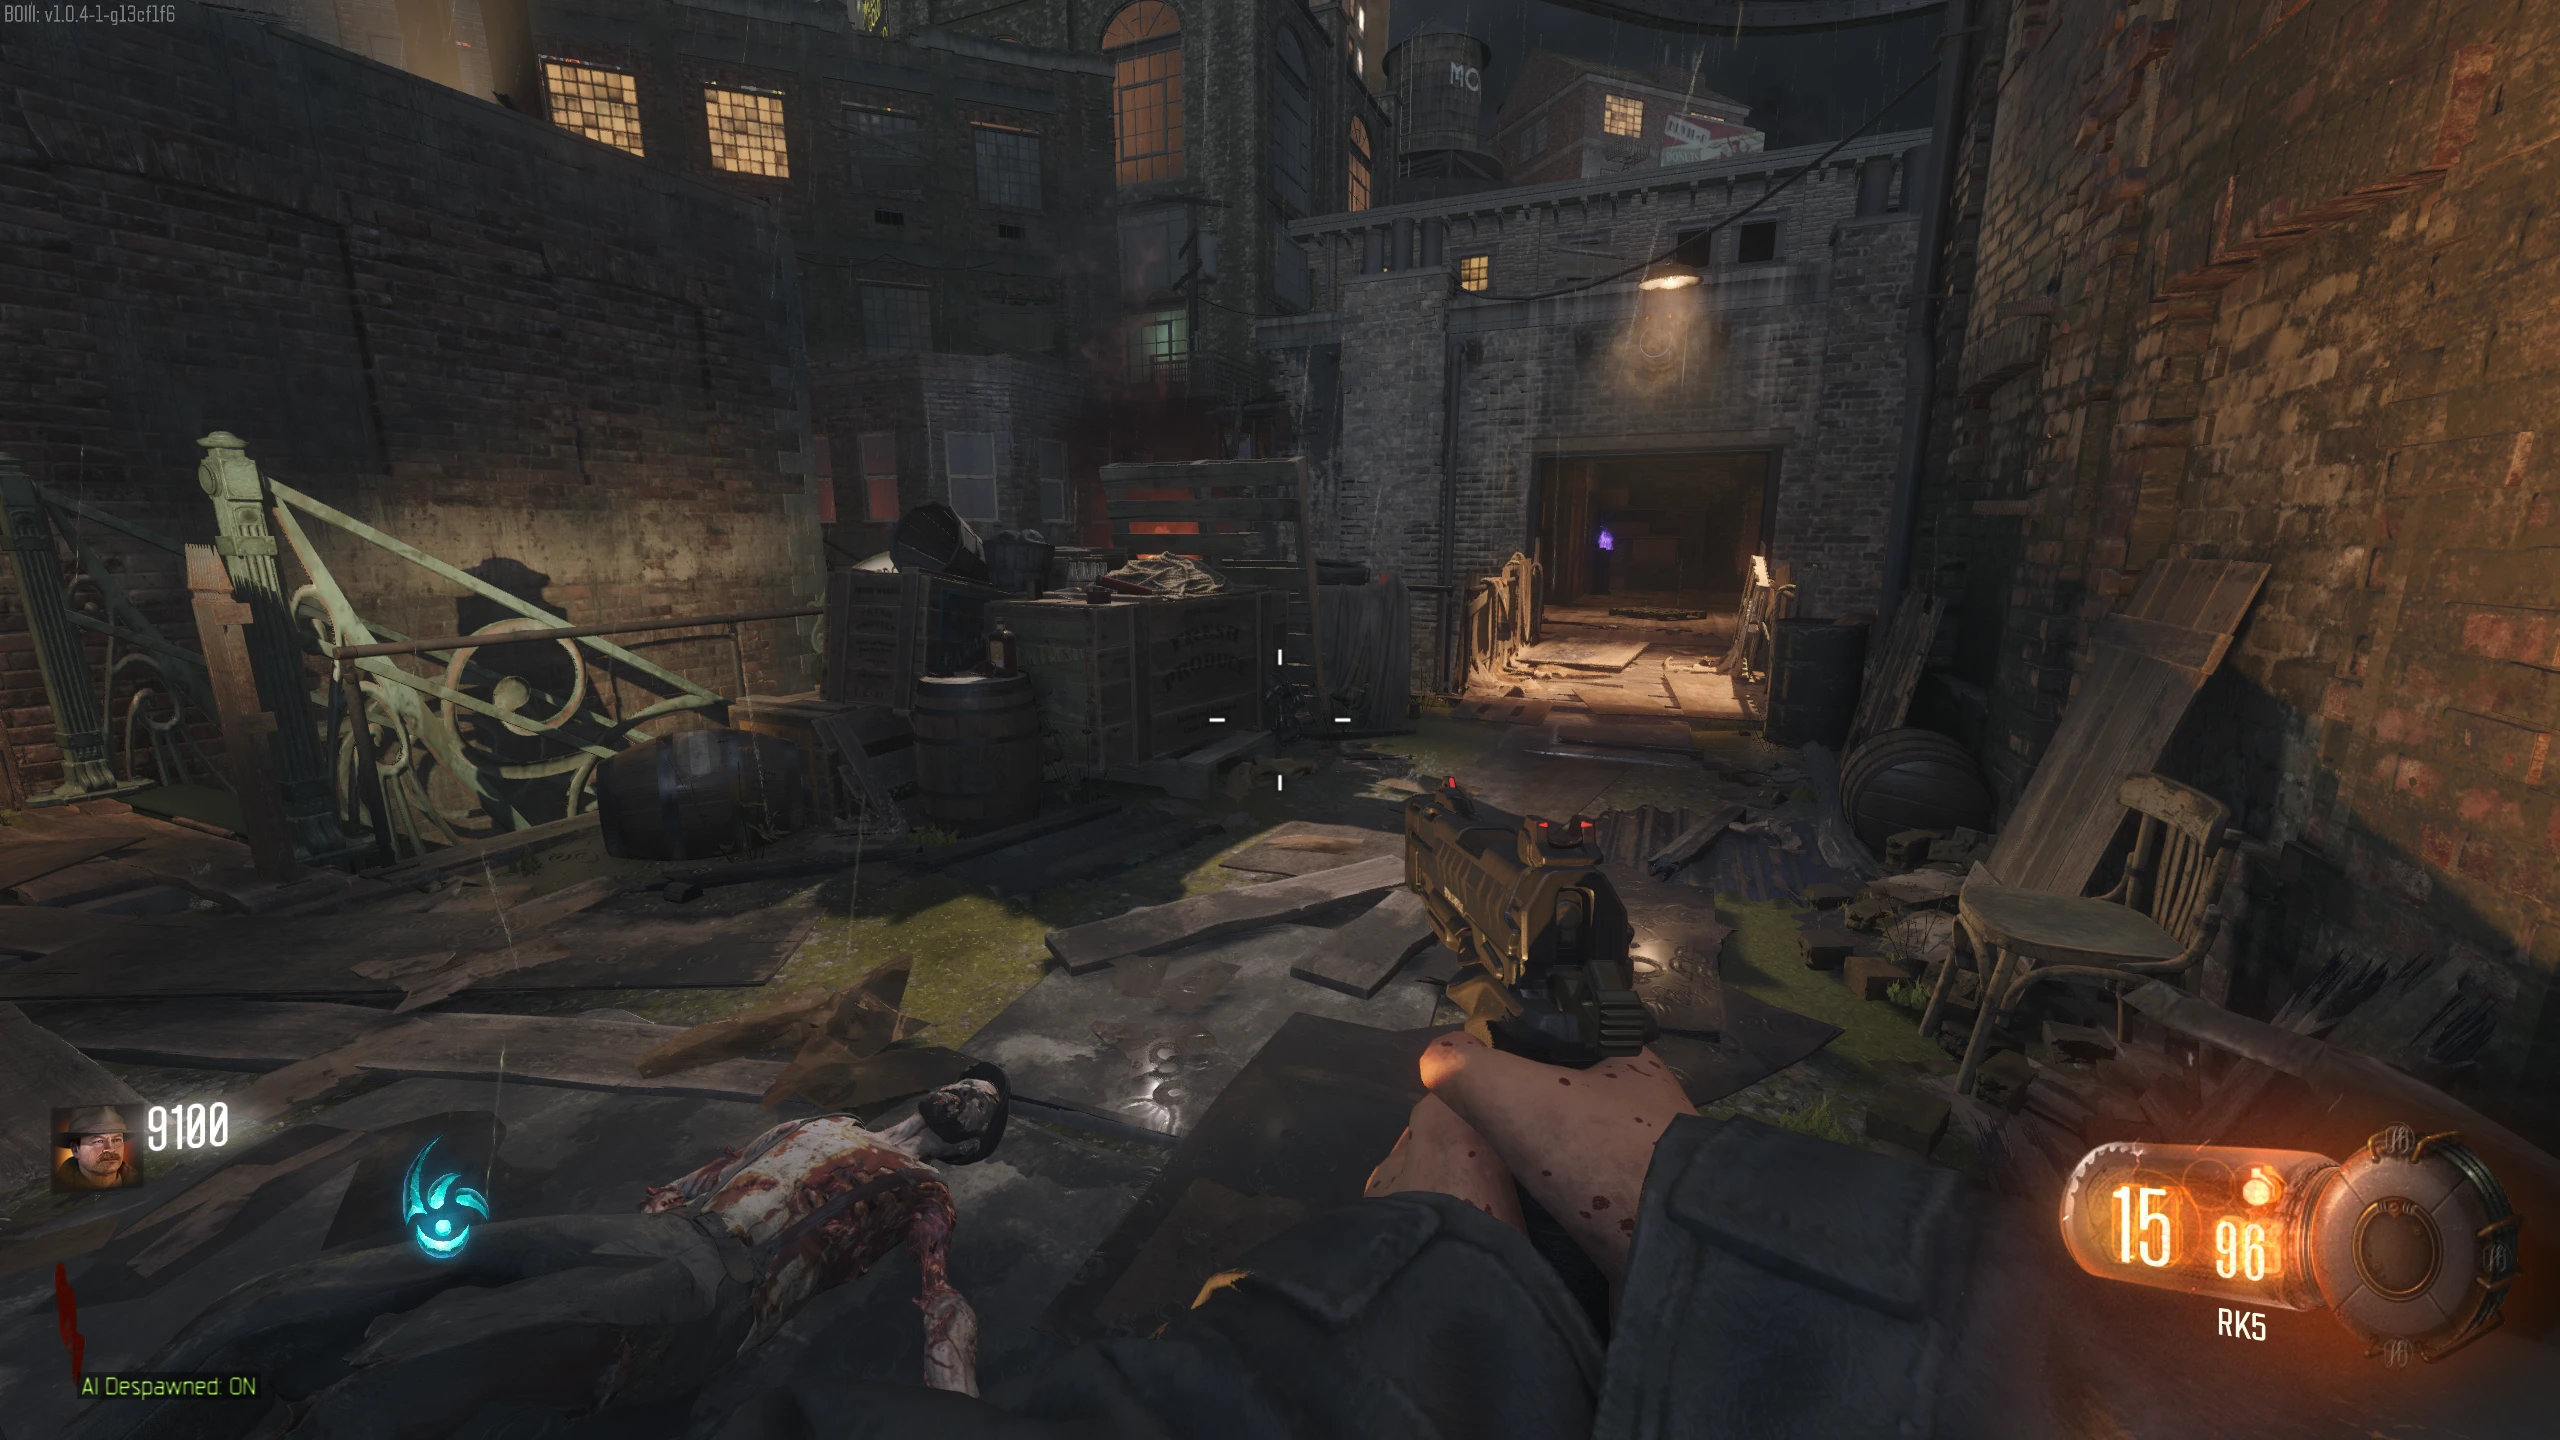
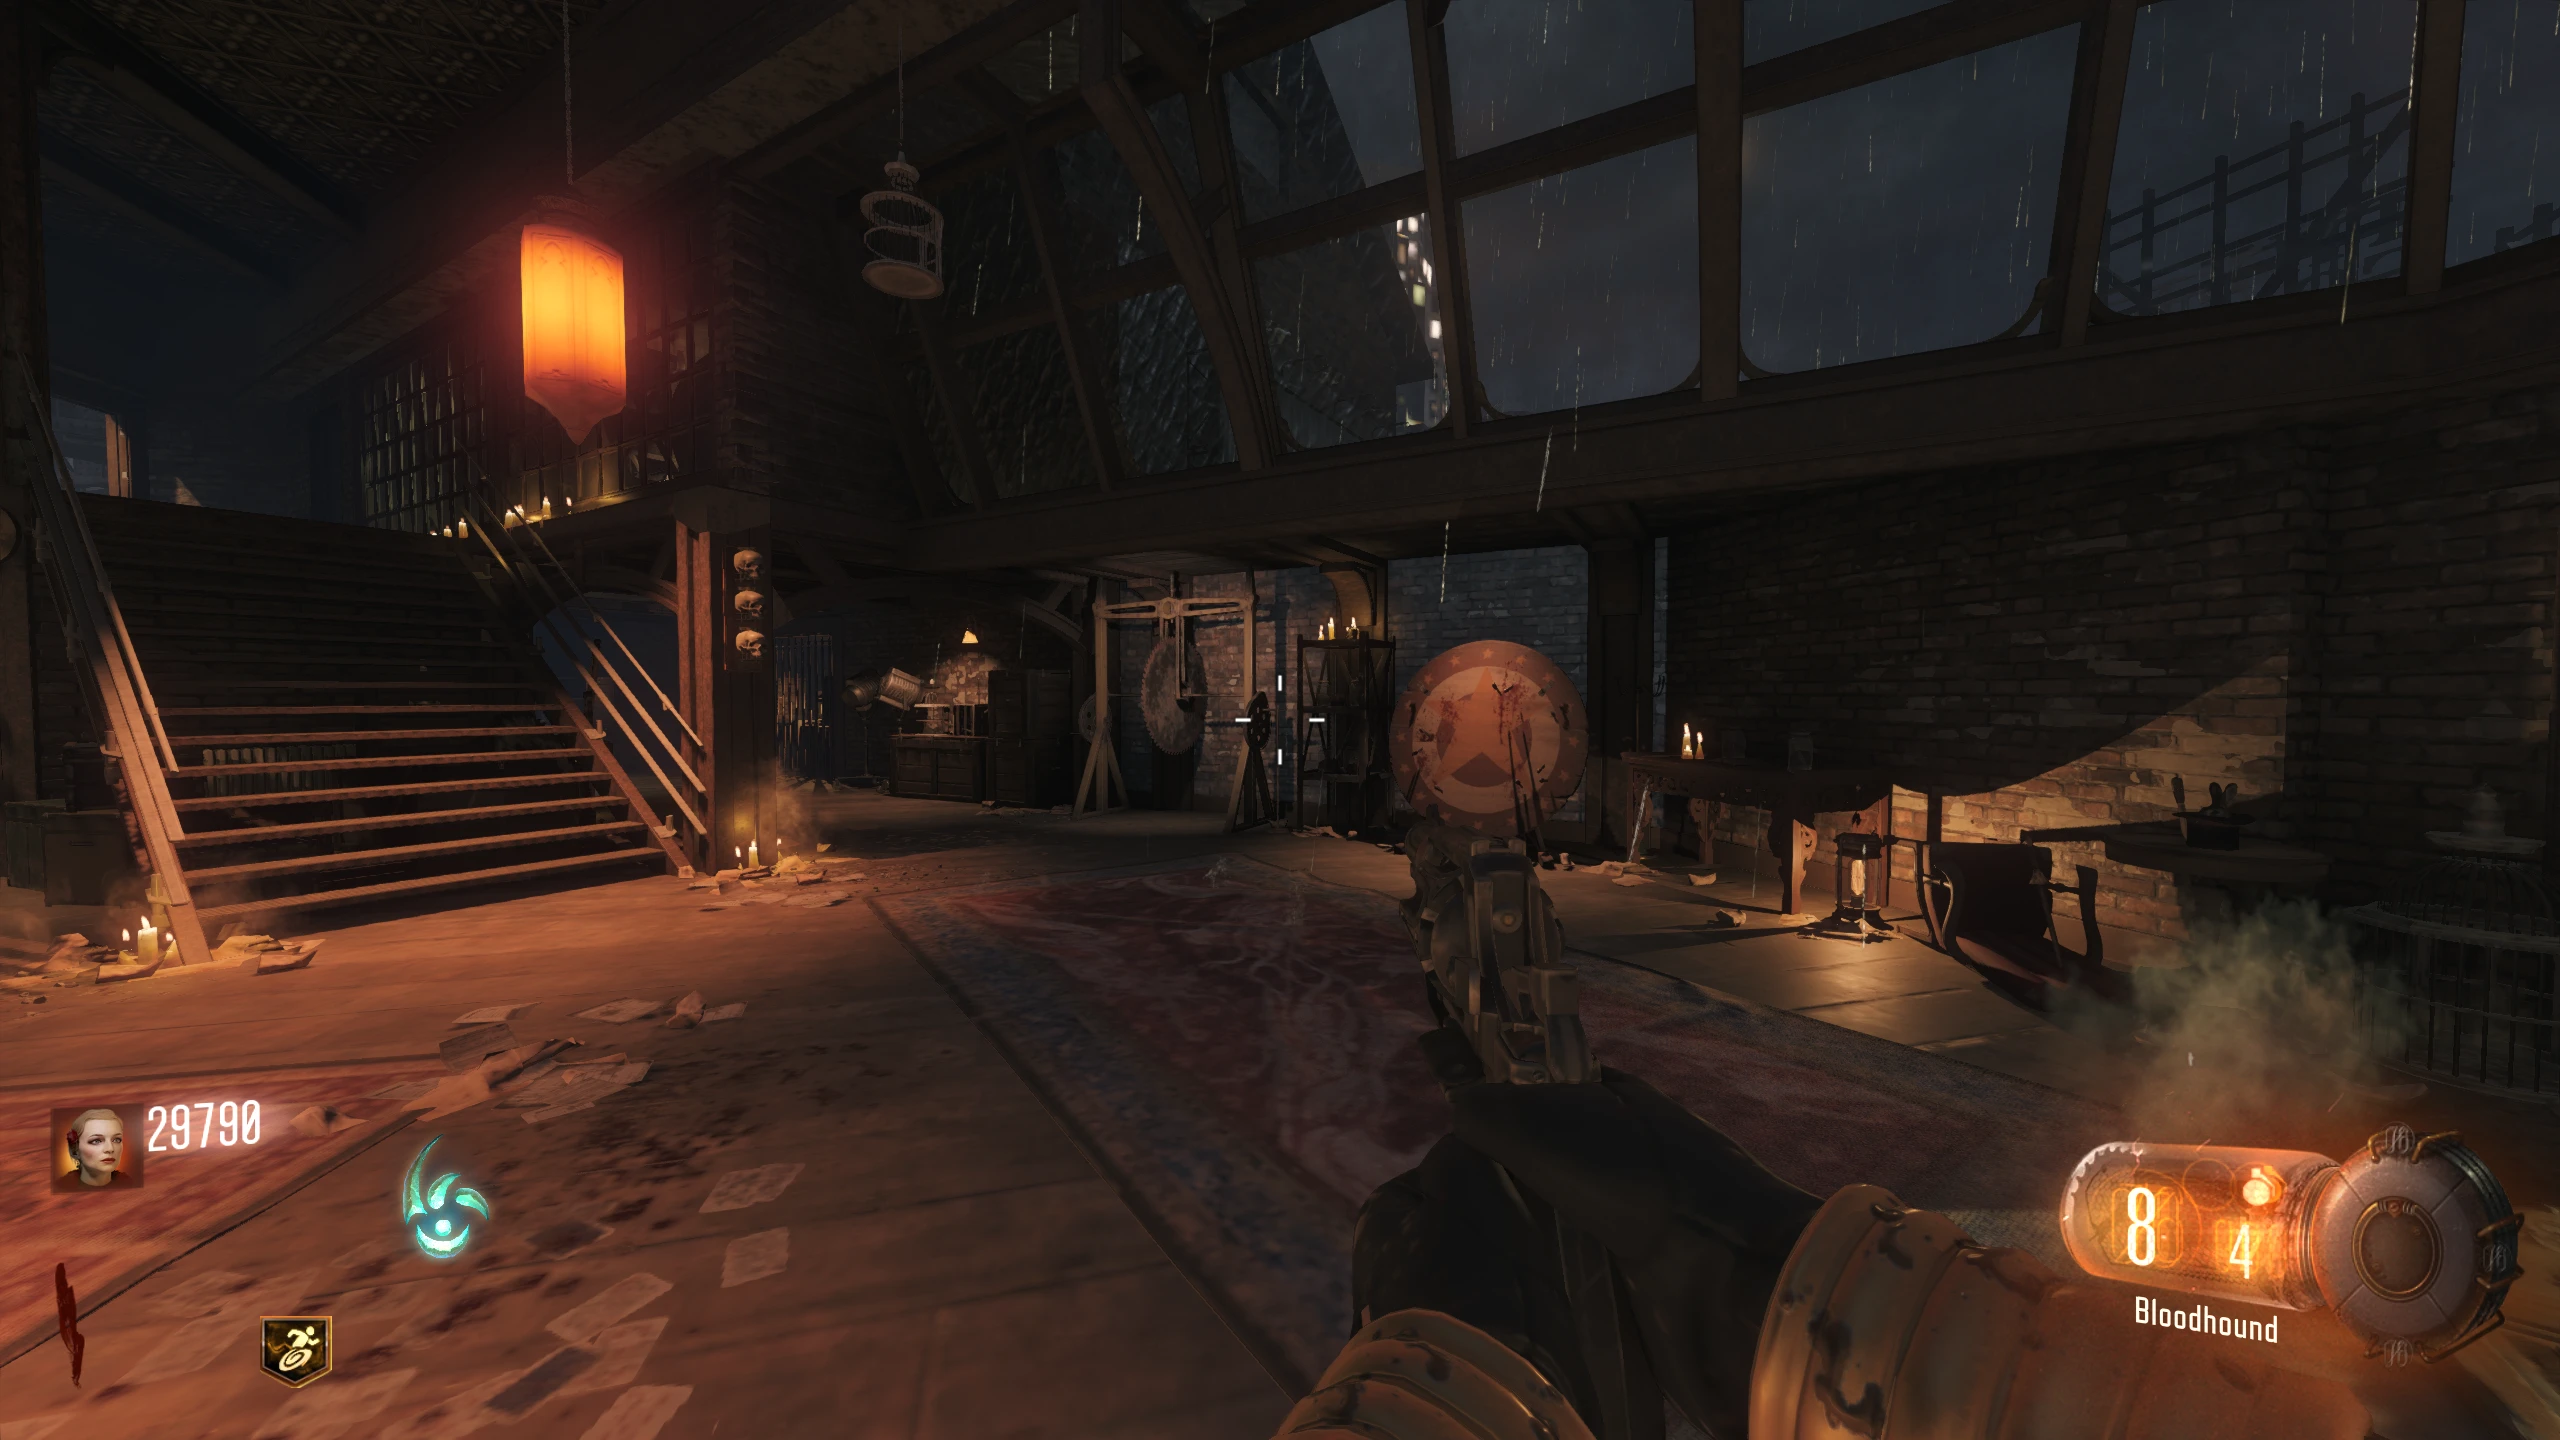
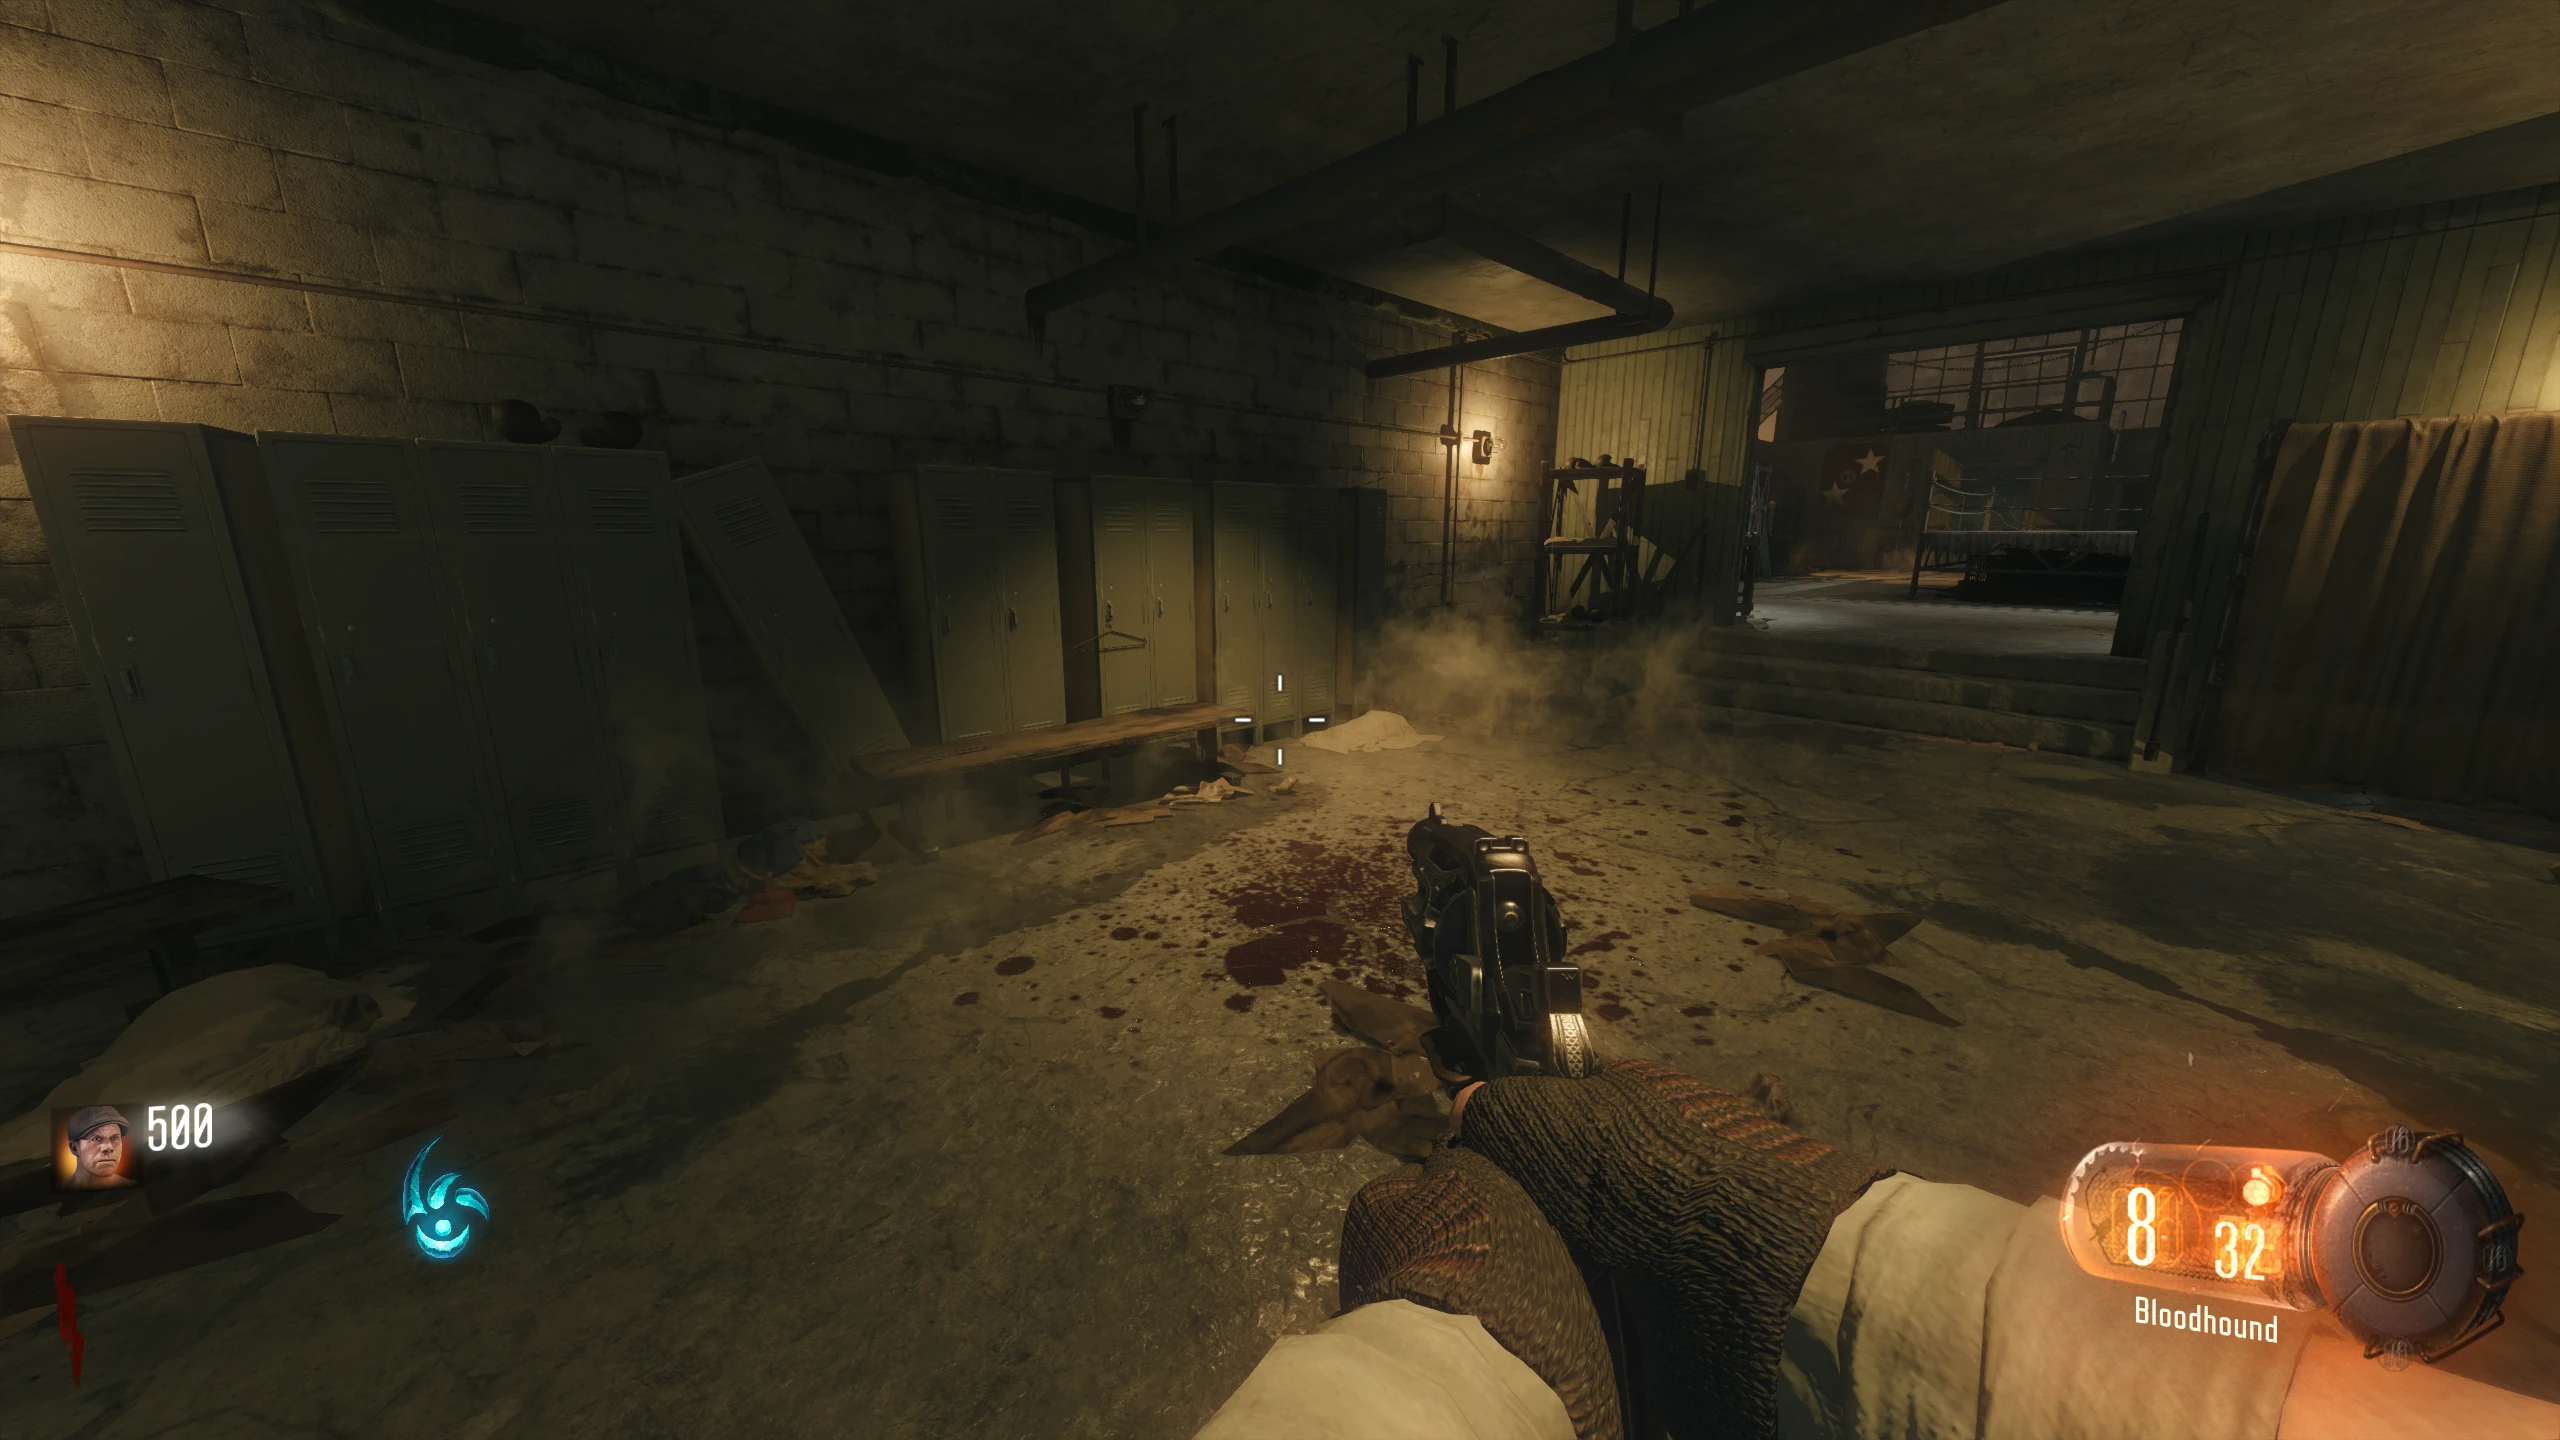
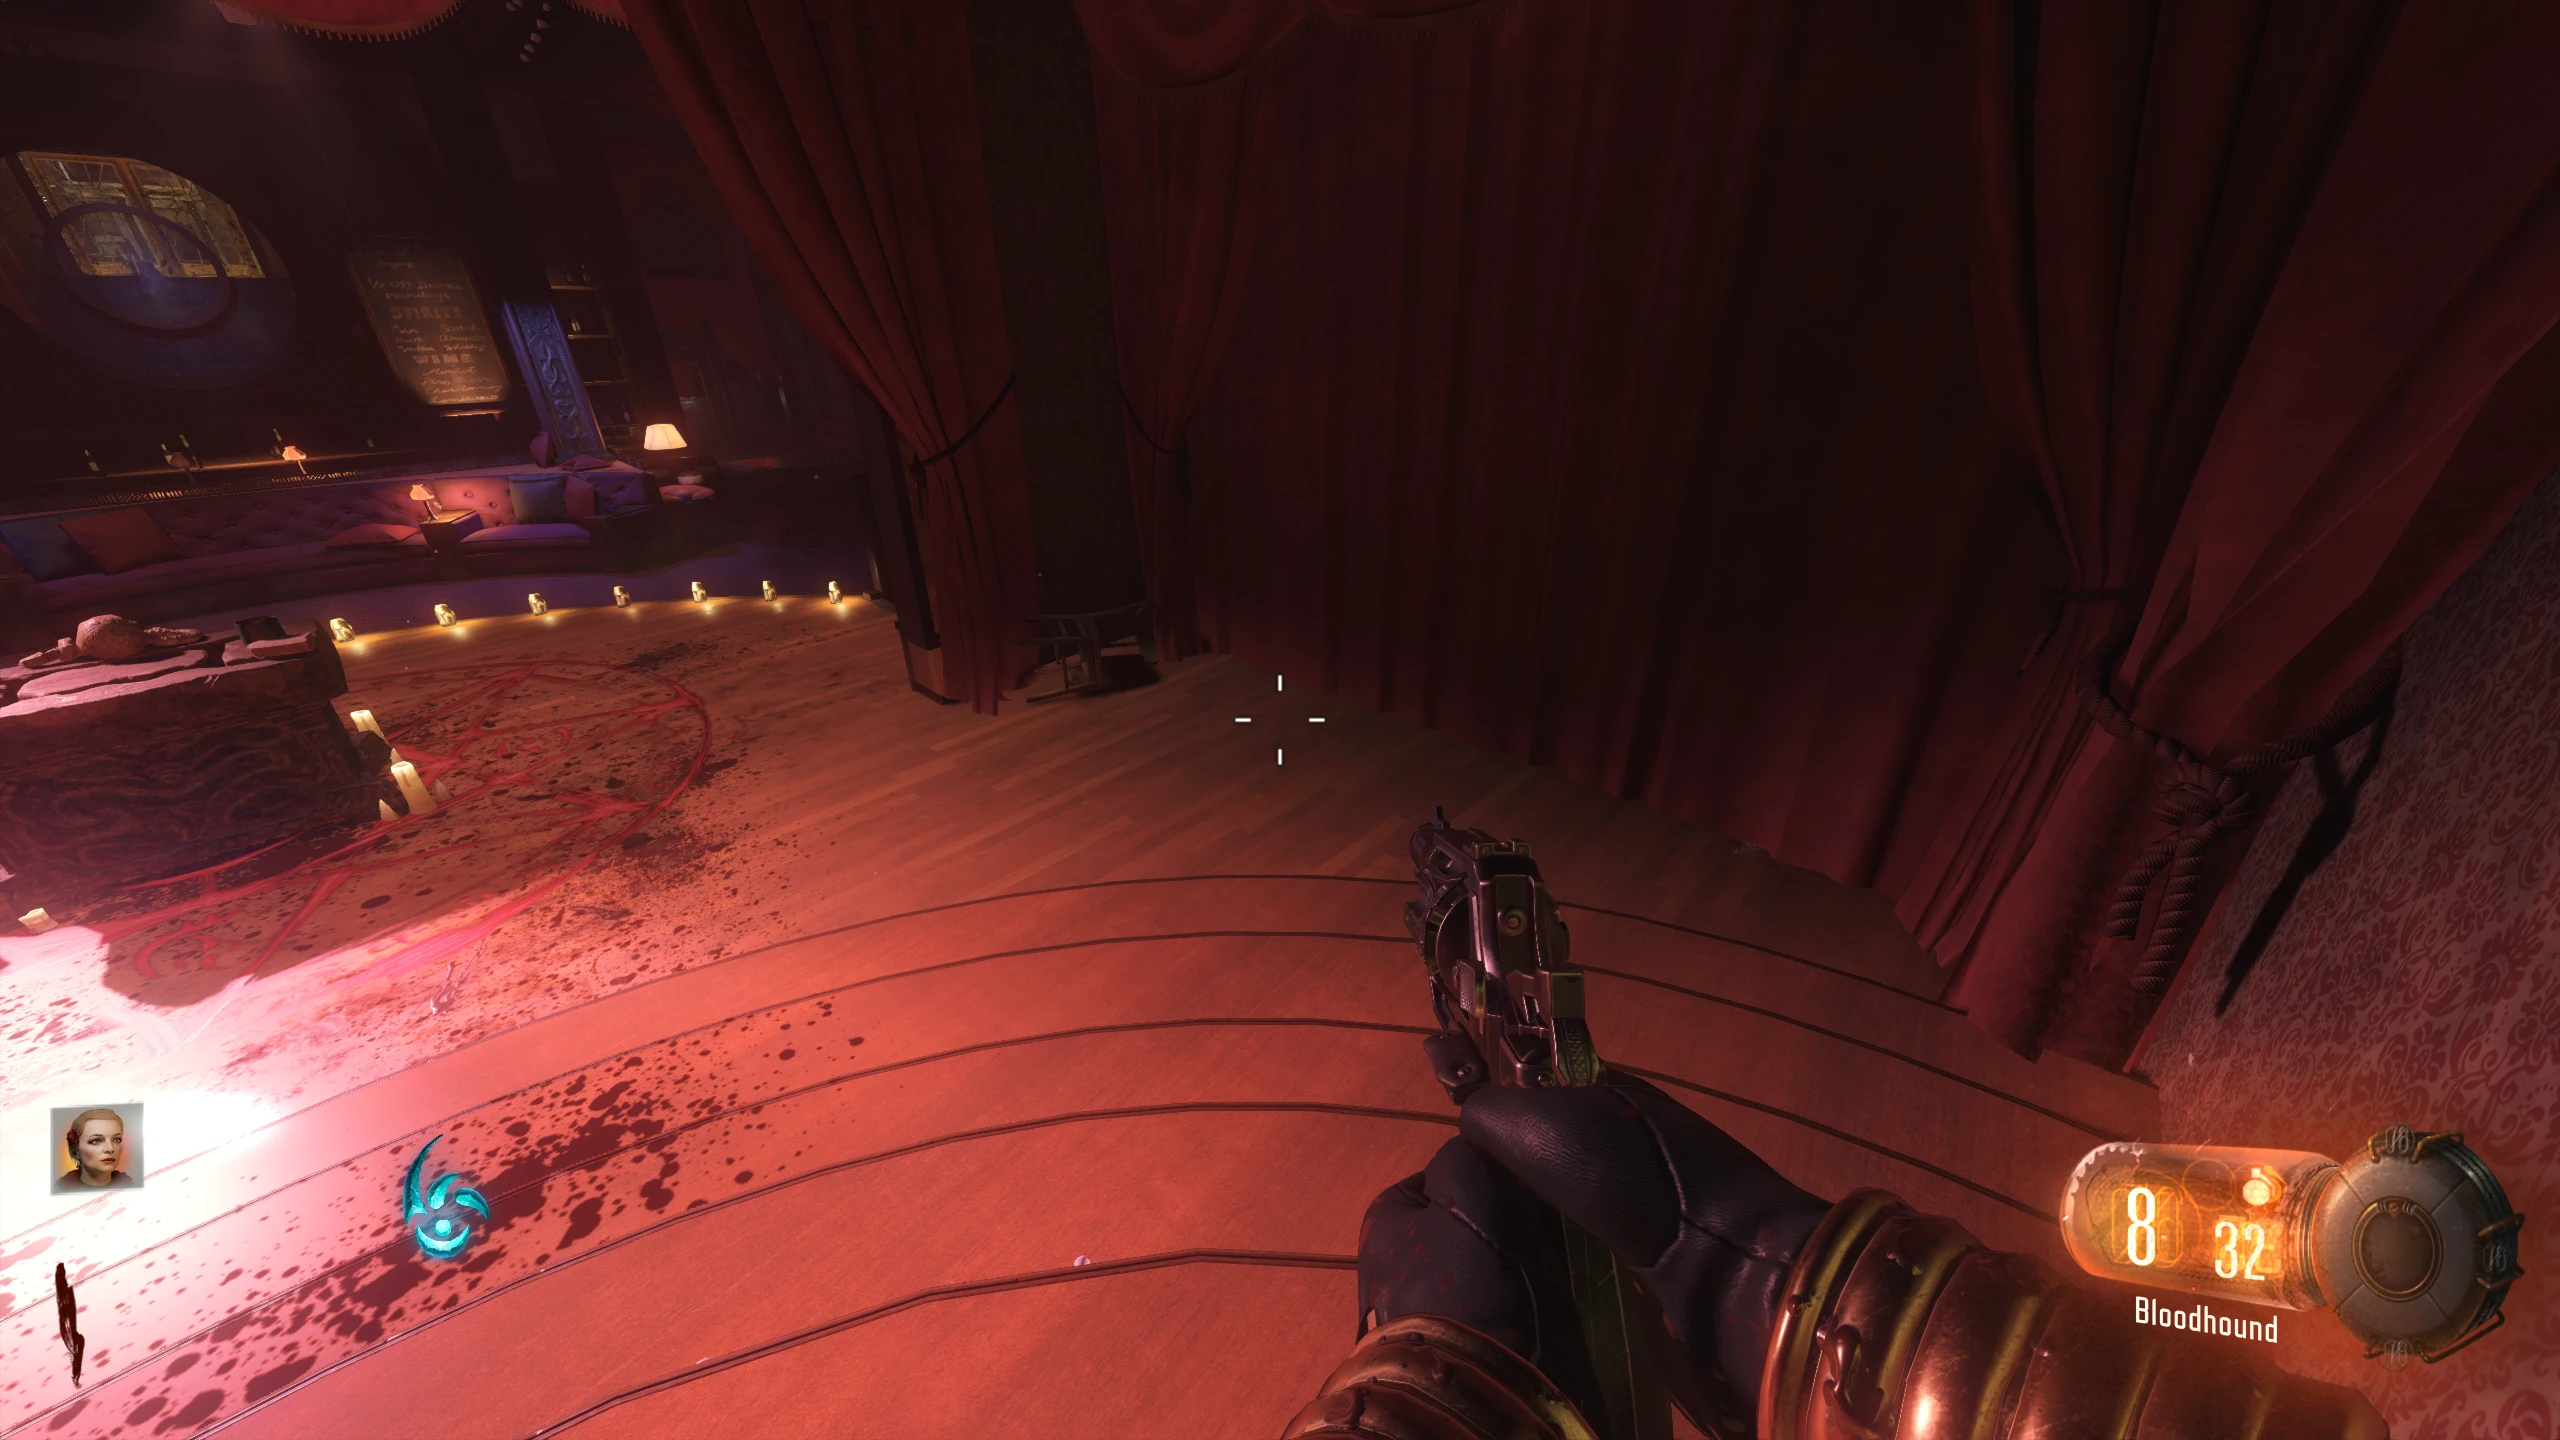
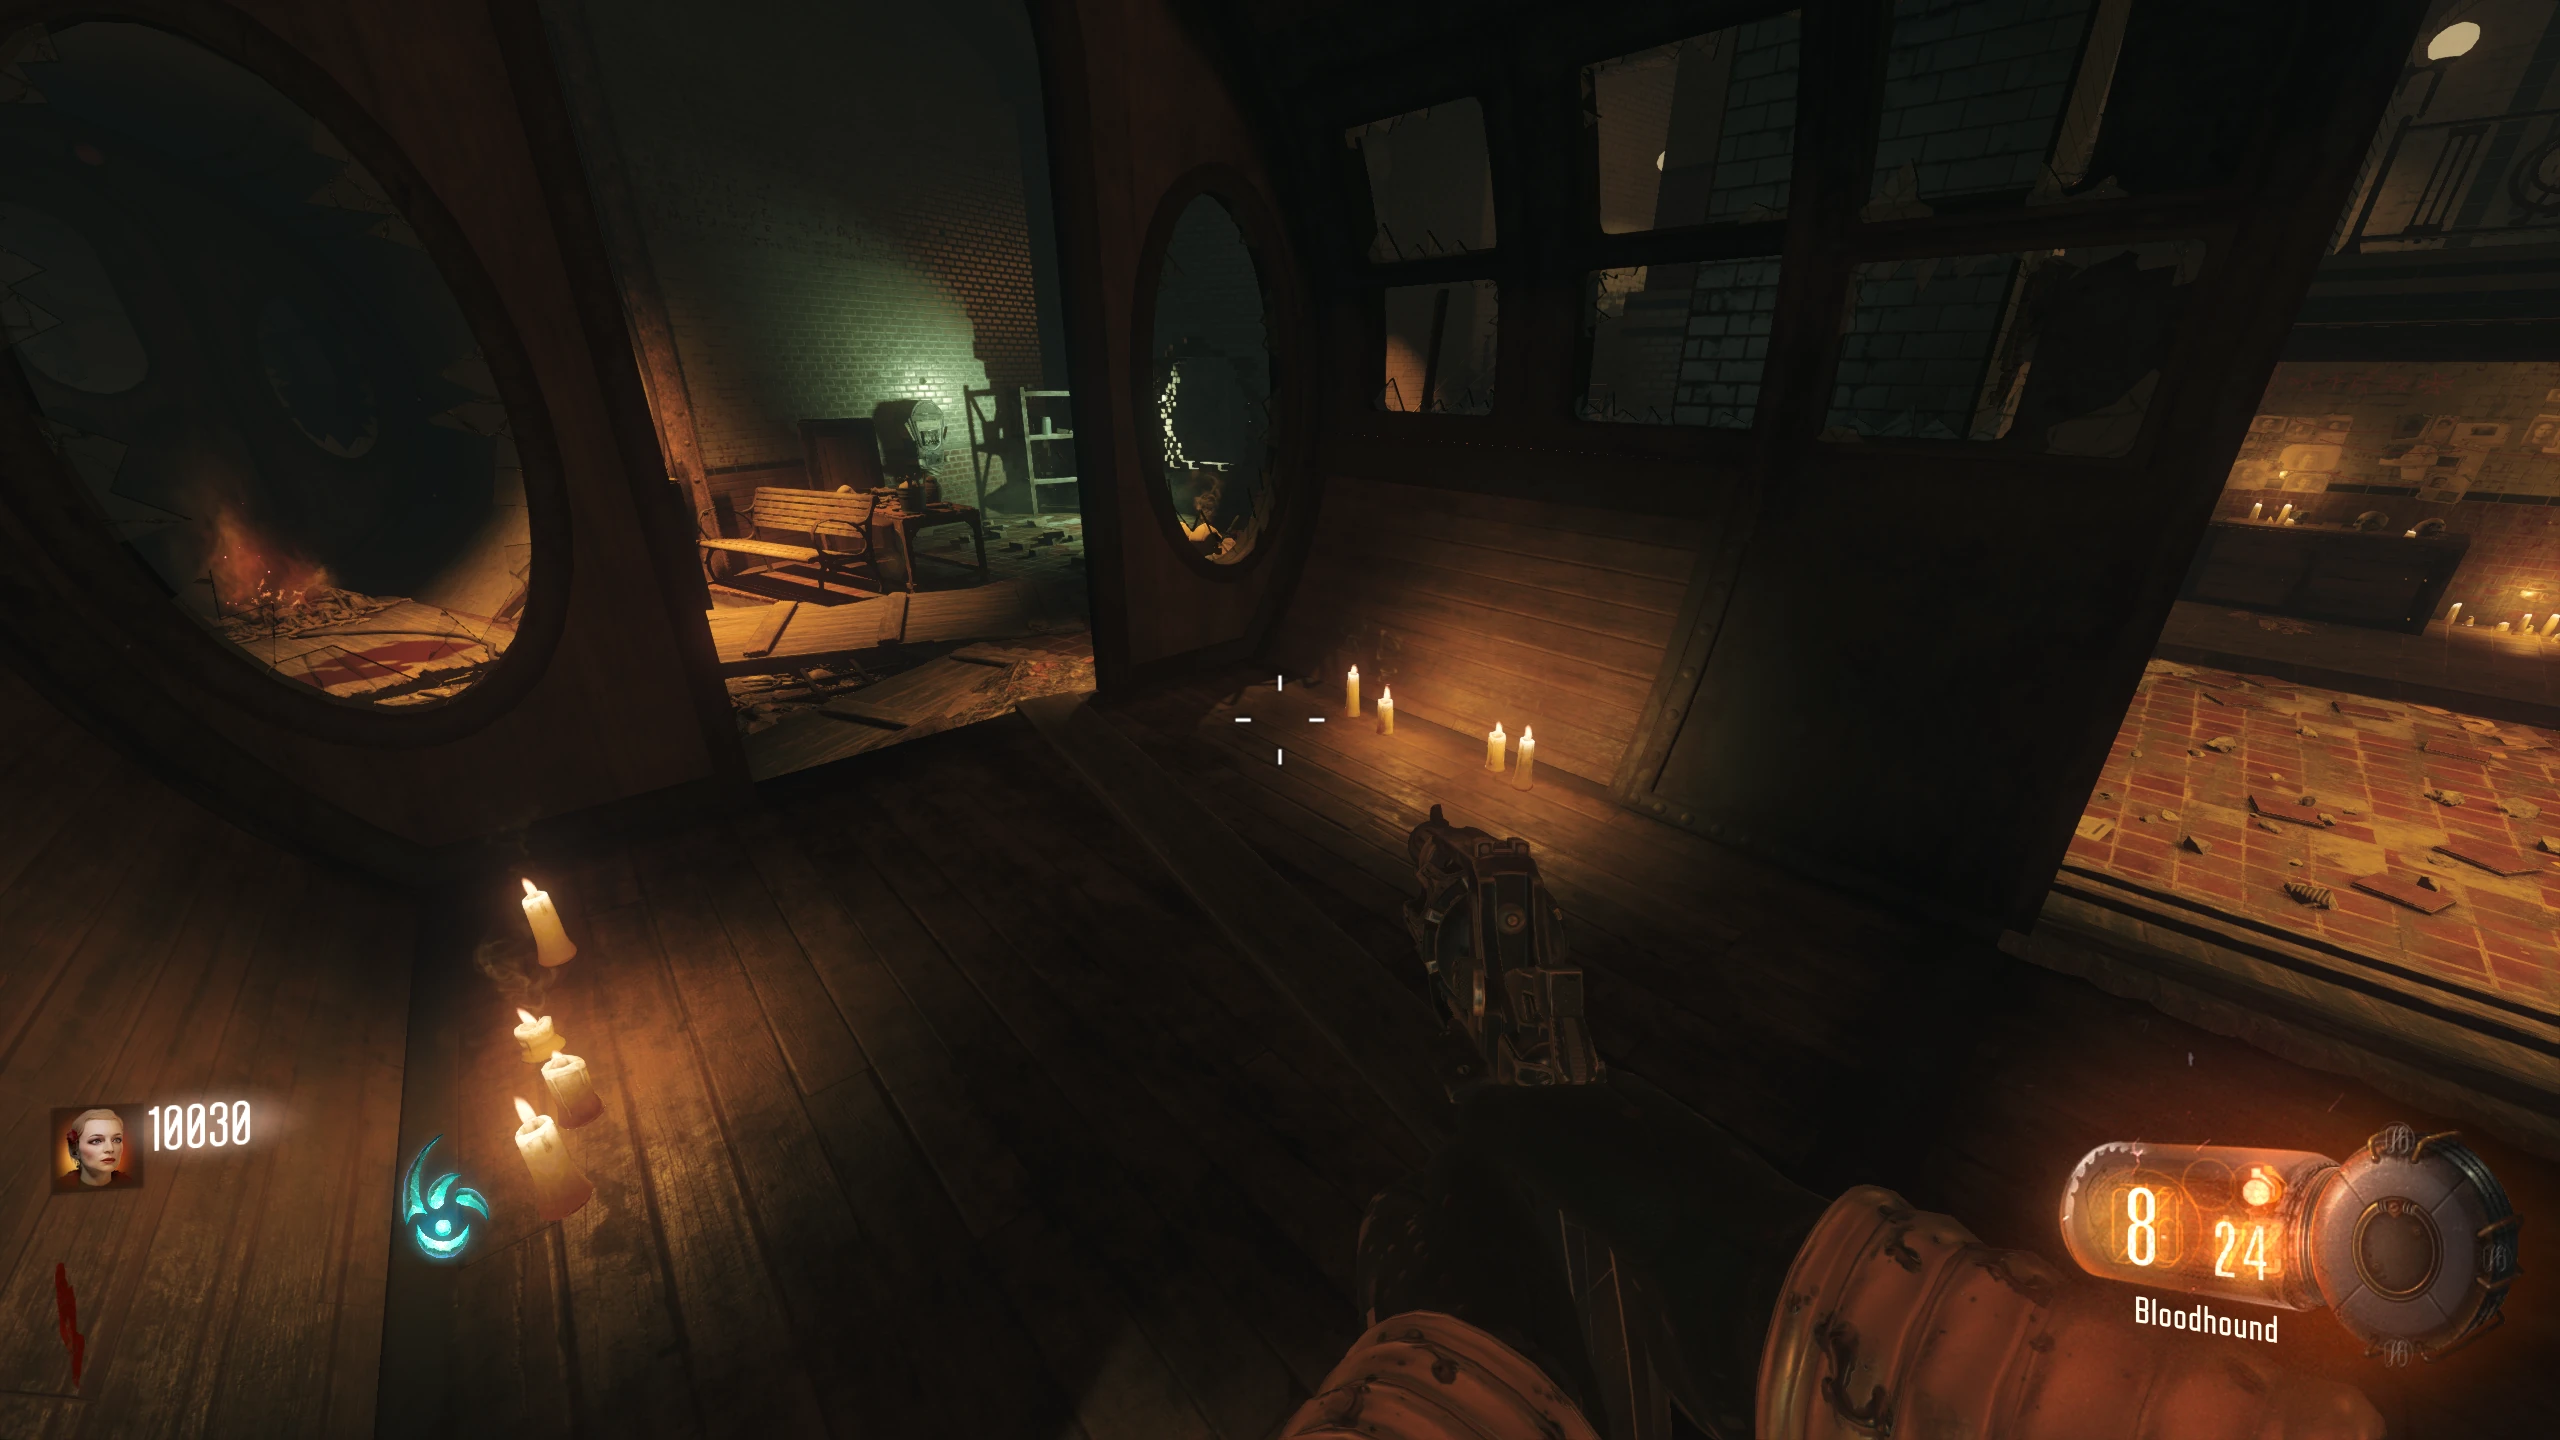
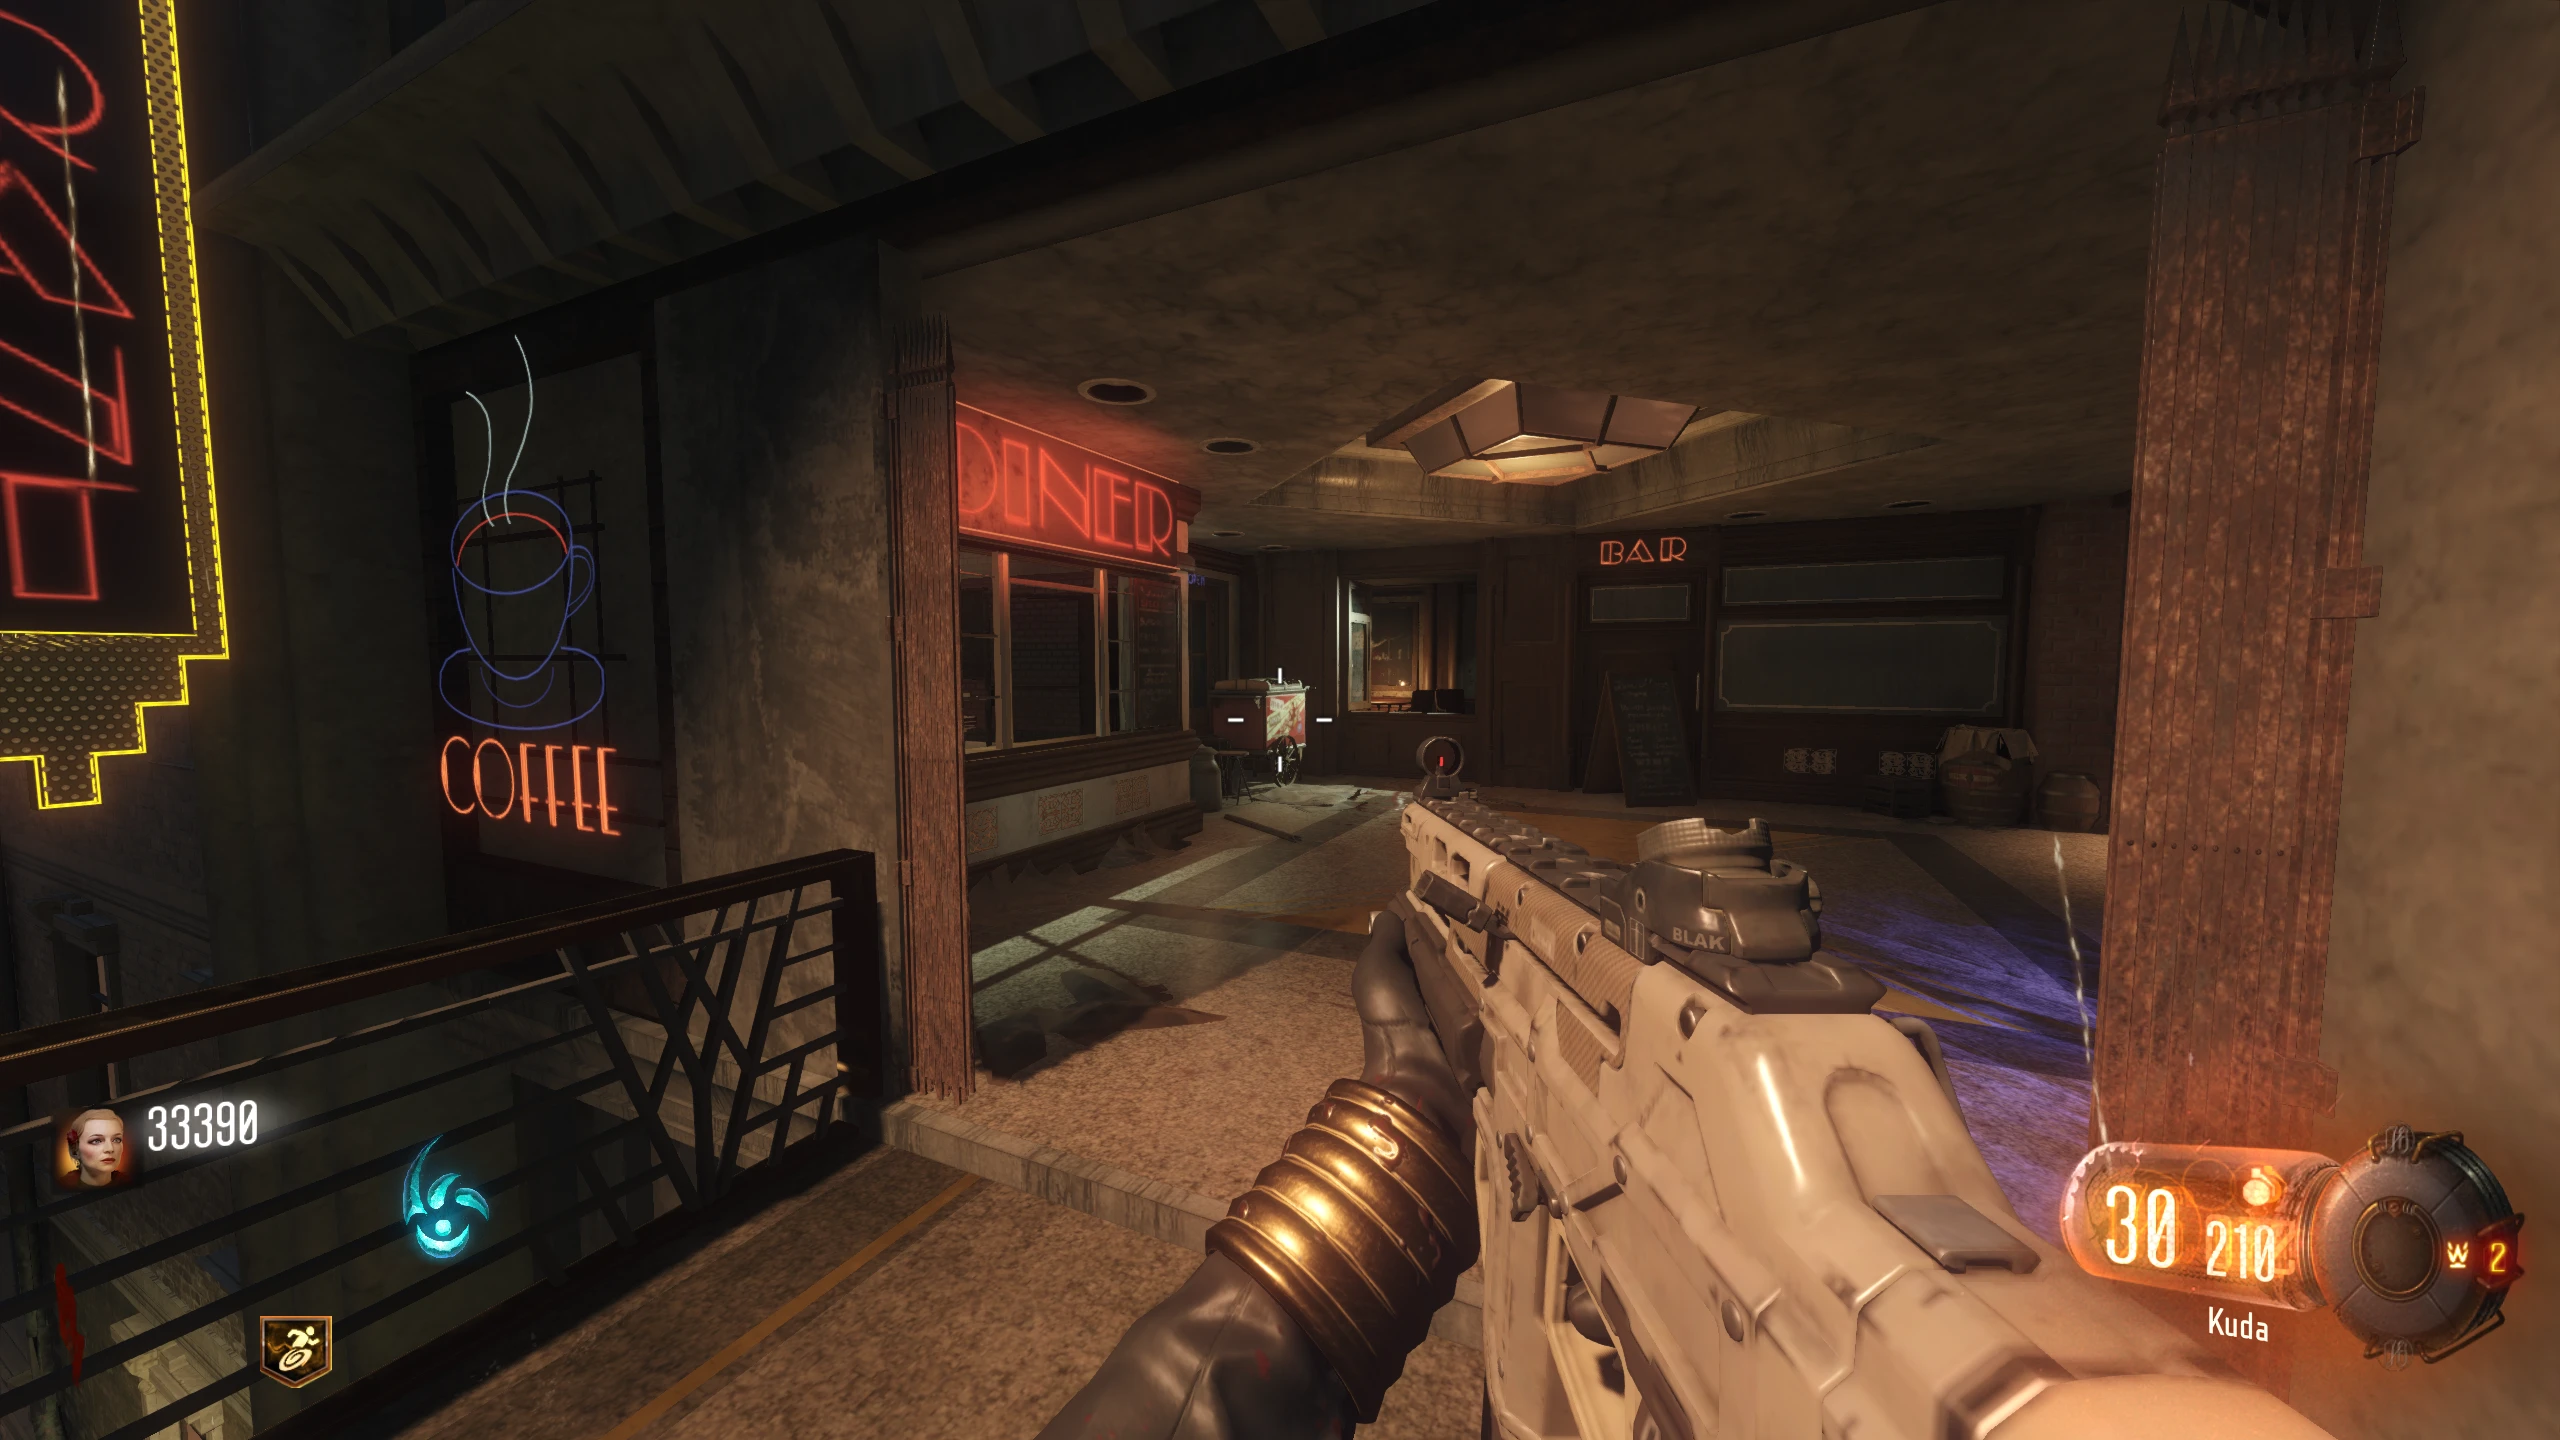
Flag Defence
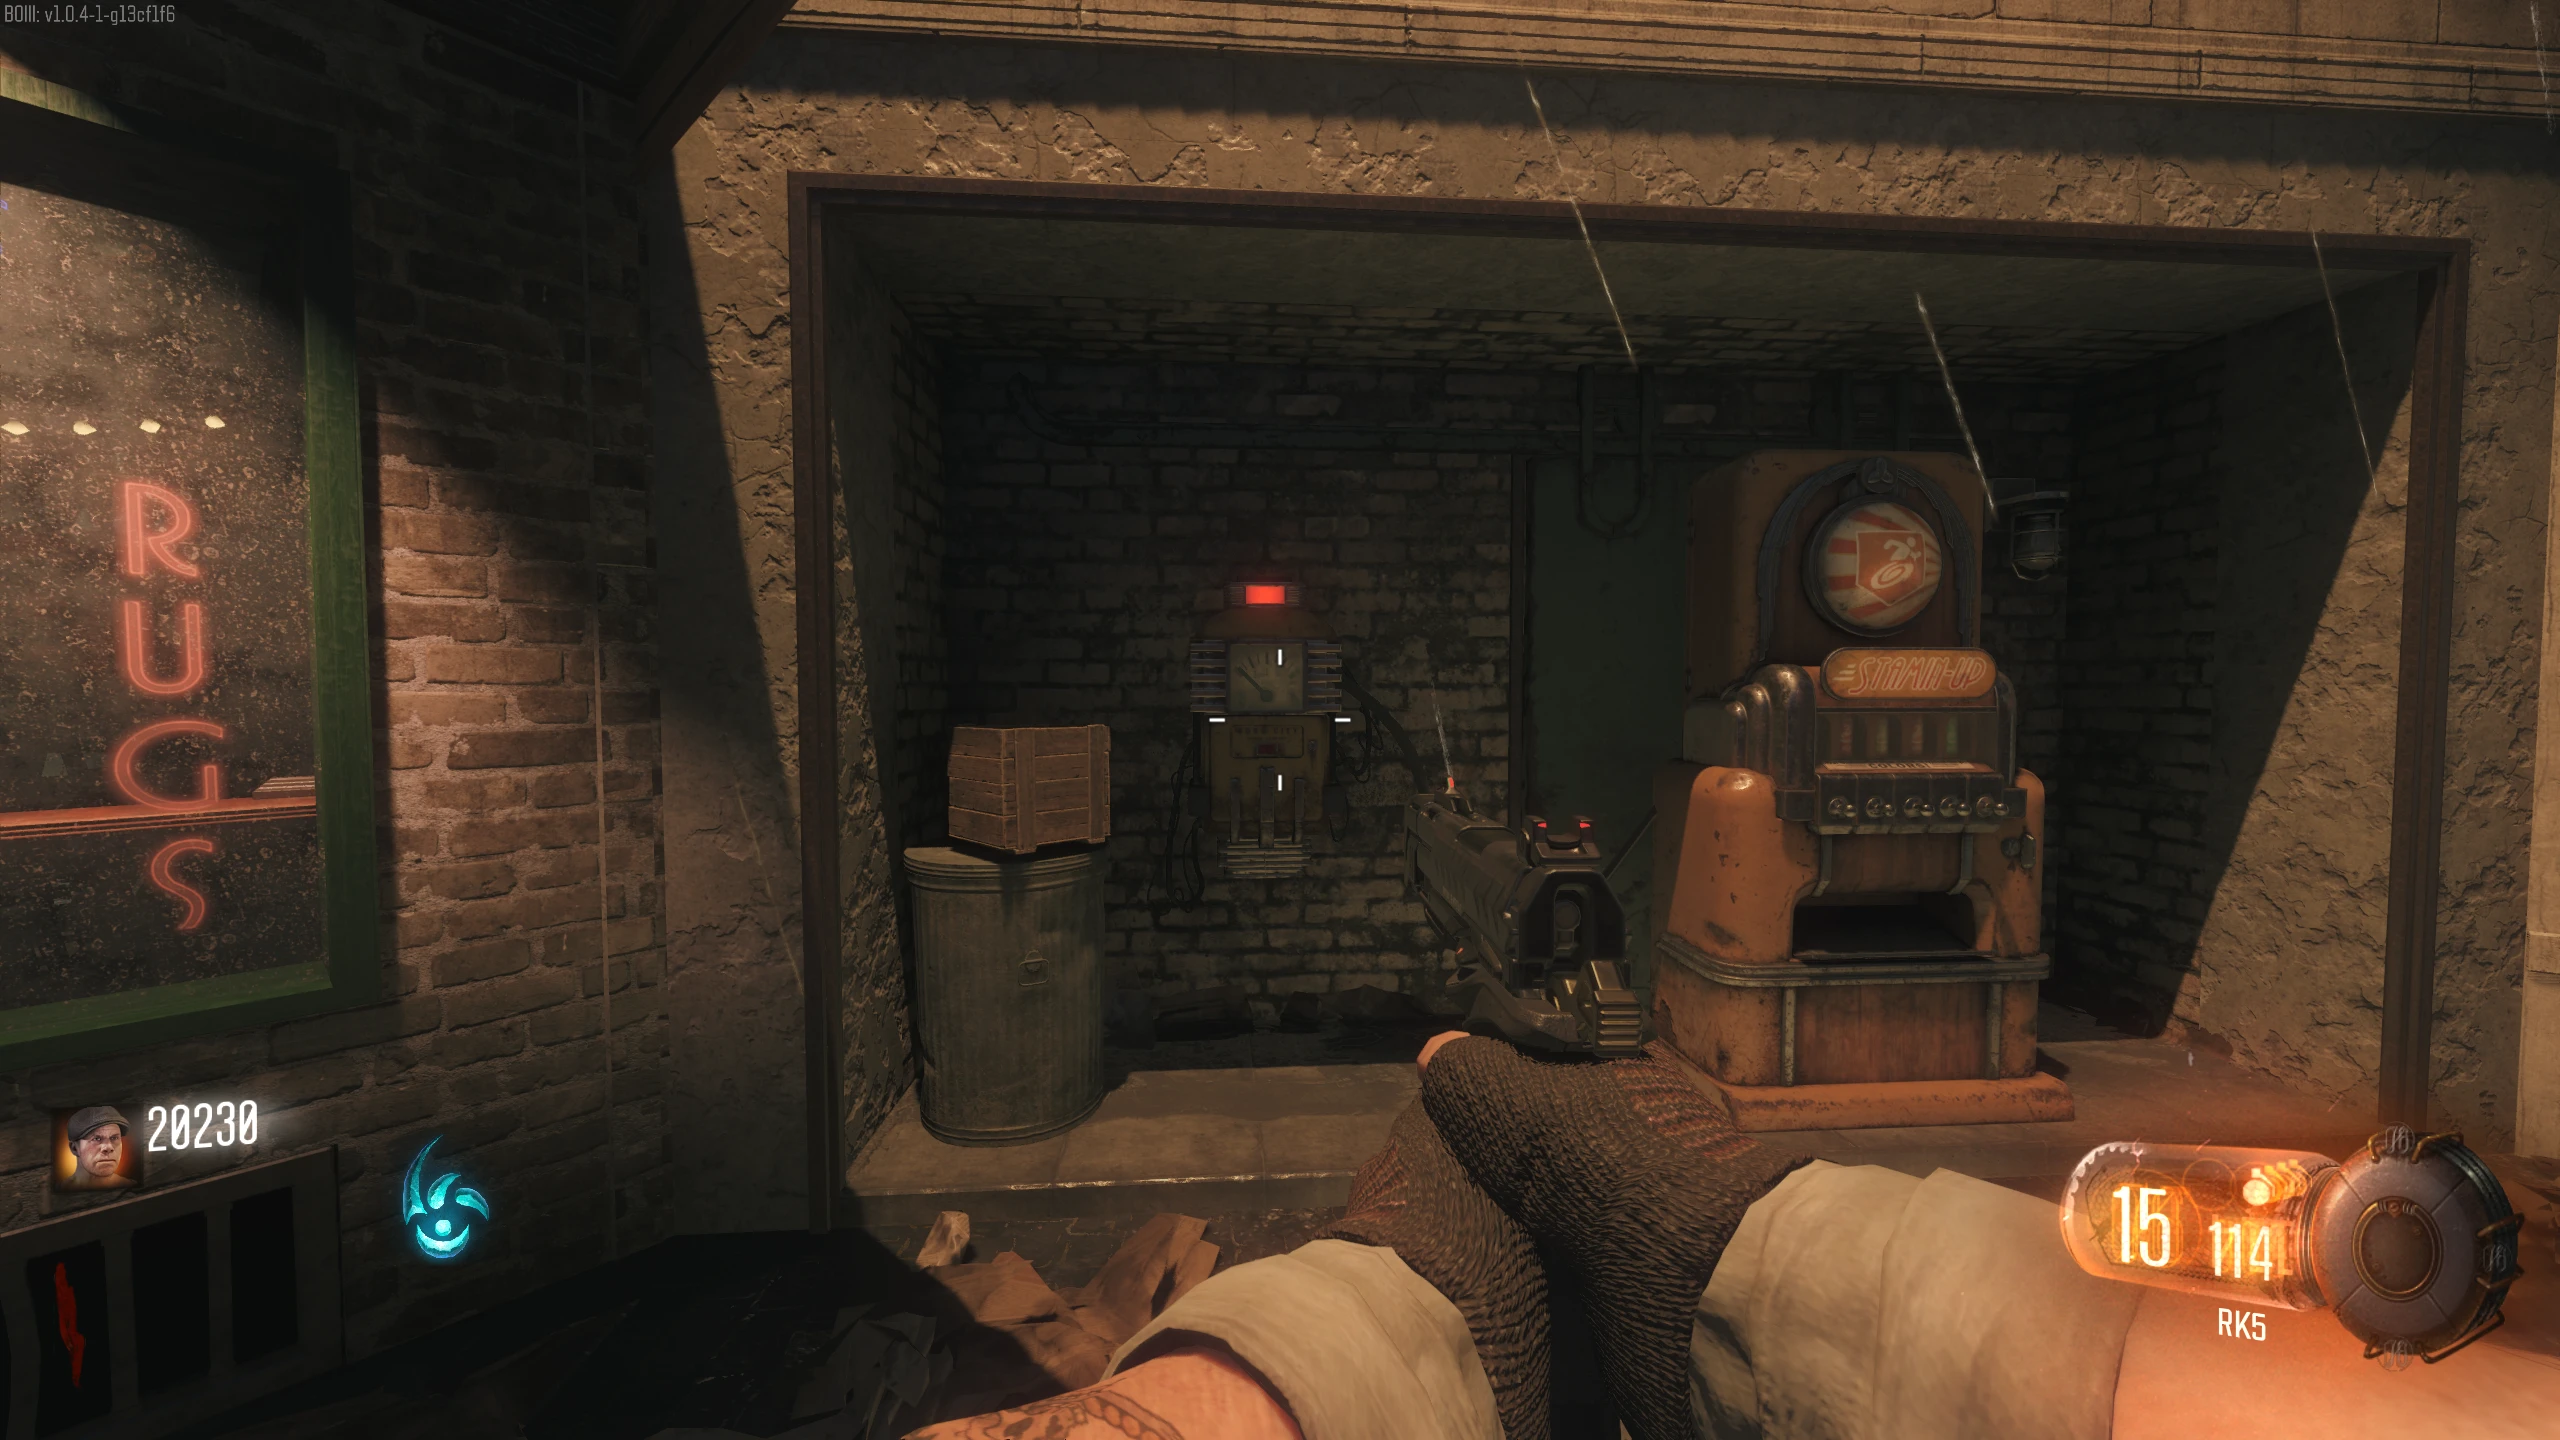
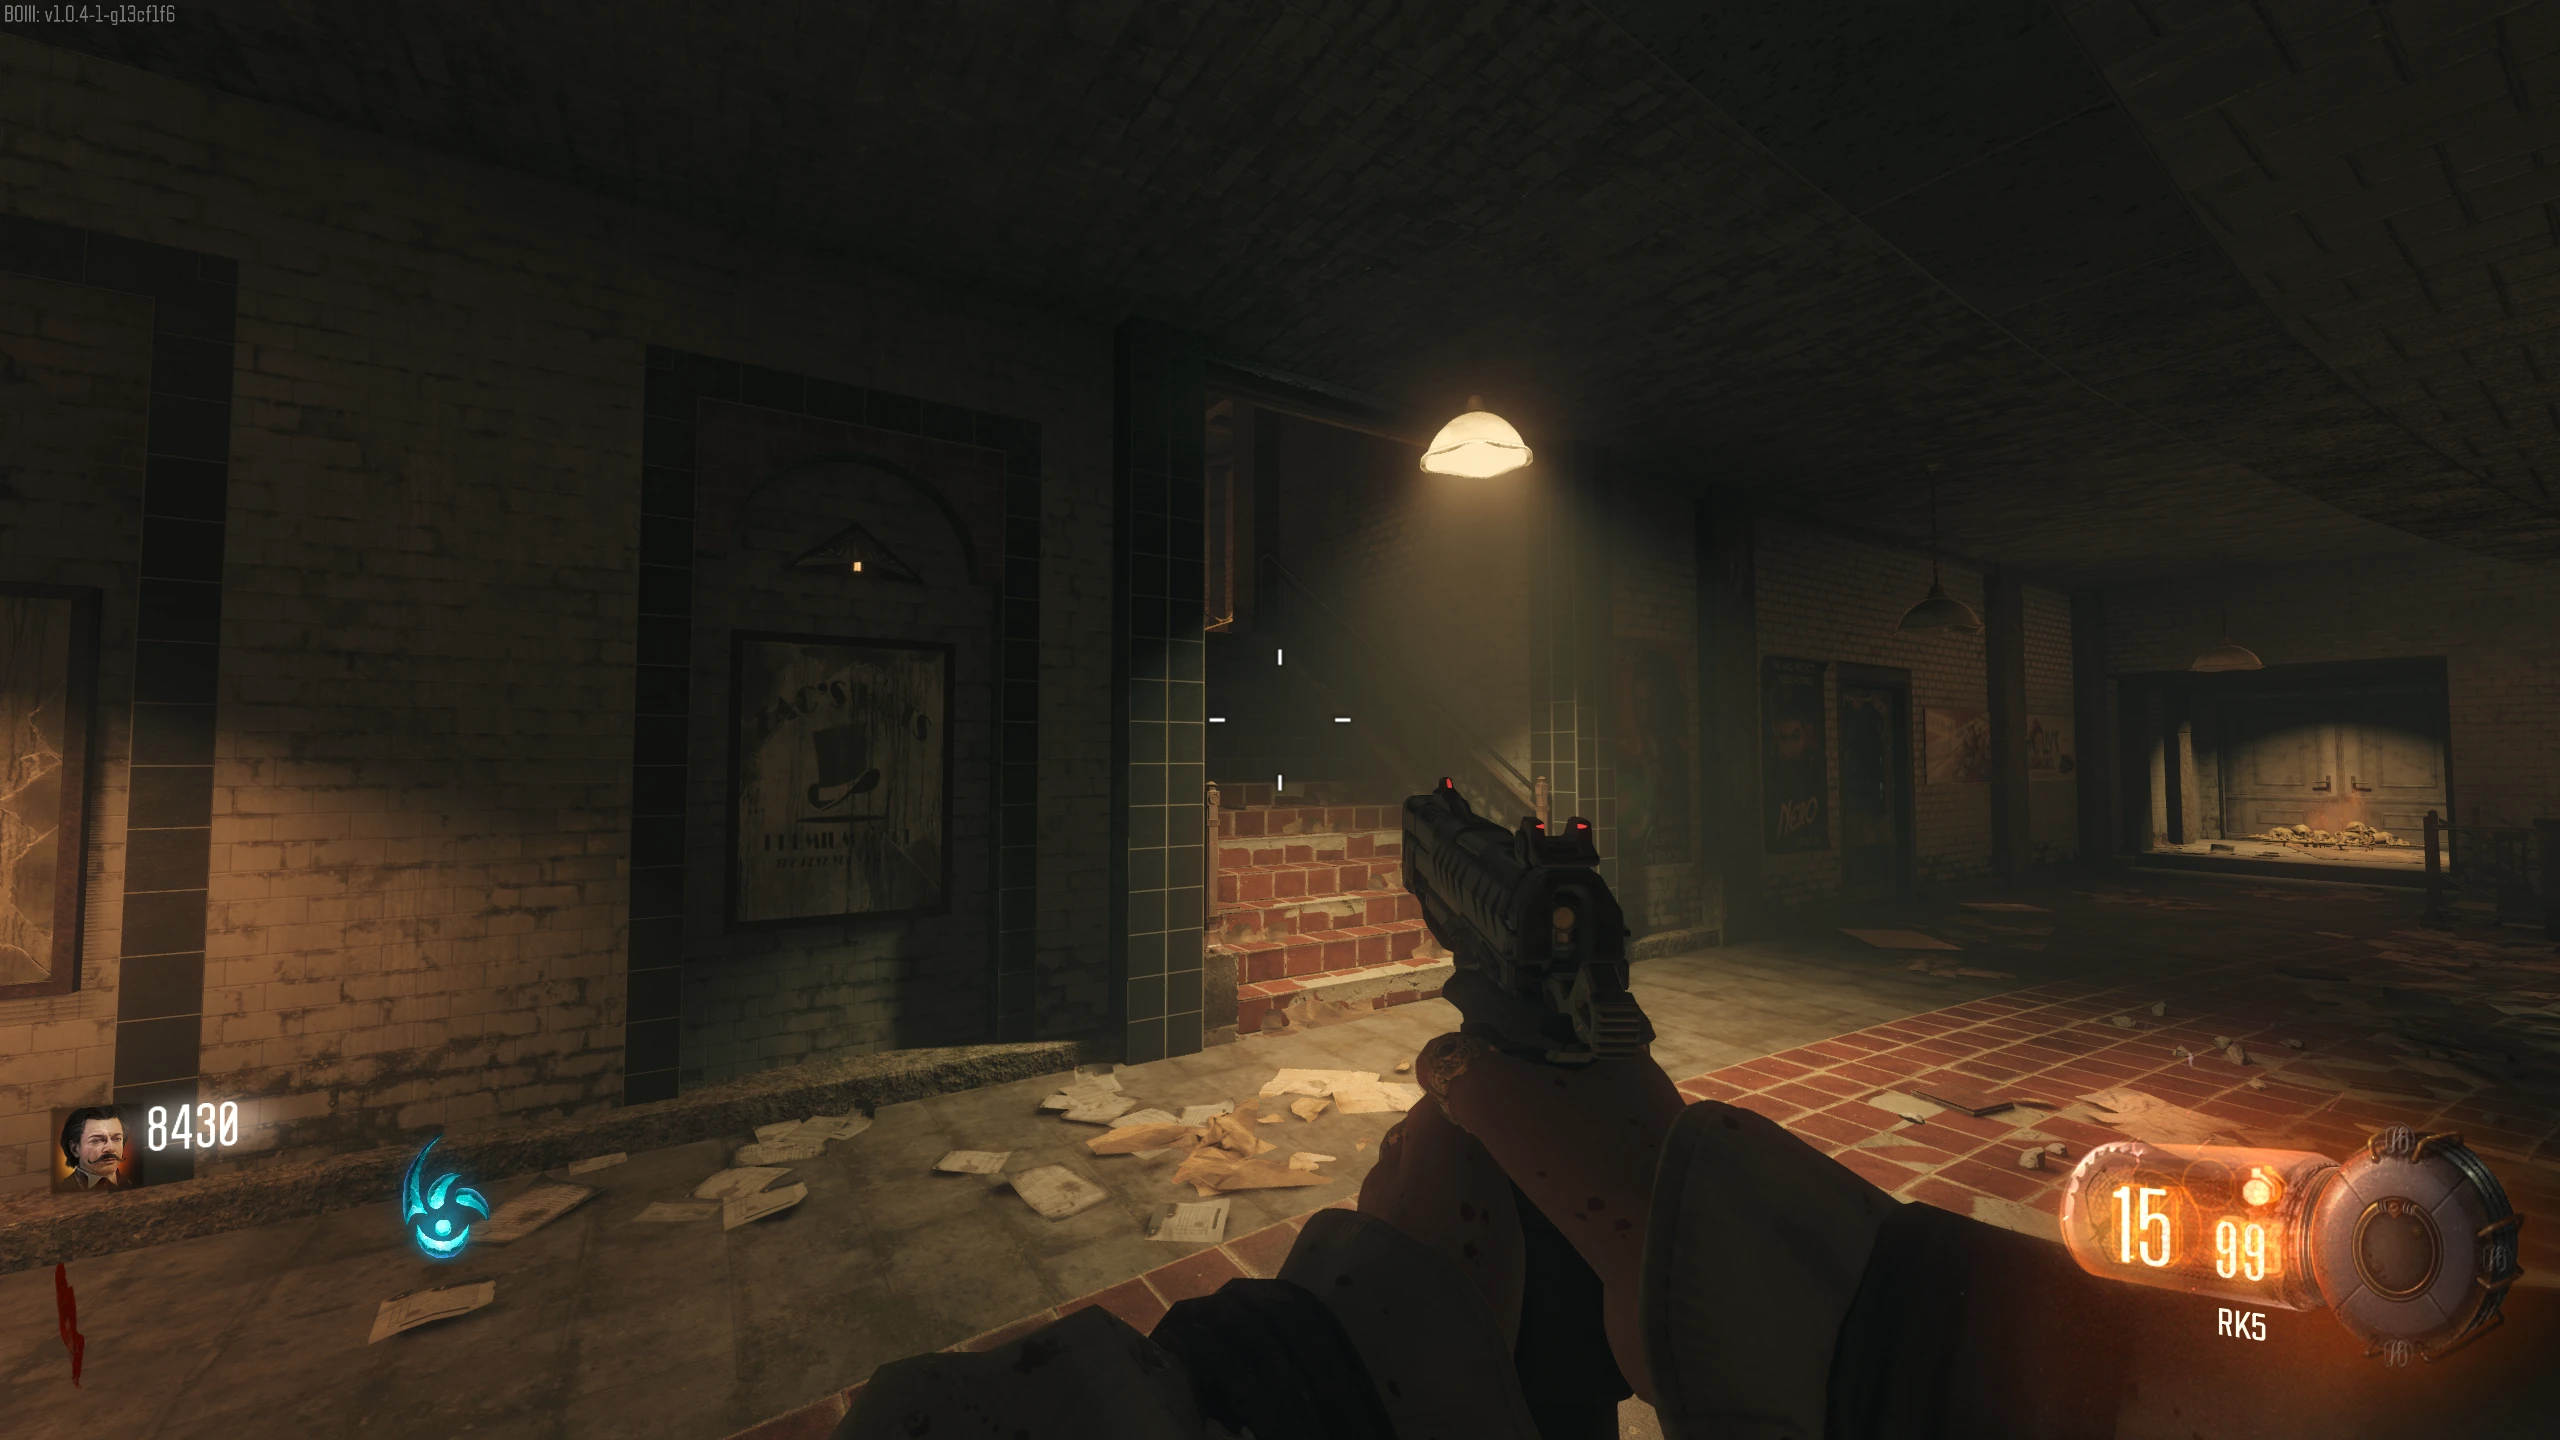
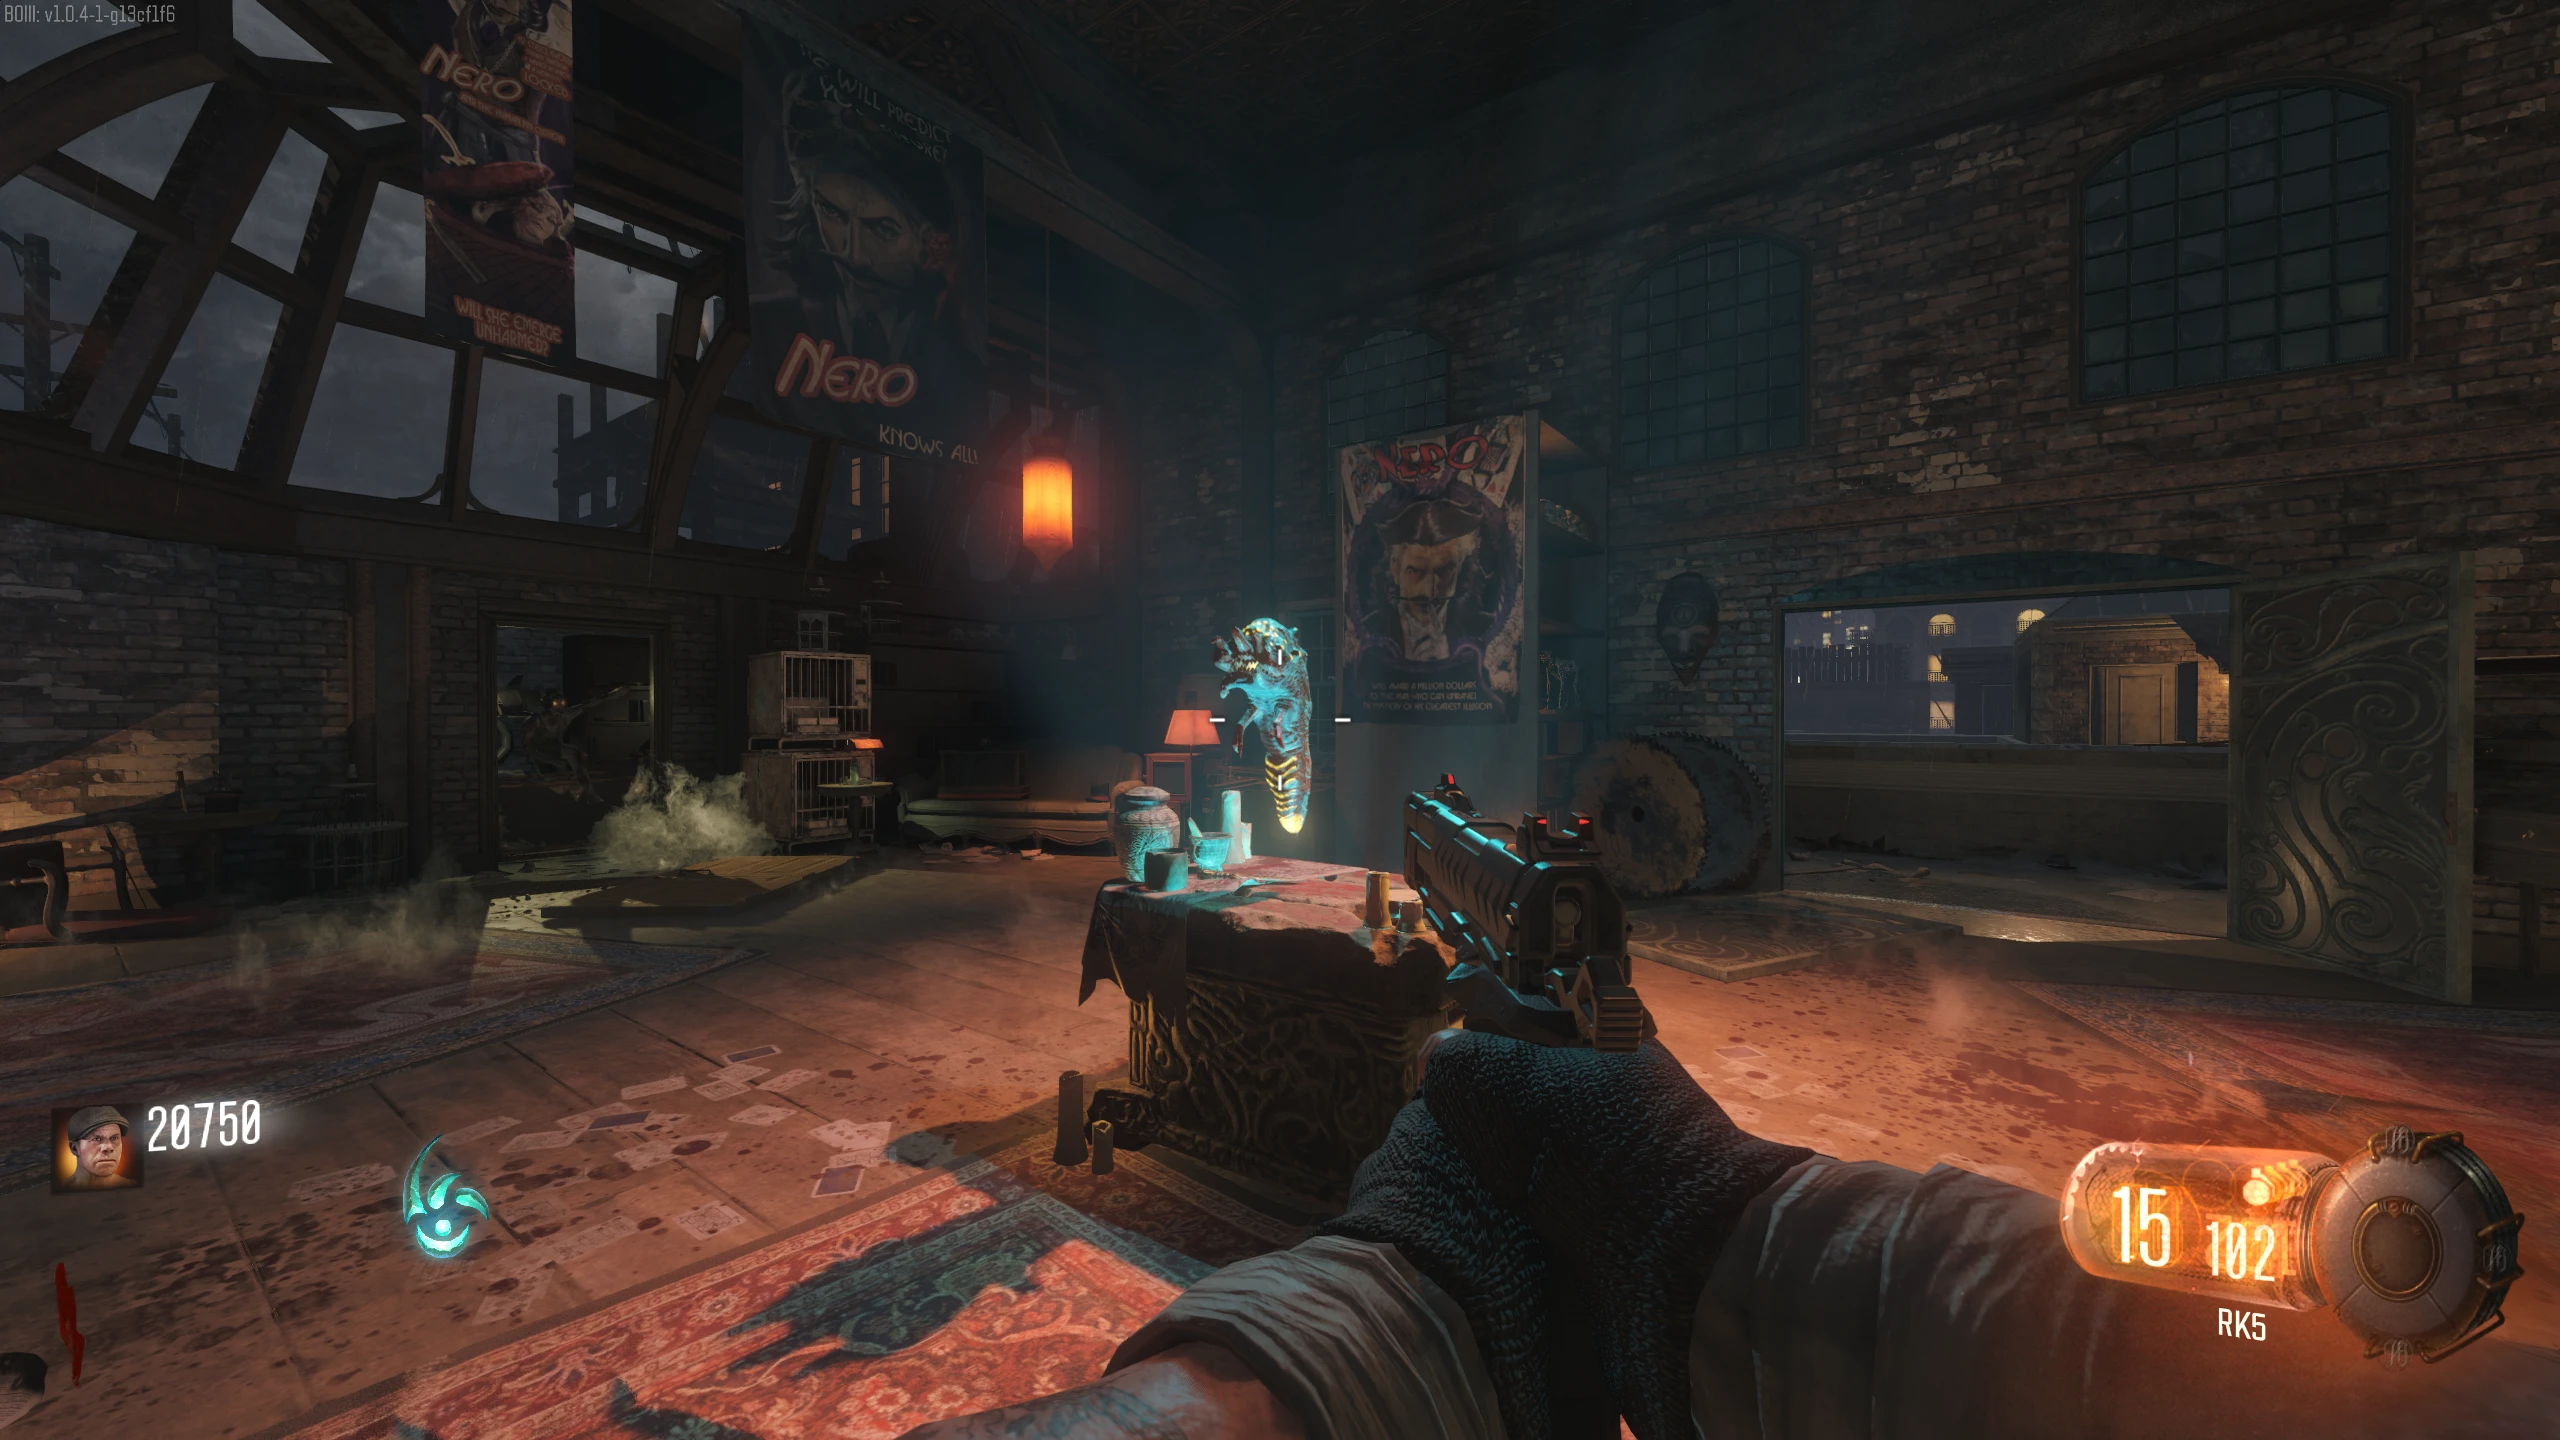
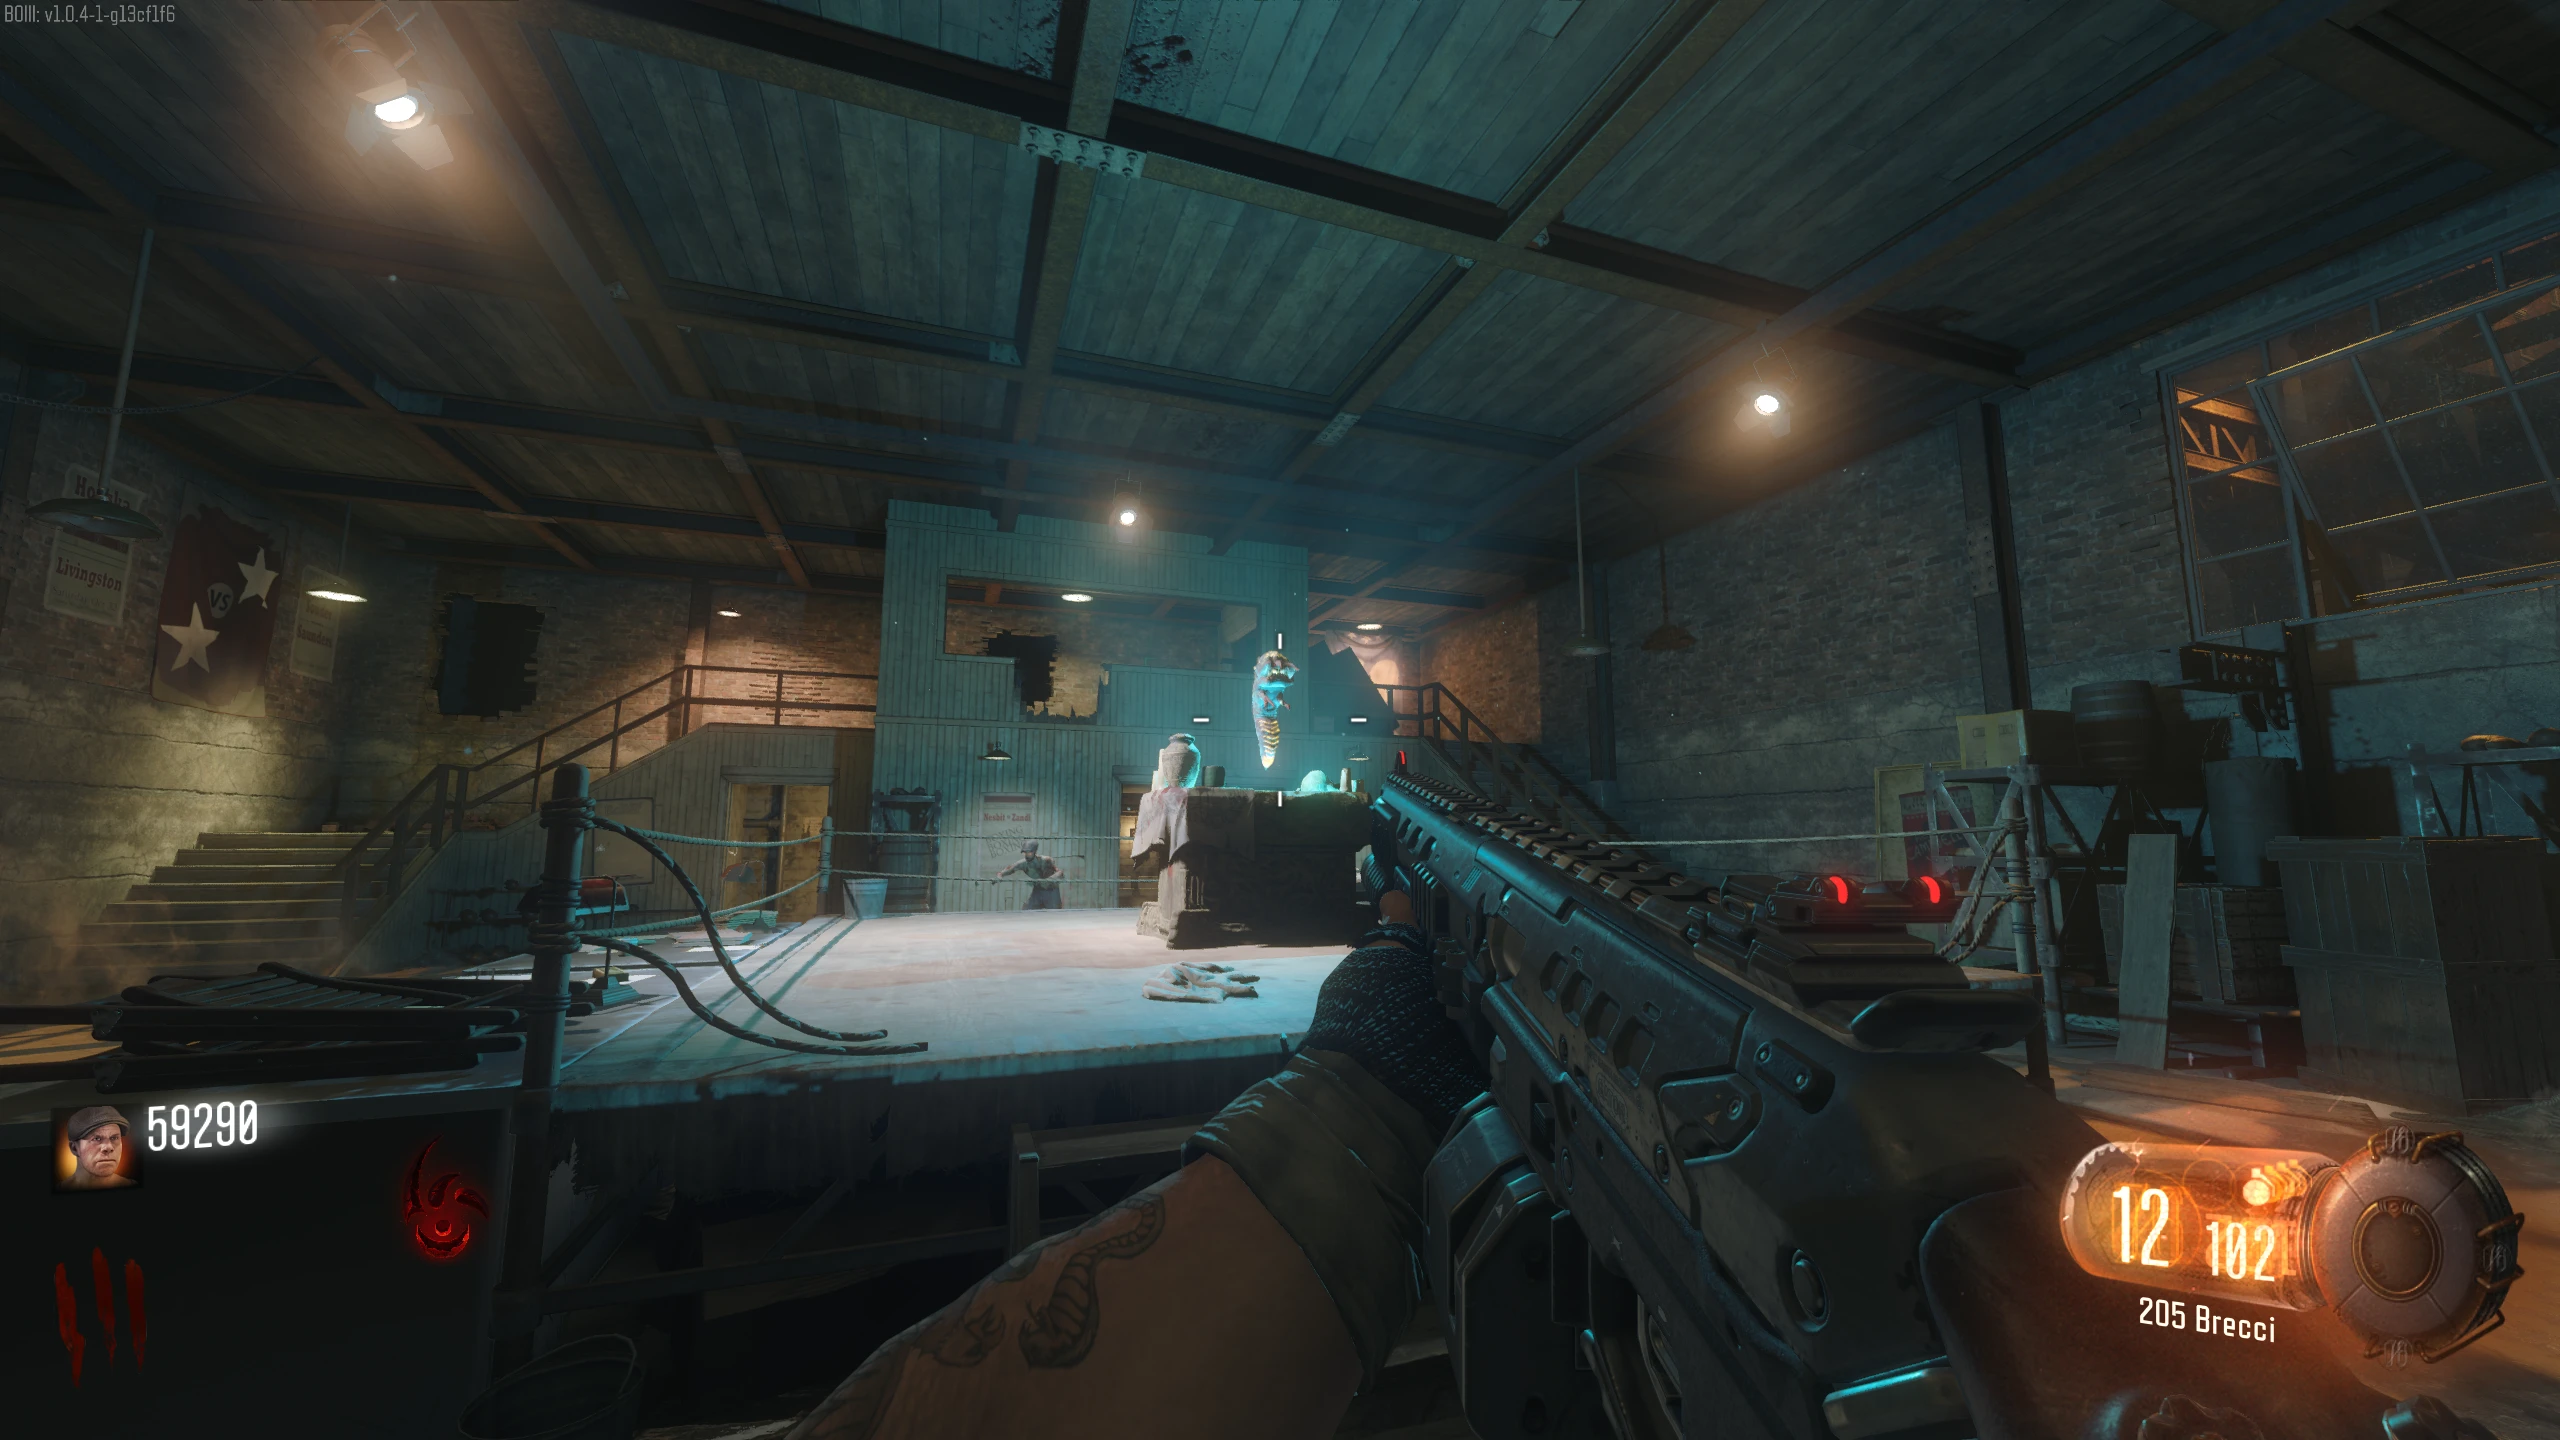
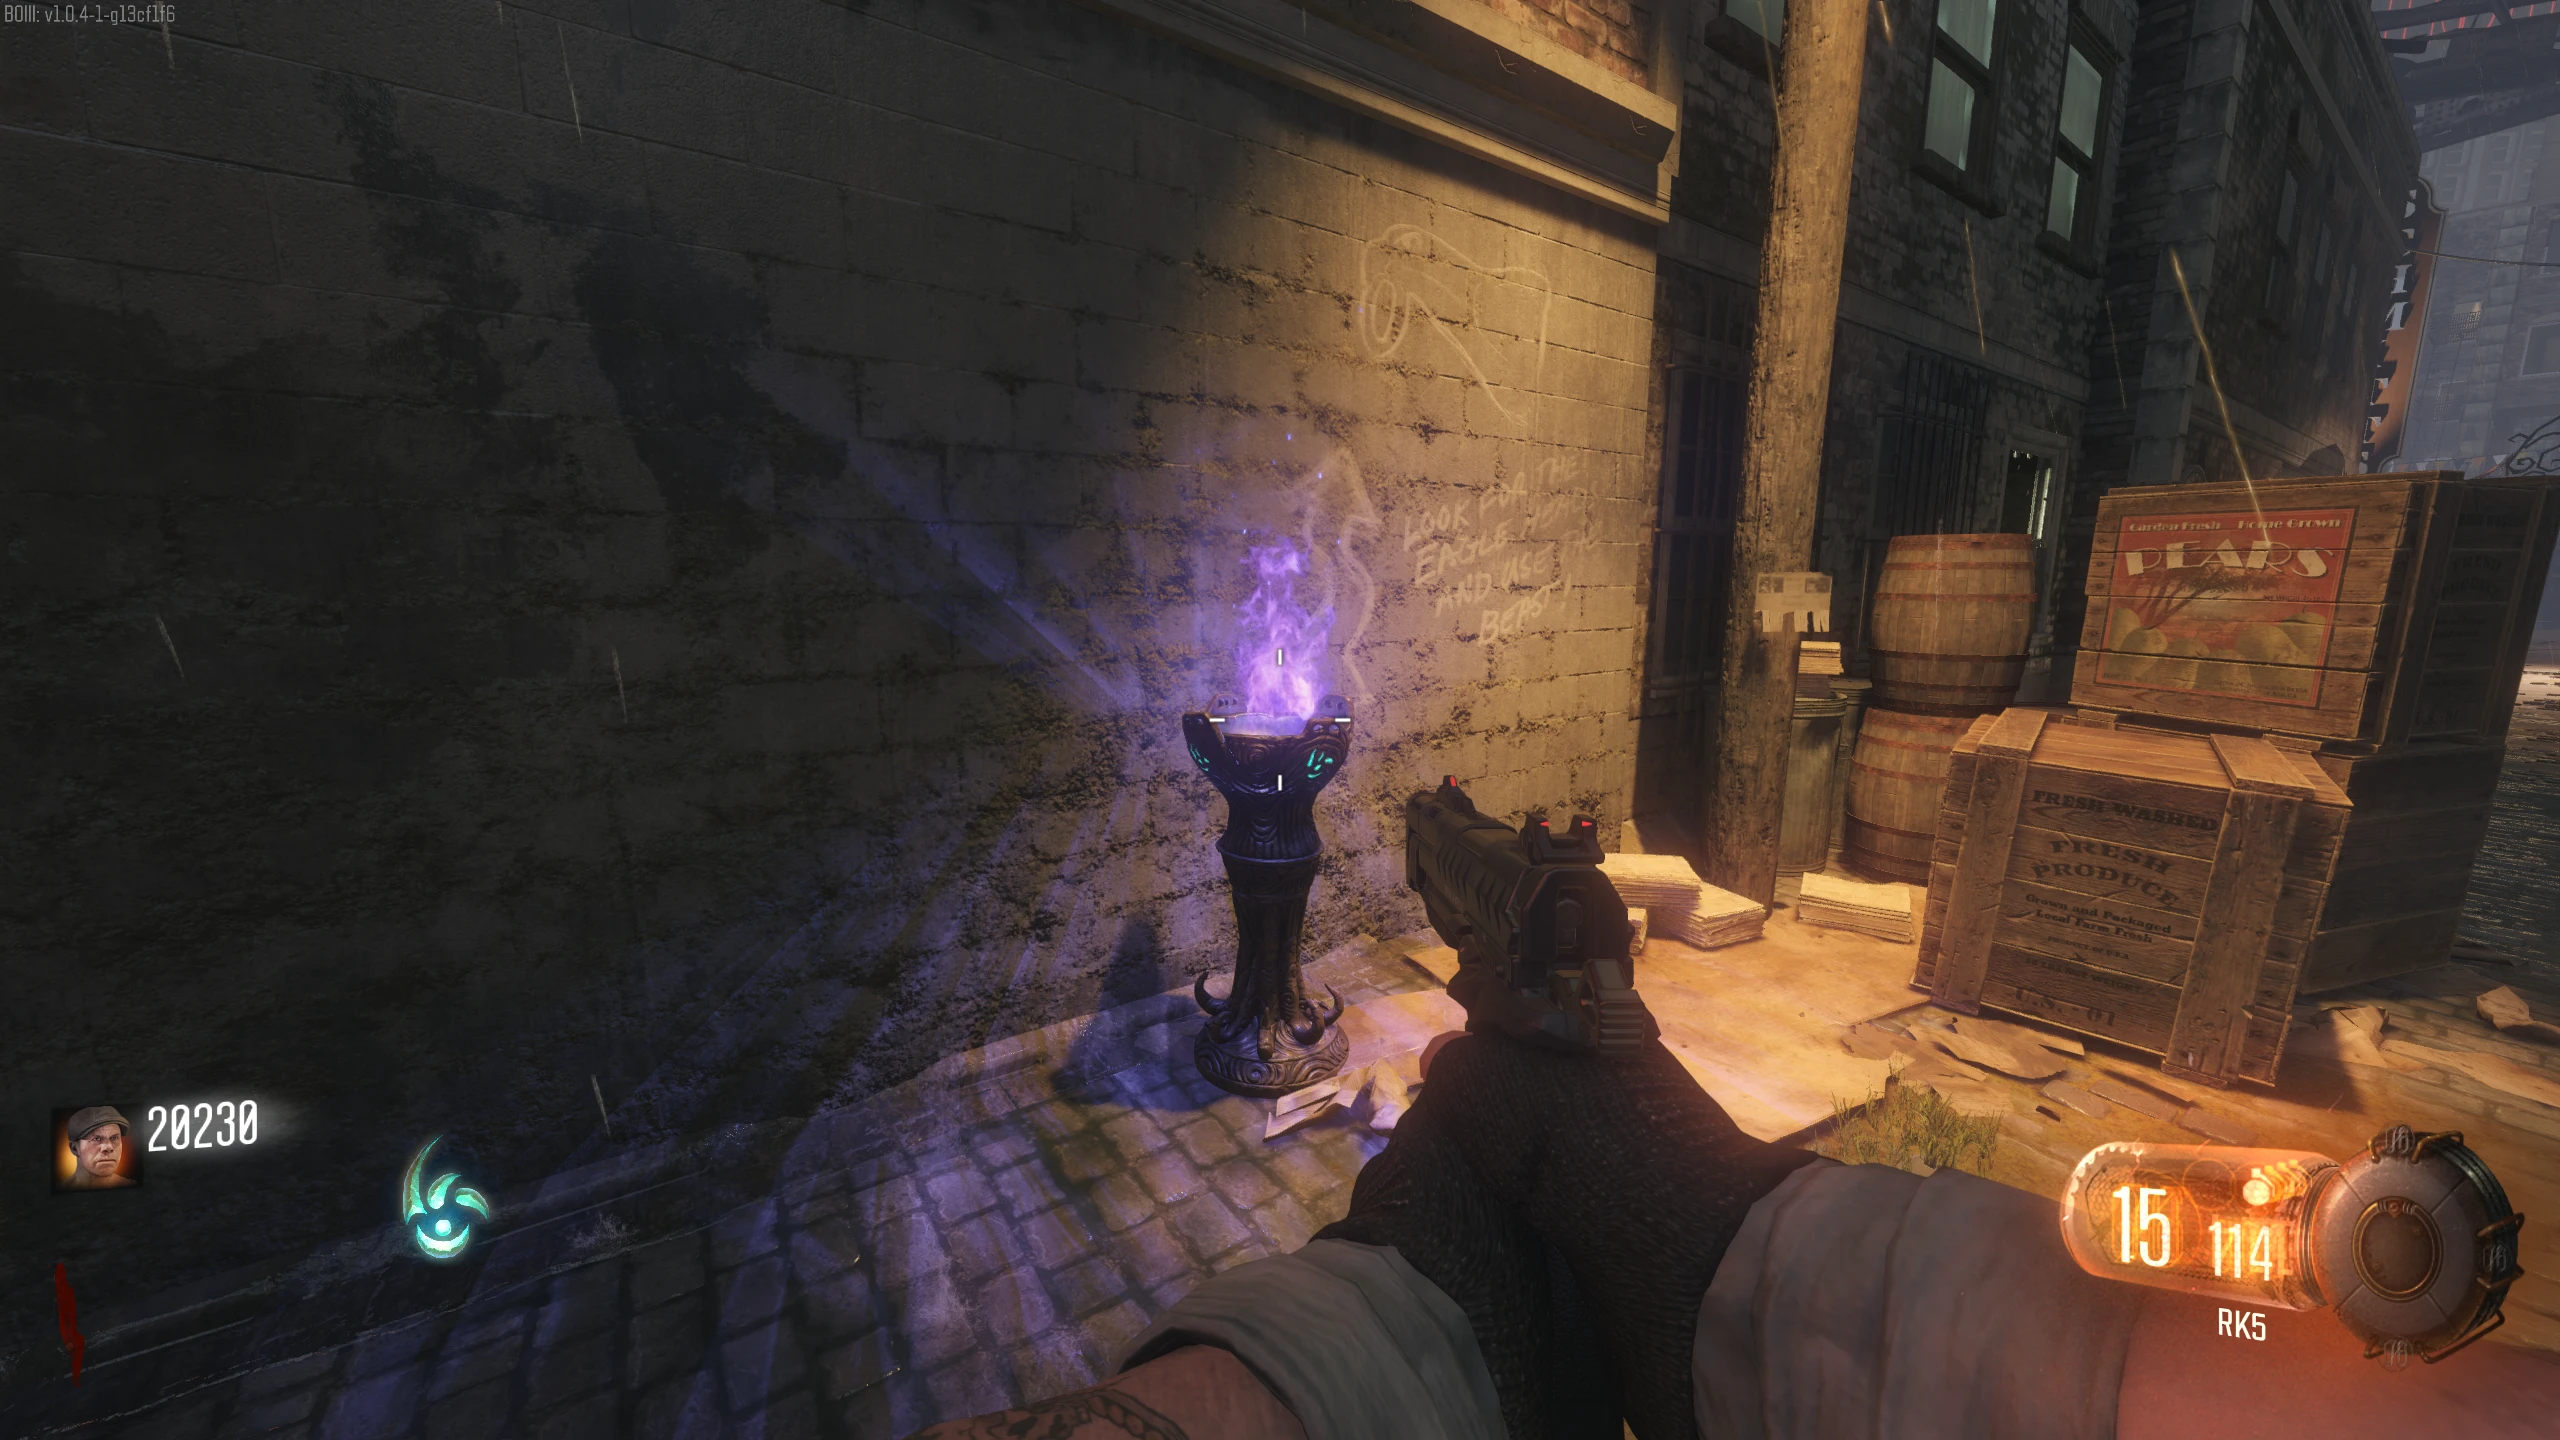
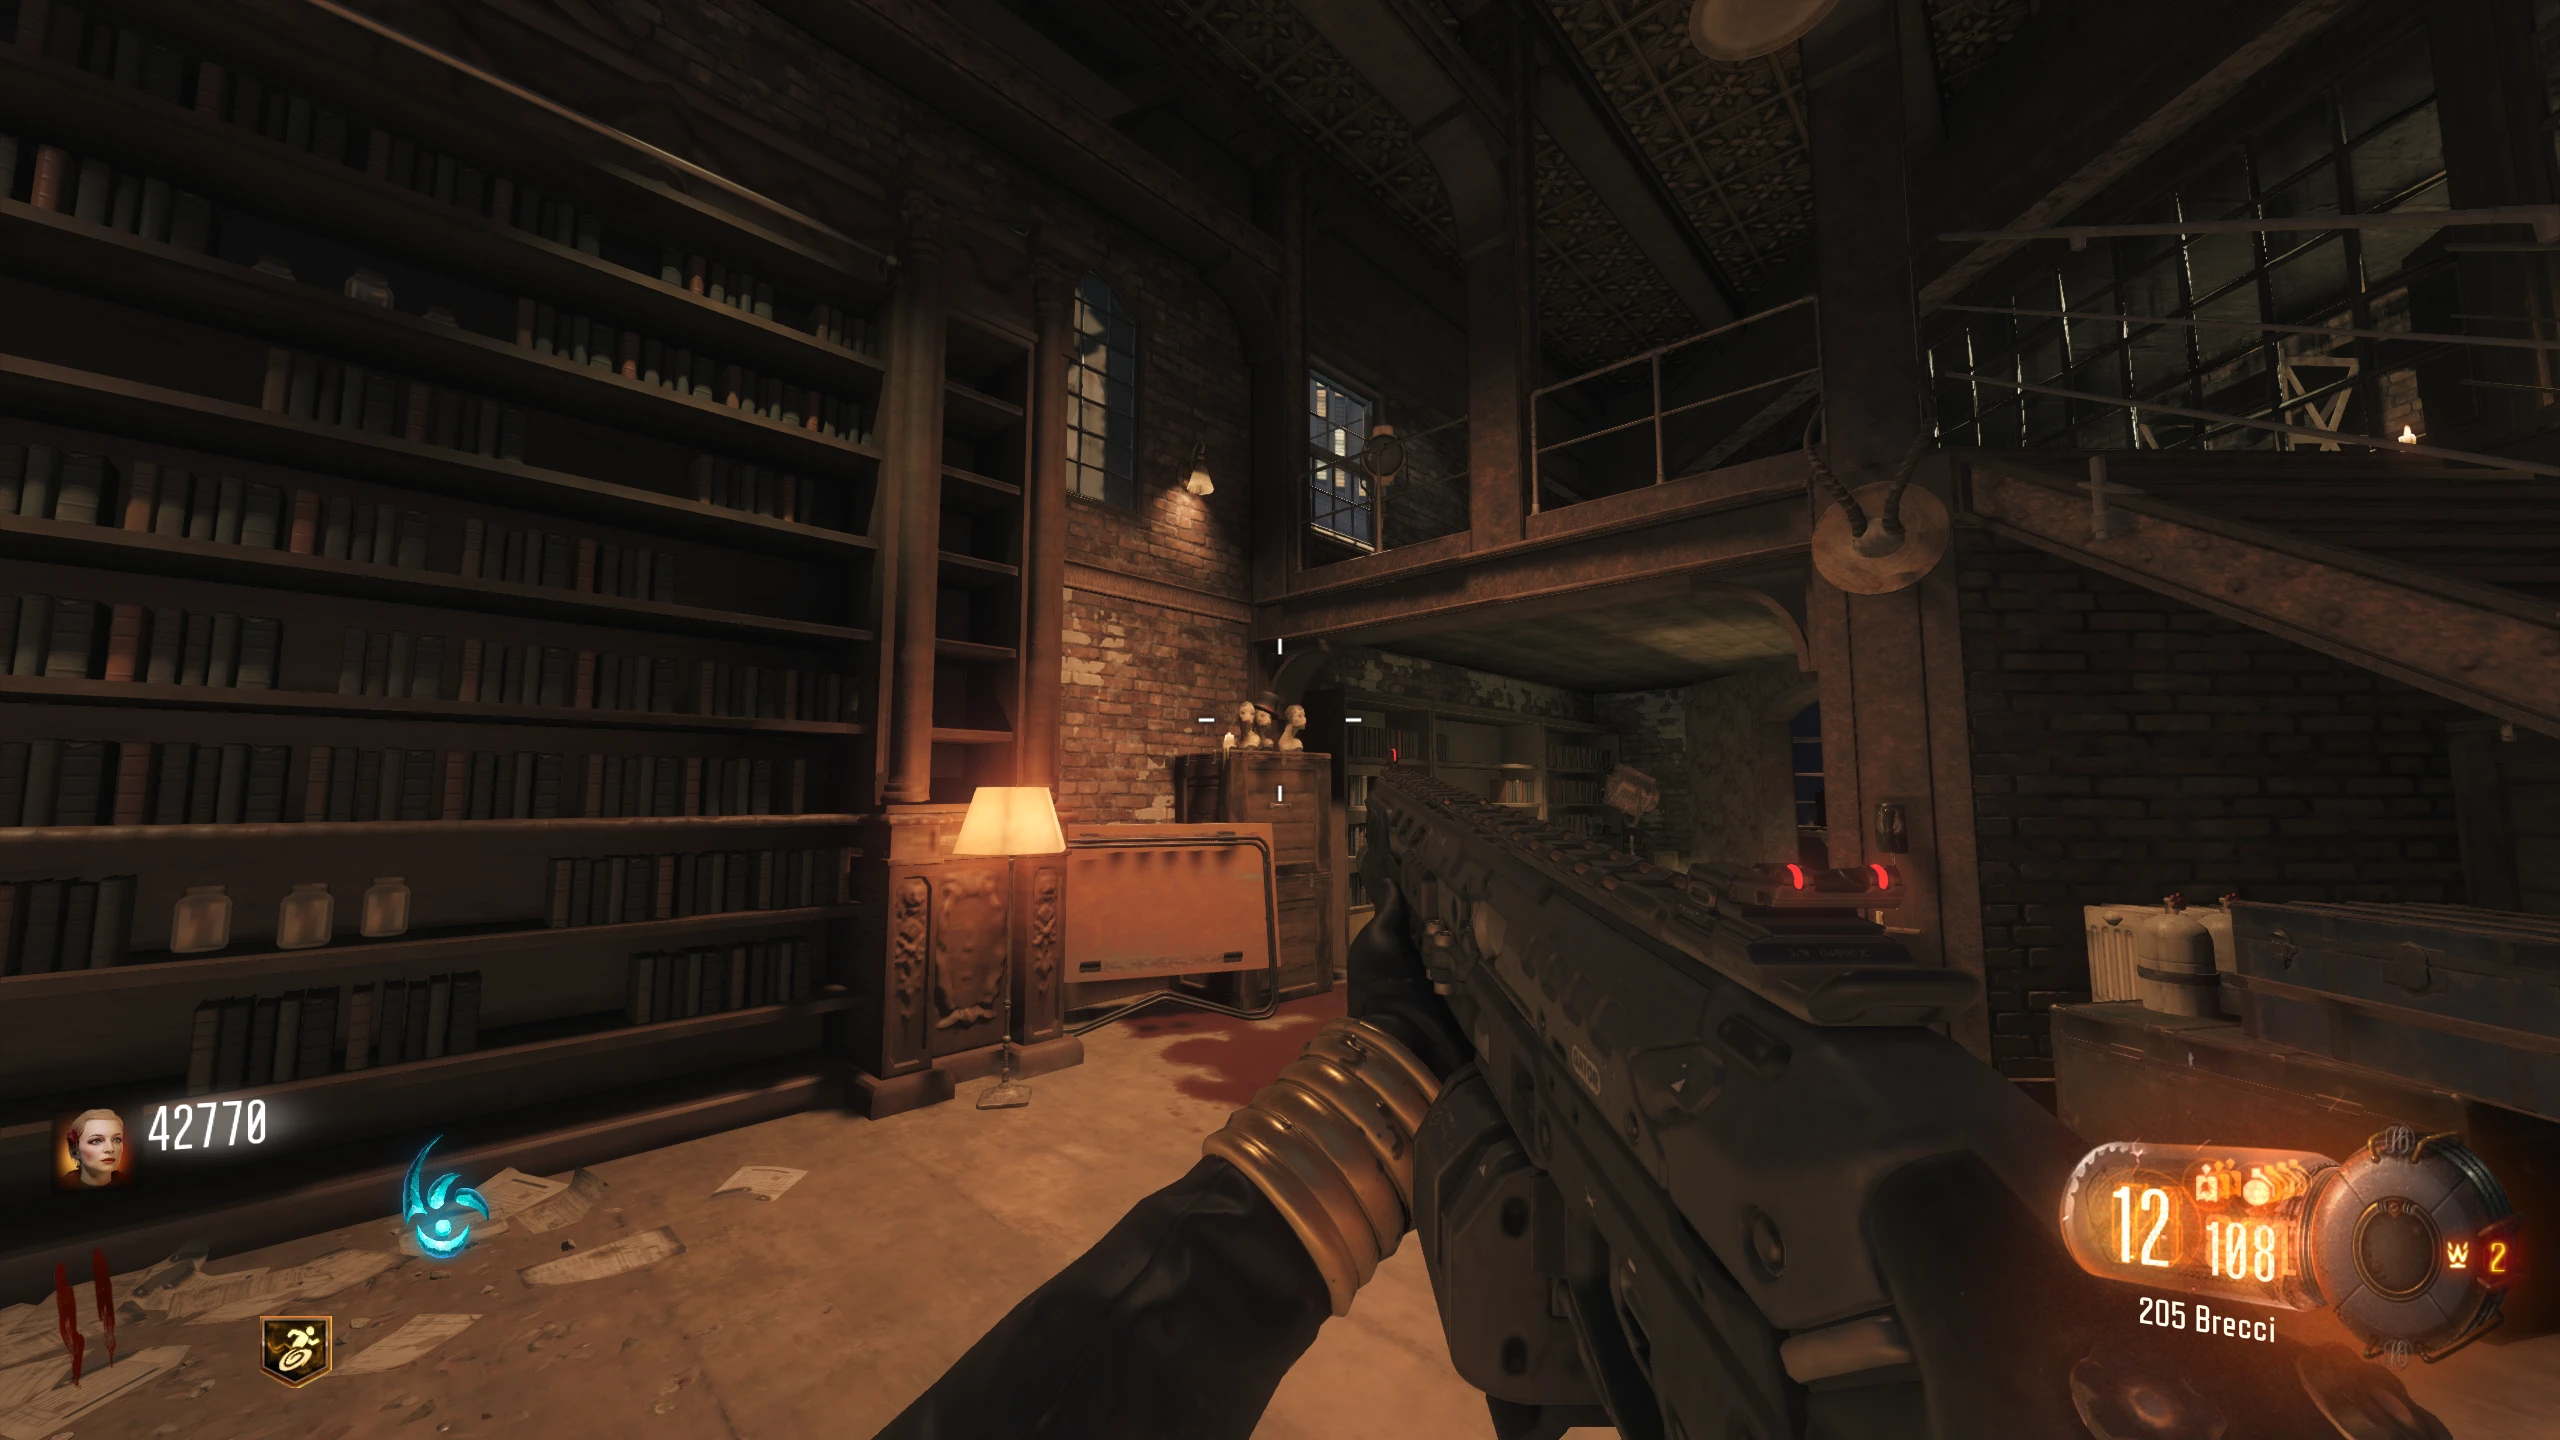
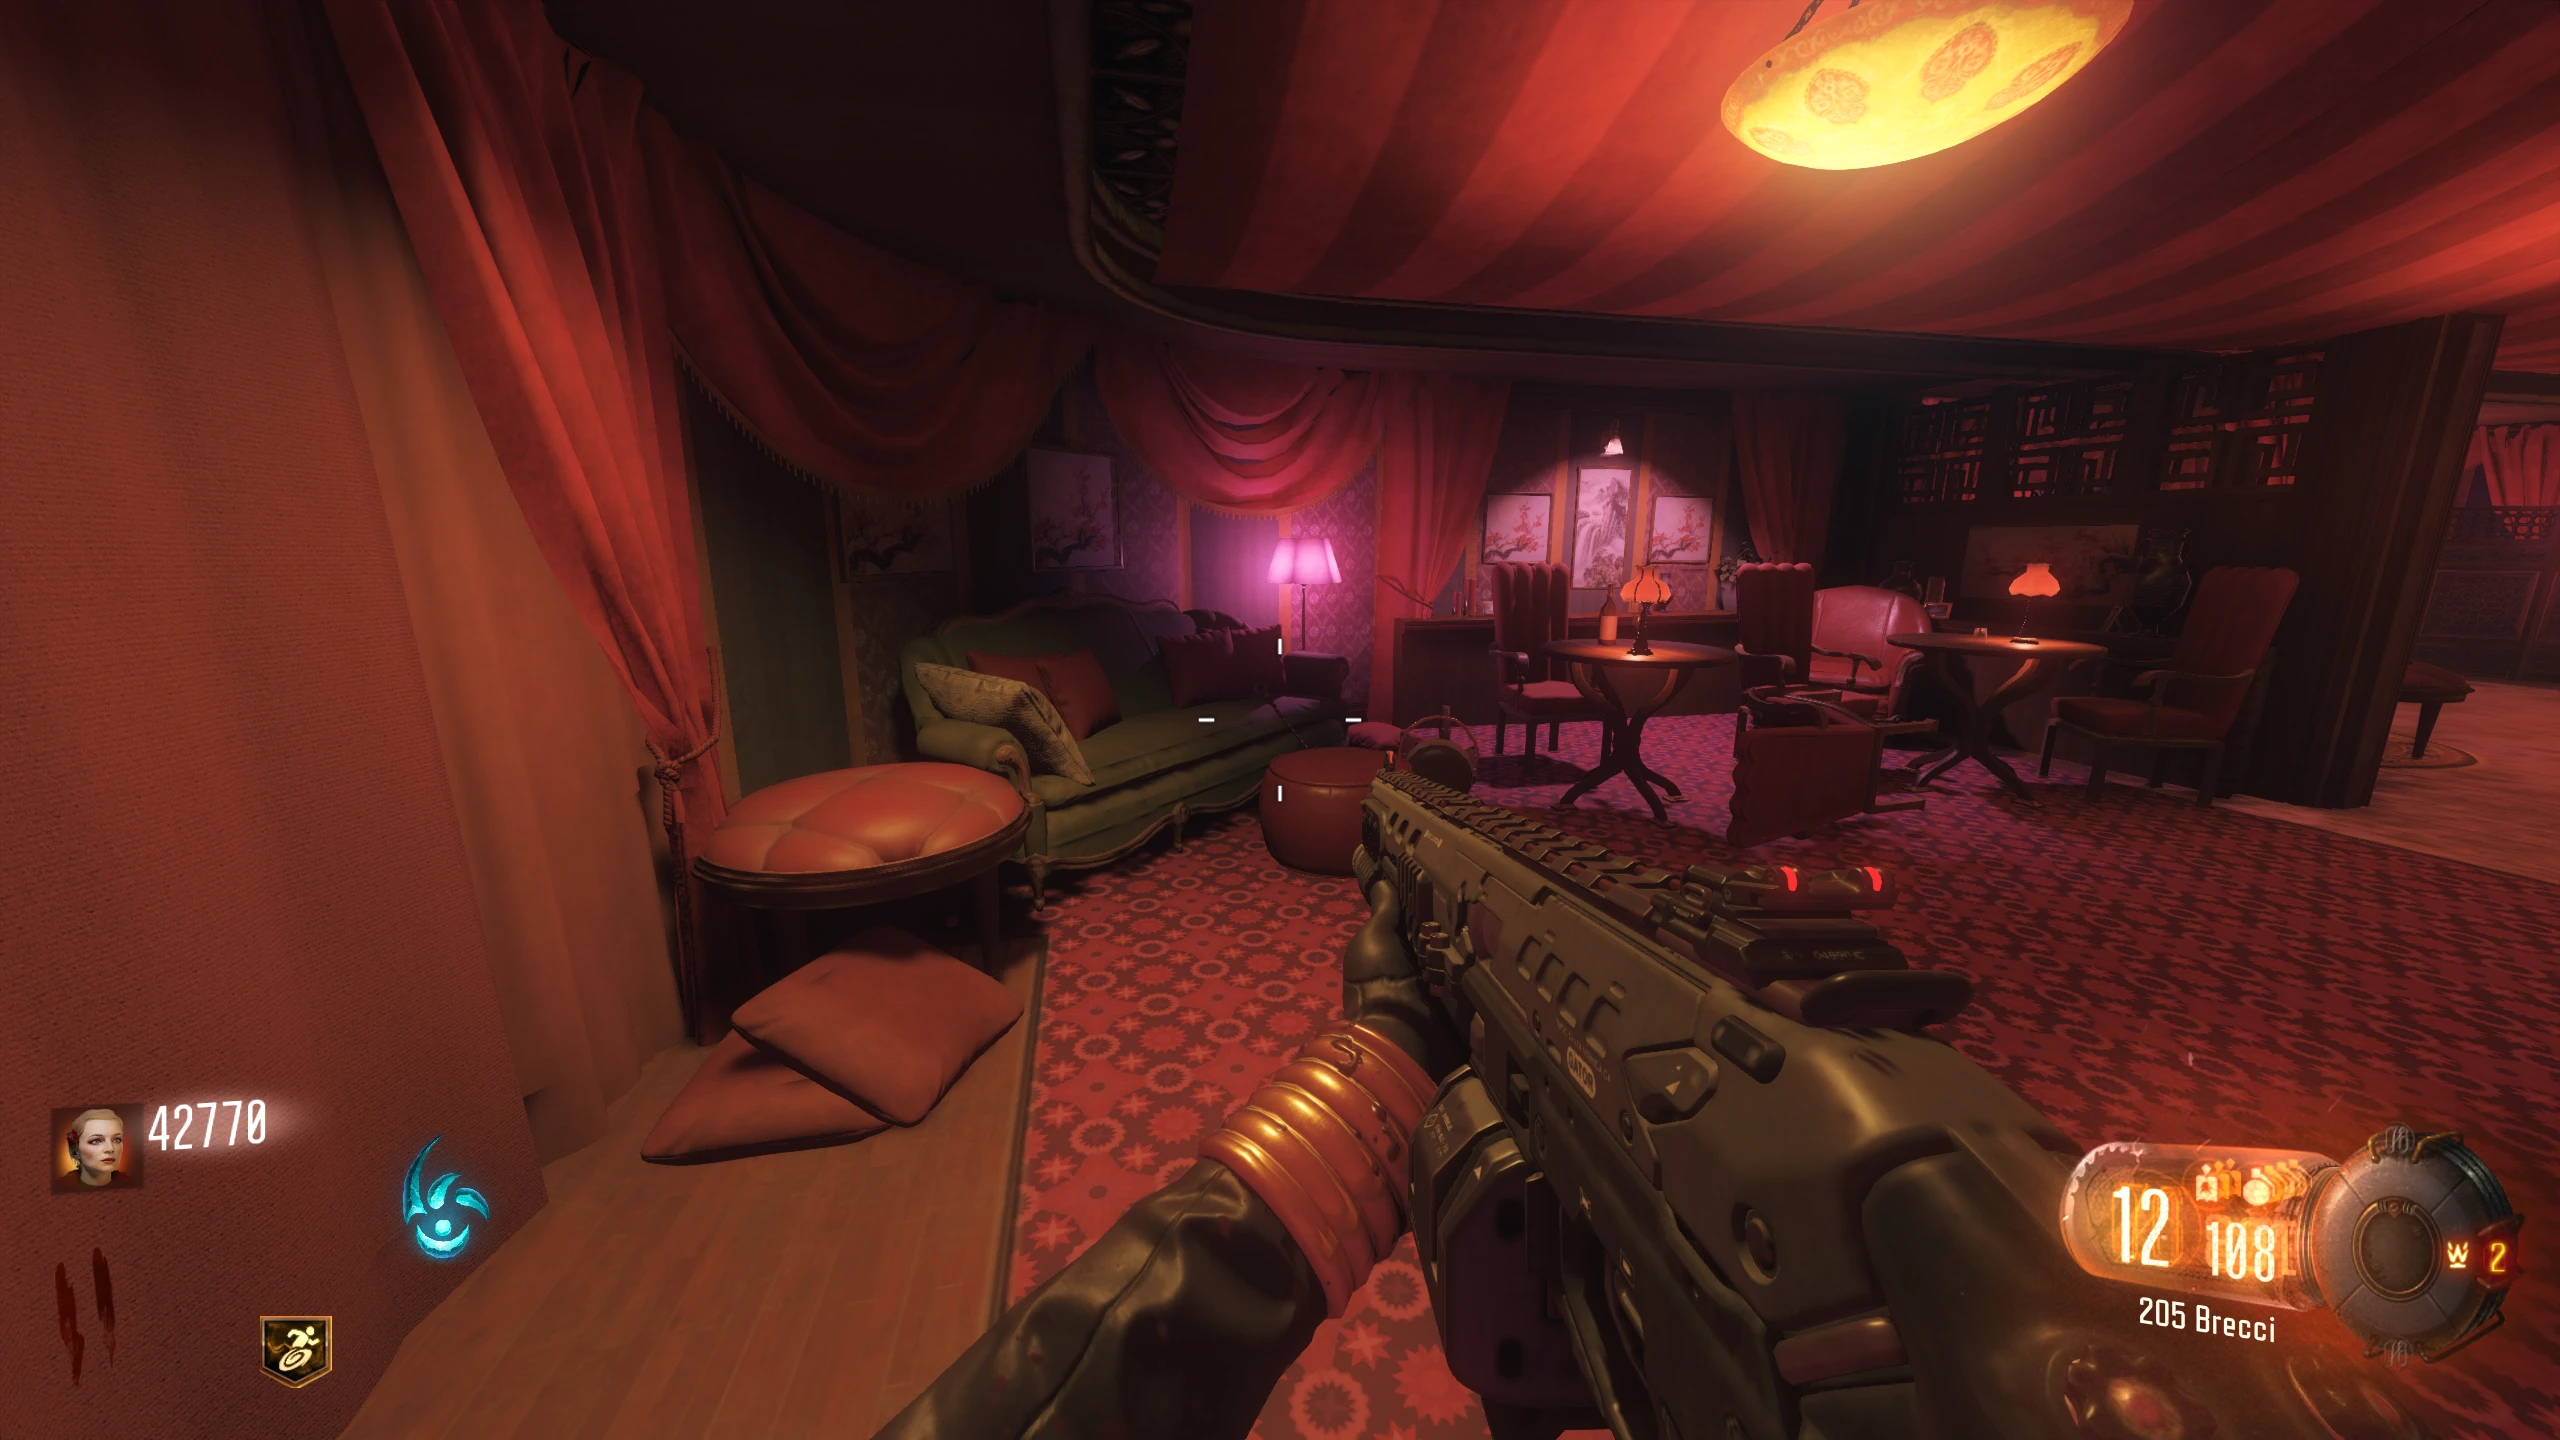
- Once every player has an Upgraded Sword, go to Nero's room and interact with the open book on the floor in front of the bookshelf. It should begin floating.
-
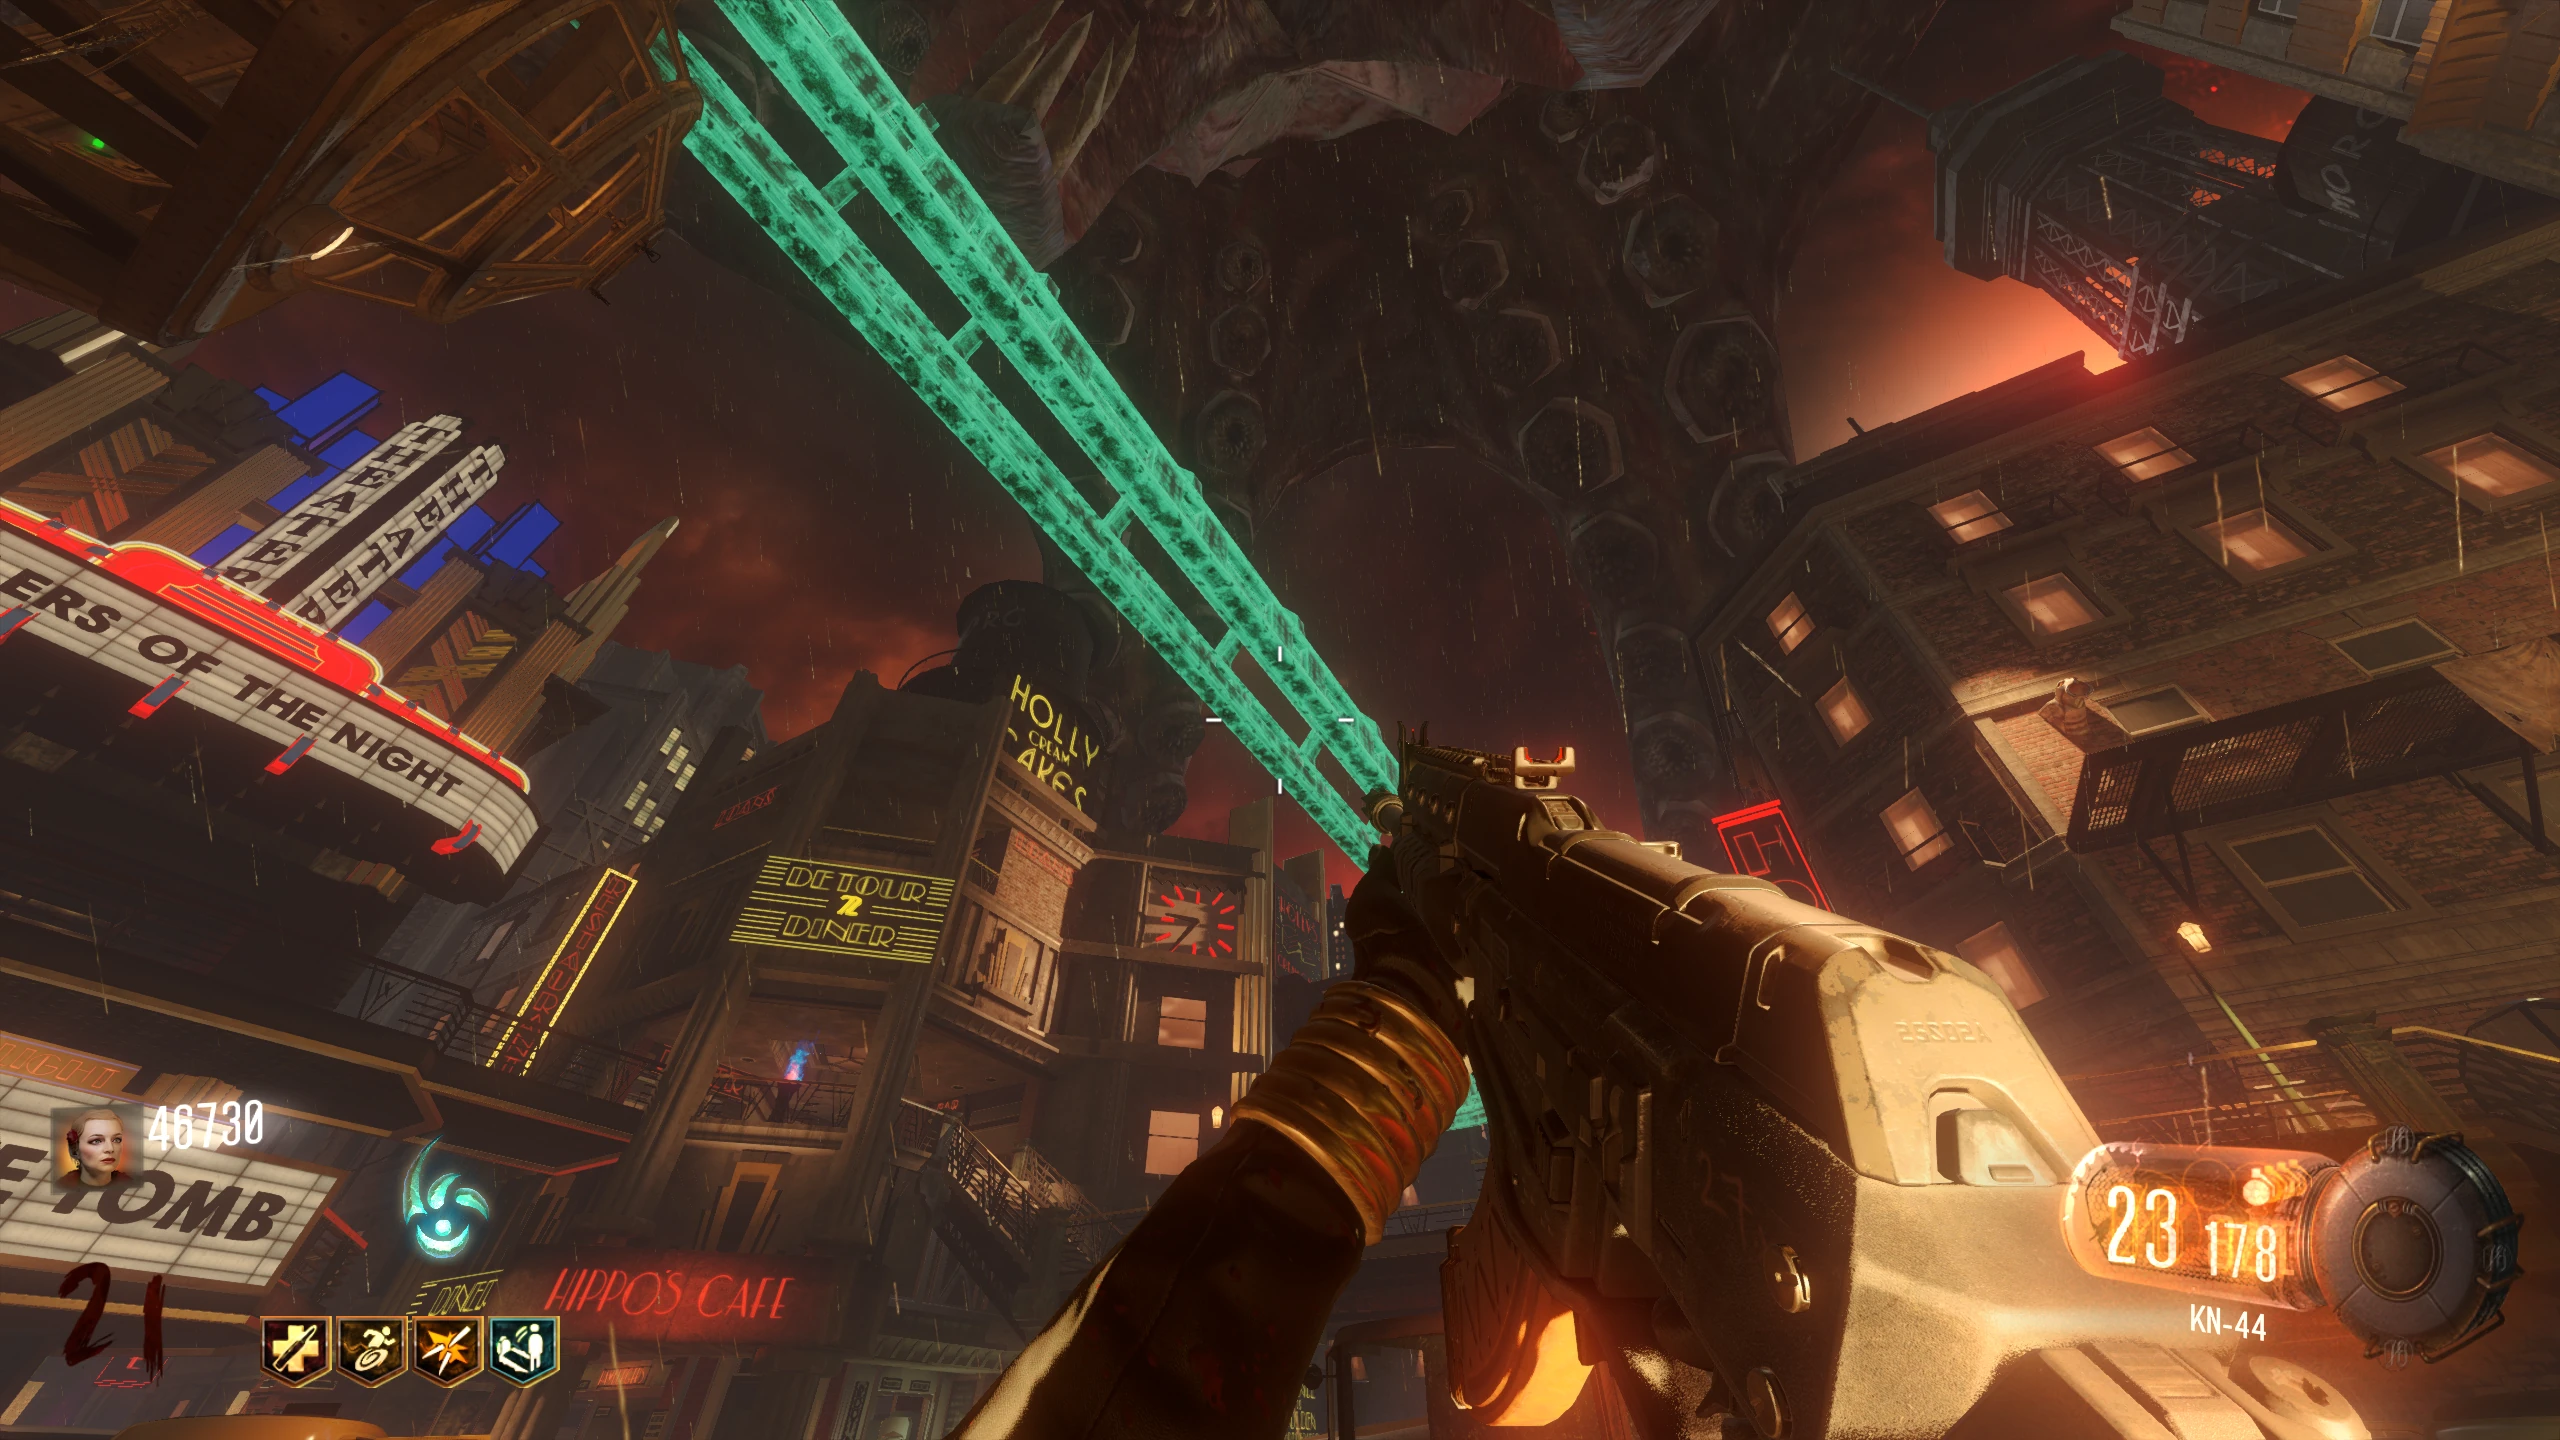
This will cause a
Flag to fall from the ceiling
near the Widow's Wine Perk Machine in the Underground.
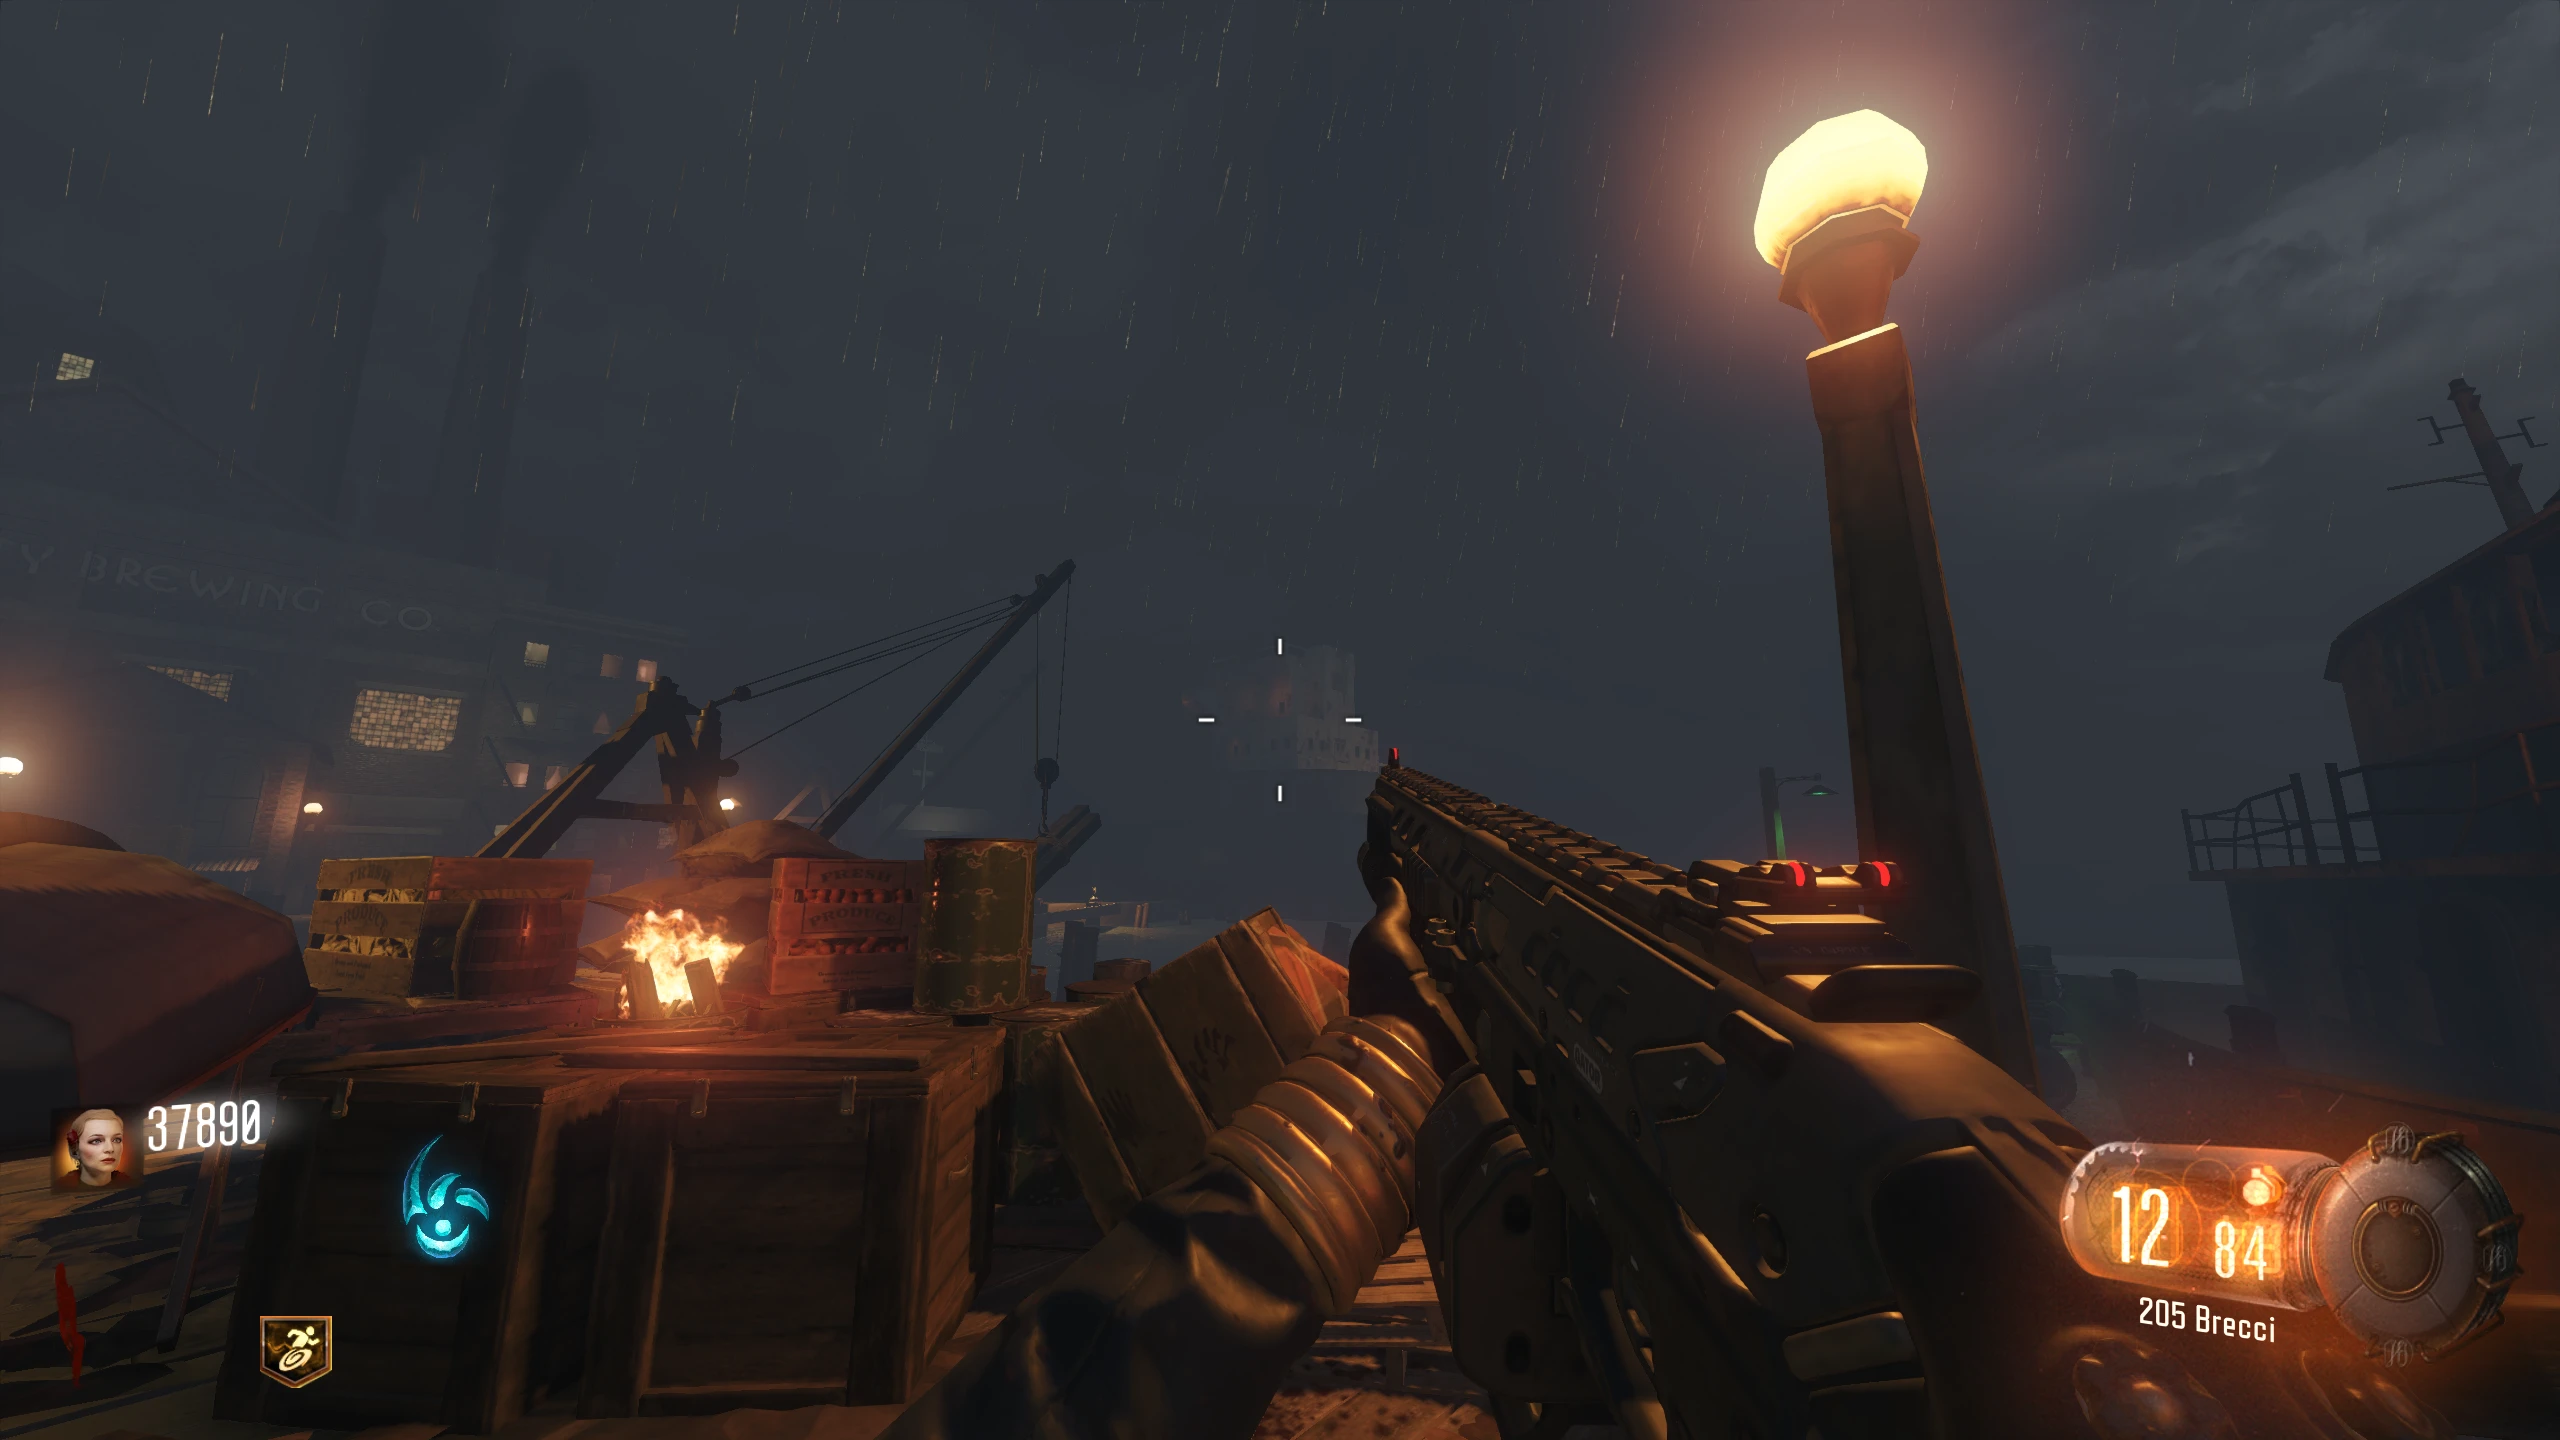
- Picking up this flag will start a defence objective, so make sure you have Max Ammo and Pack-a-Punched weapons.
-
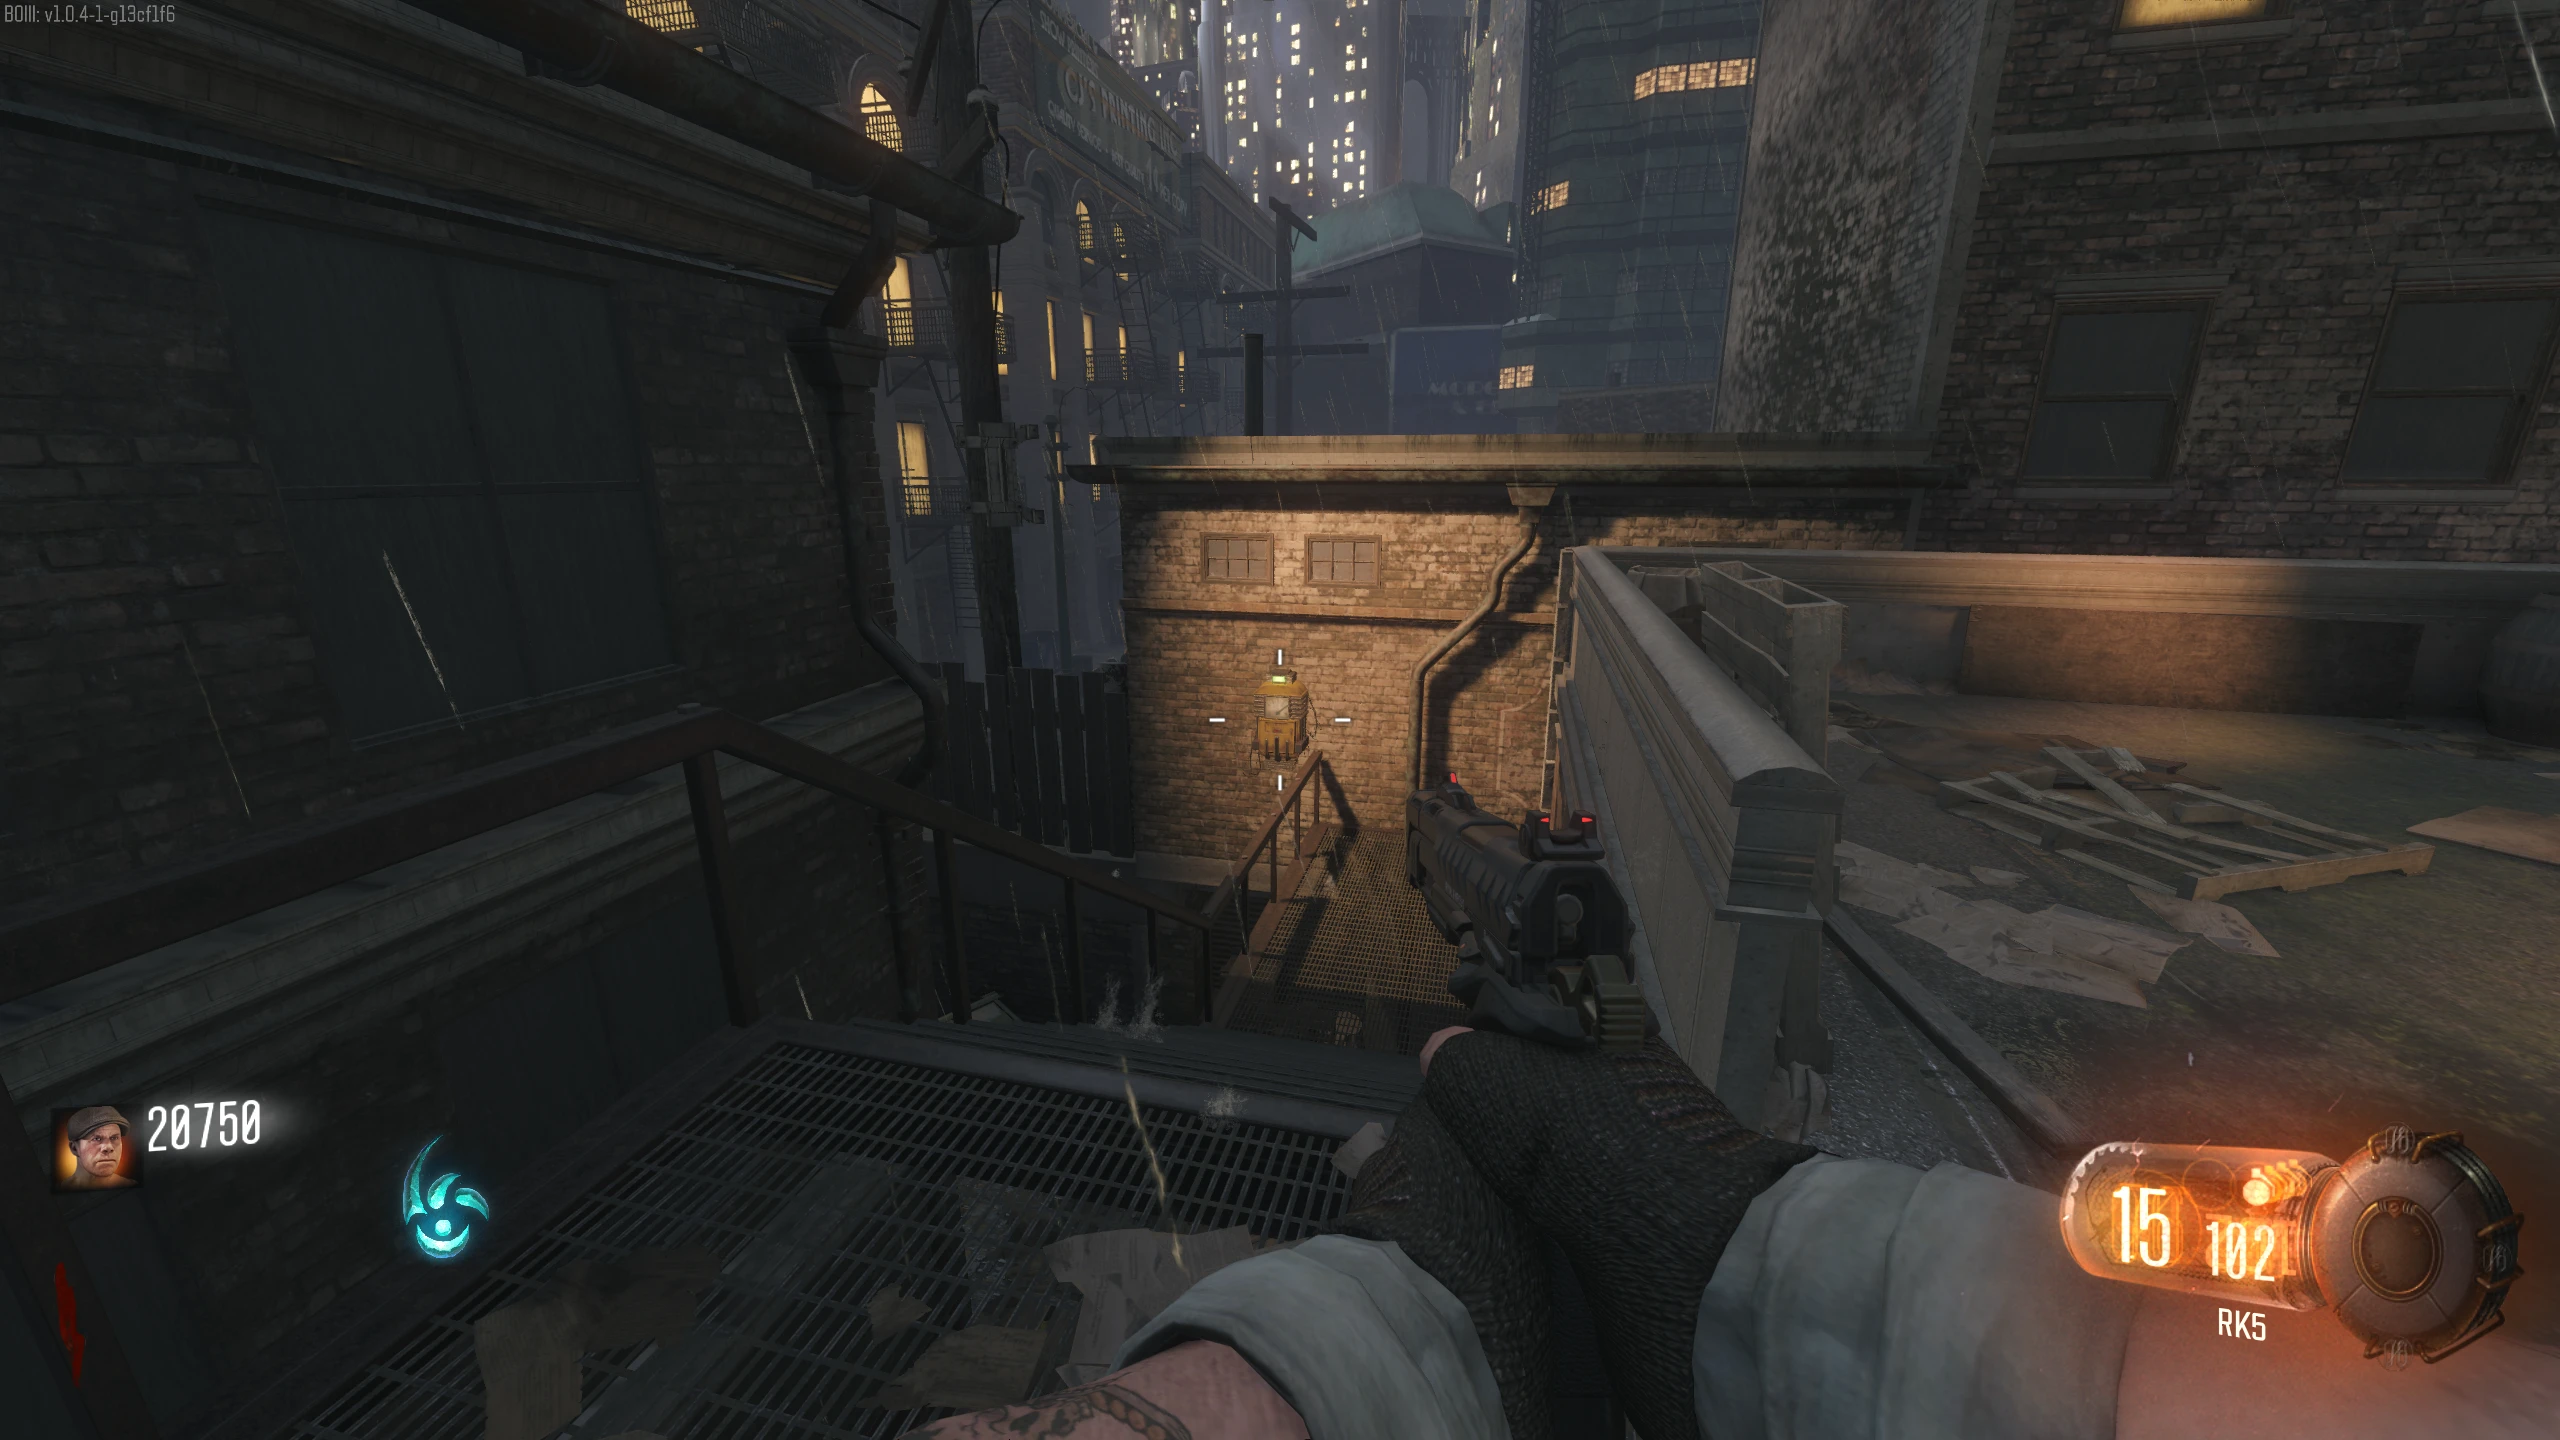
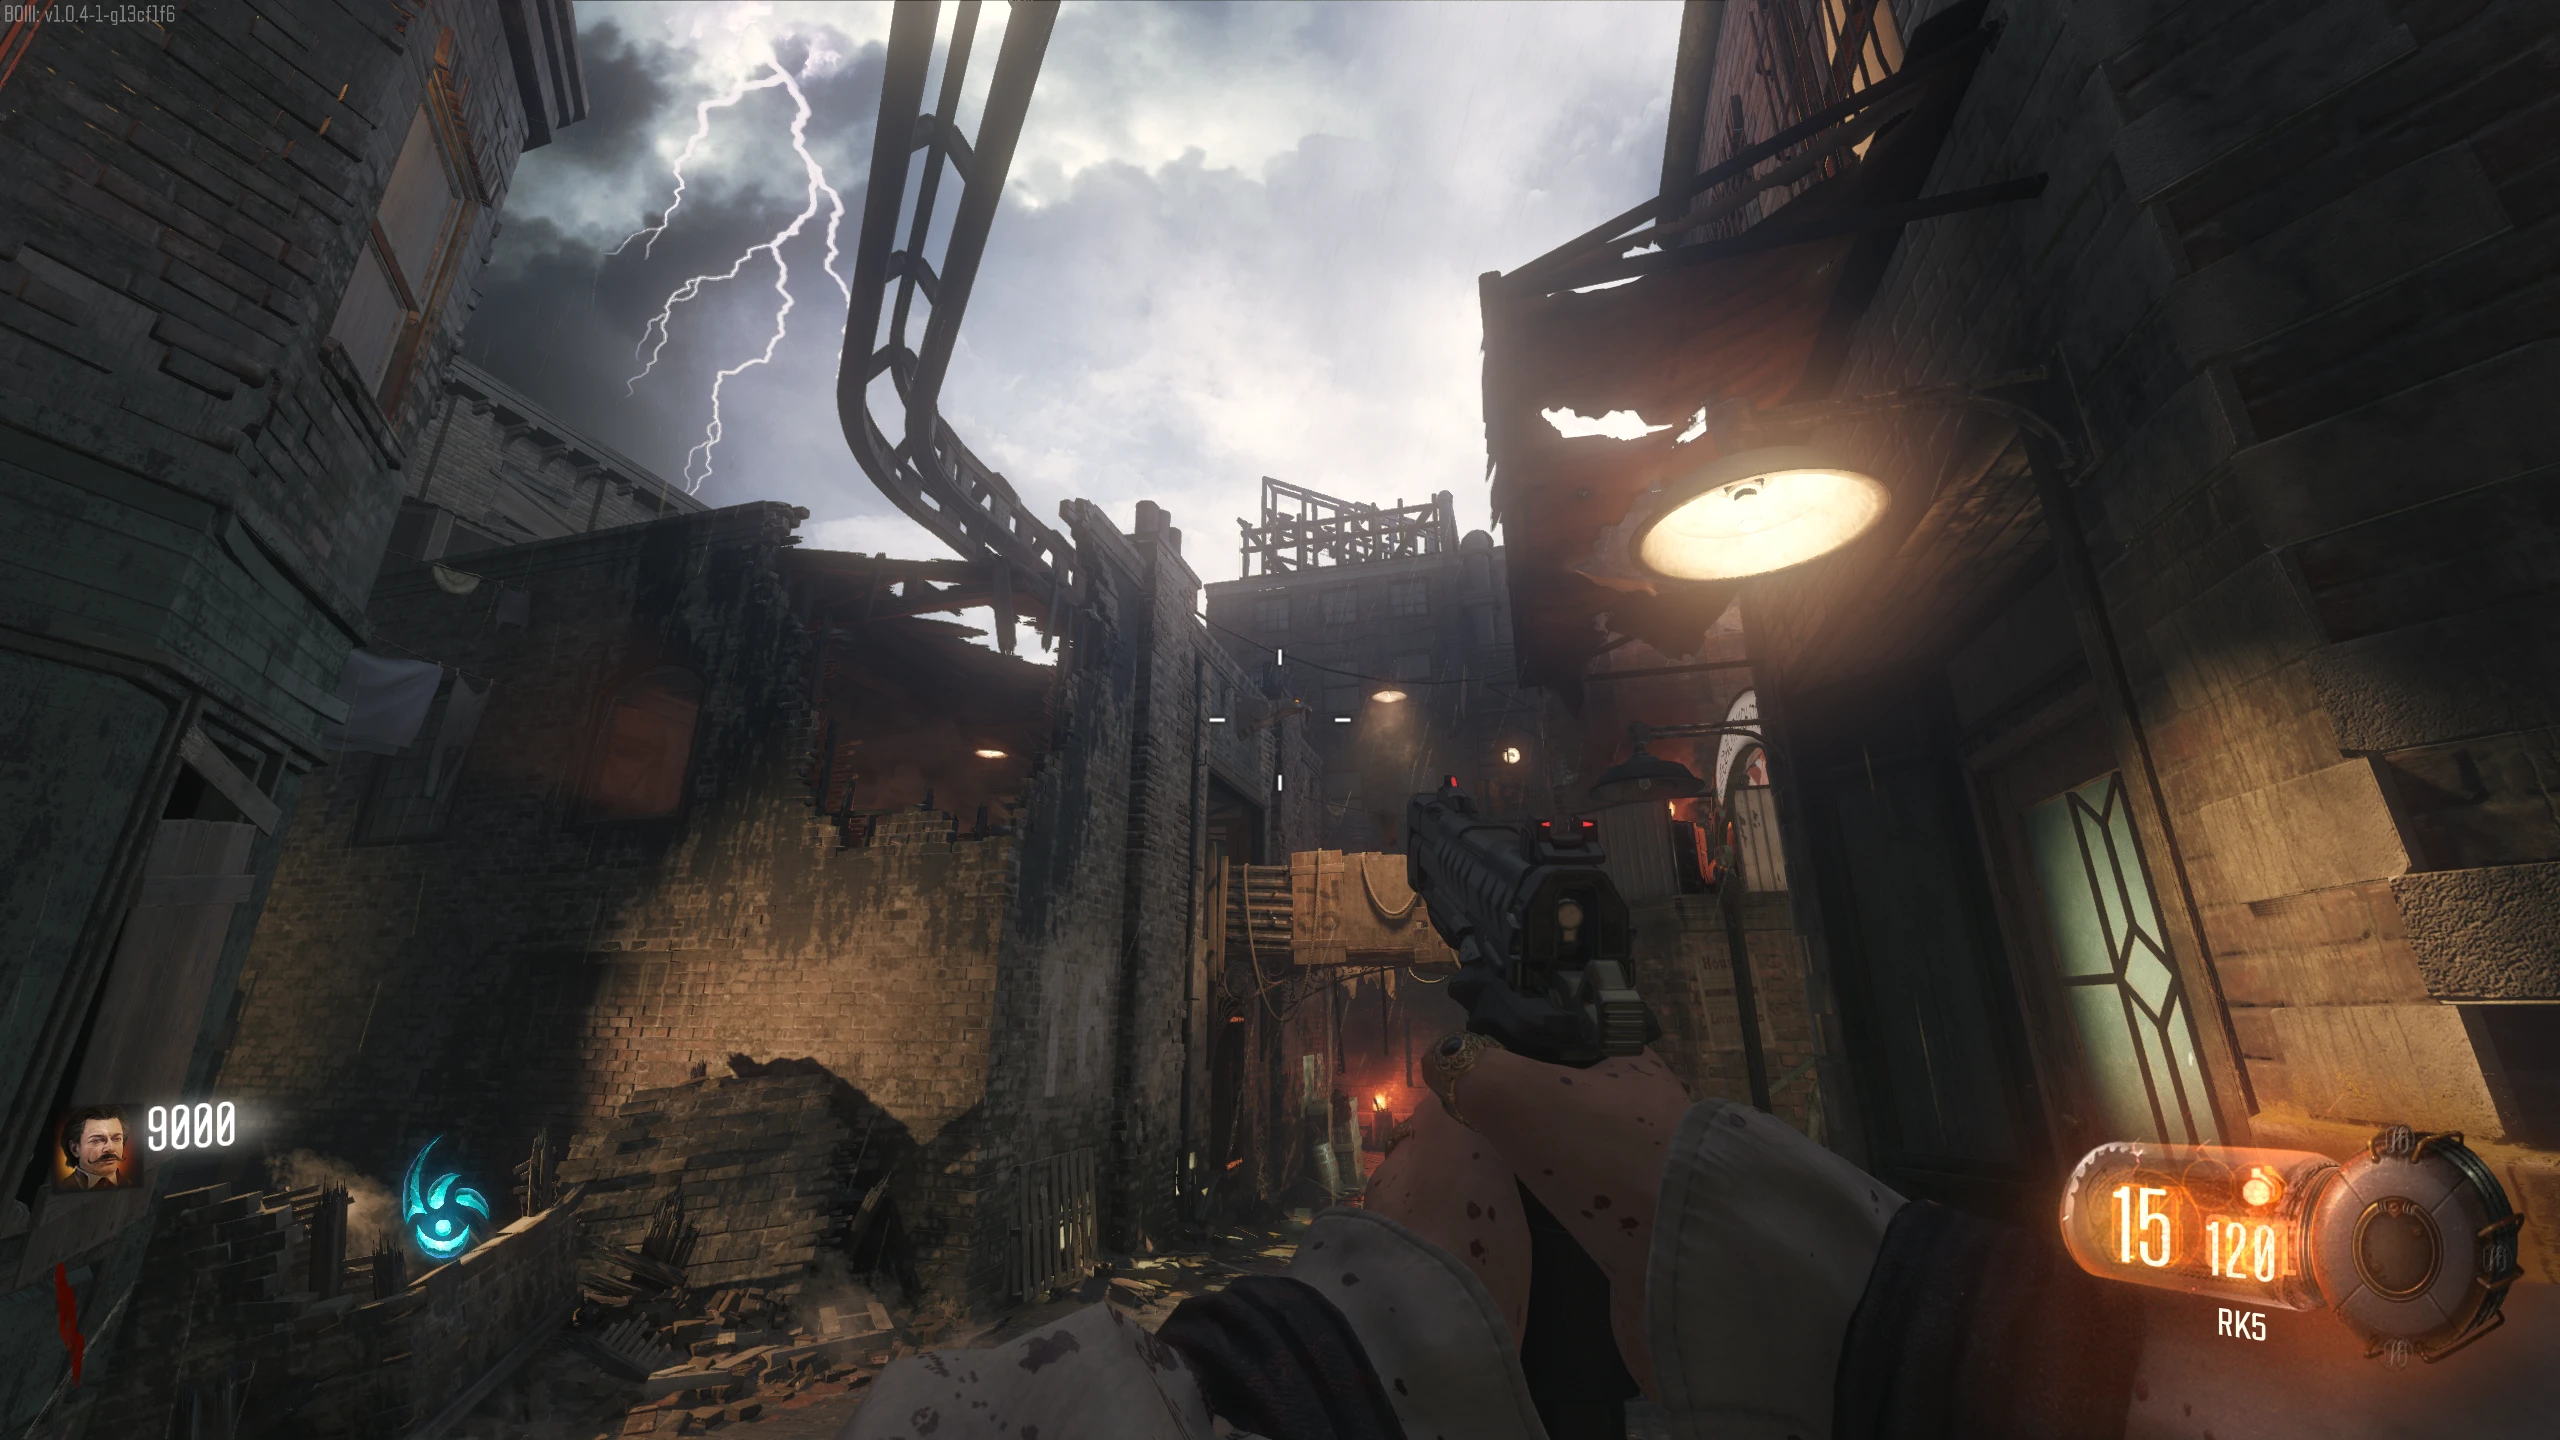
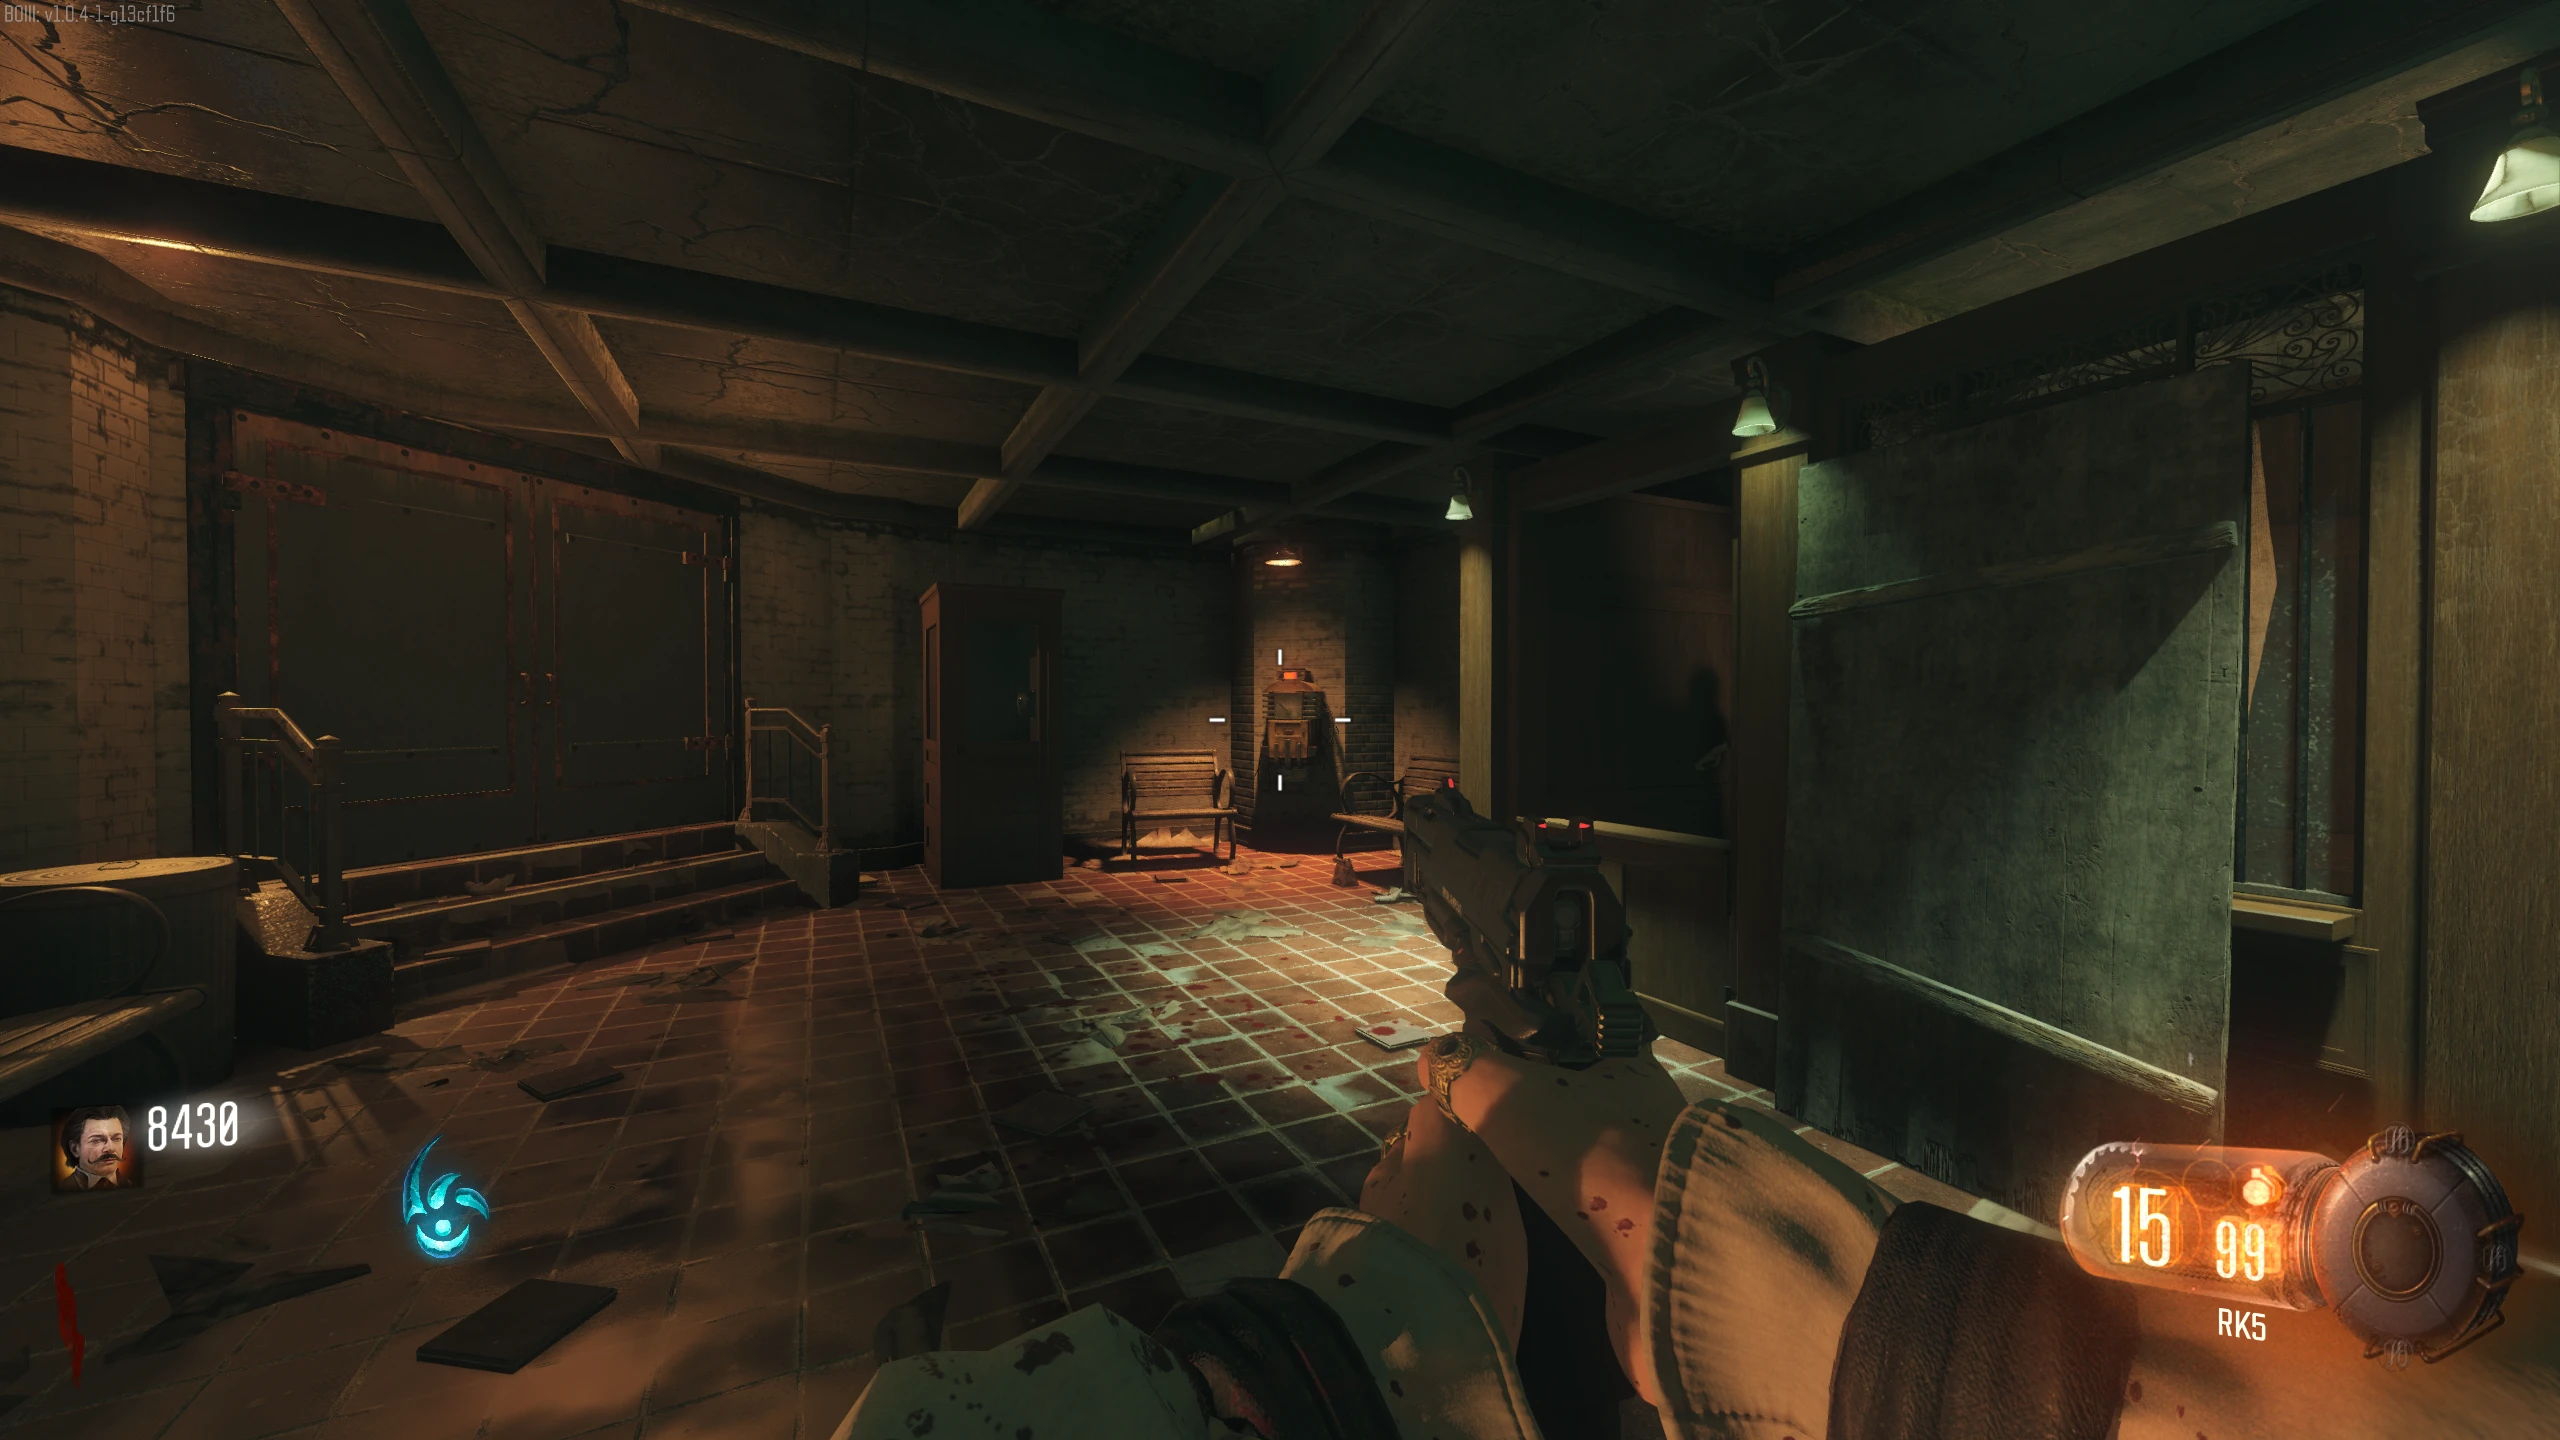
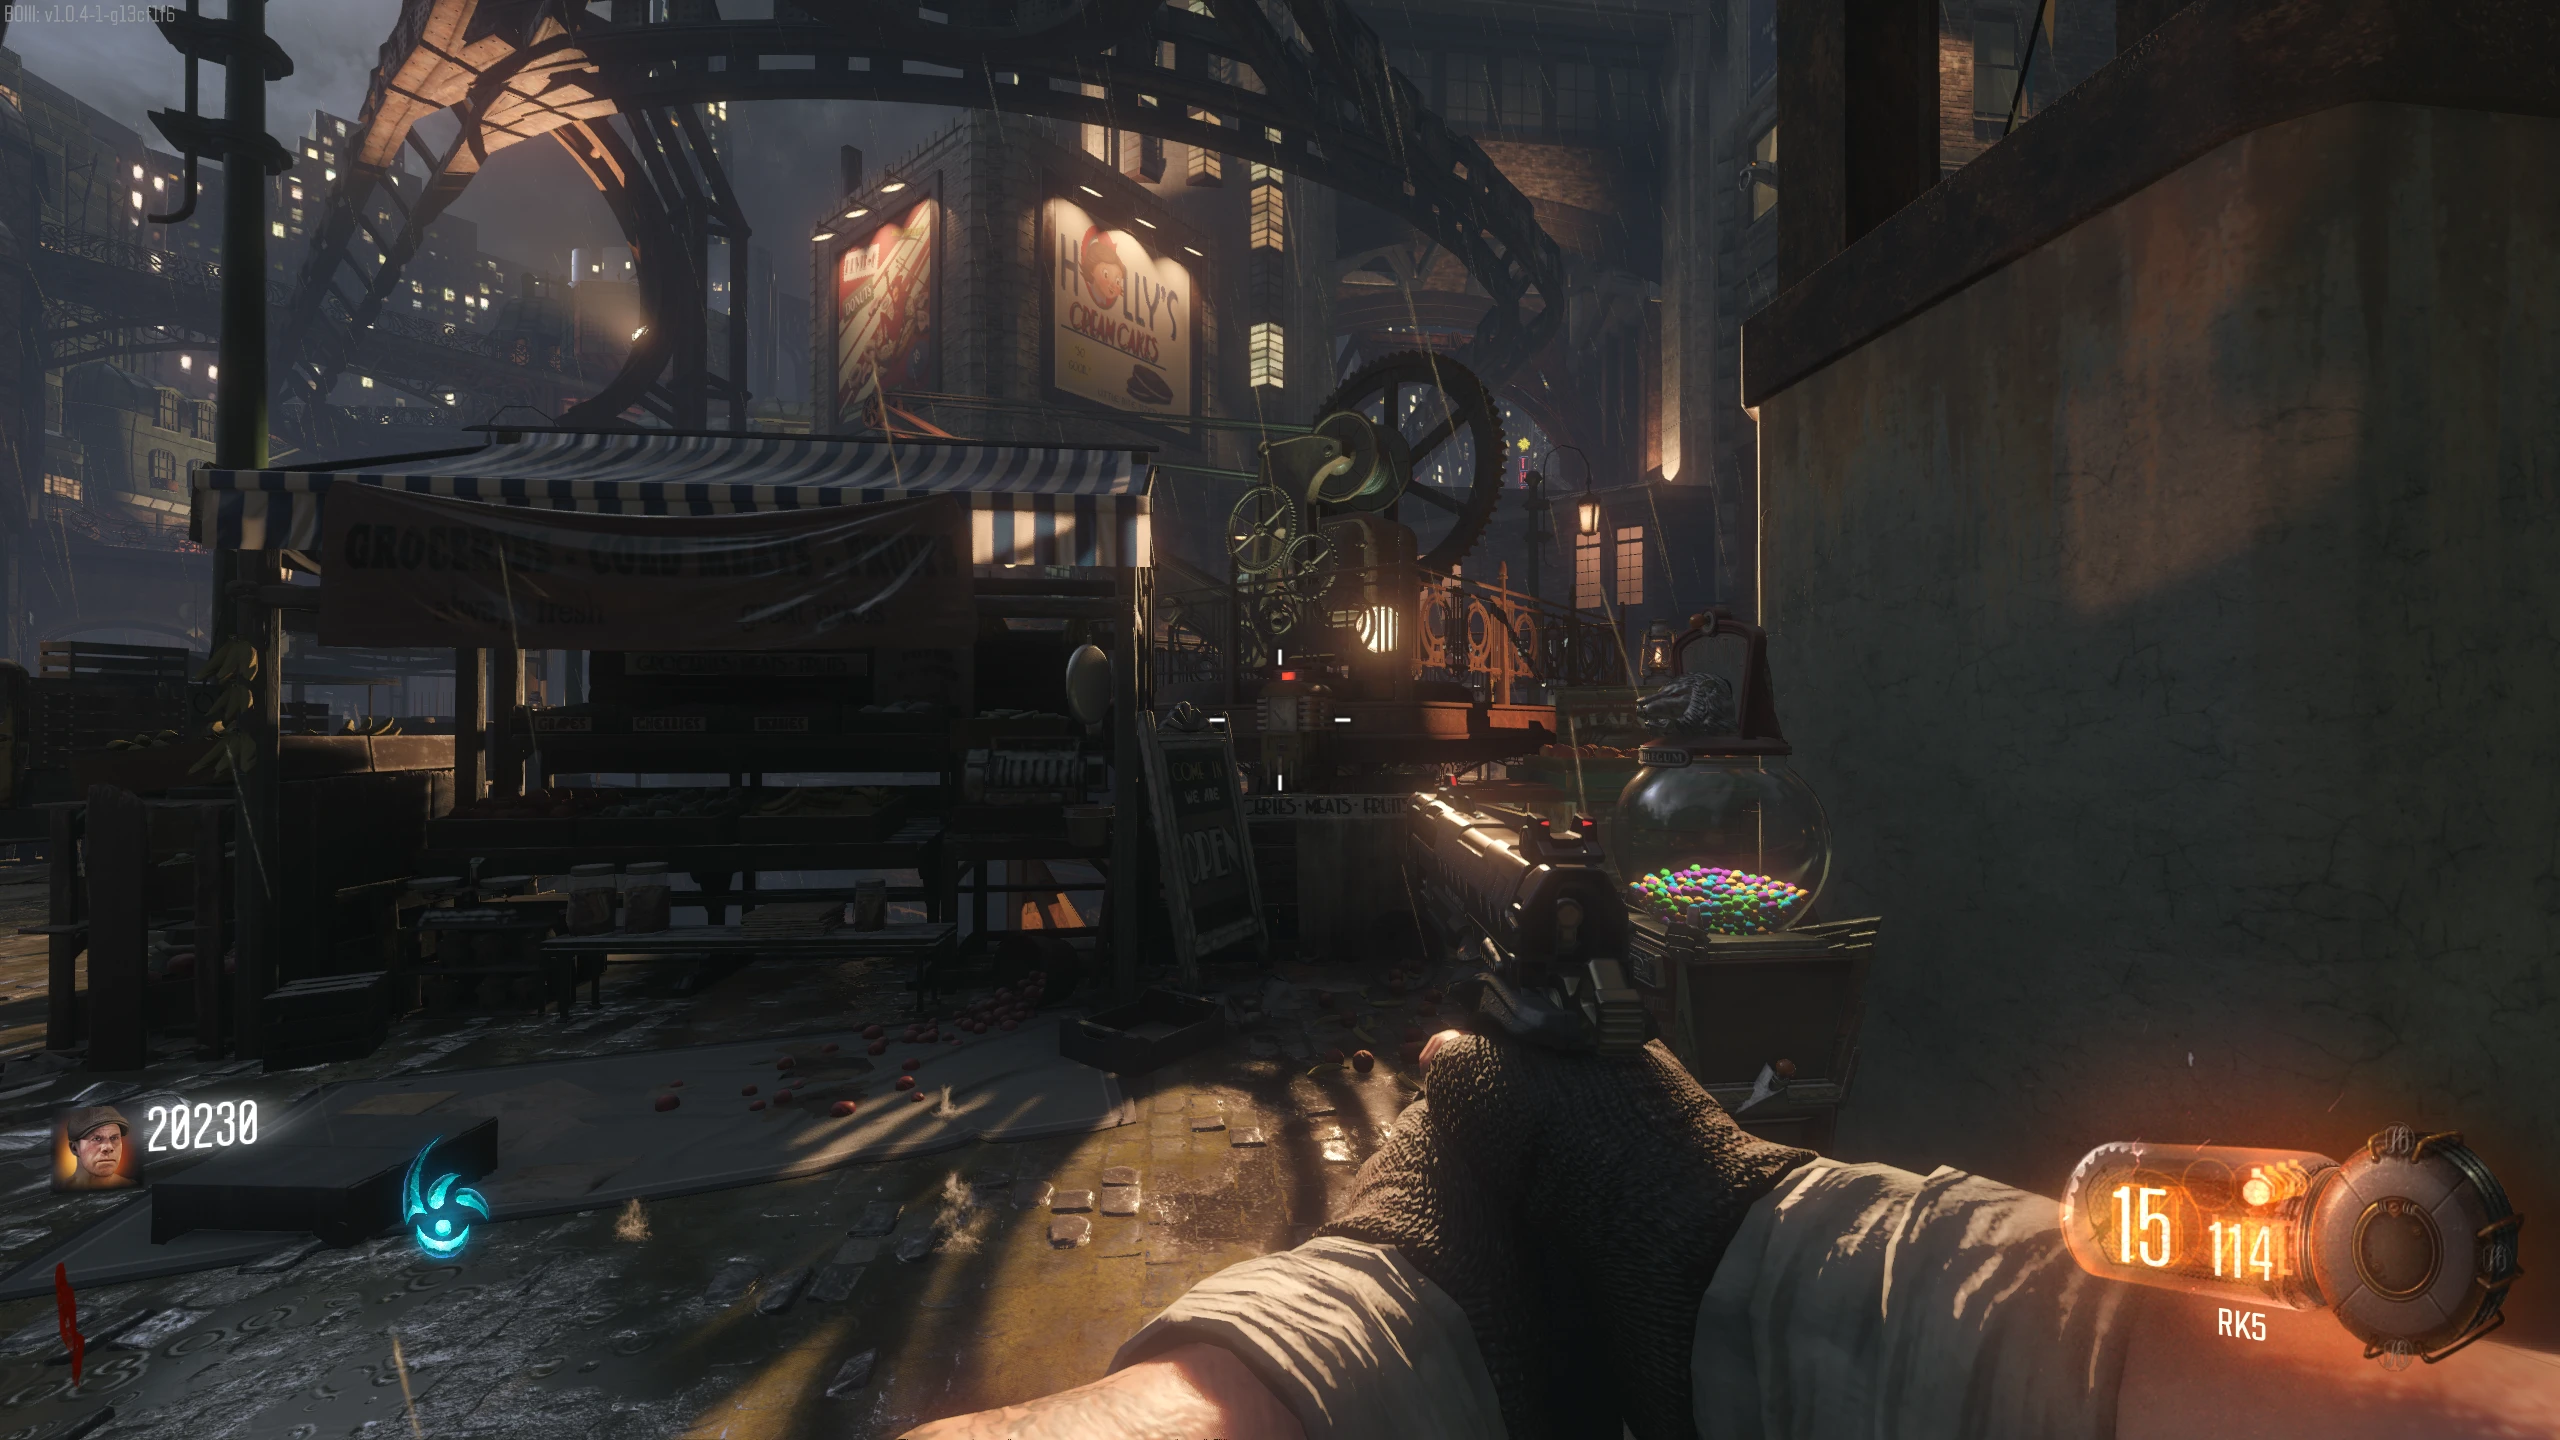
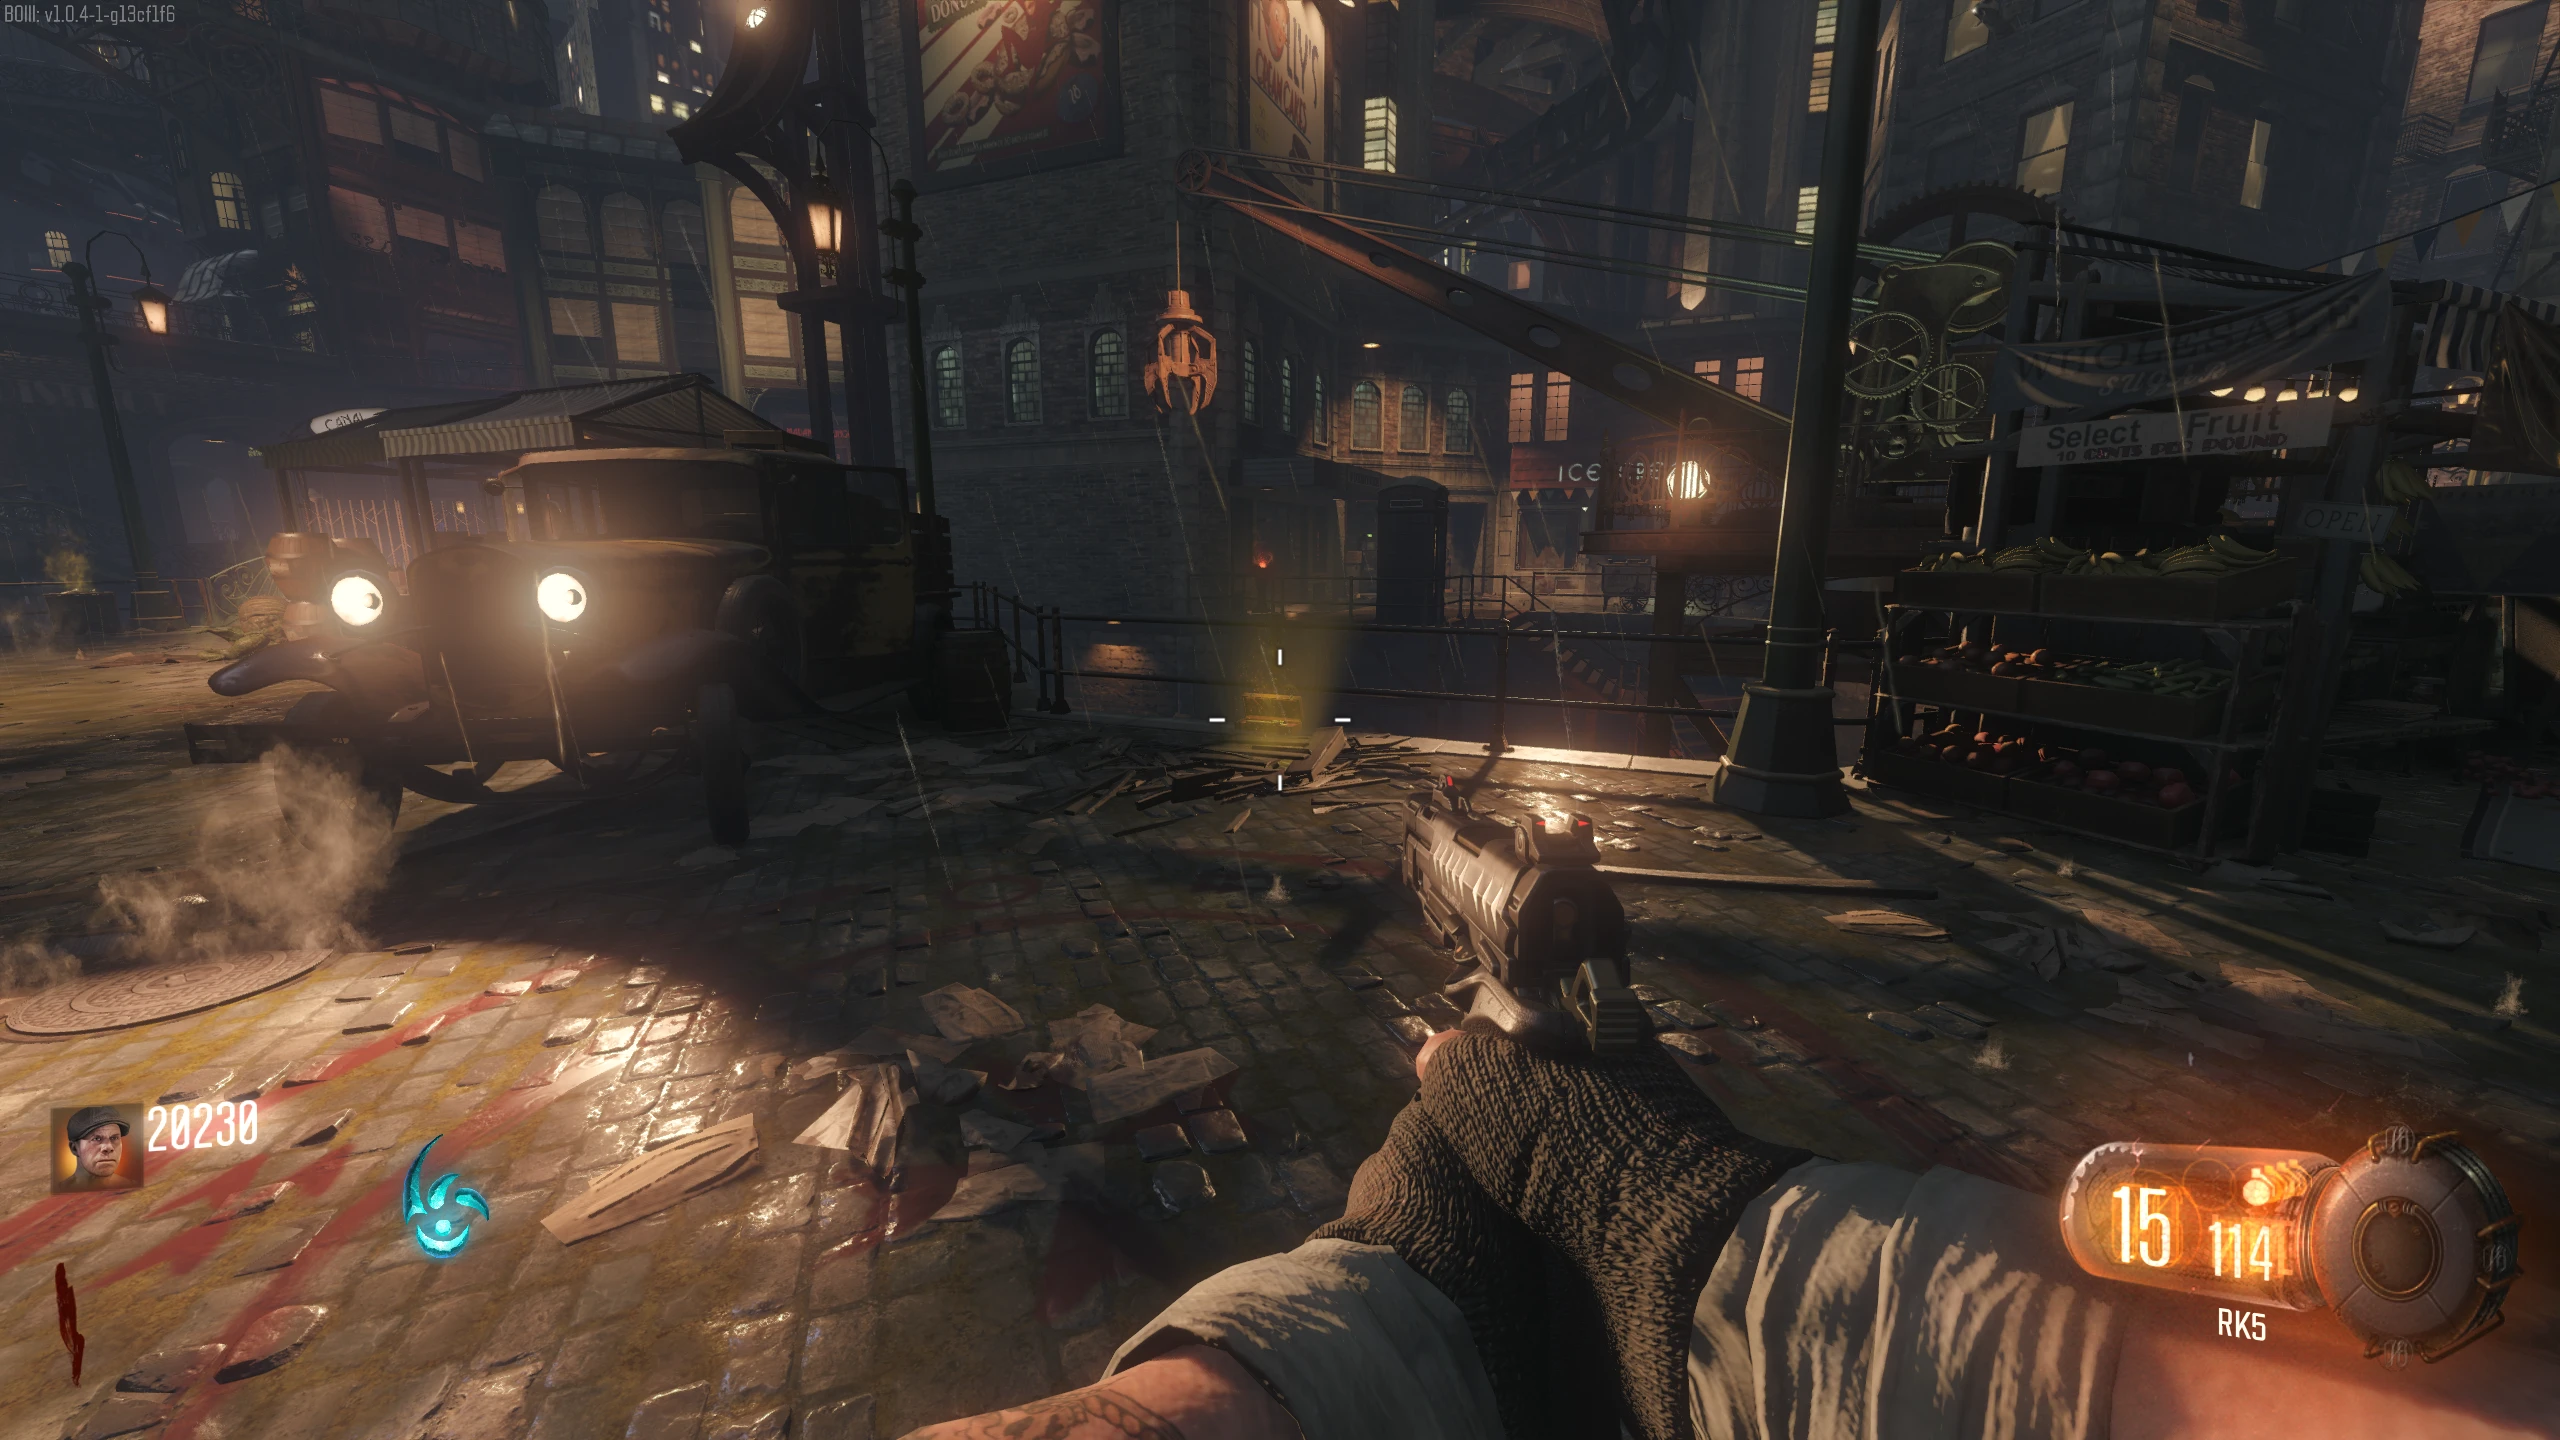
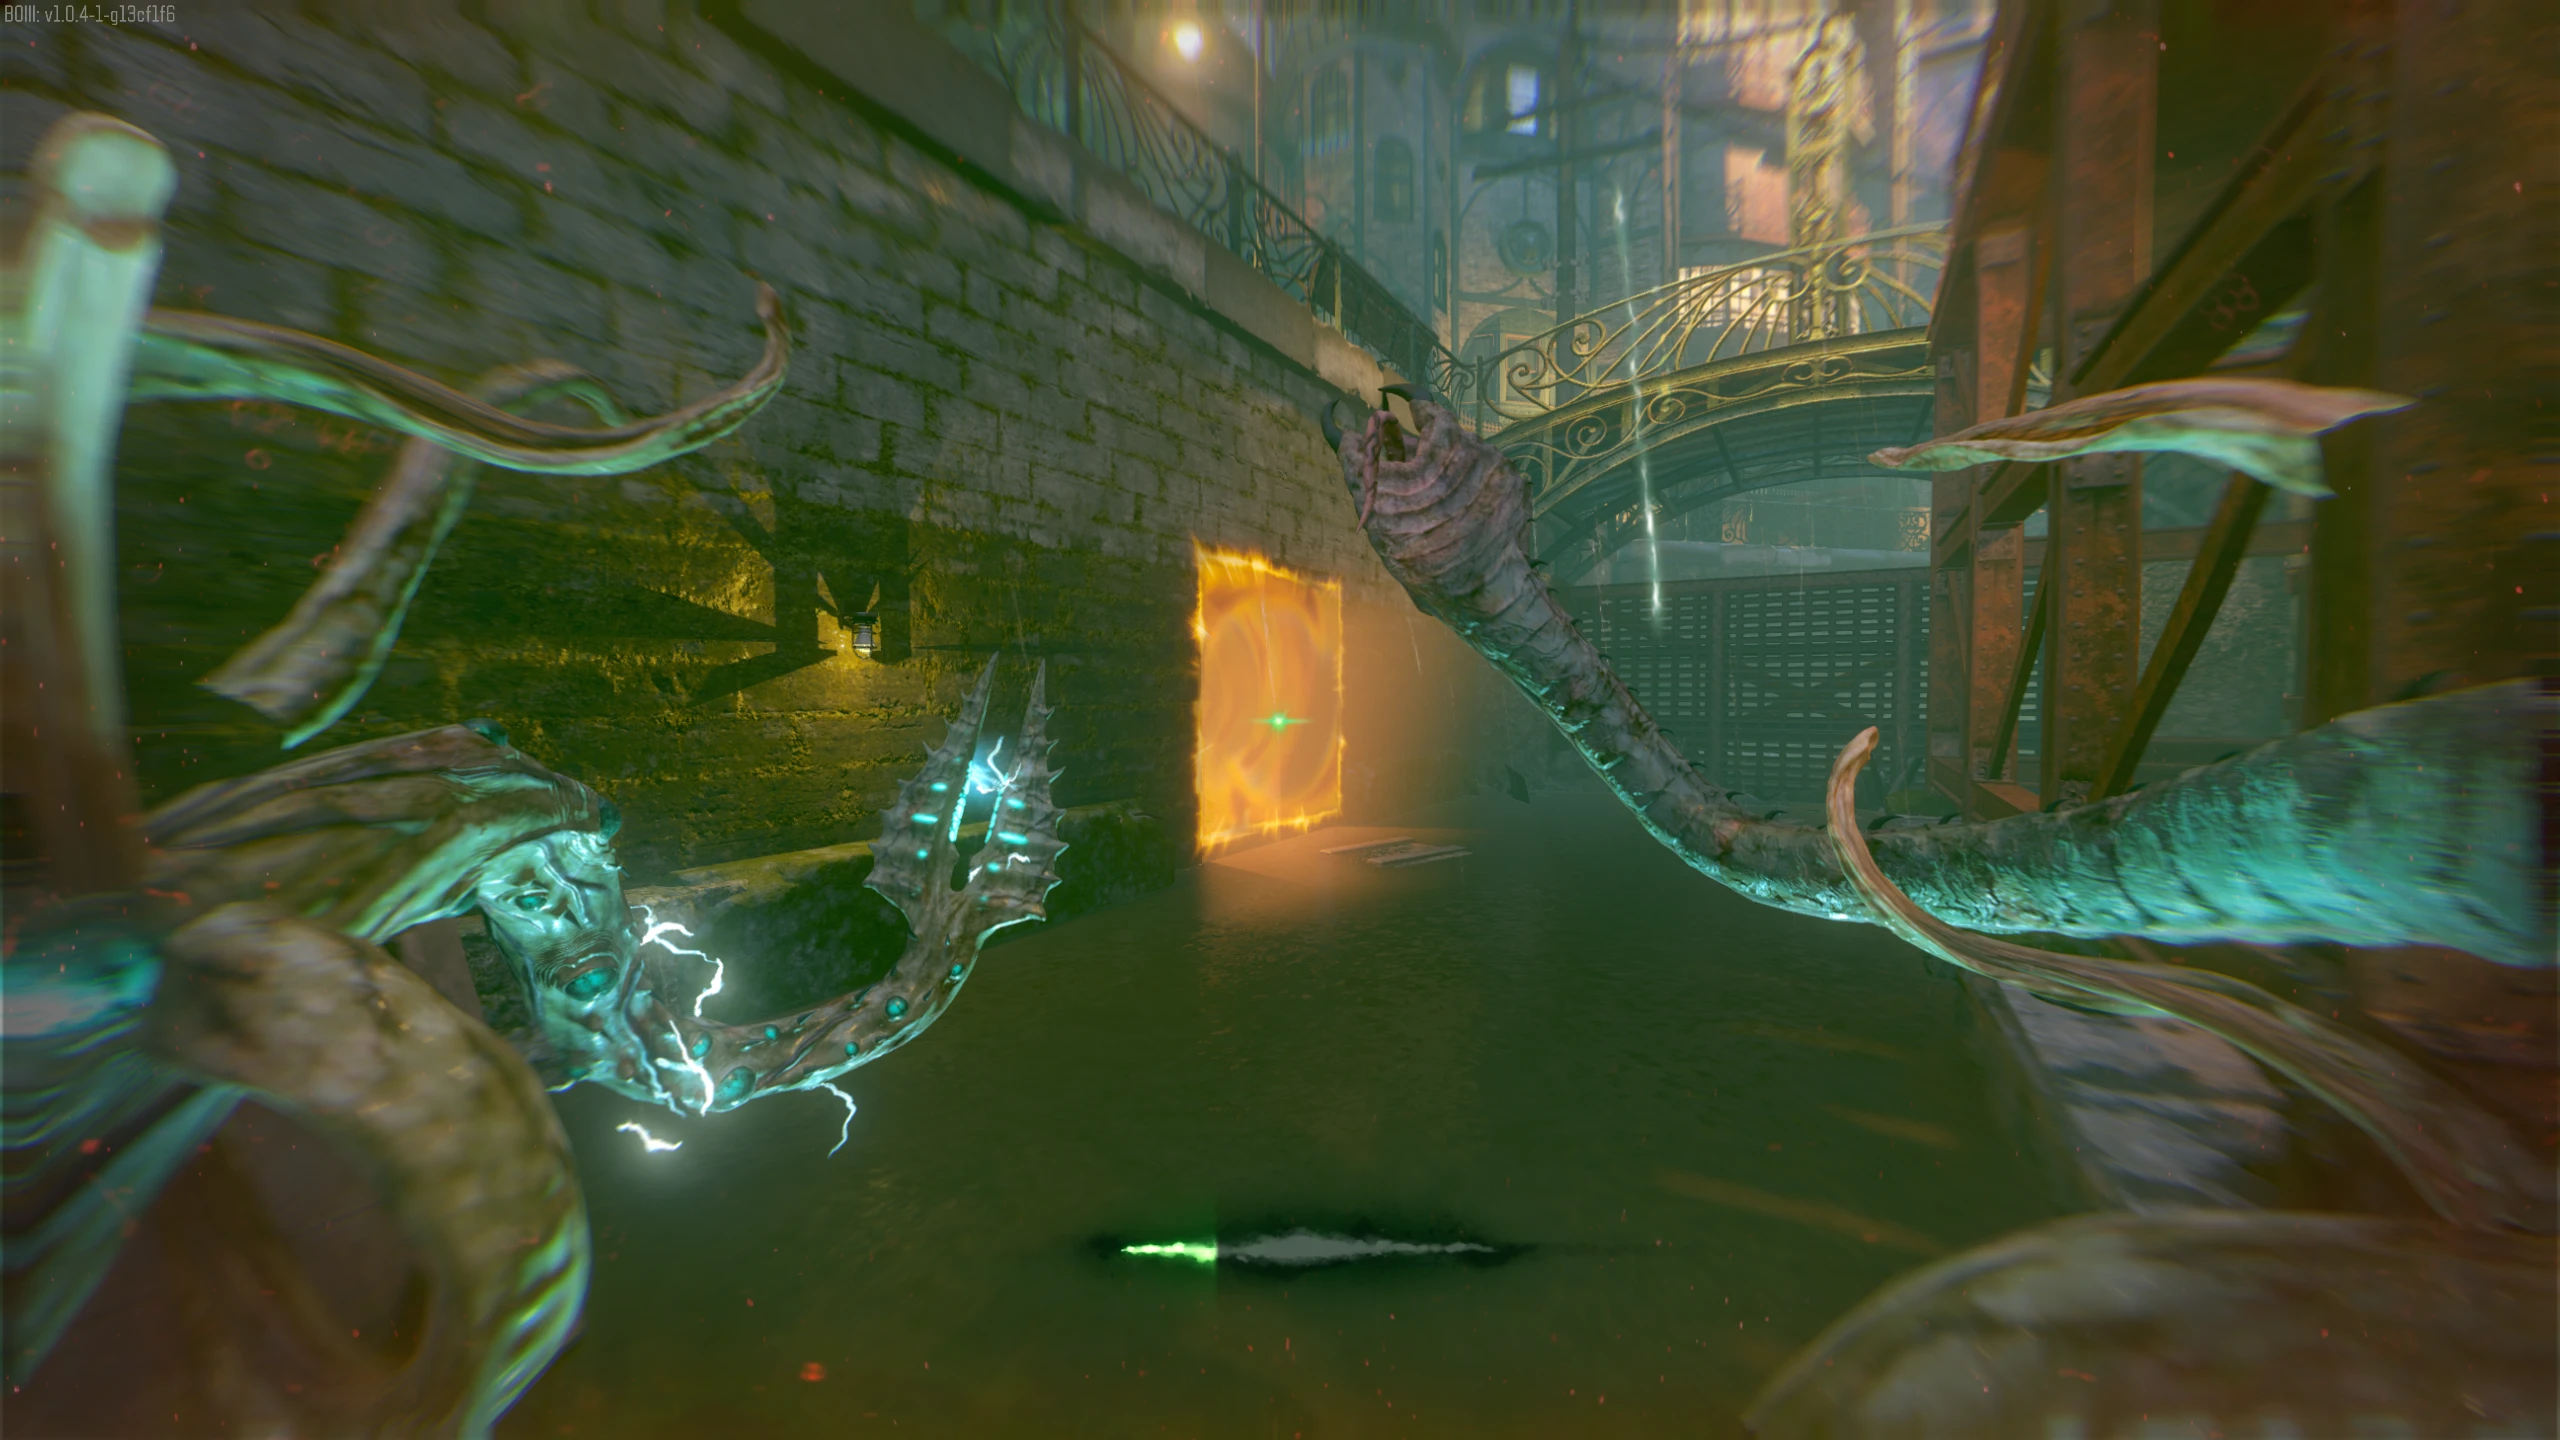
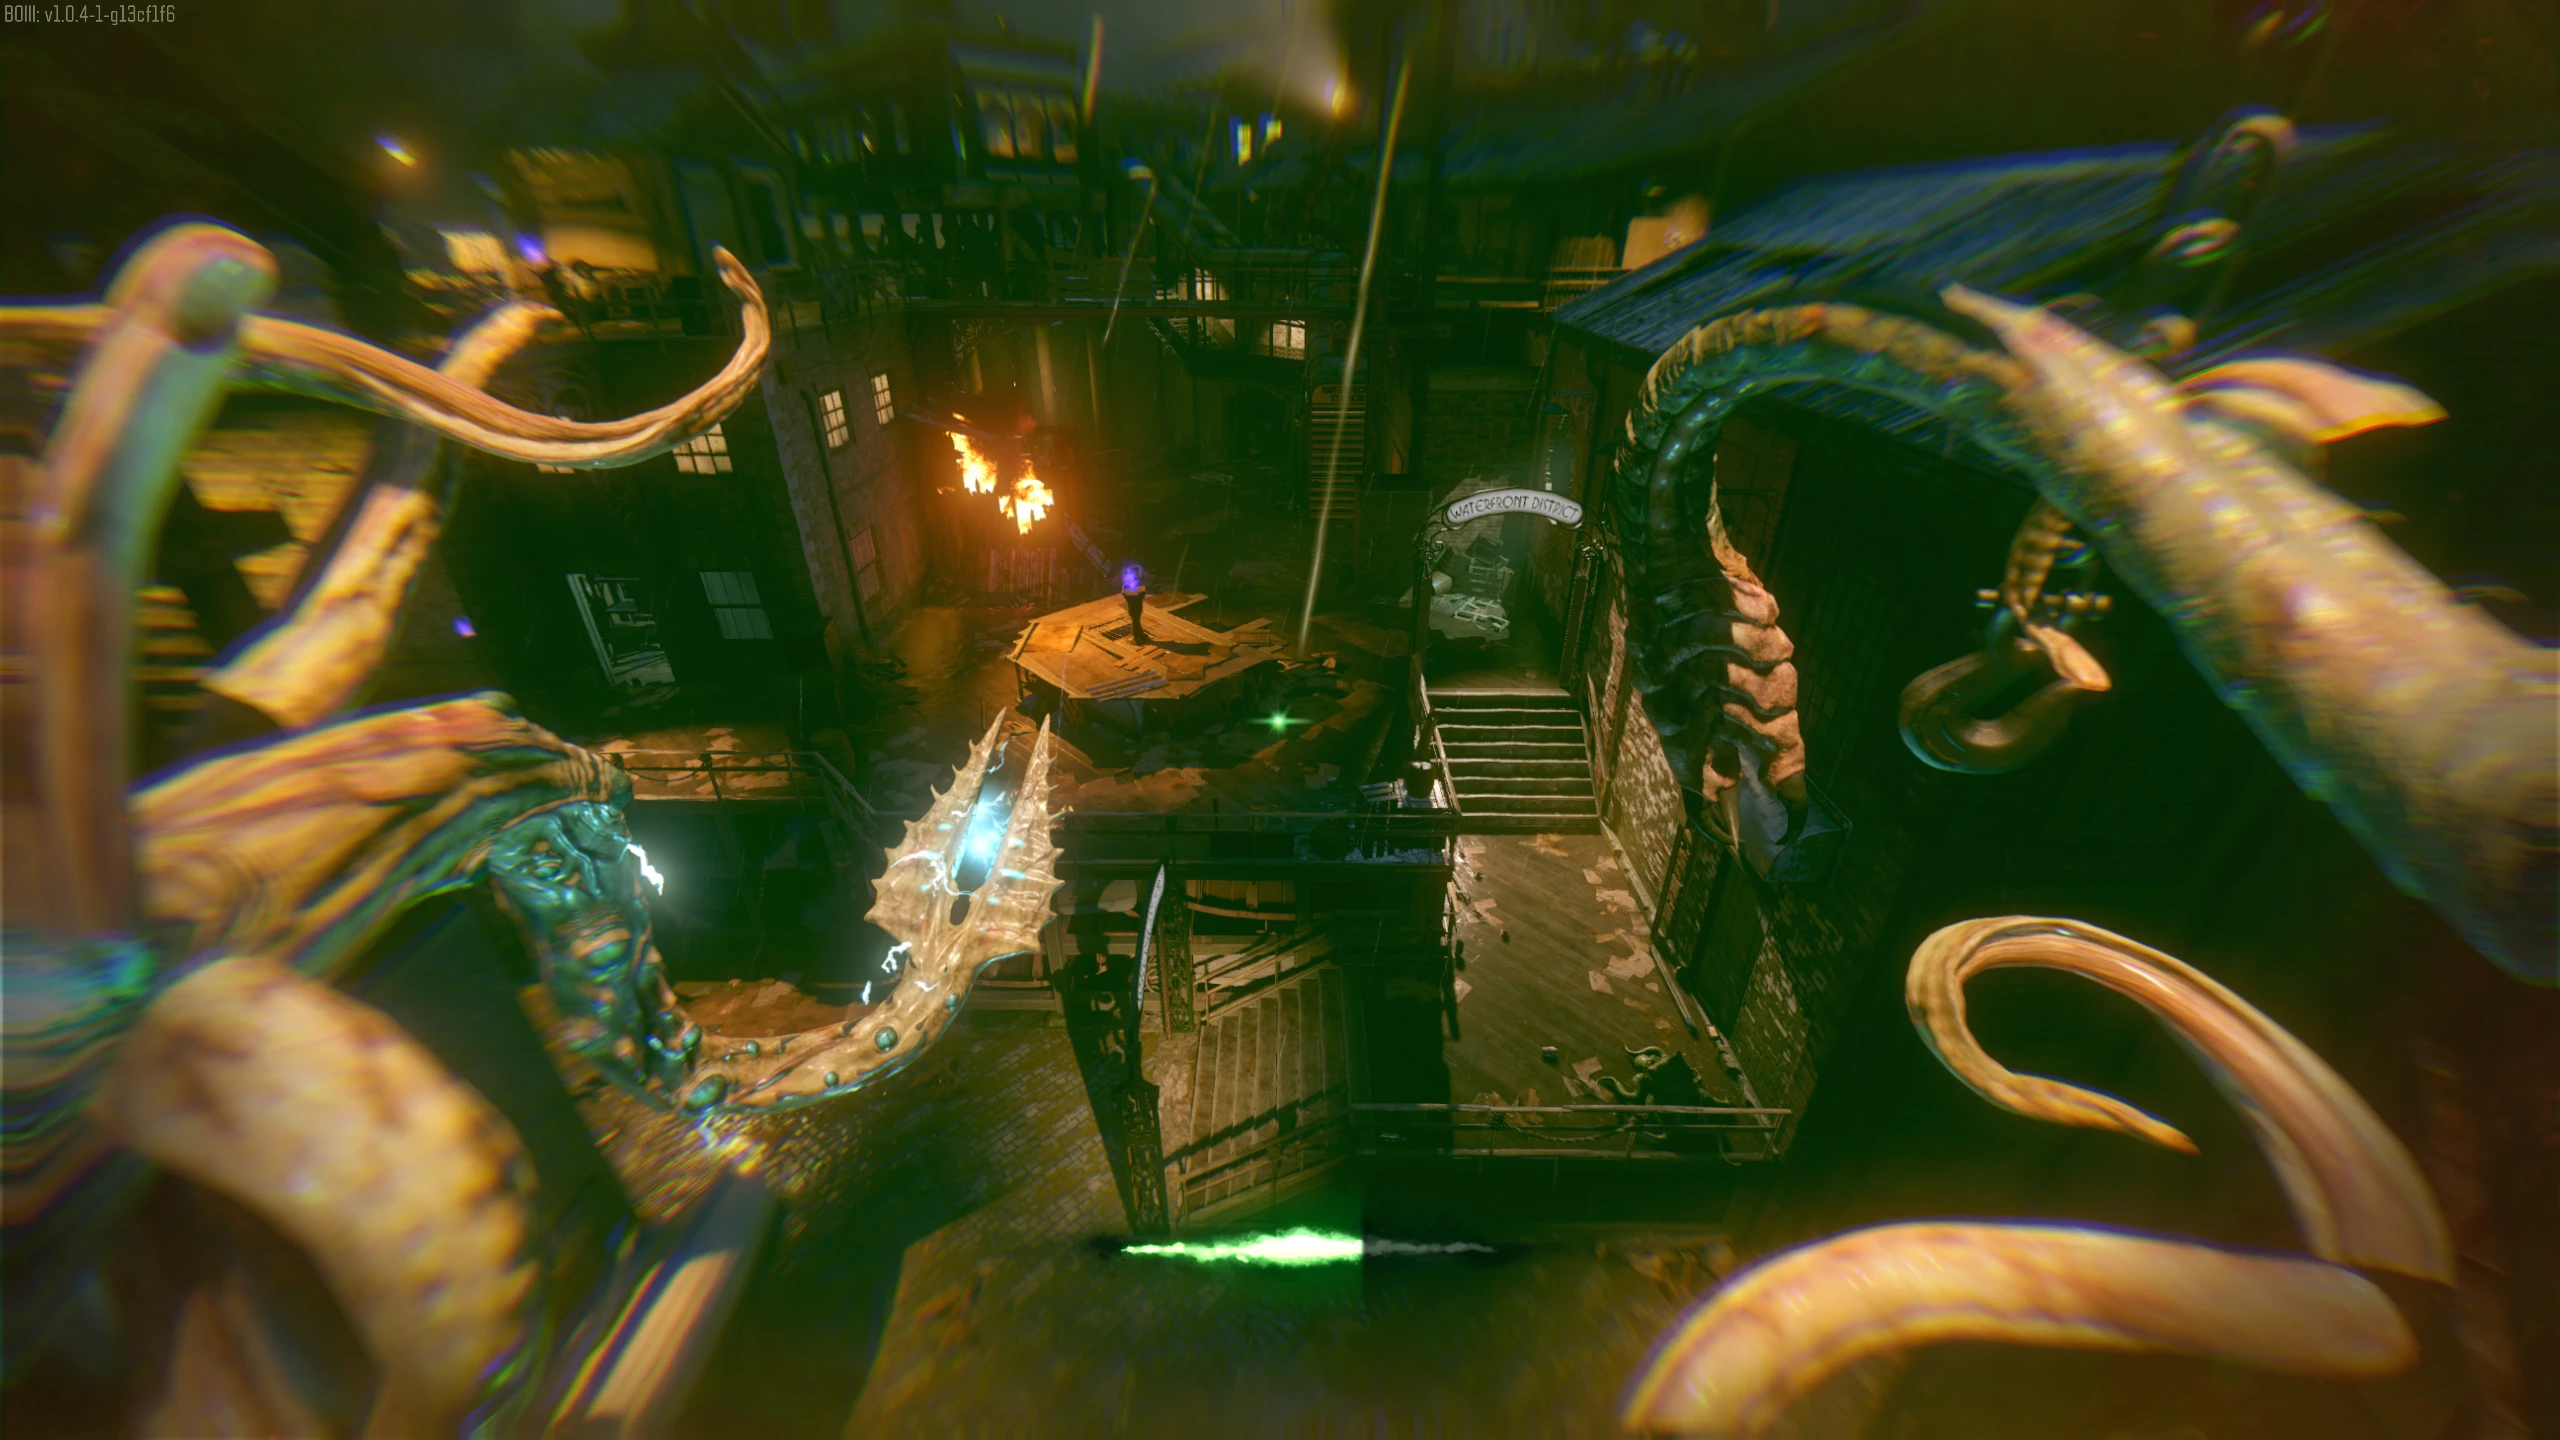
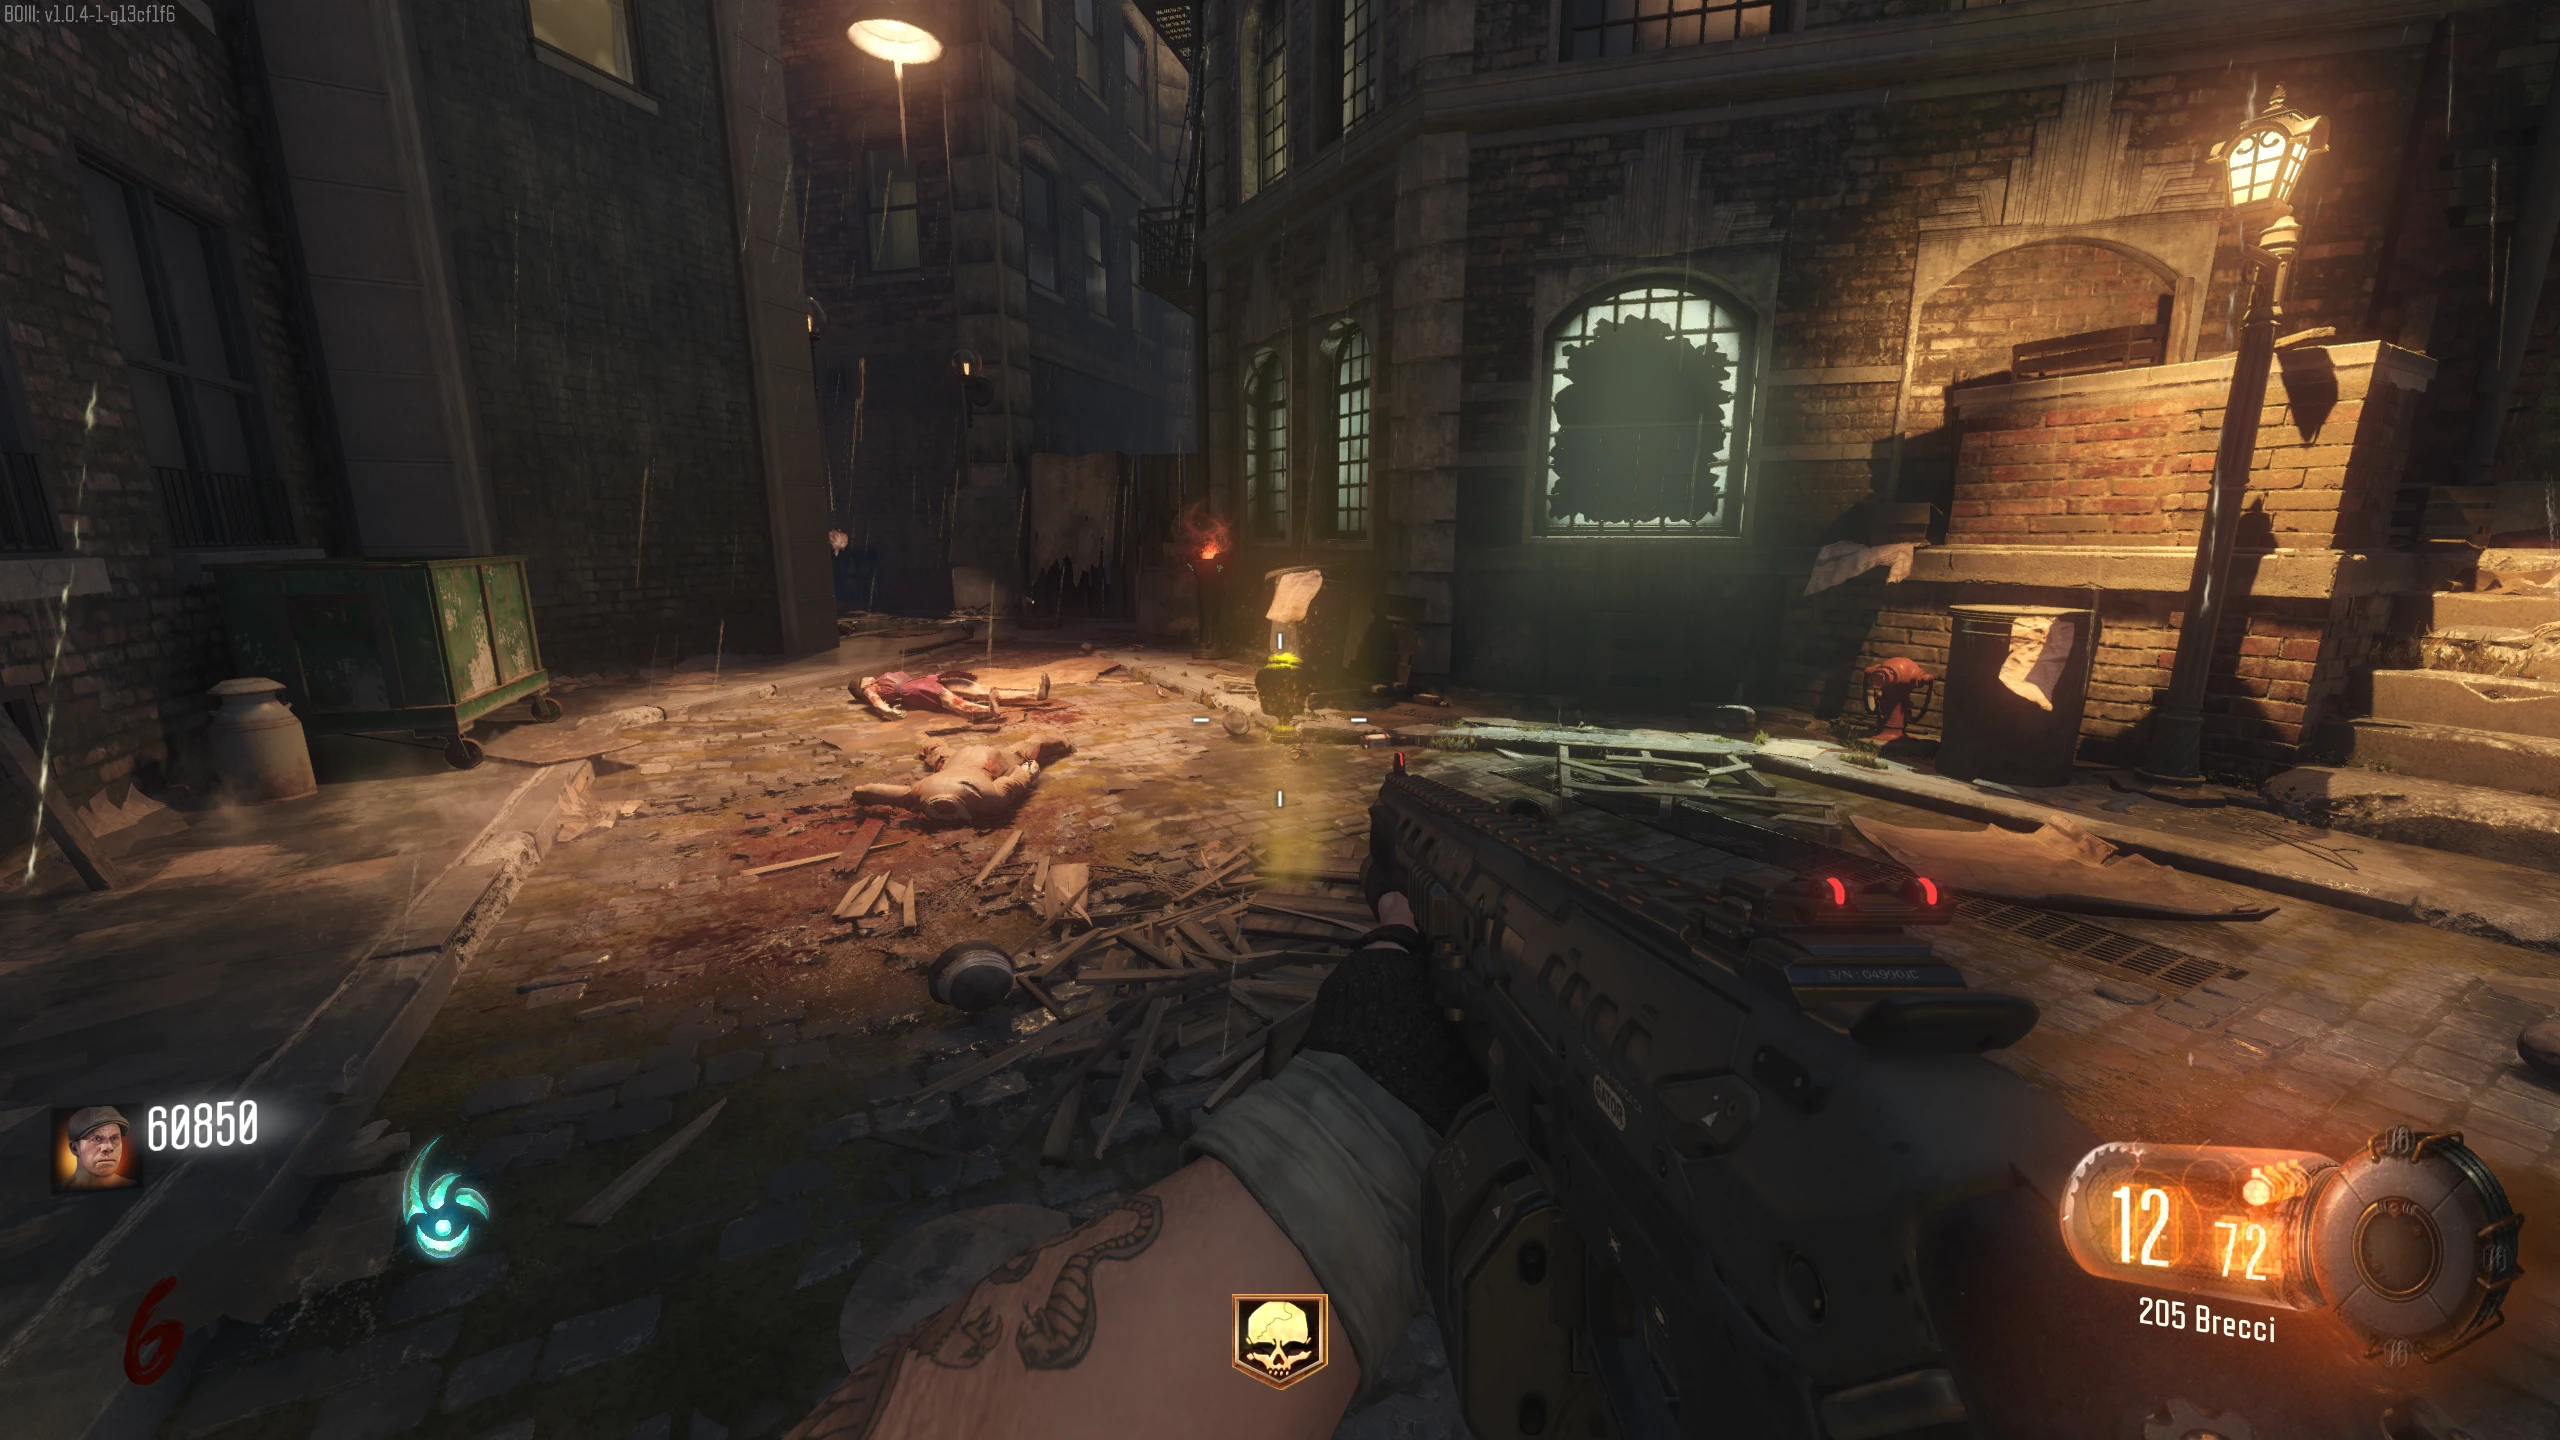
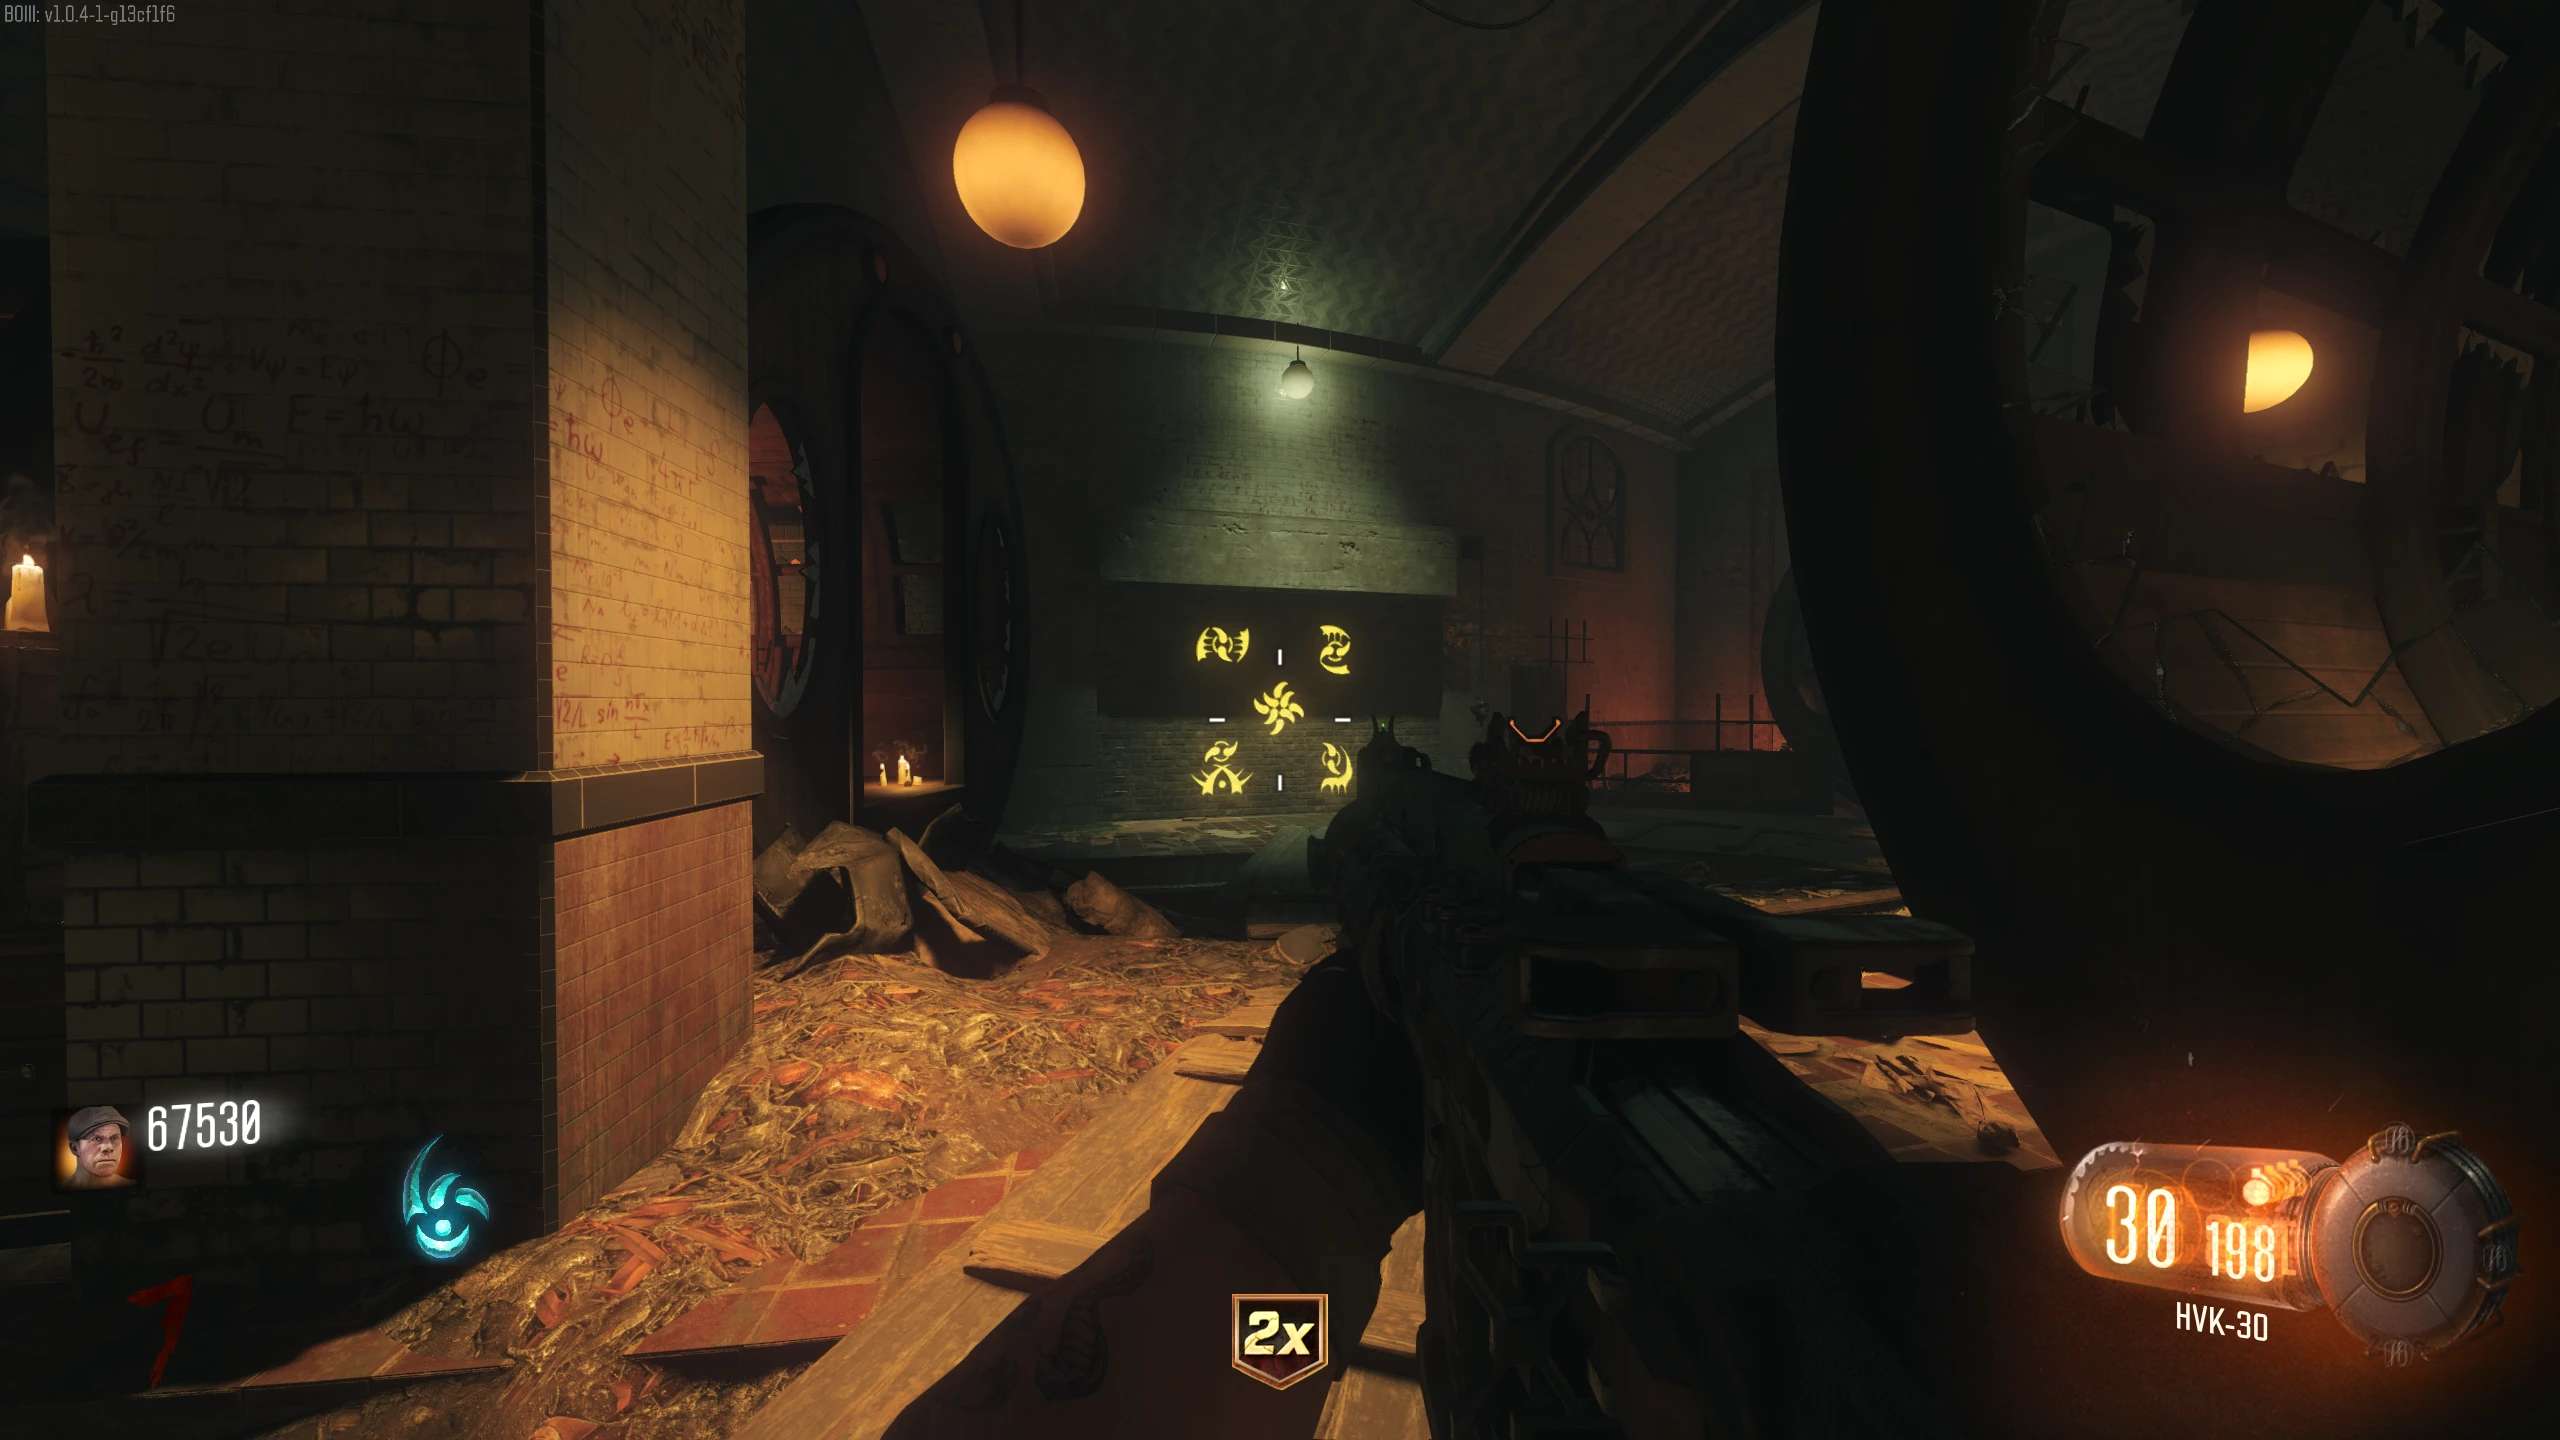
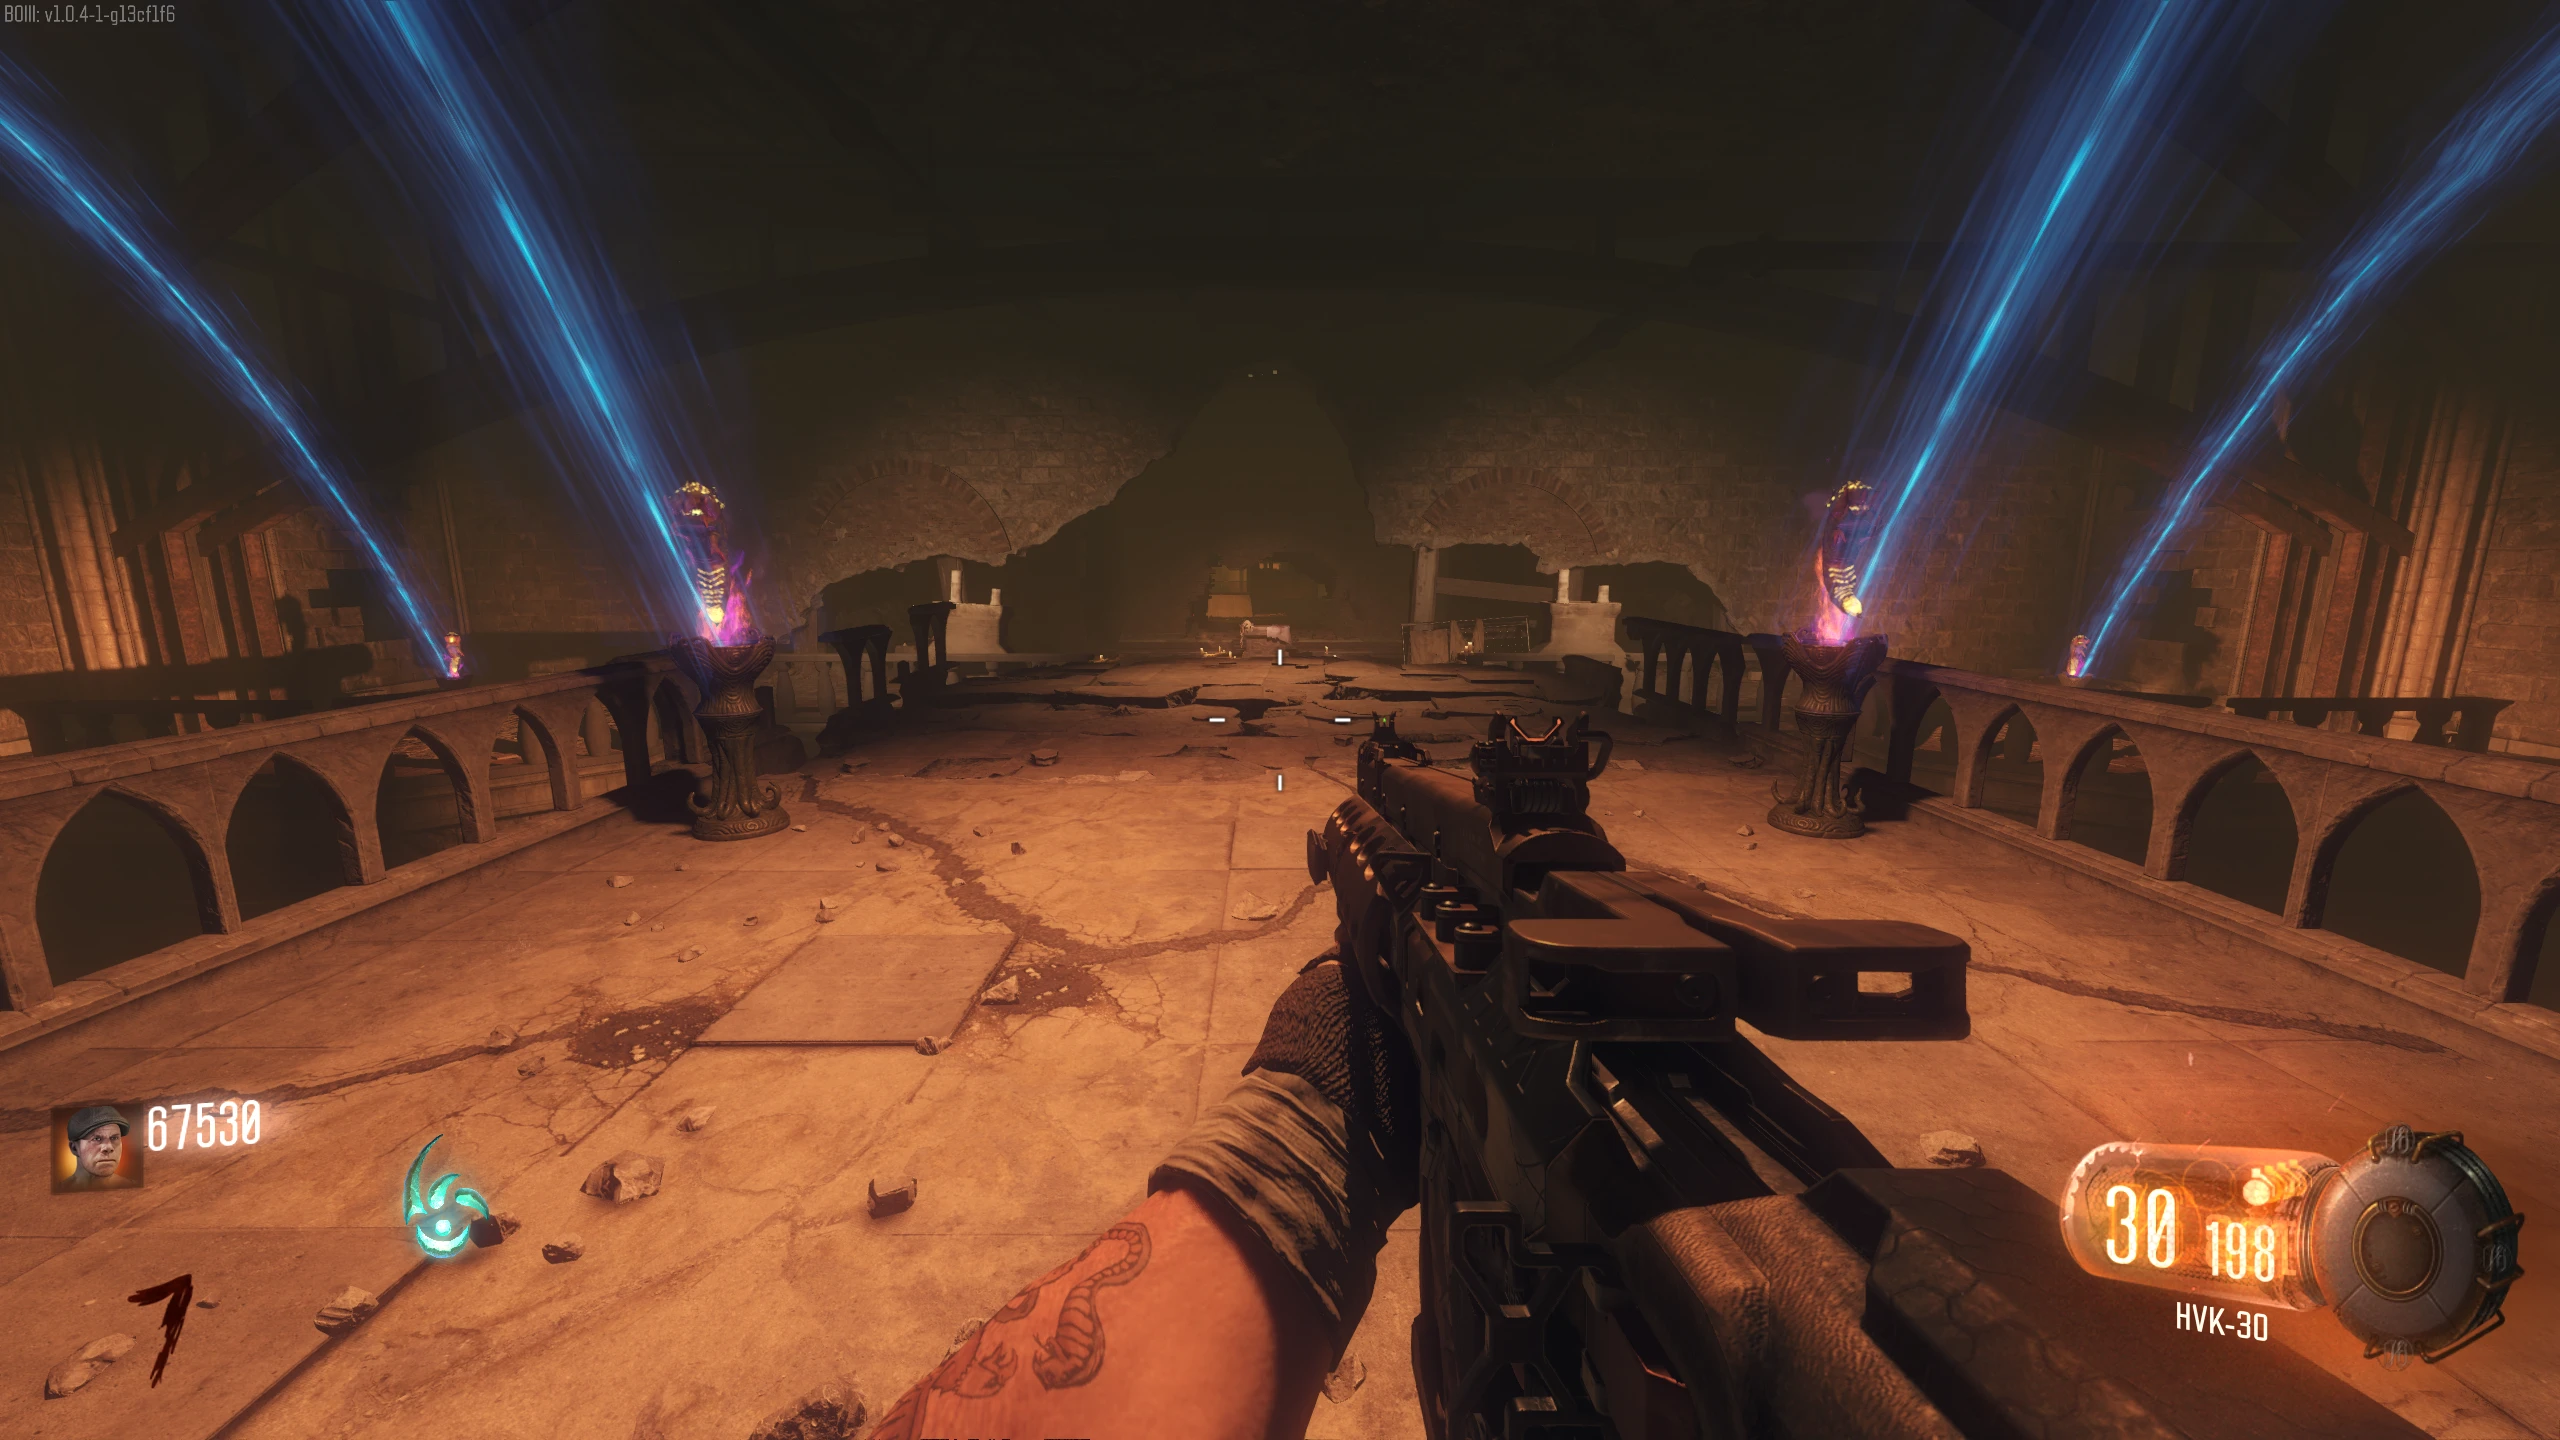
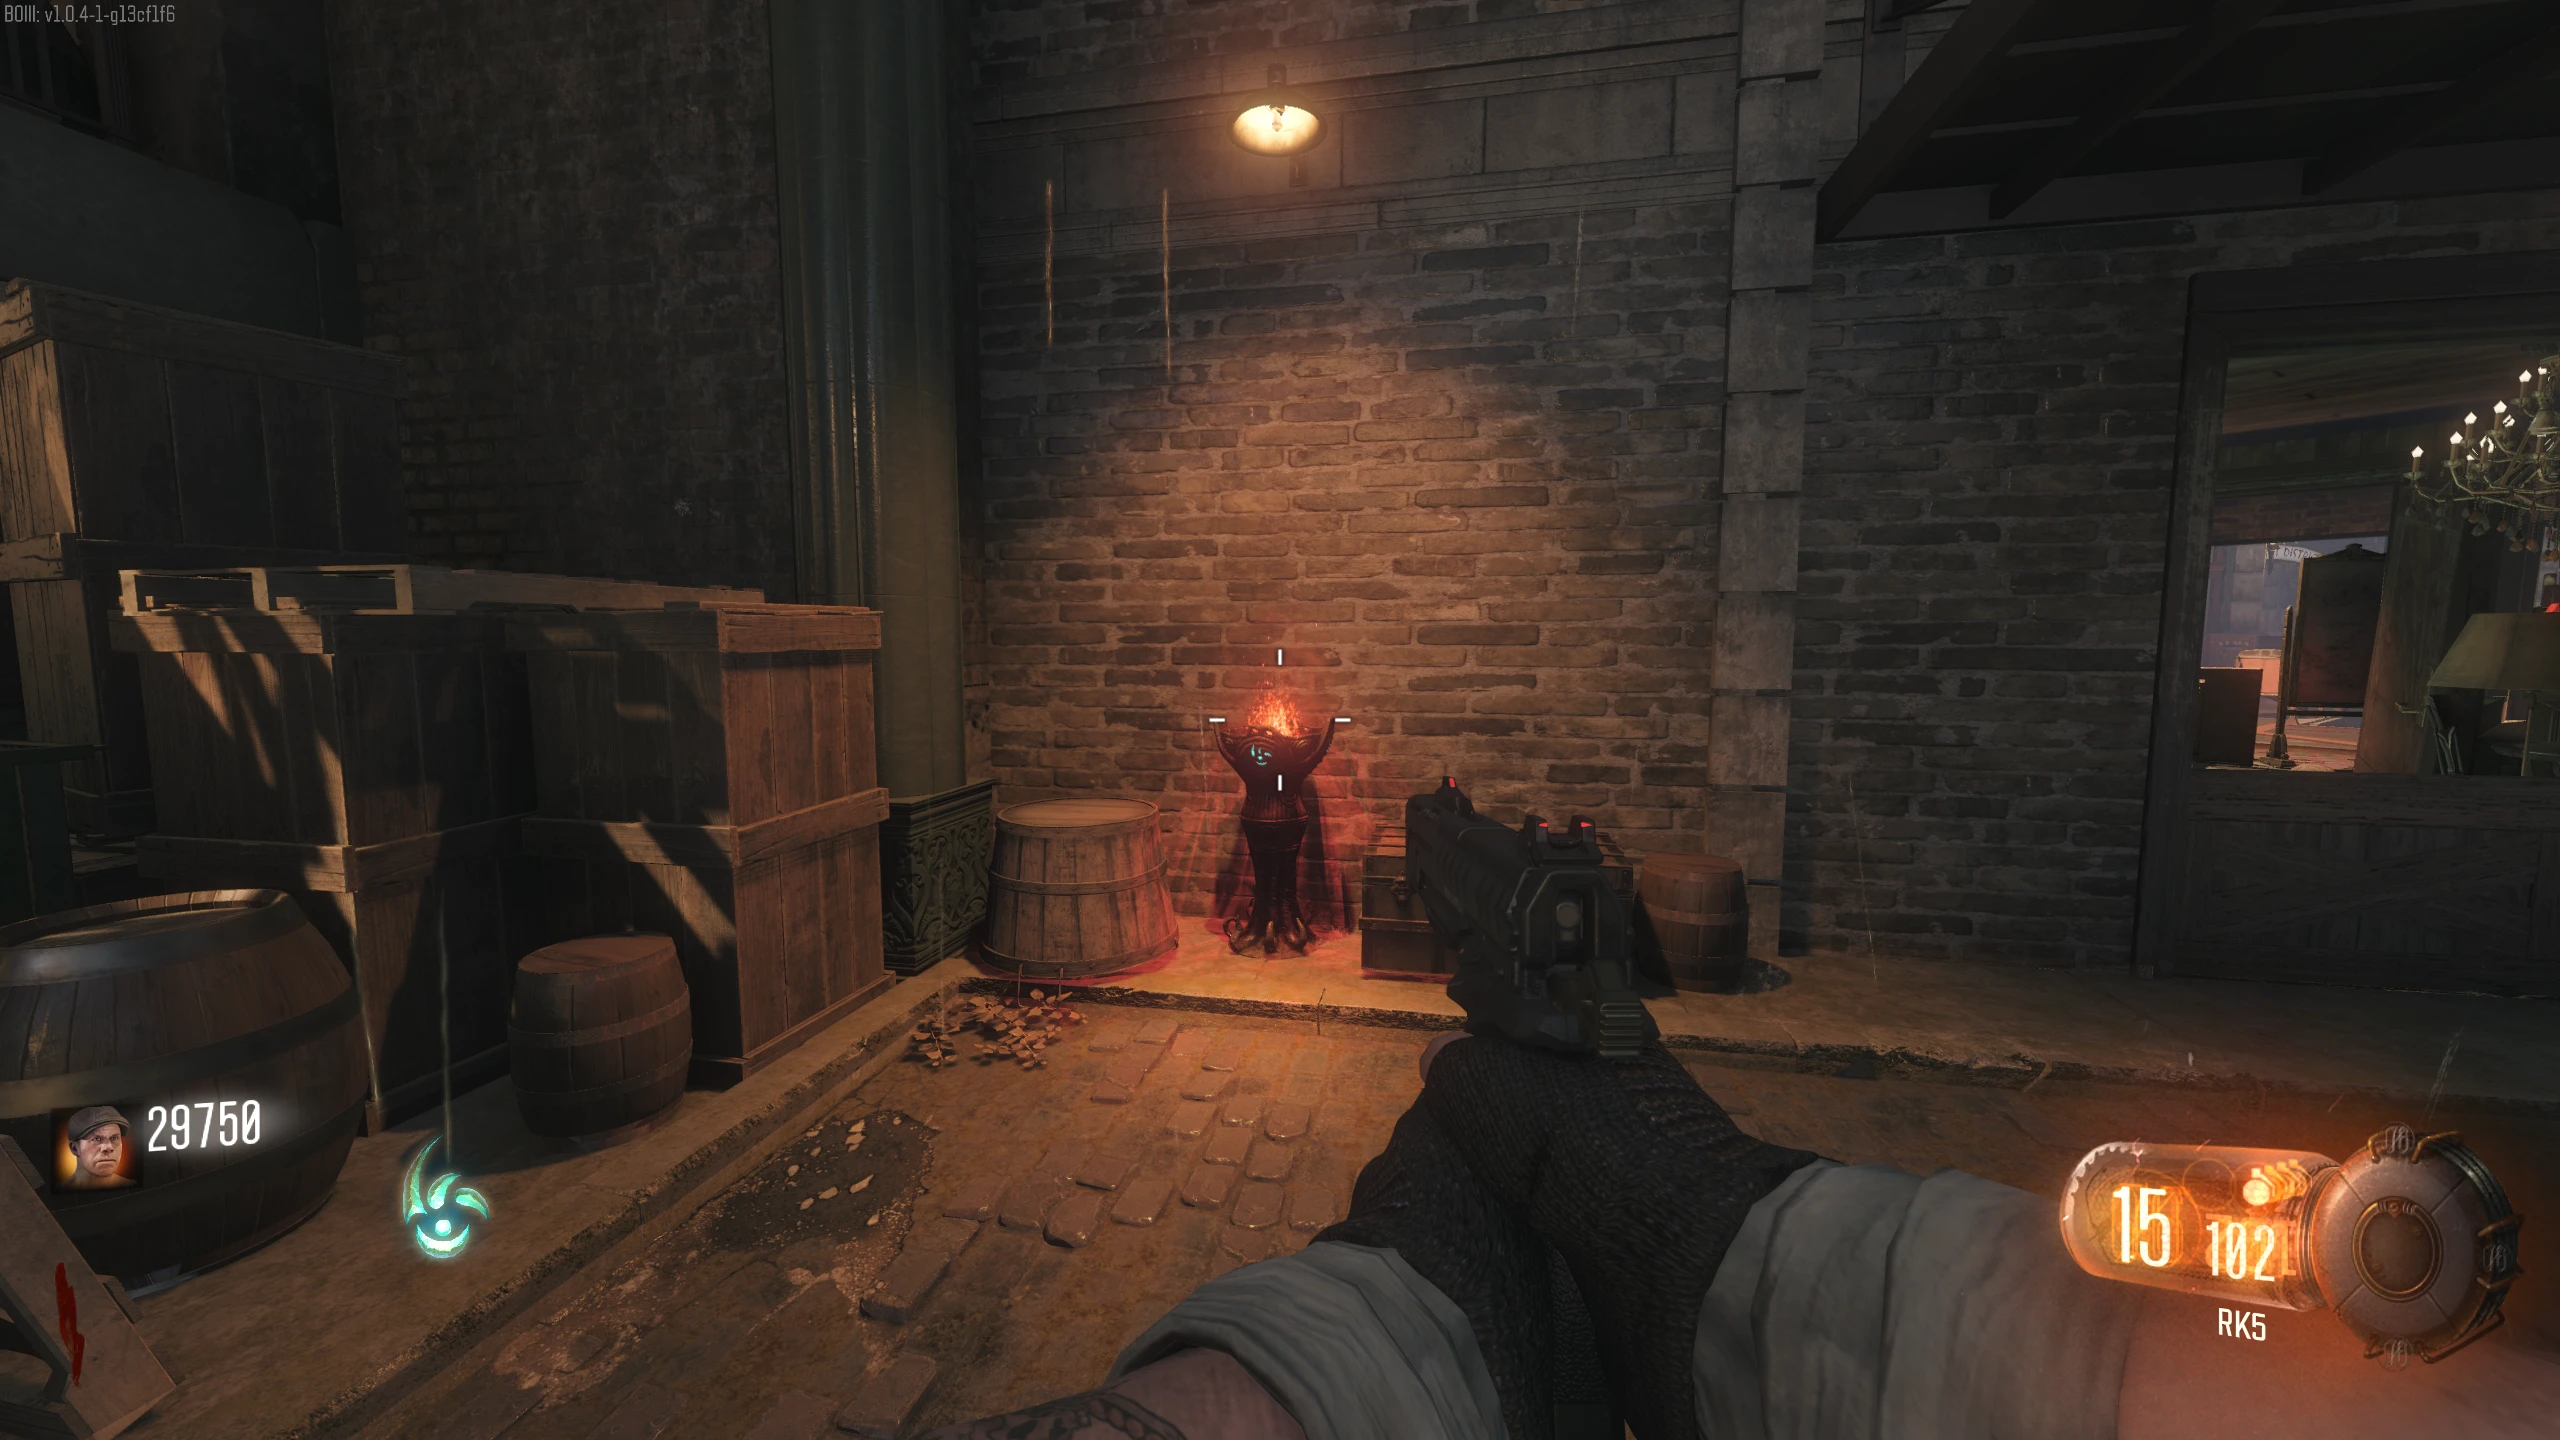
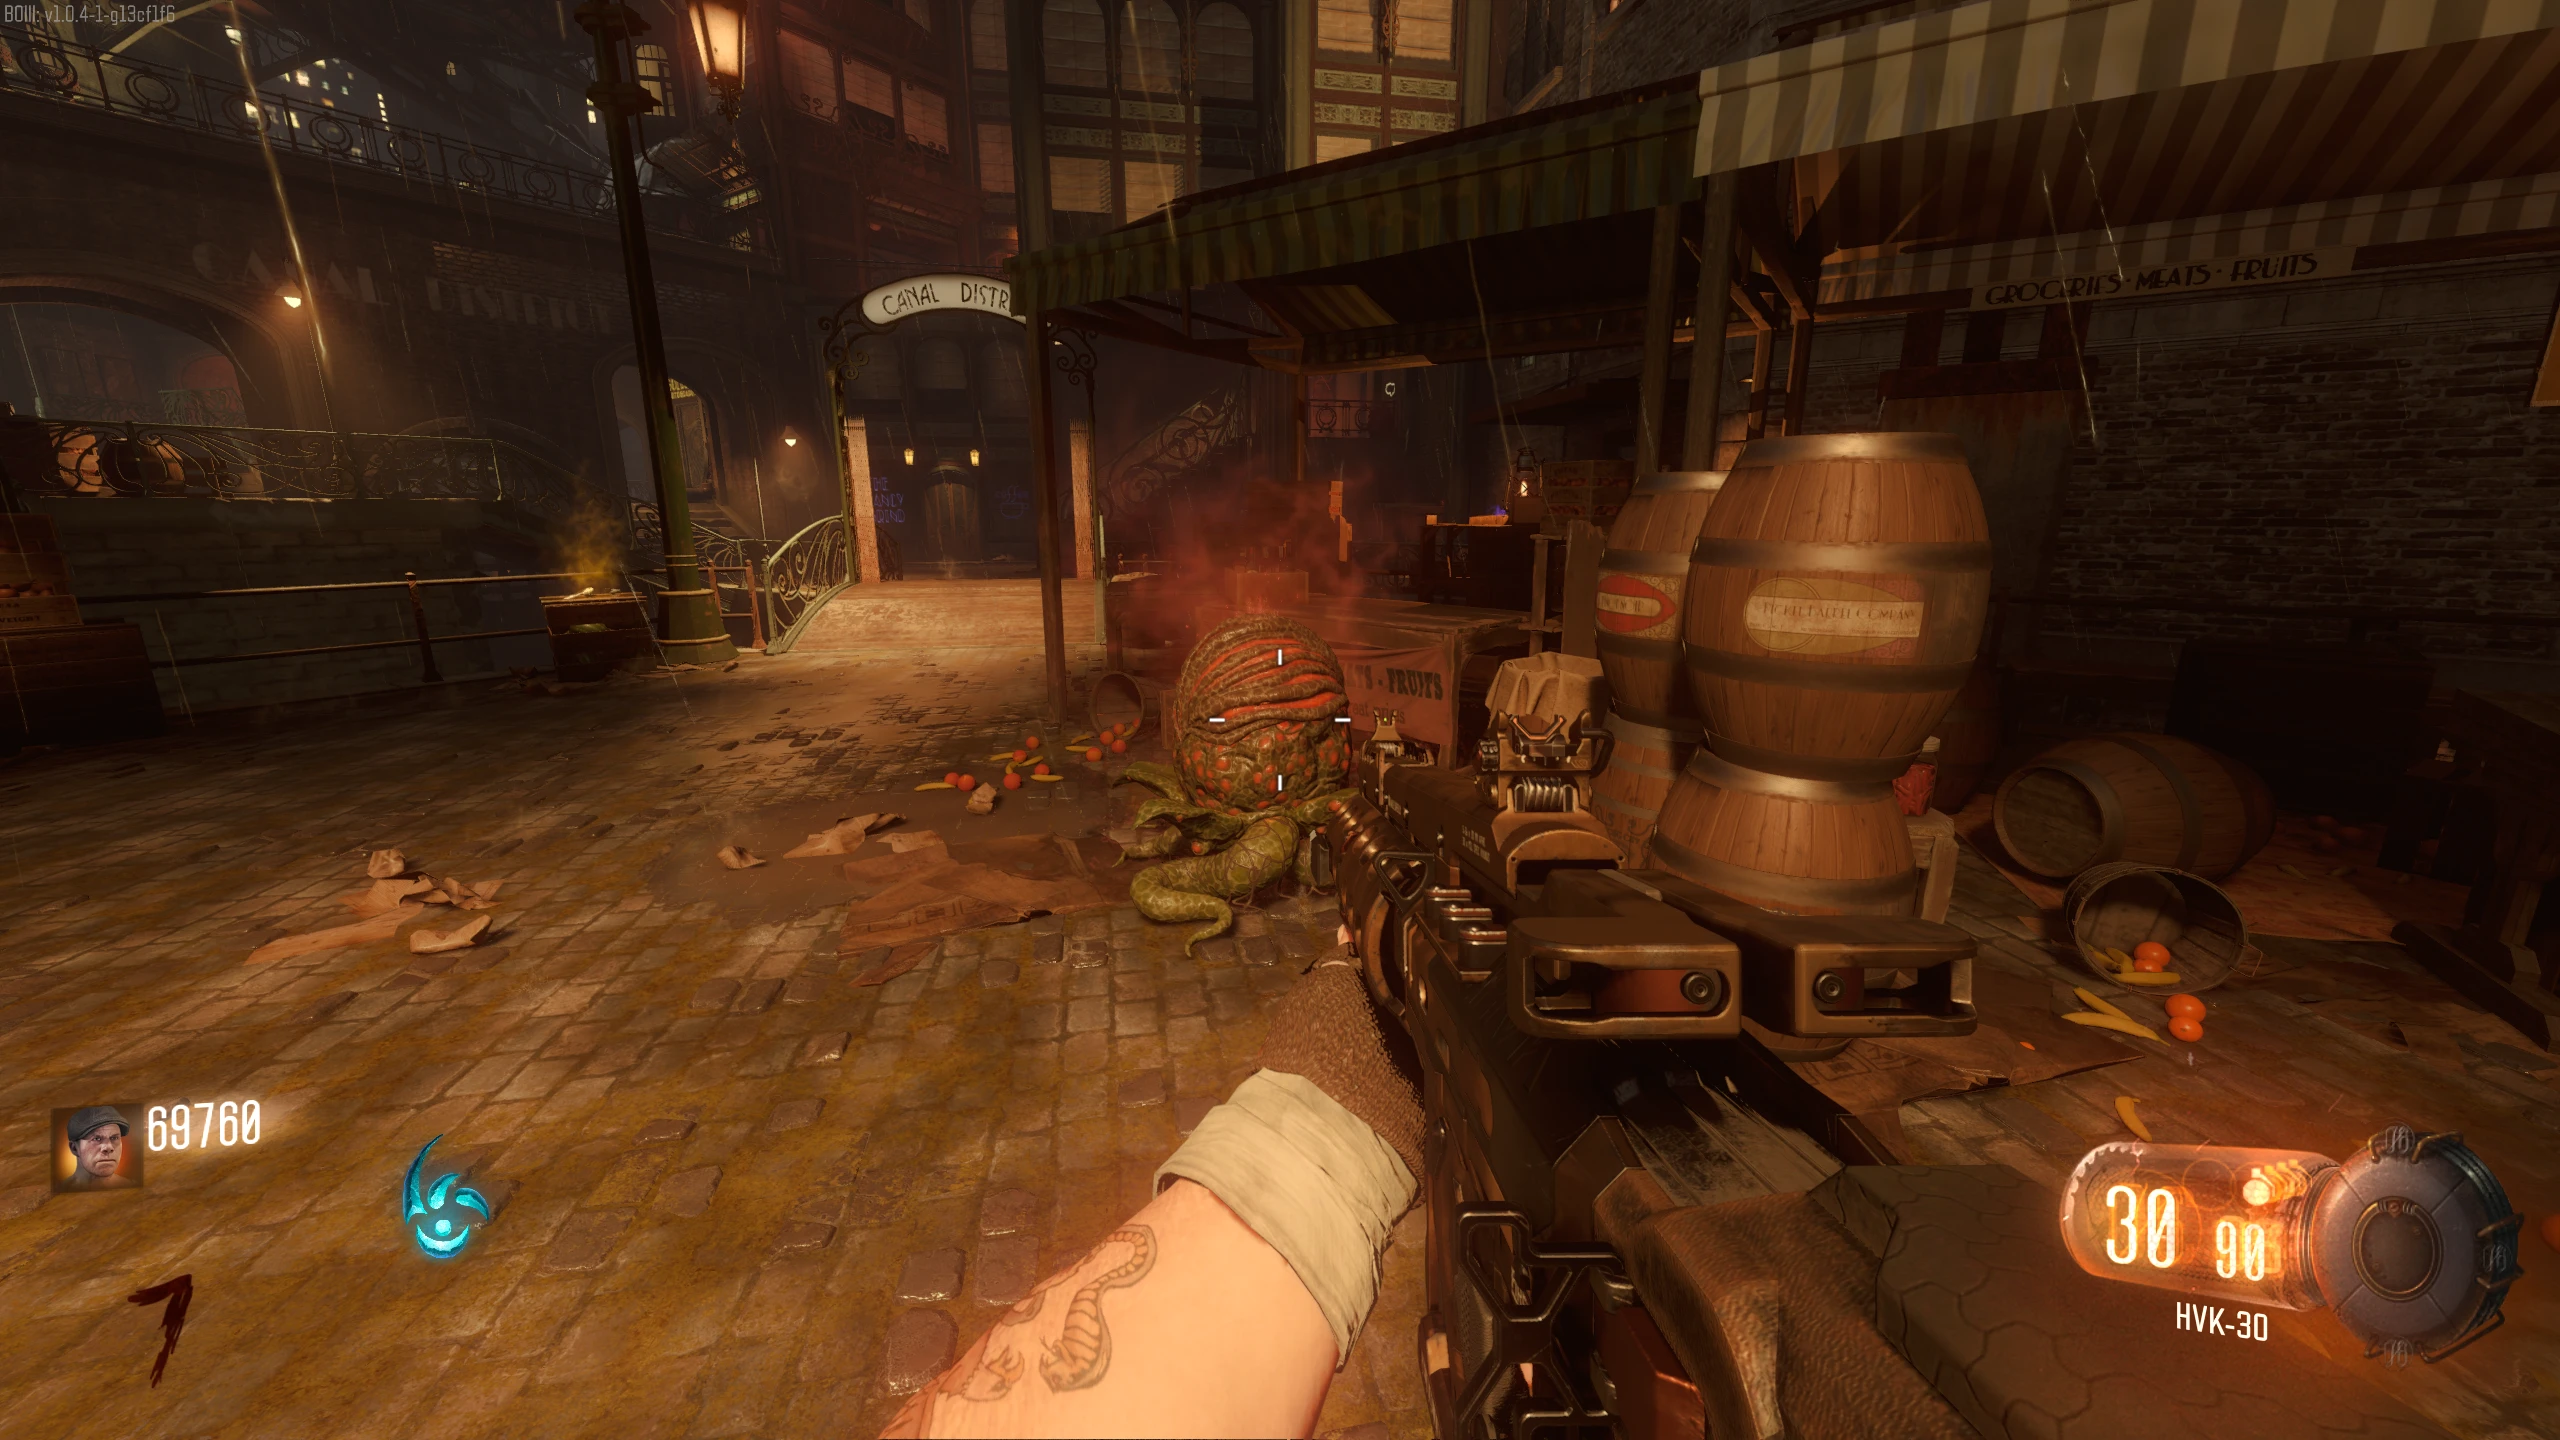
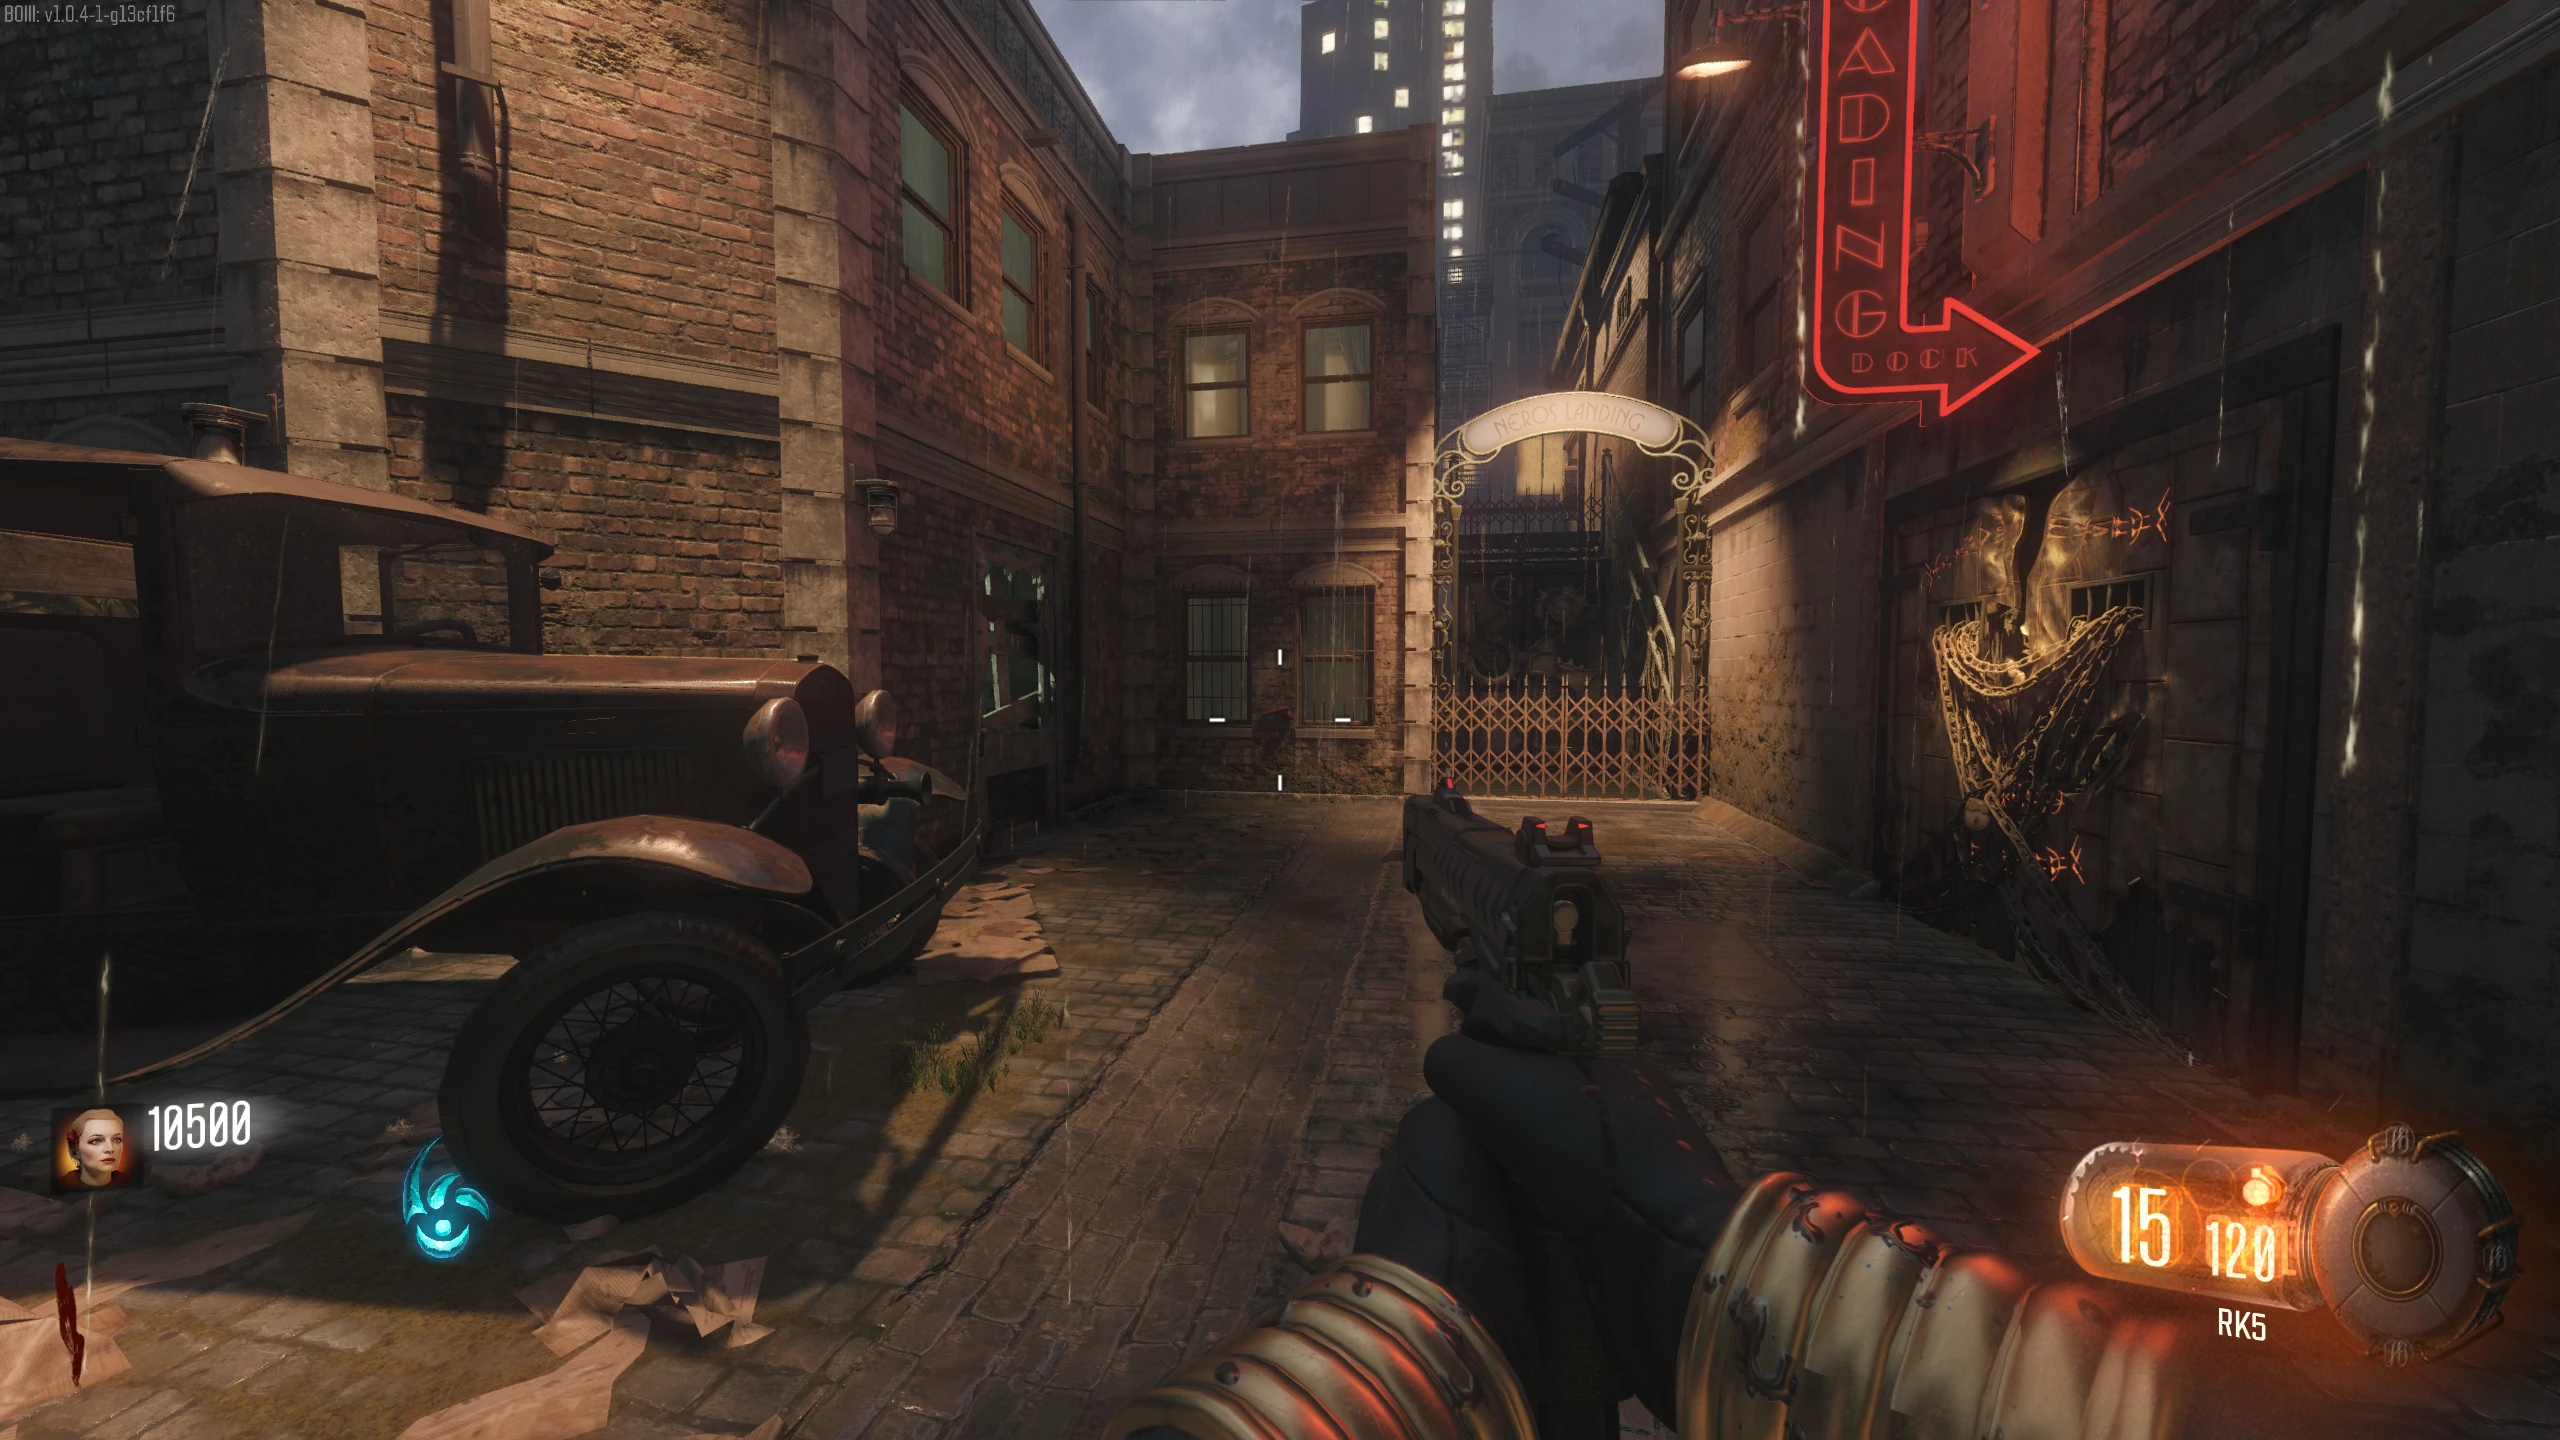
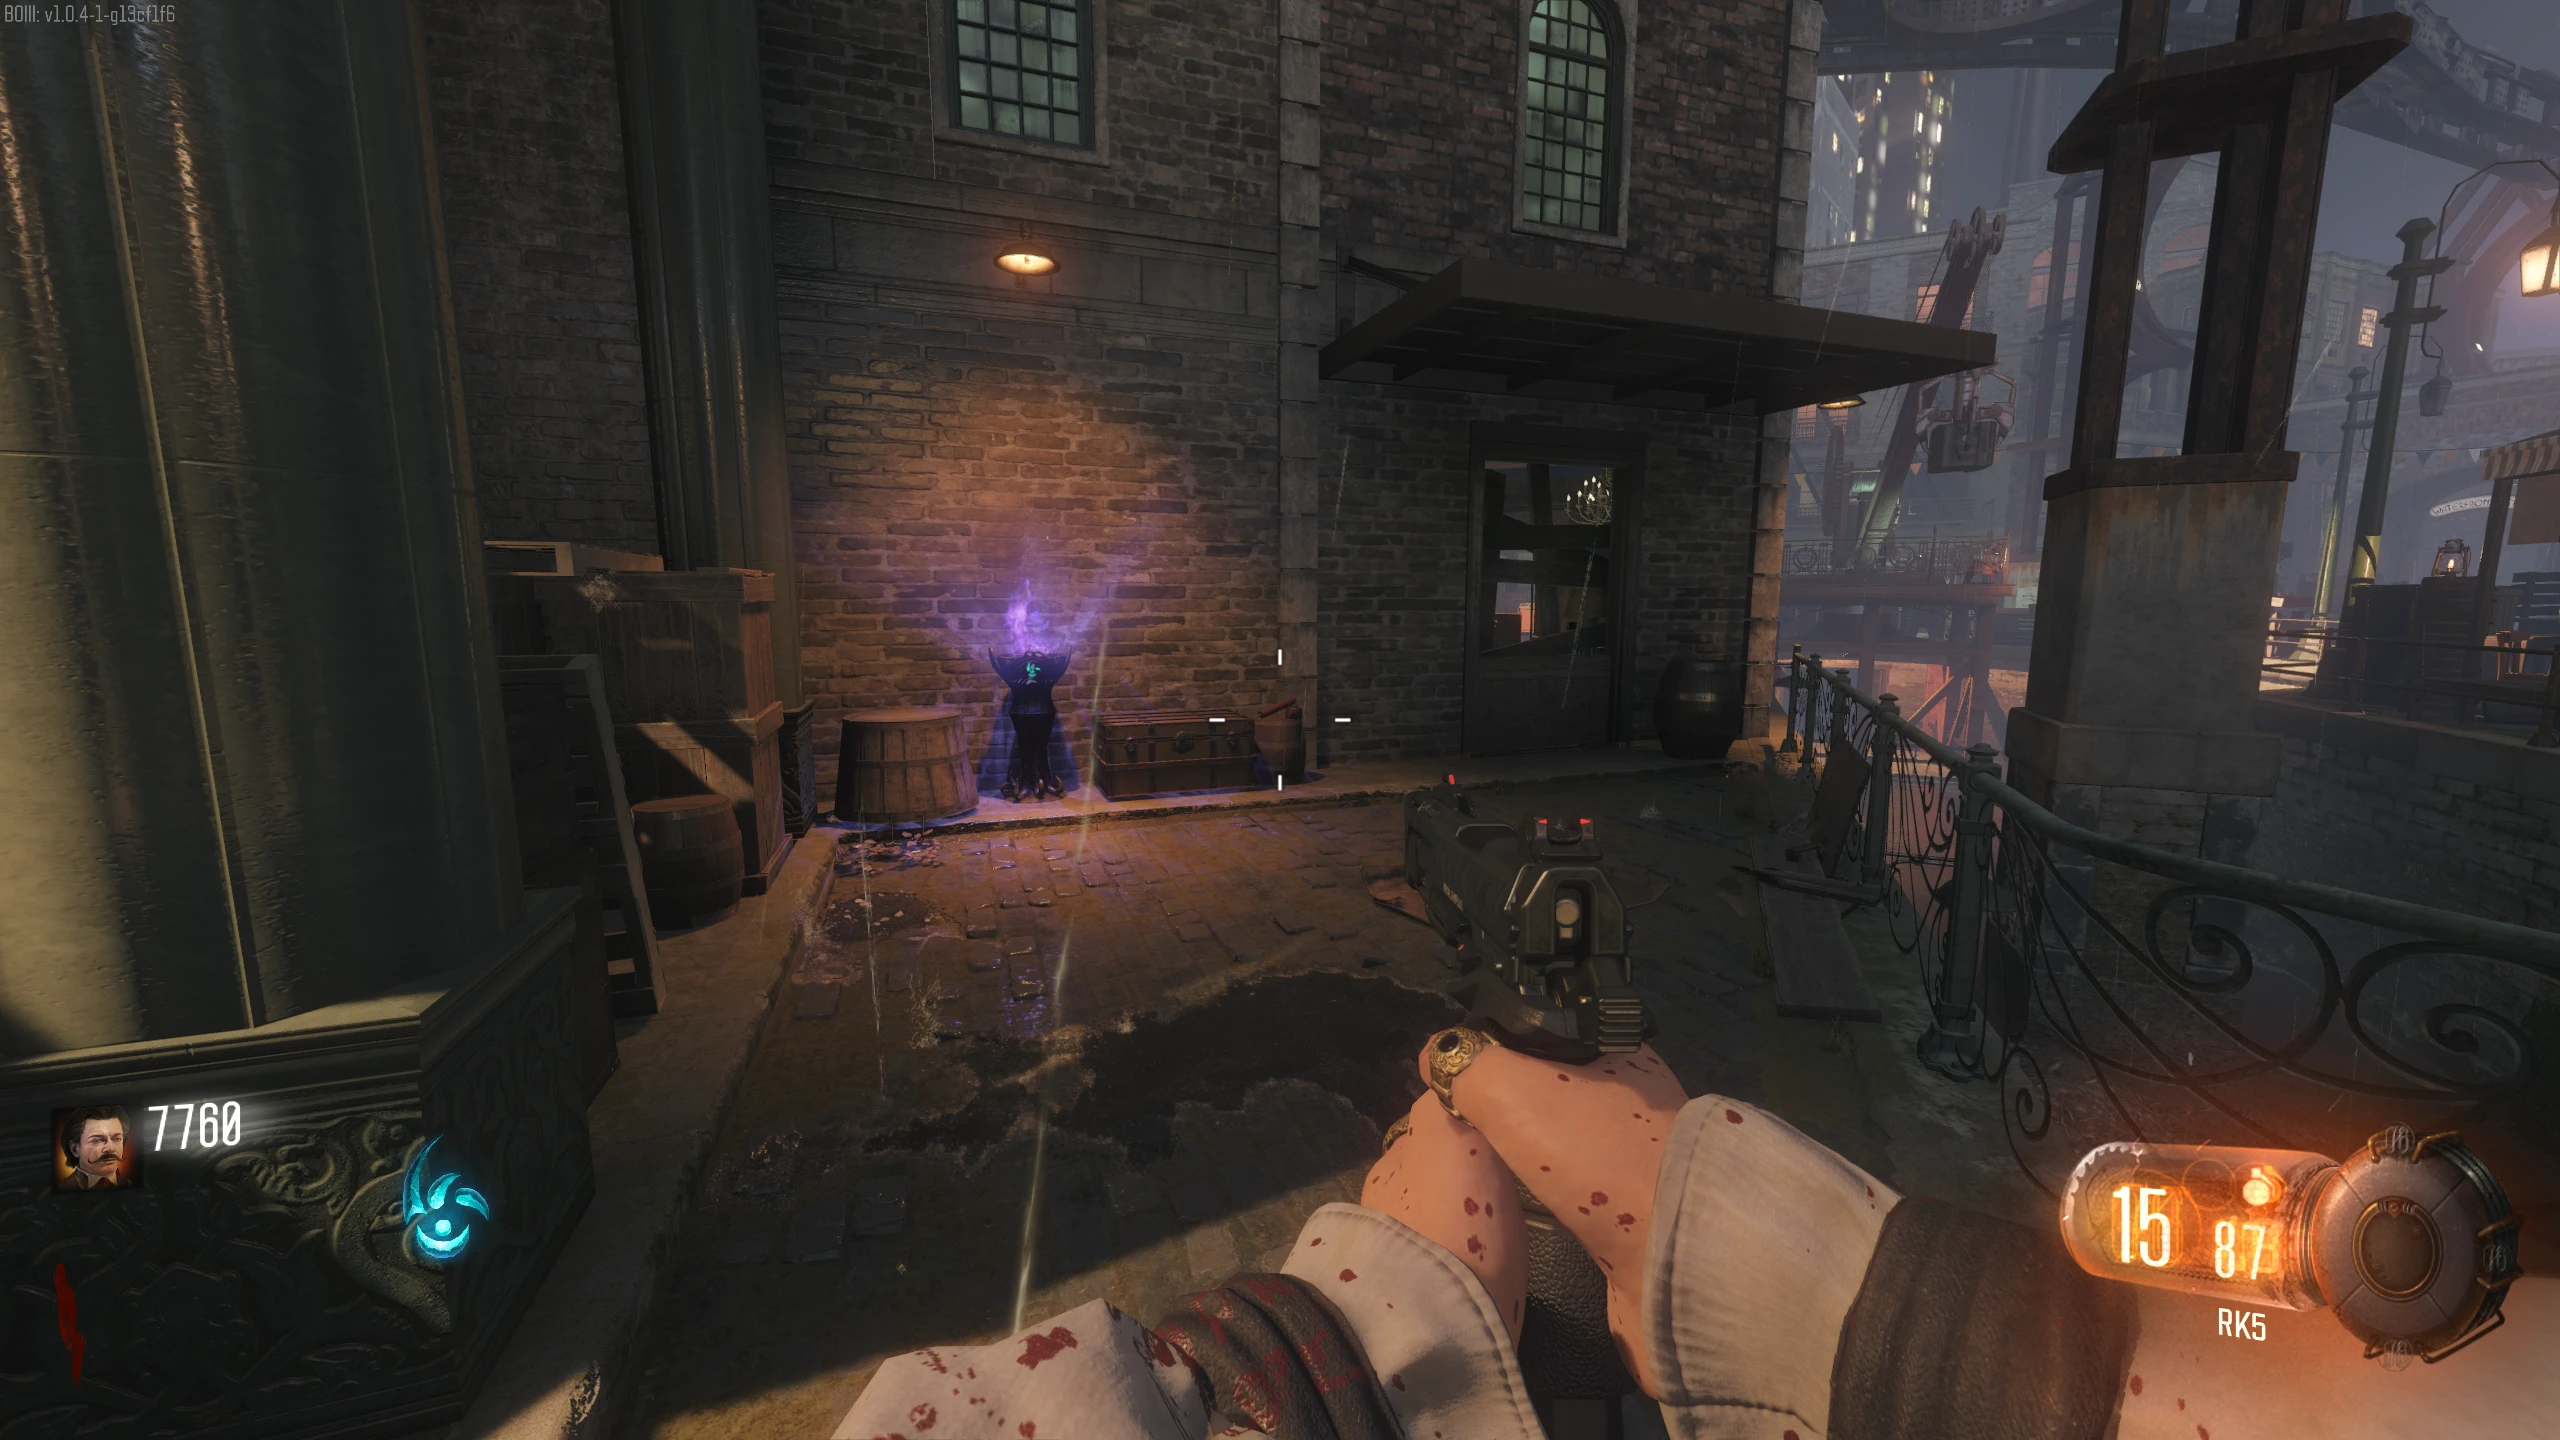
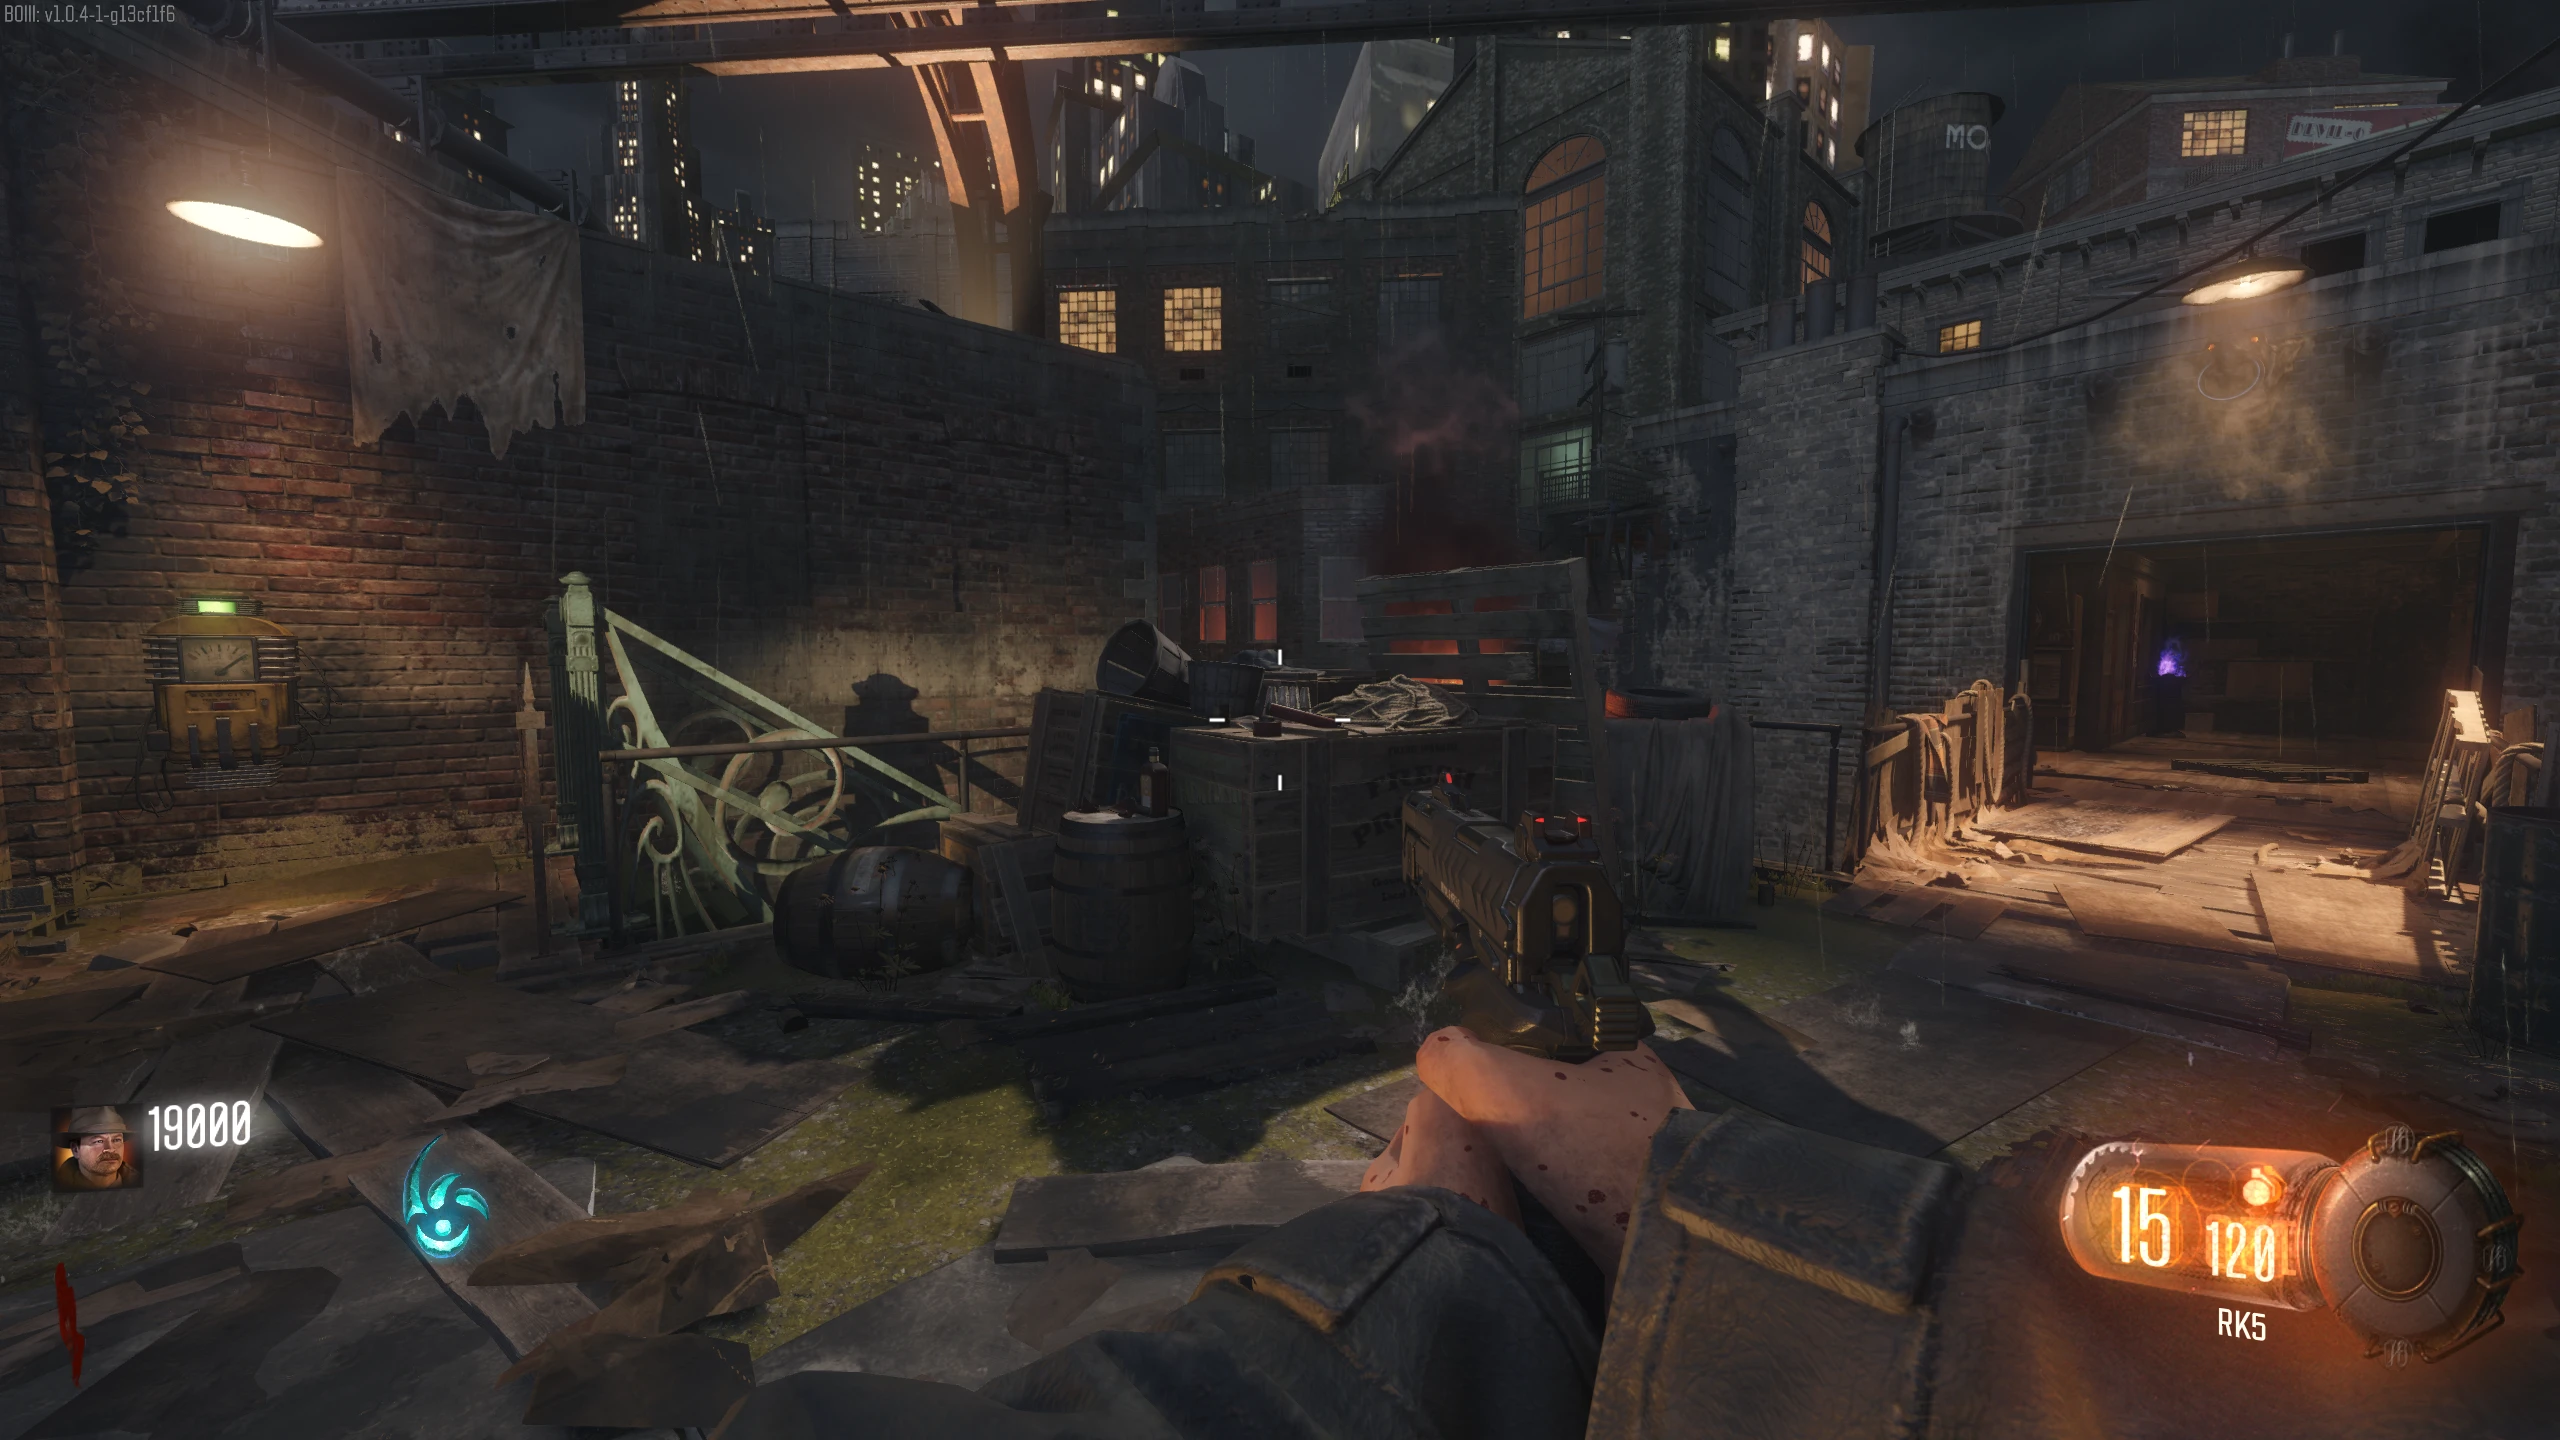
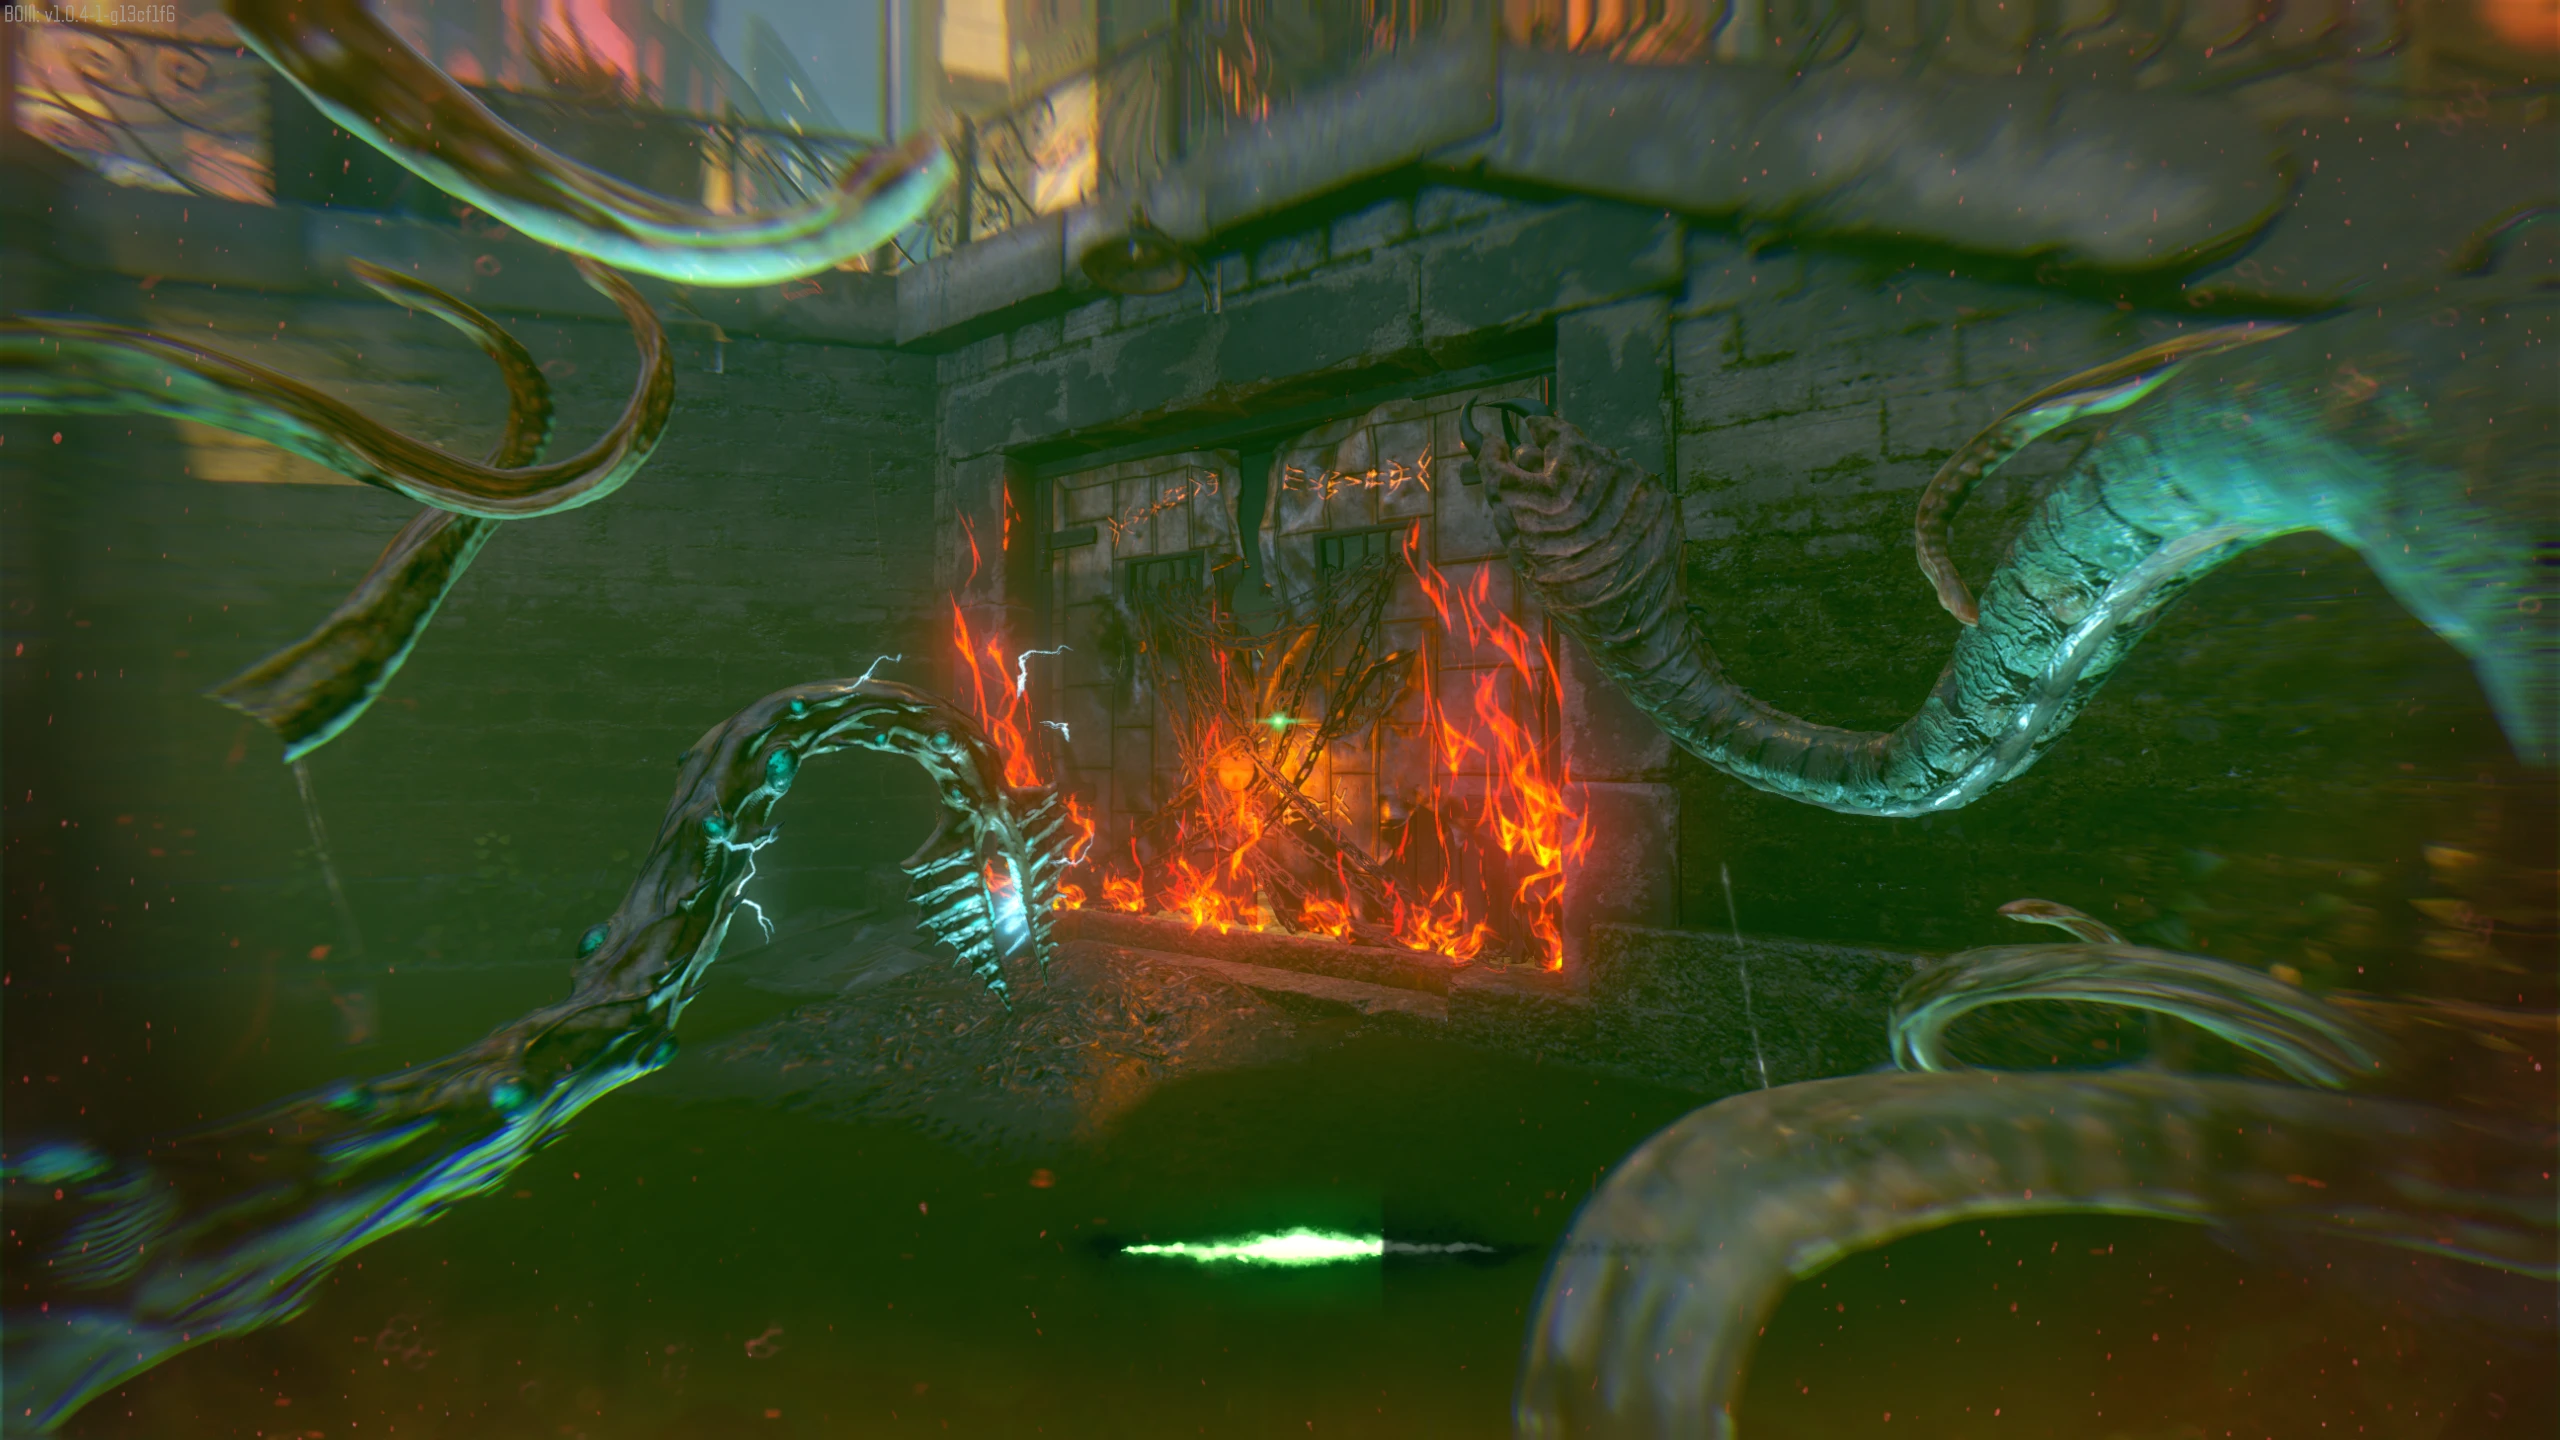
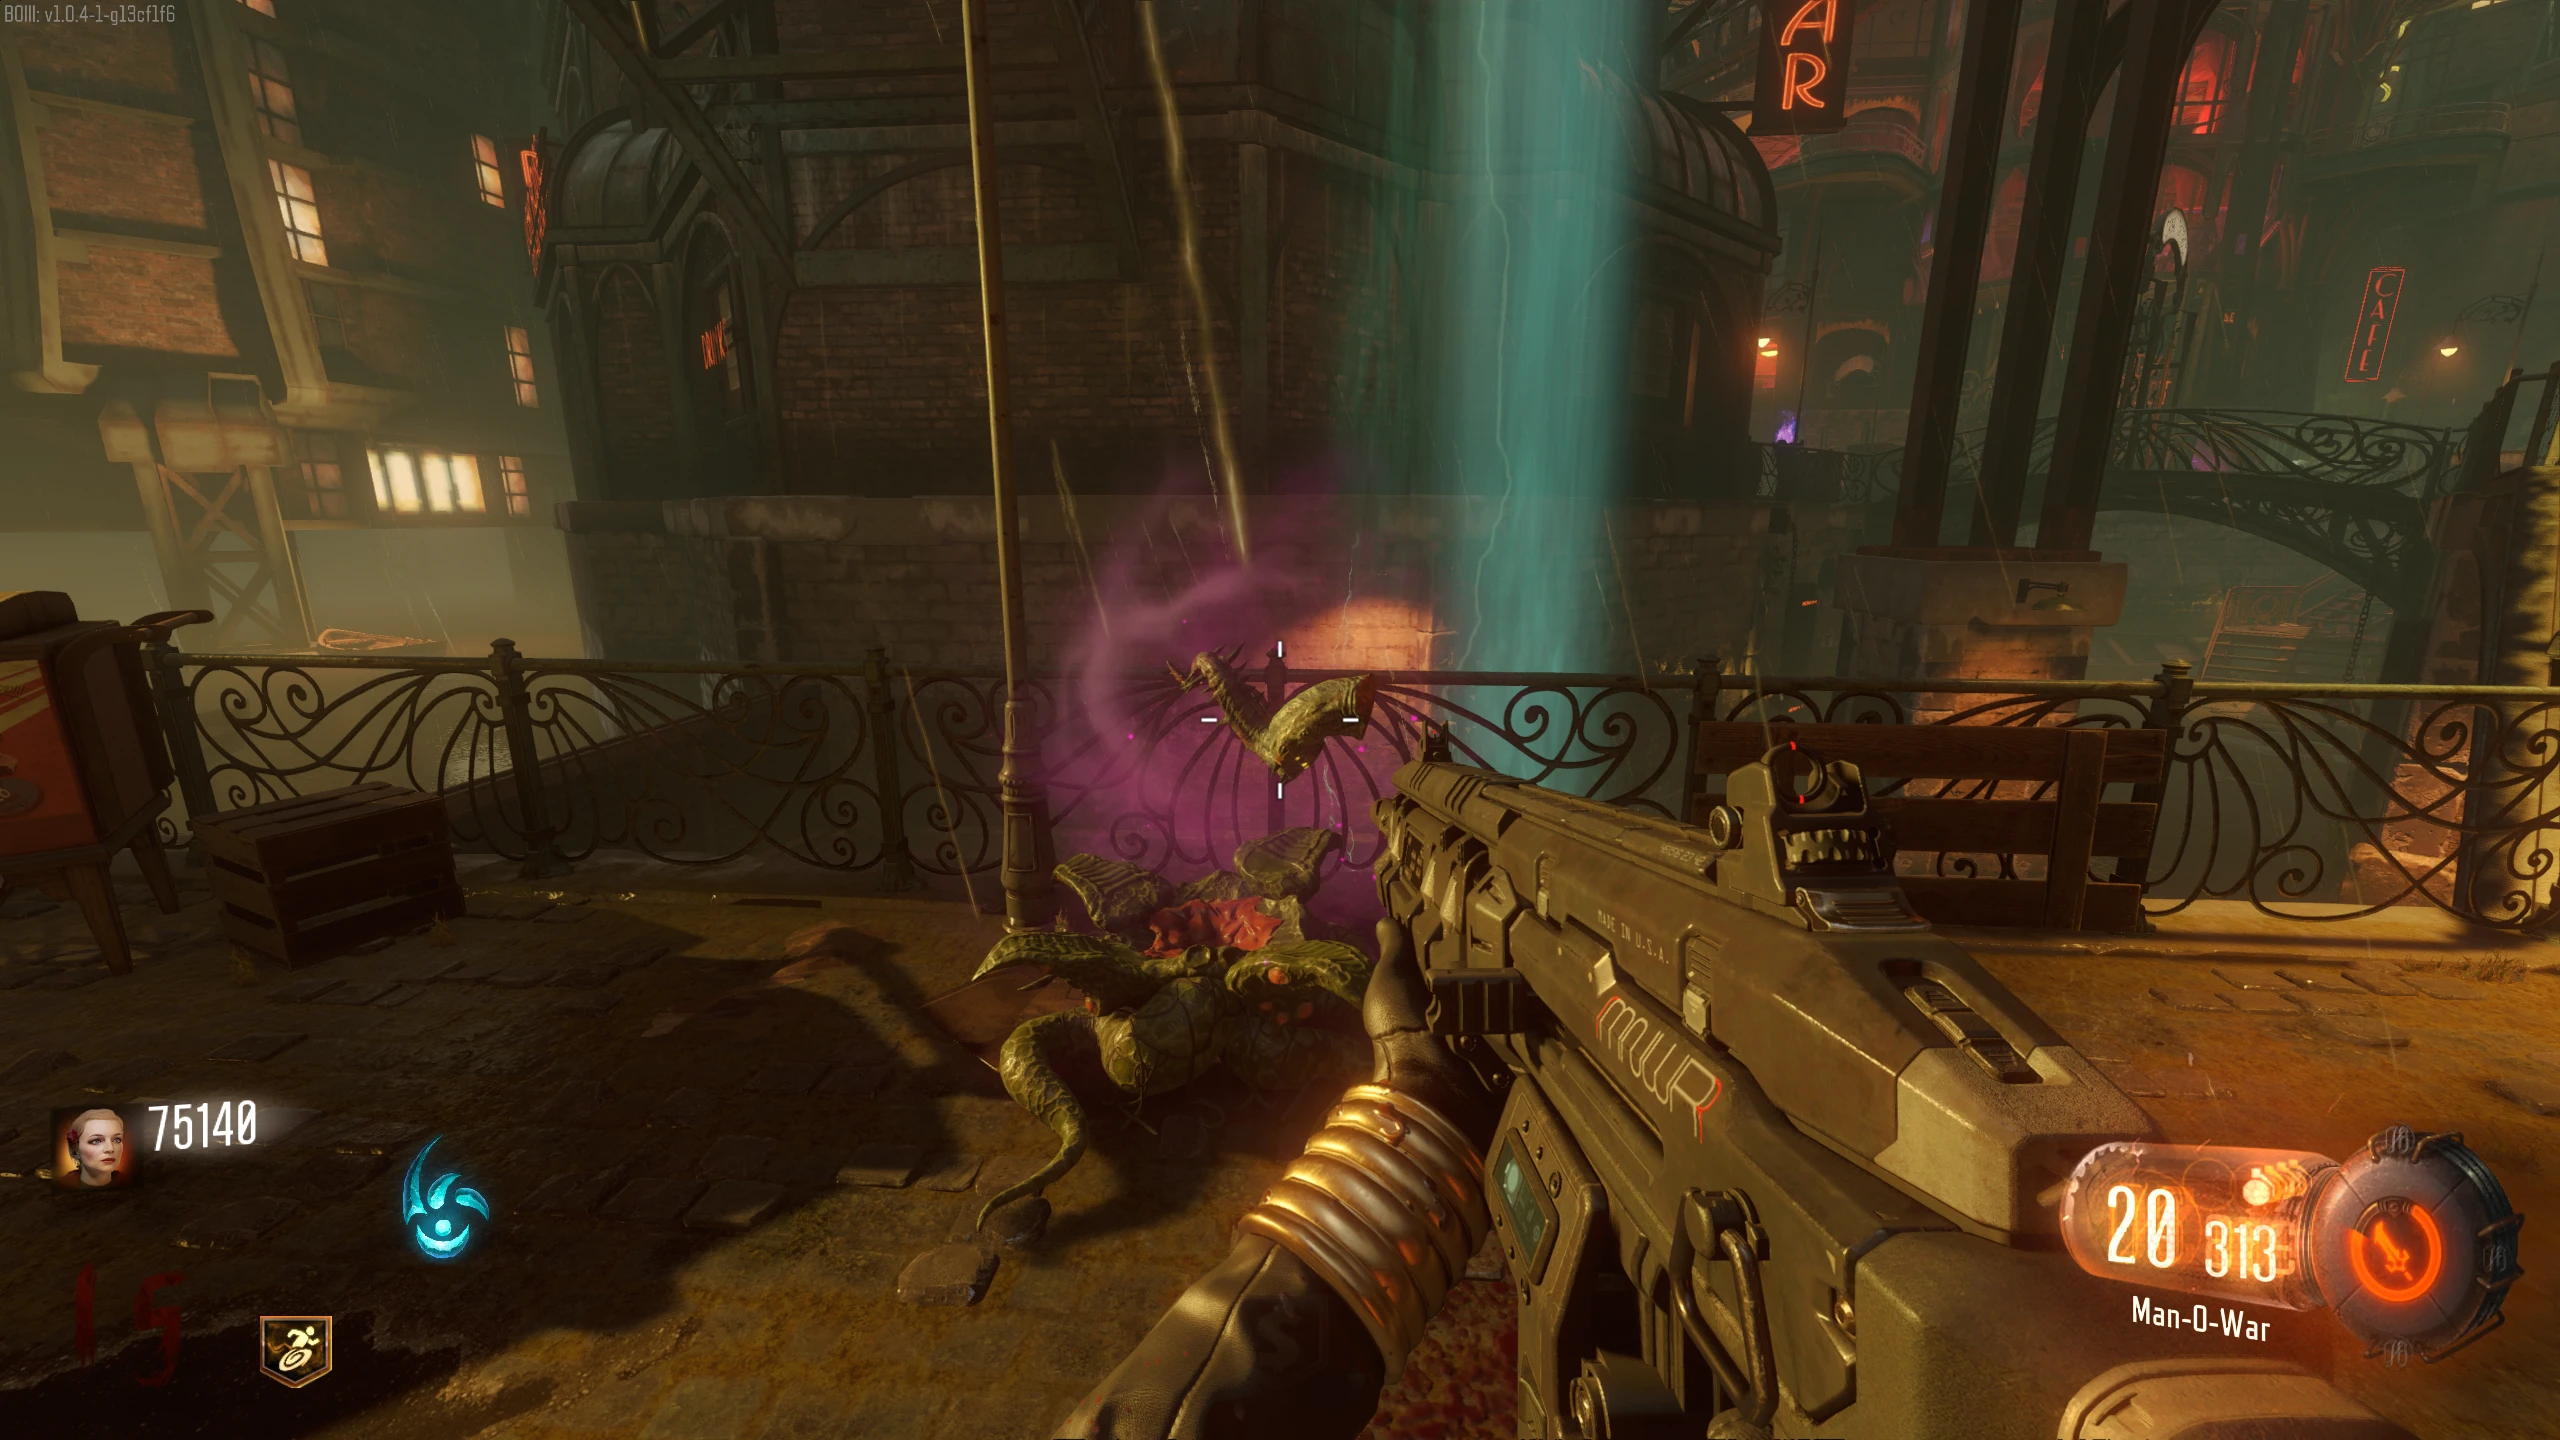
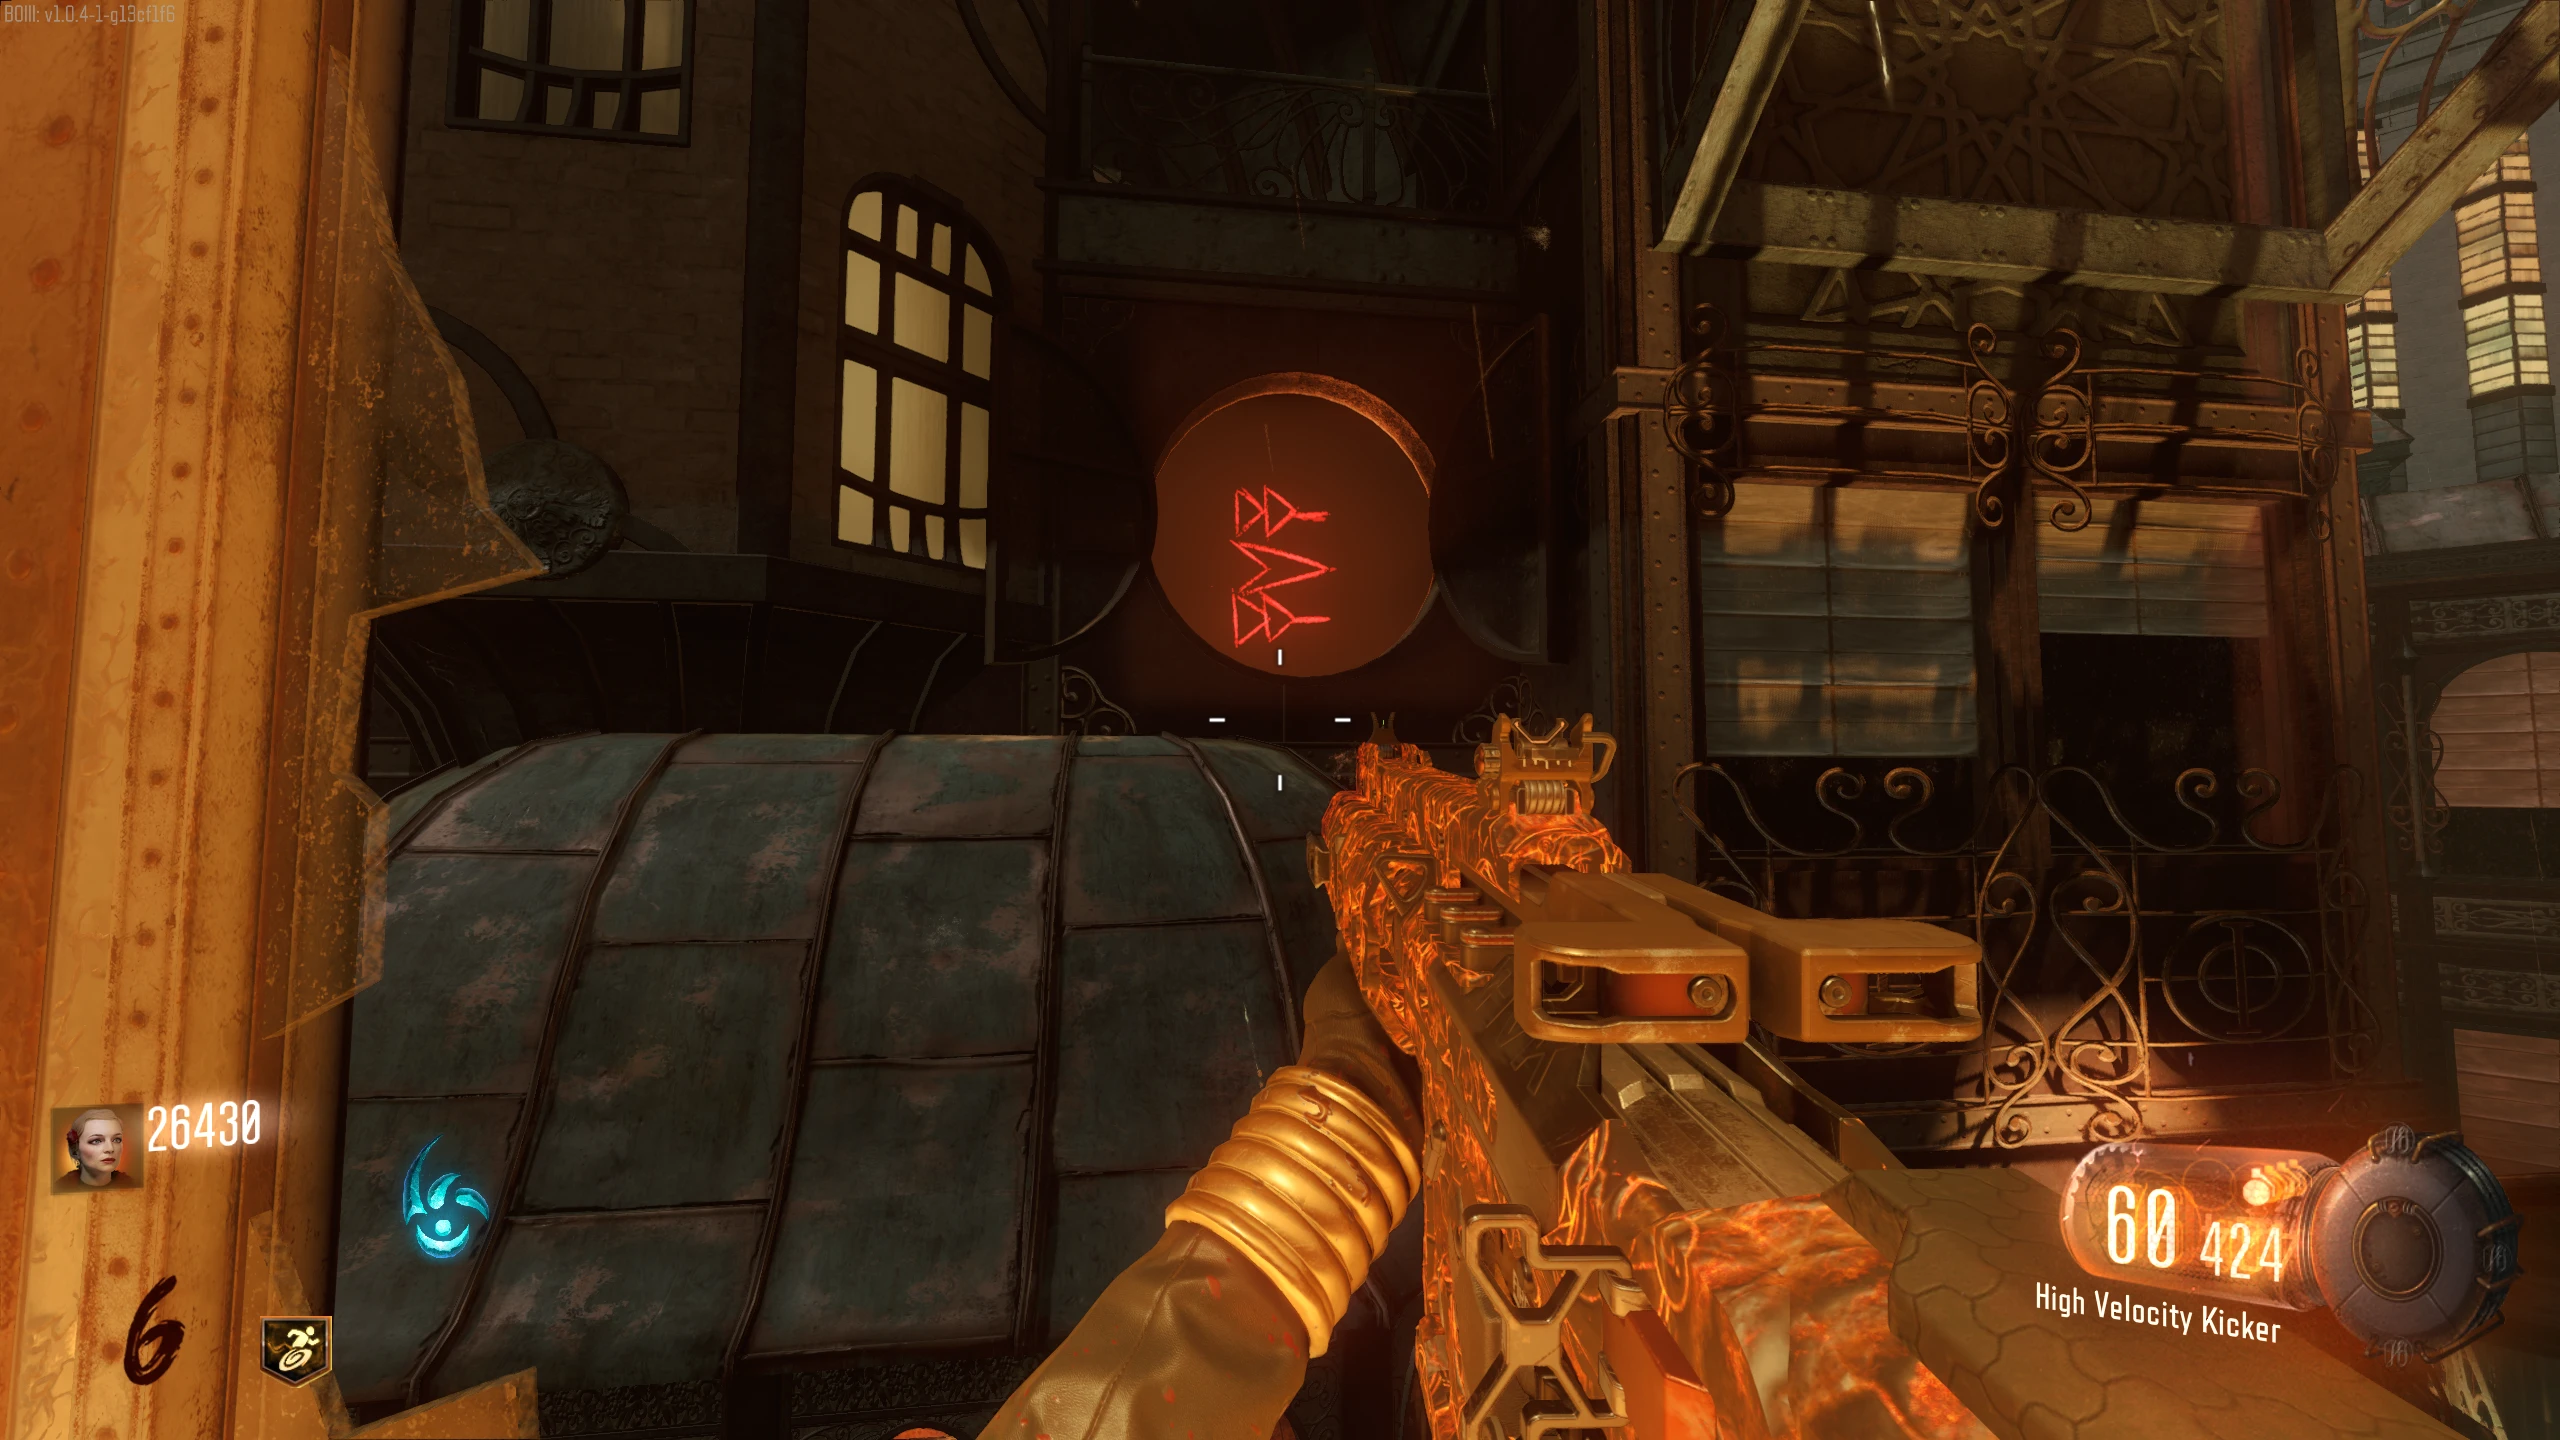
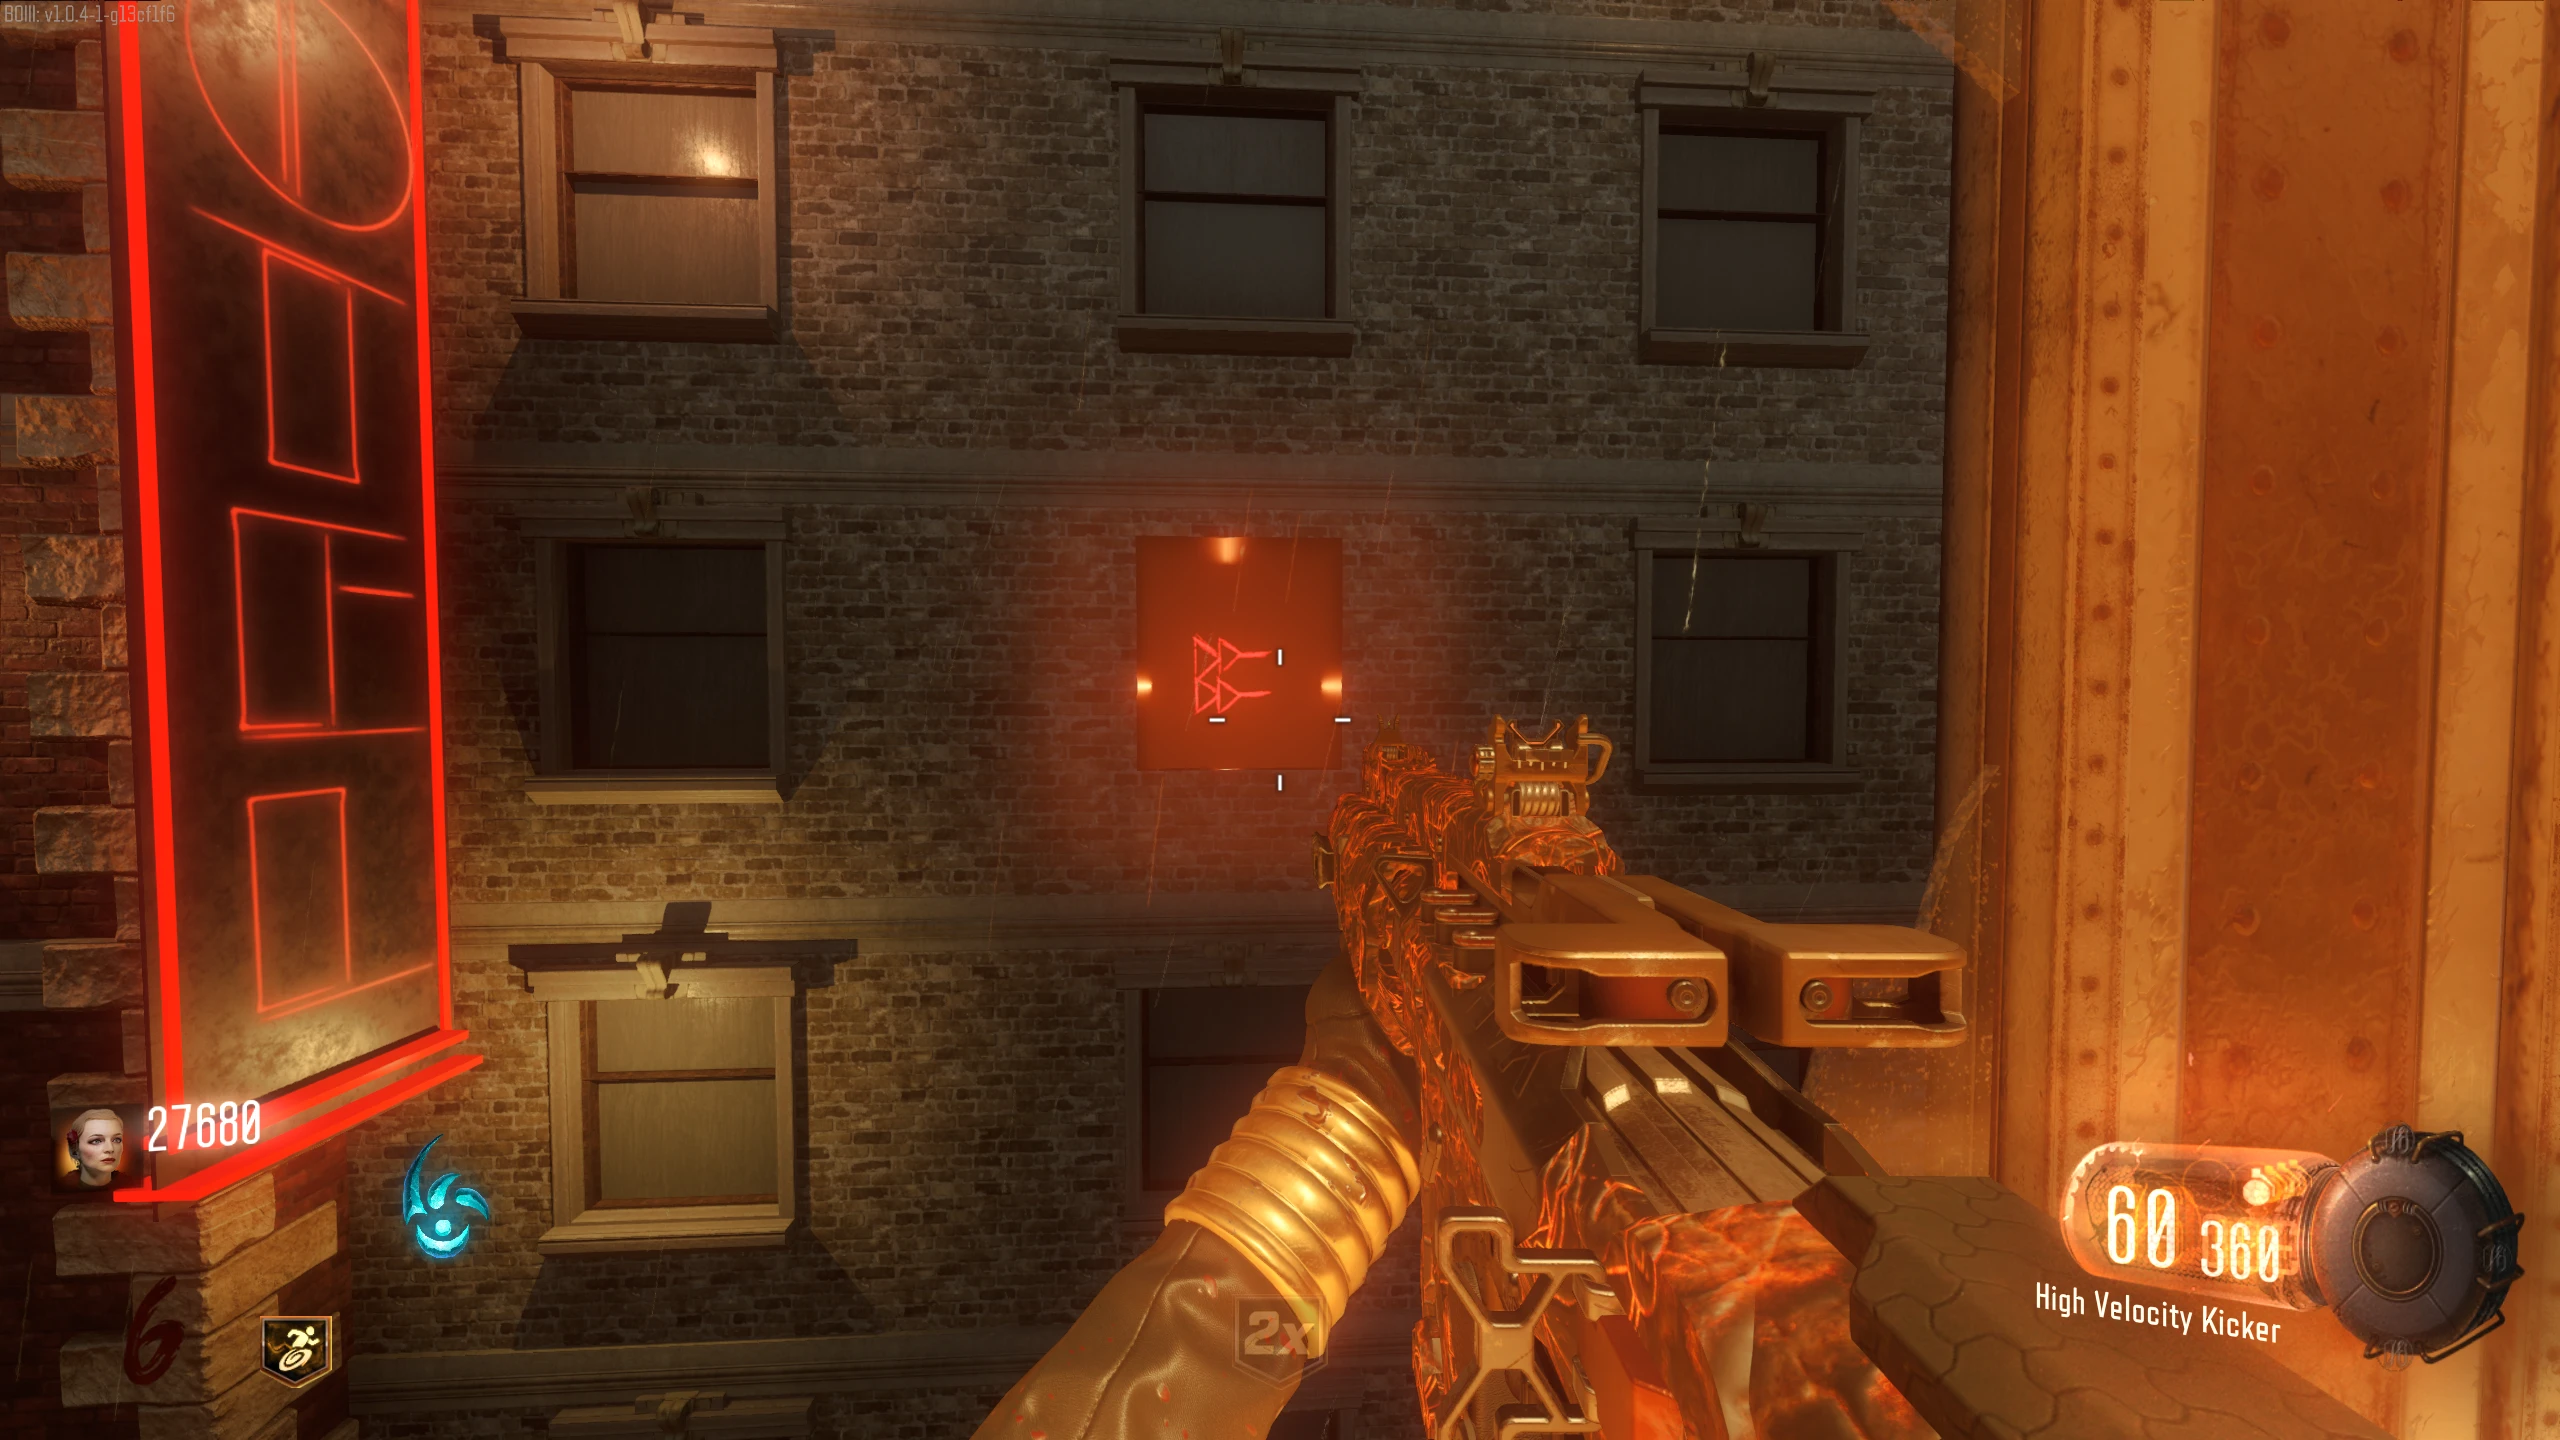
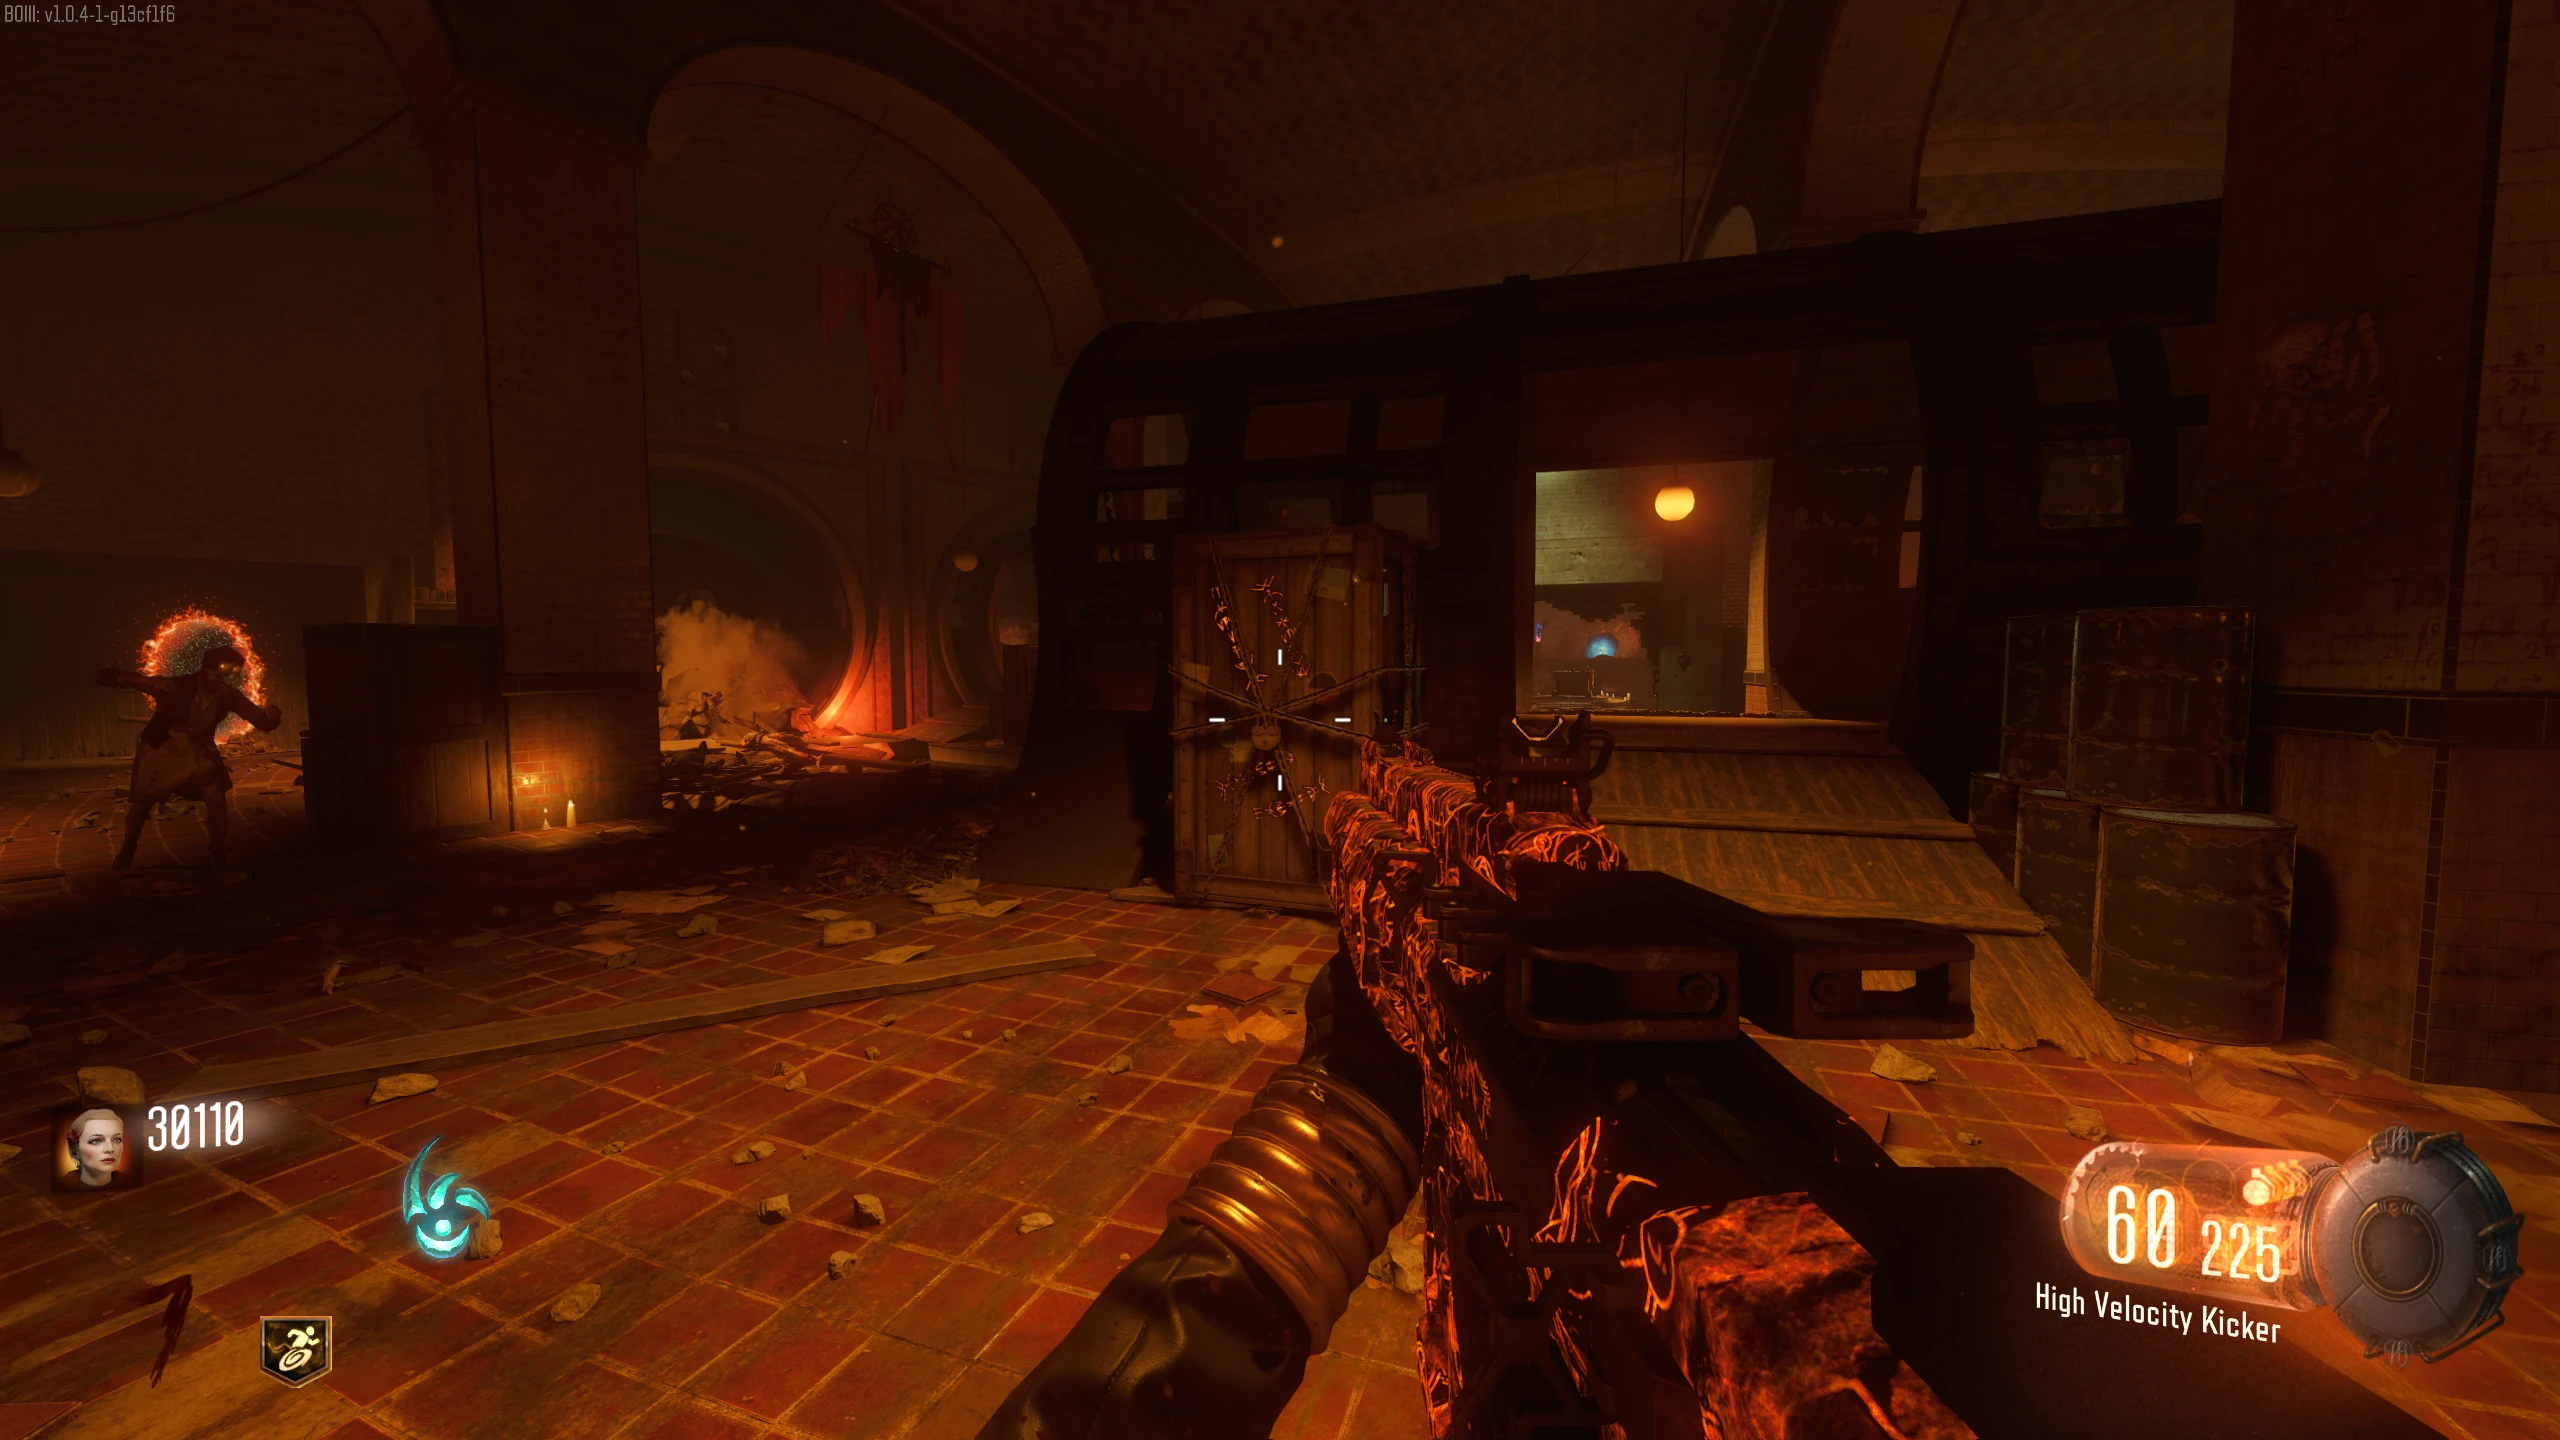
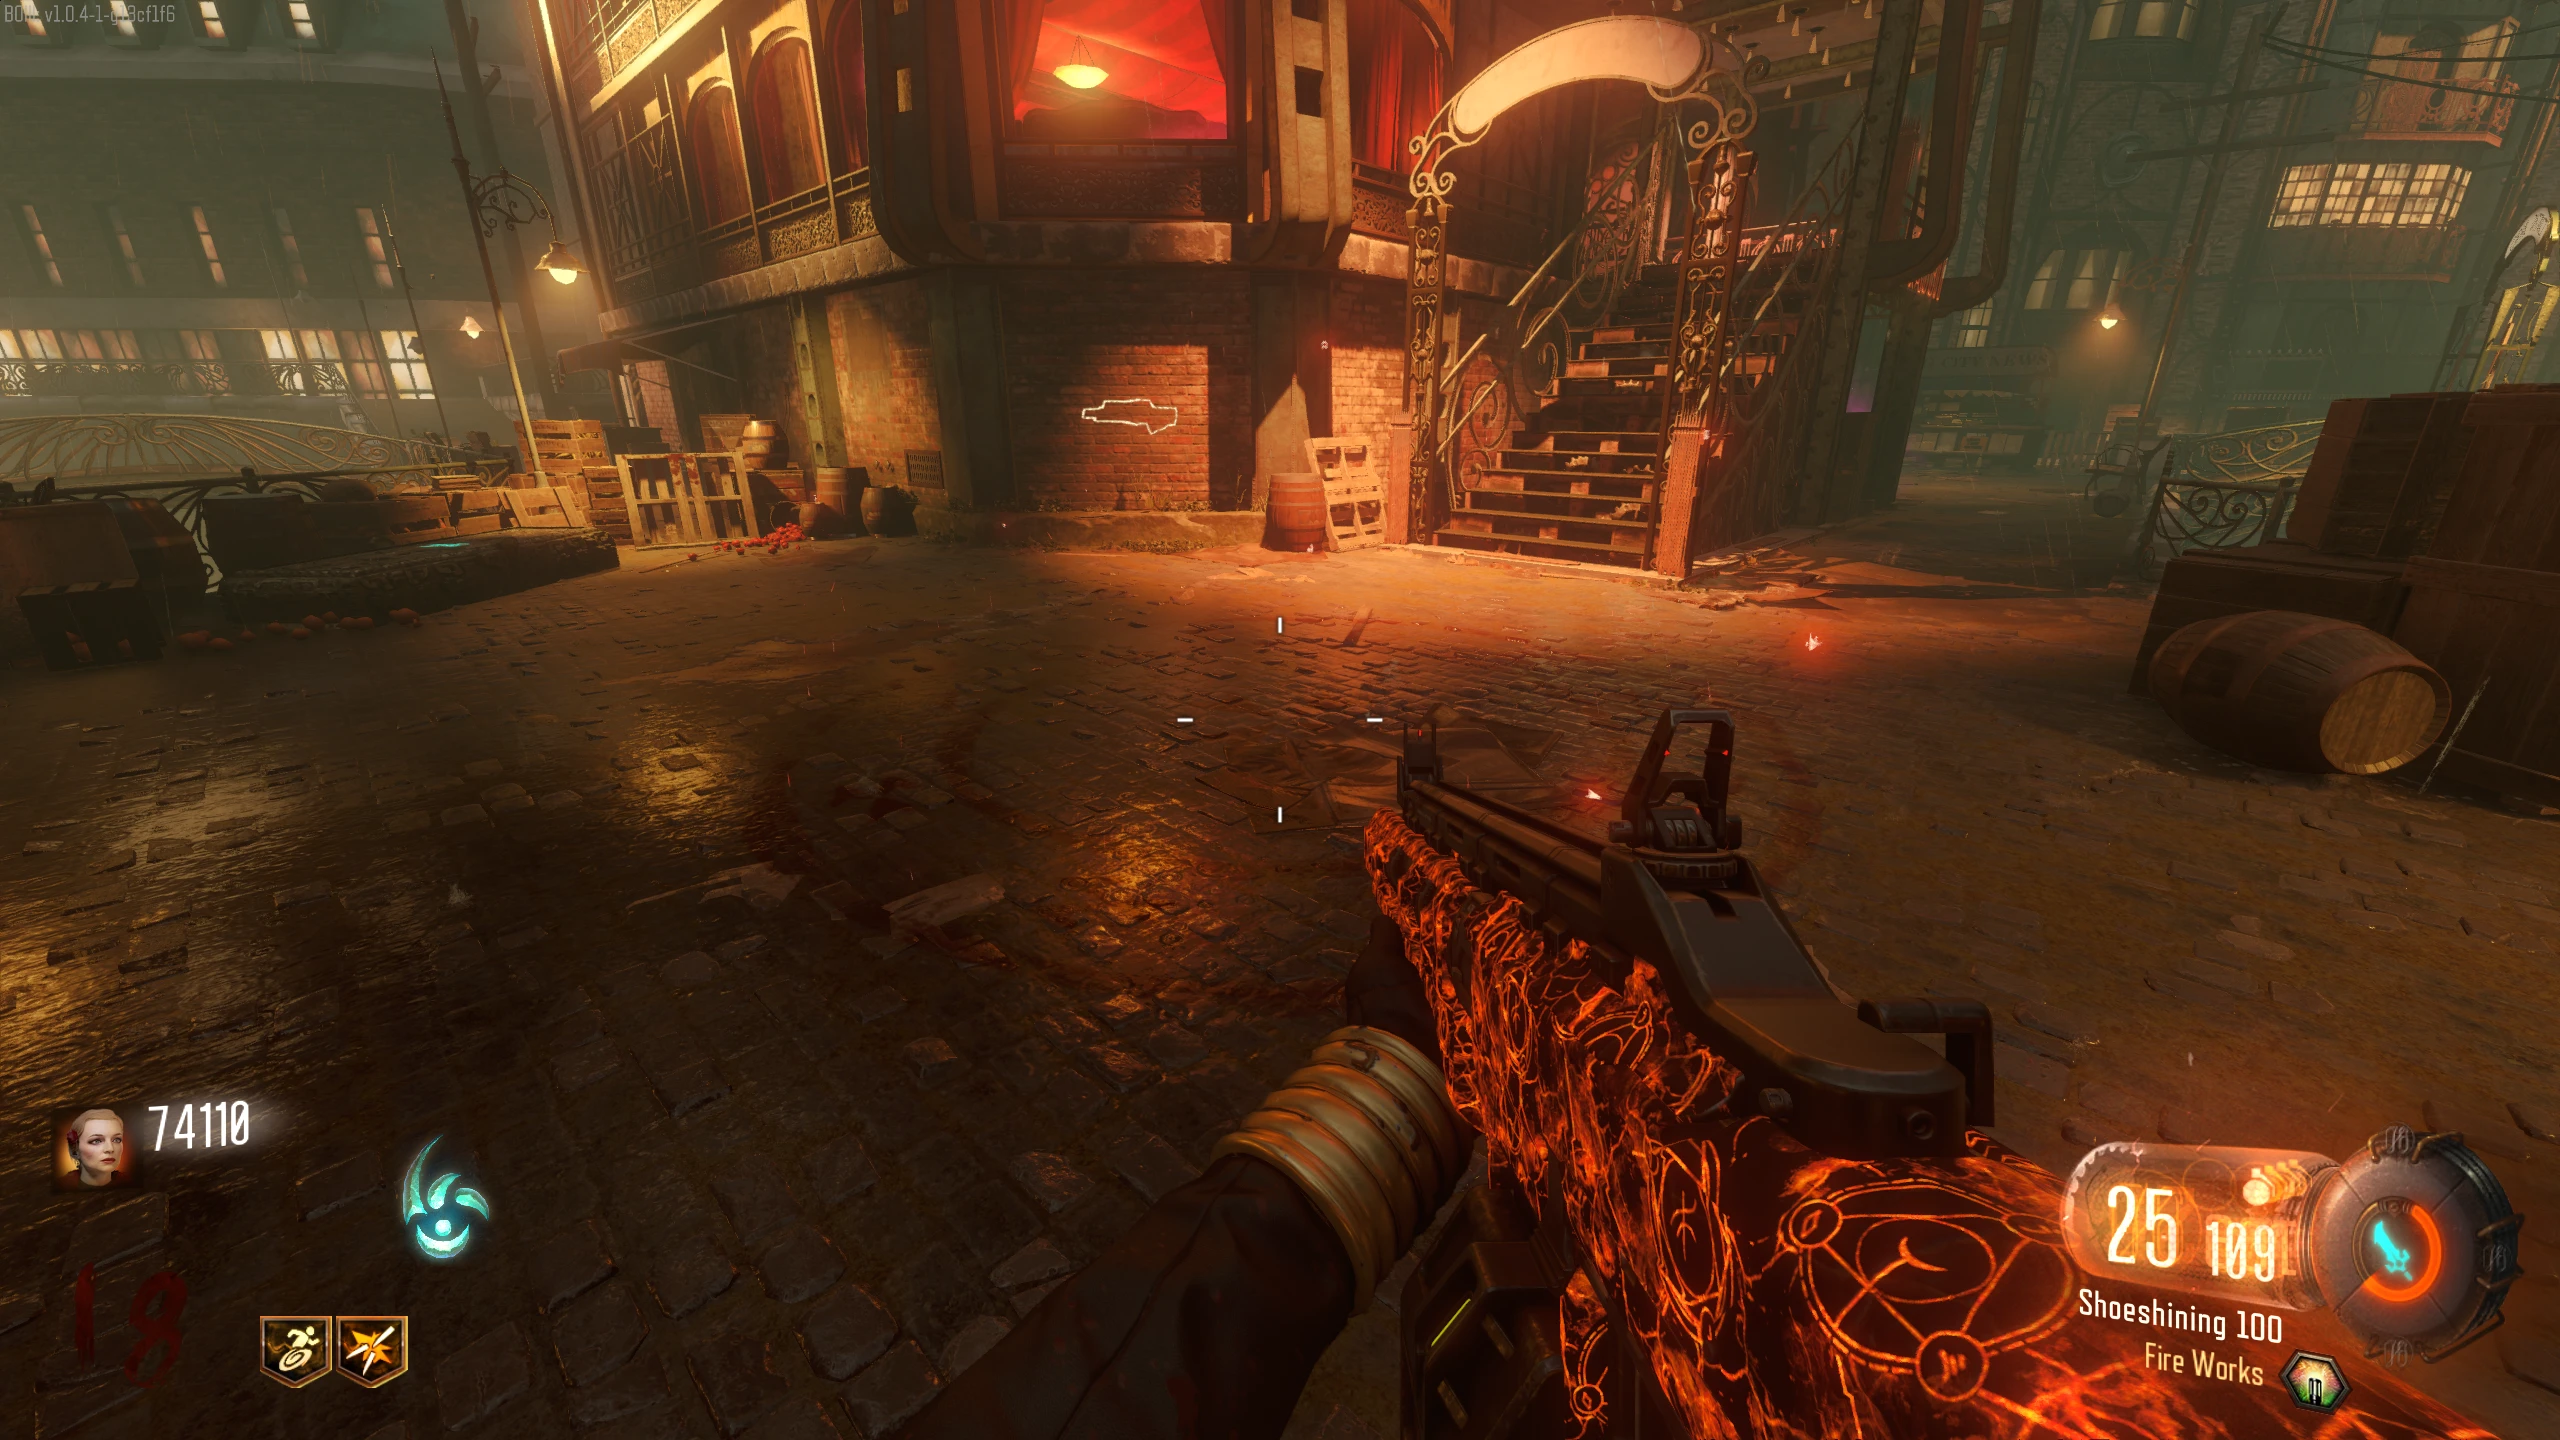
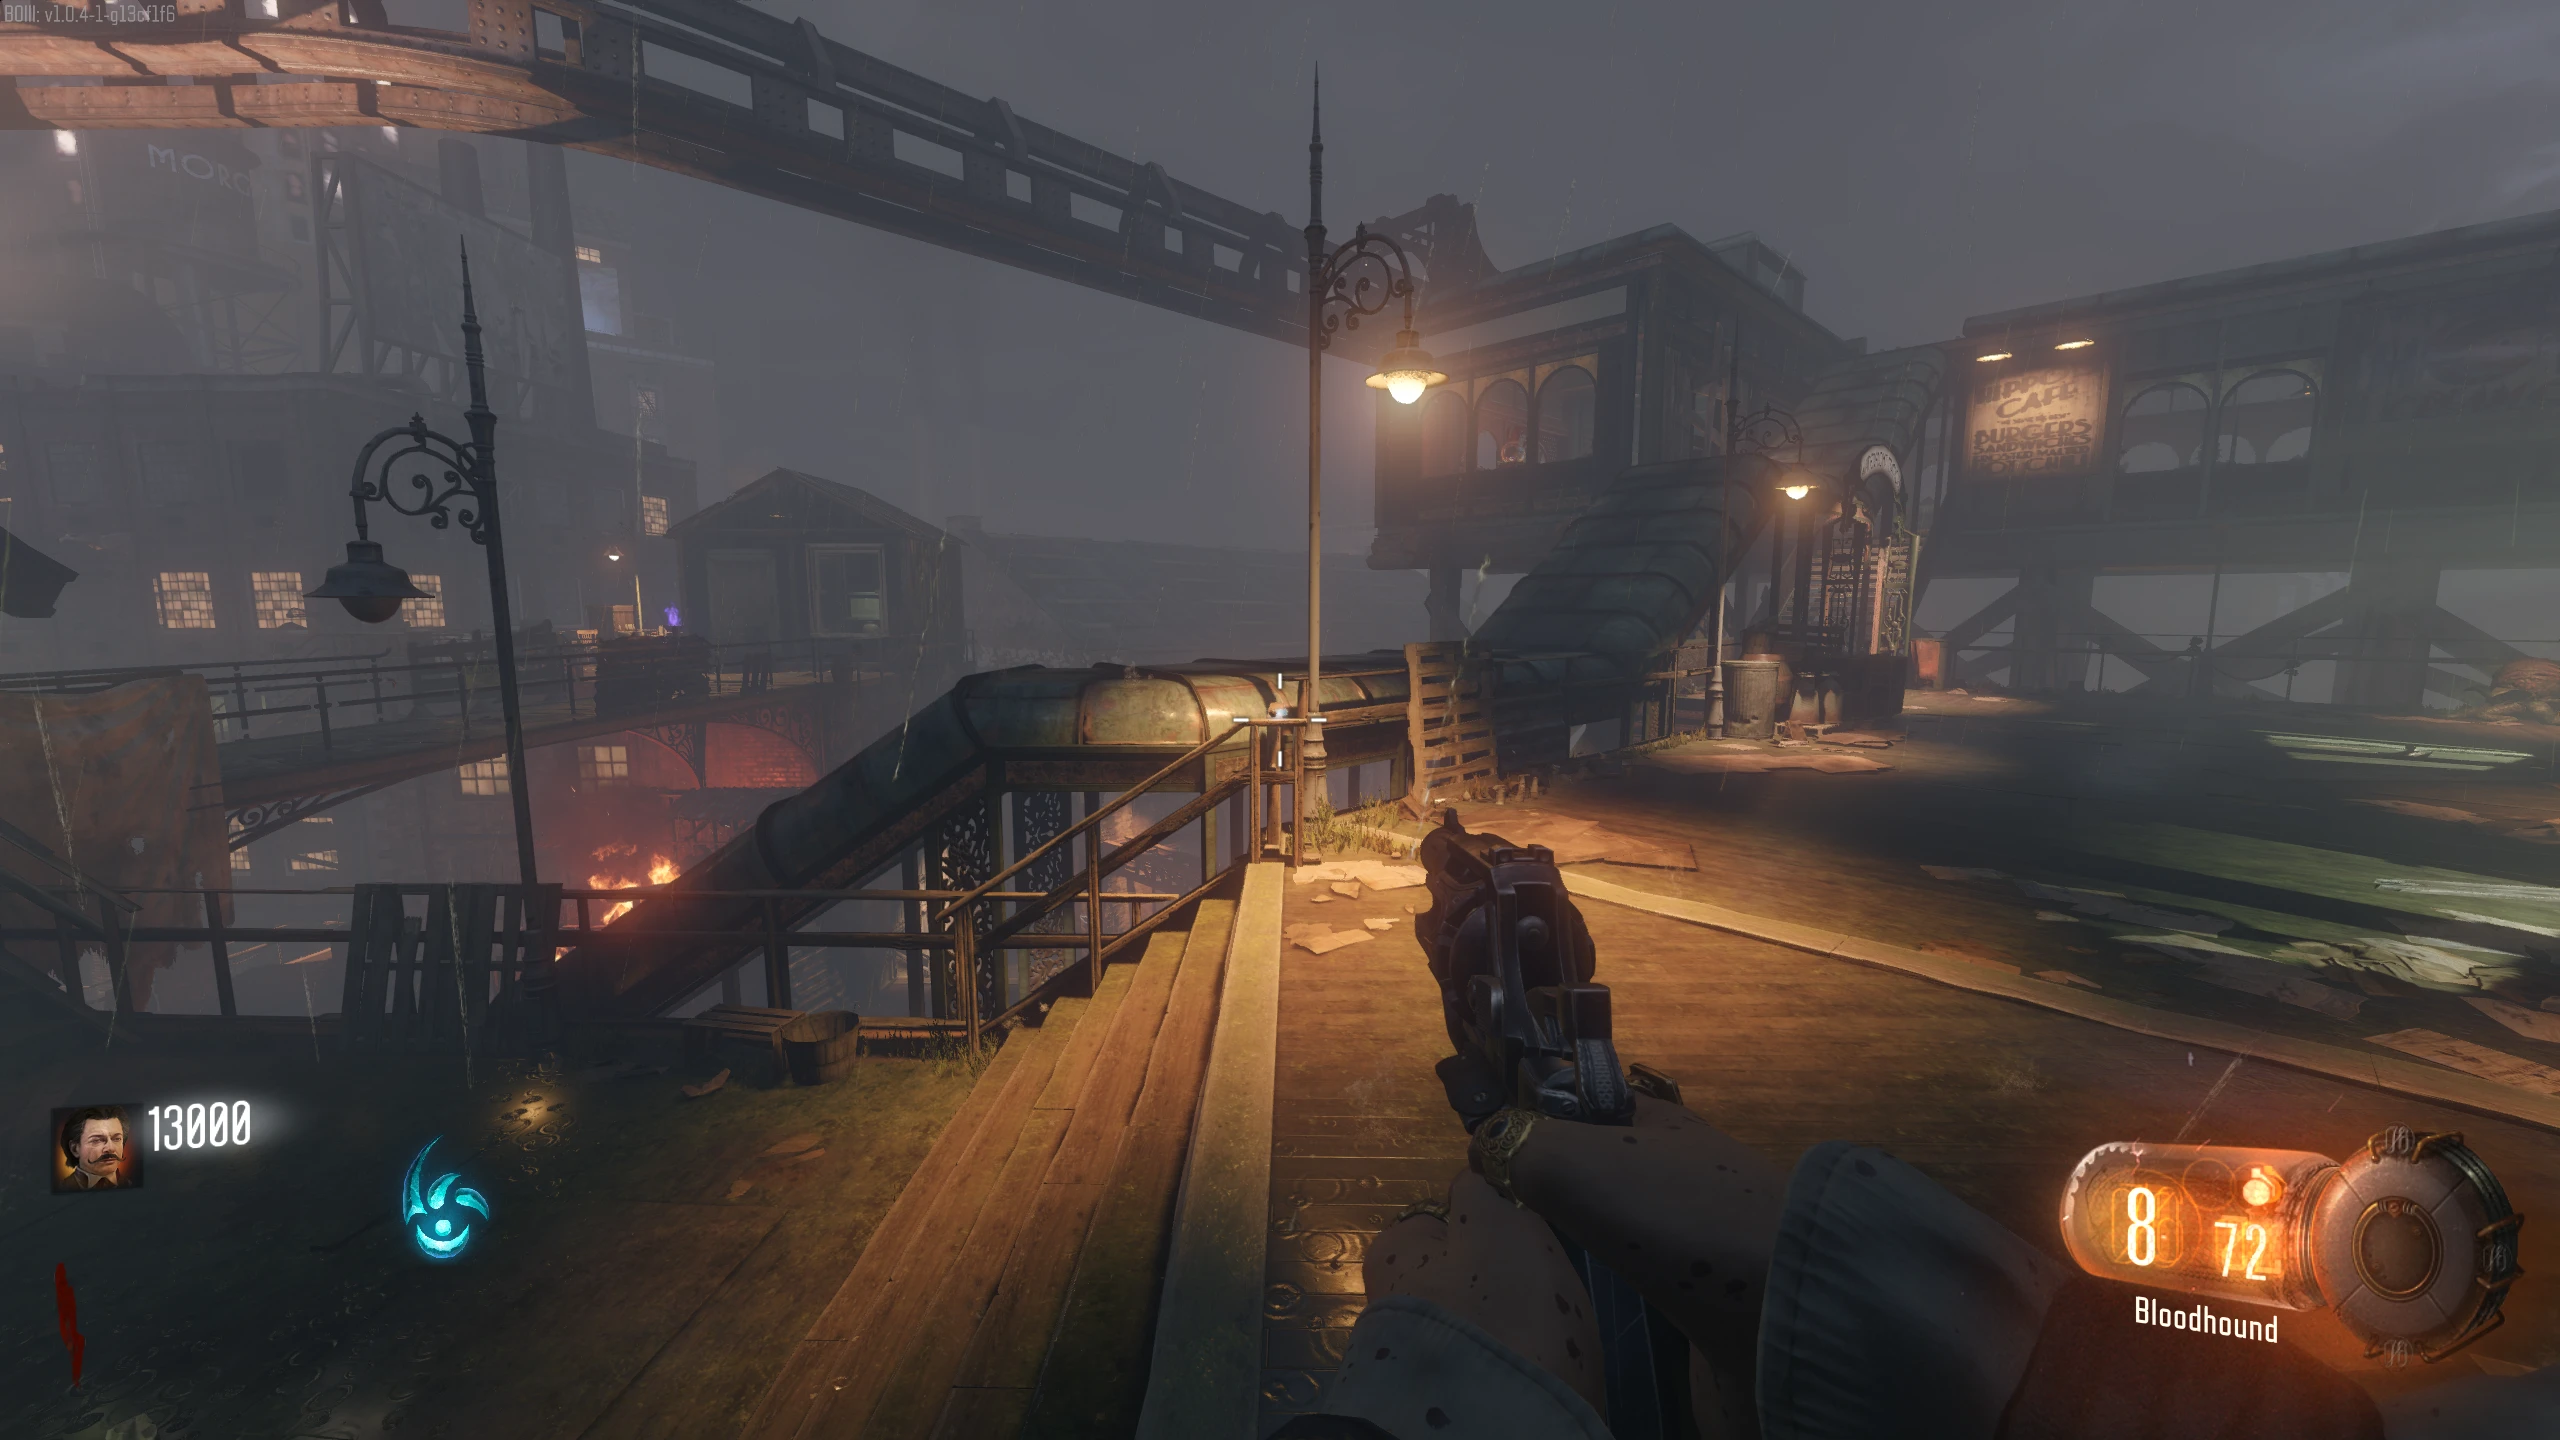
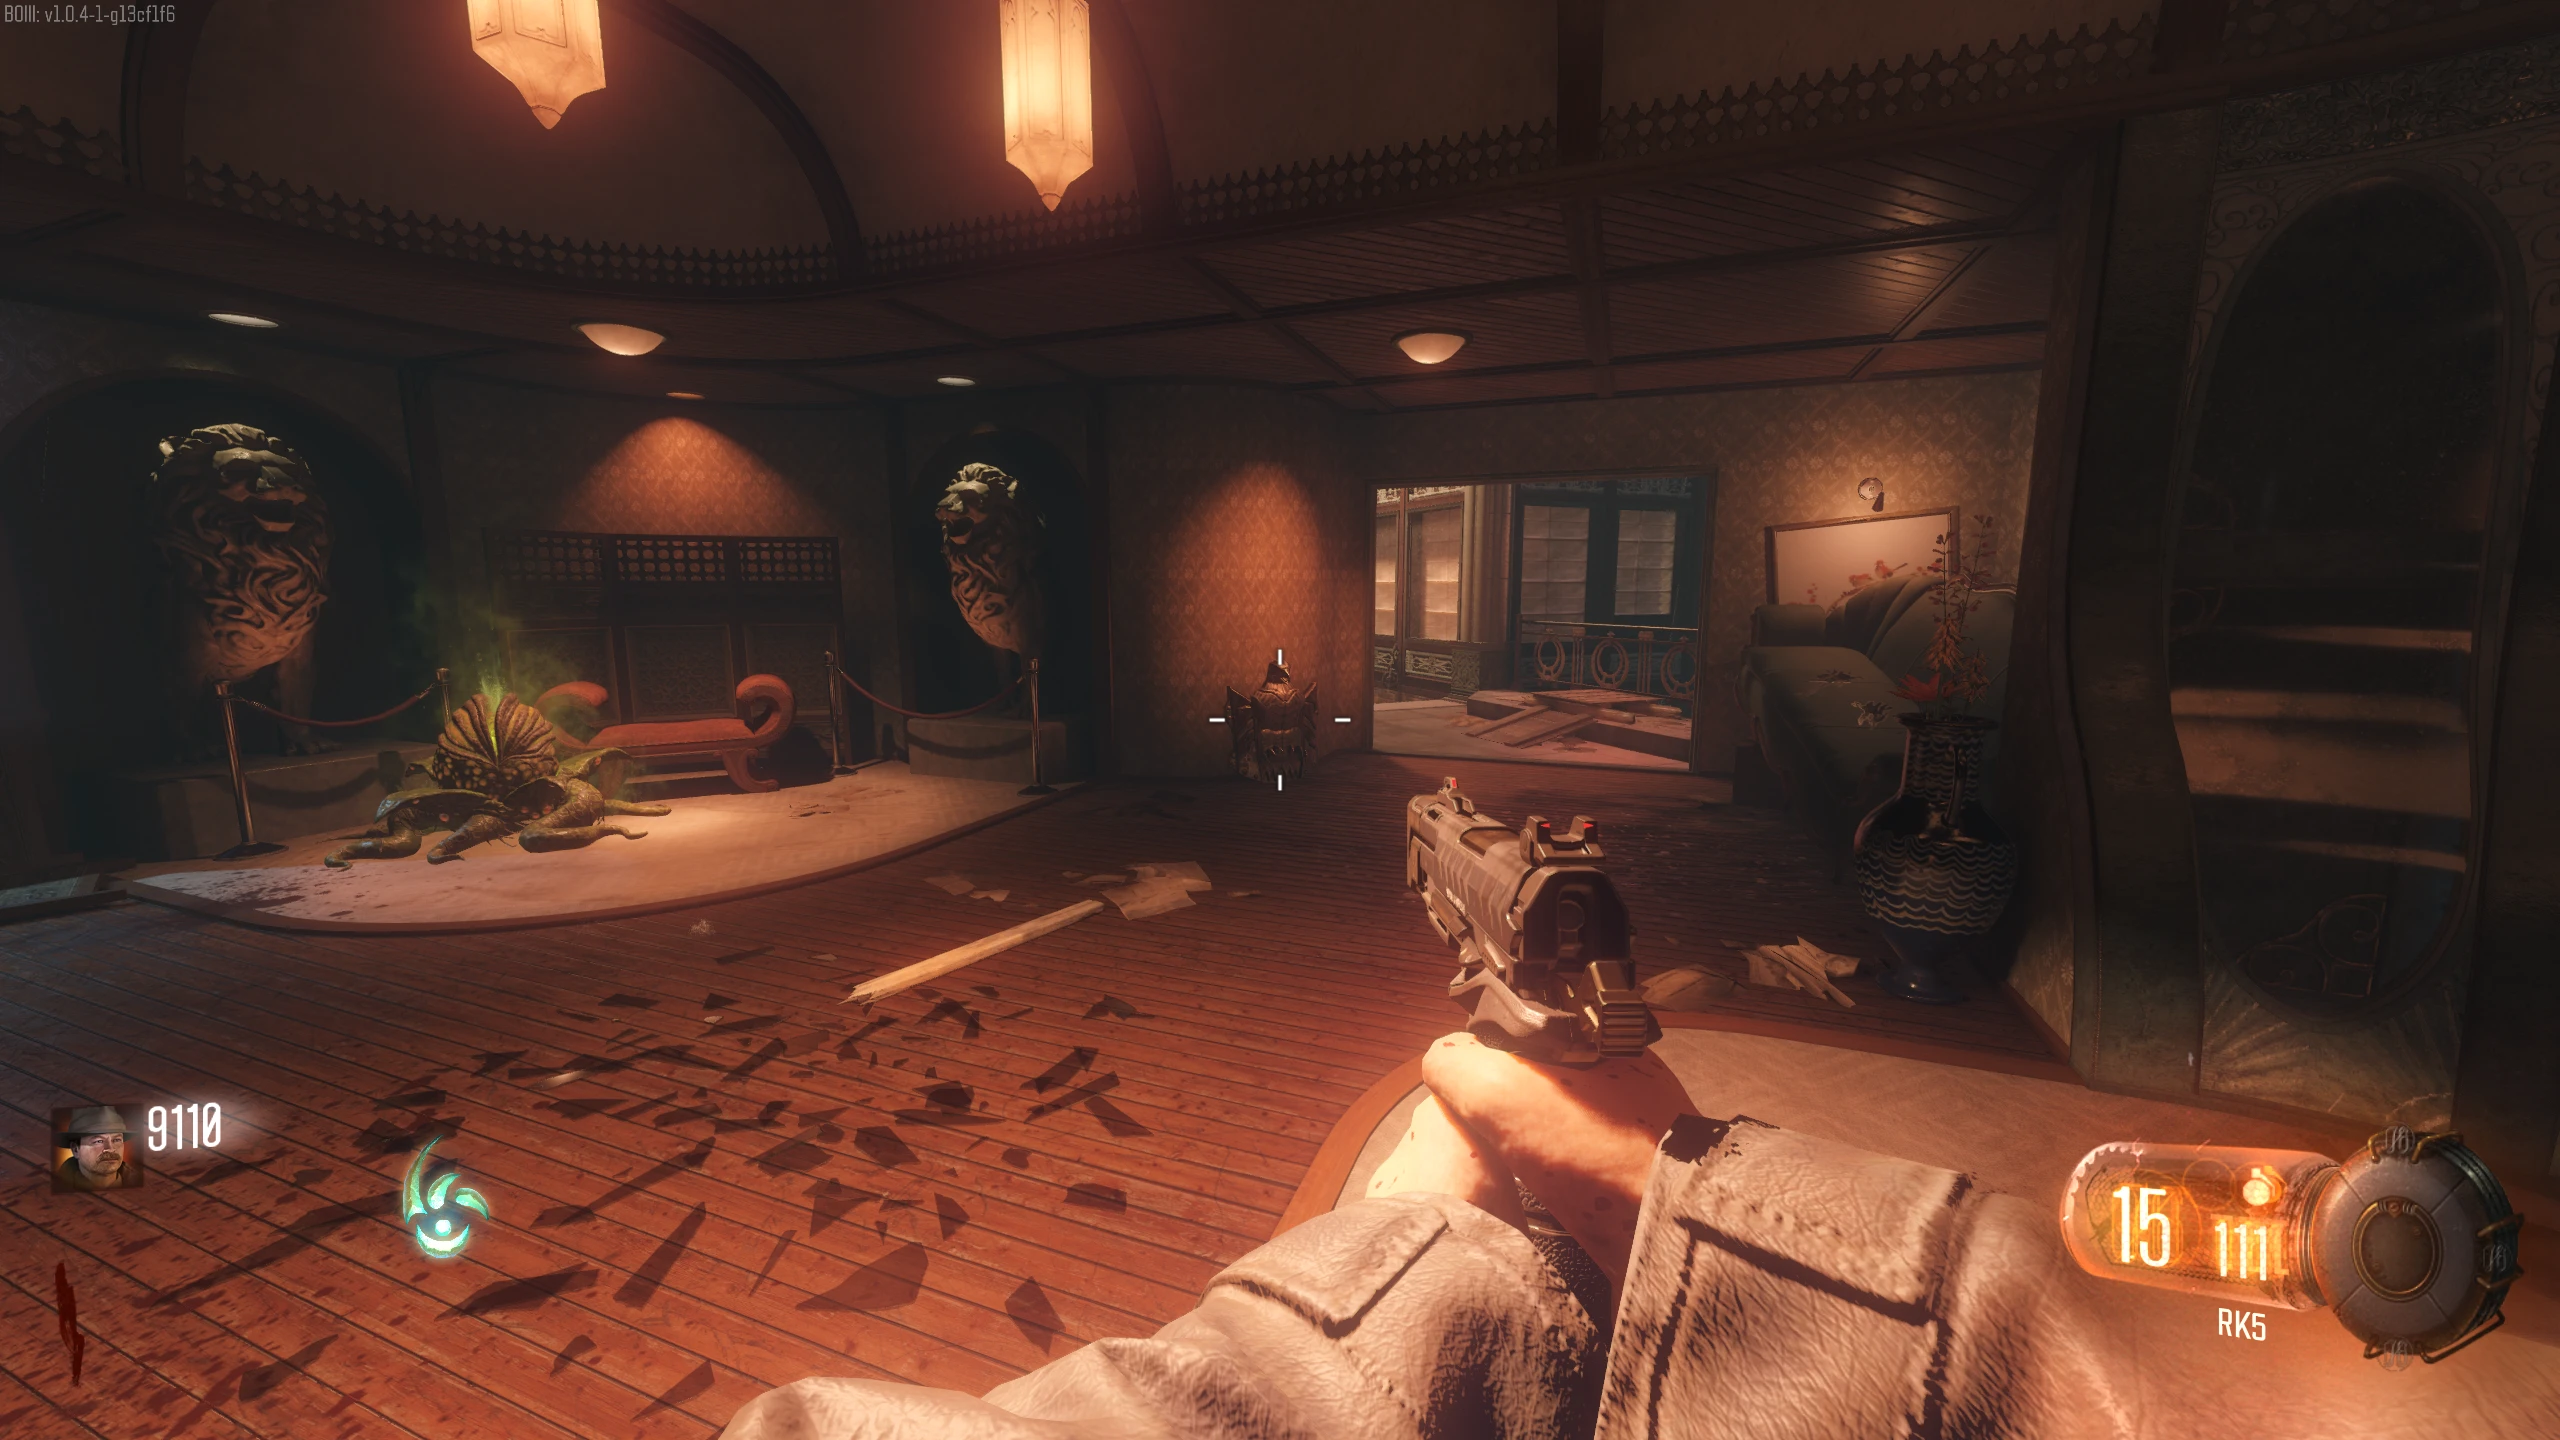
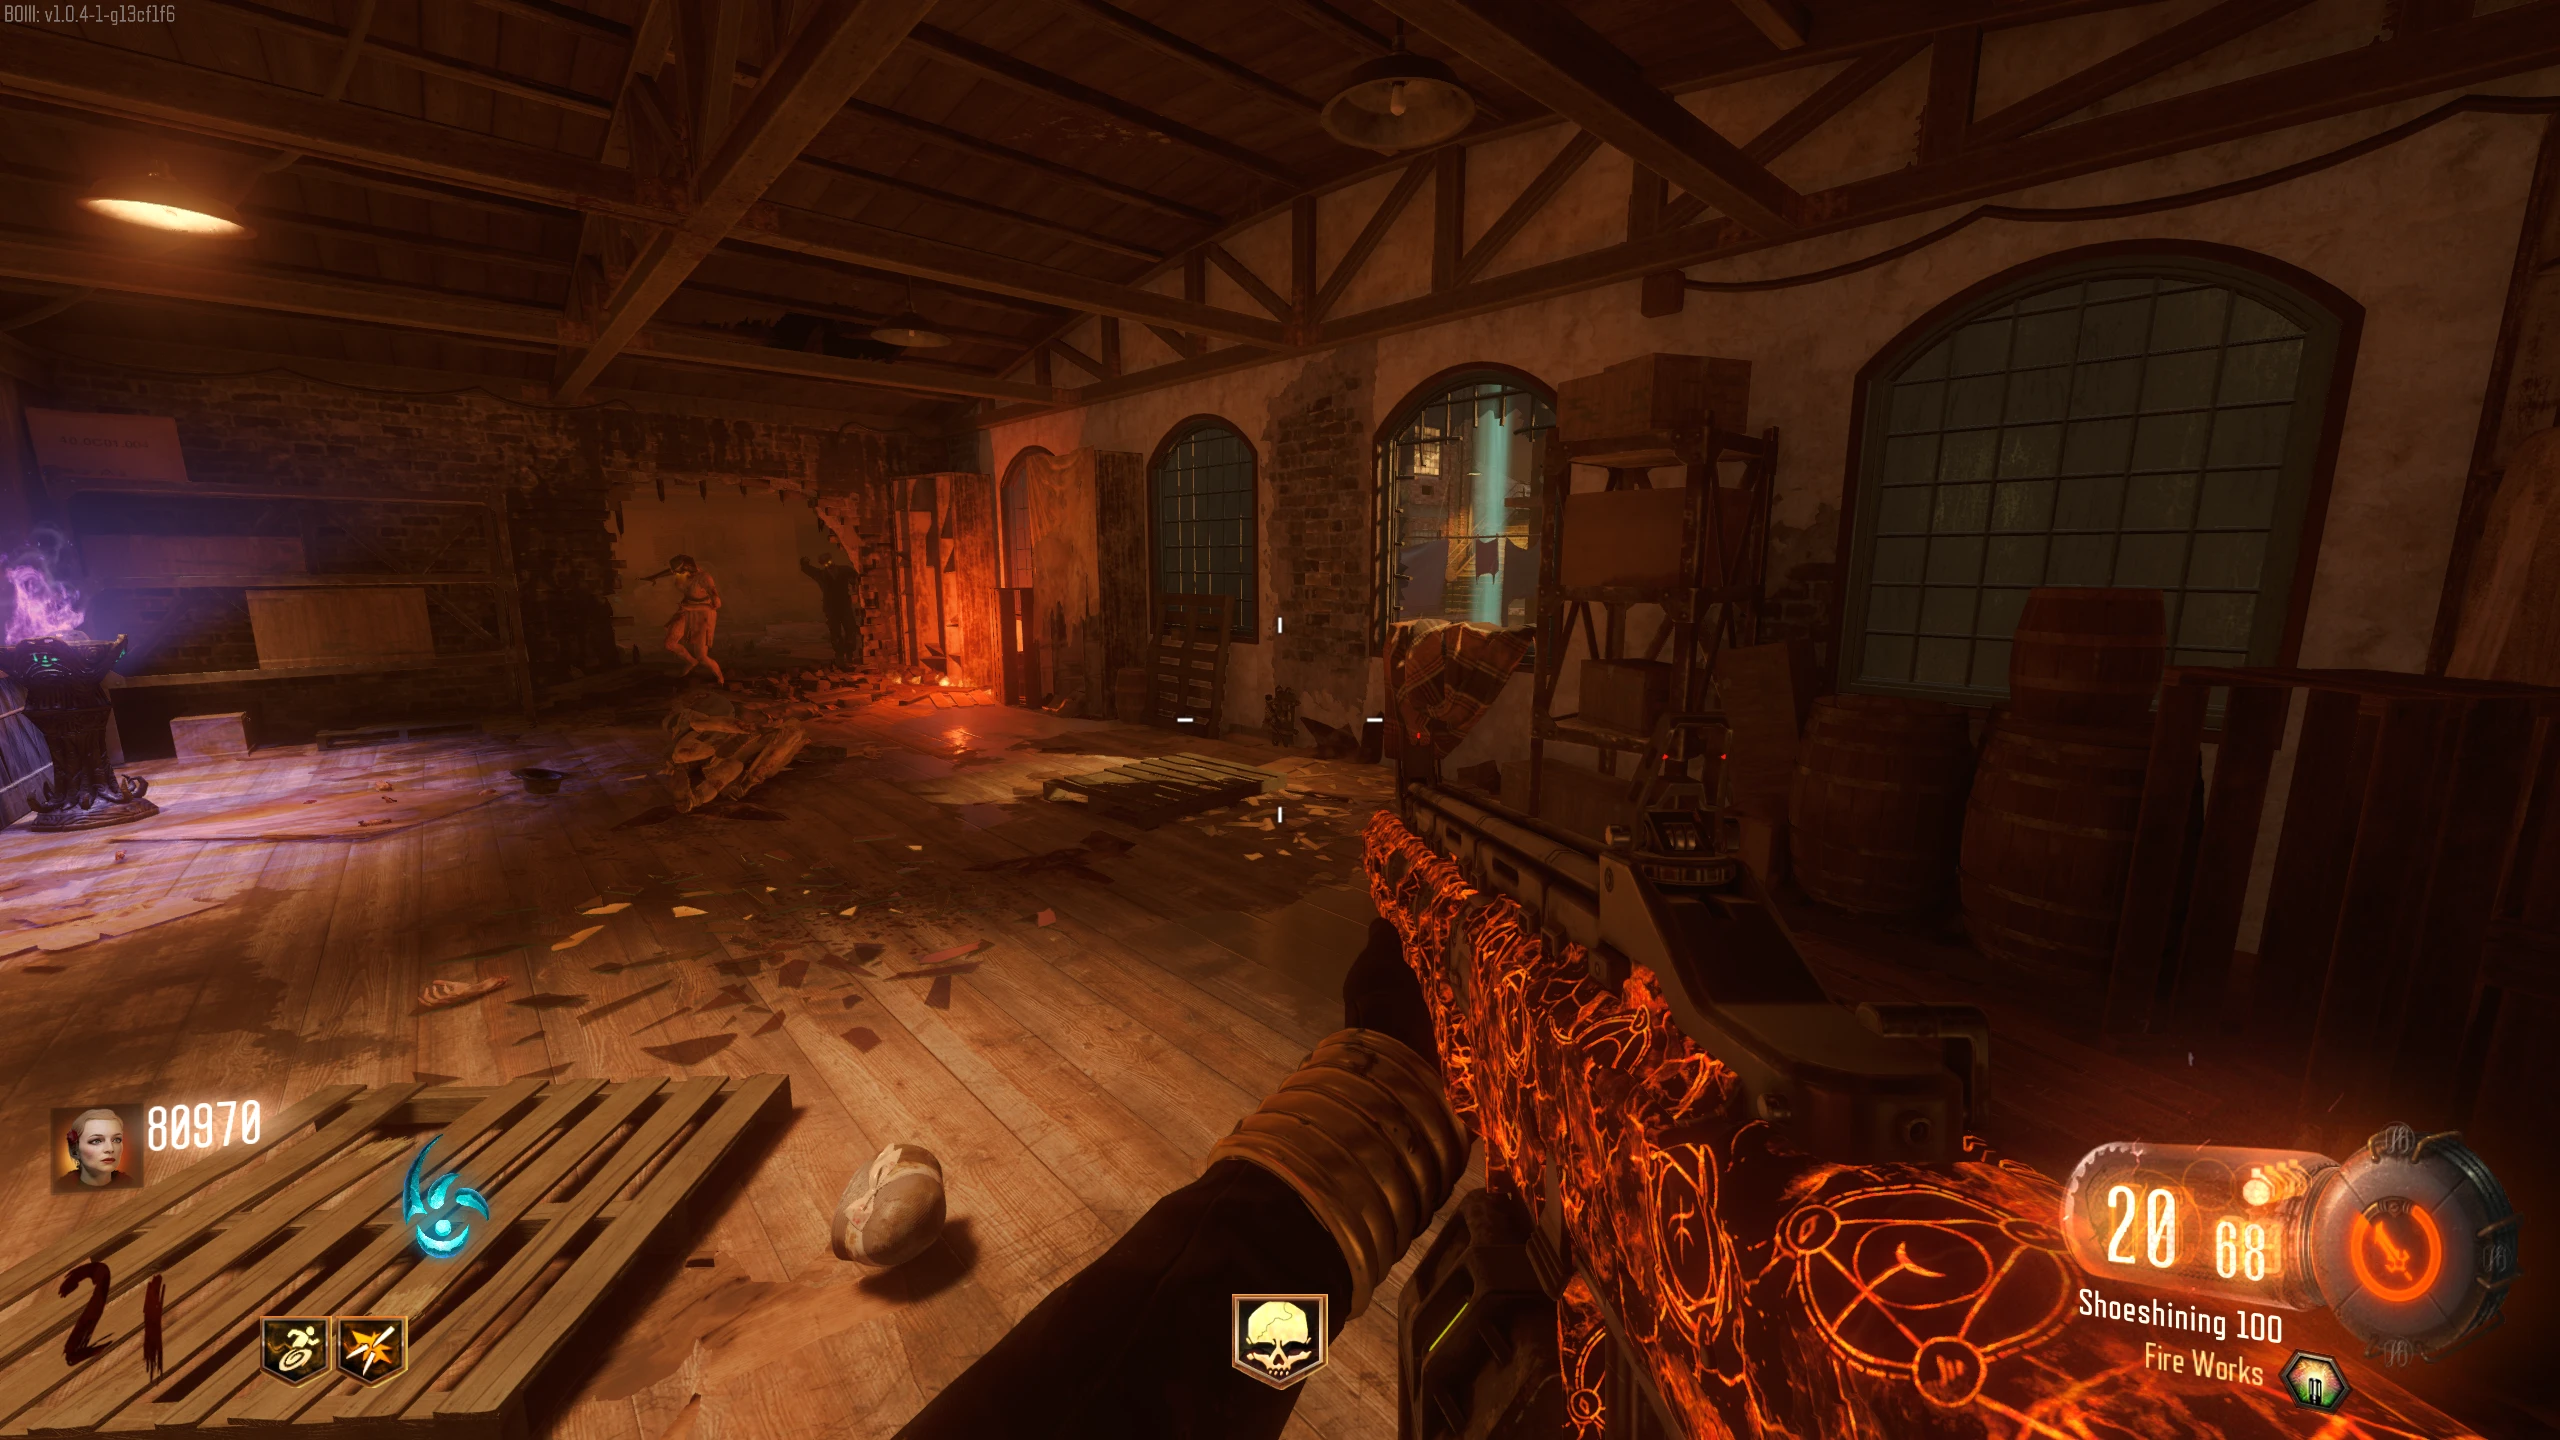
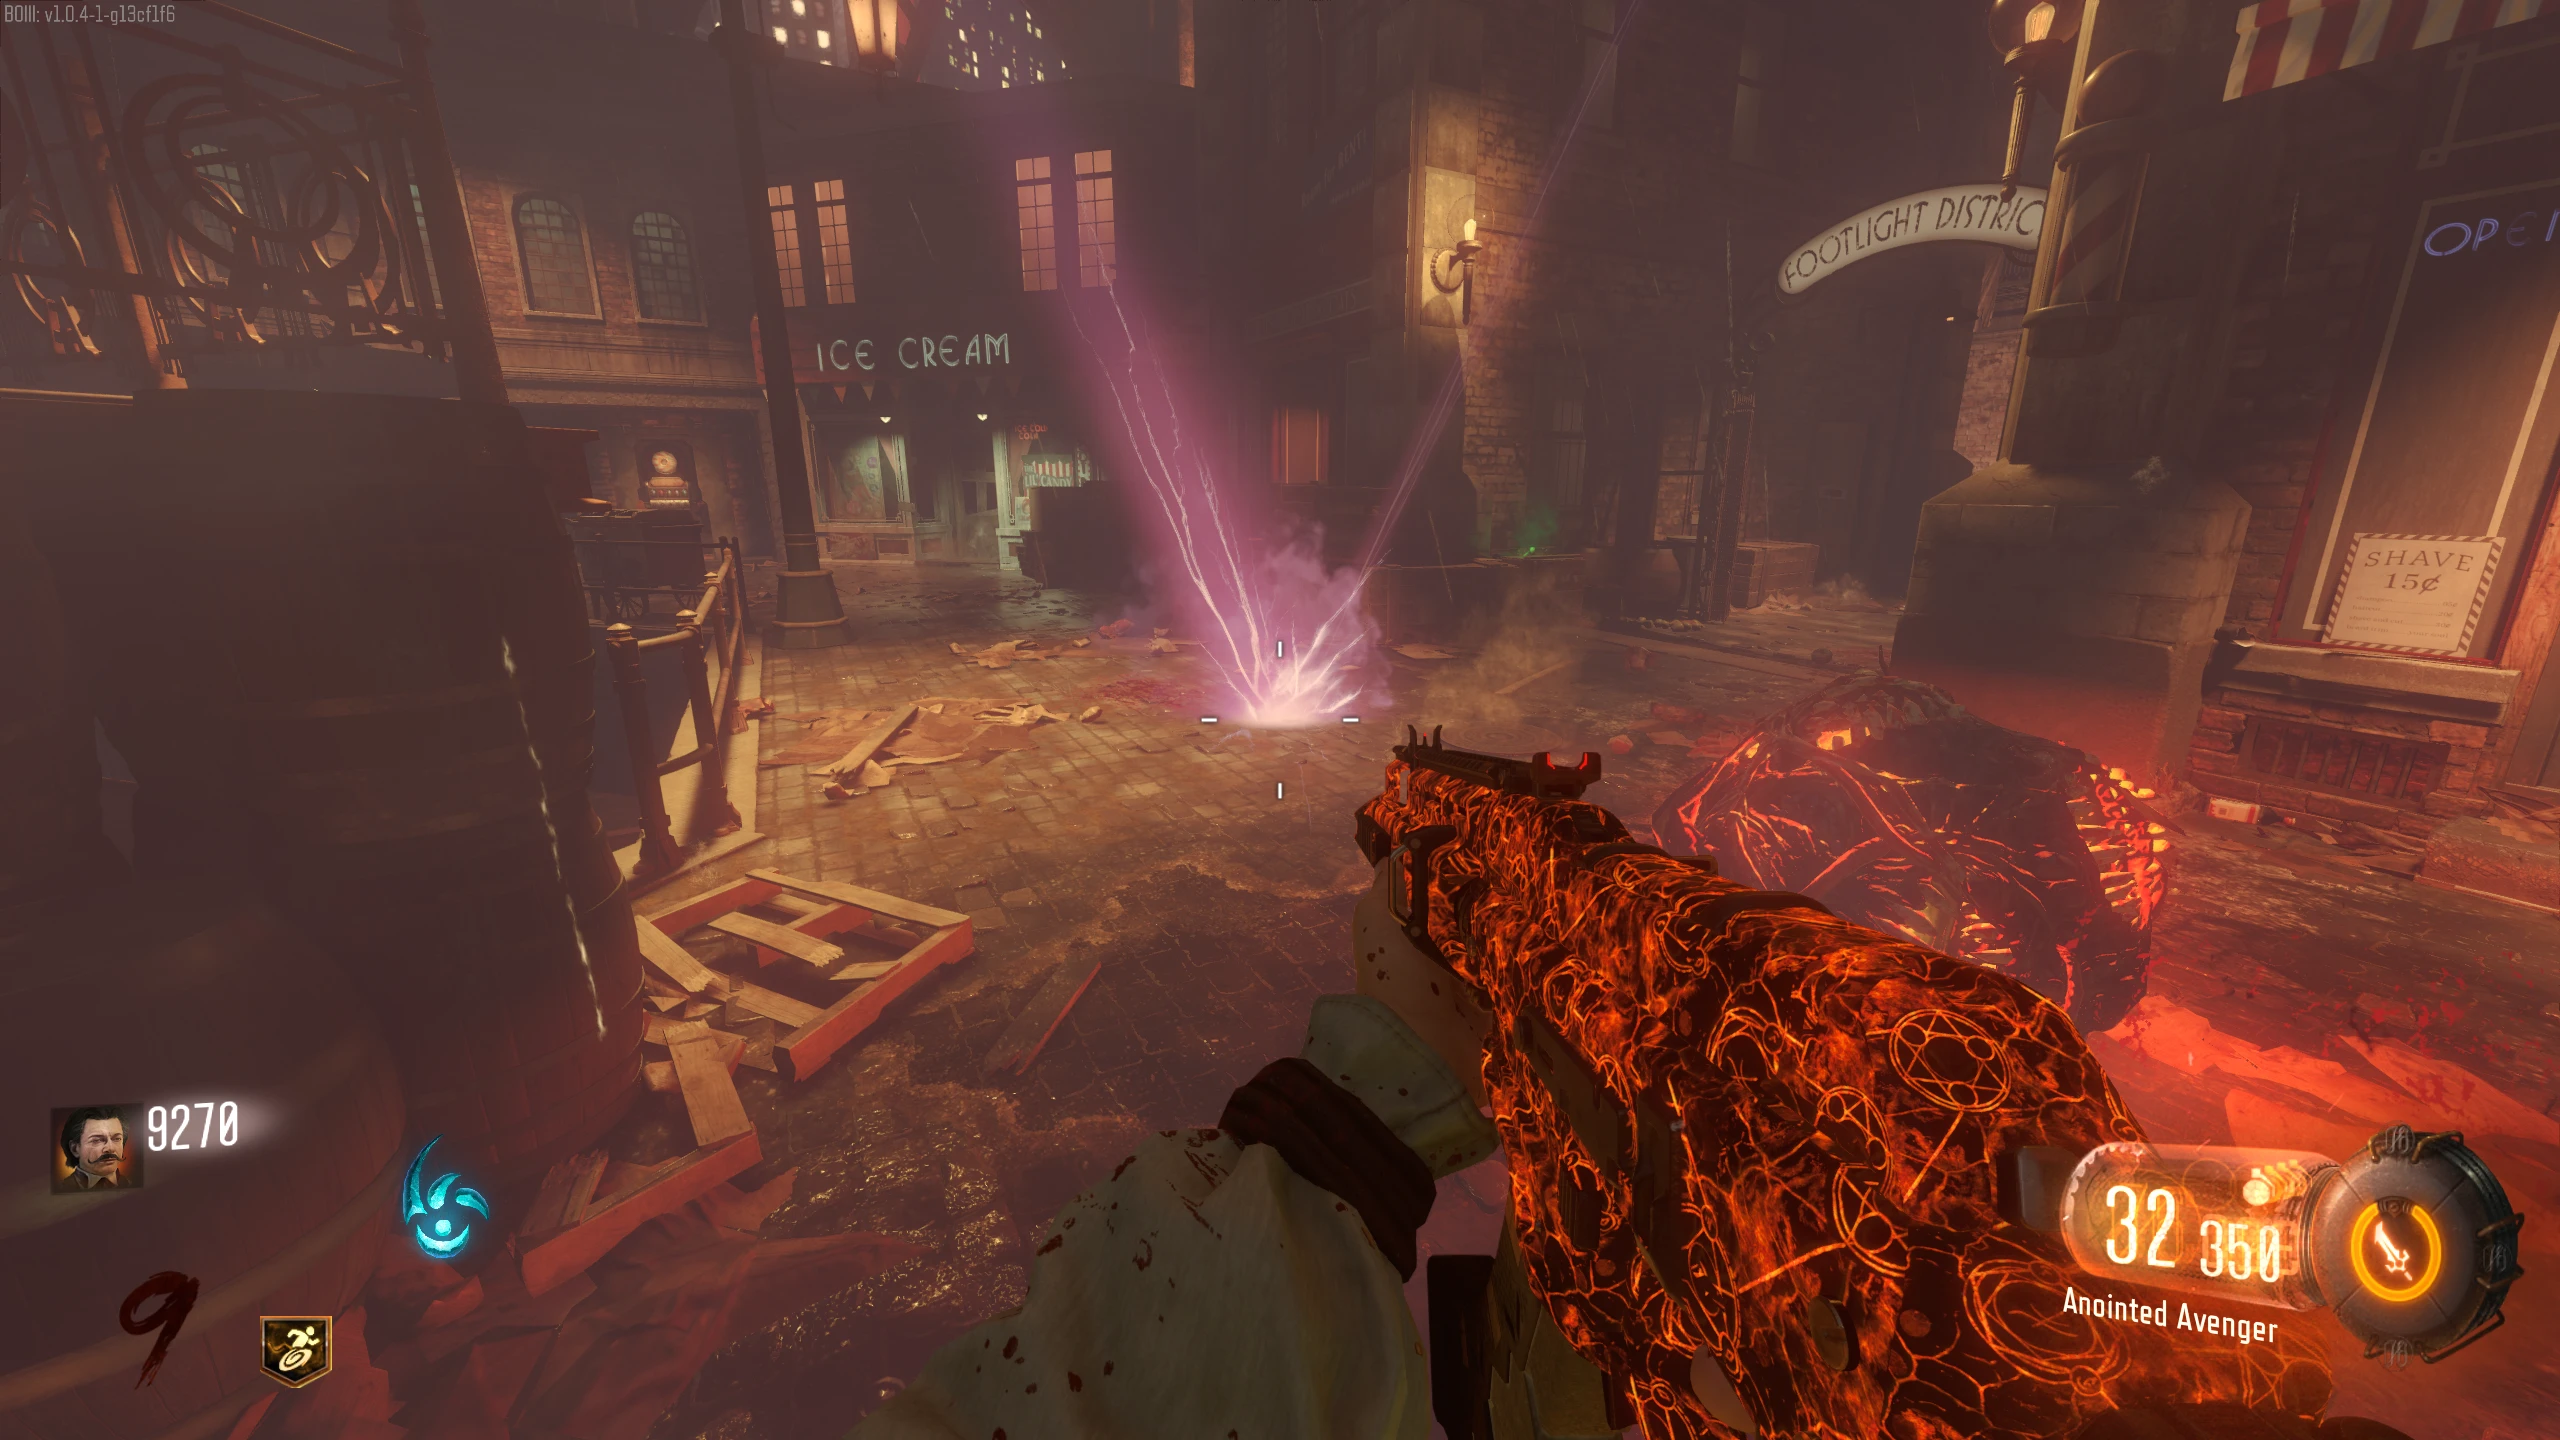
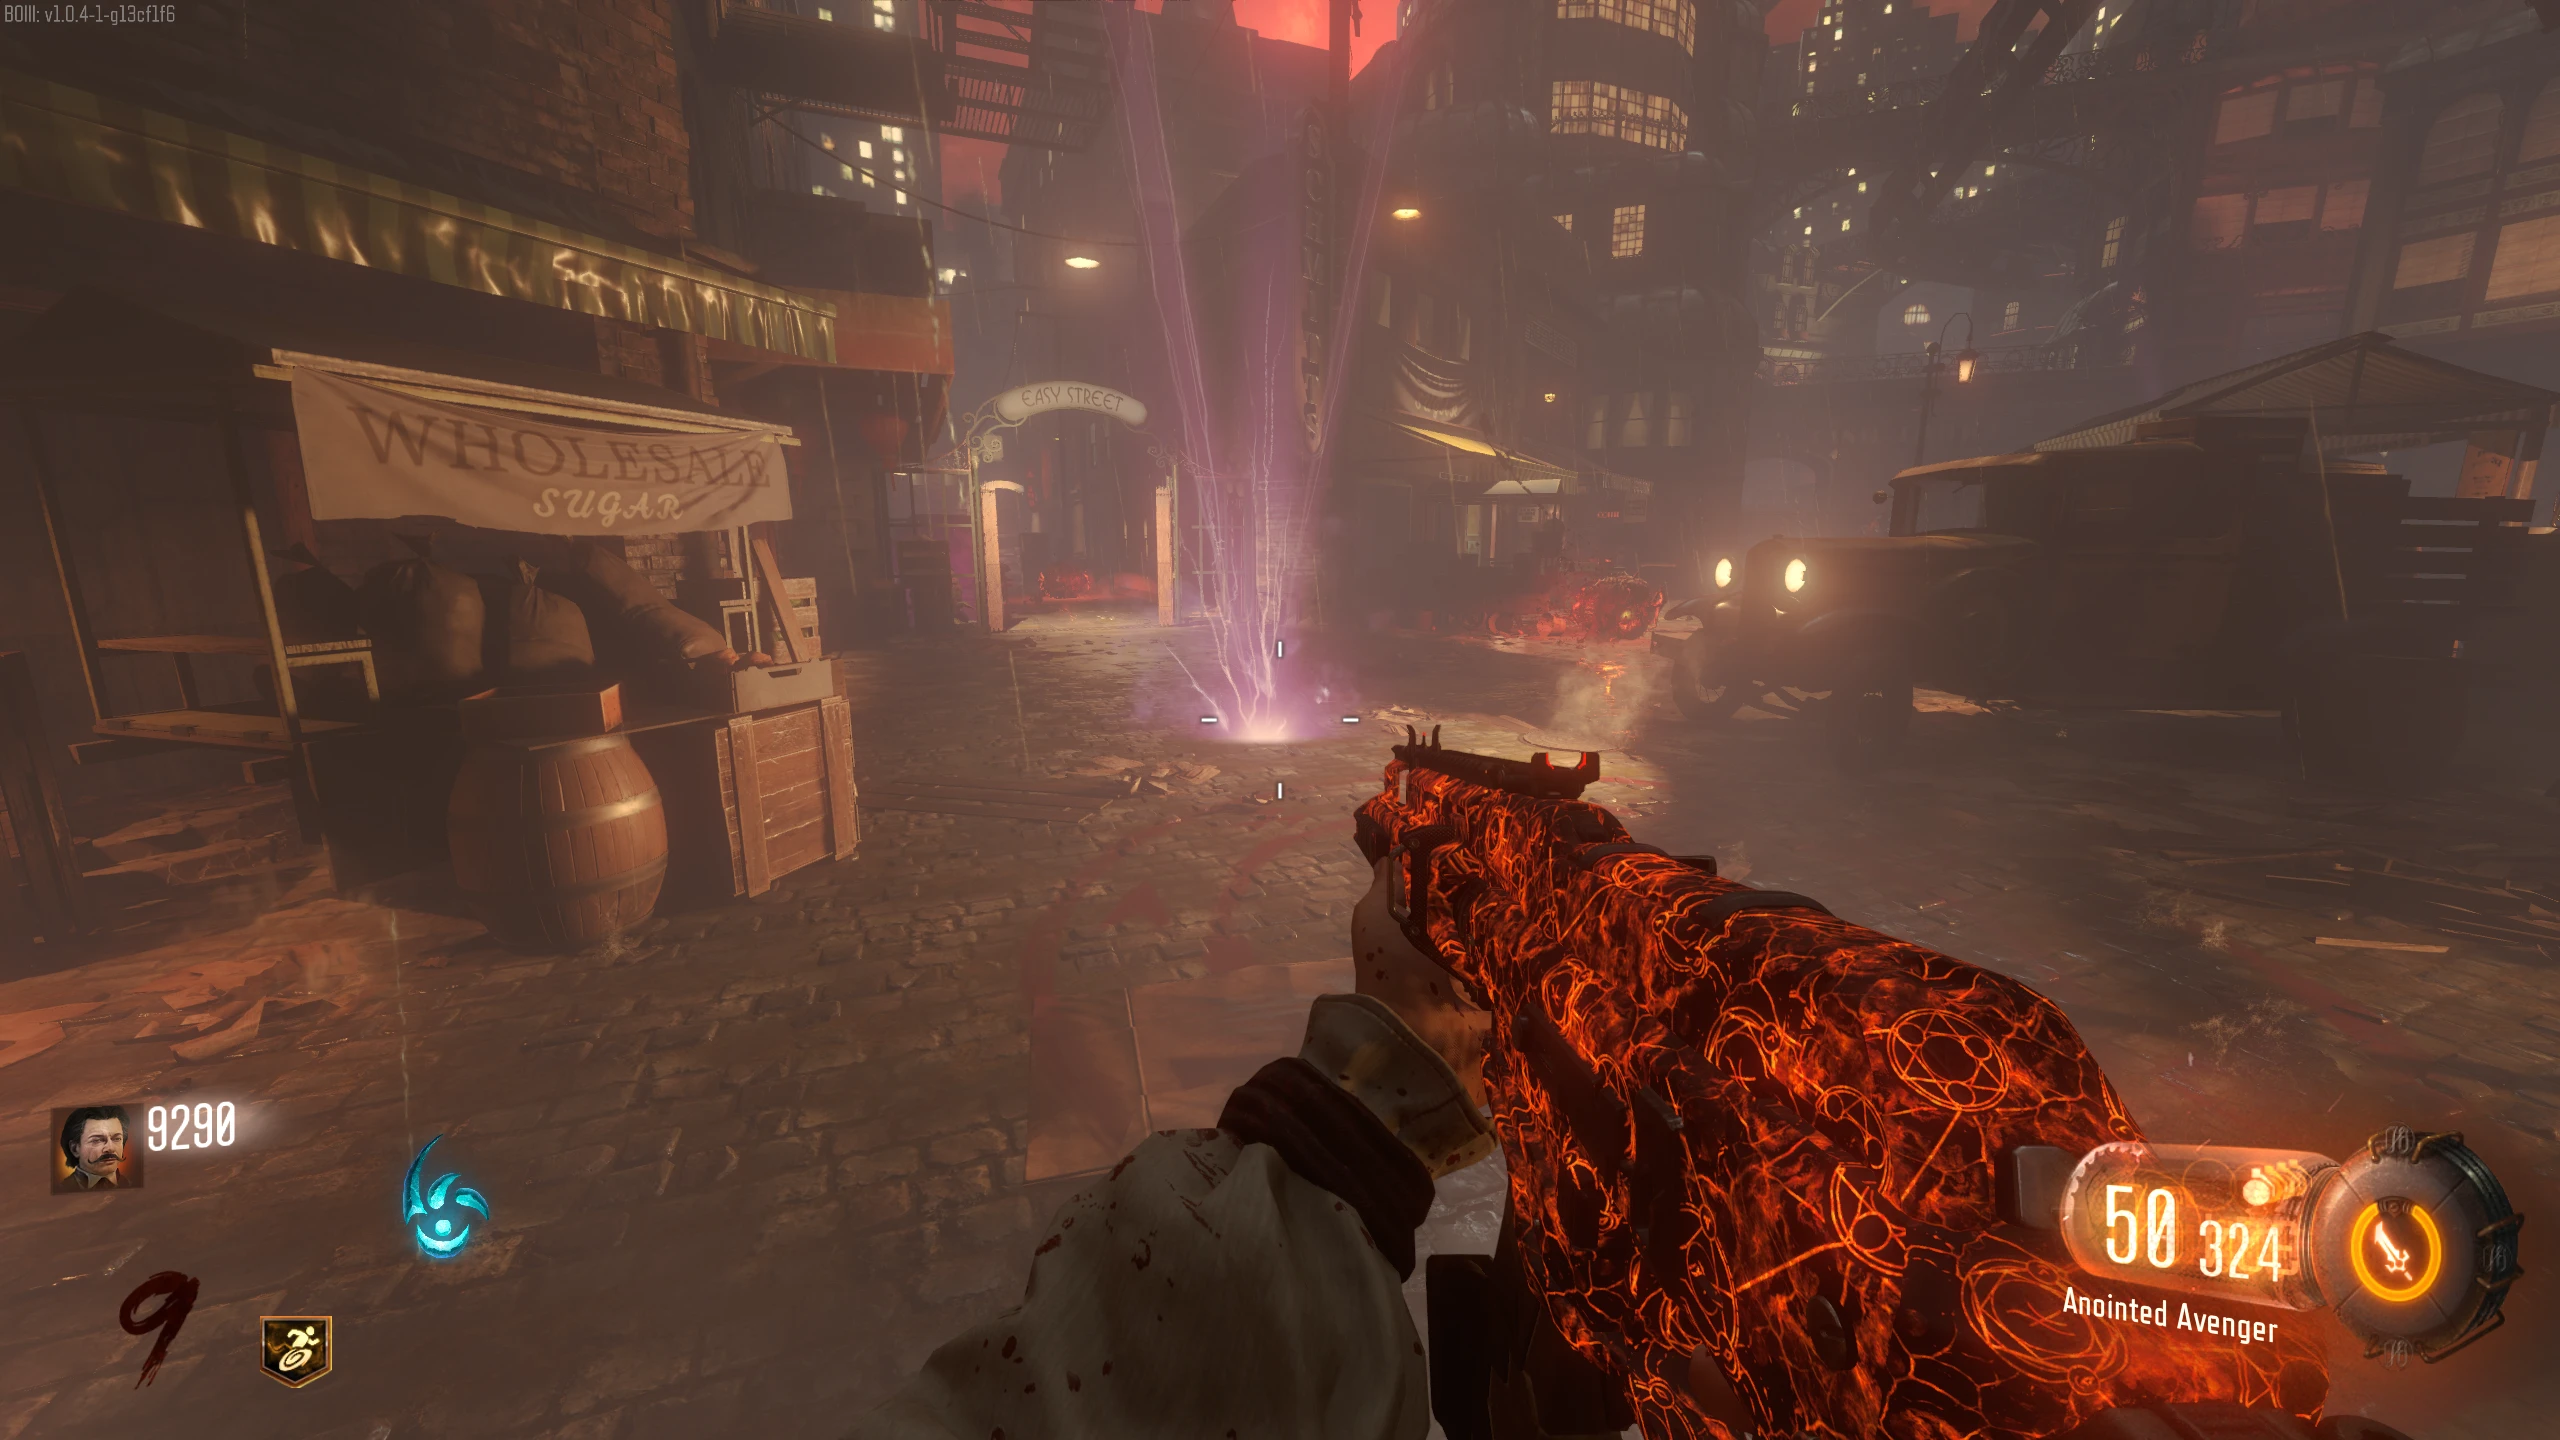
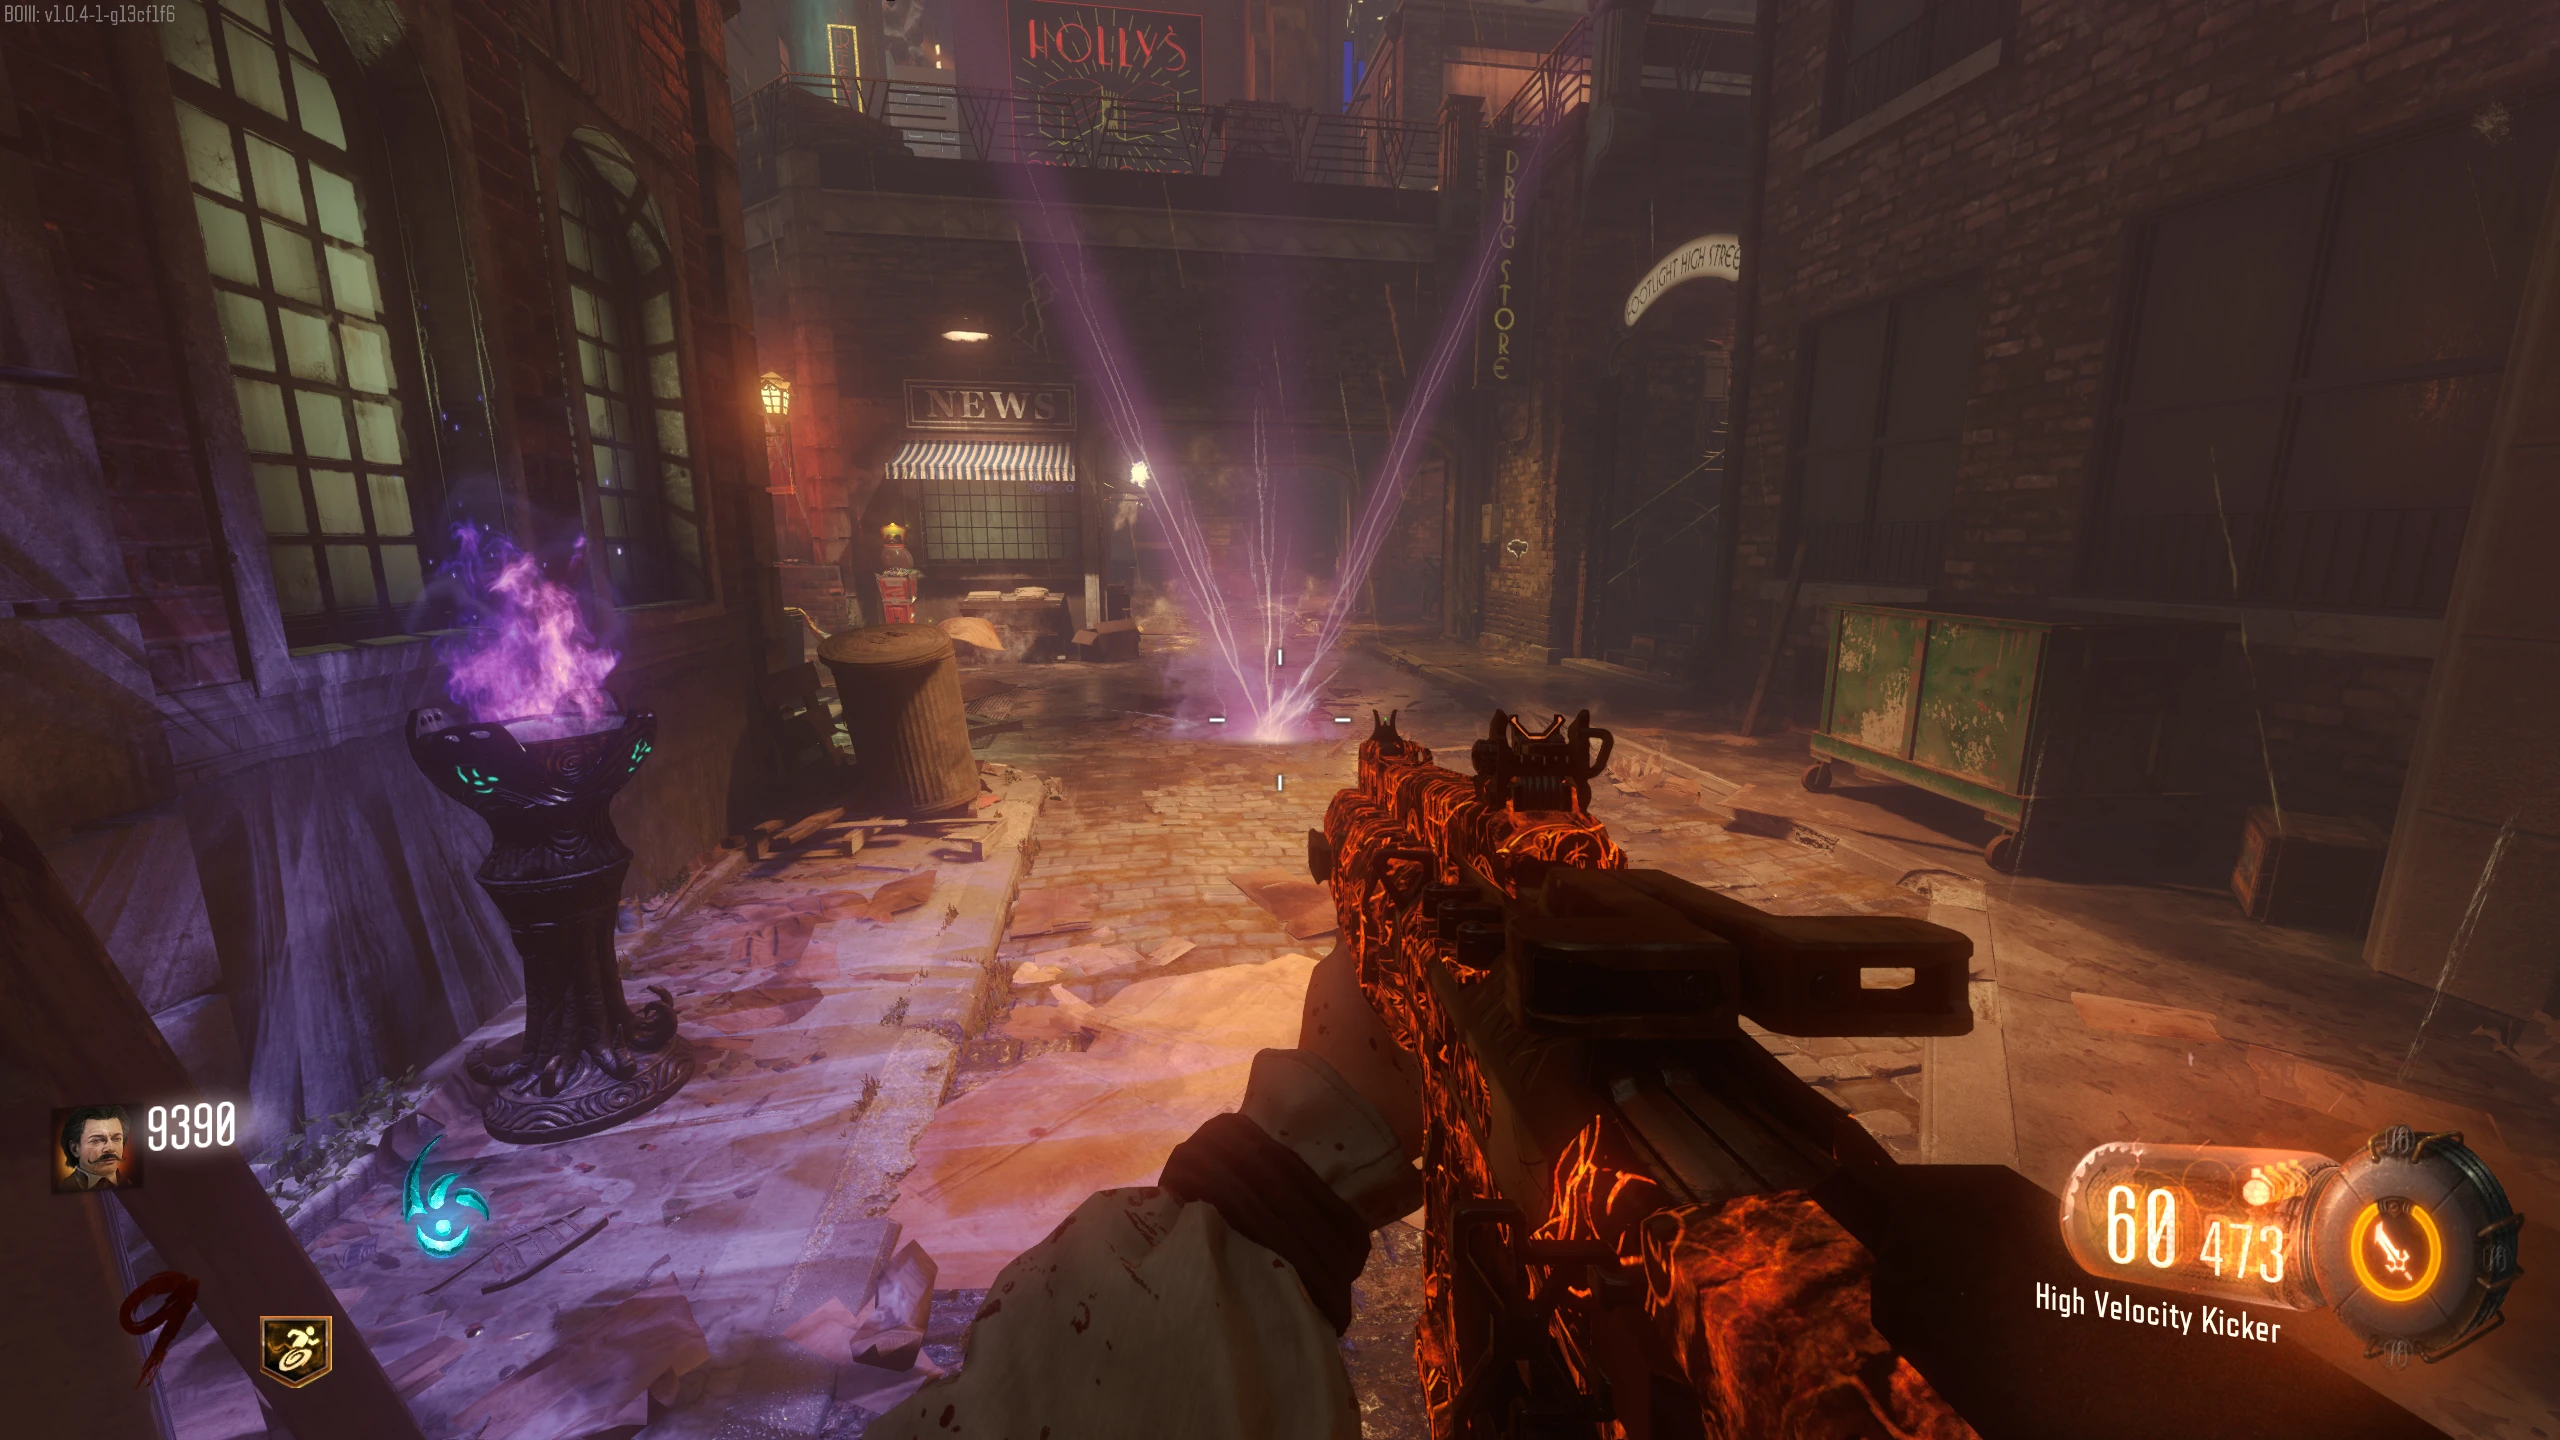
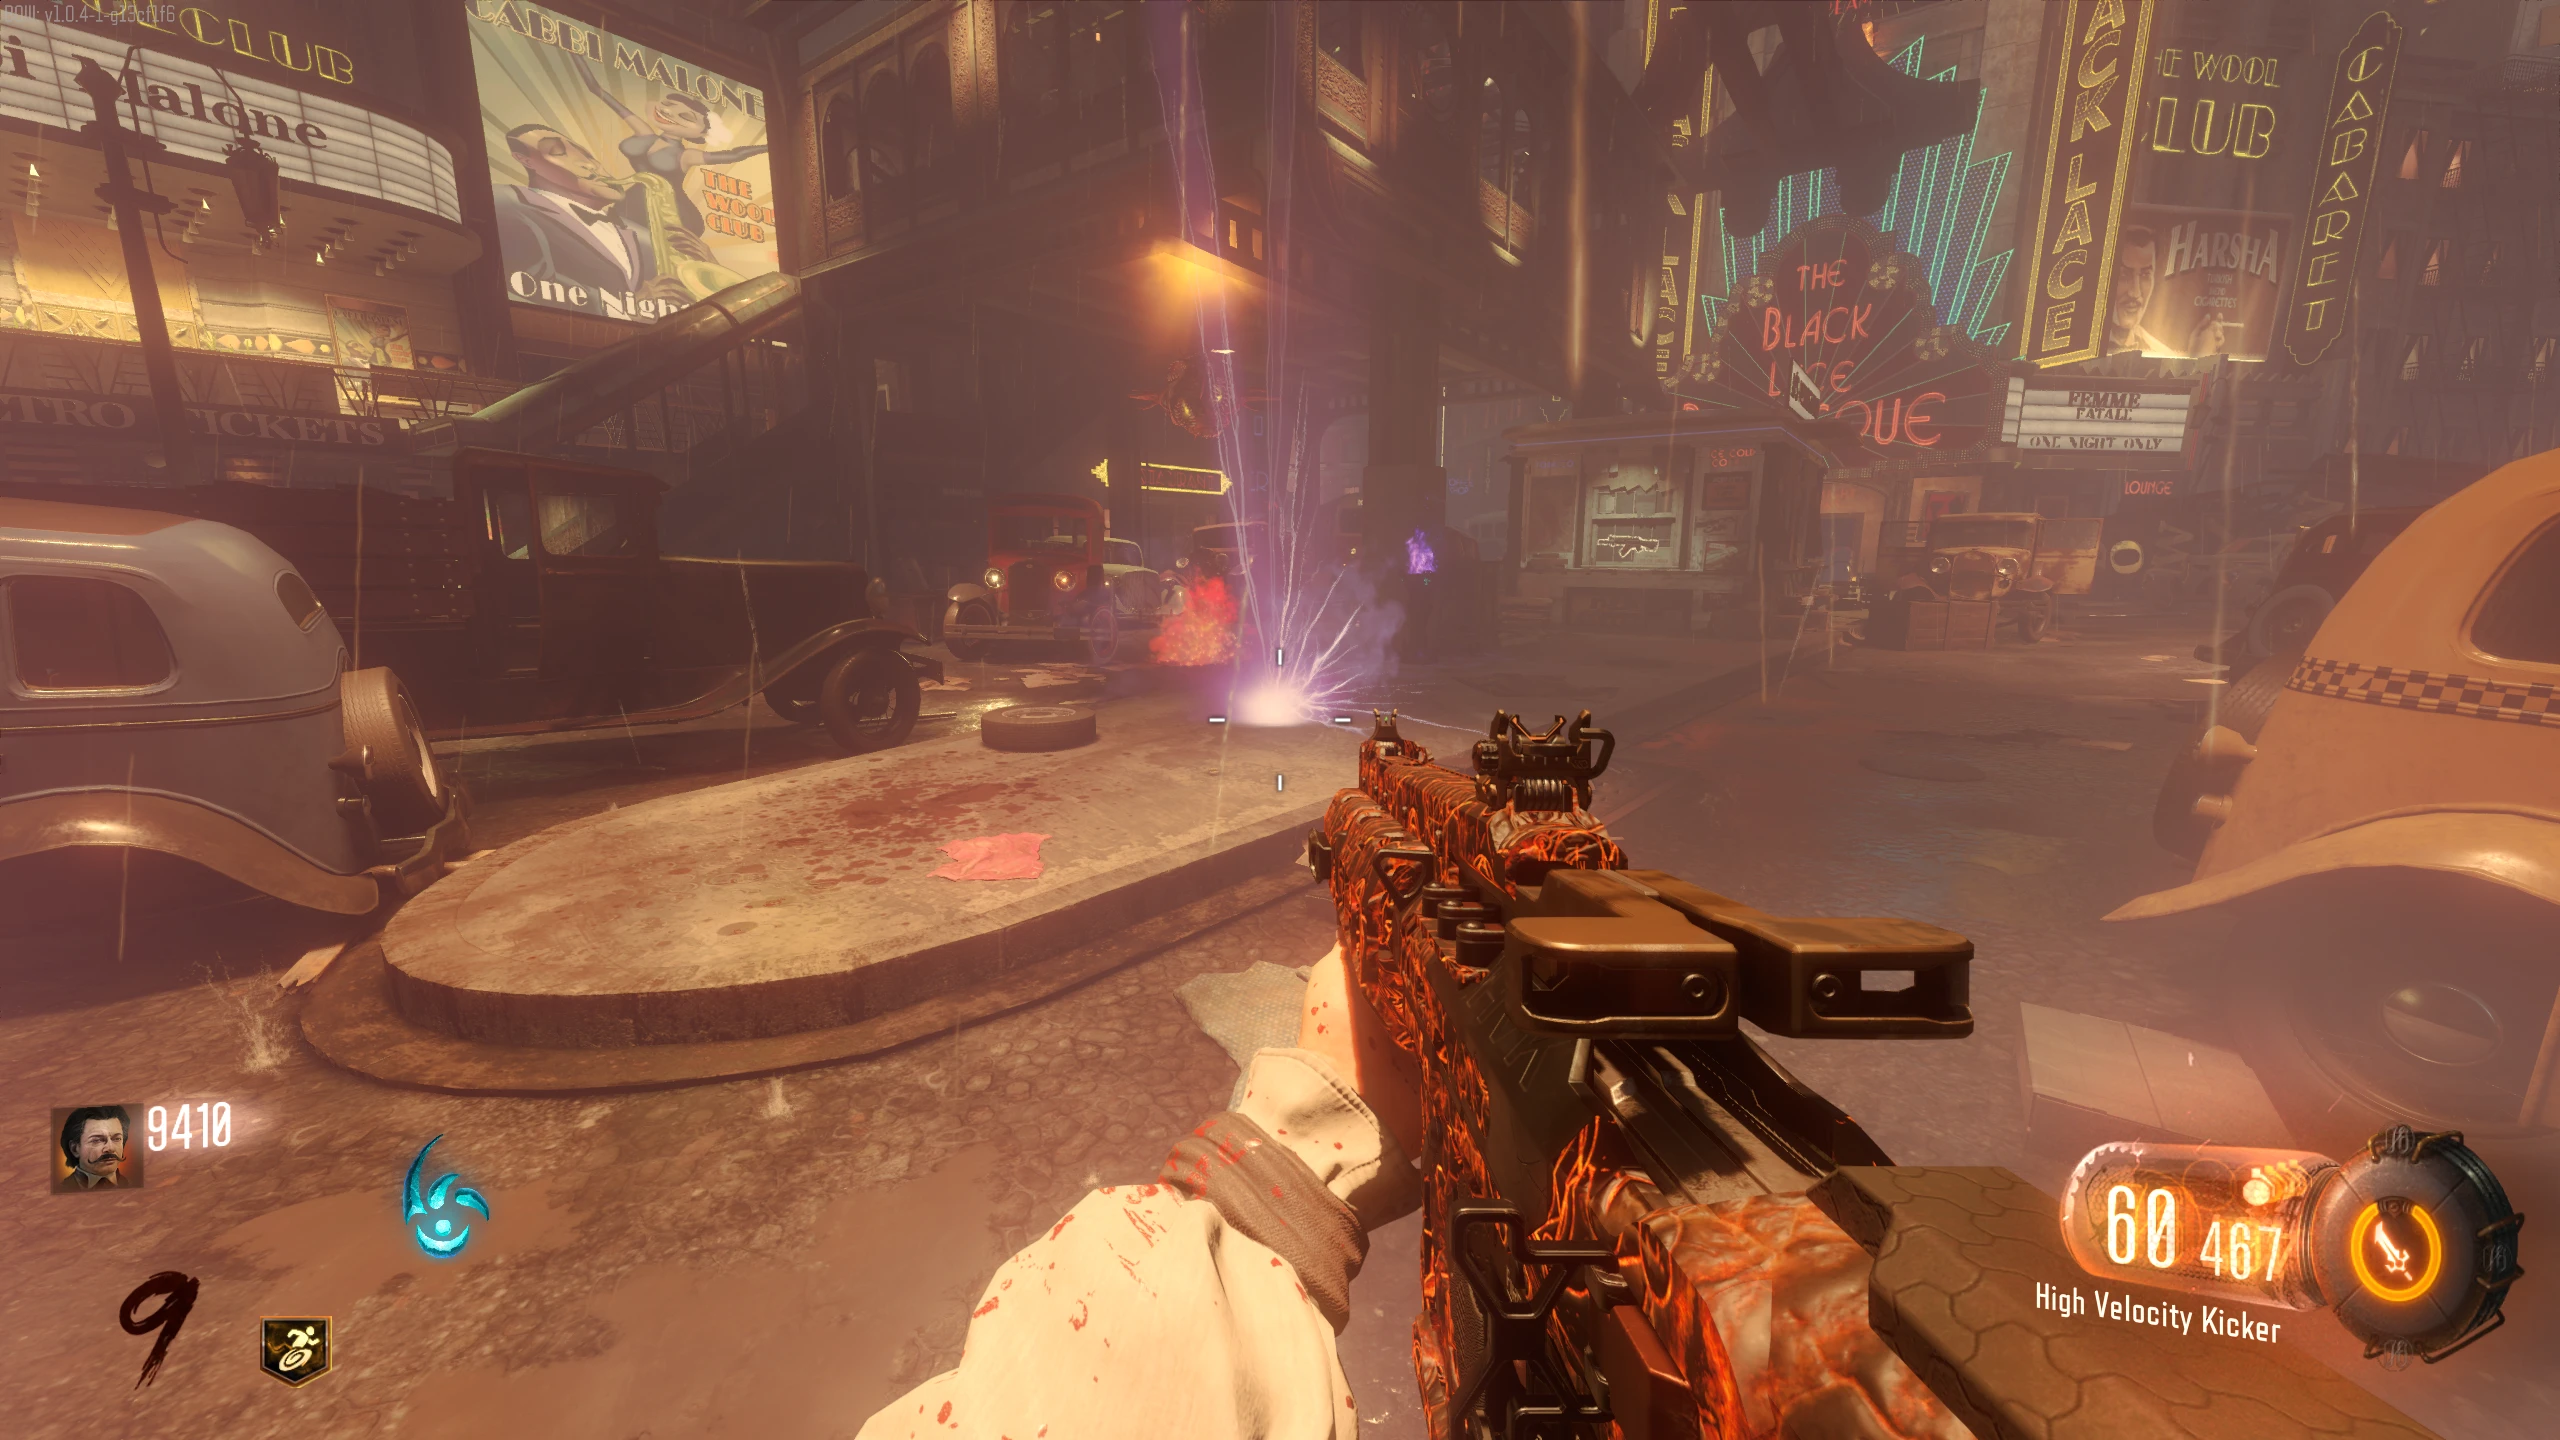
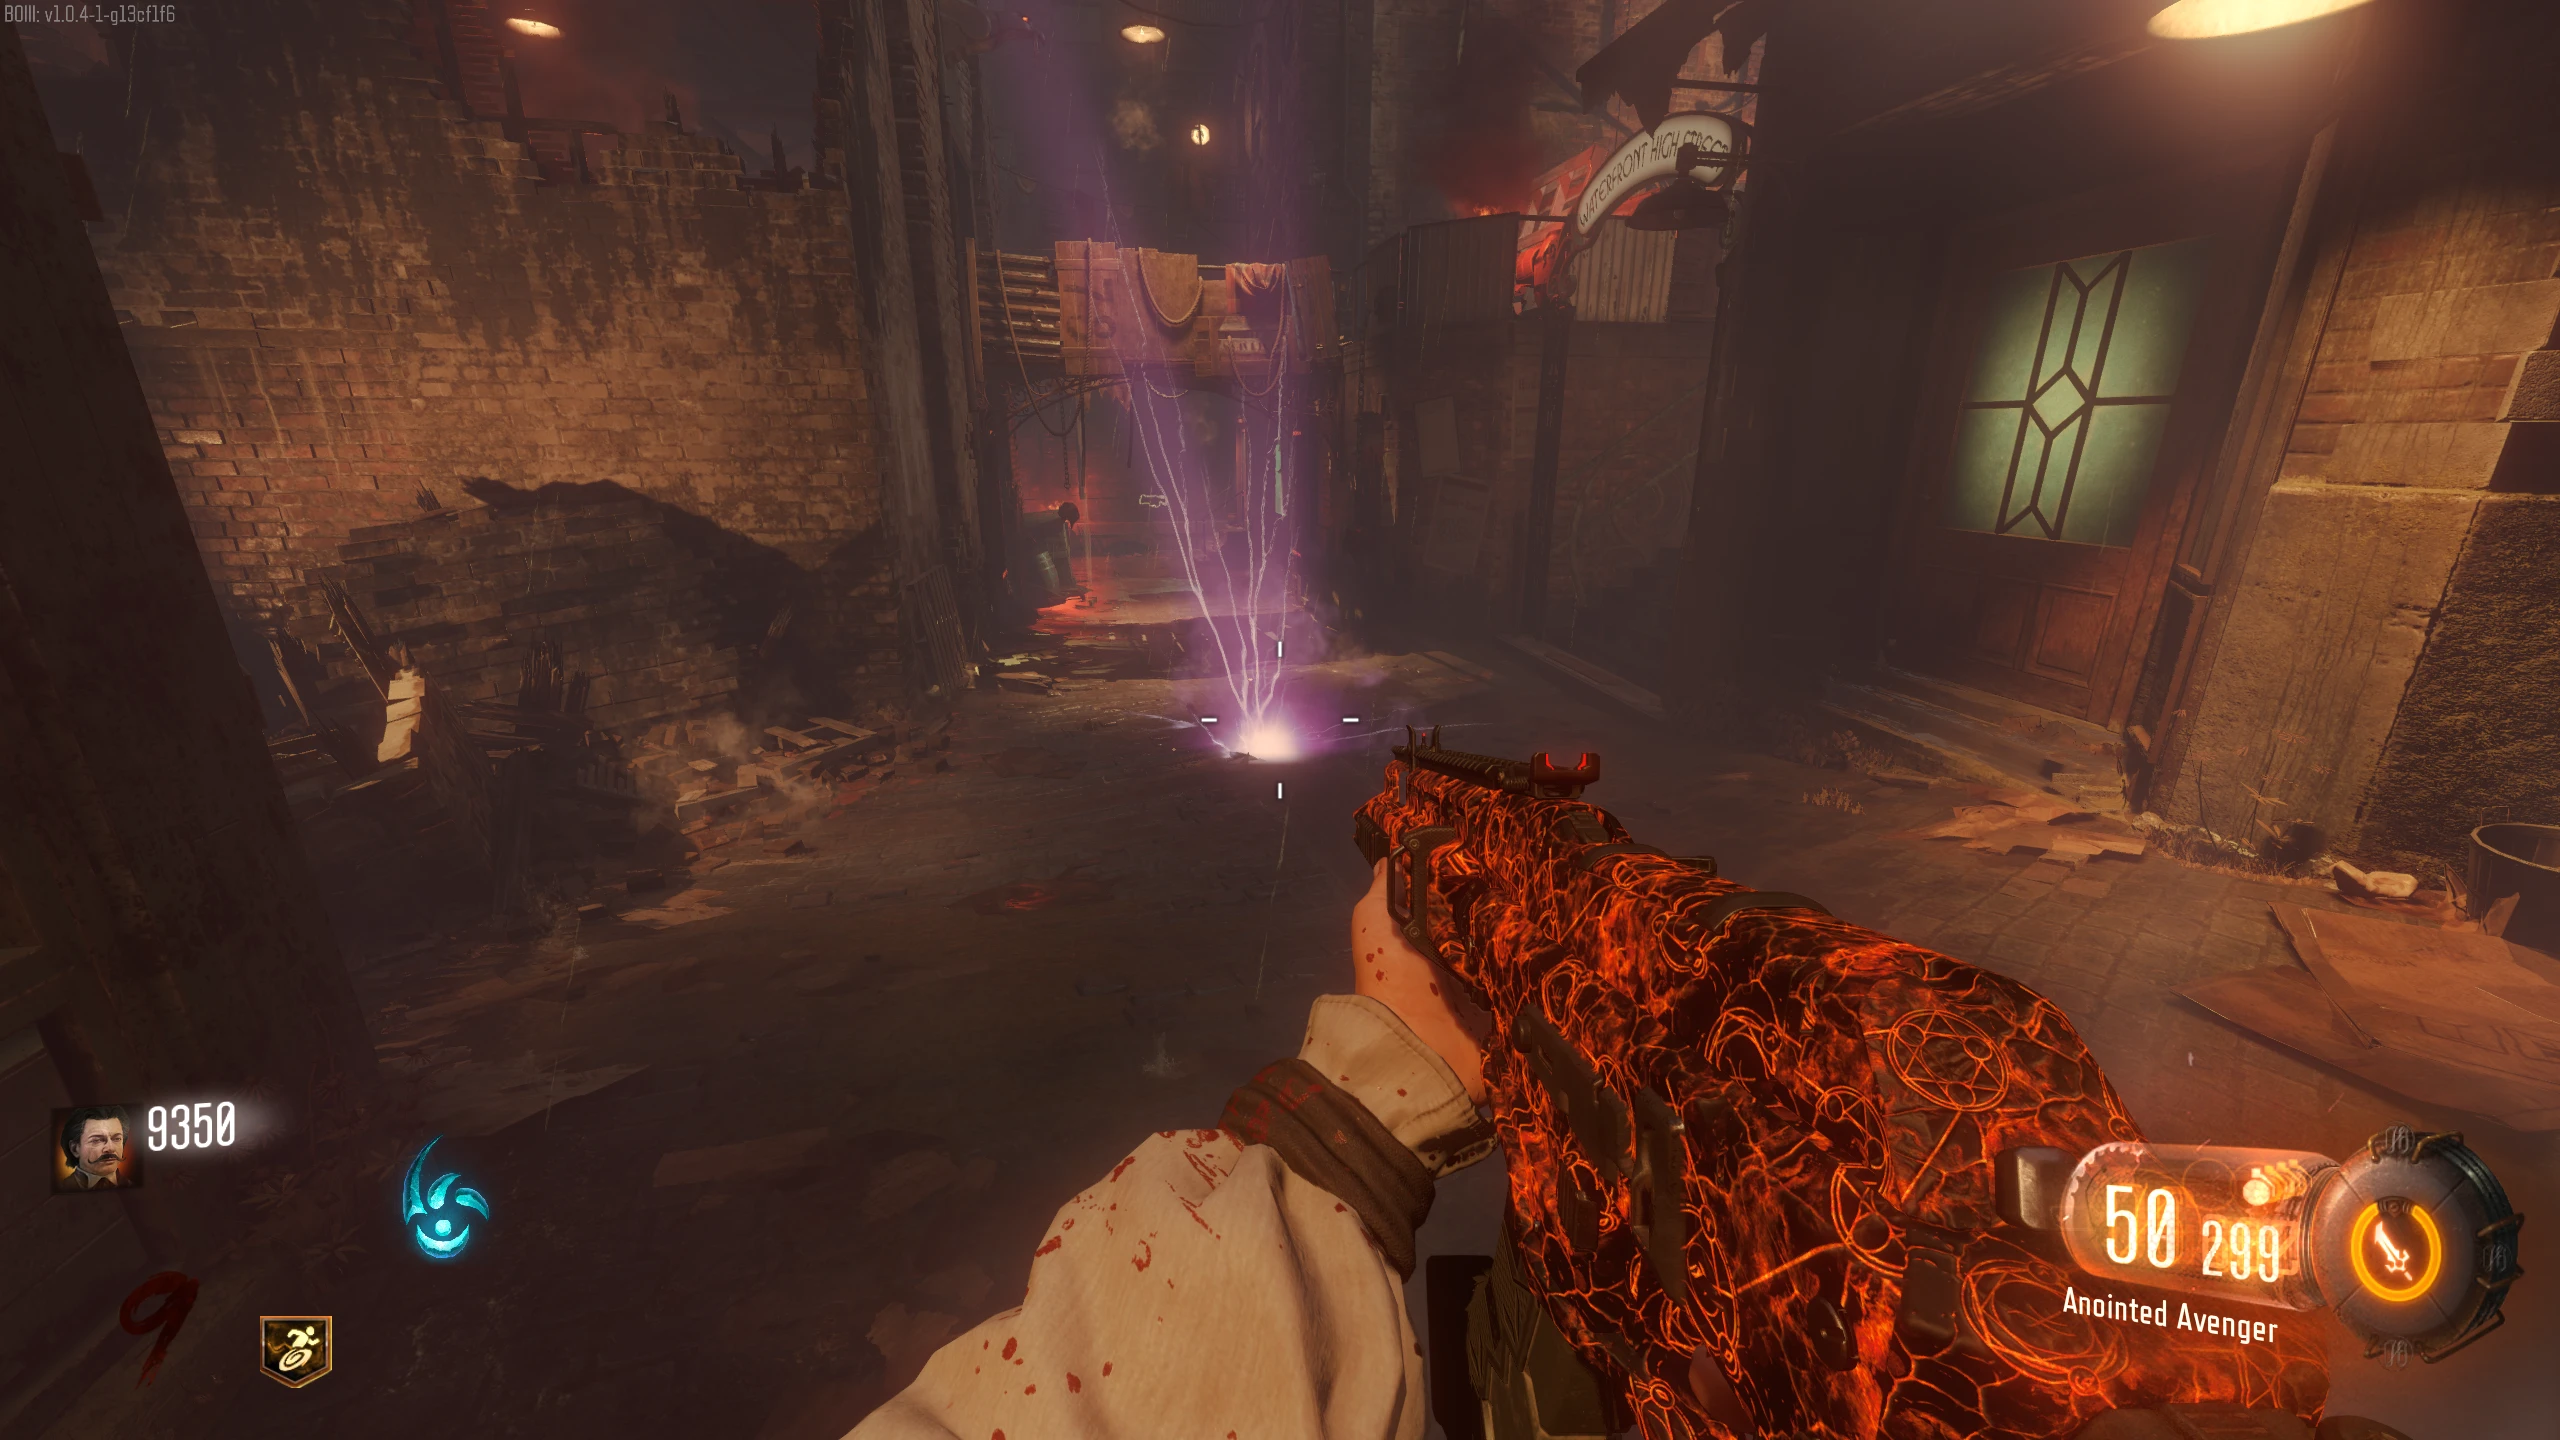
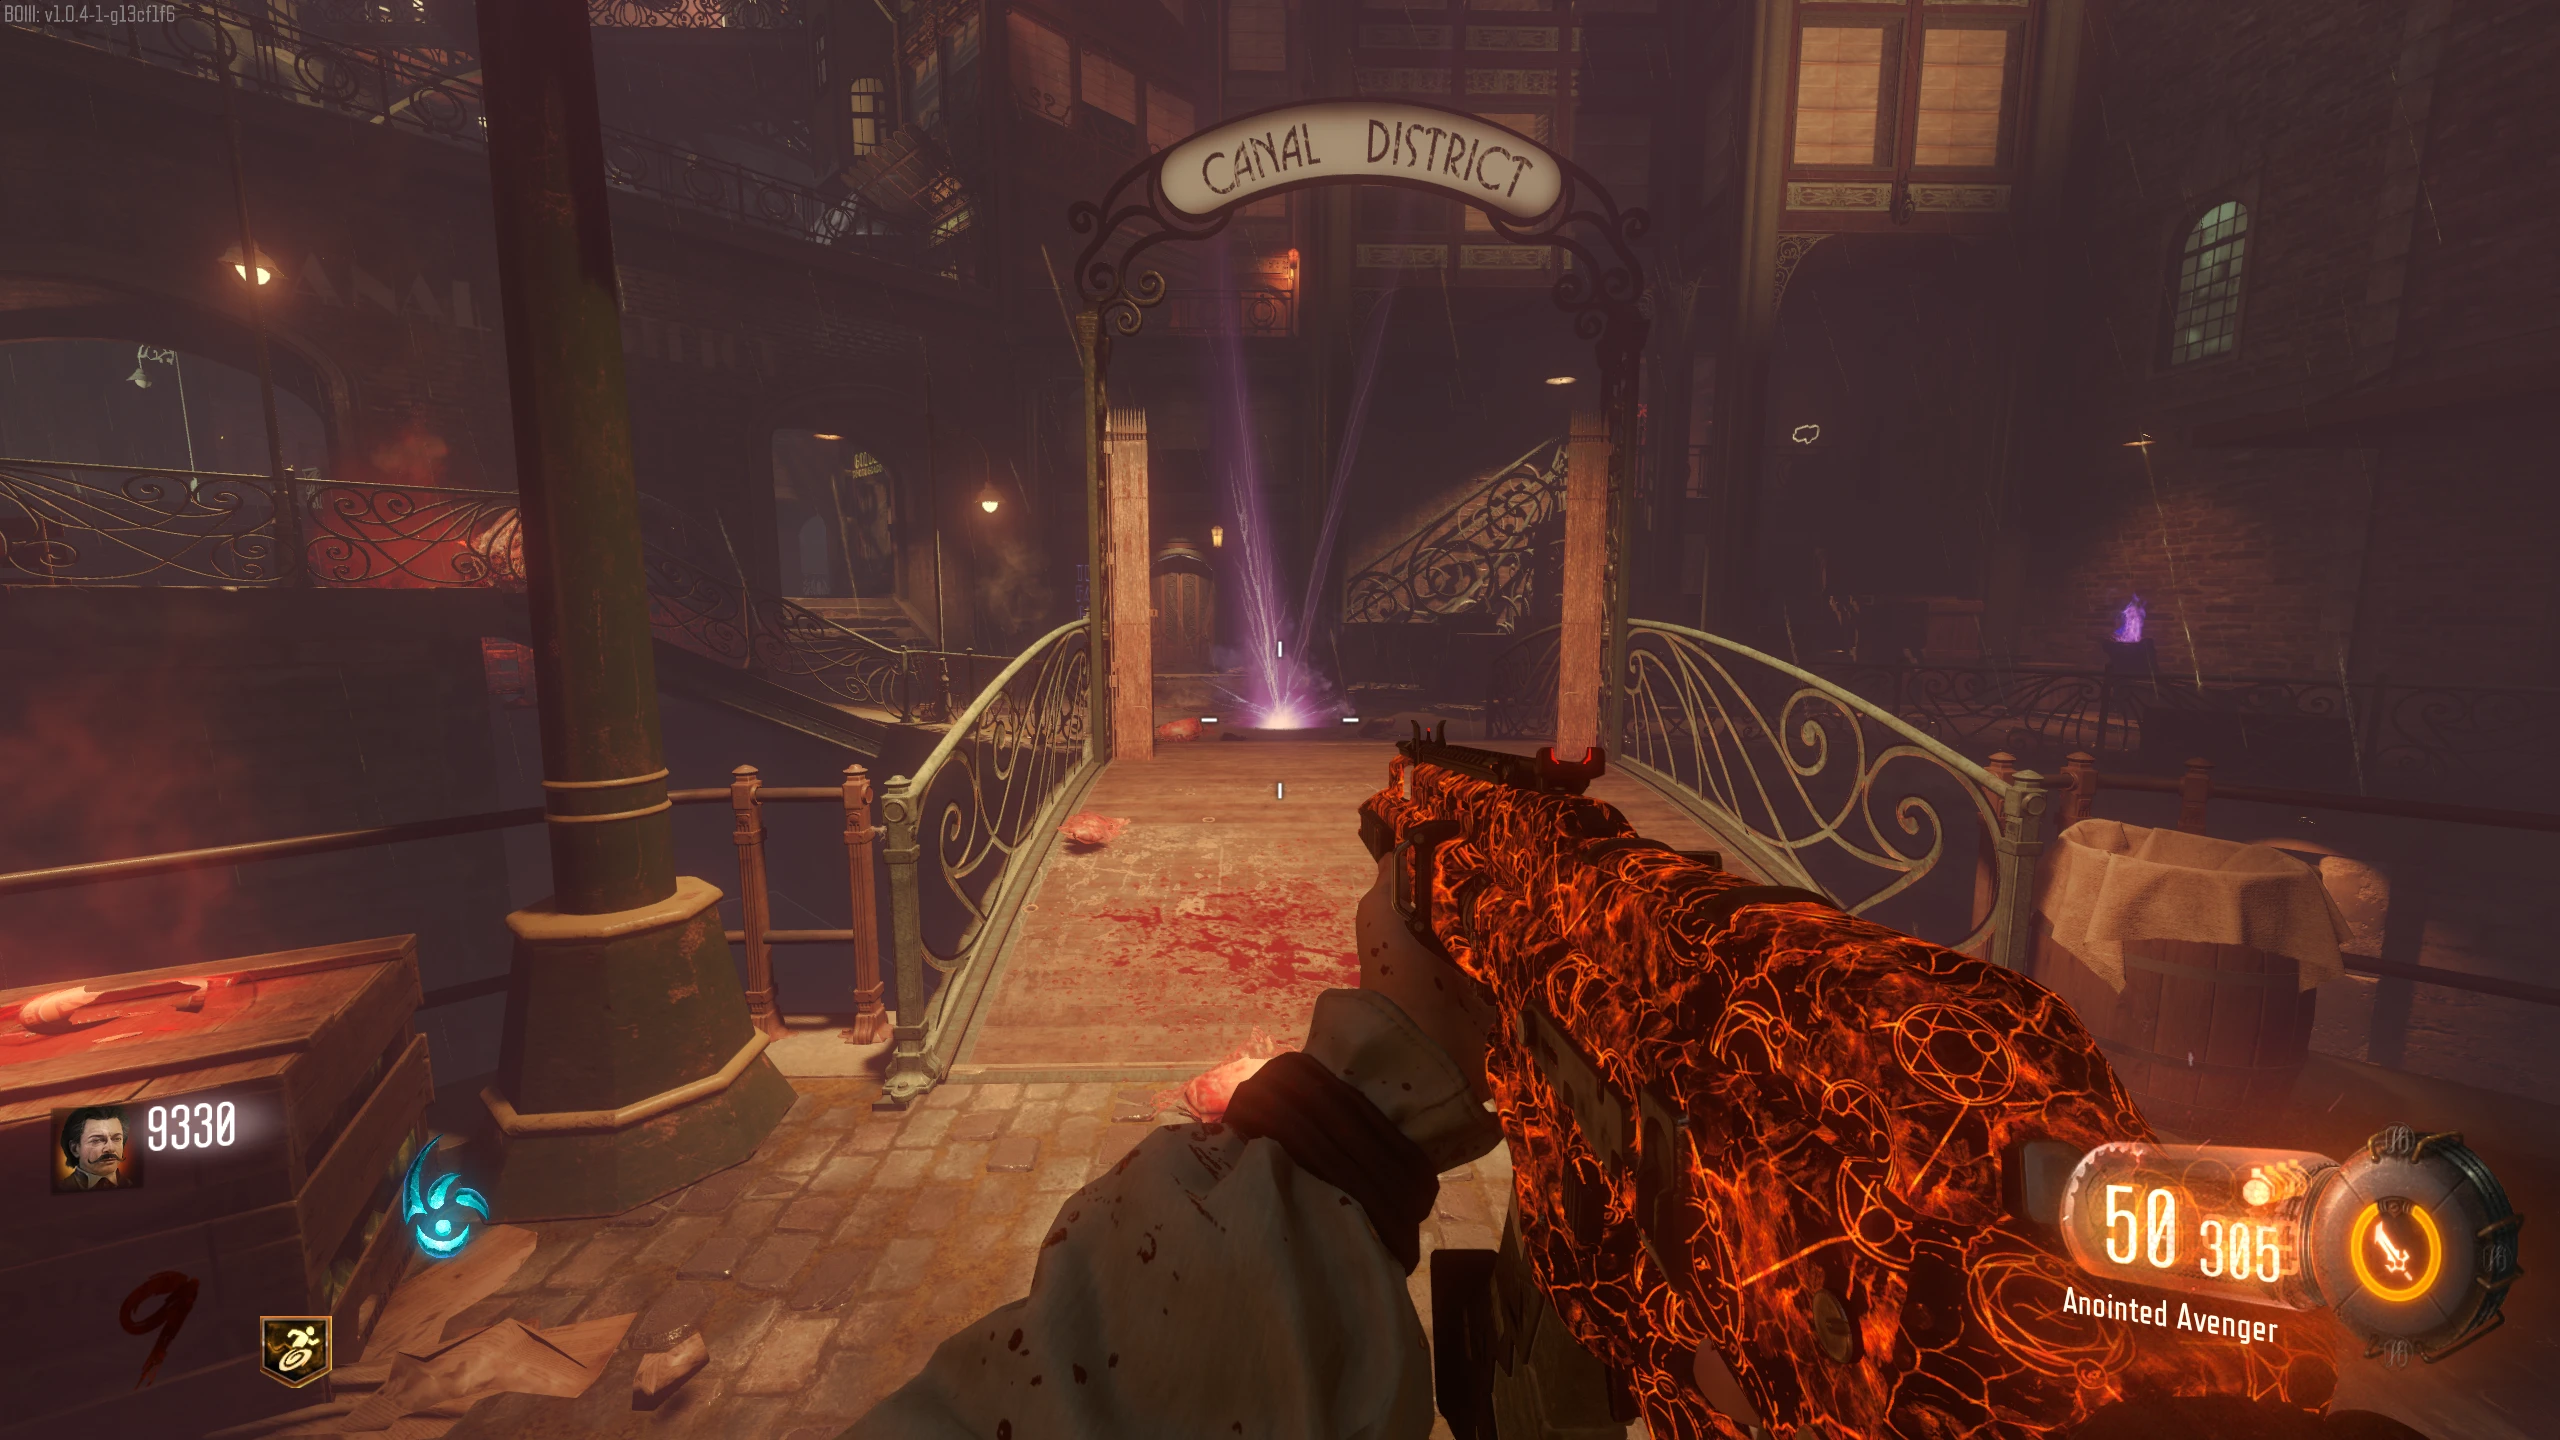
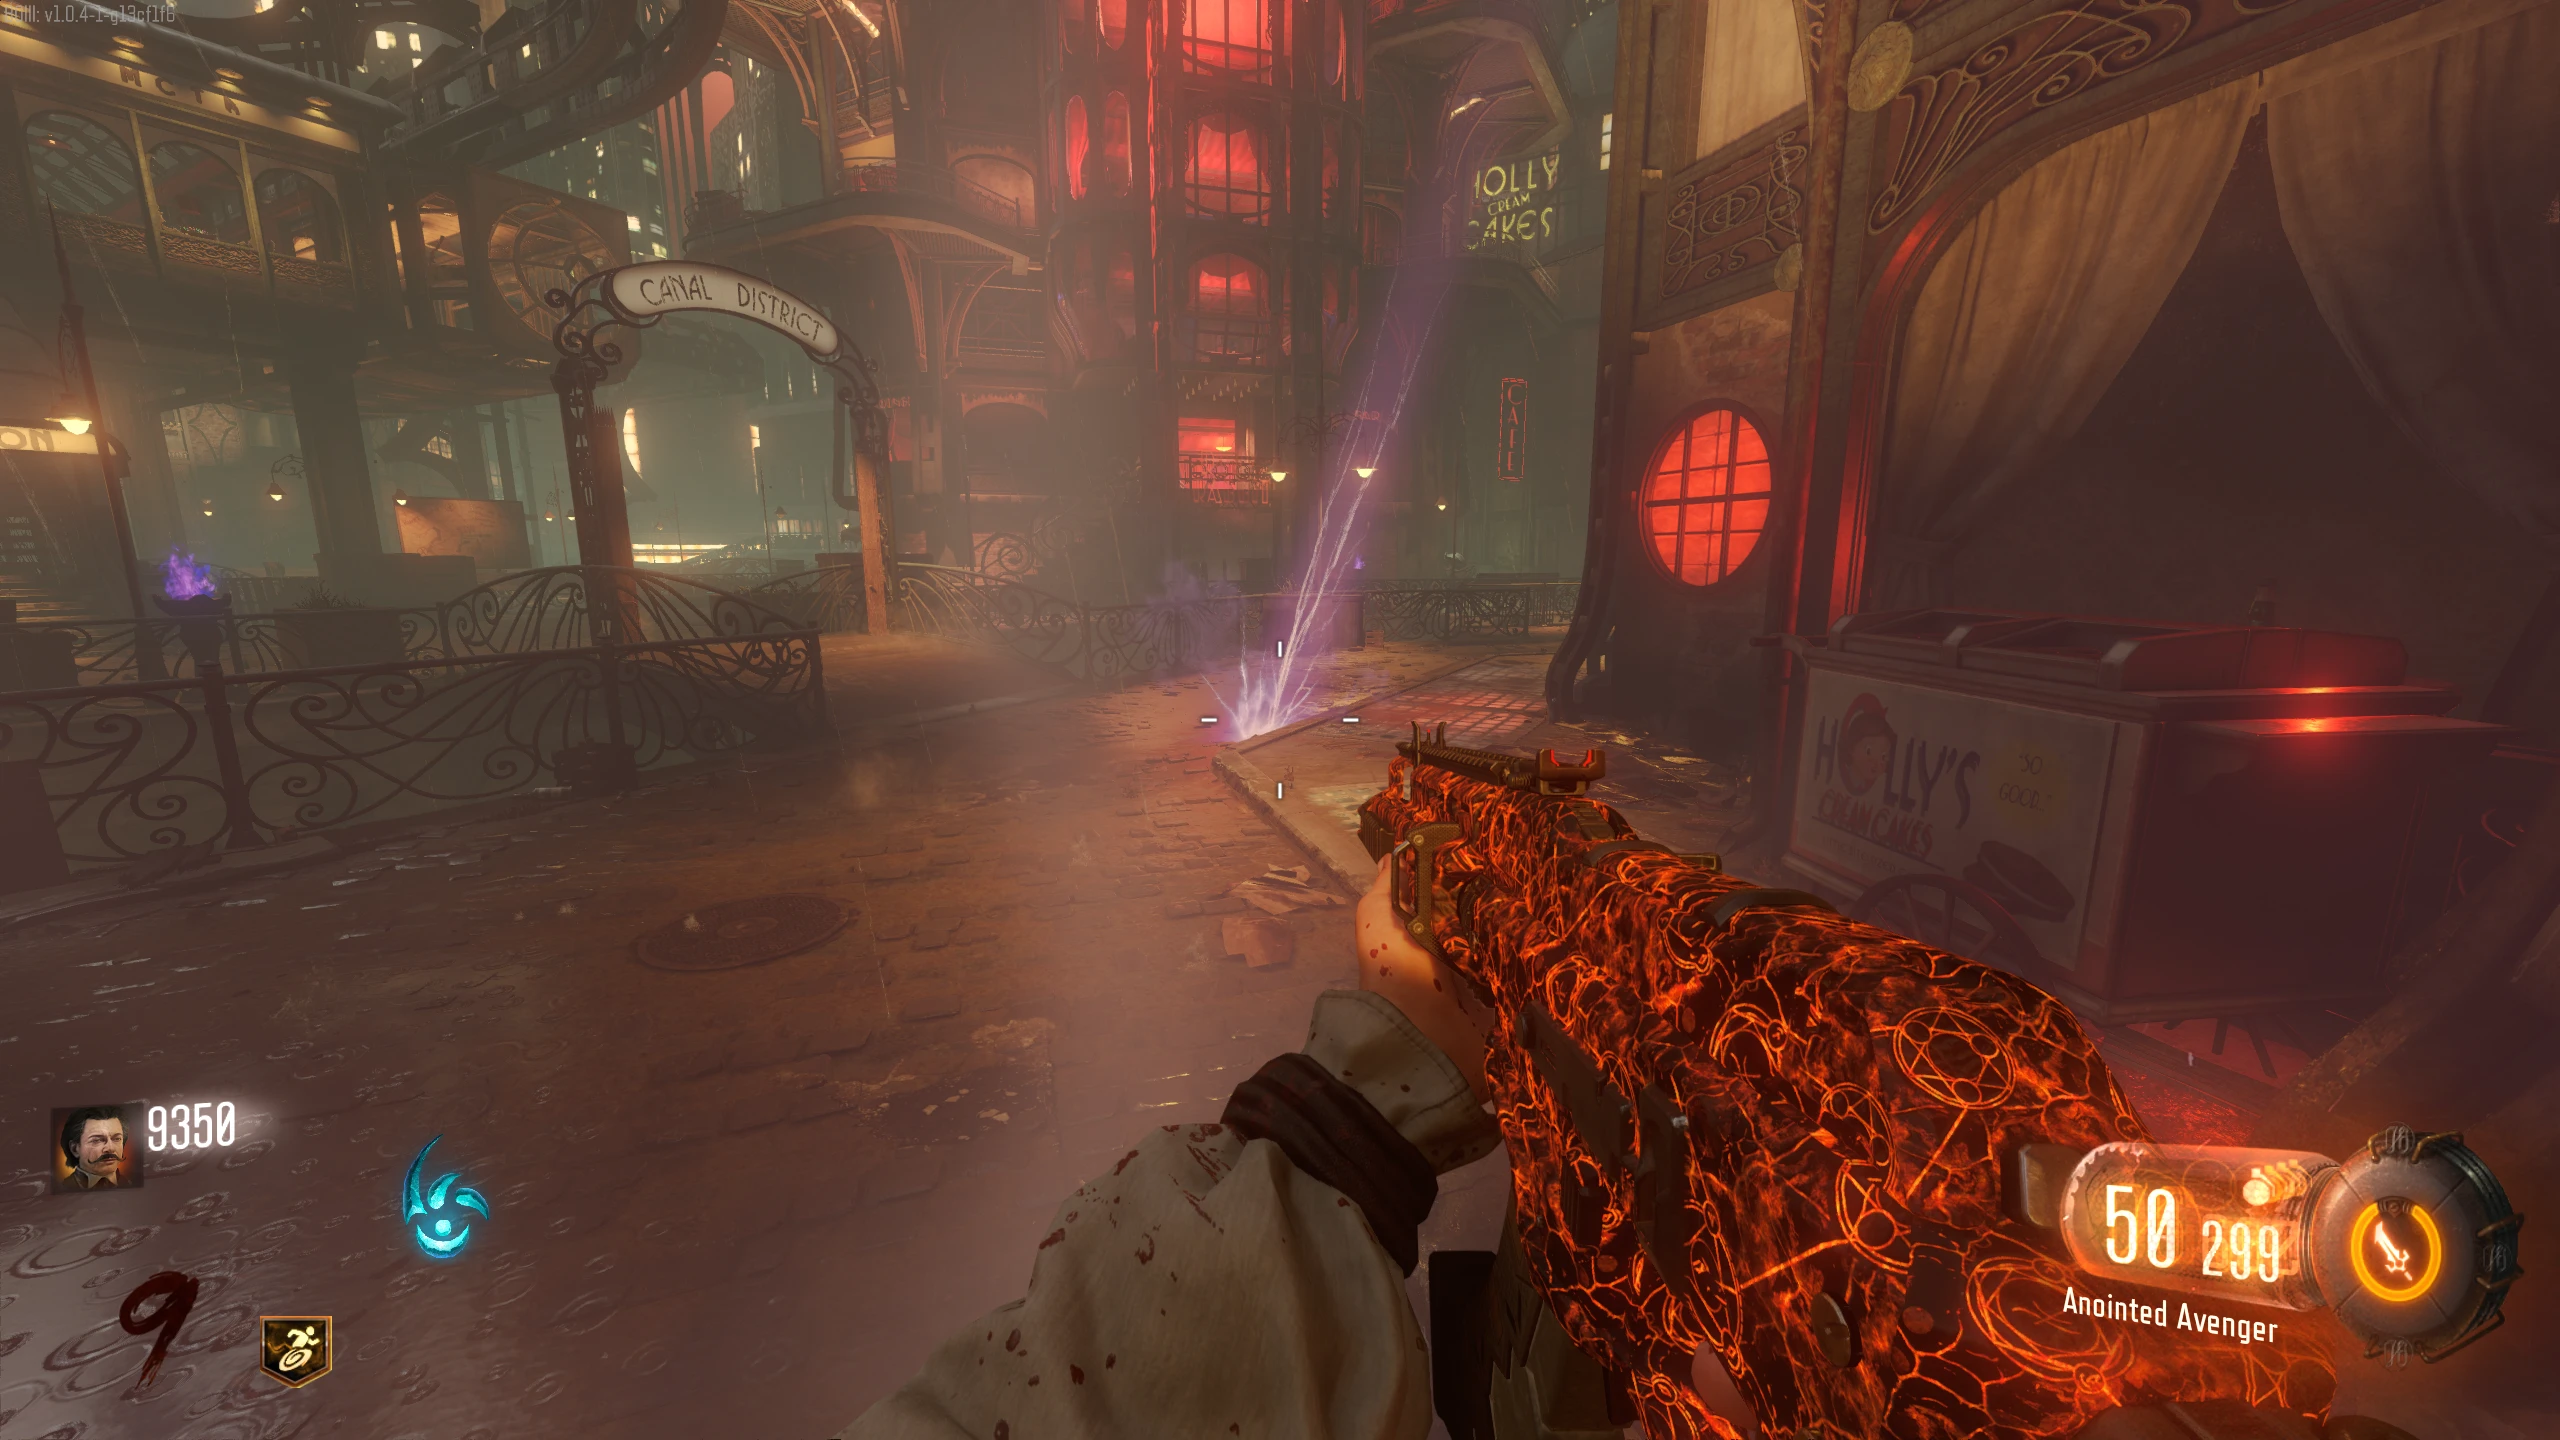
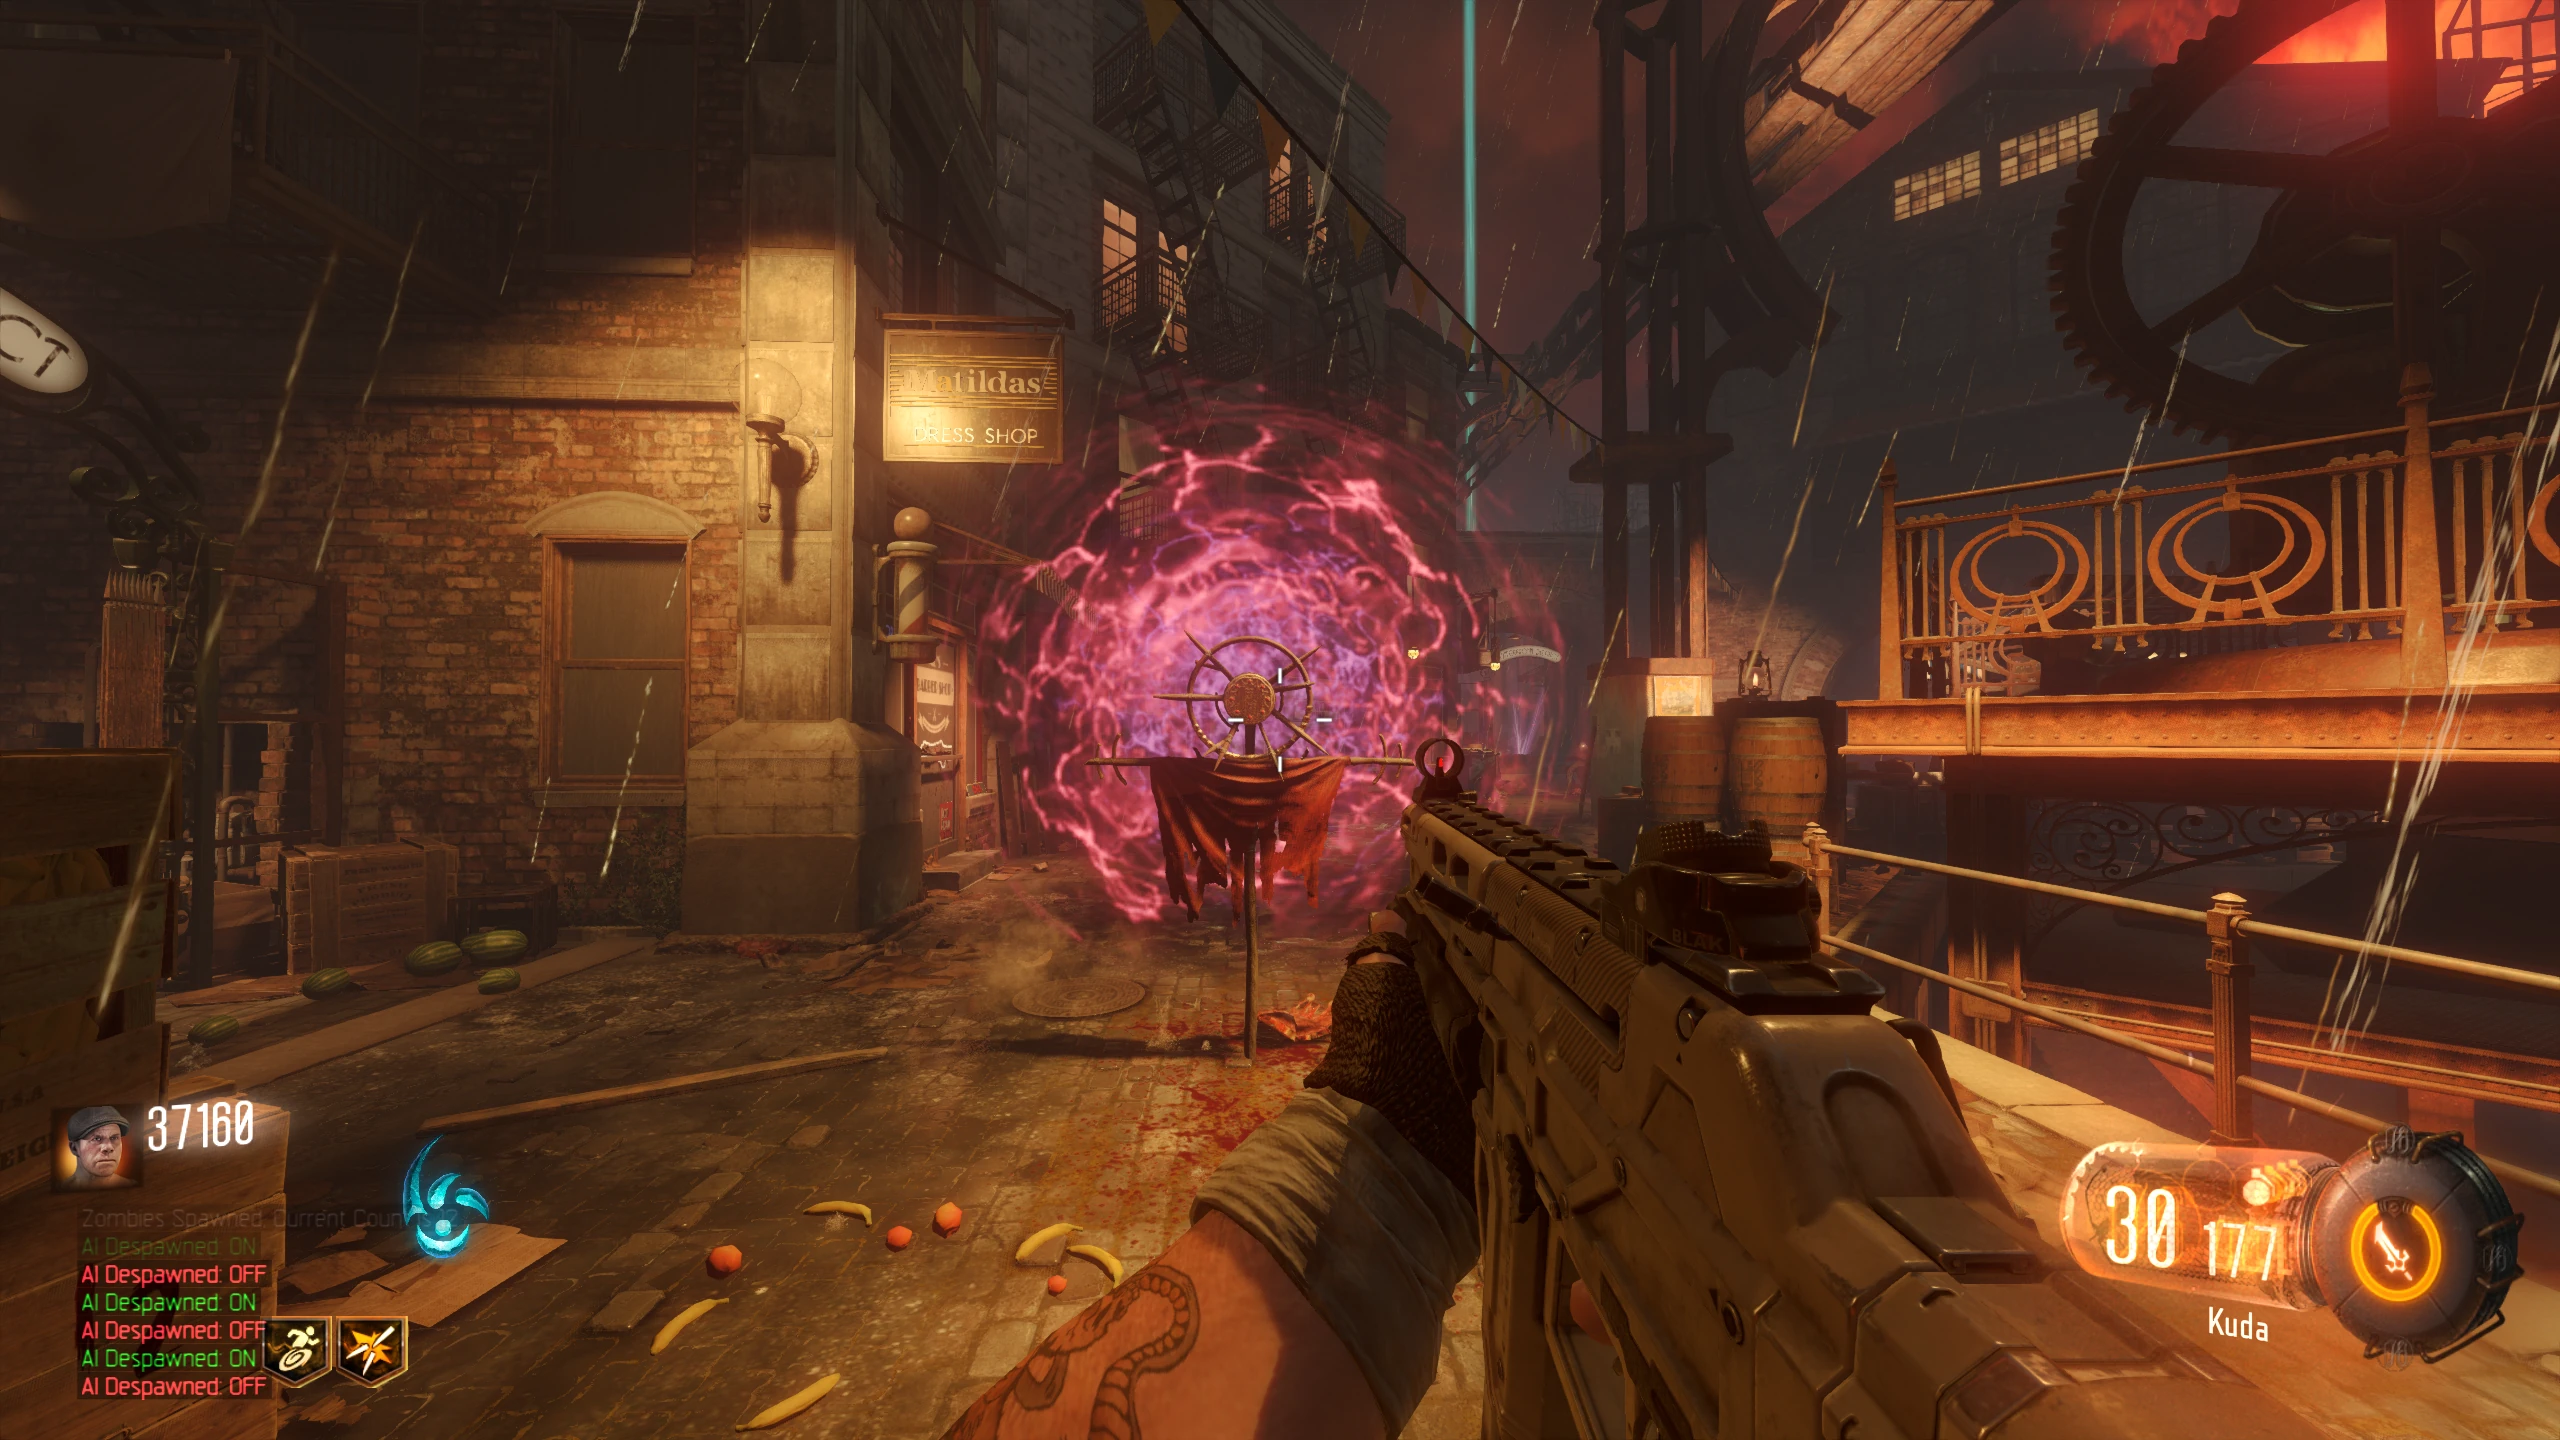
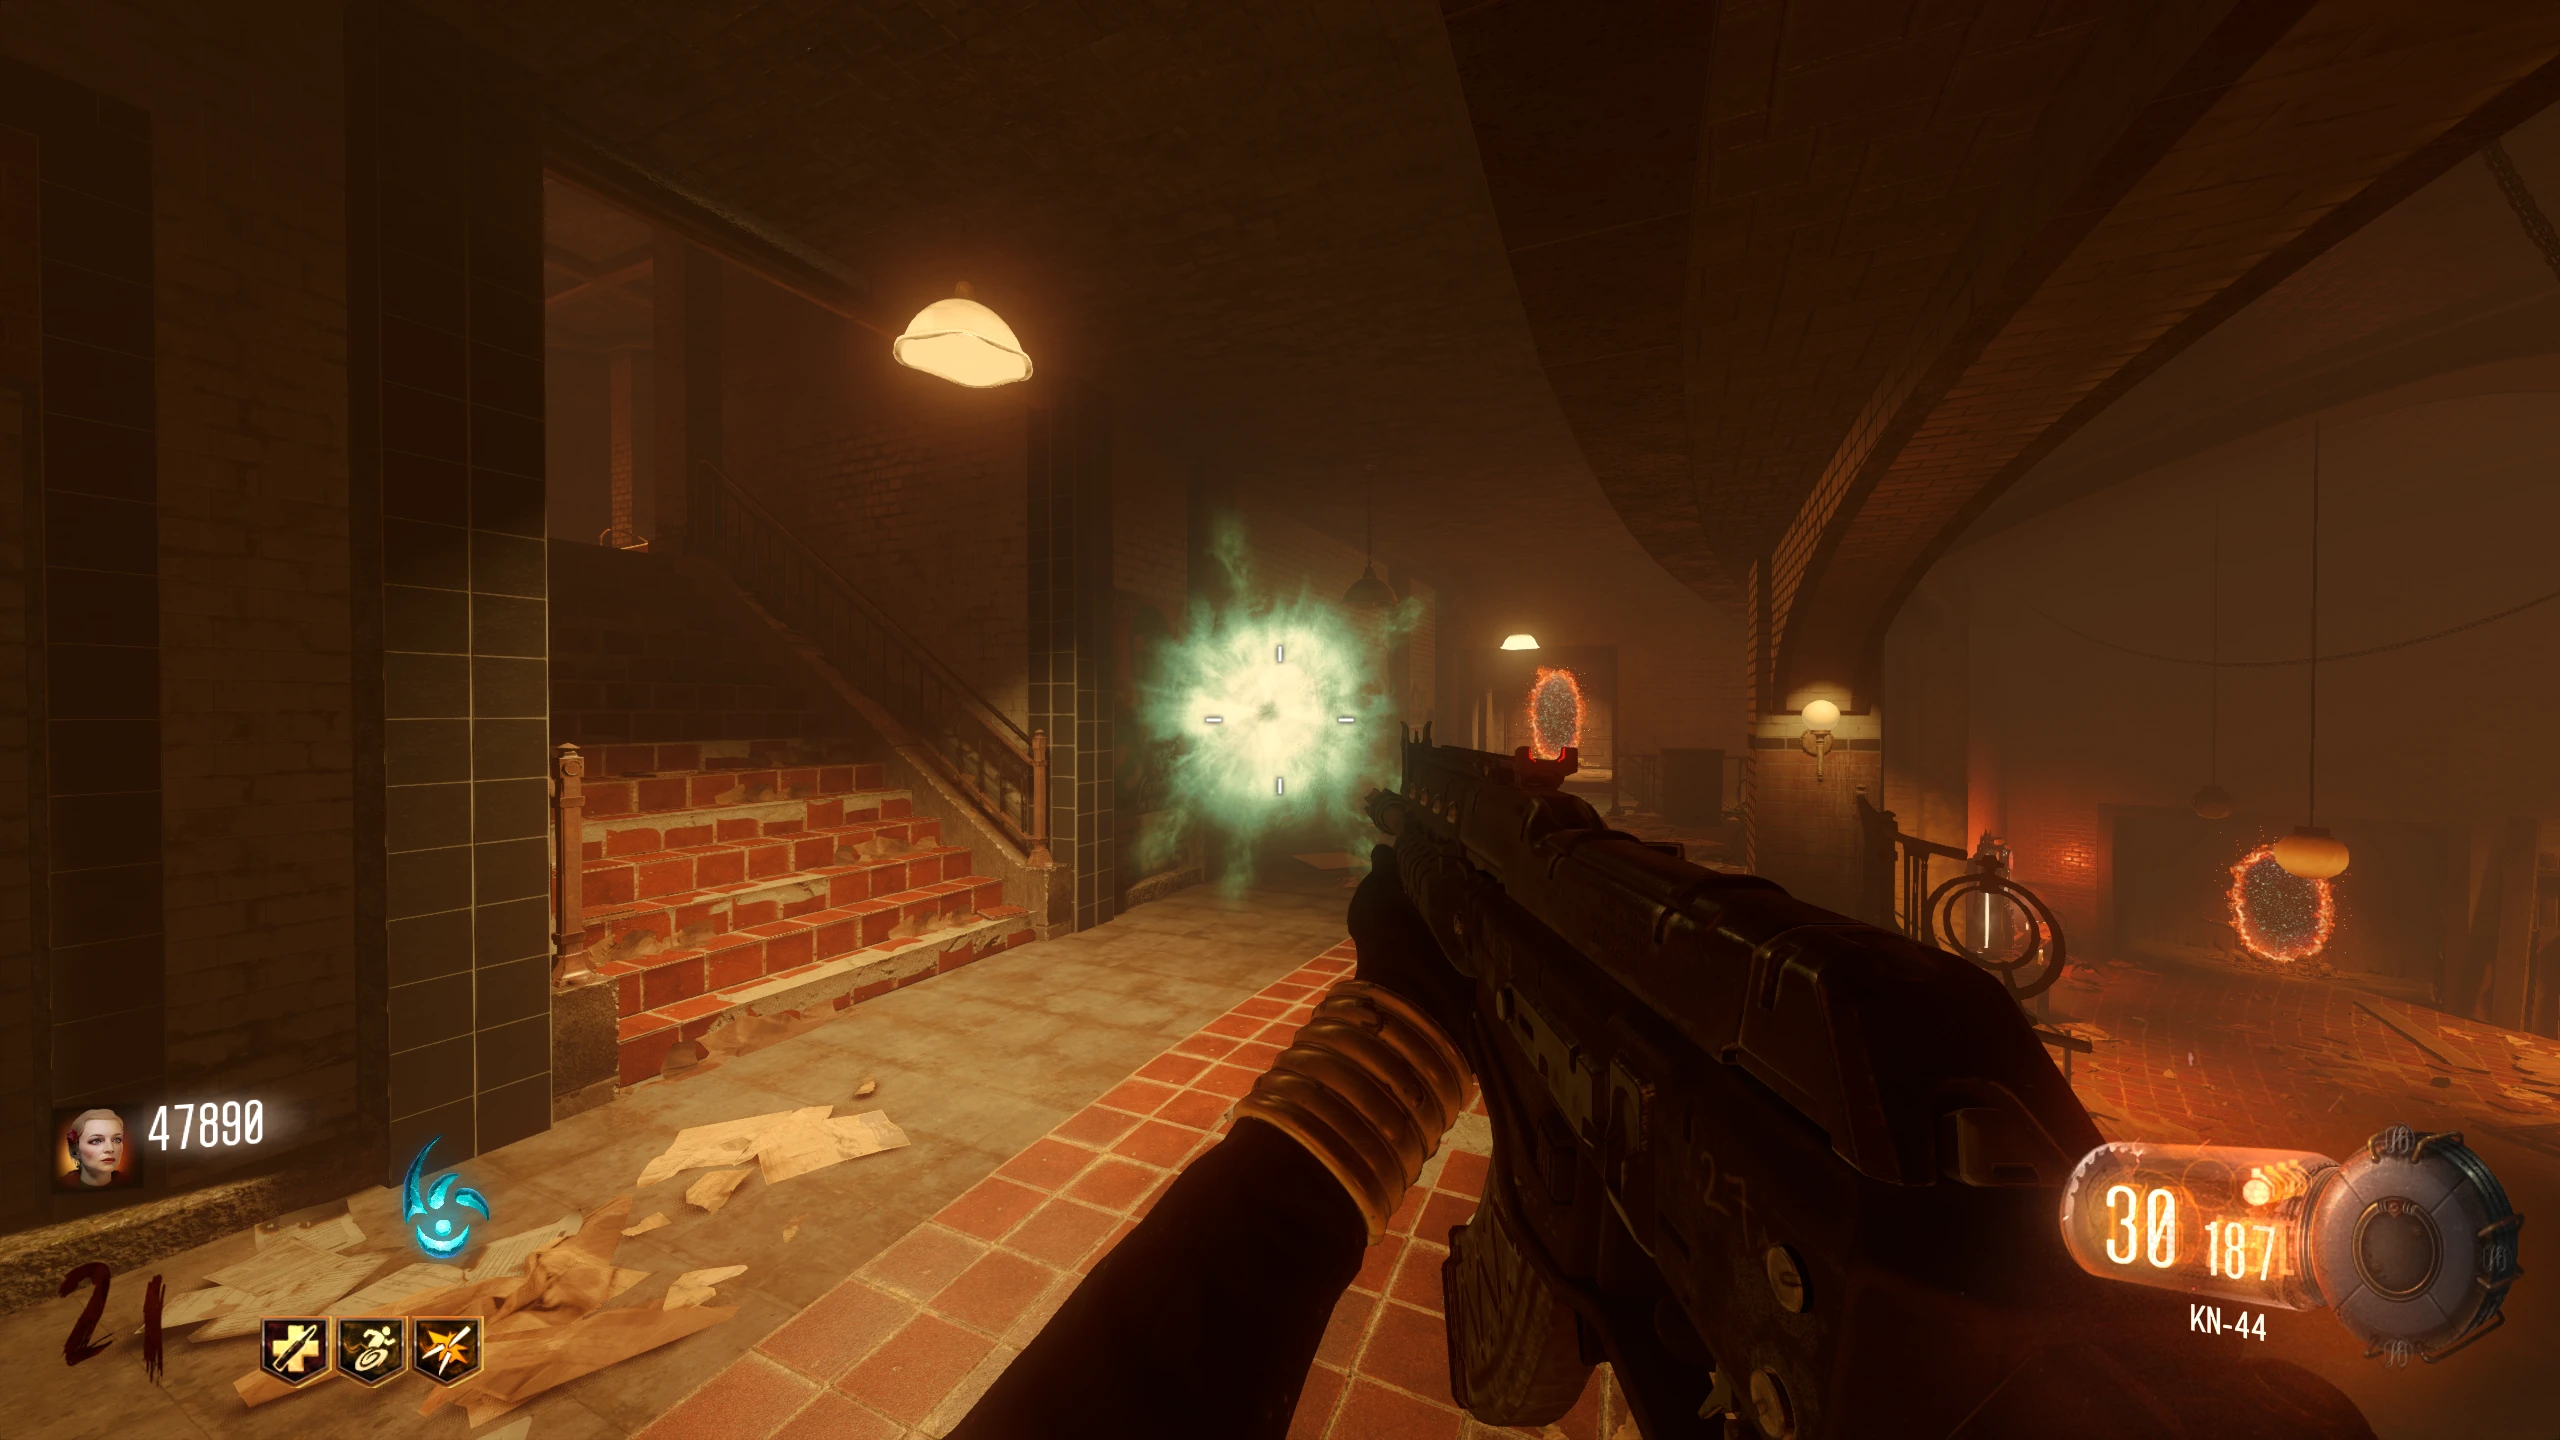
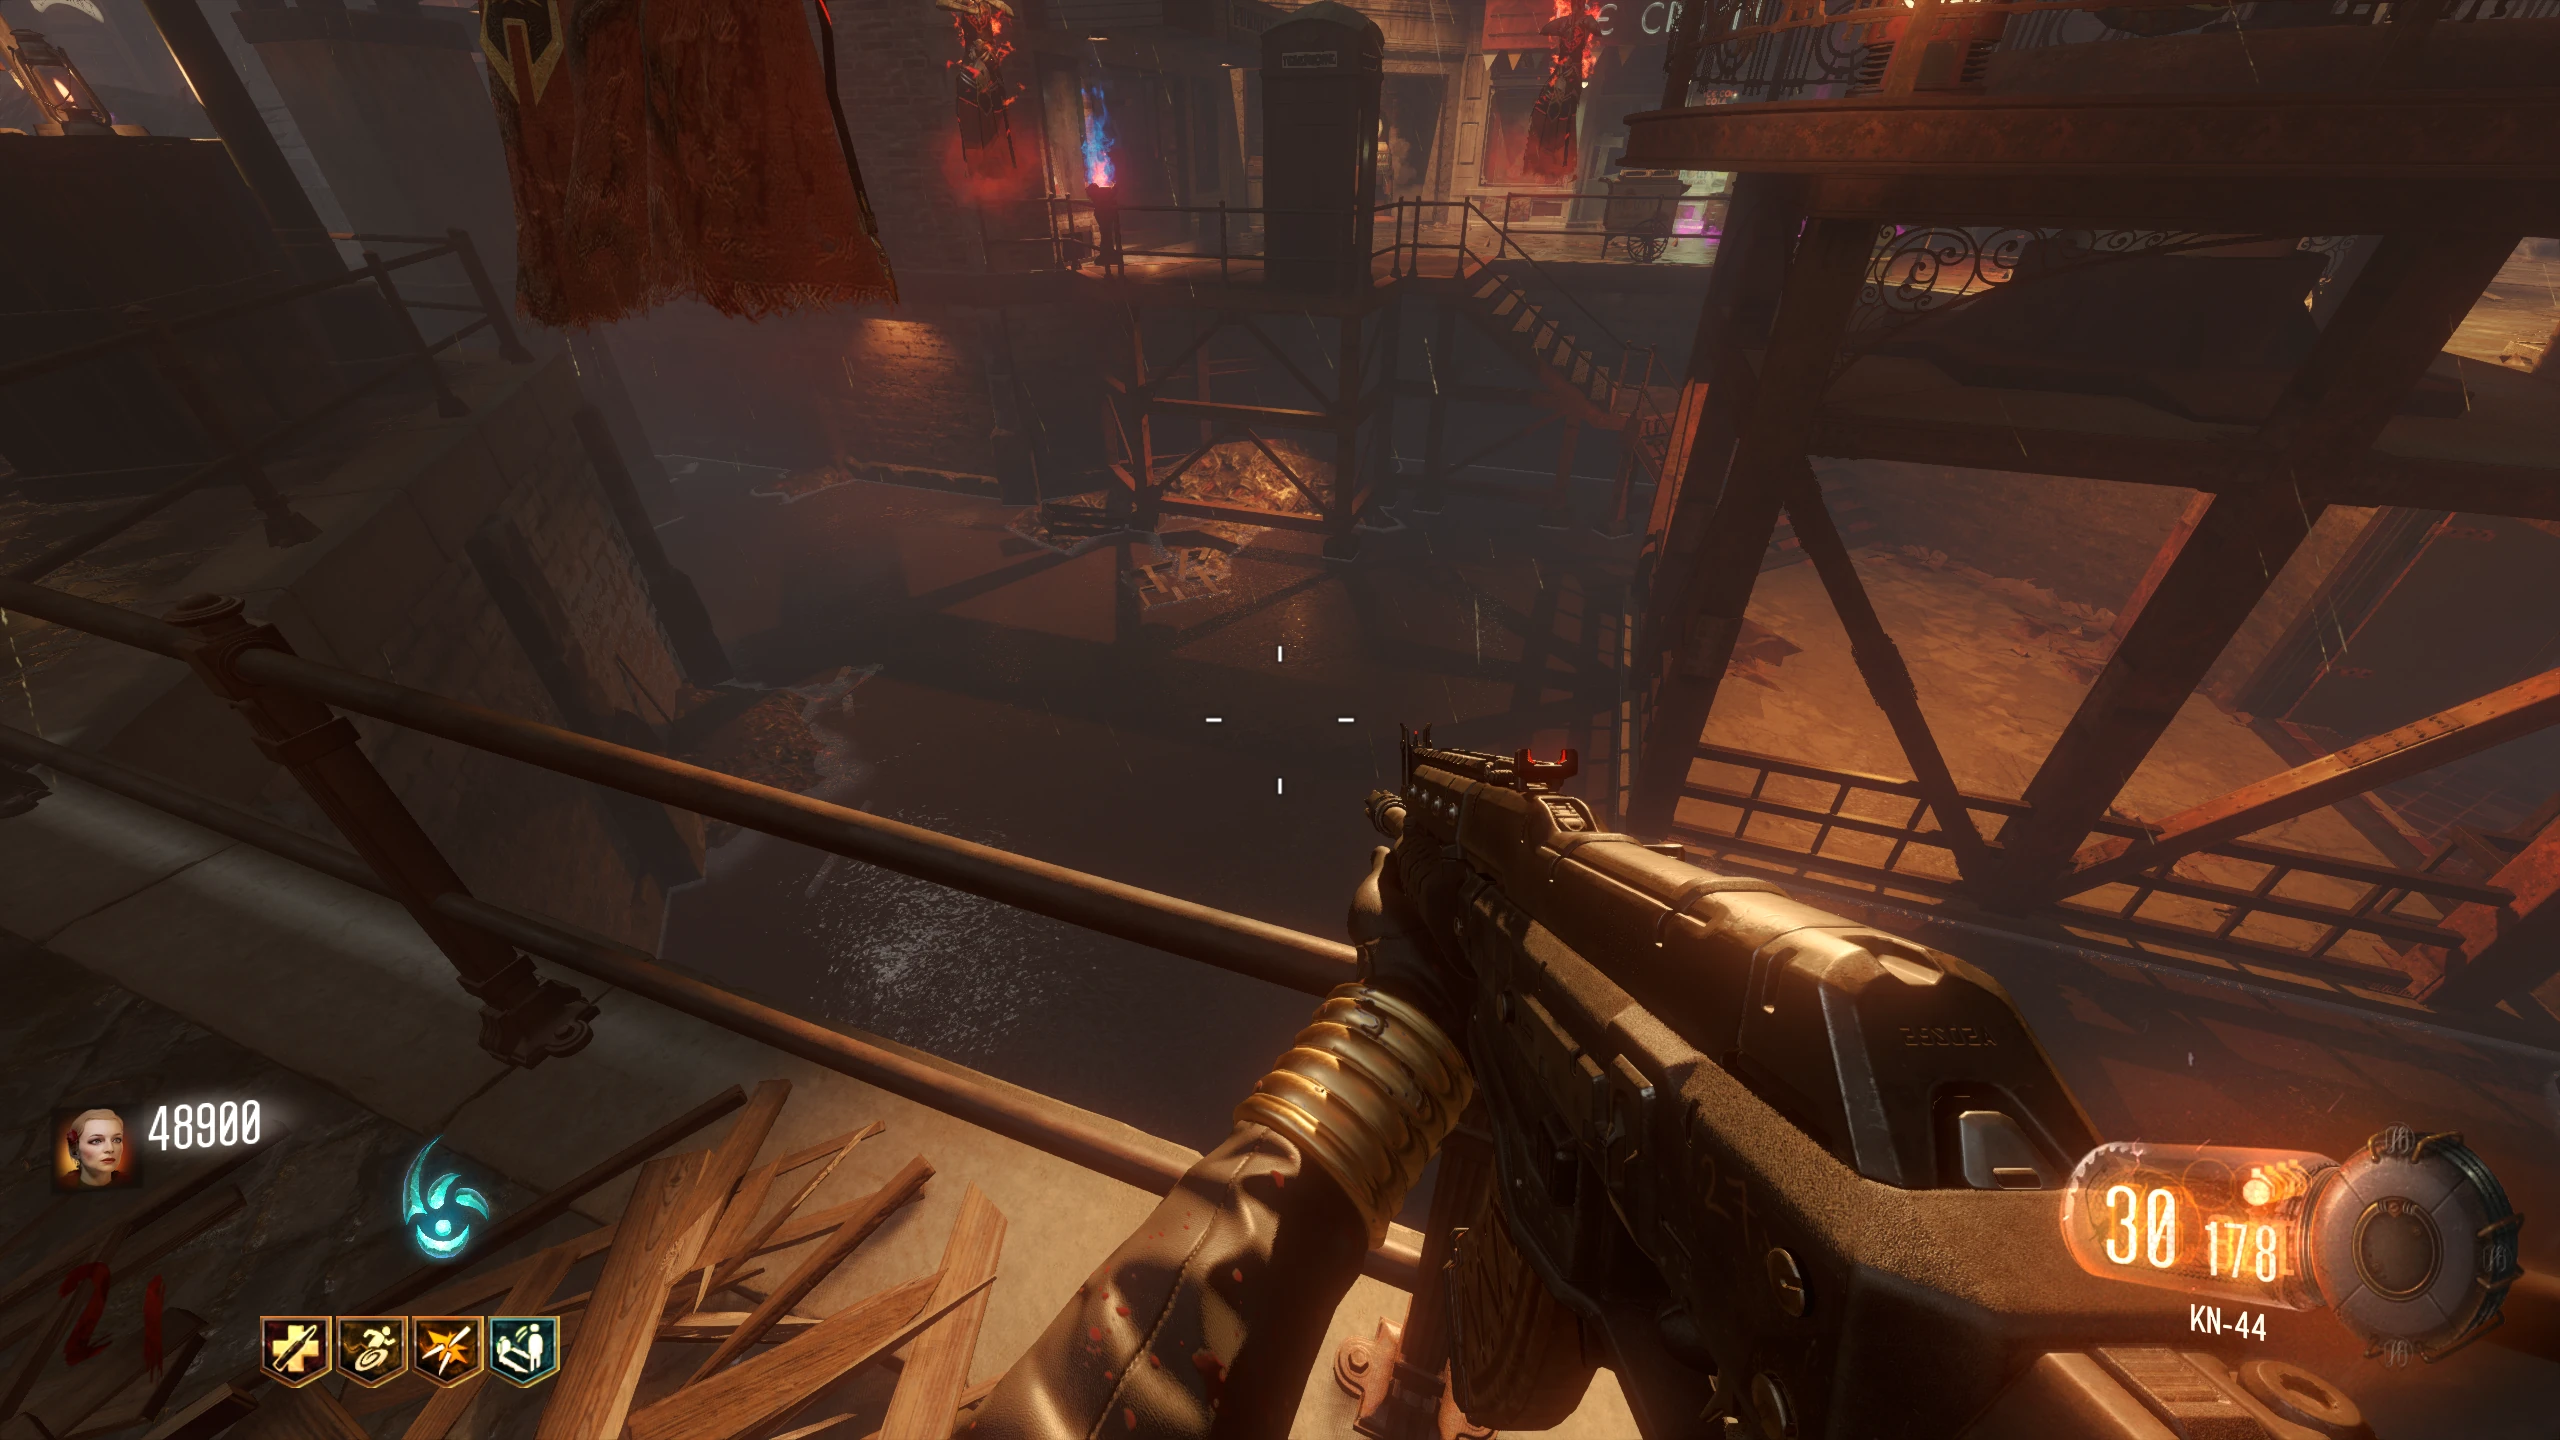
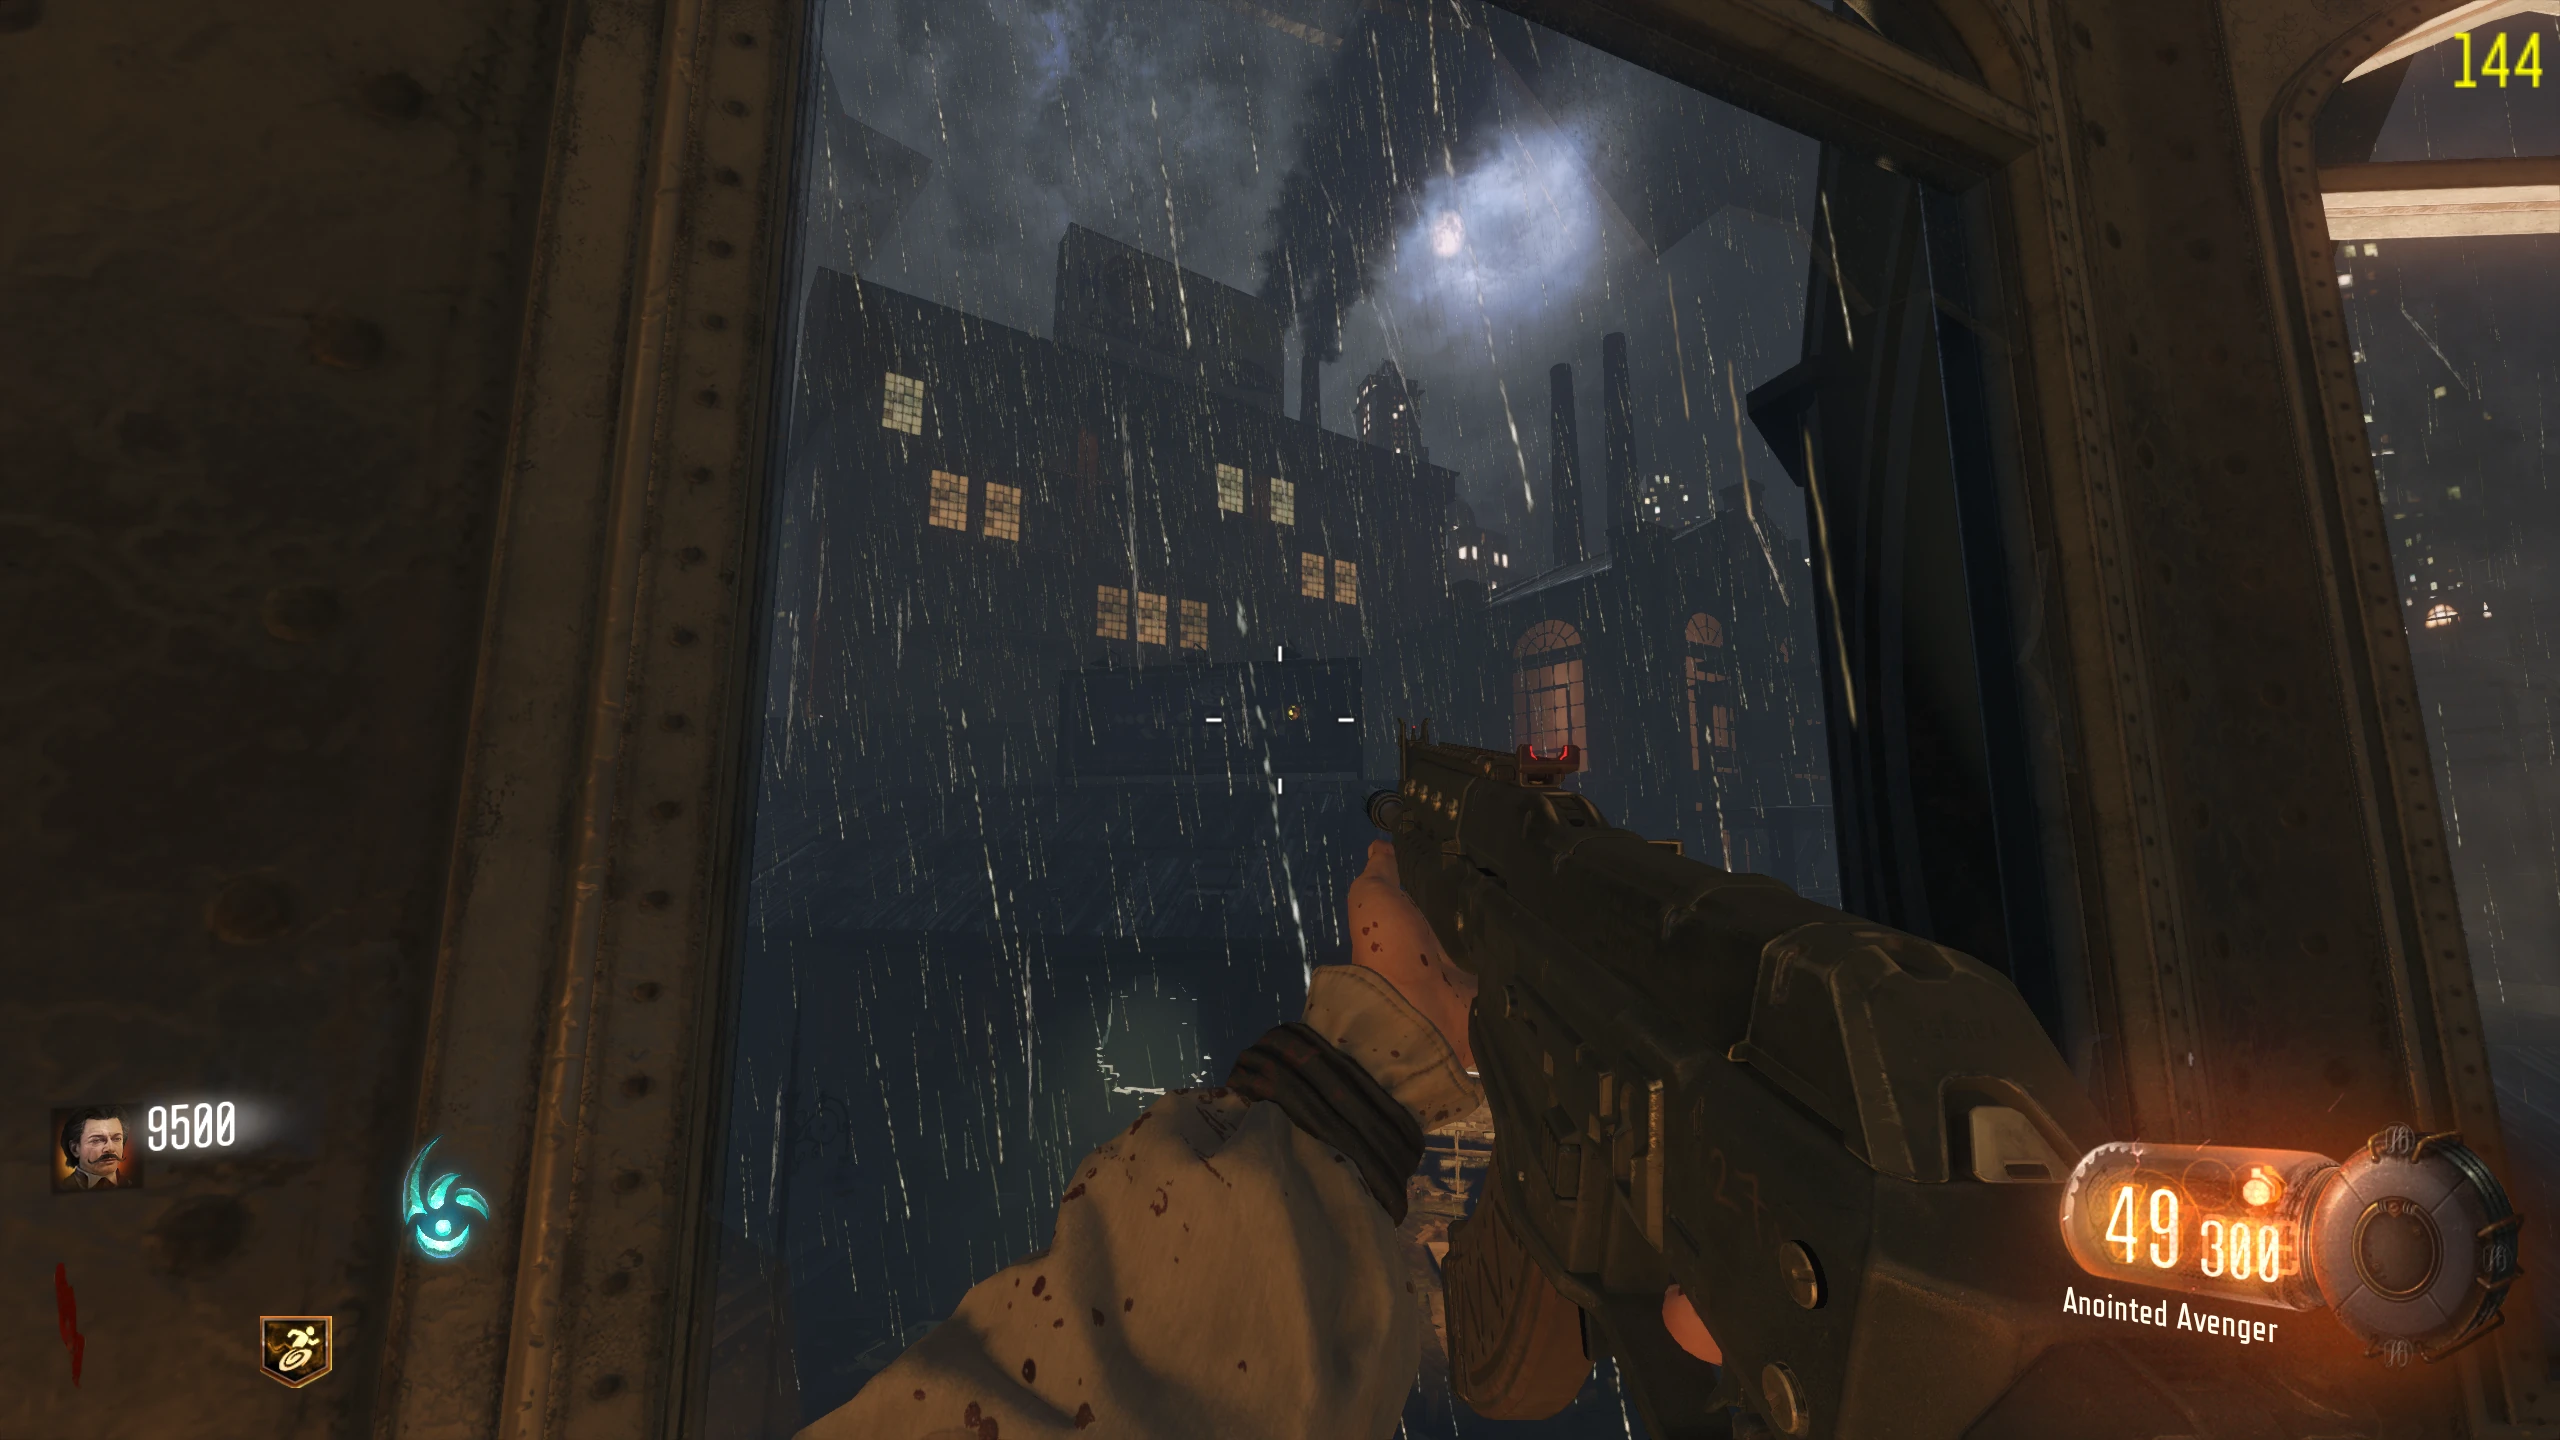
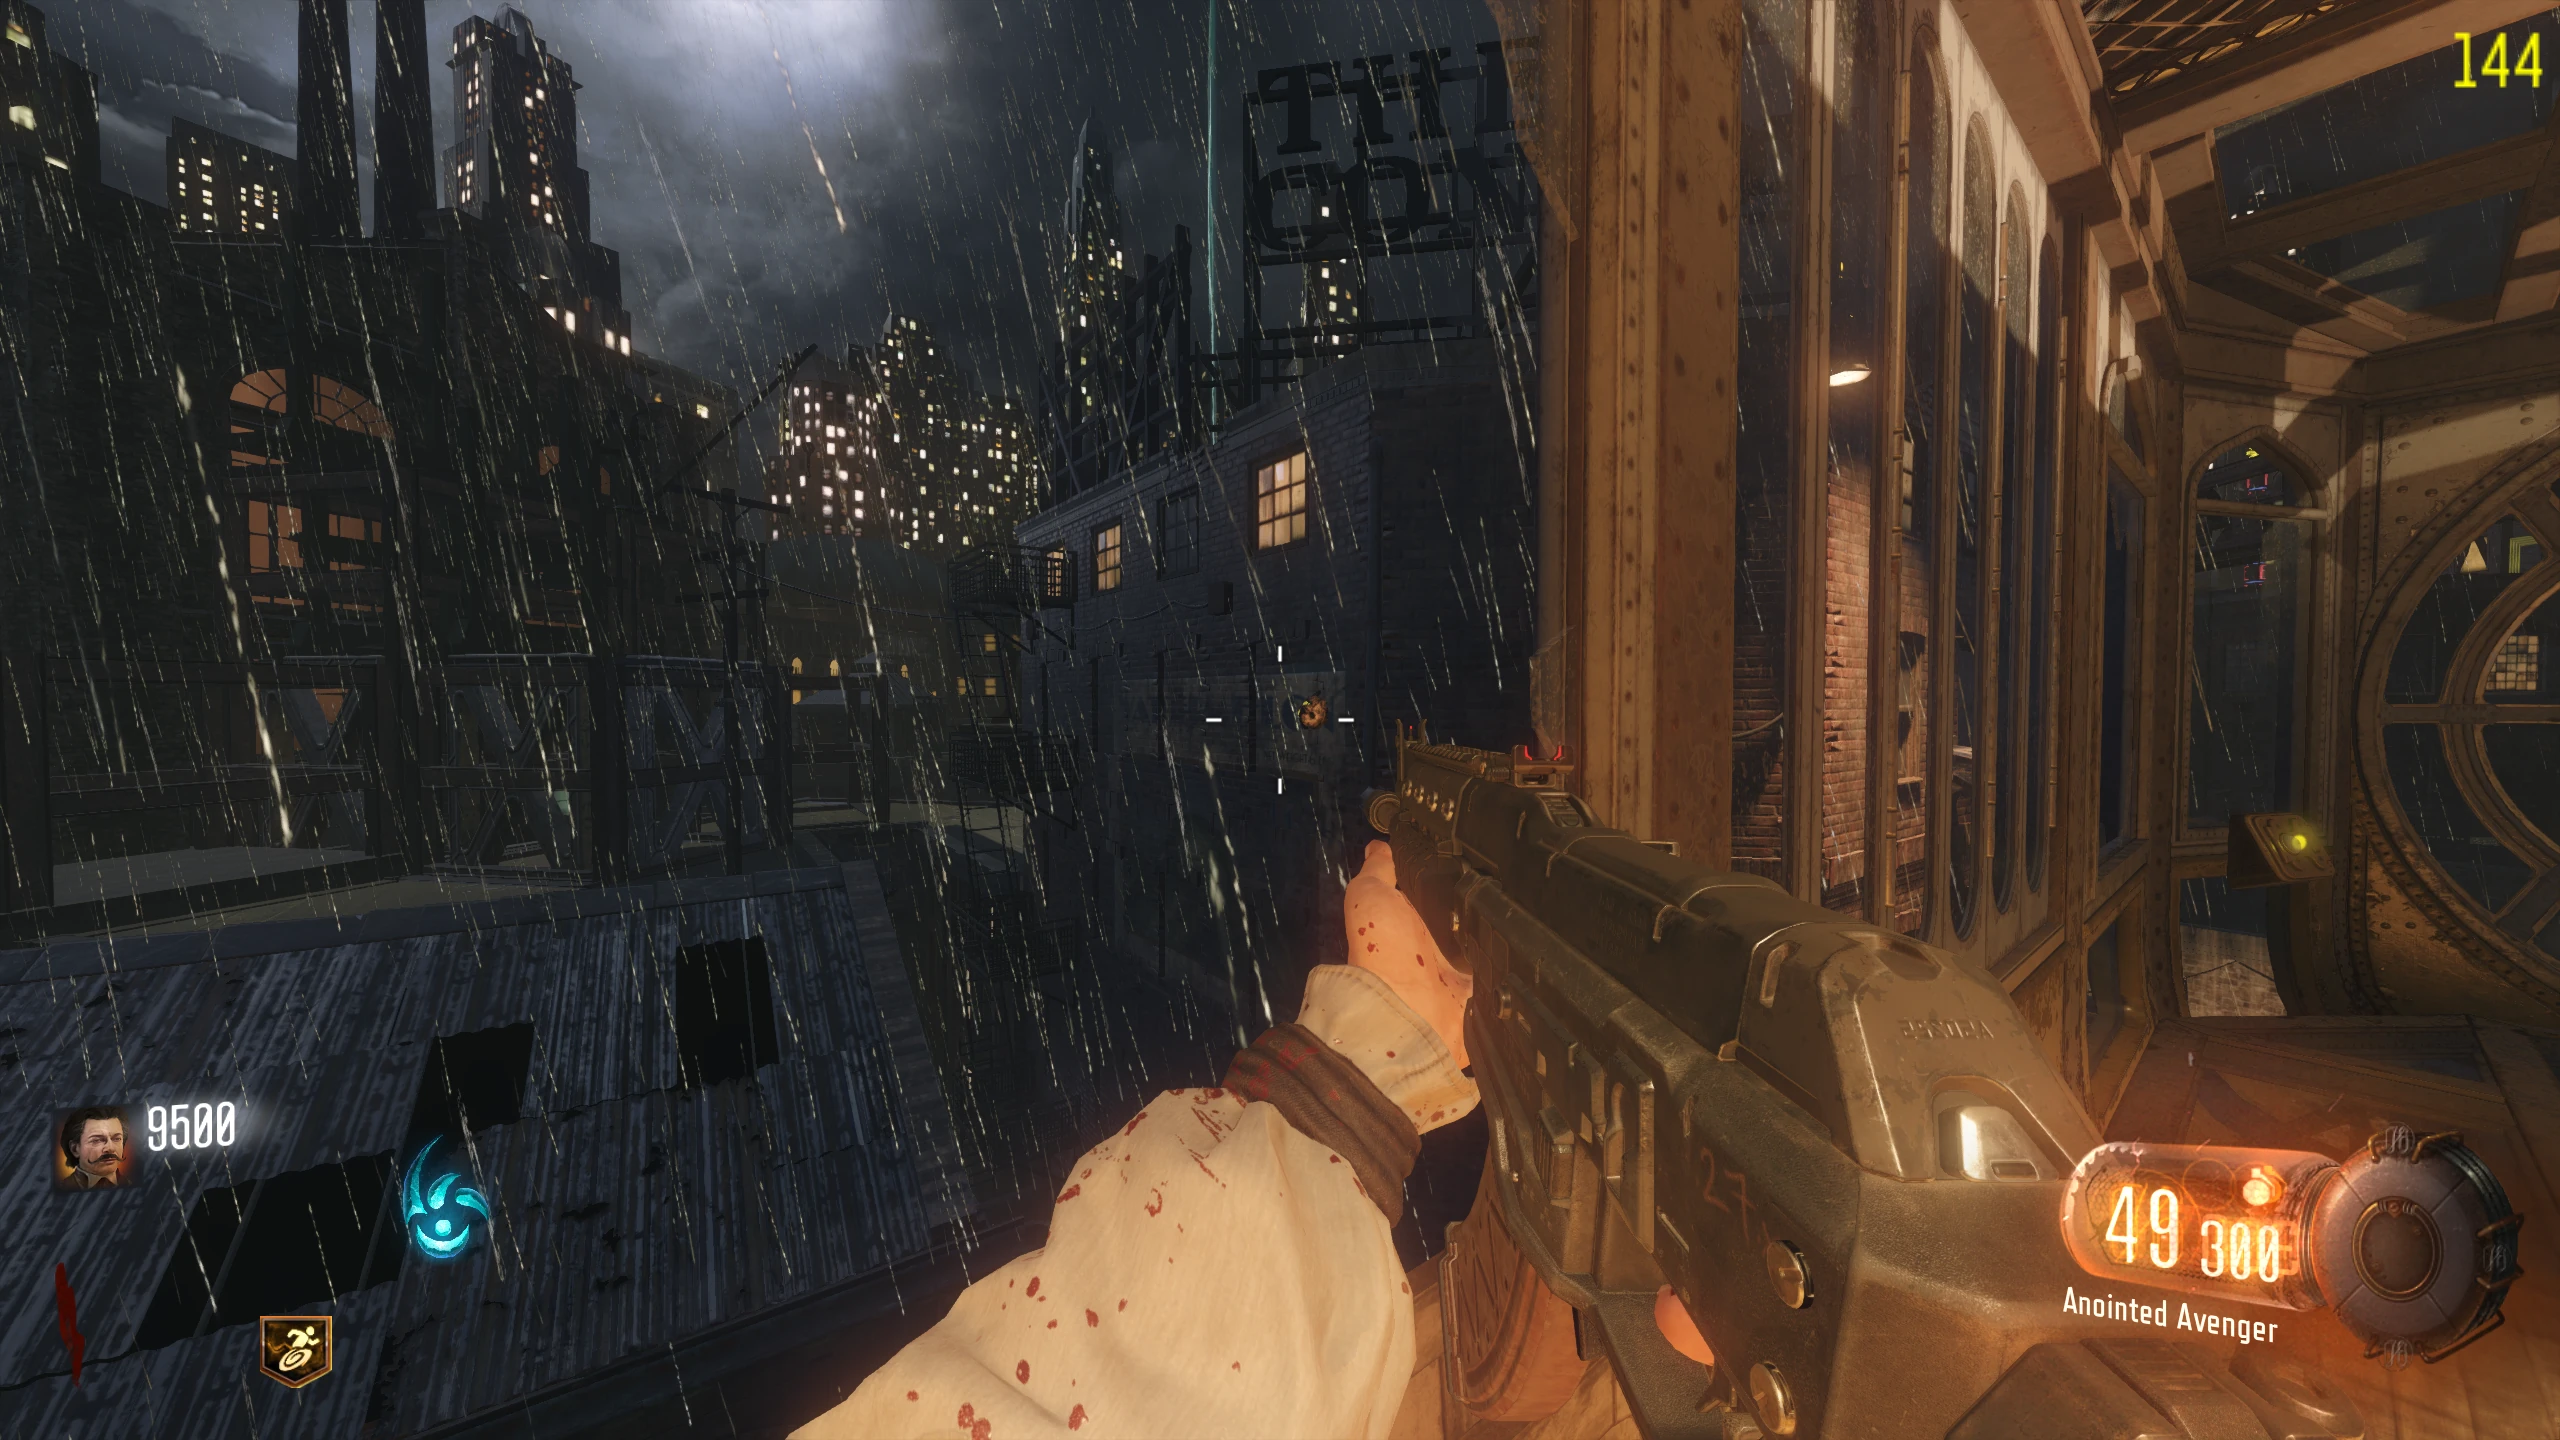
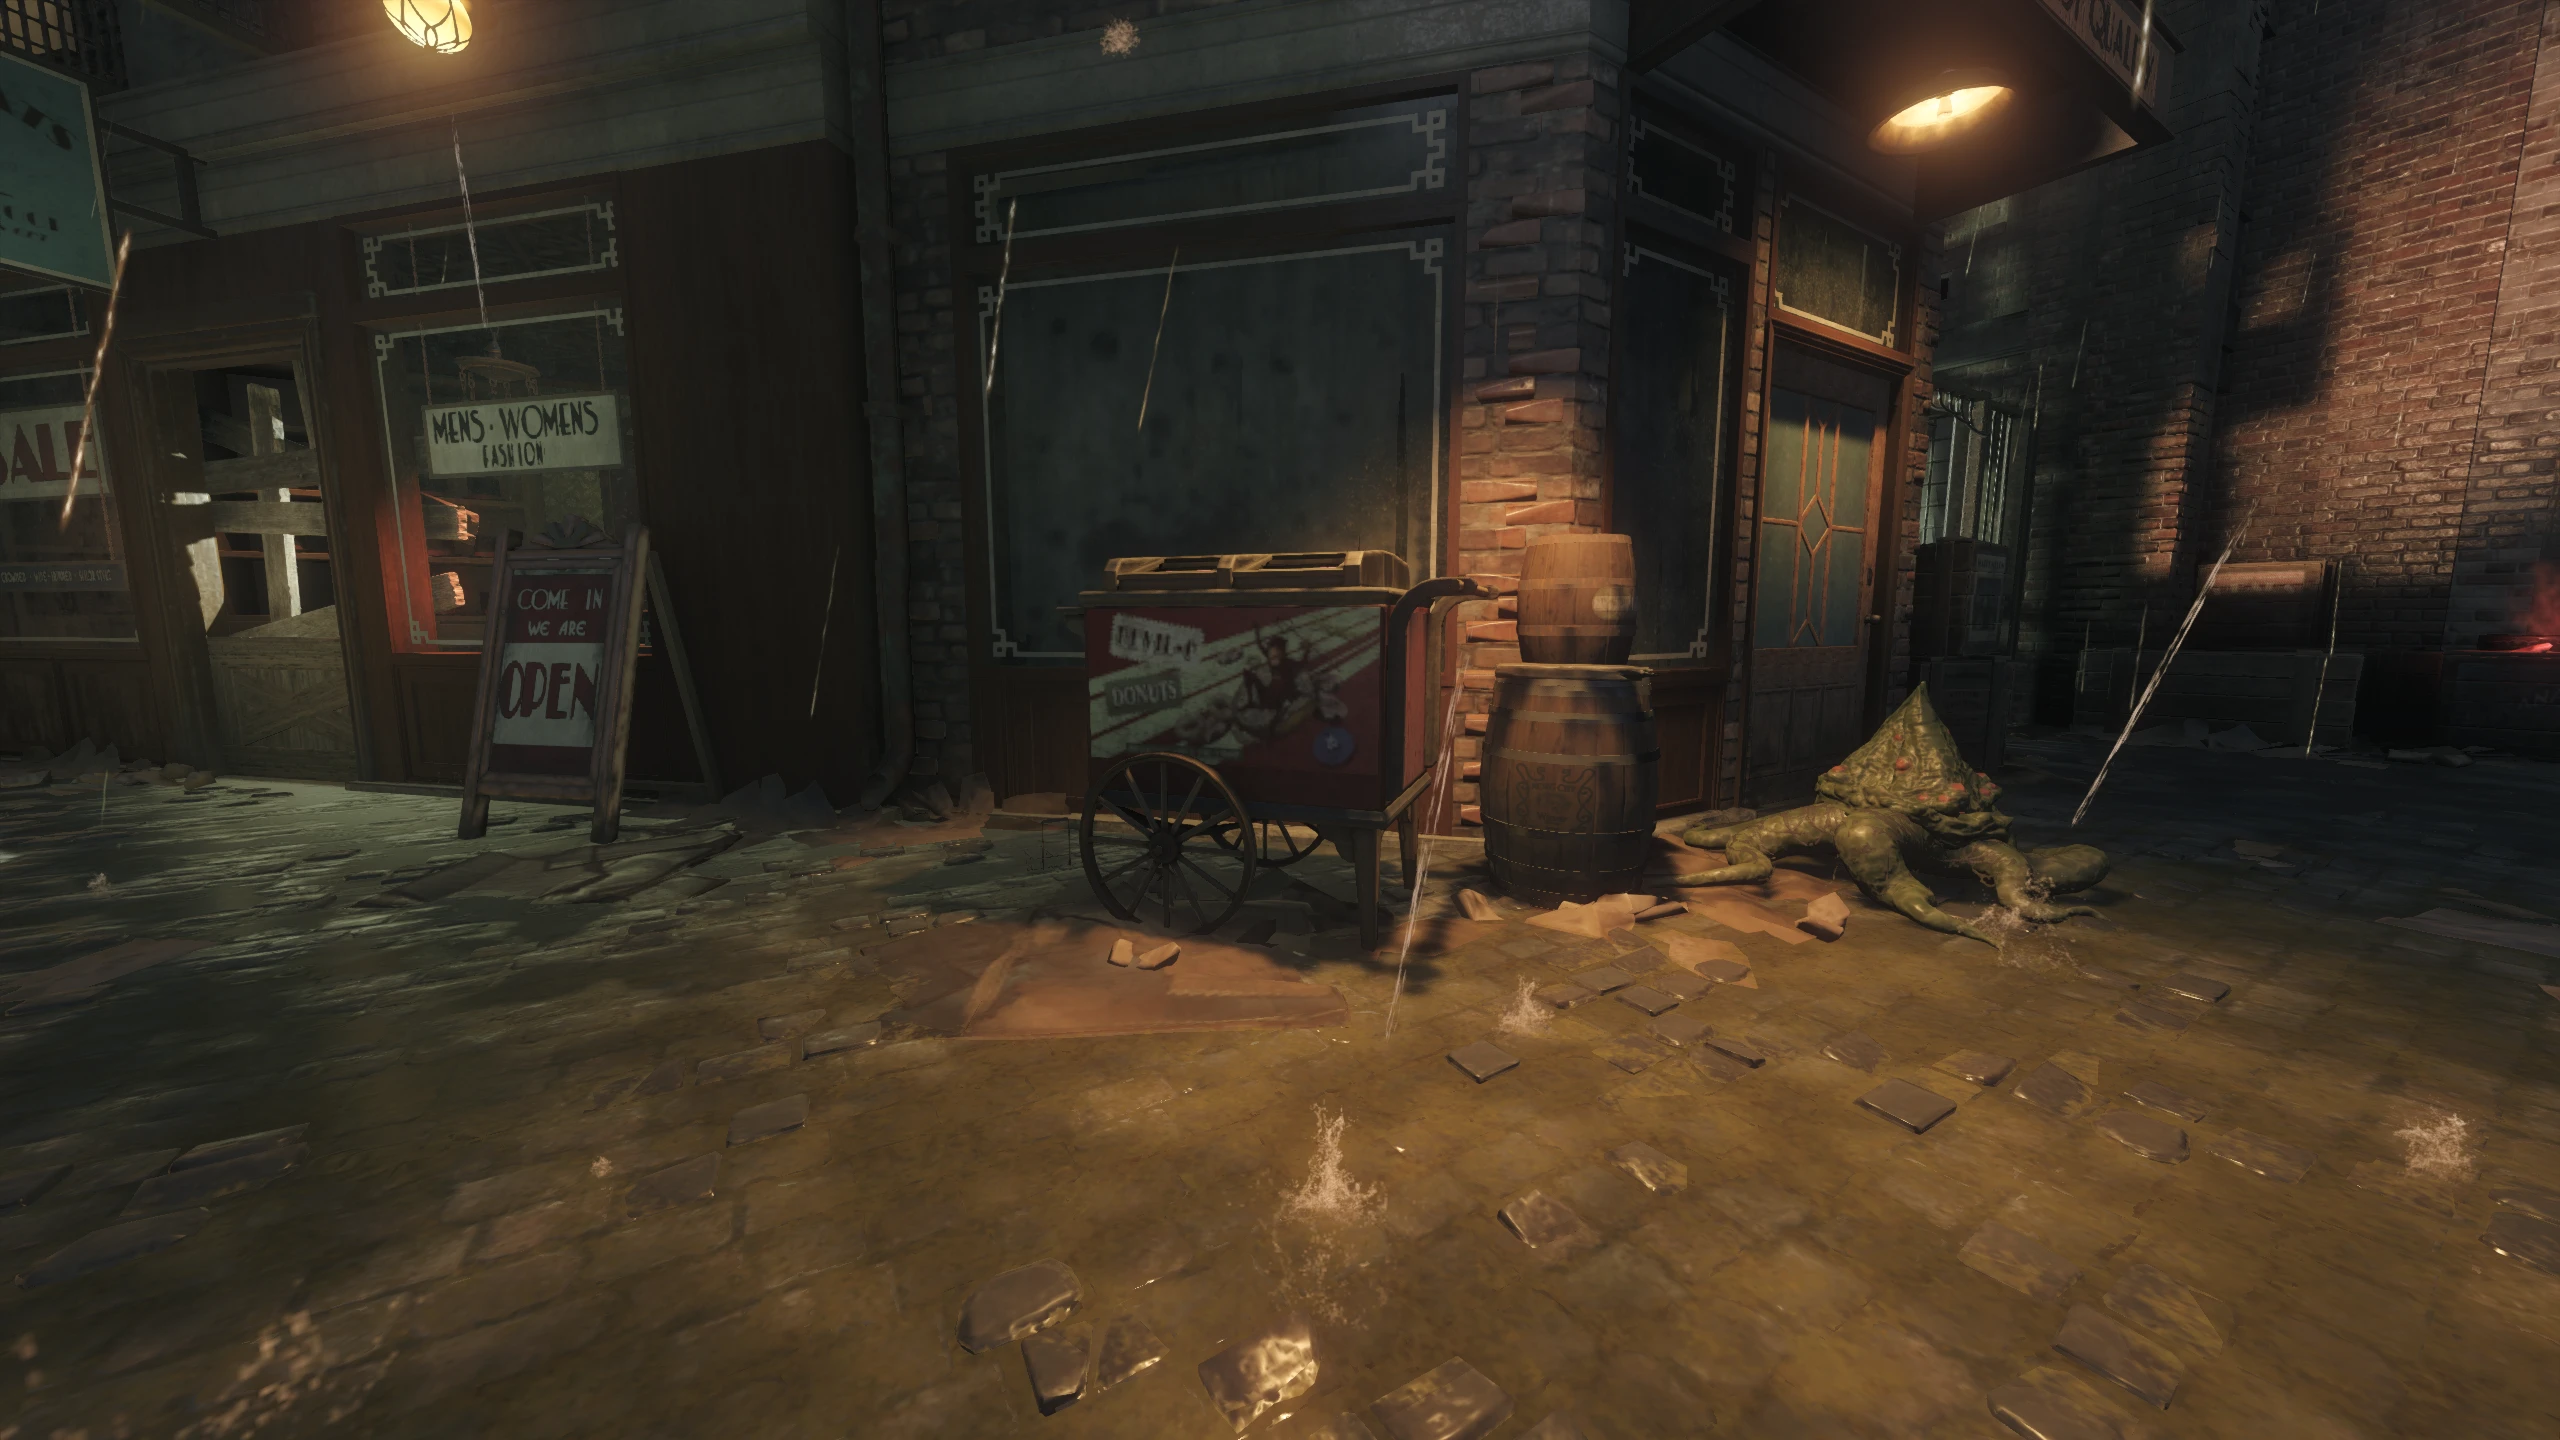
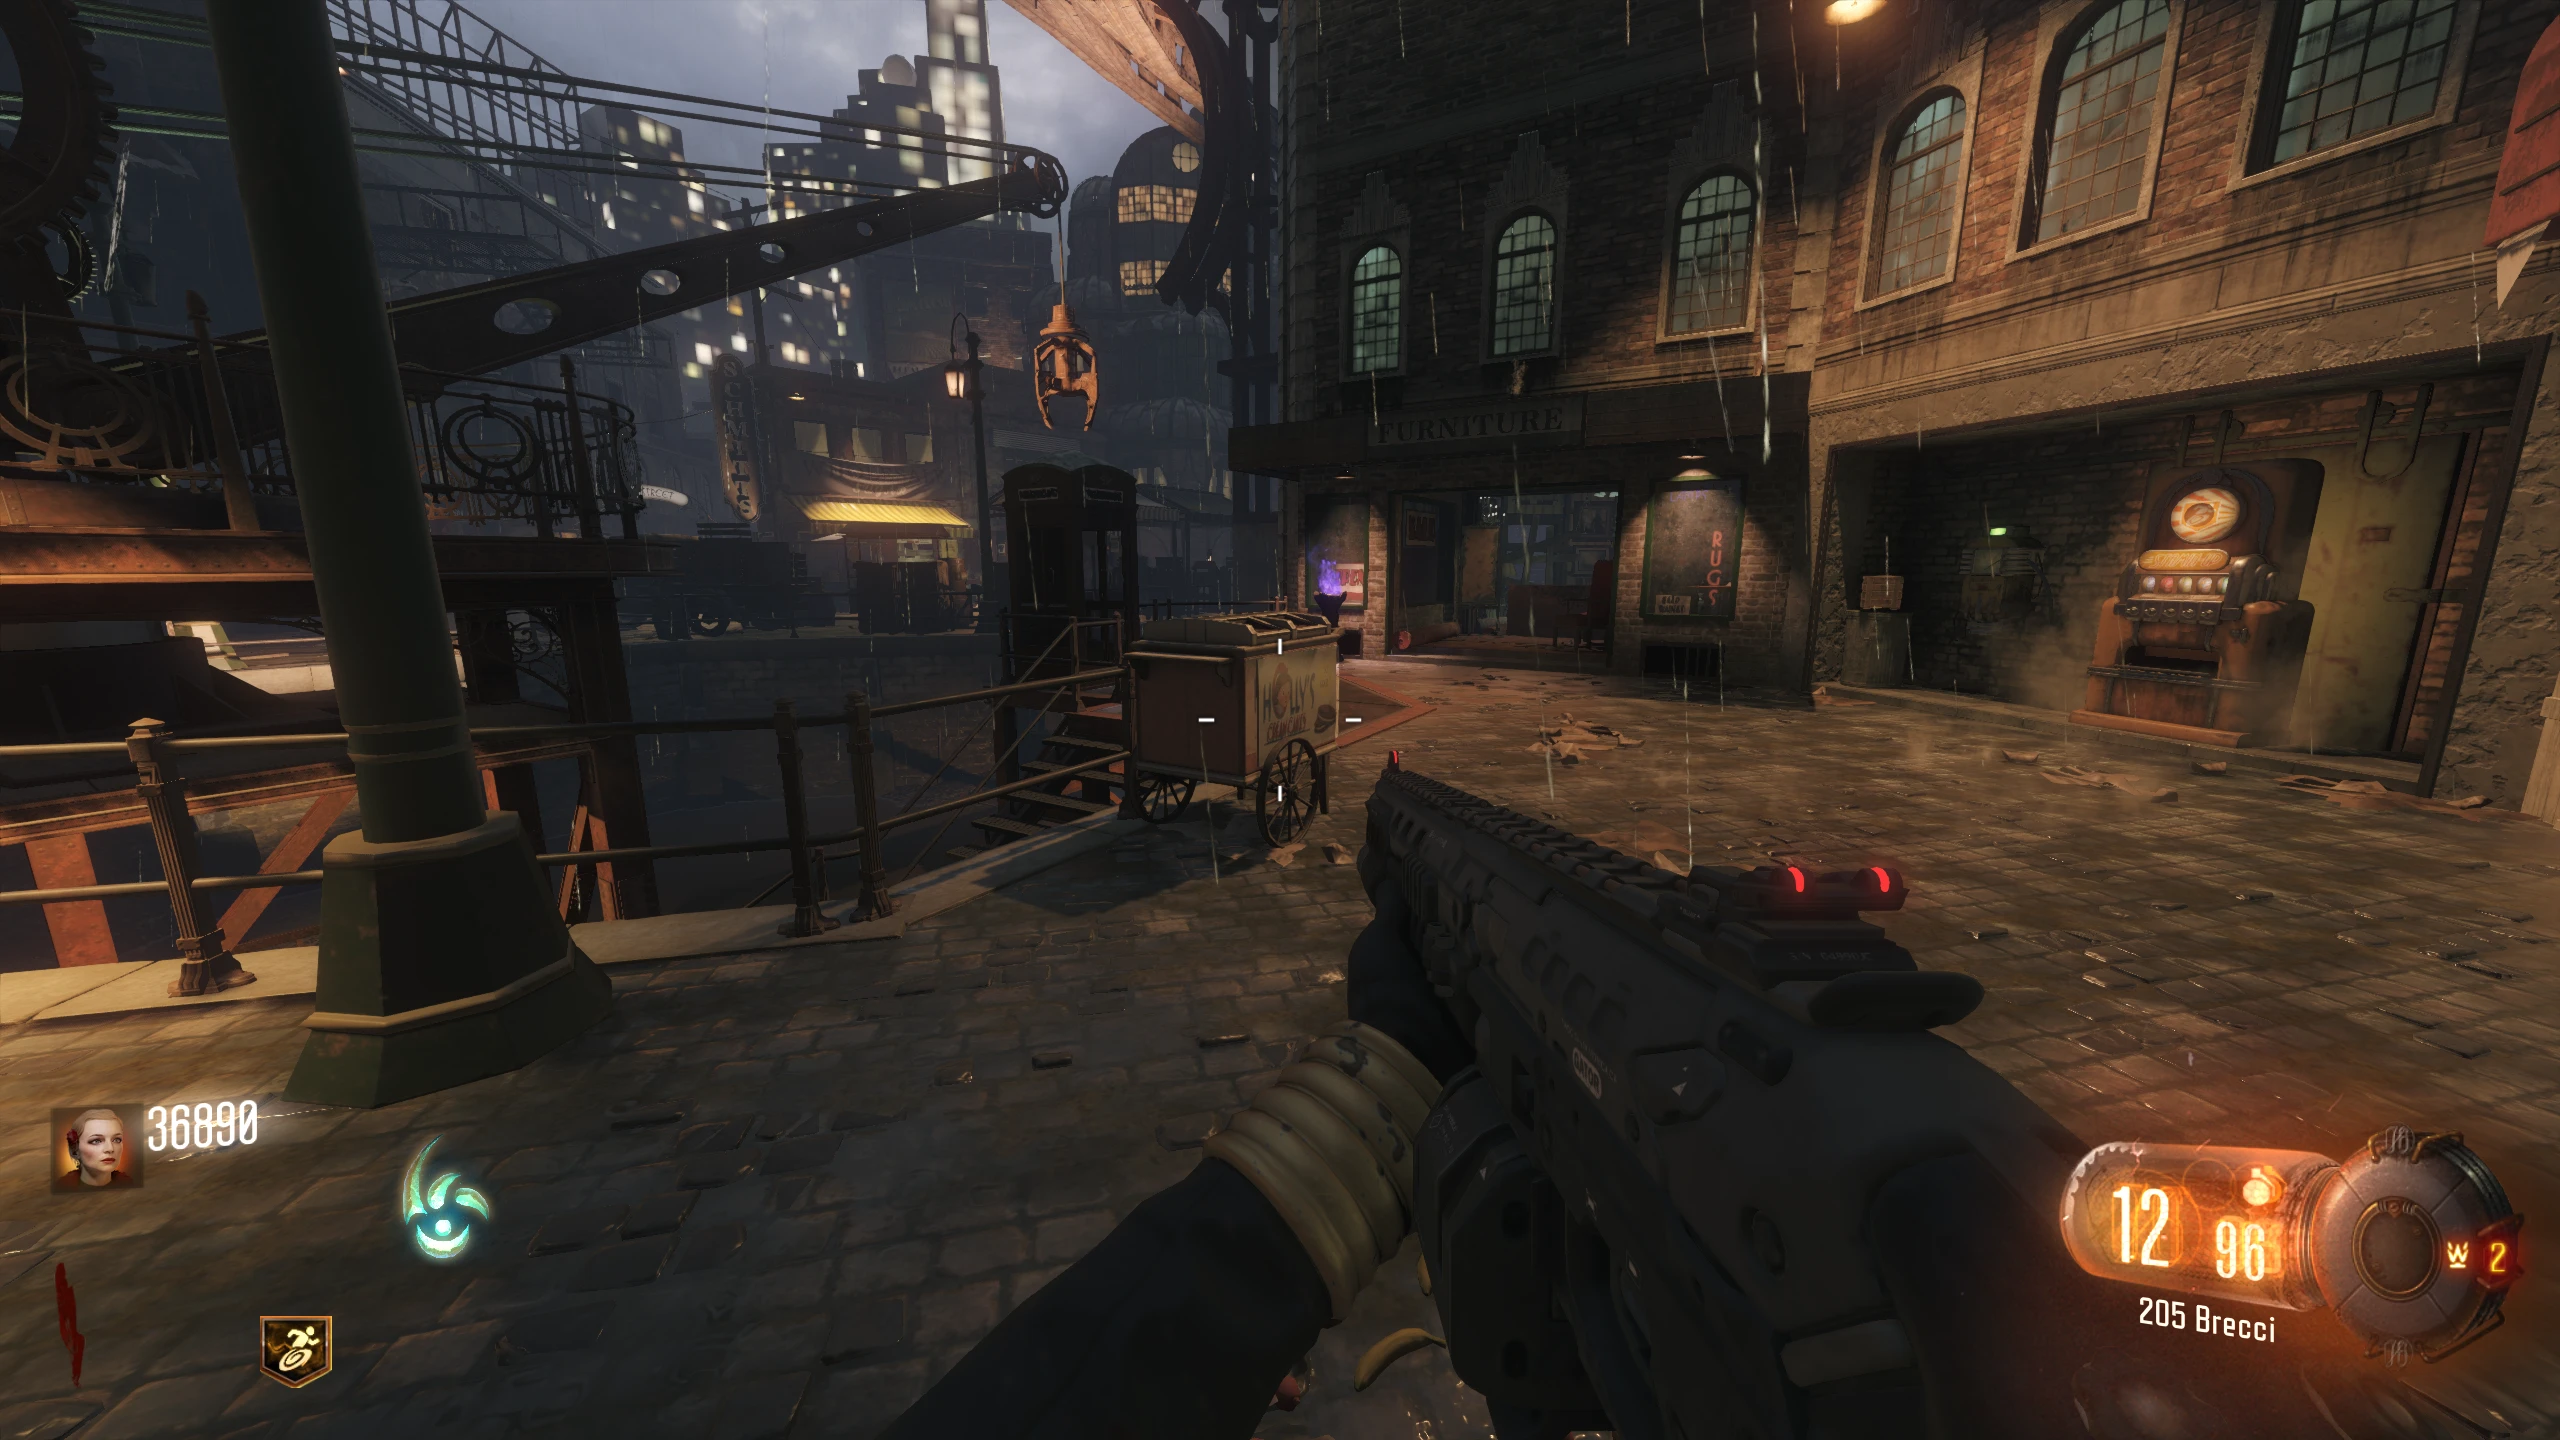
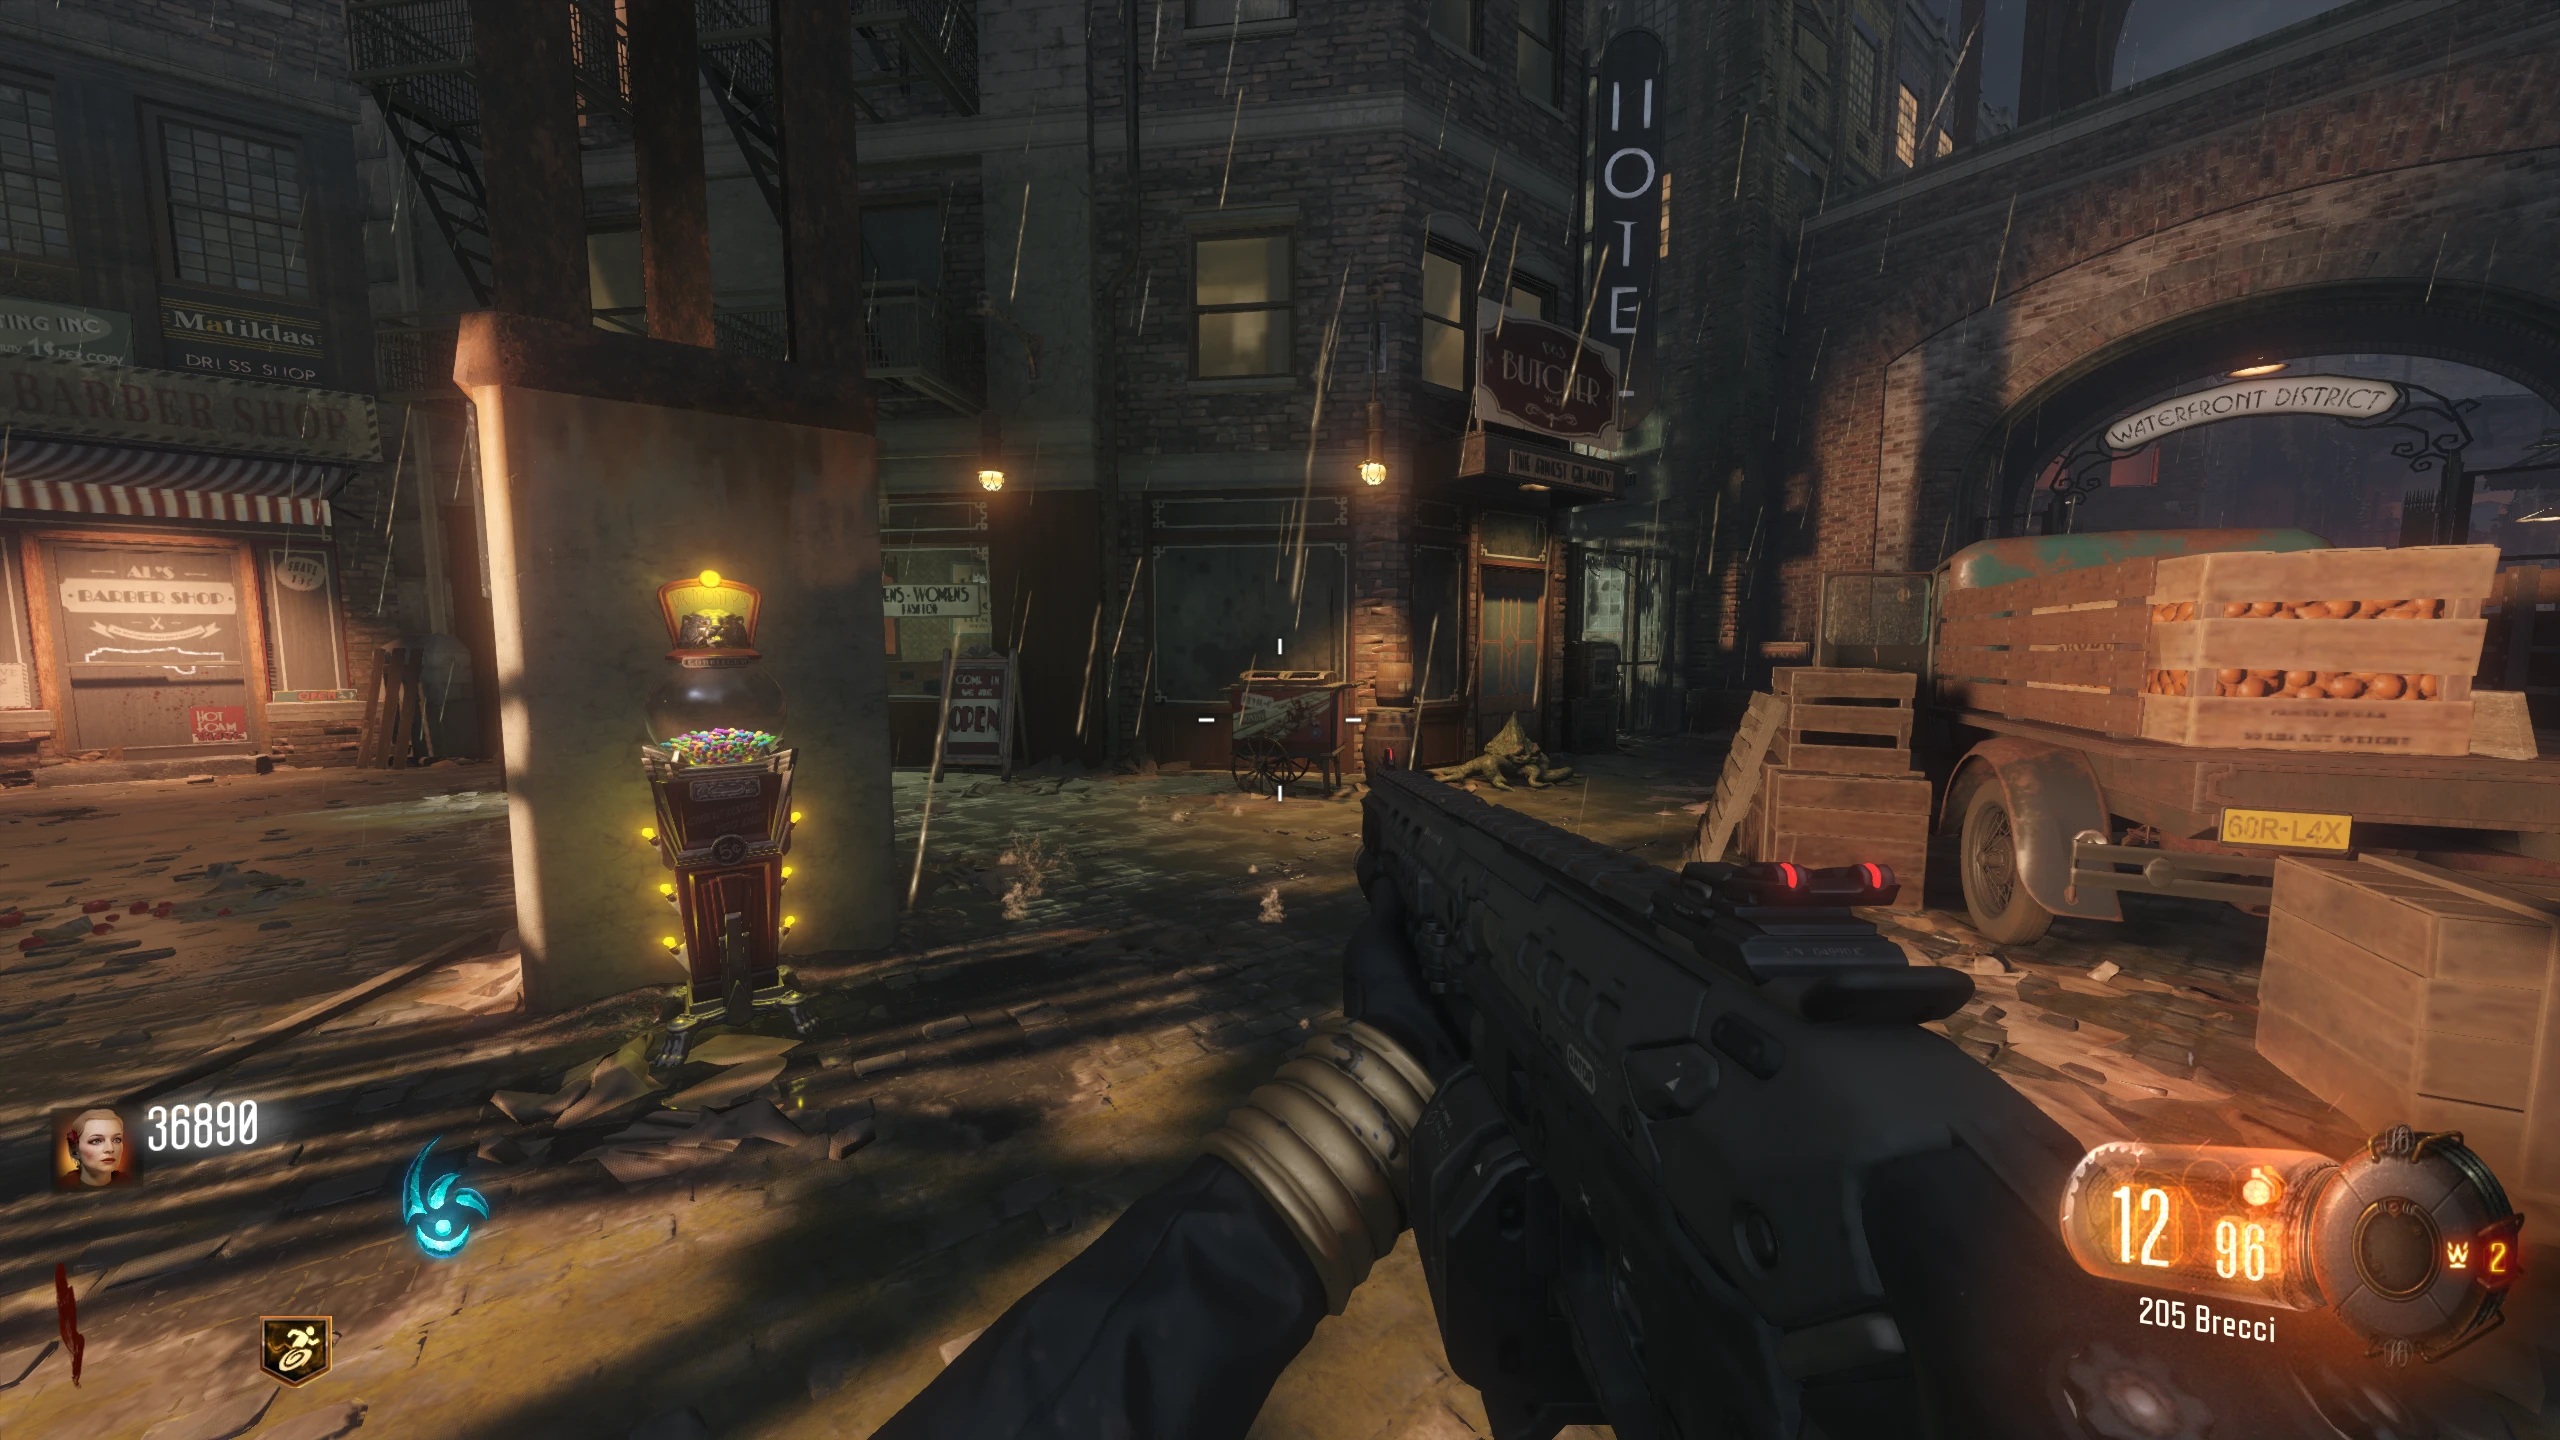
When you pick up the flag, all enemies will despawn, and only Meatballs and Parasites will spawn. You need to defend the flag at two locations (indicated by
lightning on the ground
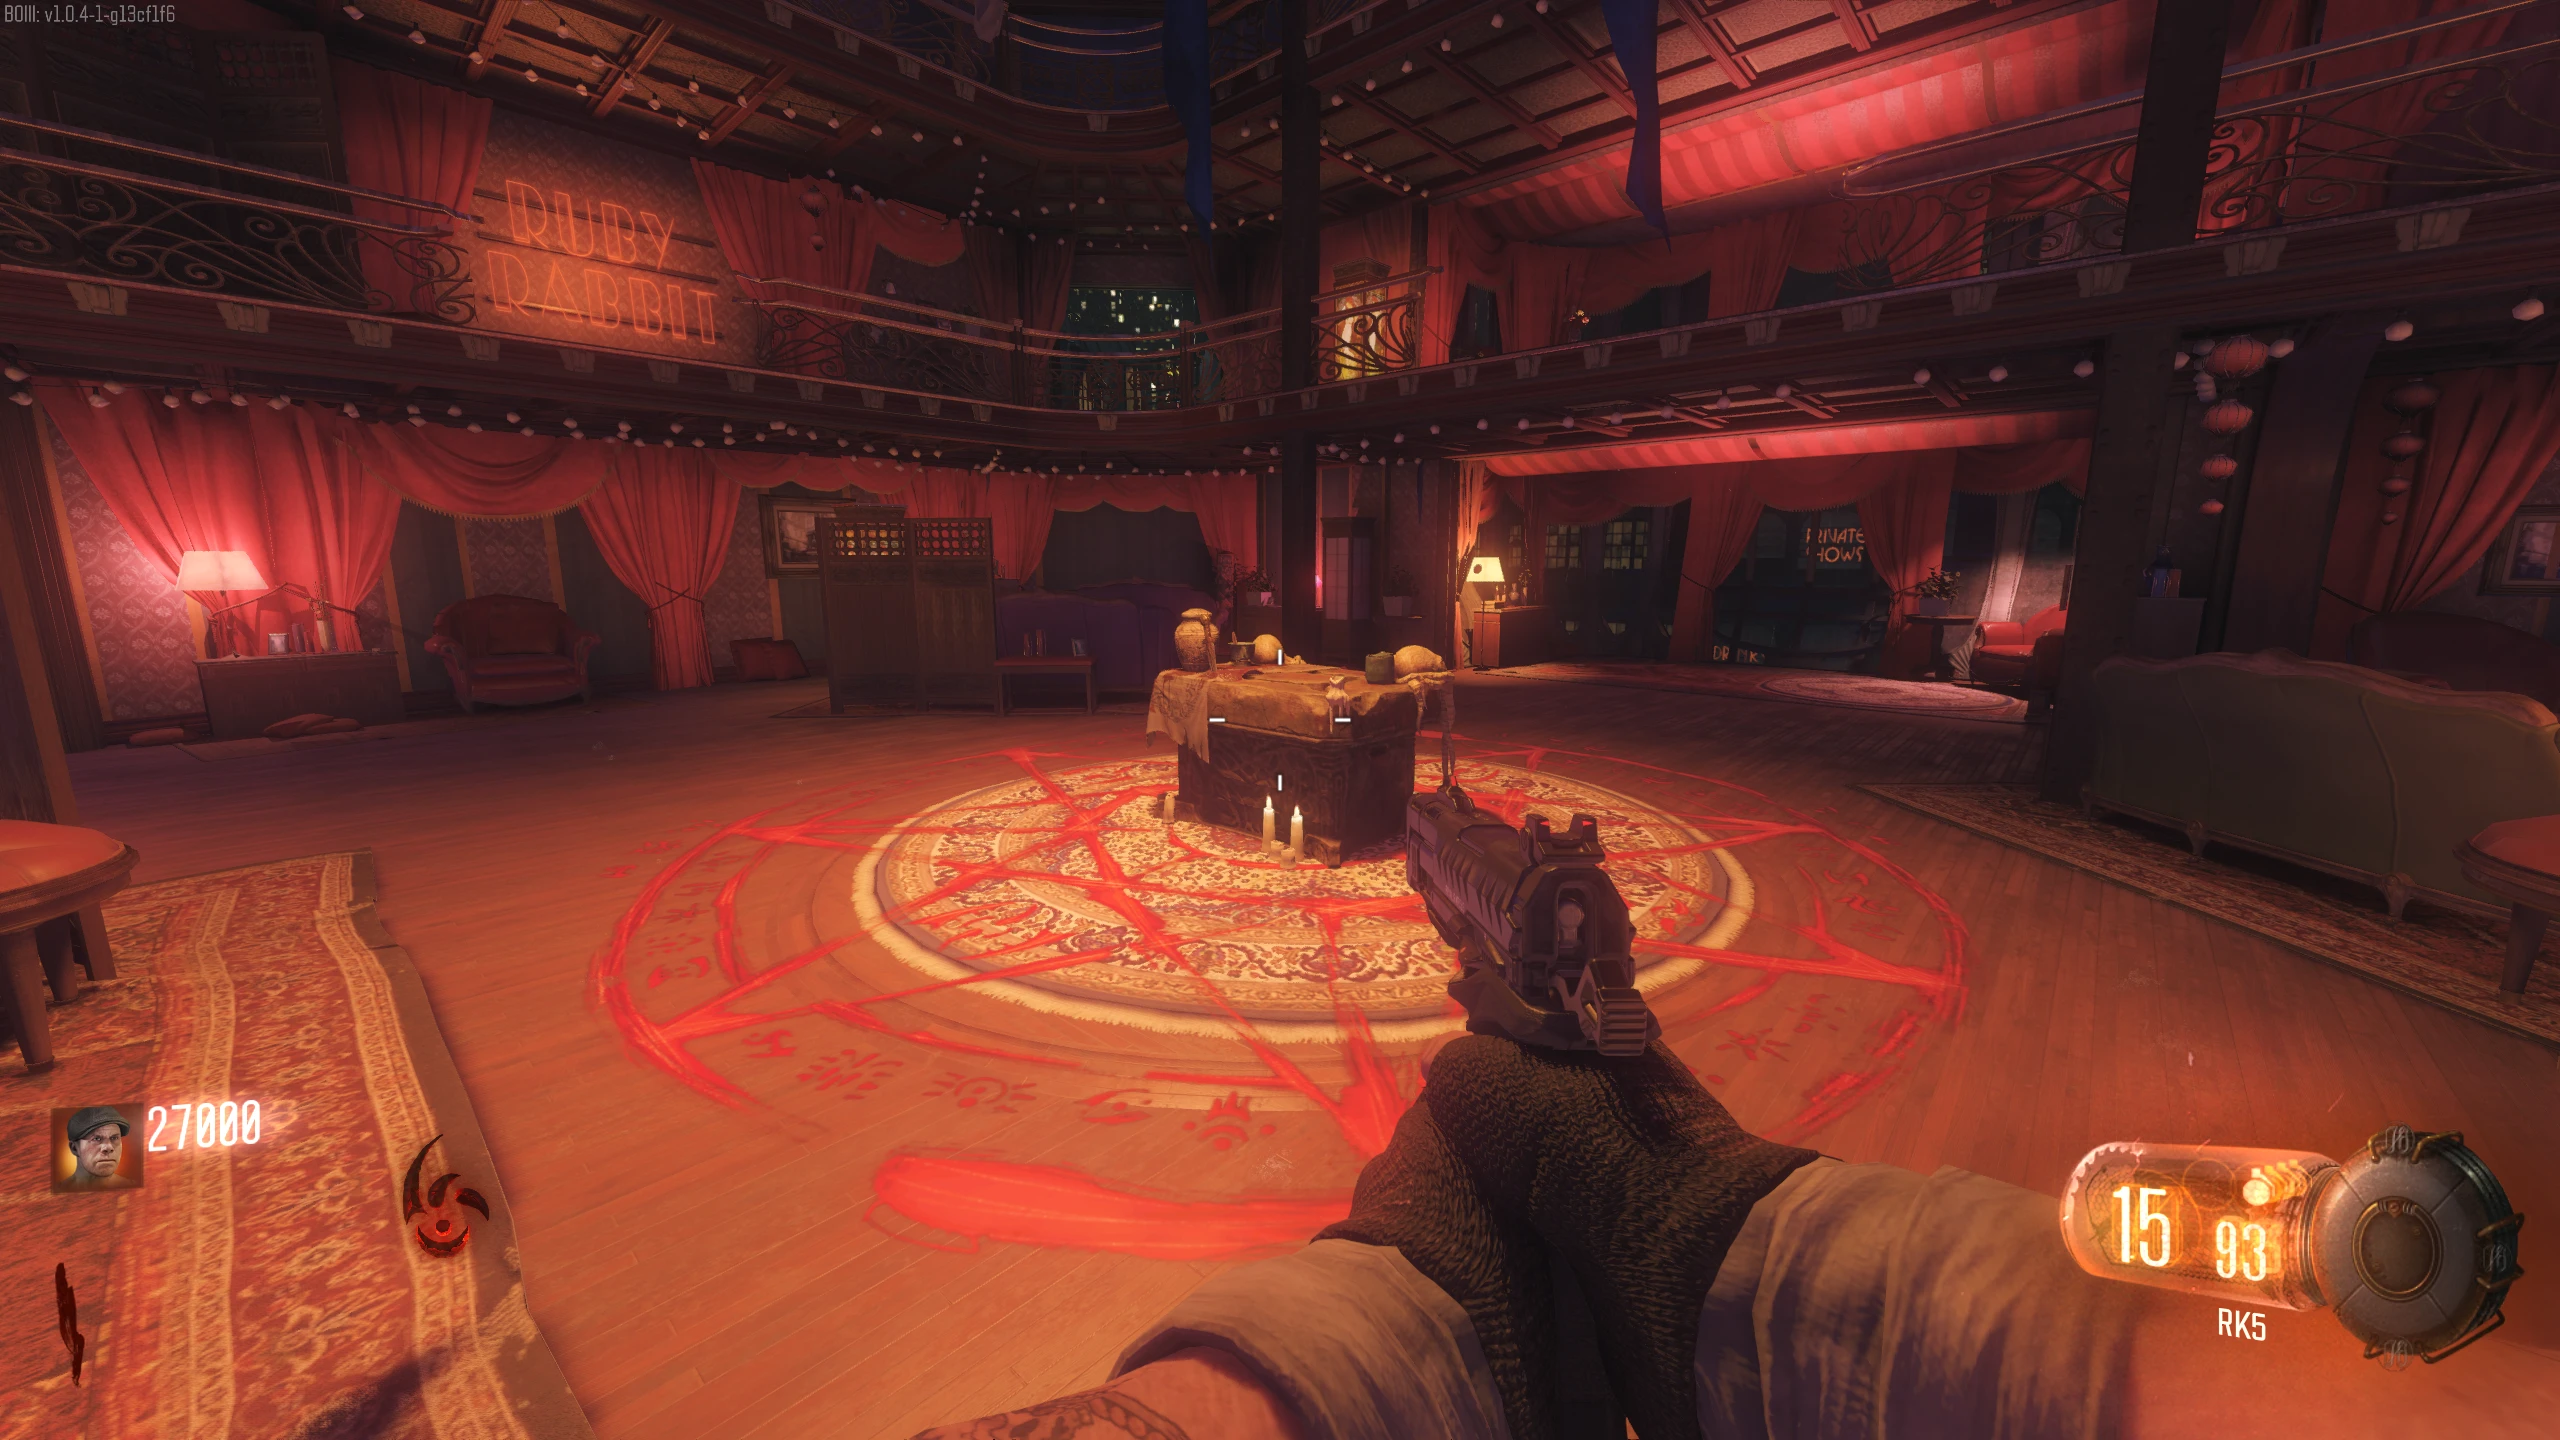
) per district, then bring the flag to the
Ghost Keeper at that district's Ritual Table. When you place the flag at a defence location, the Meatballs will start going after the flag.
You must kill them before they reach the flag. If it takes too much damage, it breaks, and you'll have to end the round to retry. While you're defending the flag, the
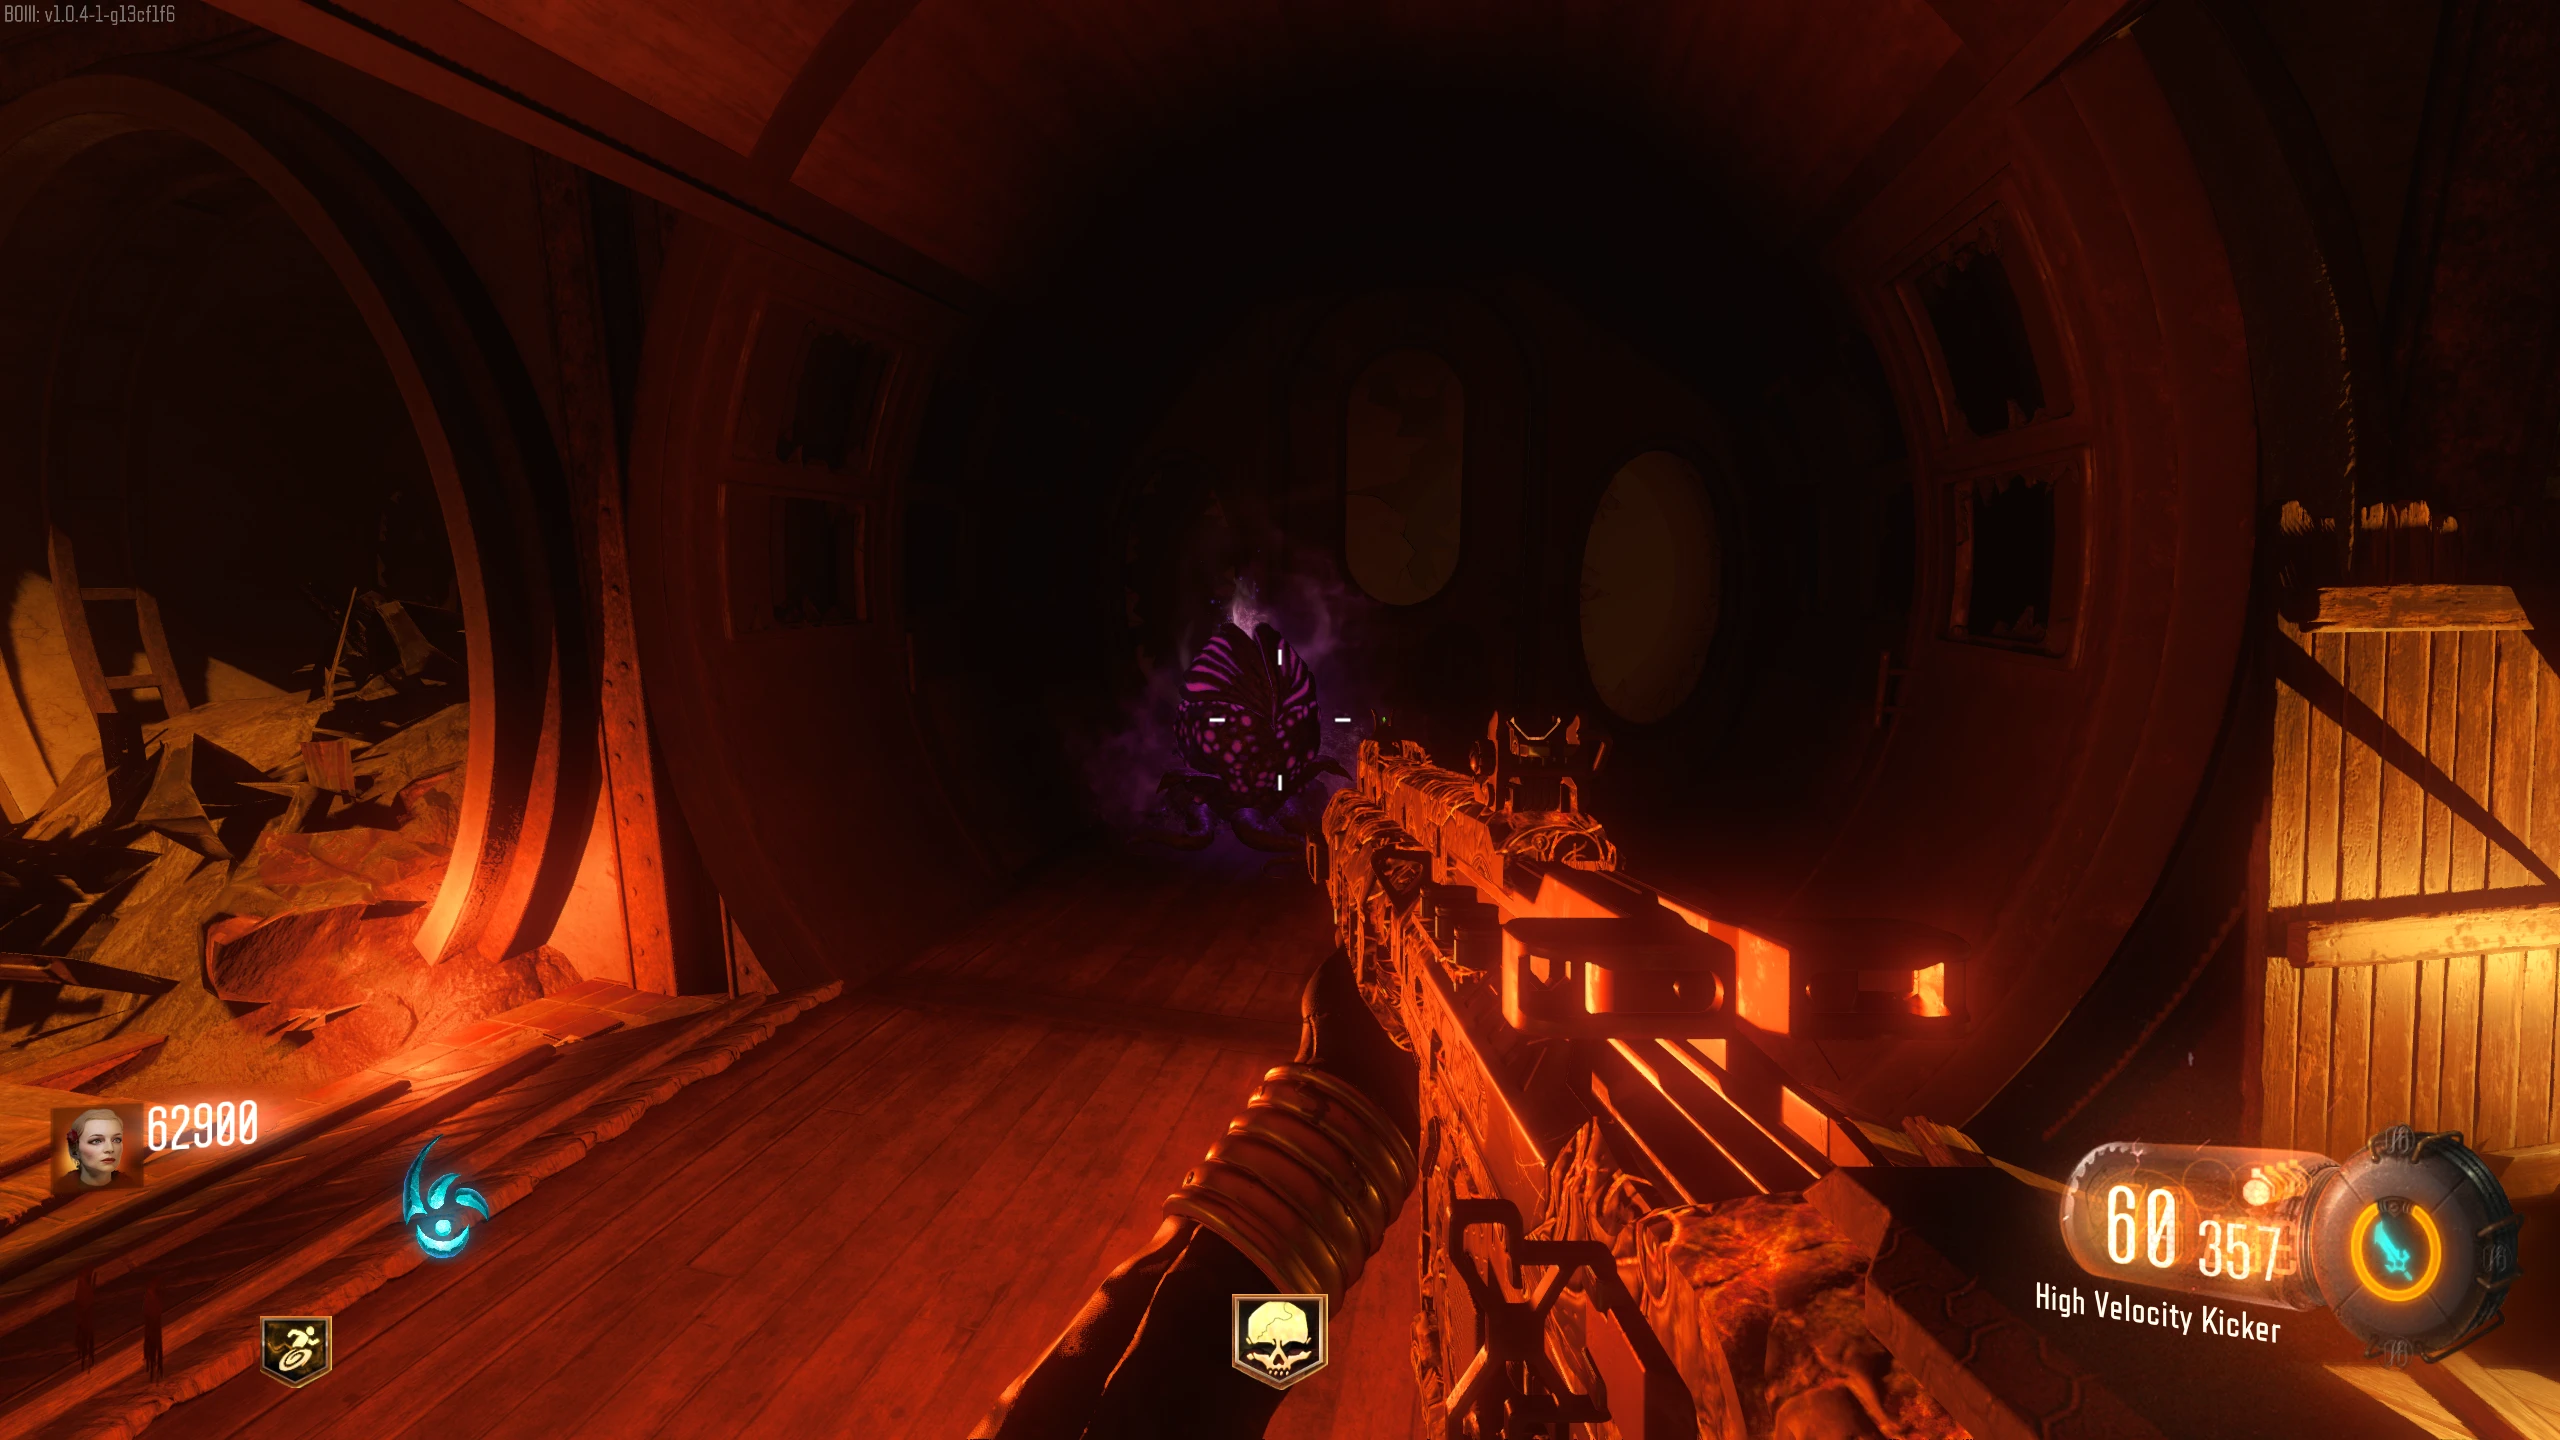
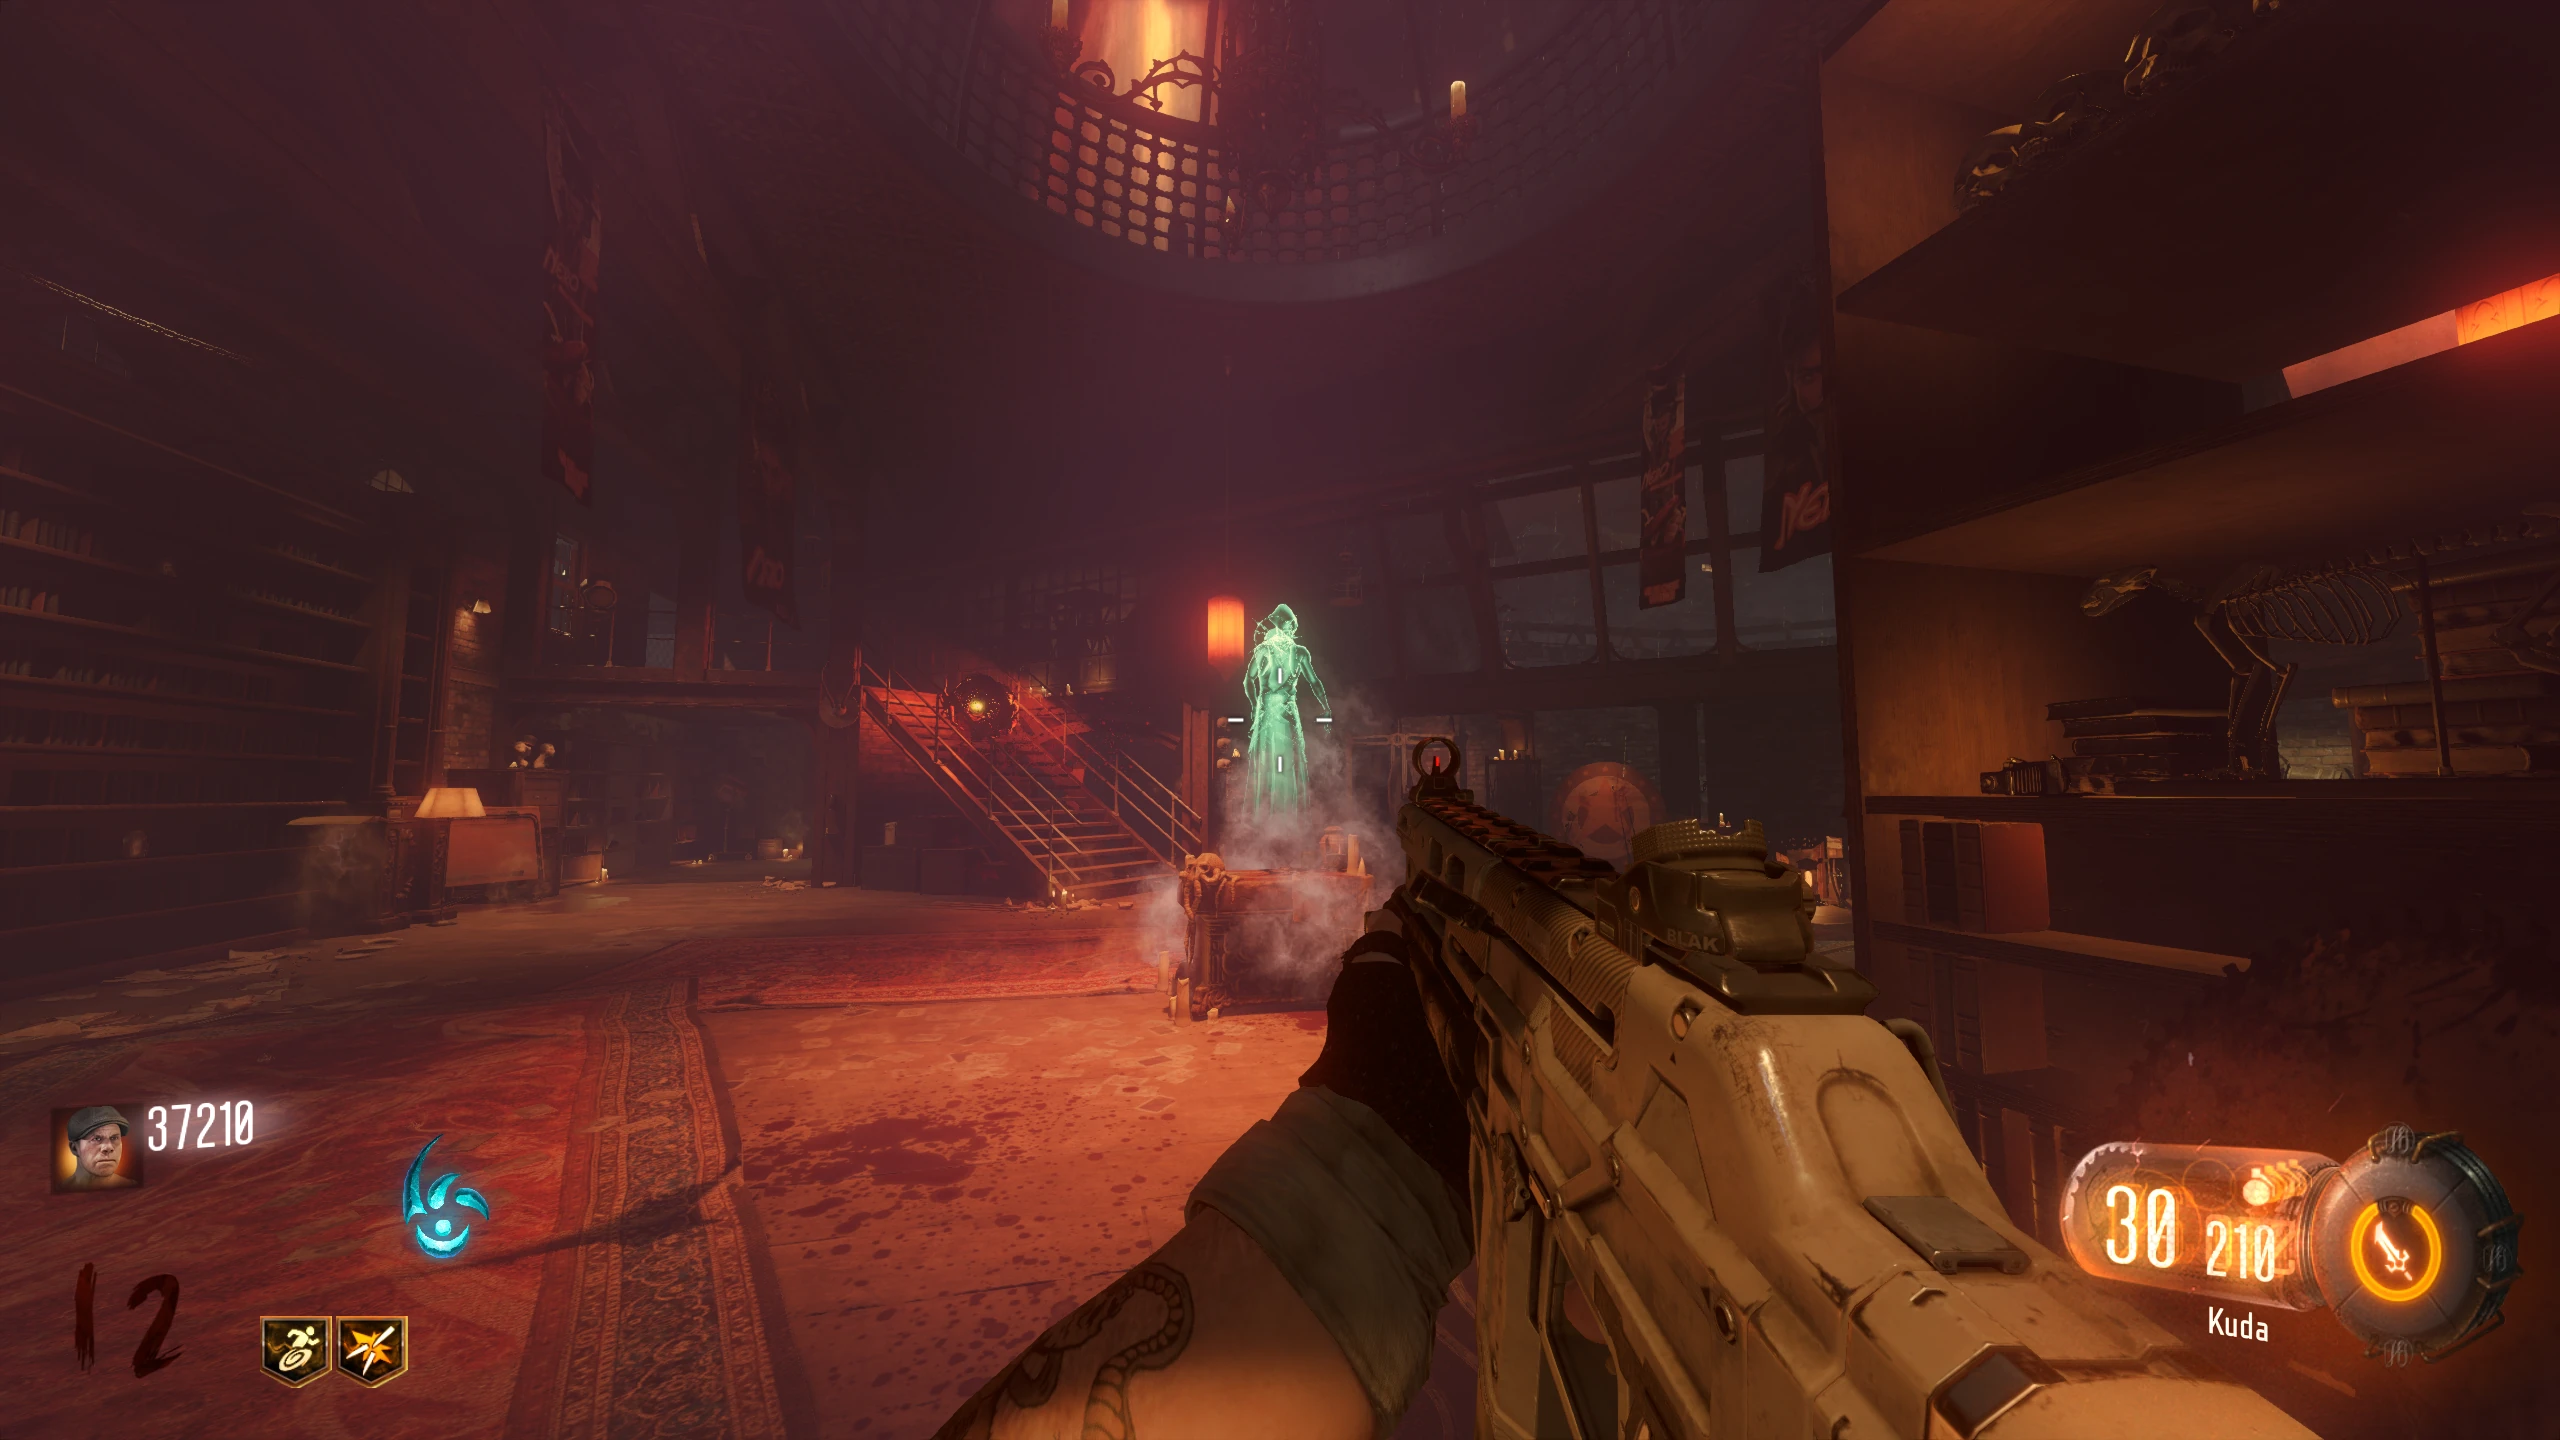
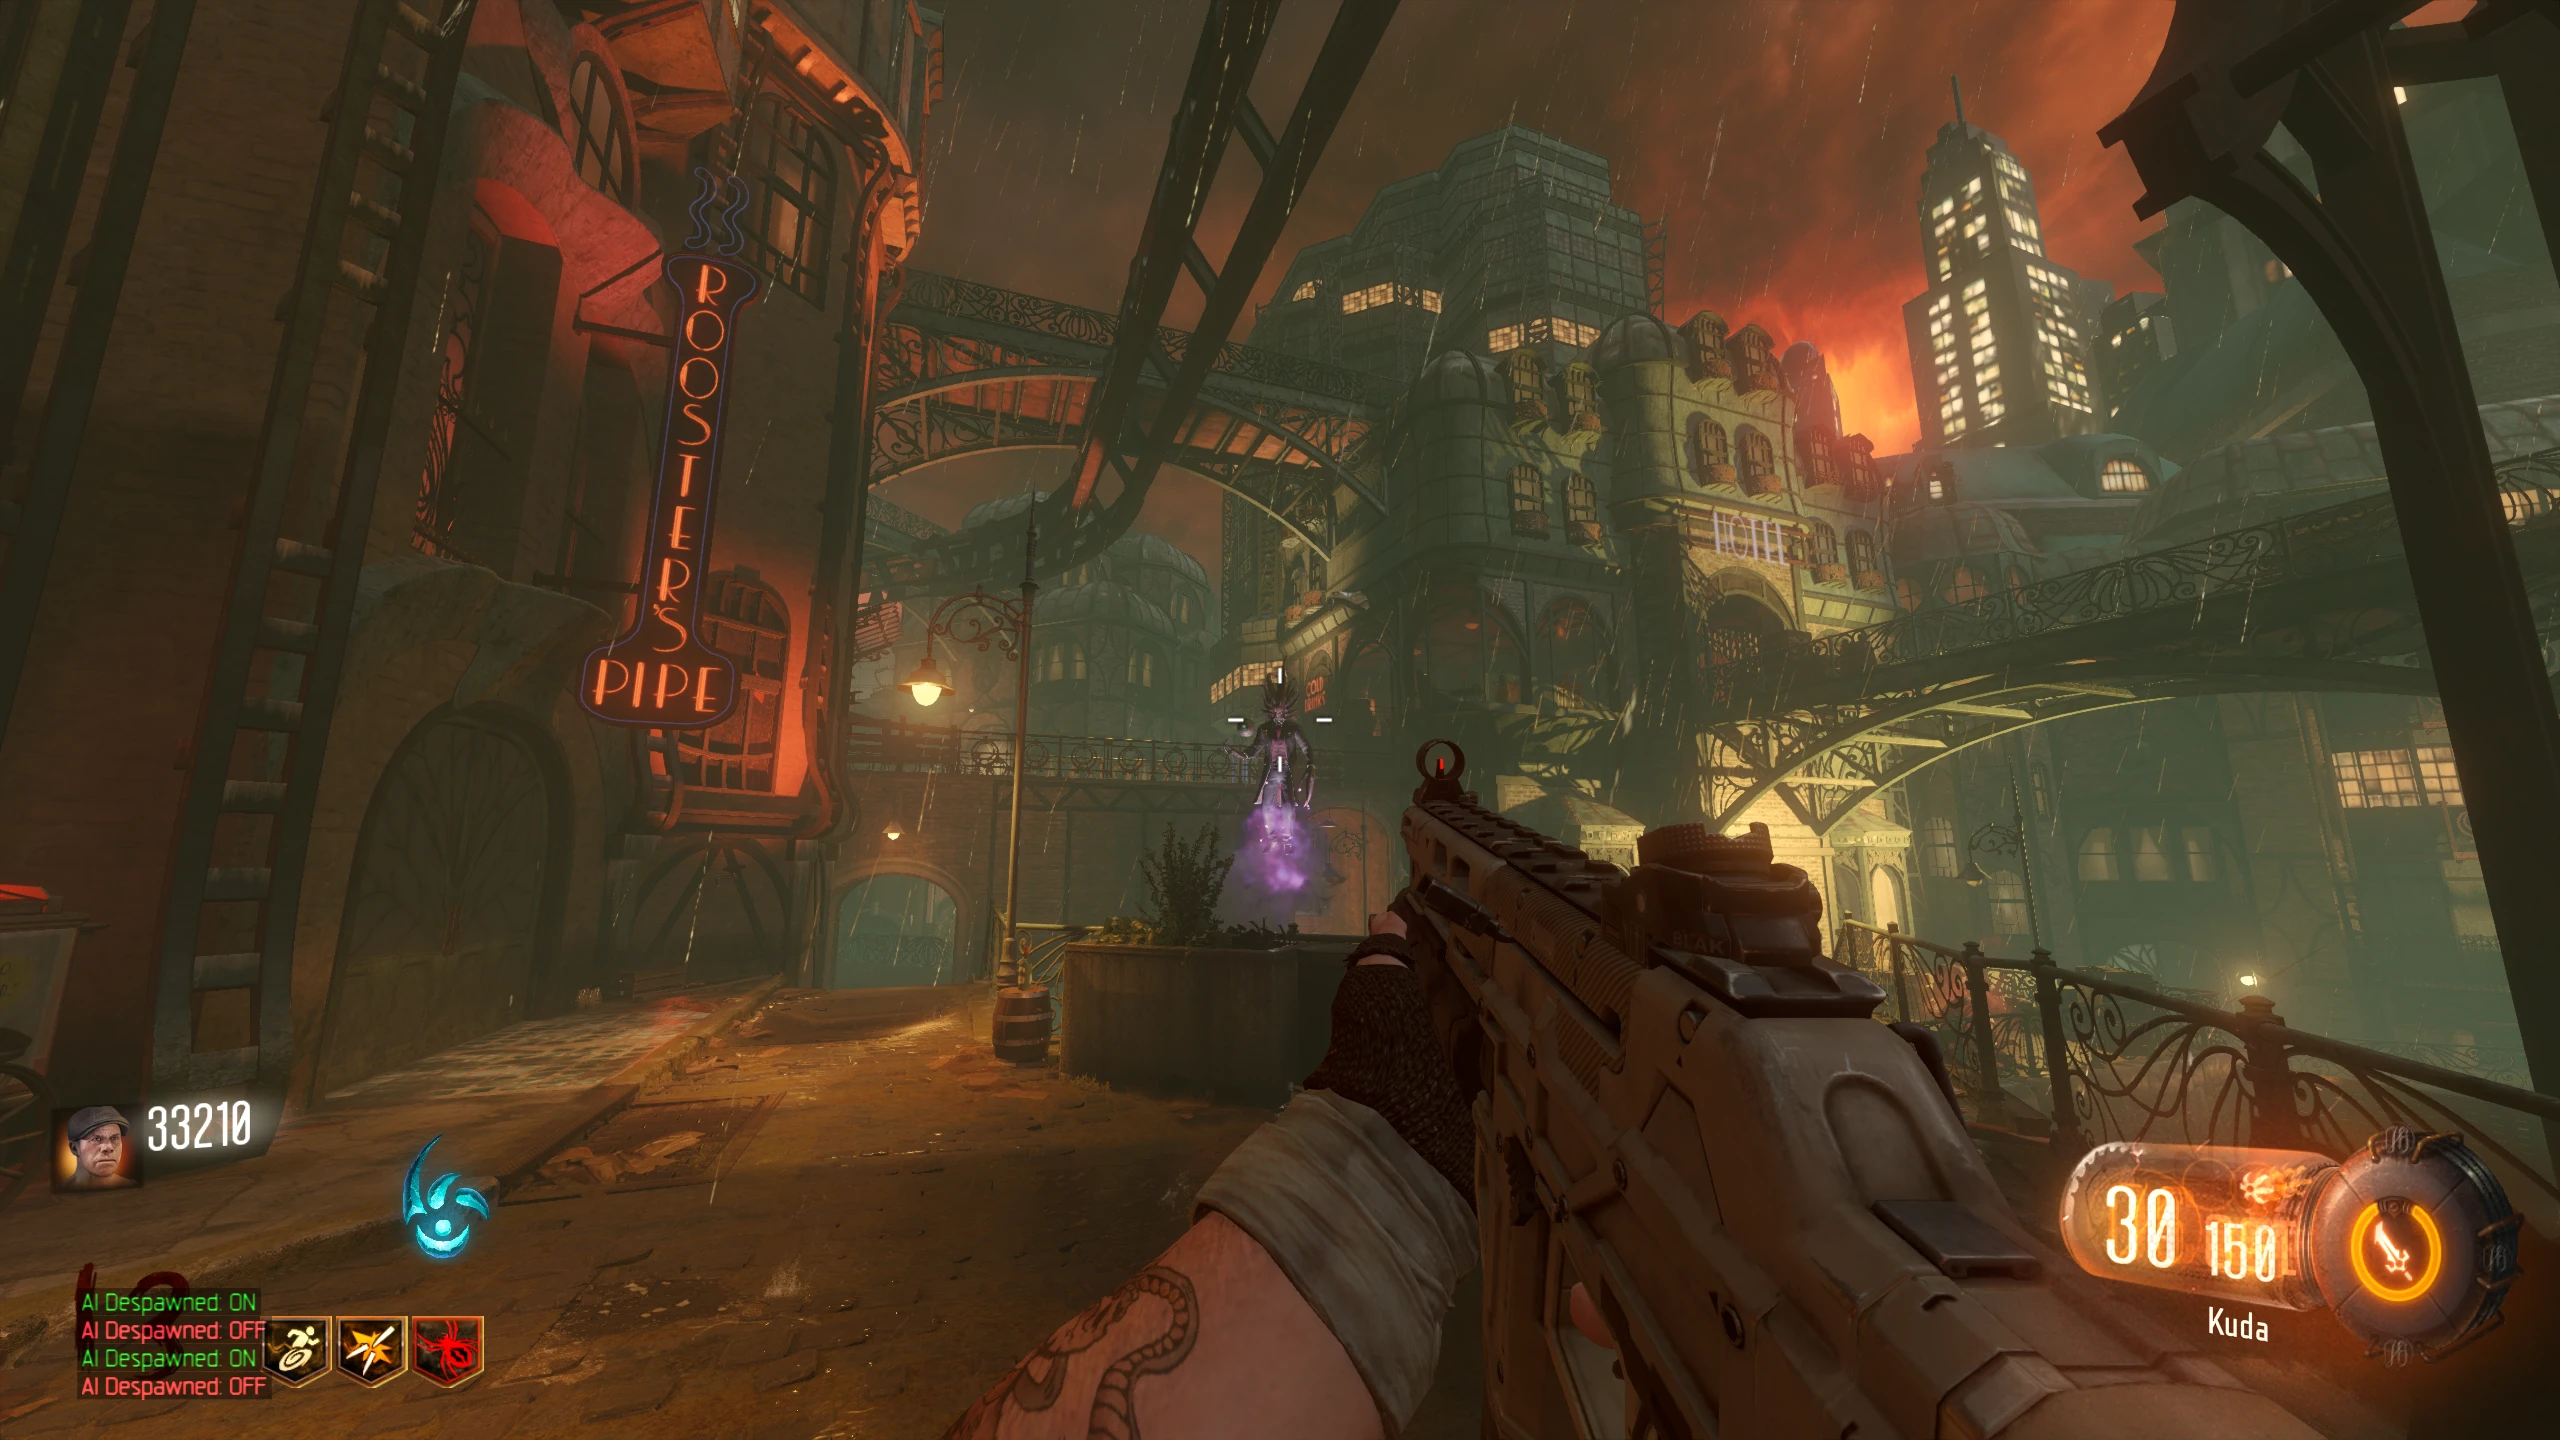
Shadowman
will occasionally spawn in the air around the flag; shoot him to make him disappear. Failing to shoot him in time will cause him to spawn a lot of parasites. Defence locations:
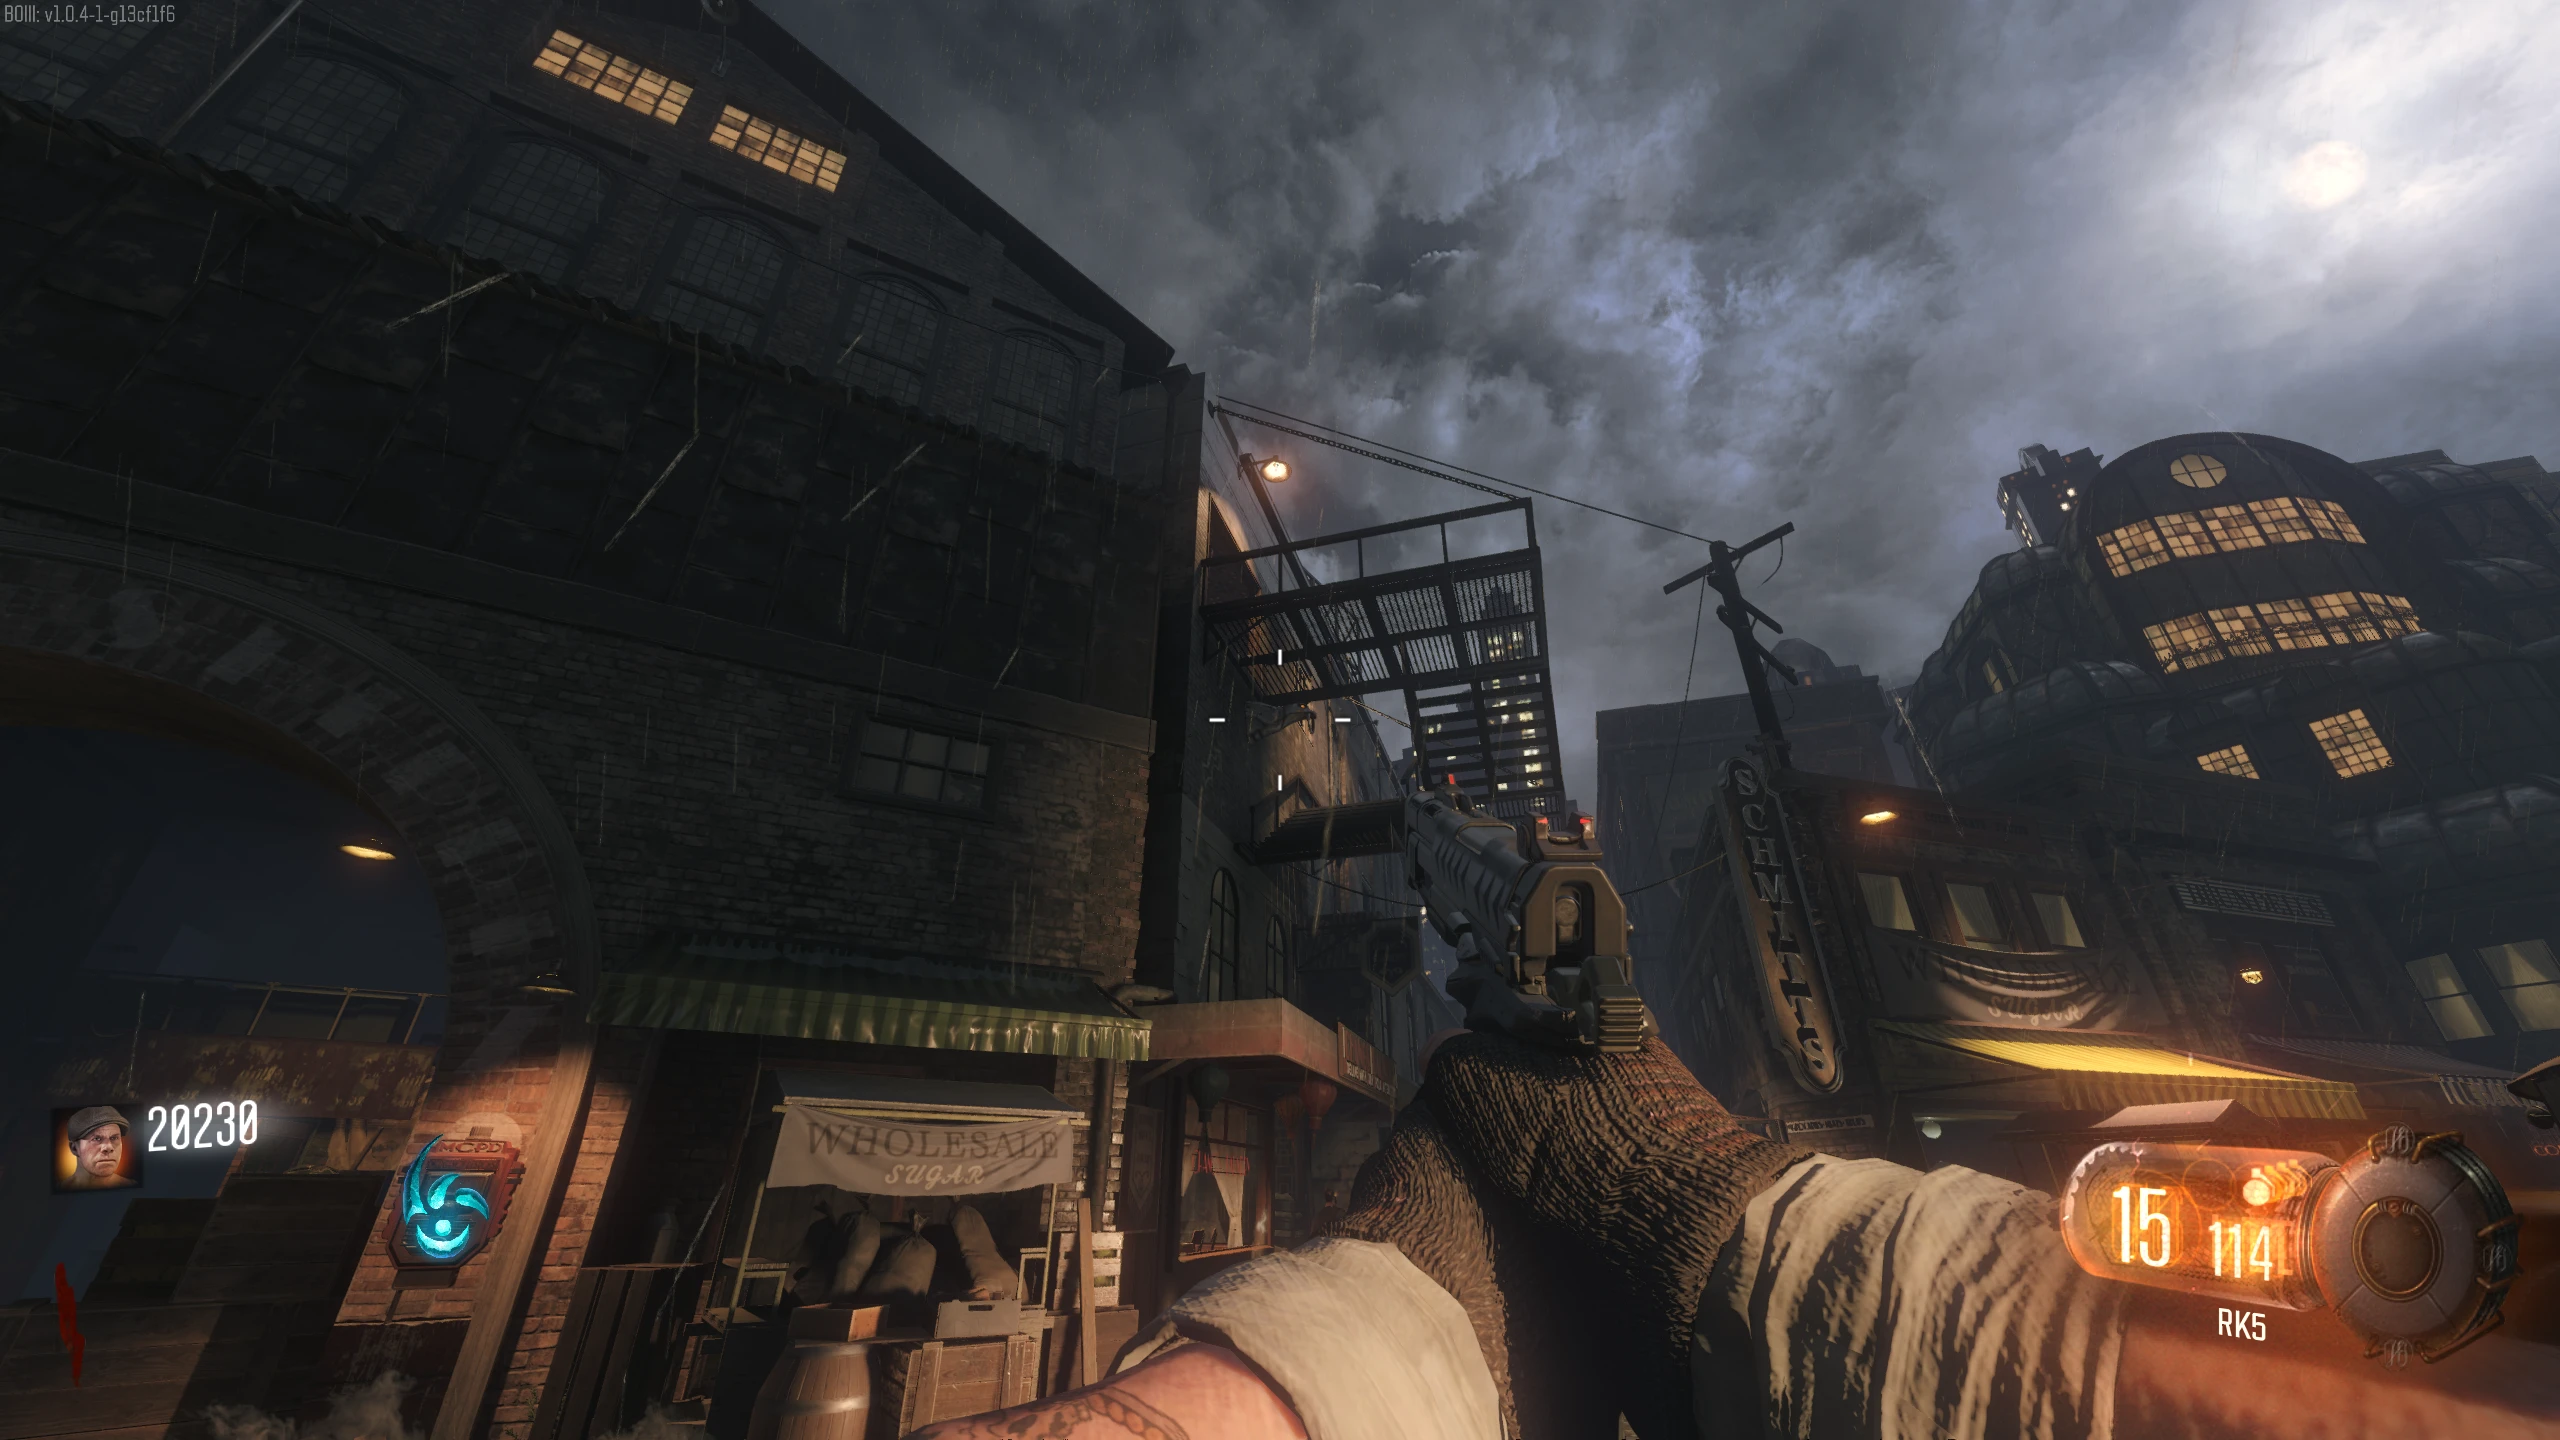
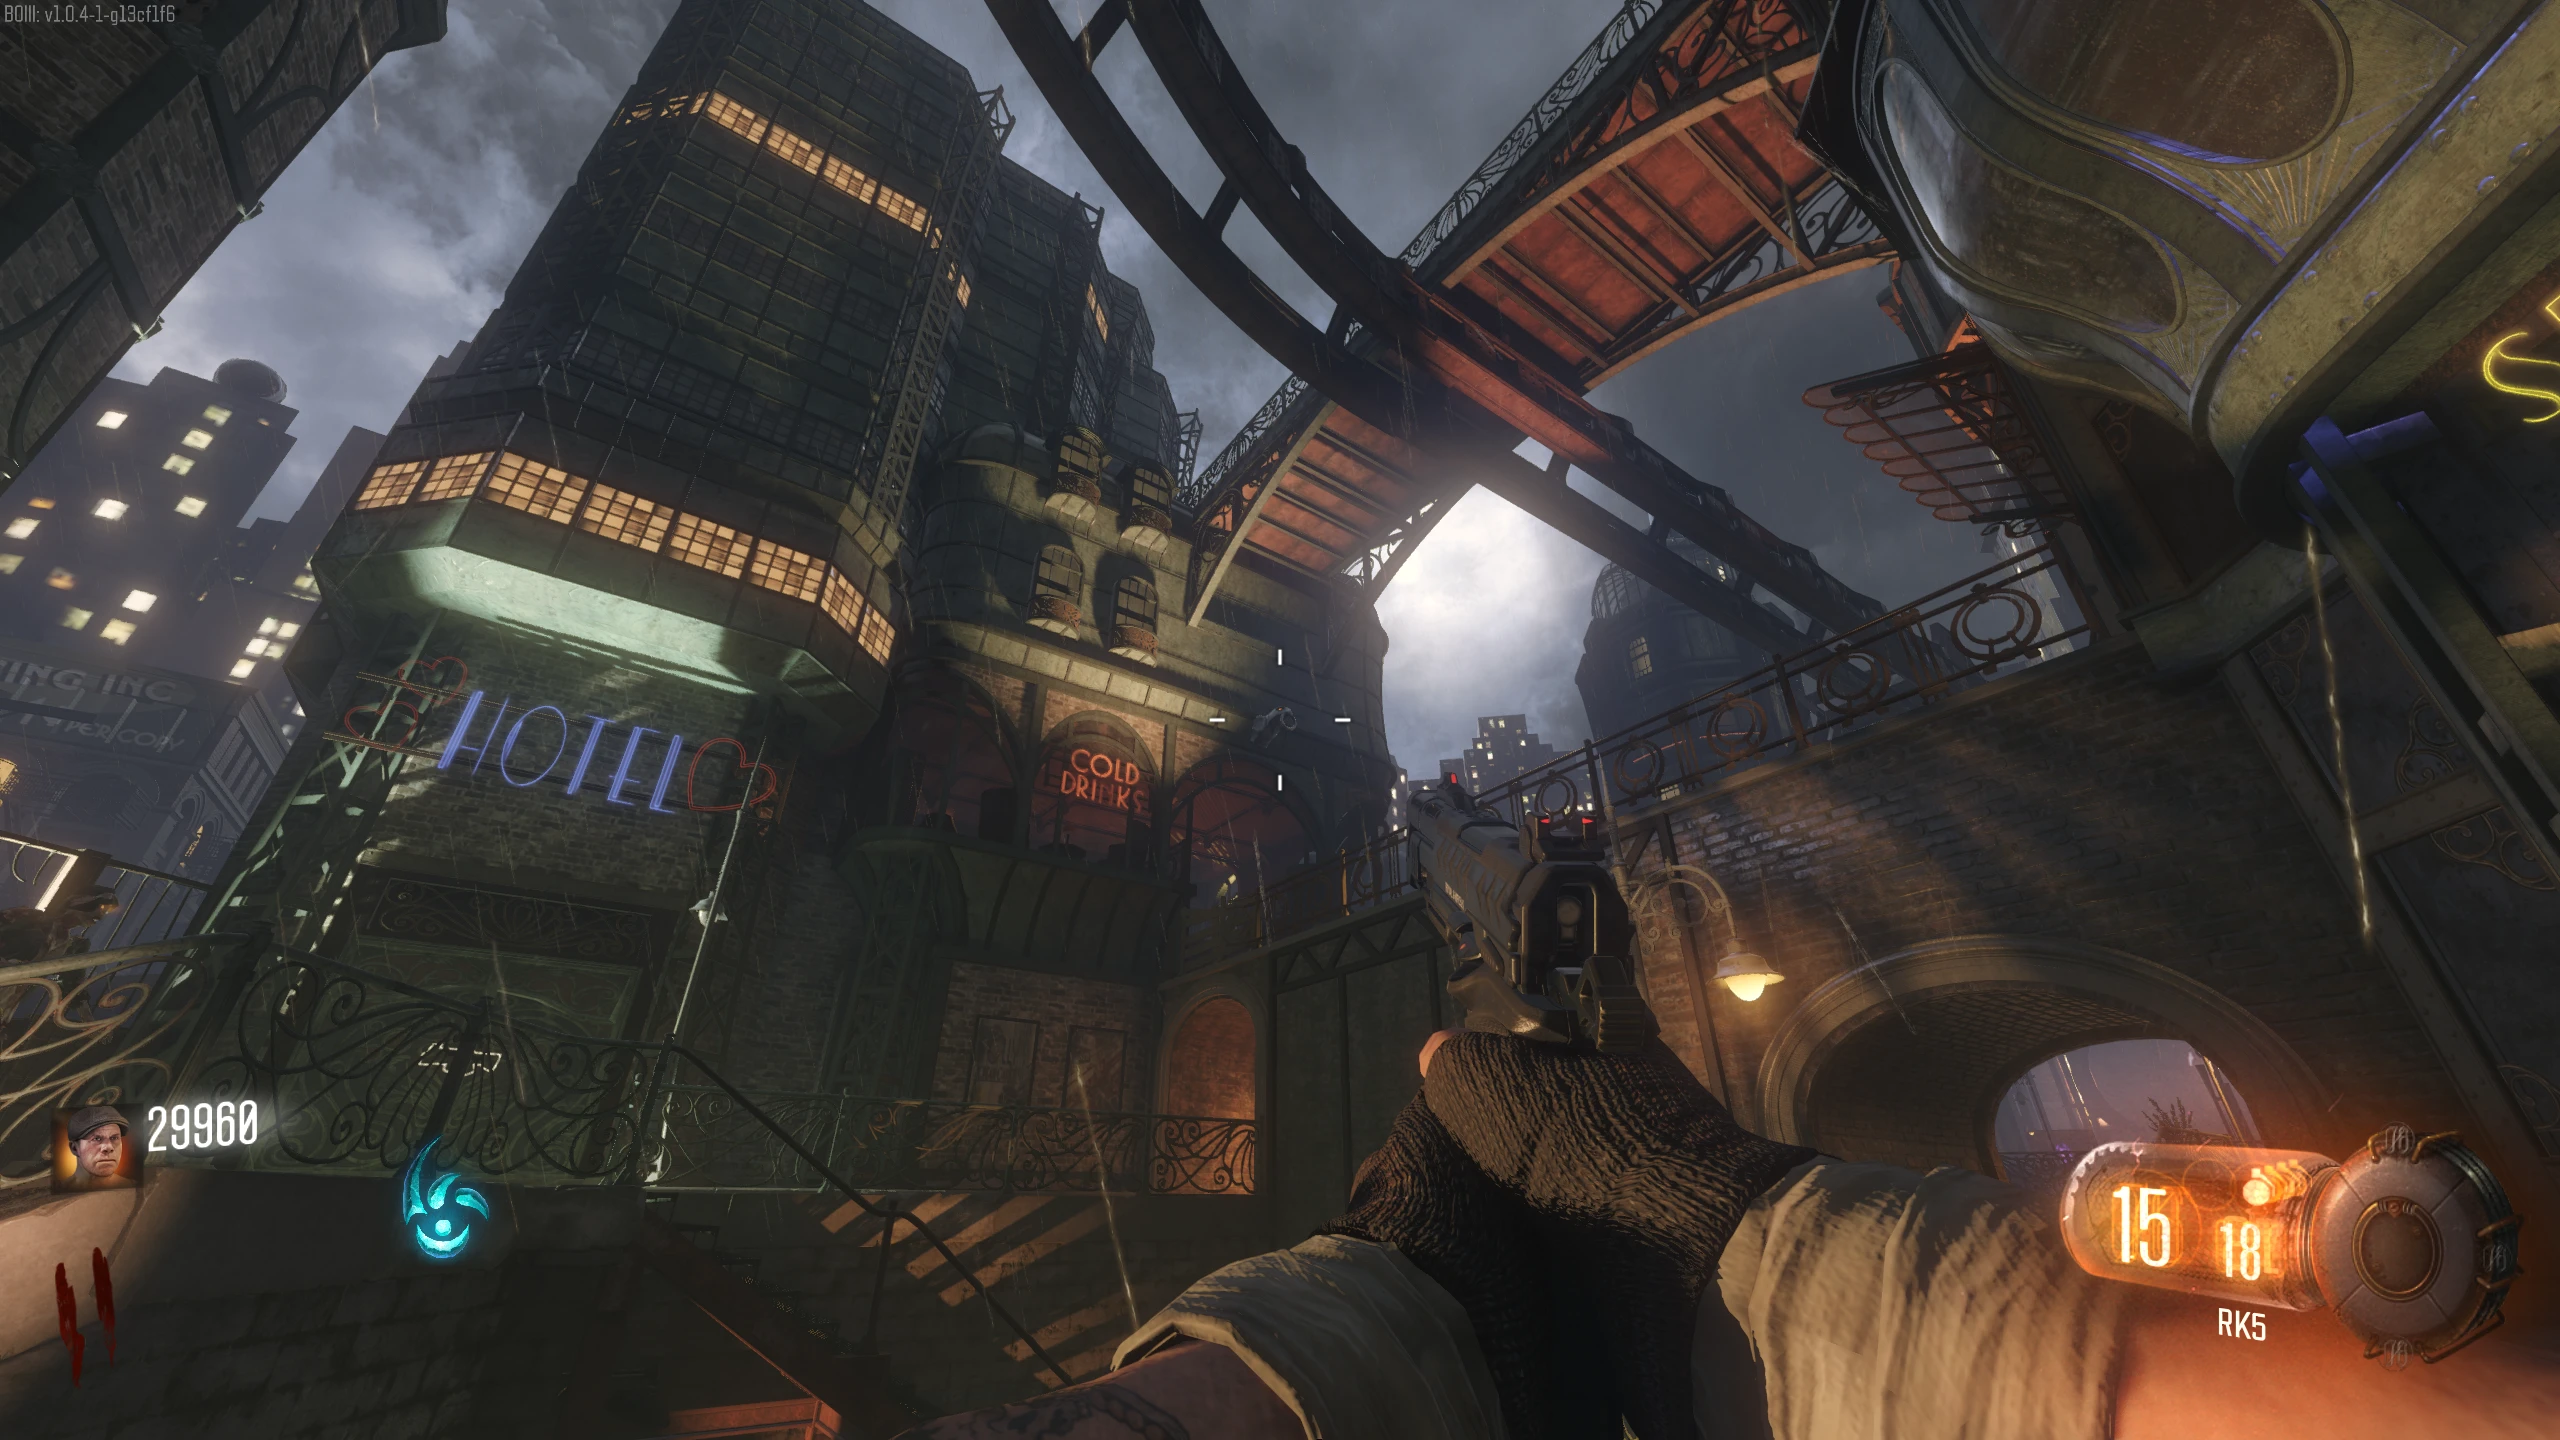
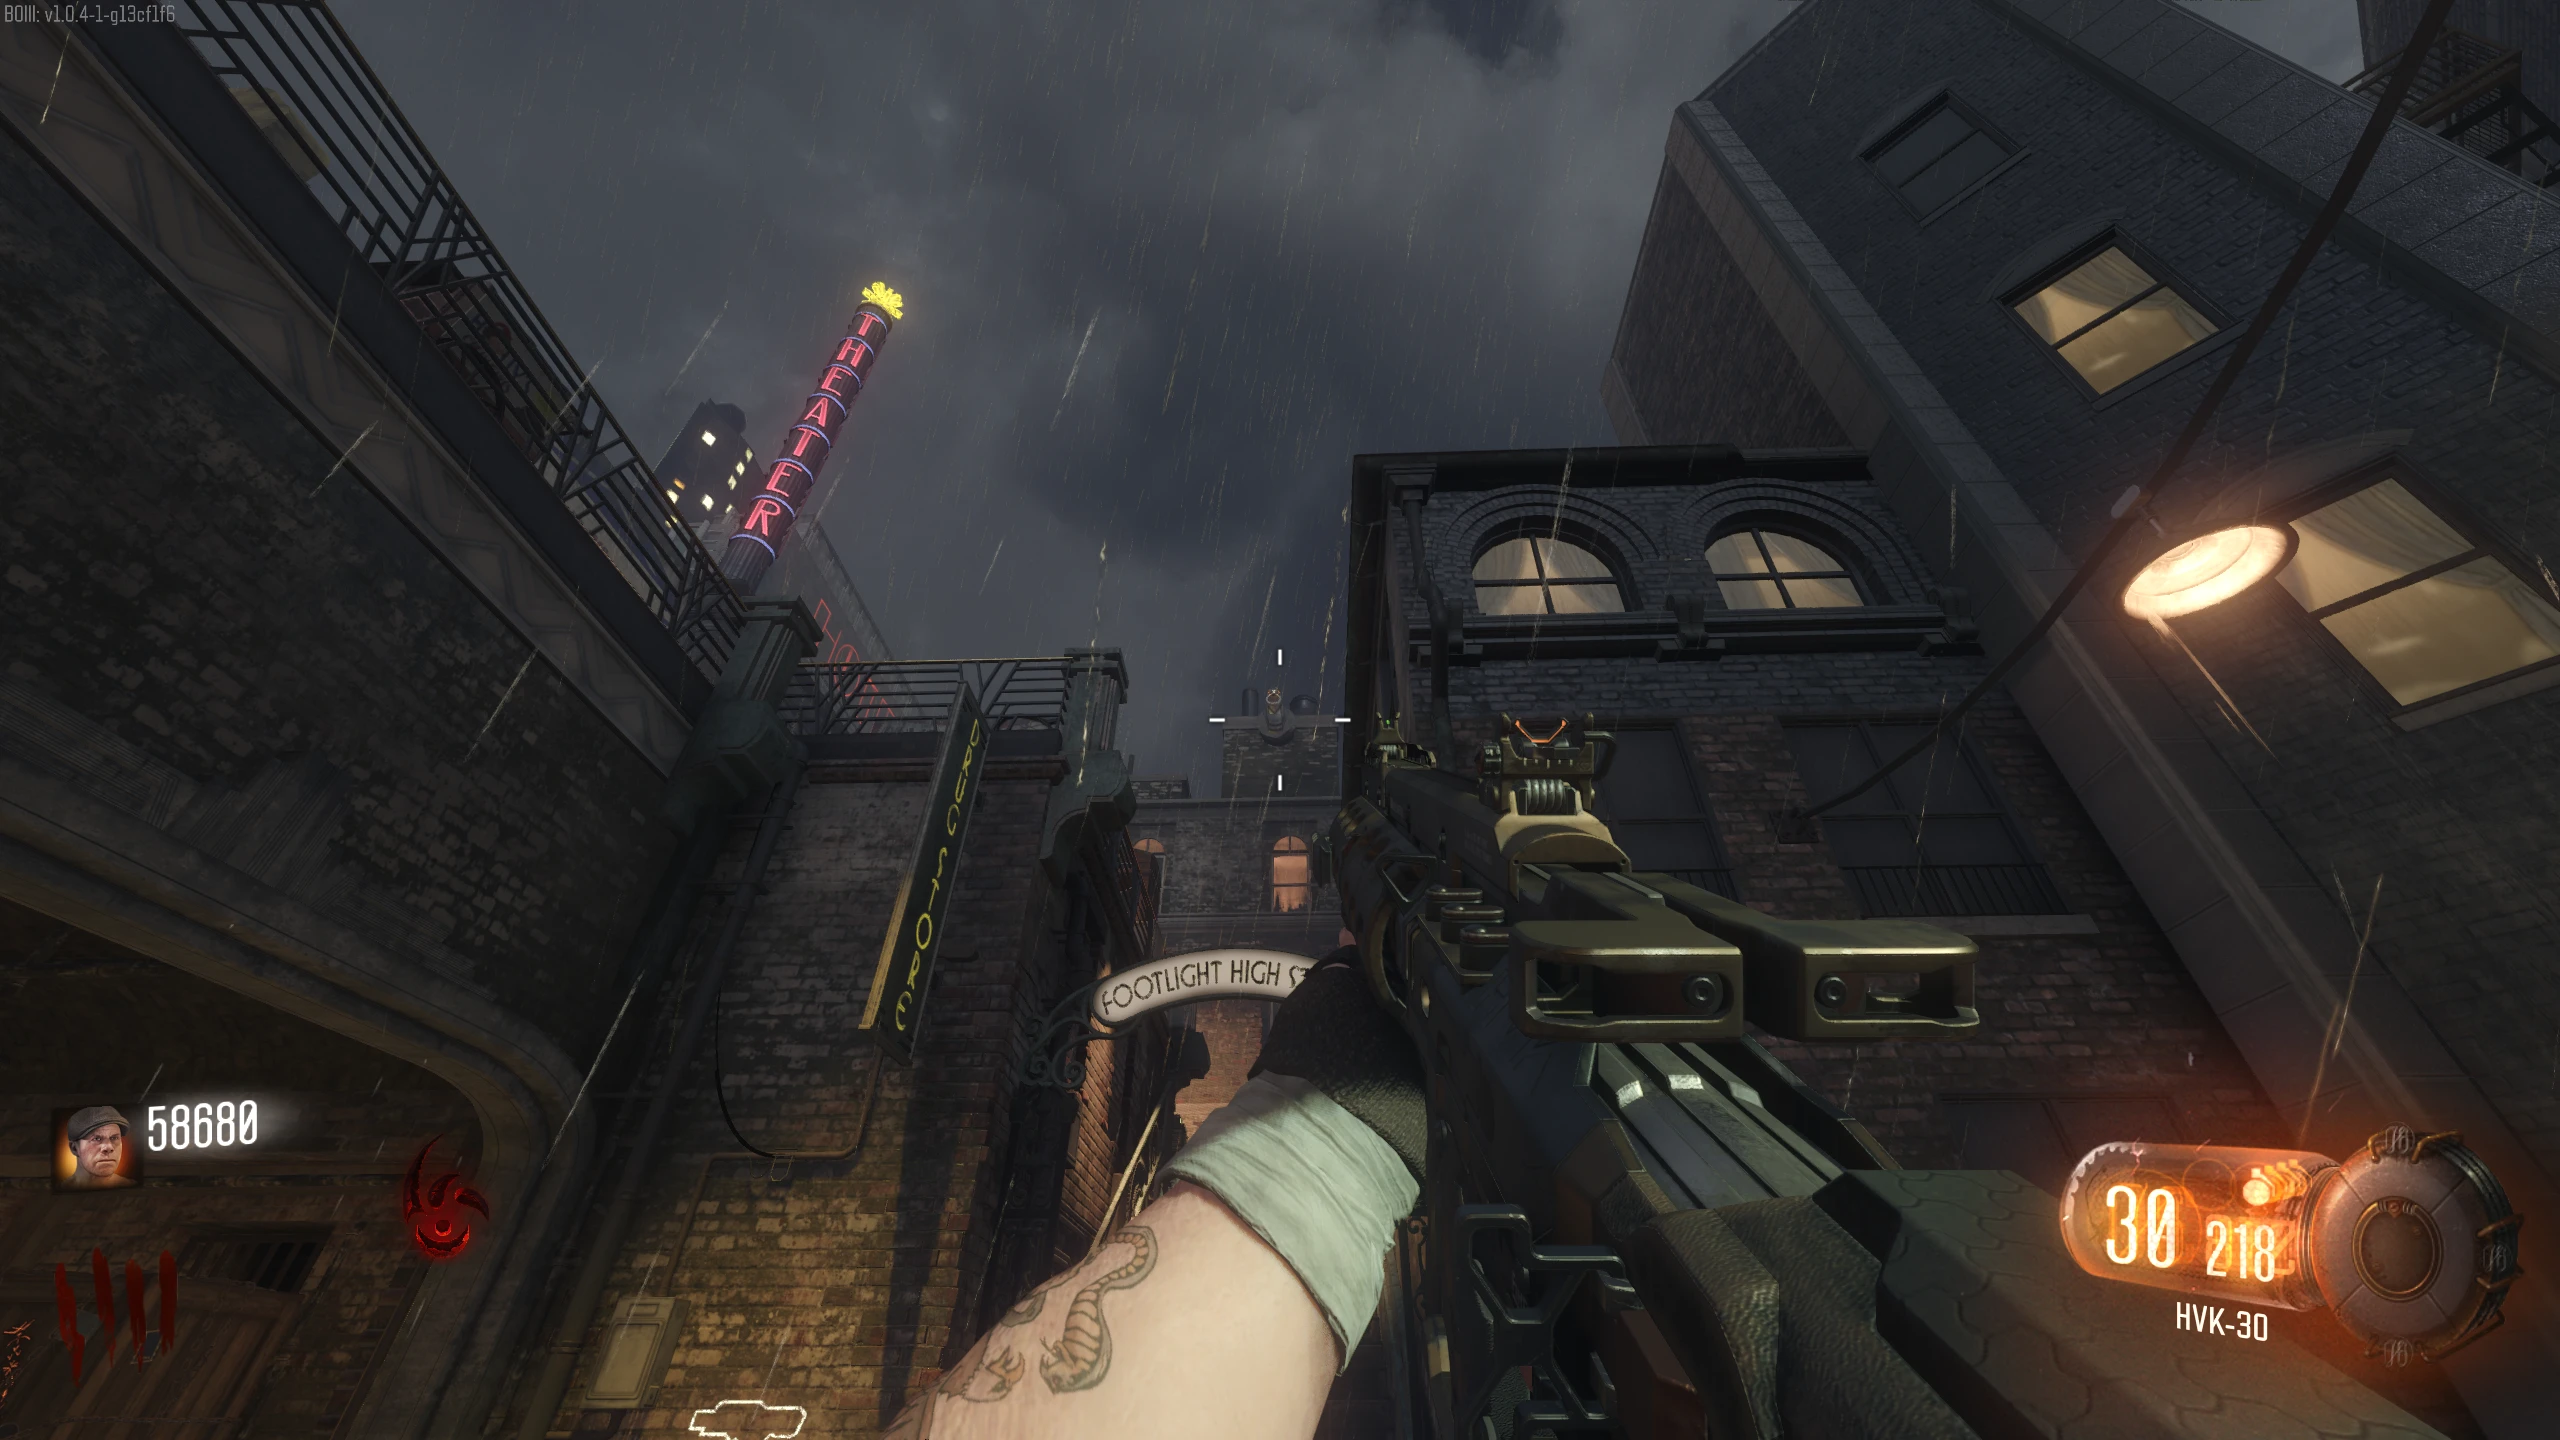
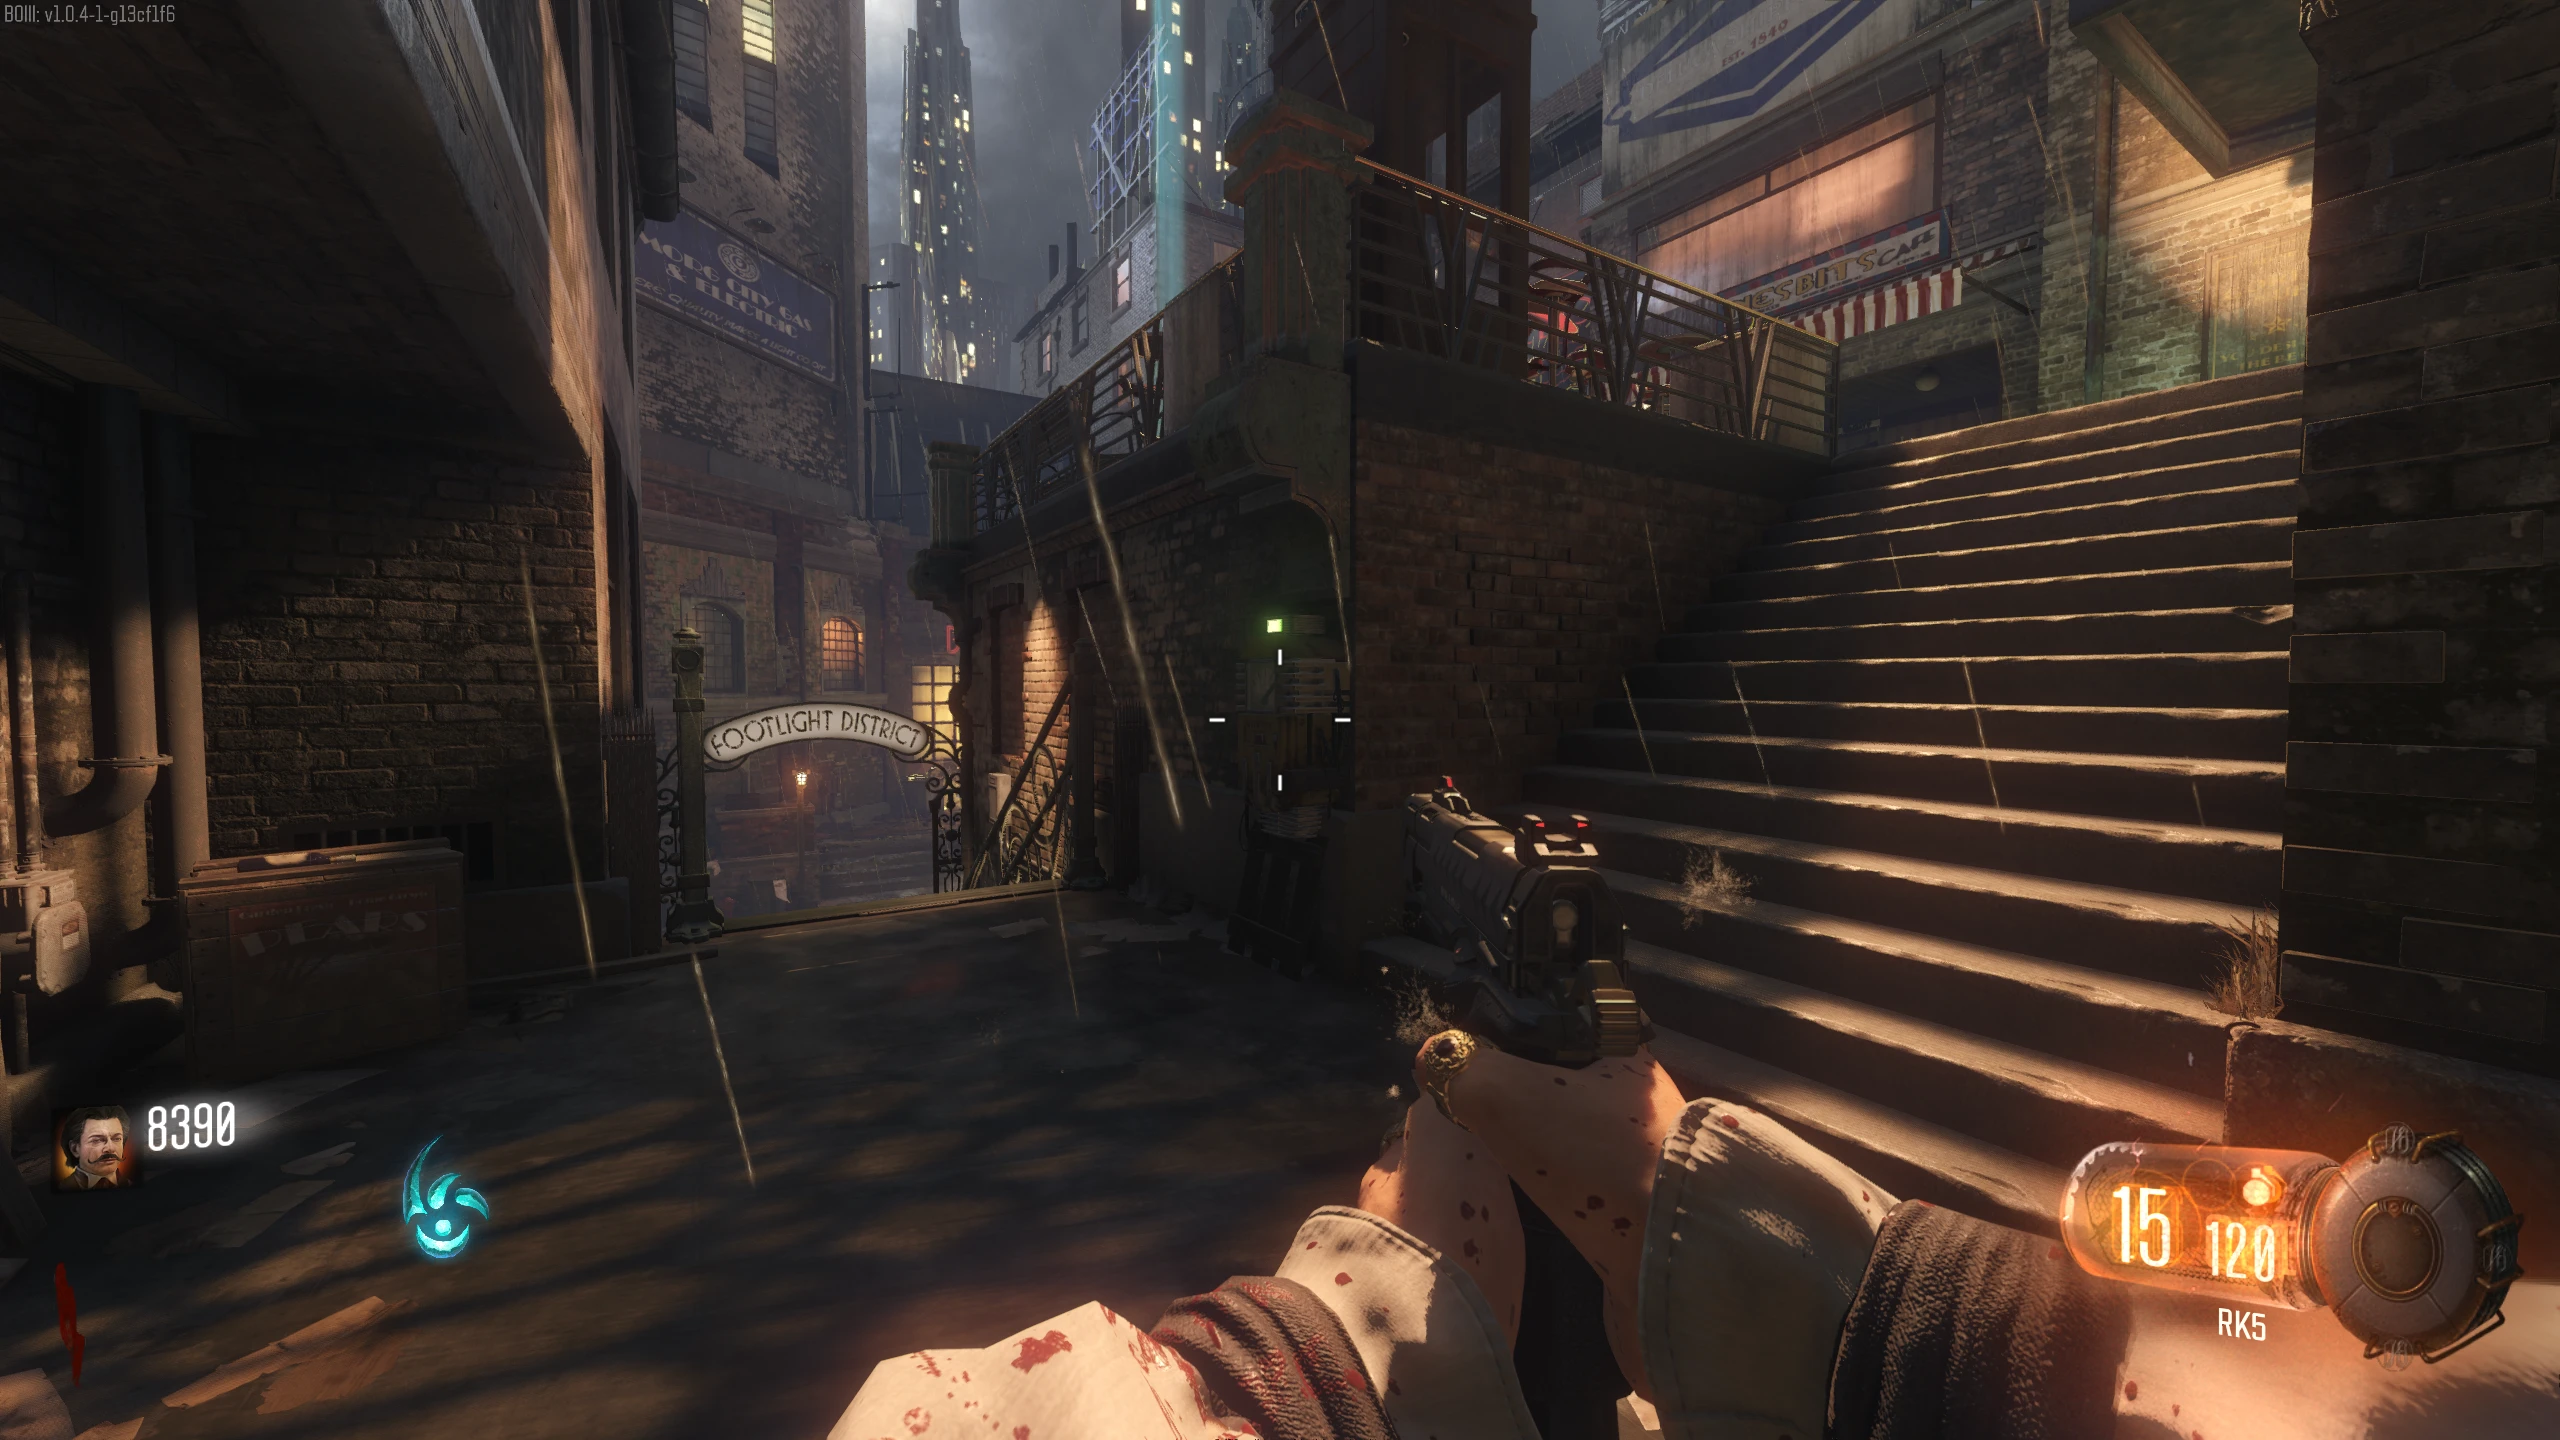
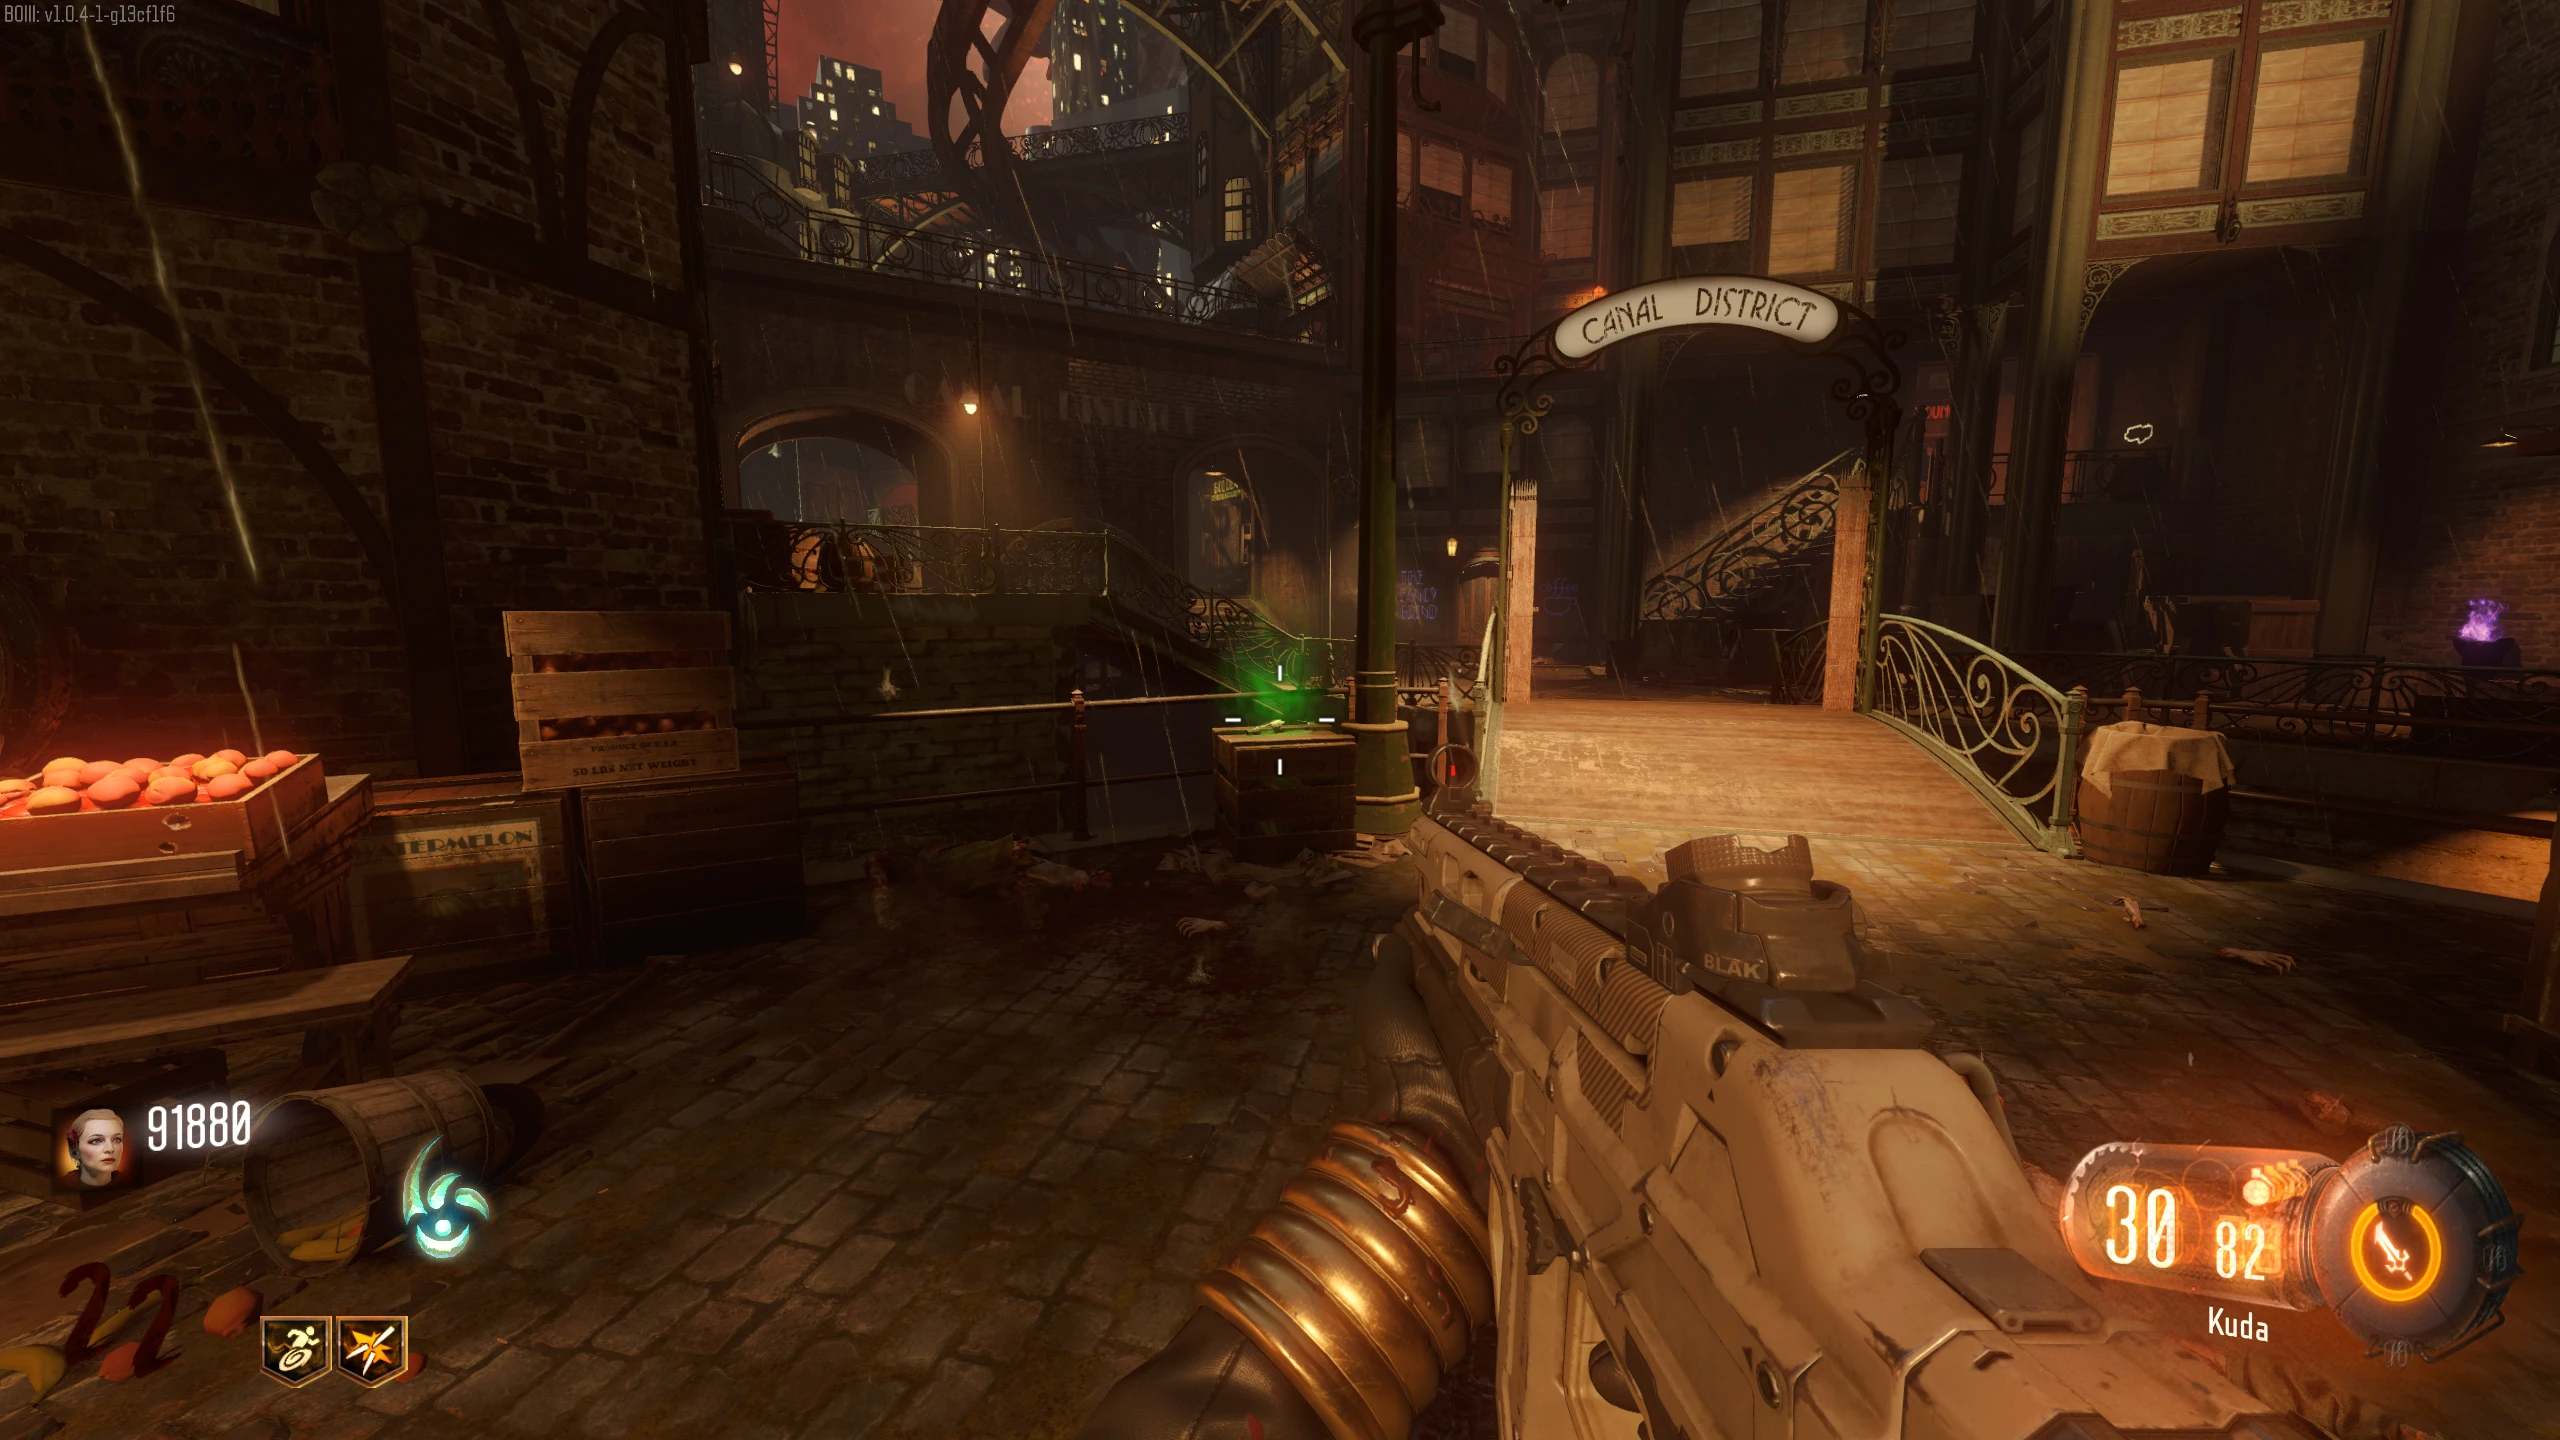
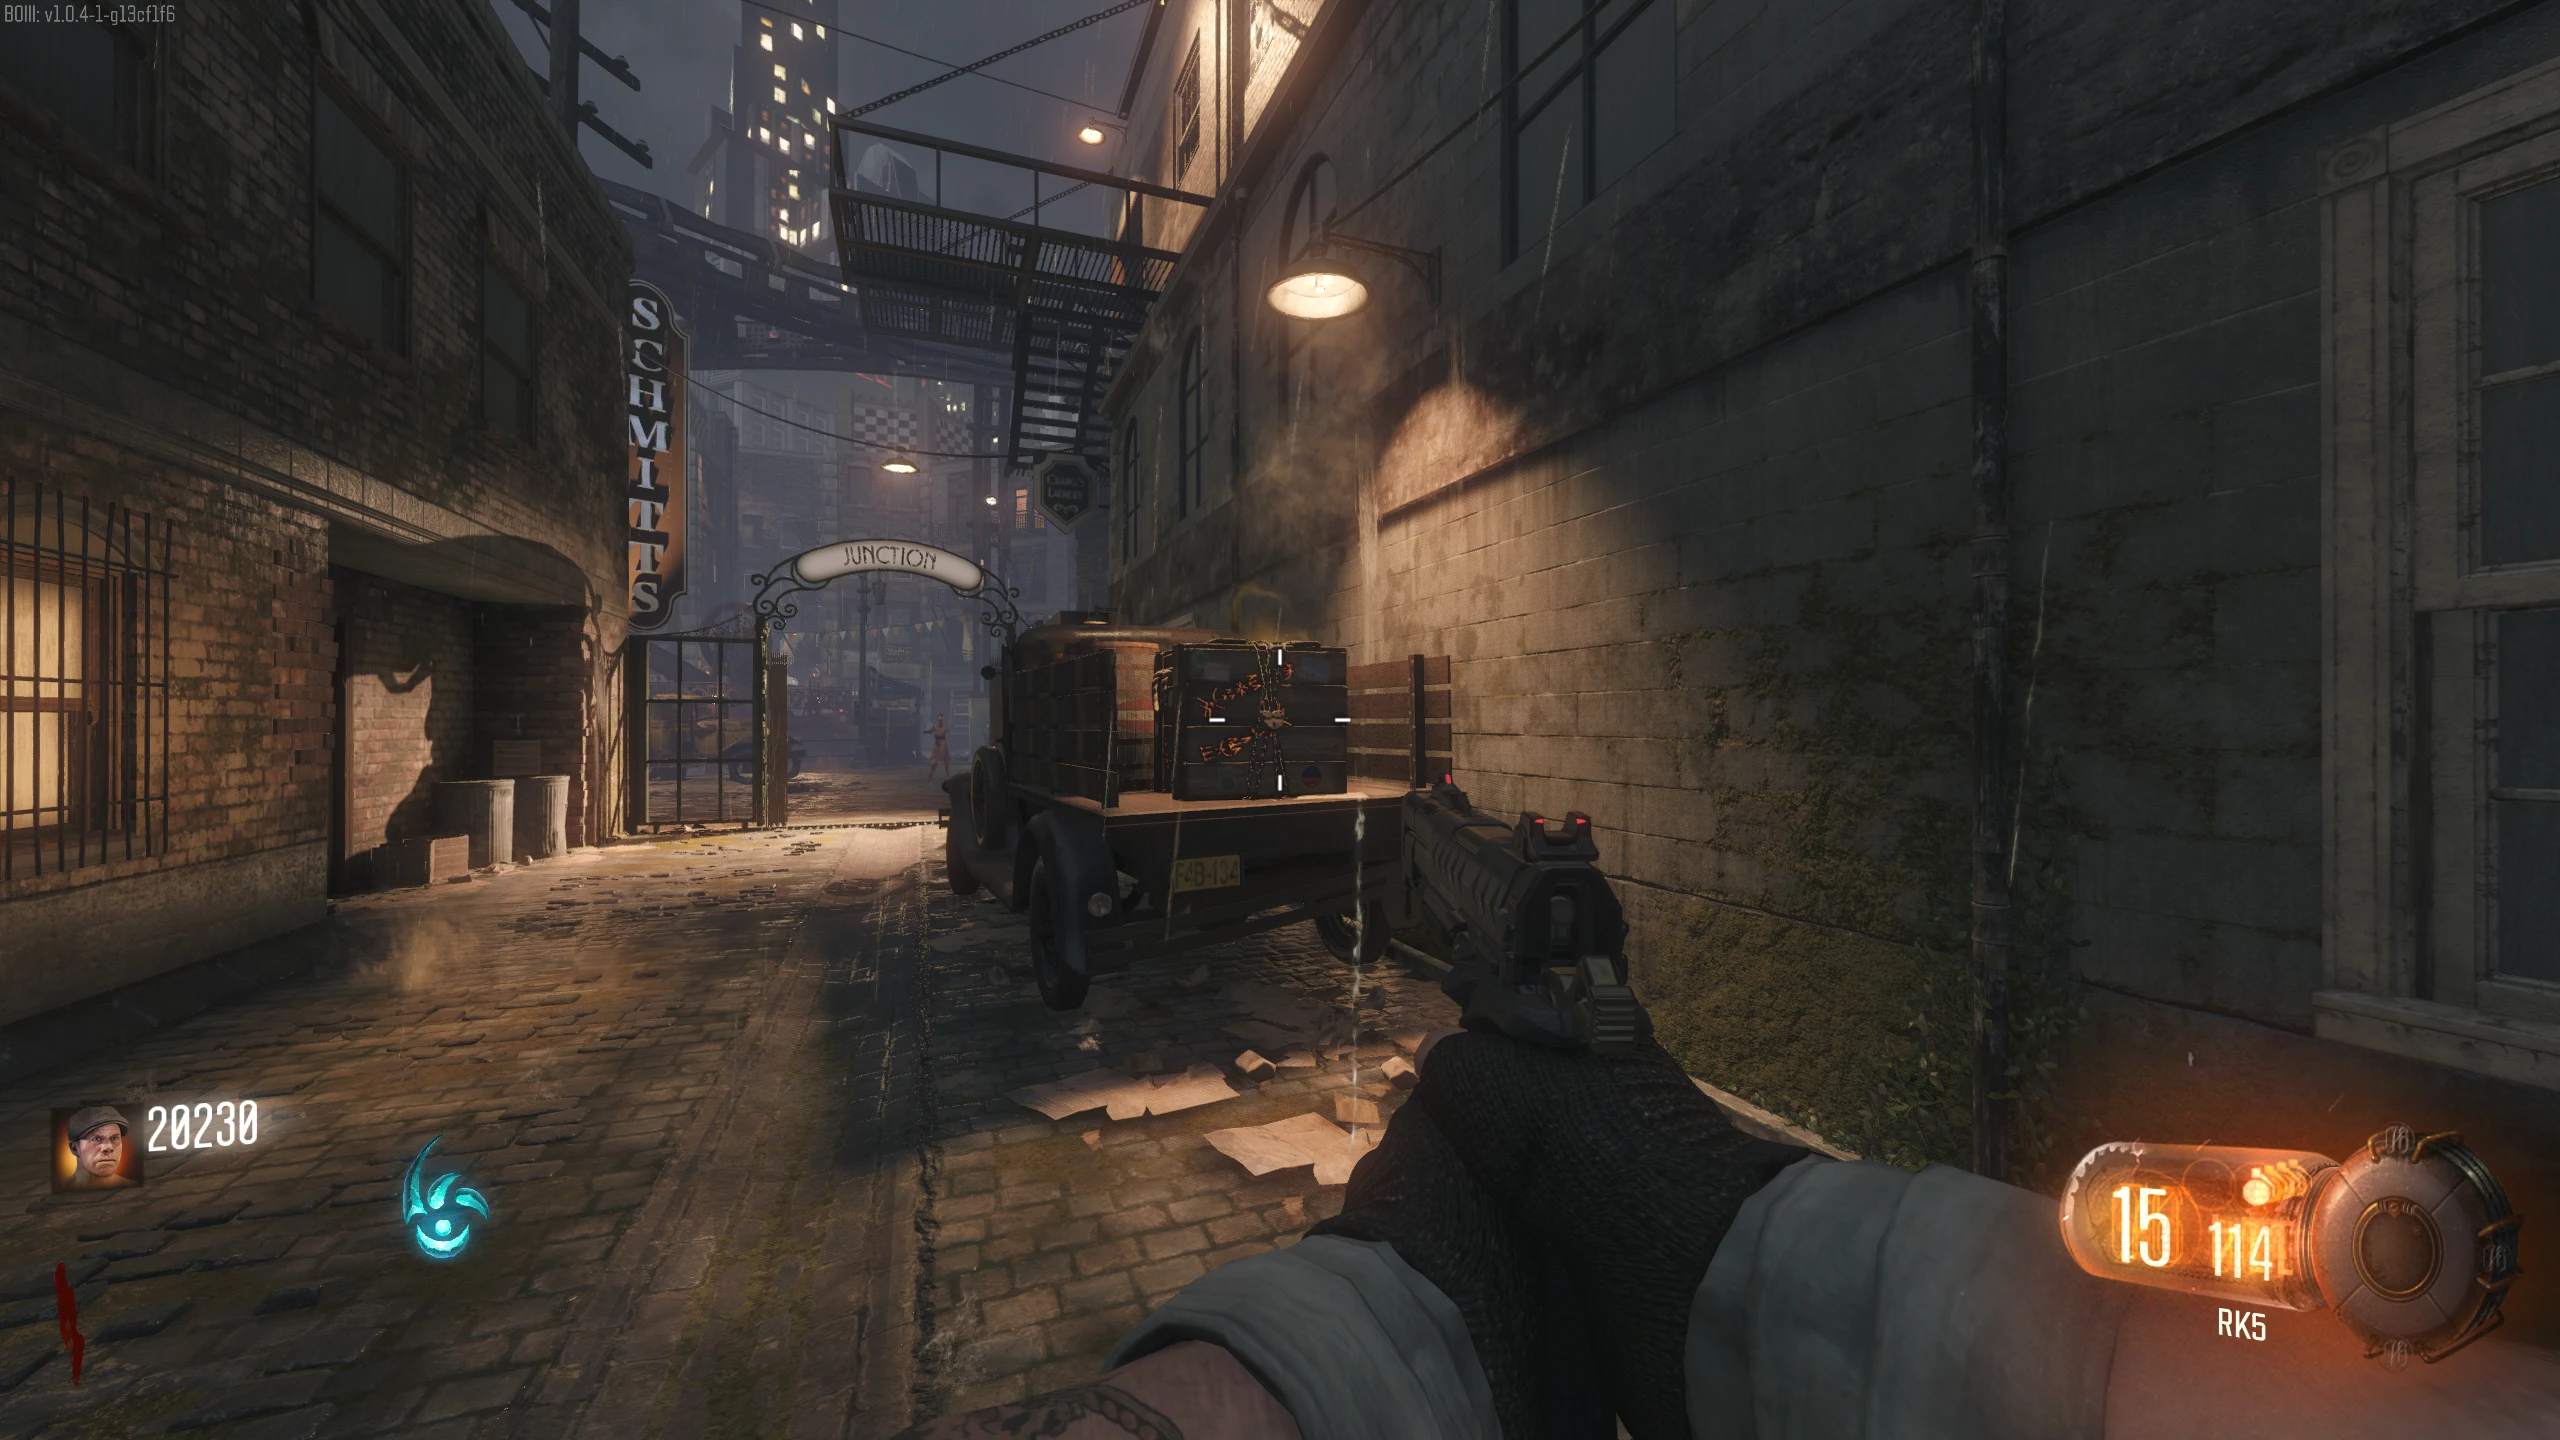
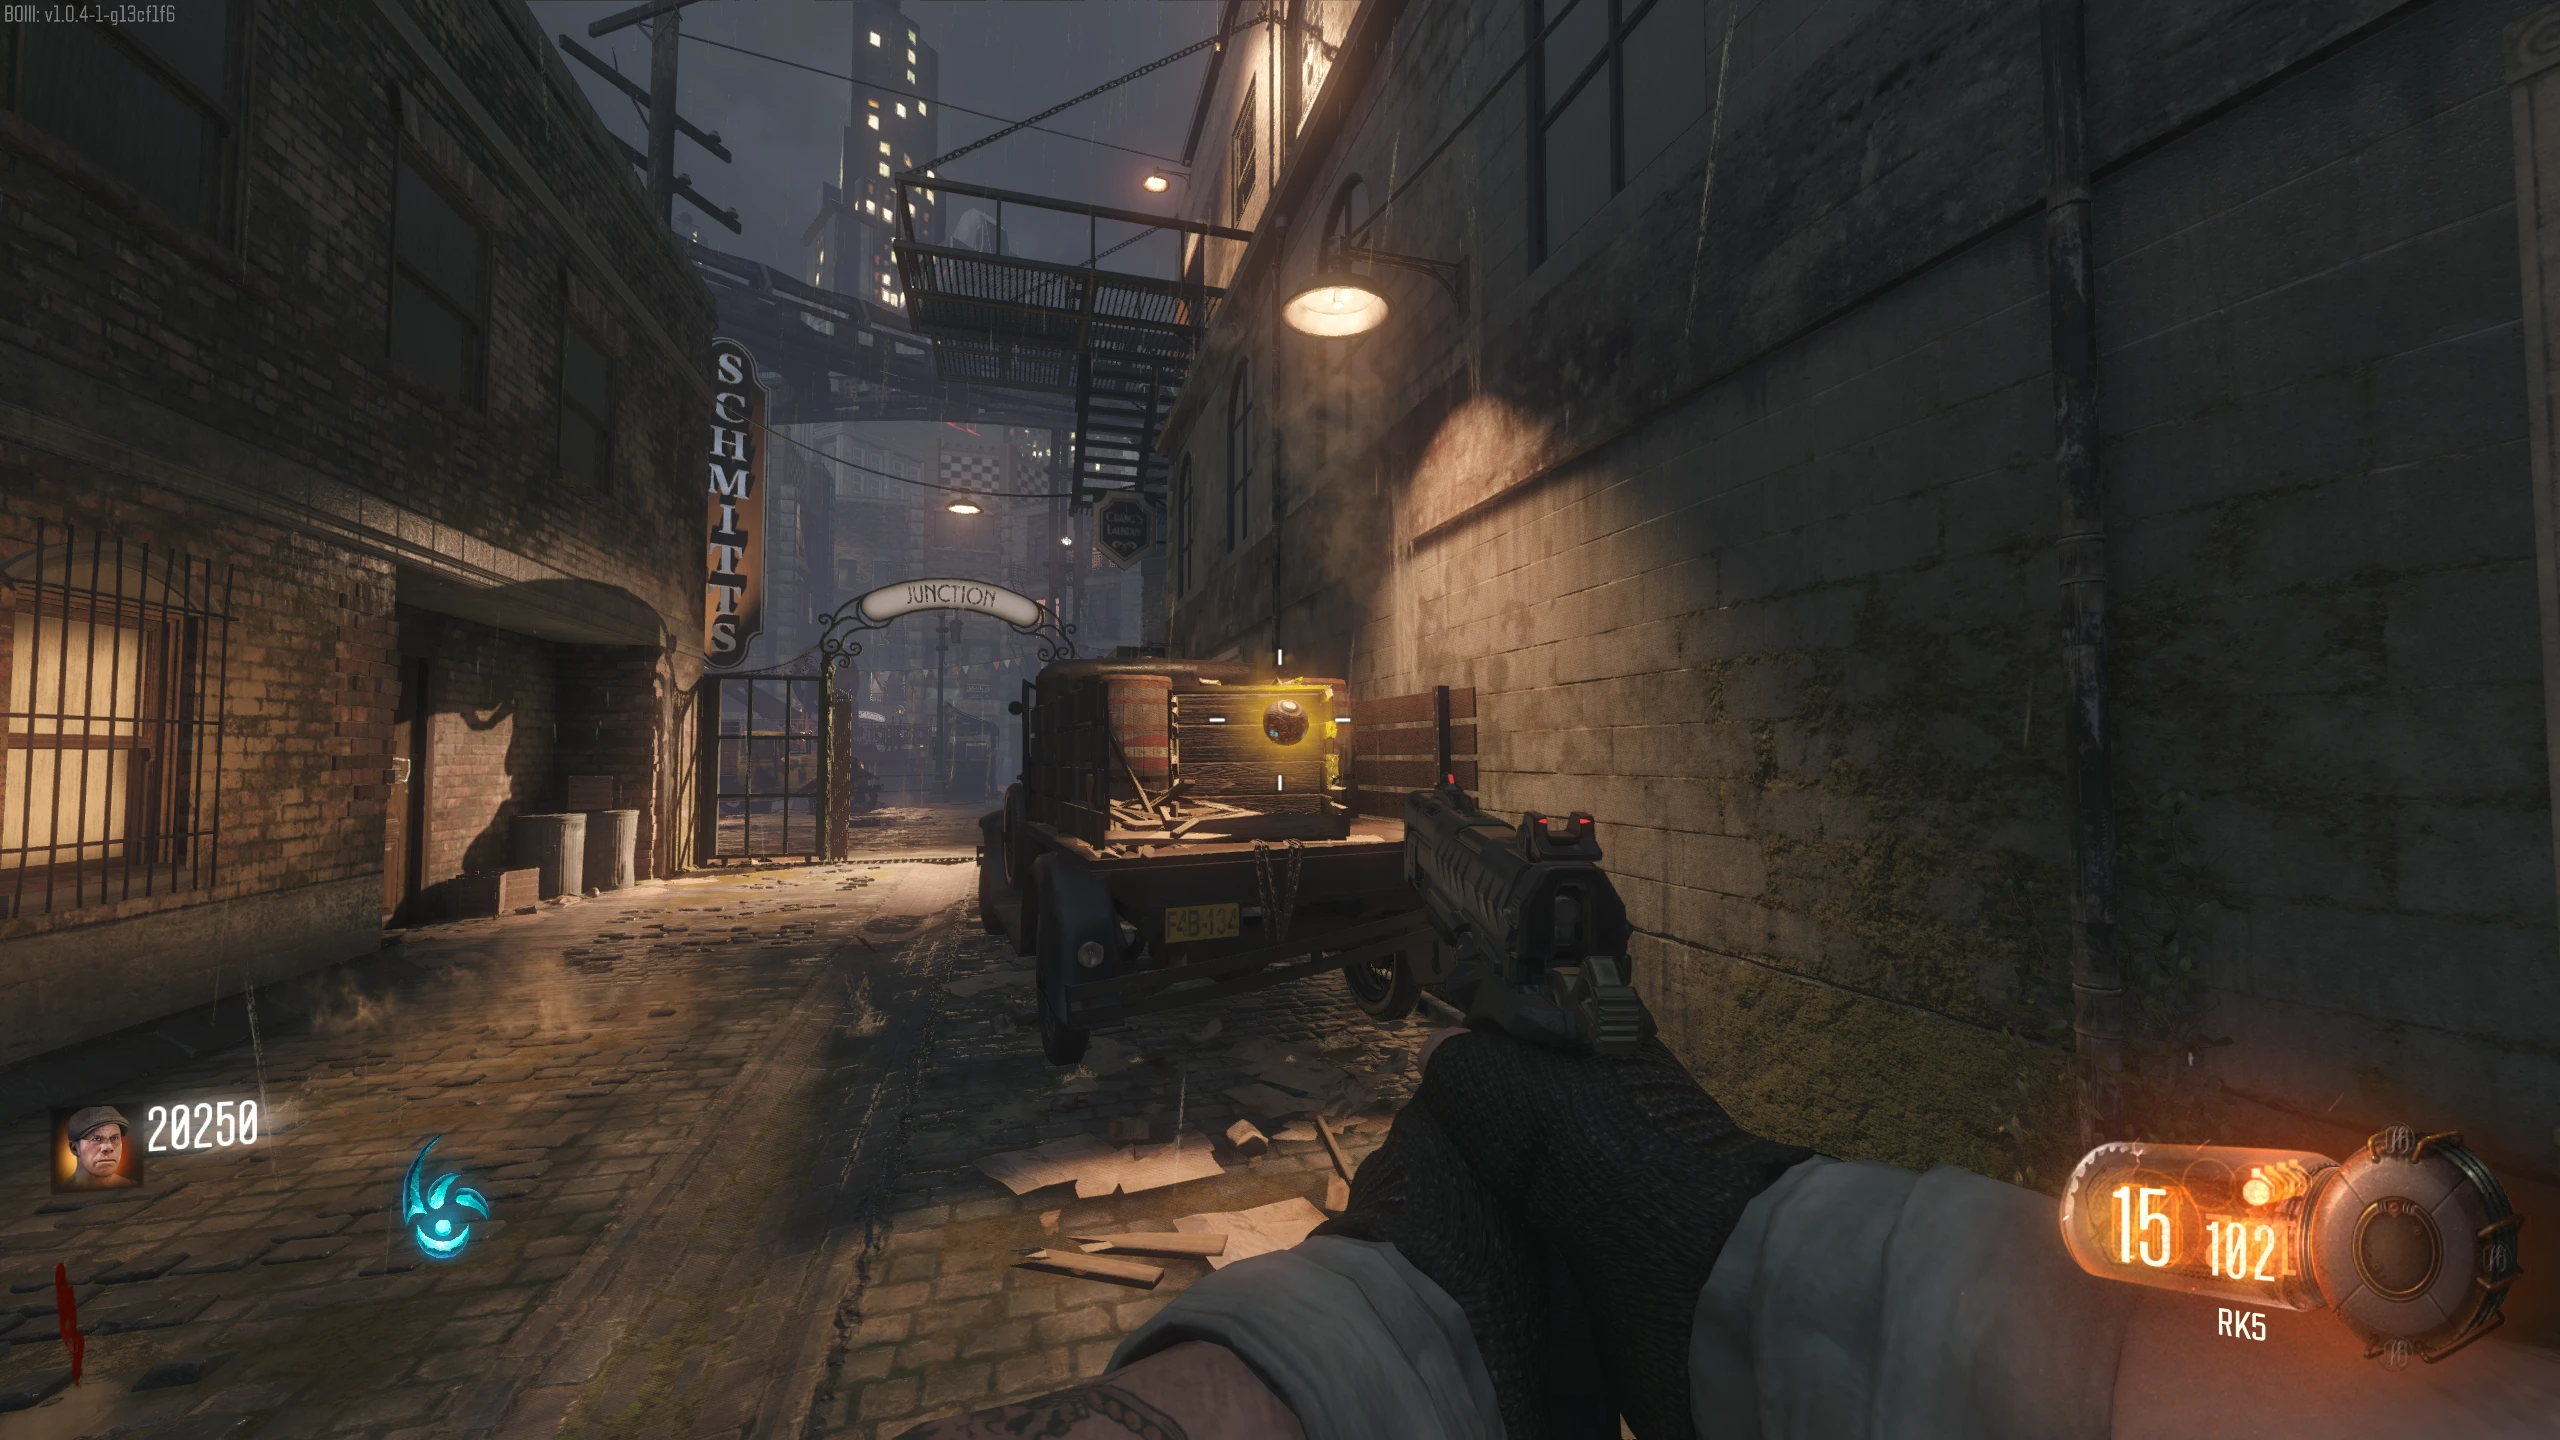
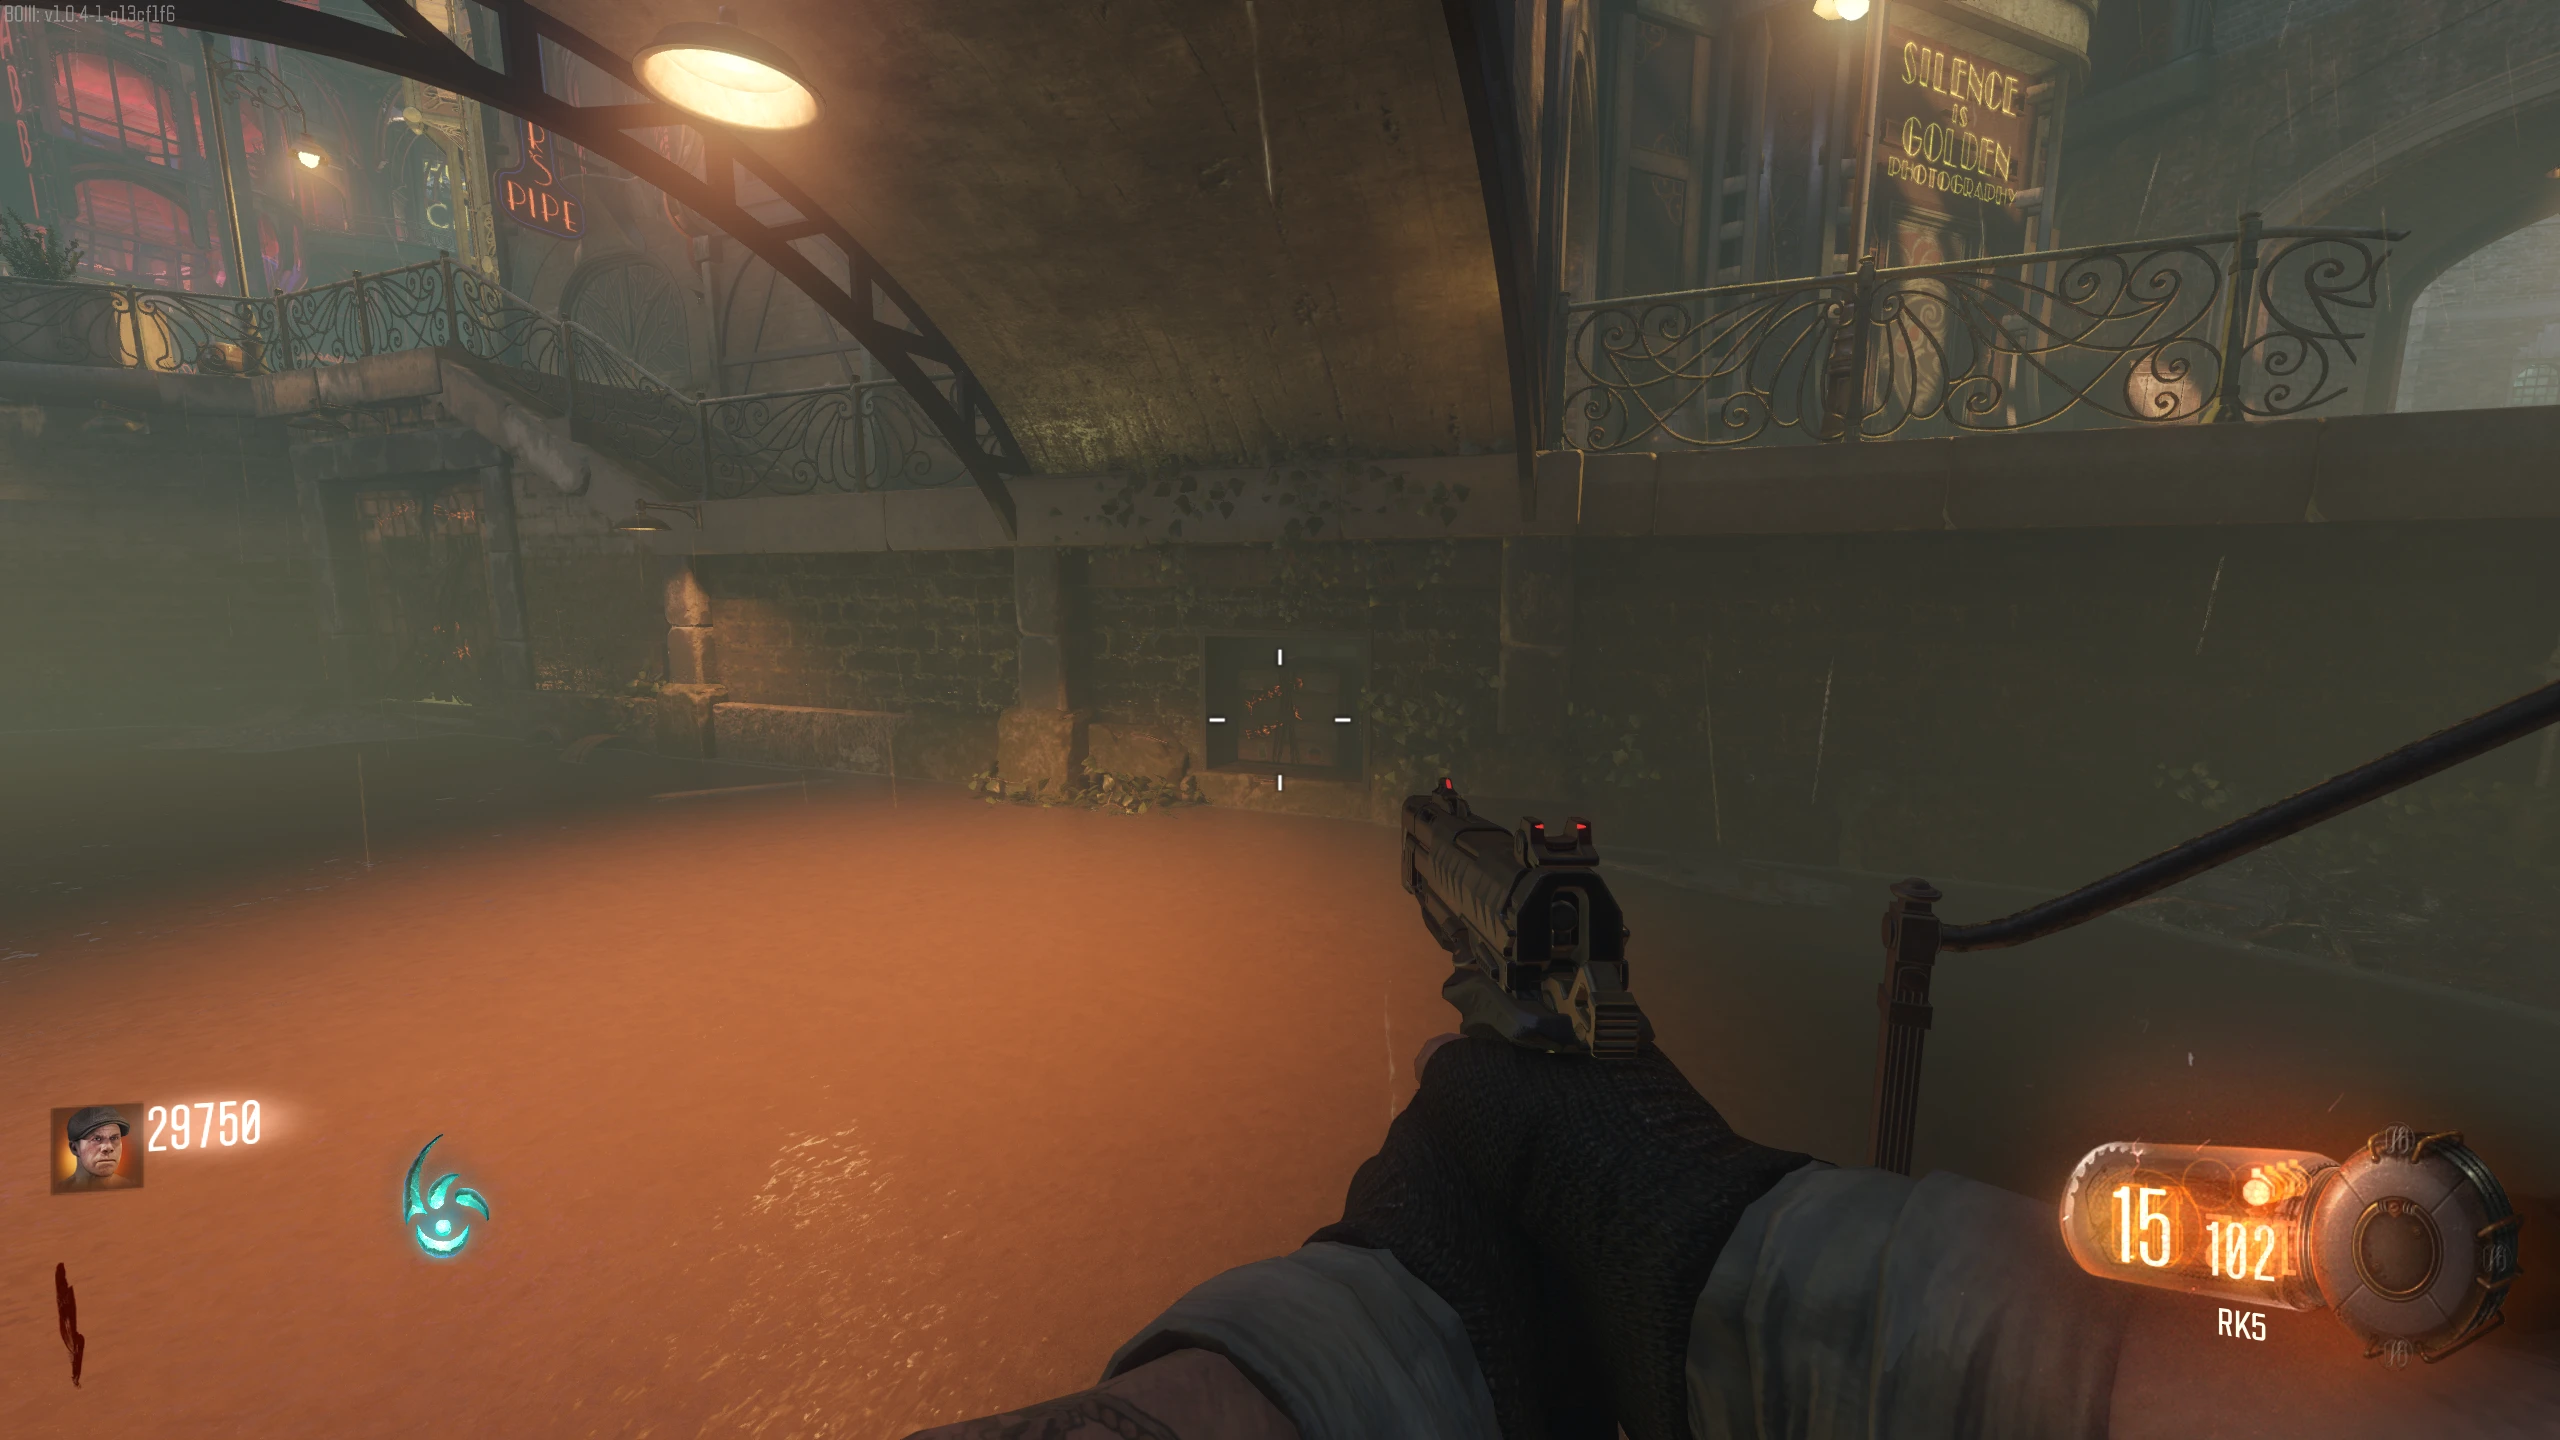
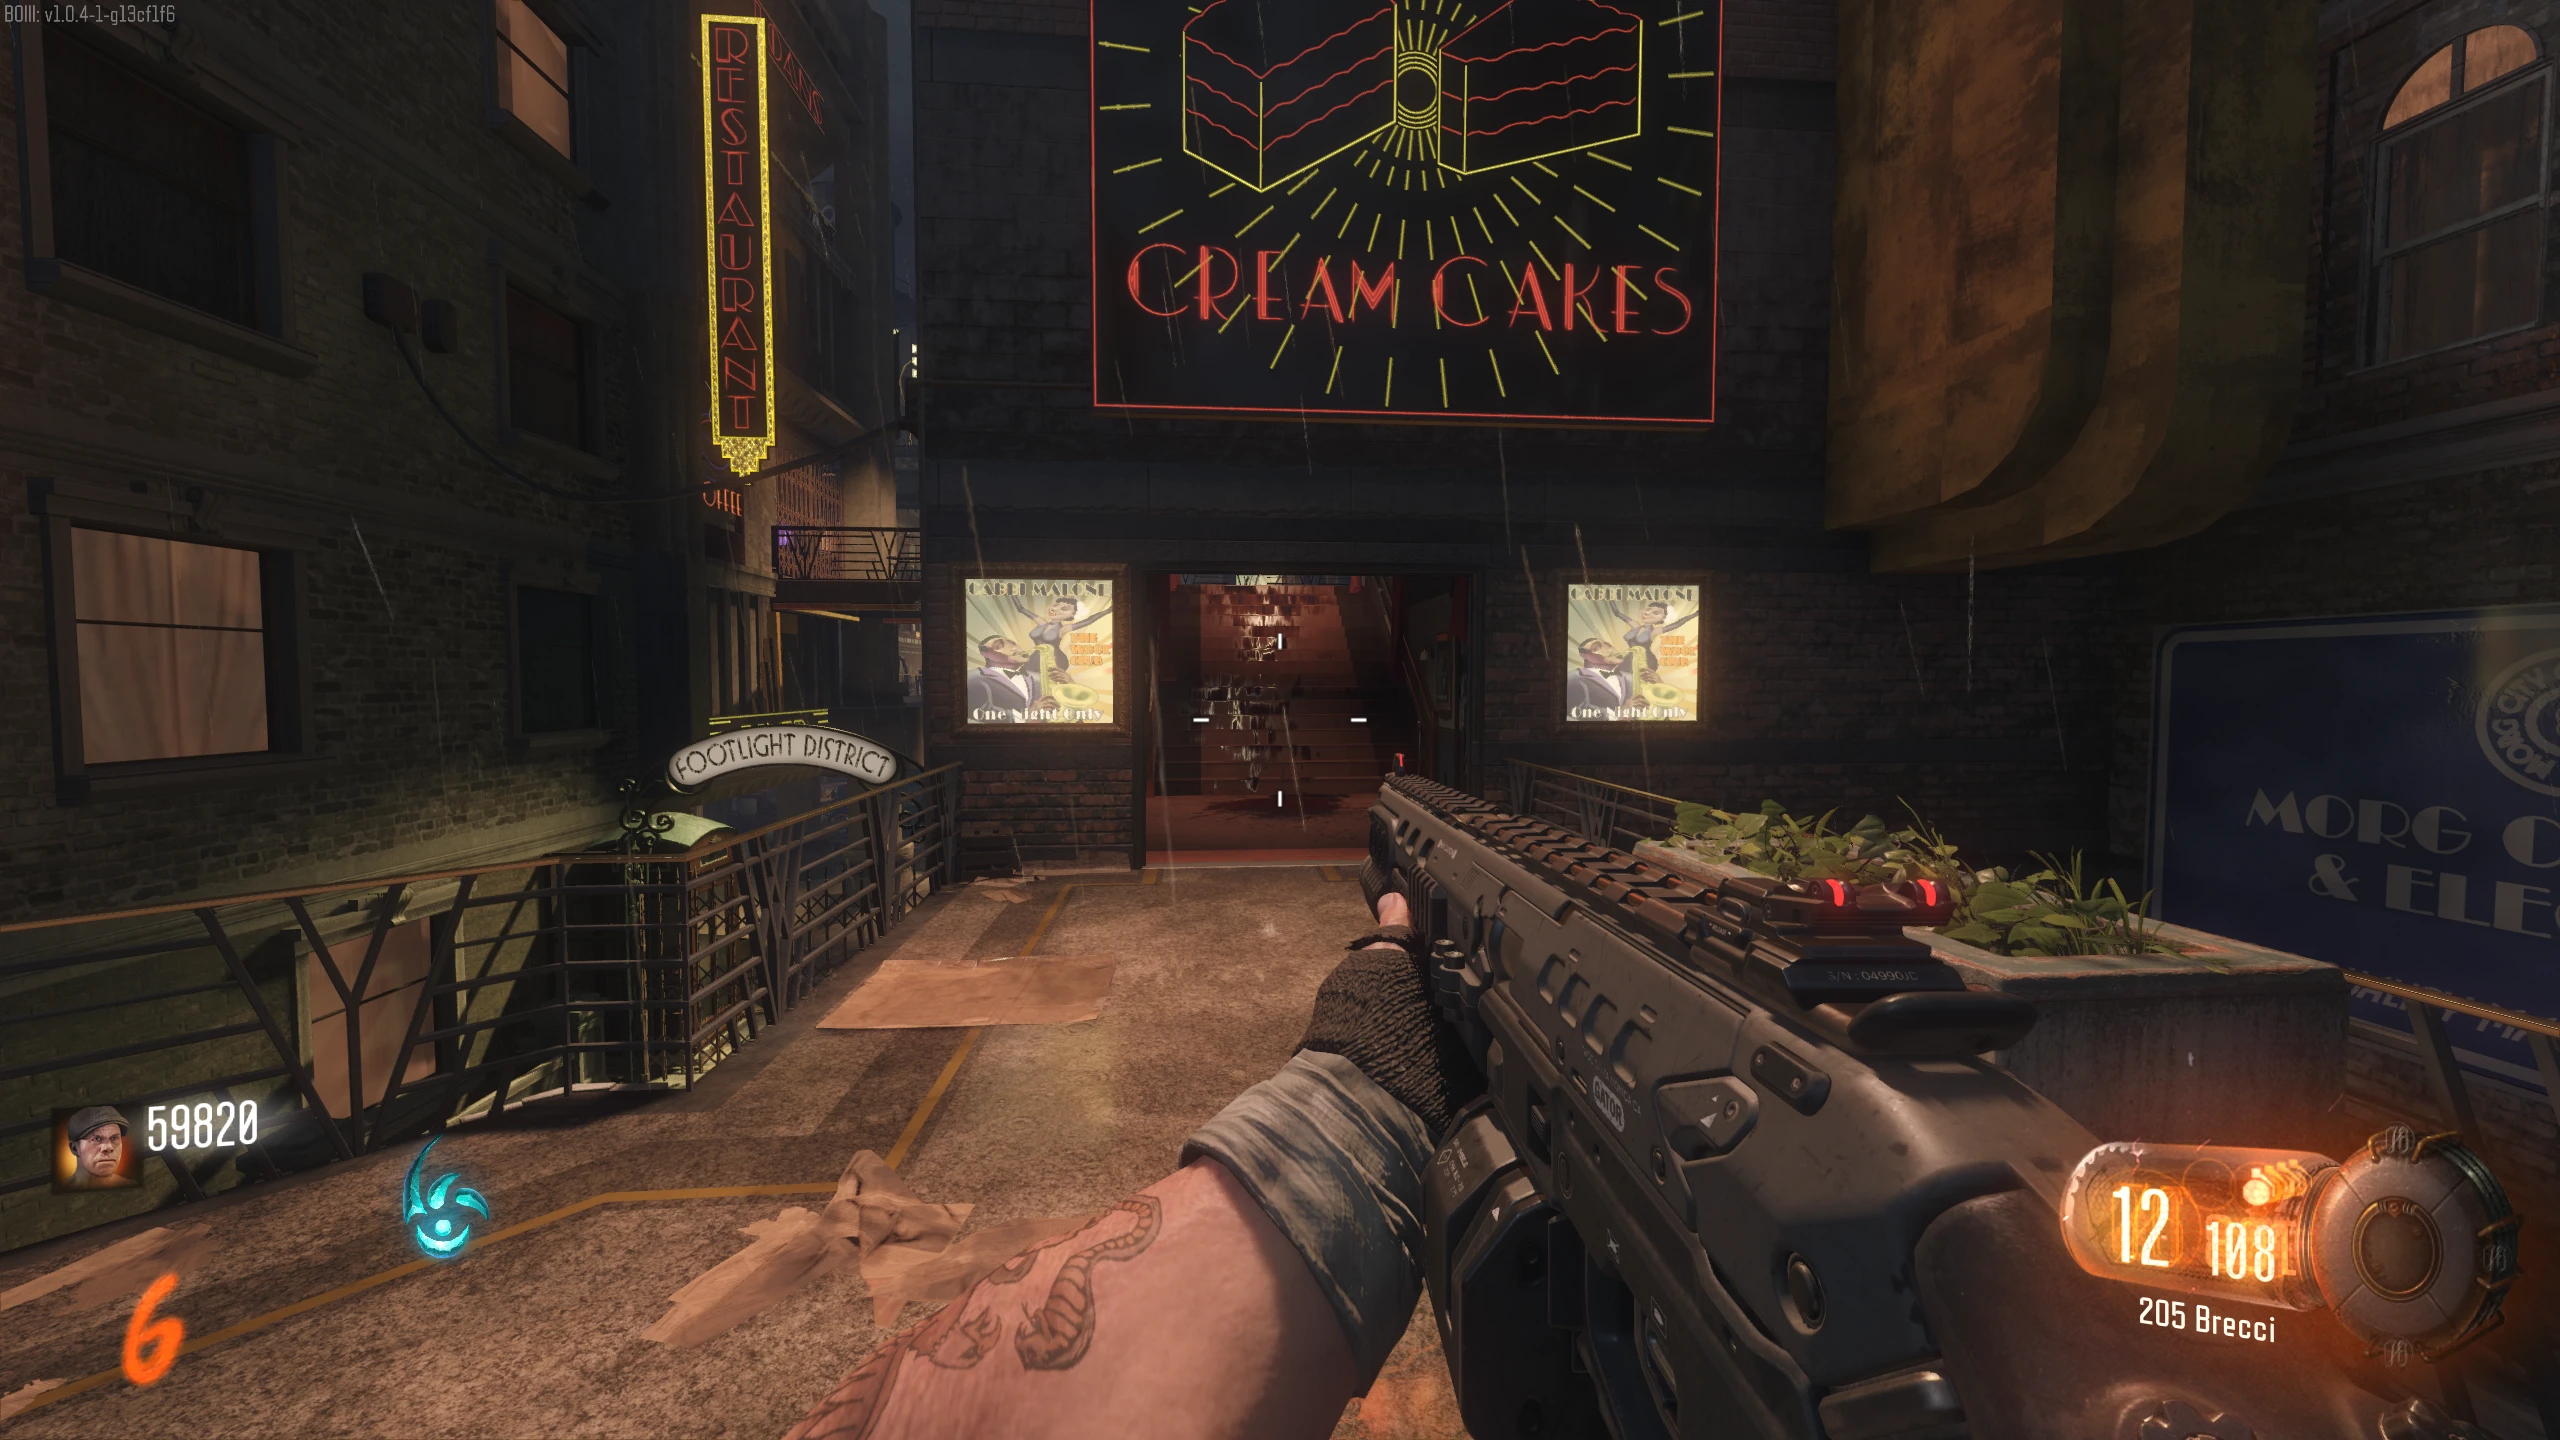
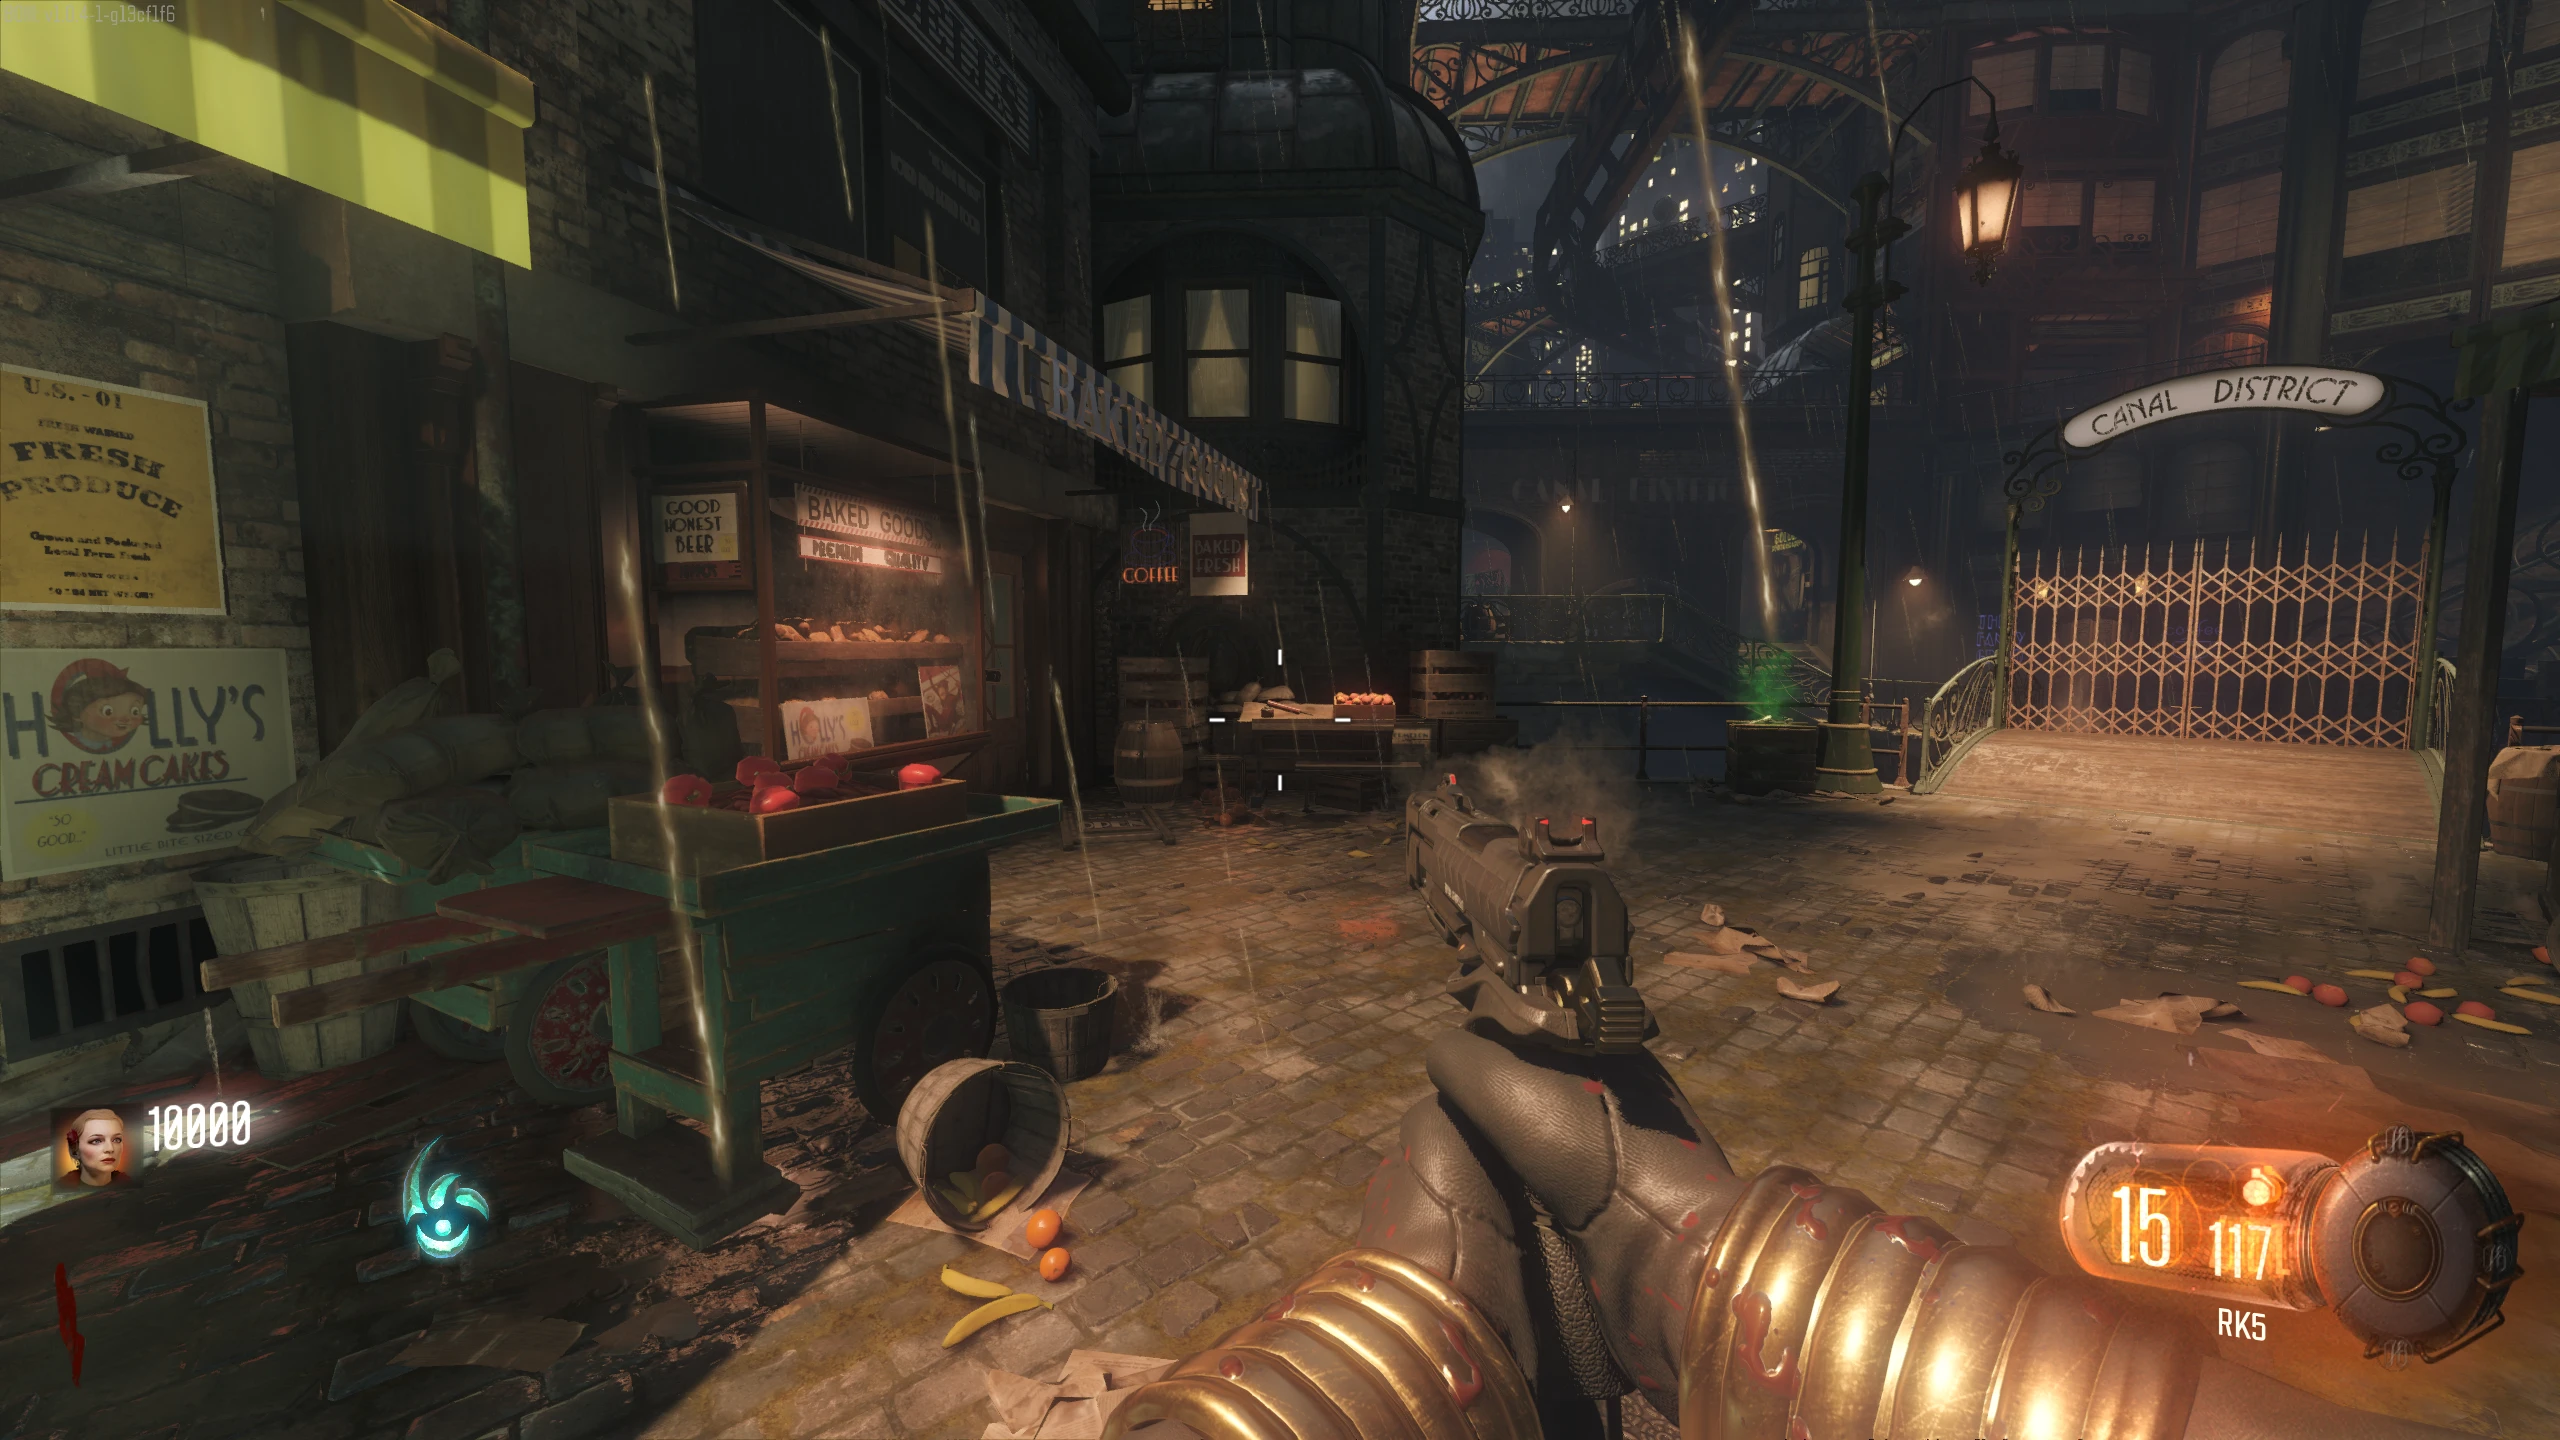
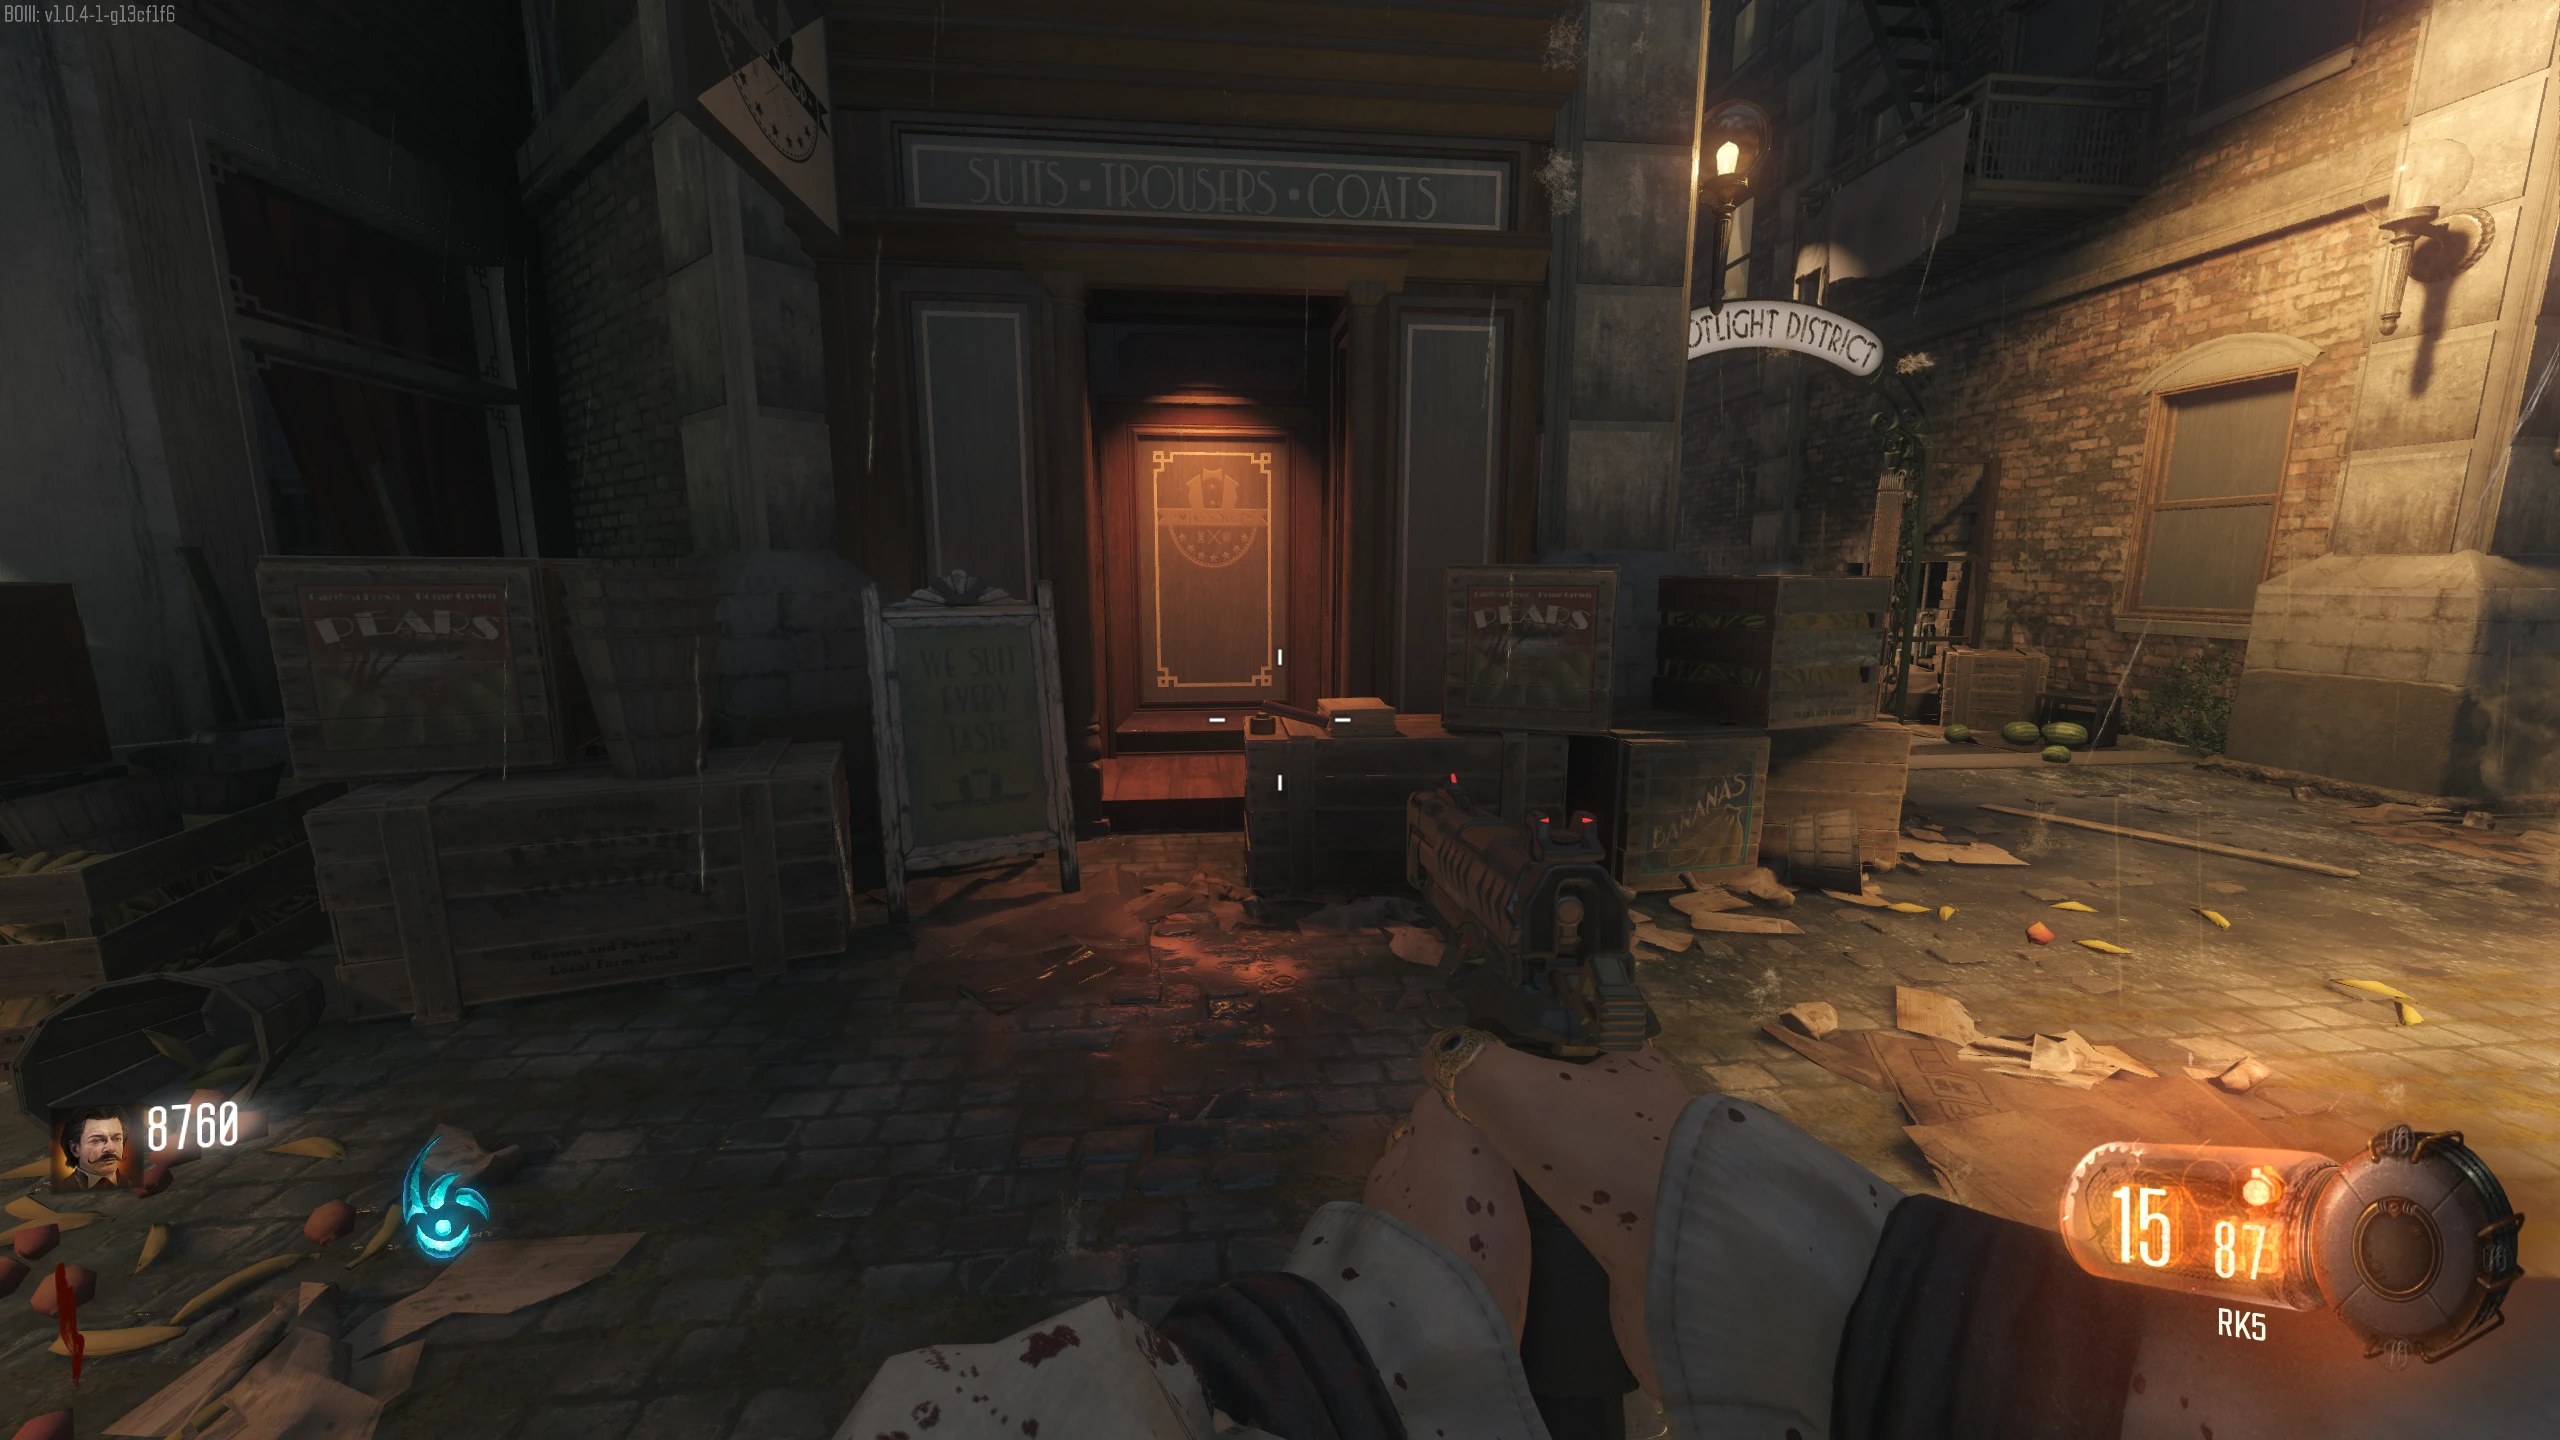
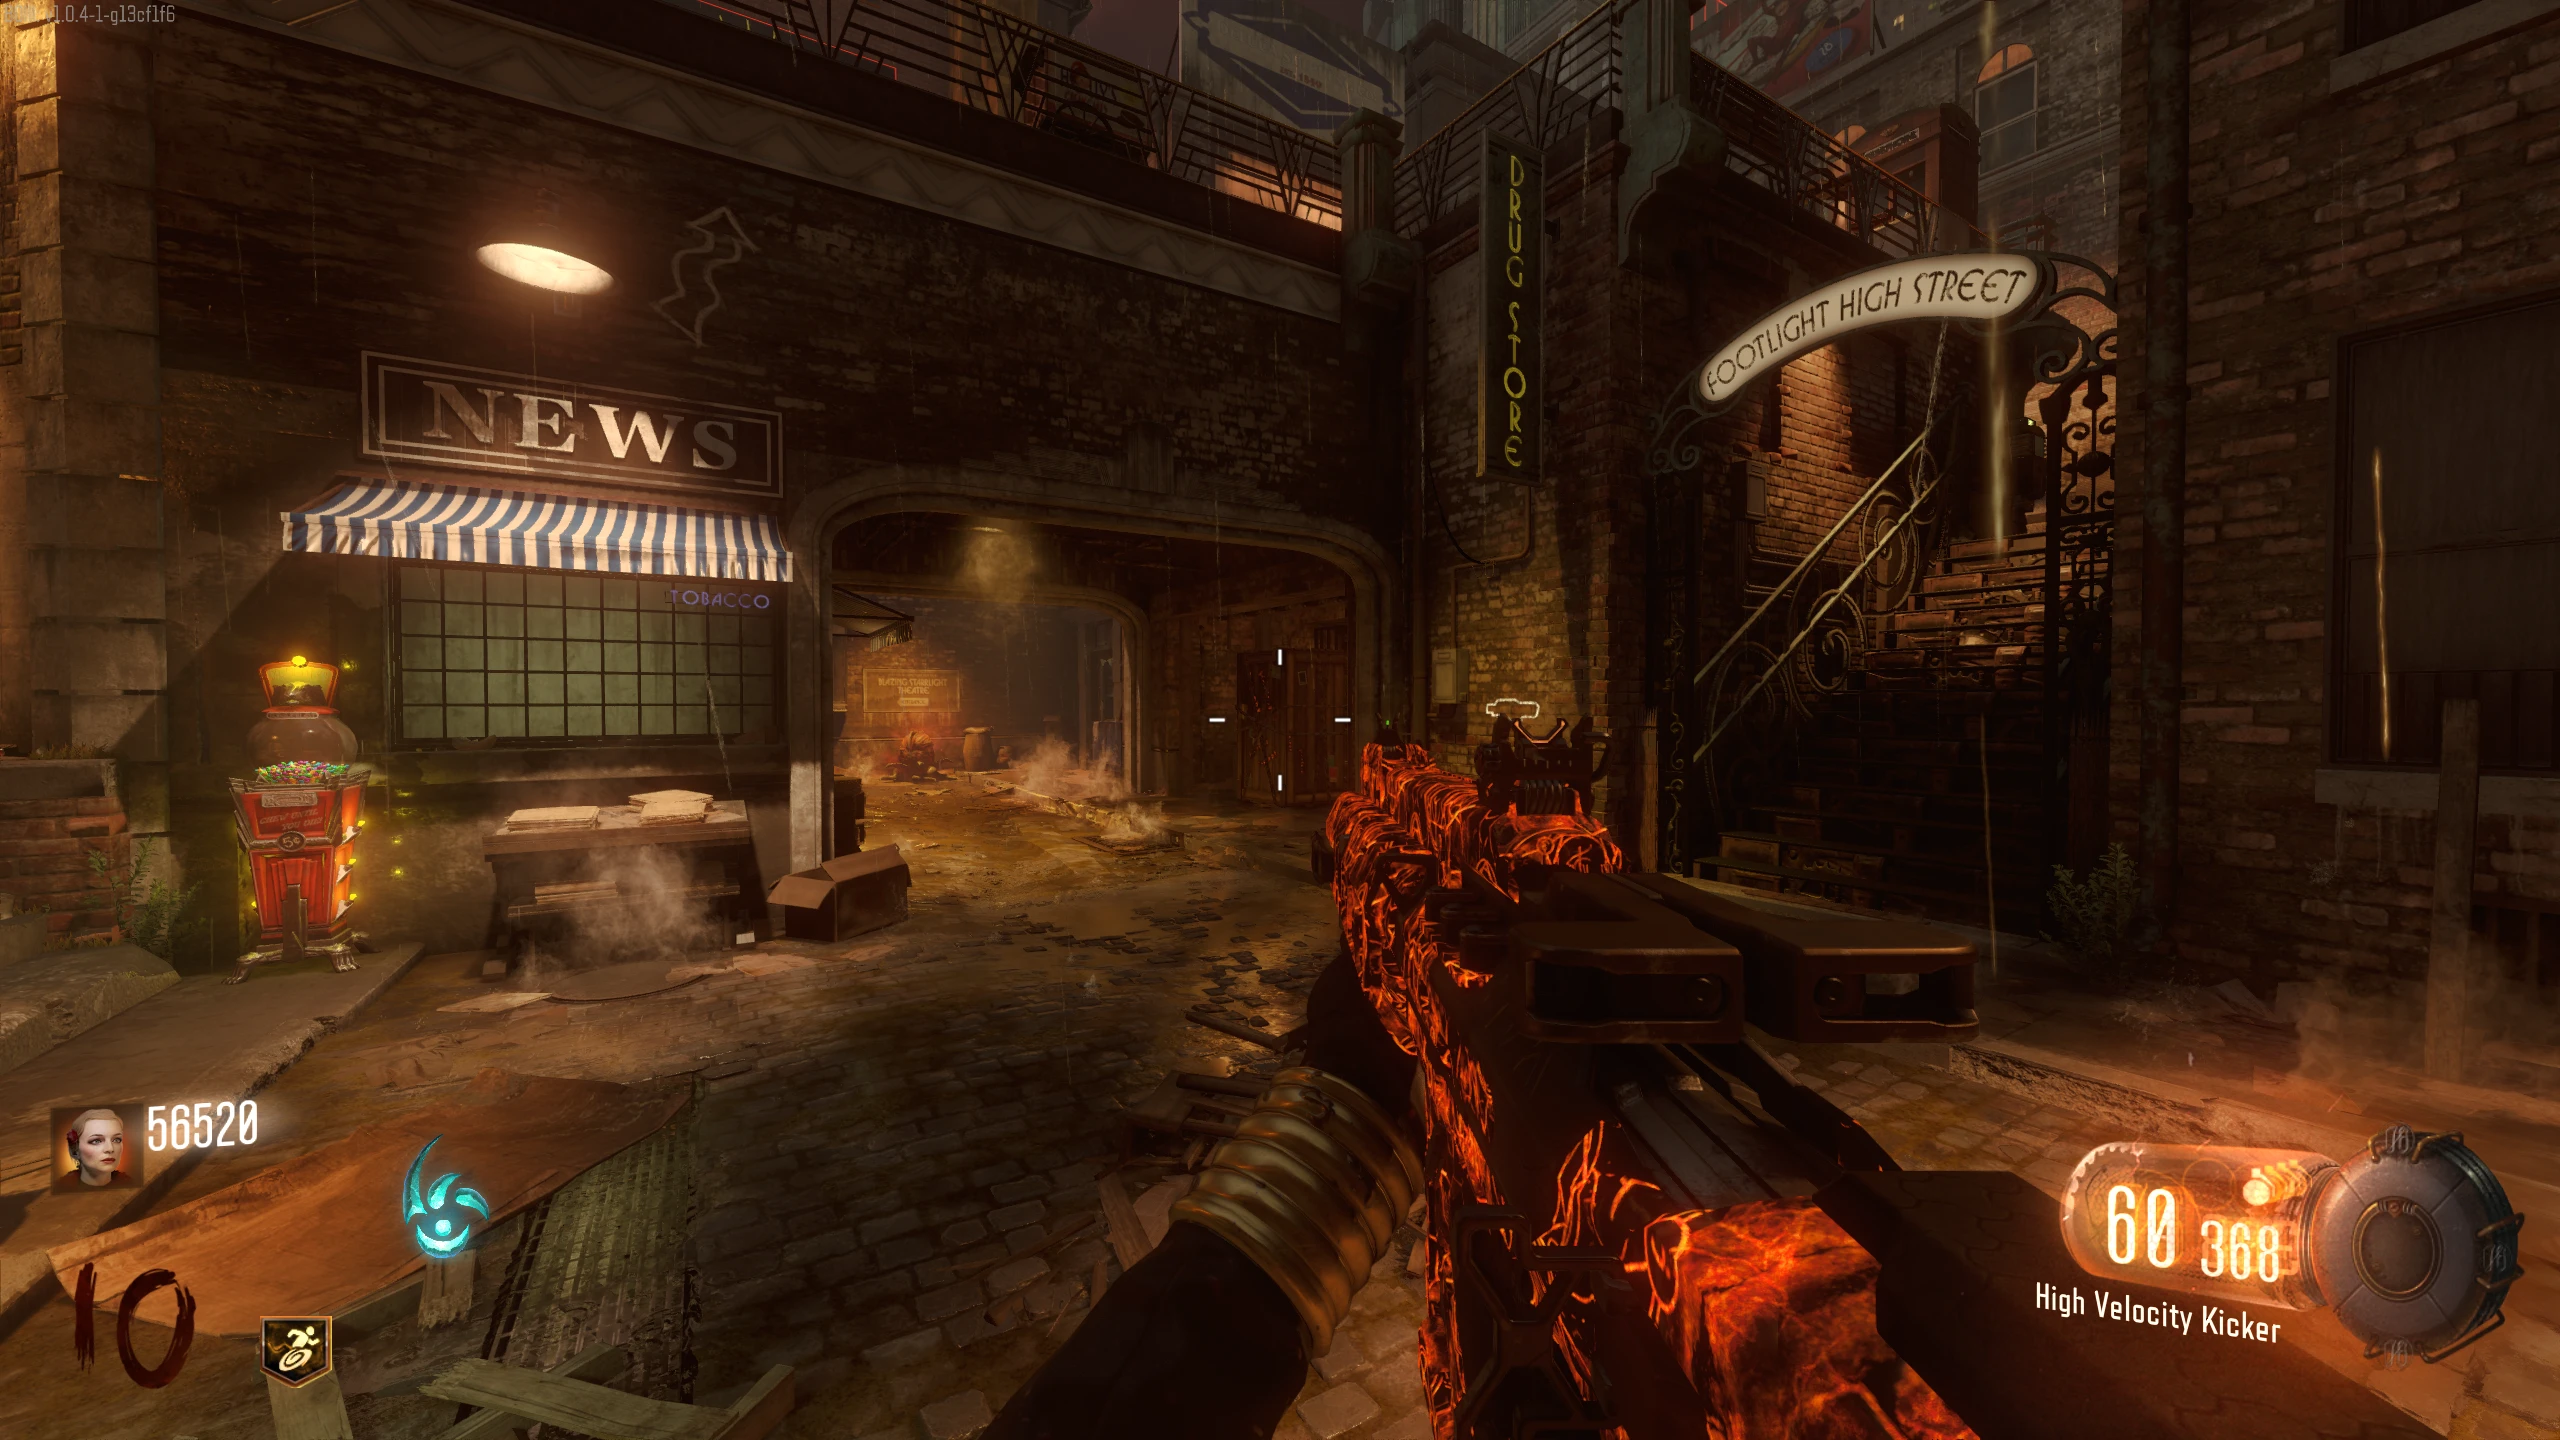
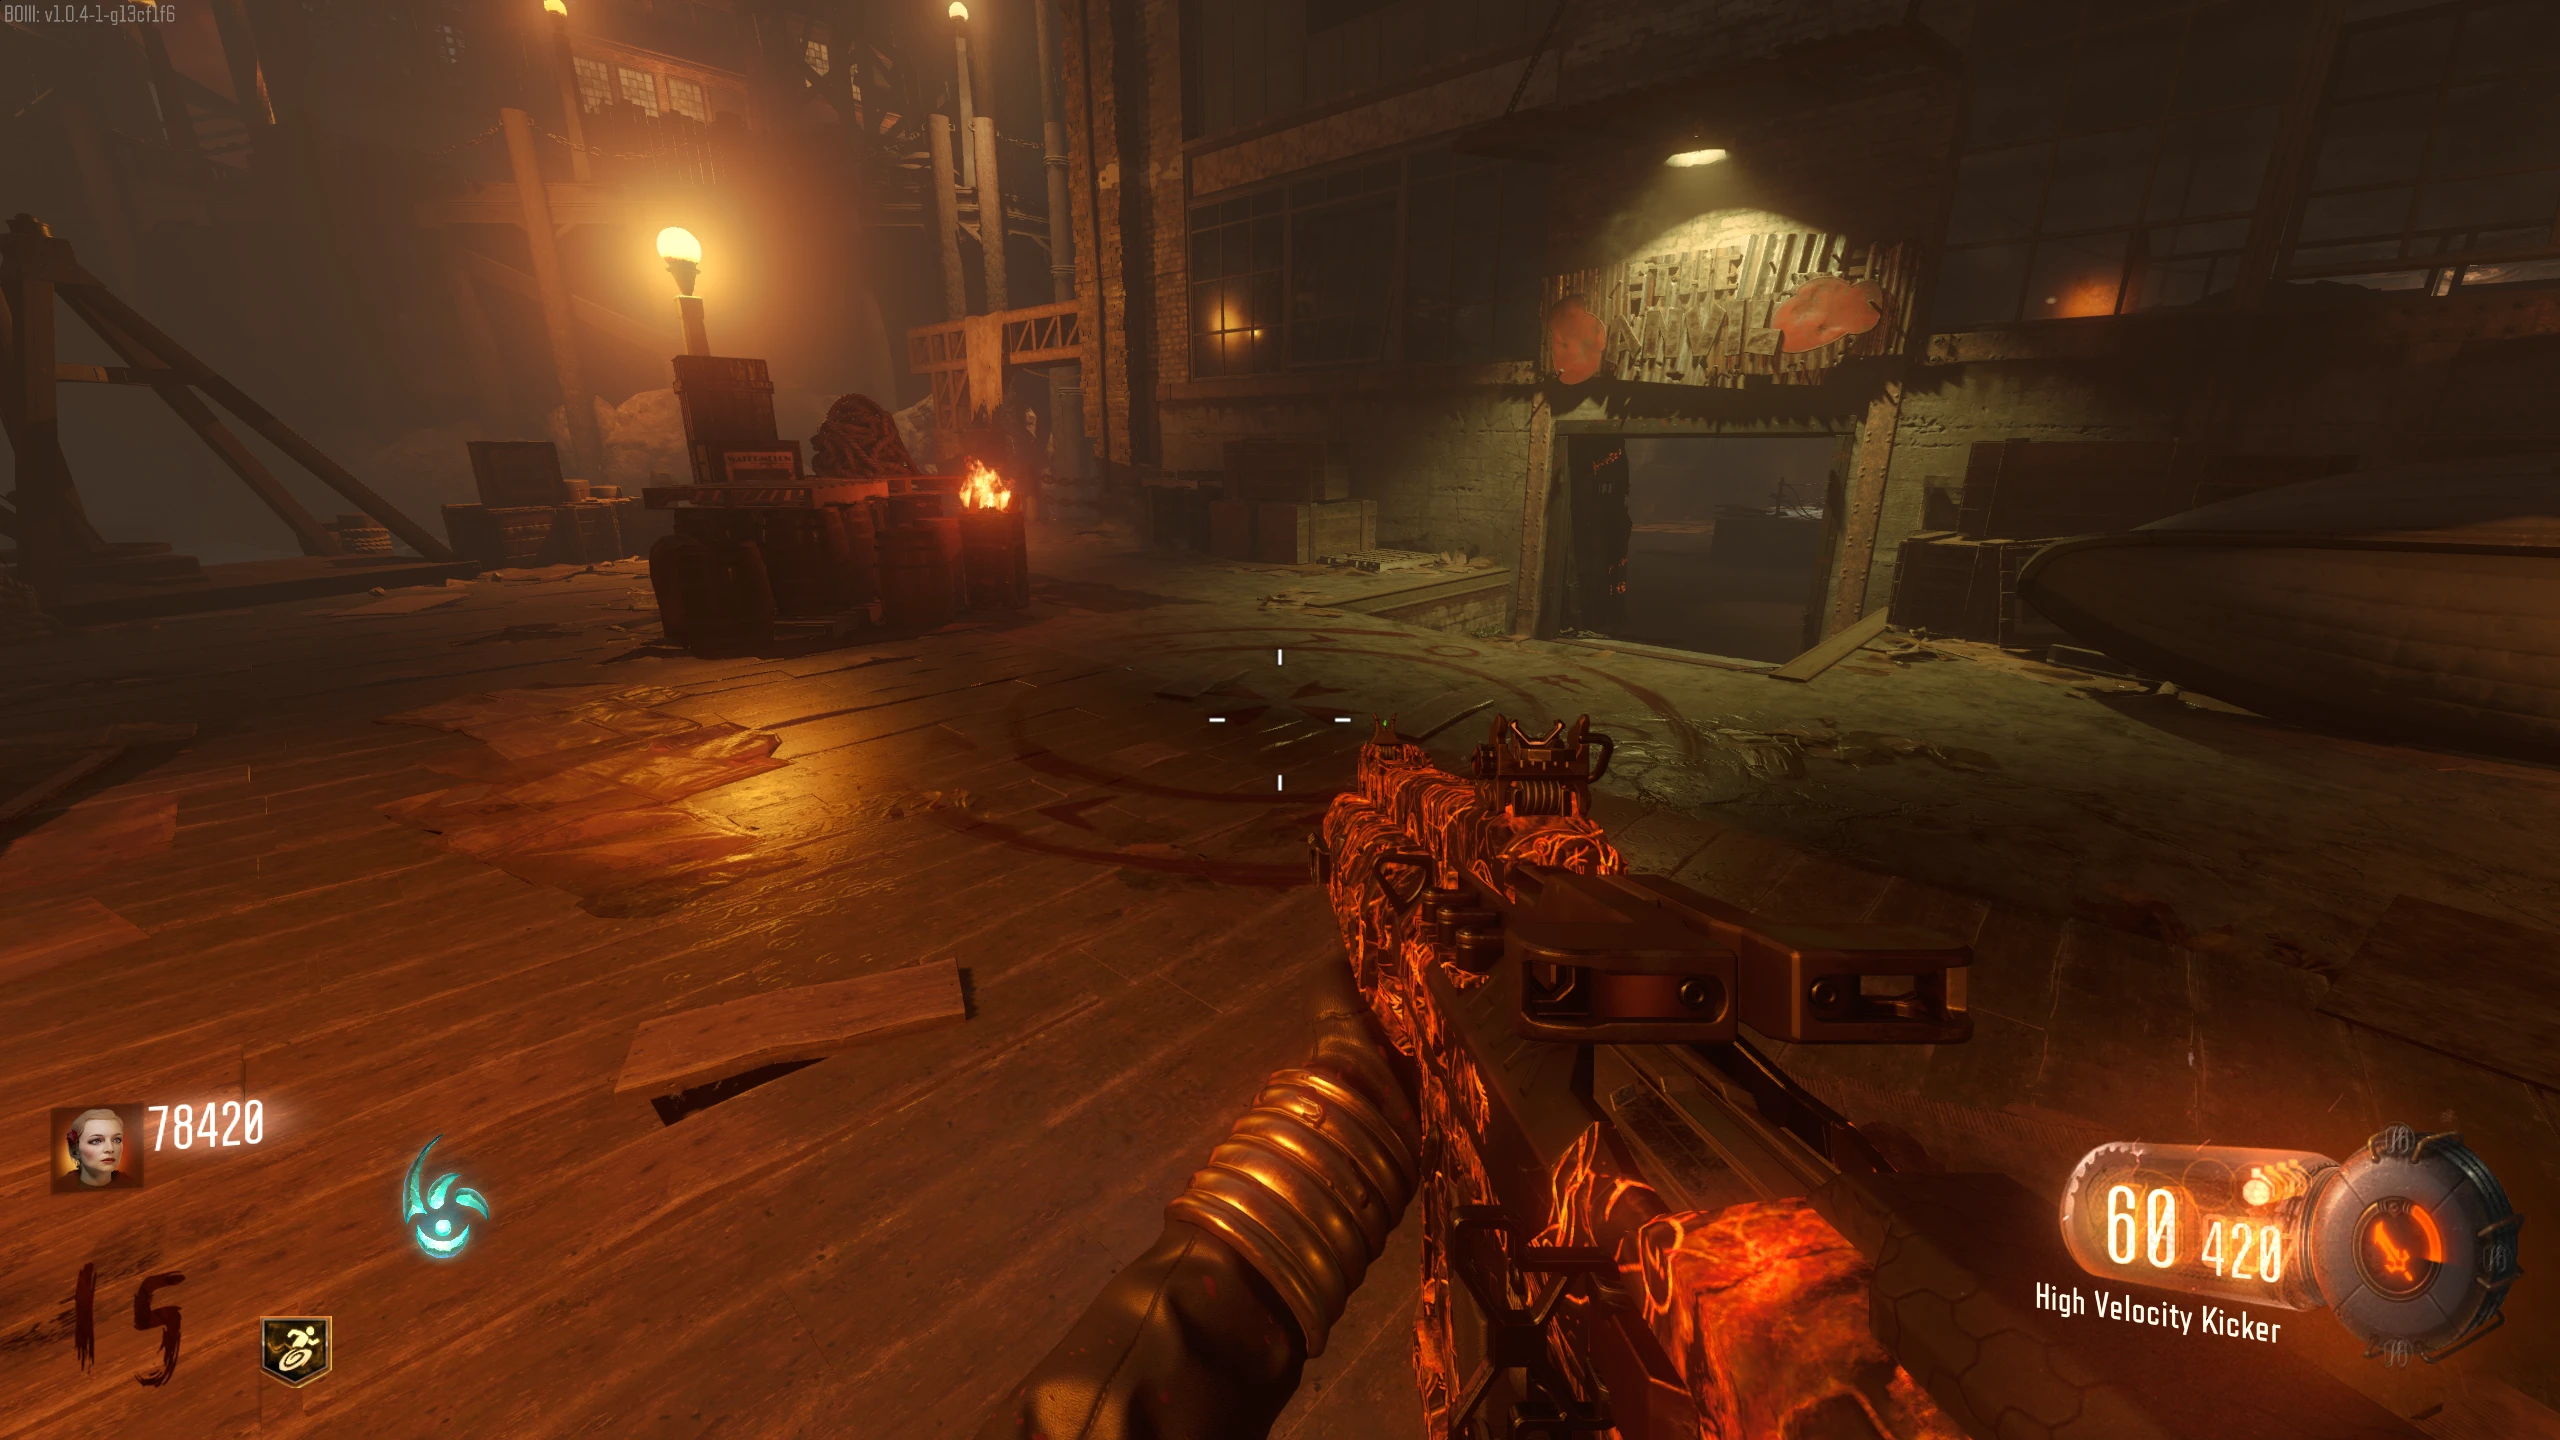
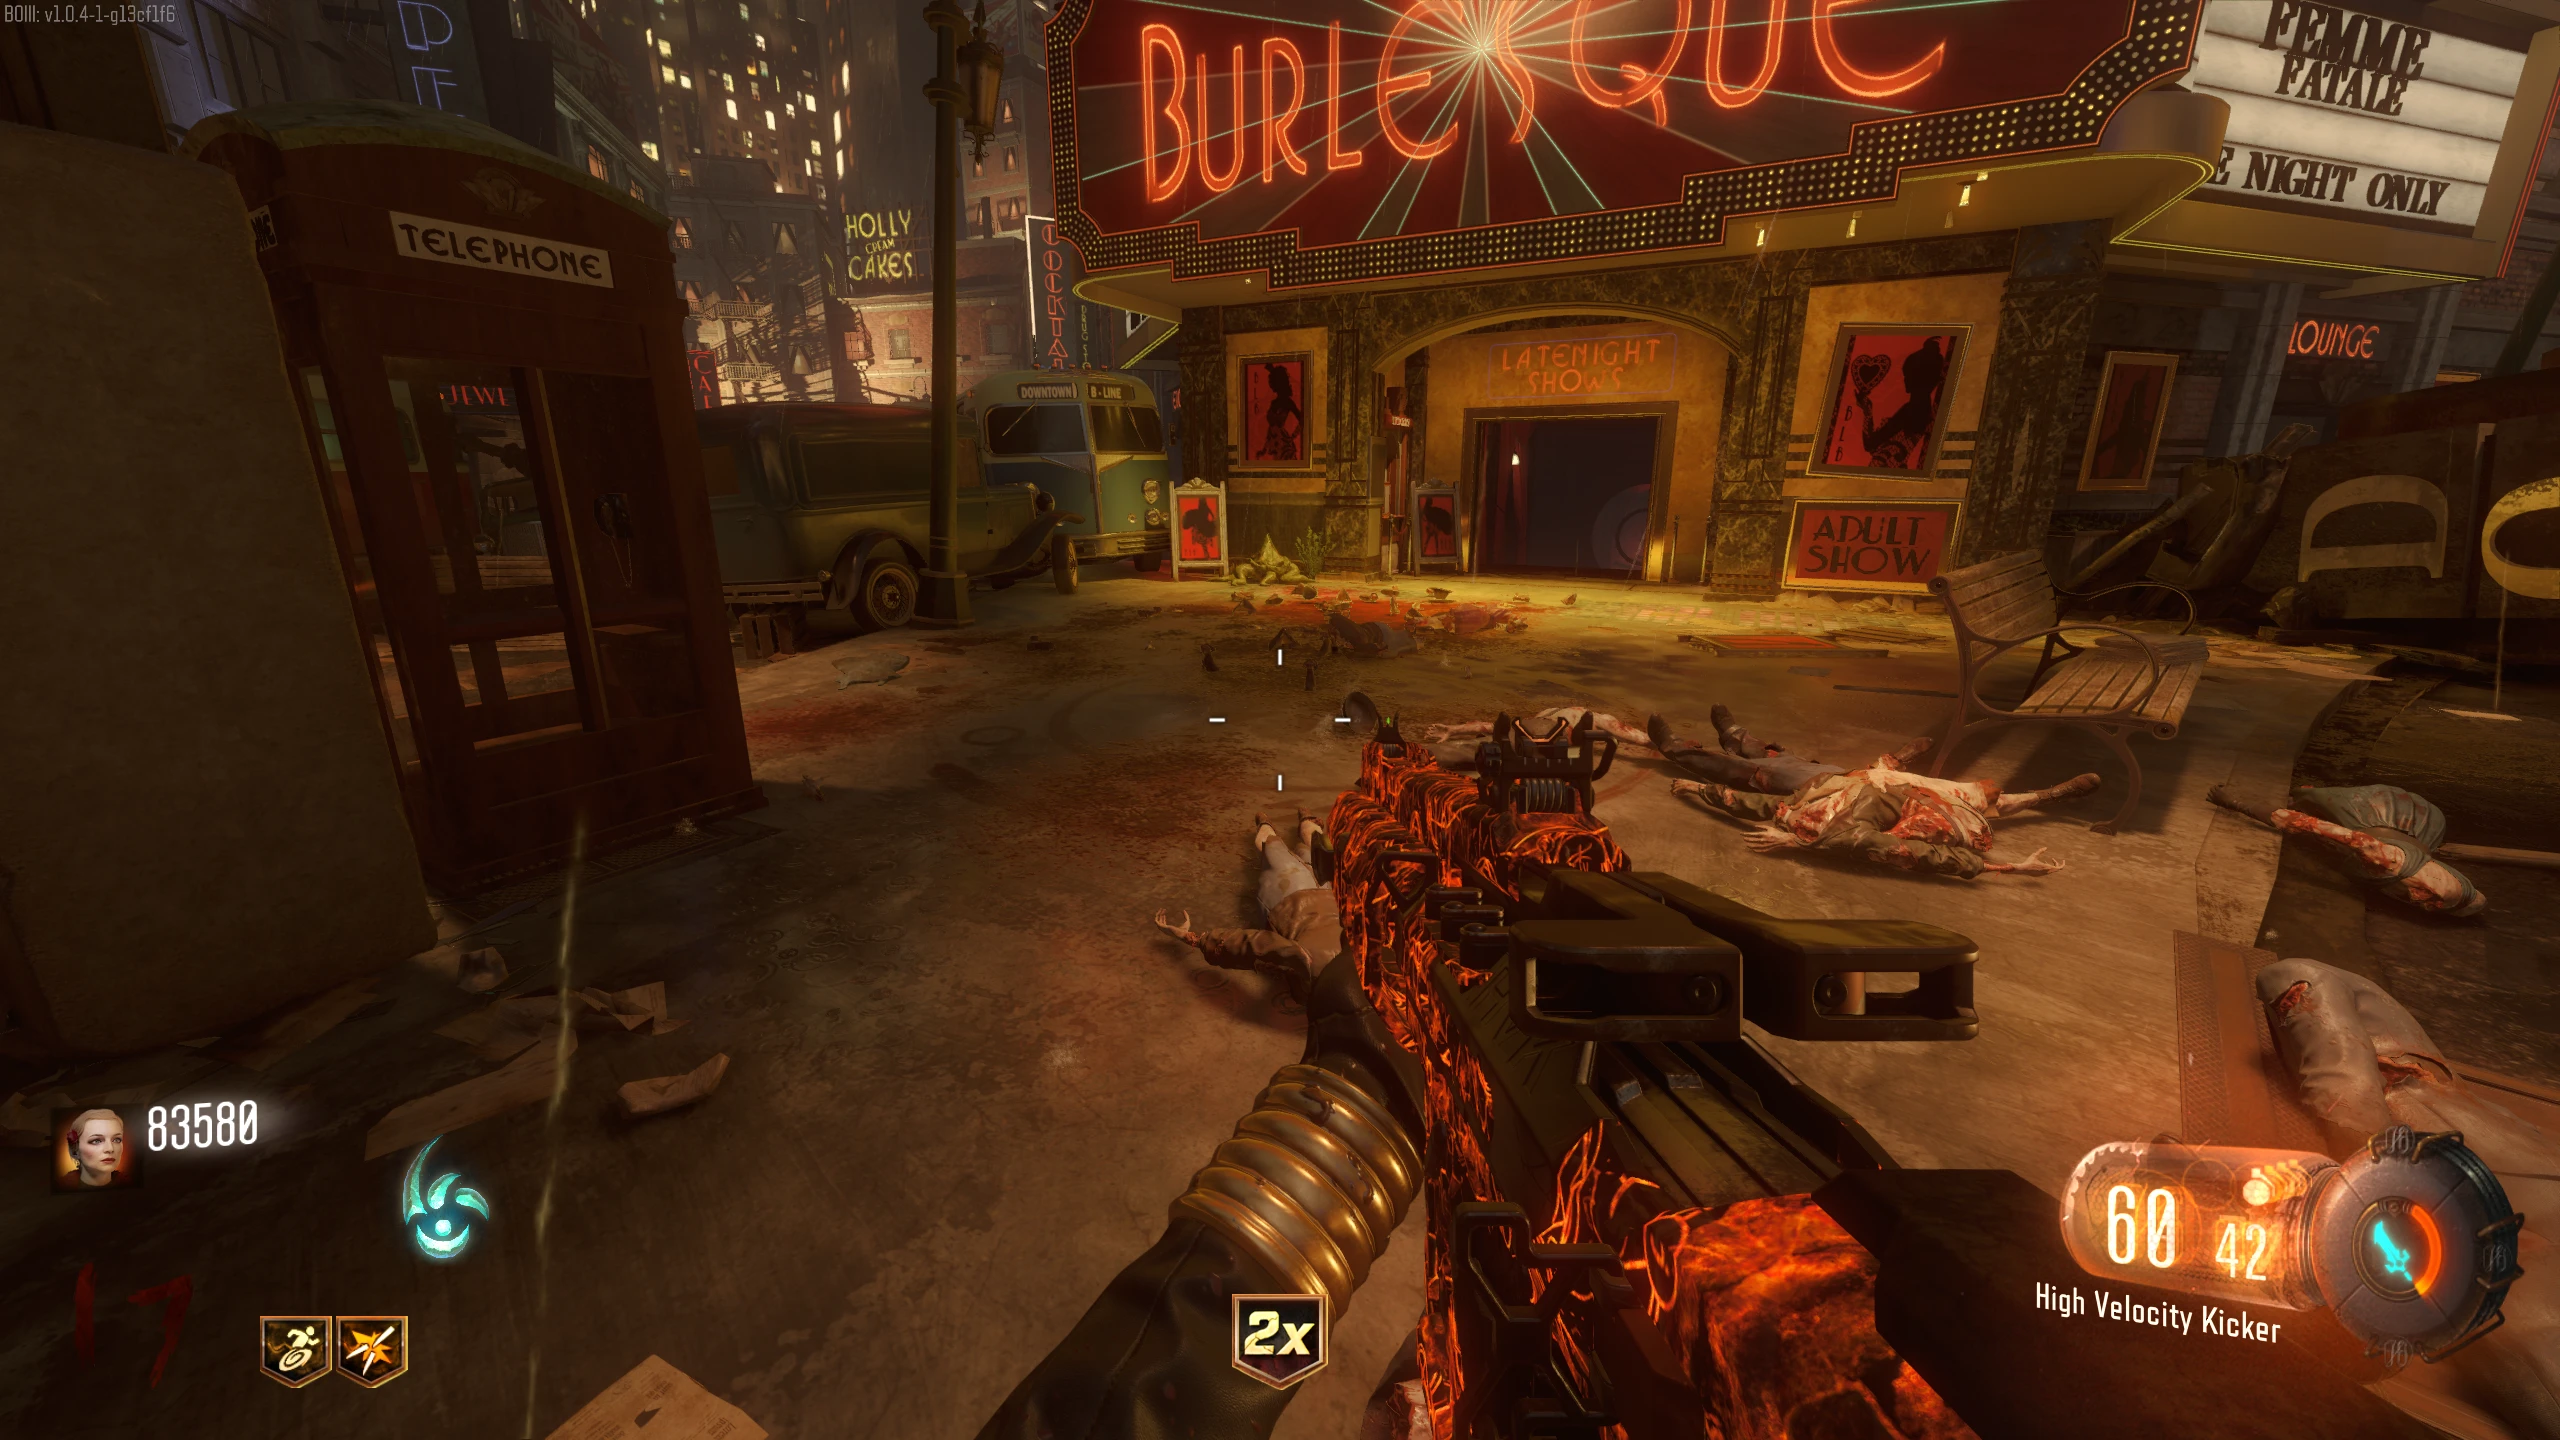
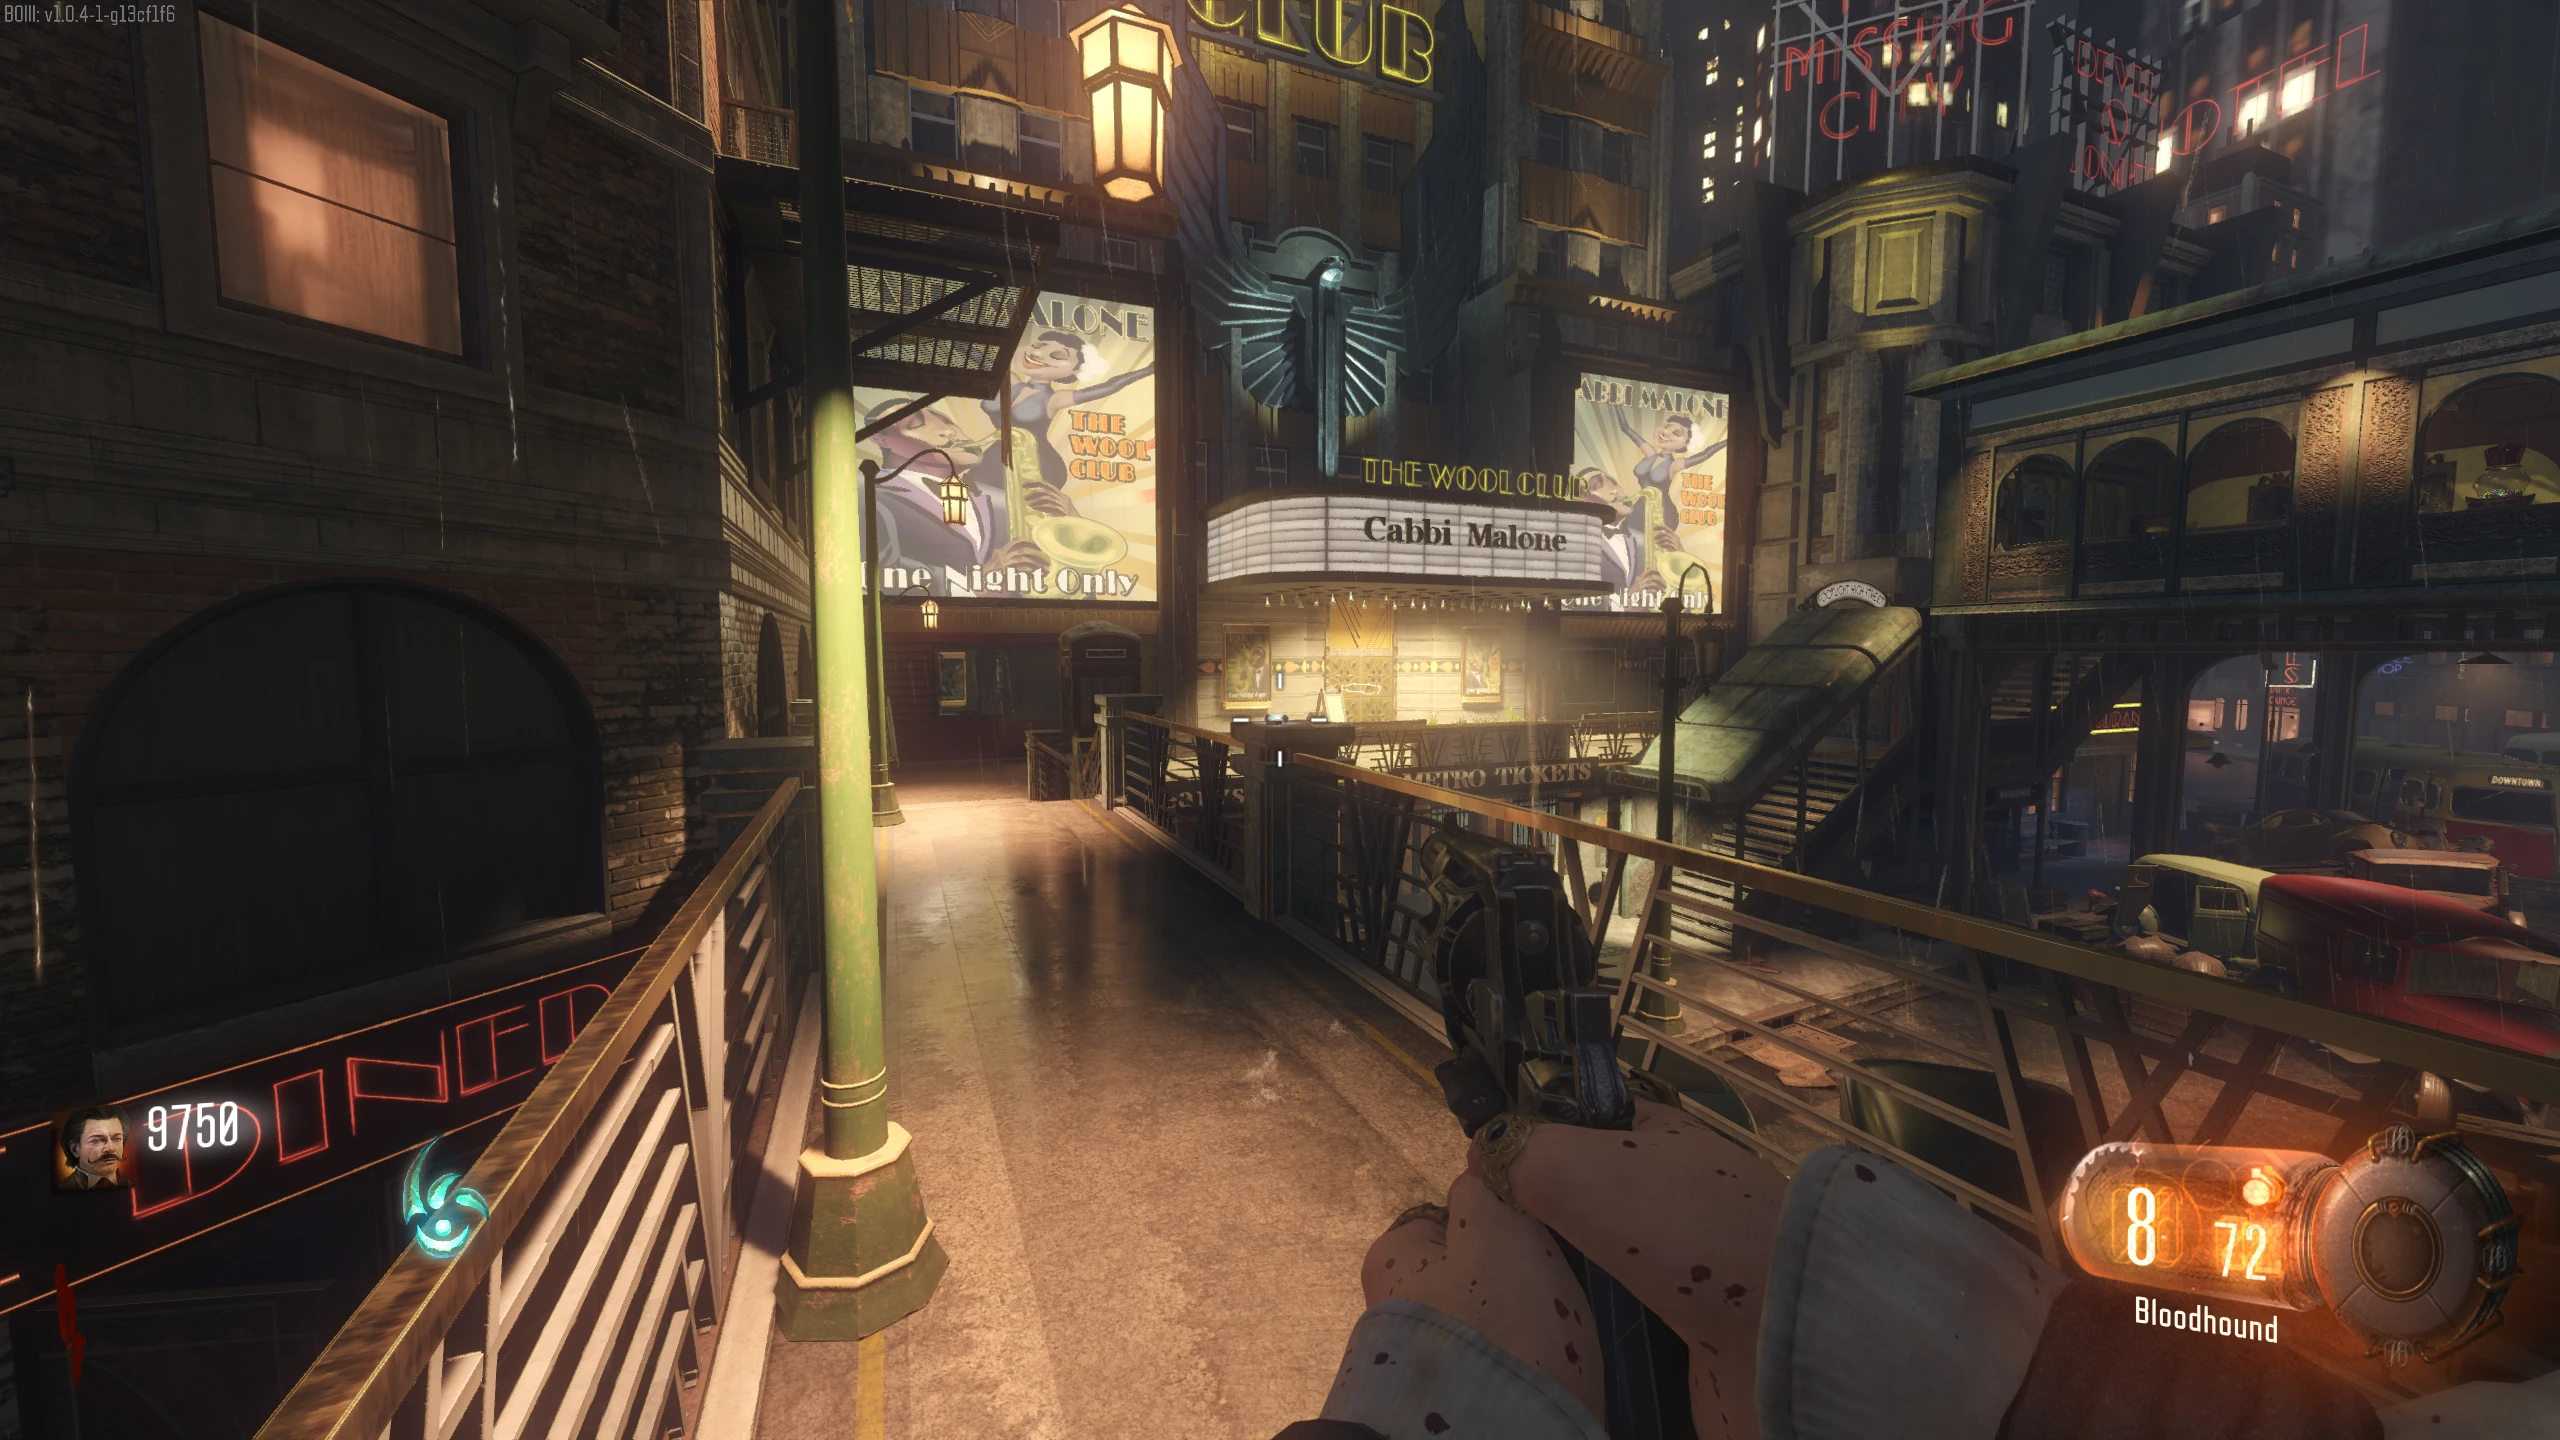
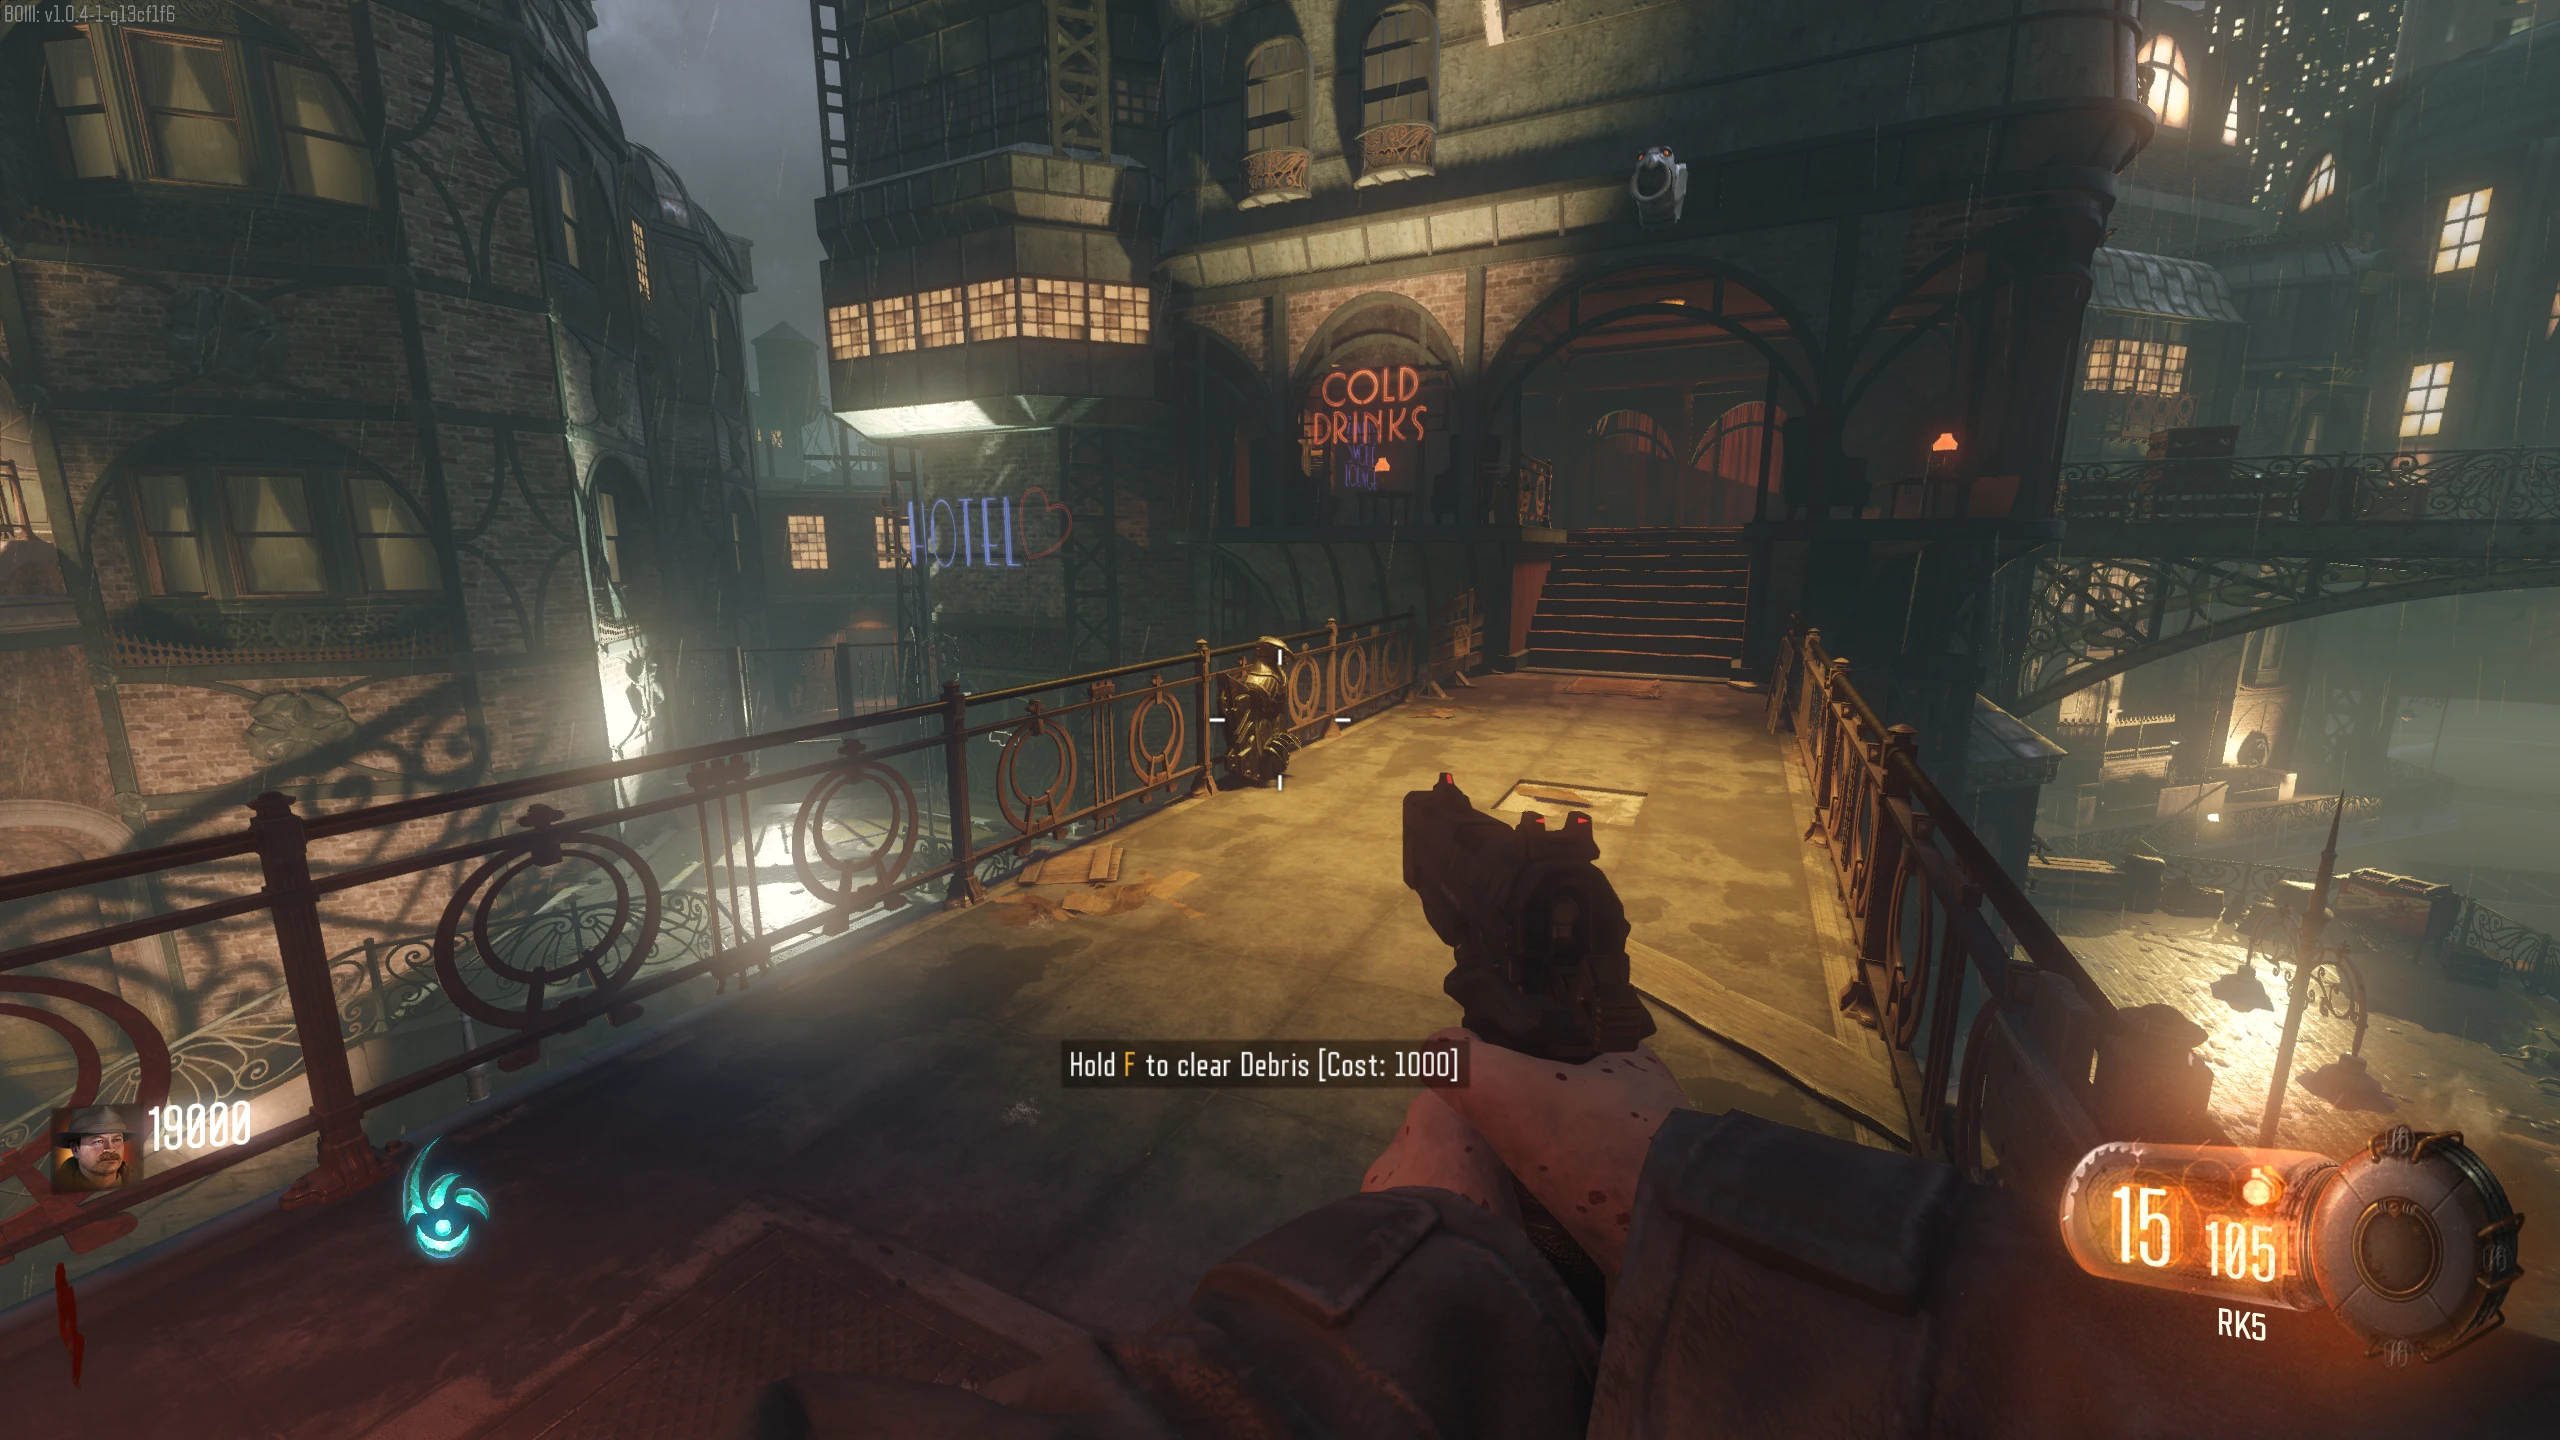
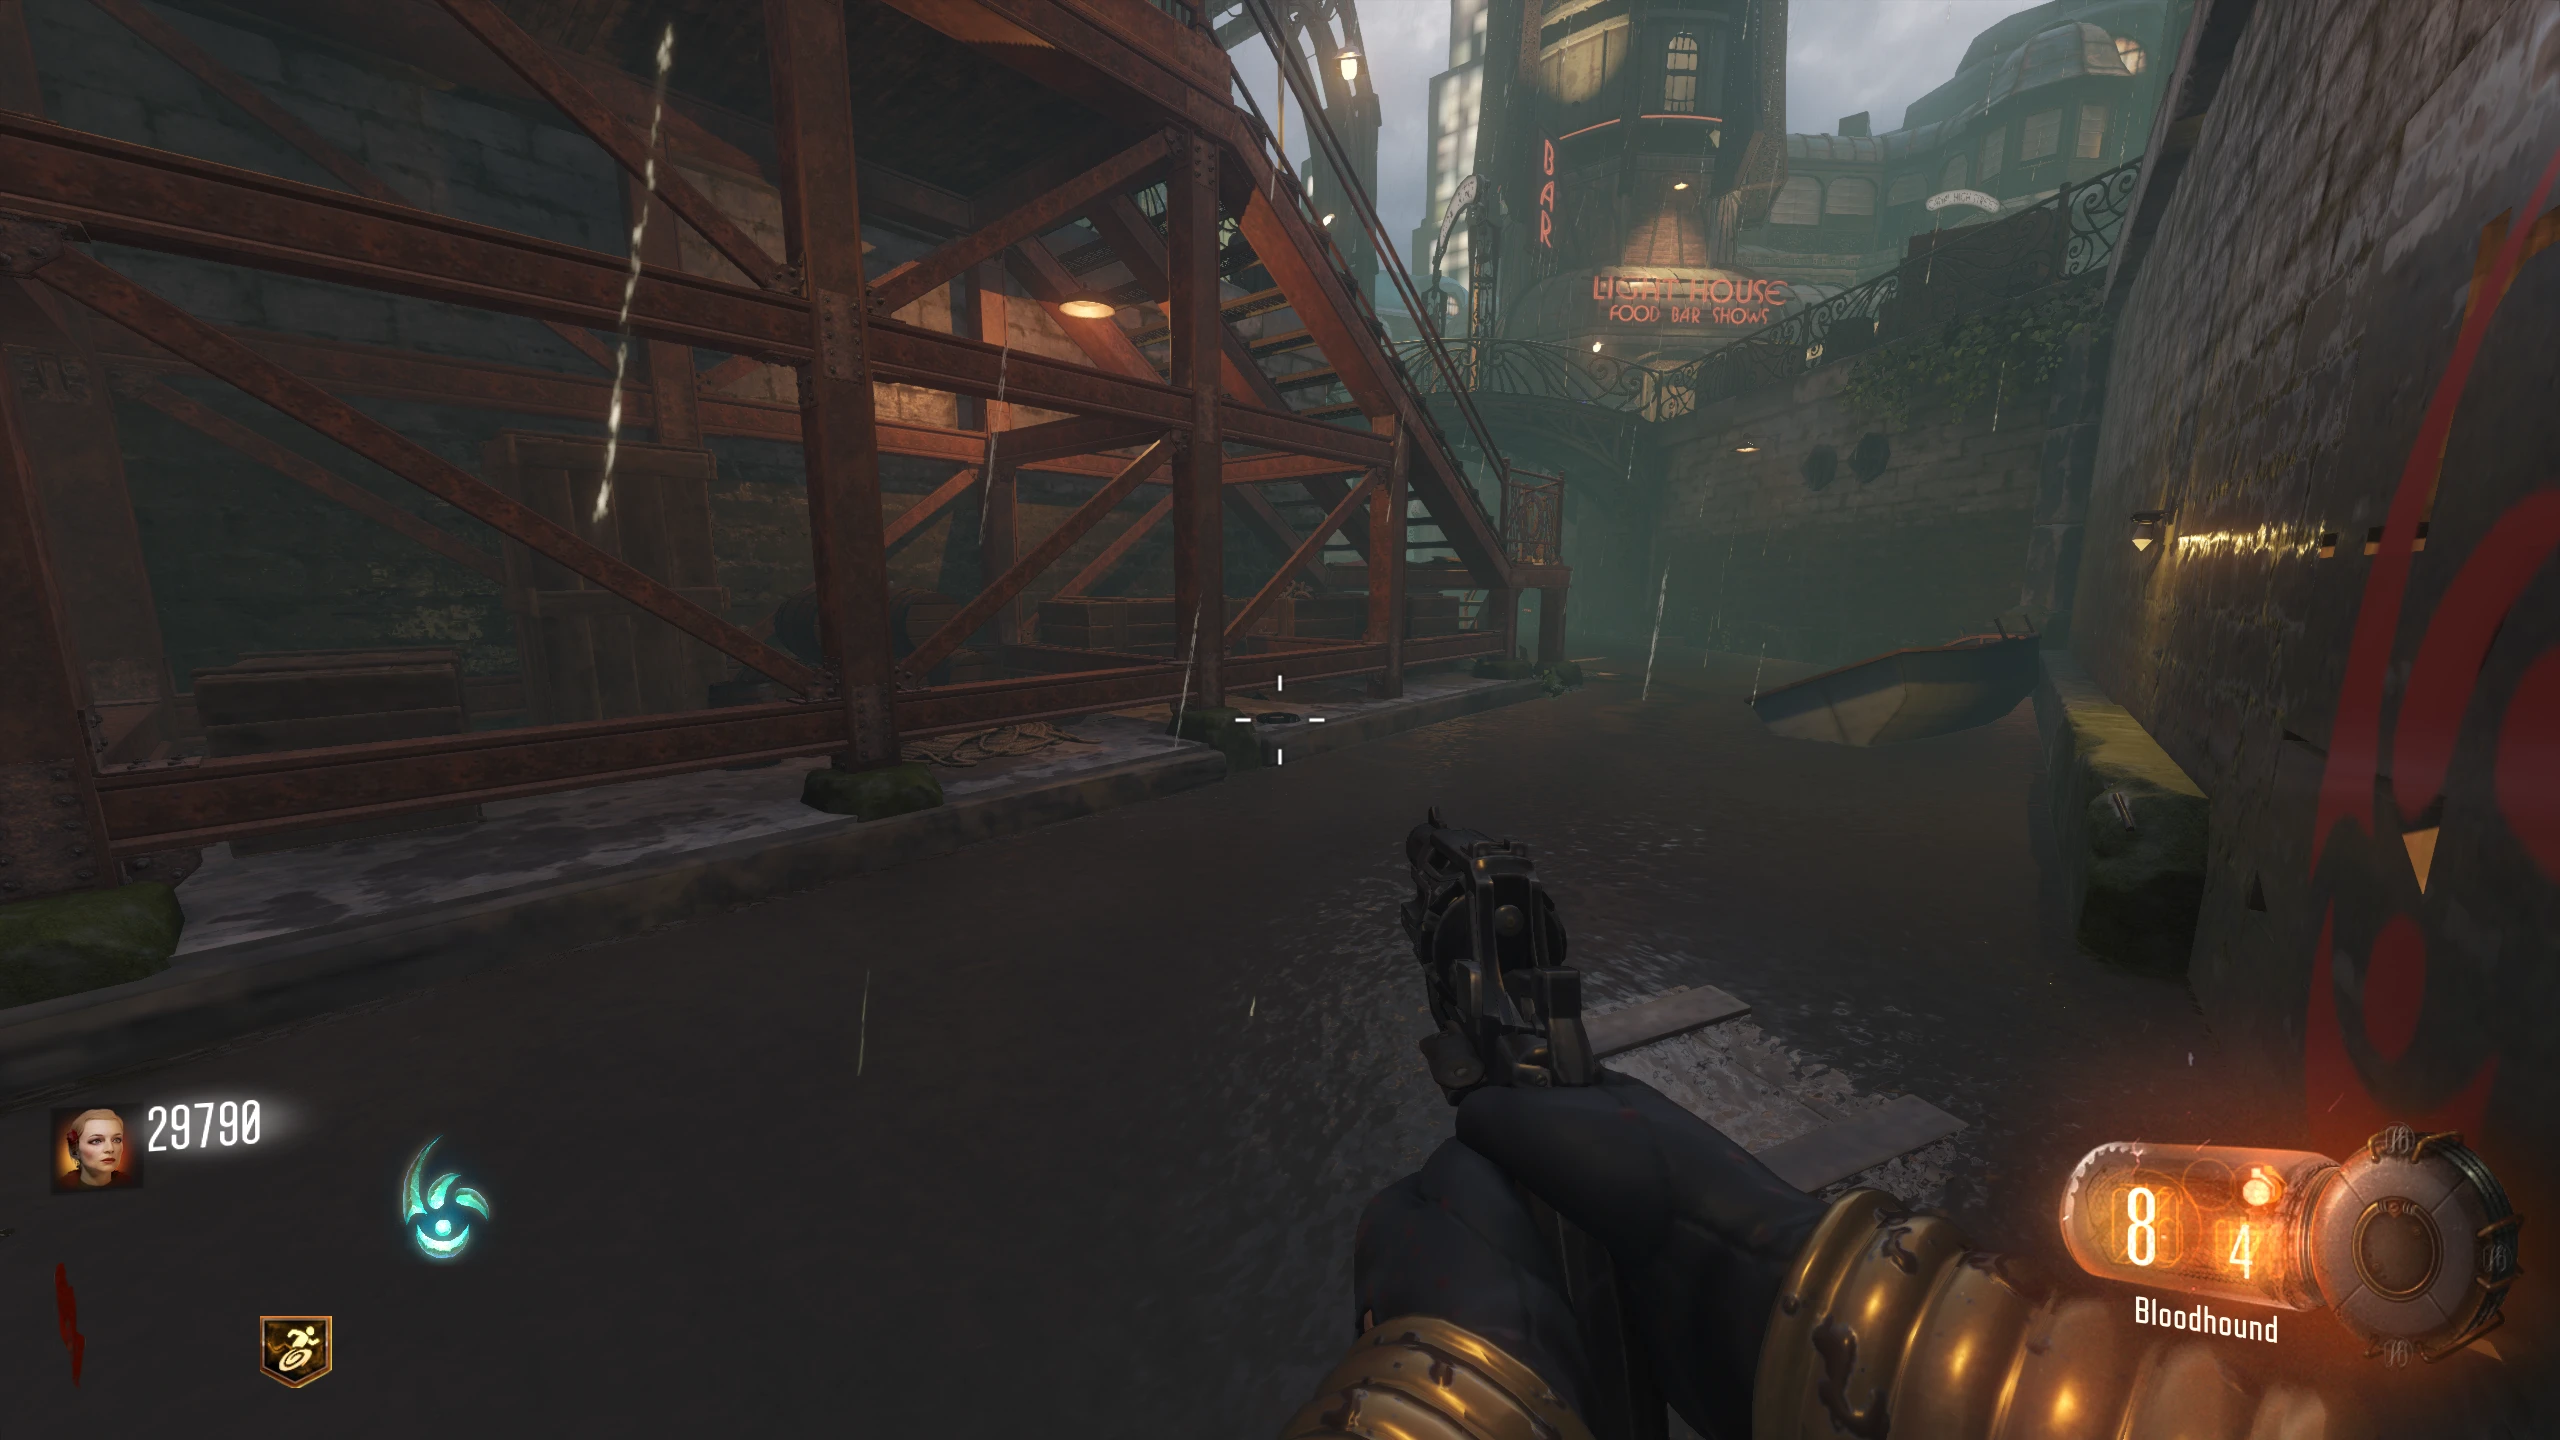
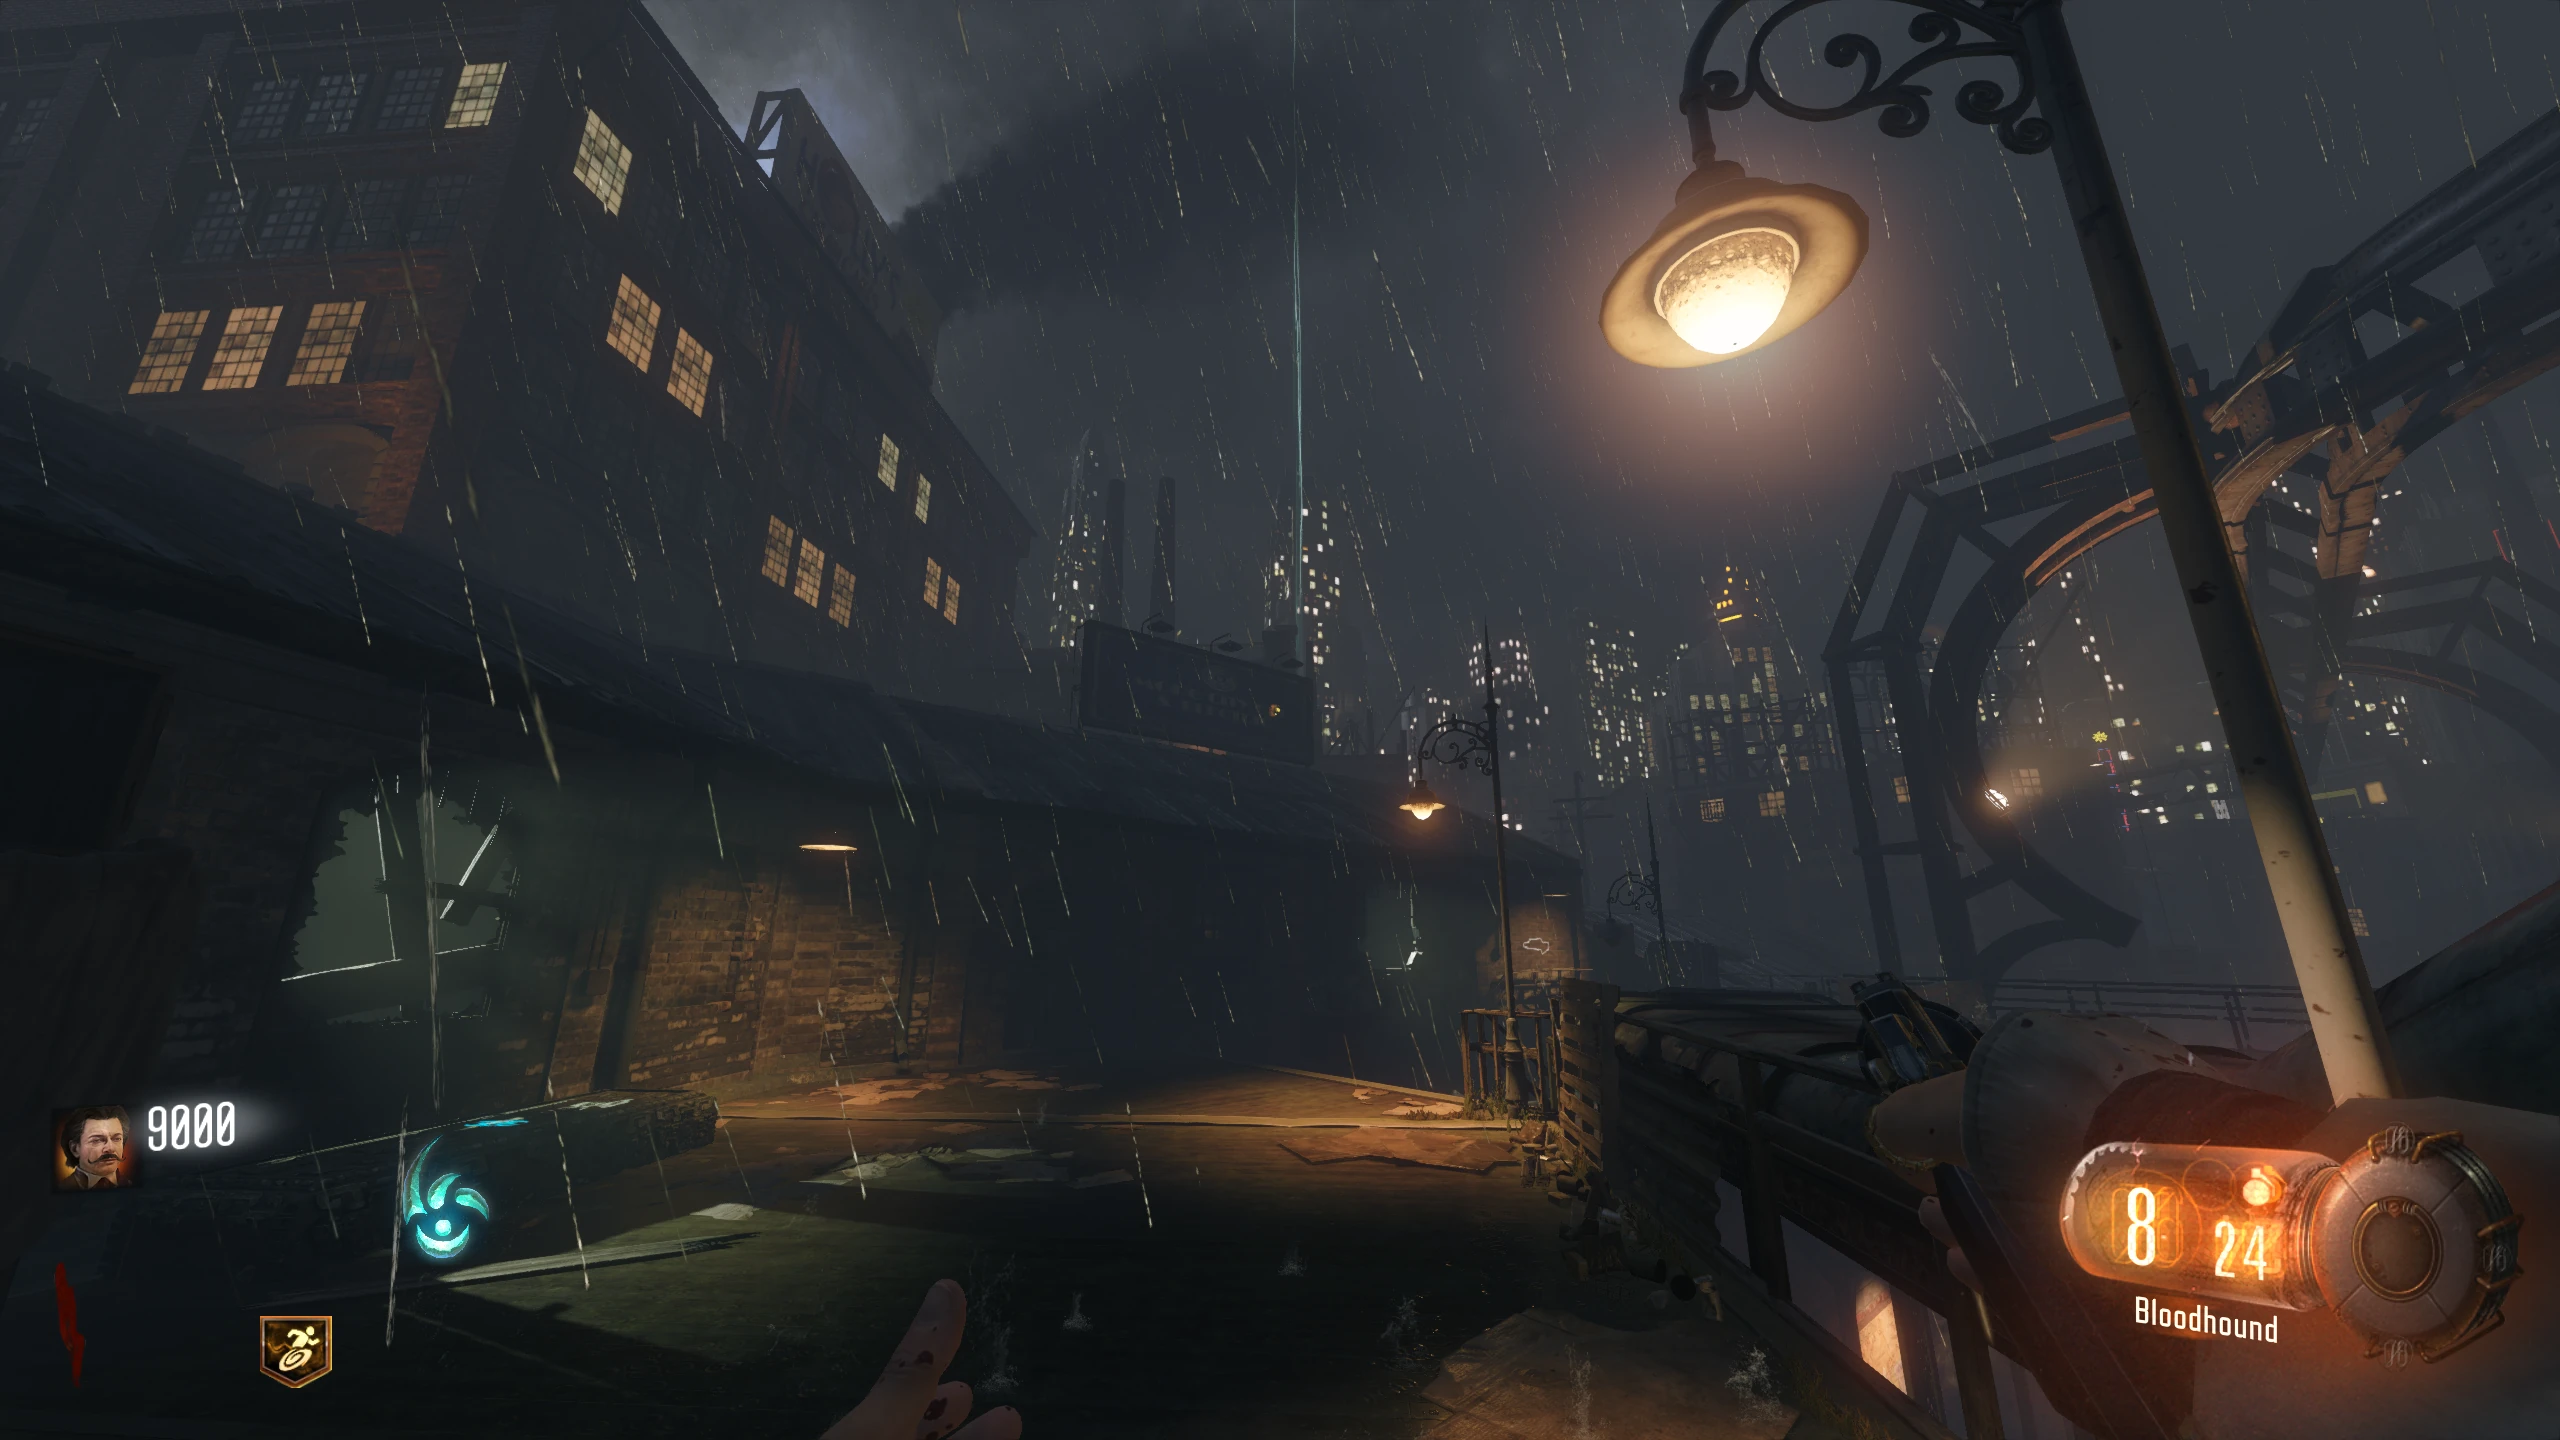
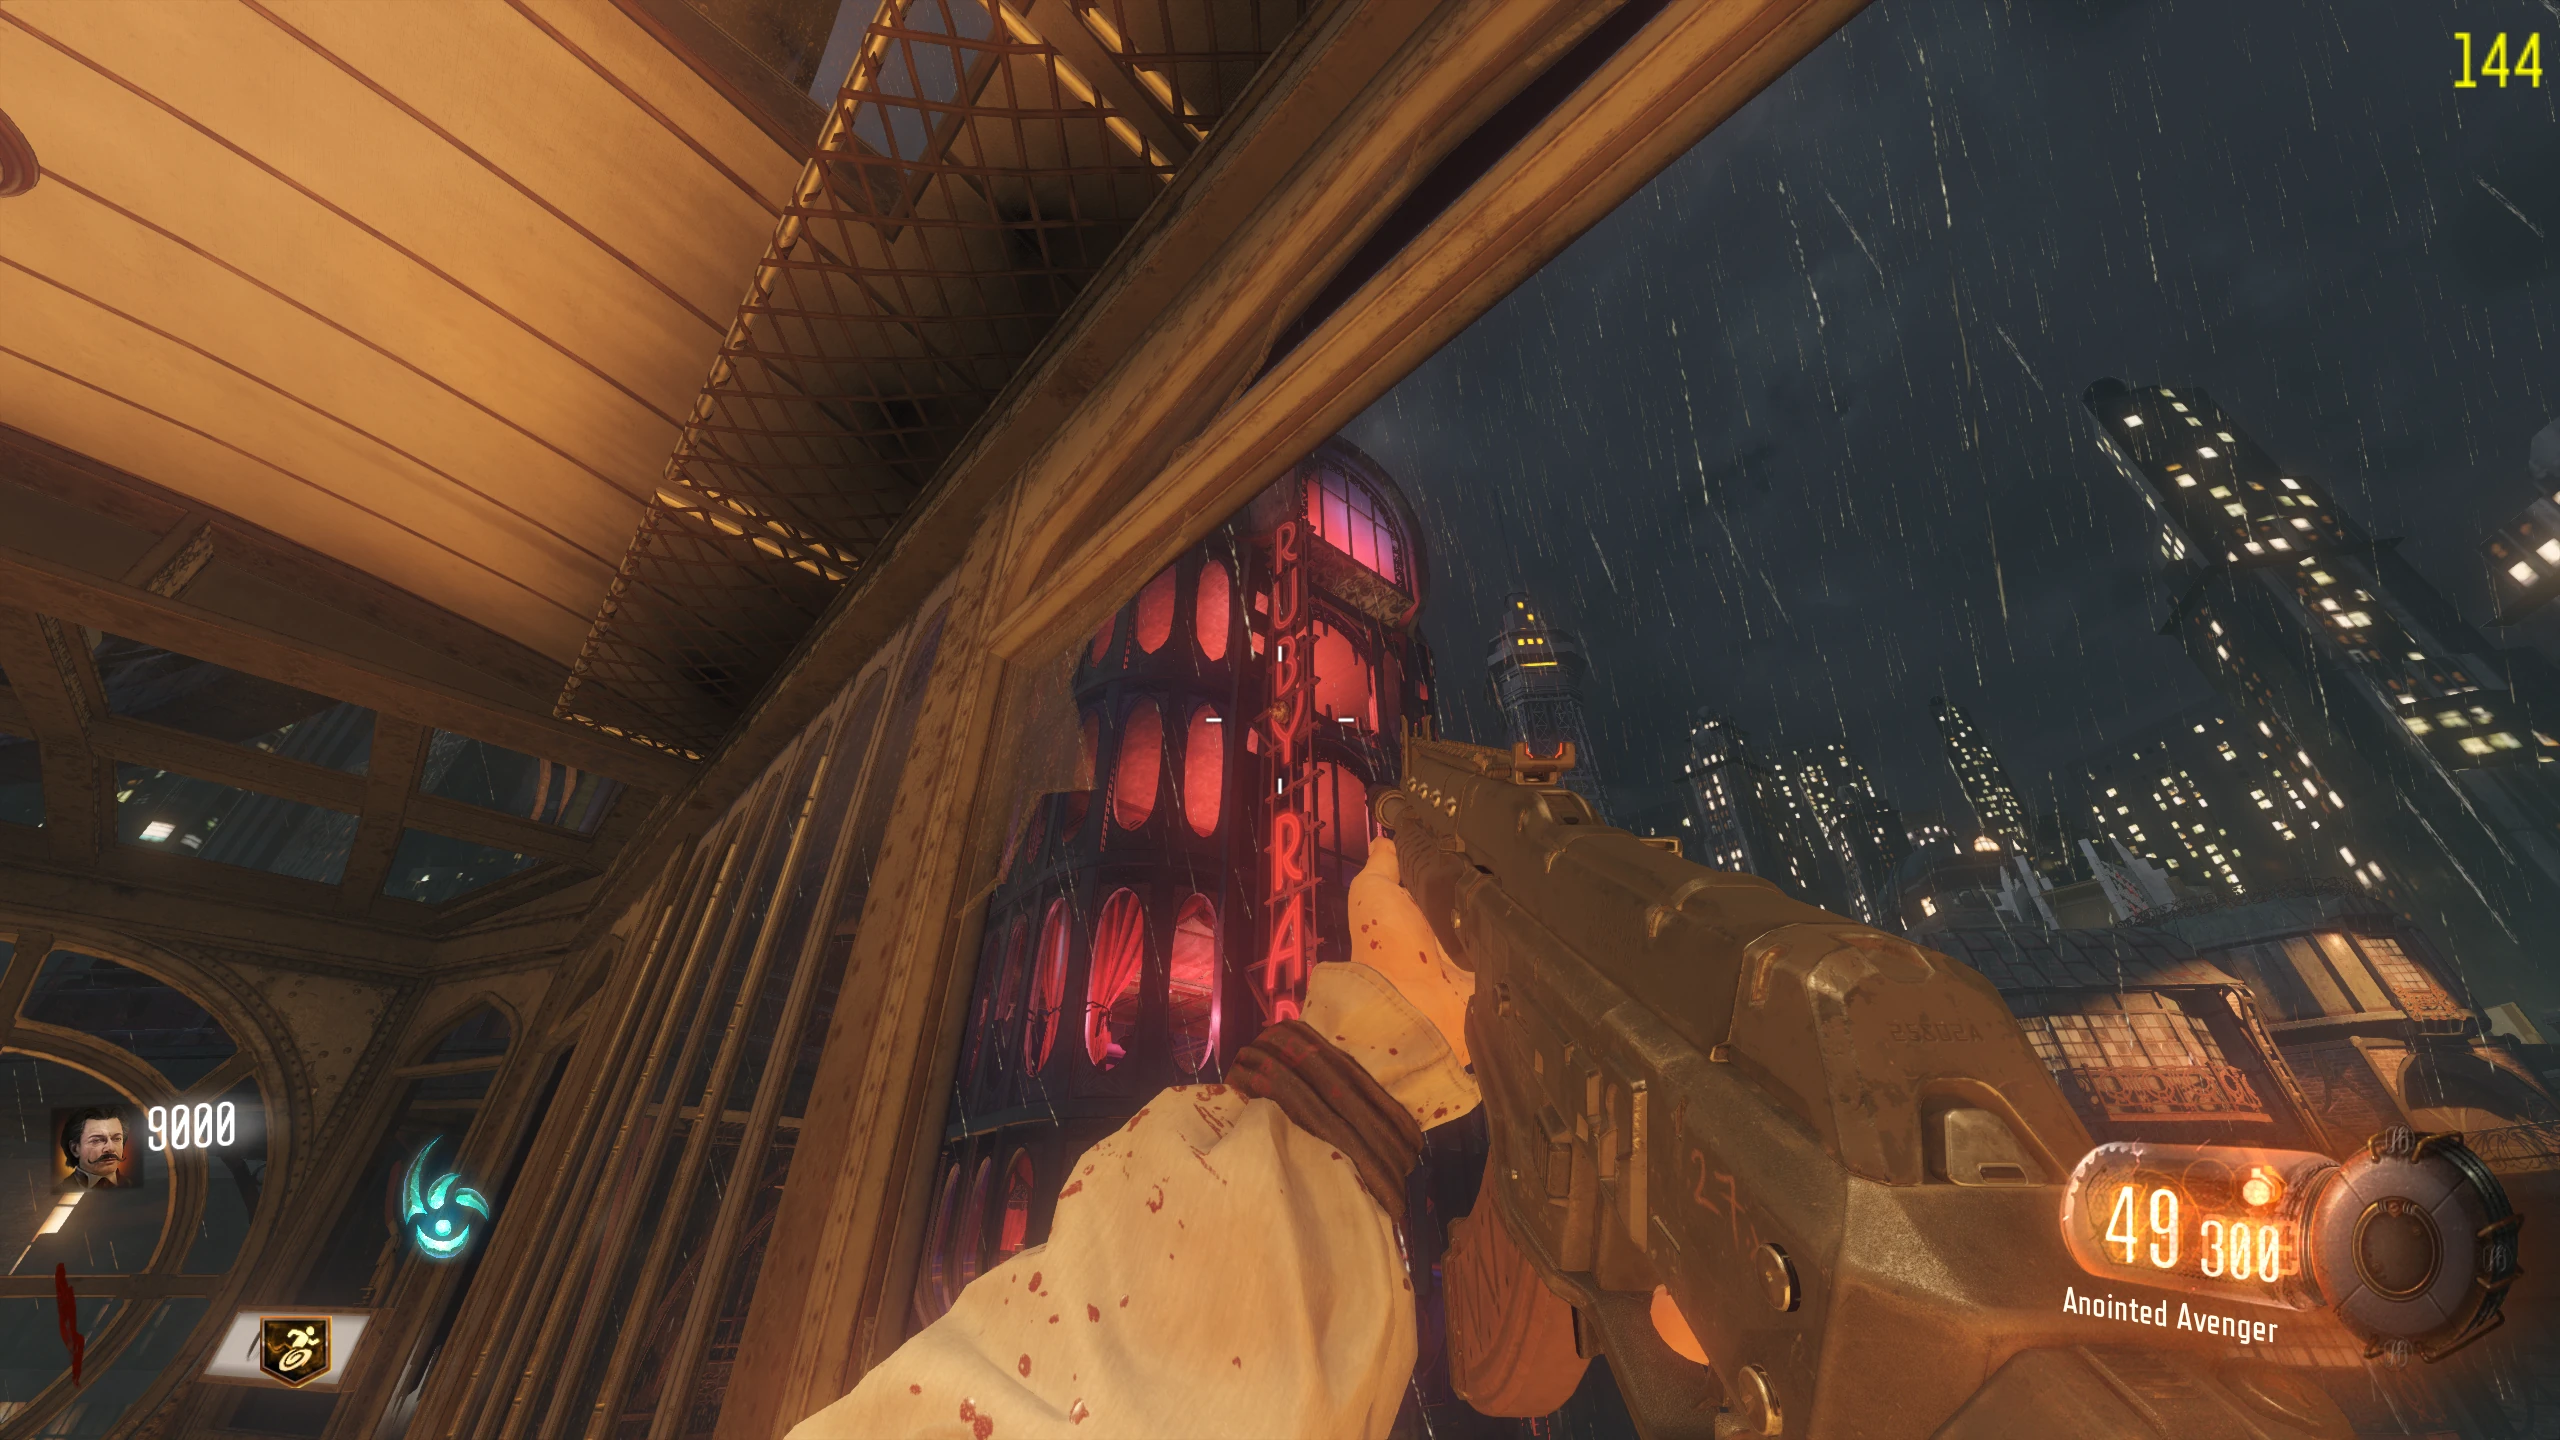
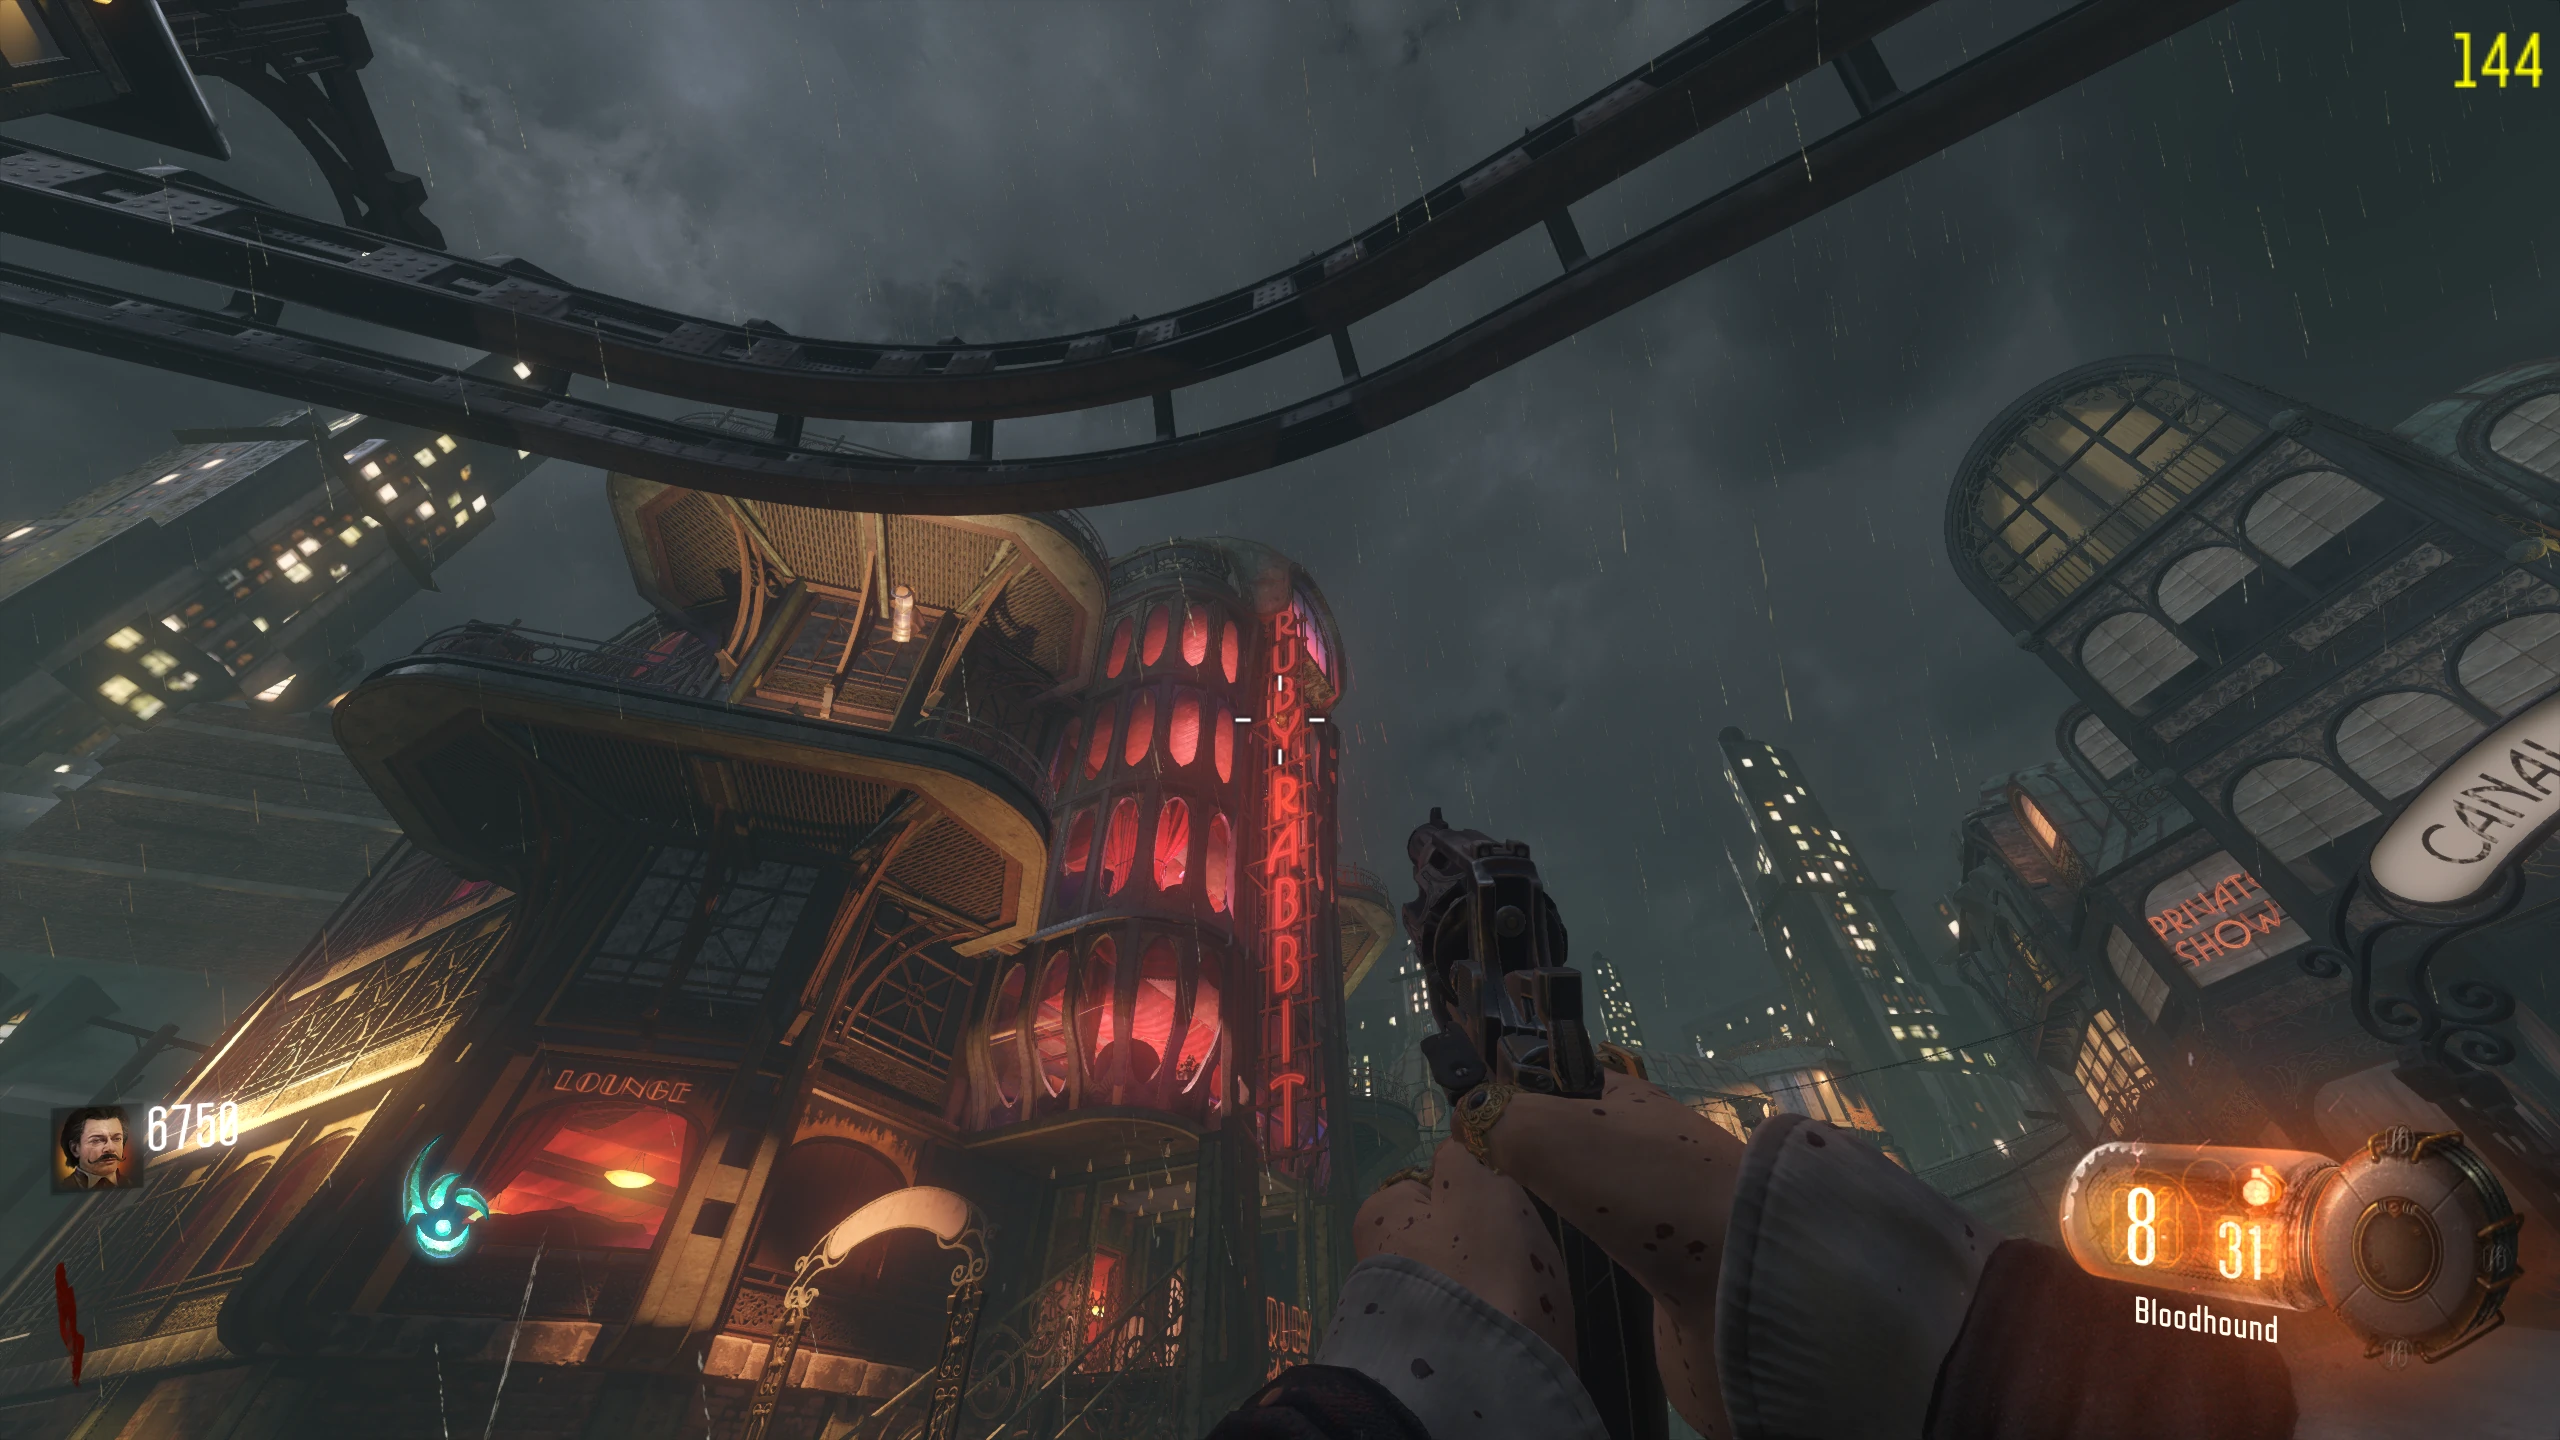
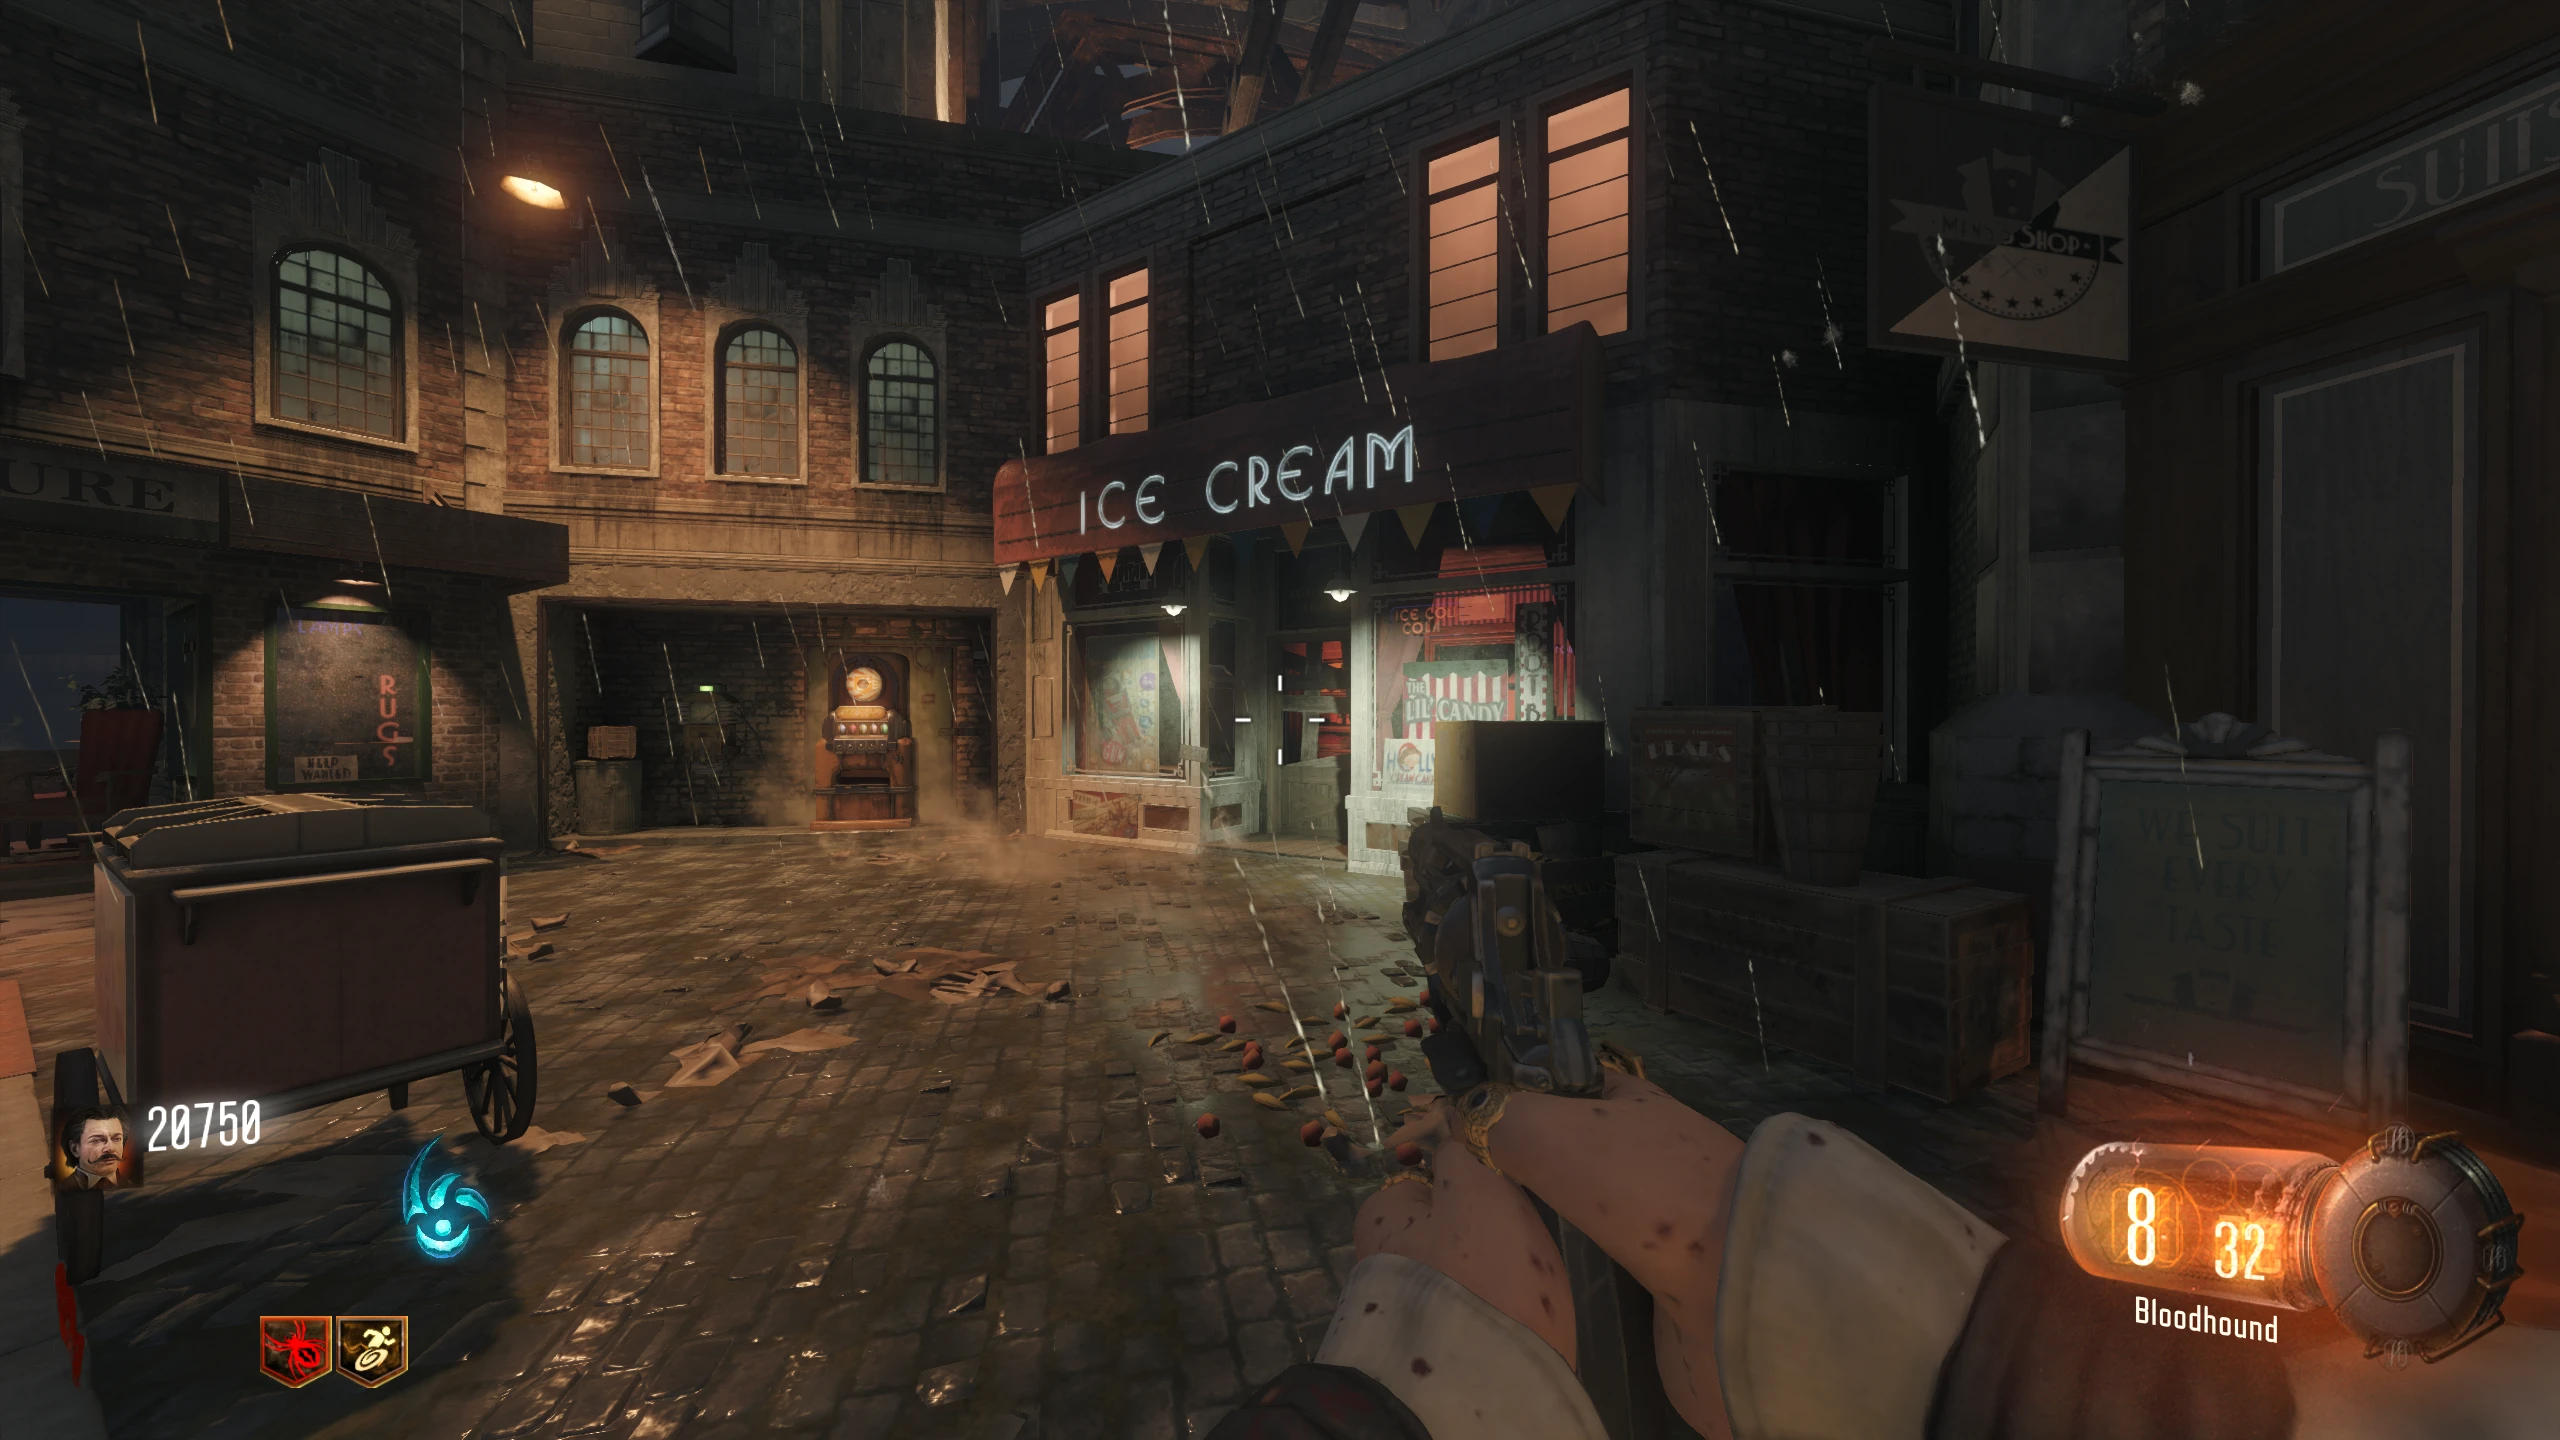
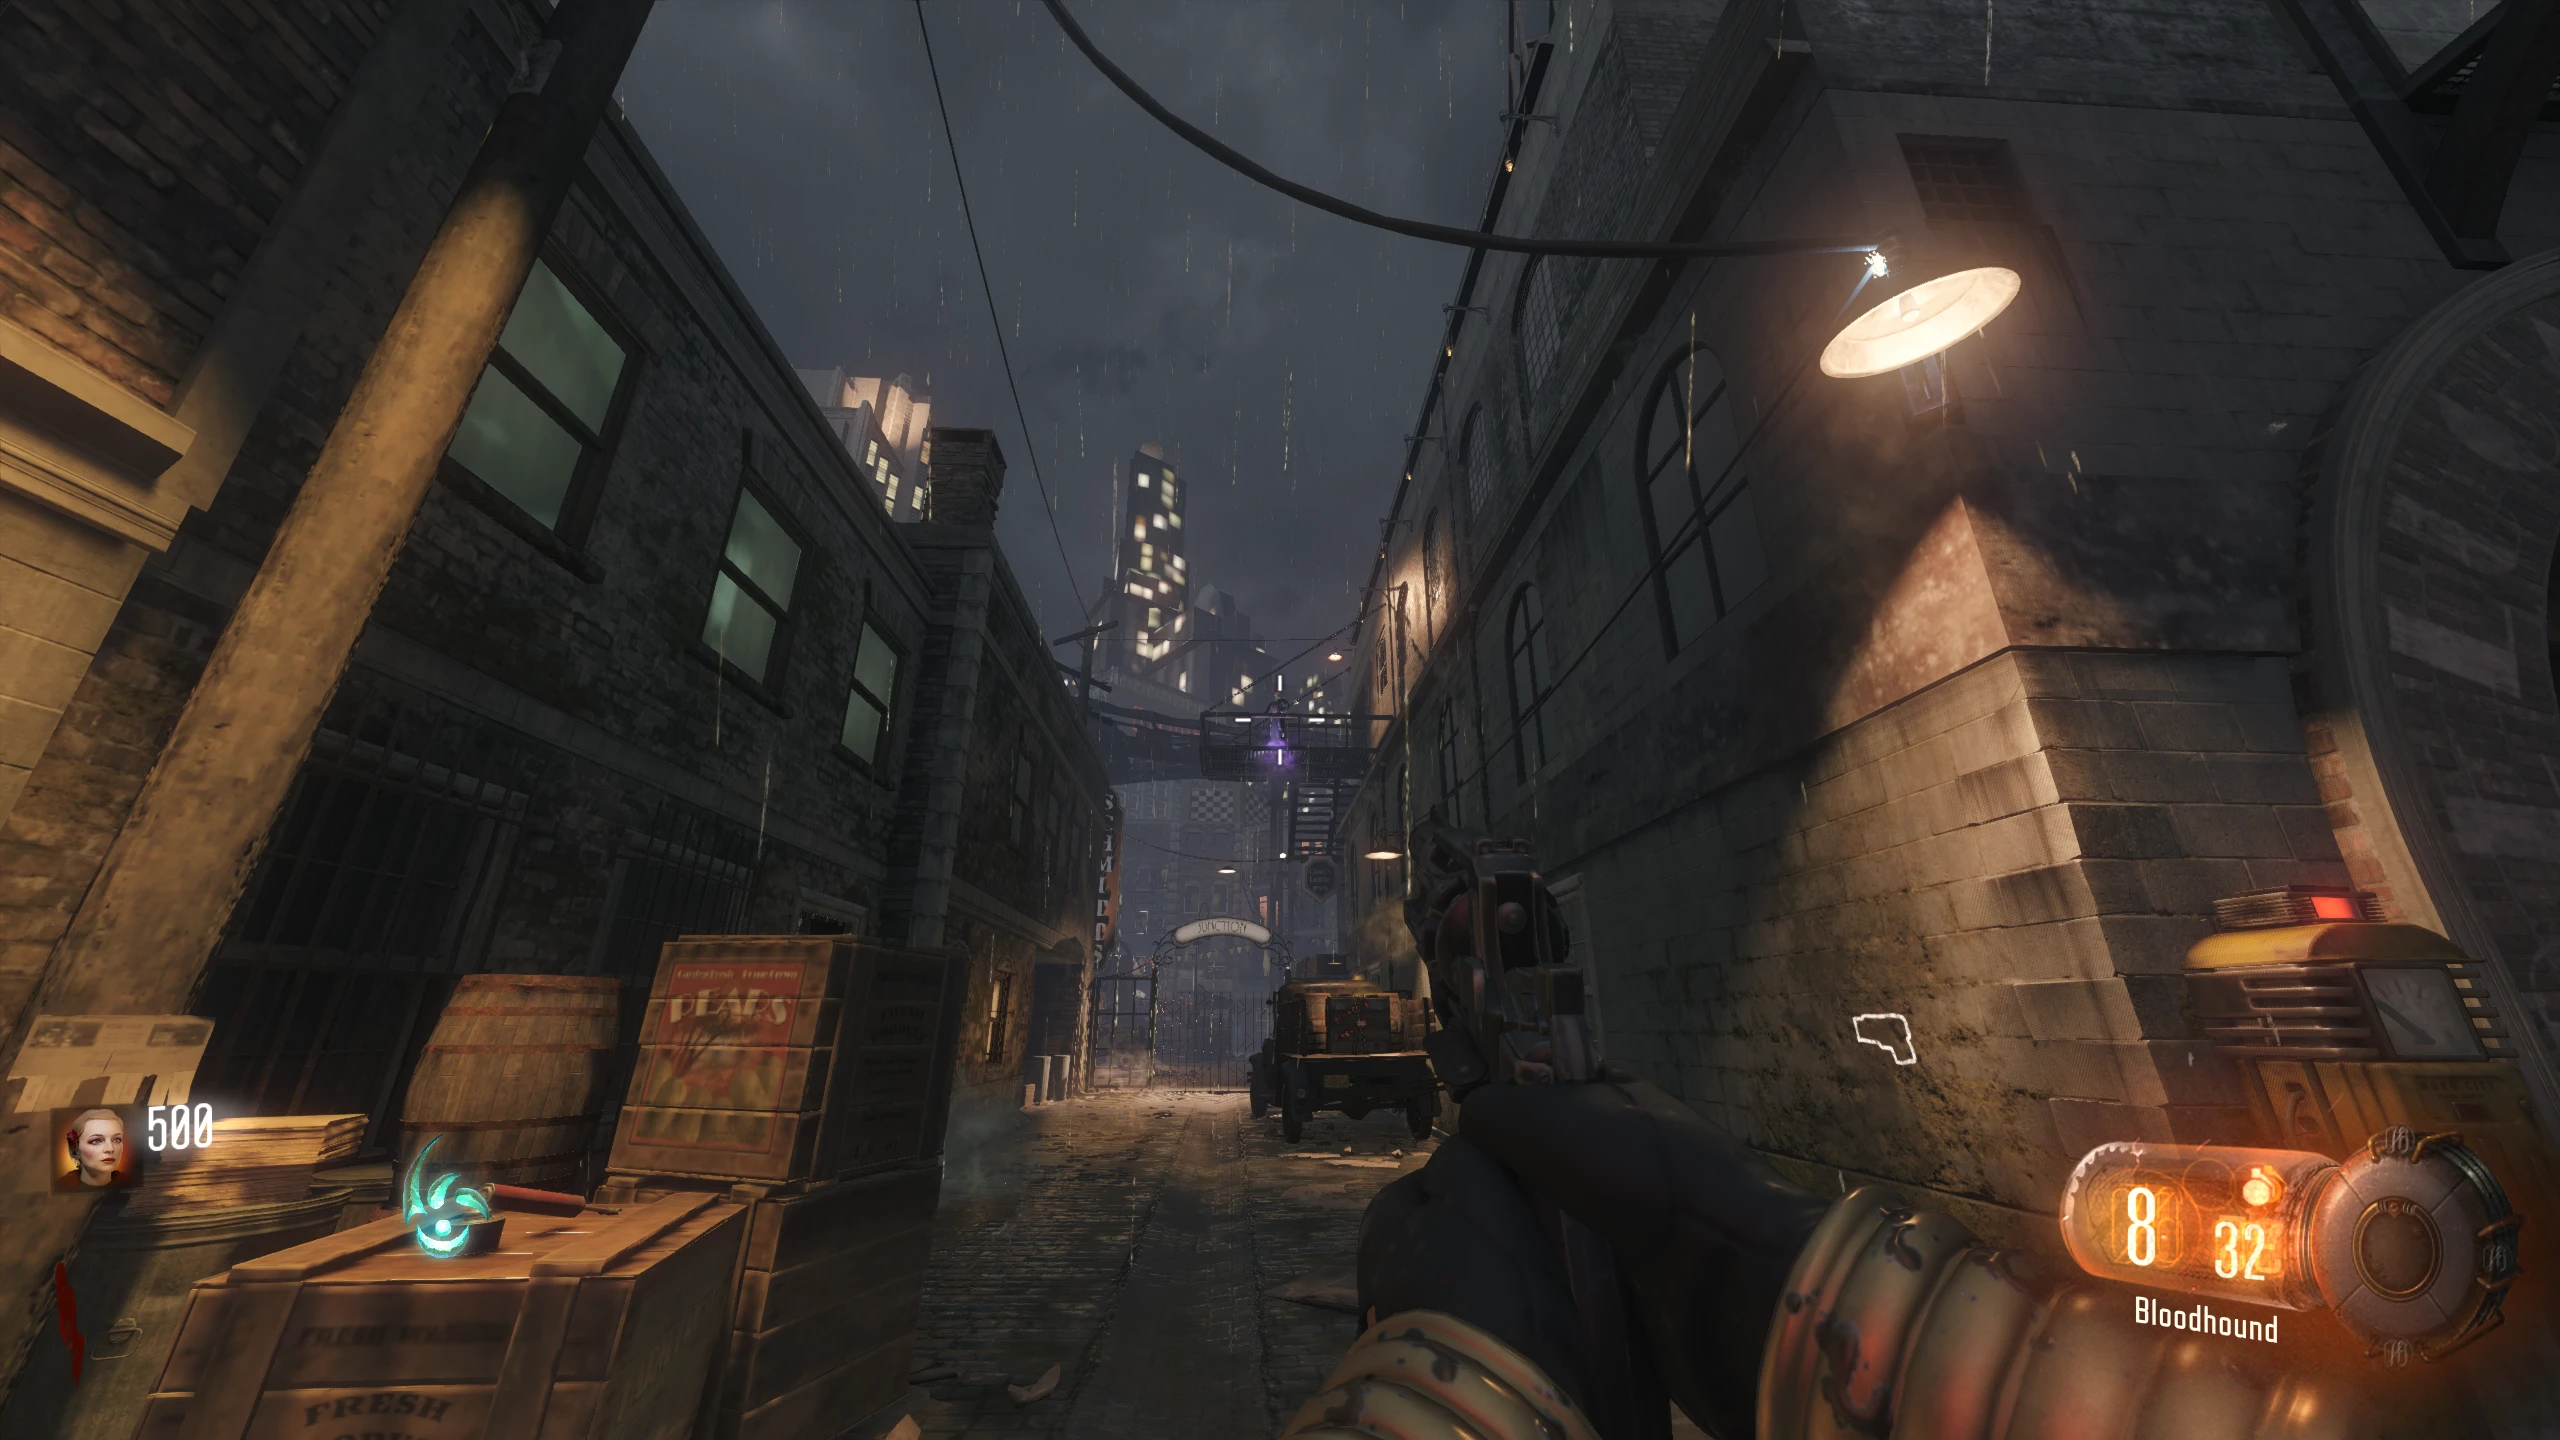
- Junction
- Footlight
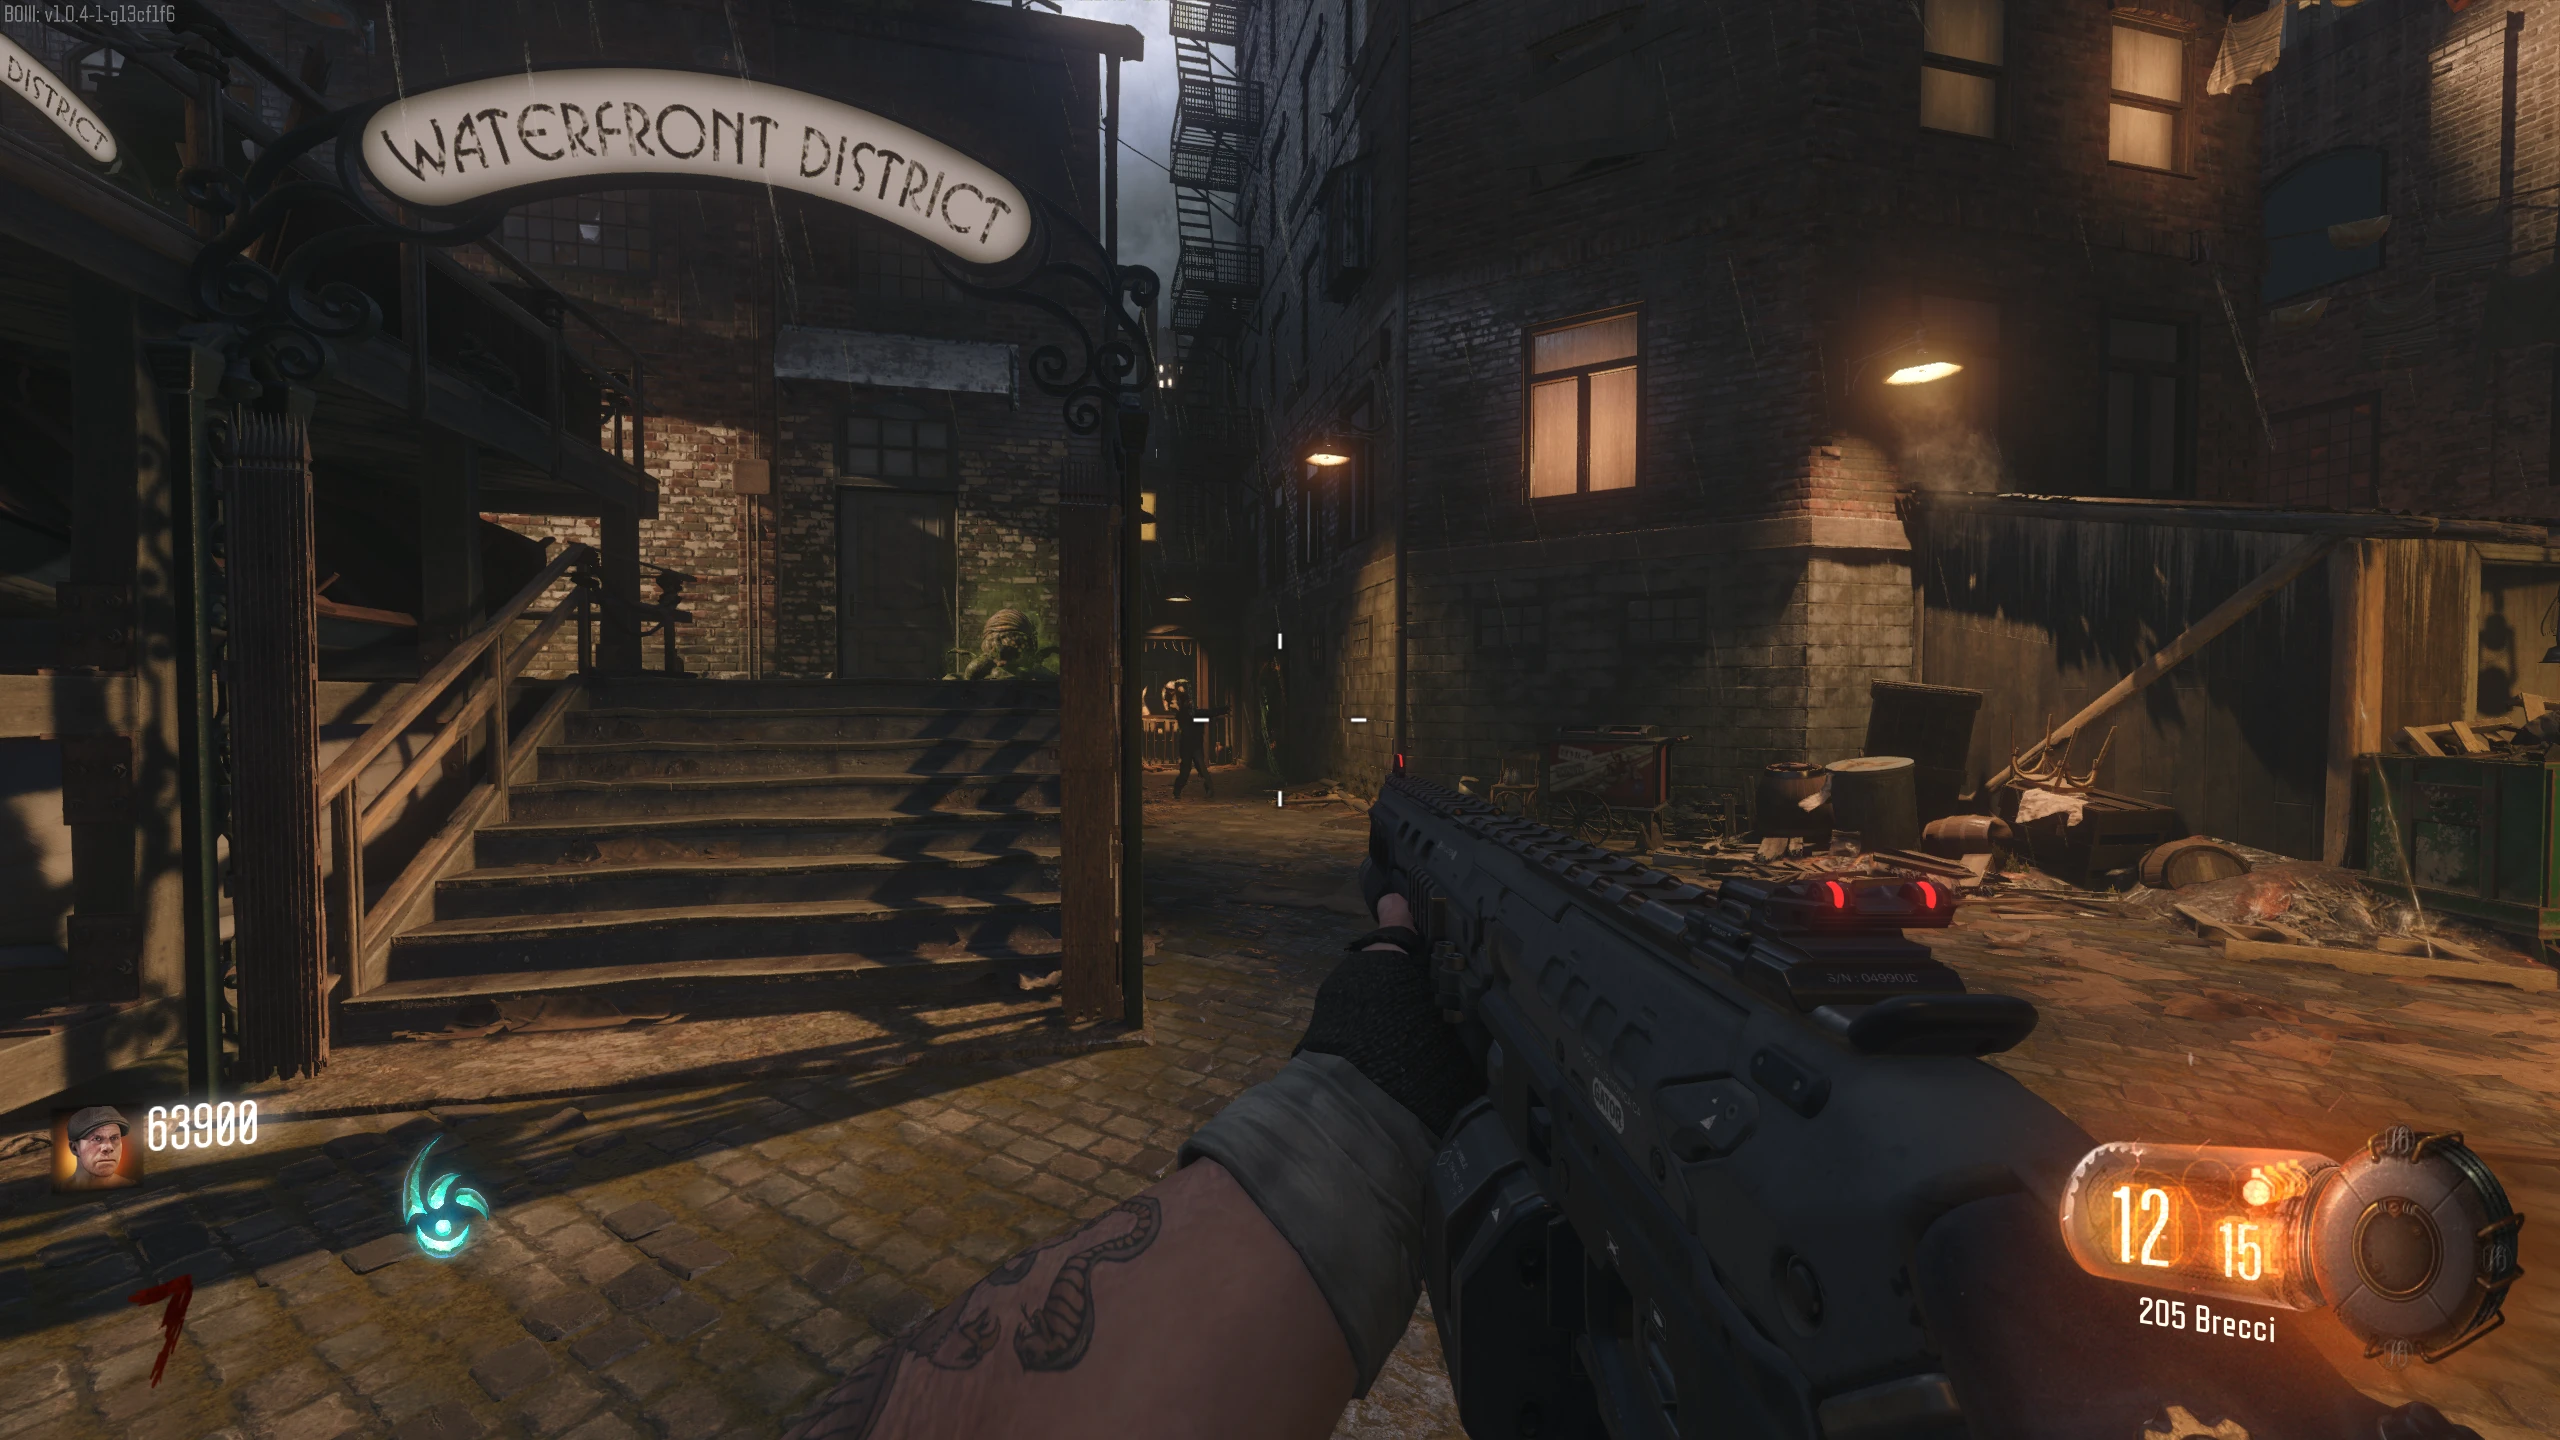
- Waterfront
- Canals
-
After 30 seconds, the flag will make a sound and start
pulsing red; you can now pick it up and bring it to the next location.
- A Max Ammo might spawn above the flag when you pick it up, so make sure to grab it.
- Once you've given the Flag to one district's Keeper, you'll need to end the current round to respawn the flag to do another district.
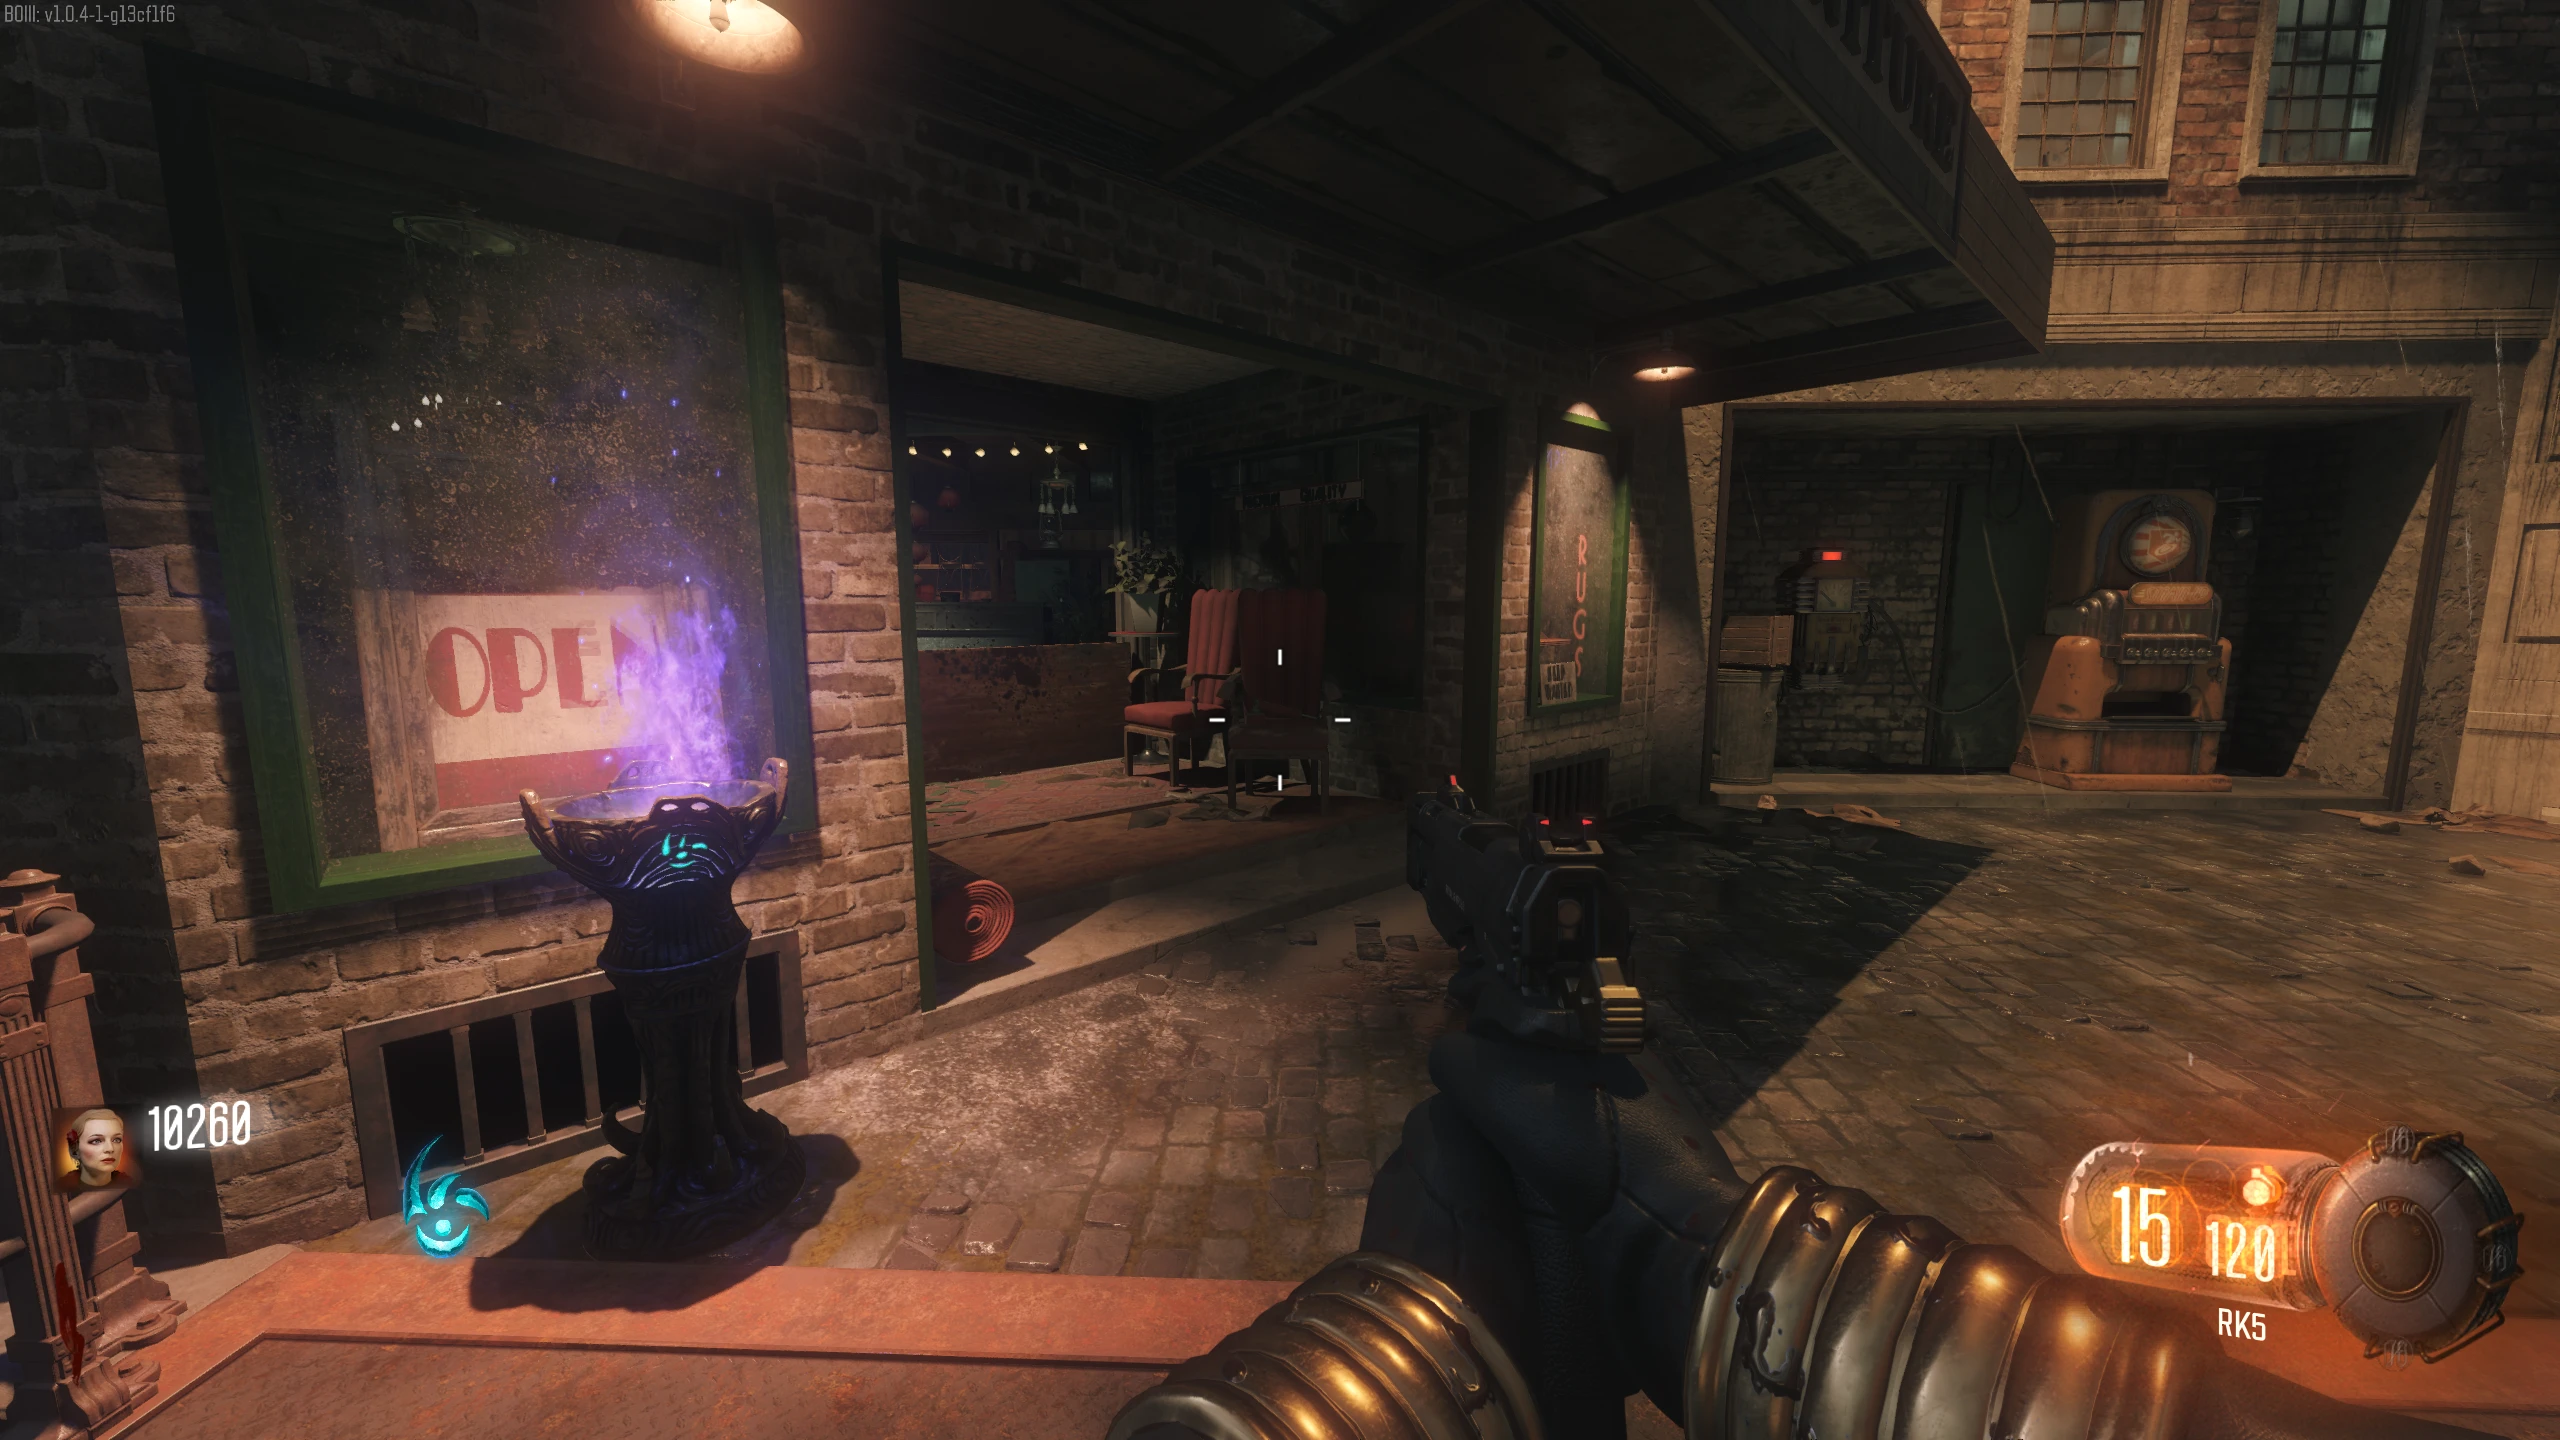
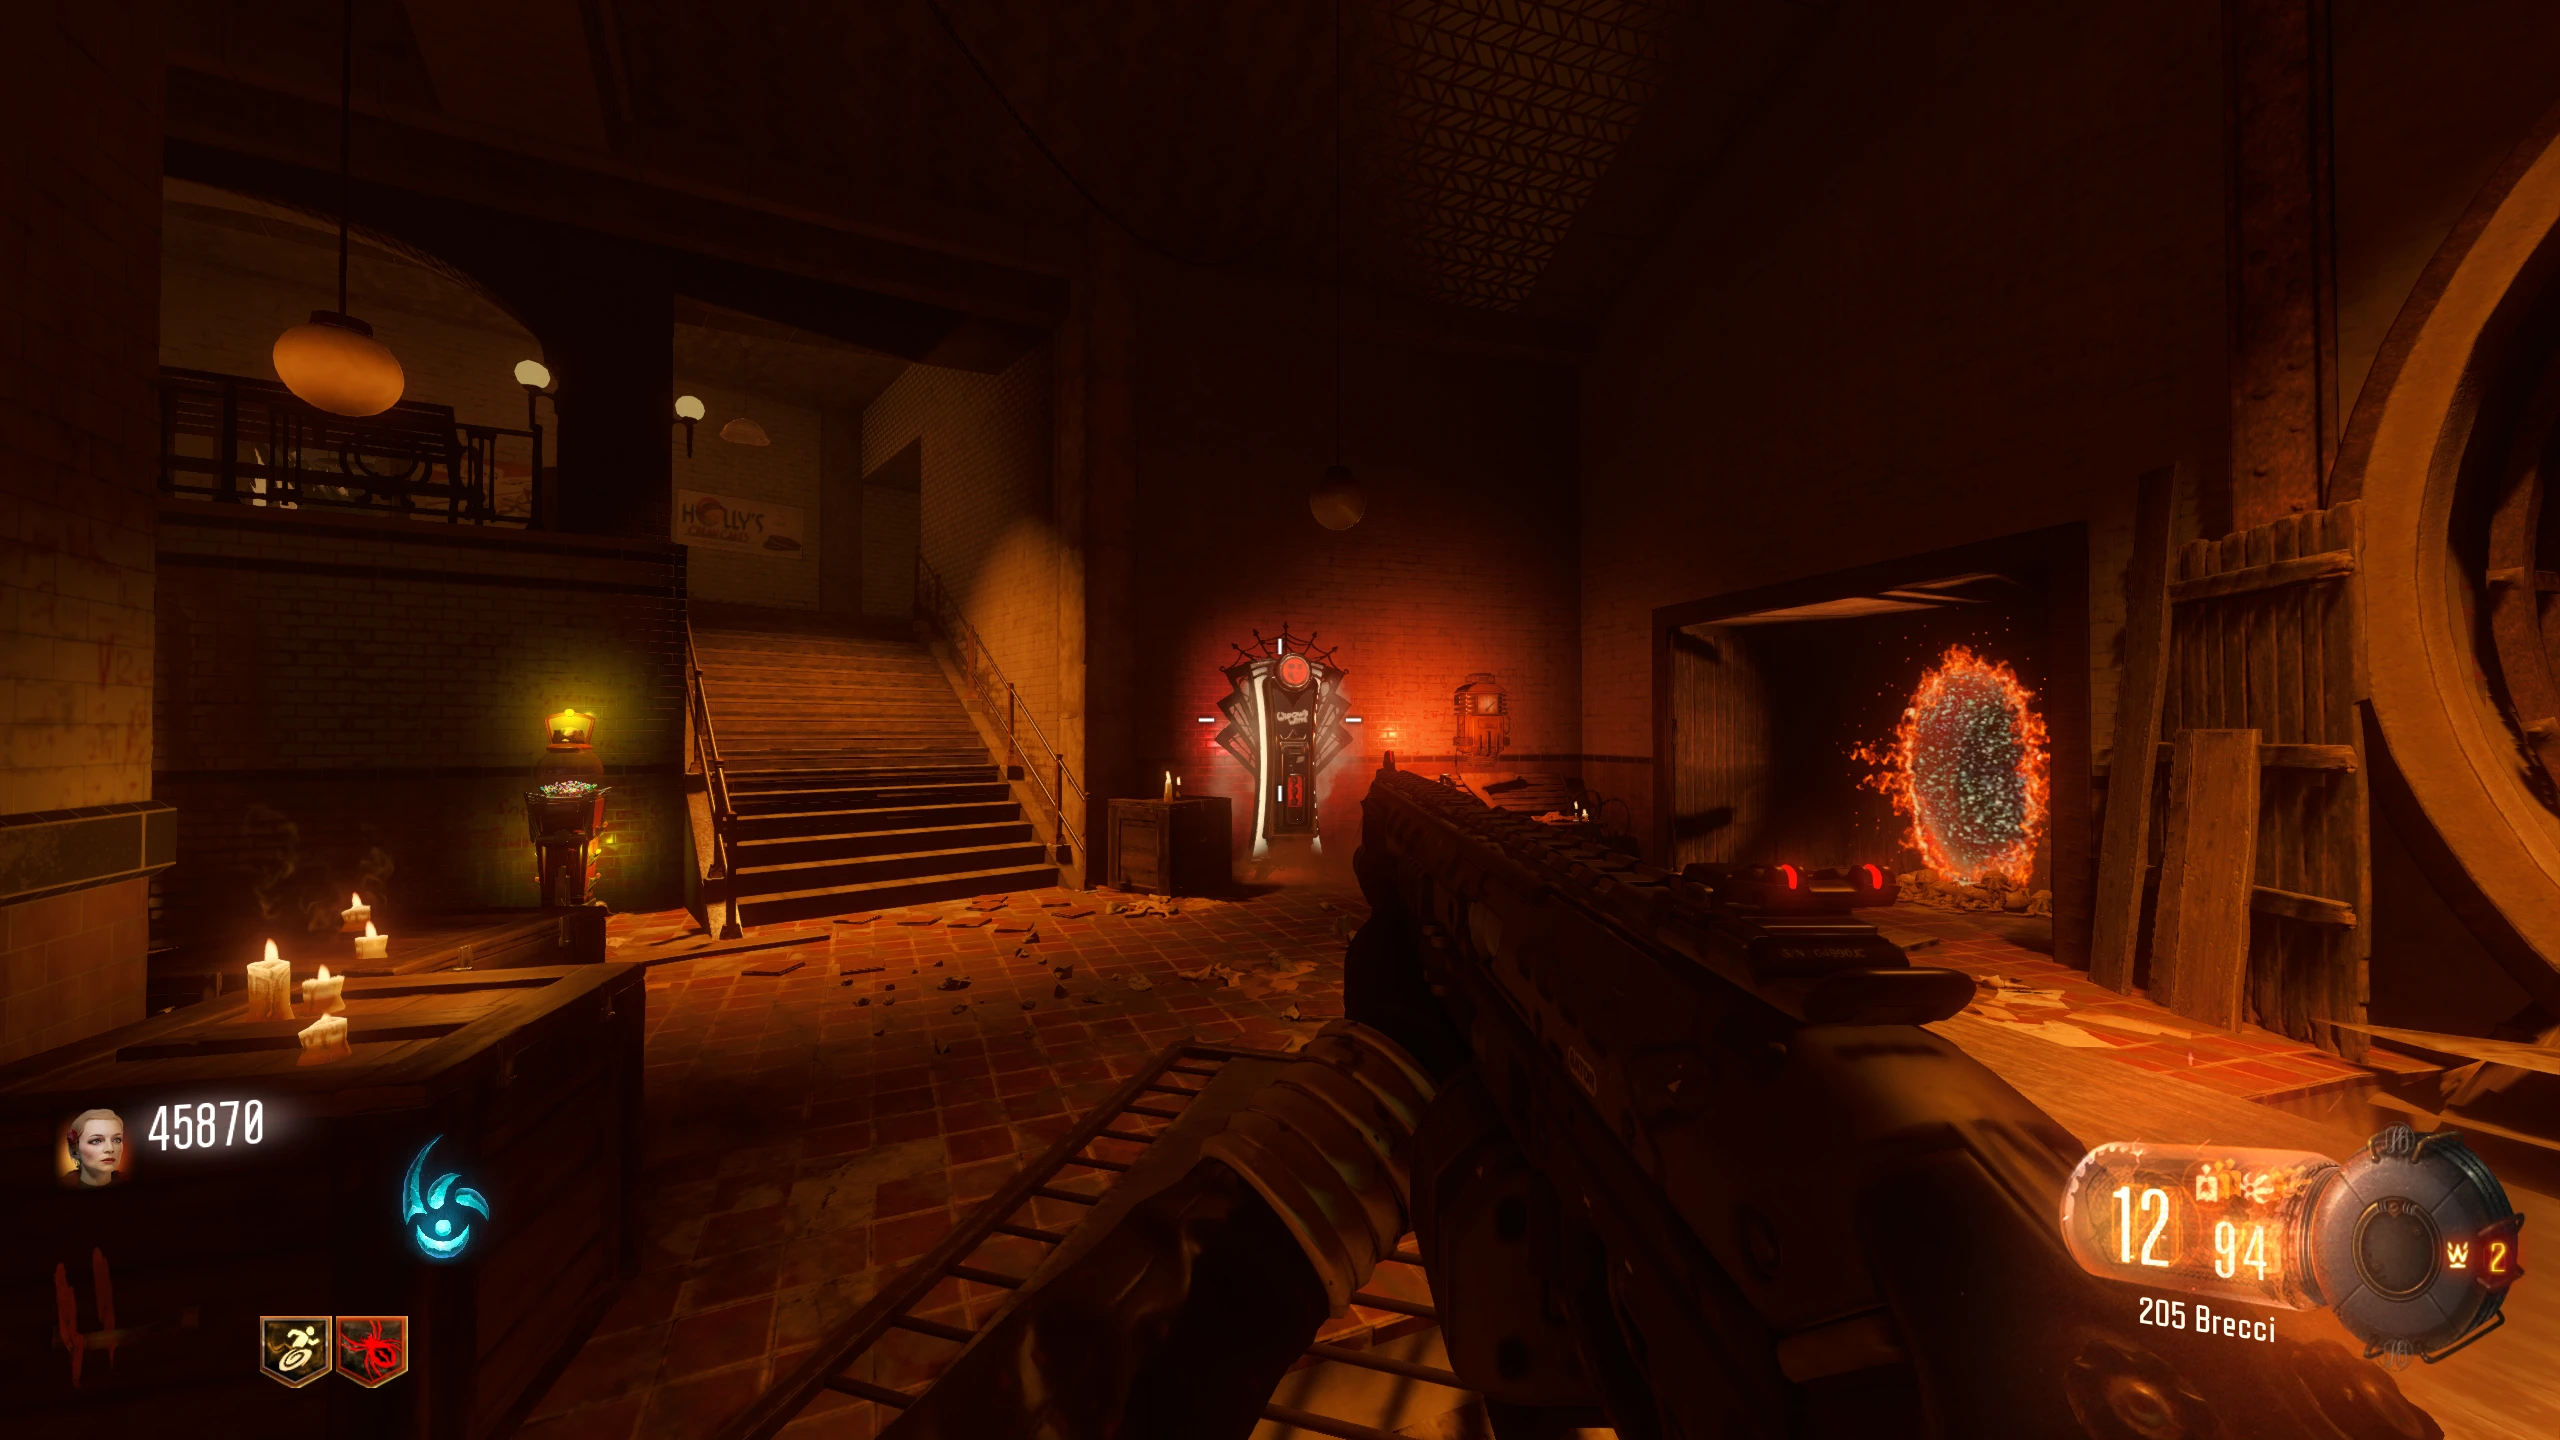
- Once all four Keepers have been given flags, they will spawn beside the Gateworm pedestals in the Pack-a-Punch room. Each player must interact with a Keeper to give it their upgraded Sword.
-
Shadowman Boss Fight
- Once the last keeper is given a Sword, the Boss Fight will start.
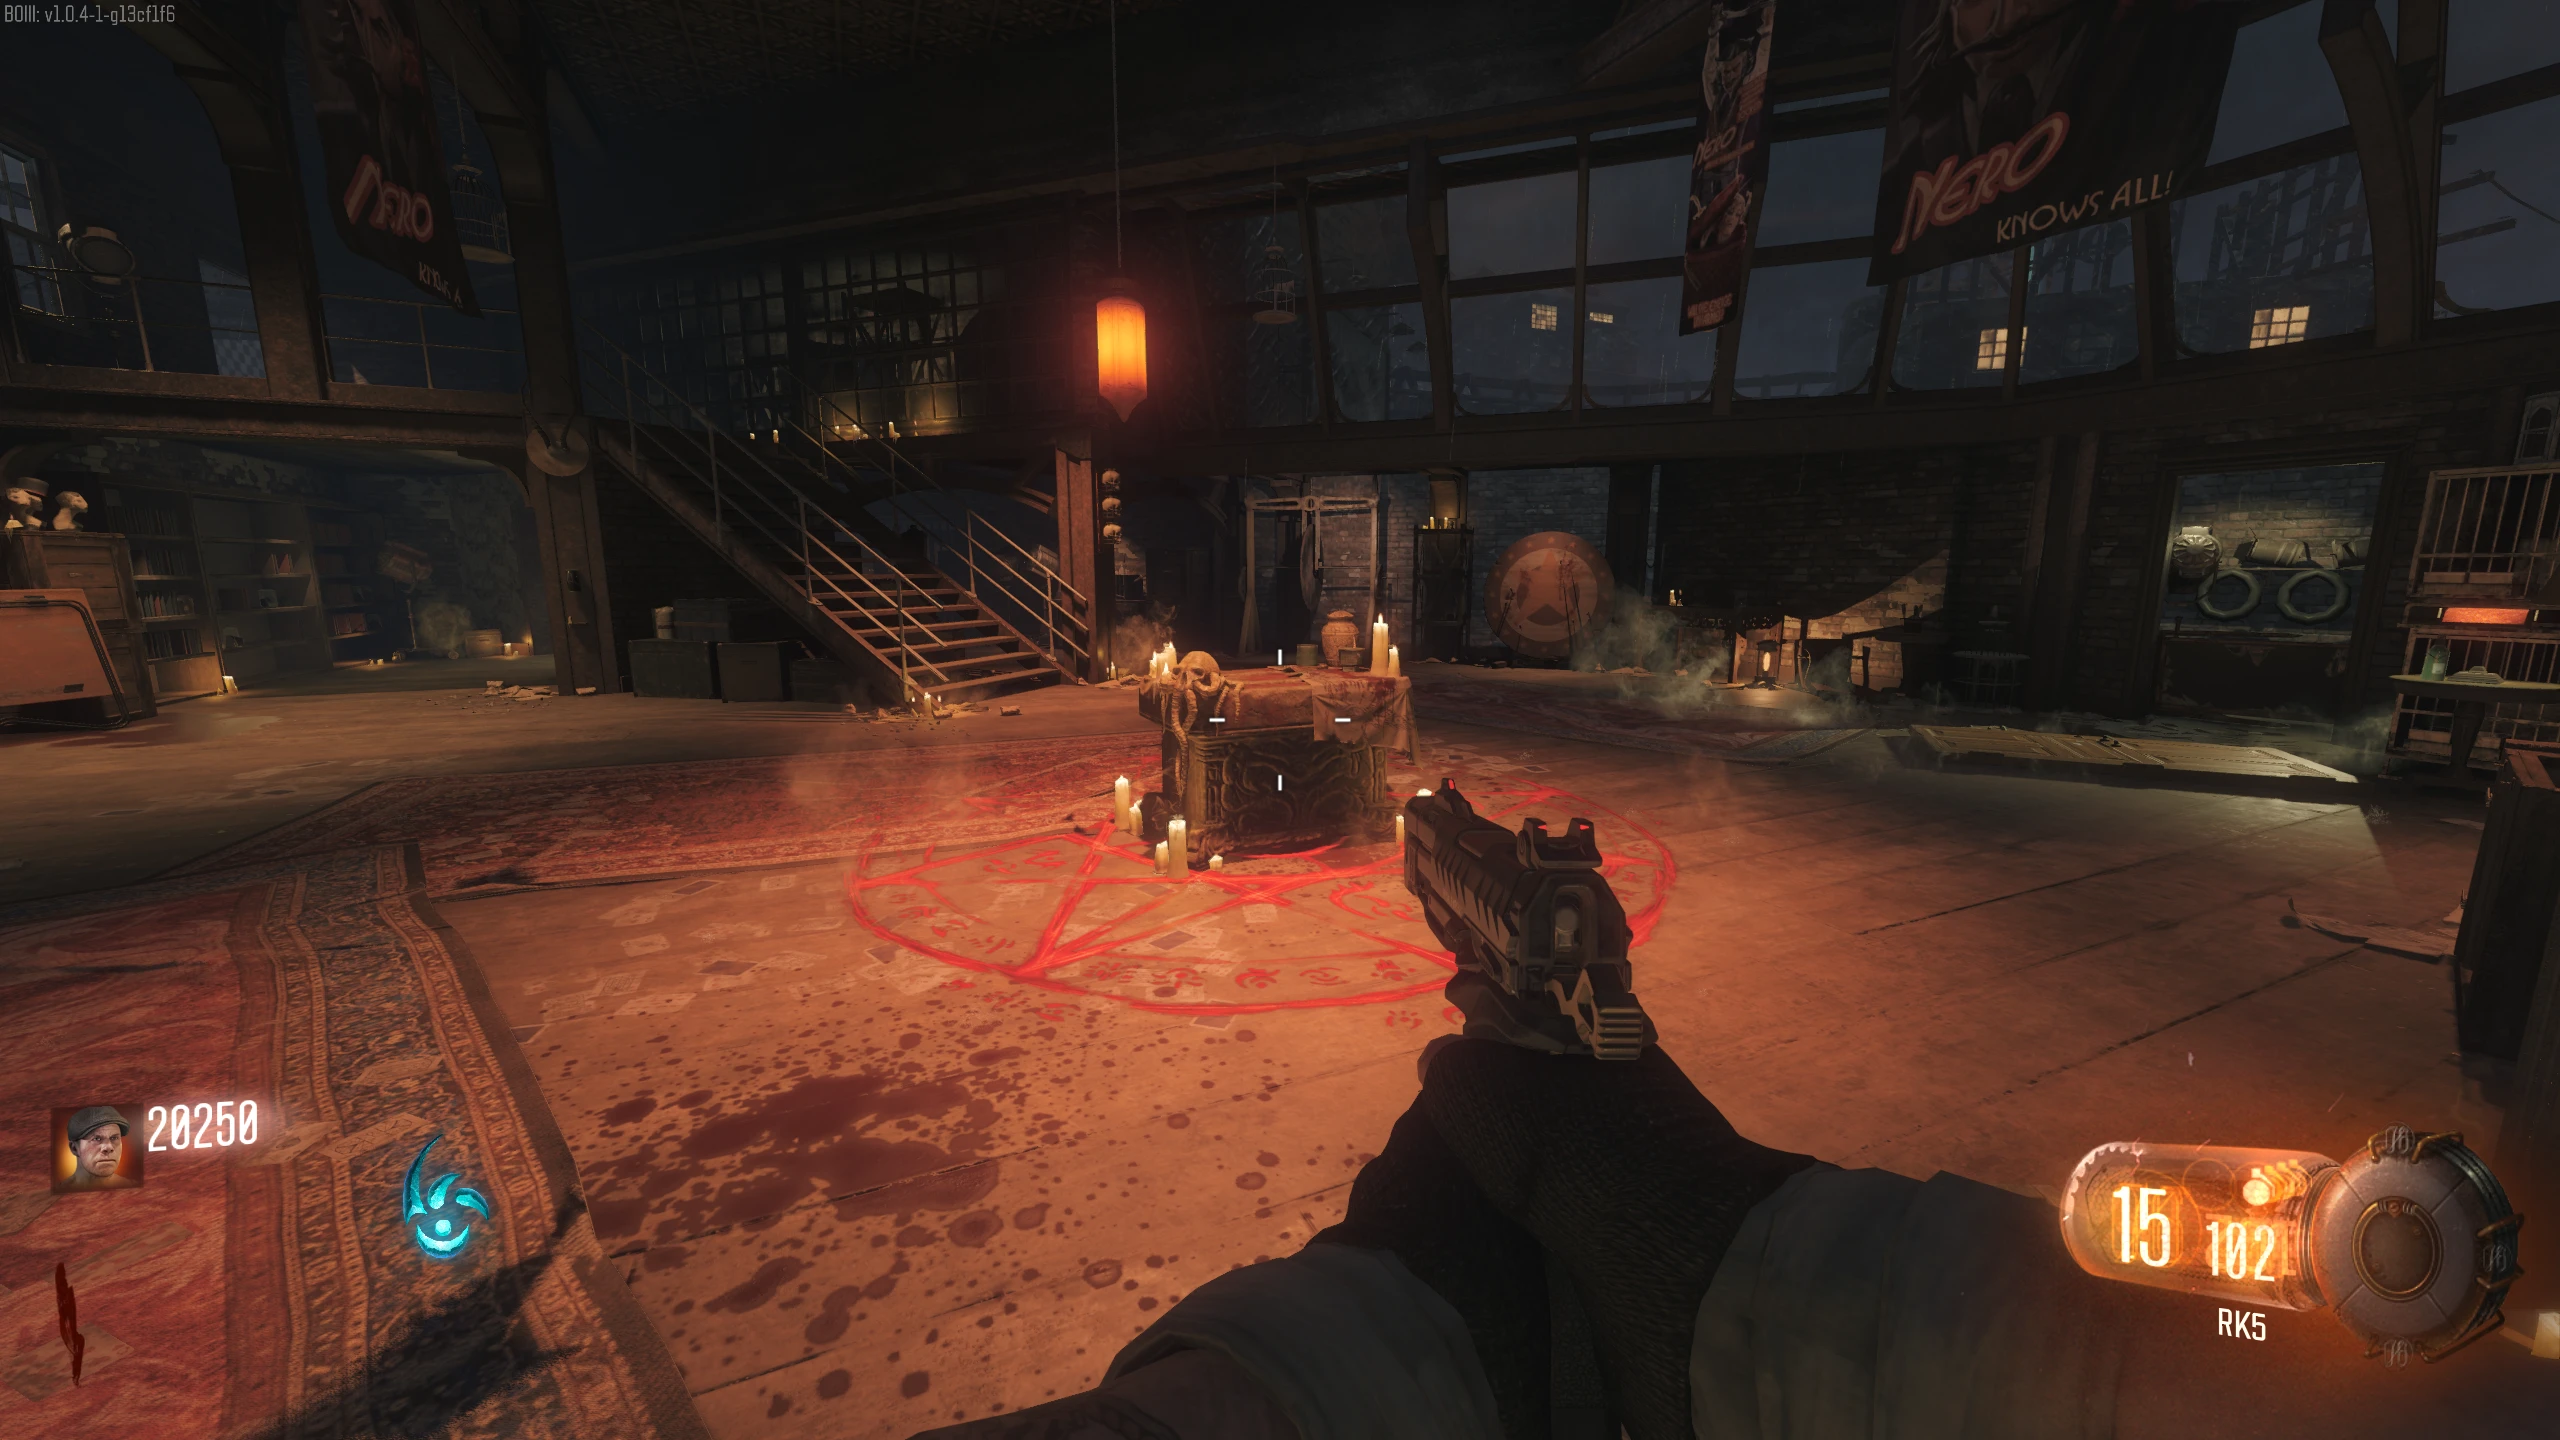
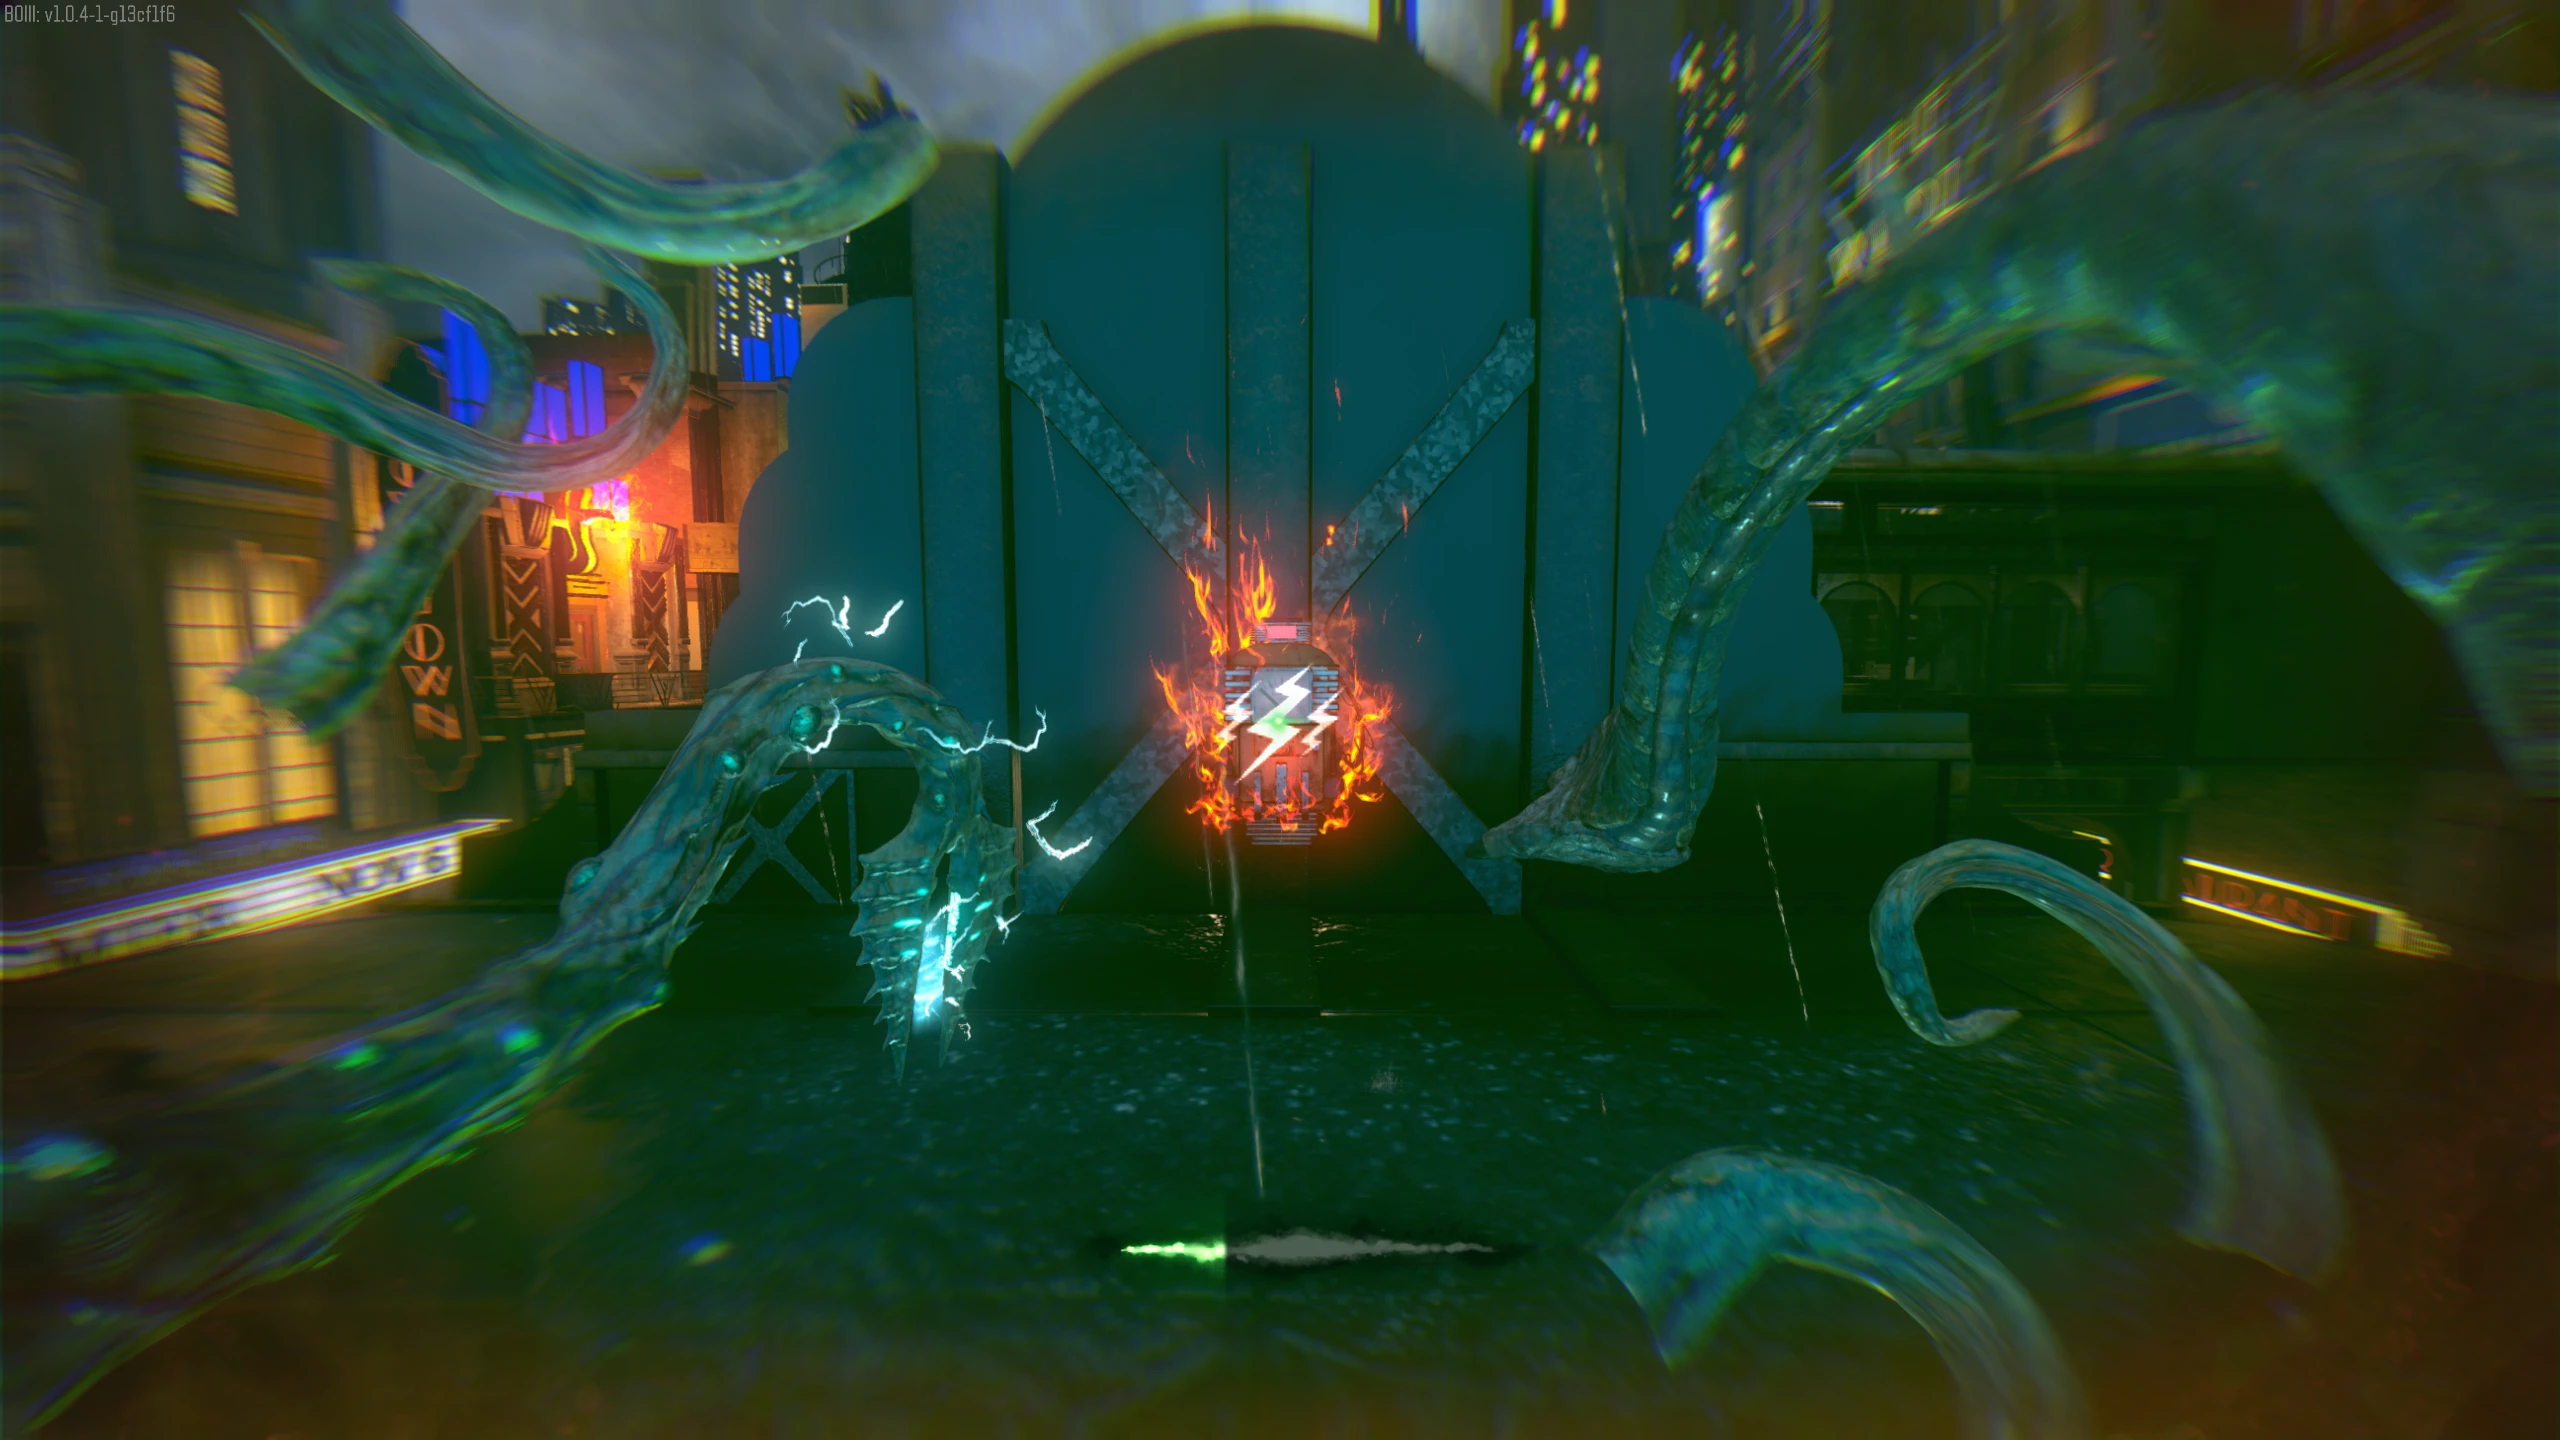
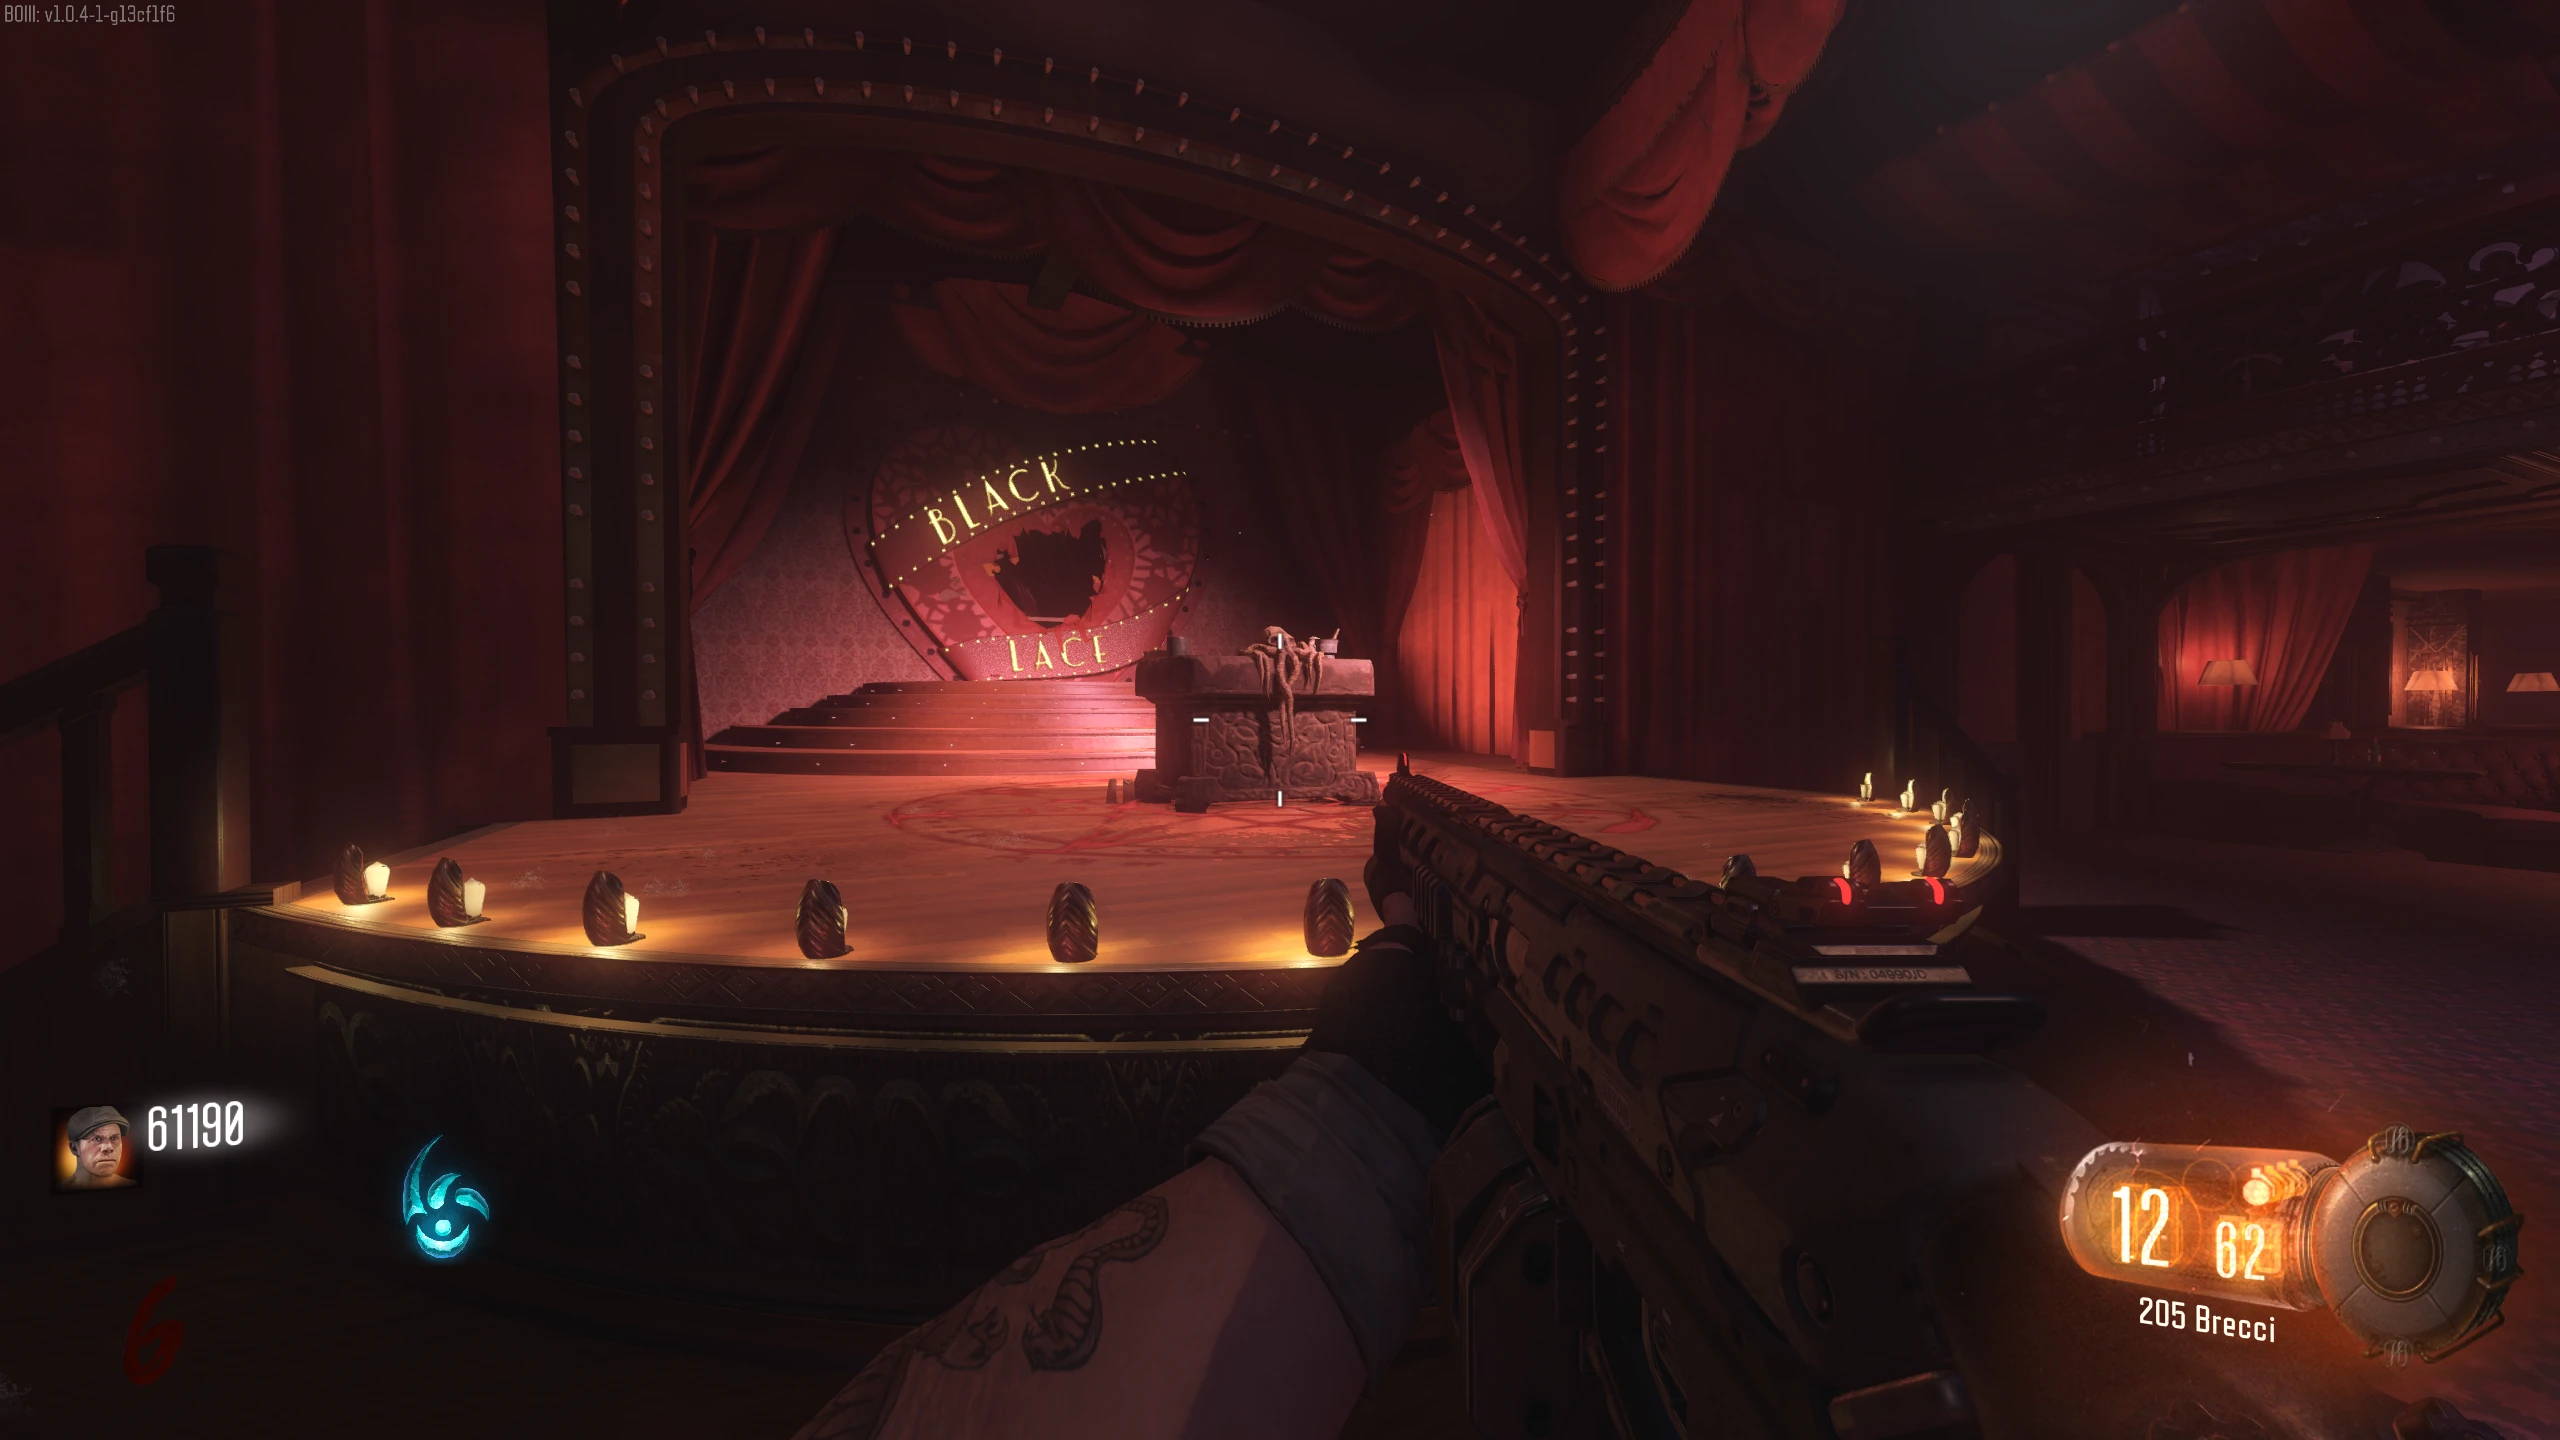
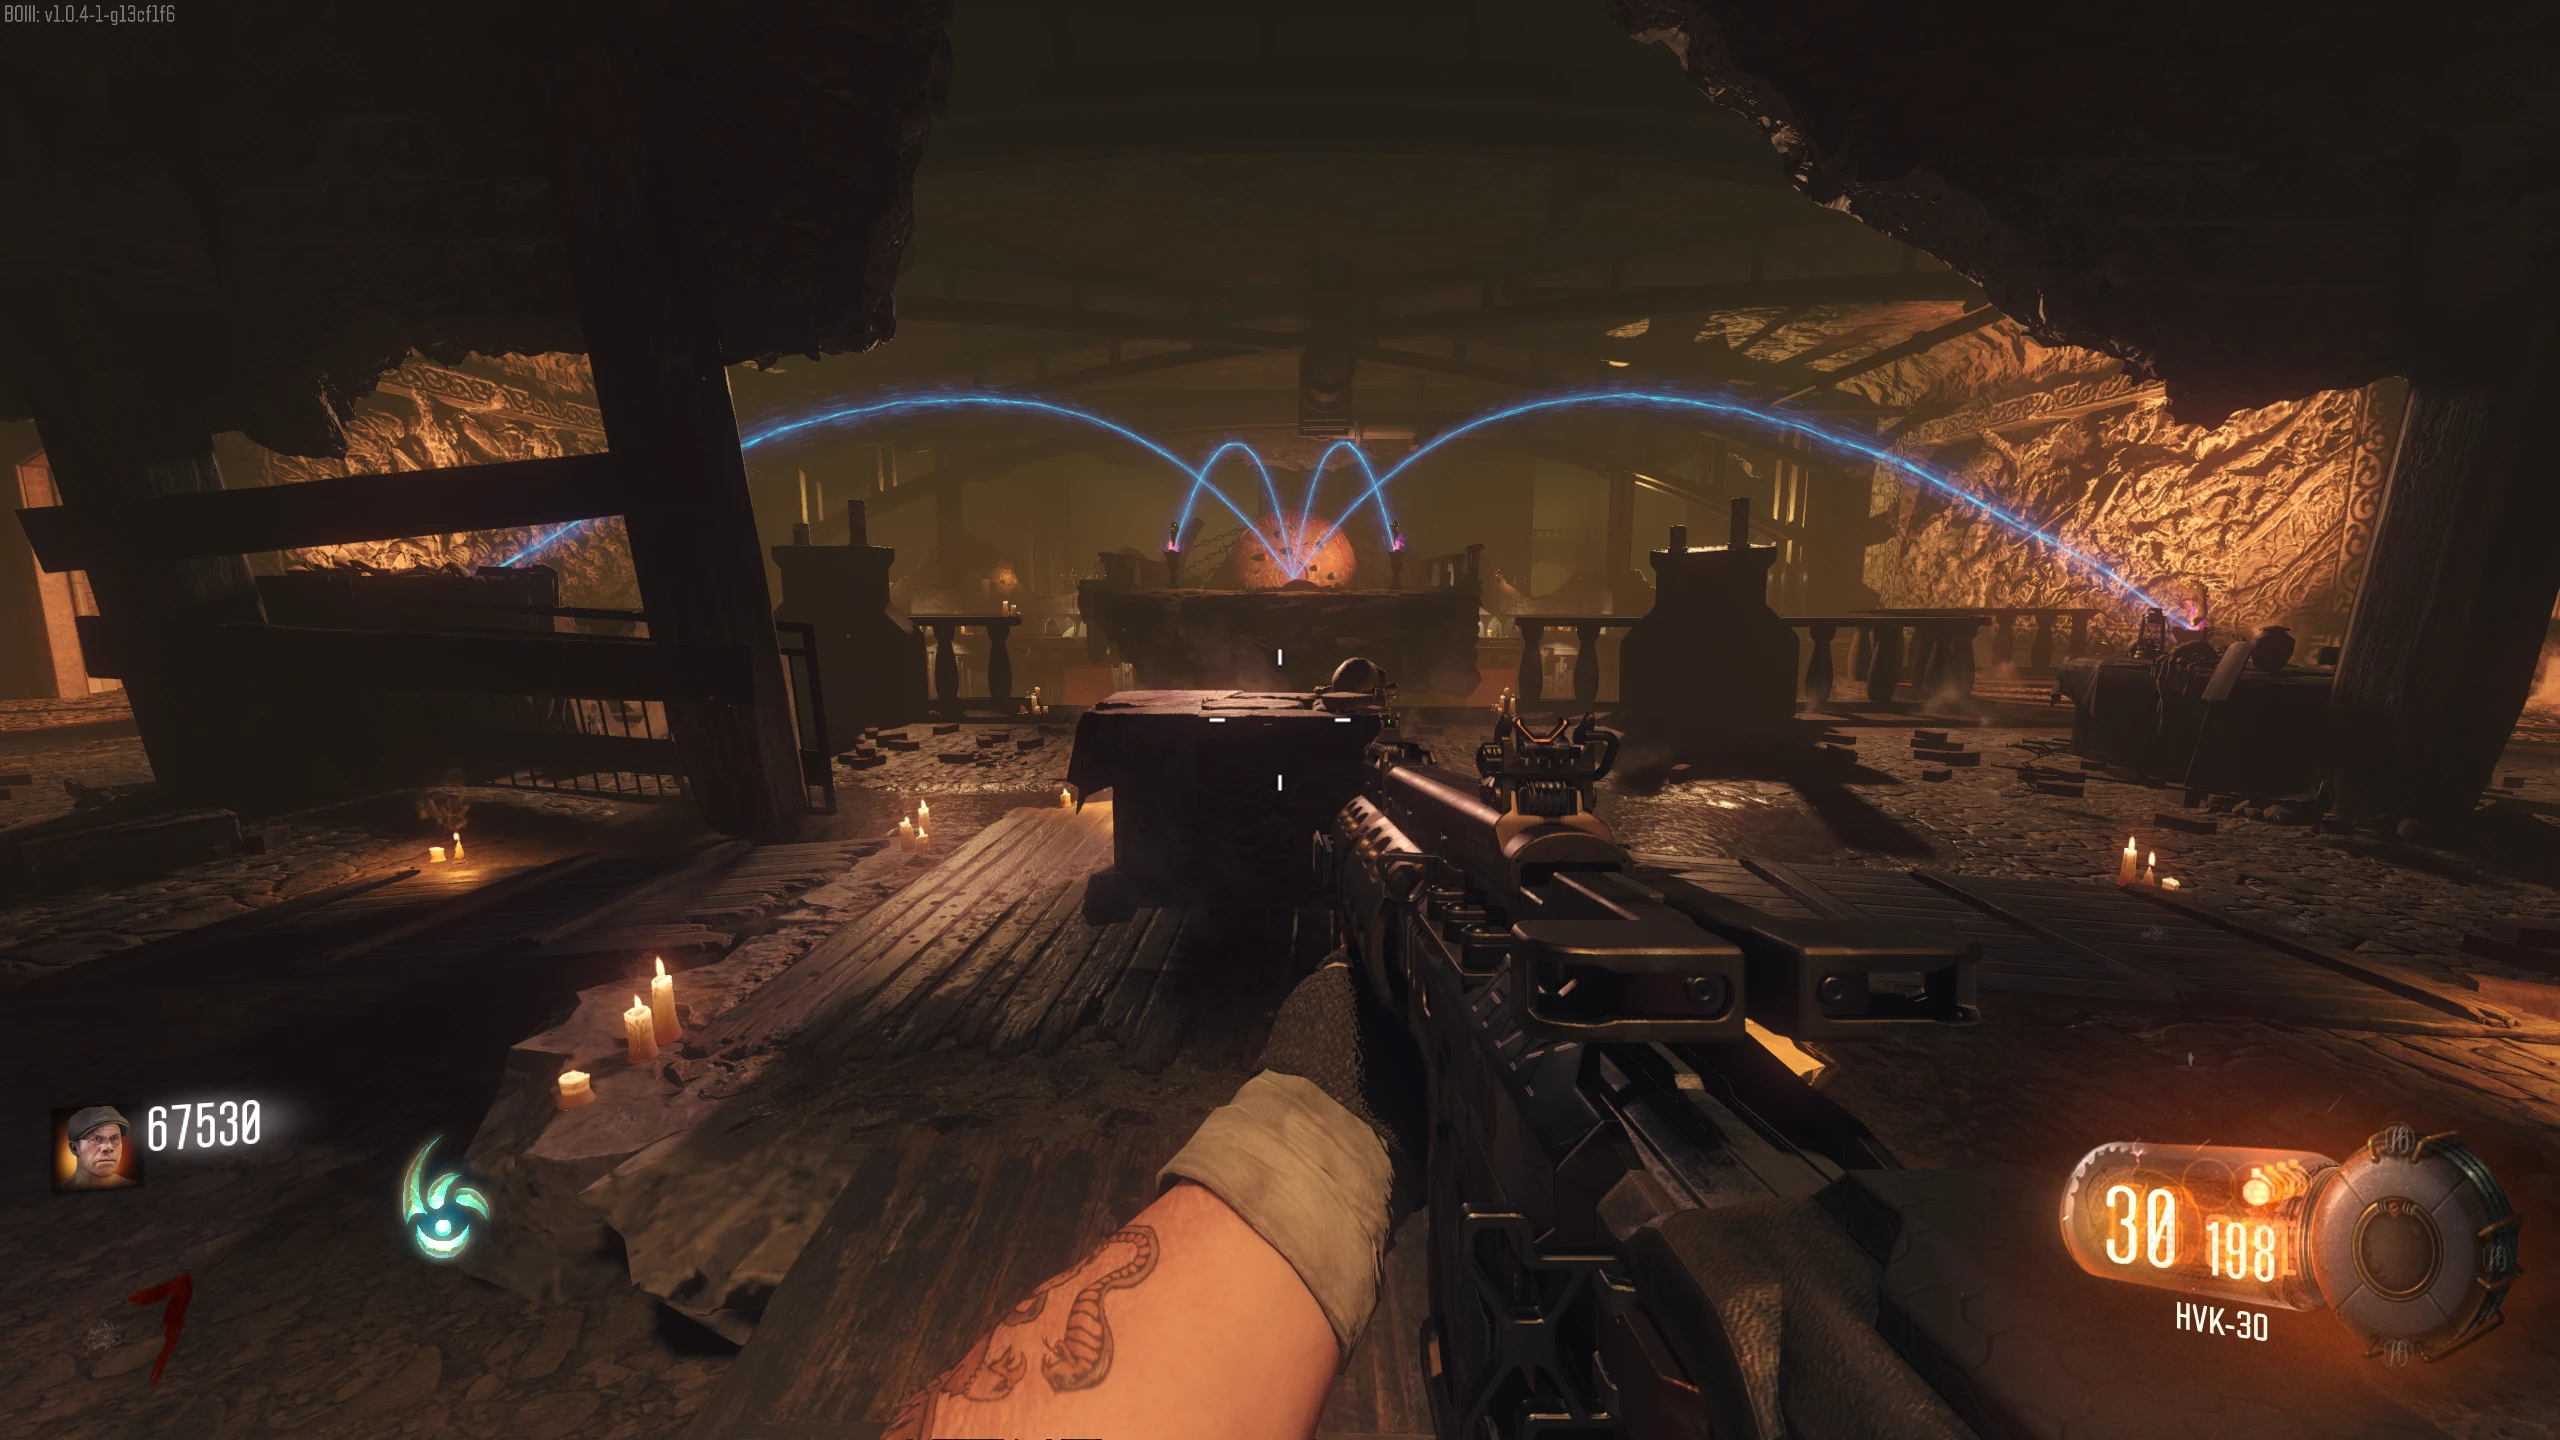
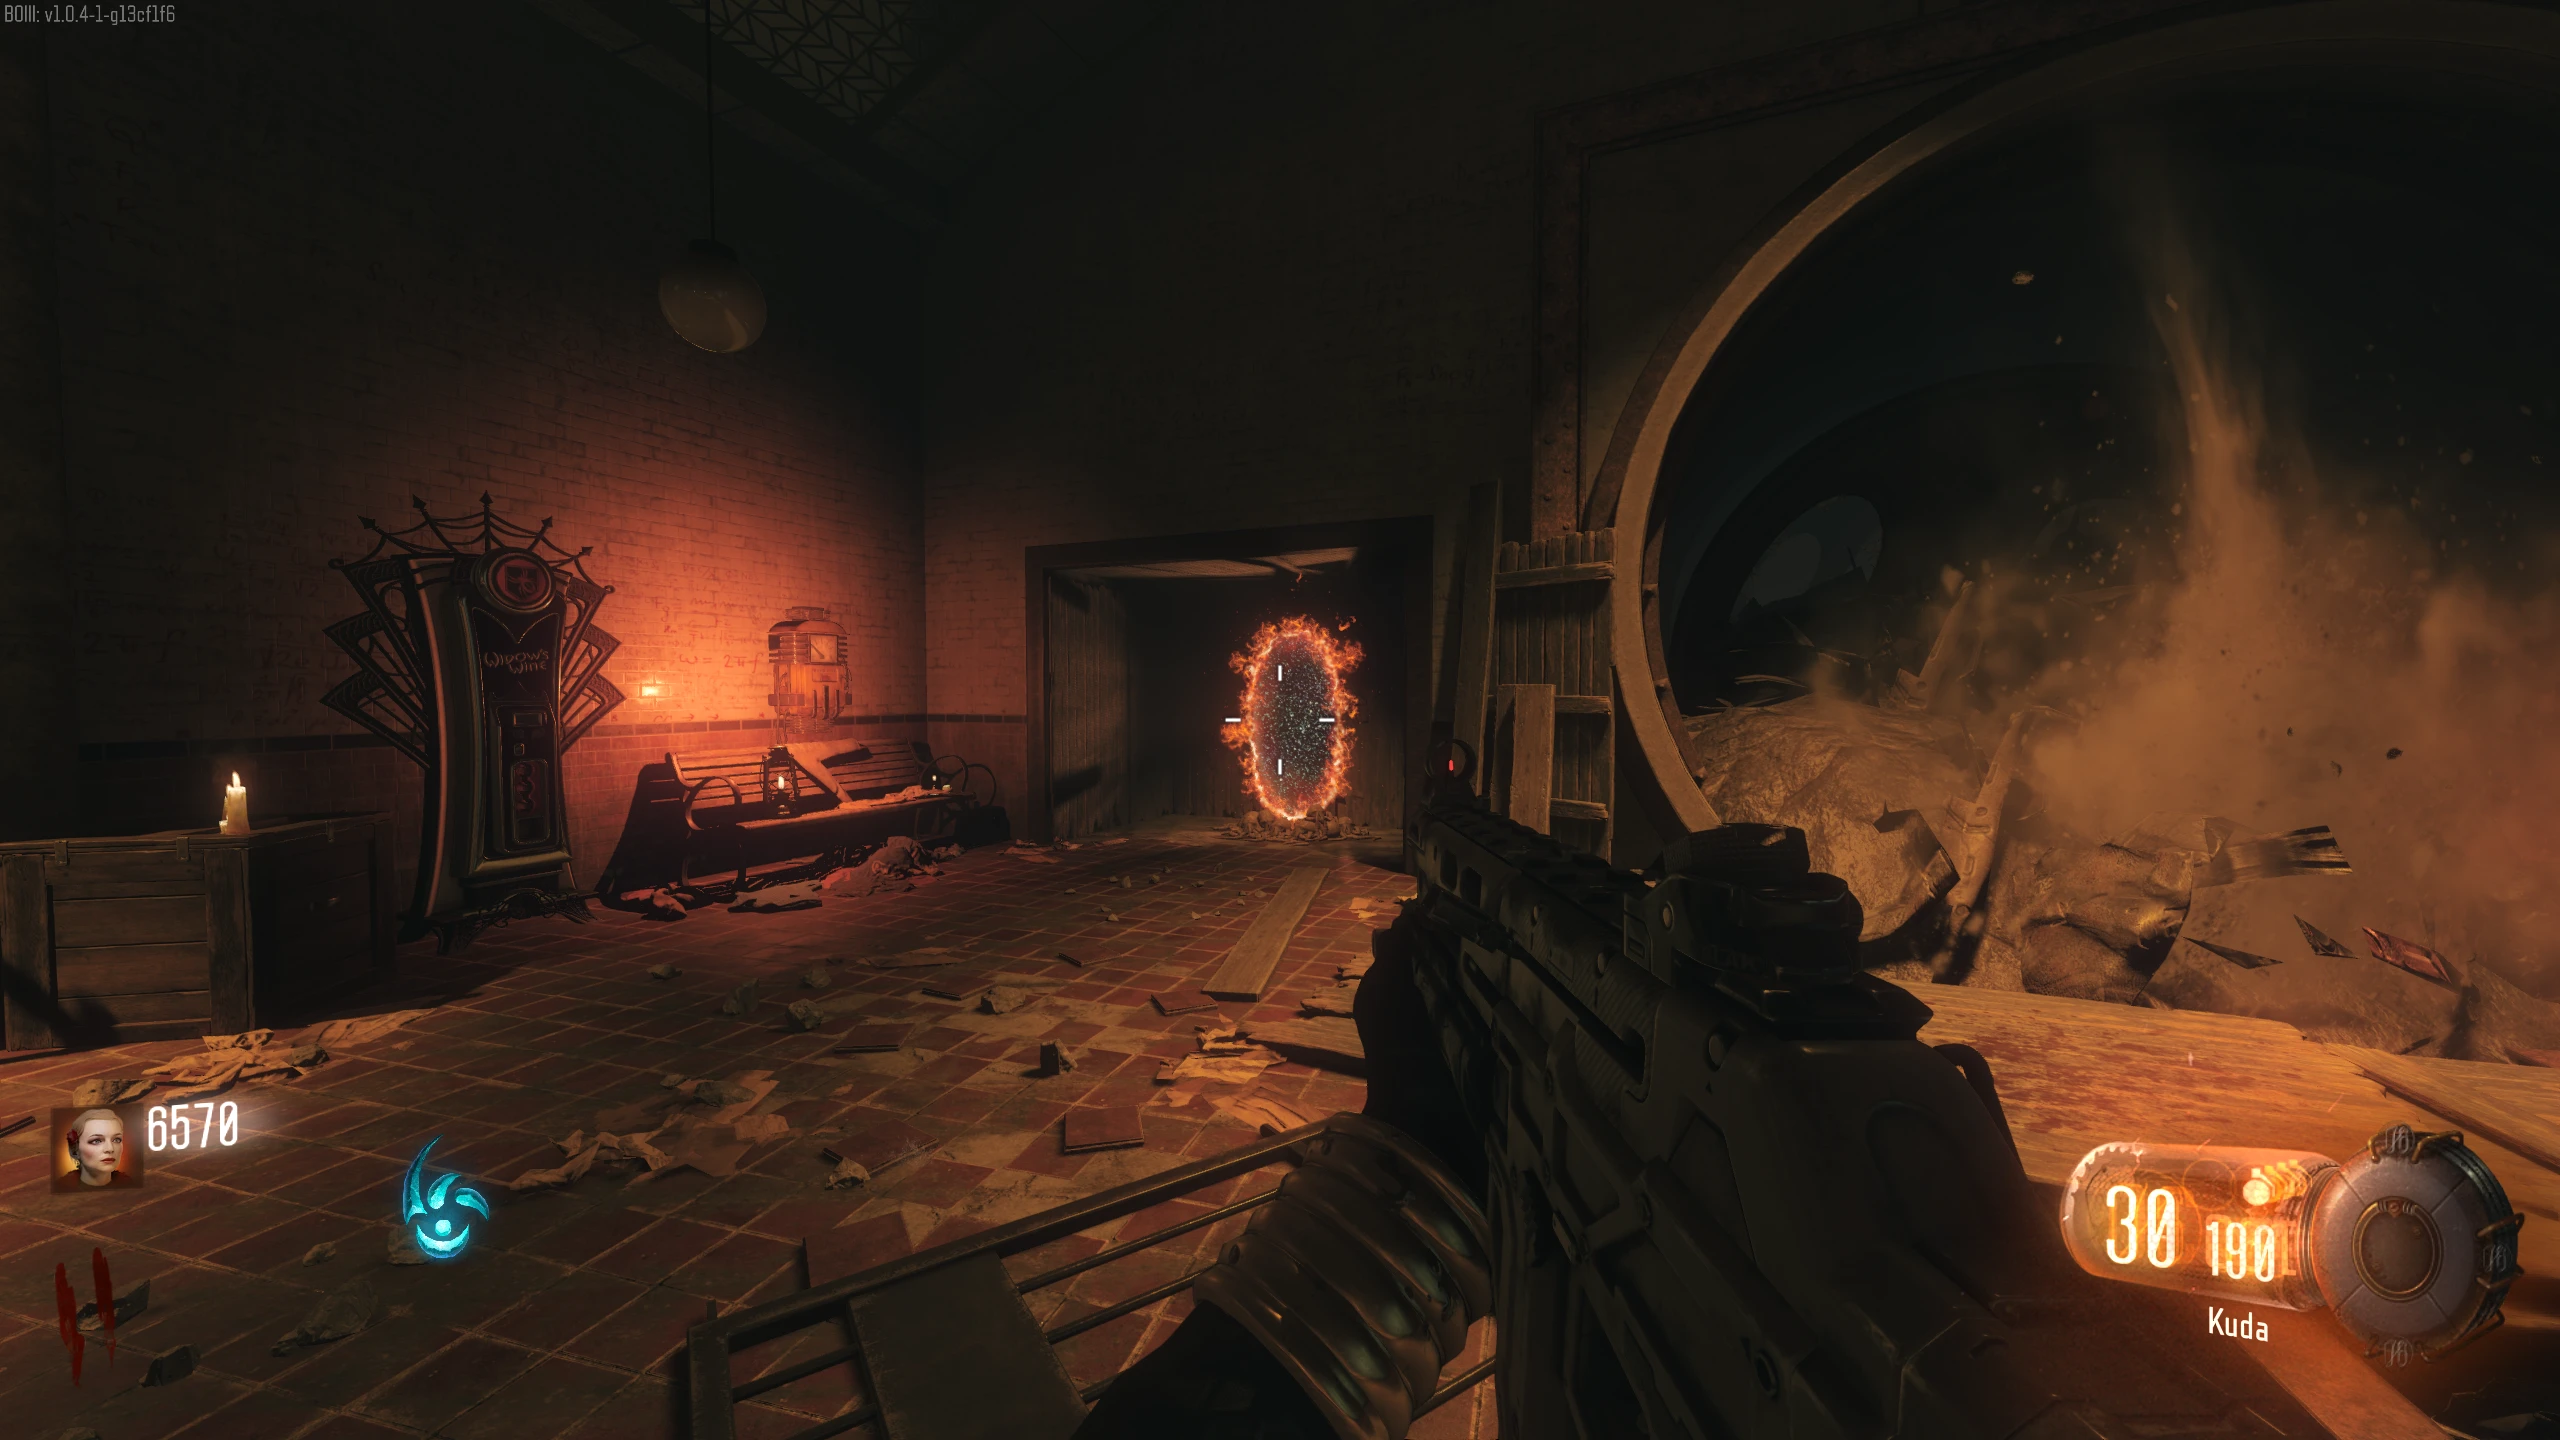
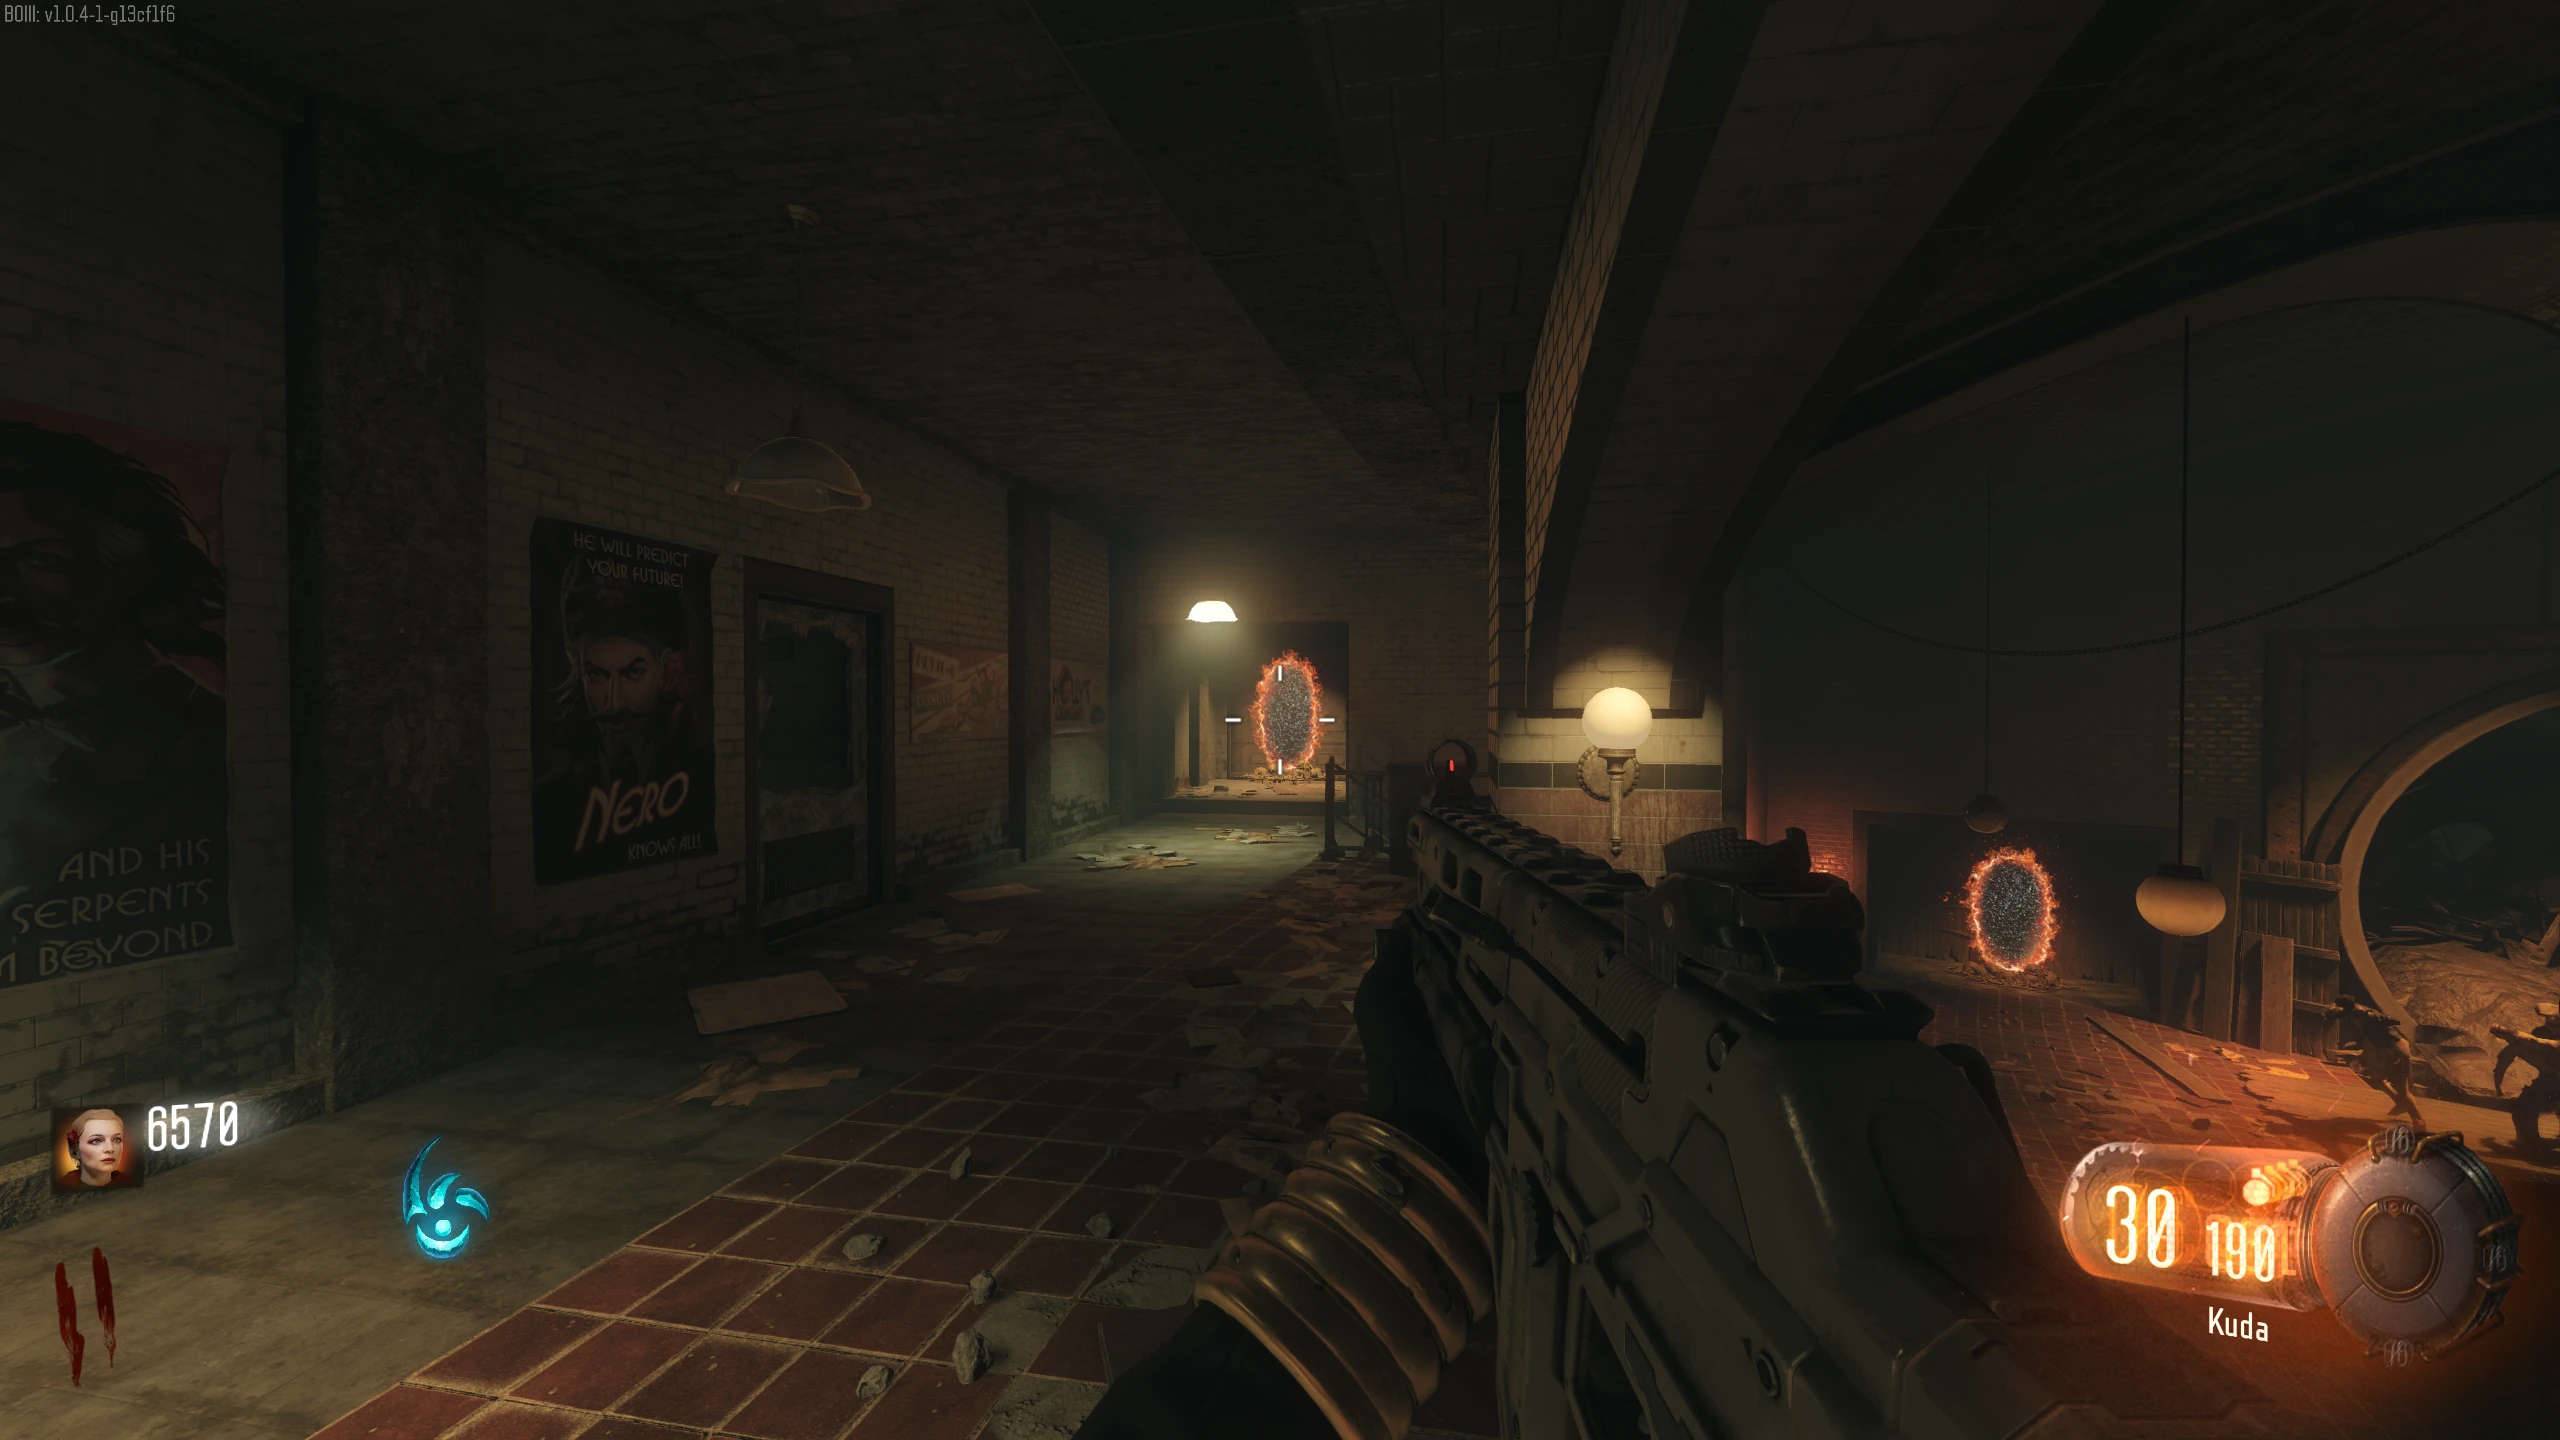
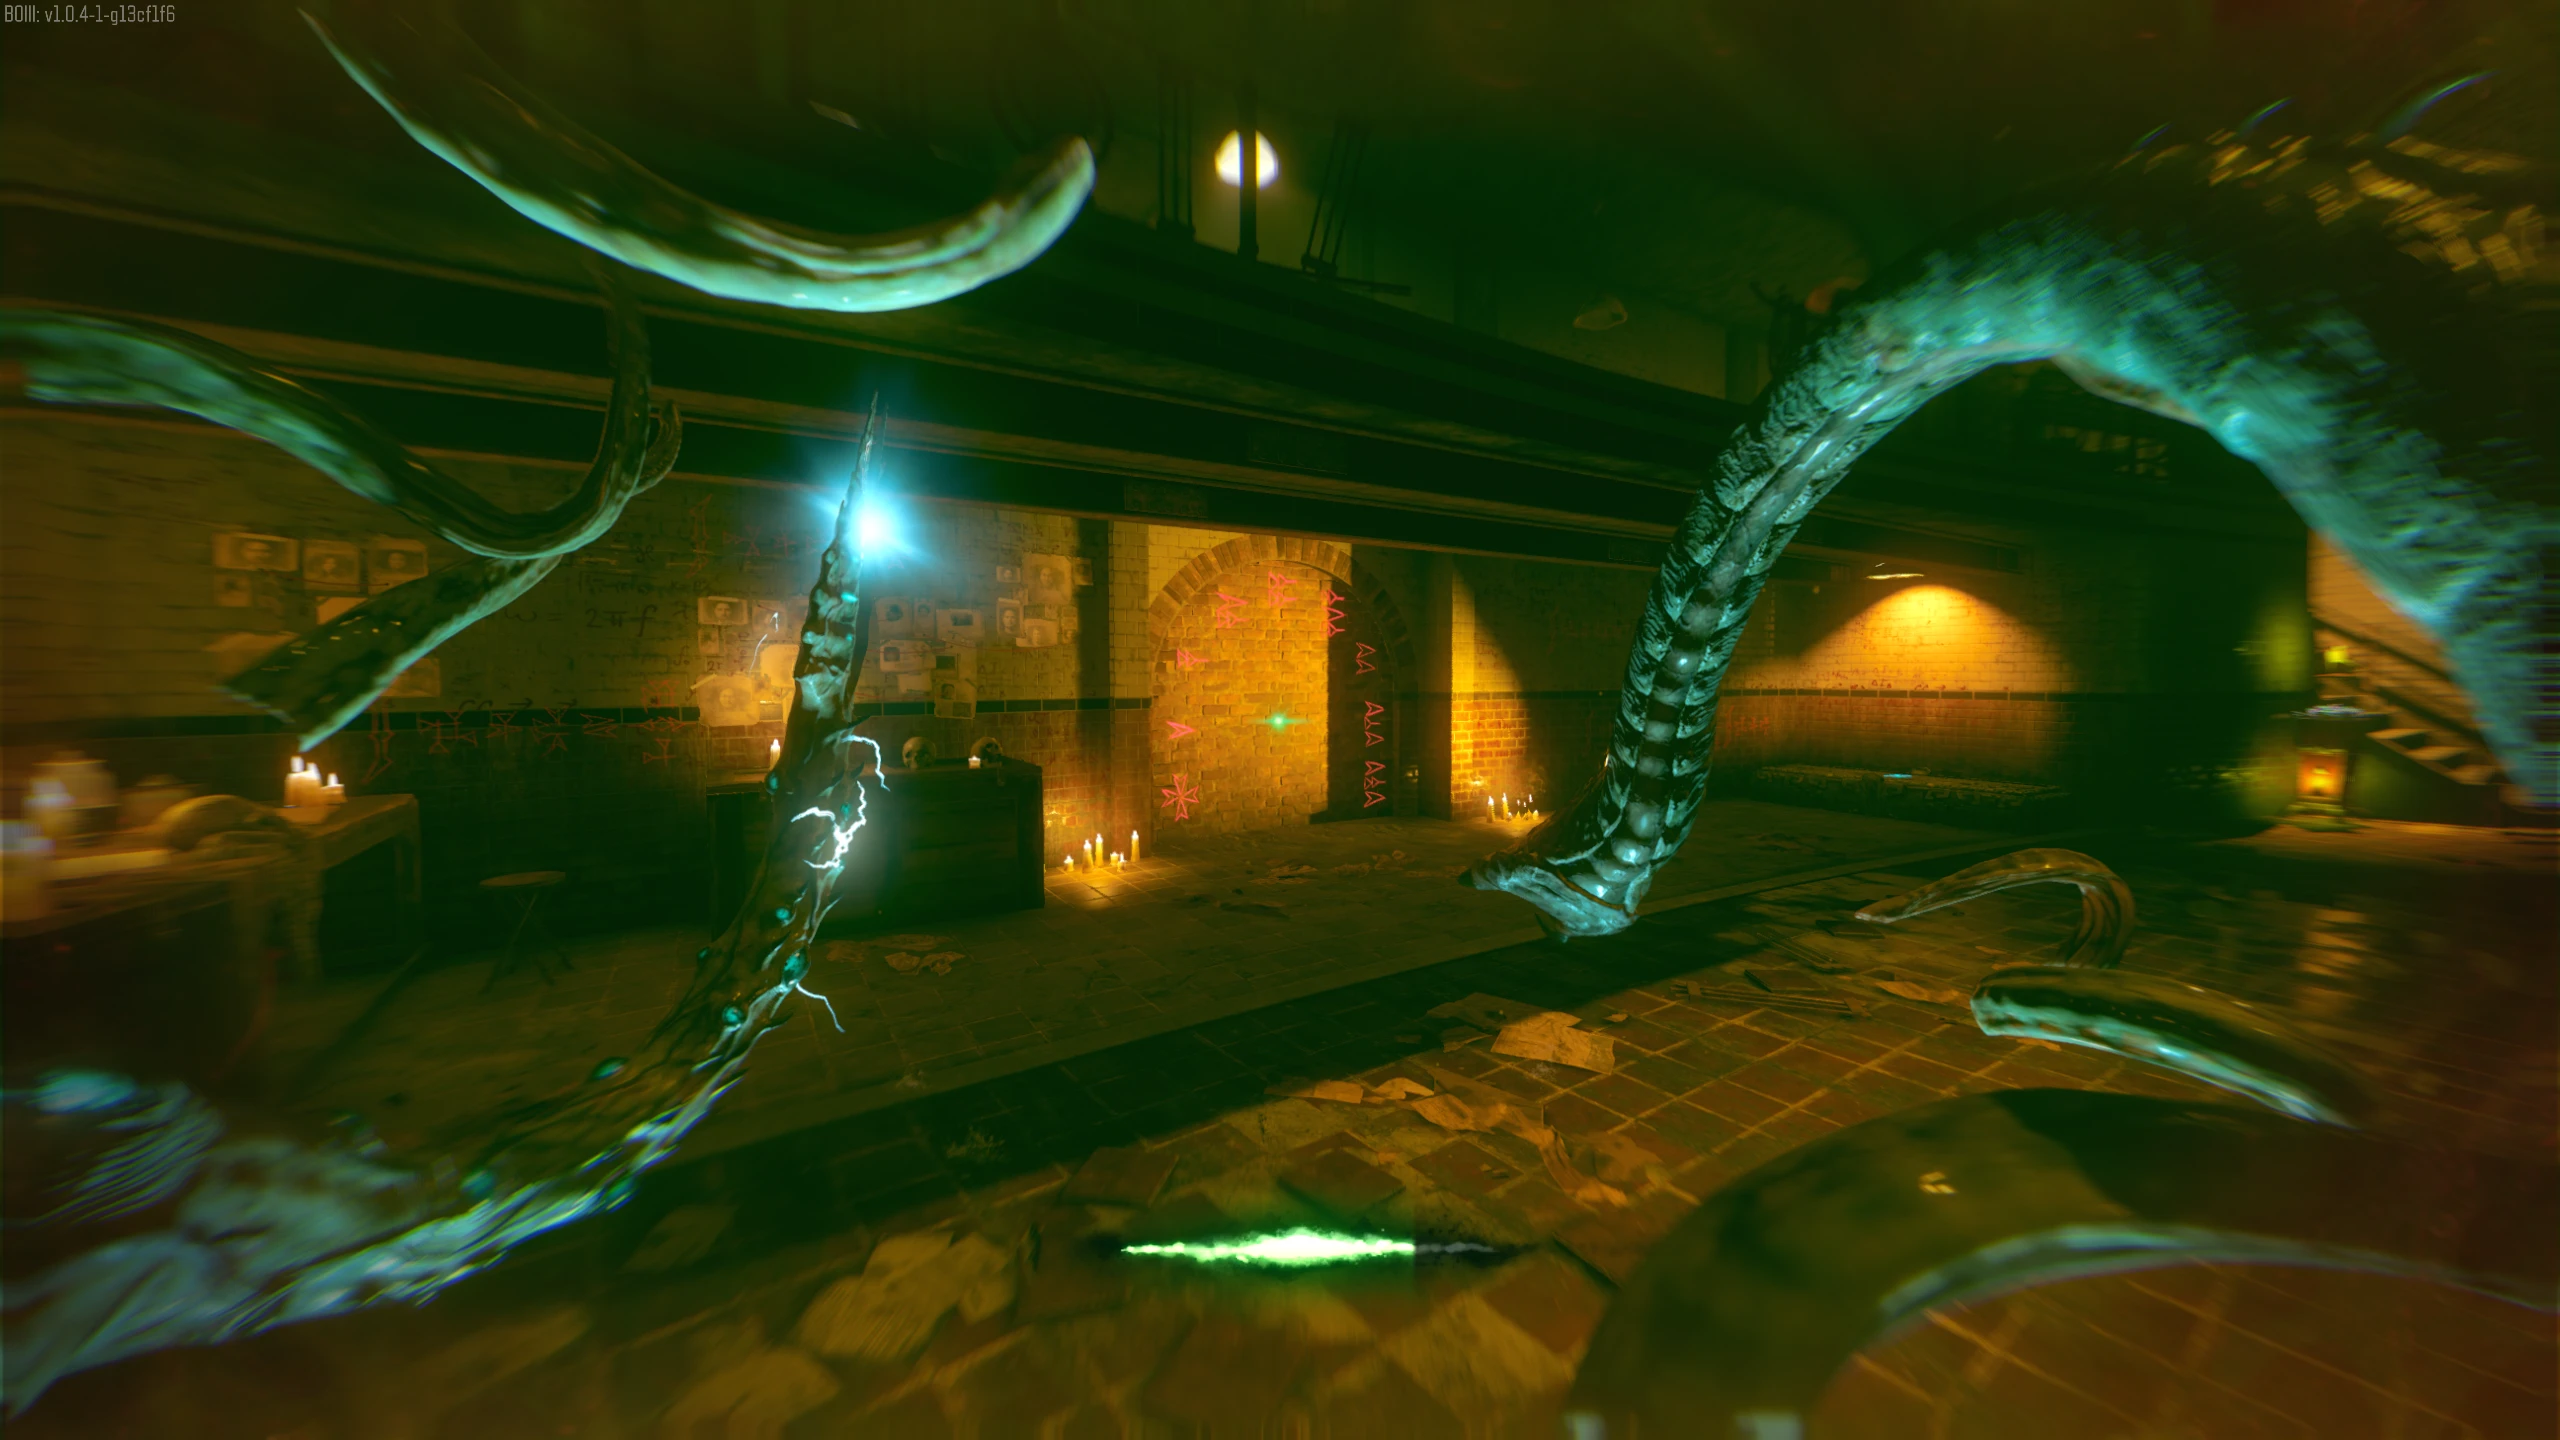
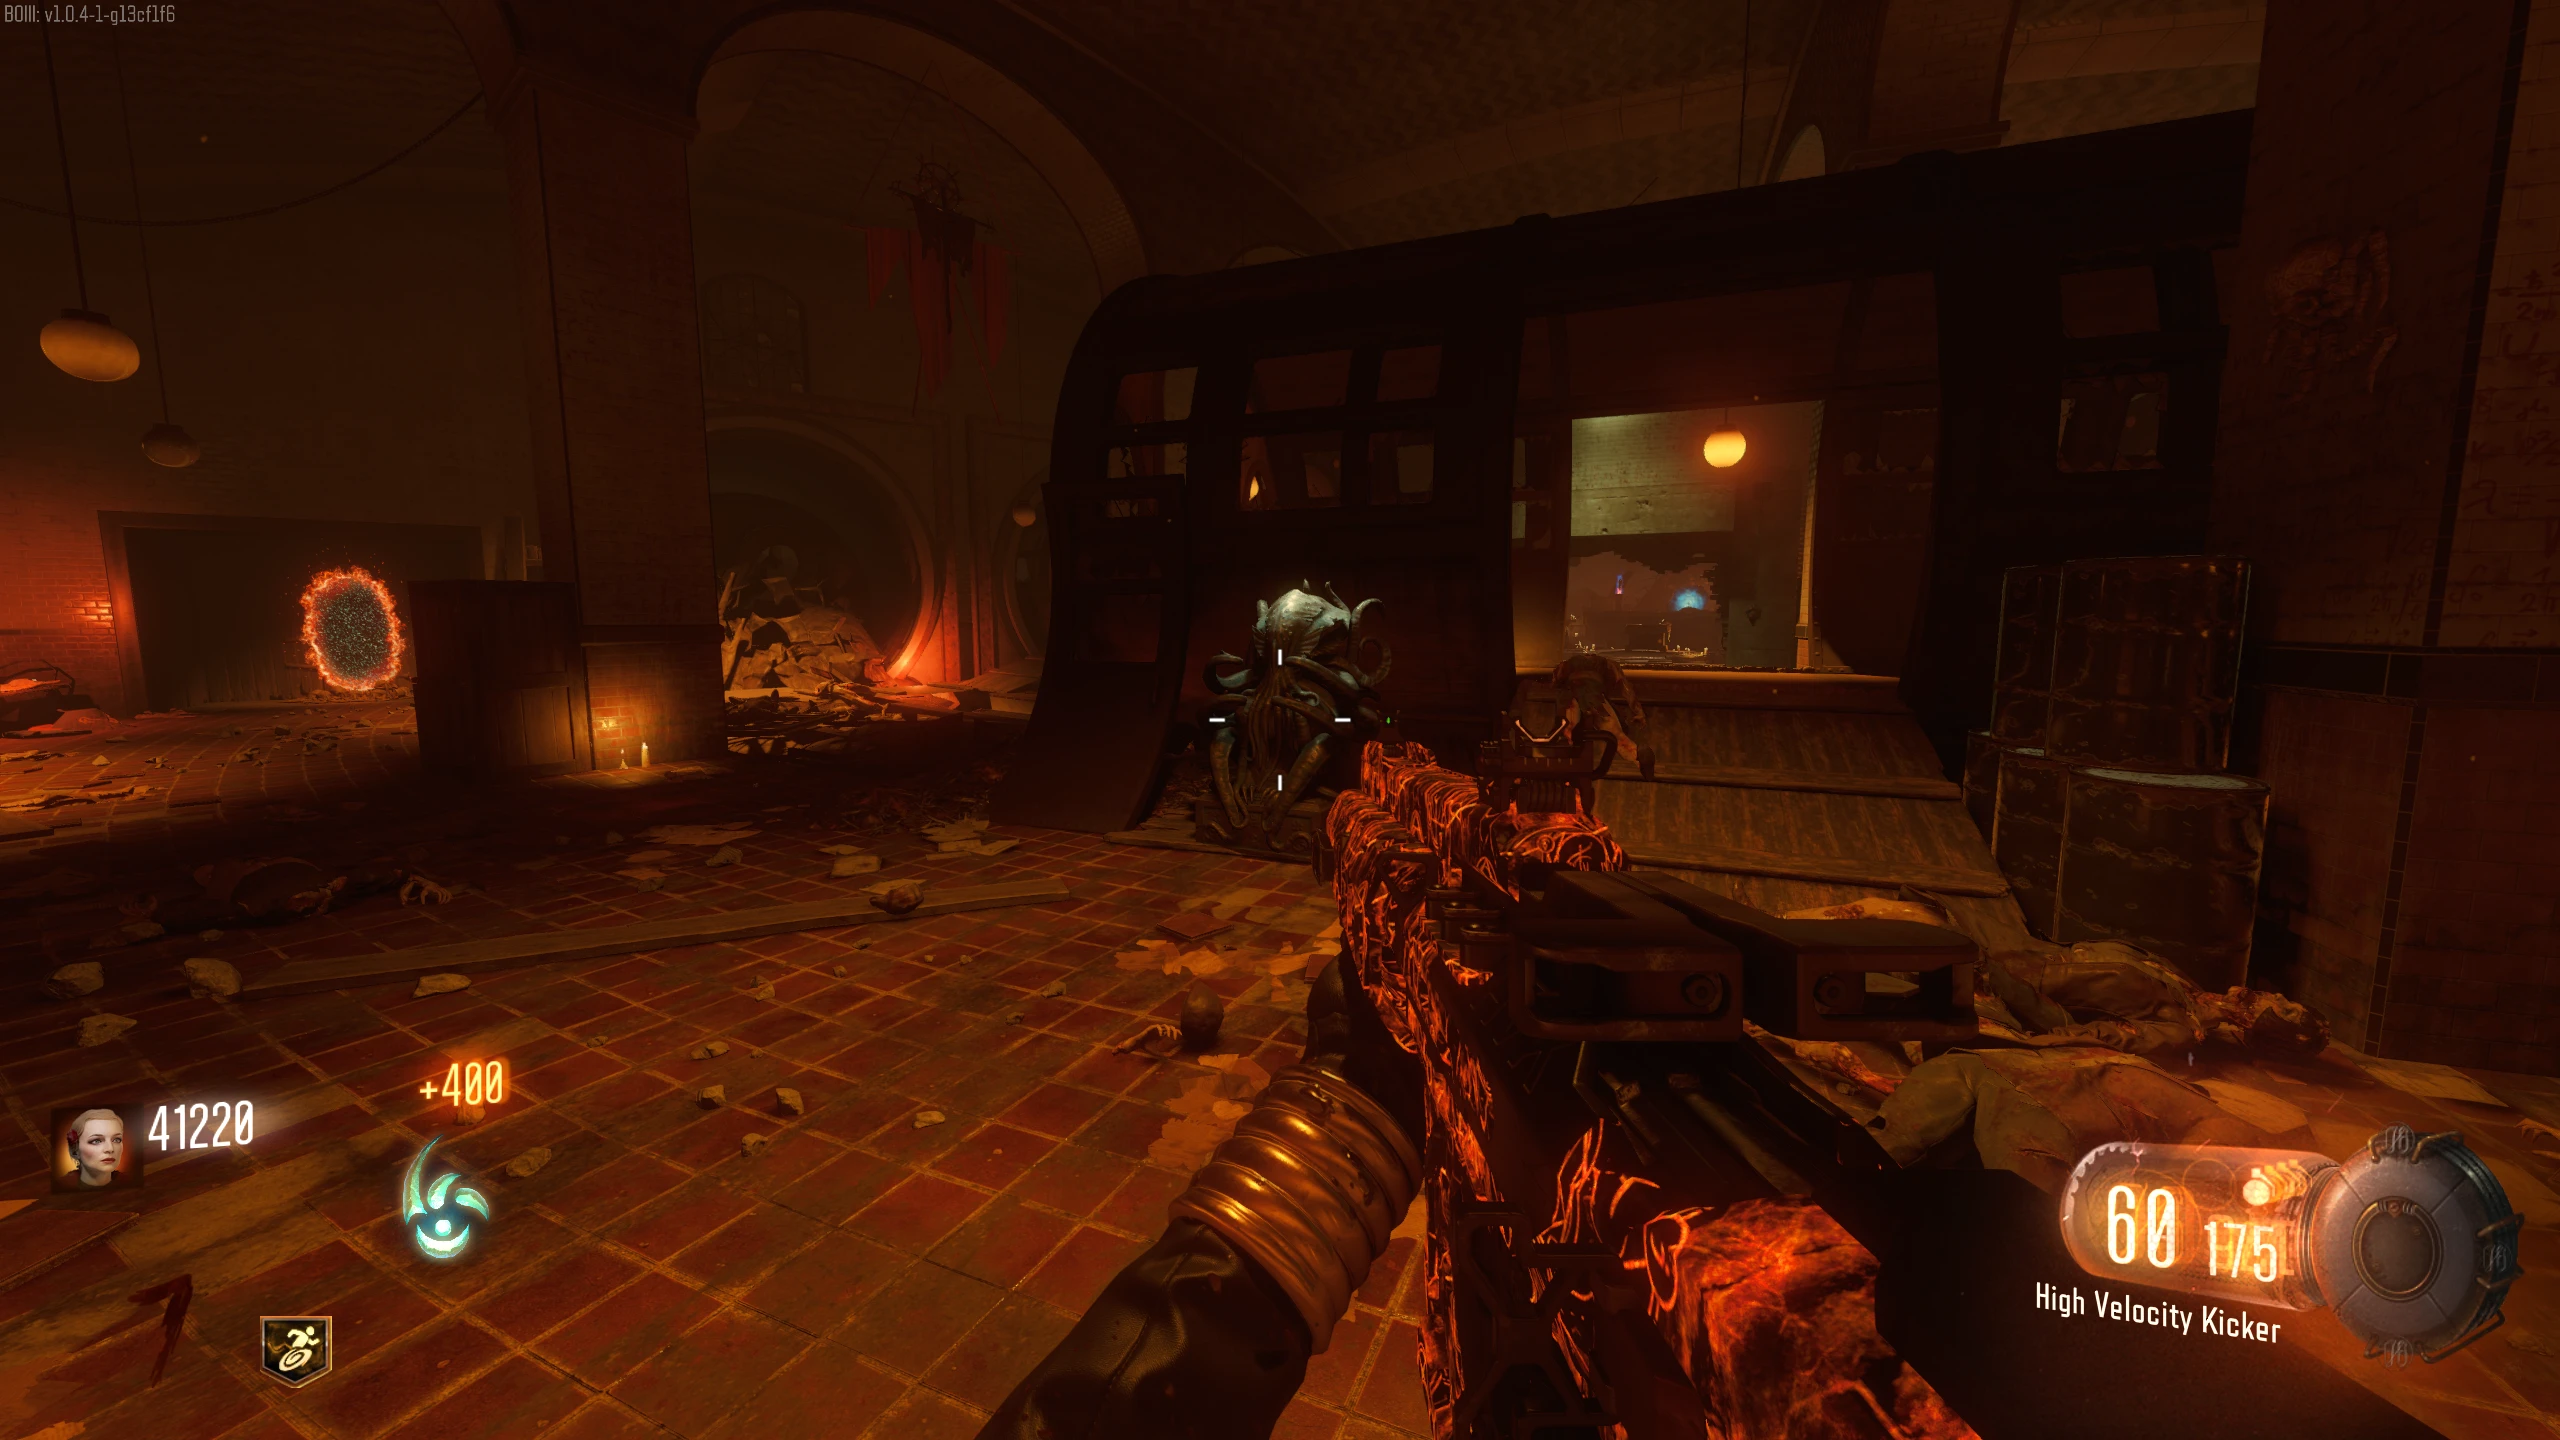
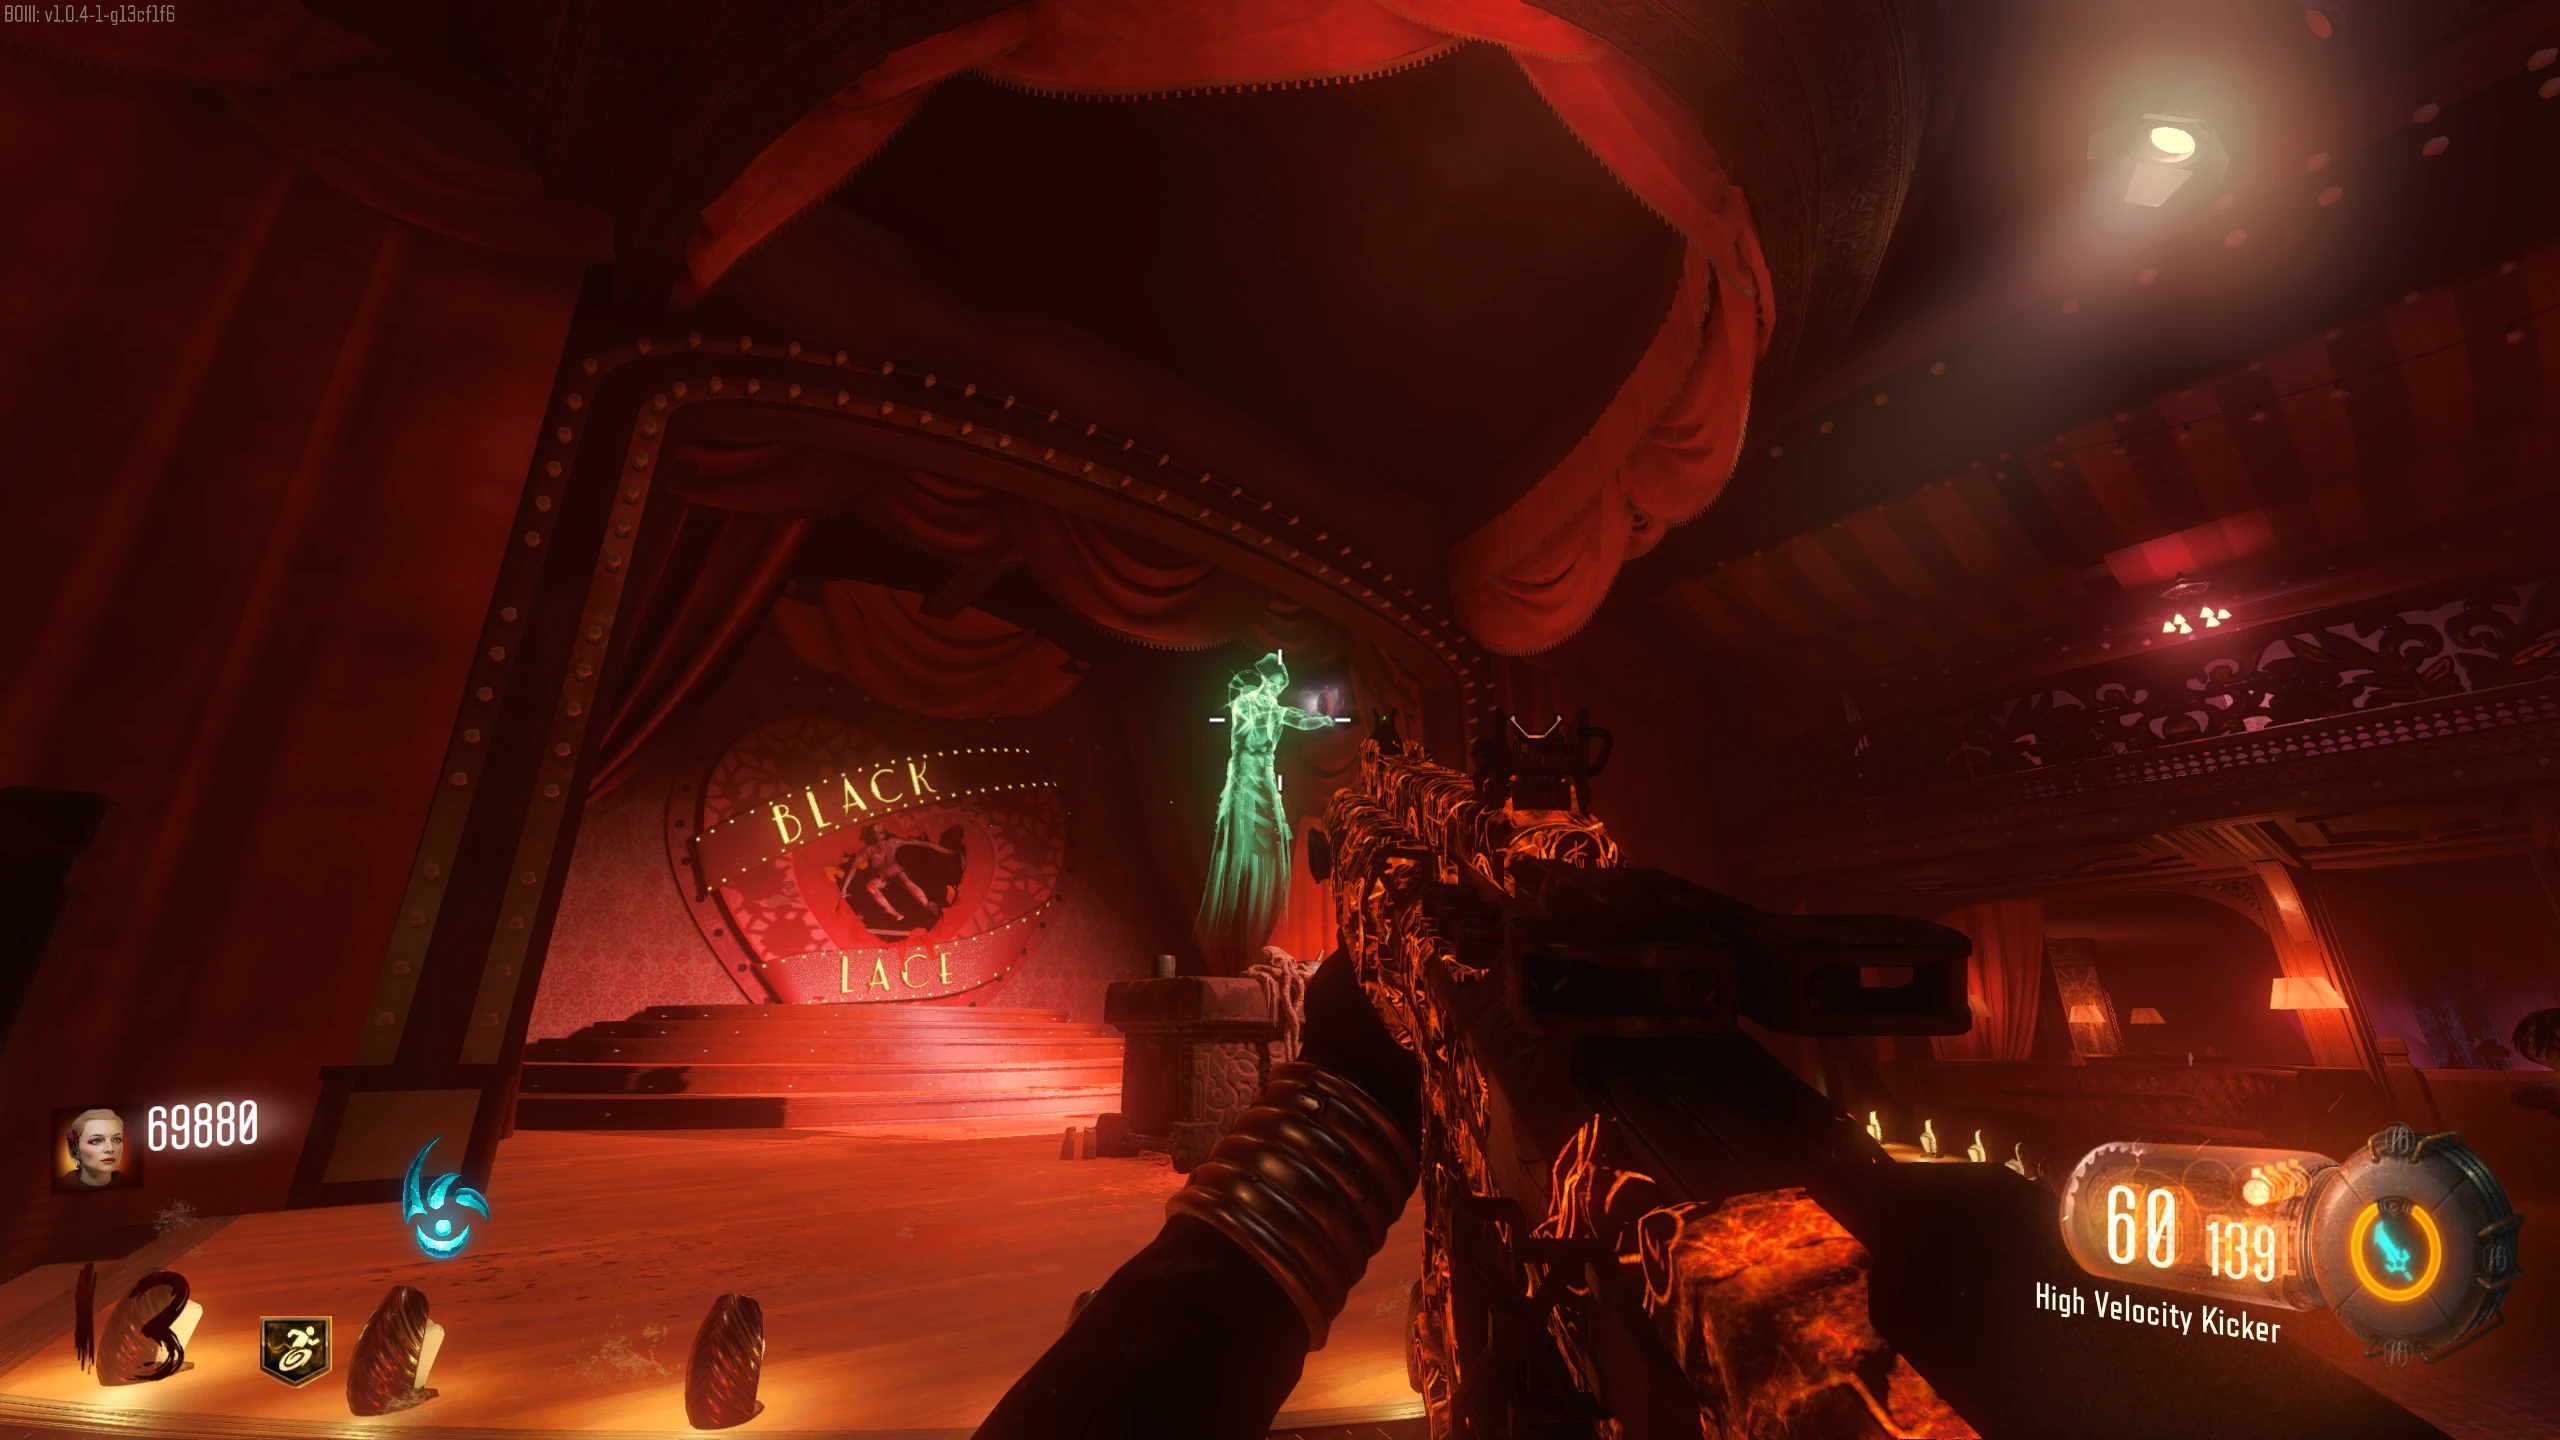
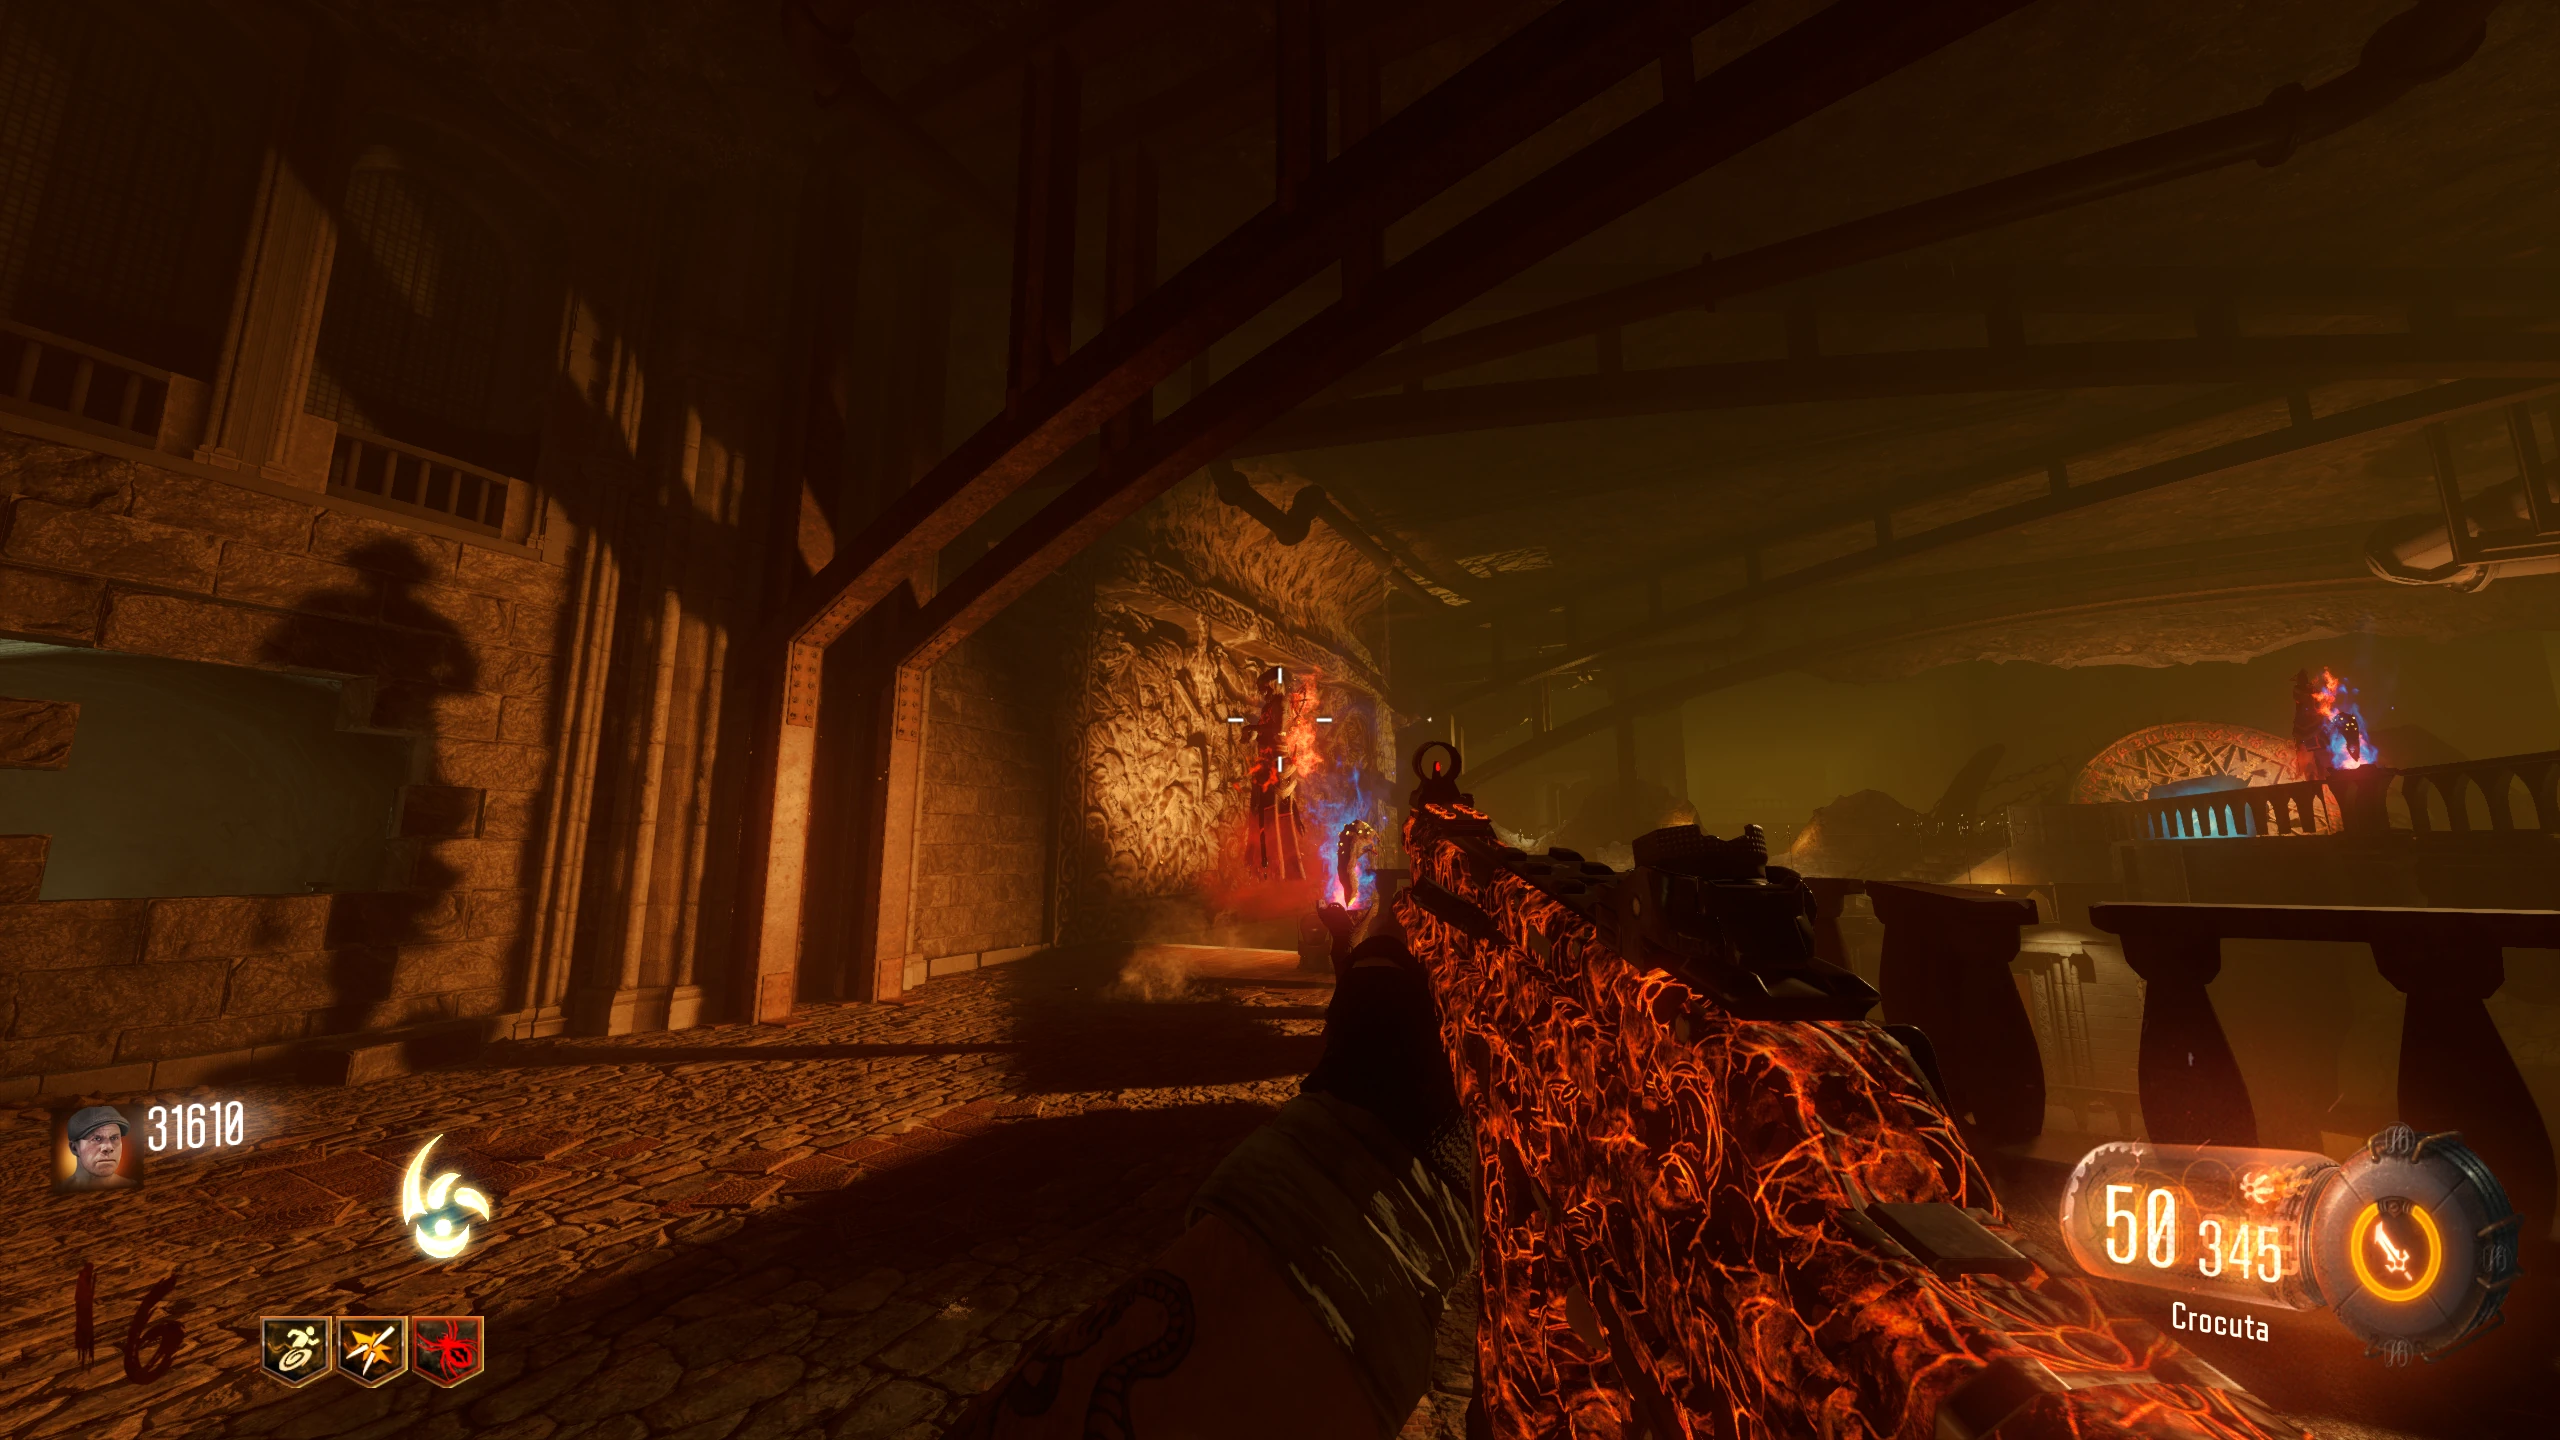
- The Shadowman will appear in the middle of the room with a shield around him. The Keepers will fire a beam at him, breaking the shield and stunning the Shadowman.
- While the Shadowman is stunned, quickly shoot him to make him teleport around the arena. Keep shooting him until he's above the Ritual Table near the entrance to the room. You have 9 seconds to get him to the Ritual Table before he teleports back.
-
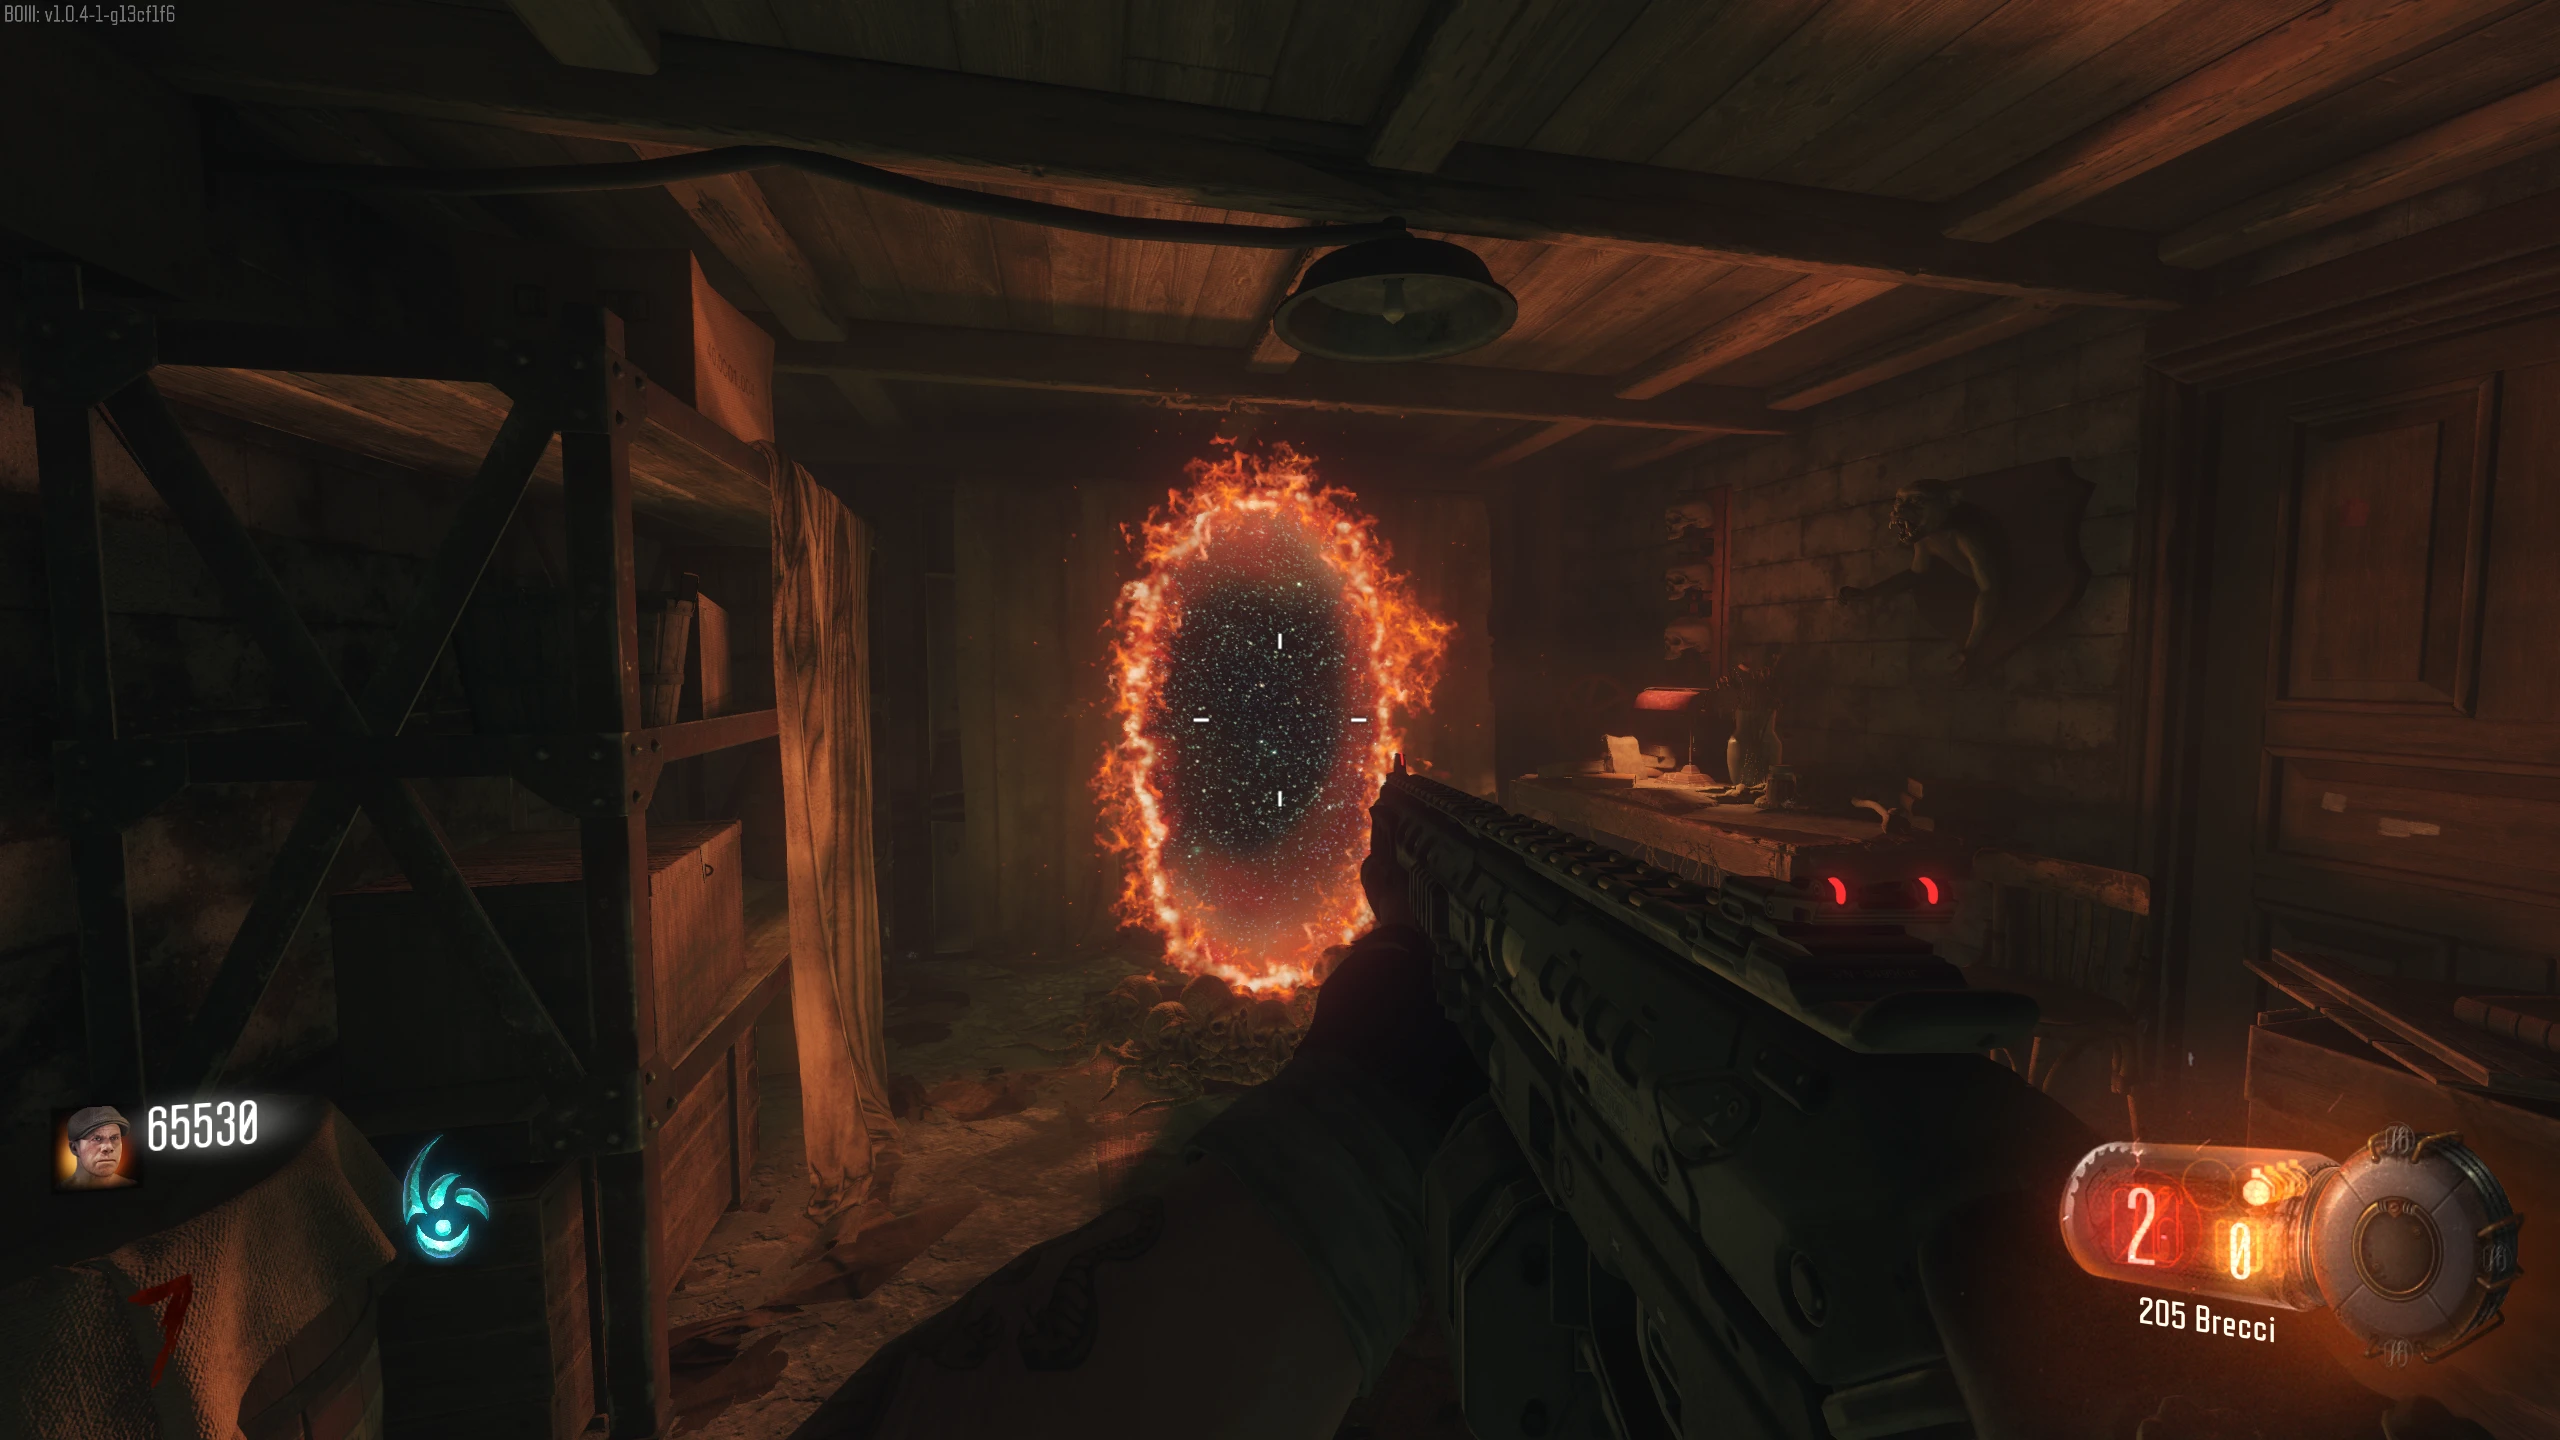
Once the Shadowman is
over the table, interact with the table to capture the Shadowman in the Summoning Key. If you capture the Shadowman, the Boss
Fight will end, and you can skip the remainder of this section.
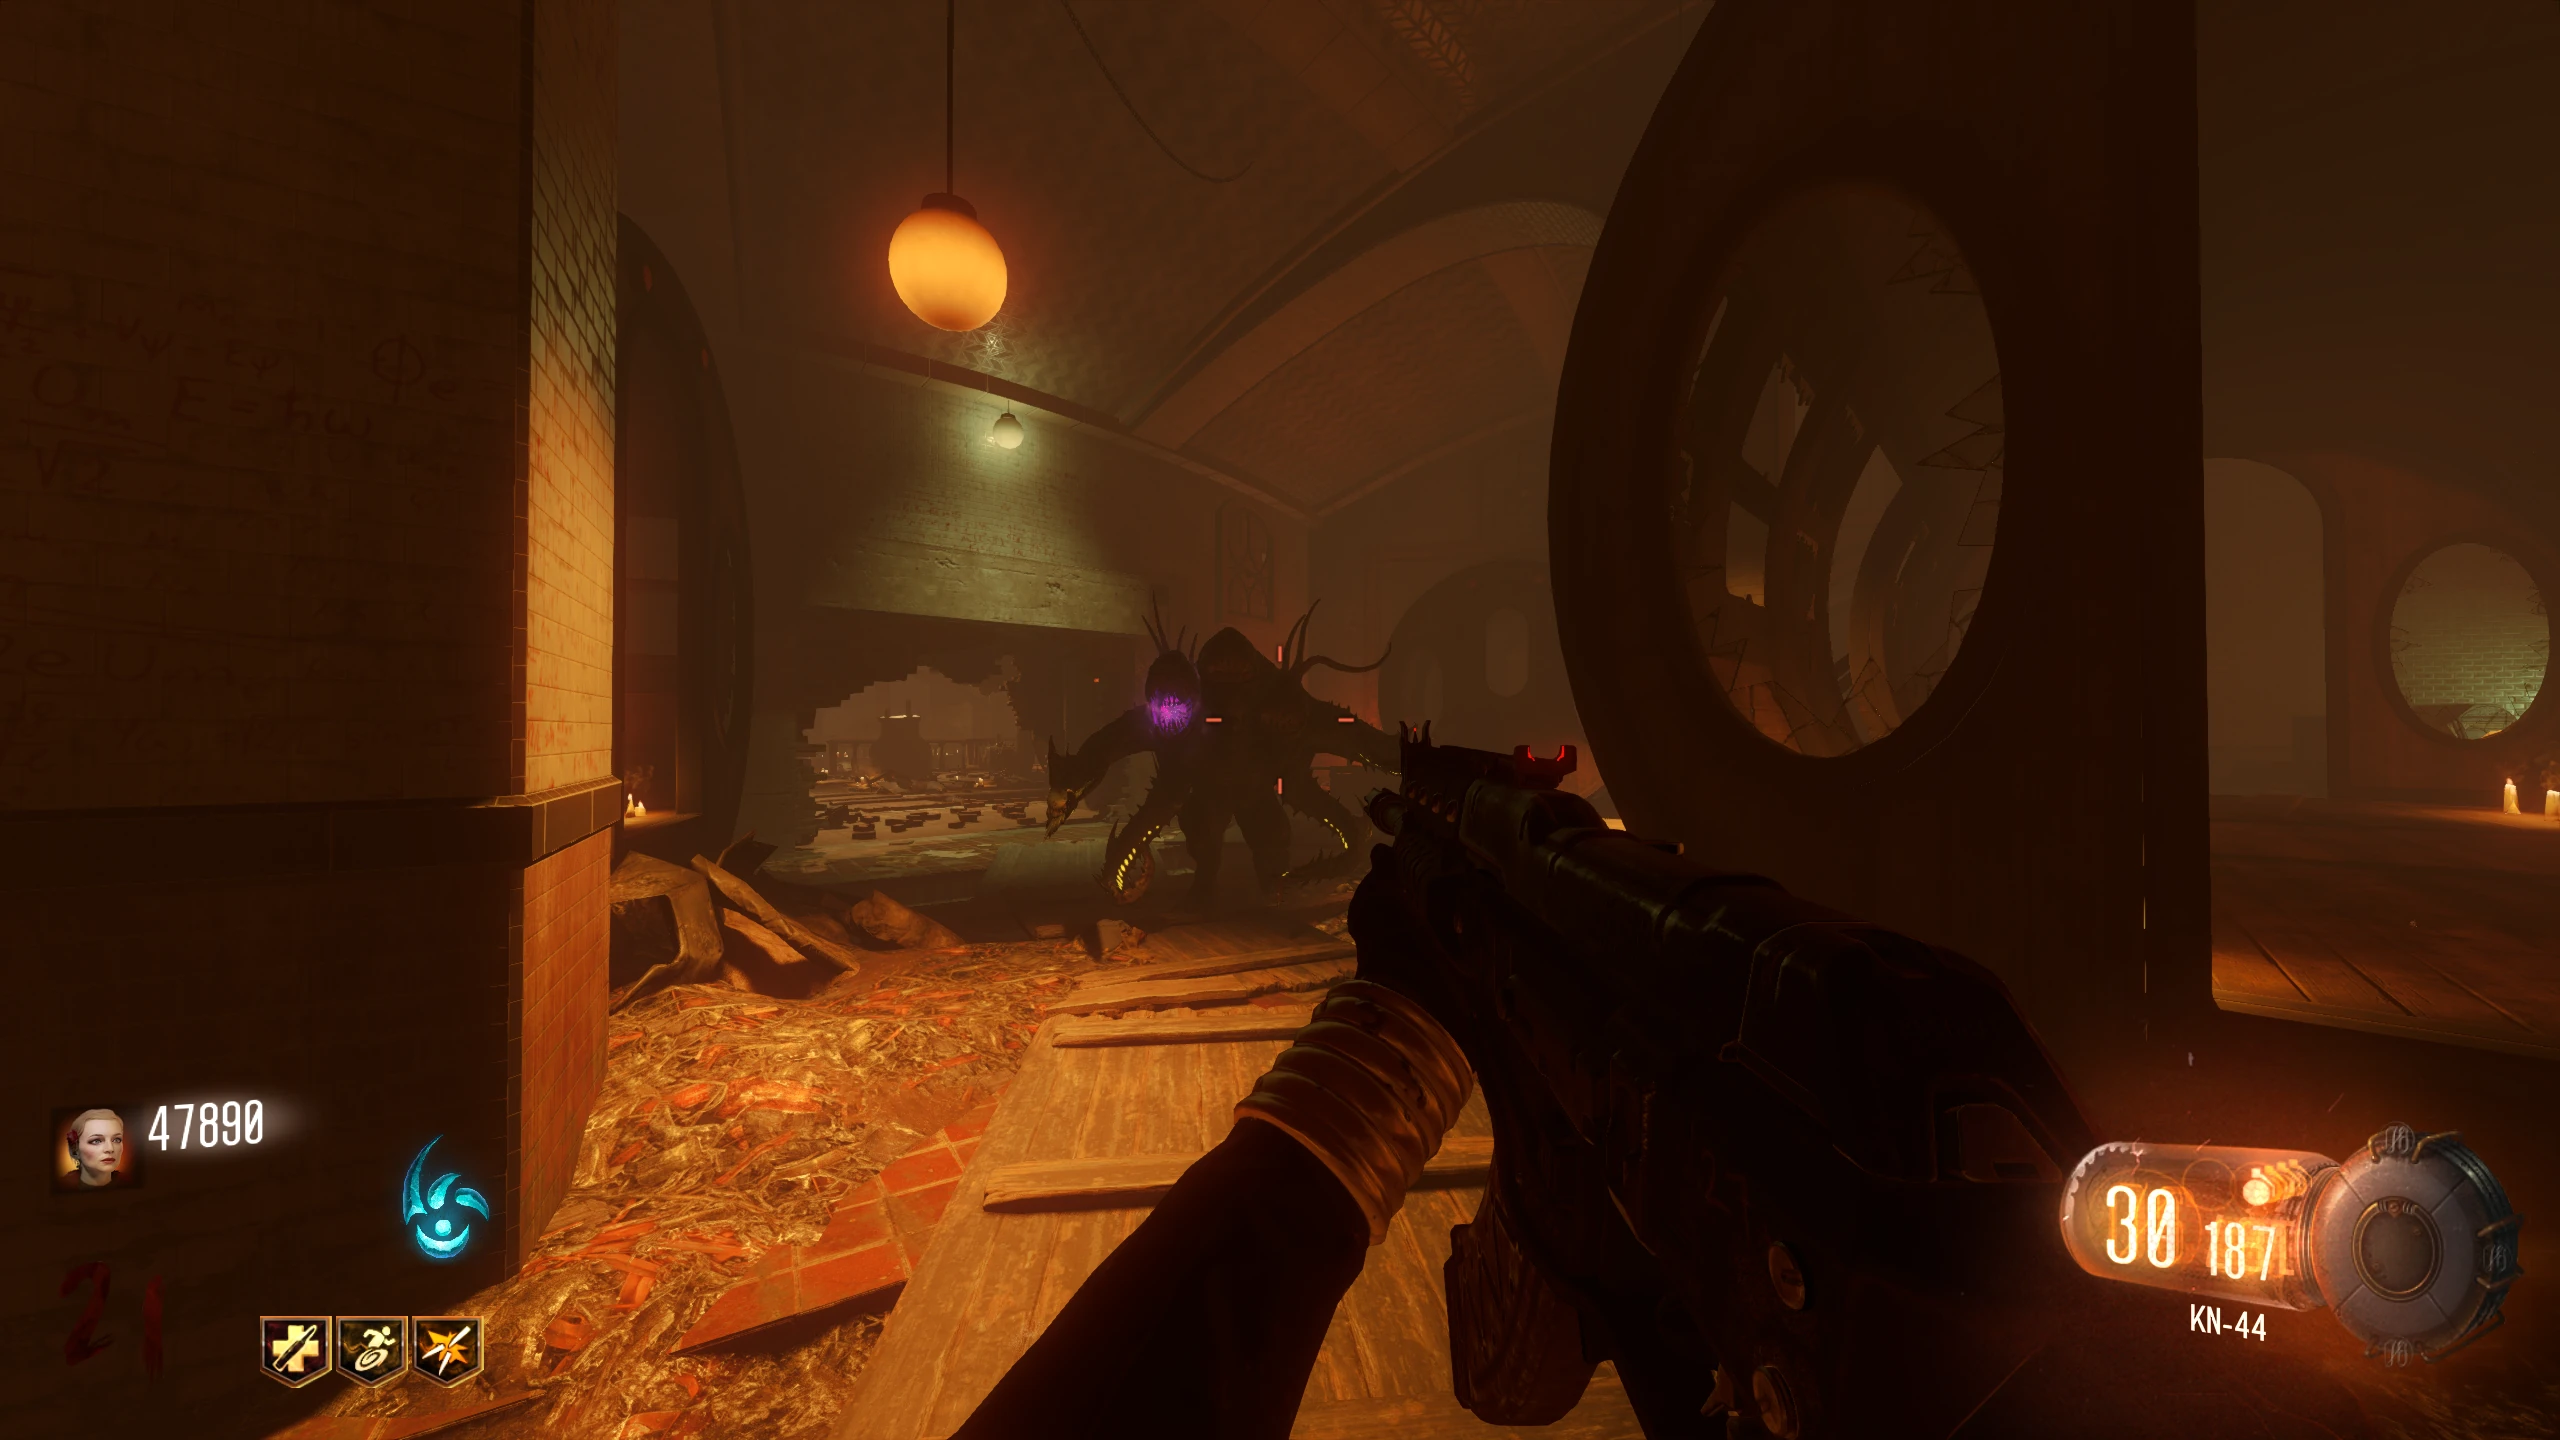
- If you take too long to get the Shadowman to the Ritual Table, he'll recover from the stun and teleport back to the middle of the room with the shield, and a Margwa will spawn.
-
If you don't capture the Shadowman, you must activate each Keeper again. Once activated, they'll break the Shadowman's shield, and you can try to capture him by shooting him around the
room again. With each failure to capture the Shadowman, 2 seconds will be added to the time you have to get him to the Ritual Table.
- Once the Shadowman's shield is broken, a Max Ammo power-up will spawn beside one of the Keepers/Gateworms near the Shadowman.
- The Shadowman has an attack that can deactivate all currently activated Keepers, making you have to activate them again. He will hold the Summoning Key above his head, and it will start to glow purple. Once the attack is started, you have about 8-10 seconds to cancel it. This attack can only be cancelled by activating all four Keepers before he attacks.
- Once you've captured the Shadowman in the Summoning Key, the boss fight will end. If you don't have four players in the game, the Main Quest will end here, and you can continue your game as normal. There's no reward.
-
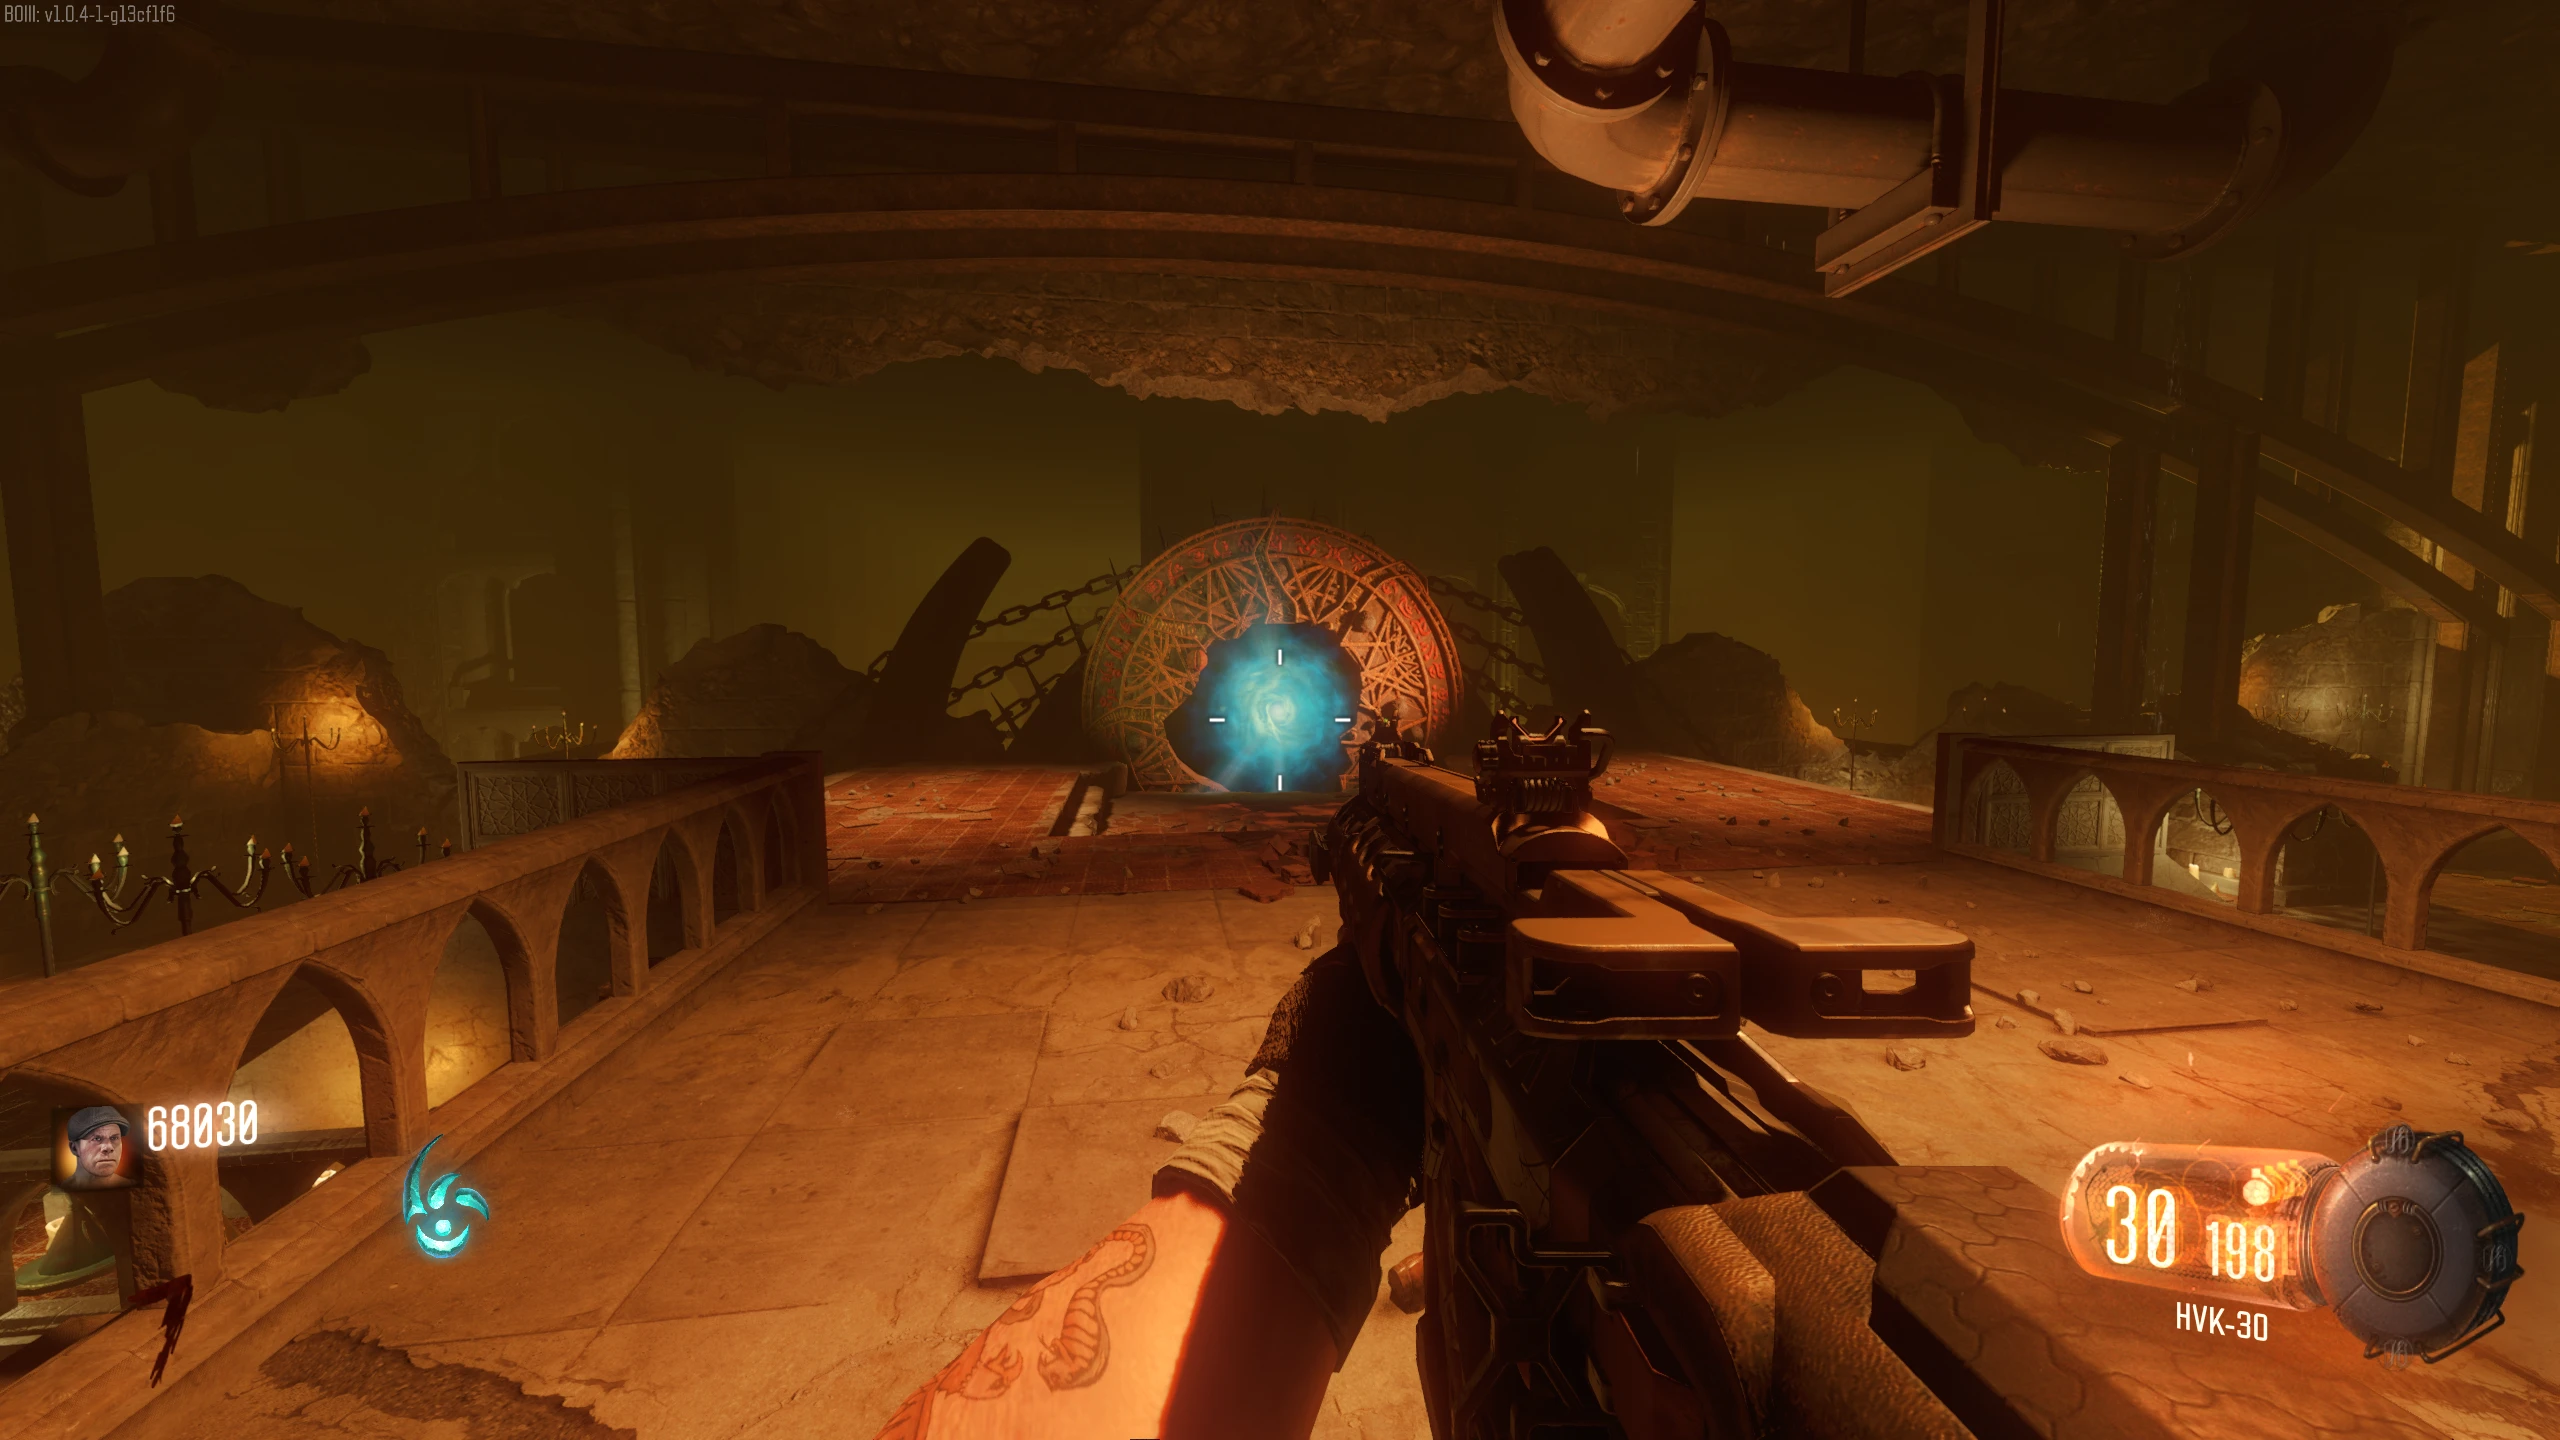
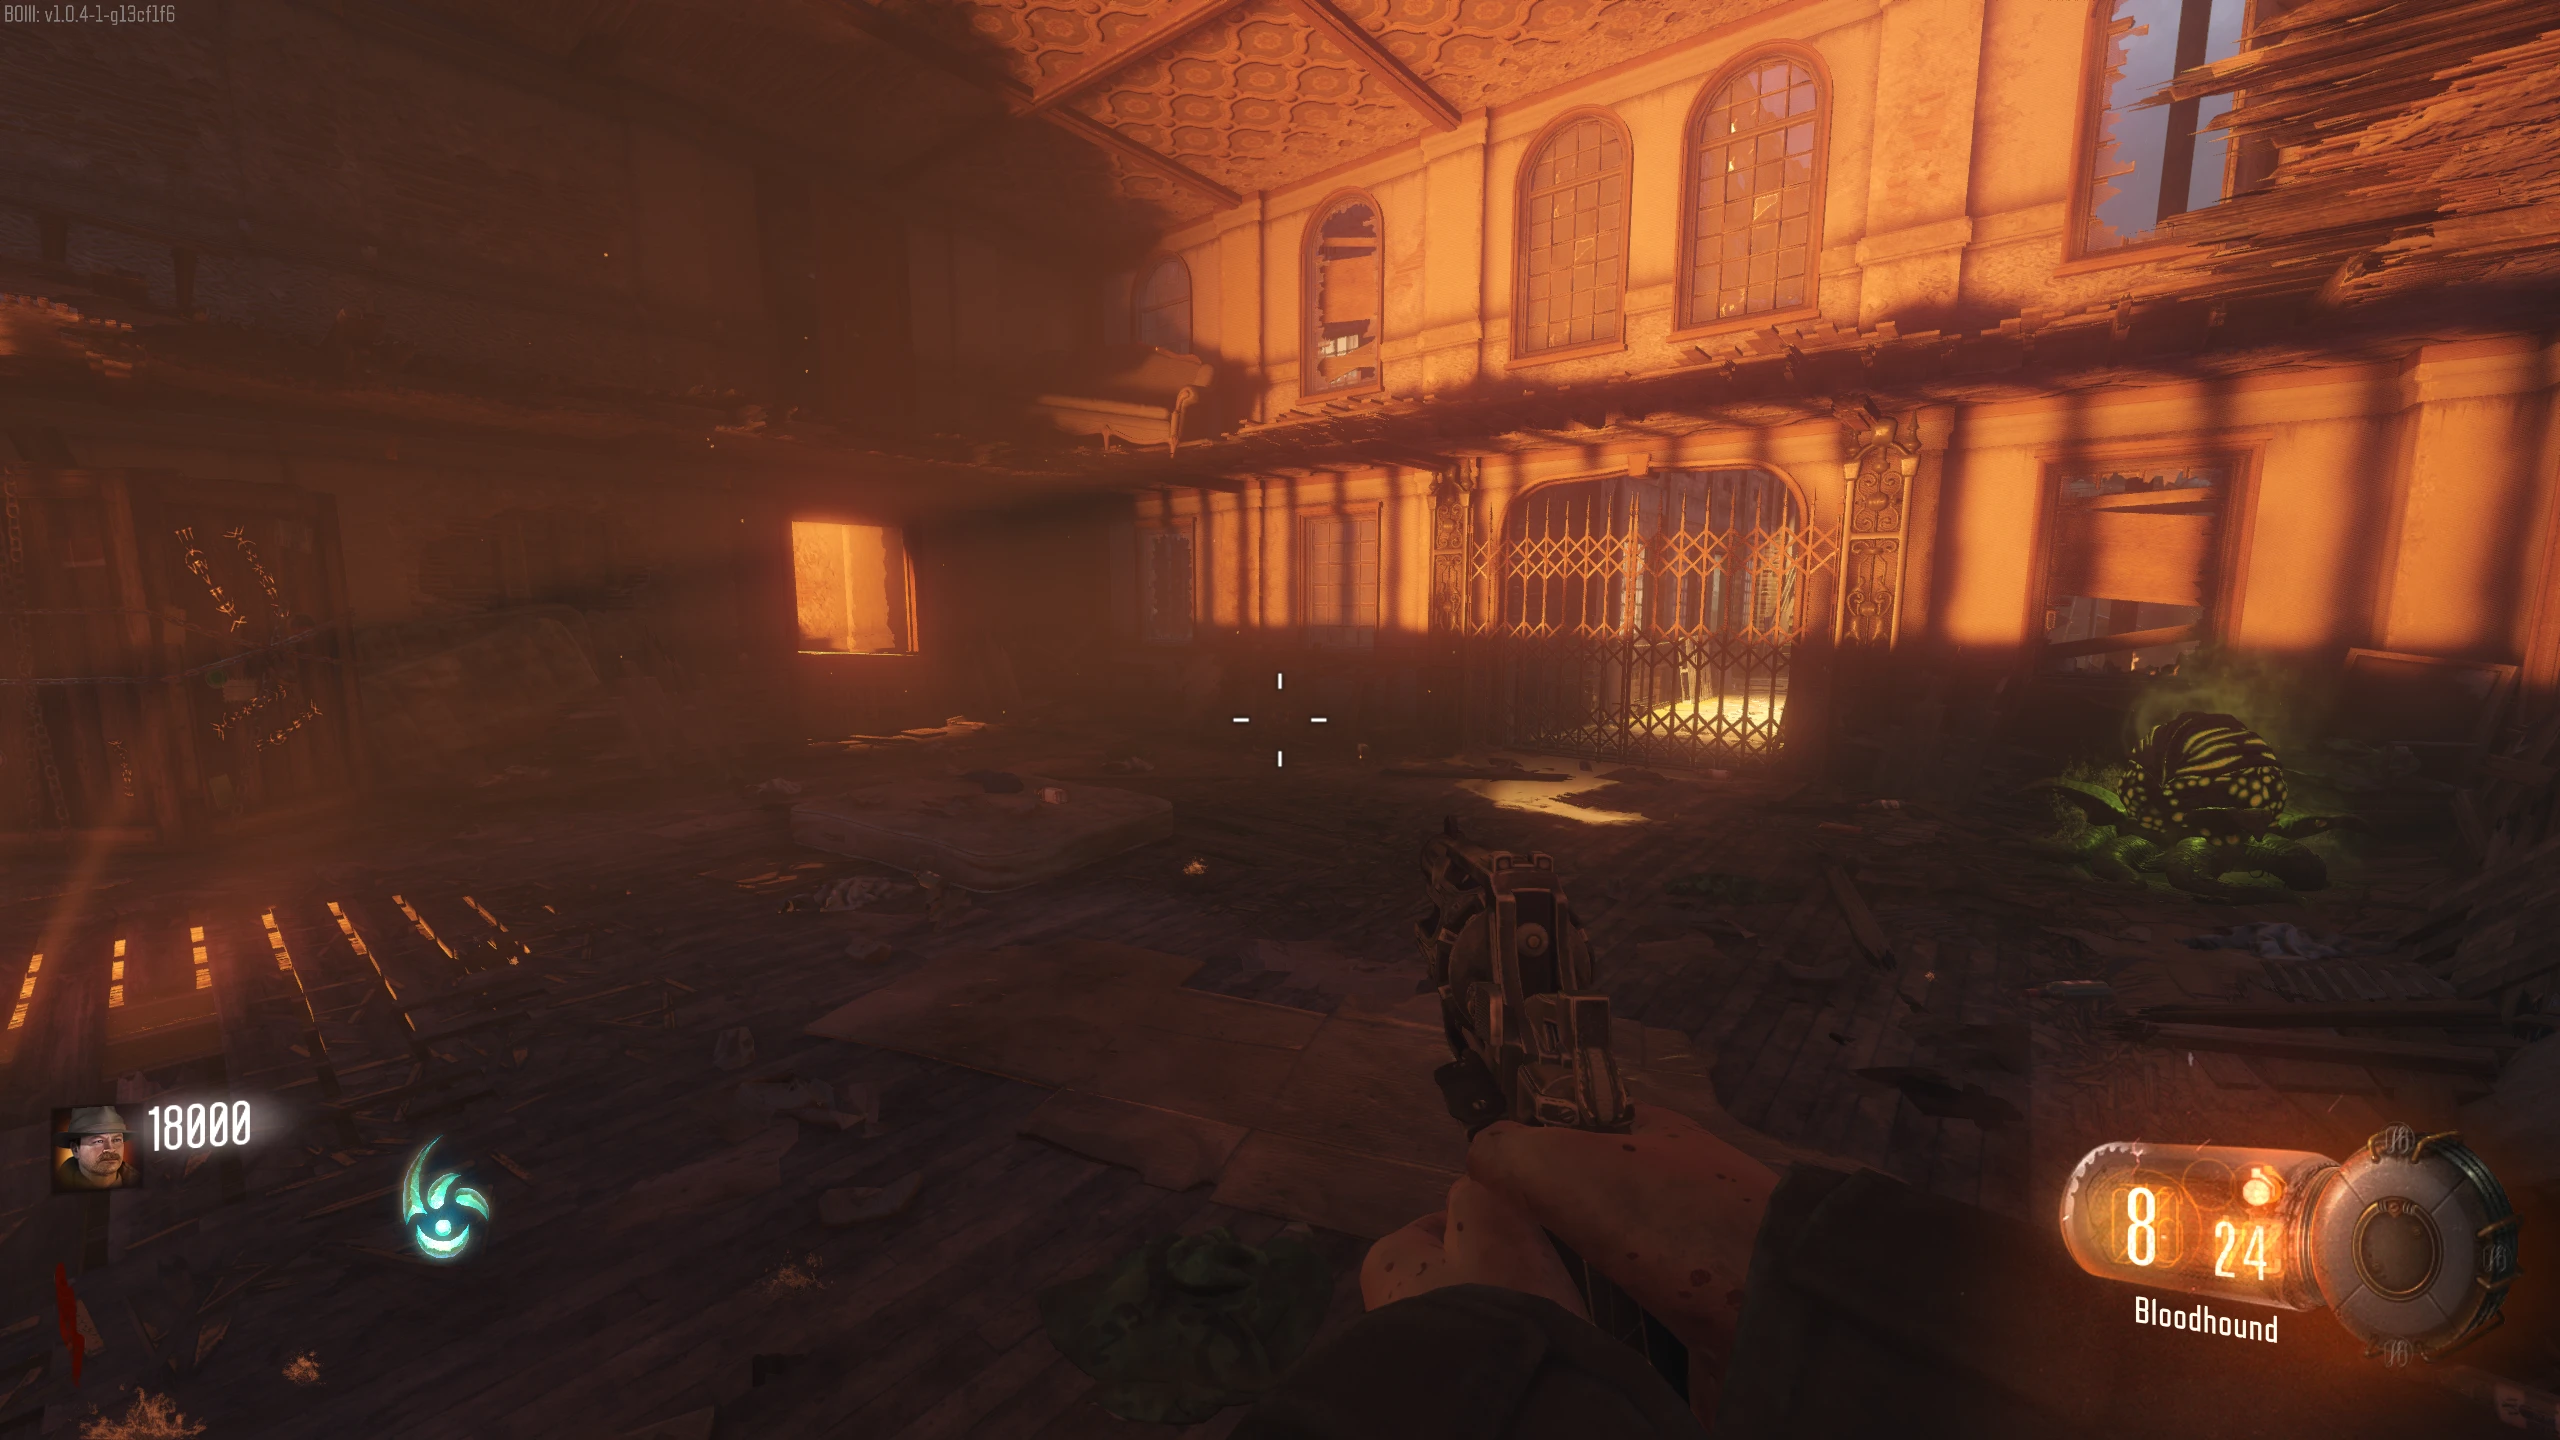
Destroy the Giant Gateworm (4-Player Only)
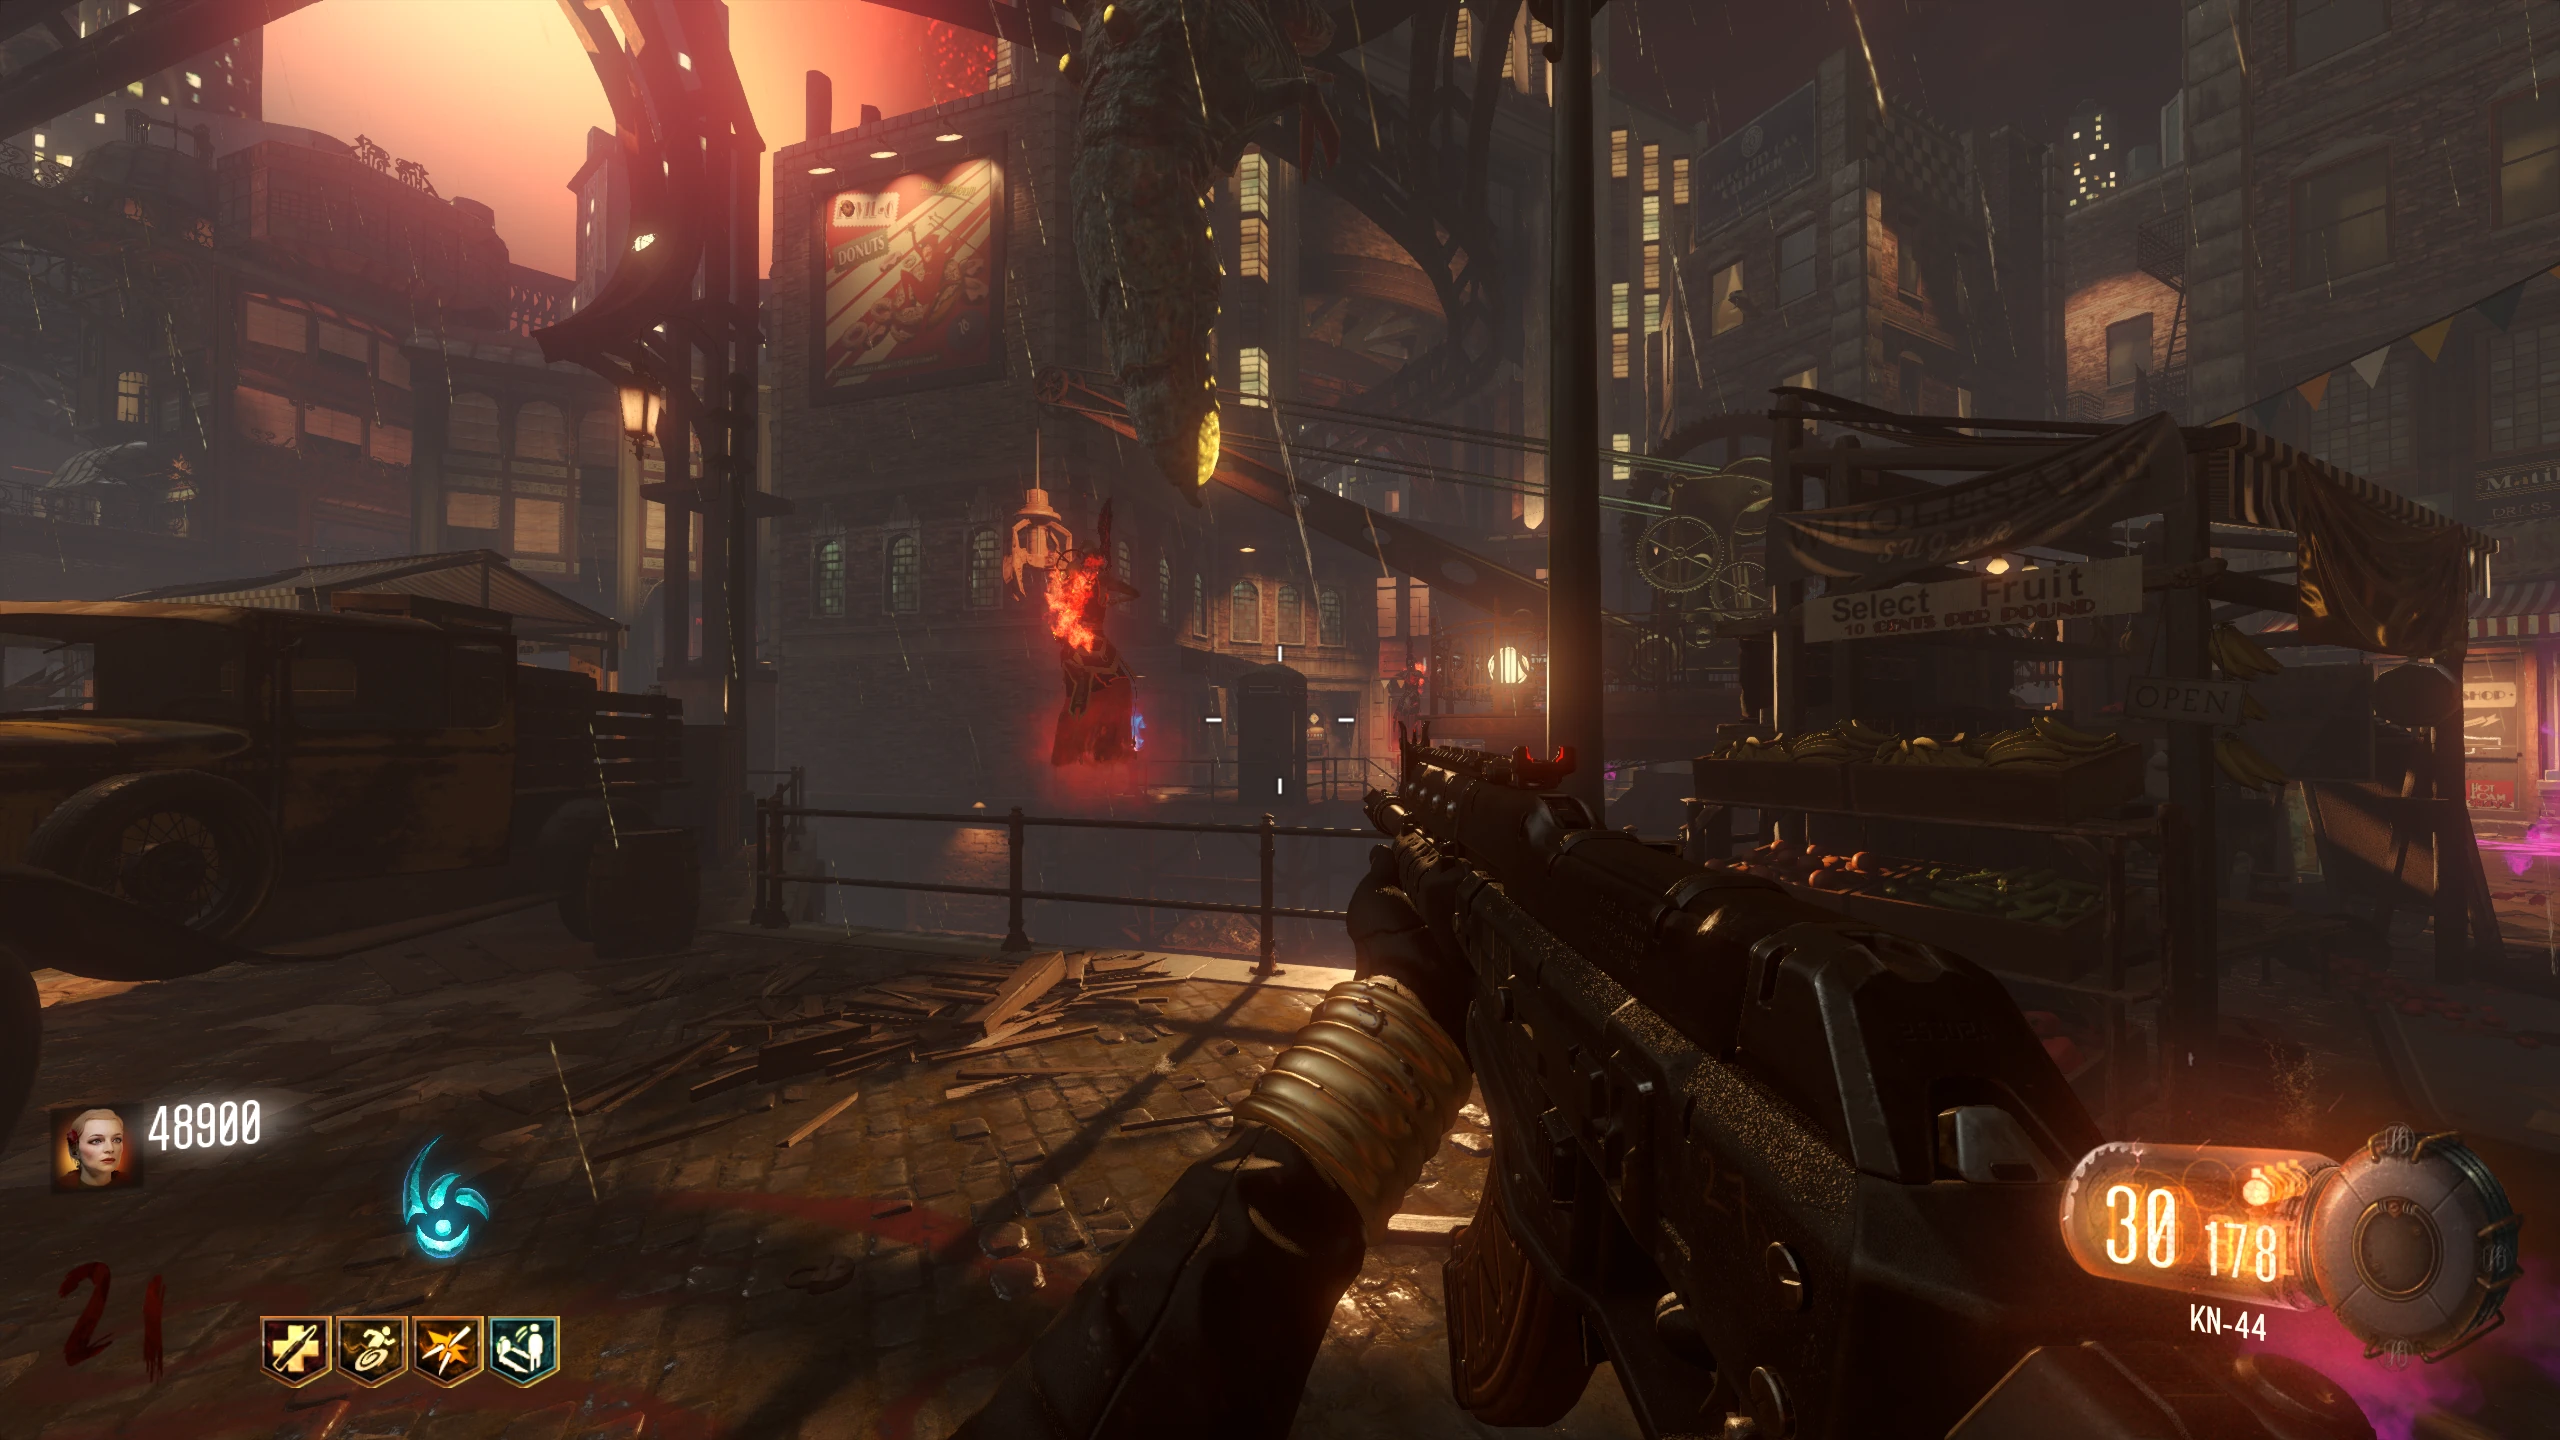
- If you do have four players, a giant Gateworm will appear on top of the ritual table, where you captured the Shadowman. After a couple of seconds, the giant Gateworm will disappear and all players will become "corrupted" (indicated by the red mist on screen).
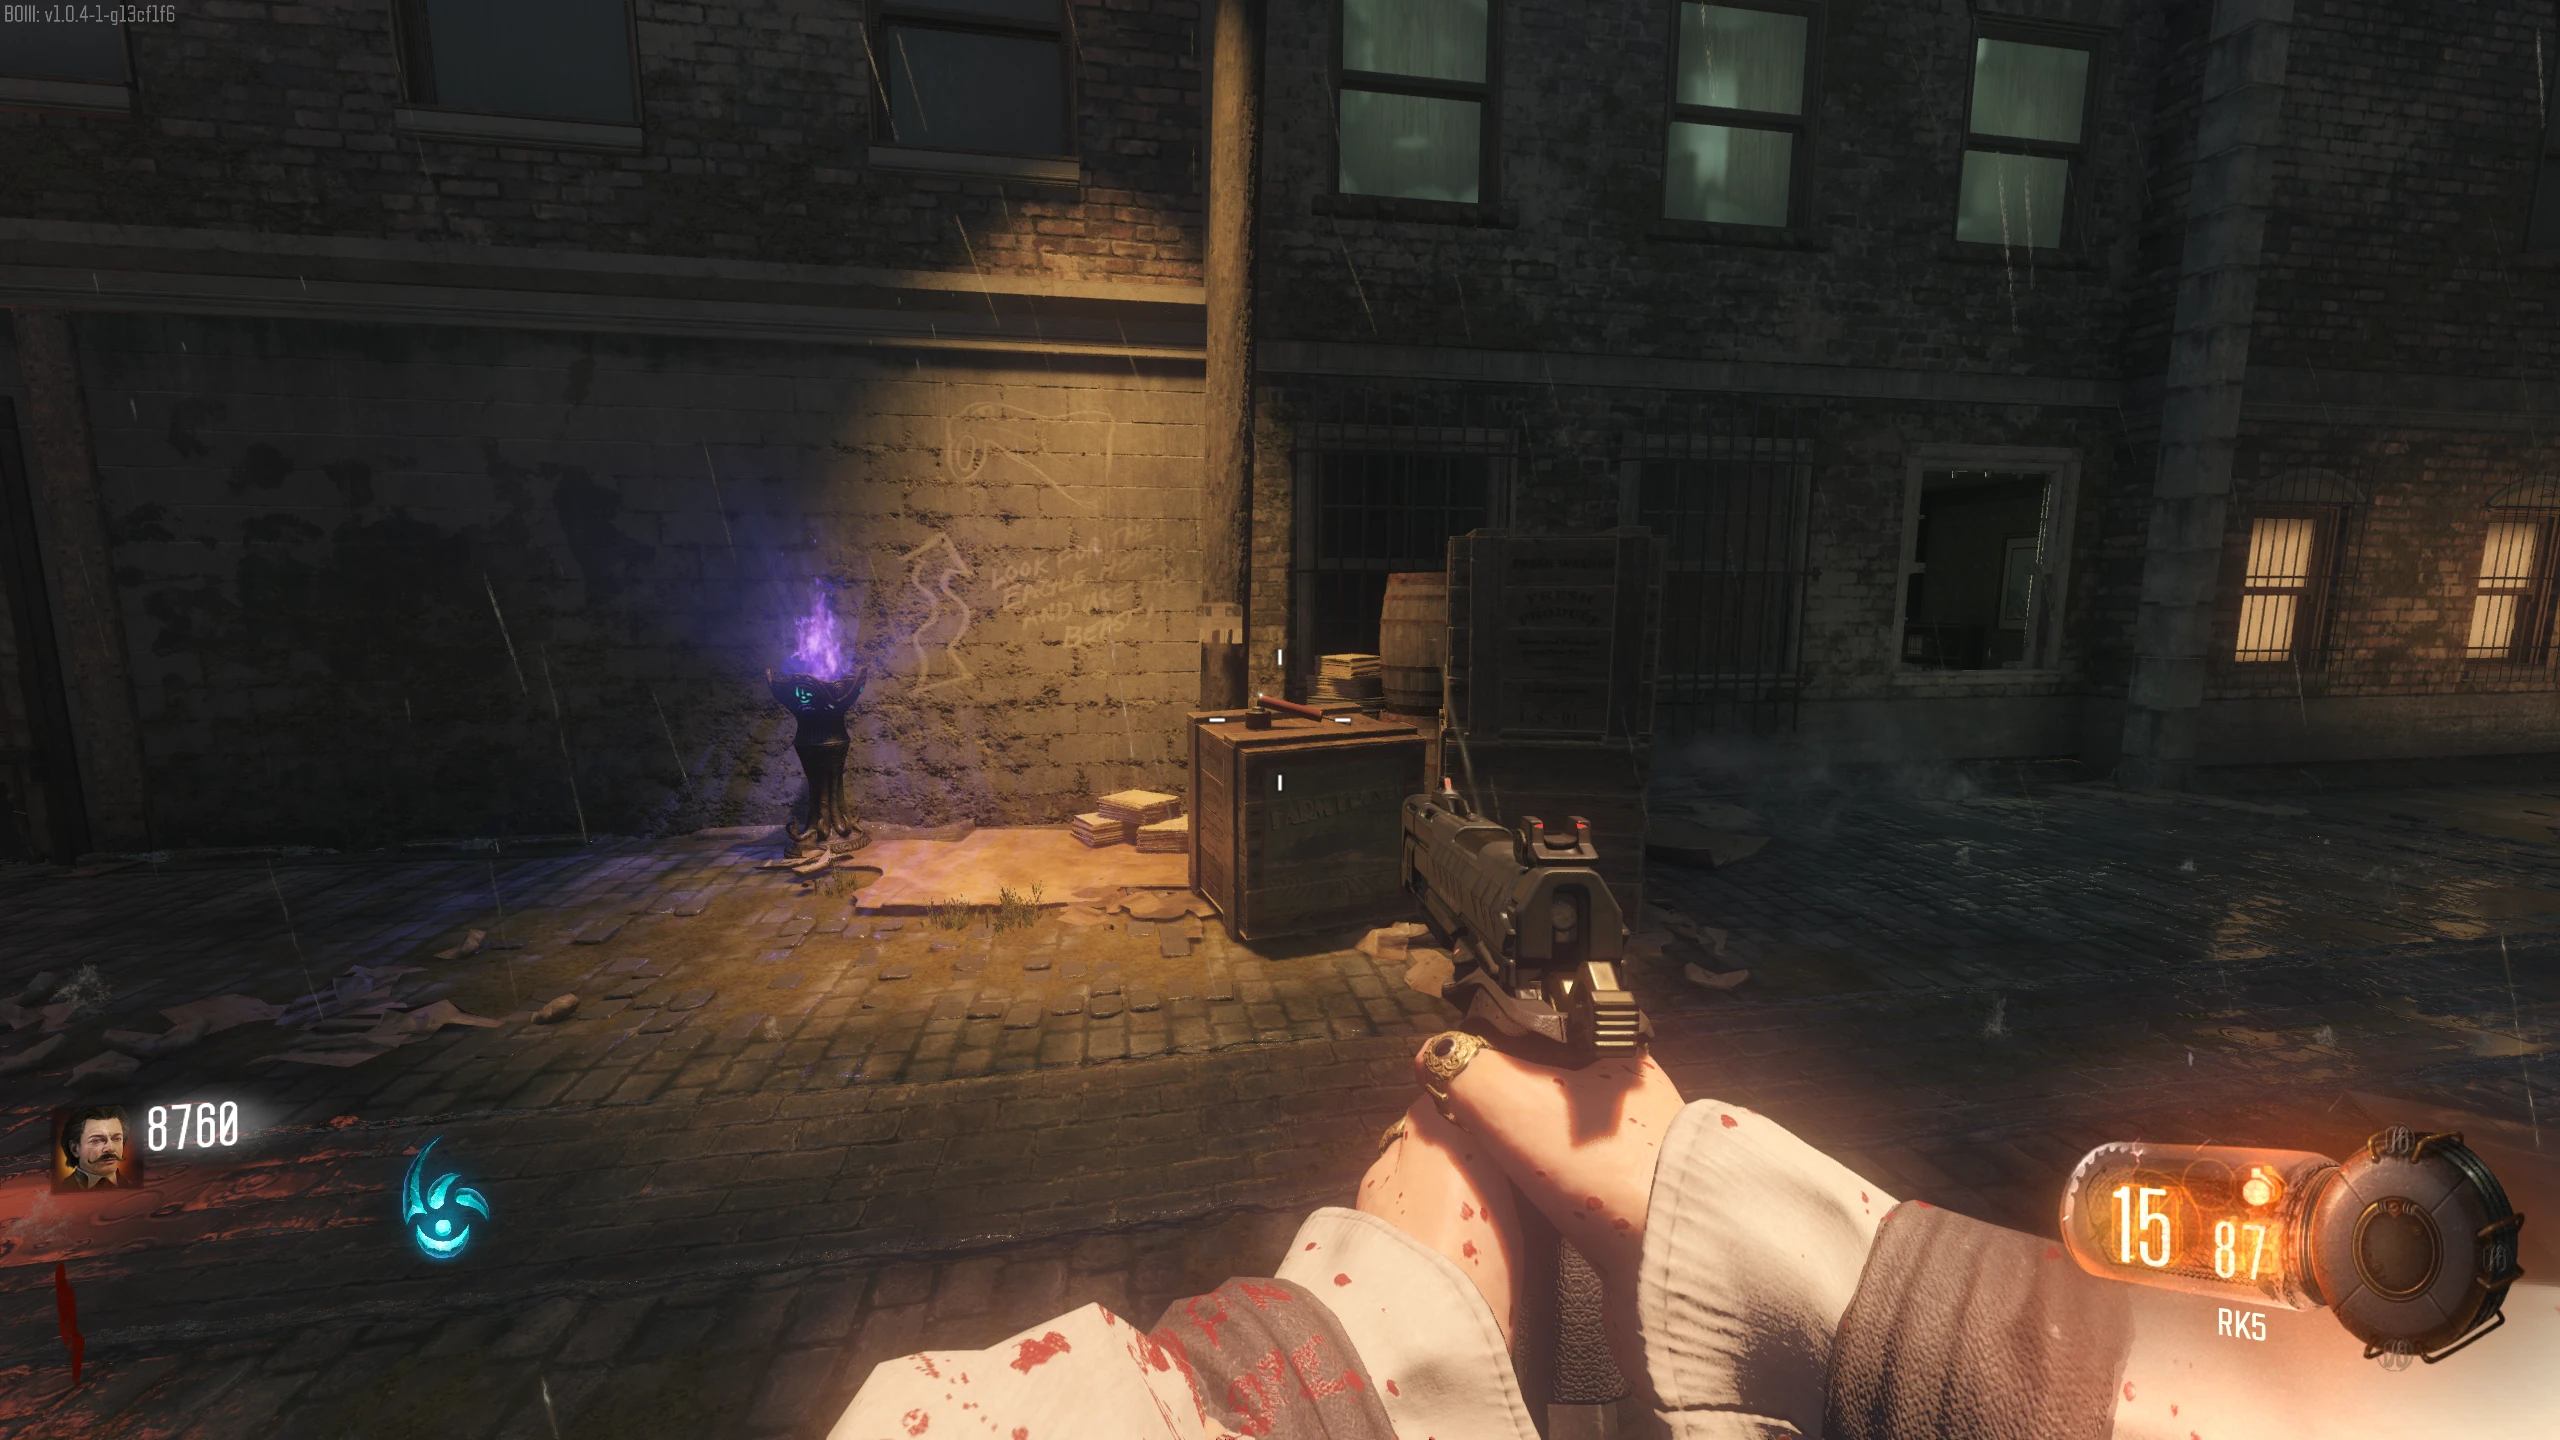
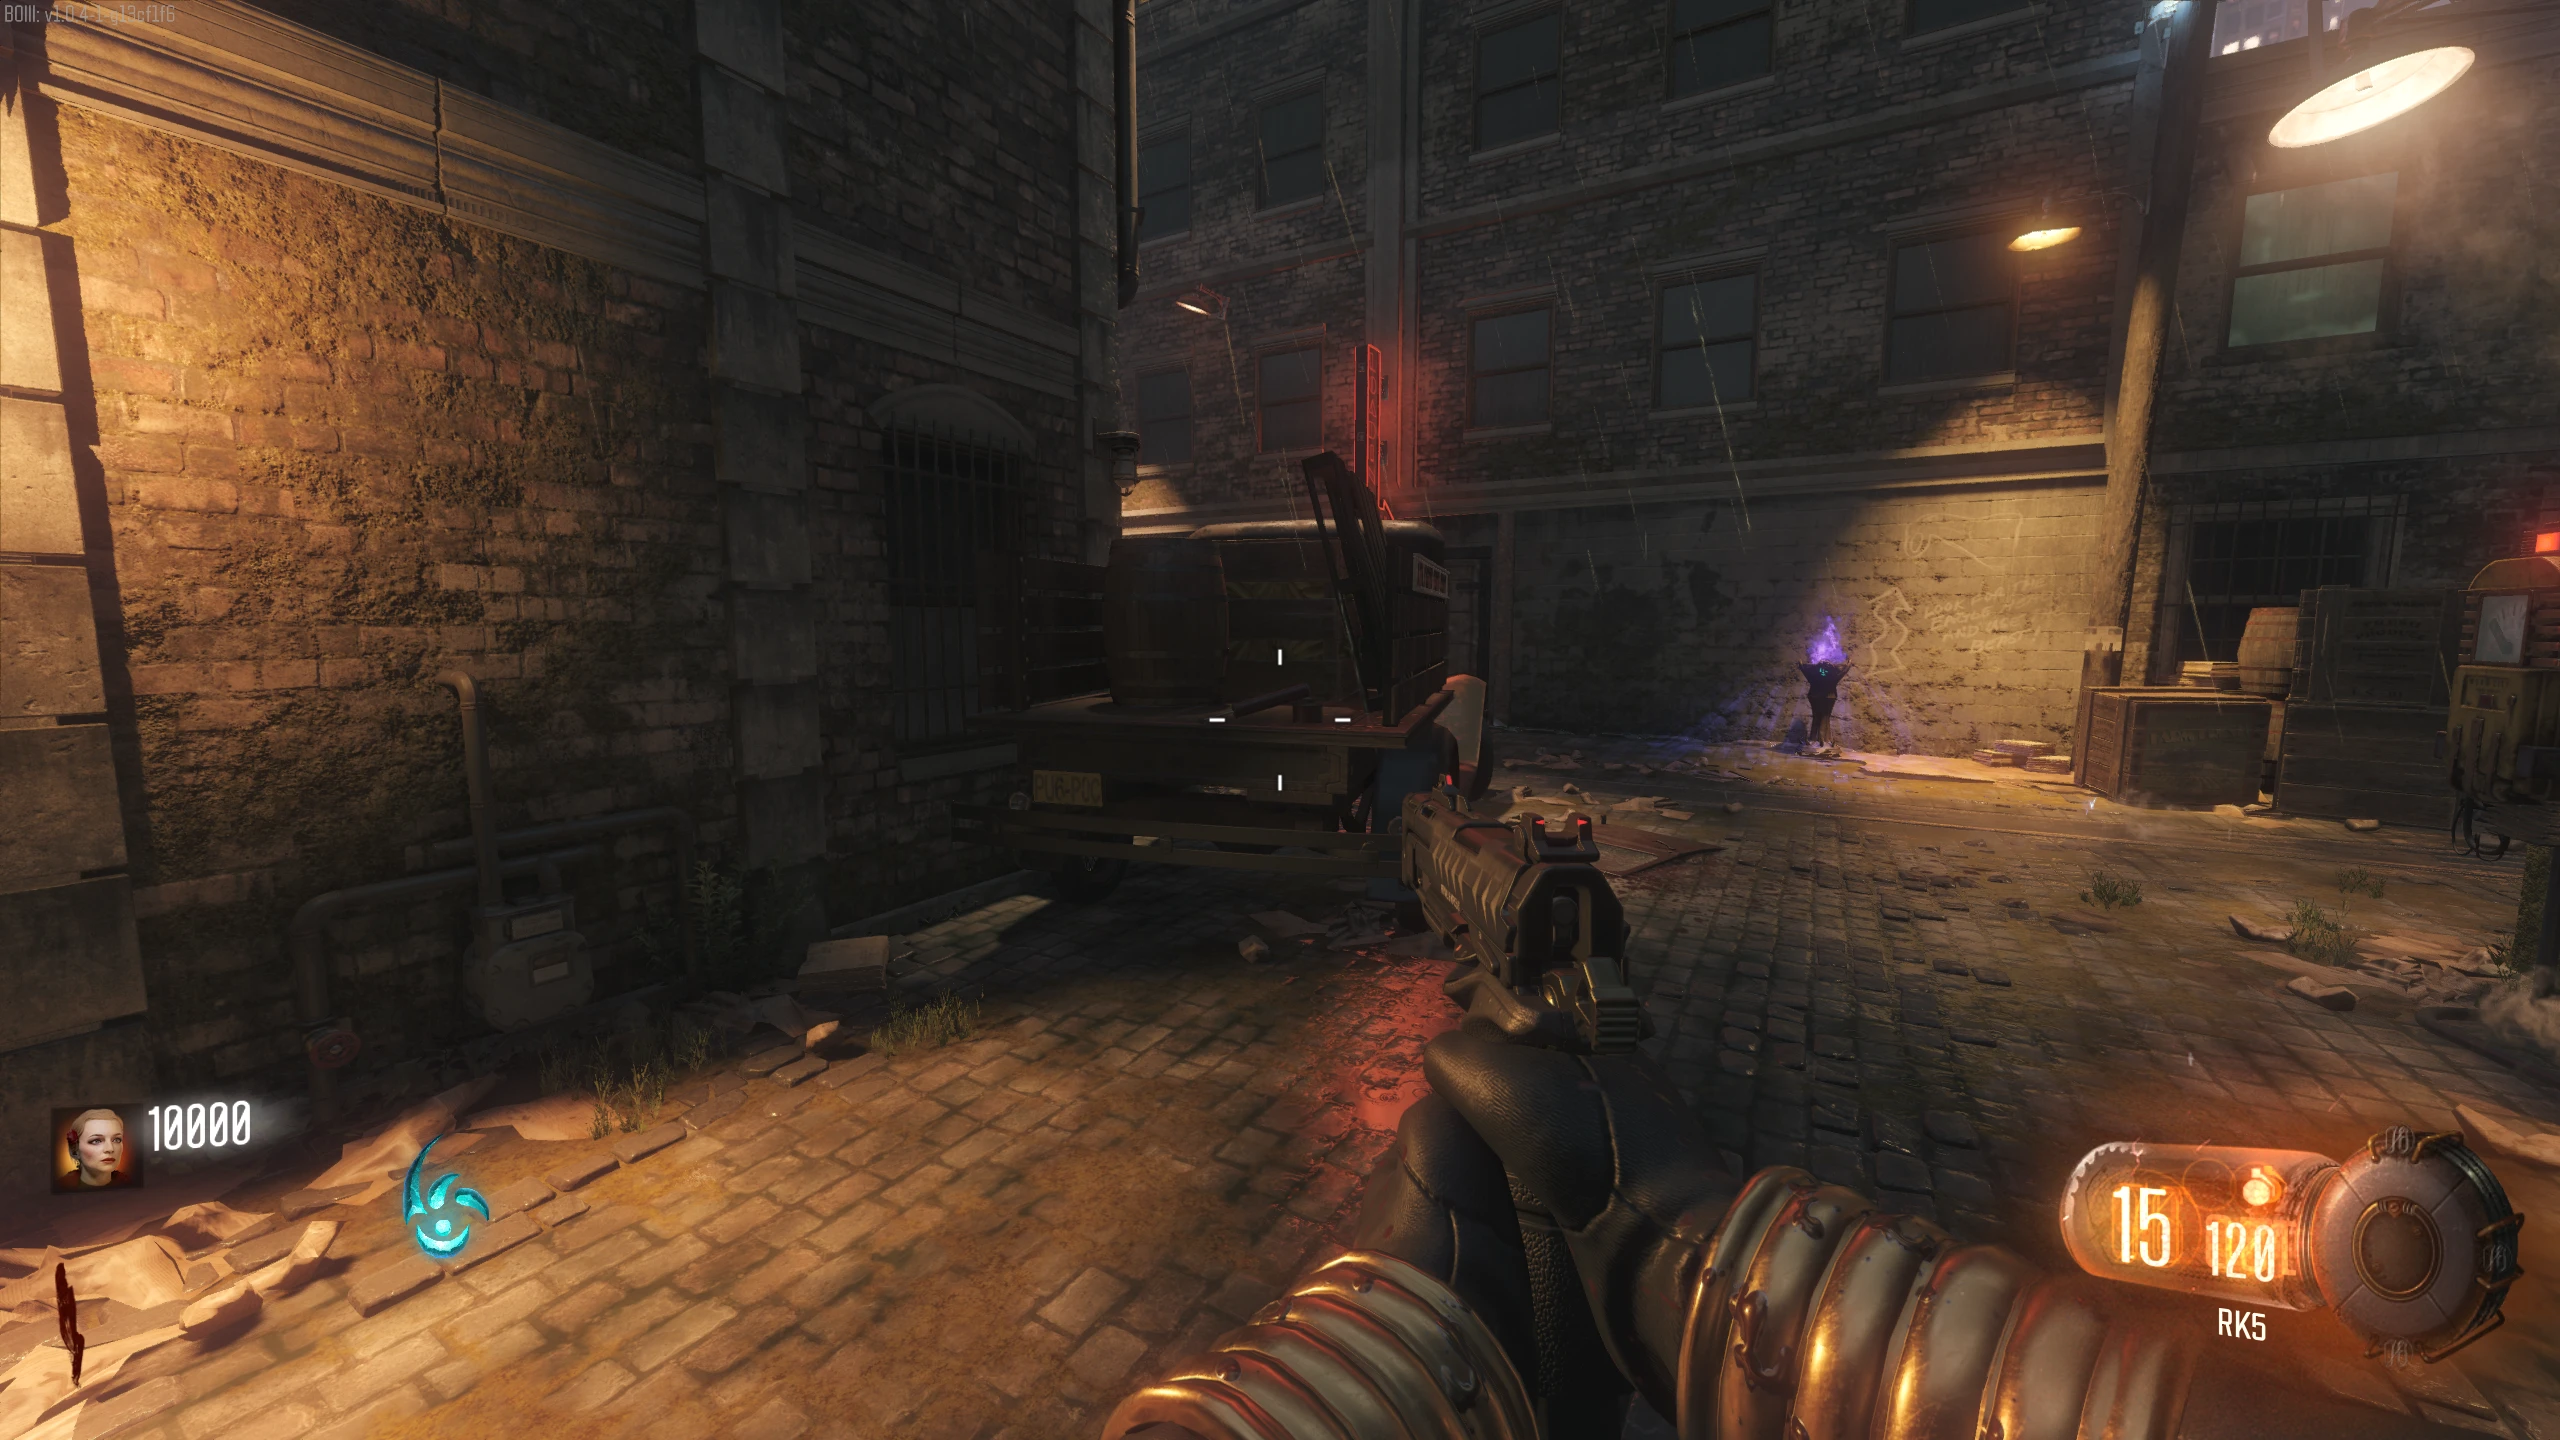
- You must find a white orb and walk into it to temporarily clean the corruption (a white orb will always spawn on the ritual table). Once you see the corruption on screen, you'll have 15 seconds to cleanse it, or you'll be downed. If you're in Beast Mode when you get corrupted, and you fail to cleanse, you will lose 40% of your Beast Mode "health." This corruption will return every 30-45 seconds. This corruption will linger until you complete this section of the Main Quest.
- Zombies will no longer spawn, instead purple-mouth Margwas will spawn. Killing one of these Margwas will activate a couple of Beast Mode chalices around the map.
- During this part of the Main Quest, your Beast Mode will have an infinite duration, but Margwas can still see and attack you. Taking damage in Beast Mode will take chunks off your Beast Mode meter; if it hits zero, you'll be removed from Beast Mode.
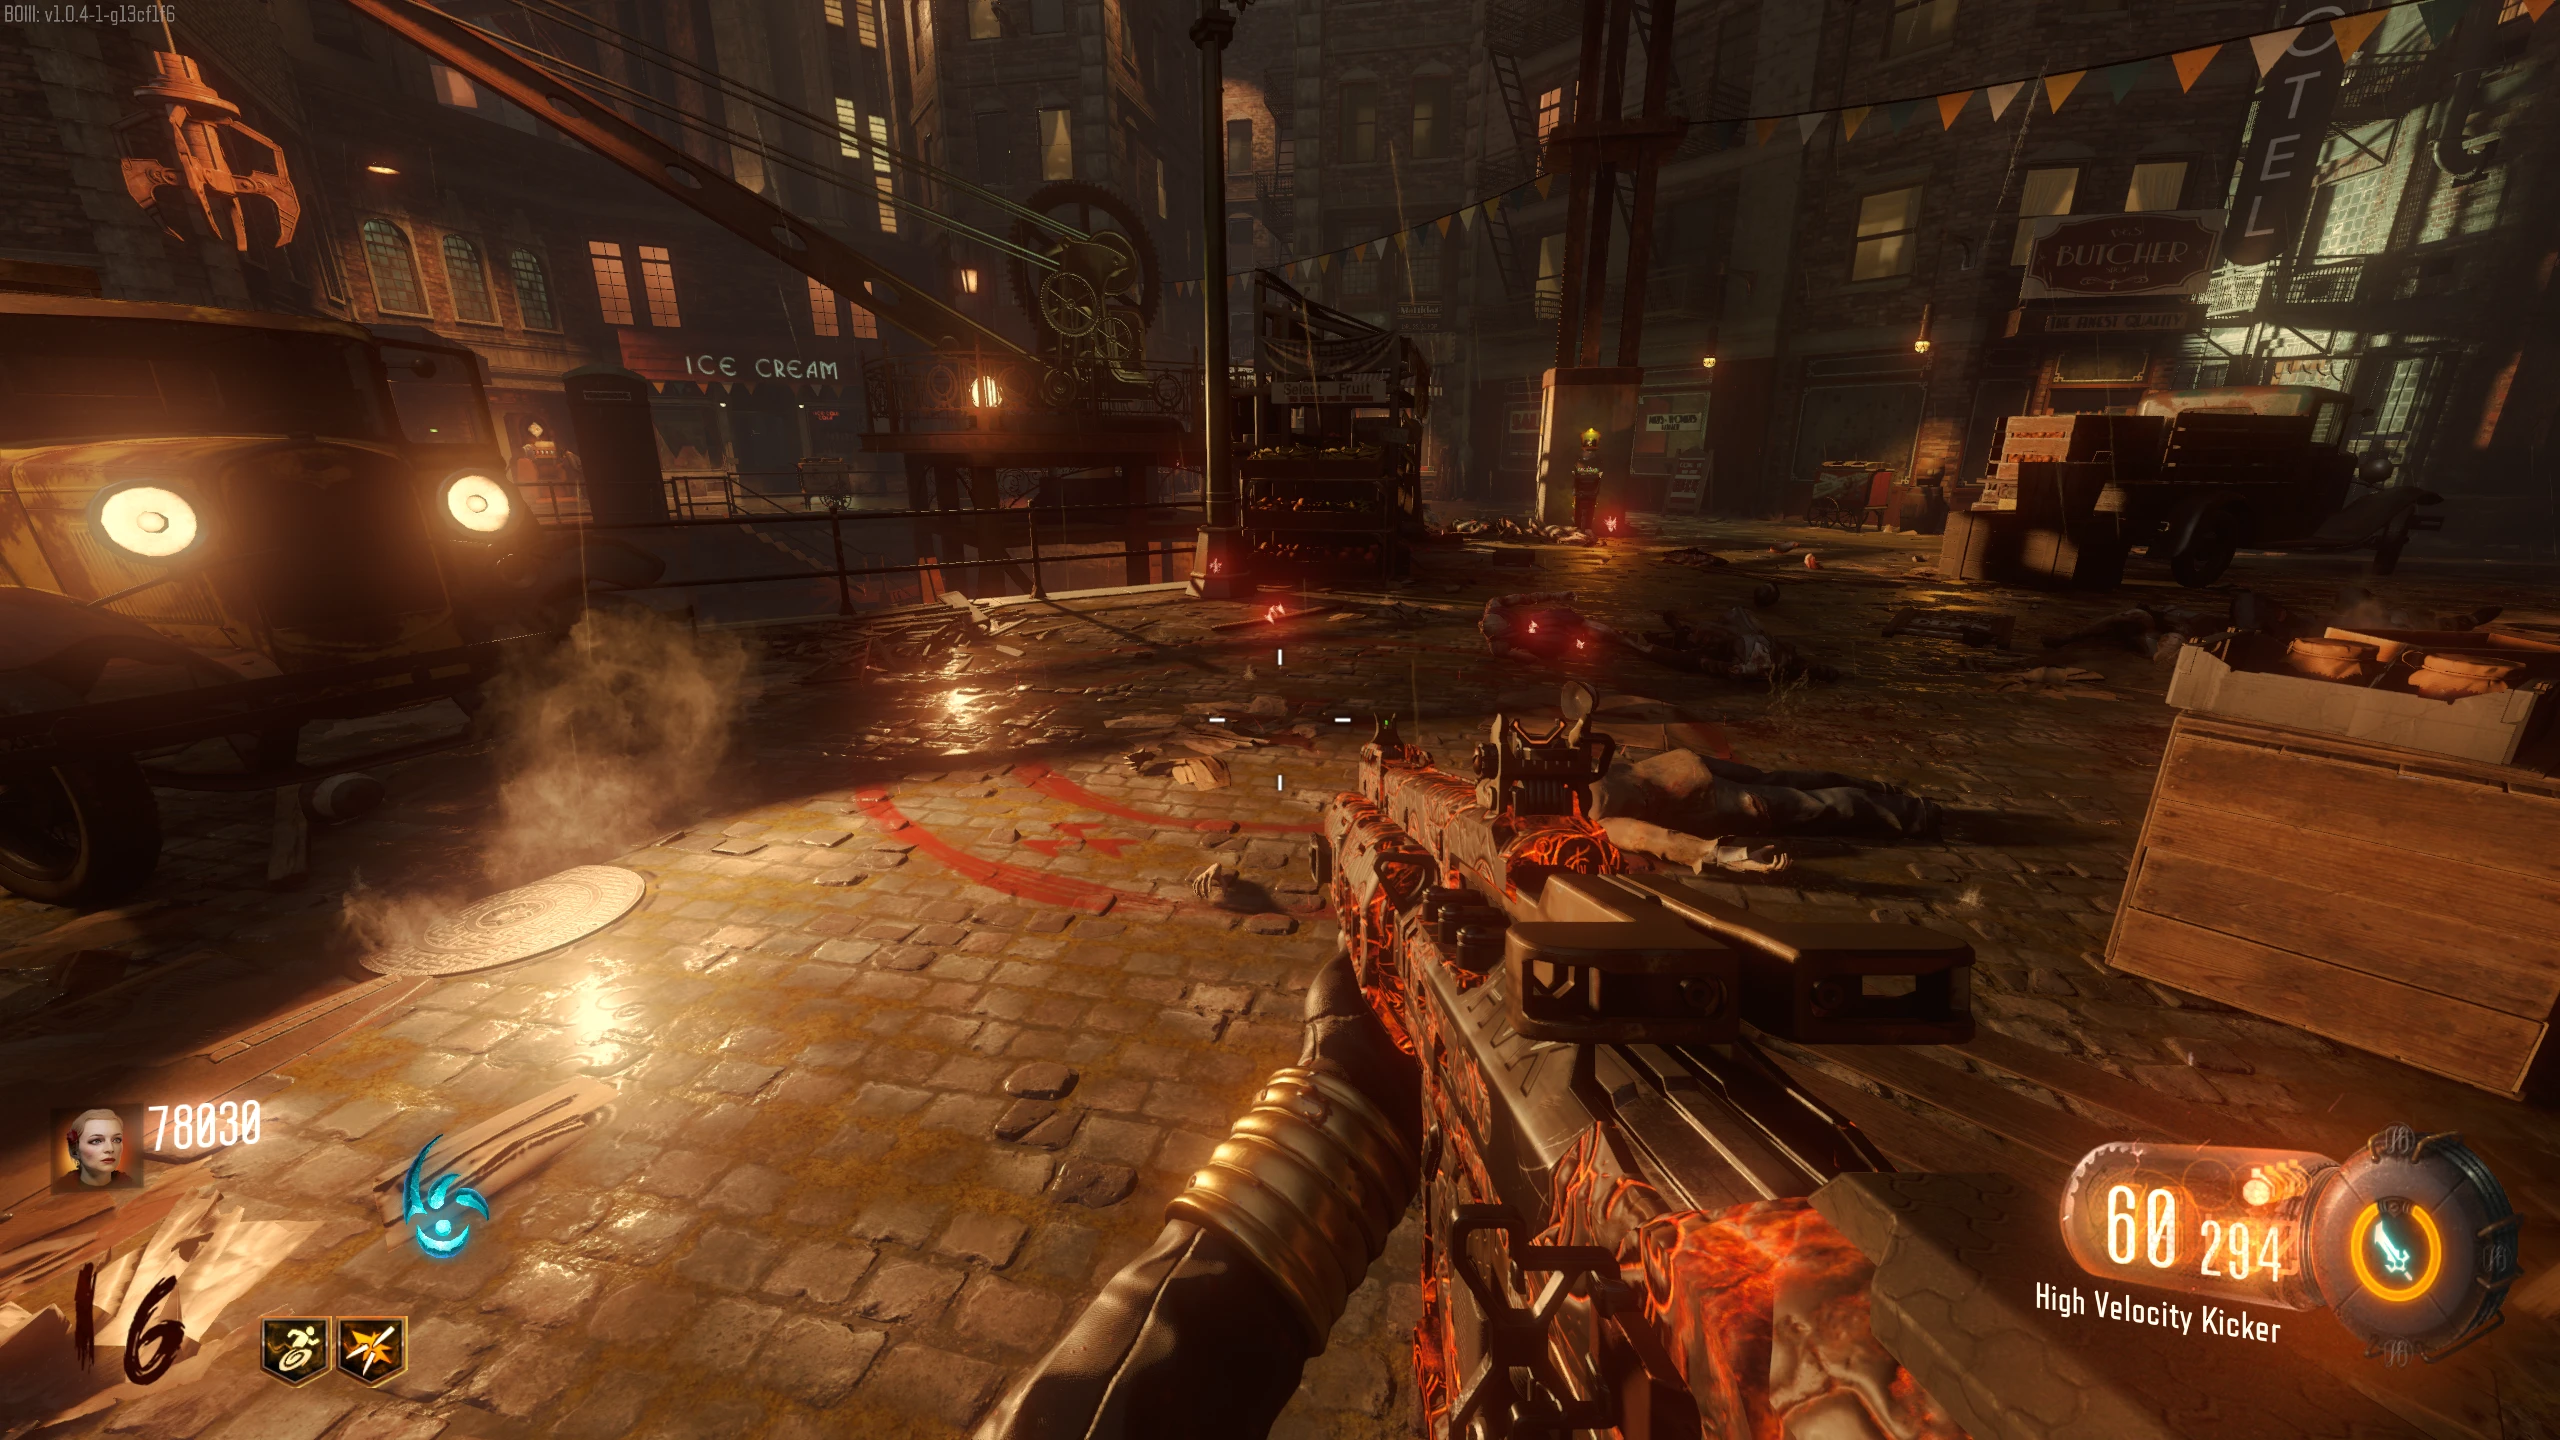
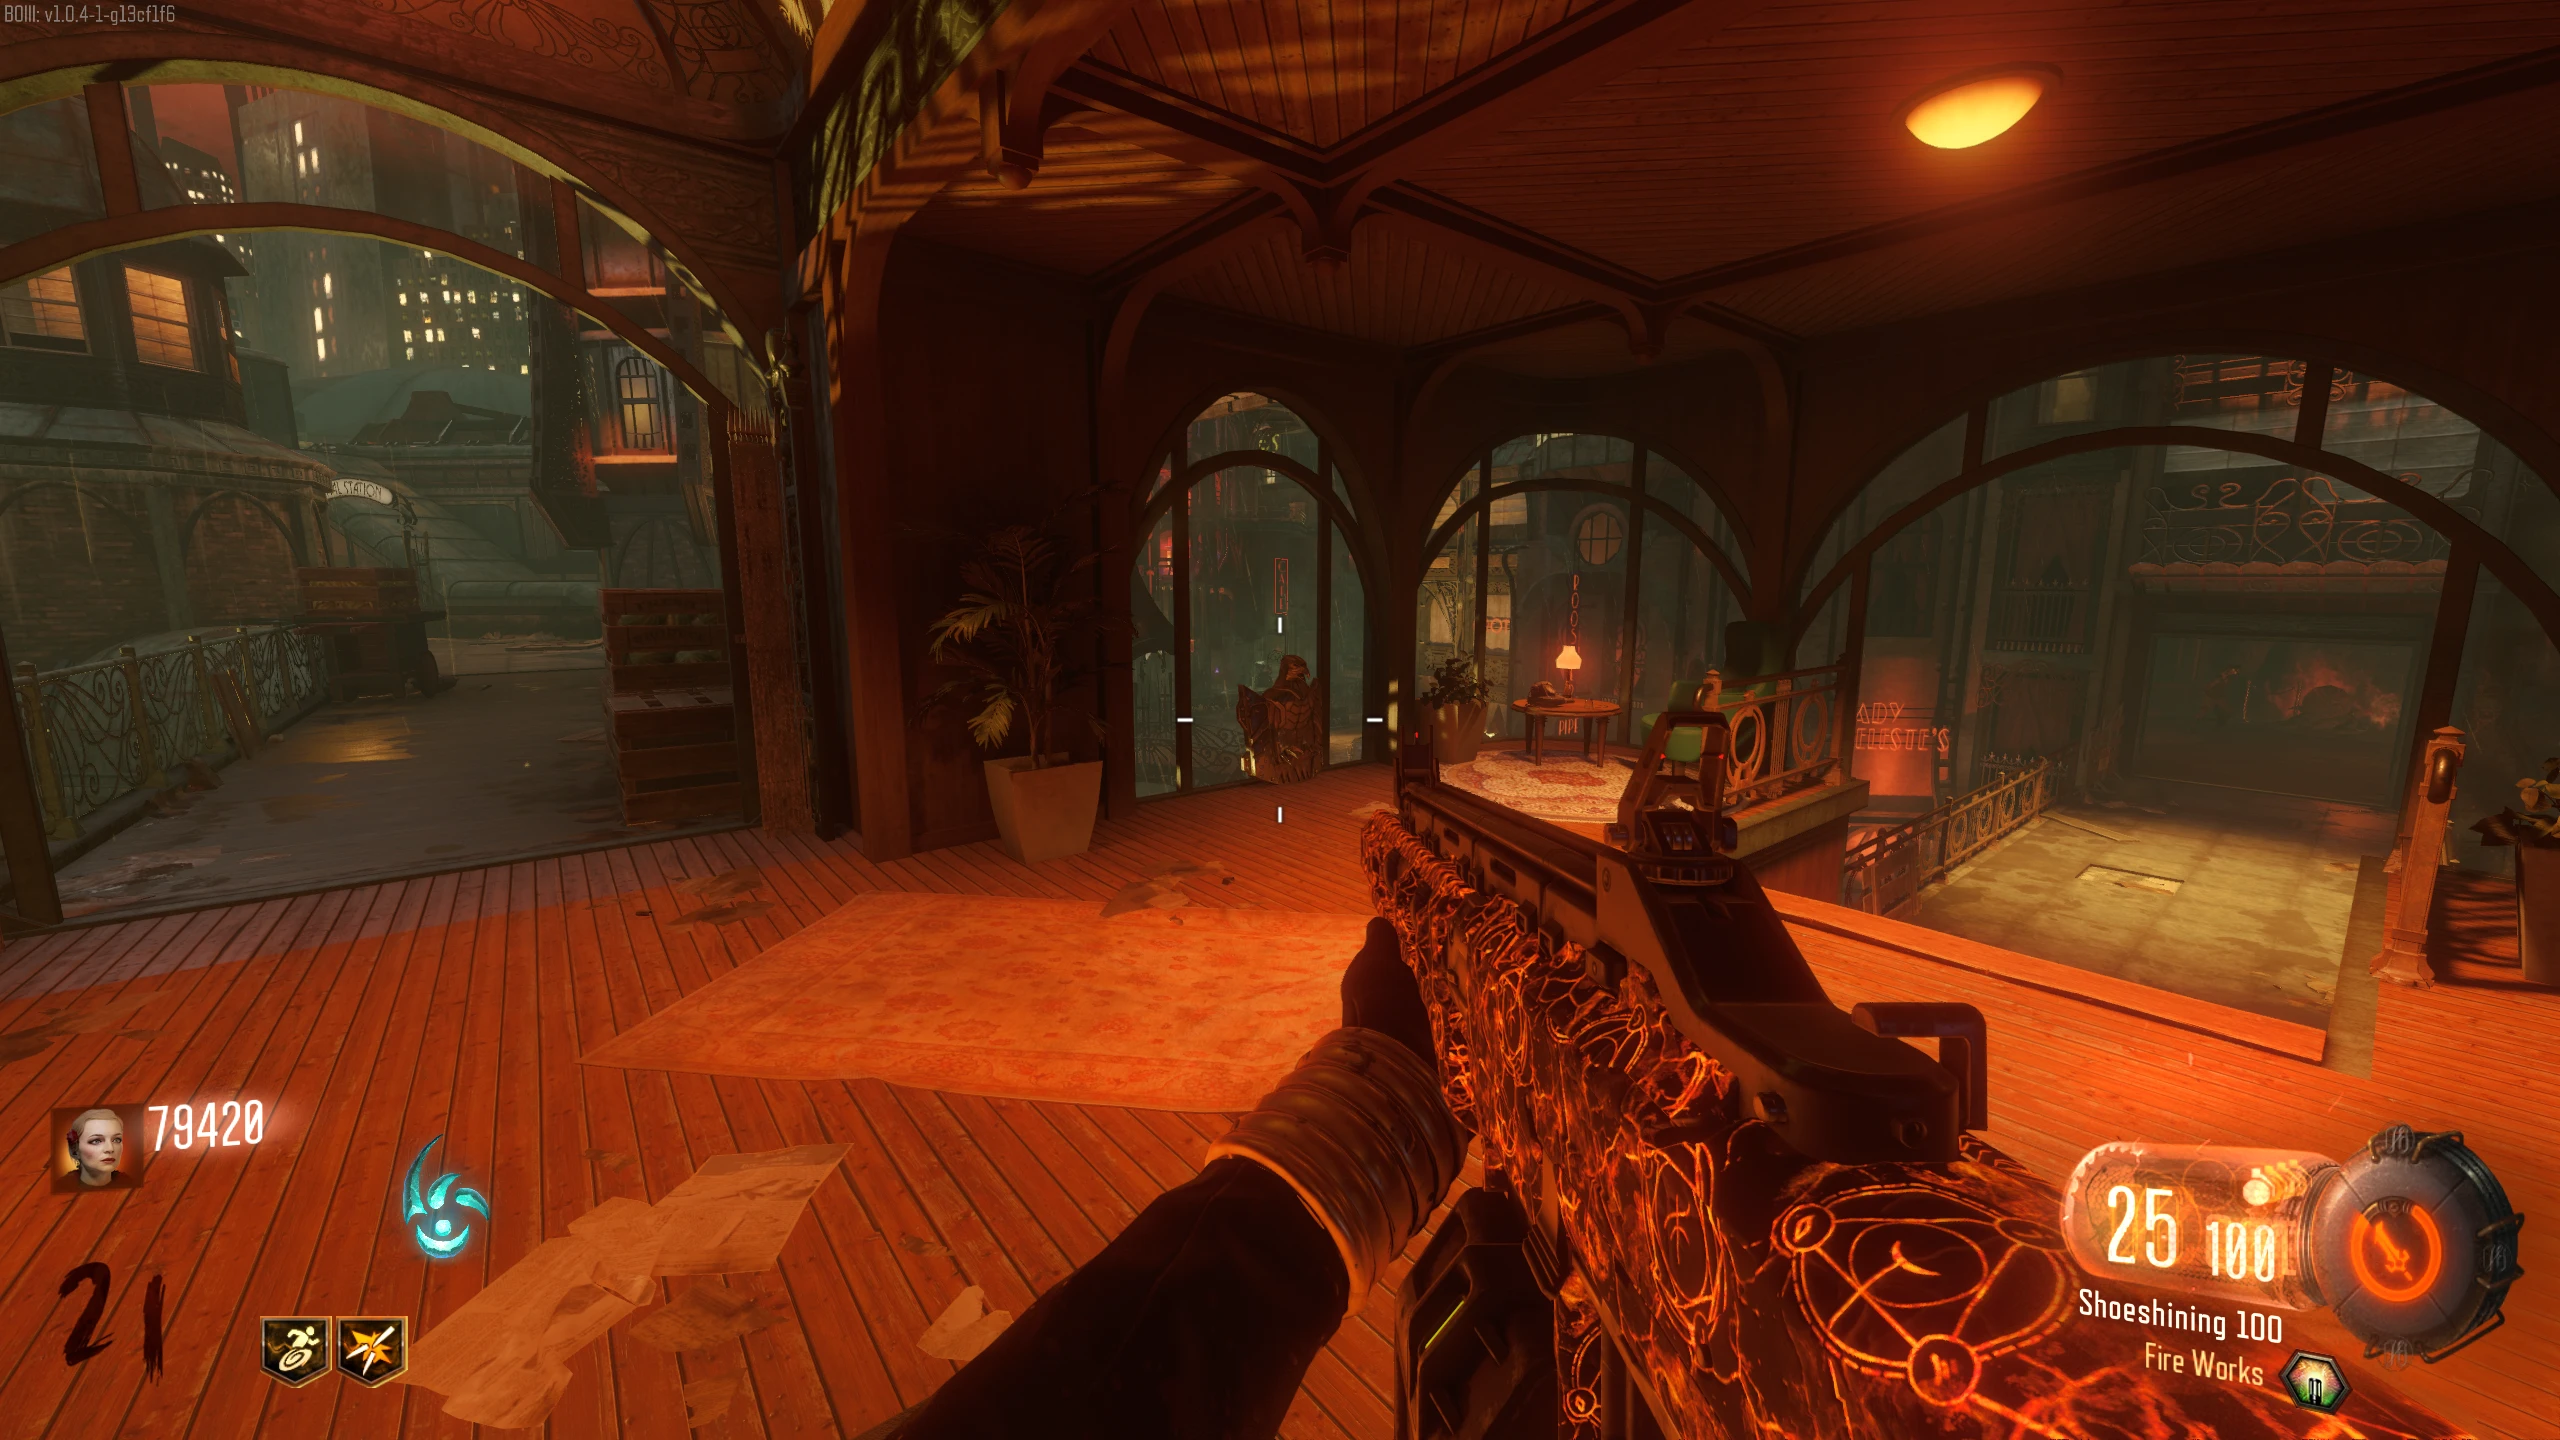
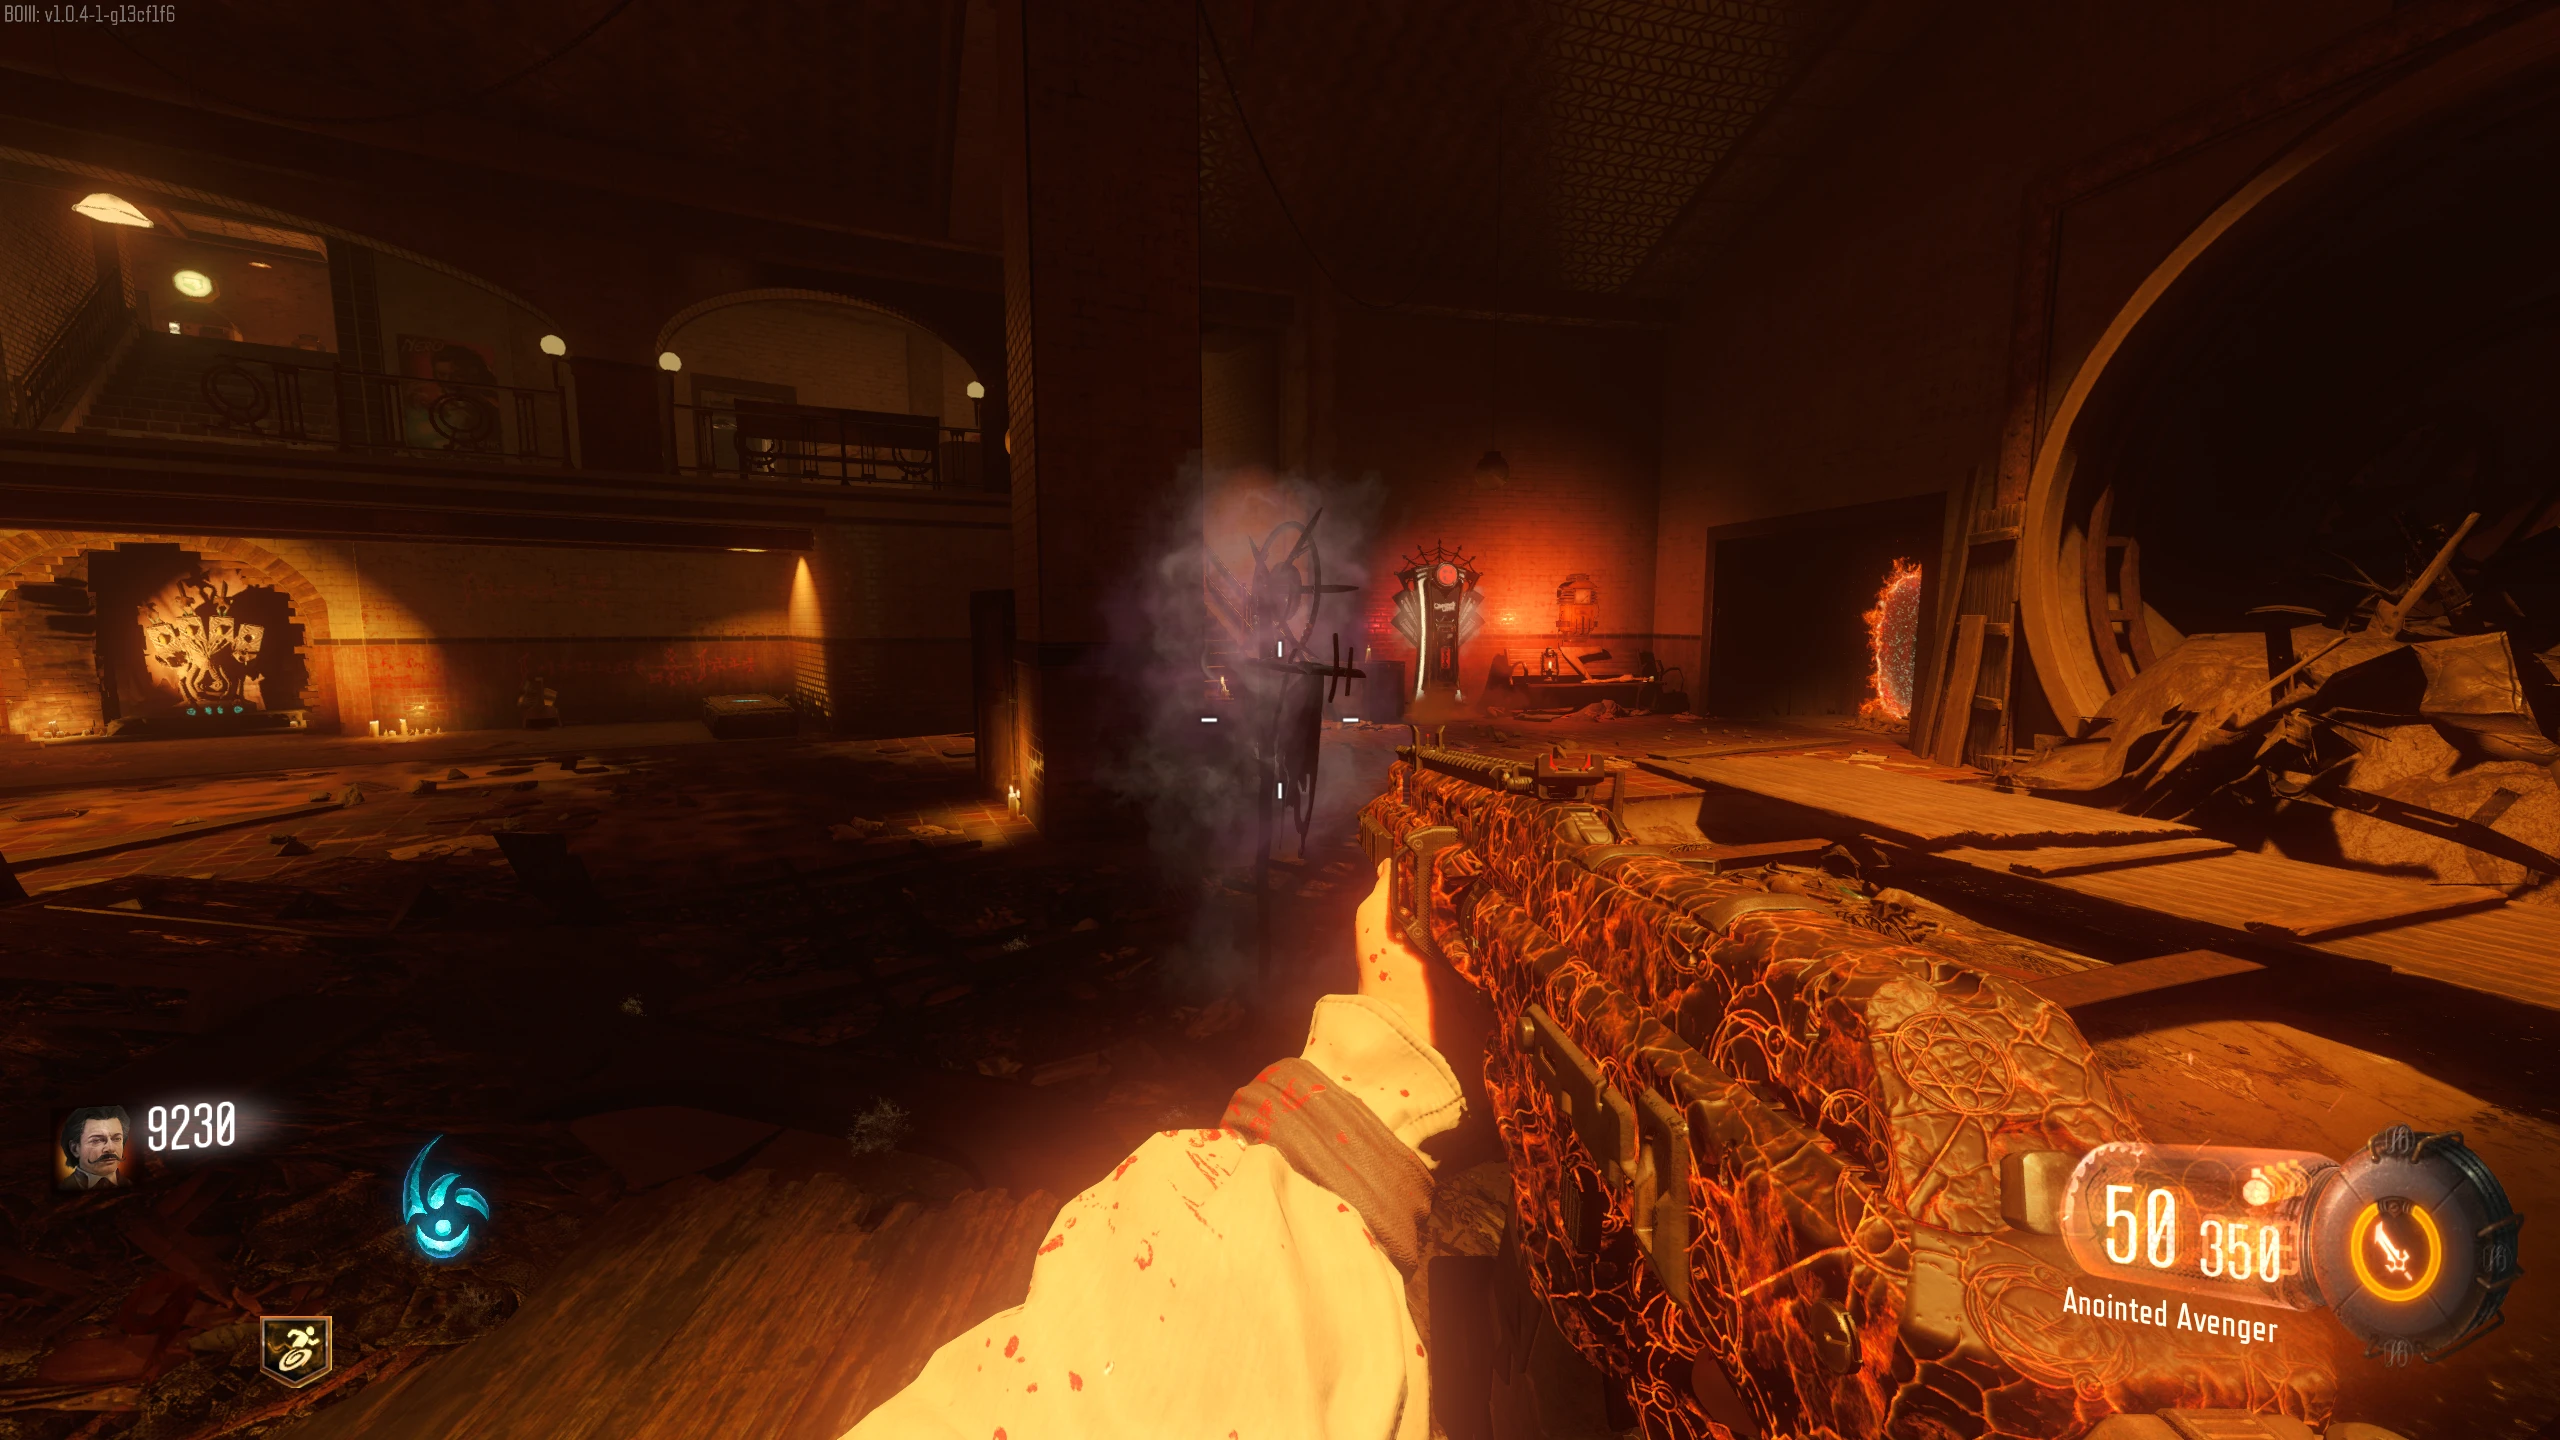
- In the middle of the Junction, the giant Gateworm and three Keepers will spawn where the train tracks from each district meet.
-
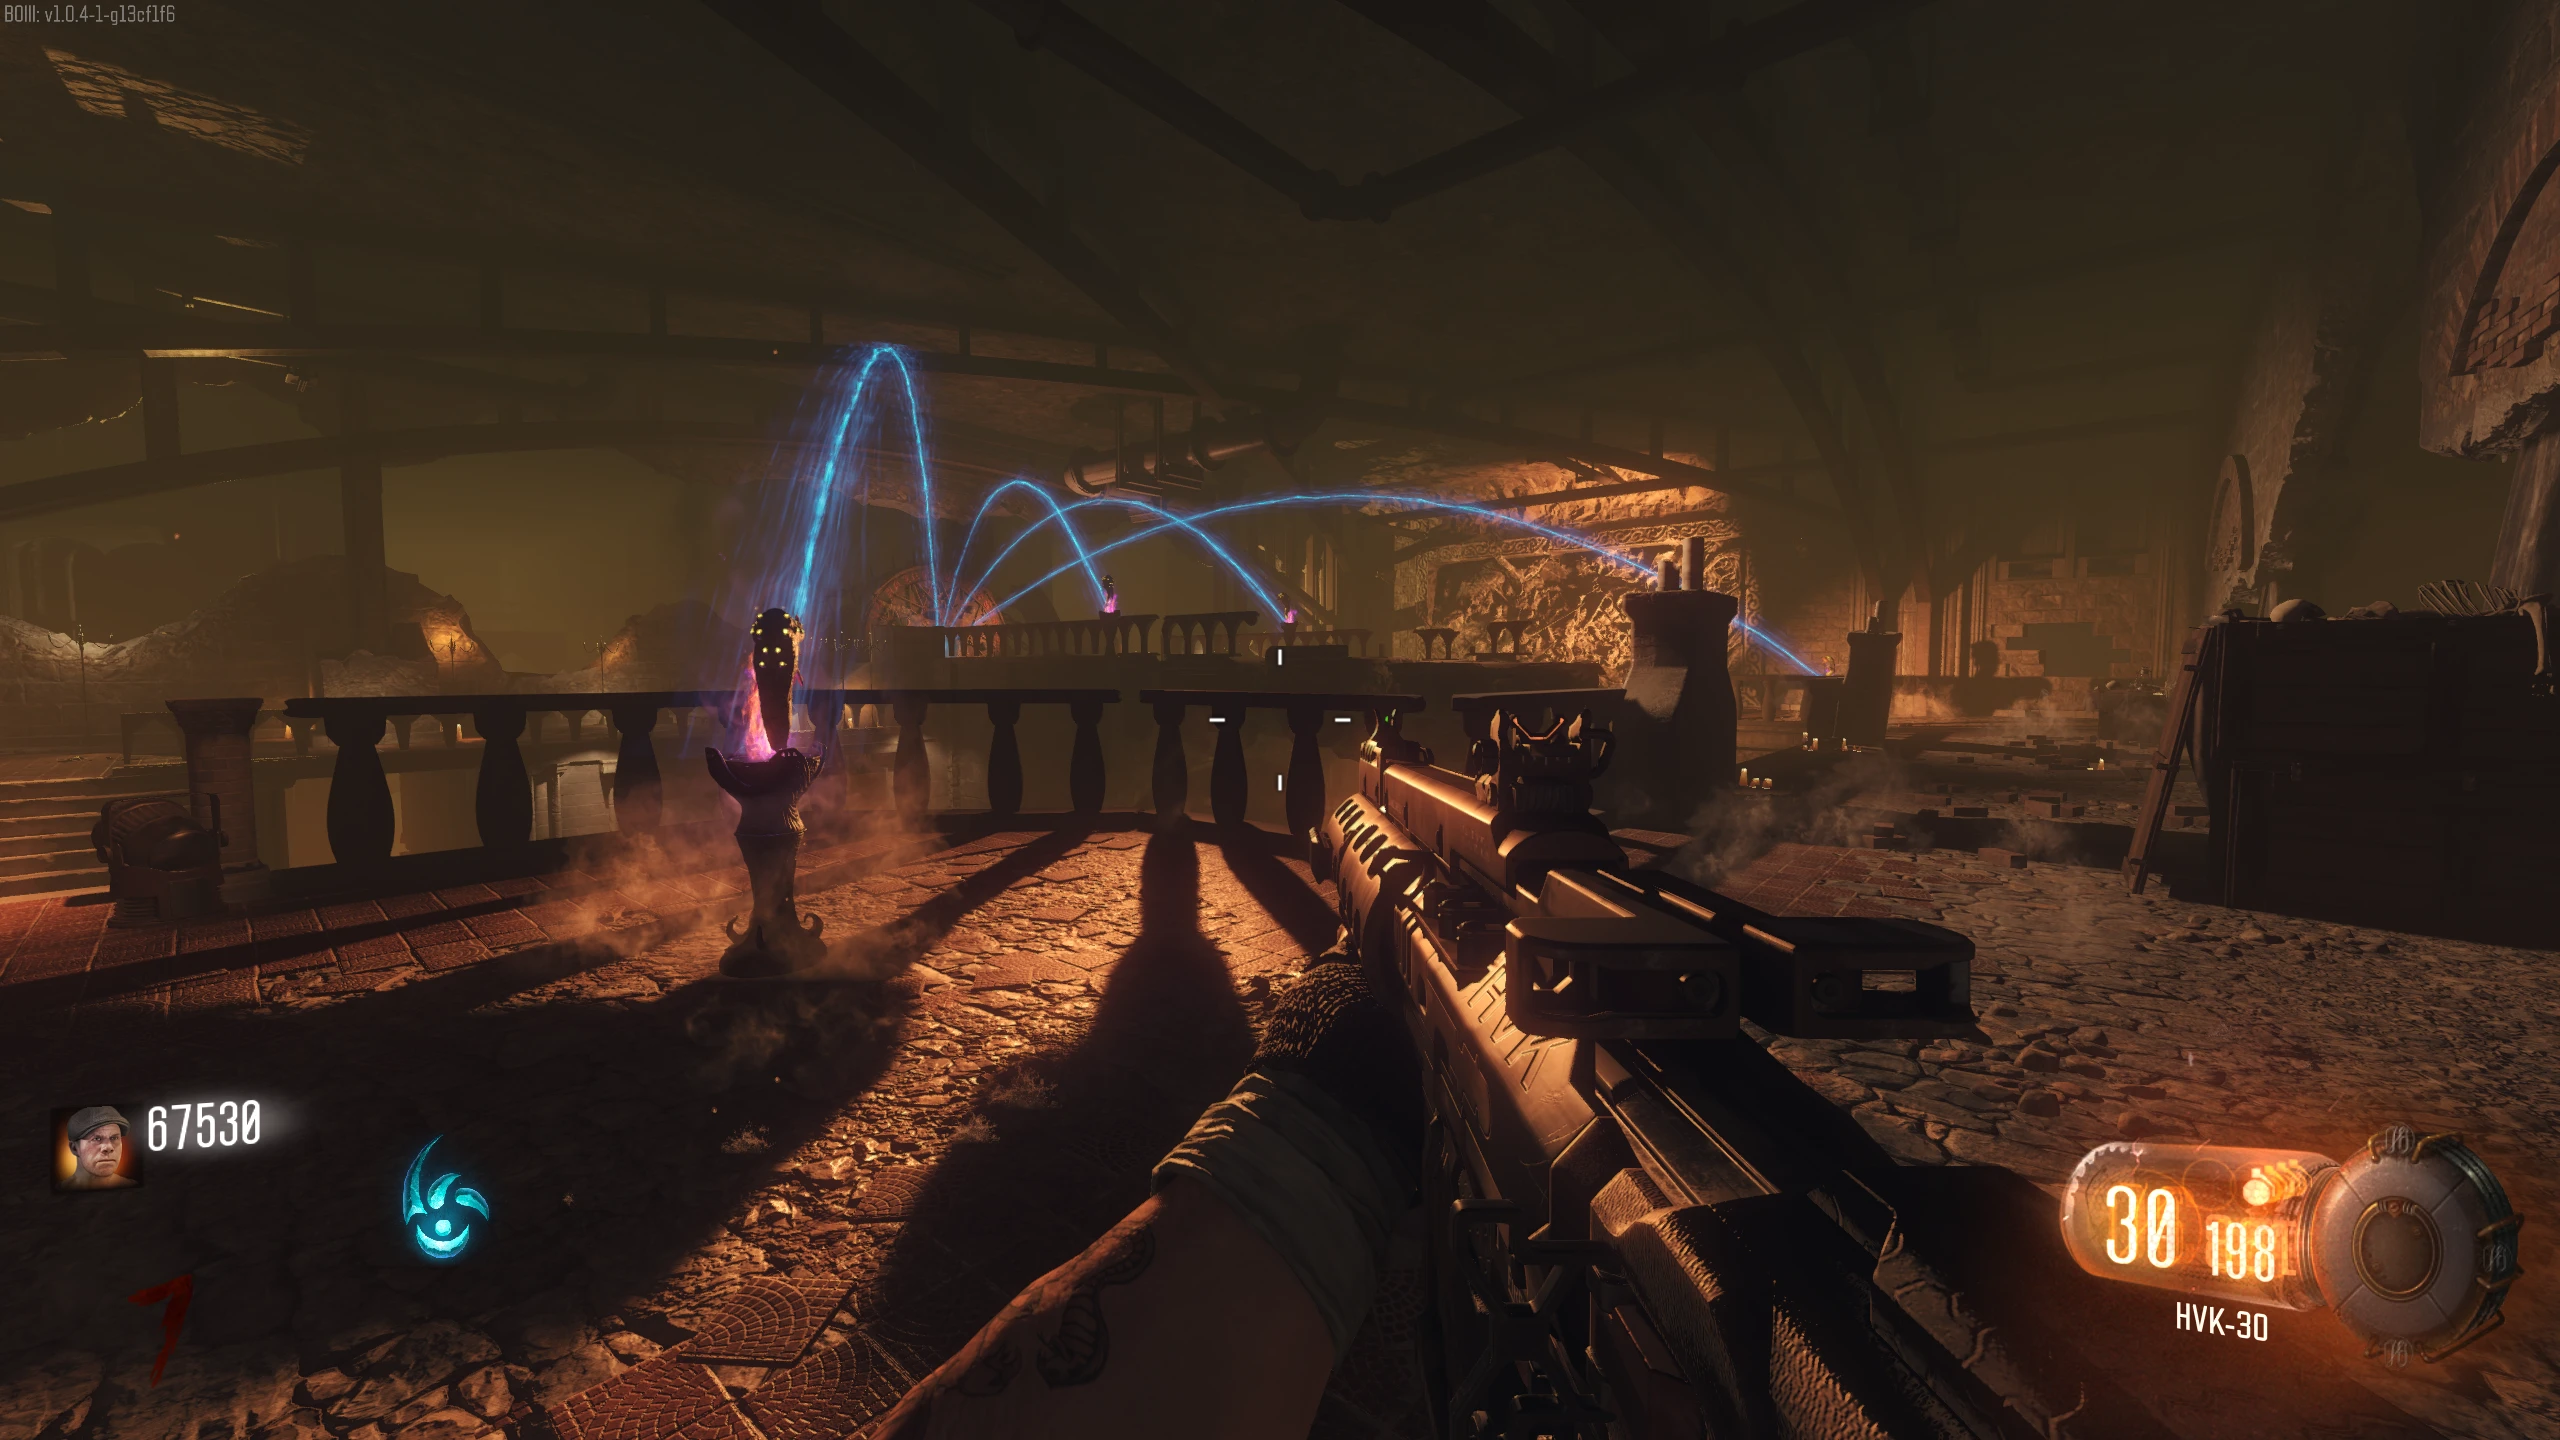
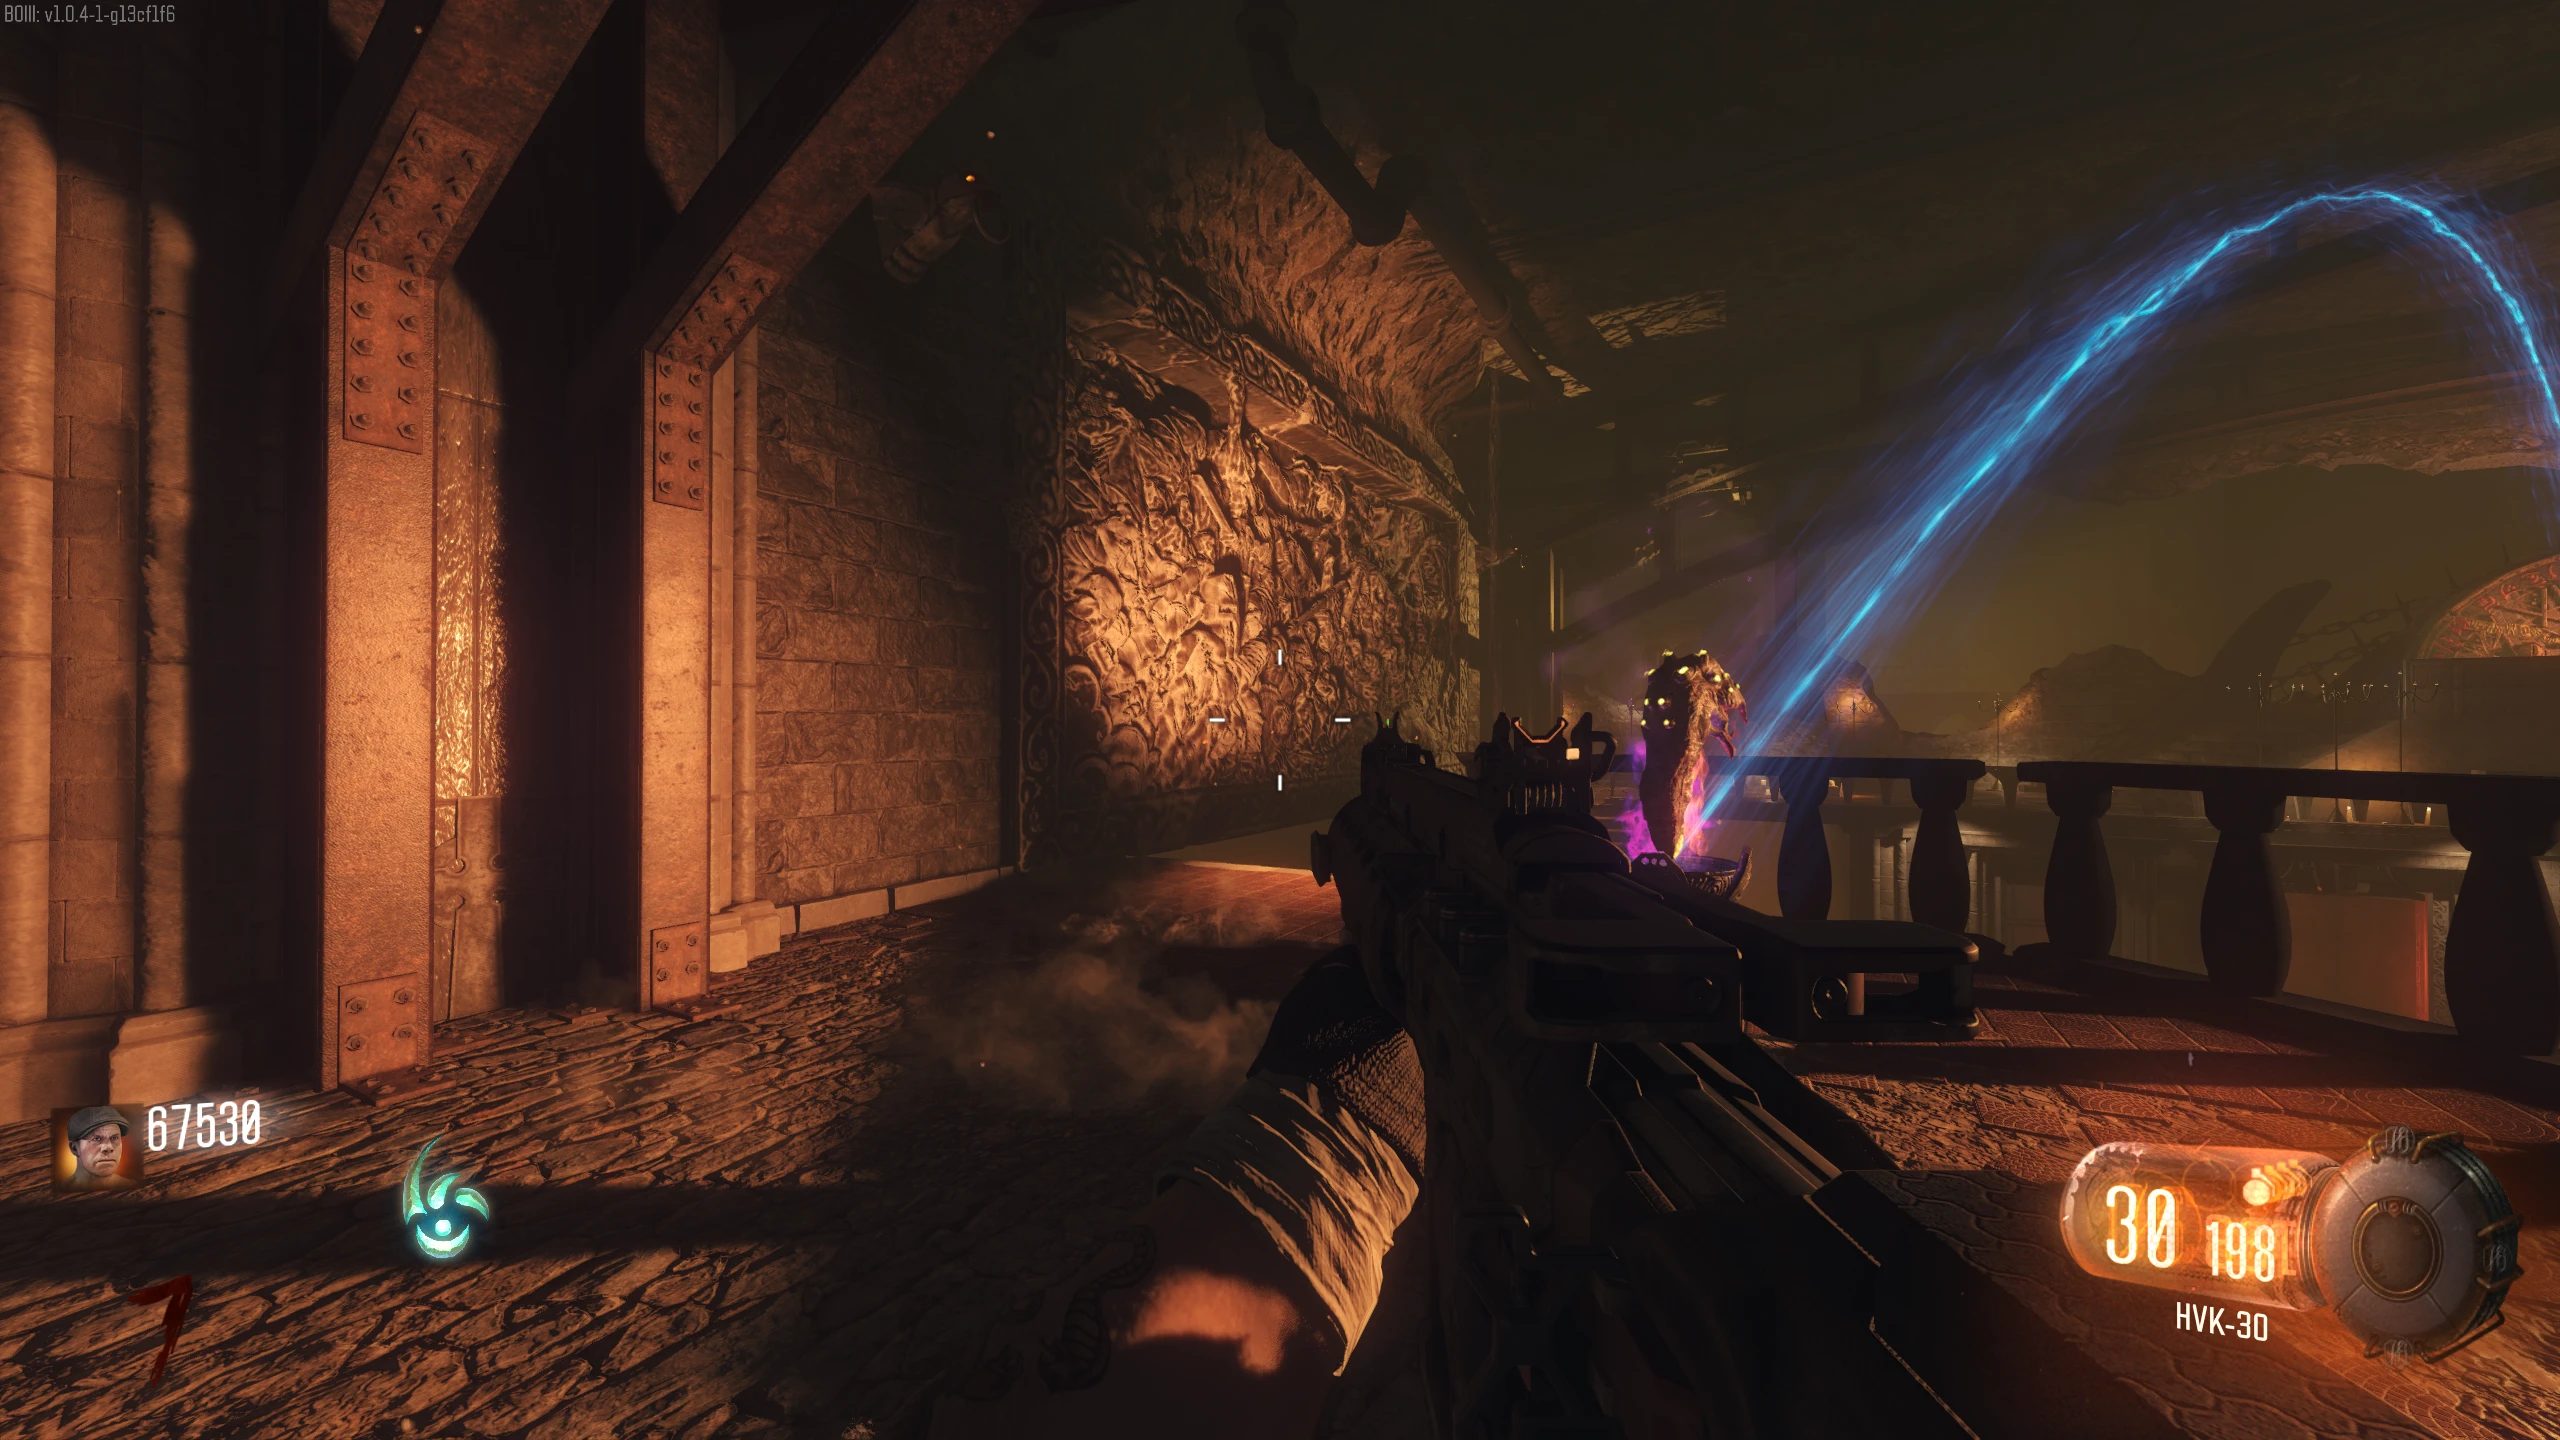
Your overall goal is to destroy the giant creature in the sky. To do this, you'll need to destroy the giant Gateworm in the middle of the Junction by hitting it with the train, then shock
the three Keepers in the Junction while the train tracks are electrified. If the tracks and Keepers are electrifed while the giant Gateworm is gone, the Keepers will fire a beam at the
creature, ending the Main Quest.
- If you fail to fire the beam, the giant Gateworm will respawn, and you can retry as soon as you're ready.
- Since rounds no longer progress, any players that bleed-out will be respawned immediately when the train is called to a station.
-
To explain this easier, I will divide this part into what each player needs to do:
-
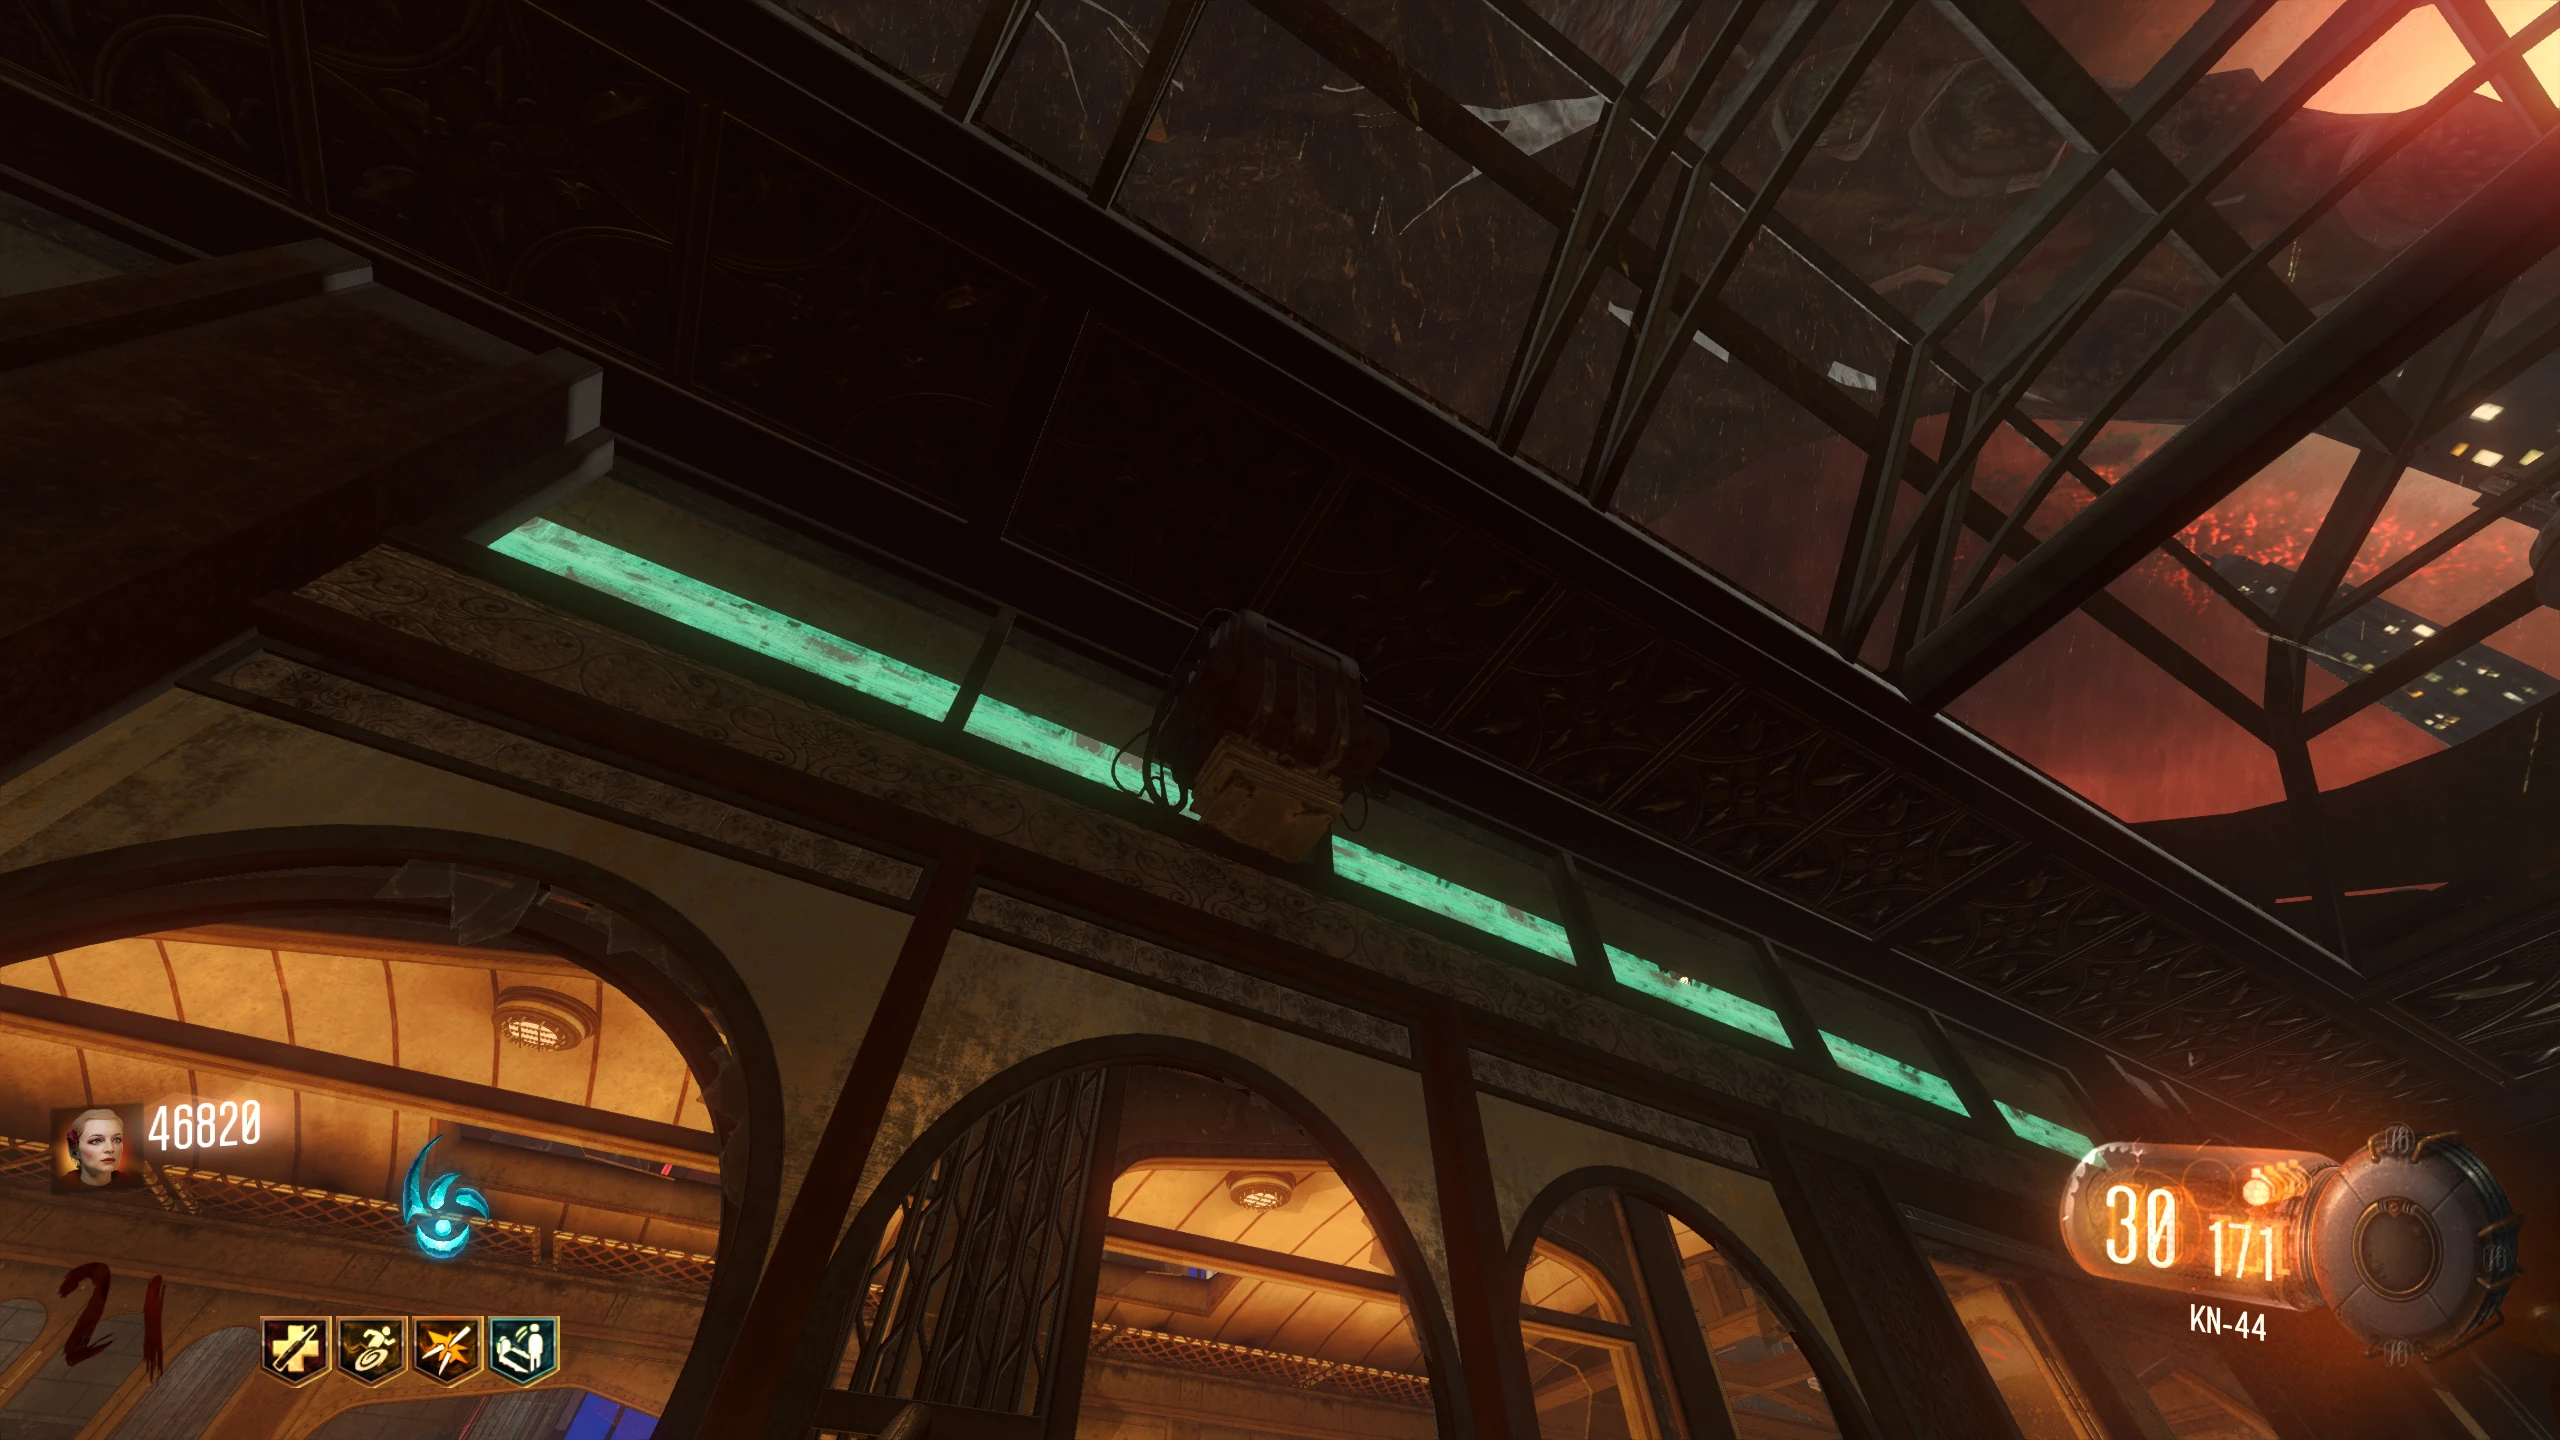
Player 1 - Shock the Rails:
- Enter Beast Mode and wait inside any of the train stations. Player 1 (or Player 2) should have the train in their station.
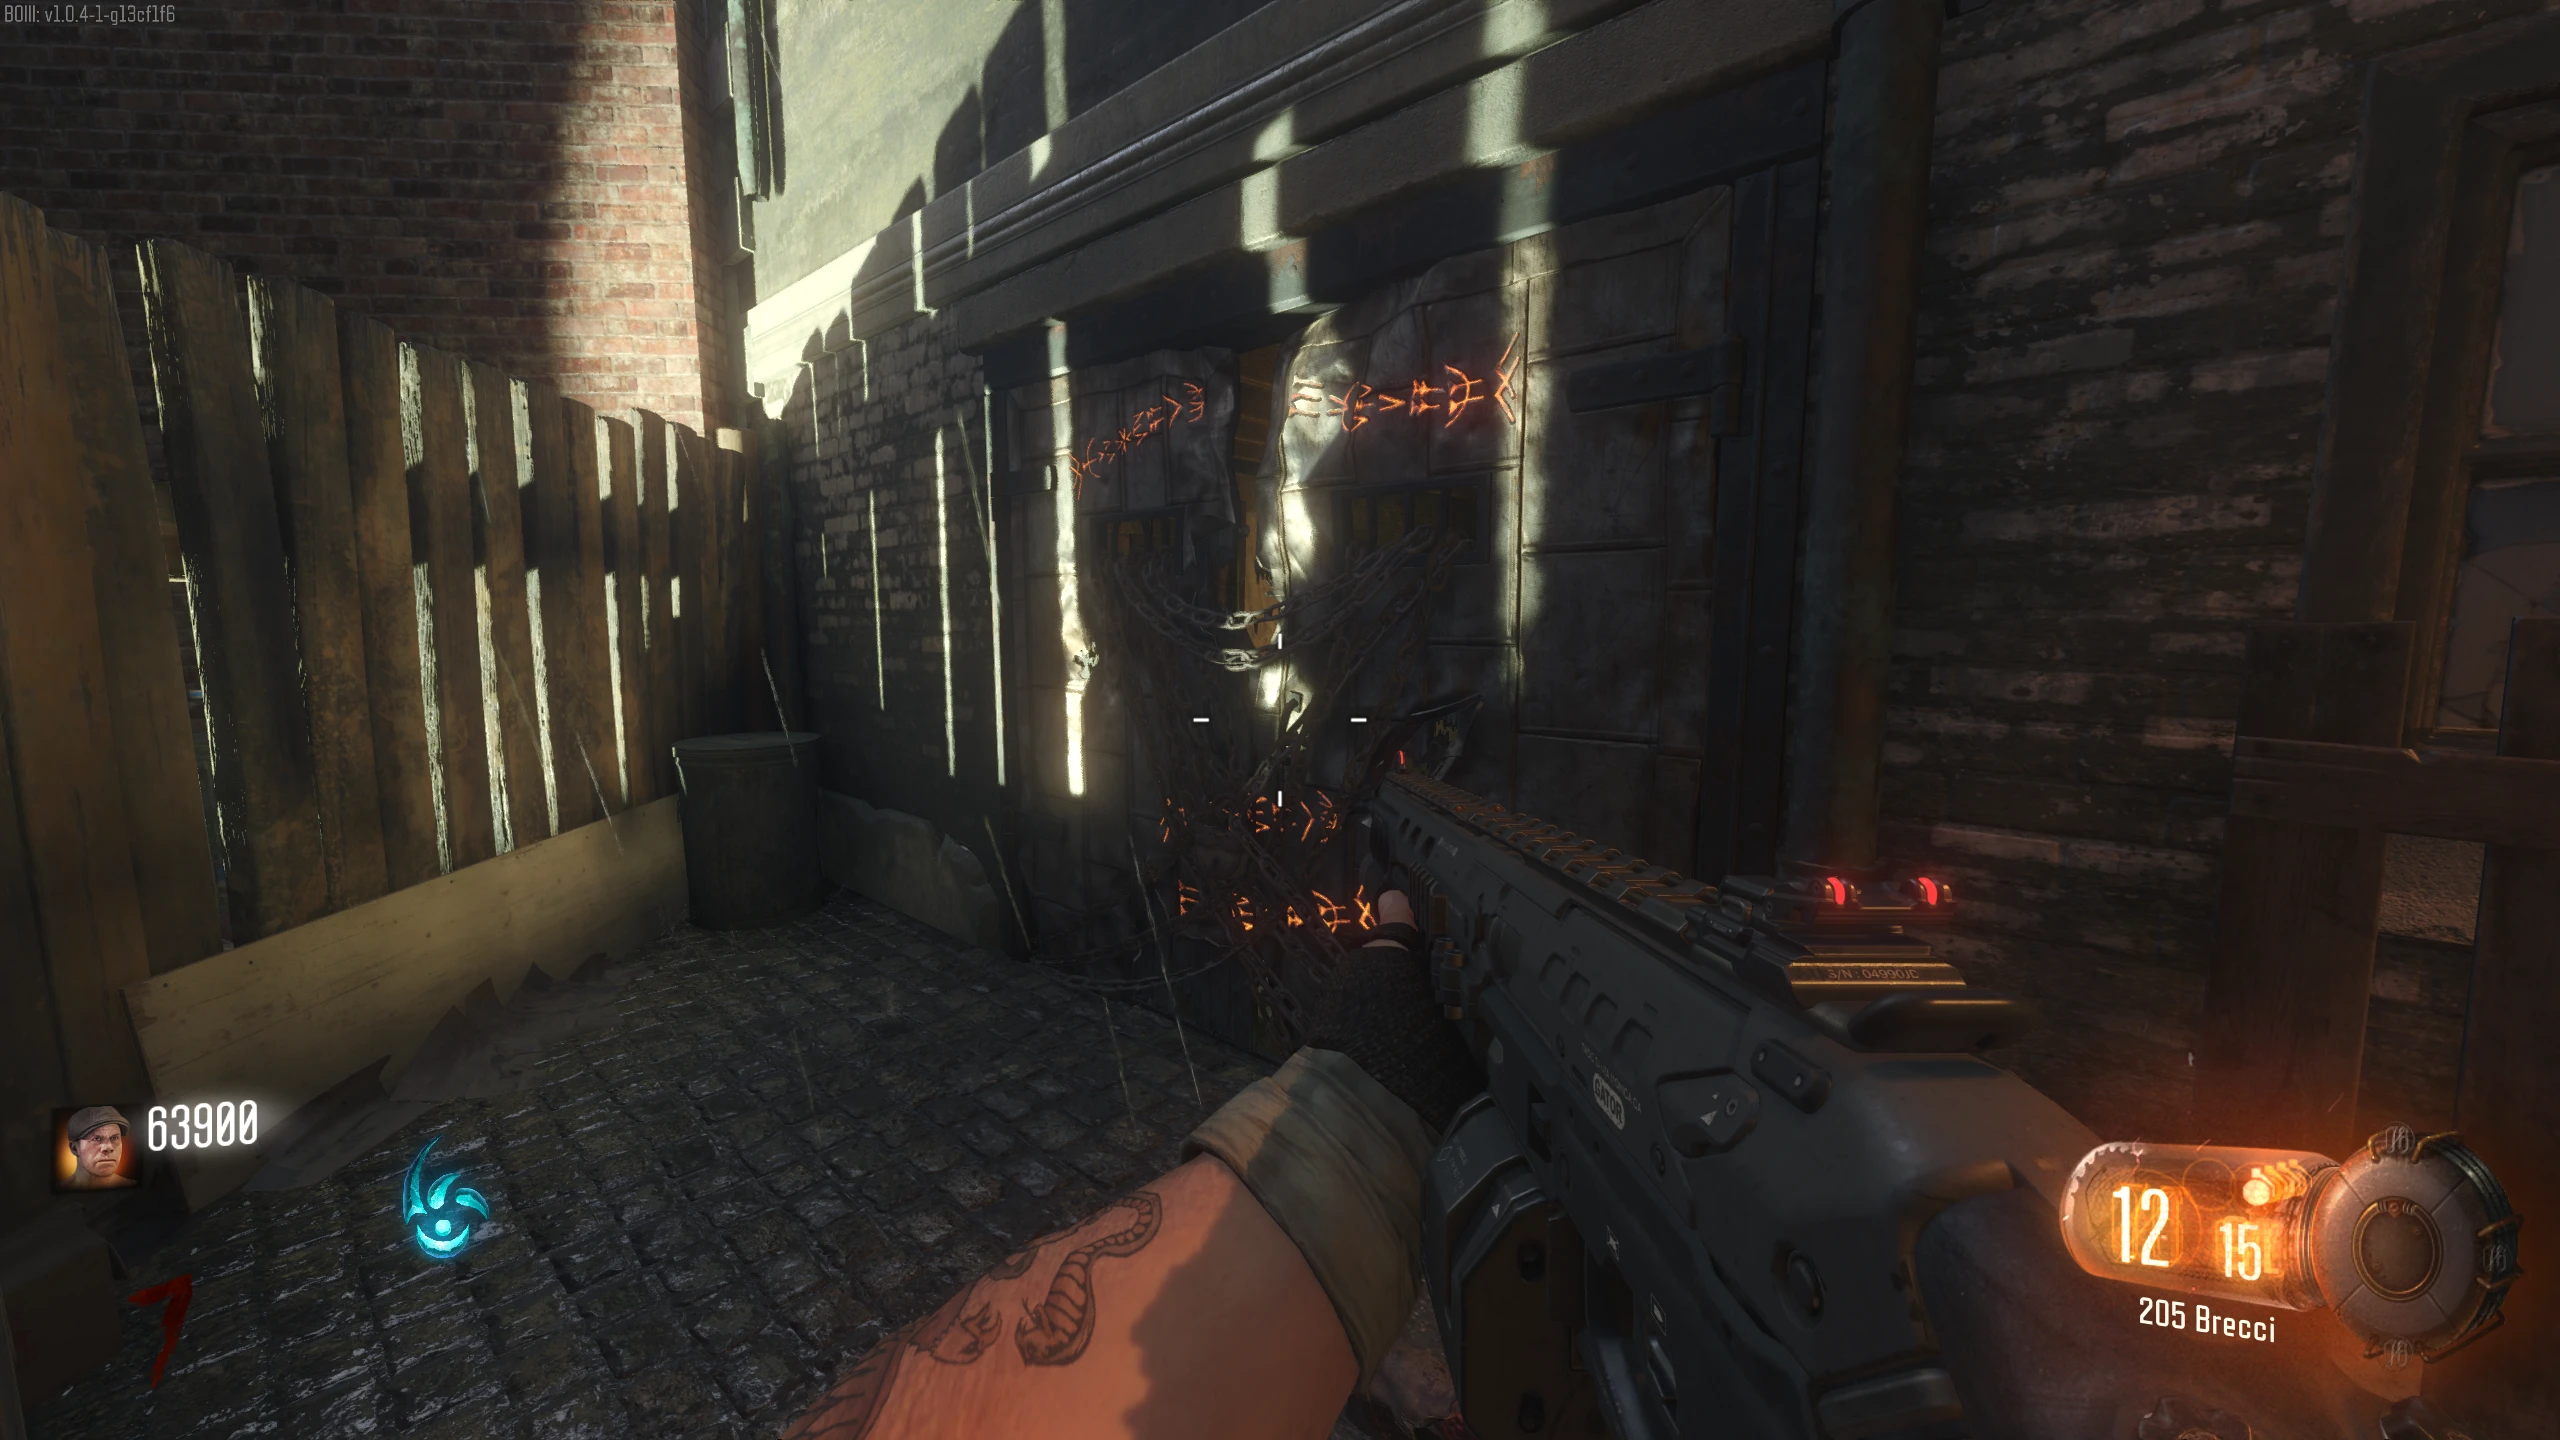
- Once the train is in motion (described later), you need to shock the power box in the train station to electrify the rails. The rails will glow blue when electrified. The rails only stay electrified for 30 seconds, so it's recommended to just spam shock the box until you win, or fail and need to reset.
- Make sure to either leave Beast Mode and kill any nearby Margwas, or kite them away from the station, so they don't bother you when your shocking the rails.
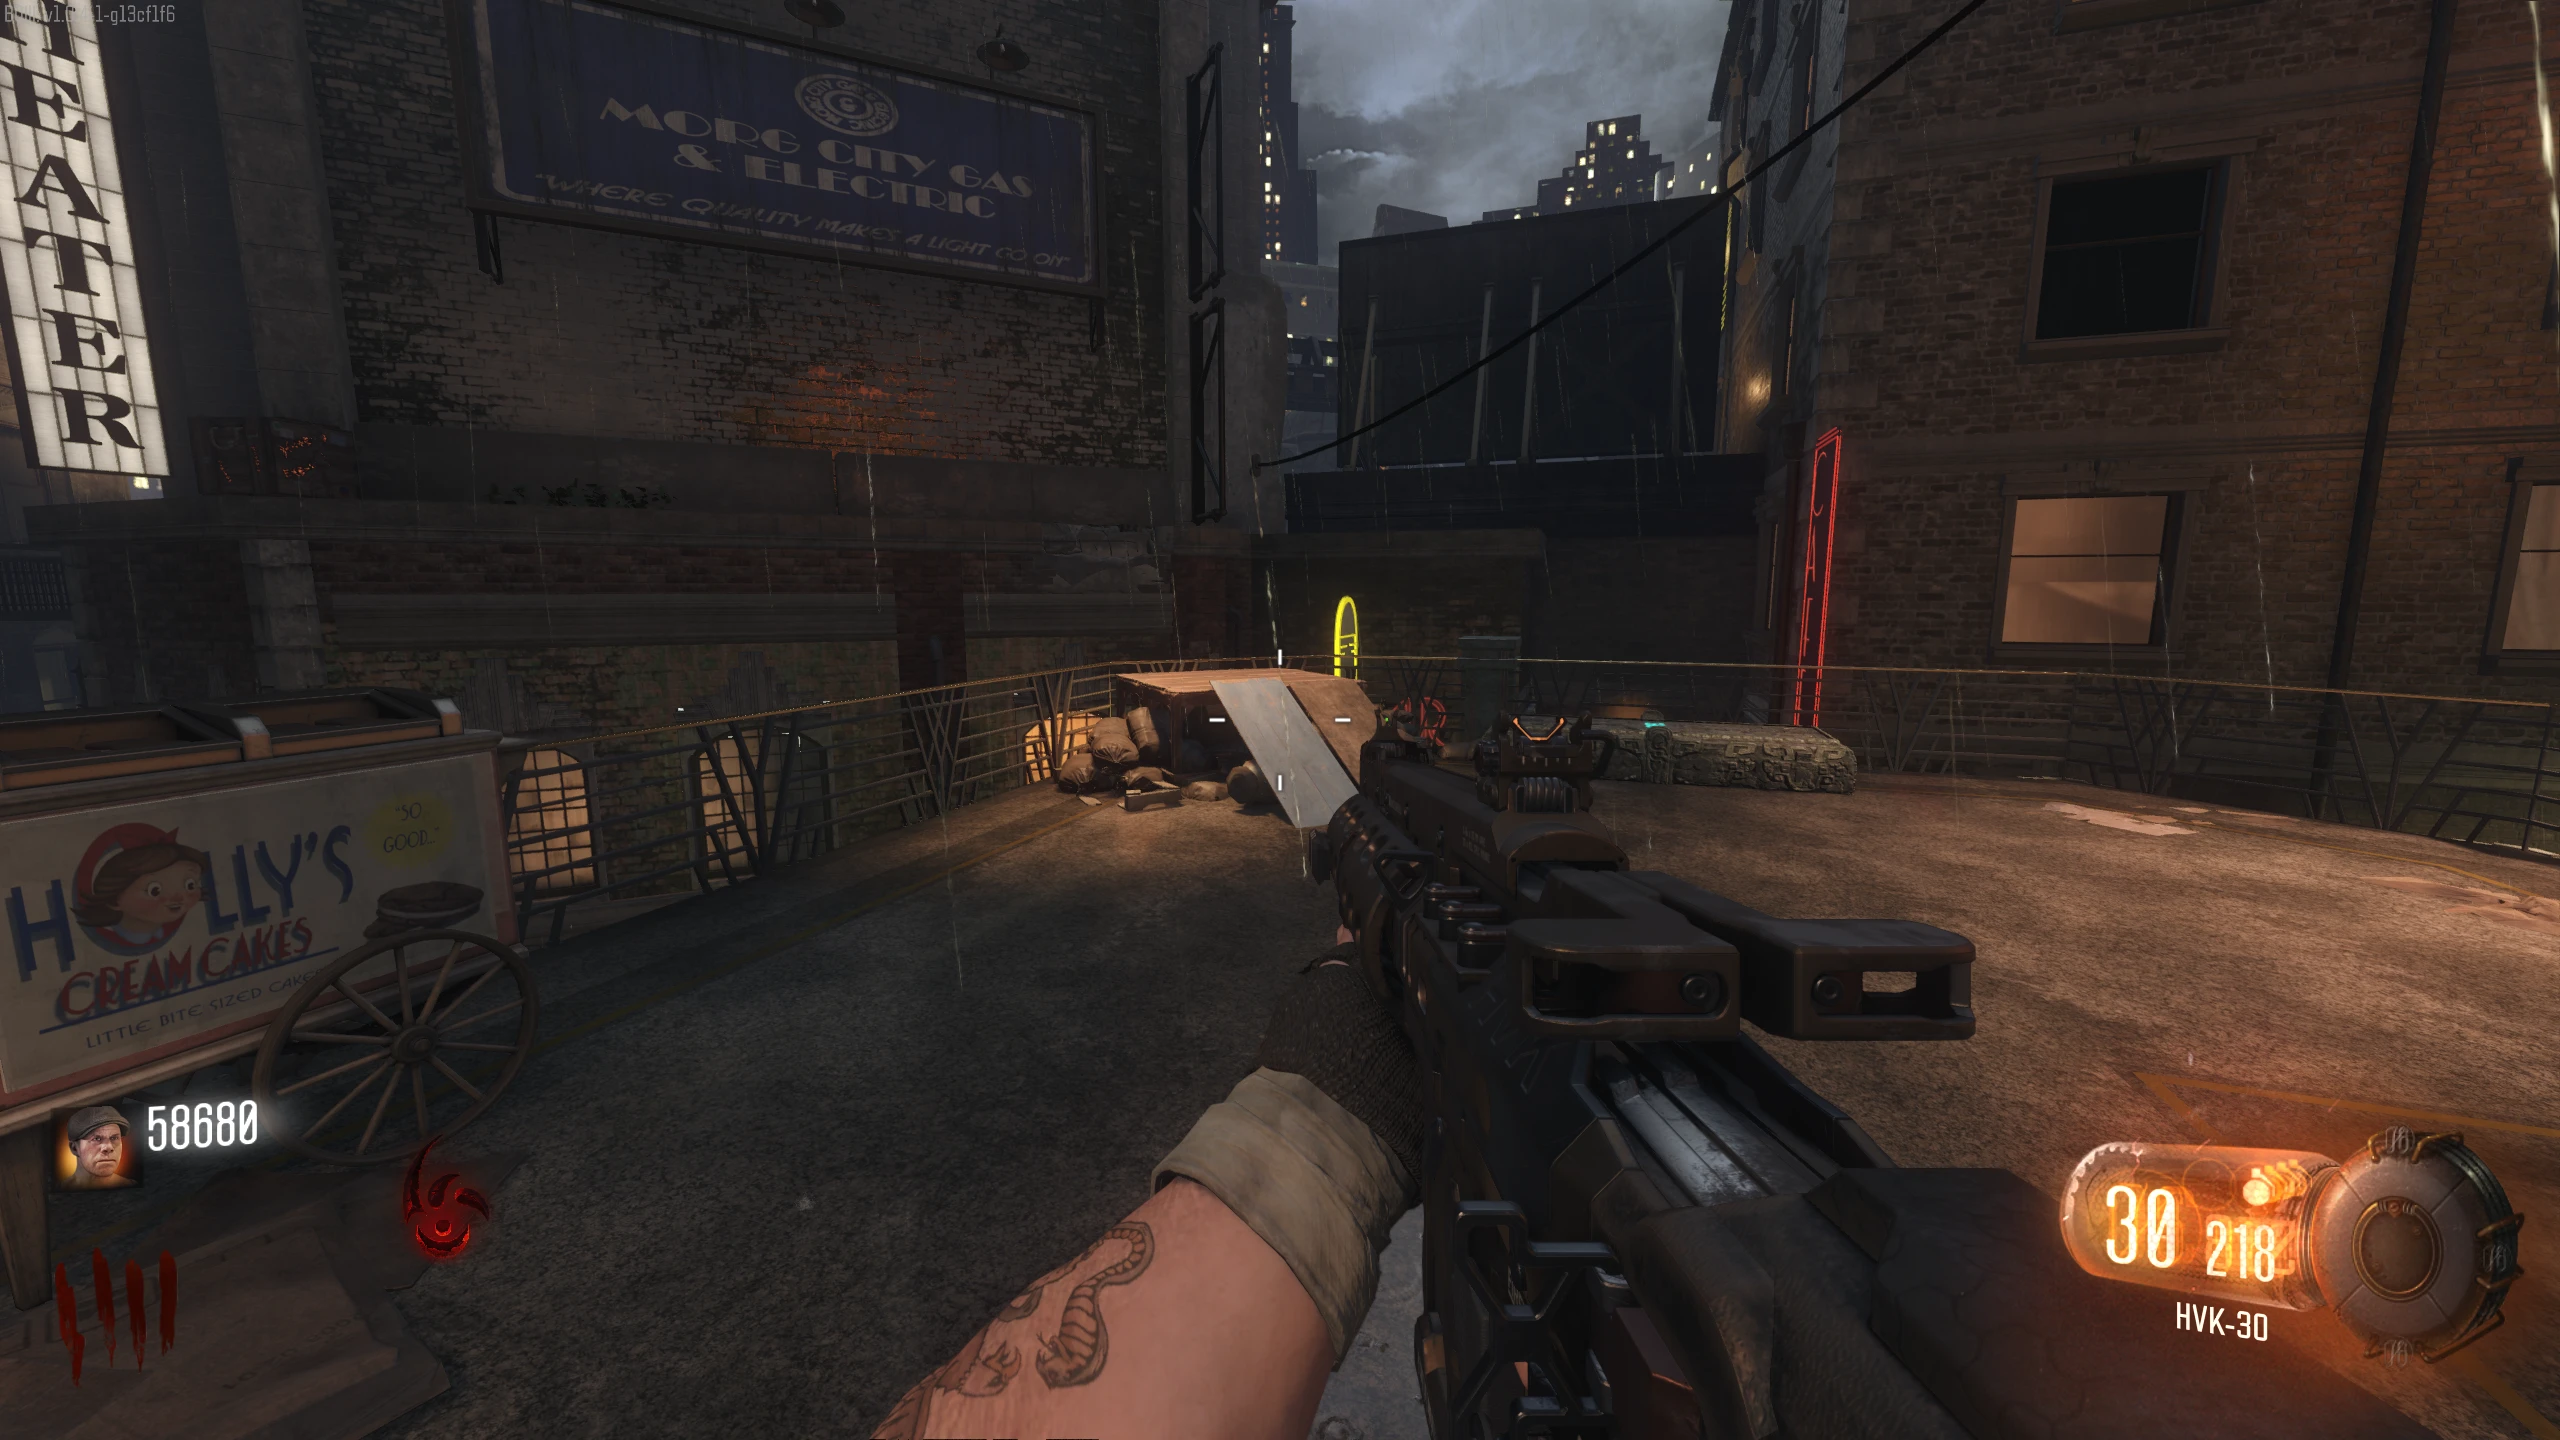
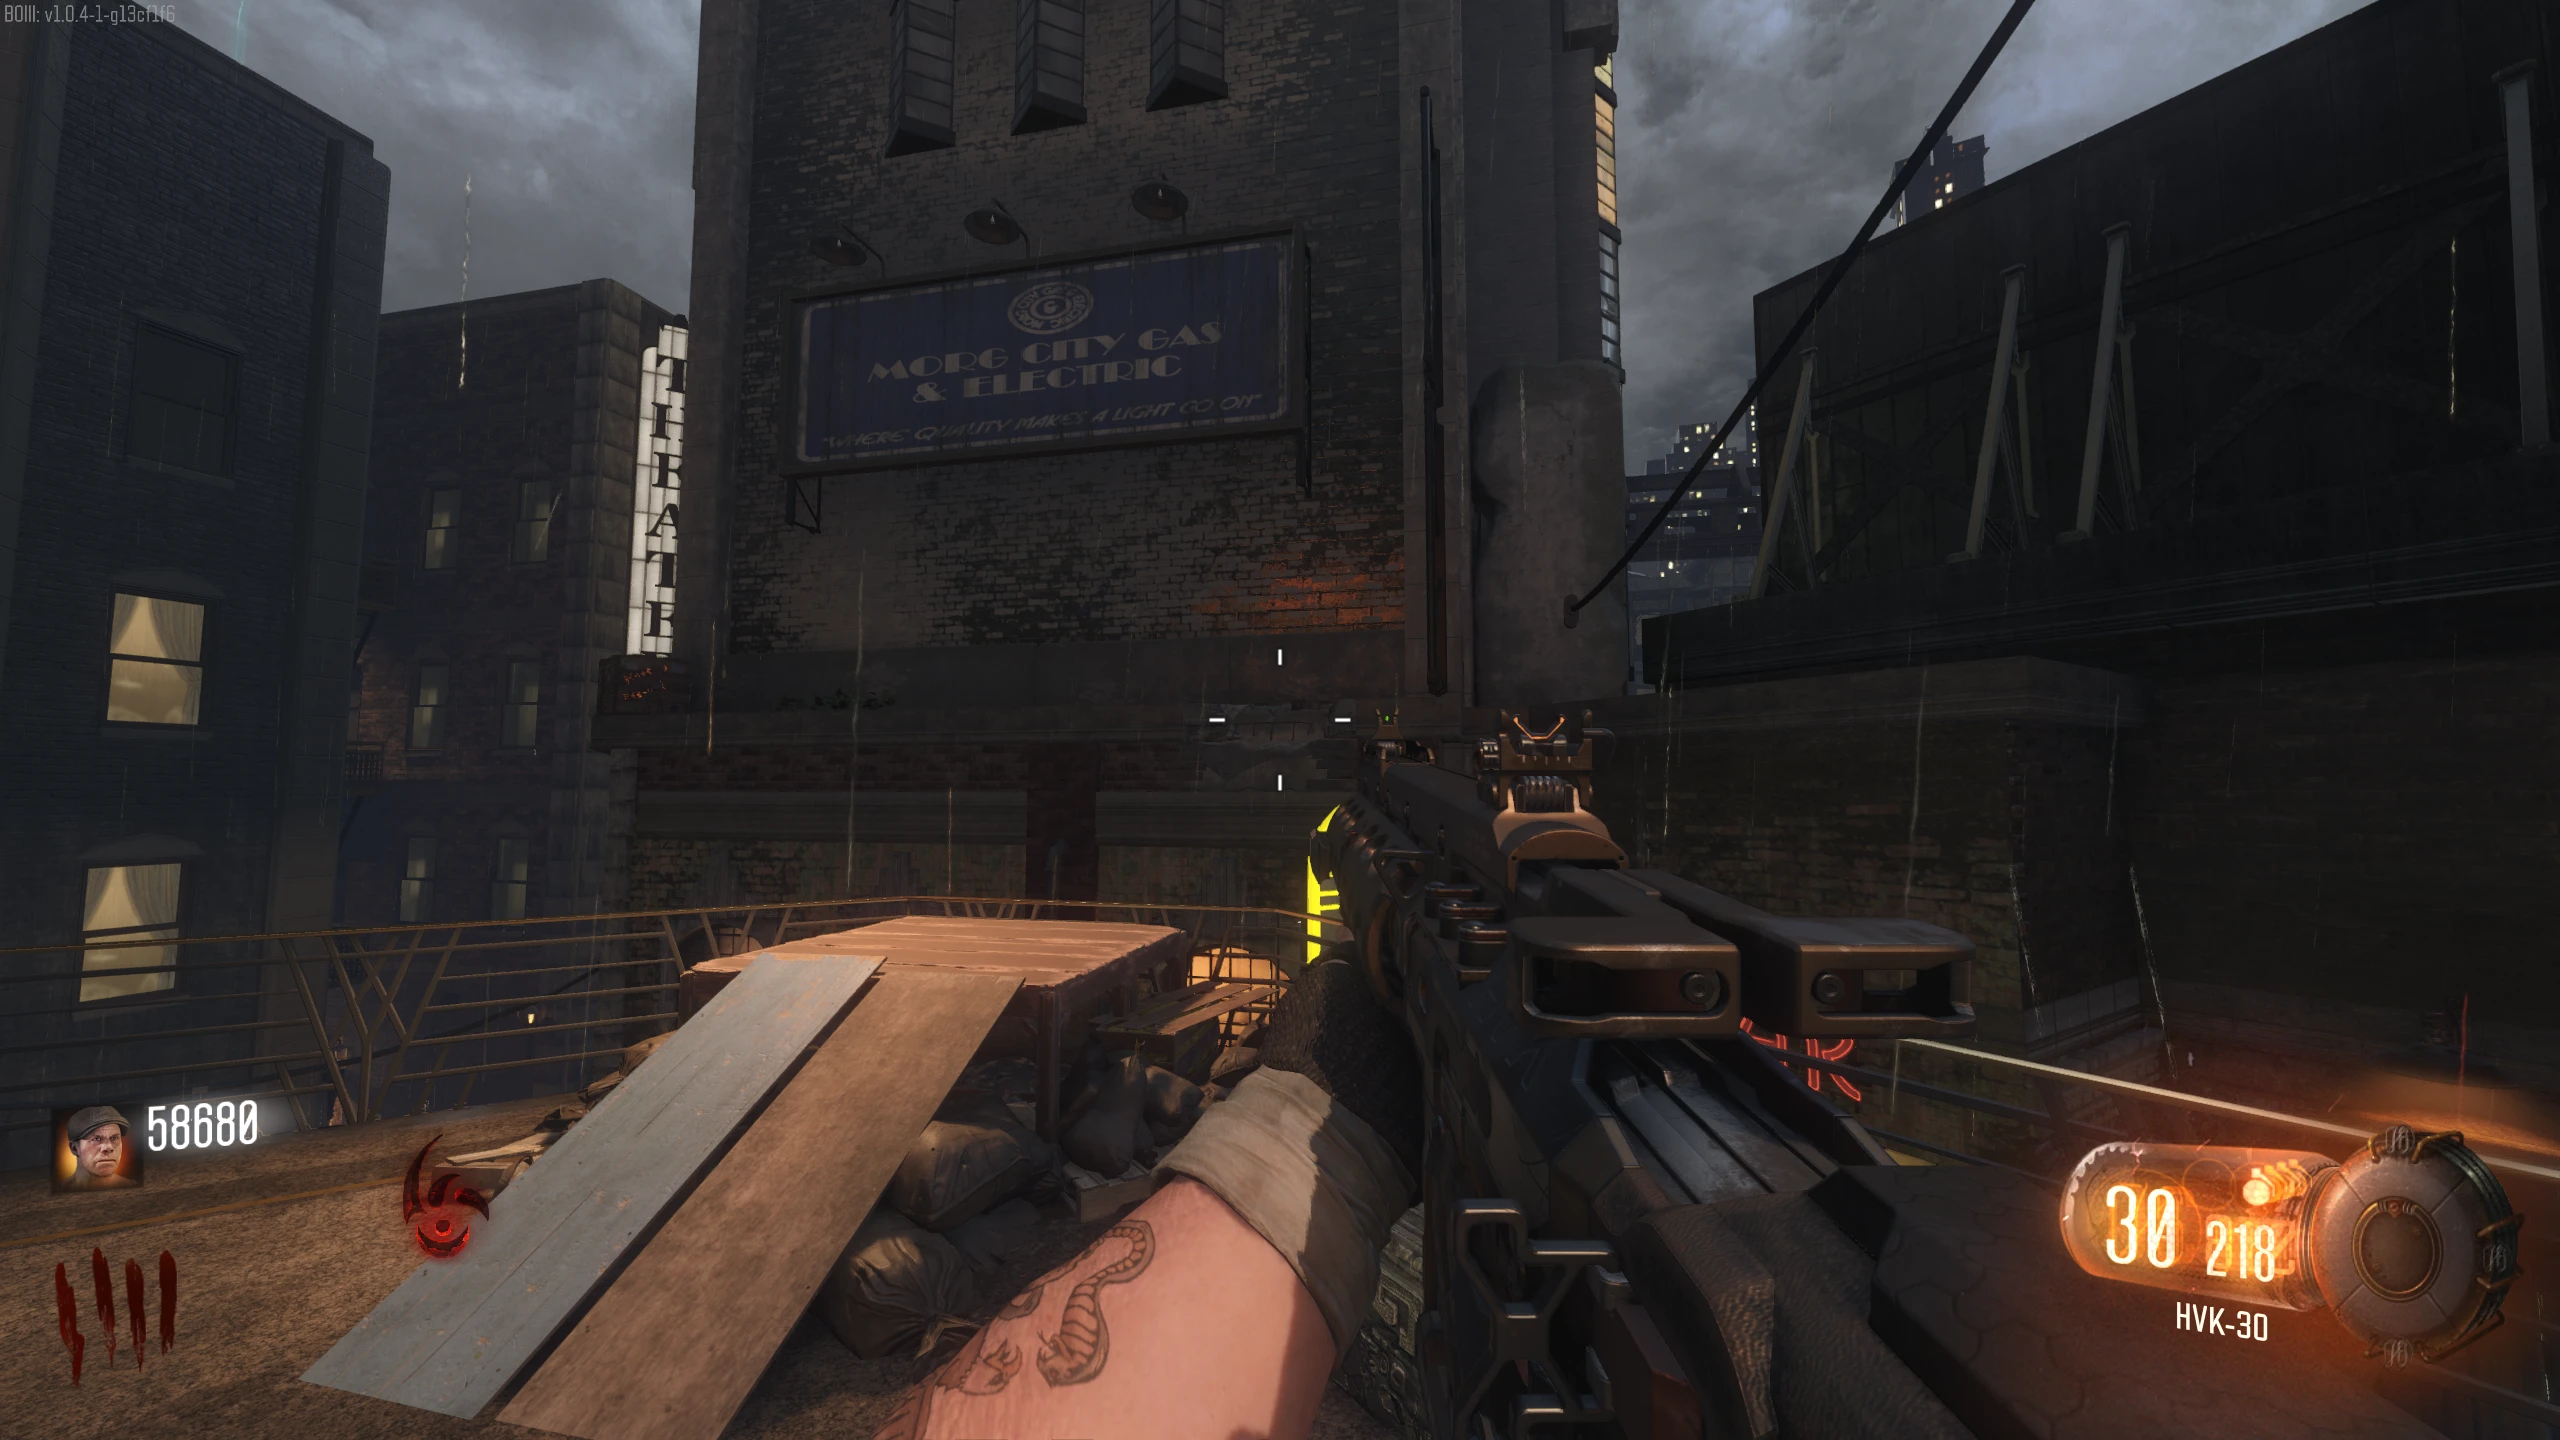
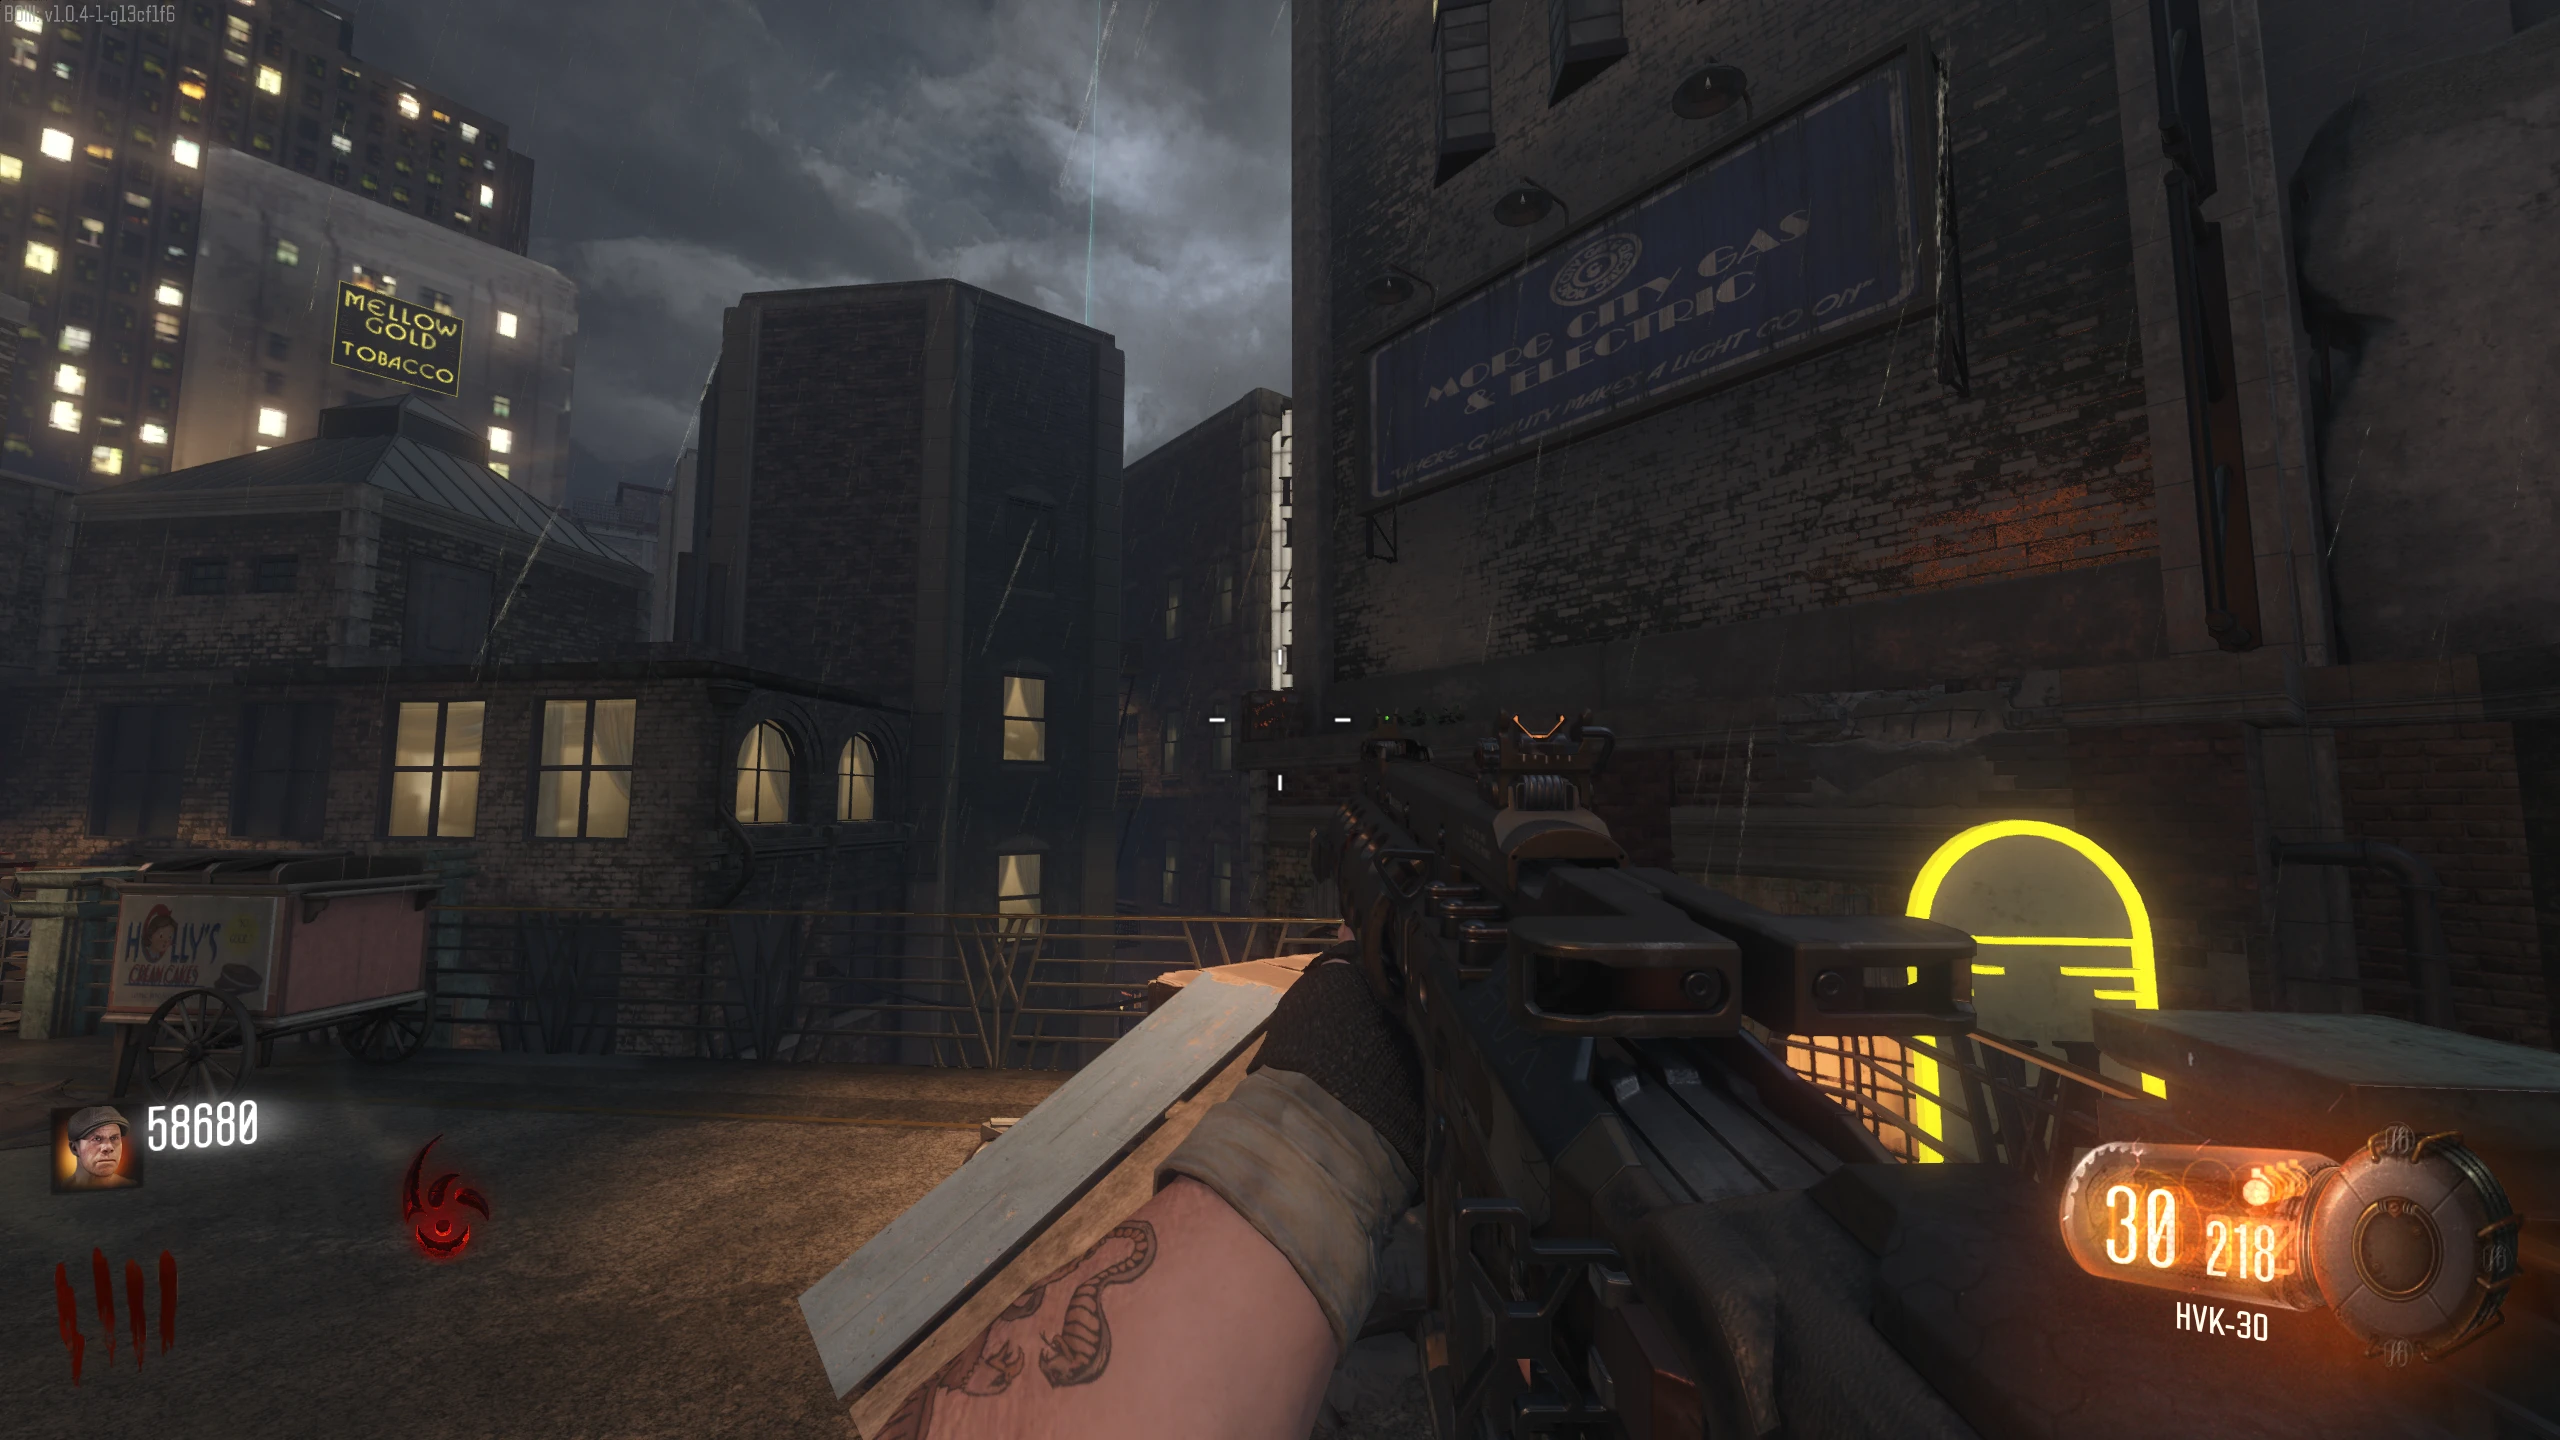
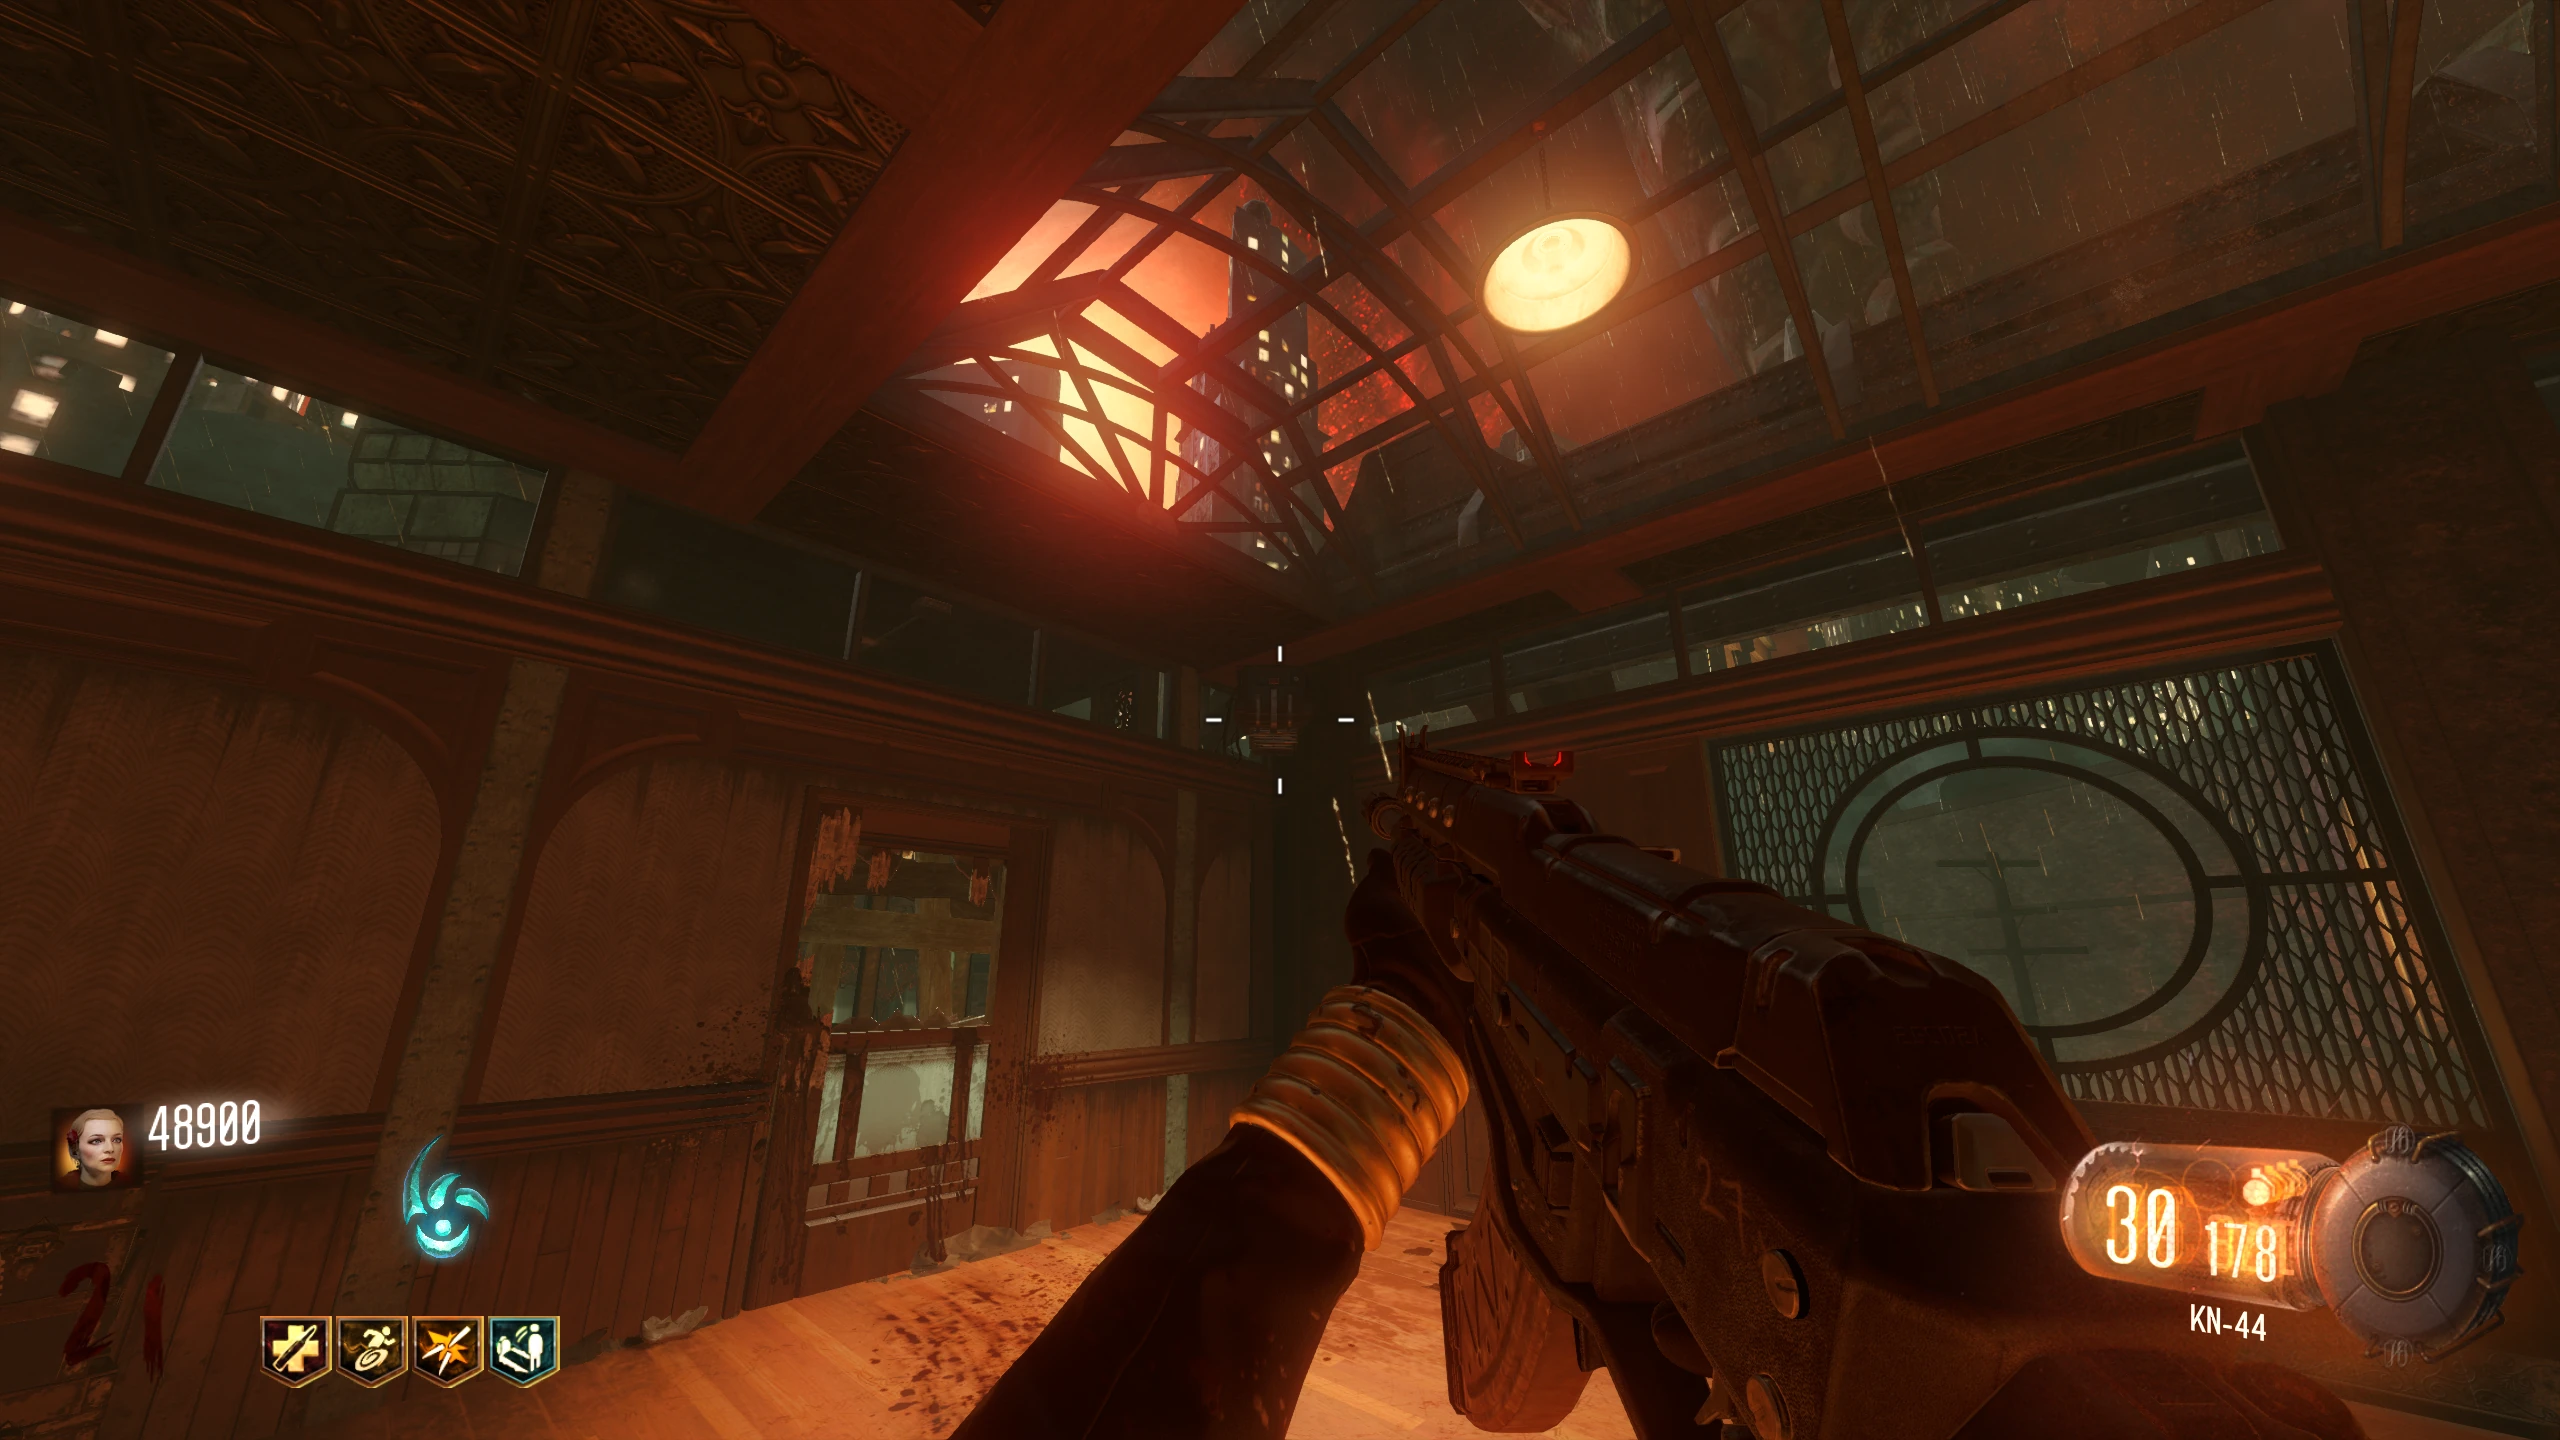
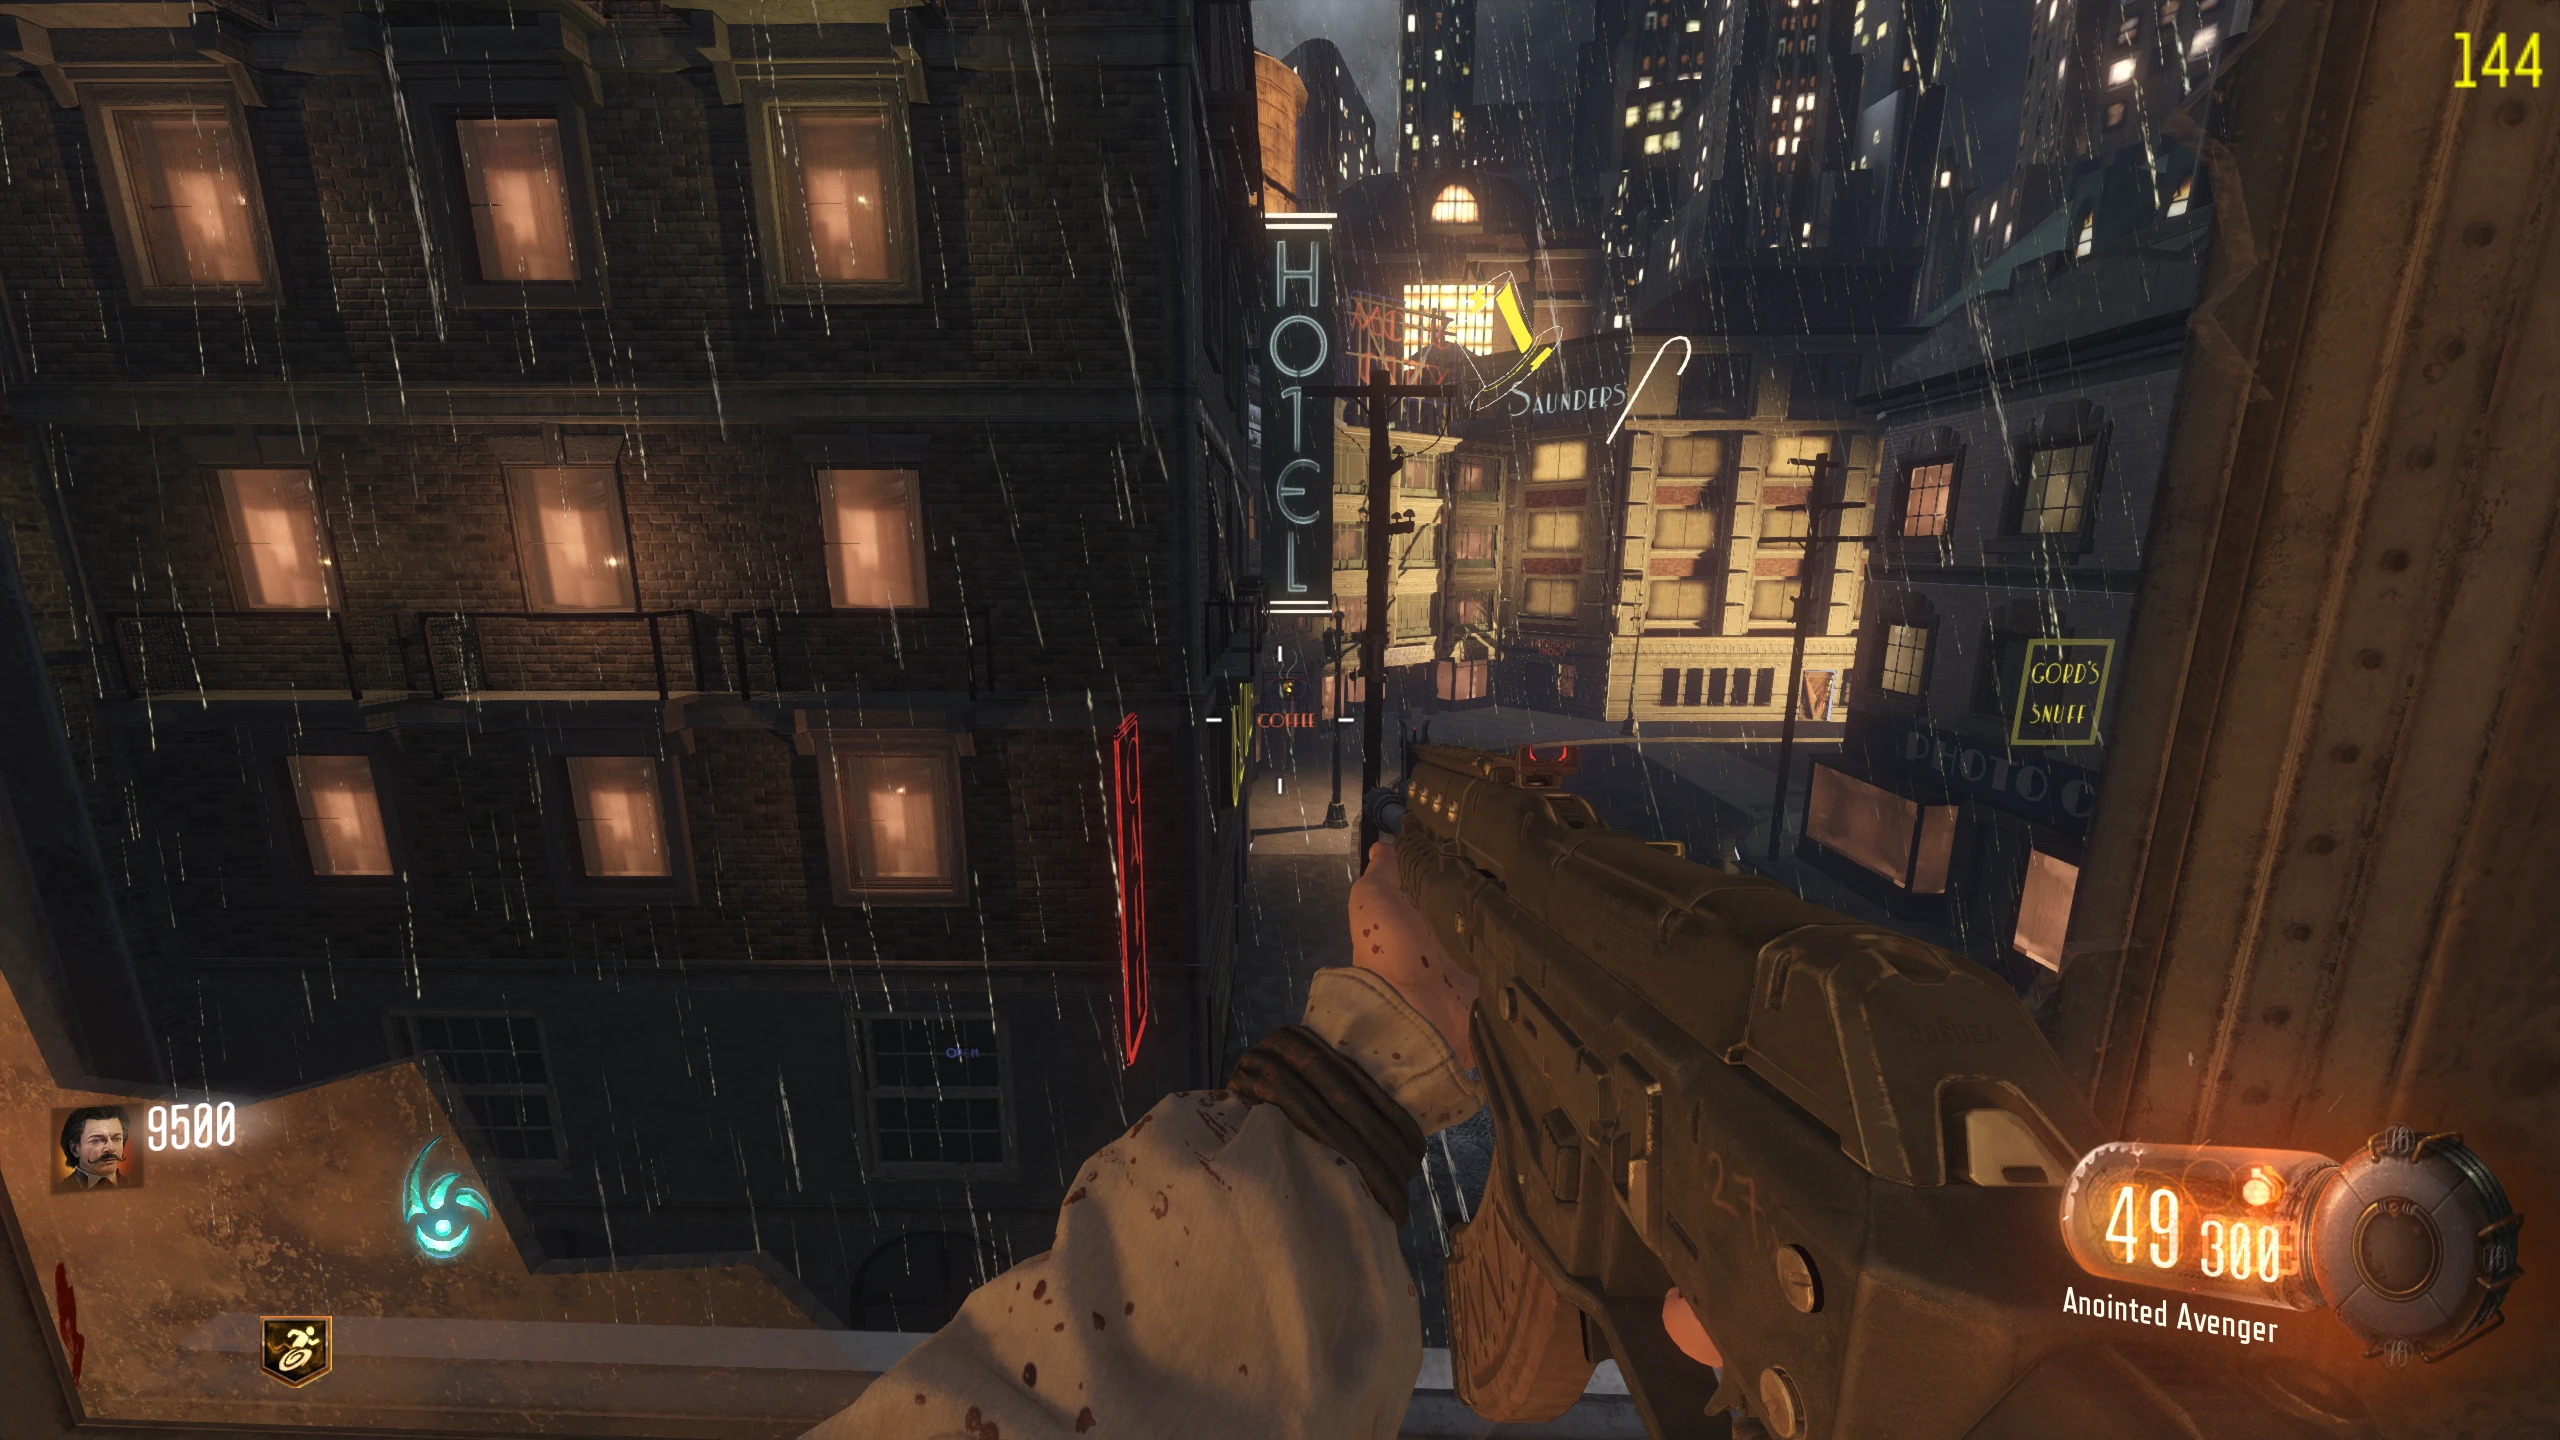
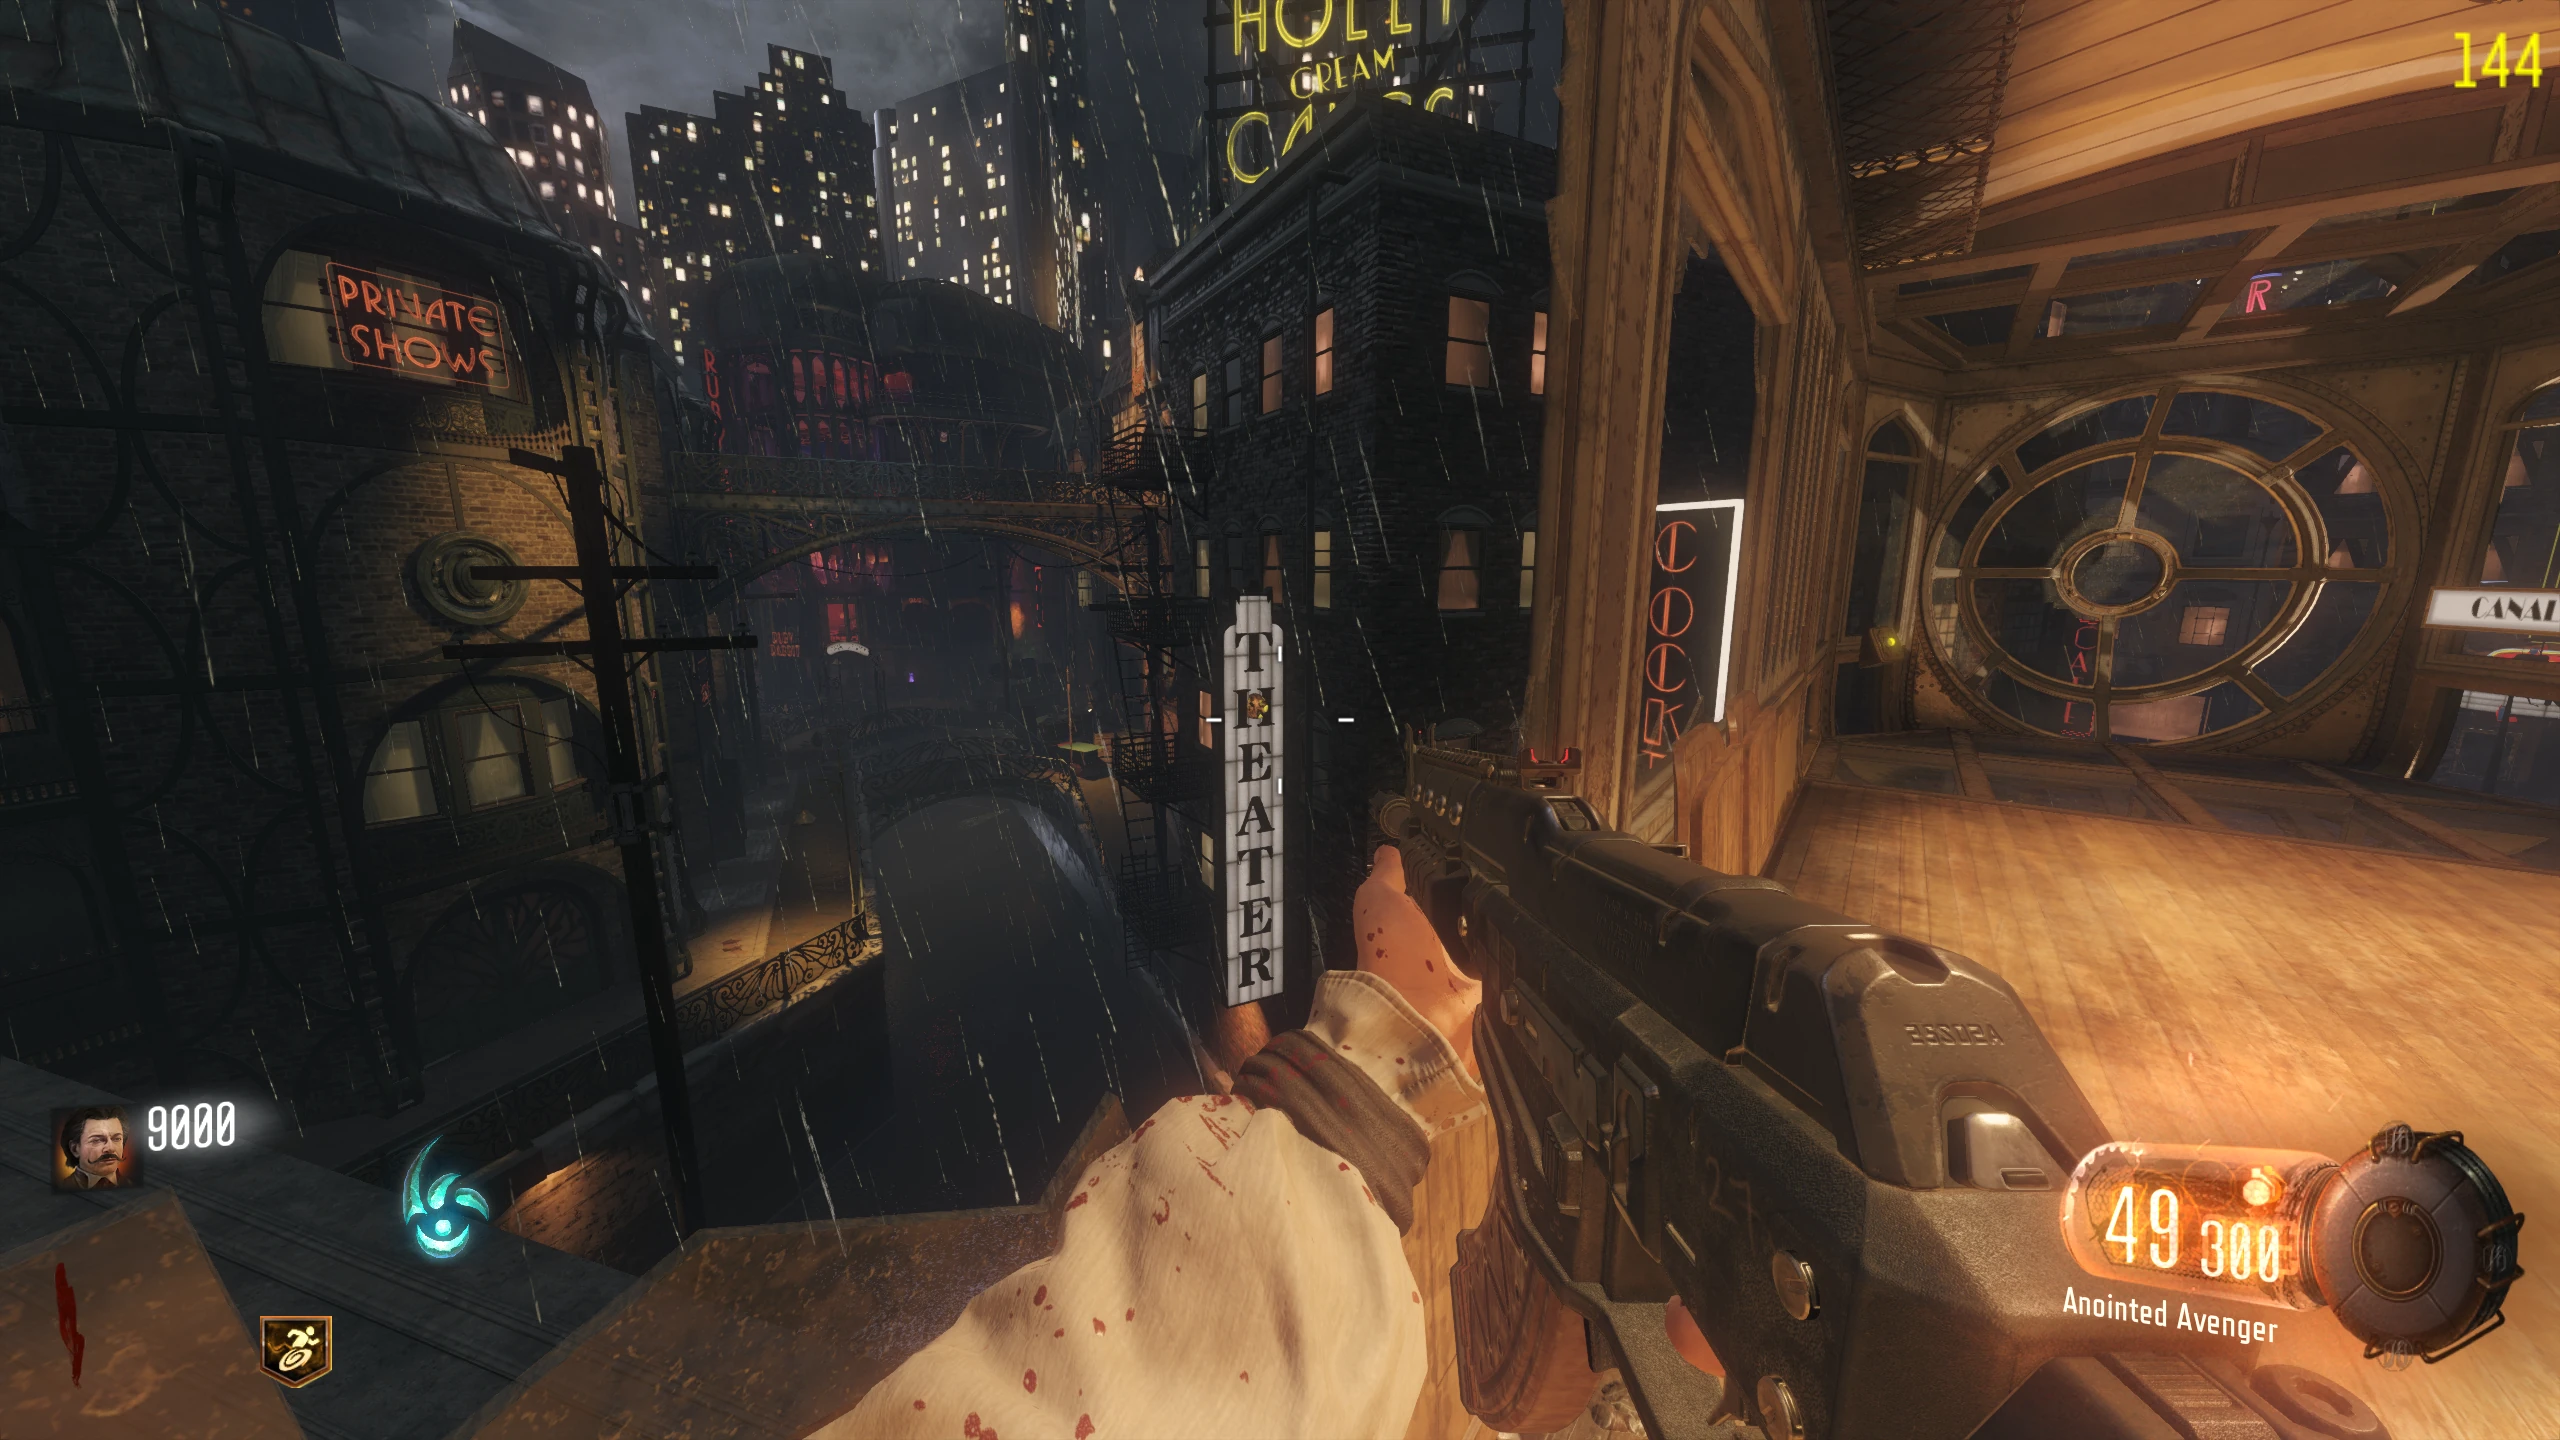
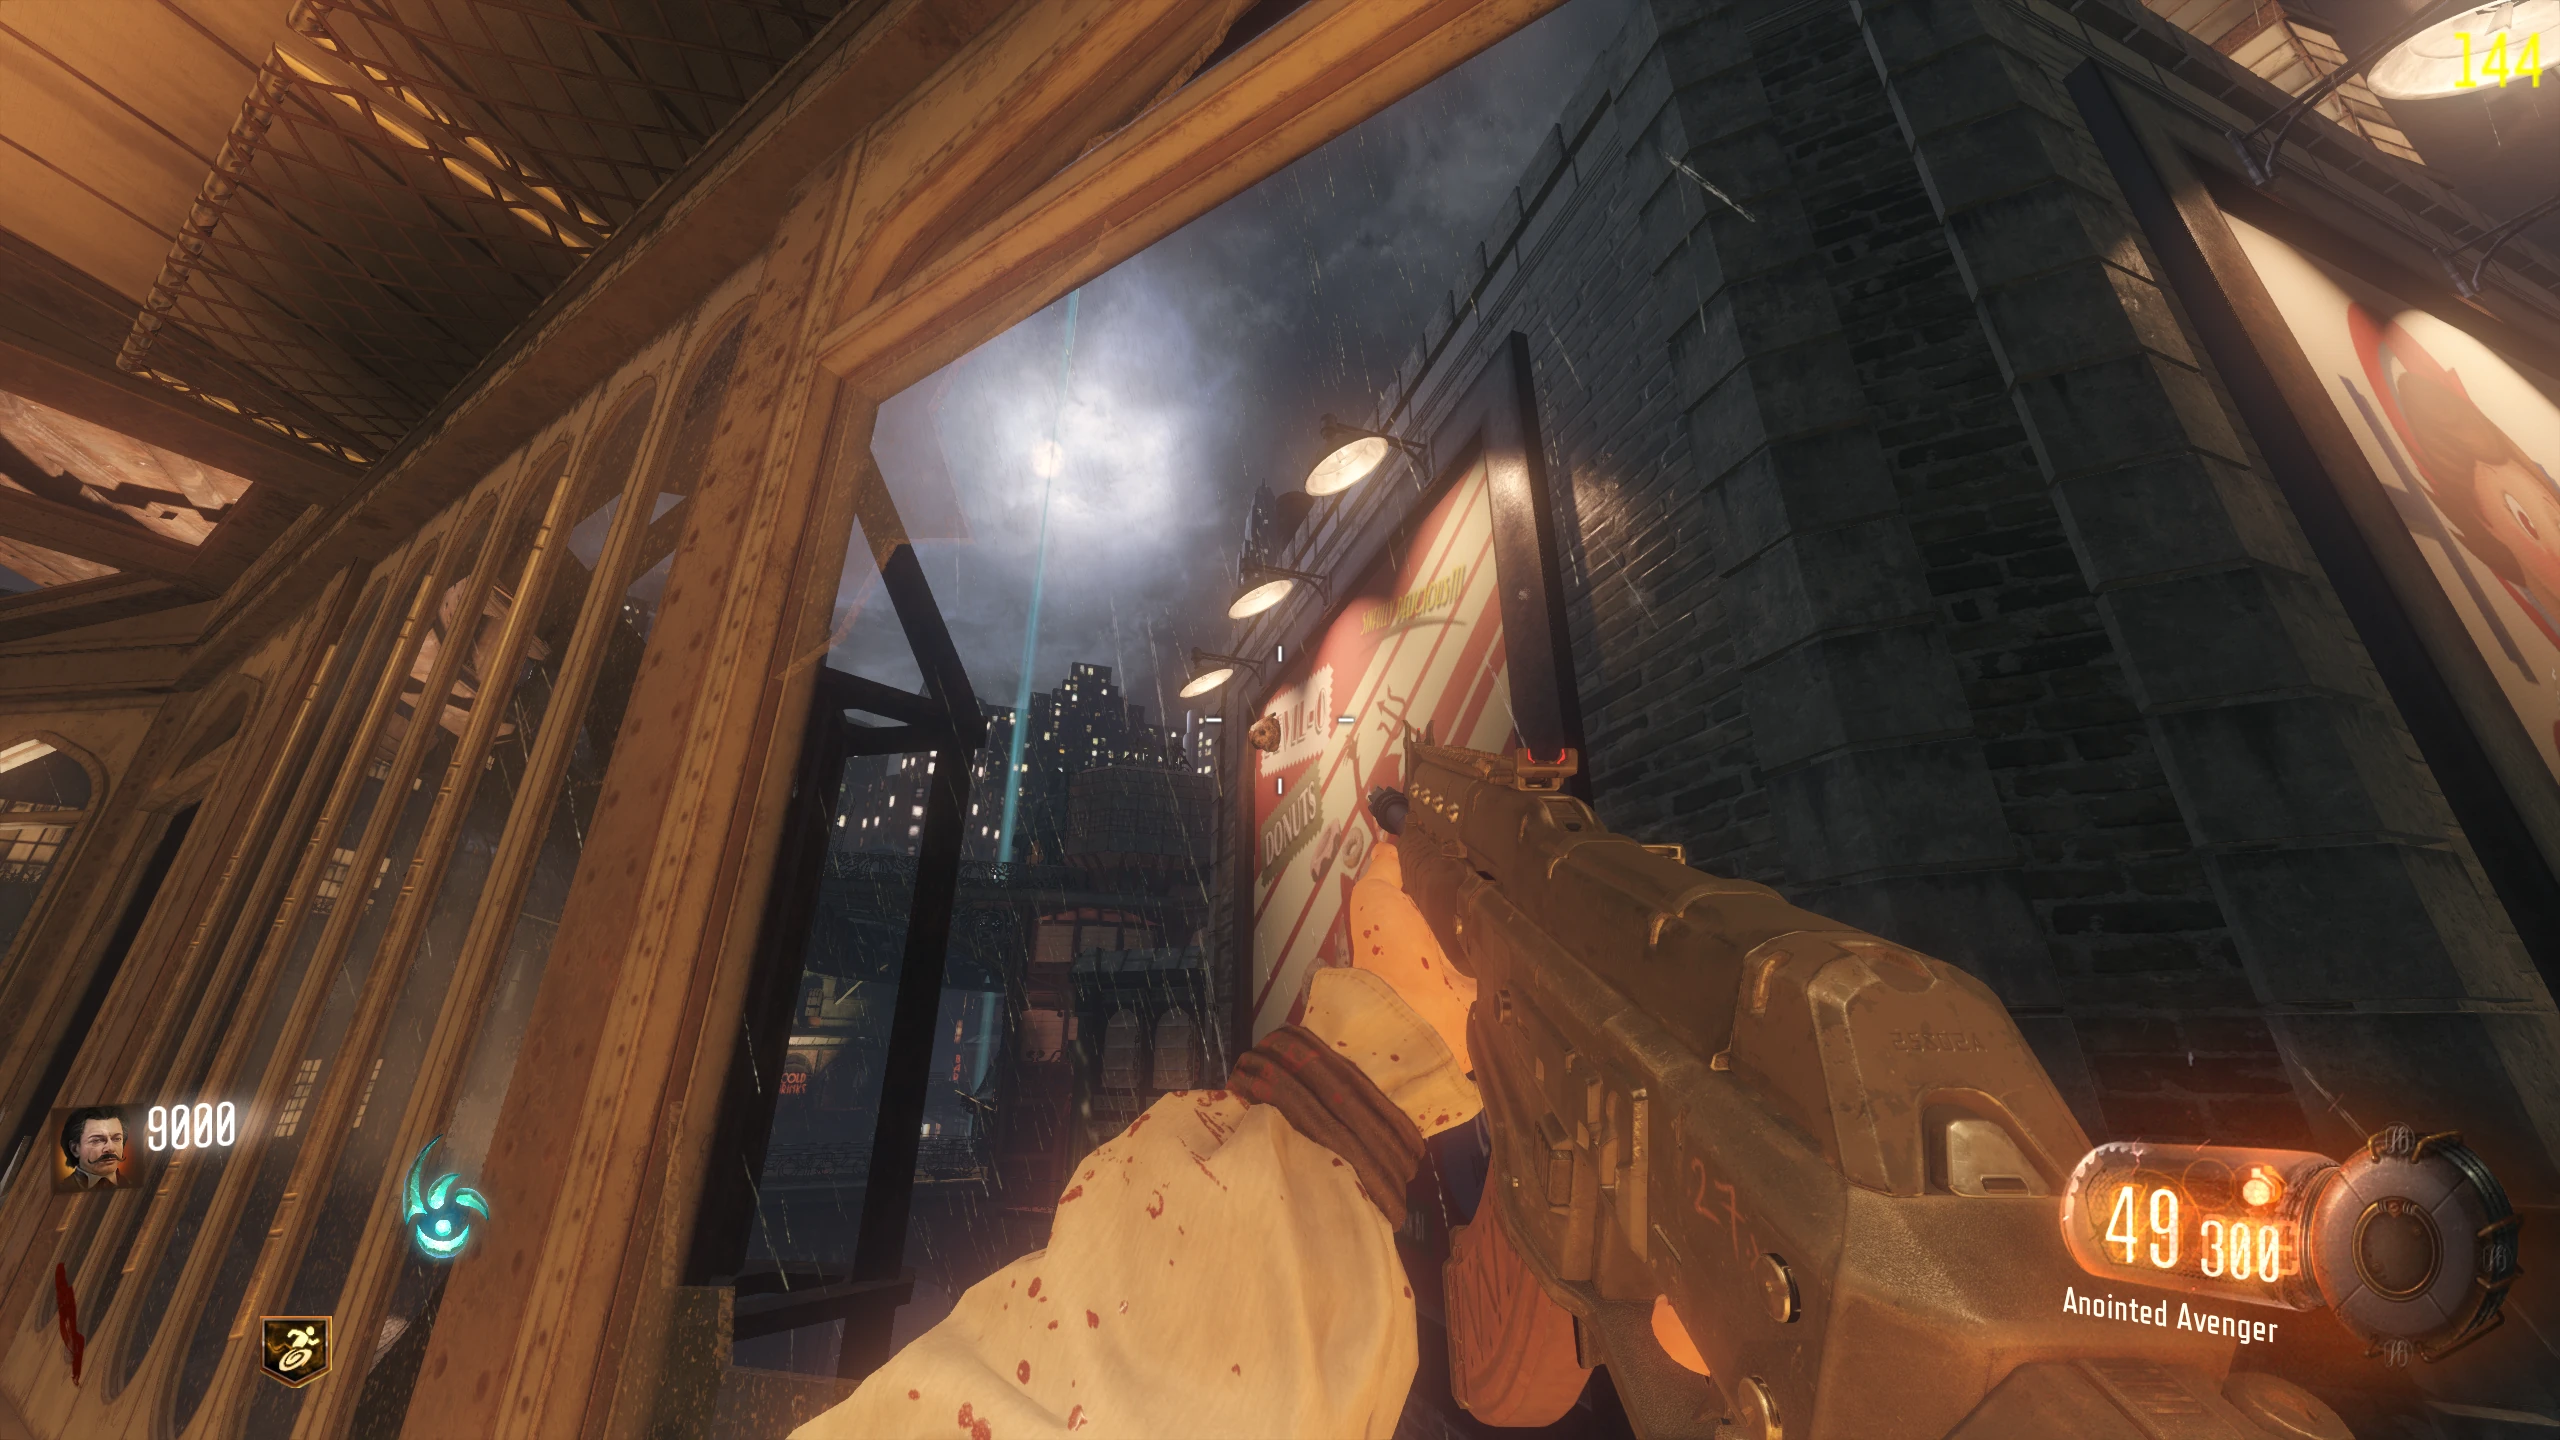
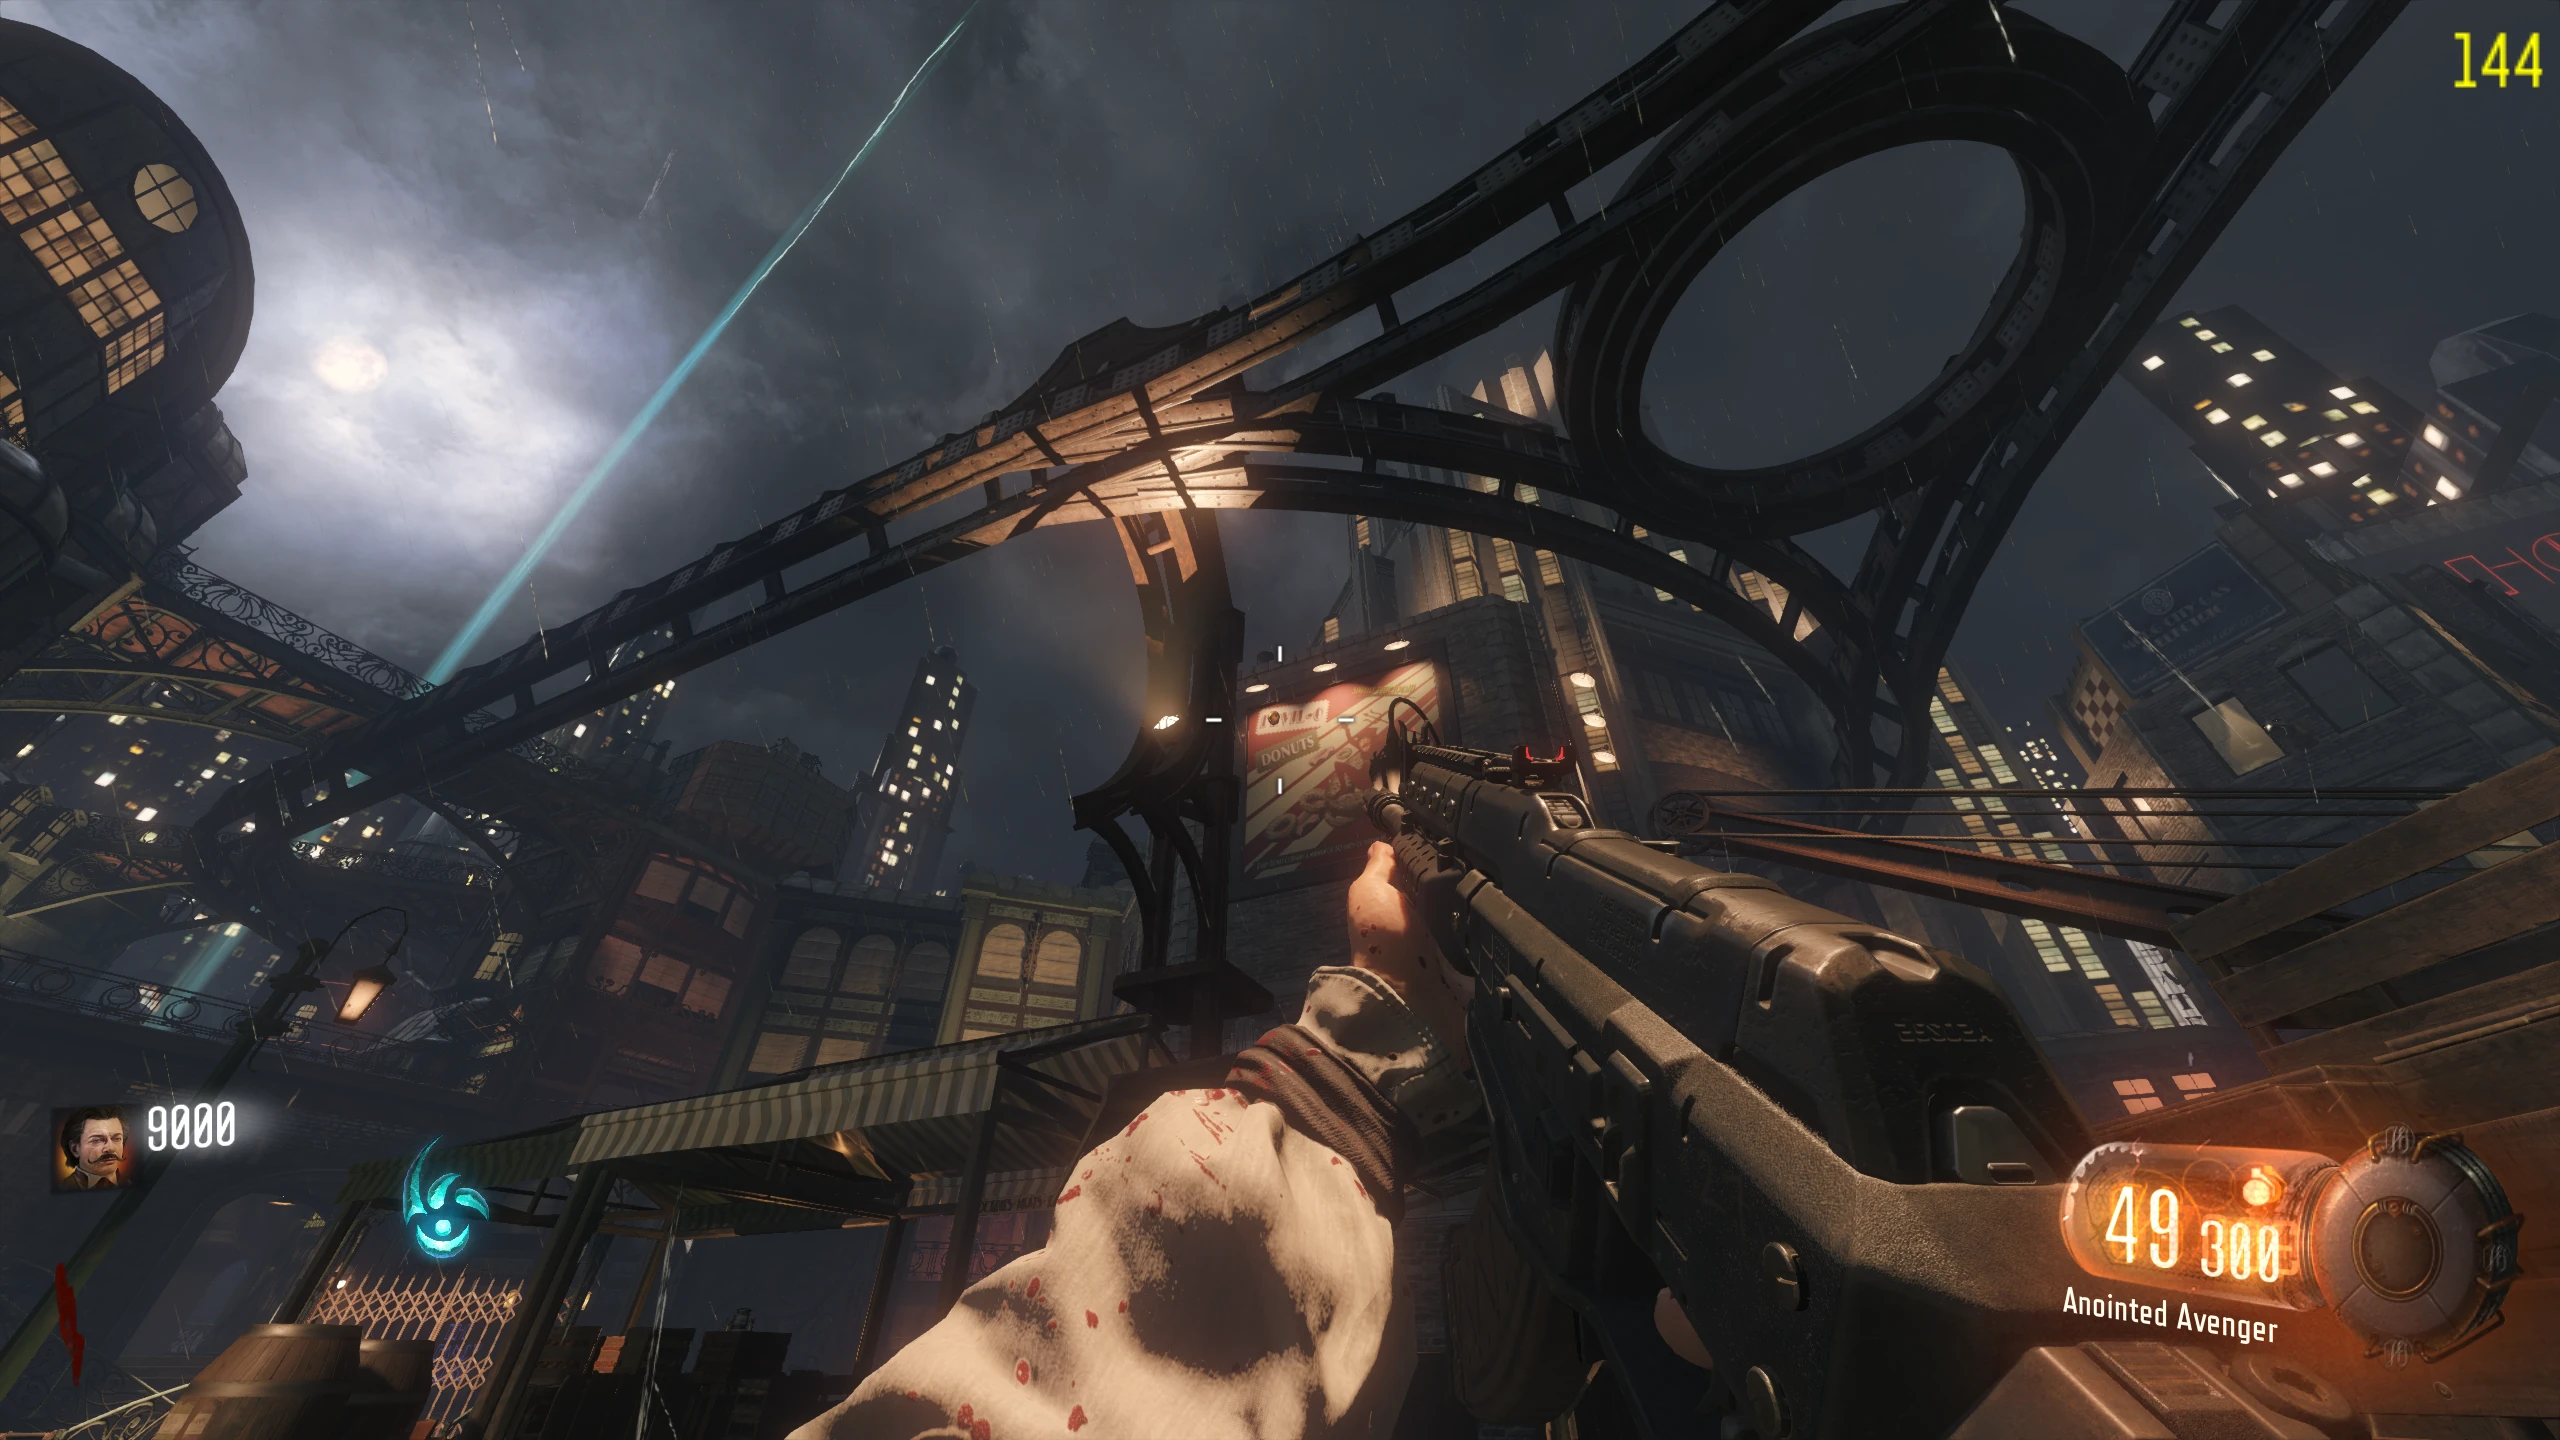
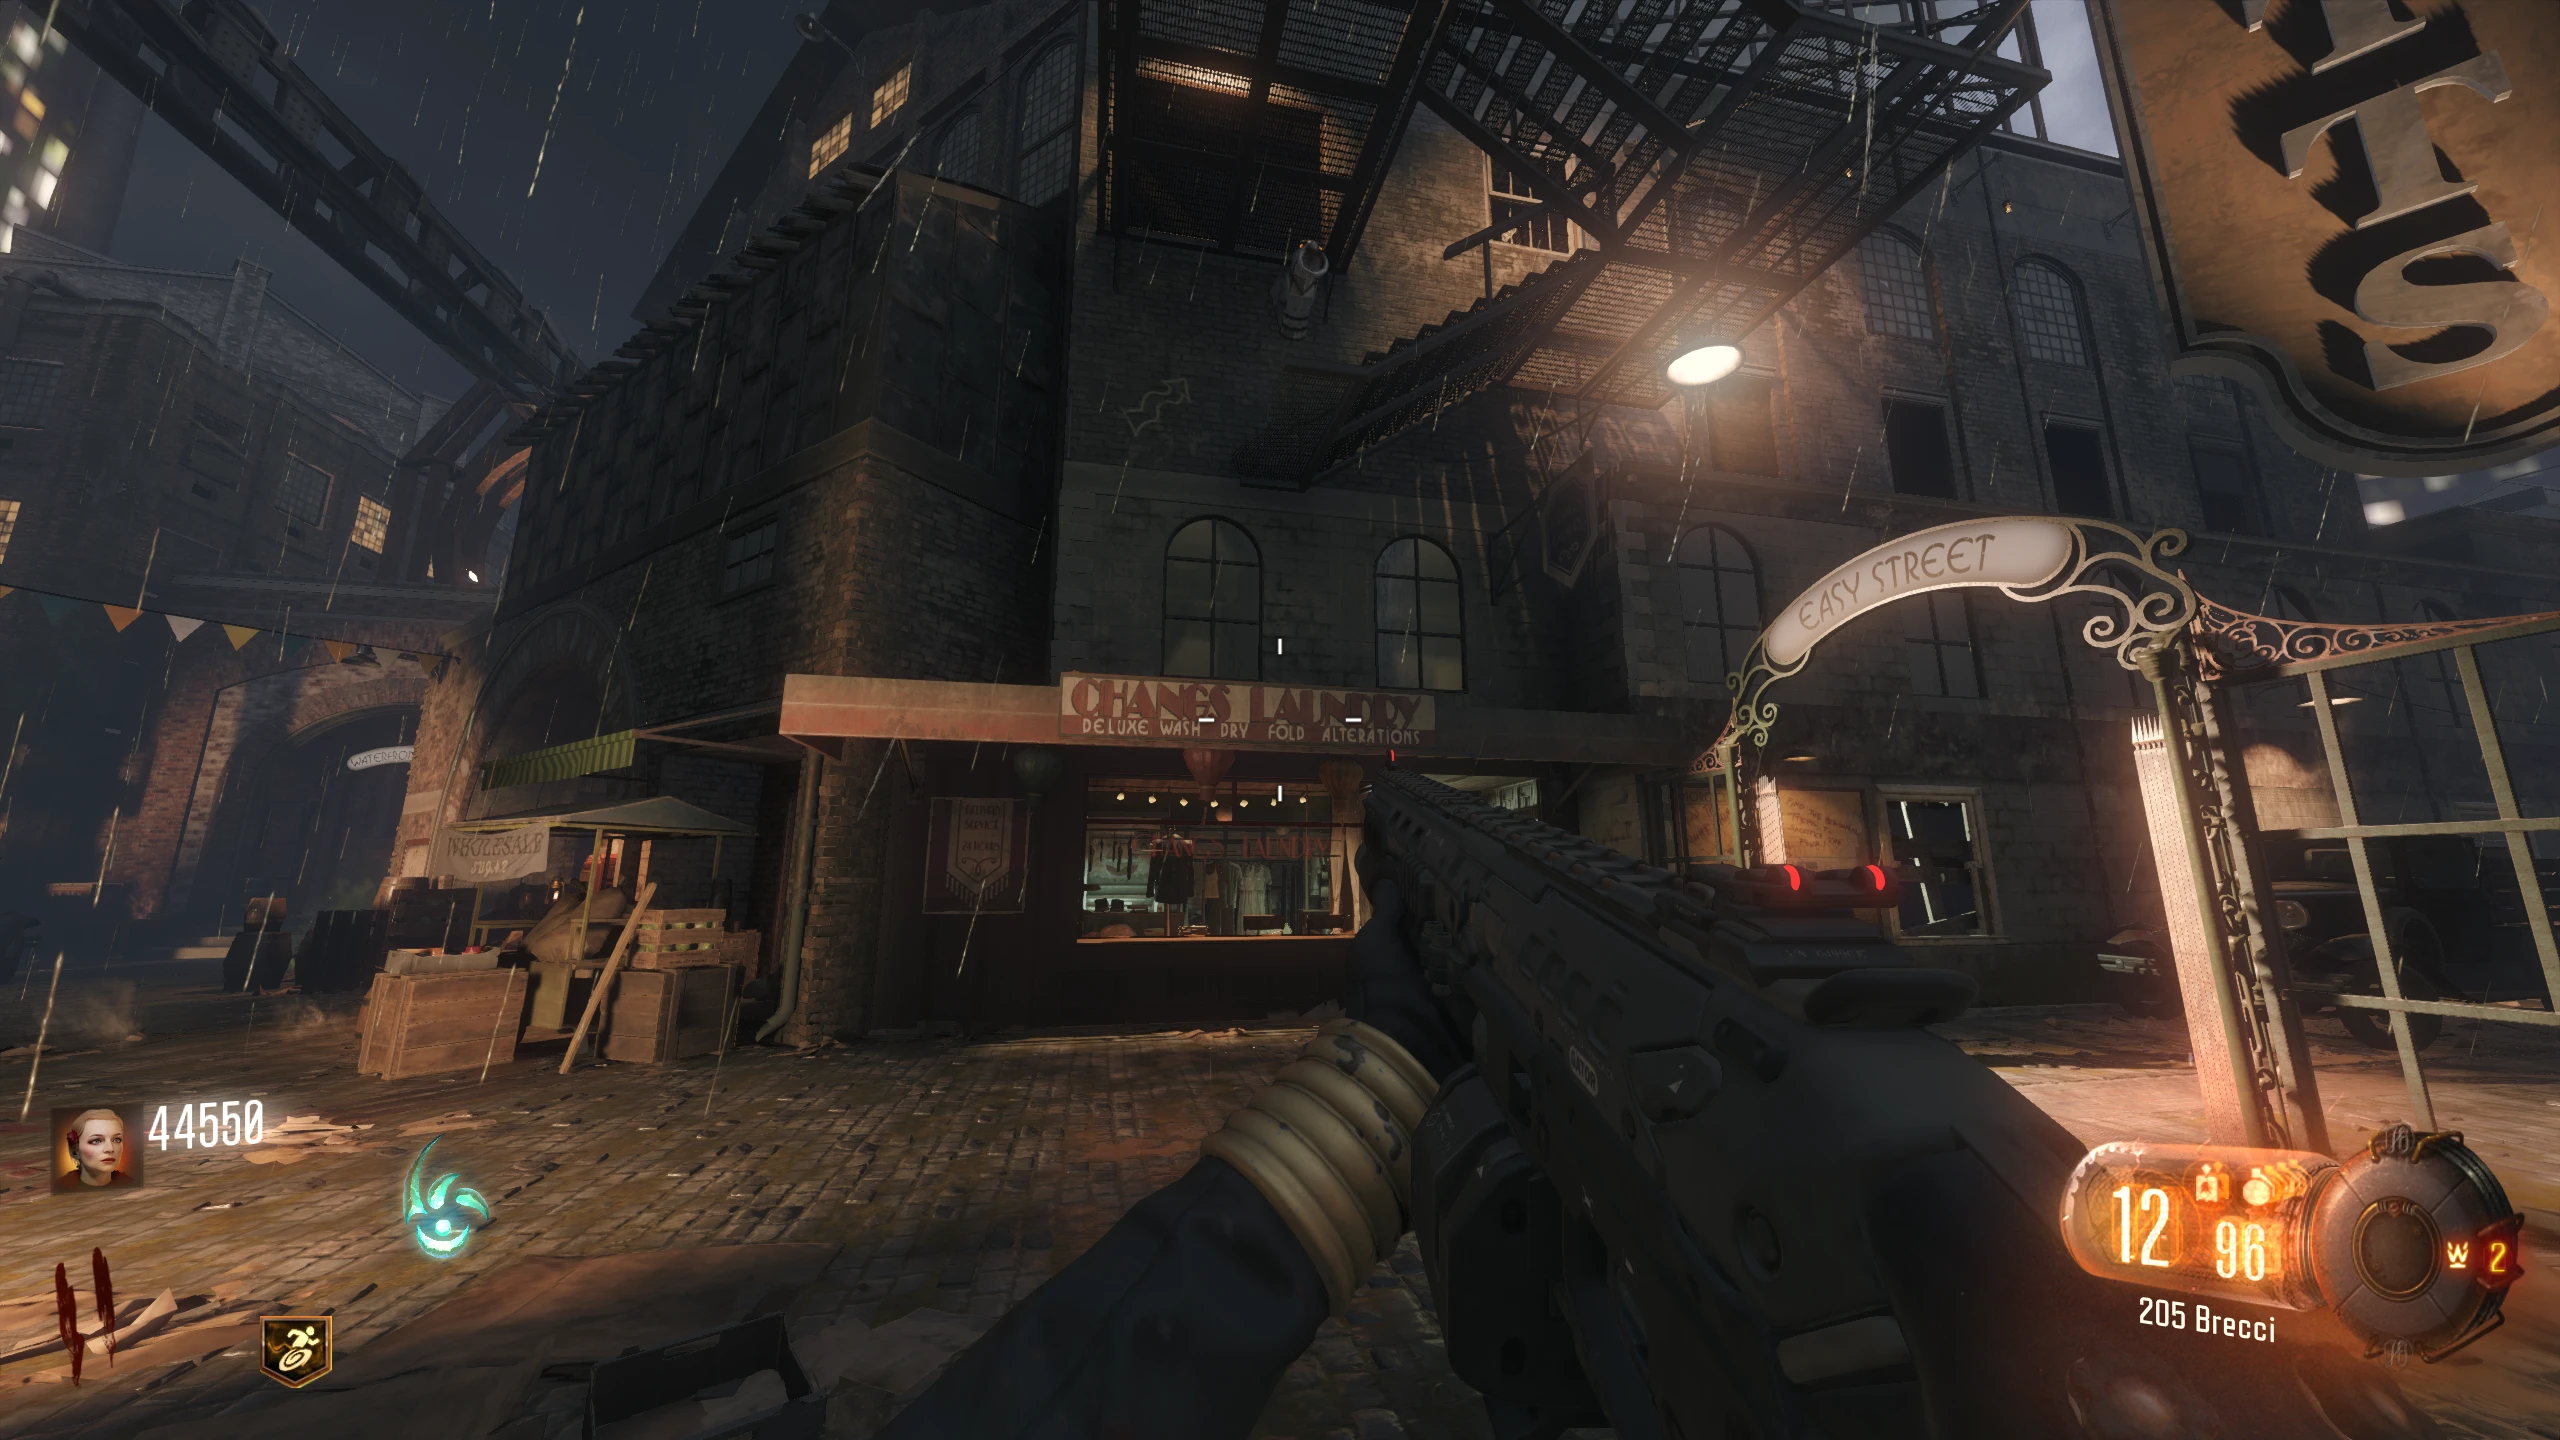
- All Train Station Fuse Box Locations:
-
Player 2 - Shock the Rails:
- Player 2's role is the same as Player 1. Enter Beast Mode, and spam shock the rails when the train is moving.
-
Player 3 - Call the Train and Shock the Rails:
- Stay out of Beast Mode to be able to call the train to your train station.
- Once all other players are ready, call the train. While it's in motion, you need to quickly enter Beast Mode and shock your station's rails (like Players 1 and 2).
-
Player 4 - Shock the Keepers:
- Enter Beast Mode, and wait in the Canals below the giant Gateworm. Margwas can't get to you when you're in the Canal.
- Once the train is in motion, shock the bottom of all three Keepers. All three Keepers need to be electrified once the giant Gateworm is destroyed. It's recommended to just spam shock the Keepers as soon as Player 3 calls the train, and don't stop till you see them fire a beam into the sky.
-
Player 1 - Shock the Rails:
- A few seconds after the Keepers fire the beam, the final cutscene will start.
 Tips (Ko-Fi)