"Greek Tragedy" Main Quest
Stats (Solo): Difficulty - 7/10, Est. Completion Time - 1:15 Hr to 1:30 Hr, RNG Rating - 1/5 (Hellion Salvo From Box)
Unleash the Eagles
- Open Pack-a-Punch
Ignite the Beacons
- Ignite the Eternal Flame and obtain the Apollo's Will
- Throughout the Main Quest, you'll need the Fallen Hand of Gaia and the Redeemed versions of the other three. For one step, all players must have a Redeemed Hand, but by that point you'll already have one Fallen and two Redeemed. The Hands are needed in this order:
- Redeemed Hand of Charon - Step 6
- Fallen Hand of Gaia - Step 11
- Redeemed Hand of Hemera - Step 15
- Redeemed Hand of Ouranos - Step 21/24
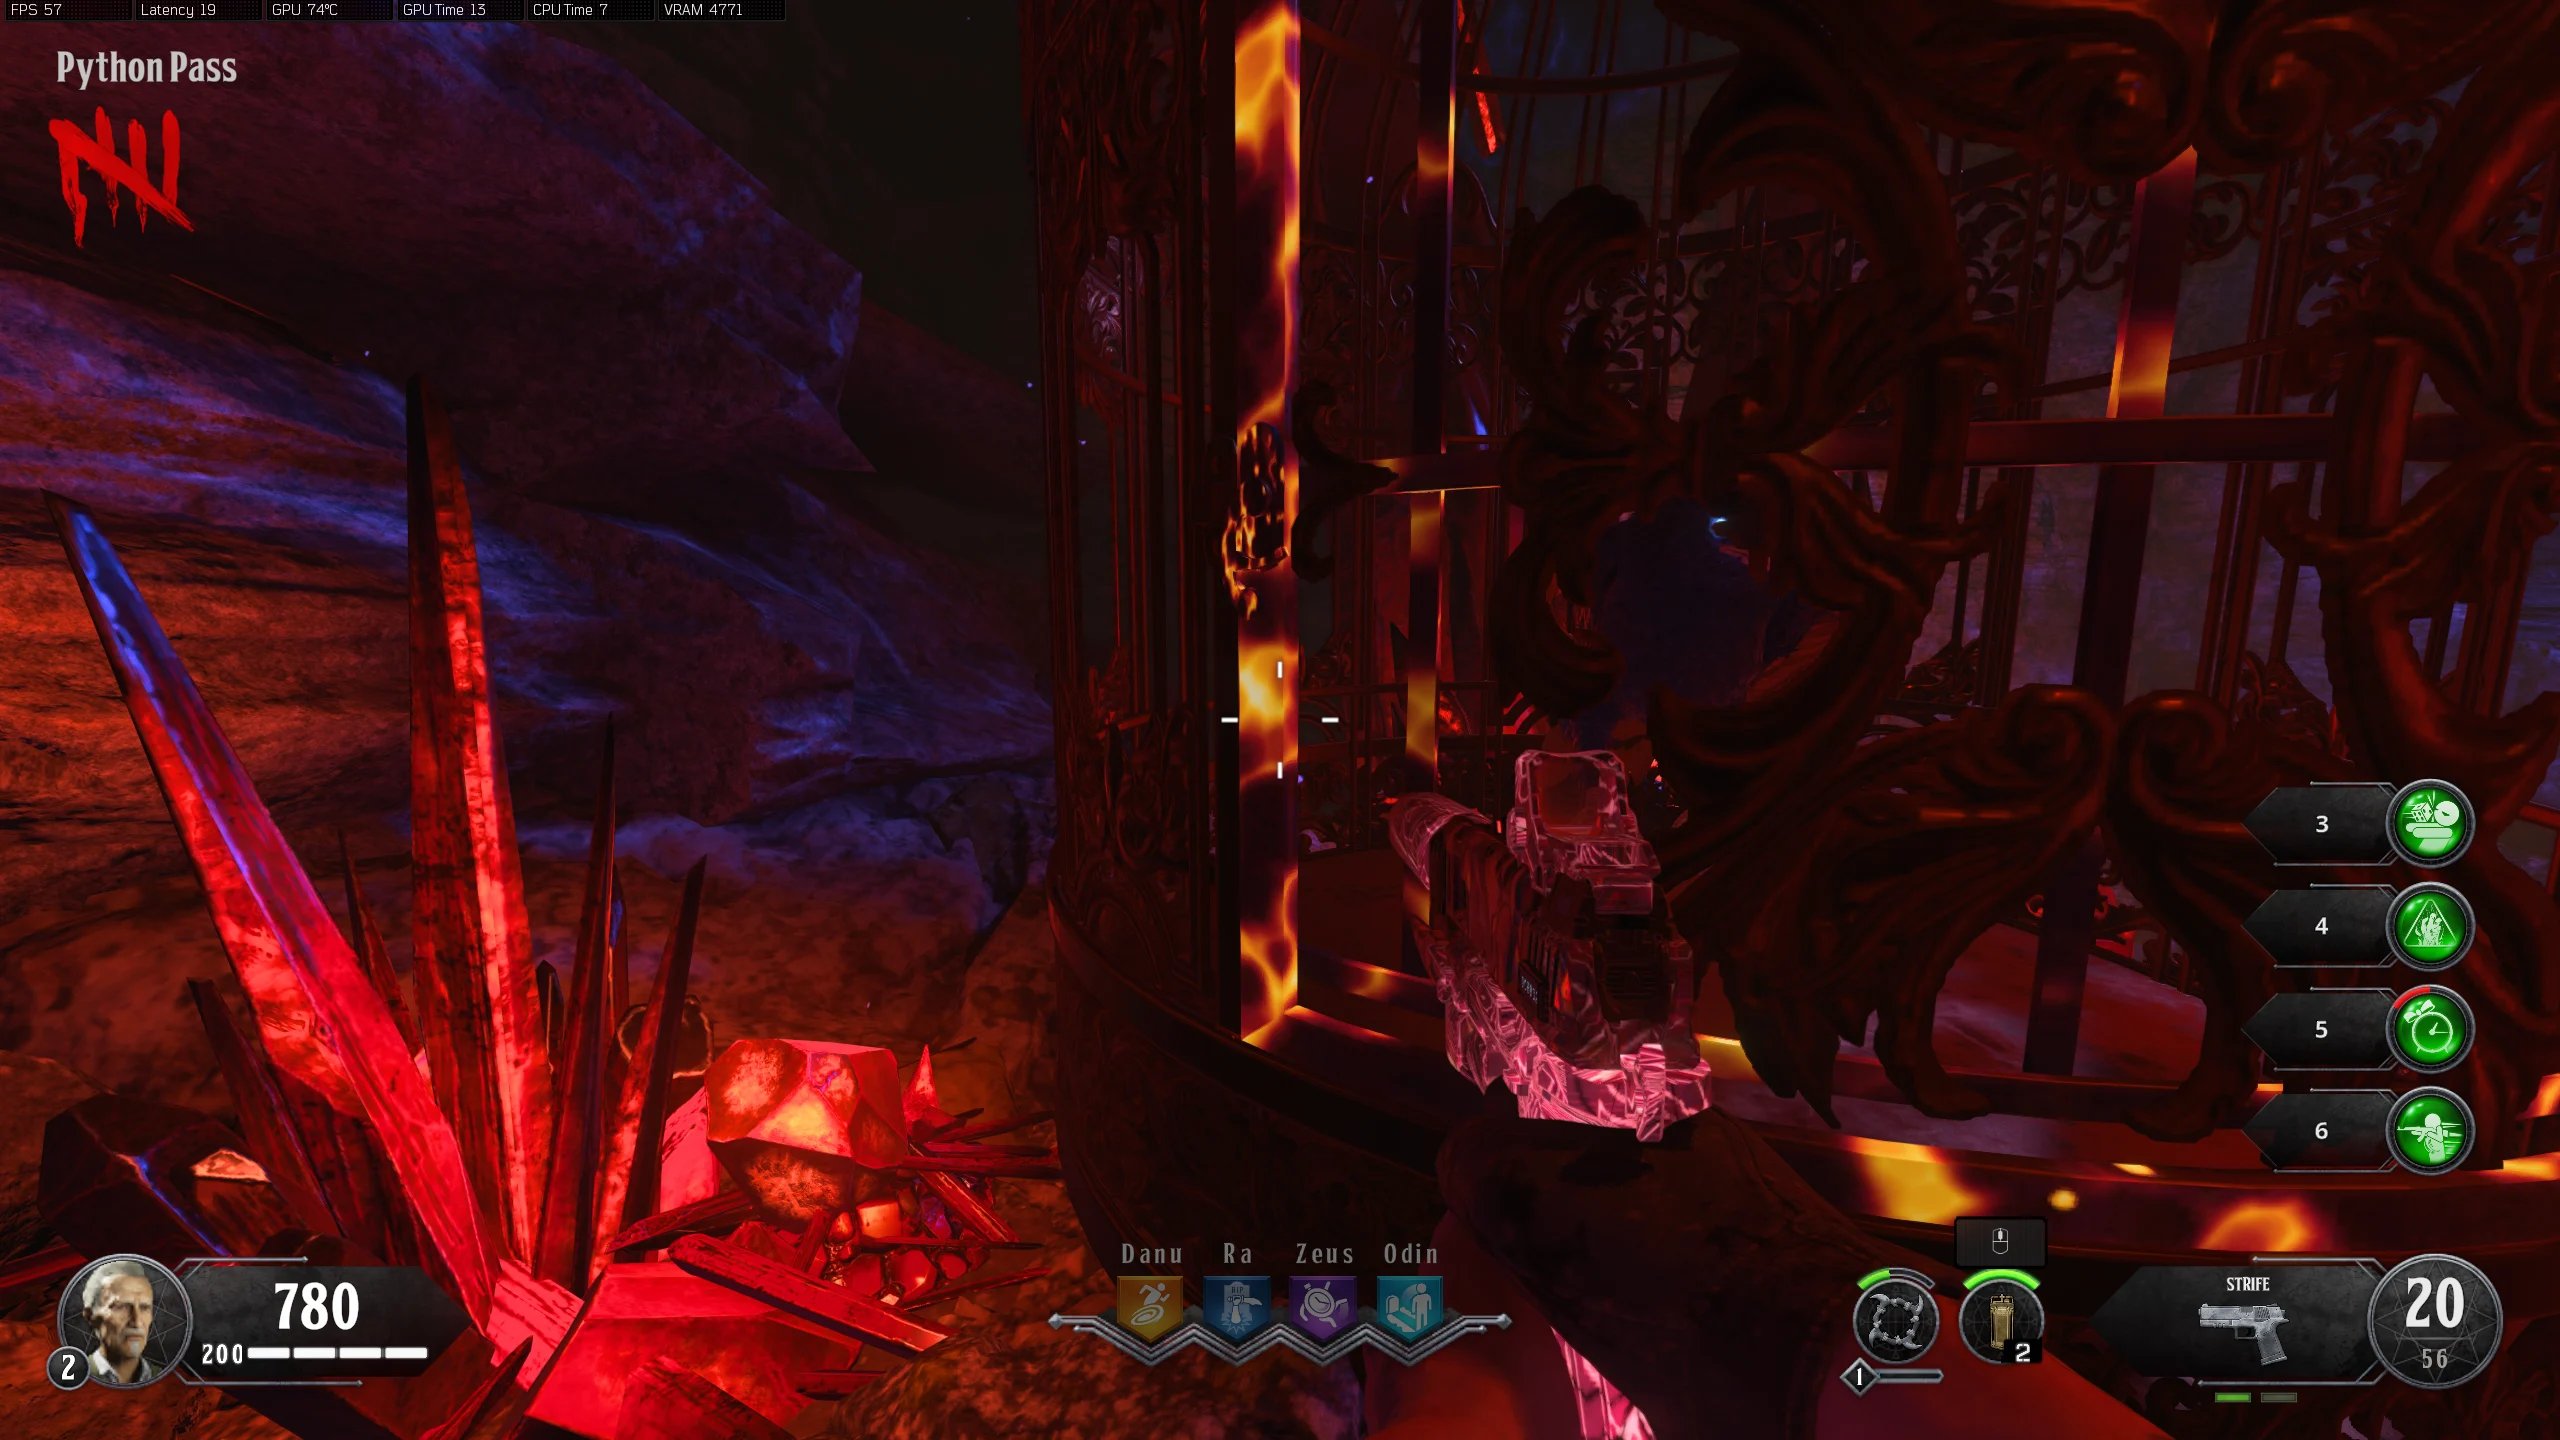
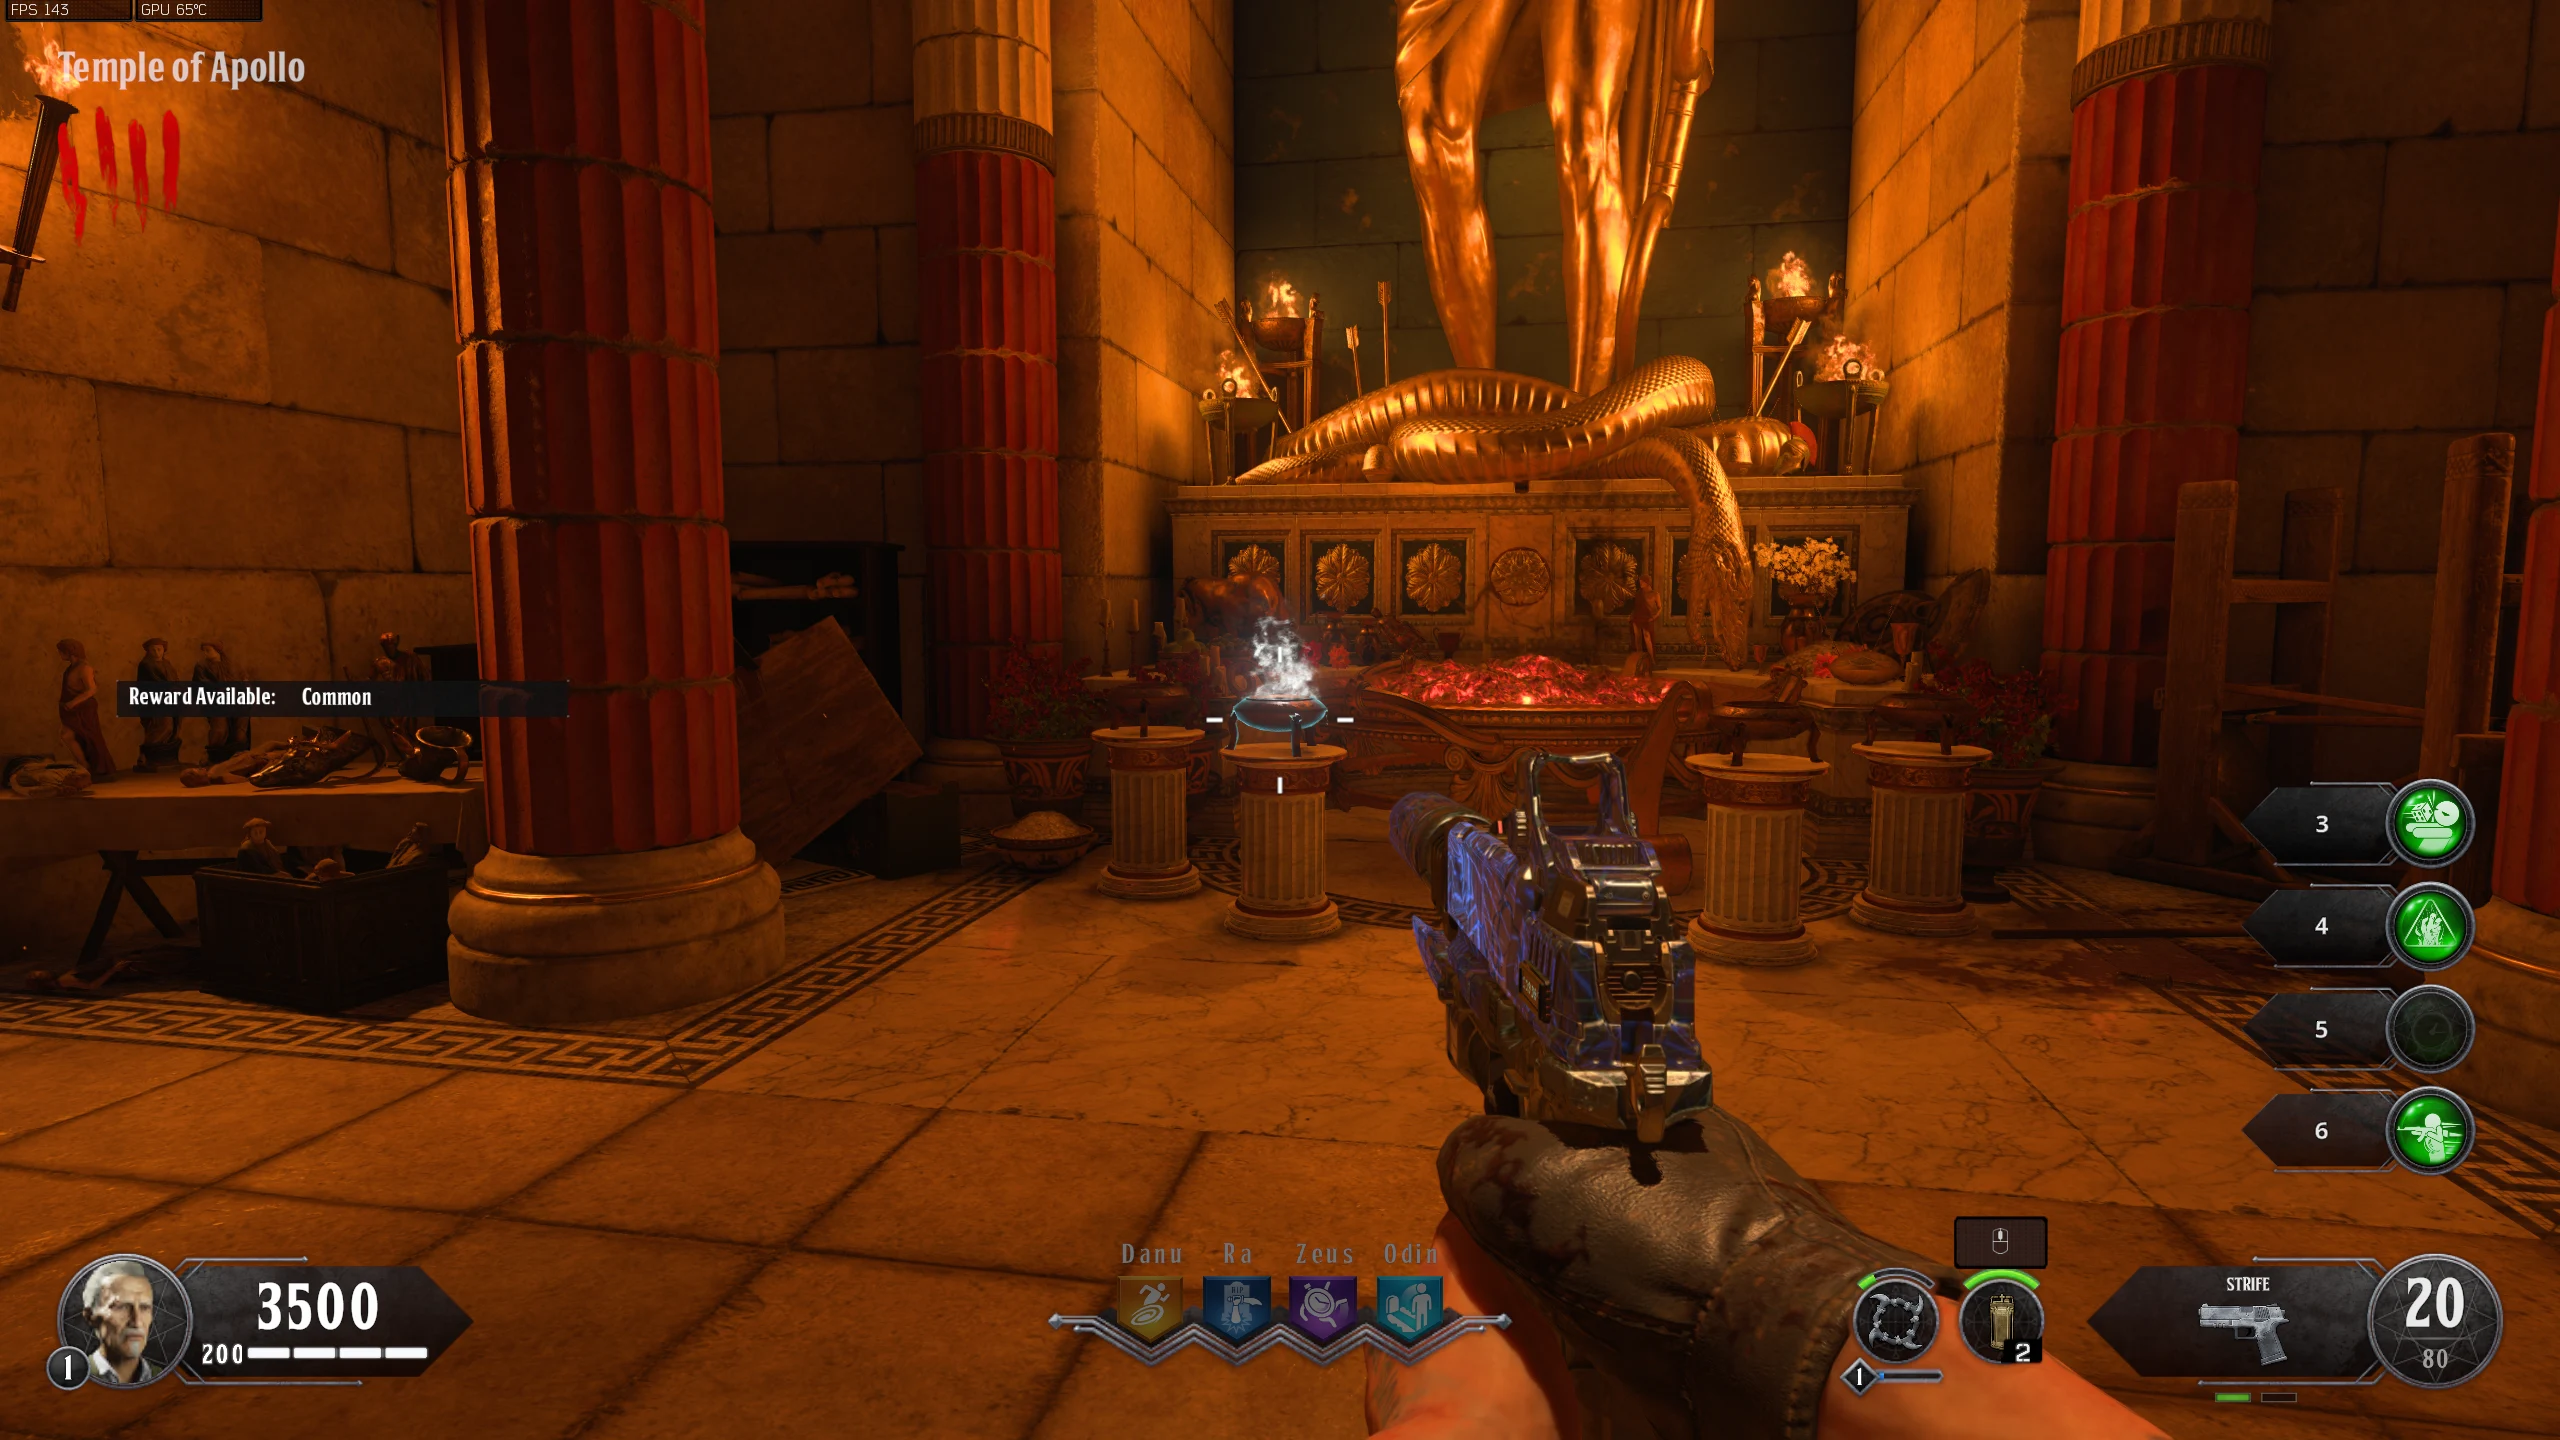
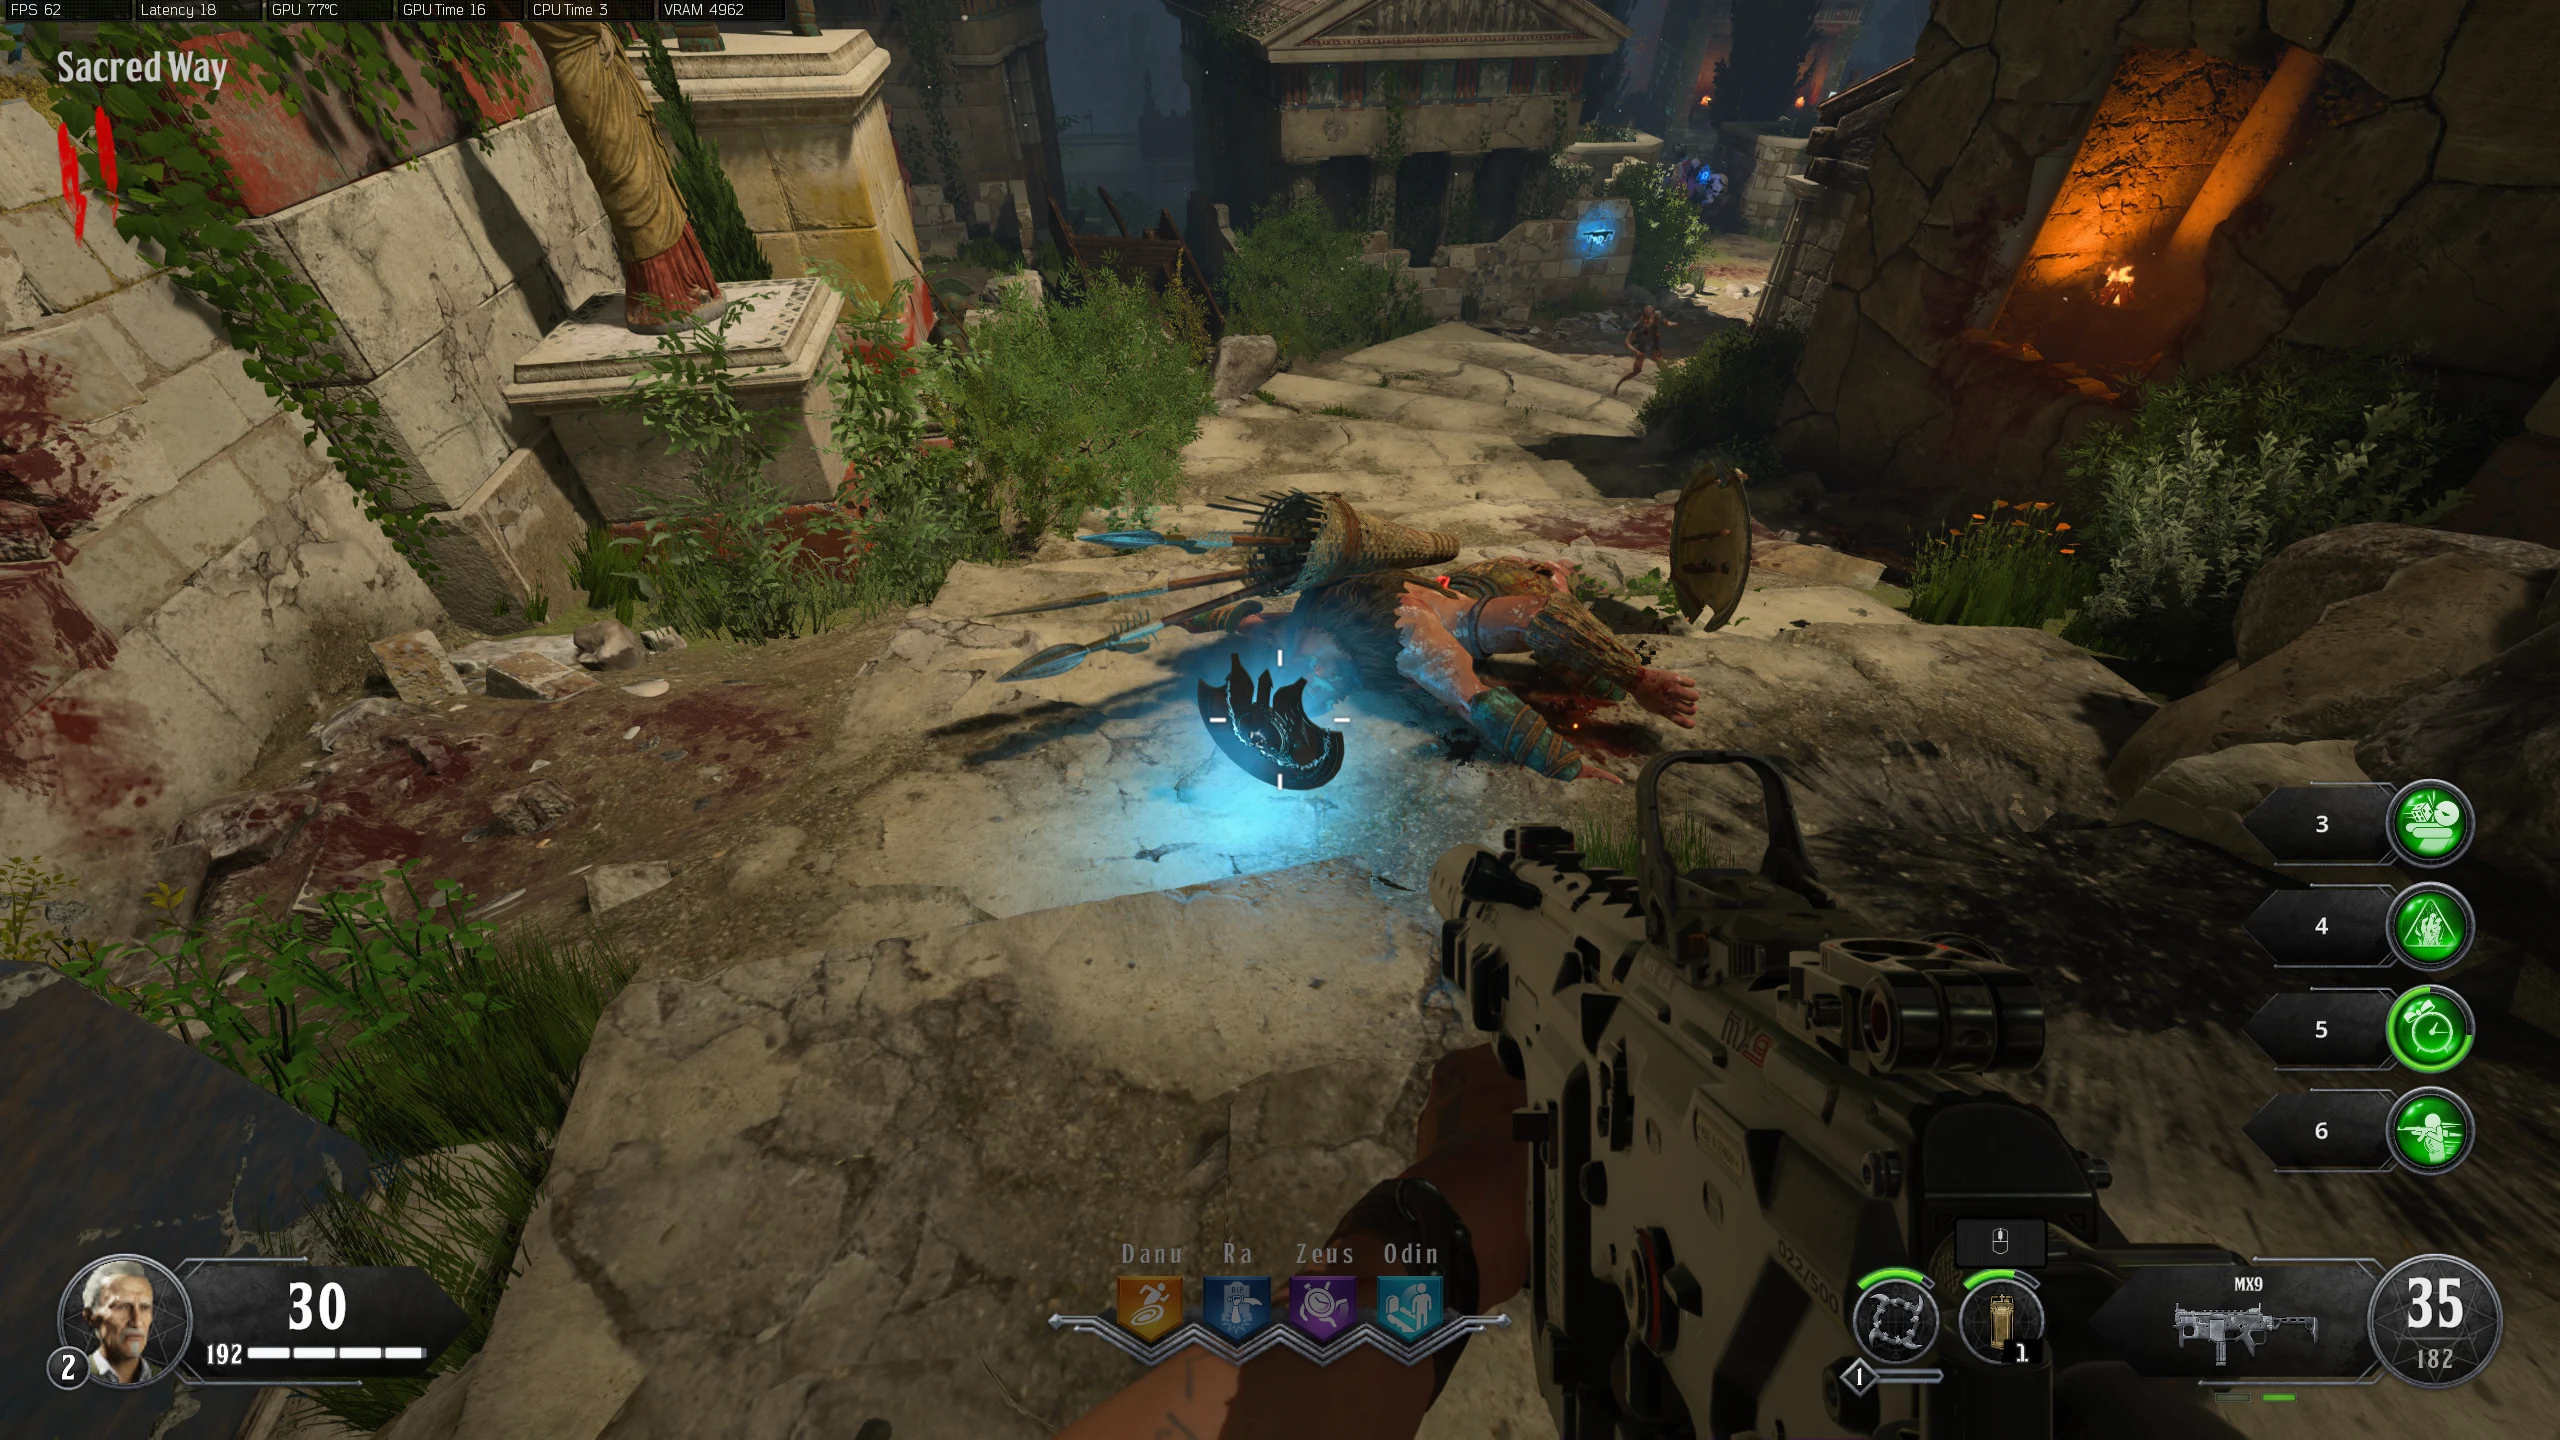
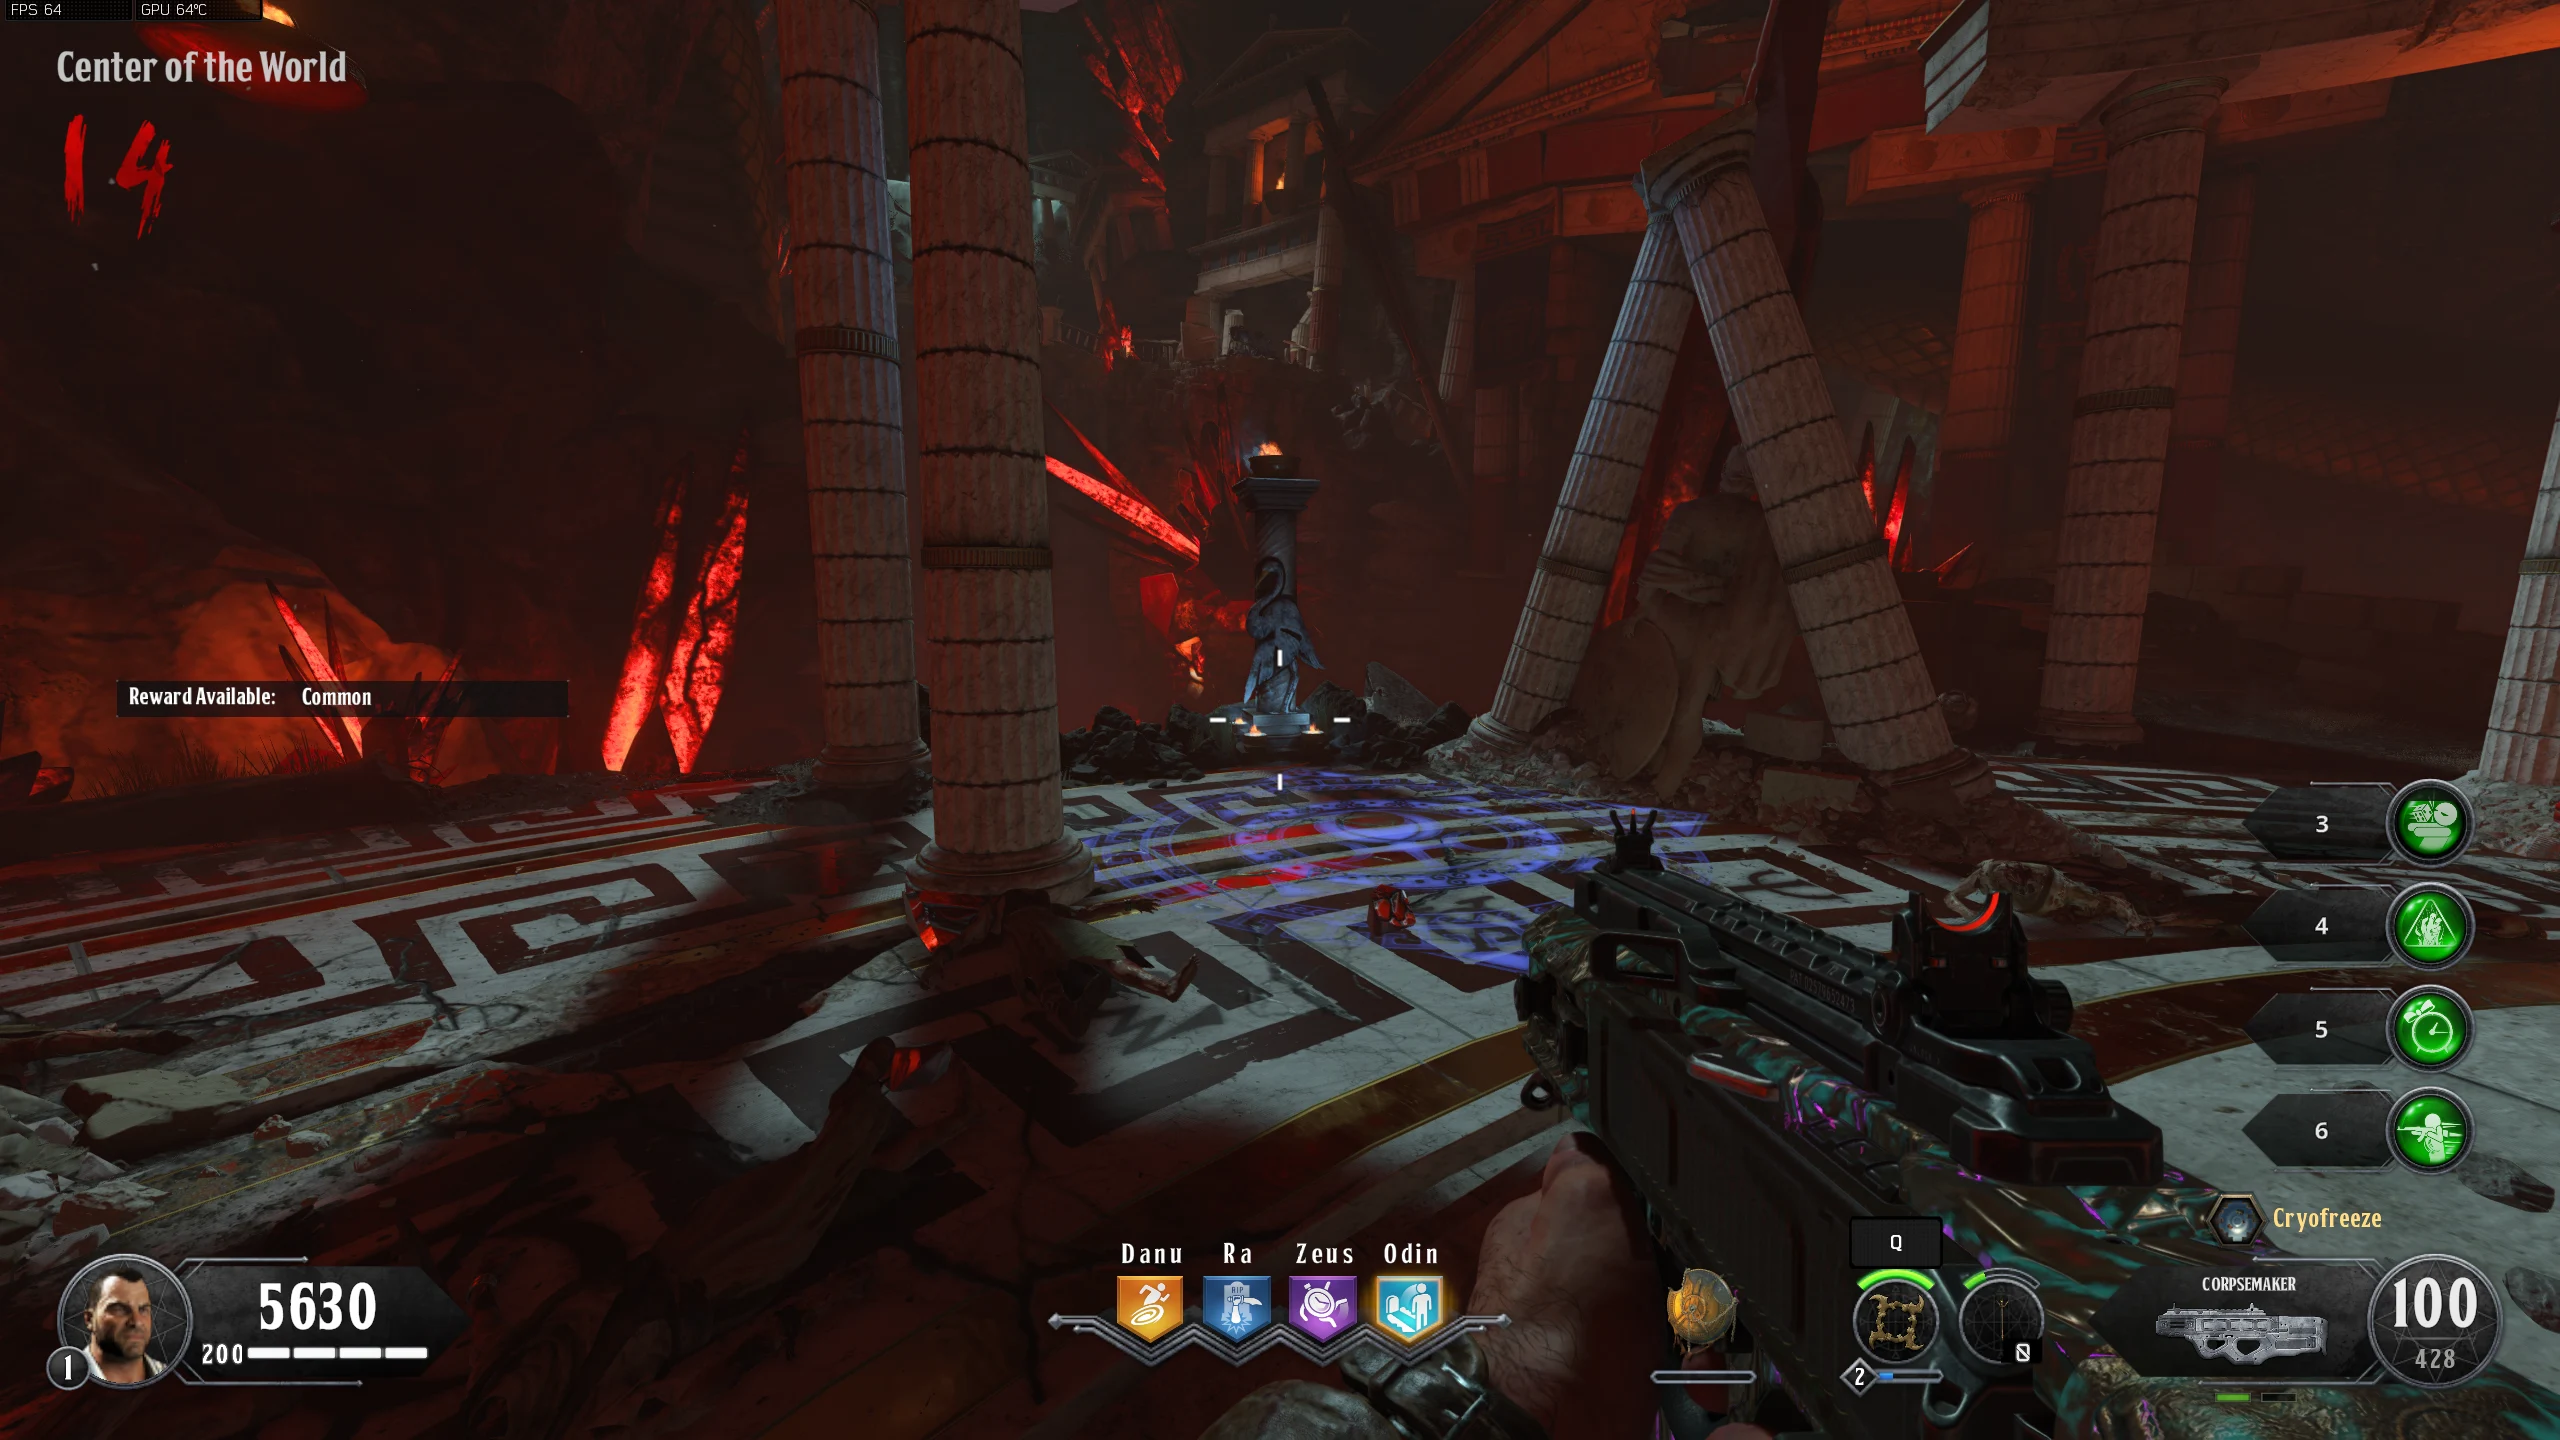
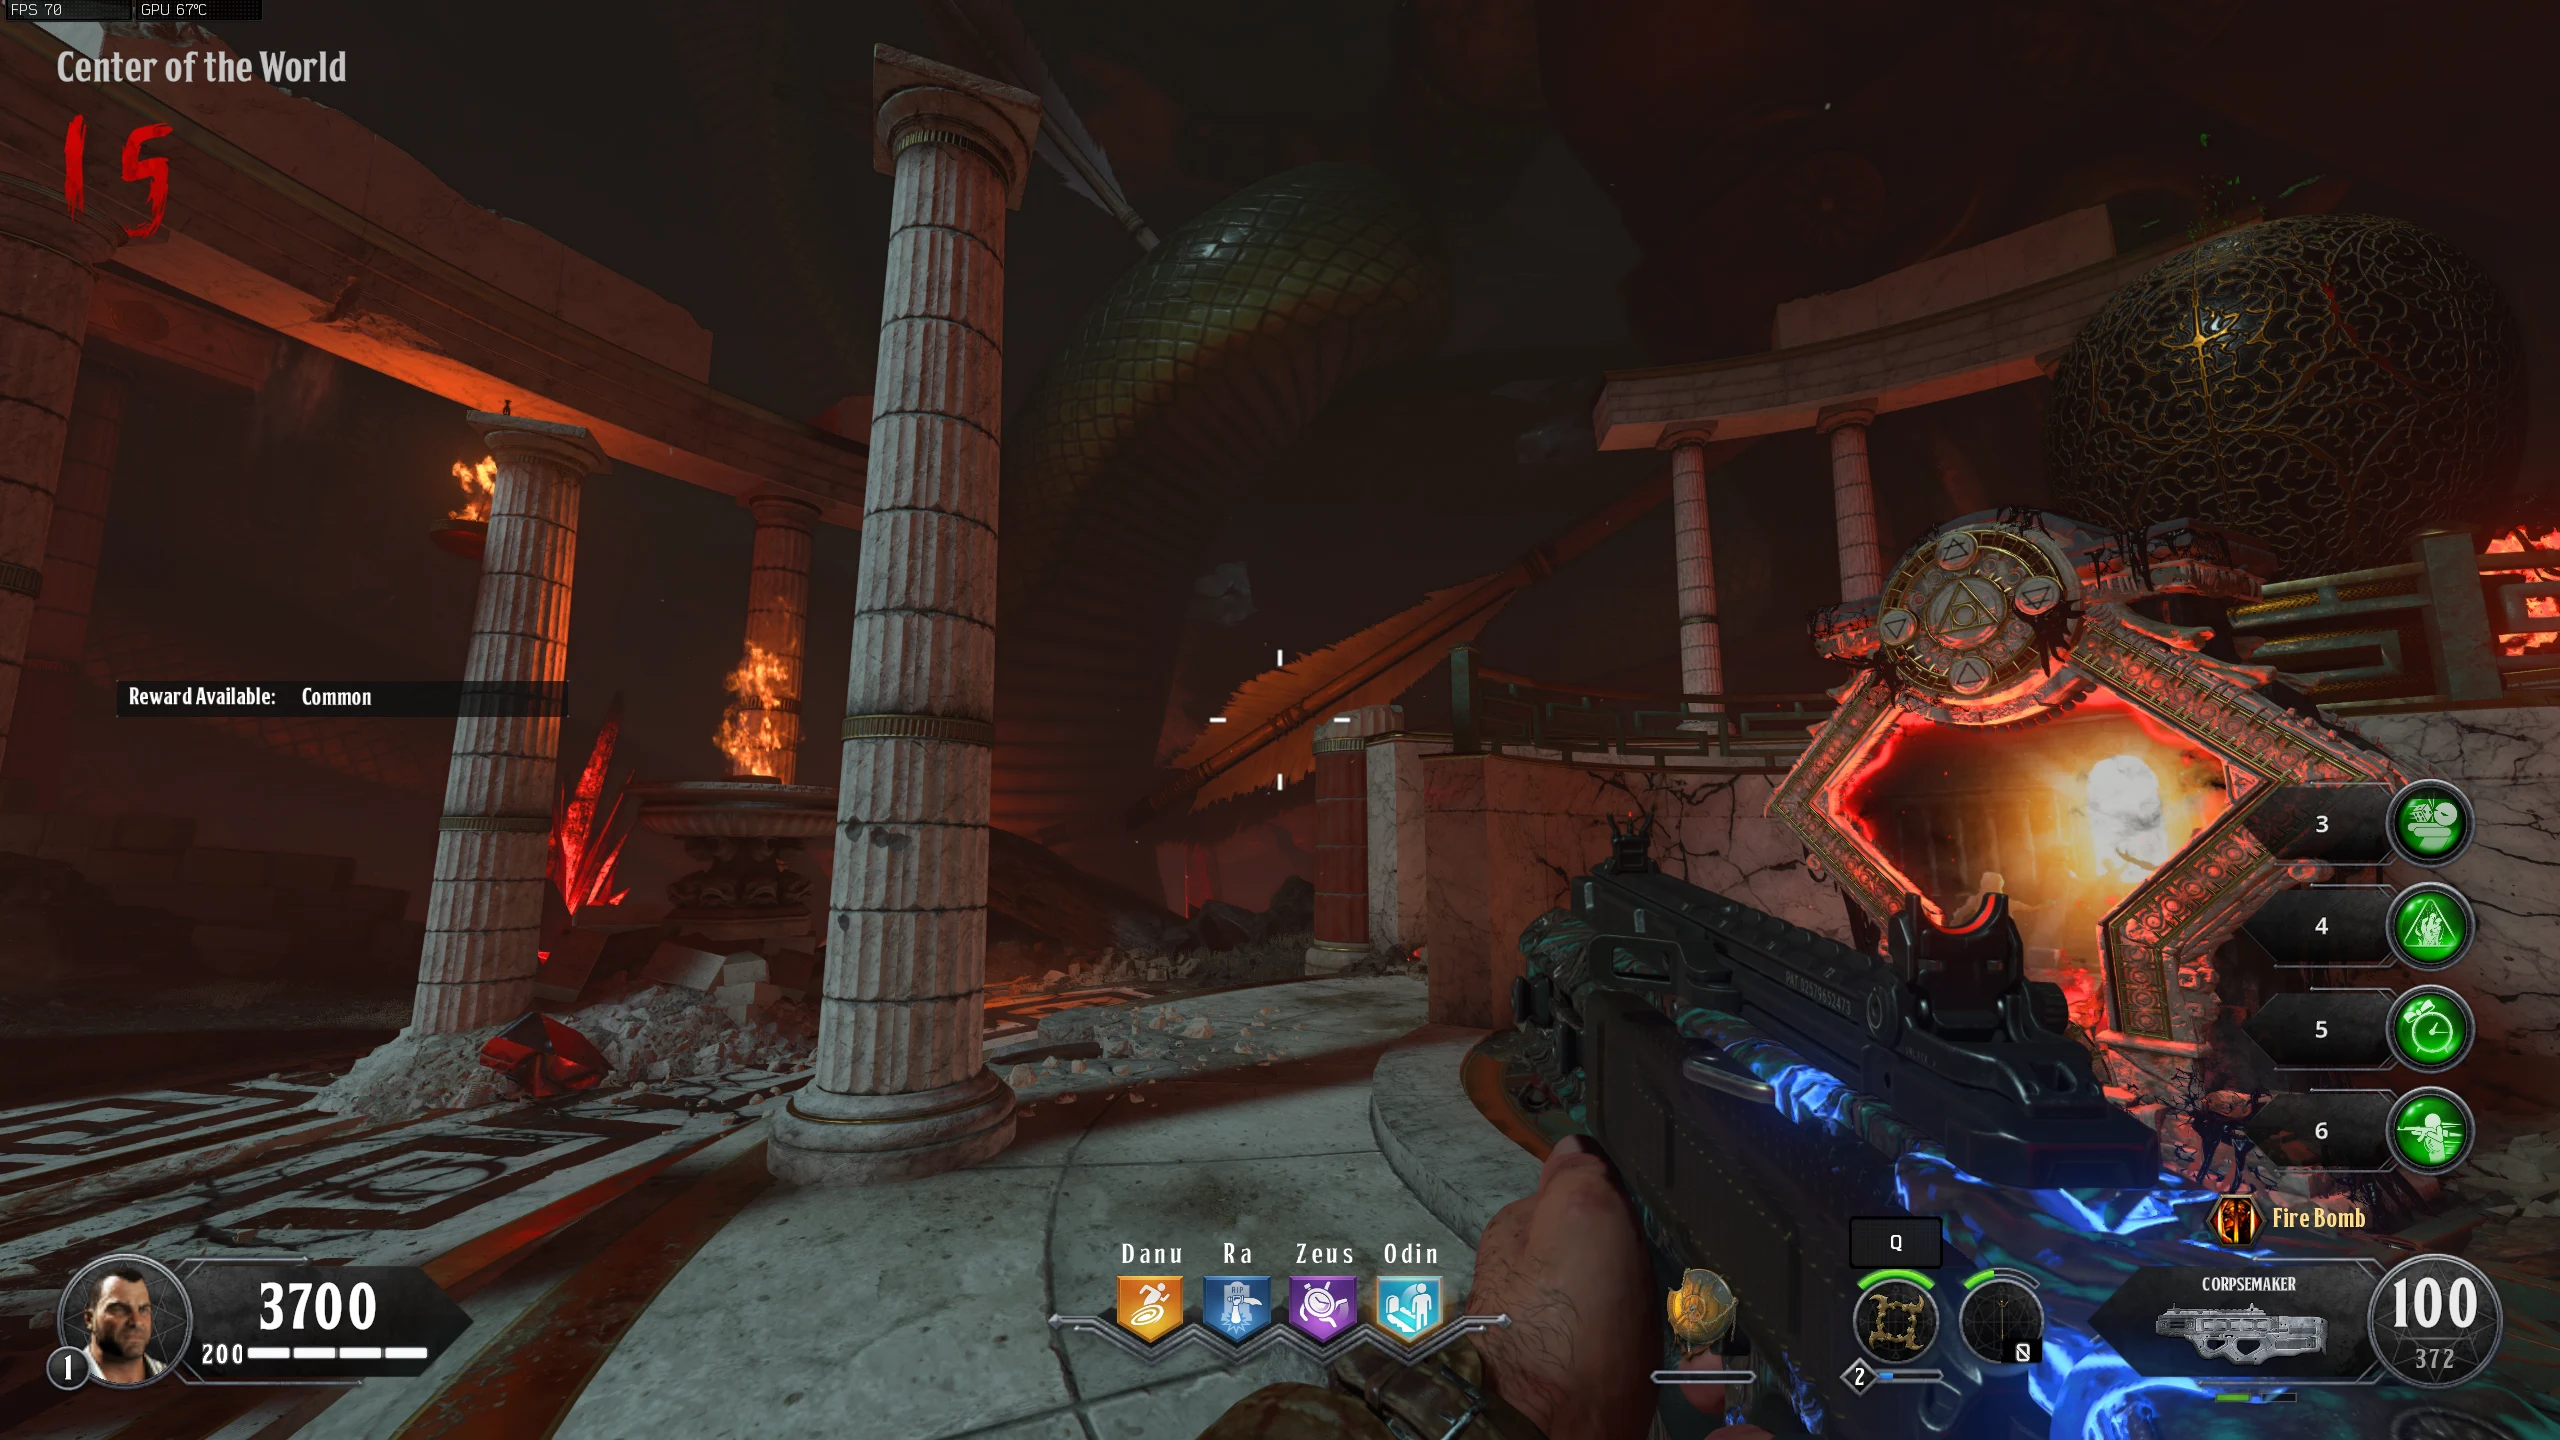
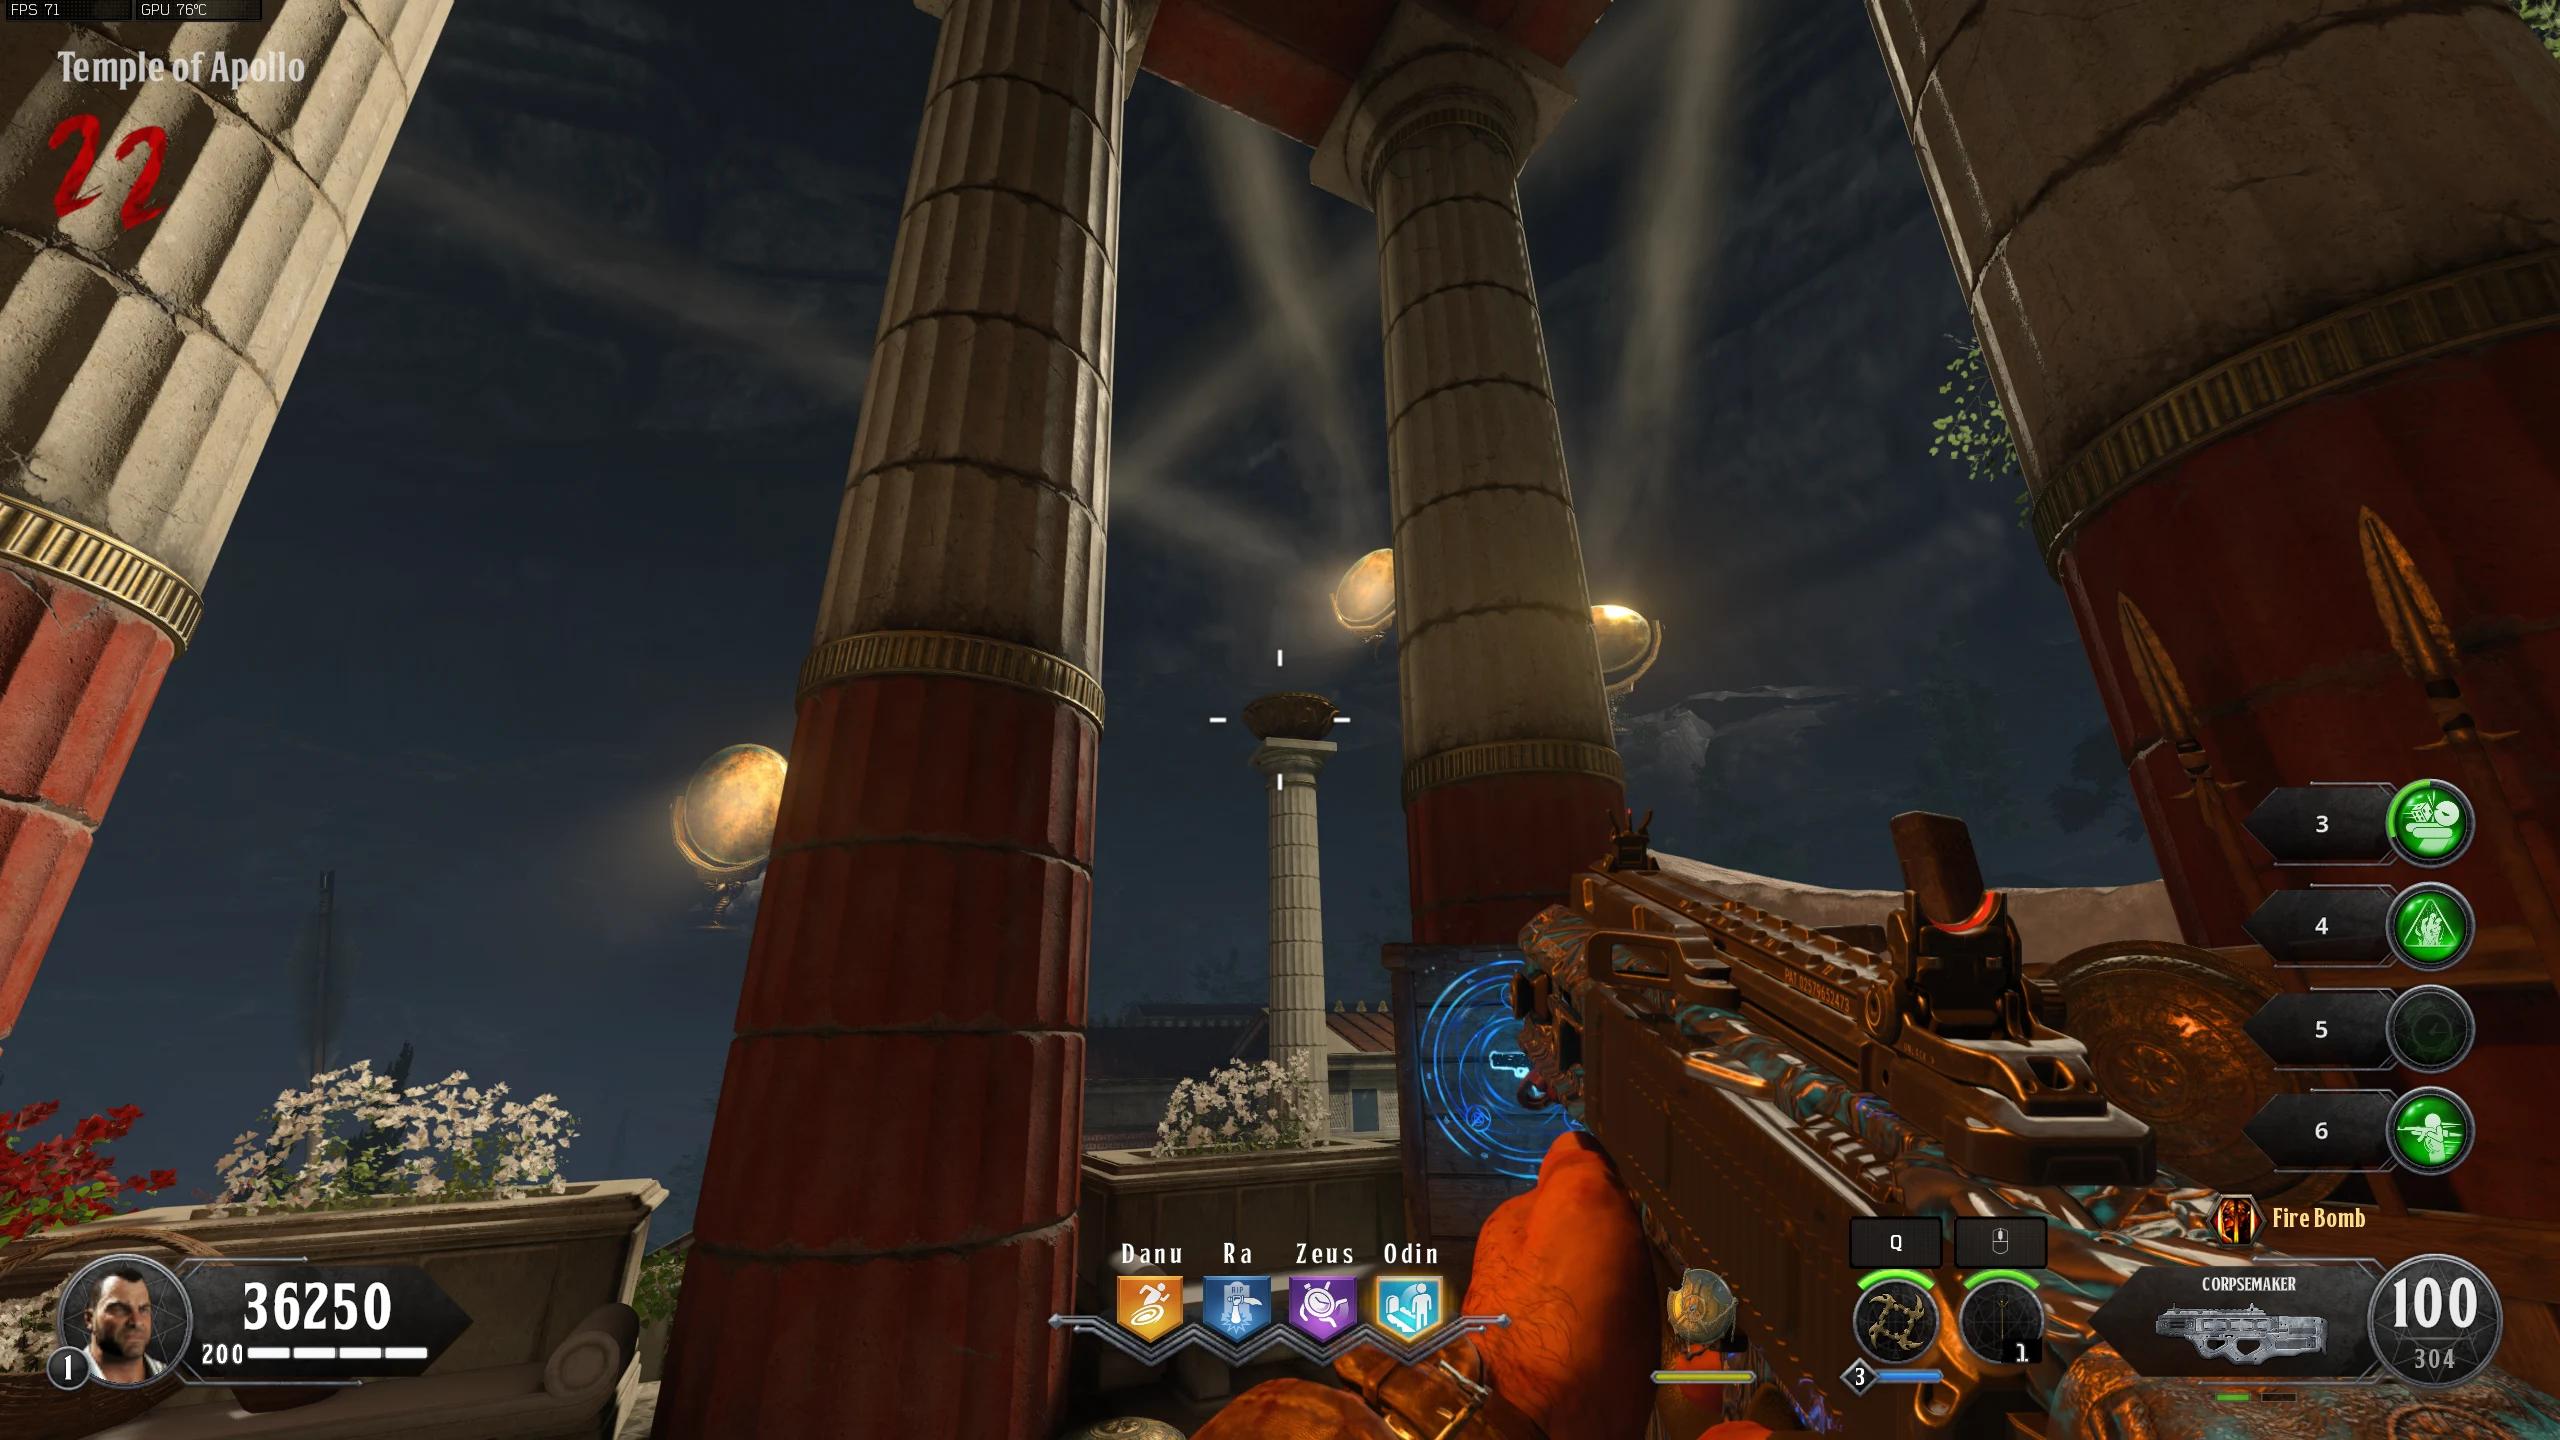
- In the 'Temple of Apollo,' ignite the Apollo's Will spear by meleeing the Eternal Flame with it. The shield takes damage while on fire. If you put it away, the fire goes out and you'll need to reignite it at the Eternal Flame.
- Locate three Oil Spills and set them ablaze by meleeing them with the Flaming Spear of Apollo's Will.
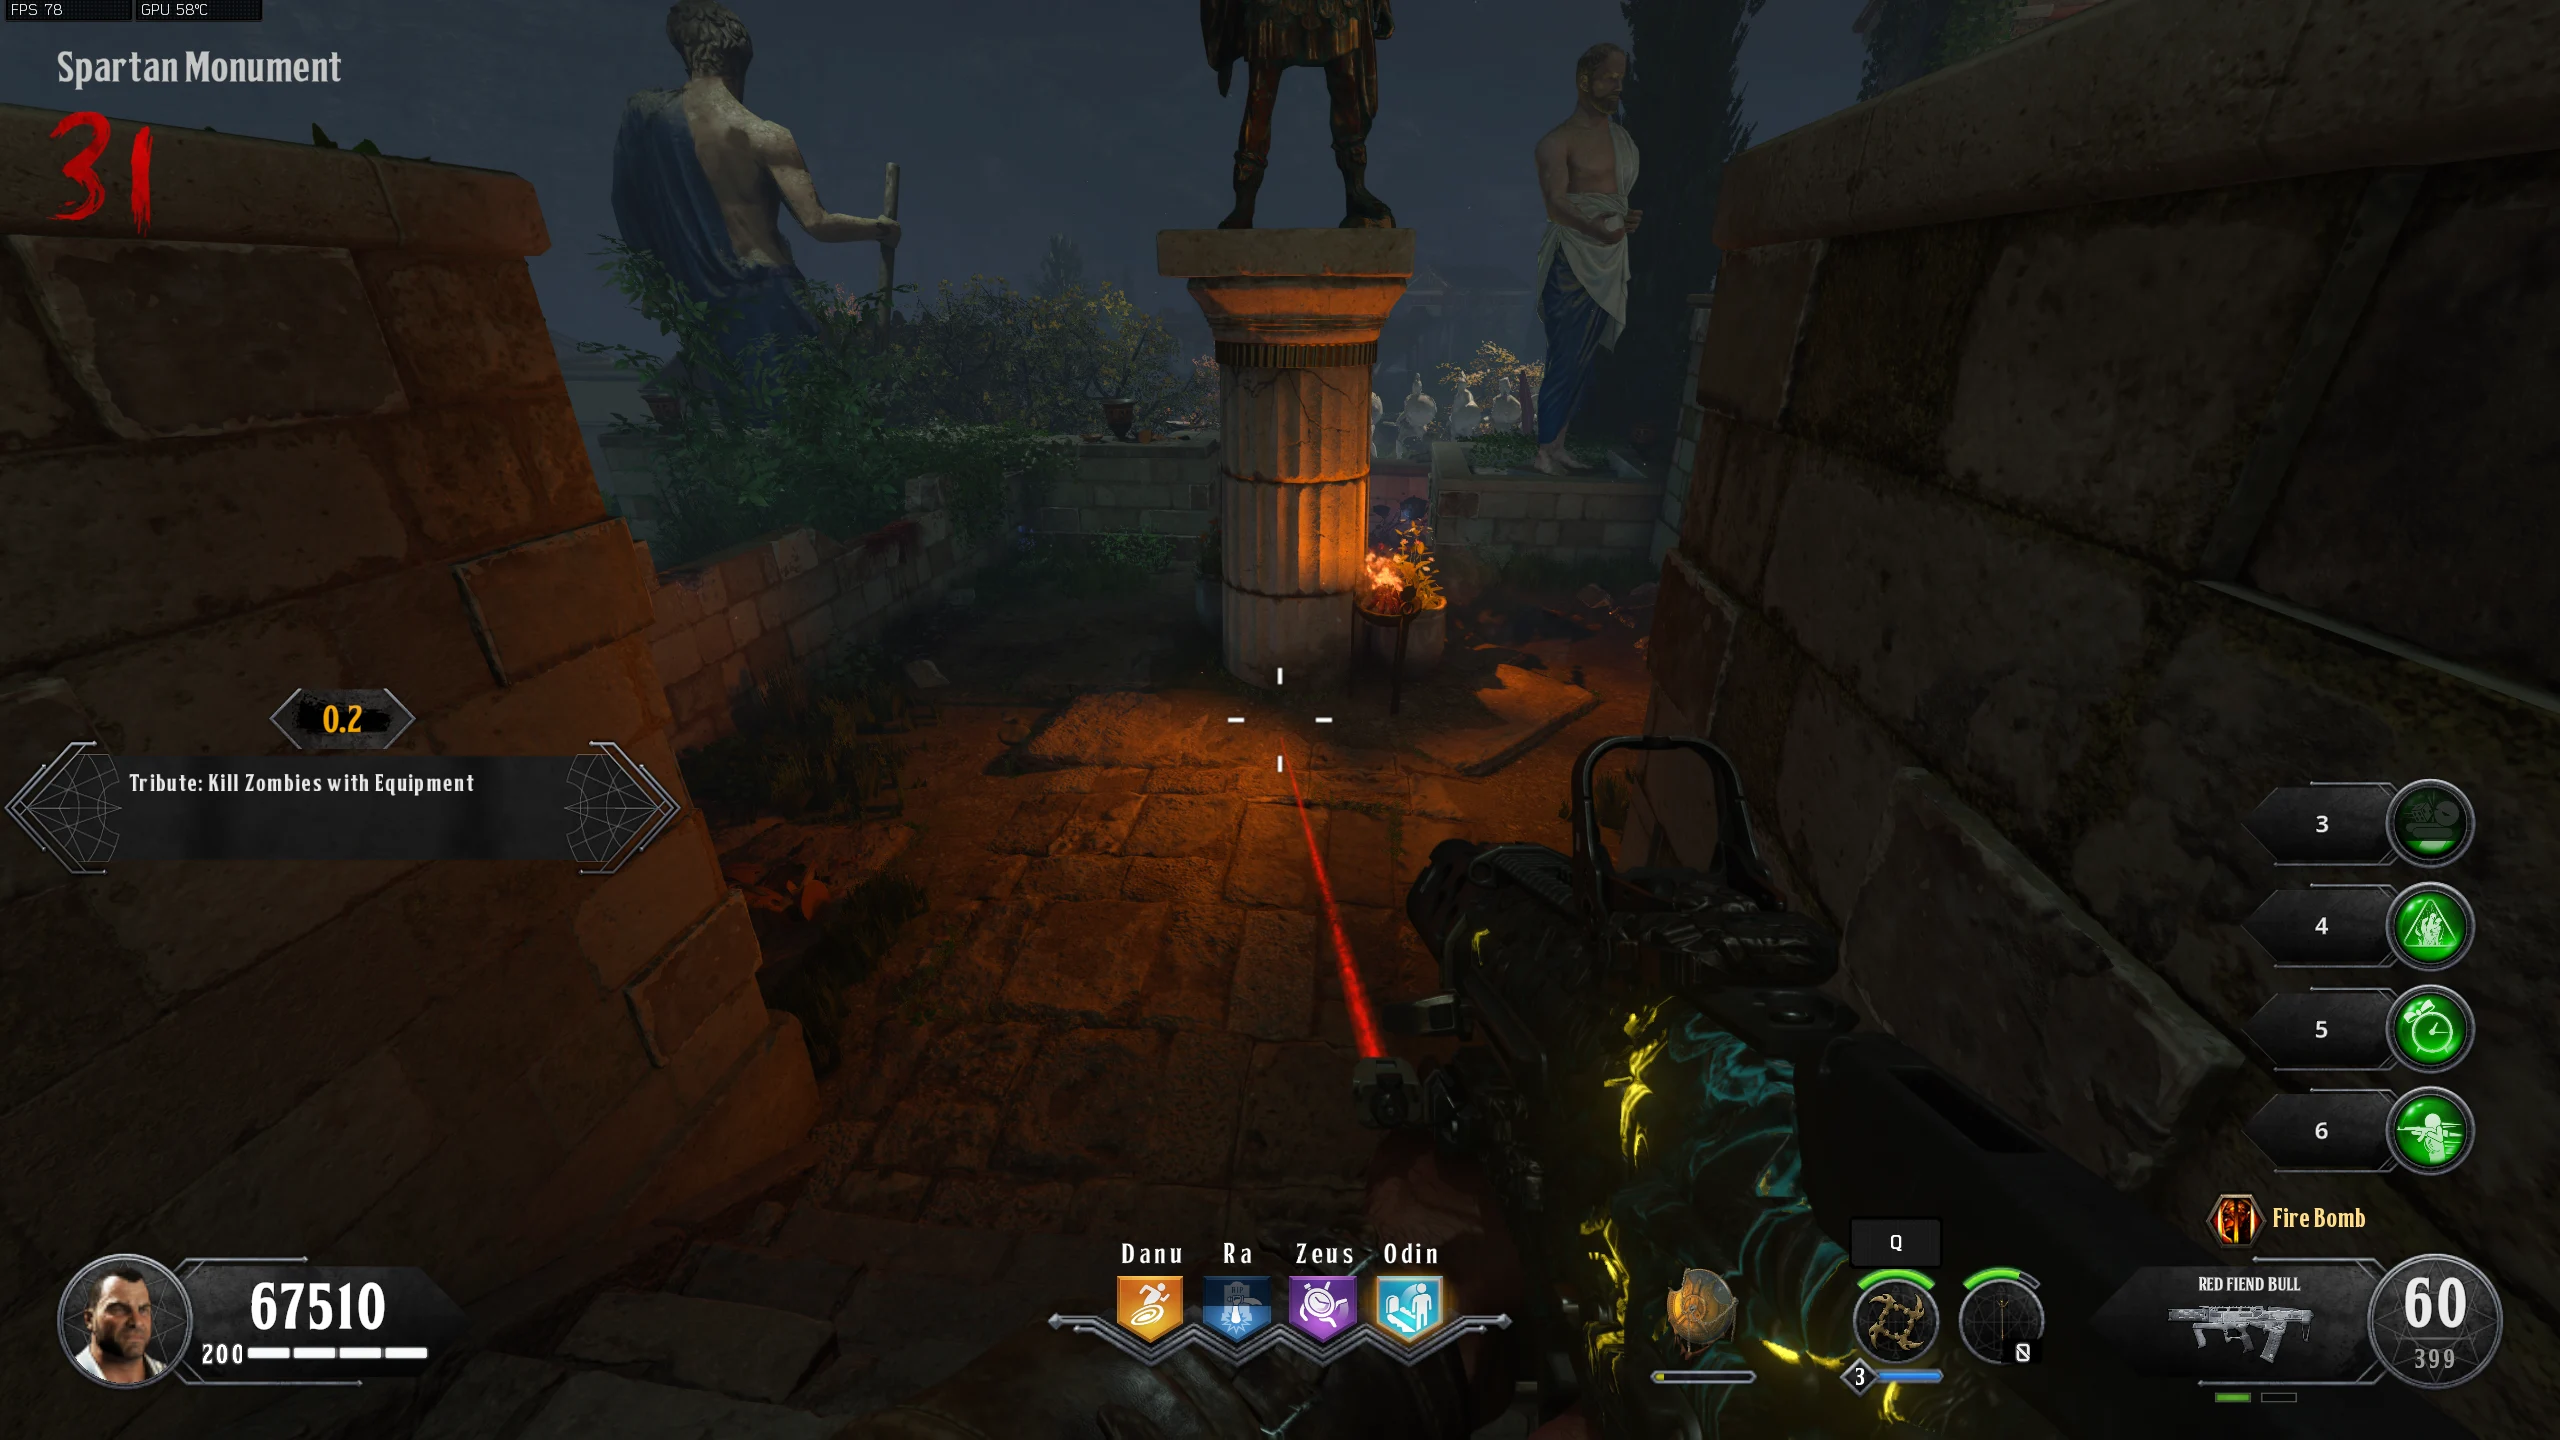
Look the Dead in the Eye
- Obtain the Redeemed Hand of Charon
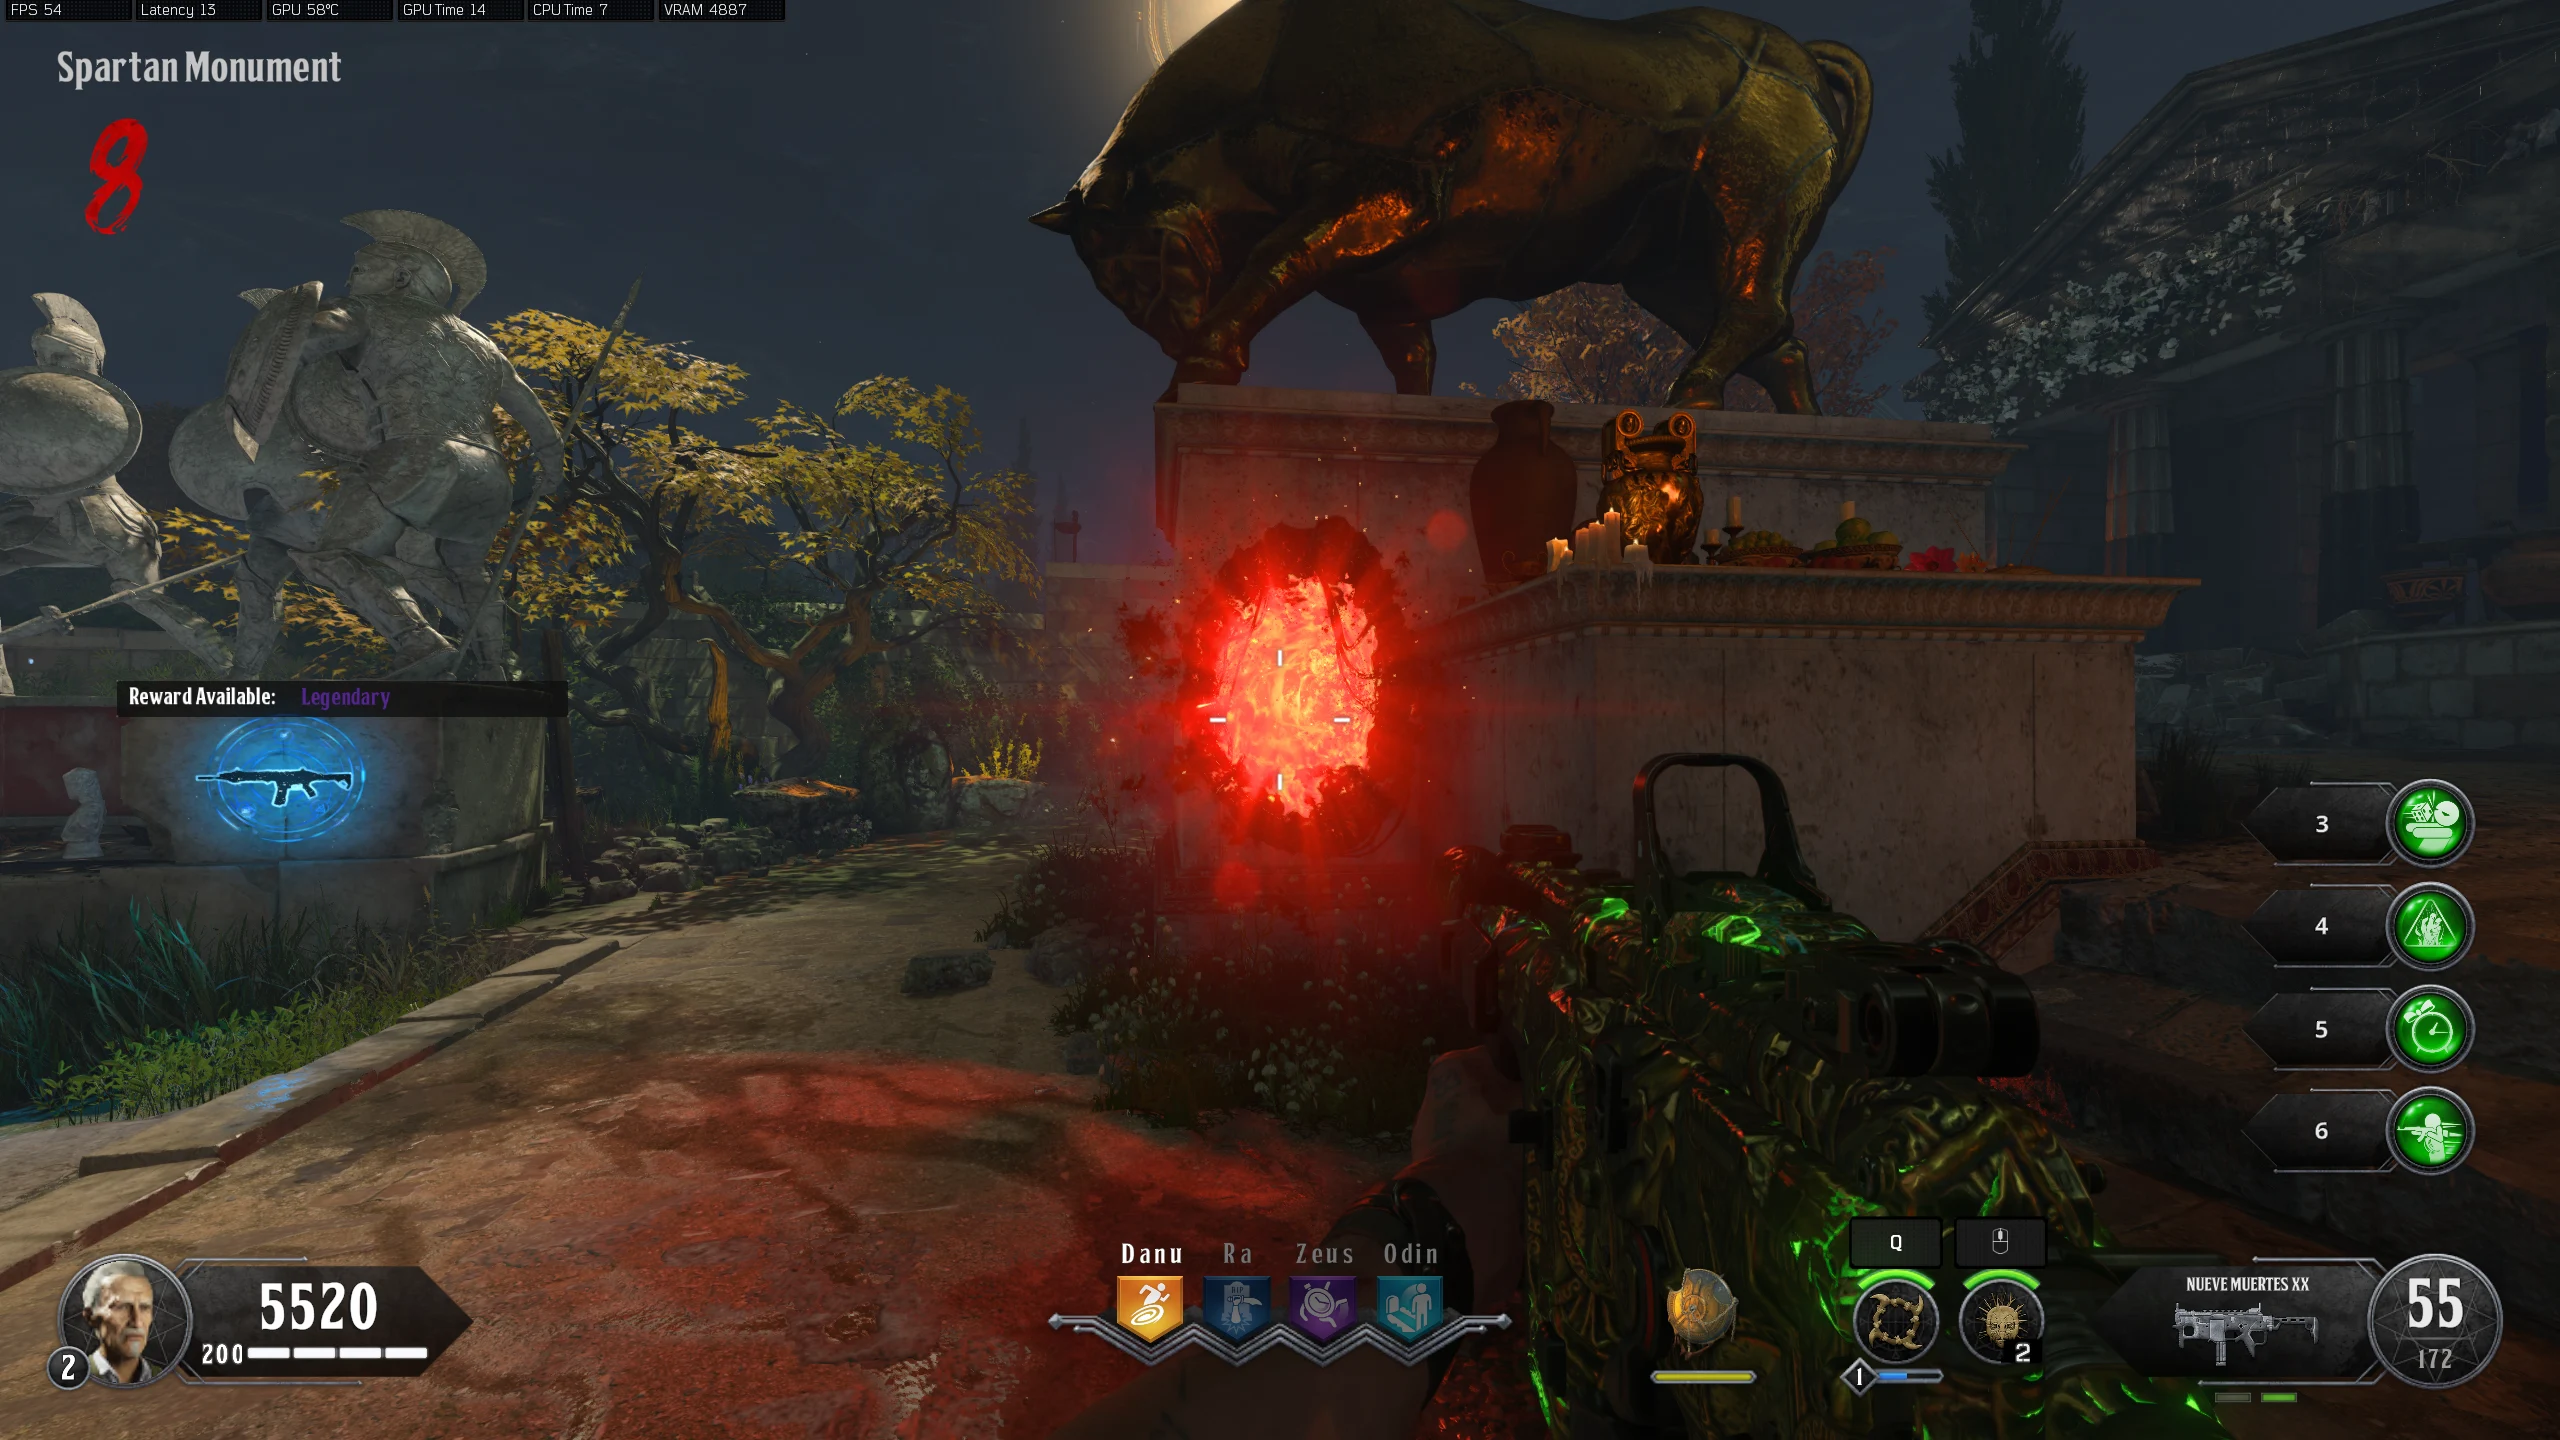
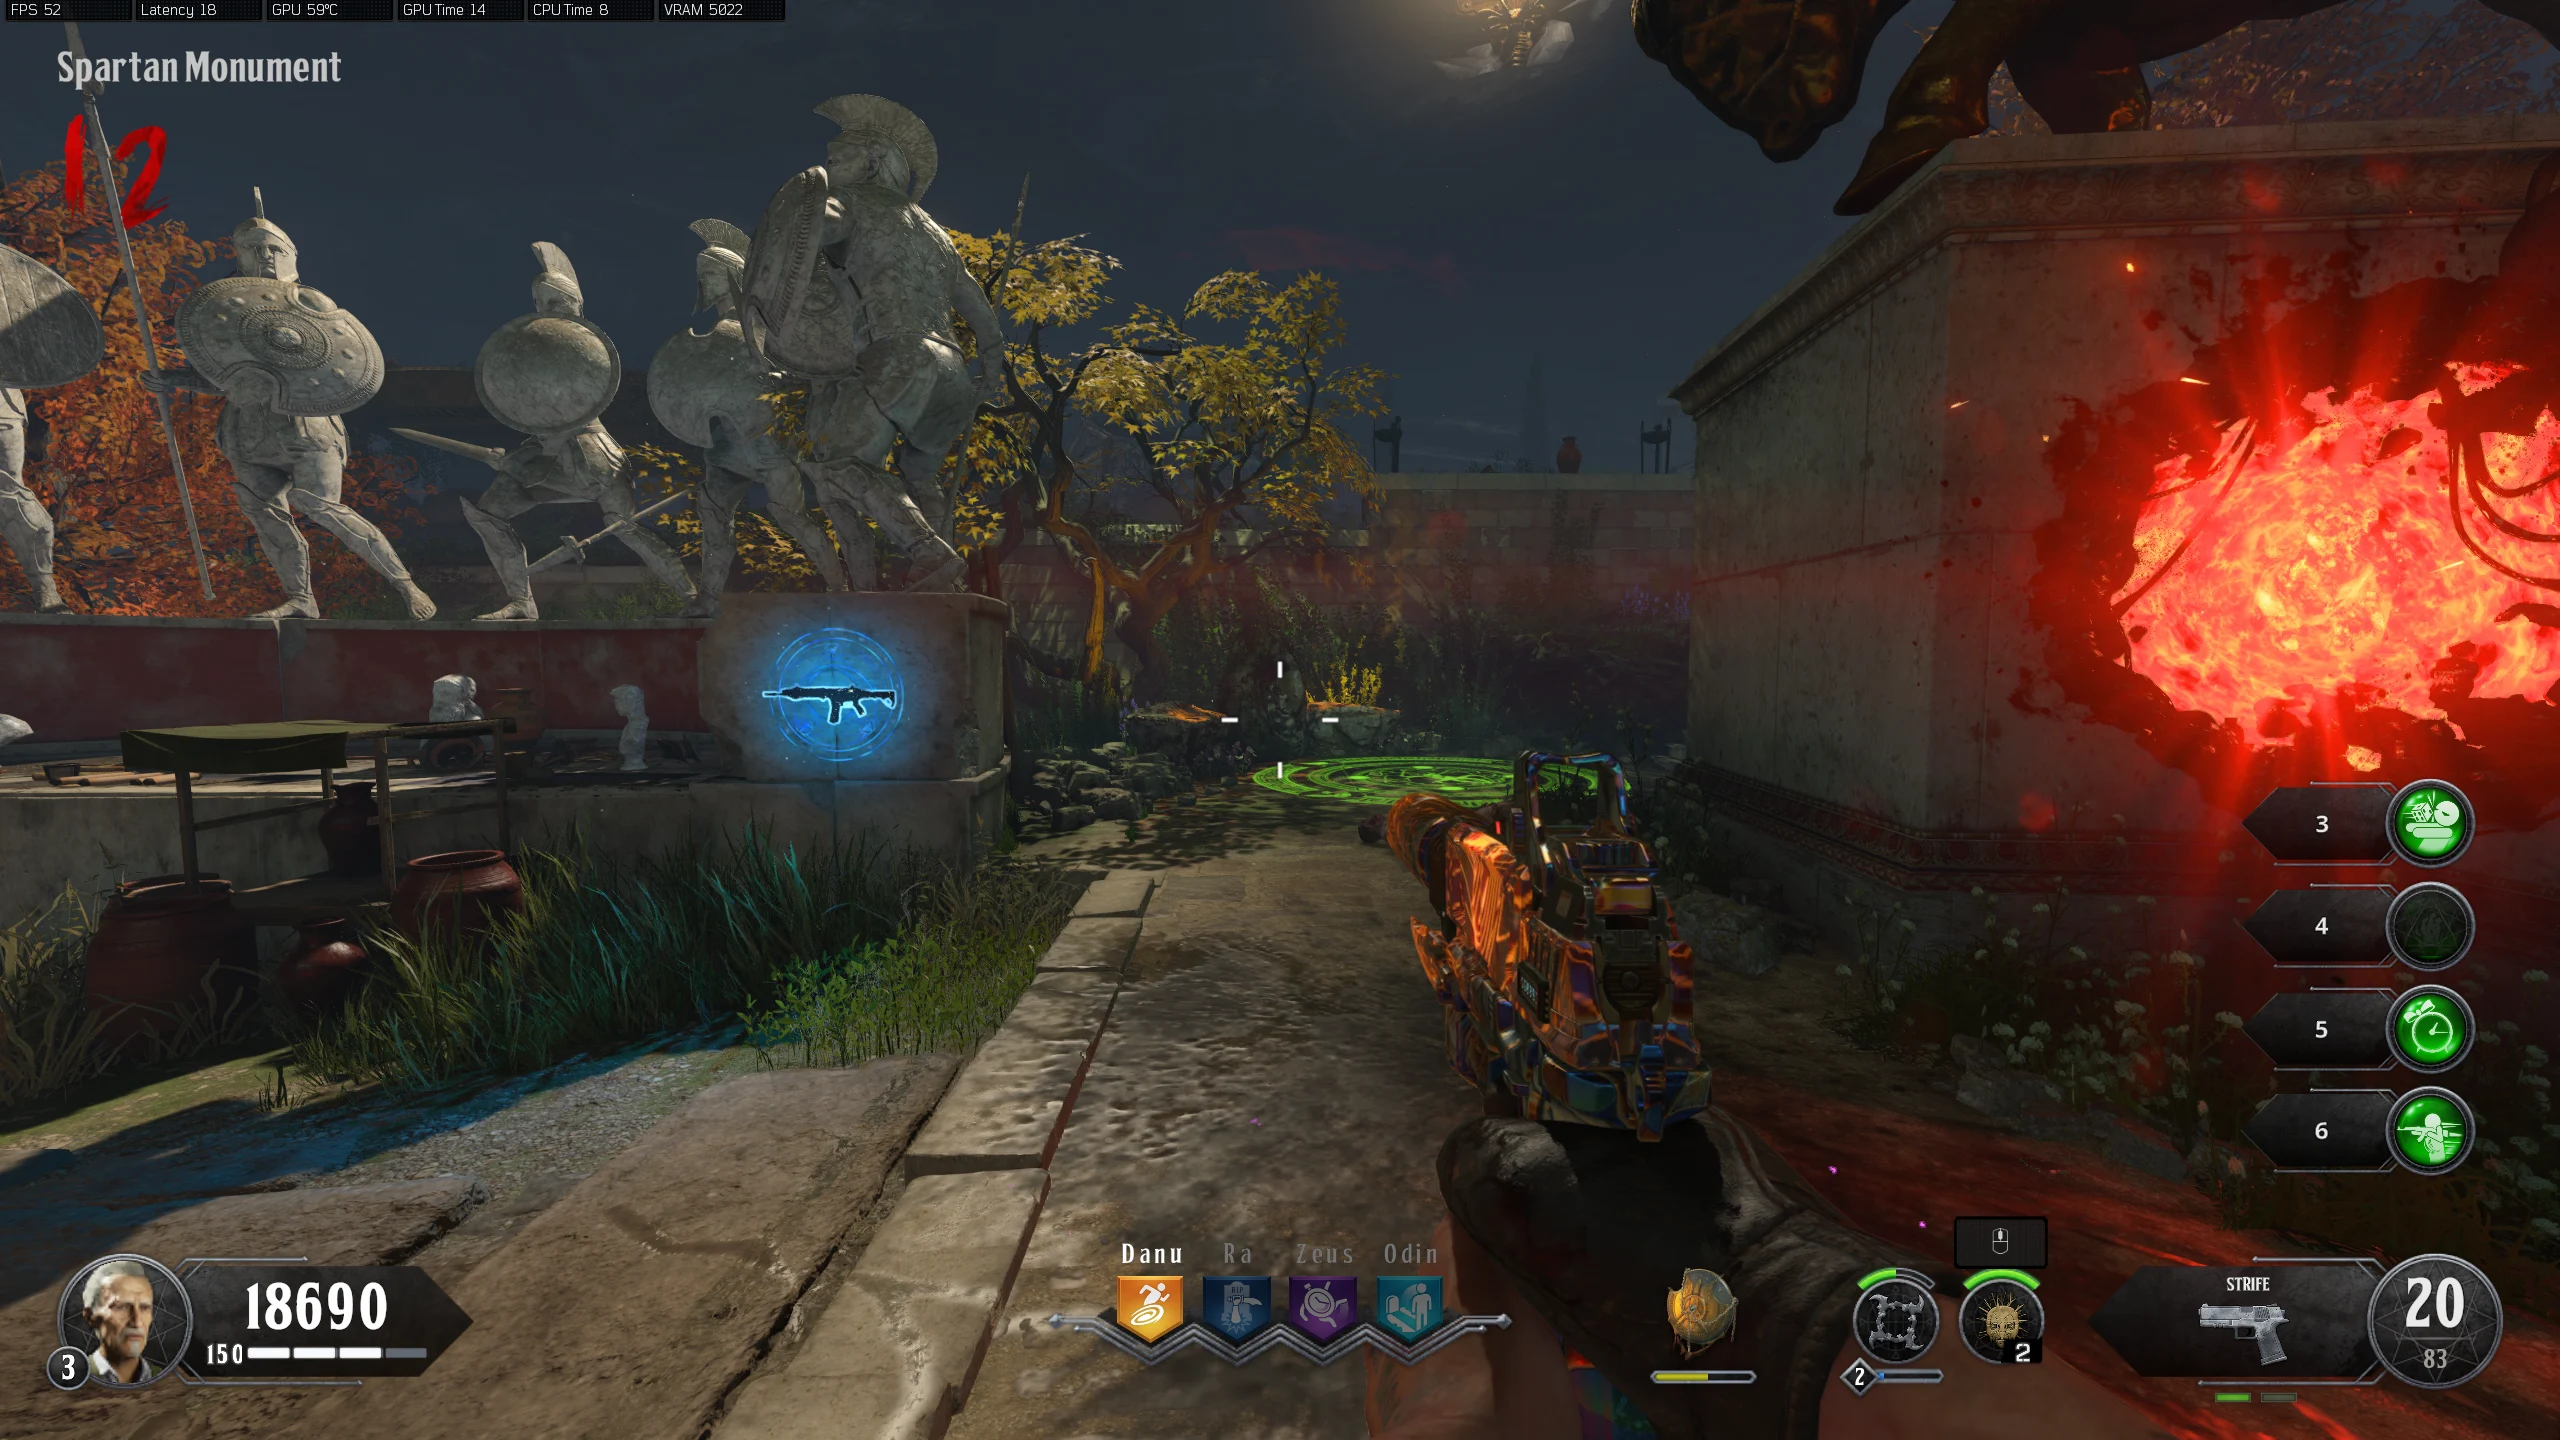
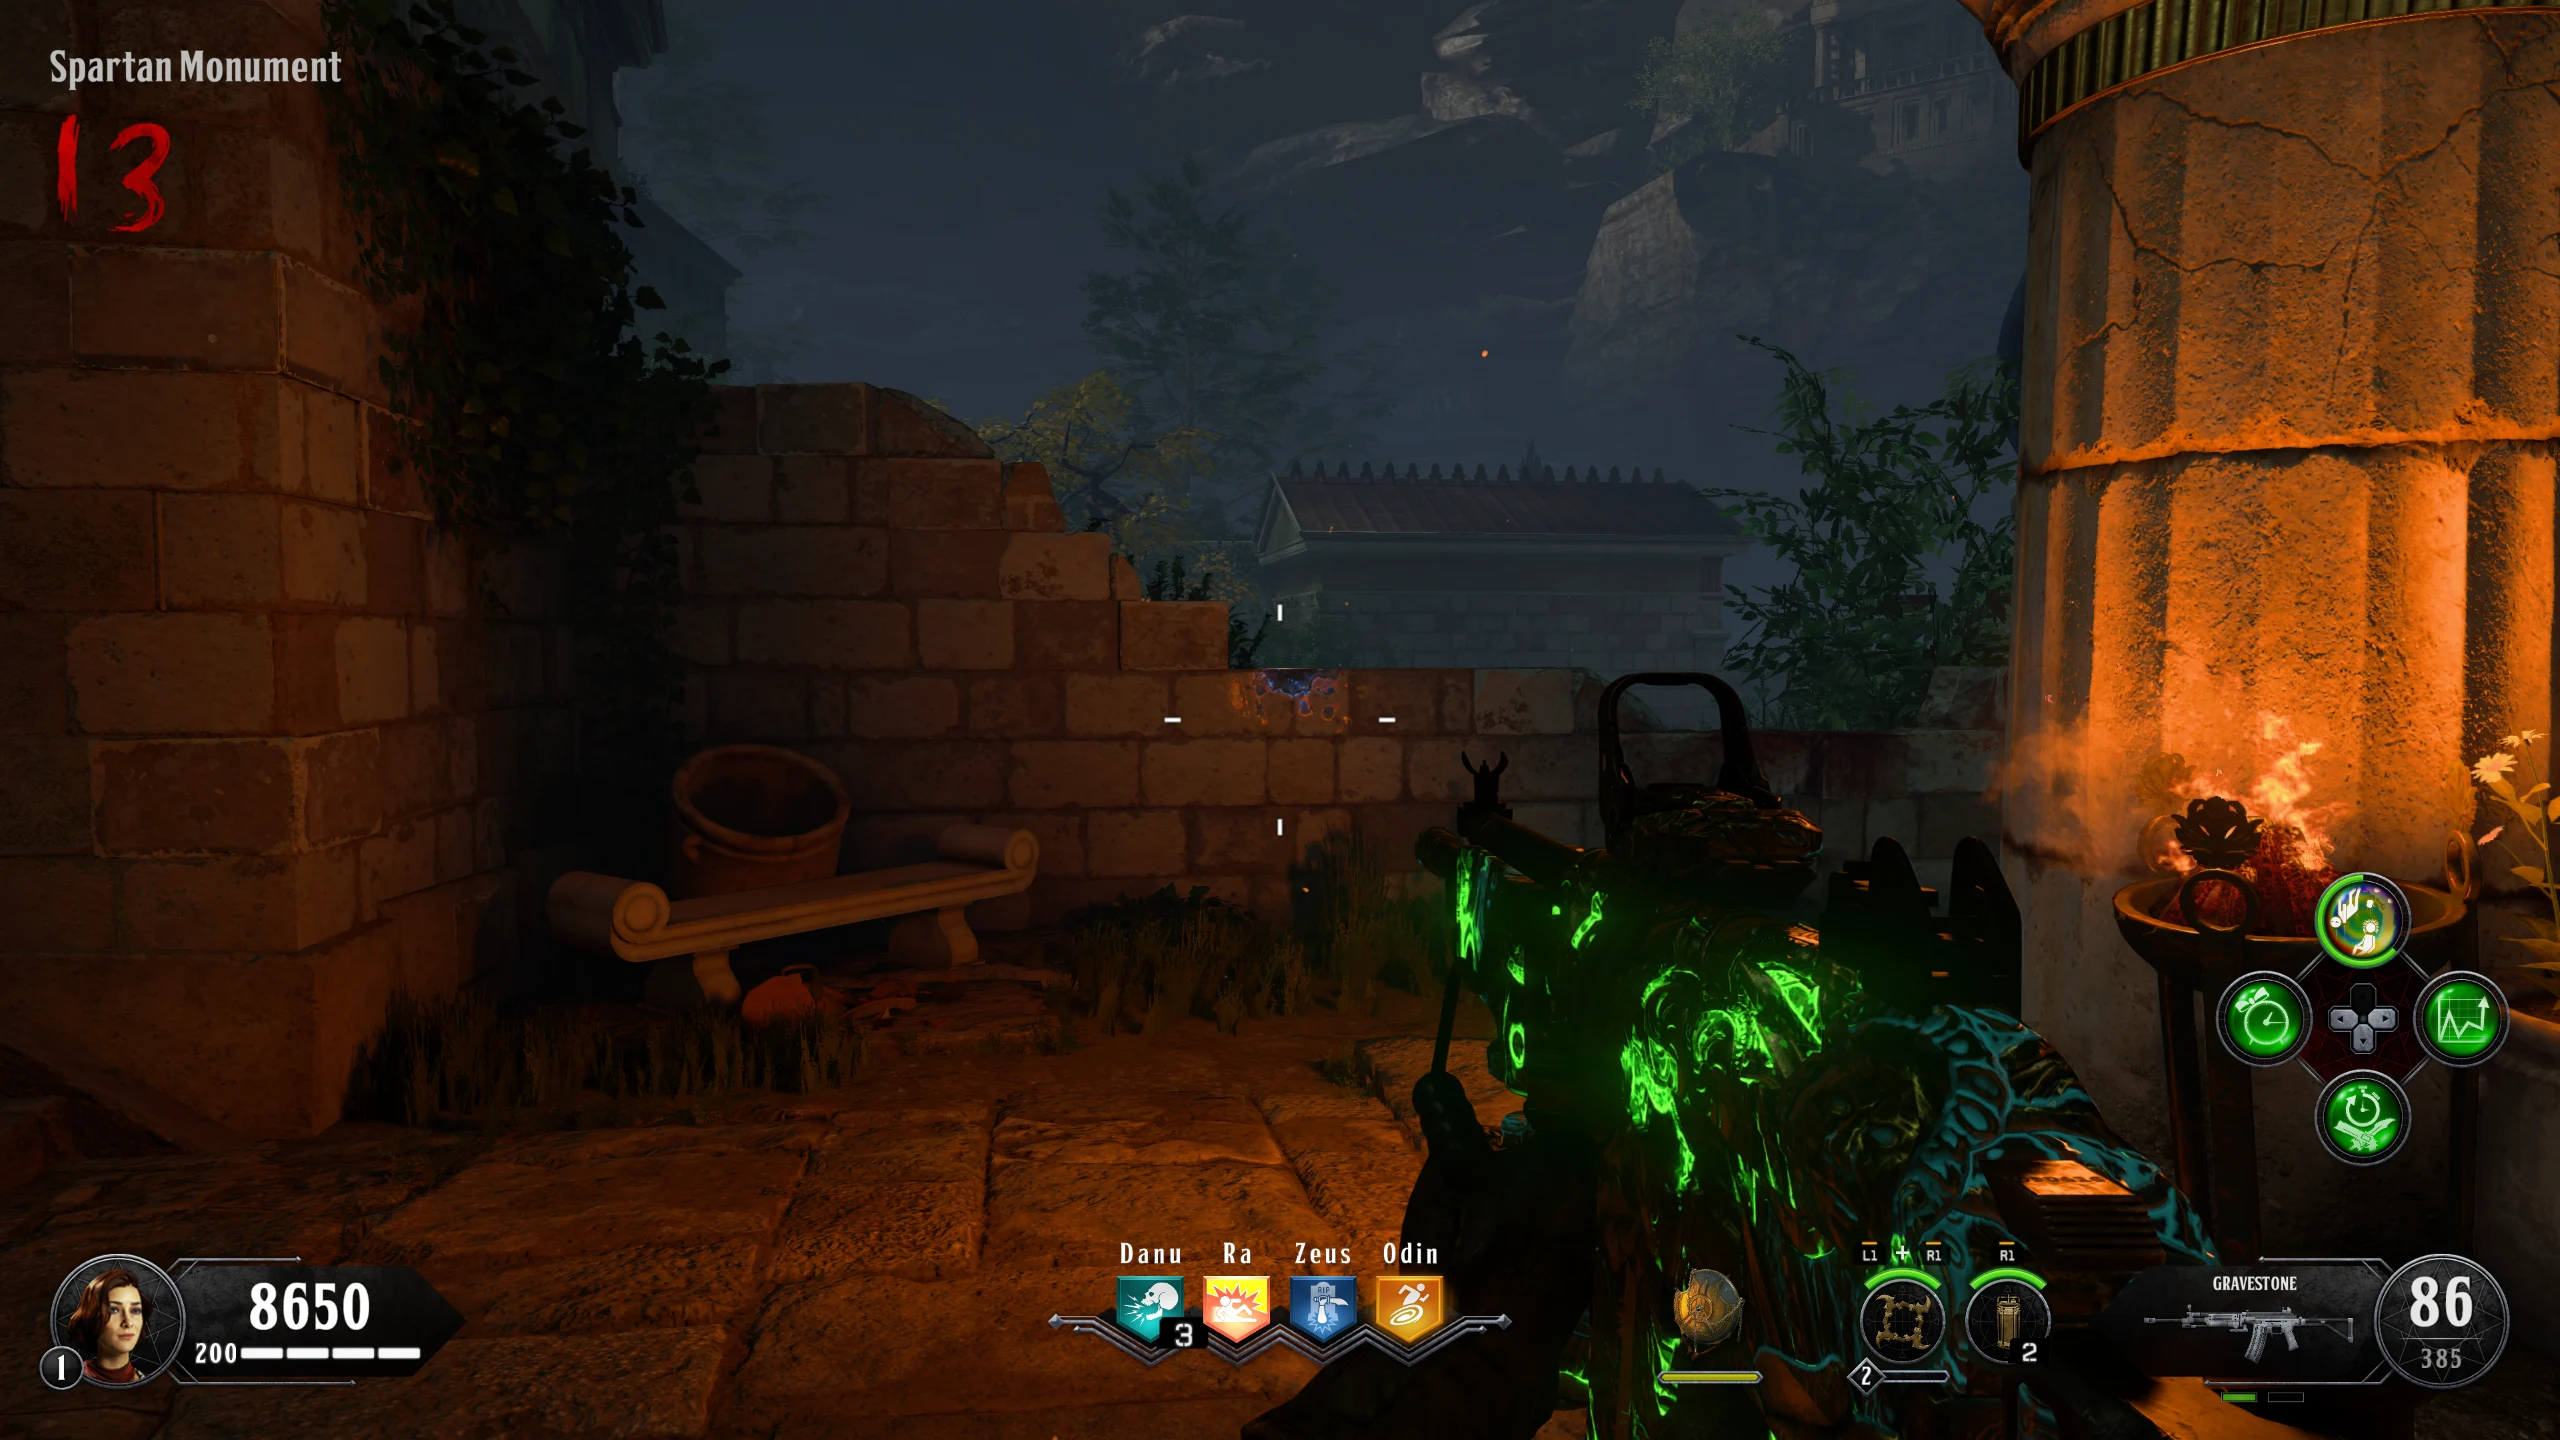
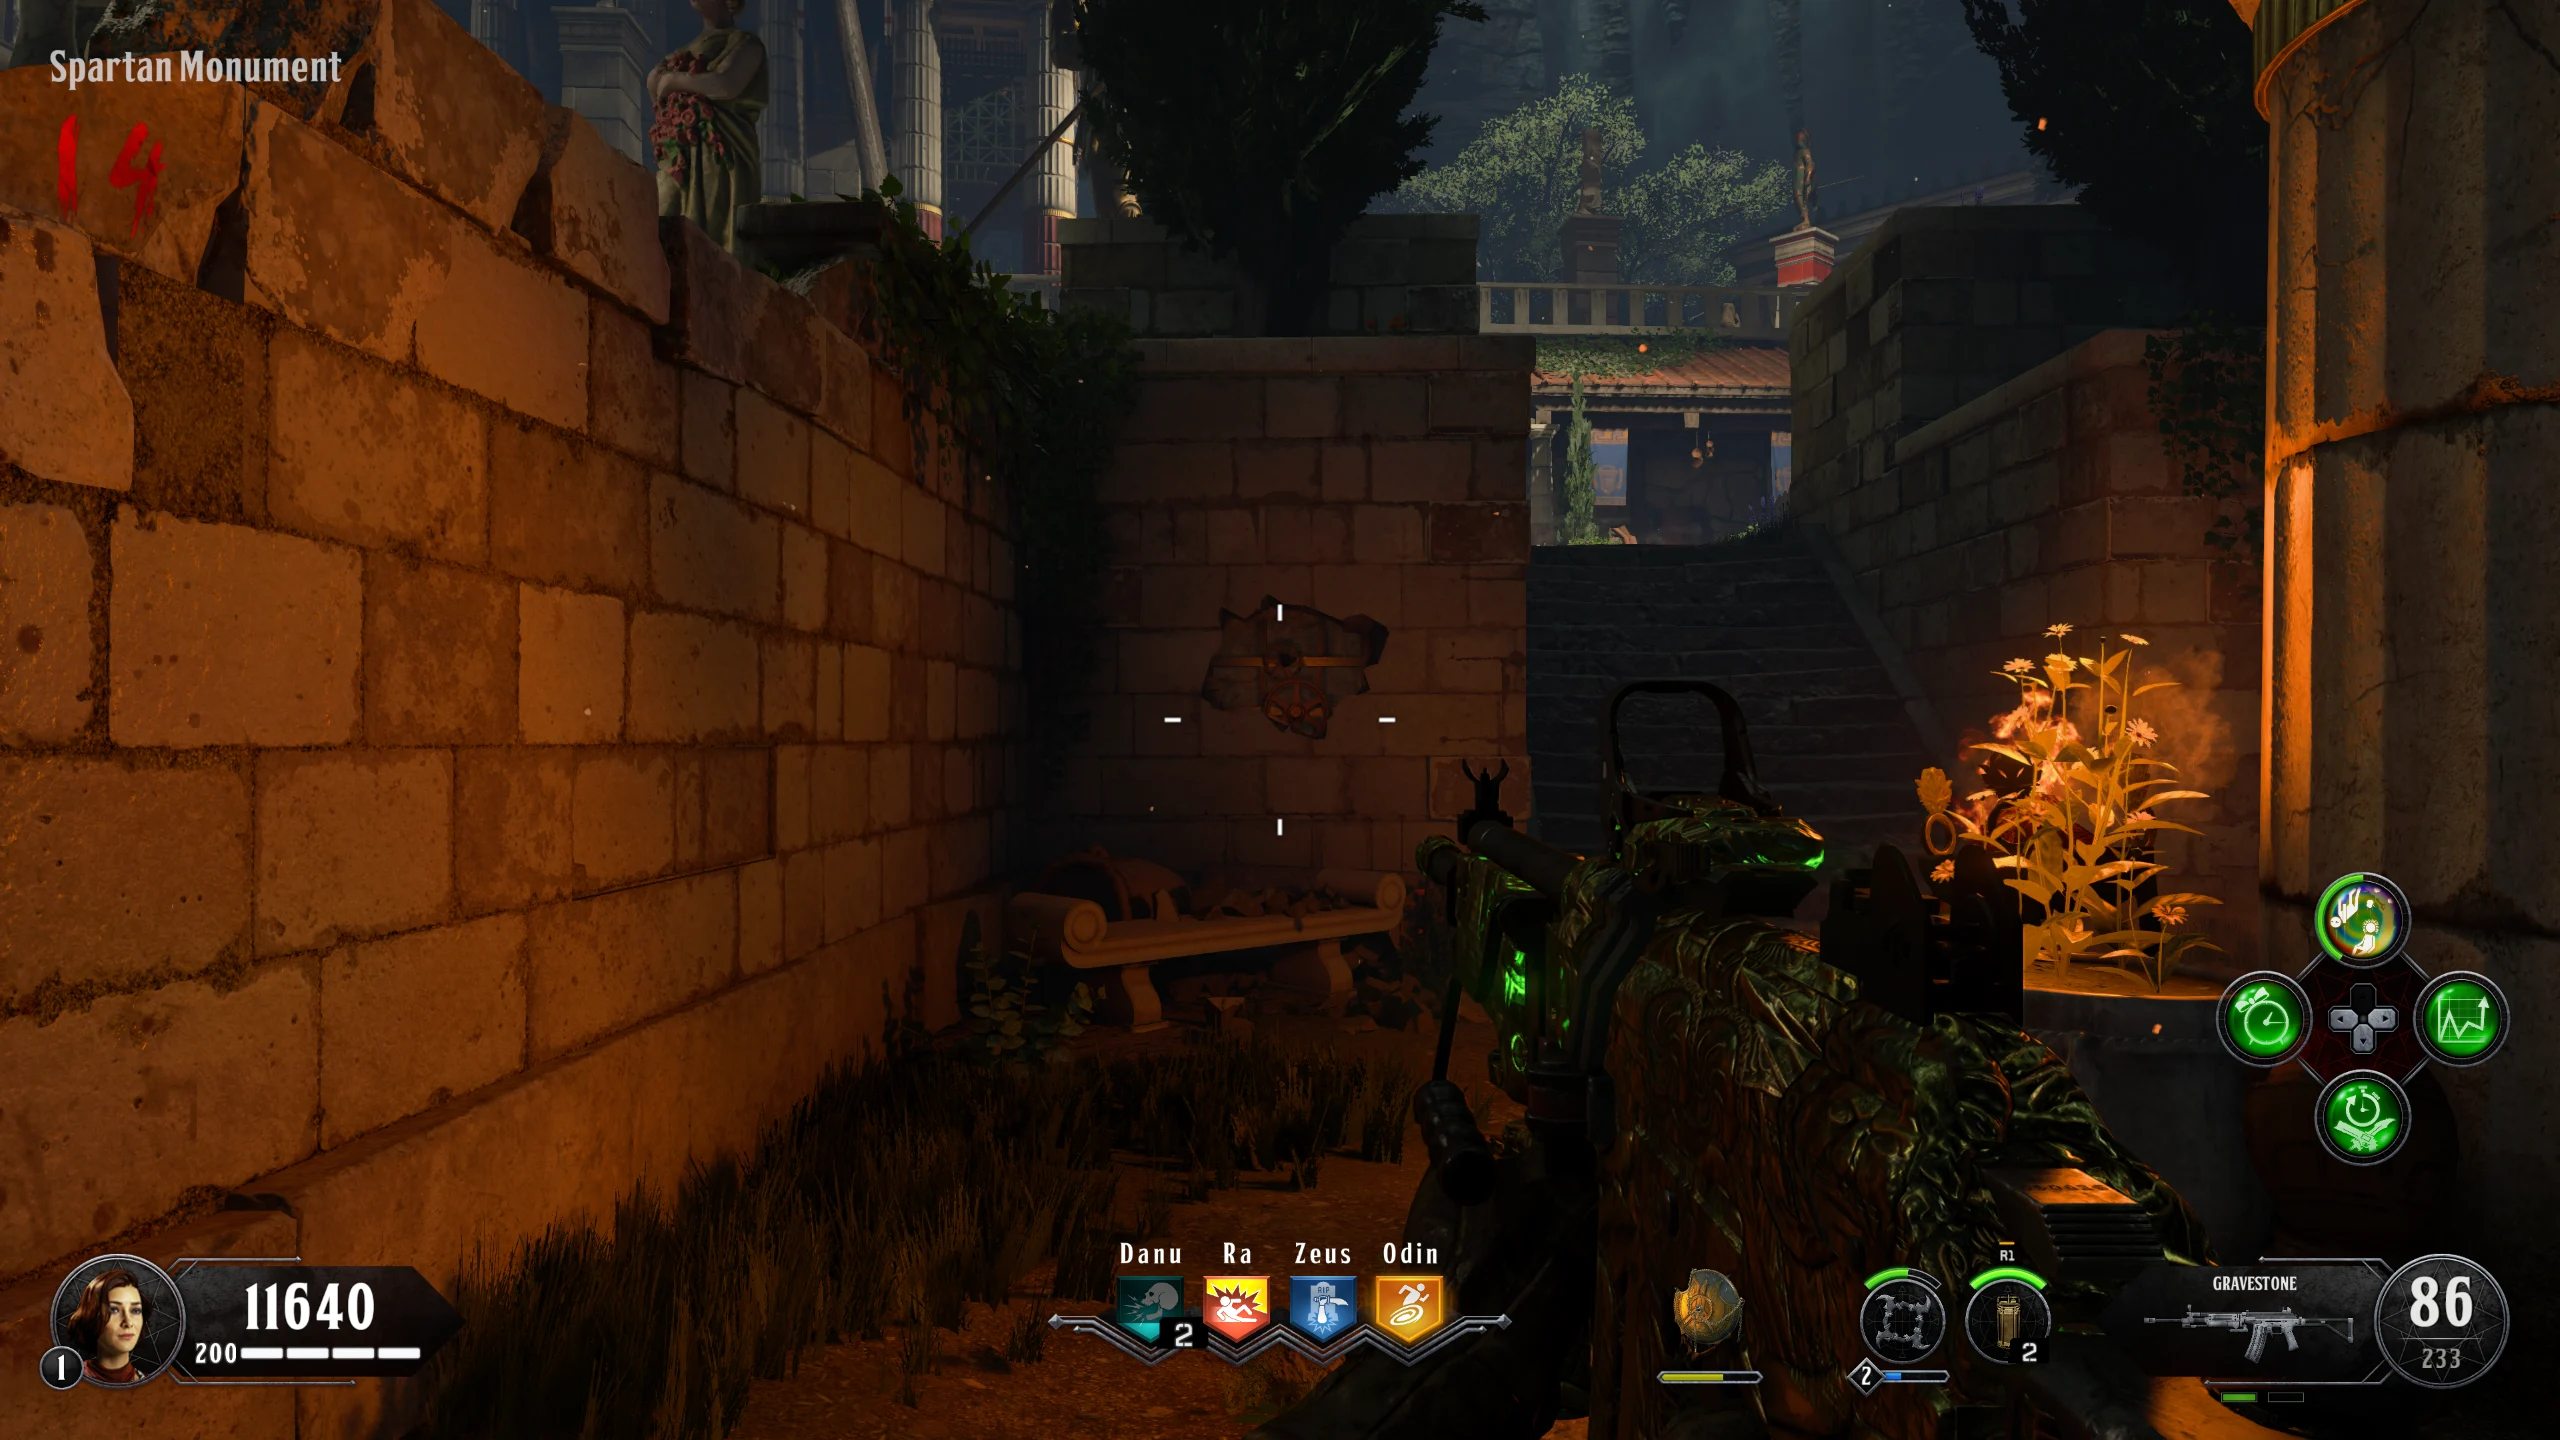
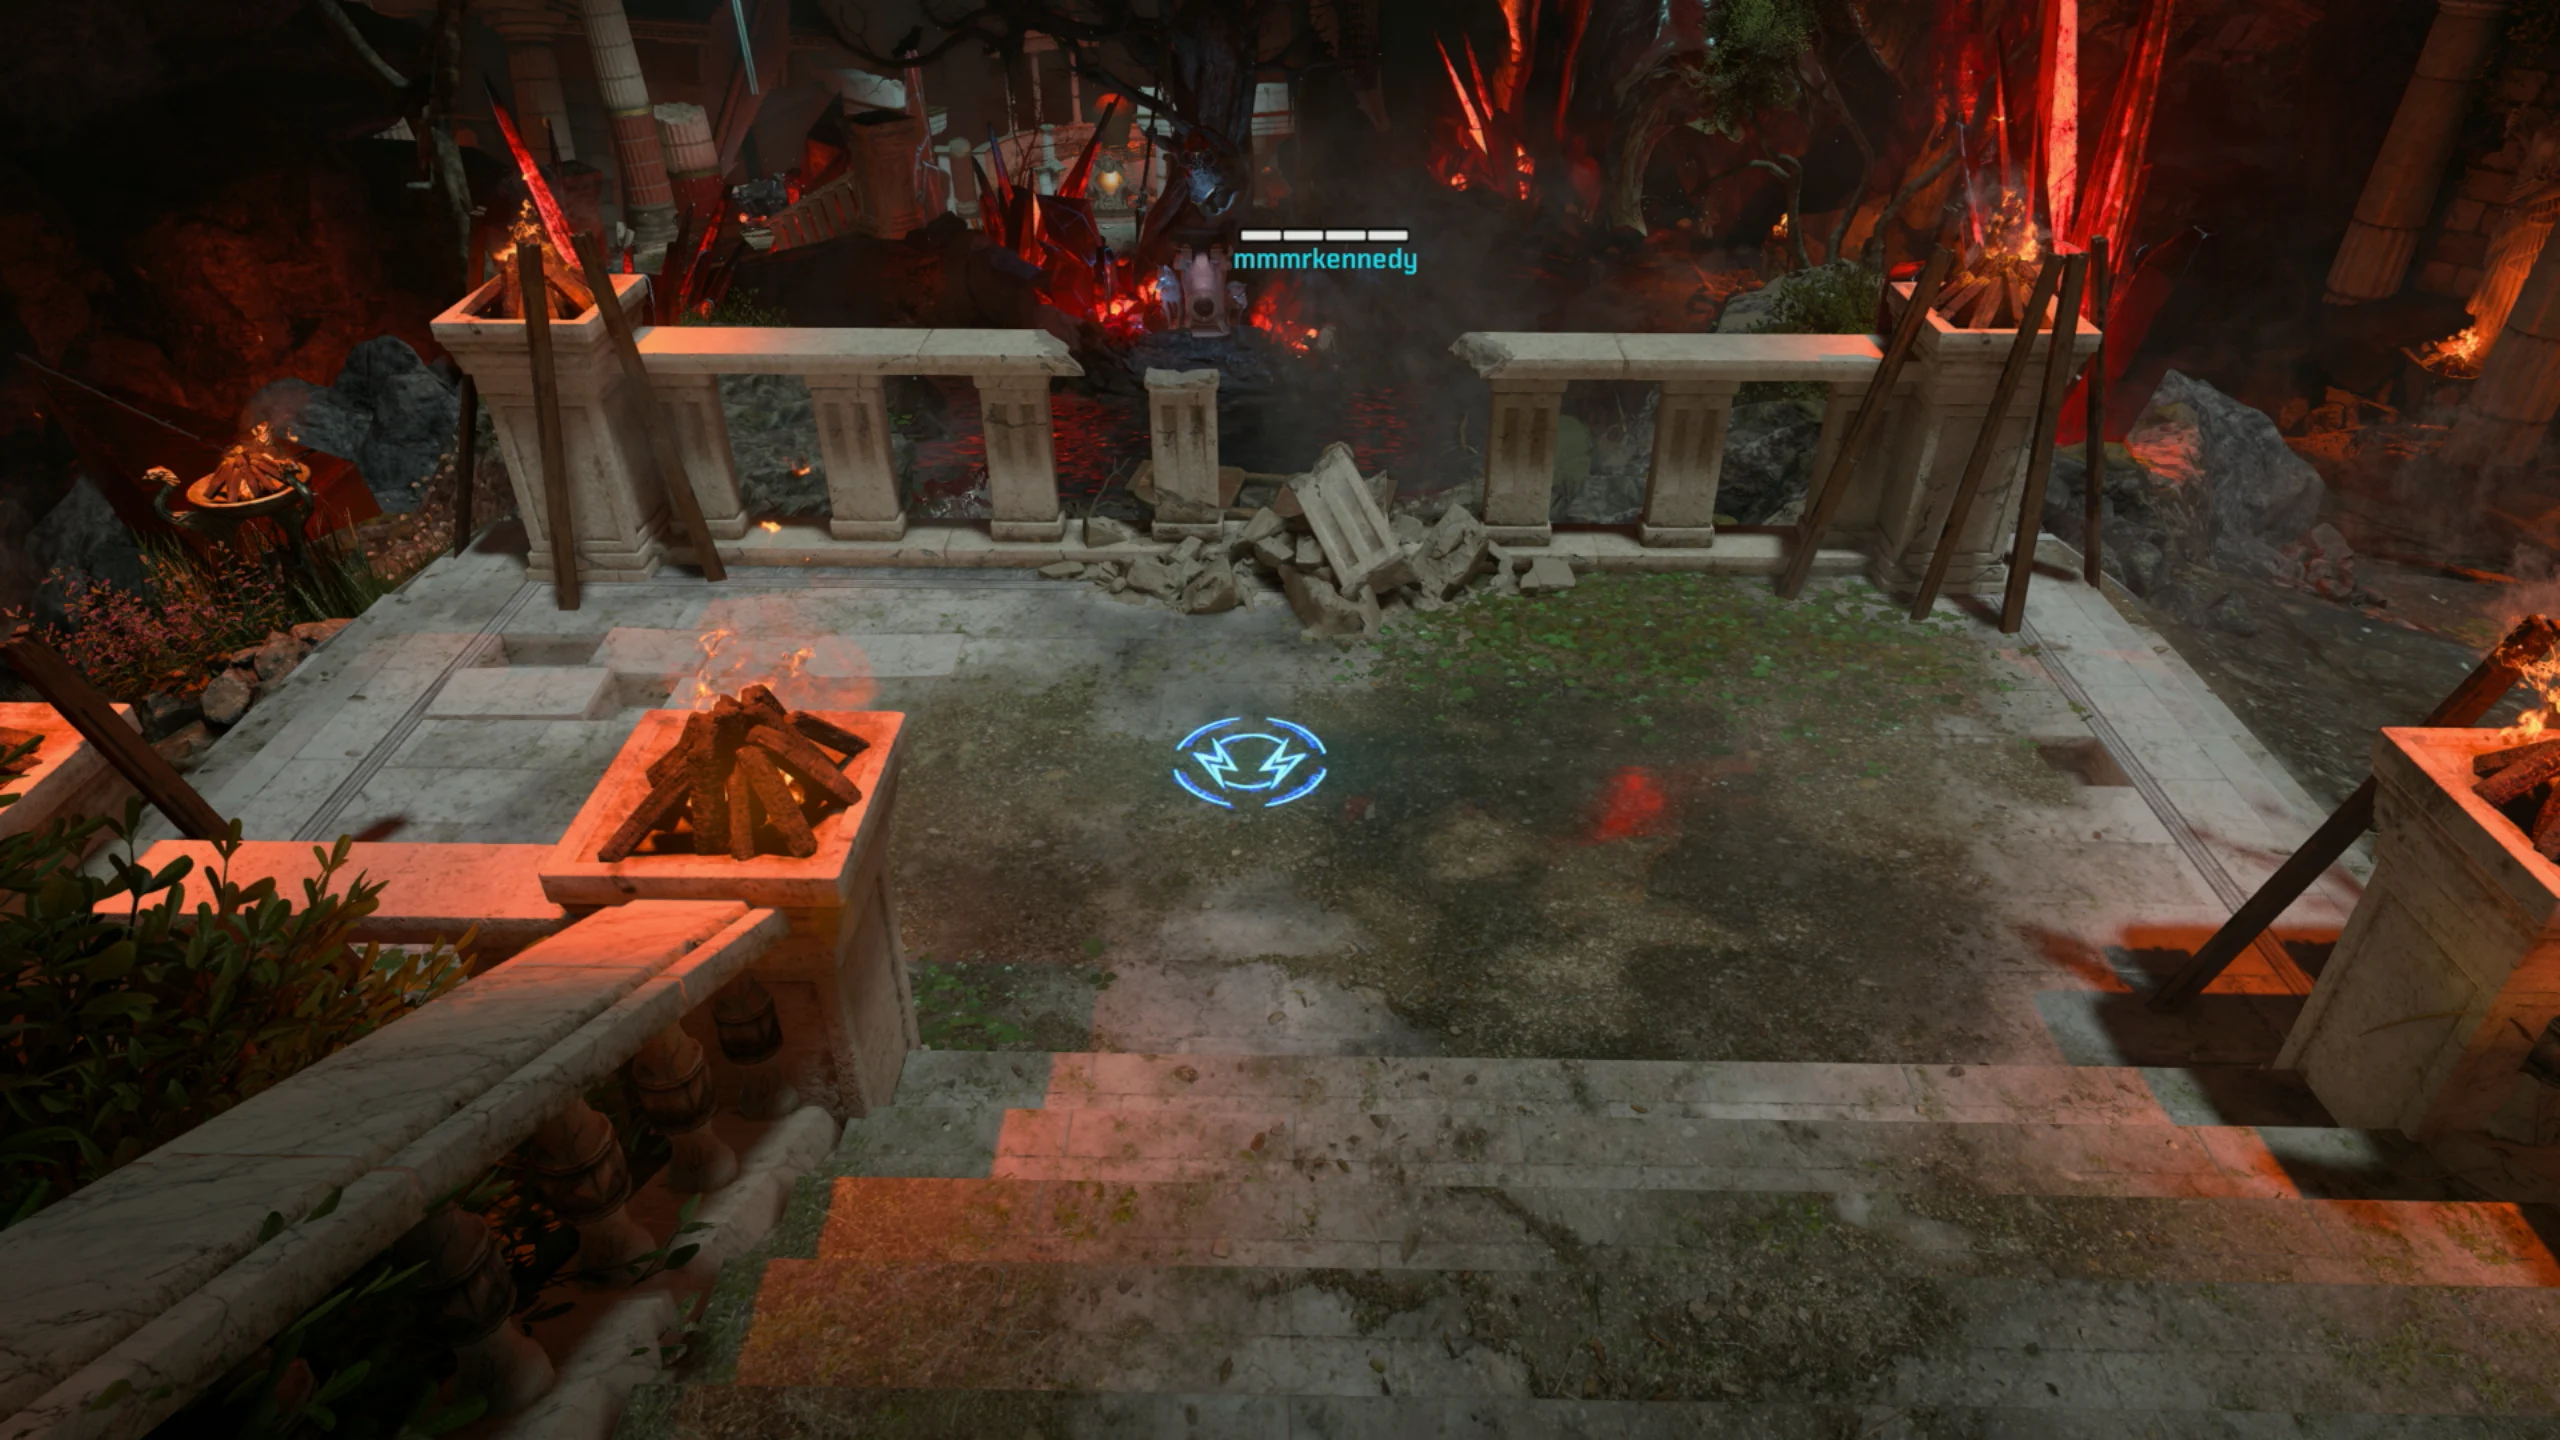
- In the 'Spartan Monument' area, shoot the ground in front of the Zeus Perk Statue with the charged hand of Charon.
- While standing in the blood pool, your screen will go black and white and one of the ten statues around you will have glowing eyes. Shoot it with an uncharged shot of the Hand of Charon. If done correctly, the statue will break and disappear. Repeat for three more statues.
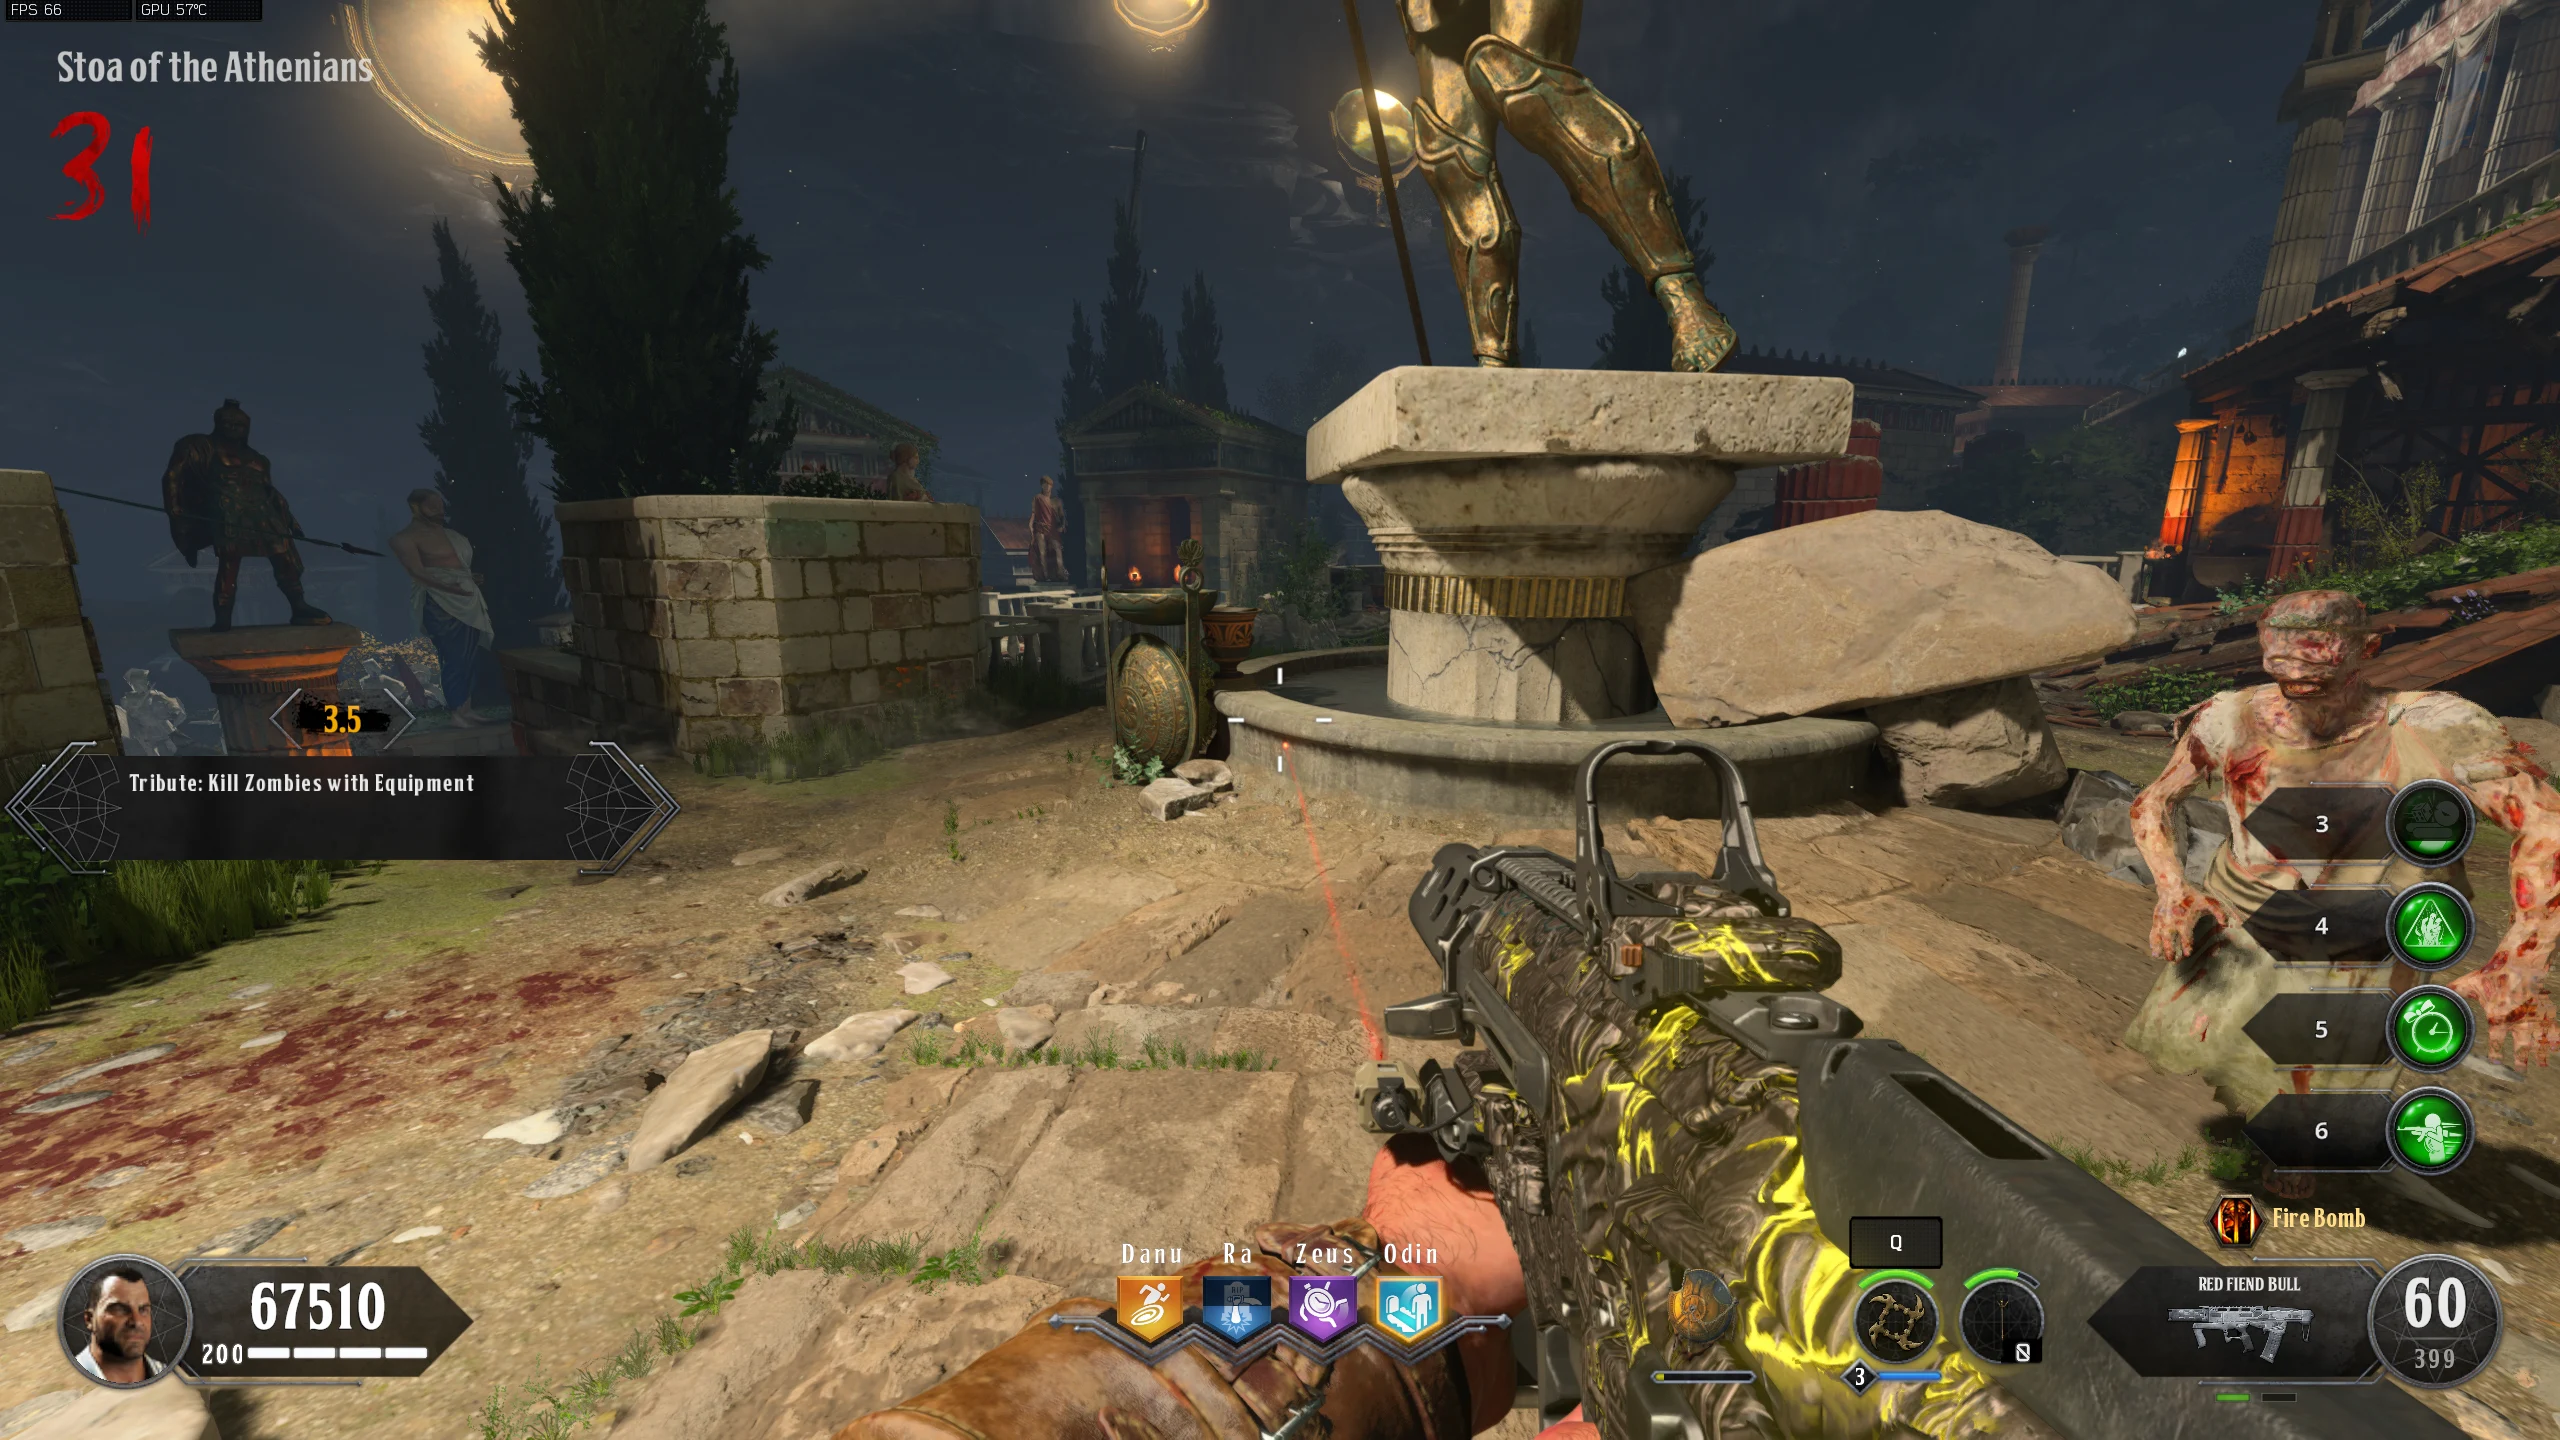
Align the Citizens
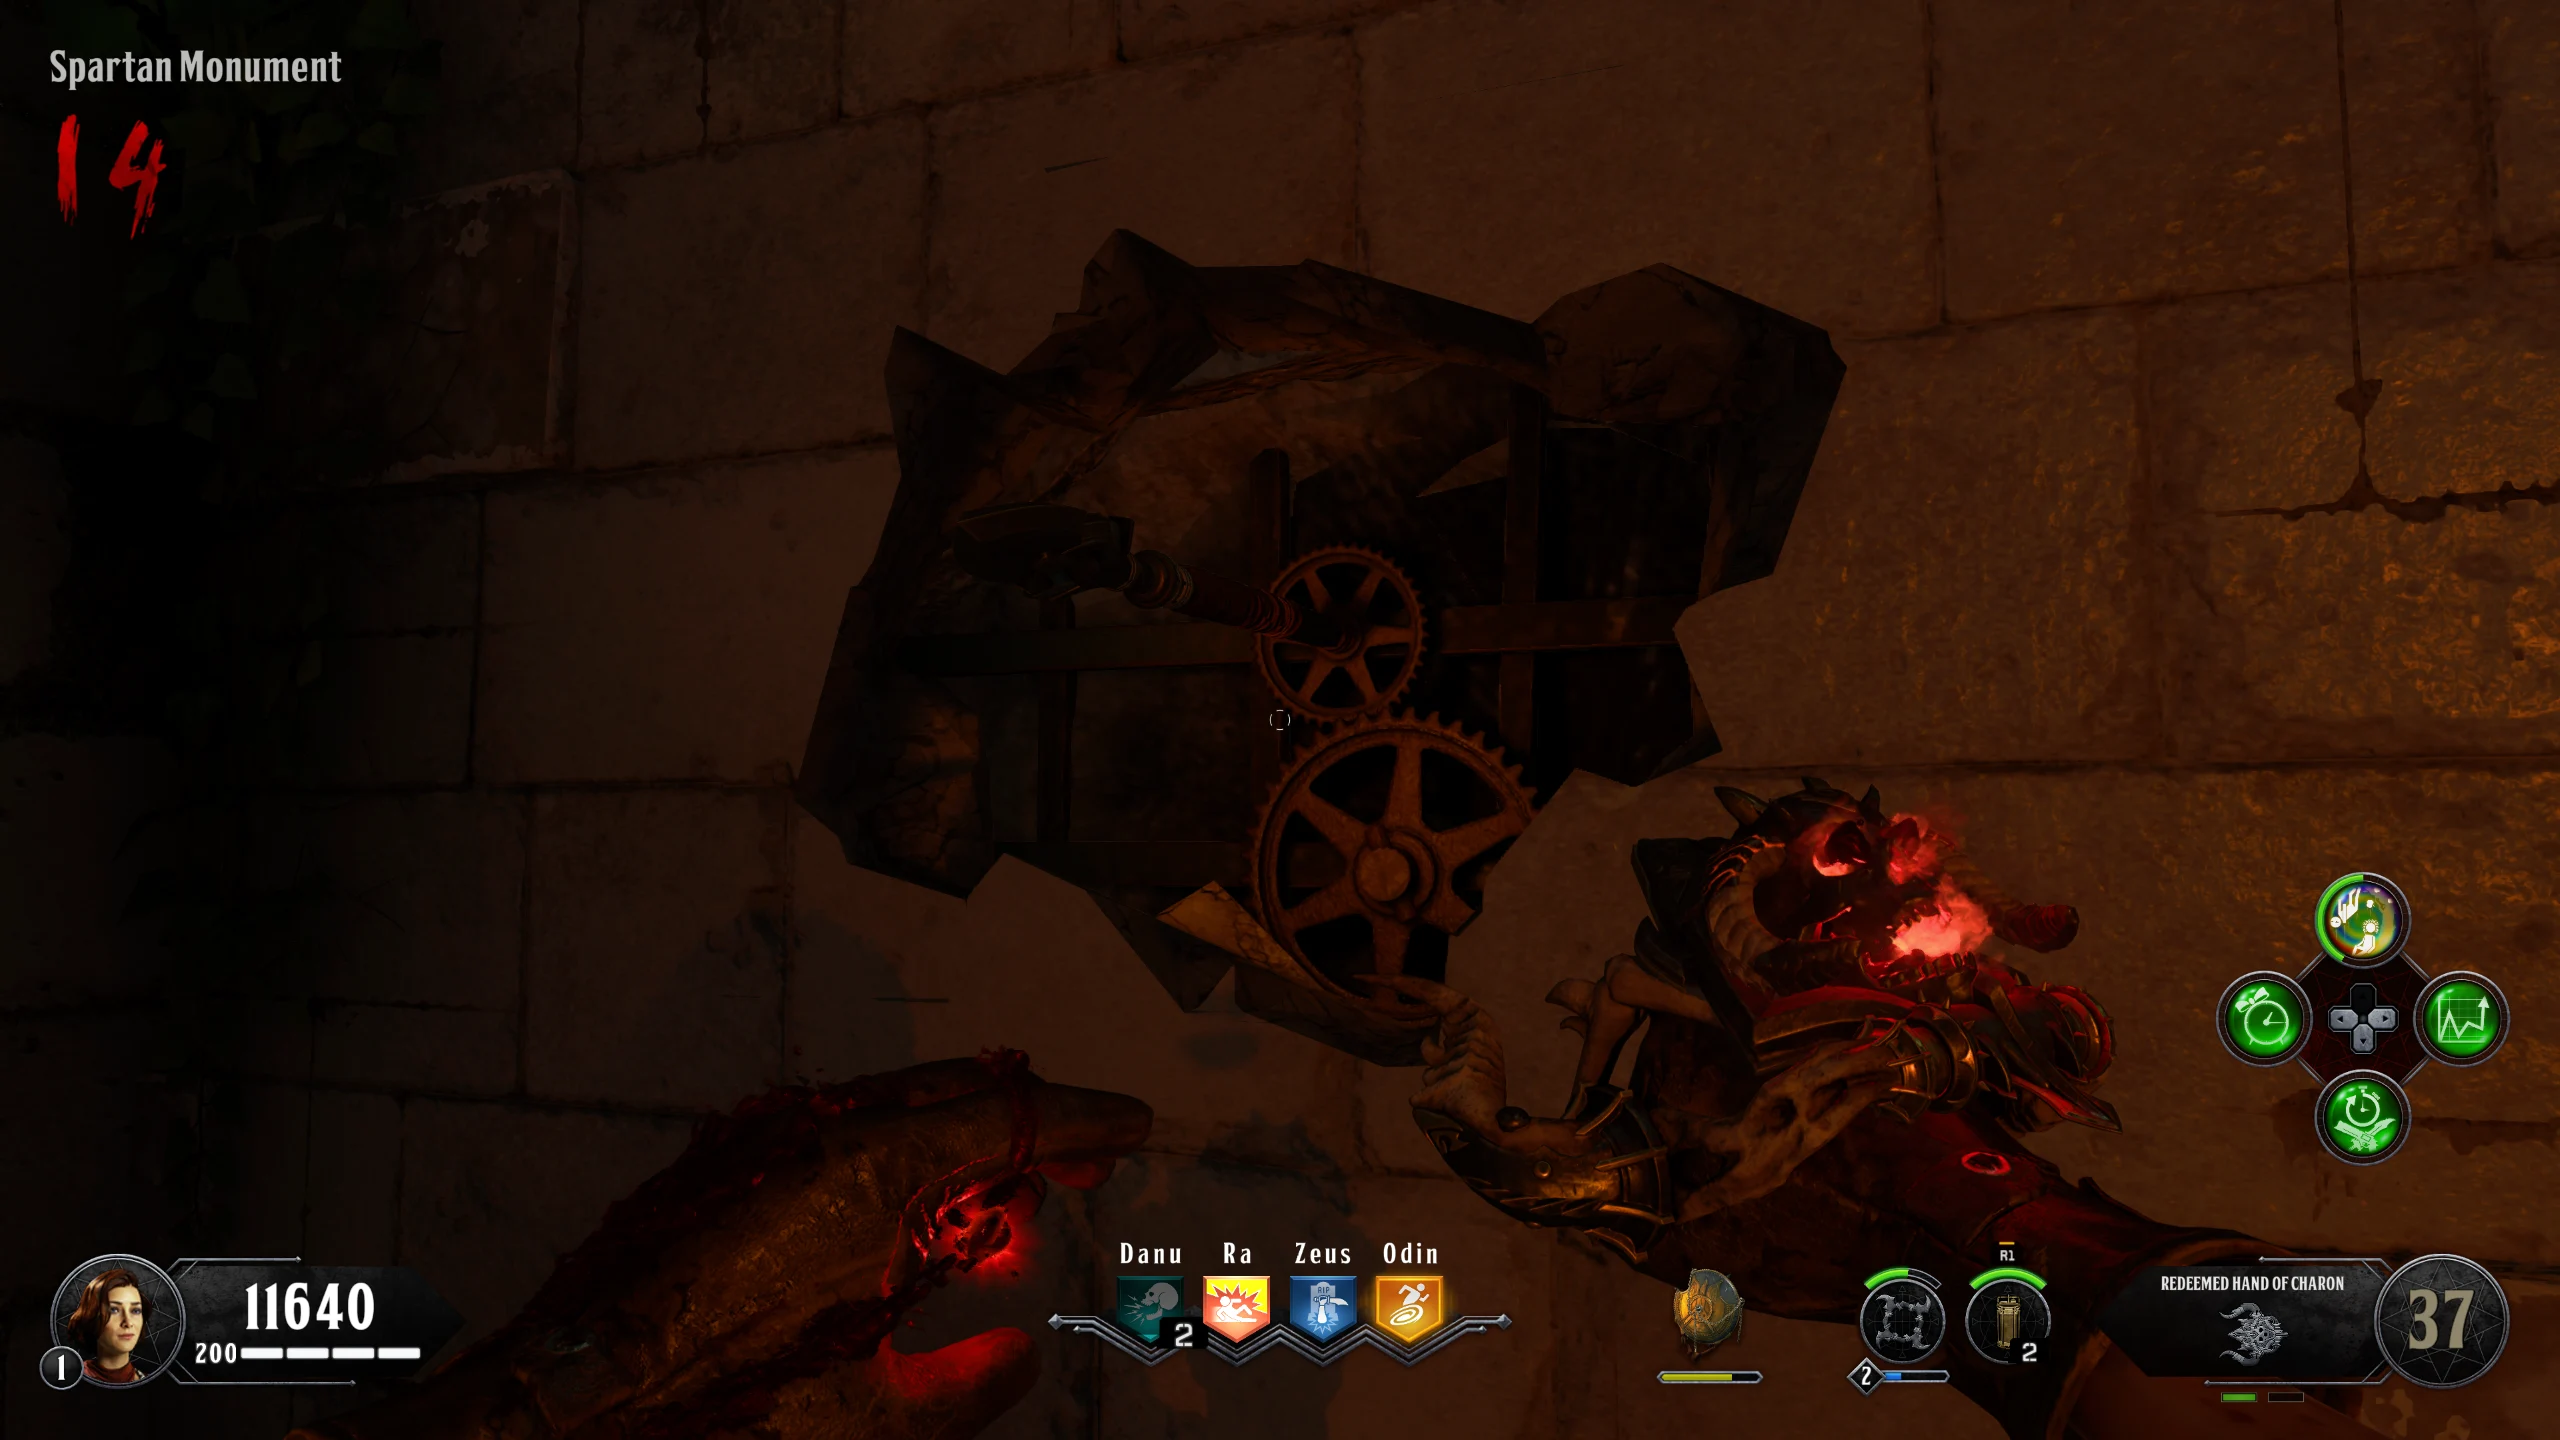
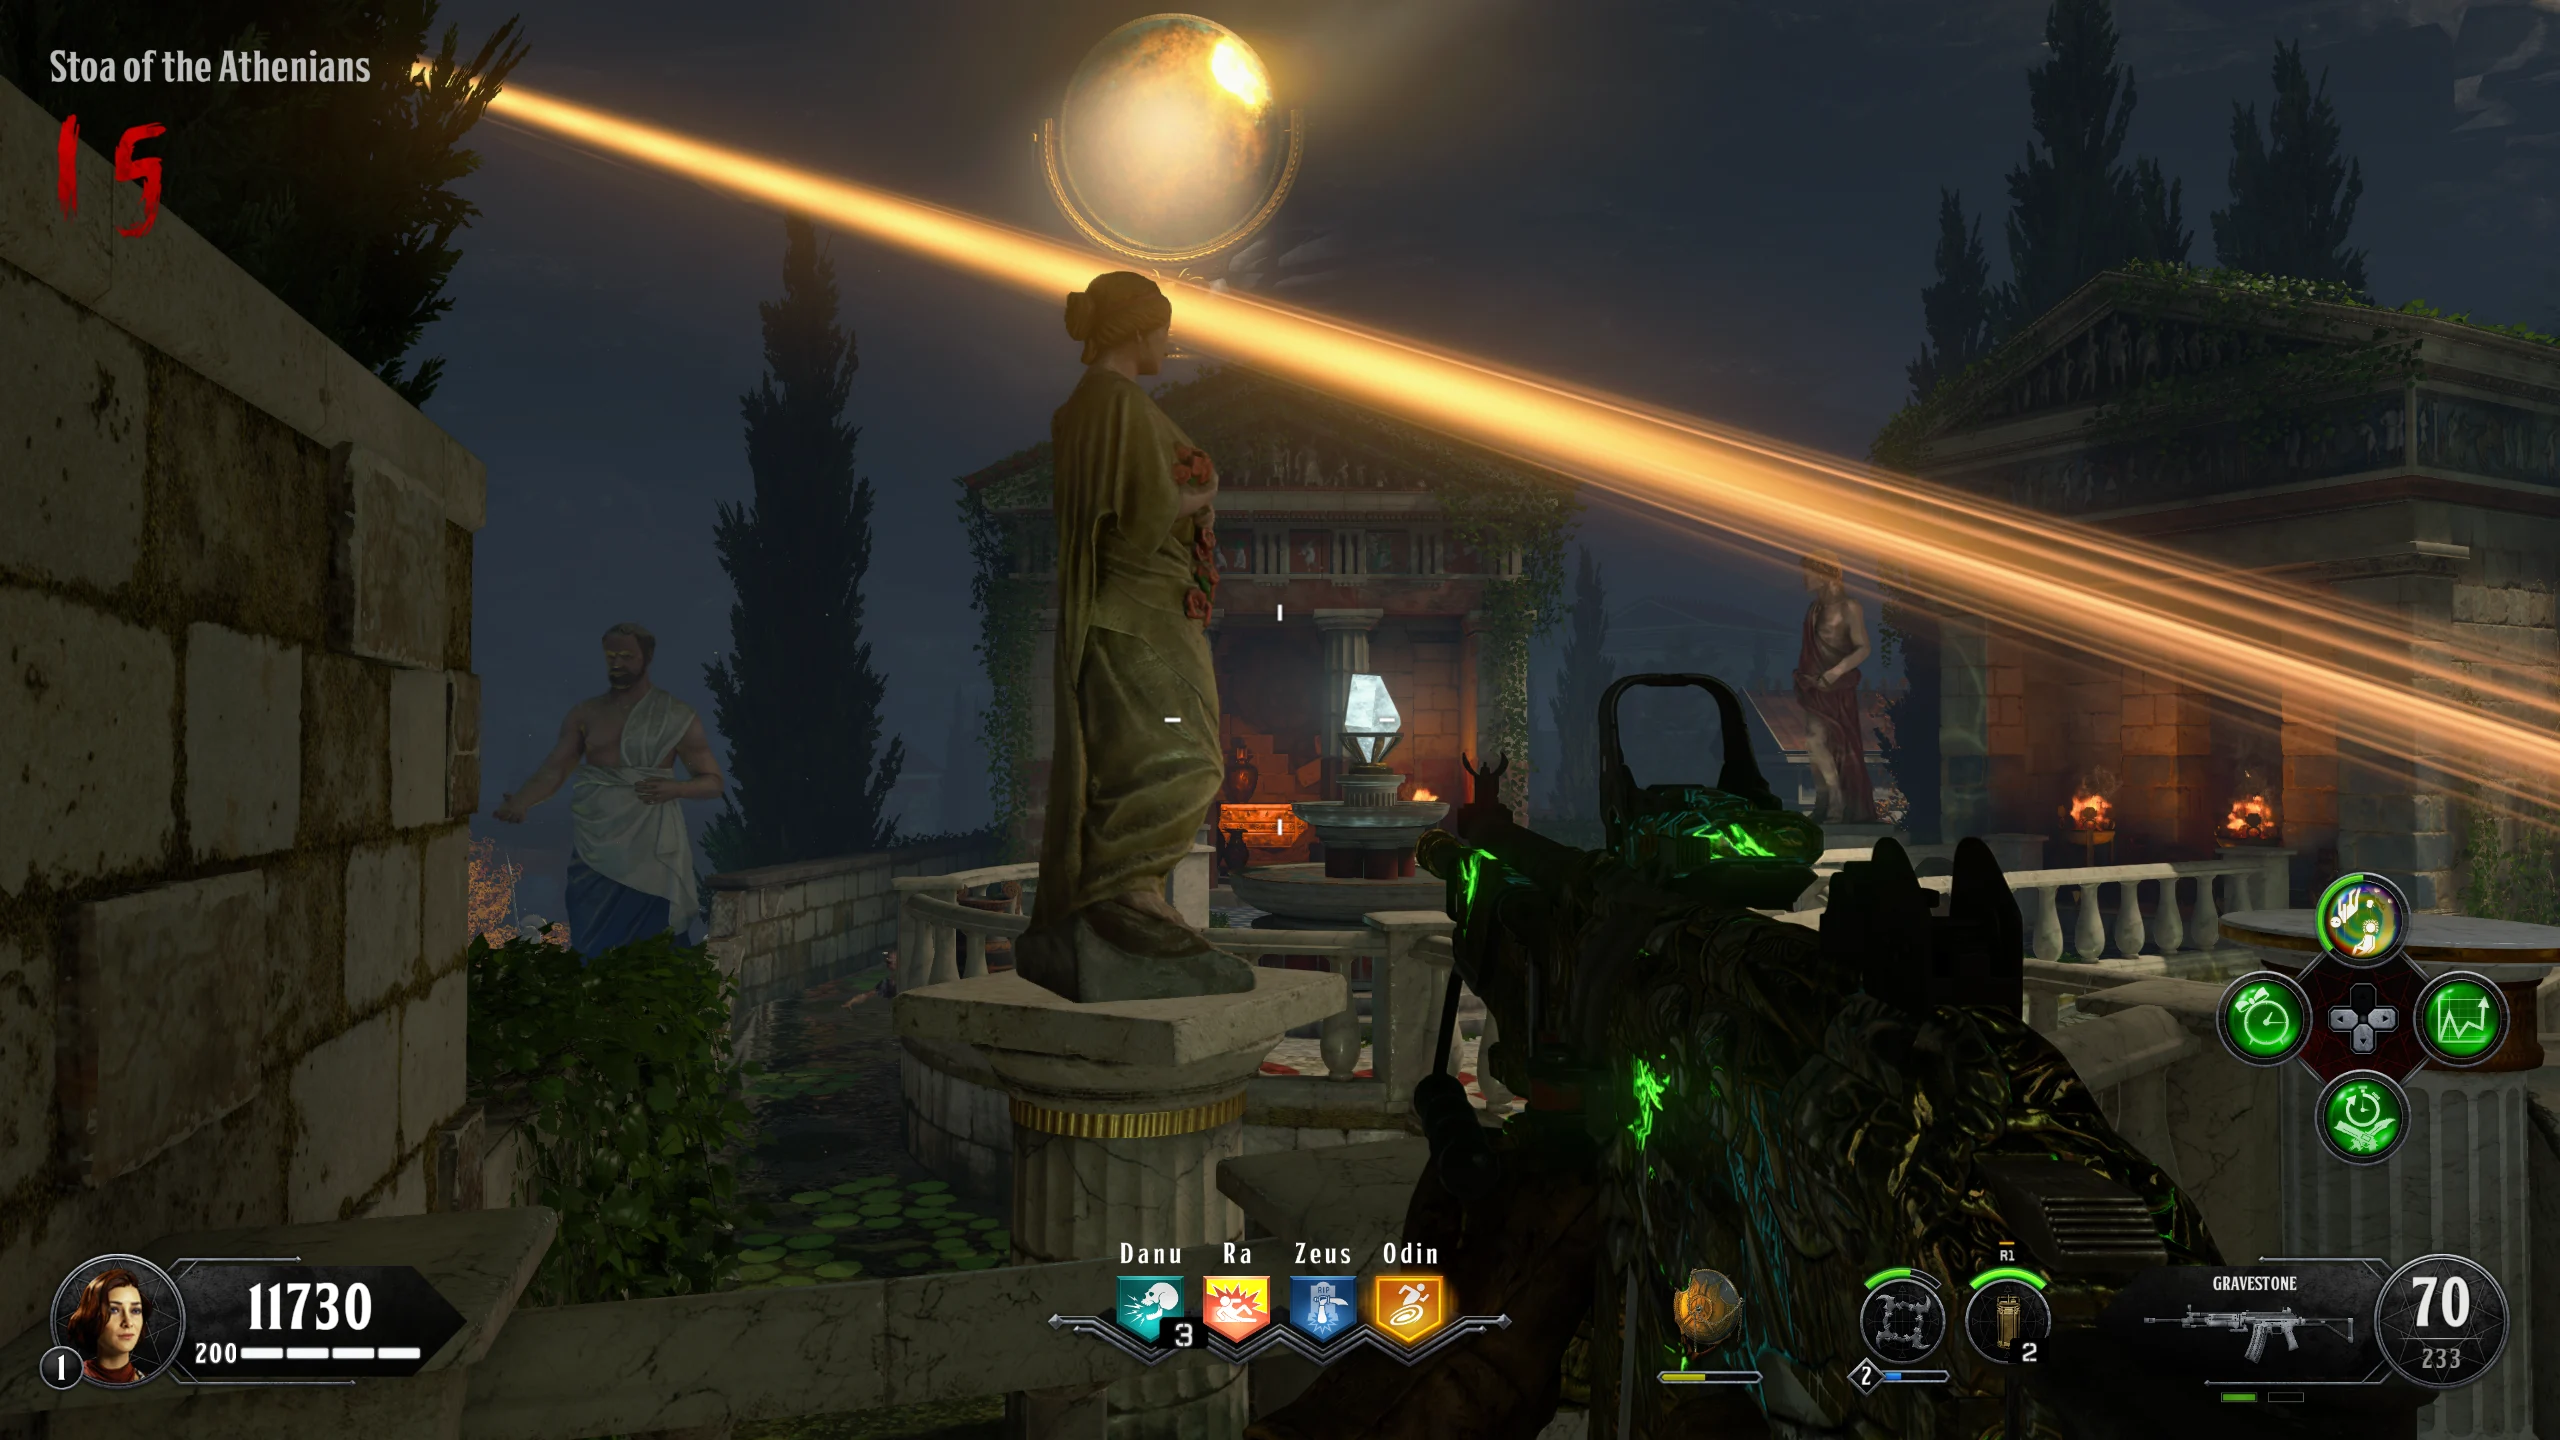
- Using any bullet-based weapon, shoot the walls (locations below) to reveal a Set of Gears: one small, one large. Stop the moving gear by throwing the Apollo's Will Spear when it's touching the stationary gear. This will cause the stationary one to spin. Time your throws so the gears are touching when you stop the small gear.
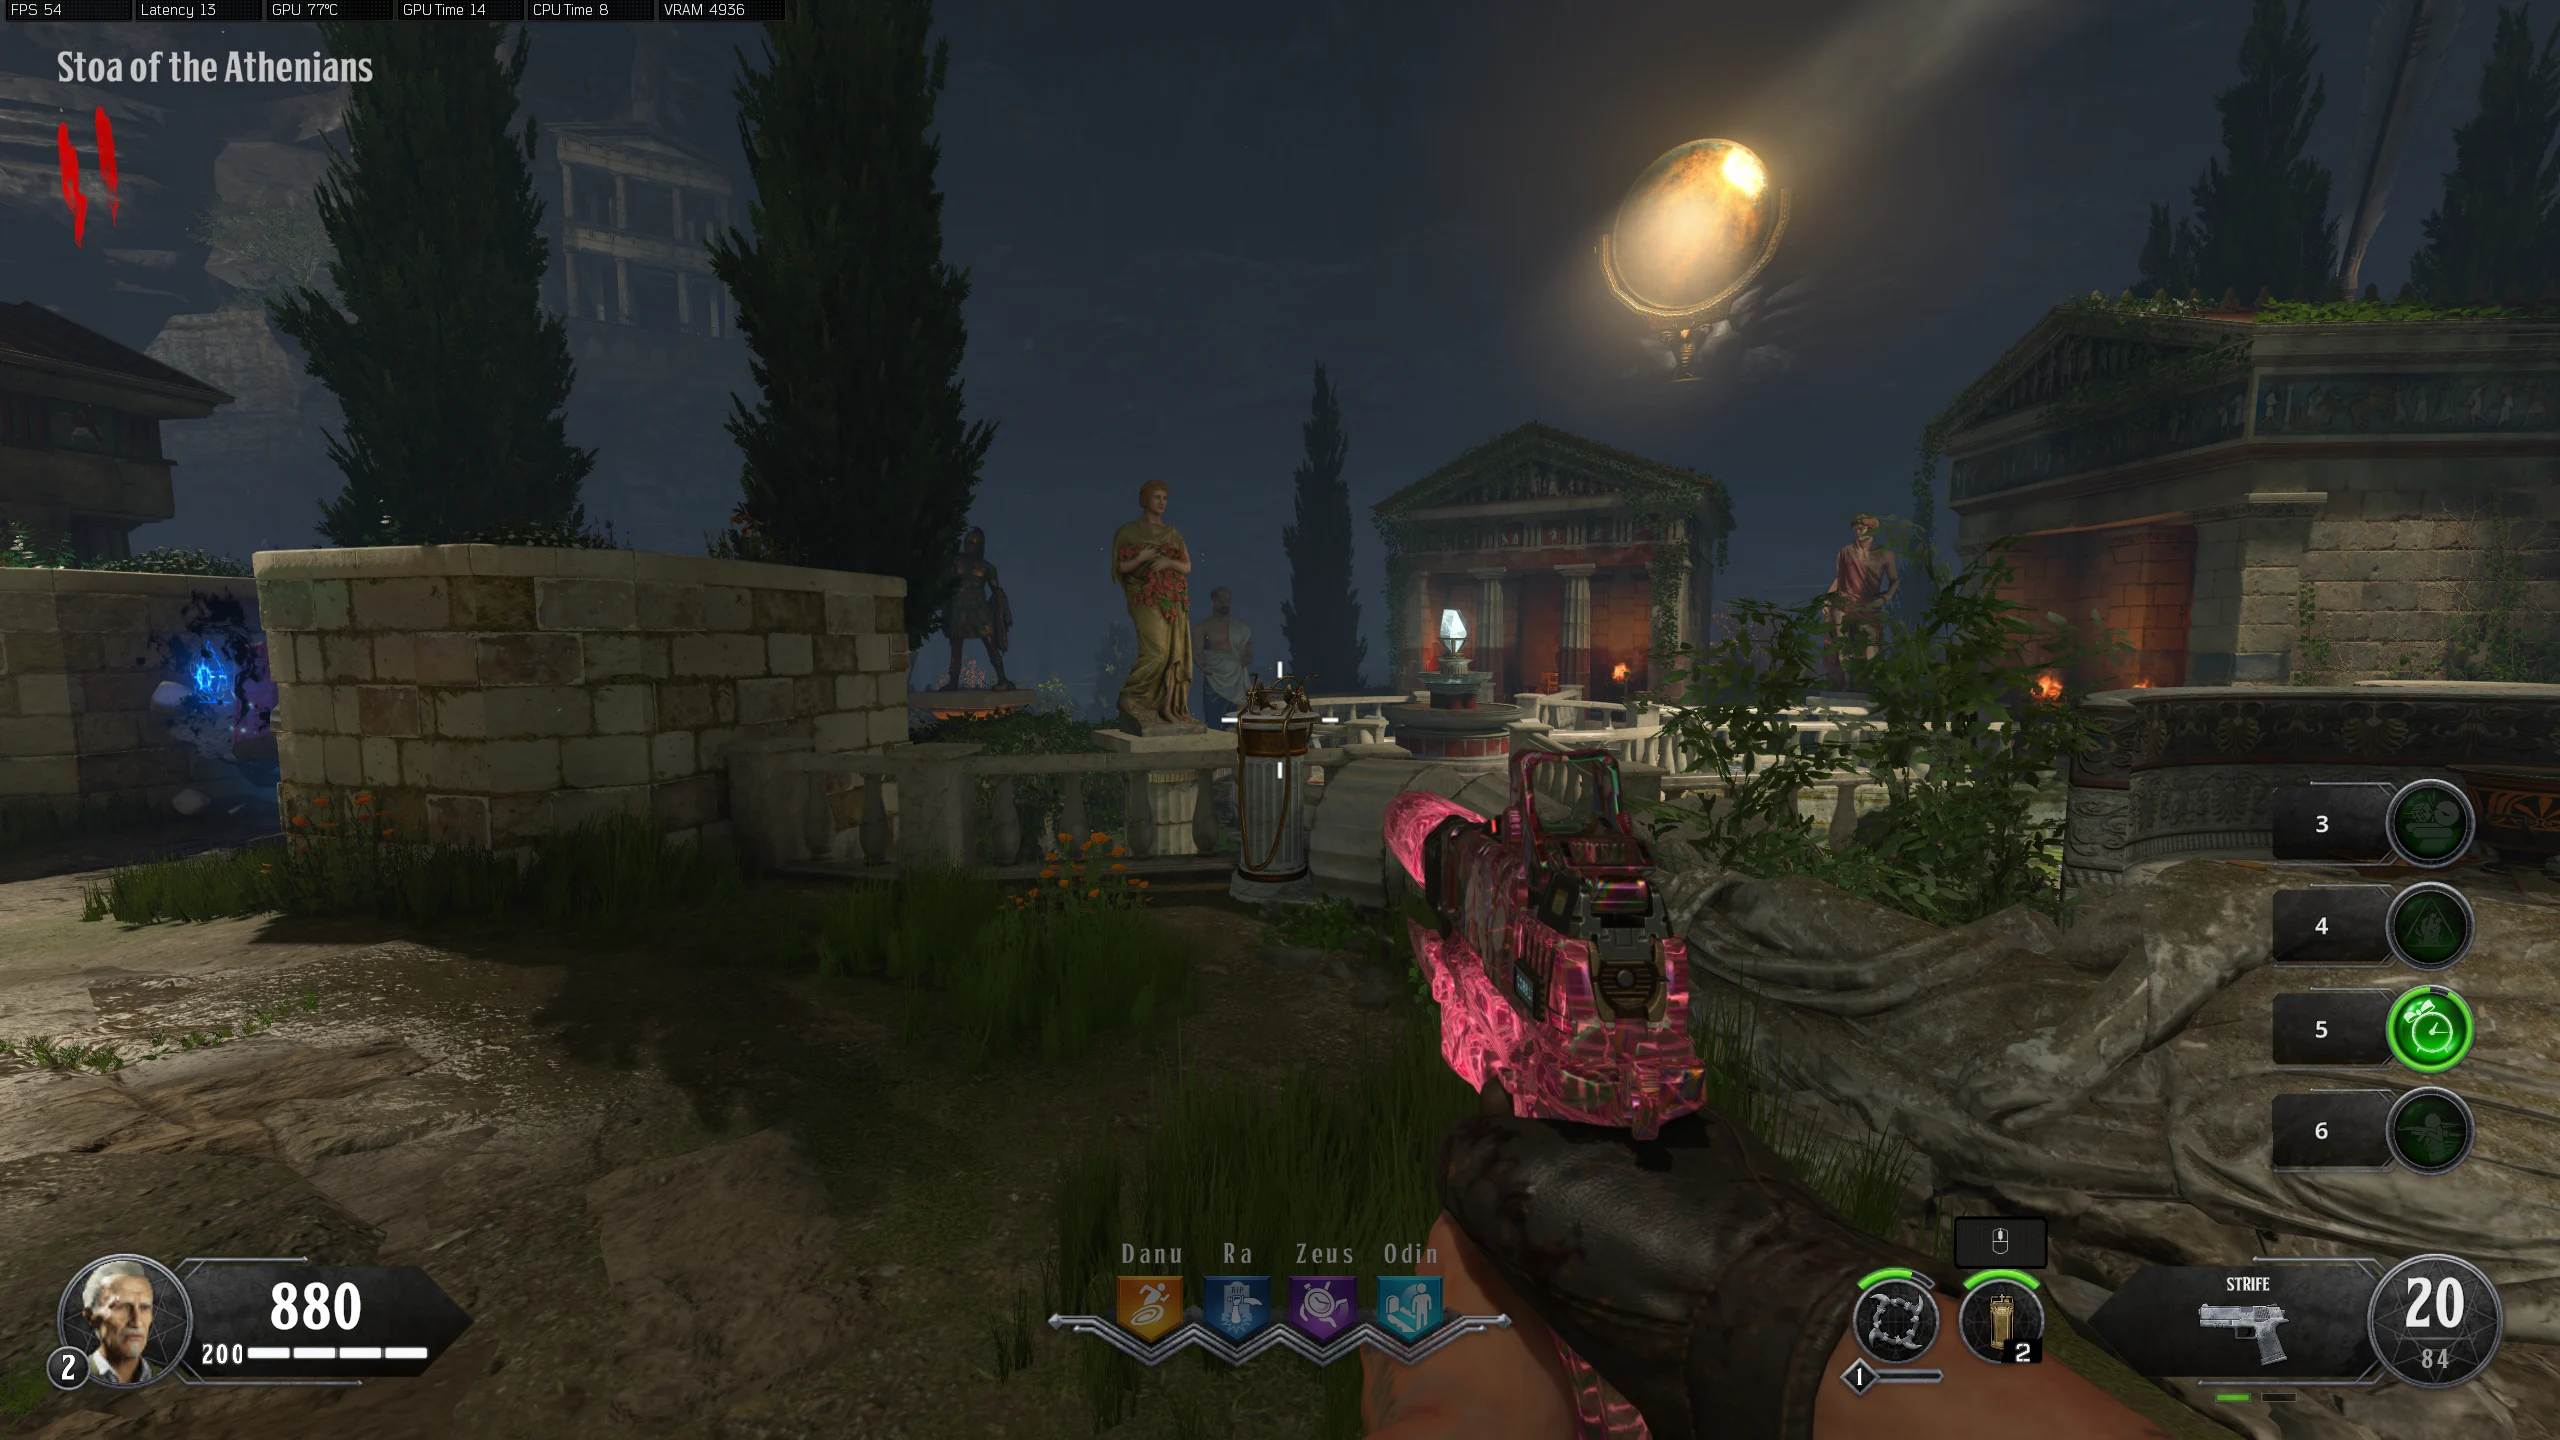
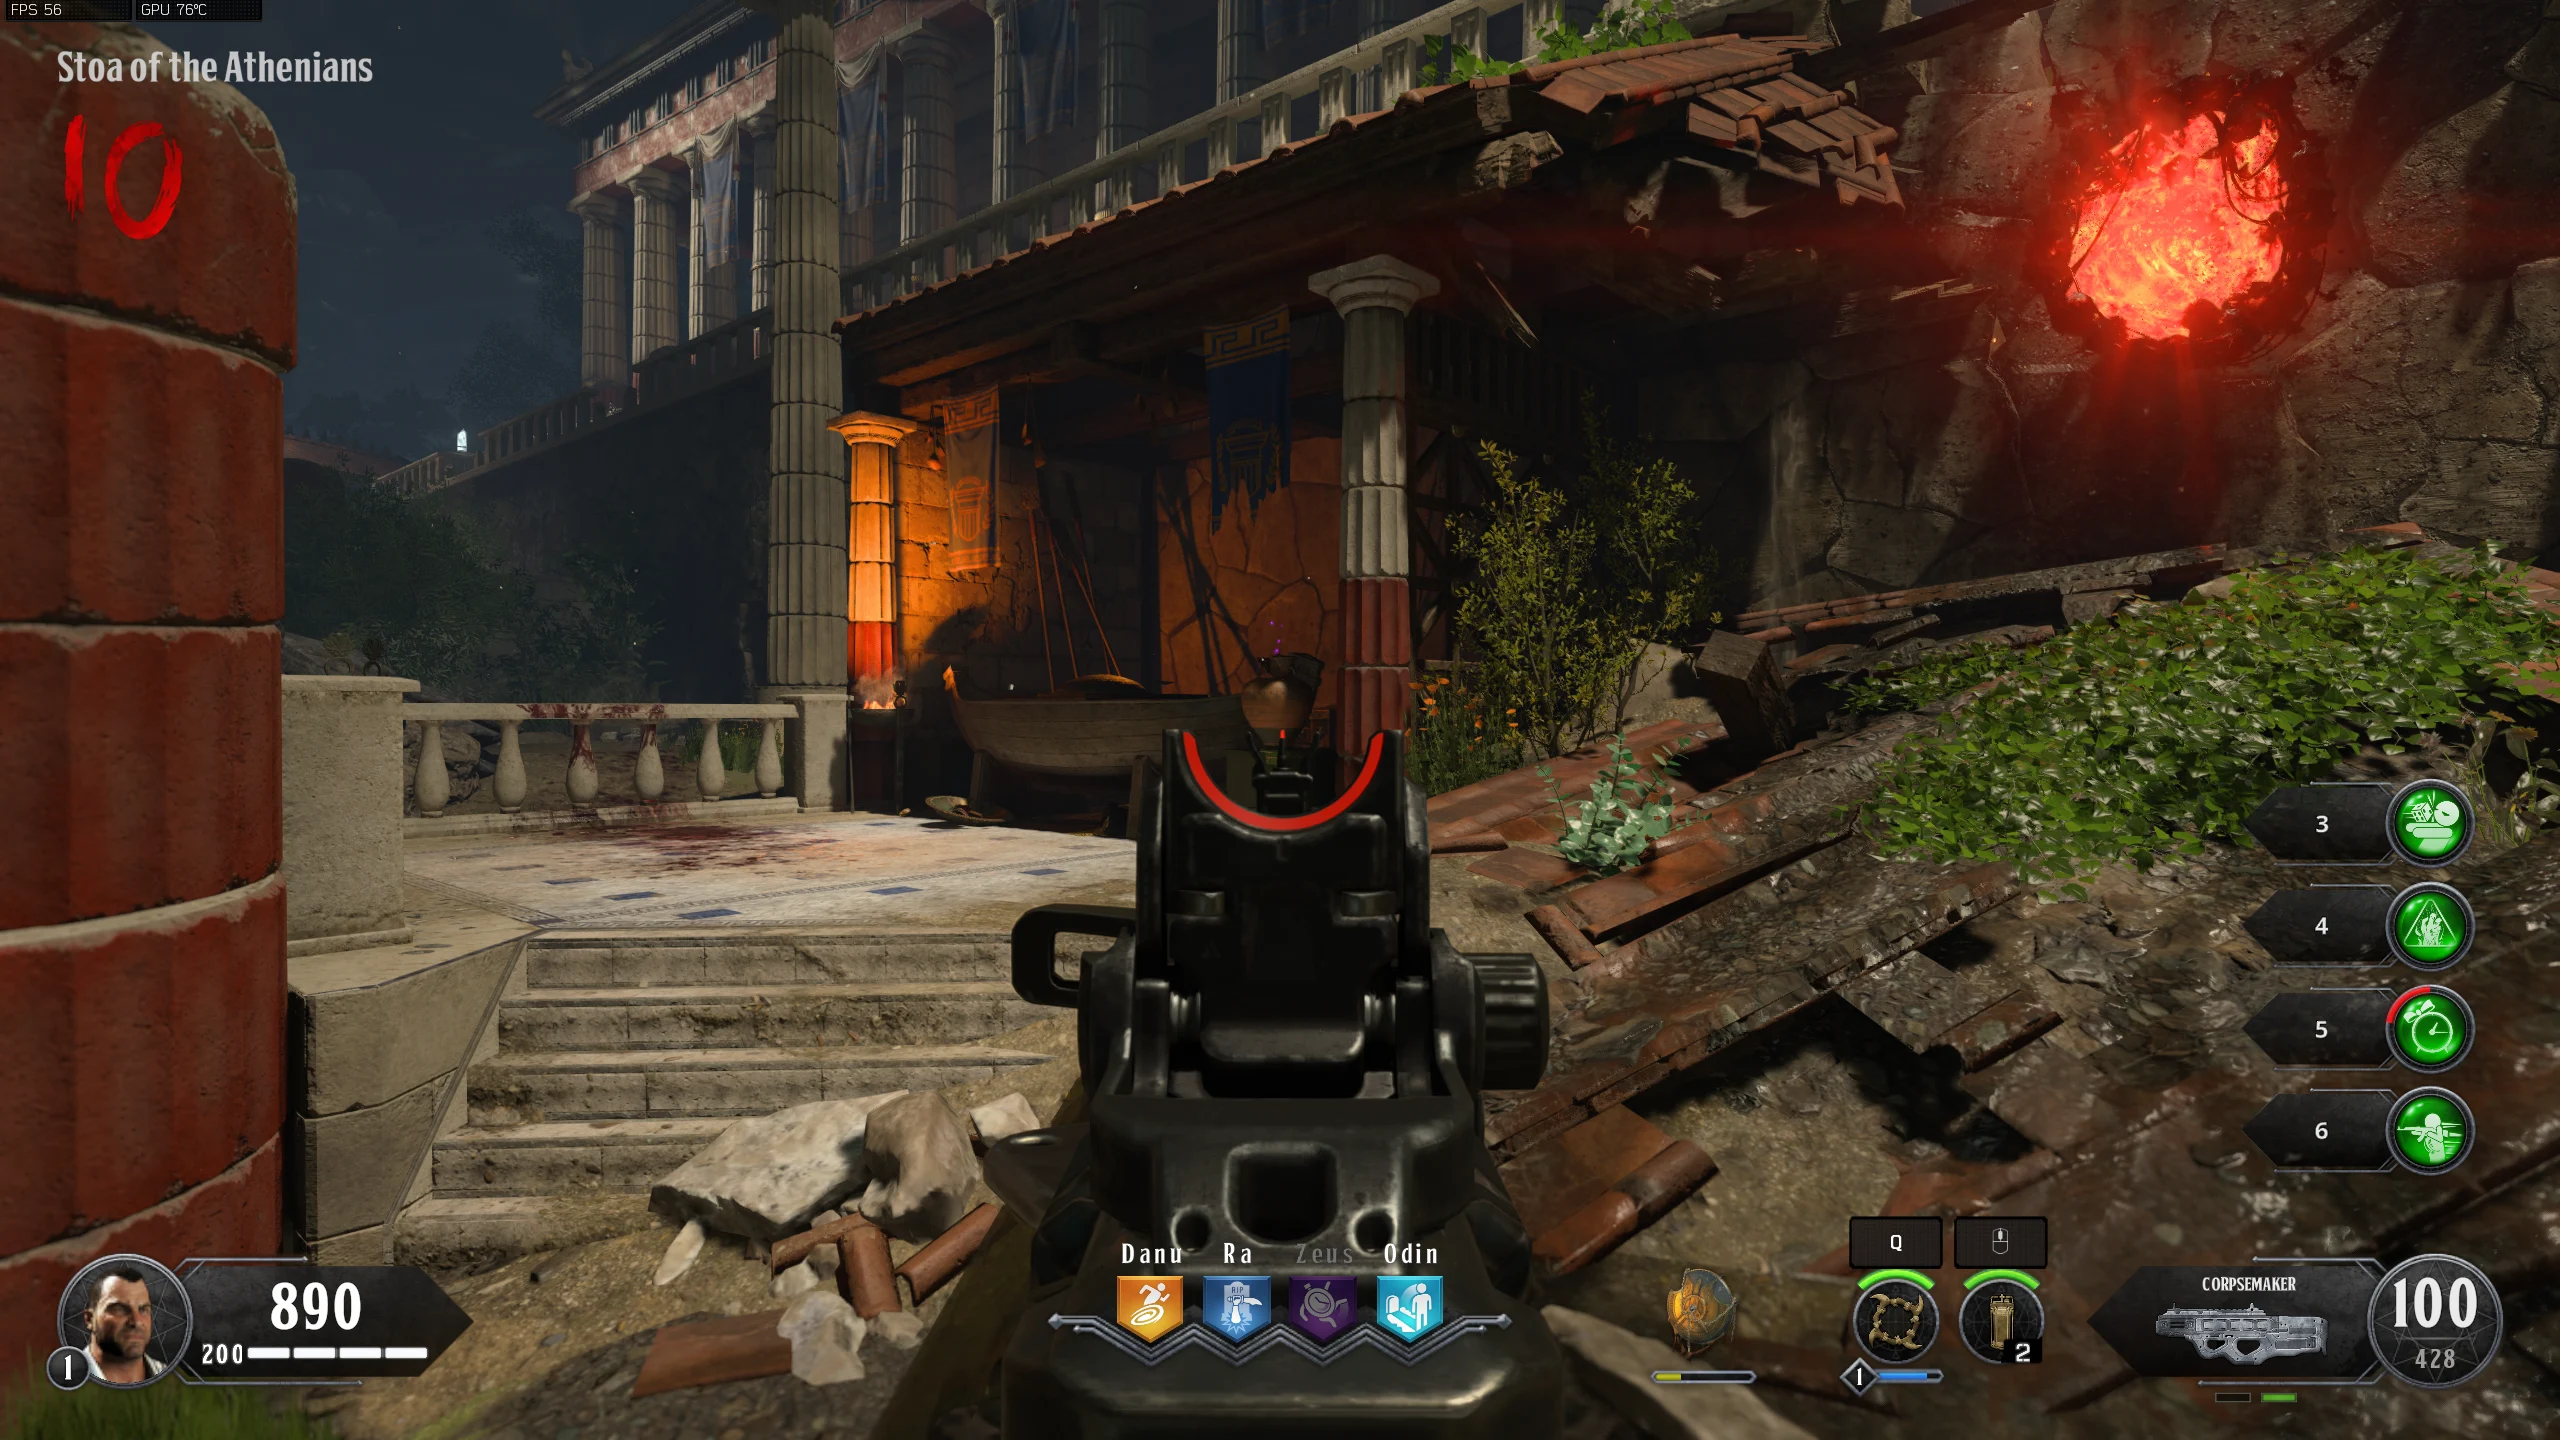
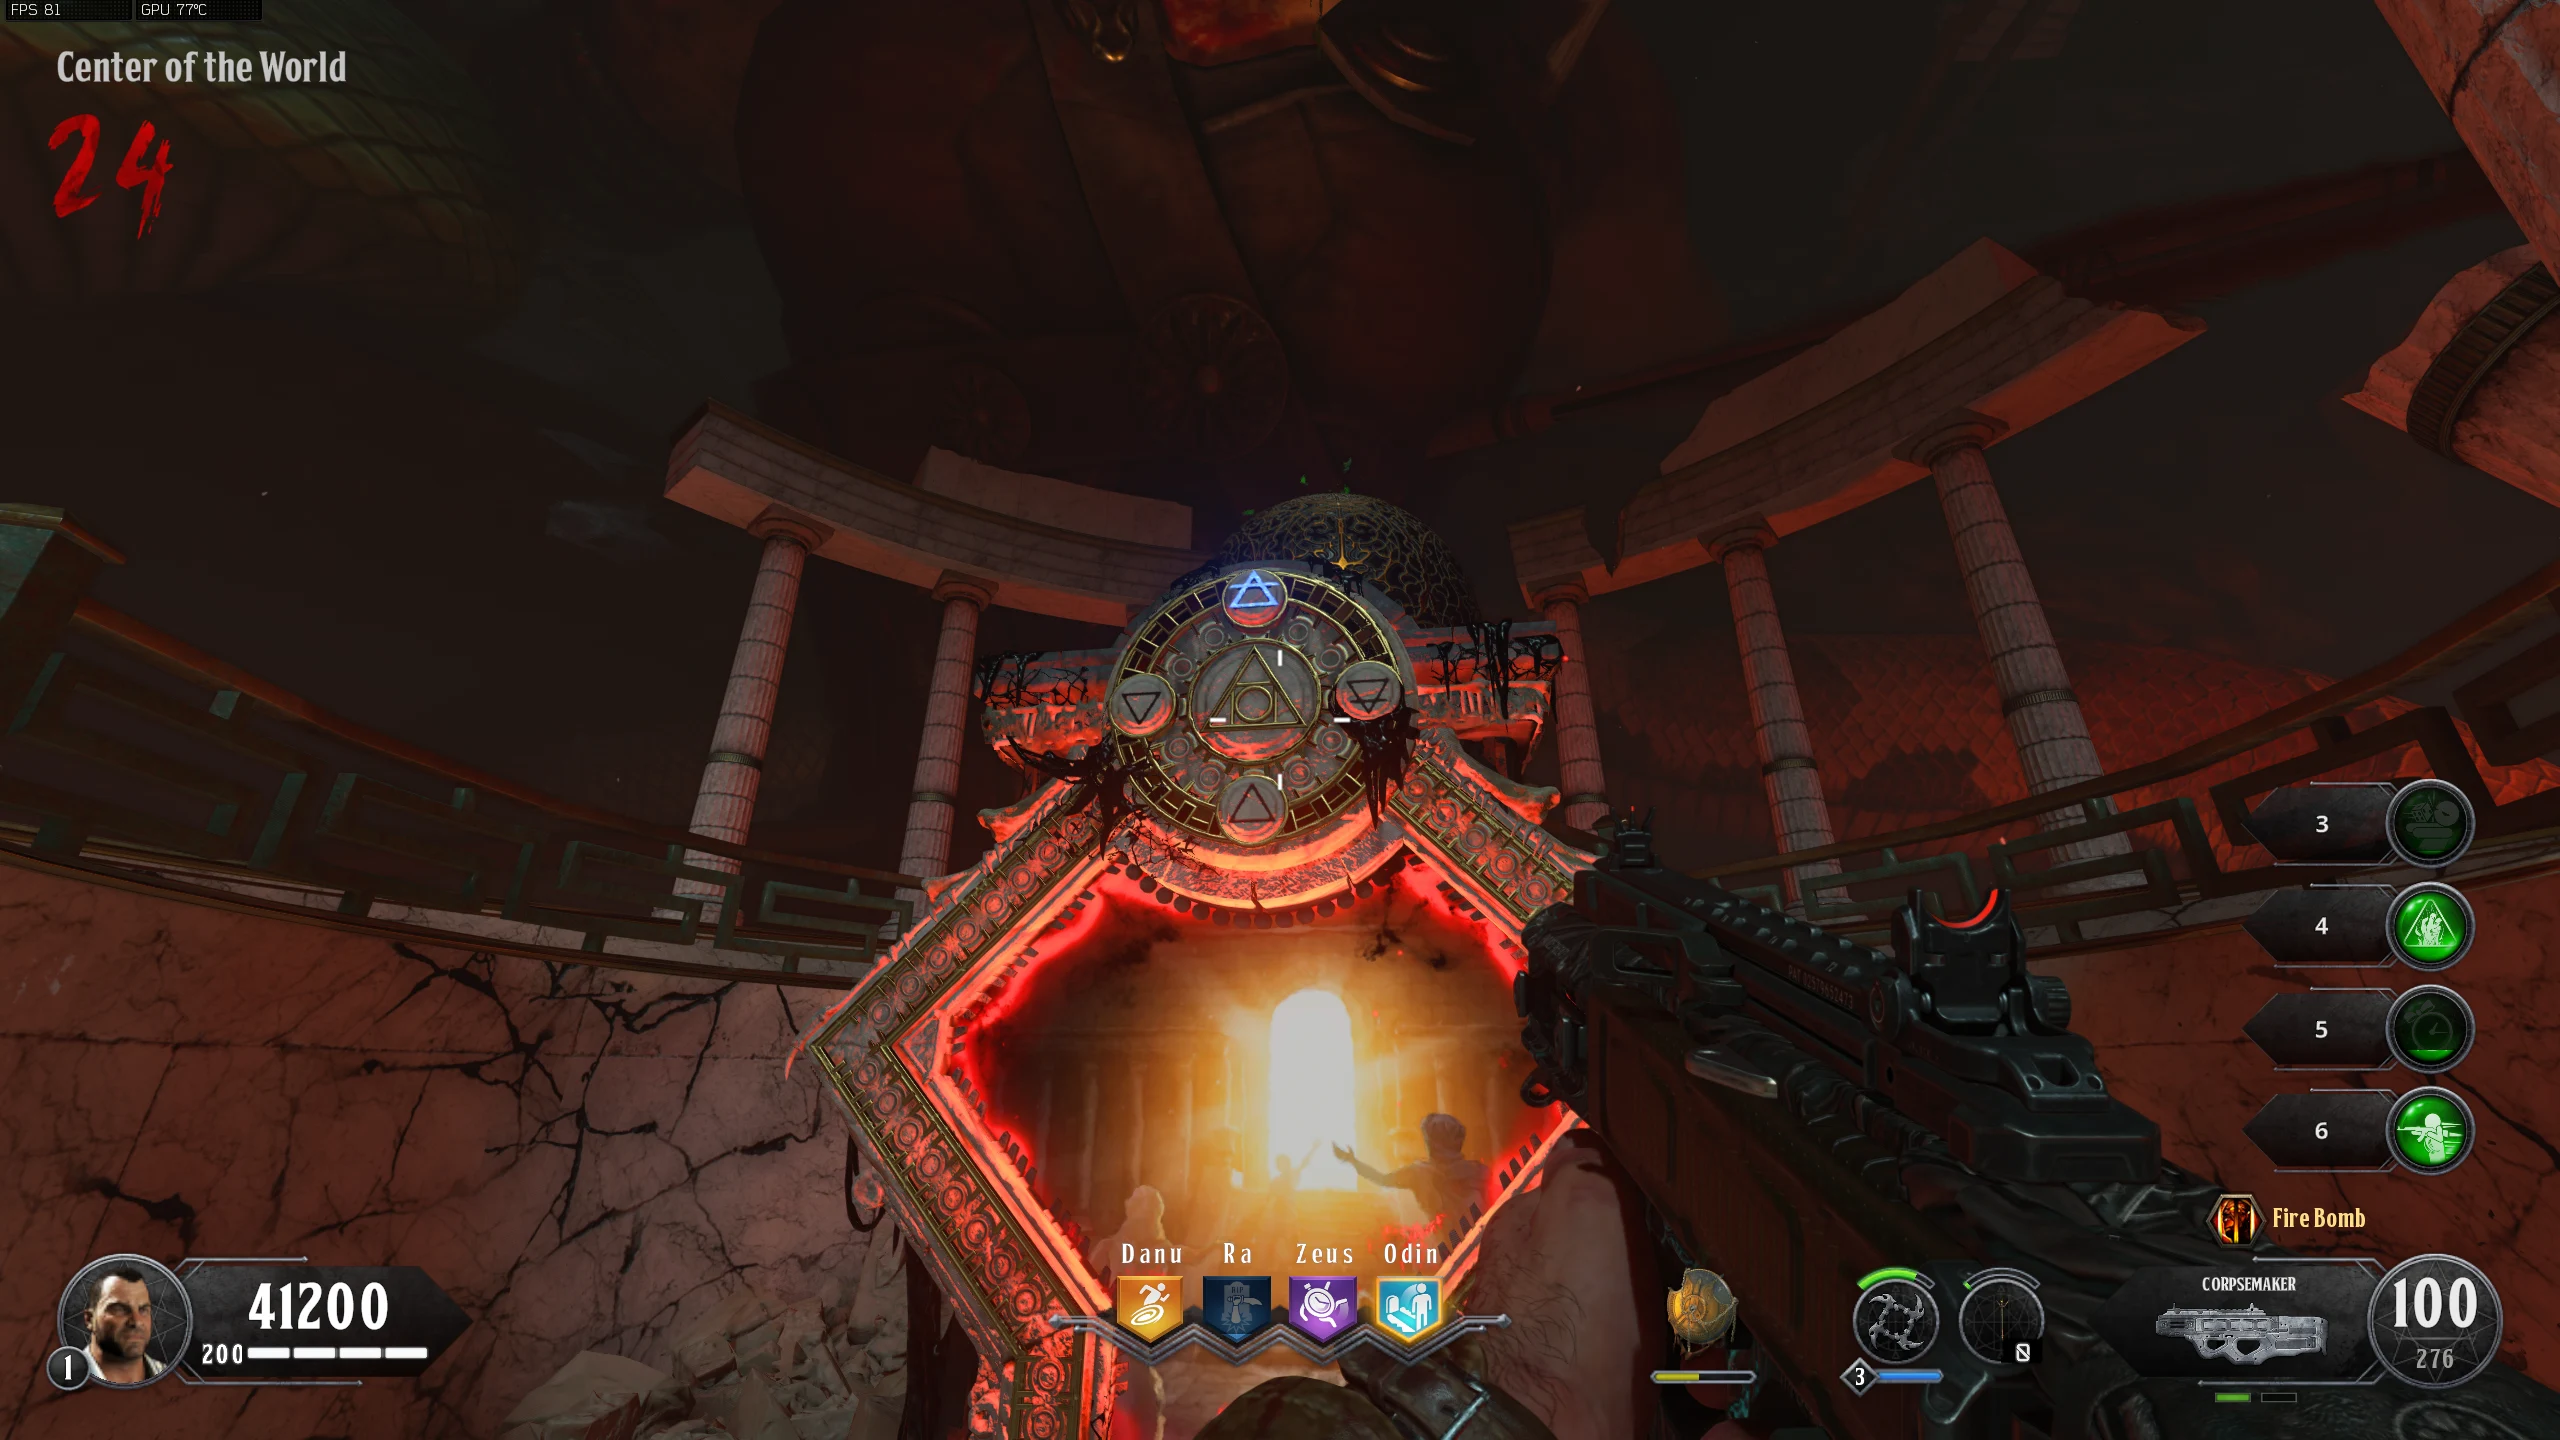
- Once all three gear sets are spinning, go to the 'Stoa of Athenians' and throw the Spear at this area right when the three statues in the middle are facing the White Crystal. If done correctly, the statues stop spinning and the crystal rises to meet the beam of light.
Scepter and Sundial
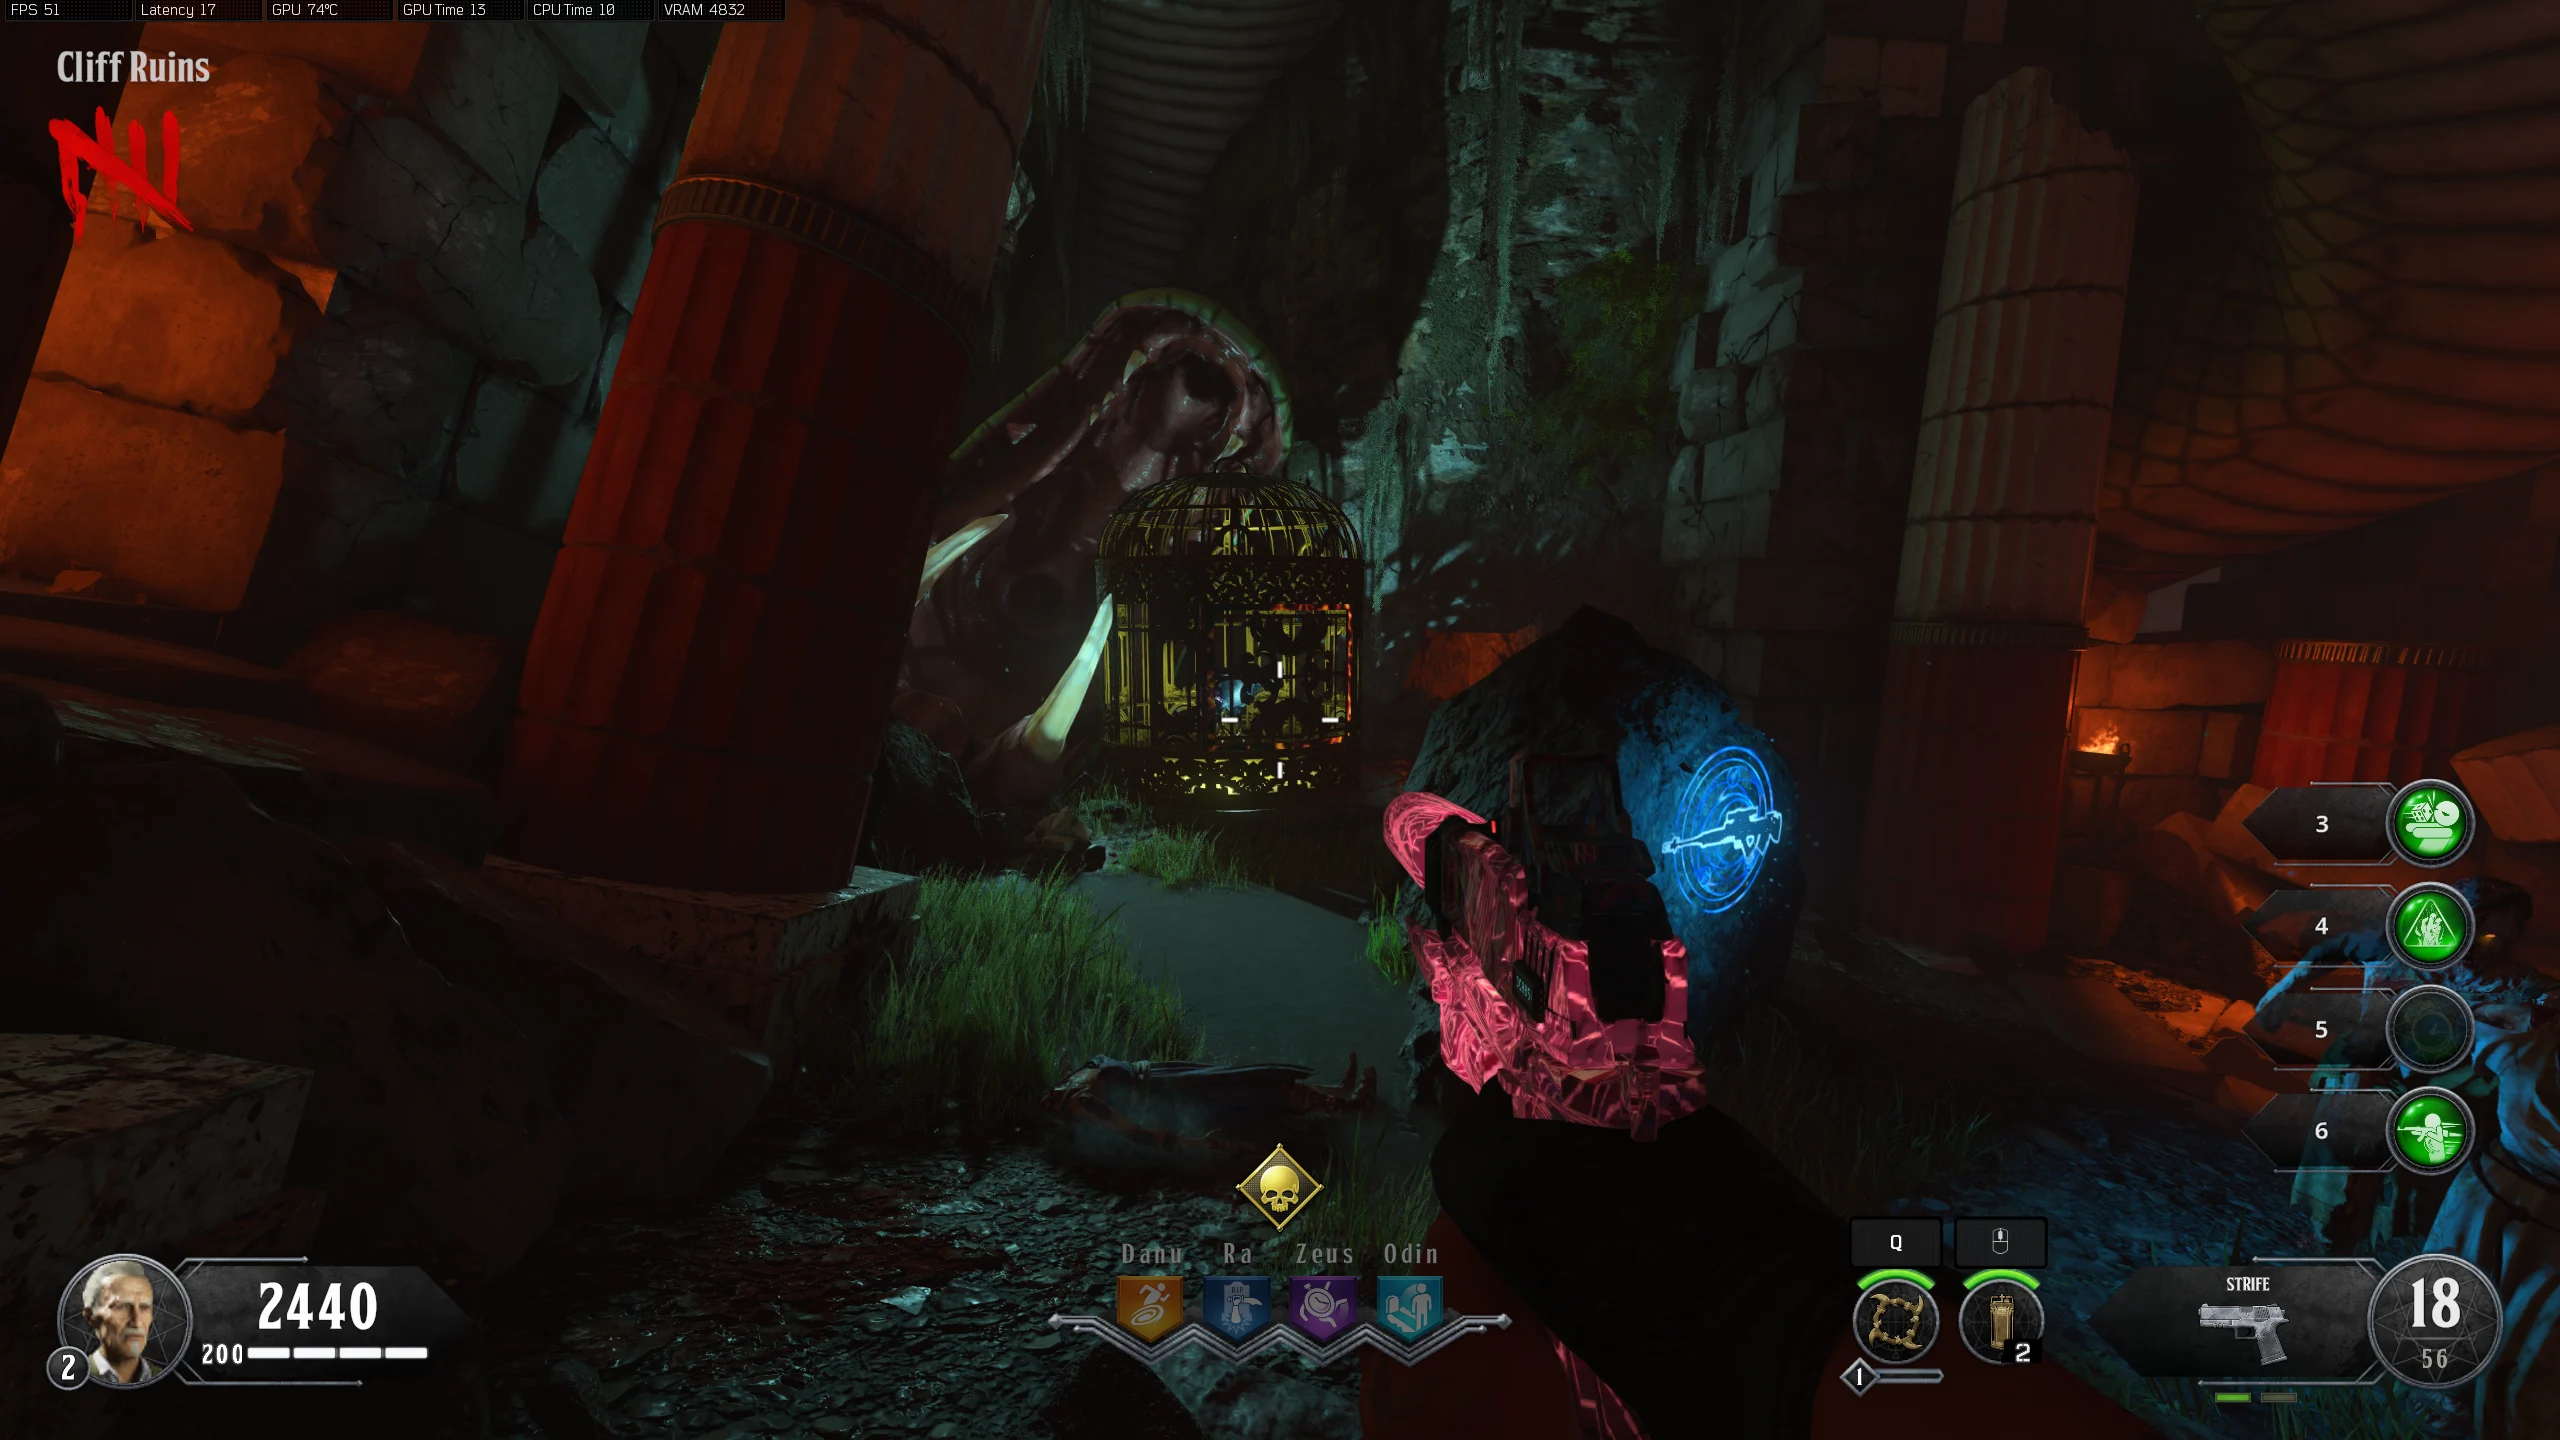
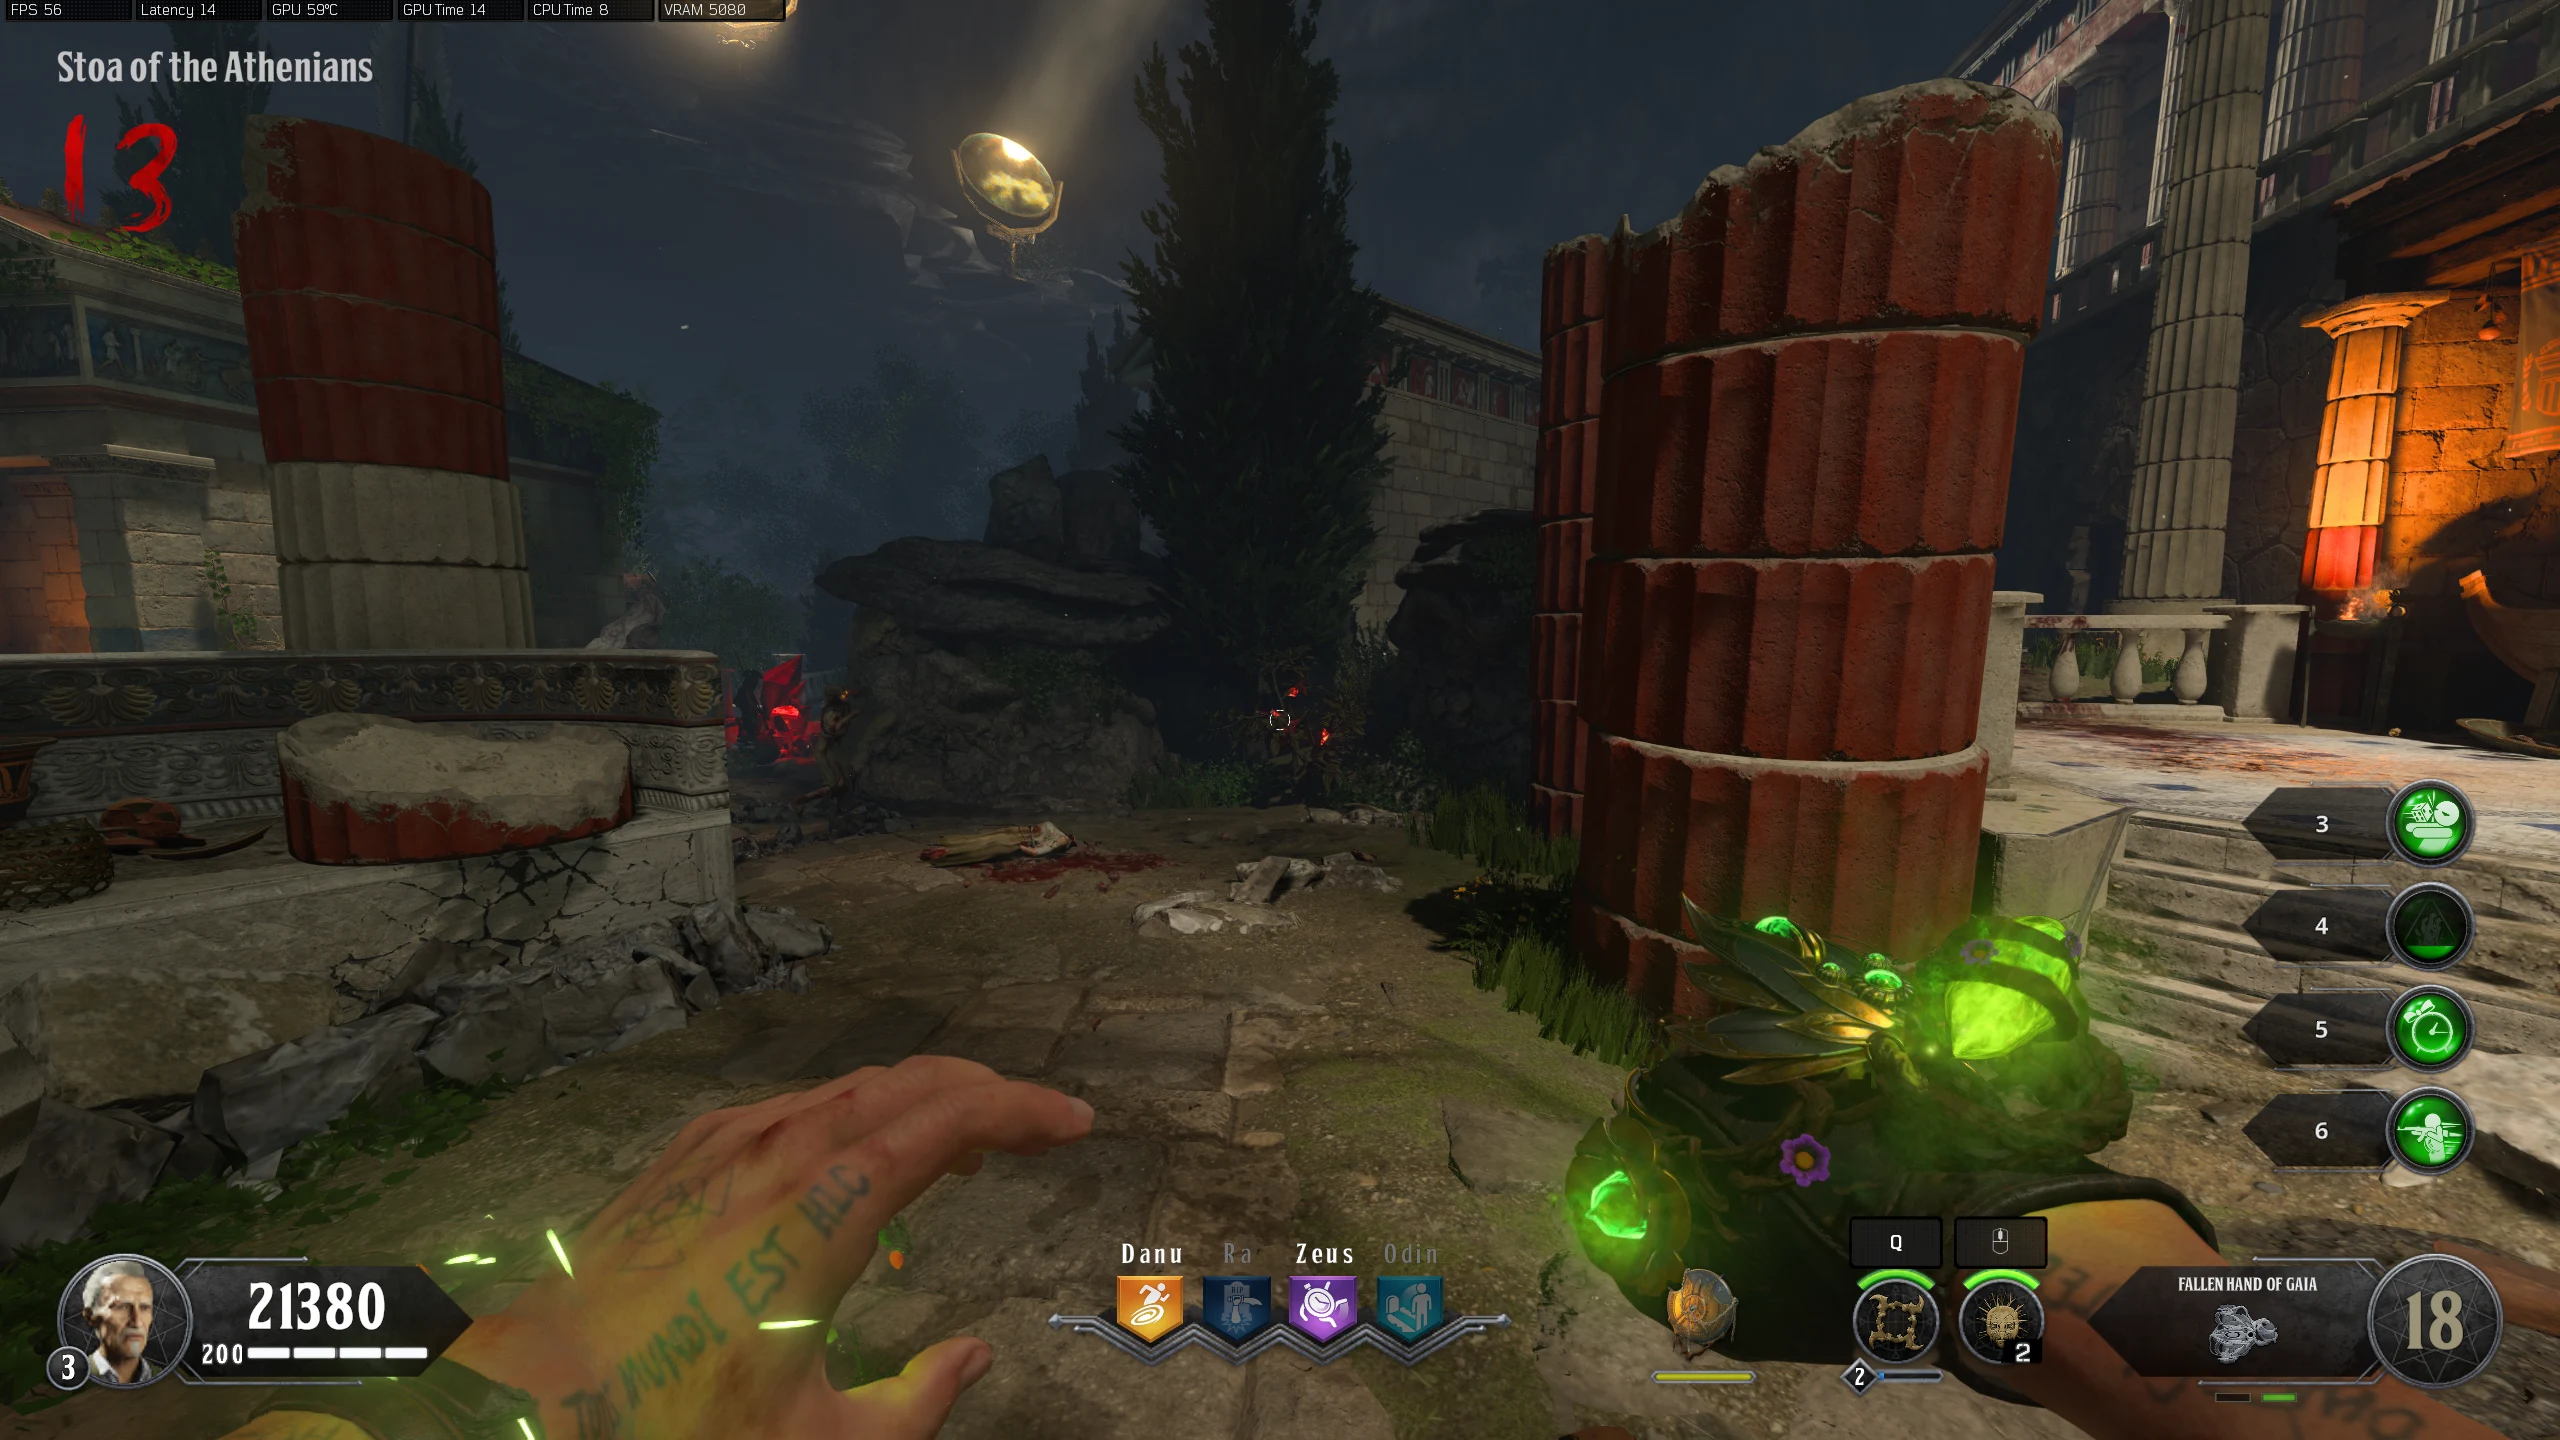
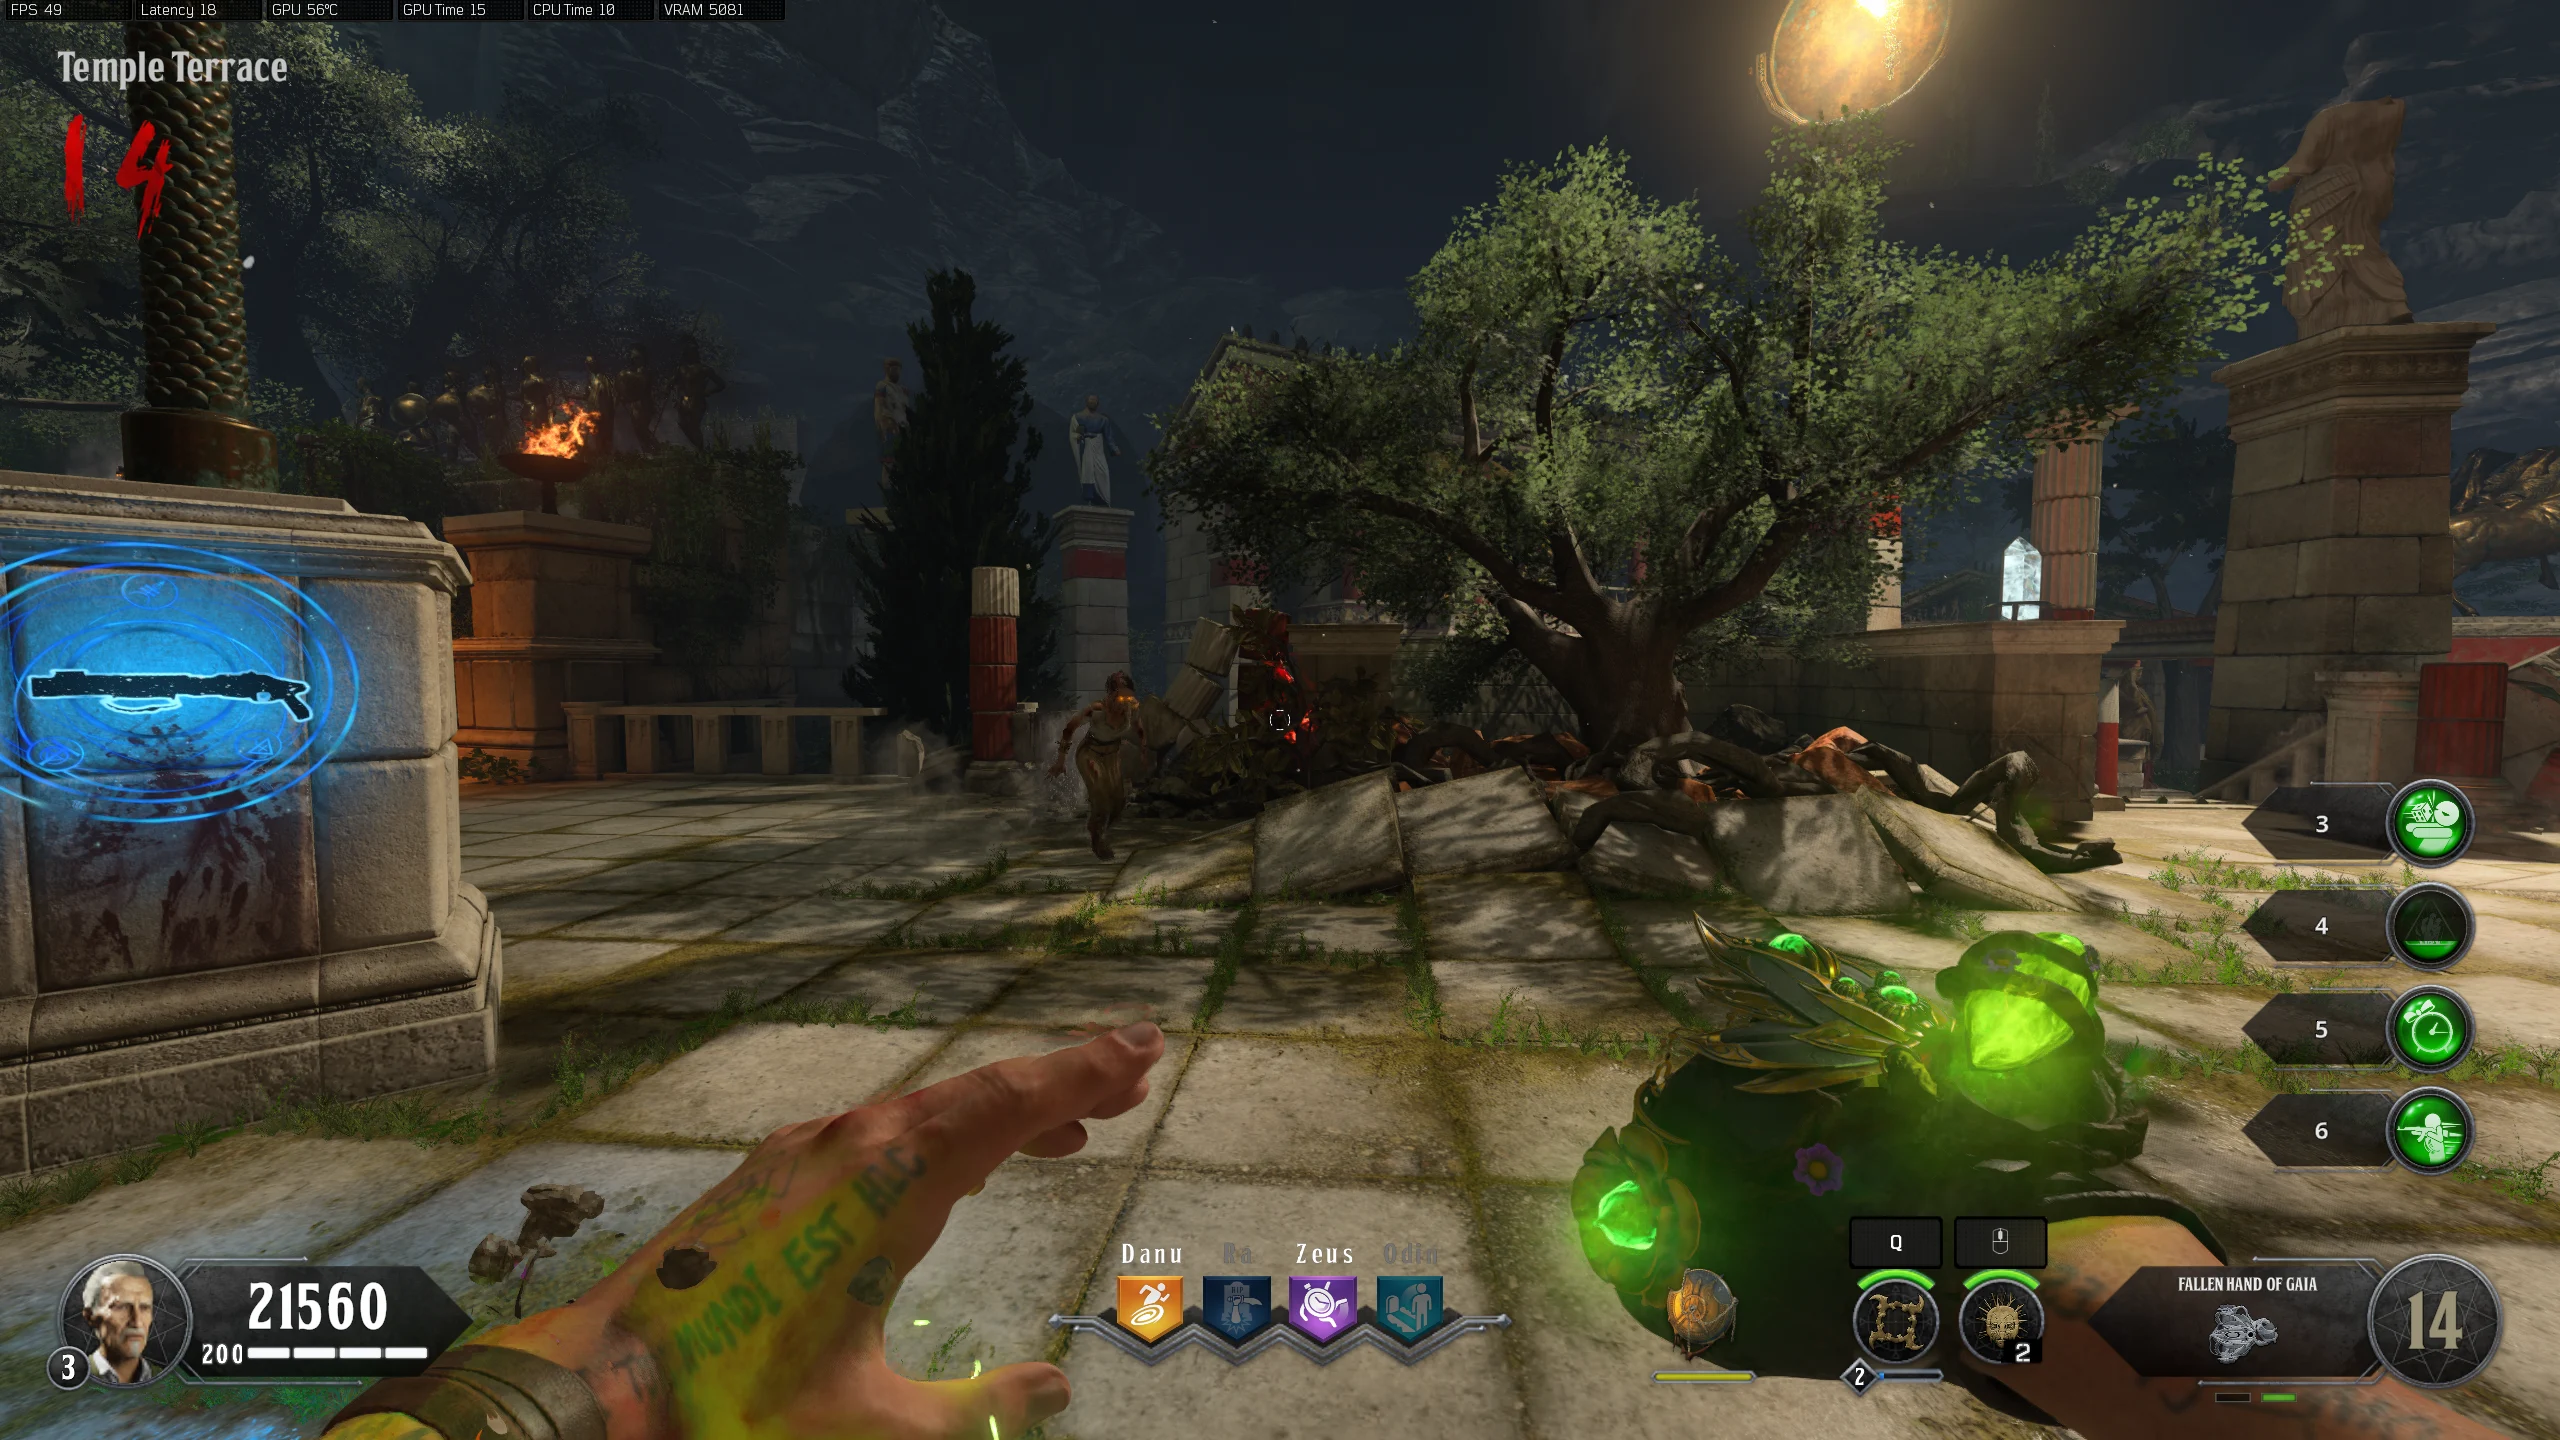
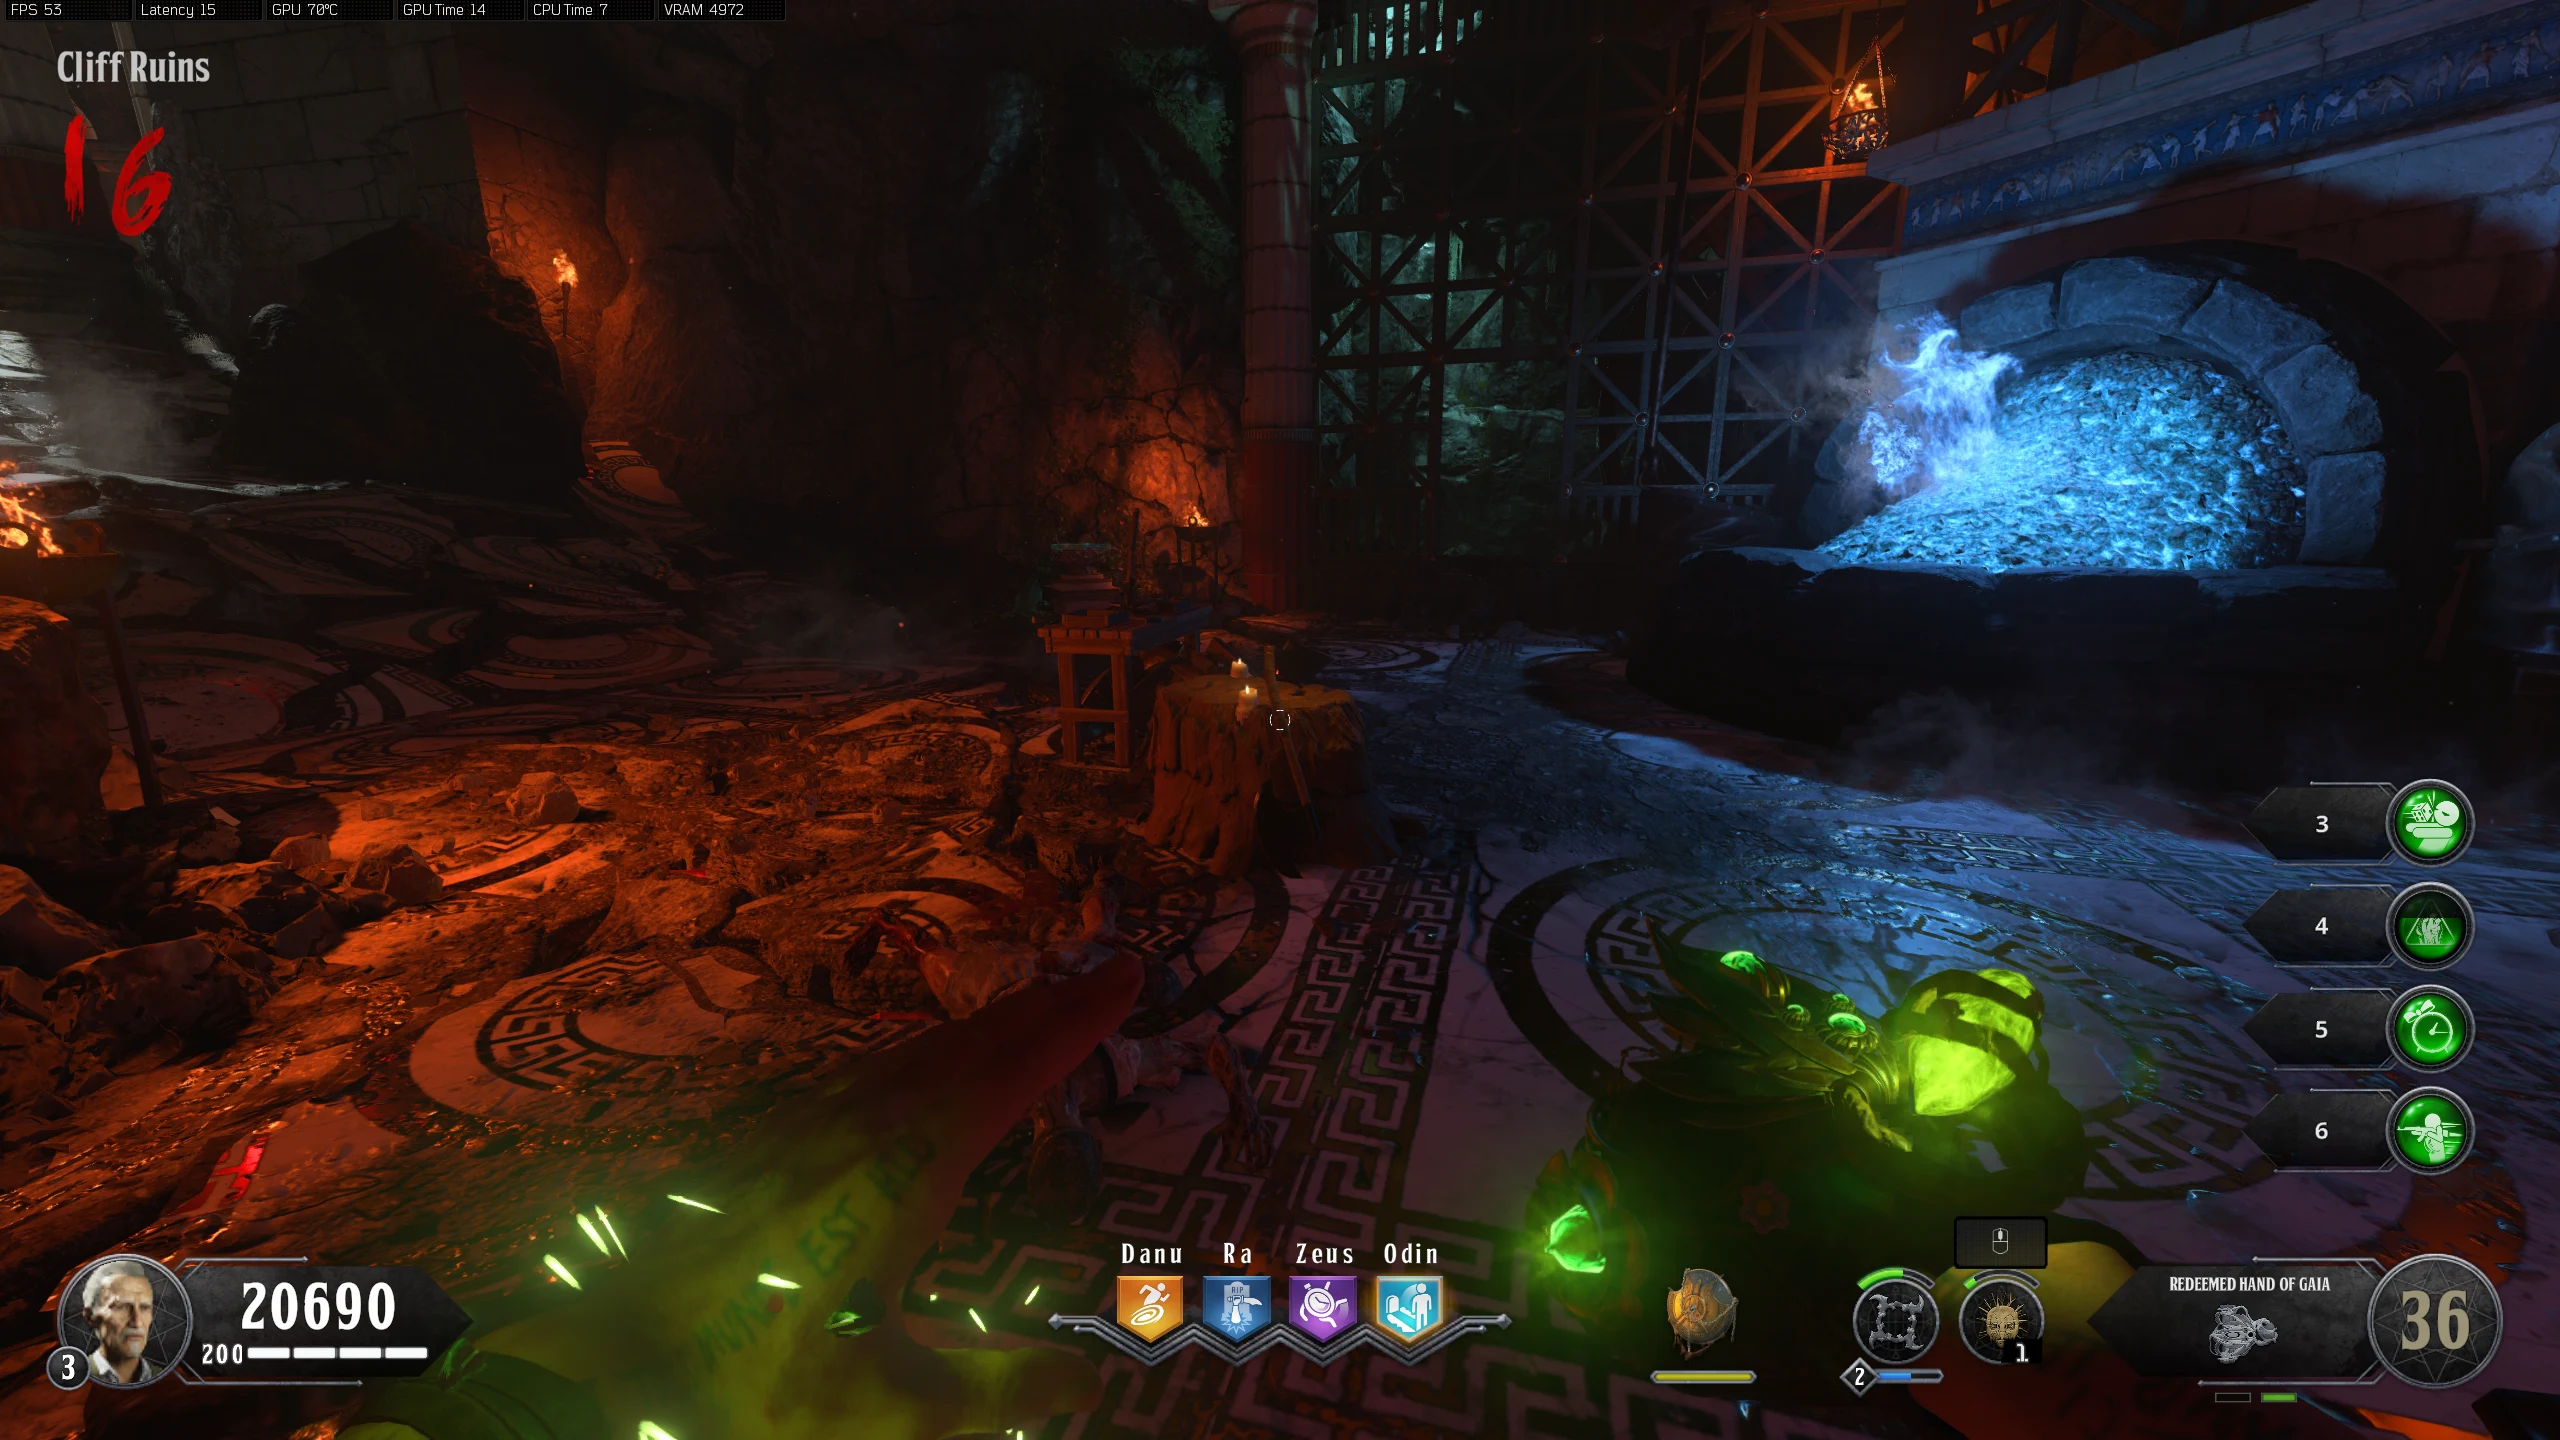
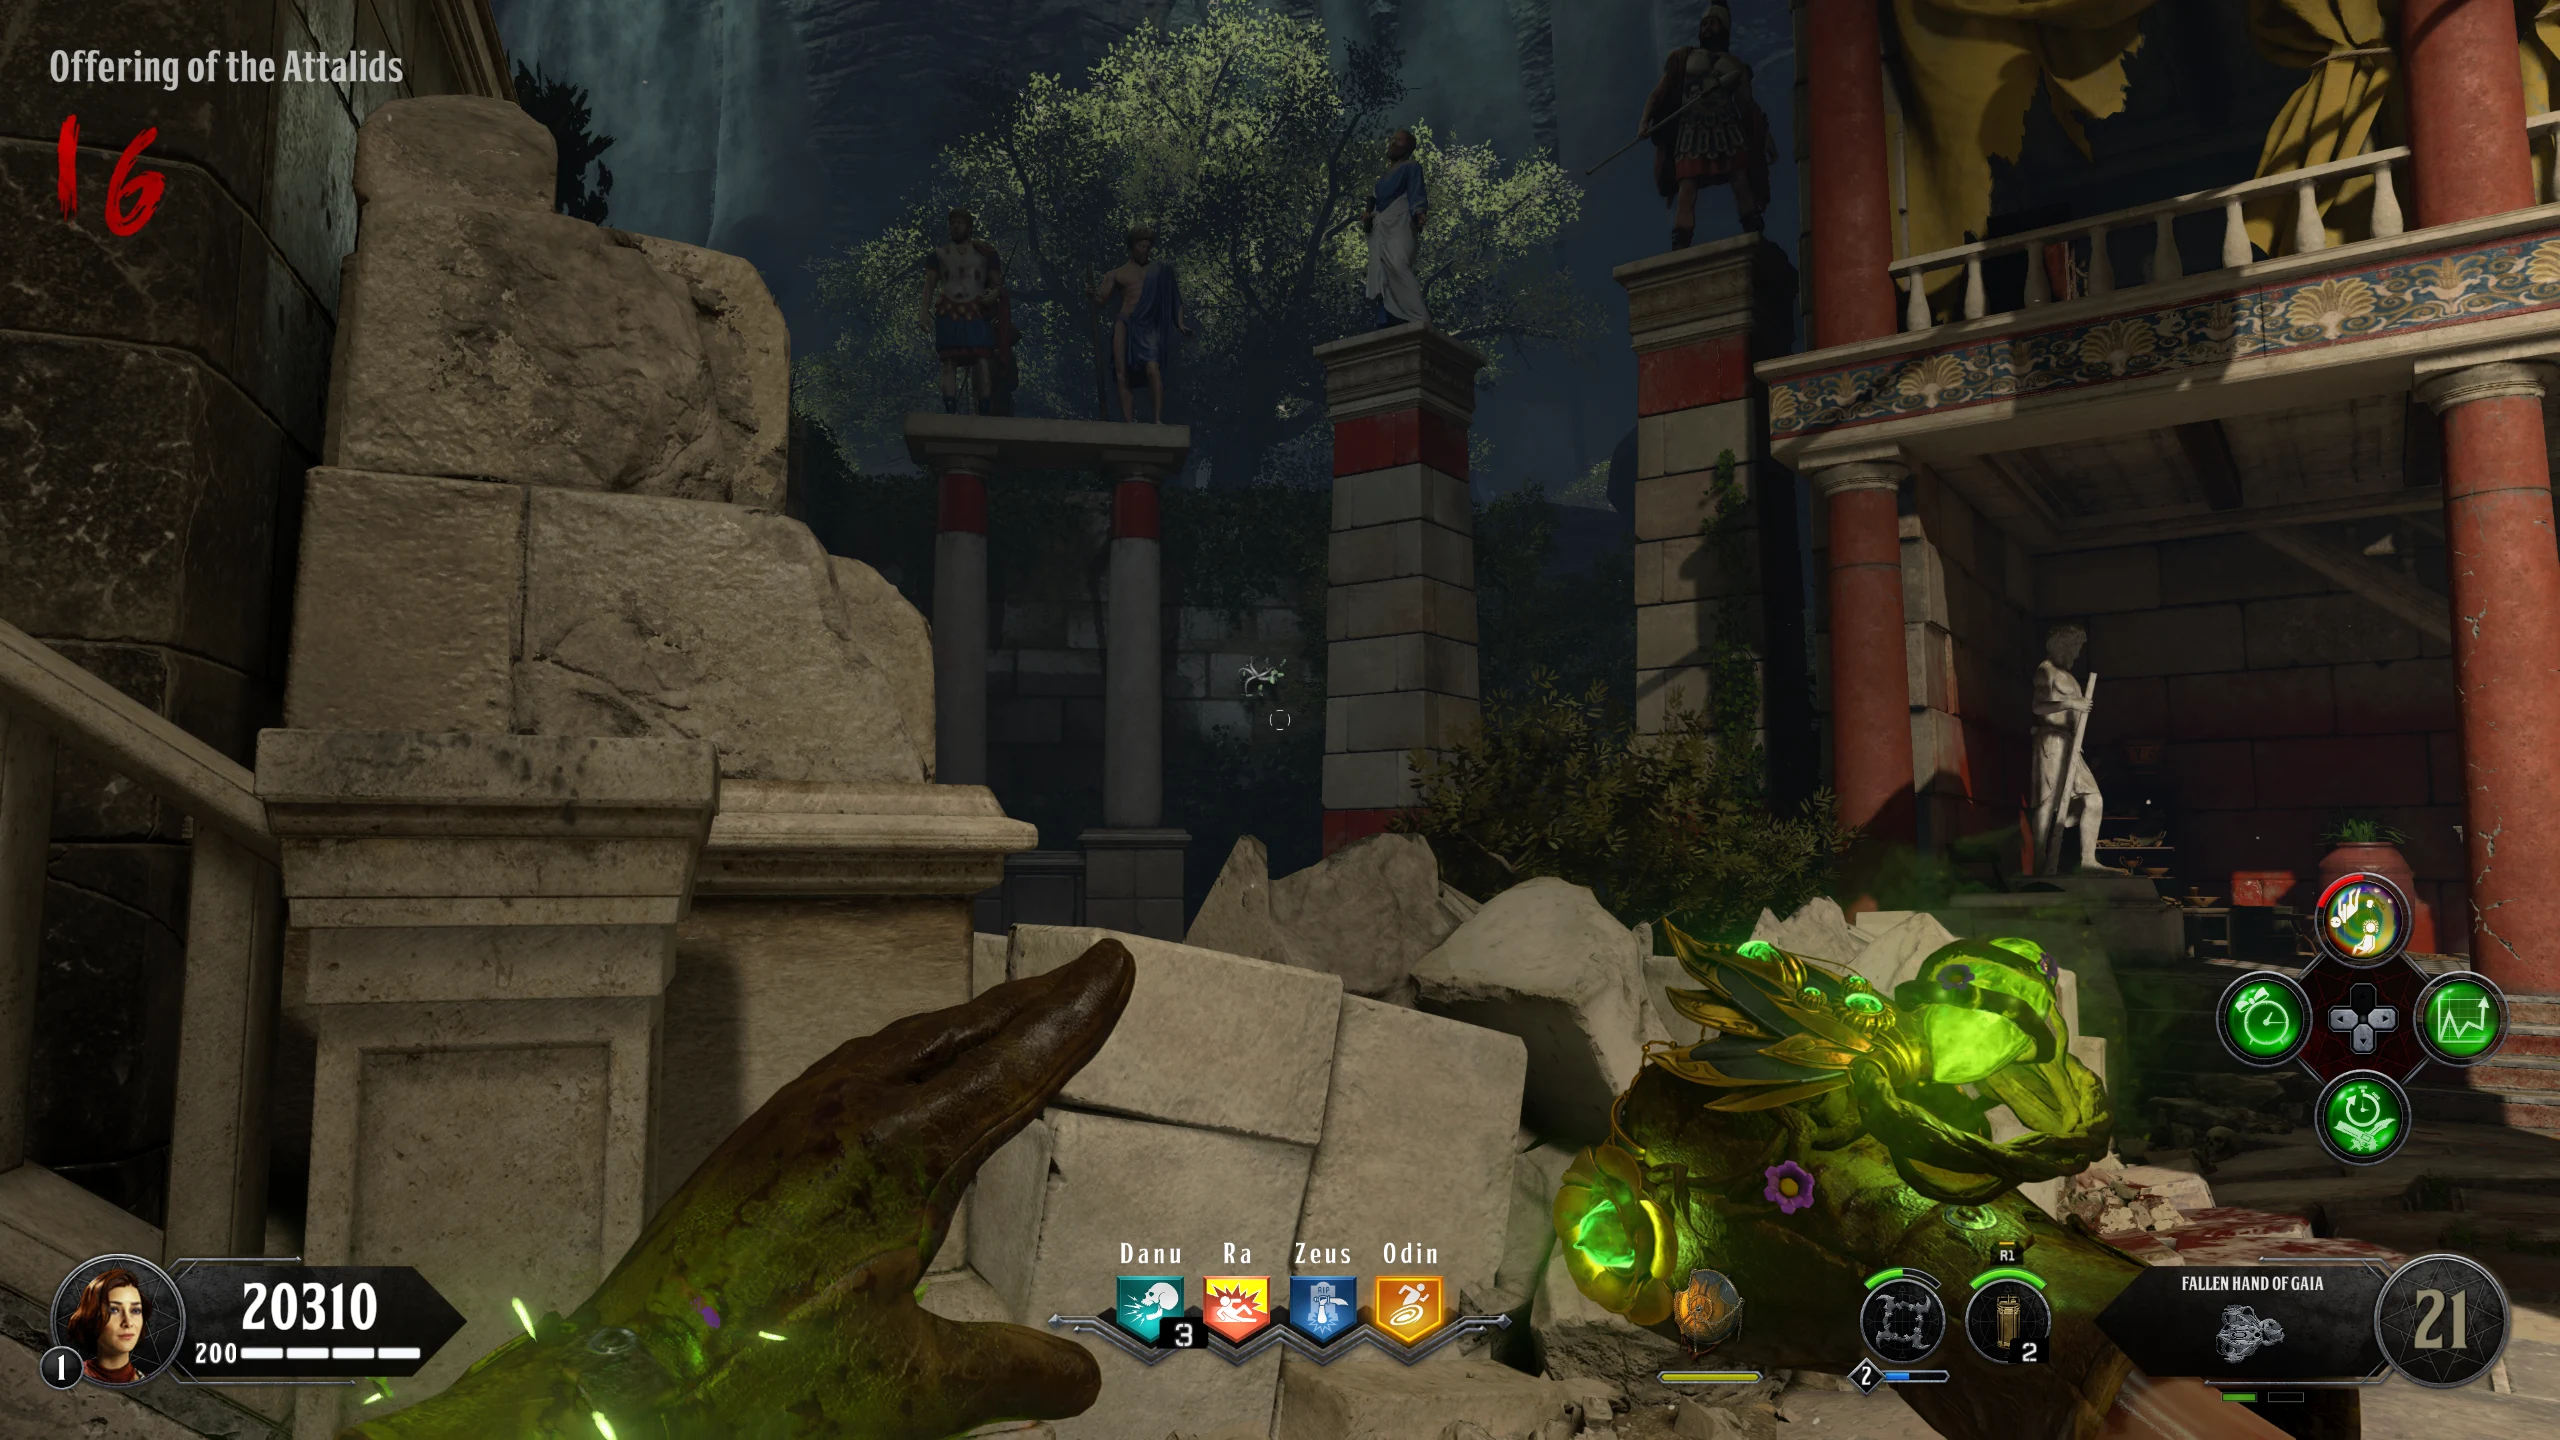
- Obtain the Fallen Hand of Gaia
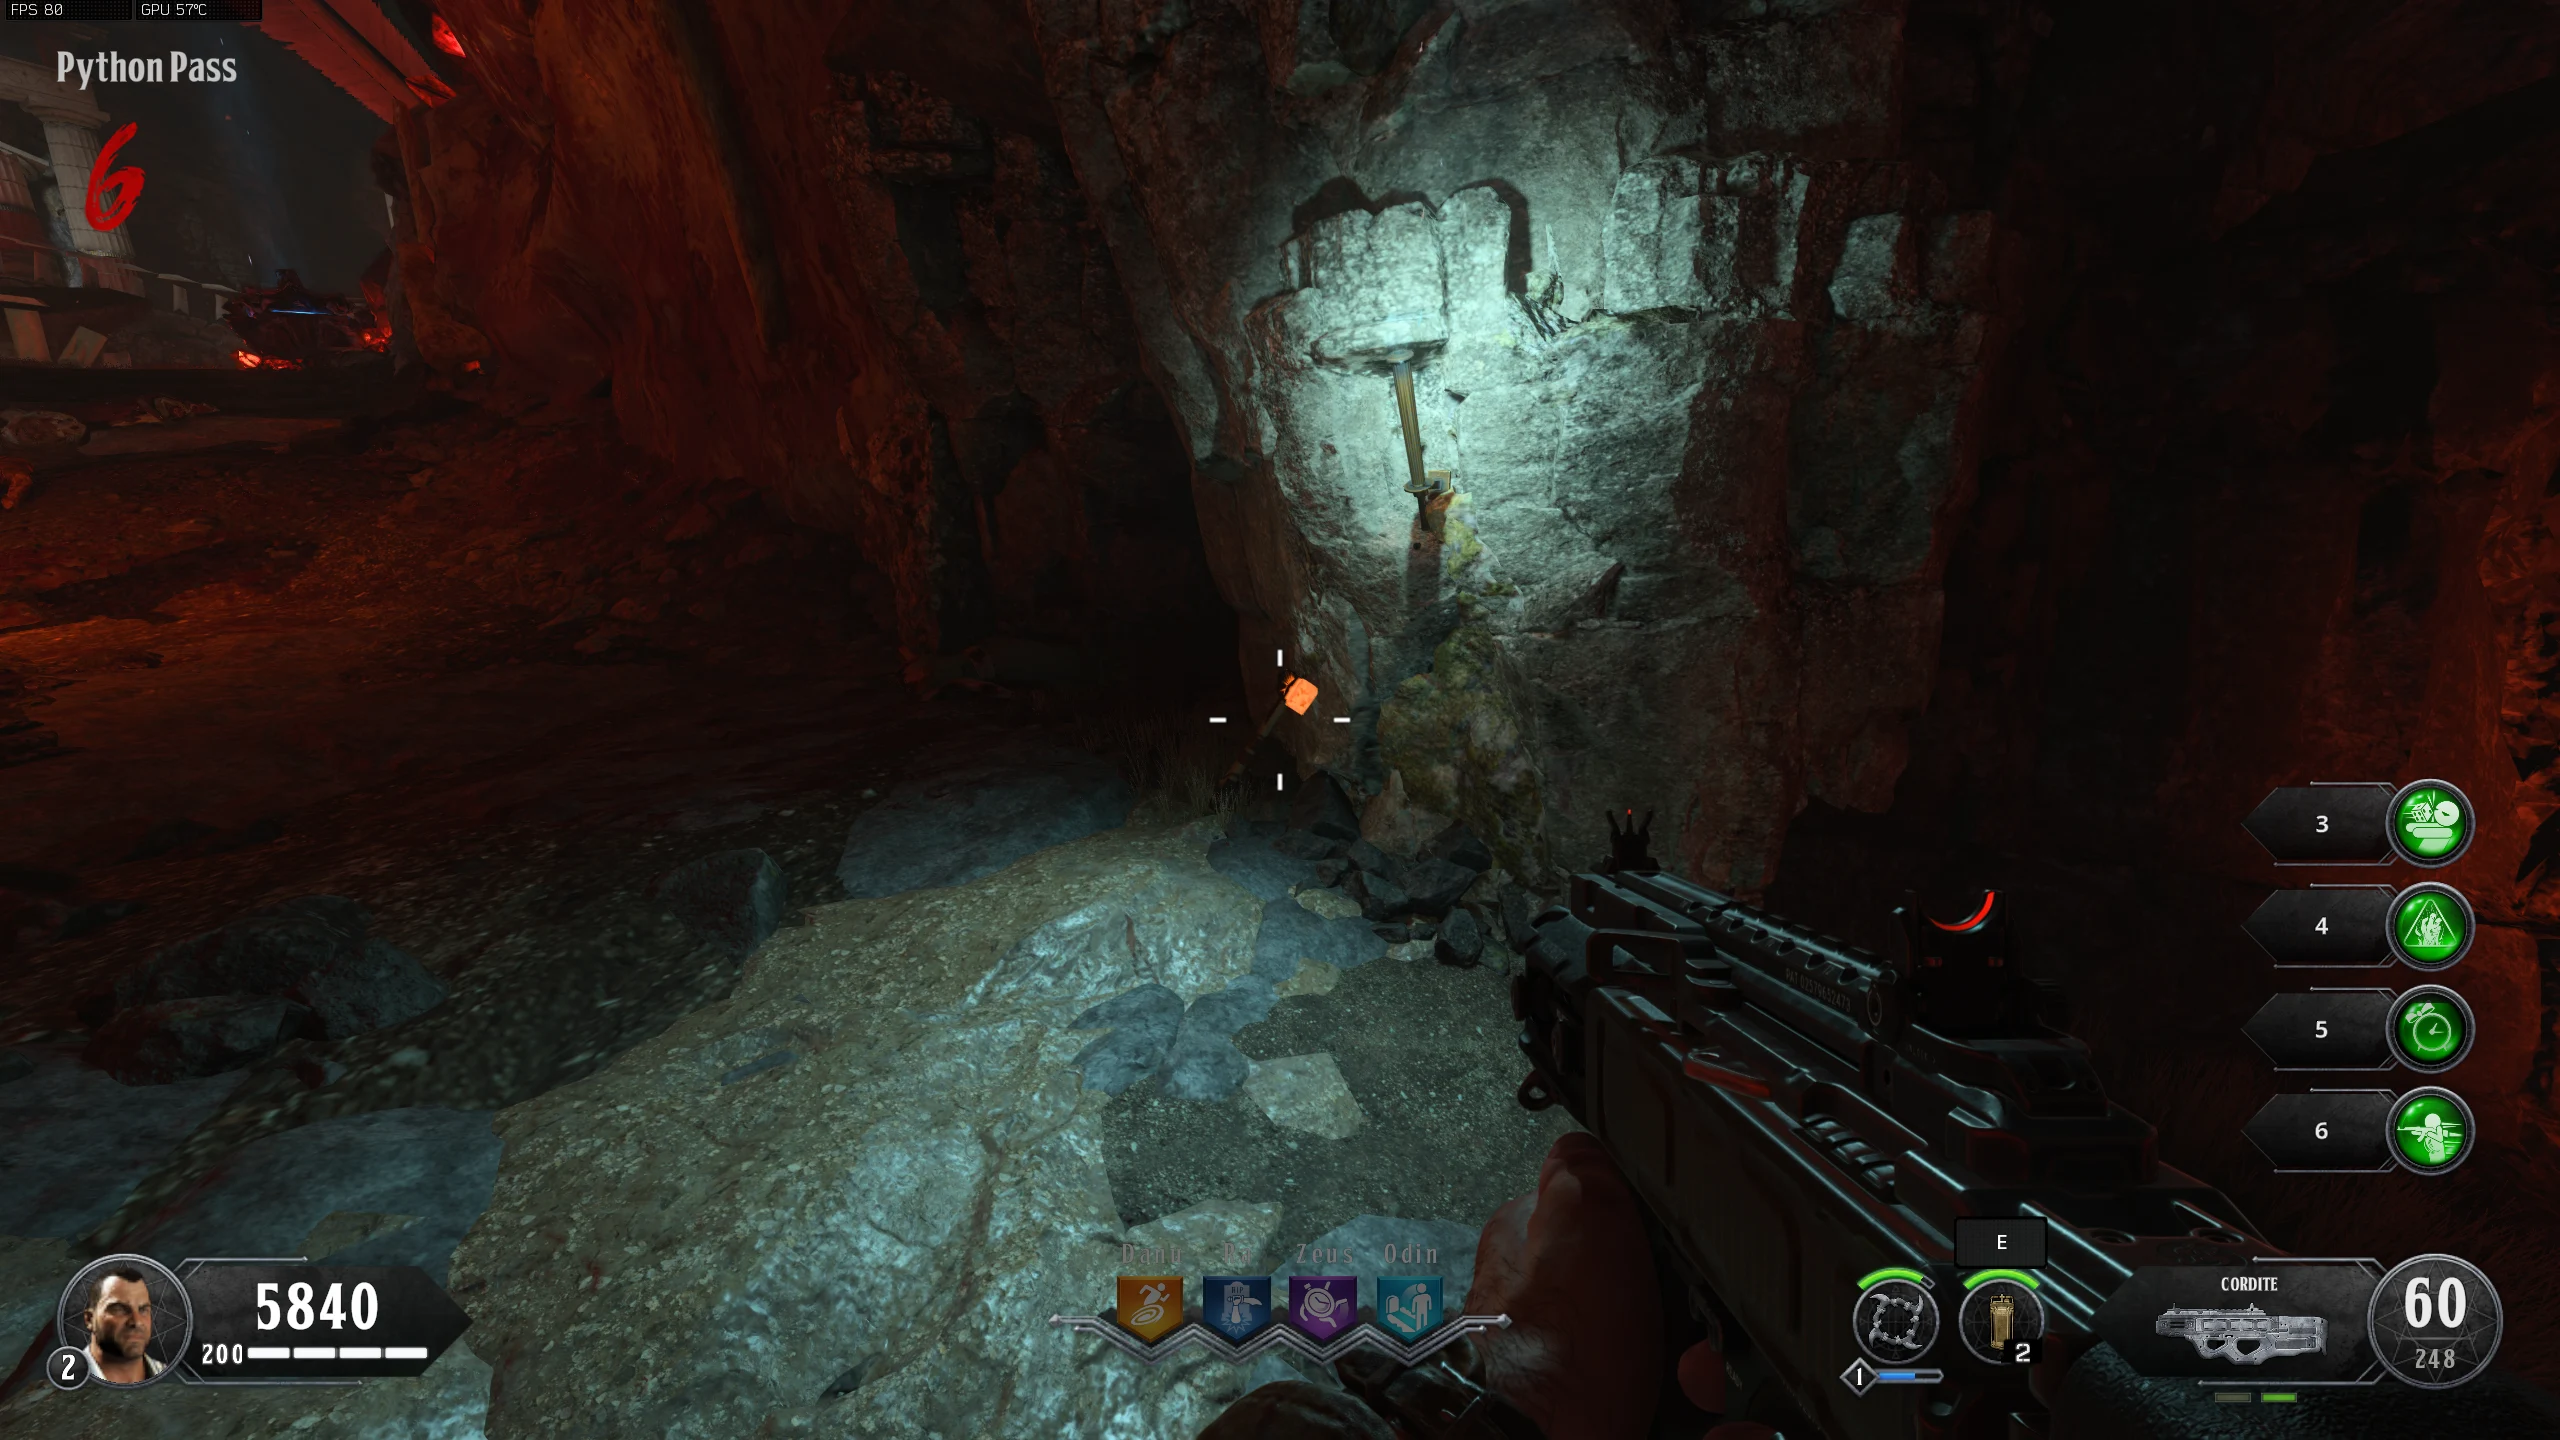
- In the 'Offering of the Attalids,' there will be a Glowing Root on a wall outside the map, left of the Danu perk statue. When shot, with the Hand of Gaia, a new set of roots will spawn.
- After you shoot one set of roots, you must quickly shoot the new roots that spawn, or they will despawn, and you will have to restart with the first set.
- You must hit all roots in a set with one shot from the Hand of Gaia (the "auto-aim" of the Gaia shot will hit all roots when aimed correctly).
- Once all three sets are shot, a Gegenees will spawn. Don't kill it, as it can be used for the next step. Killing it is fine since it's not required, but keeping it alive saves time.
- If you do kill the Gegenees, it will drop a Golden Pole for you to pick up.
- Sets of Roots - Video Example (Youtube):
- First Root - Left of Danu, outside the map
- Second Set - Around Danu statue
- Third Set - In between the Danu statue and the Mystery Box location
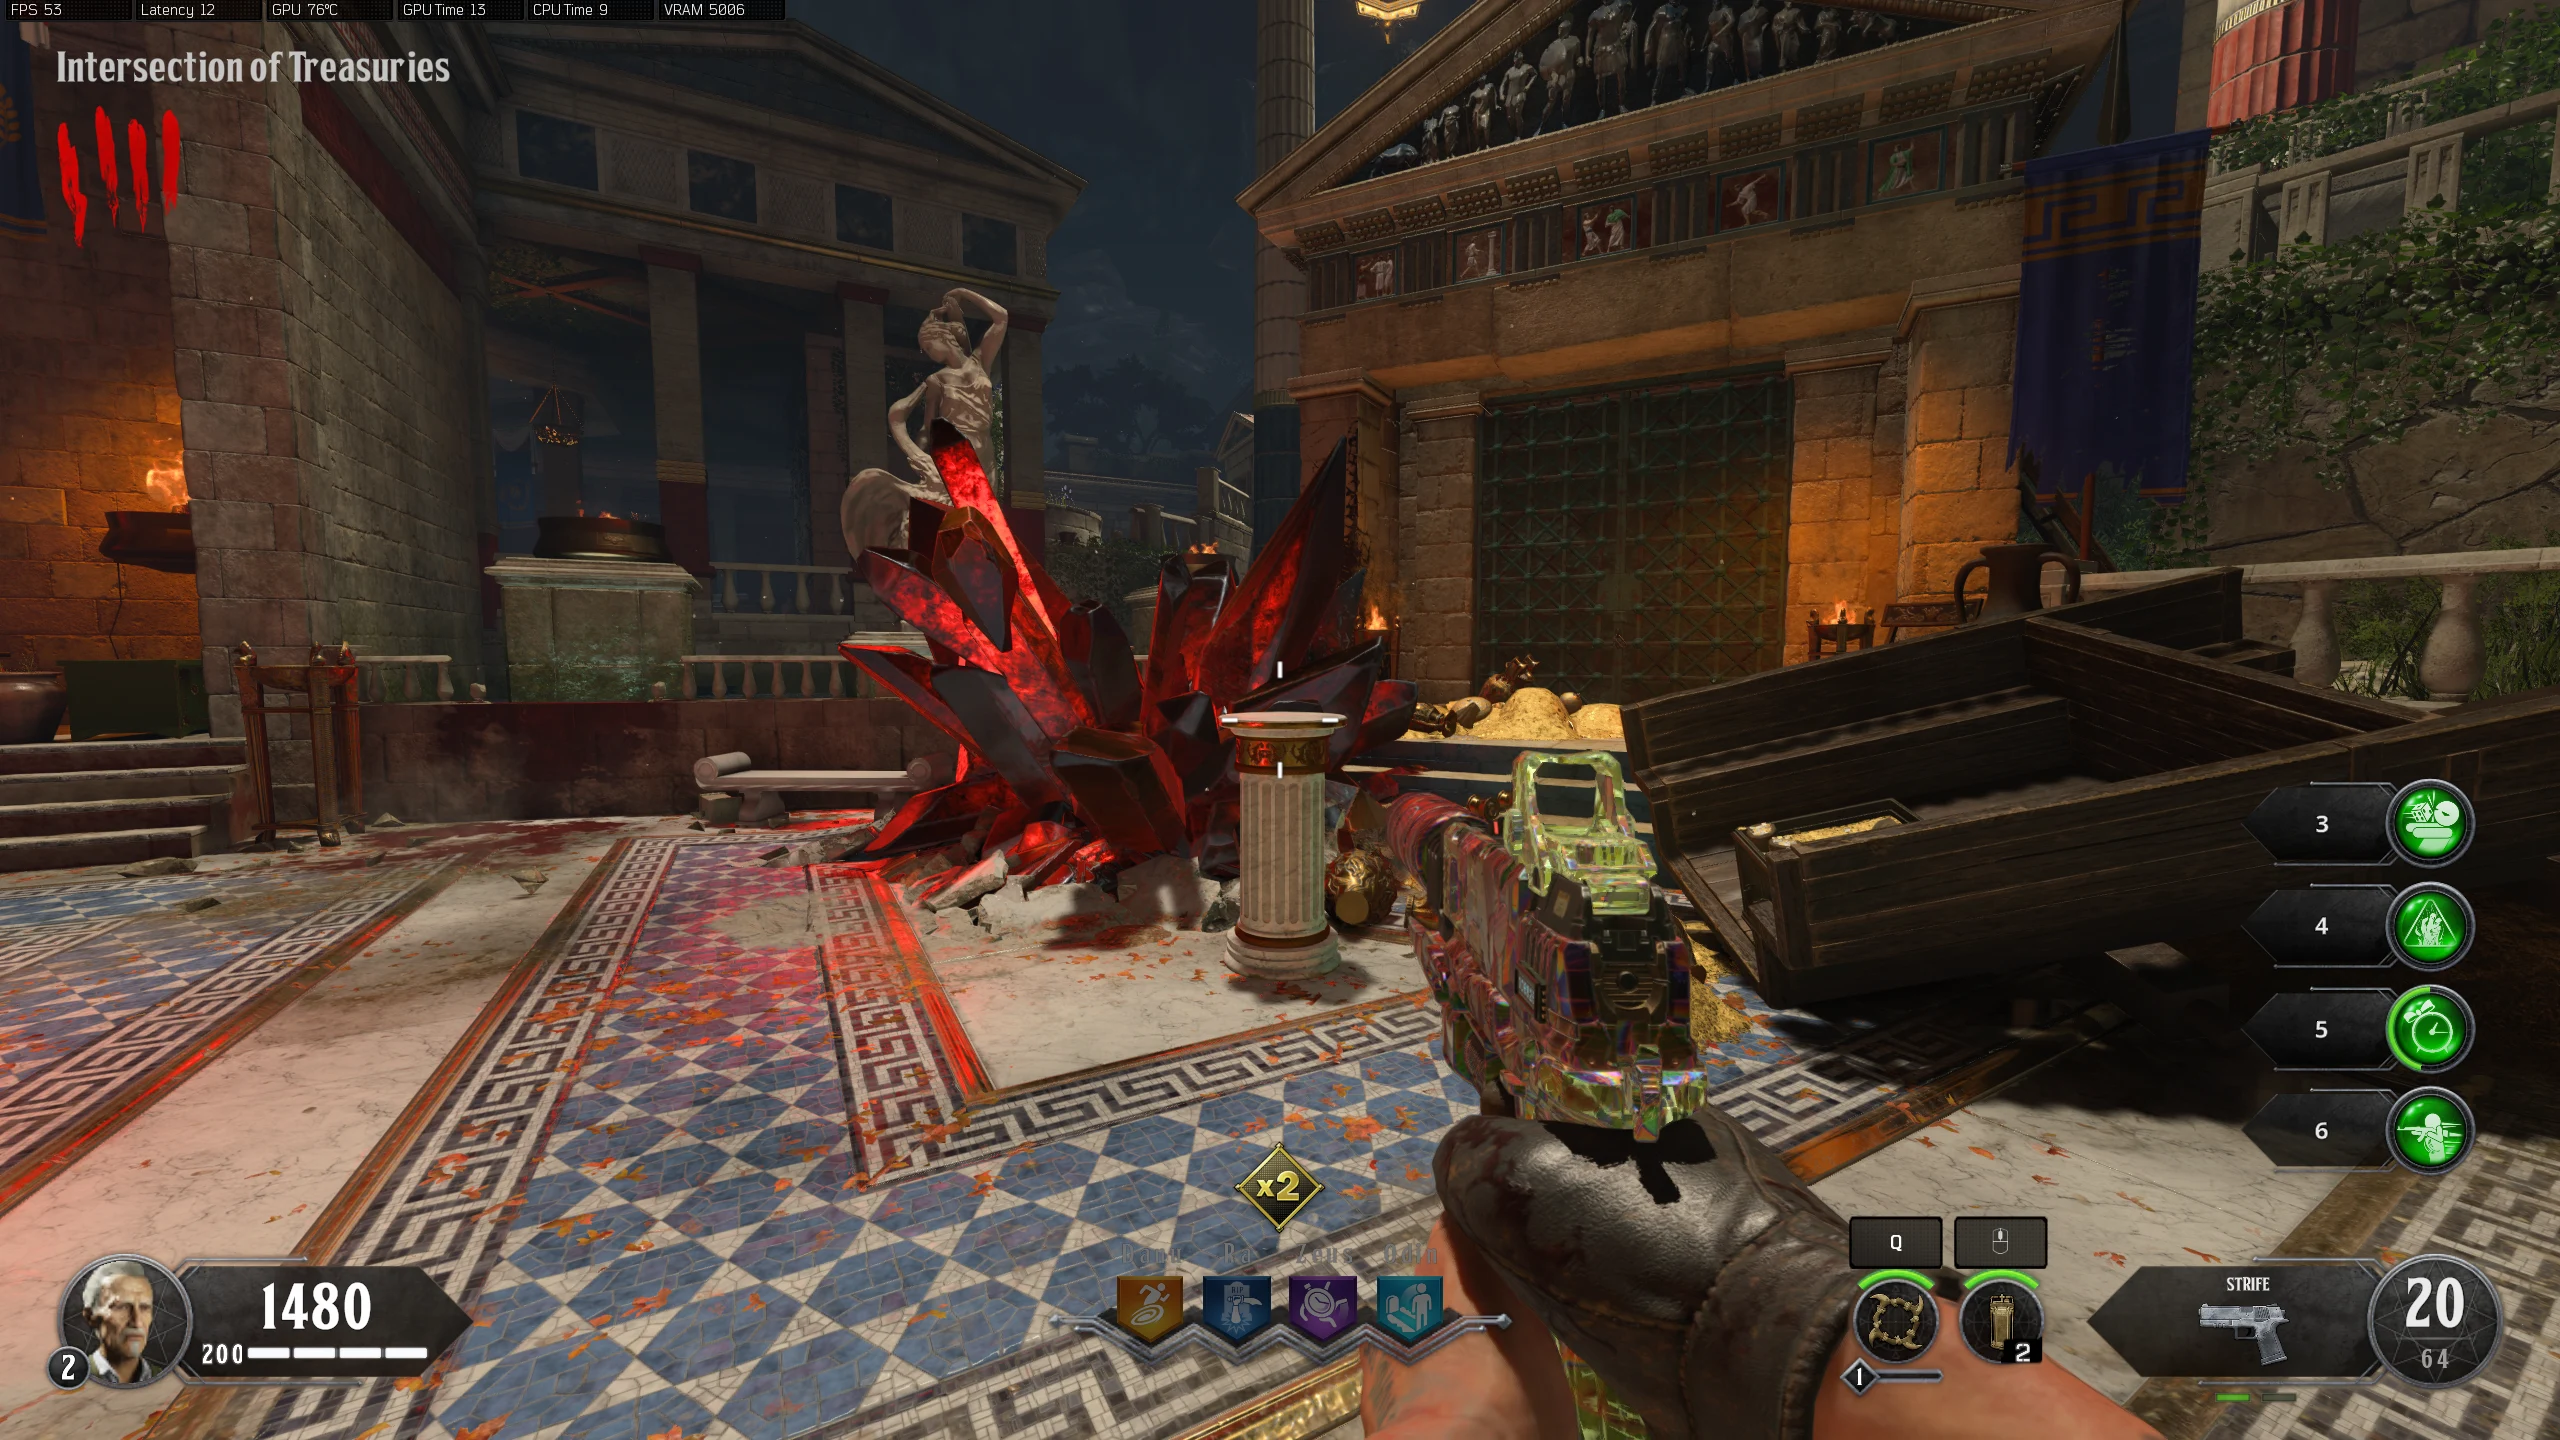
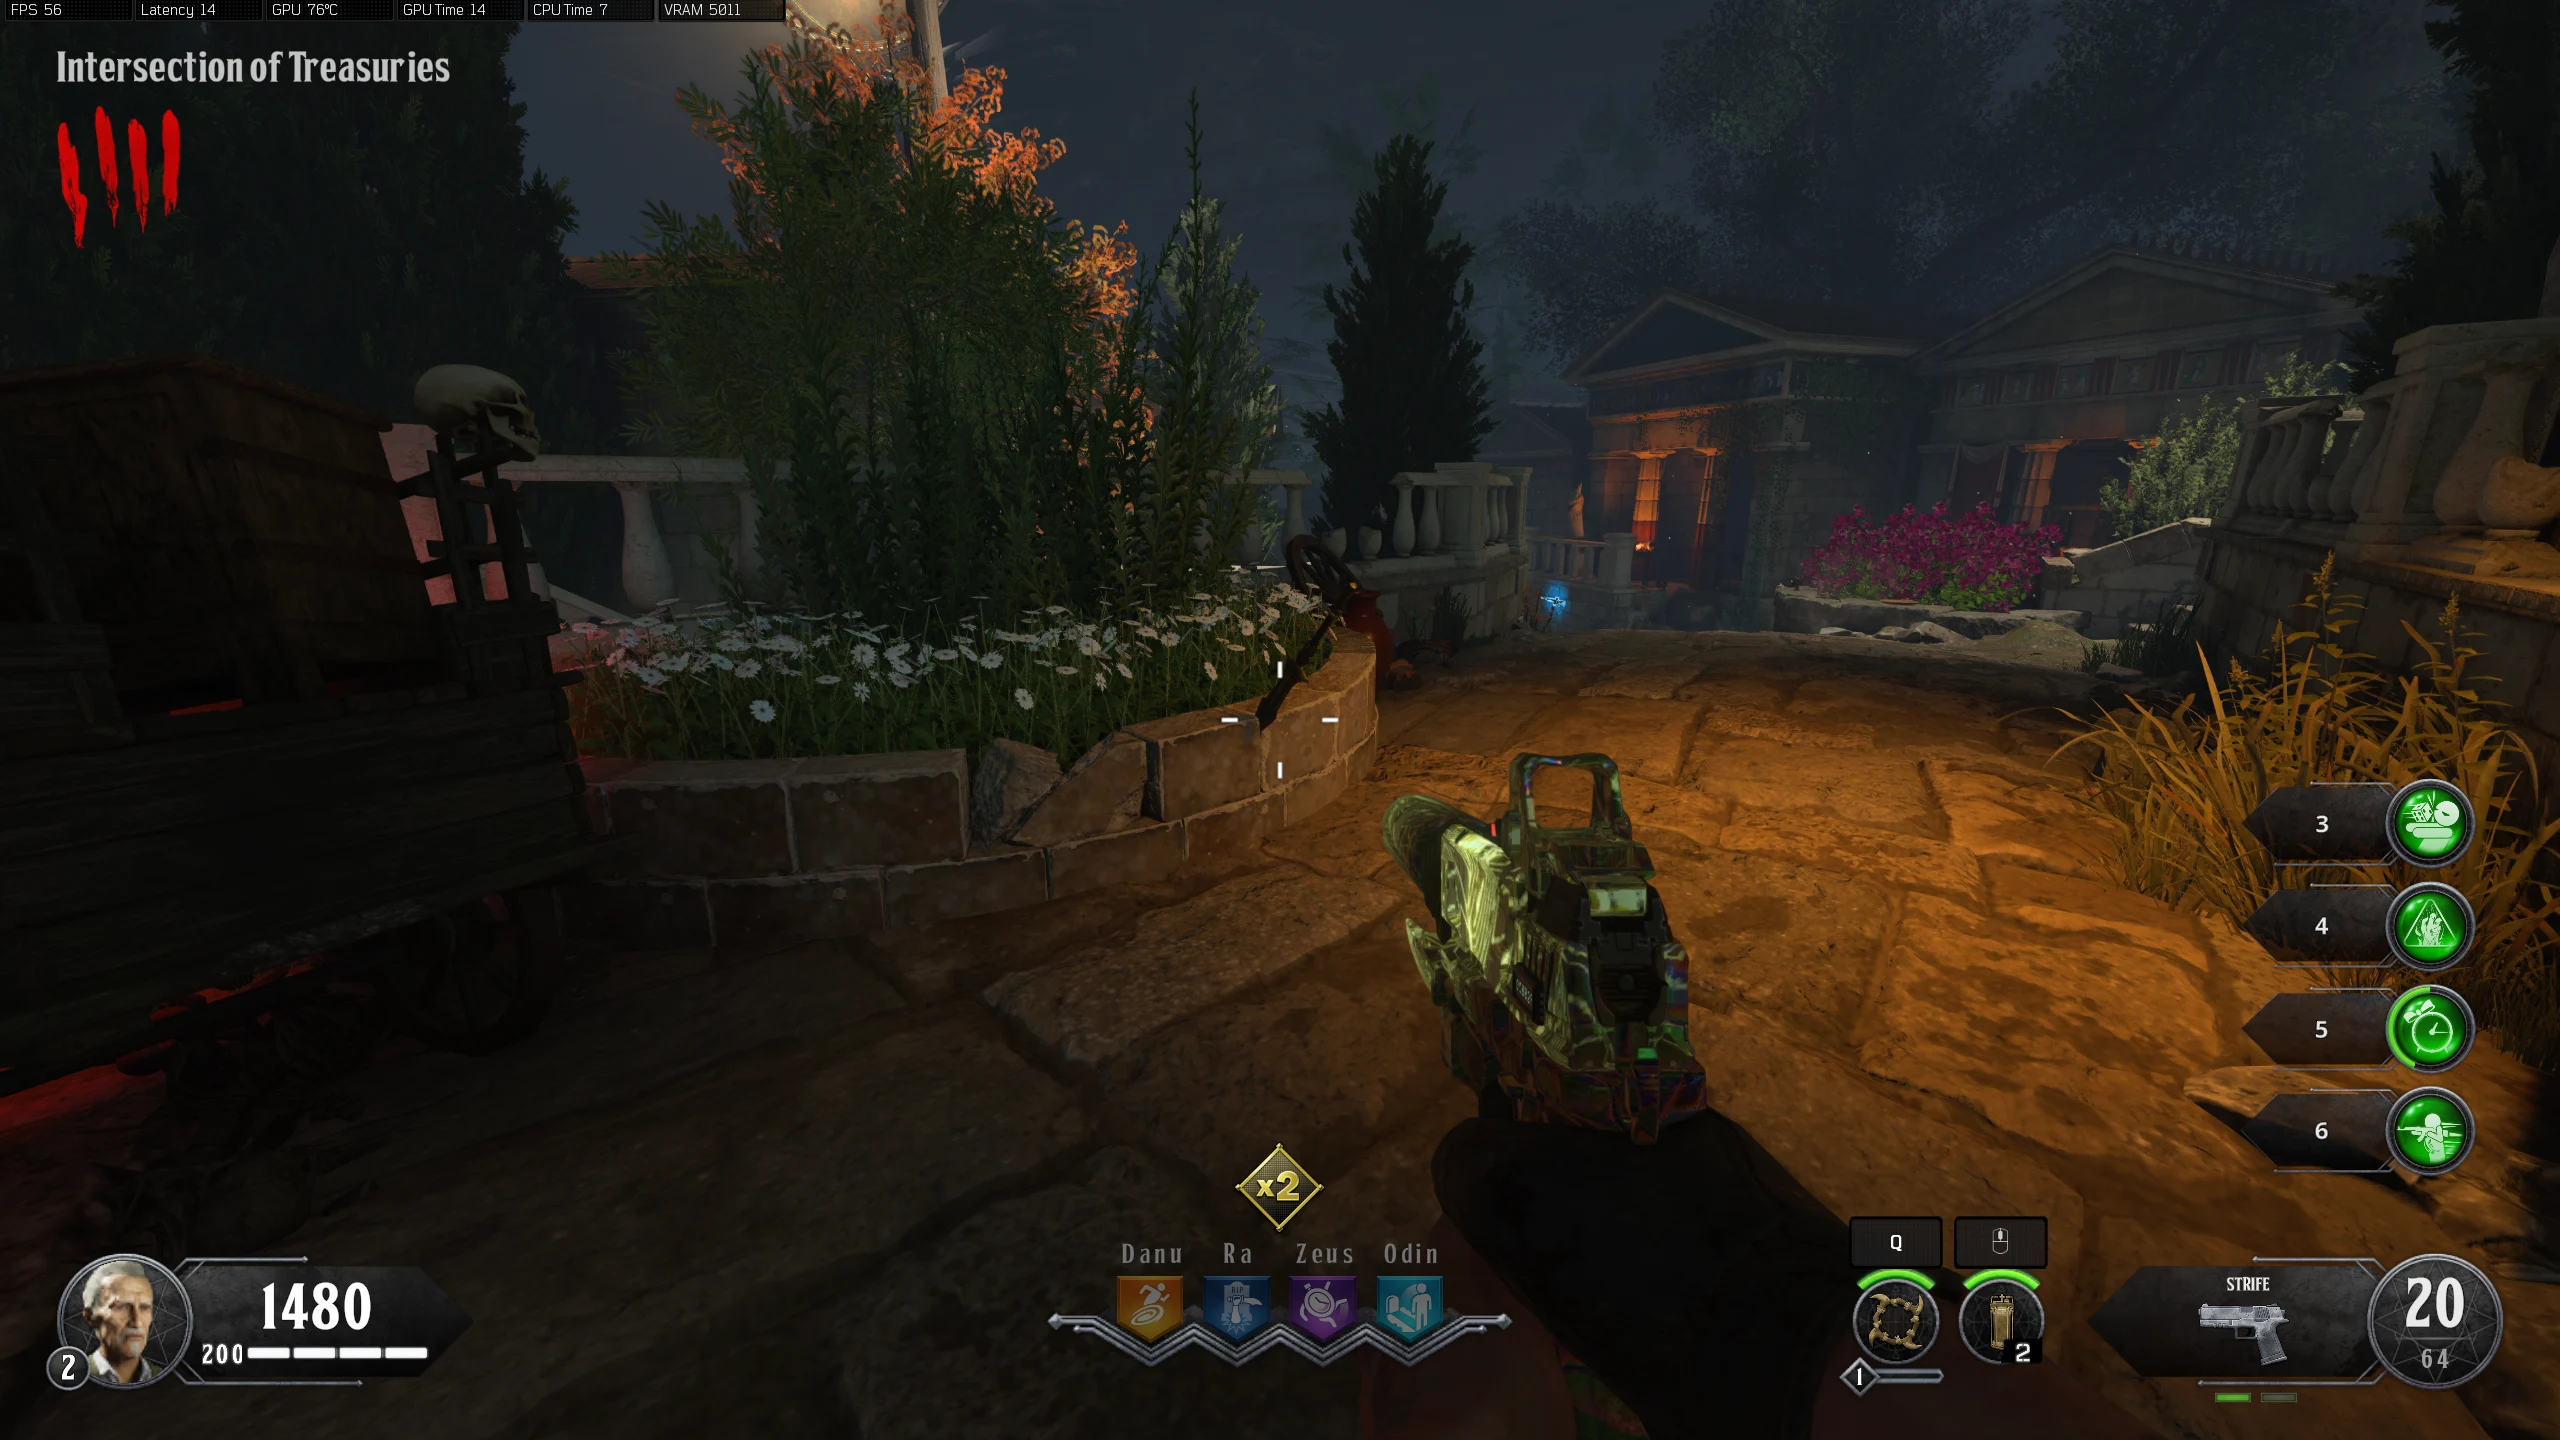
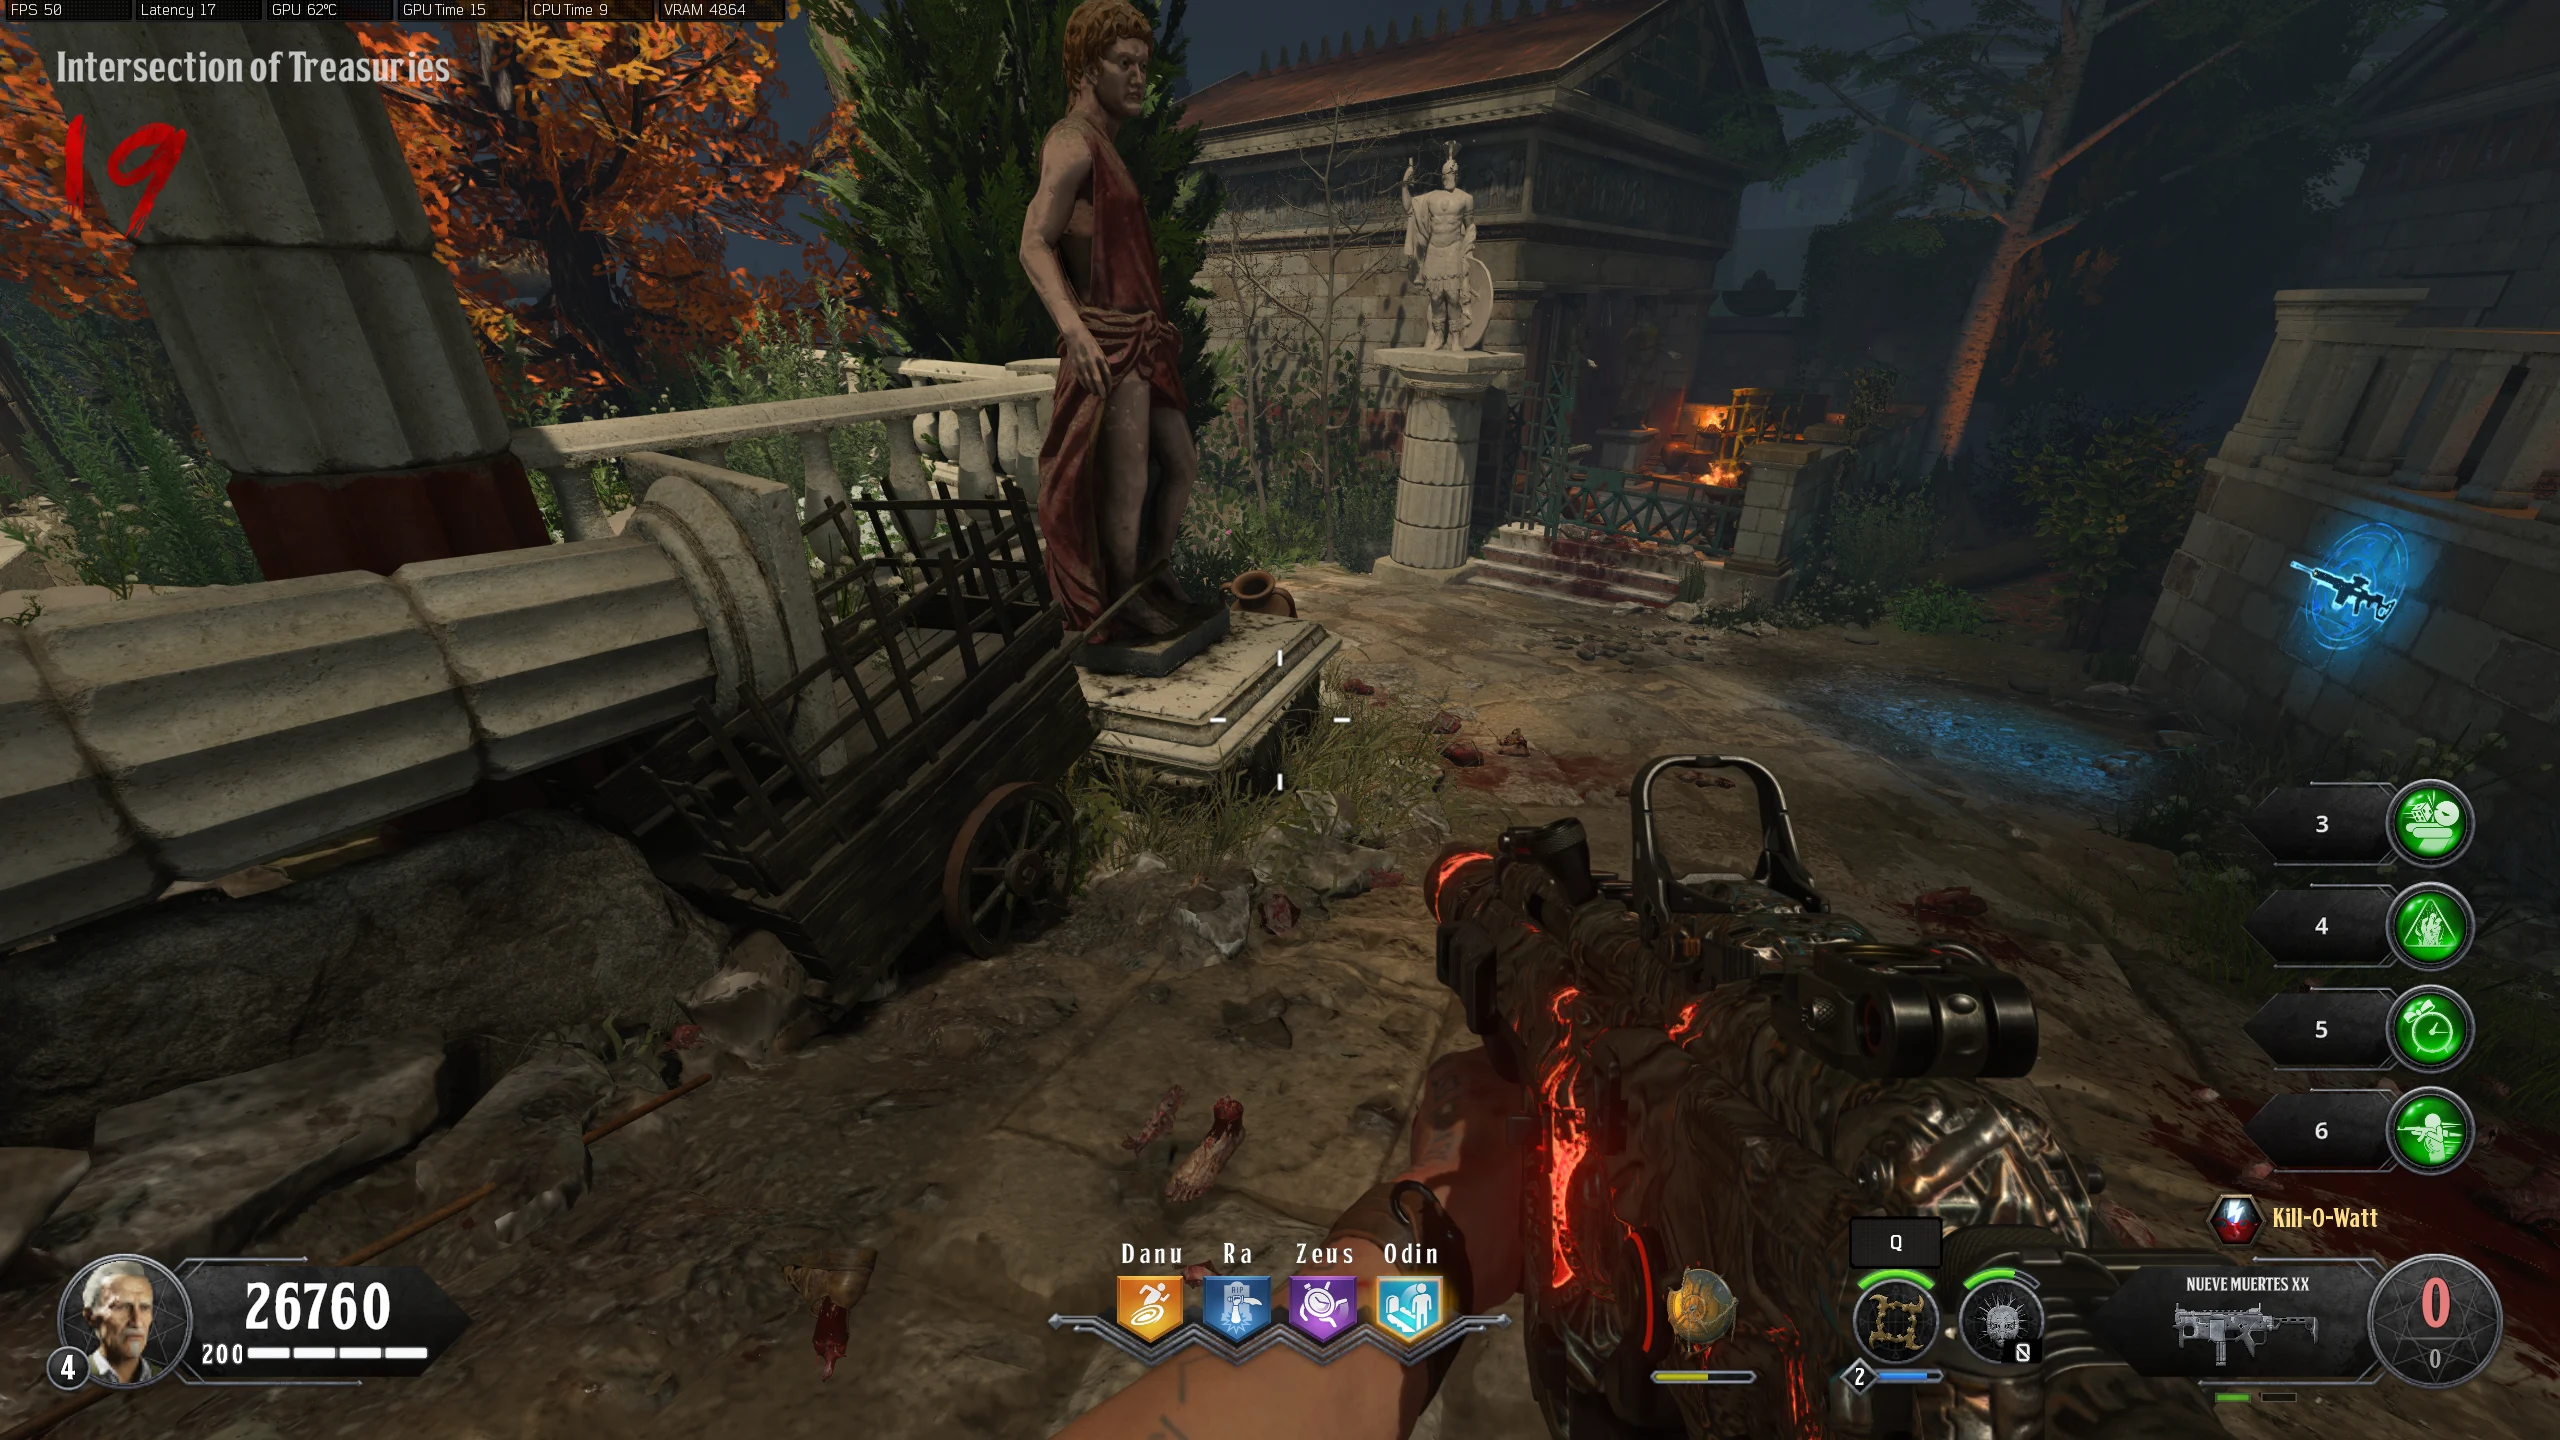
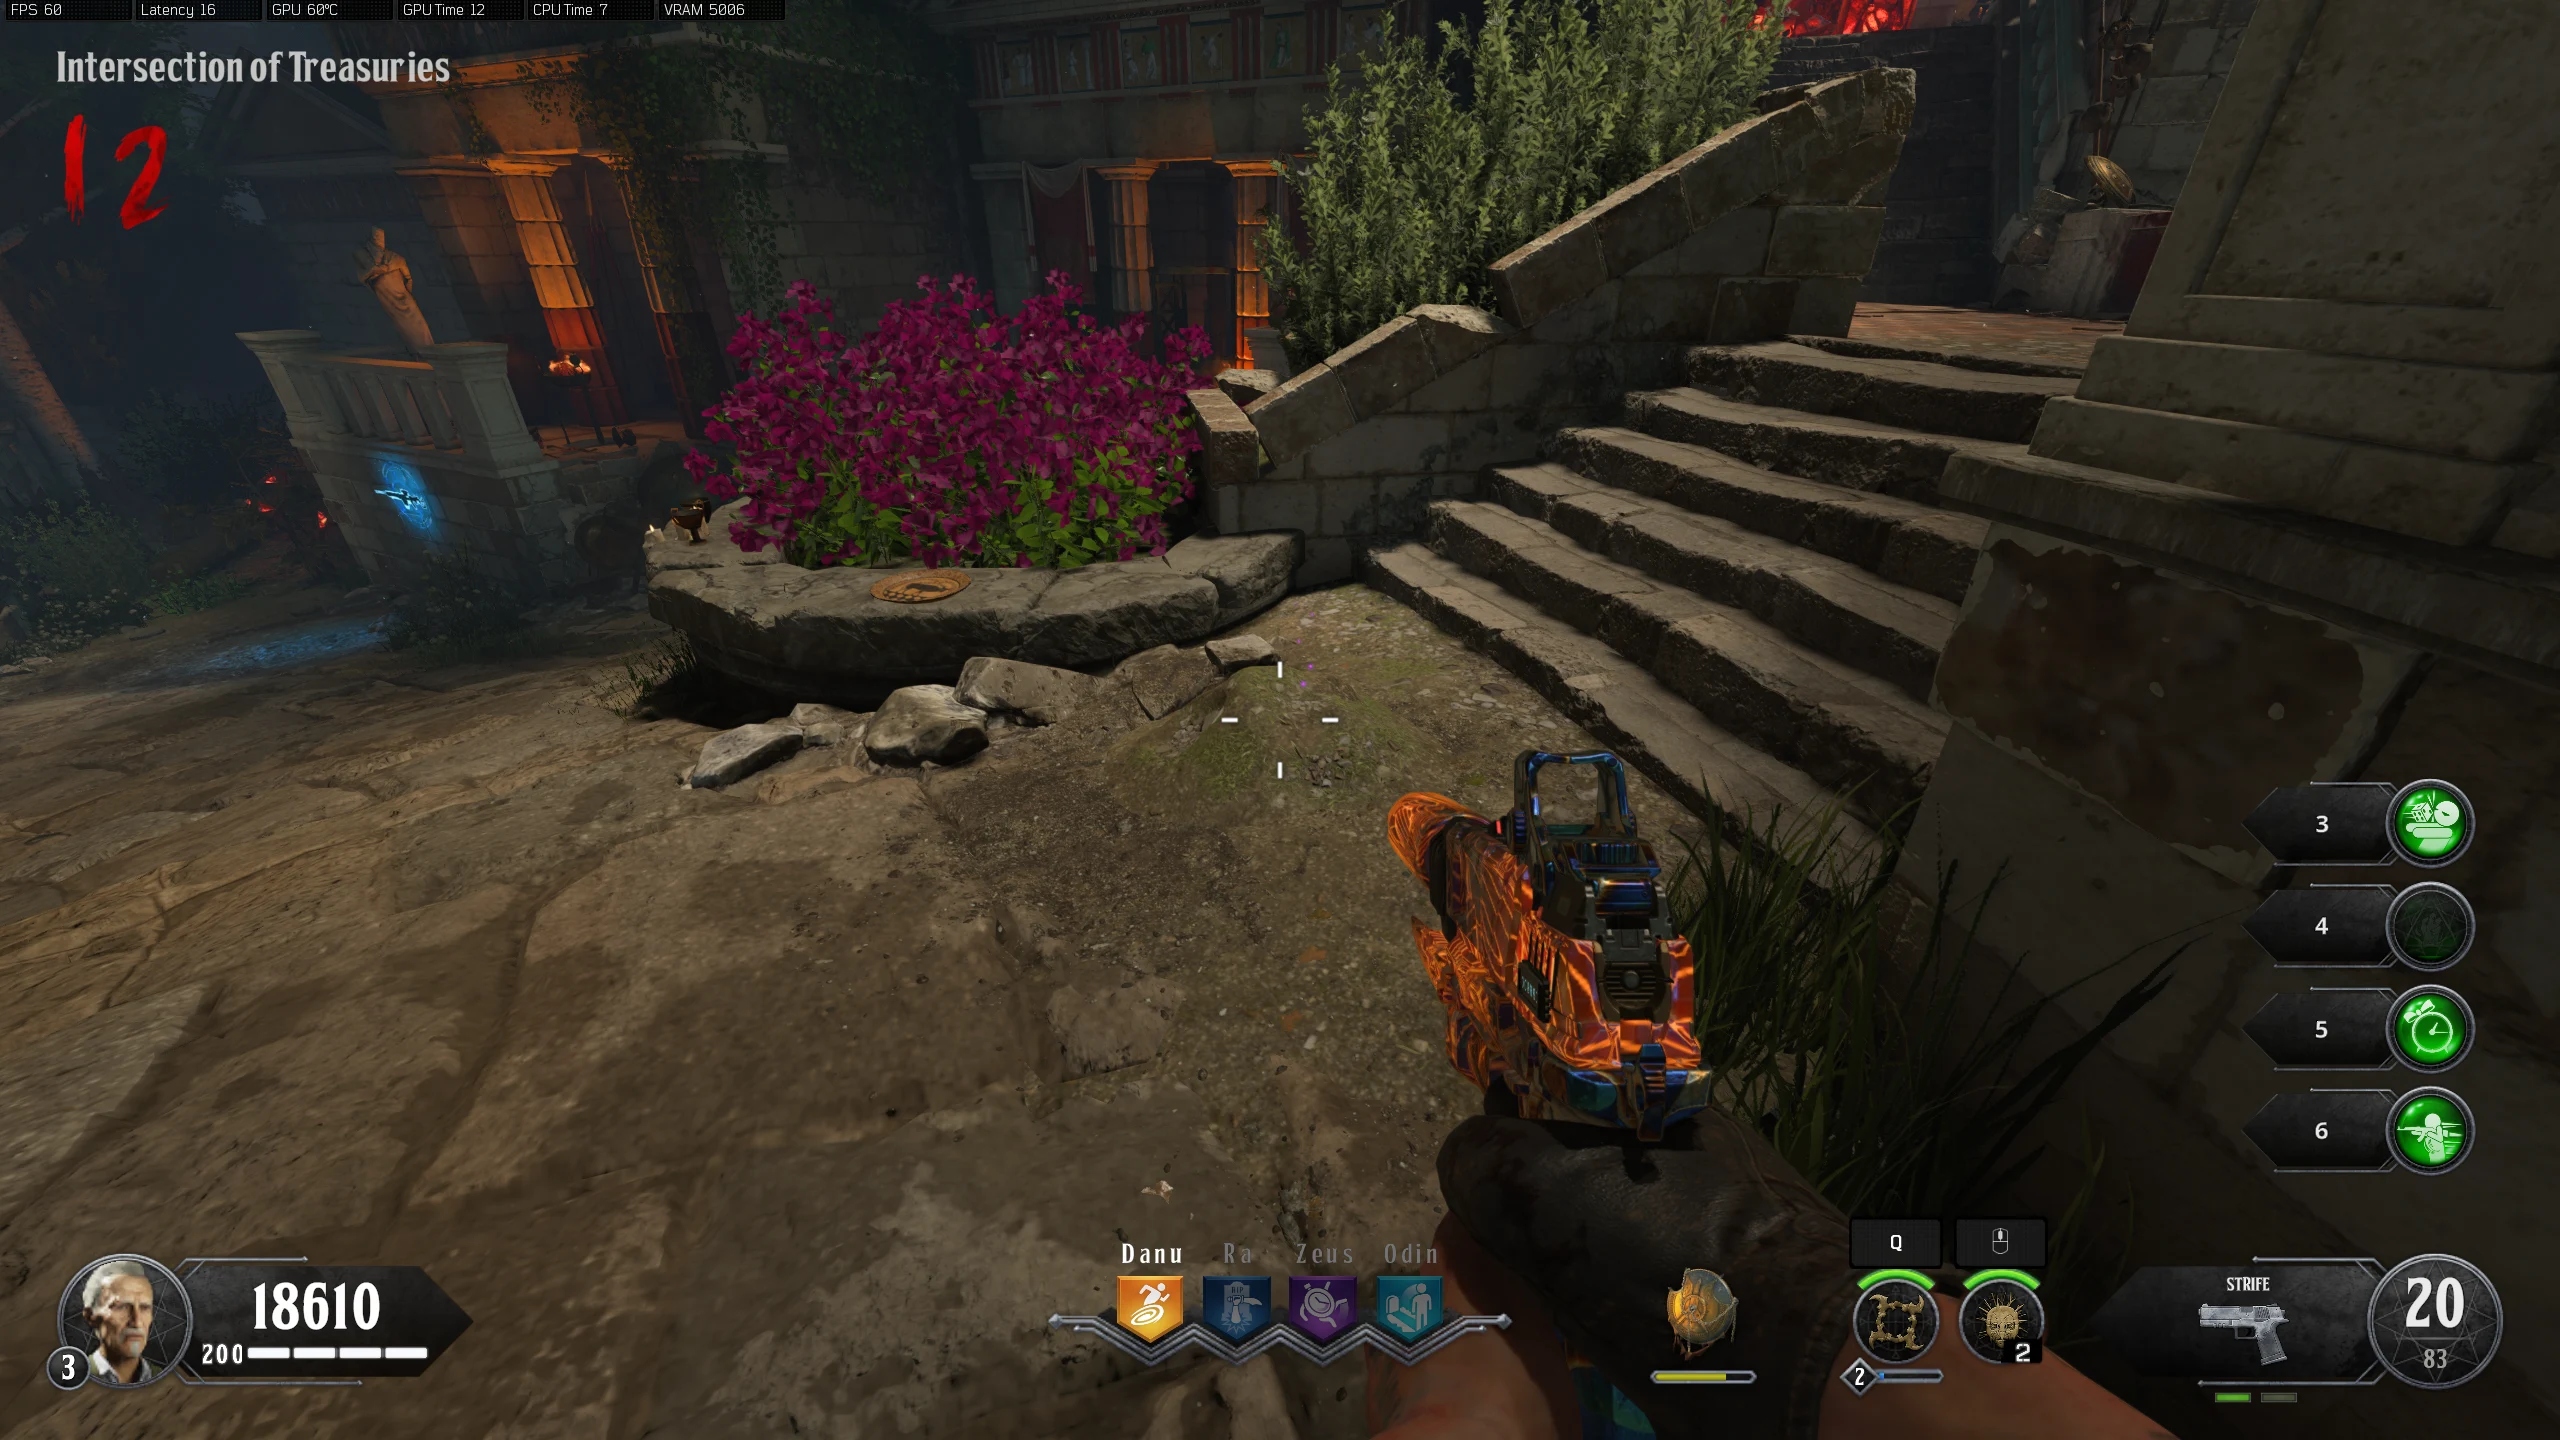
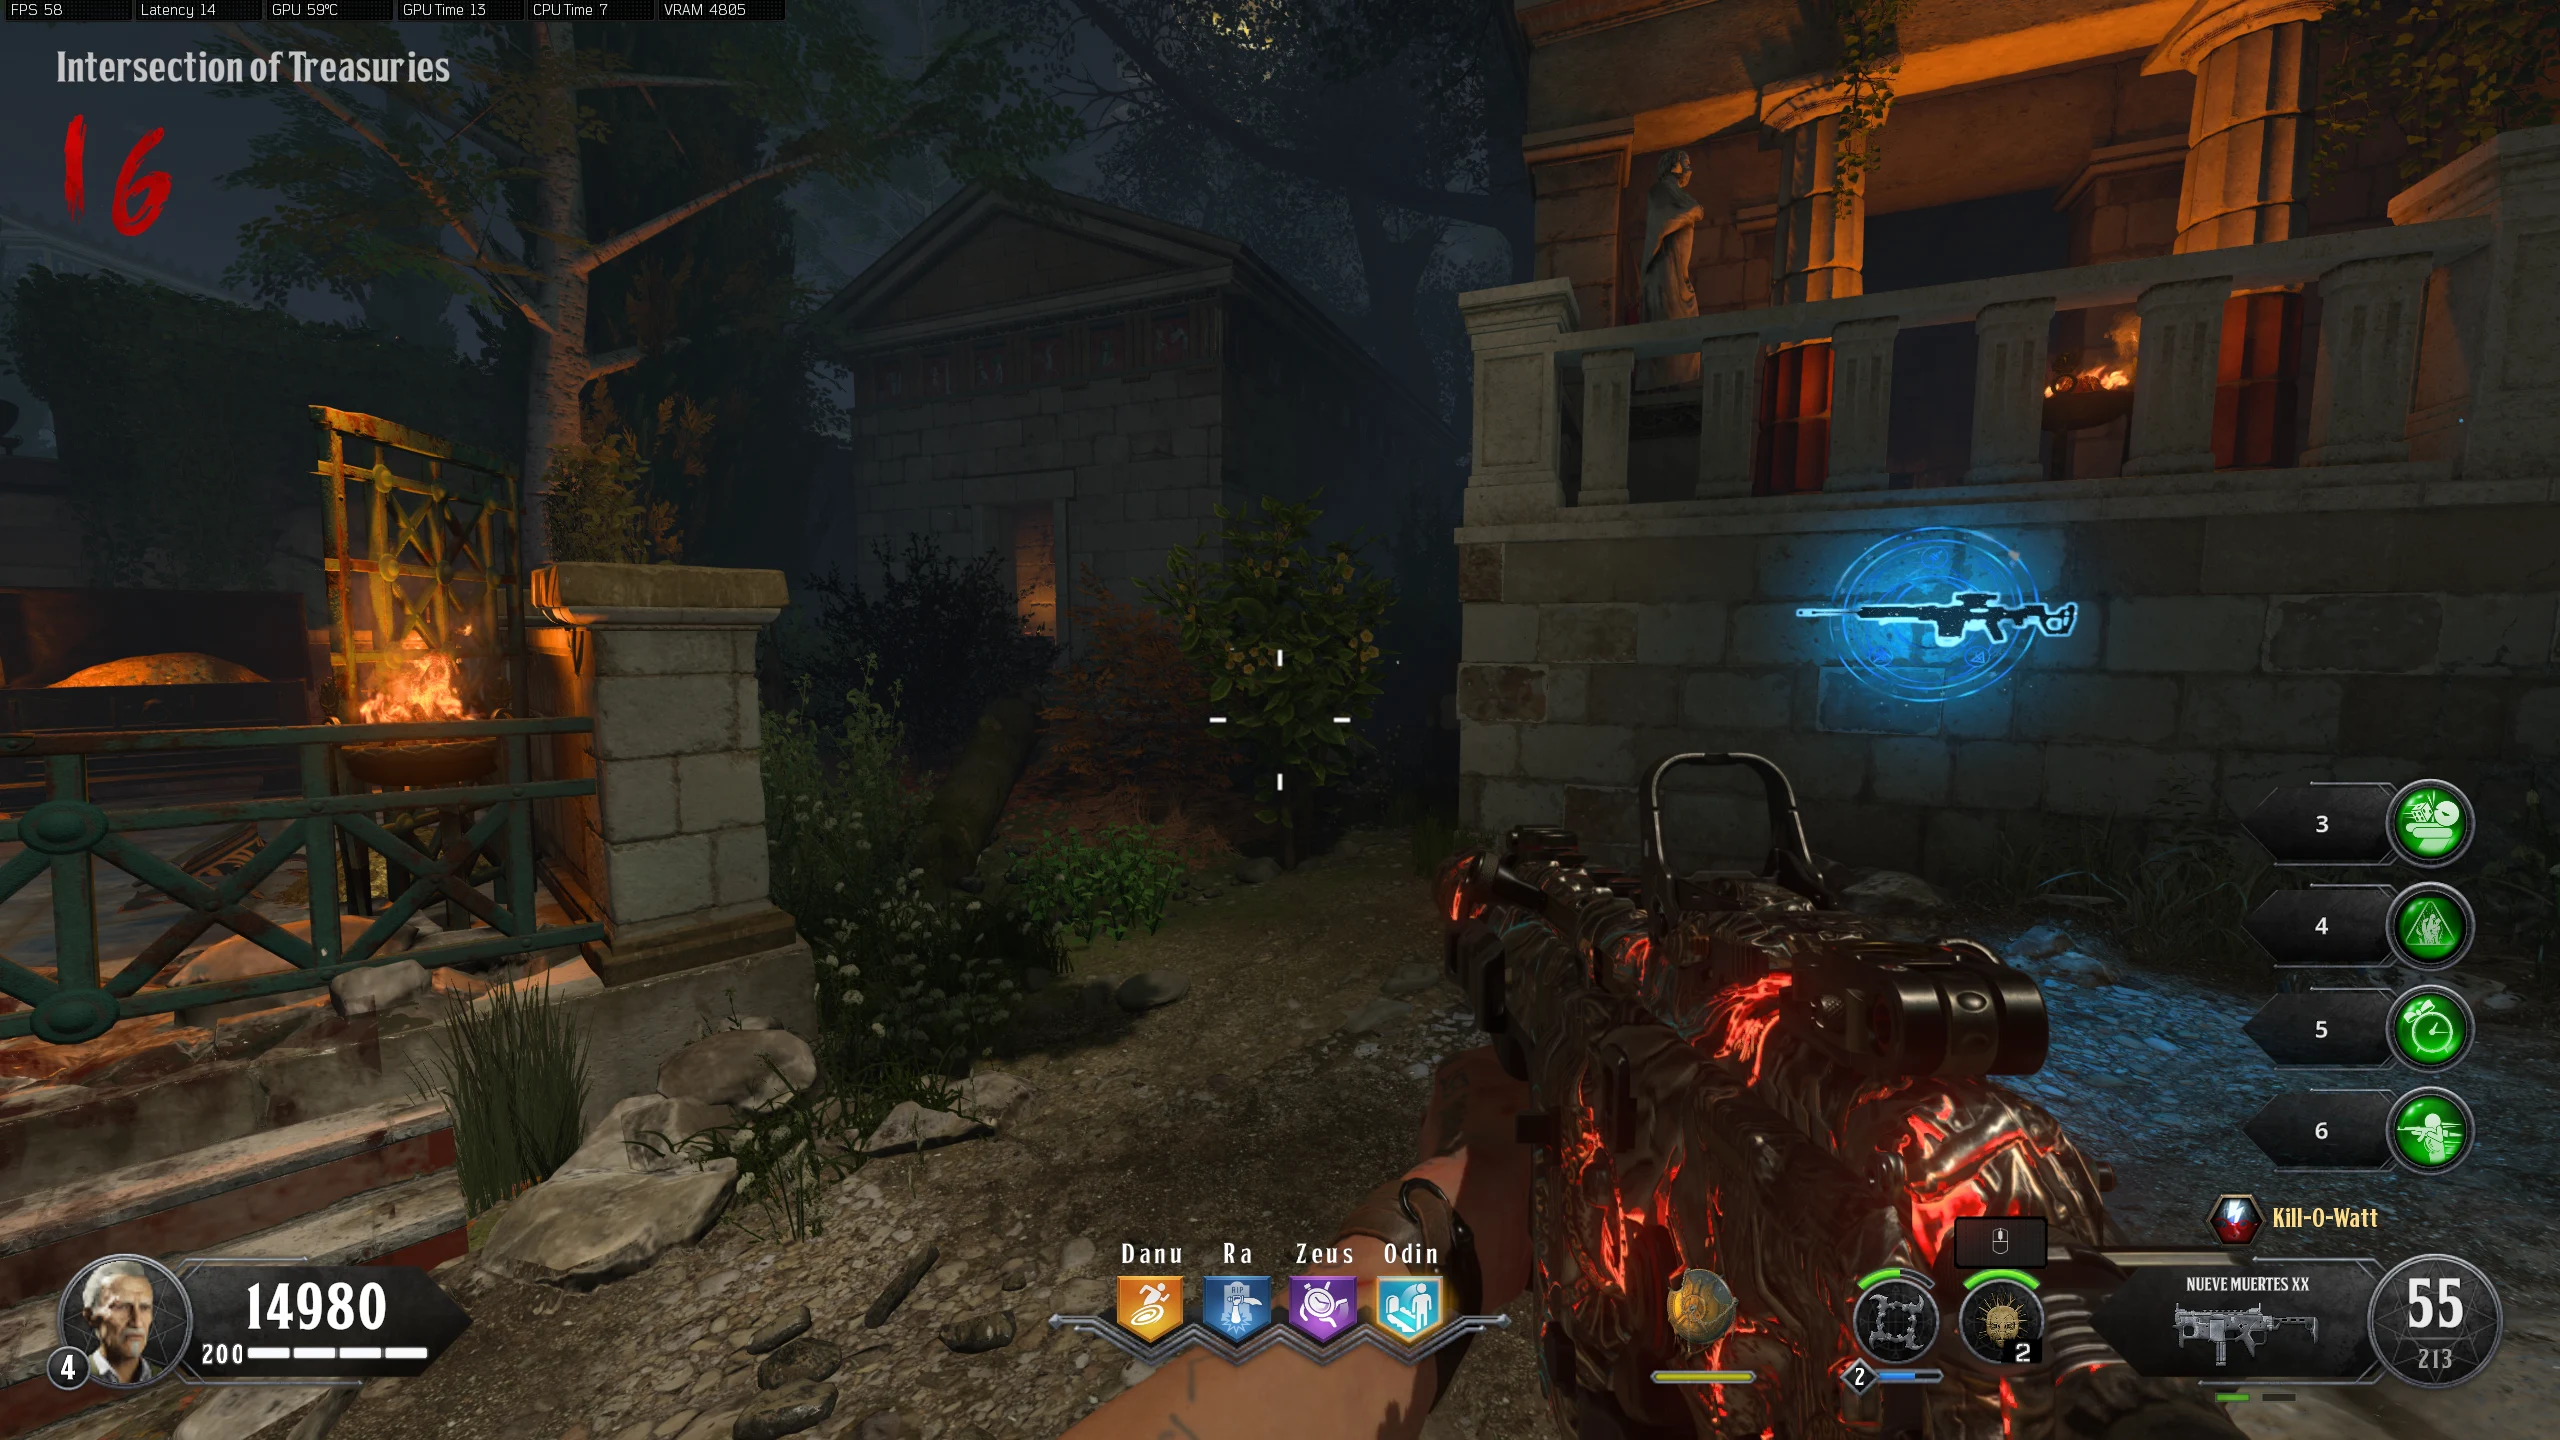
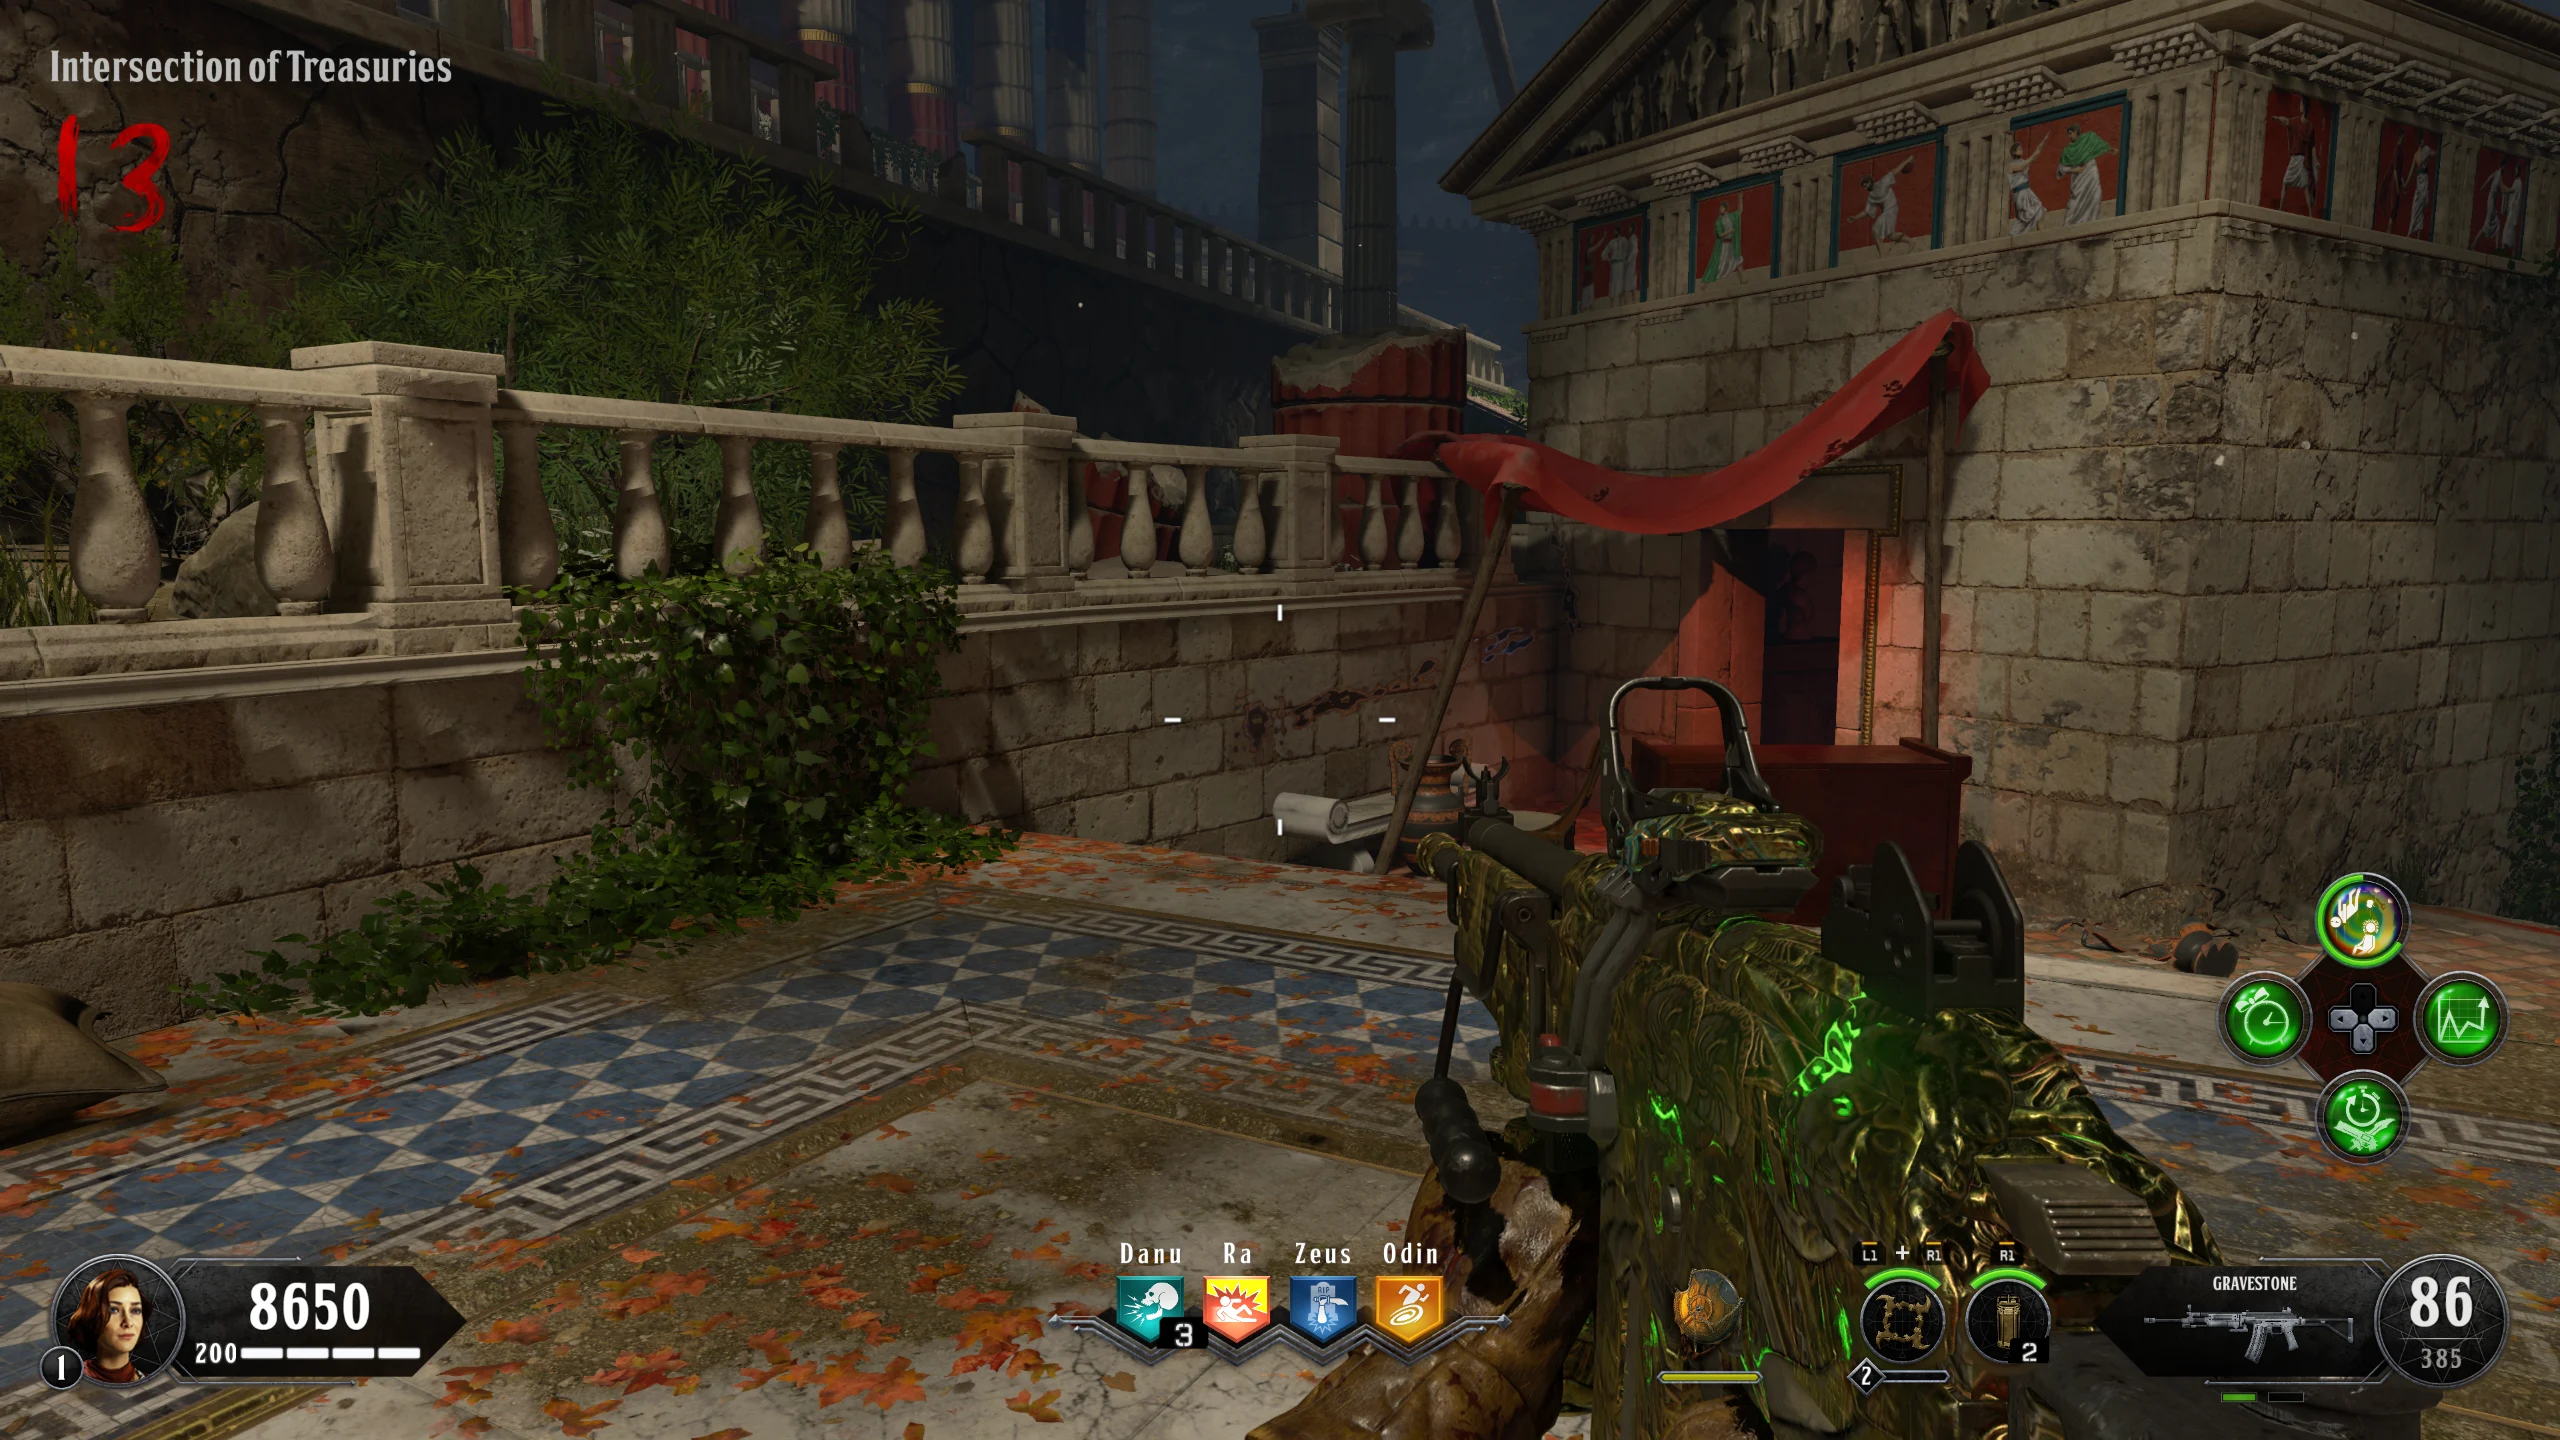
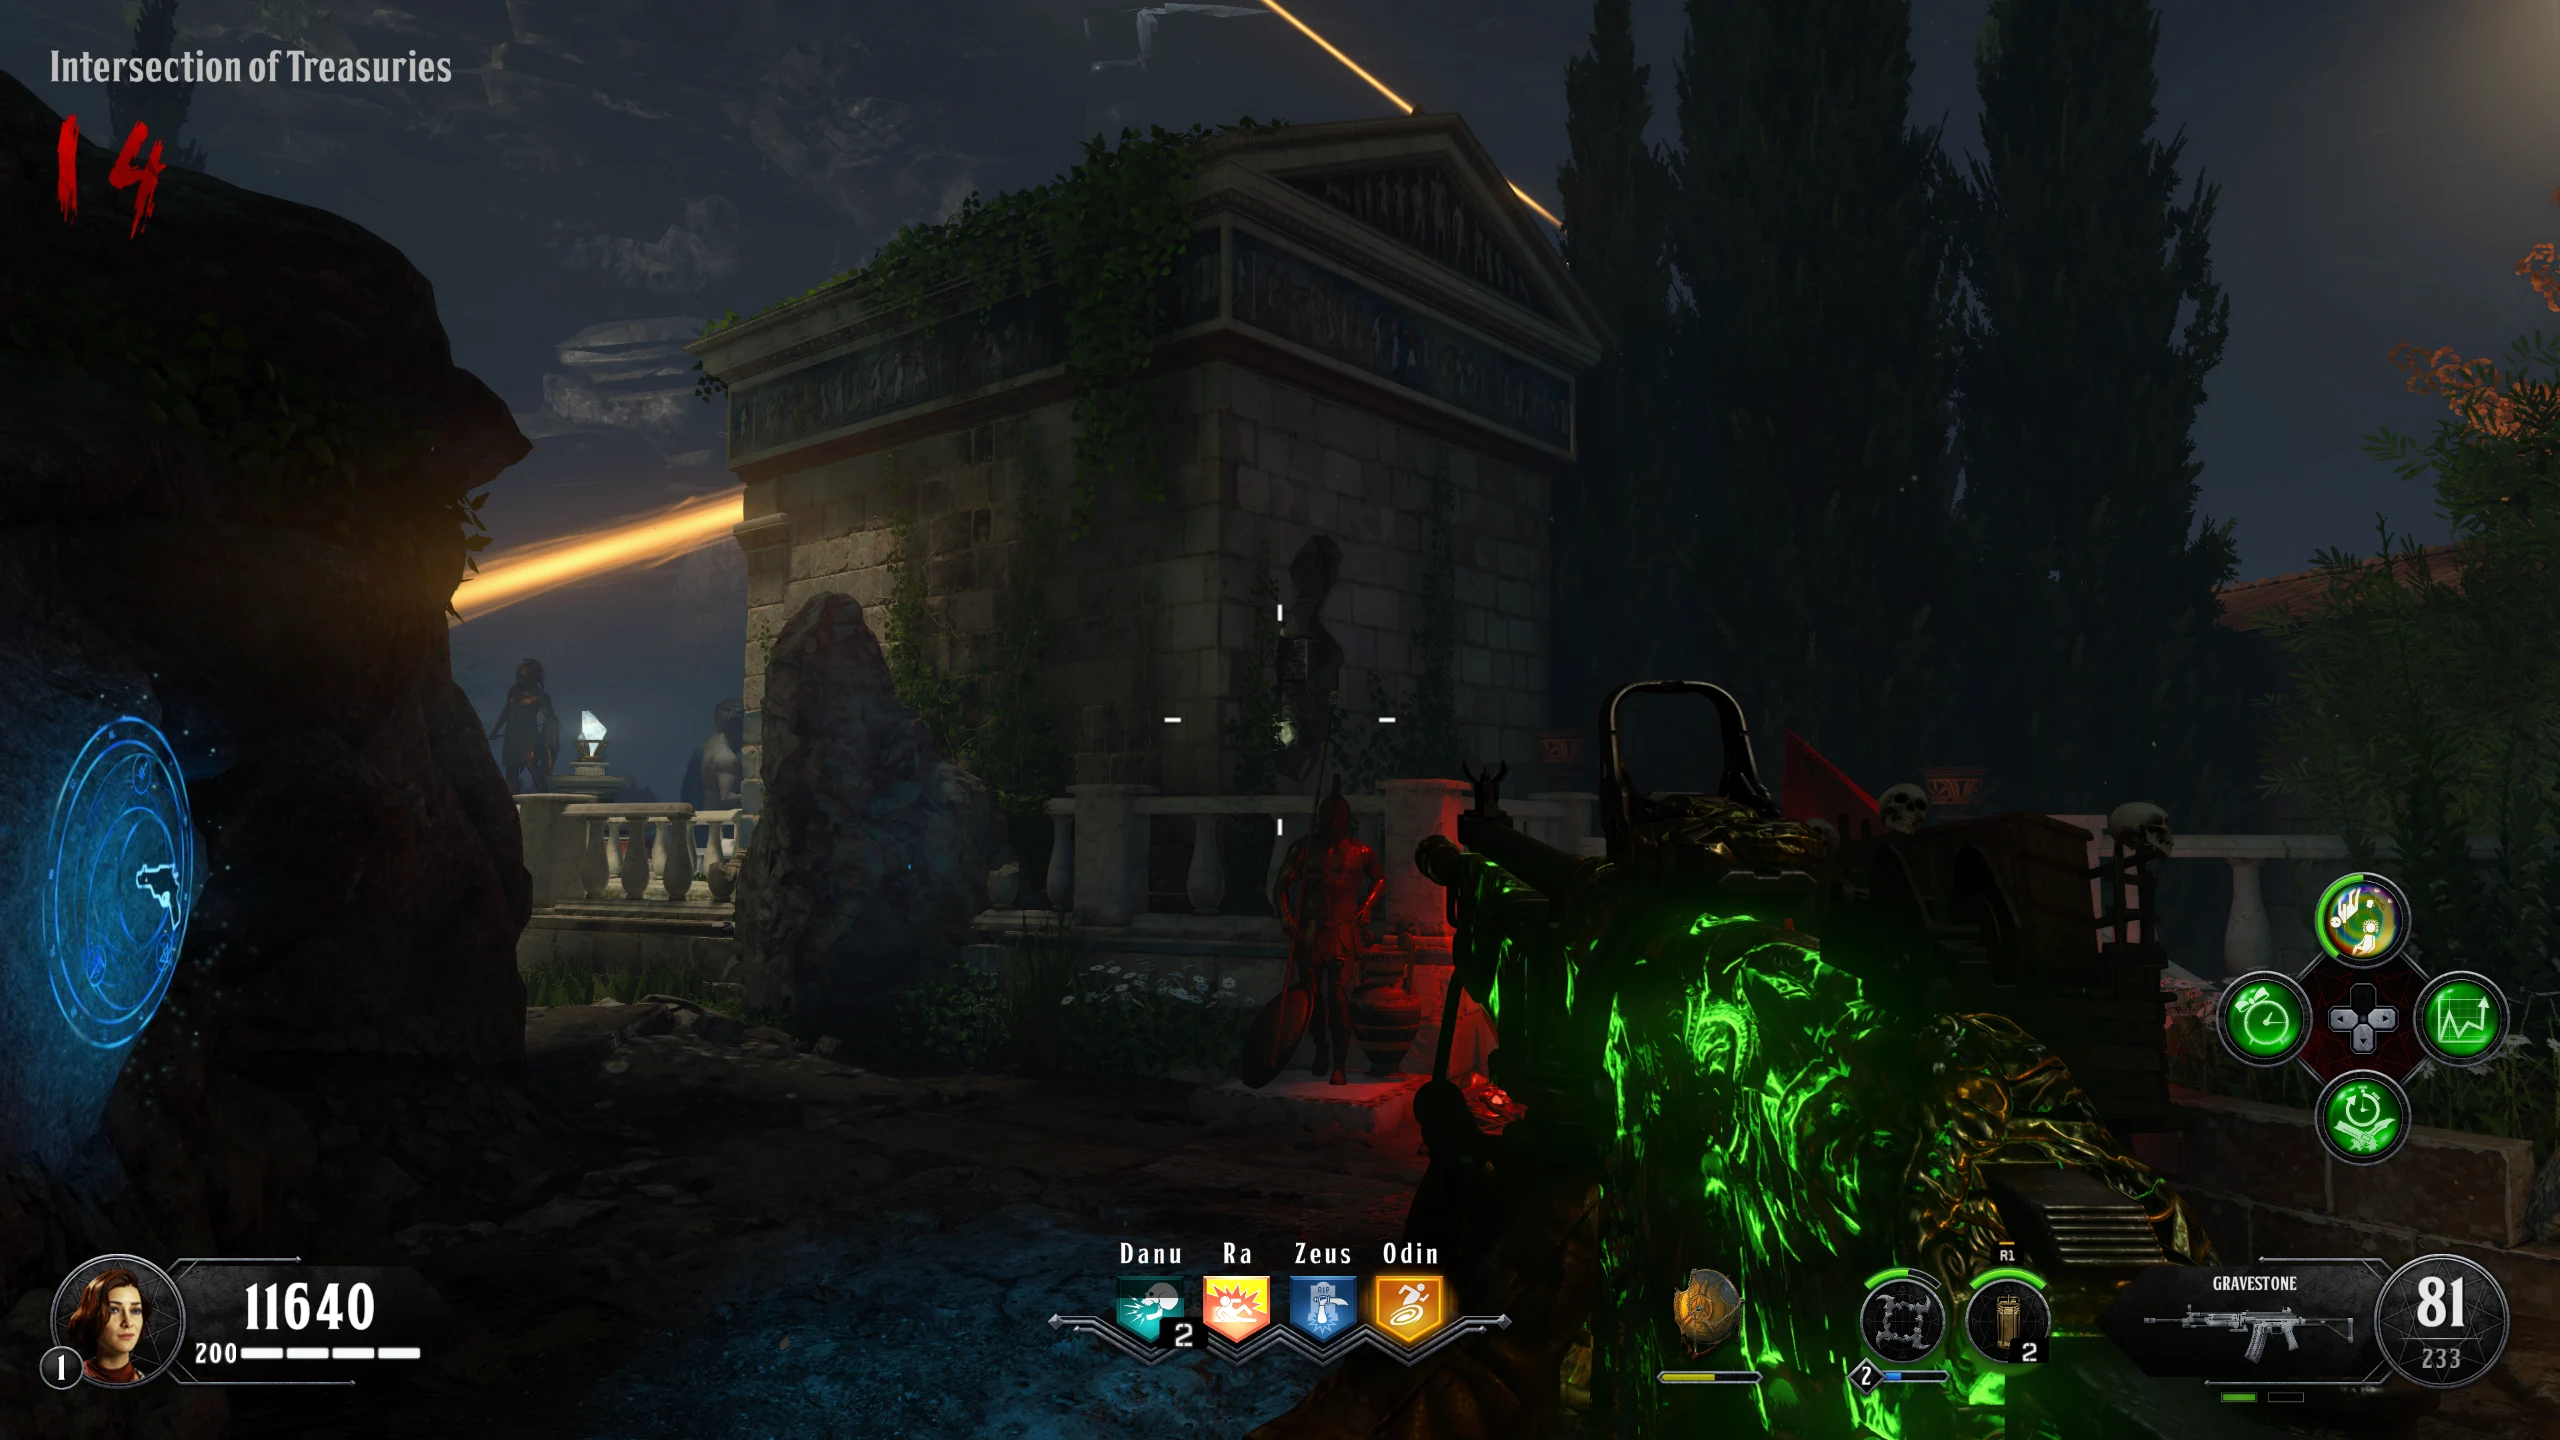
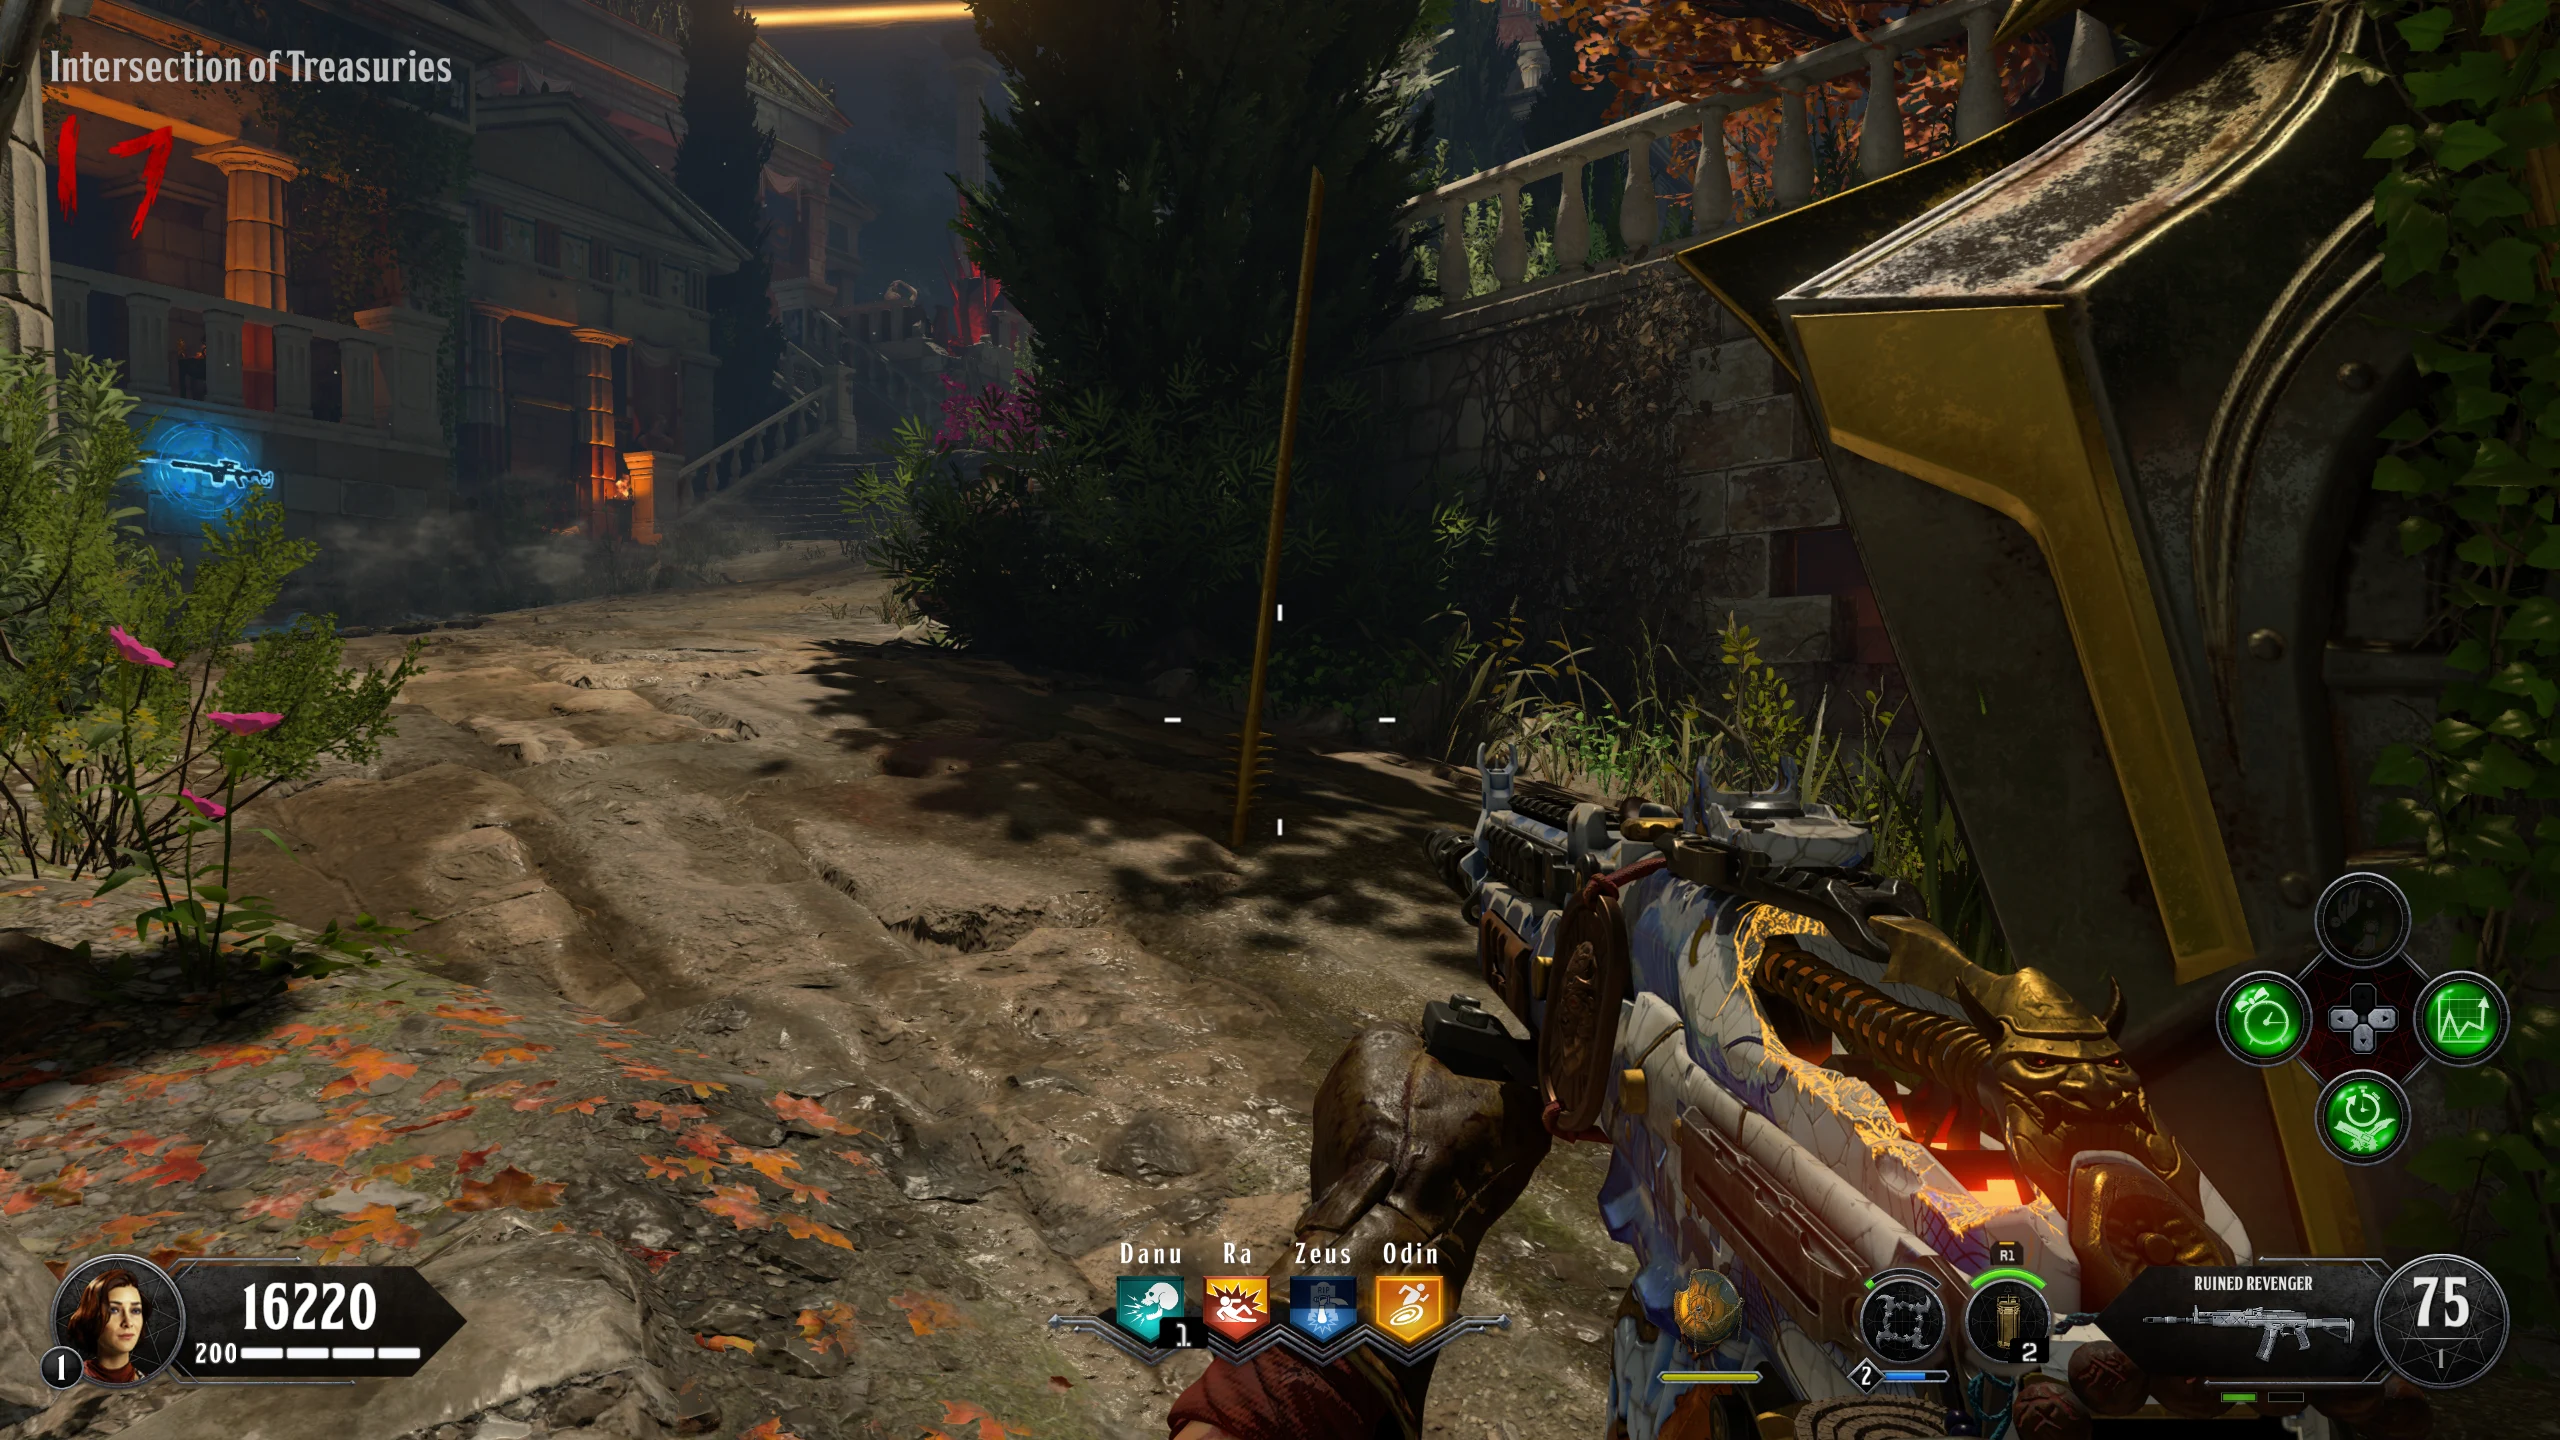
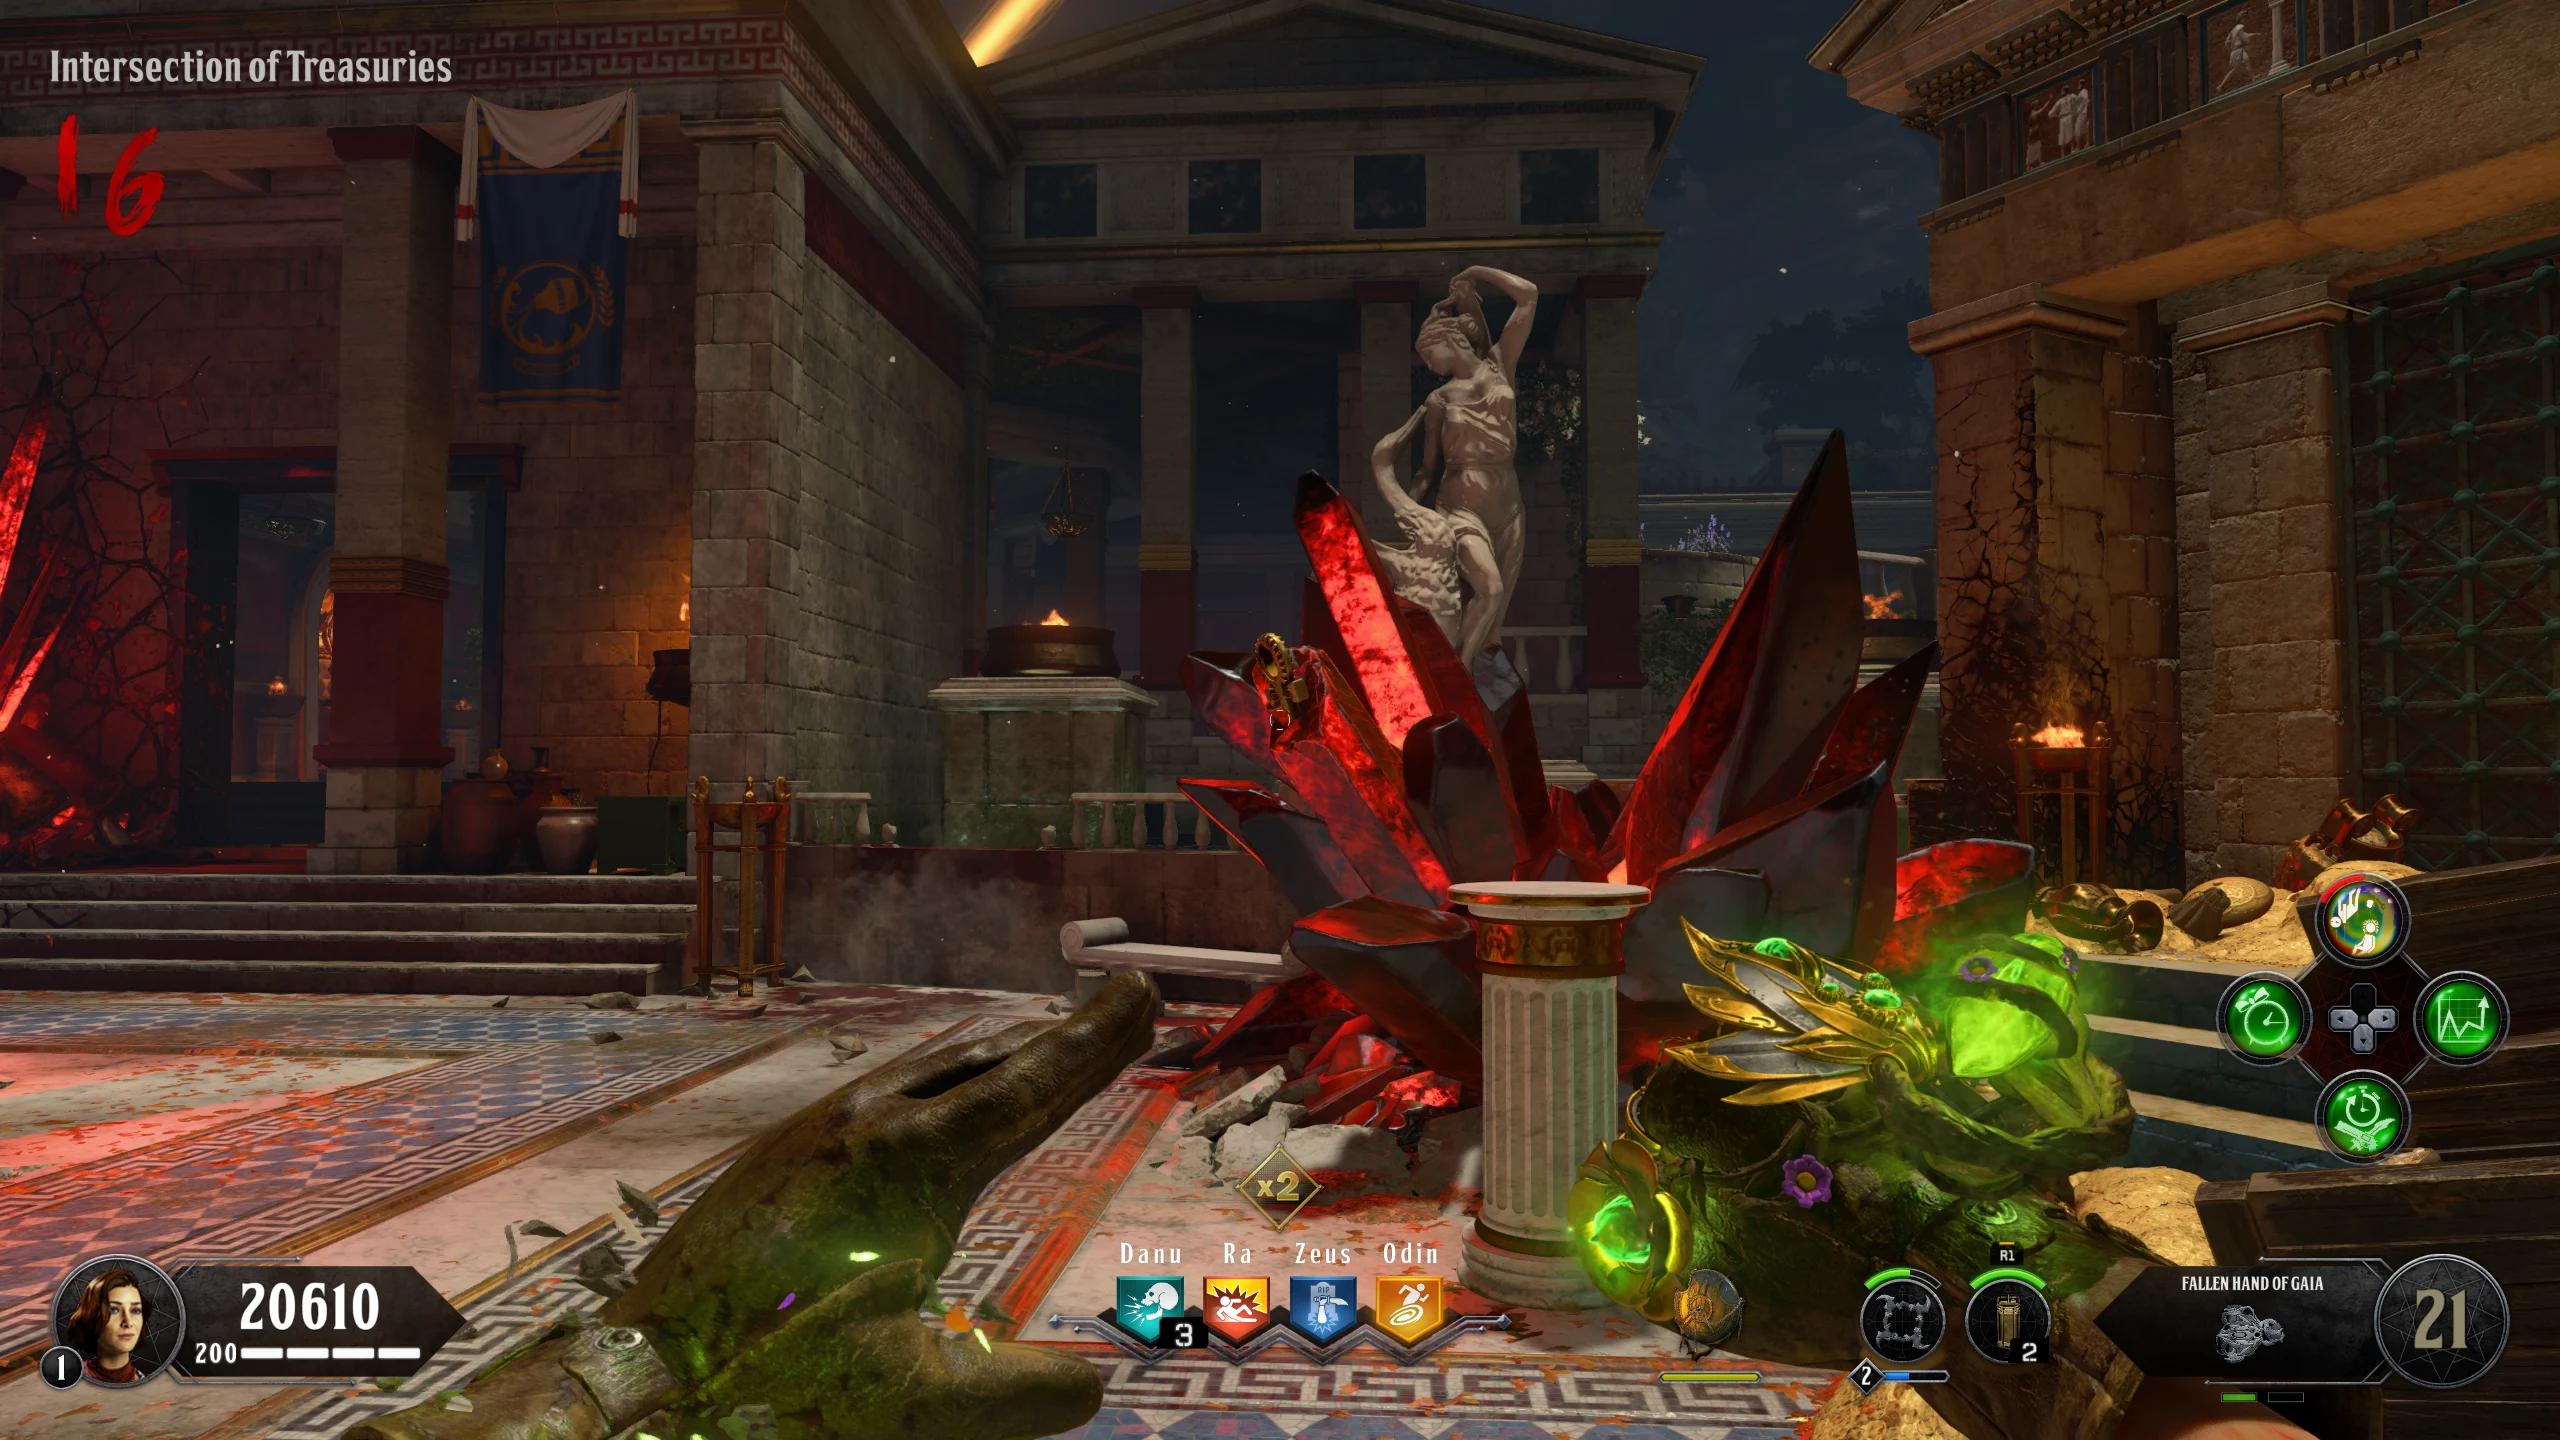
- In the 'Intersections of Treasuries,' bait a Gegenees into Shield Blasting the Ankh trapped in the crystal. If done correctly, the Ankh will fall to the floor, where you can pick it up.
- If you used the Gegenees from the previous step, you can now kill it. Once killed, it will drop a Golden Pole for you to pick up.
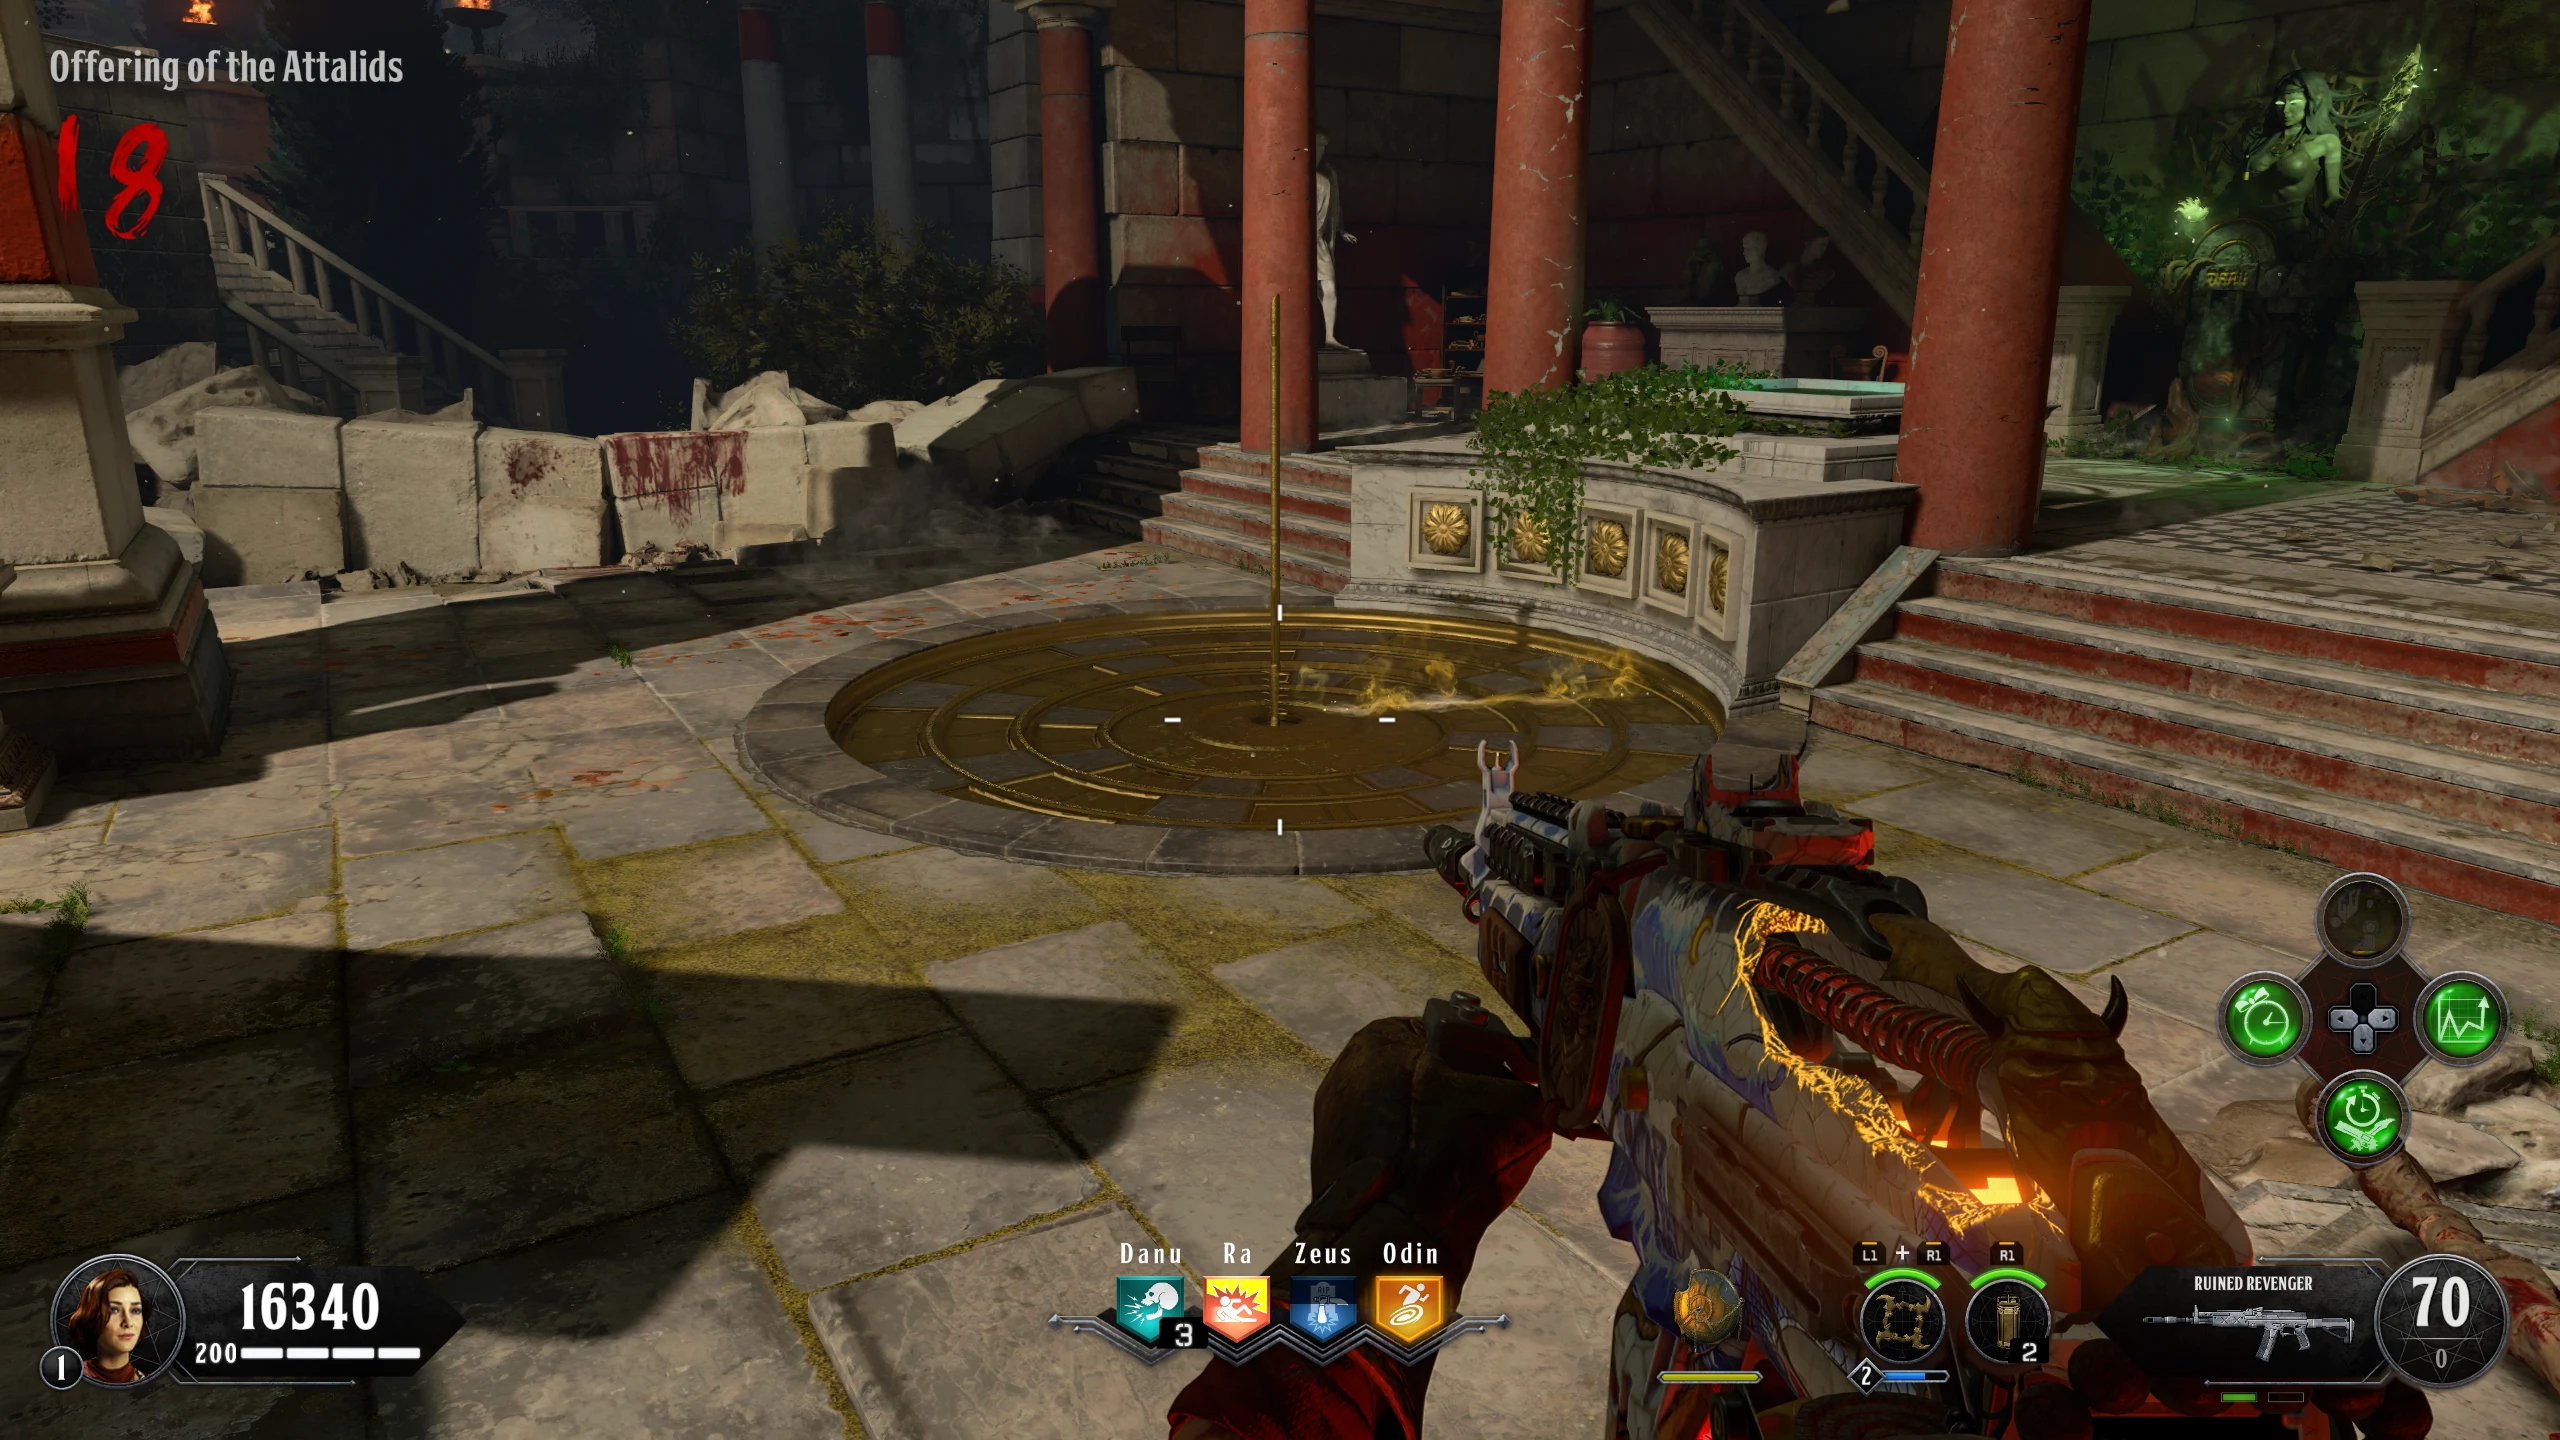
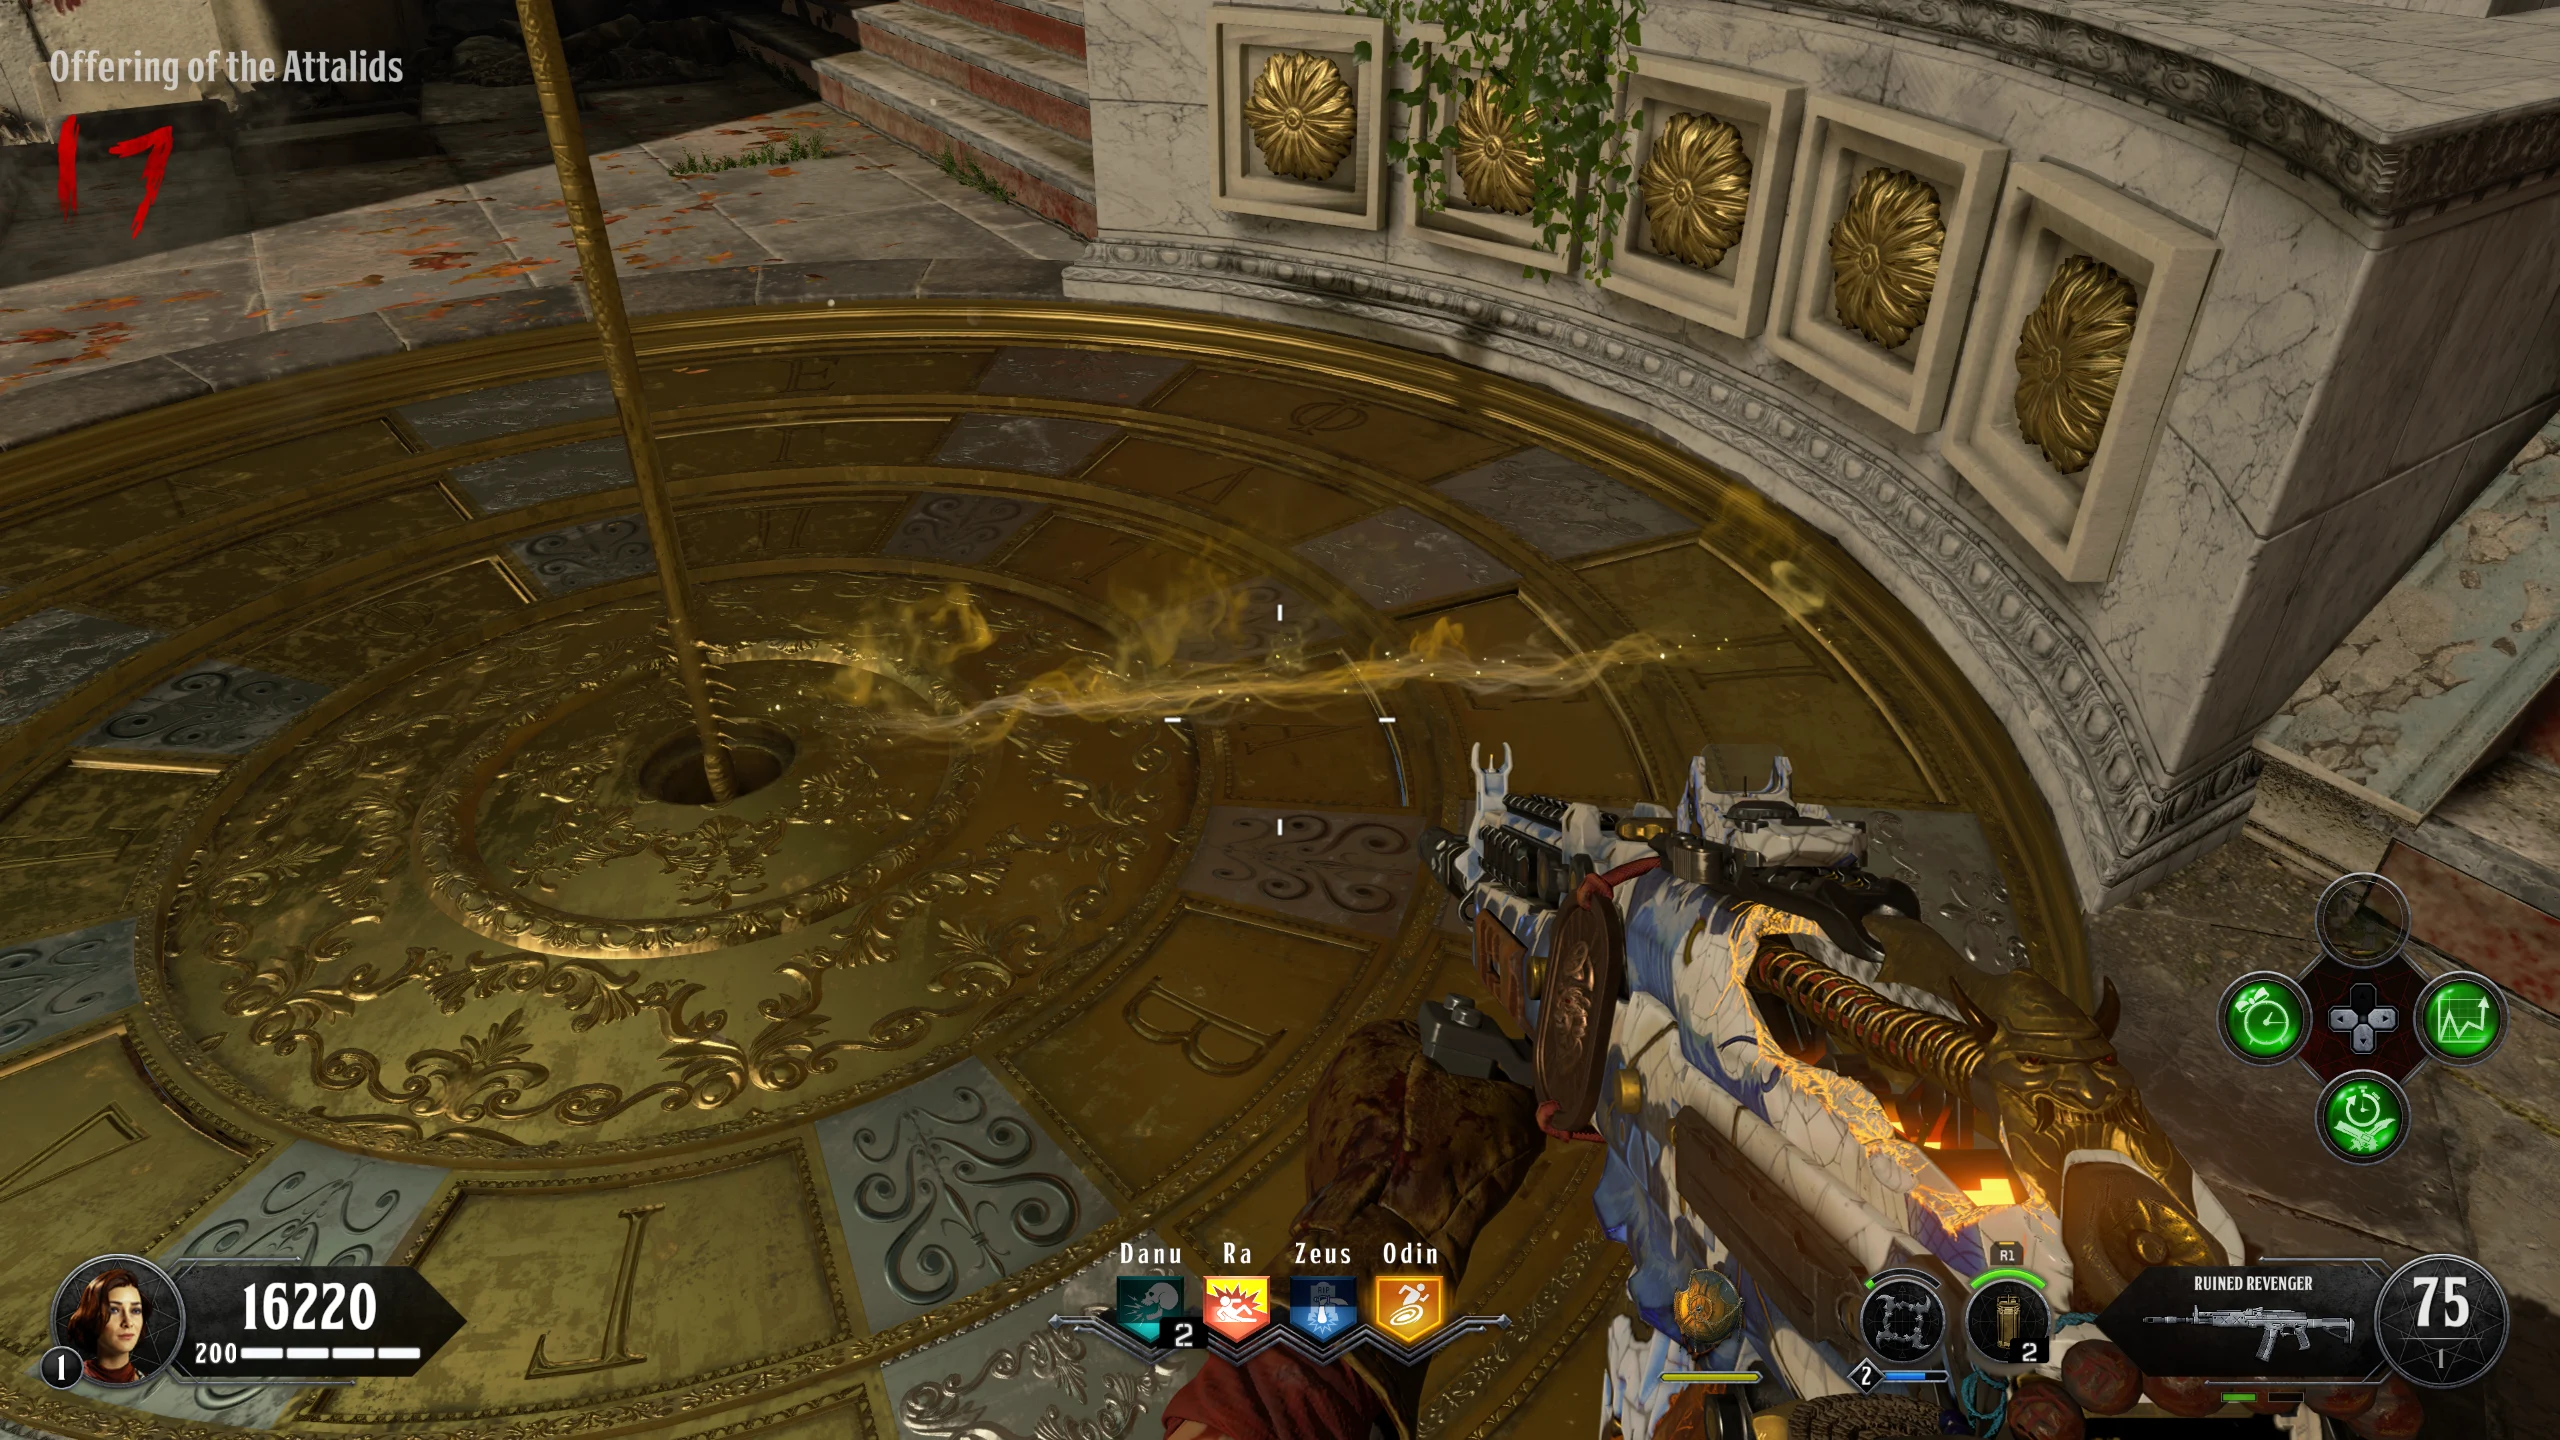
- In the 'Offering of the Attalids,' place the Golden Pole (dropped by the Gegenees spawned in step 12) in the Gold Sundial on the floor.
- Kill an Electric Catalyst while it's standing on the Sundial to activate it. This will cause one of the "windows" to open, revealing a rotating dial with symbols, one of which is blue.
- You must stop the dial when the blue symbol is underneath the Glowing Line by interacting with the Golden Pole. Based on the number of positions from the open window to the line, you will have to "guess" when to stop the dial.
- This must be repeated, from step 15, two more times for the other two dials.
- If you fail, the screen will flash white, and you can retry immediately from step 15.
- Interact with the Ra perk statue to give him the Ankh.
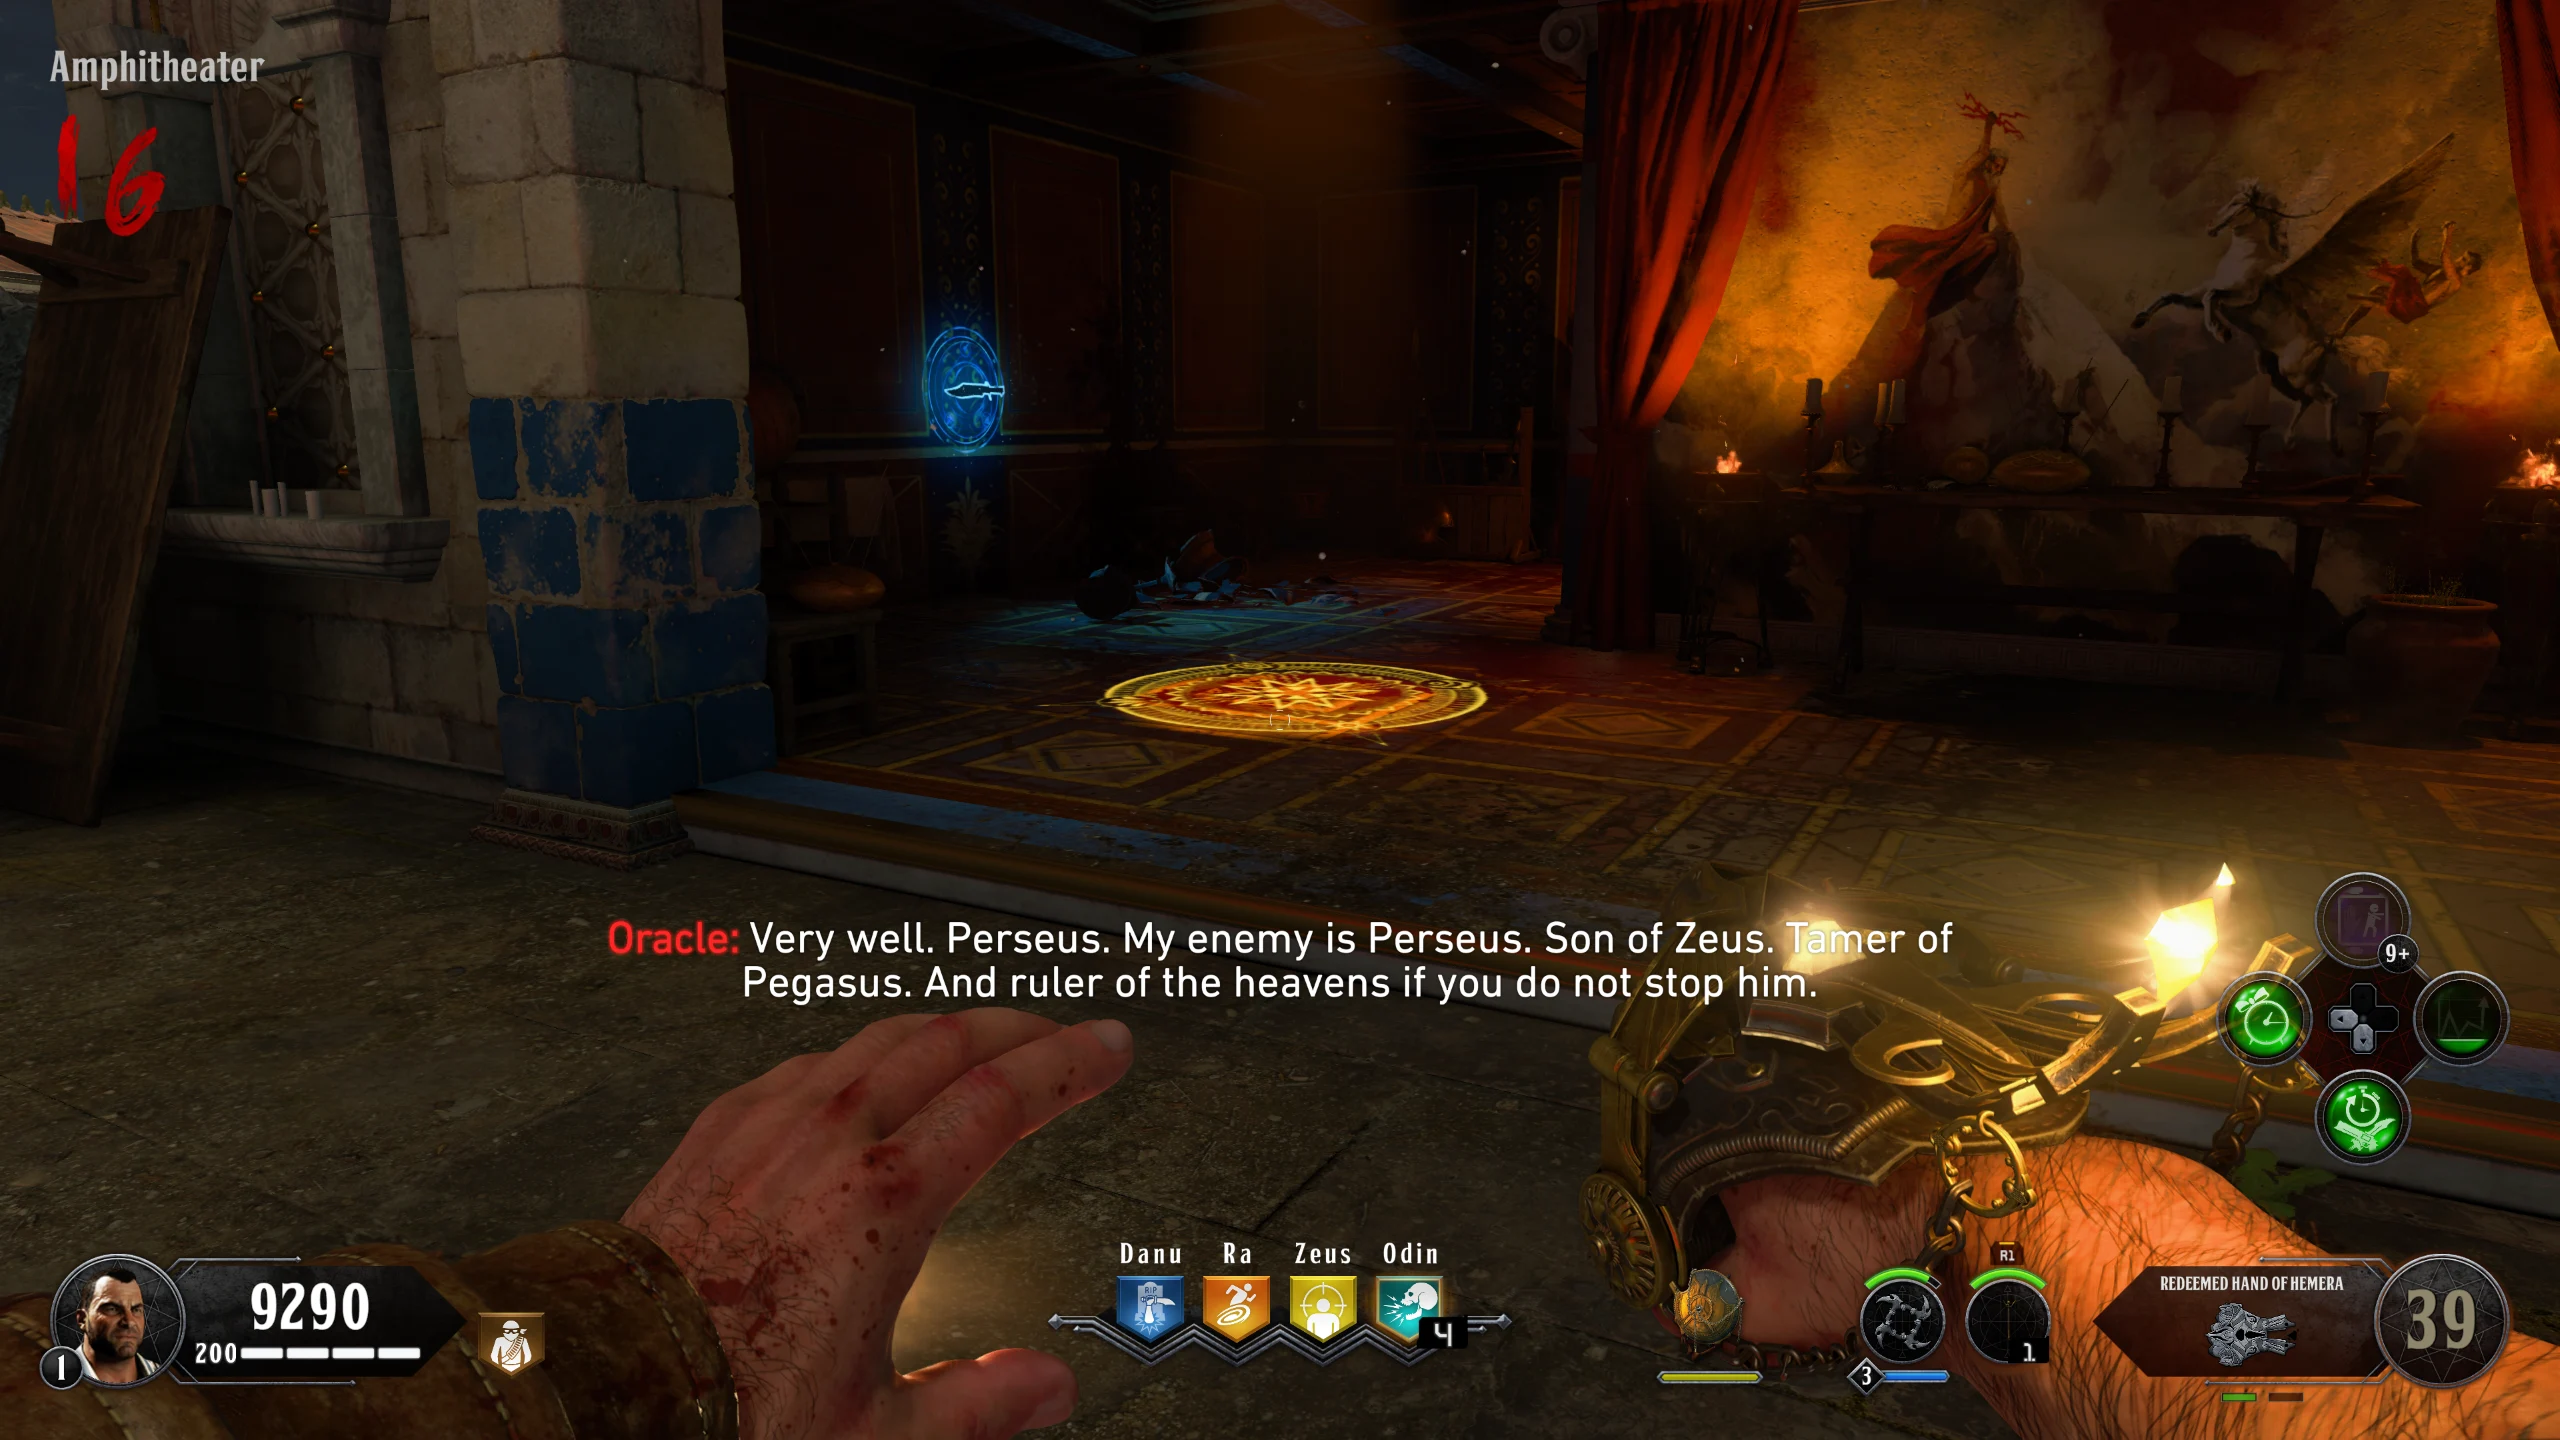
- Obtain the Redeemed Hand of Hemera (Required) and the Pegasus Strike (Recommended)
- While holding the Redeemed Hand of Hemera, interact with the statue of Ra to give it to him. This will cause a beam to fire at the wall on the other side of the room. You must defend the beam from skeletons, who will try to stand in front of the beam on either side of the pool, blocking it. If the beam is blocked for long enough (~5-10 seconds total), Ra will stop shooting the beam and you will fail.
- Infinite Zombies and Blightfathers will also start spawning.
- If you have the Pegasus Strike, place it down just outside the room, by the 'Intersections of Treasuries.'
- If you fail to defend the beam, the Hand of Hemera will respawn at its shrine, where you can pick it up and try again.
- Once the beam has been defended for long enough, the wall it was targeting will break away to reveal the Scepter of Ra. Pick up the Scepter and give it to the Statue of Ra.
Hit Your Marks
- All players must obtain a Redeemed Hand Weapon. Once all players have a Redeemed Hand, navigate to the 'Amphitheater' and stand on the glowing circles on the floor corresponding to the colour of each player's God Hand. Once all players are standing in their circle (called "Home Circle" from now on), a minigame will start where the players must kill specific zombies using their God Hand. A detailed description of a round is below:
- Once the game has started, 1–4 glowing circles appear on the floor of the 'Amphitheater.' The corresponding player must run to their circle and stand on it. If a player doesn't have a circle to stand on, they should stay on the "Home Circle" and not move.
- While a player is standing on the new circle, Zombies matching the colour of that player's Hand will spawn in the stands or on the floor. Zombies in the stands must be killed with a regular shot; Zombies on the floor with a charged shot. You can move around to get a better angle if needed.
- Once the Zombies are killed, either the glowing circle moves somewhere else in the 'Amphitheater,' or the player's screen goes black and white. If the circle moves, run to it and repeat. If the screen goes black and white, run back to the "Home Circle."
- A round ends with all players' screens going black and white, and they are sent back to their "Home Circles."
- If a player doesn't kill their Zombies quickly enough or a player uses the incorrect attack, all players will fail that round. If the players fail three of the five rounds, the game will end and the players can retry the next round.
- If the players complete three of the five rounds successfully, the screen will flash white and the players will be rewarded with a Max Ammo power-up and several Free Points power-ups.
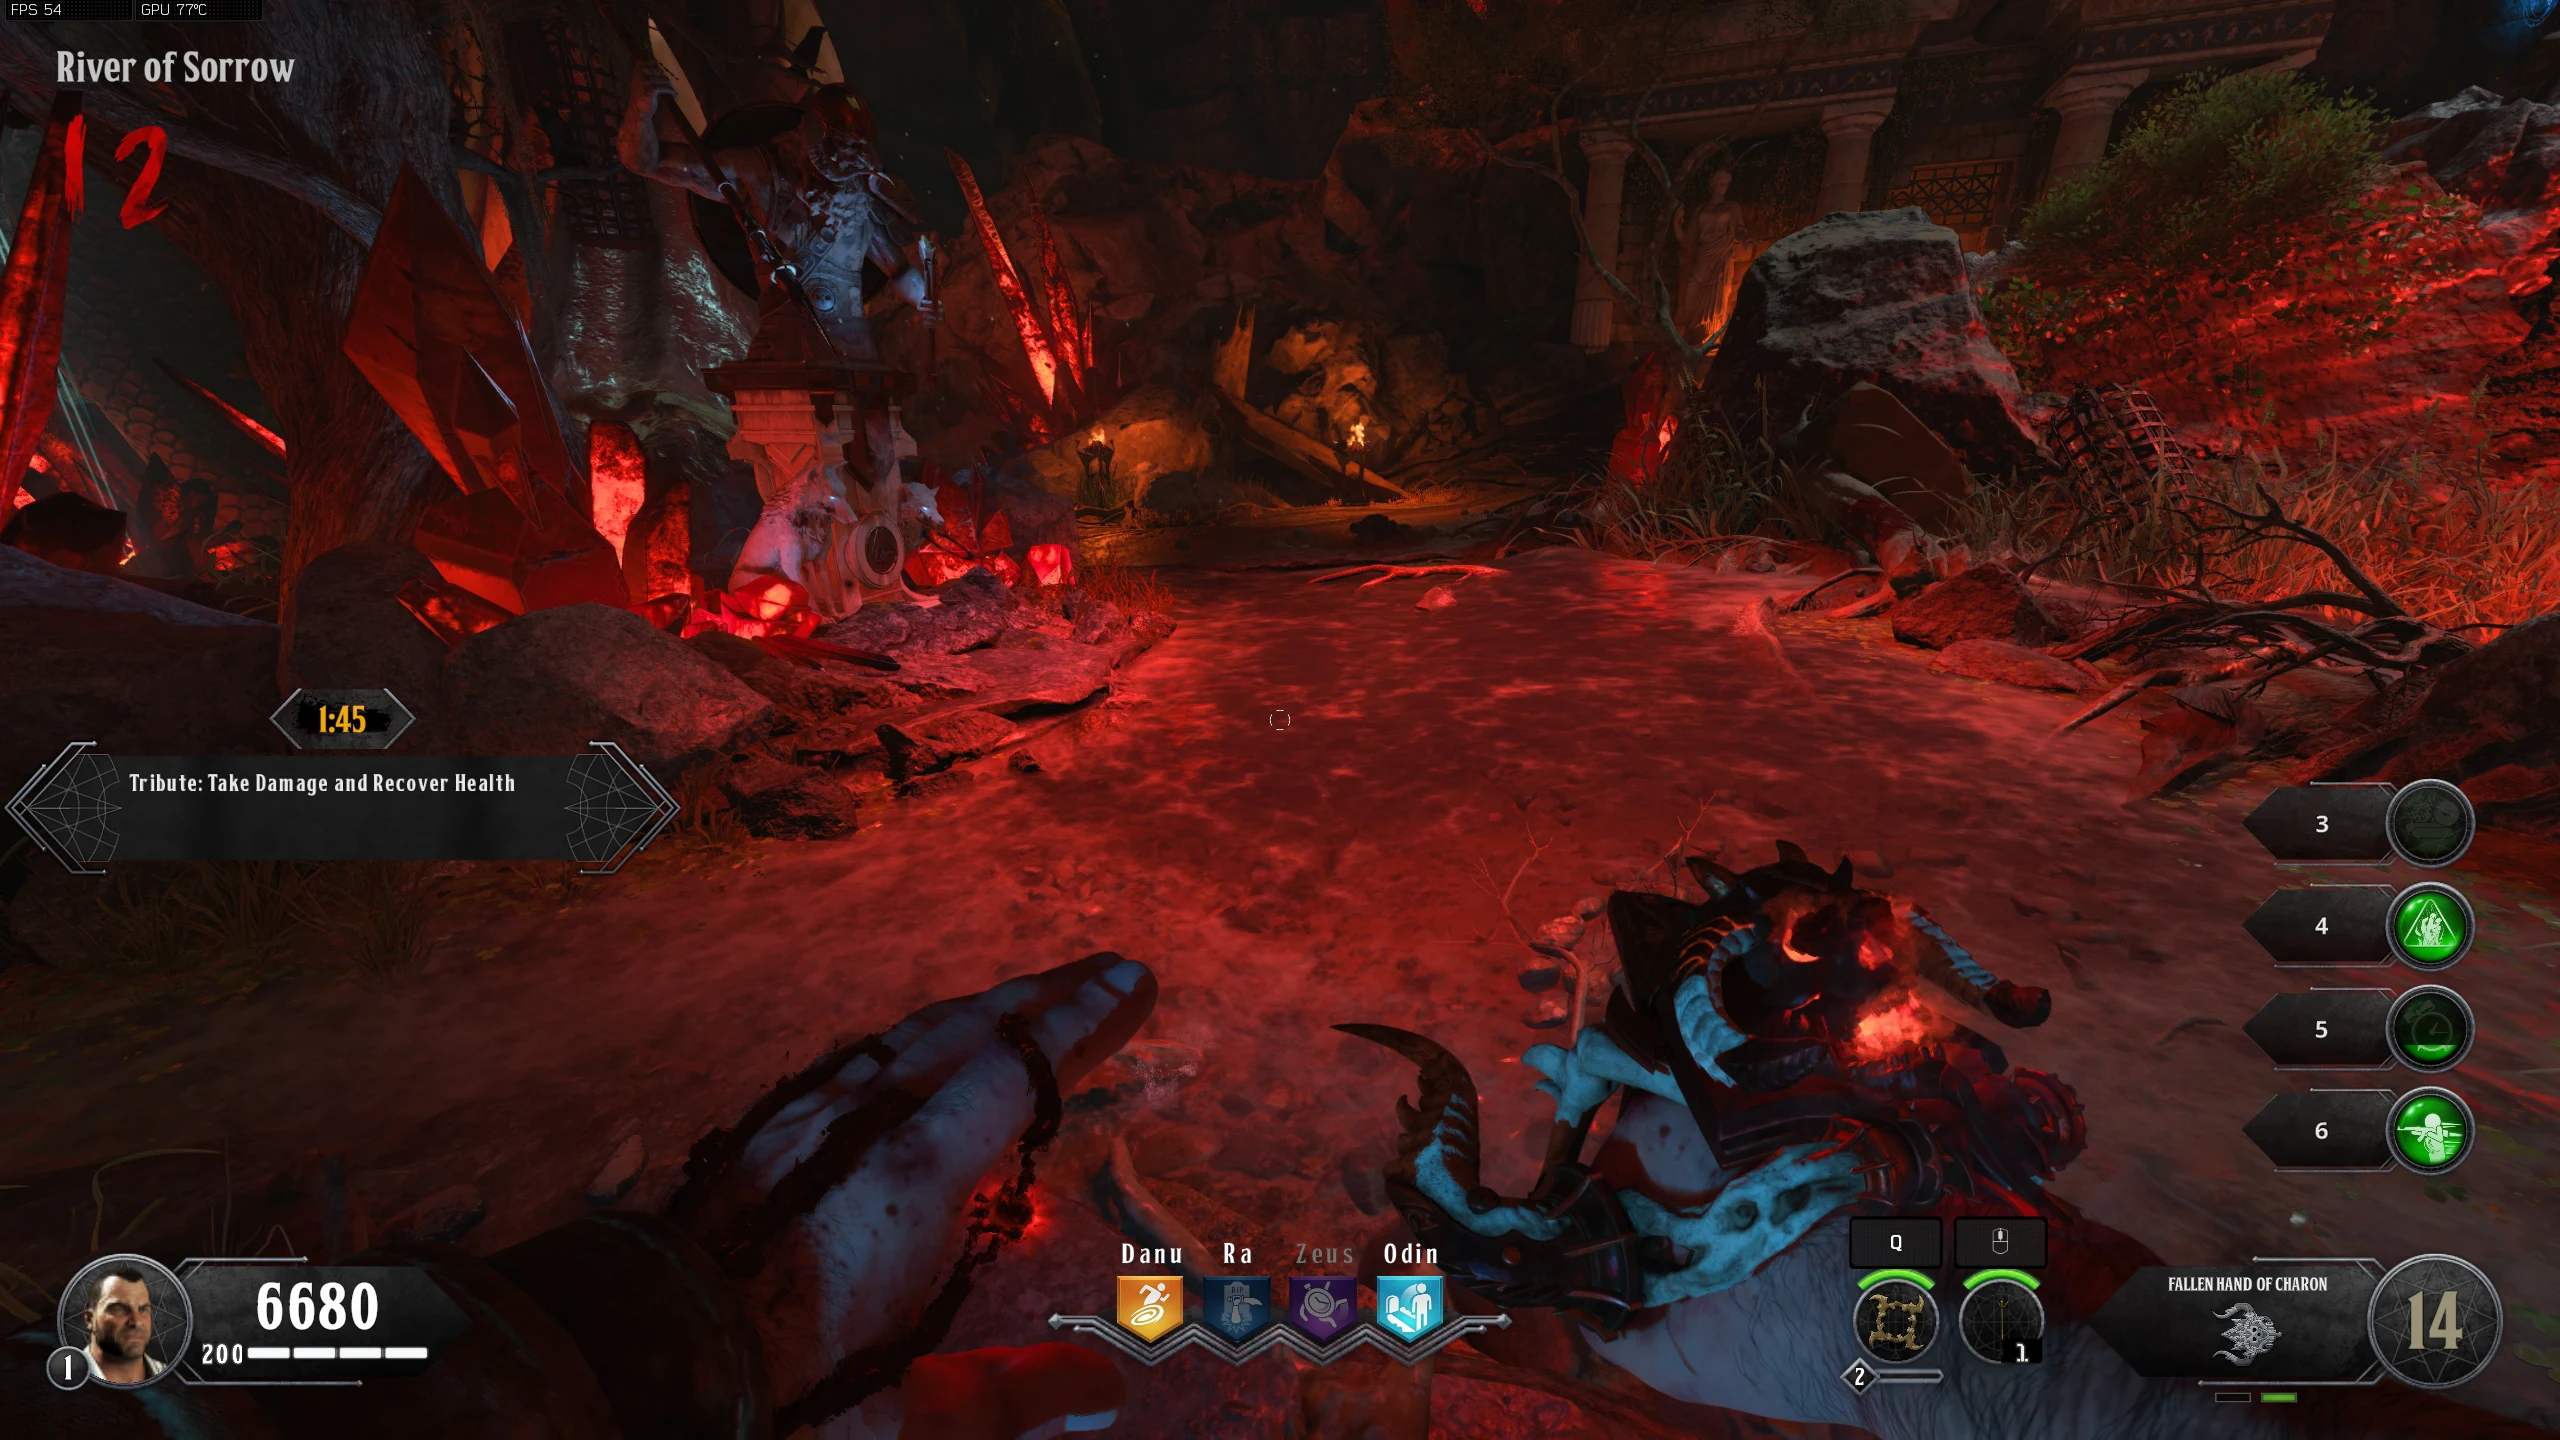
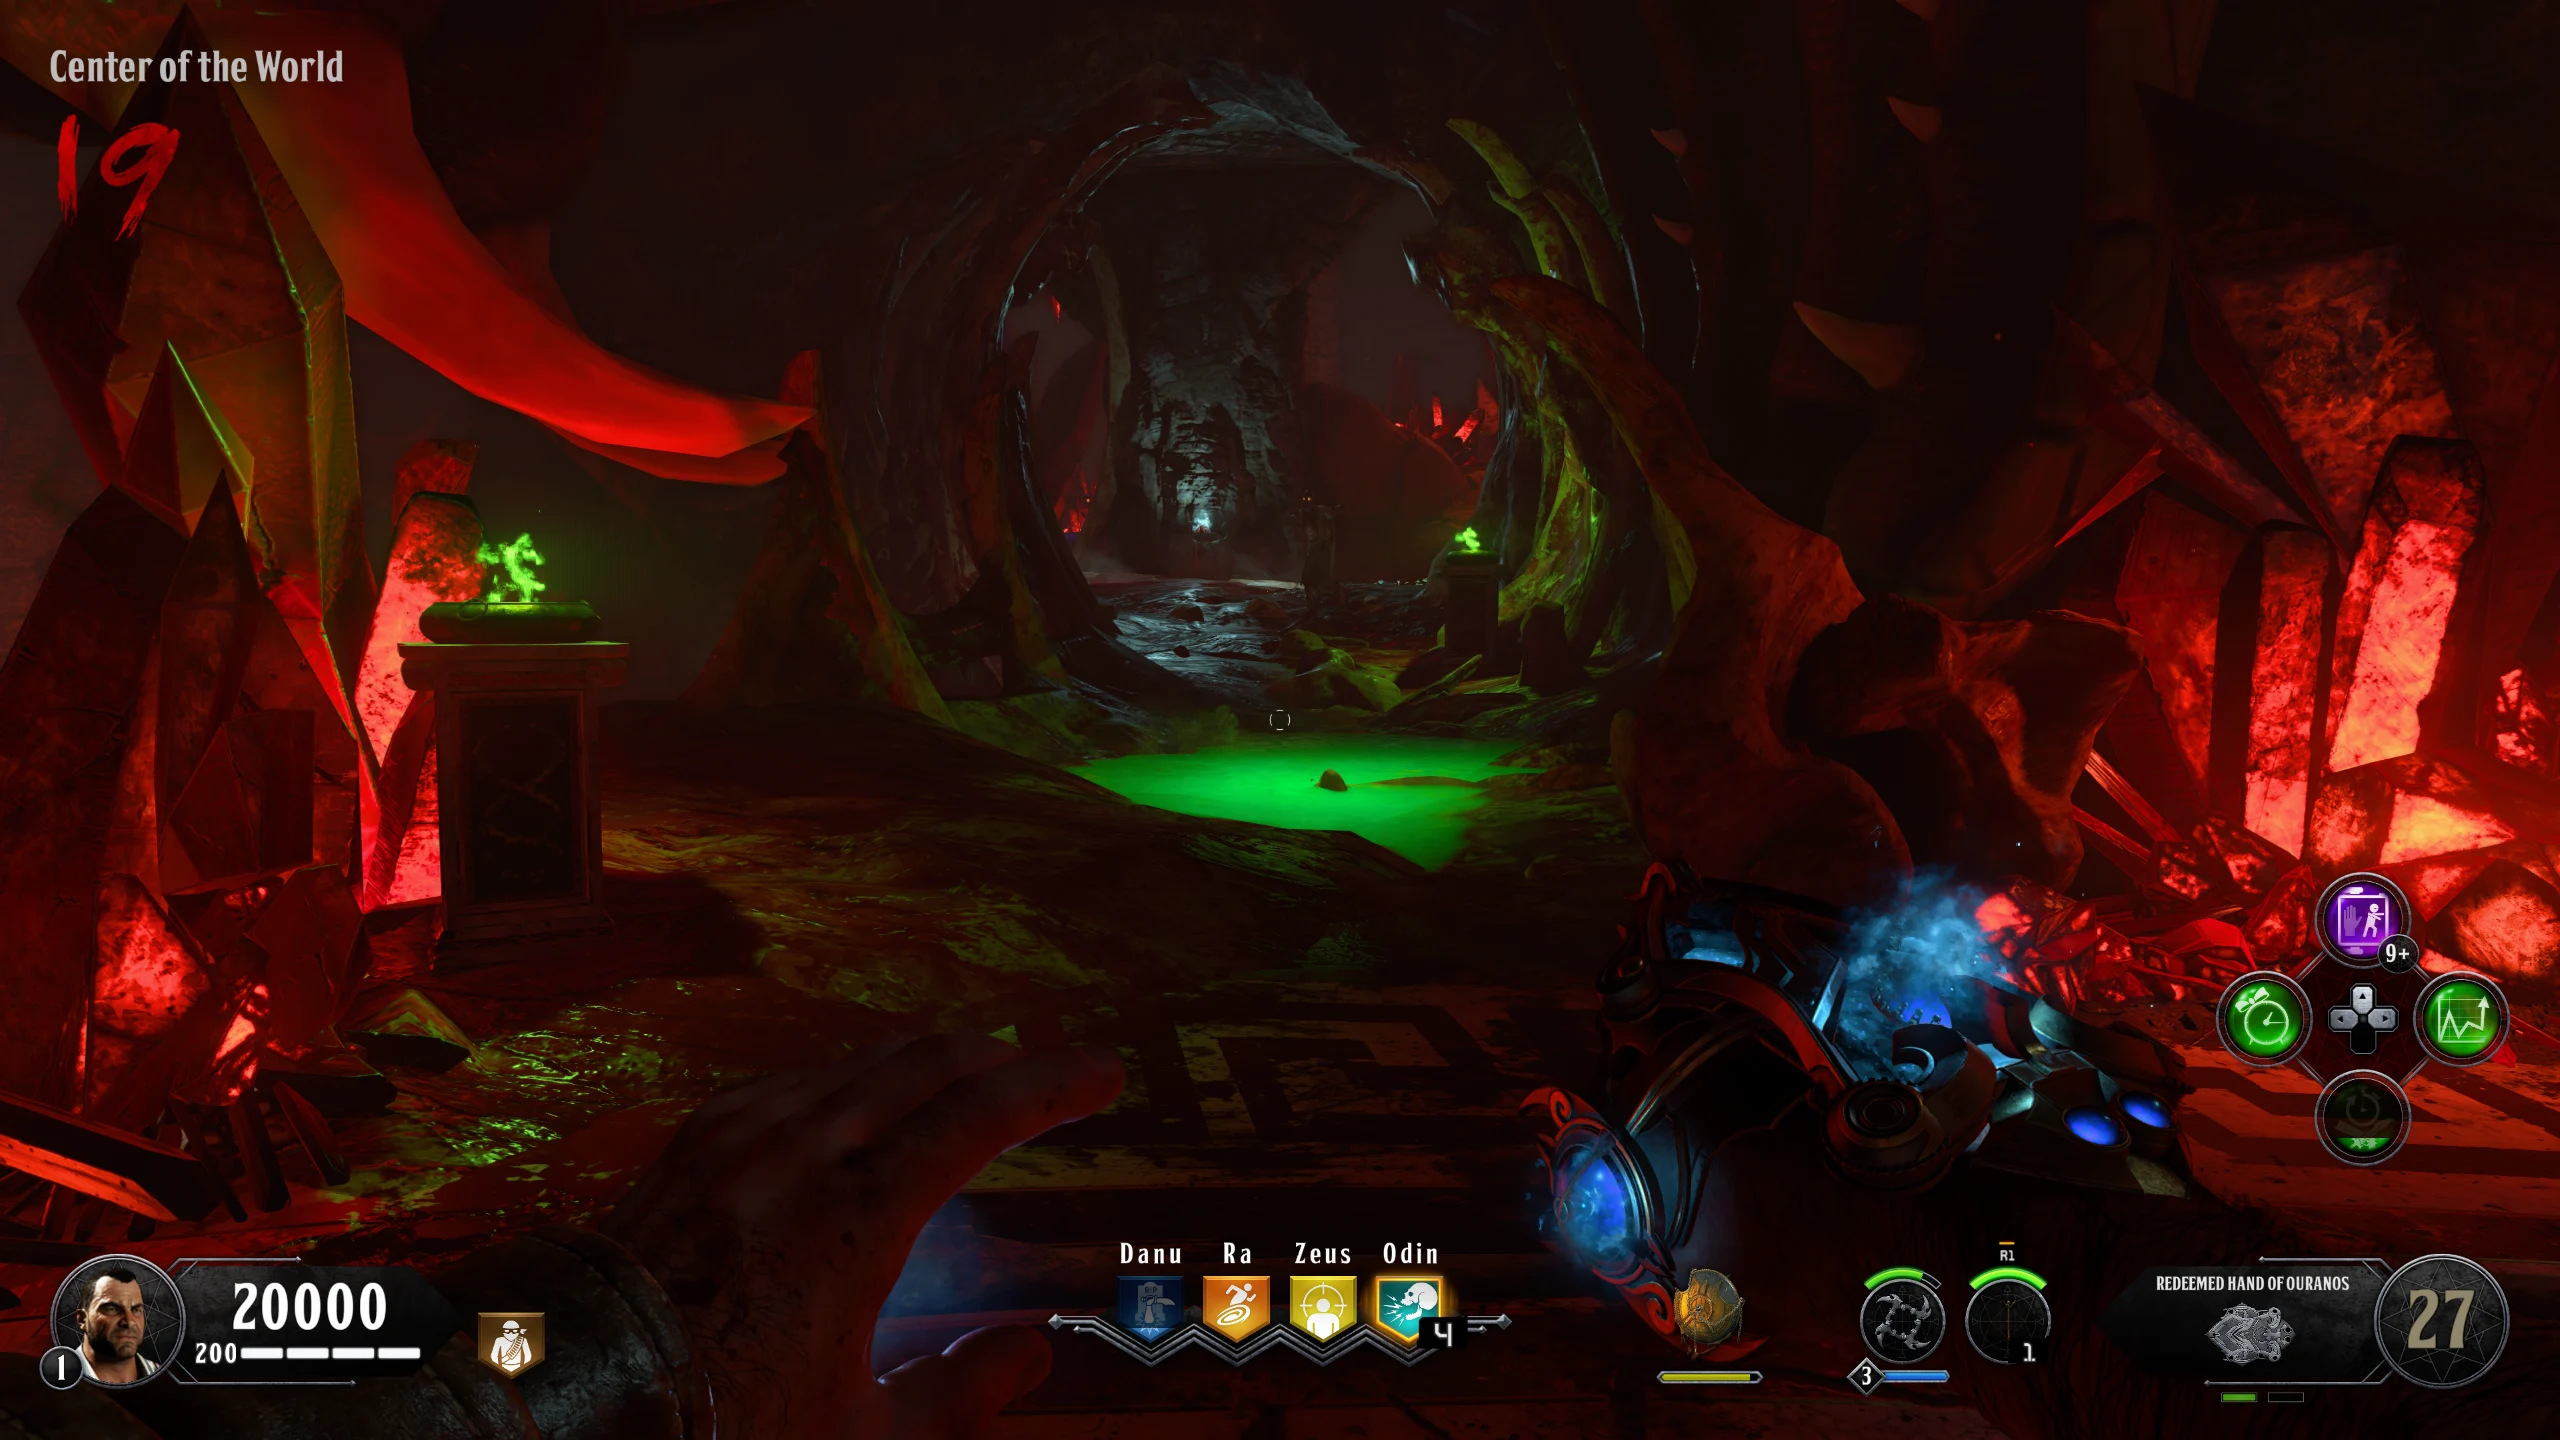
Cleanse the Center
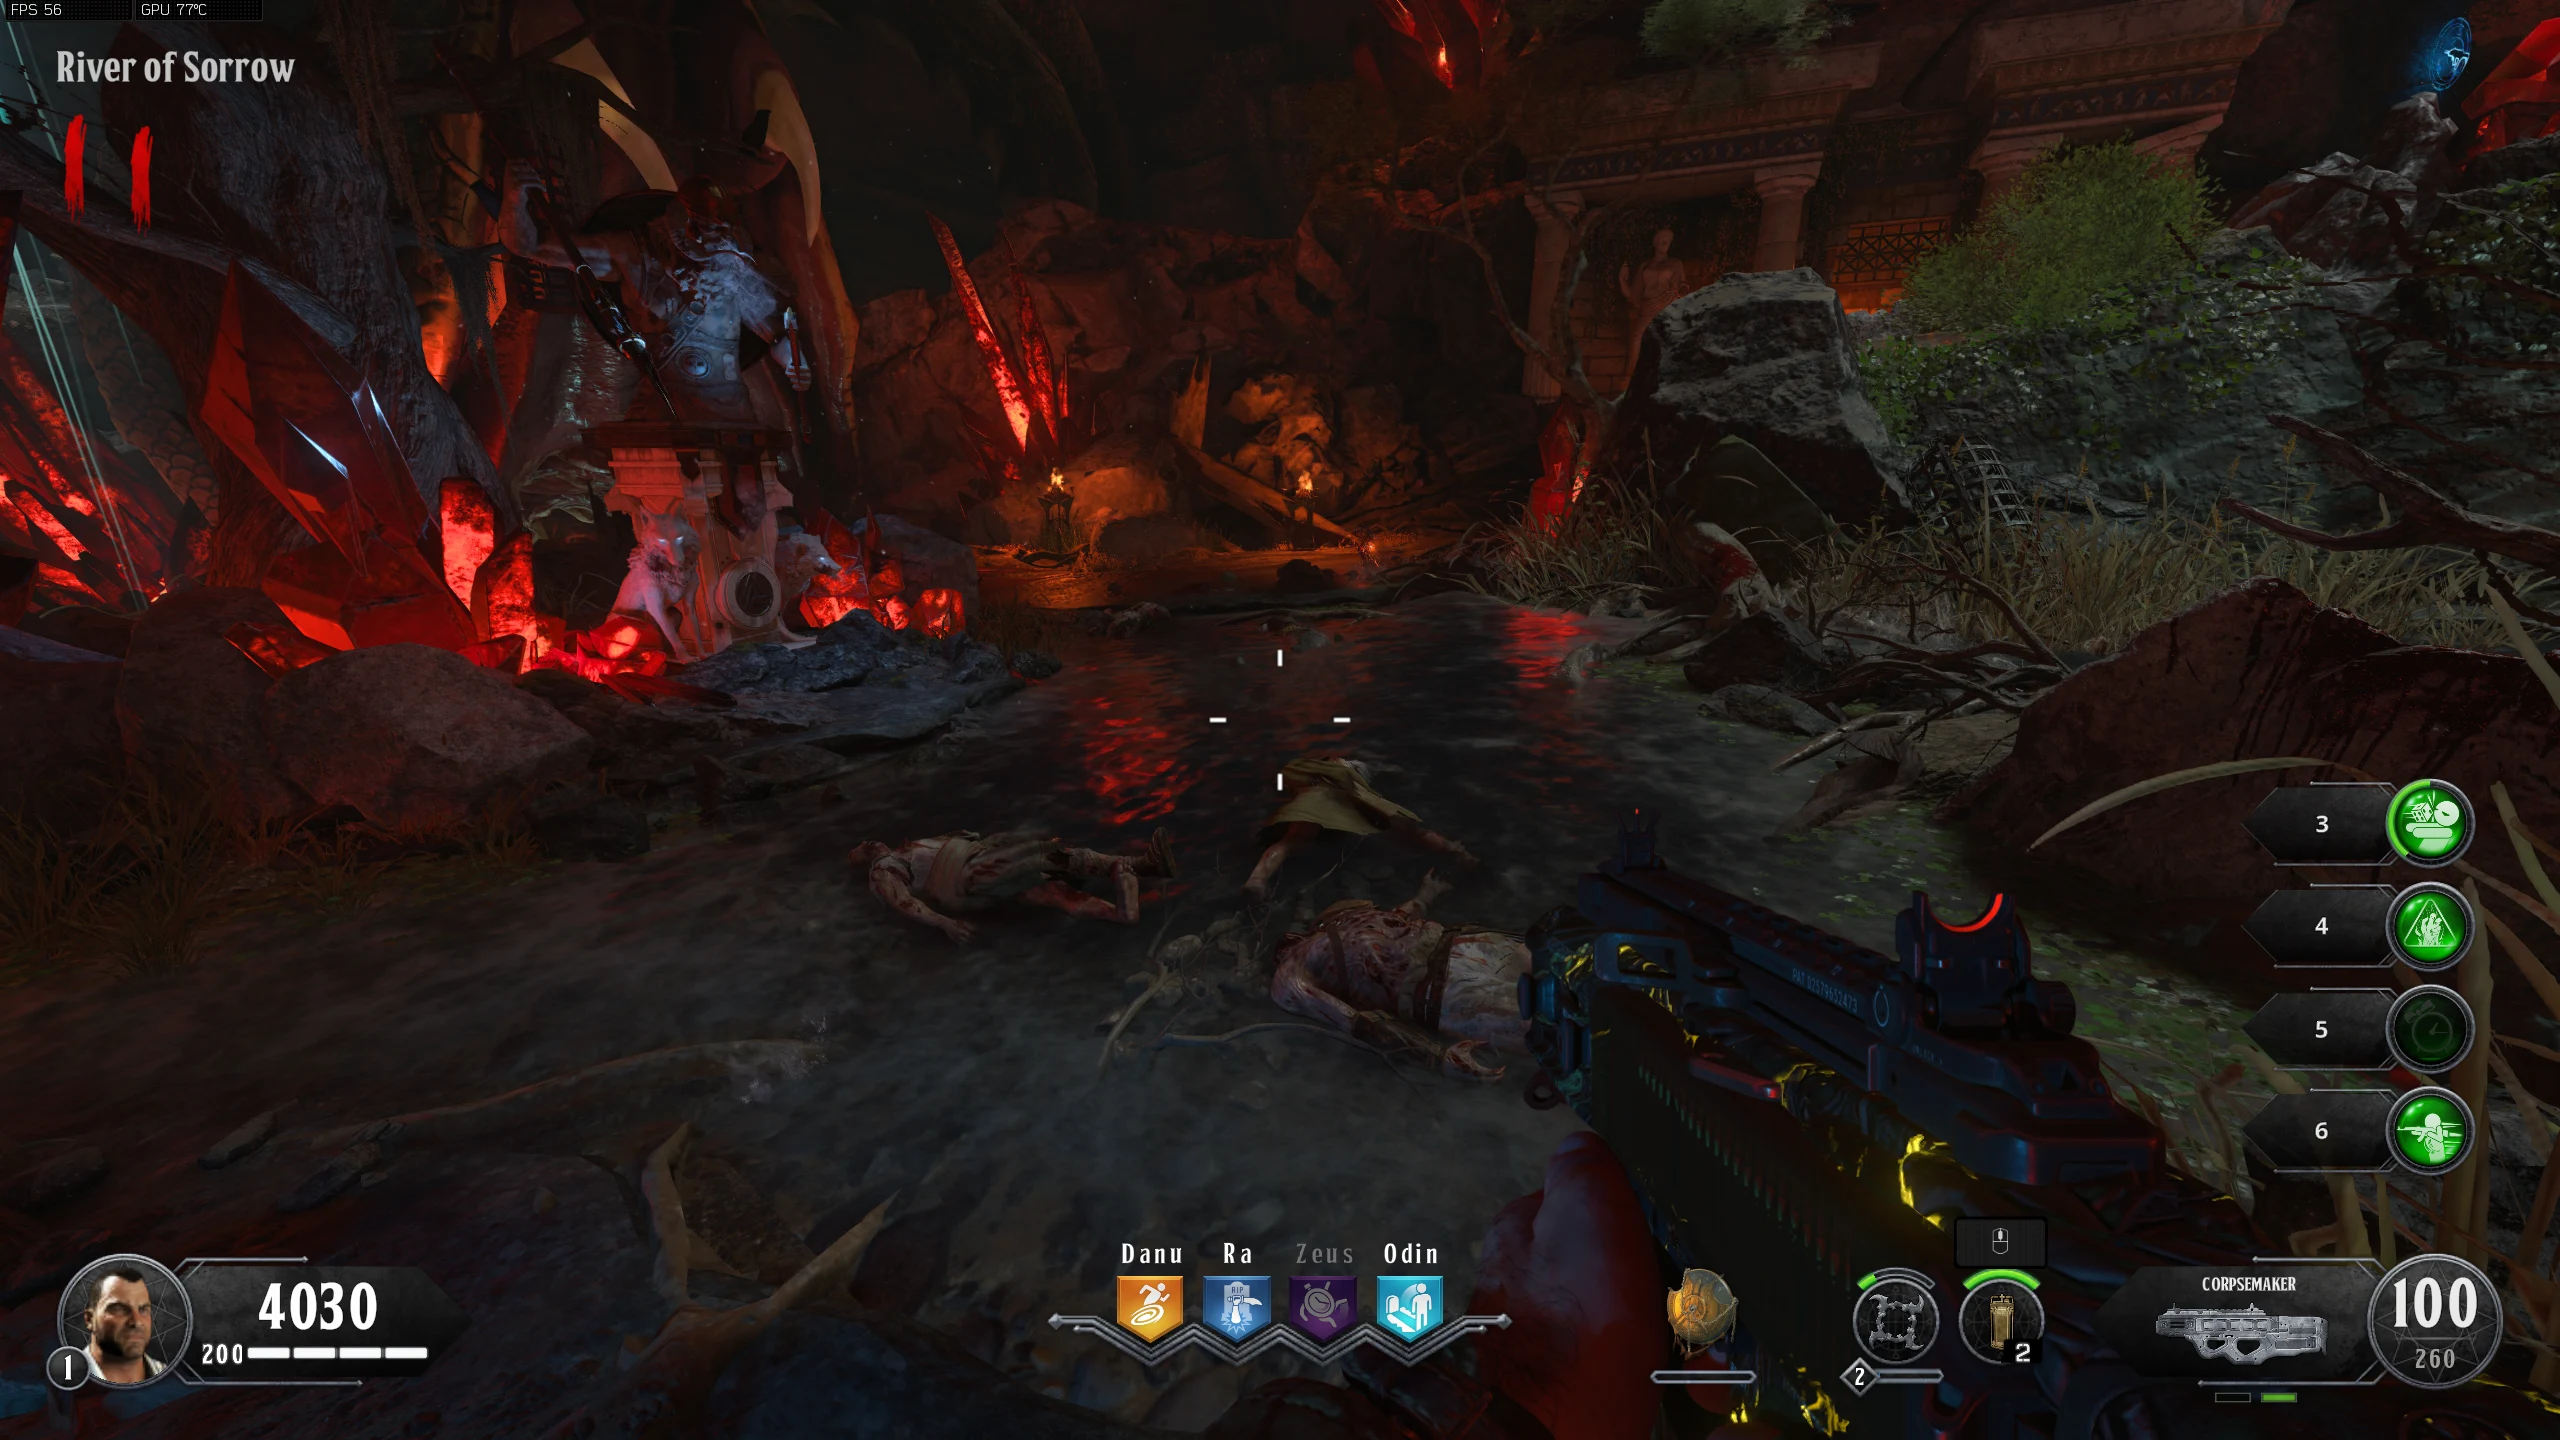
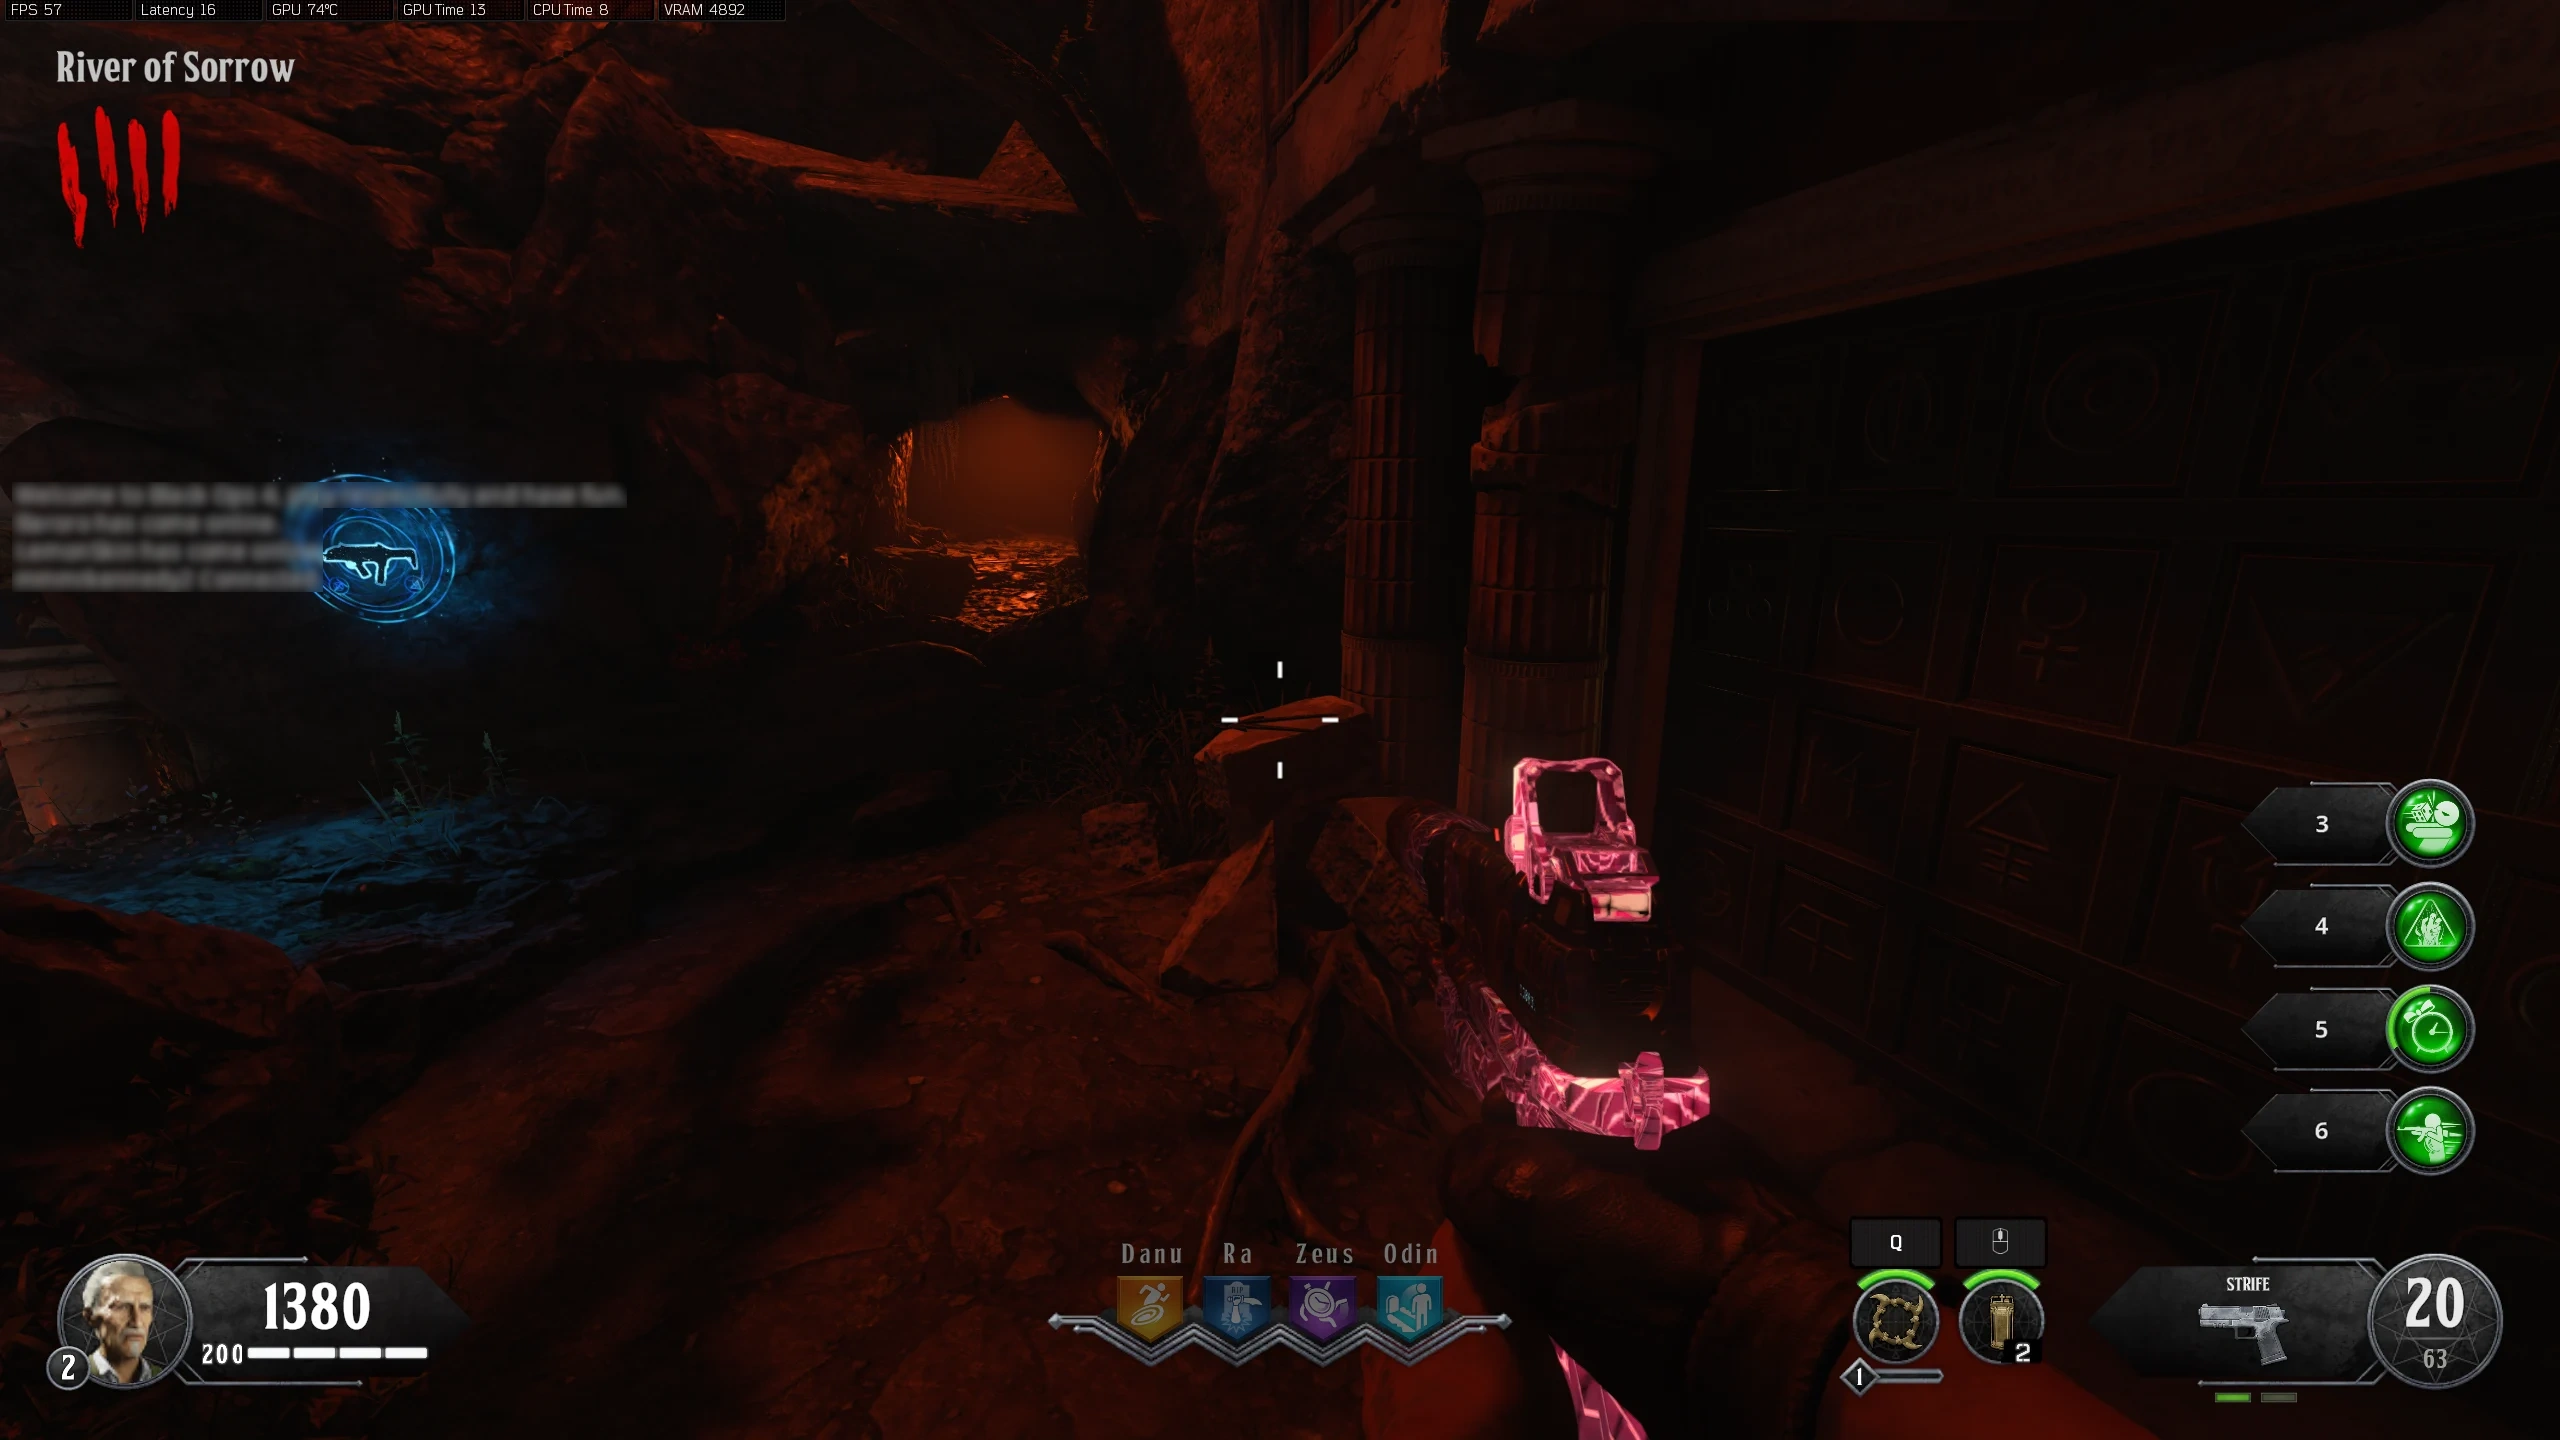
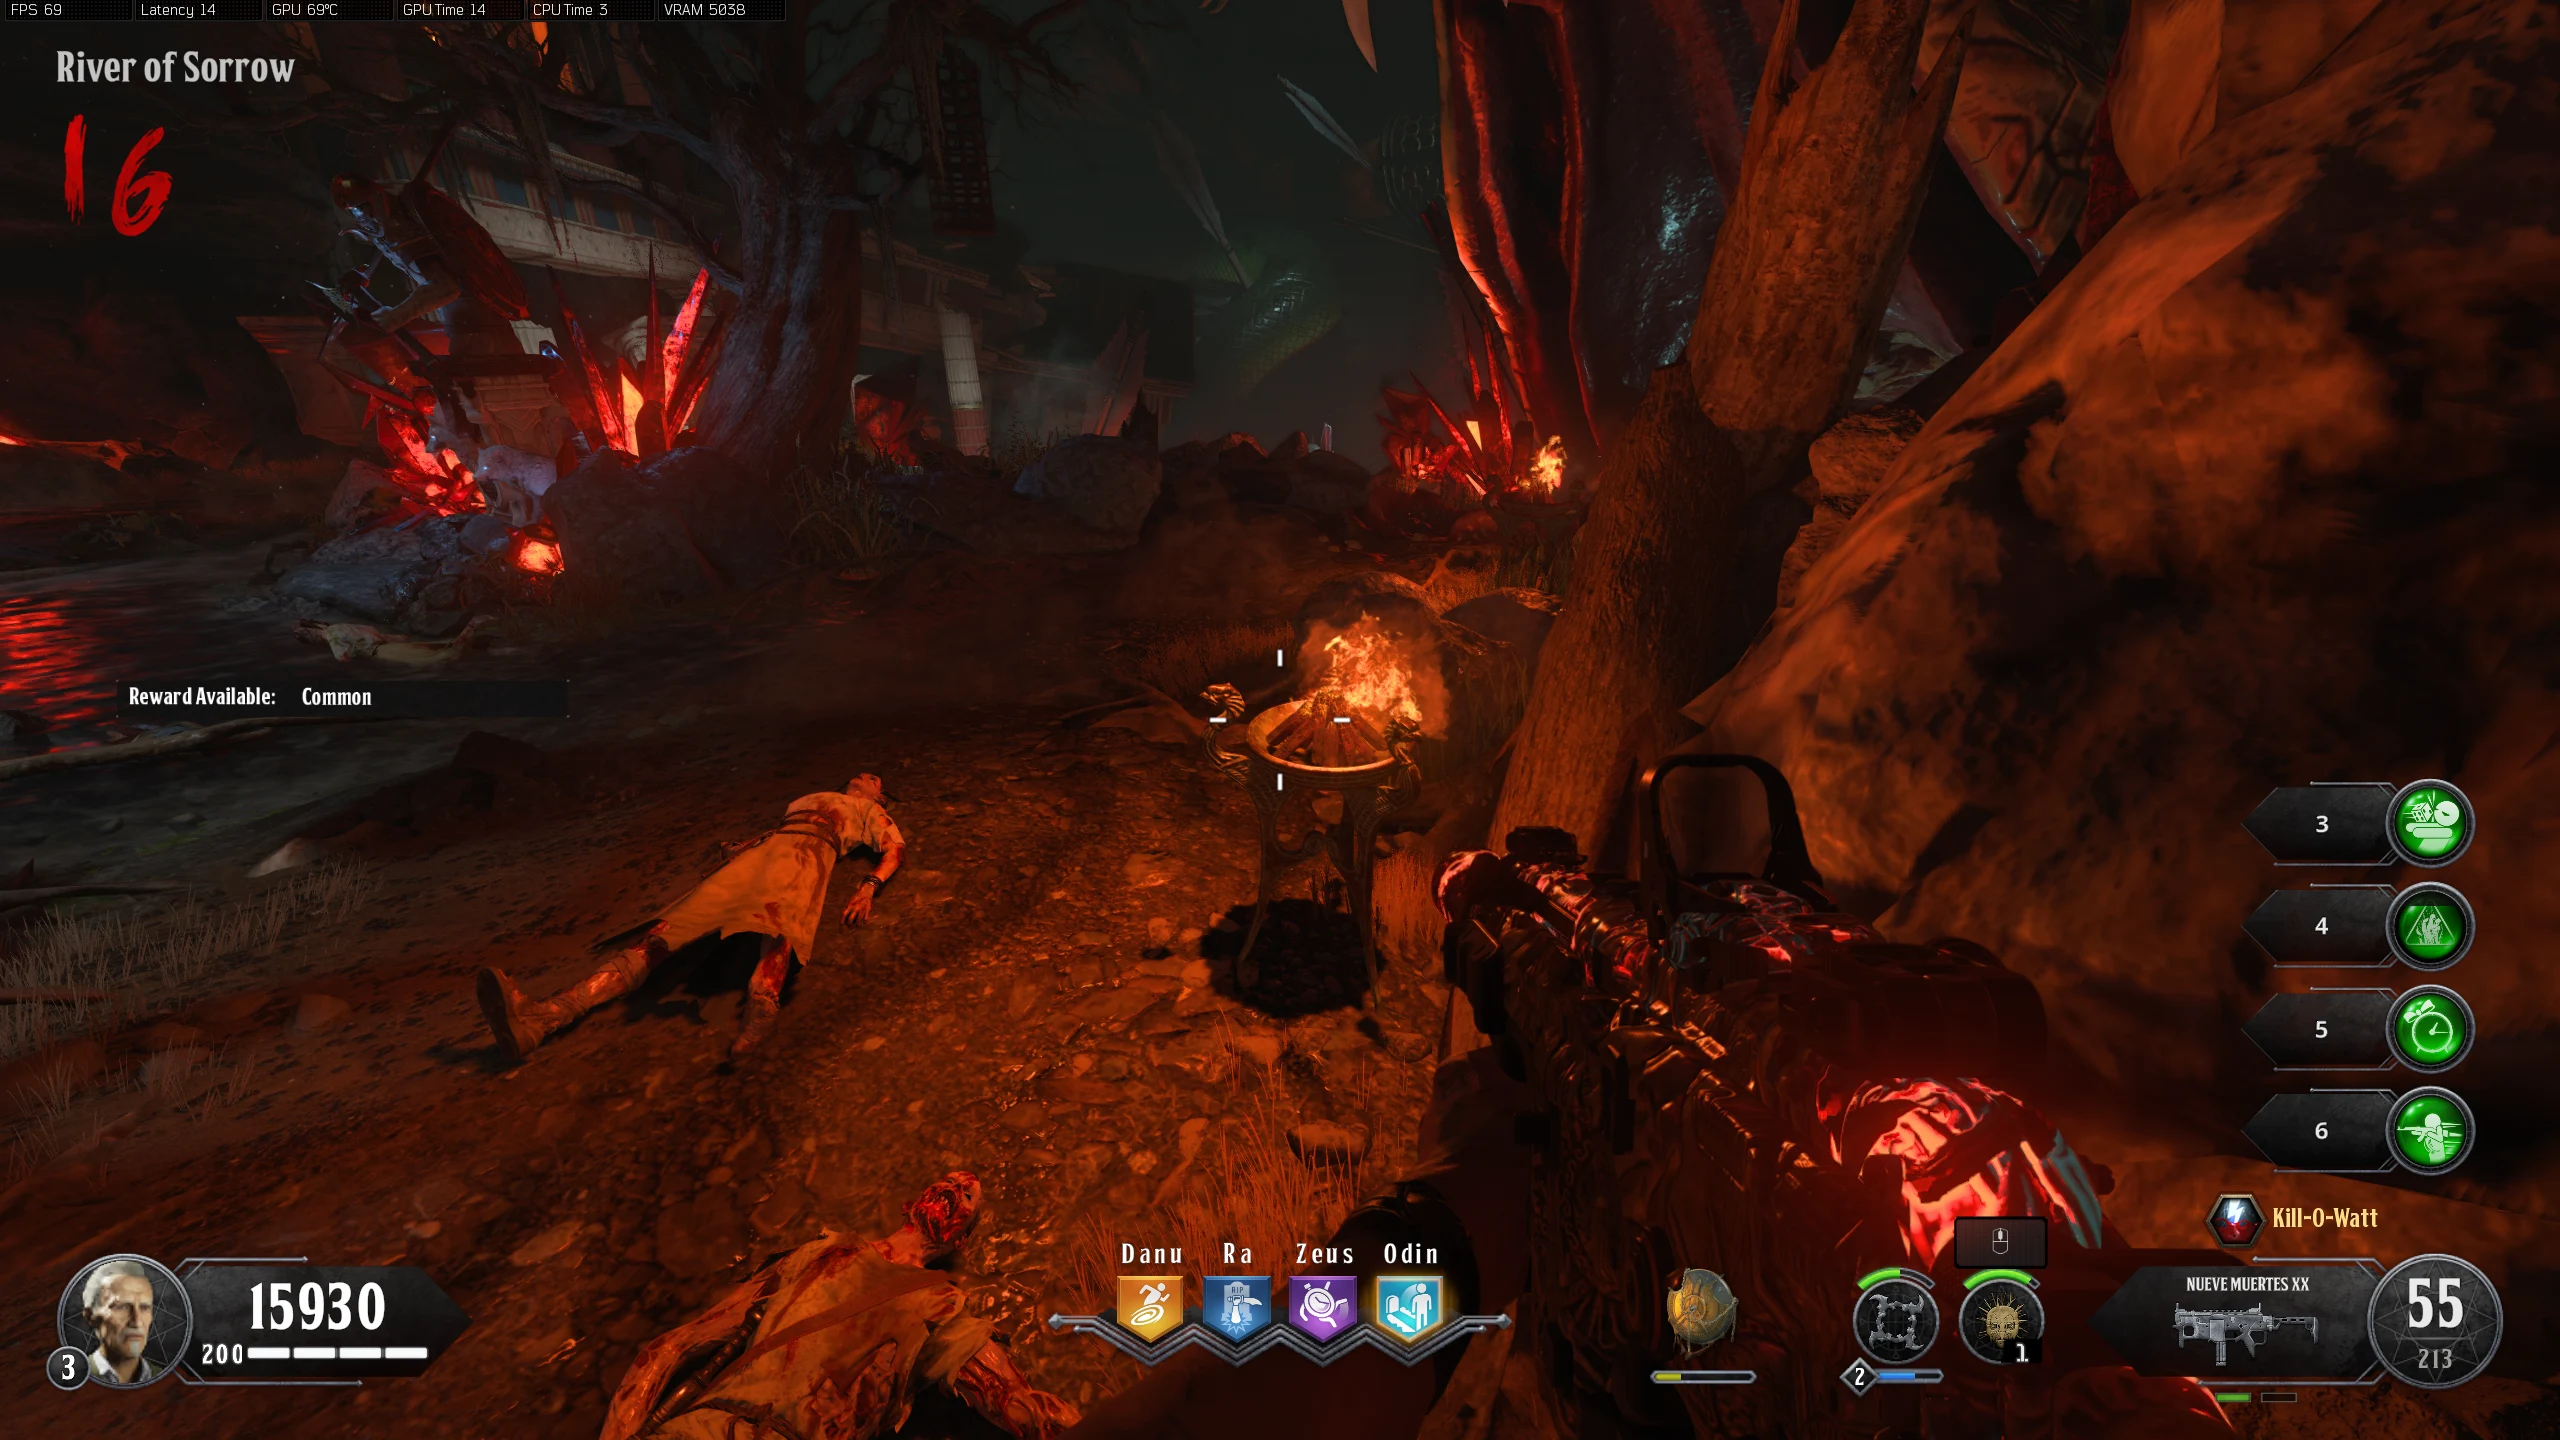
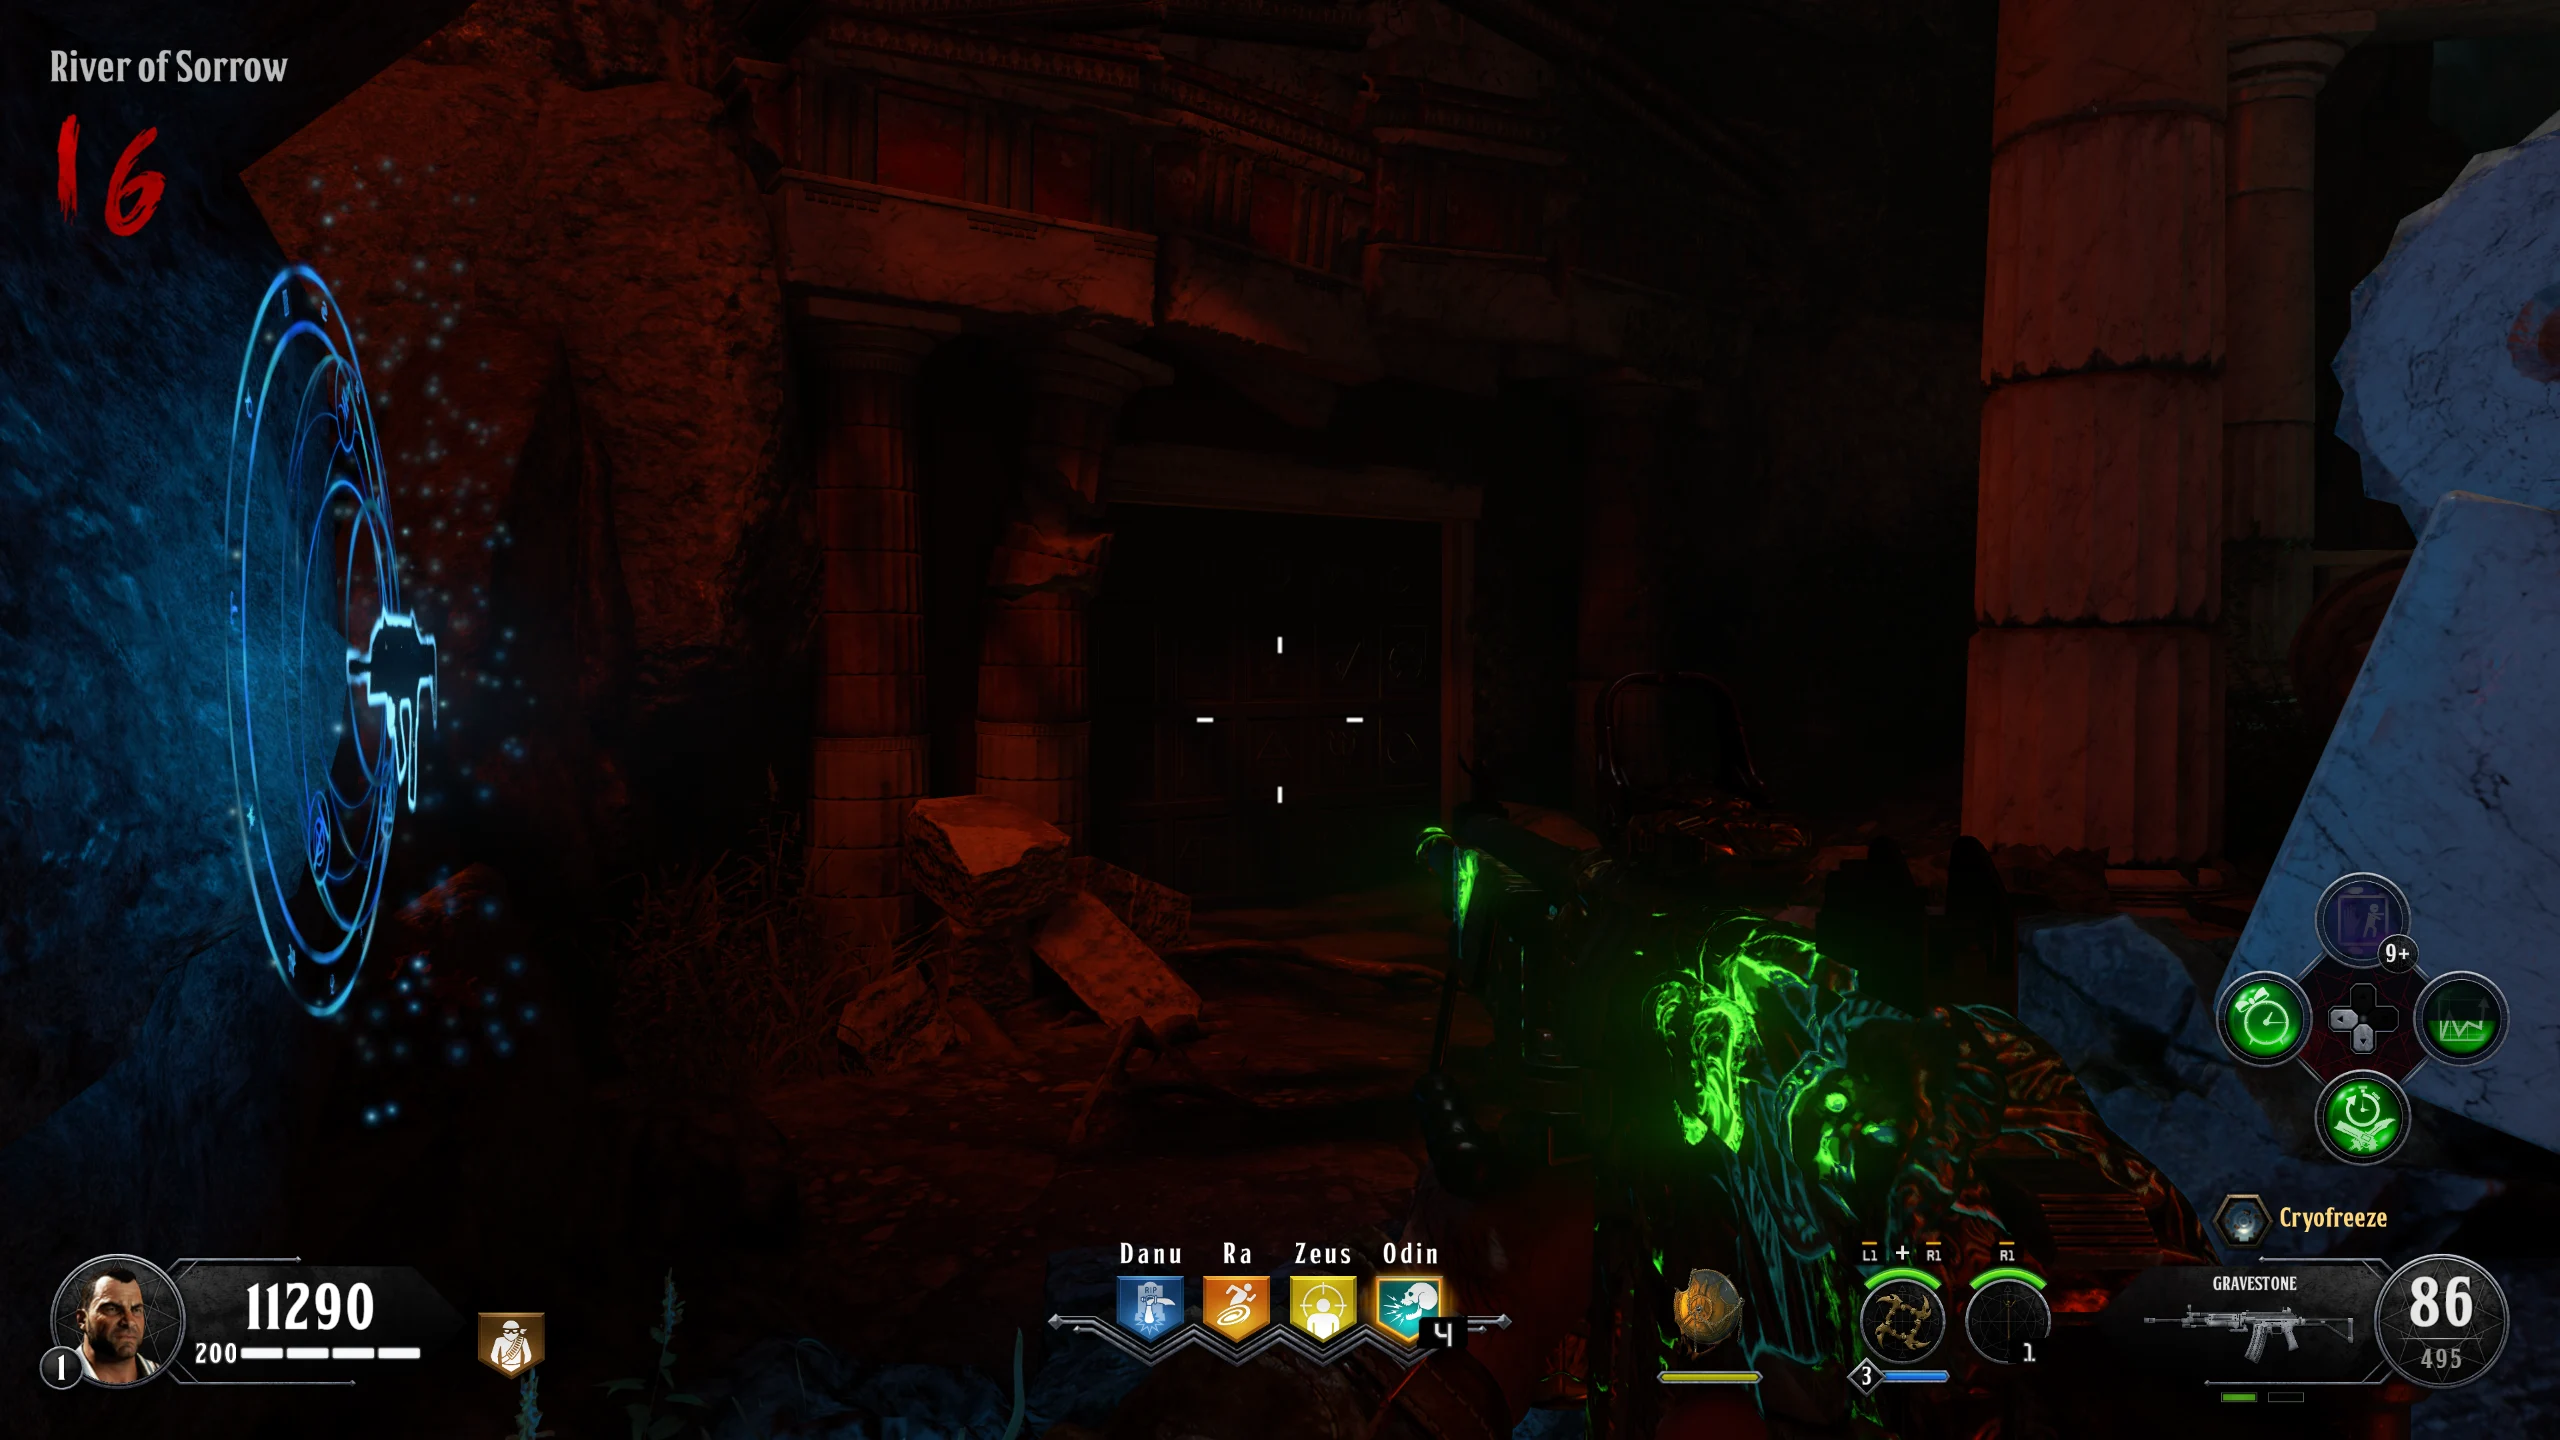
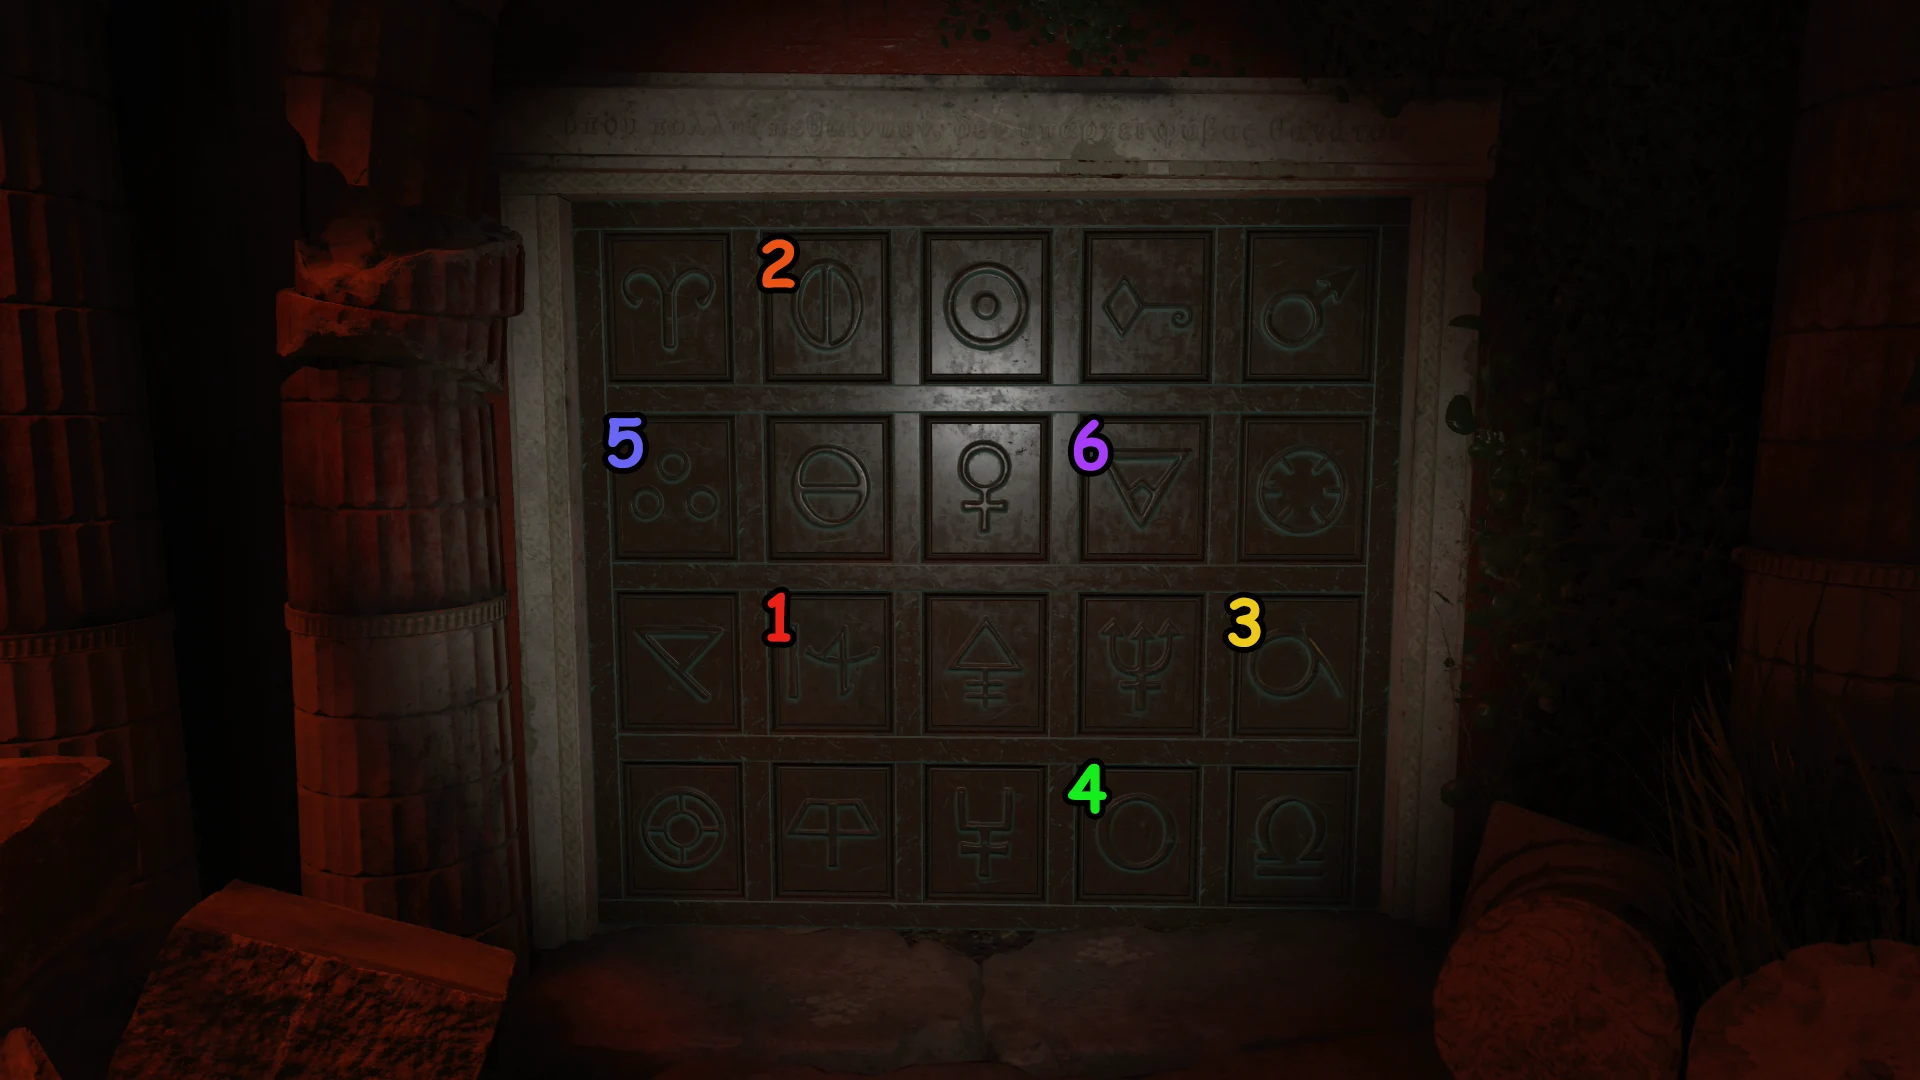
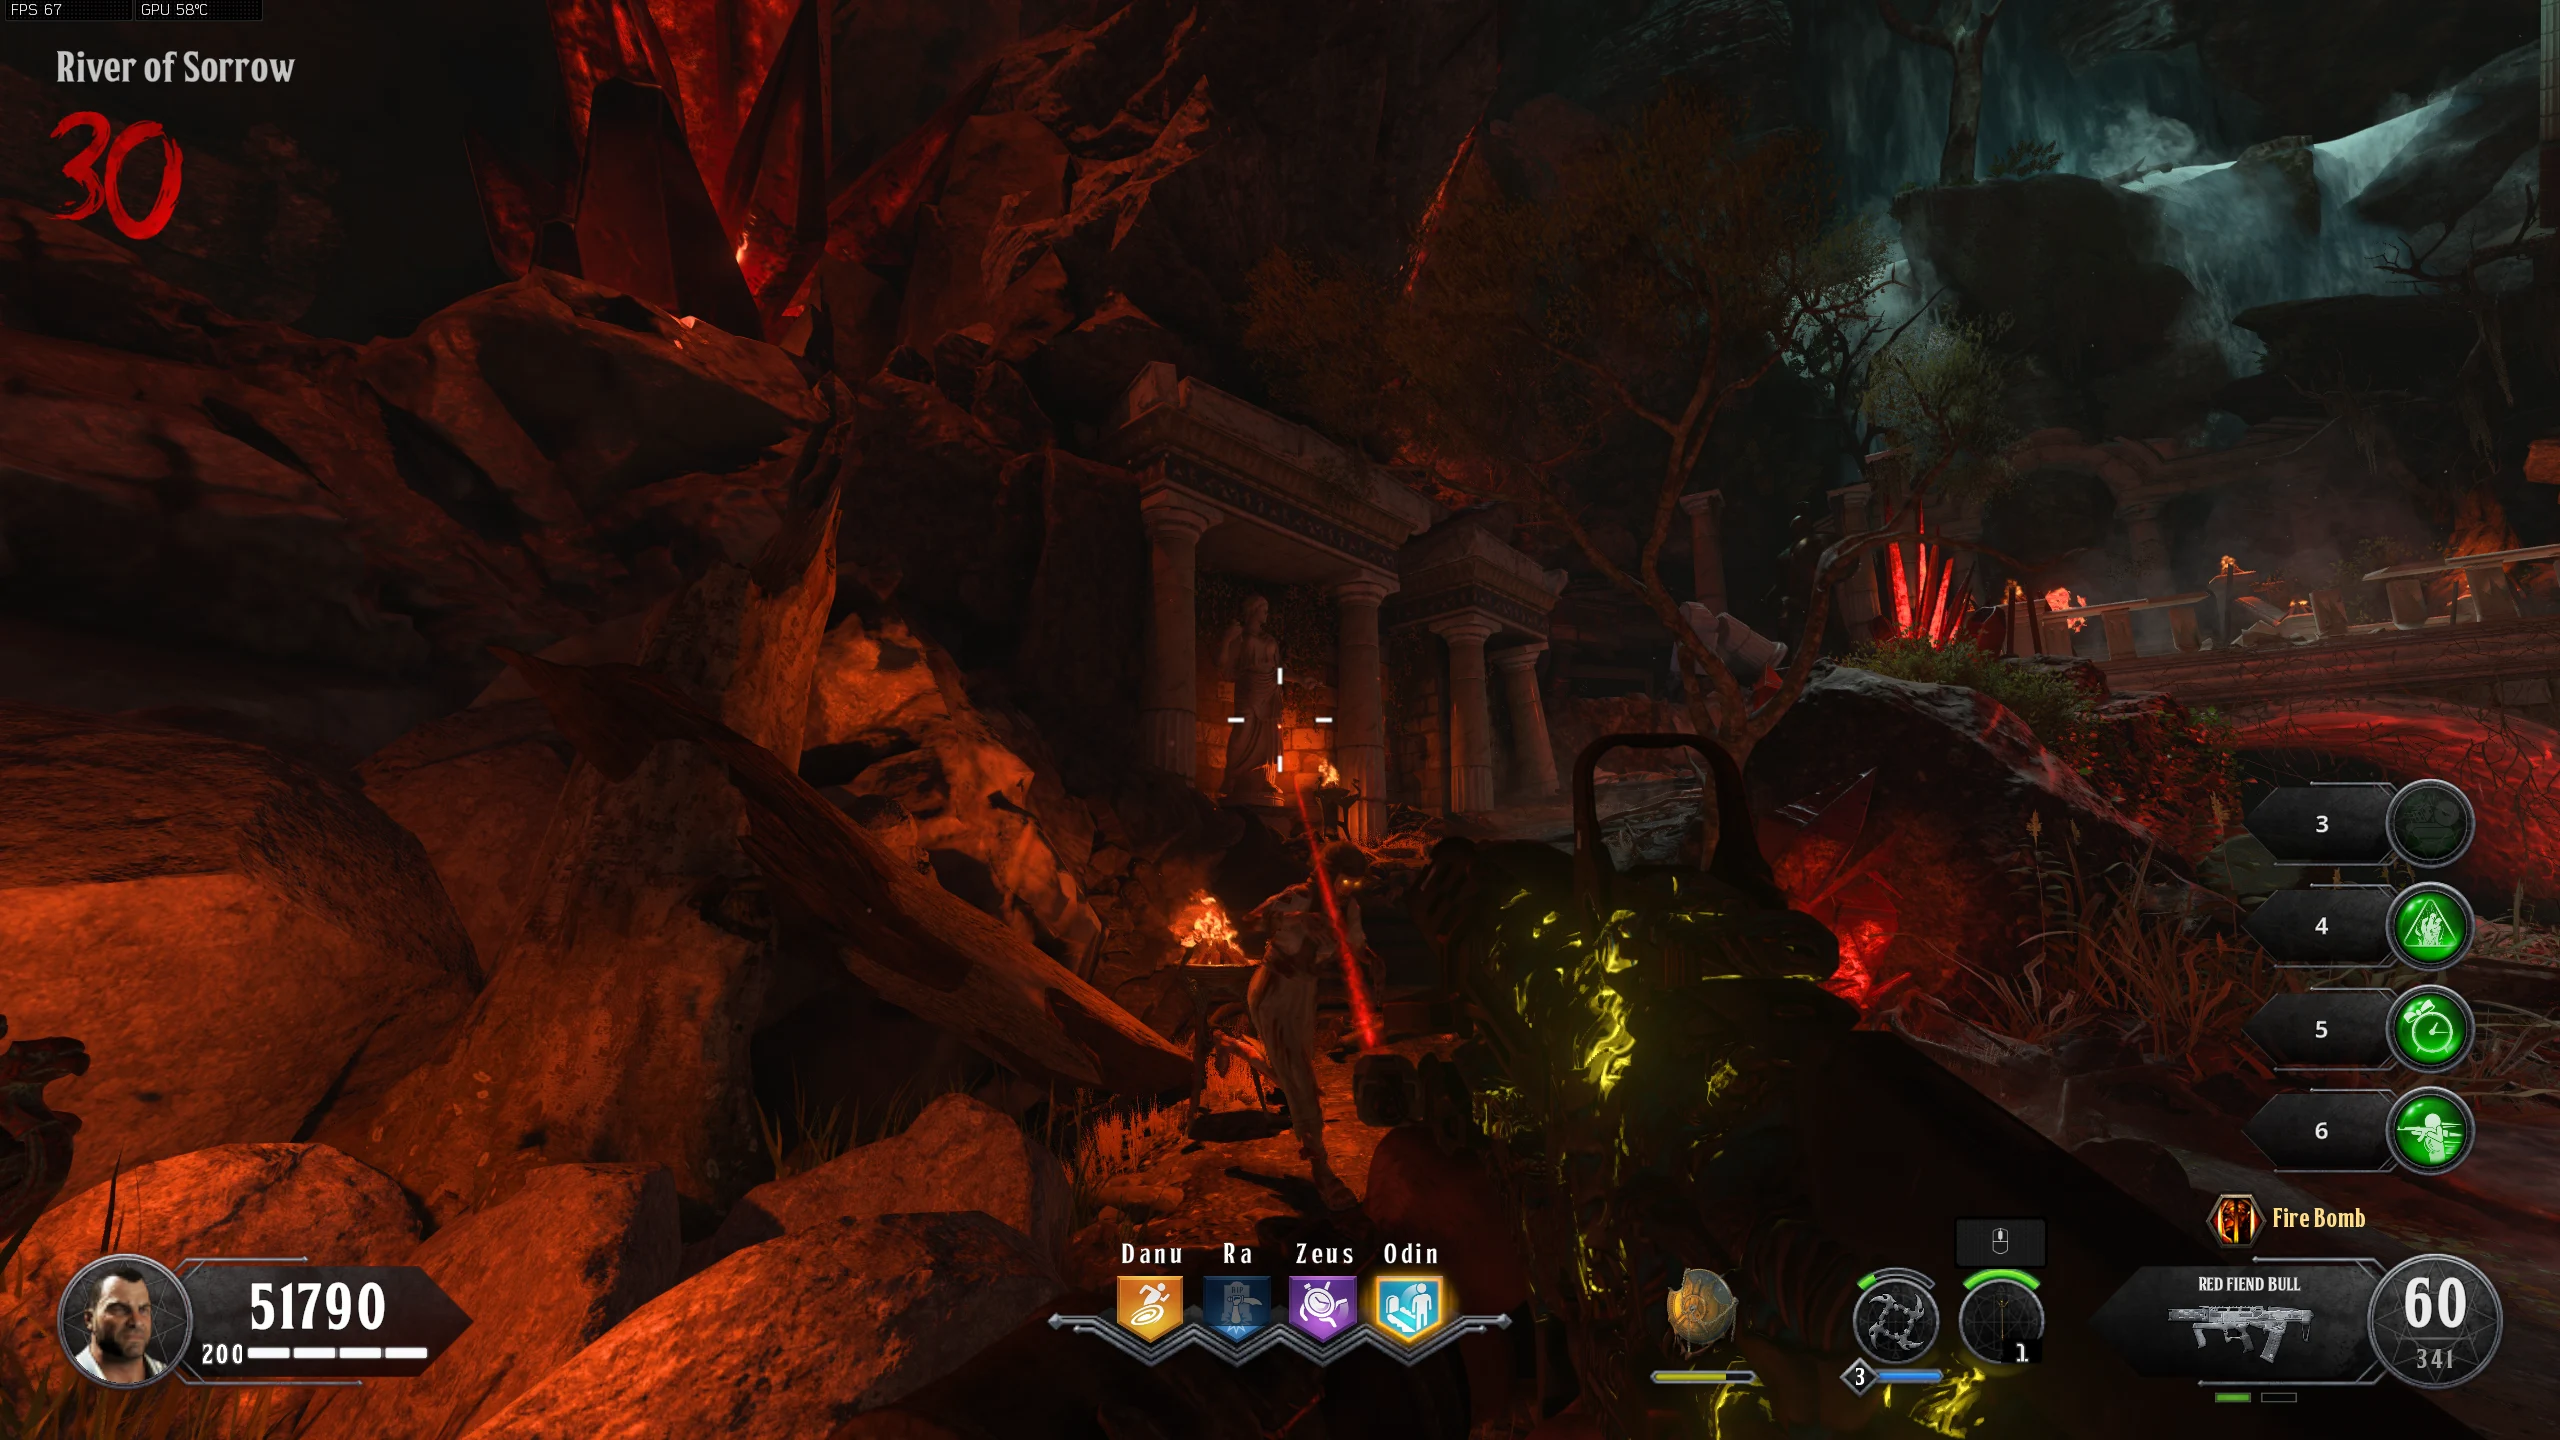
- Locate the door to the right of the Spitfire wallbuy in the 'River of Sorrow.' The symbols on the door must be shot with a bullet-based weapon in this order.
- If you shoot the wrong symbol, all the symbols will go out and you can retry immediately.
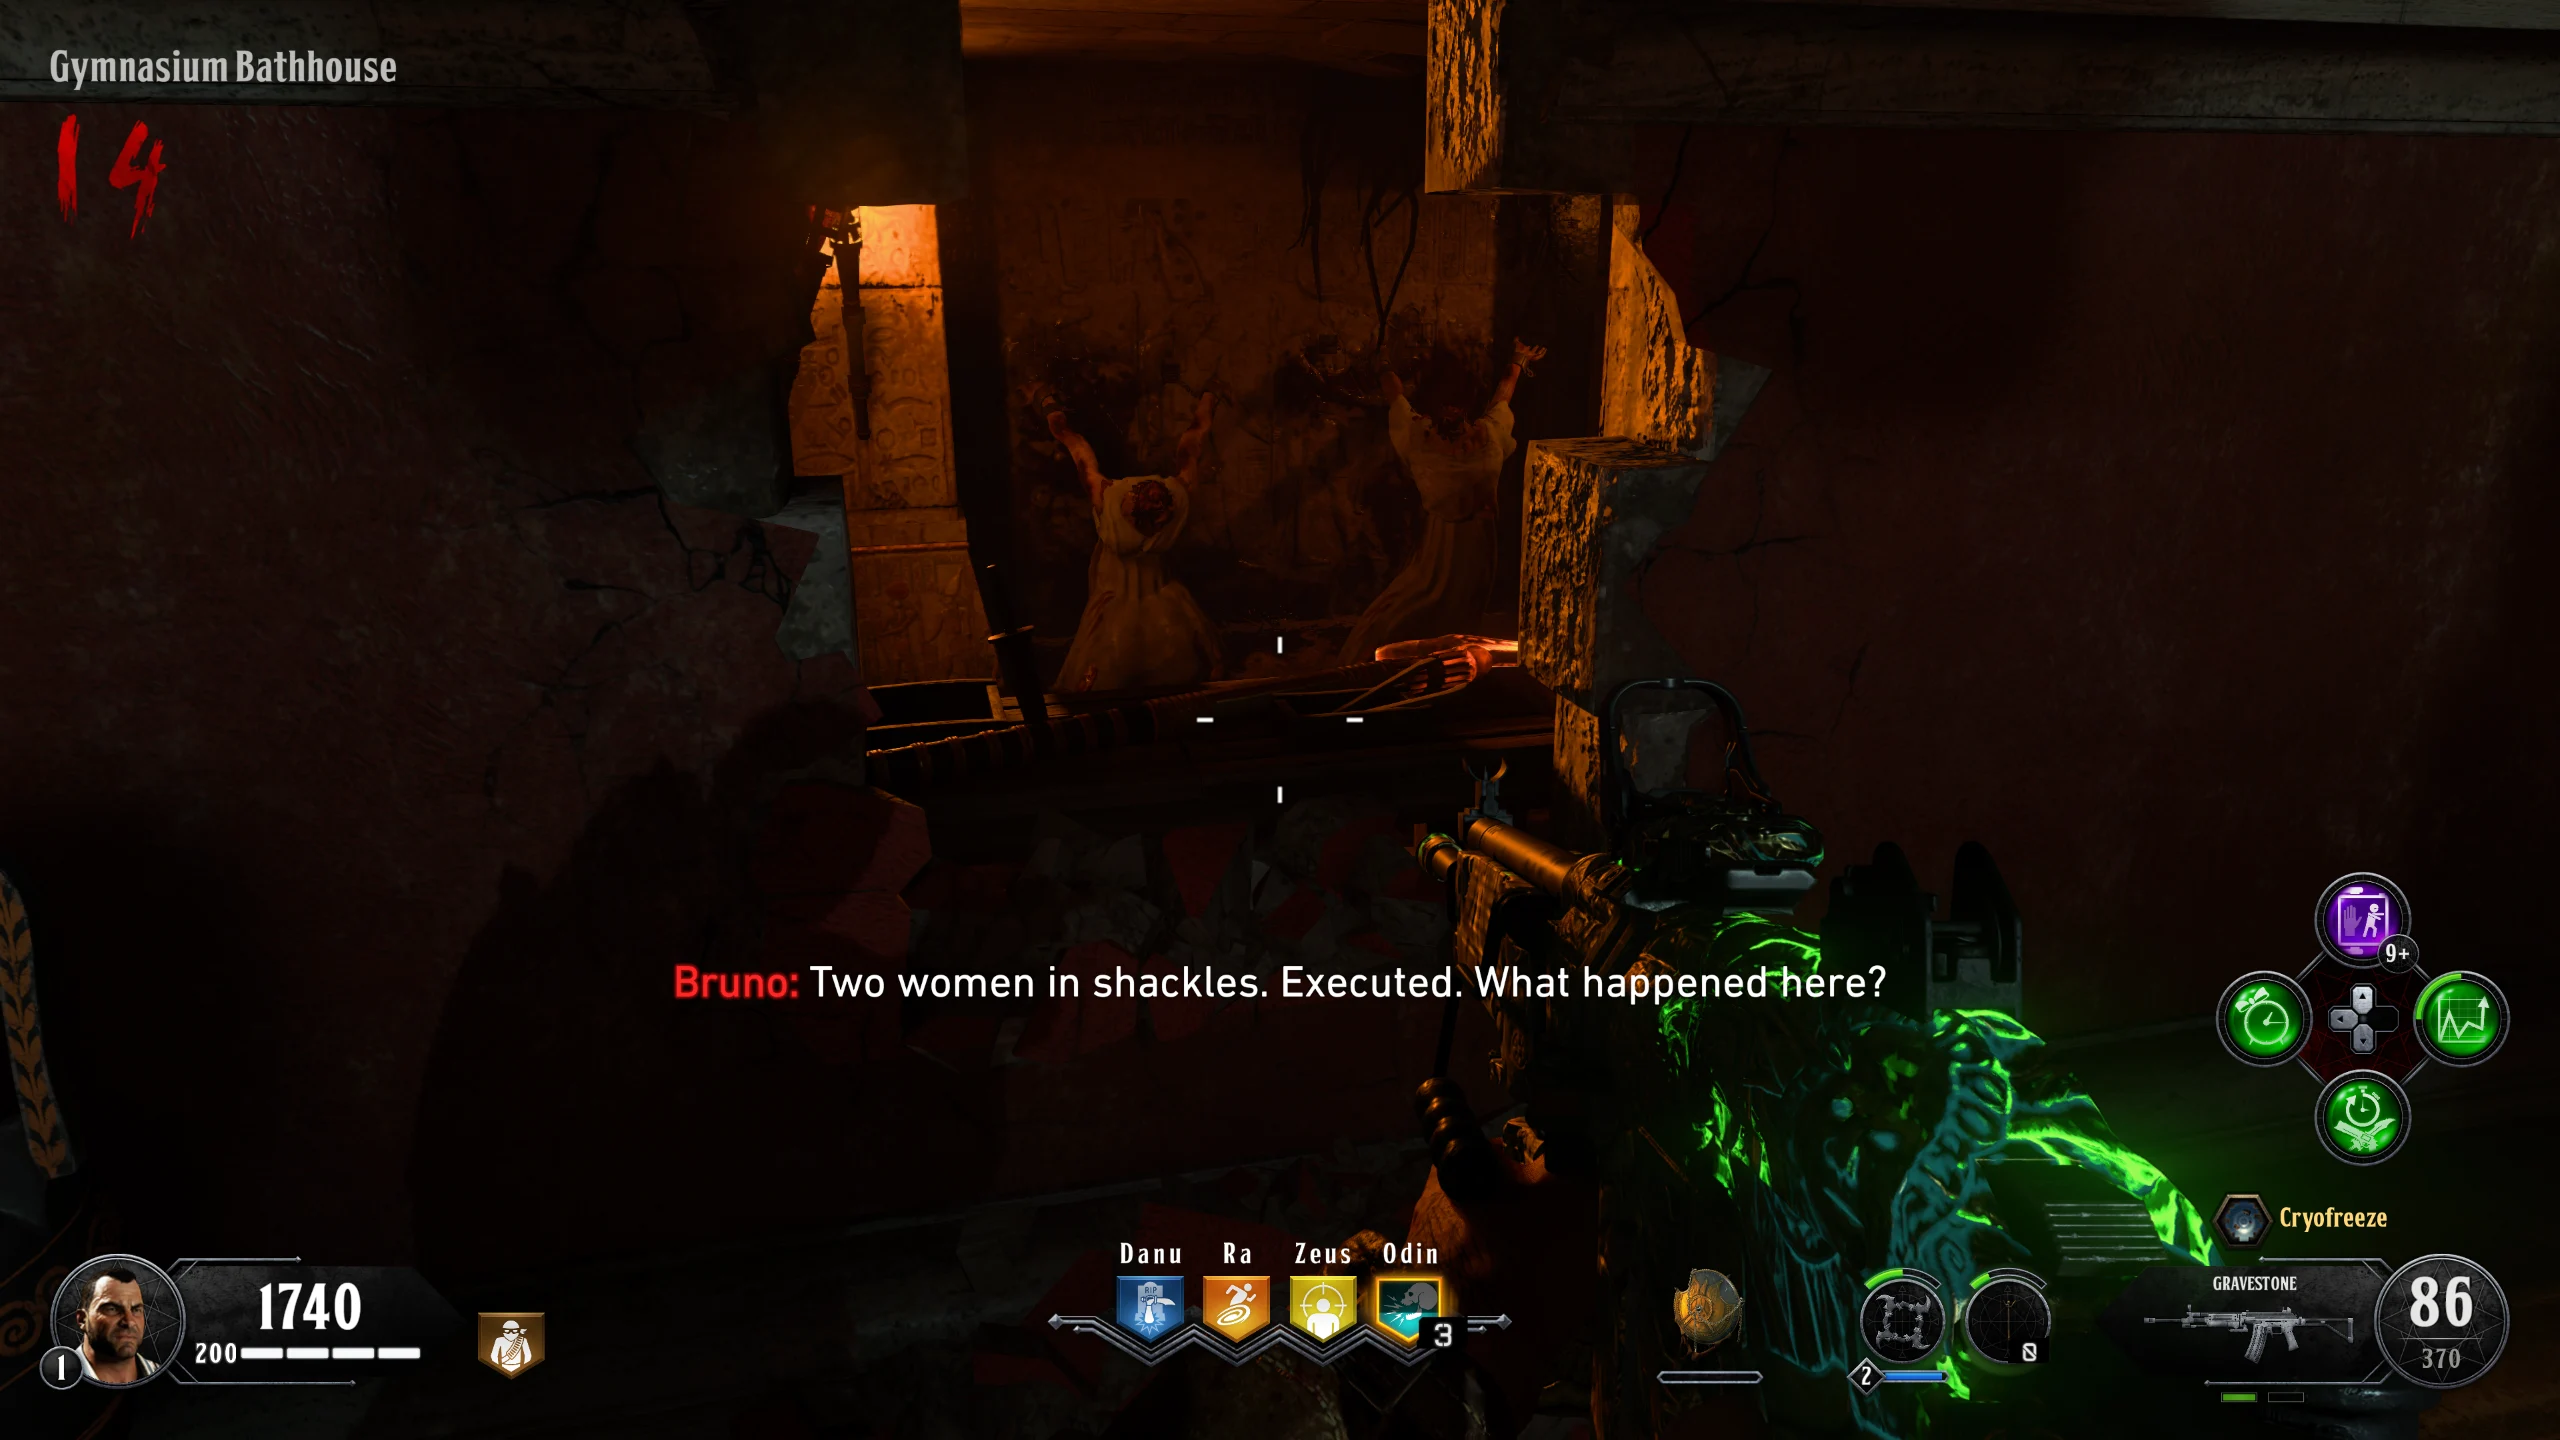
- If the characters Shaw and Bruno are both in the game, they must interact with the door to start a short cutscene. If only one of them is present, that player interacts with the door. If neither is in the game, any player can interact with the door, but no cutscene will play.
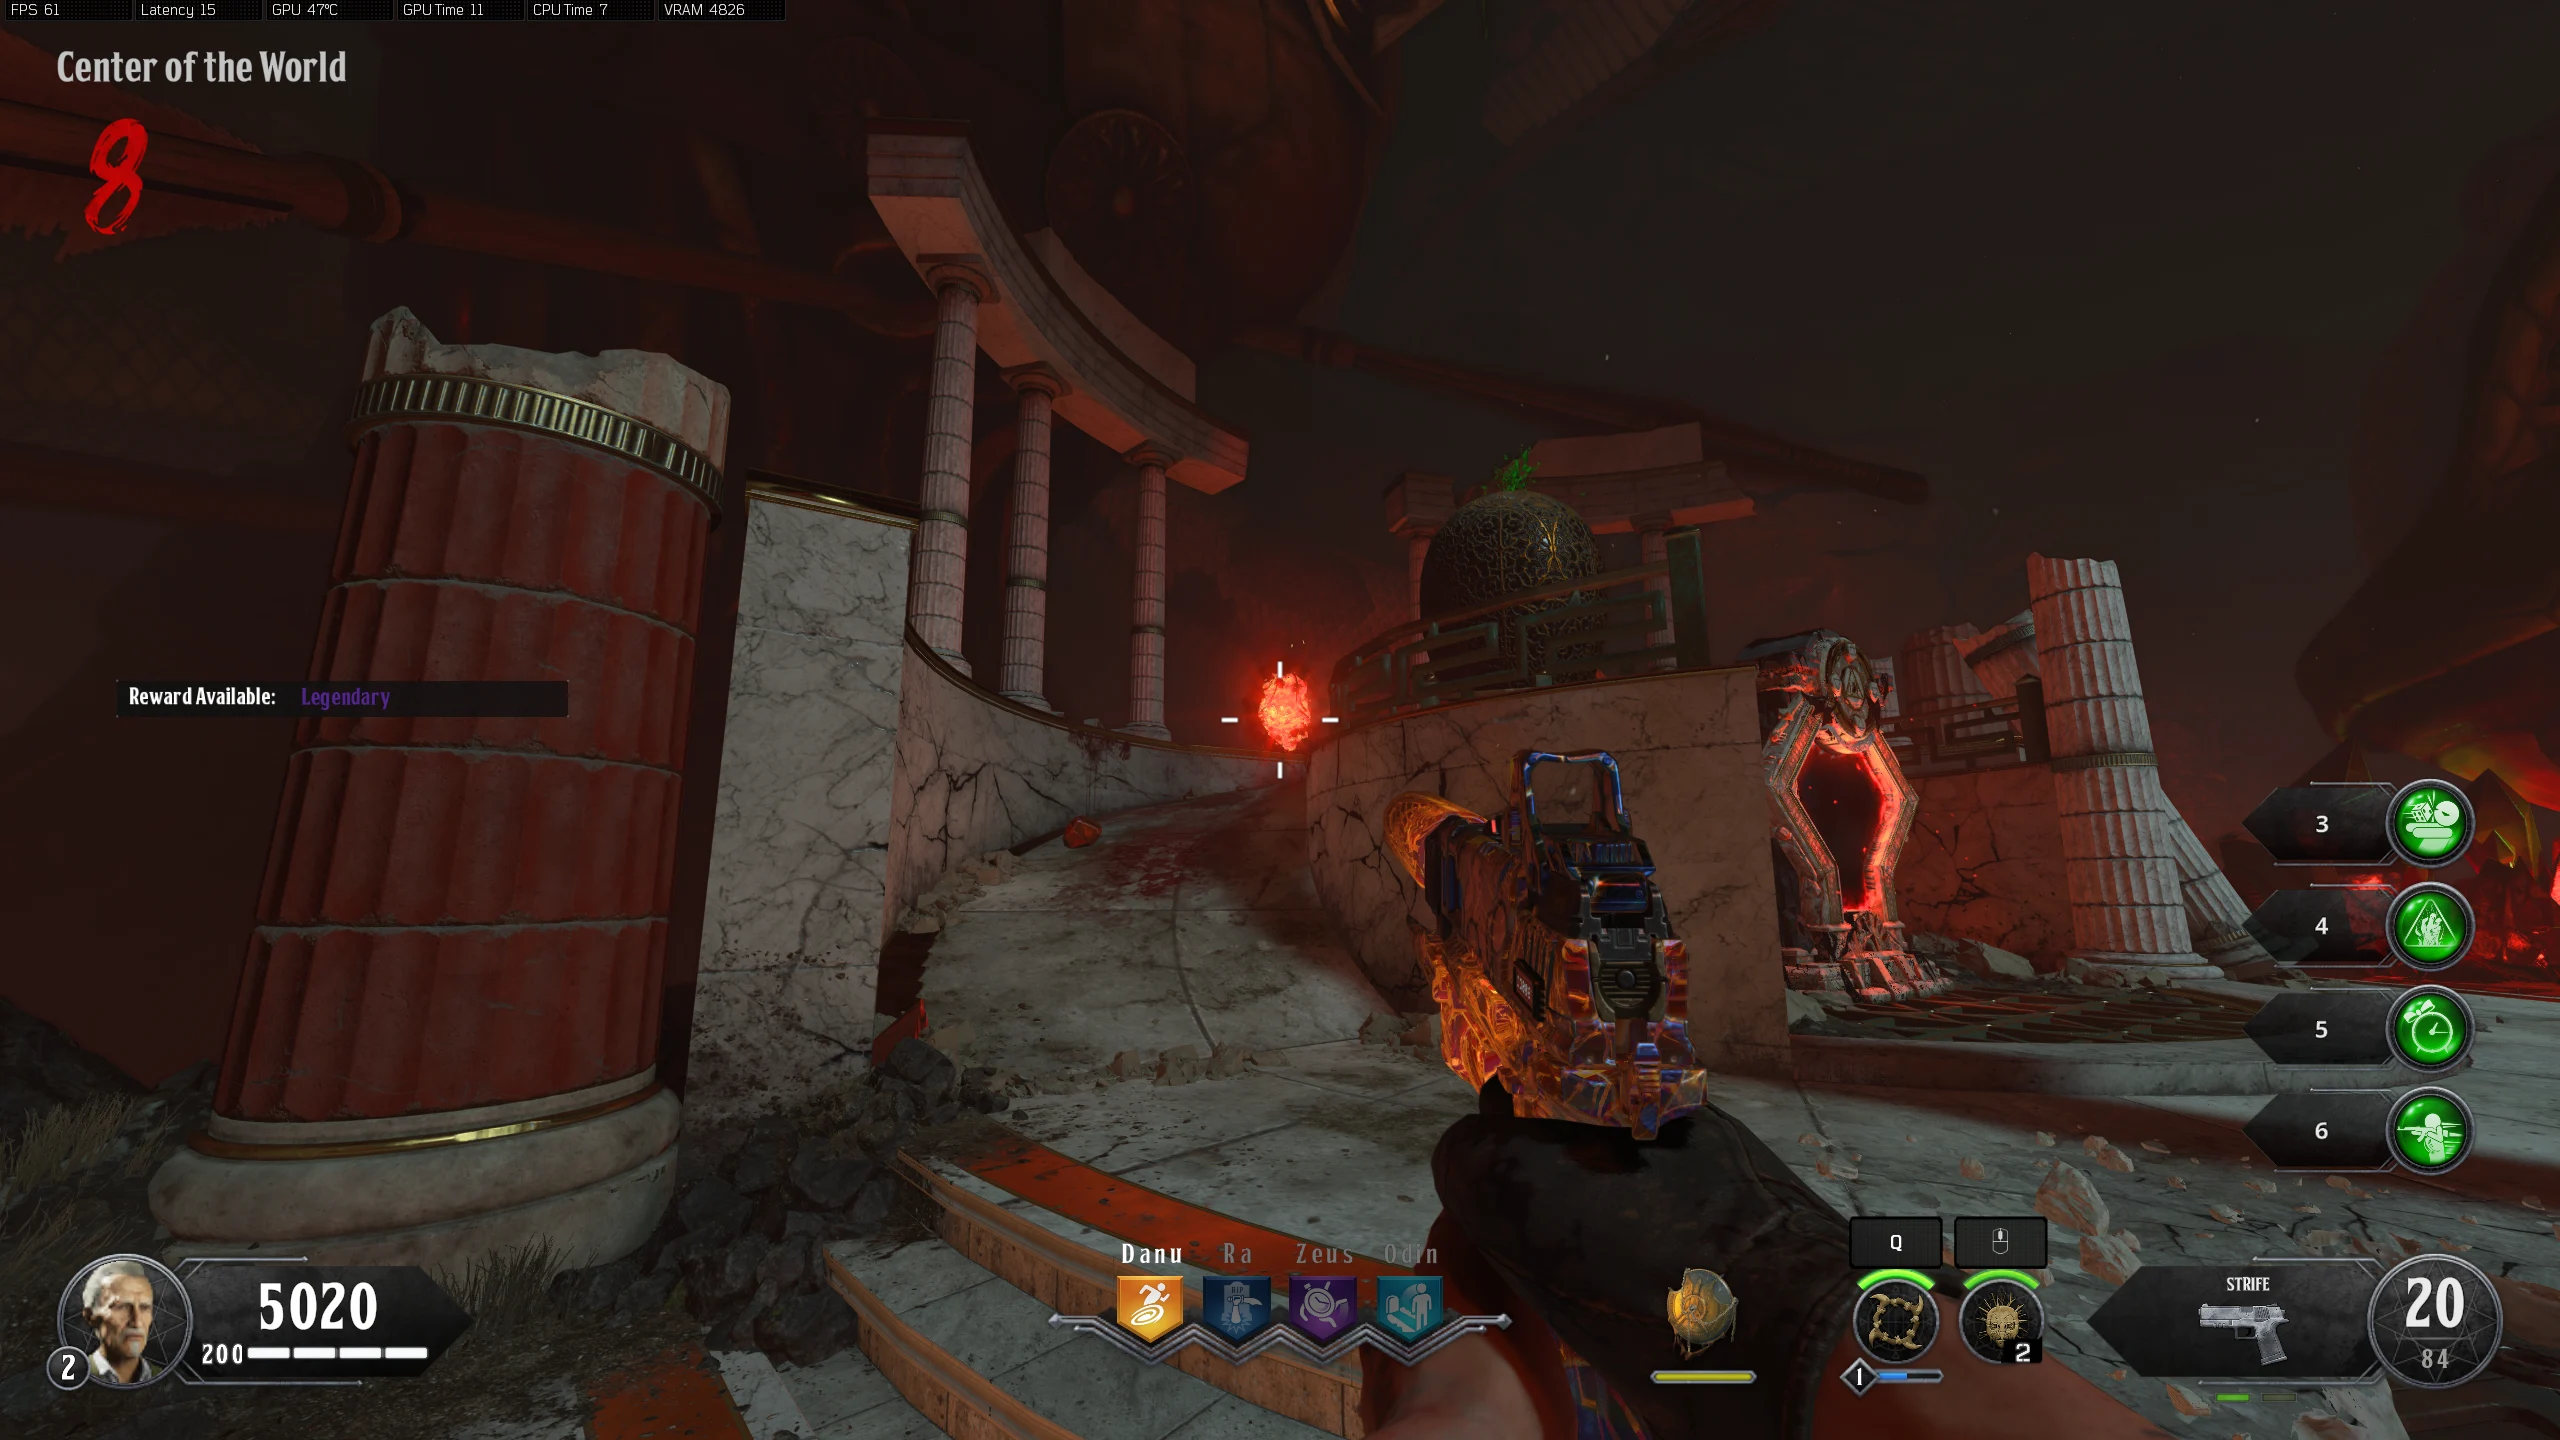
- Obtain the Pegasus Strike and Redeemed Hand of Ouranos if you haven't already.
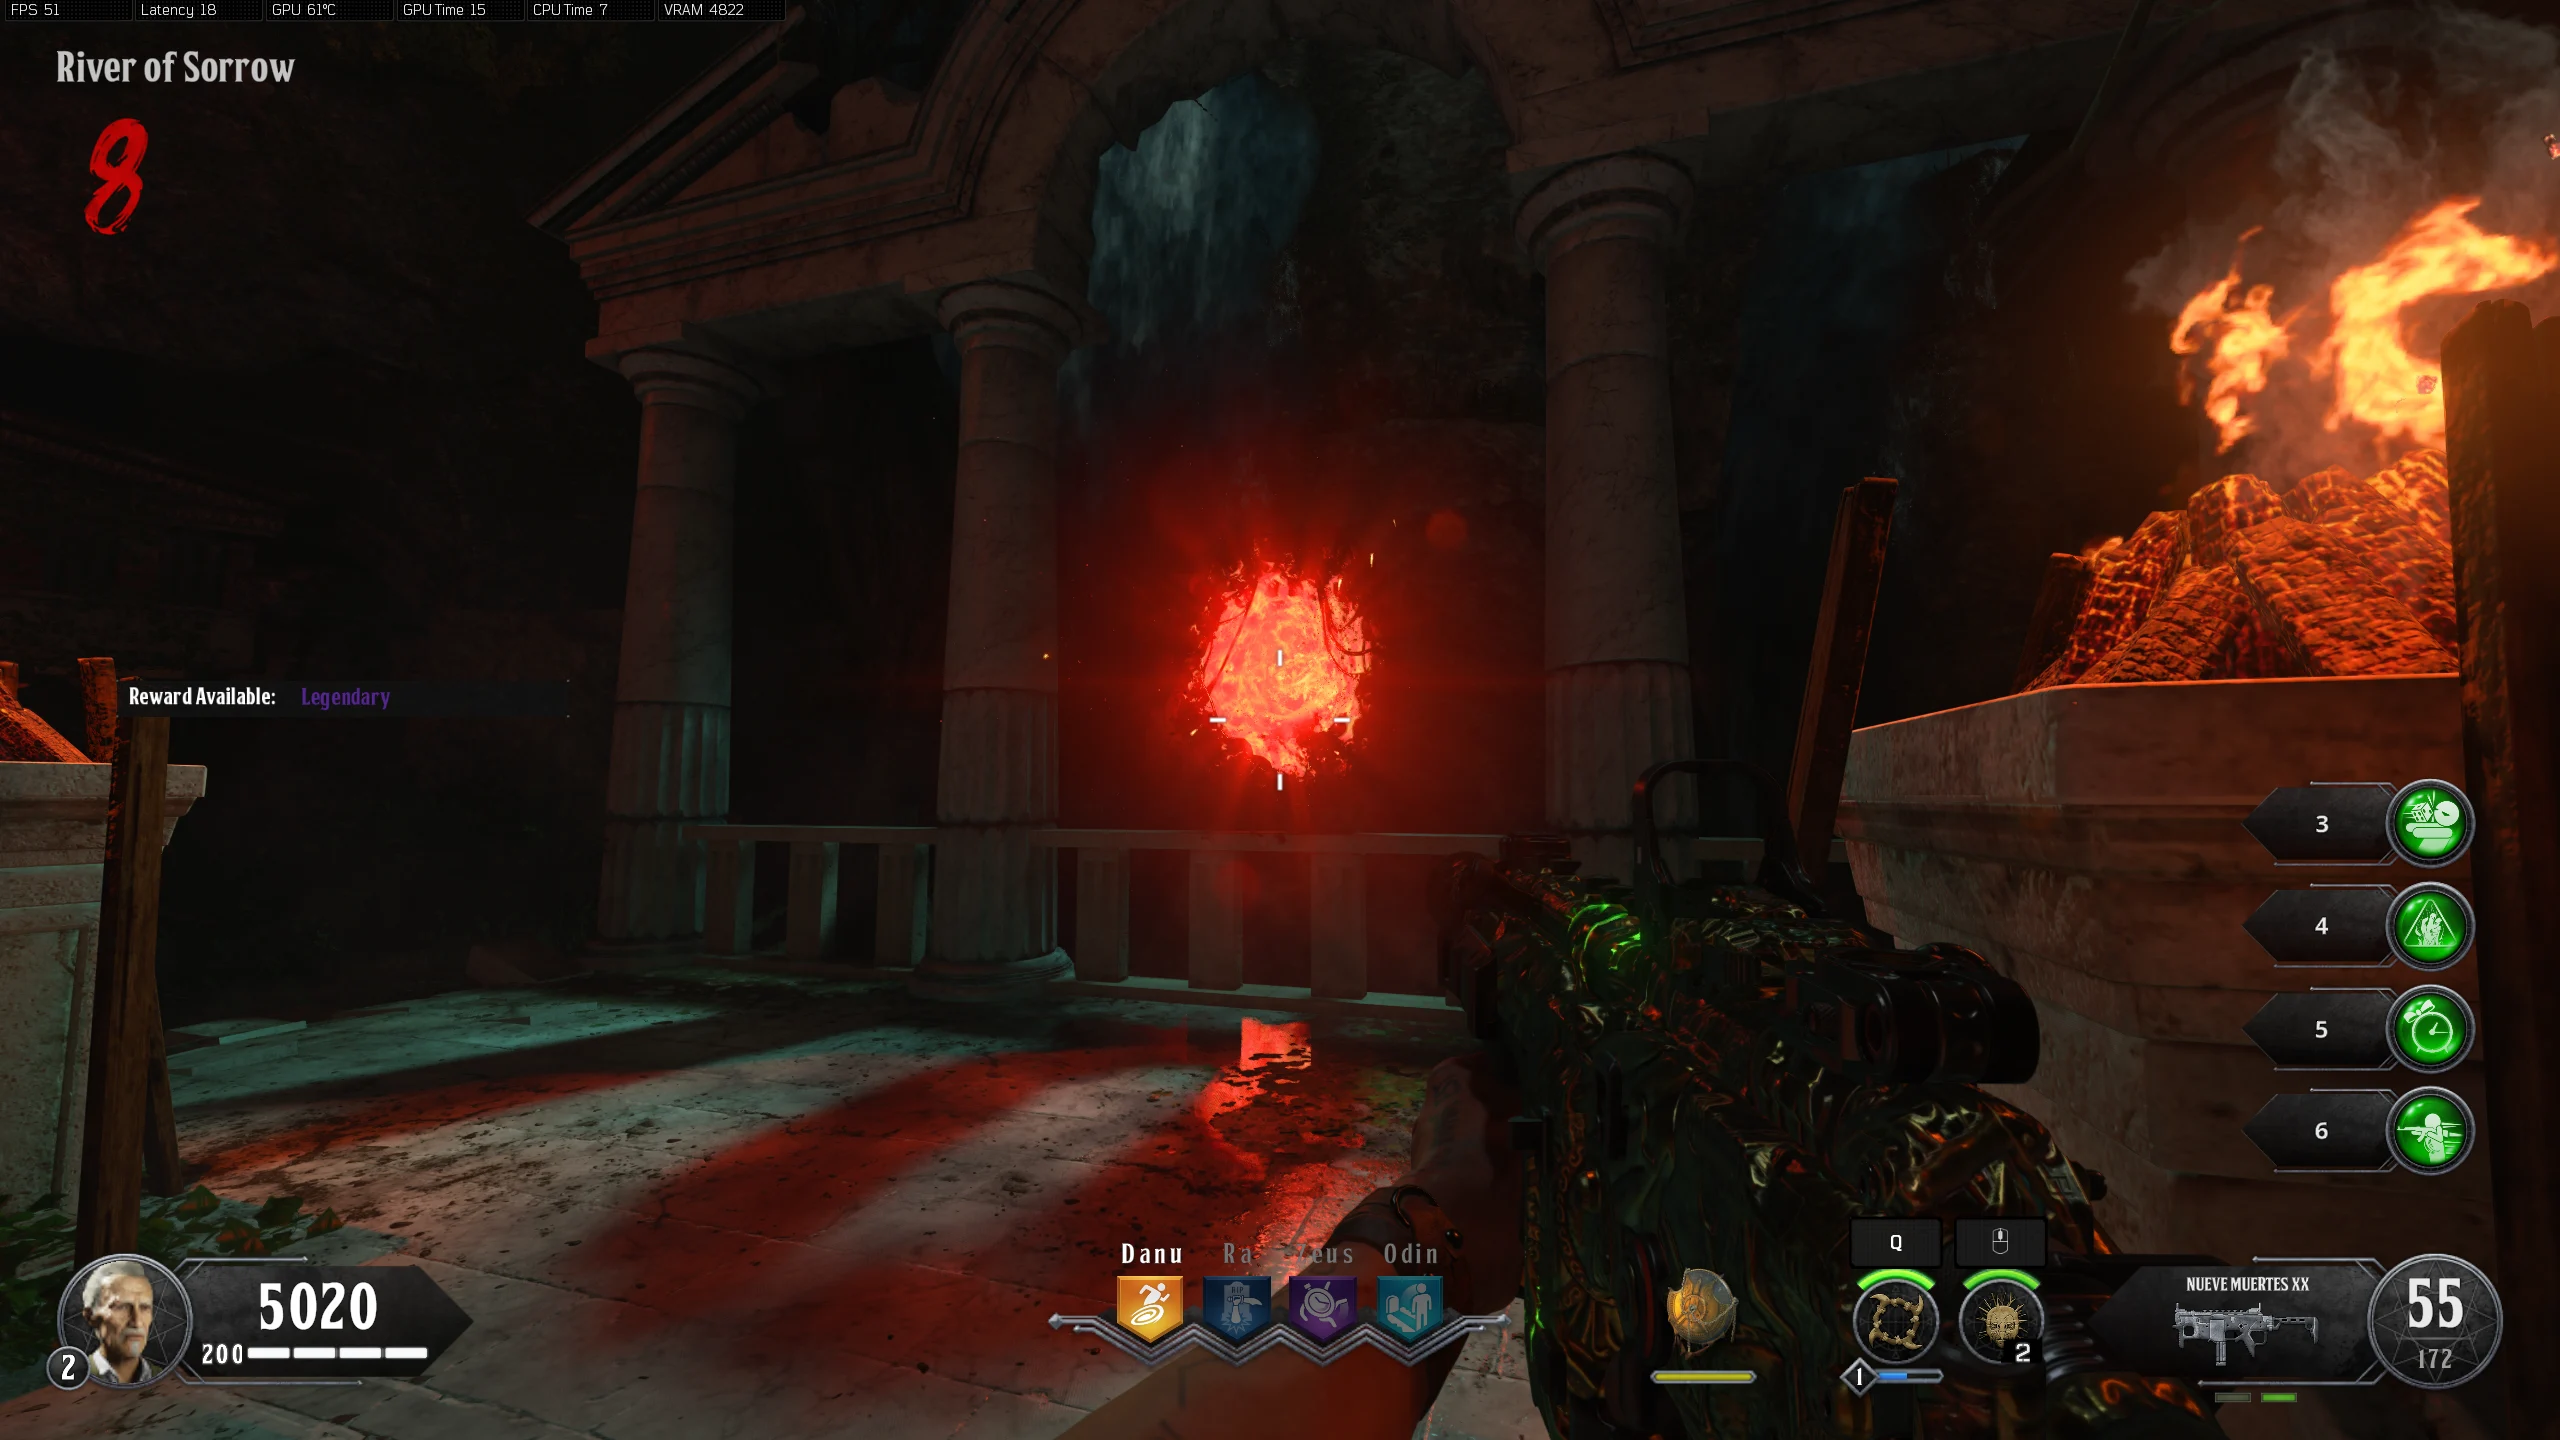
- Navigate to the top of the stairs in the 'River of Sorrow' and place the Pegasus Strike on the blue glowing symbol. This will cause Pegasus to lift a giant ballista out of the ground.
- Once the ballista is fully out of the ground, shoot it with a charged shot of the Redeemed Hand of Ouranos until it is lined up with the opening in the railing by where the blue symbol was.
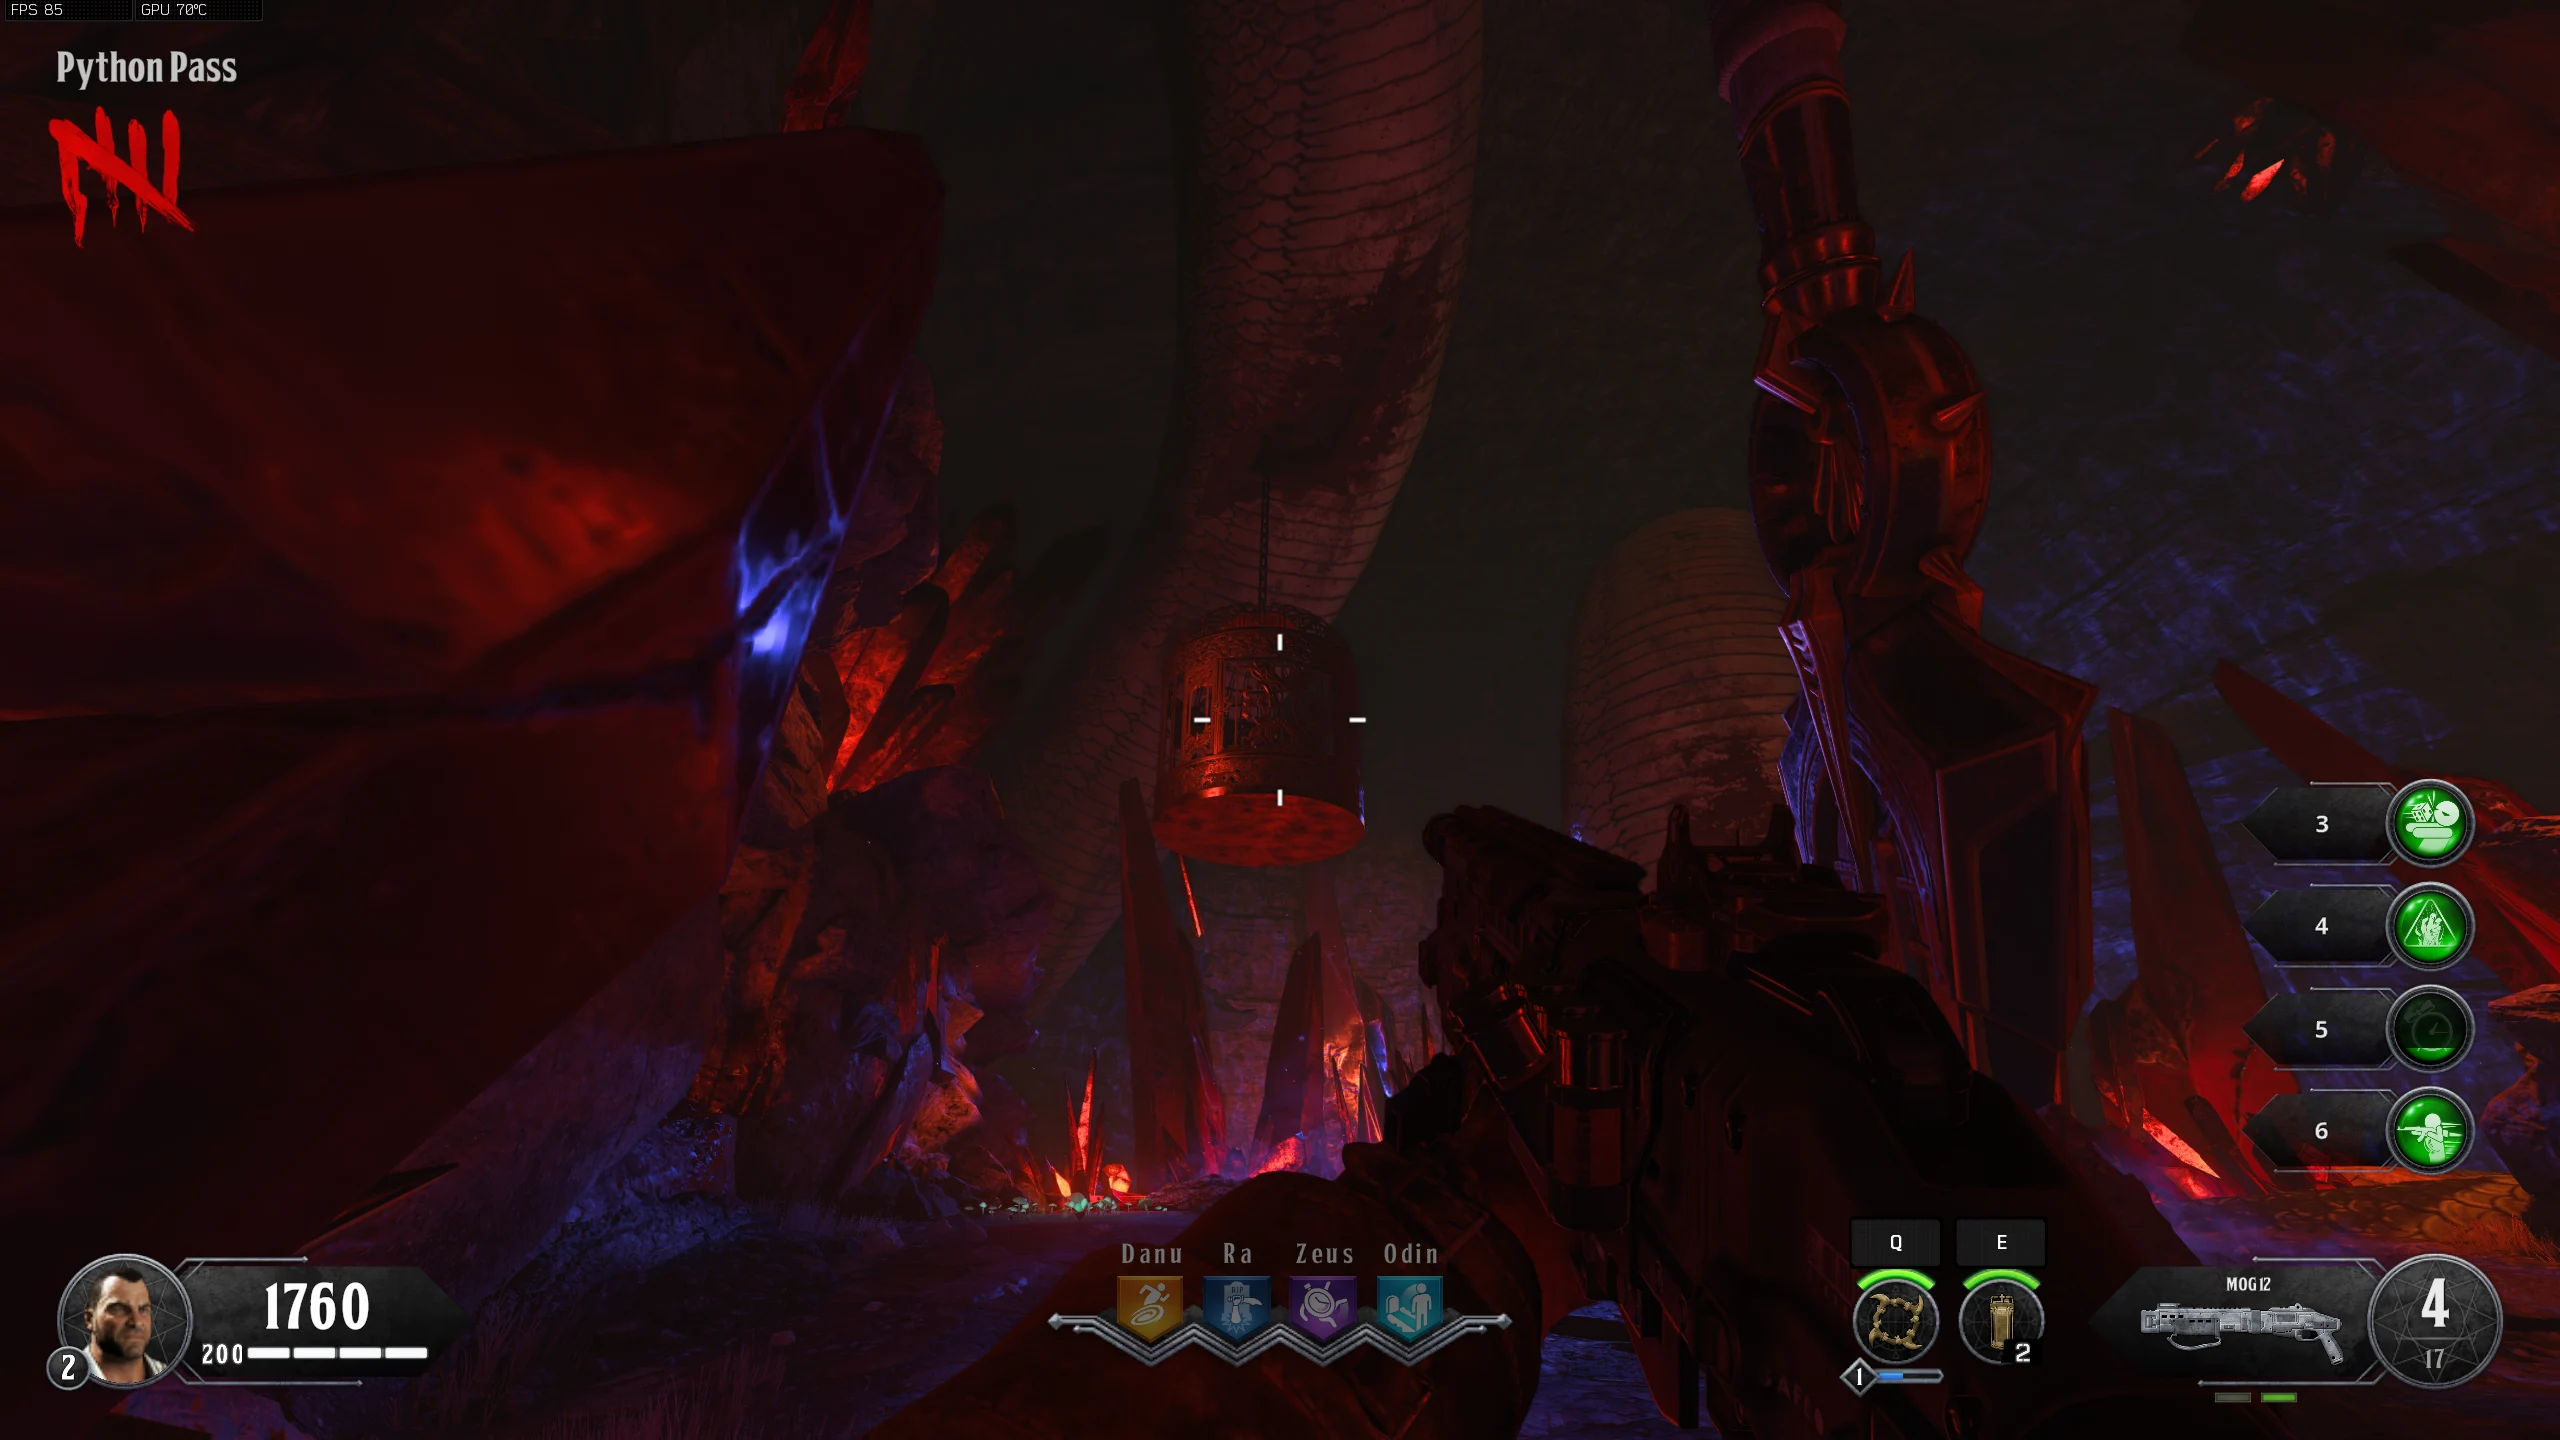
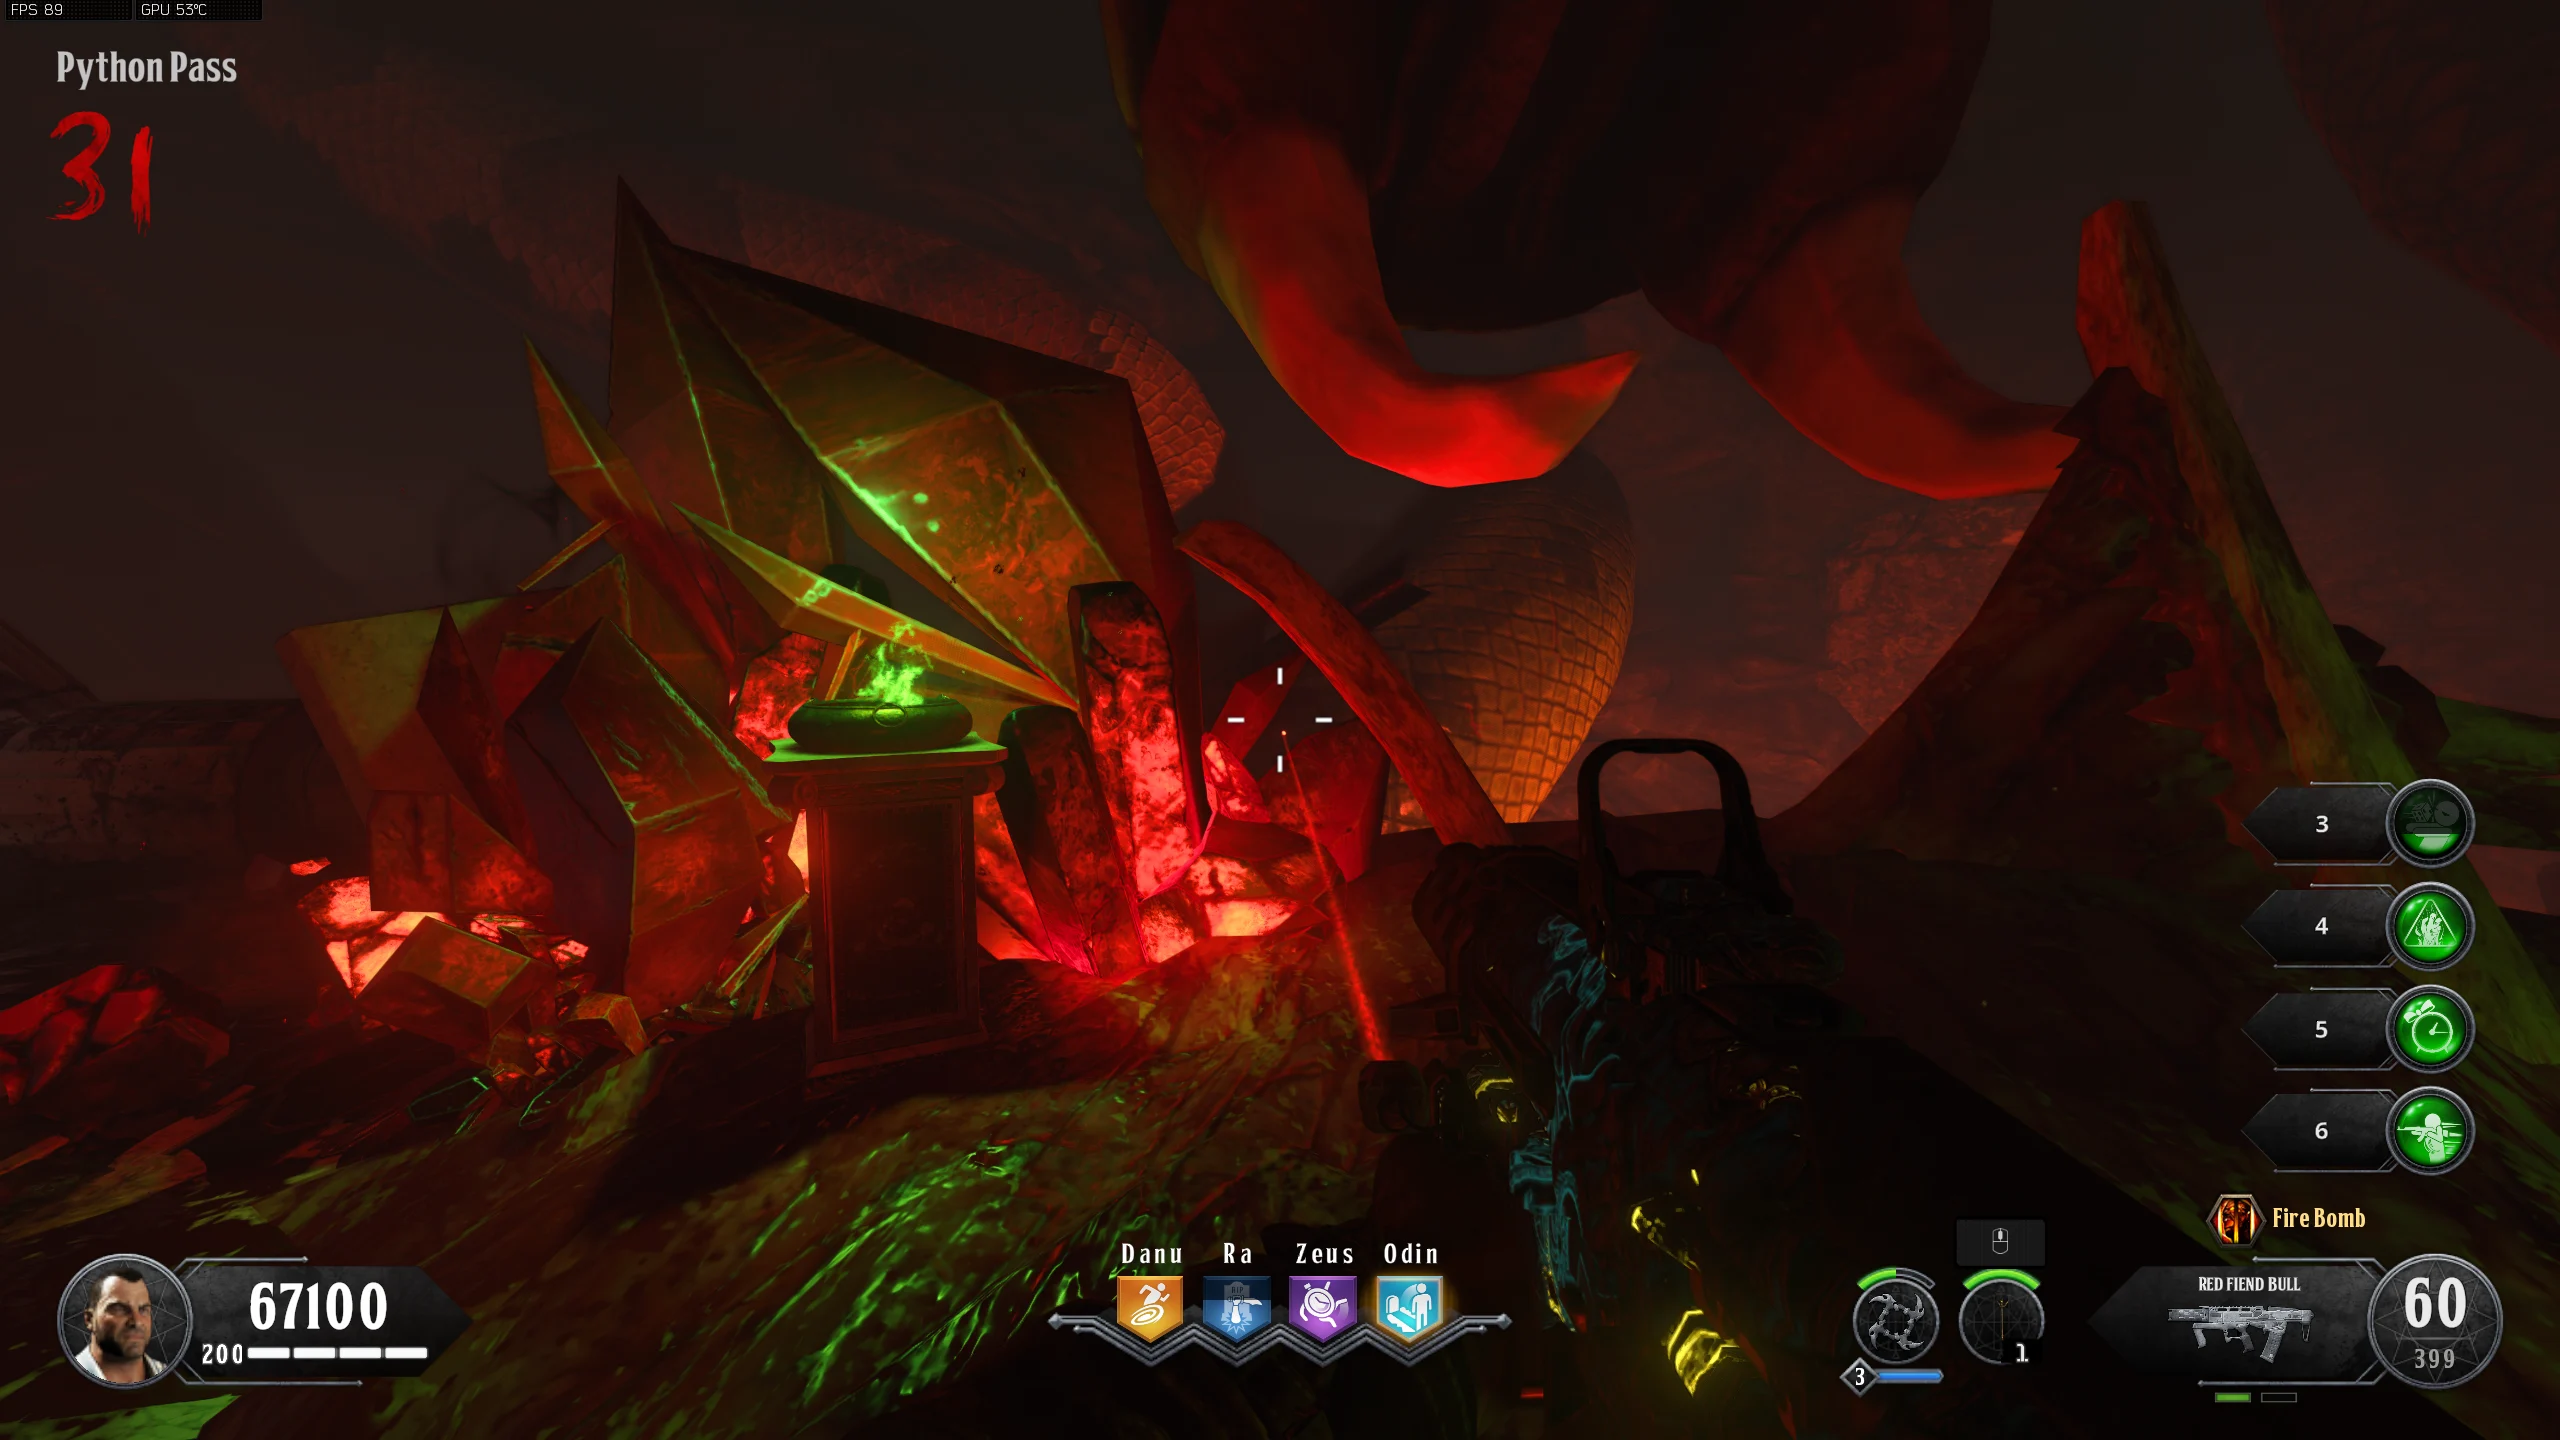
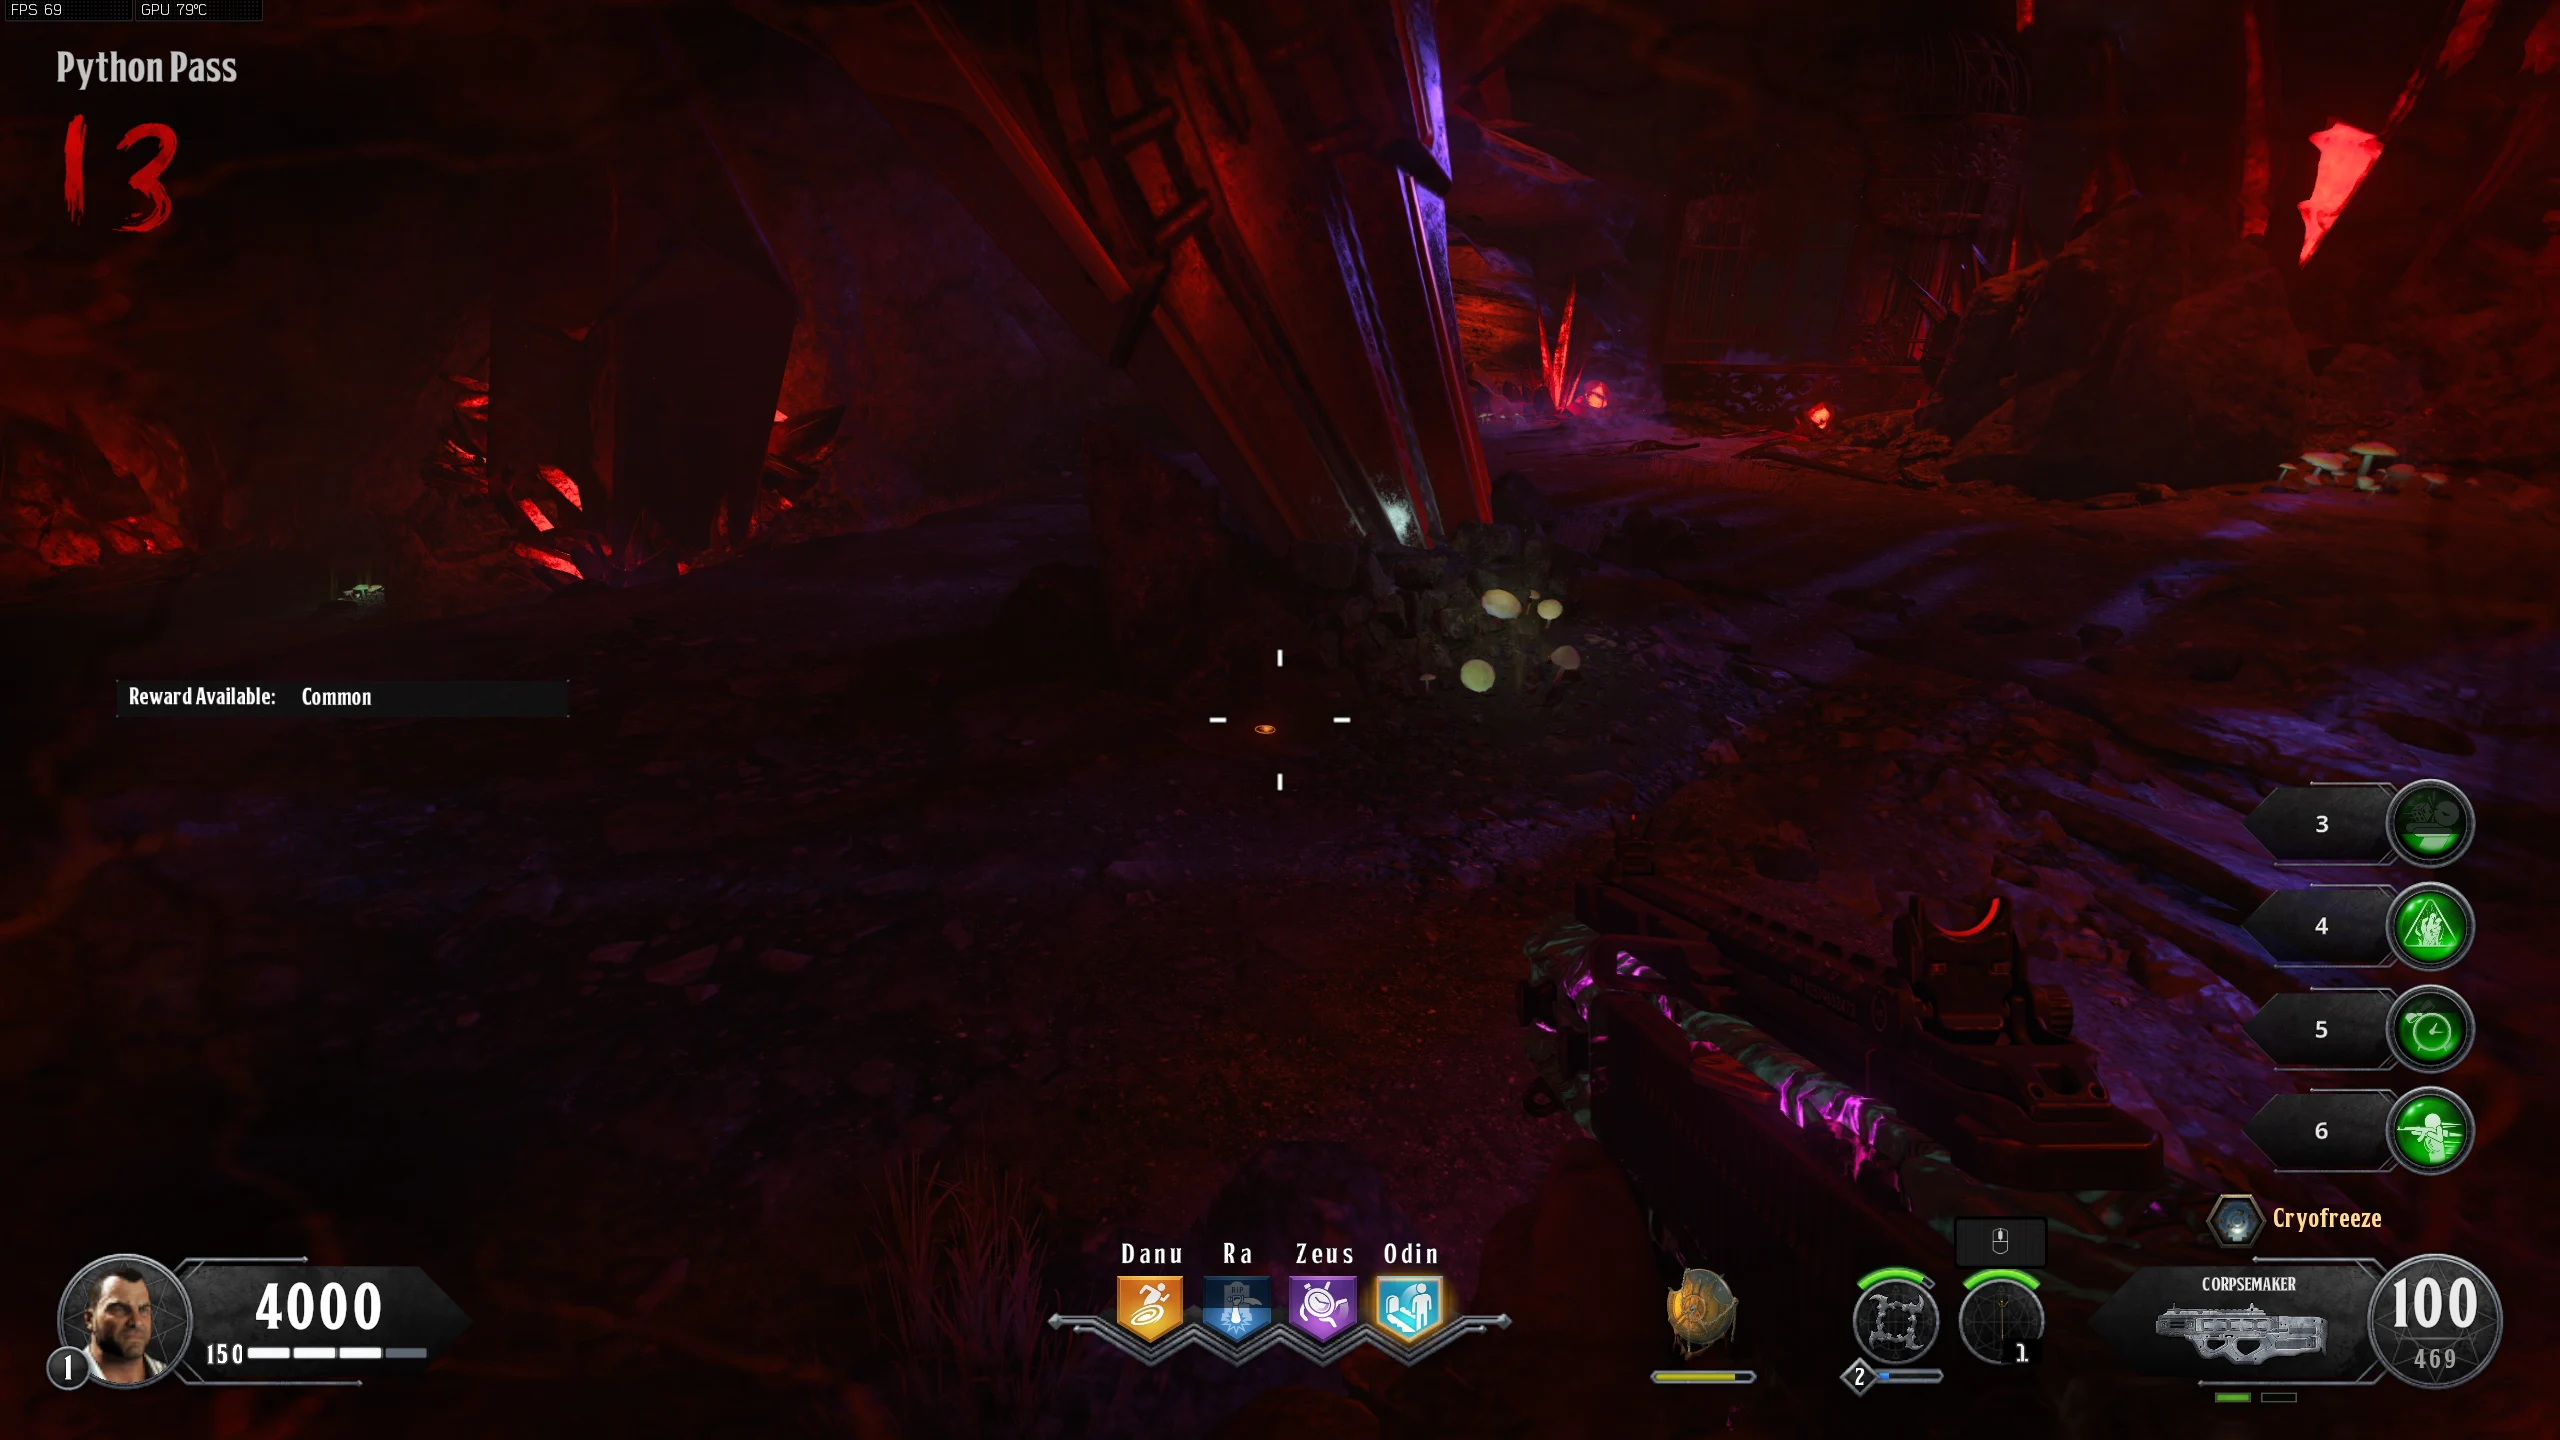
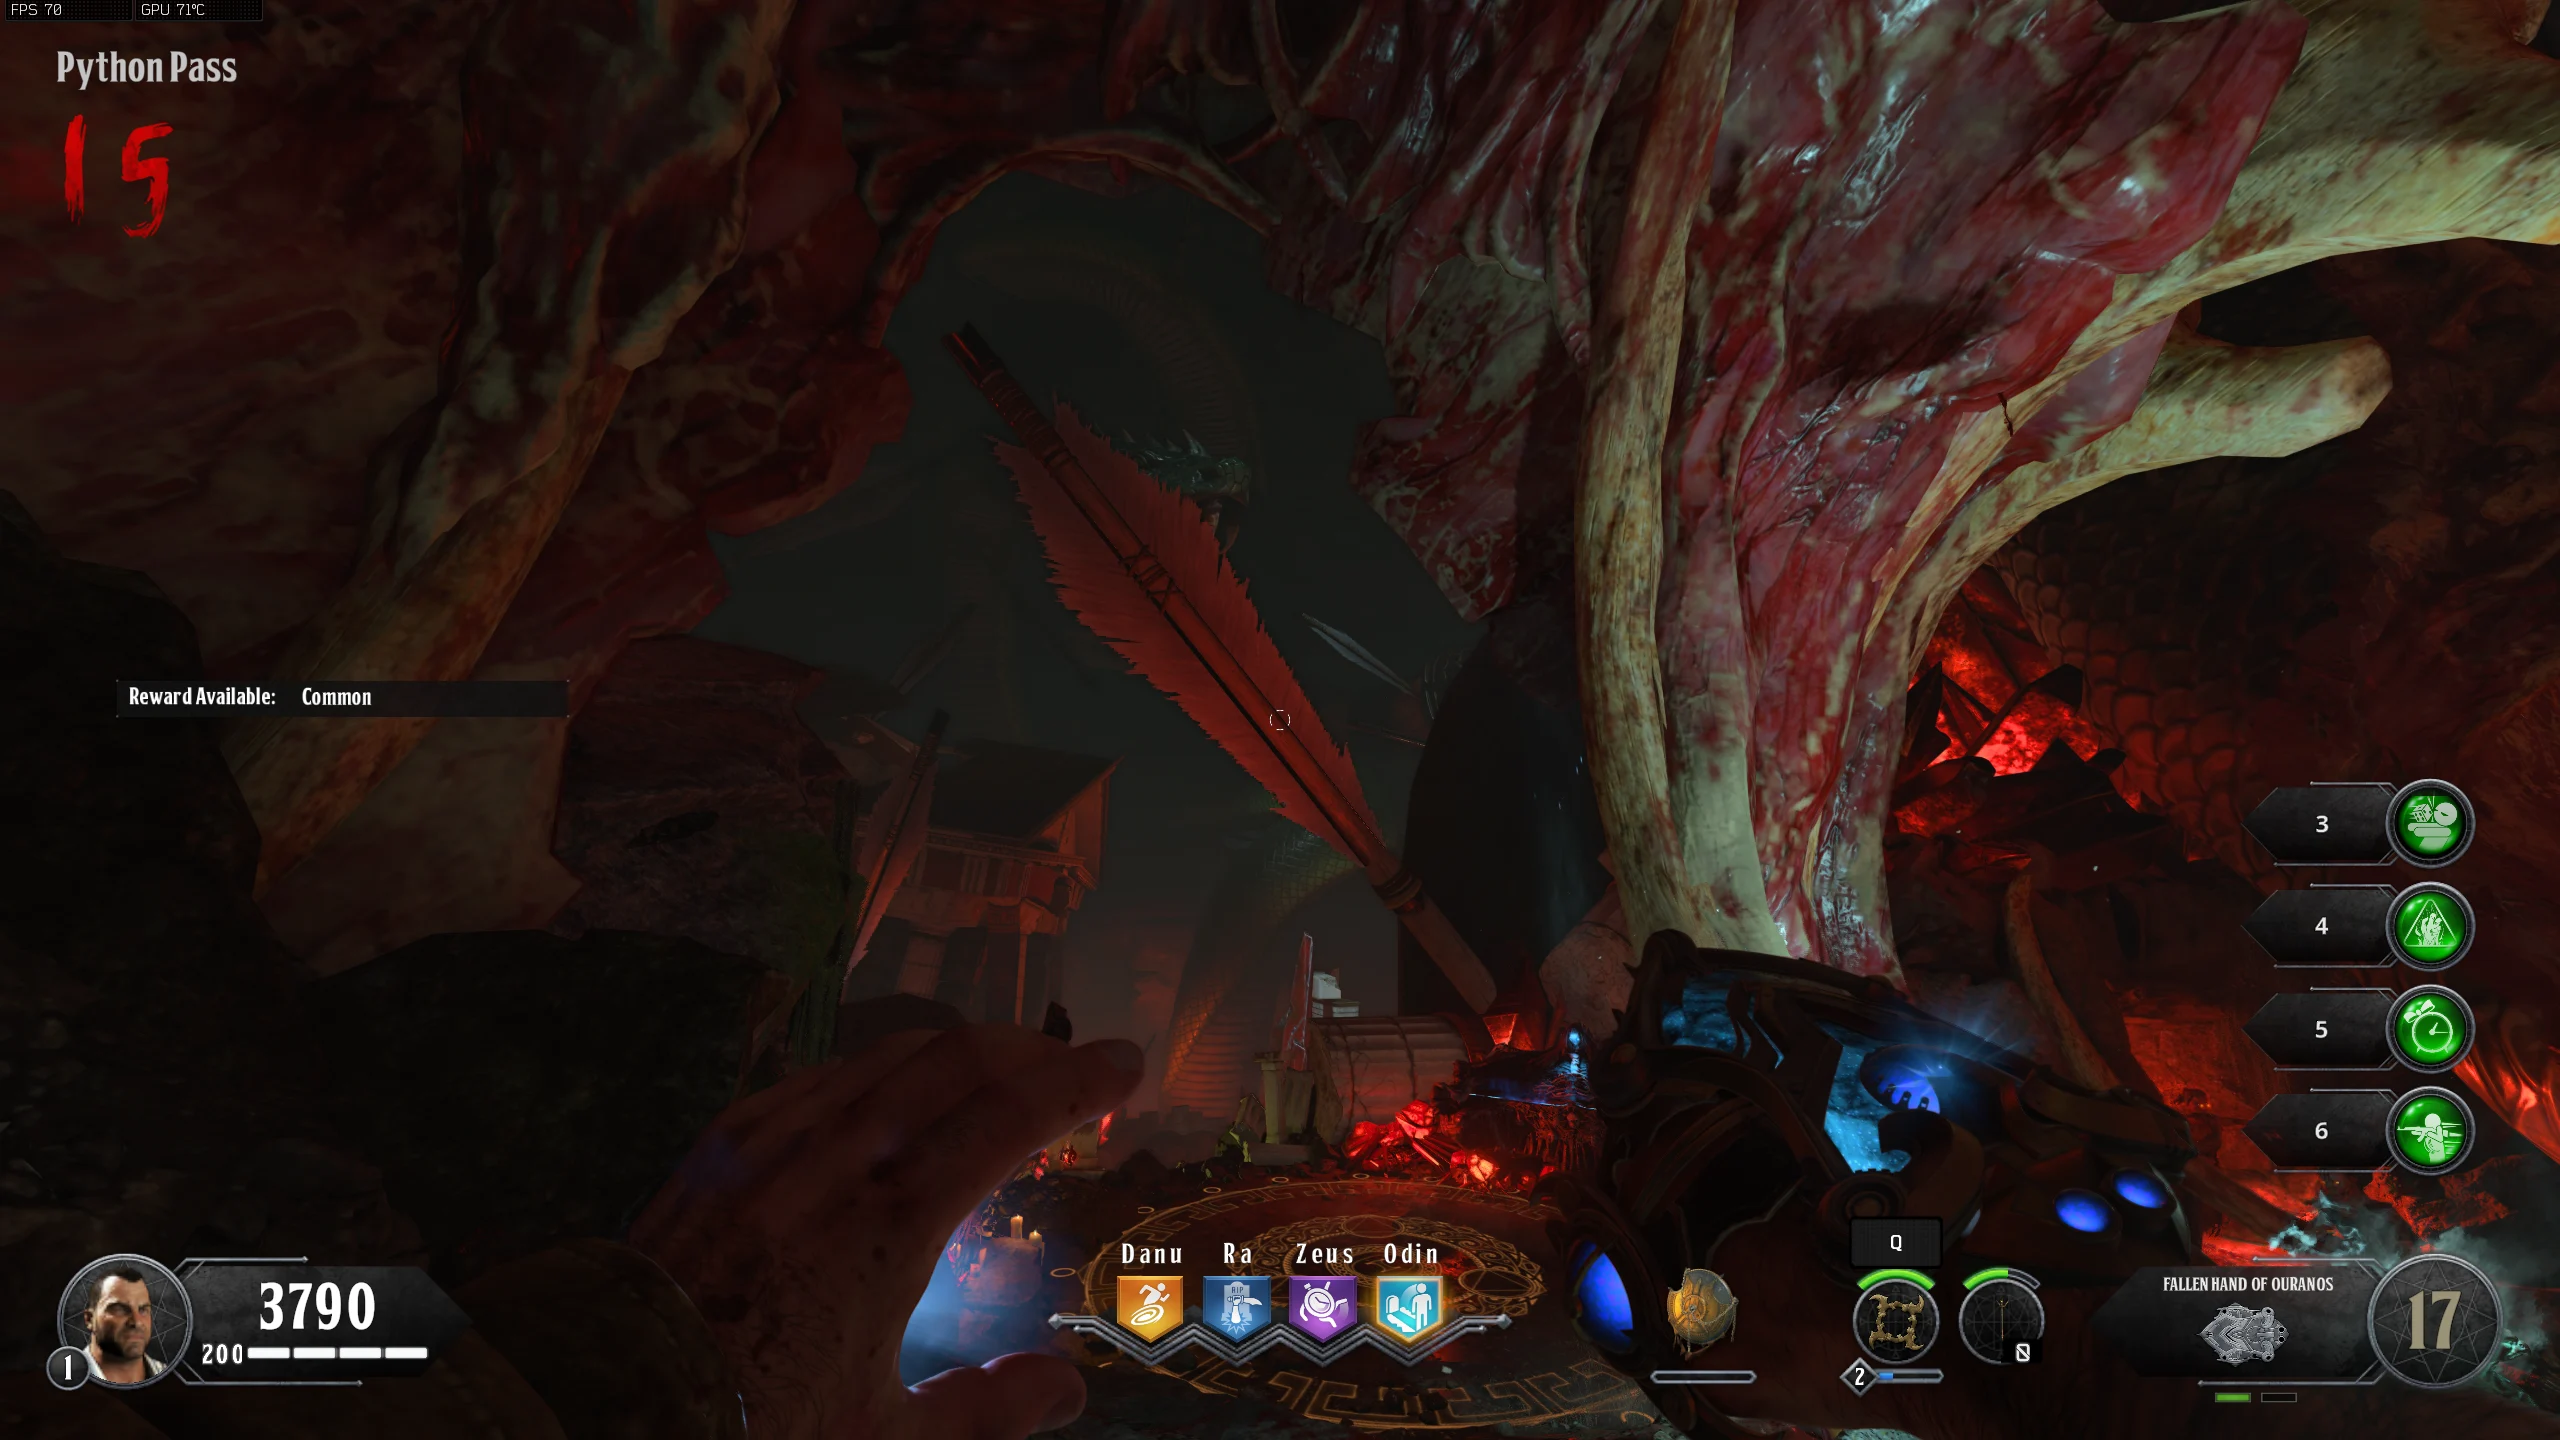
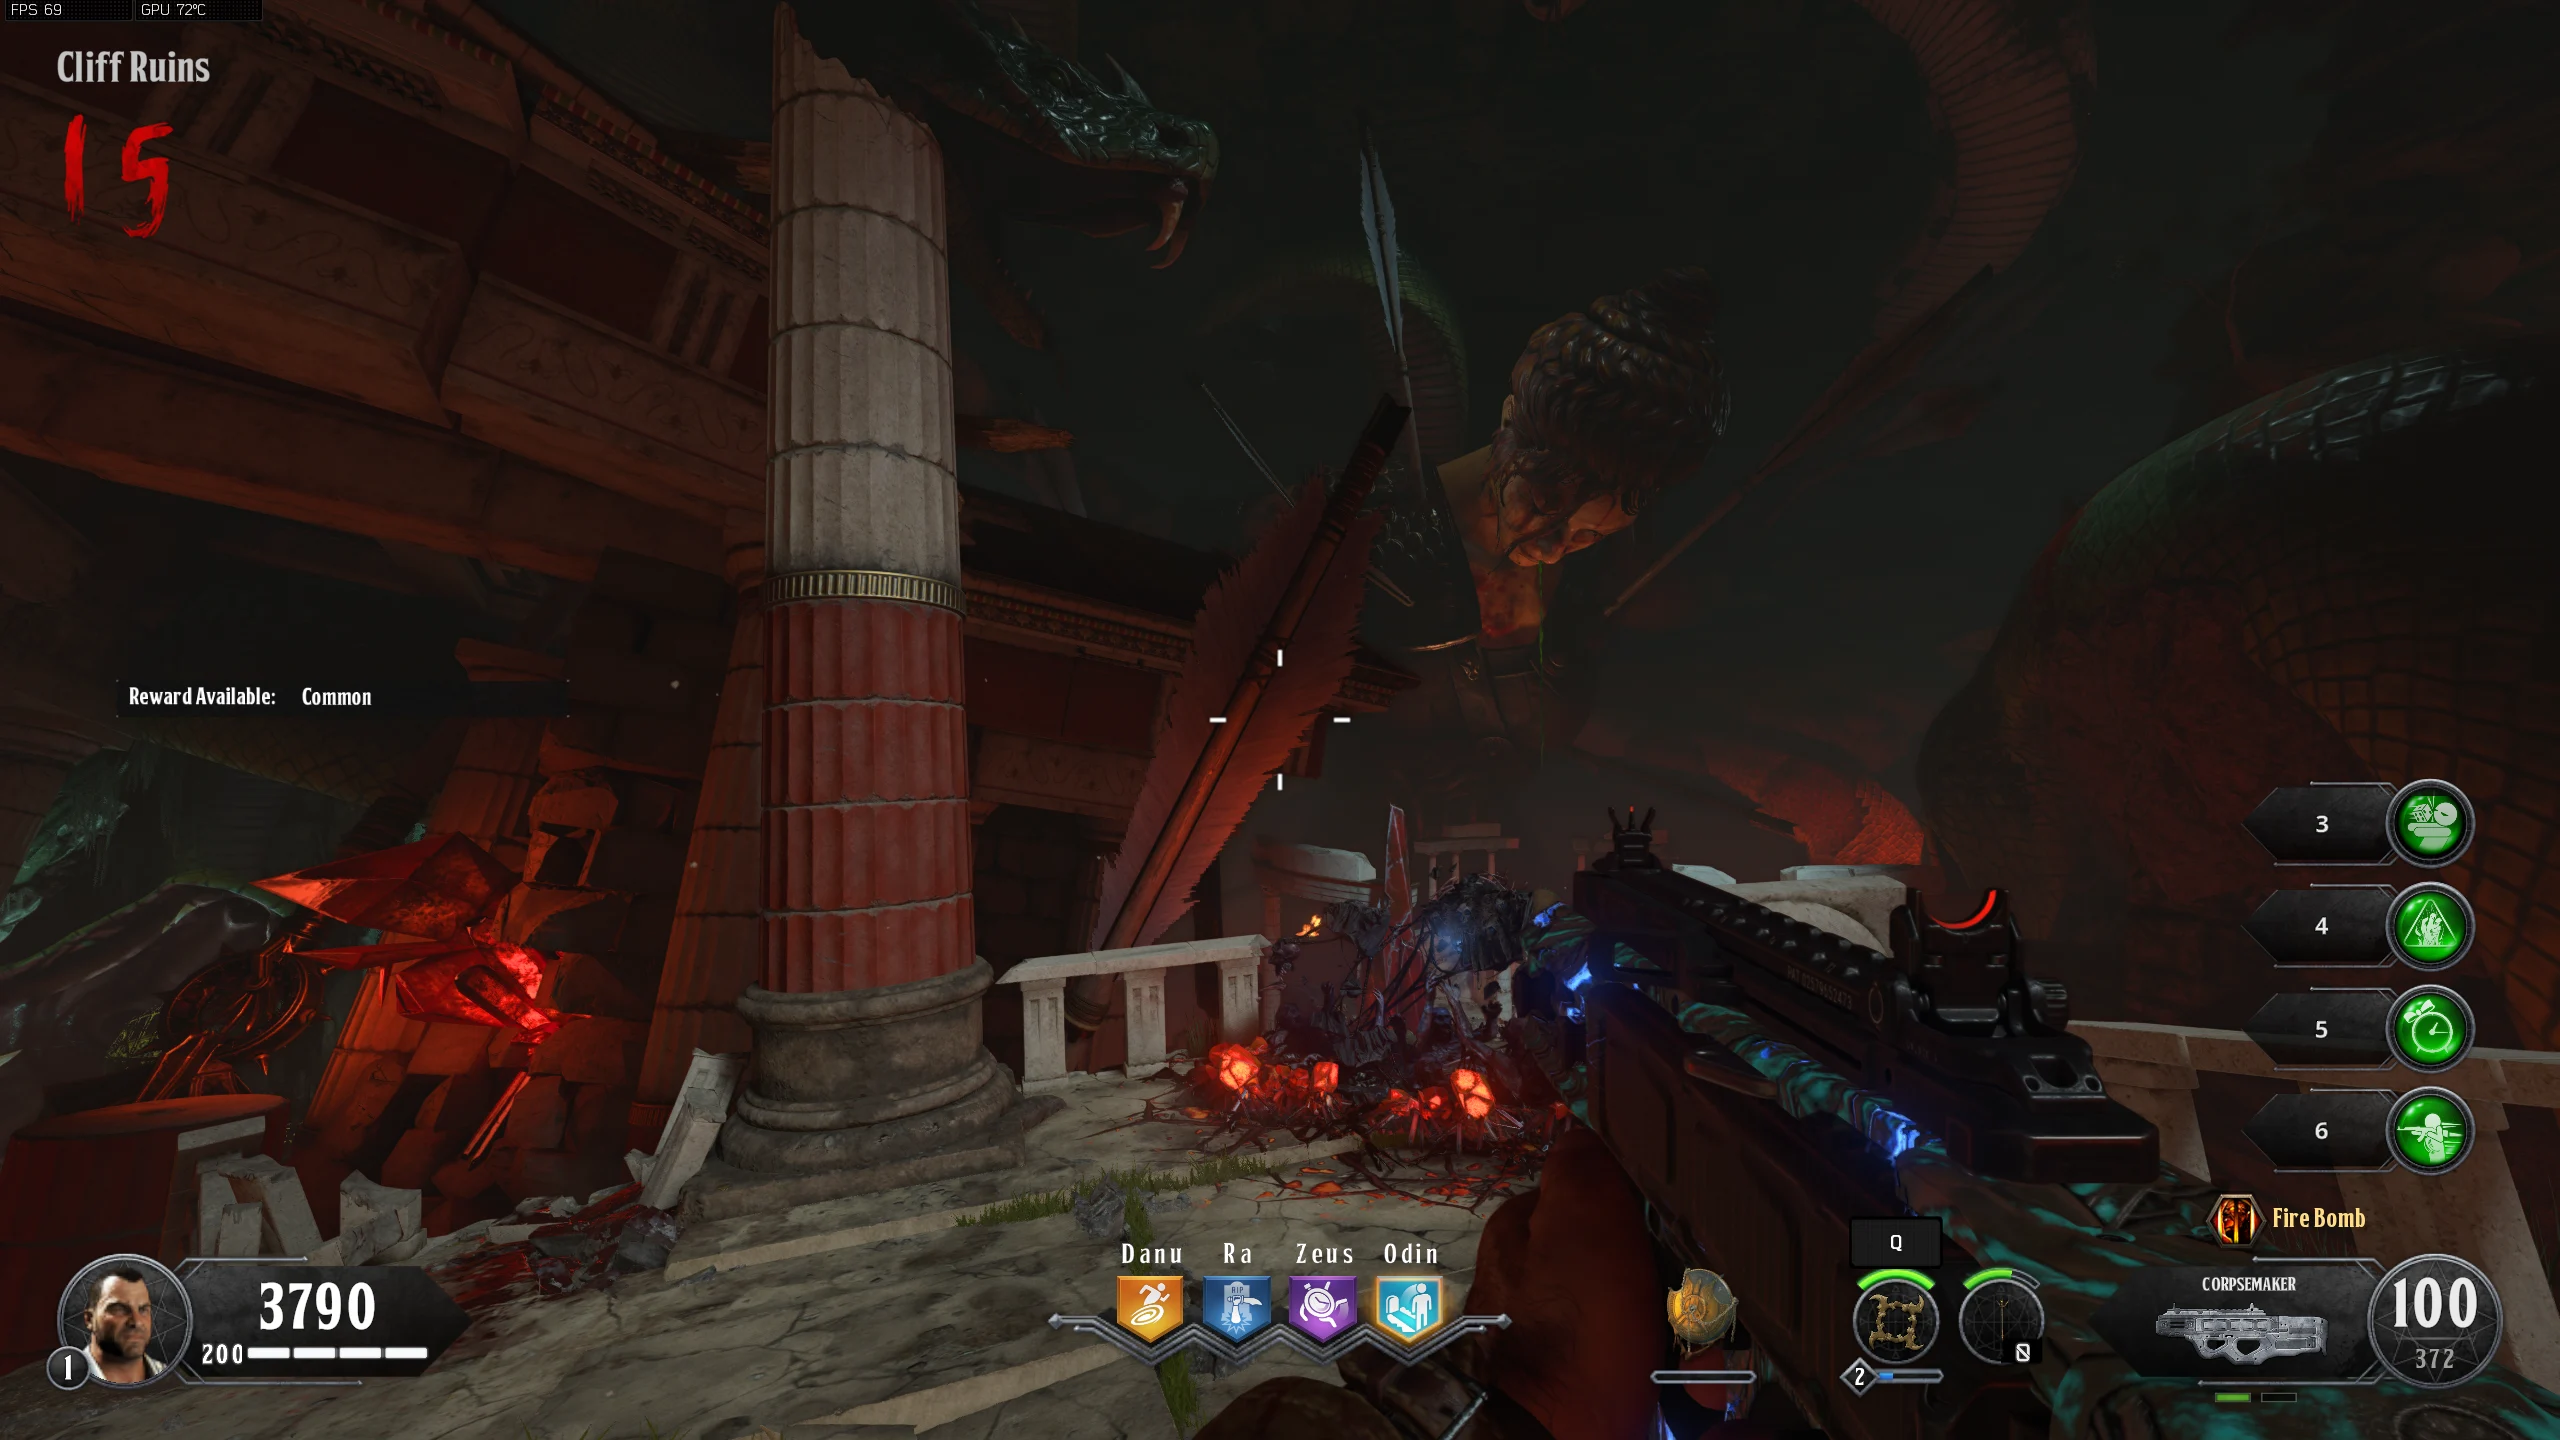
- Ignite the spear of Apollo's Will at the fire in the 'Temple of Apollo,' then quickly make your way back to the "Dark Side". With the burning spear, you must run through the Acid Trap in 'Python Pass.' If done correctly, the spear should become covered in green flames.
- Melee the ballista at the top of the stairs, with the spear to ignite it. This will cause the ballista to shoot an arrow.
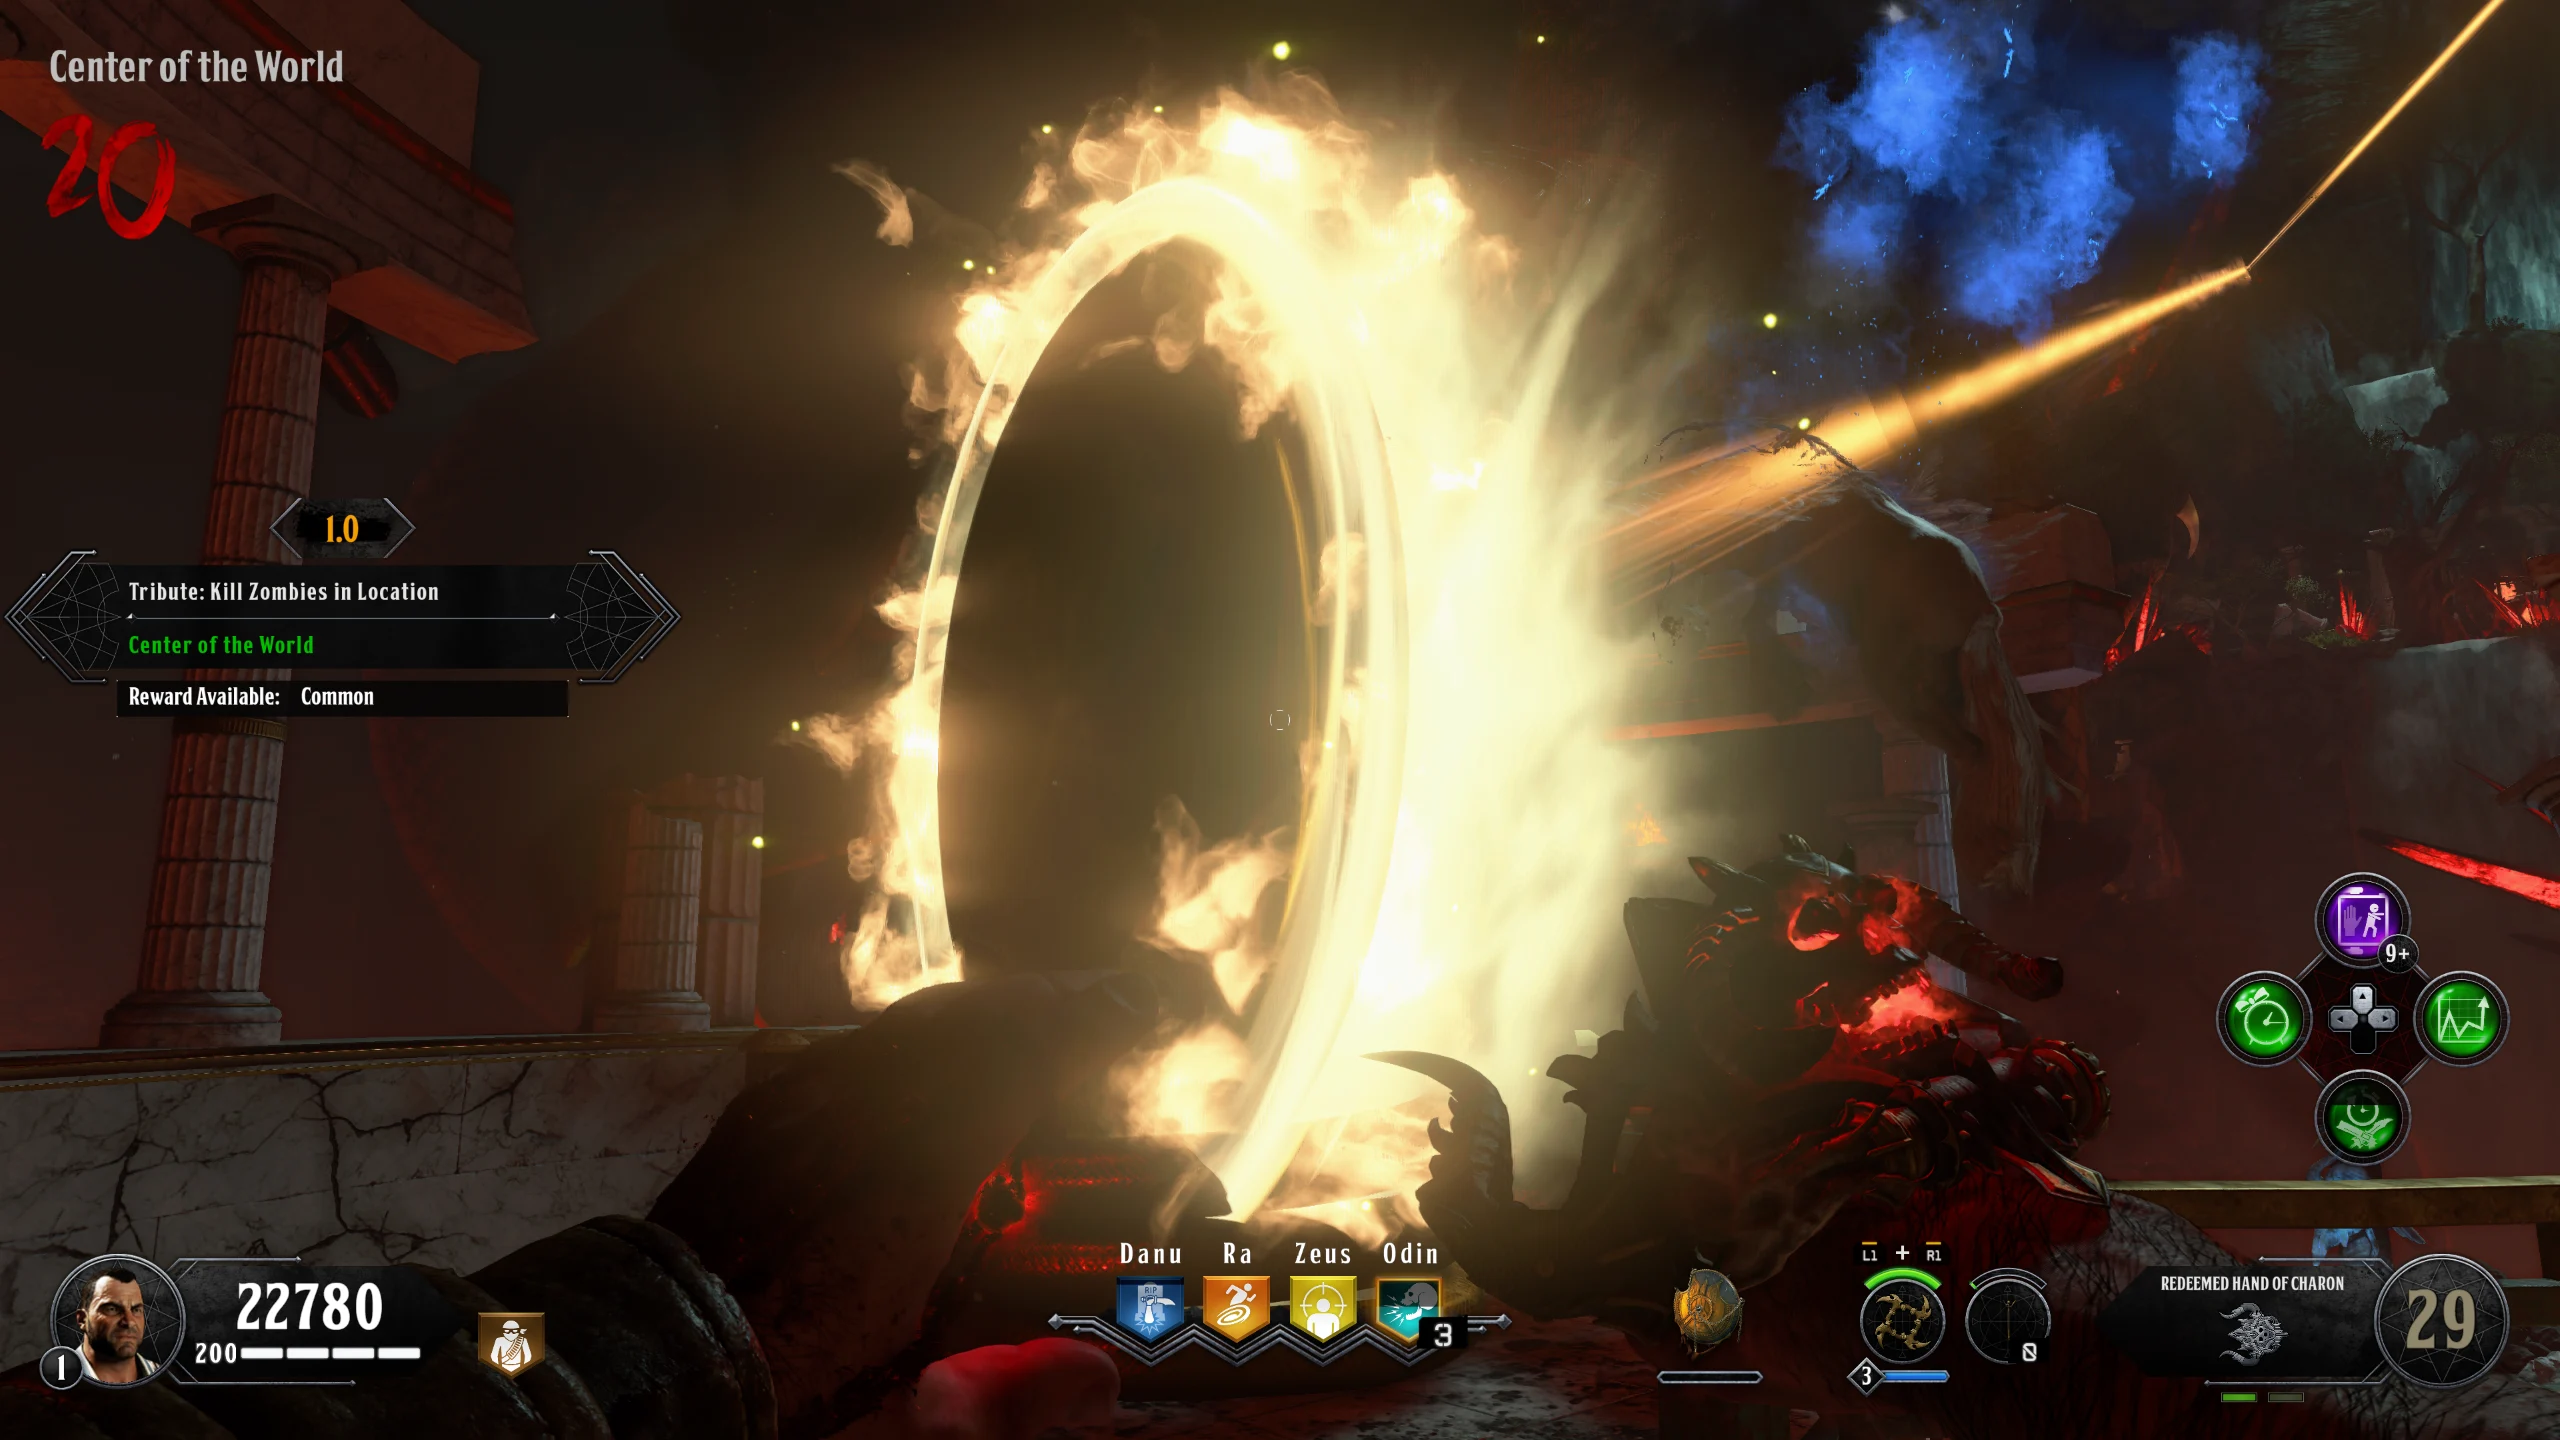
Warning: Point of No Return. Once the Portal is interacted with, the Boss Fight will start.
- A portal will spawn behind Pack-a-Punch. All players must interact with it at the same time to start the Boss Fight.
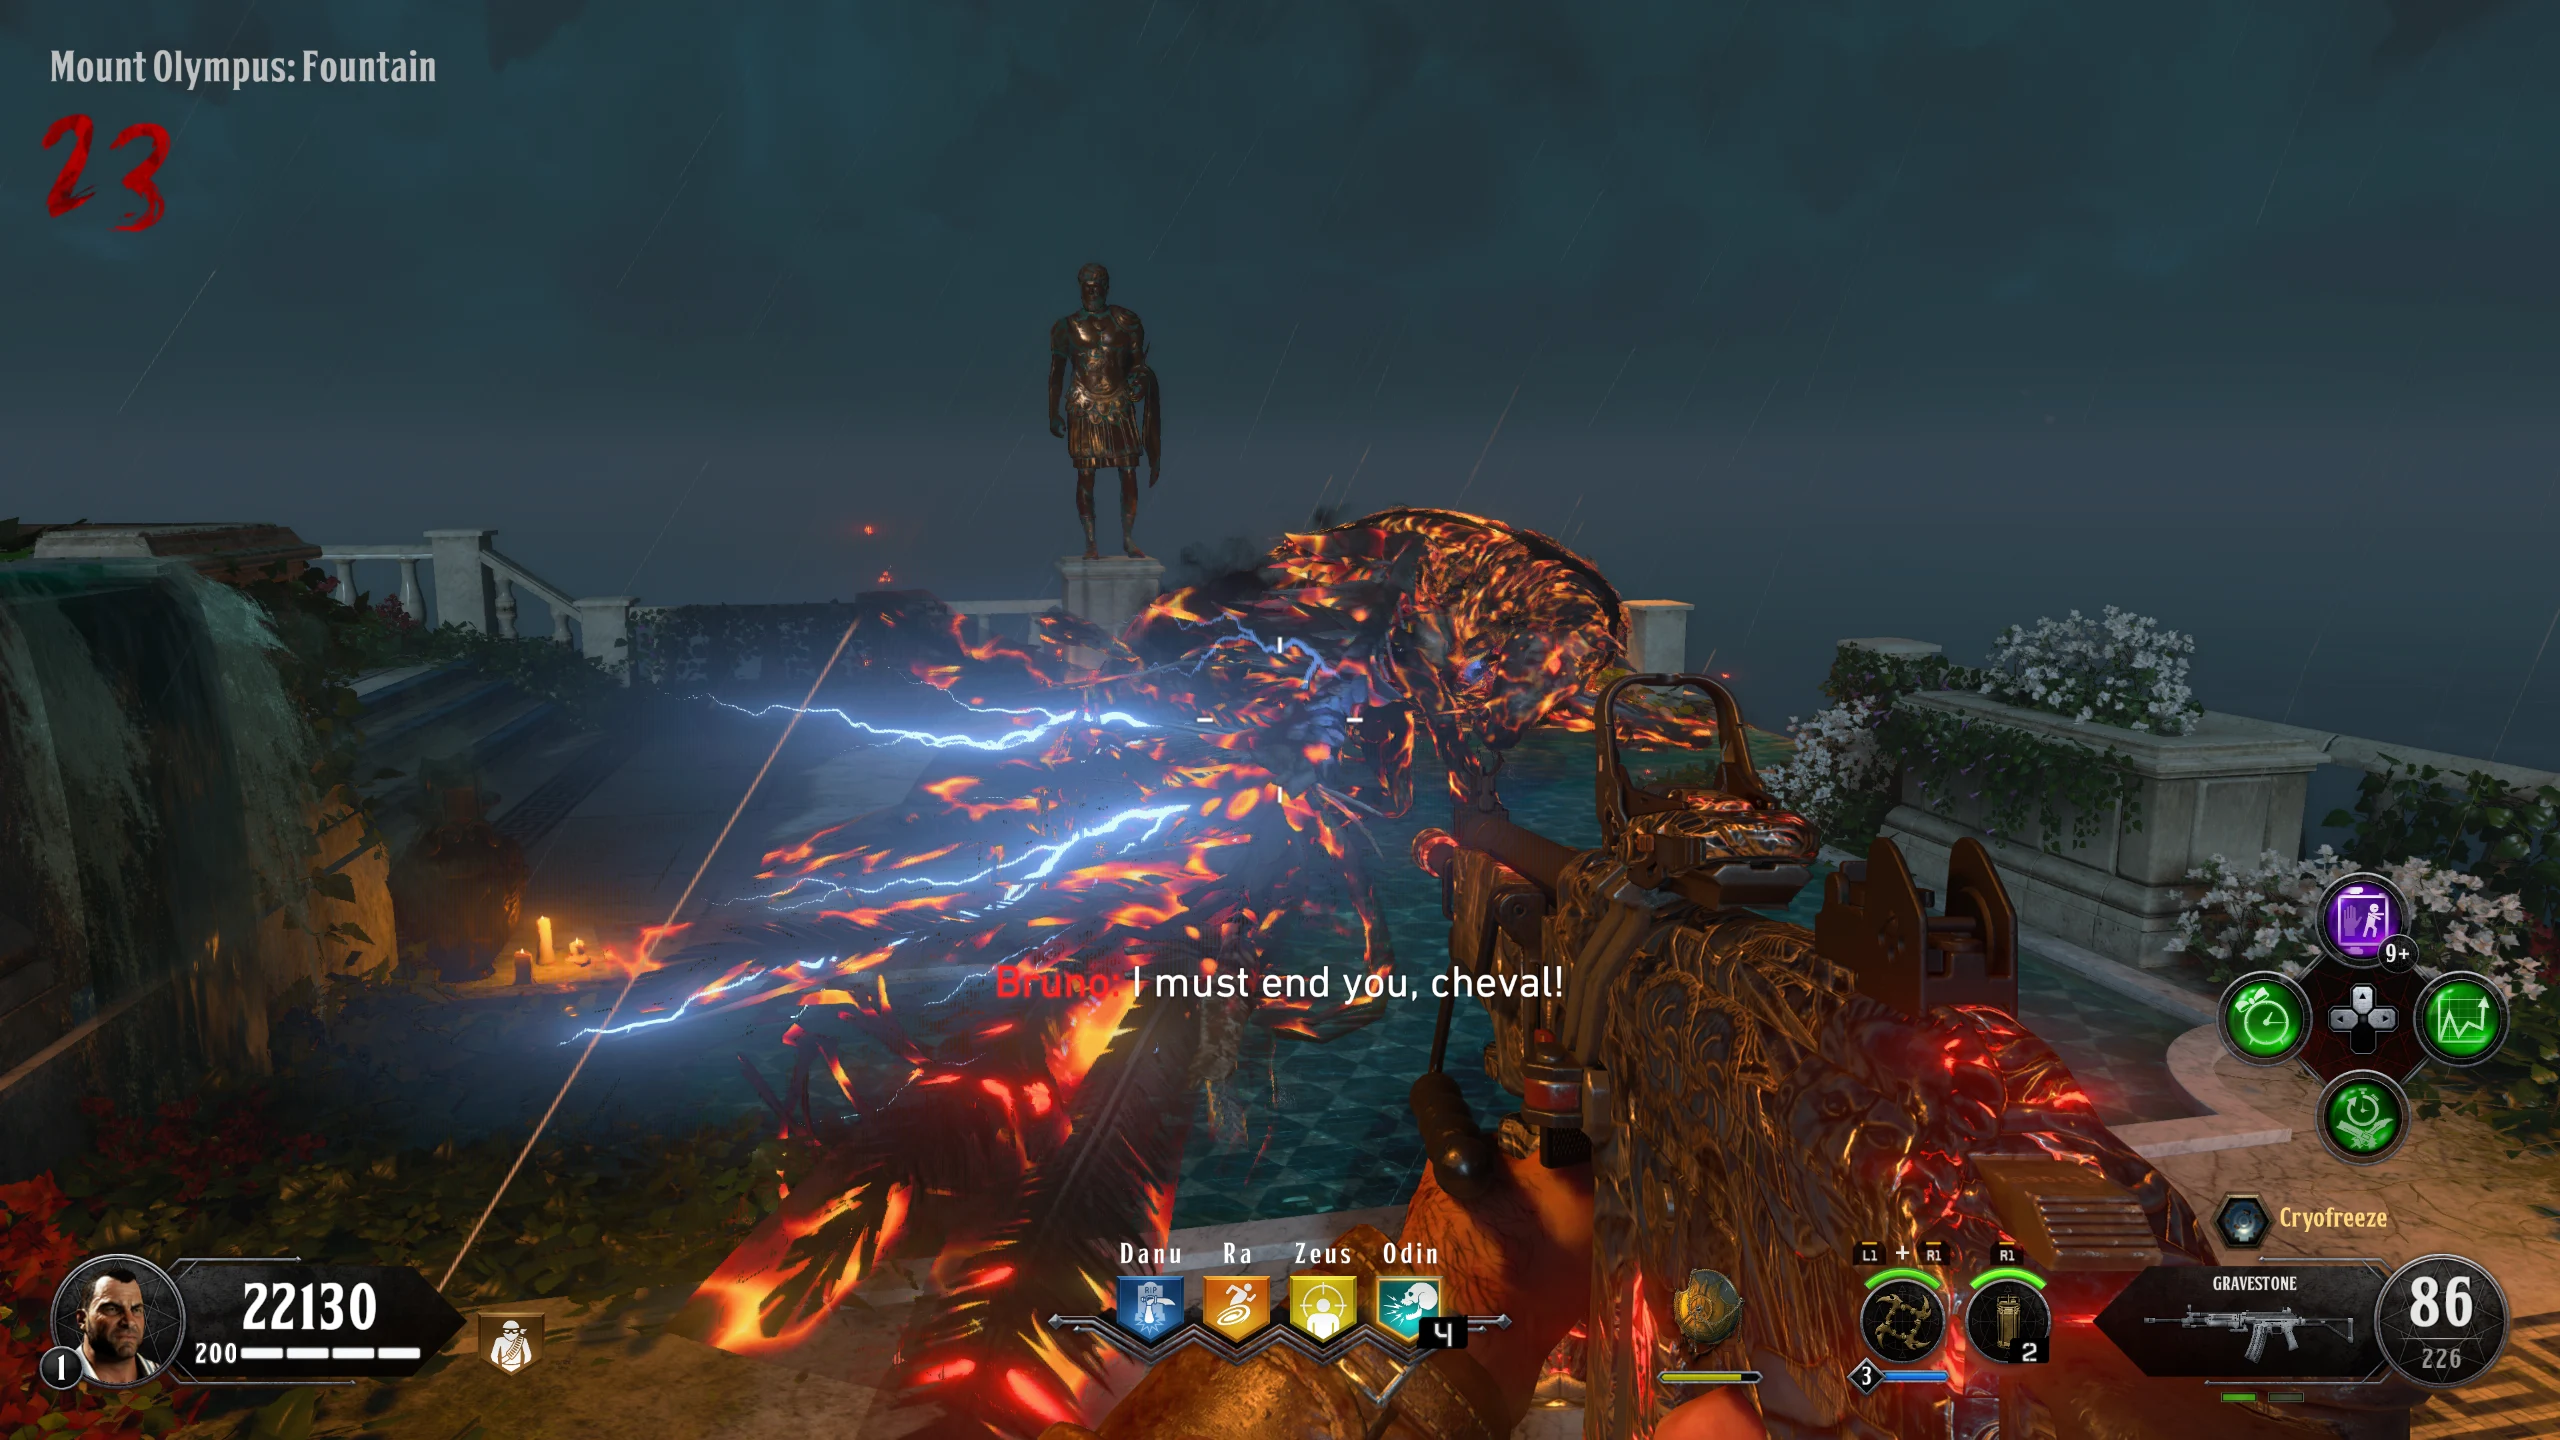
Pegasus/Perseus Boss Fight
- The Boss Fight consists of two phases, fighting Pegasus and then fighting Perseus. In the arena, there are three floating islands that you can move between using jump pads and one pillar in the middle where Perseus is, which you can't access.
- To damage Pegasus, shoot it while it's flying over one of the islands. Deal enough damage and it will fall and start glowing orange. While glowing, it can only be damaged with your Specialist Weapon.
- If you don't do enough damage to Pegasus while it is flying over an island, it will drop Fire/Electricity on the island, which will stay on the ground for a few seconds. These attacks are quite easy to avoid, assuming you don't stand directly under Pegasus.
- Occasionally, Perseus will throw flaming spears at you that will leave fire on the ground.
- If you stand in the fire, it will damage you but will also charge your specialist weapon very quickly.
- Once you do enough damage to Pegasus, it will destroy the 'Mount Olympus: Forest' island and spawn a Max Ammo Power-up on one of the other islands.
- If a player is on the island while it is being destroyed, they will be downed instantly with no opportunity to revive. If you're Solo, this will end the game.
- Repeat Step 31 one more time. Once you do enough damage to Pegasus, Pegasus will now attack Perseus.
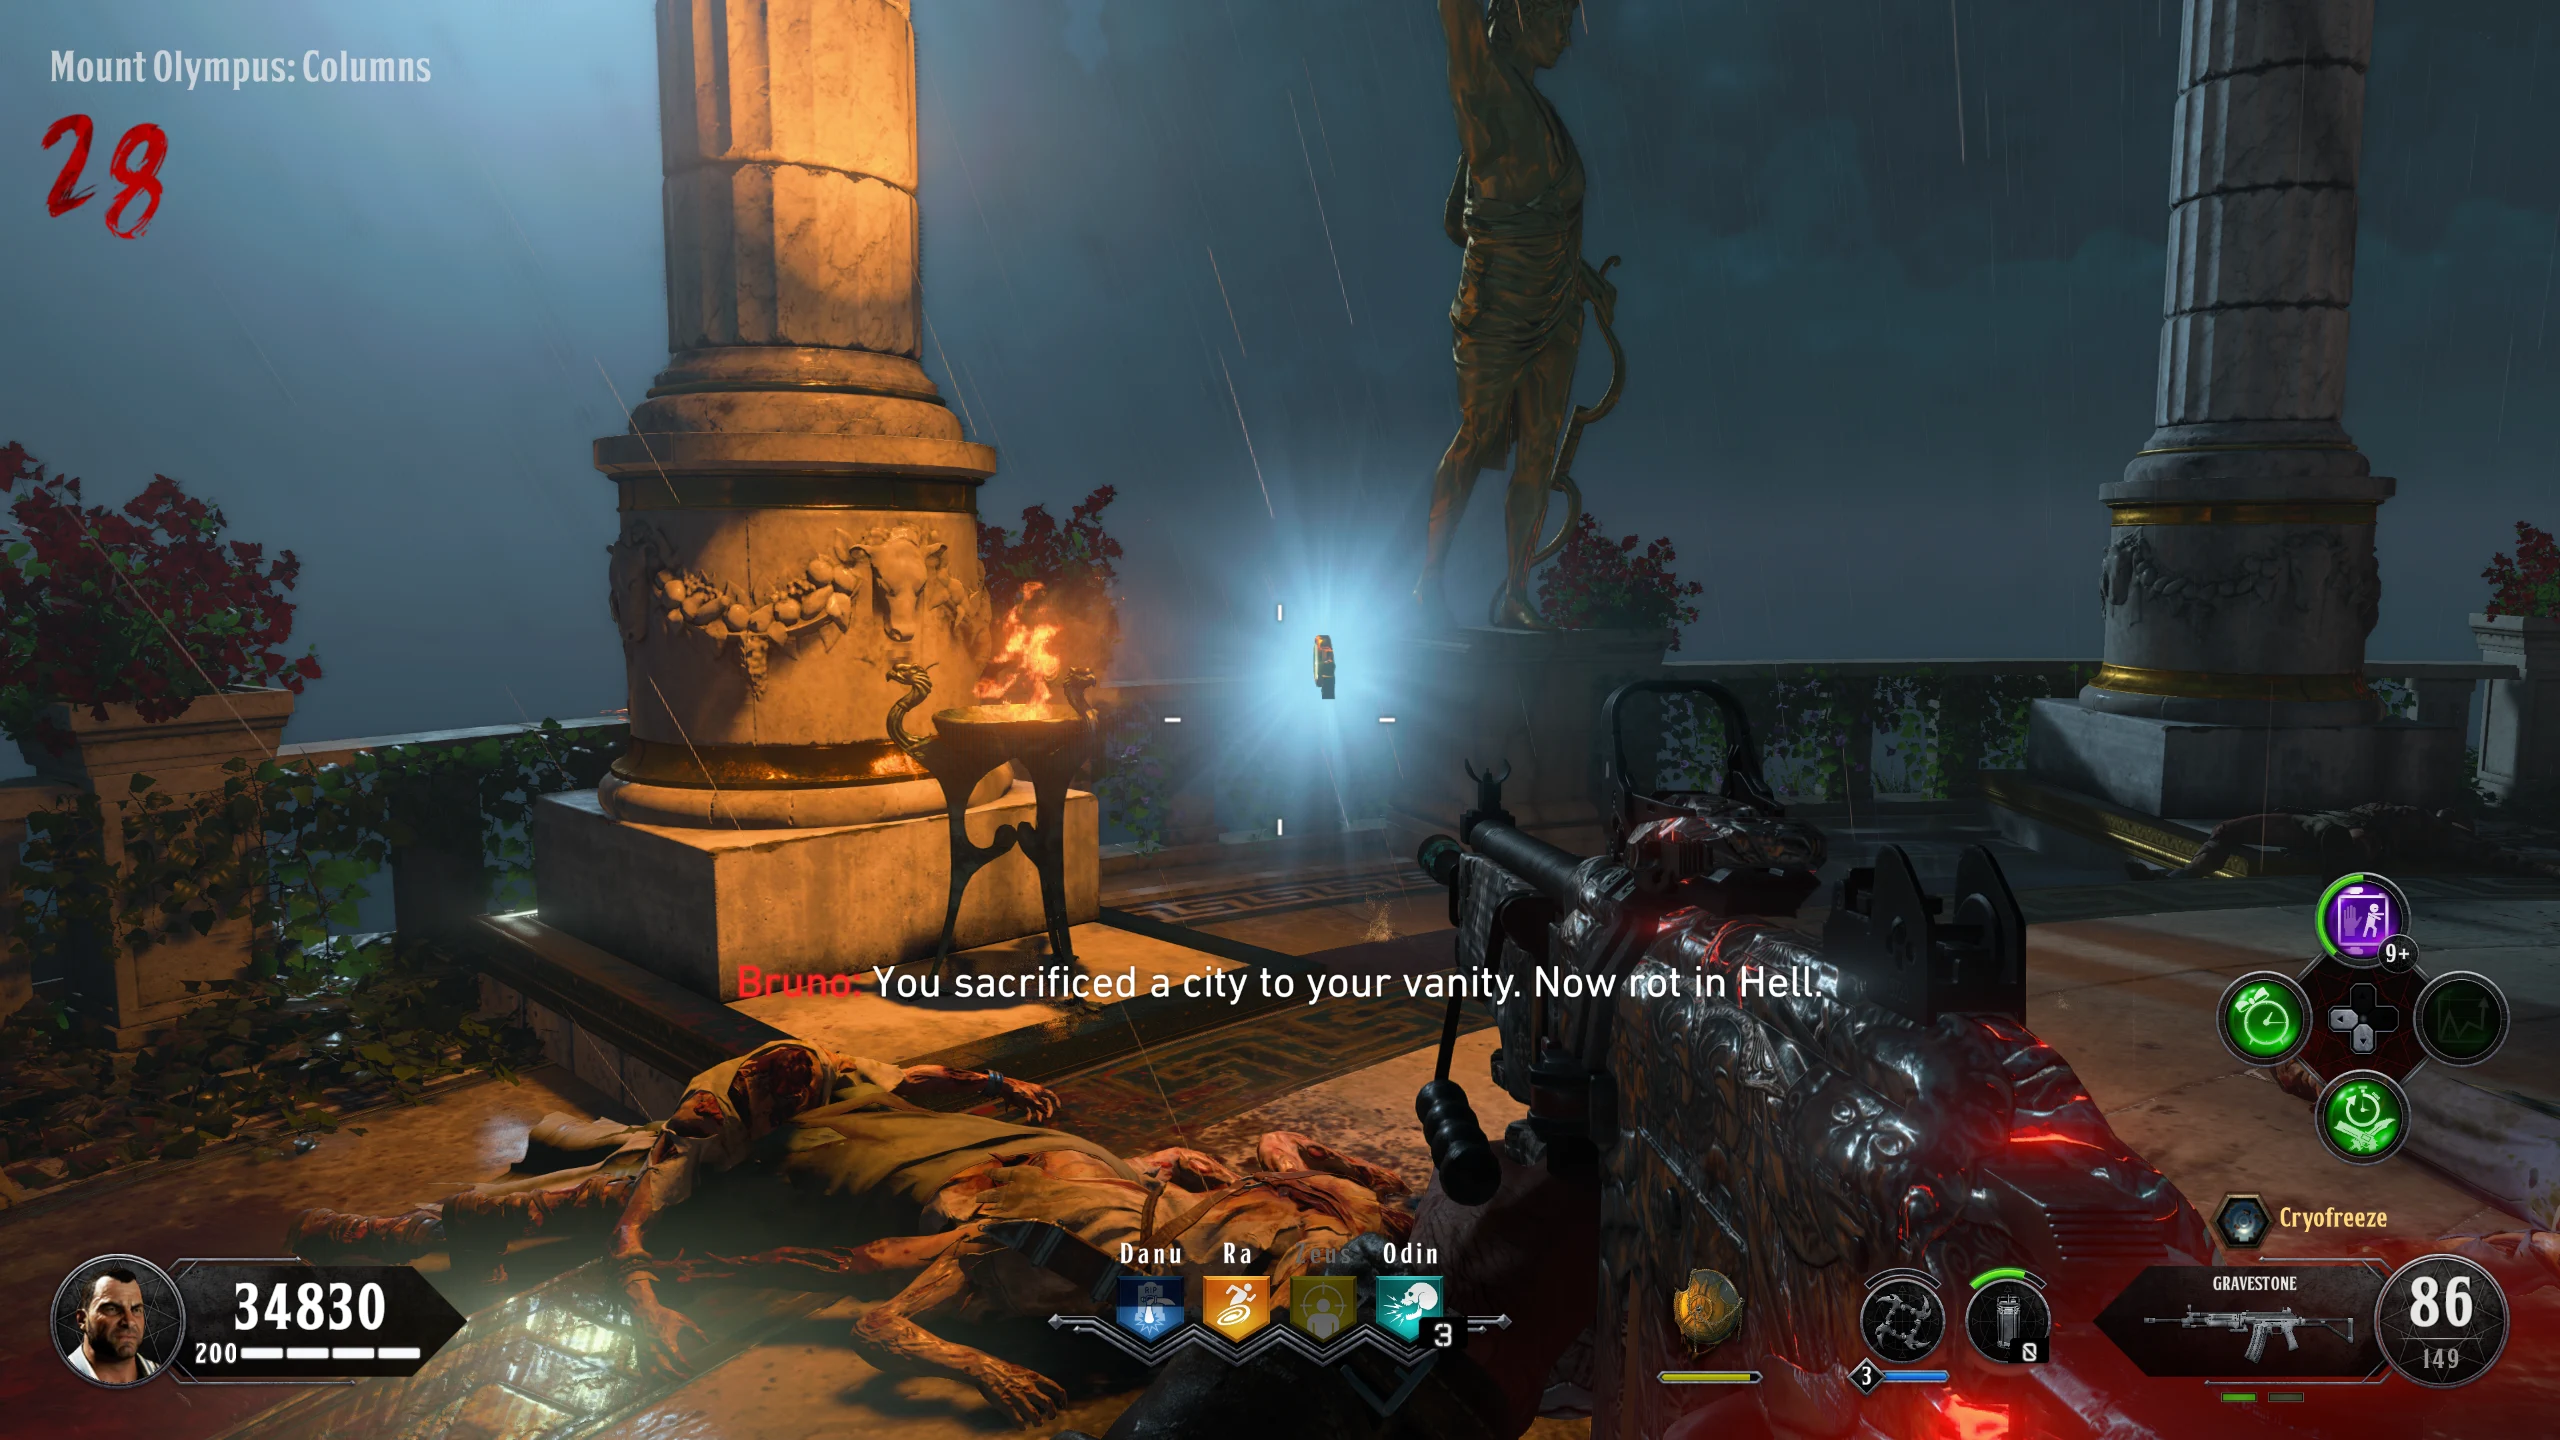
- Perseus will then destroy the 'Mount Olympus: Fountains' island, leaving only the 'Mount Olympus: Columns' island. Once the island is destroyed, the fight with Perseus will start.
- Perseus stands on the pillar in the middle of the arena and occasionally teleports to your island to attack. Damage him with any weapon. Deal enough damage and he'll start glowing orange like Pegasus, at which point only your Specialist Weapon can hurt him.
- Repeat this until he dies and drops a key. Pick up the key to end the Boss Fight and start the final cutscene.
 Tips
Tips