"No Mo' Modi" Main Quest
Stats (Solo): Difficulty - 5/10, Est. Completion Time - 30 to 45 Mins
-
Obtaining the Hard Drive
- Obtain the DRI-11 Beamsmasher.
-
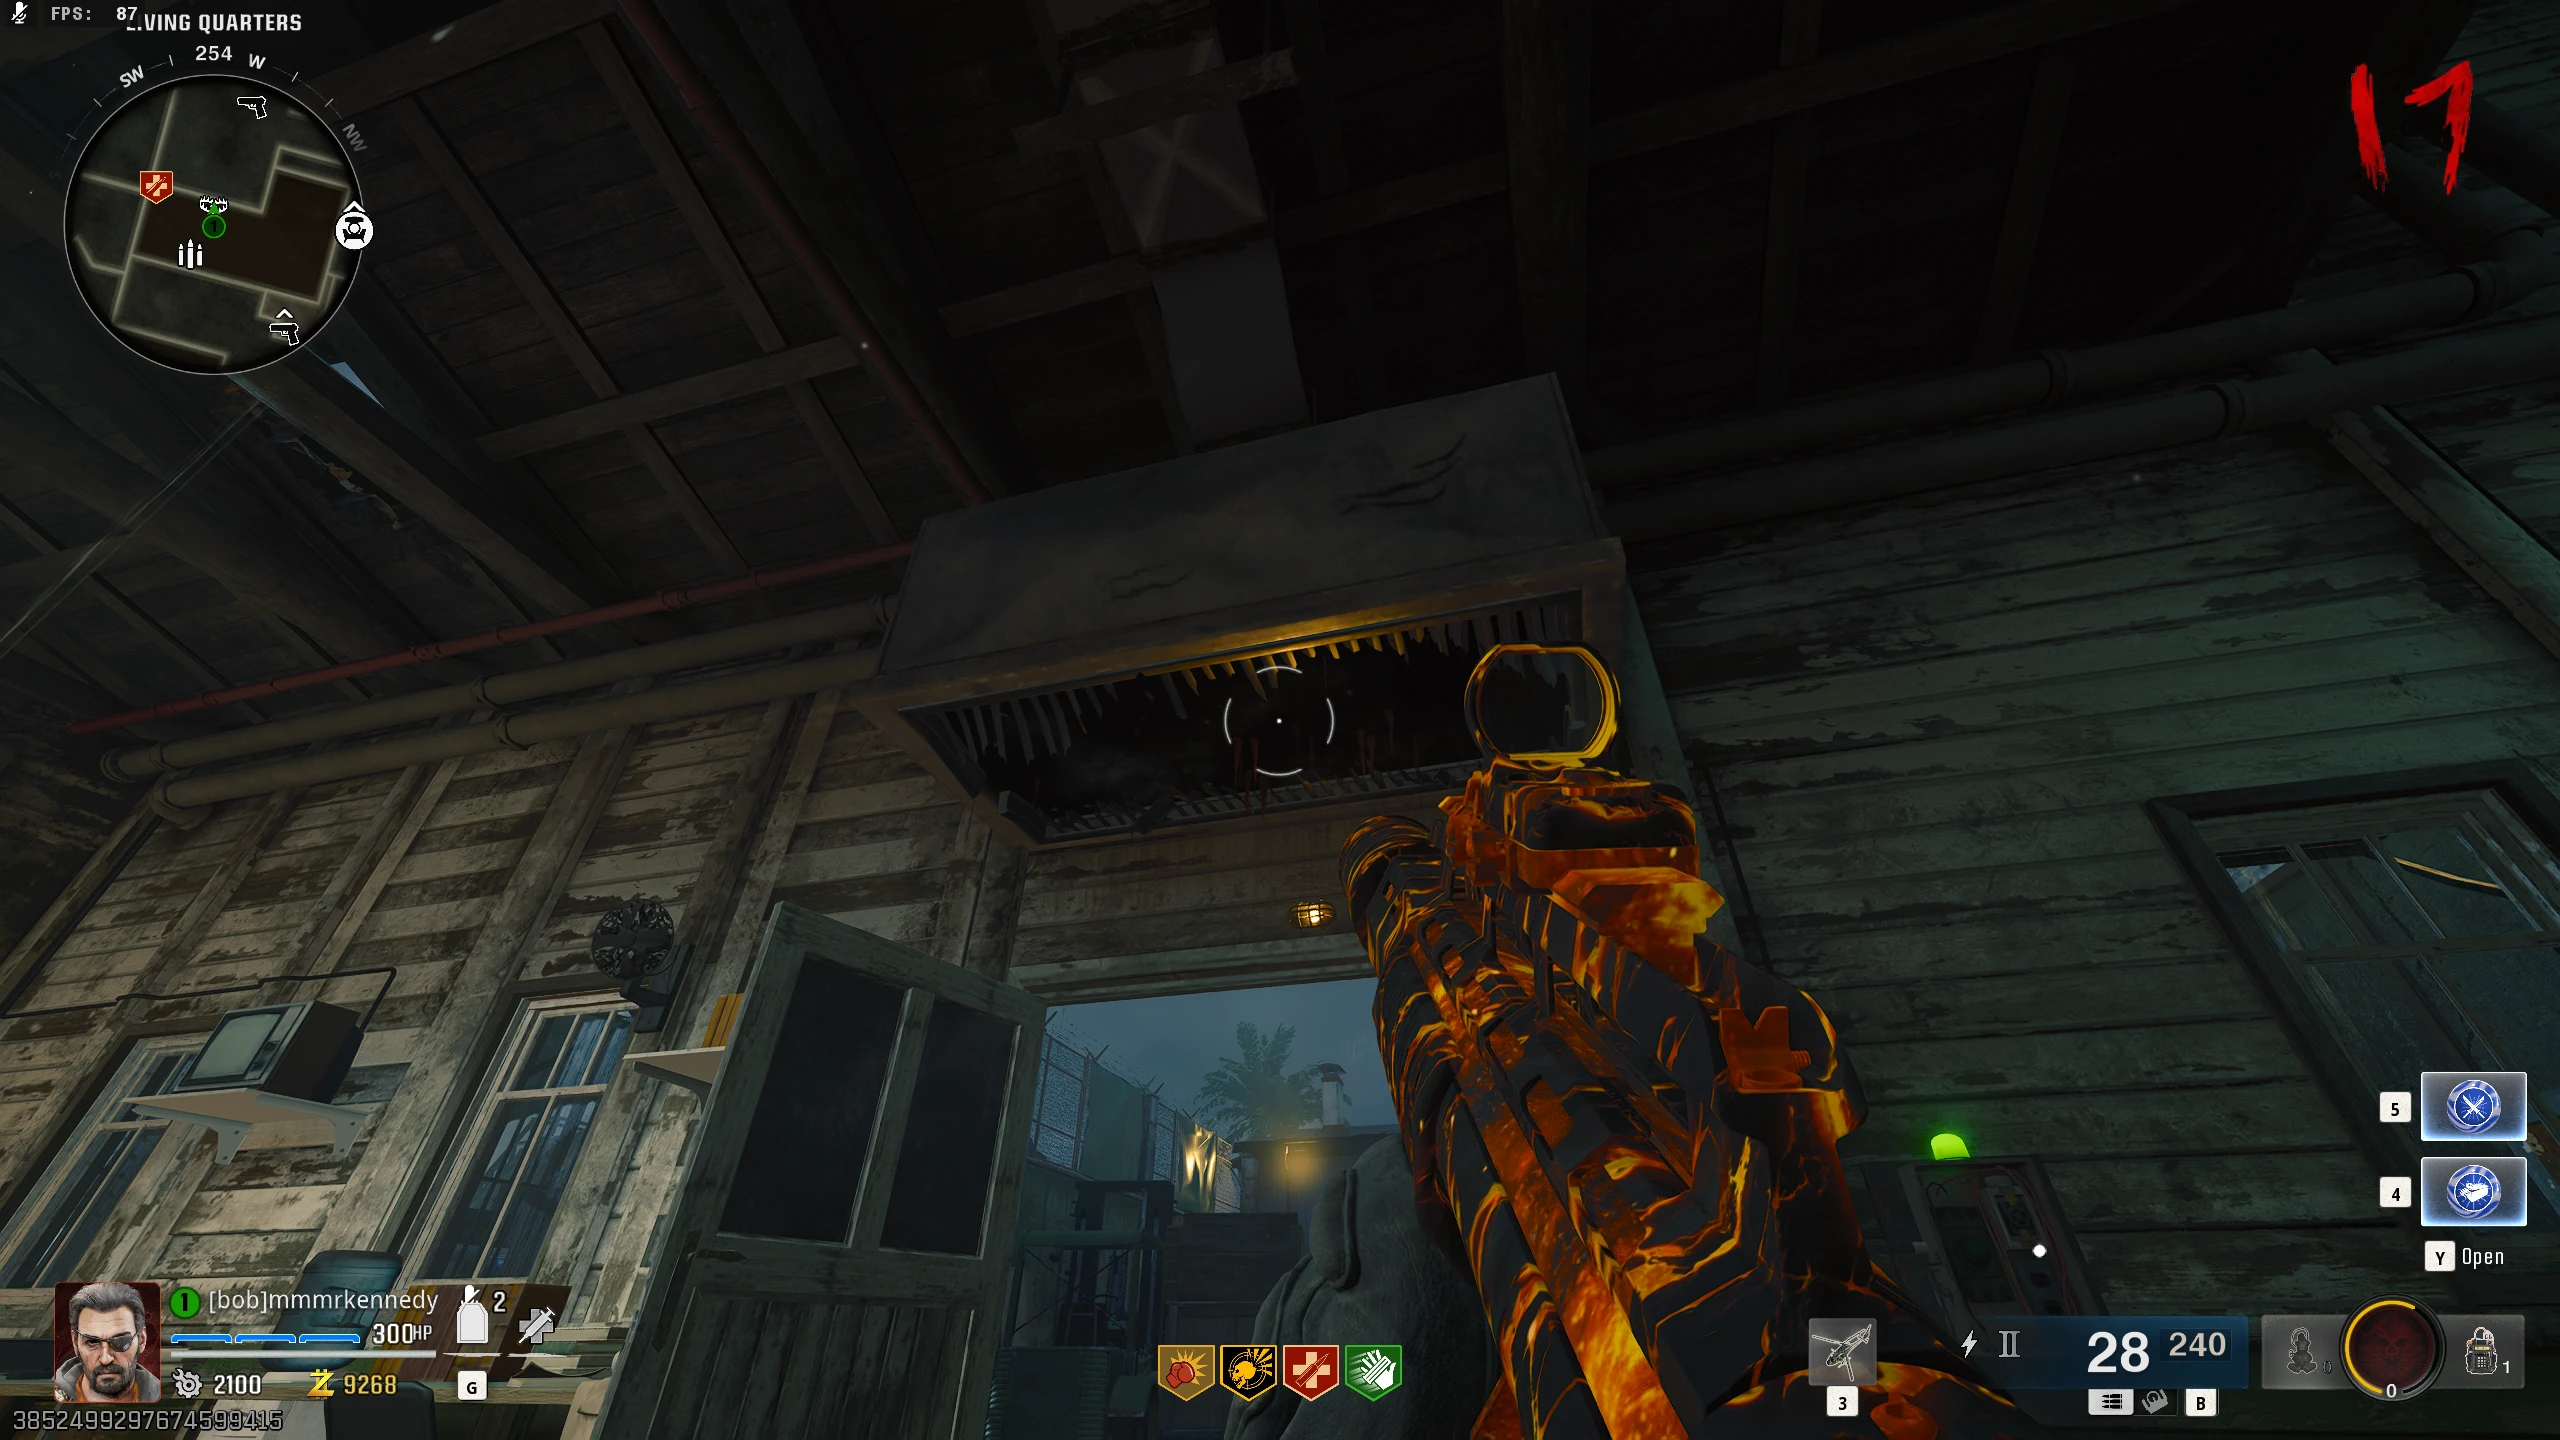
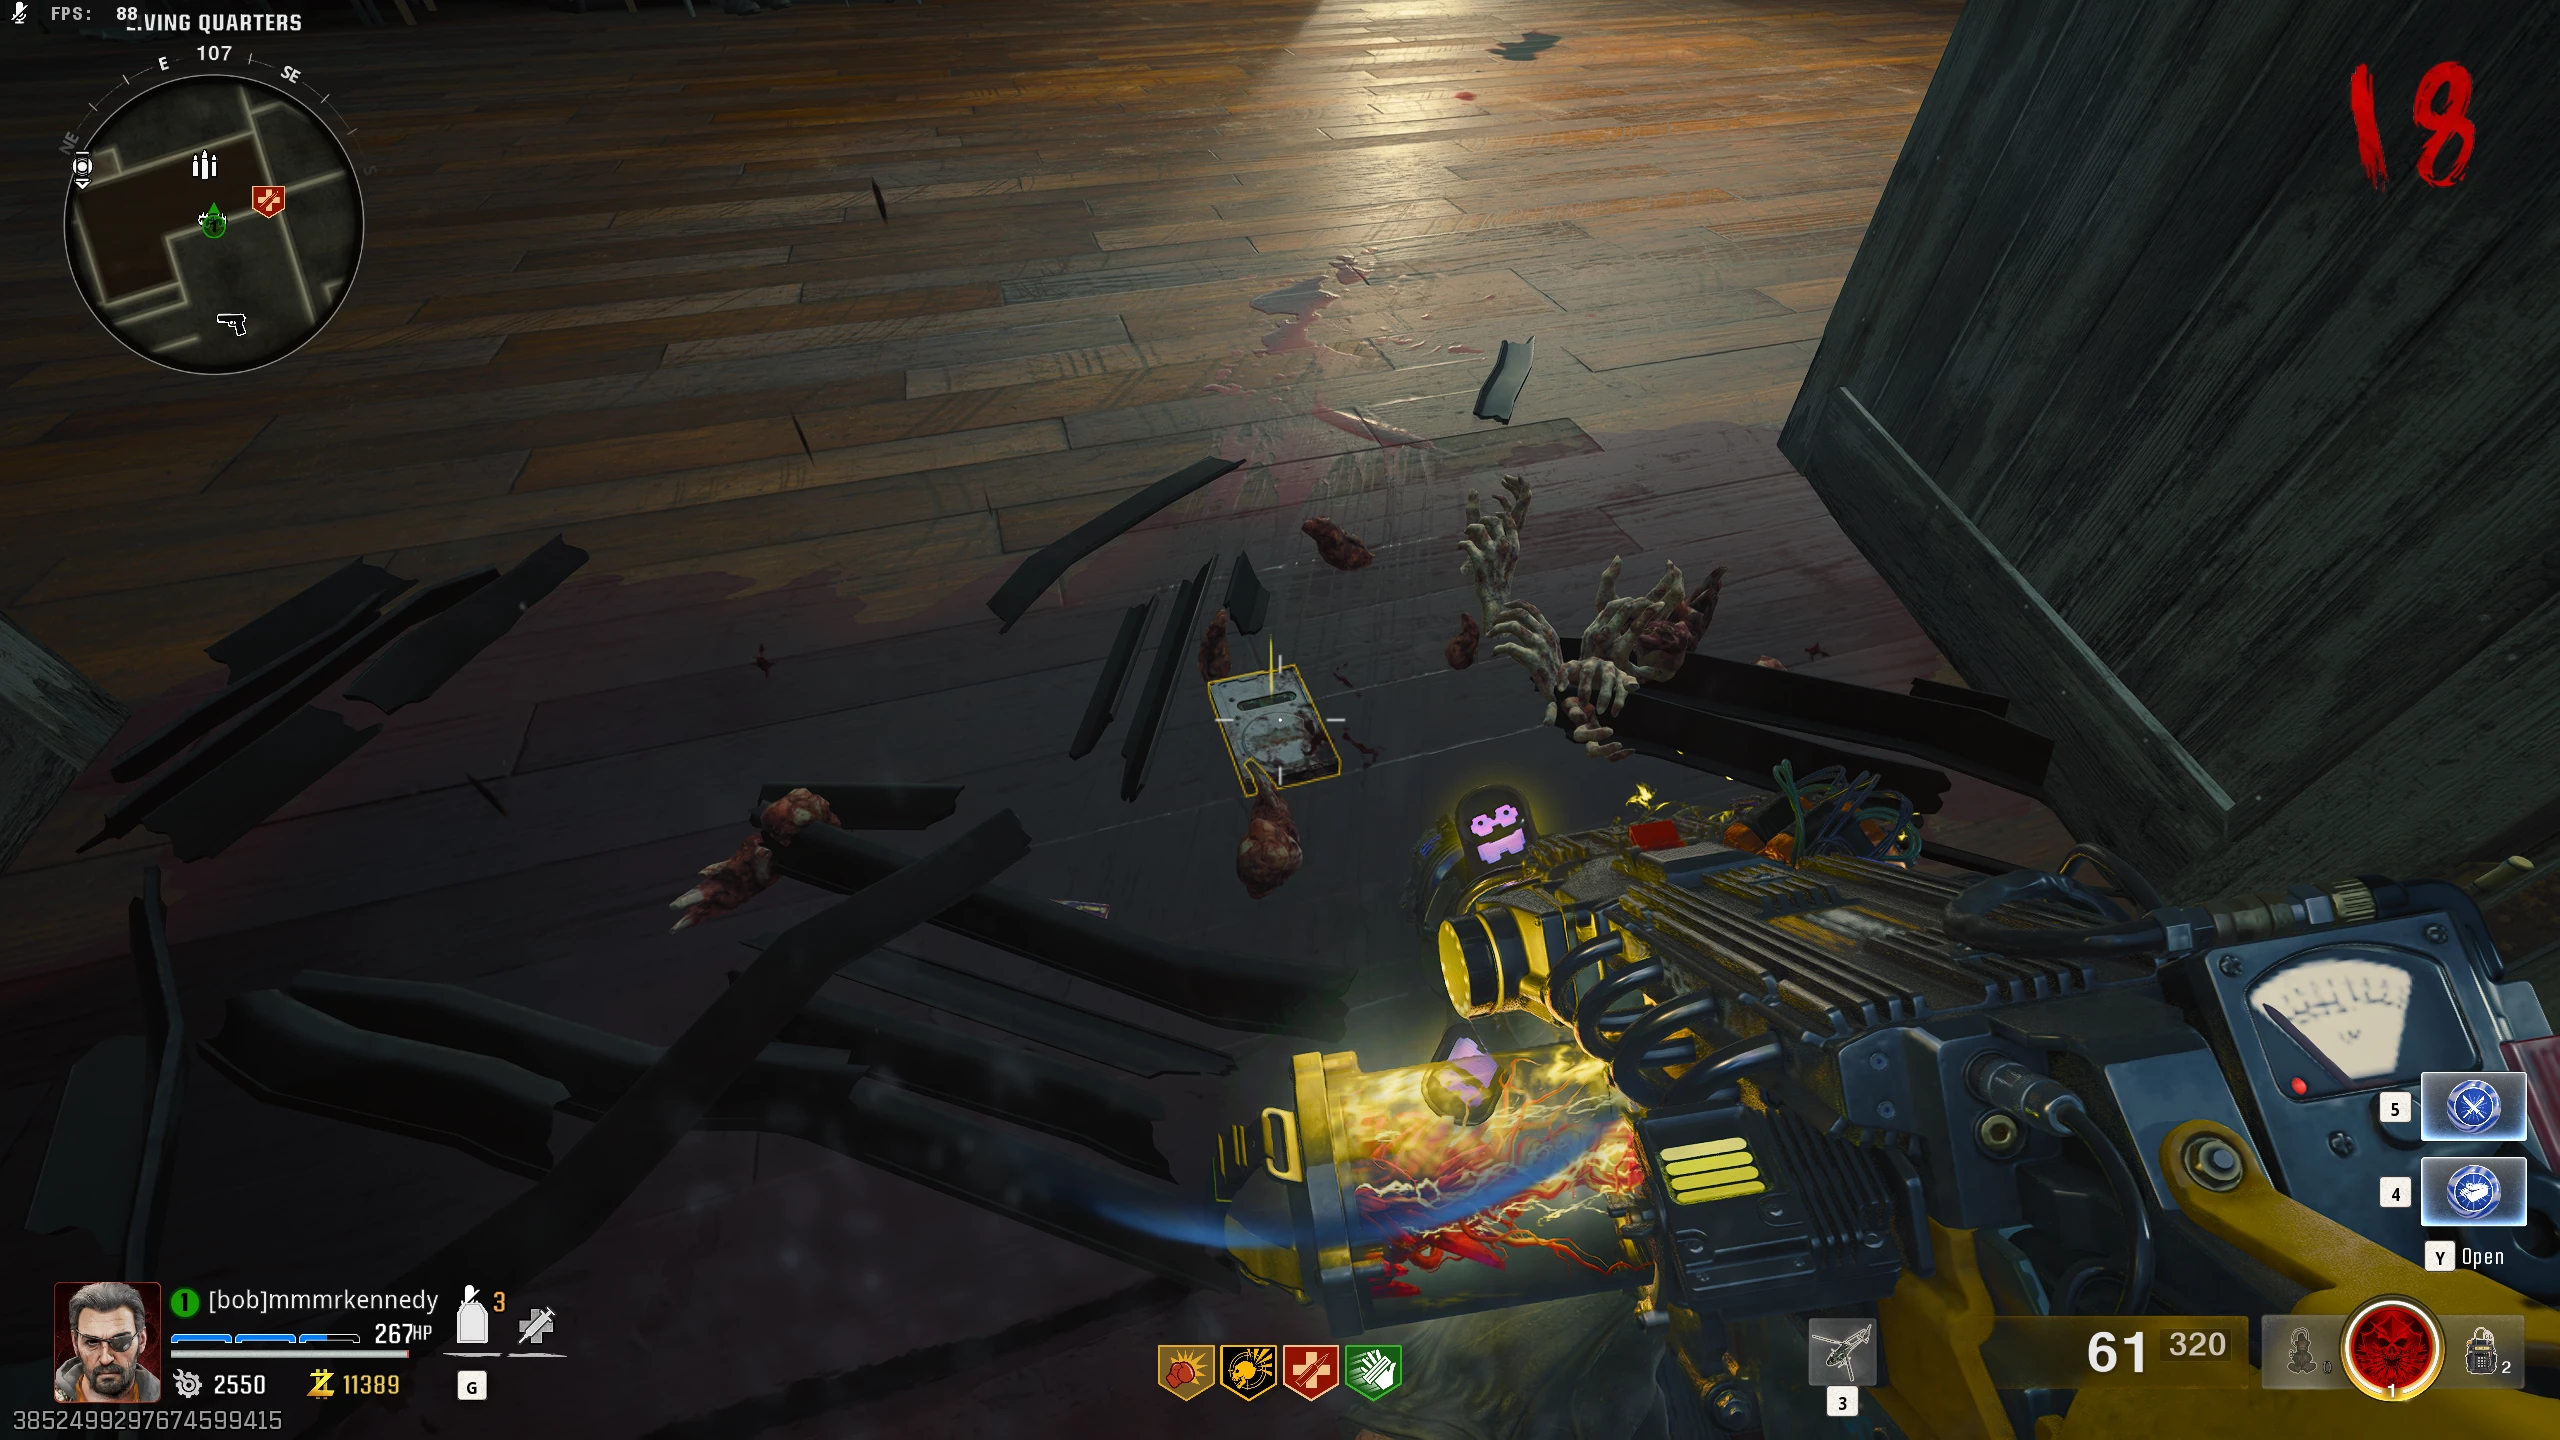
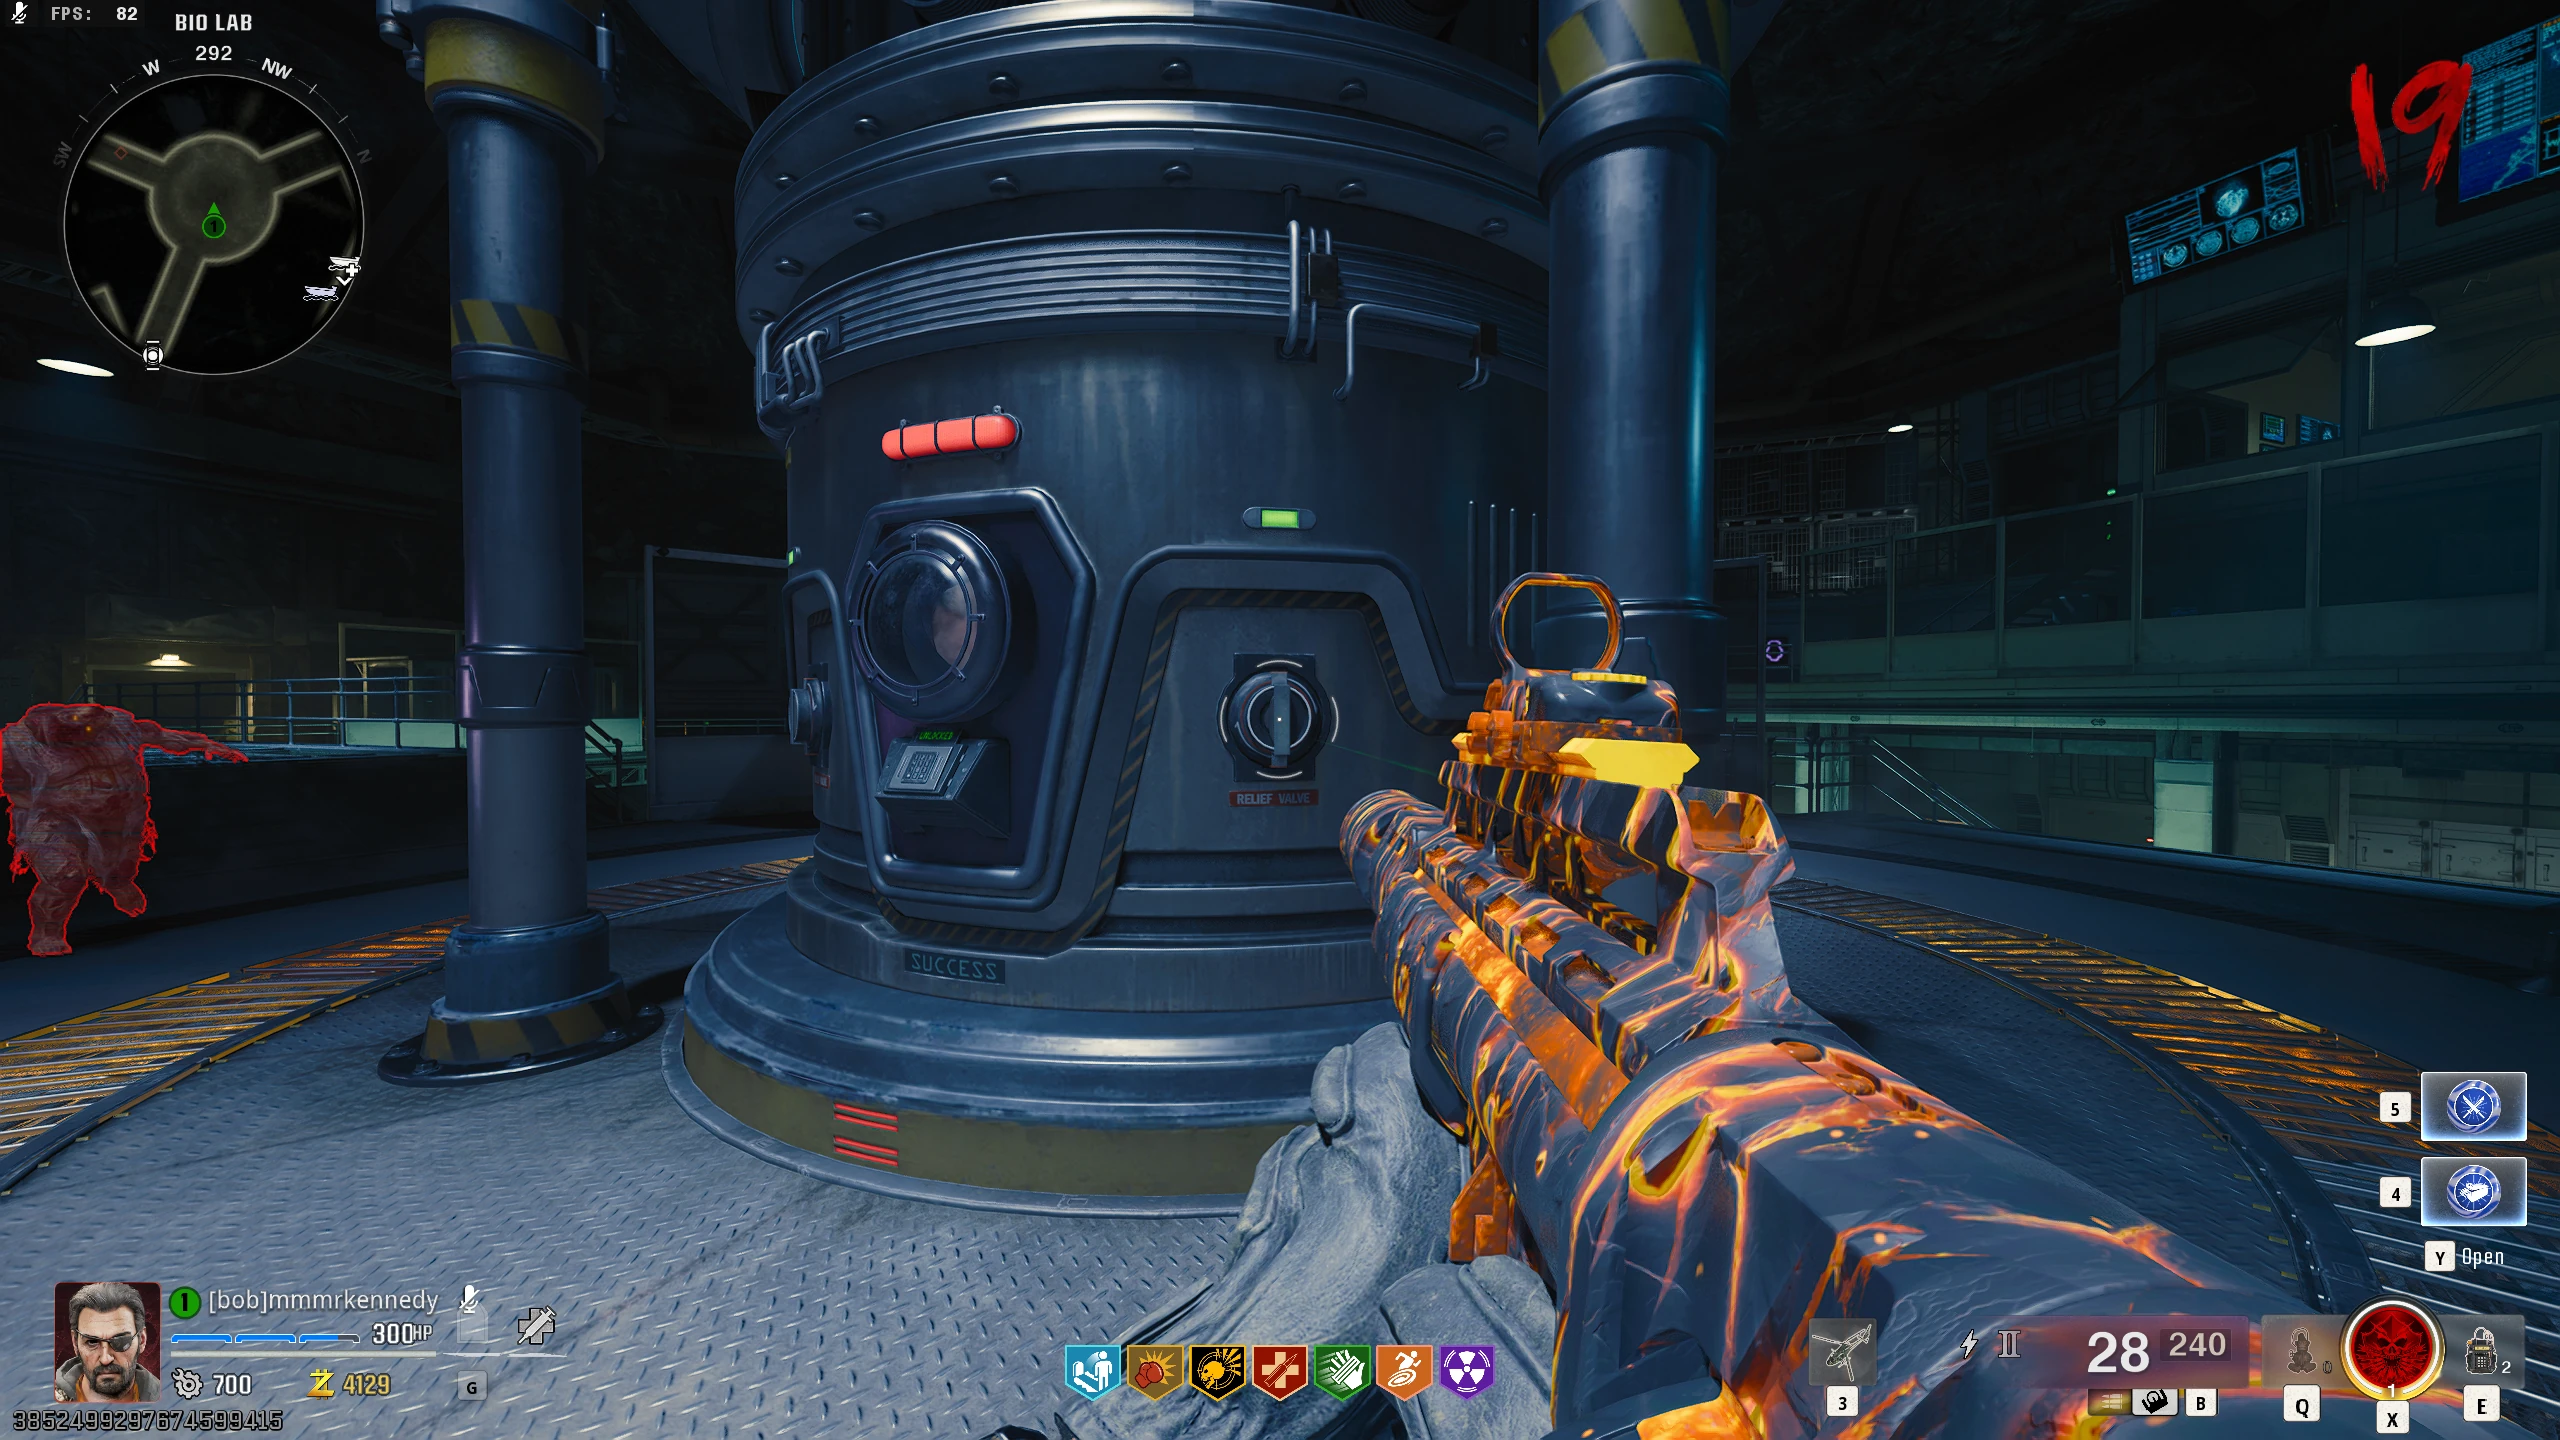
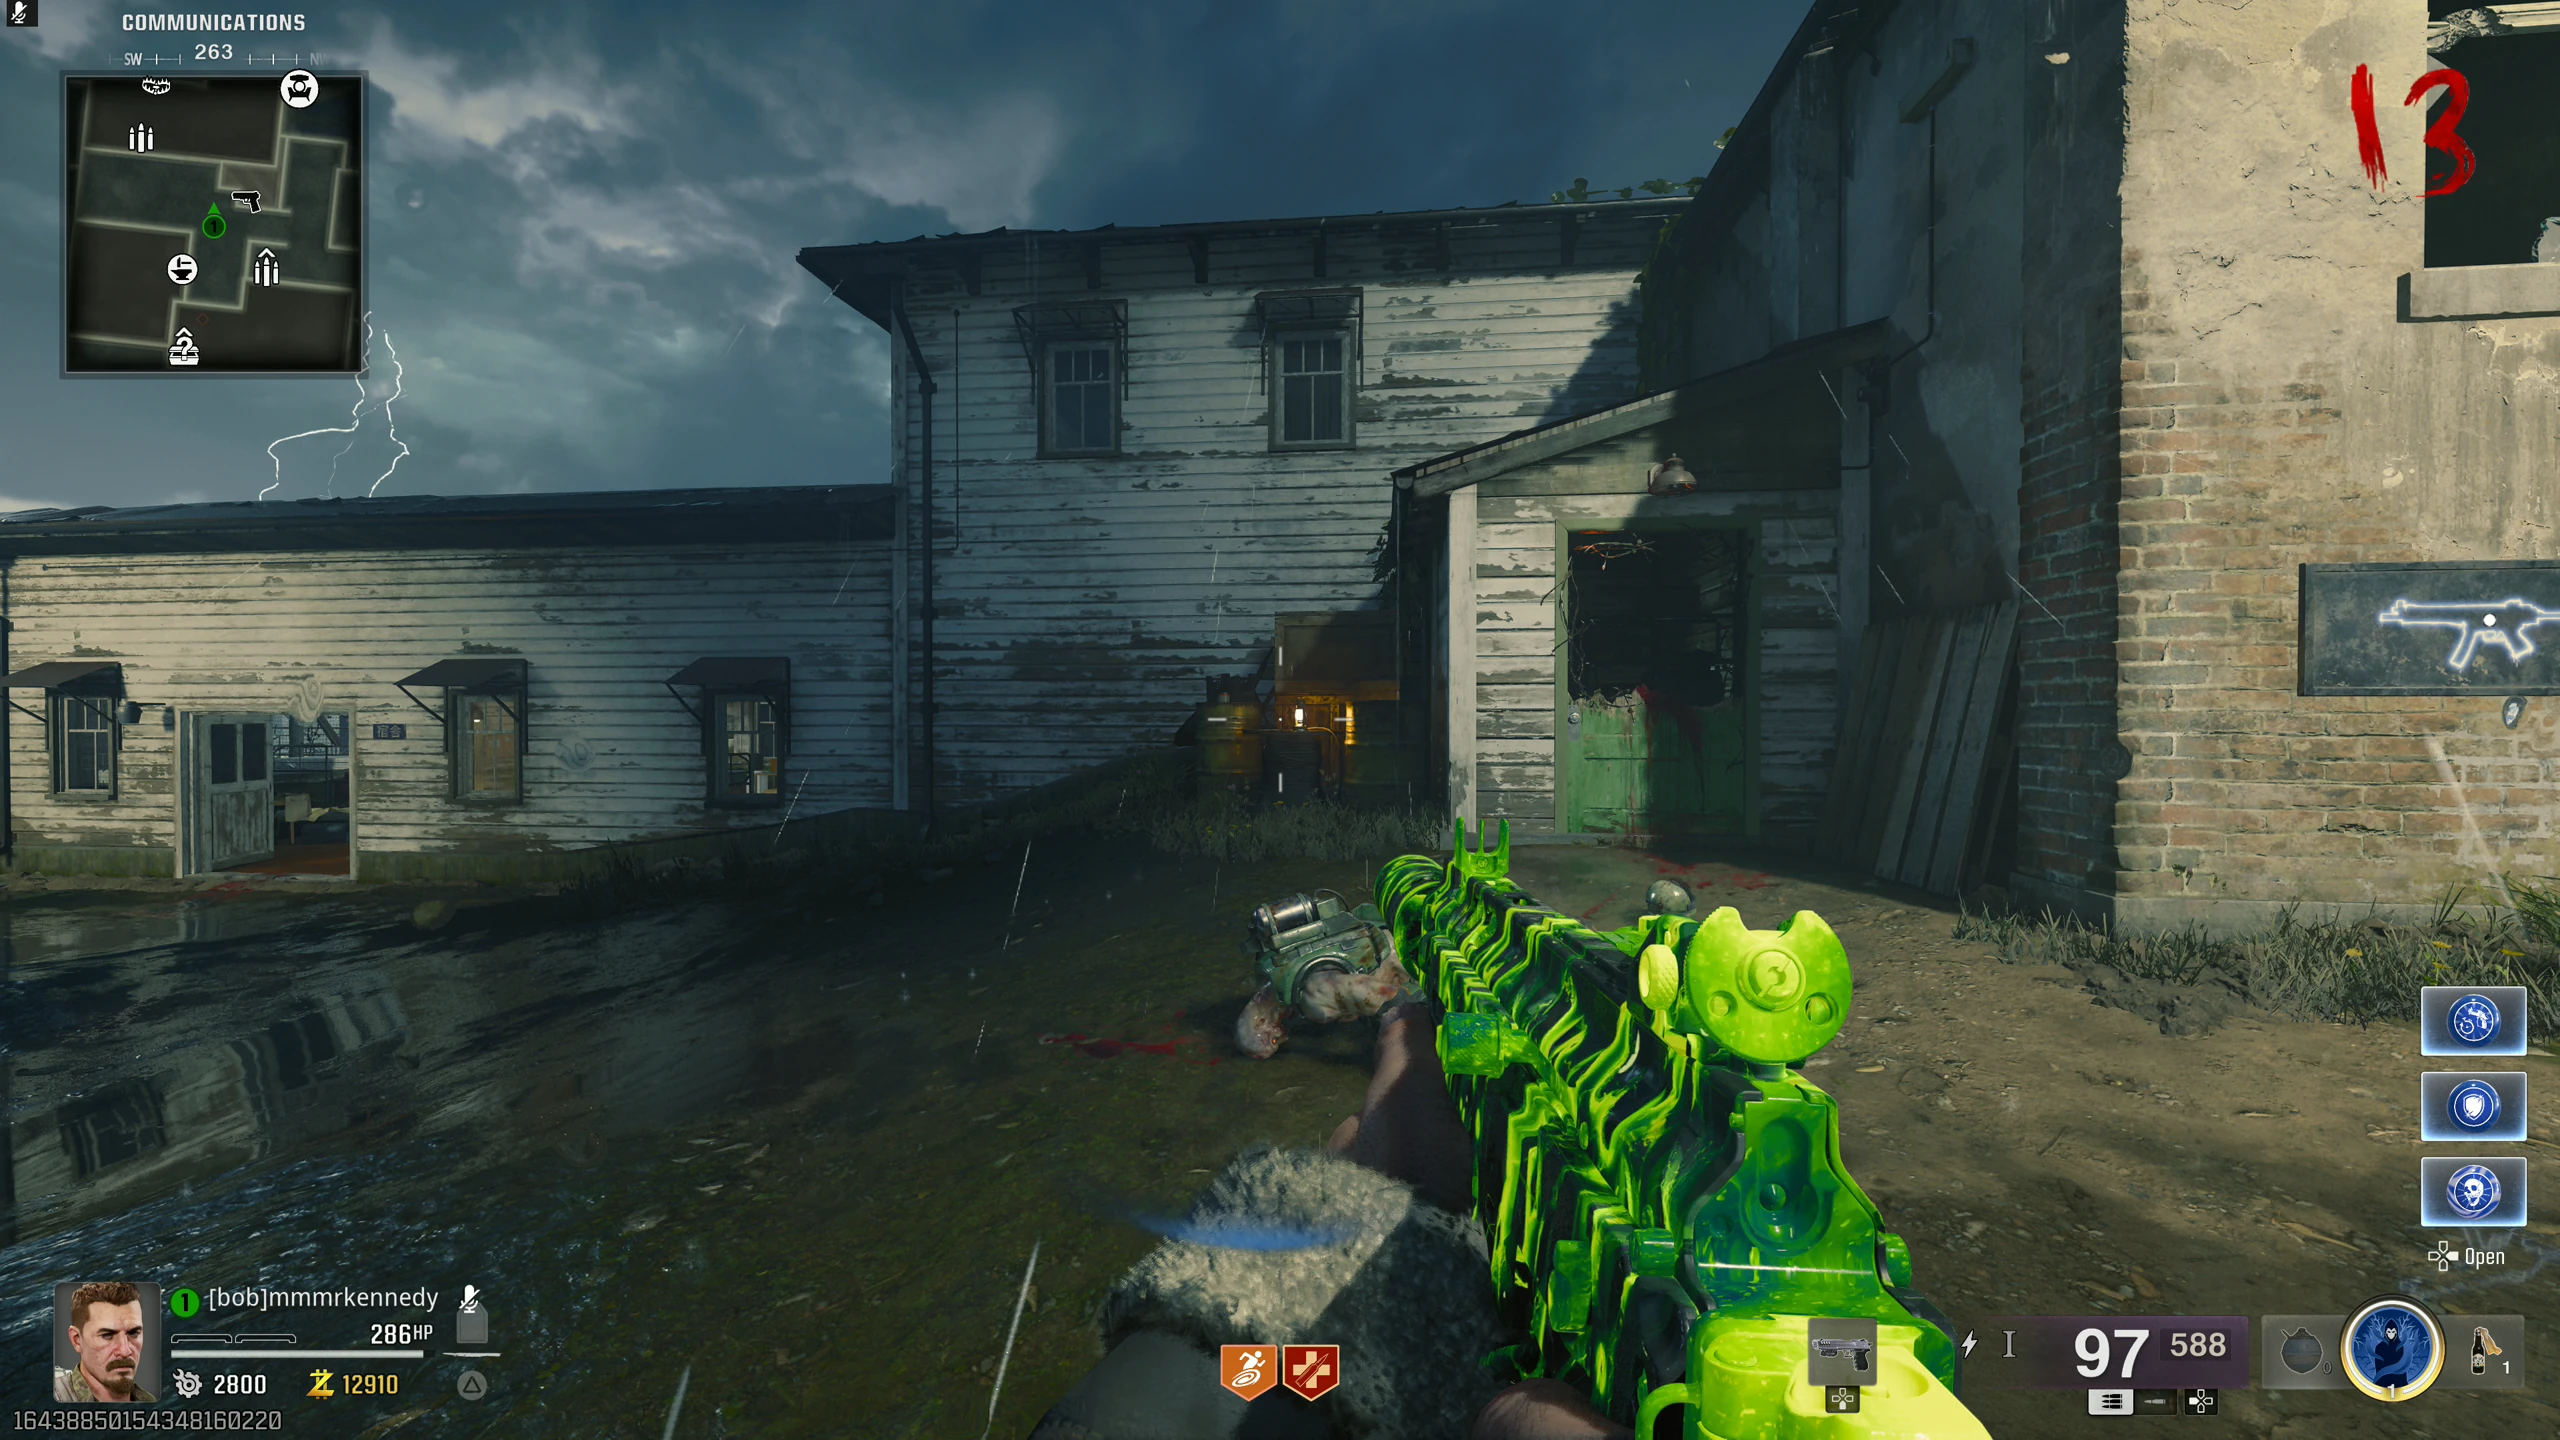
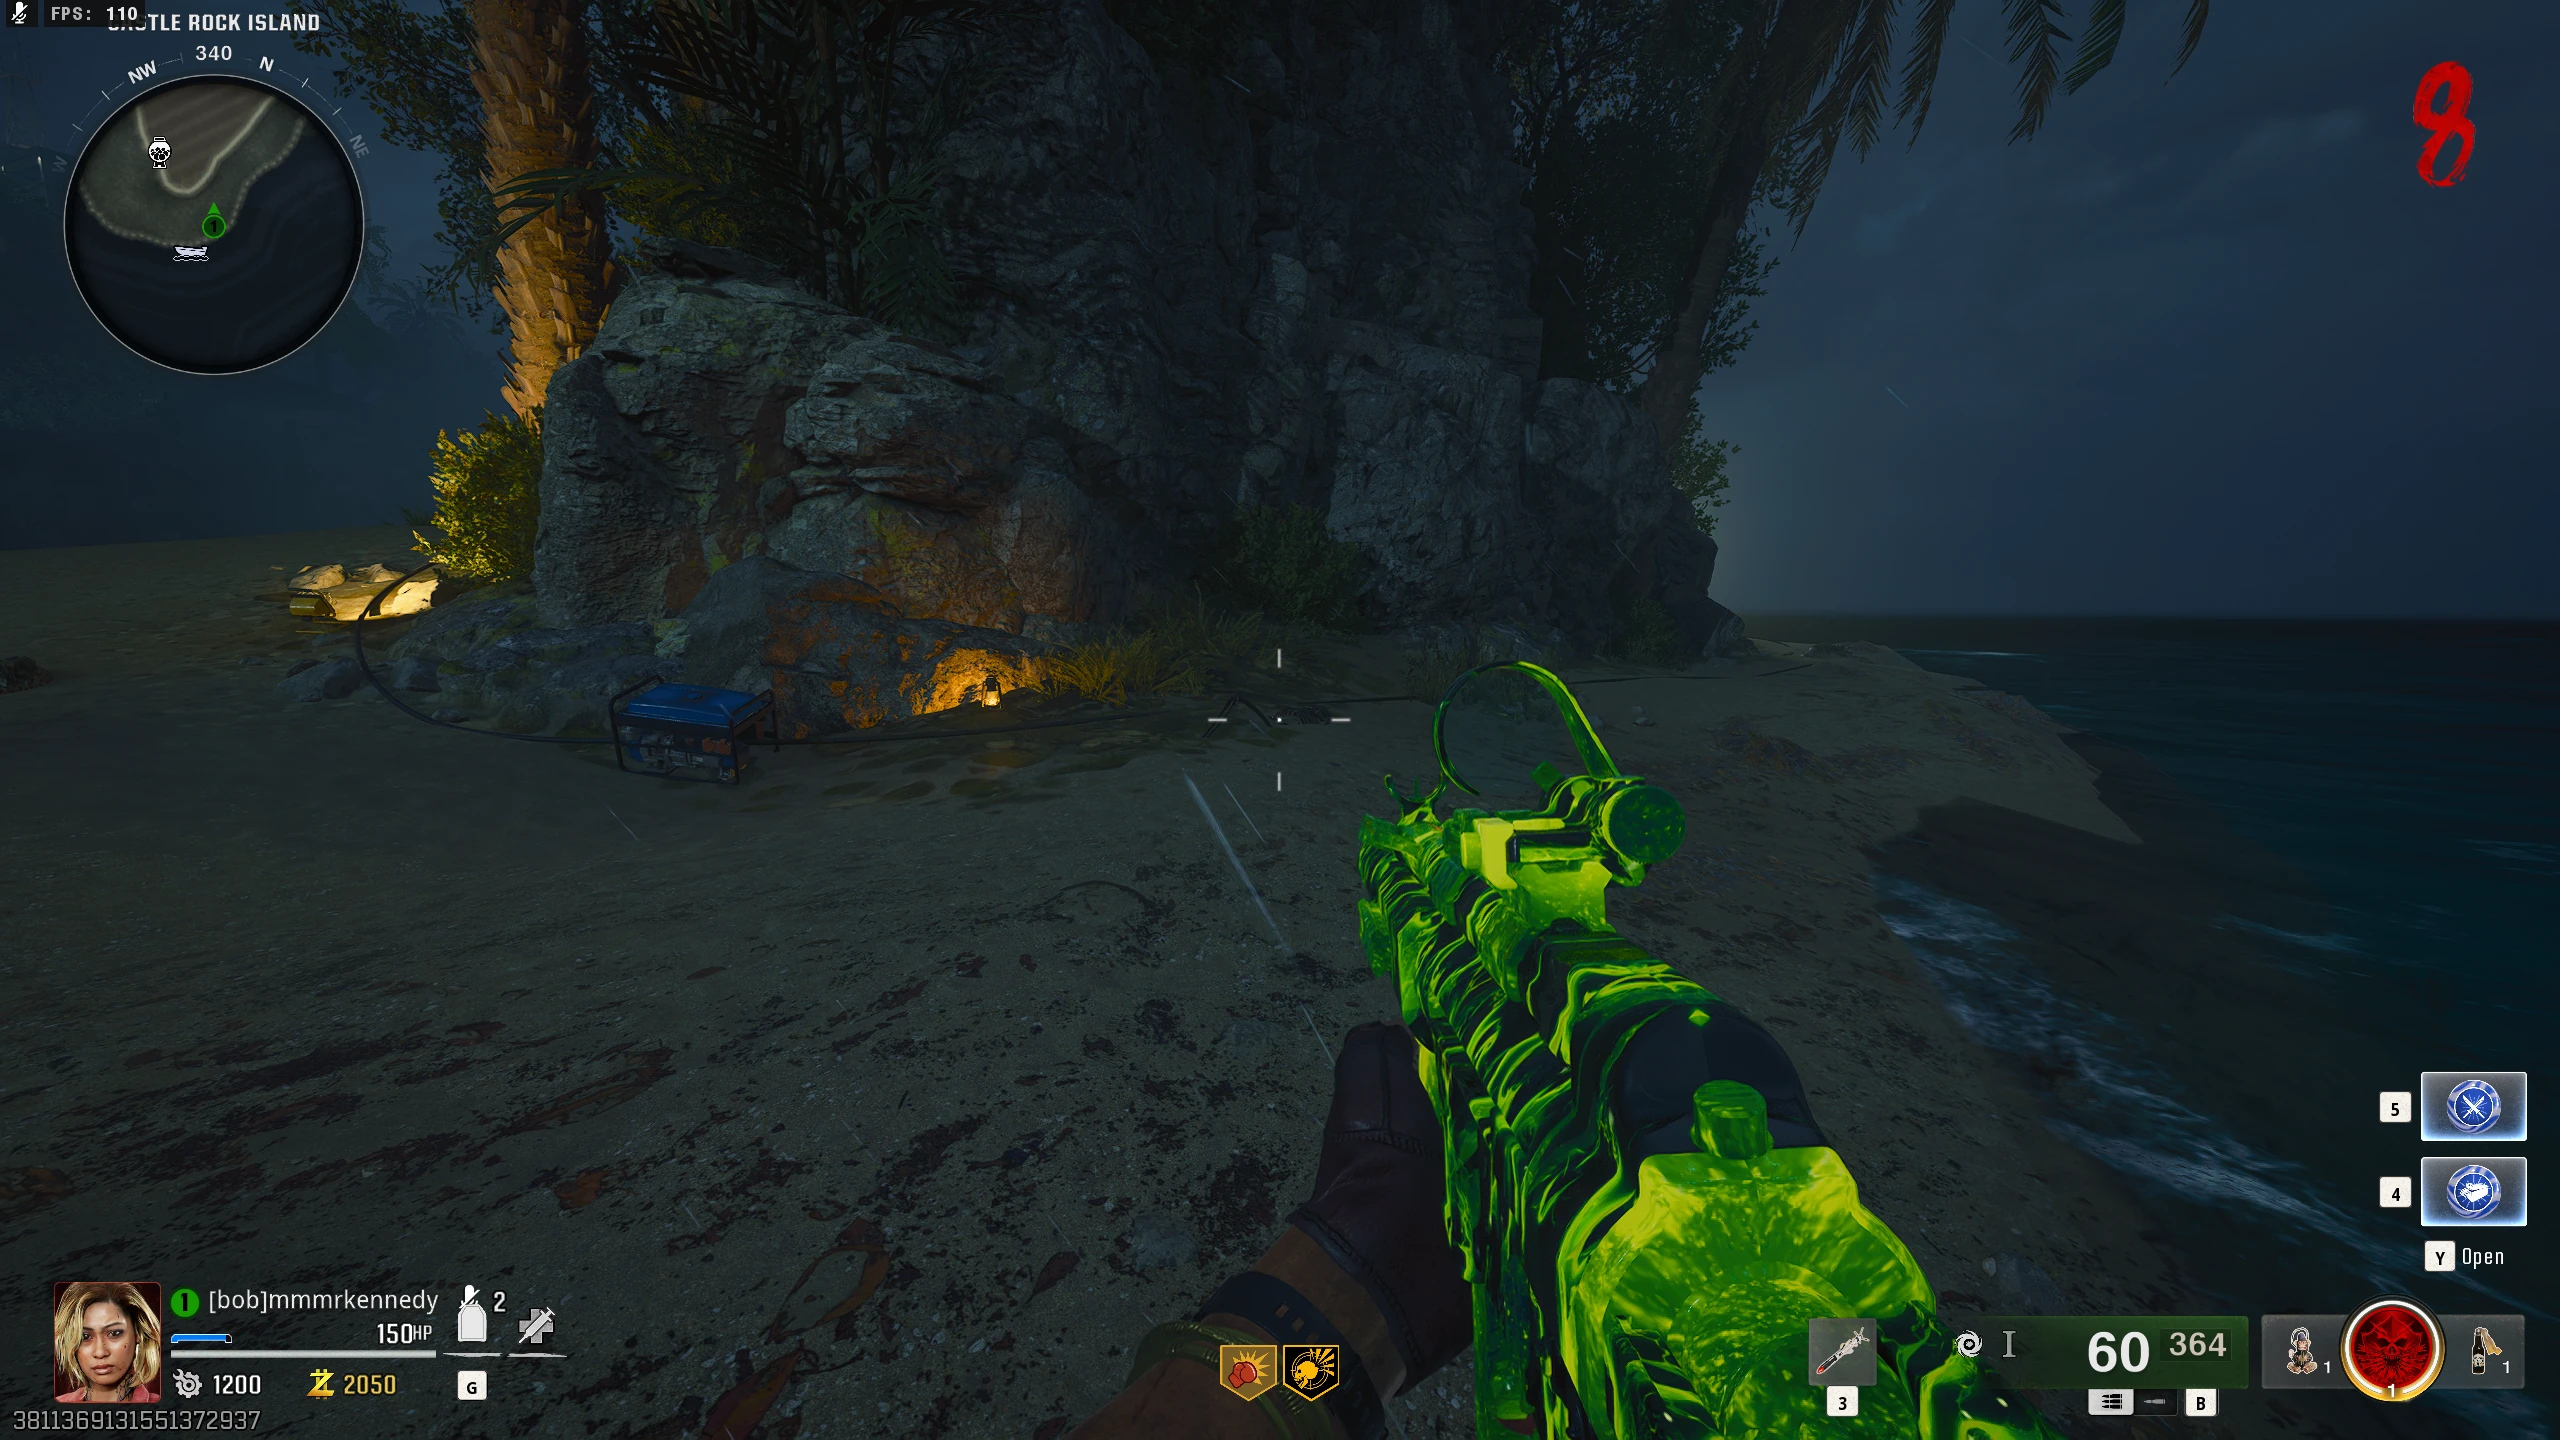
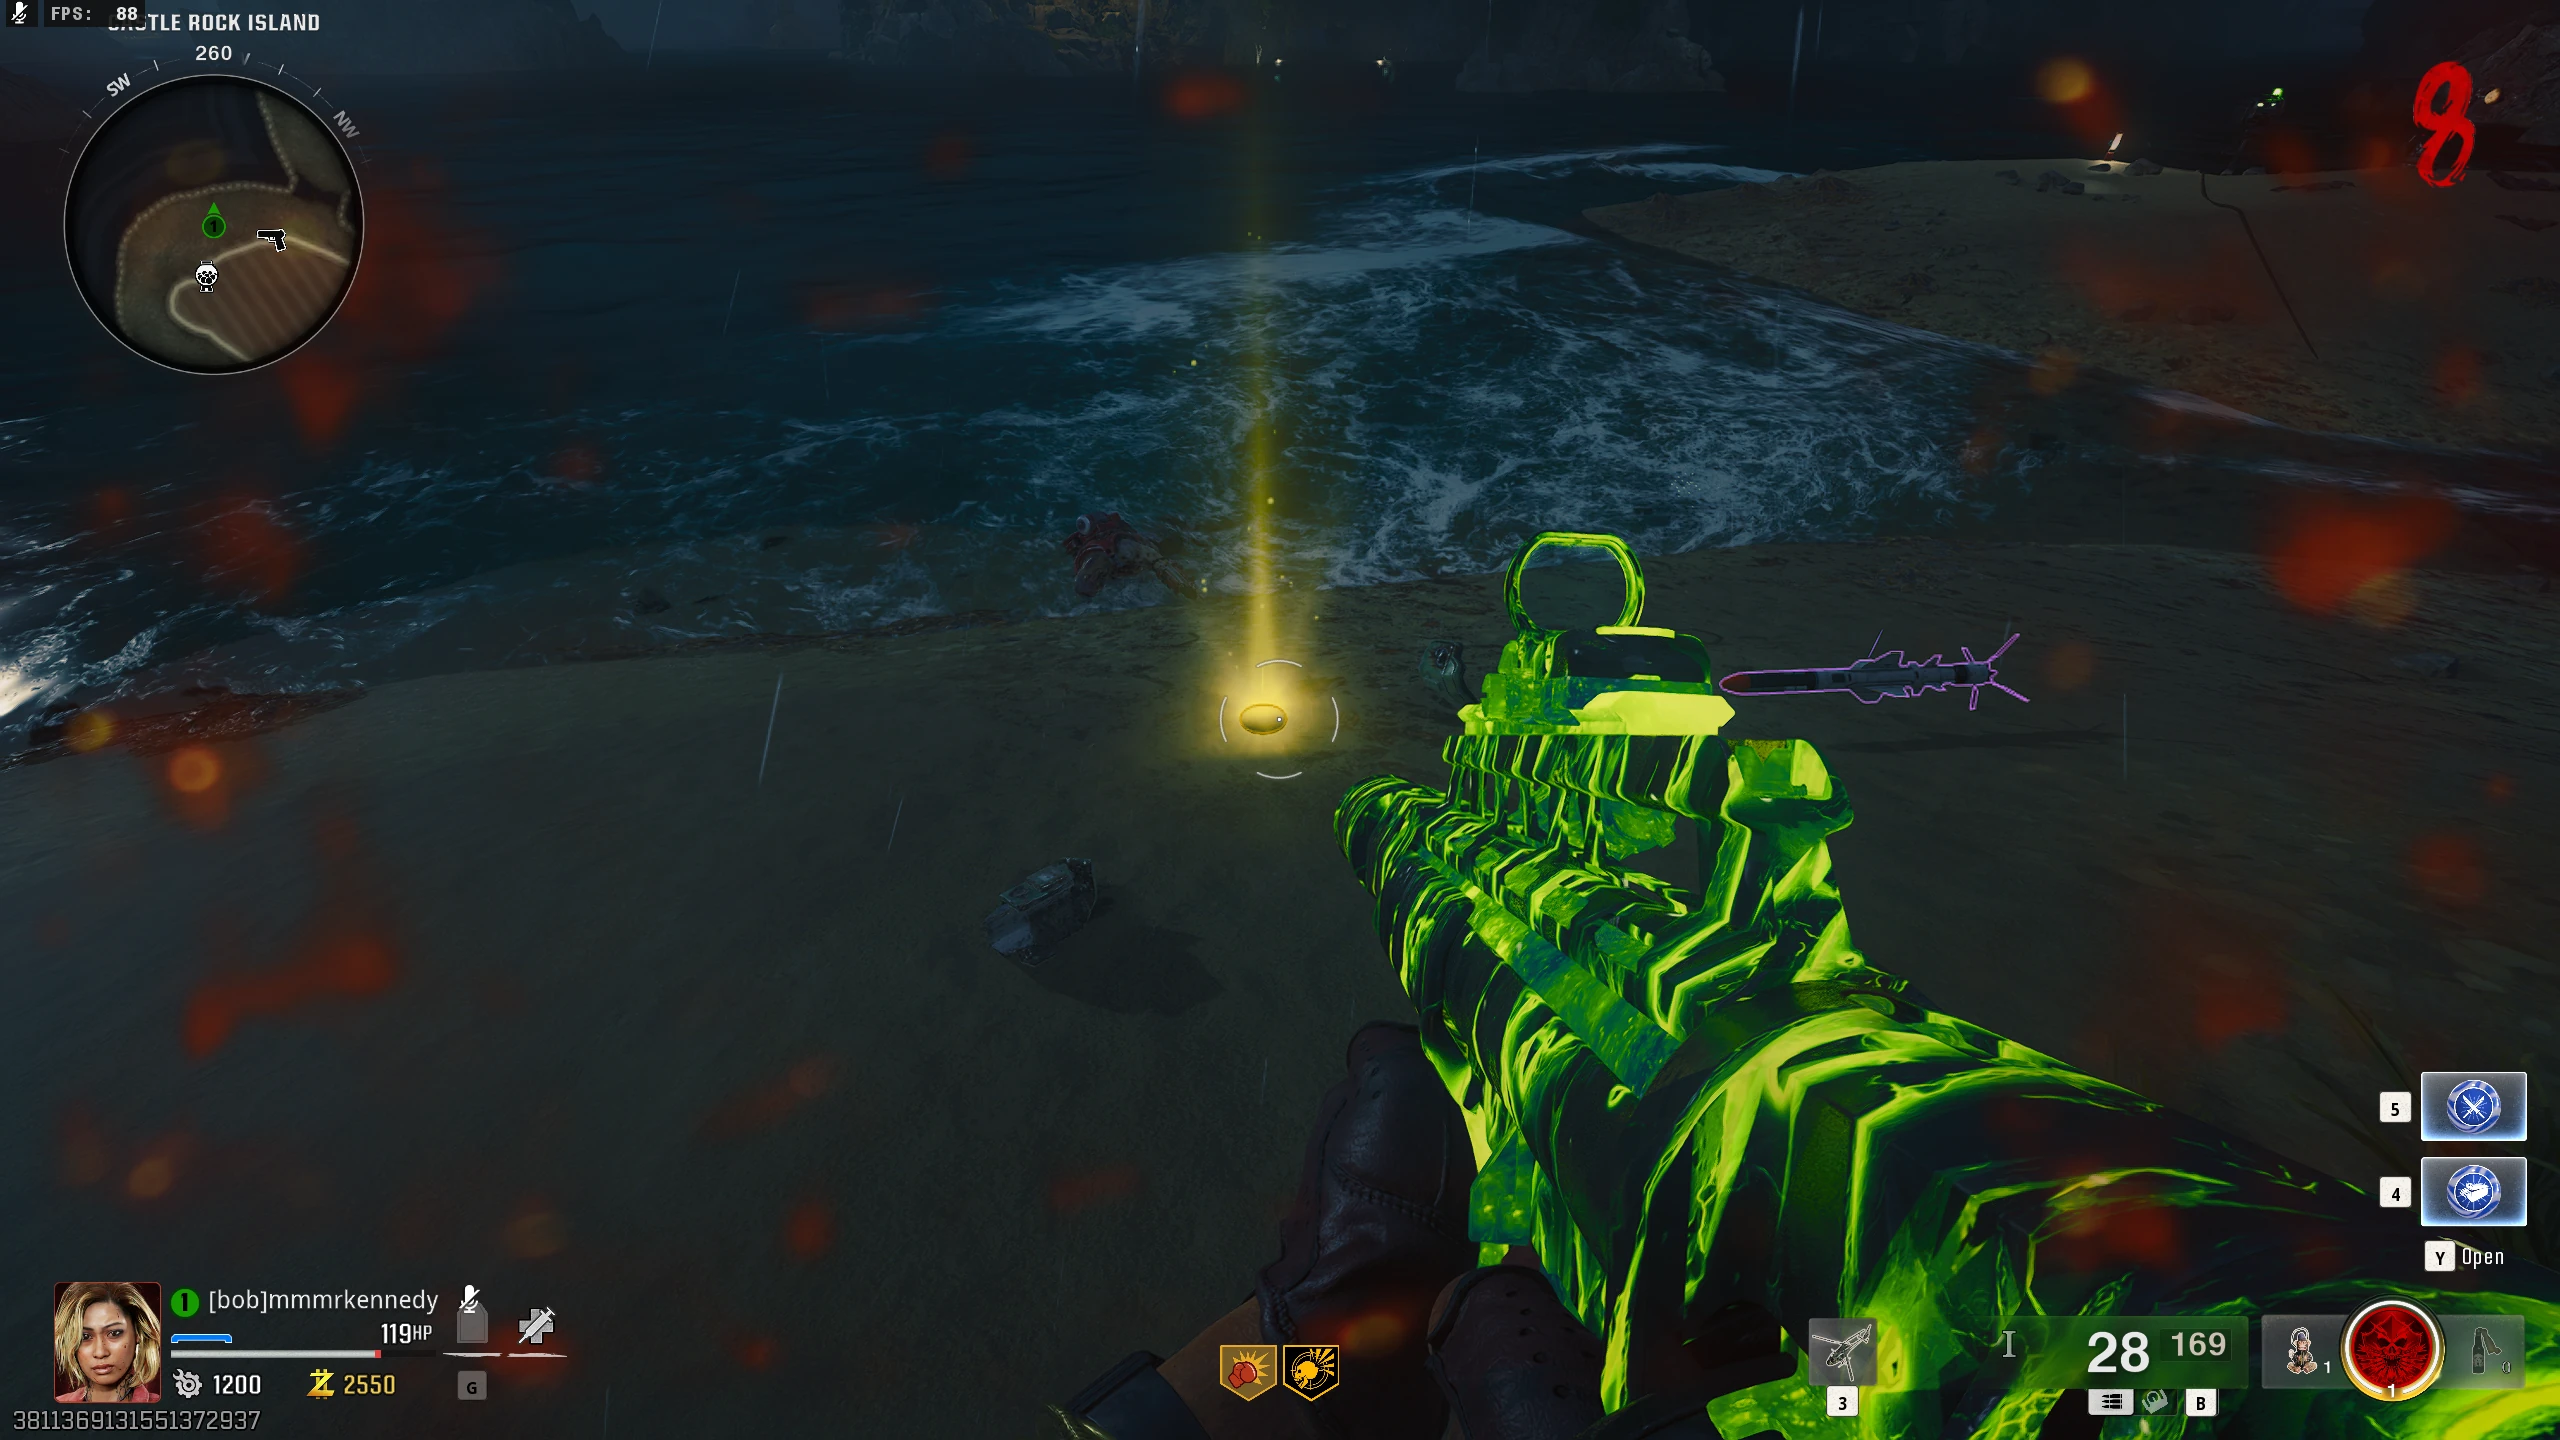
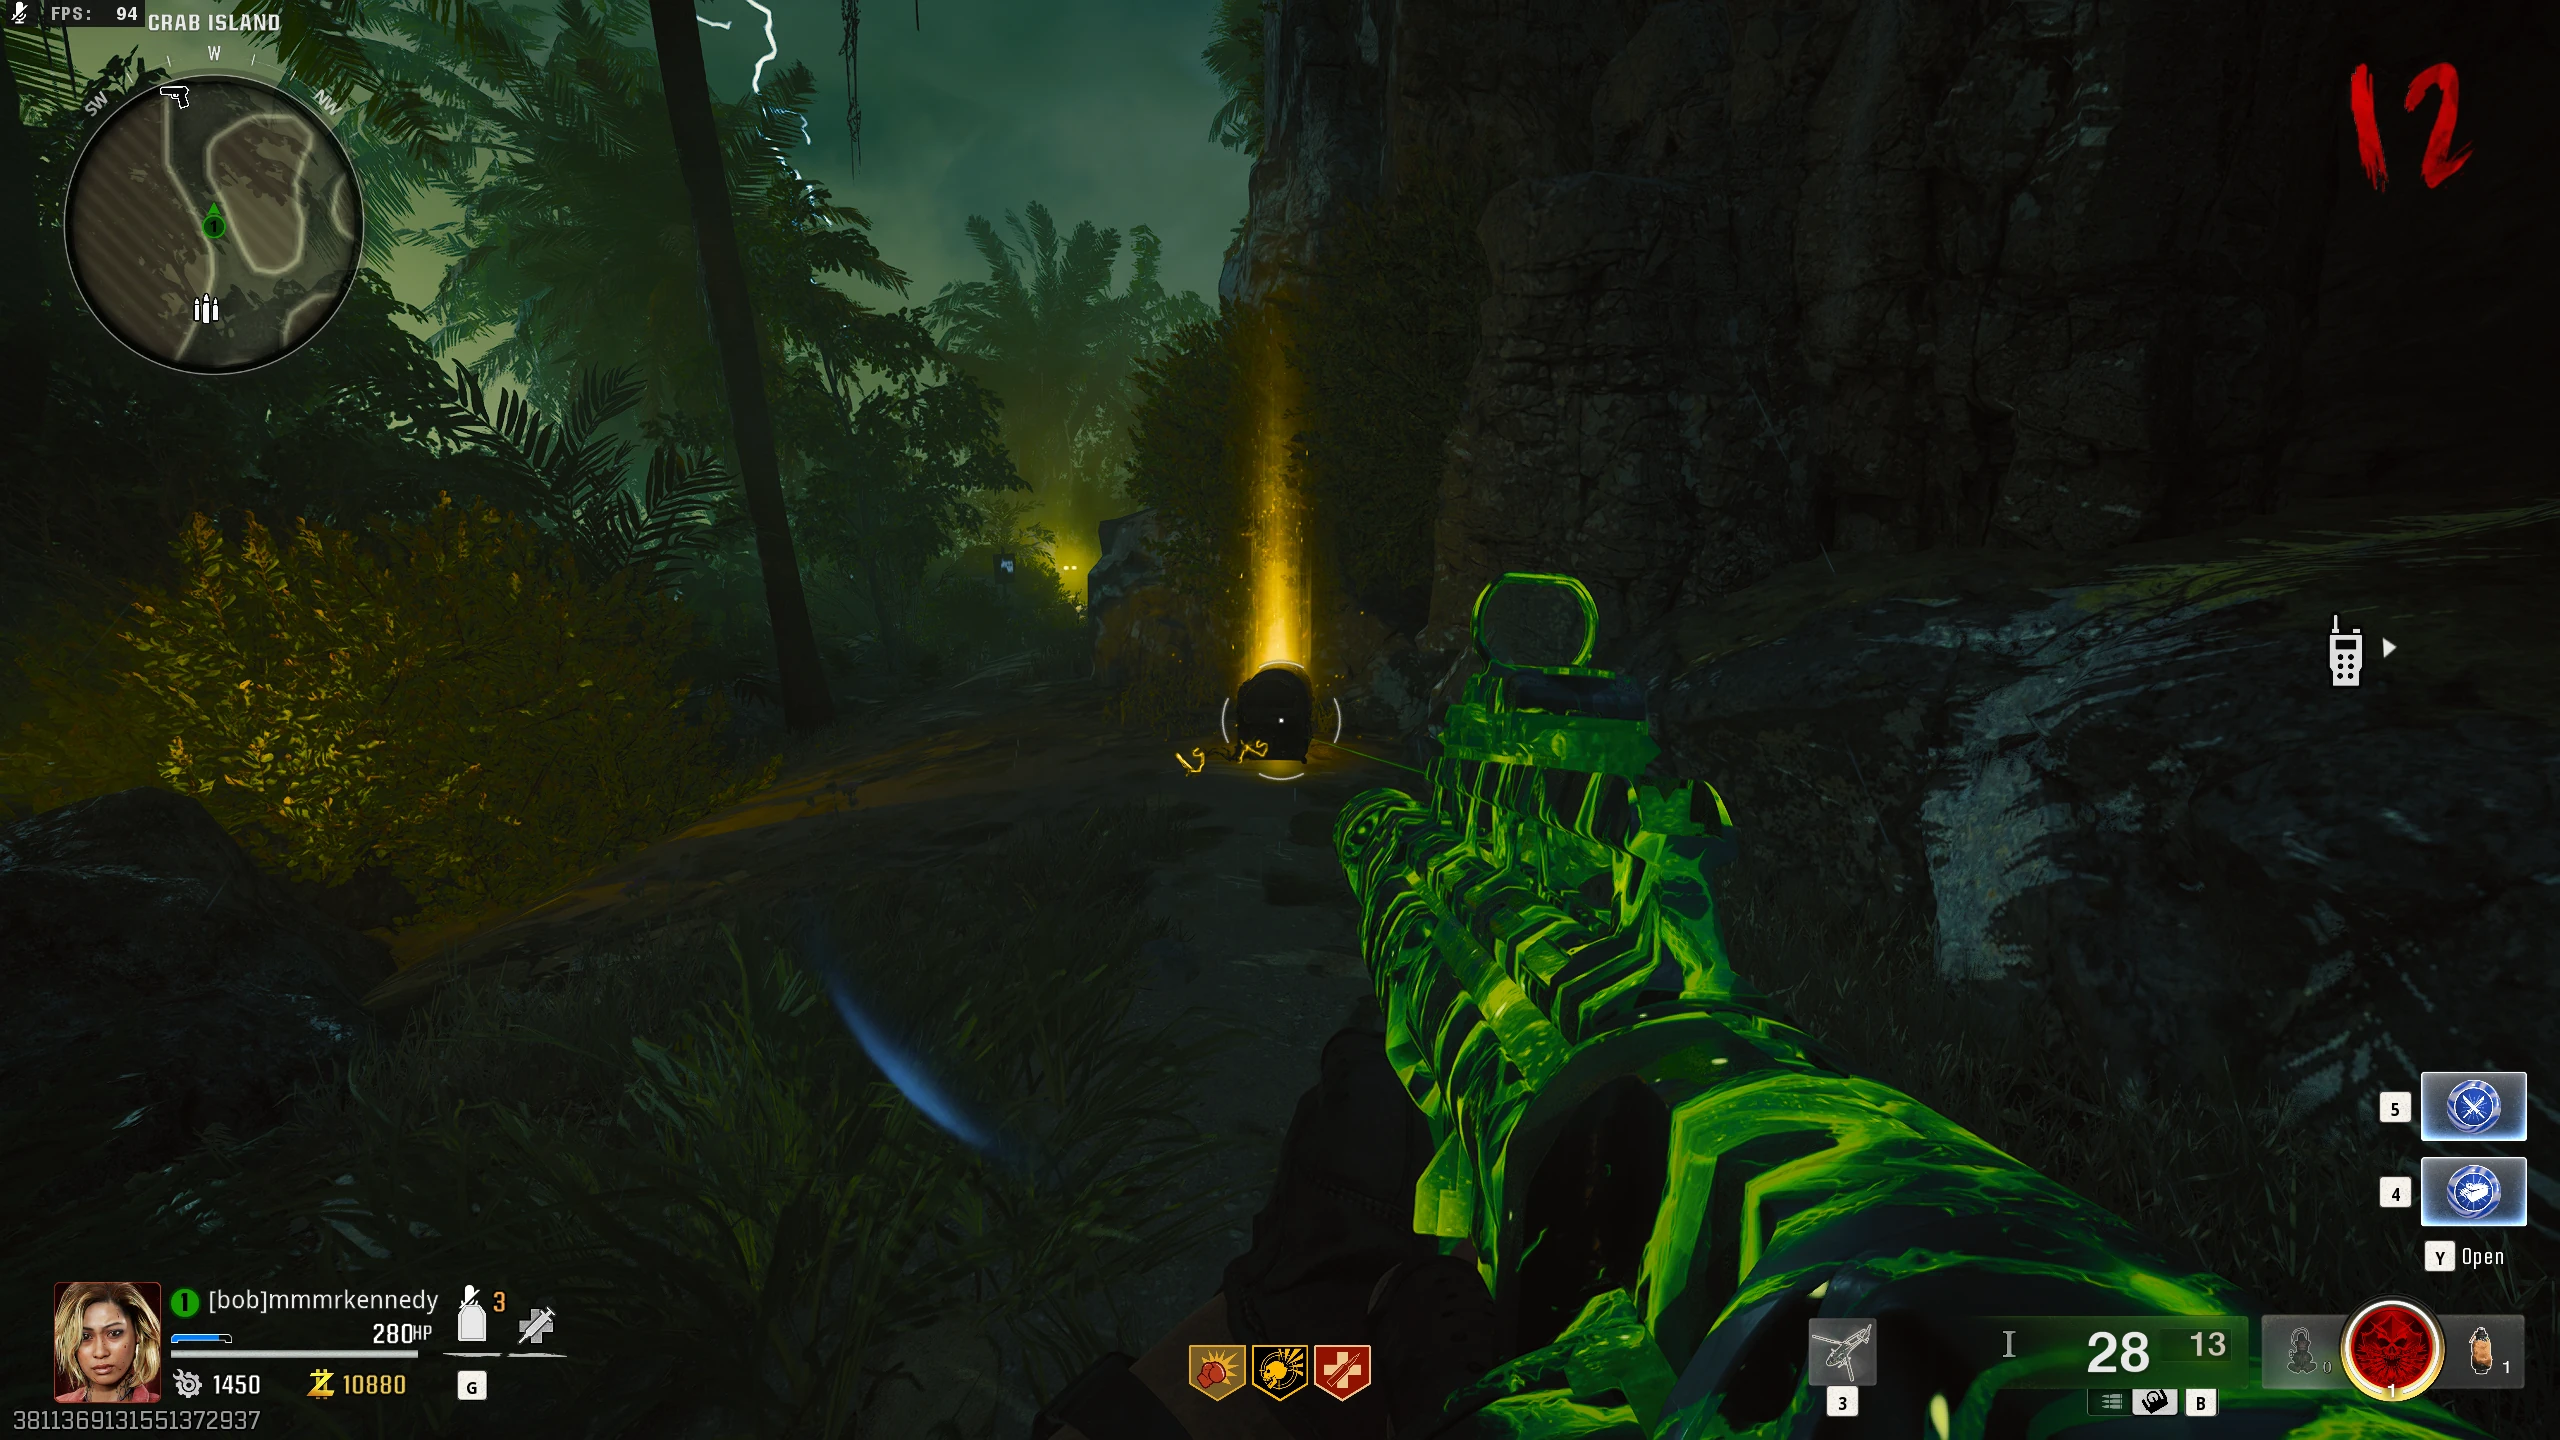
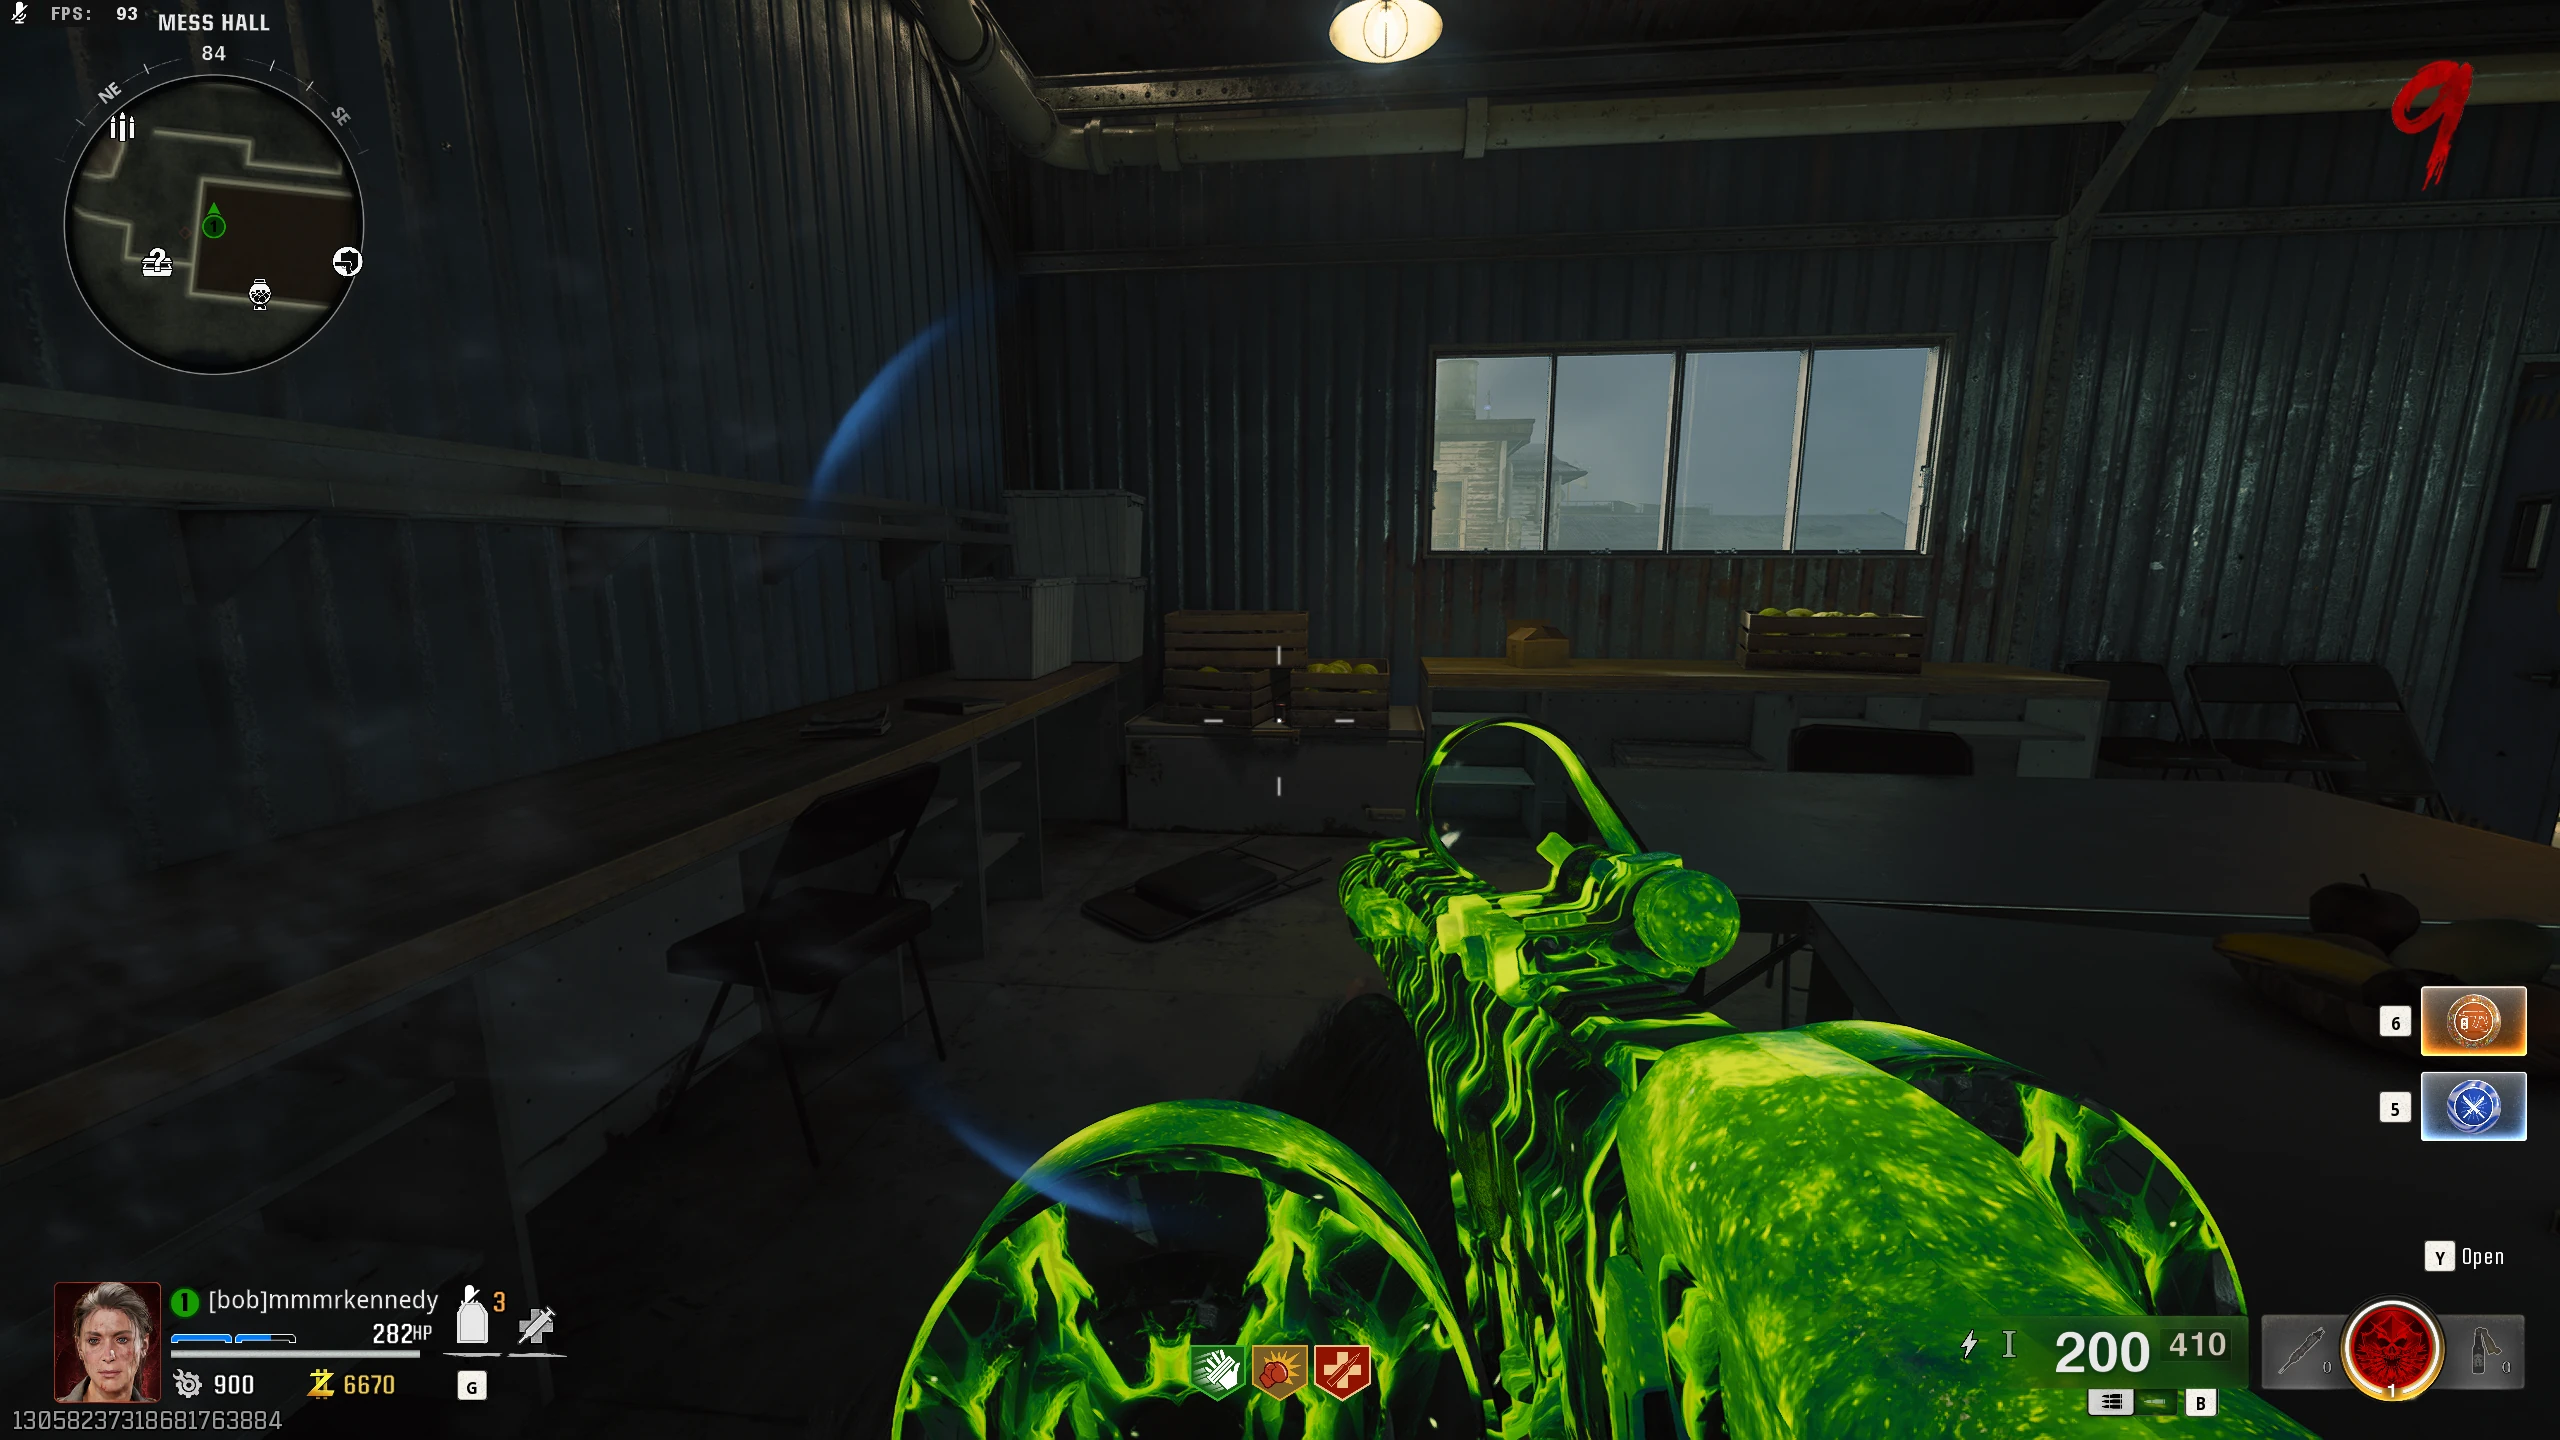
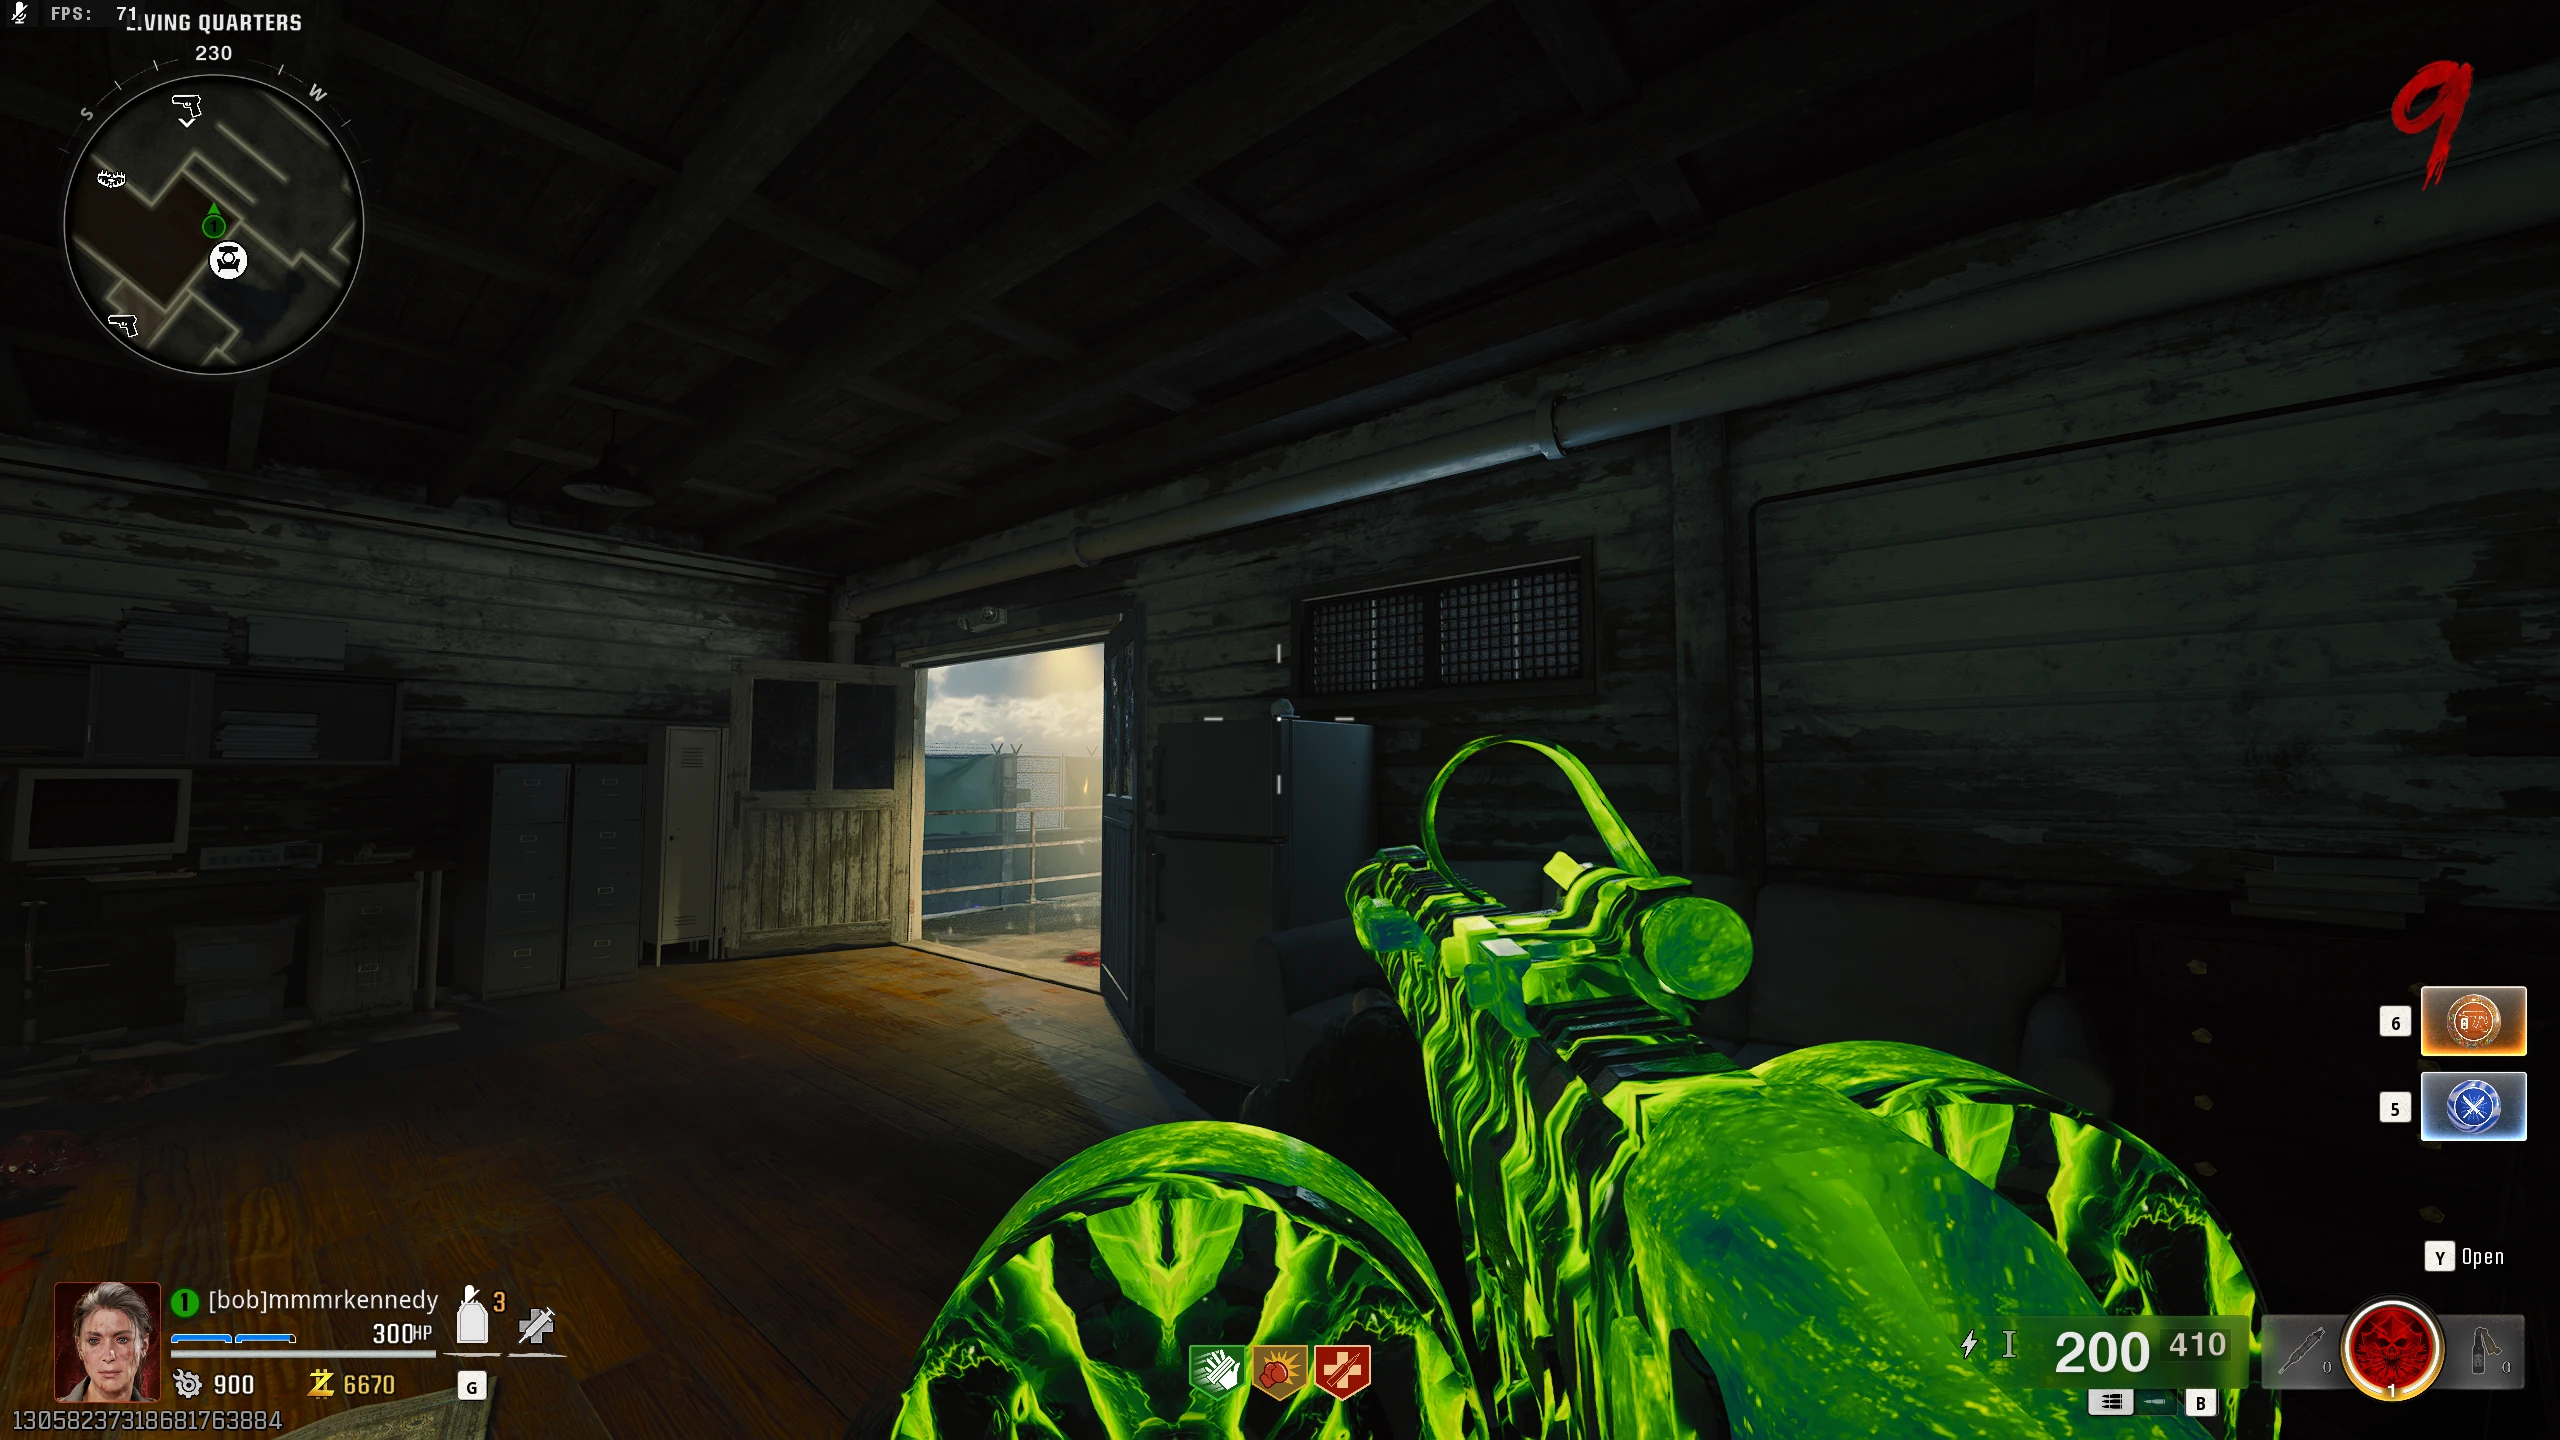
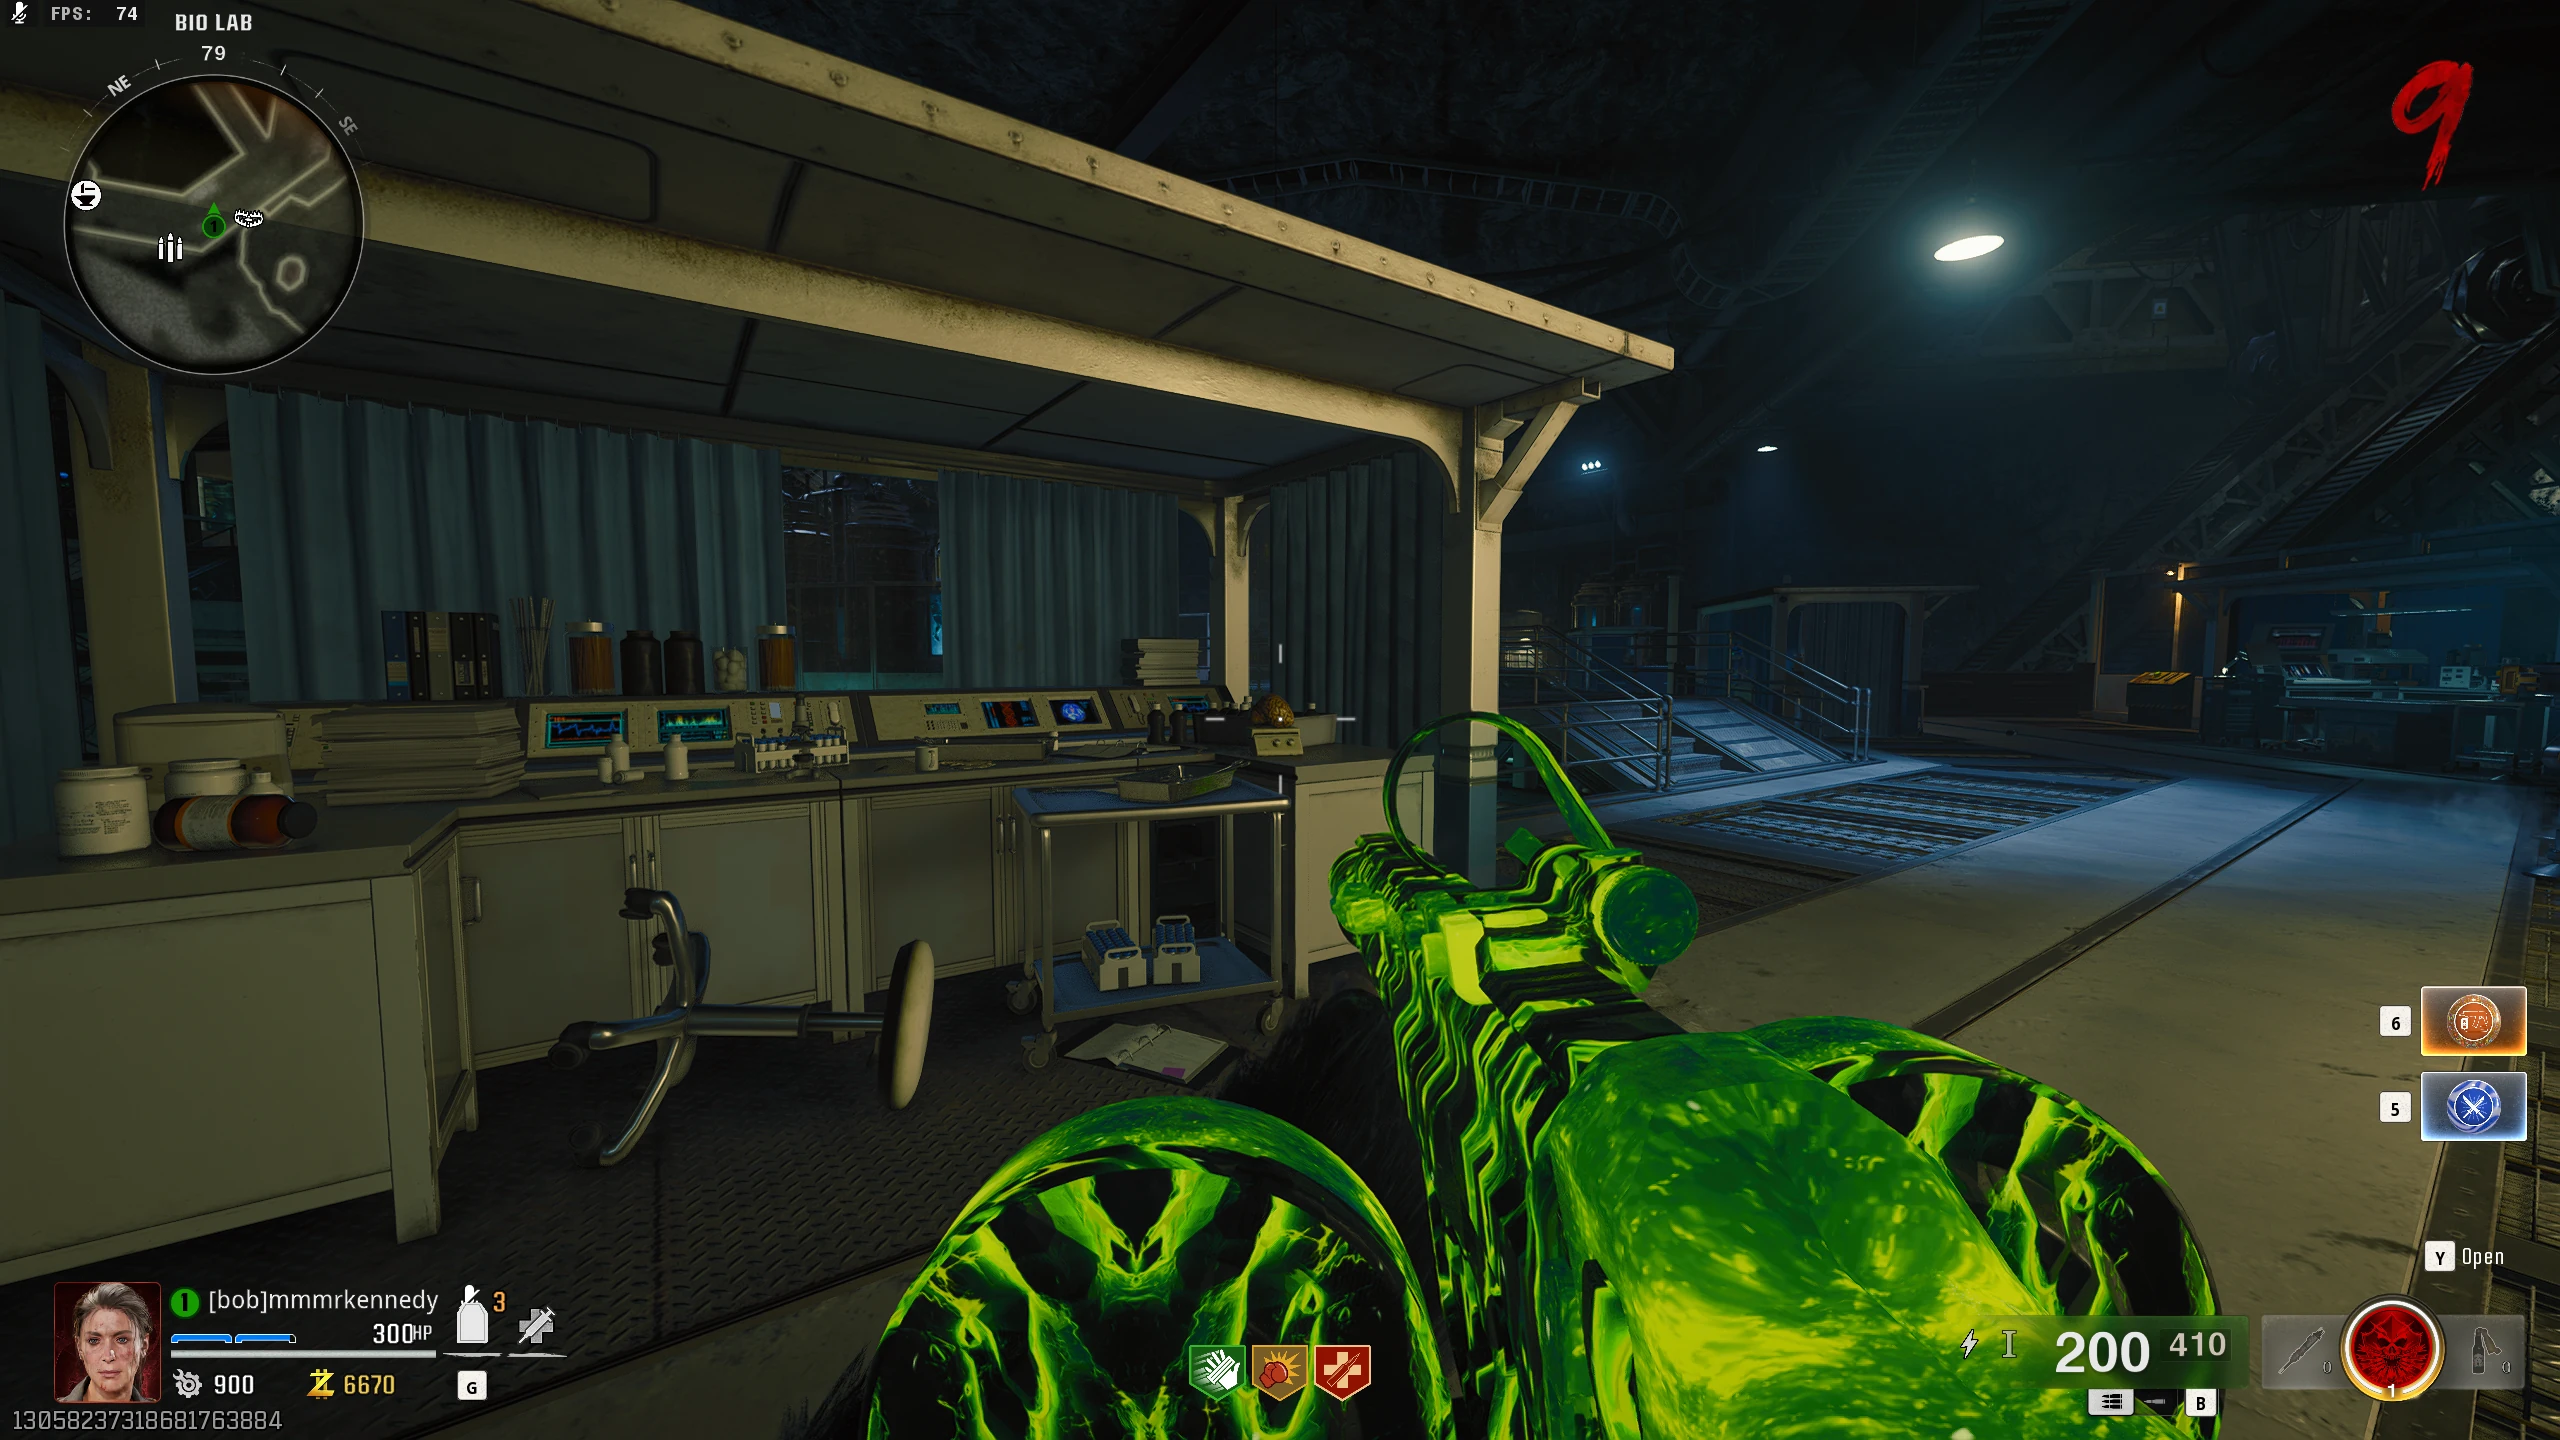
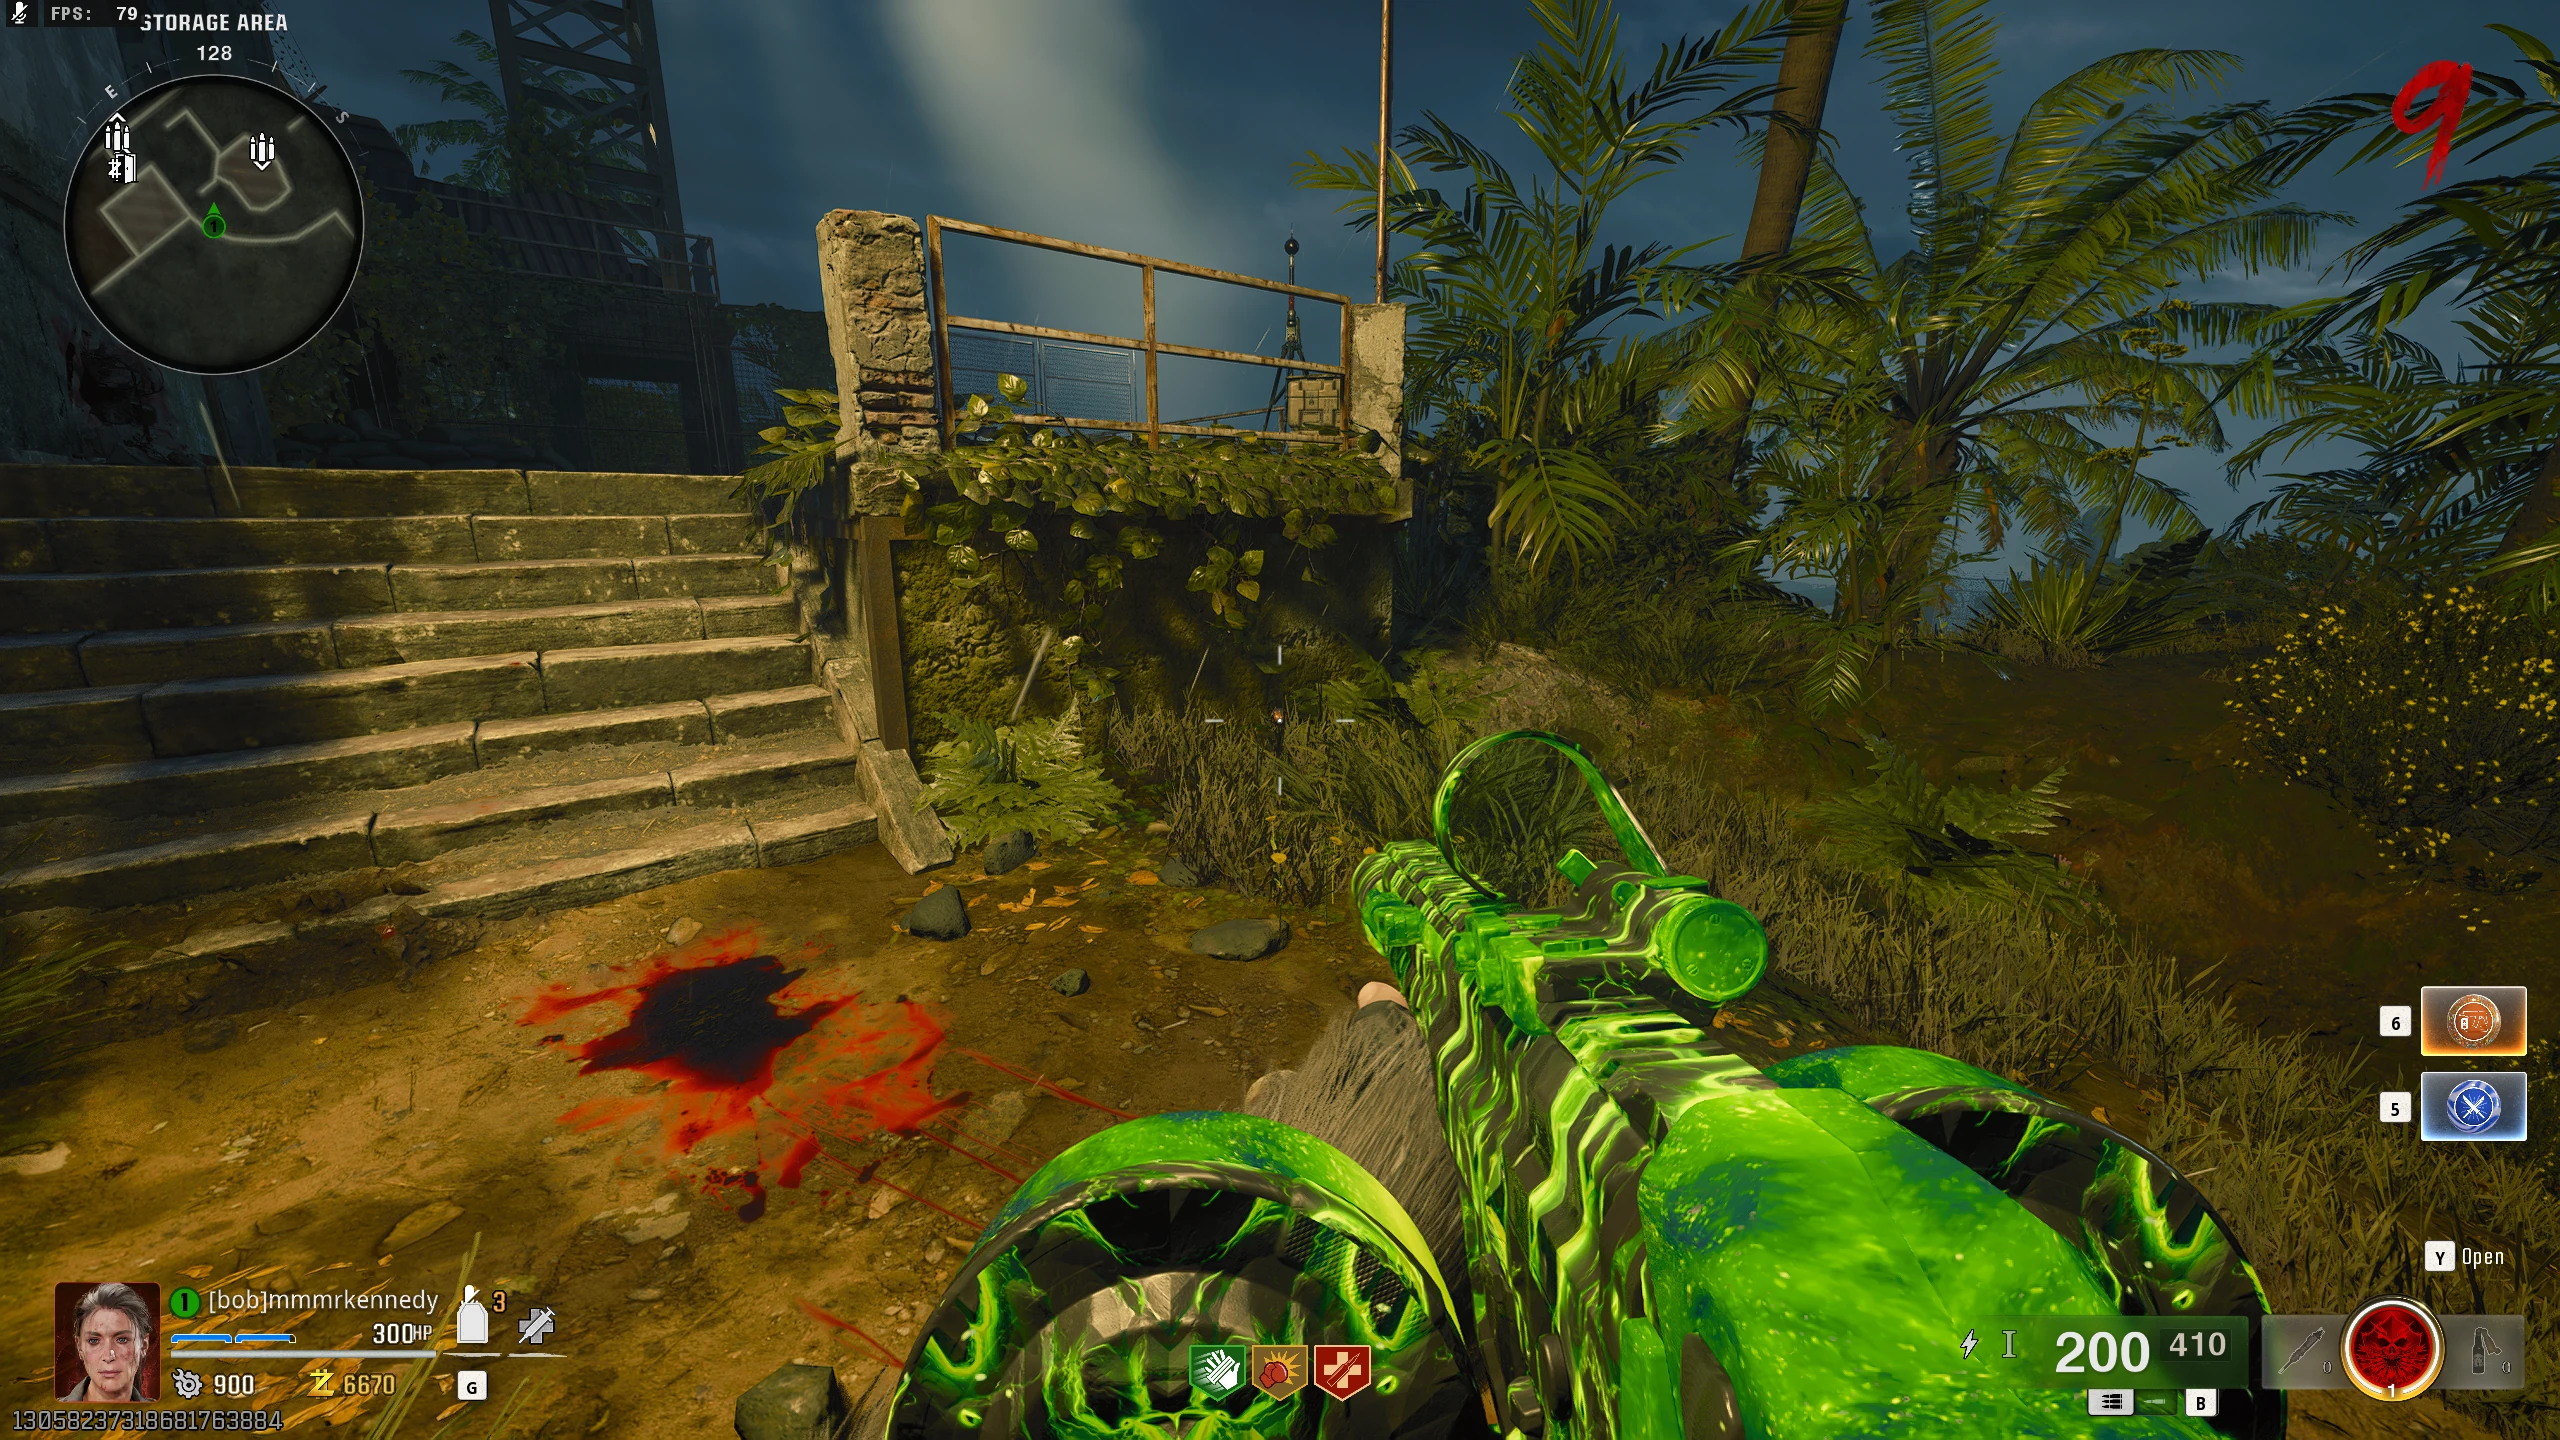
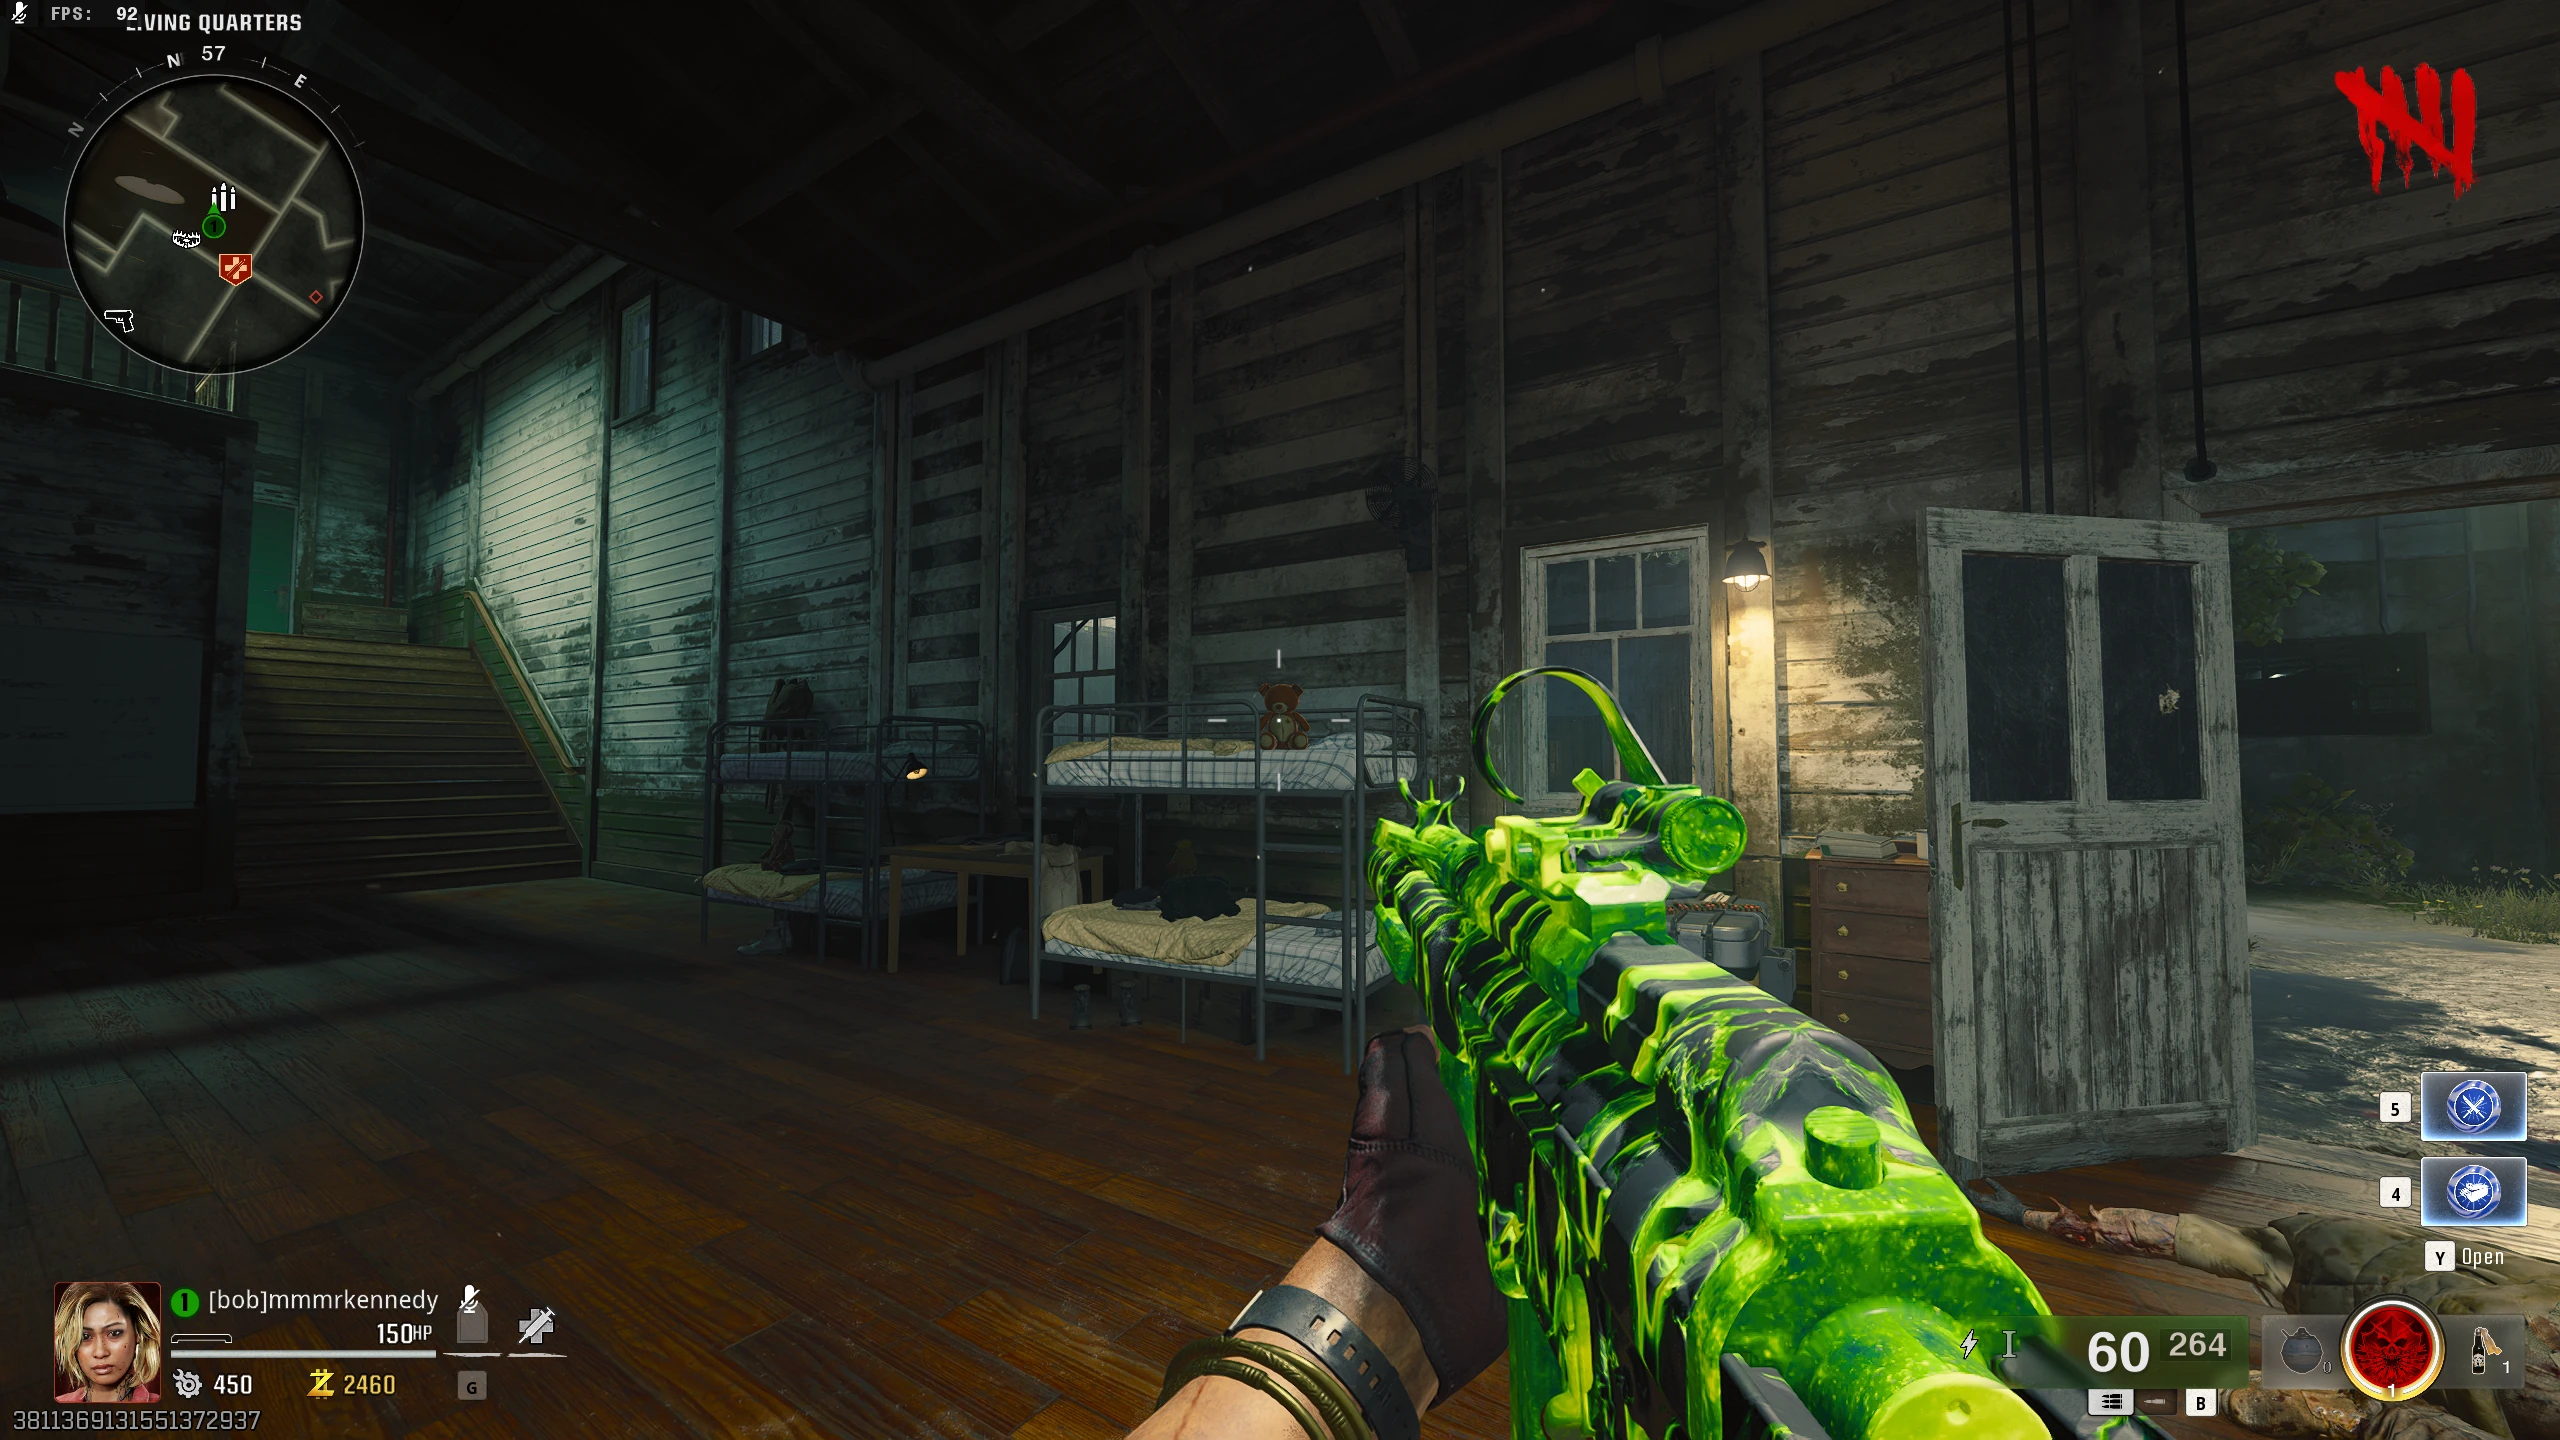
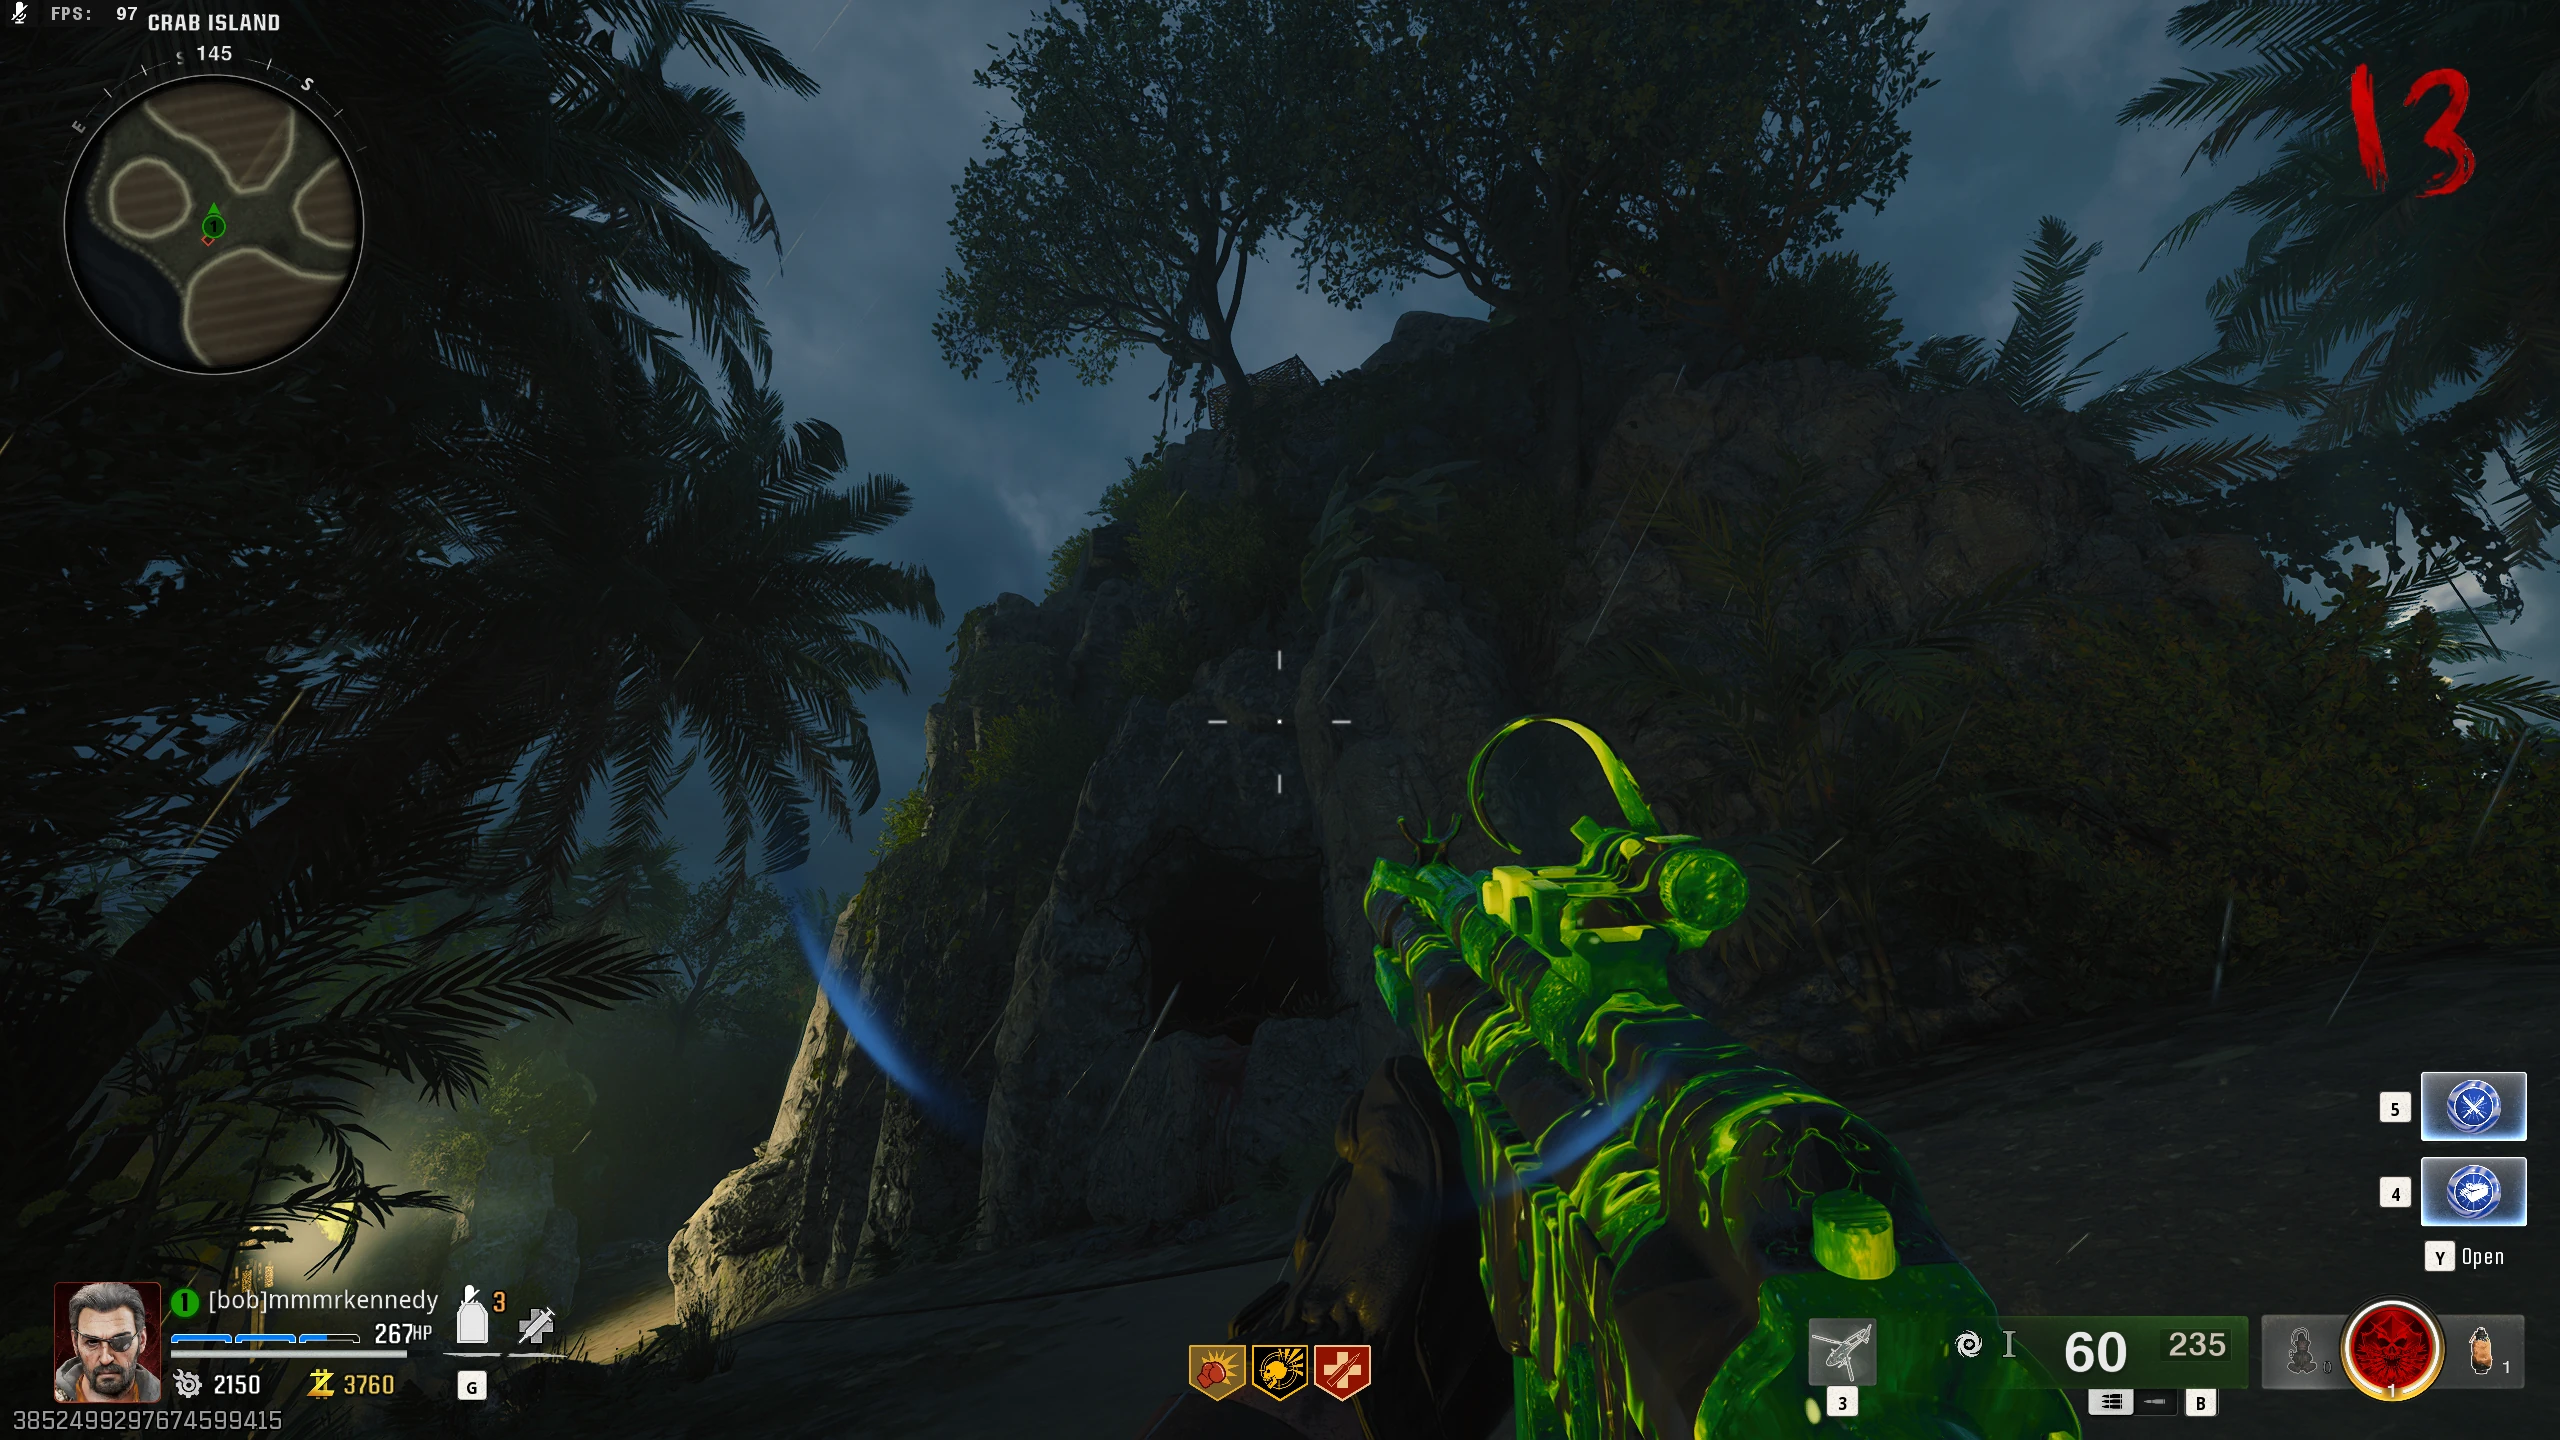
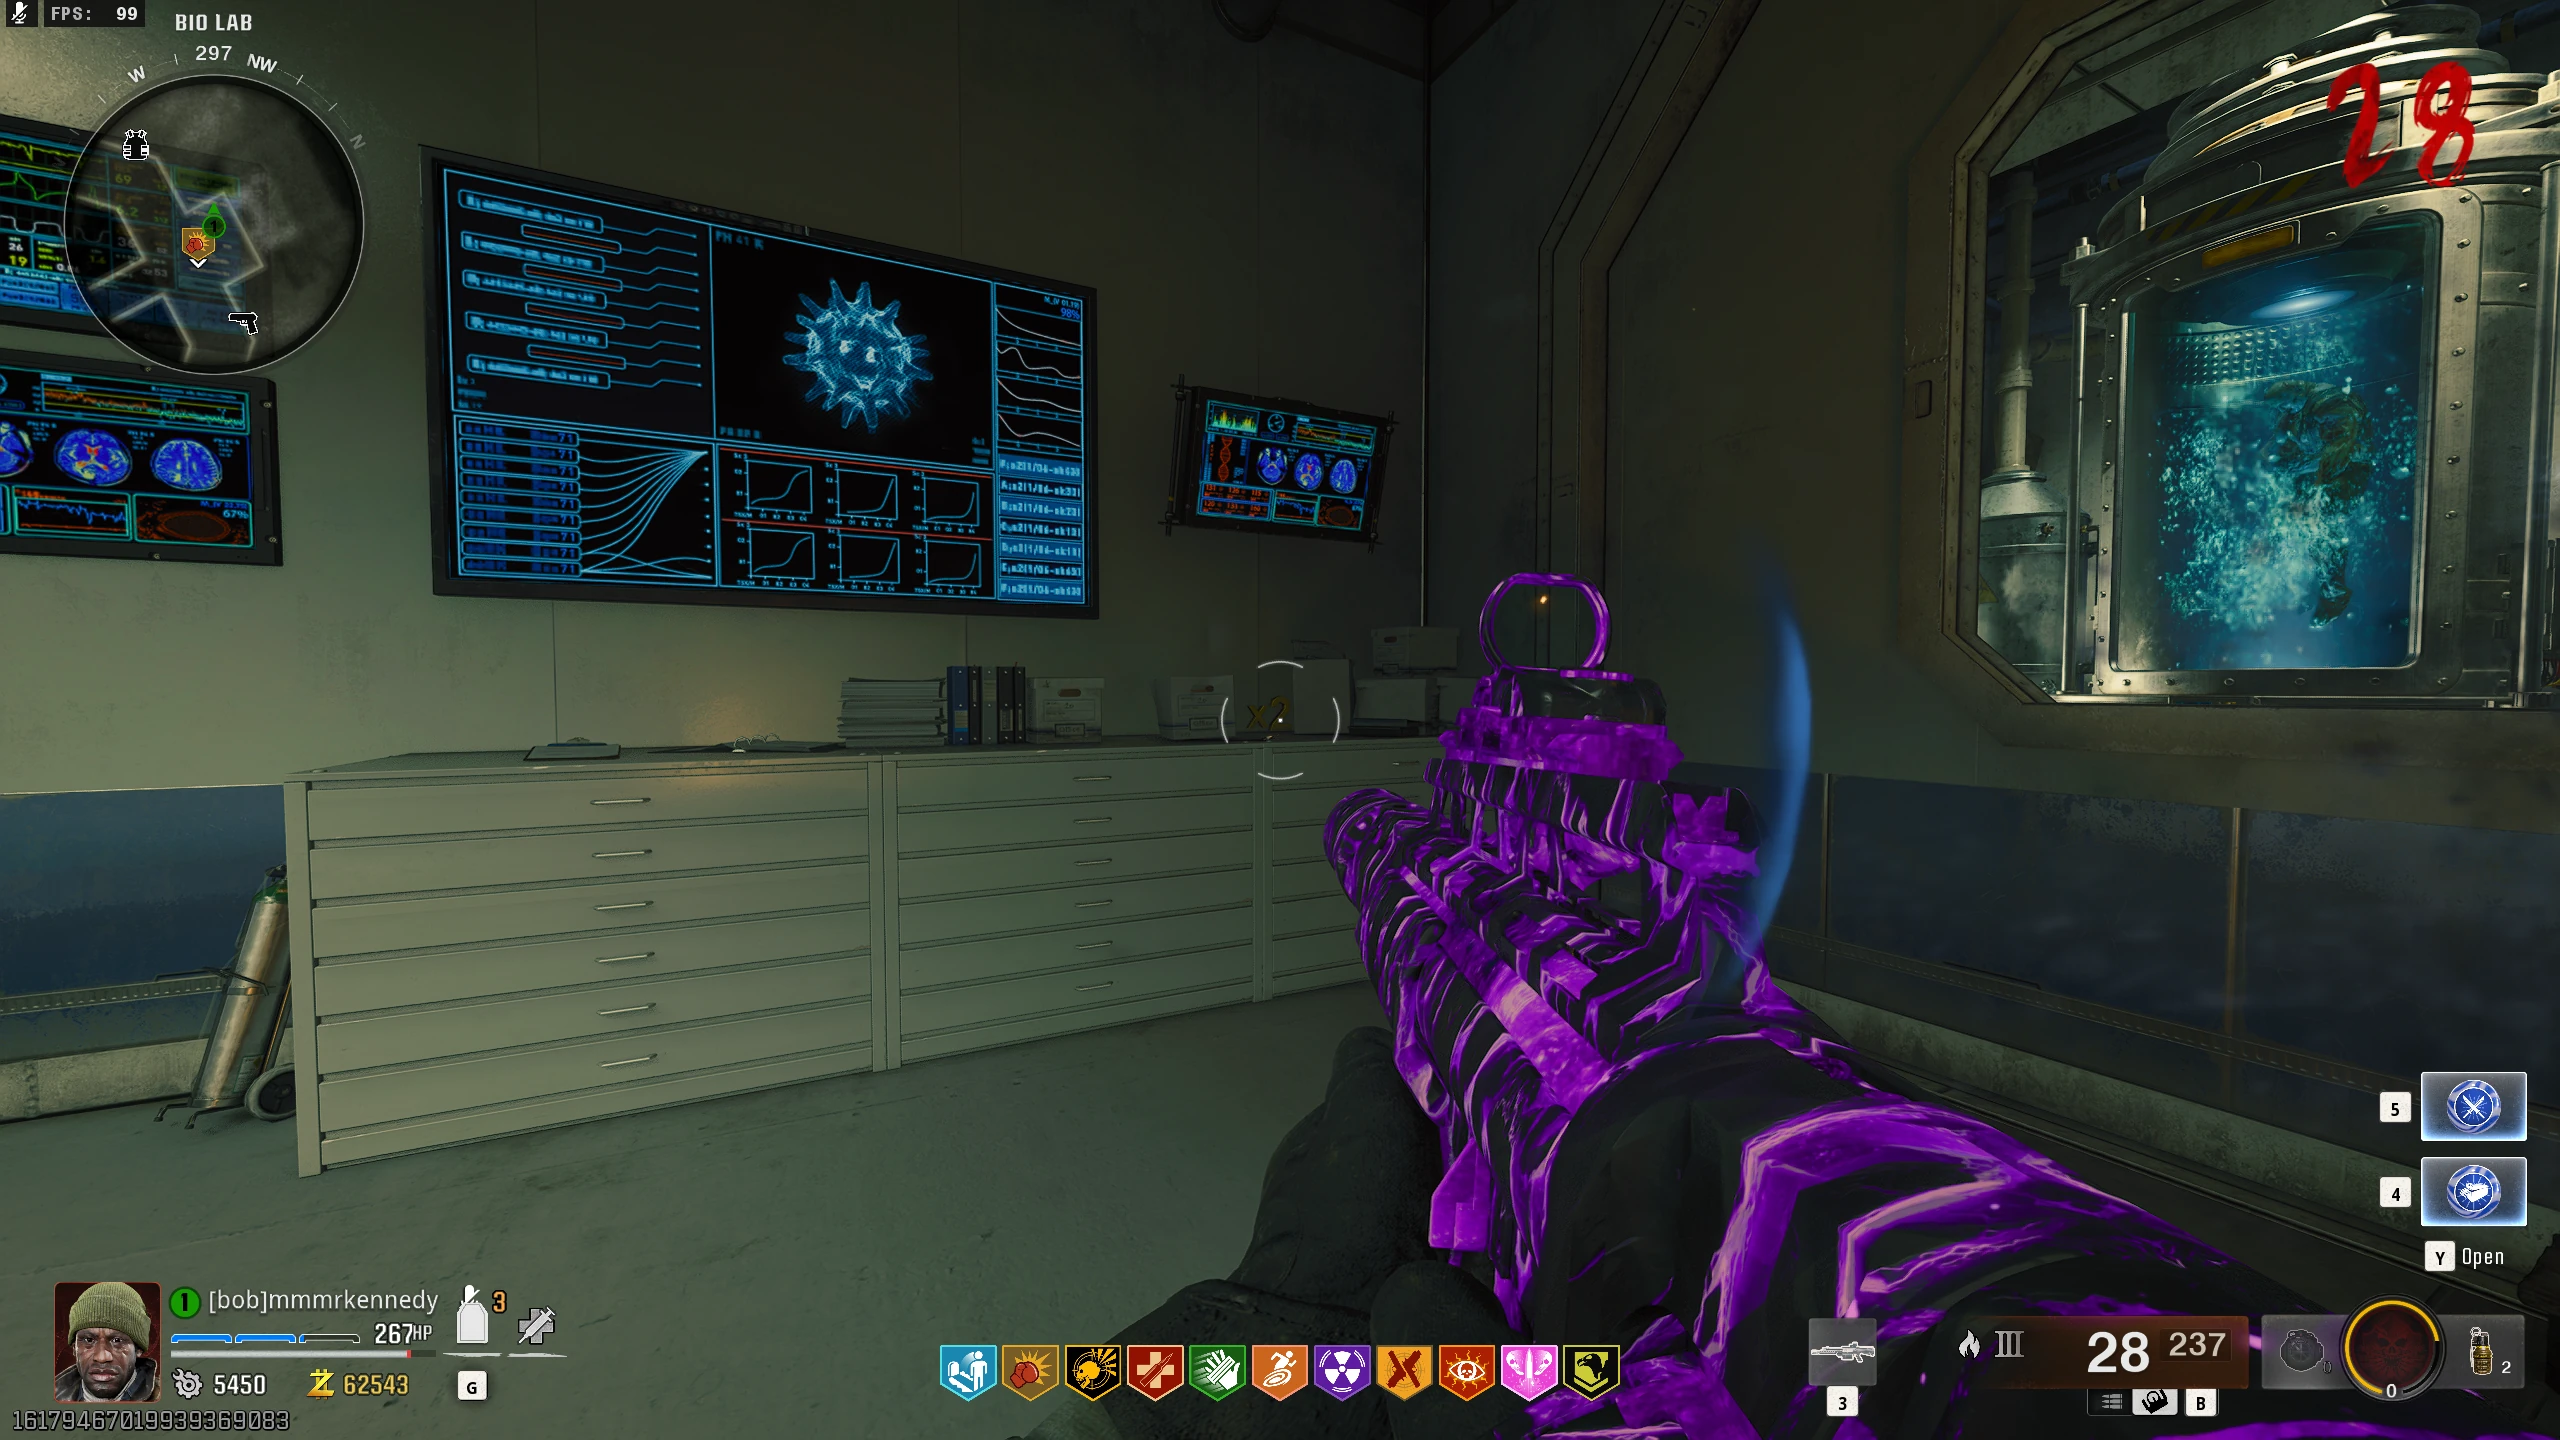
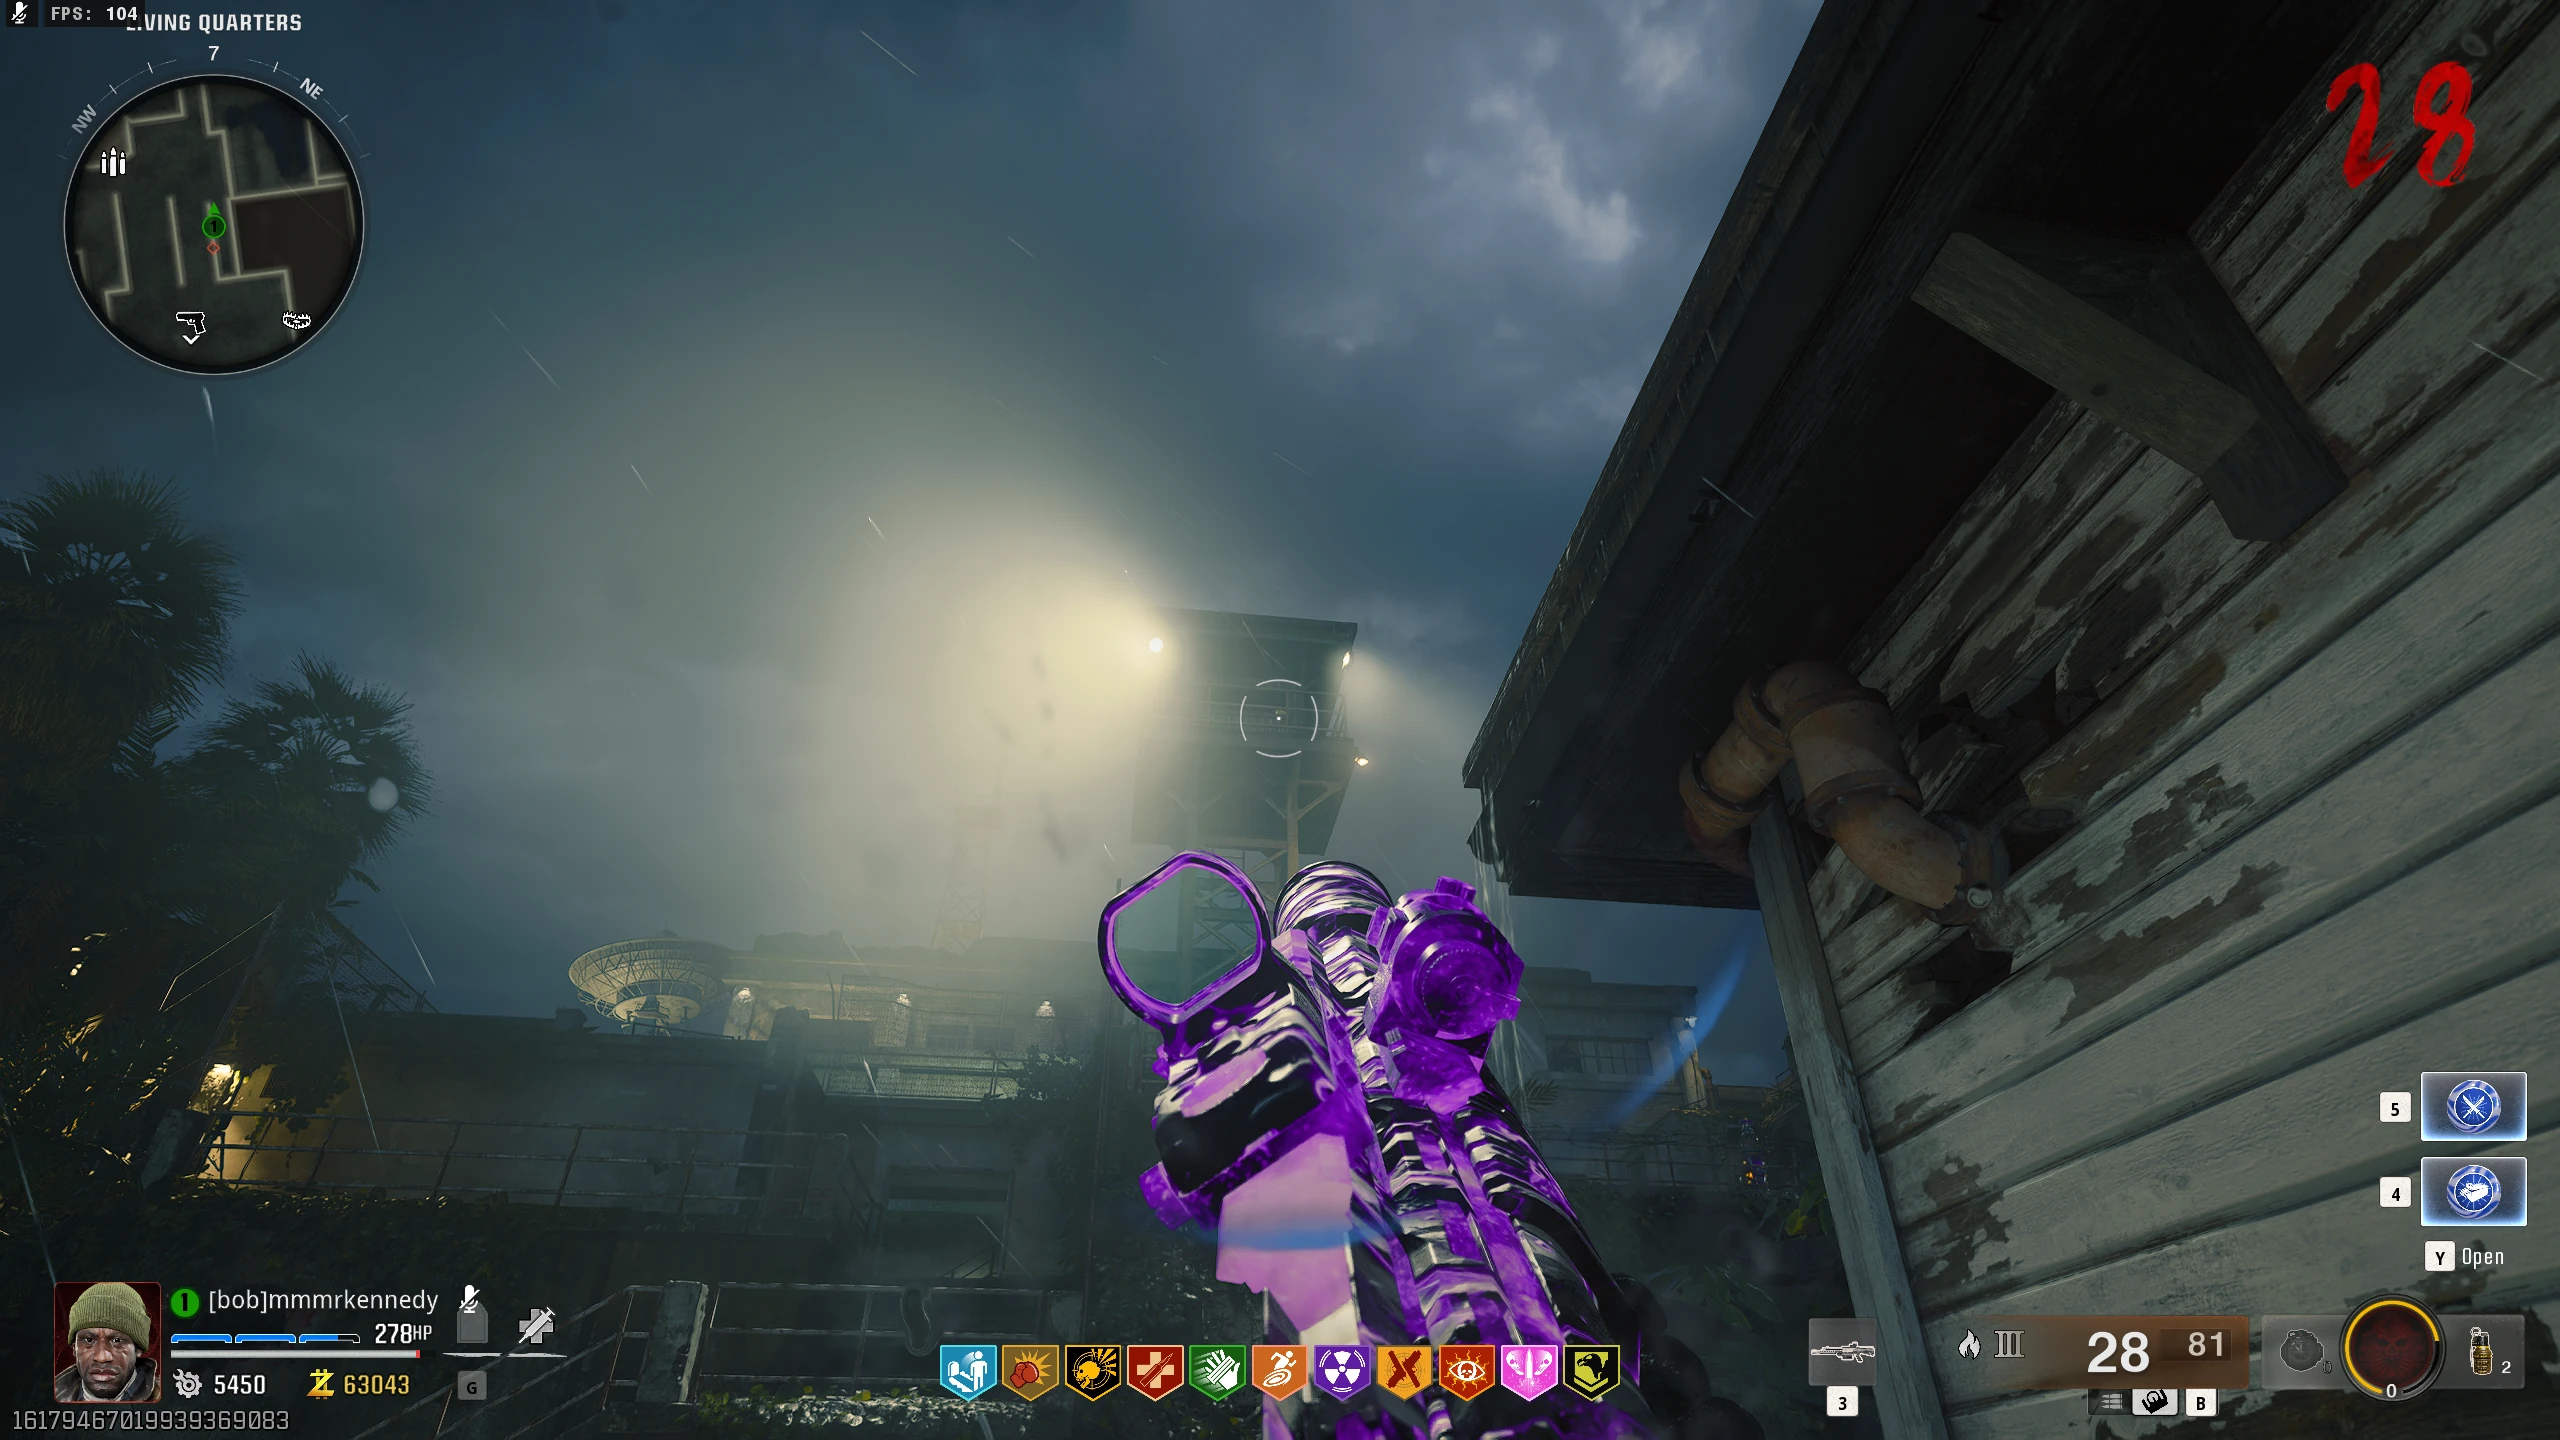
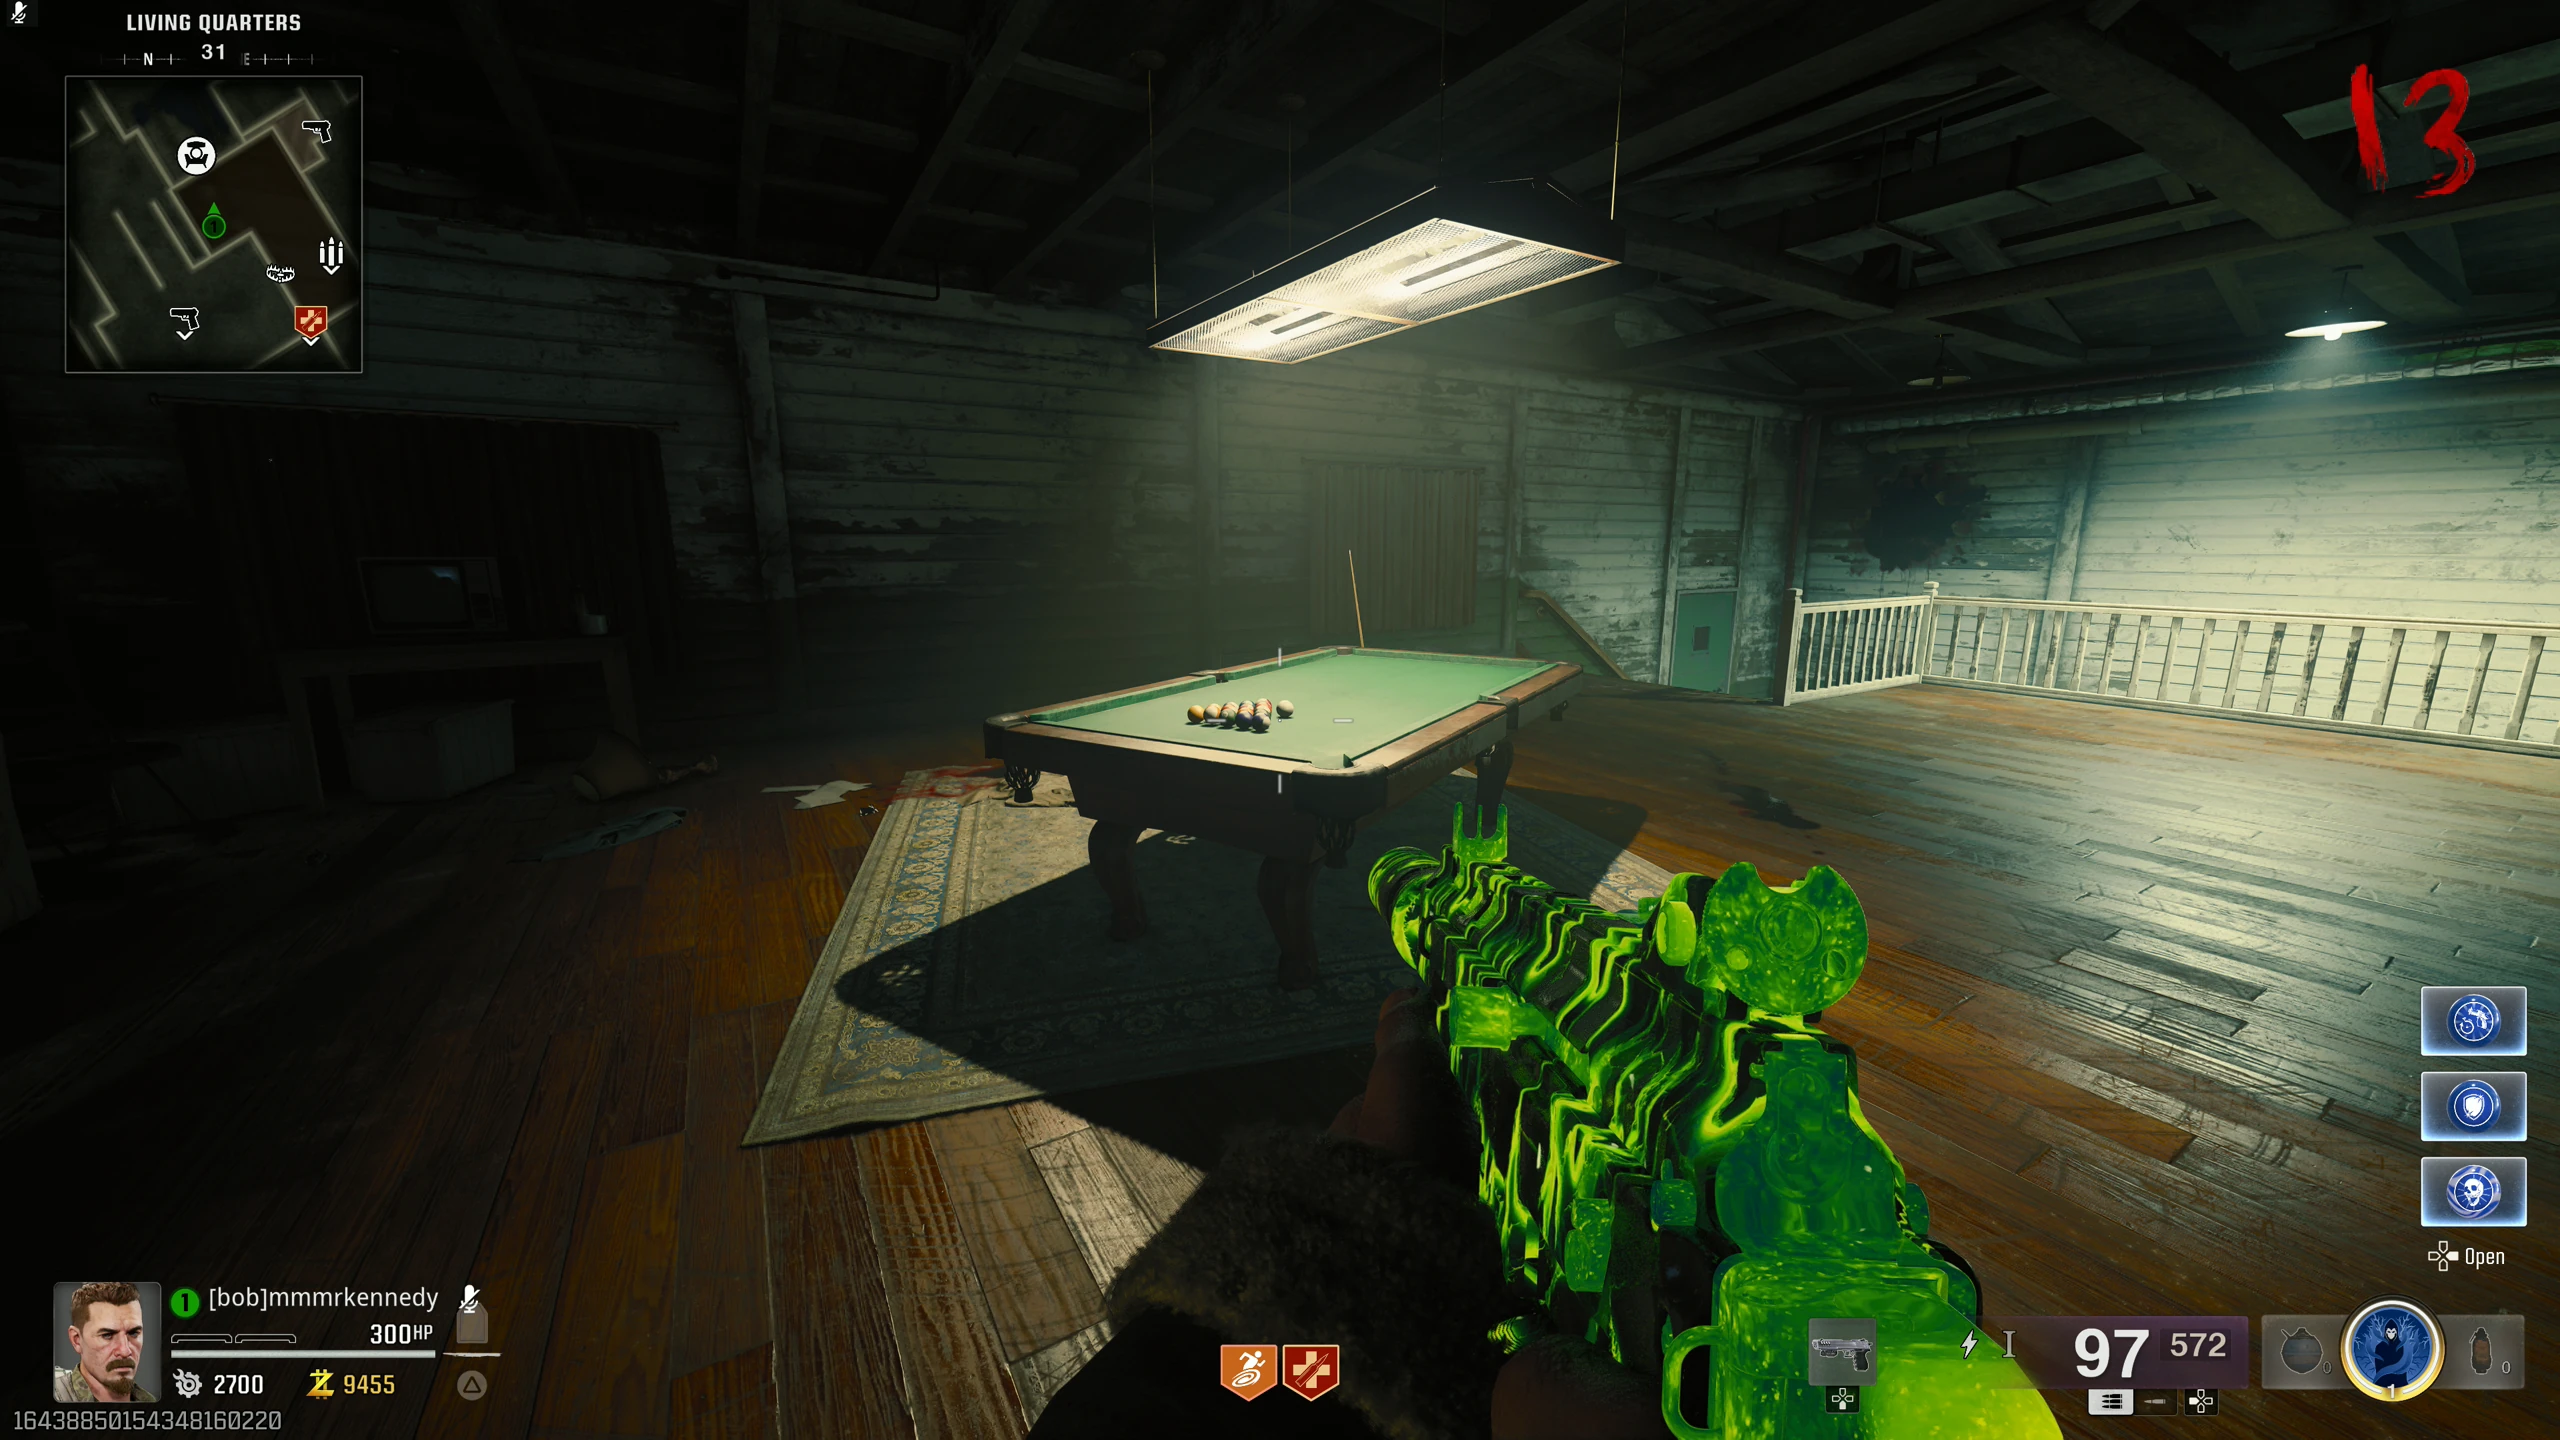
One of the Tentacle traps around the map (Spawn, Bio Lab x2, Living Quarters) will have a broke grate, and be dripping blood.
- All other traps will spawn with normal, unbroken grates, but after the first activation the grate will break. This makes it impossible to know which trap spawned broken, so make sure you don't use any traps up until this point unless you know which one you need.
- Activate the trap with the broken grate, and shoot the creature that emerges with the DRI-11 Beamsmasher's beam attack (primary fire). If done correctly, it'll drop the Hard Drive for you to pick up.
-
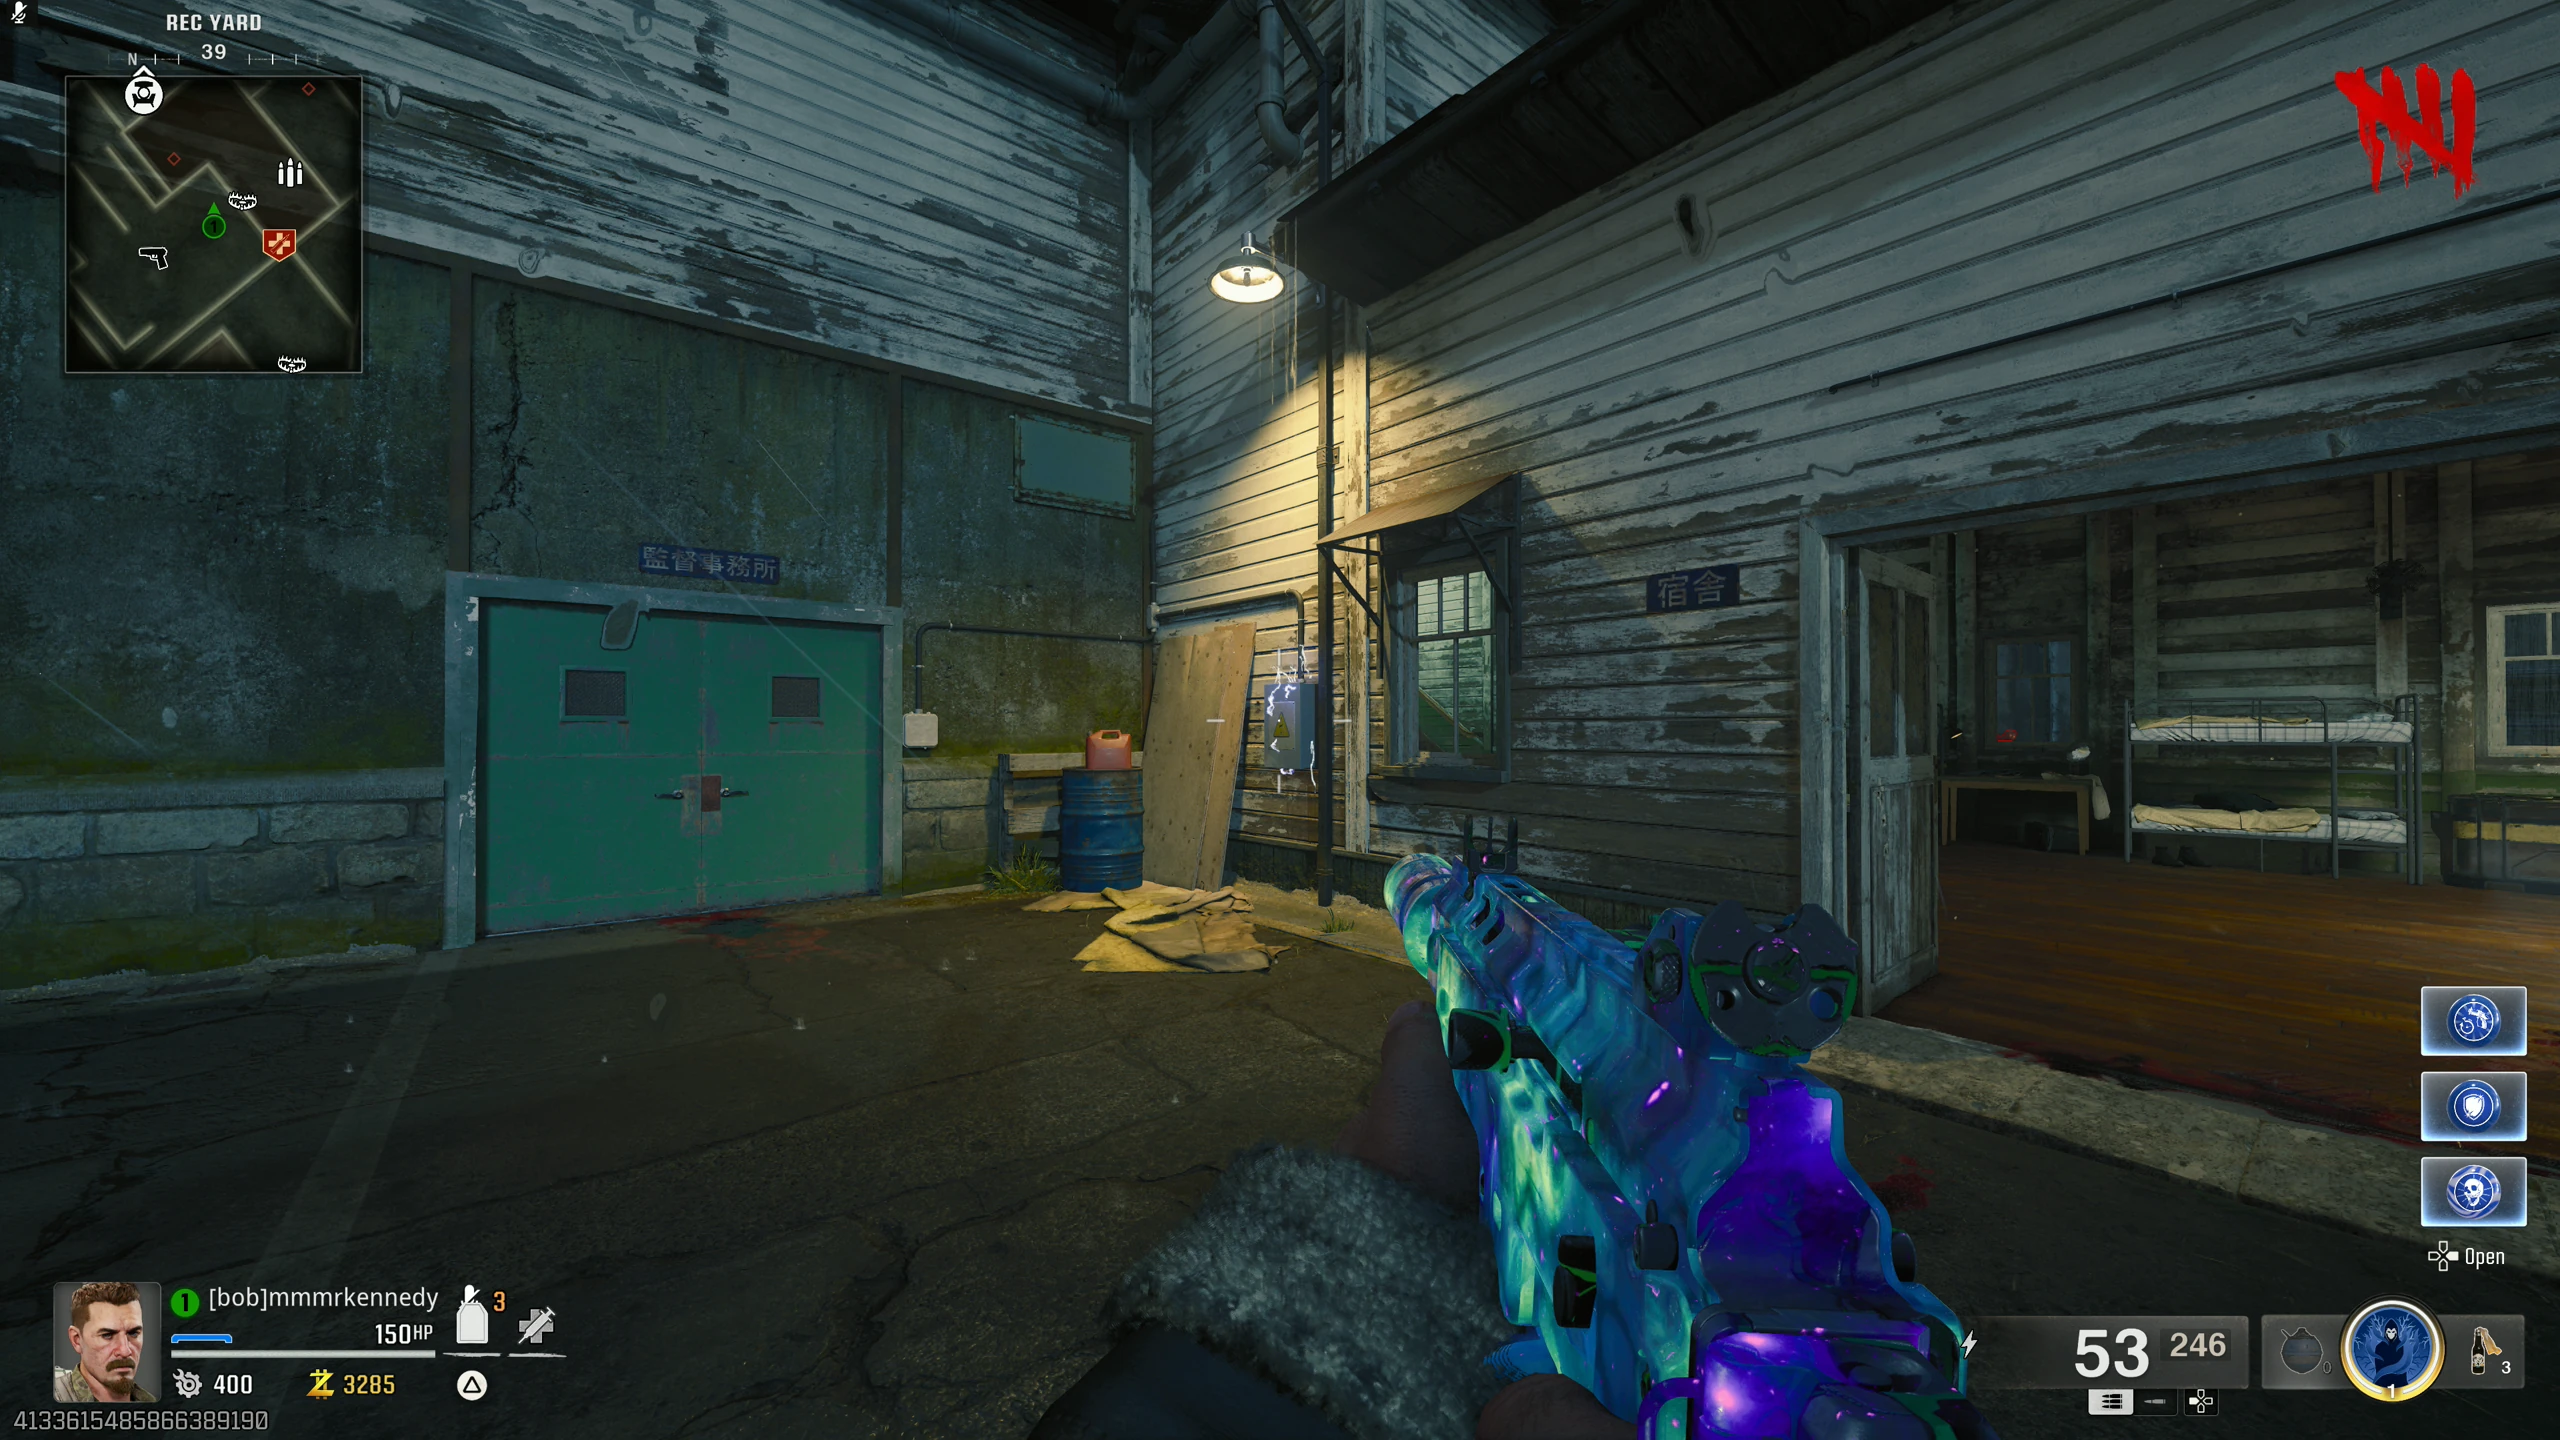
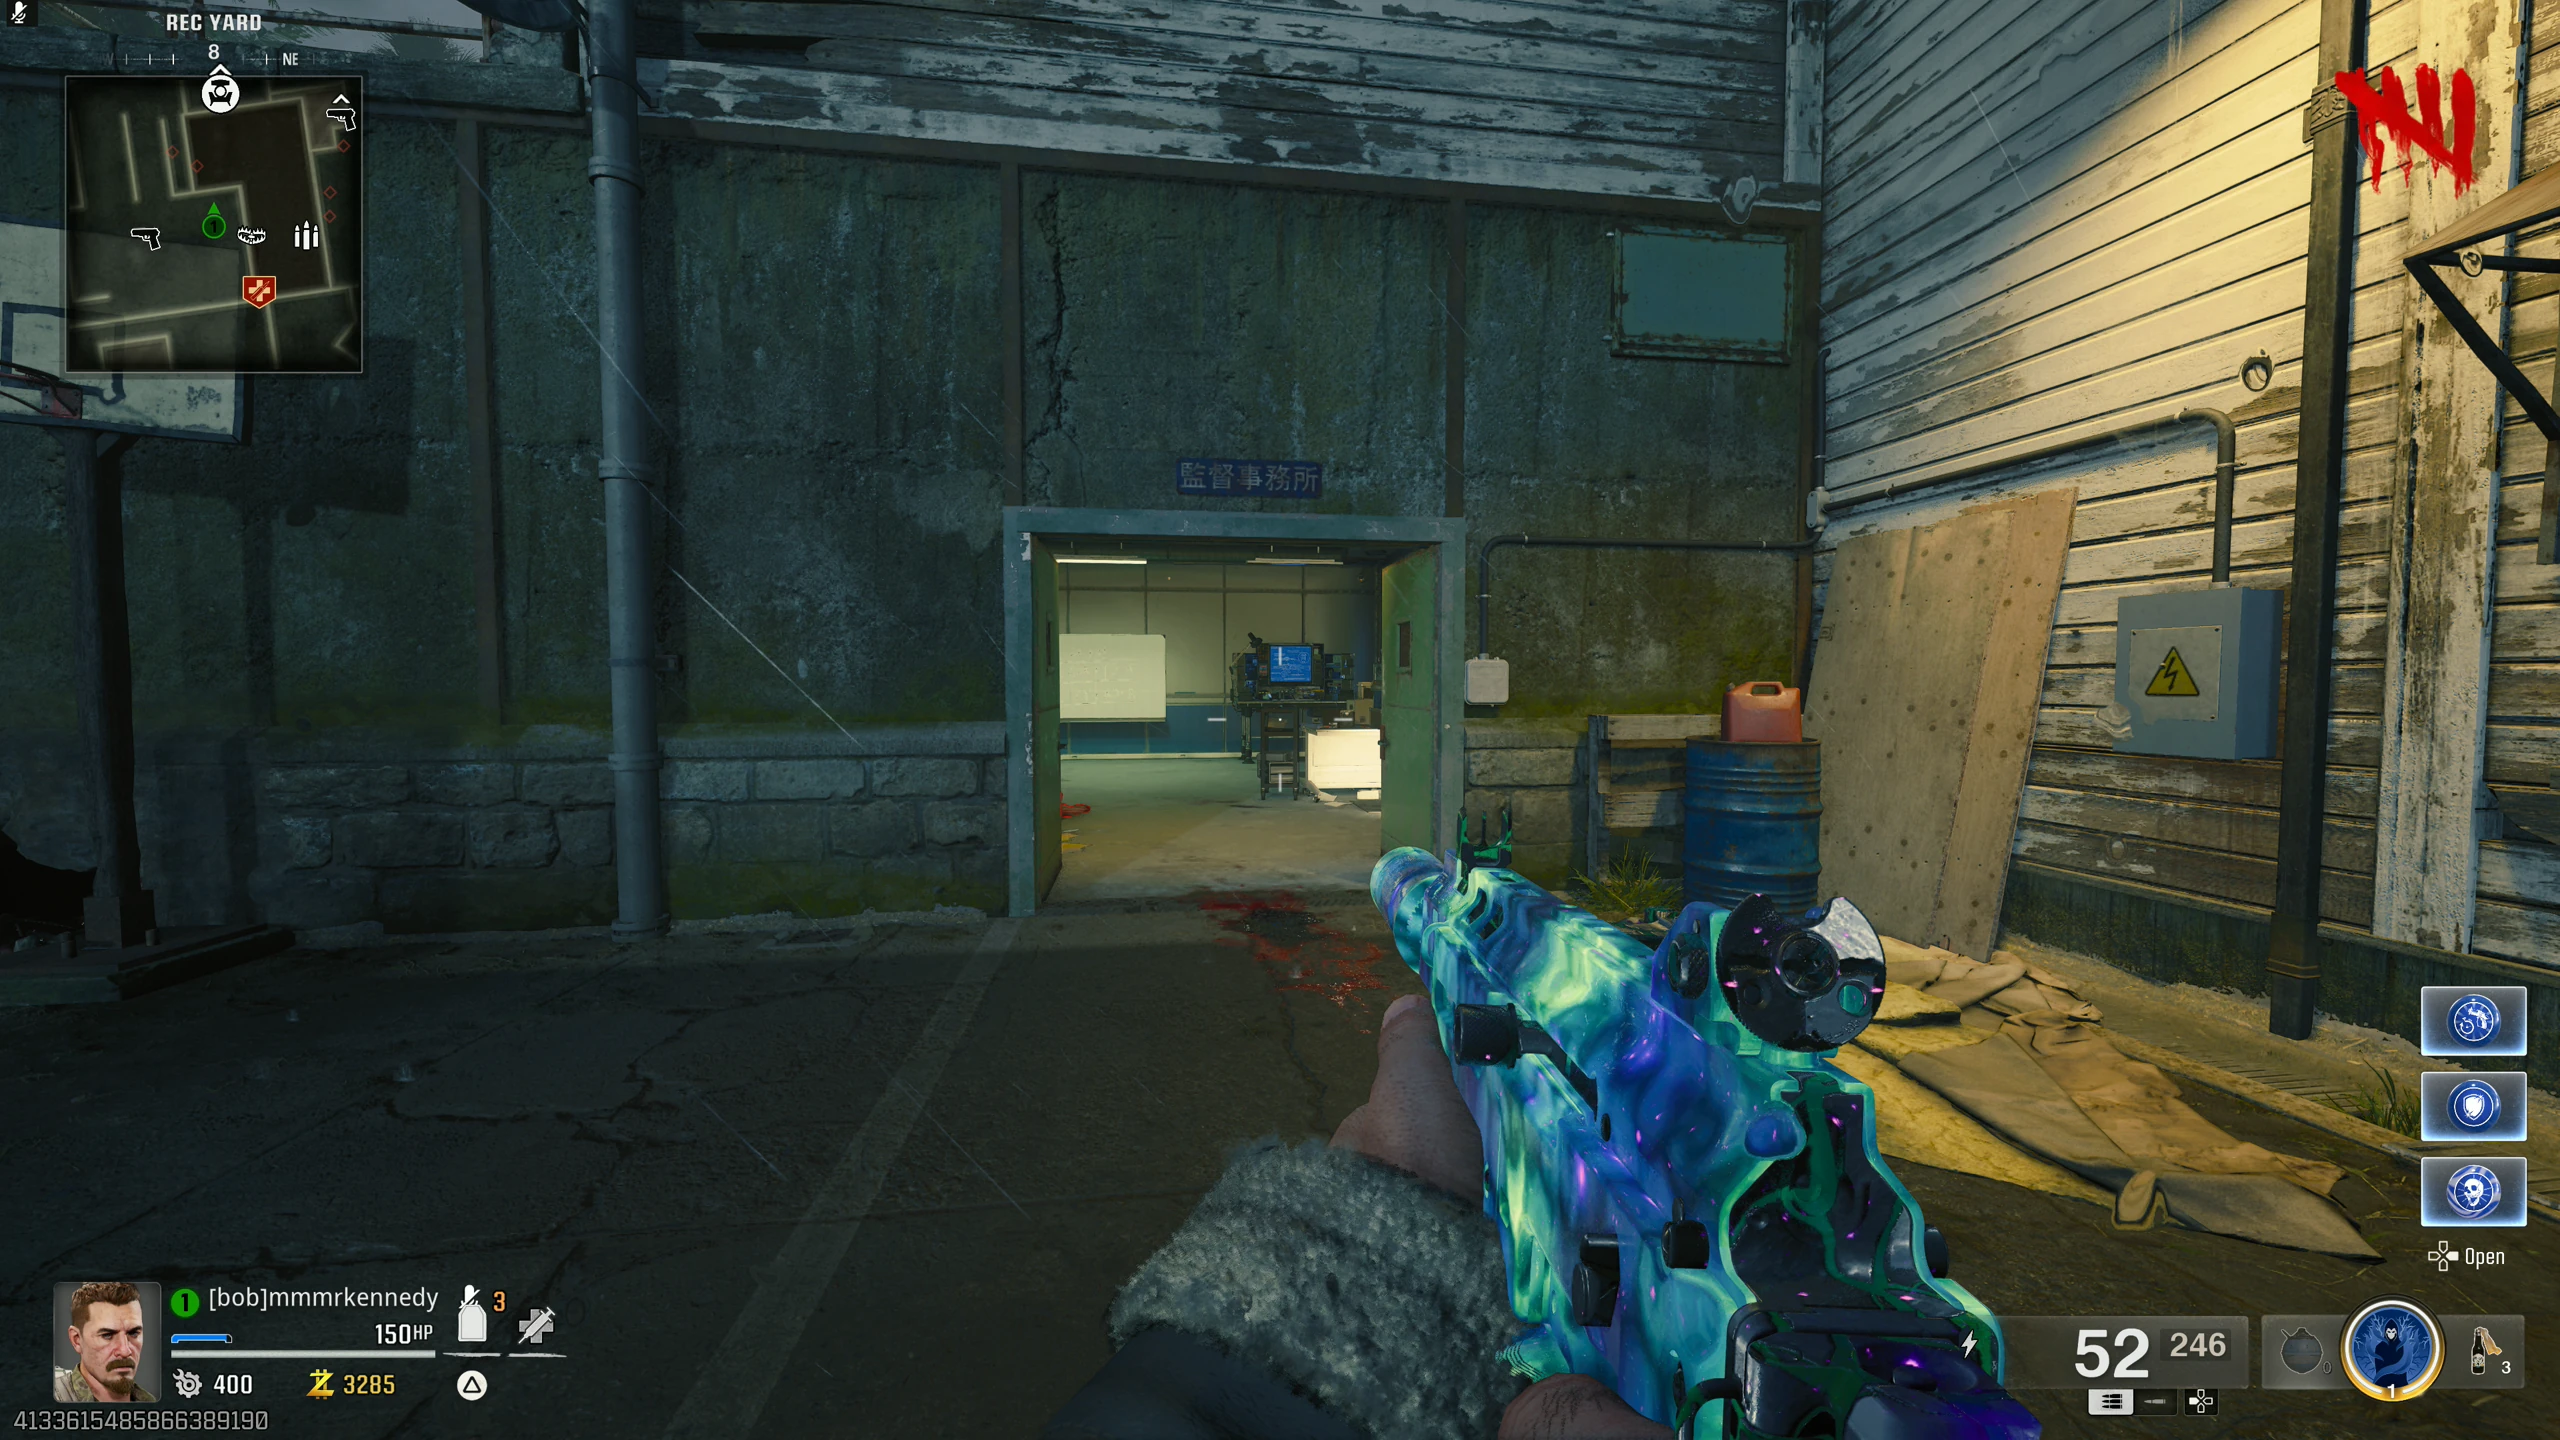
Nathan's Chamber
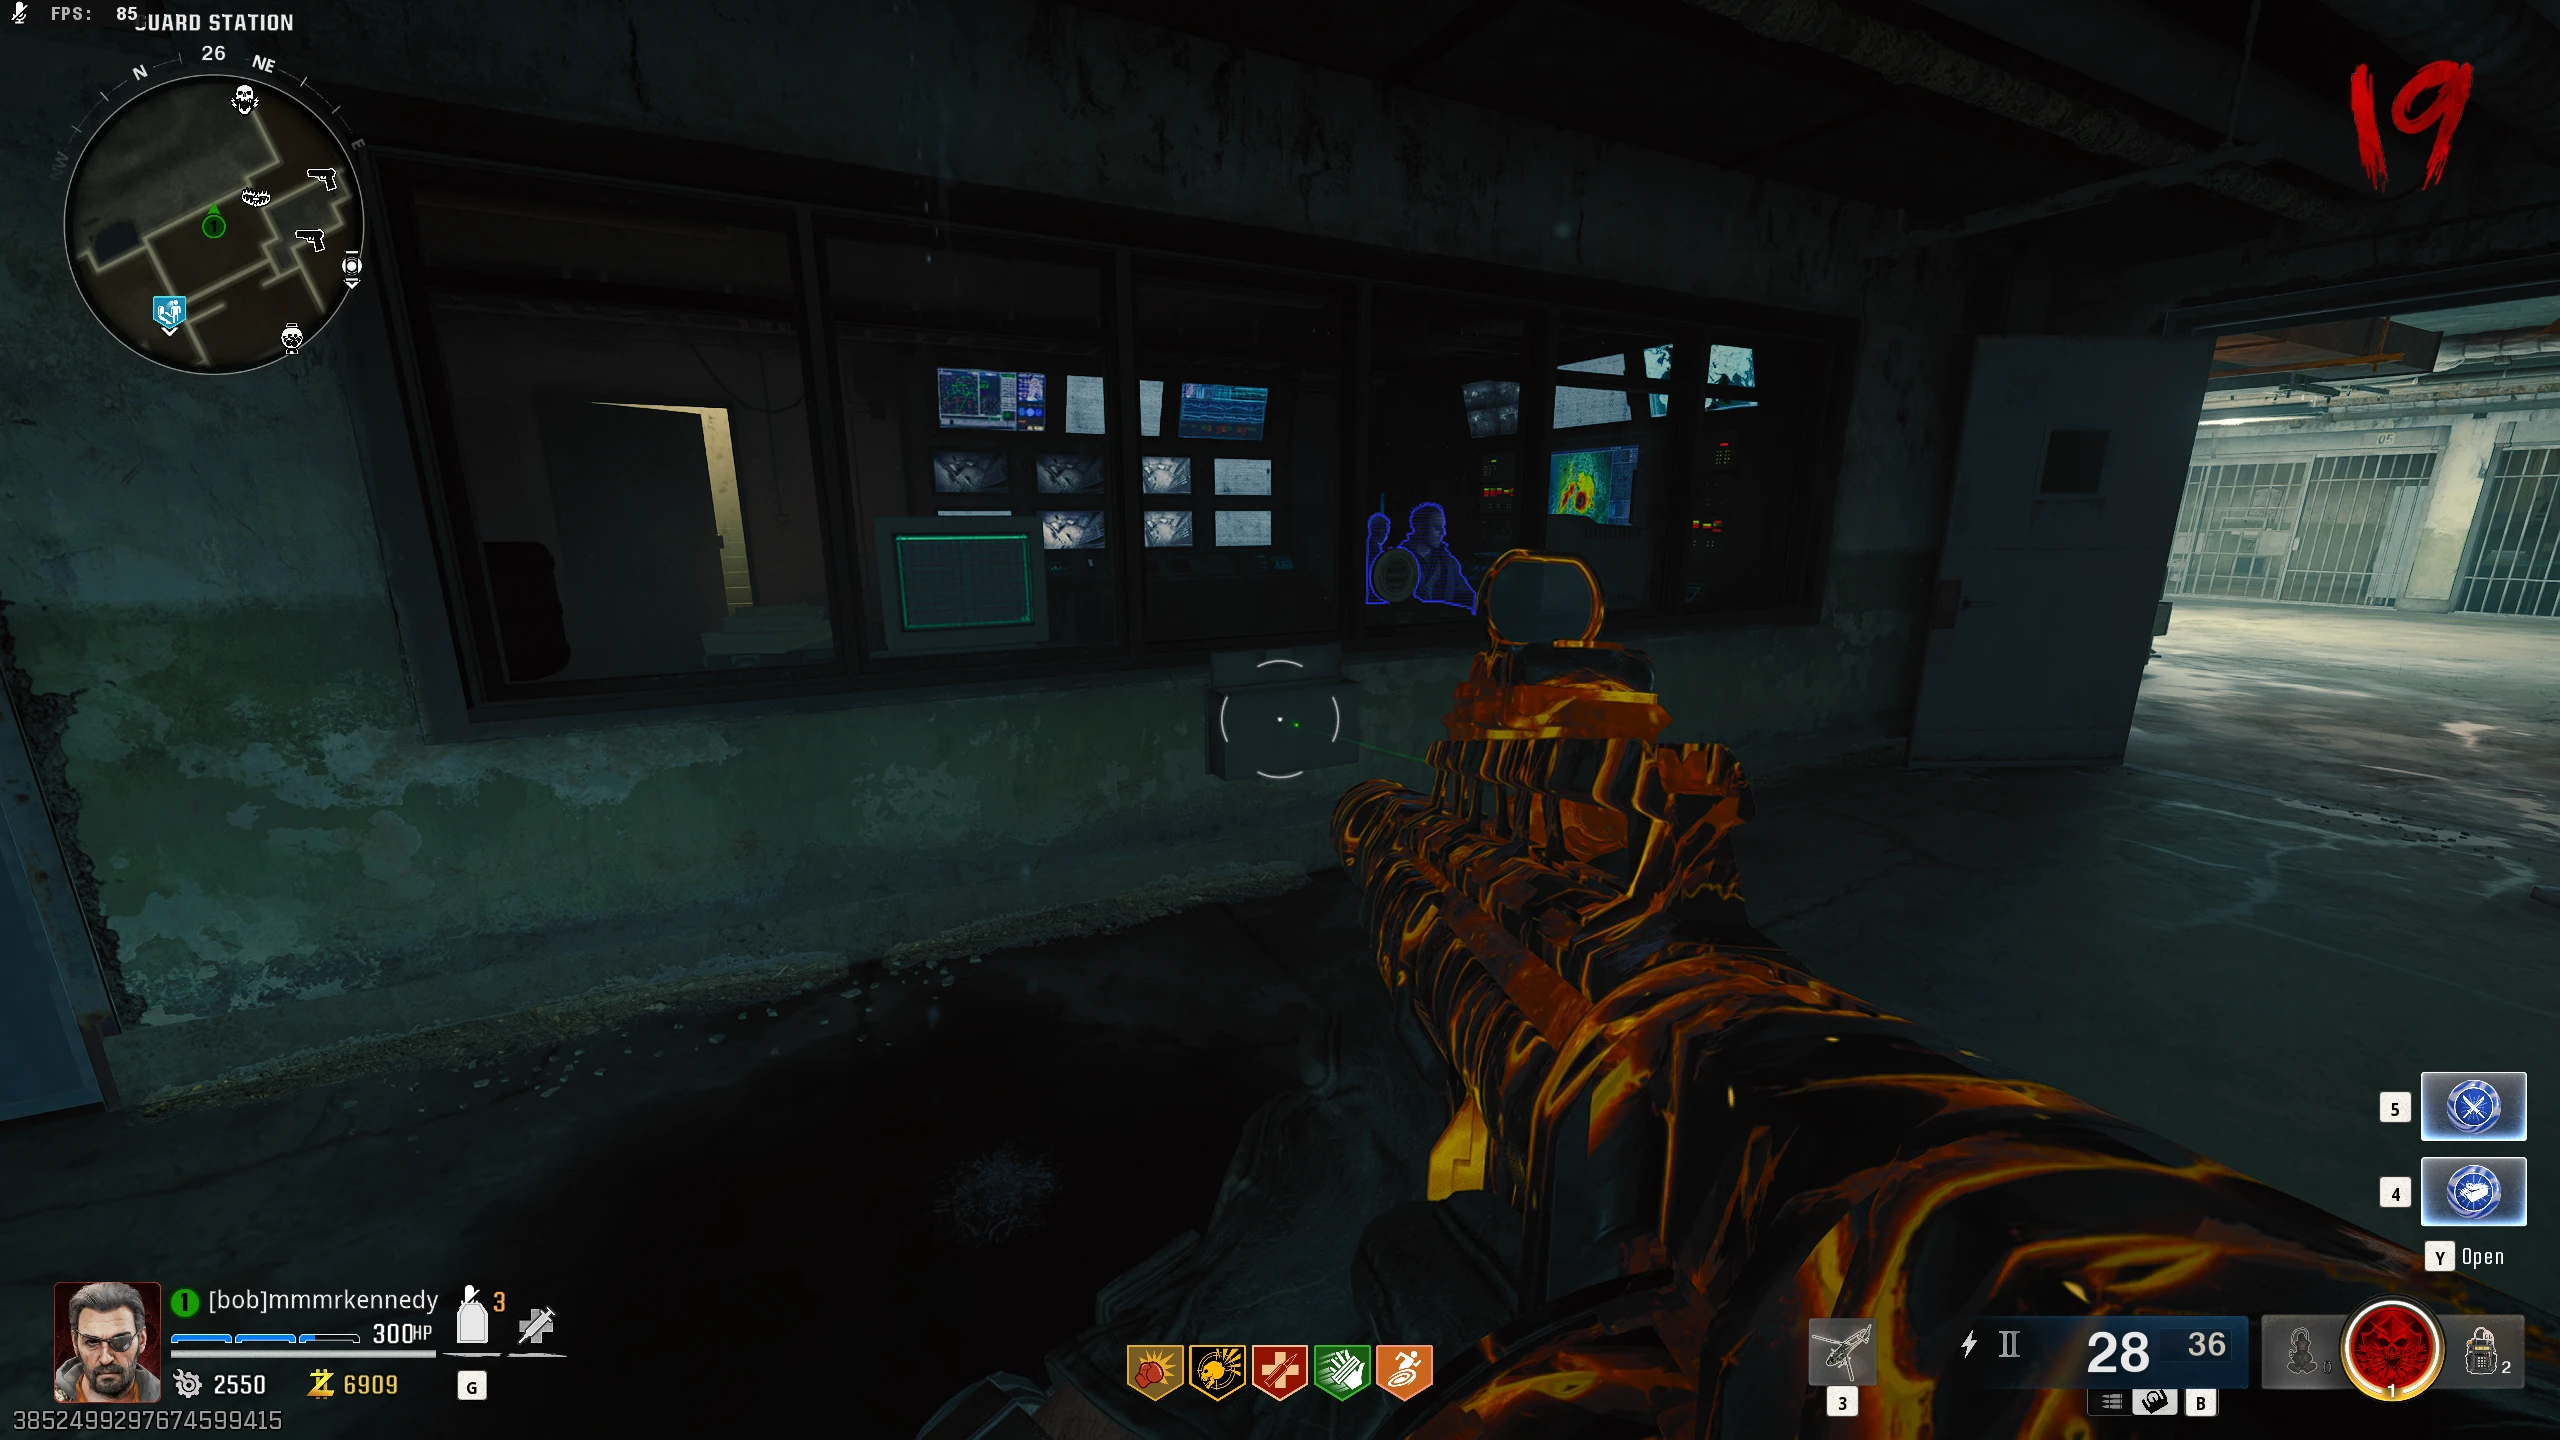
- Interact with the slot under the window in front of Peck and Strauss in the Guard Station to give them the Hard Drive.
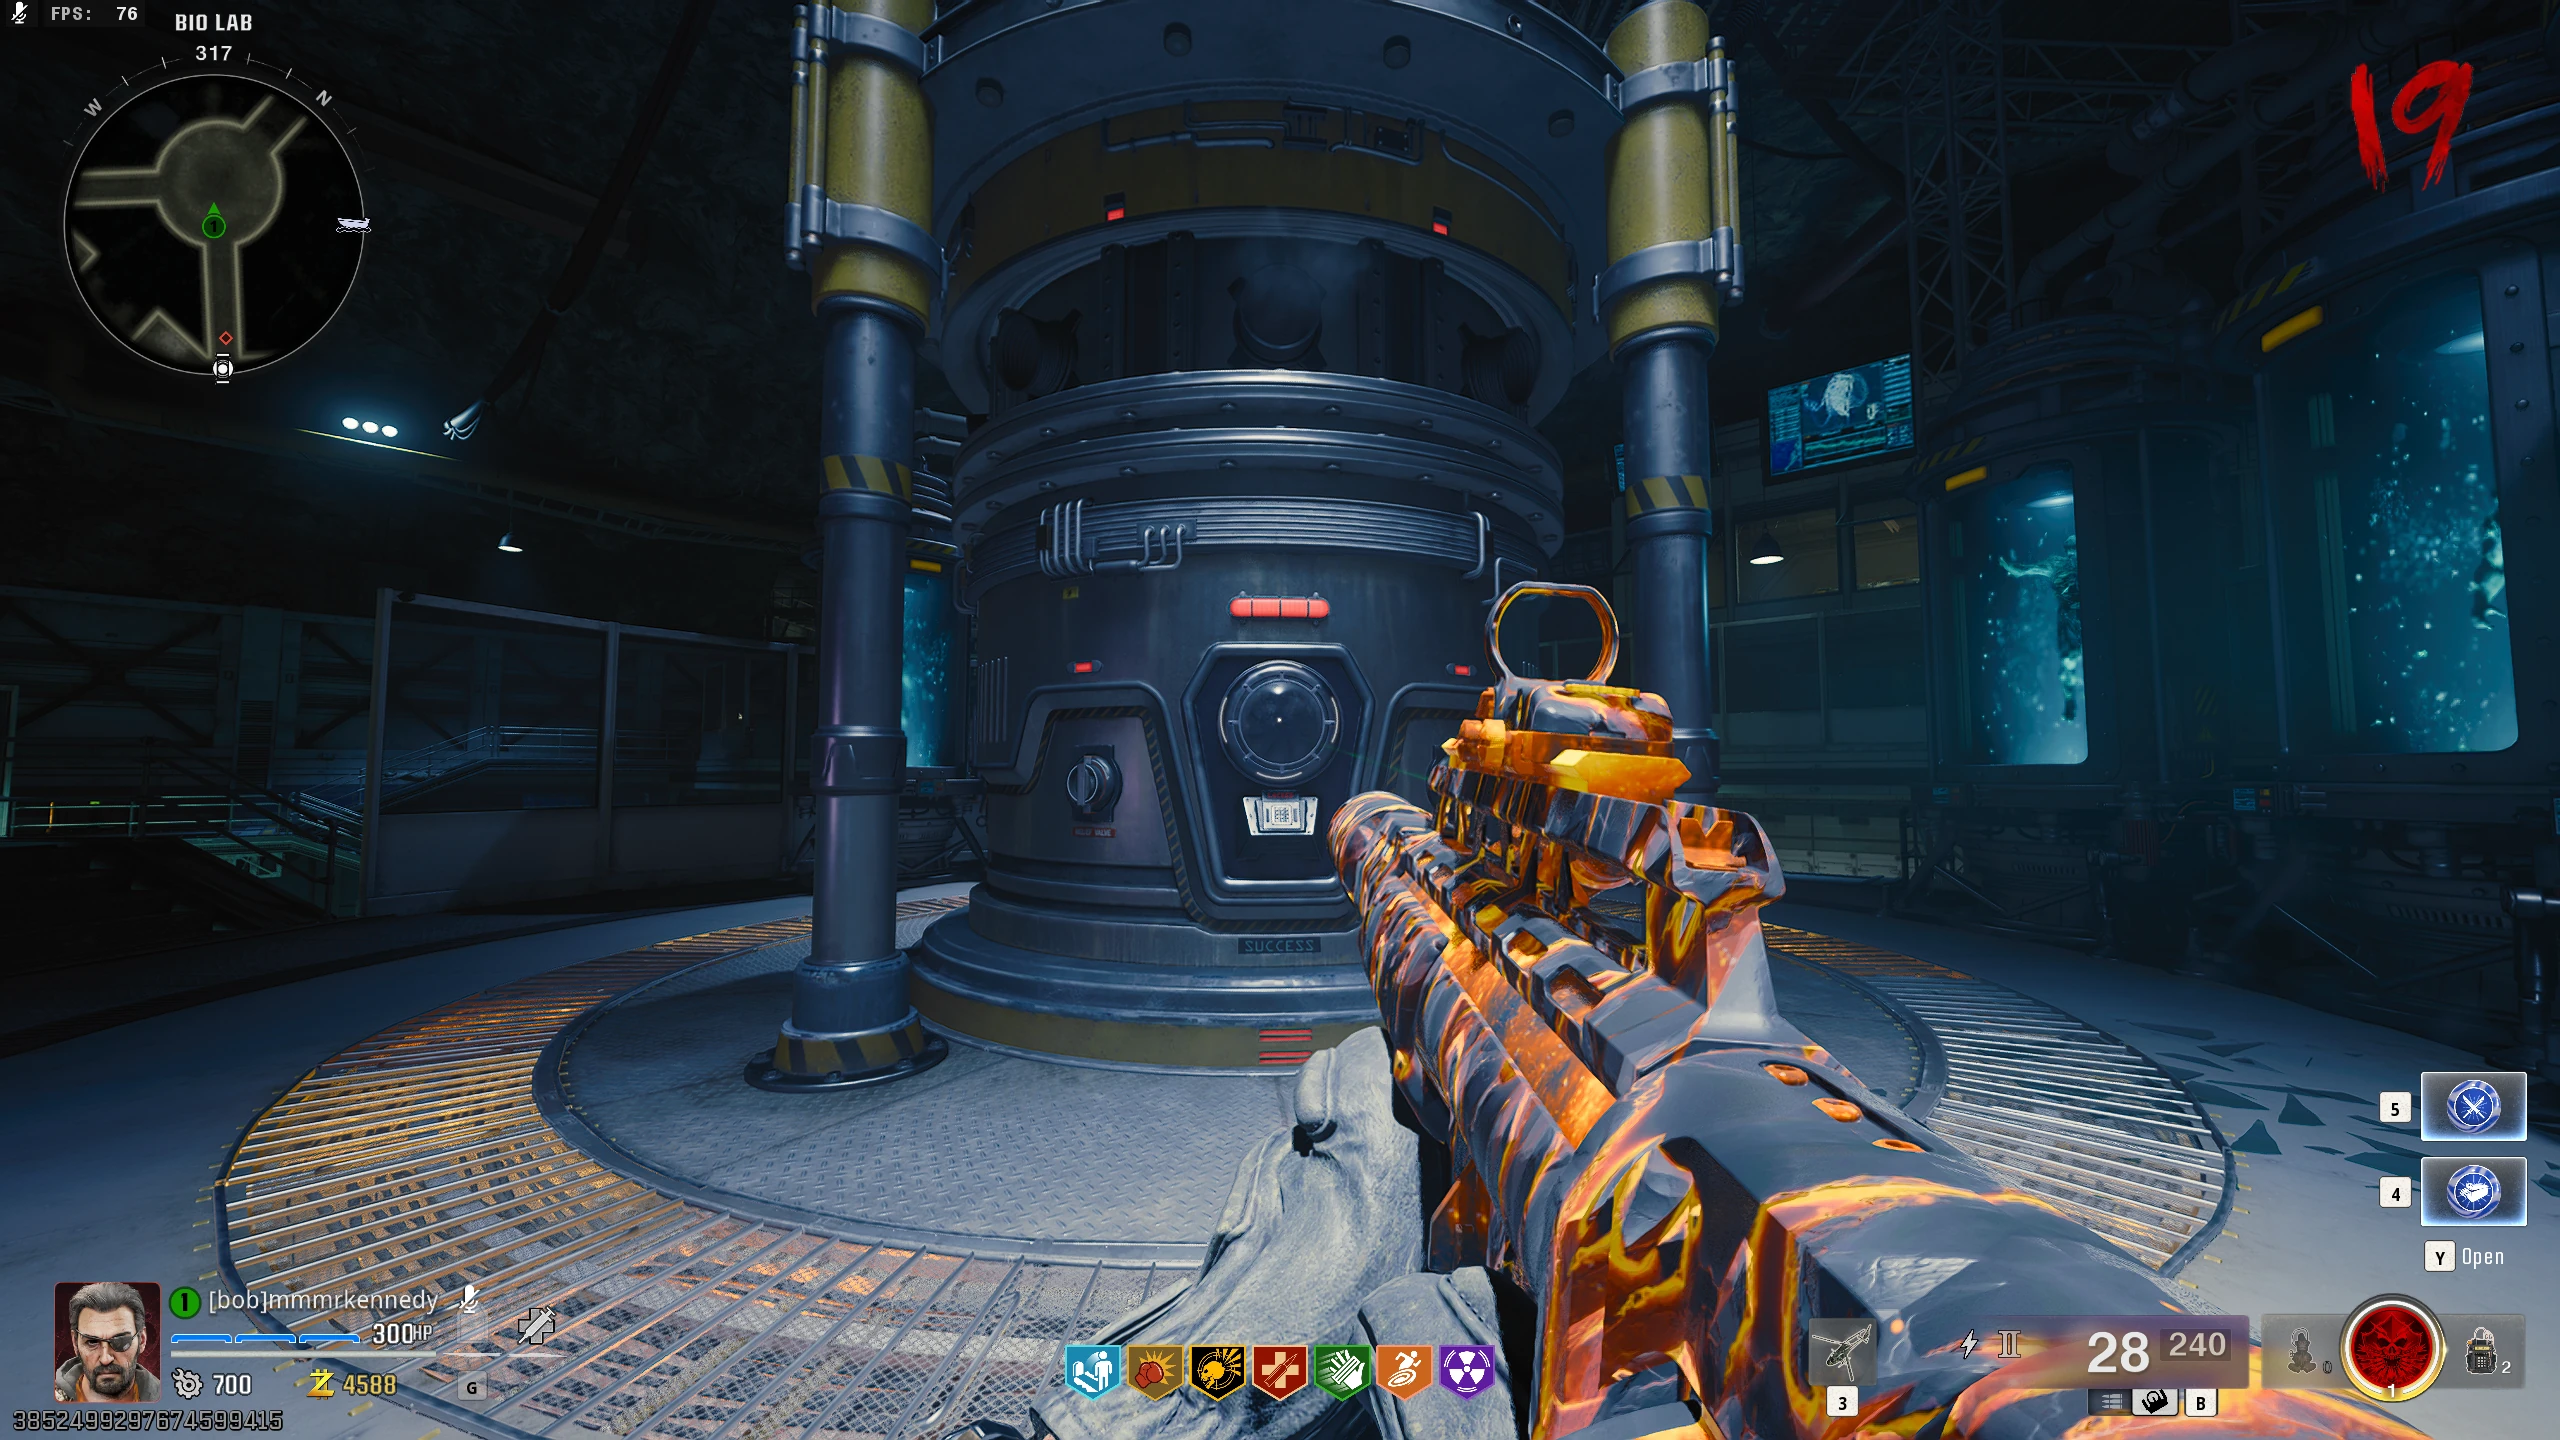
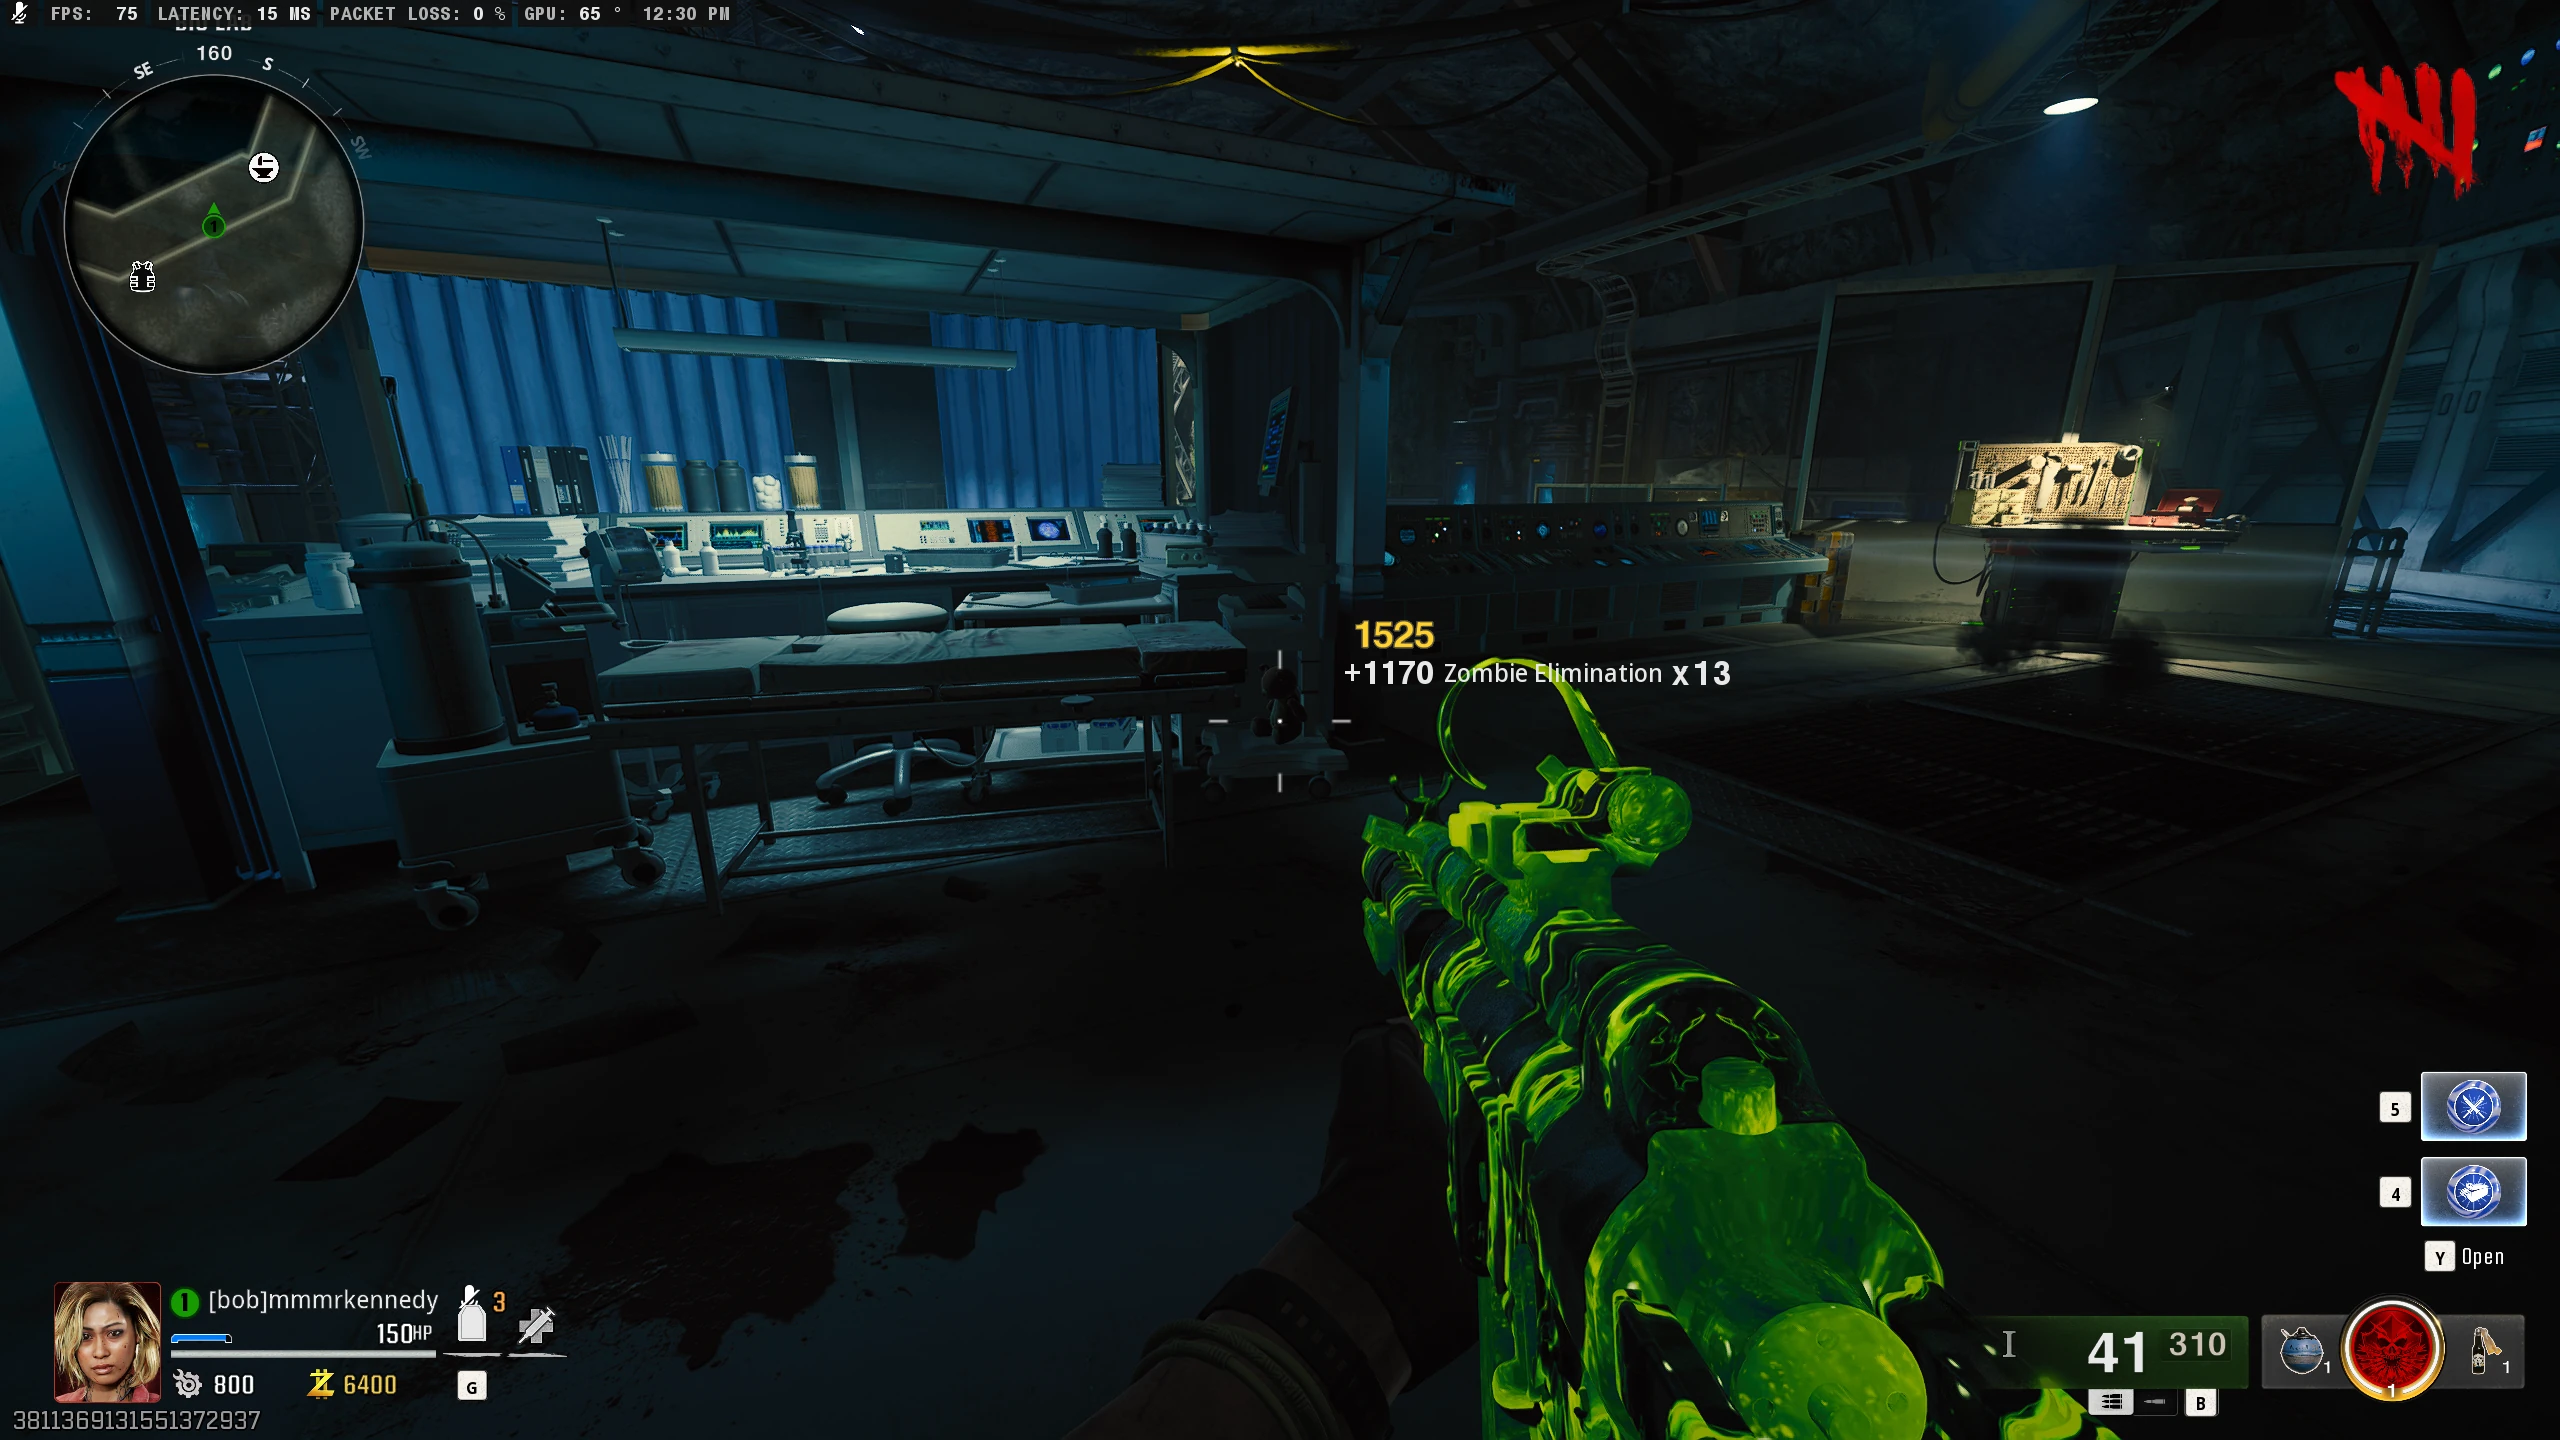
- Interact with the window of the large chamber in the middle of the Bio Lab. The window will open revealing Nathan is inside.
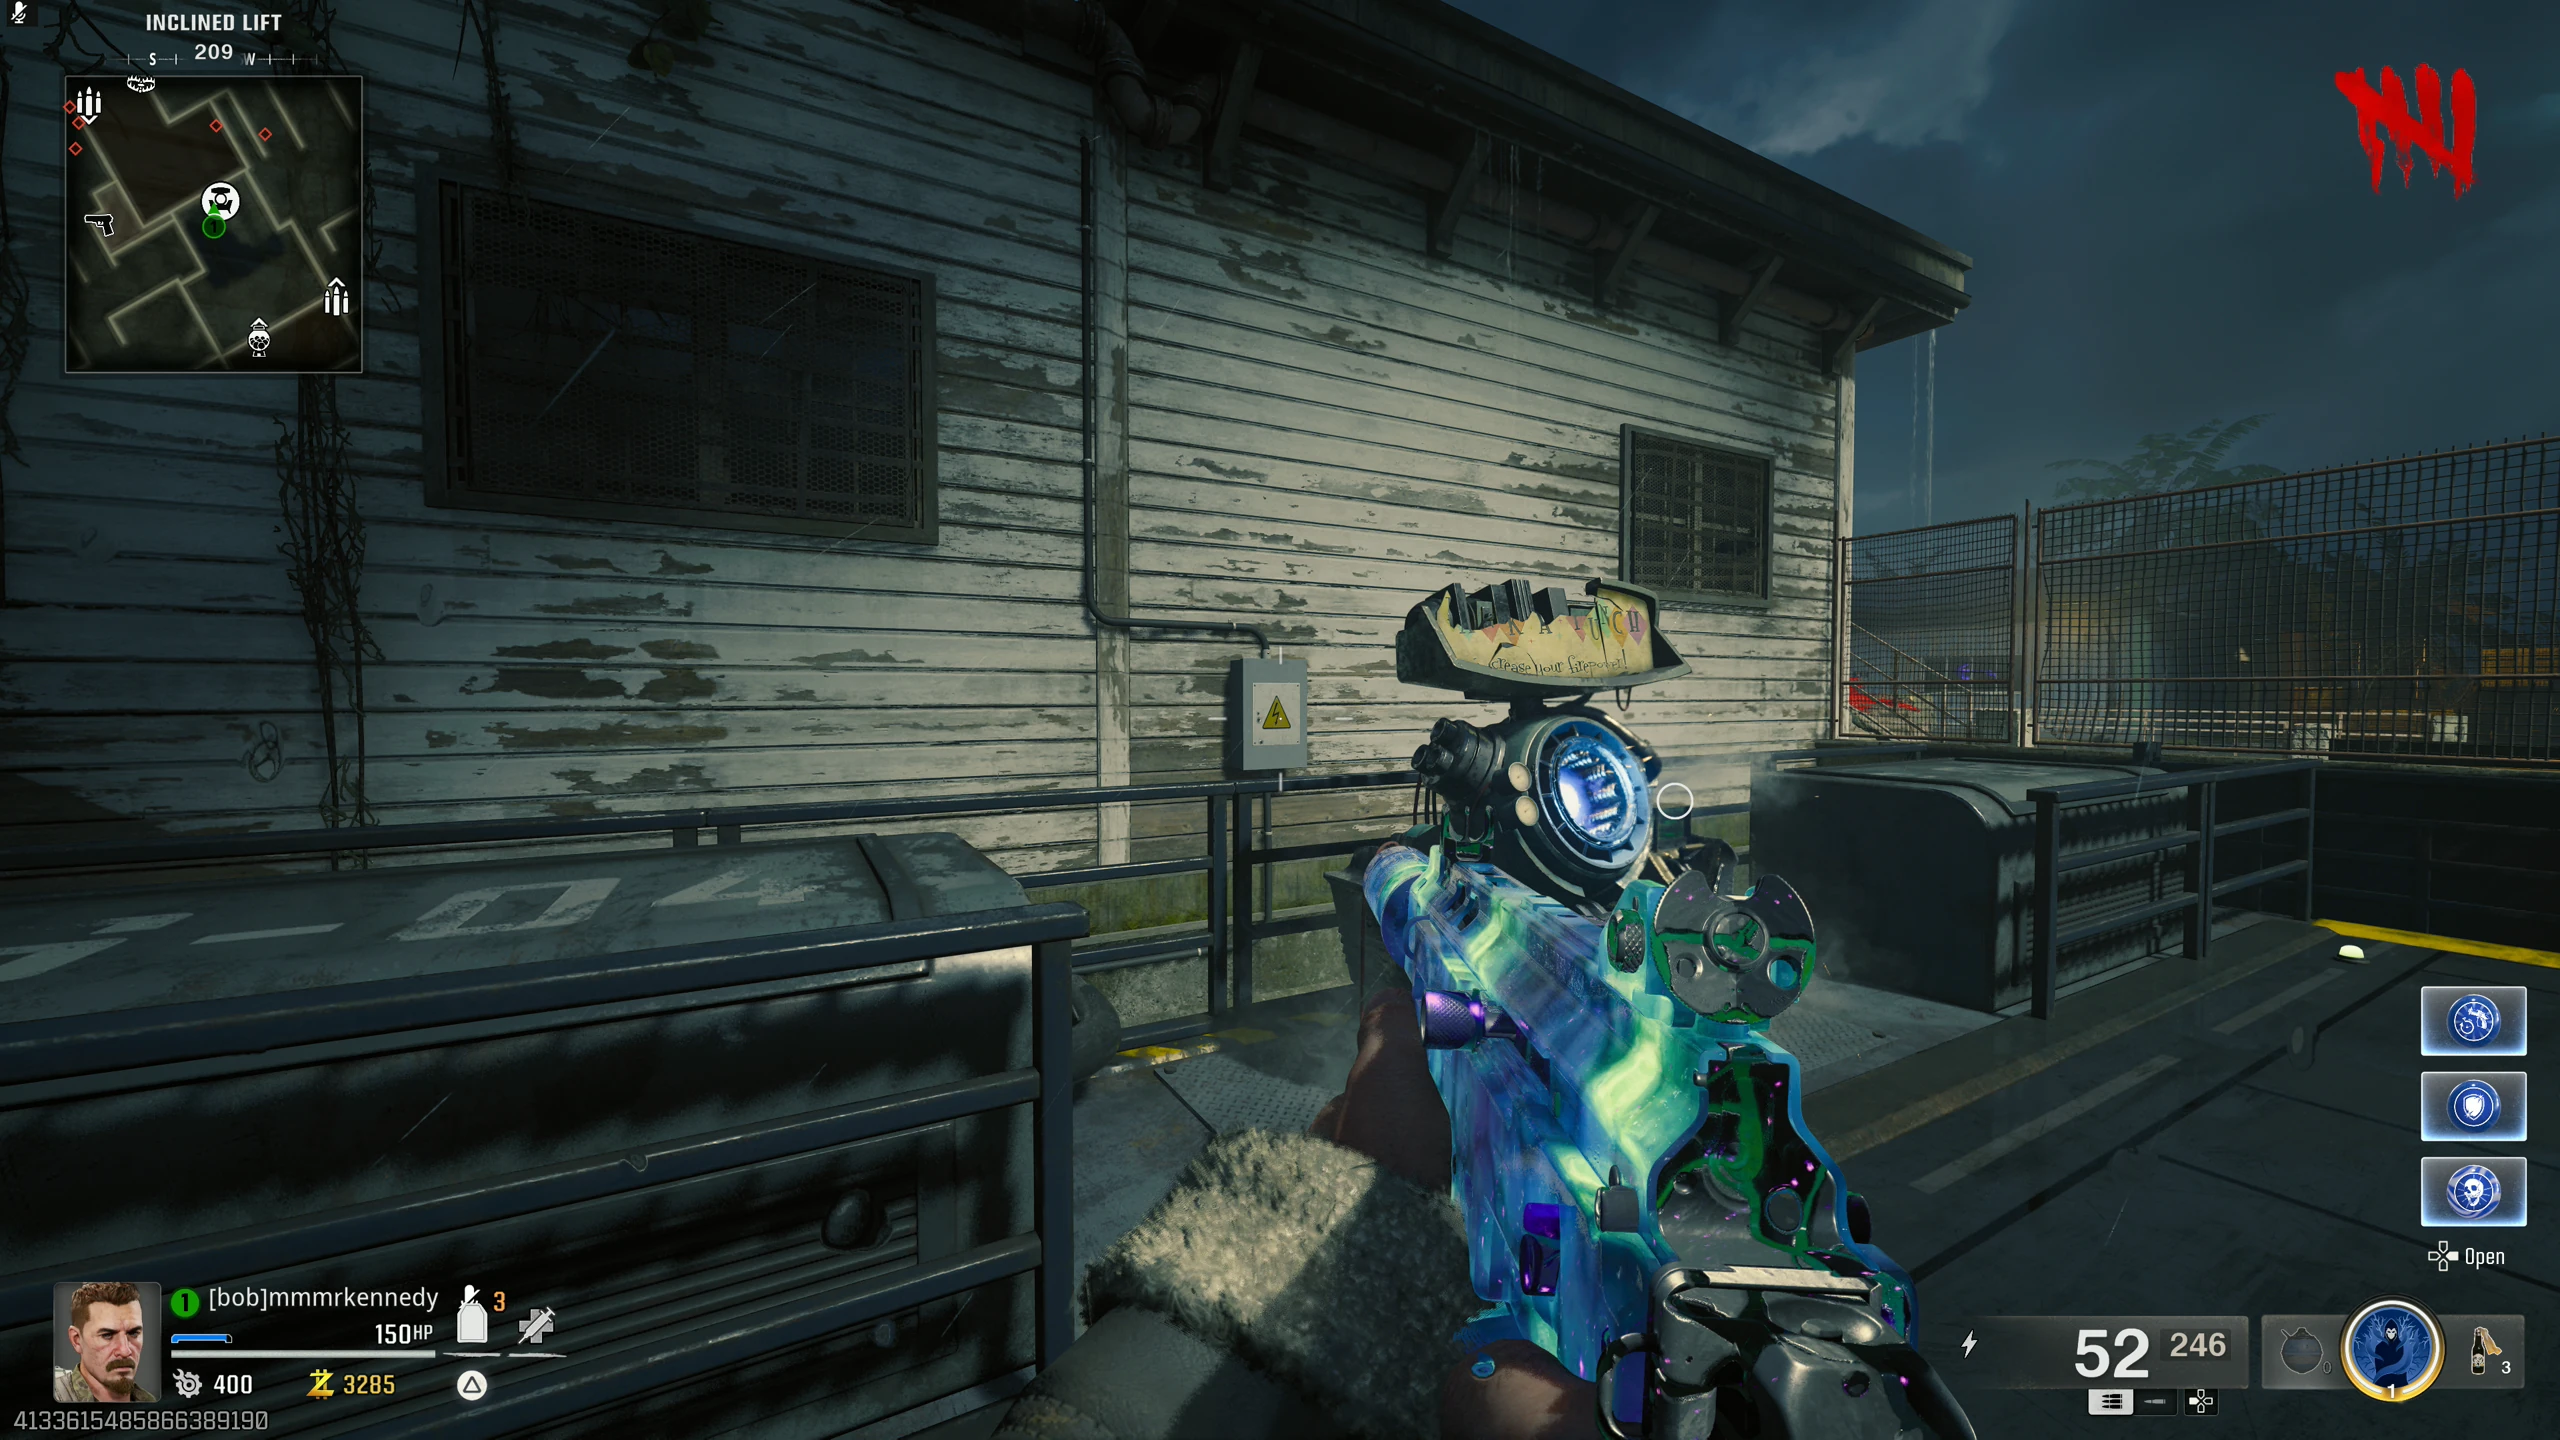
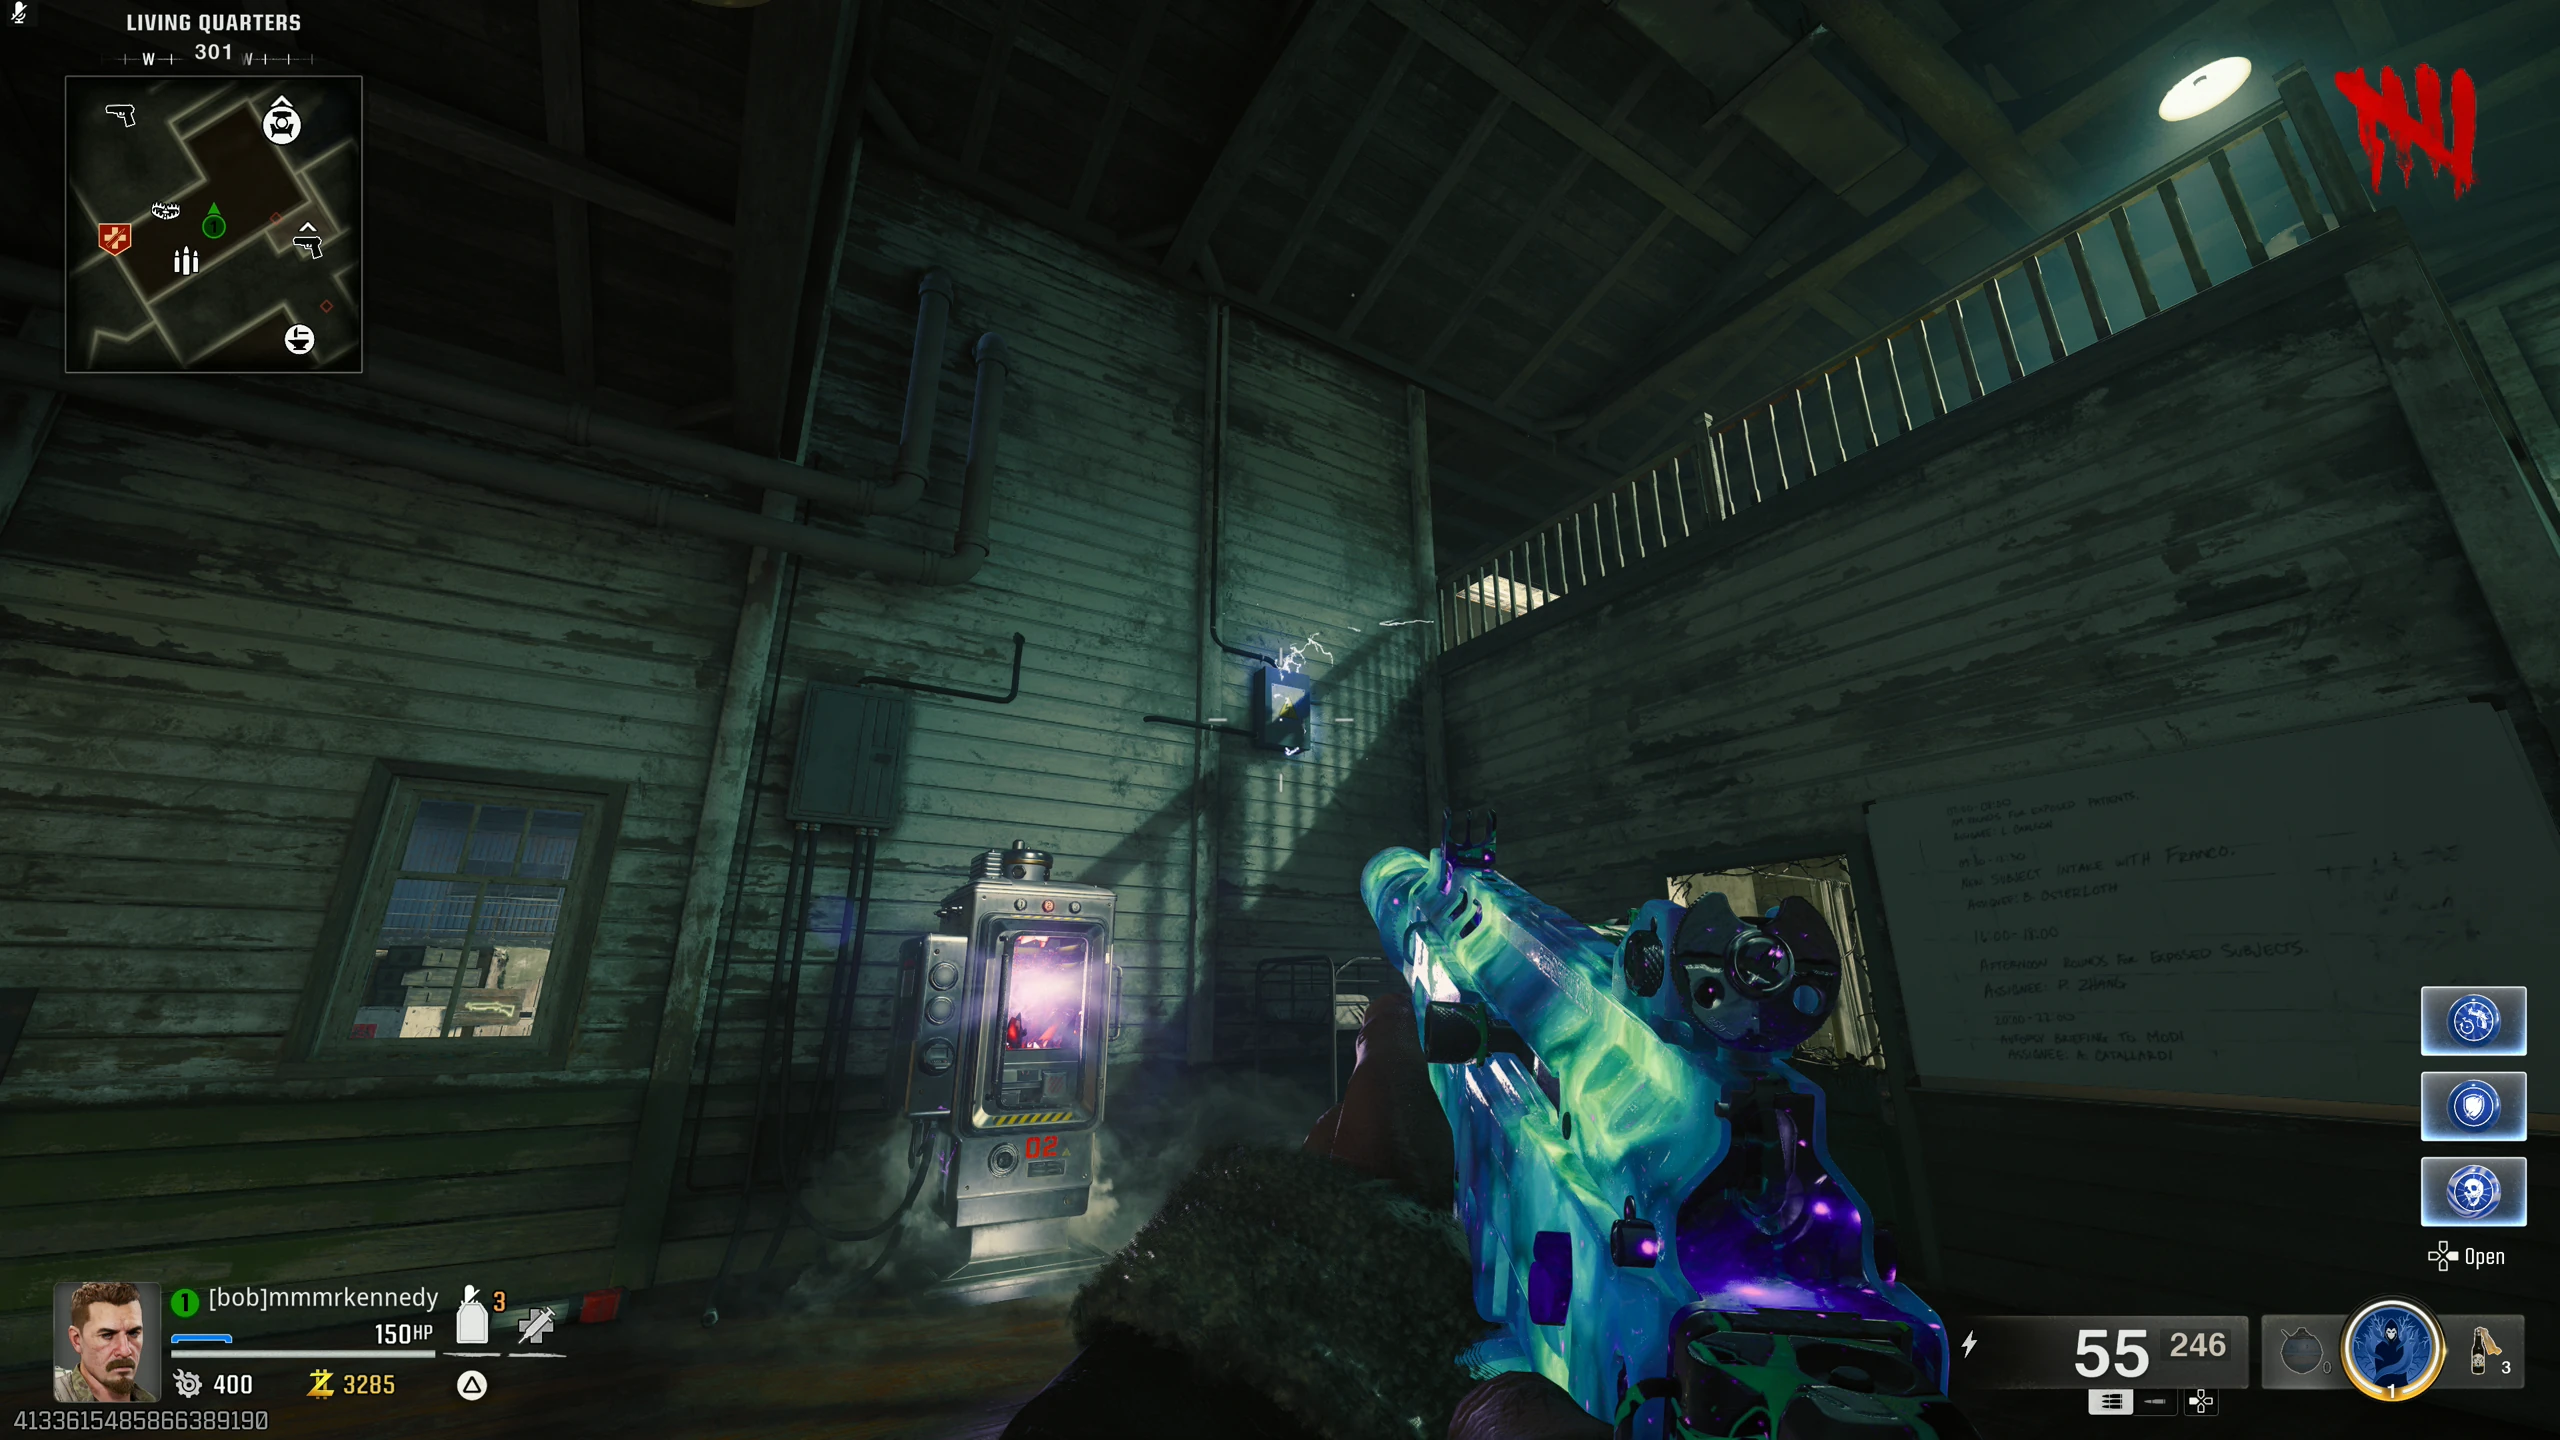
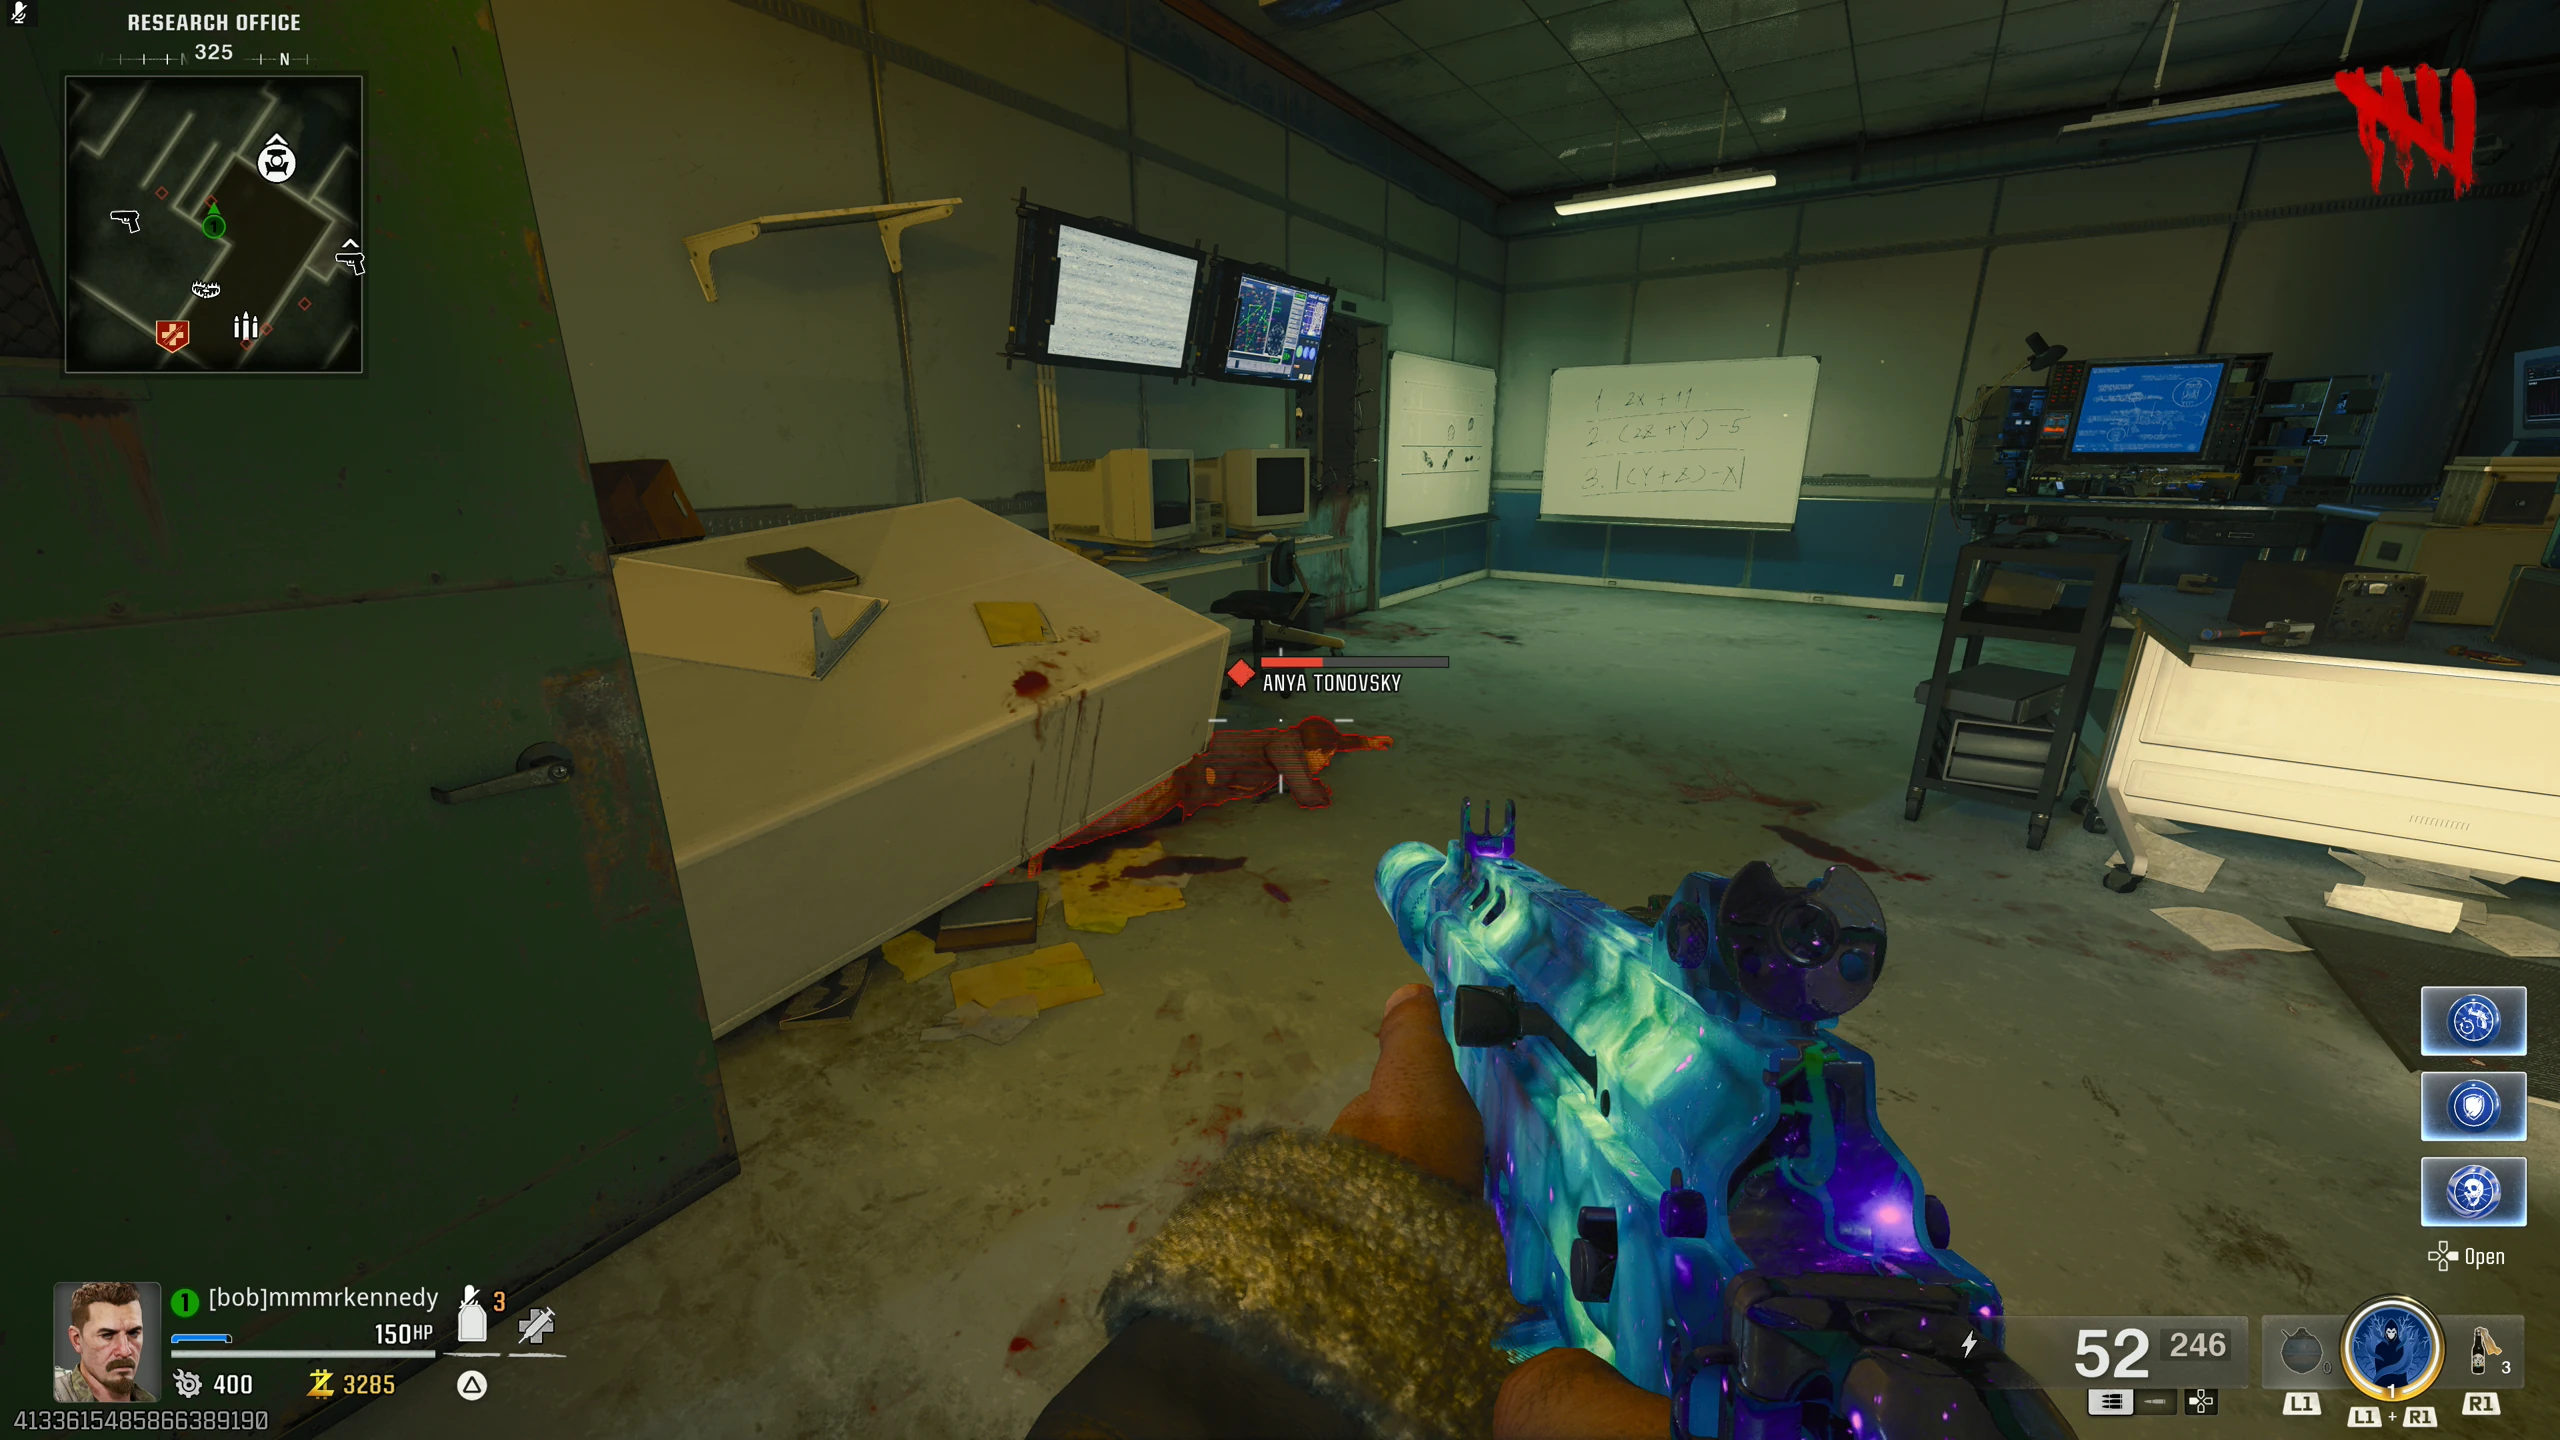
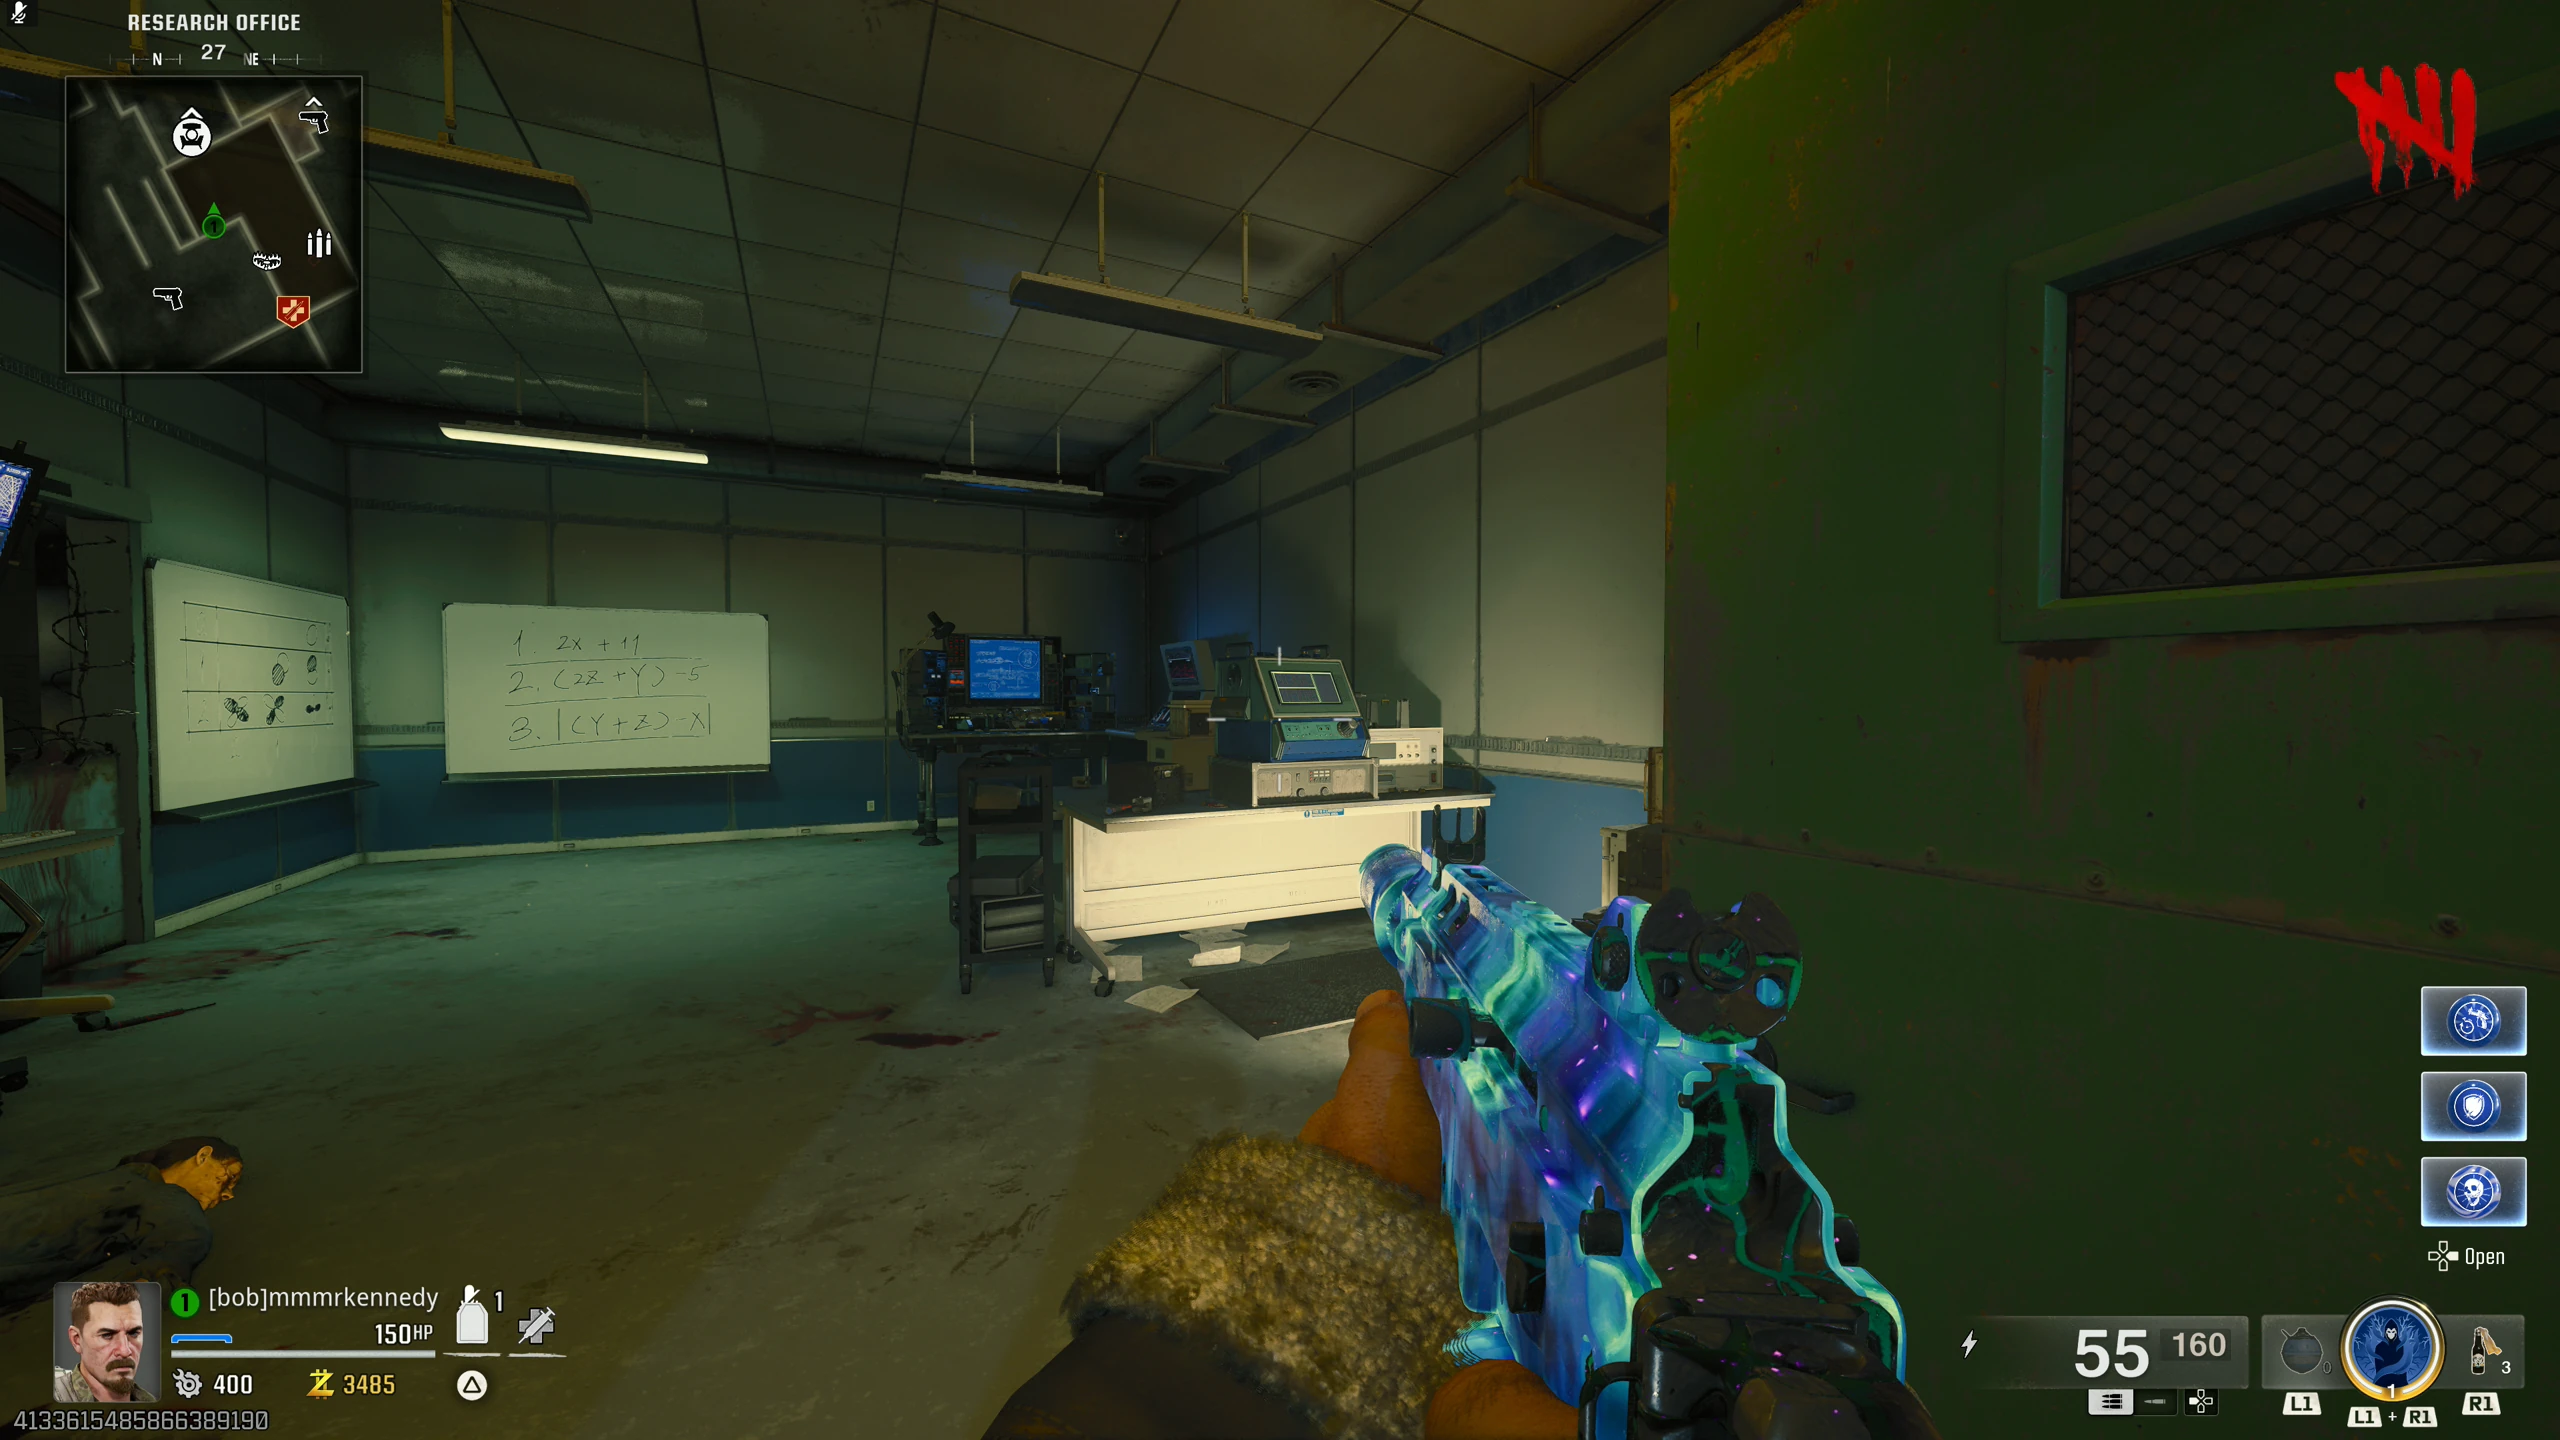
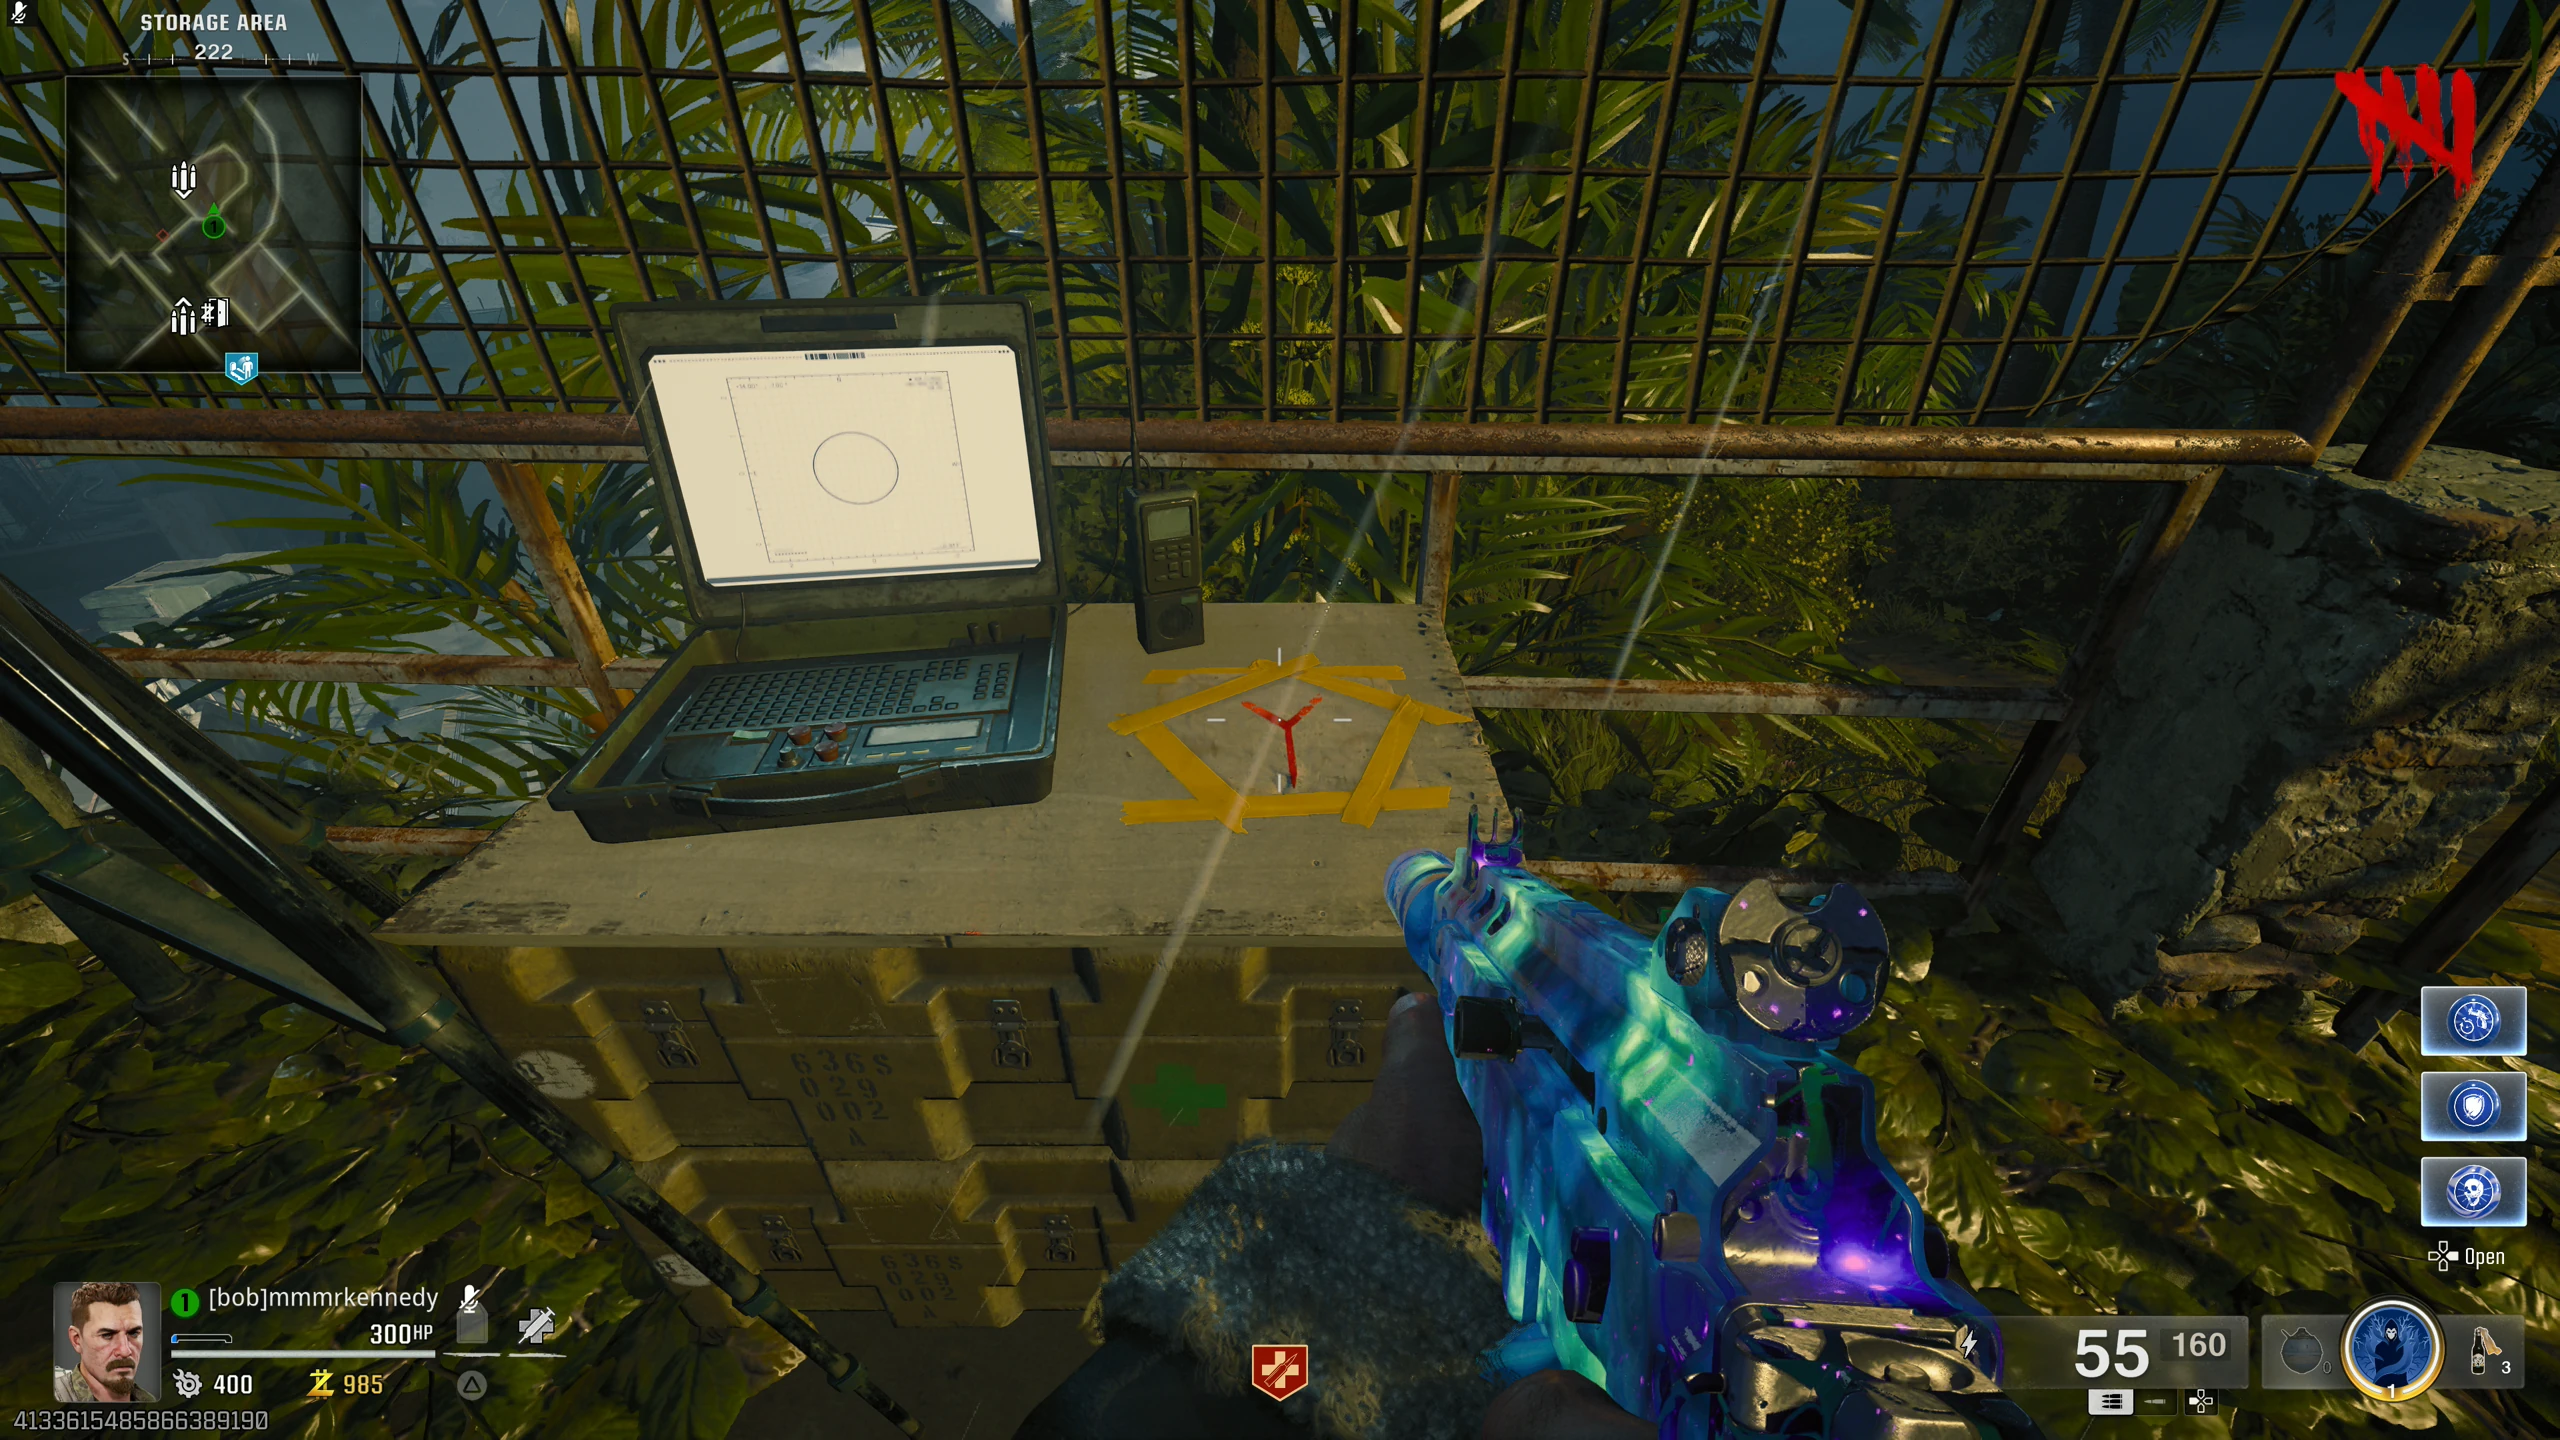
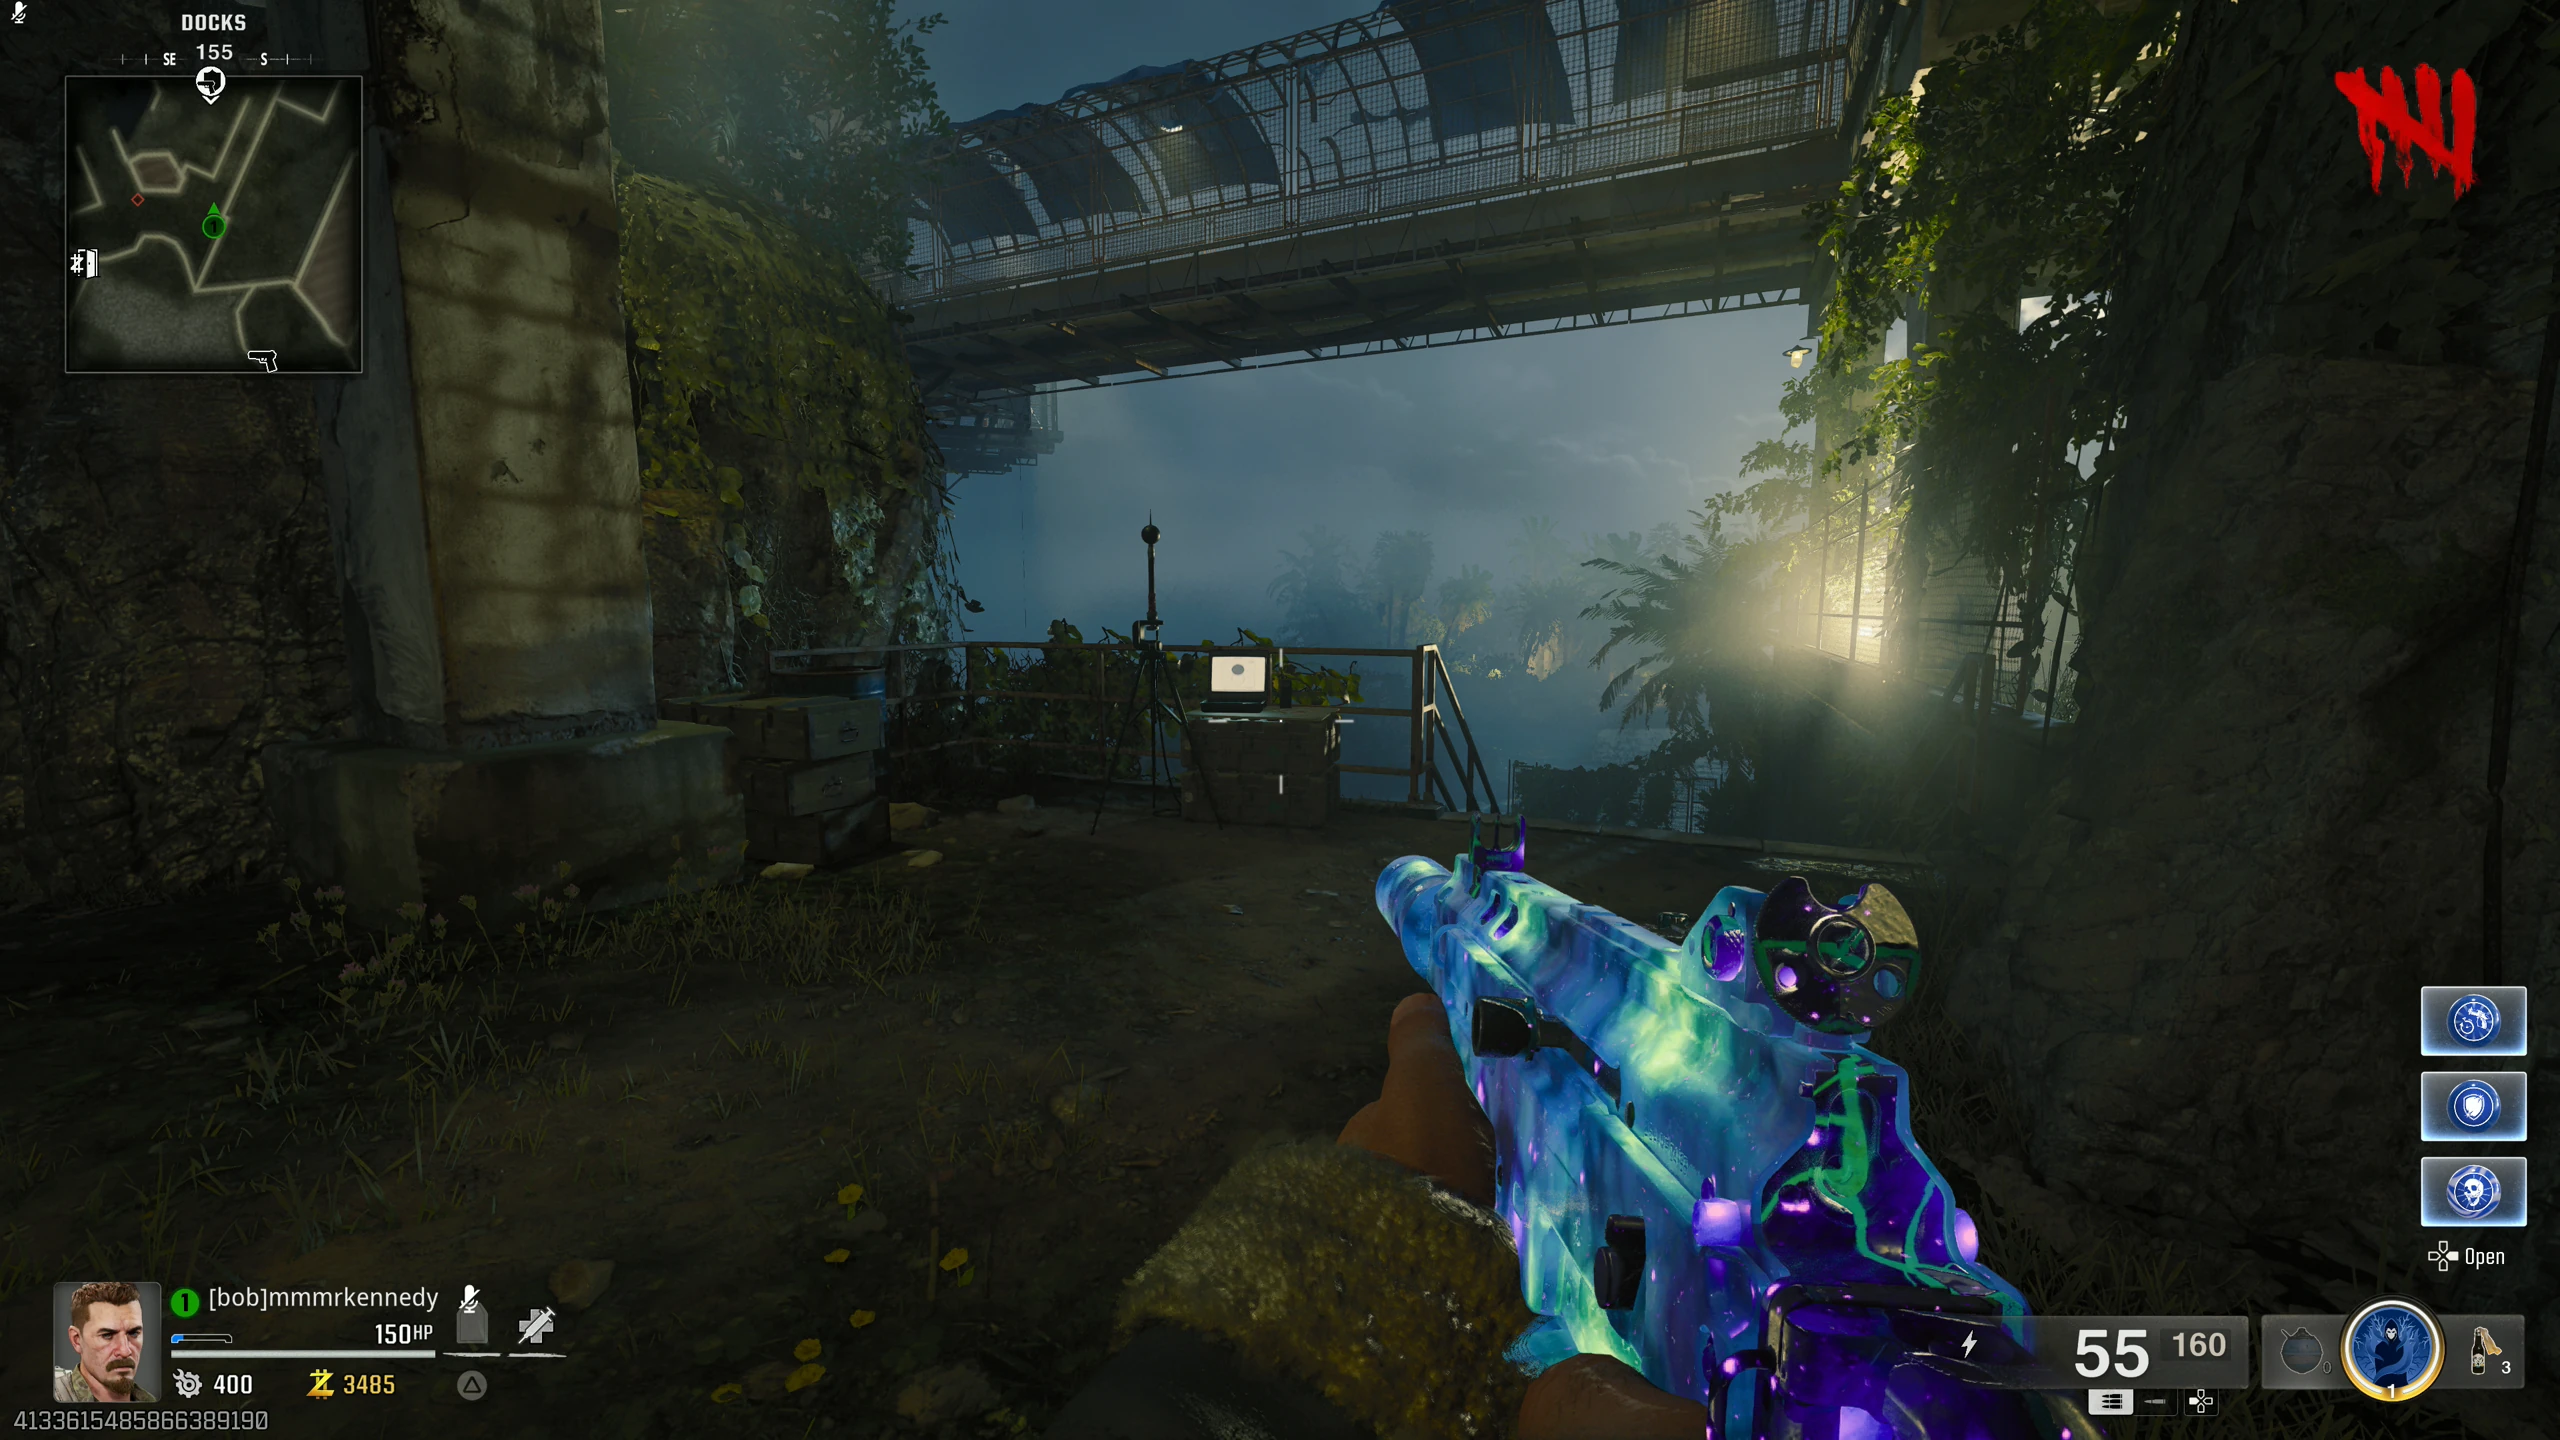
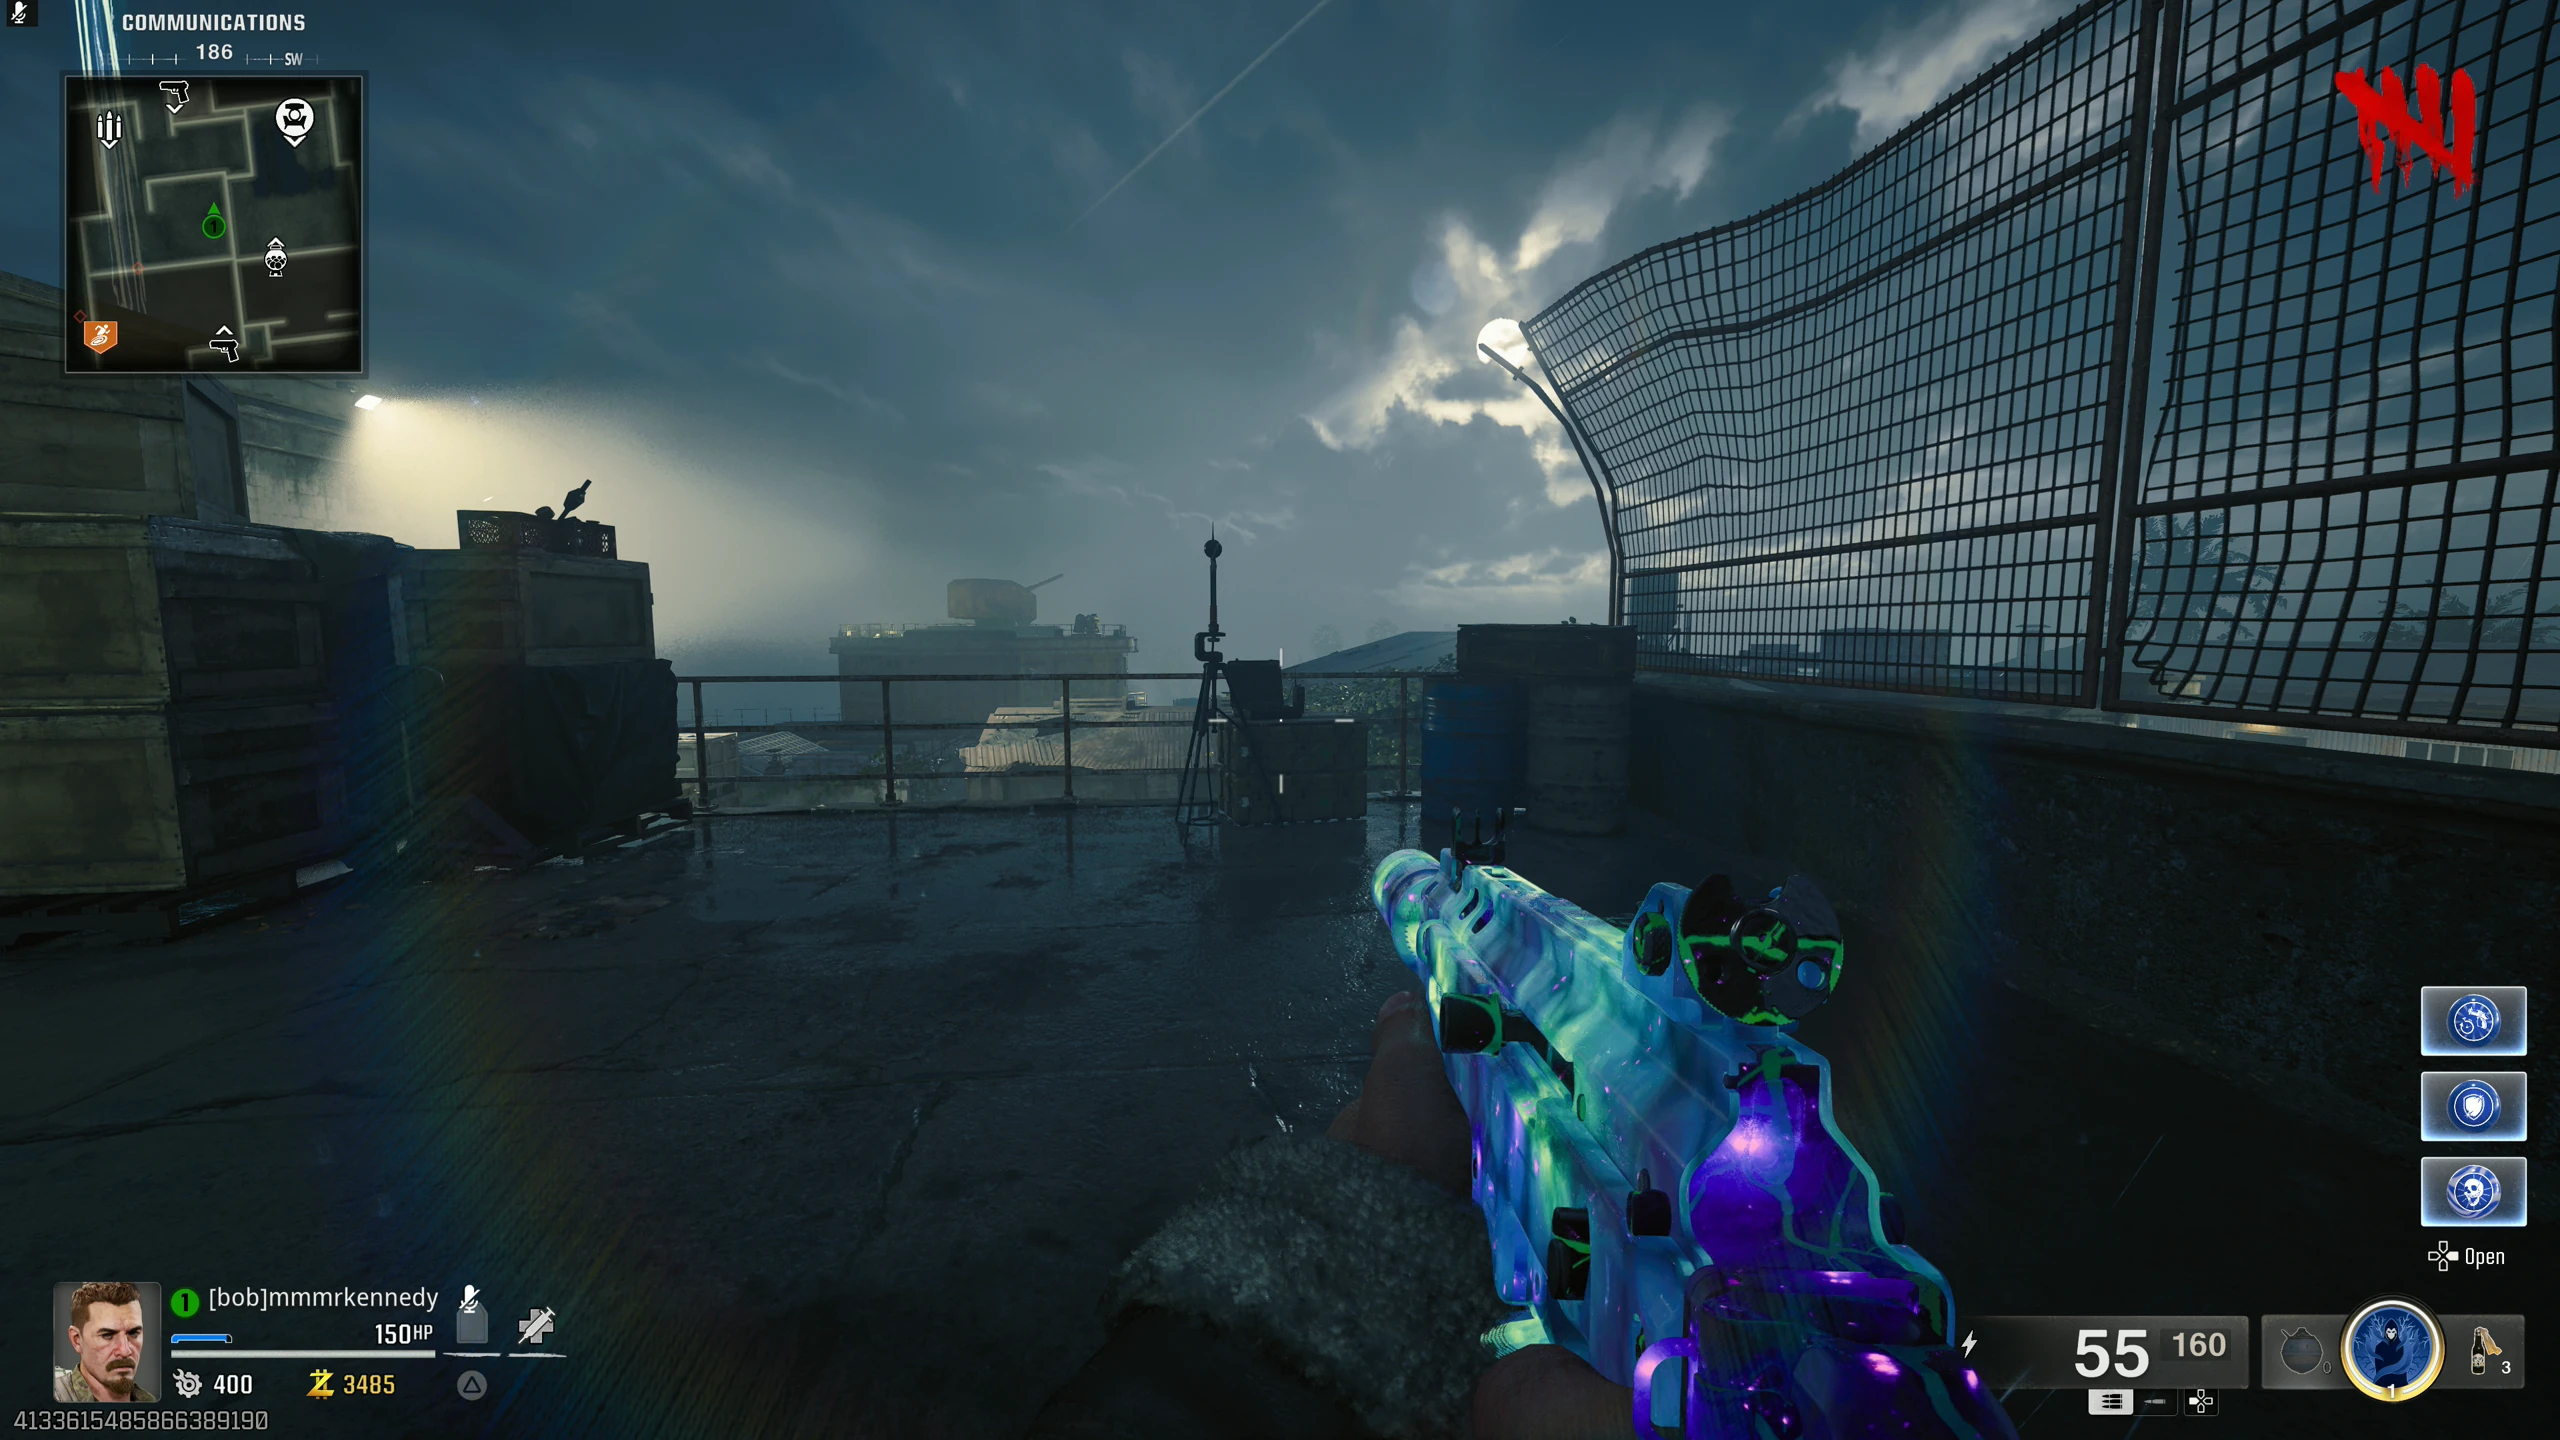
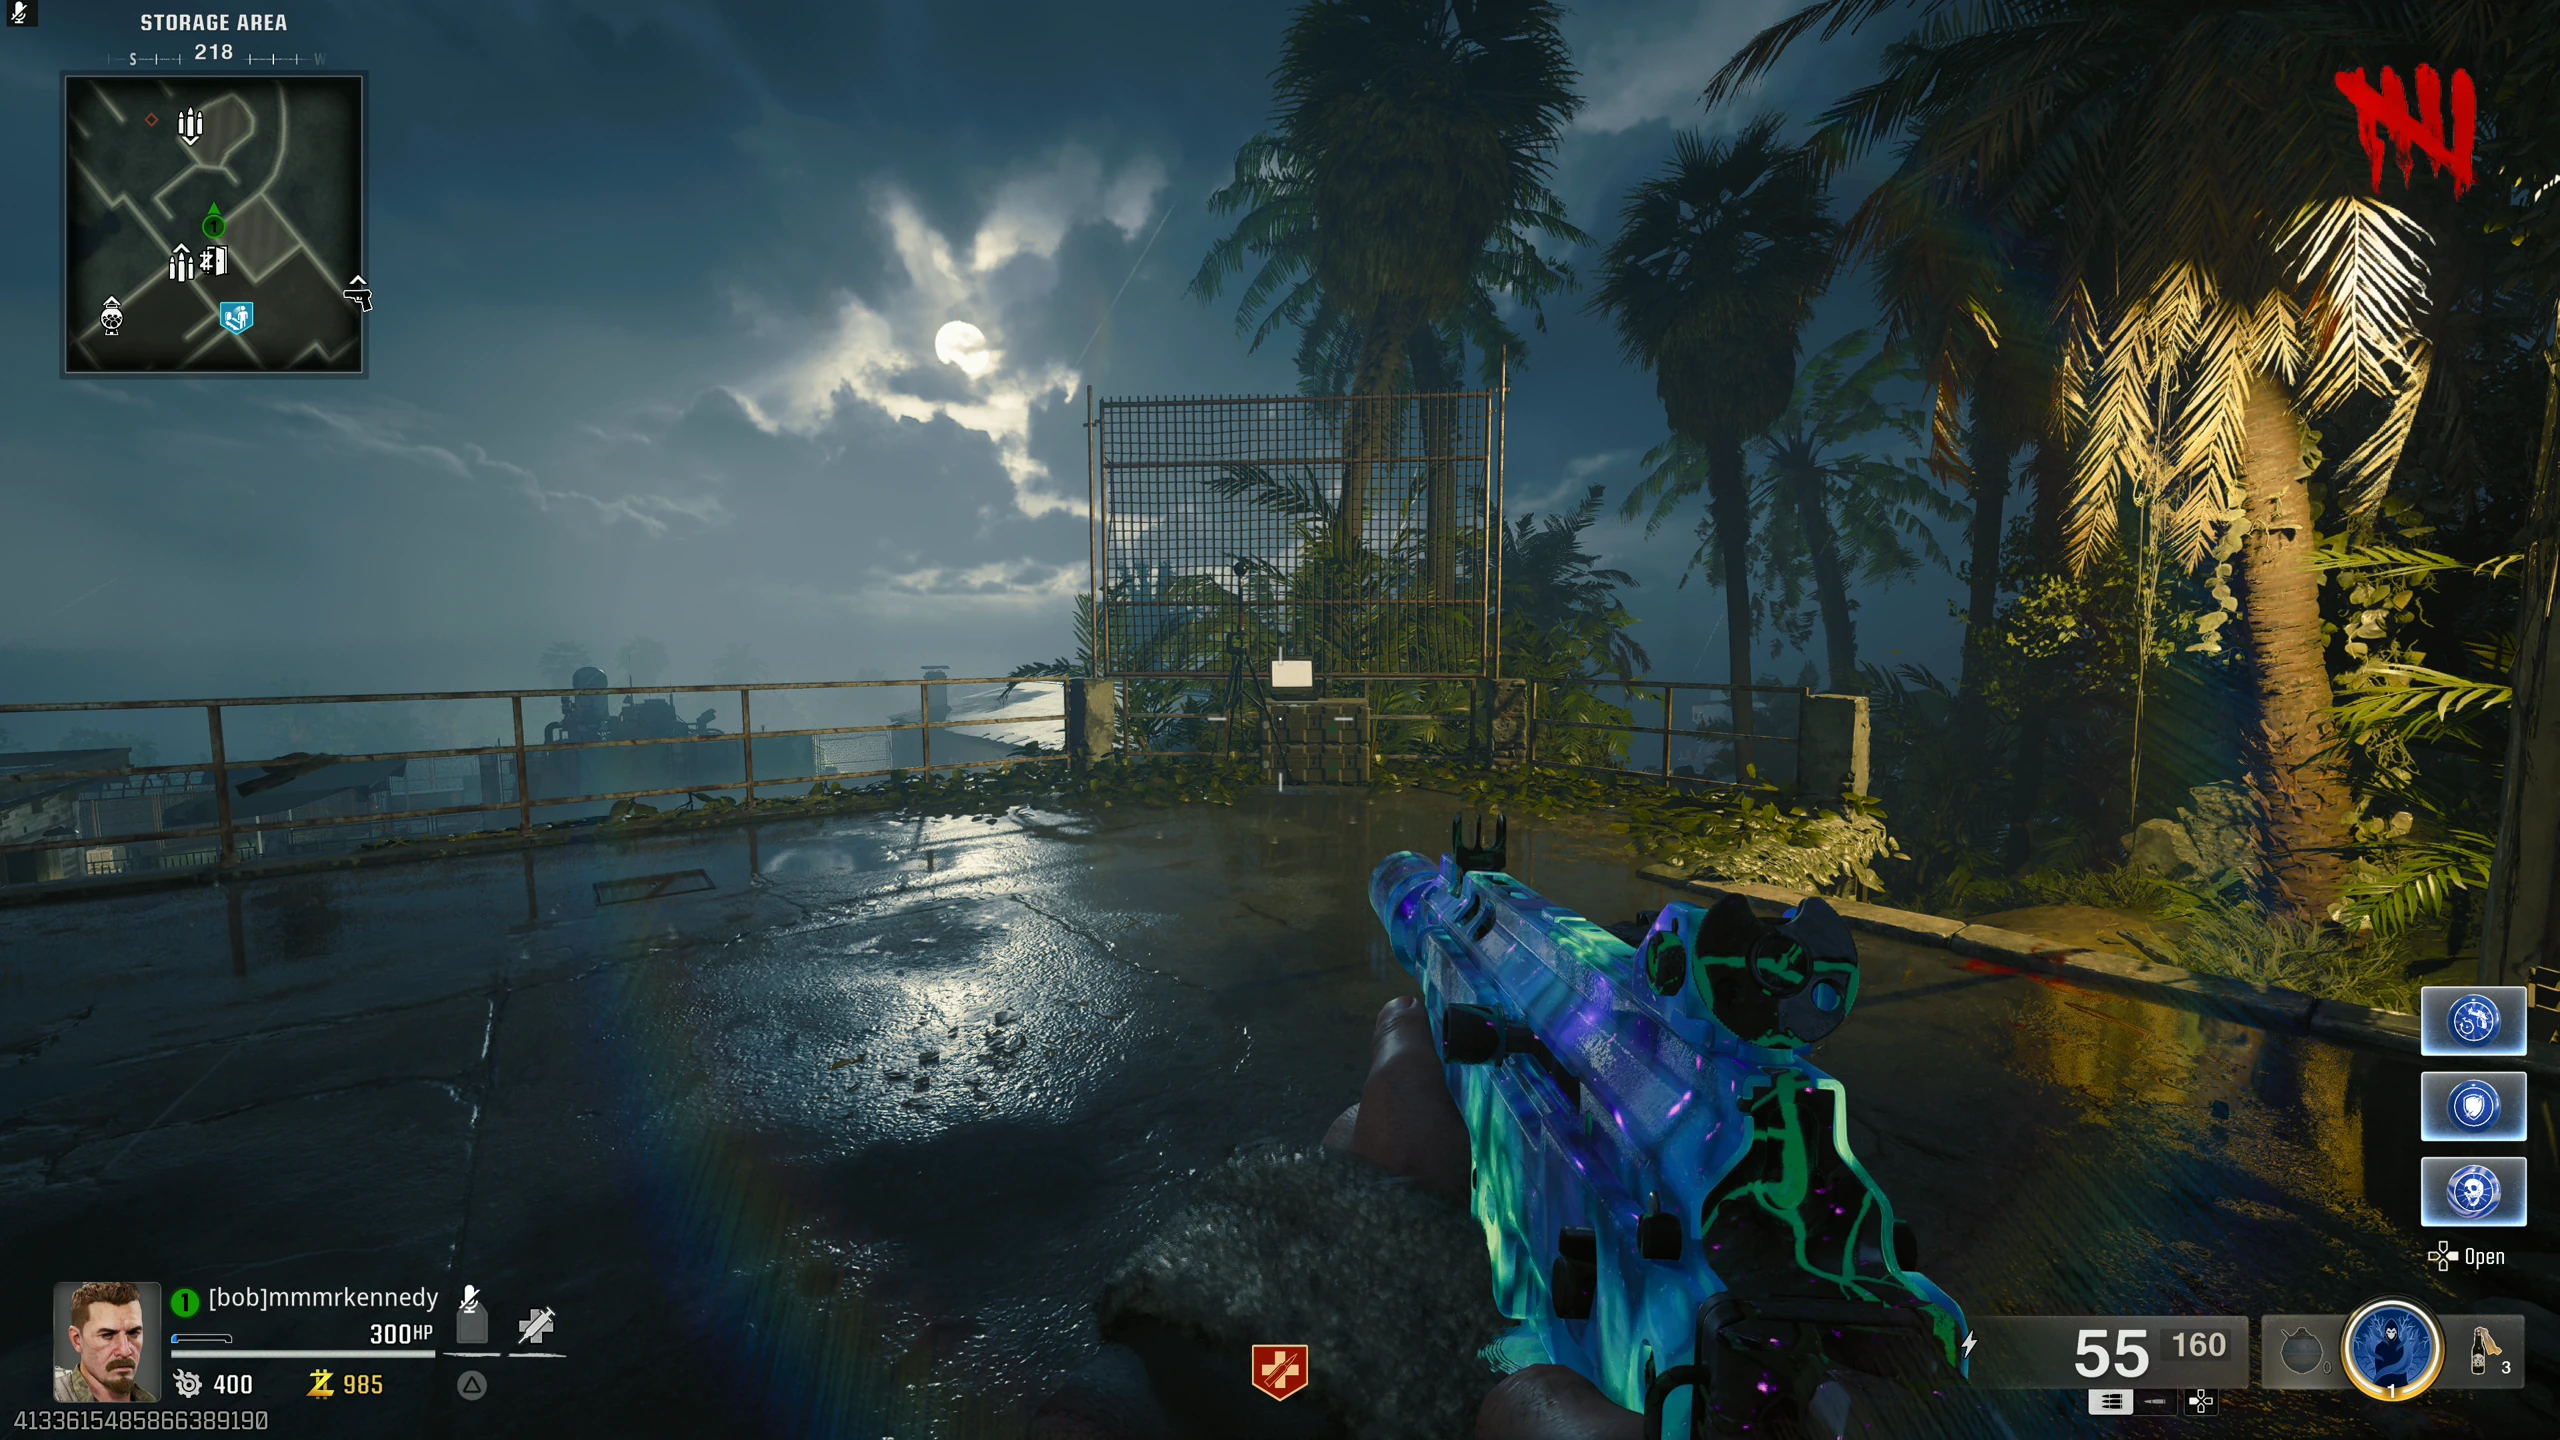
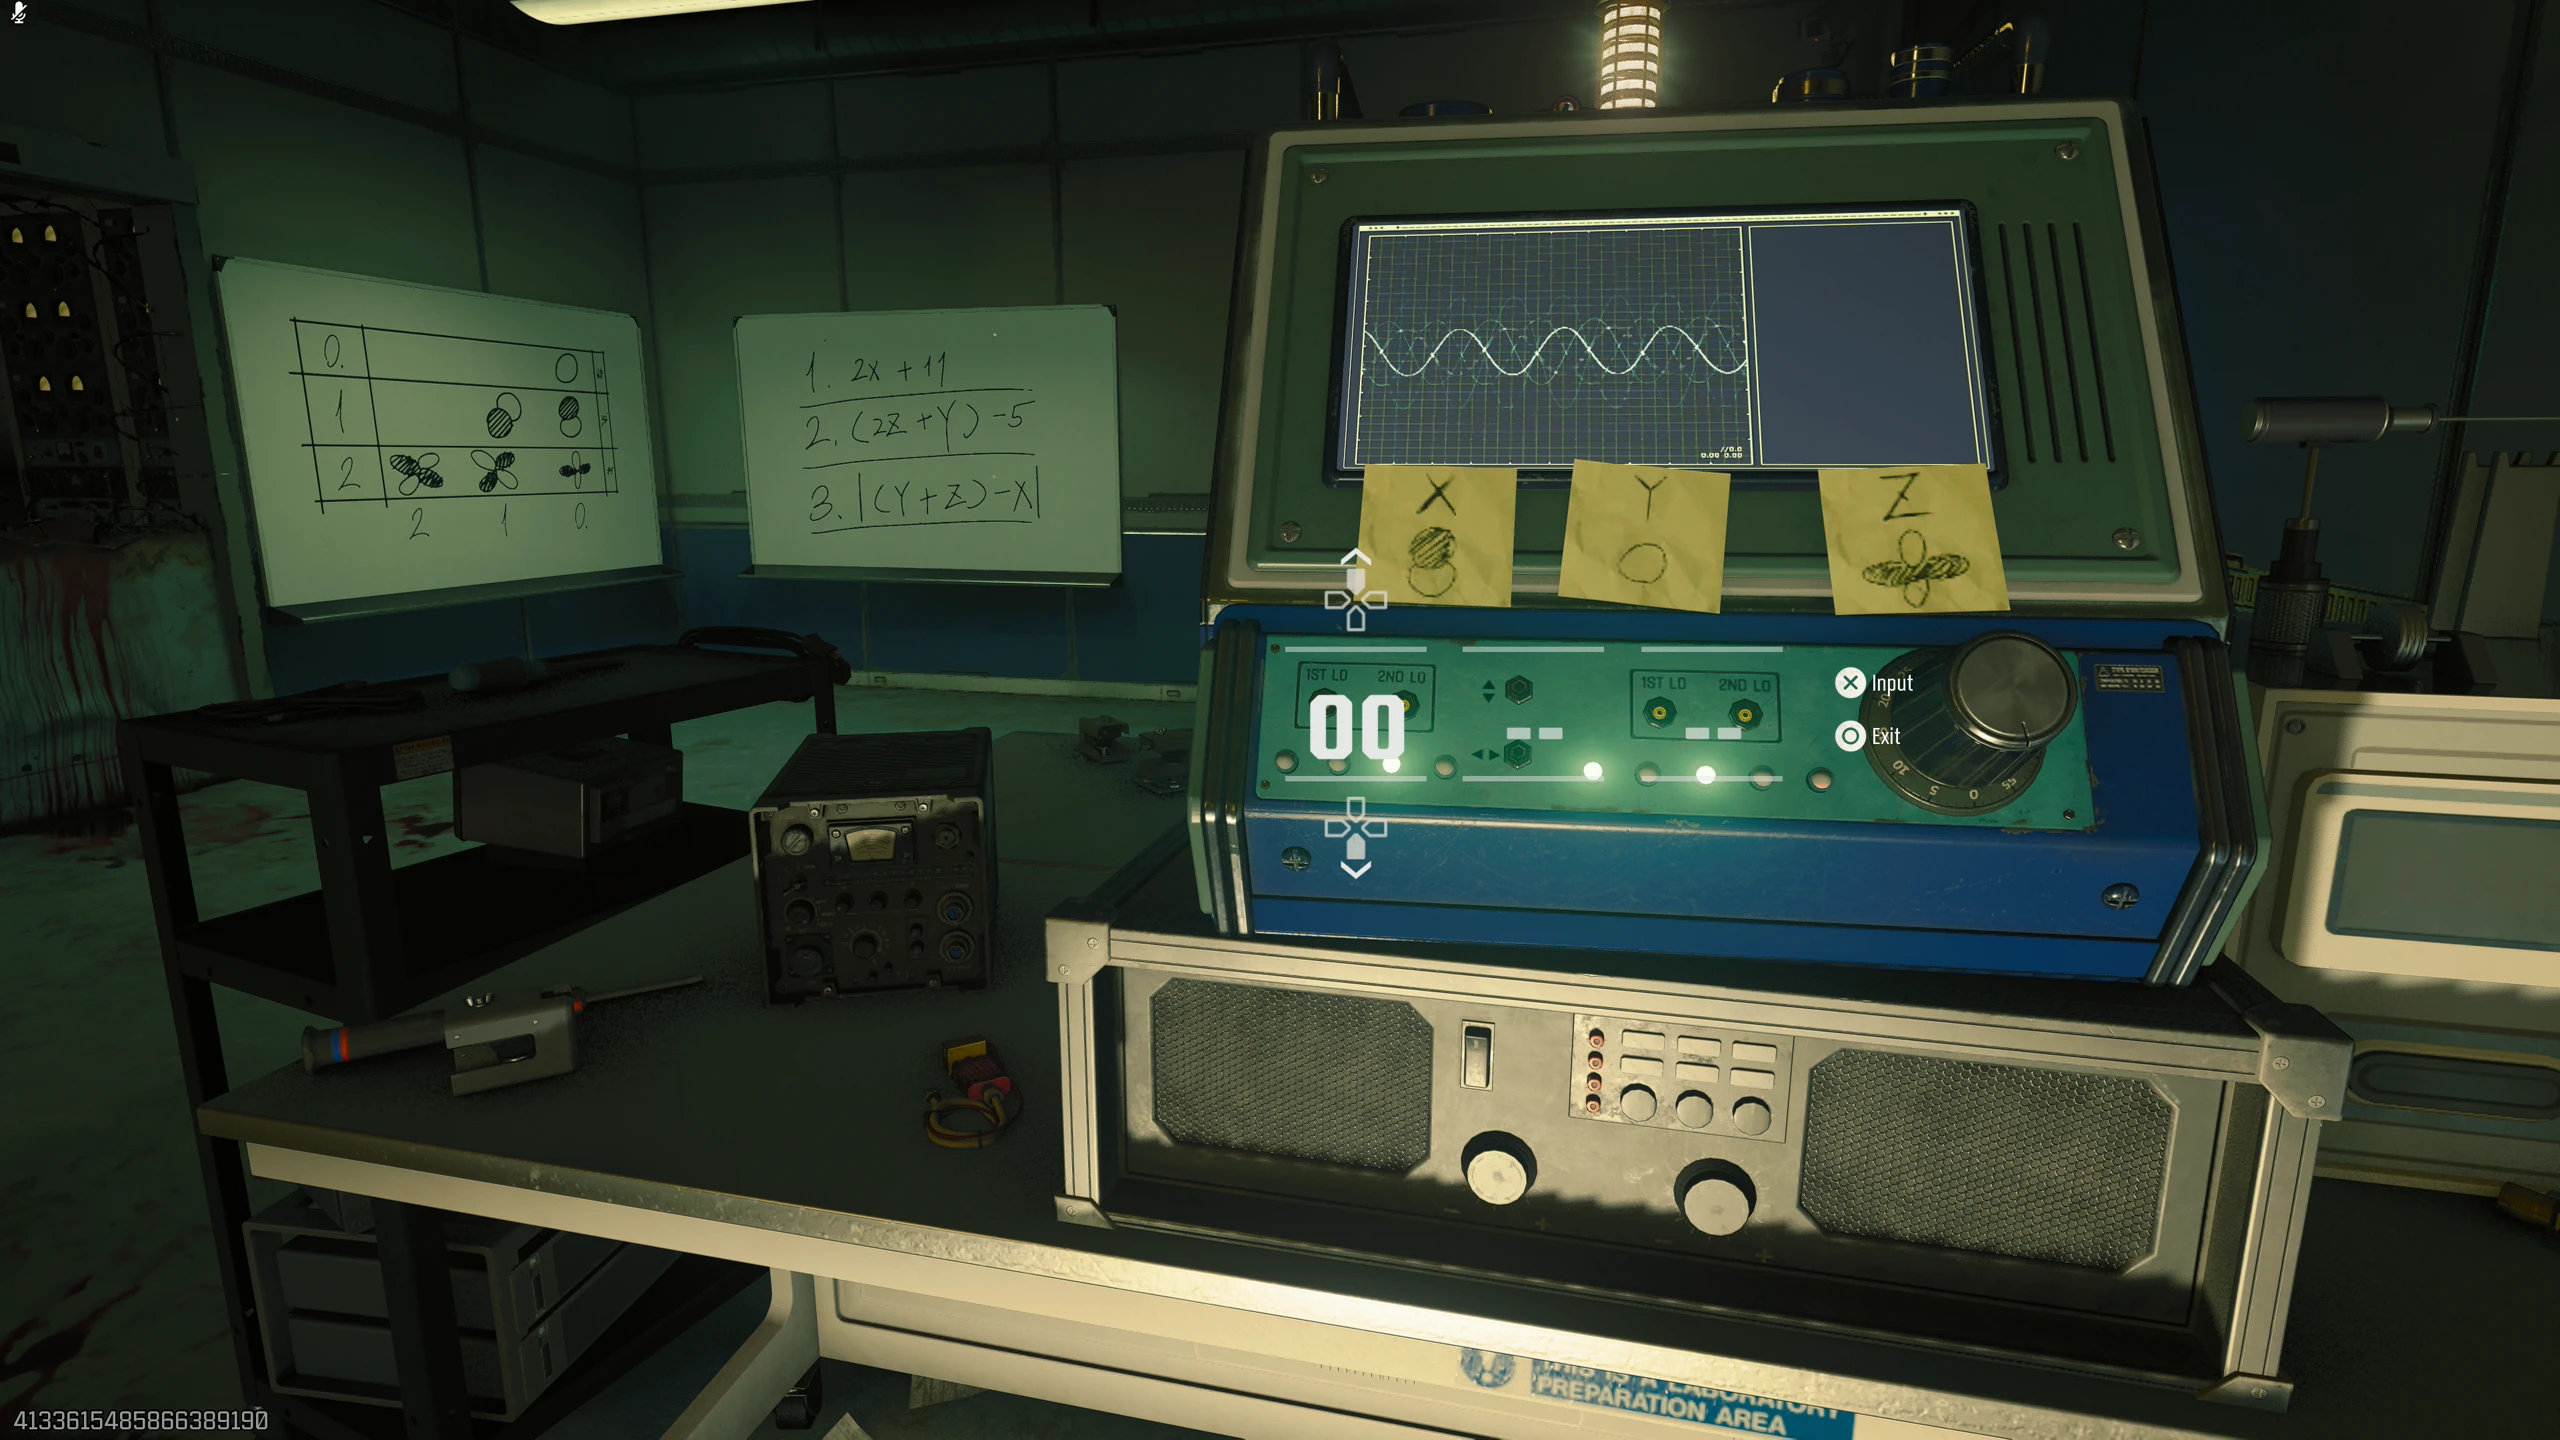
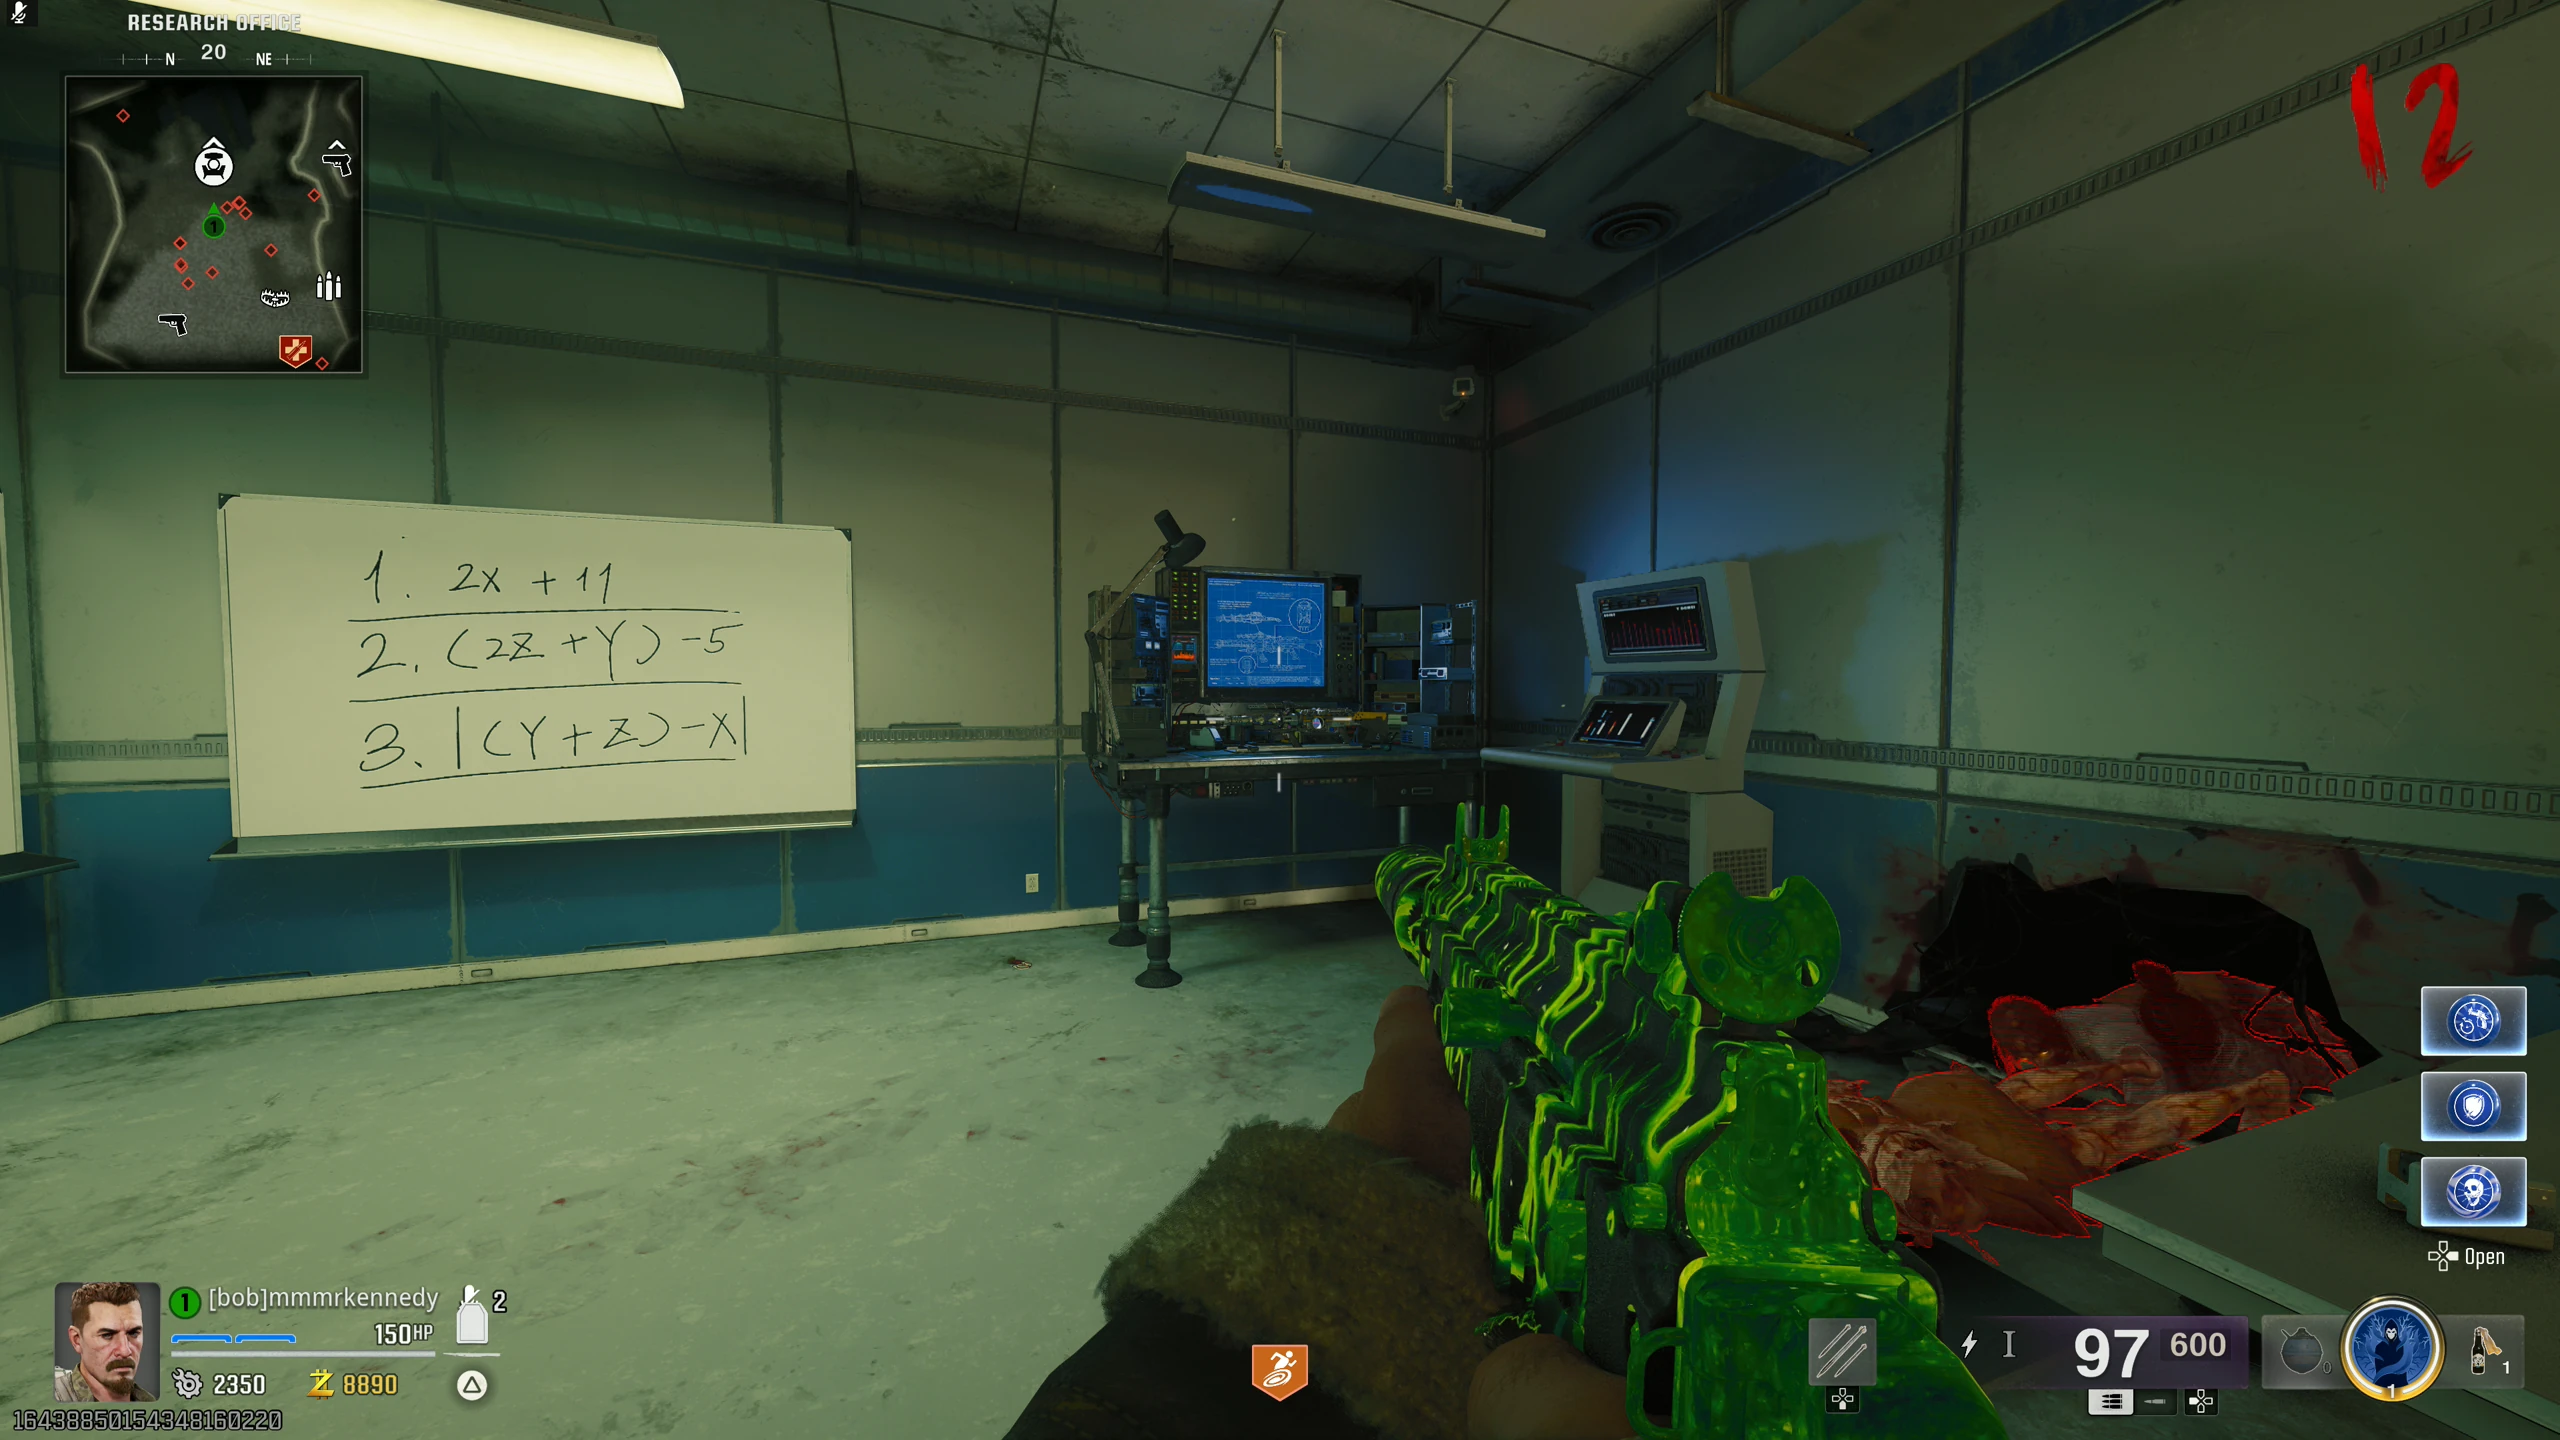
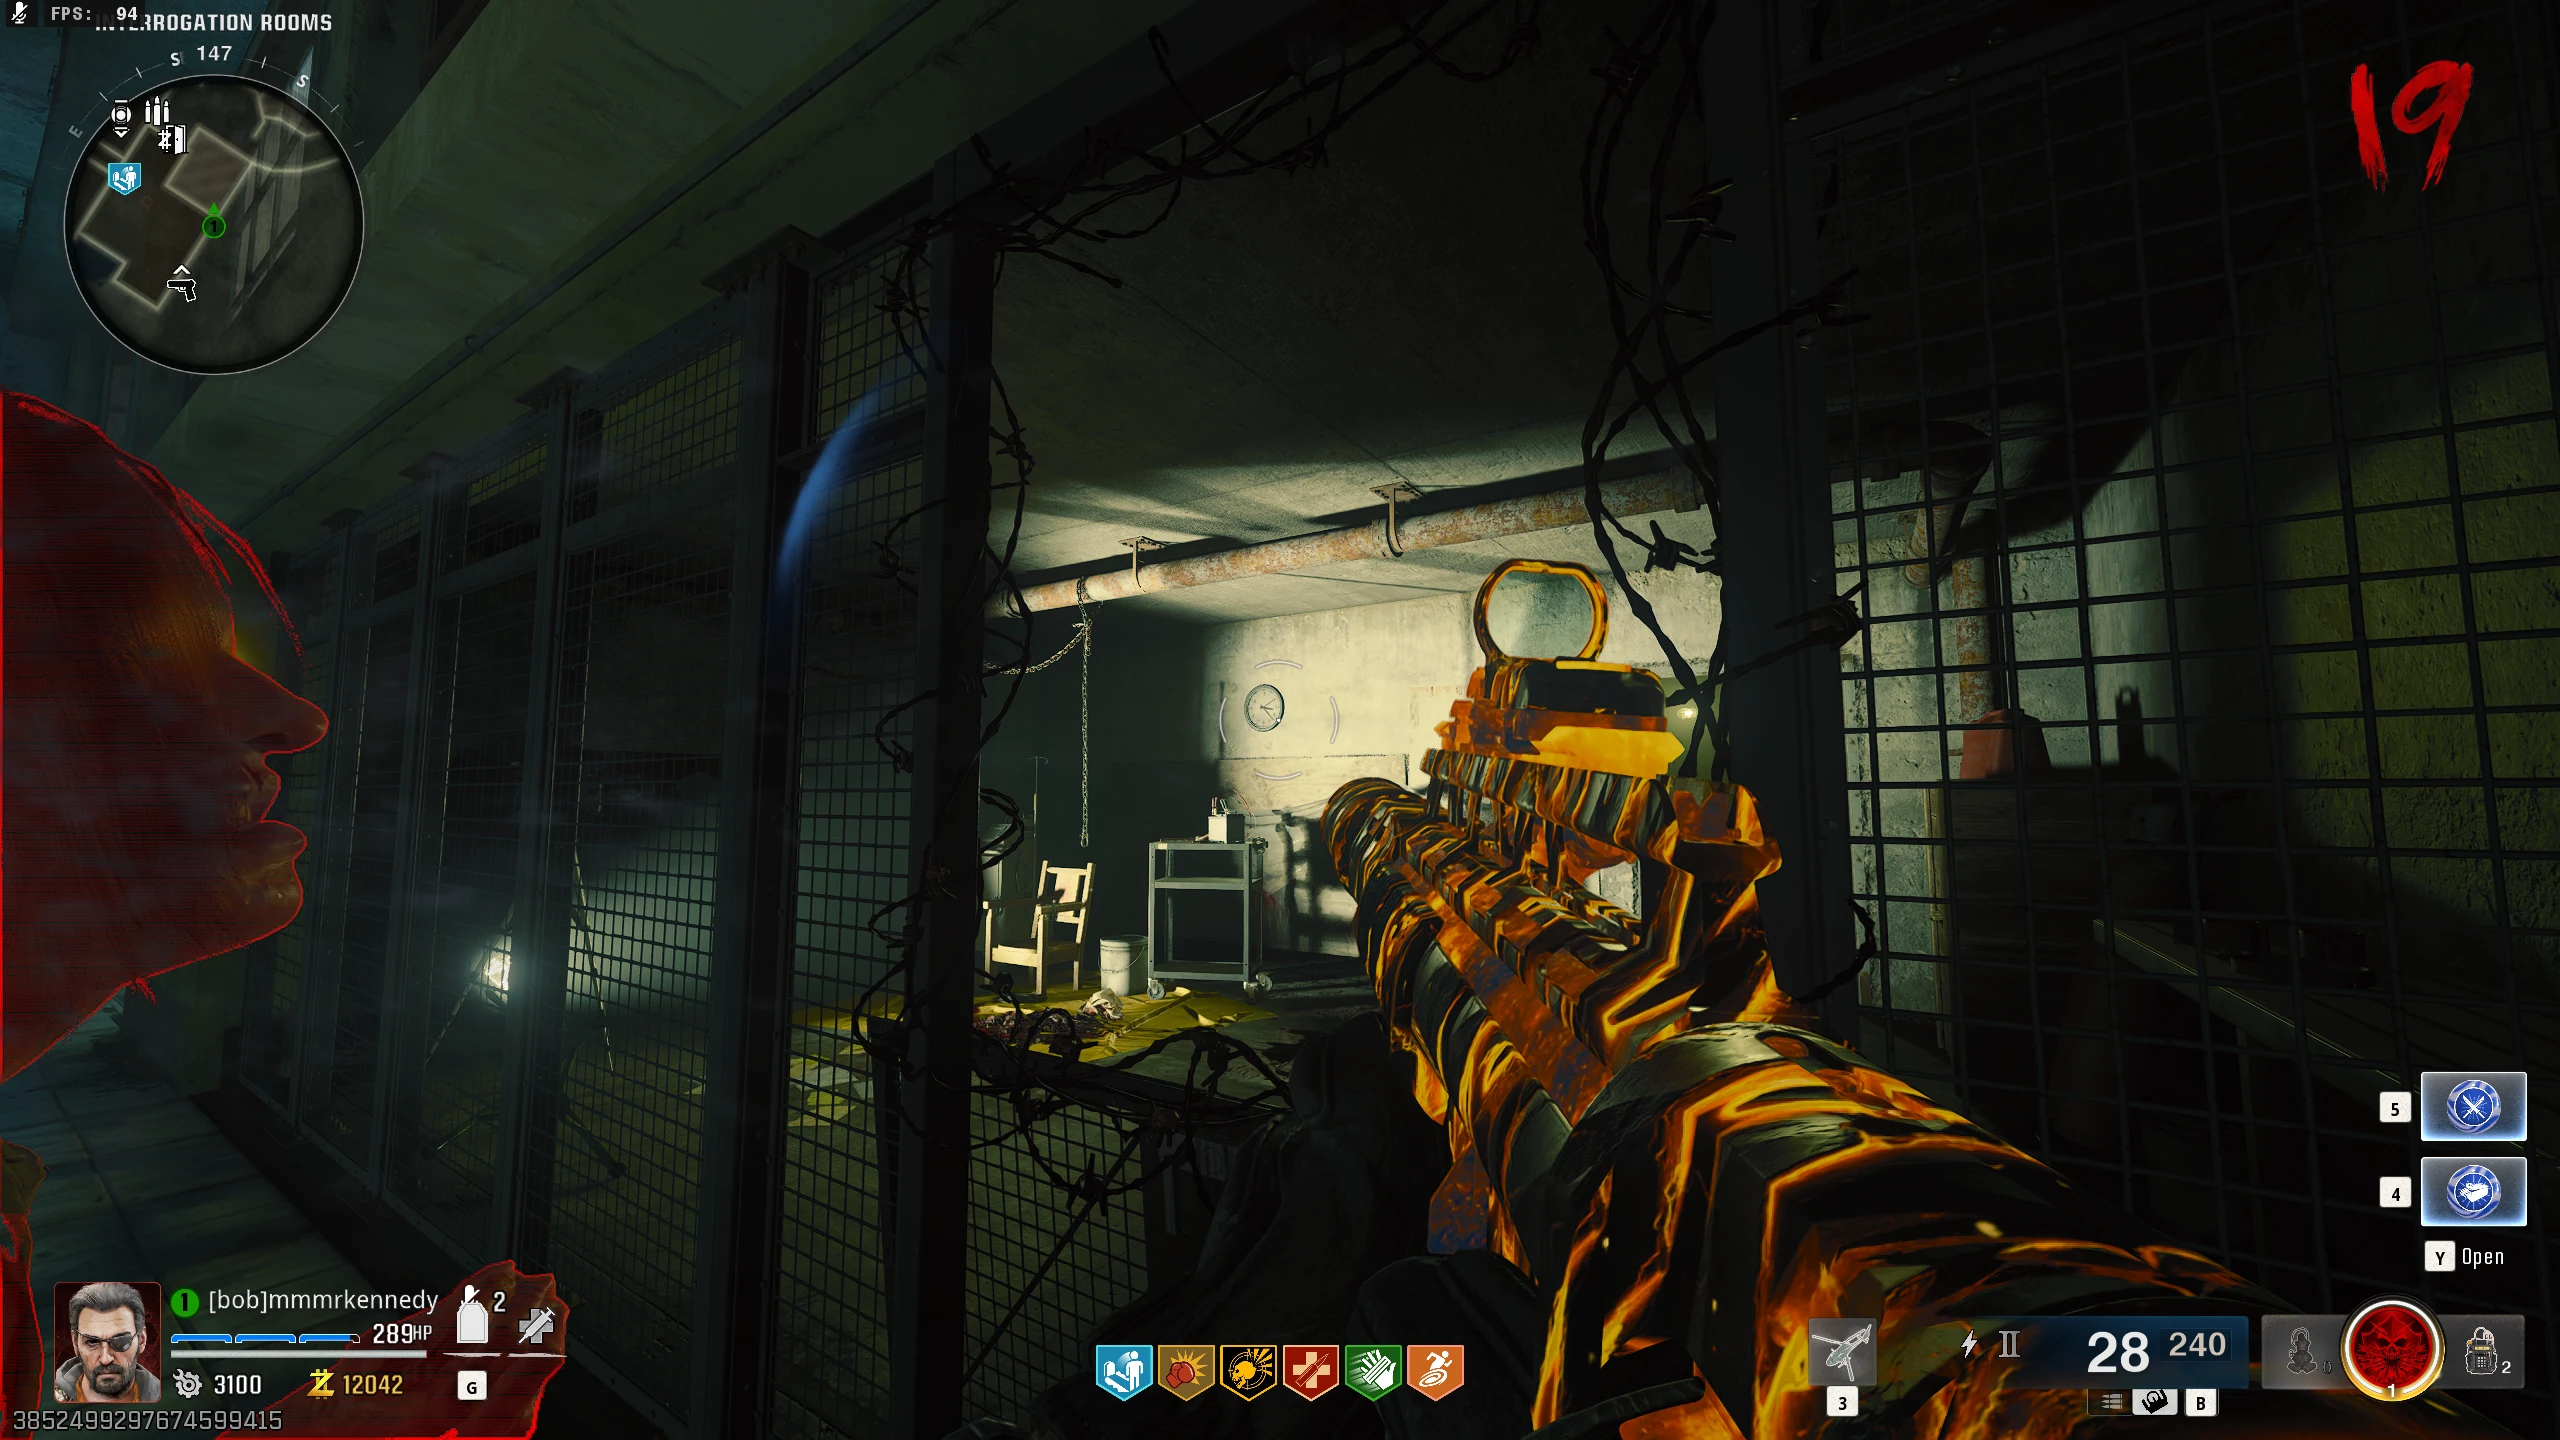
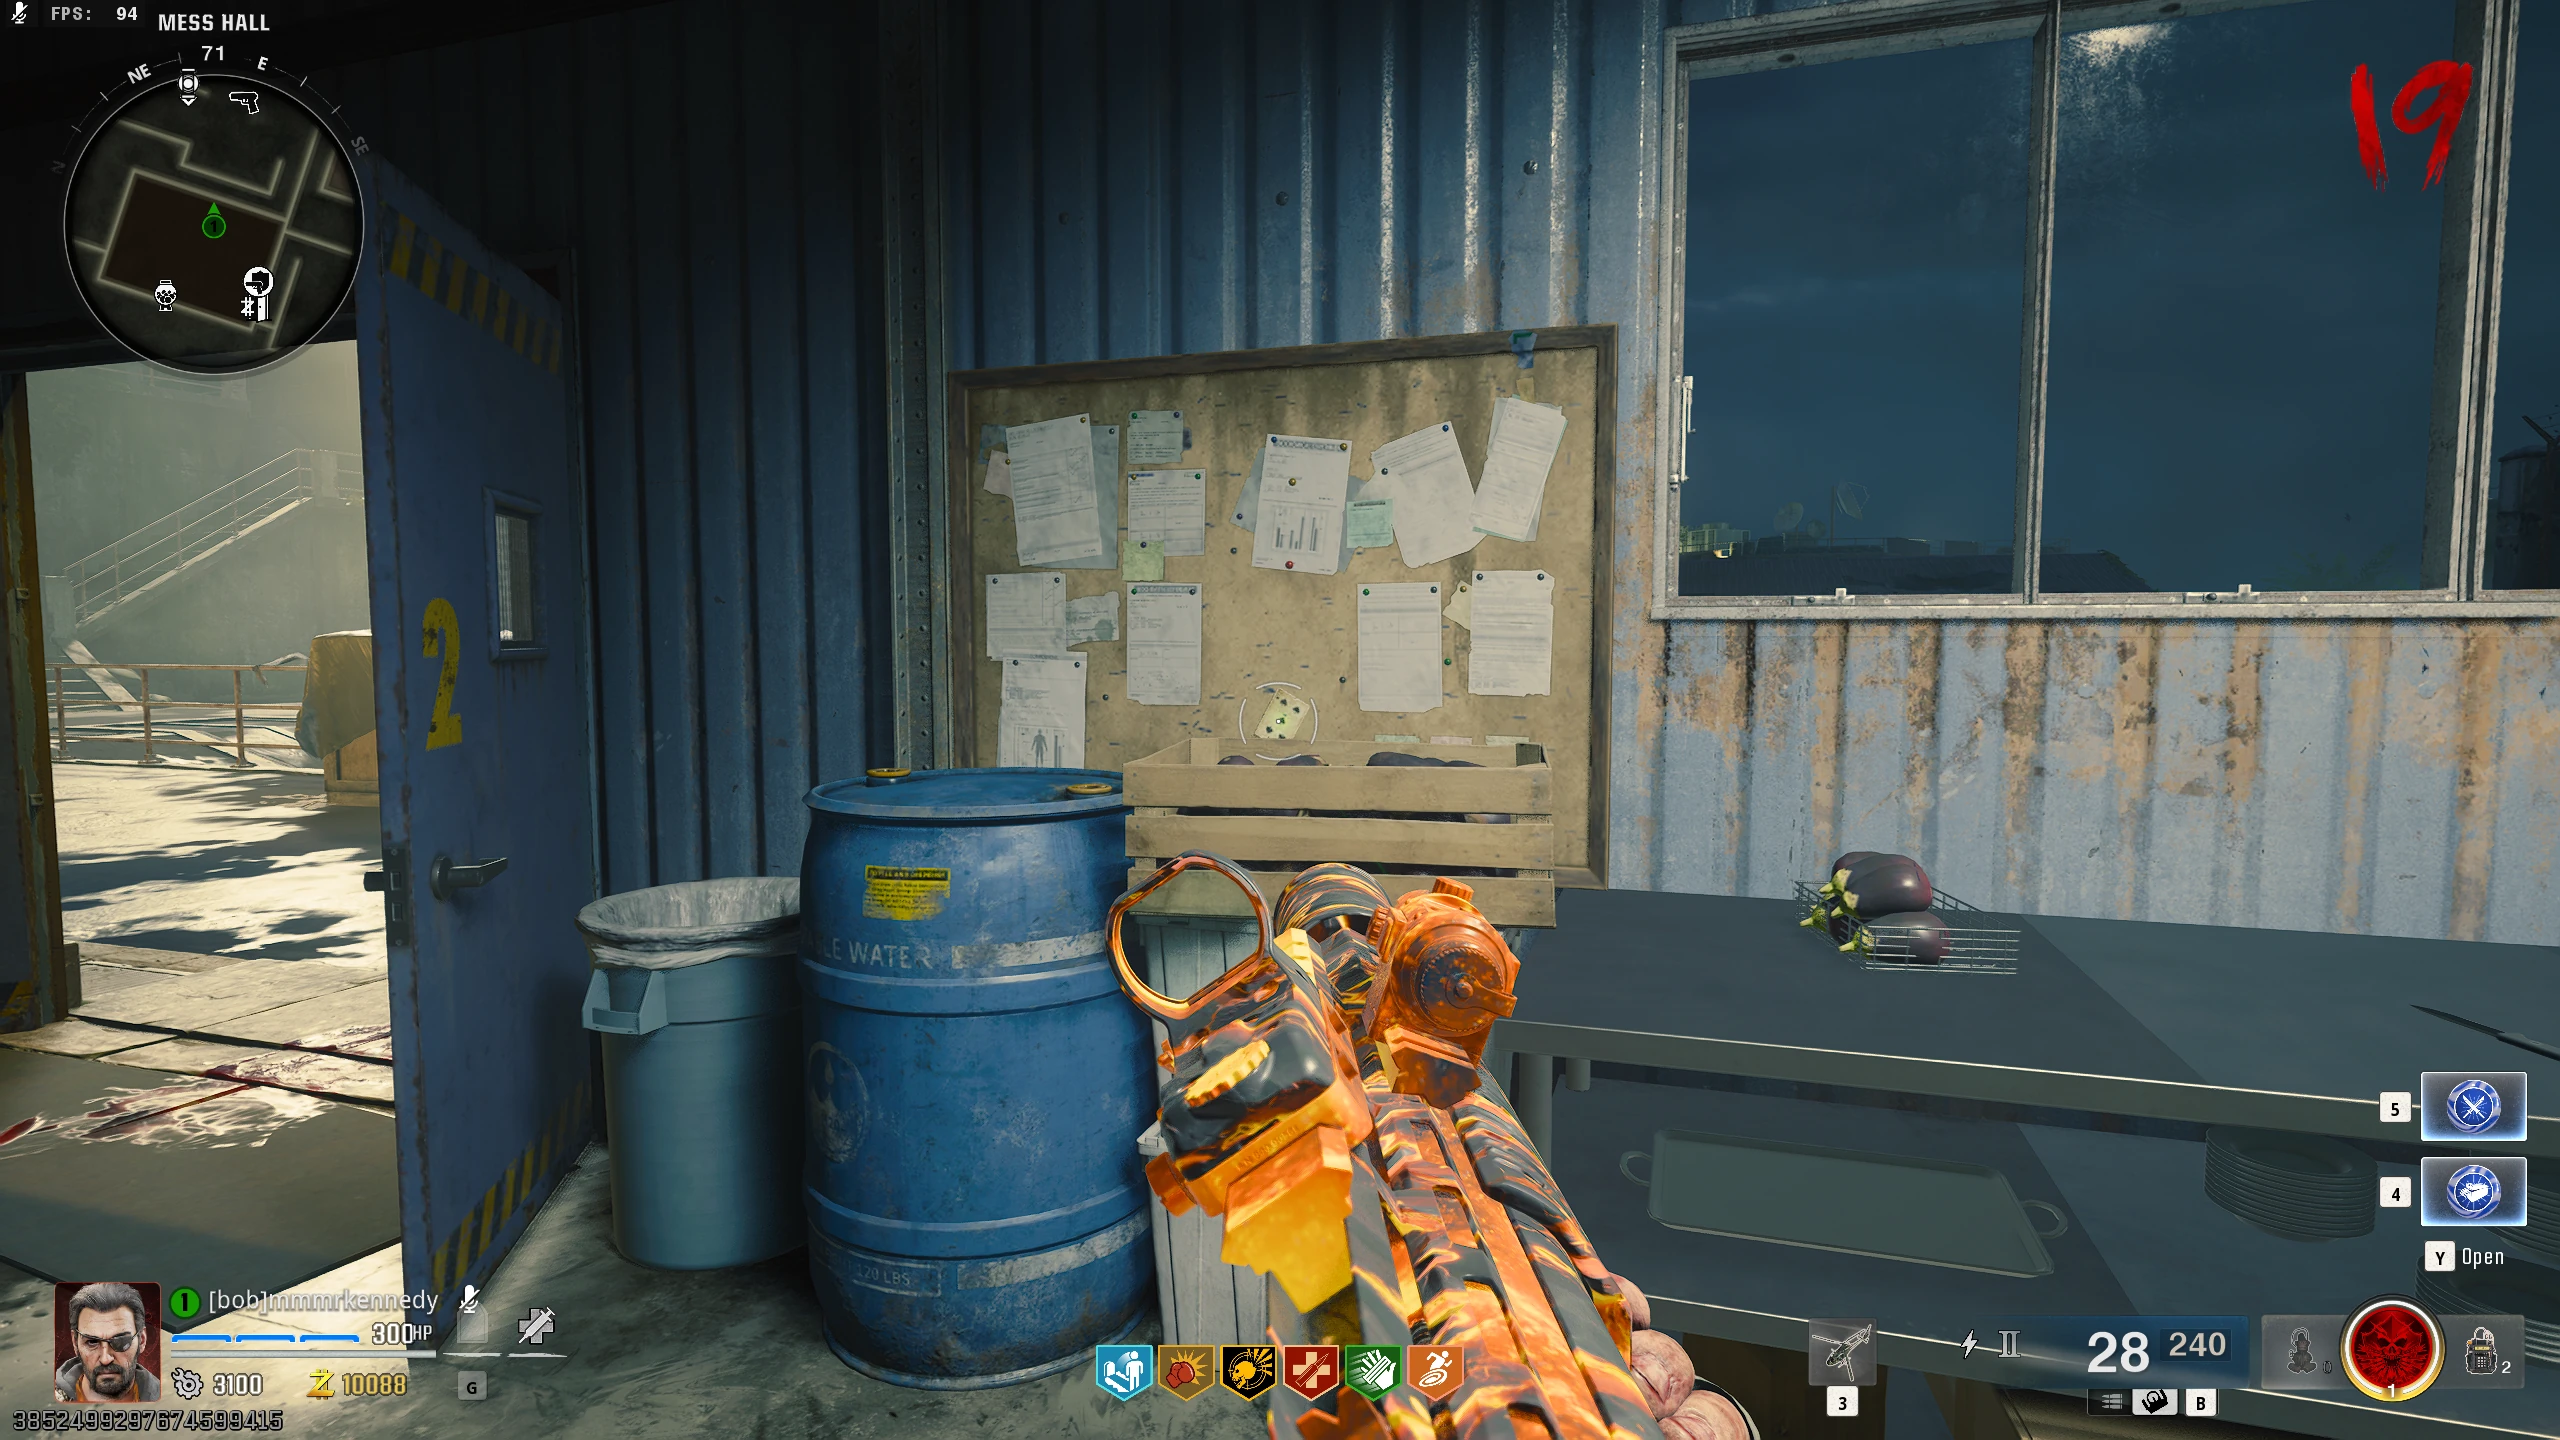
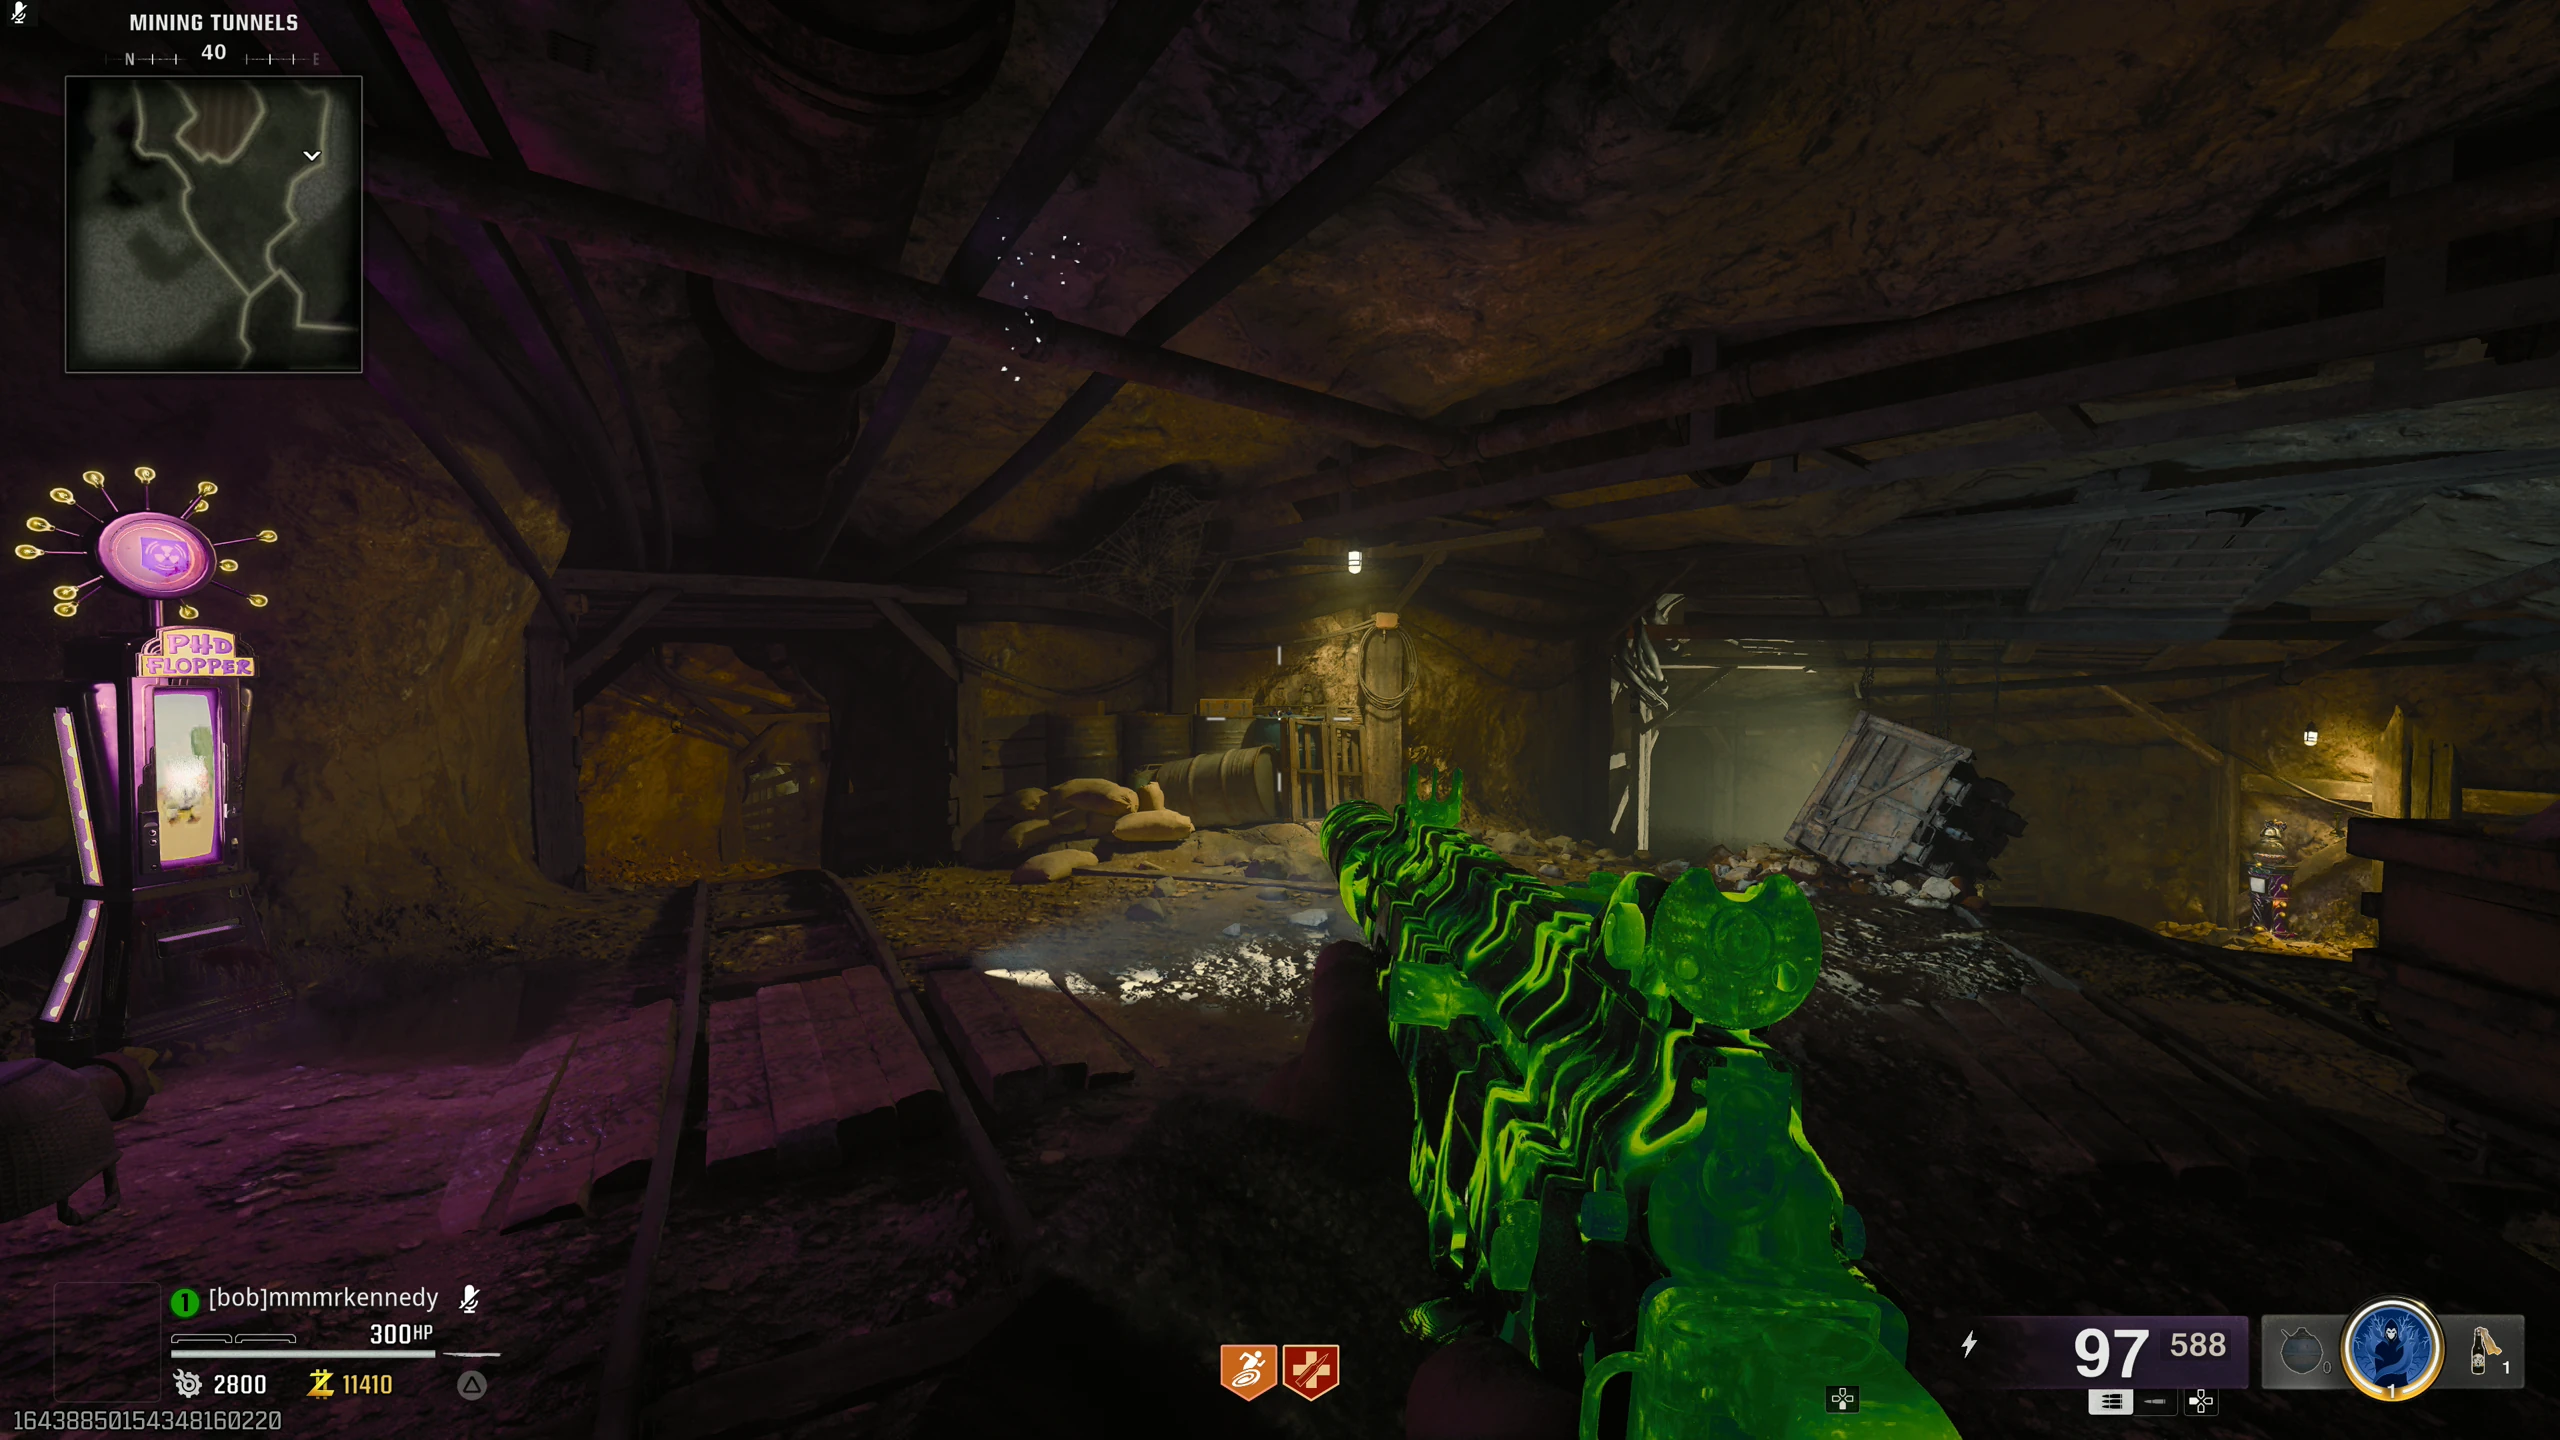
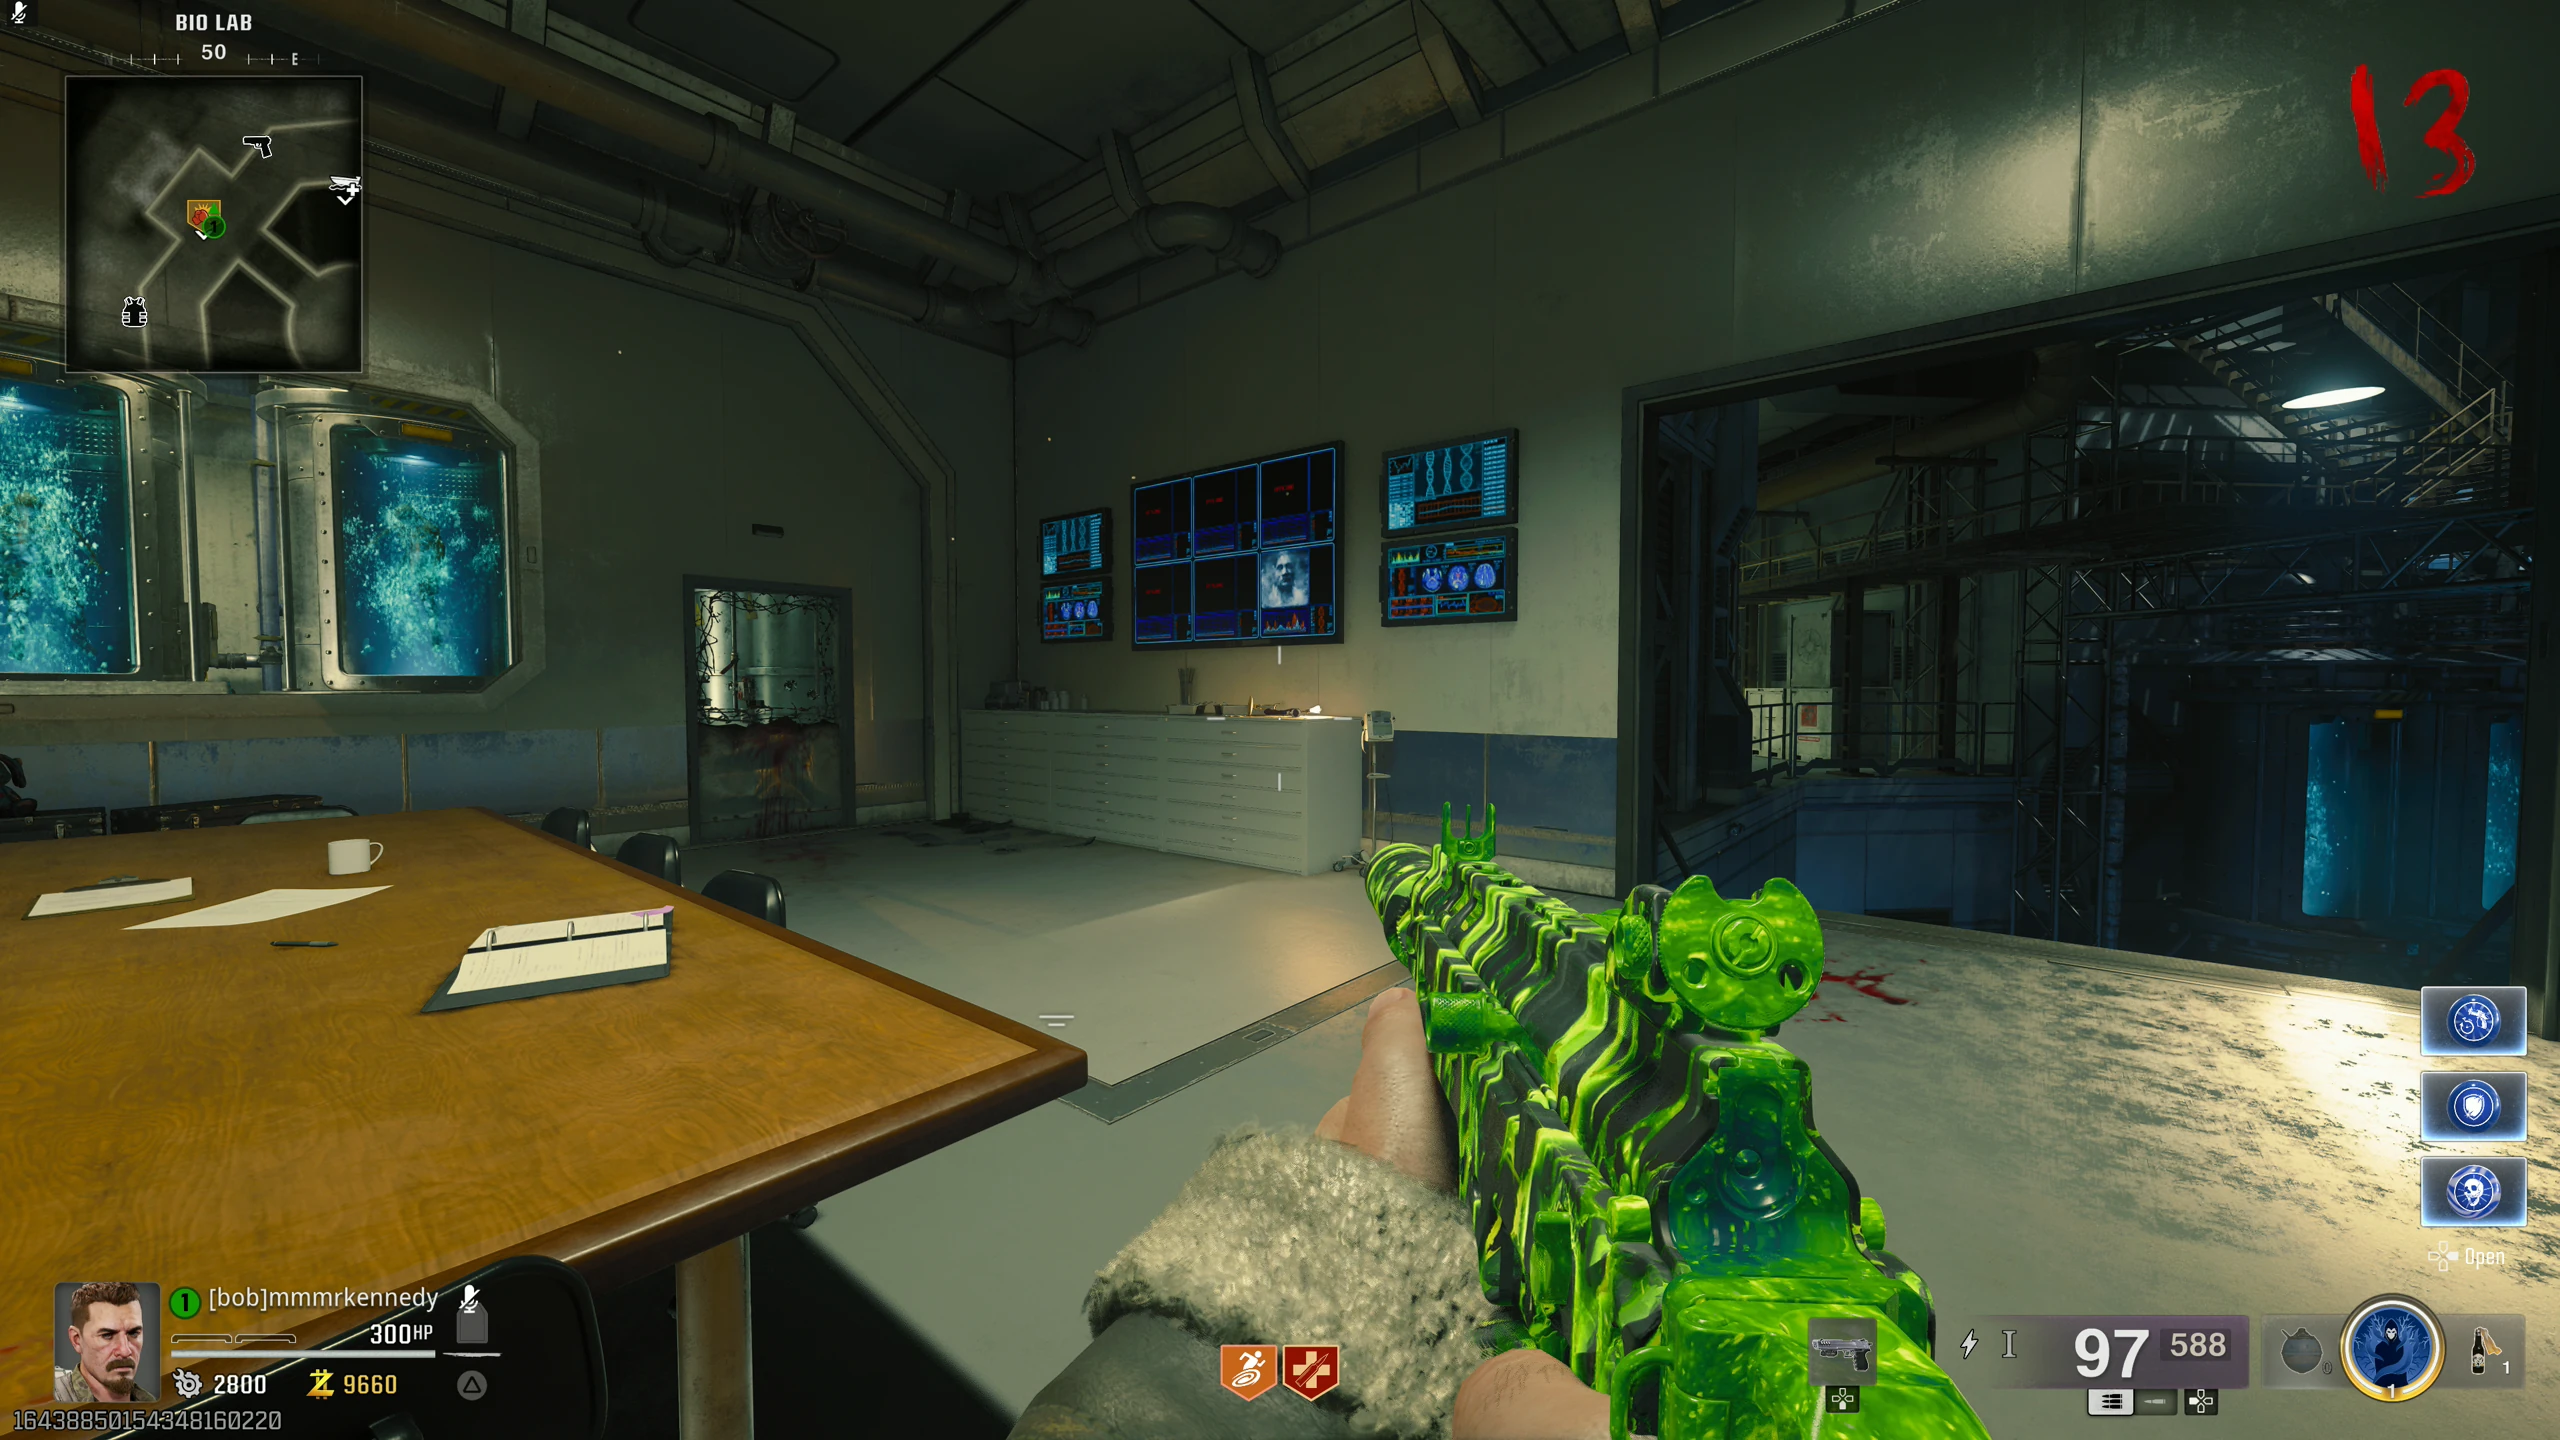
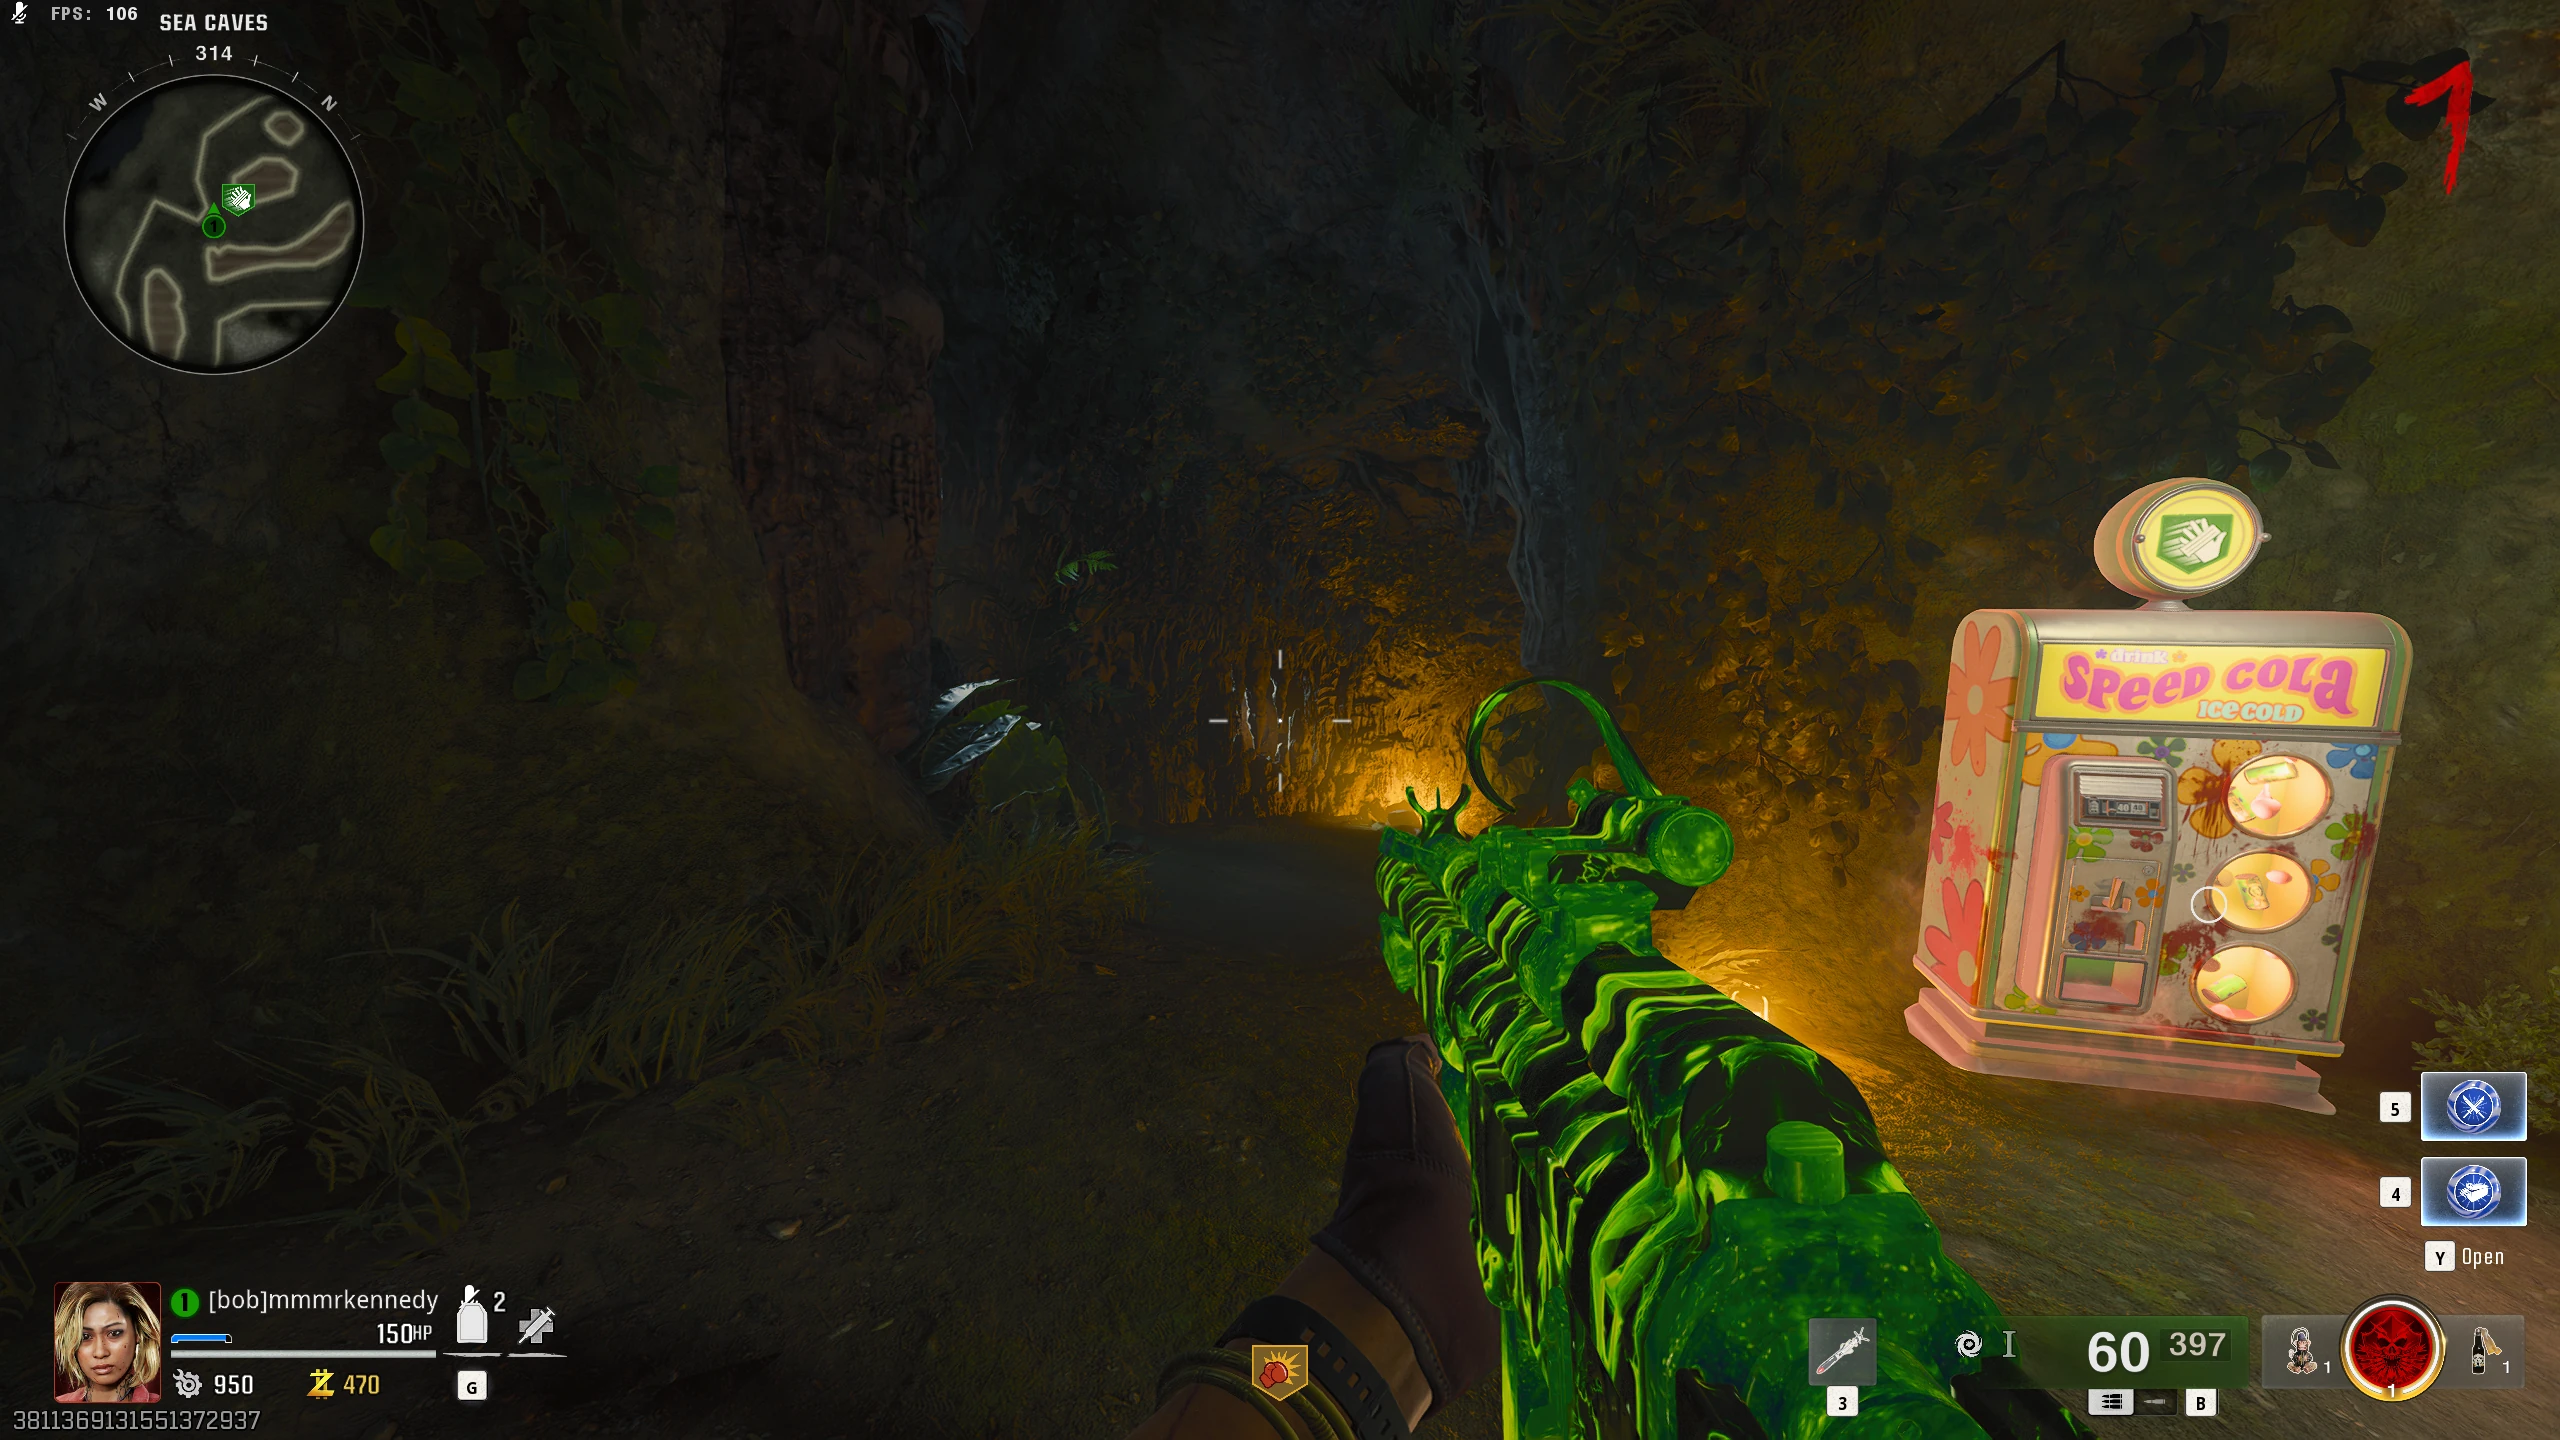
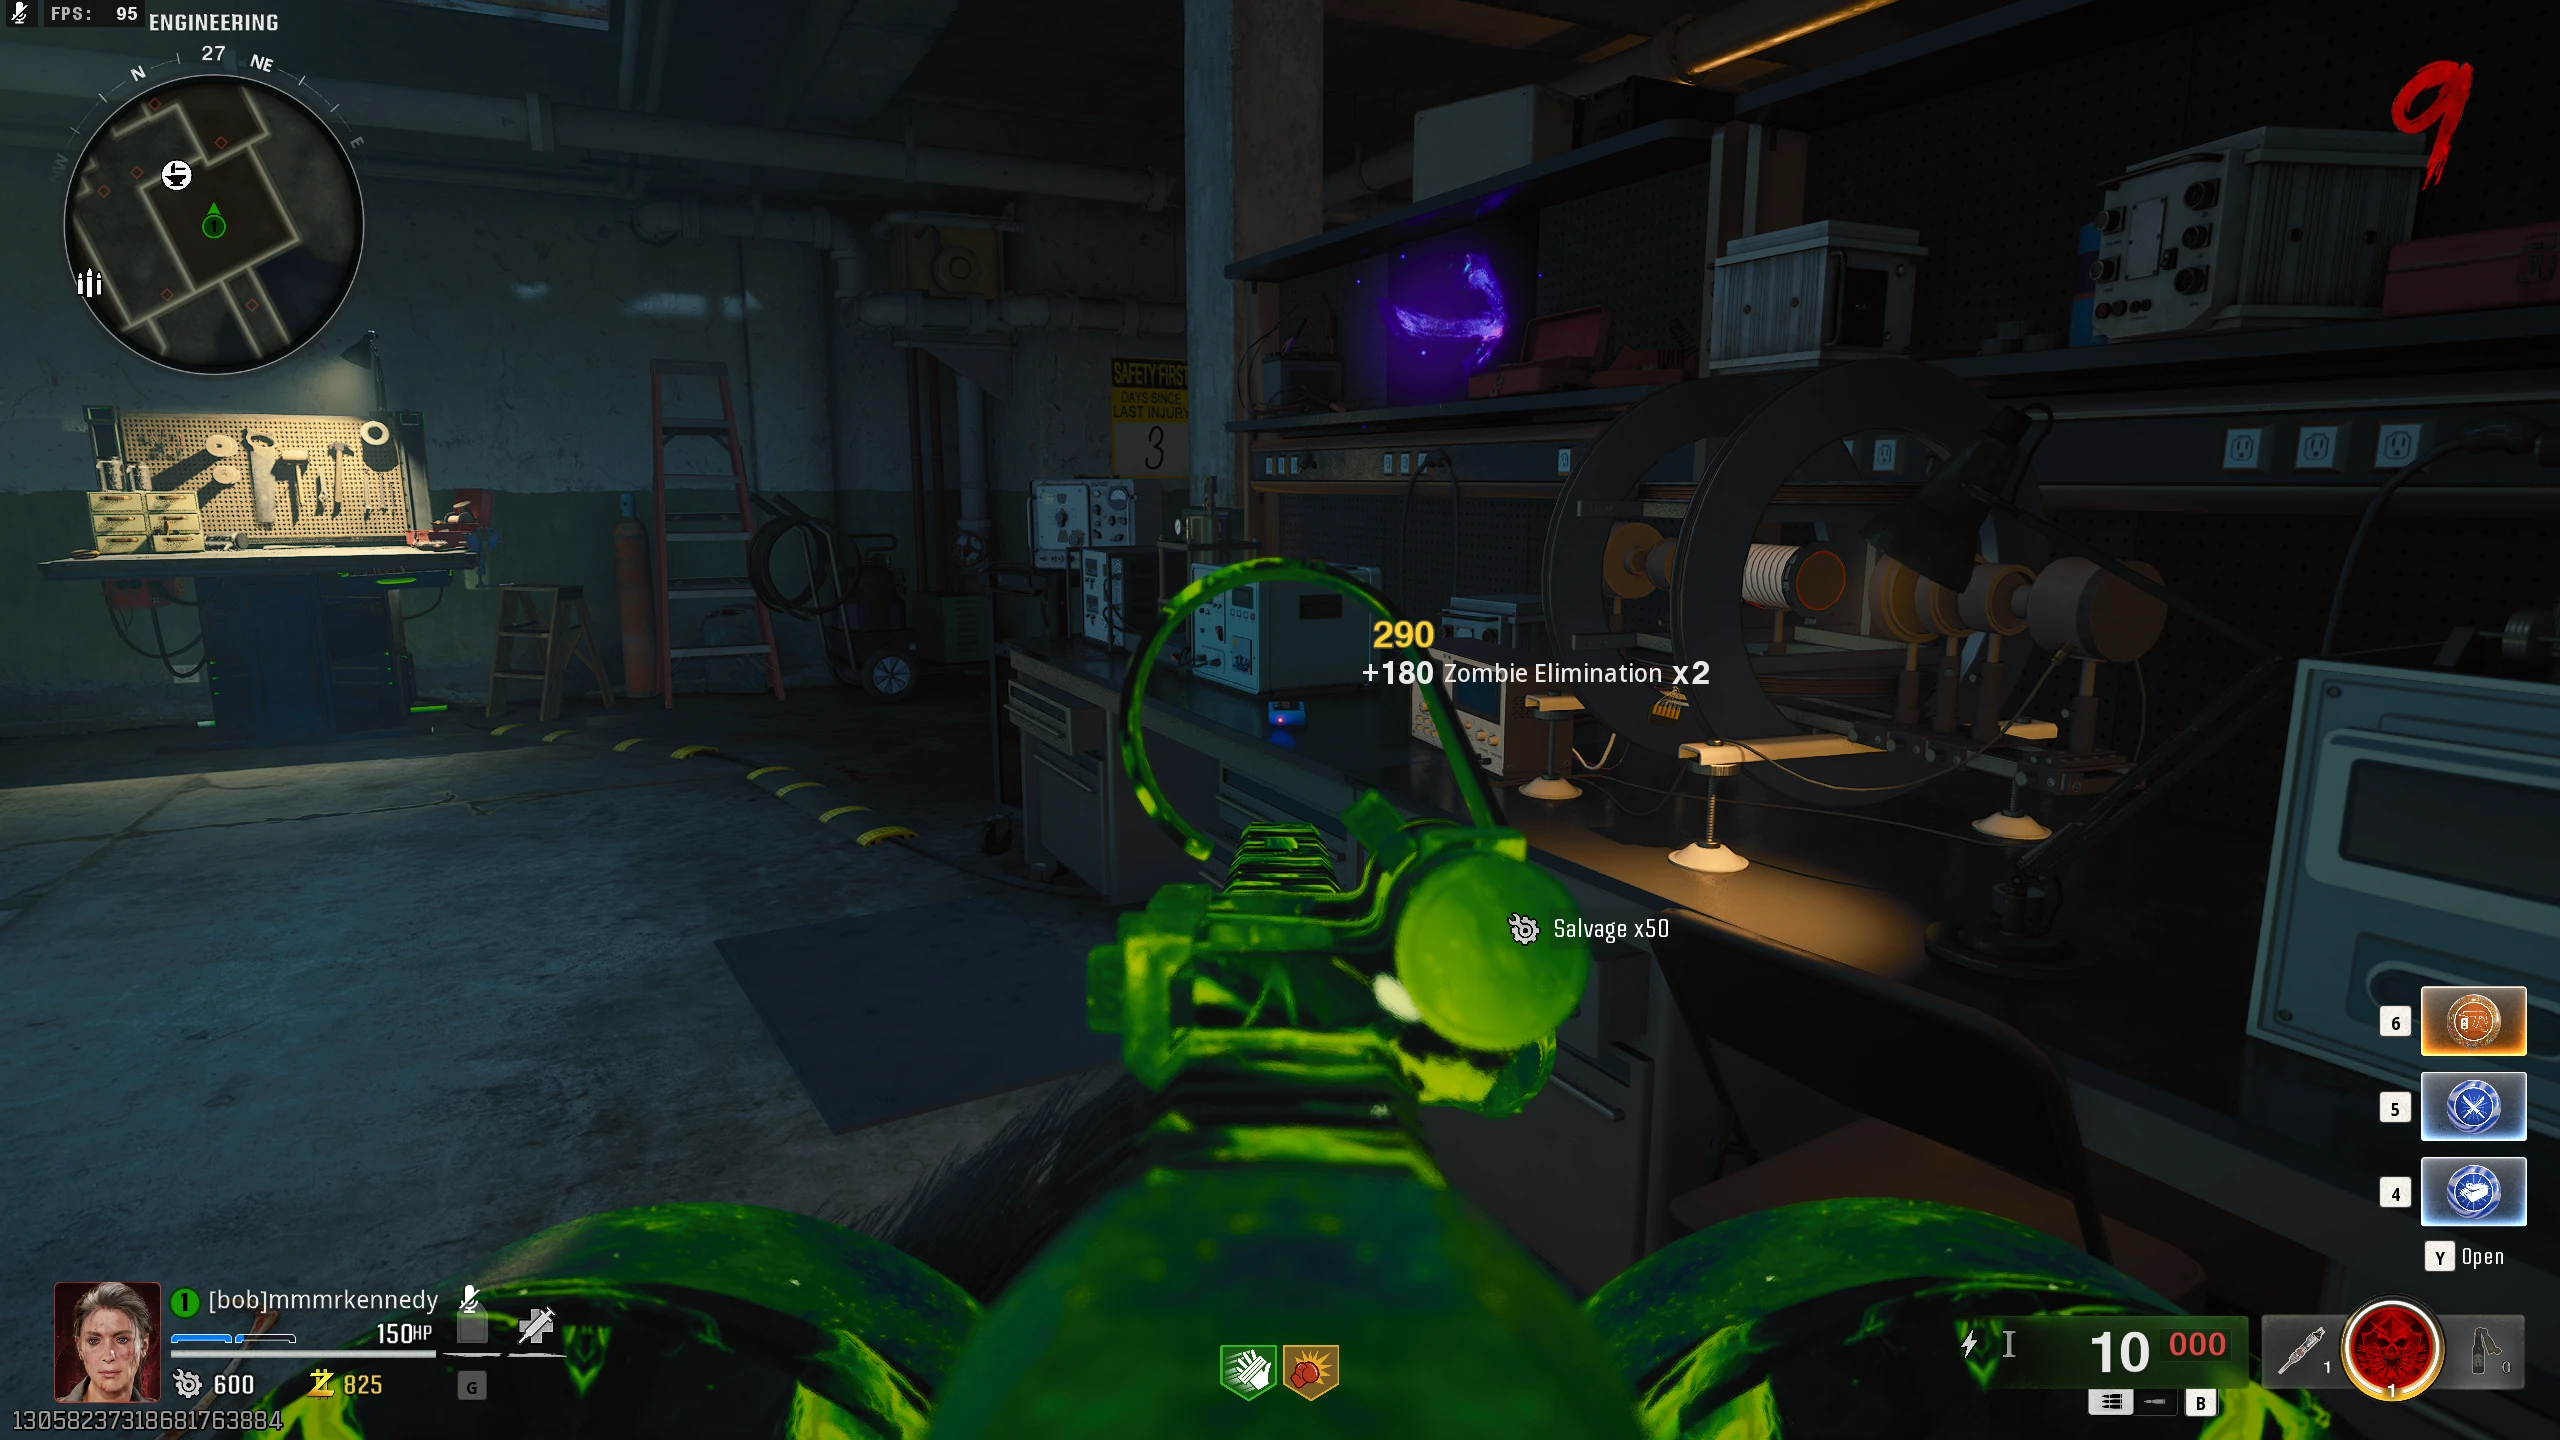
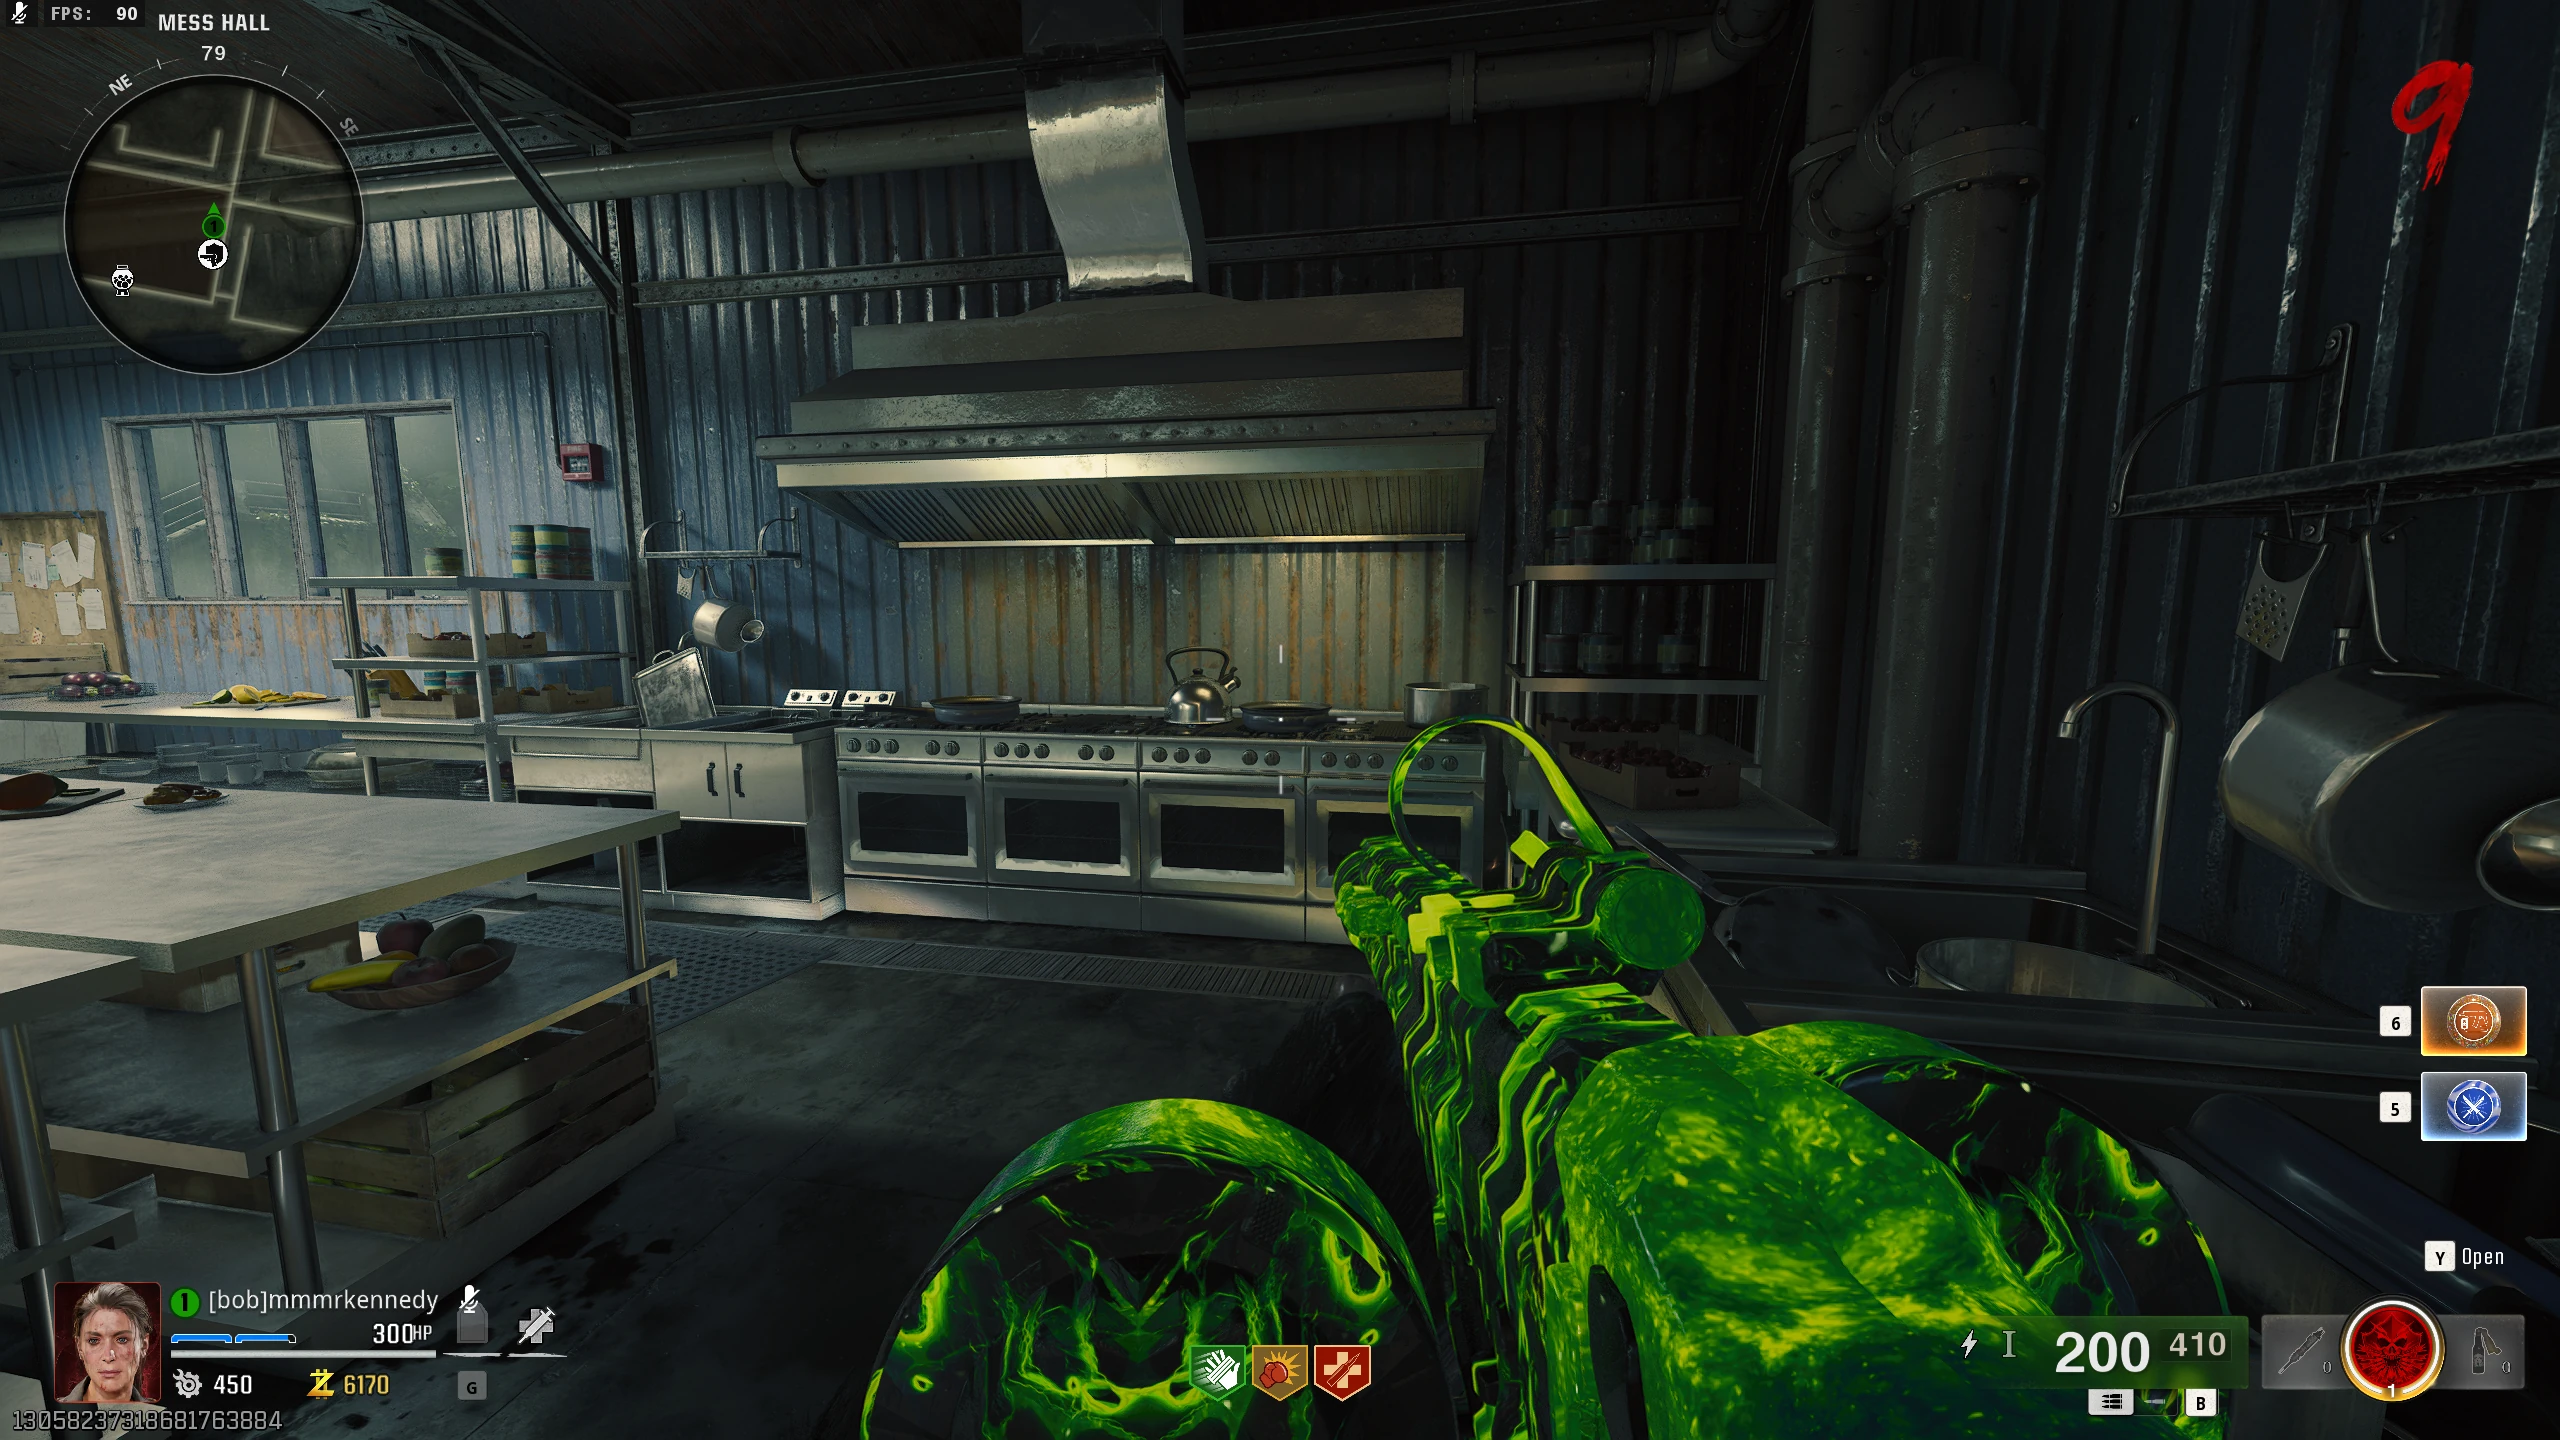
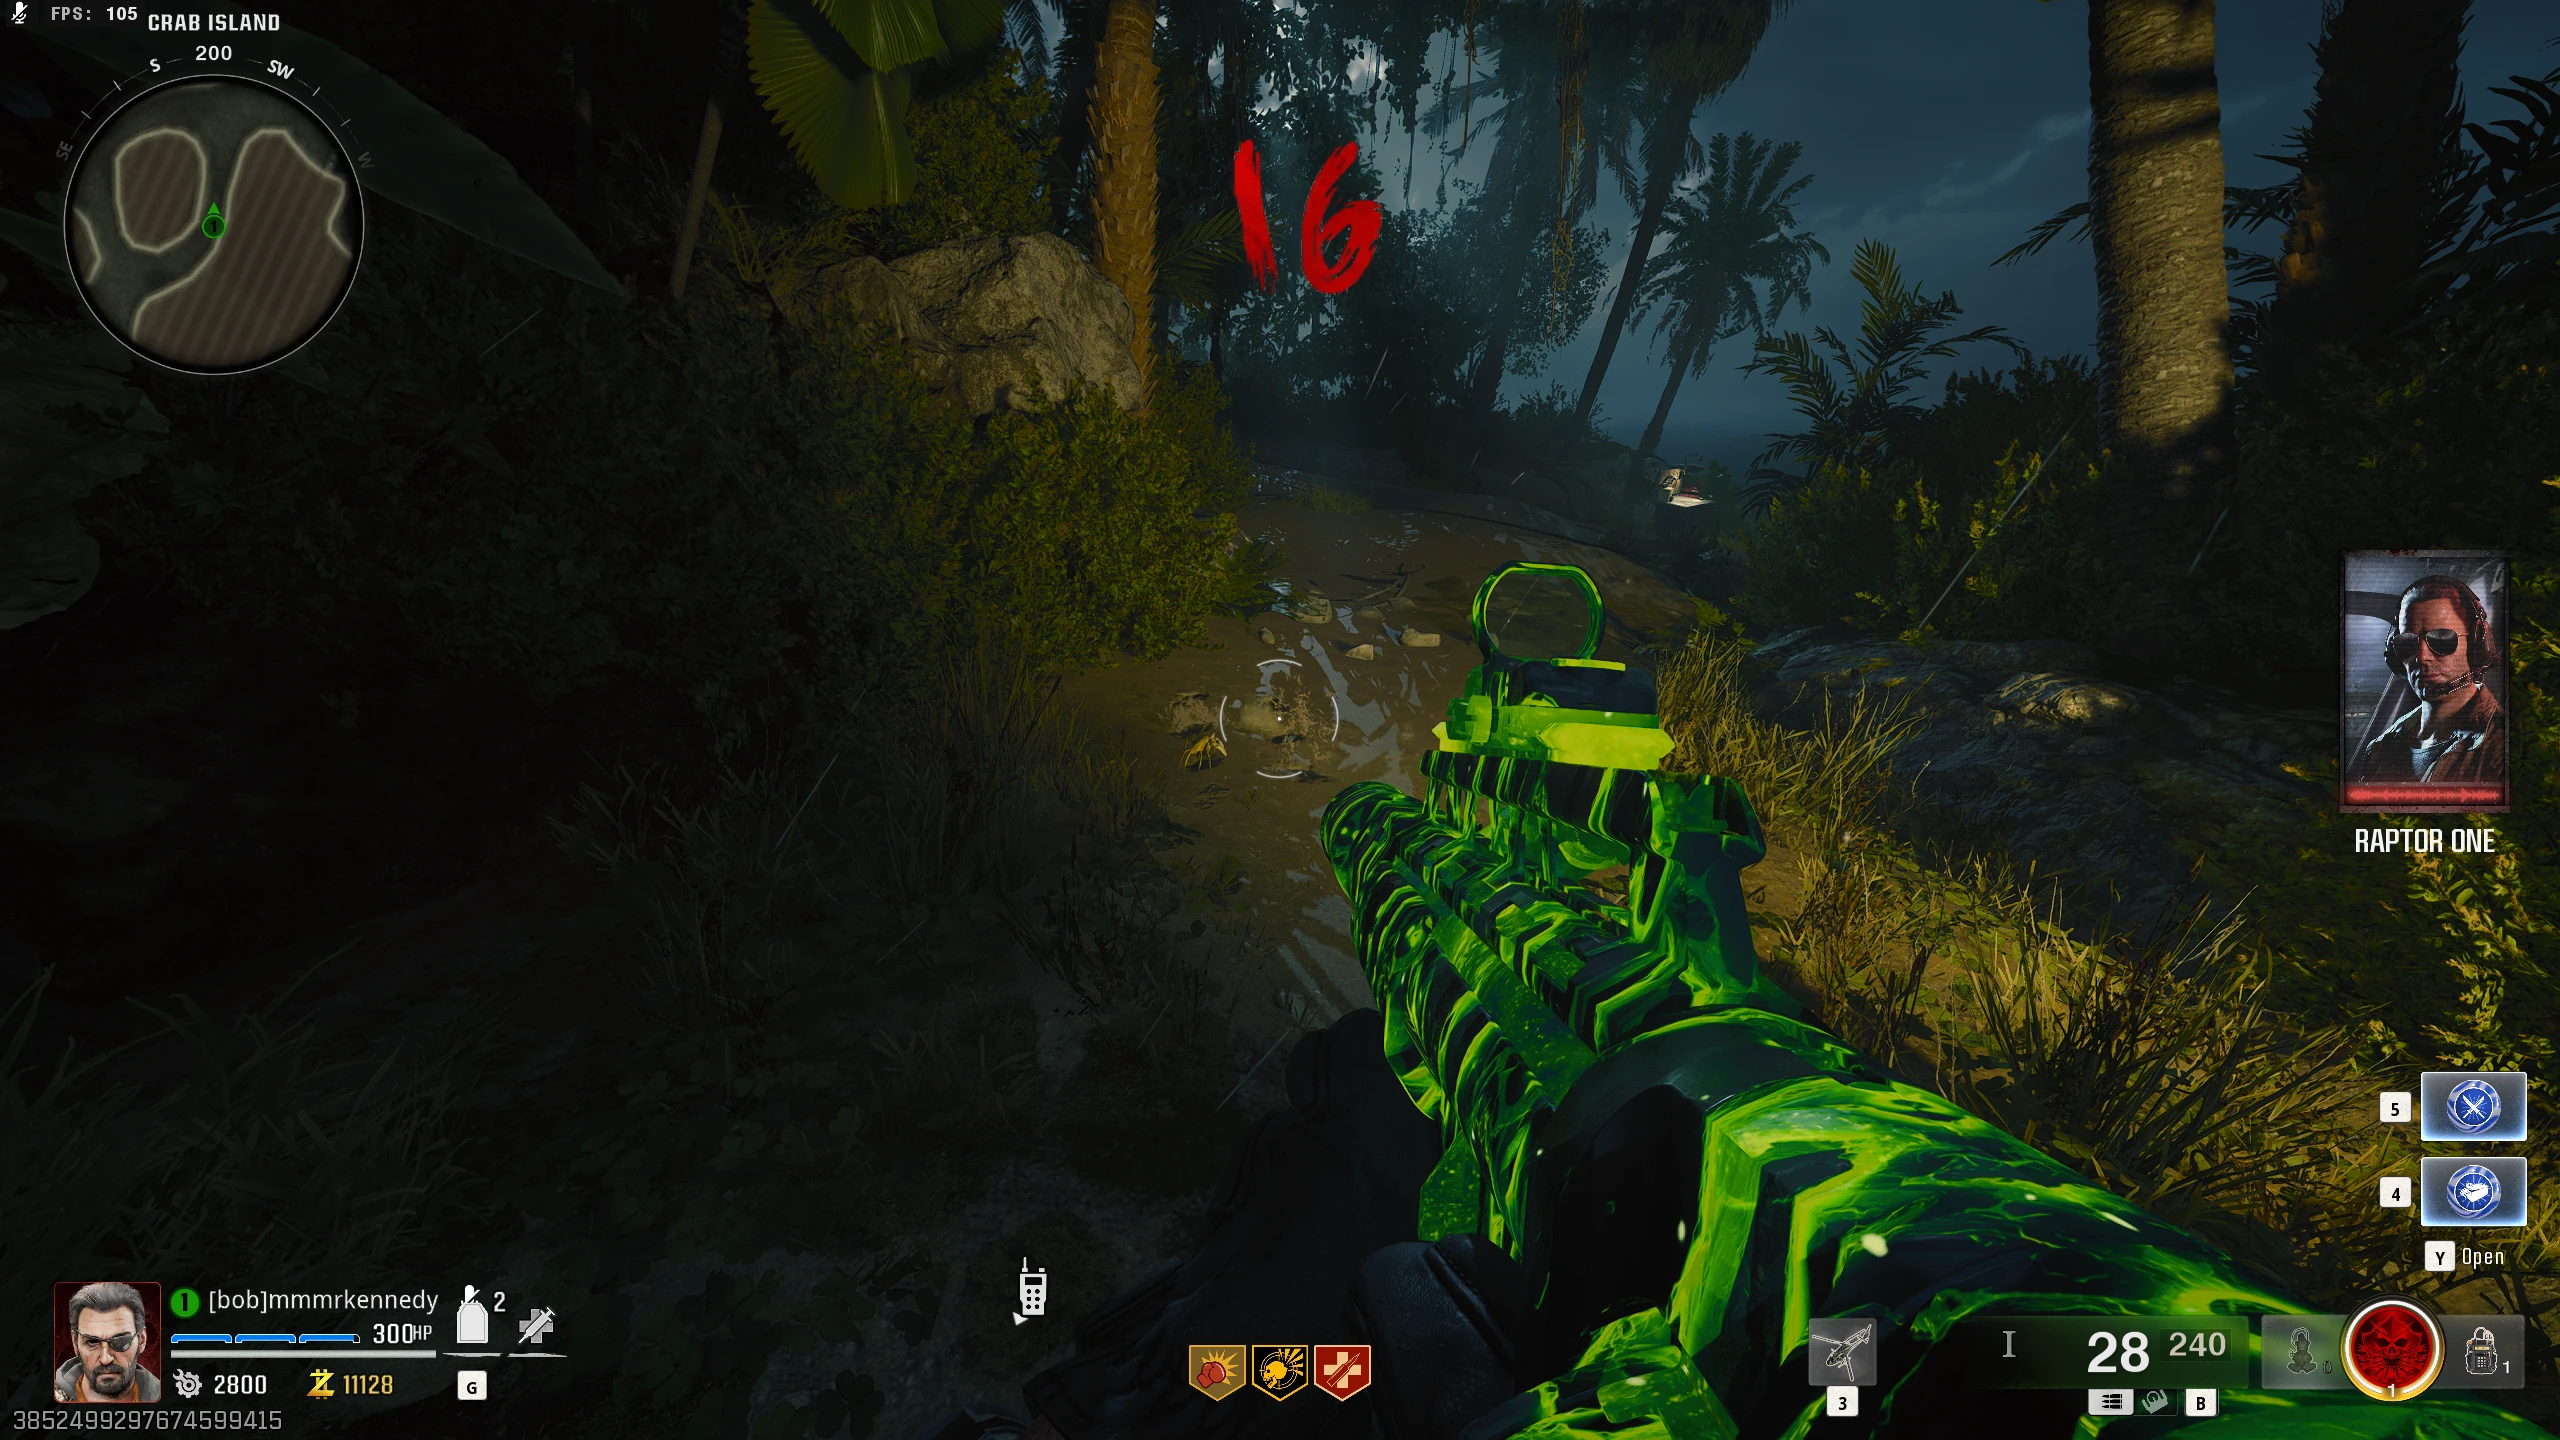
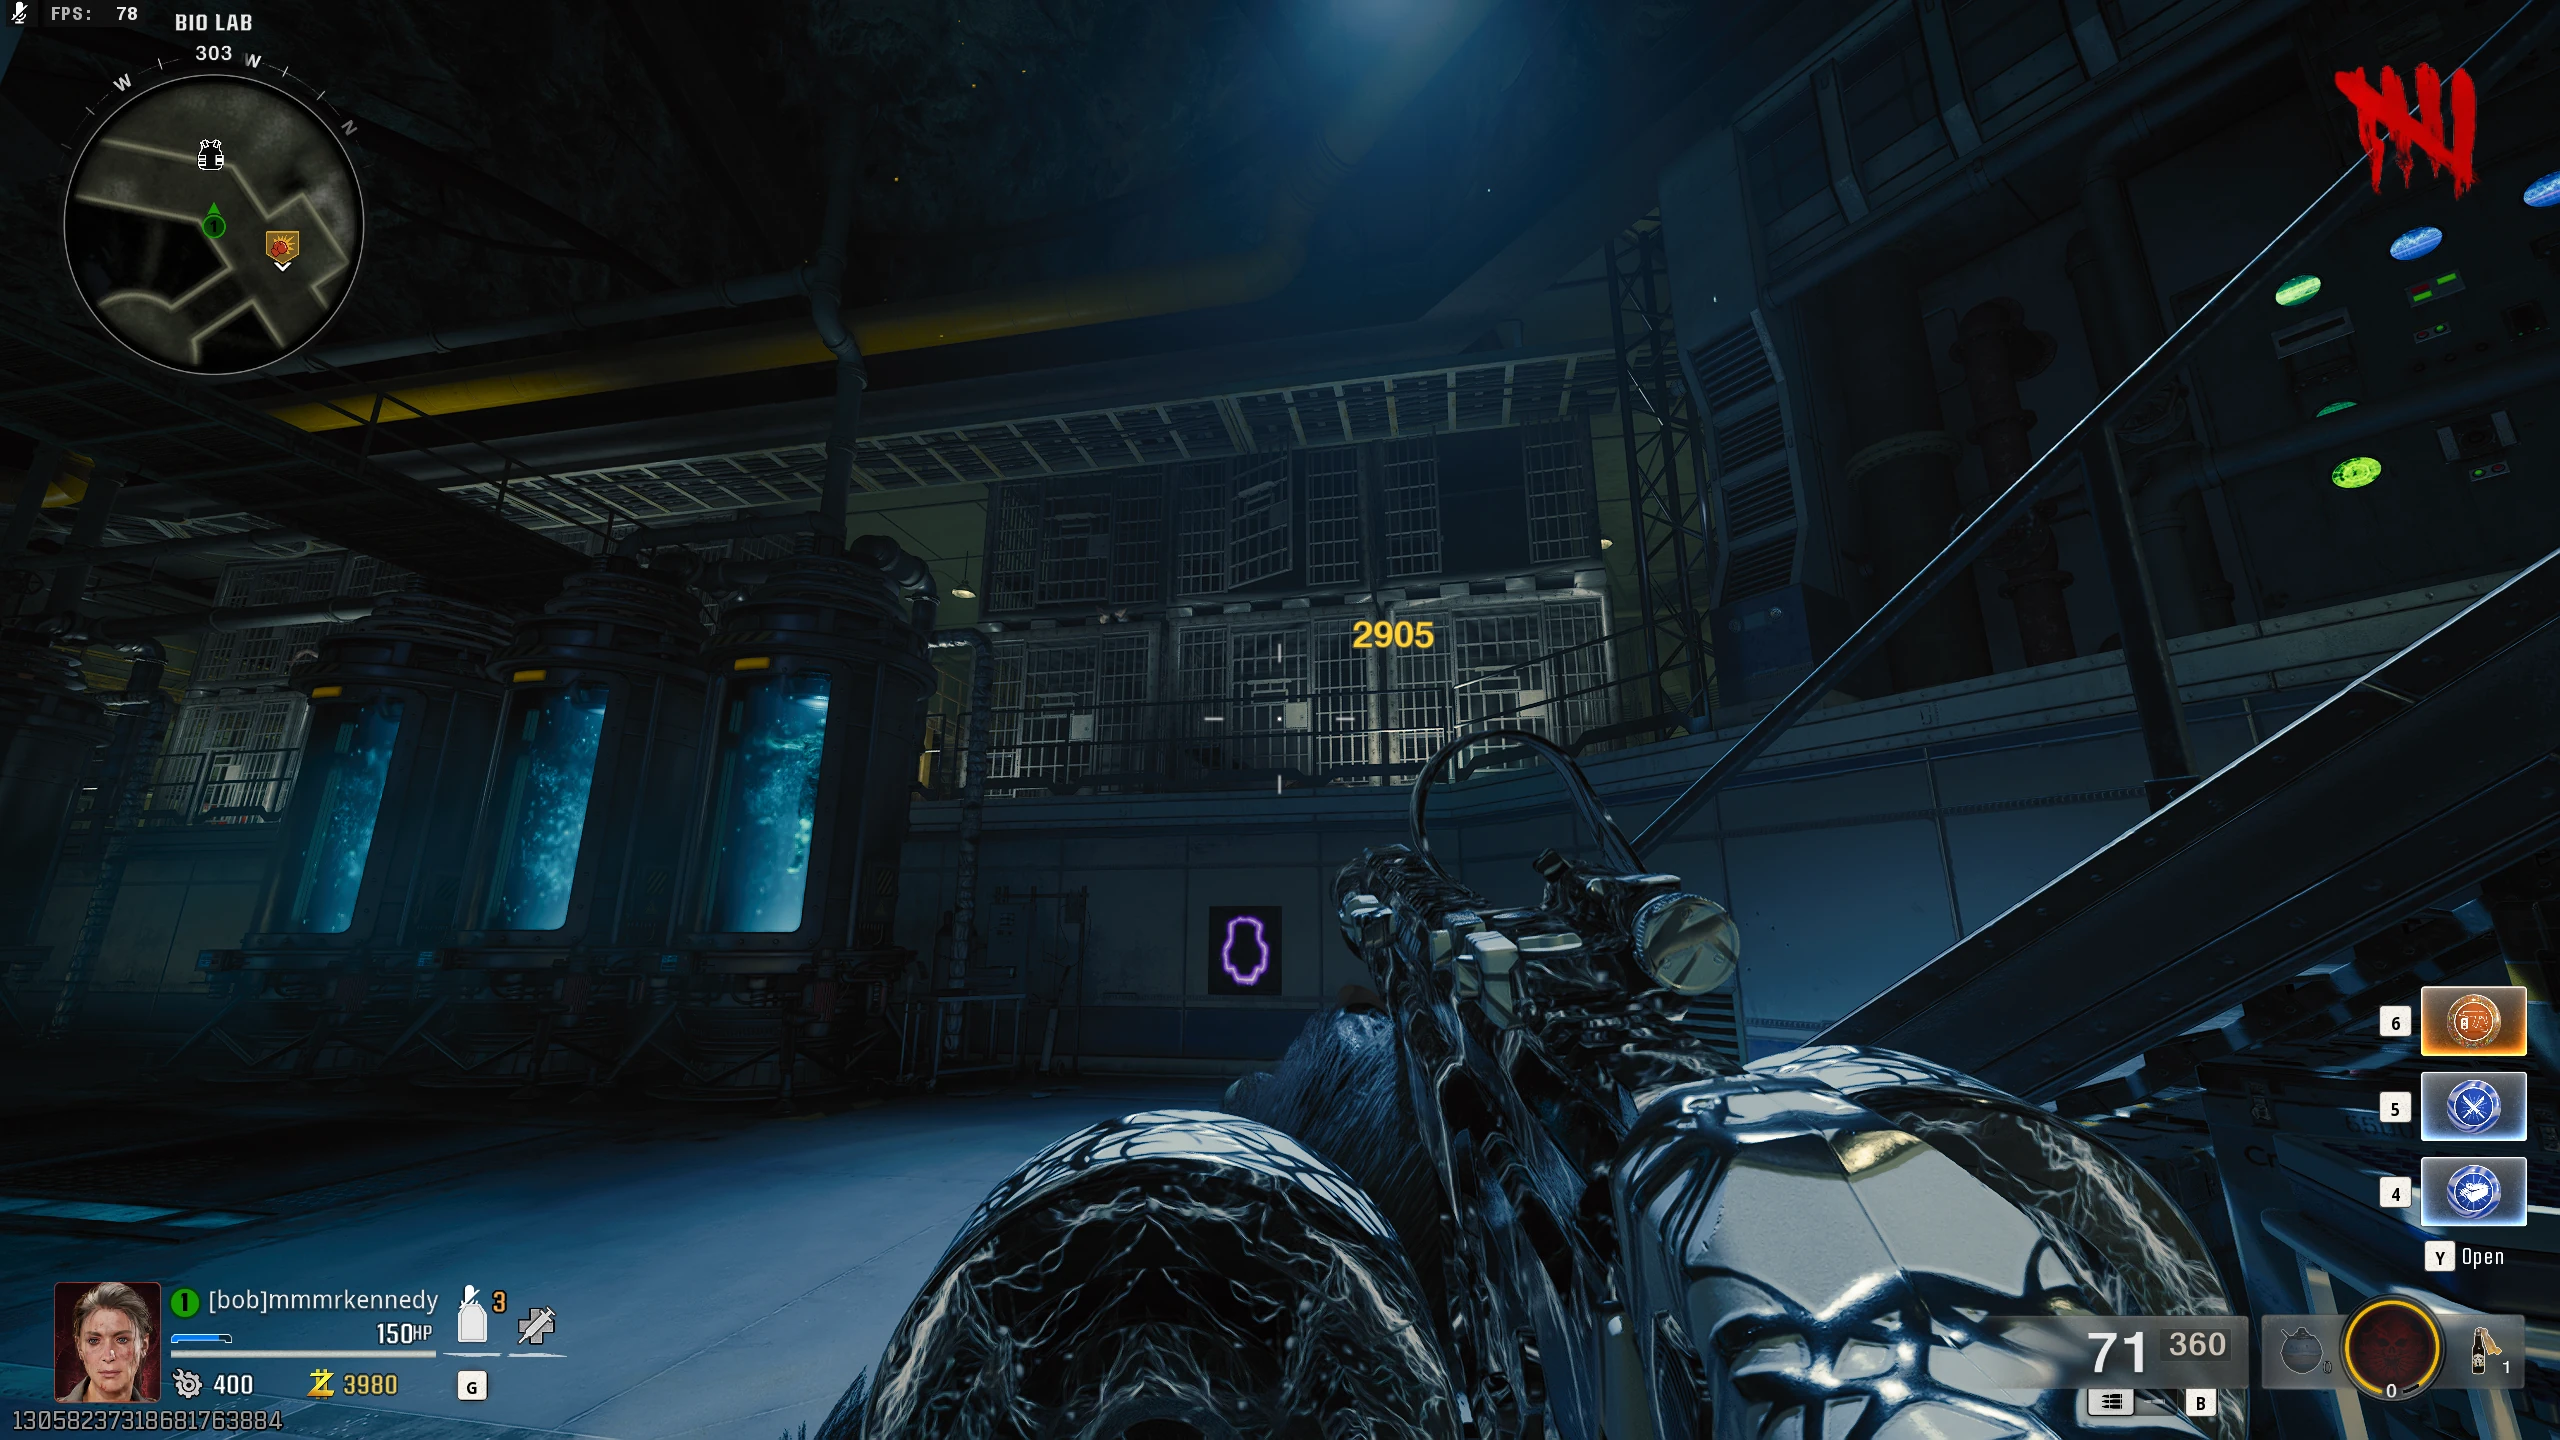
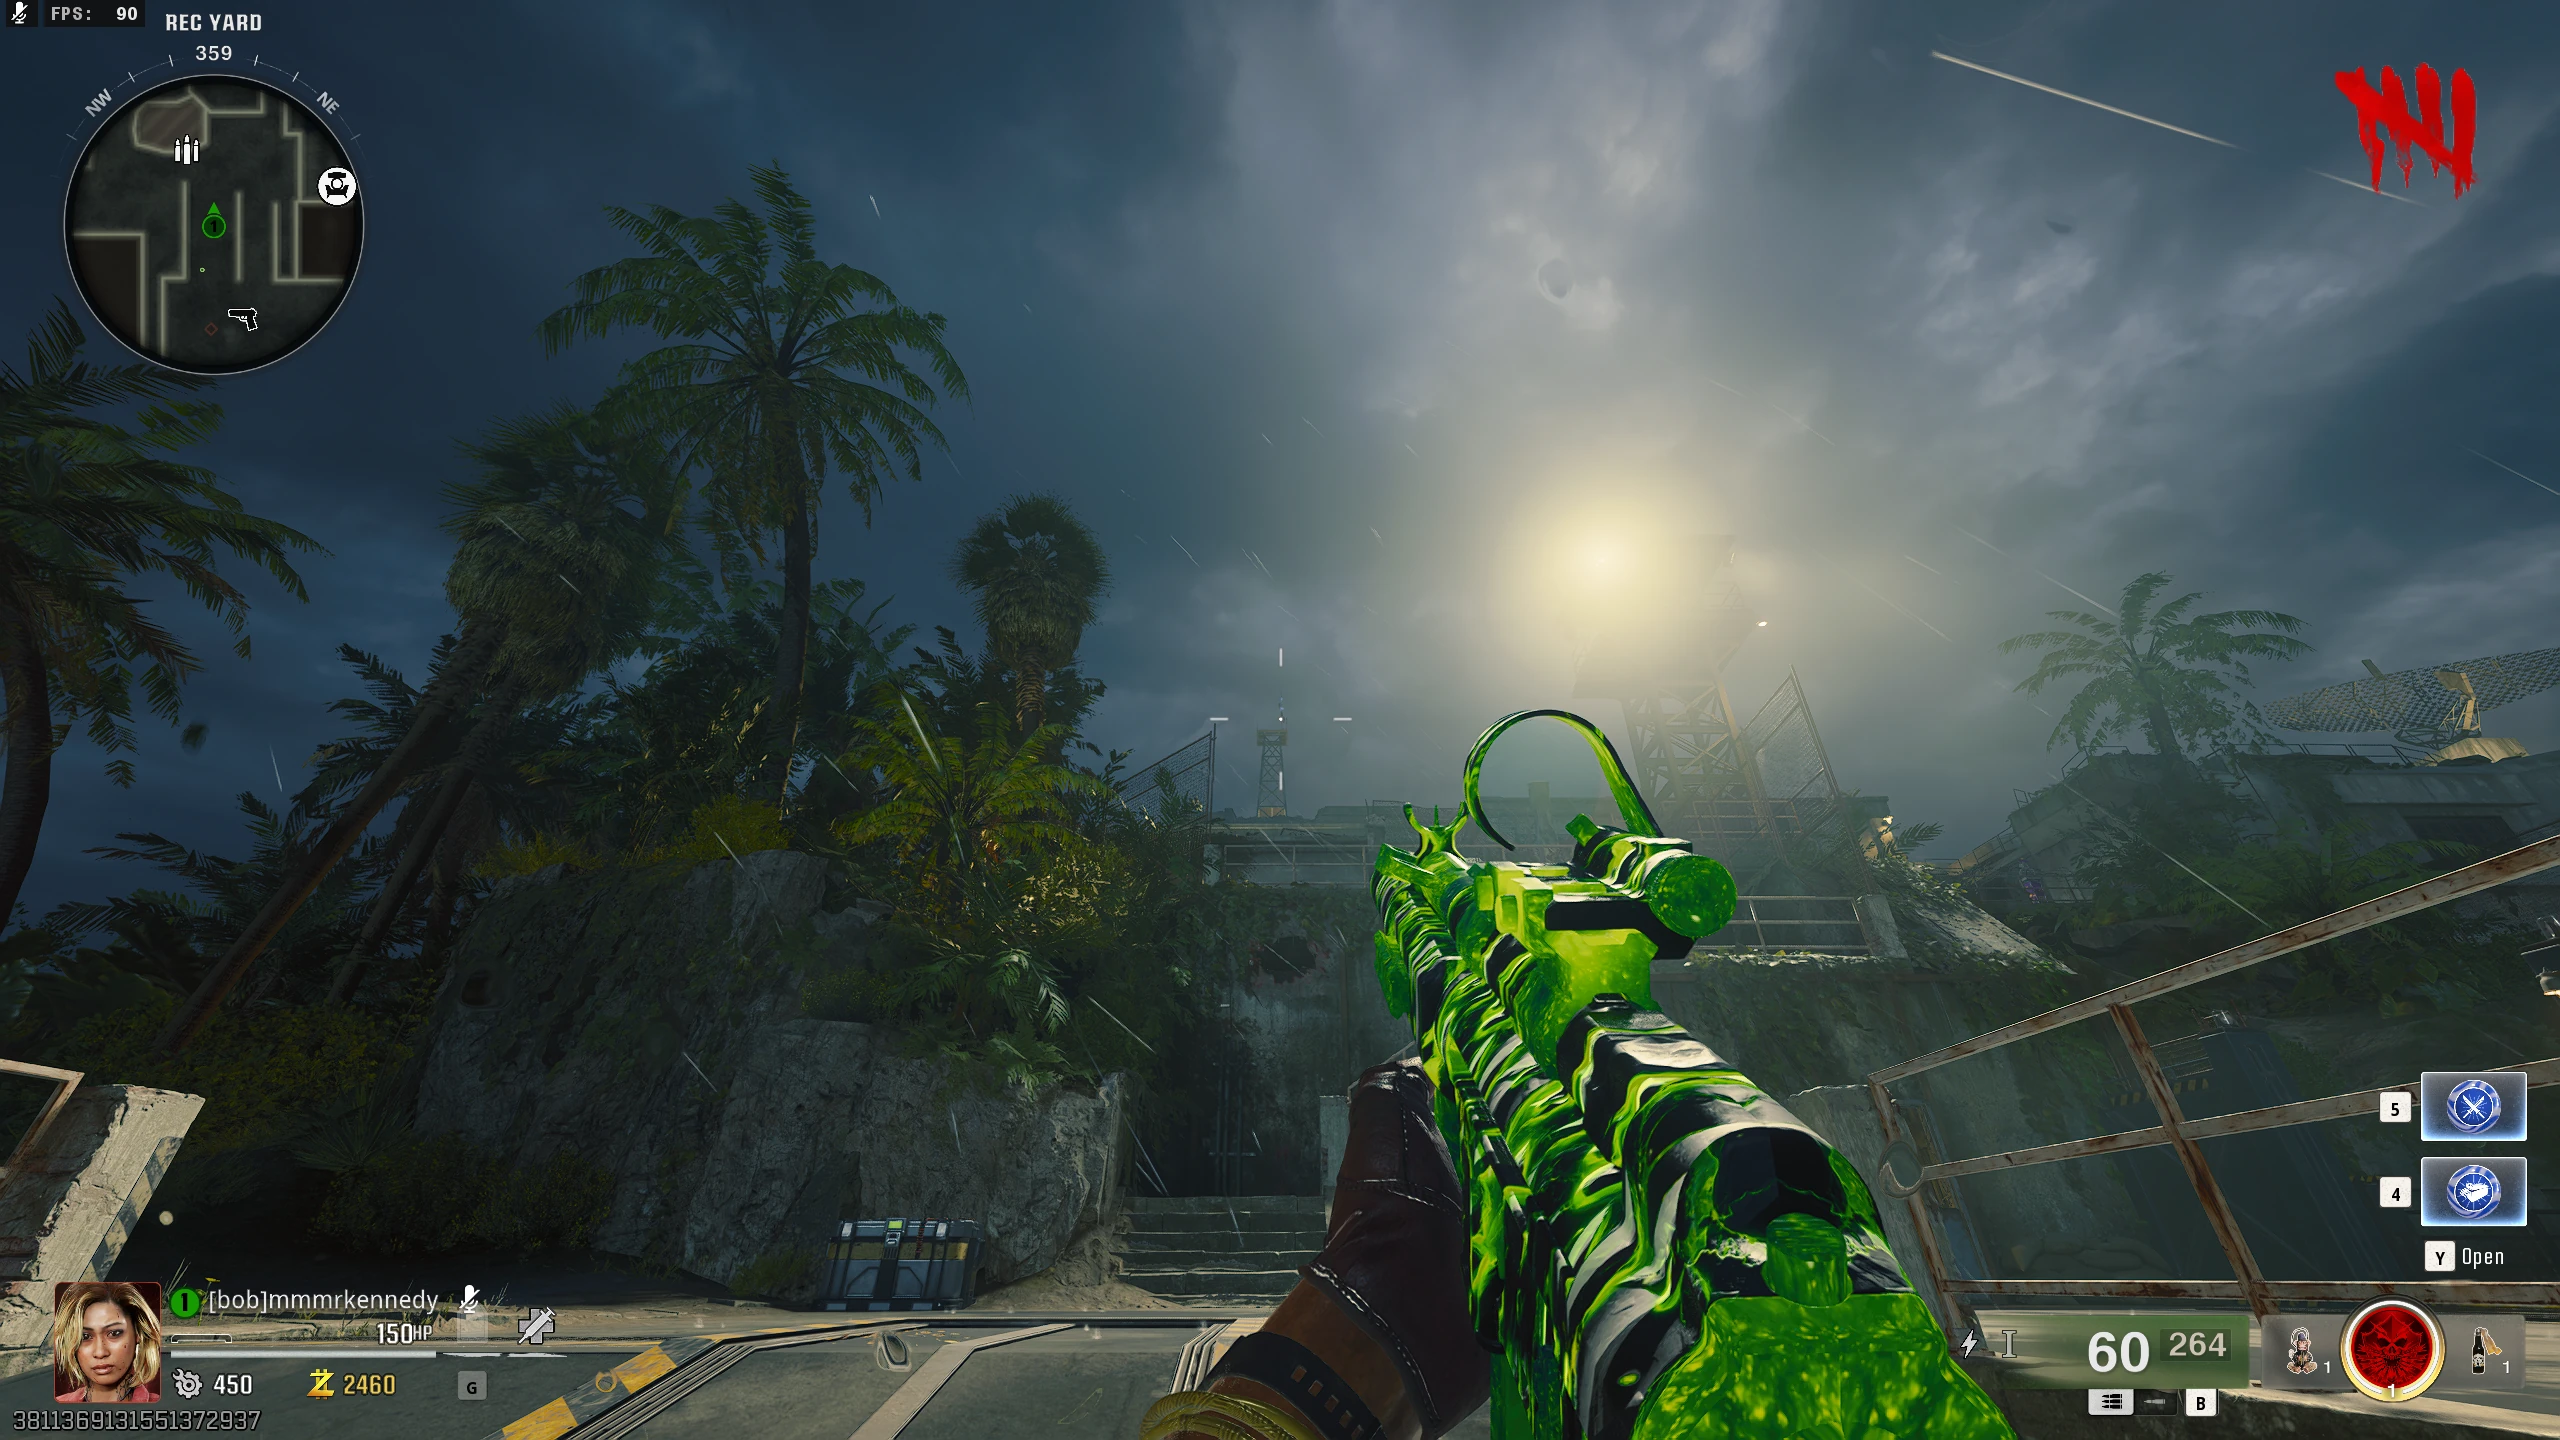
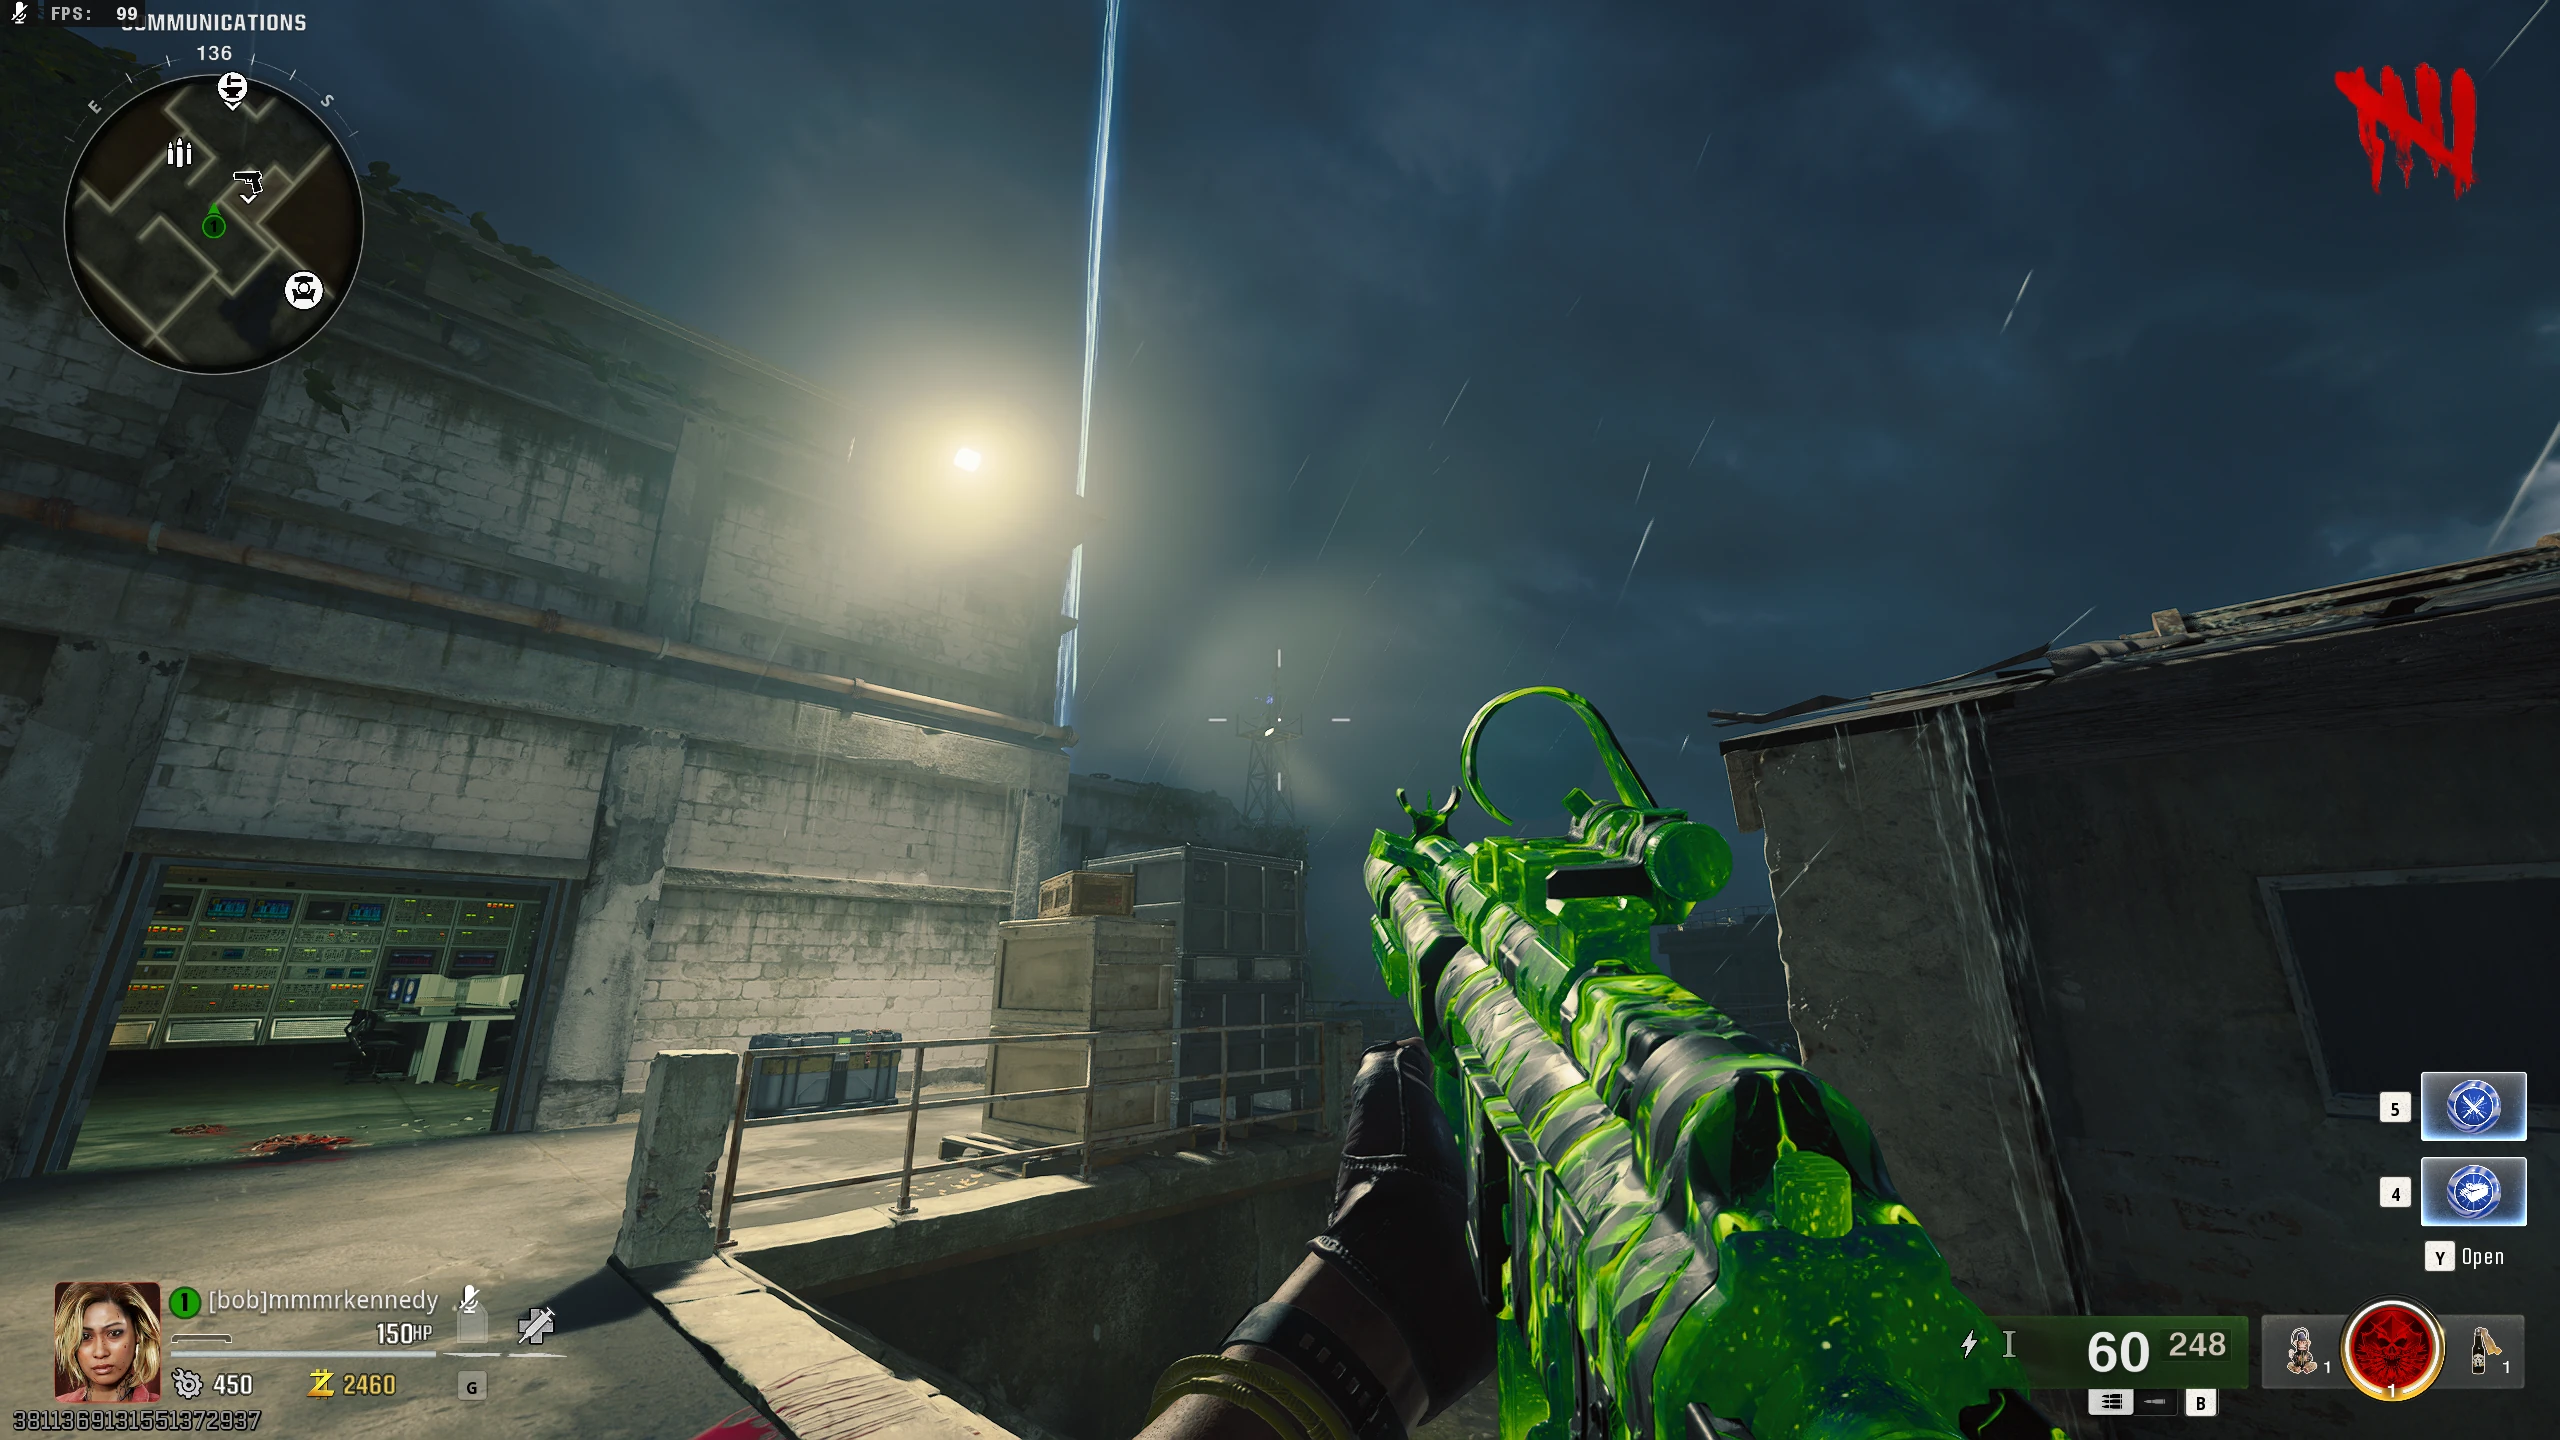
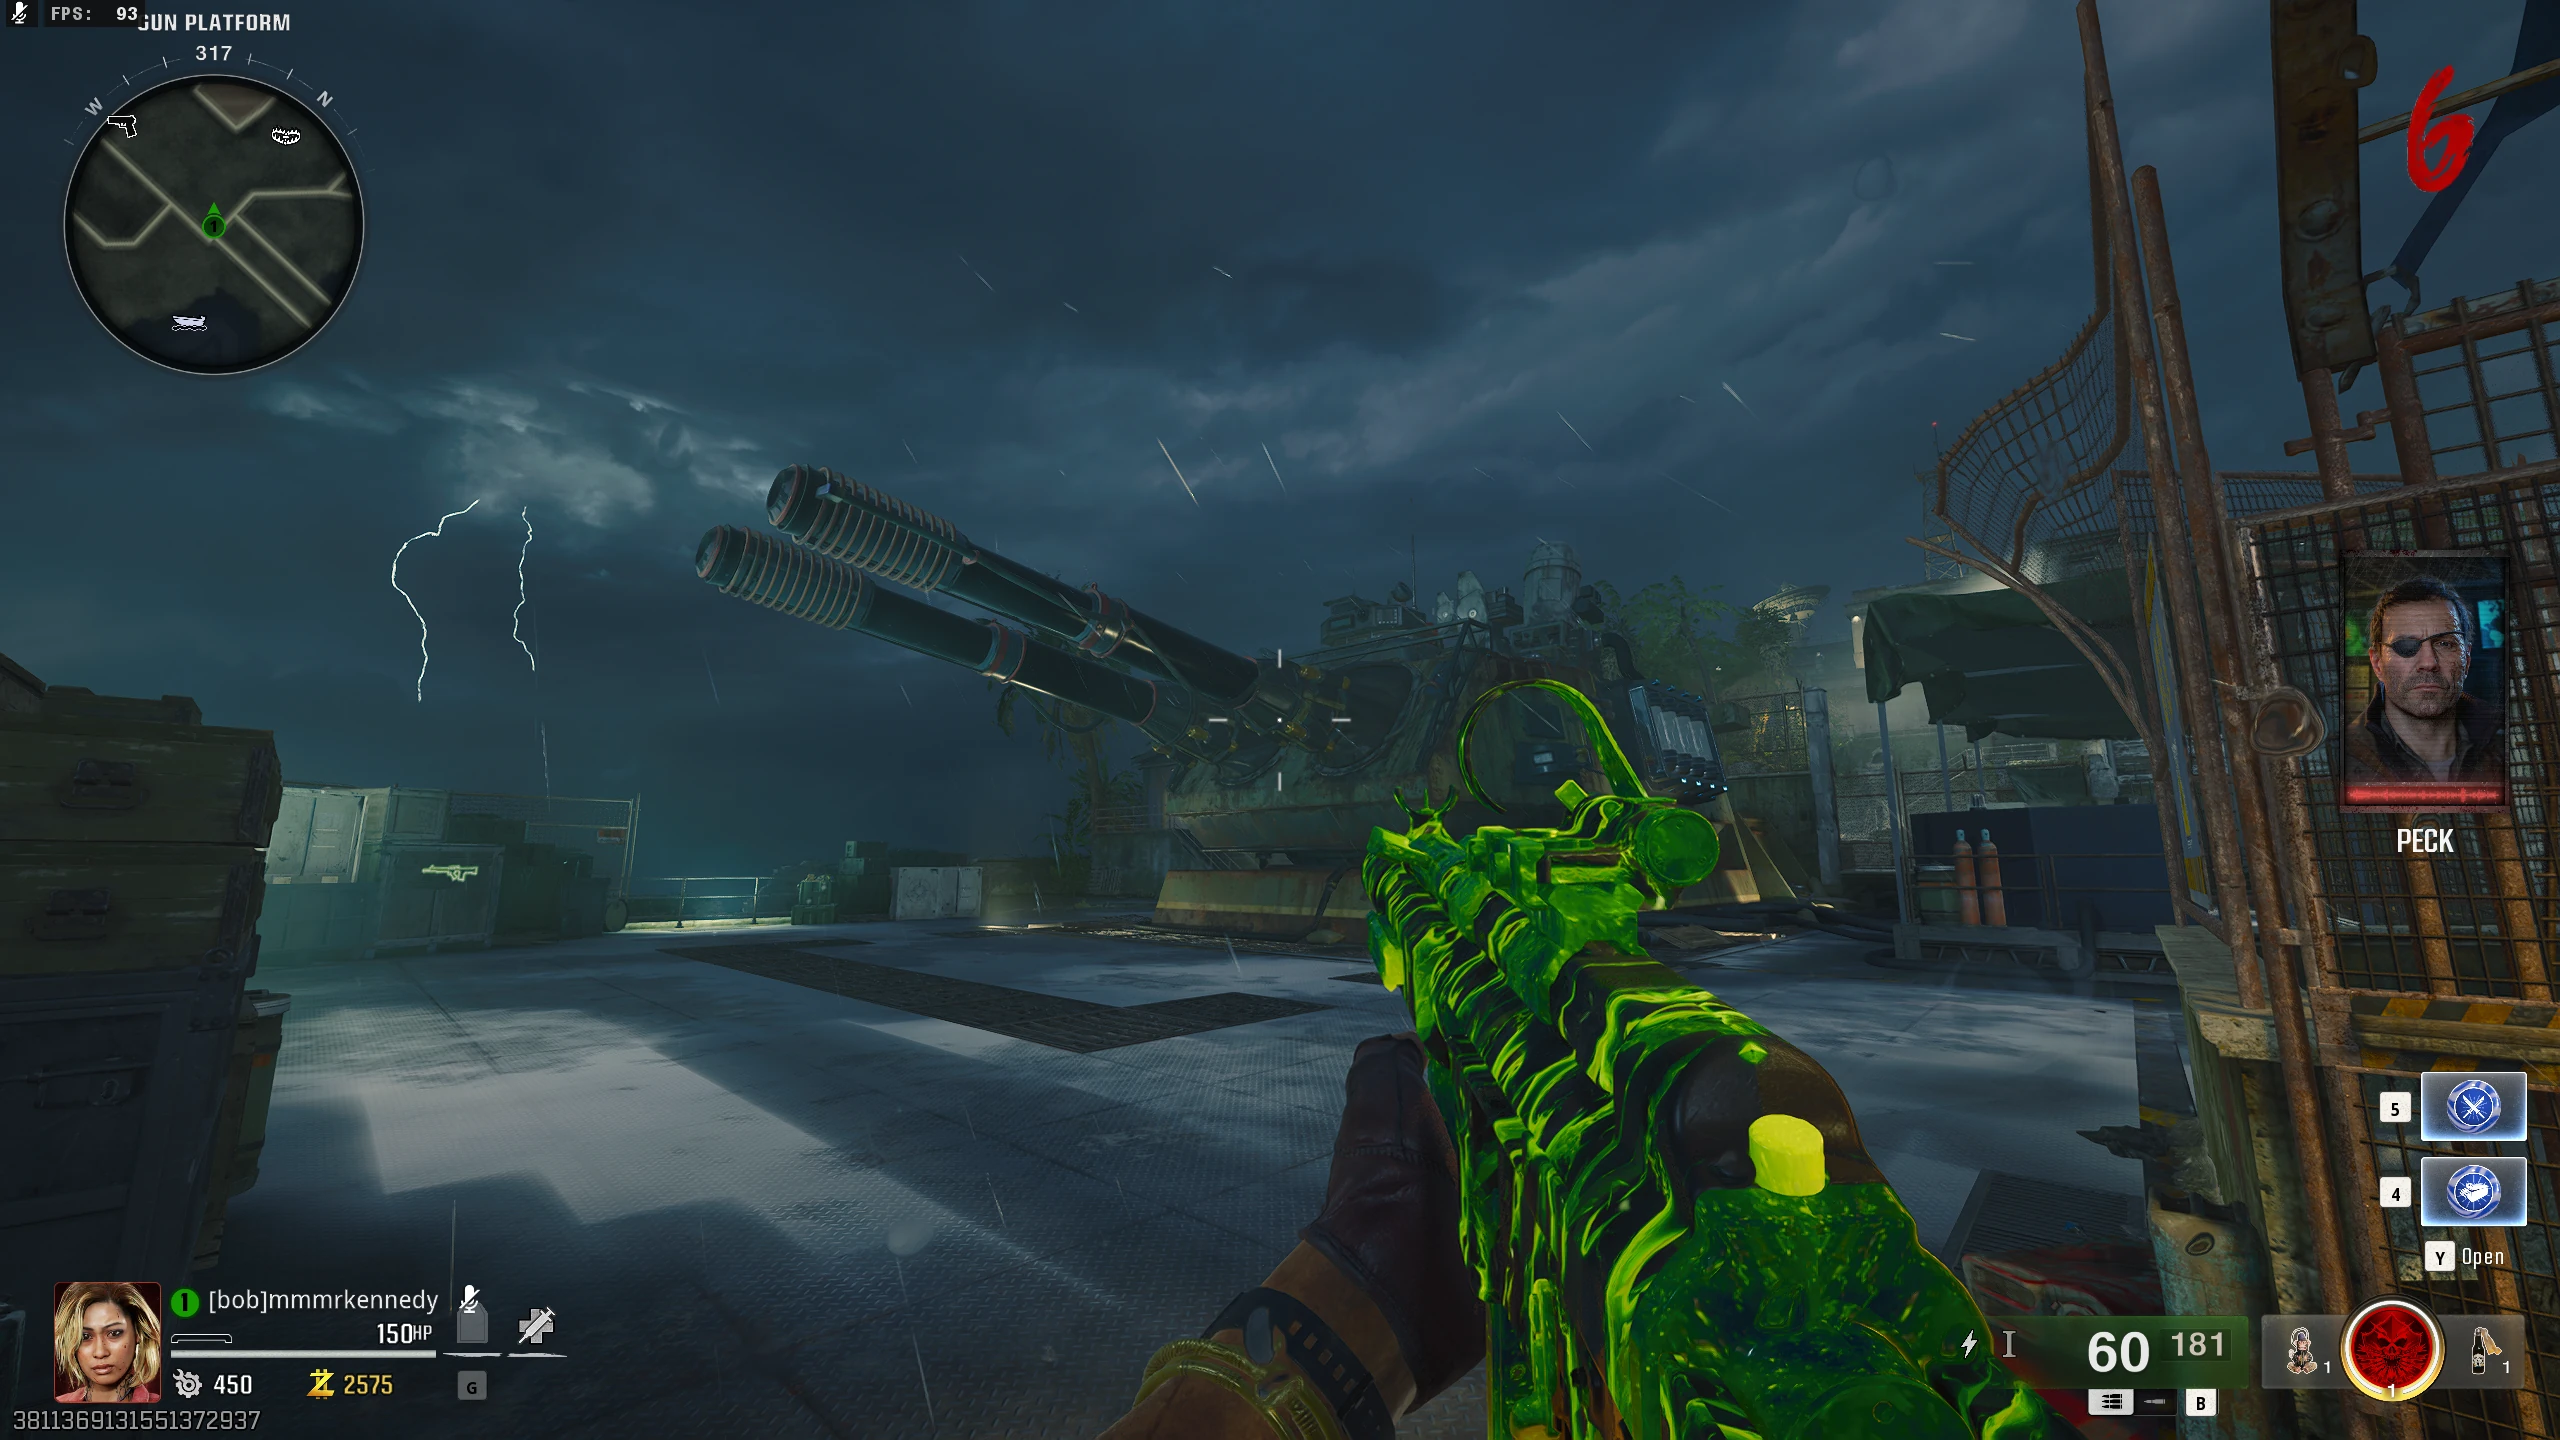
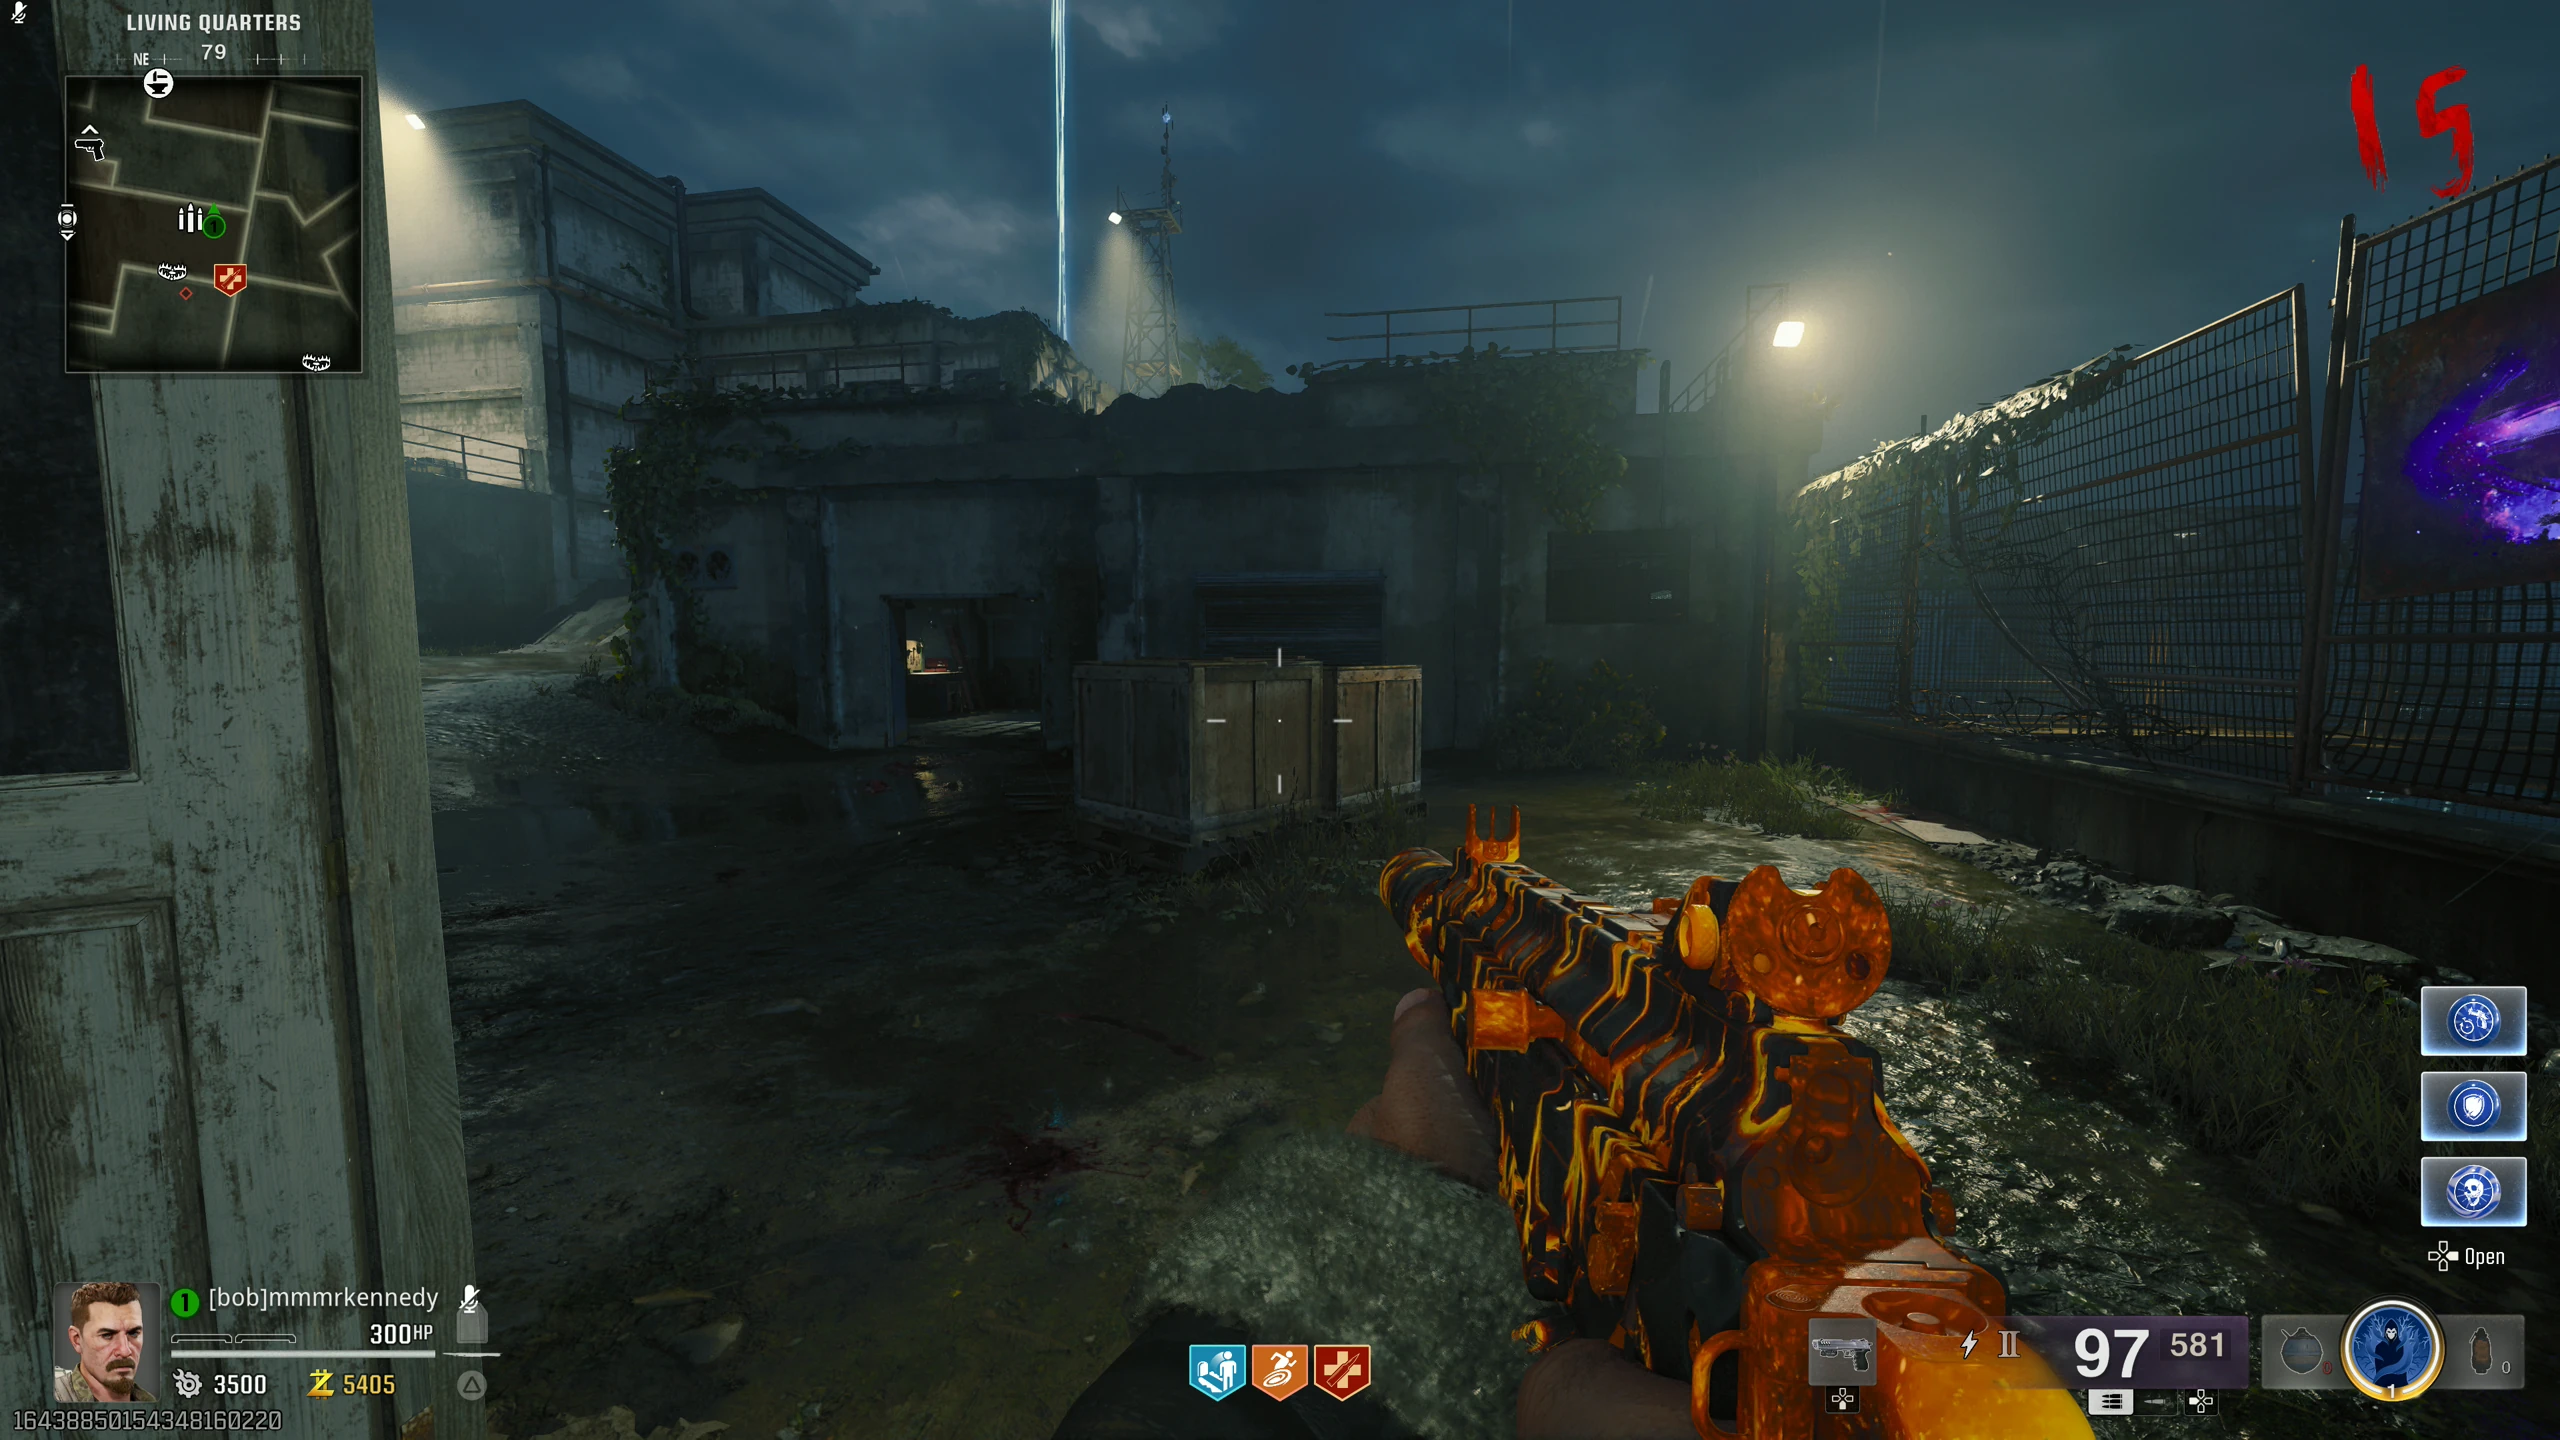
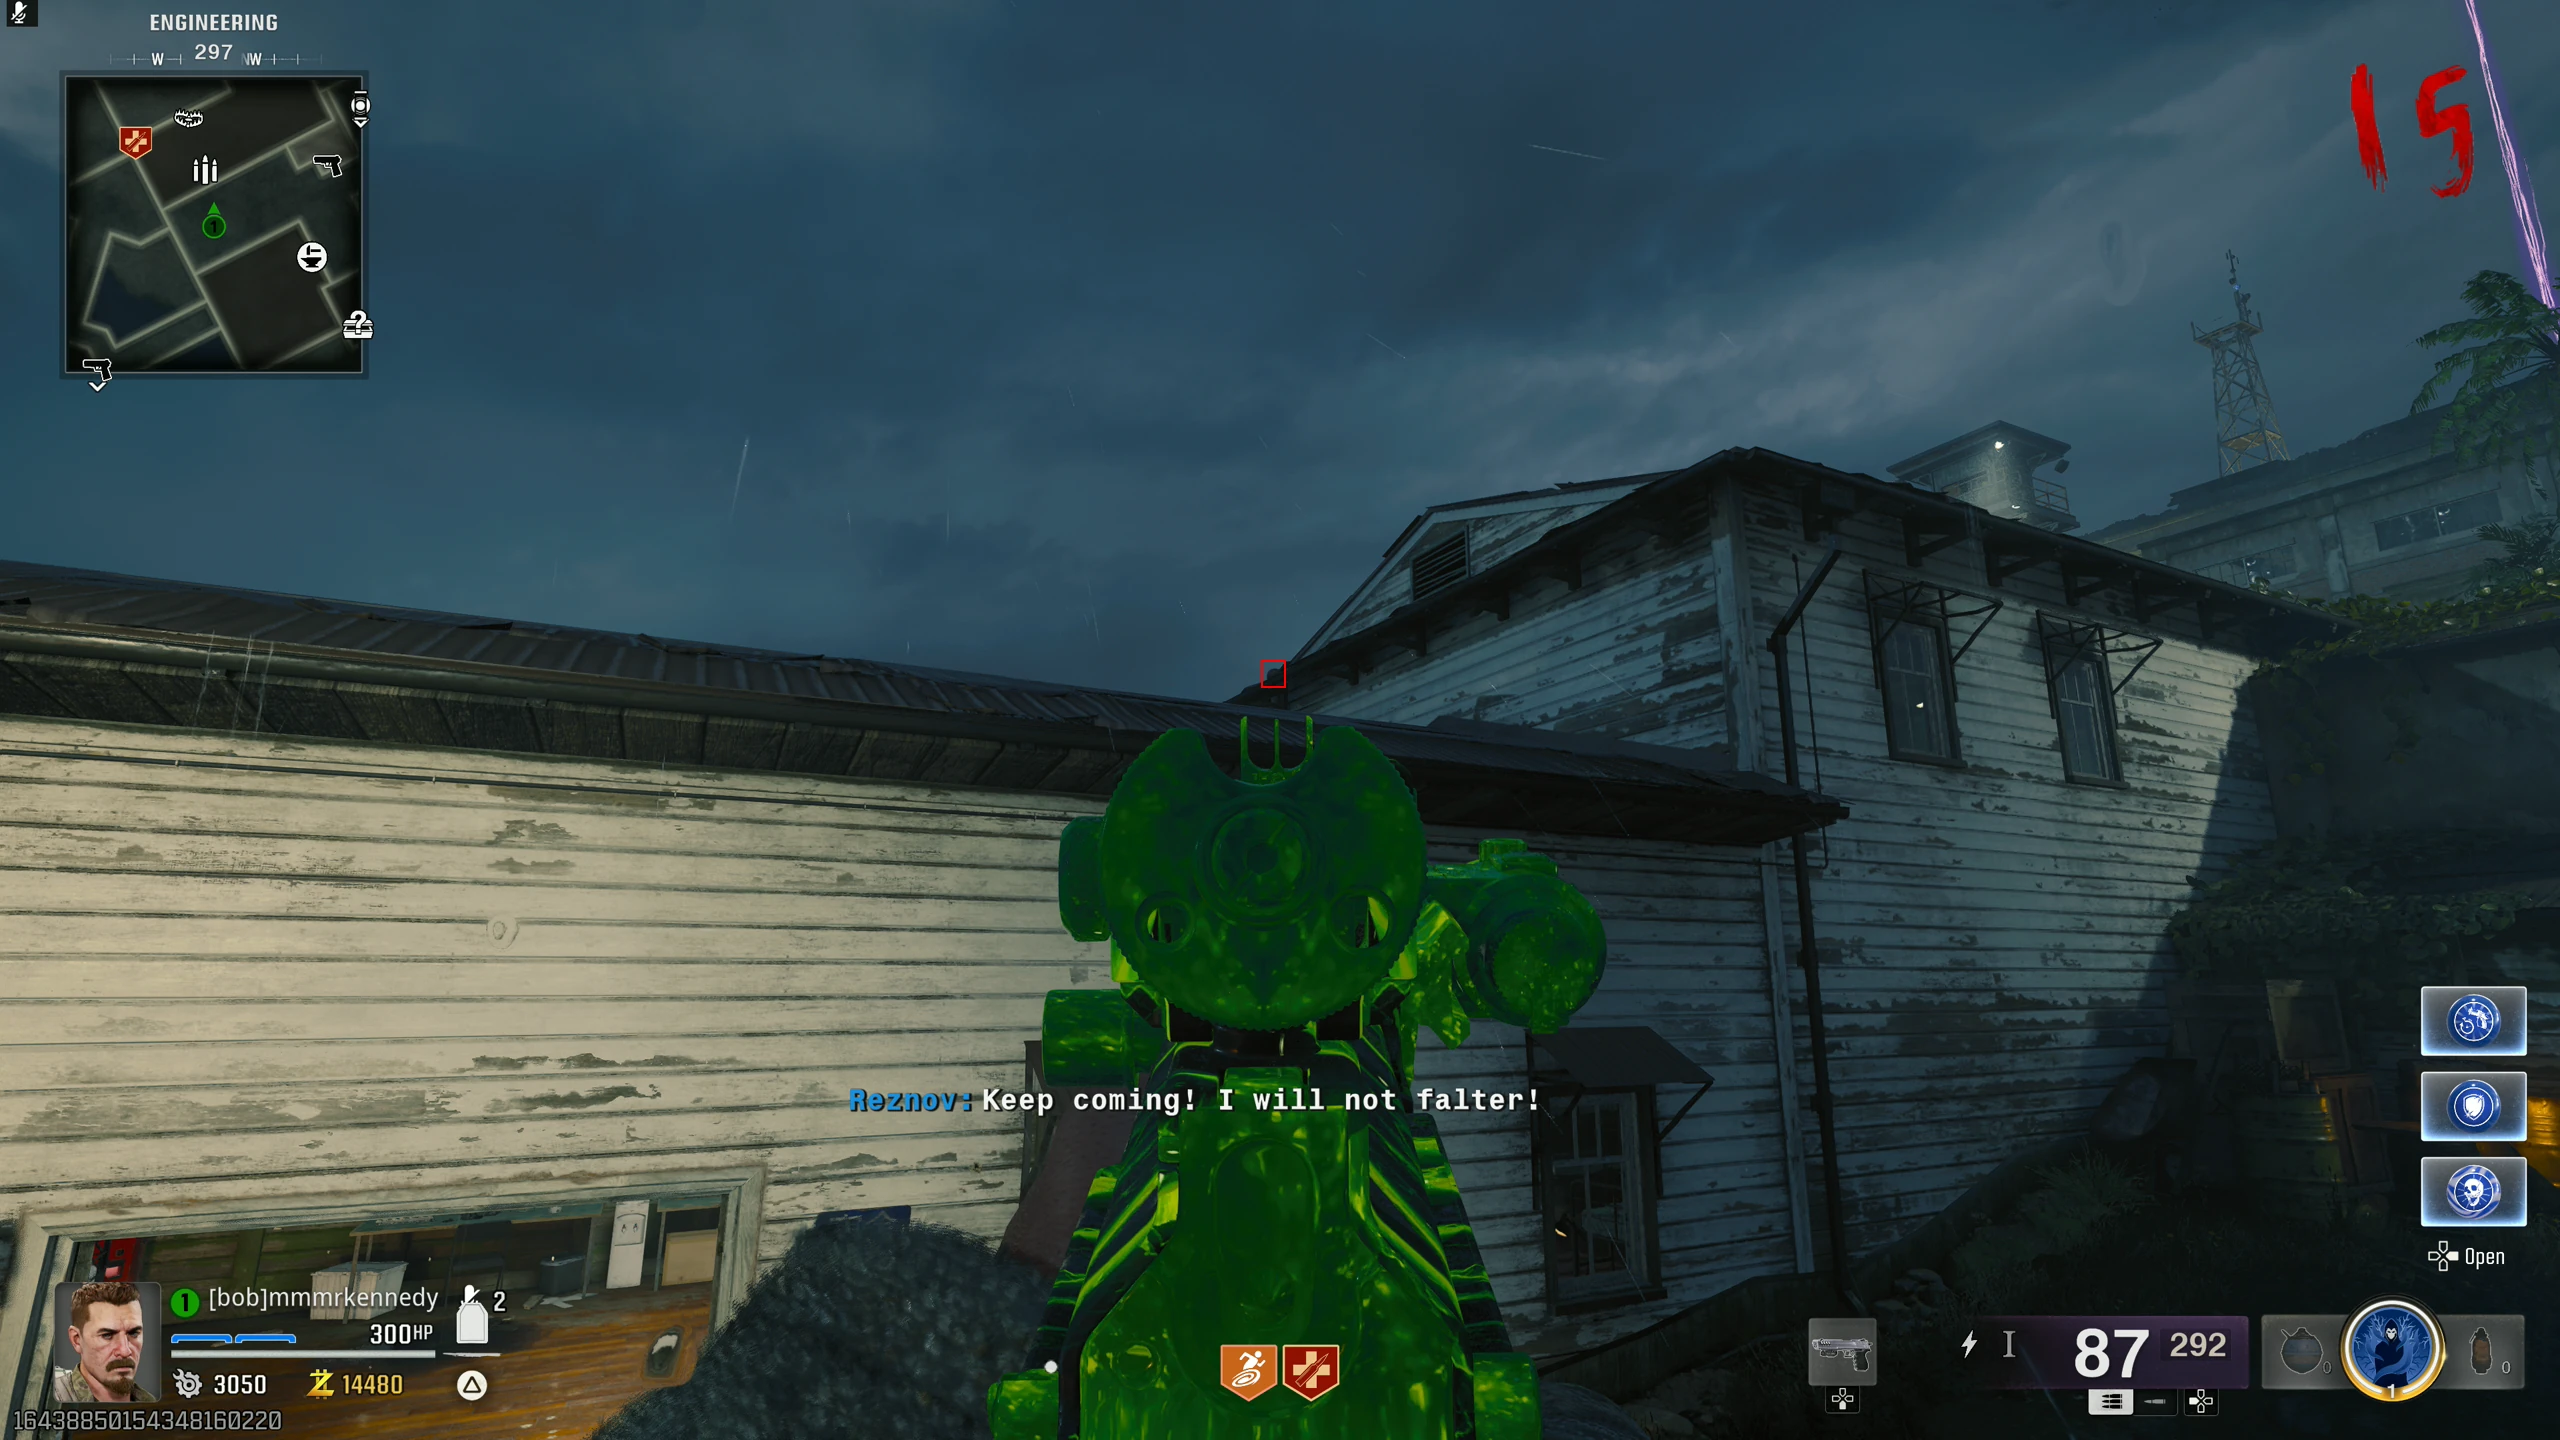
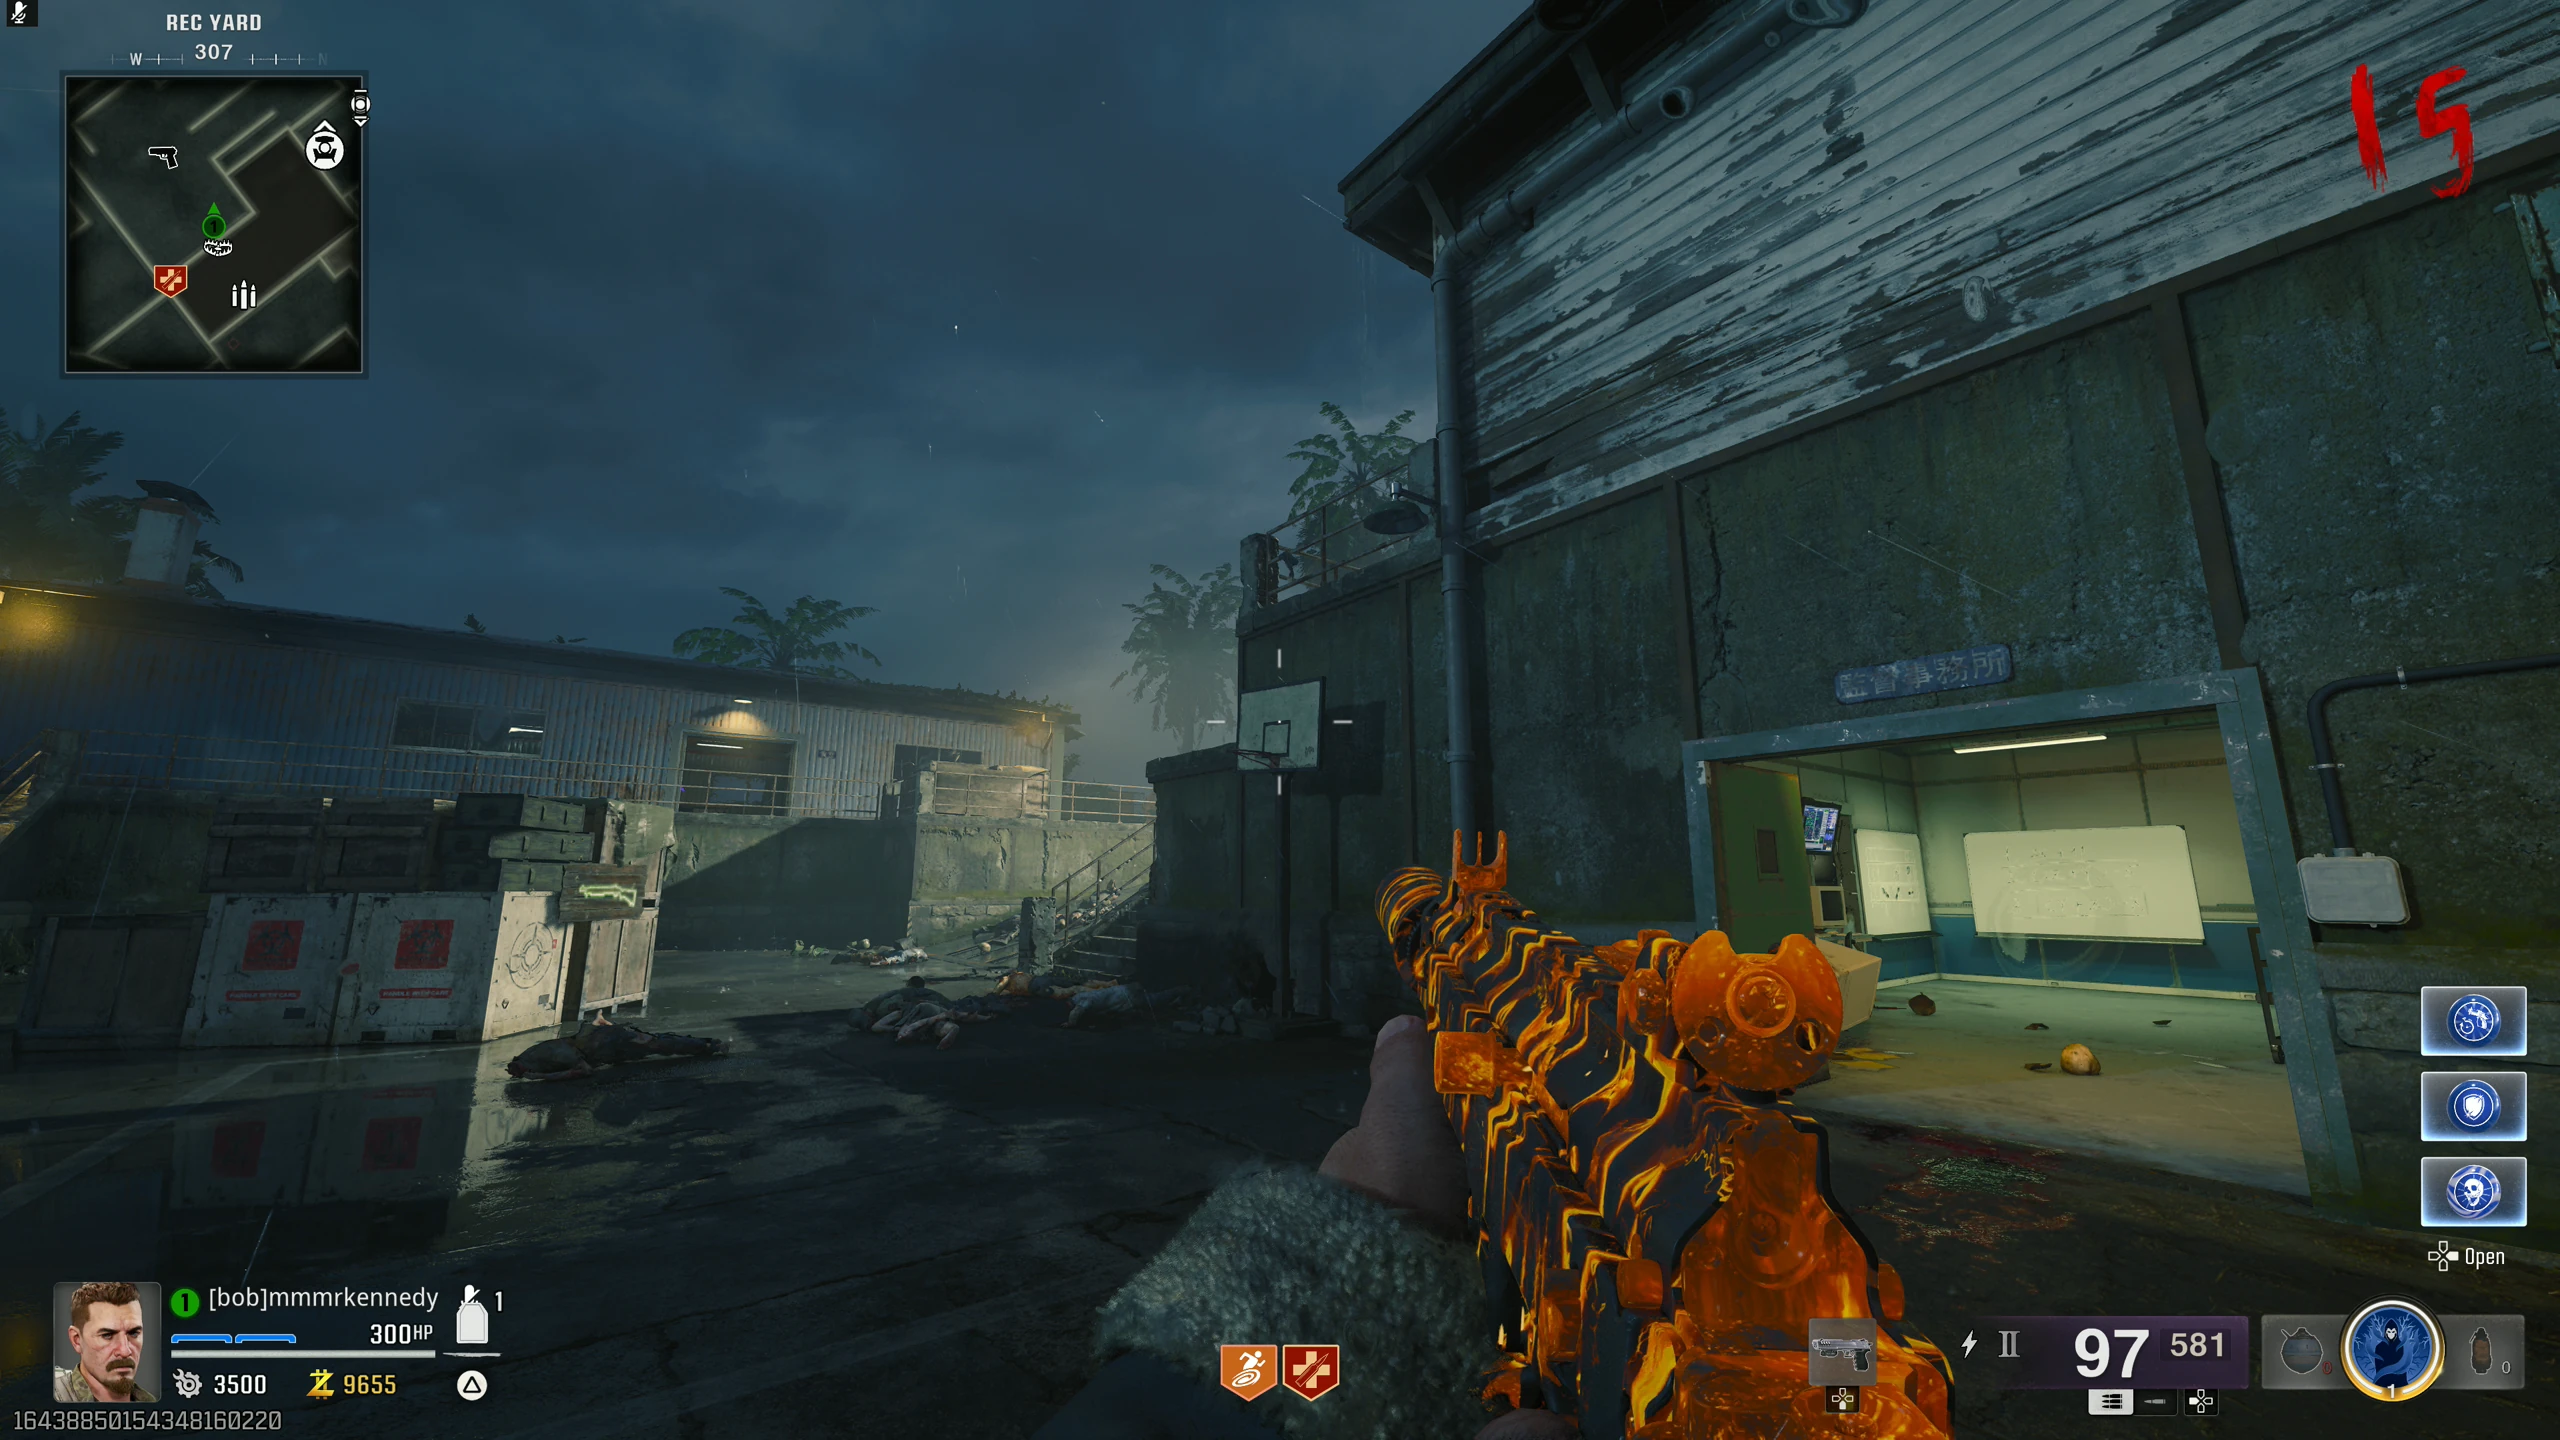
- You'll need to find a three numbers around the map. Once you find the code, enter it into the keypad under the window on Nathan's chamber. These numbers change every new game. Number locations:
-
Upon completion of the next step, you'll start a mini boss fight. Make sure you have at least a PAP level 2 weapon with the Dead Wire or Shadow Rift Ammo Mod.
- Once you input the code, all players need to interact with the valves on the chamber (there are four around the chamber) at roughly the same time.
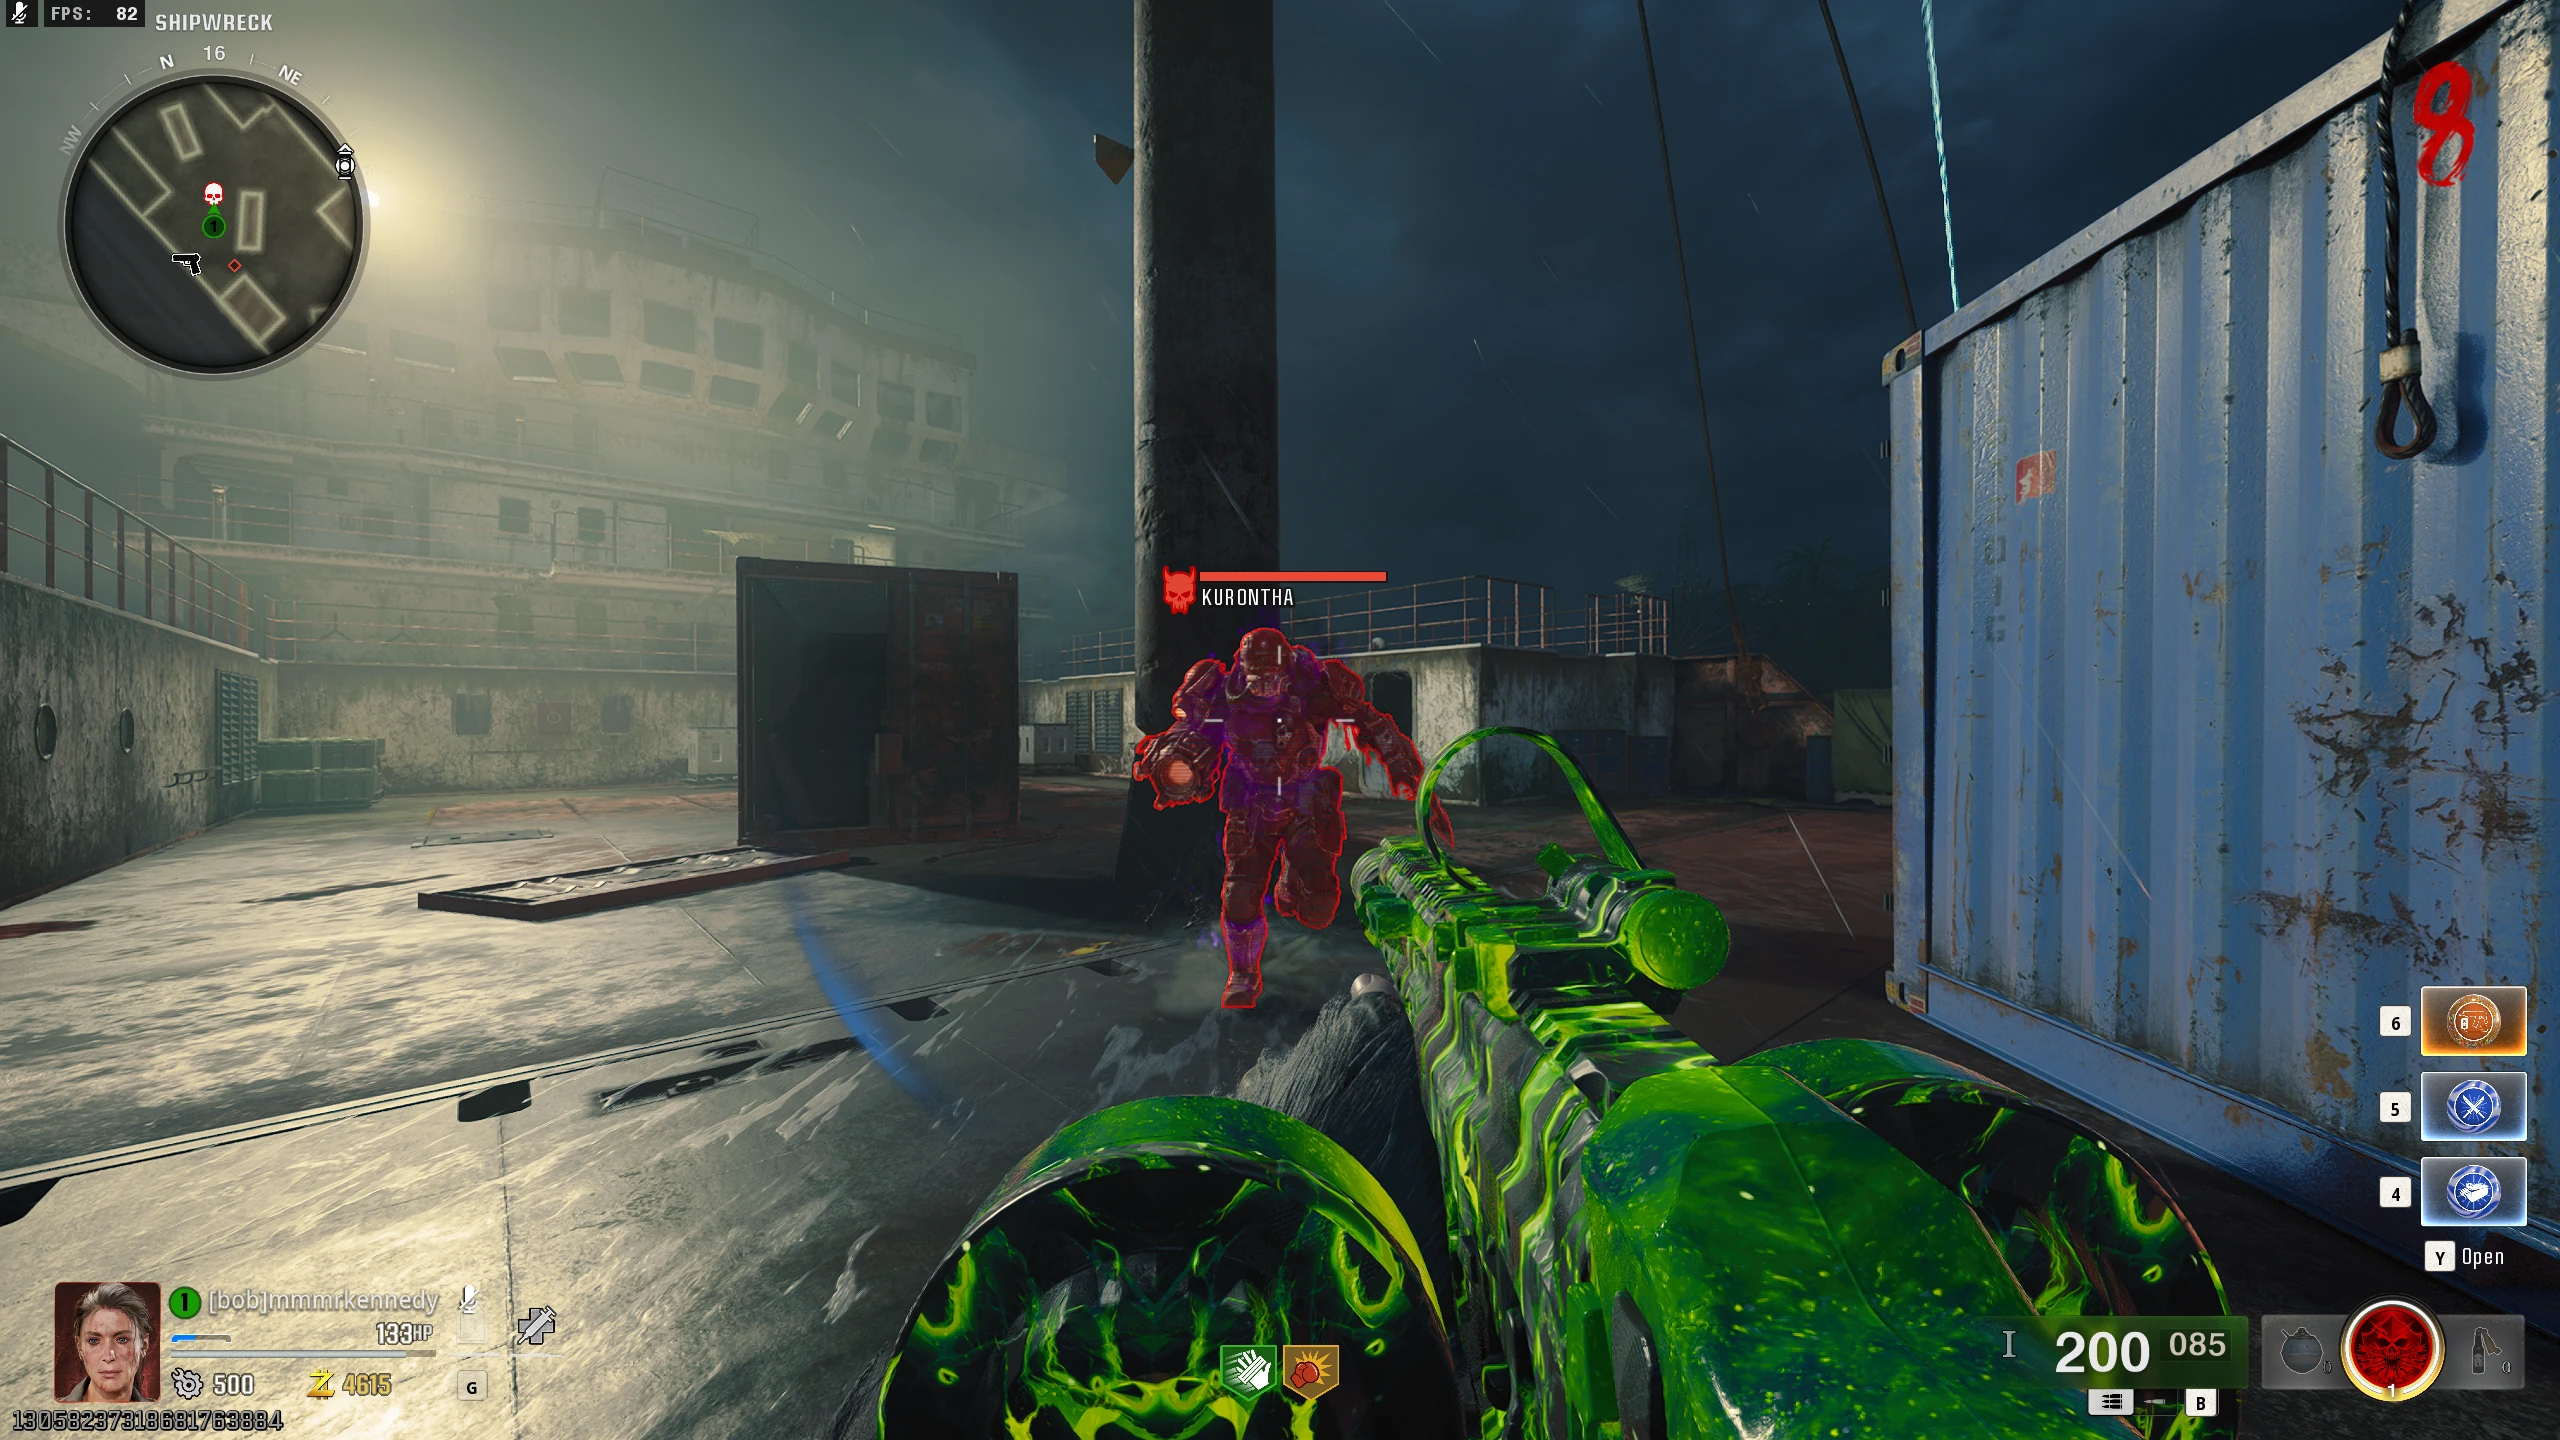
- Nathan will spawn as an Amalgam, and you'll be locked in the Bio Lab. Kill him to start a cutscene (it can be skipped).
-
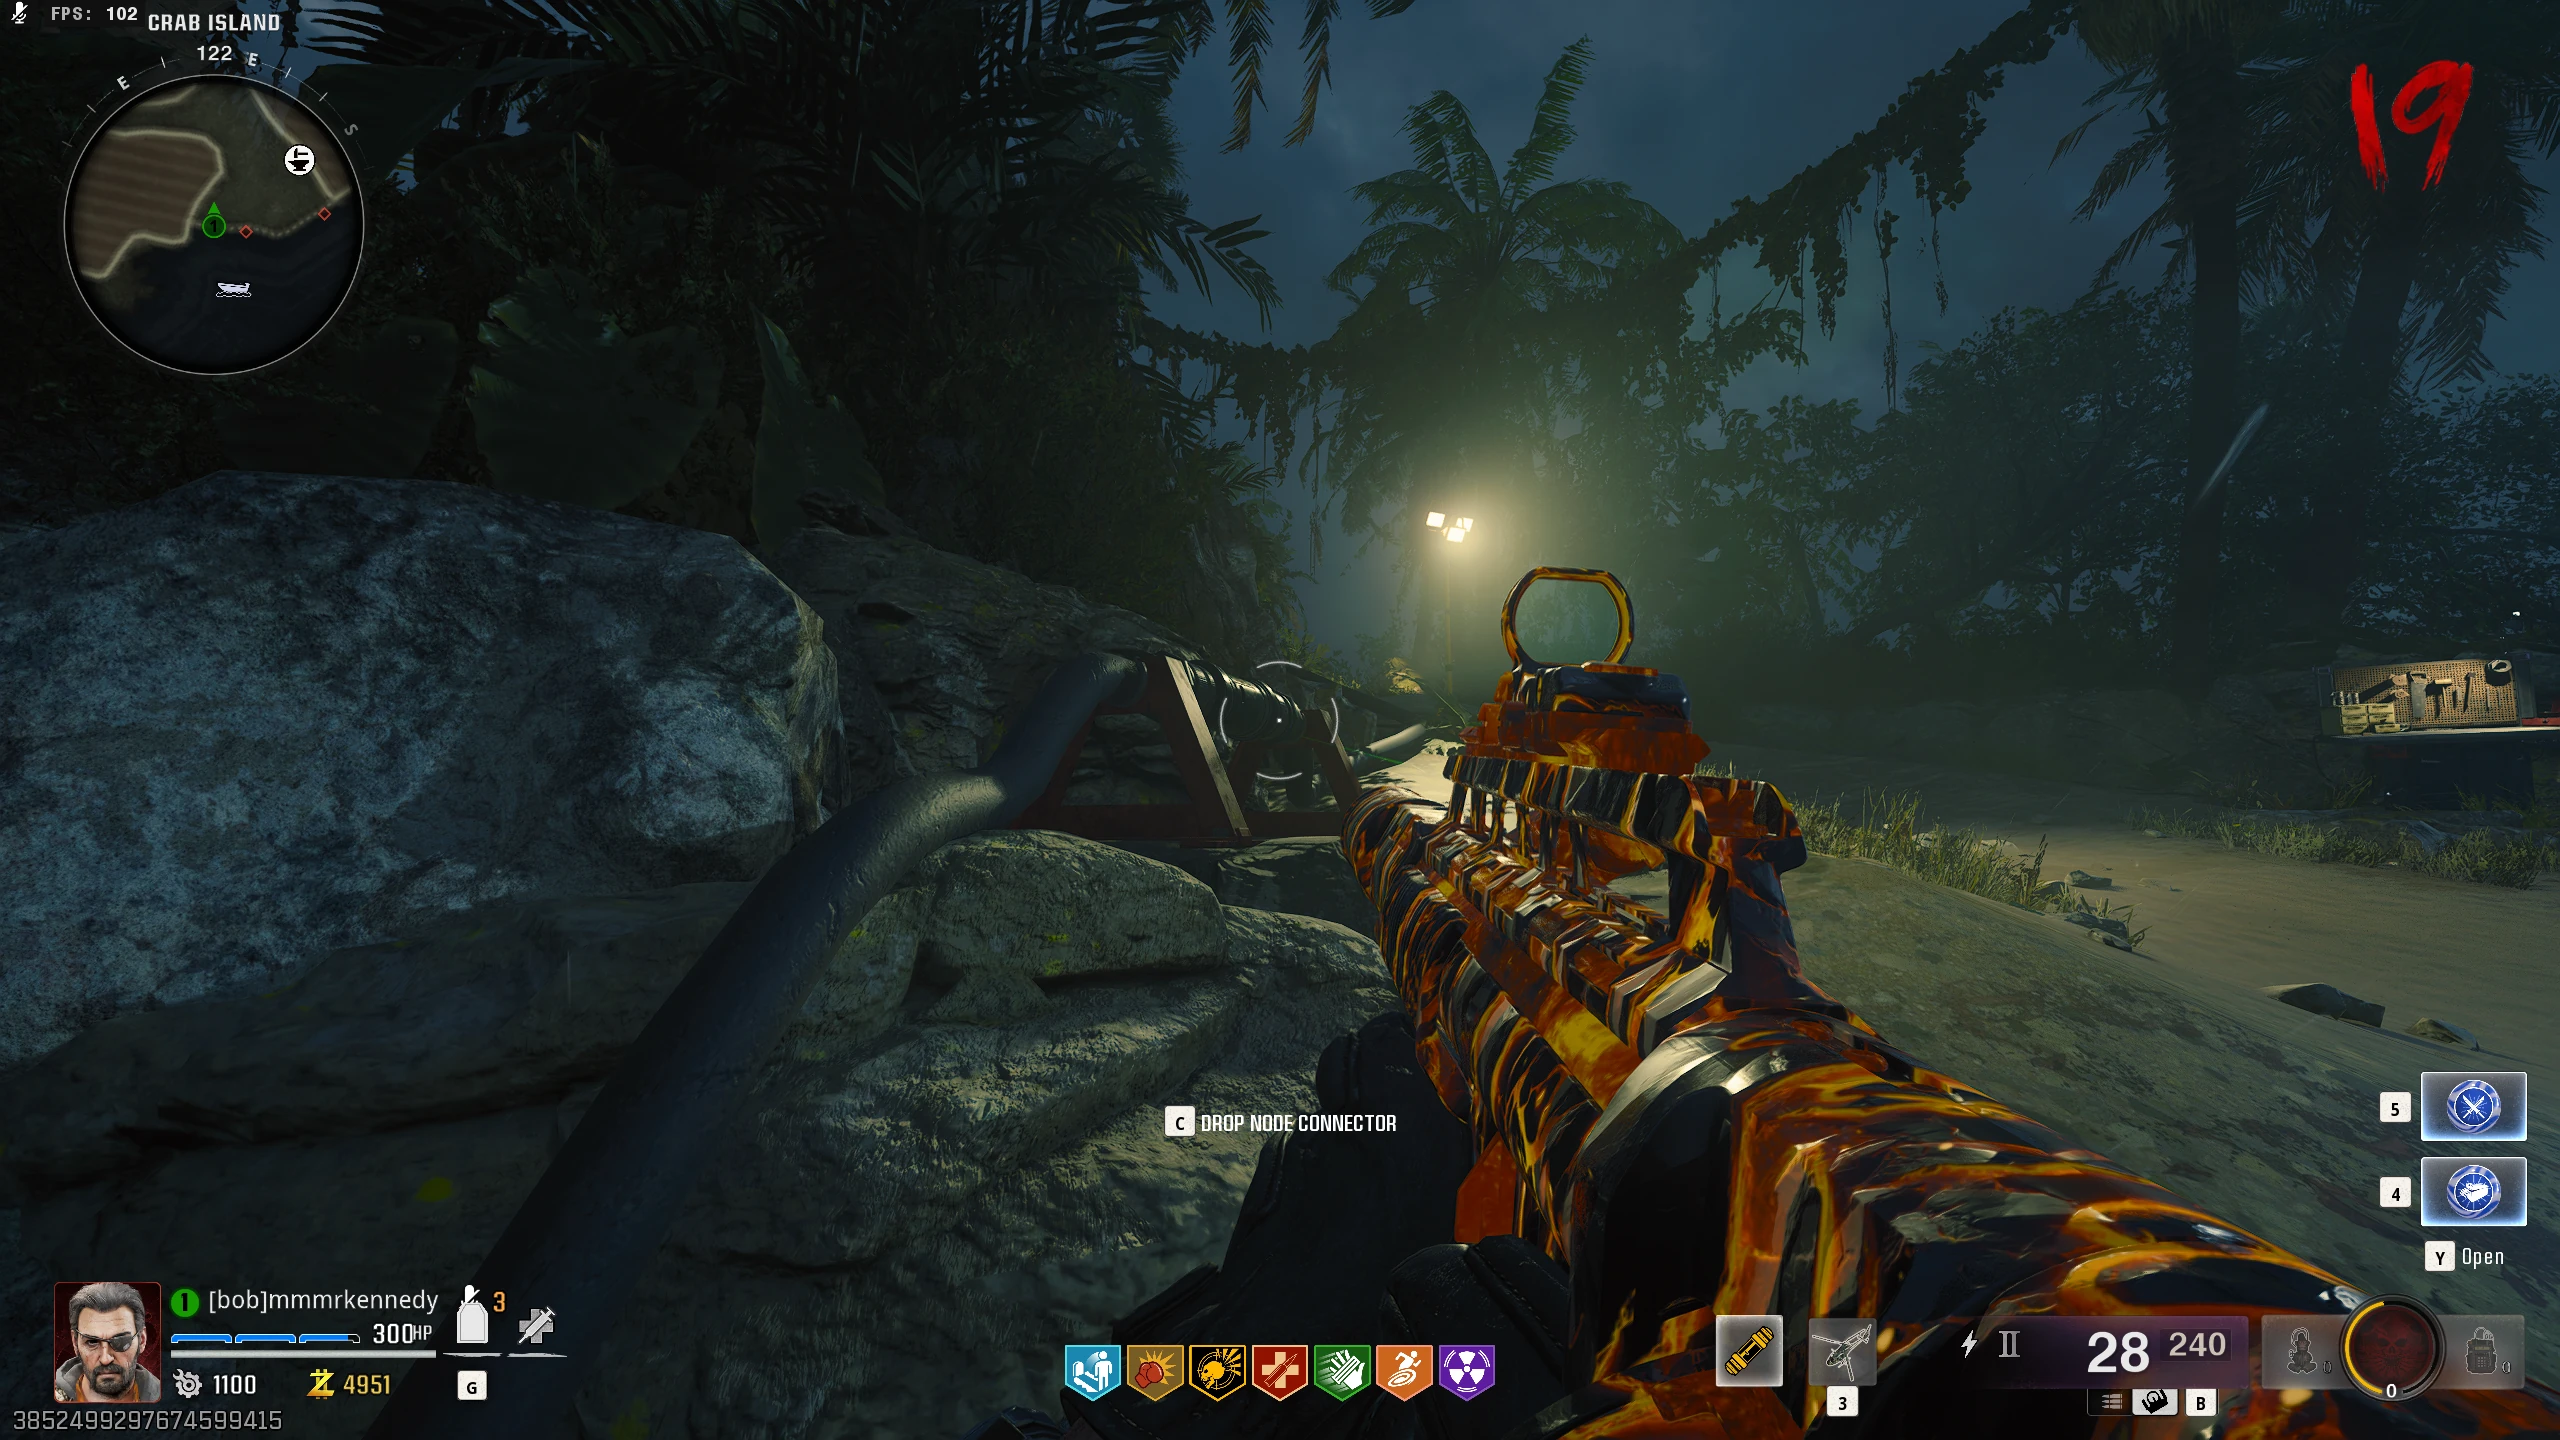
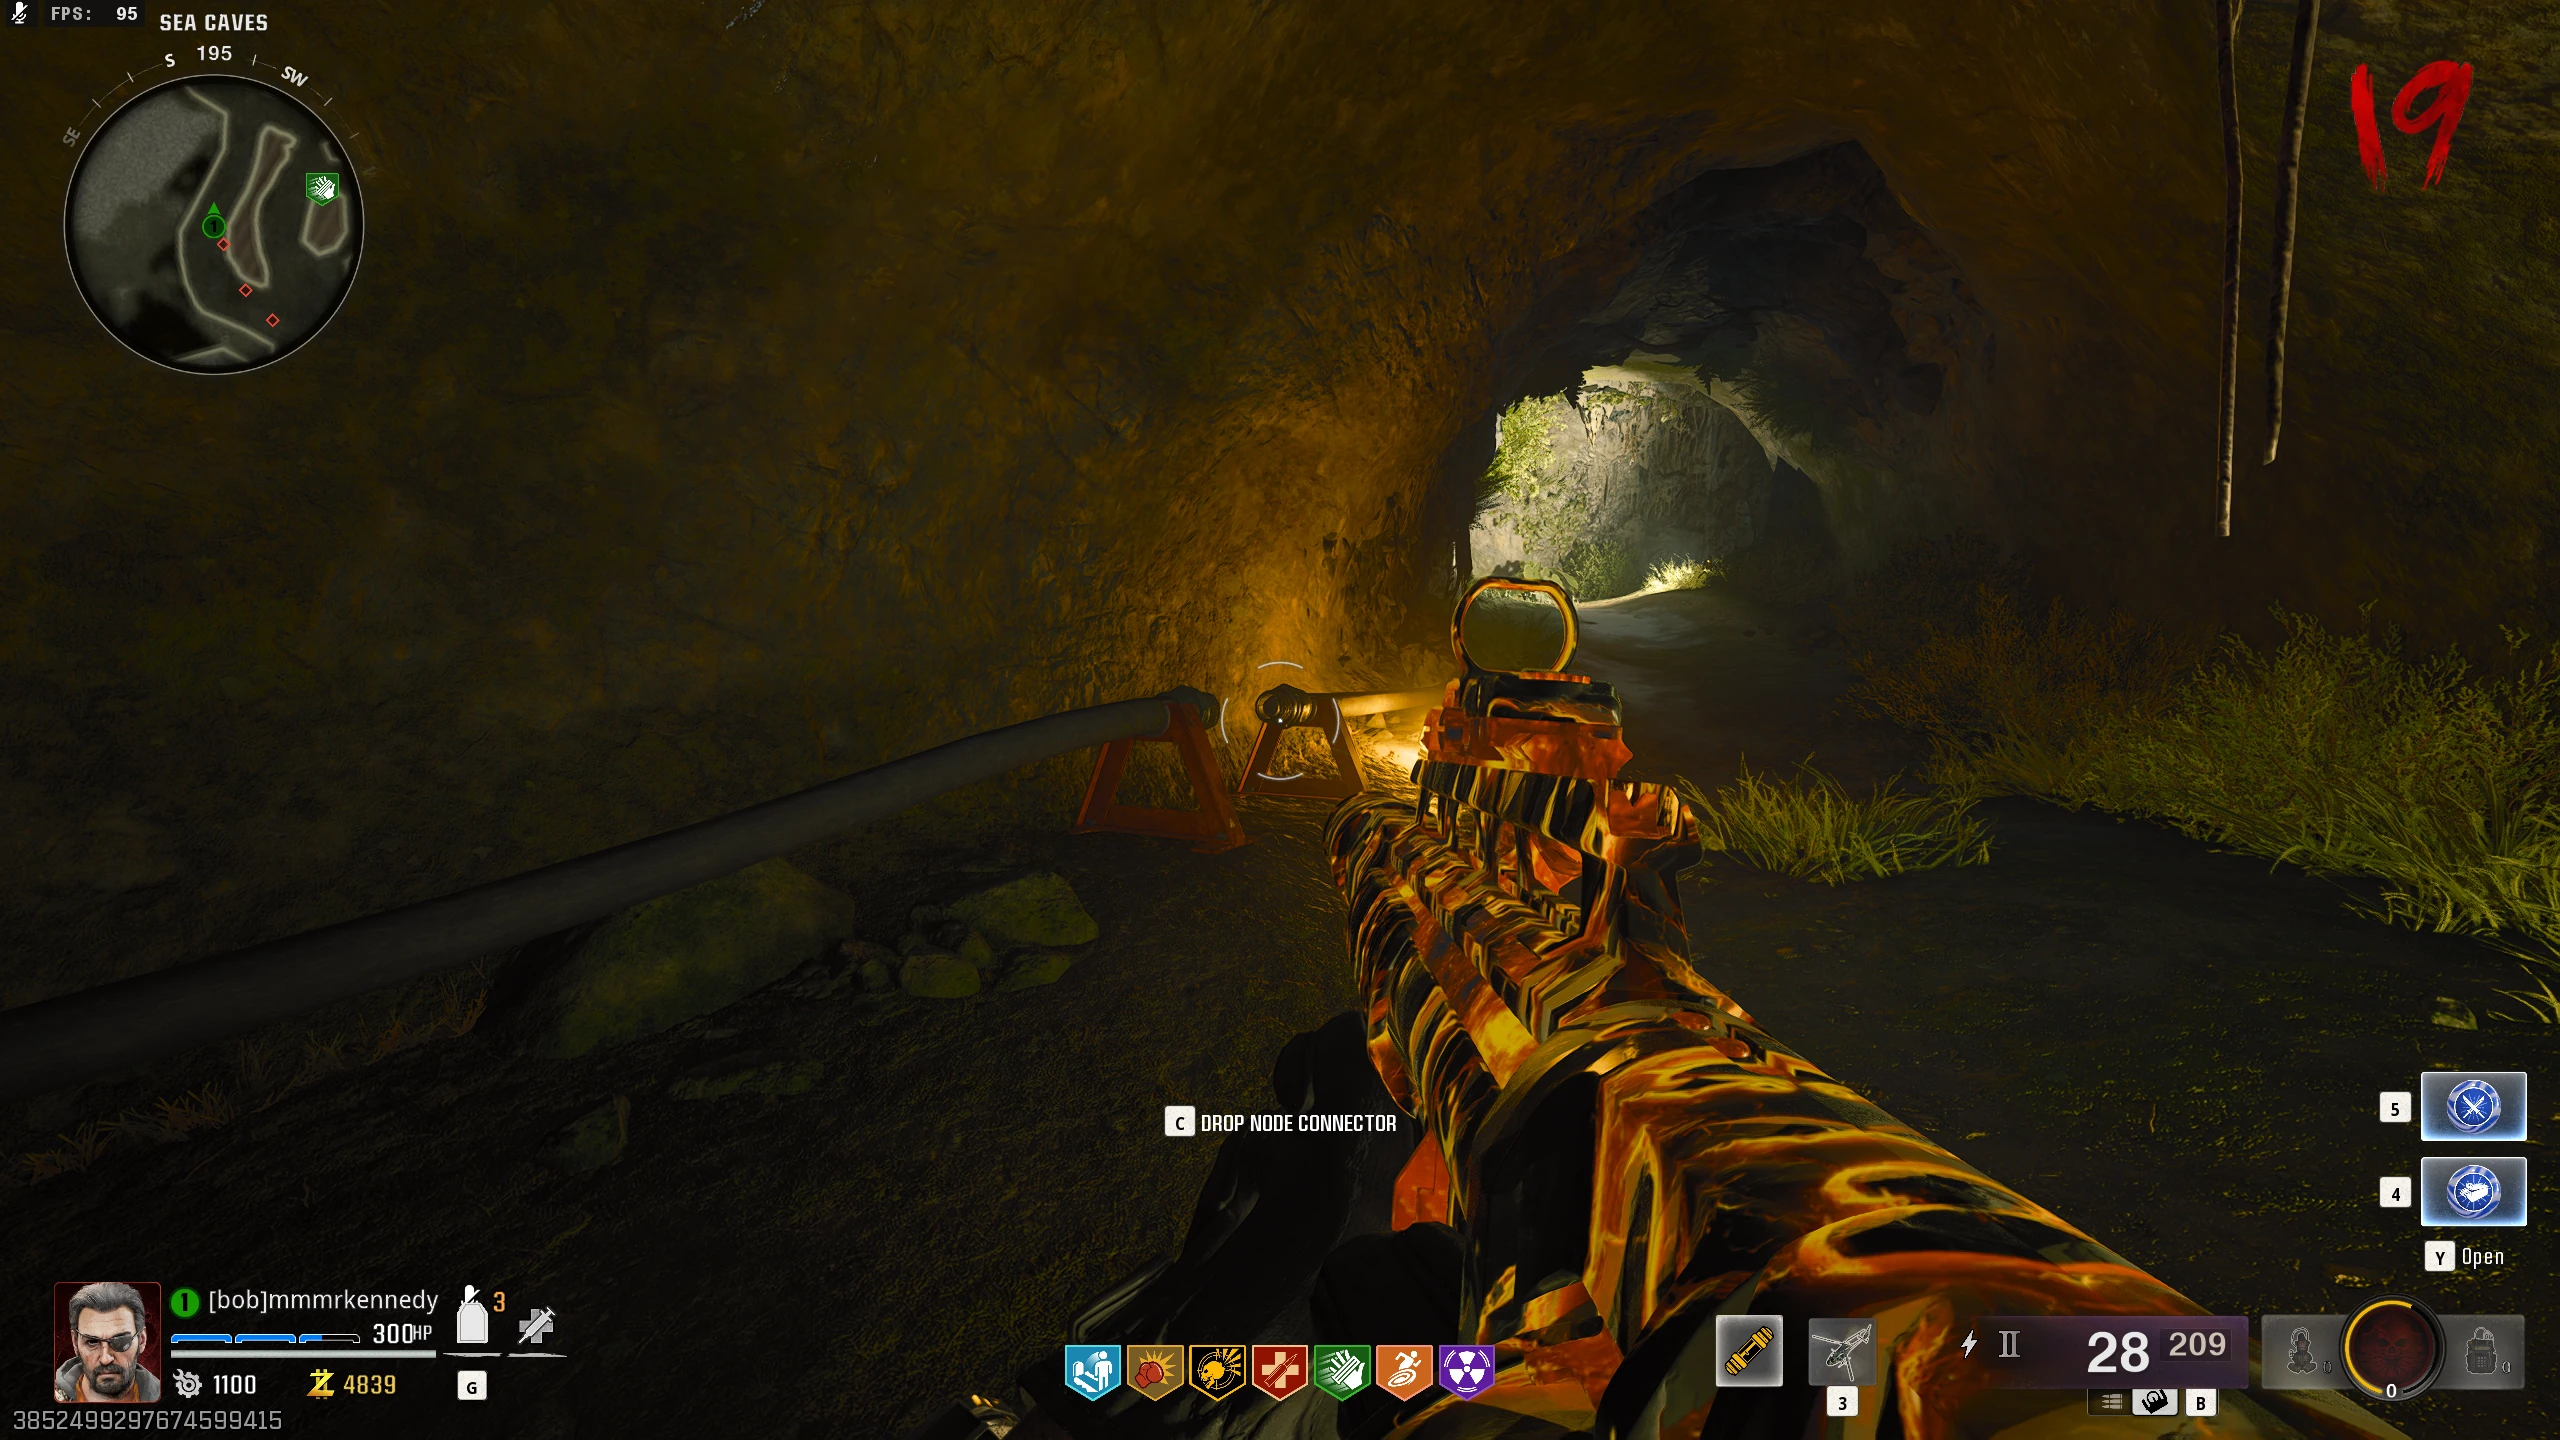
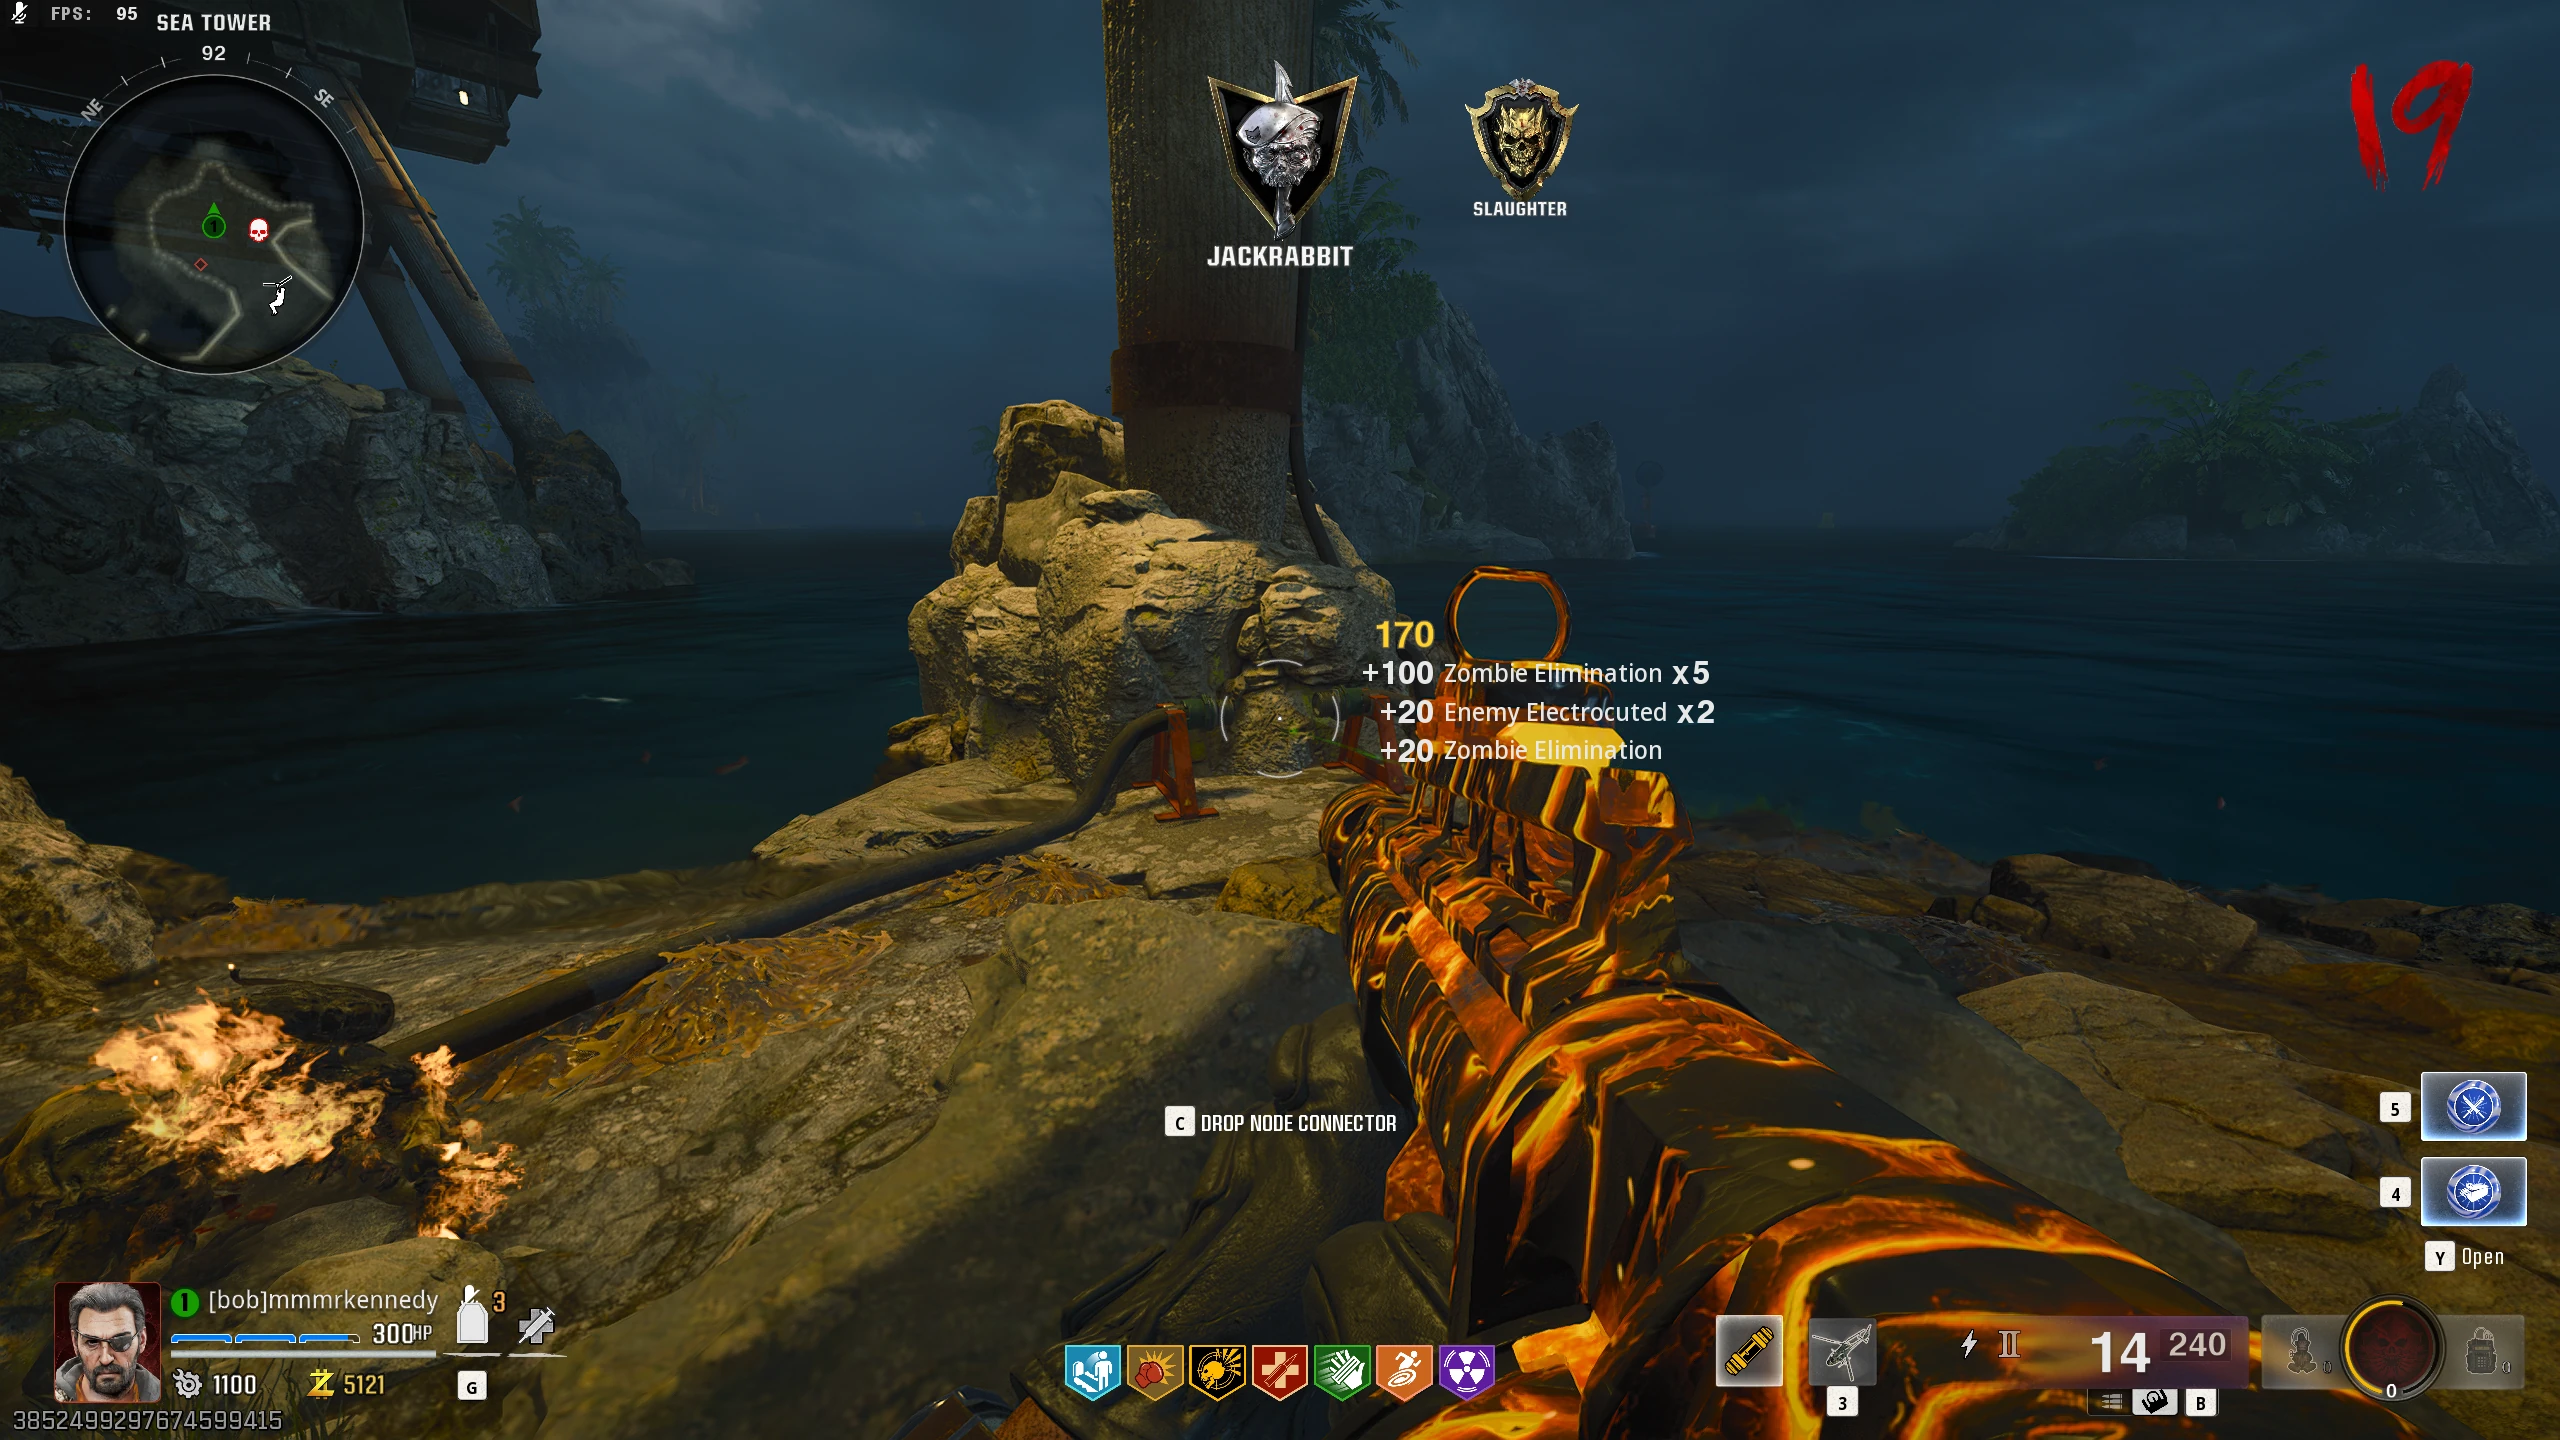
Node Connectors
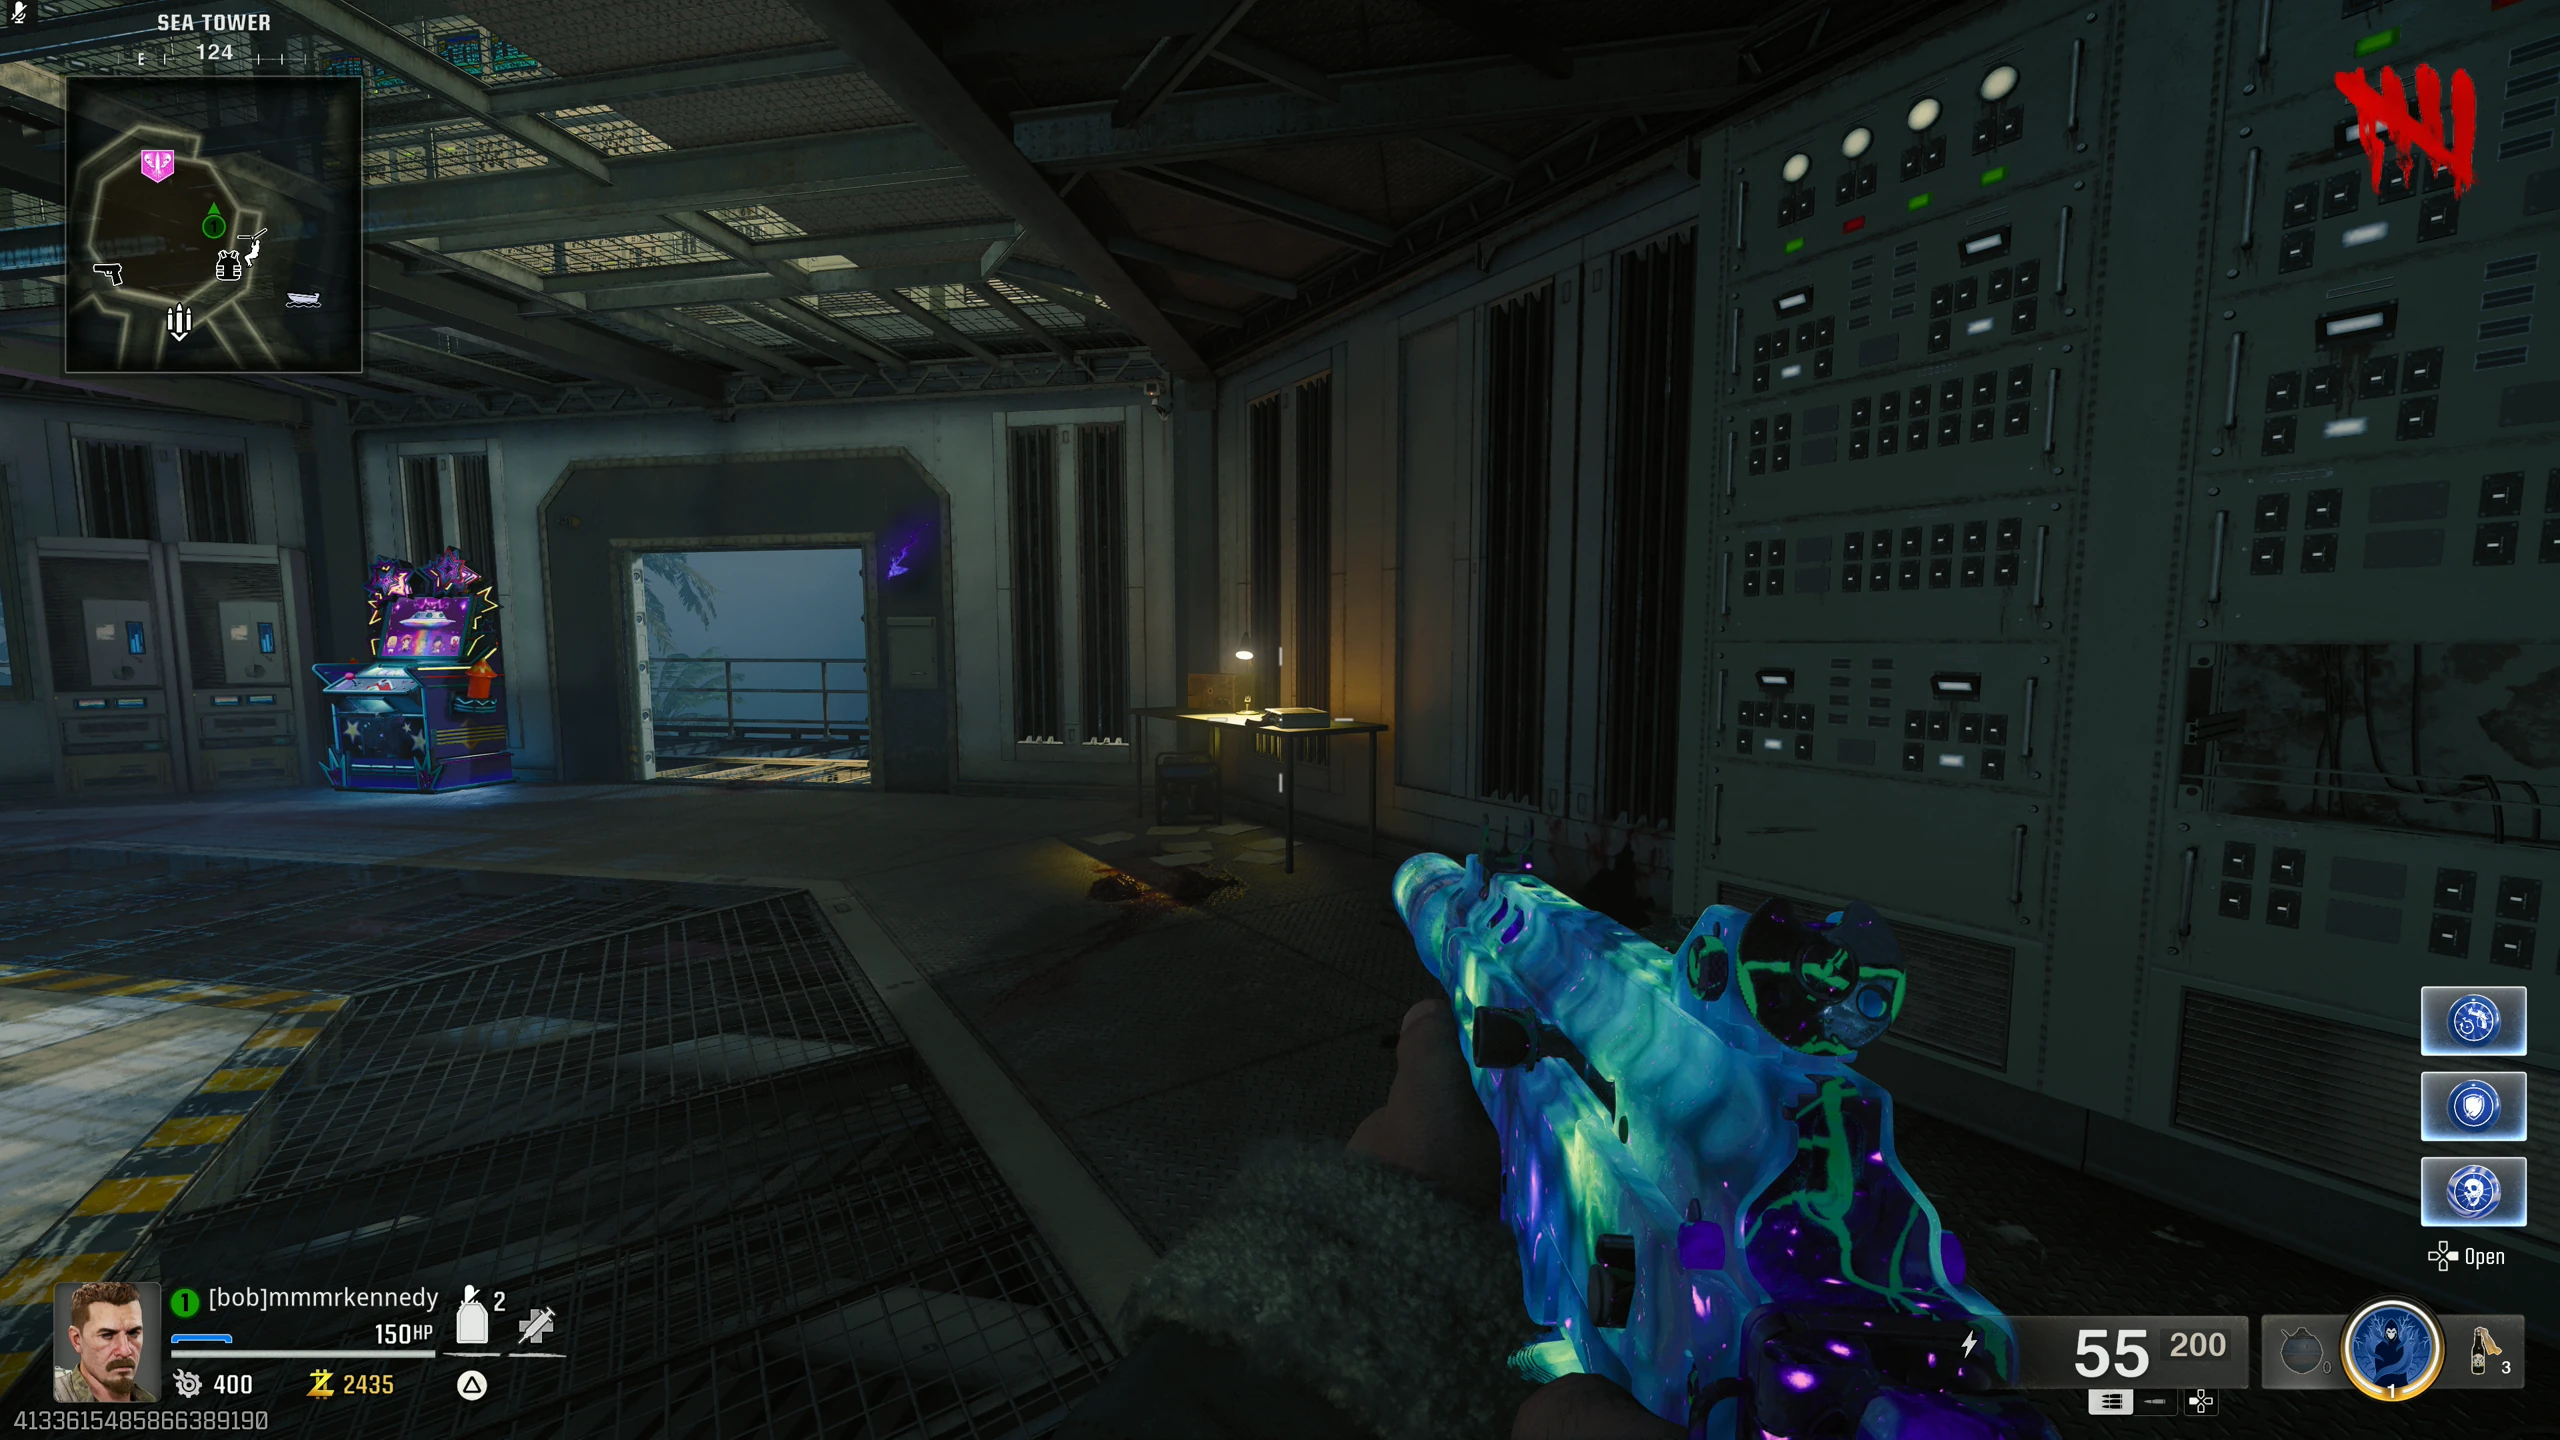
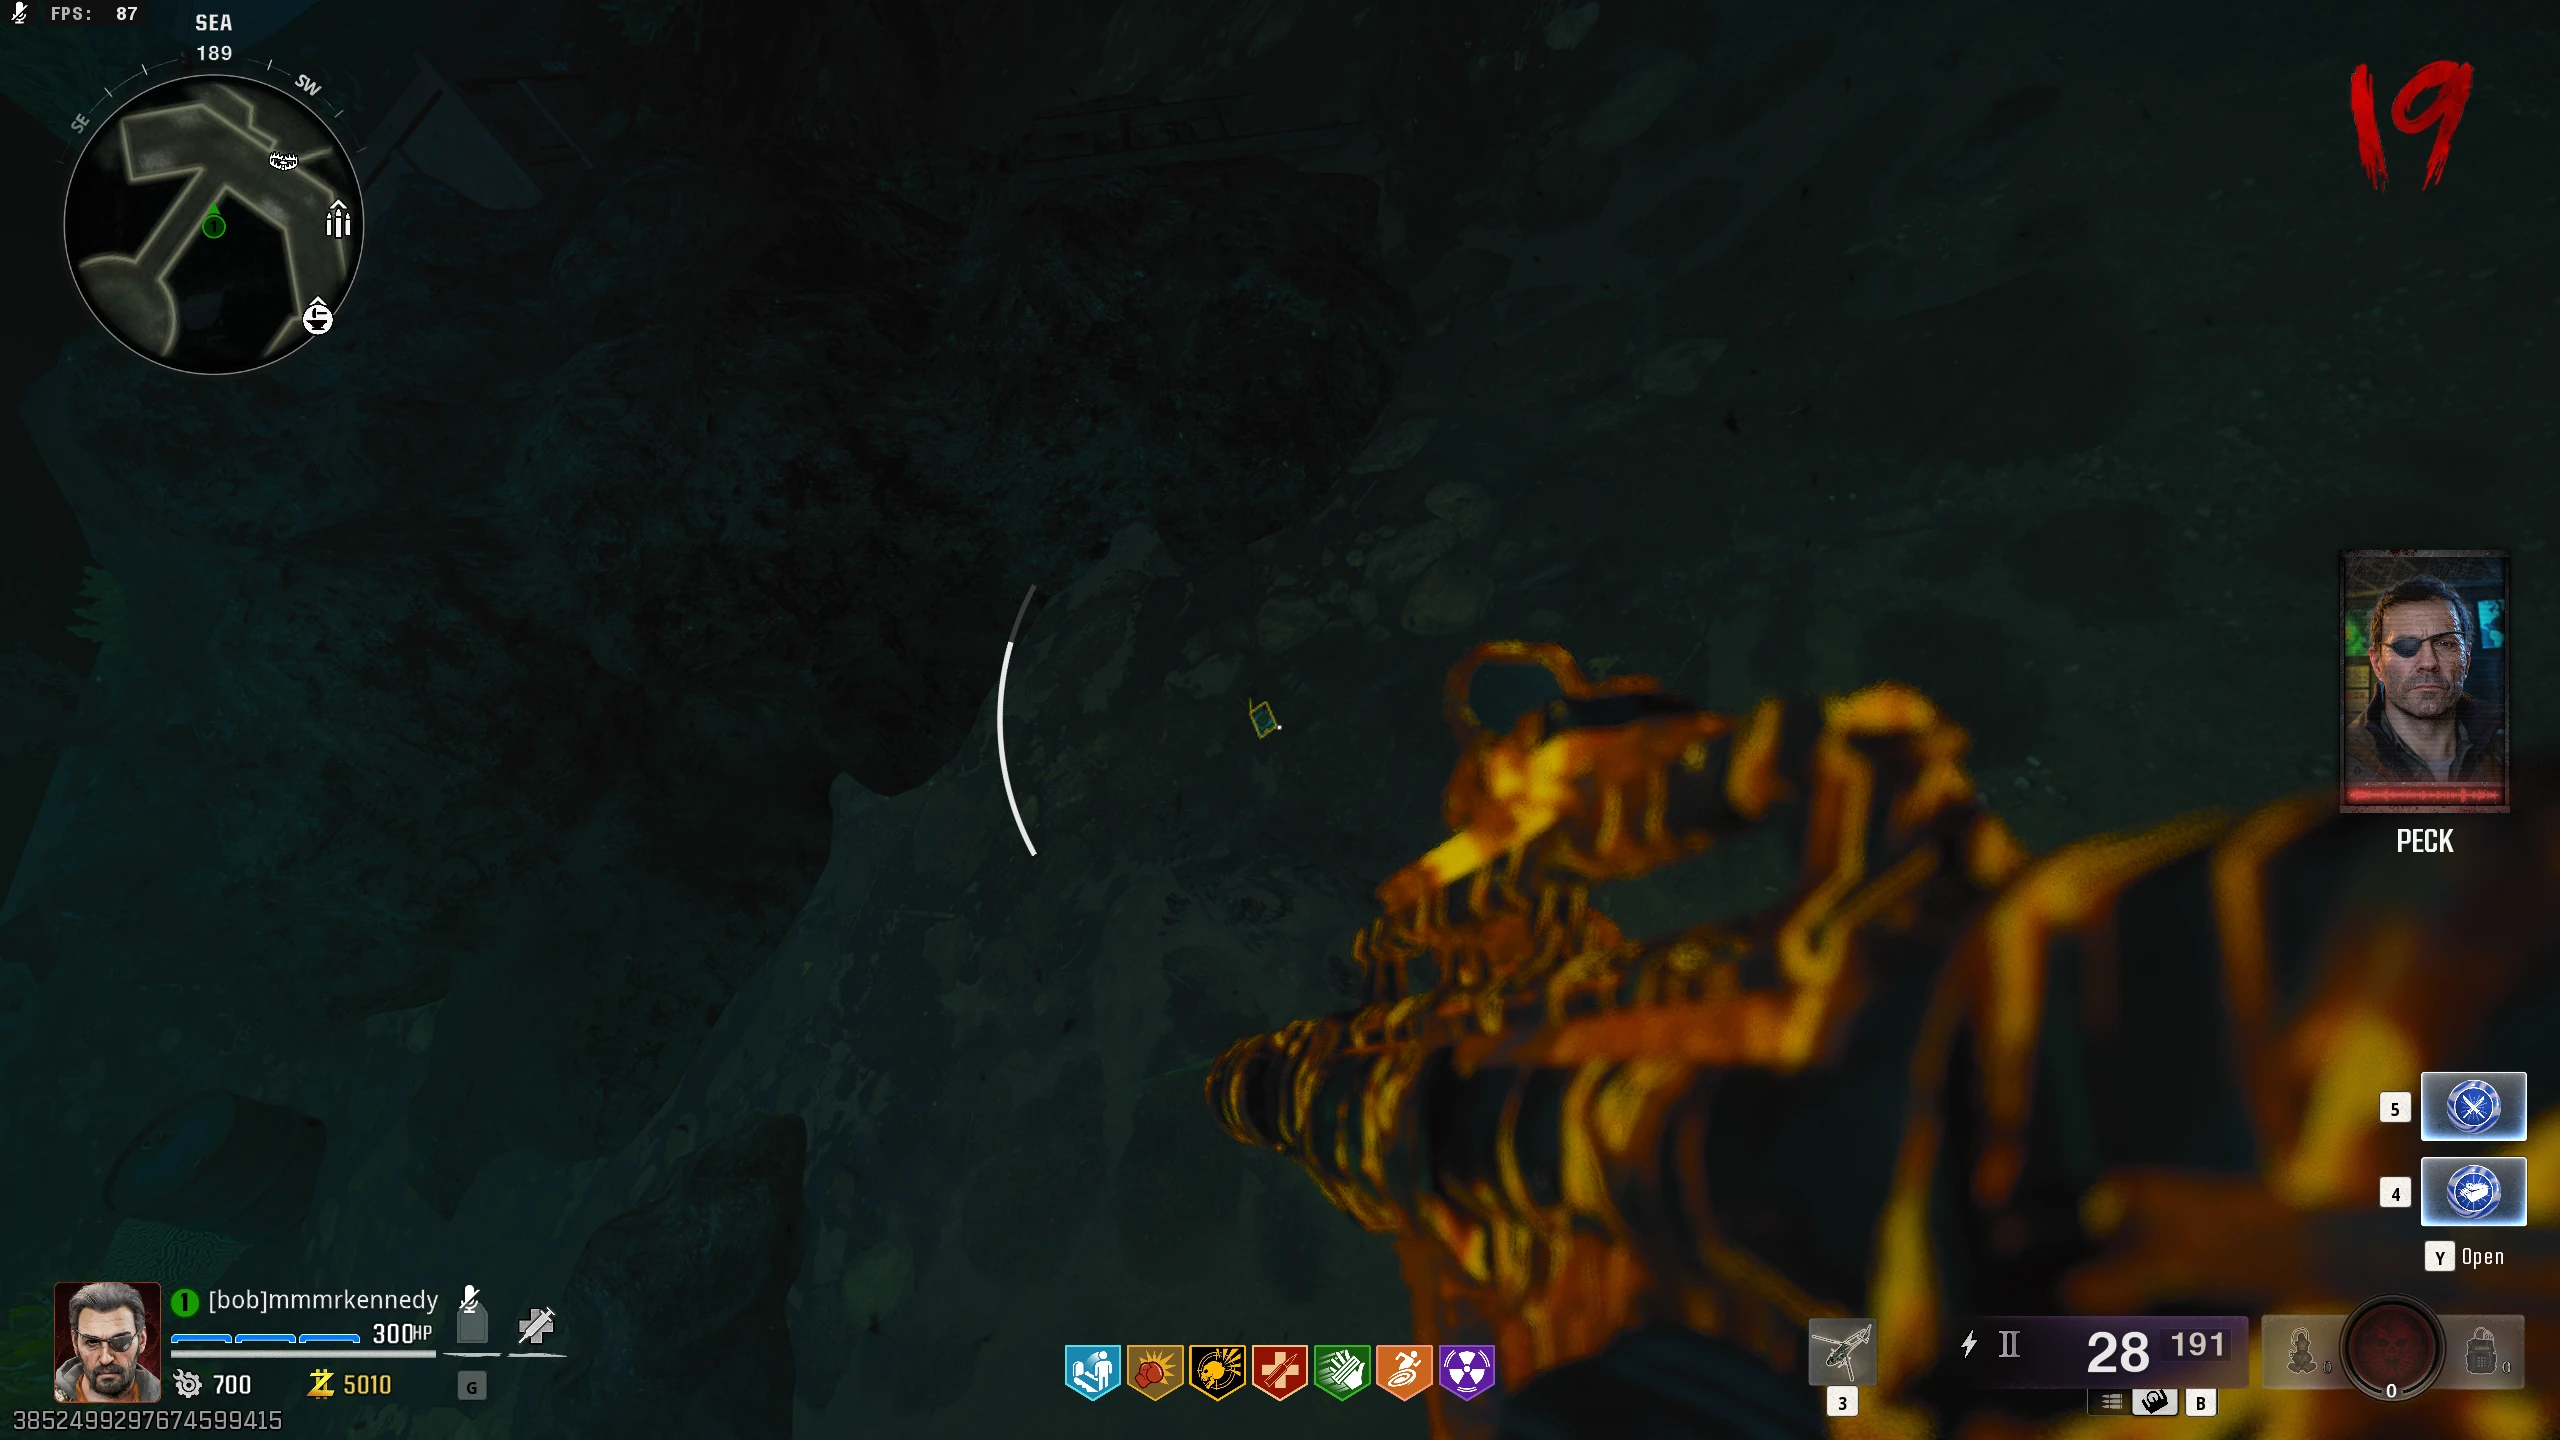
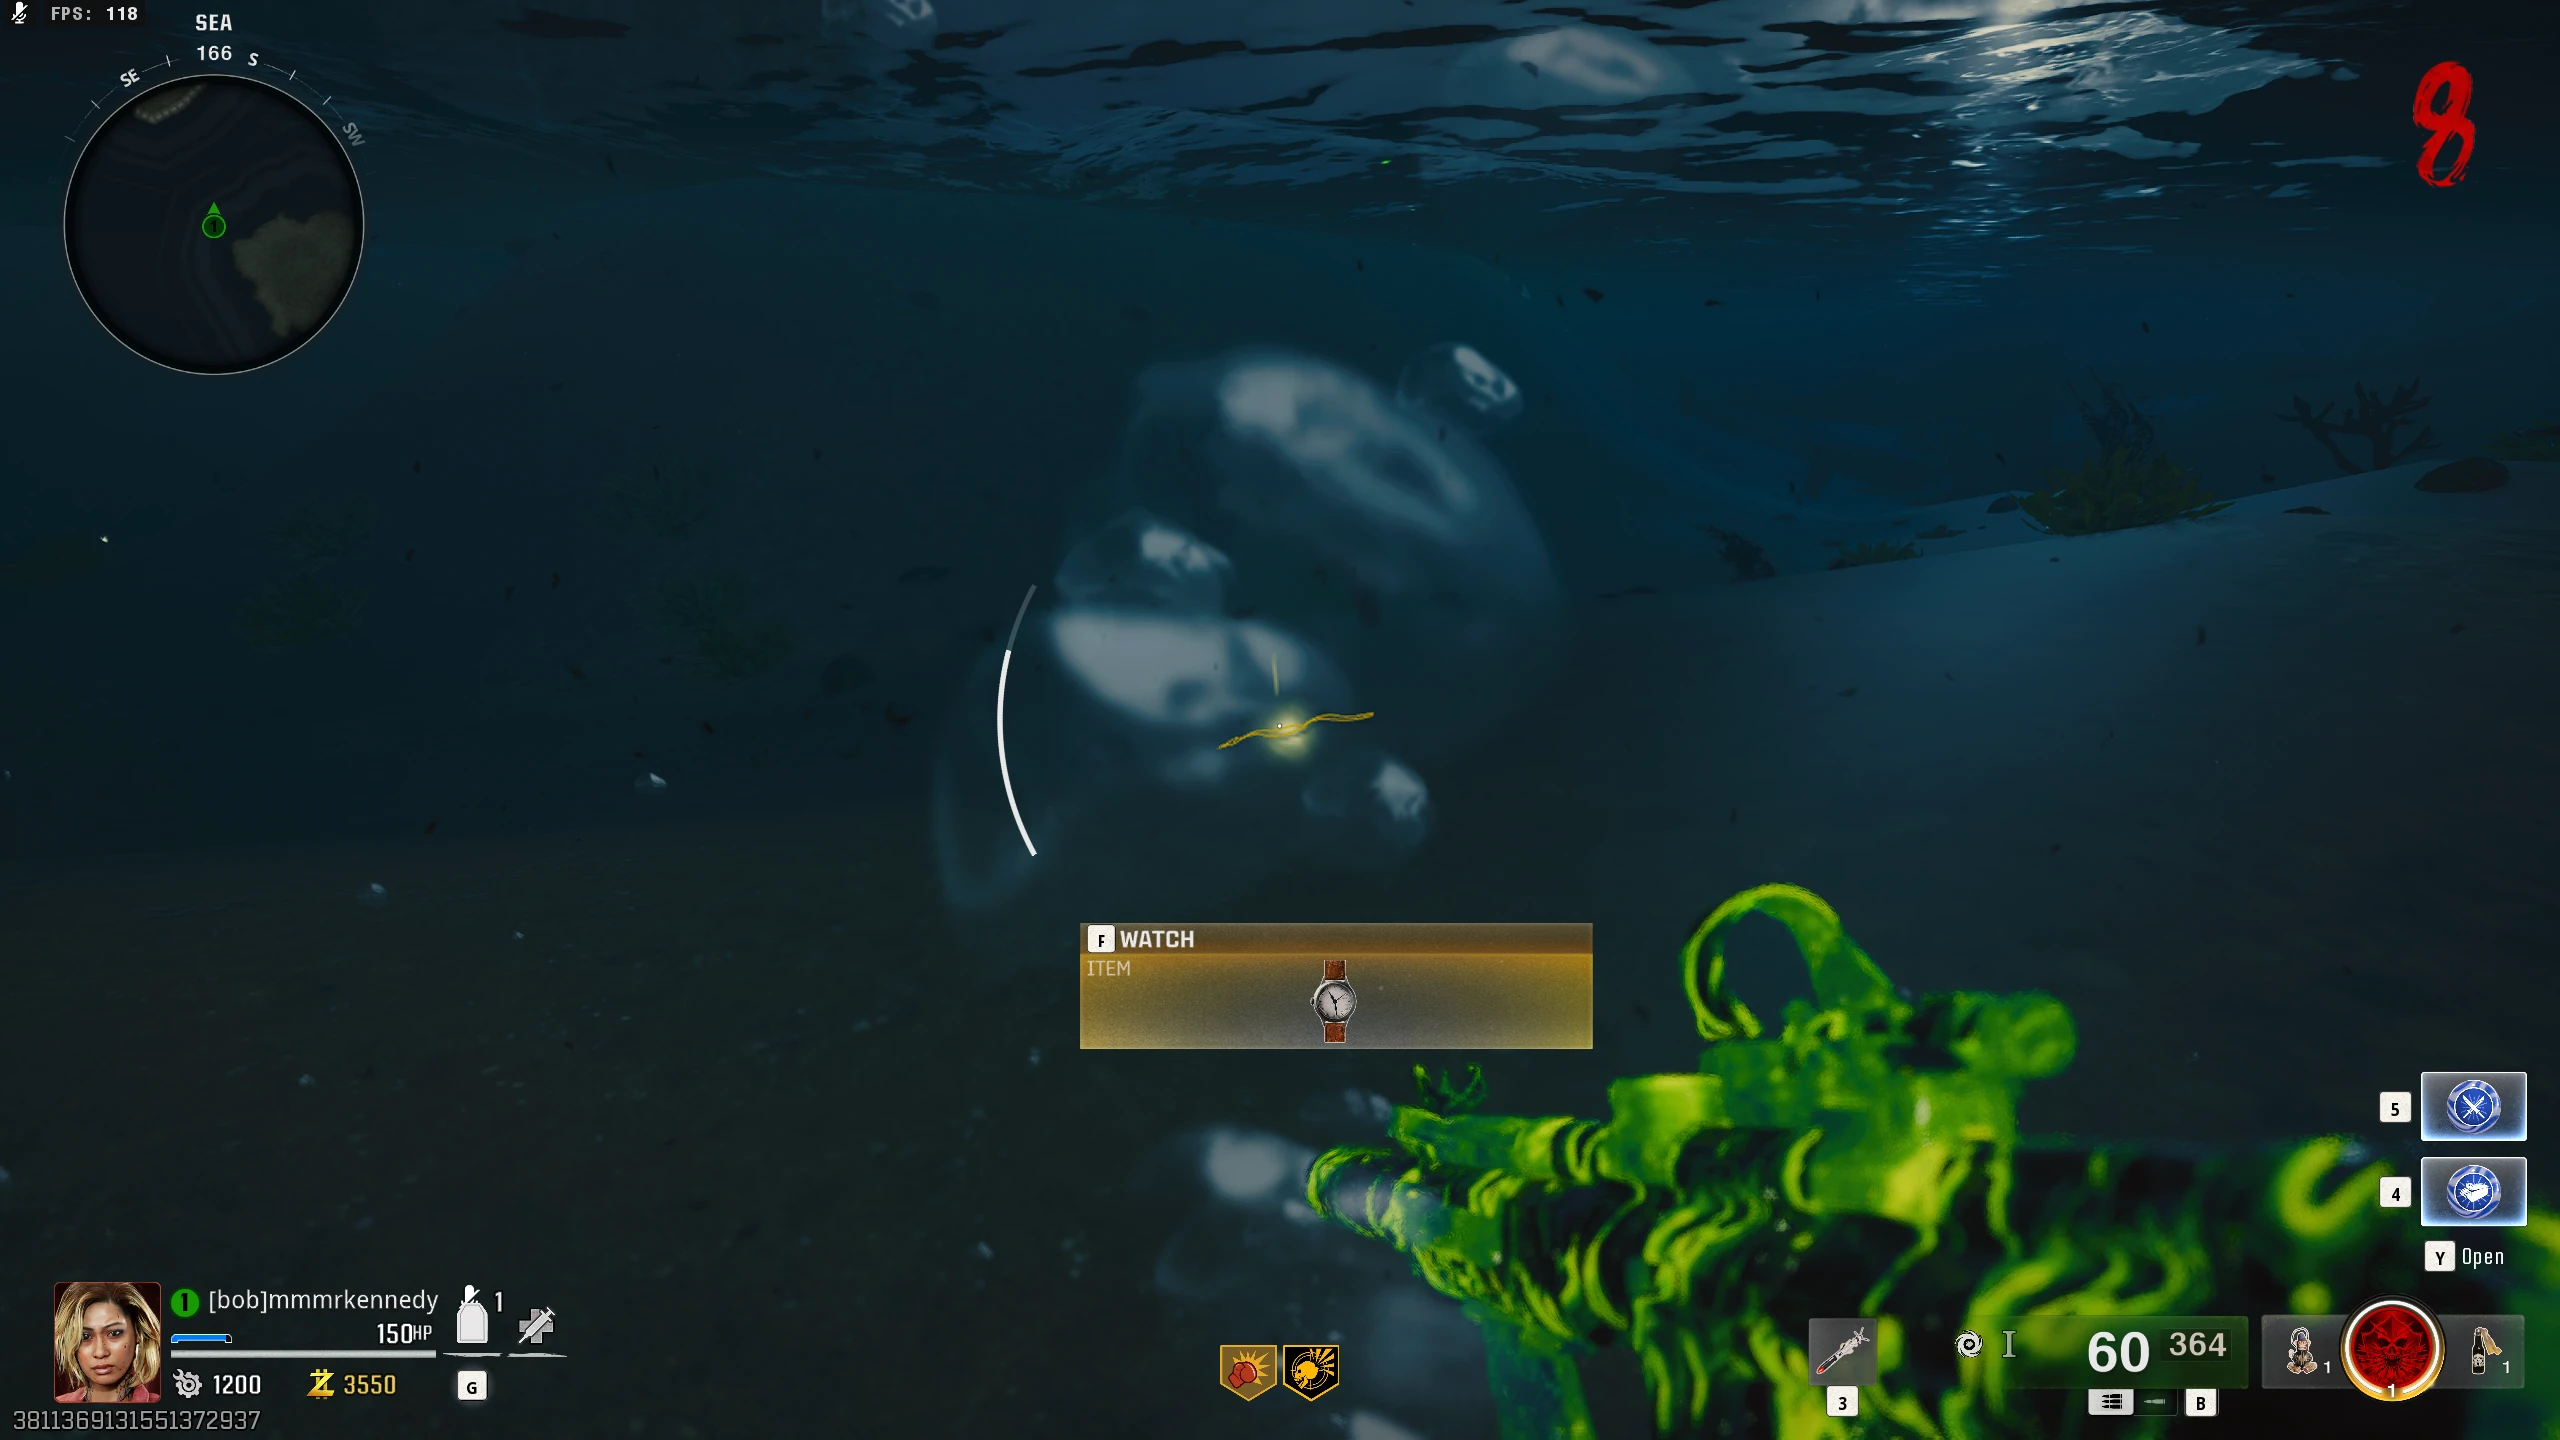
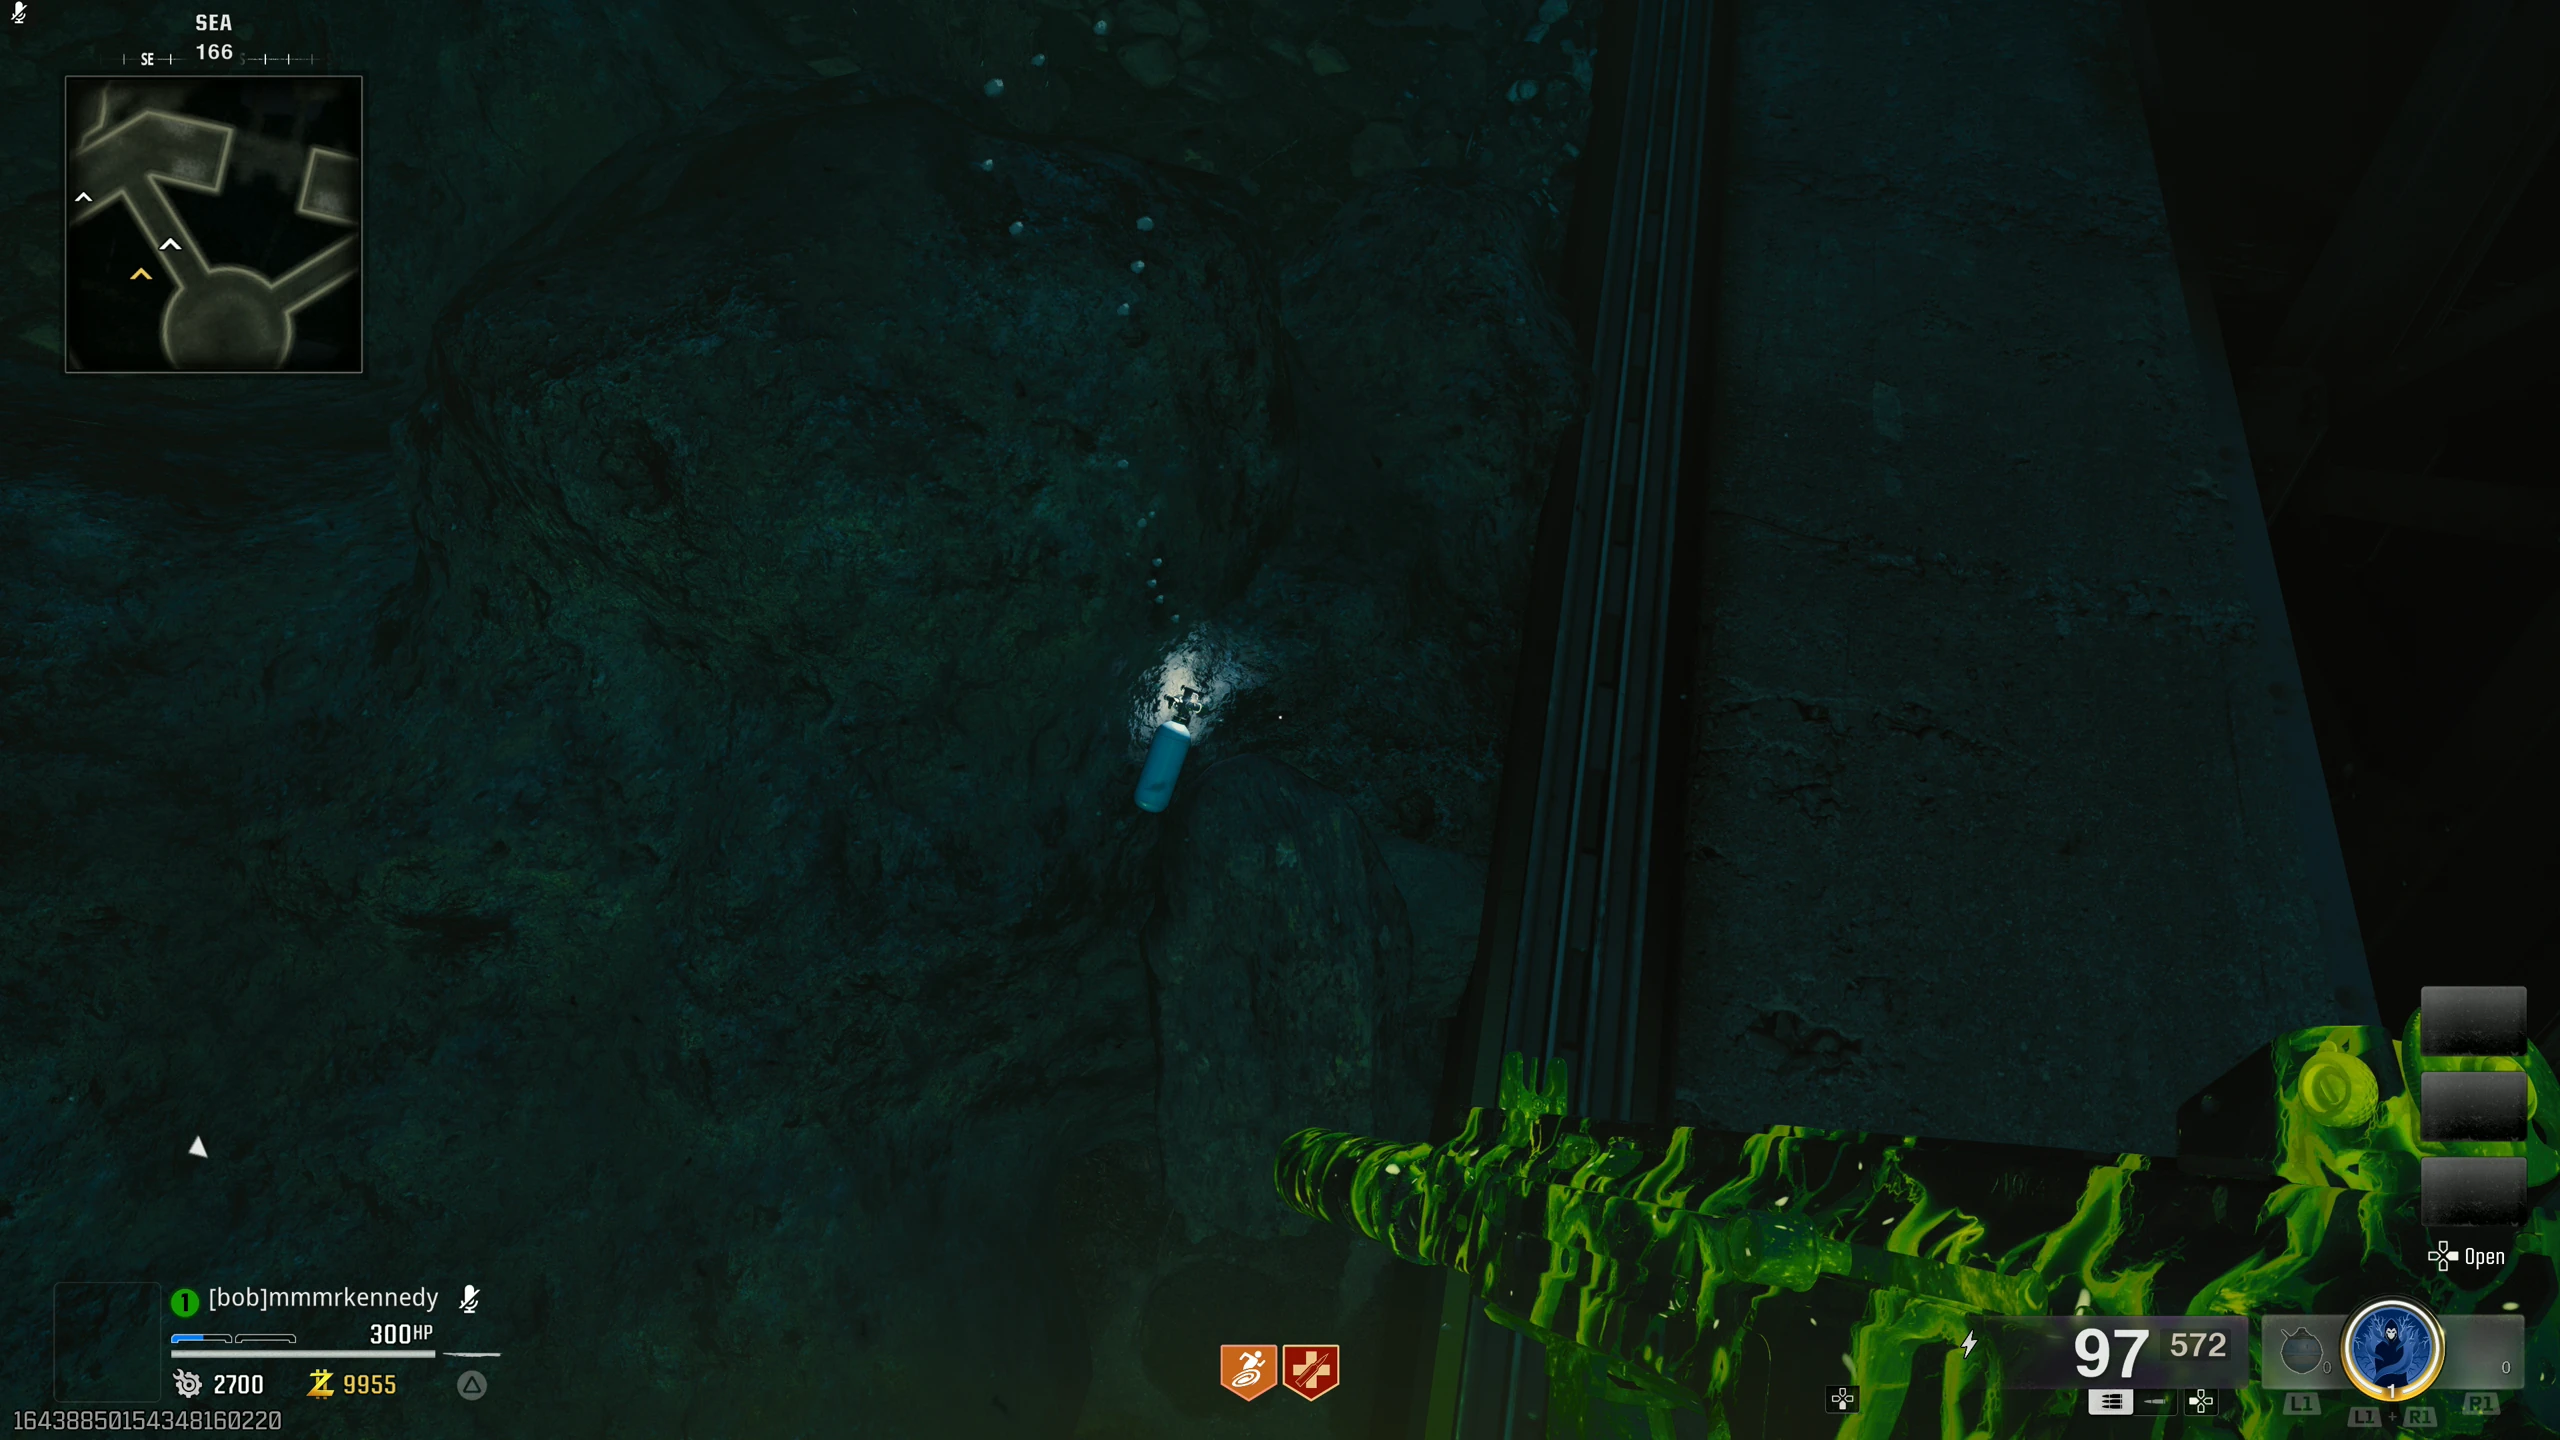
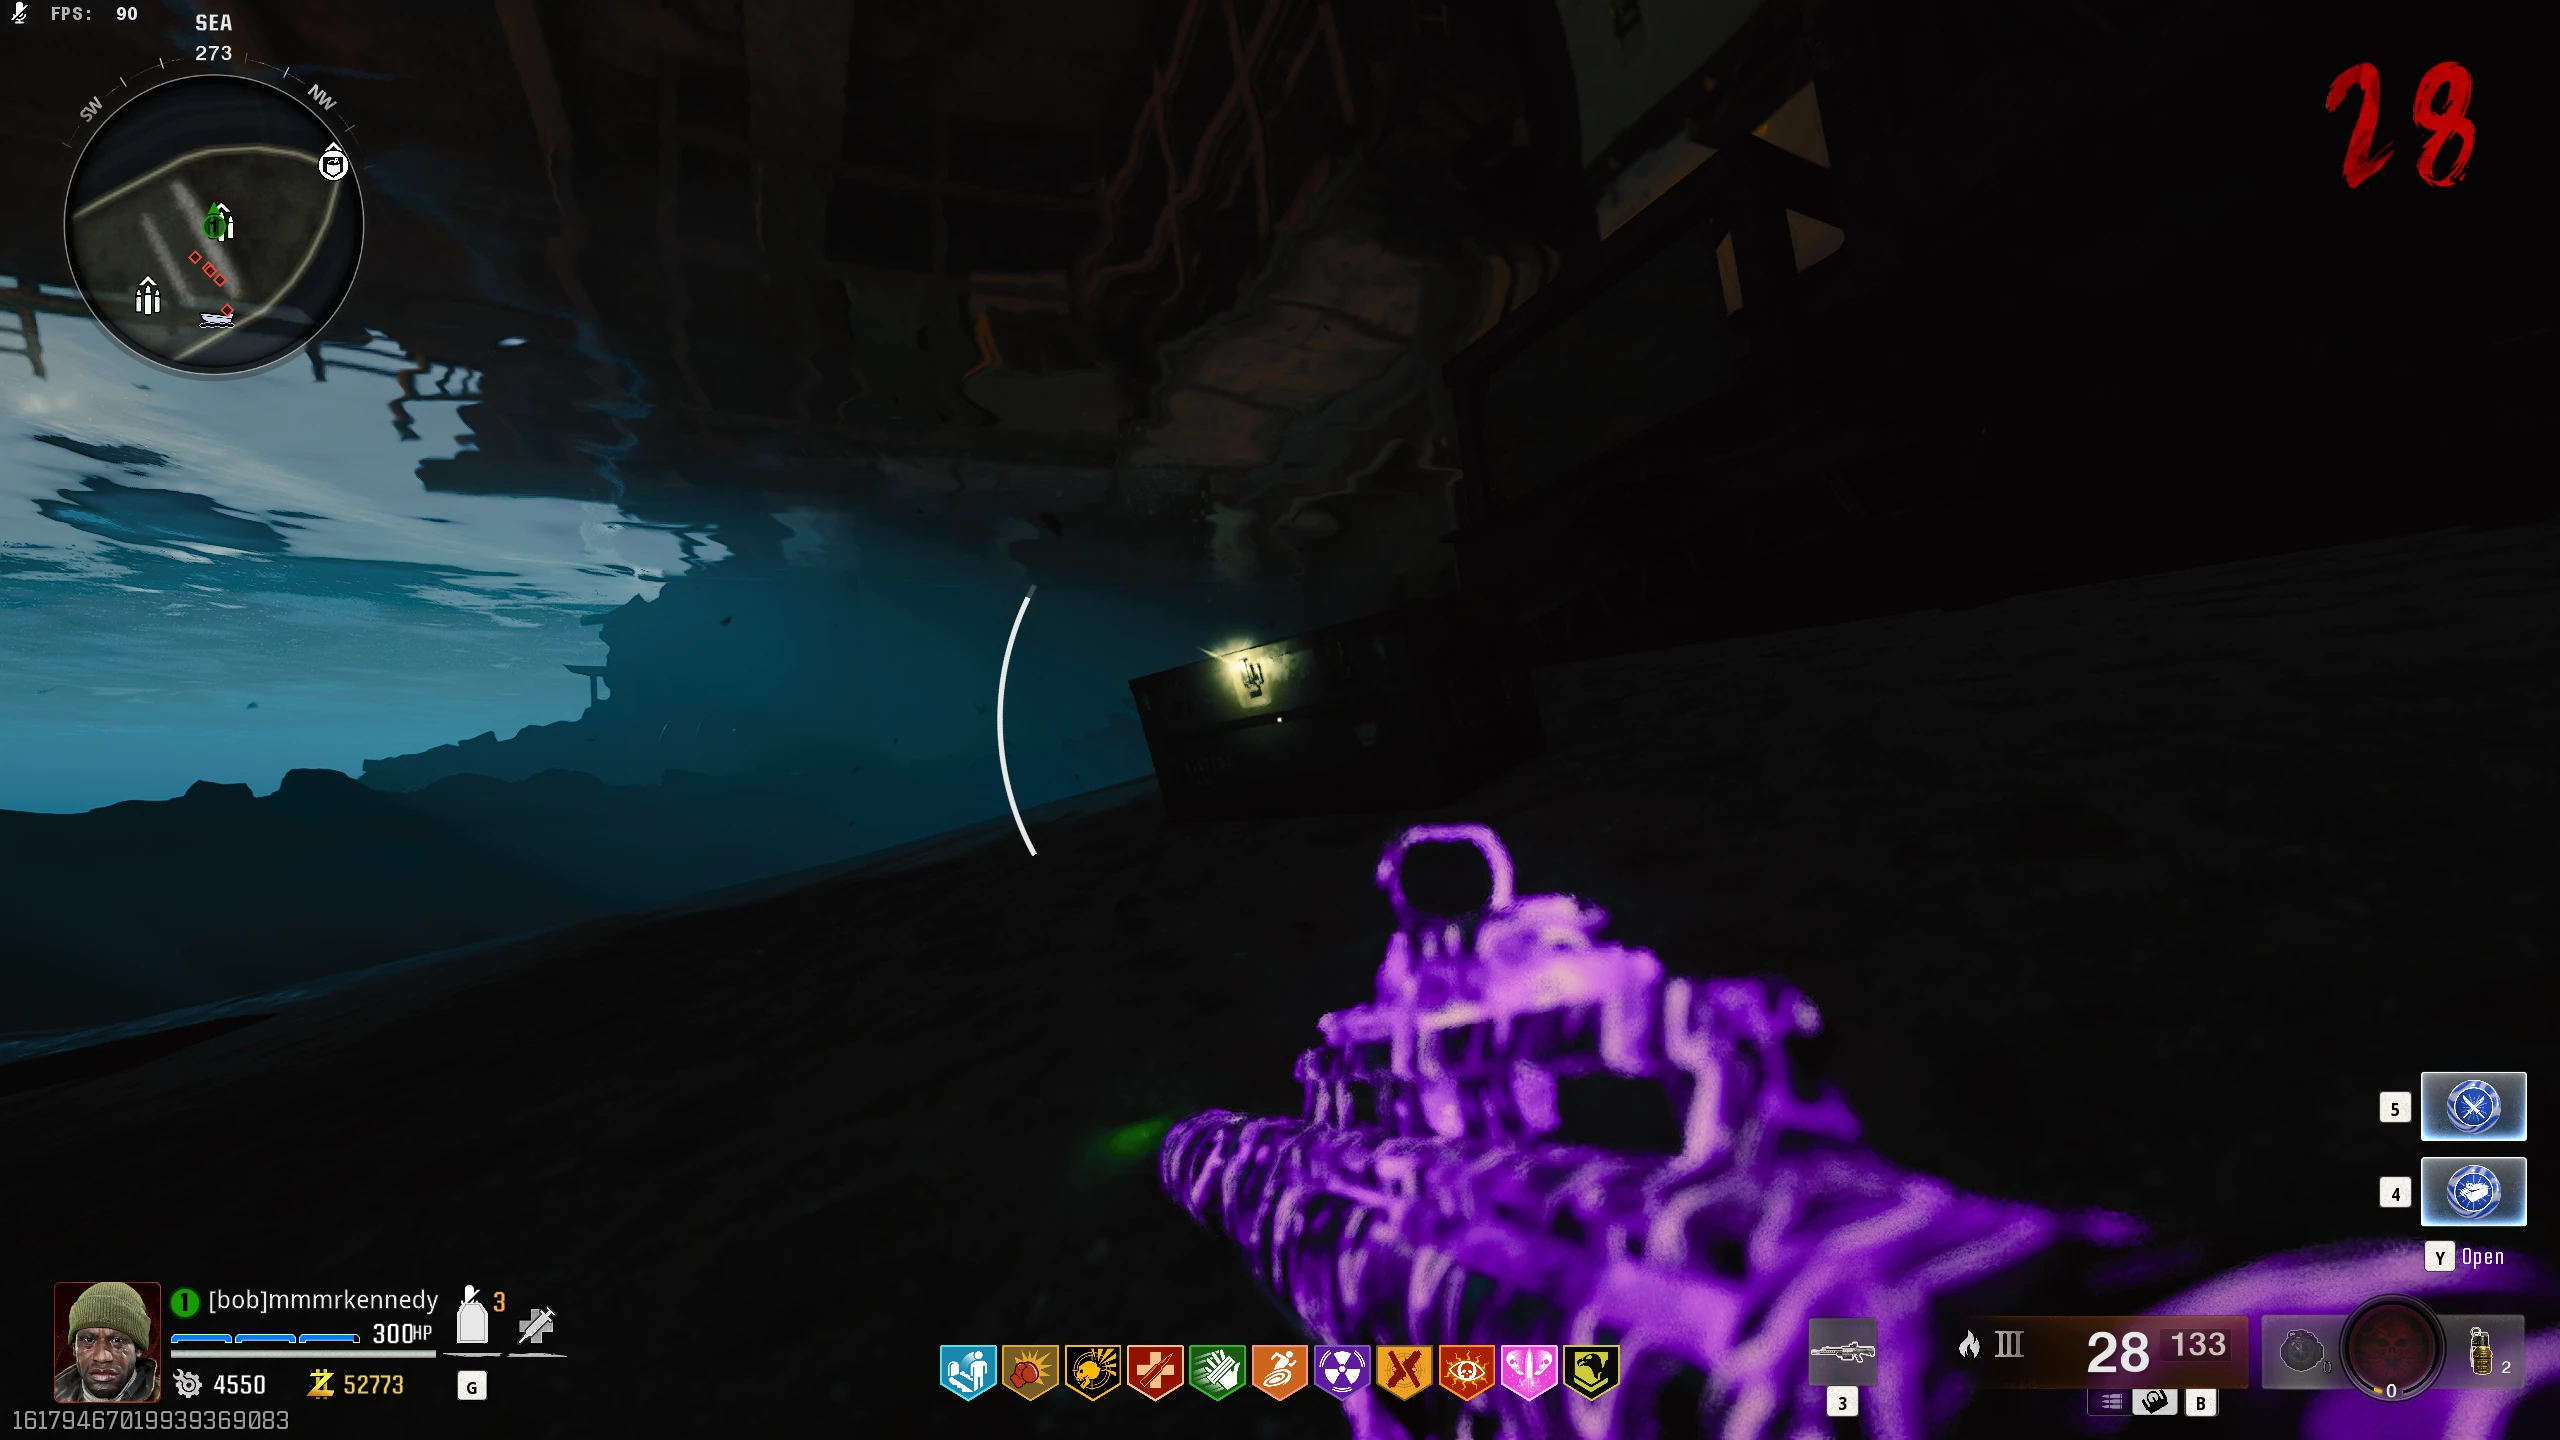
- Pick up the Keycard on the floor under the water below Nathan's Corpse.
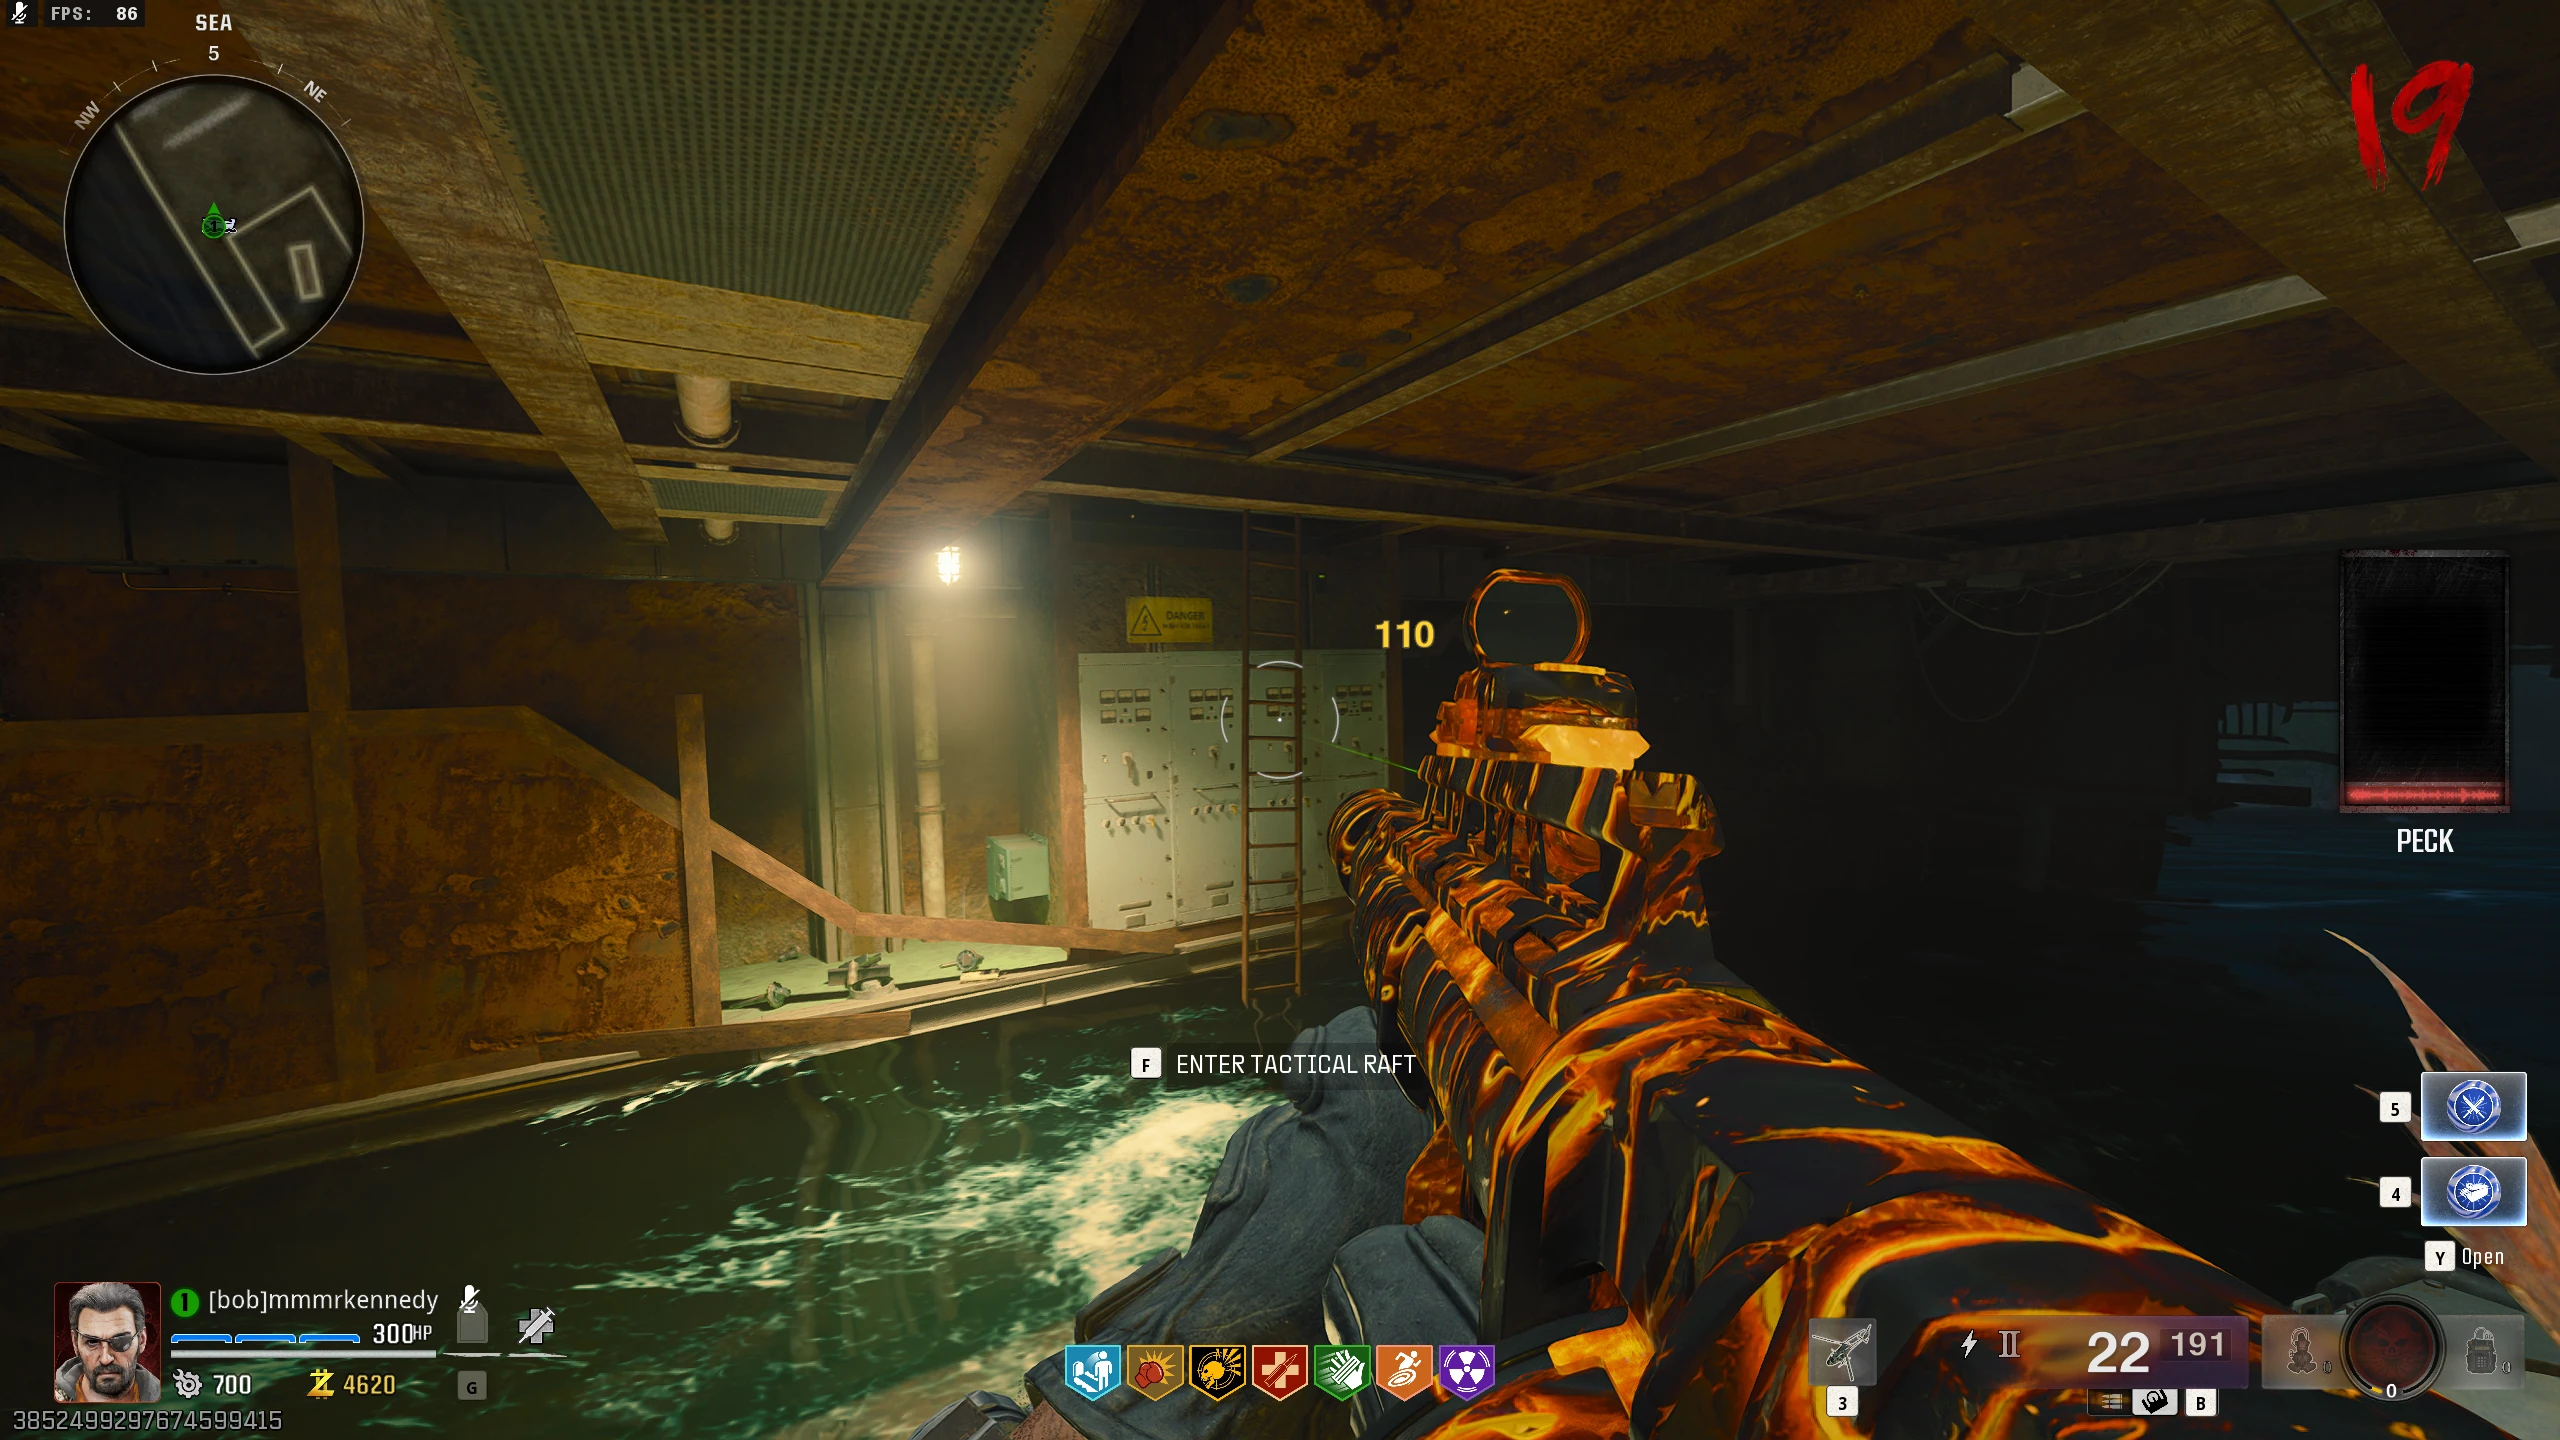
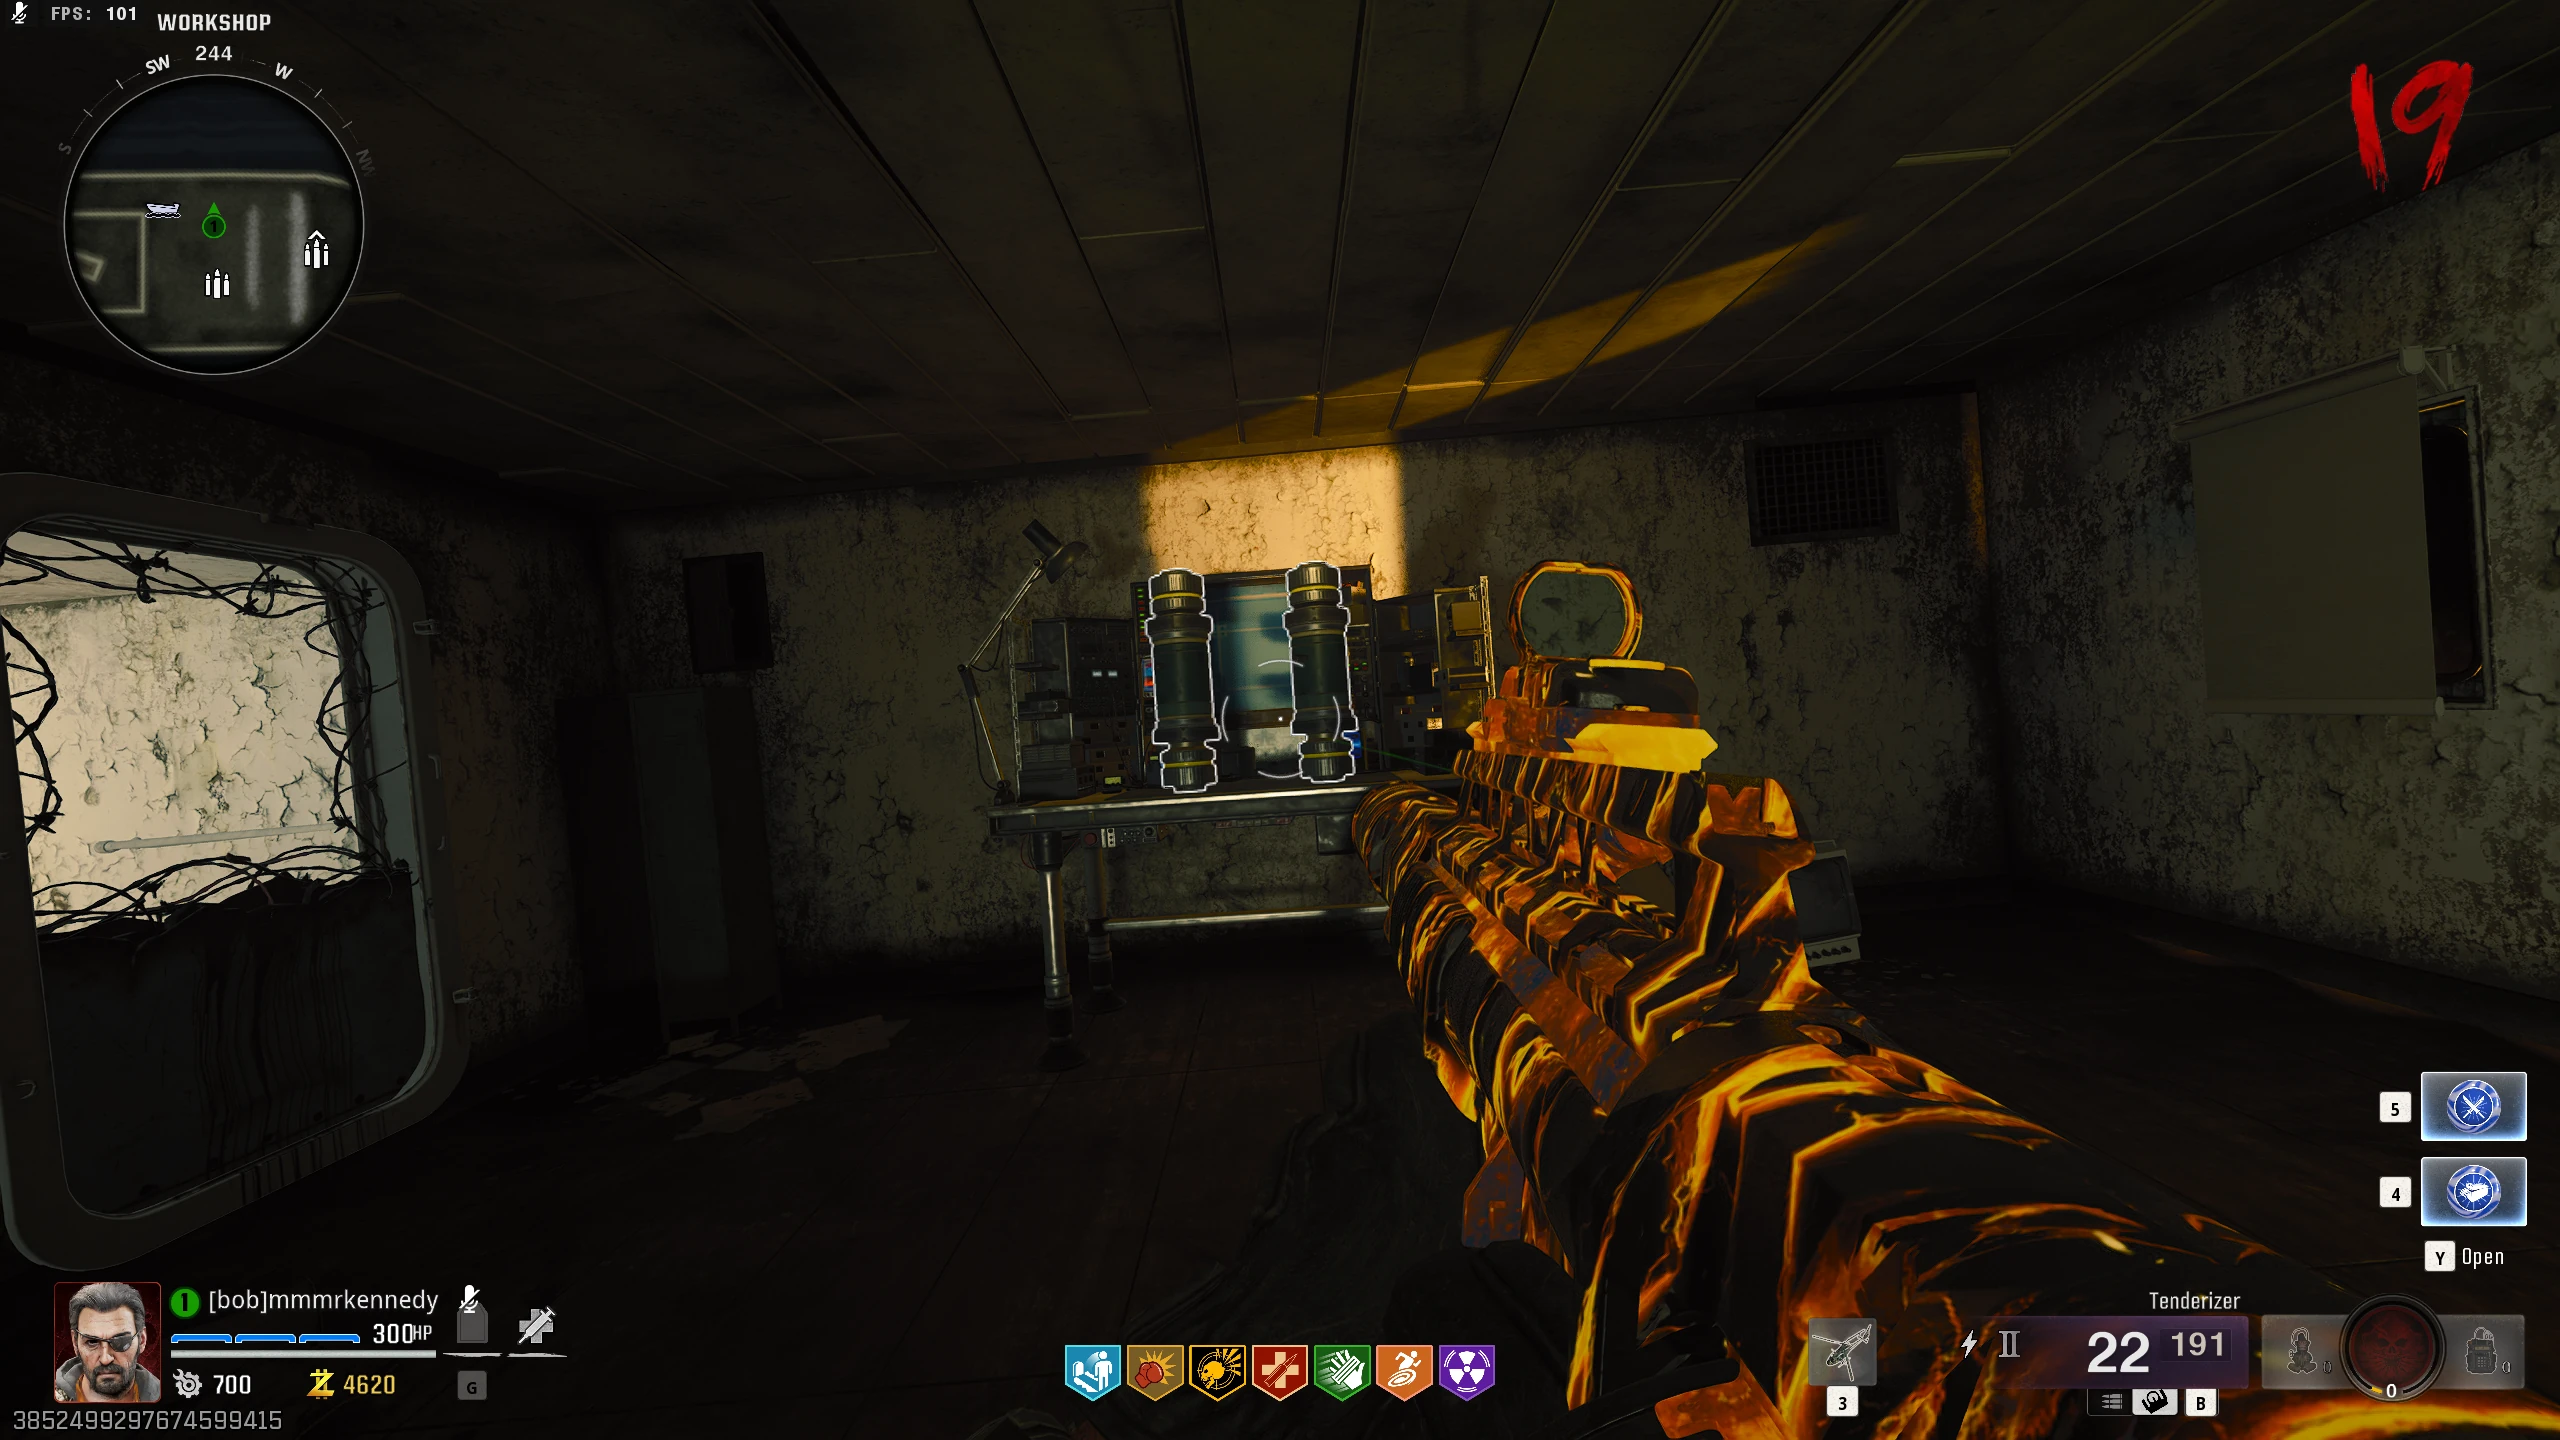
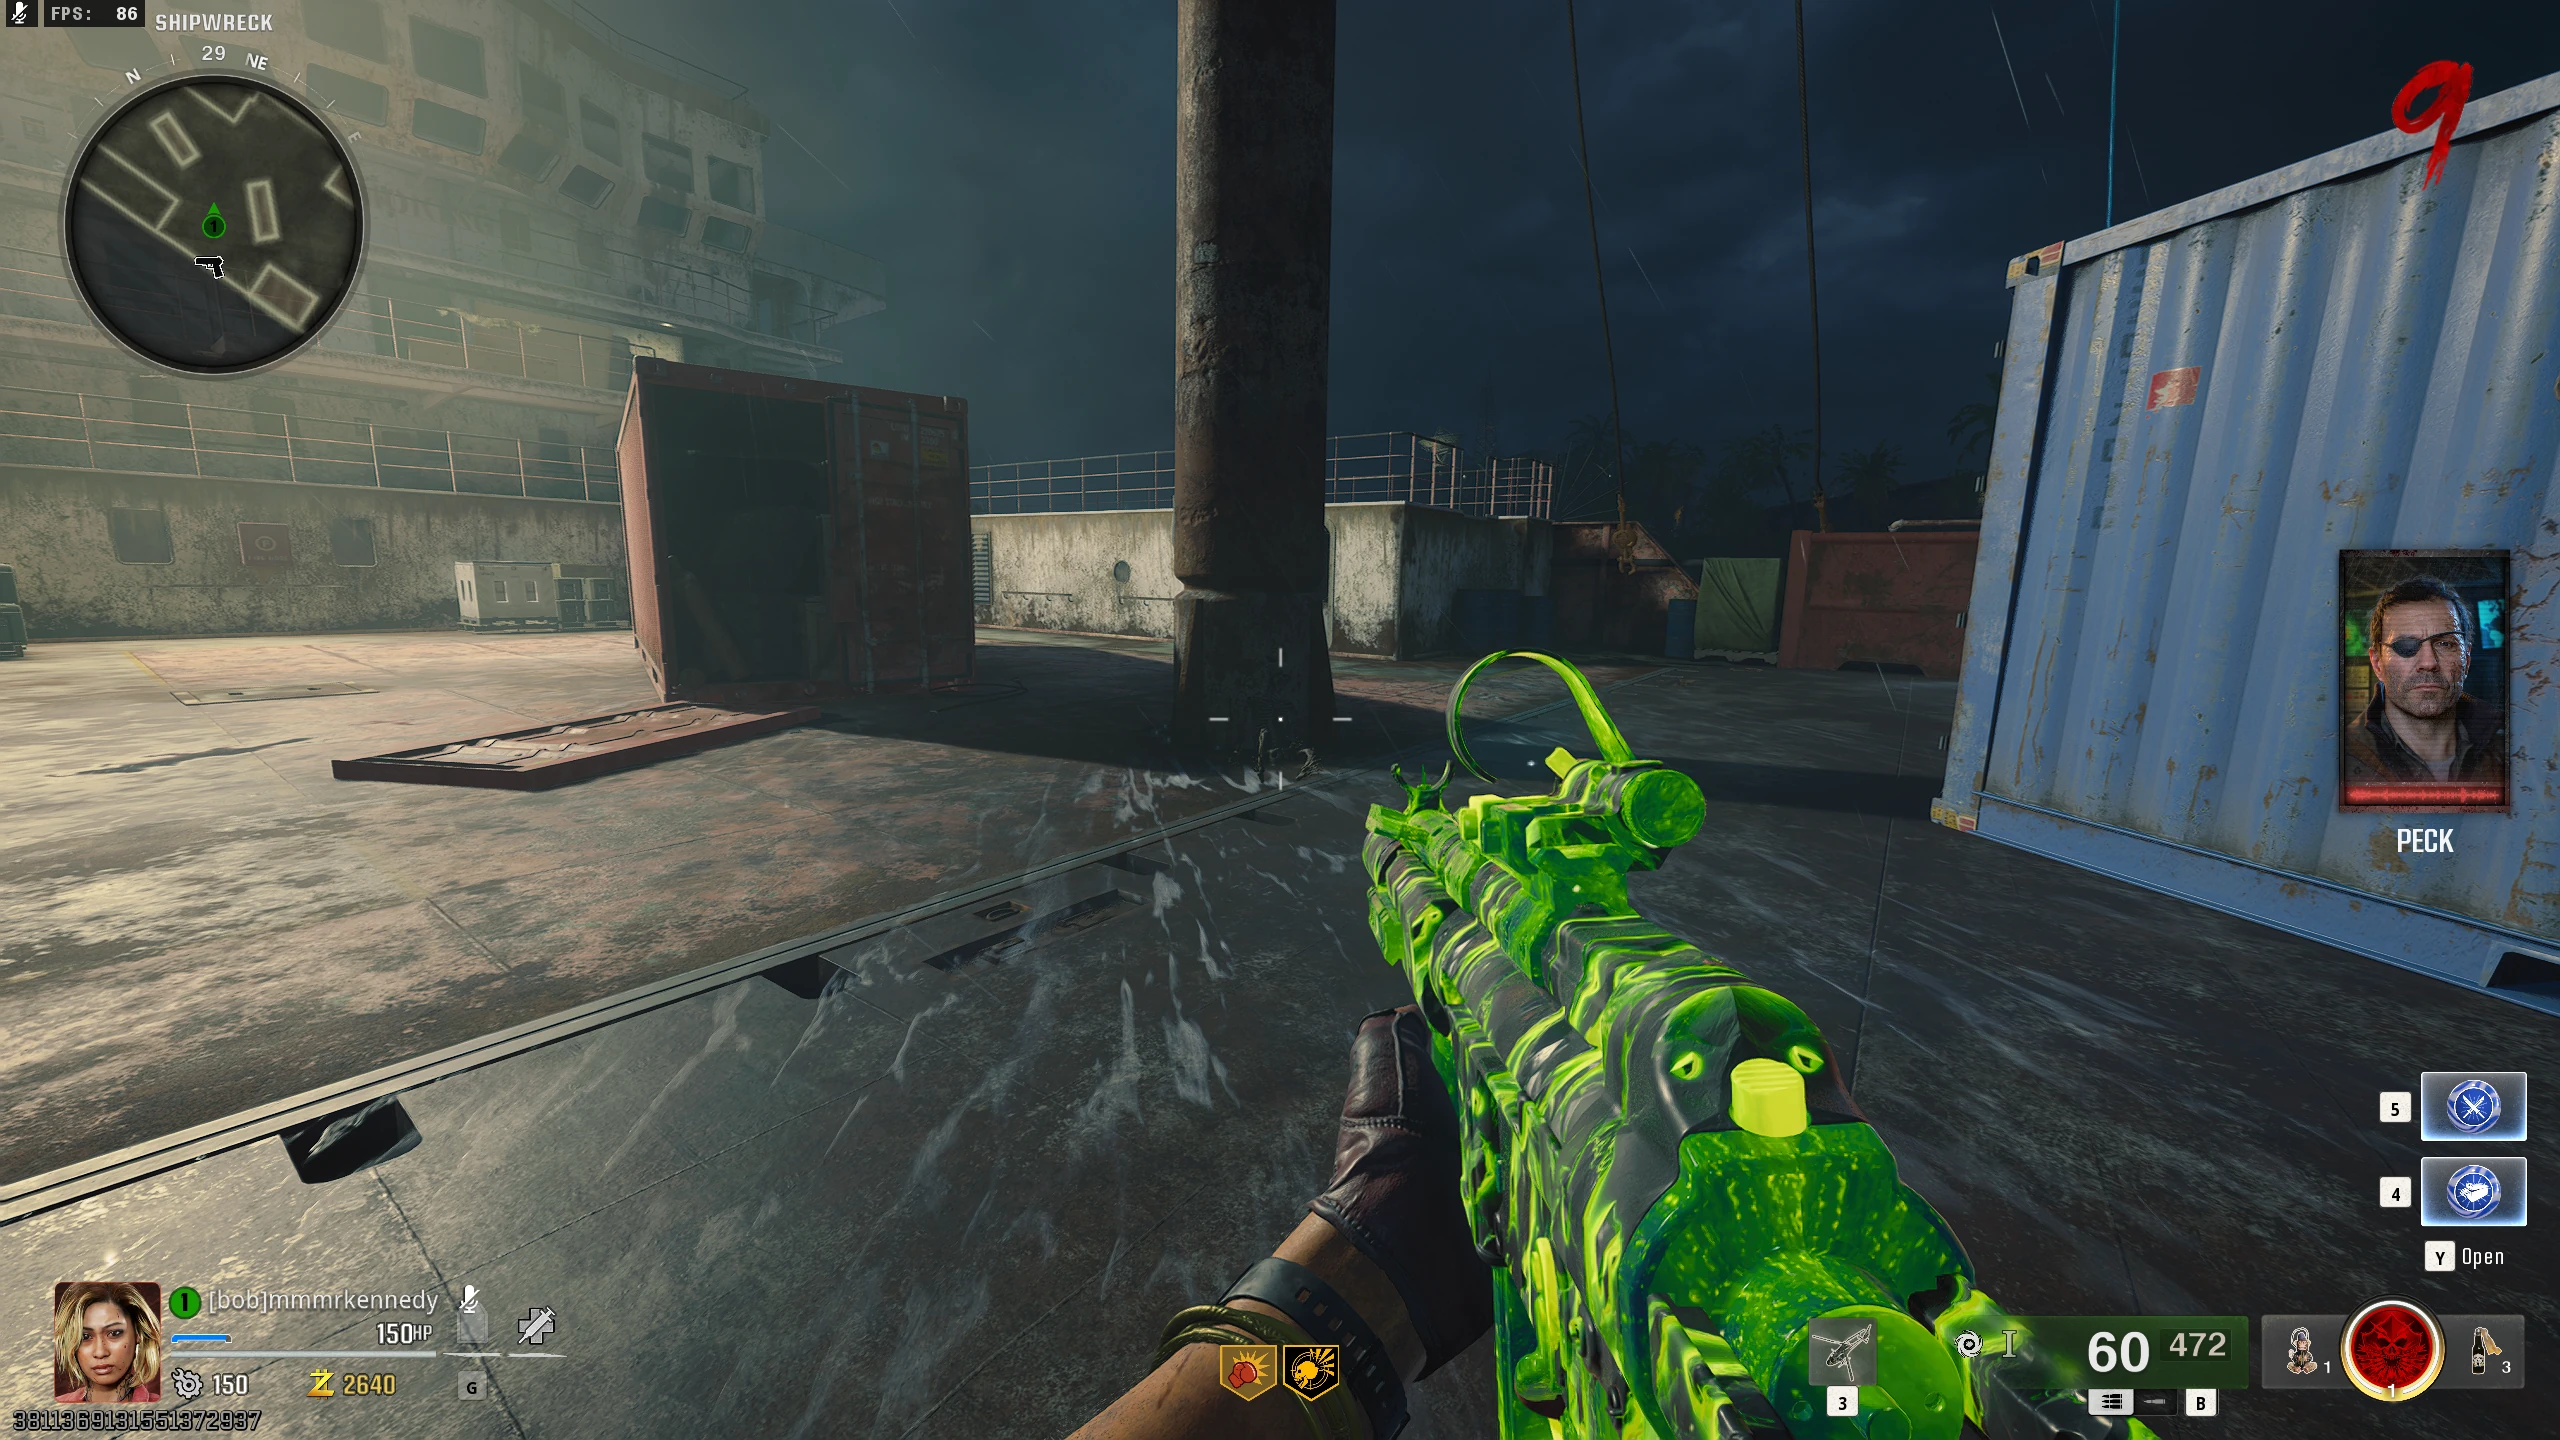
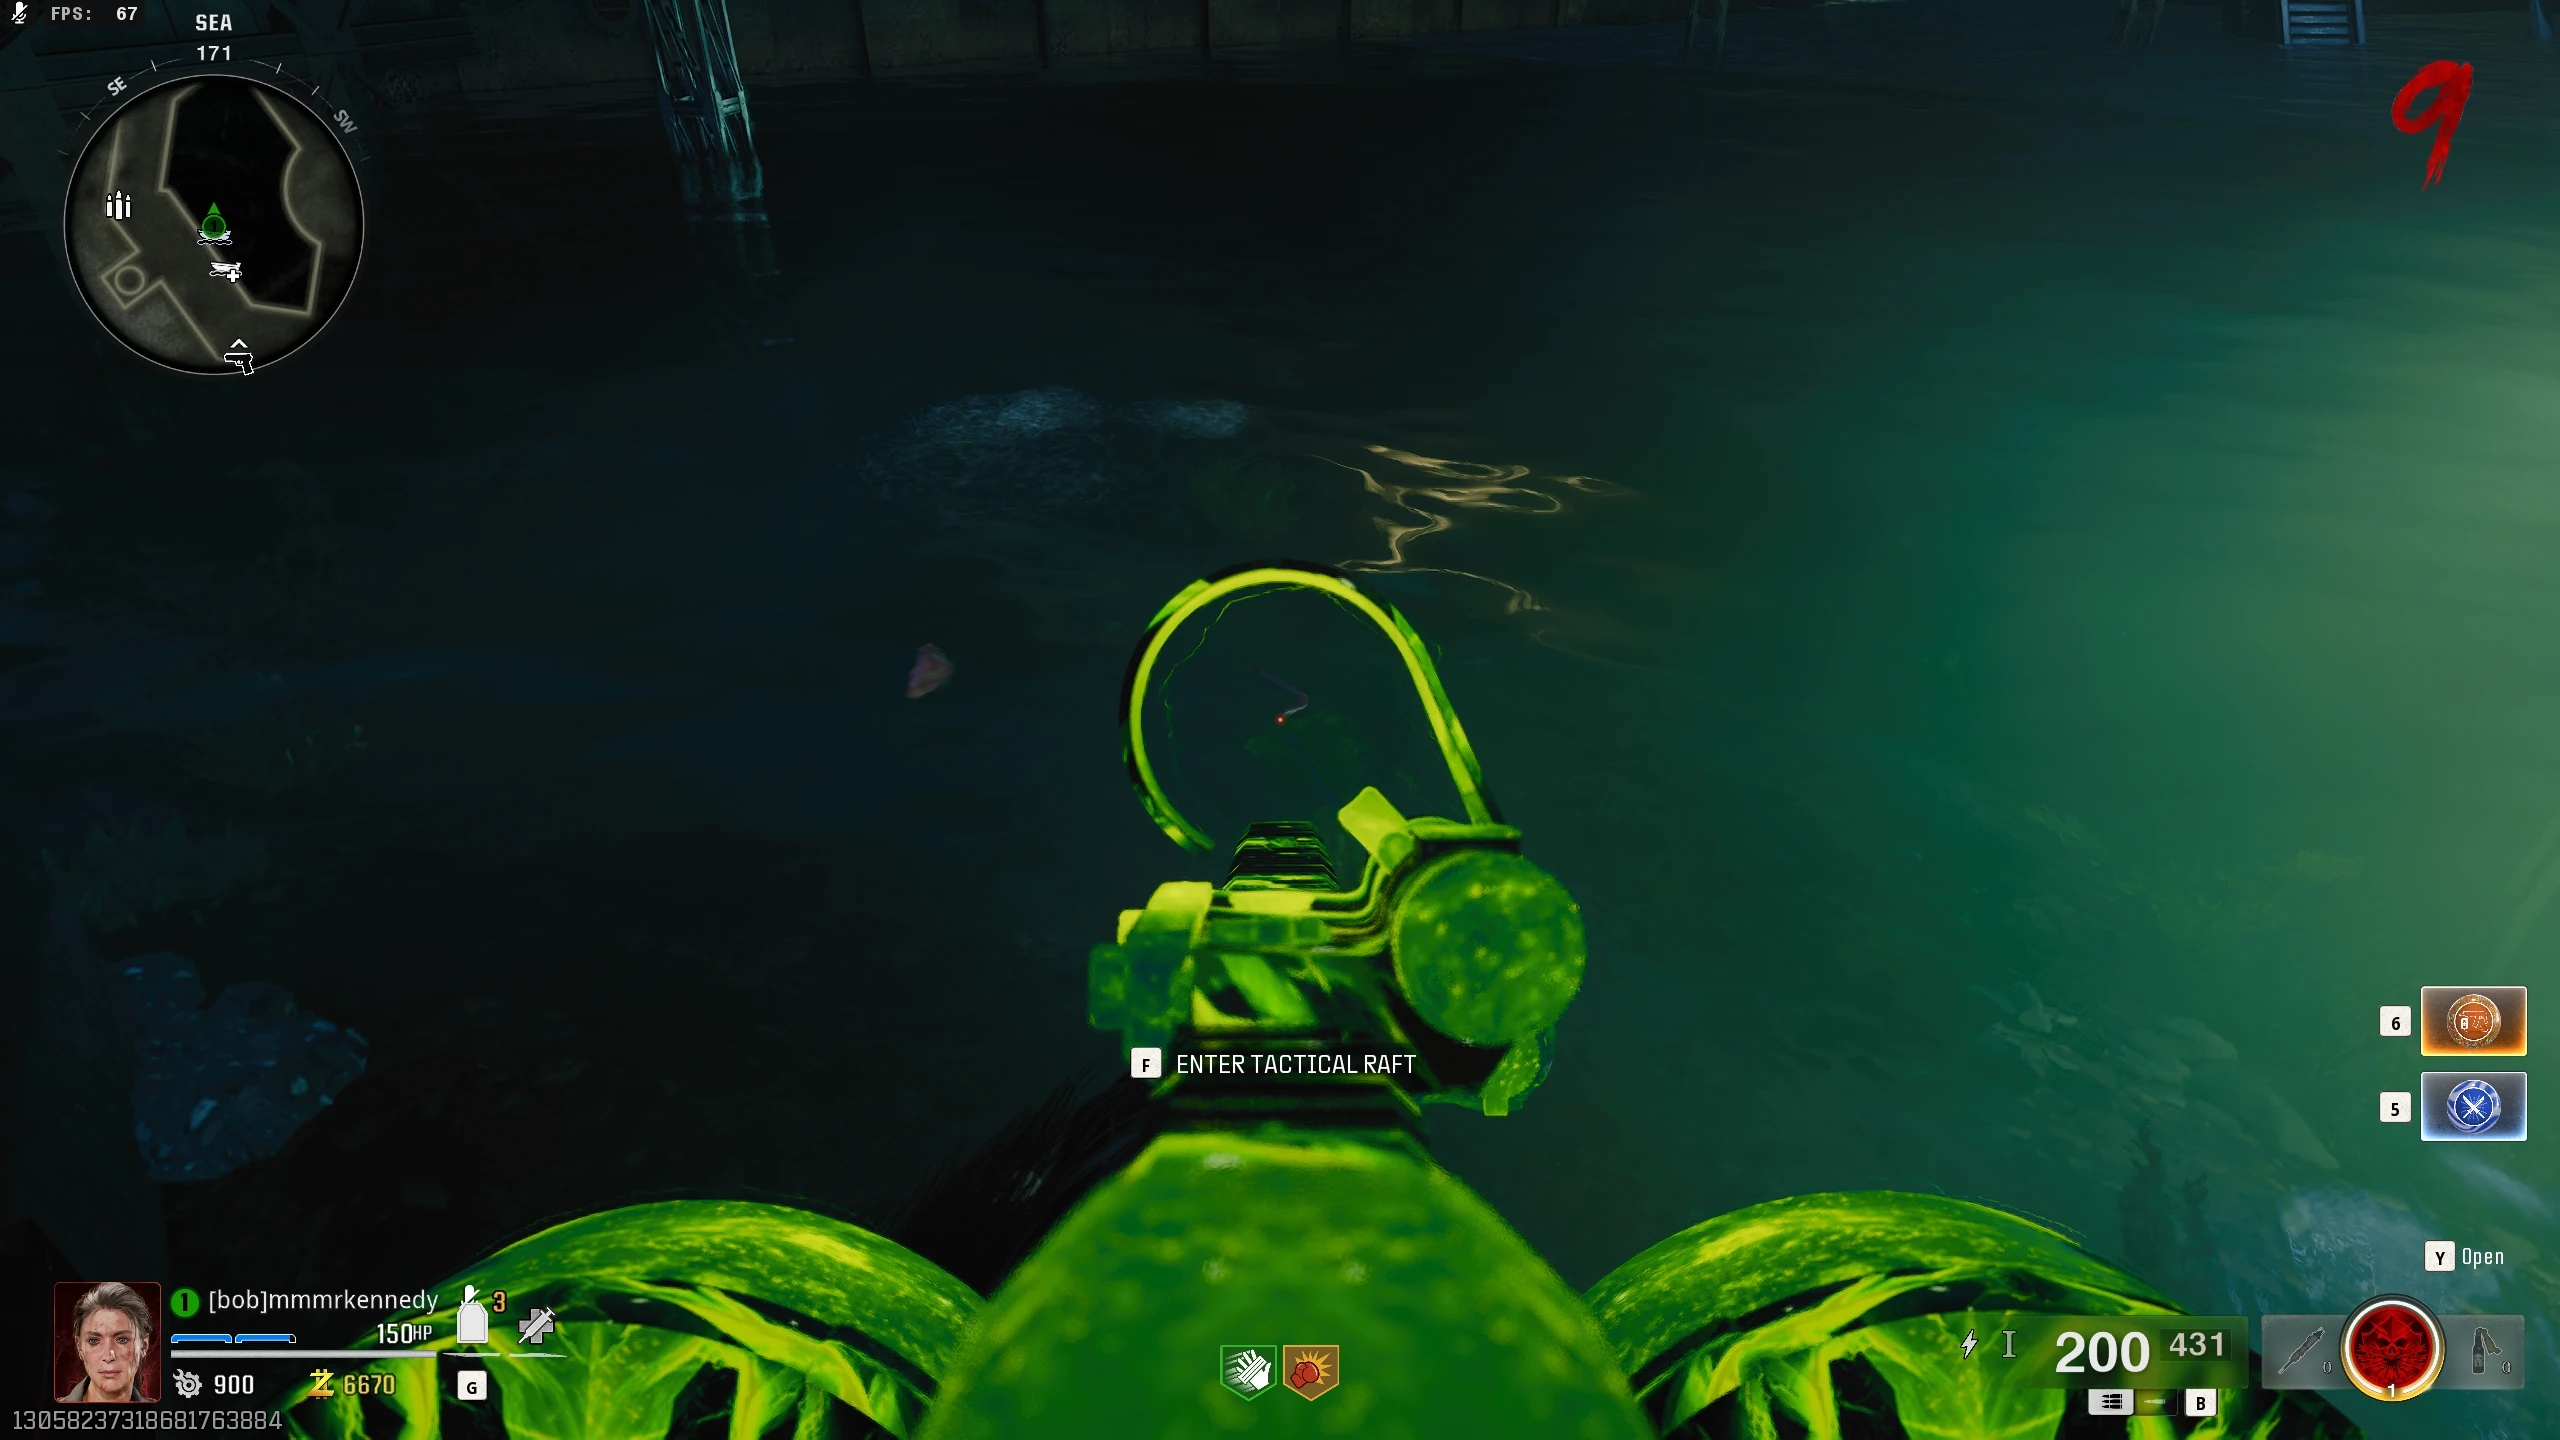
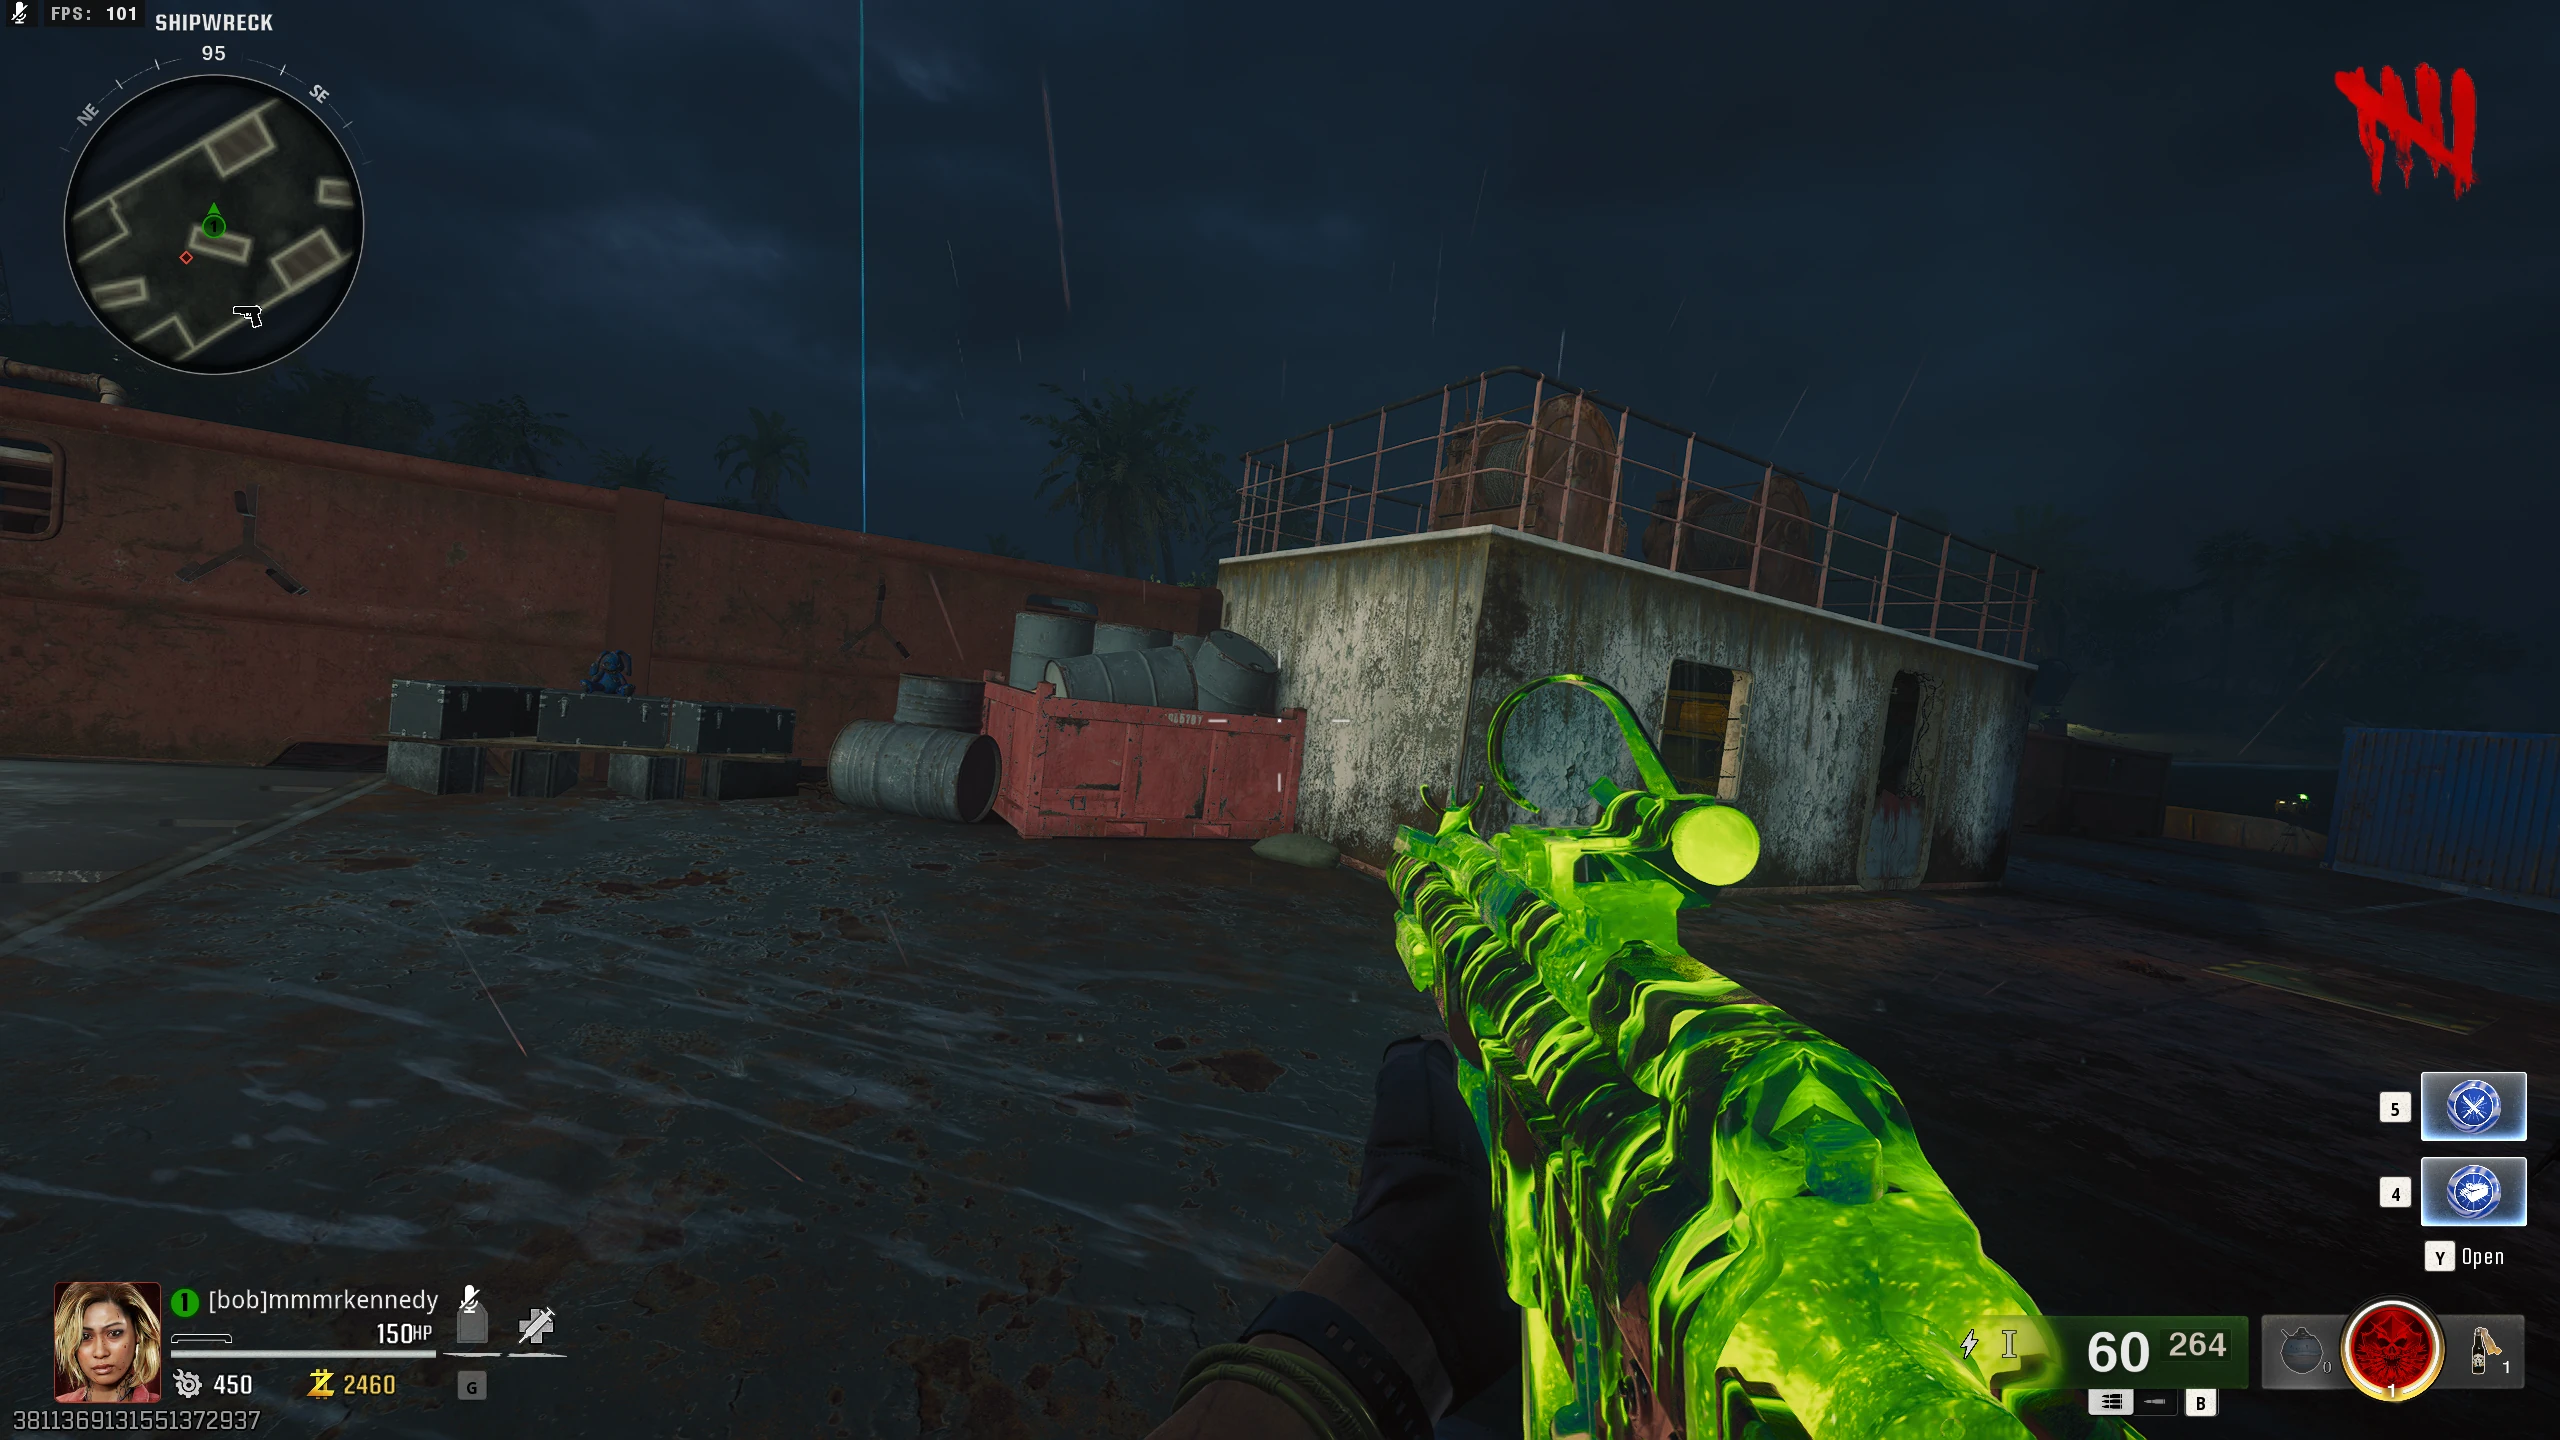
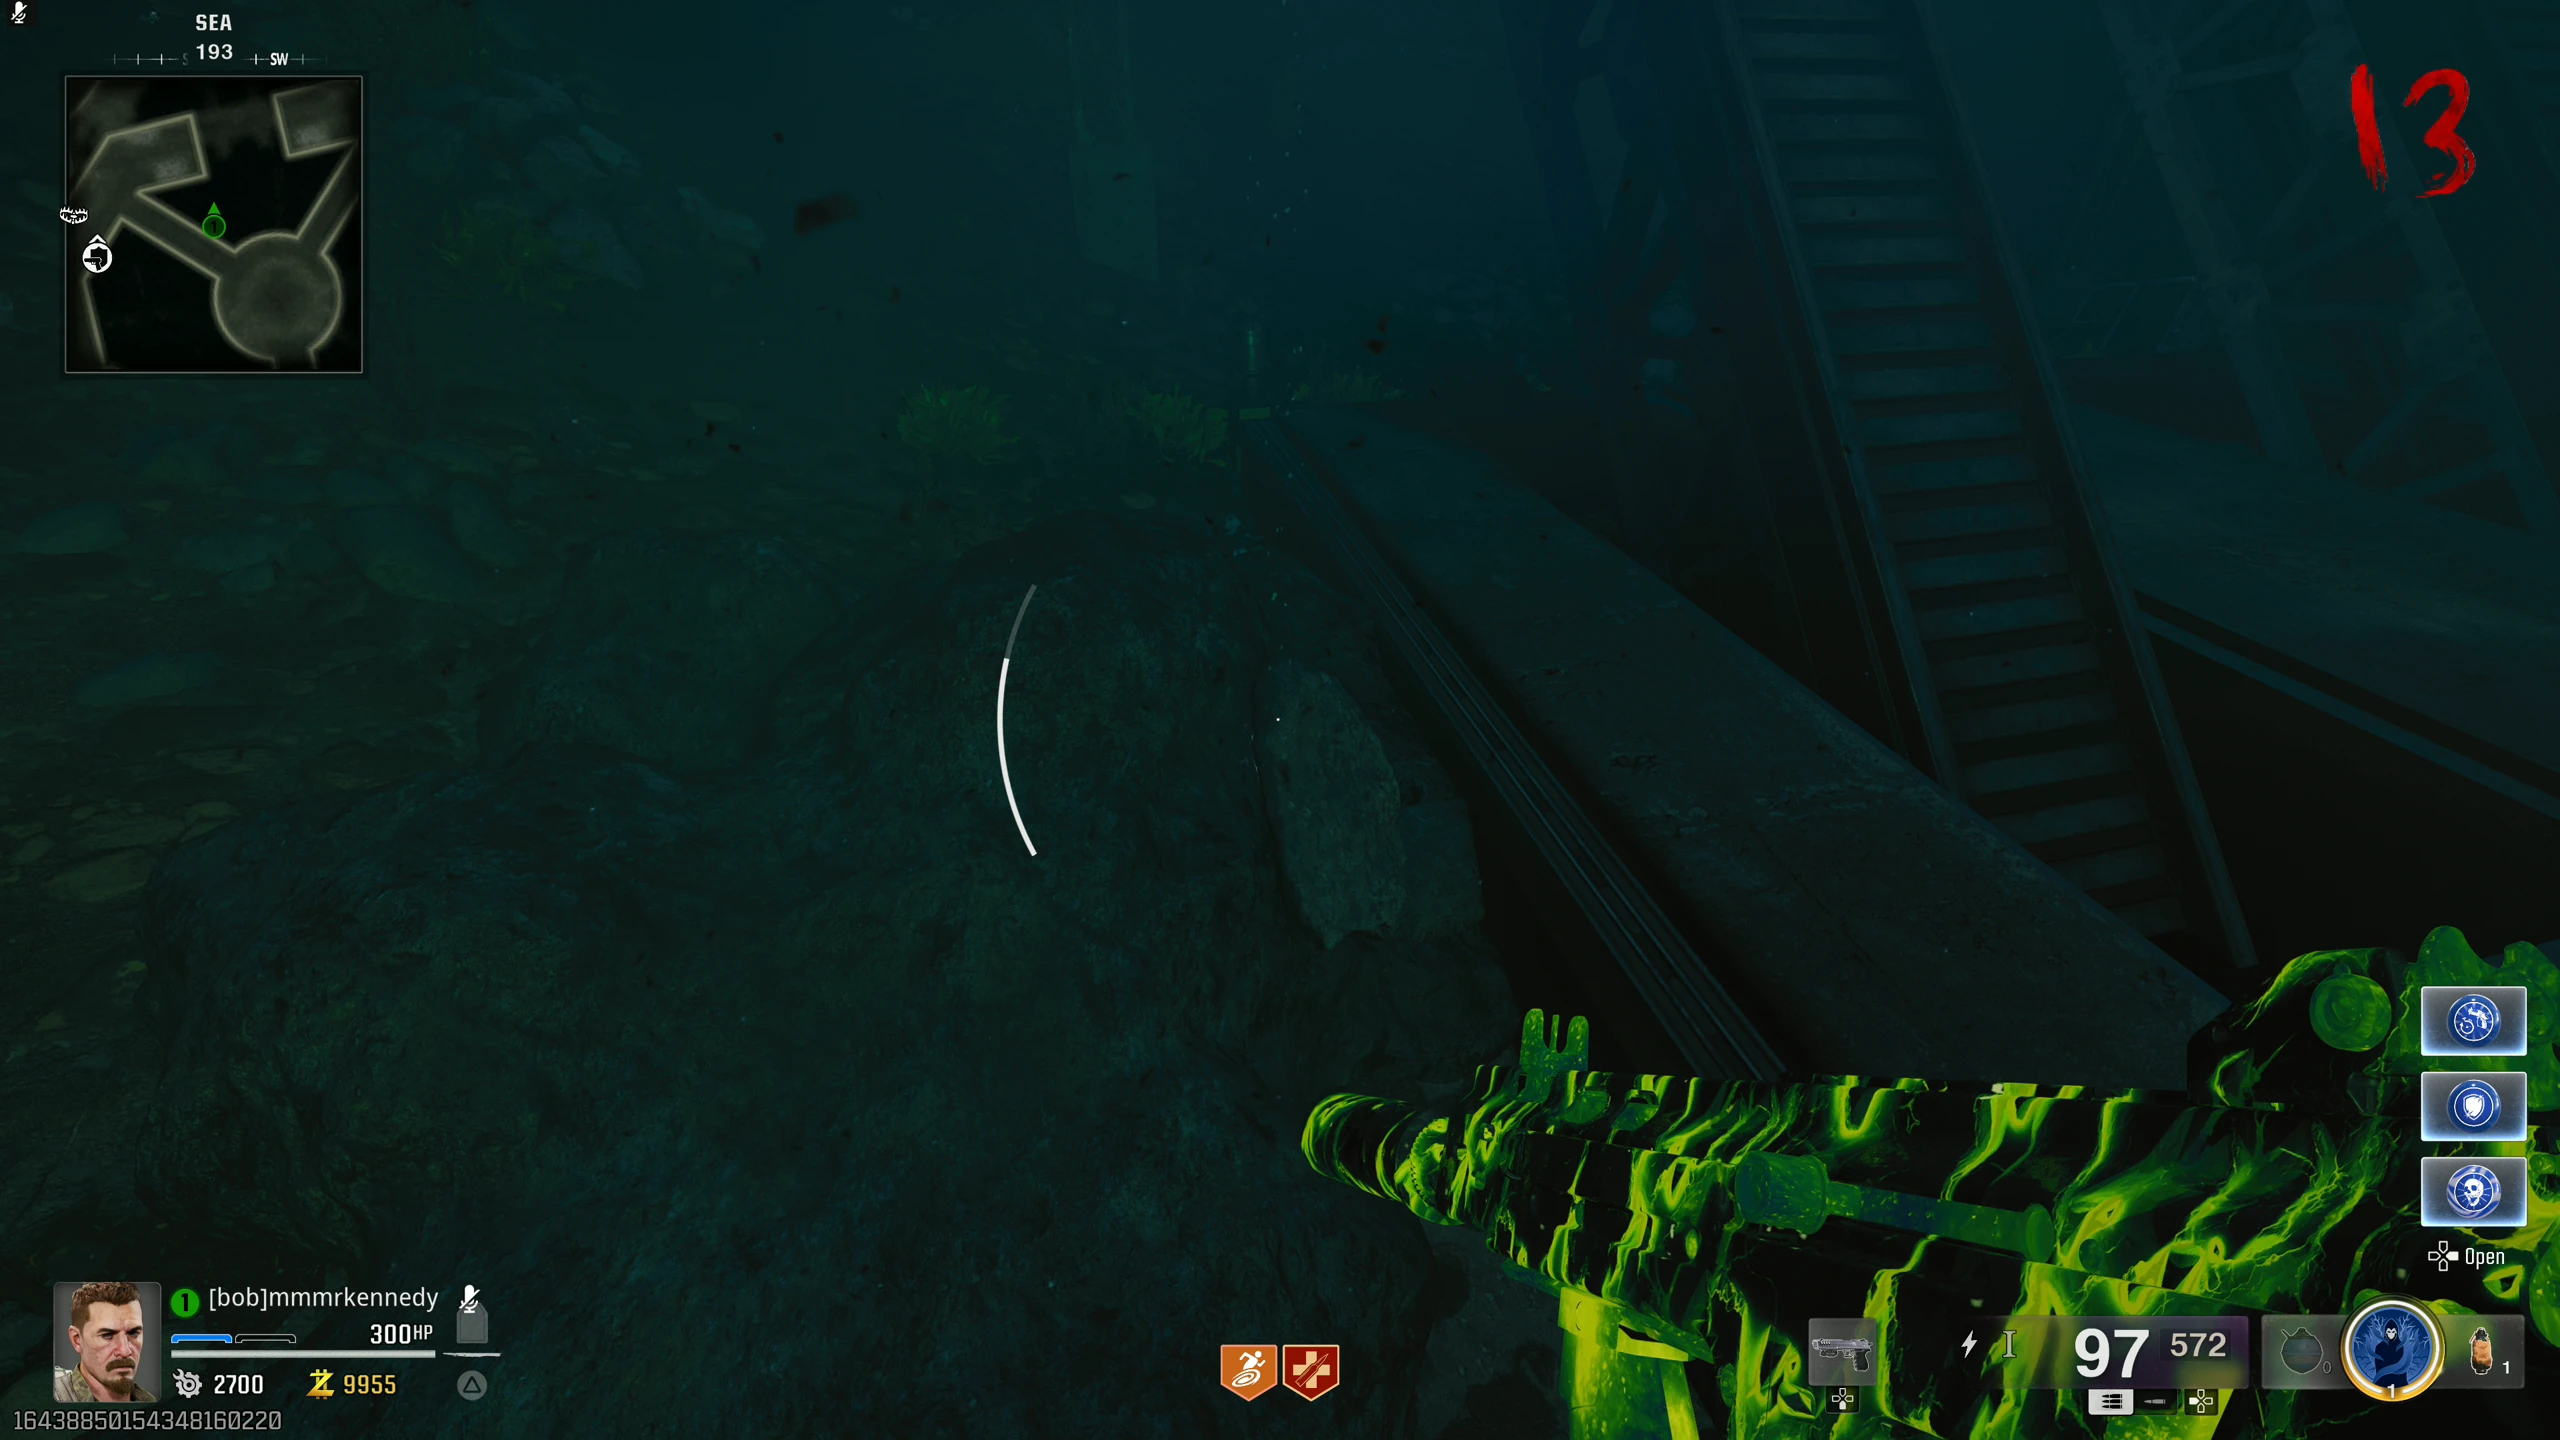
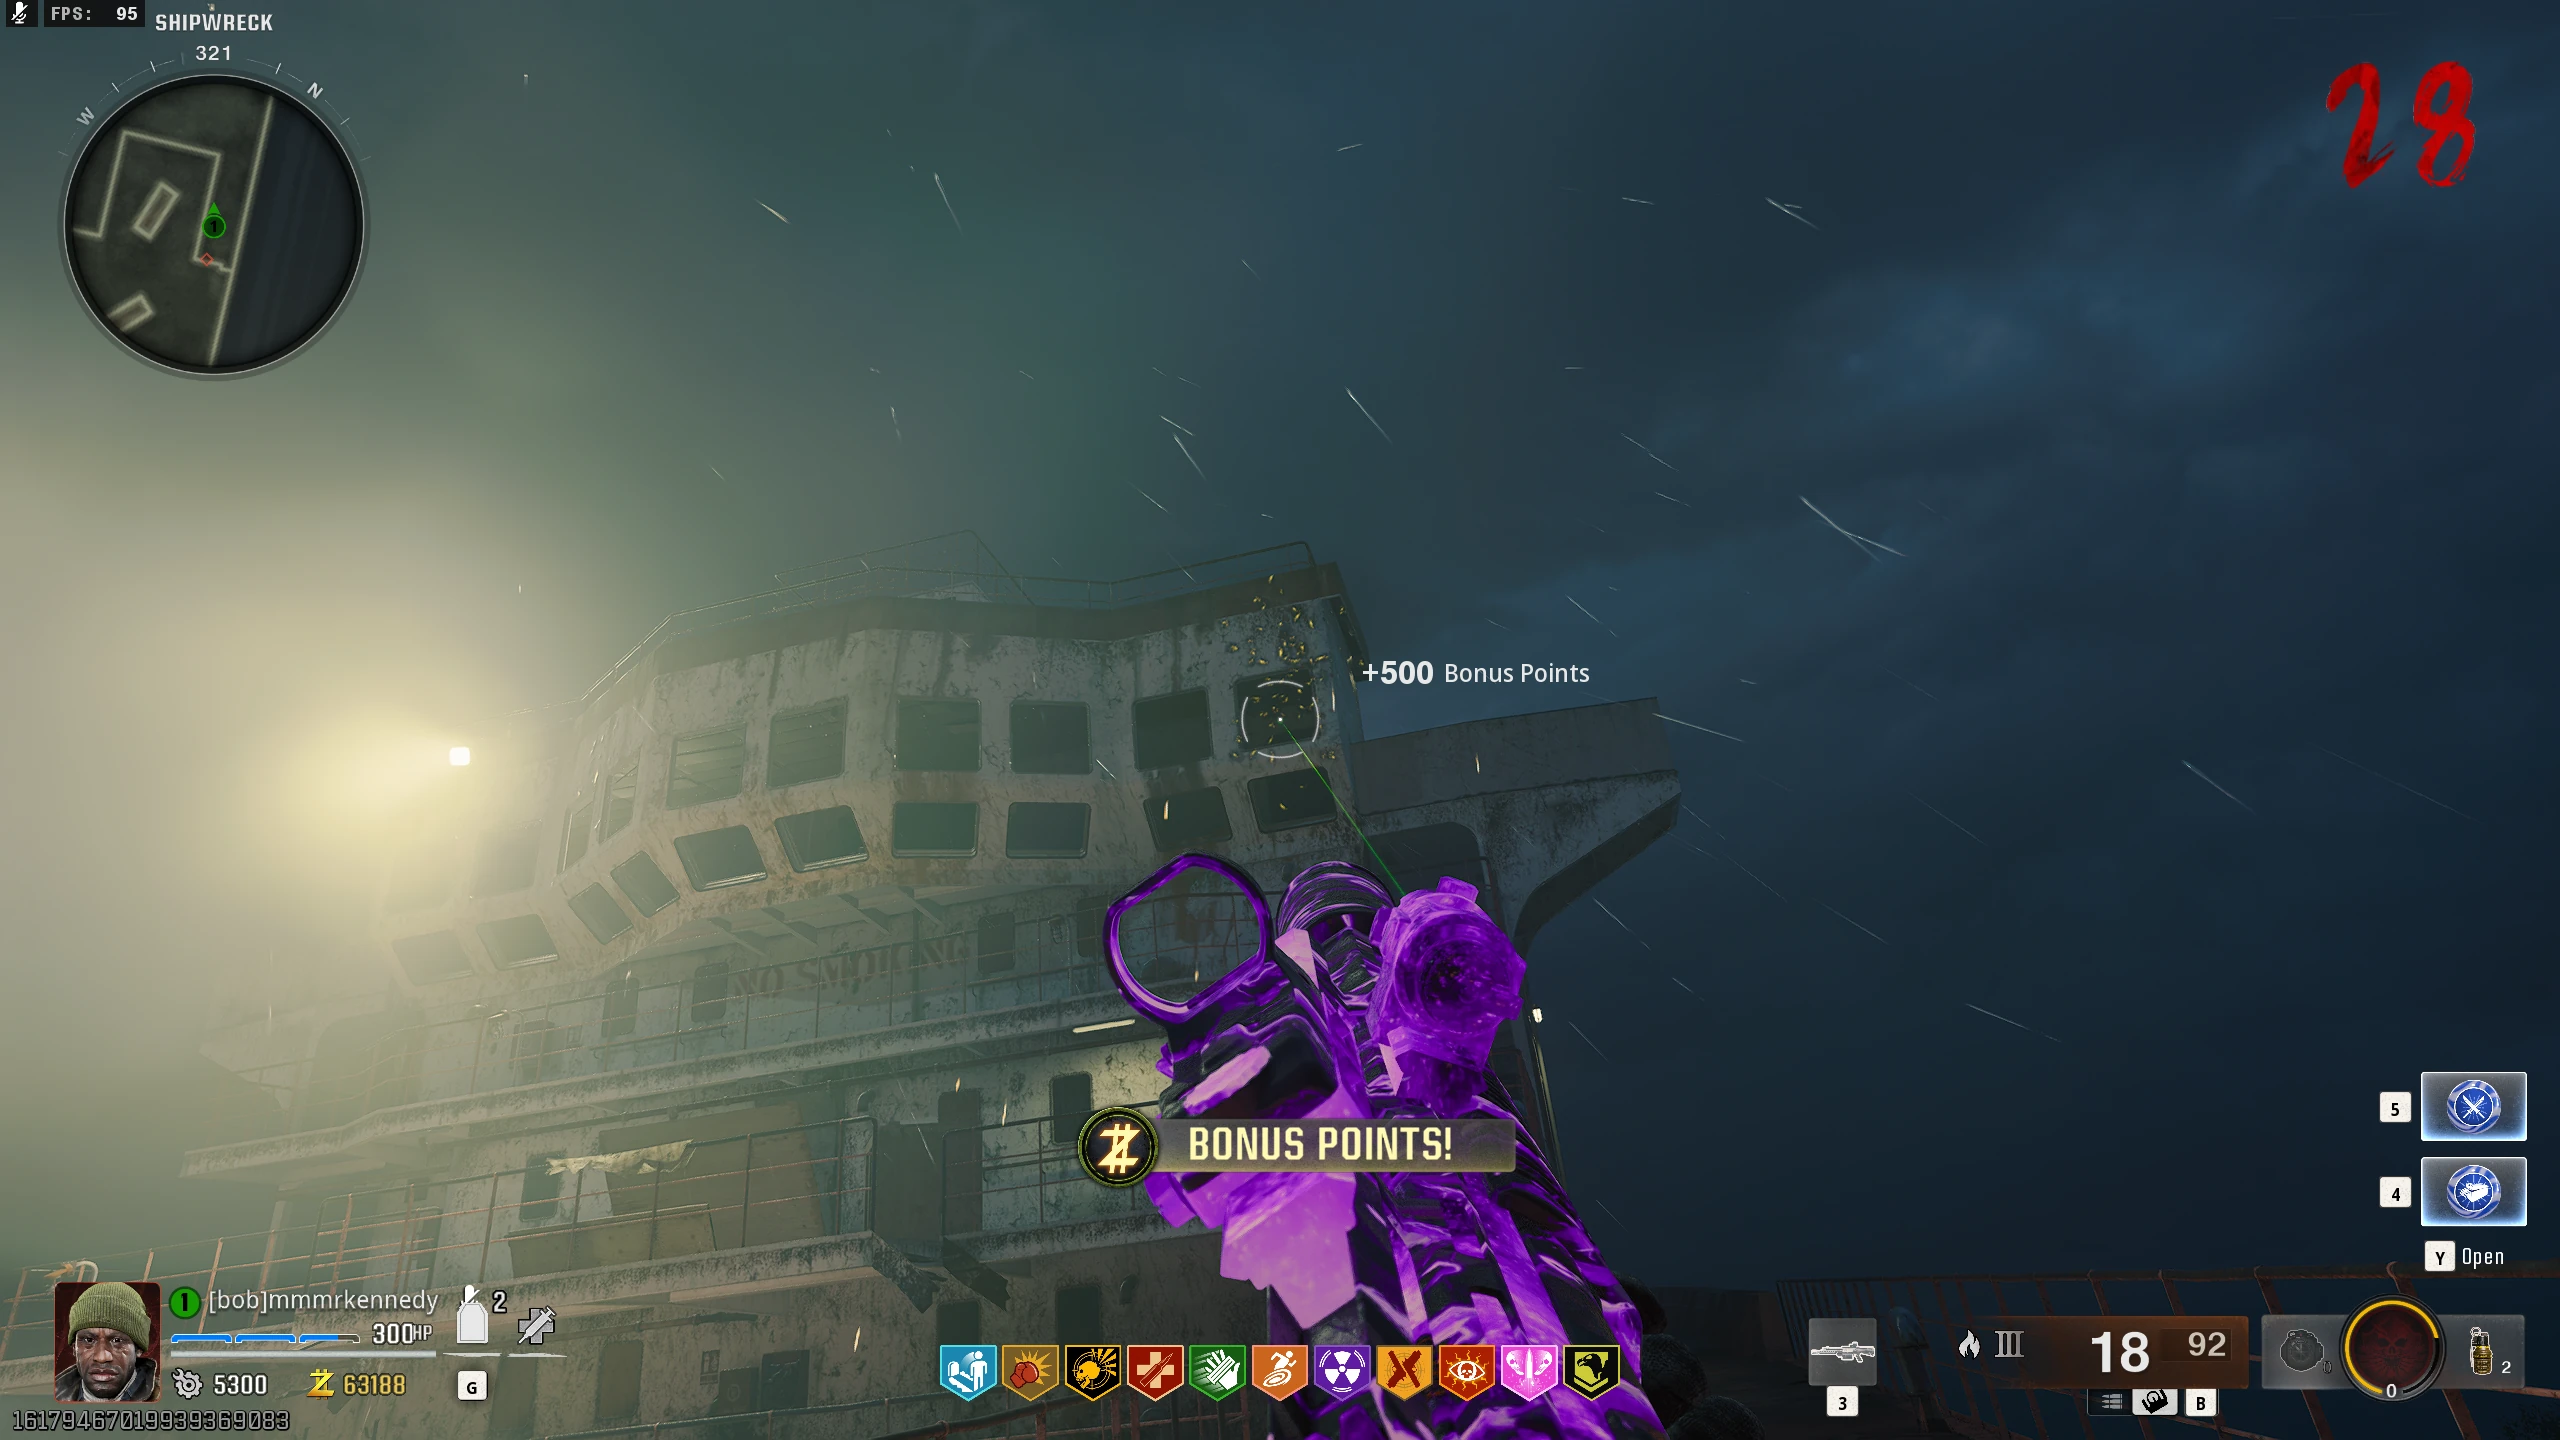
- Go to the Shipwreck out in the sea. Under the Shipwreck, there's a ladder you can climb. If you have the Keycard, the door at the top of the ladder will open, revealing a small room with two Node Connectors on a workbench.
- Once you pick up a Node Connector, you won't be able to sprint, the room will lock down, and you'll have to survive until the door opens again. Once the lockdown is over, a Max Ammo will spawn.
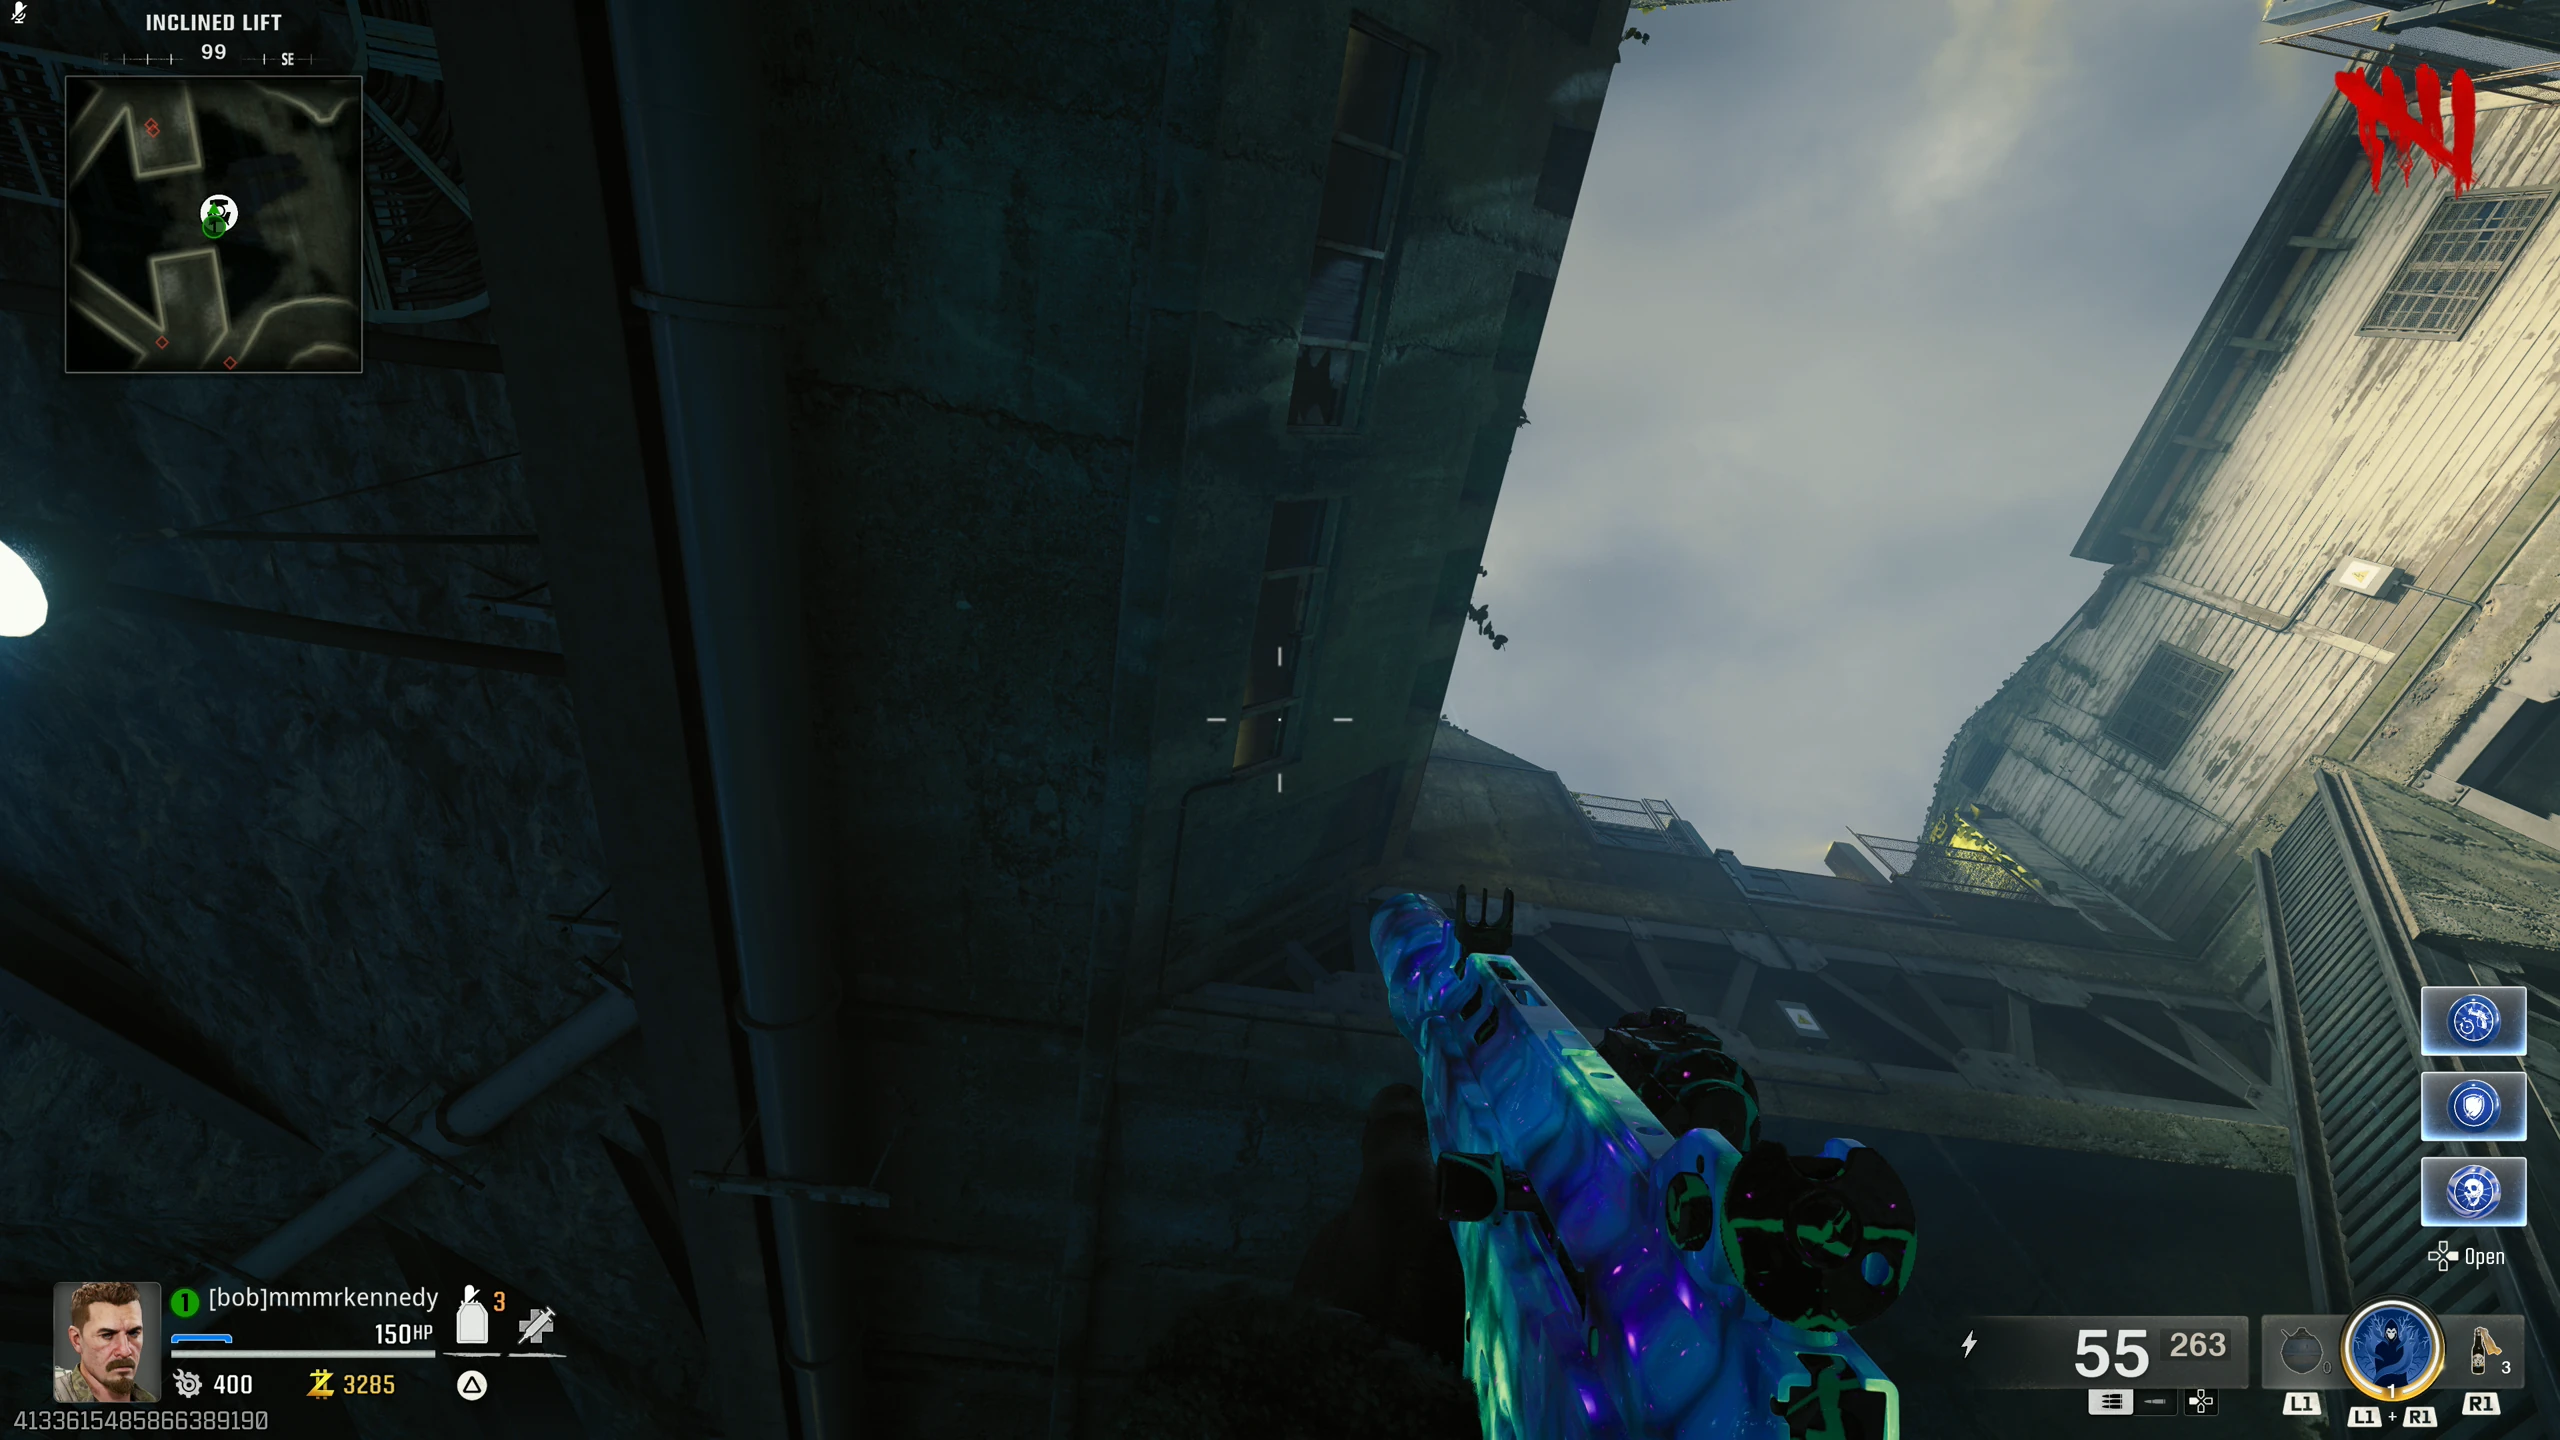
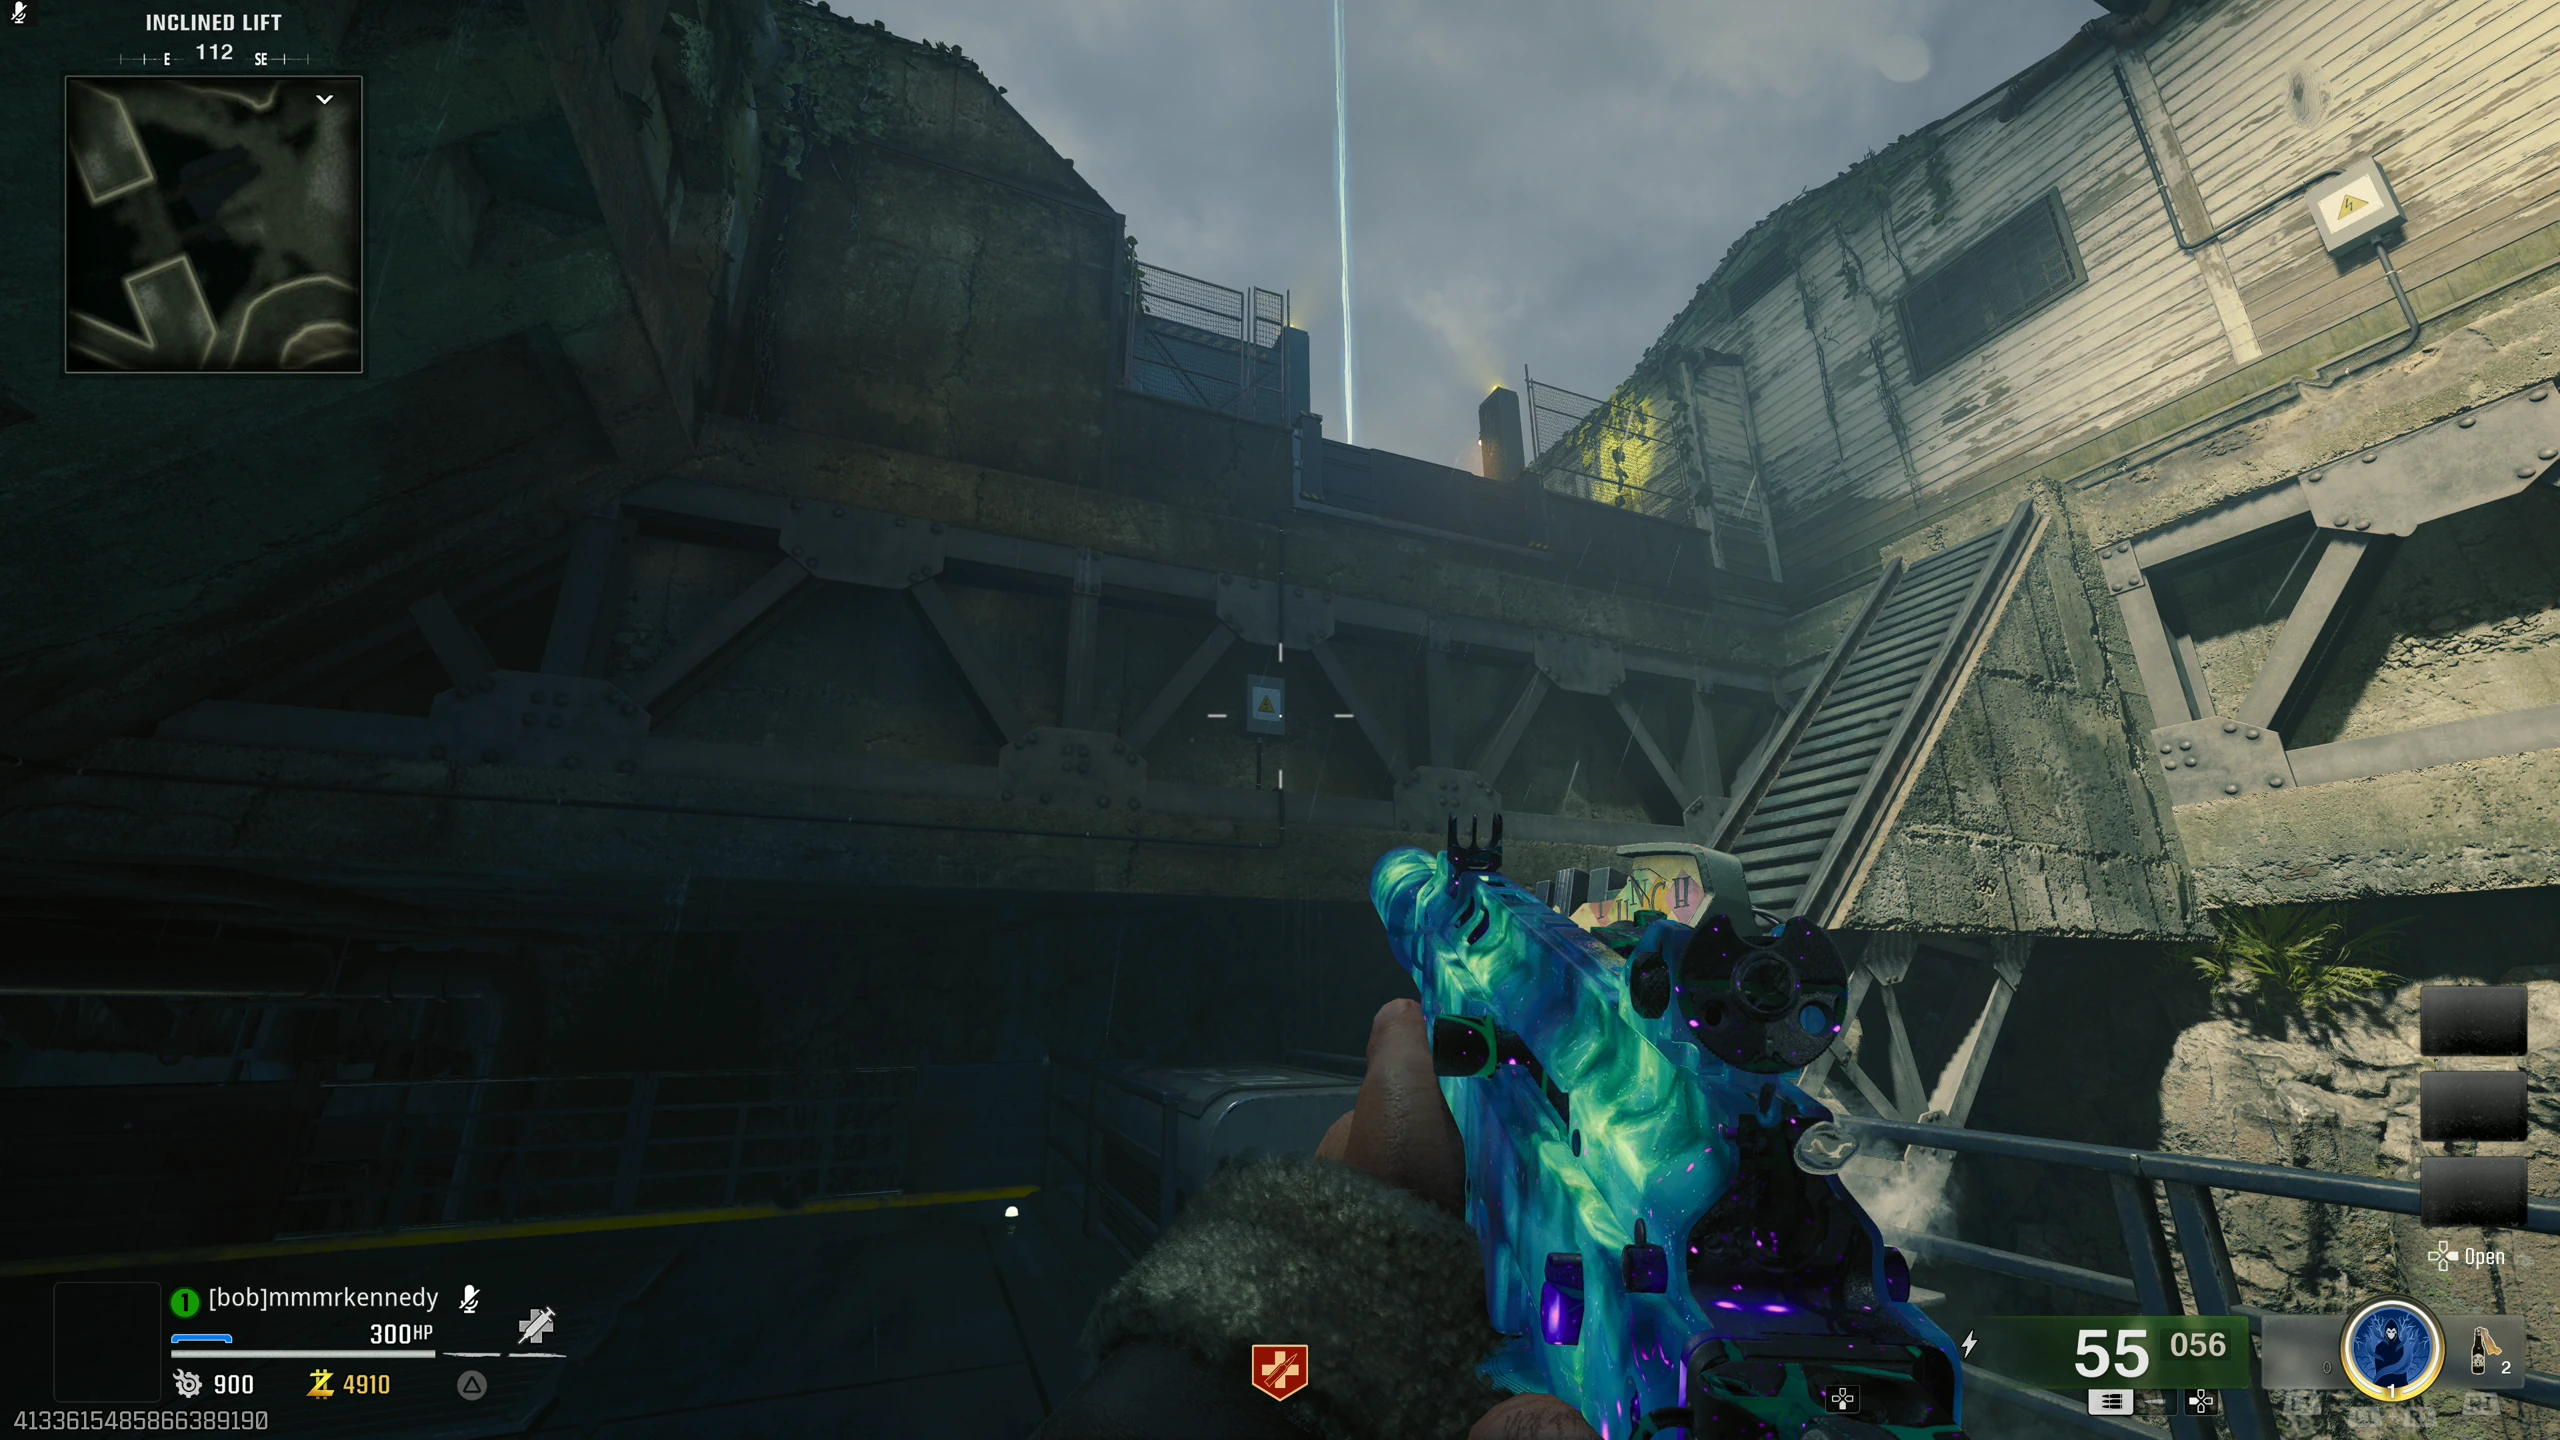
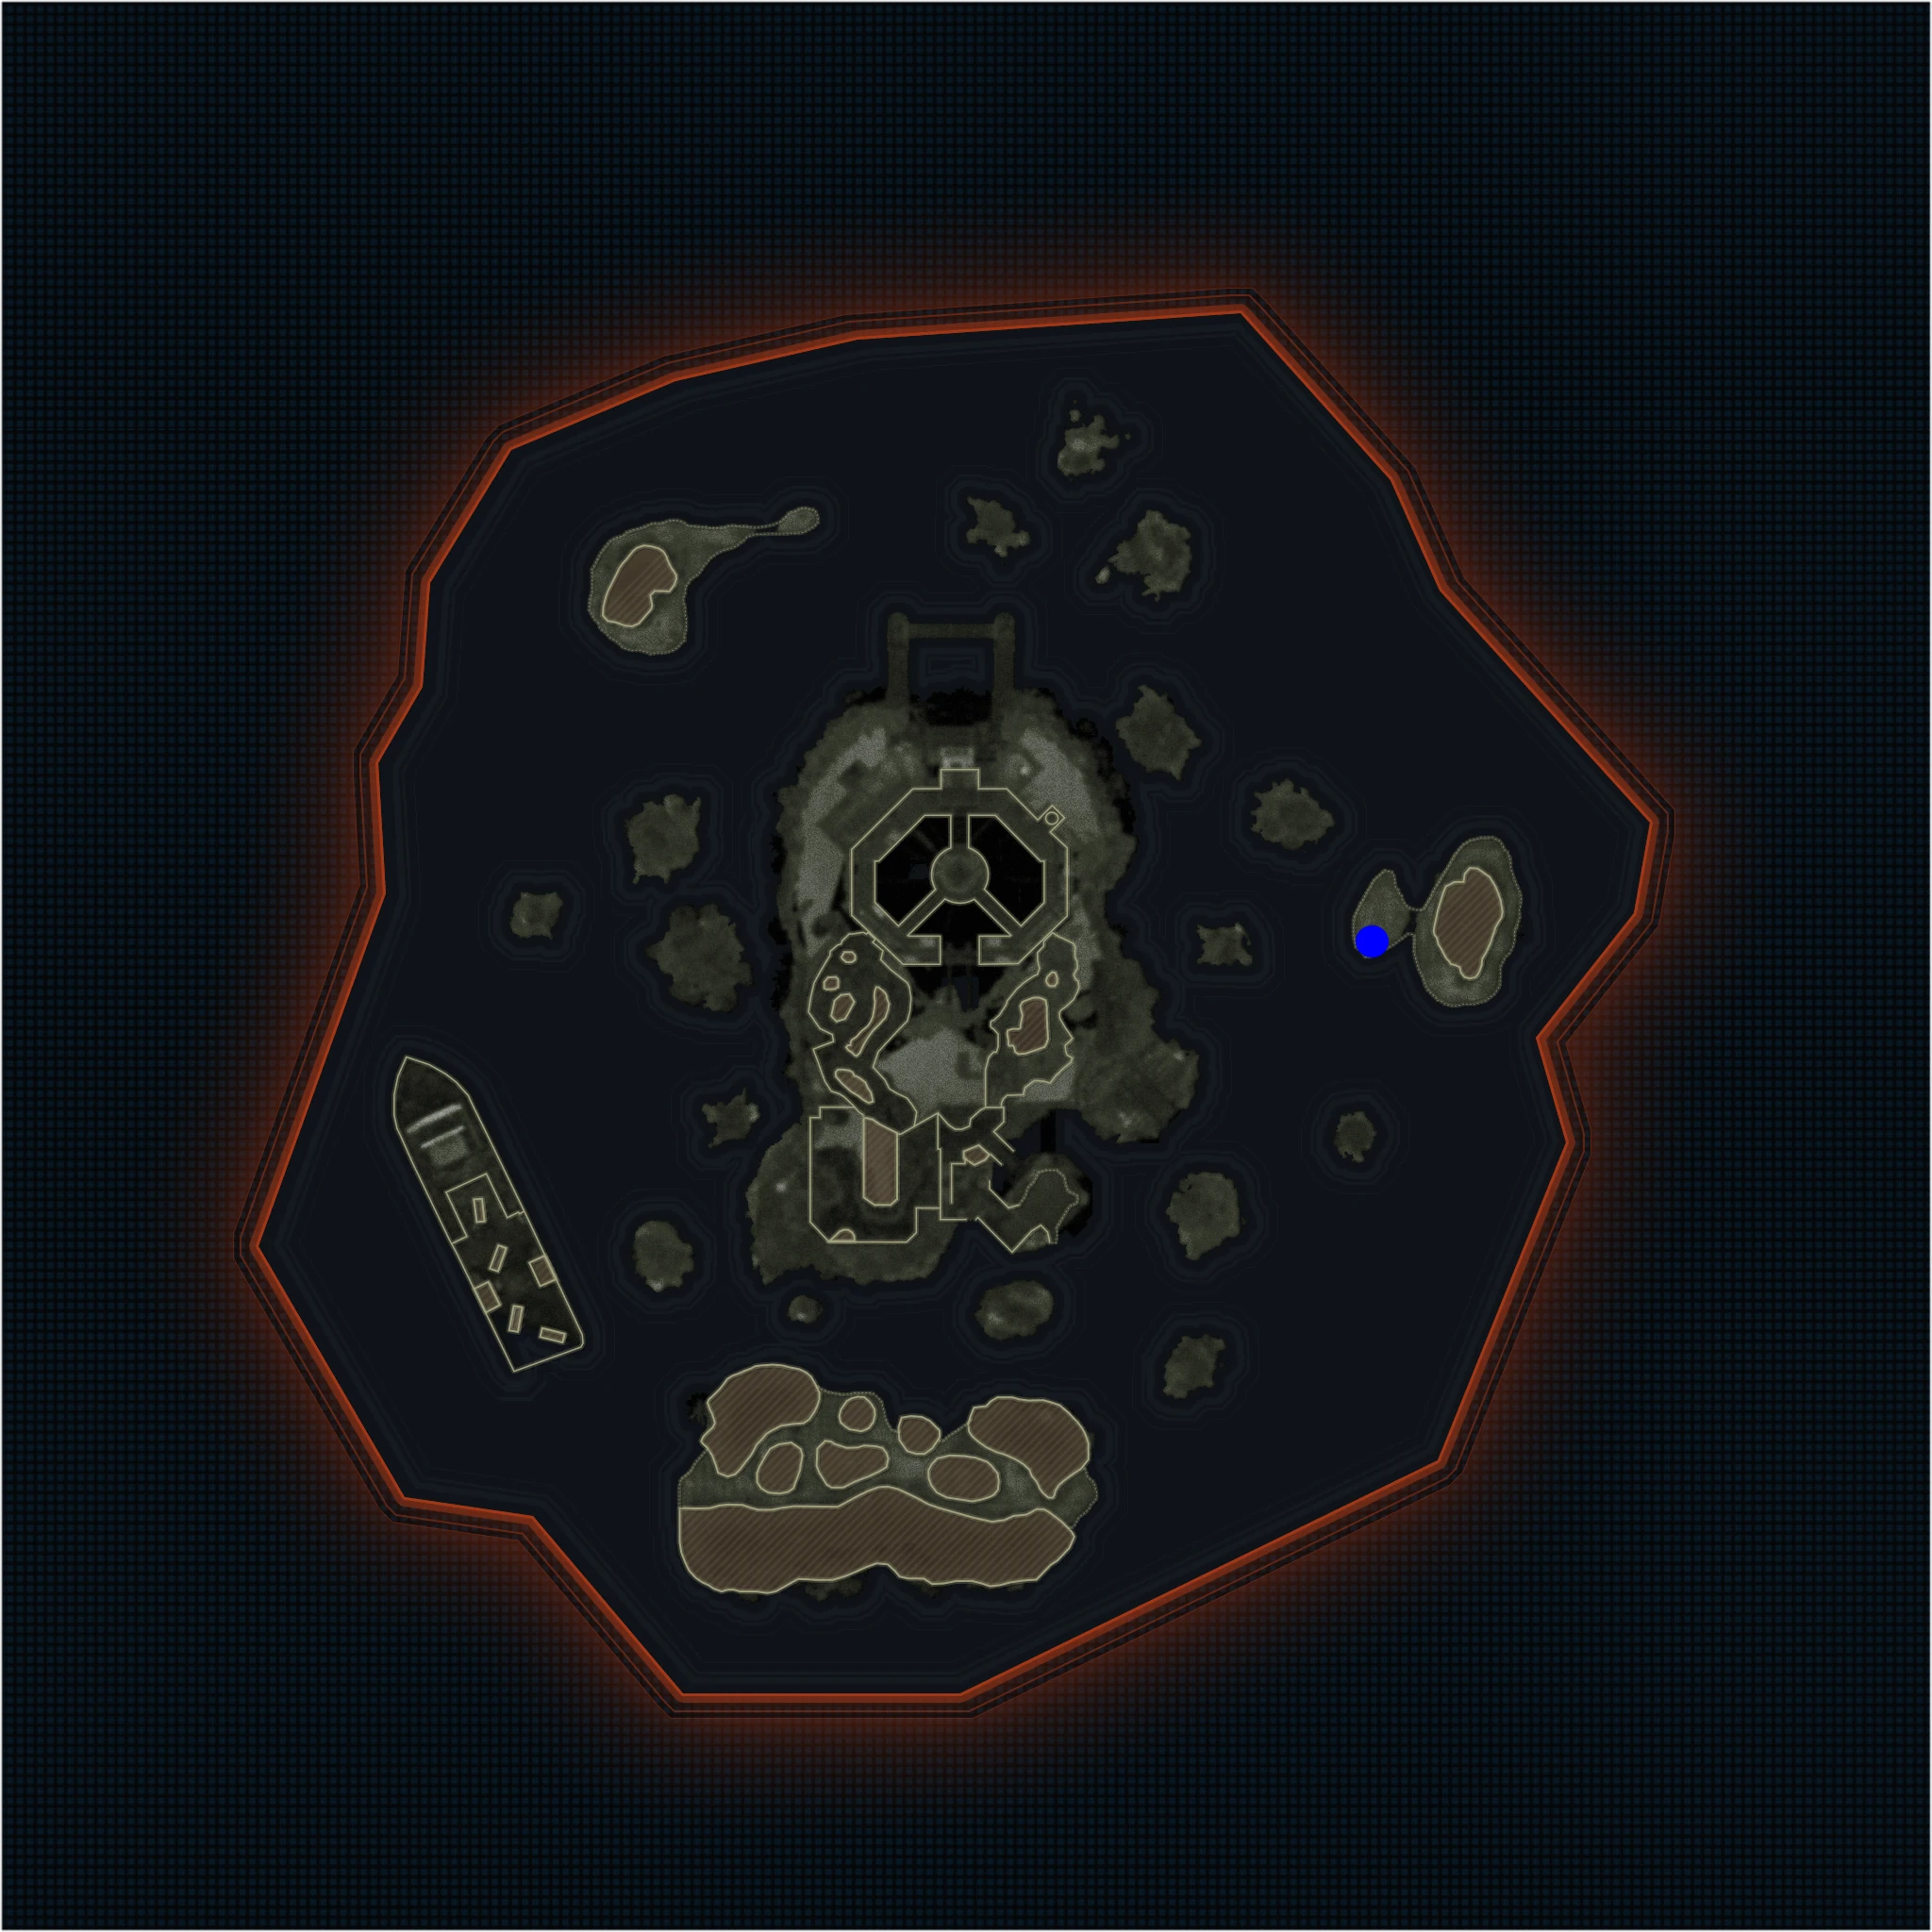
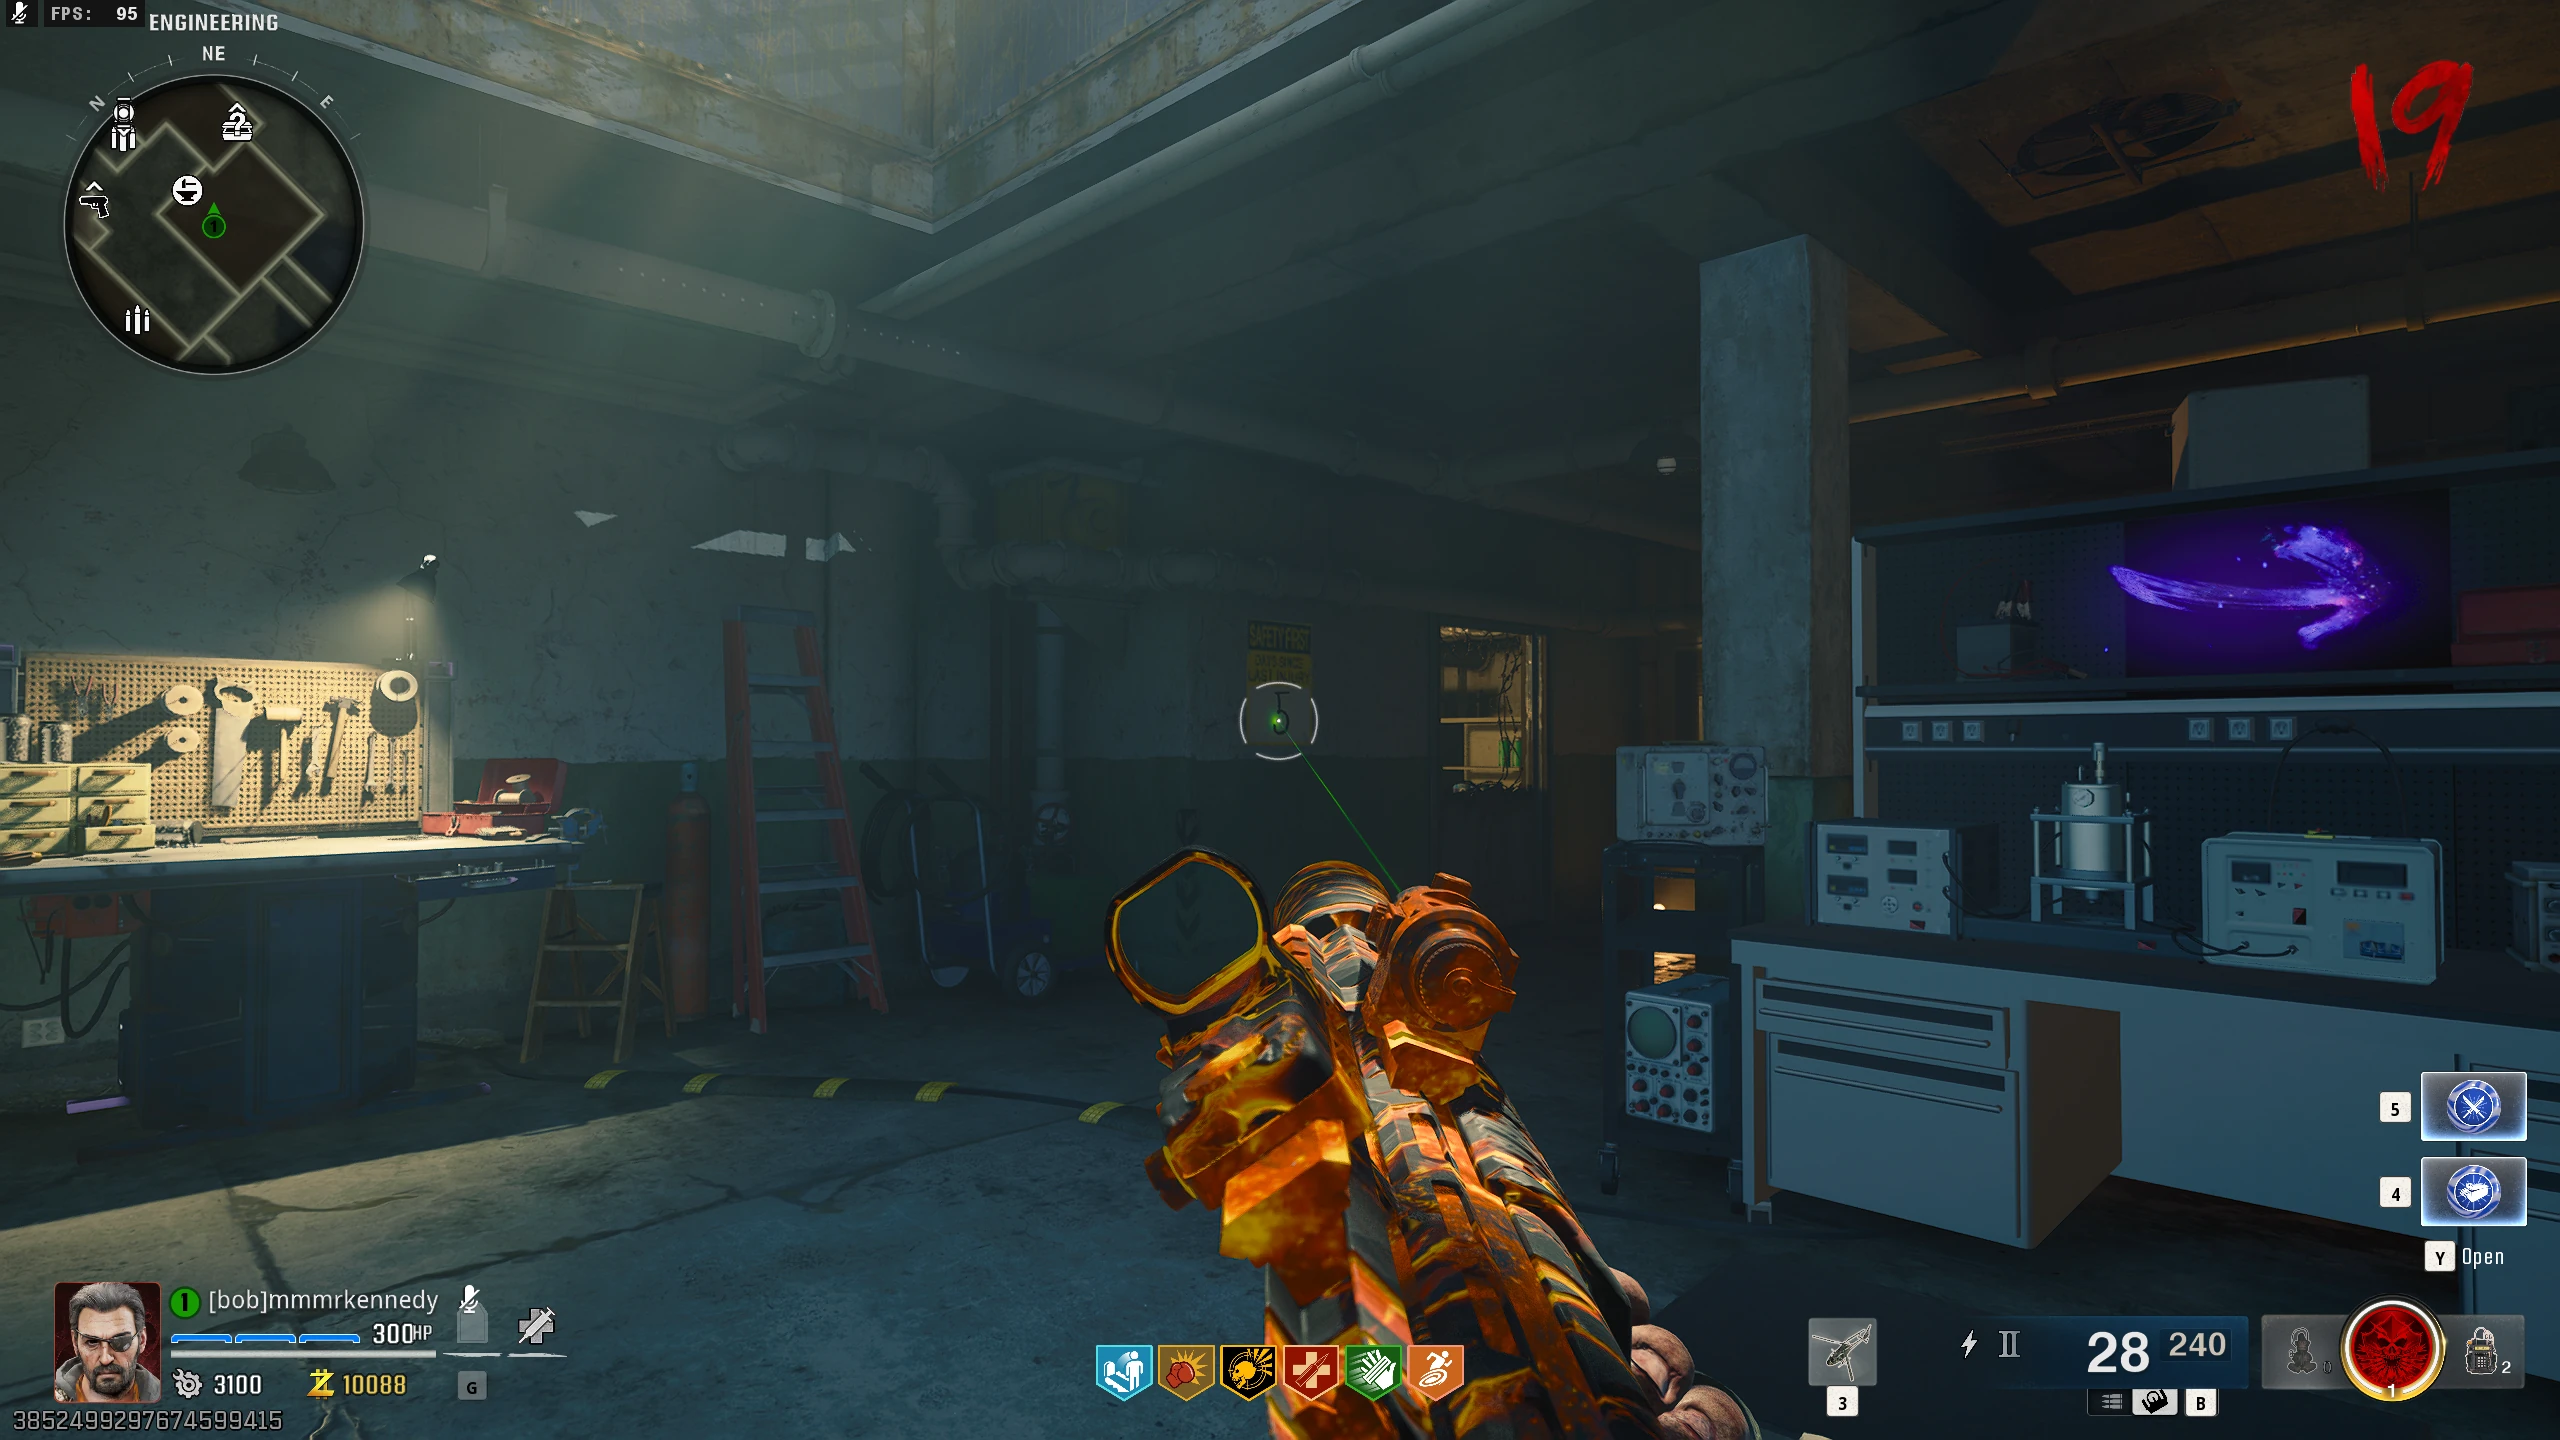
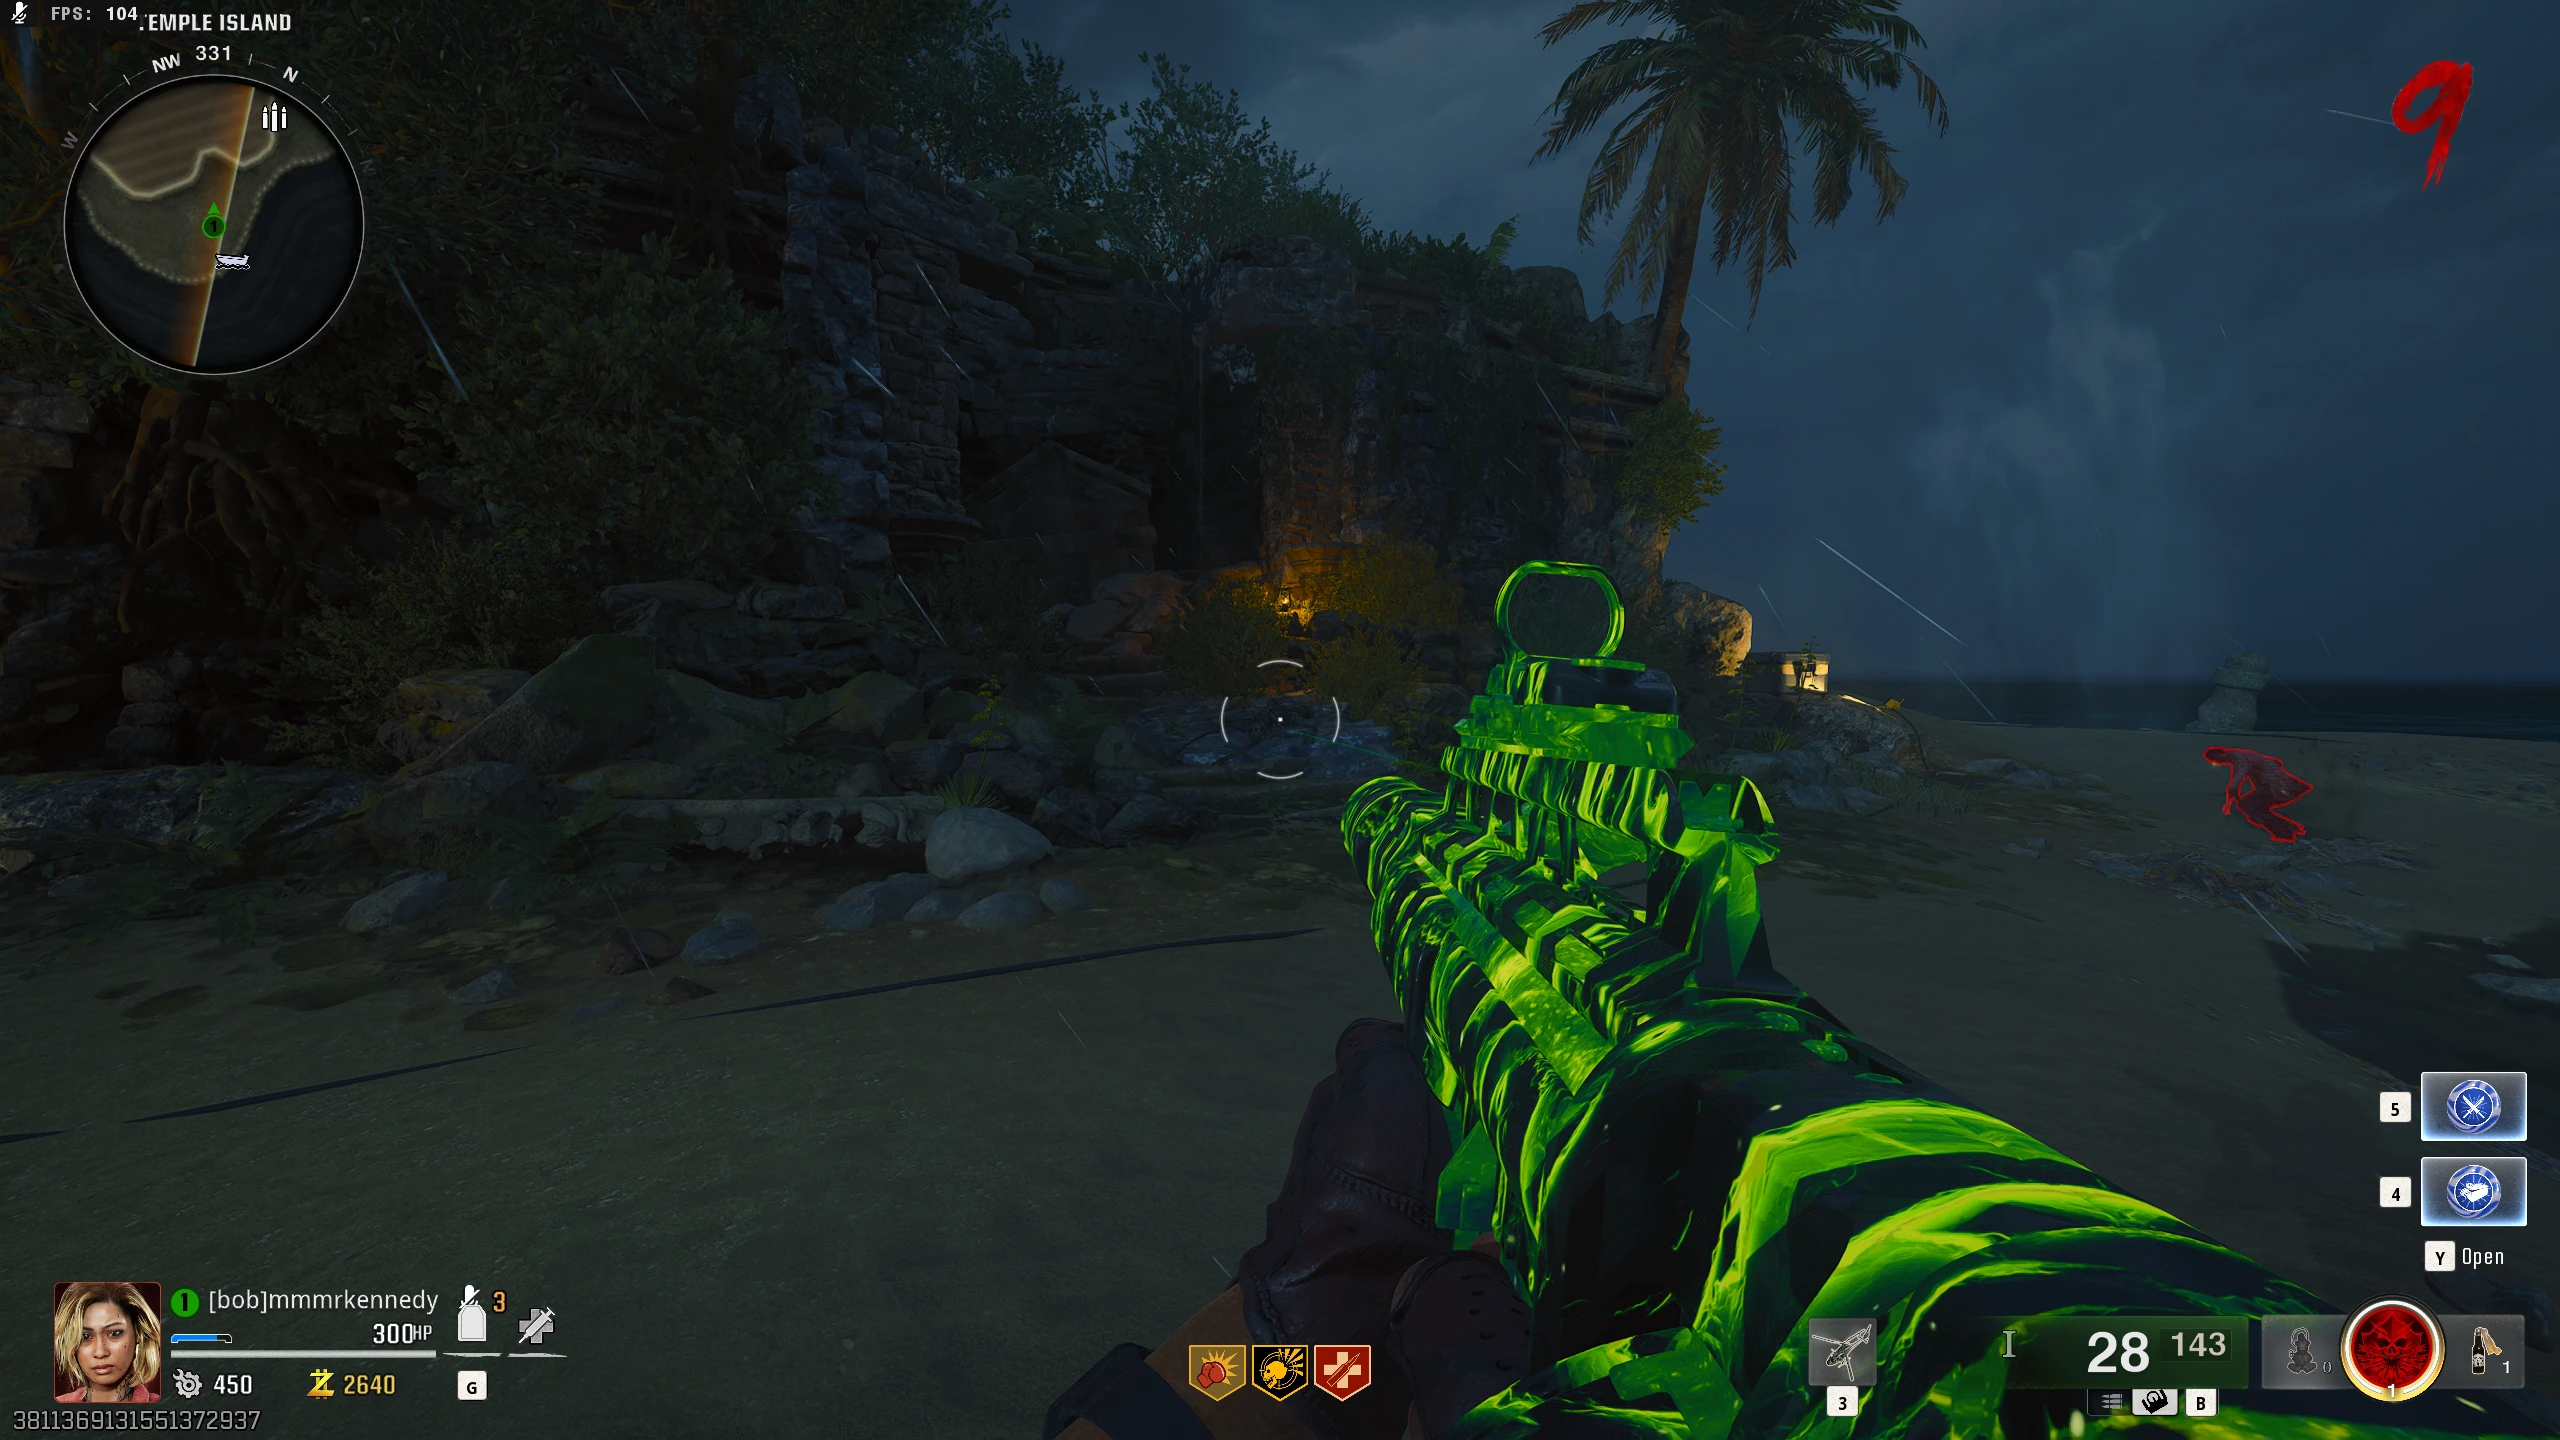
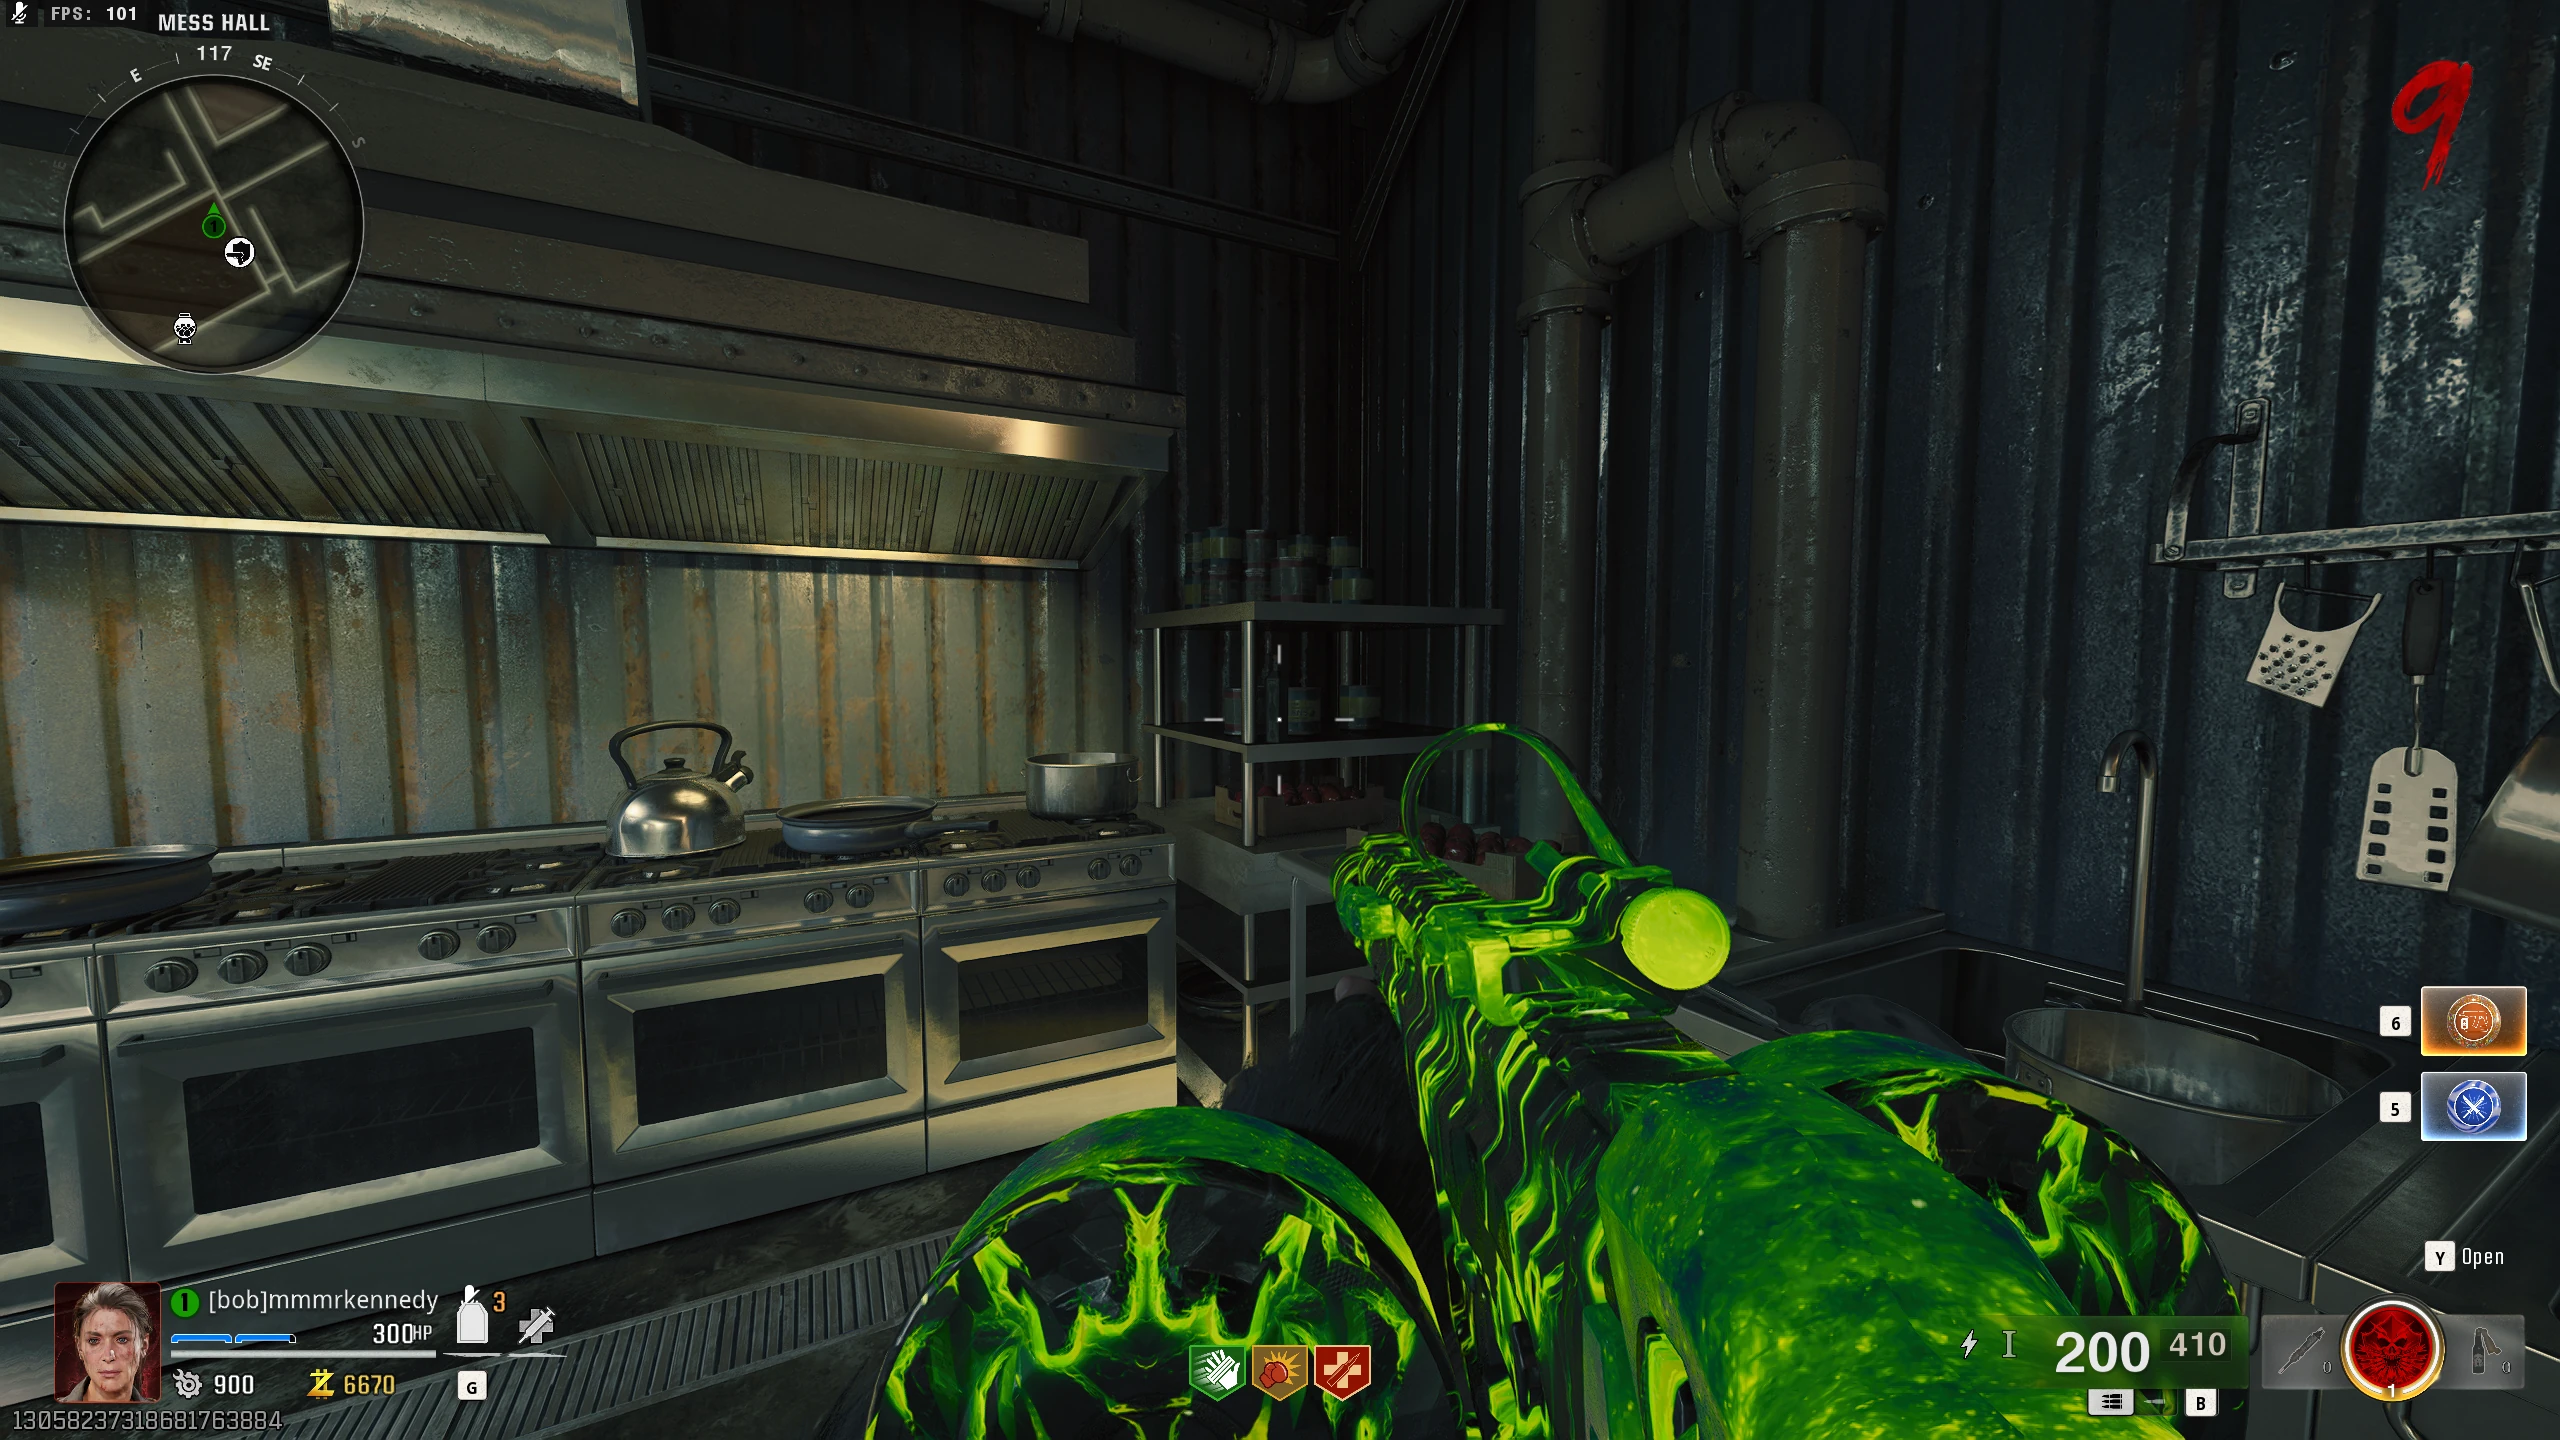
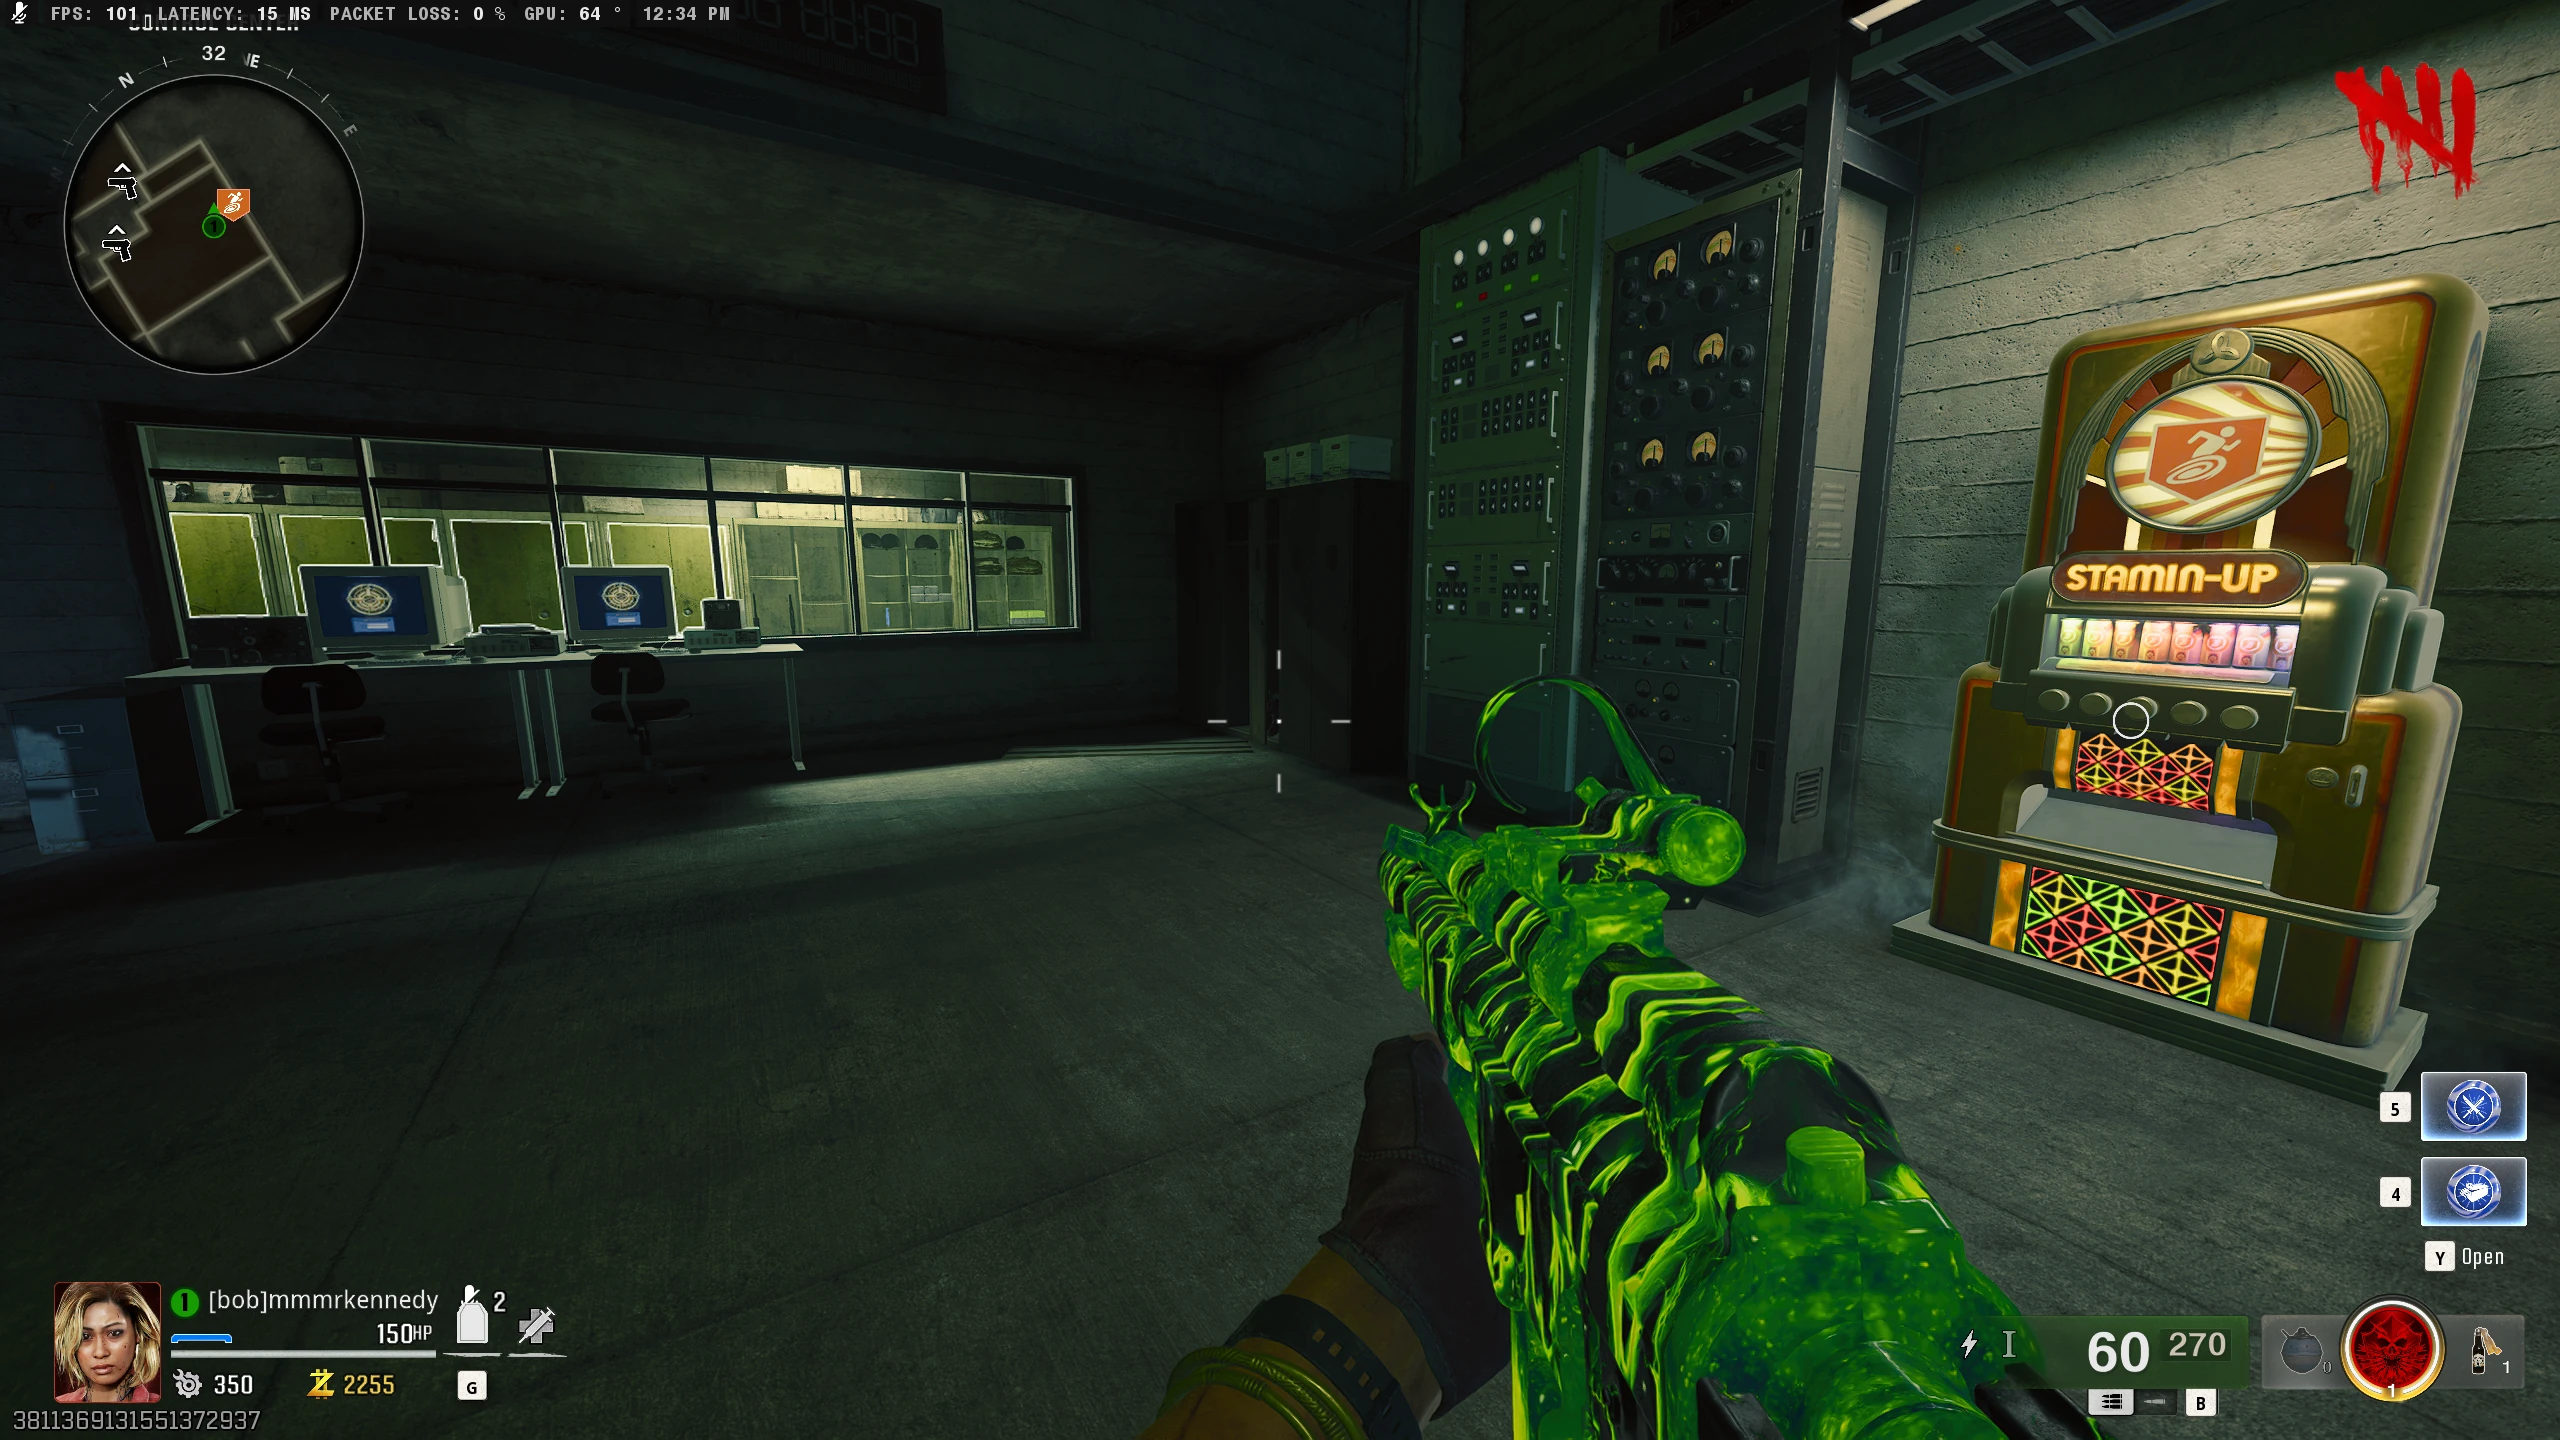
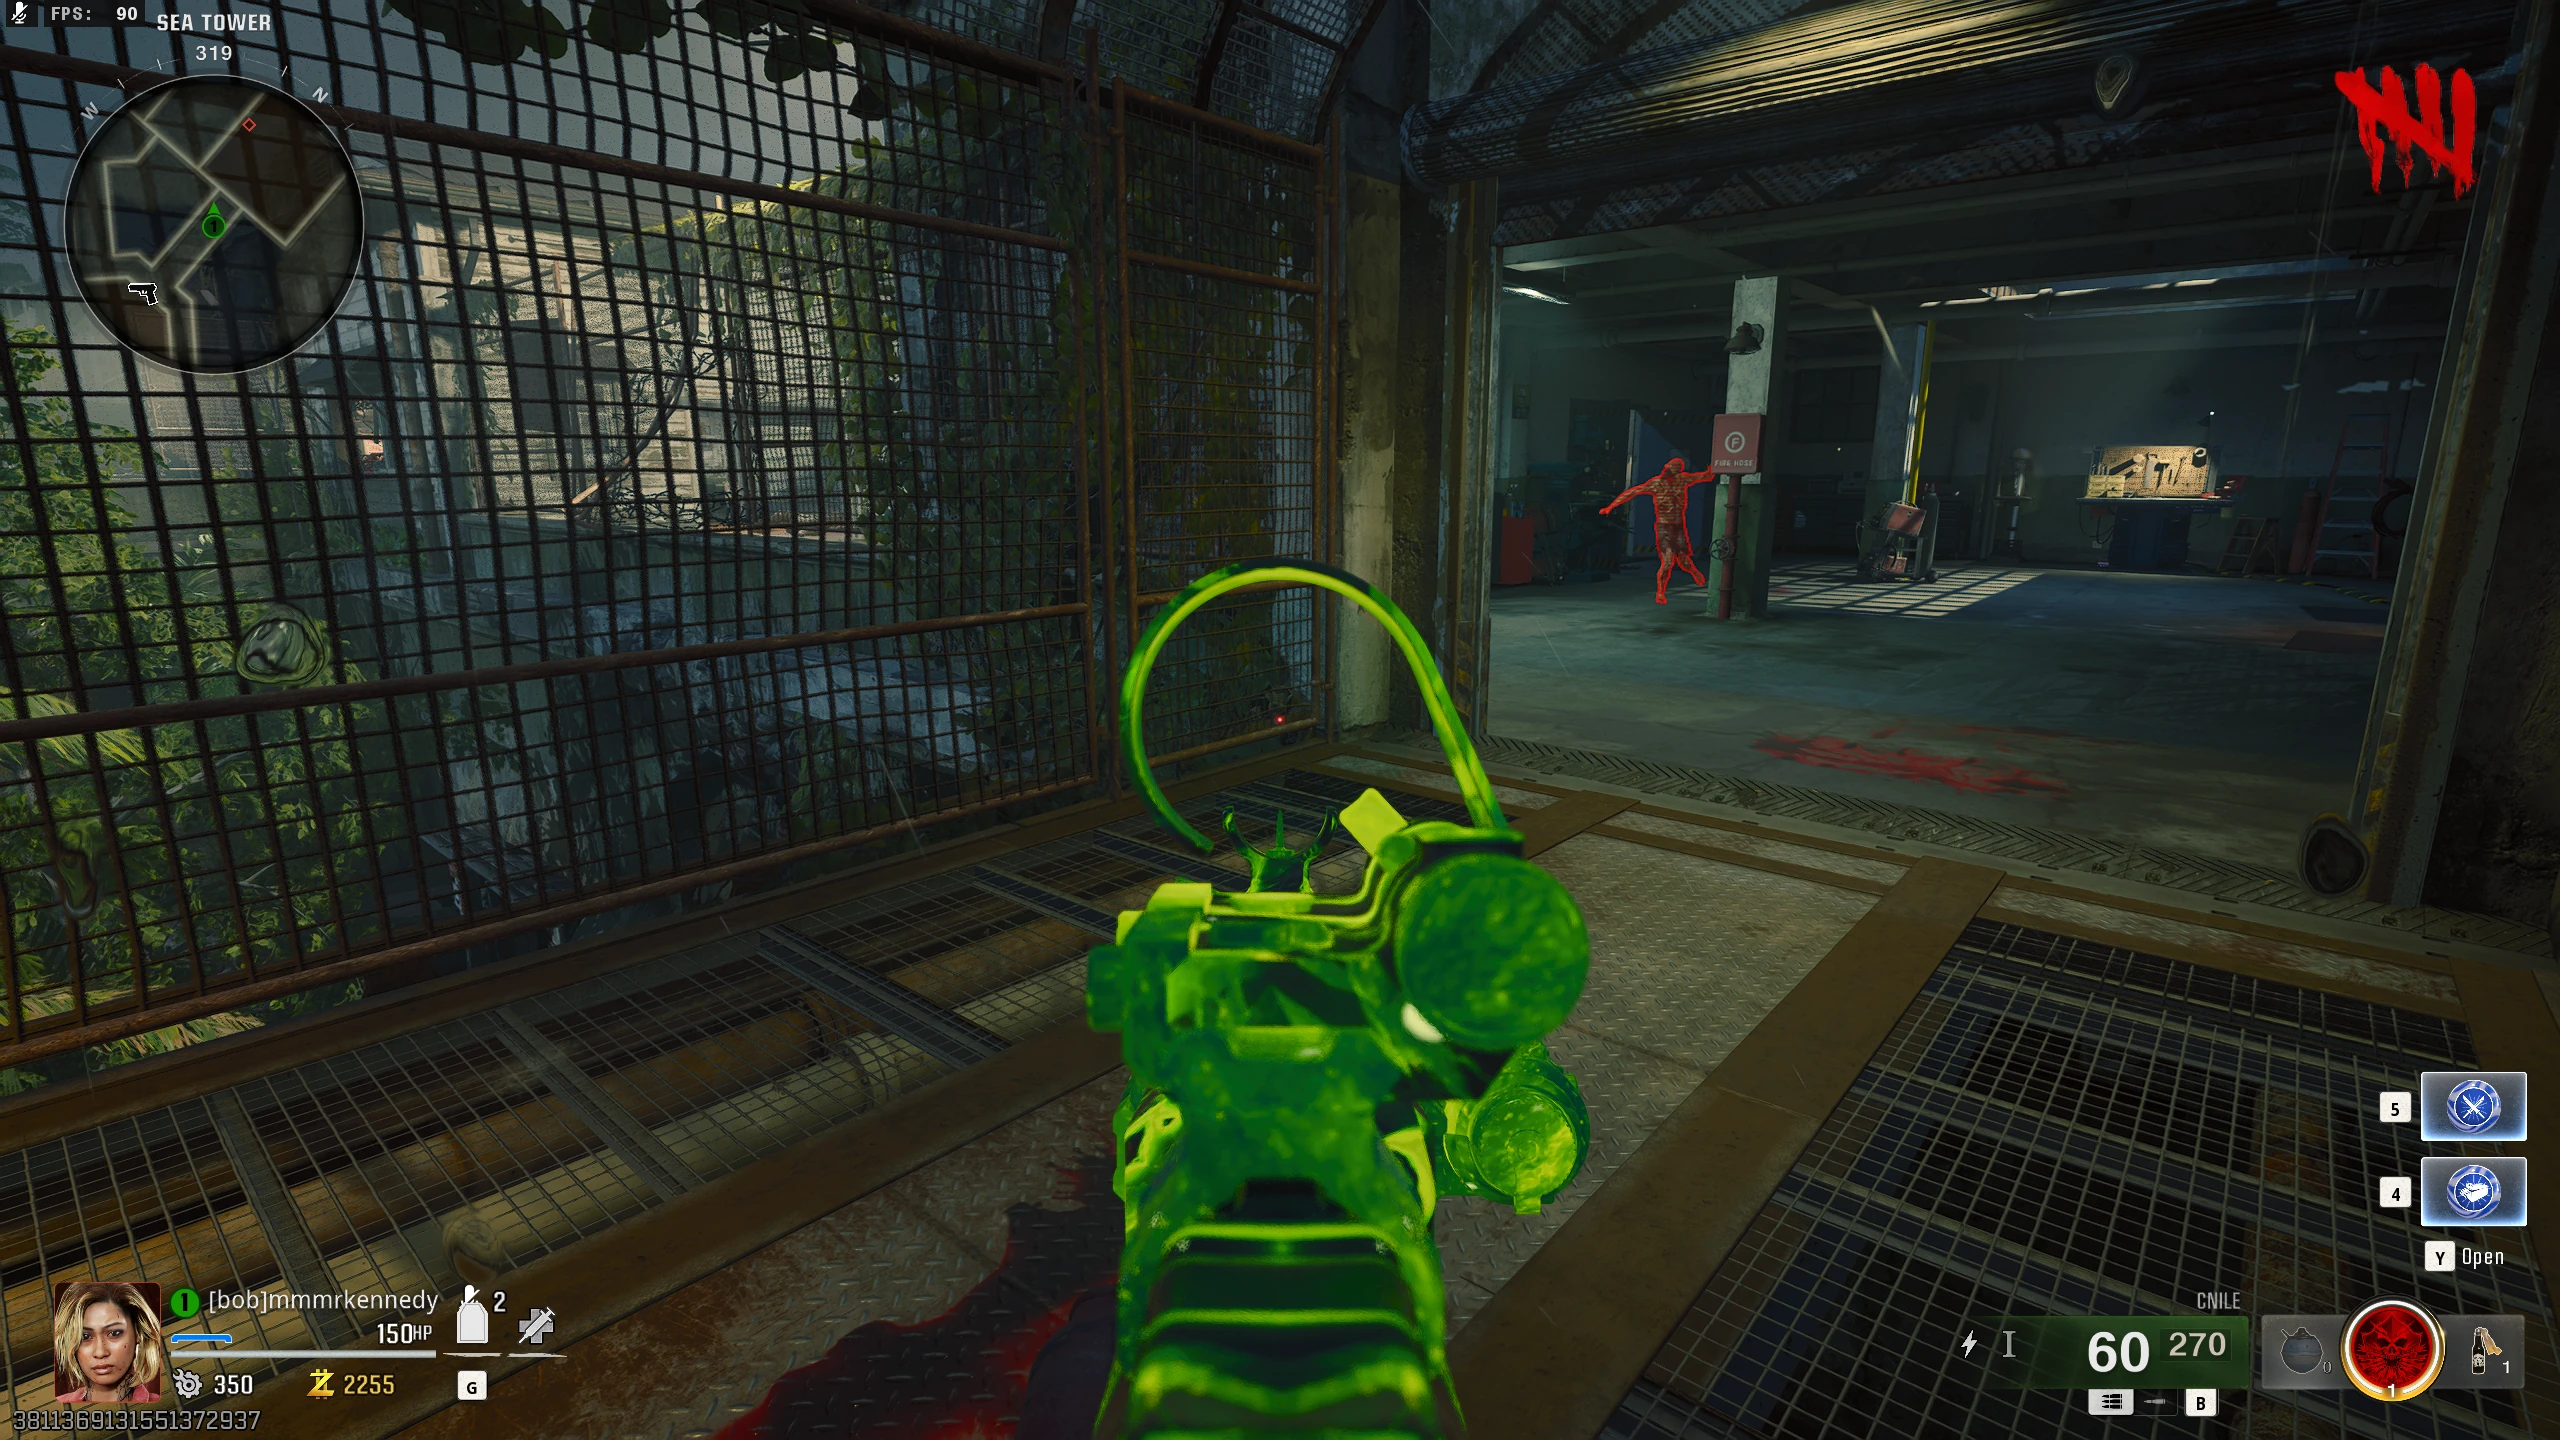
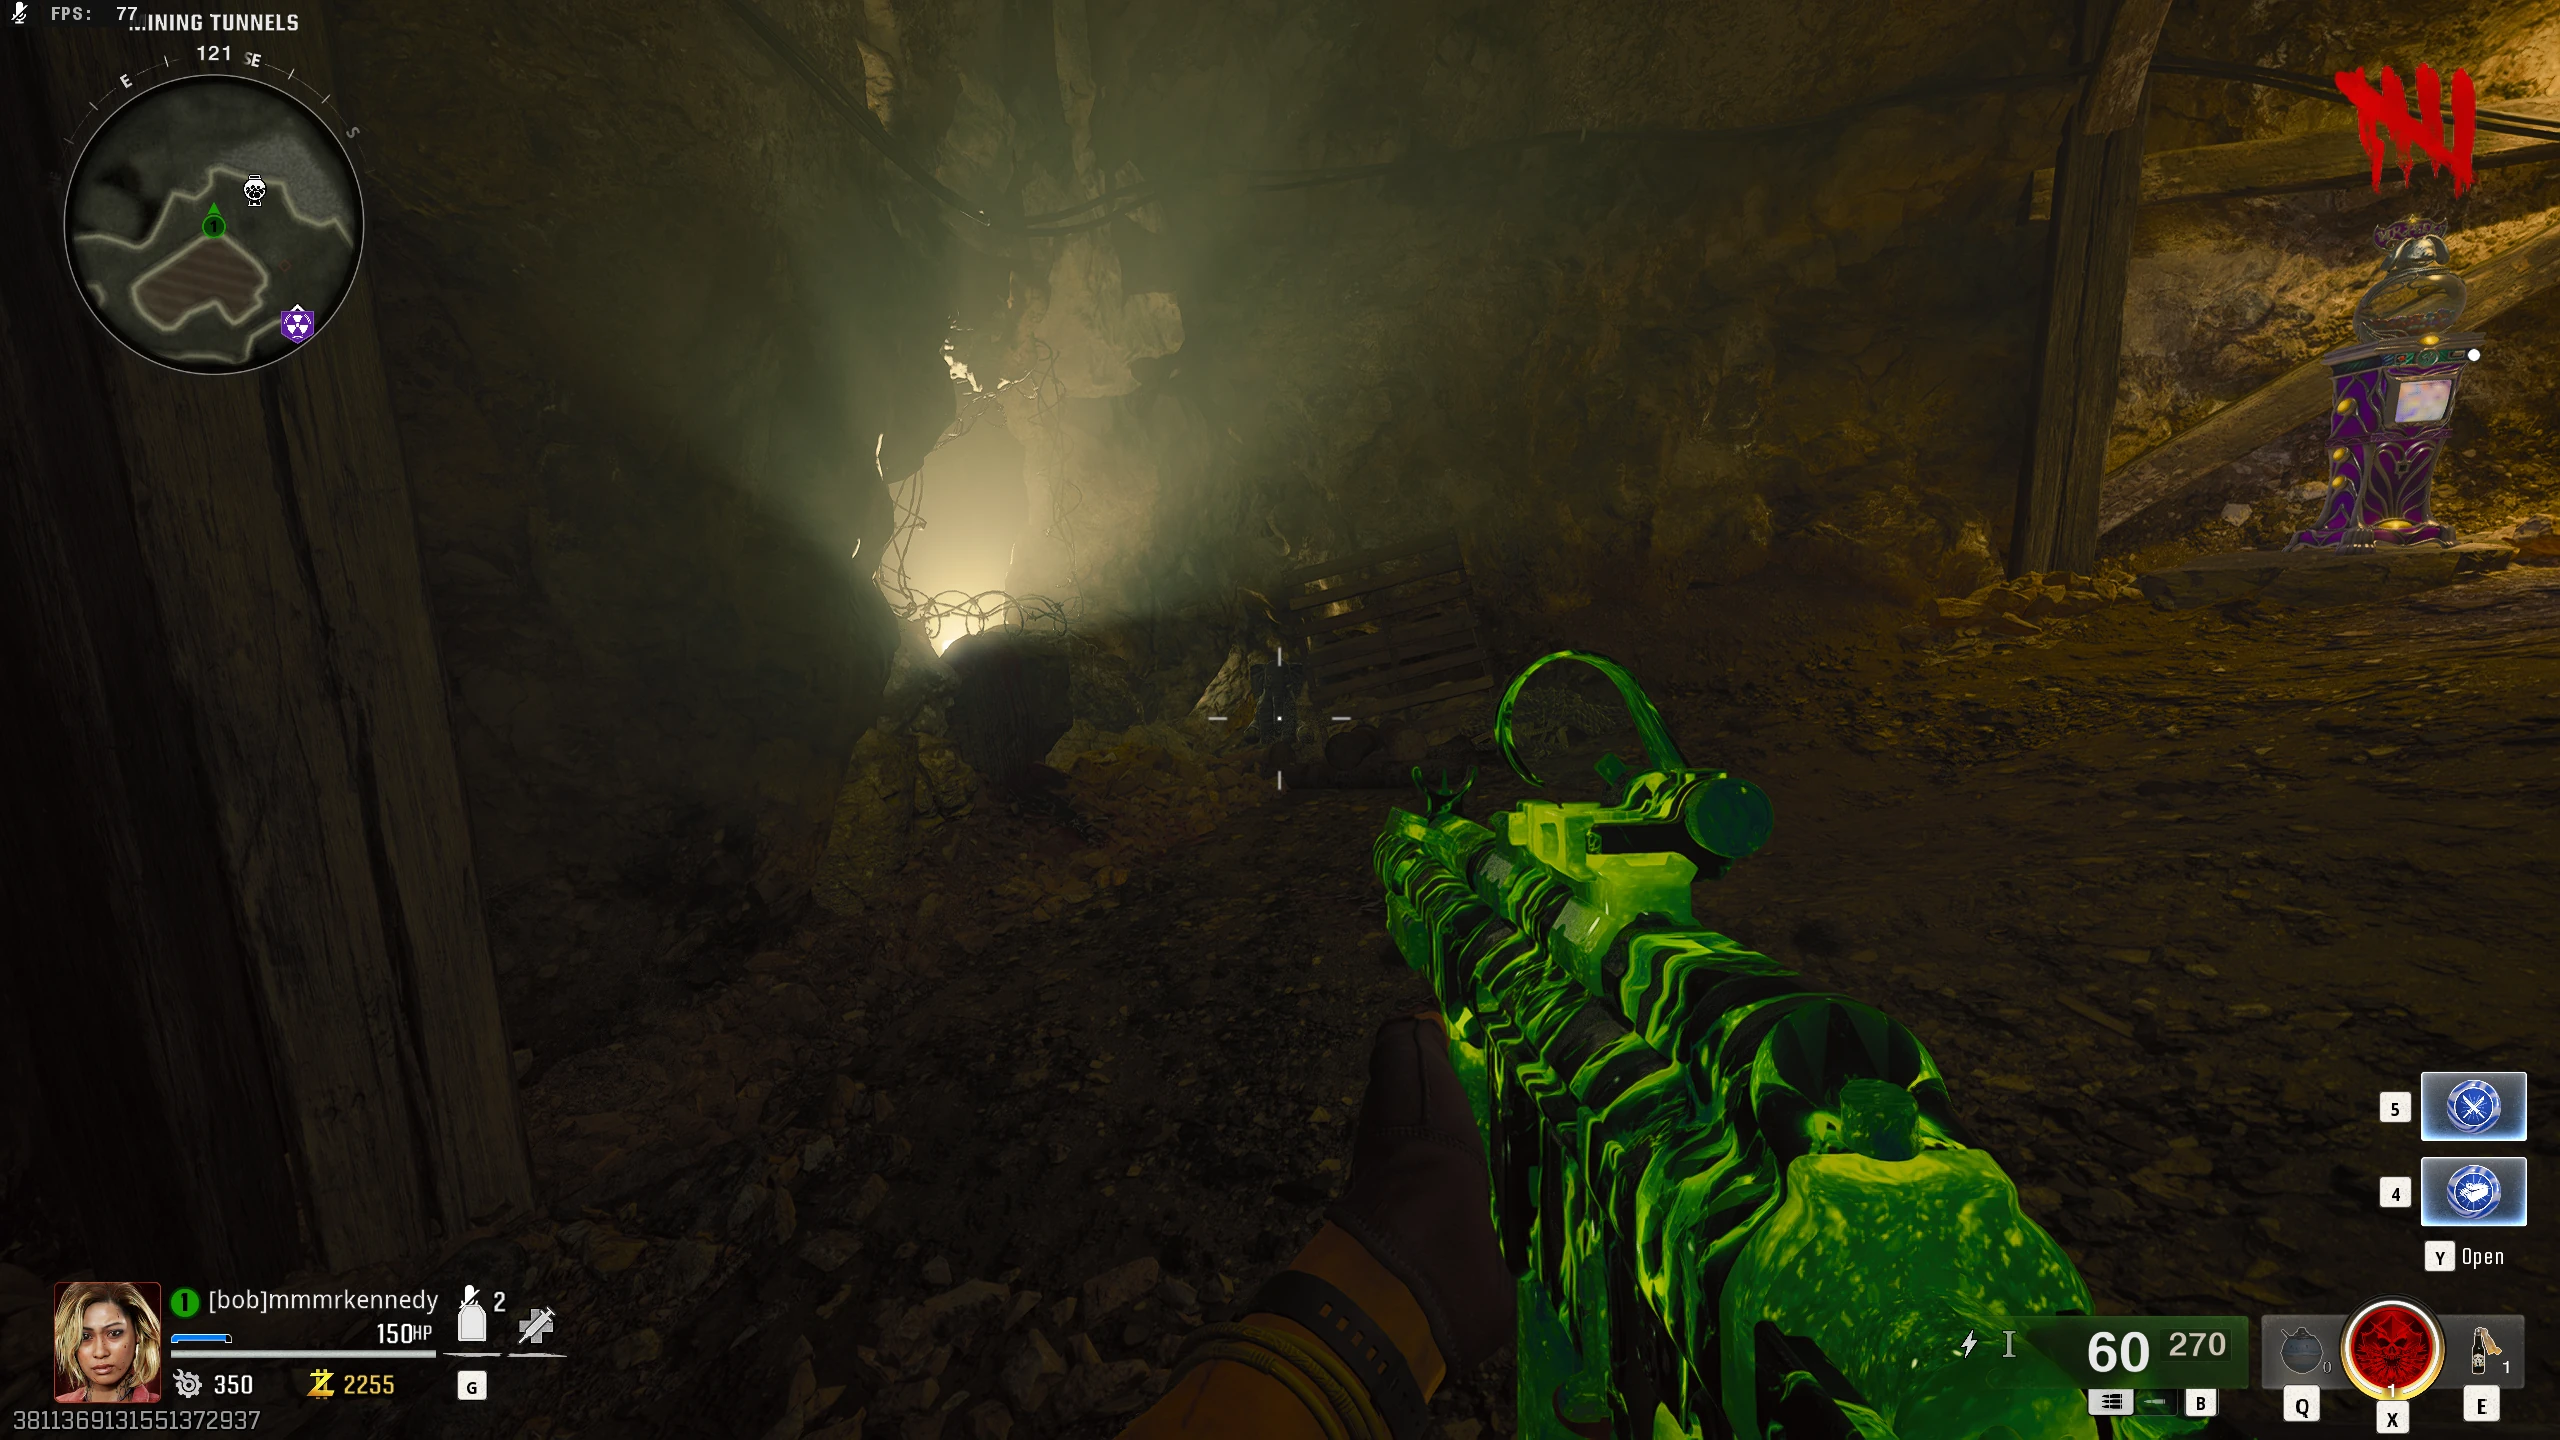
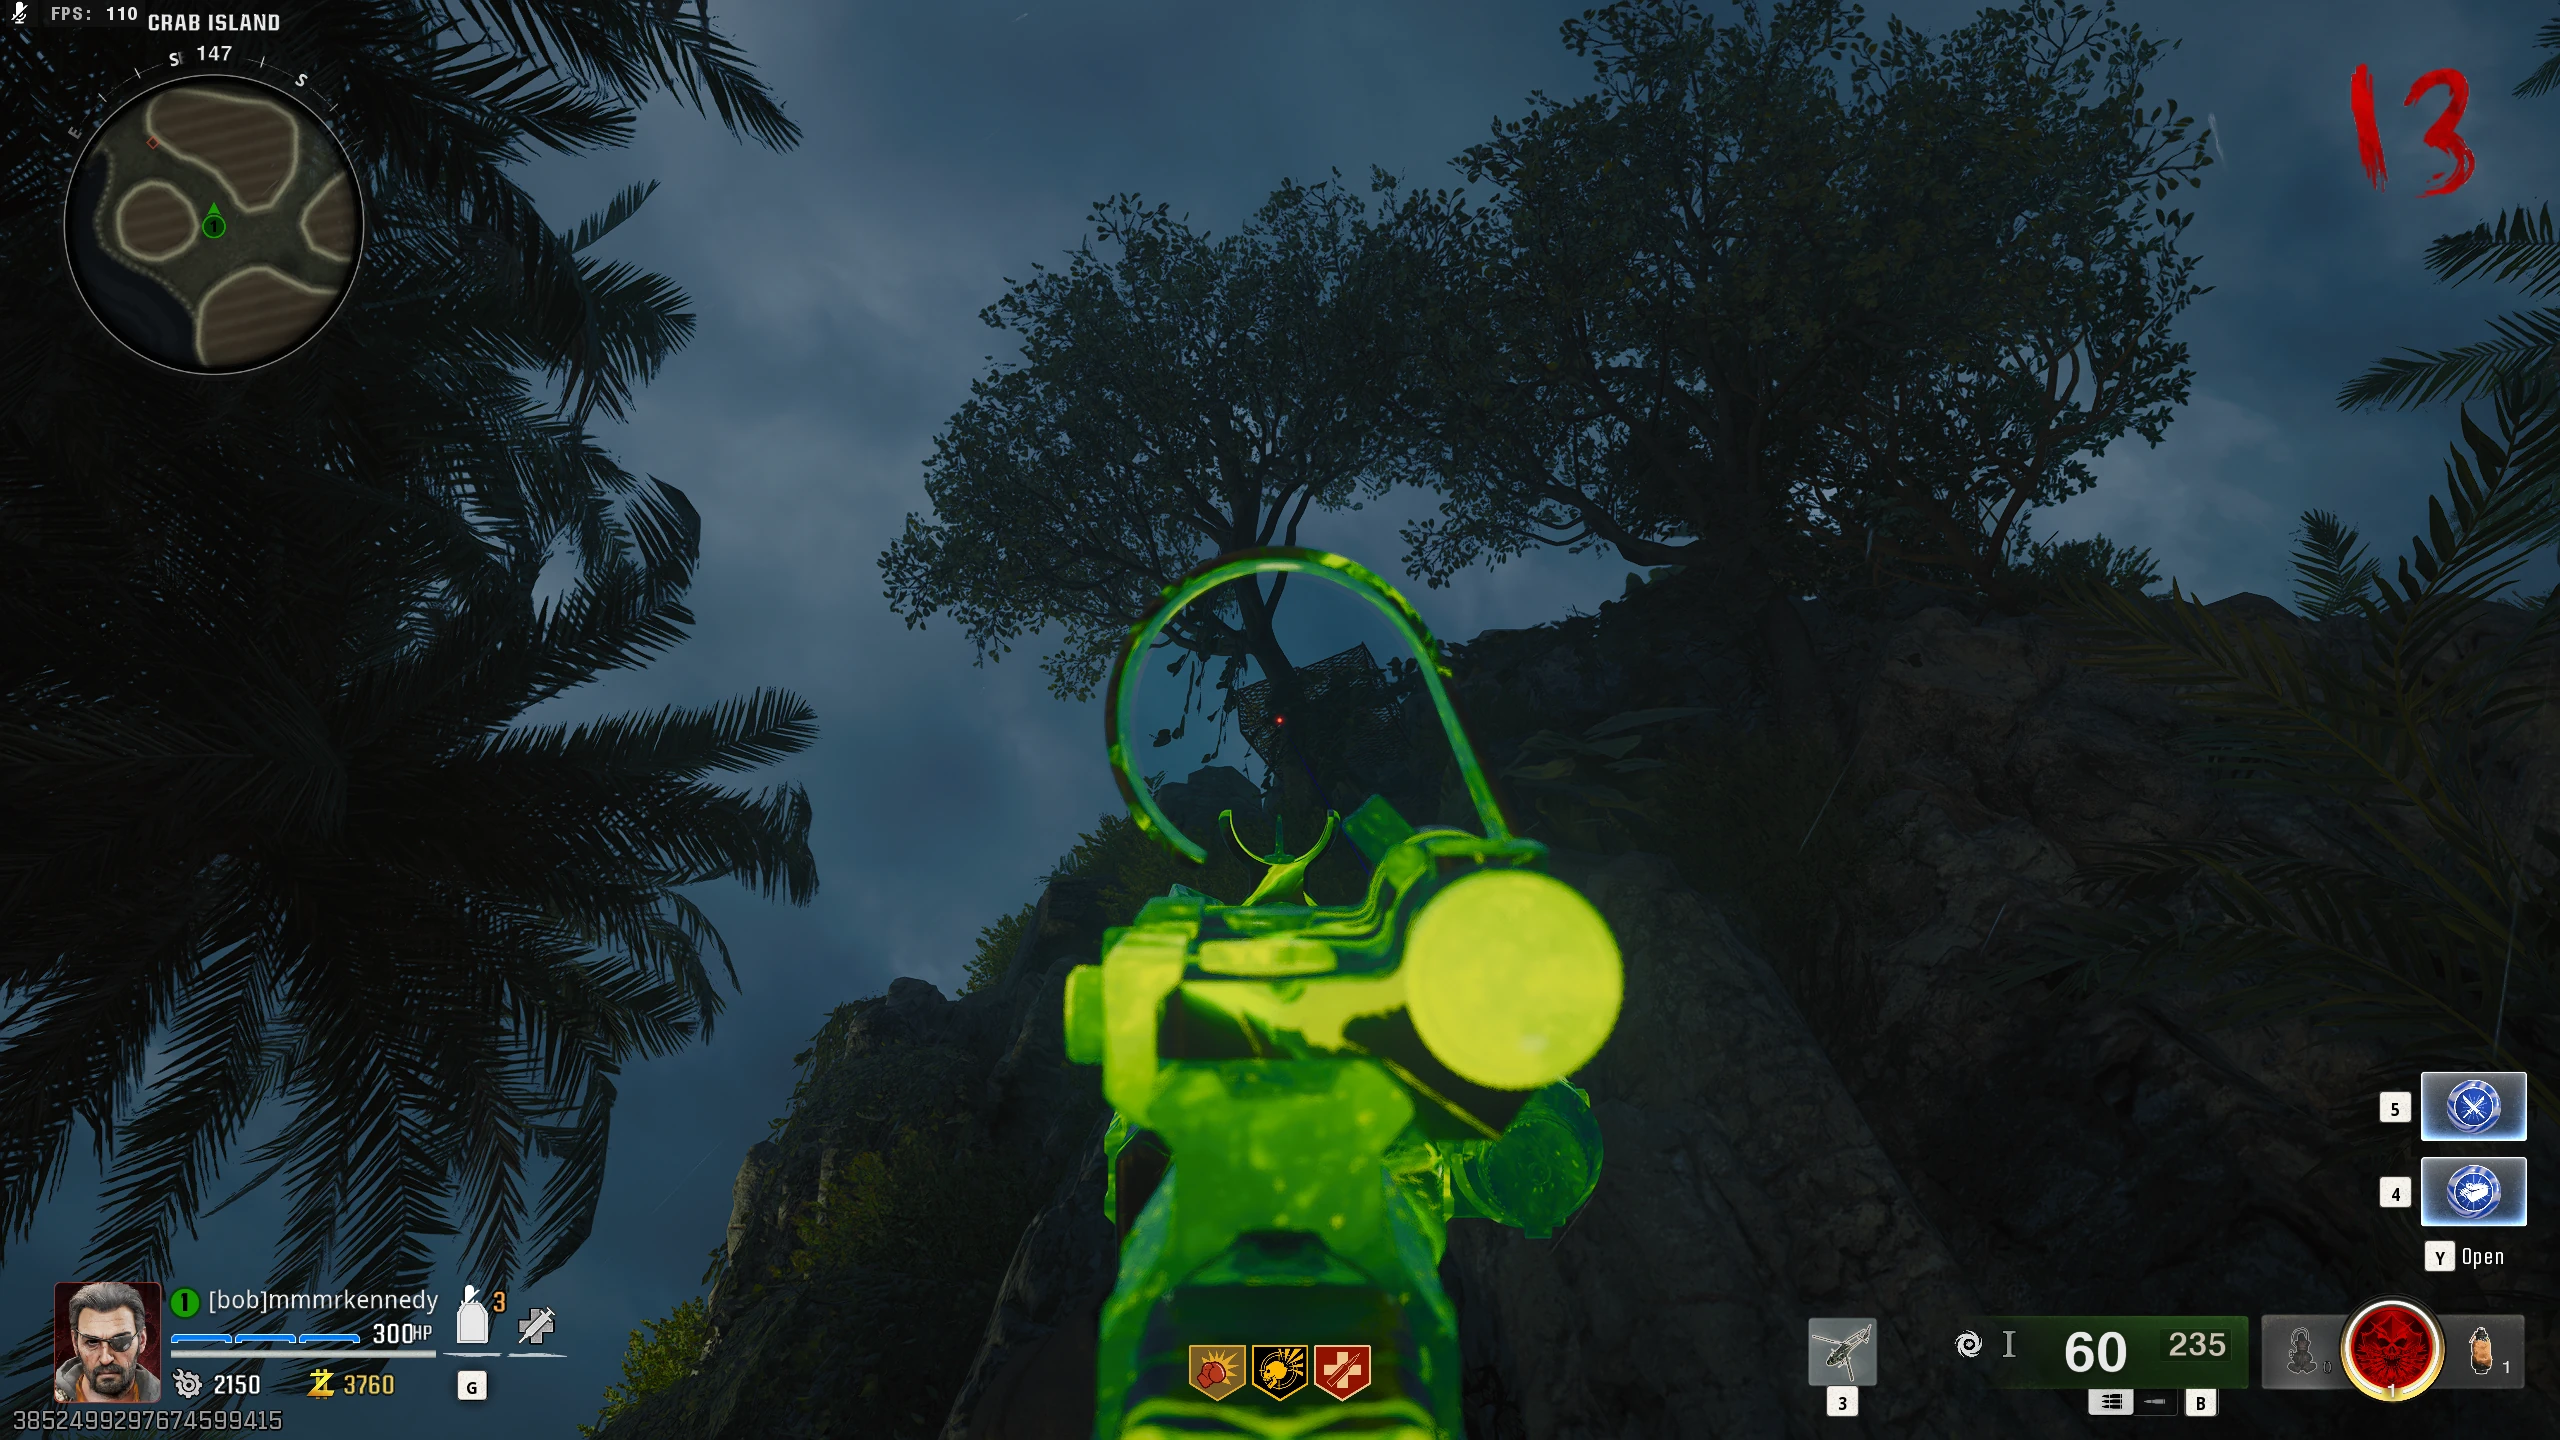
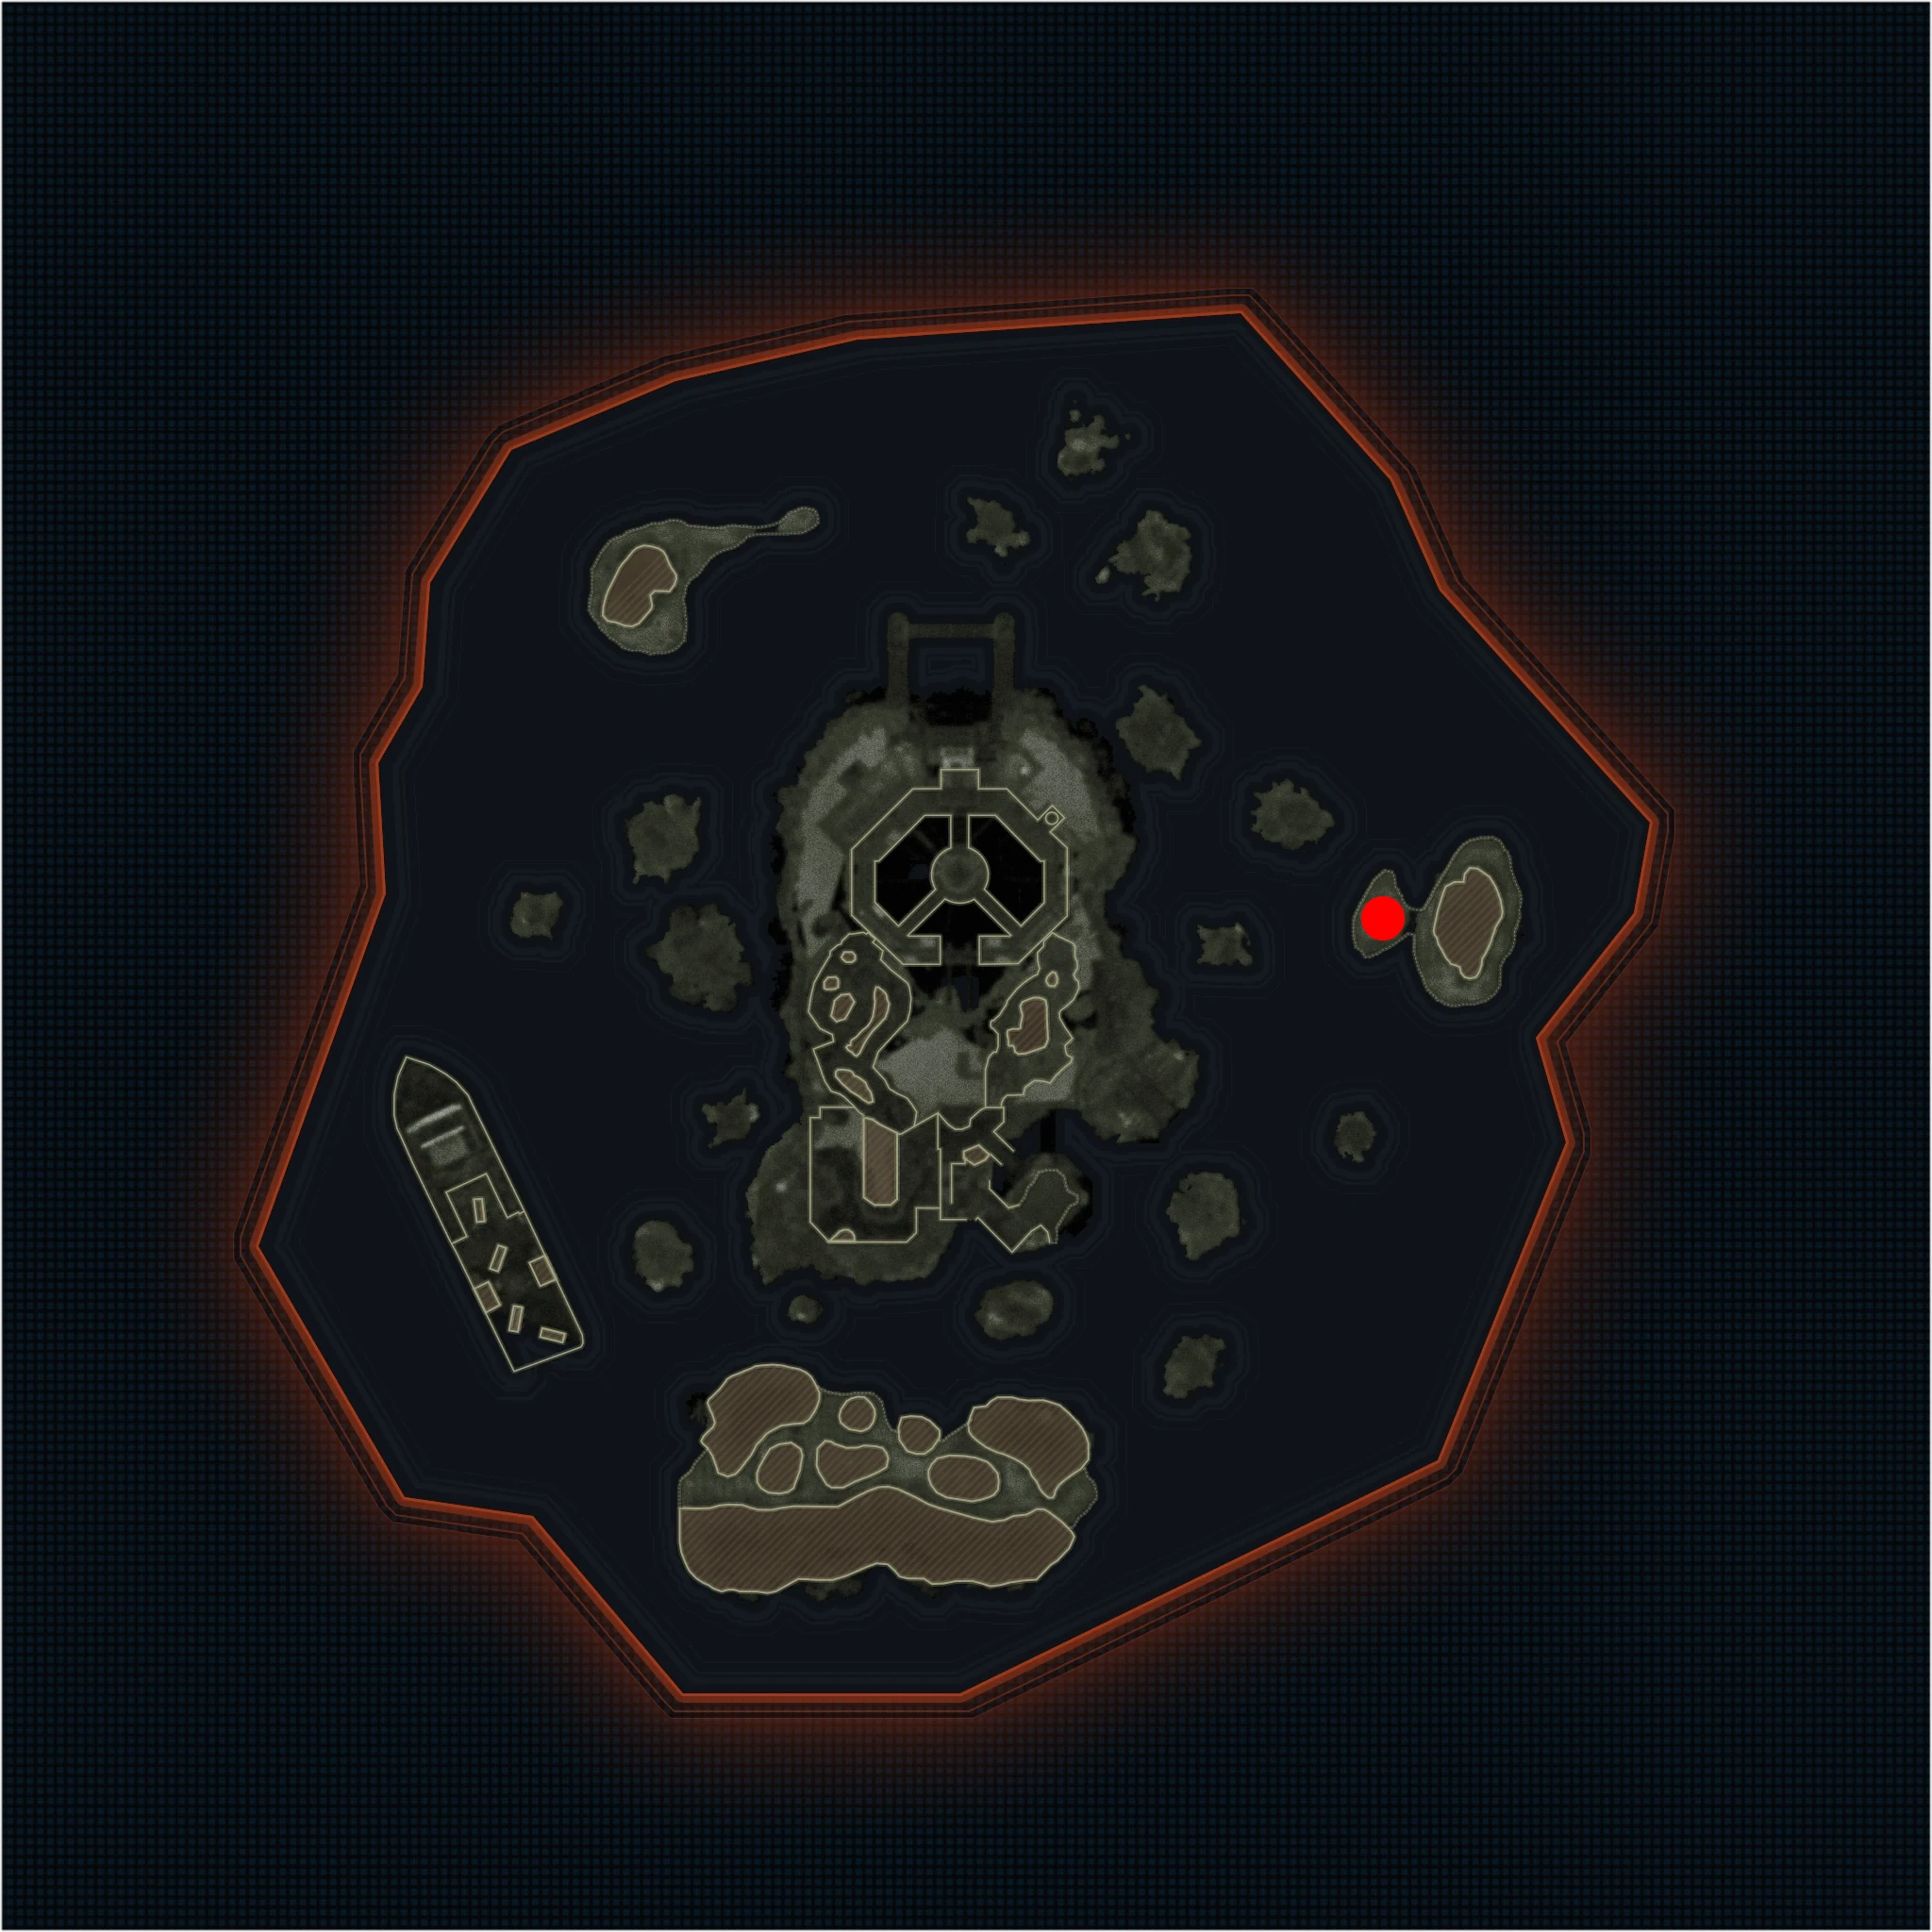
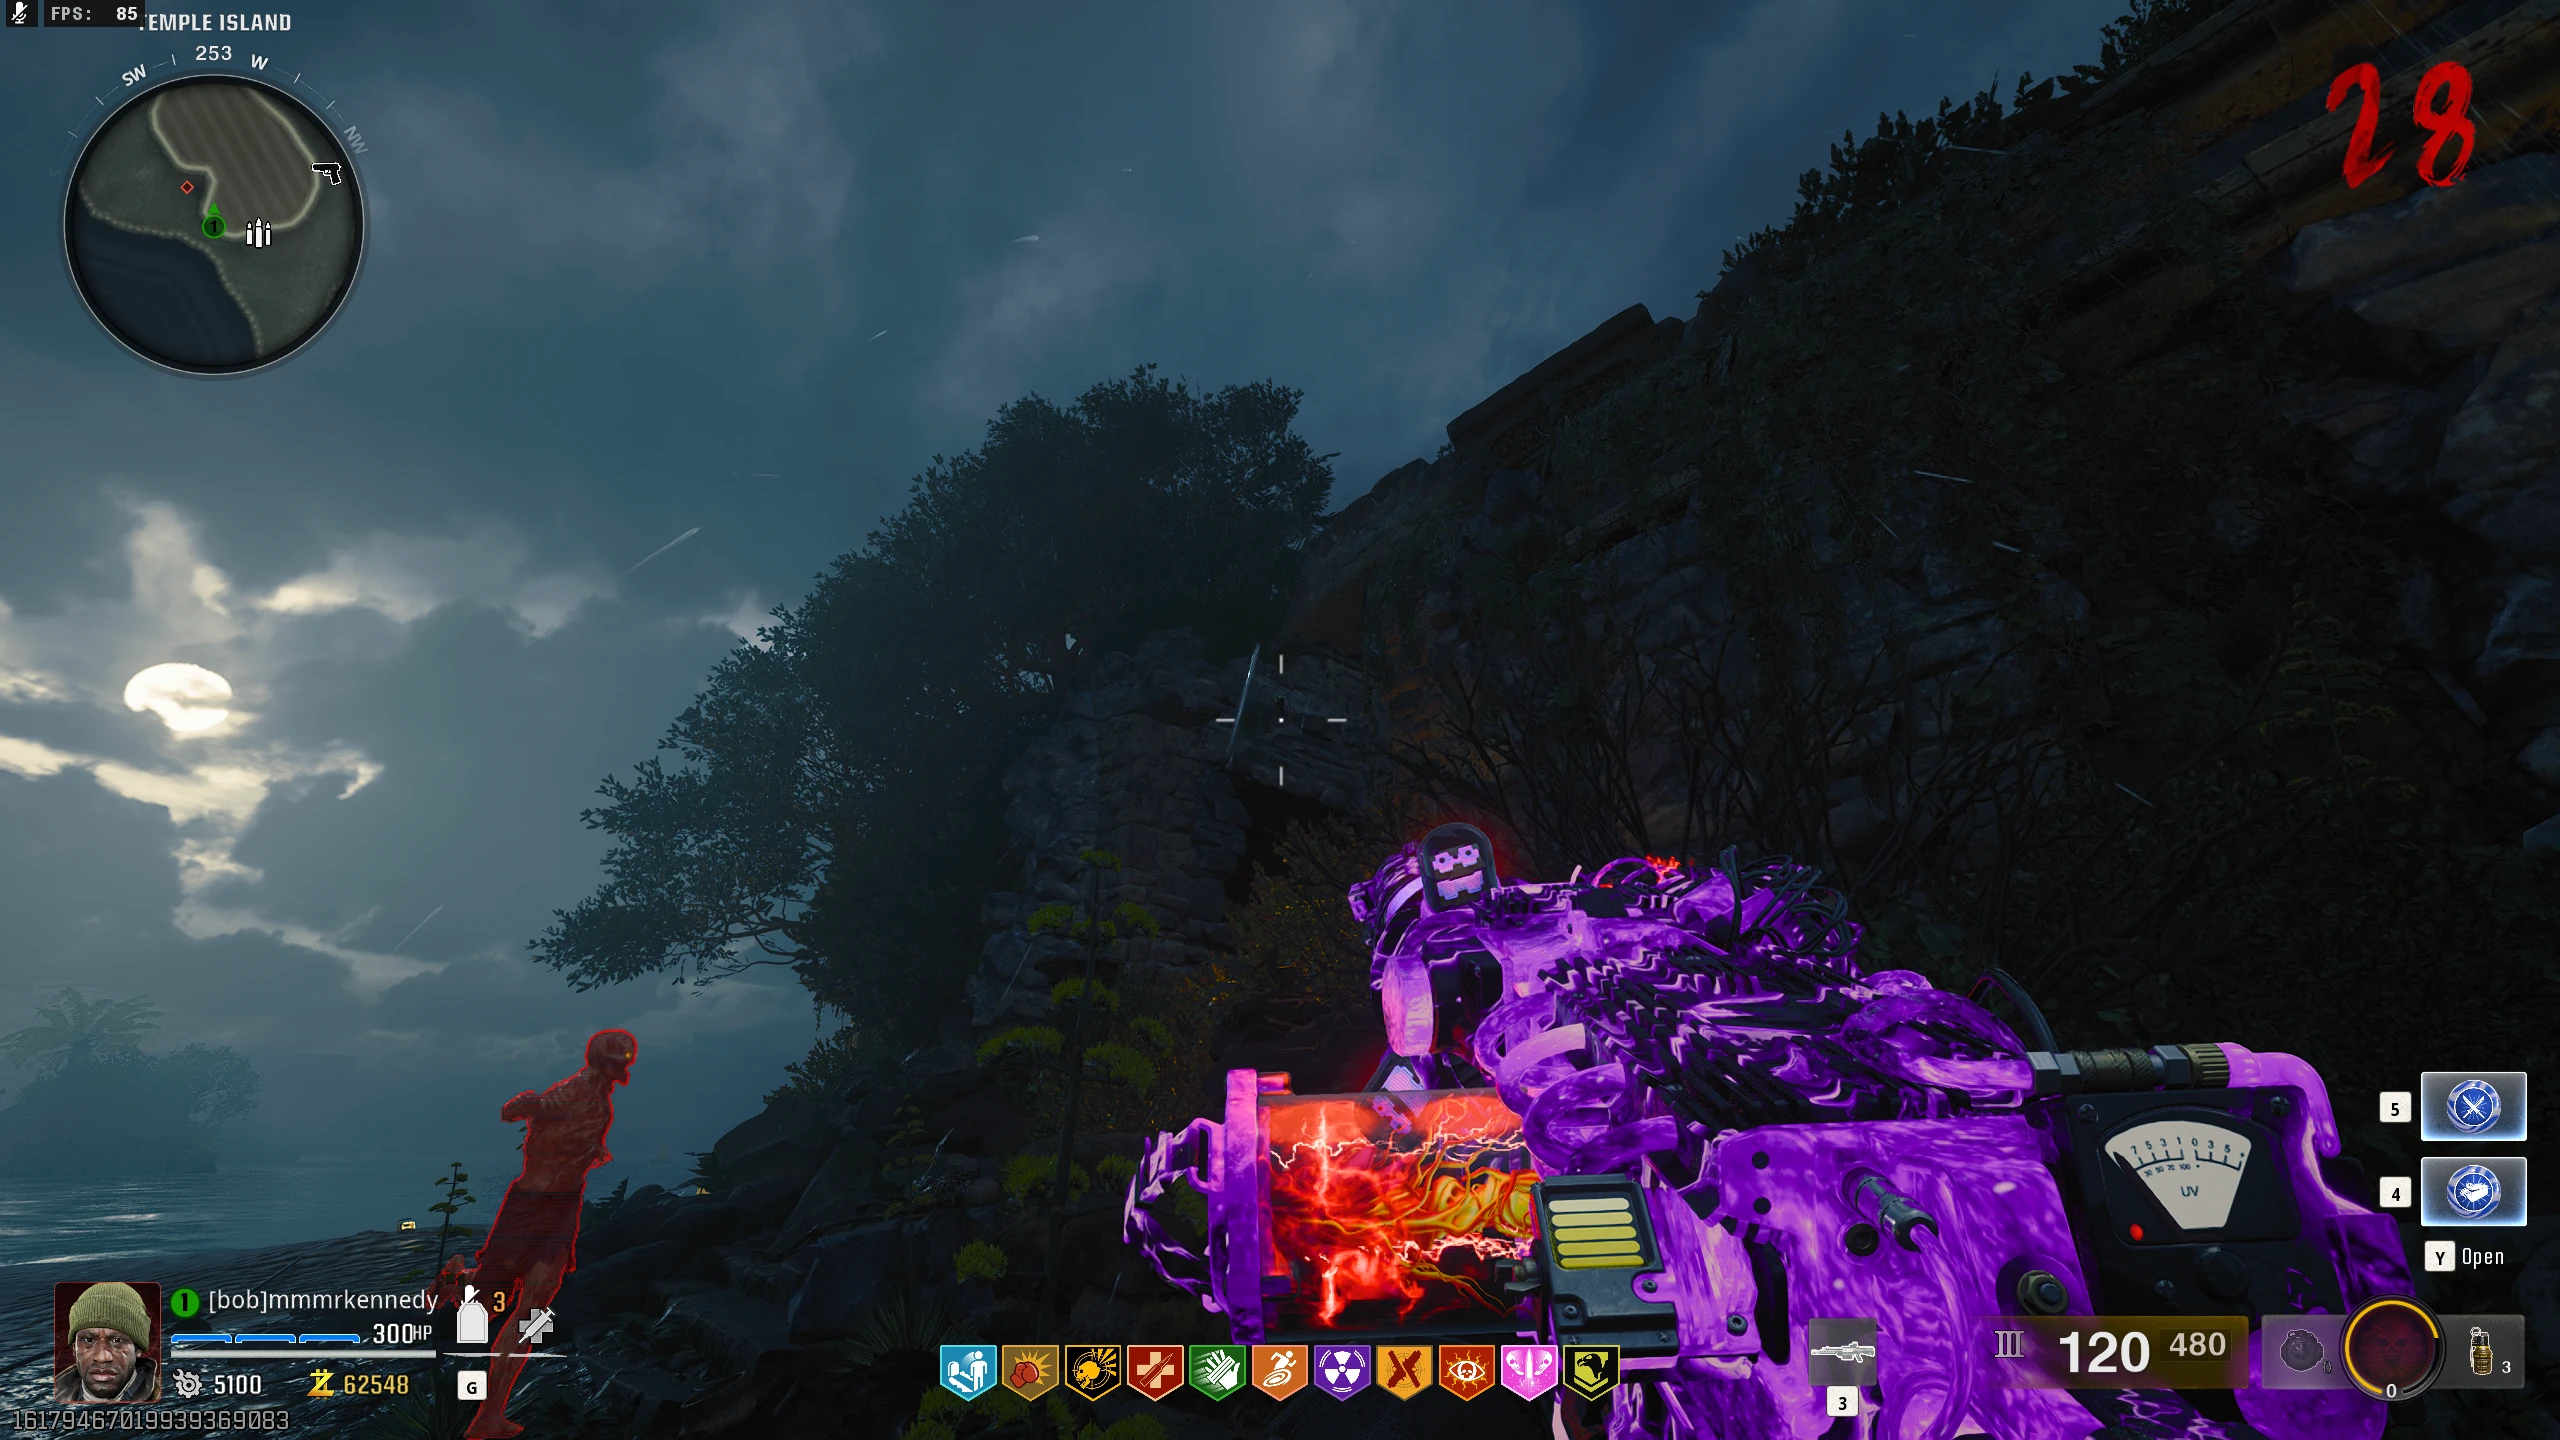
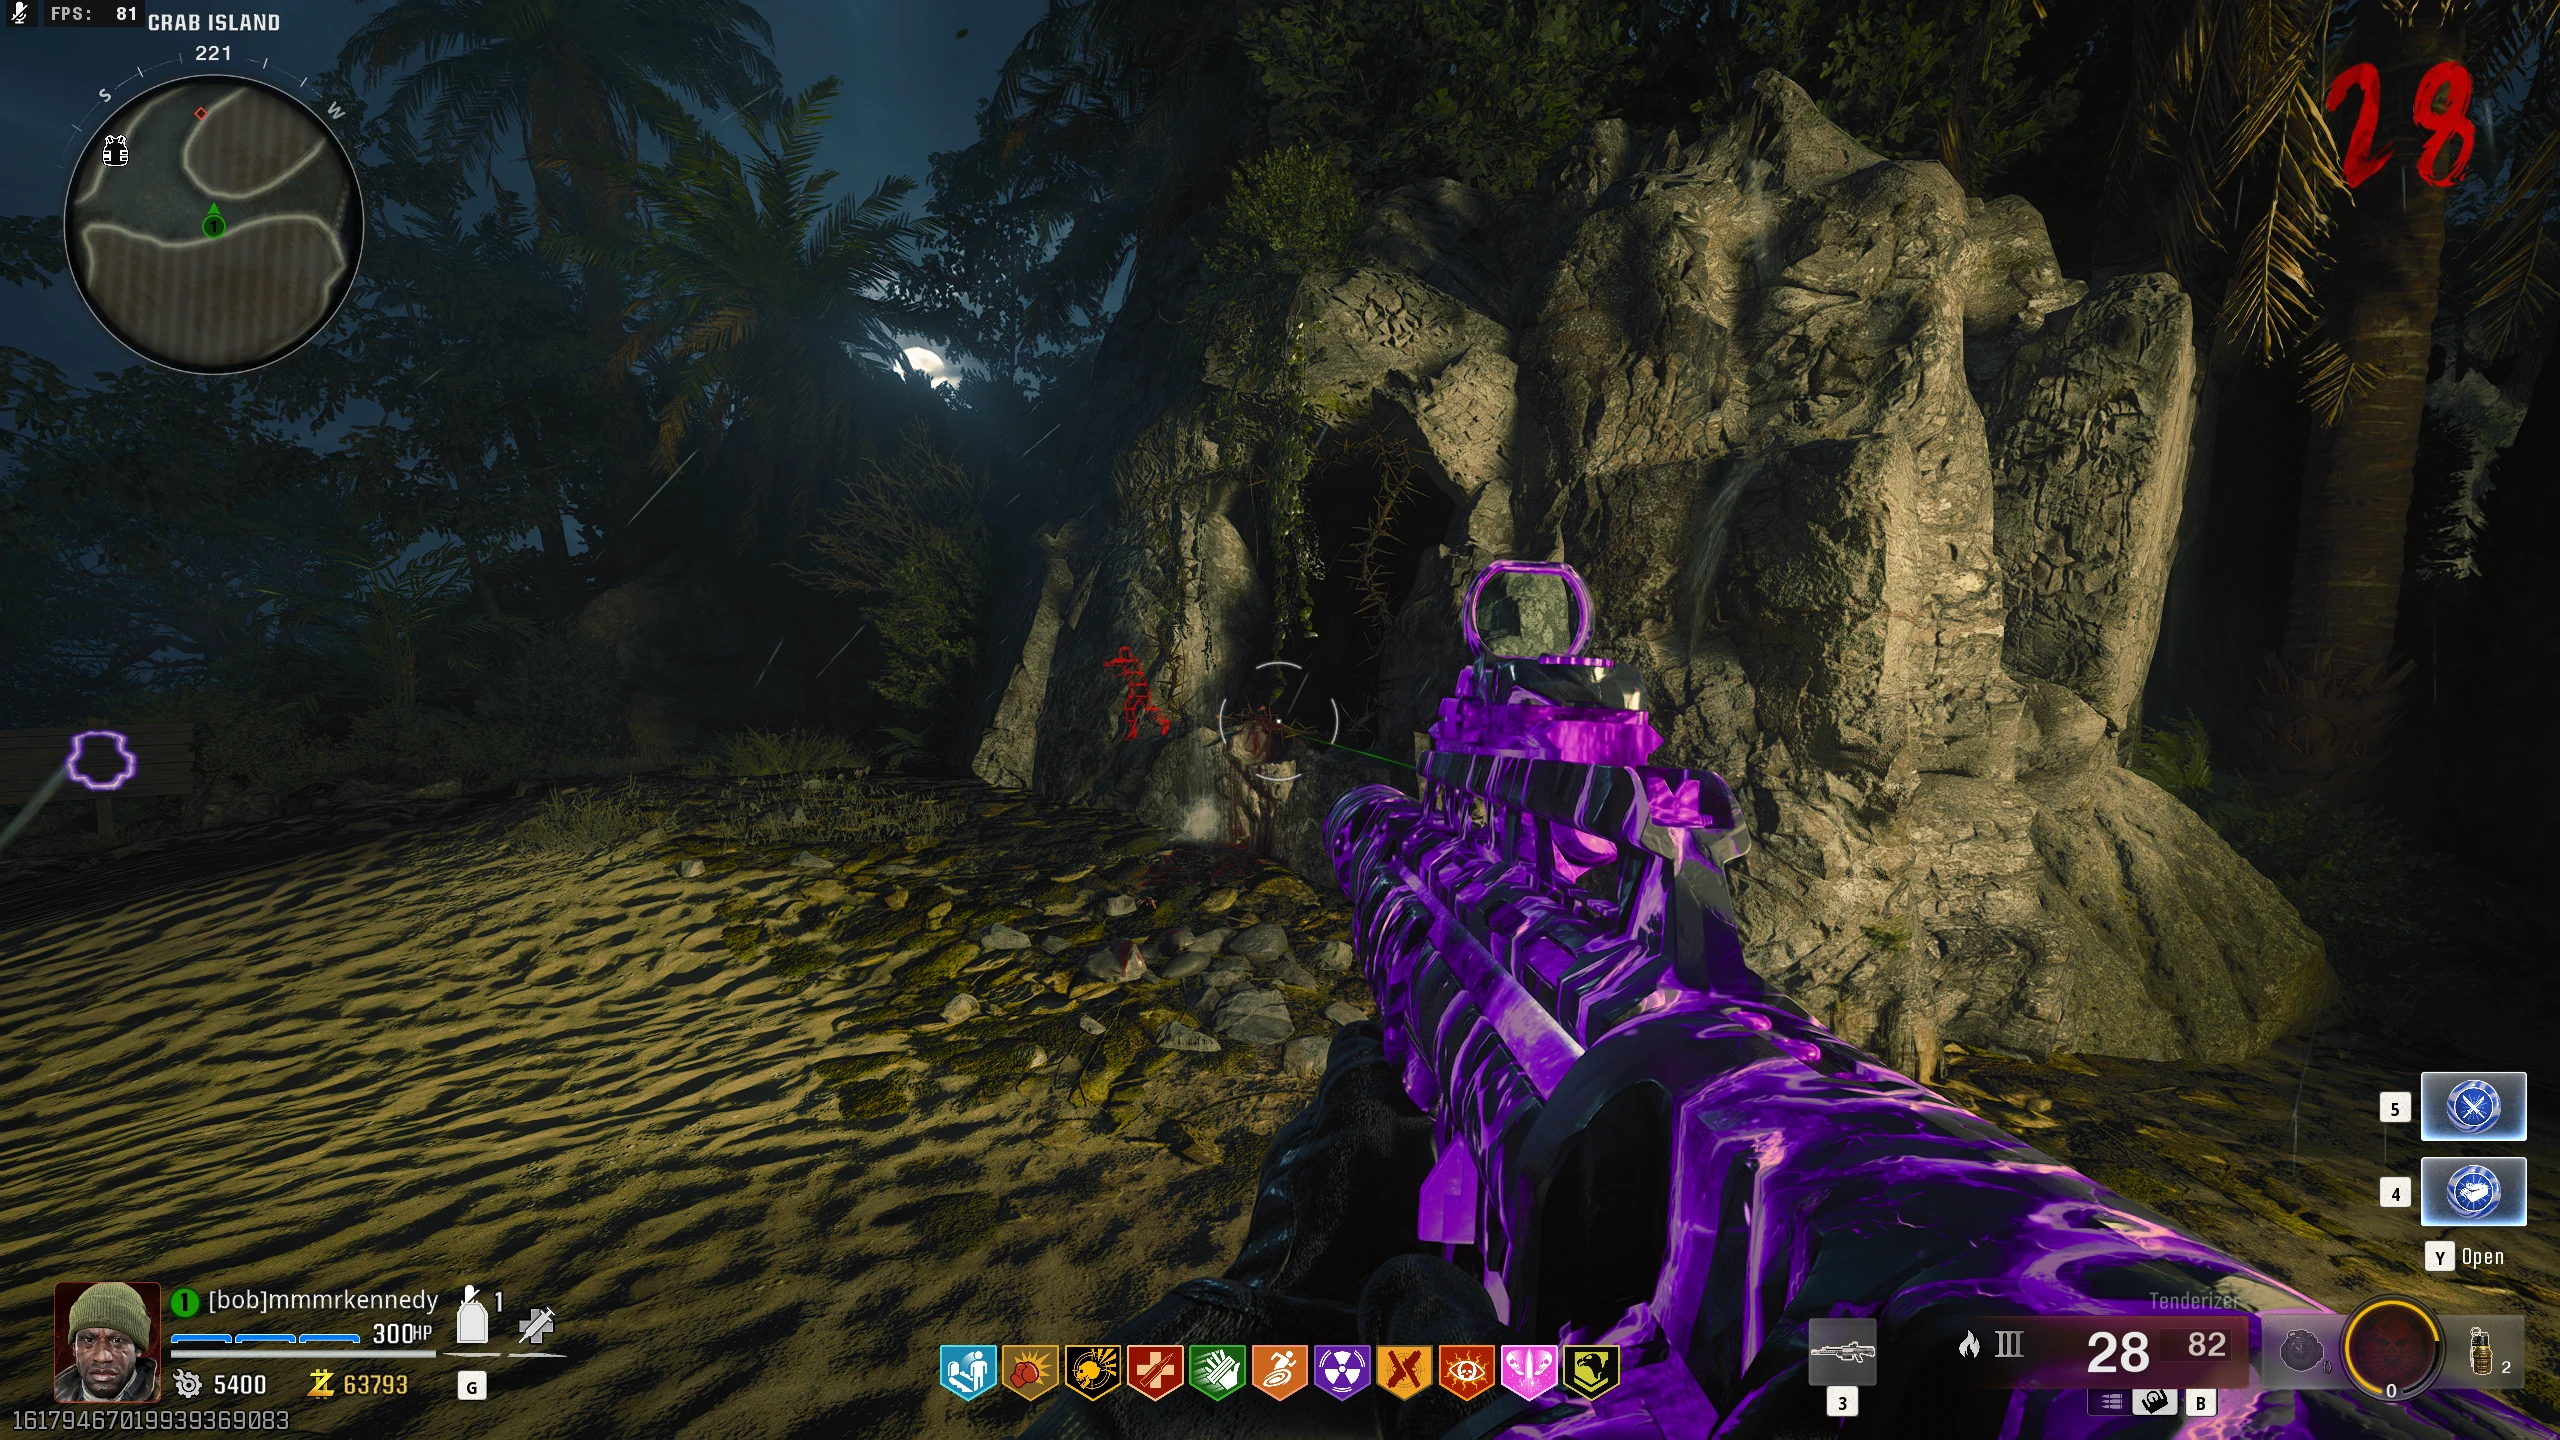
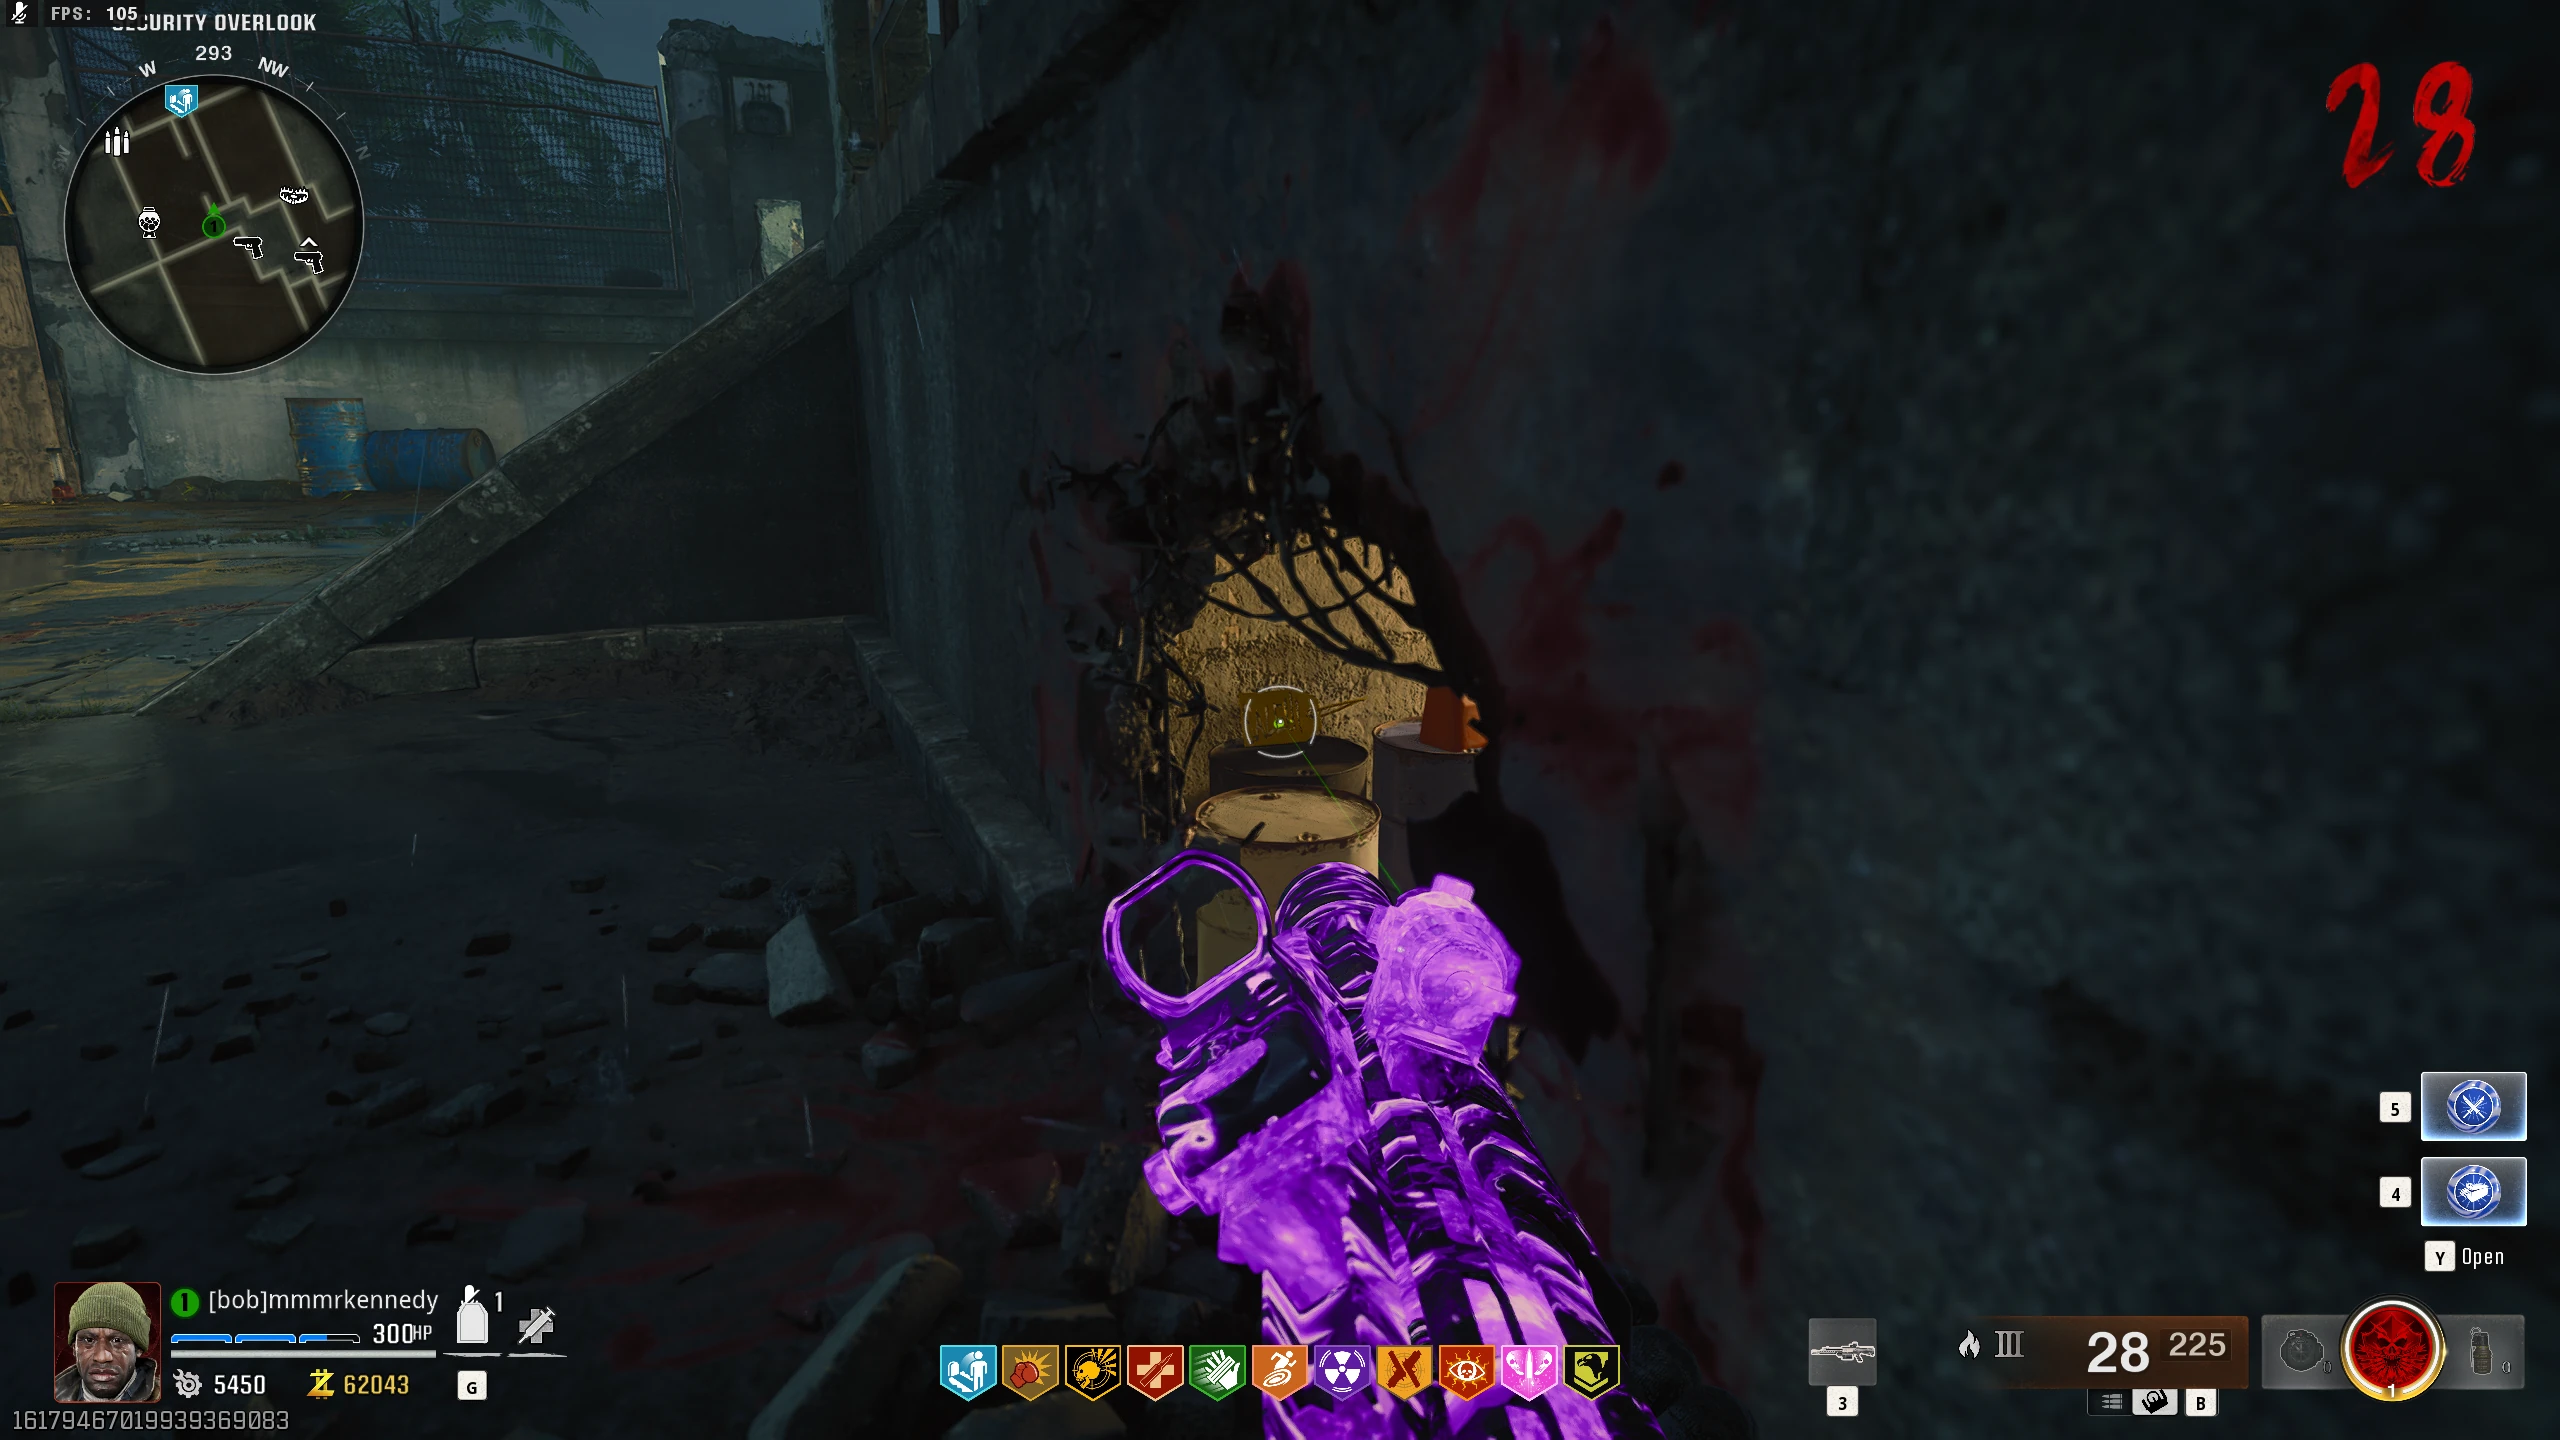
- Around the map, two of three cables will have a missing connector. While holding a connector, interact with one of these locations to install the connector. The location that already has a connector is random each game. Cable locations:
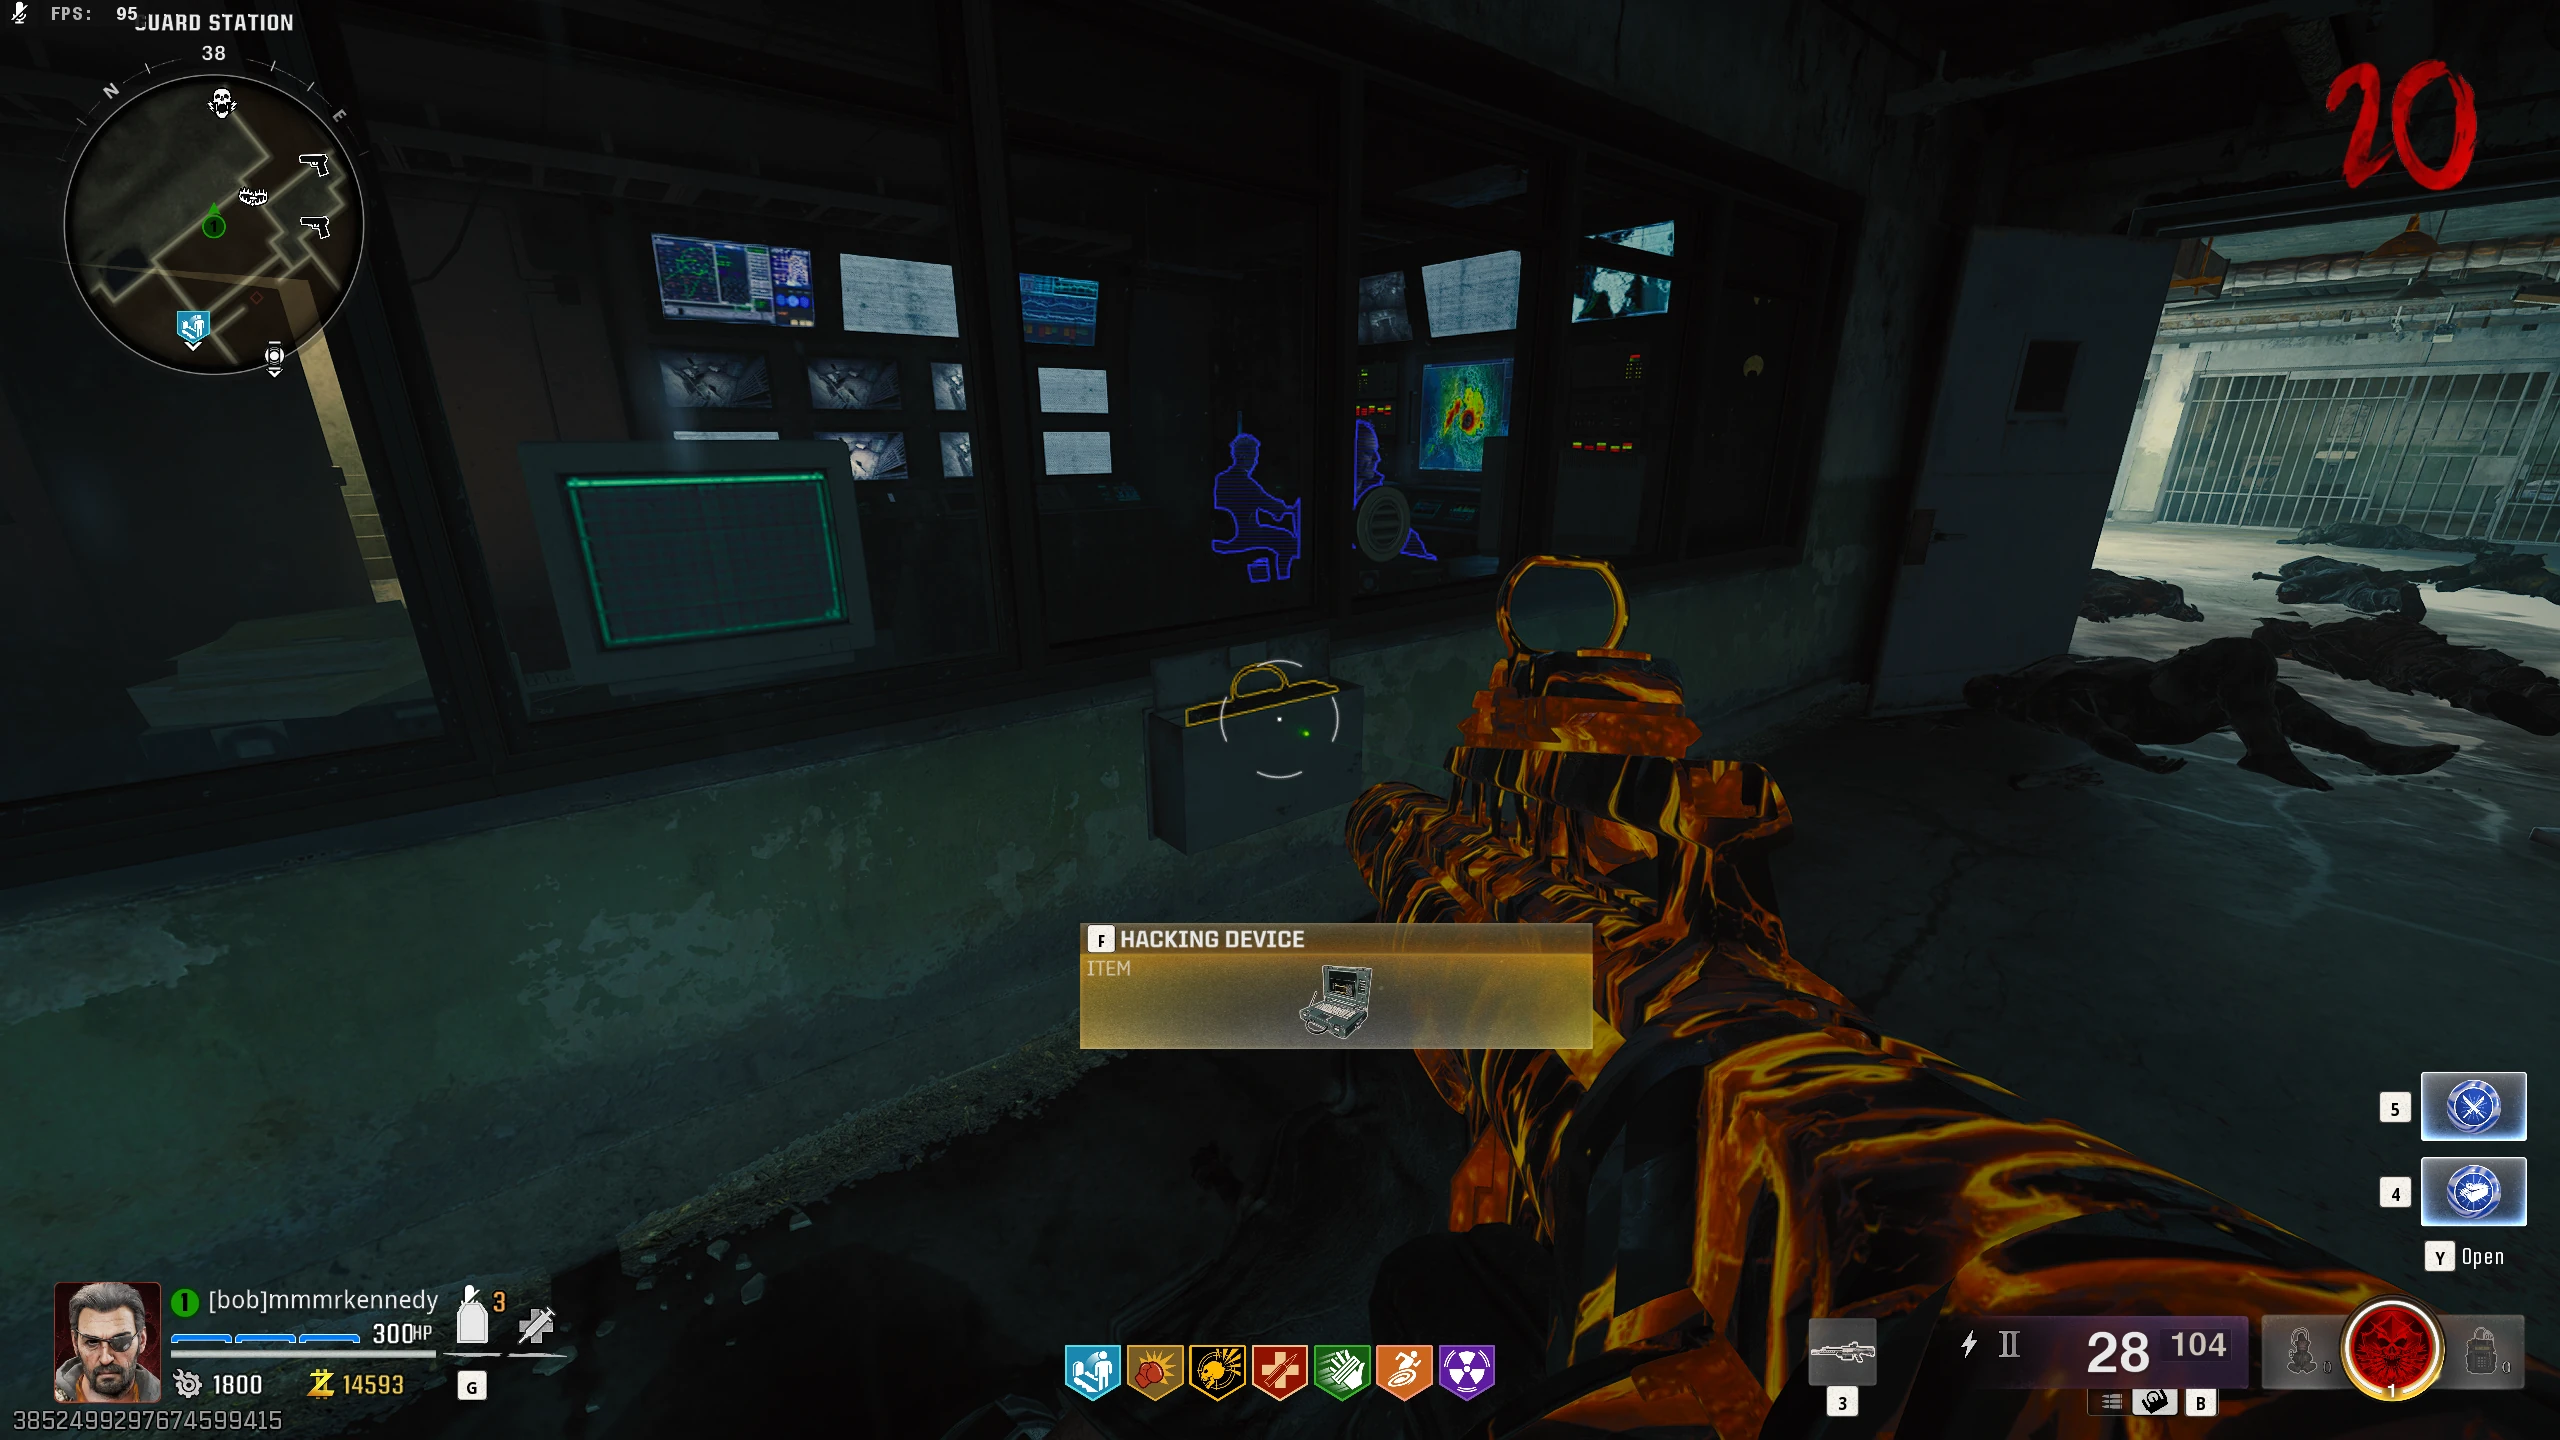
- Once both connectors are installed, go back to the Guard Station and grab the hacking device from the slot below the window. You'll need to wait for the dialogue to finish, so it may take a minute to spawn.
-
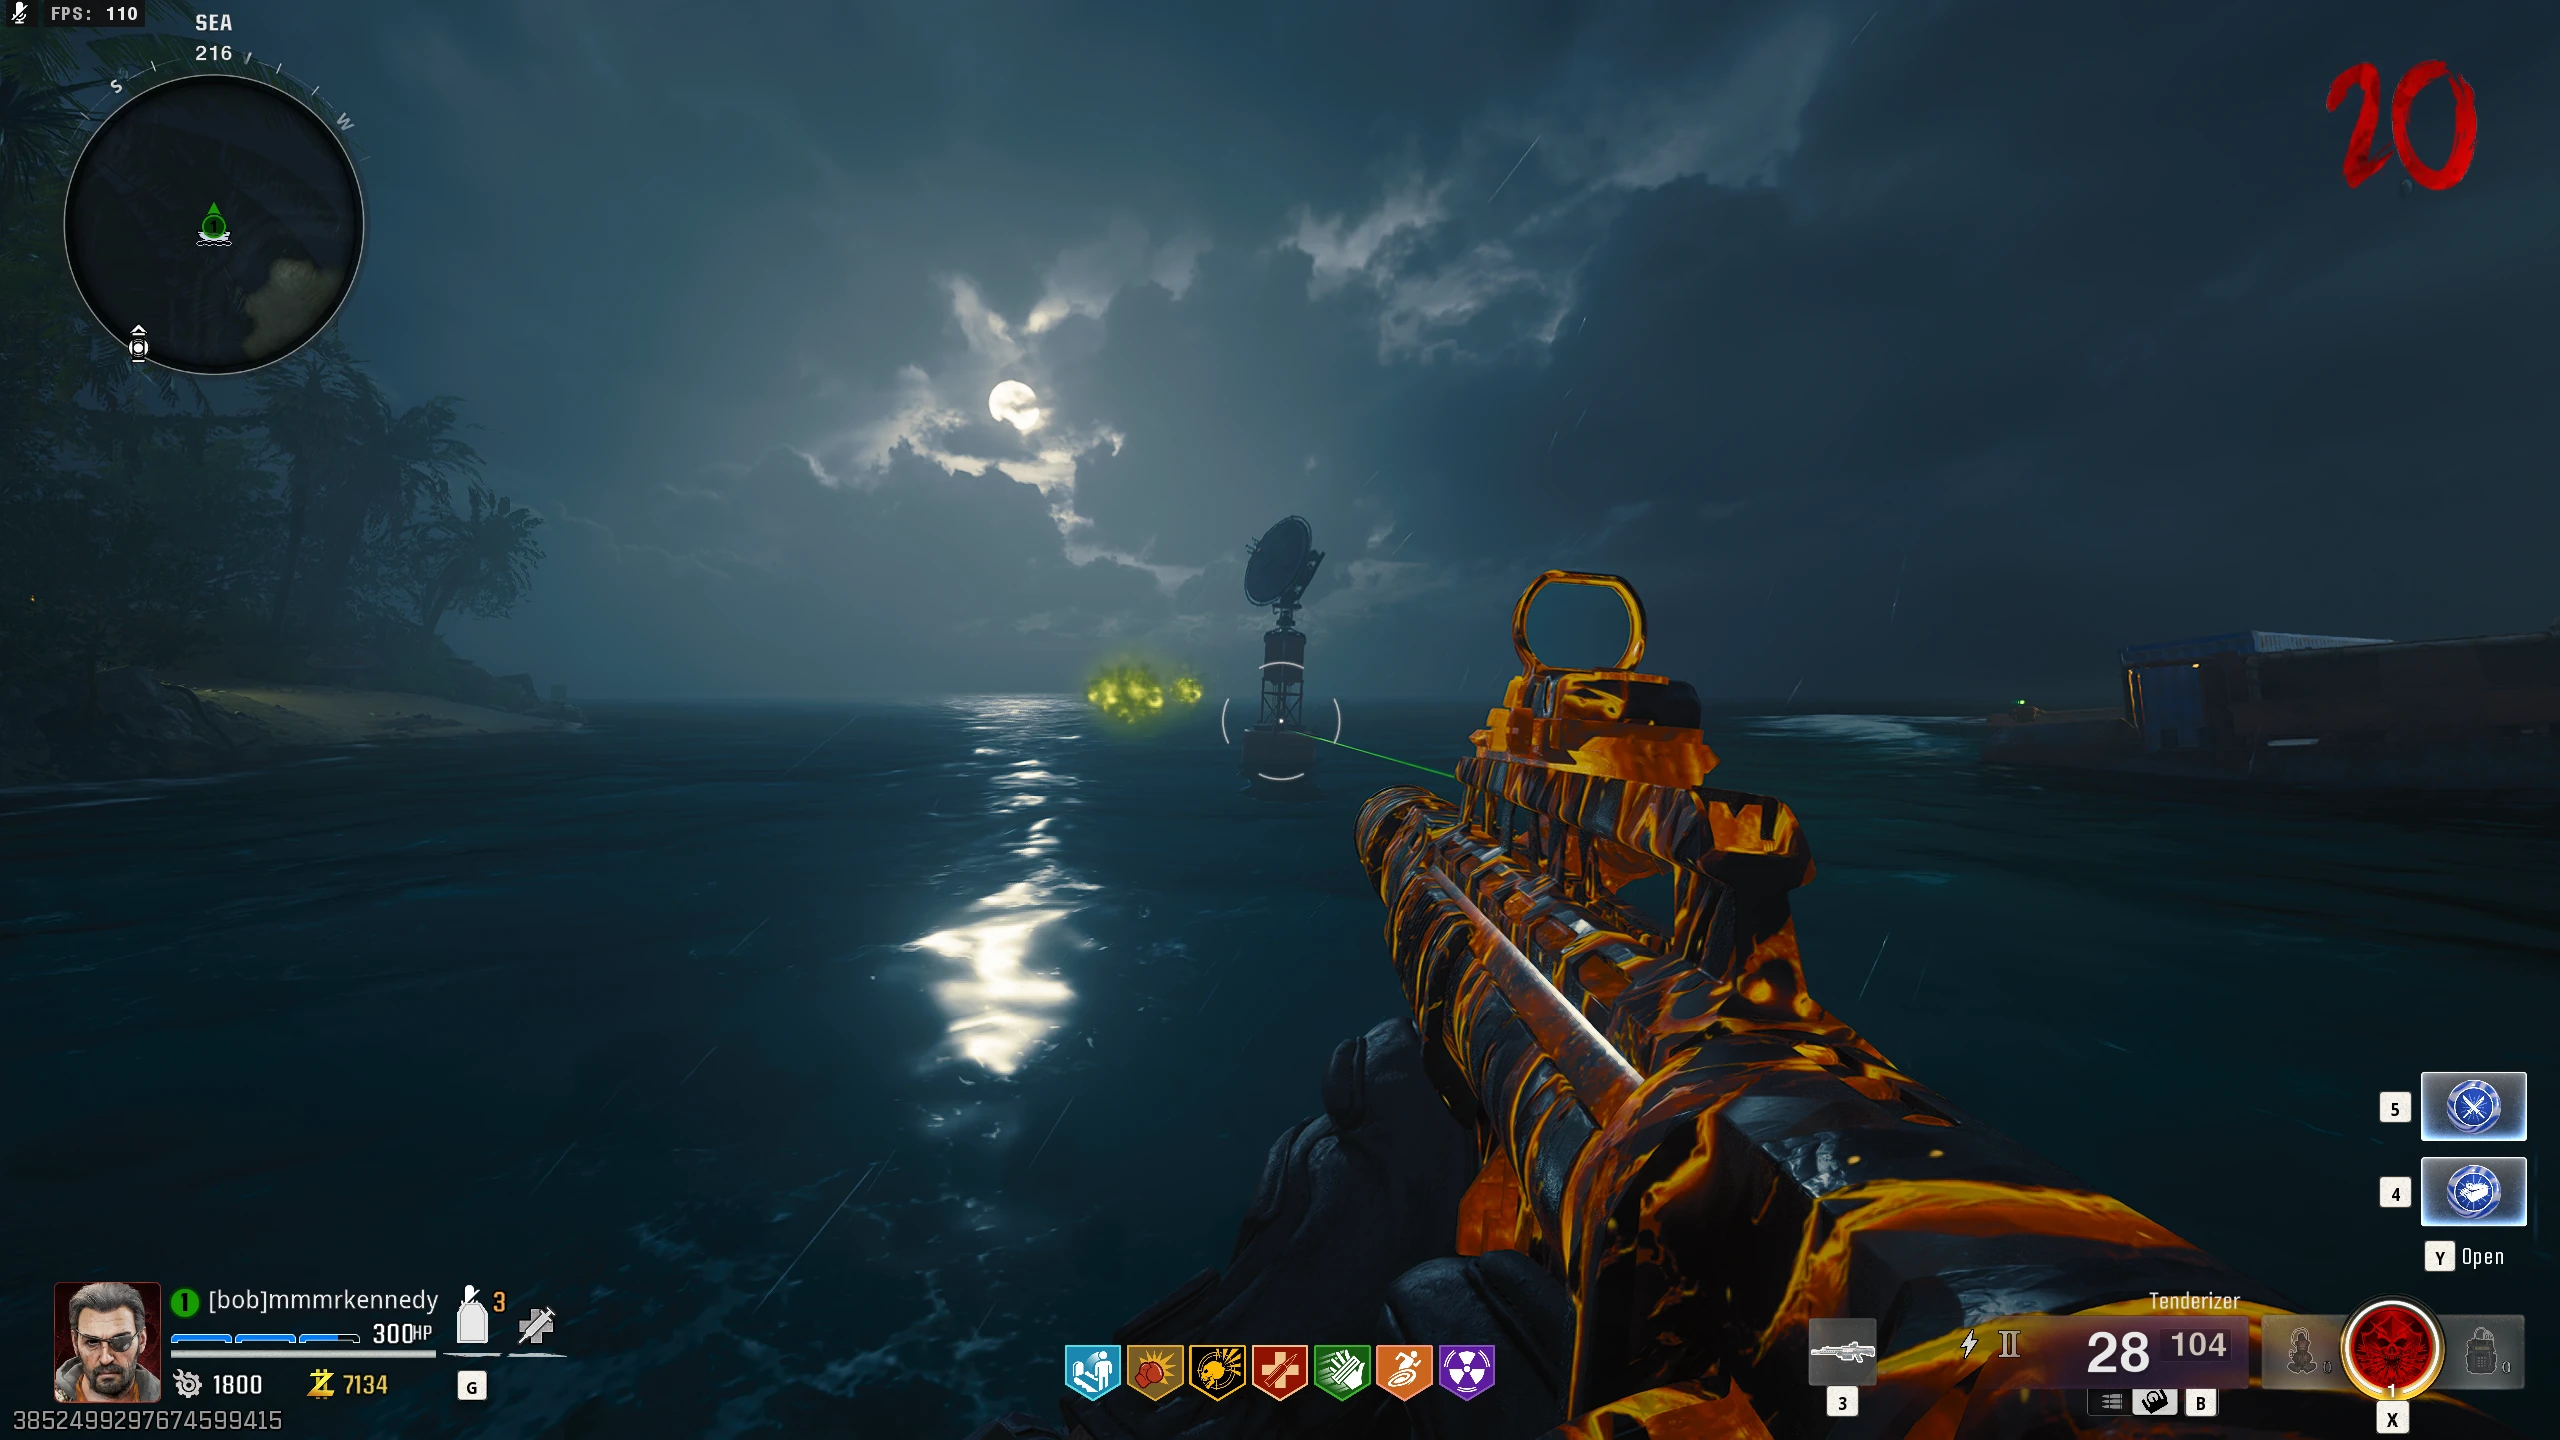
Hacking Buoys & Defusing Bombs
-
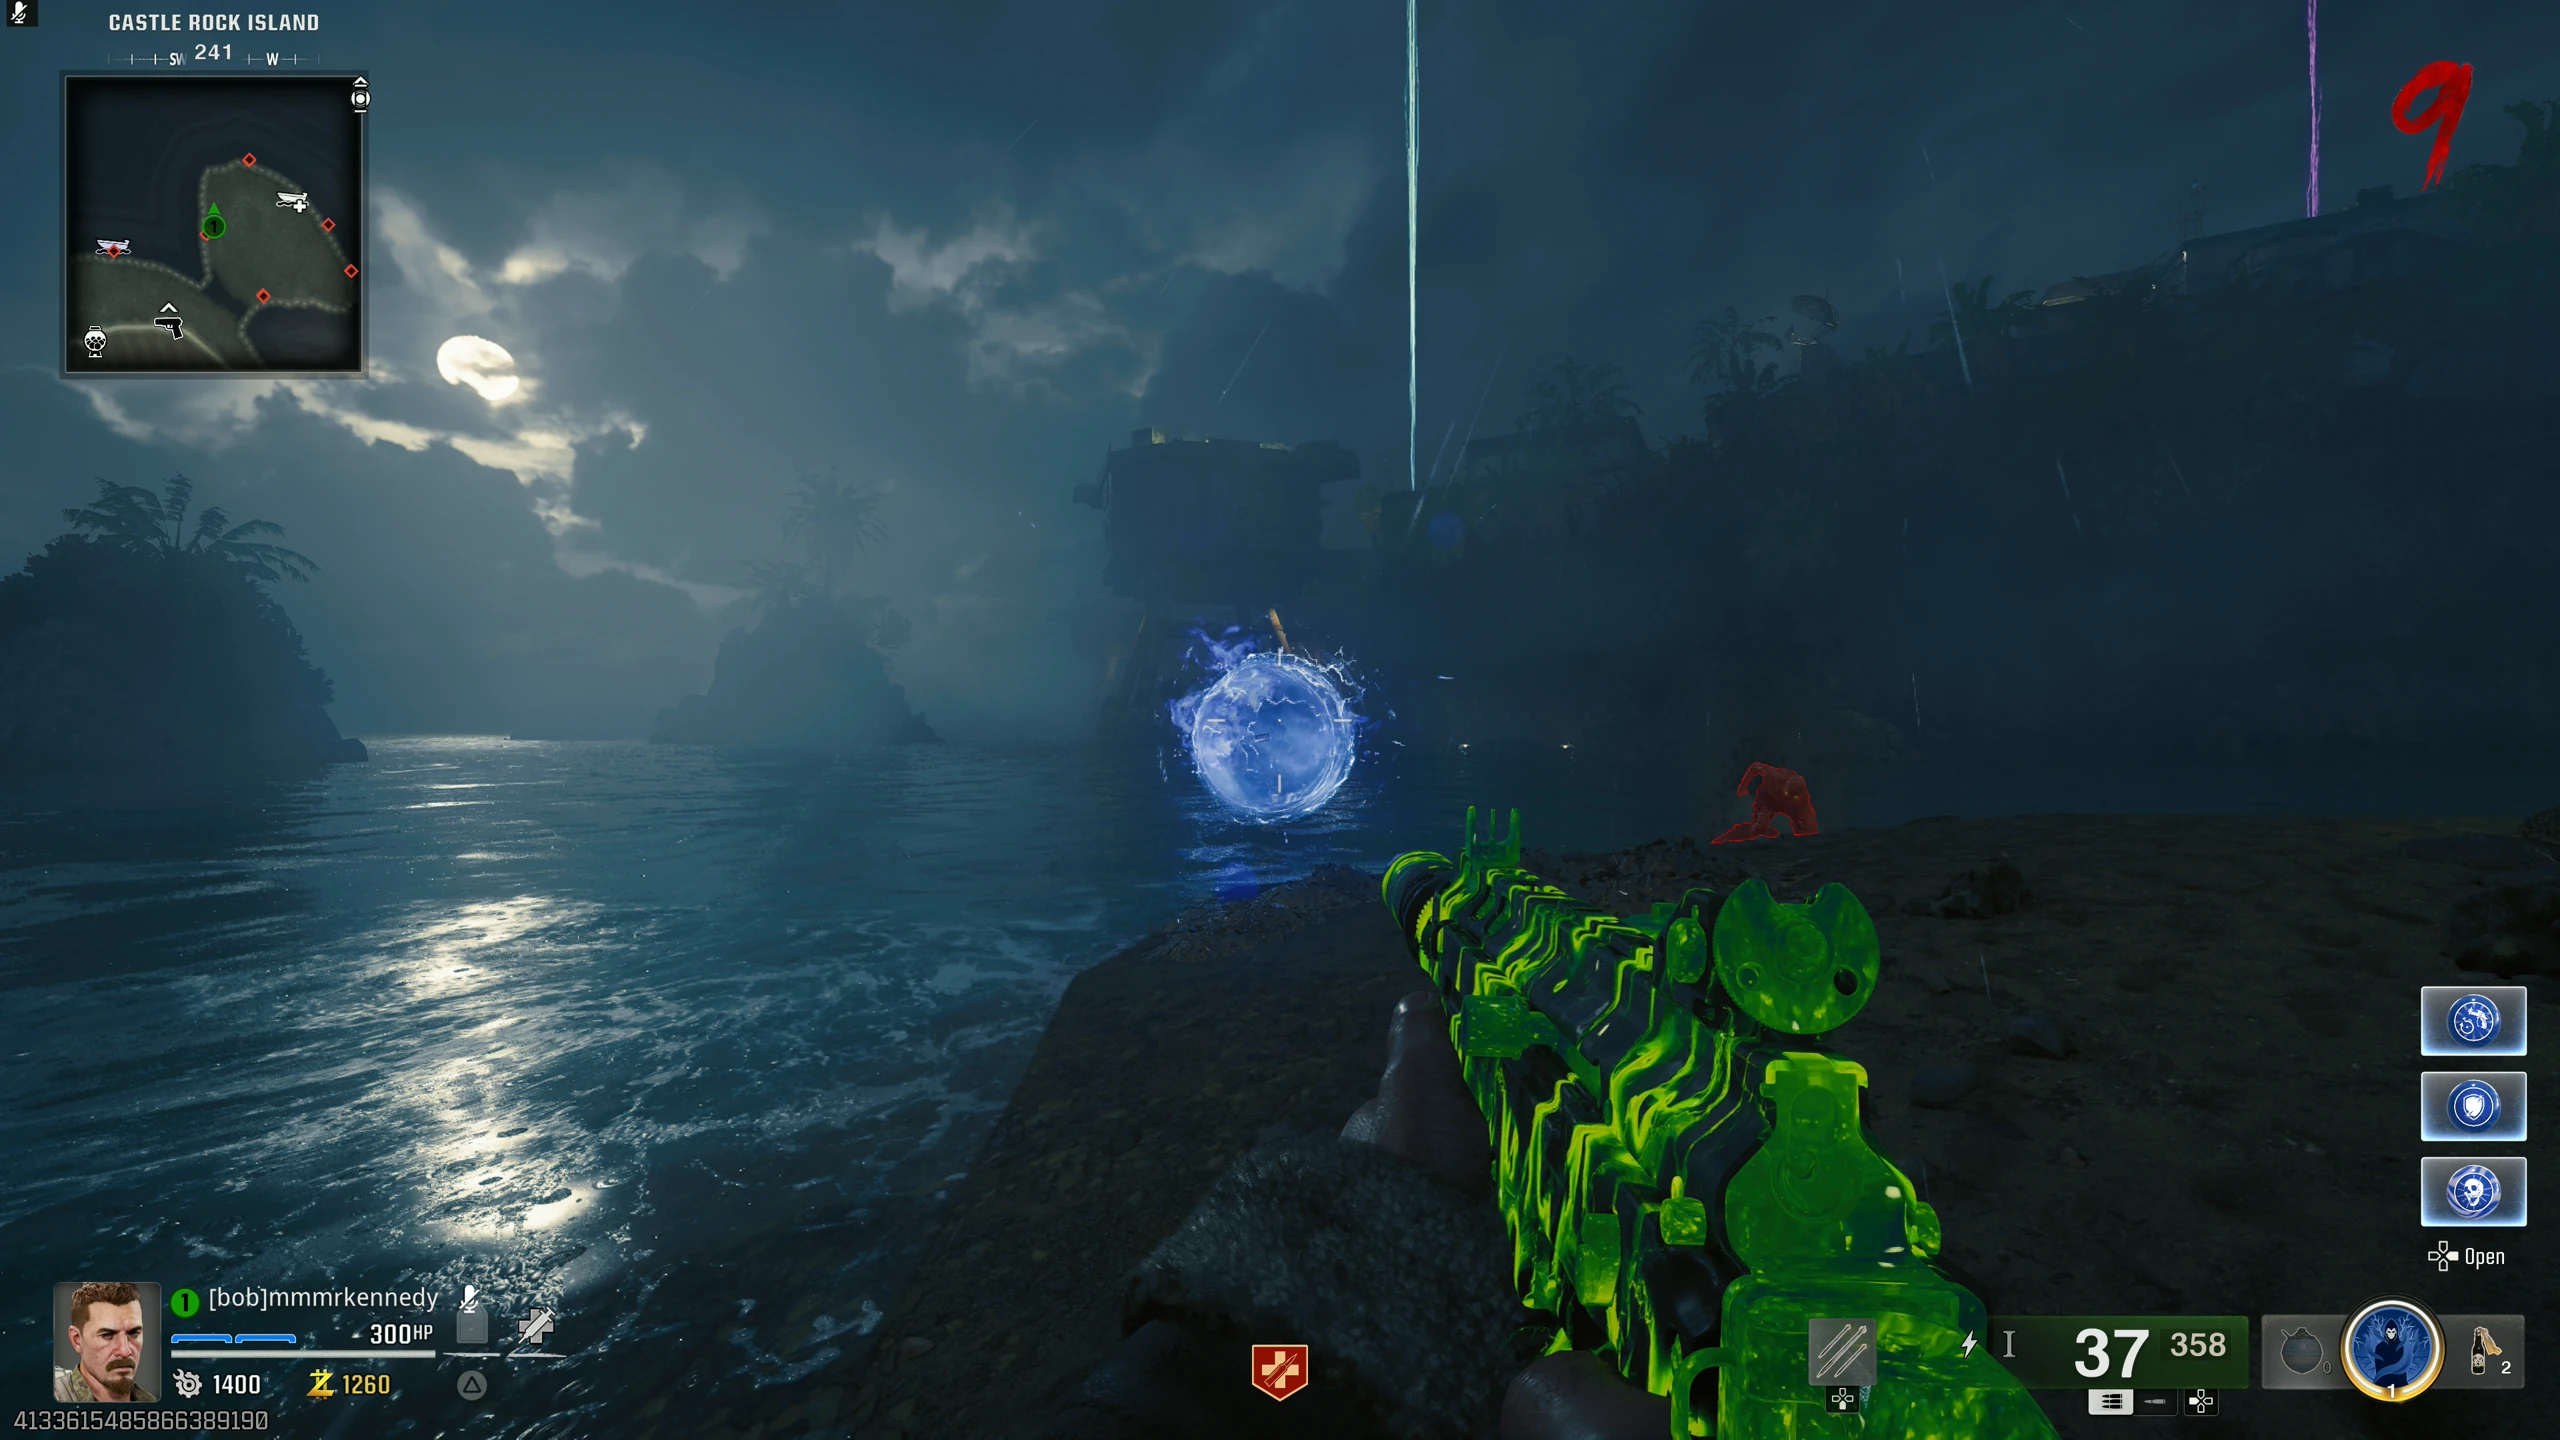
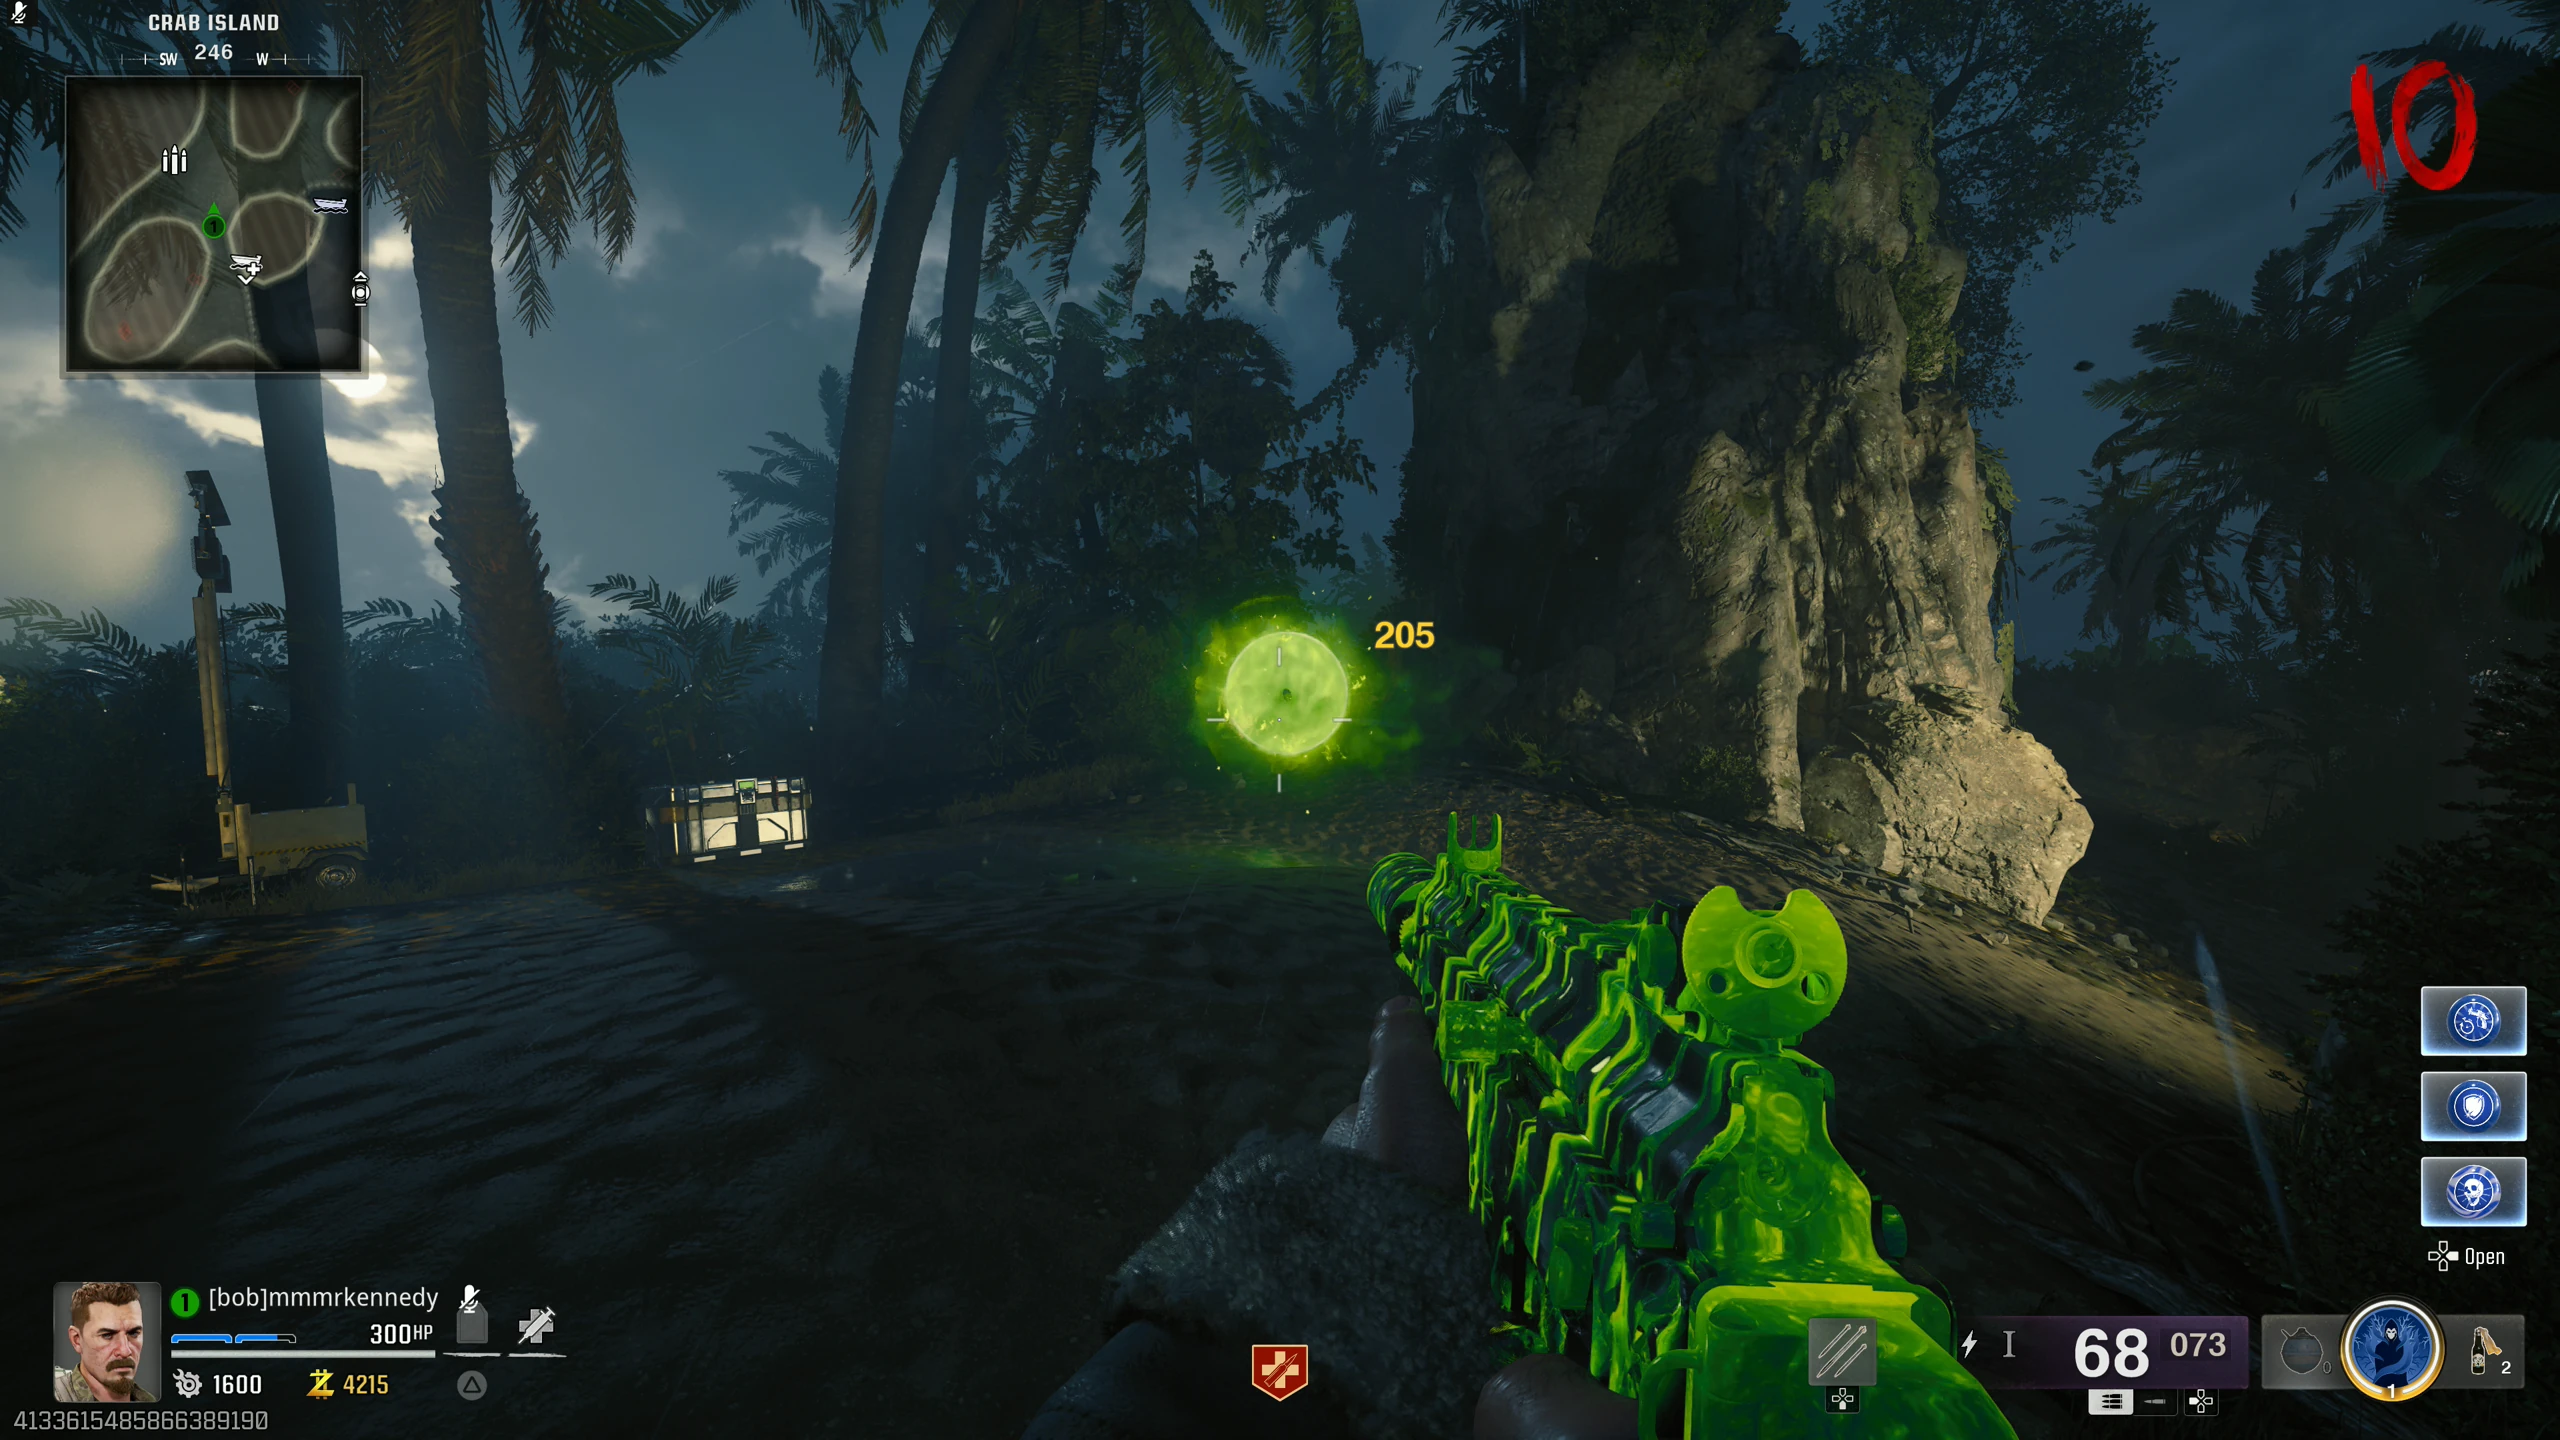
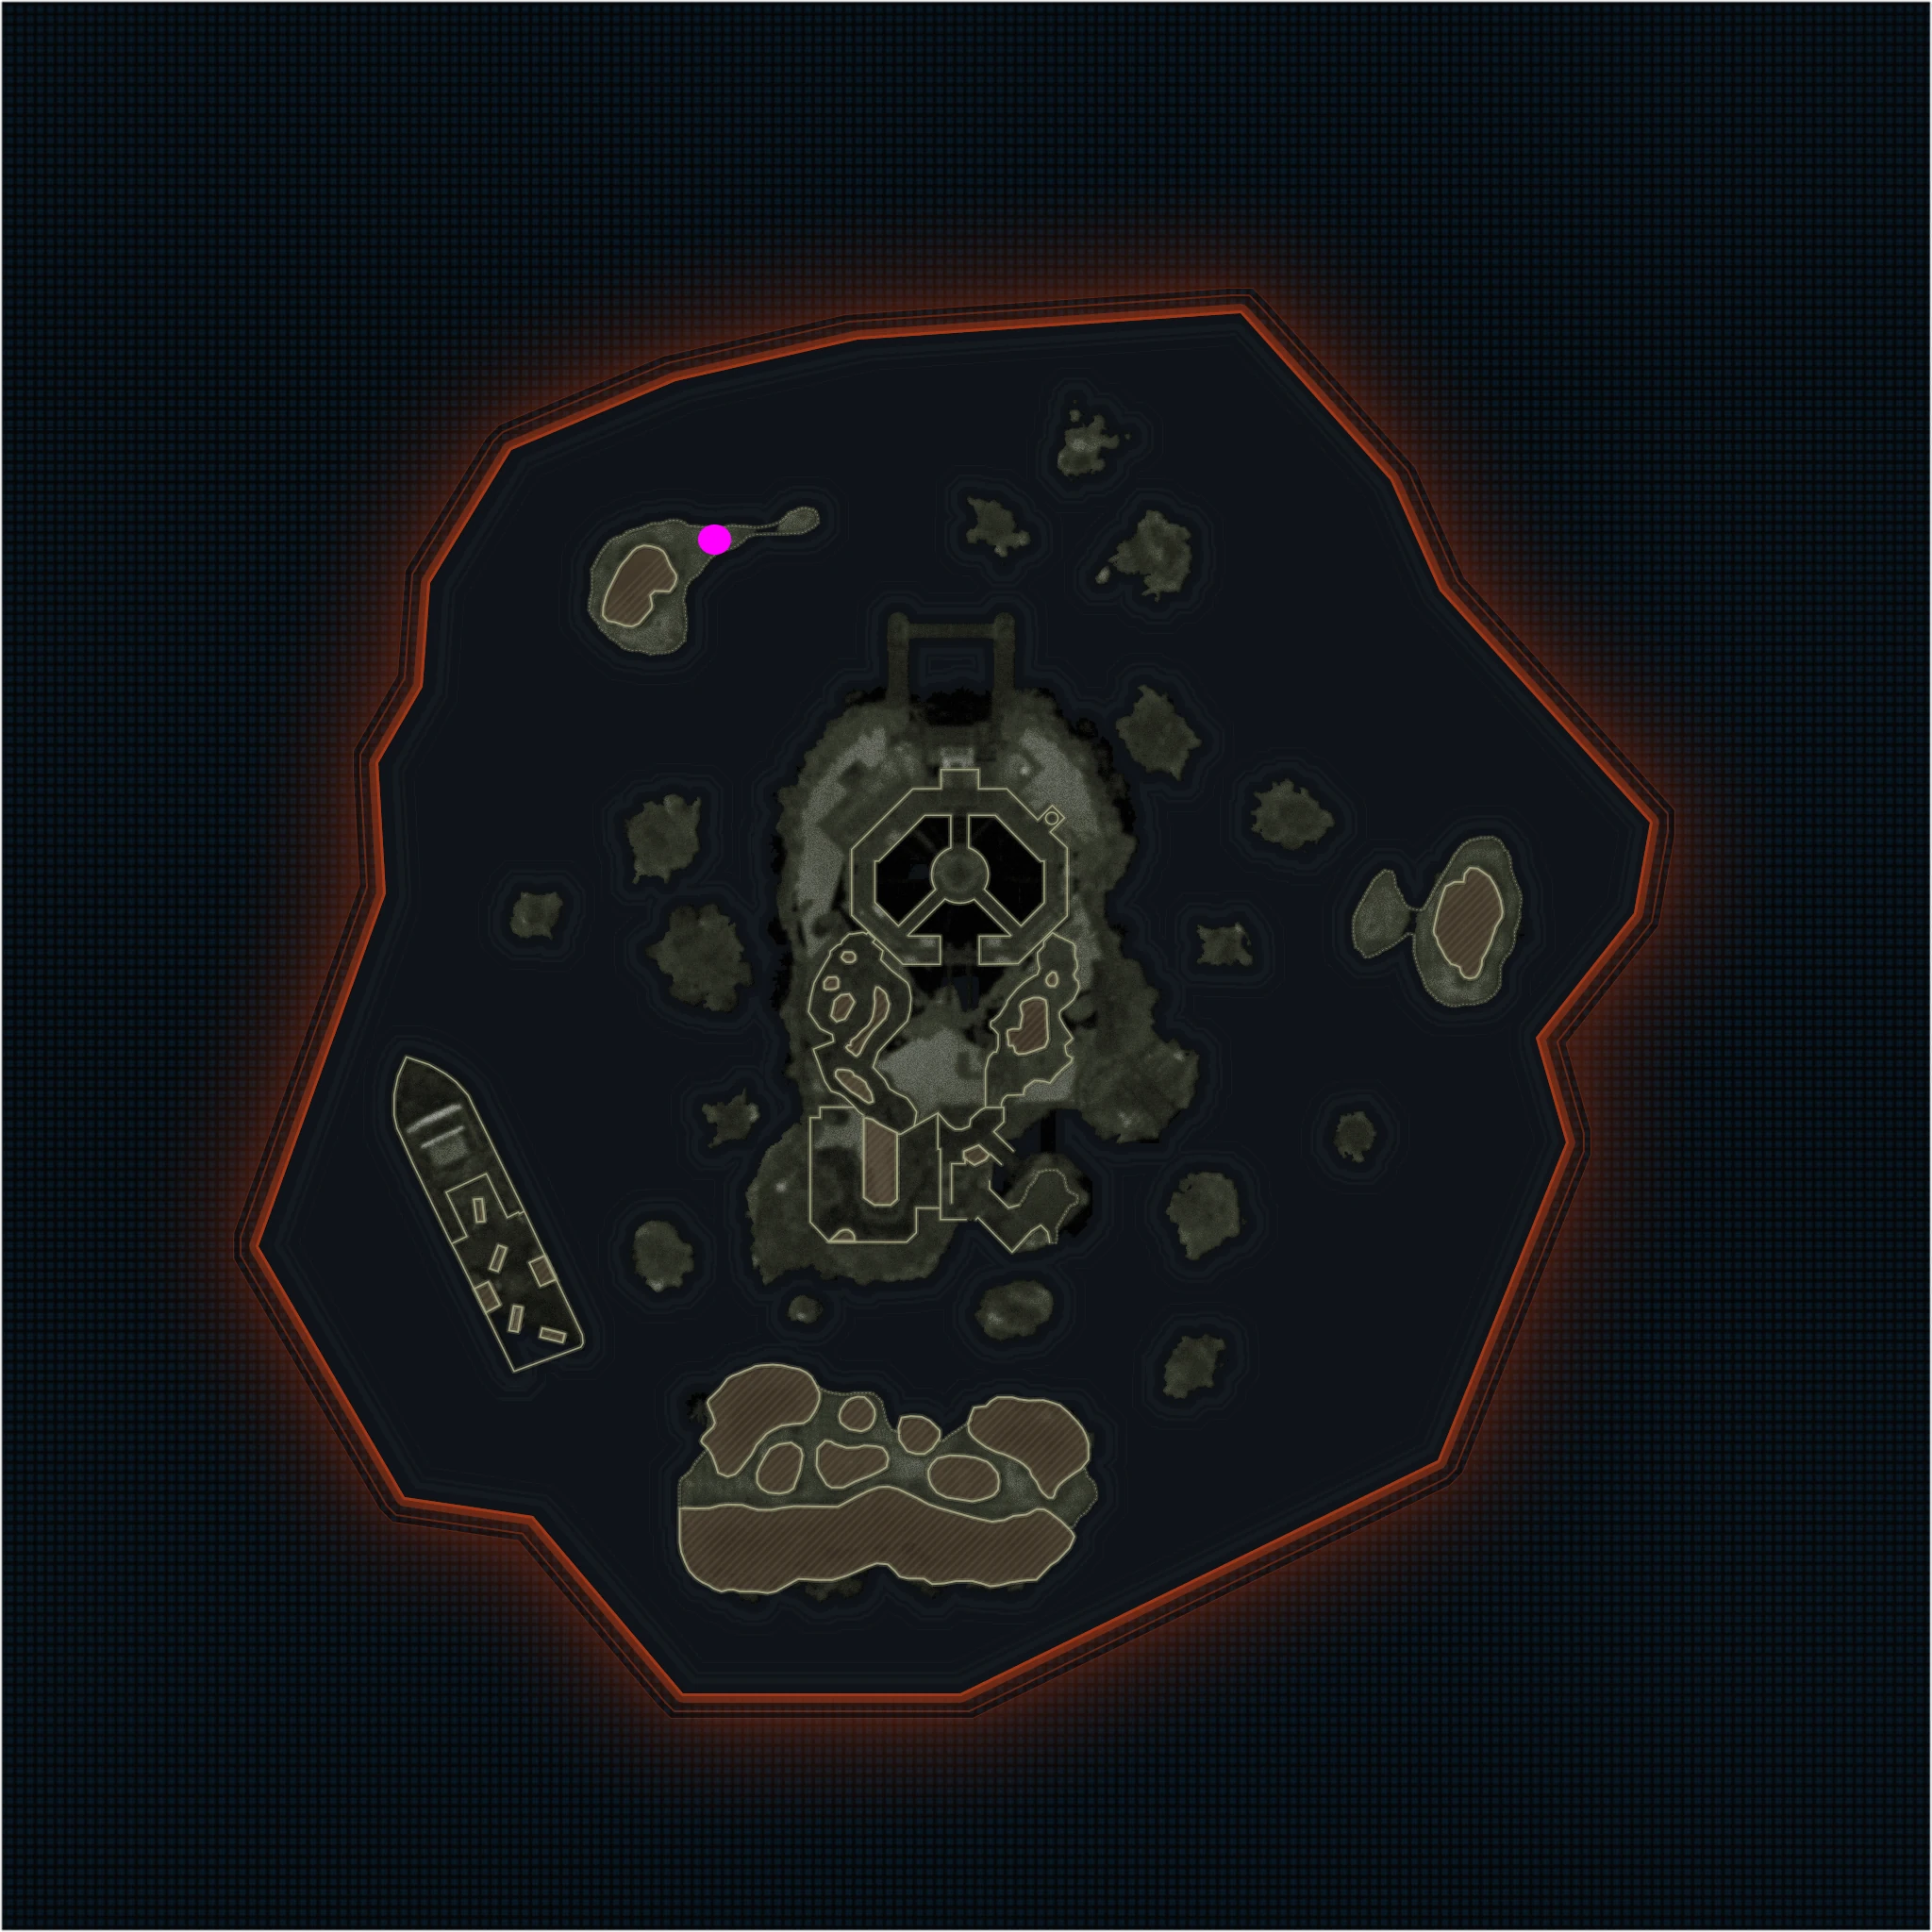
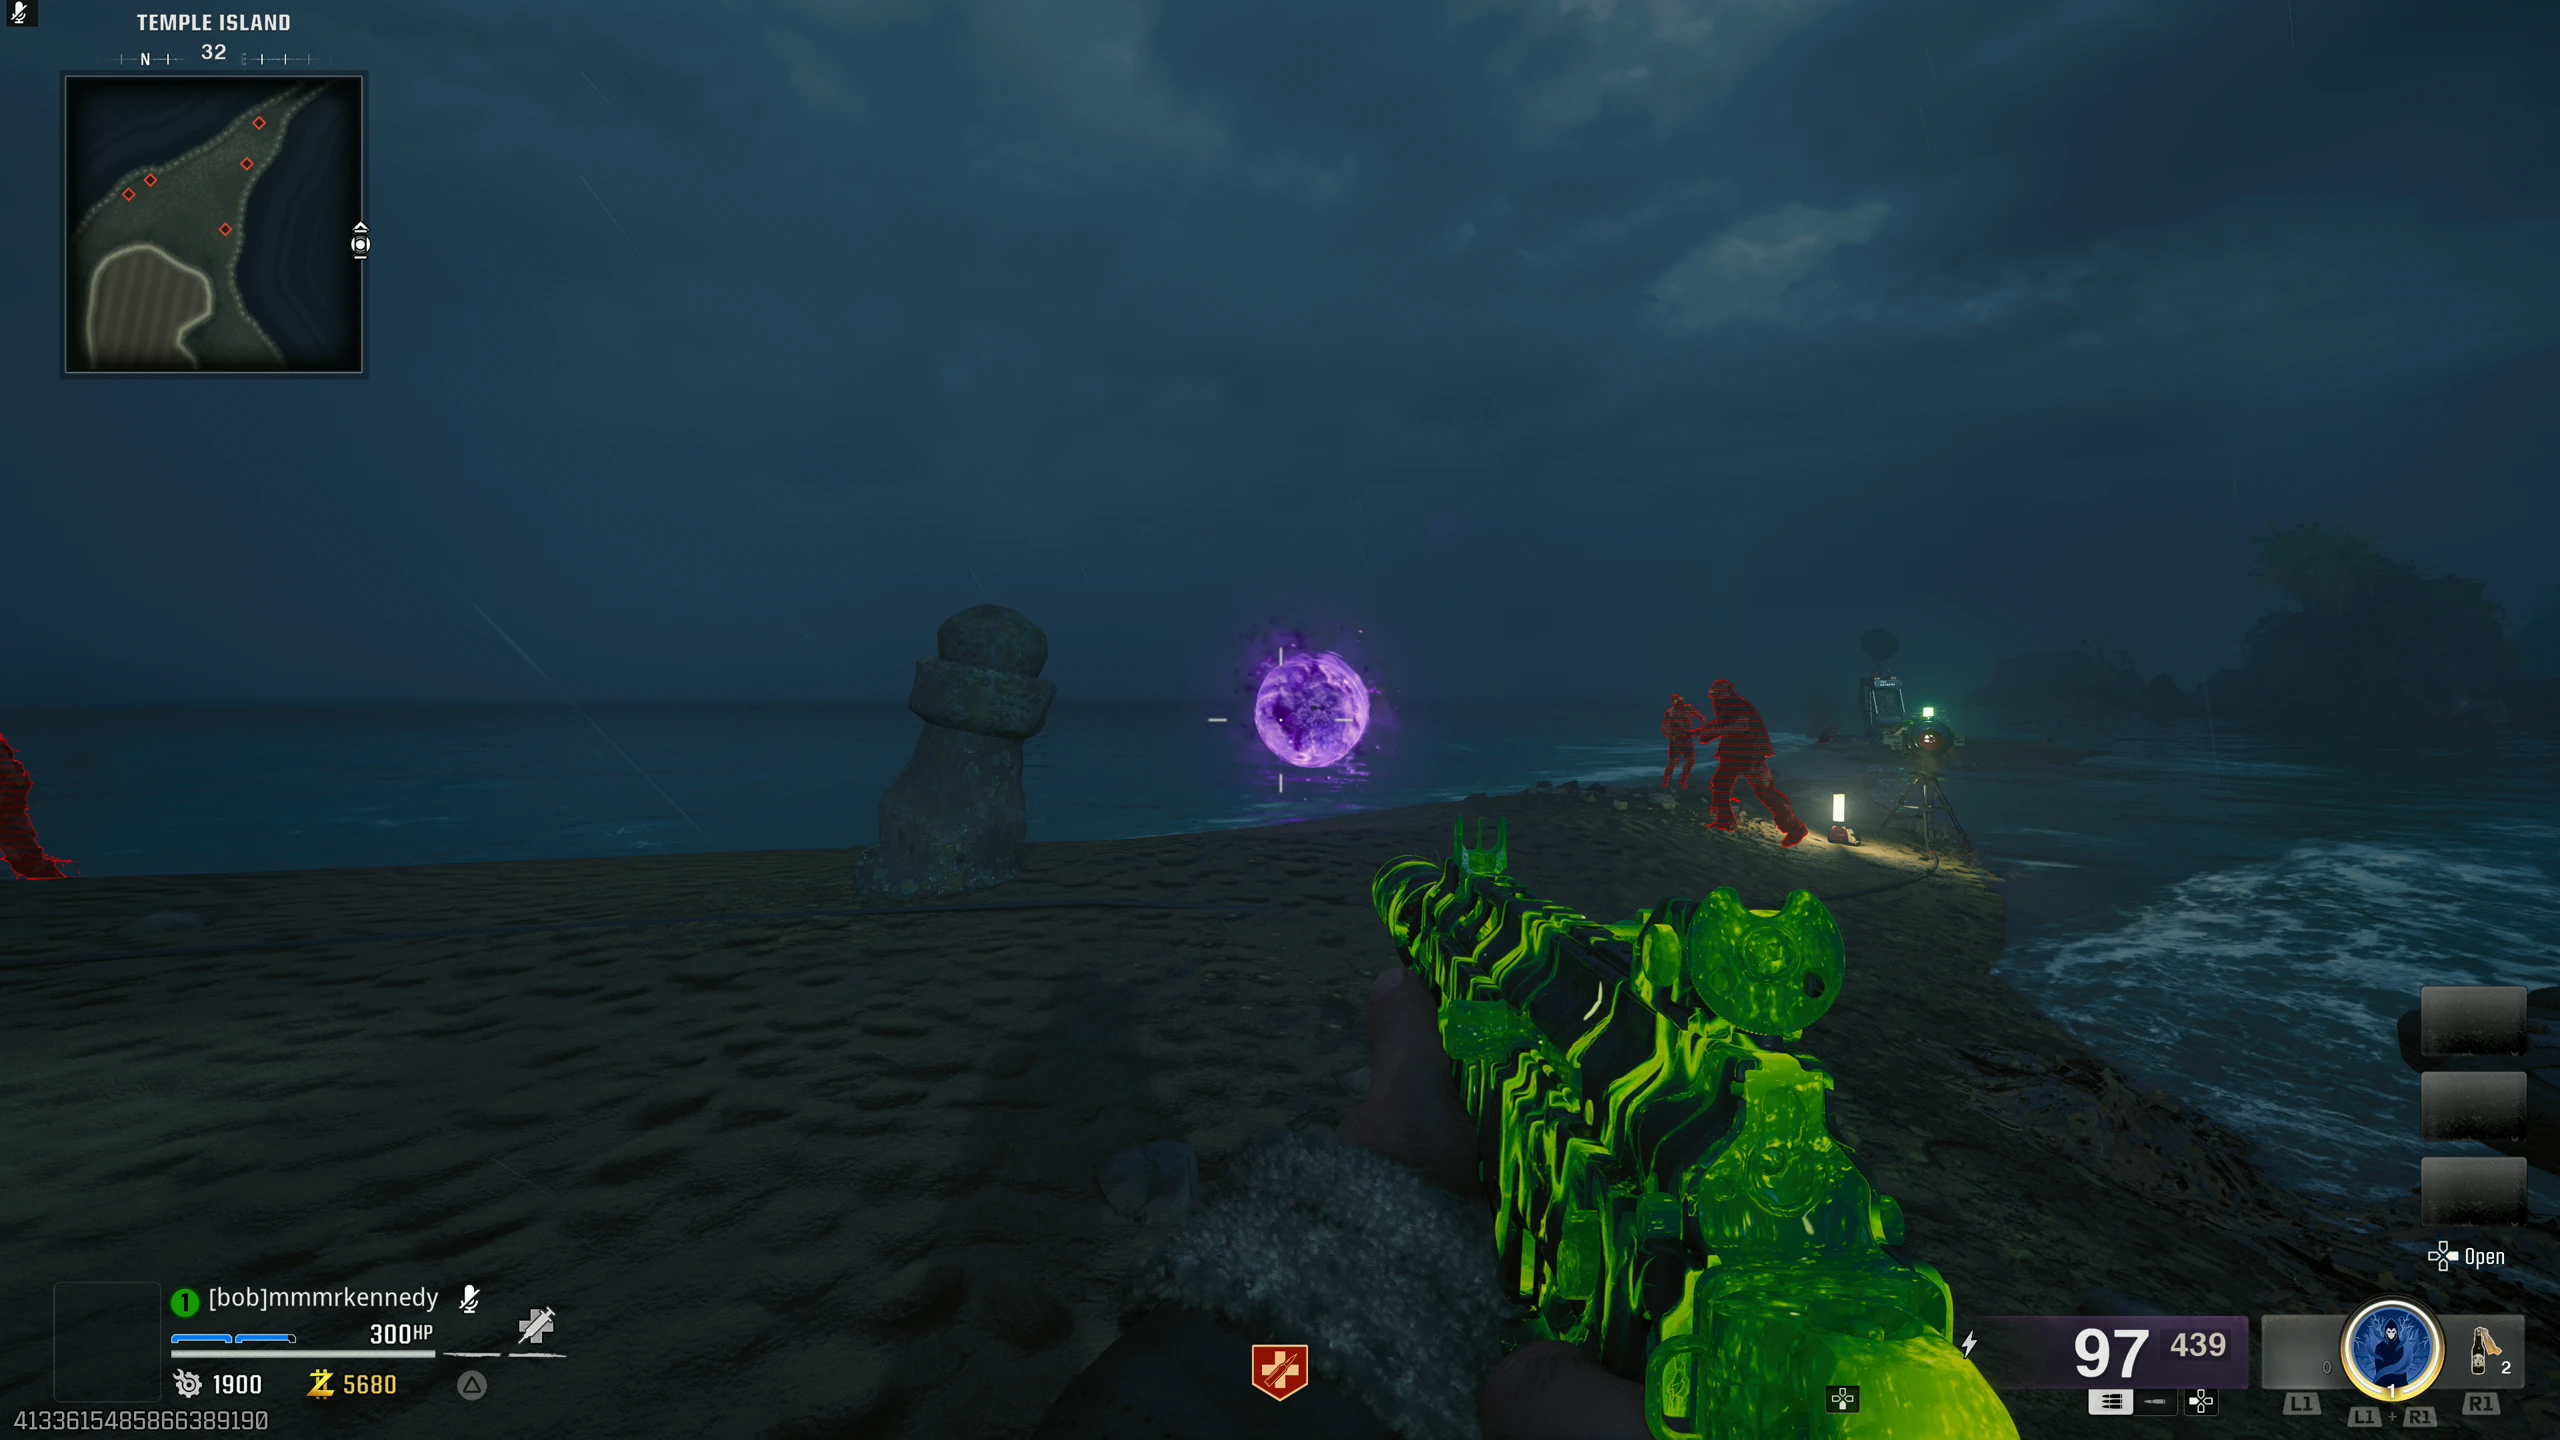
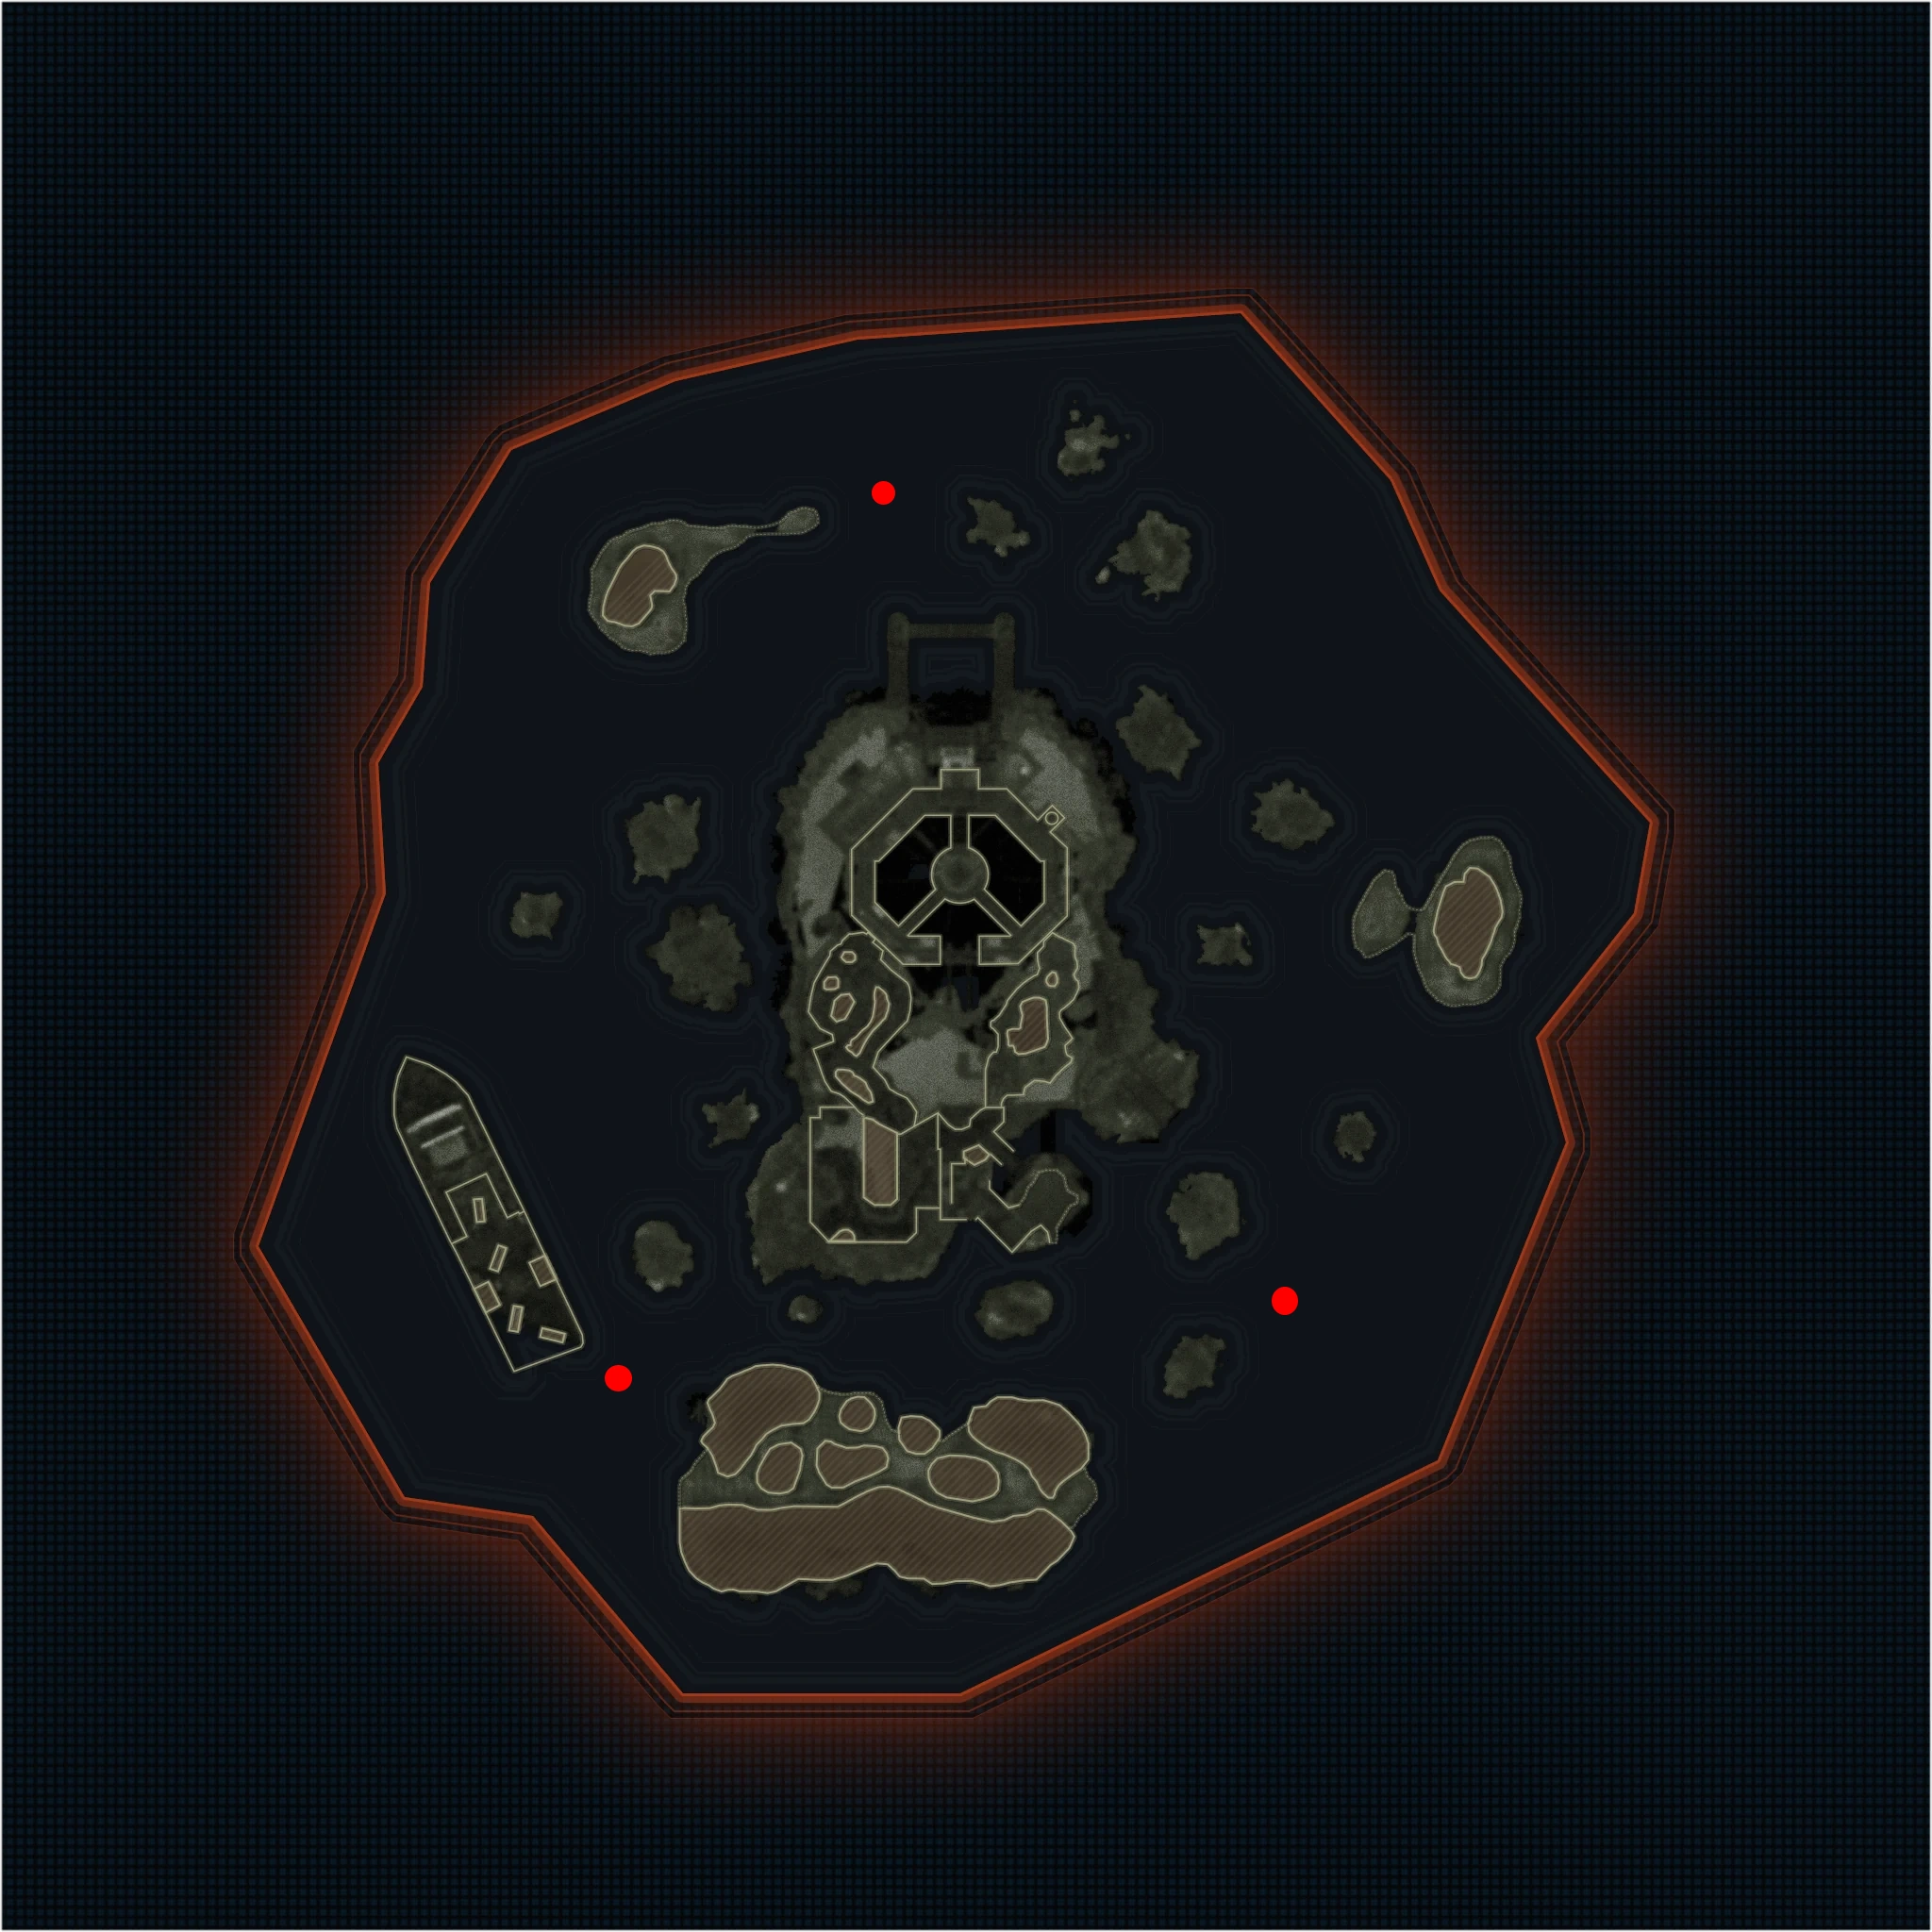
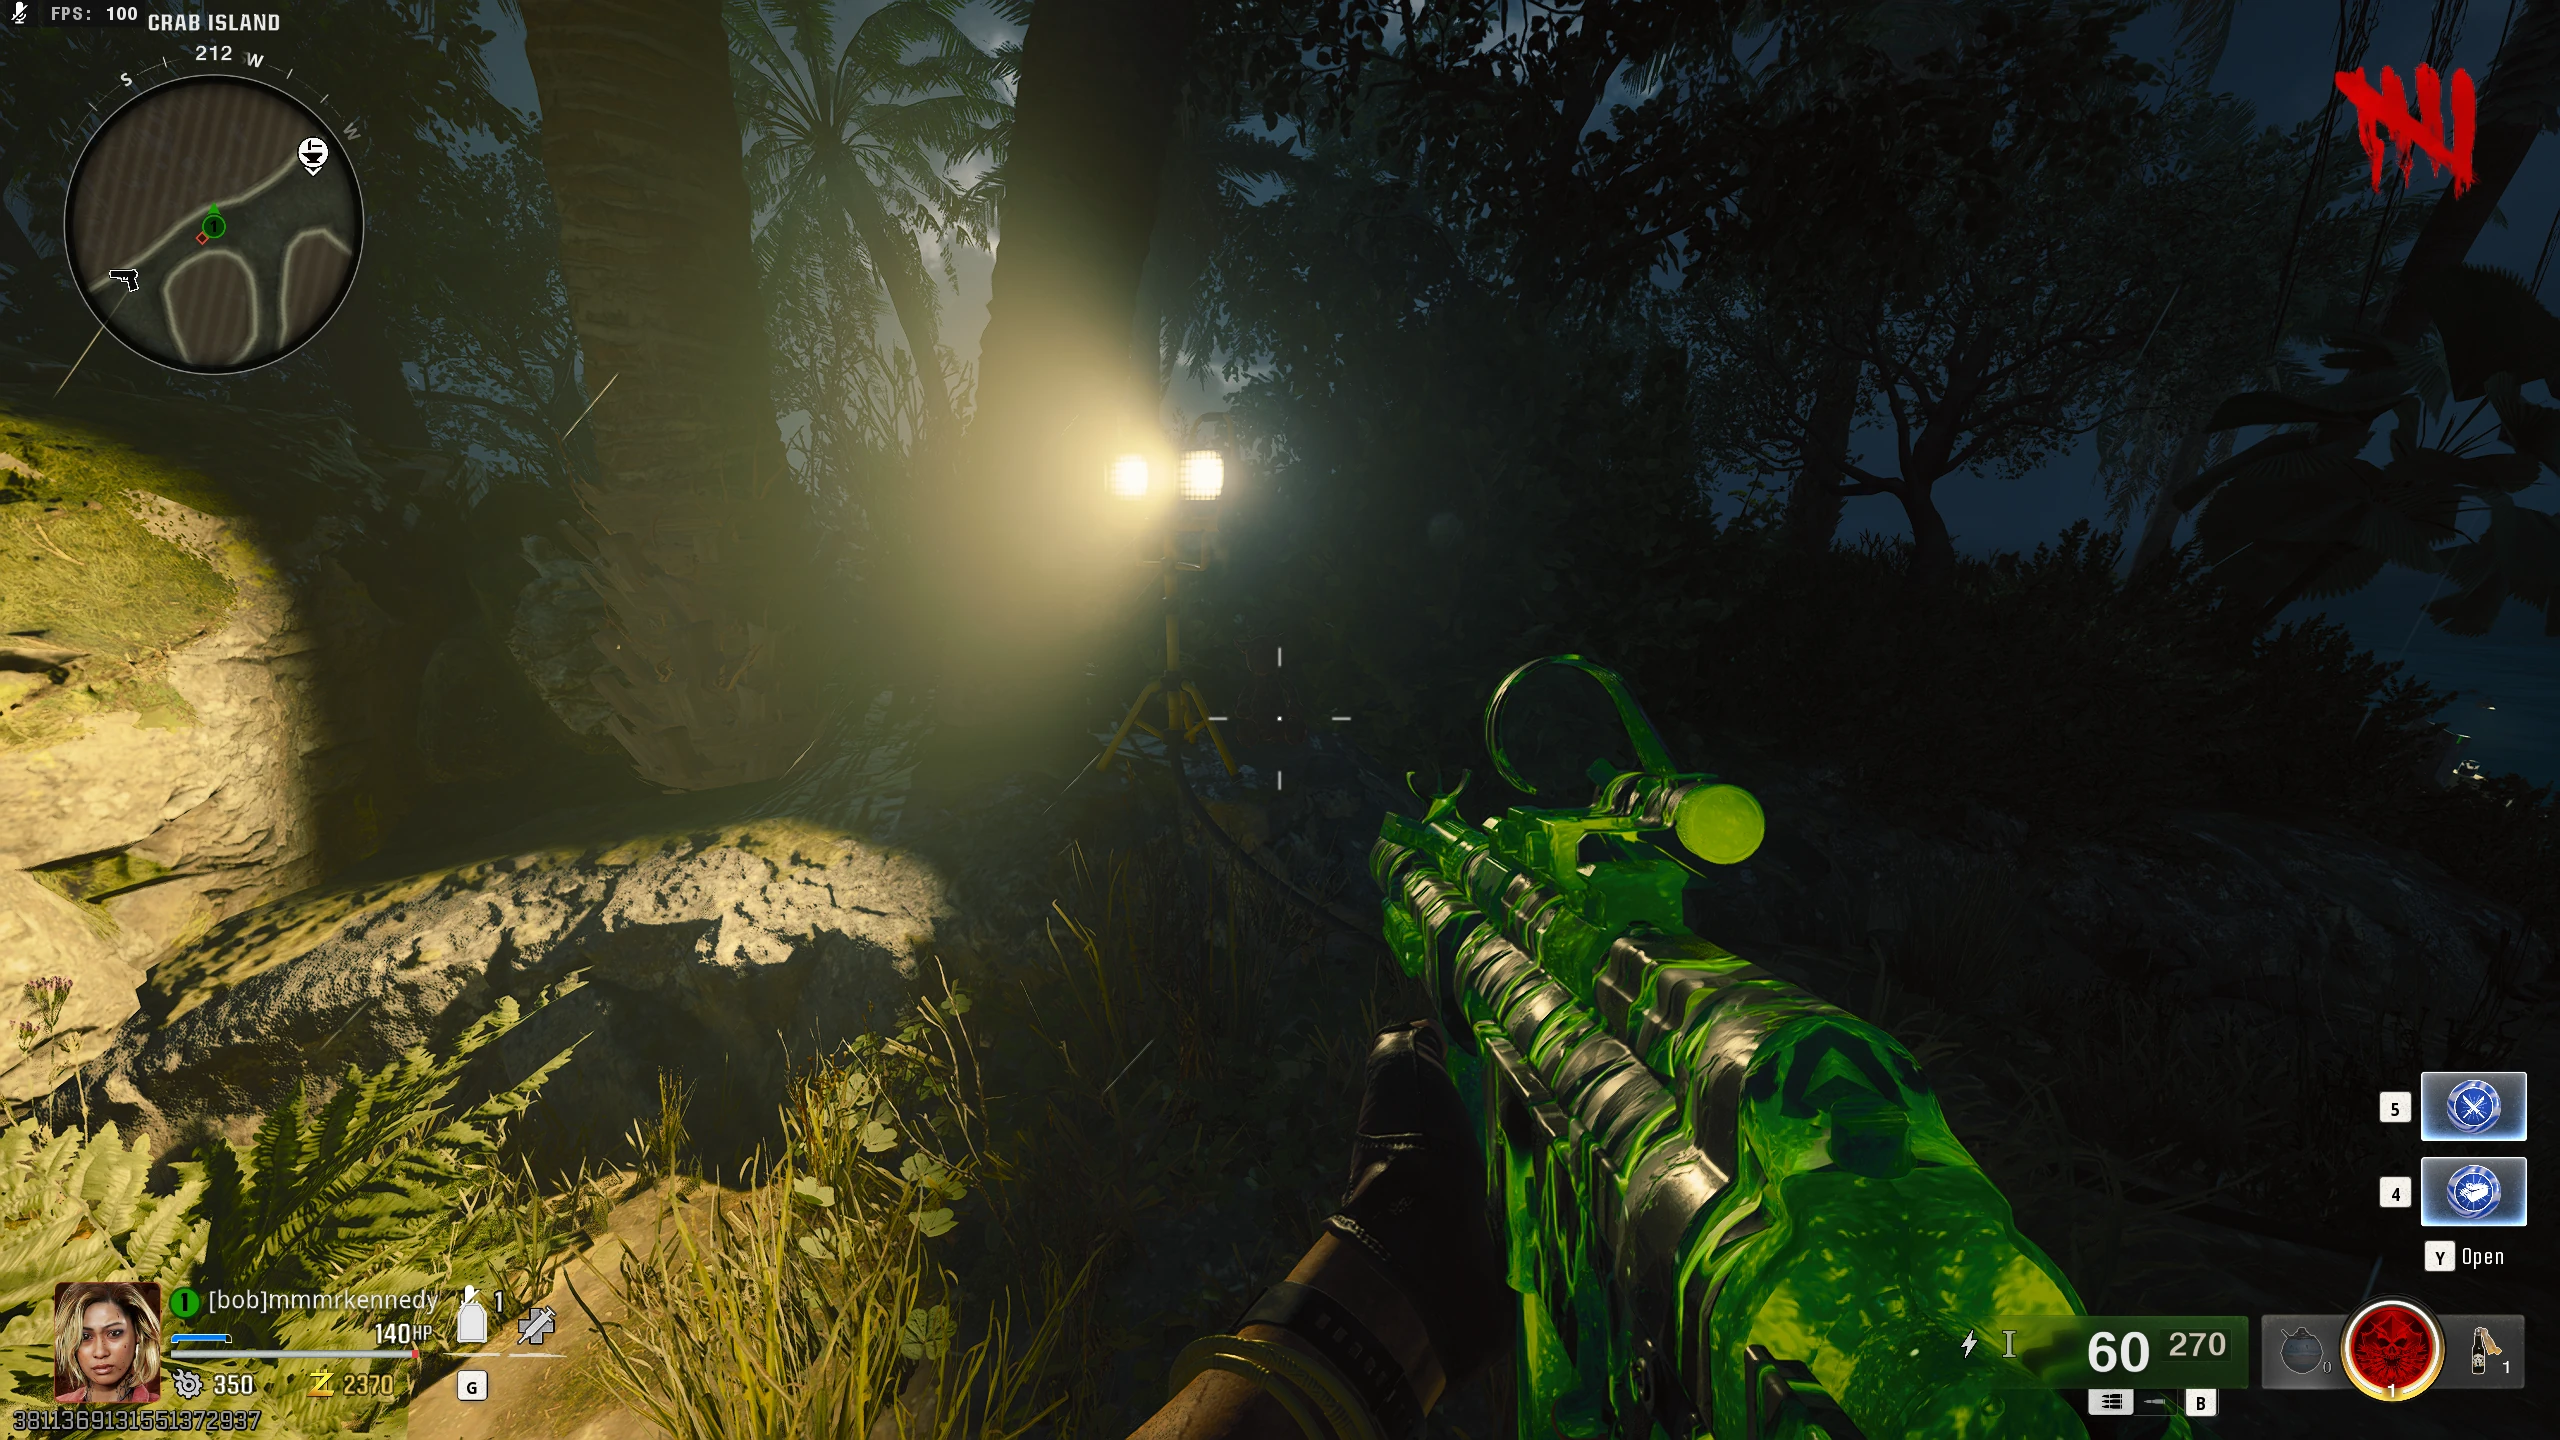
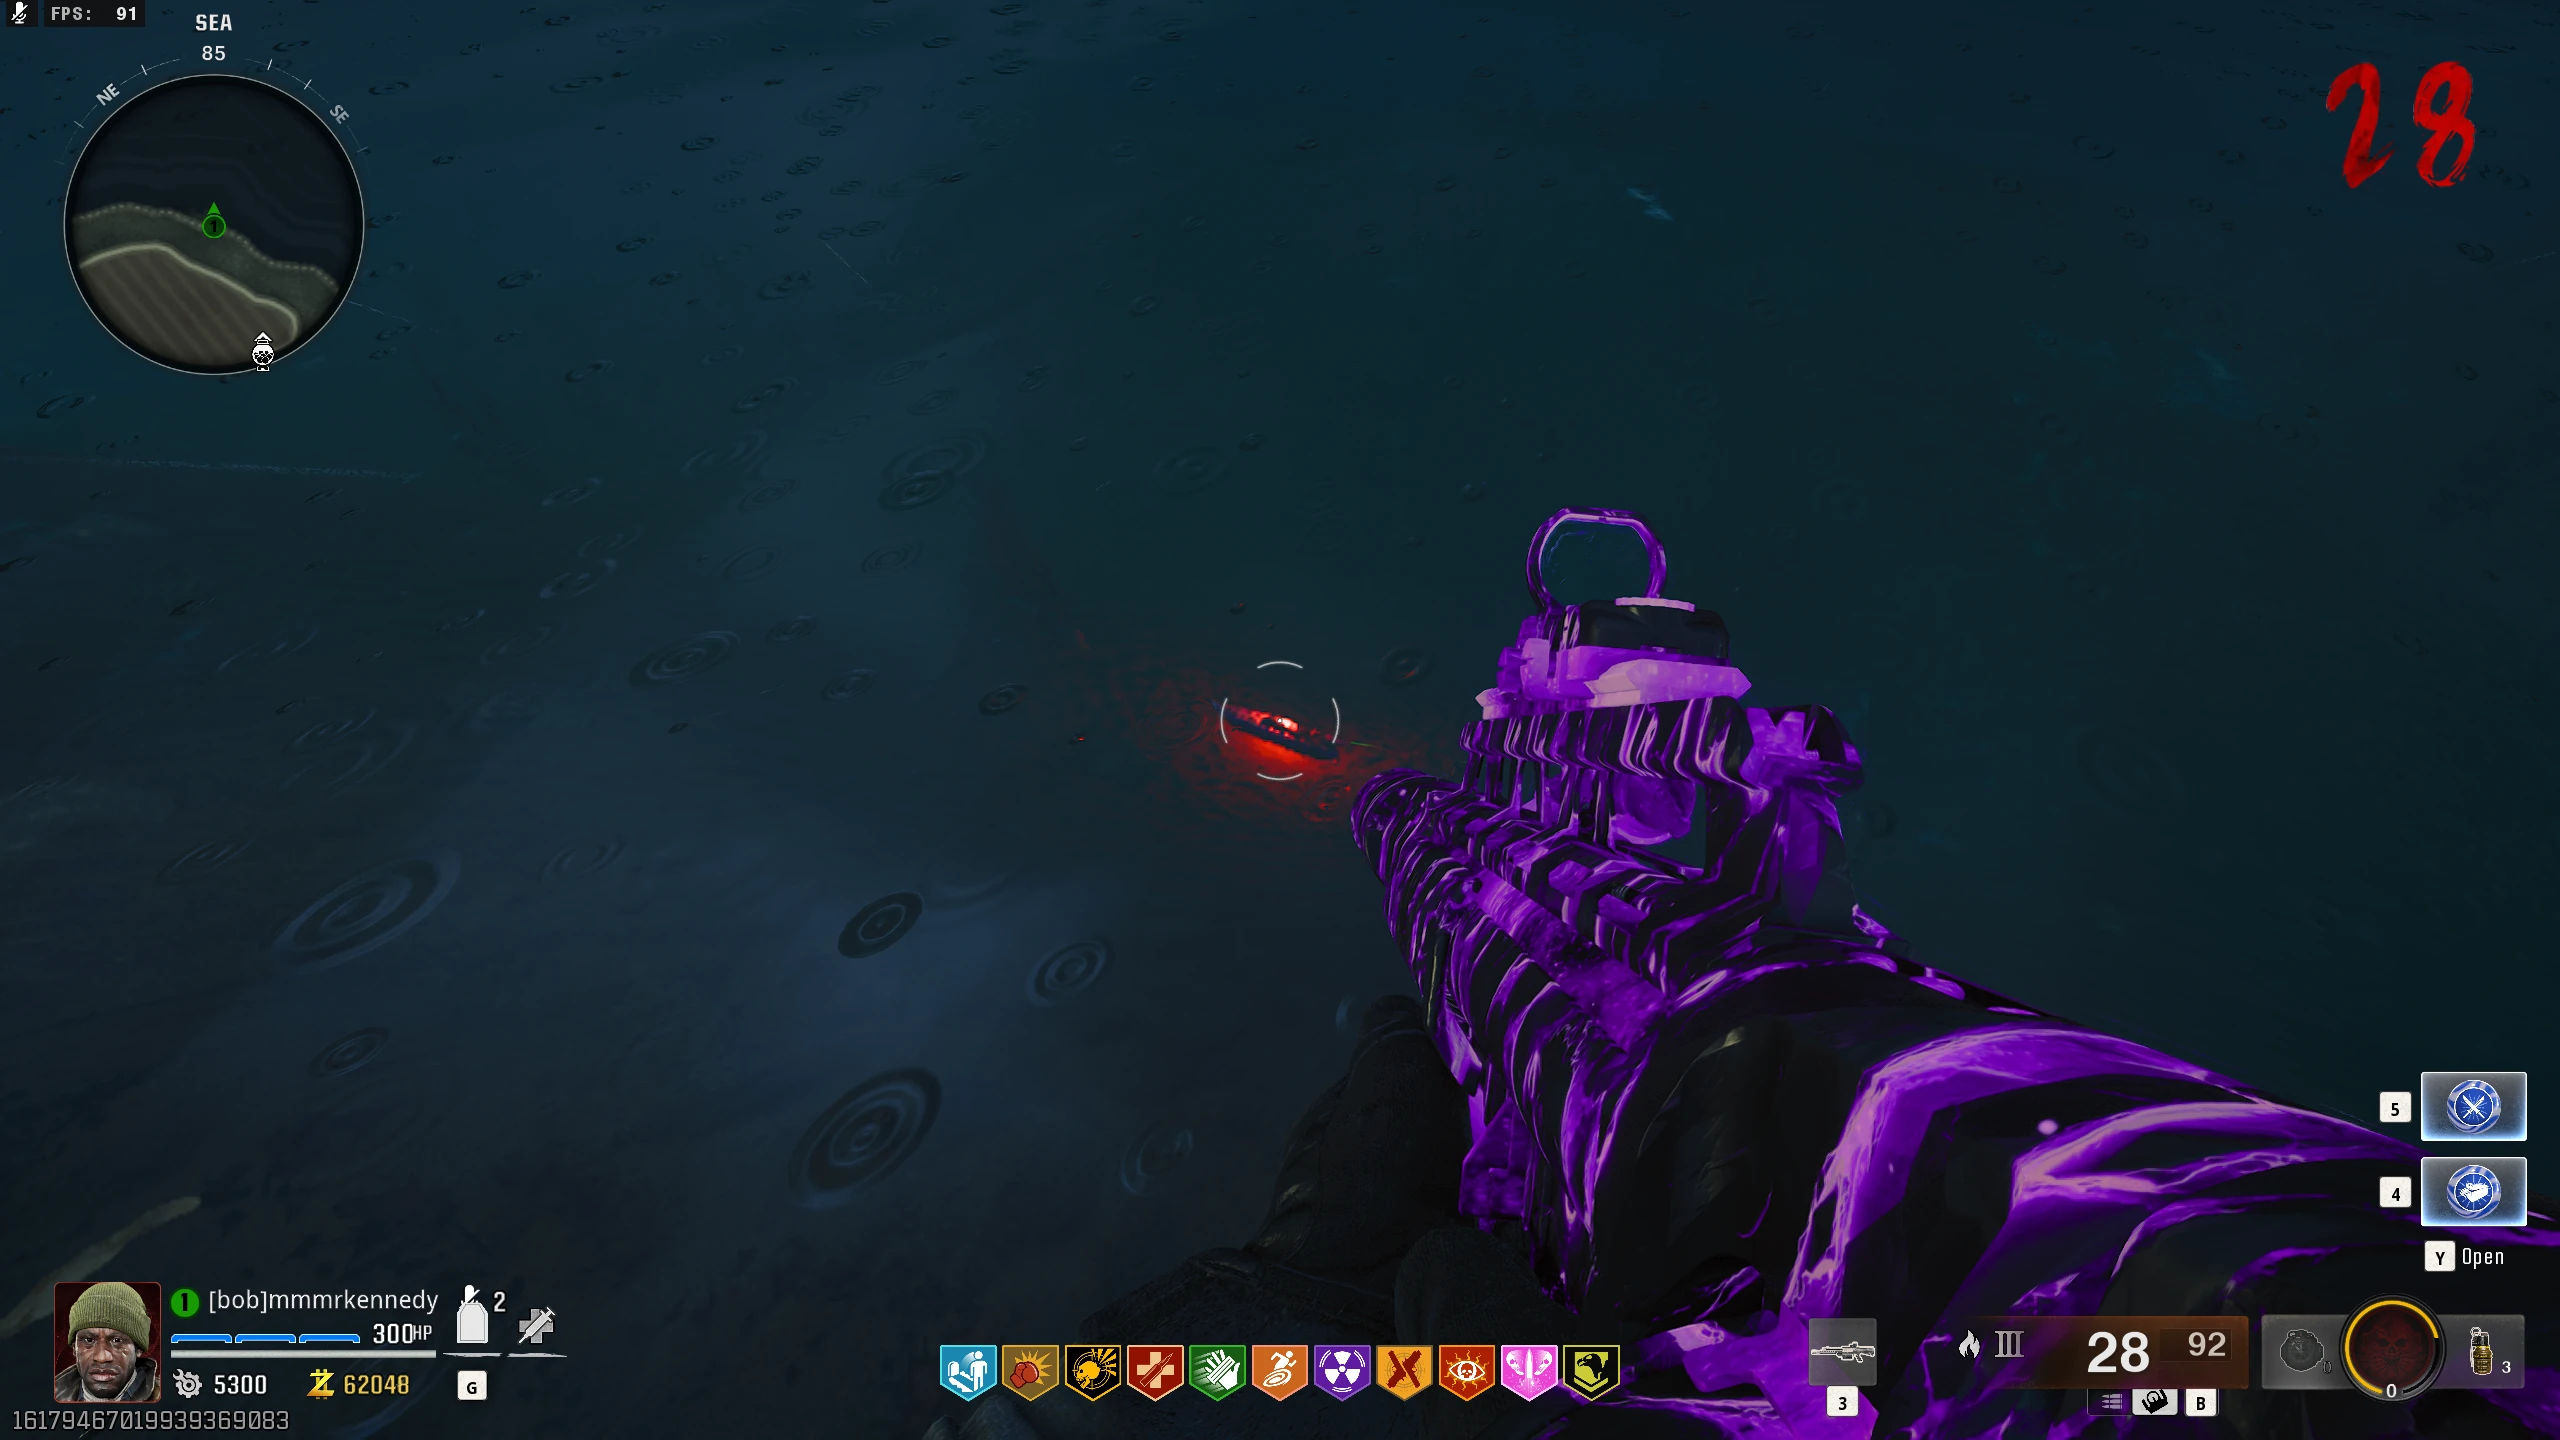
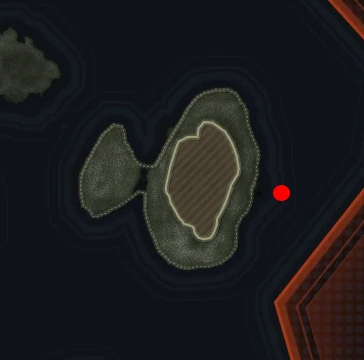
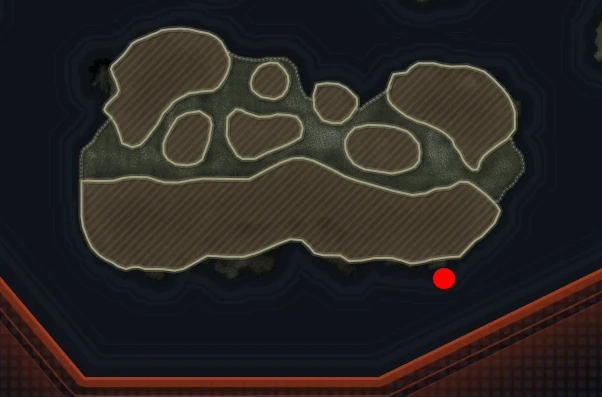
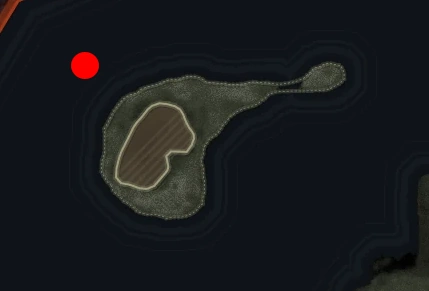
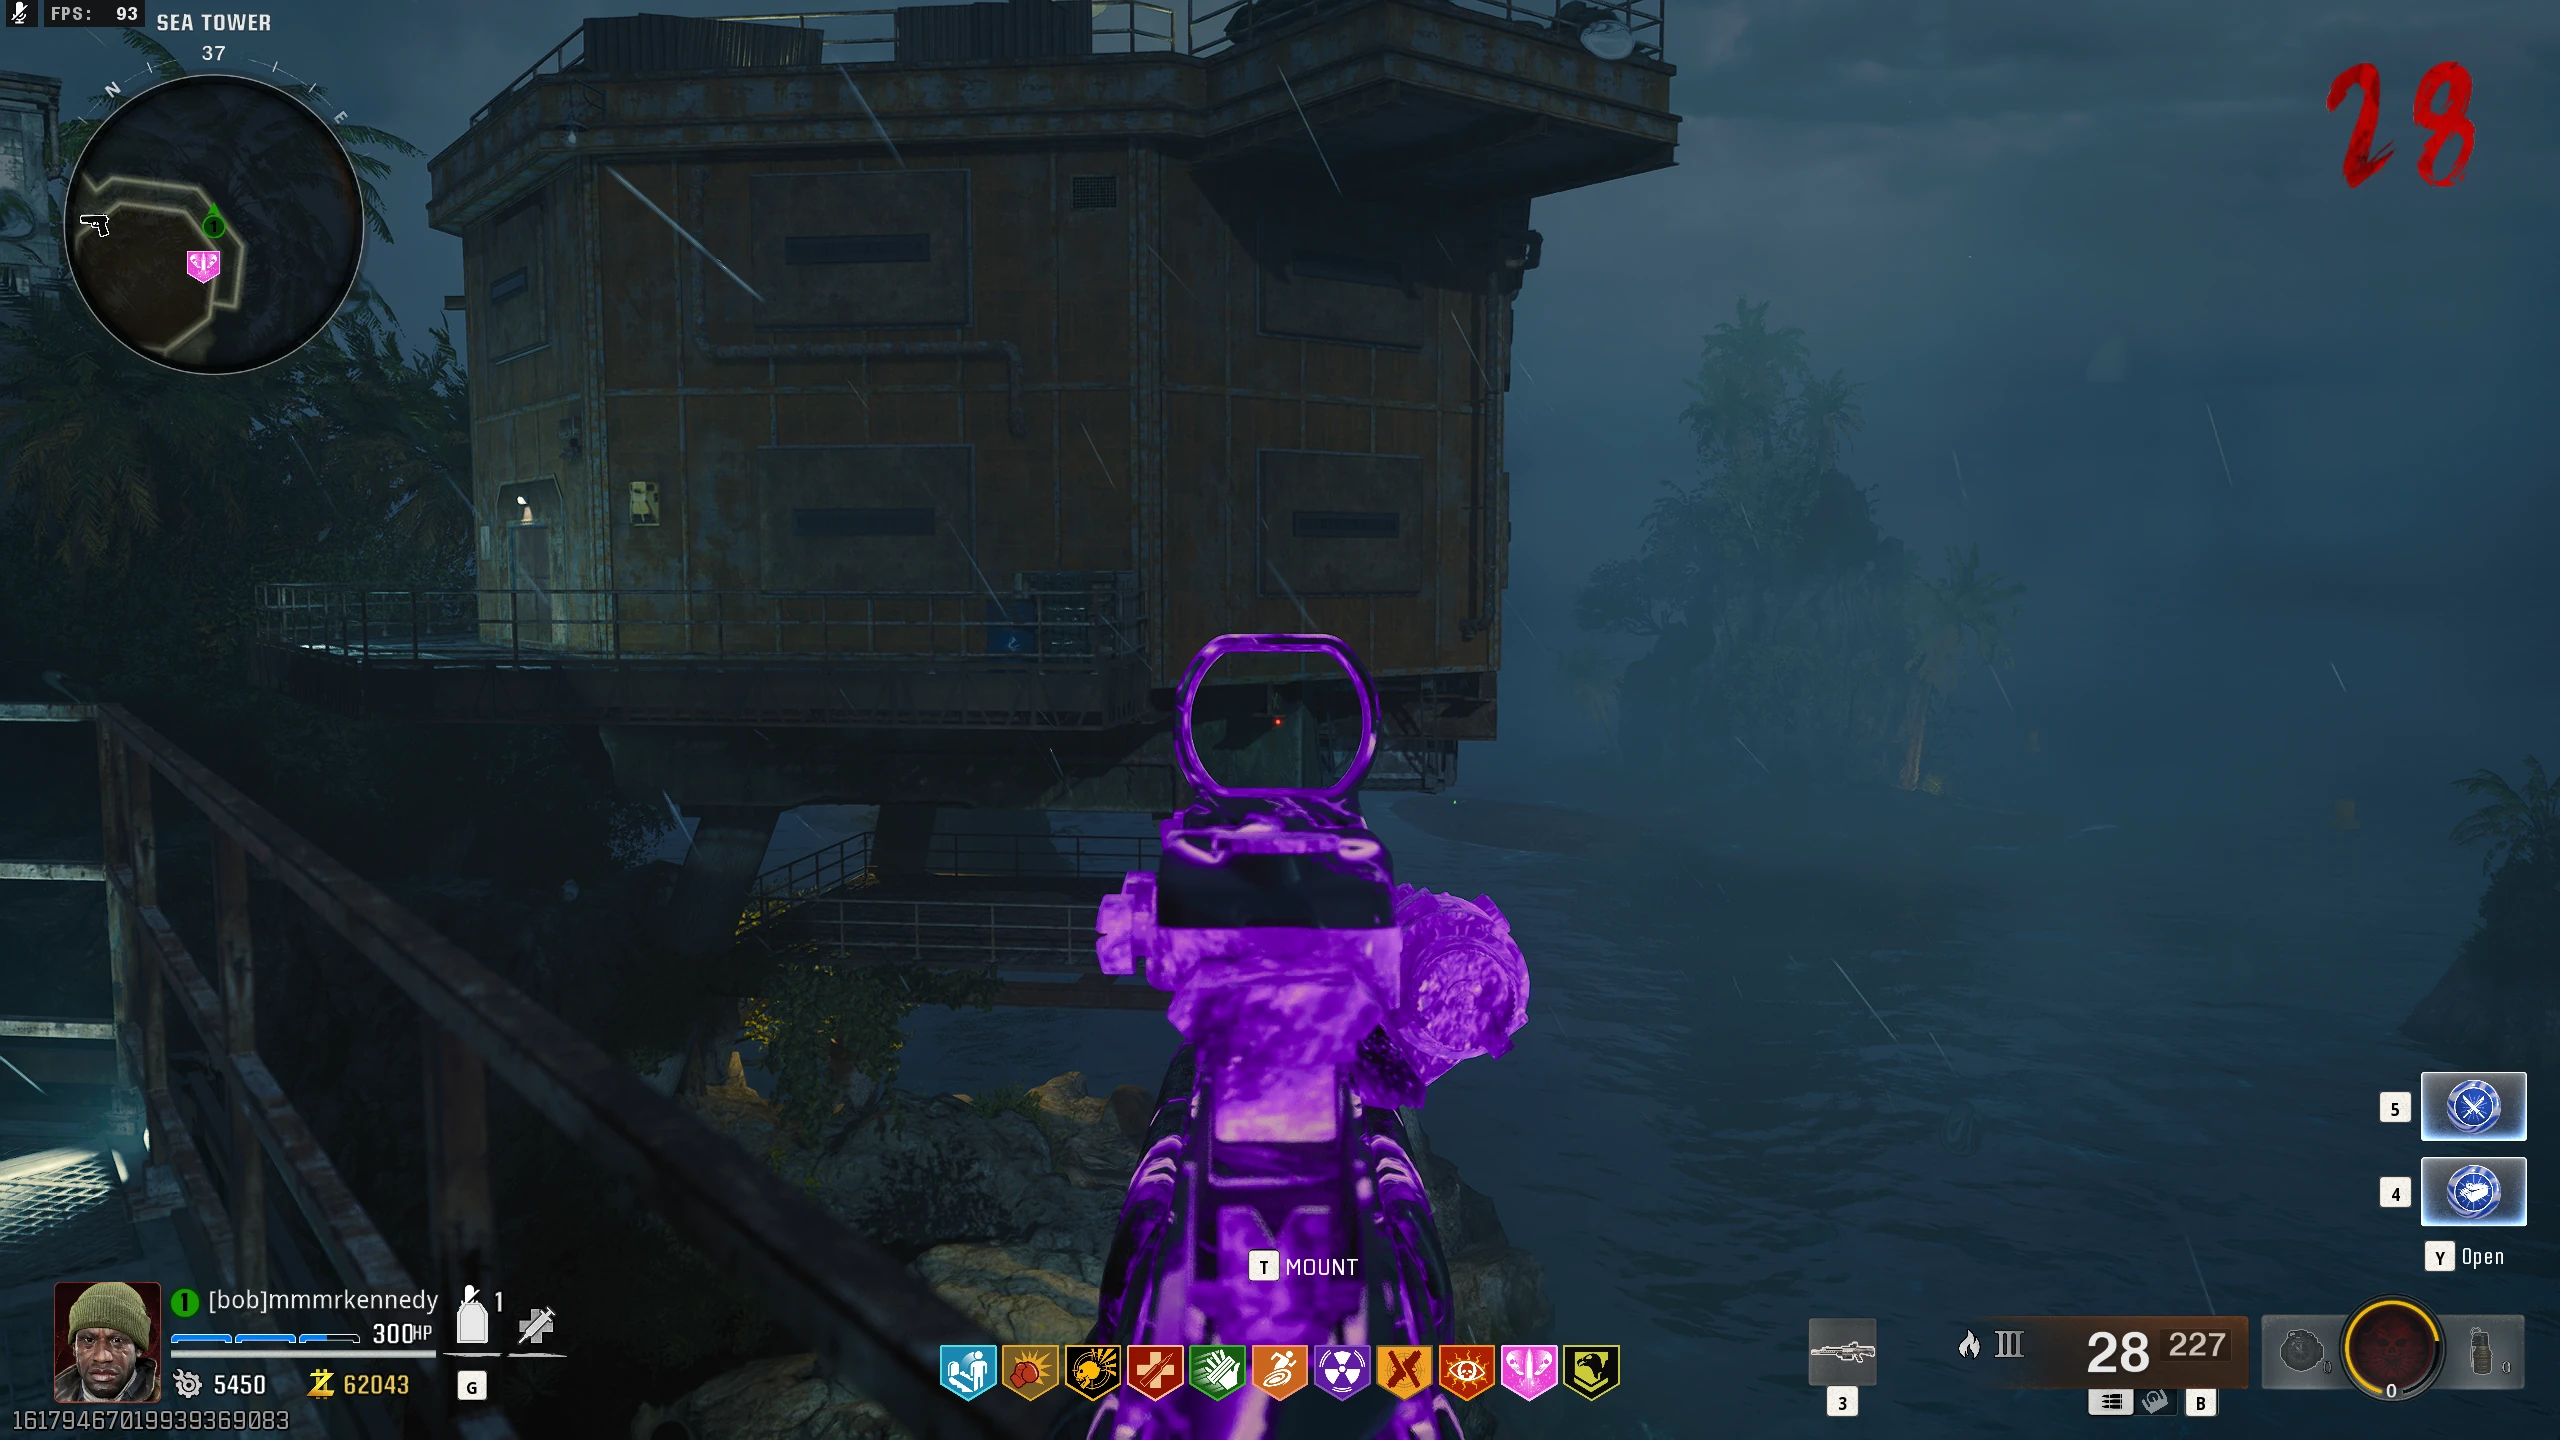
There are three buoys in the Sea you'll need to hack. To hack a Buoy, hold interact while close (basically touching) to the buoy either in
the water or on a boat. If you're close enough, you'll pull out the Hacking Device. Once you hack the first Buoy, a timer will start; you must hack all the Buoys under this time limit.
Locations on the map.
- If you take too long to hack all the Buoys, you can retry immediately, but you'll need to hack every Buoy again.
-
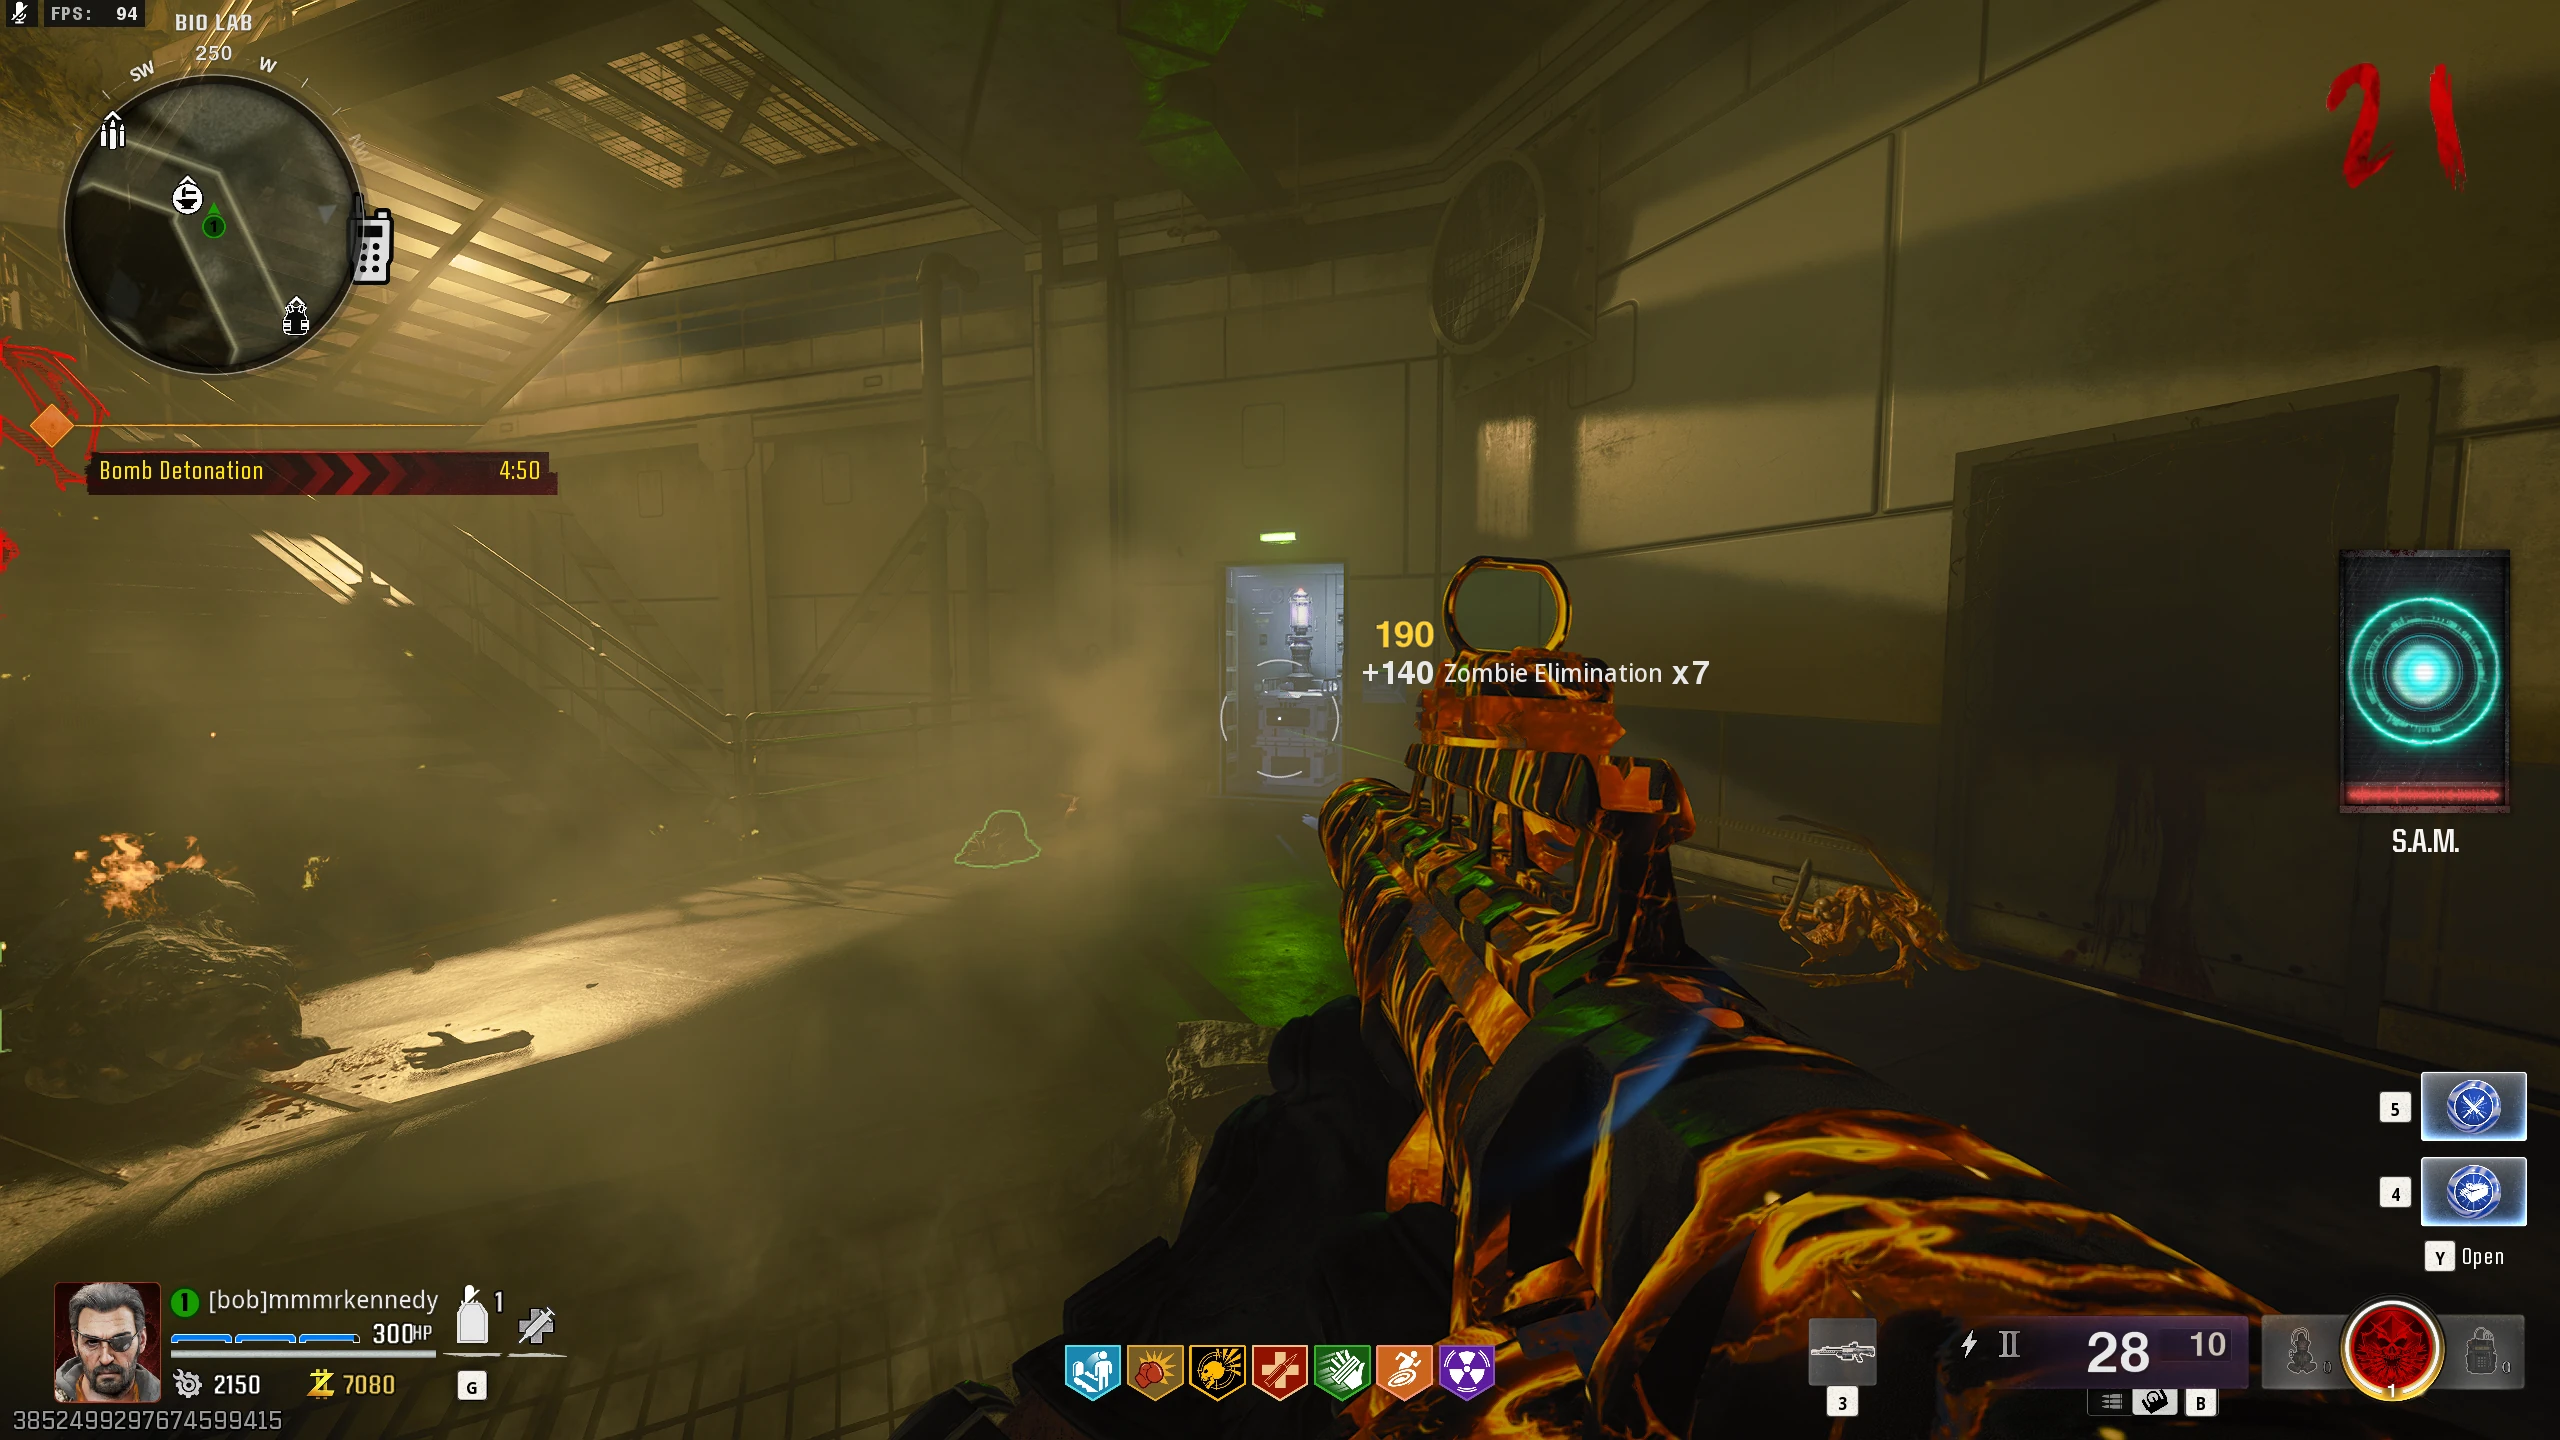
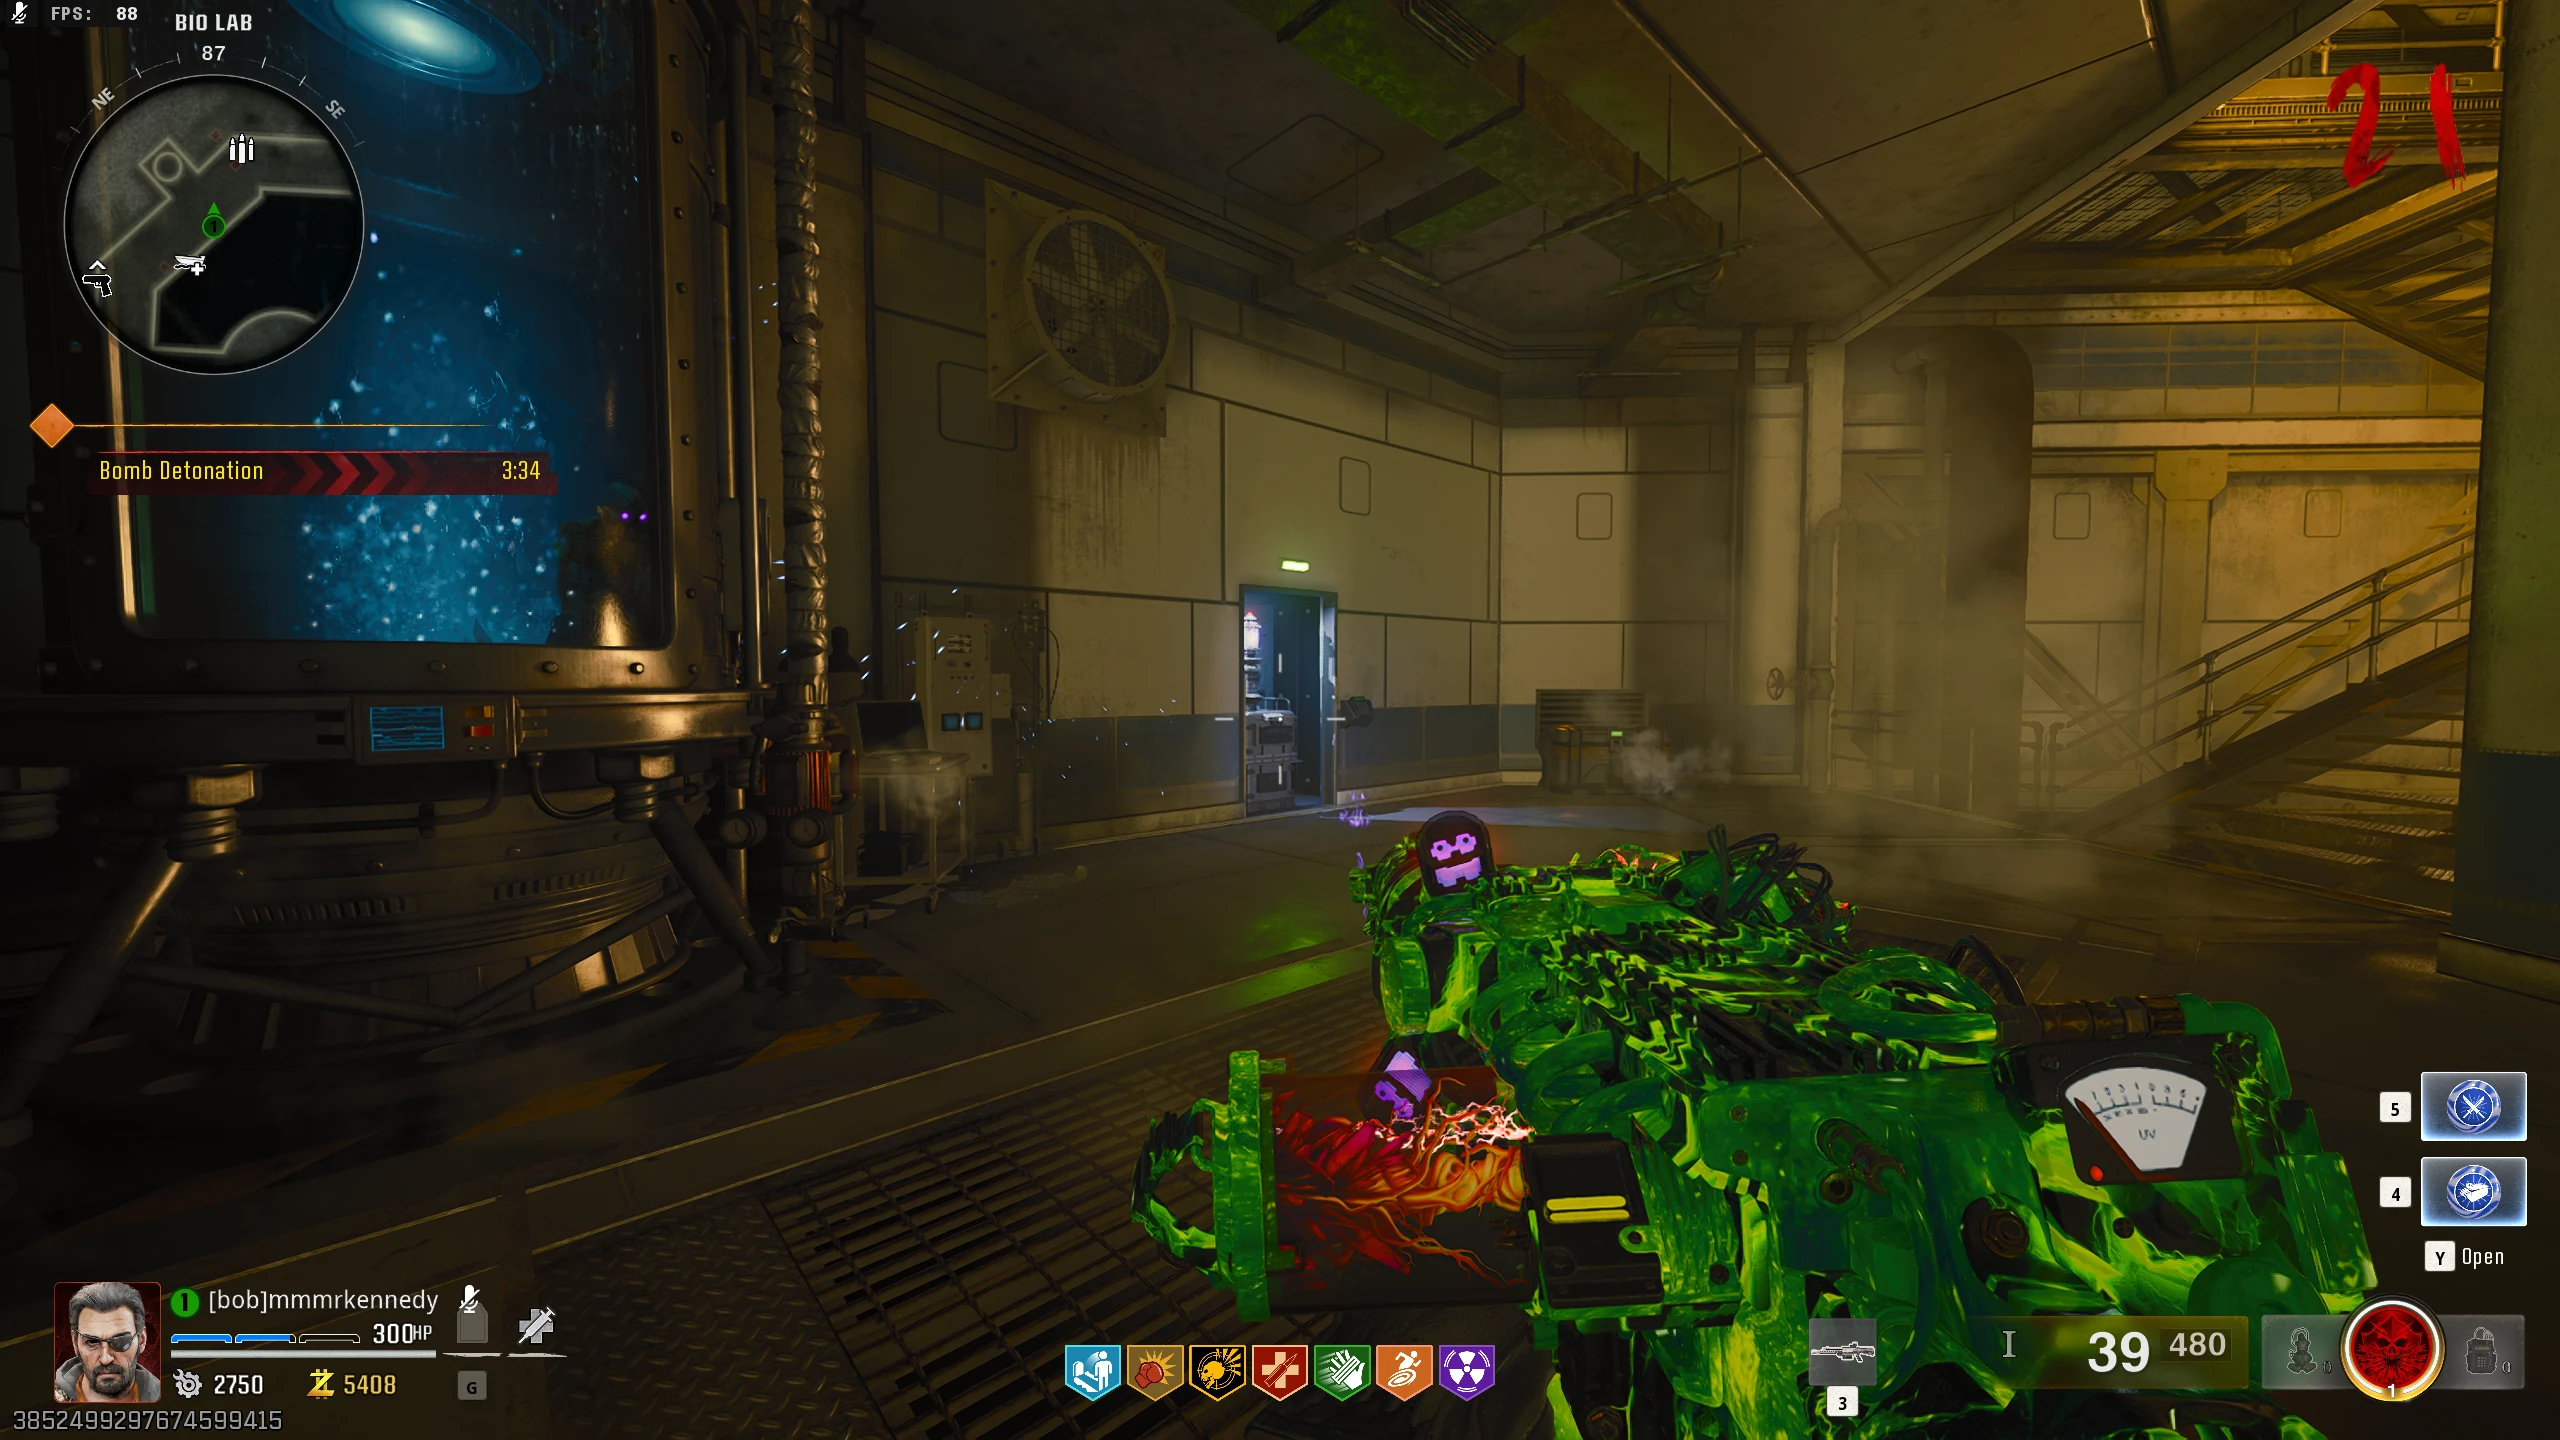
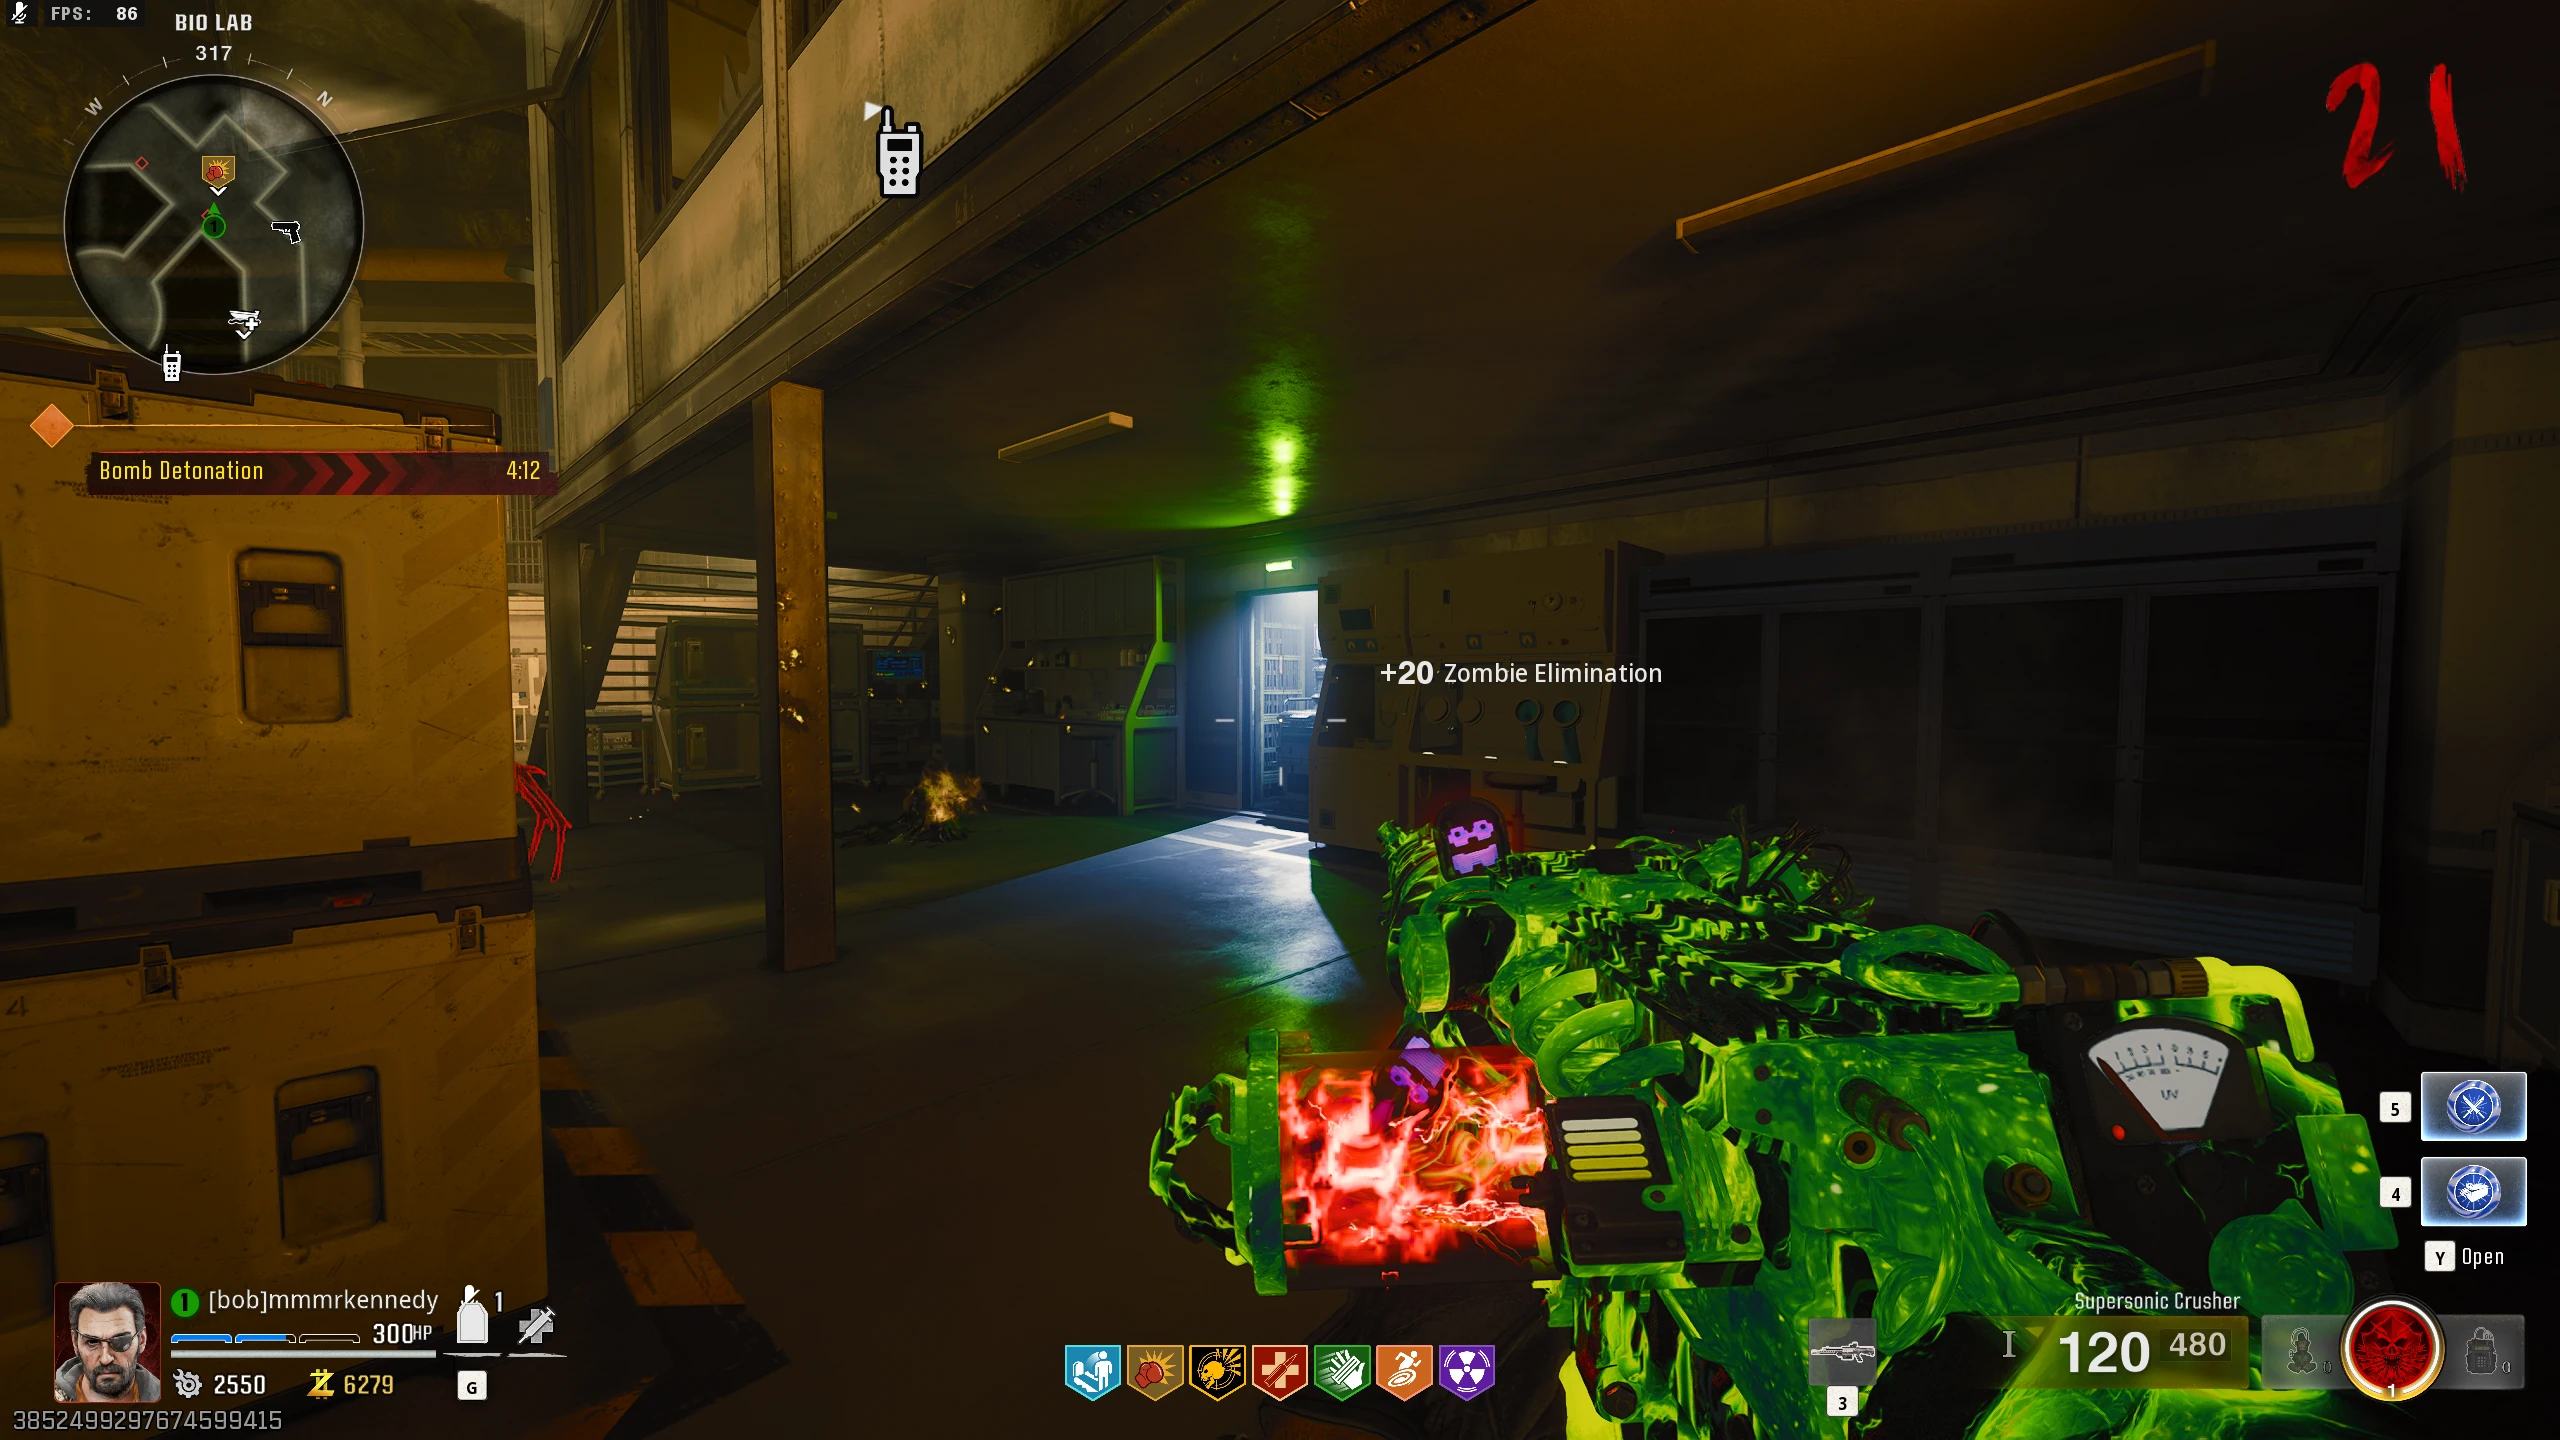
After you hack the Buoys, quickly head to the Bio Lab and wait for the dialogue to finish. Three bombs will have been armed around the Bio
Lab. You must defuse all three bombs, by holding interact on them, before the five-minute timer ends. You can leave the bombs mid-defuse to defend yourself, and not lose
any progress.
-
If you're using controller, make sure you have the "Tap to Interact" setting instead of "Tap to Reload" for your Interact/Reload Behavior. This setting can be found under Controller -> Combat -> Combat Advanced Settings -> Interact/Reload Behavior. If you have "Tap to Reload", then you won't be able to leave the bomb mid-defuse.
- If any of the bombs go off, all players will be killed instantly.
- Bomb Locations:
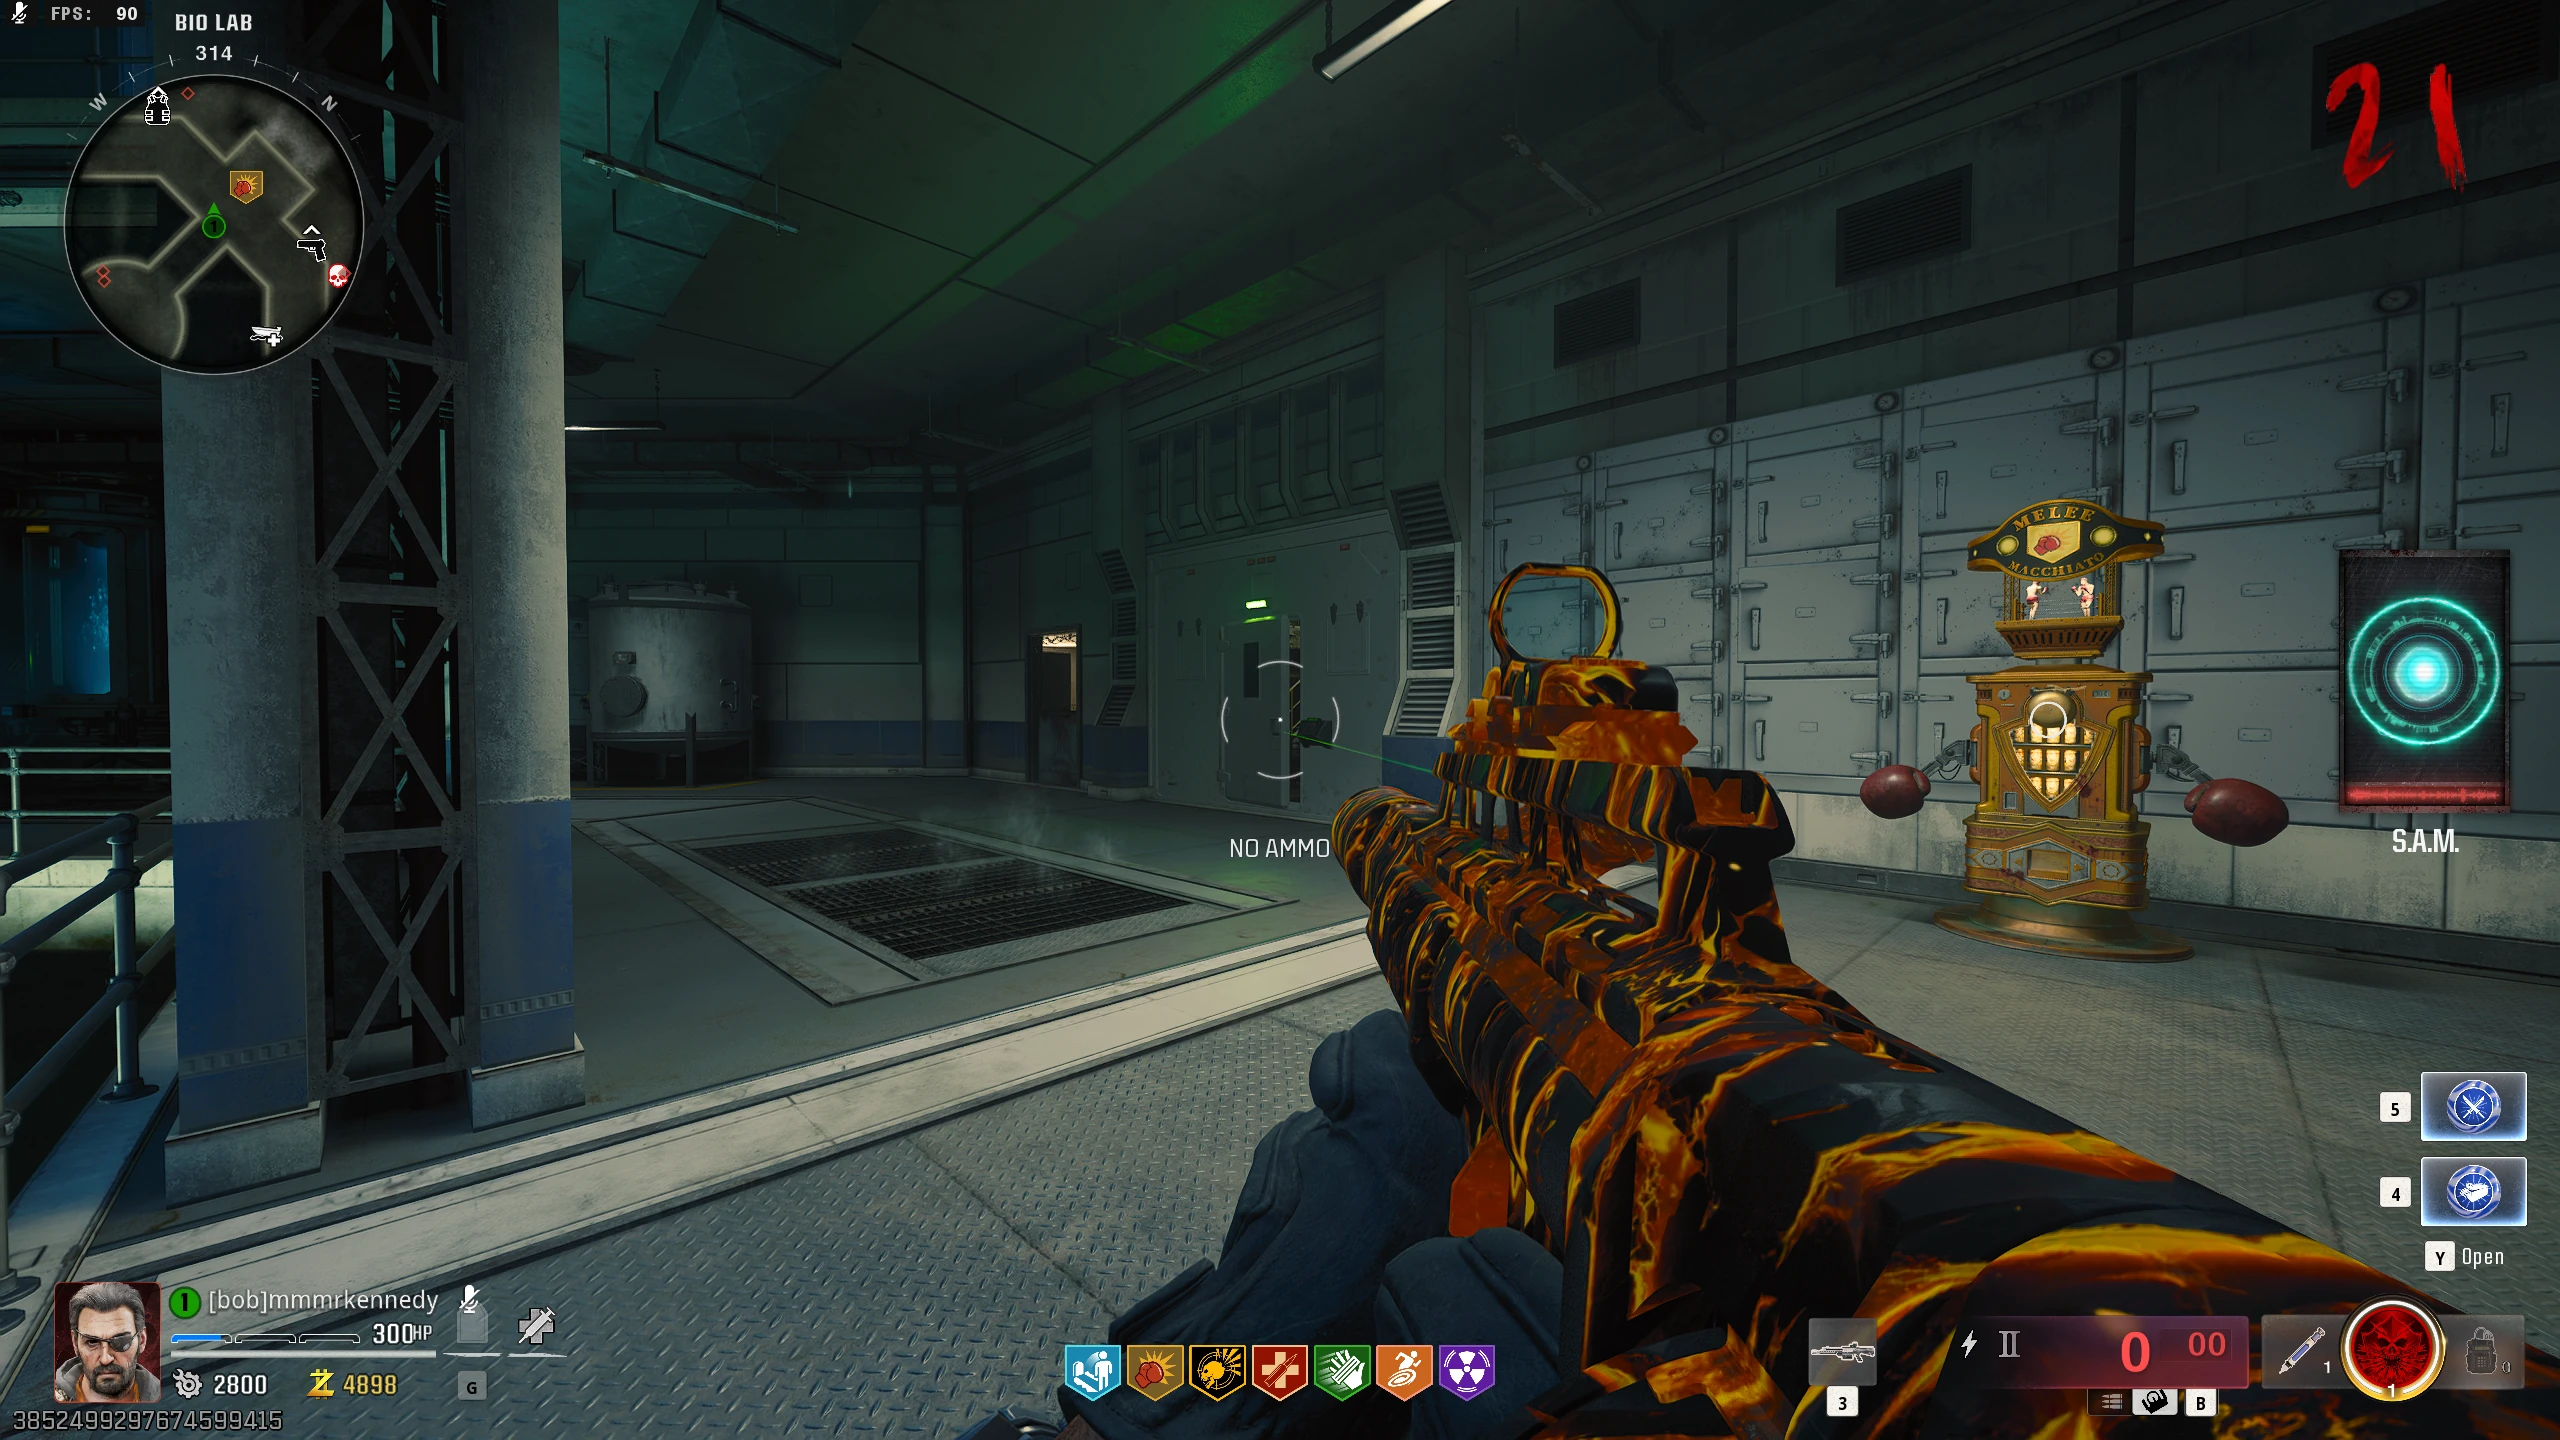
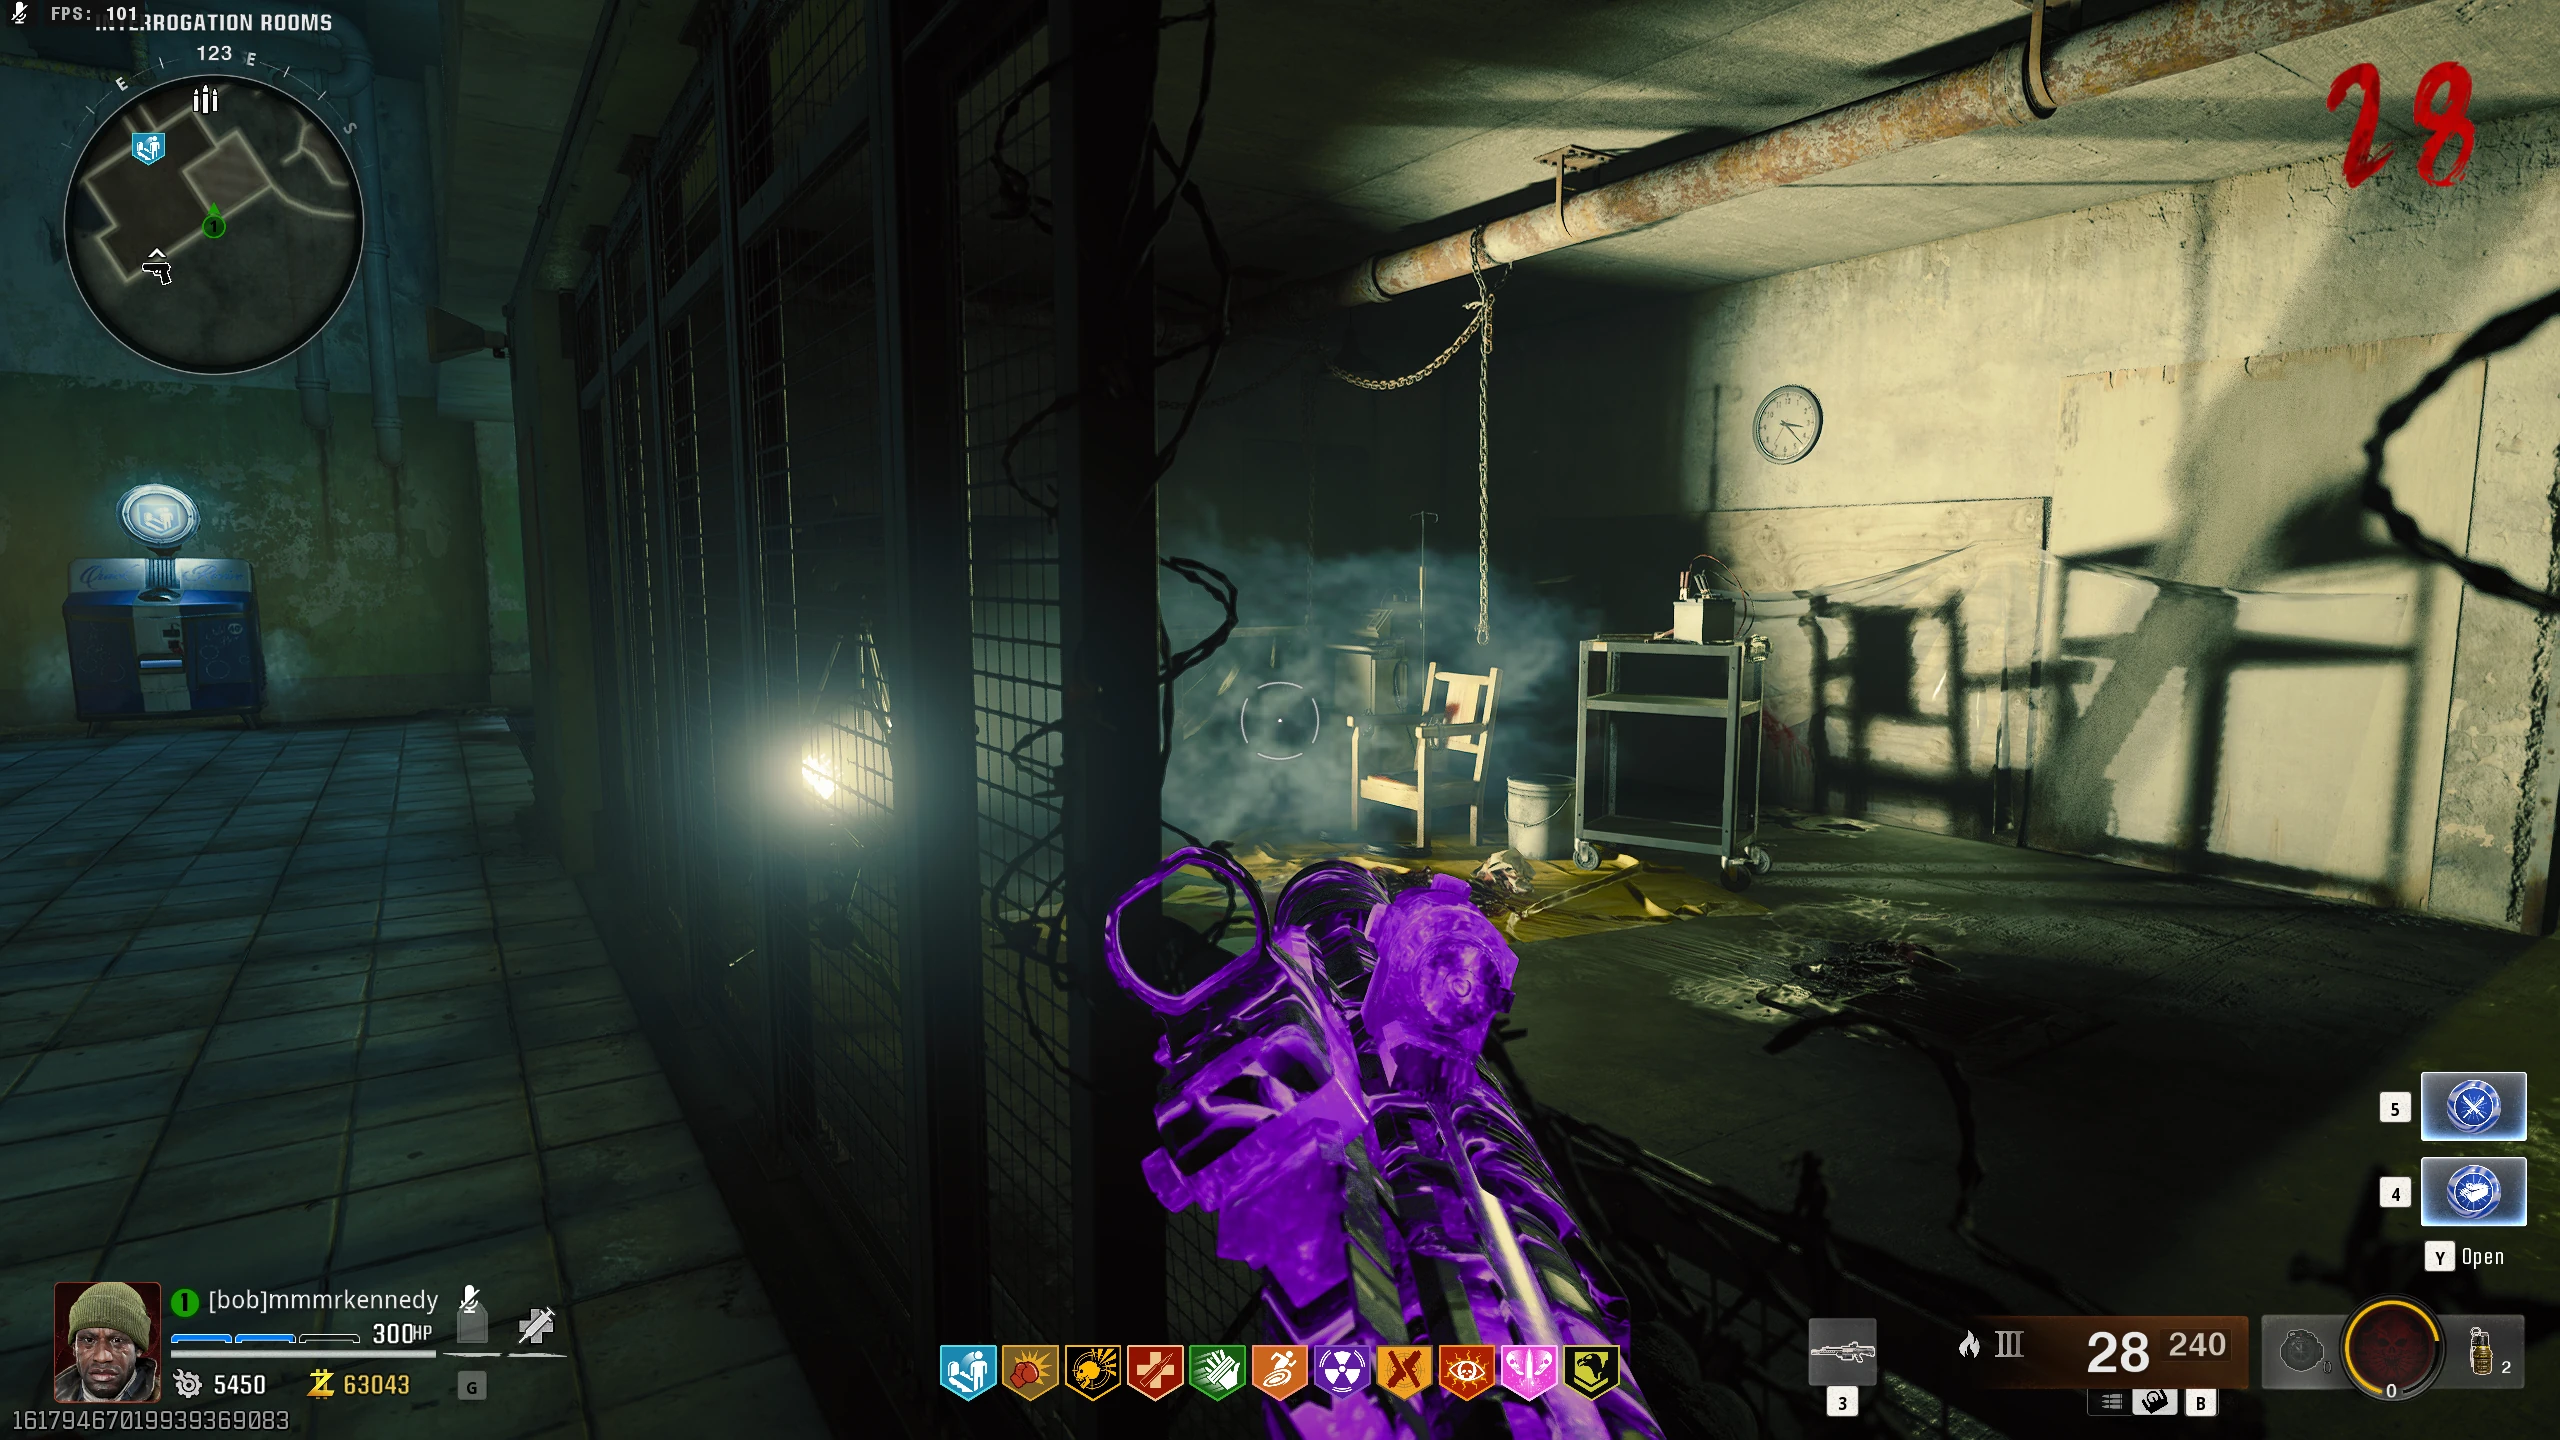
- On the lowest level, left of the Melee Machiato Perk Machine
- On the lowest level, right of the Melee Machiato Perk Machine
- On the upper level, right of the Armour wallbuy
-
-
Once you interact with the door, the final encounter will start.
- Once all the bombs have been defused, a door left of Melee Macchiato will open. Interacting this door will start the Final Encounter.
-
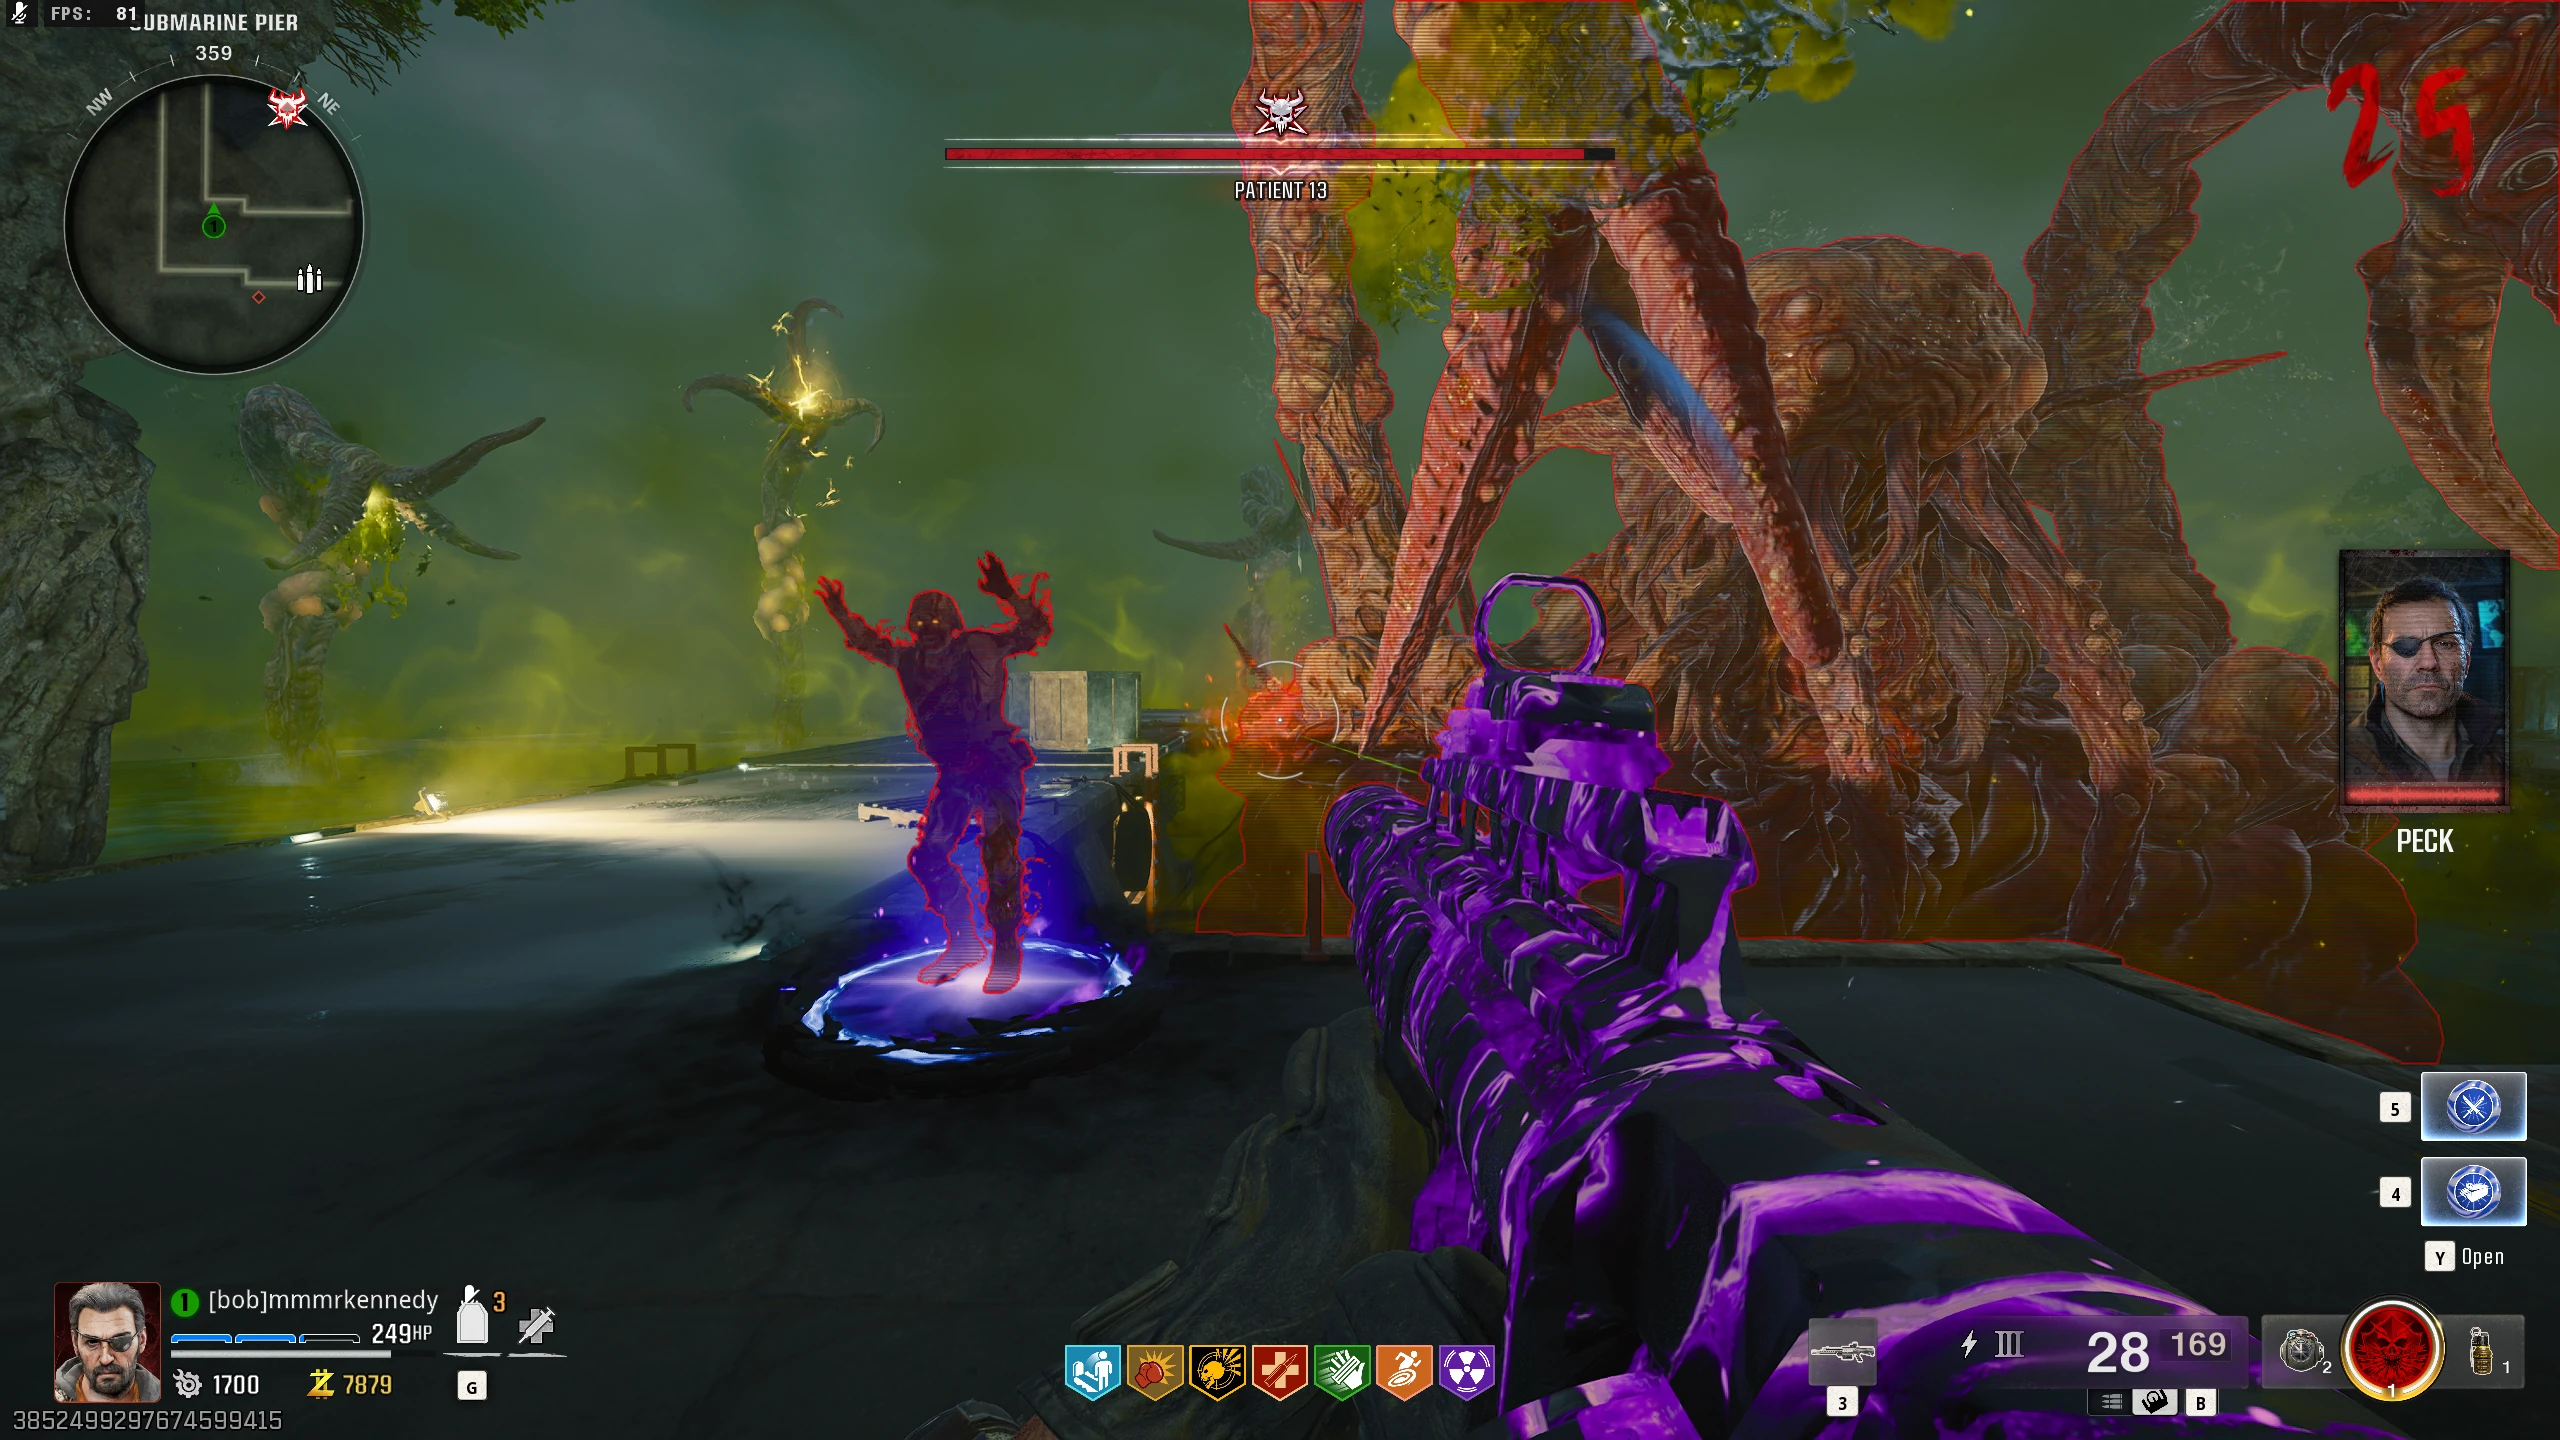
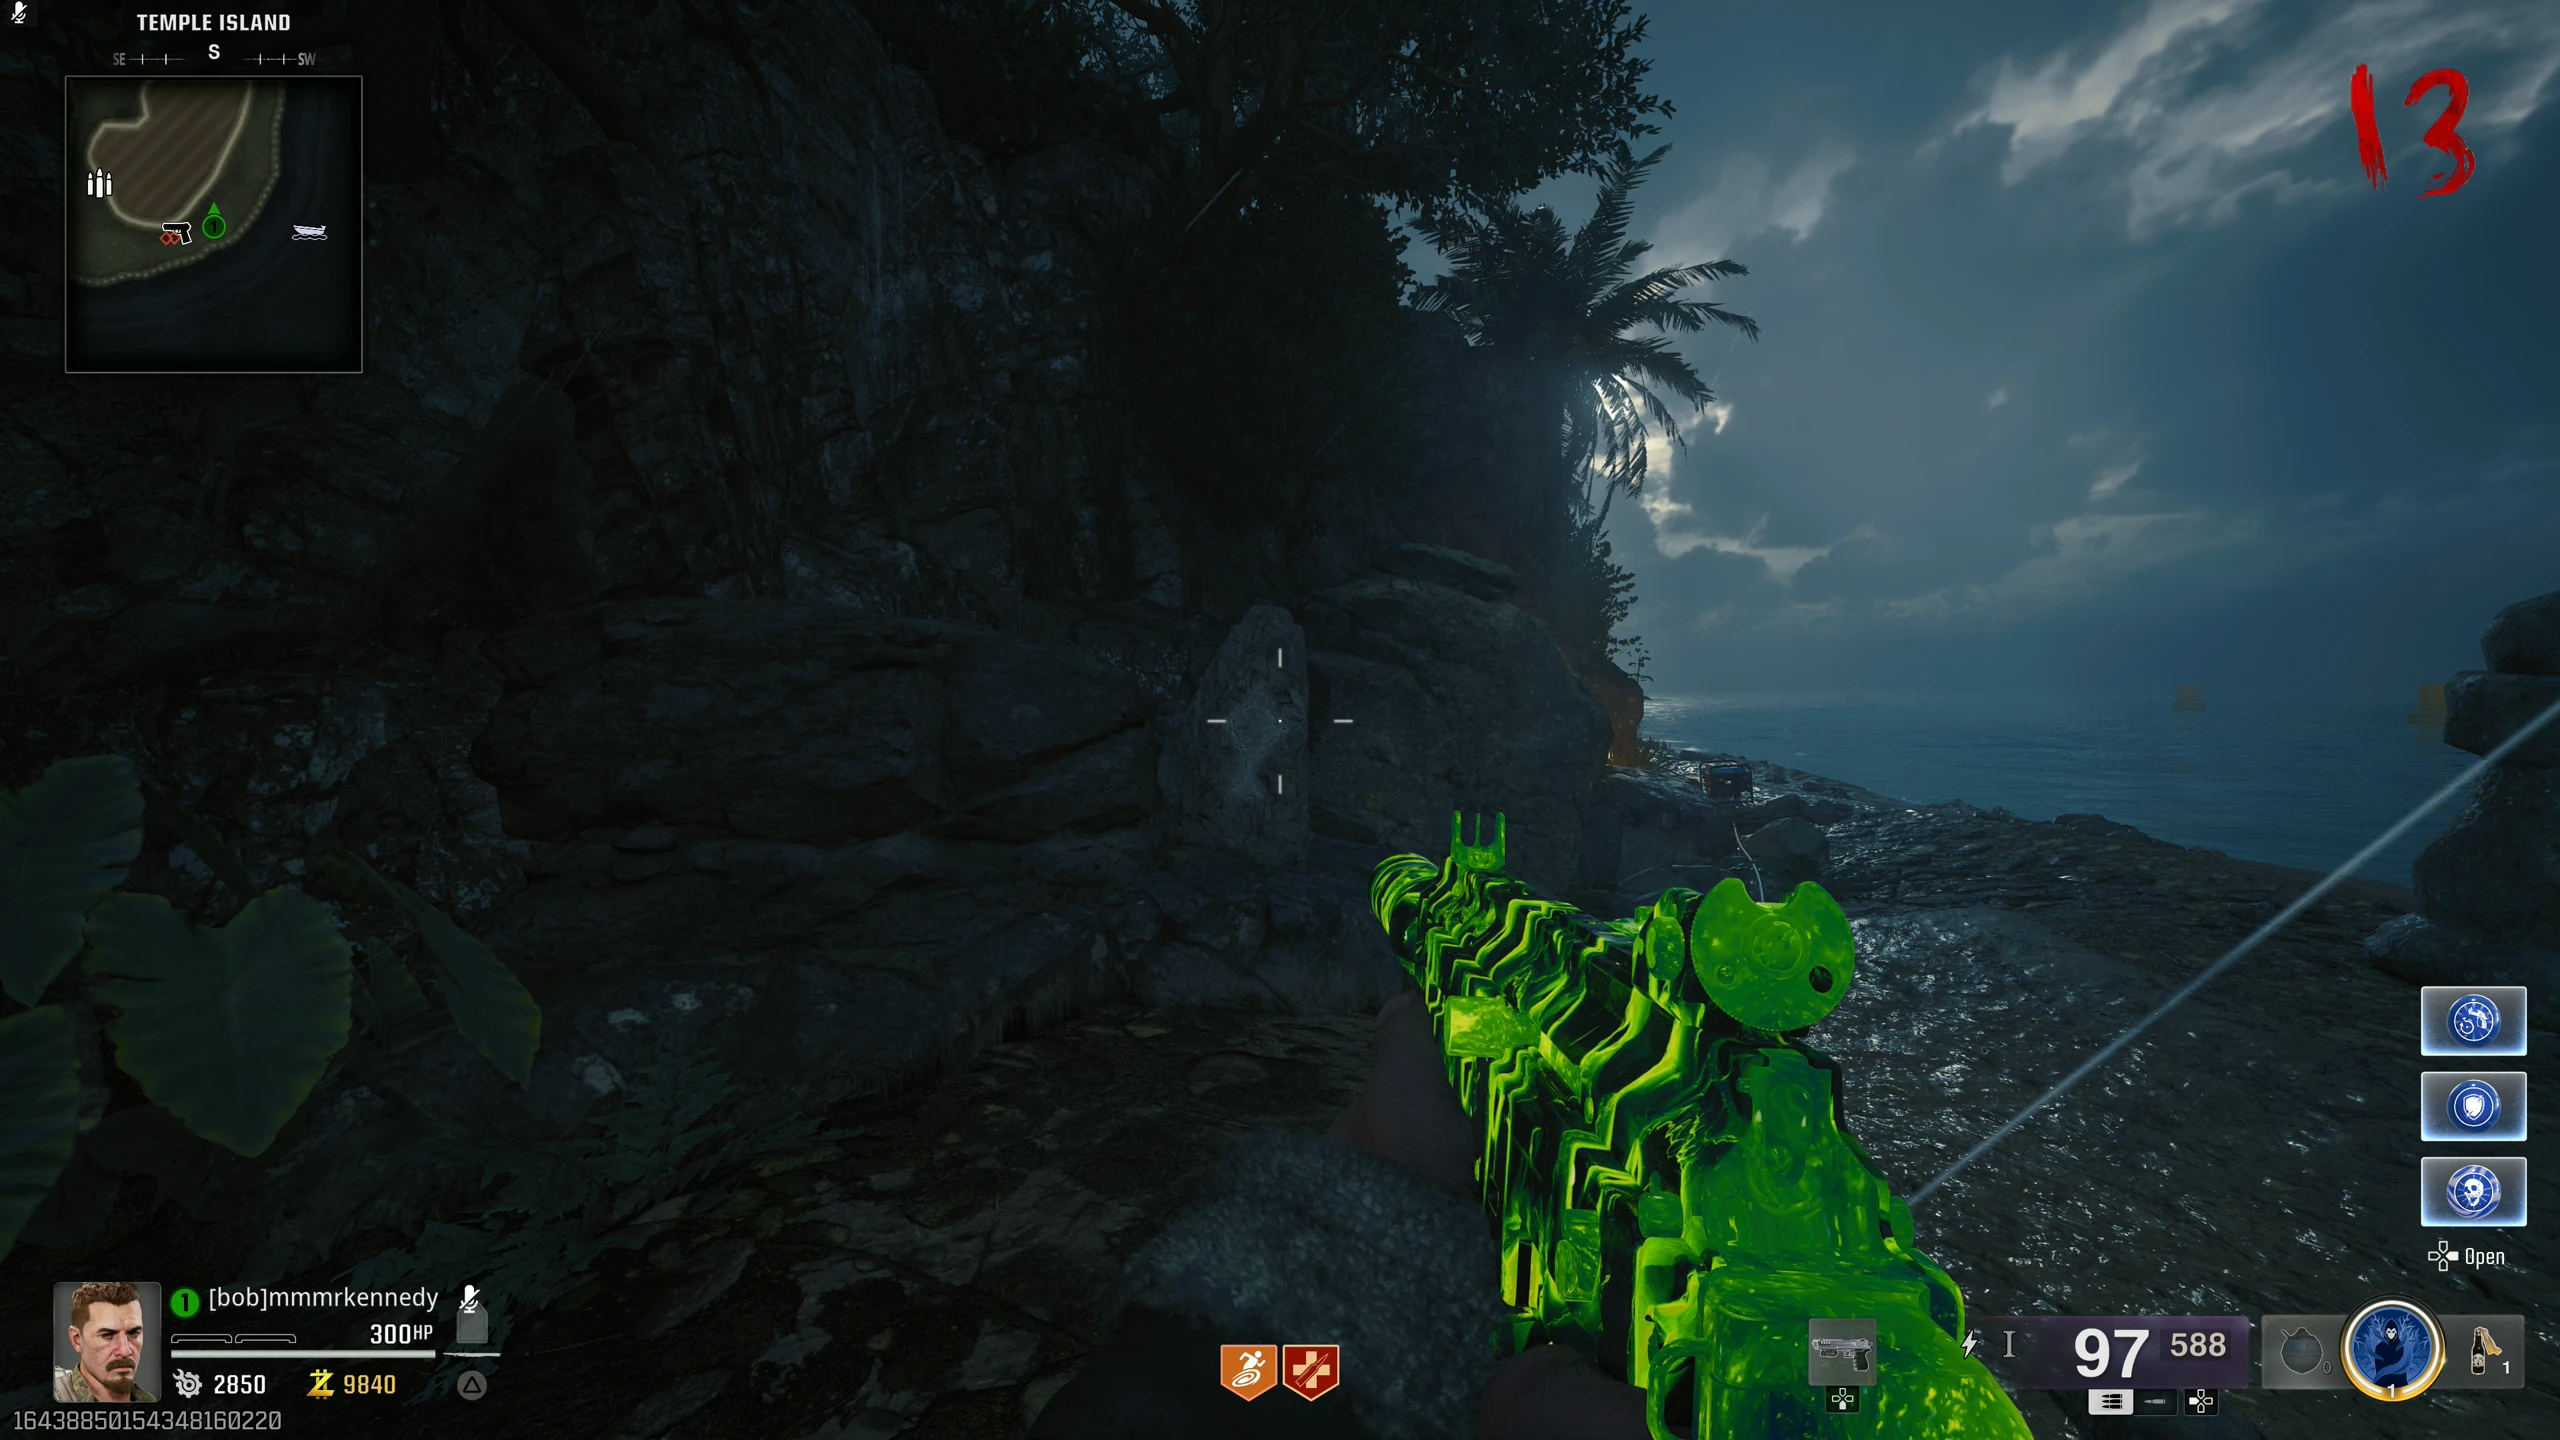
Patient 13 Boss Fight
Phase 1
- After the cutscene, Patient 13 will spawn in the water in front of you. Patient 13 will have red glowing weak spots on either shoulder. You can shoot Patient 13 anywhere, but you'll be more damage shooting the weak spots. Once you do enough damage to a weak spot, the weak spot will move to another location or disappear for a few seconds.
- Once you do enough damage, Patient 13 will leave the area for a short while. You must survive until Patient 13 returns. While you're waiting, zombies will spawn infinitely, and tentacles out in the water will shoot projectiles at you. You can shoot the glowing part of these tentacles to destroy them, though there is little point to doing this as they respawn frequently. Some of the projectiles leave behind an acidic puddle on the ground, which will damage you if you stand in it.
- After surviving long enough, Patient 13 will return to the arena and a Max Ammo power-up will spawn.
-
Phase 2
-
When Patient 13 comes back, it can be in one of two states.
- In the first state, its tentacles will glow yellow, and it'll be immune everywhere else. Patient 13 will occasionally slam these tentacles onto the arena, so make sure to stay near the boxes in either corner.
- In the other state, Patient 13 will gain armour (looks like fiery rock) which you'll do heavily reduced damage to. Its mouth will glow which is its weak point.
- Once damaged enough, Patient 13 will leave again, and you have to survive until it returns. This time is the same as the last, except Amalgams will spawn. Another Max Ammo will spawn when Patient 13 returns.
-
Phase 3
-
When Patient 13 returns, it'll have new attacks:
- Patient 13 will start glowing with electricity, and it'll form an electric ball above its head (the edges of your screen will glow blue). You can either choose to hide or stun Patient 13. You can stun it by doing enough damage to the glowing "eyes" on its head. You can also hide behind crates in the corners of the arena to avoid being instantly put into Last Stand.
- Patient 13 will extend its tongue onto the arena. Any player hit by the tongue will begin to be slowly dragged into the boss's mouth. If you're grabbed, shoot the weak points on the boss' shoulder to be broken free. If dragged into the mouth, you will be spit out in Last Stand.
- Once you do enough damage, the boss fight will end, and after about 30 seconds of dialogue, the final cutscene will start.
 Tips (Ko-Fi)