'Dust to Dust' Main Quest
-
Crafting the Serum
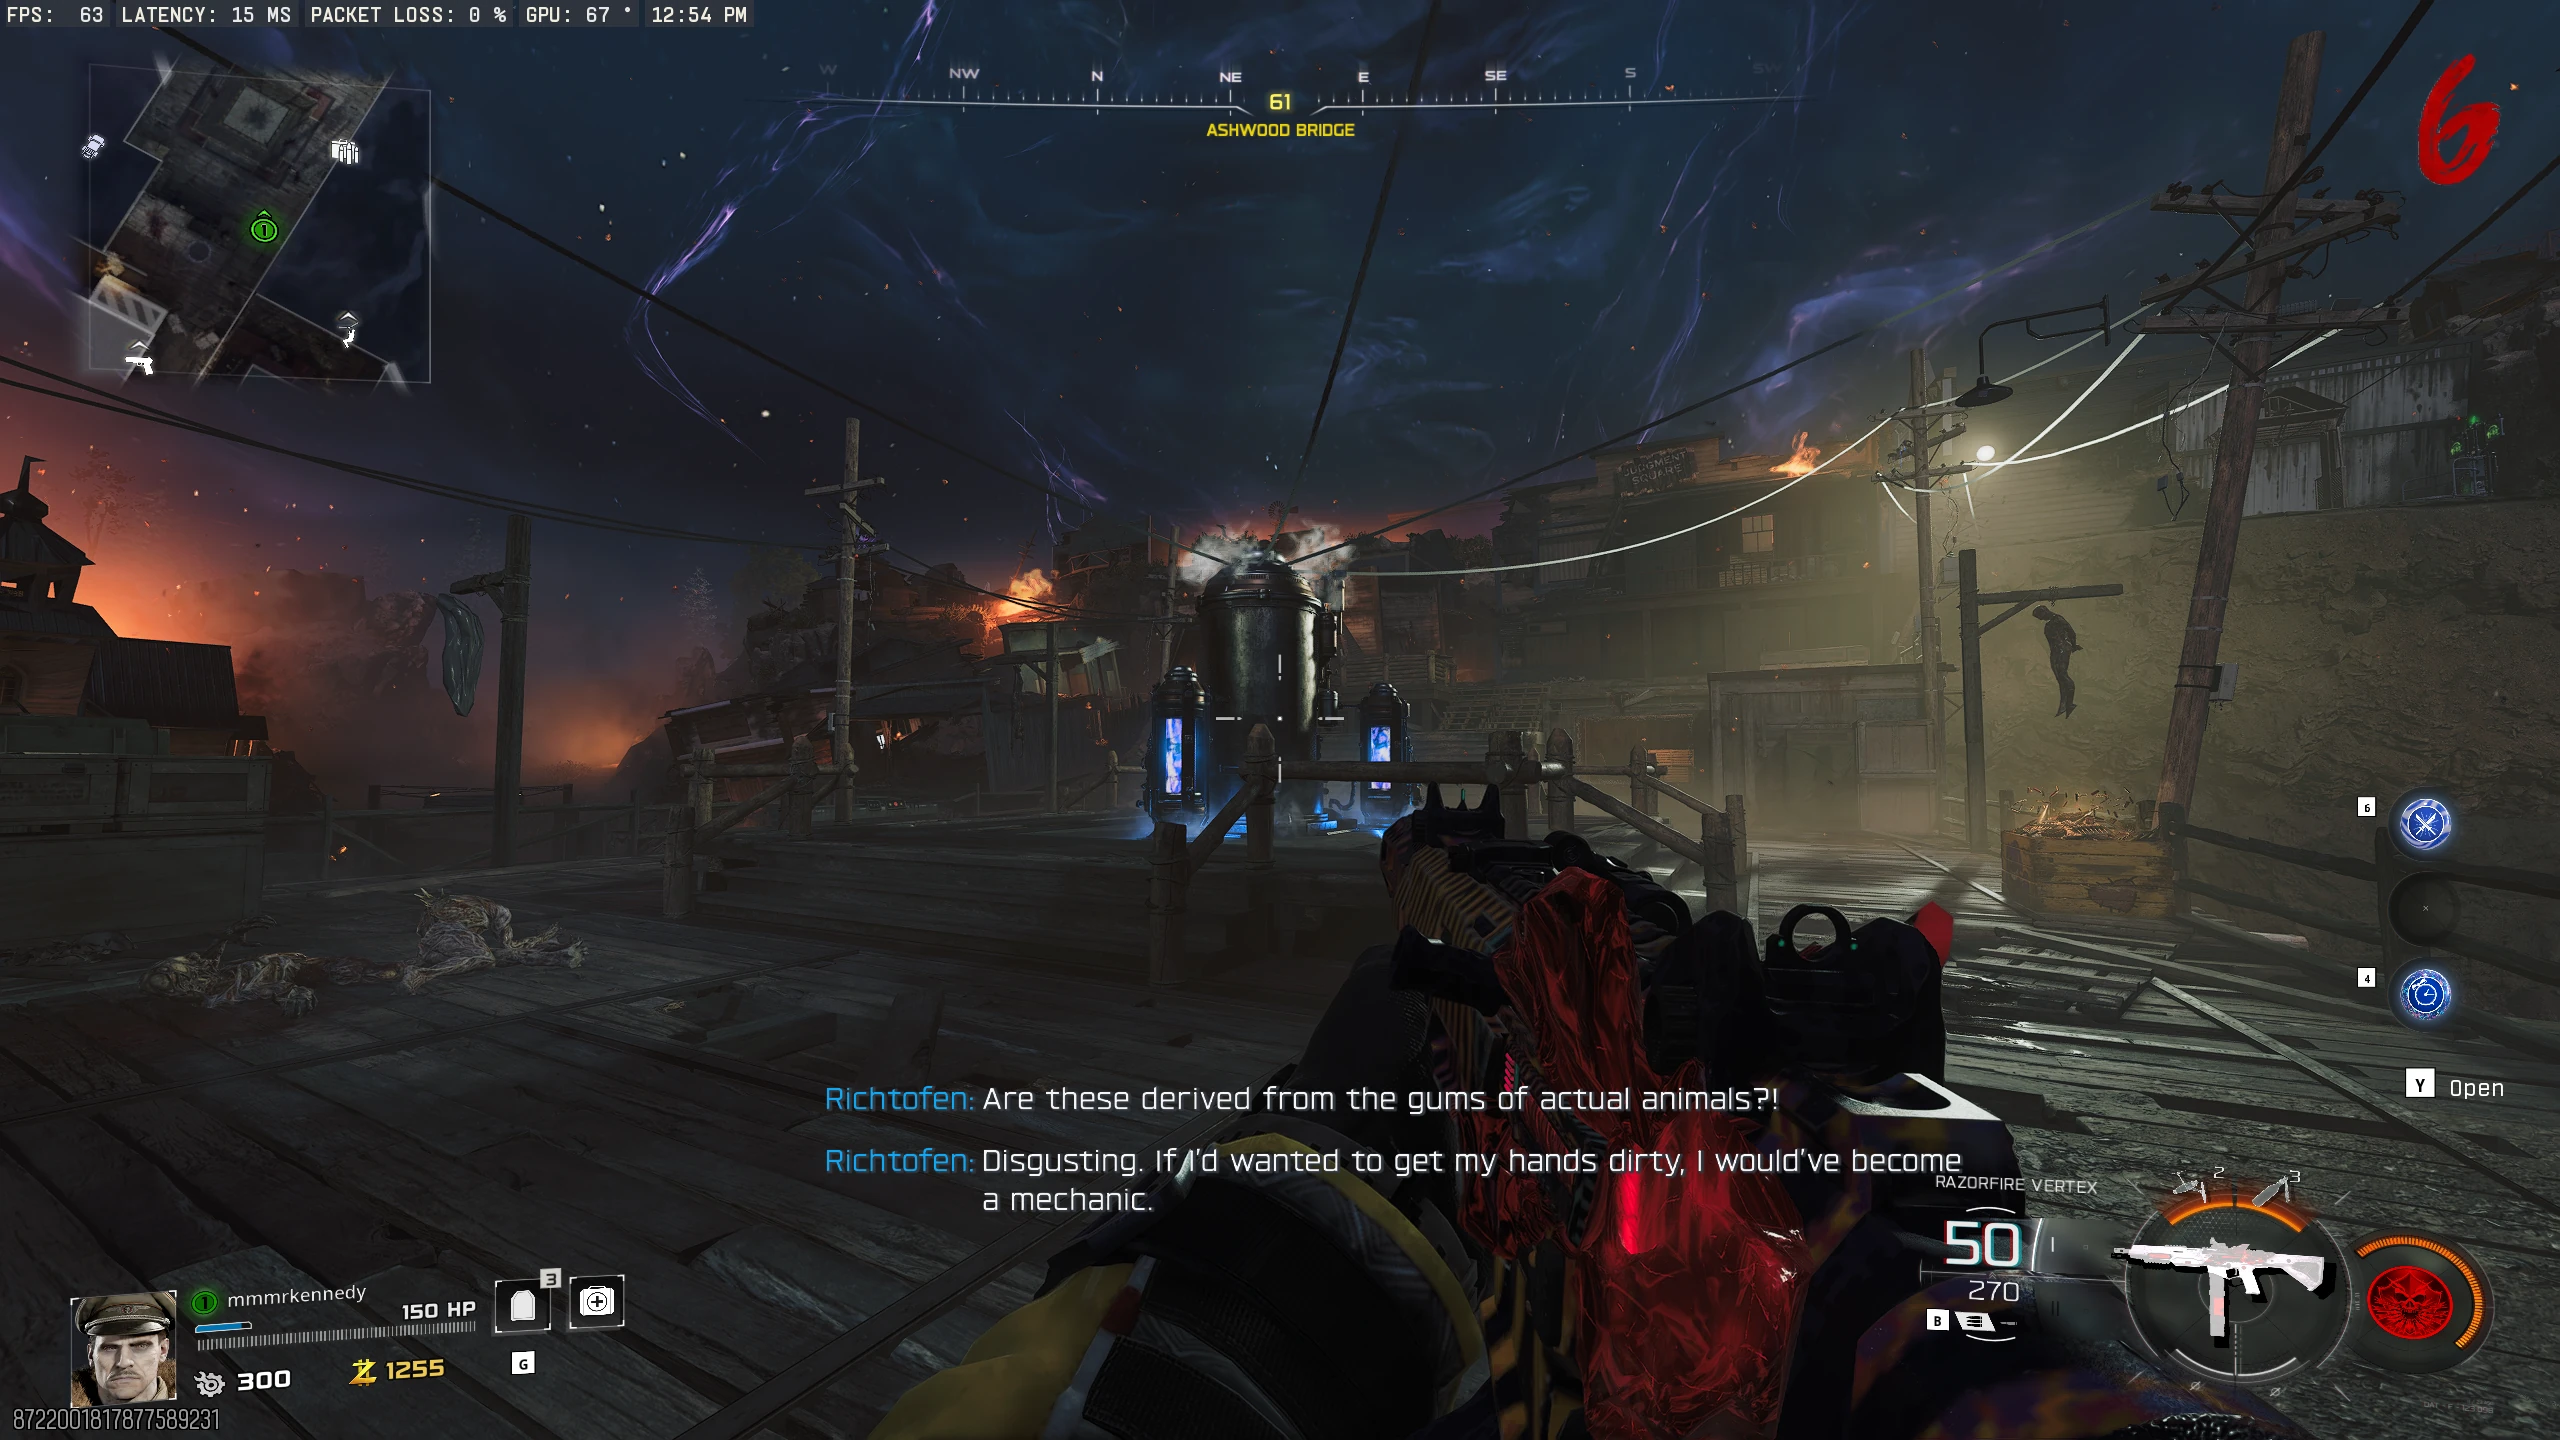
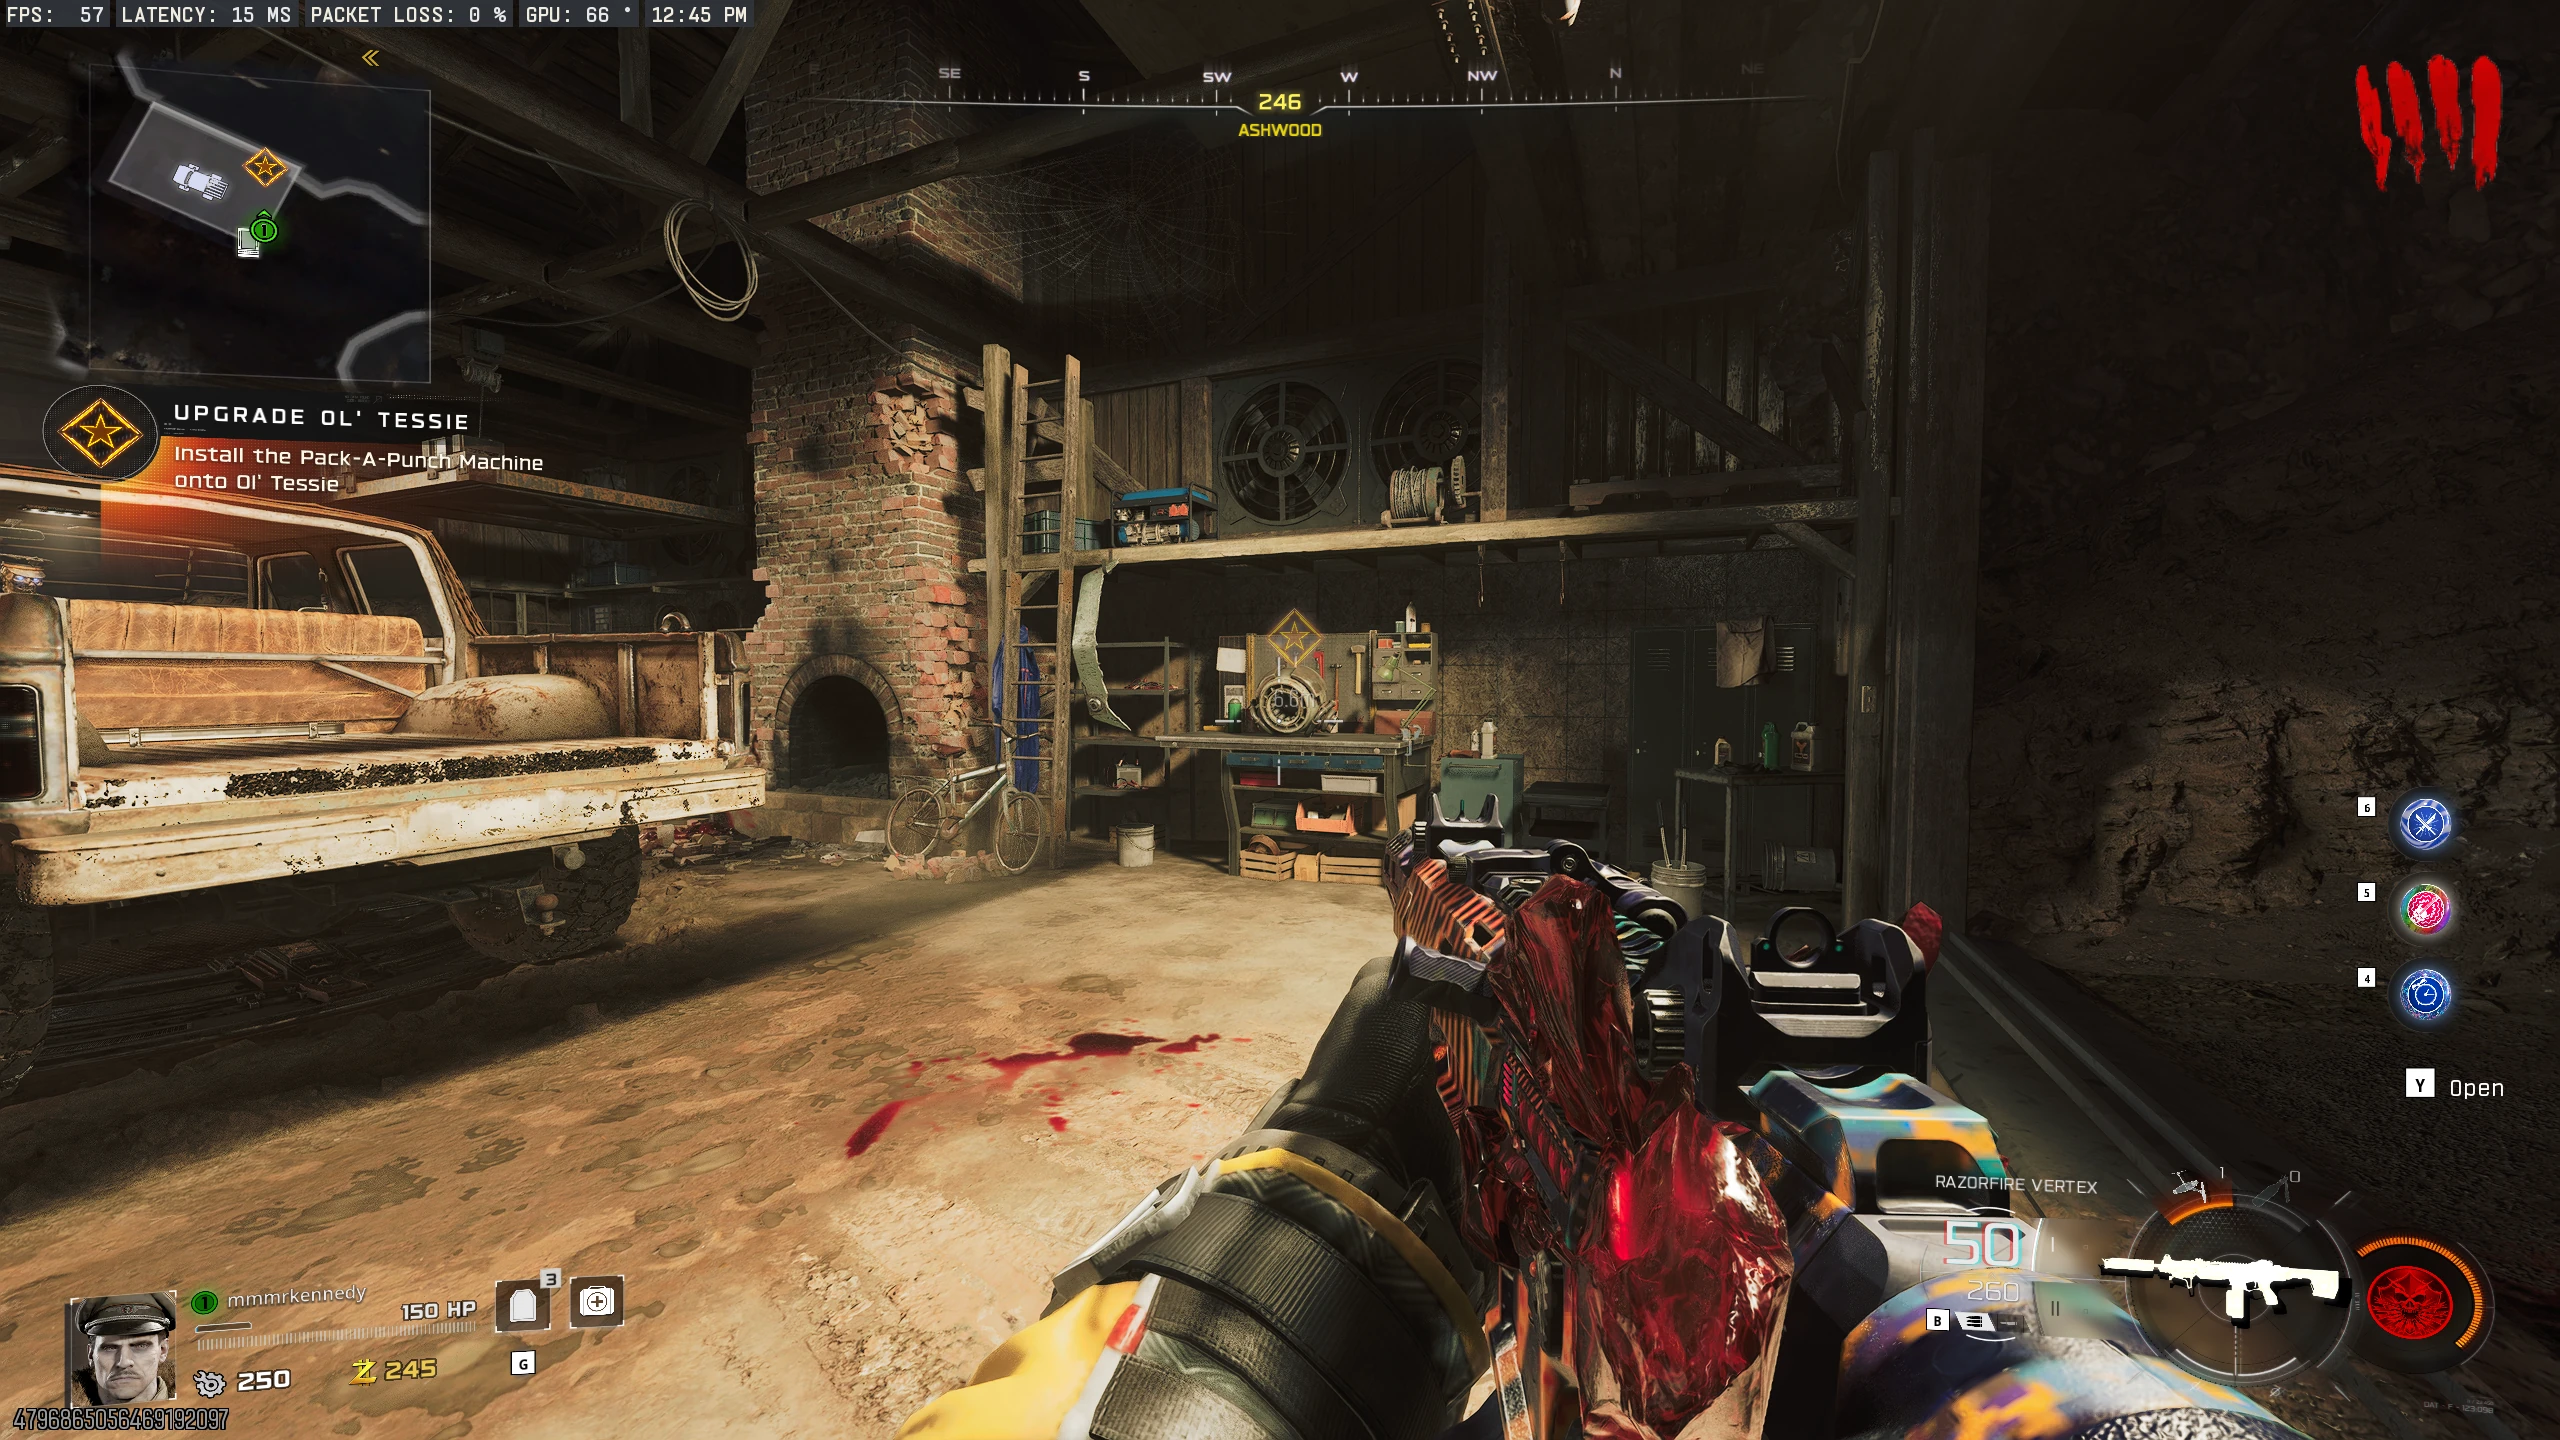
- Install the Pack-a-Punch upgrade on Ol' Tessie.
-
You must collect six items to craft the Serum. These items can be collected in any order, and their steps can be done simultaneously.
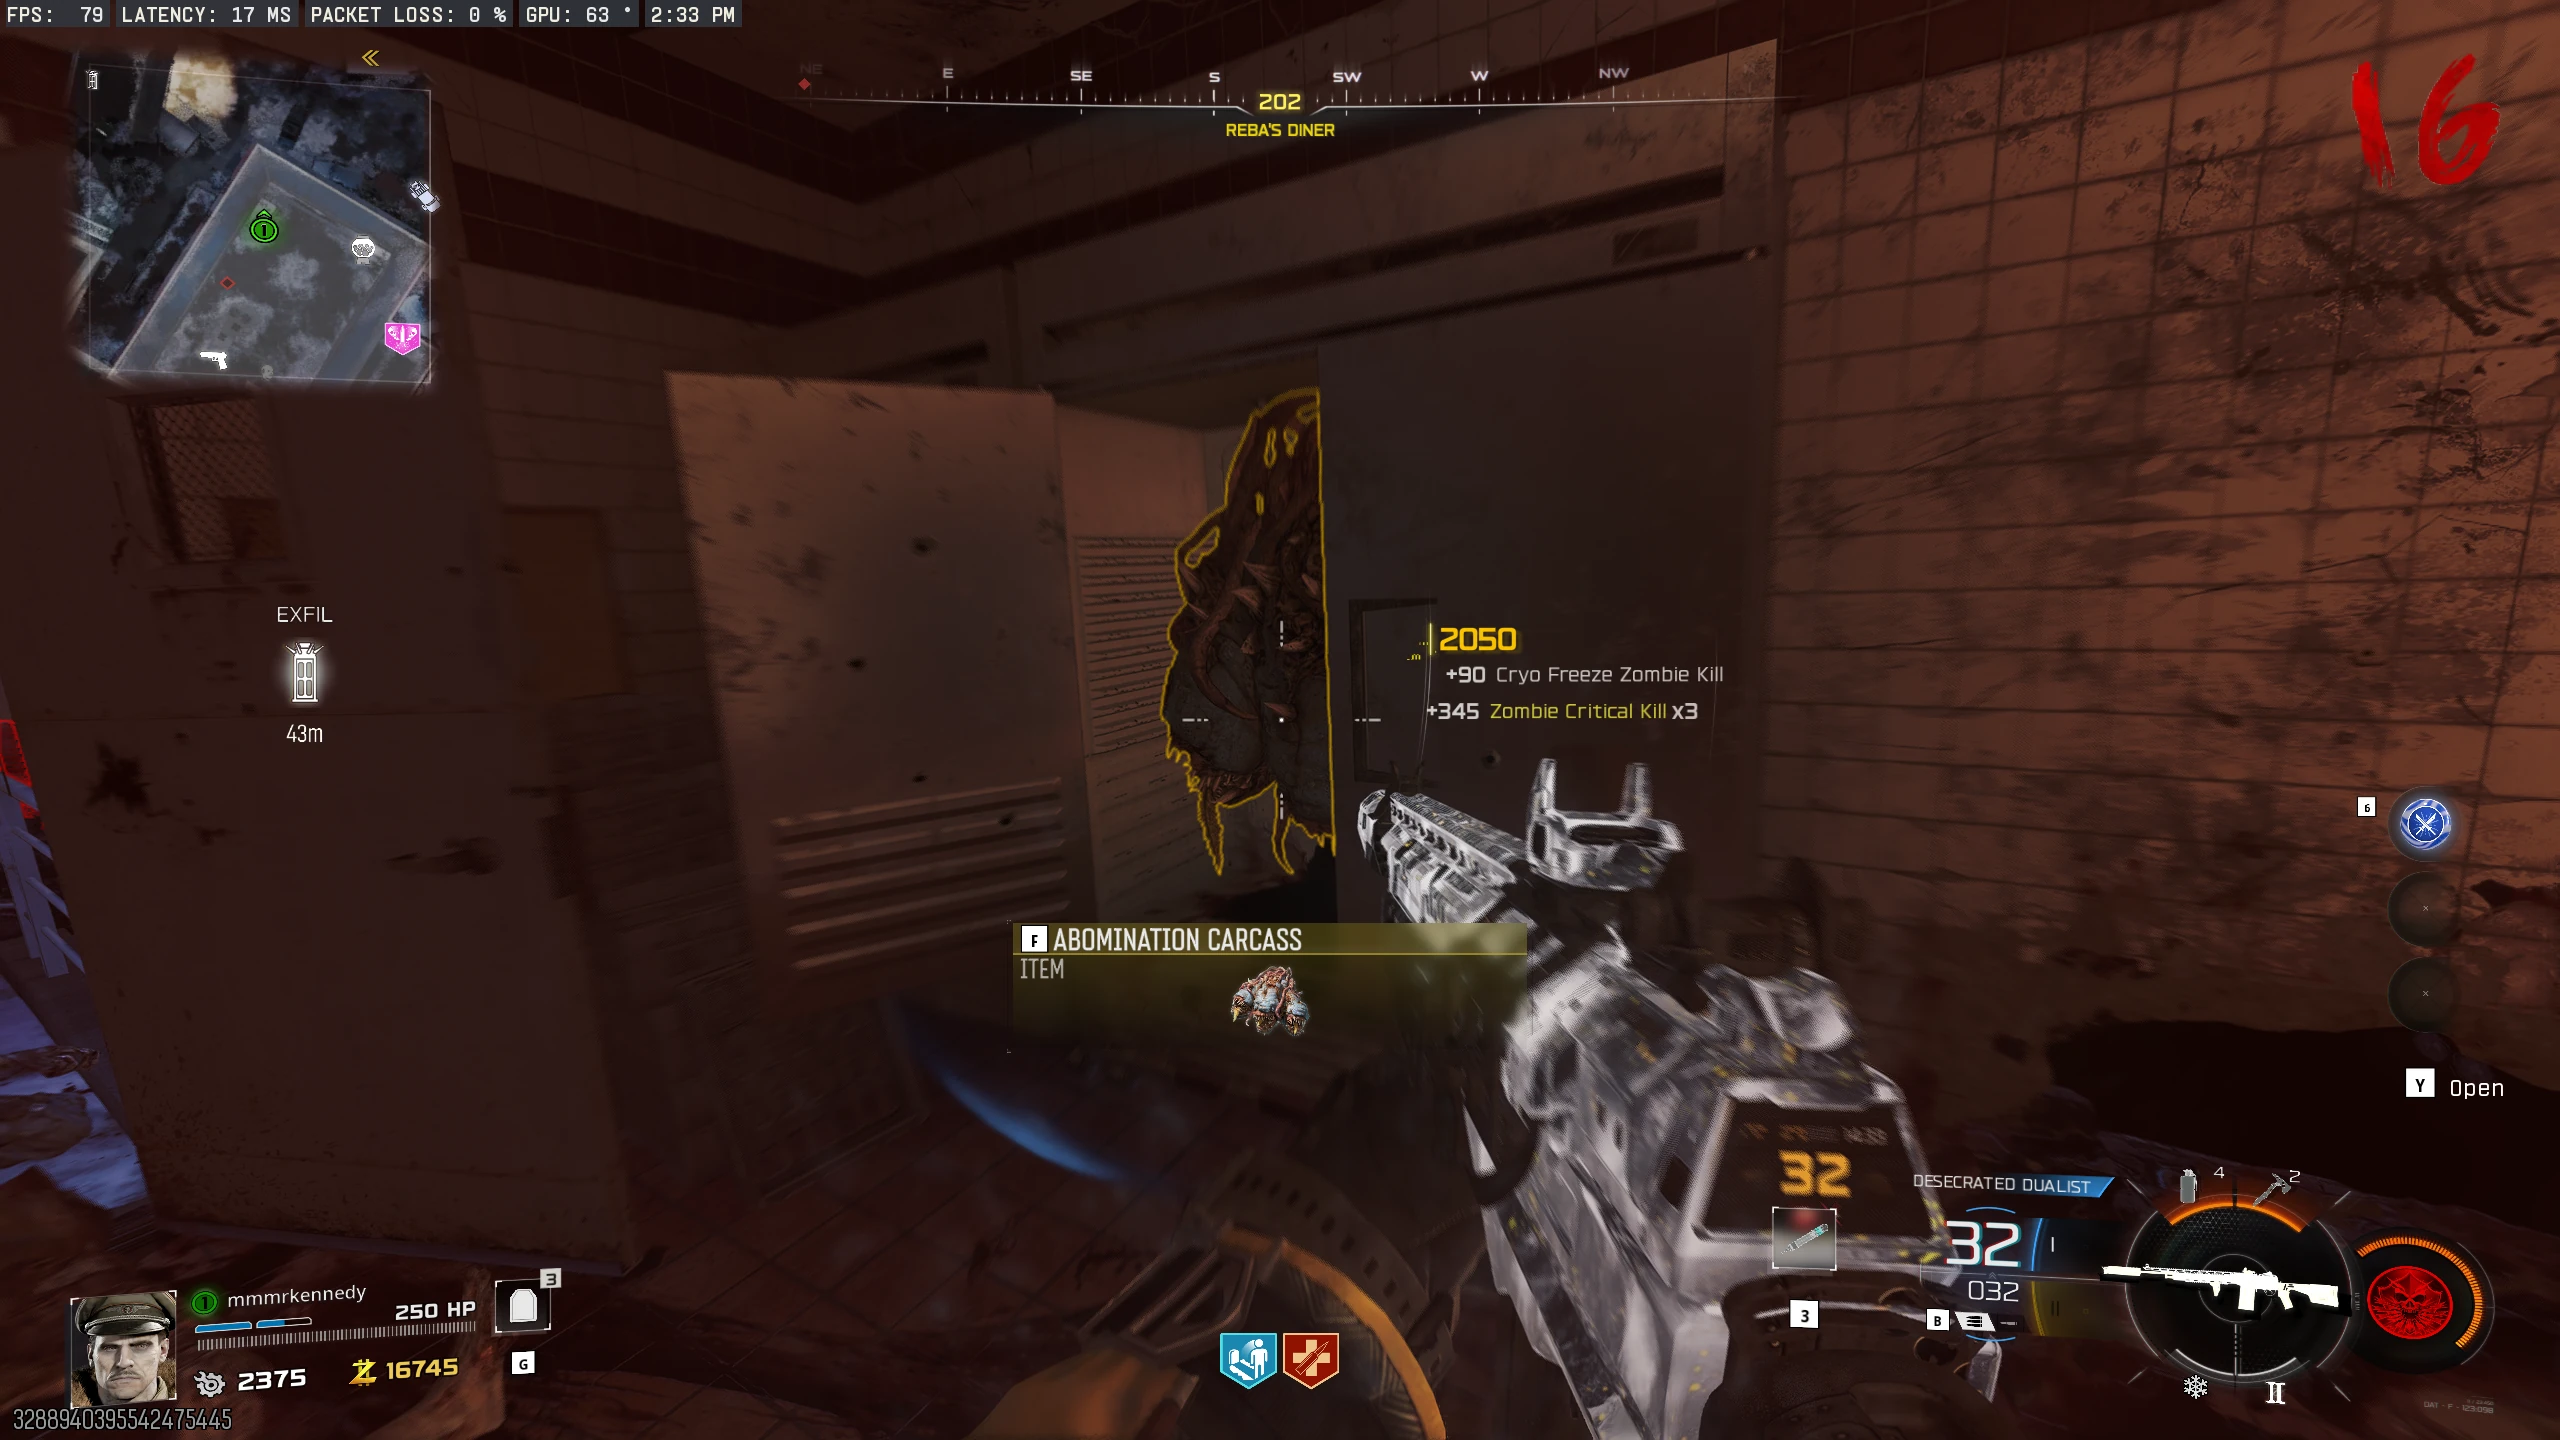
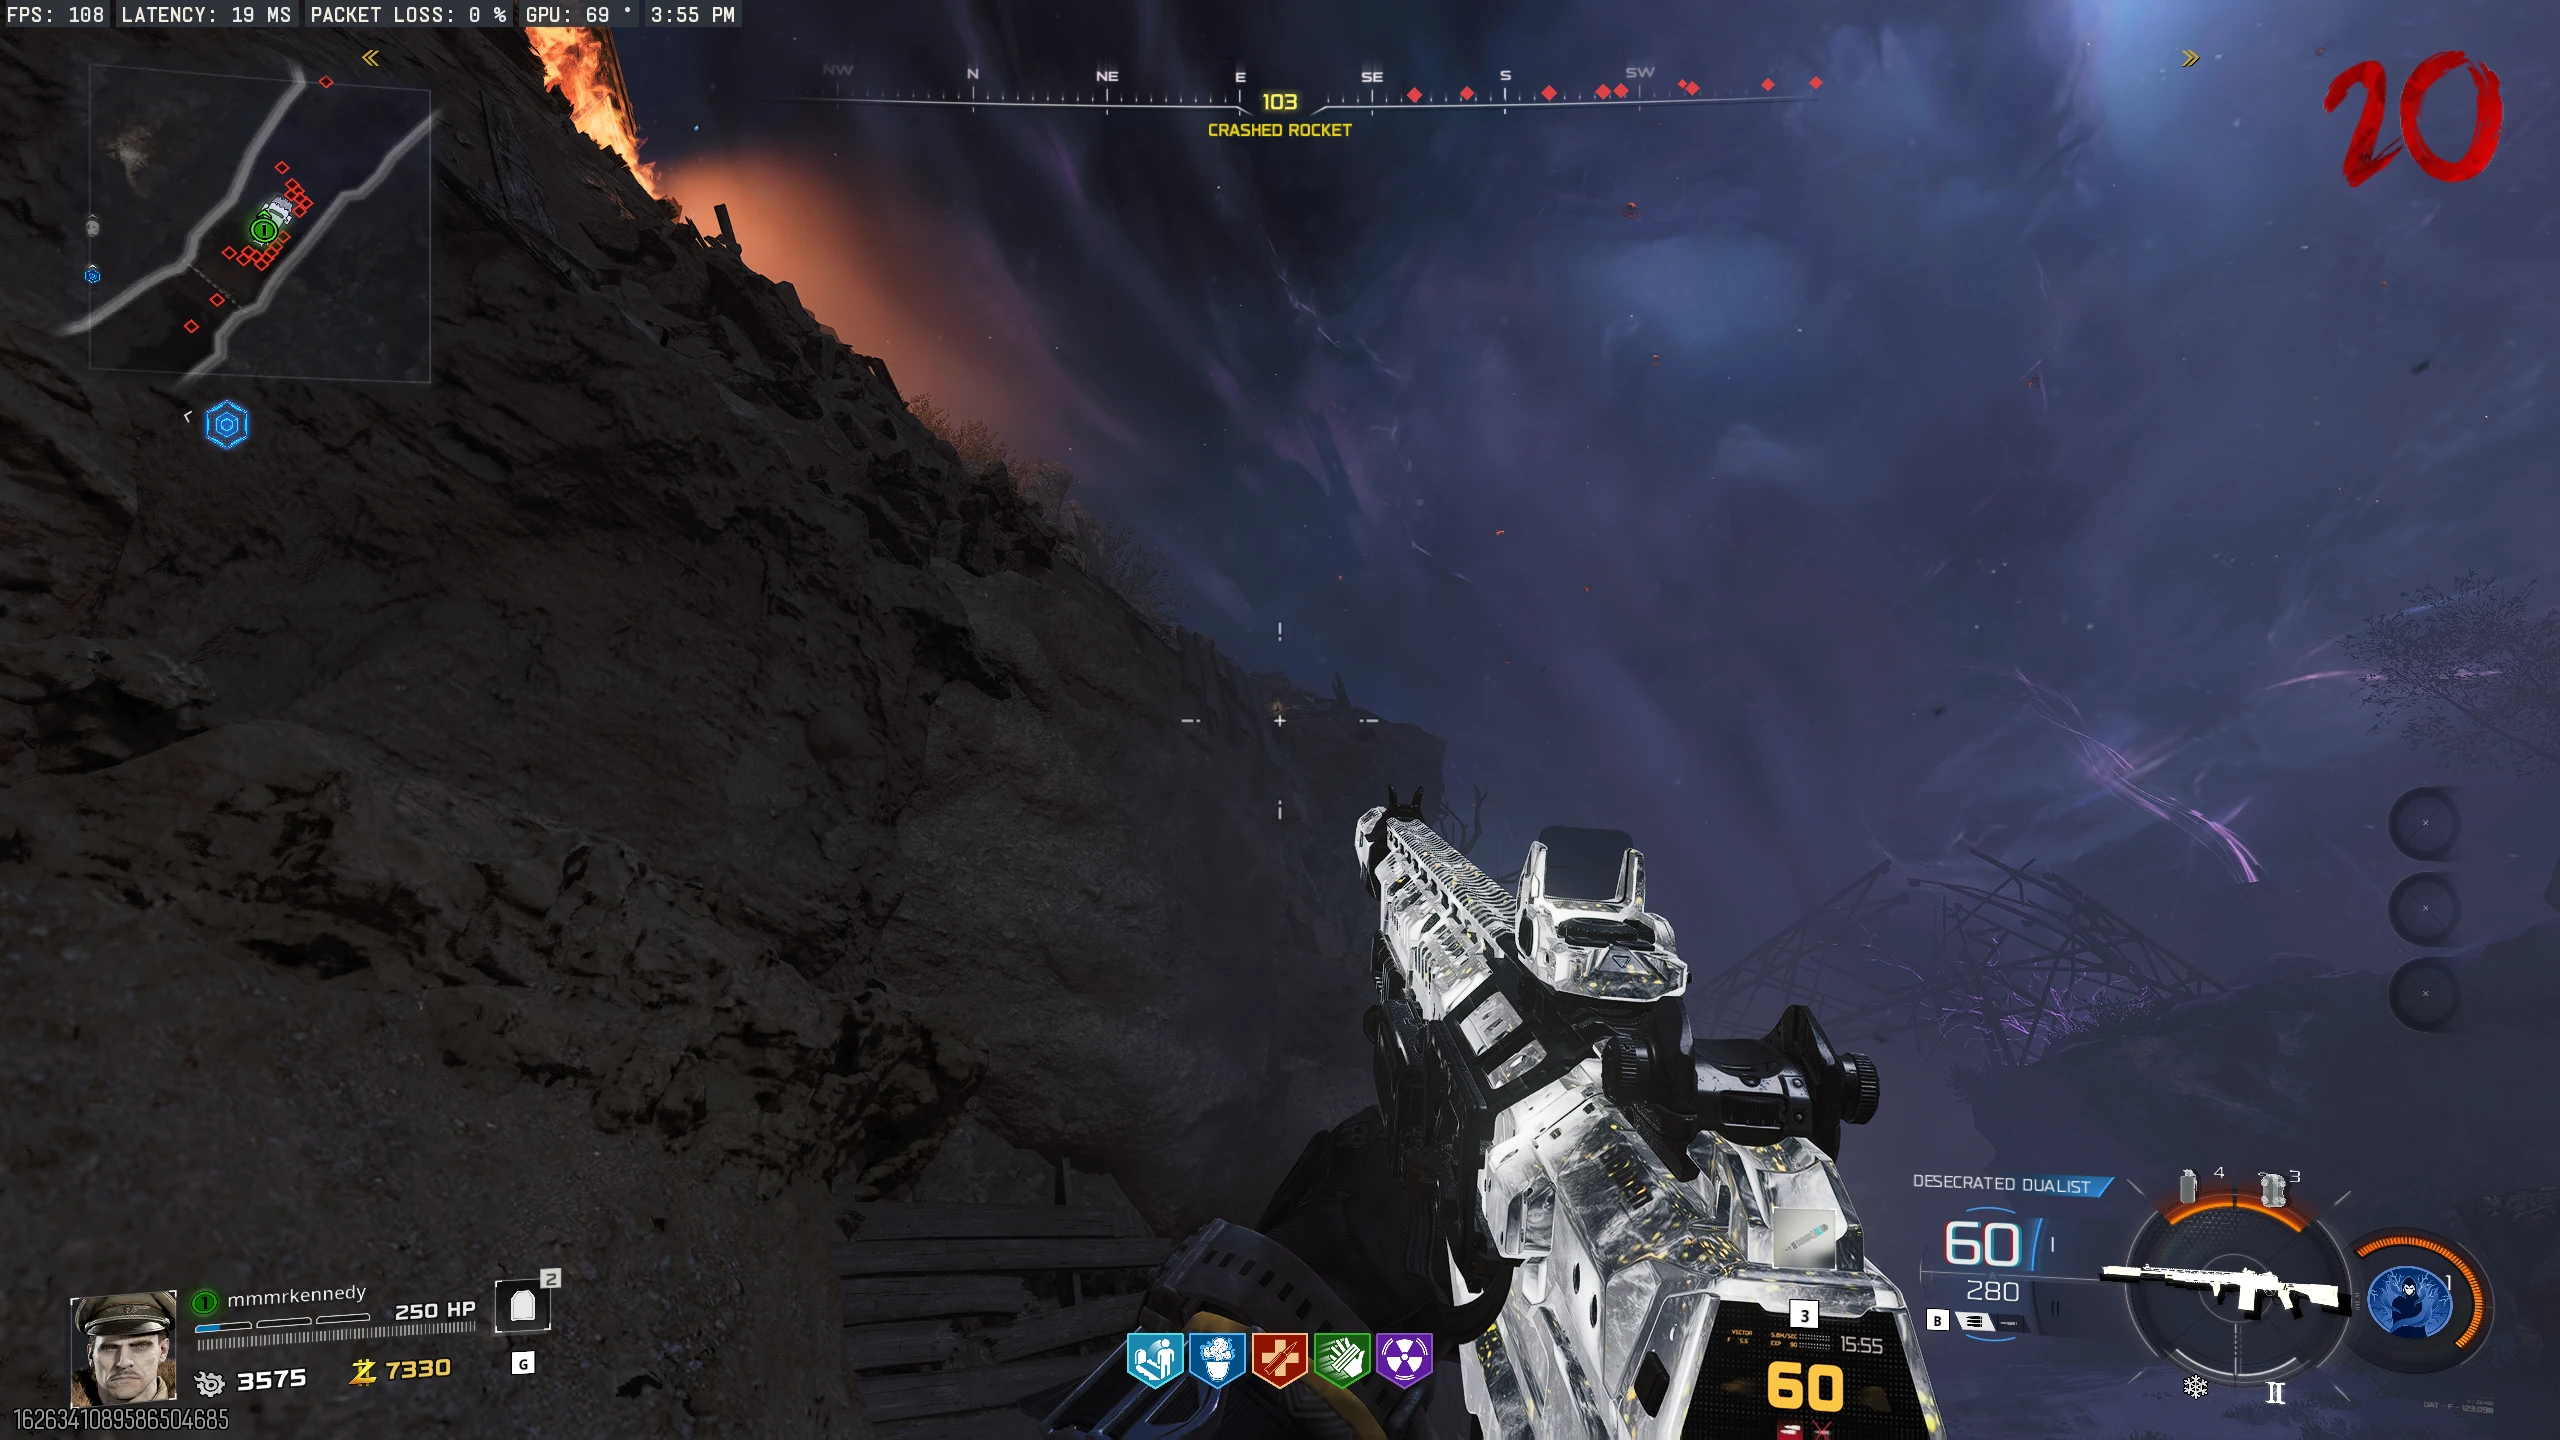
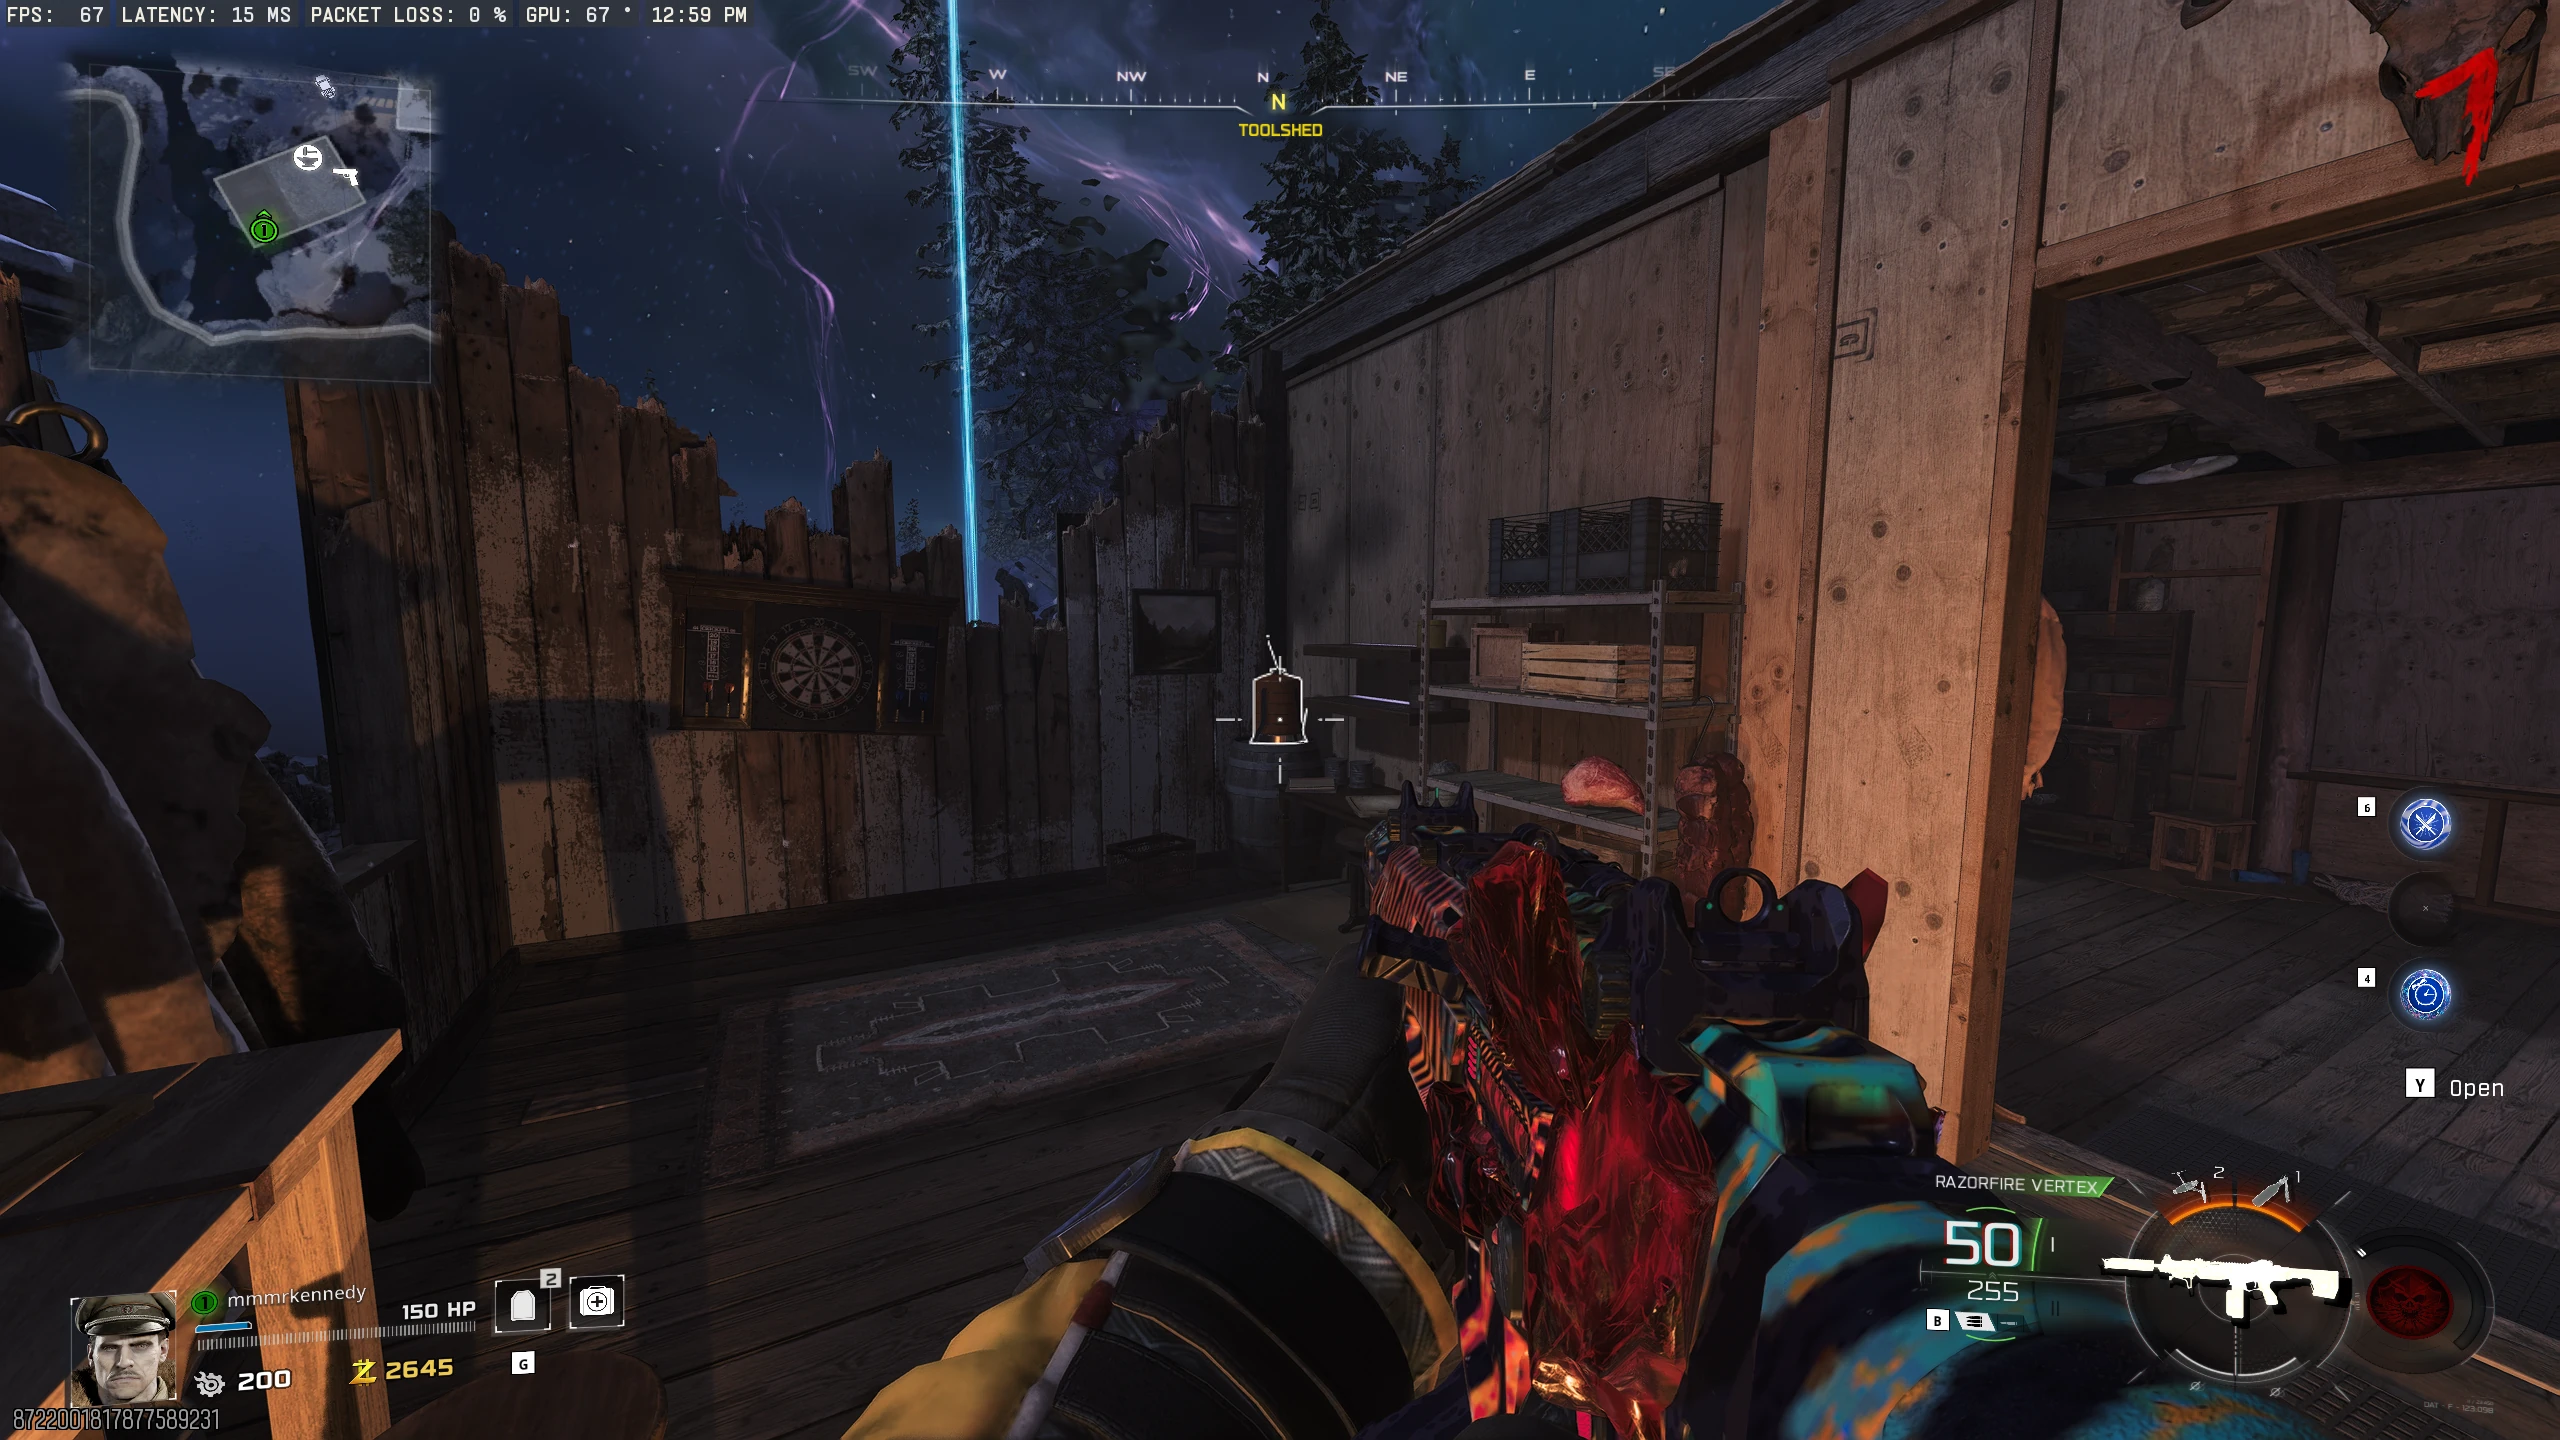
- Hoard Hunk Chucks: Upgrade Ol' Tessie with the Abomination Beam. Destroy any purple Aether Flora, found randomly in the fog, with the beam to drop a bunch of loot and the Hoard Hunk Chucks.
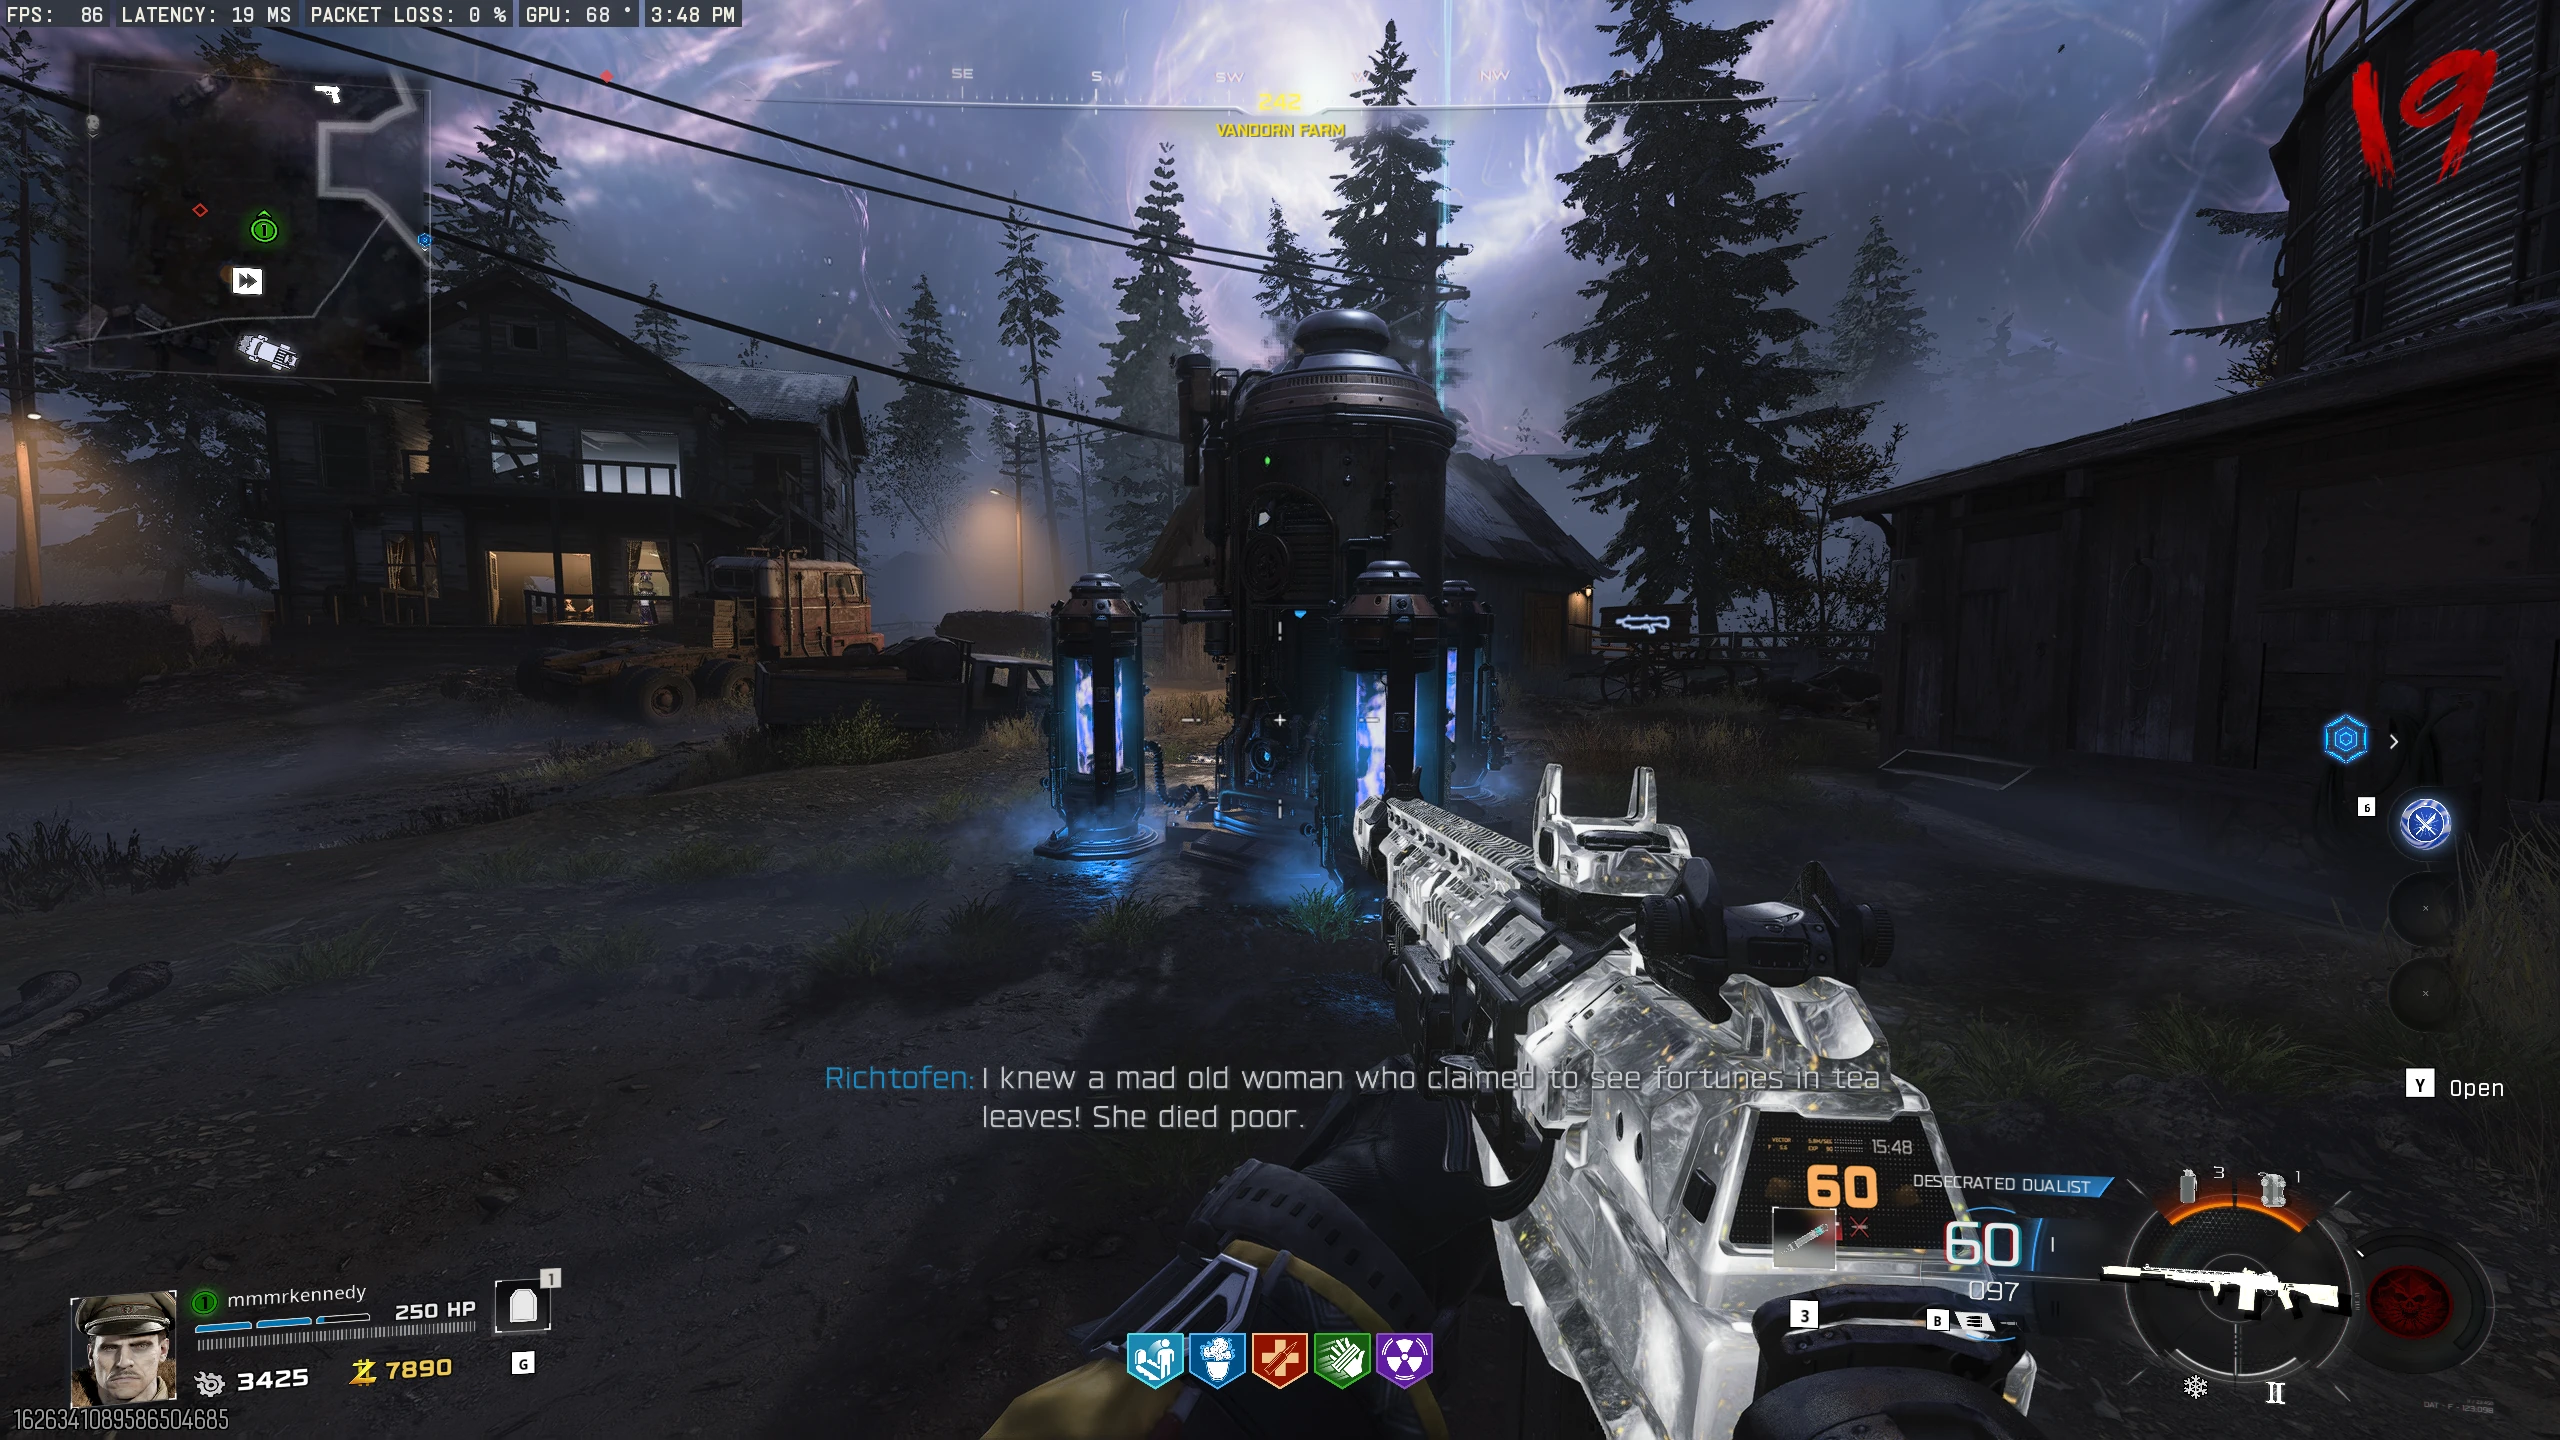
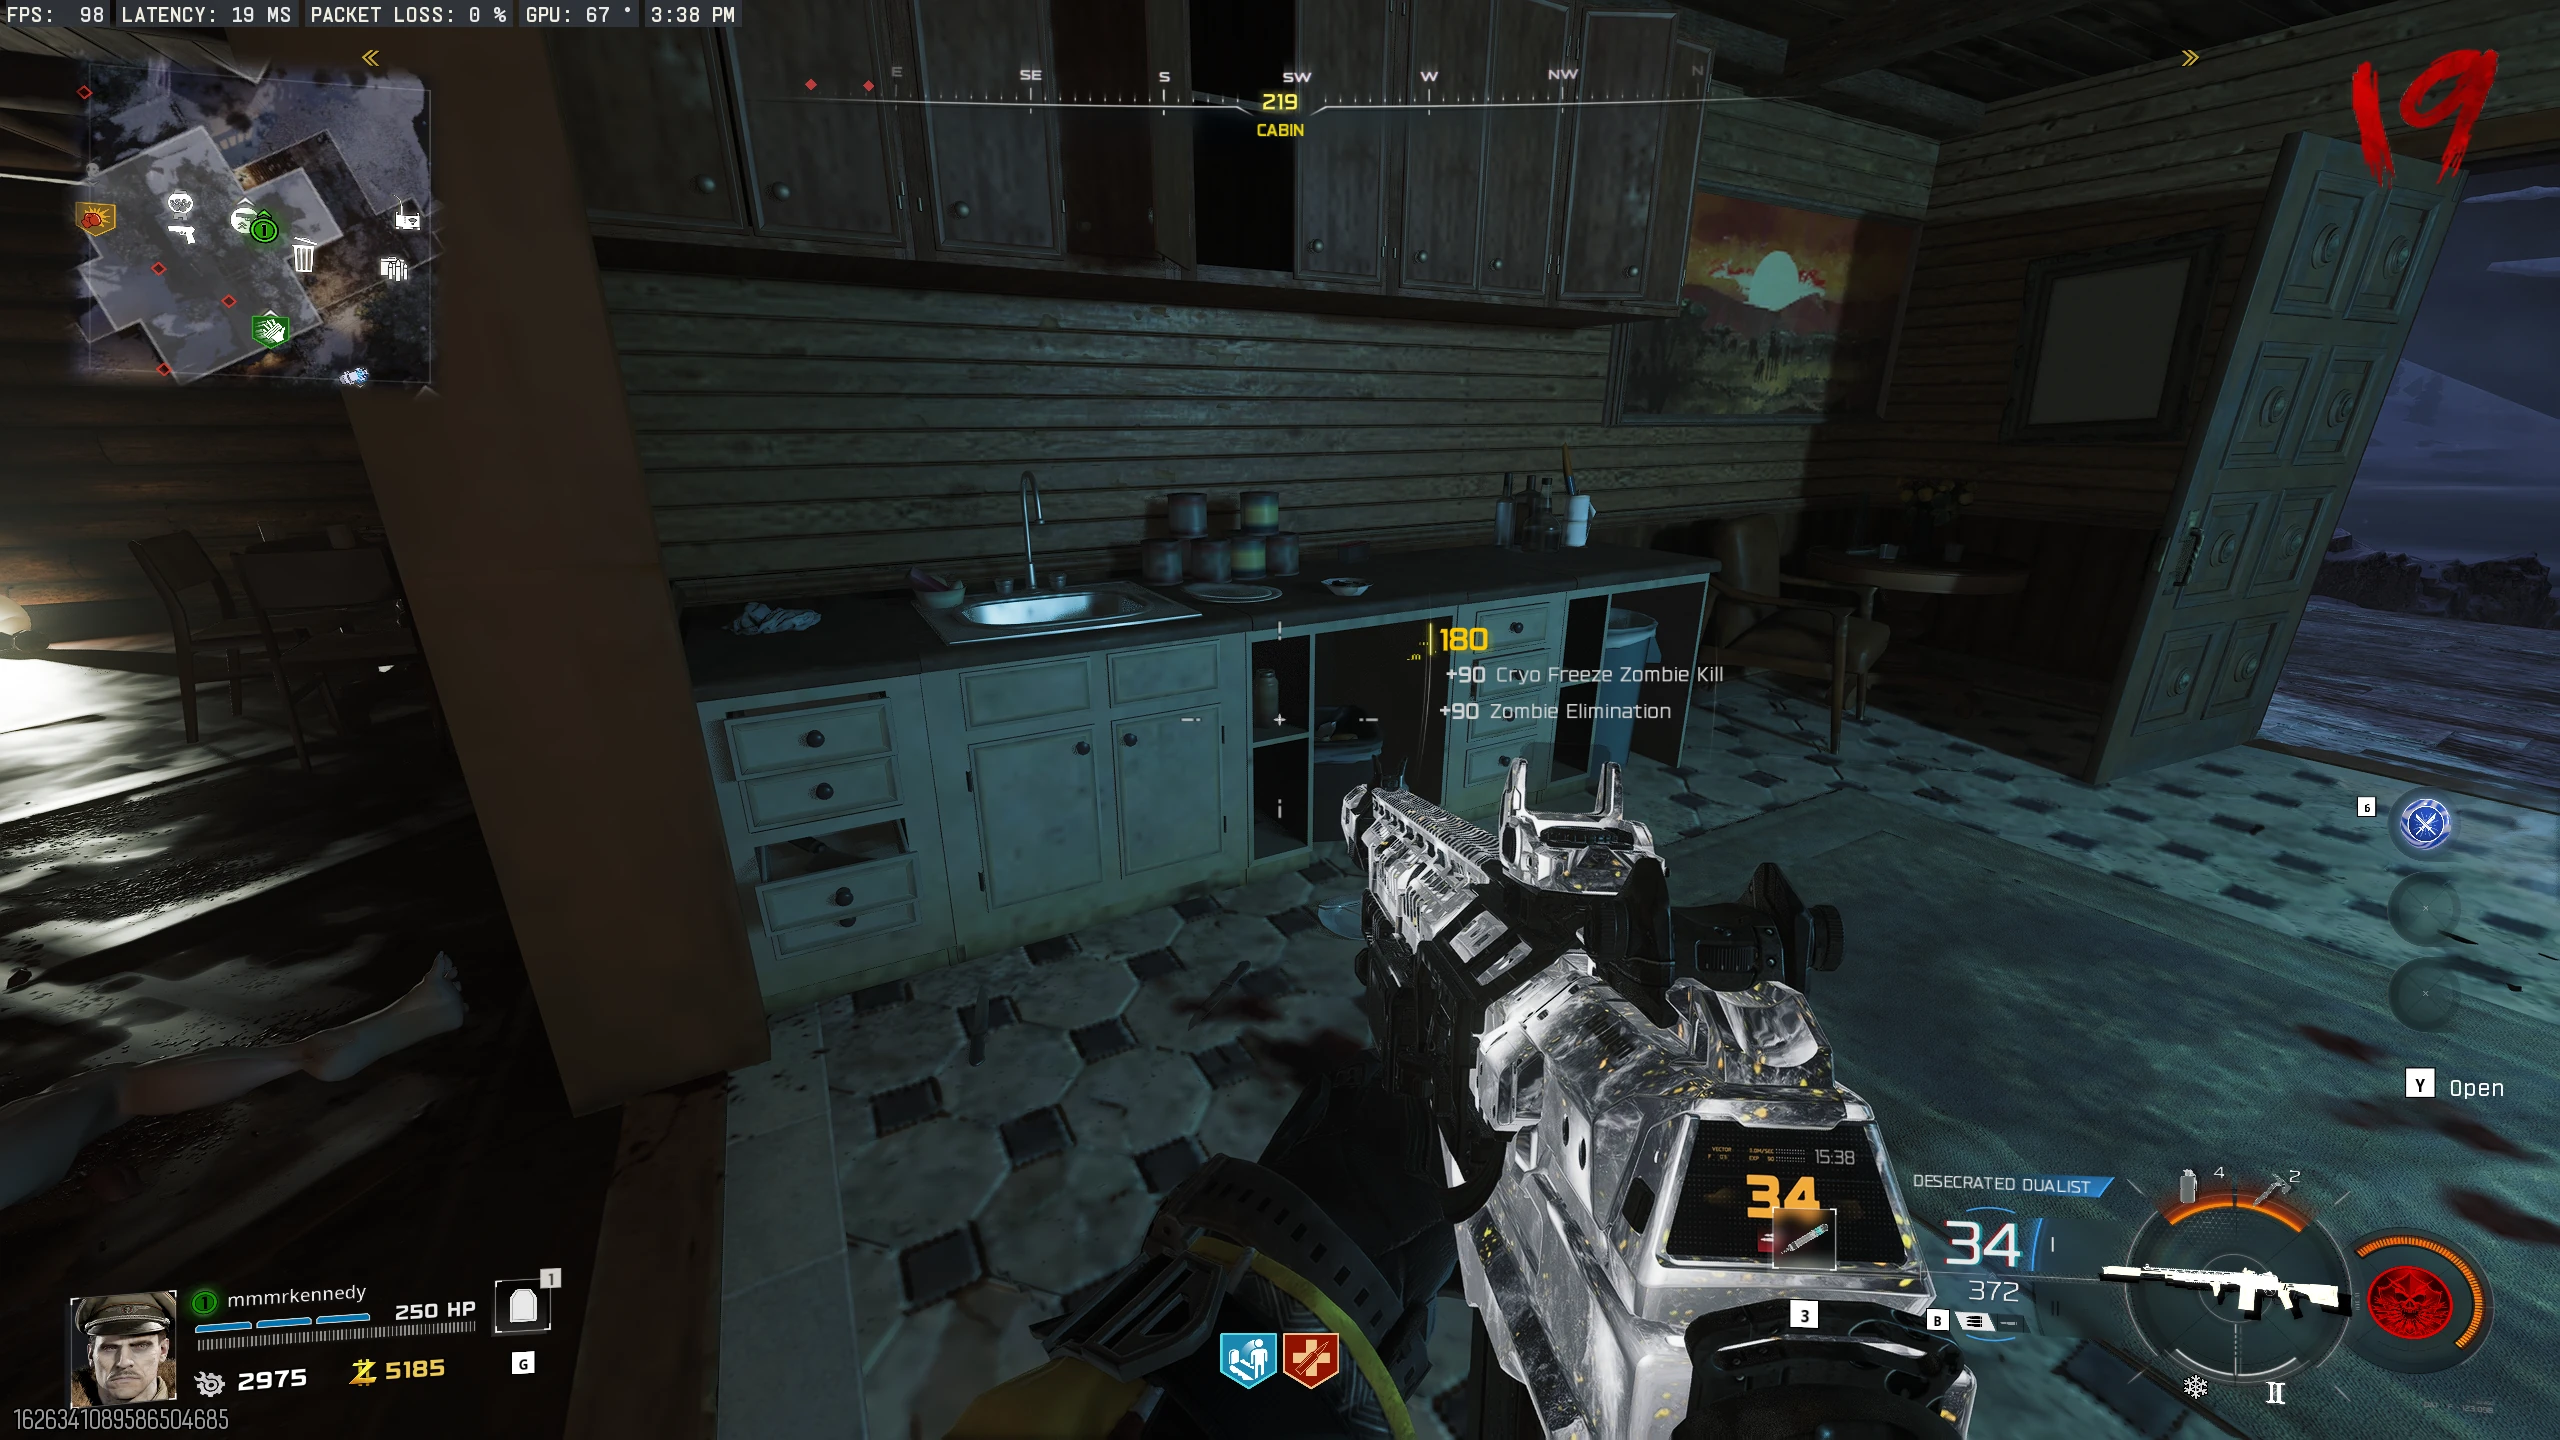
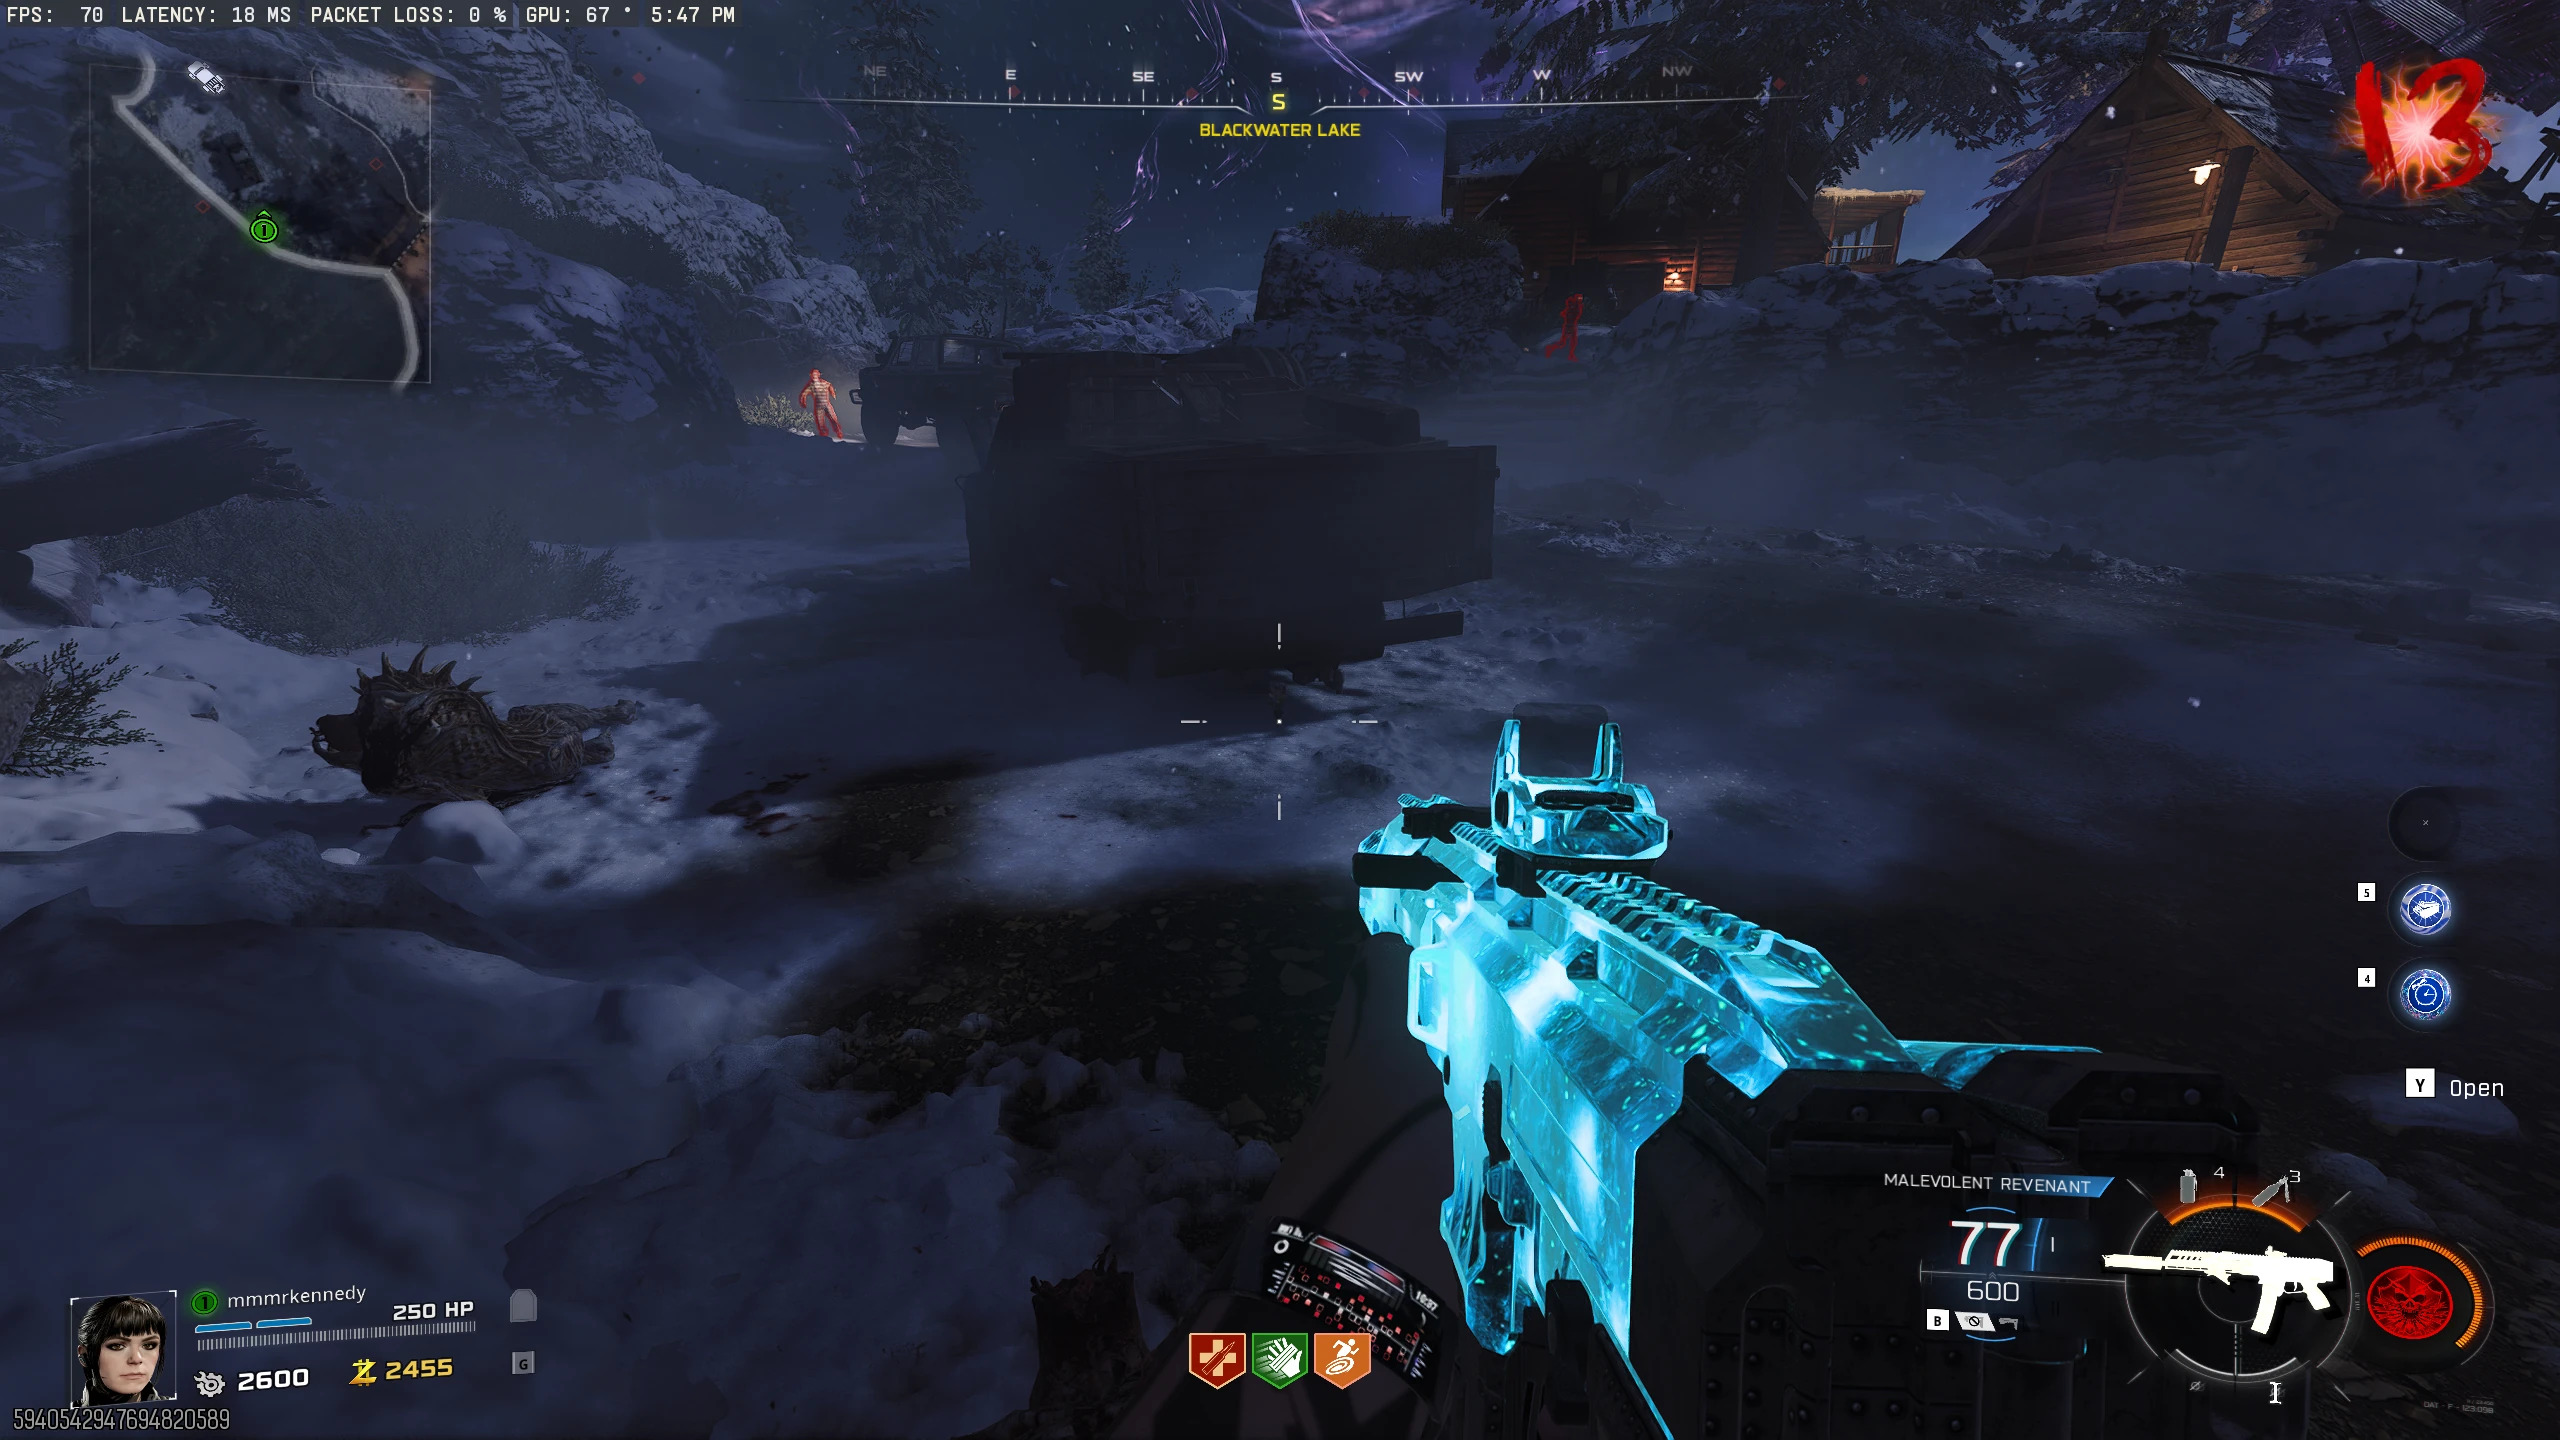
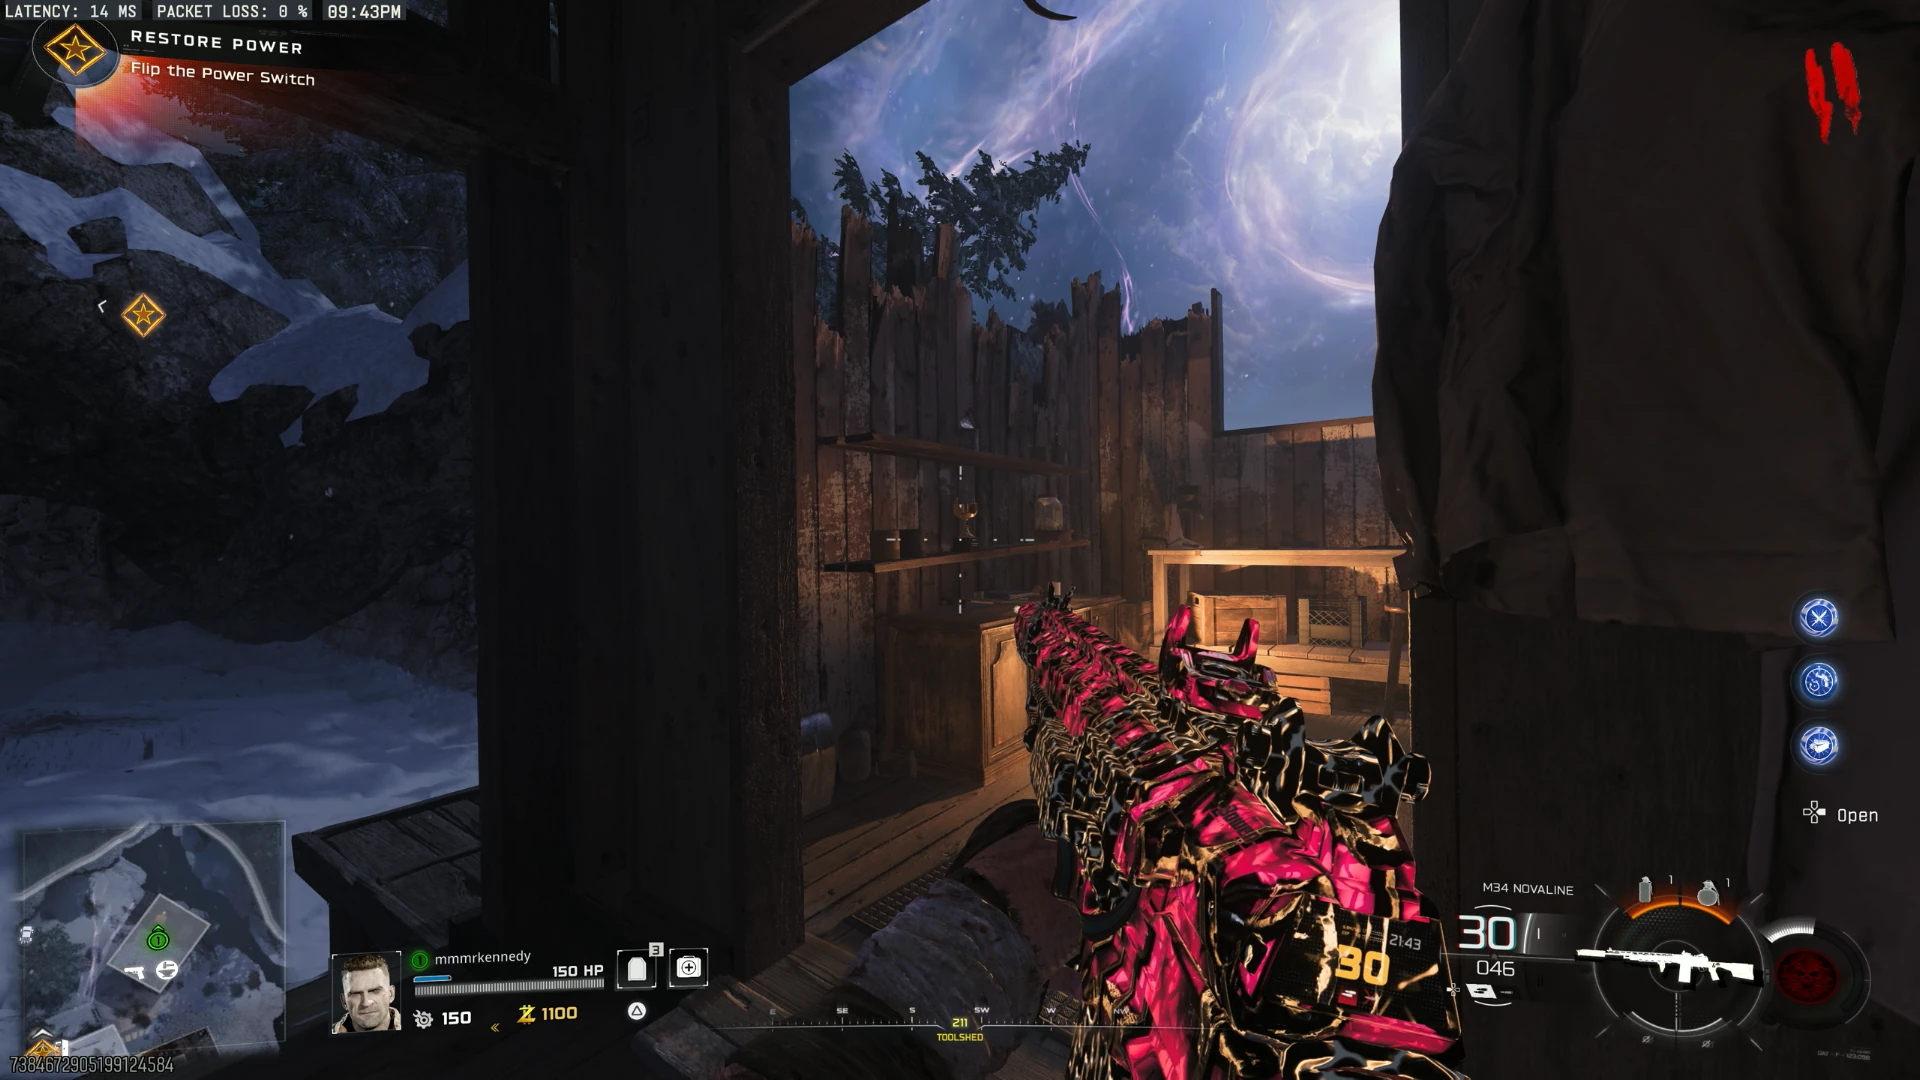
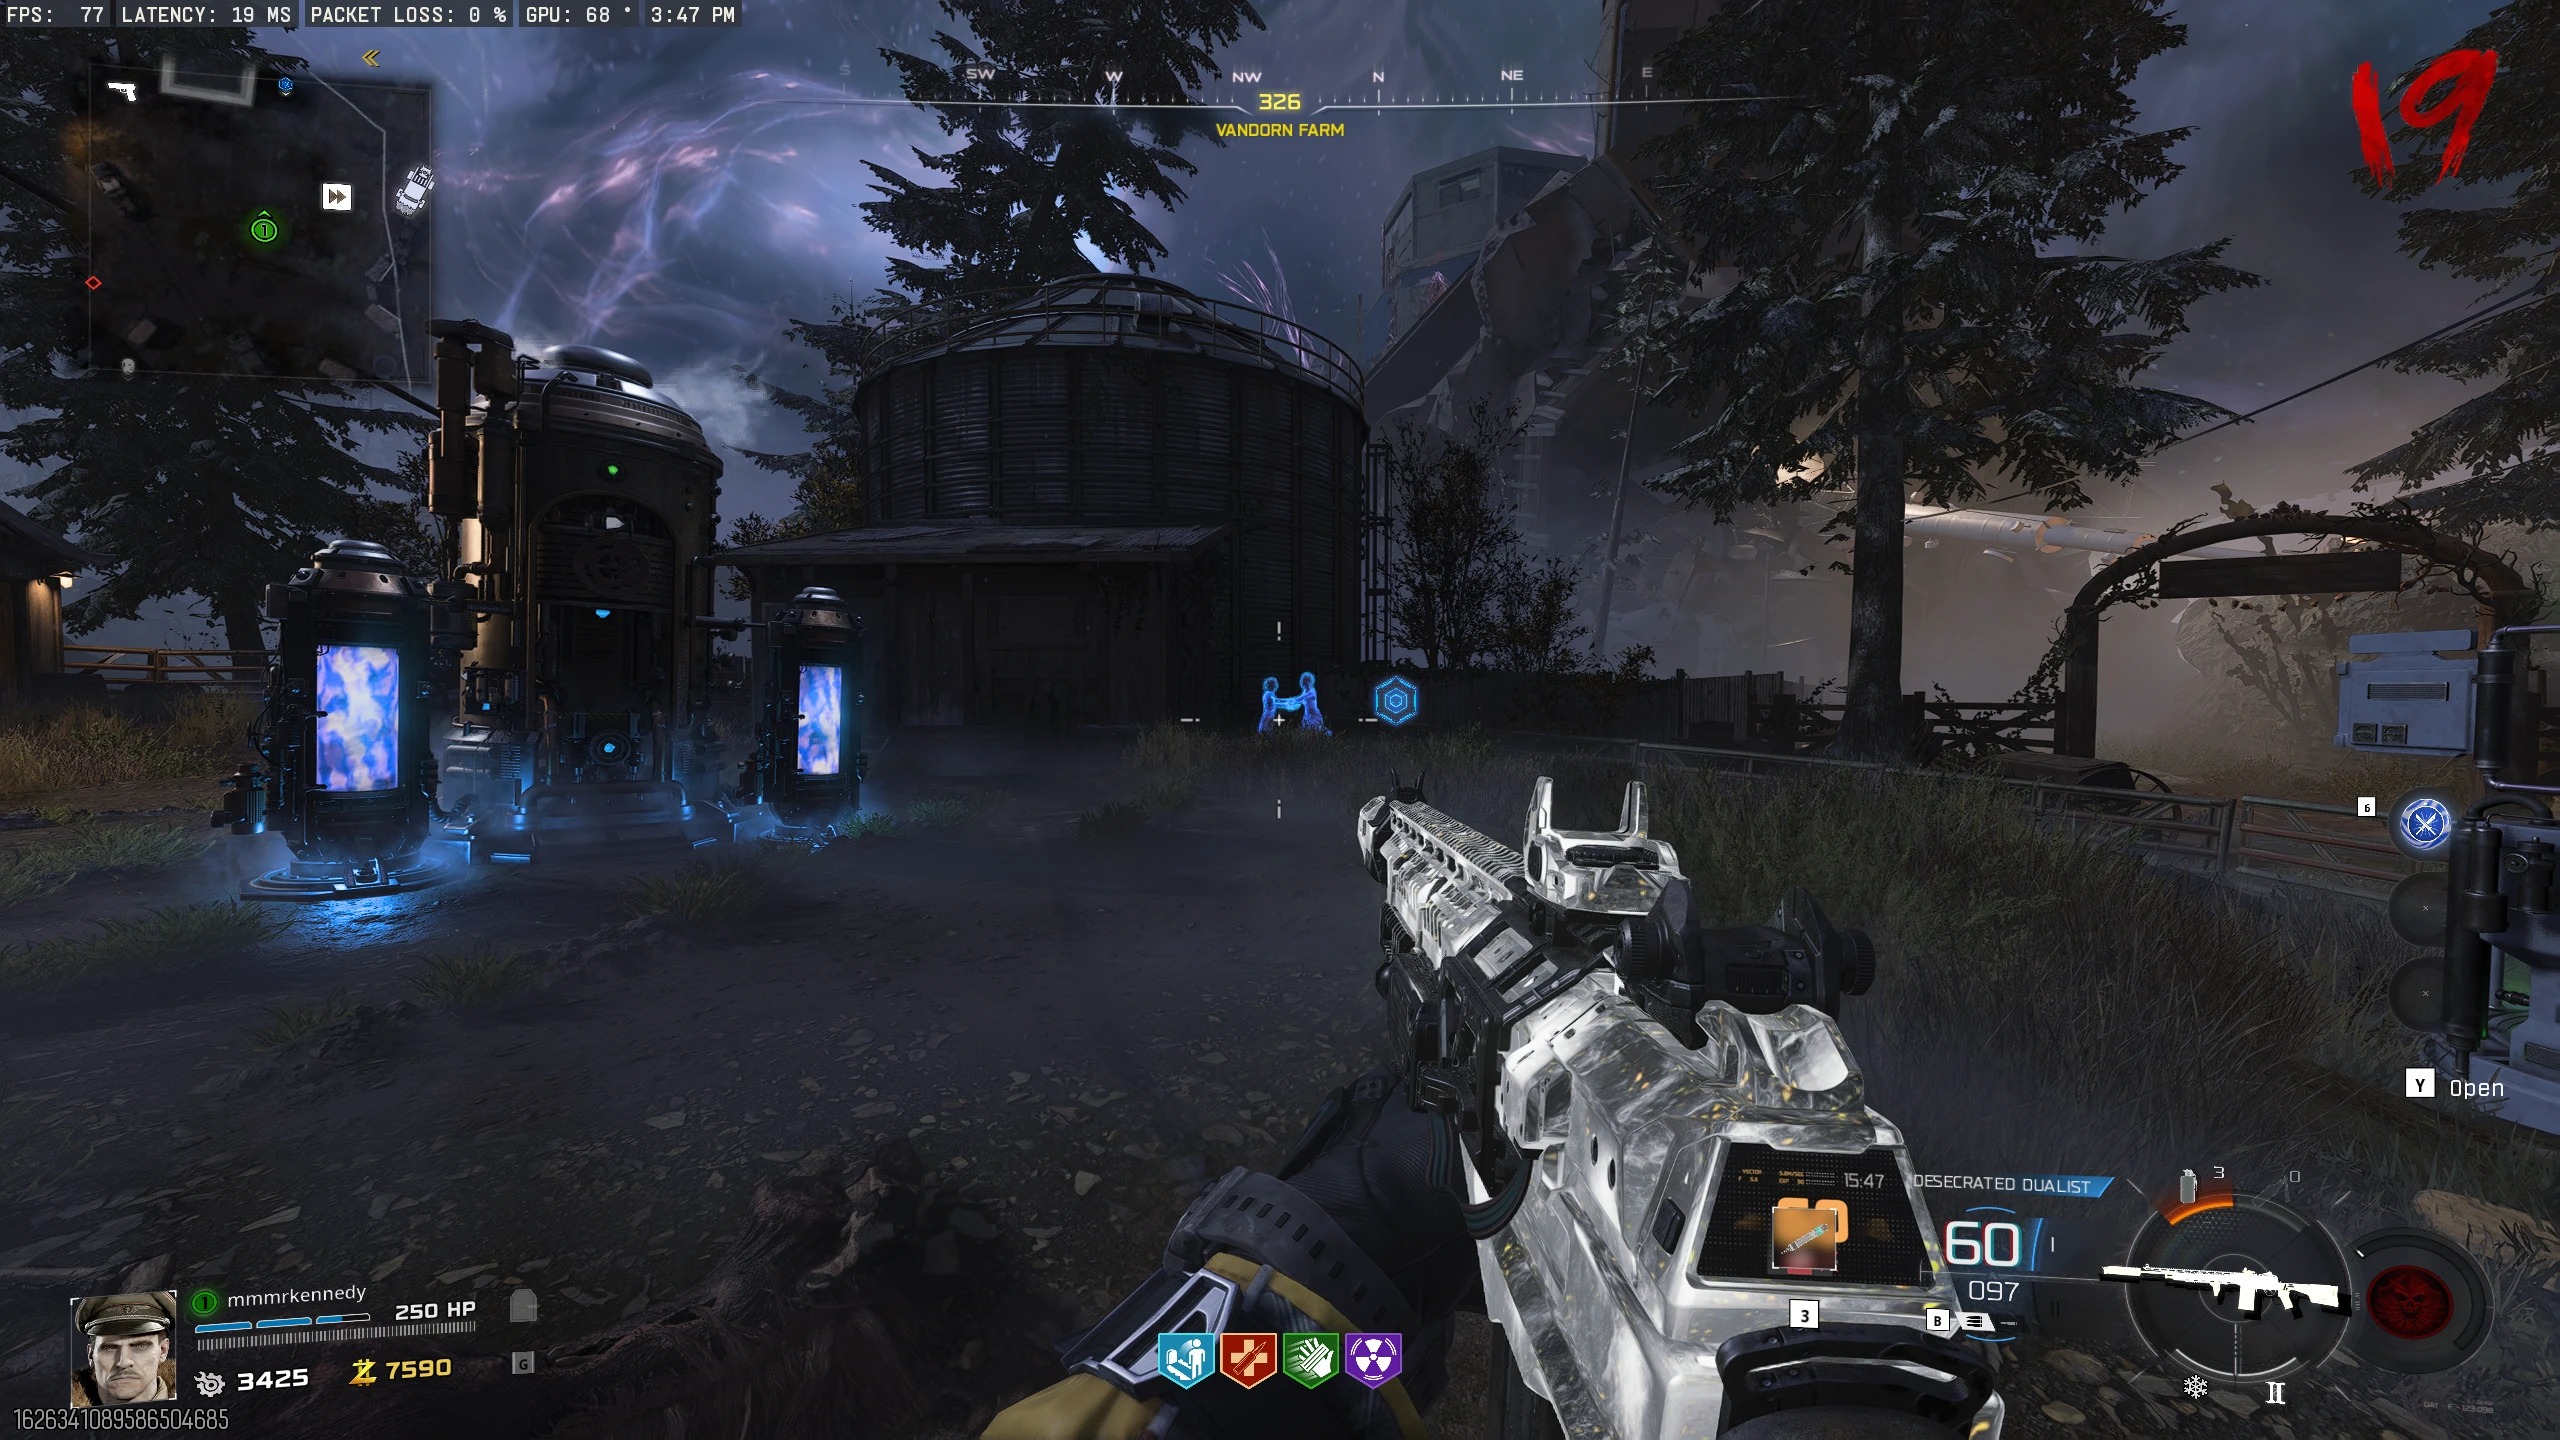
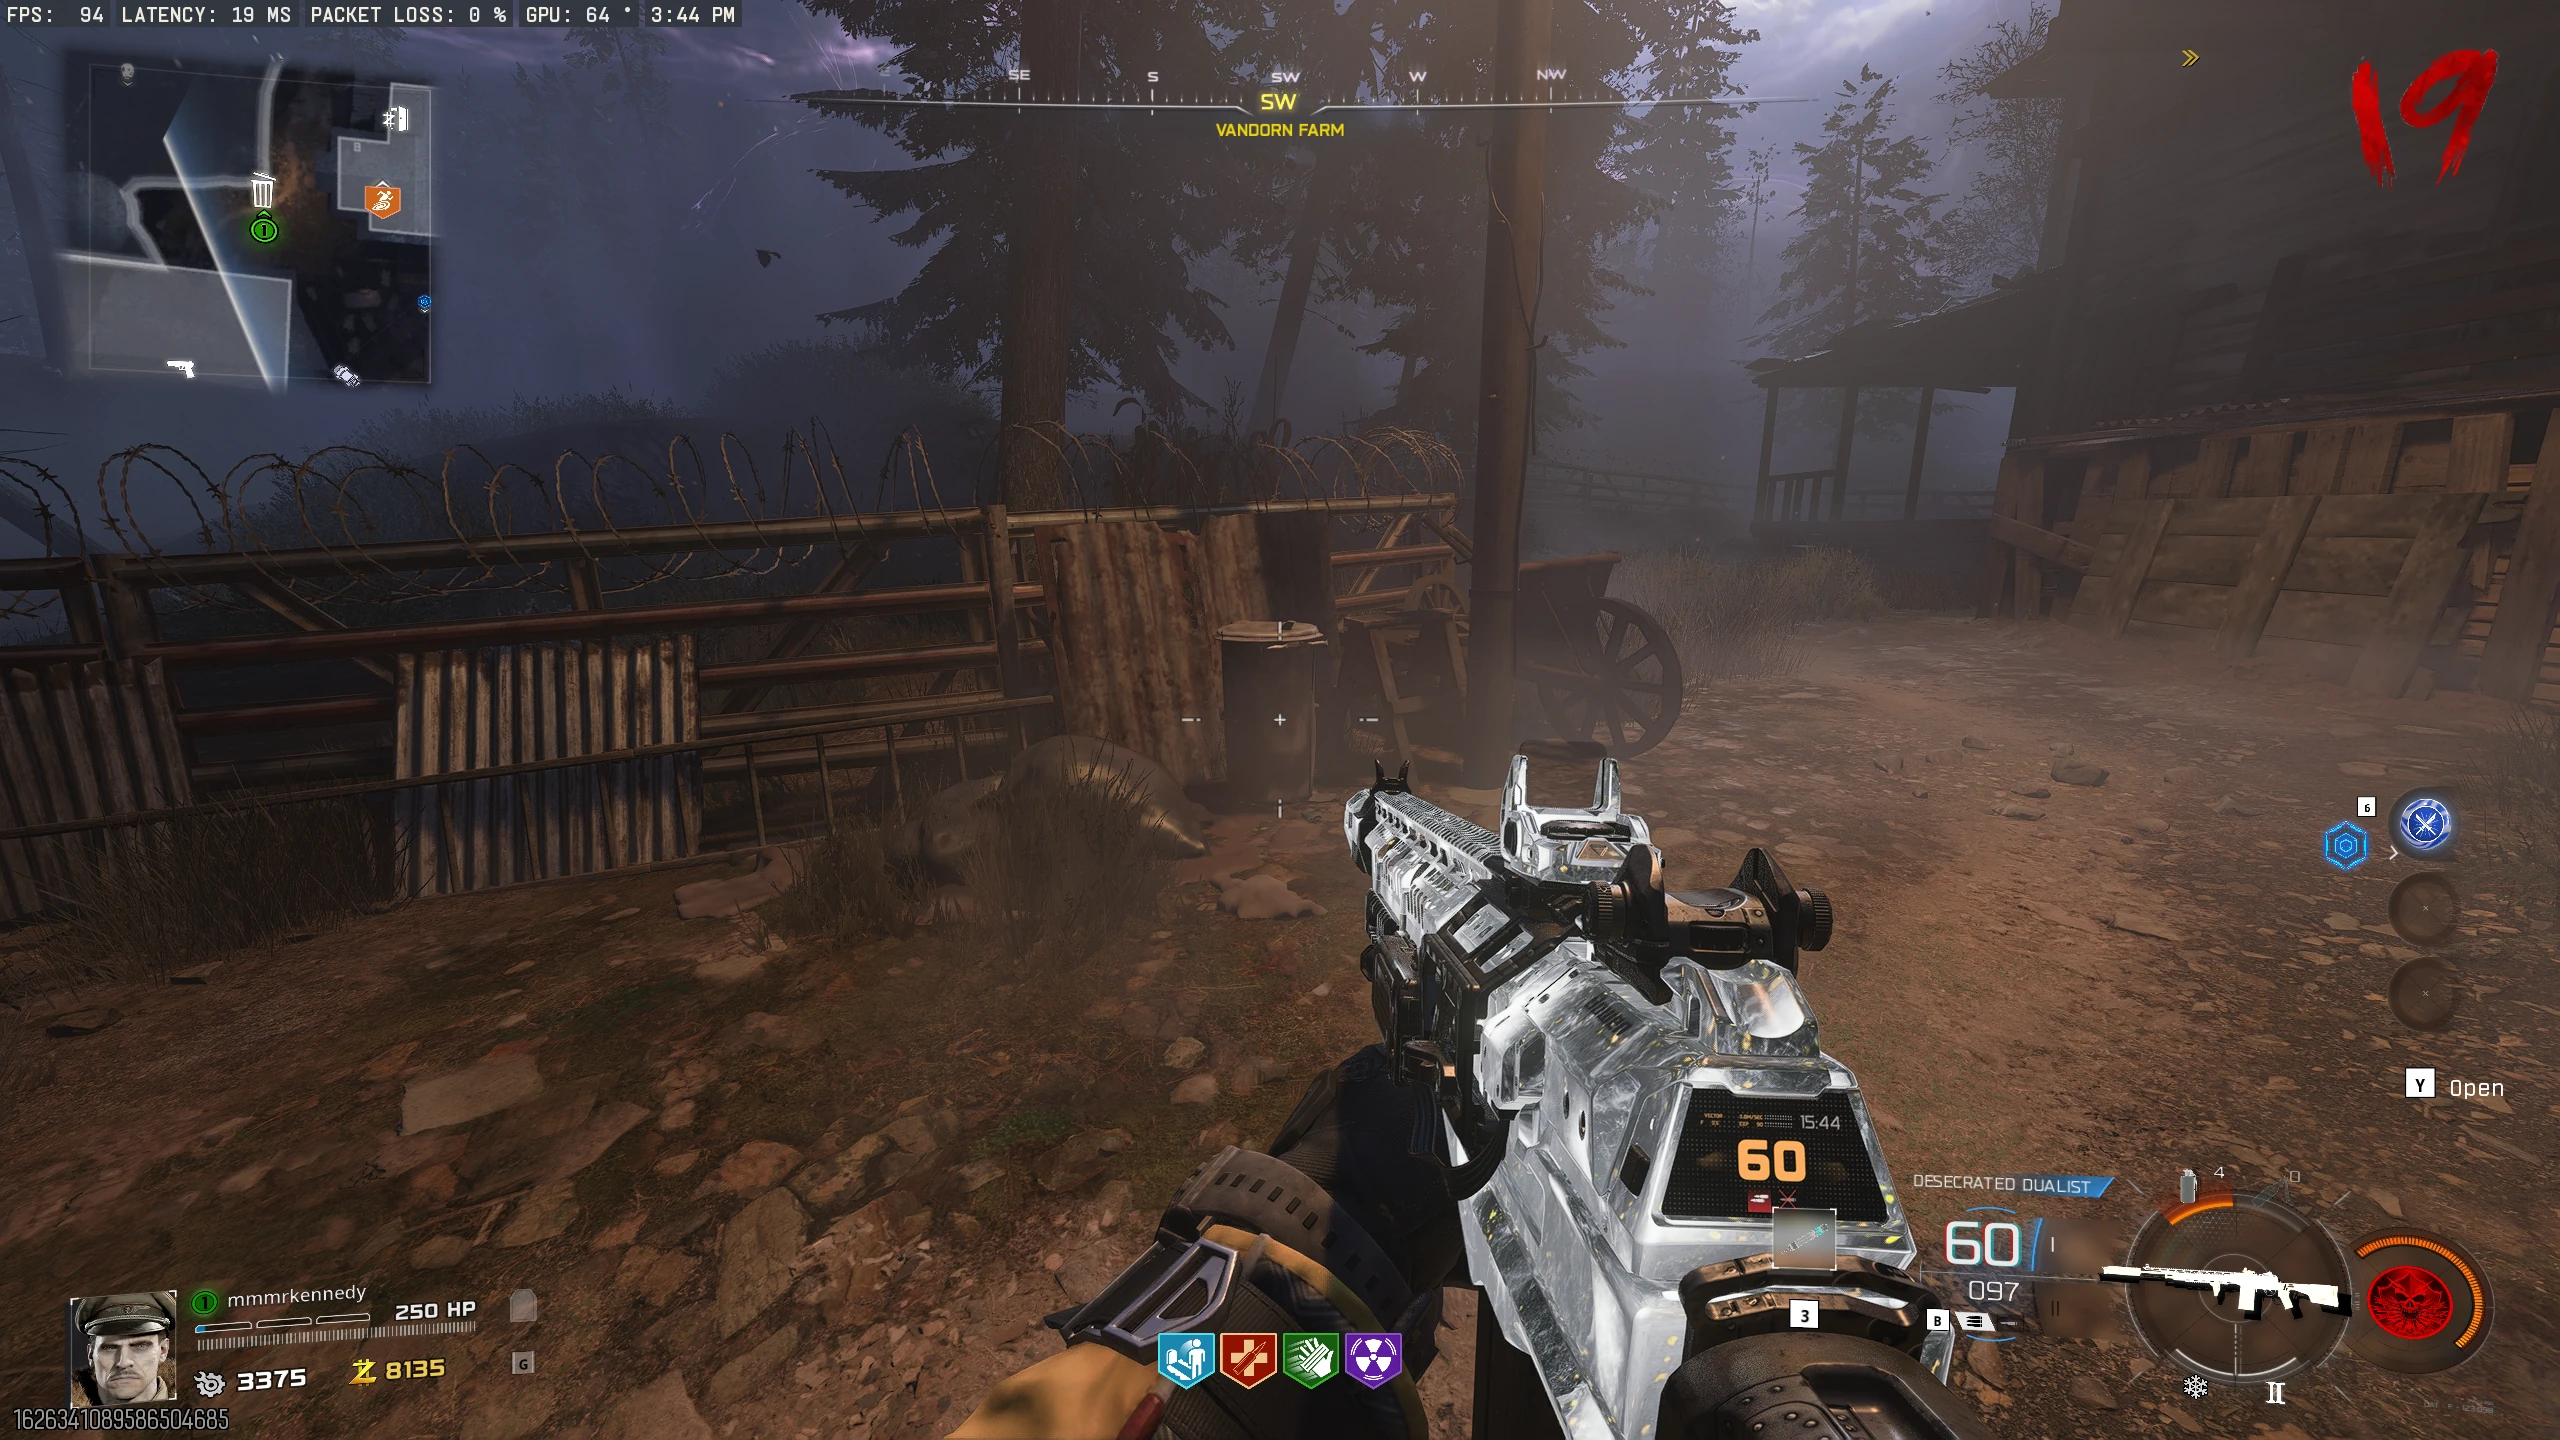
- Widow's Lantern: Pick up the Jar of Spores from the open kitchen cabinet in the Cabin in Blackwater Lake. Interact with the horse corpse covered with mushrooms on the road in front of Vandorn Farm. After three rounds, the Widow's Lantern will spawn on the Horse.
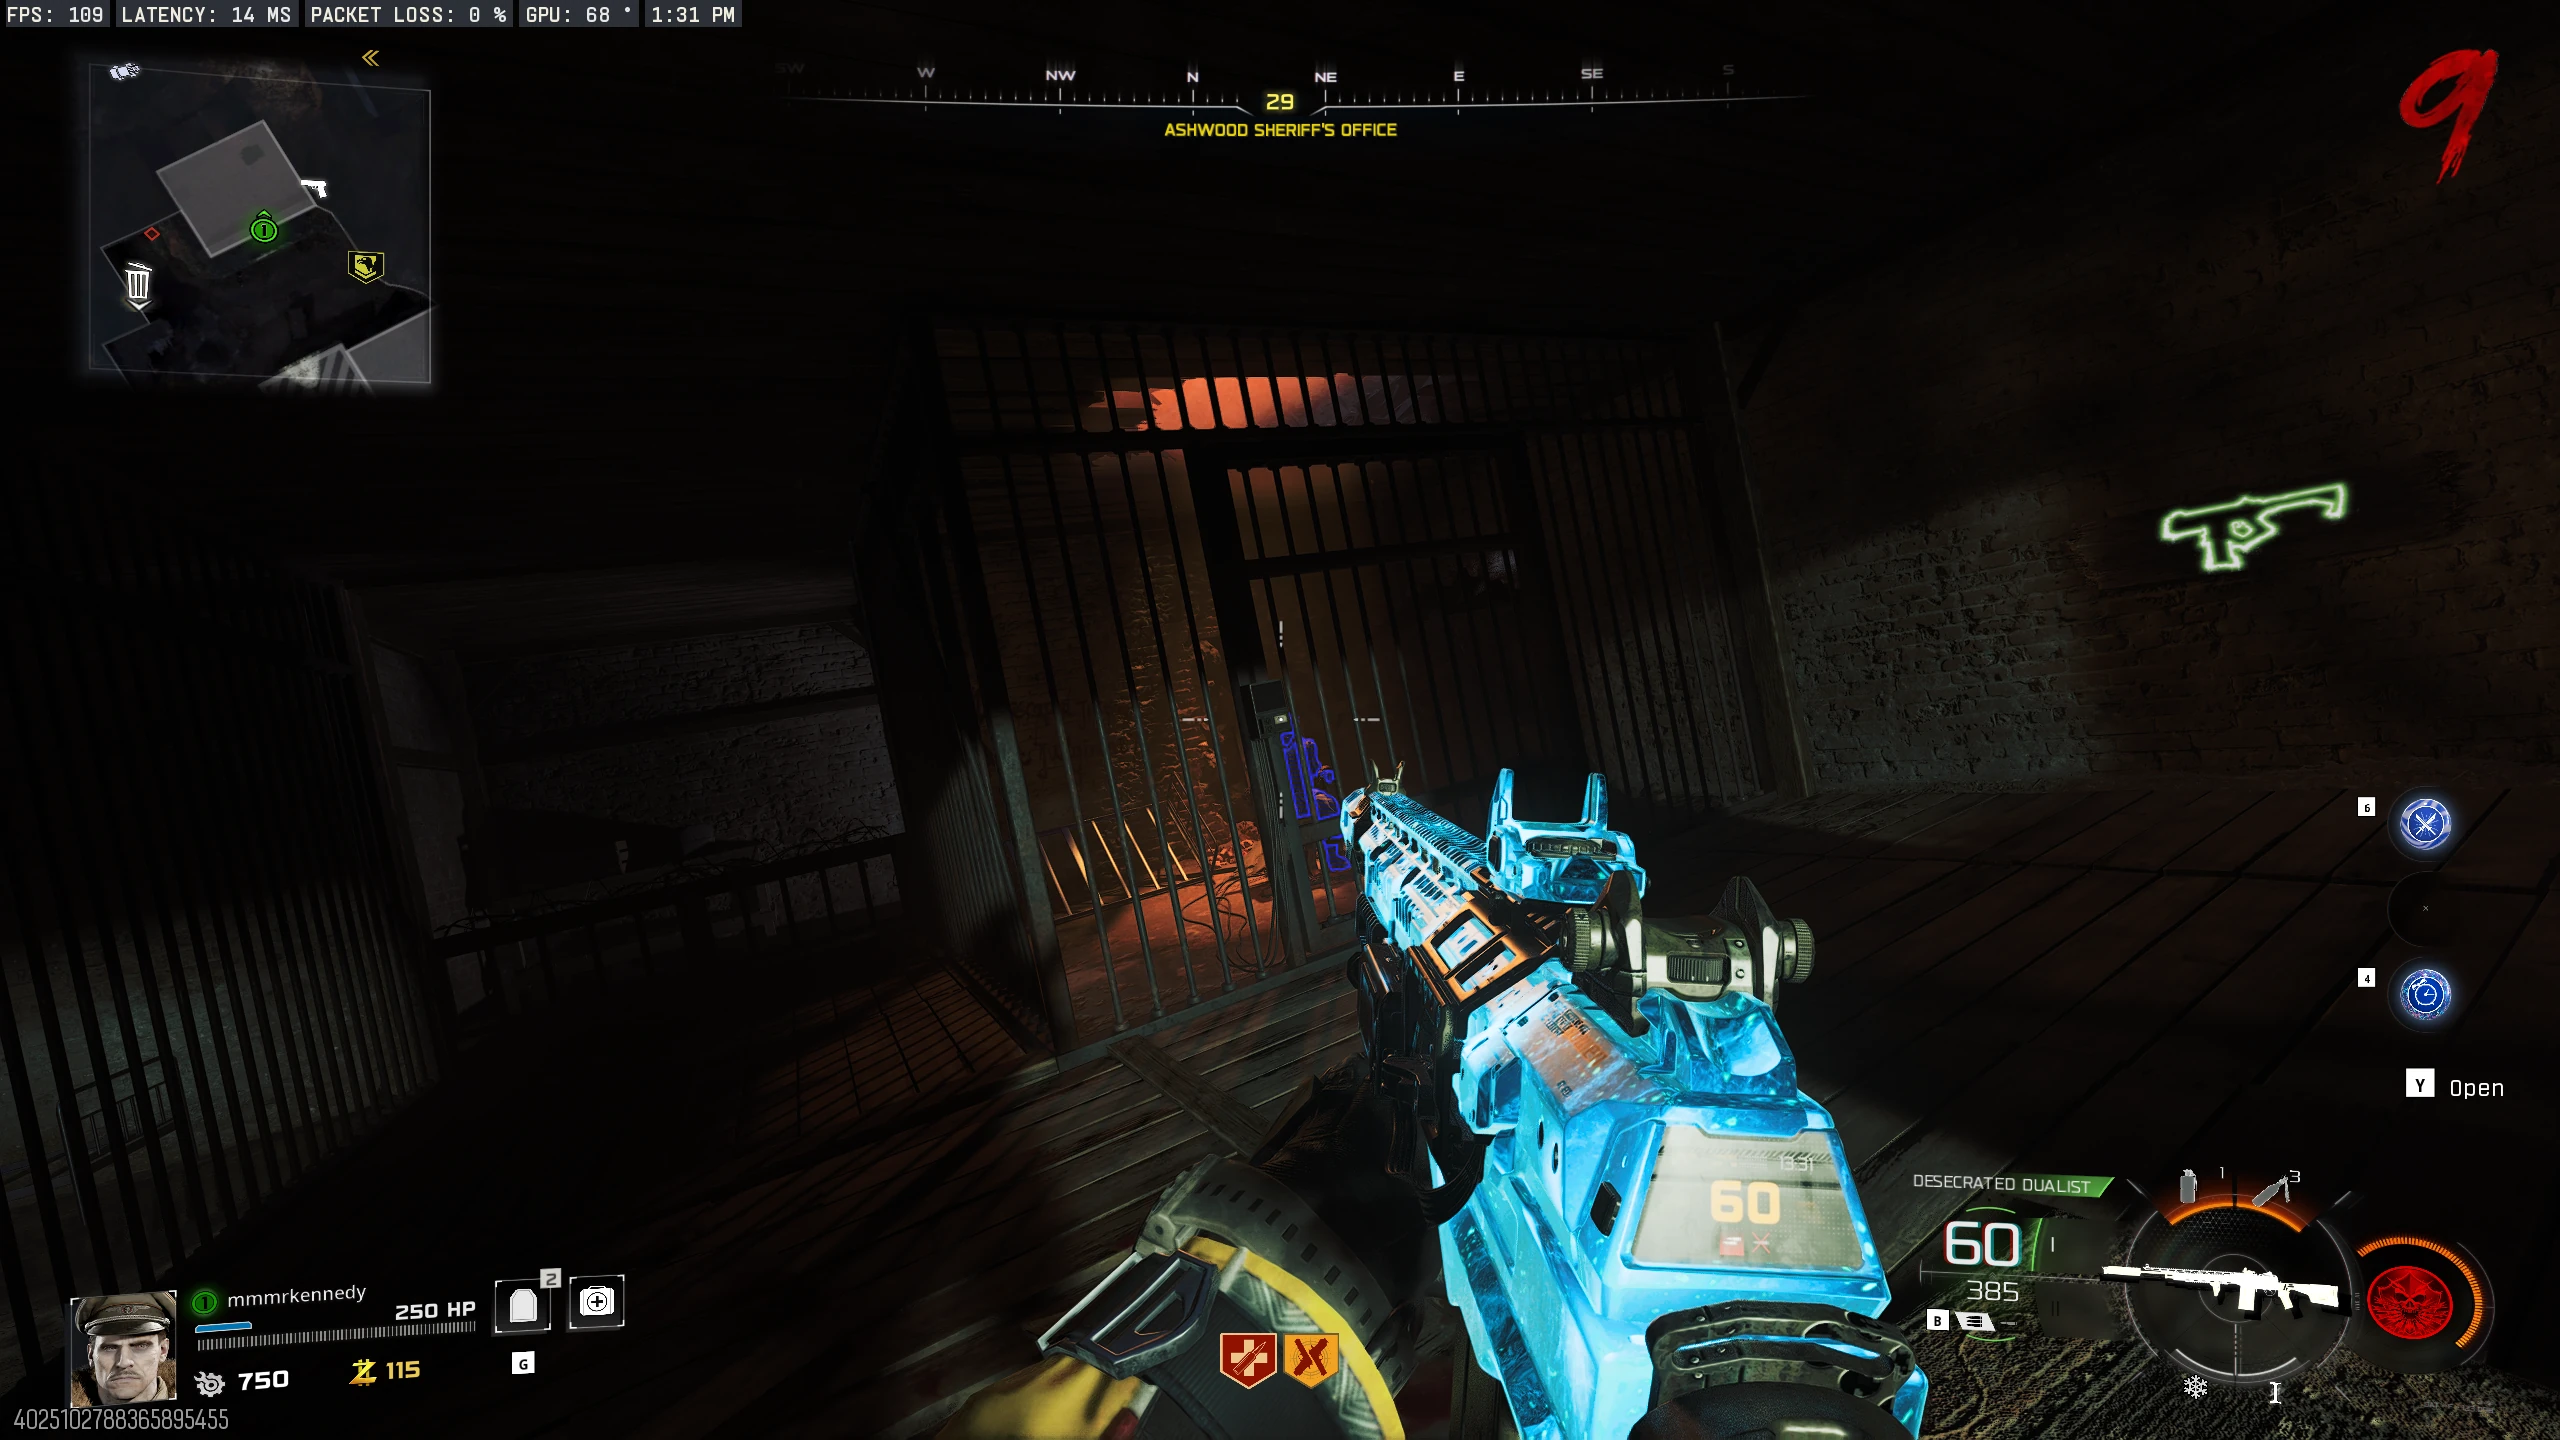
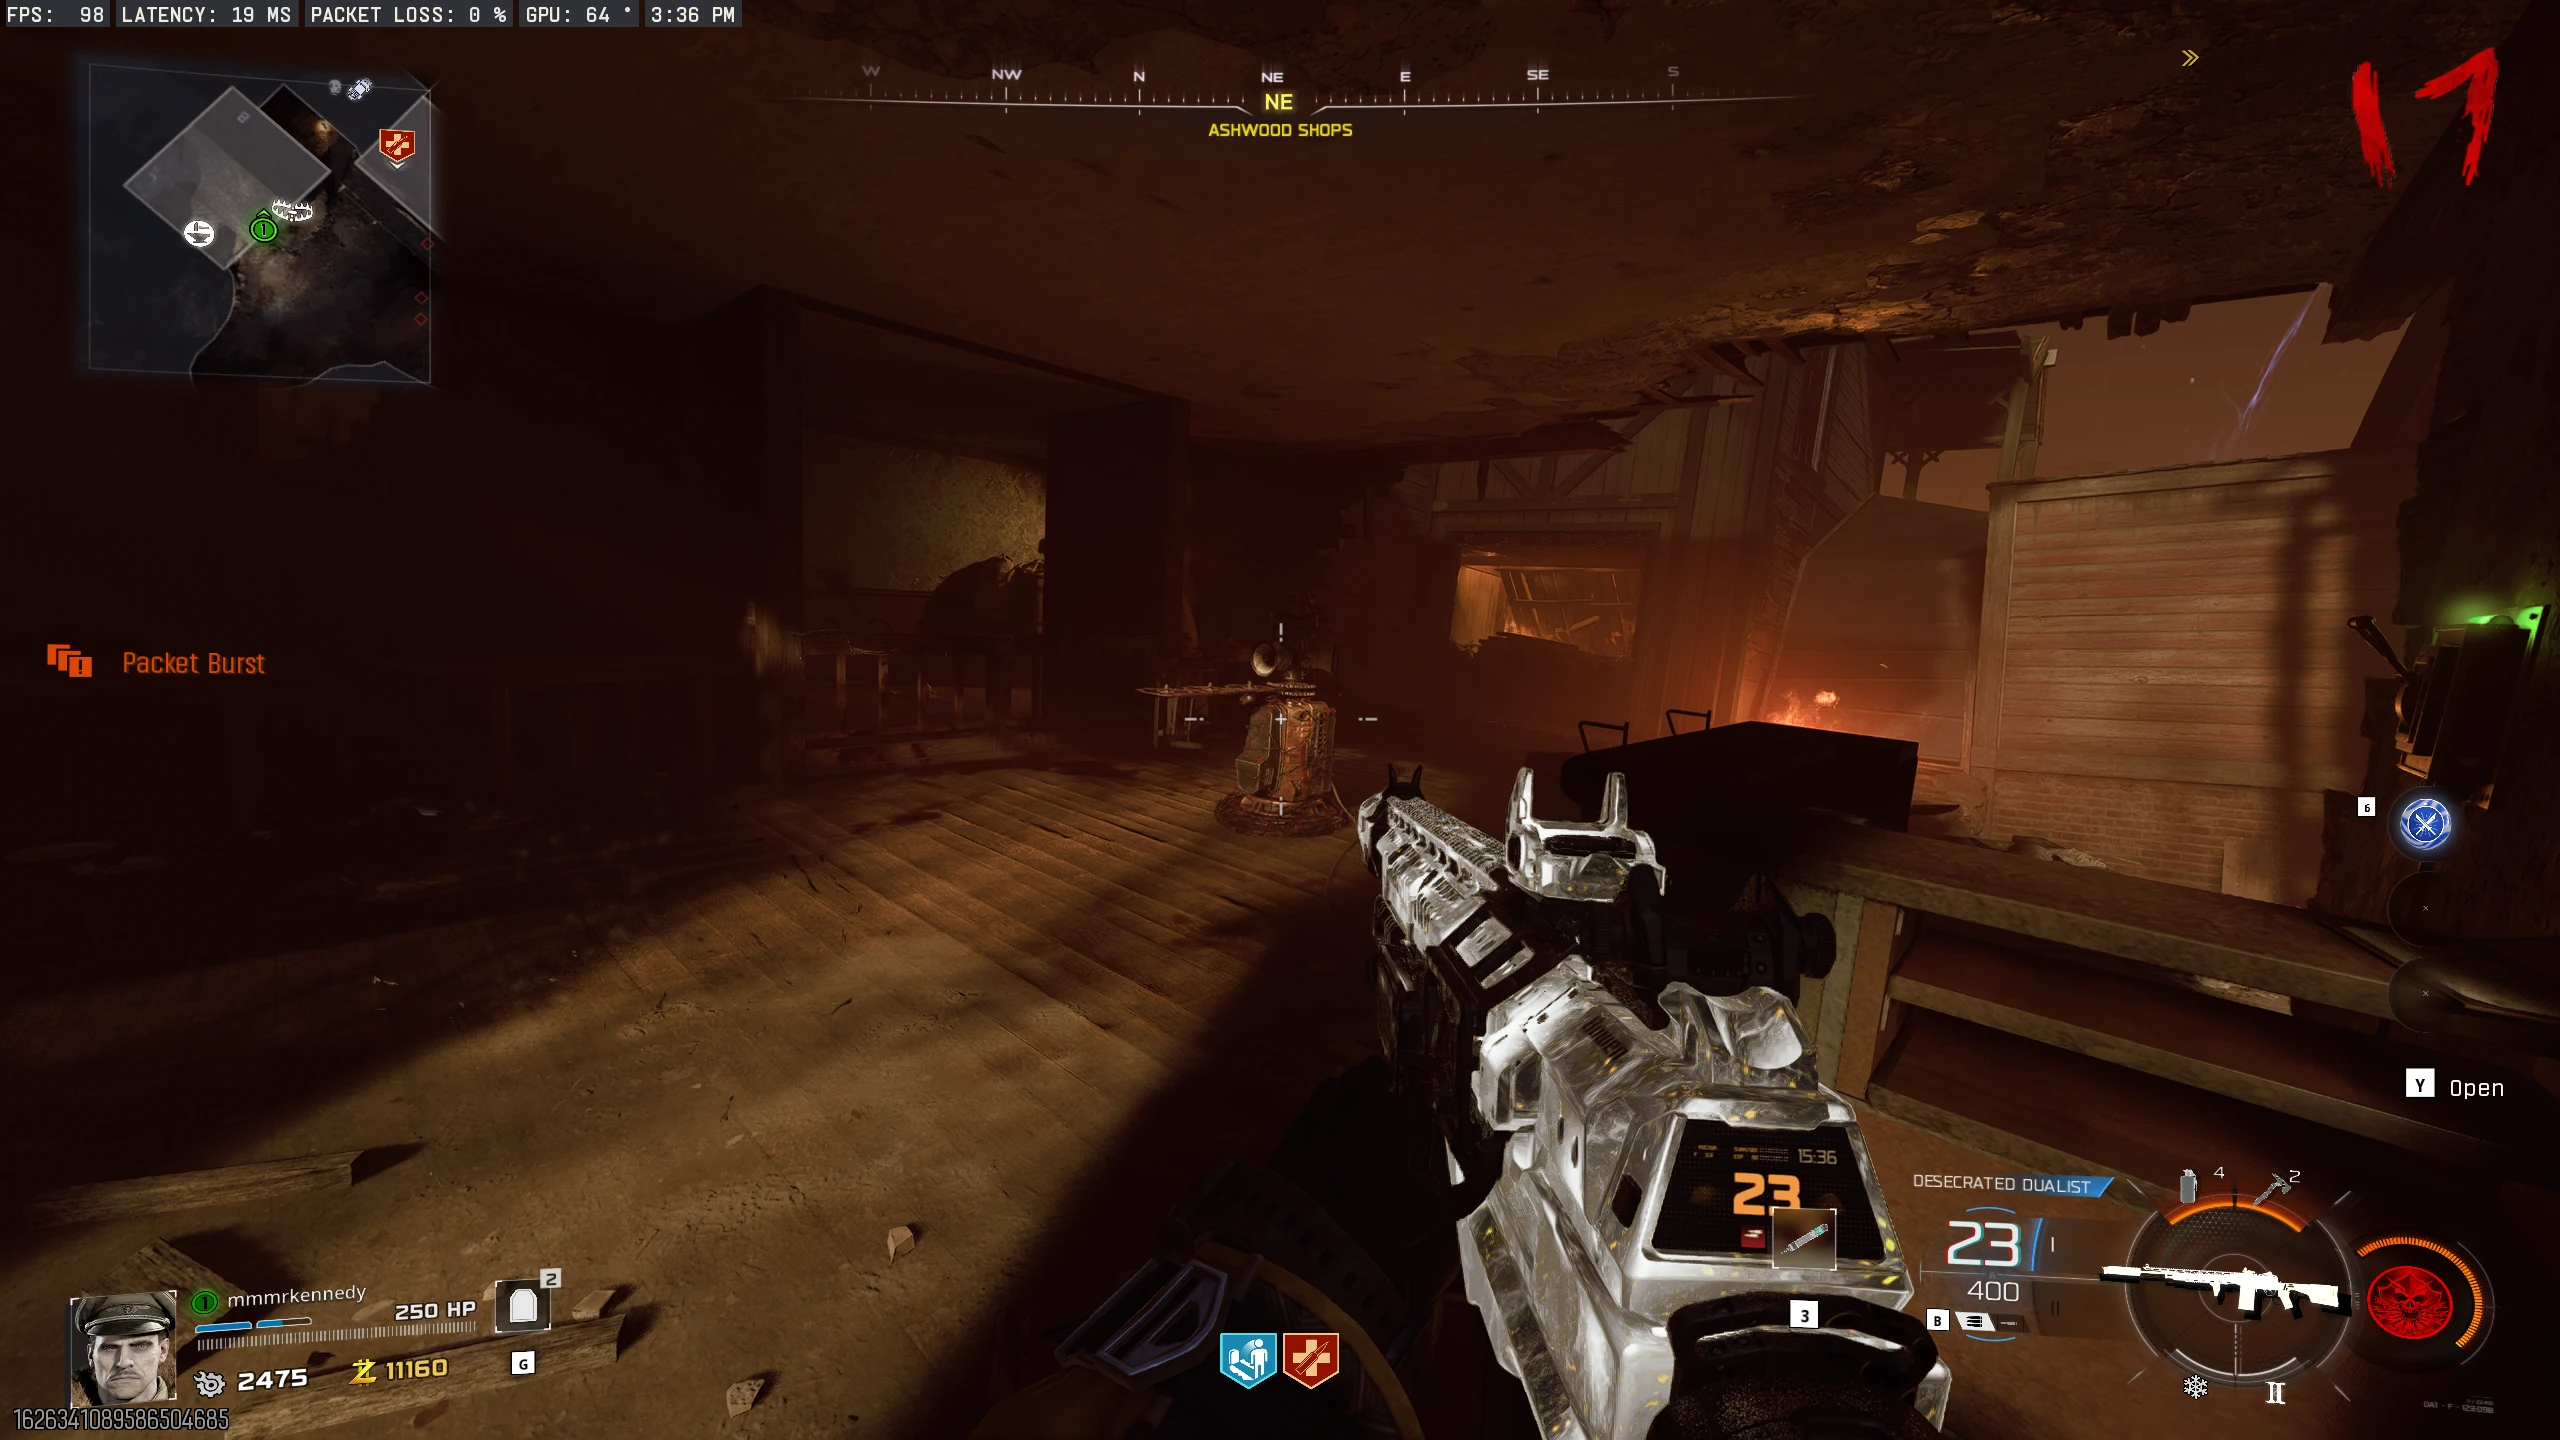
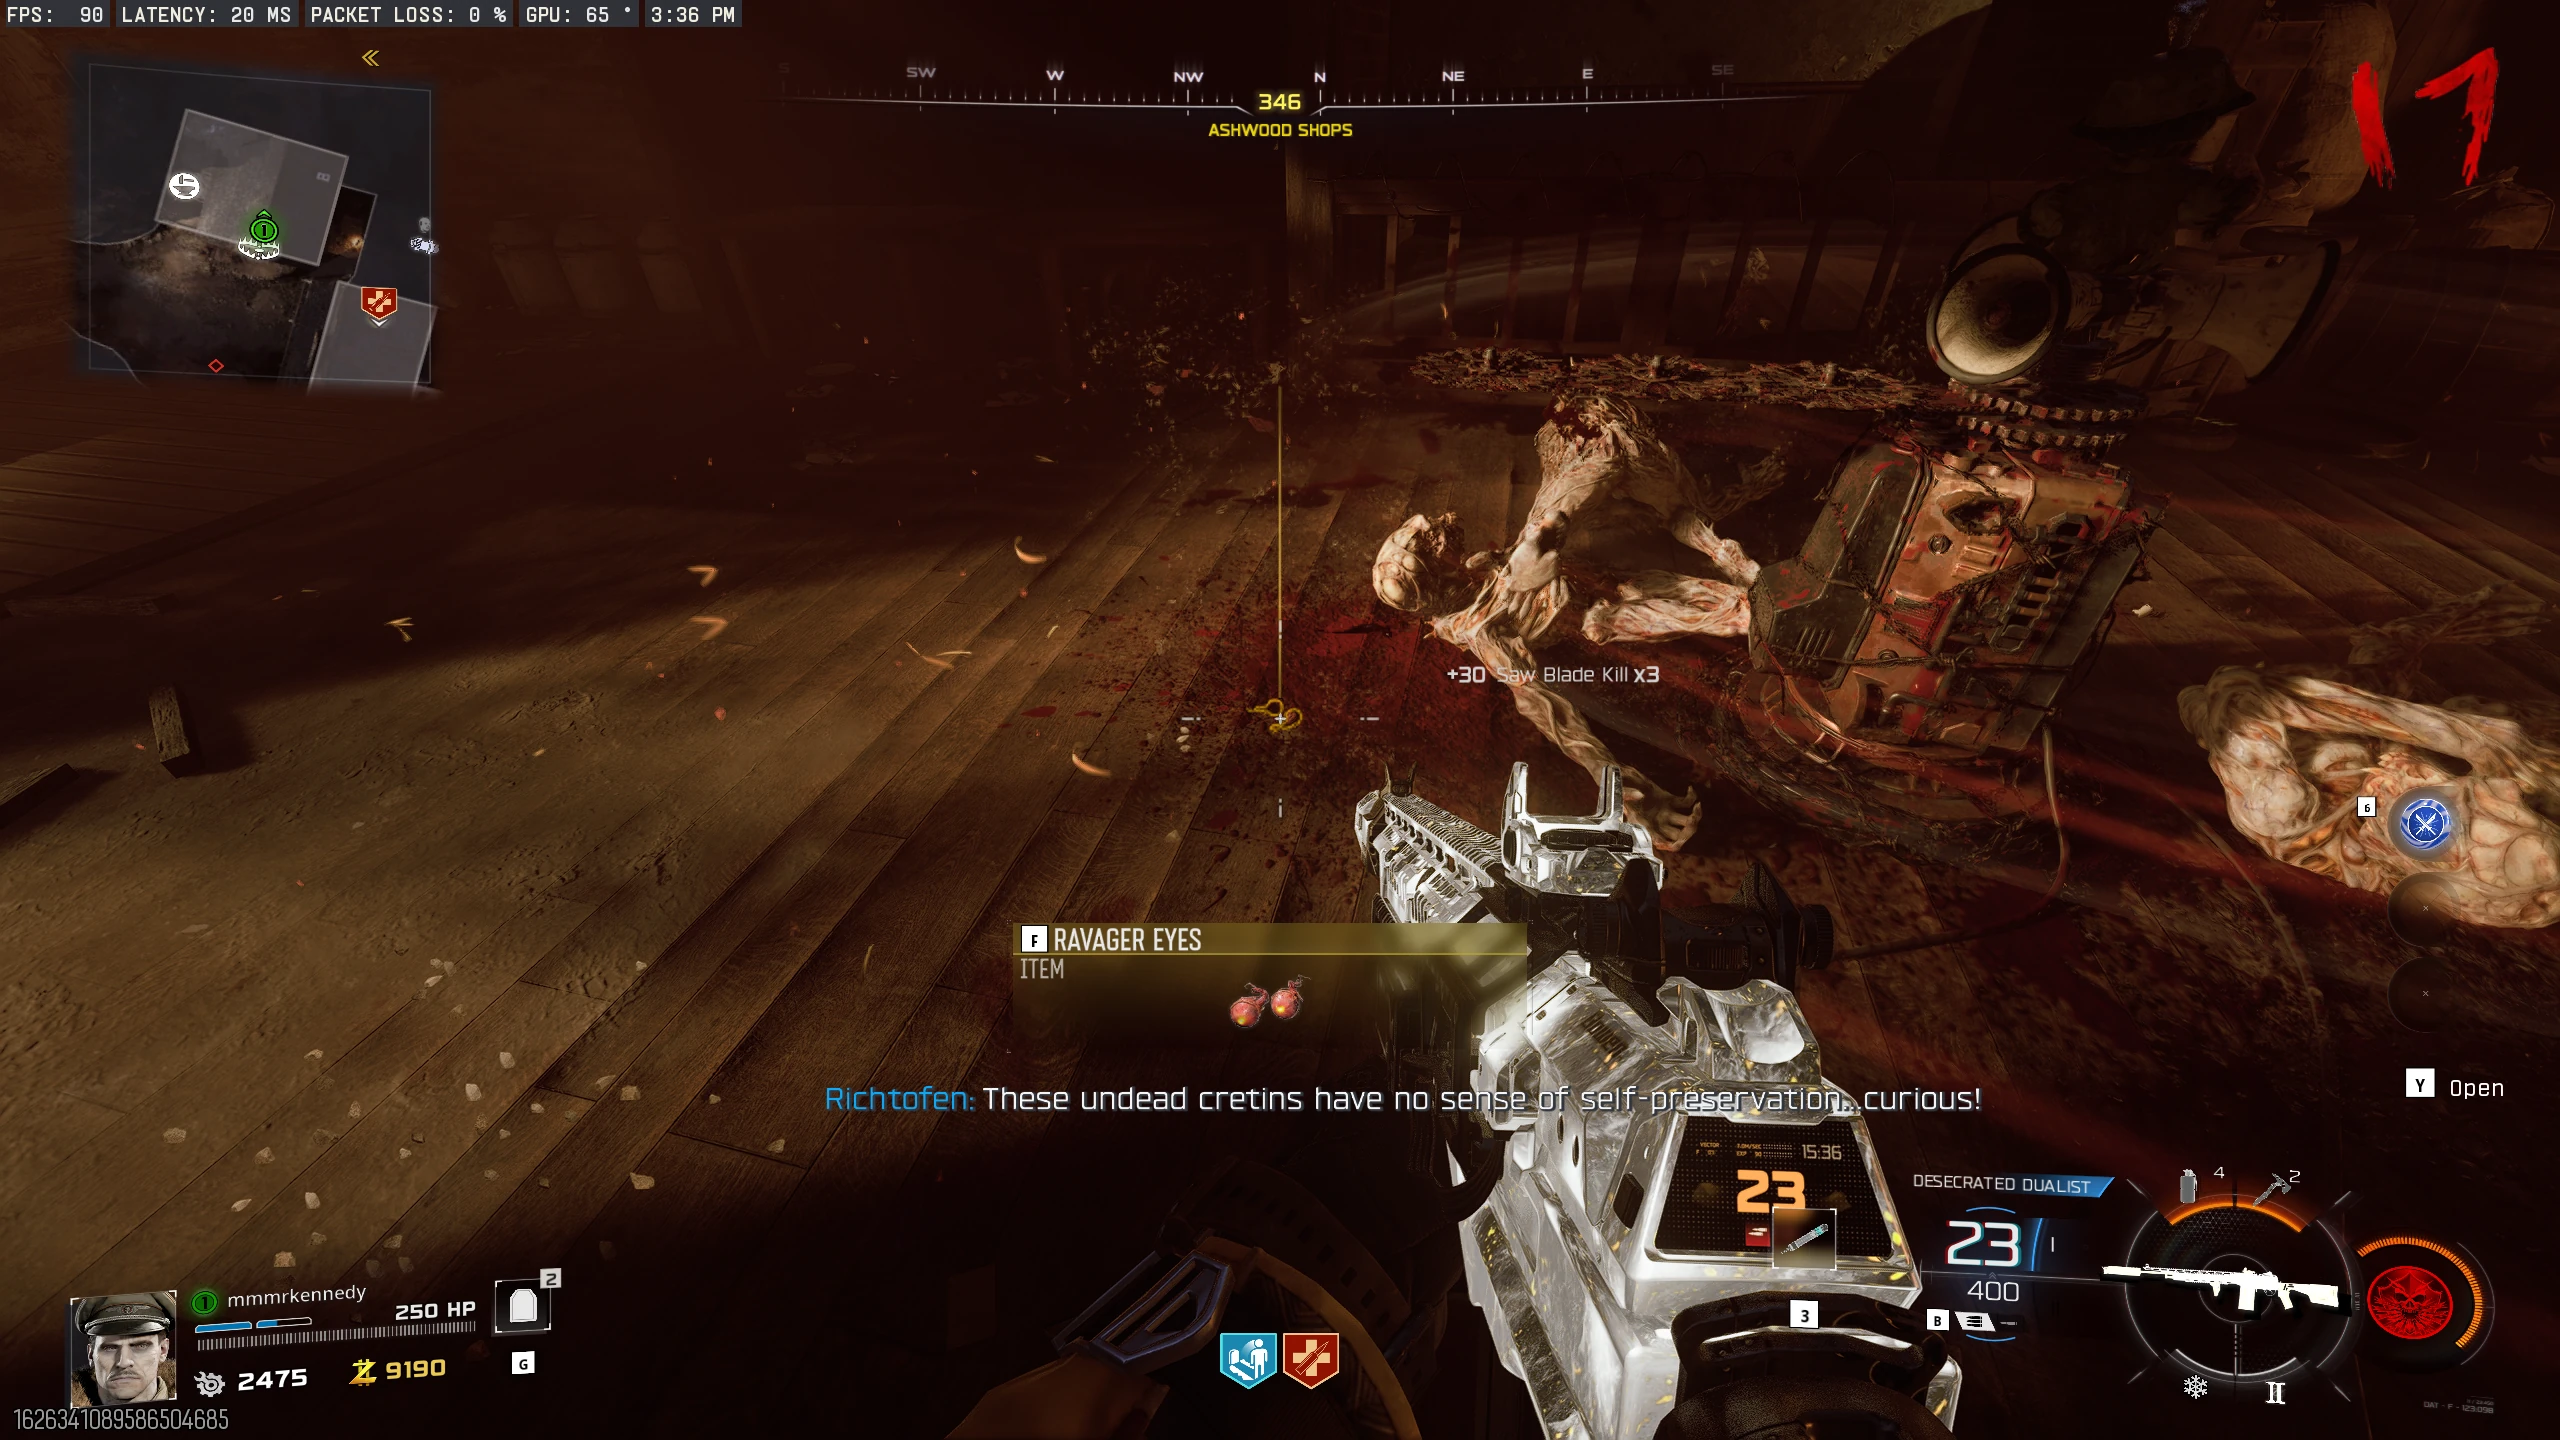
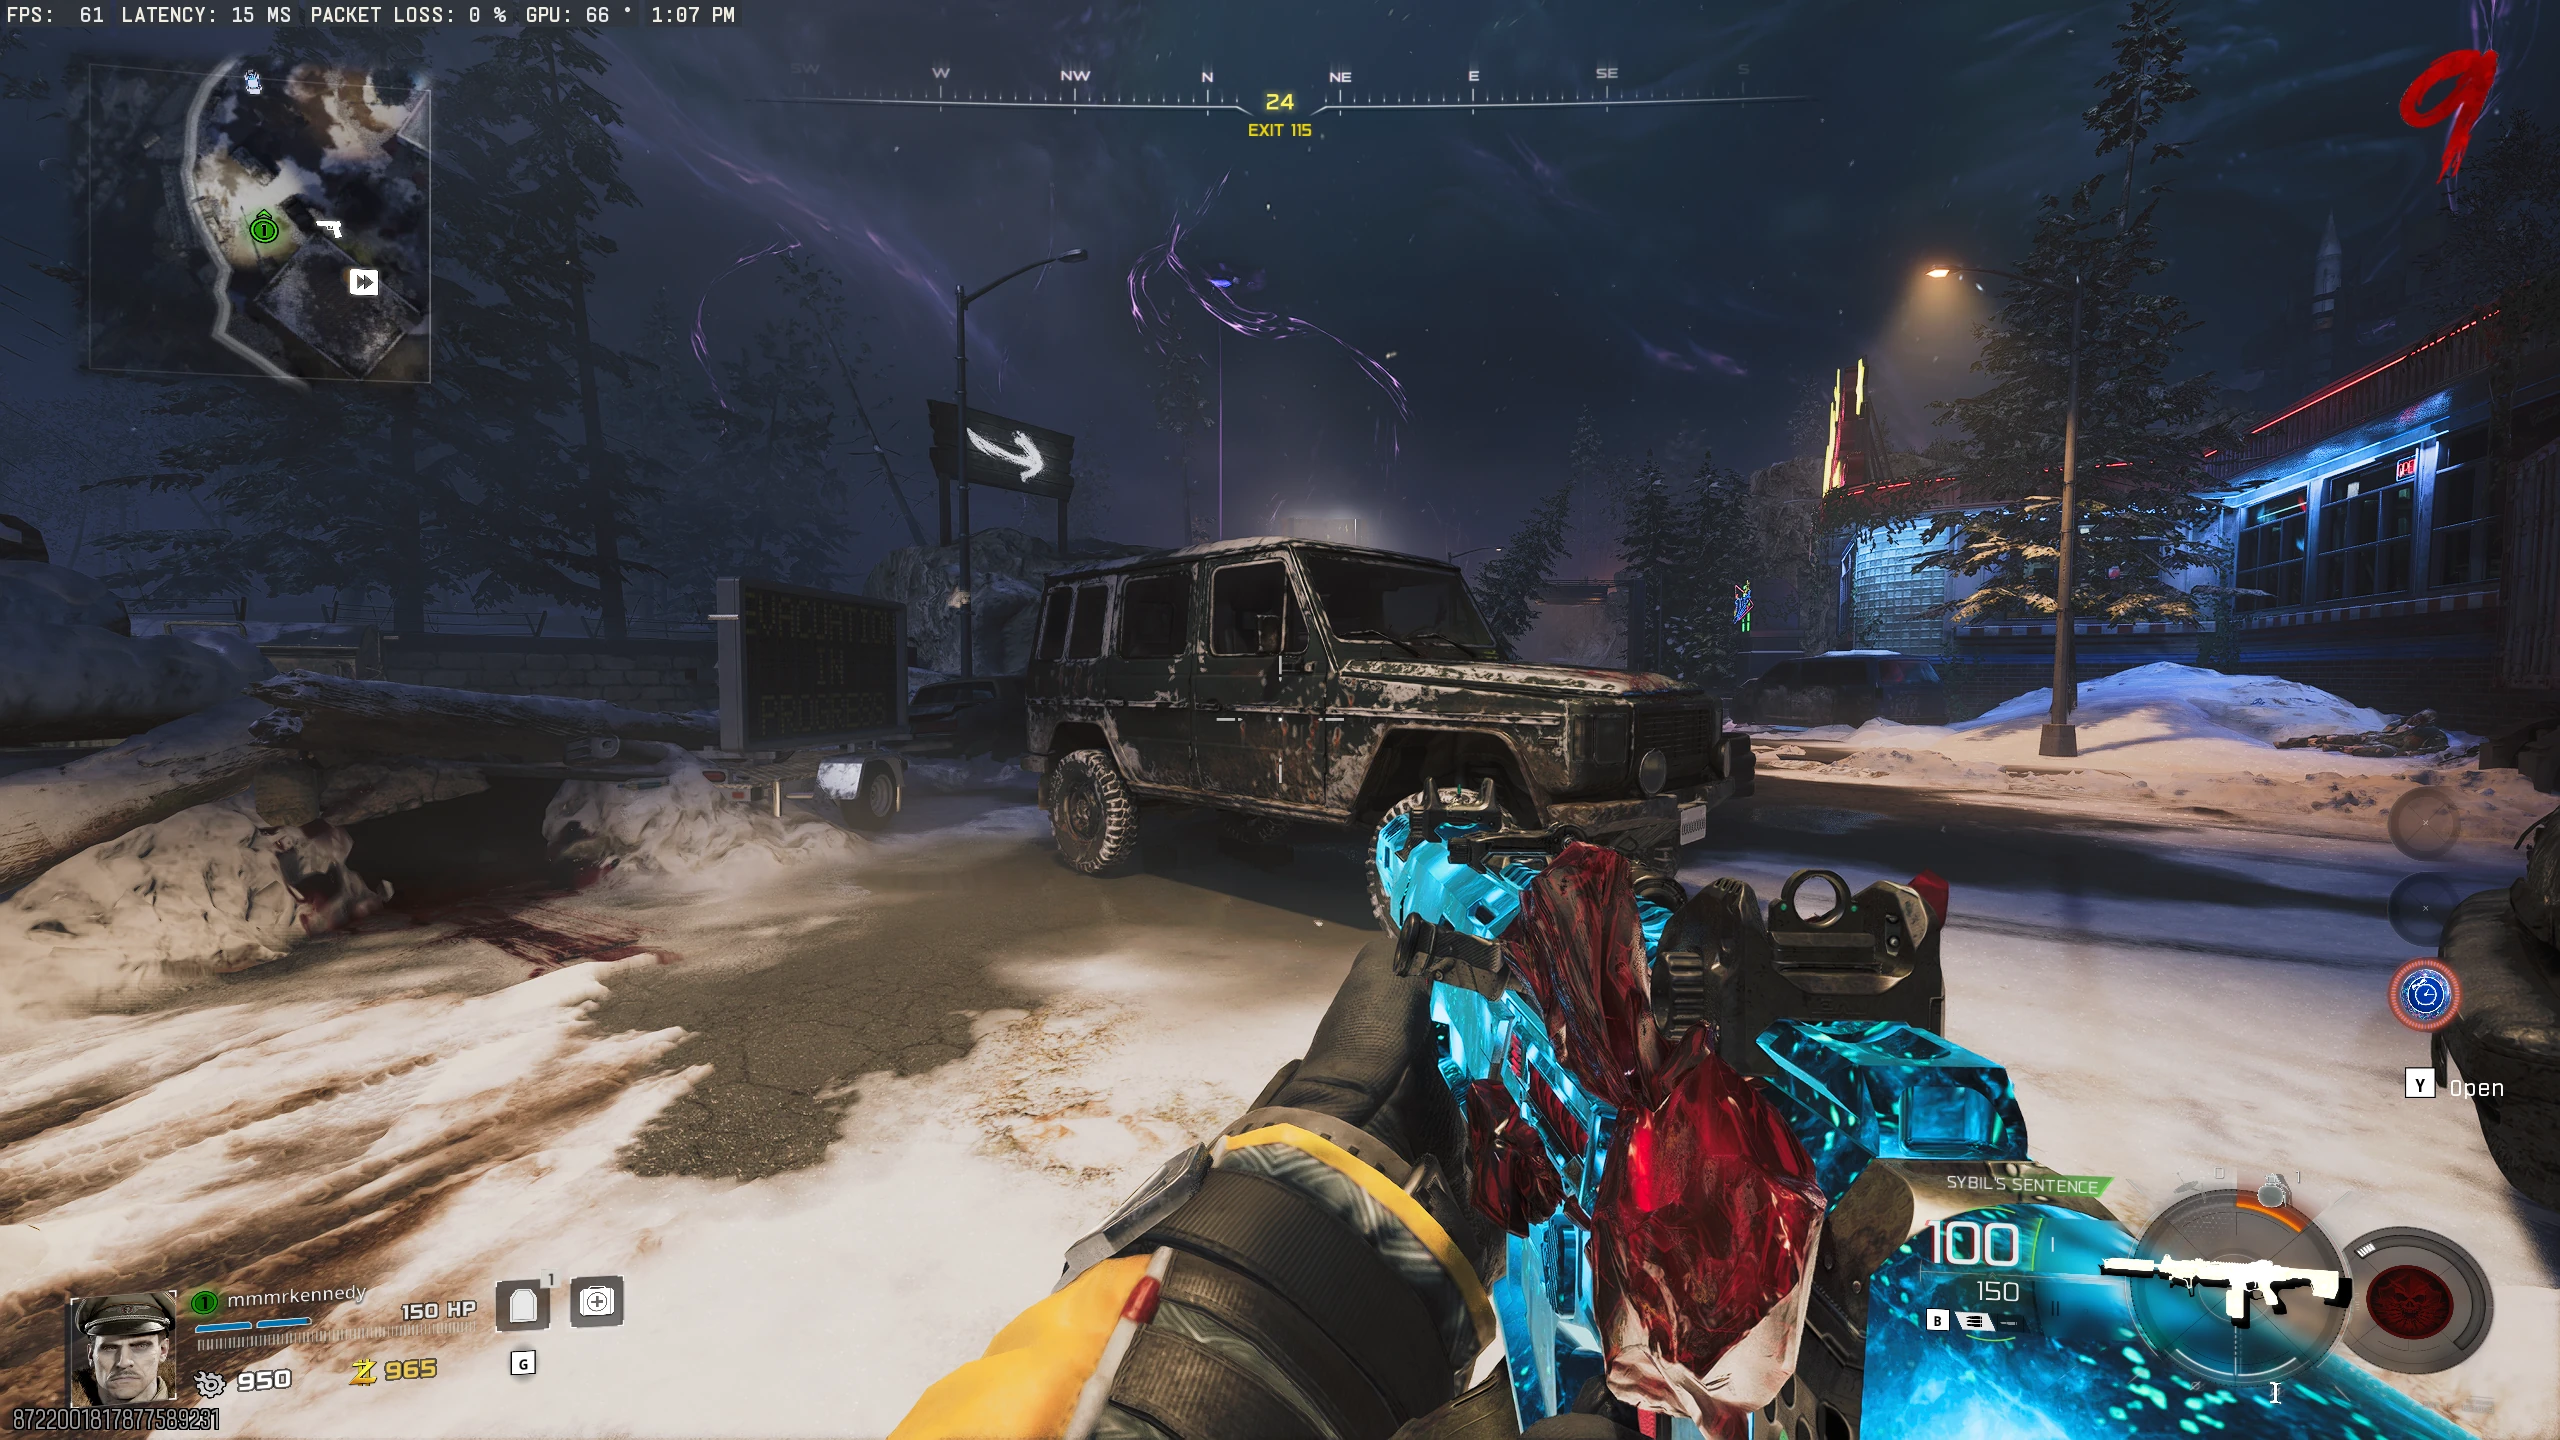
- Ravager Eyes: Kill a Ravager with any of the three Saw Traps around the map (Vandorn Farm, Ashwood, or Exit 115). The first Ravager killed will drop the Ravager Eyes.
-
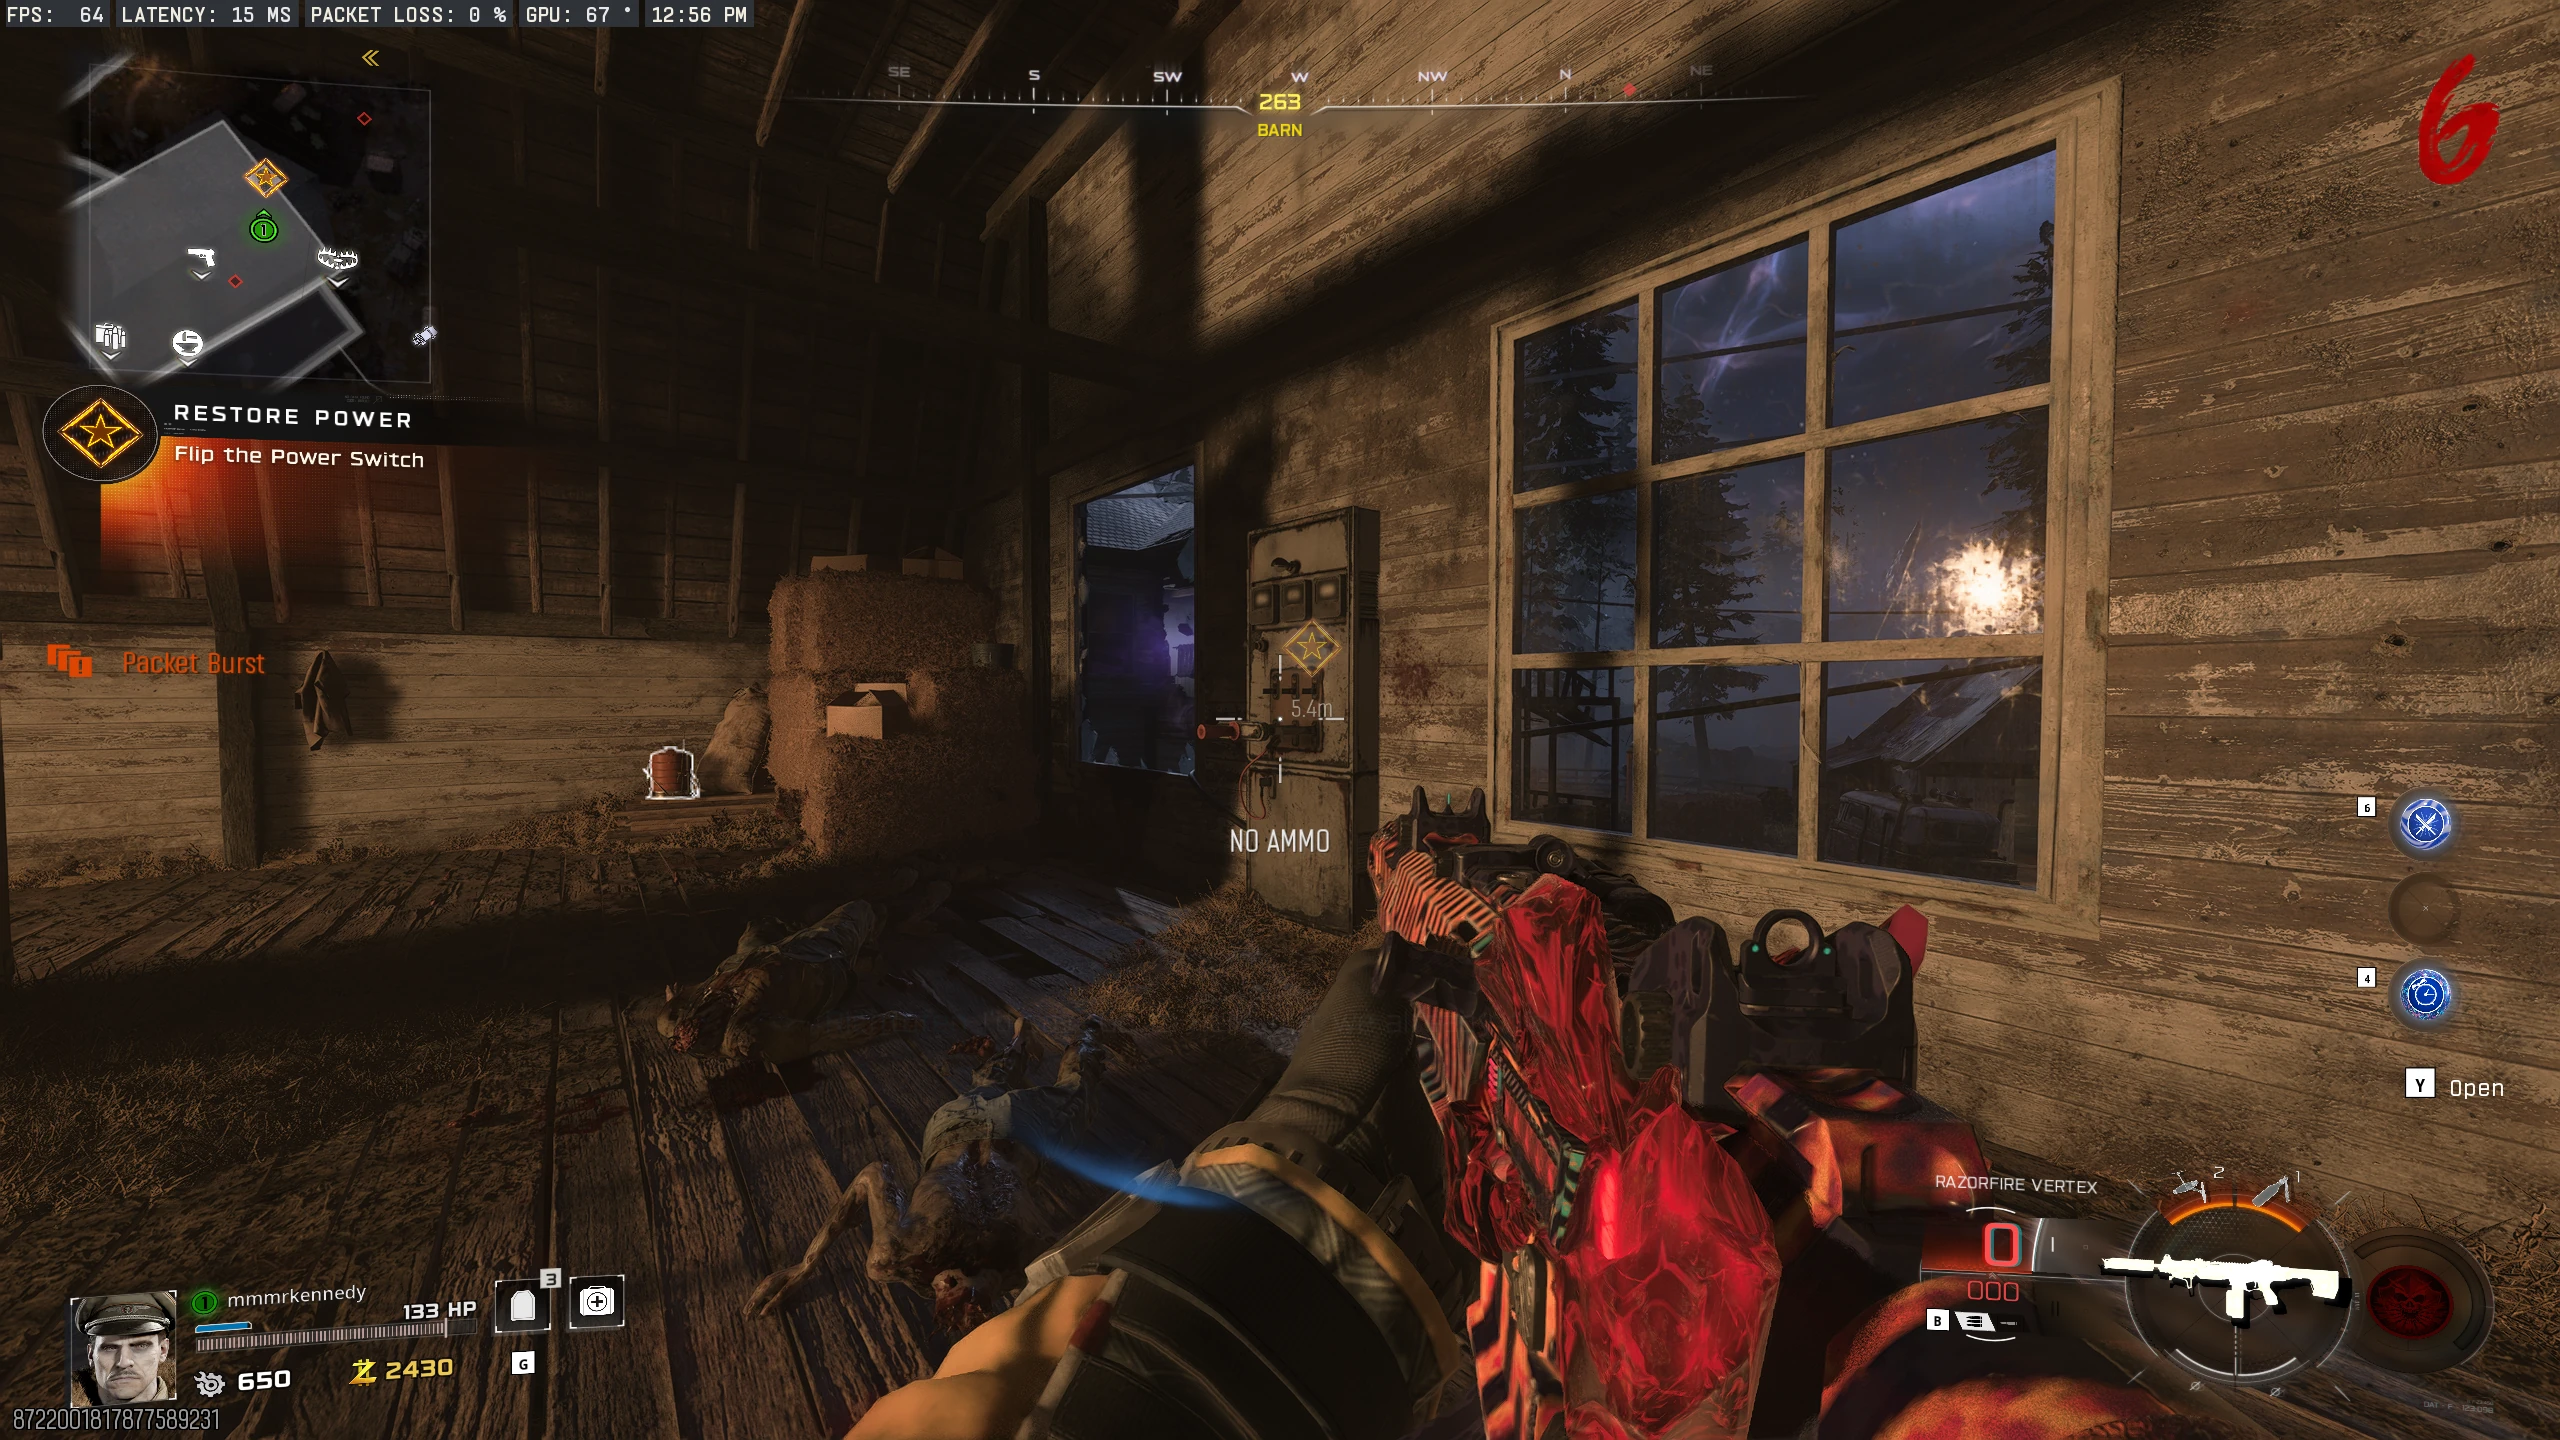
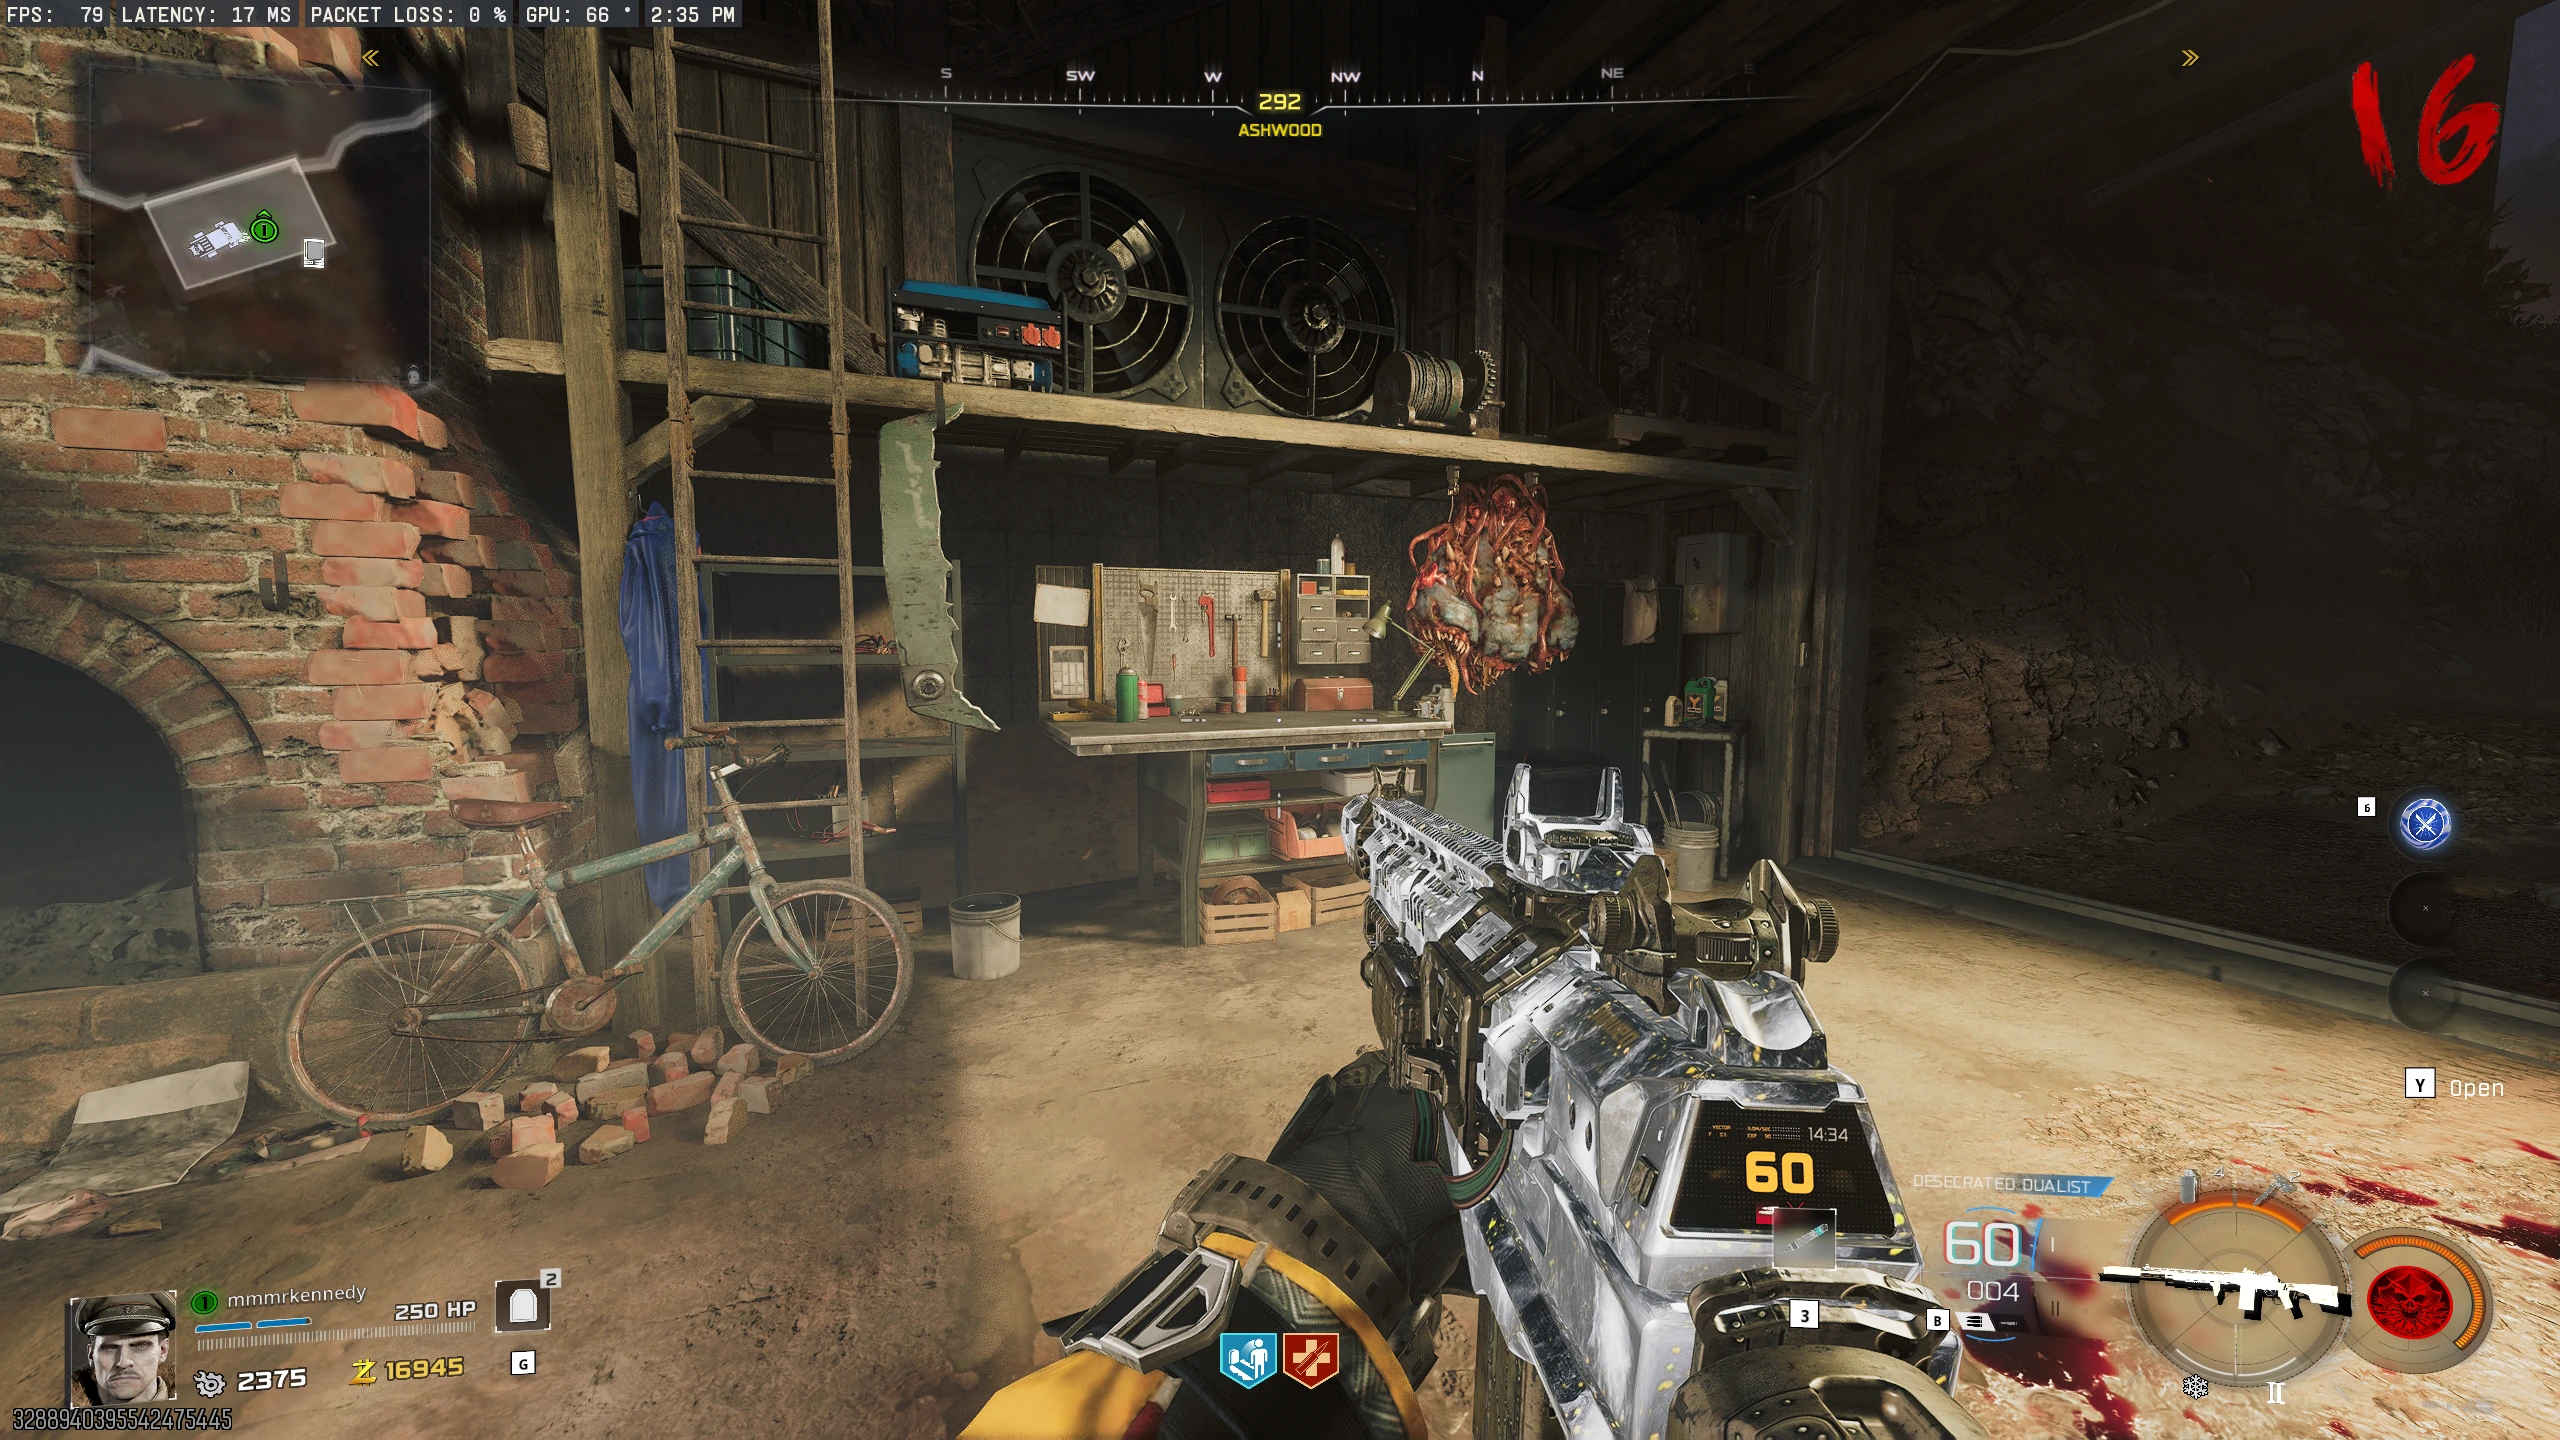
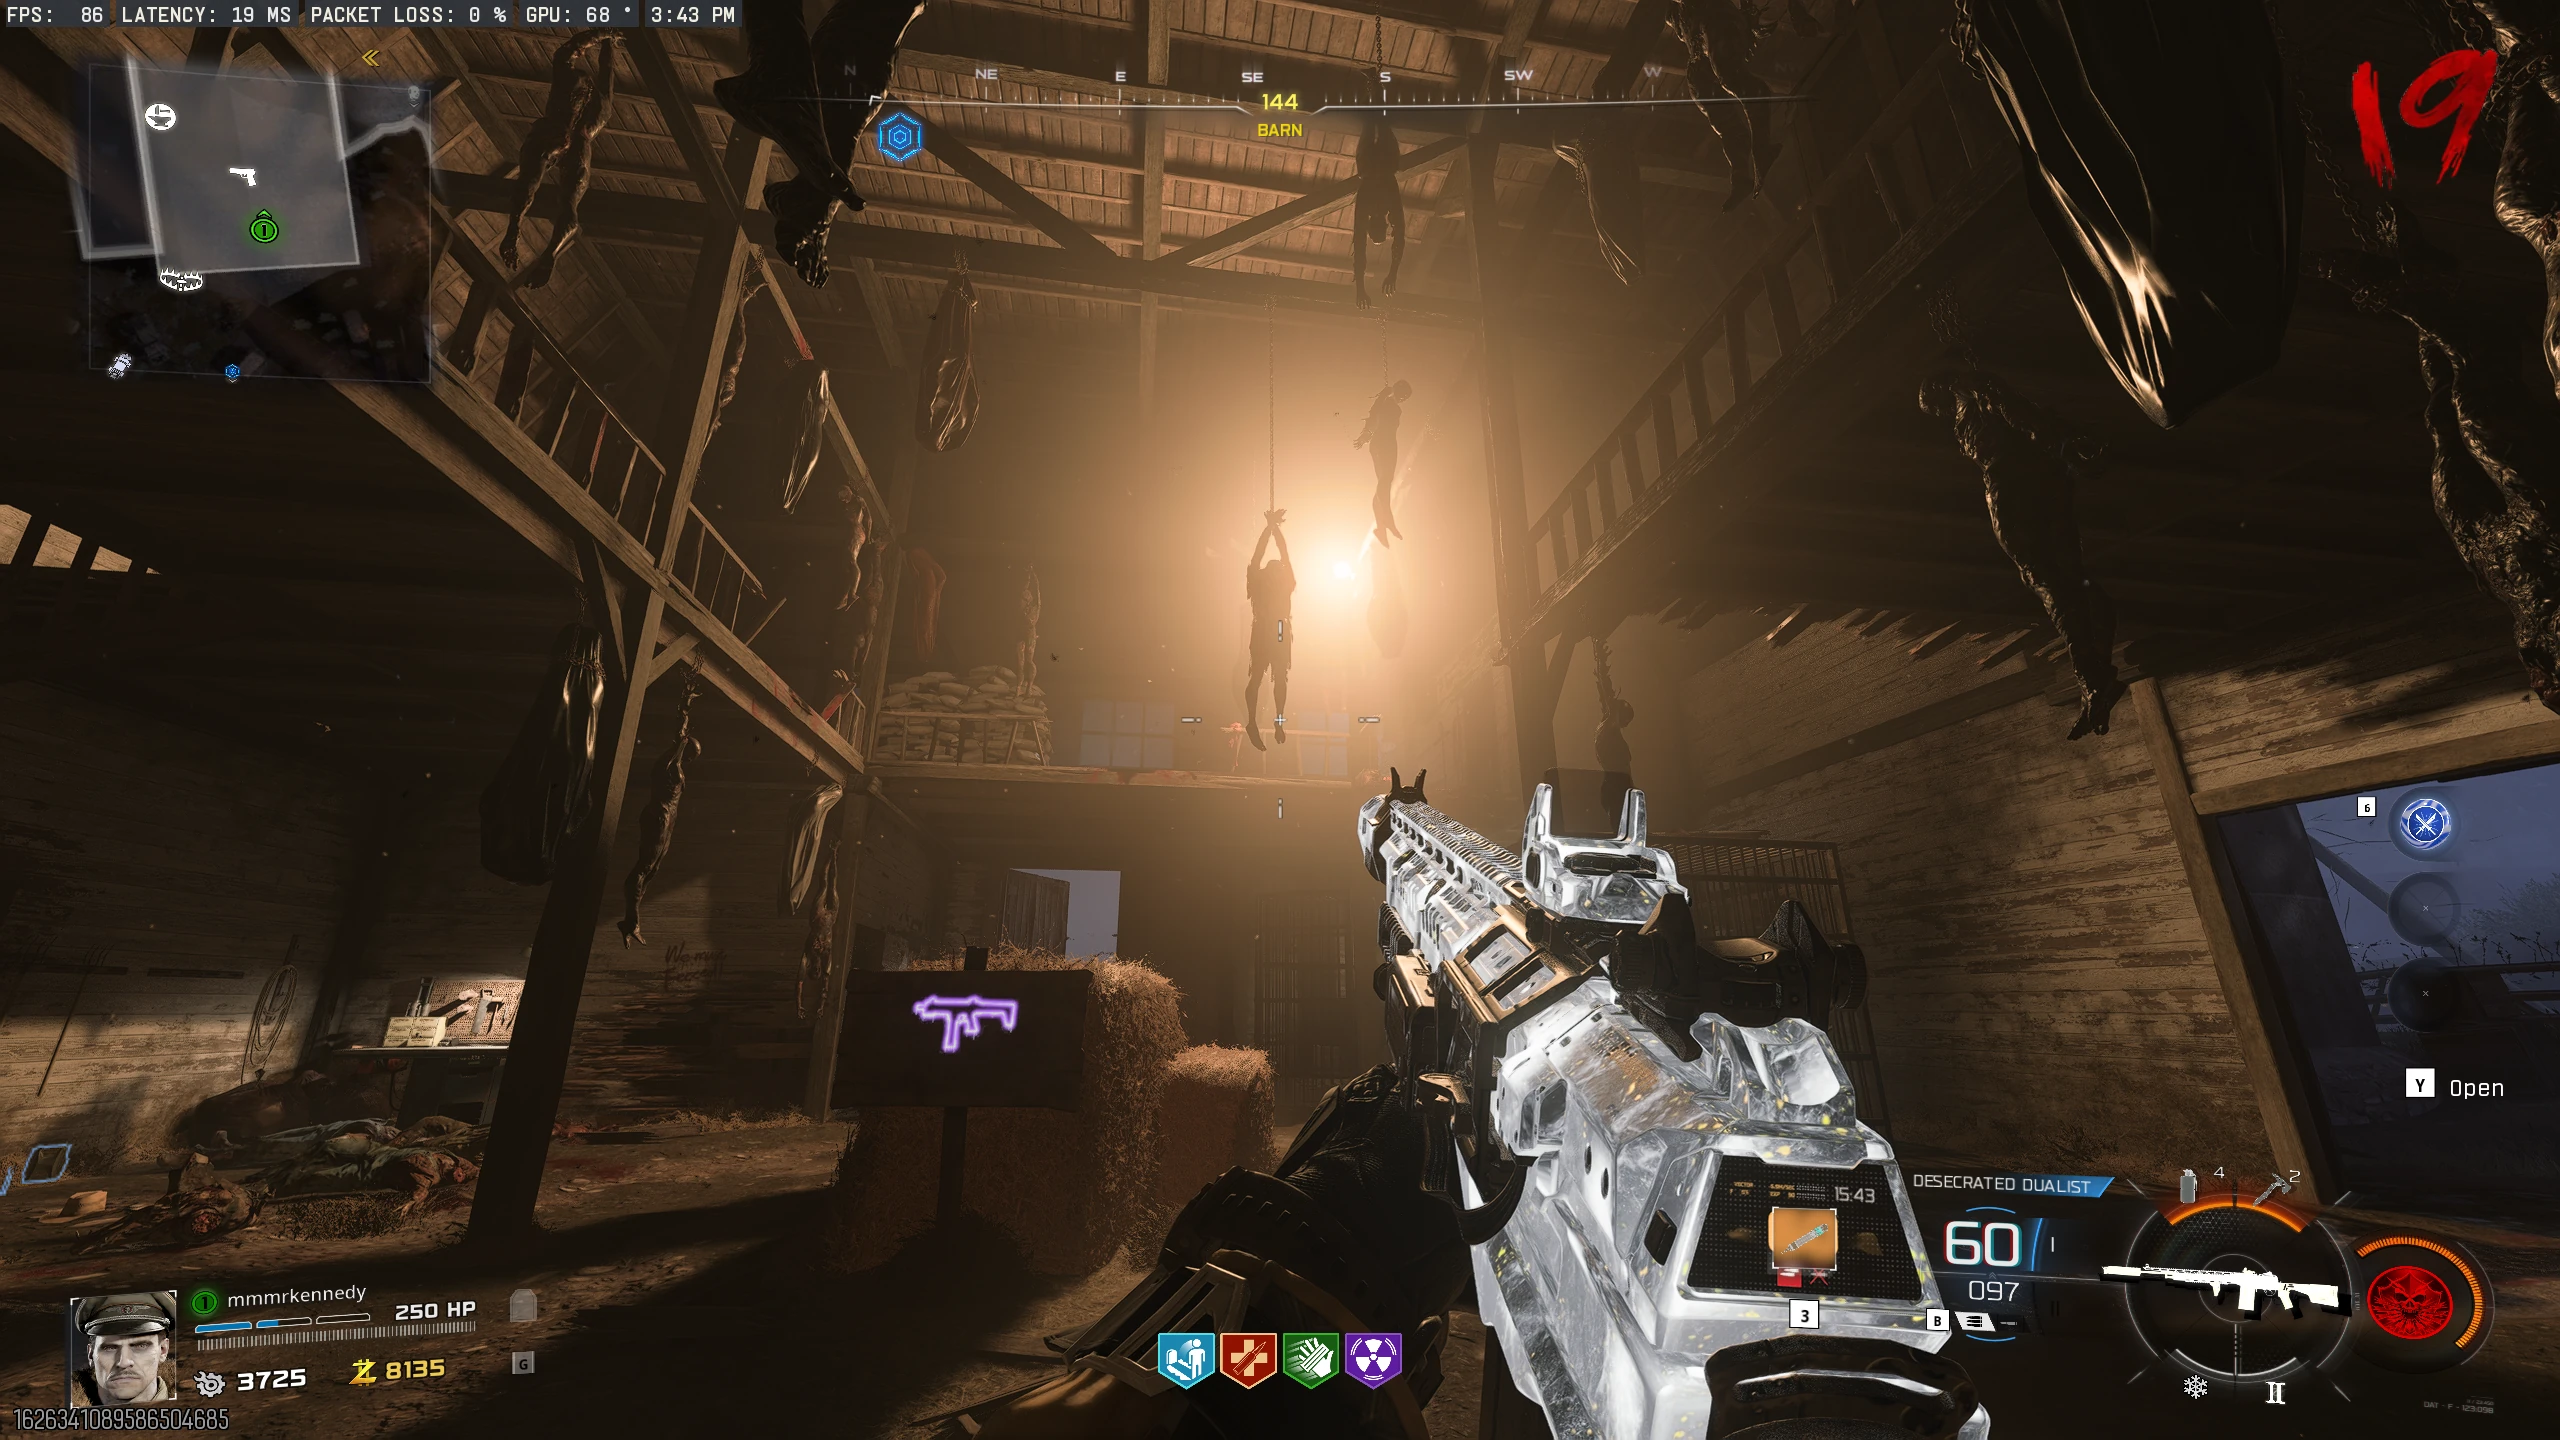
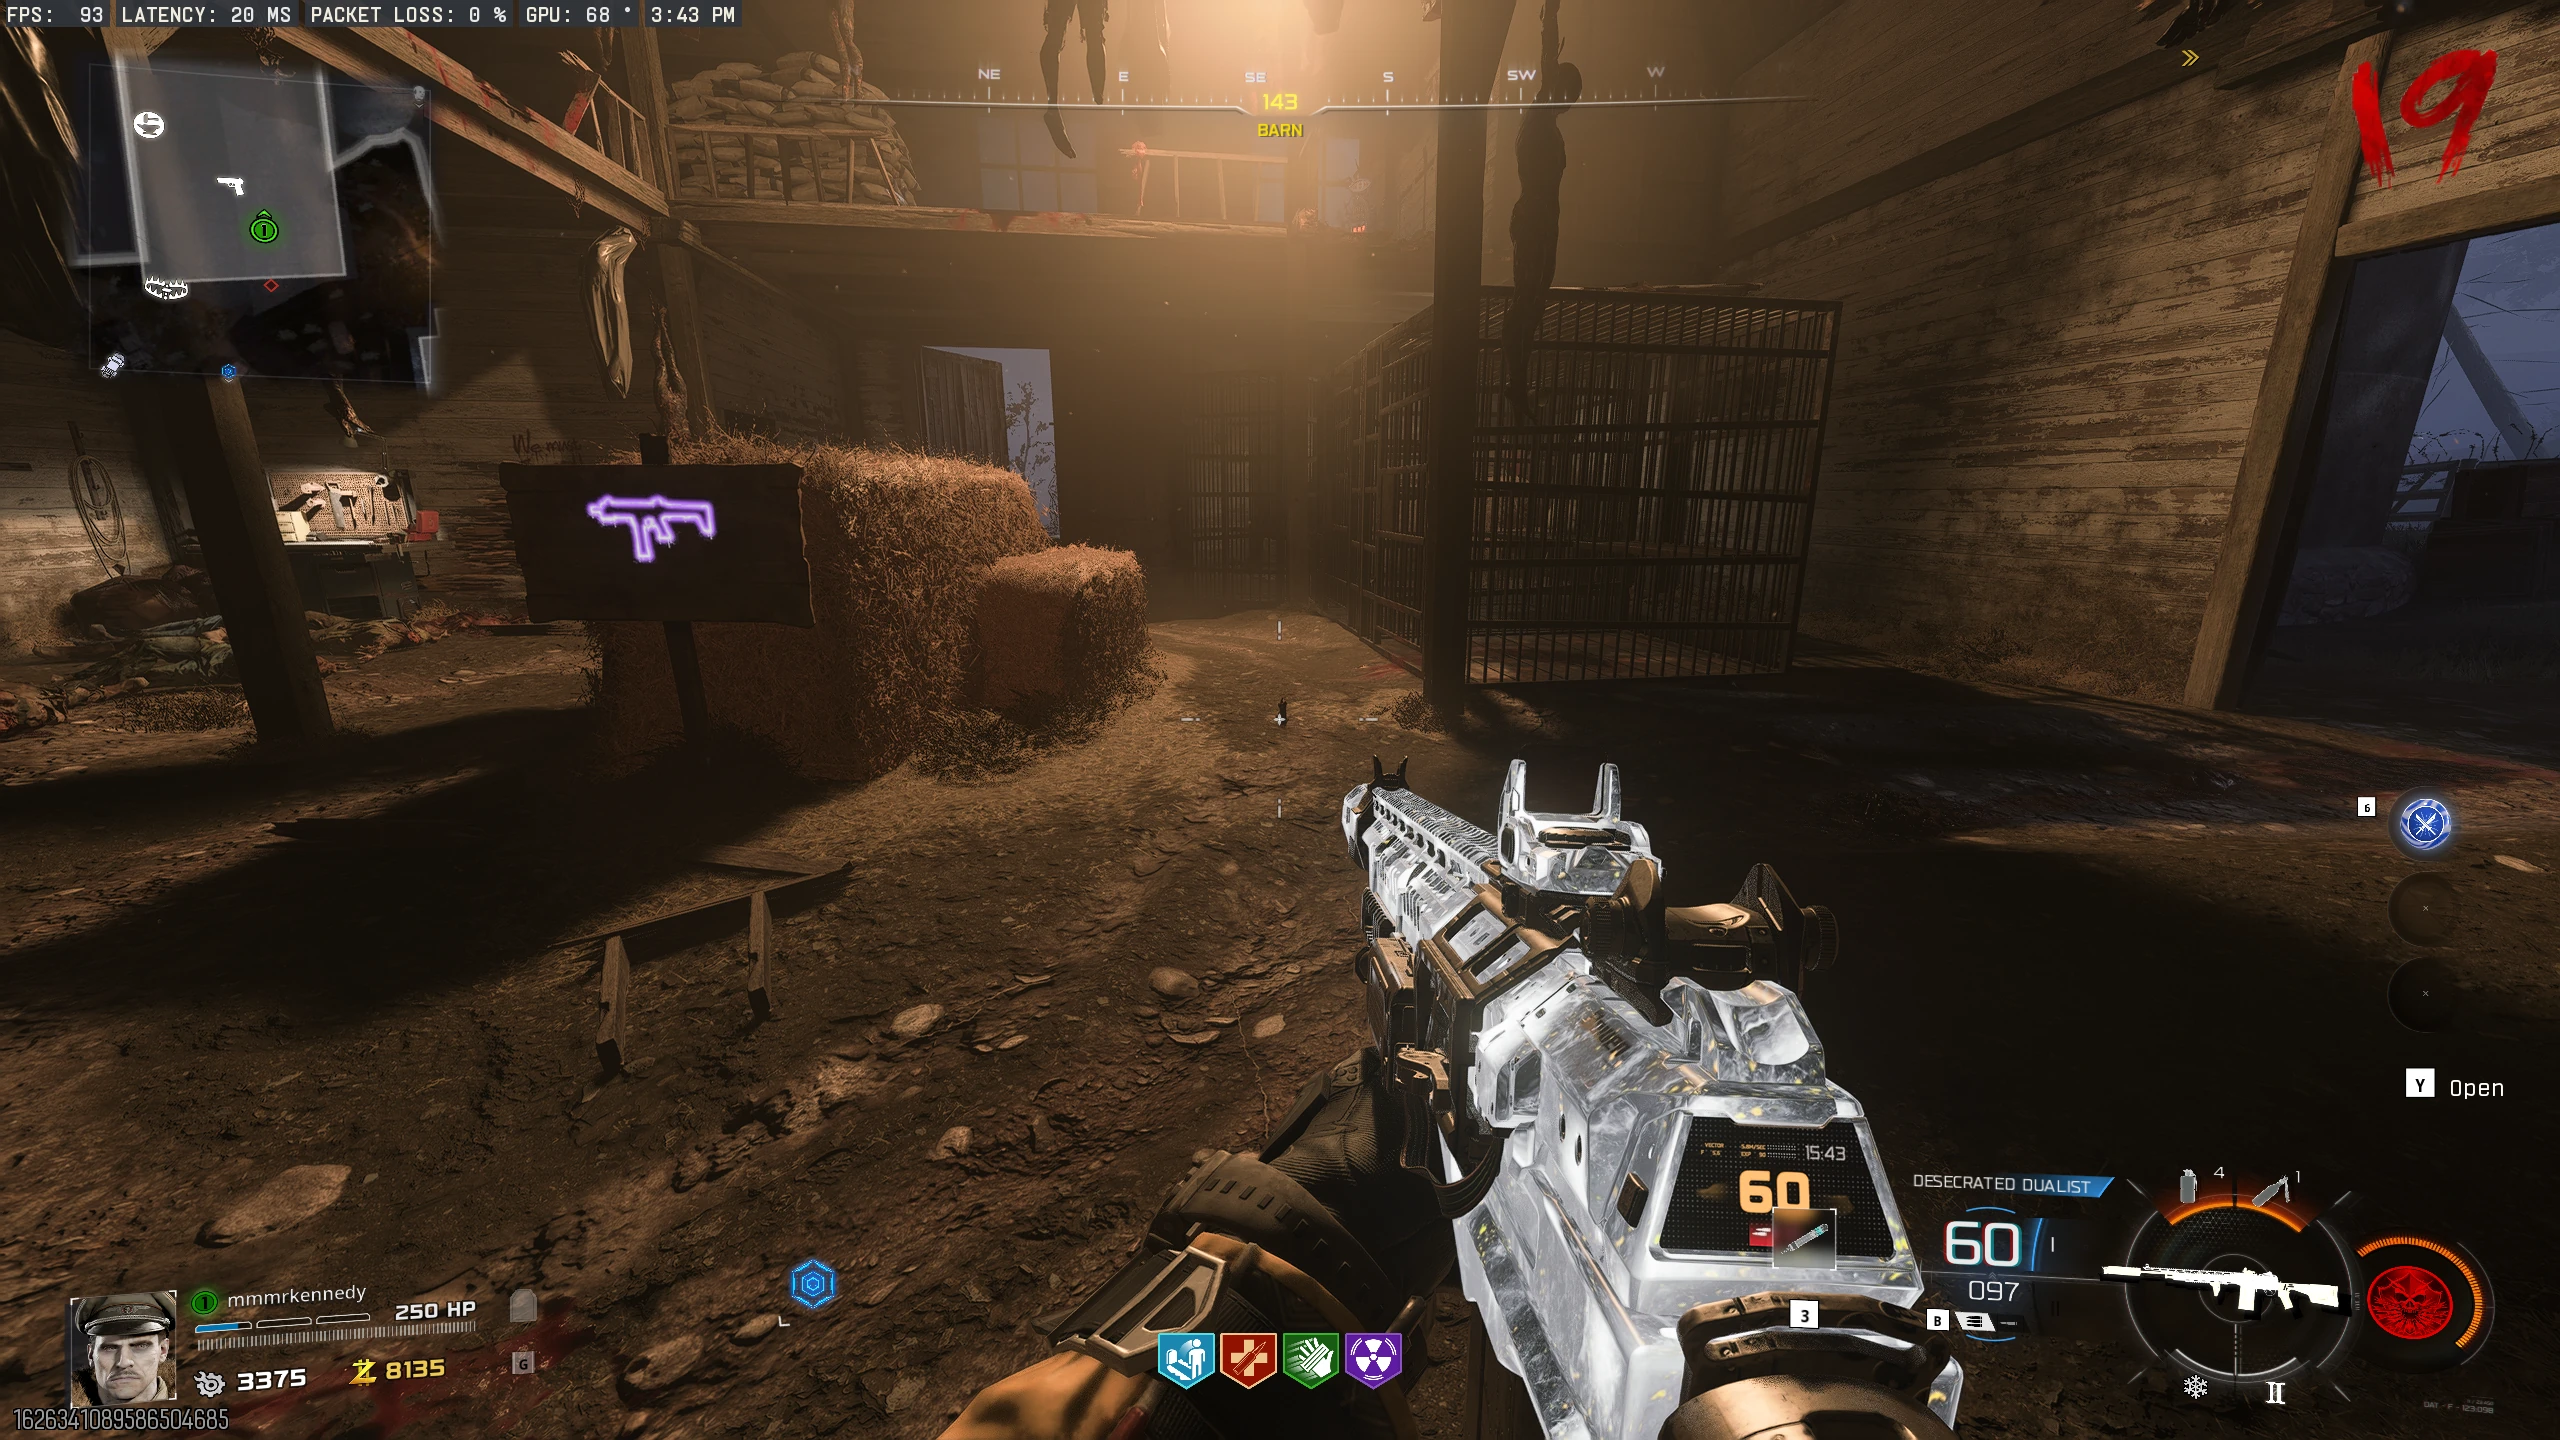
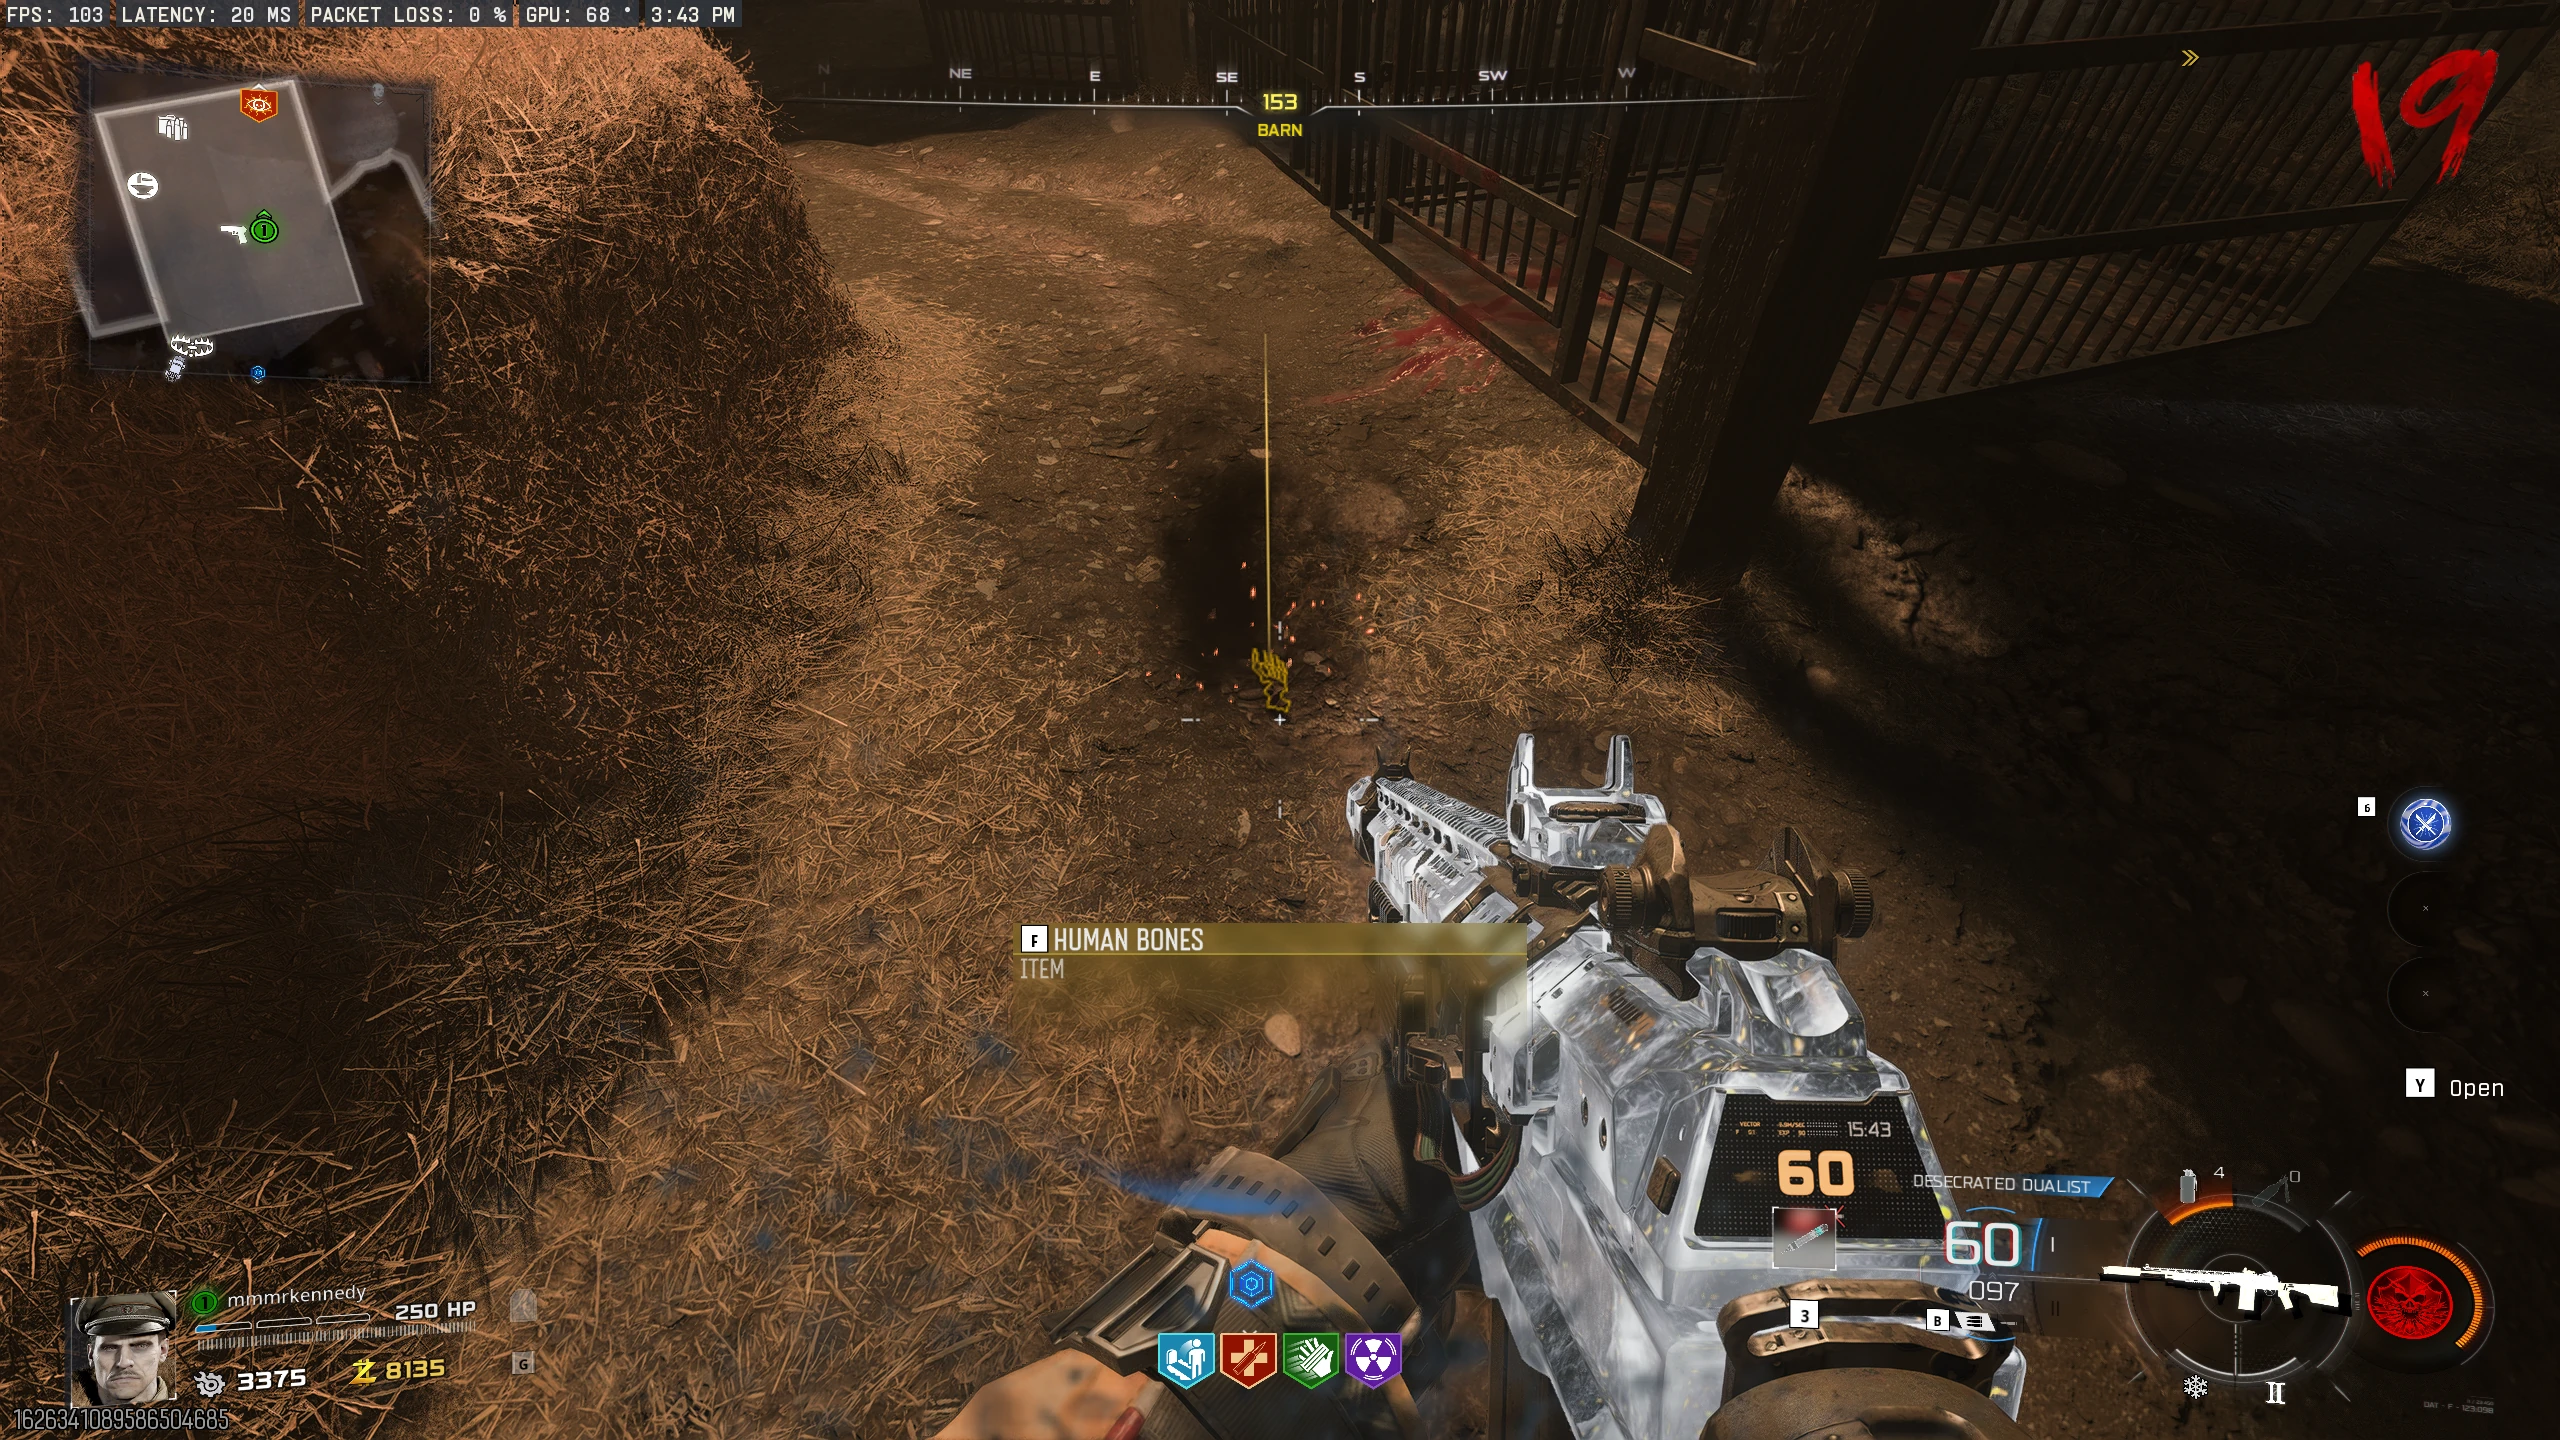
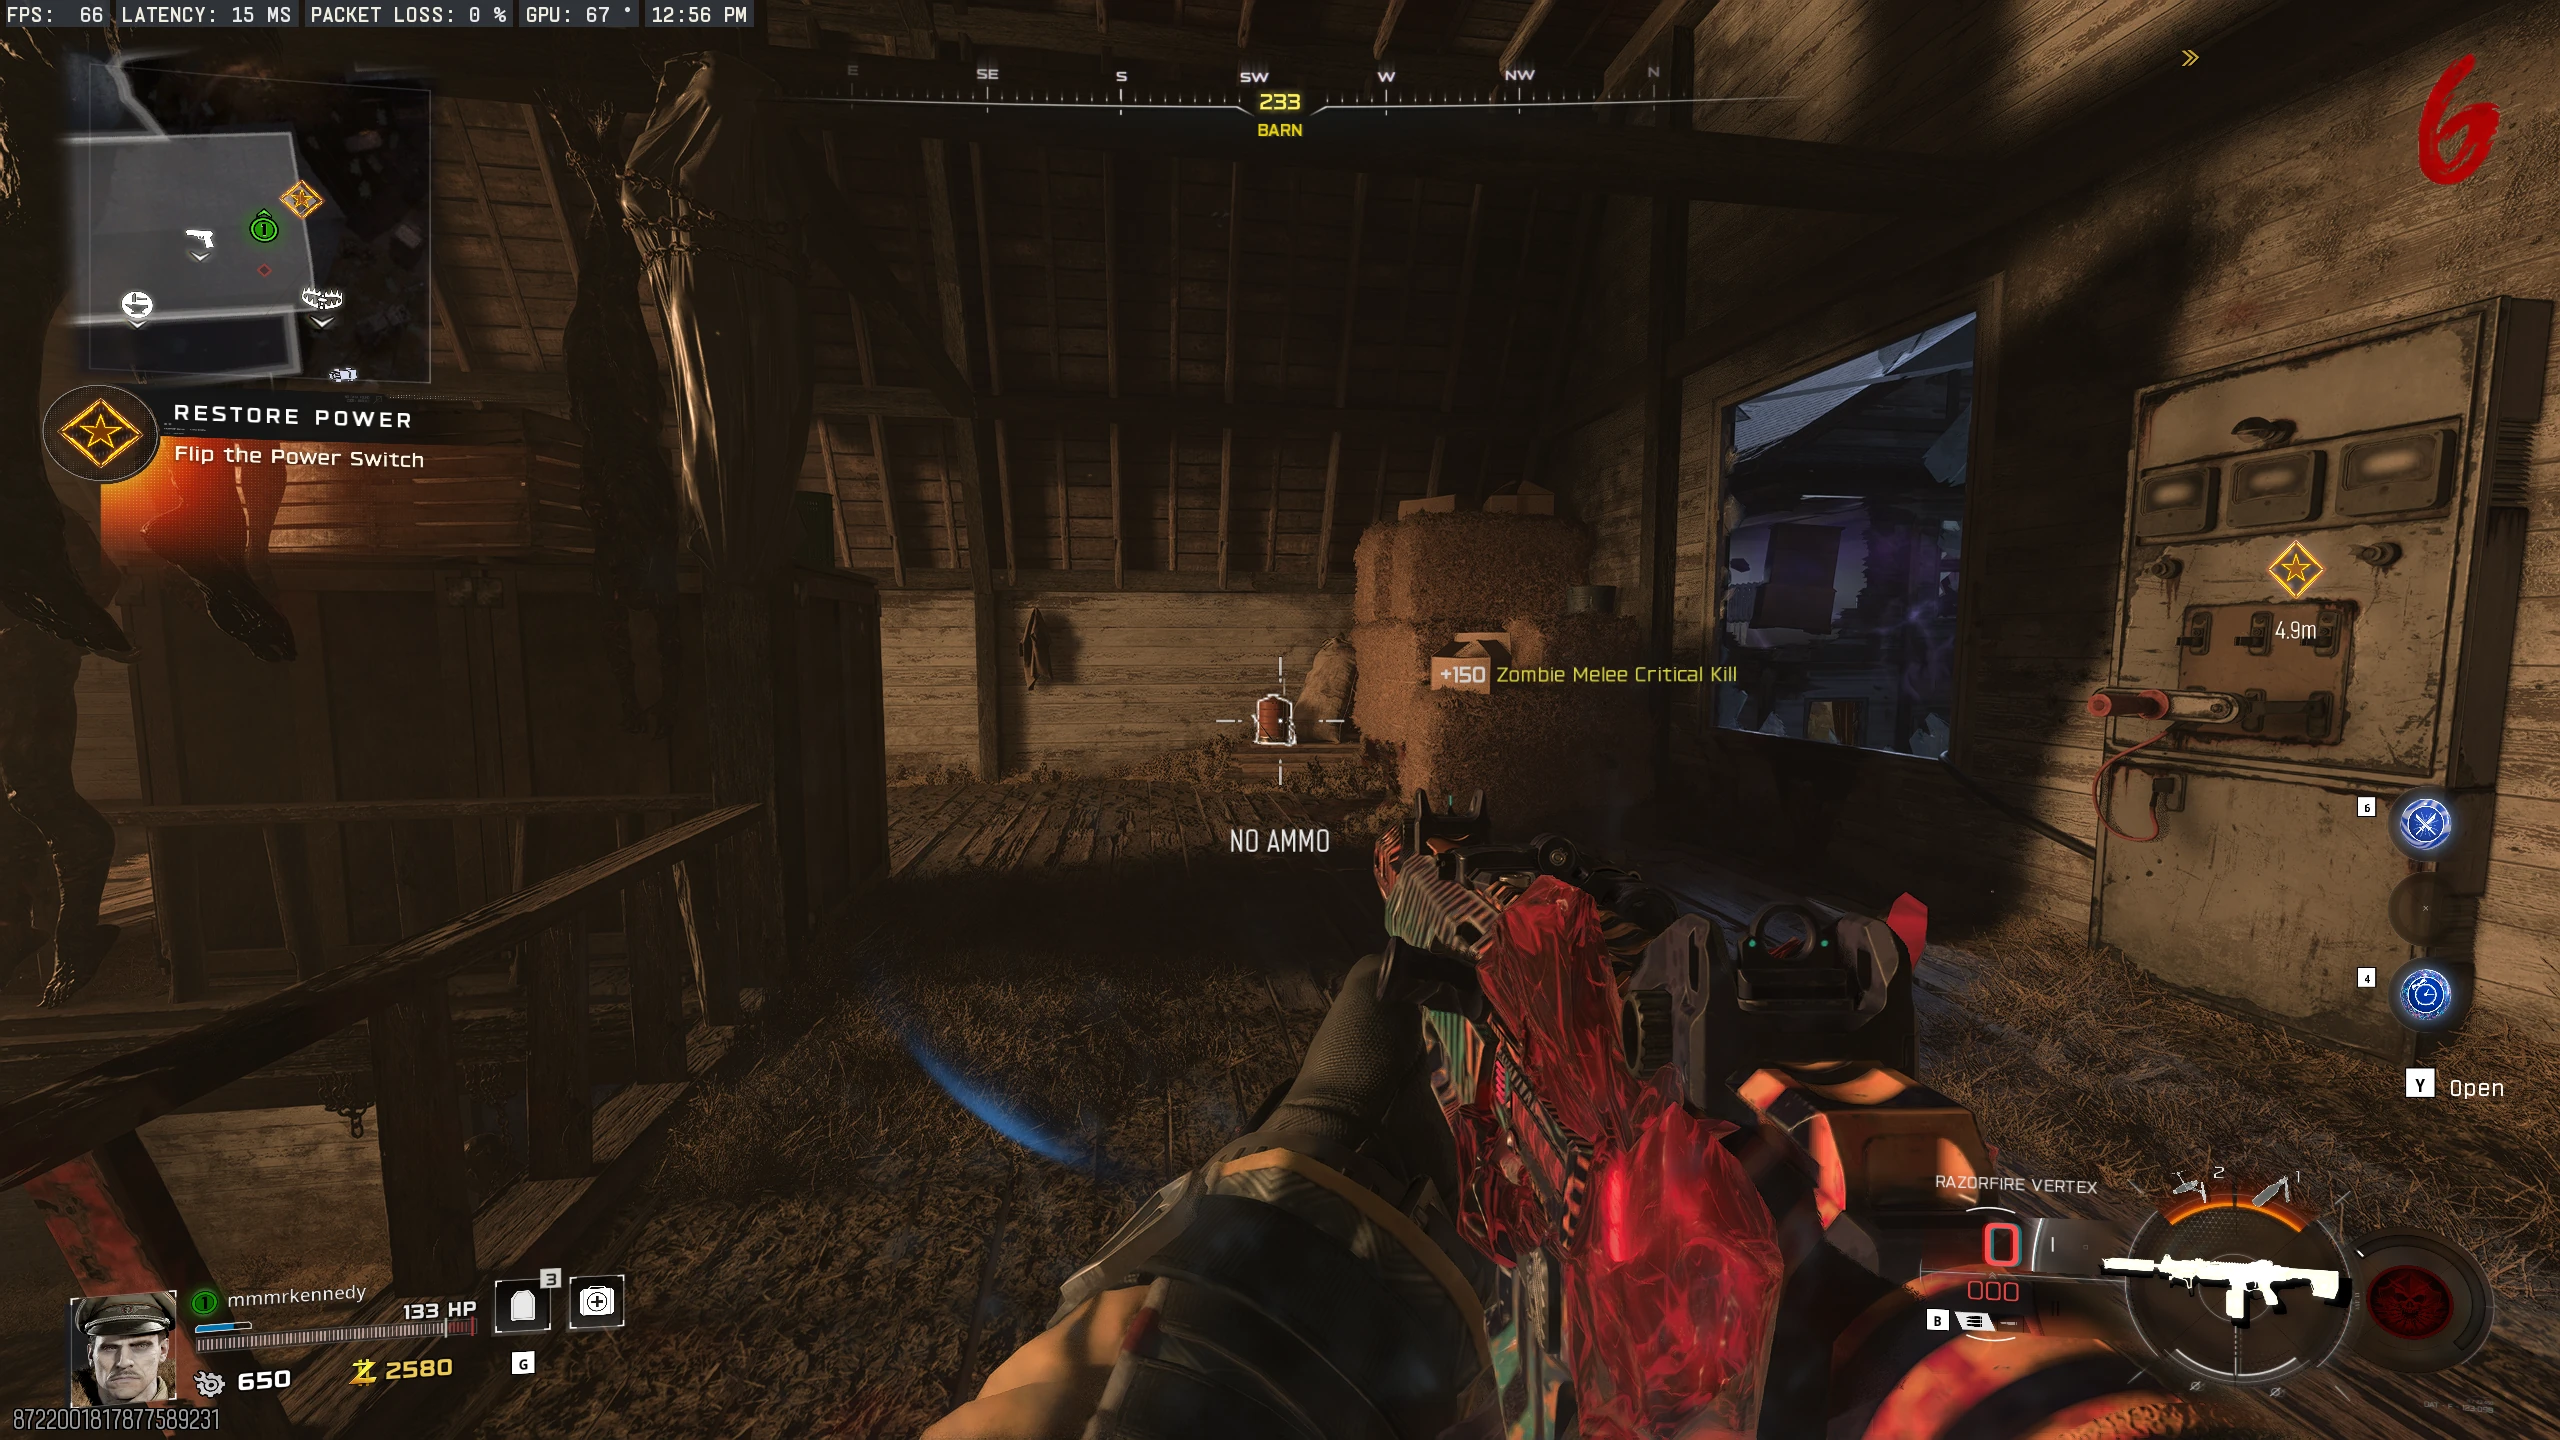
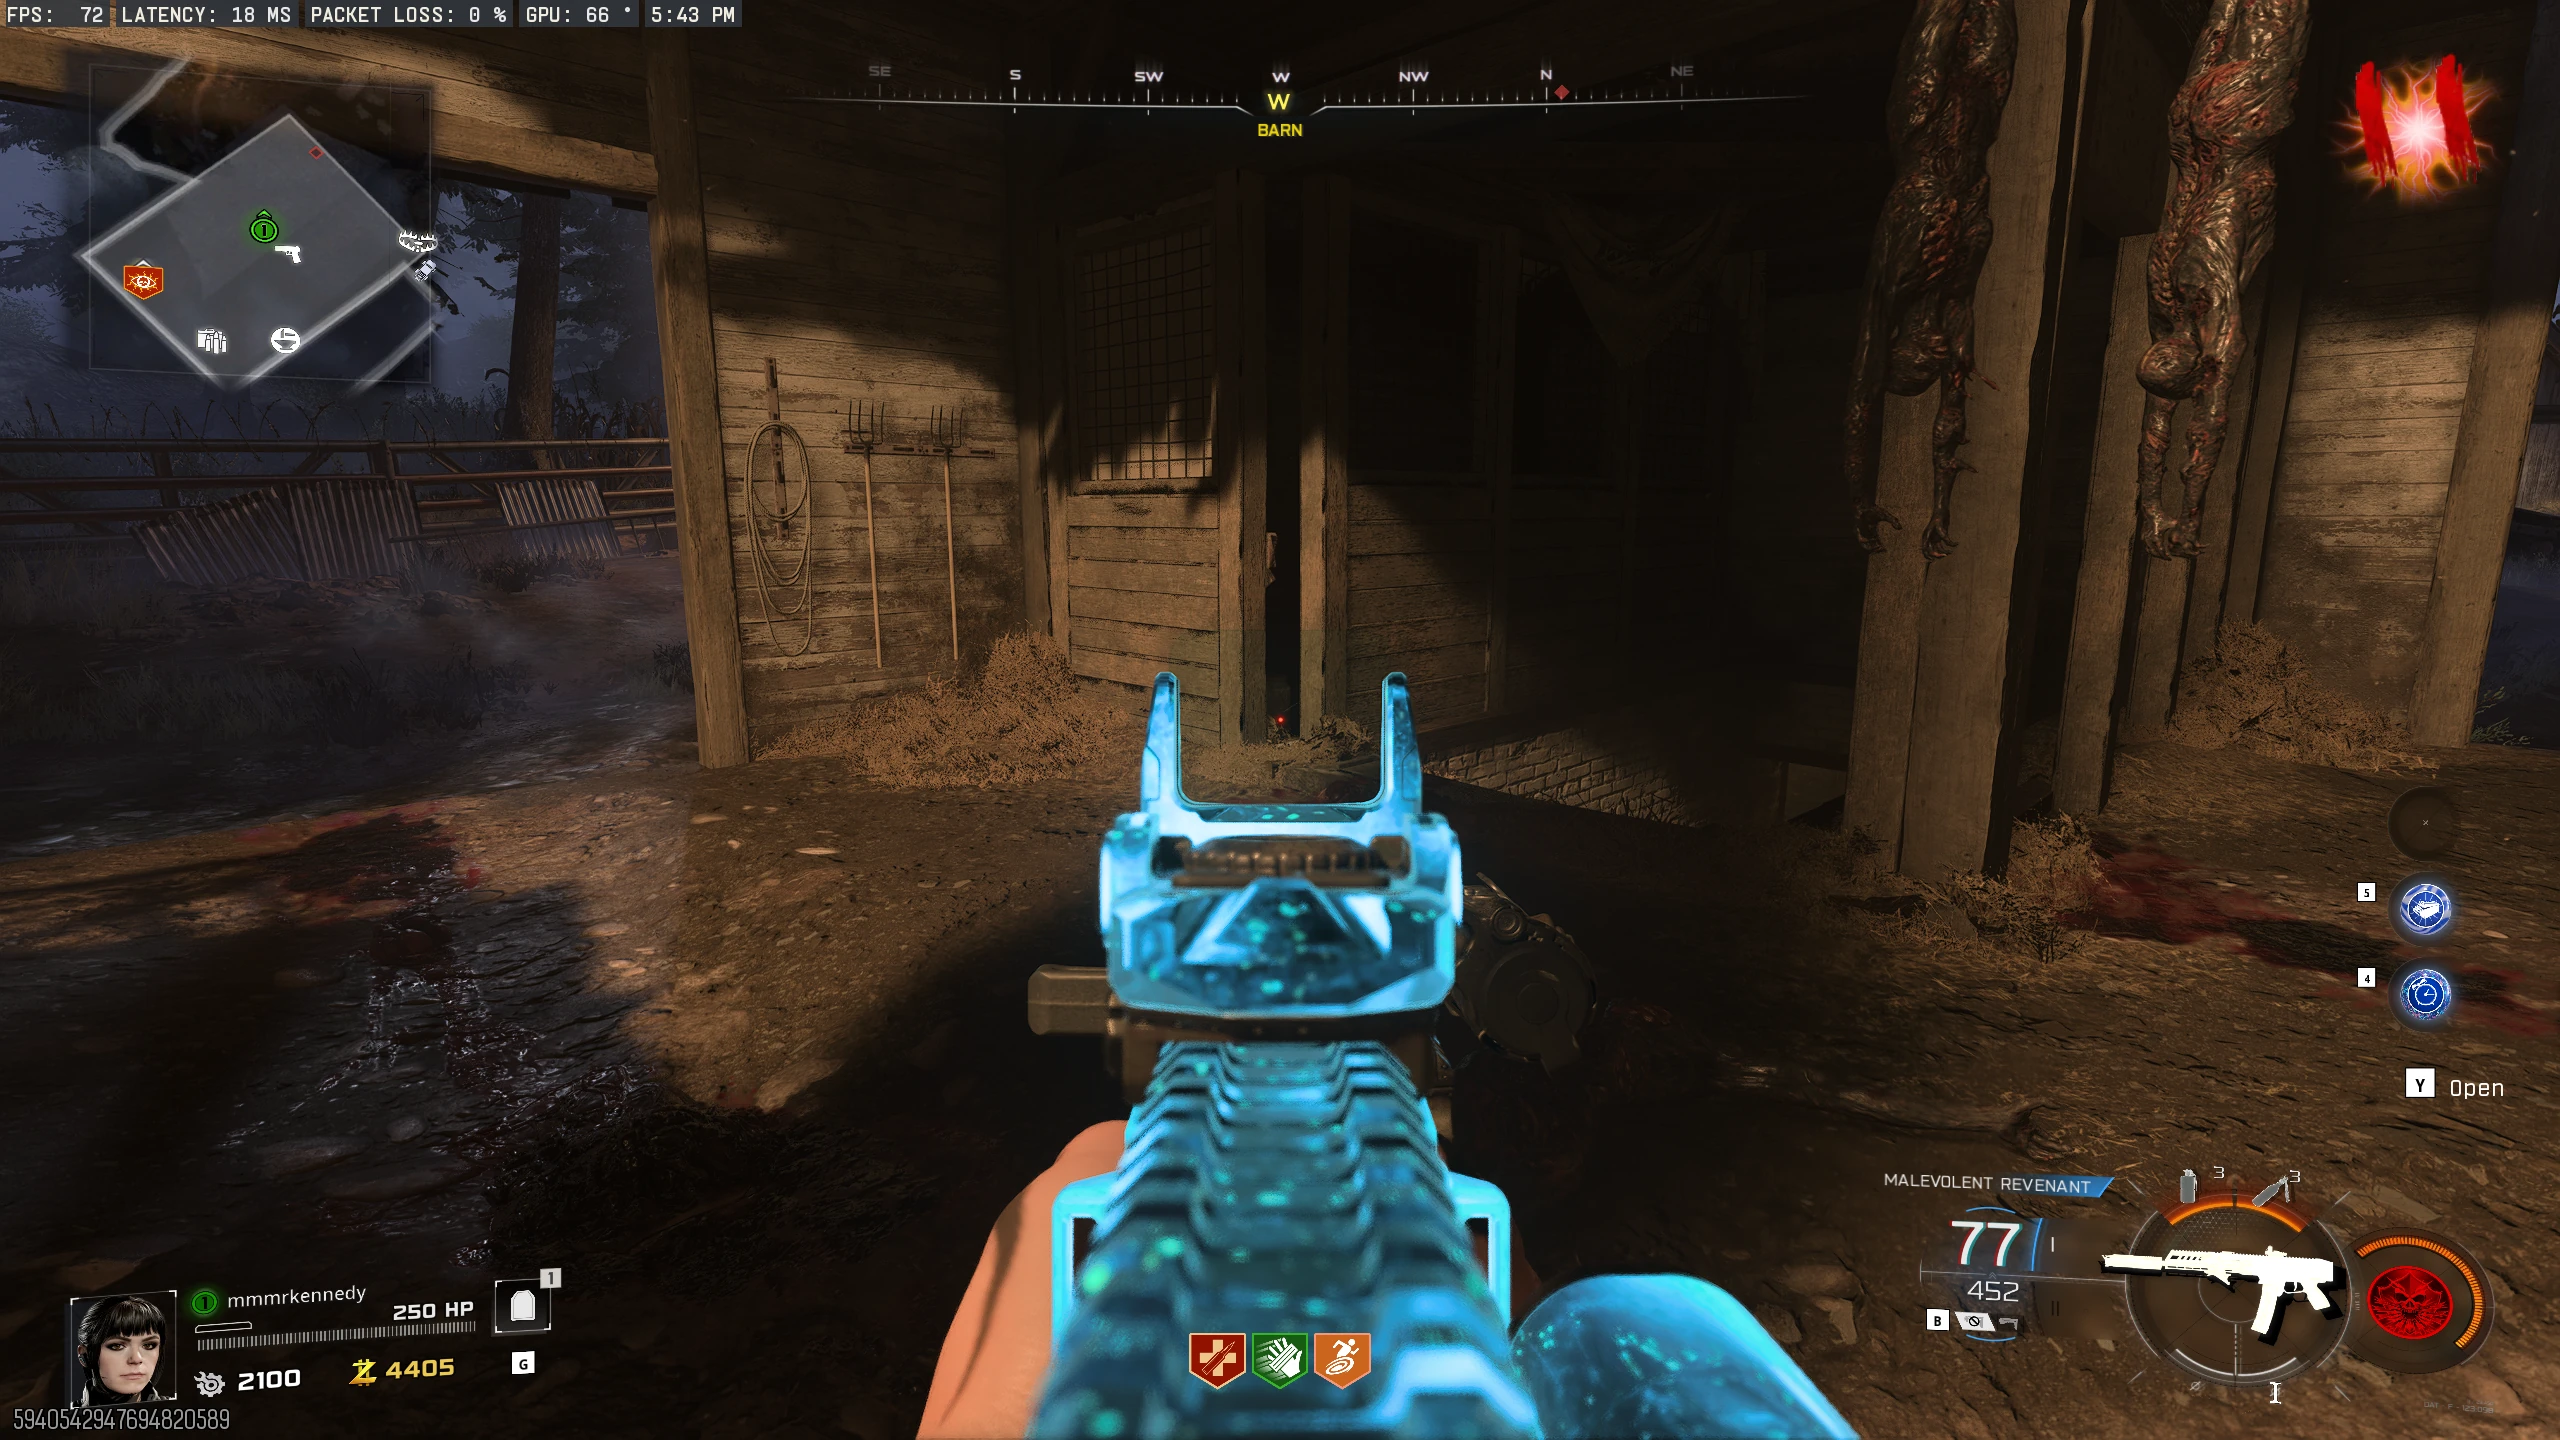
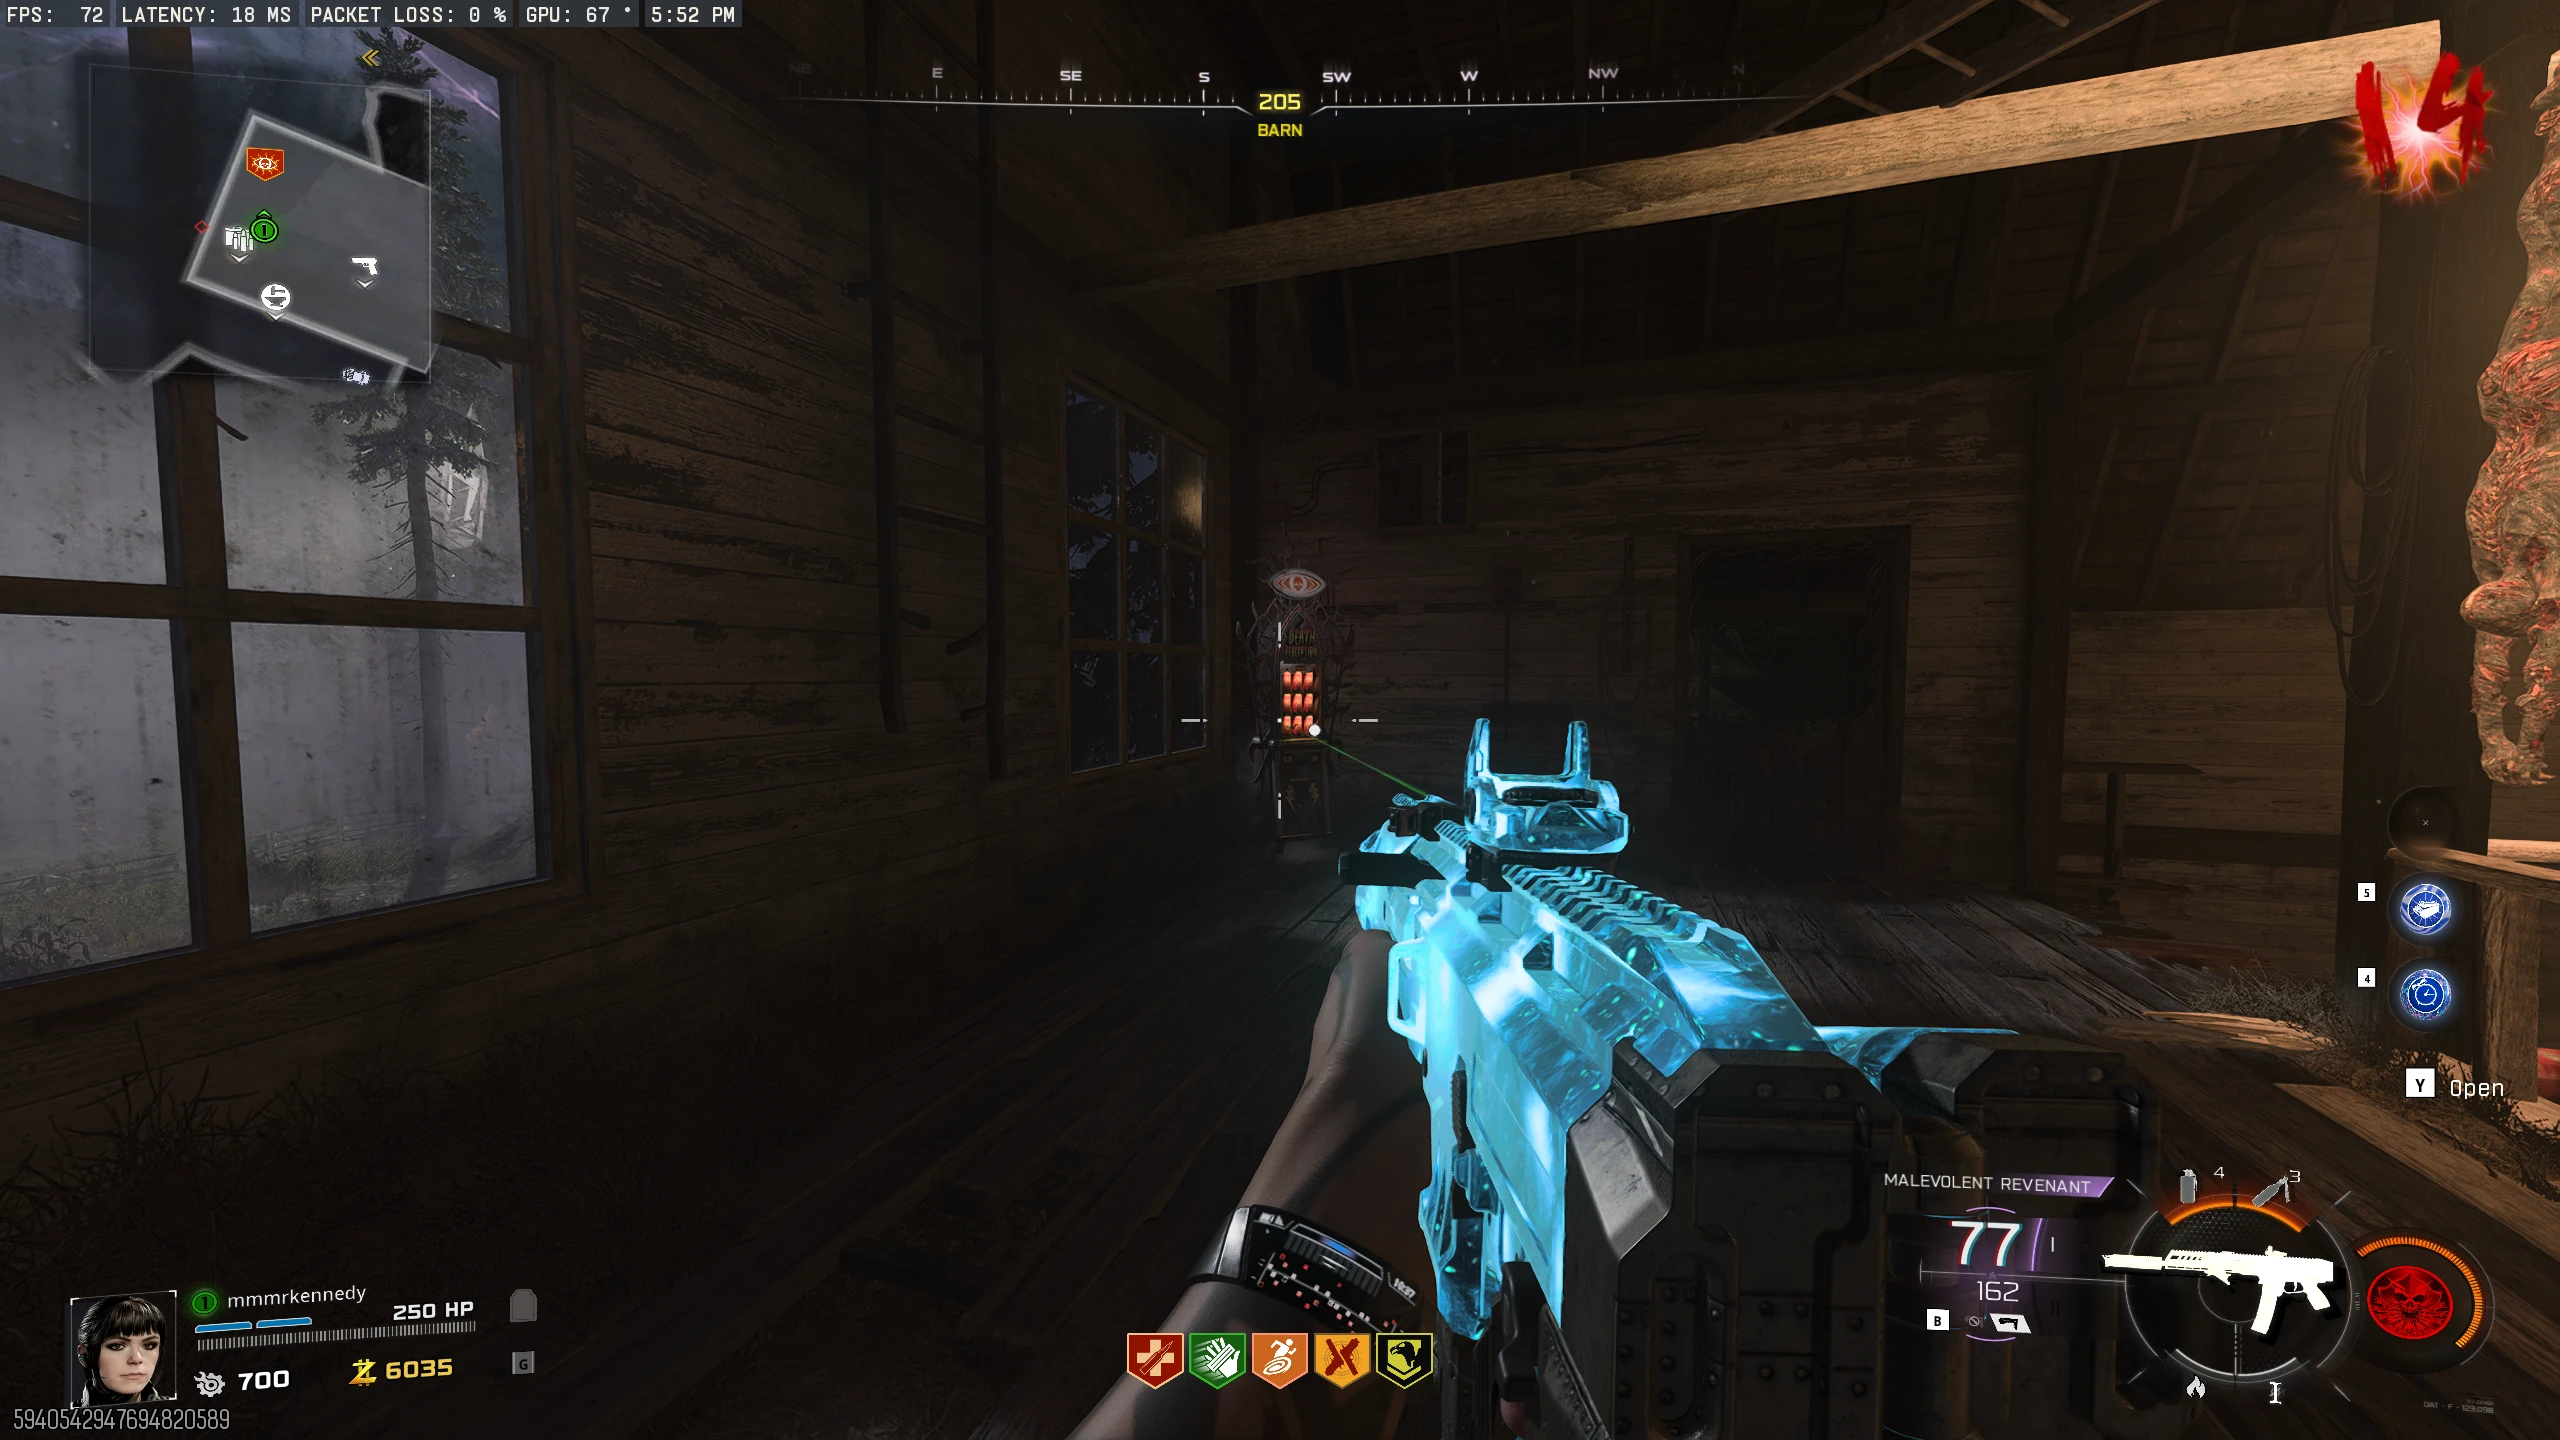
Human Bones: In the Vandorn Farm Barn, locate the hanging corpse dripping blood above the Ryden 45K wallbuy.
Throw a Tomahawk at the right foot of the corpse, then throw a Molotov at the fallen foot to burn it. Pick up the
Human Bones.
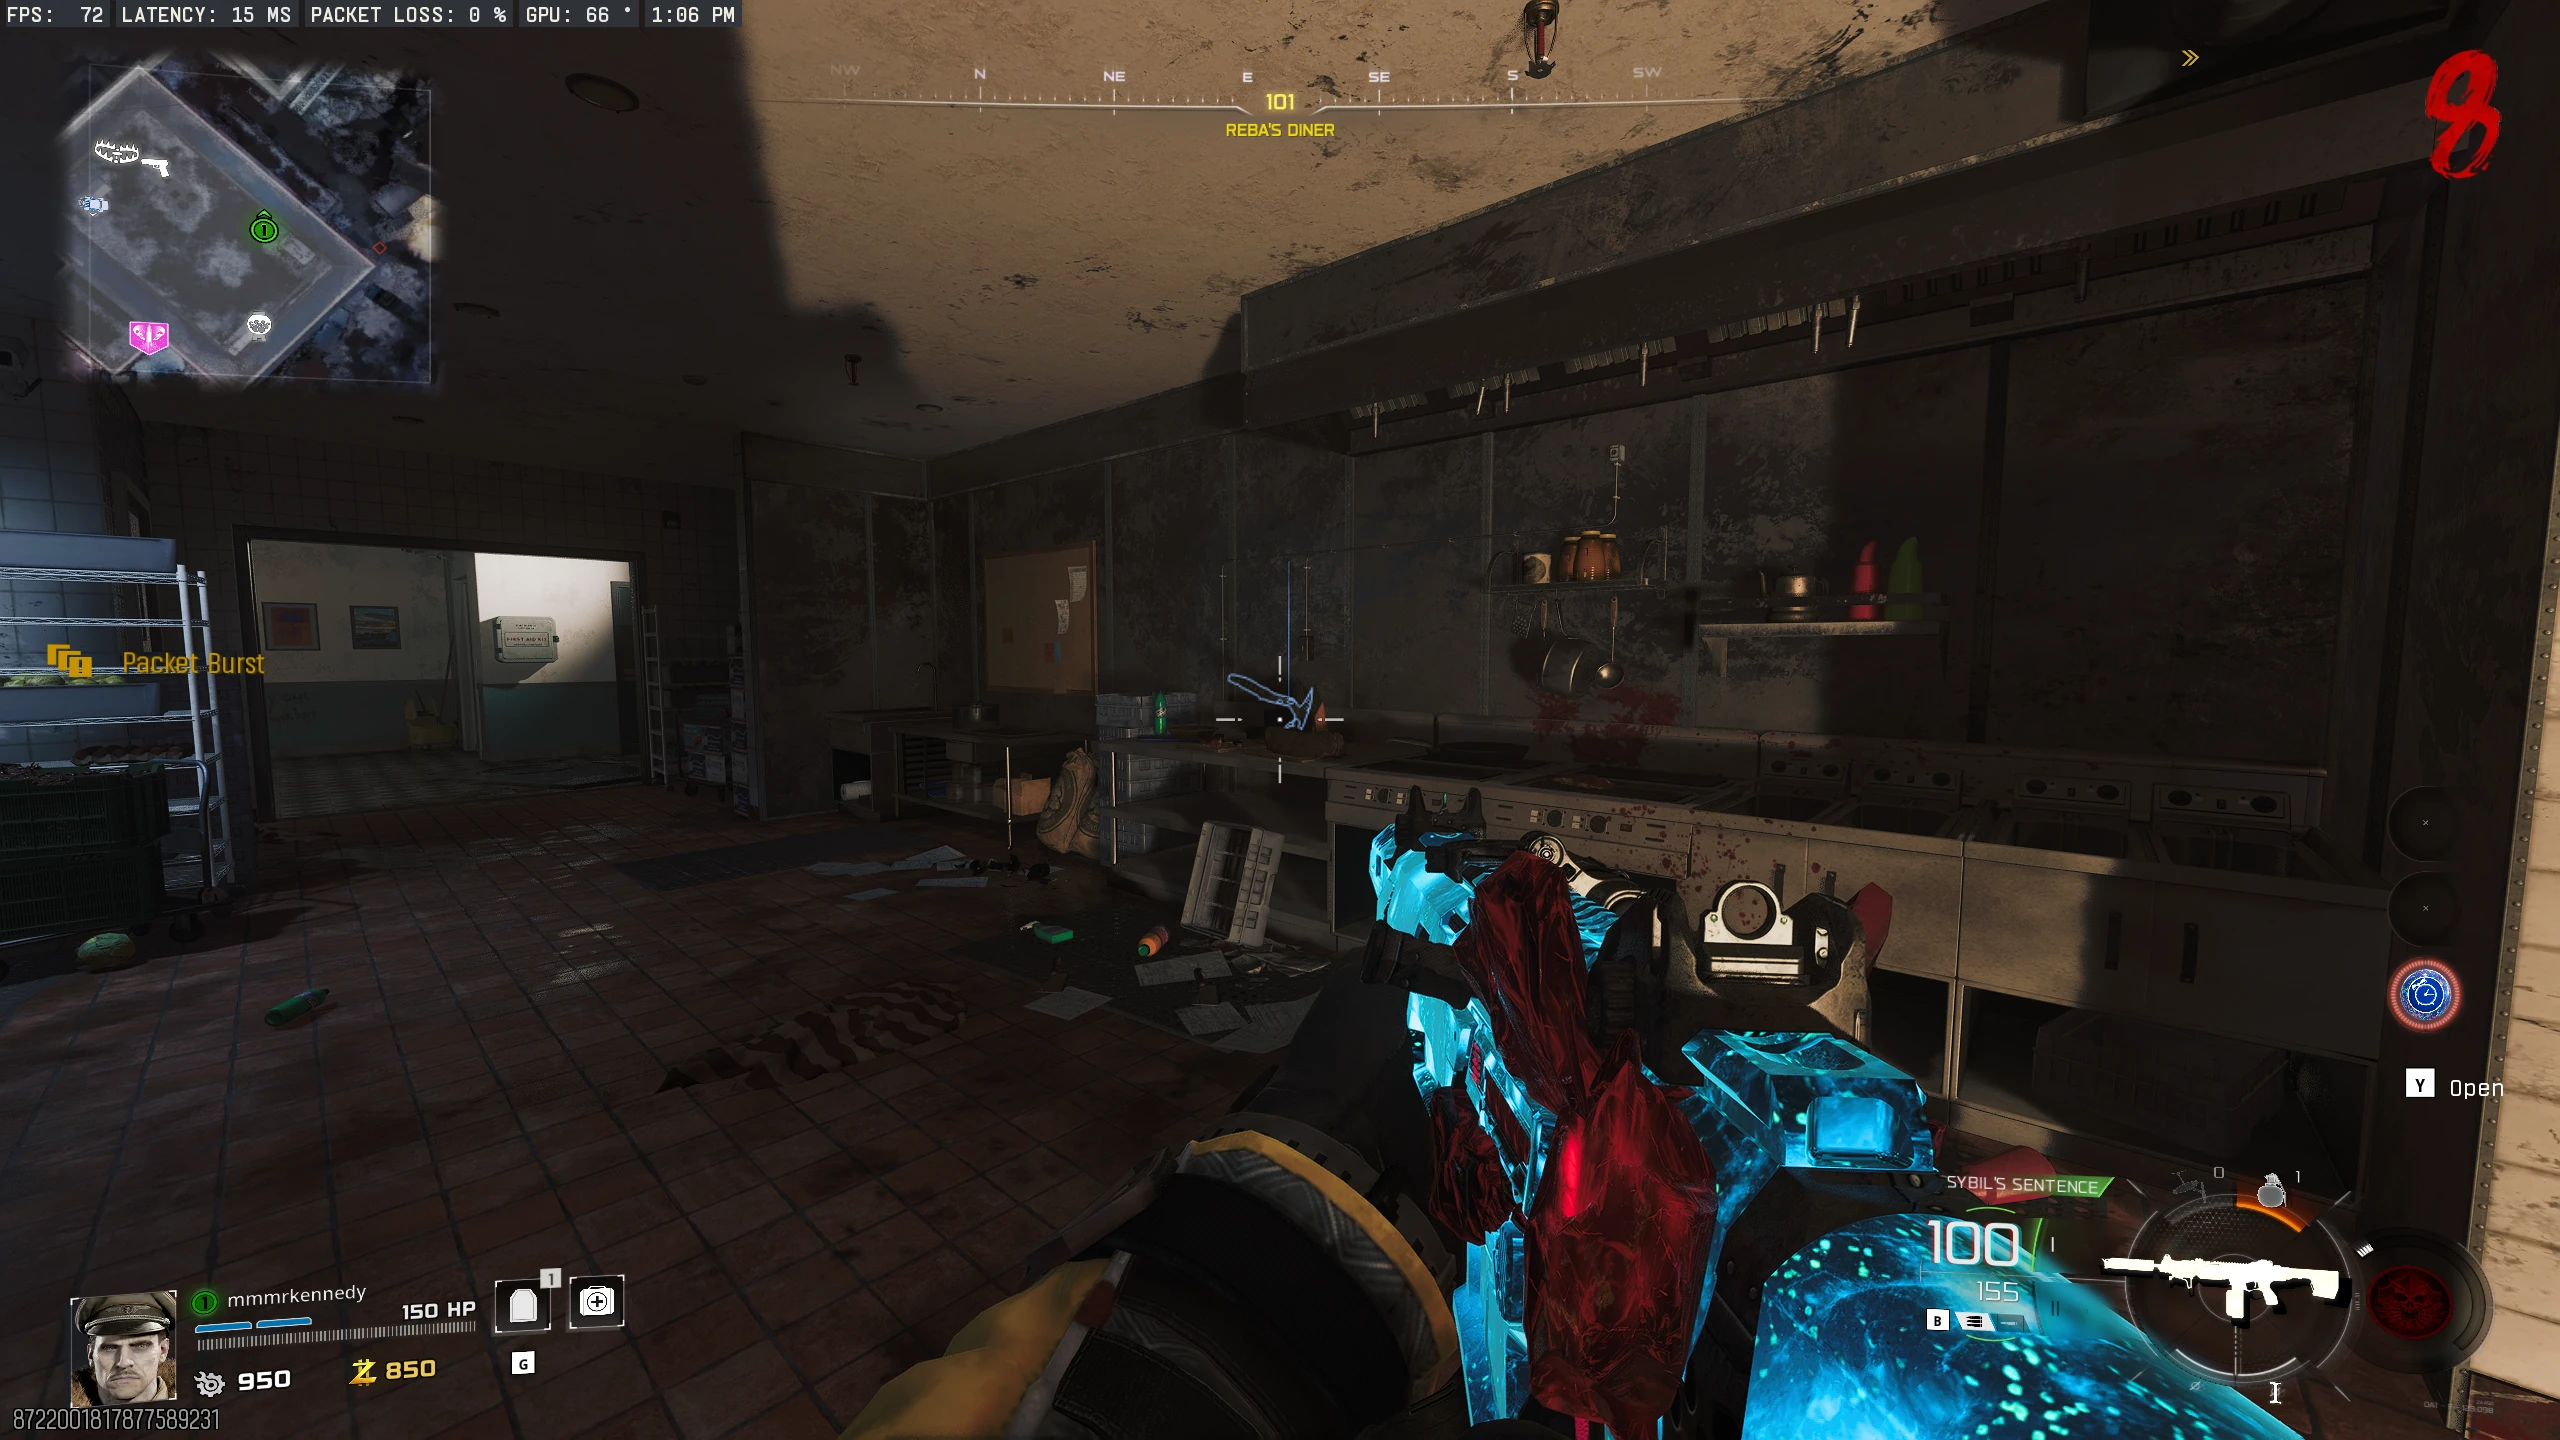
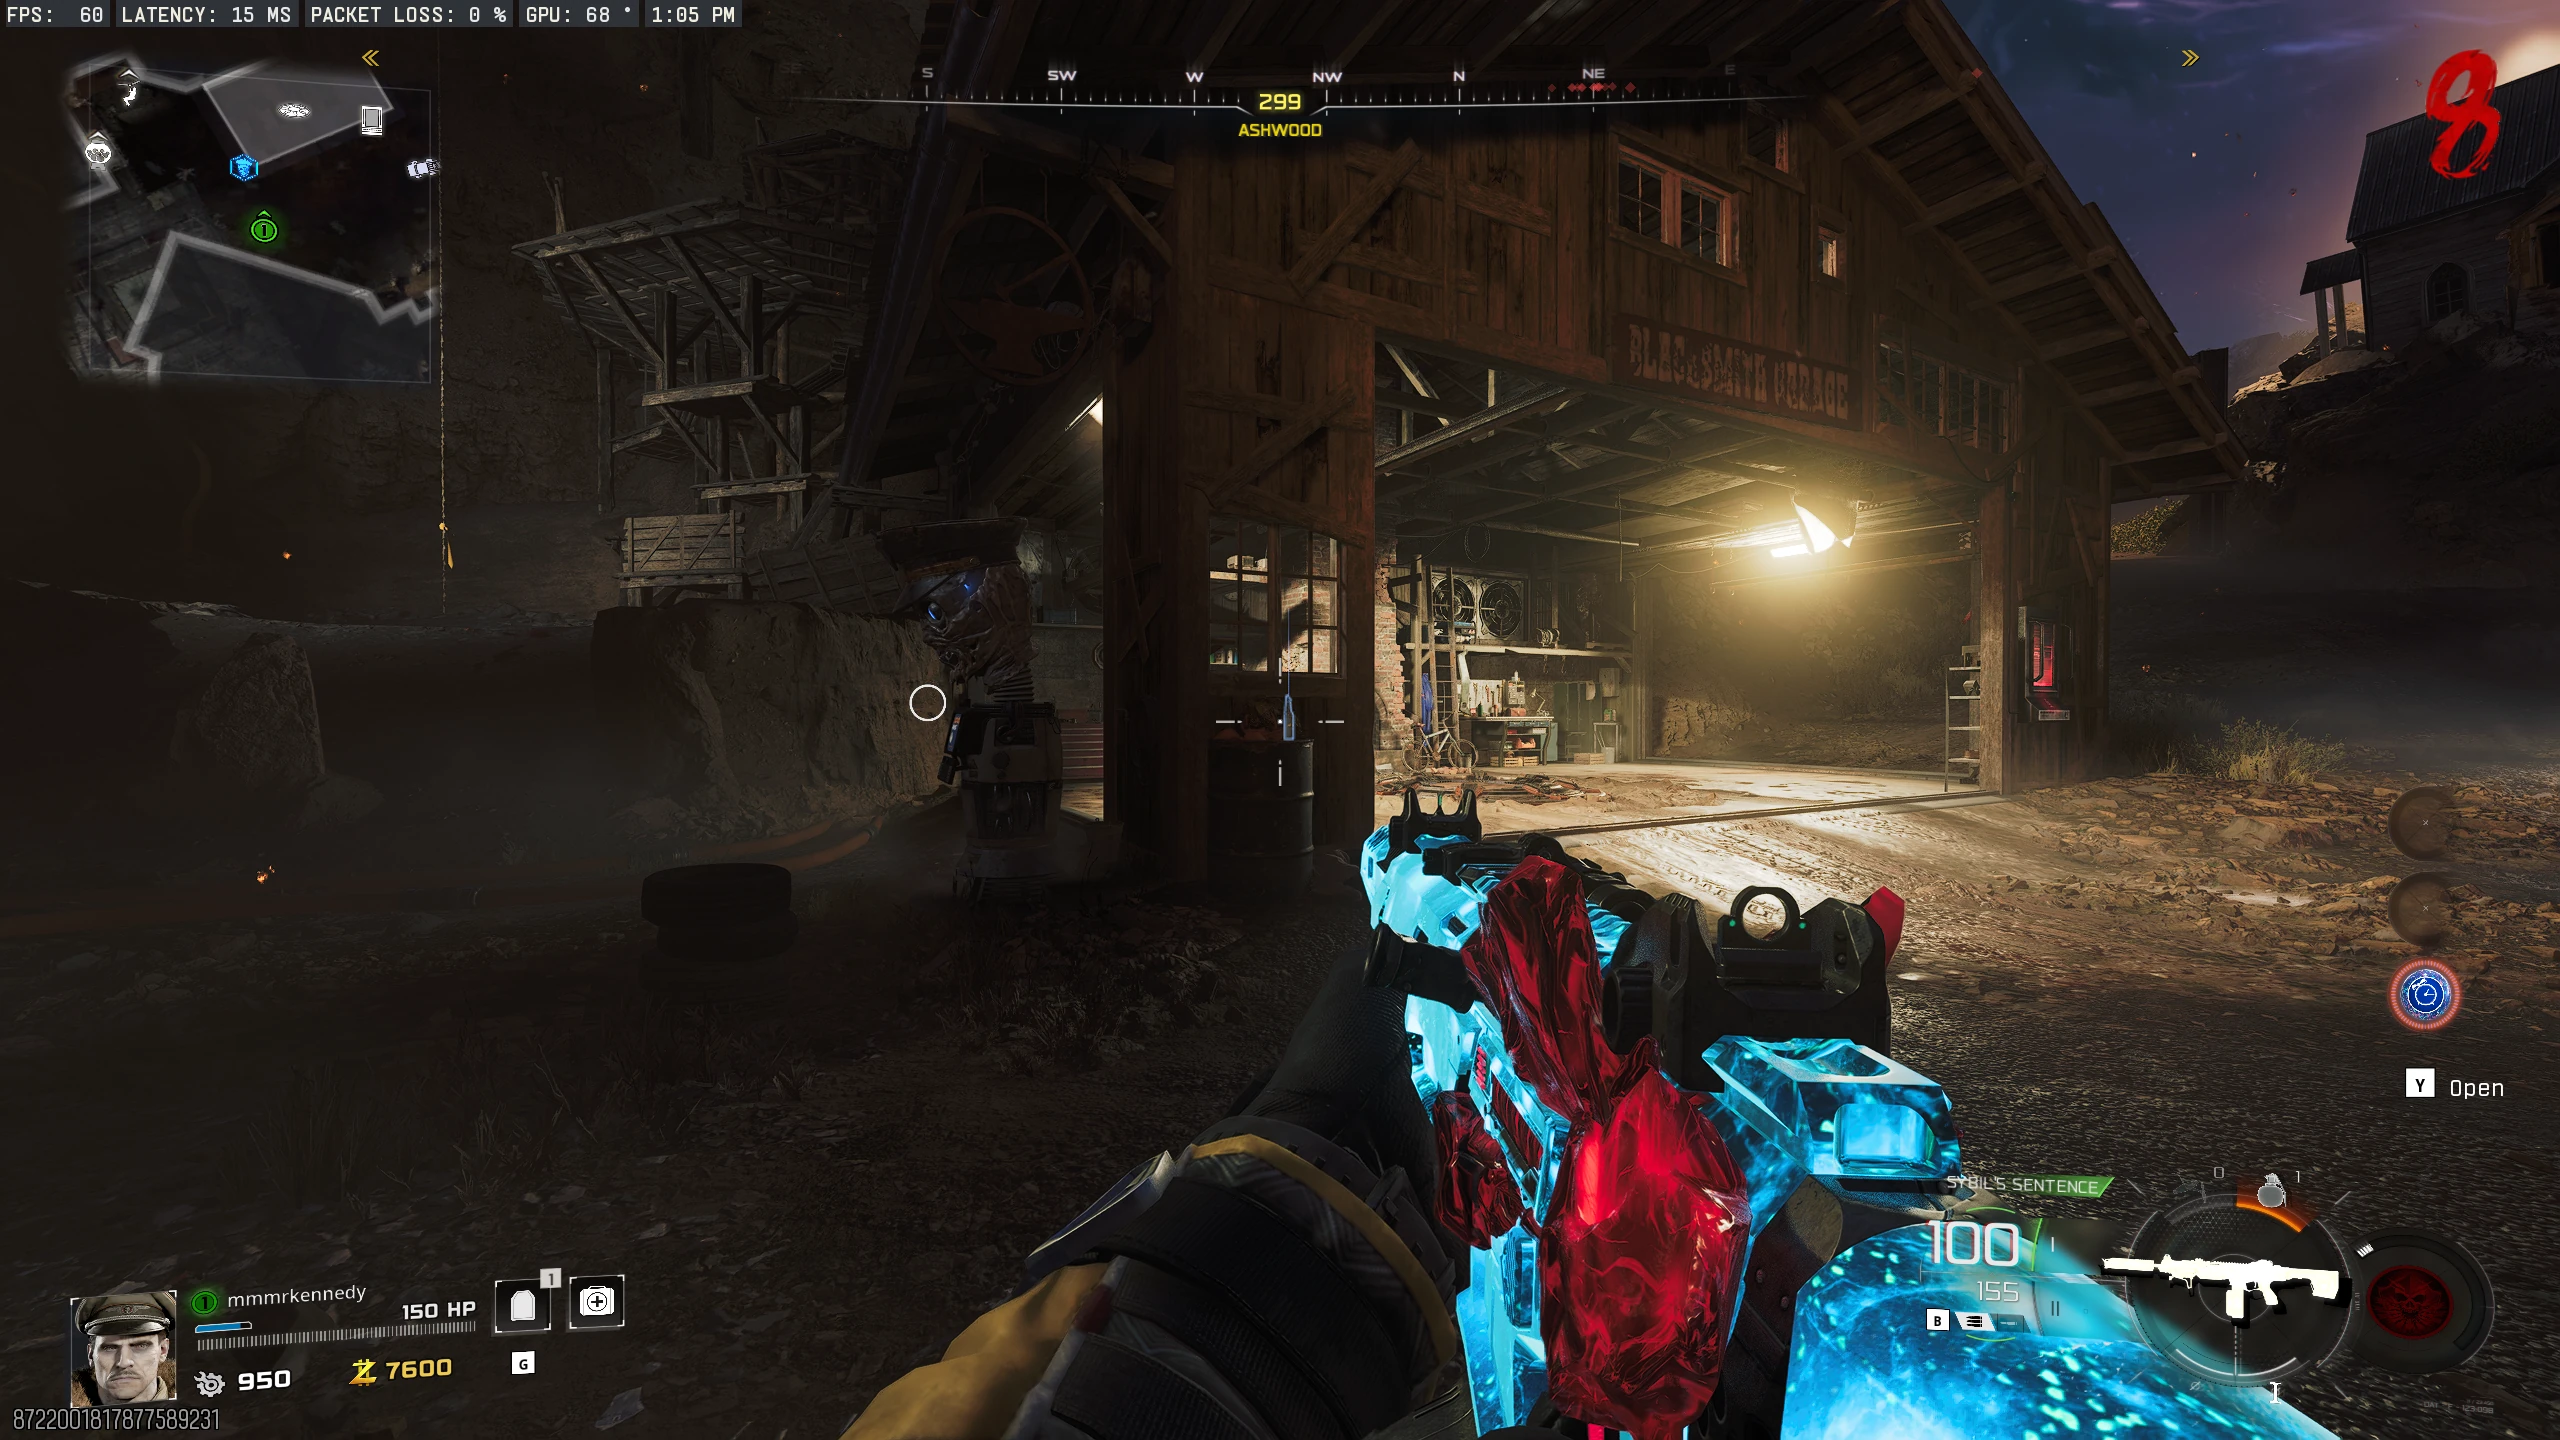
- A free Tomahawk spawns in the Kitchen of the Exit 115 Diner, and a free Molotov spawns on the barrel in front of the Ashwood Garage.
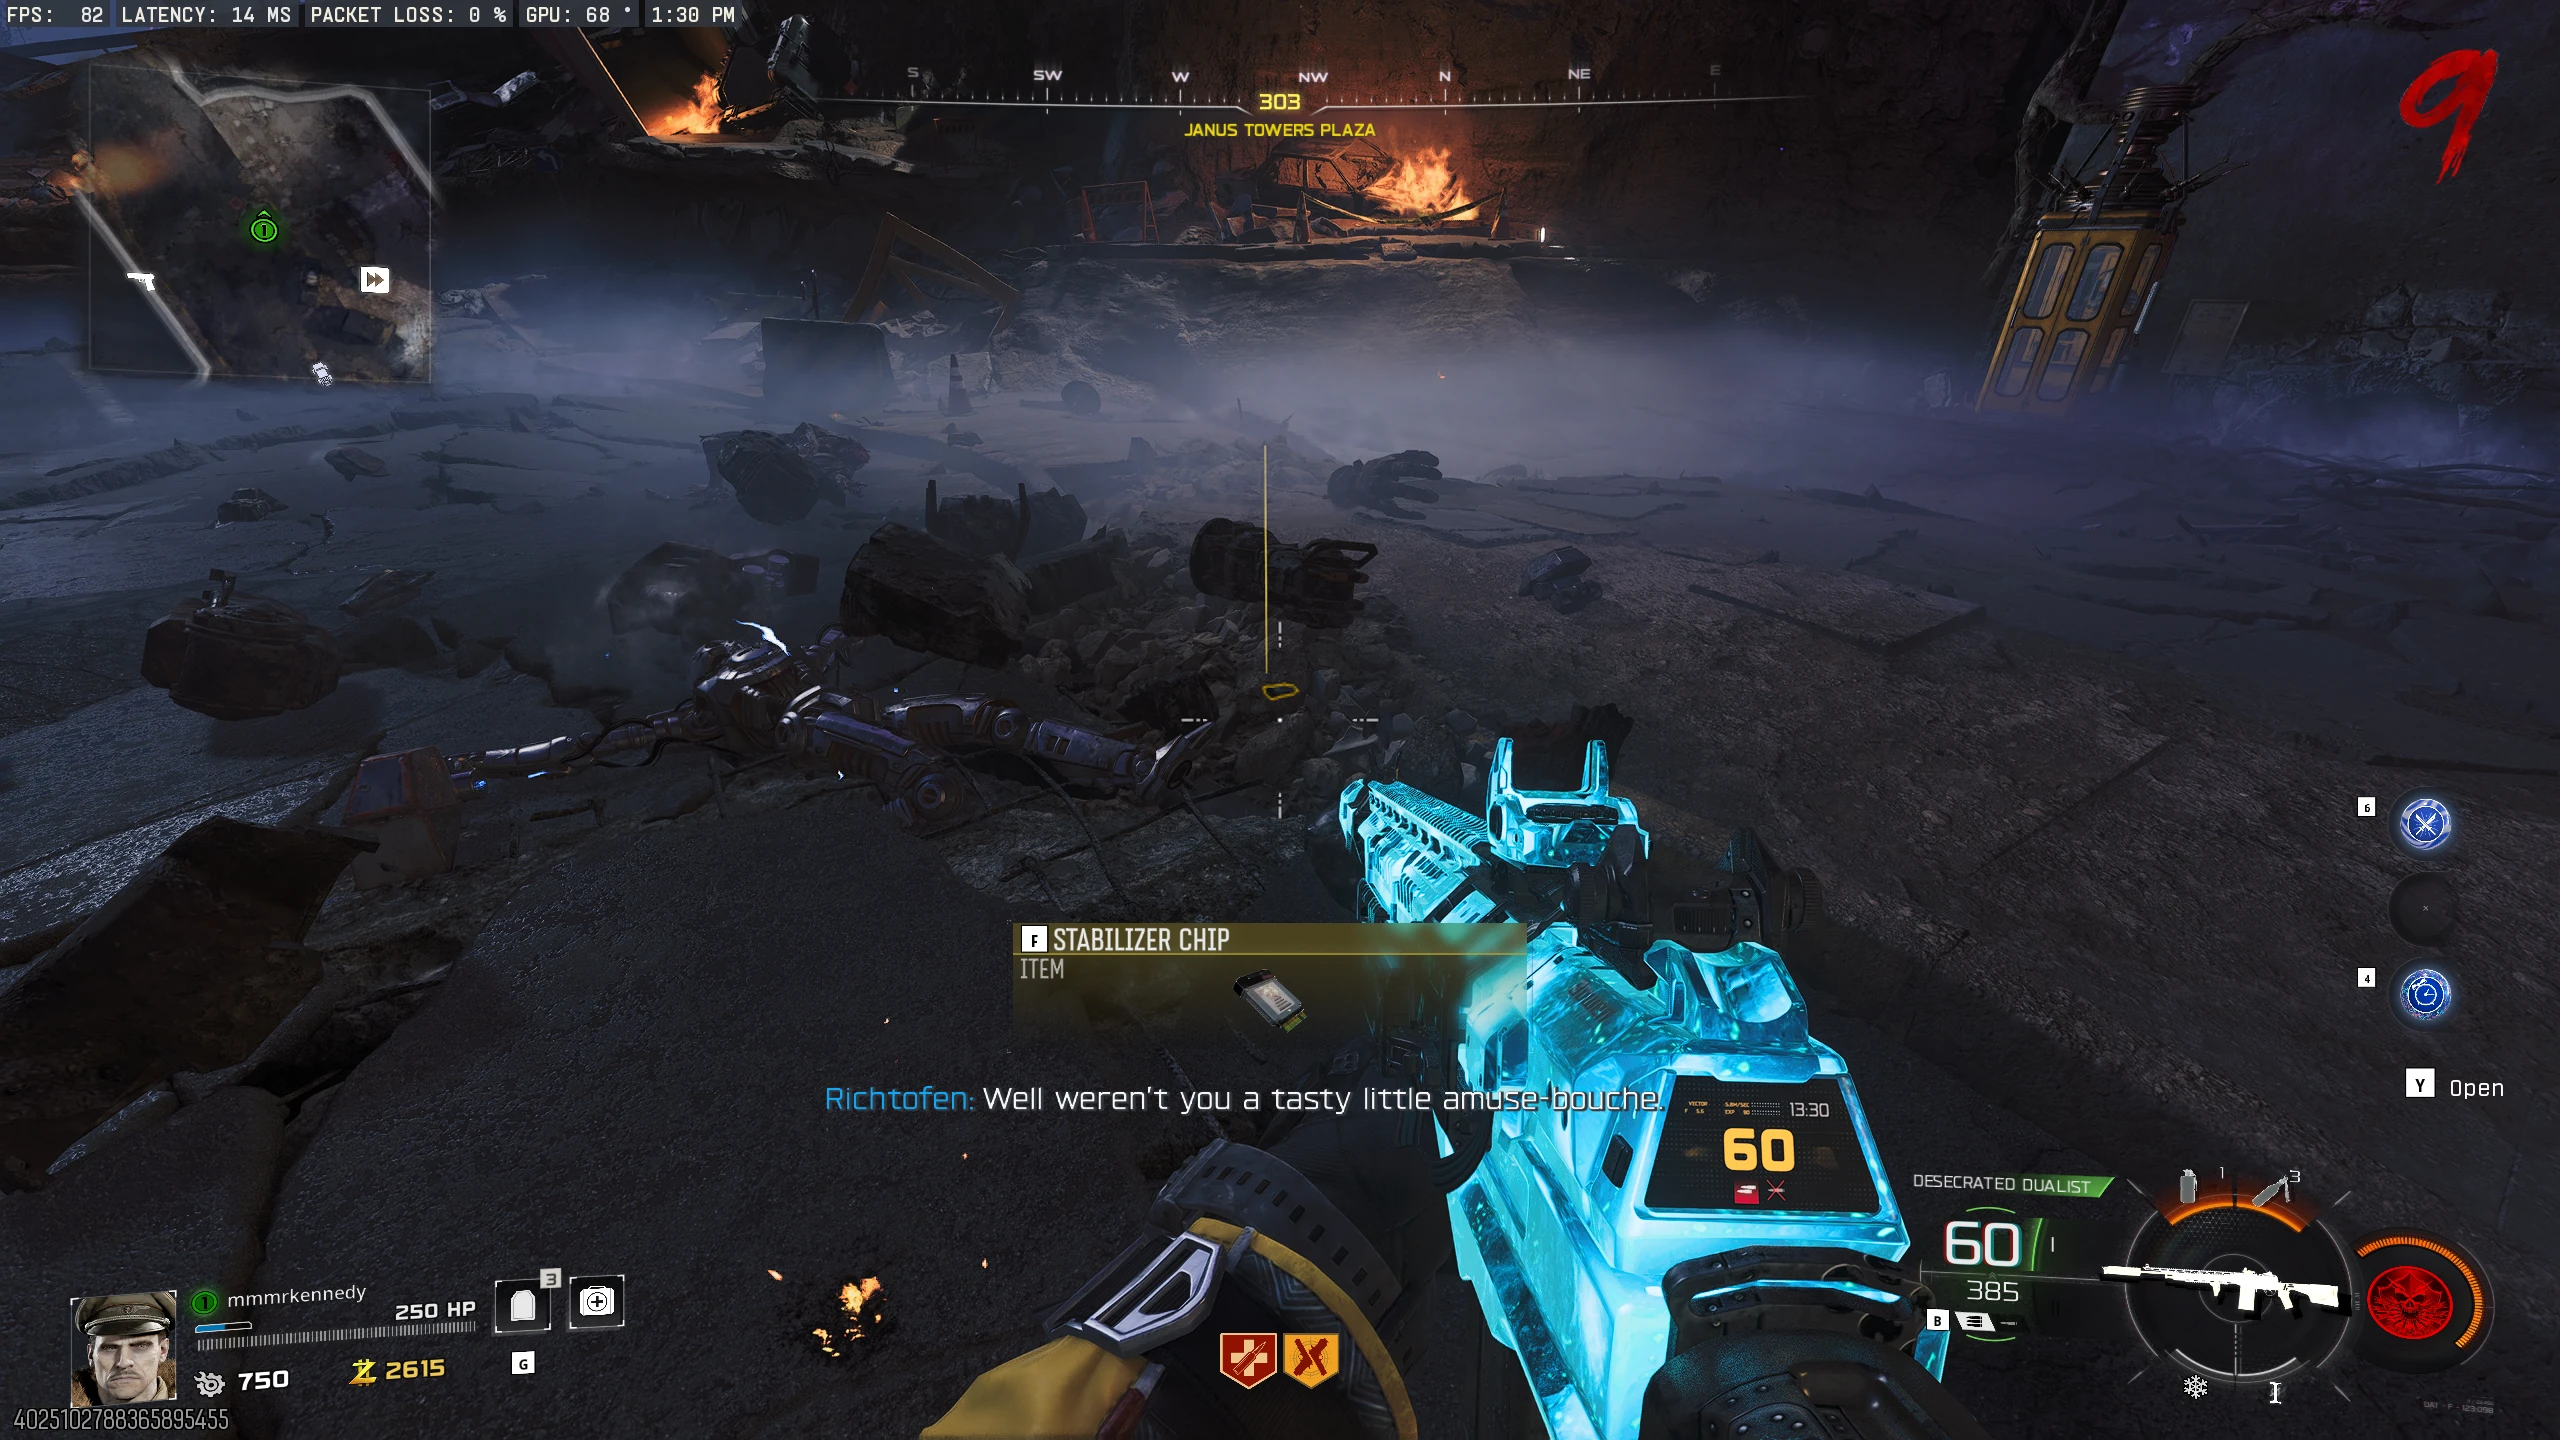
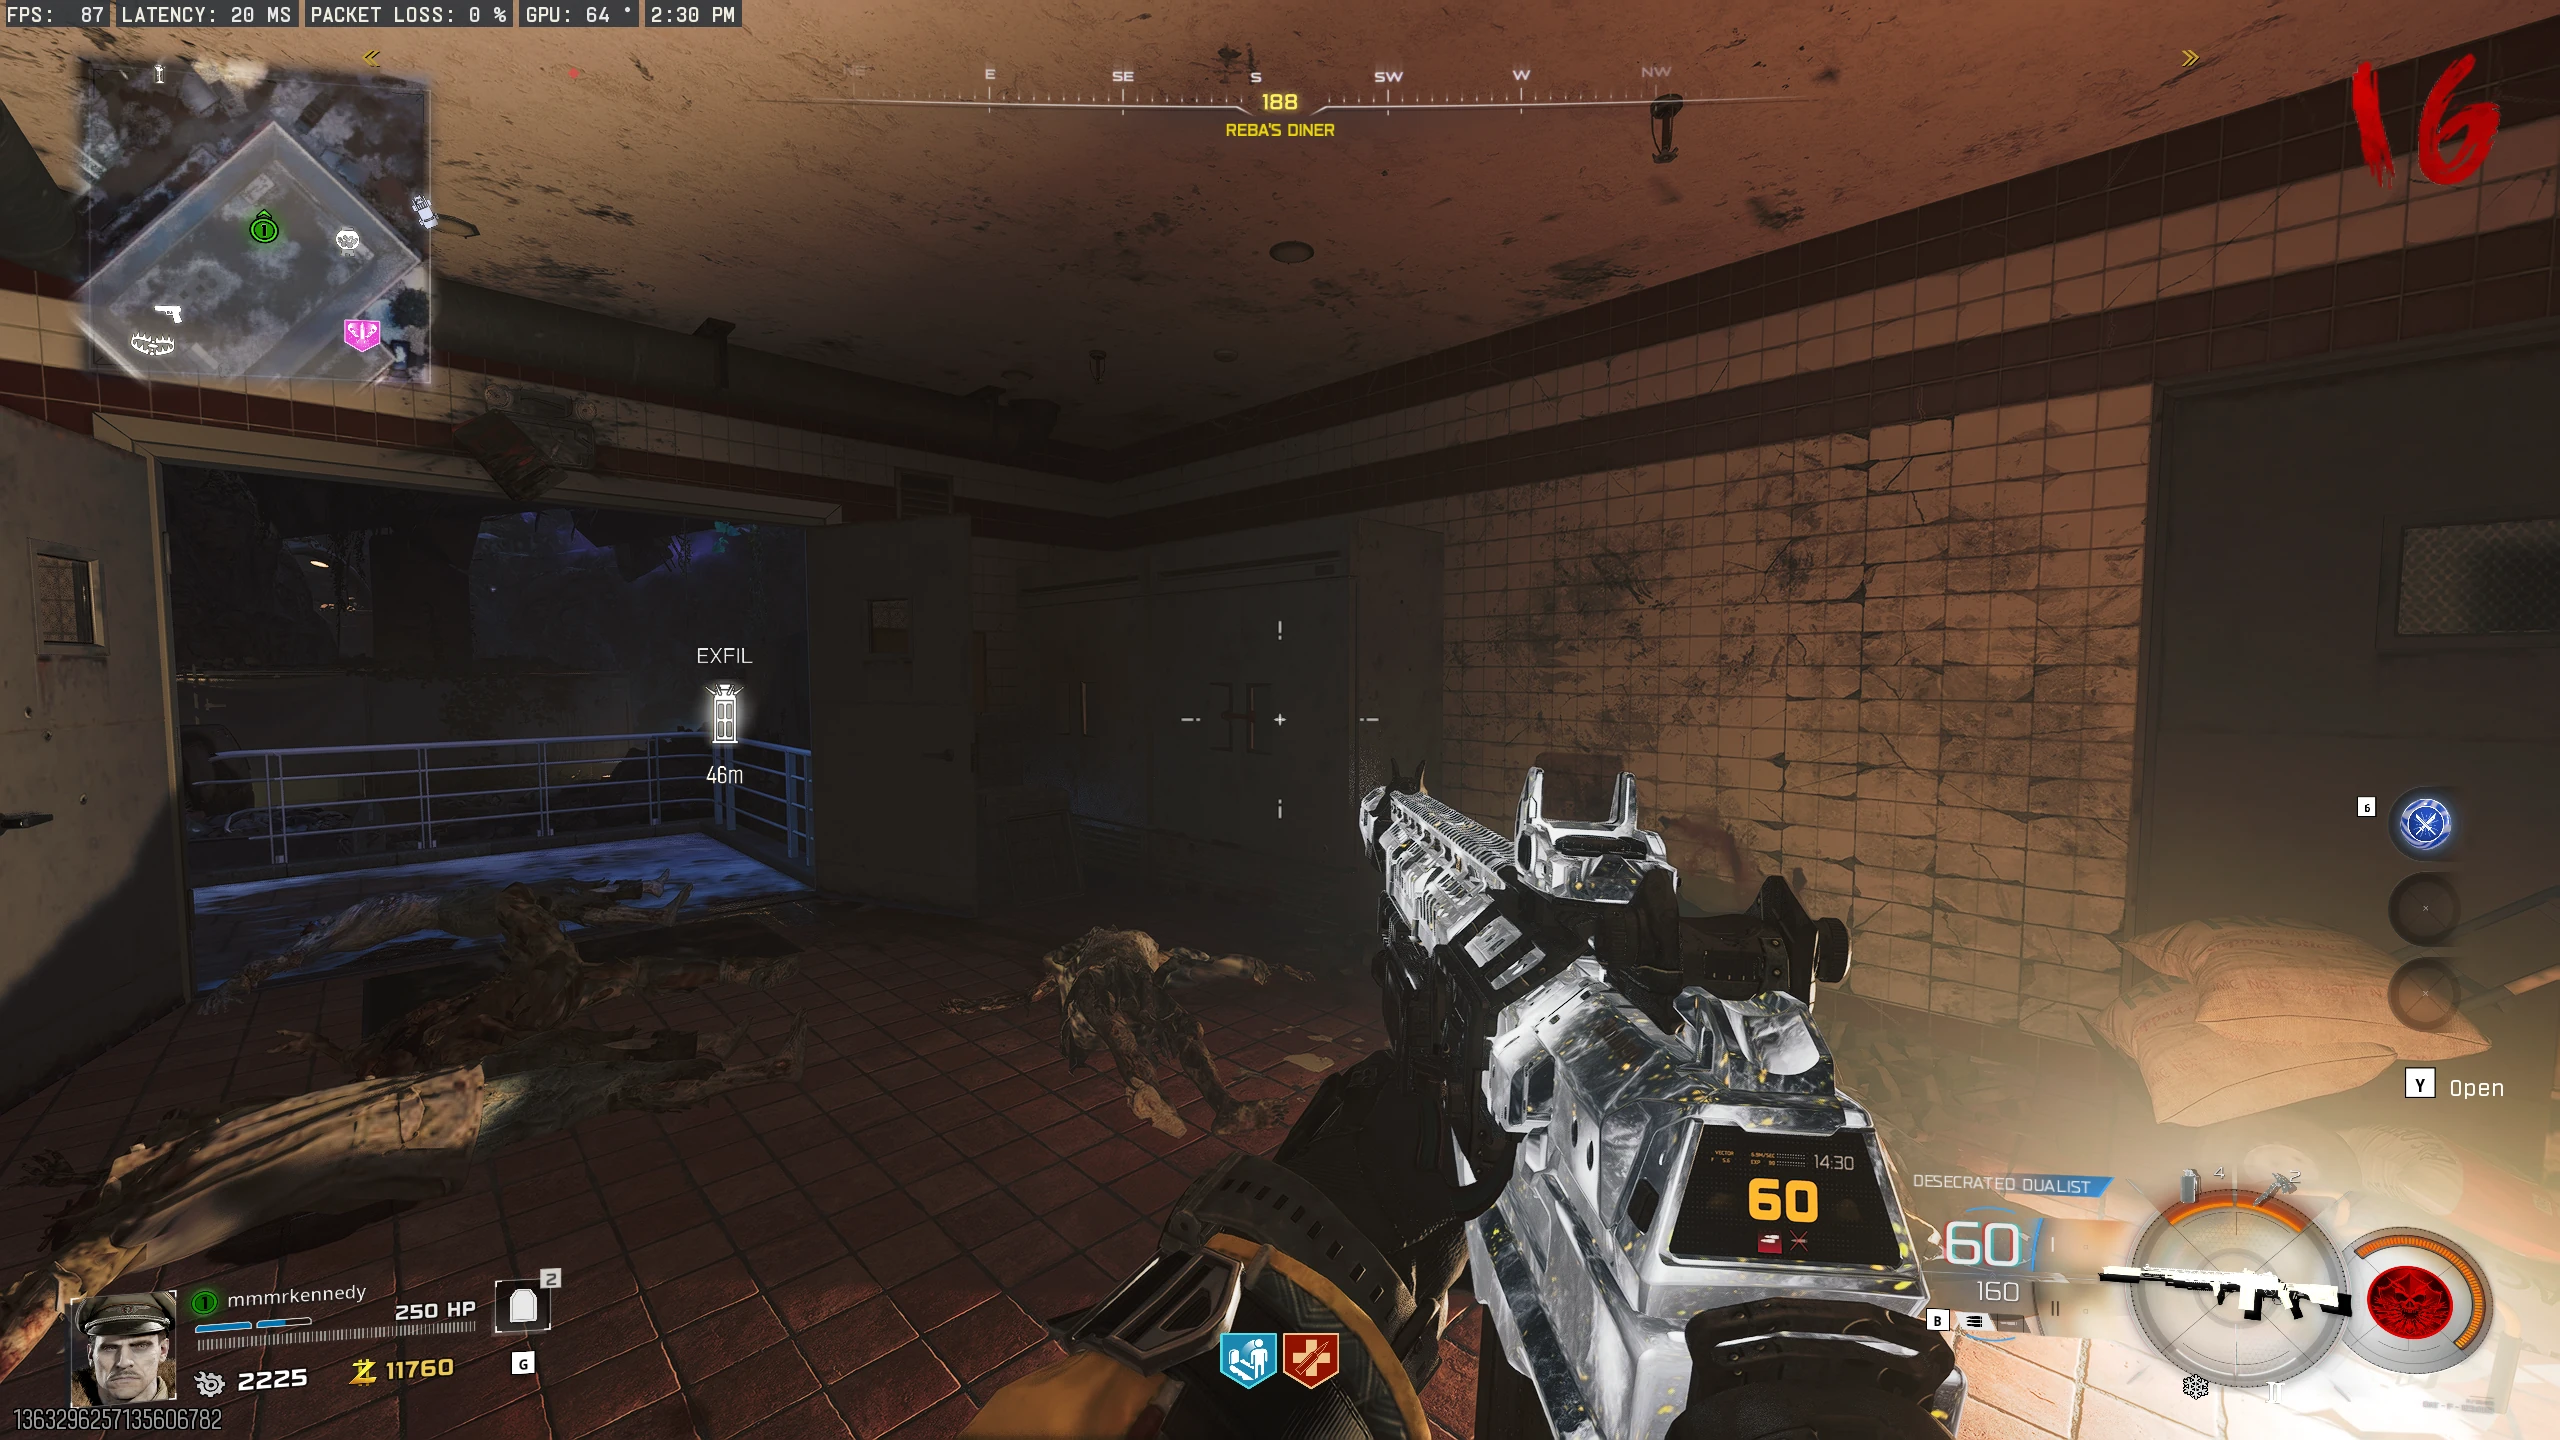
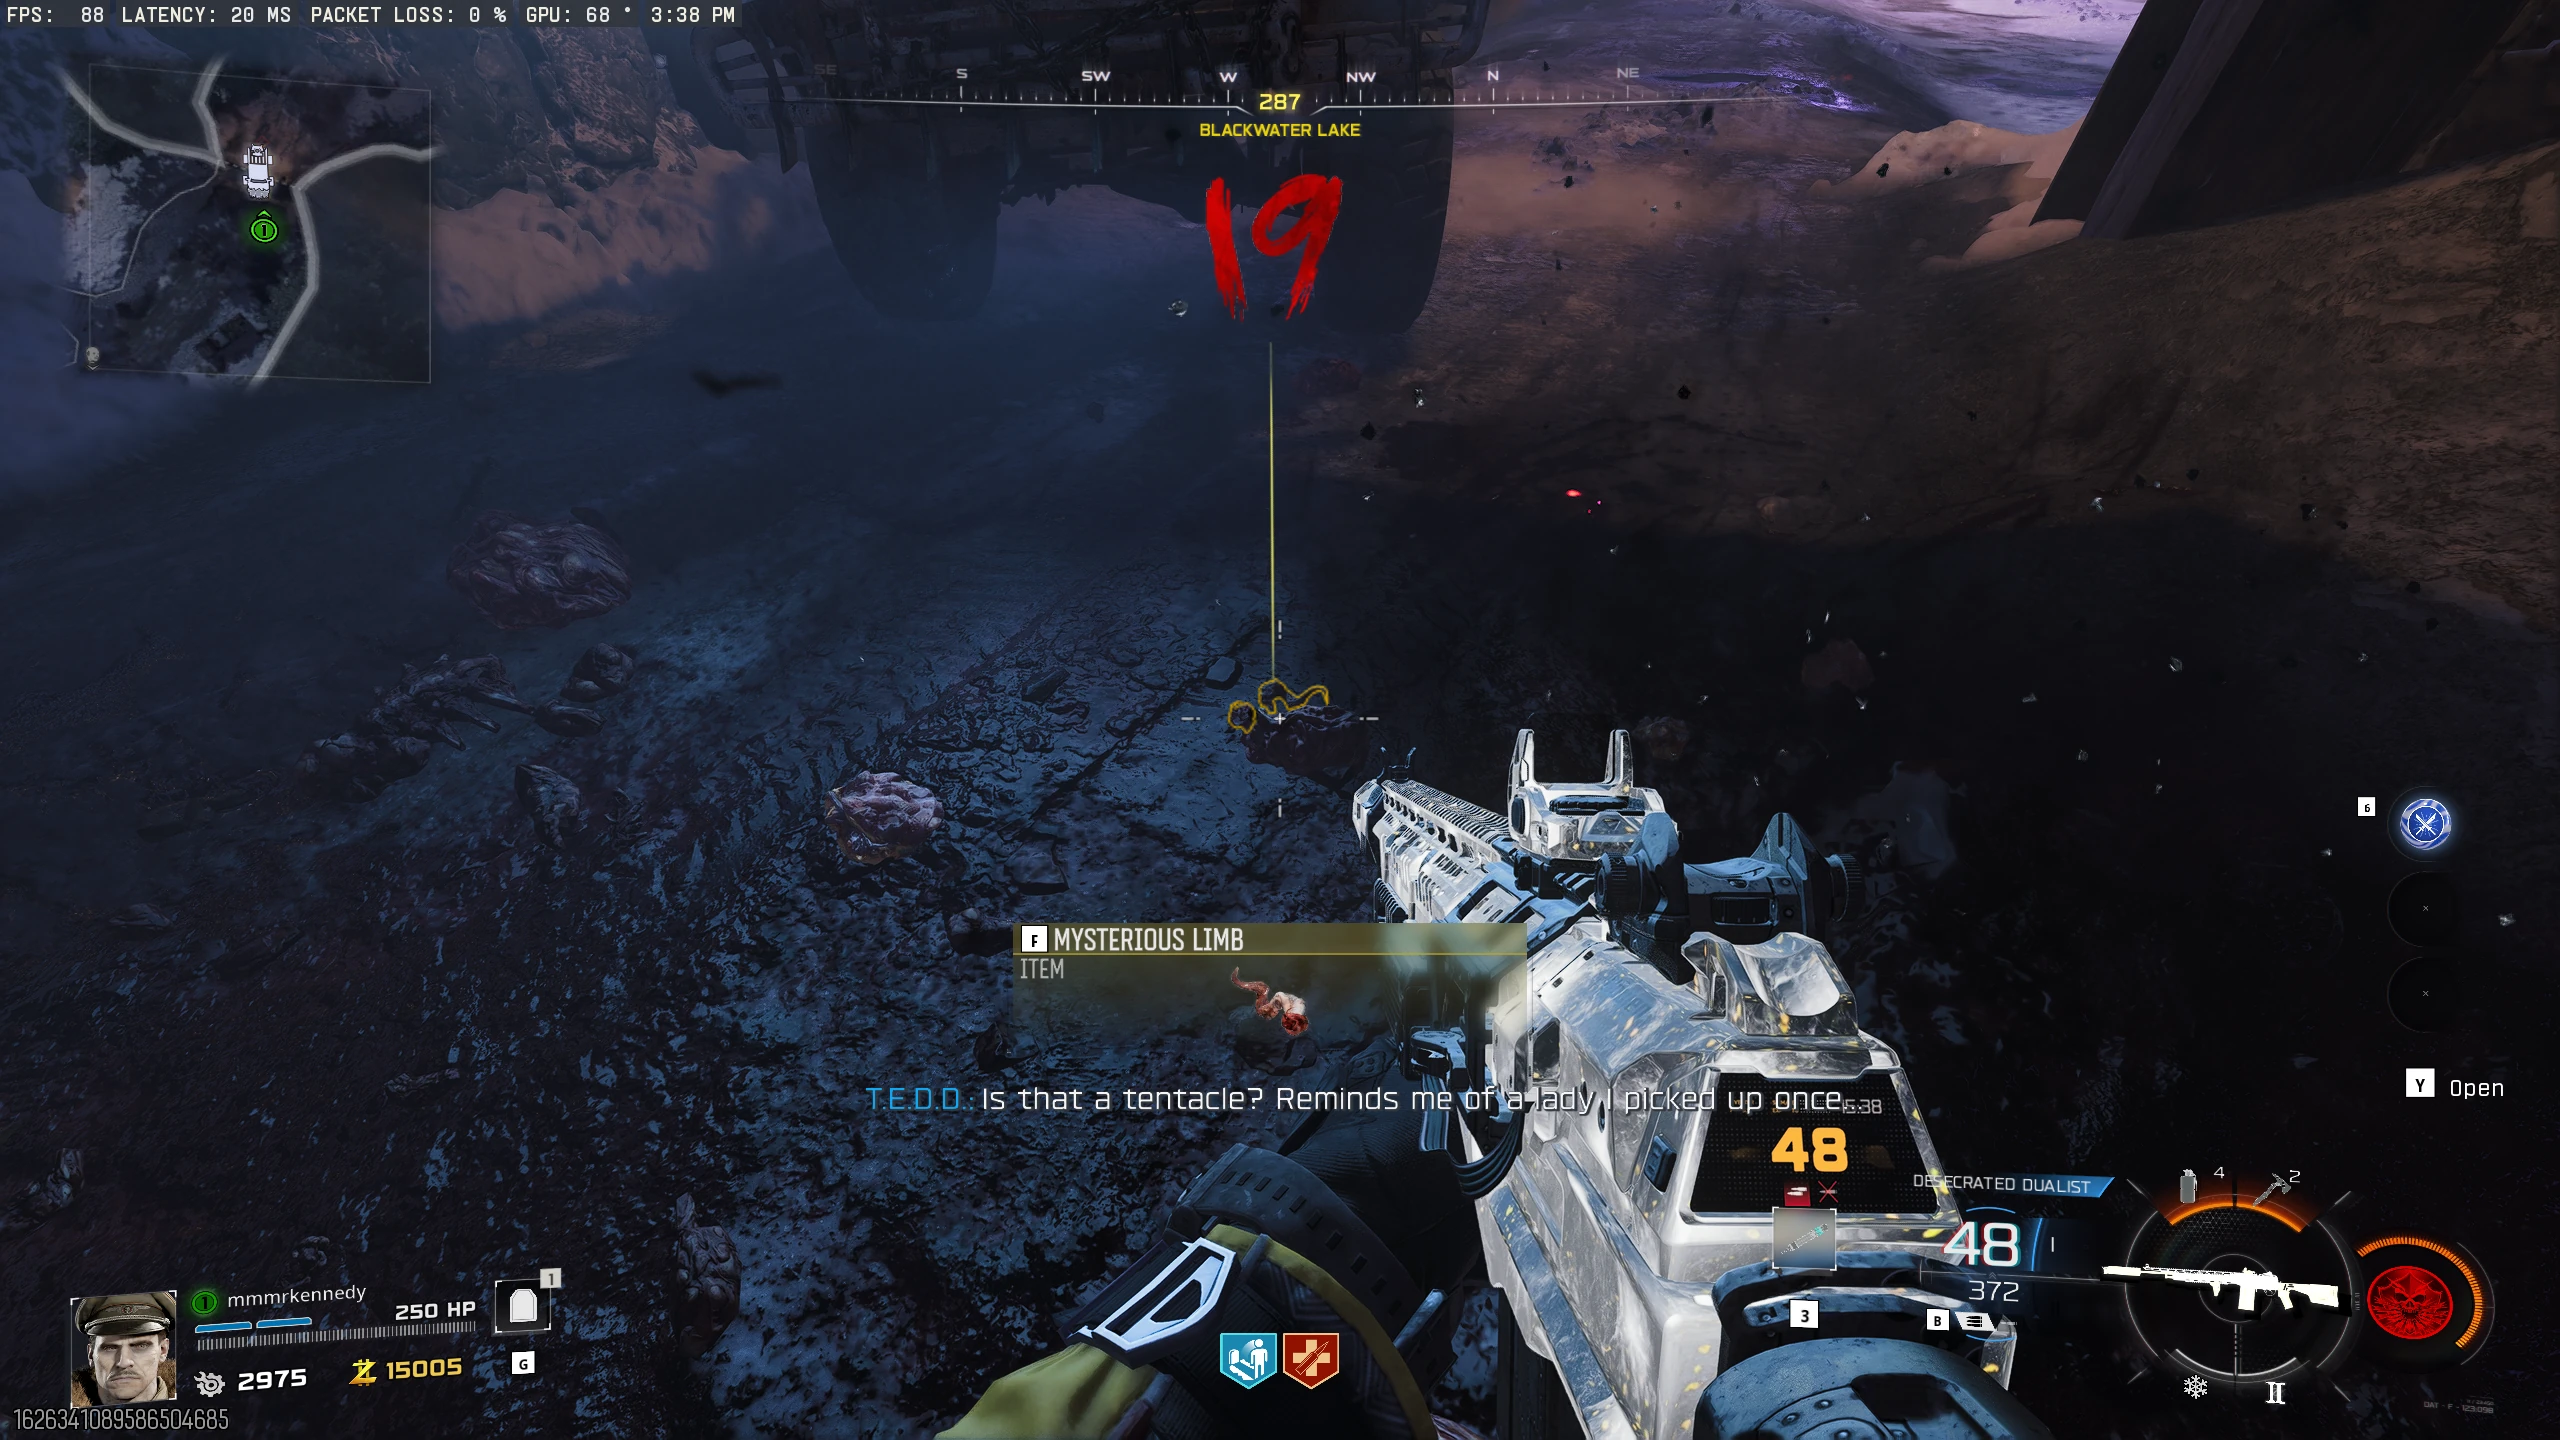
- Mysterious Limb: Upgrade Ol' Tessie with the Abomination Beam. Kill a Zursa with the beam to drop the Mysterious Limb. See this section for how to spaw a Zursa manually once per game.
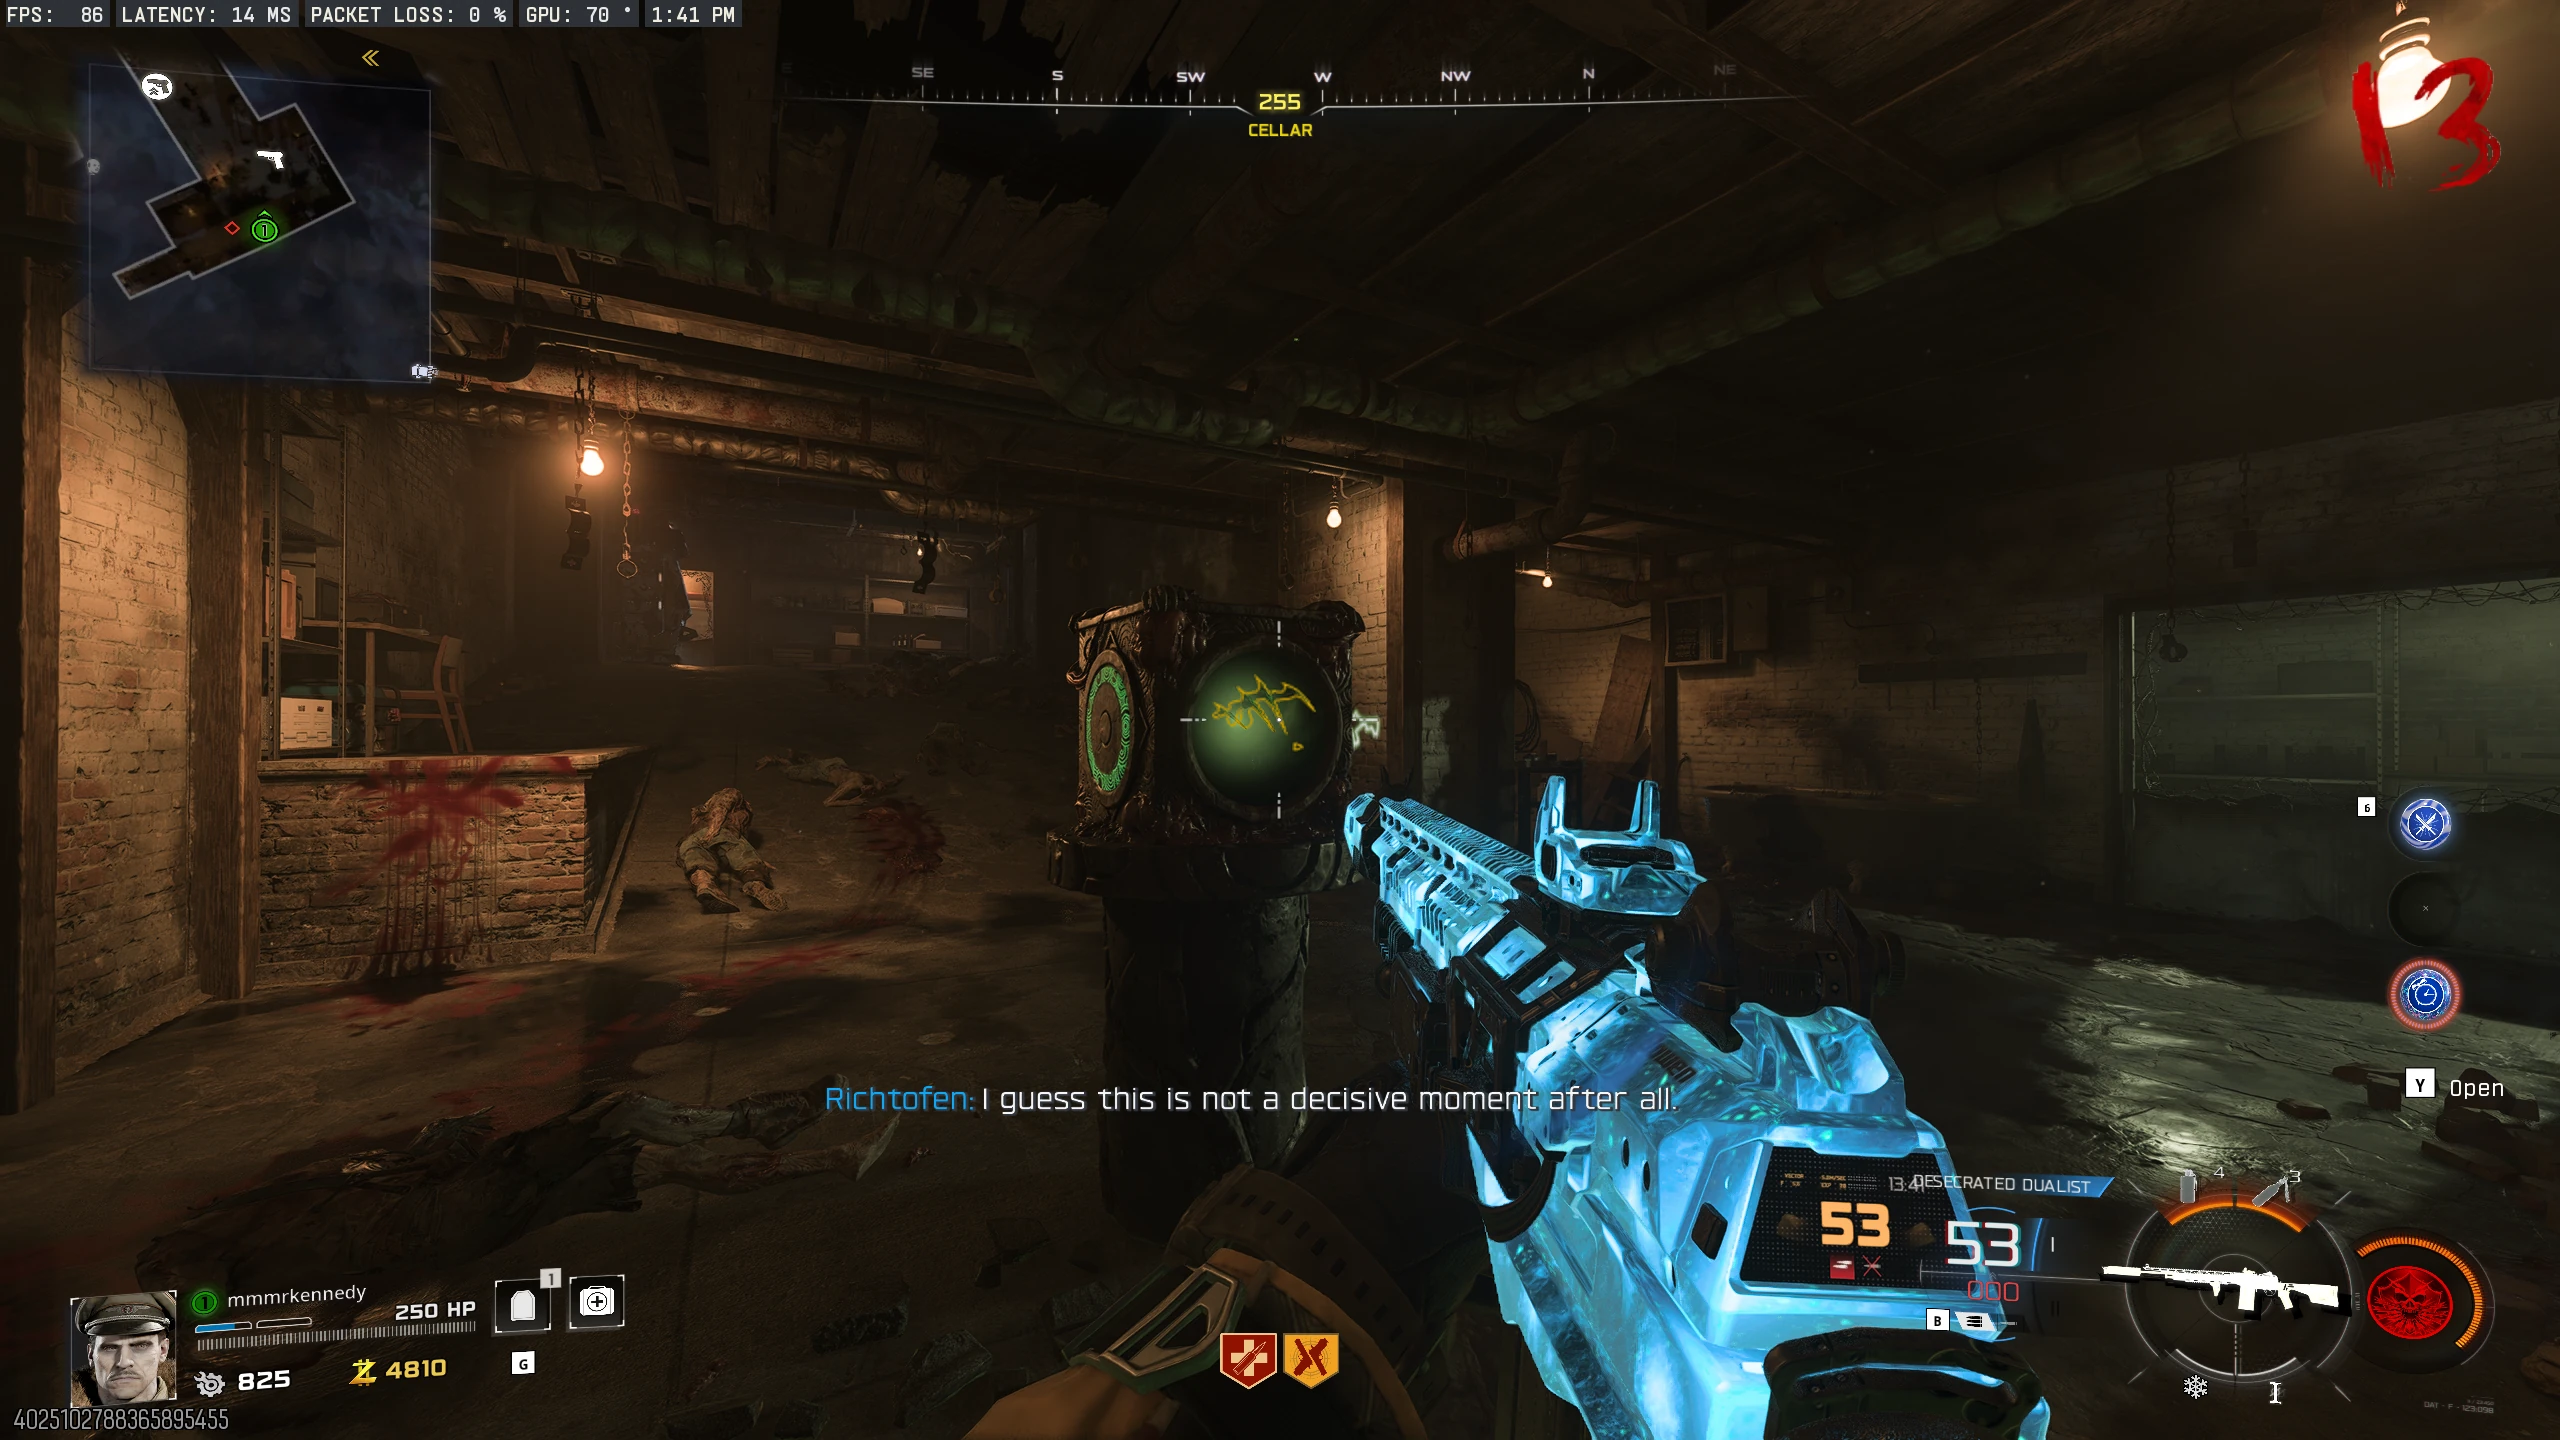
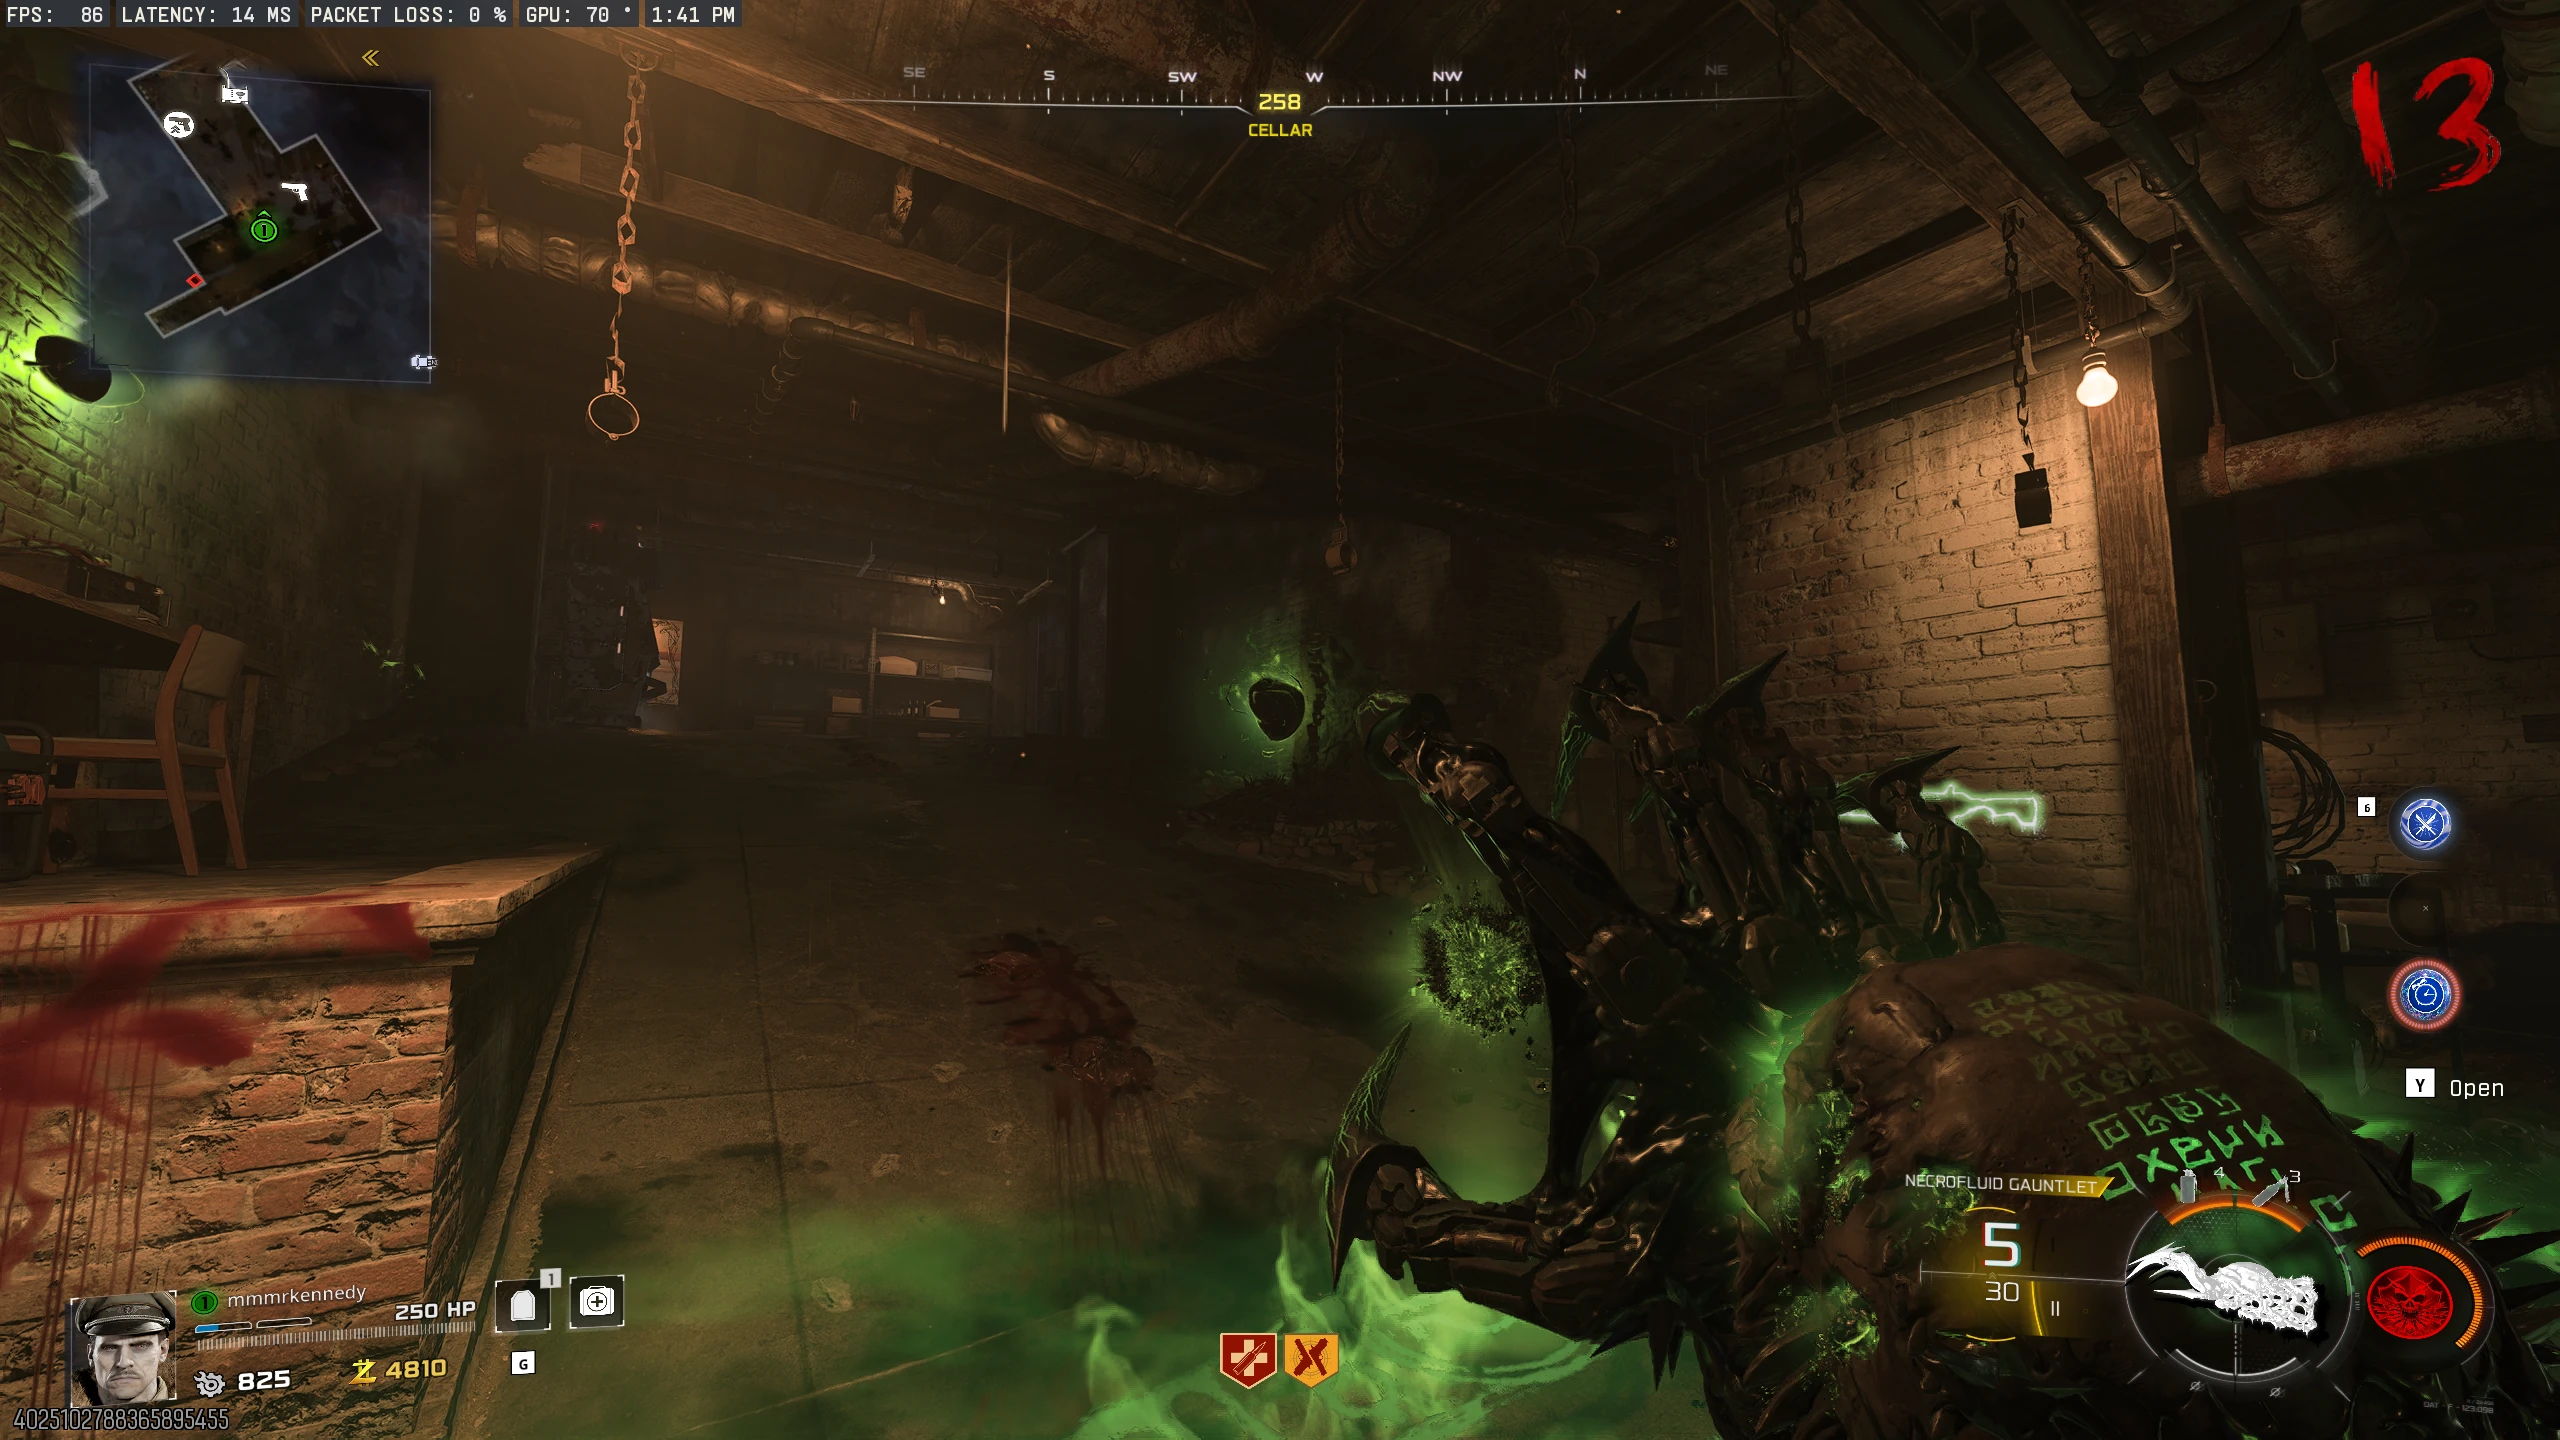
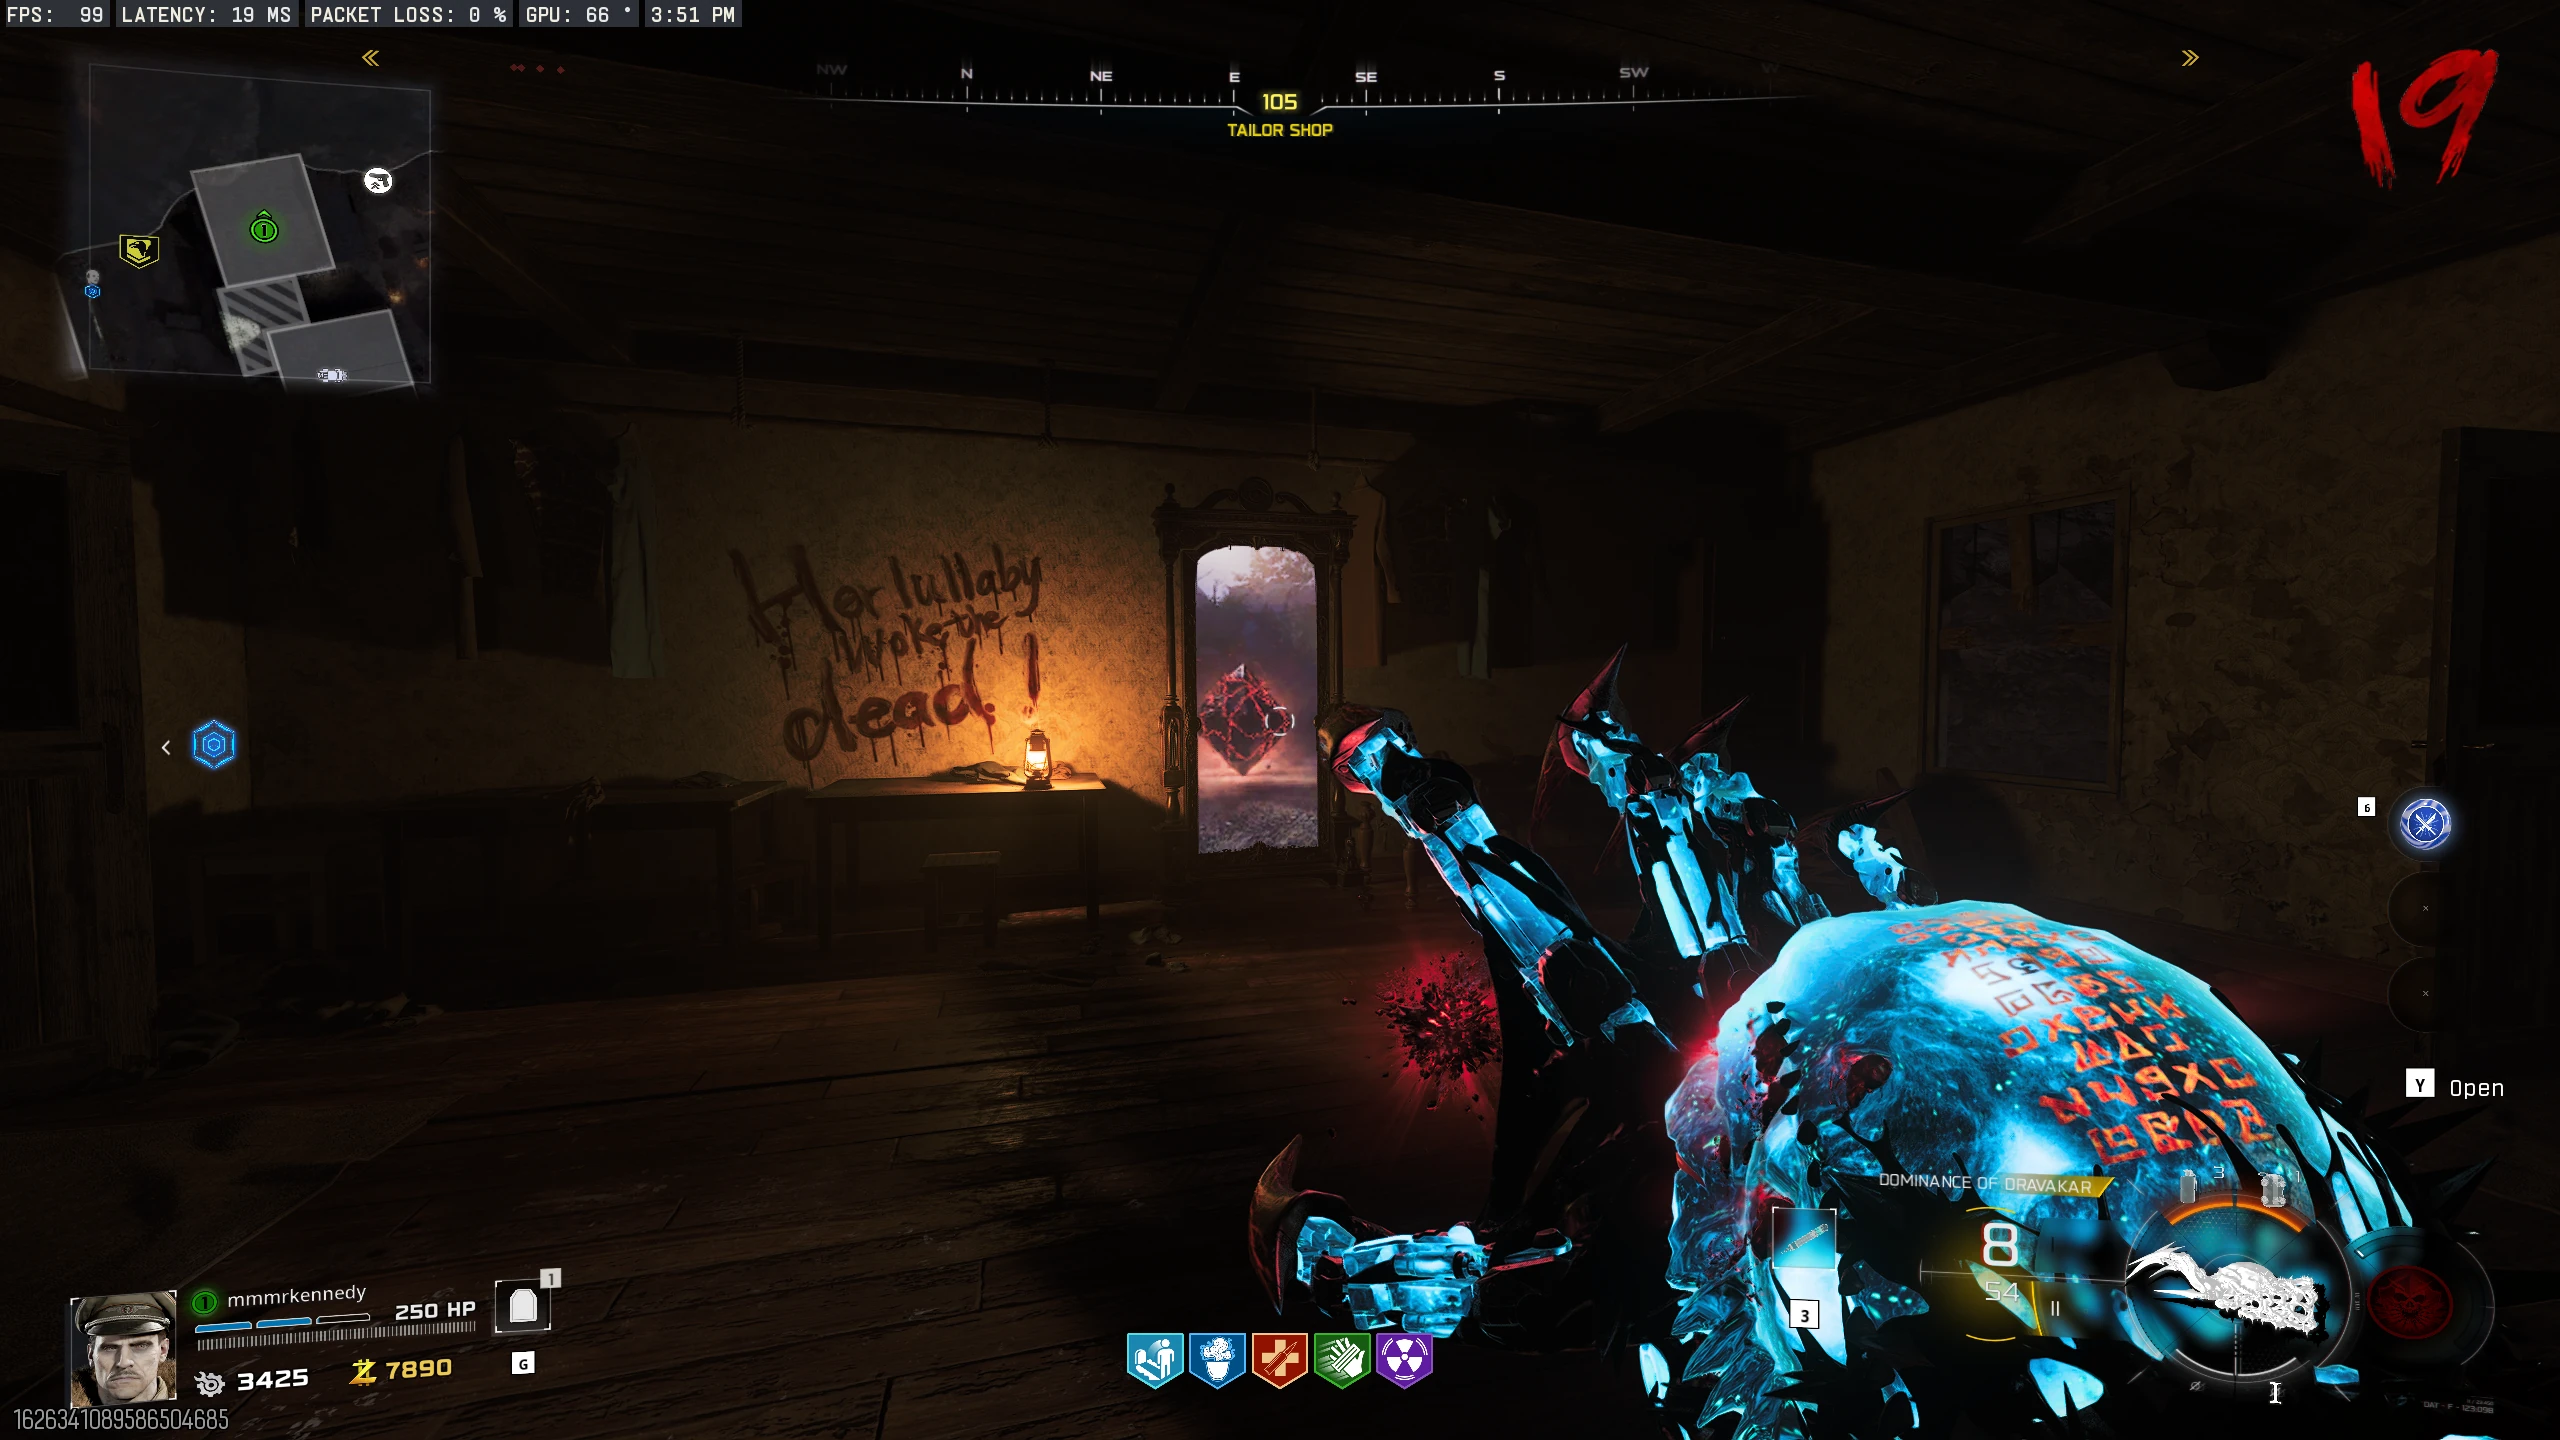
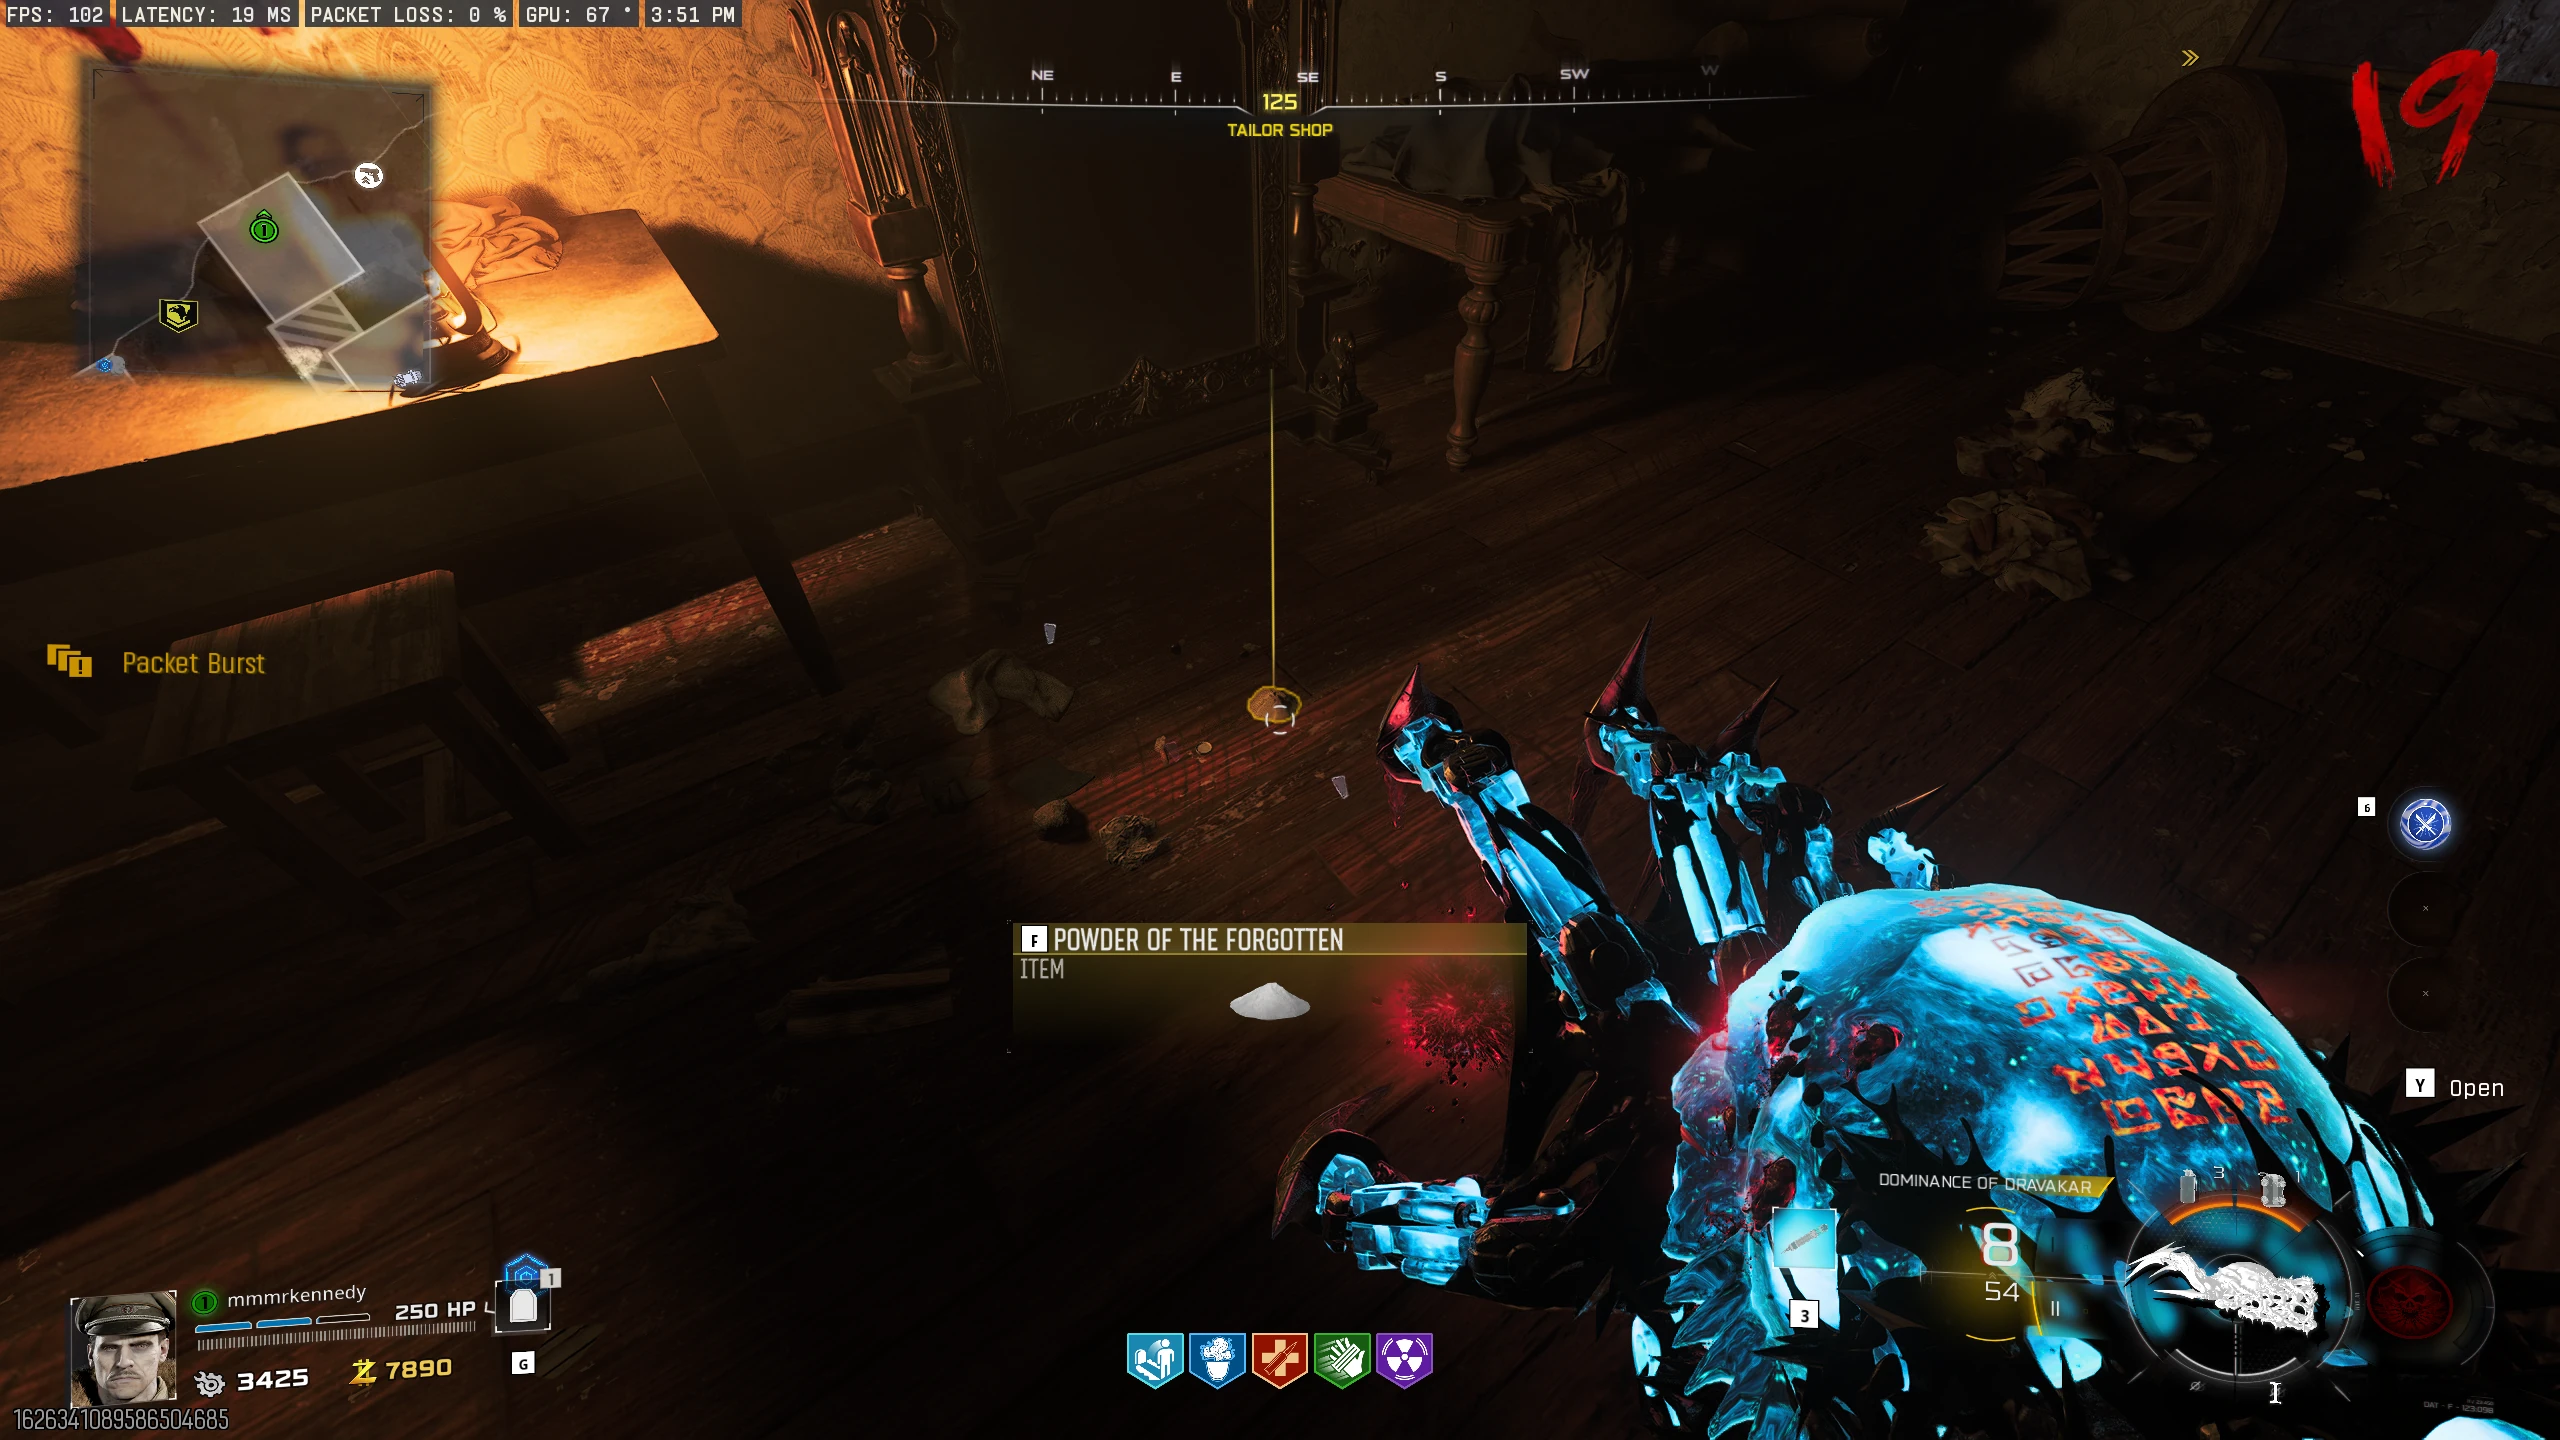
- Powder of the Forgotten: Obtain the Wisp Tea perk (machine in Zarya Cosmodrome or through TV Twins Easter Egg). Go to the 'Tailor's Shop' in Ashwood and activate the Wisp by dealing damage to zombies. It will fly into the Mirror, revealing the "Seal of Sorrow". Shoot the Mirror with the Necrofluid Gauntlet to break it and pick up the Powder of the Forgotten.
-
Mixing the Ingredients
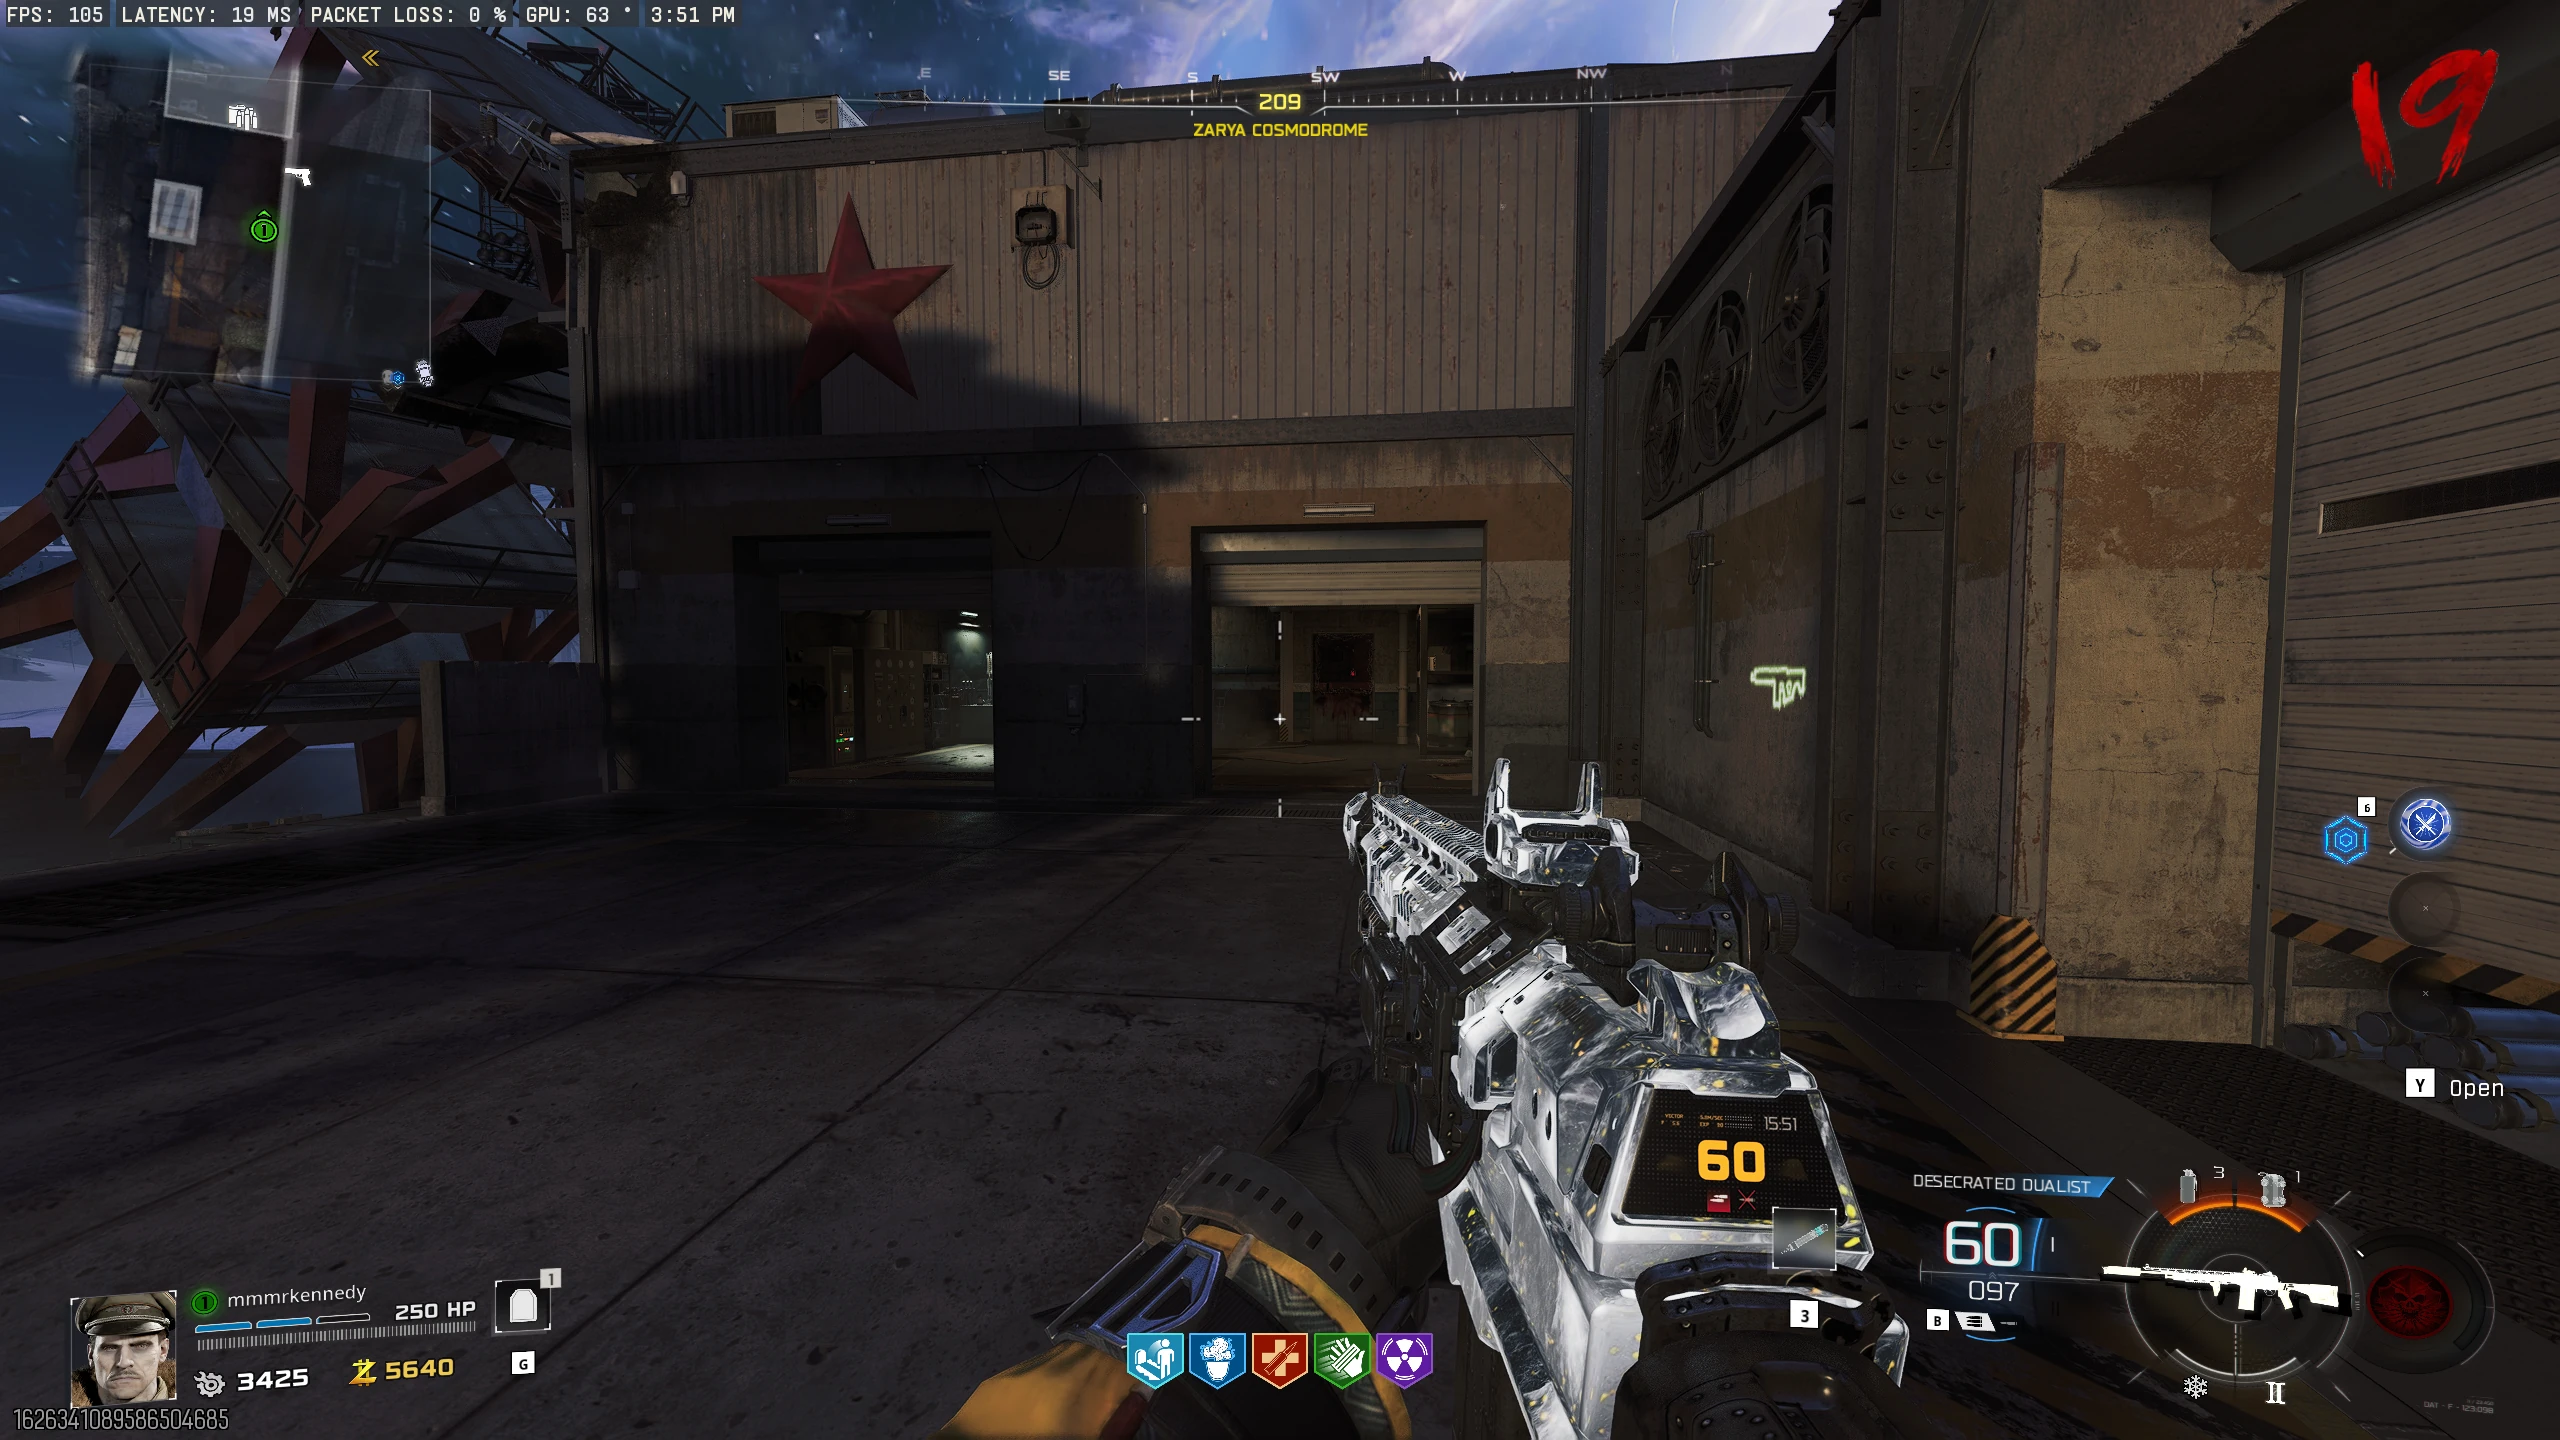
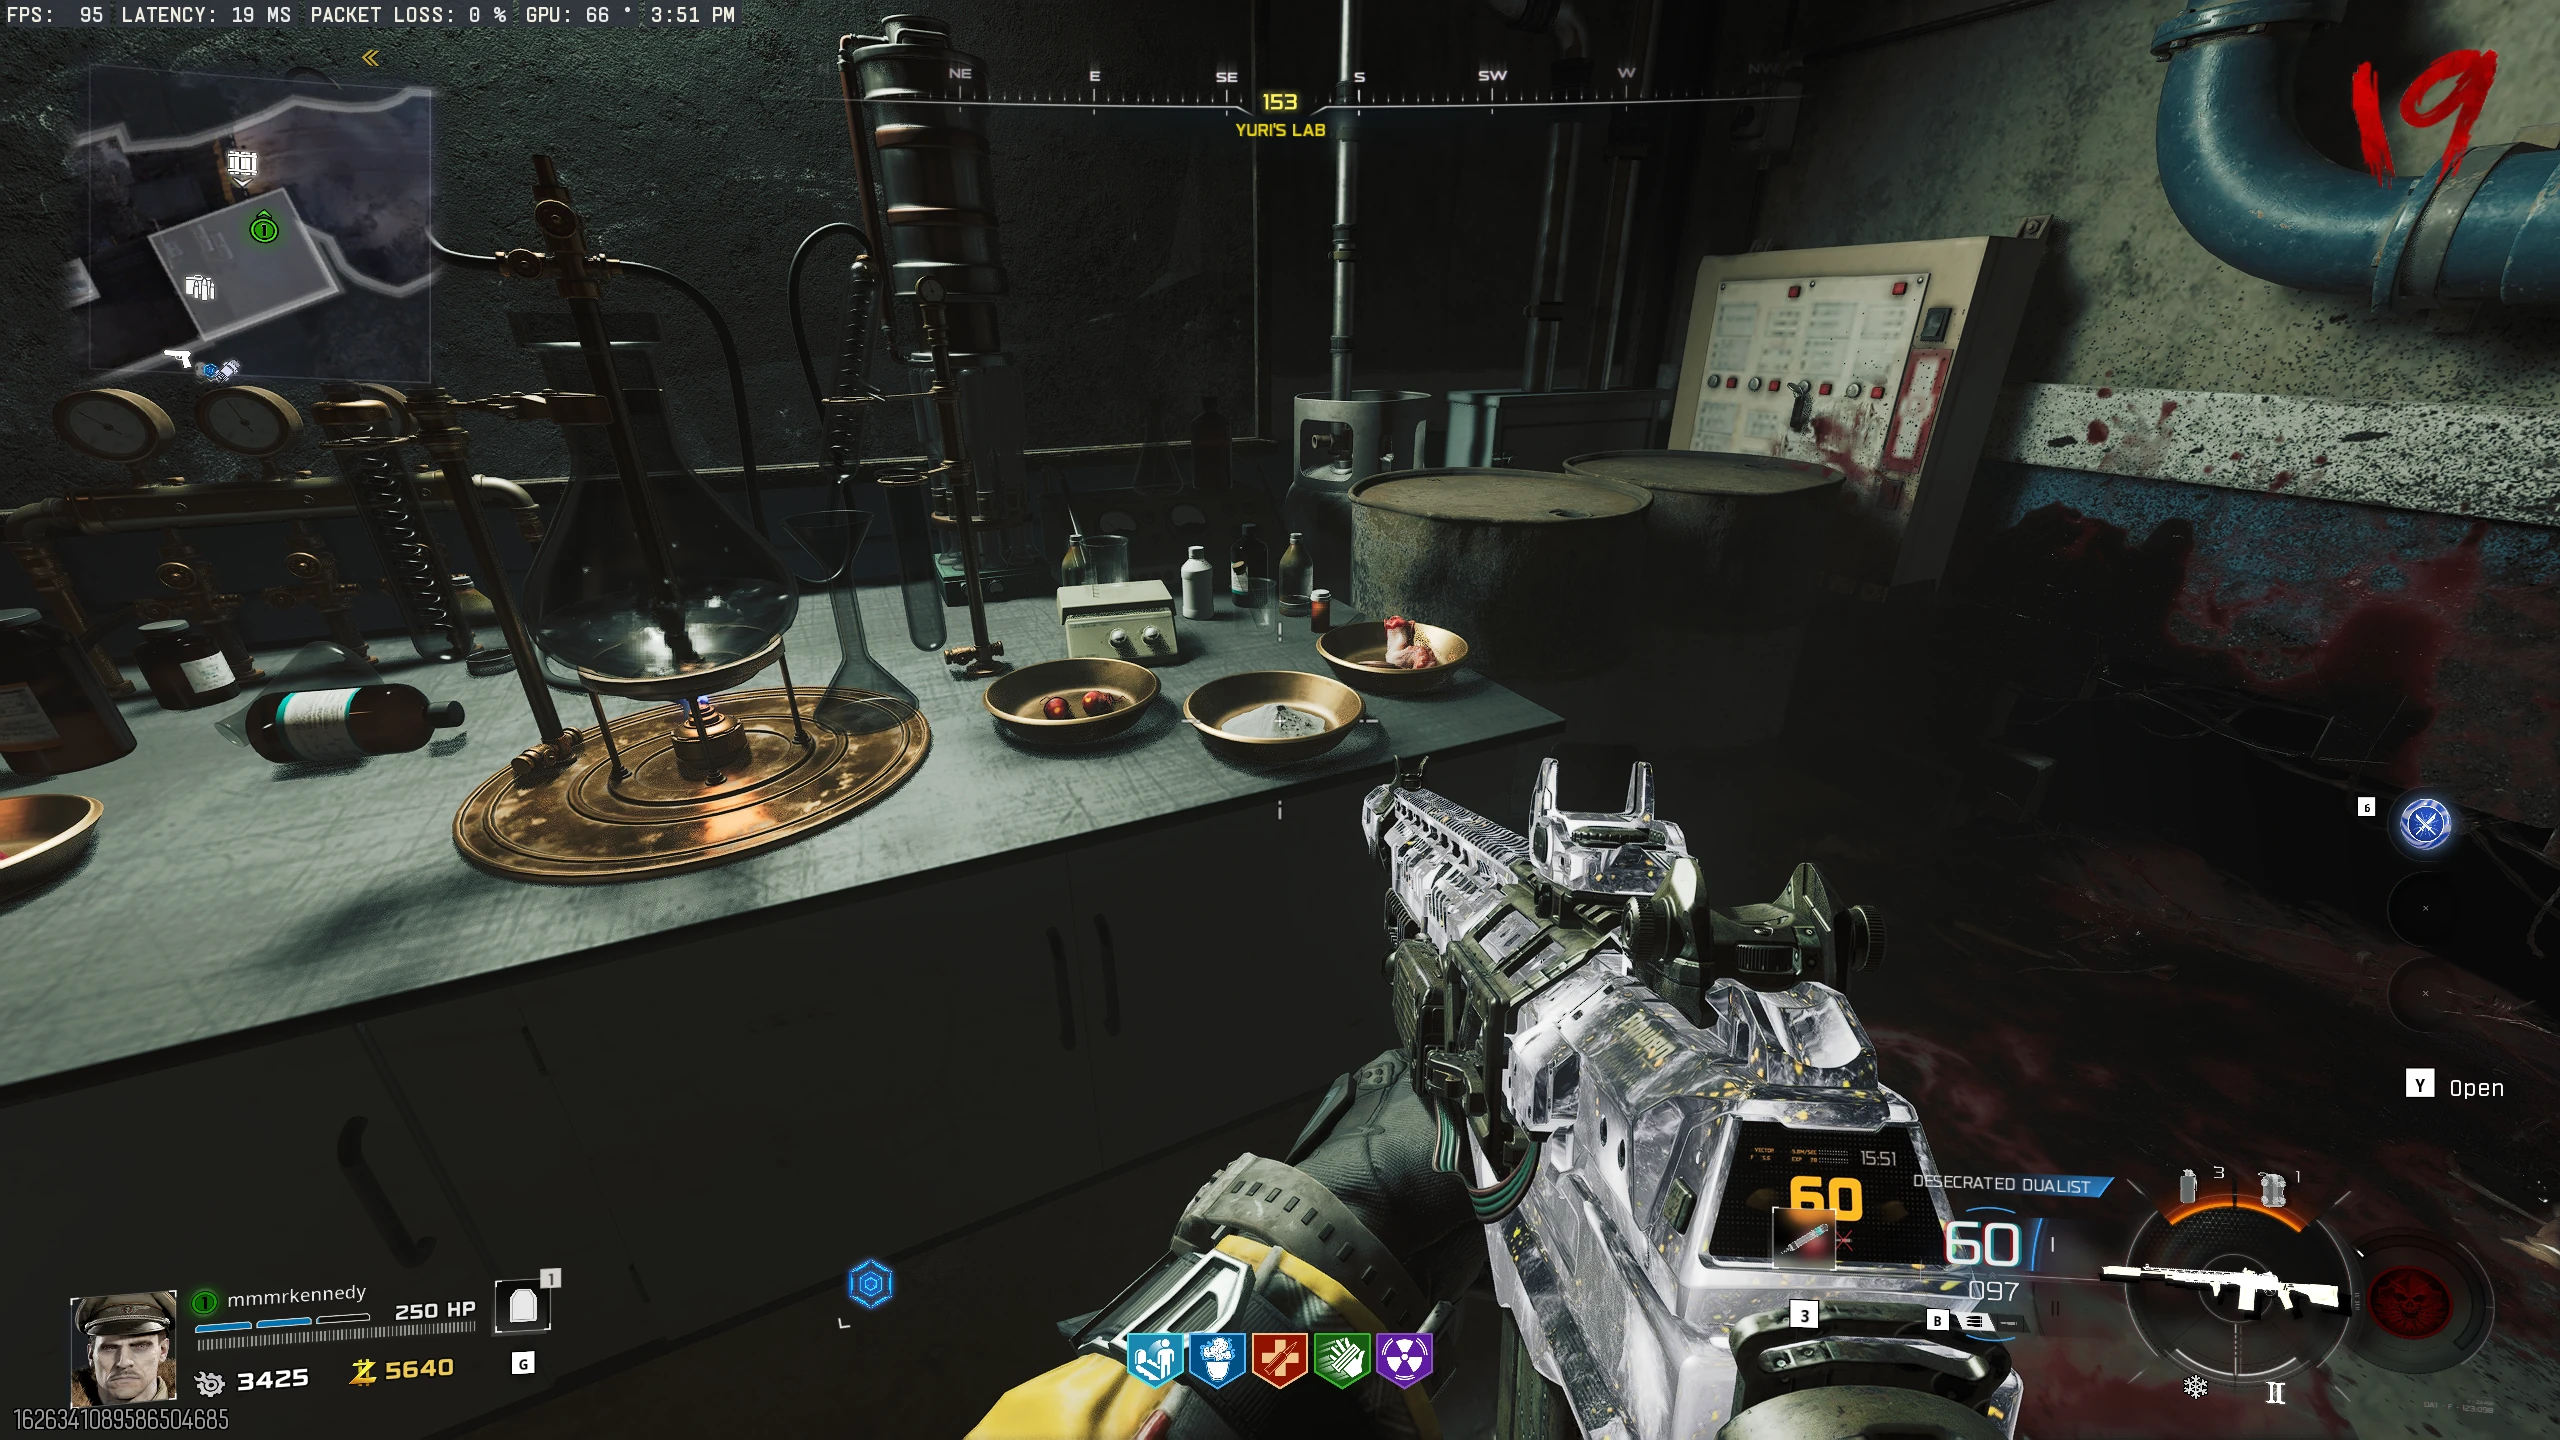
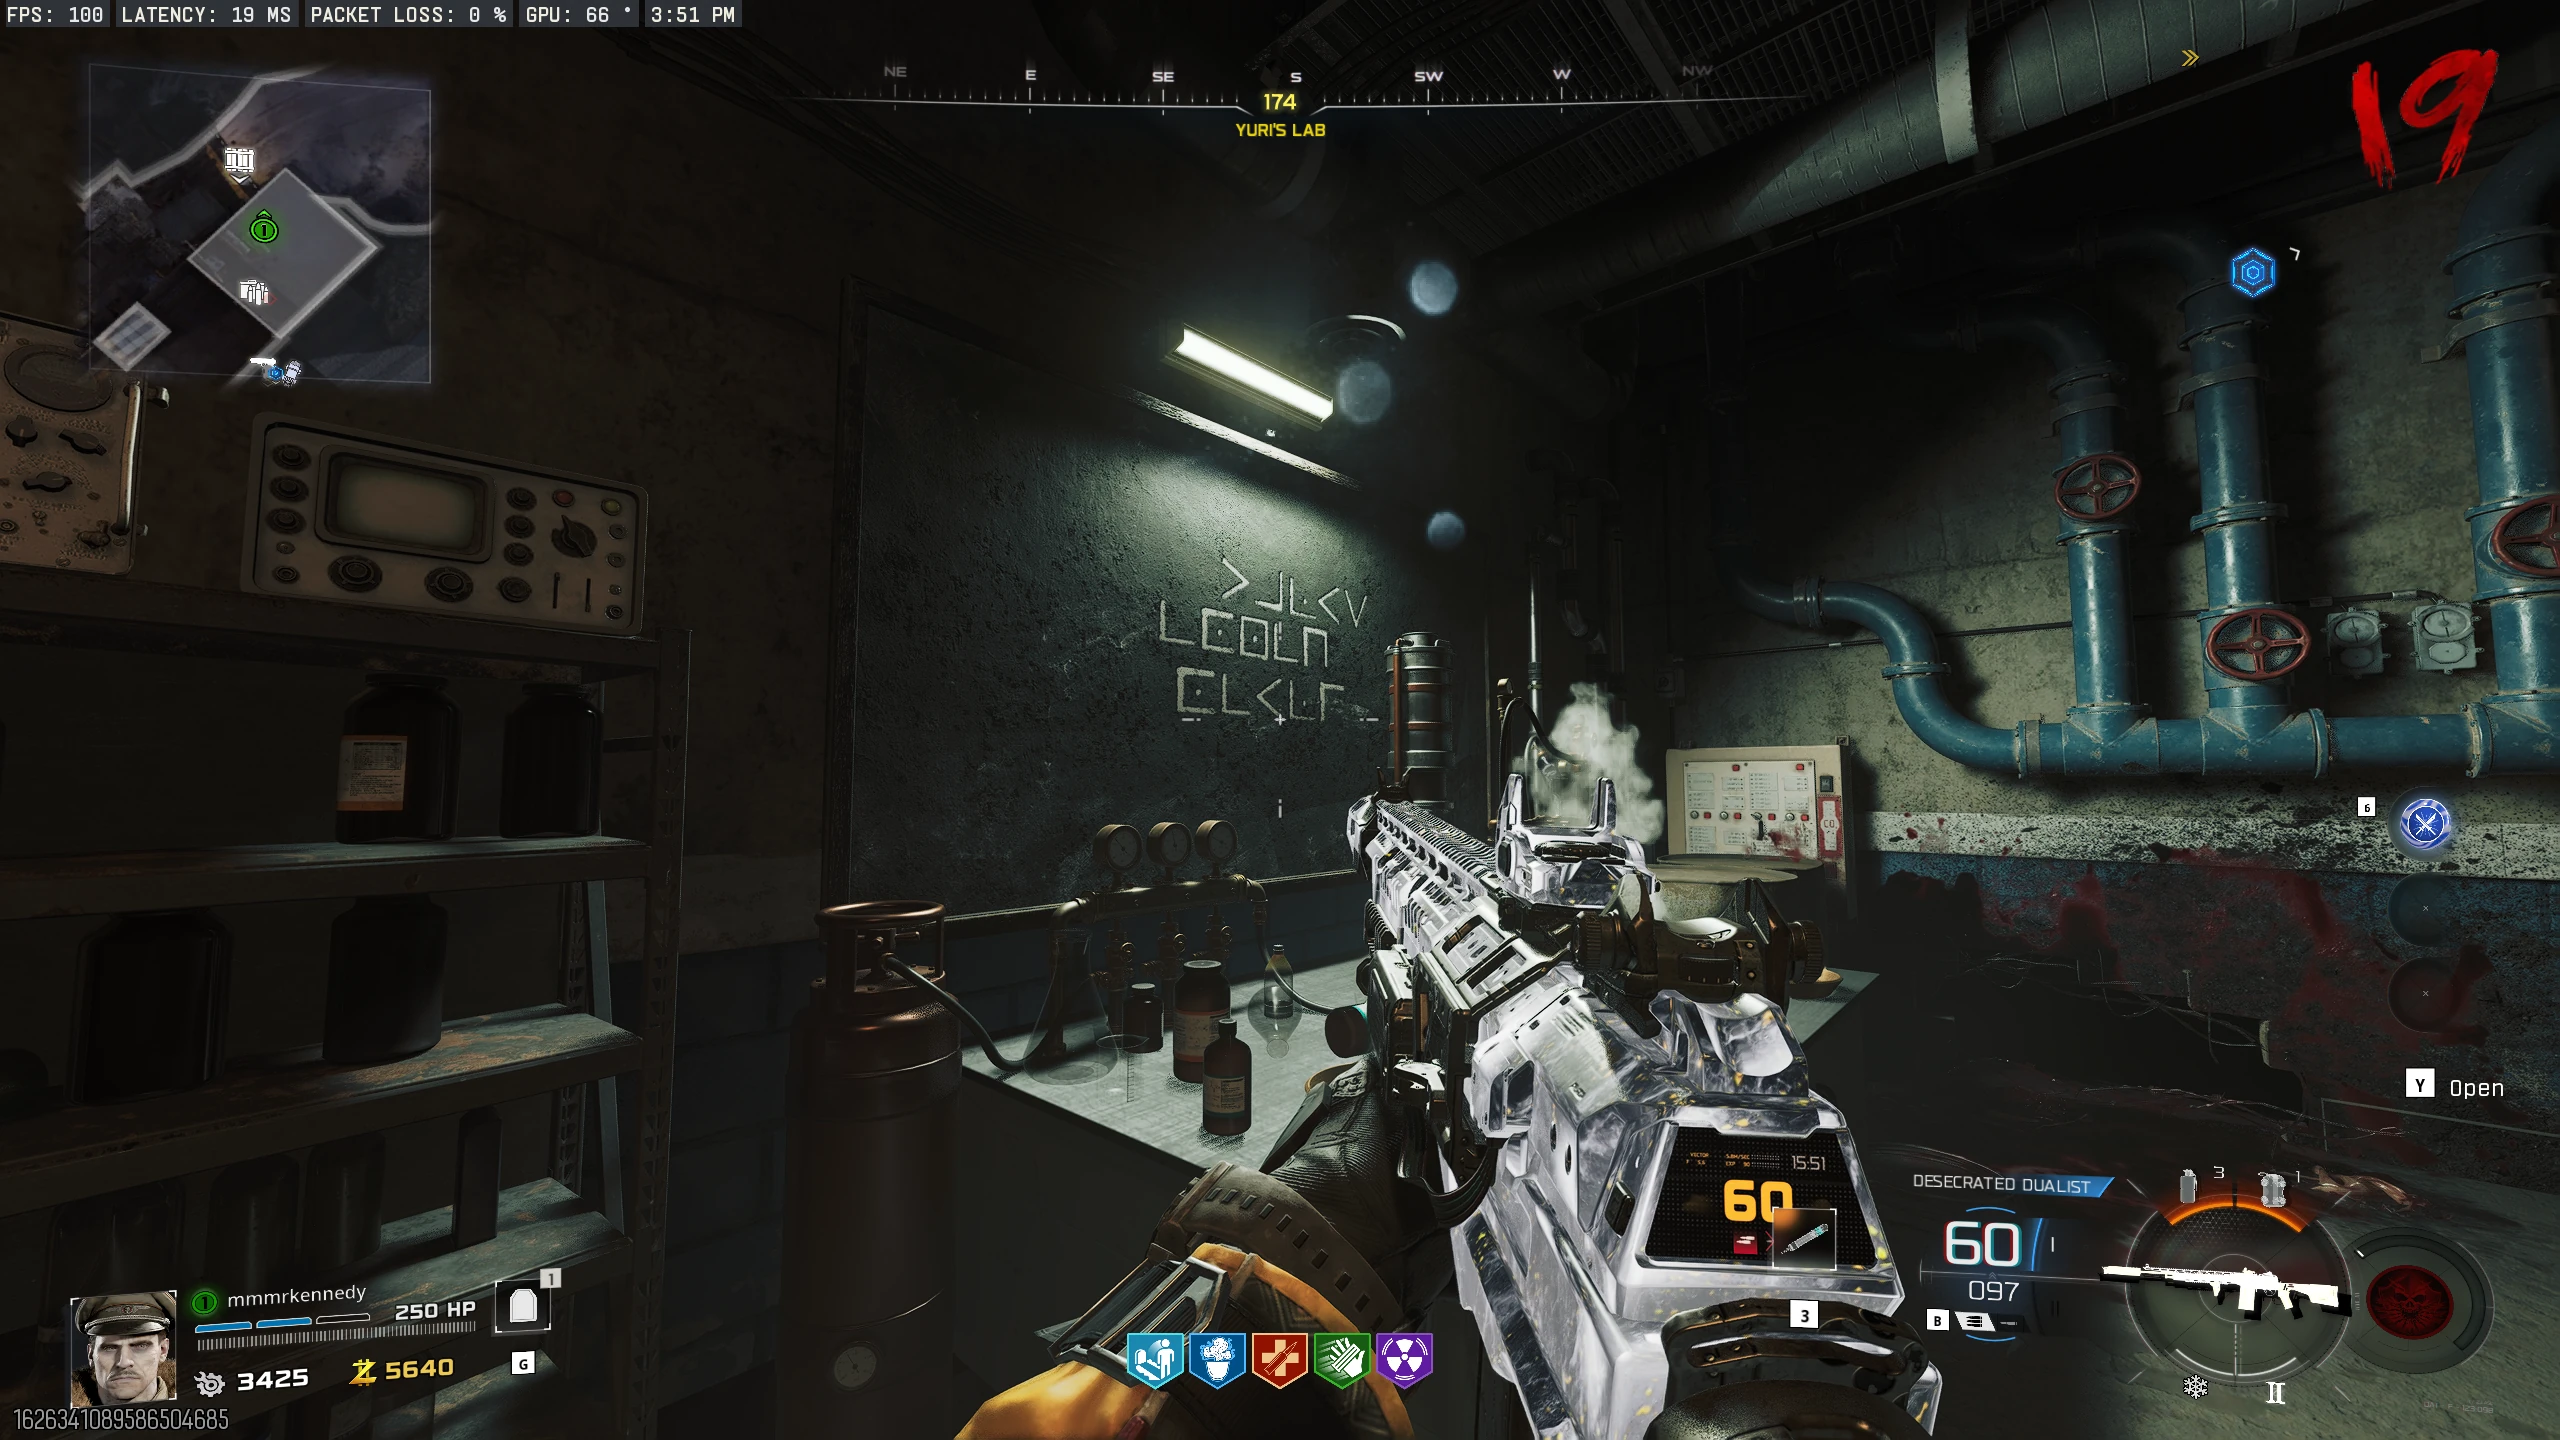
- Go to 'Yuri's Lab' in the Zarya Cosmodrome (left of the M15 MOD O wallbuy).
- Interact with the Powder of the Forgotten on the table to spawn three sets of symbols on the chalkboard.
-
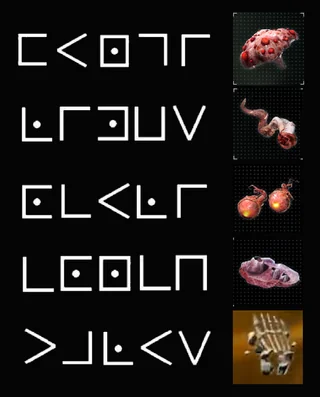
Each symbol indicates which item you must interact with on the table, and in what order (top to bottom). See the table below or use
this cheat sheet to match the left symbol in each set with the item it represents.
- If you interact with the items in the wrong order, you'll have to go to the next round to retry.
-
Chalkboard Word (in Pigpen) Translated Word Ingredient FUNGI FUNGI Widow's Lantern LIMBS LIMBS Mysterious Limb OCULI OCULI Ravager Eyes CONCH CONCH Hoard Hunk Chucks TALUS TALUS Human Bones - If done correctly, interact with the beaker in the middle to "Add Blood" to start a lockdown. The player who added blood will have reduced health, and health regen disabled, but you can heal with the Necrofluid Gauntlet. Kill zombies until the room fills with gas.
-
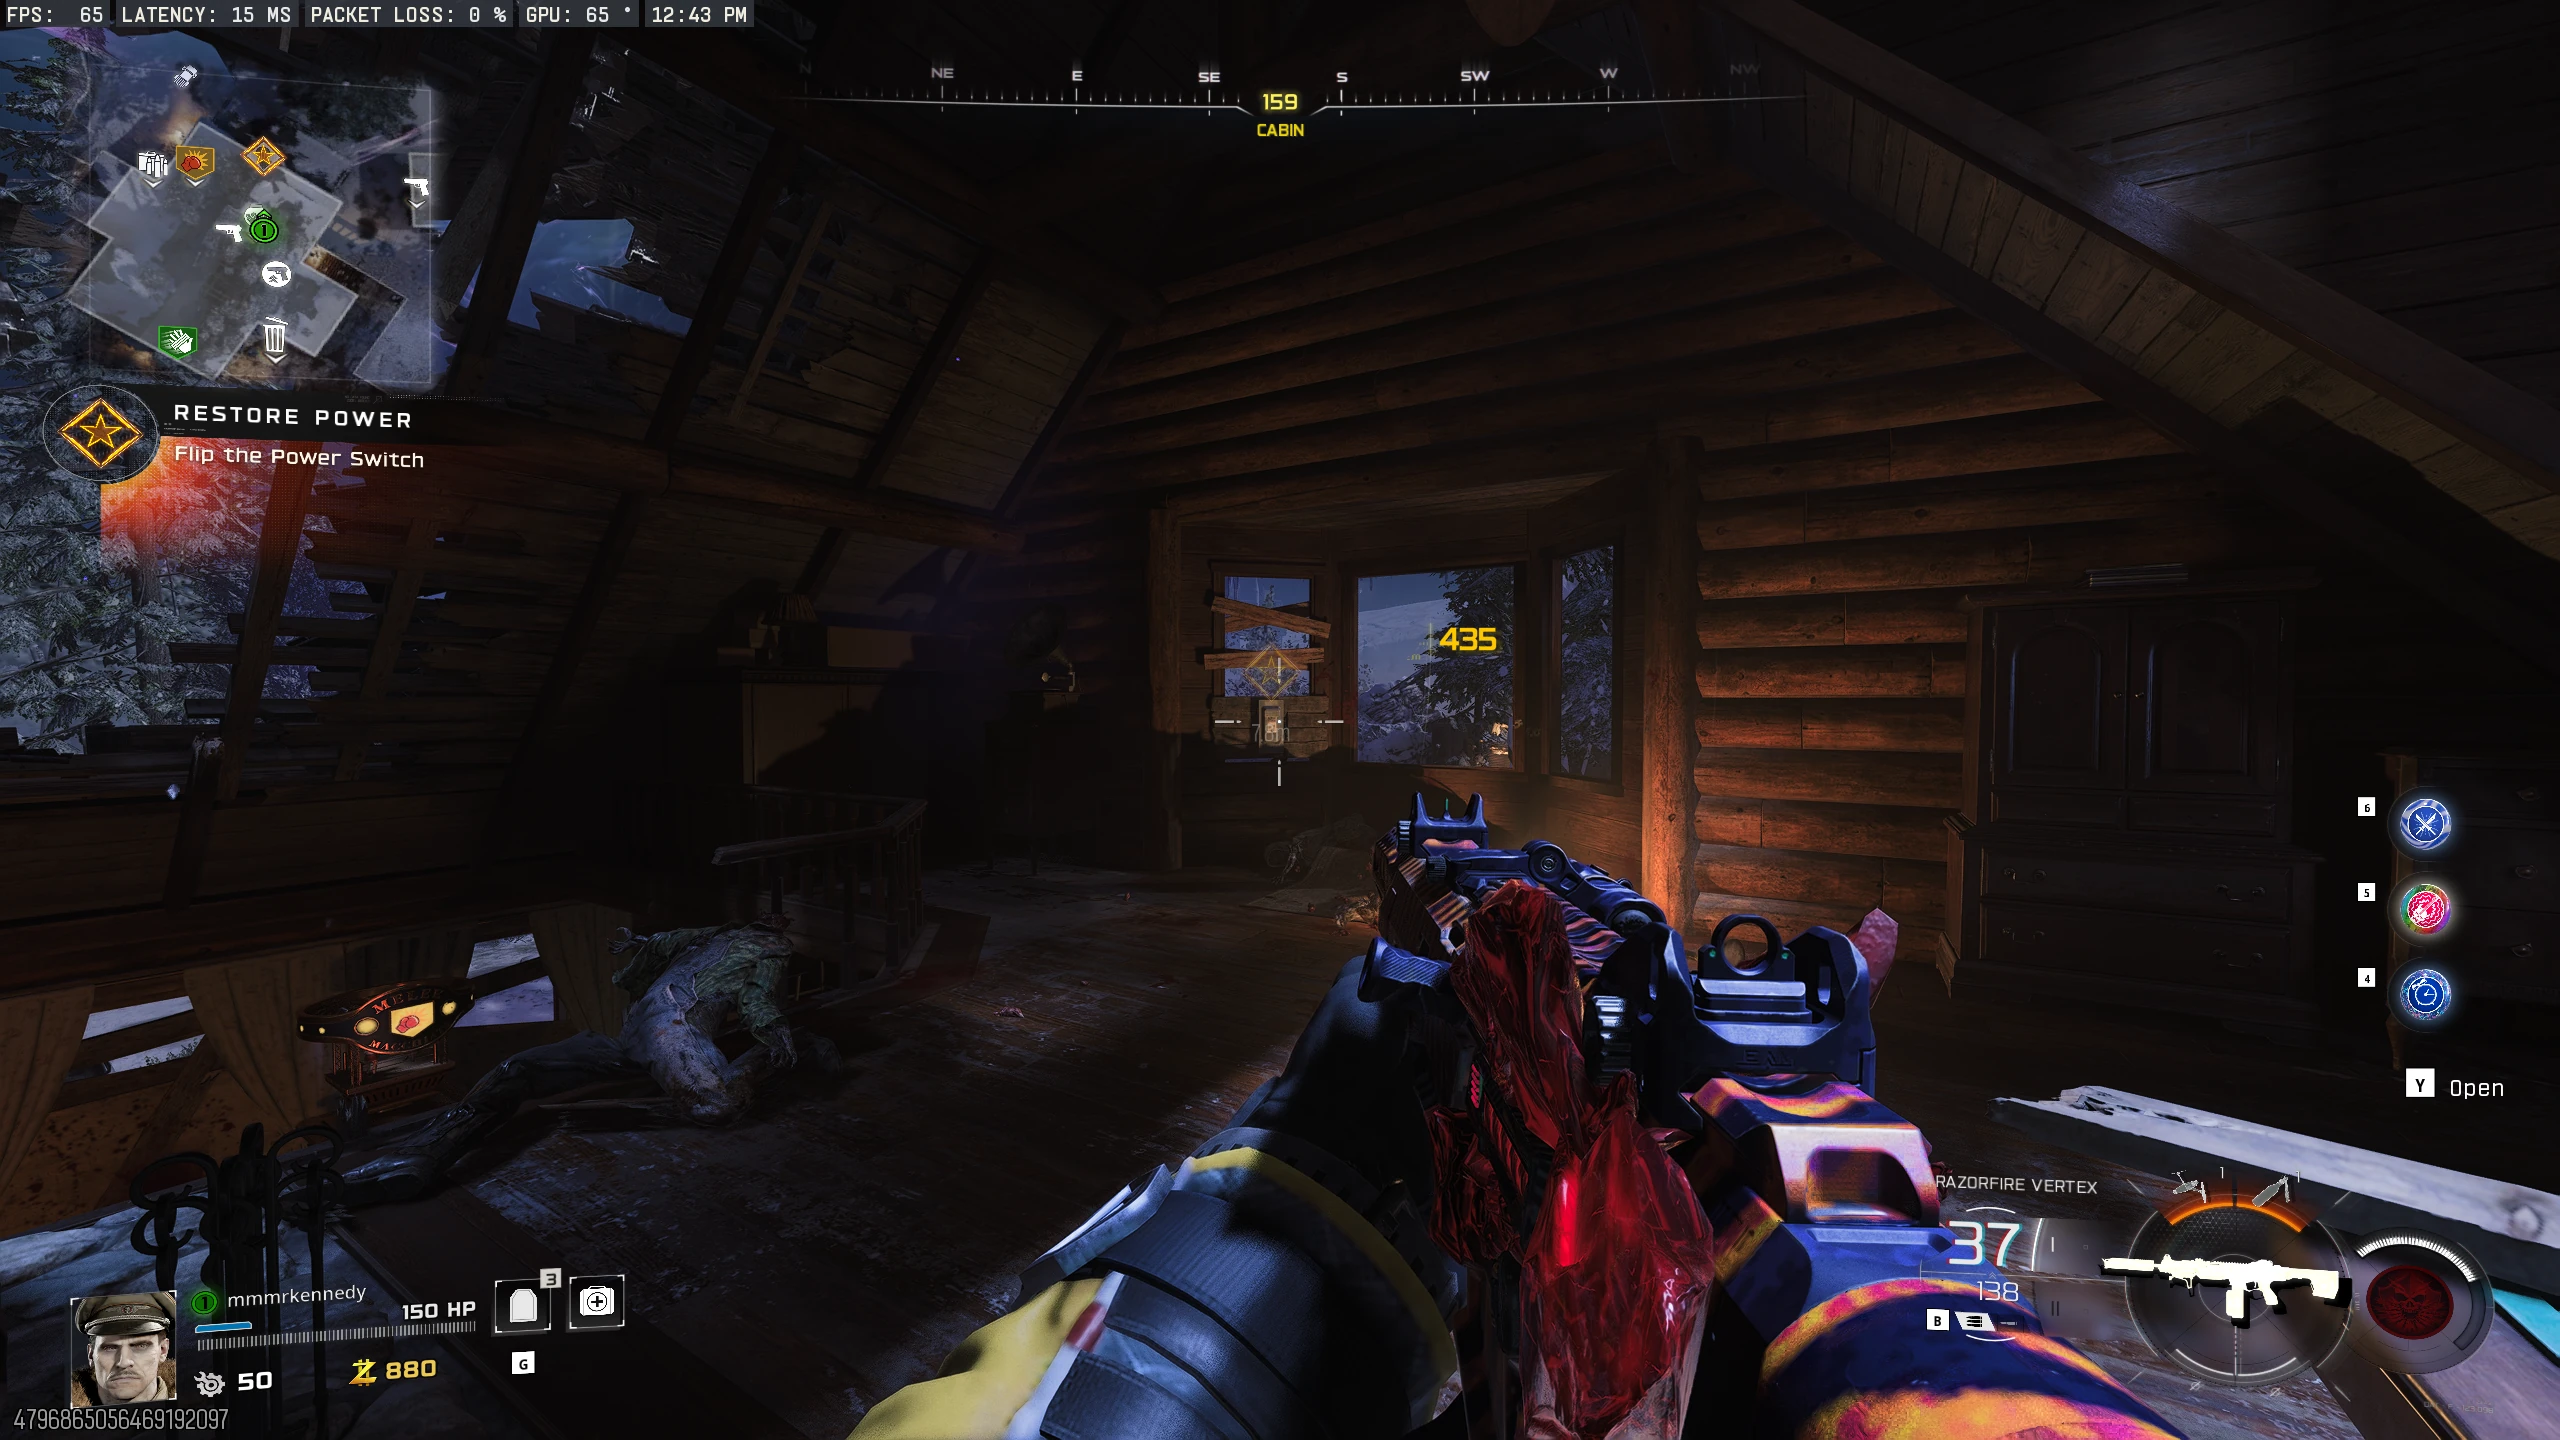
Gauntlet Challenges
- Obtain the DG-2 Turret Upgrade for Ol' Tessie.
-
You must complete four challenges, three (Vandorn Farm, Zarya Cosmodrome, Exit 115) can be done in any order, but Blackwater Lake should be done last. To start each, you need a "purple
shot" for the Necrofluid Gauntlet. To obtain a purple shot:
- Shoot any of the clock faces of the broken clock tower in Ashwood with the DG-2 Turret to stop it.
- Shoot the stopped face with the Necrofluid Gauntlet to retrieve the purple shot. This will disable that clock face.
- If you have no purple shots left, end the round, and at the start of the next round, shoot the clock tower with the DG-2 again. This will reset all clock faces.
-
Vandorn Farm Challenge
- With a purple shot, go to Vandorn Farm and check the clock behind the dining room table in the Farmhouse. It will point to 12, 3, 6, or 9.
- Stand on the matching Roman numeral scratched into the floor around the table.
- Place the Gauntlet's crosshair on the Father skeleton's head. When his eyes turn red, shoot him with the purple gauntlet. His head should fly back, and four energy orbs will fly away.
- Collect four items around the farm and place them on the ritual circles in the front yard.
-
Interact with the last item to start a lockdown. During the lockdown, you'll need to defend all items from infinitely spawning zombies.
- Failing to defend the items, CHANGE ME.
-
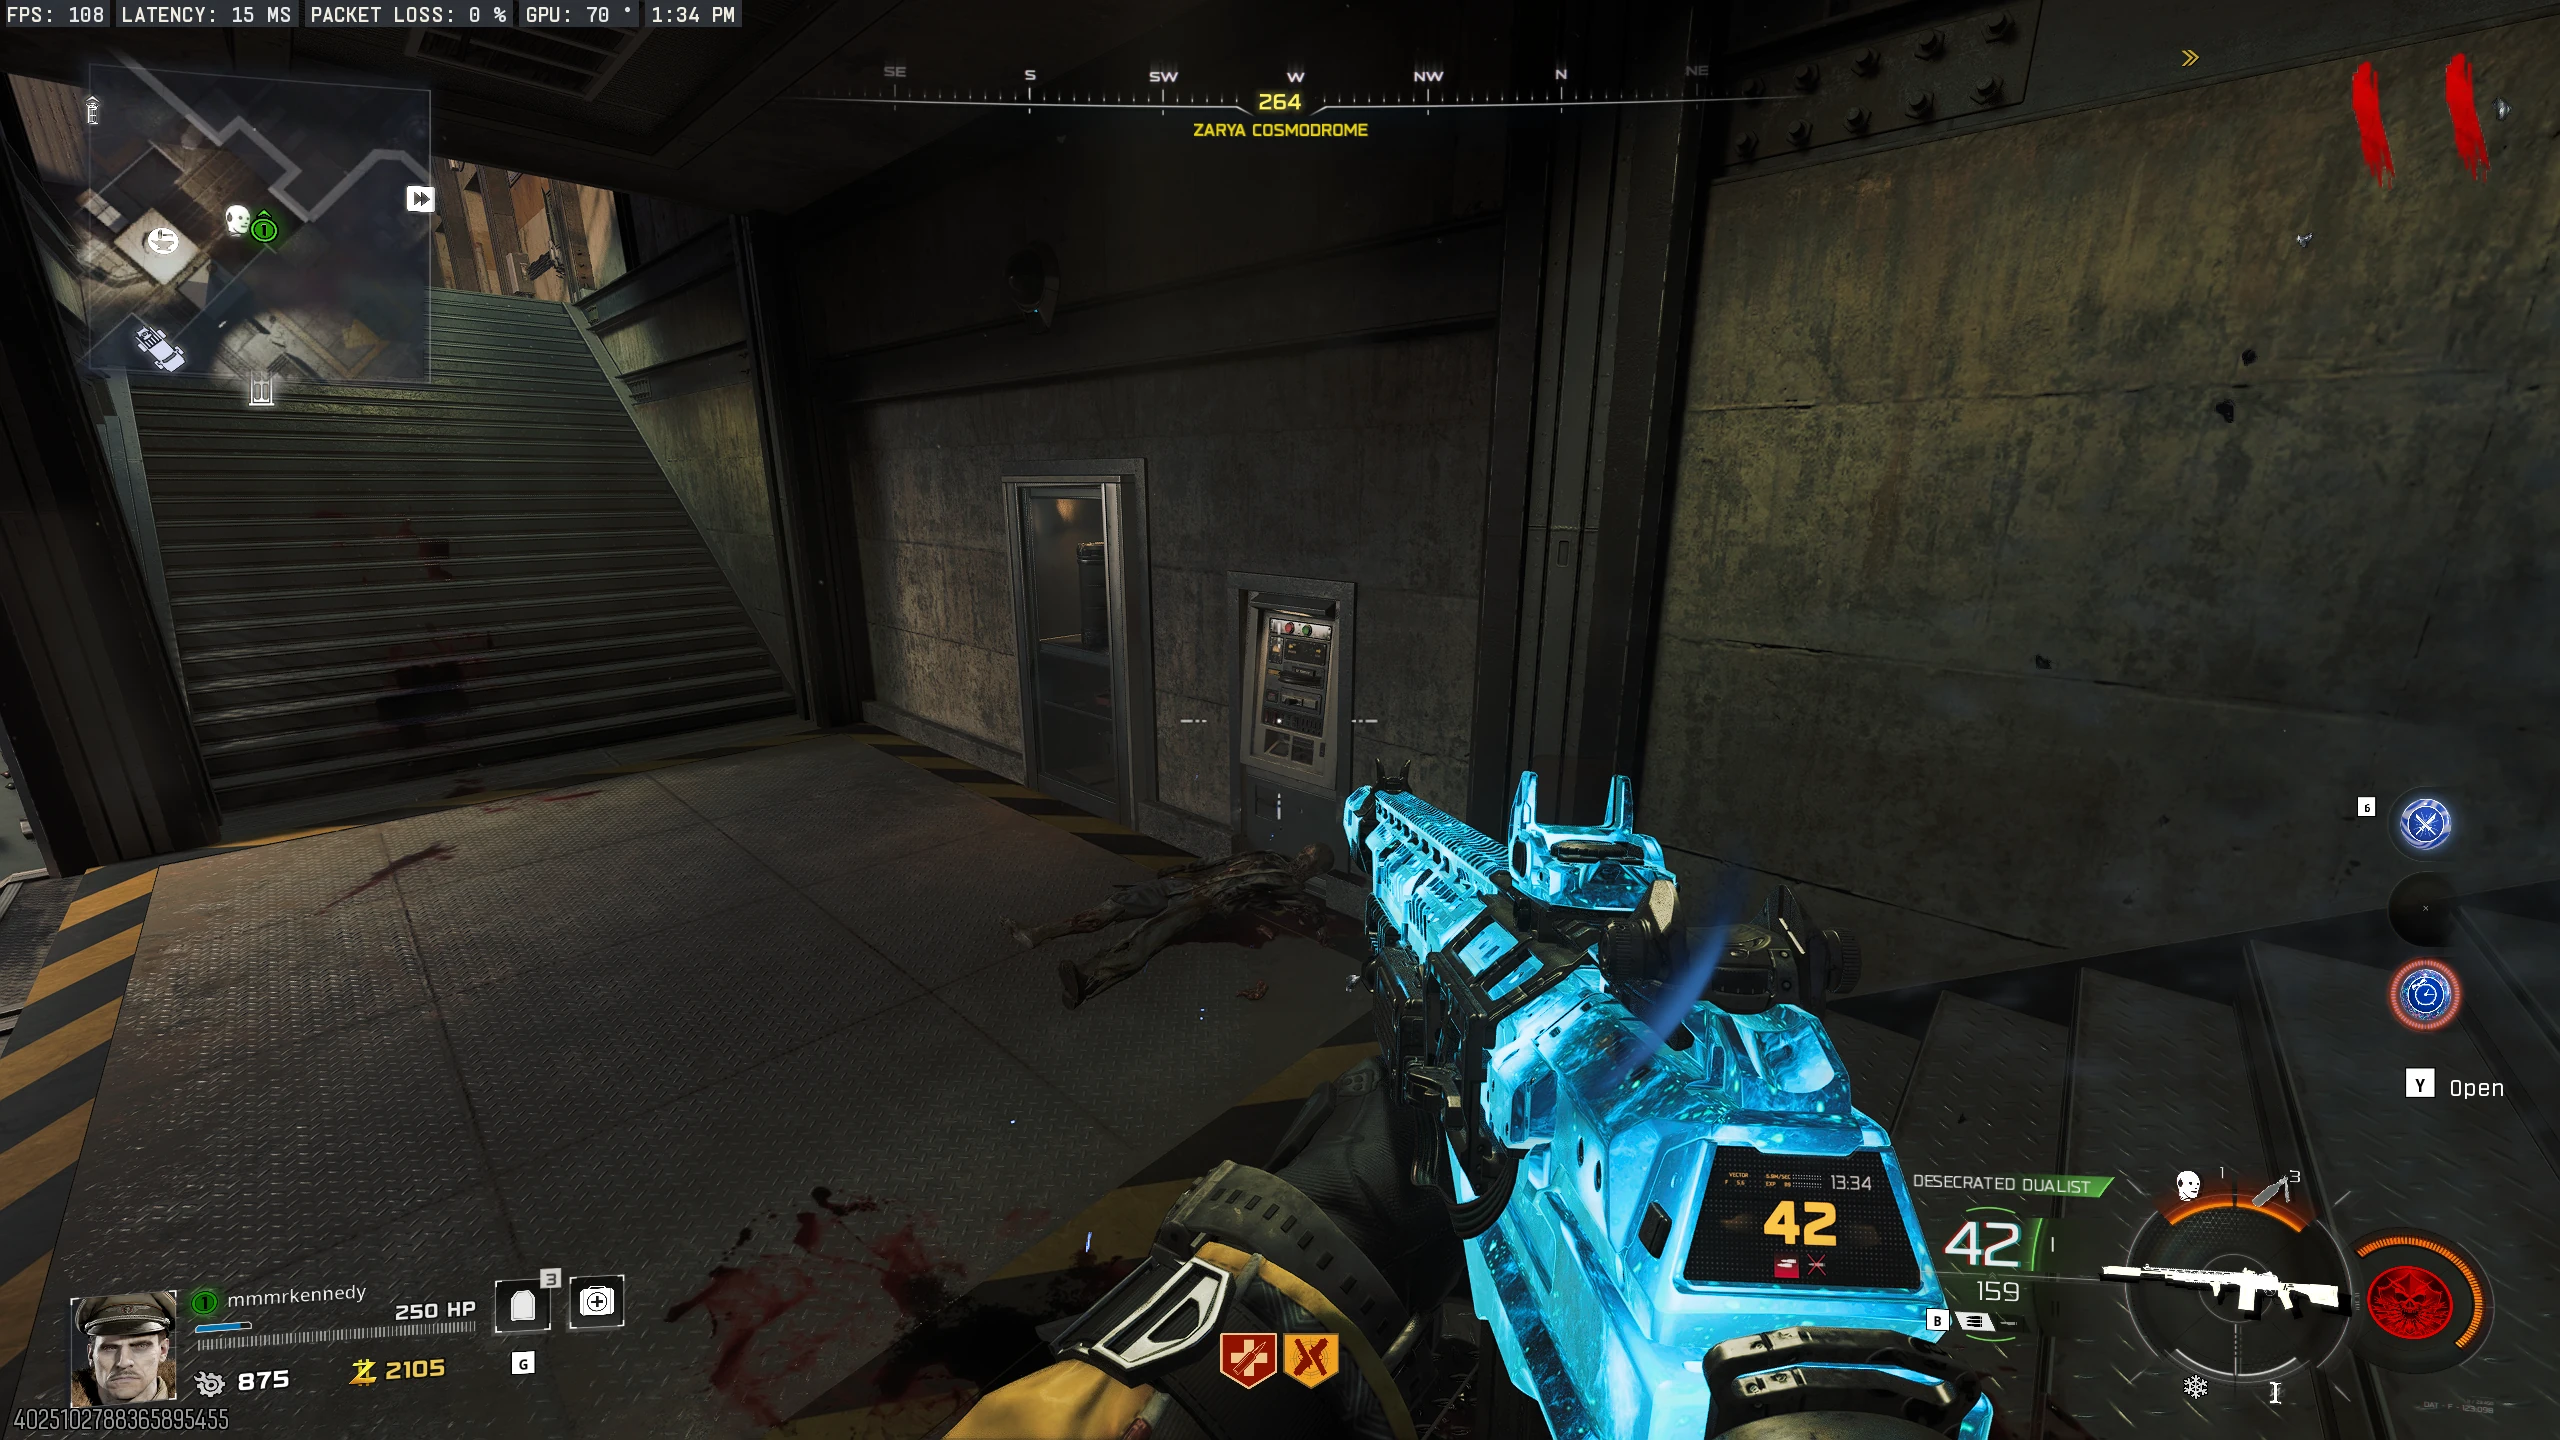
Zarya Cosmodrome Challenge
- Shoot both large spinning radar dishes with a purple shot (two shots required) to slow them down.
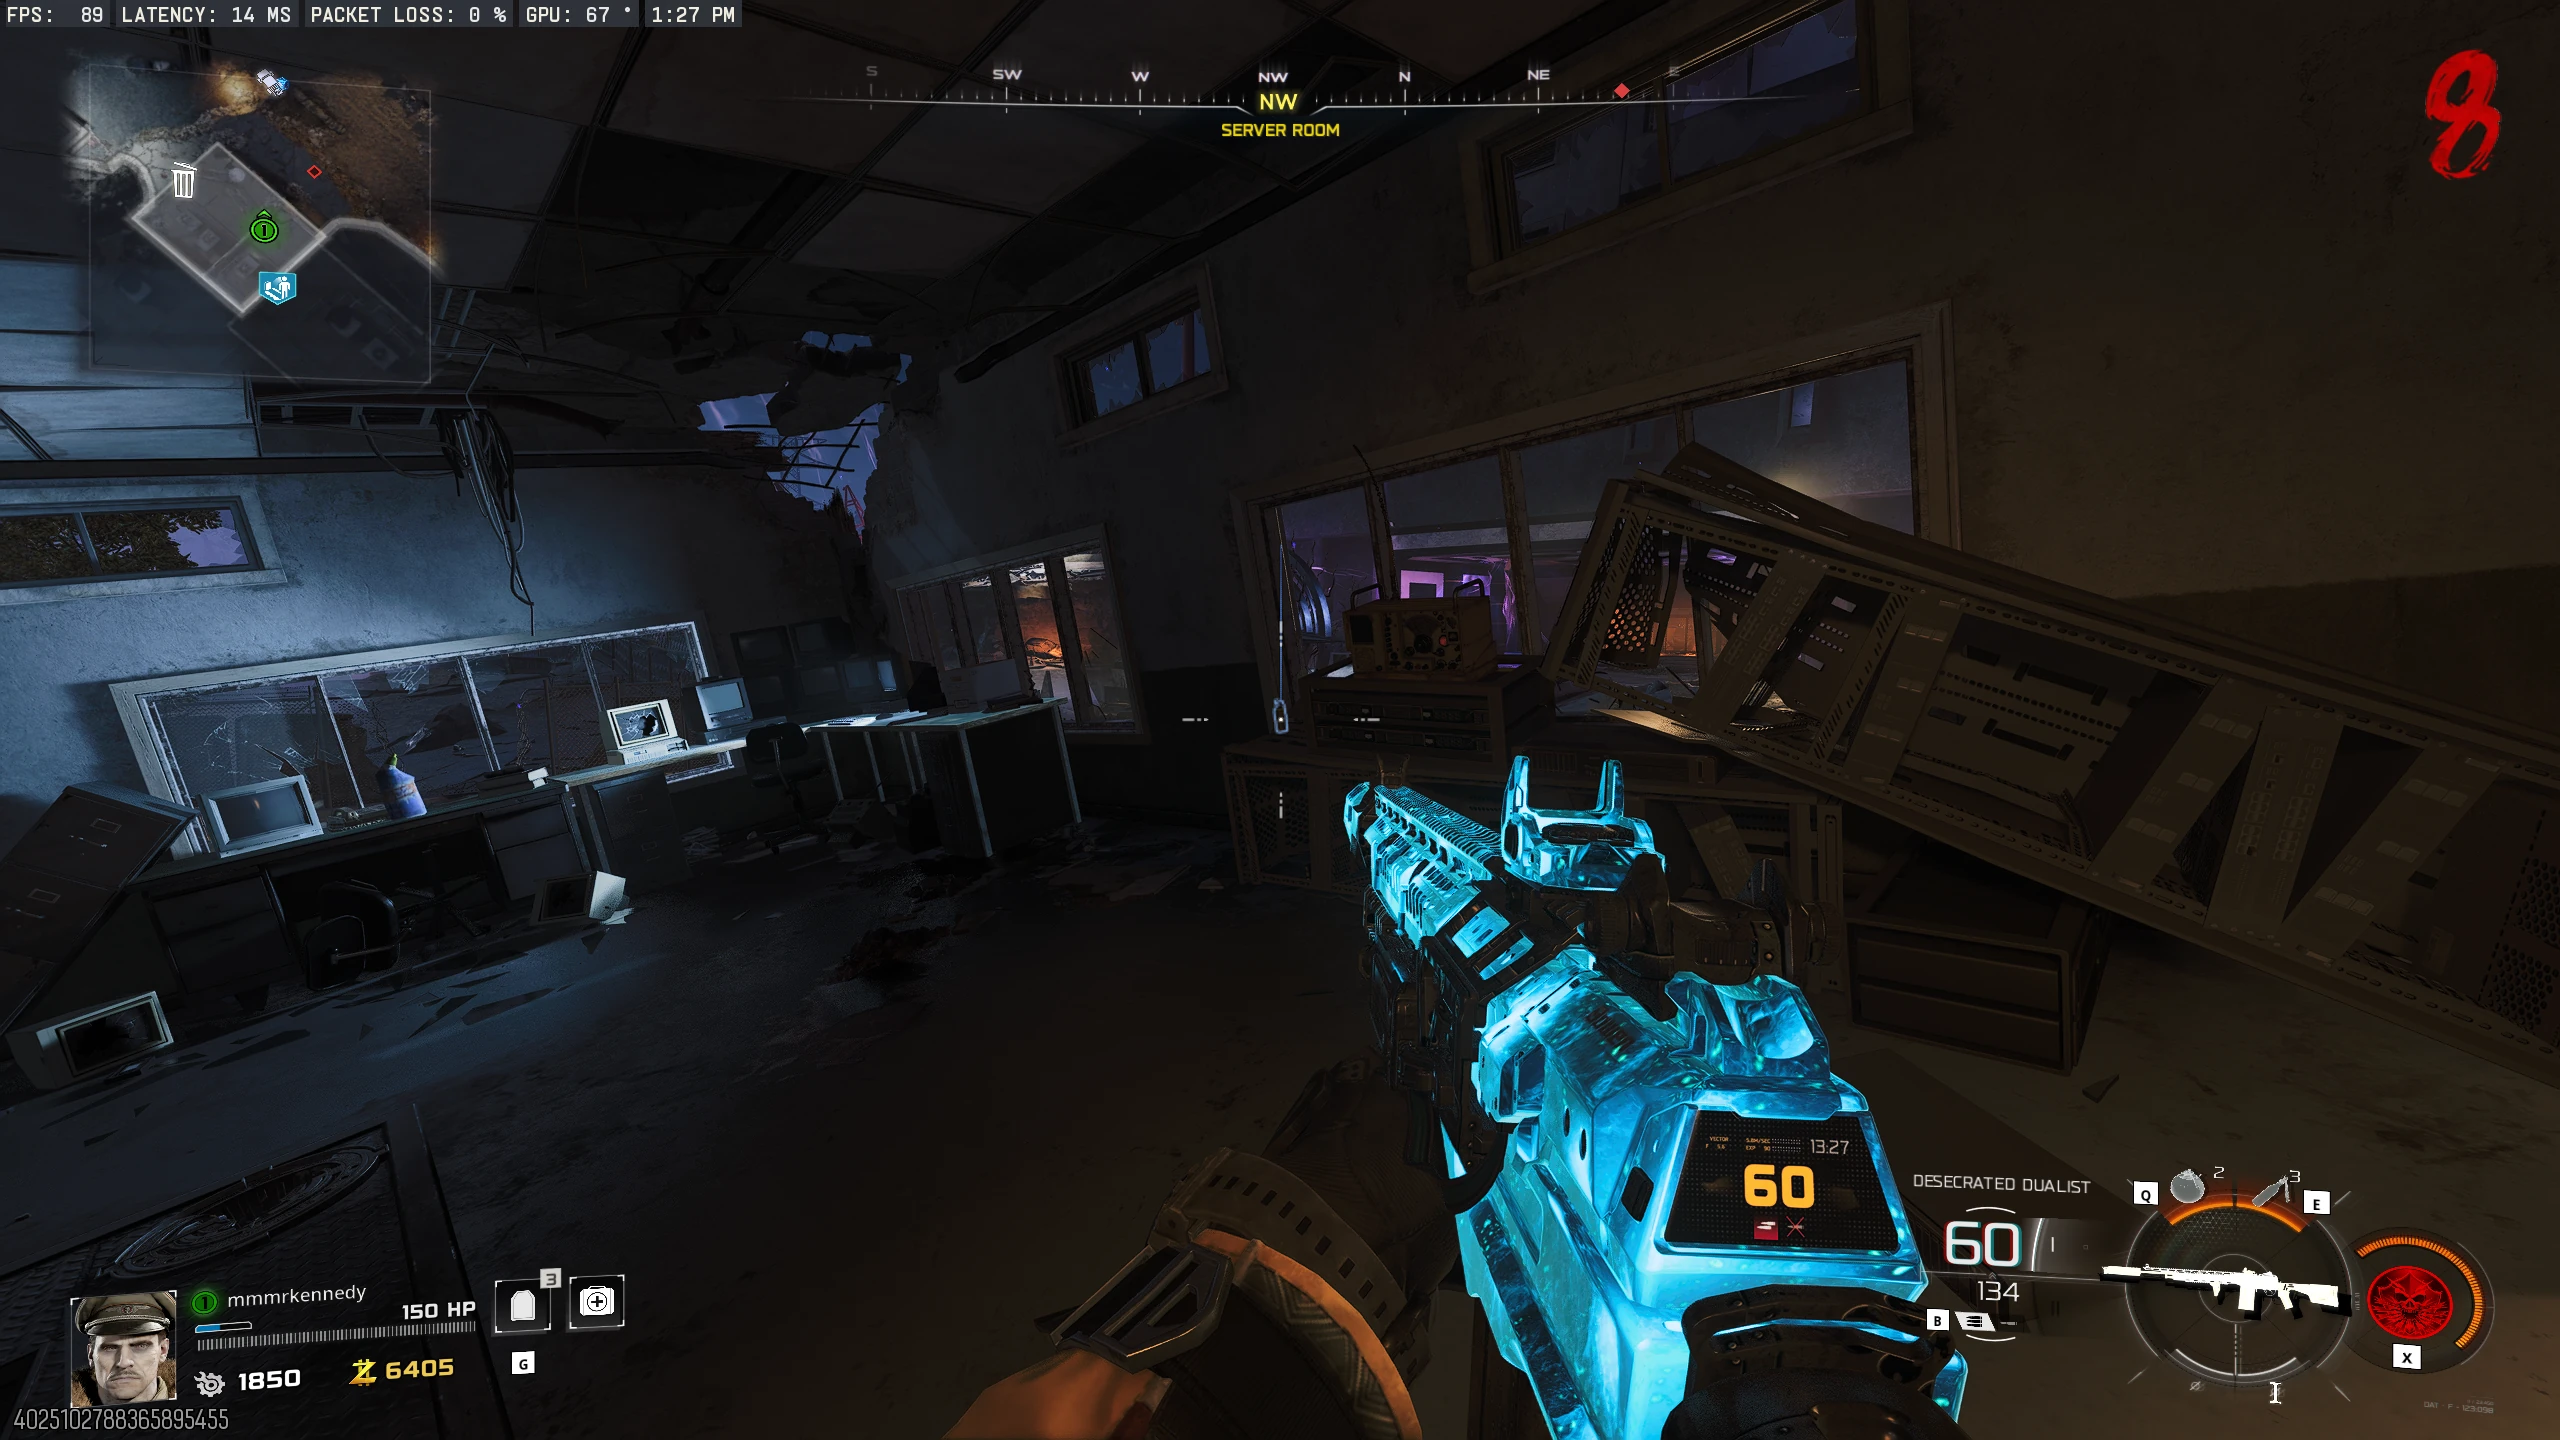
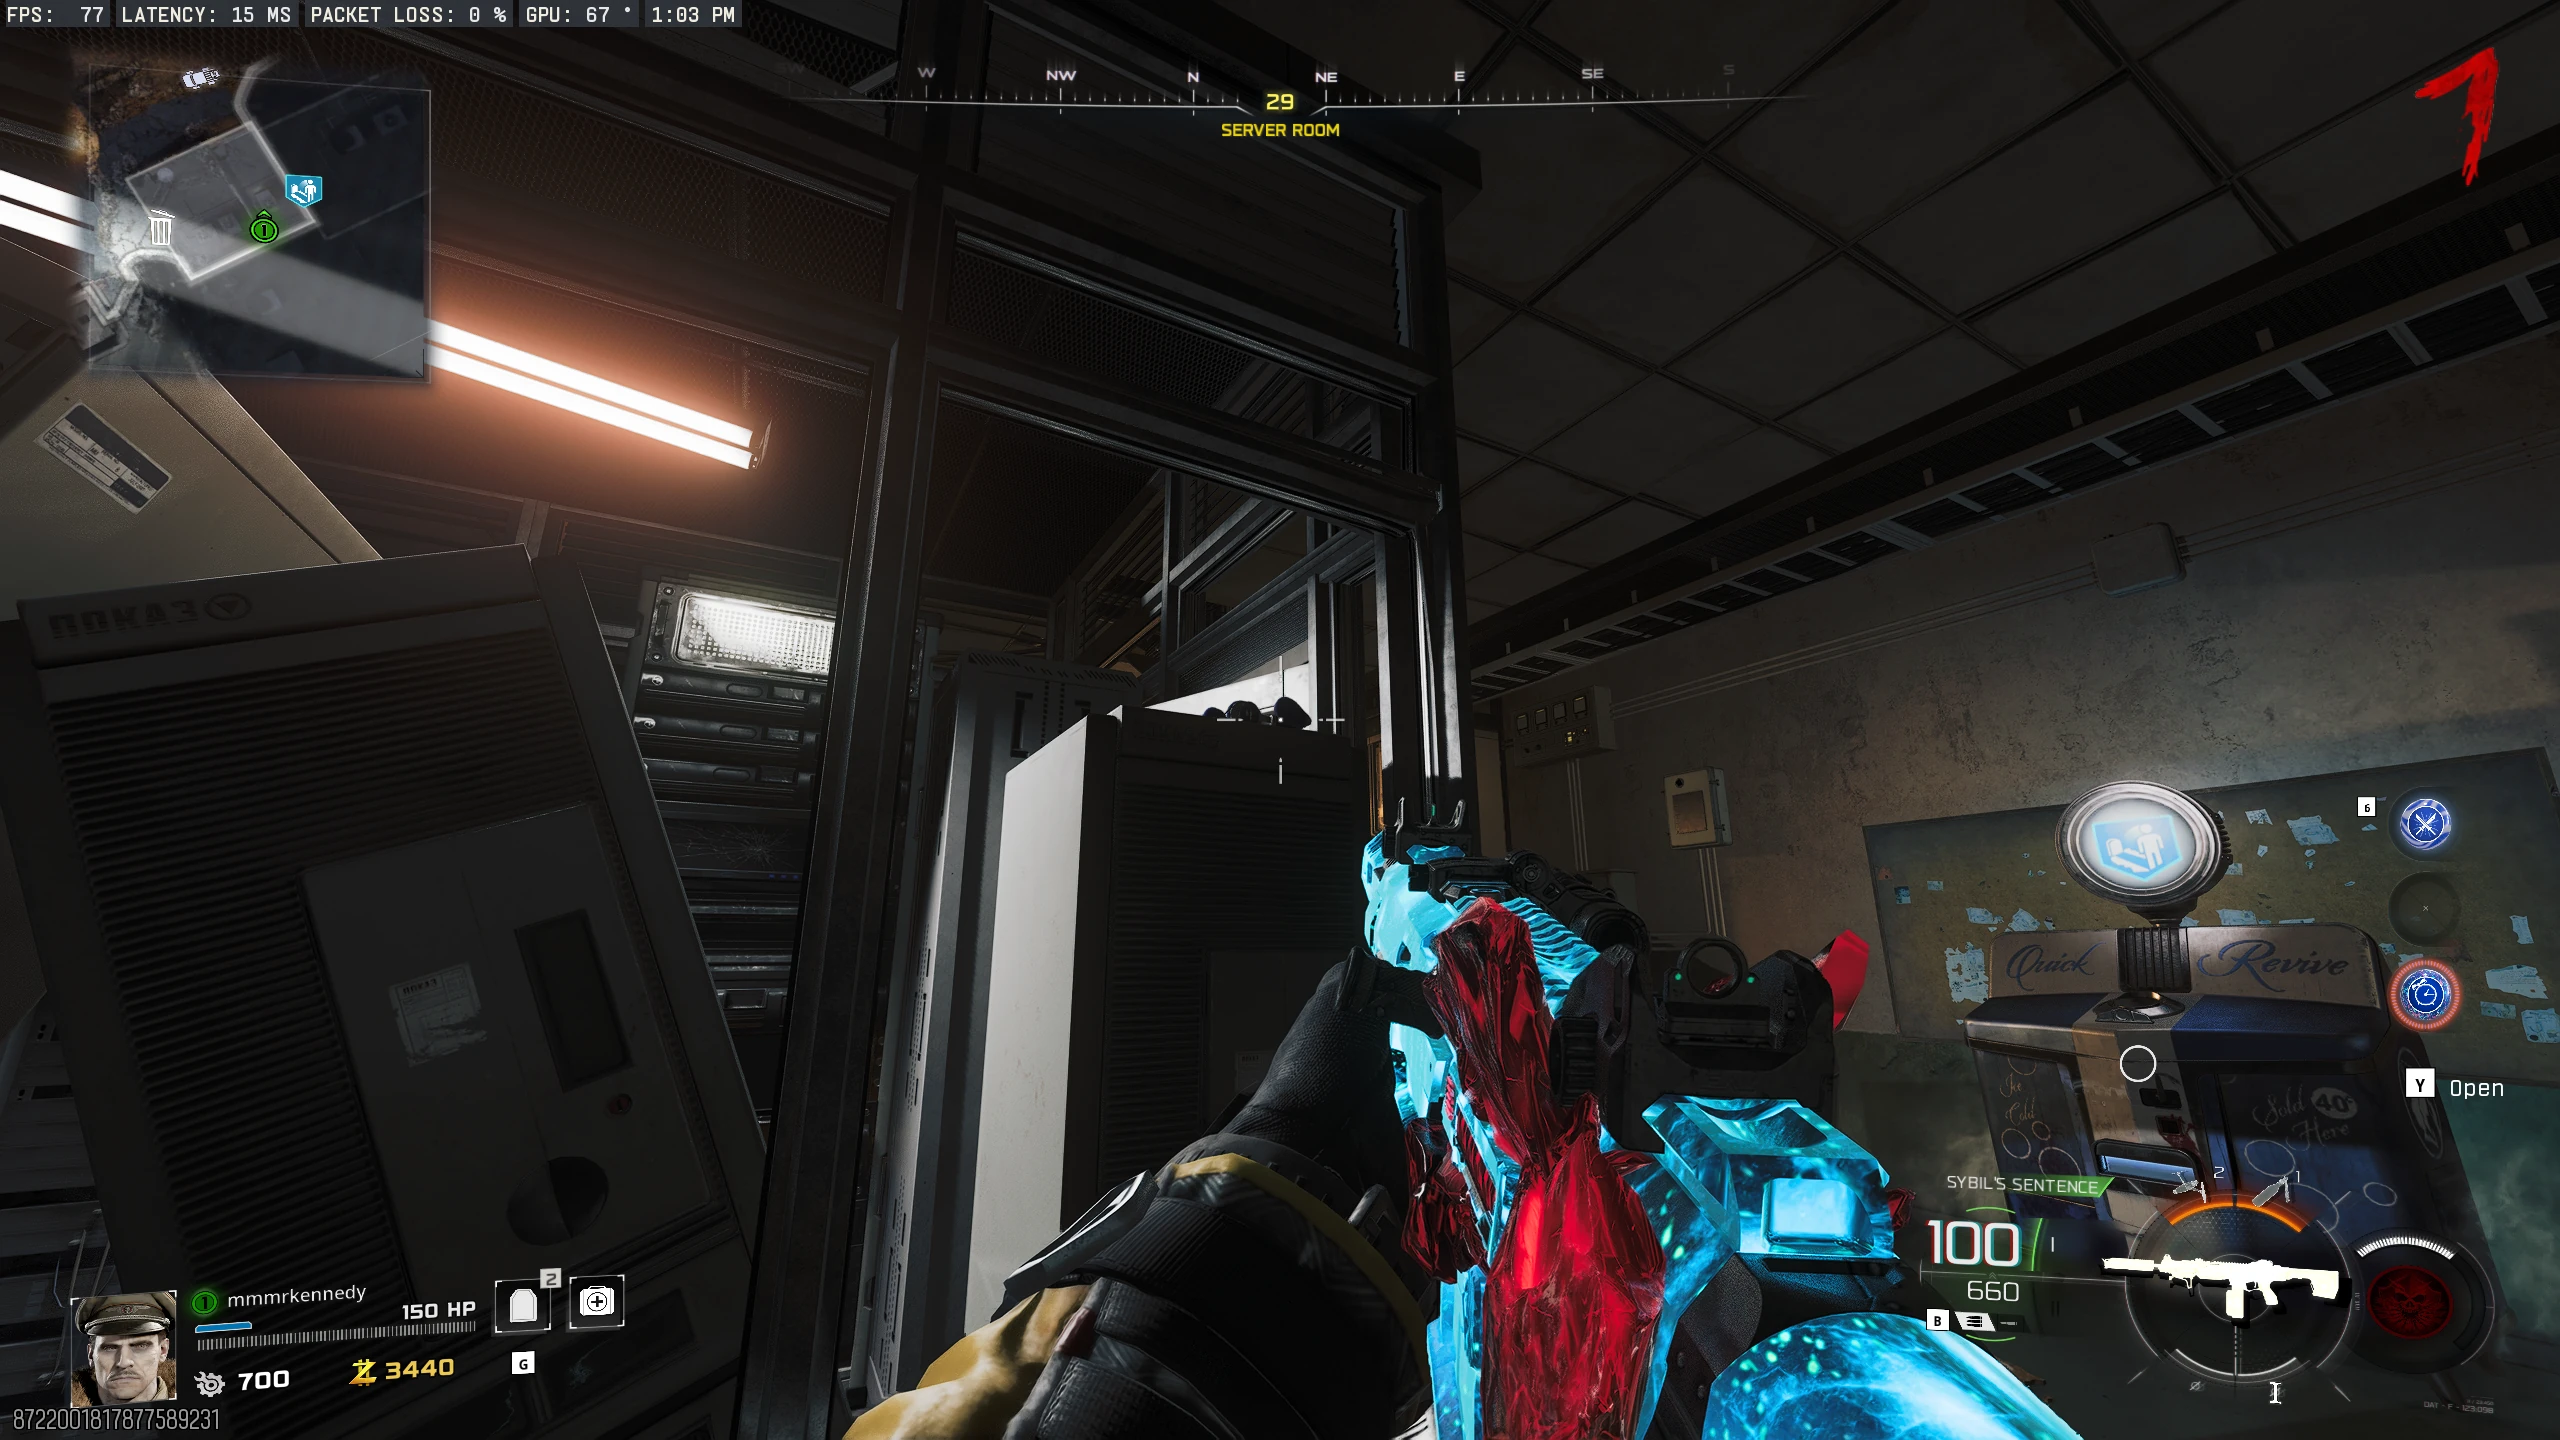
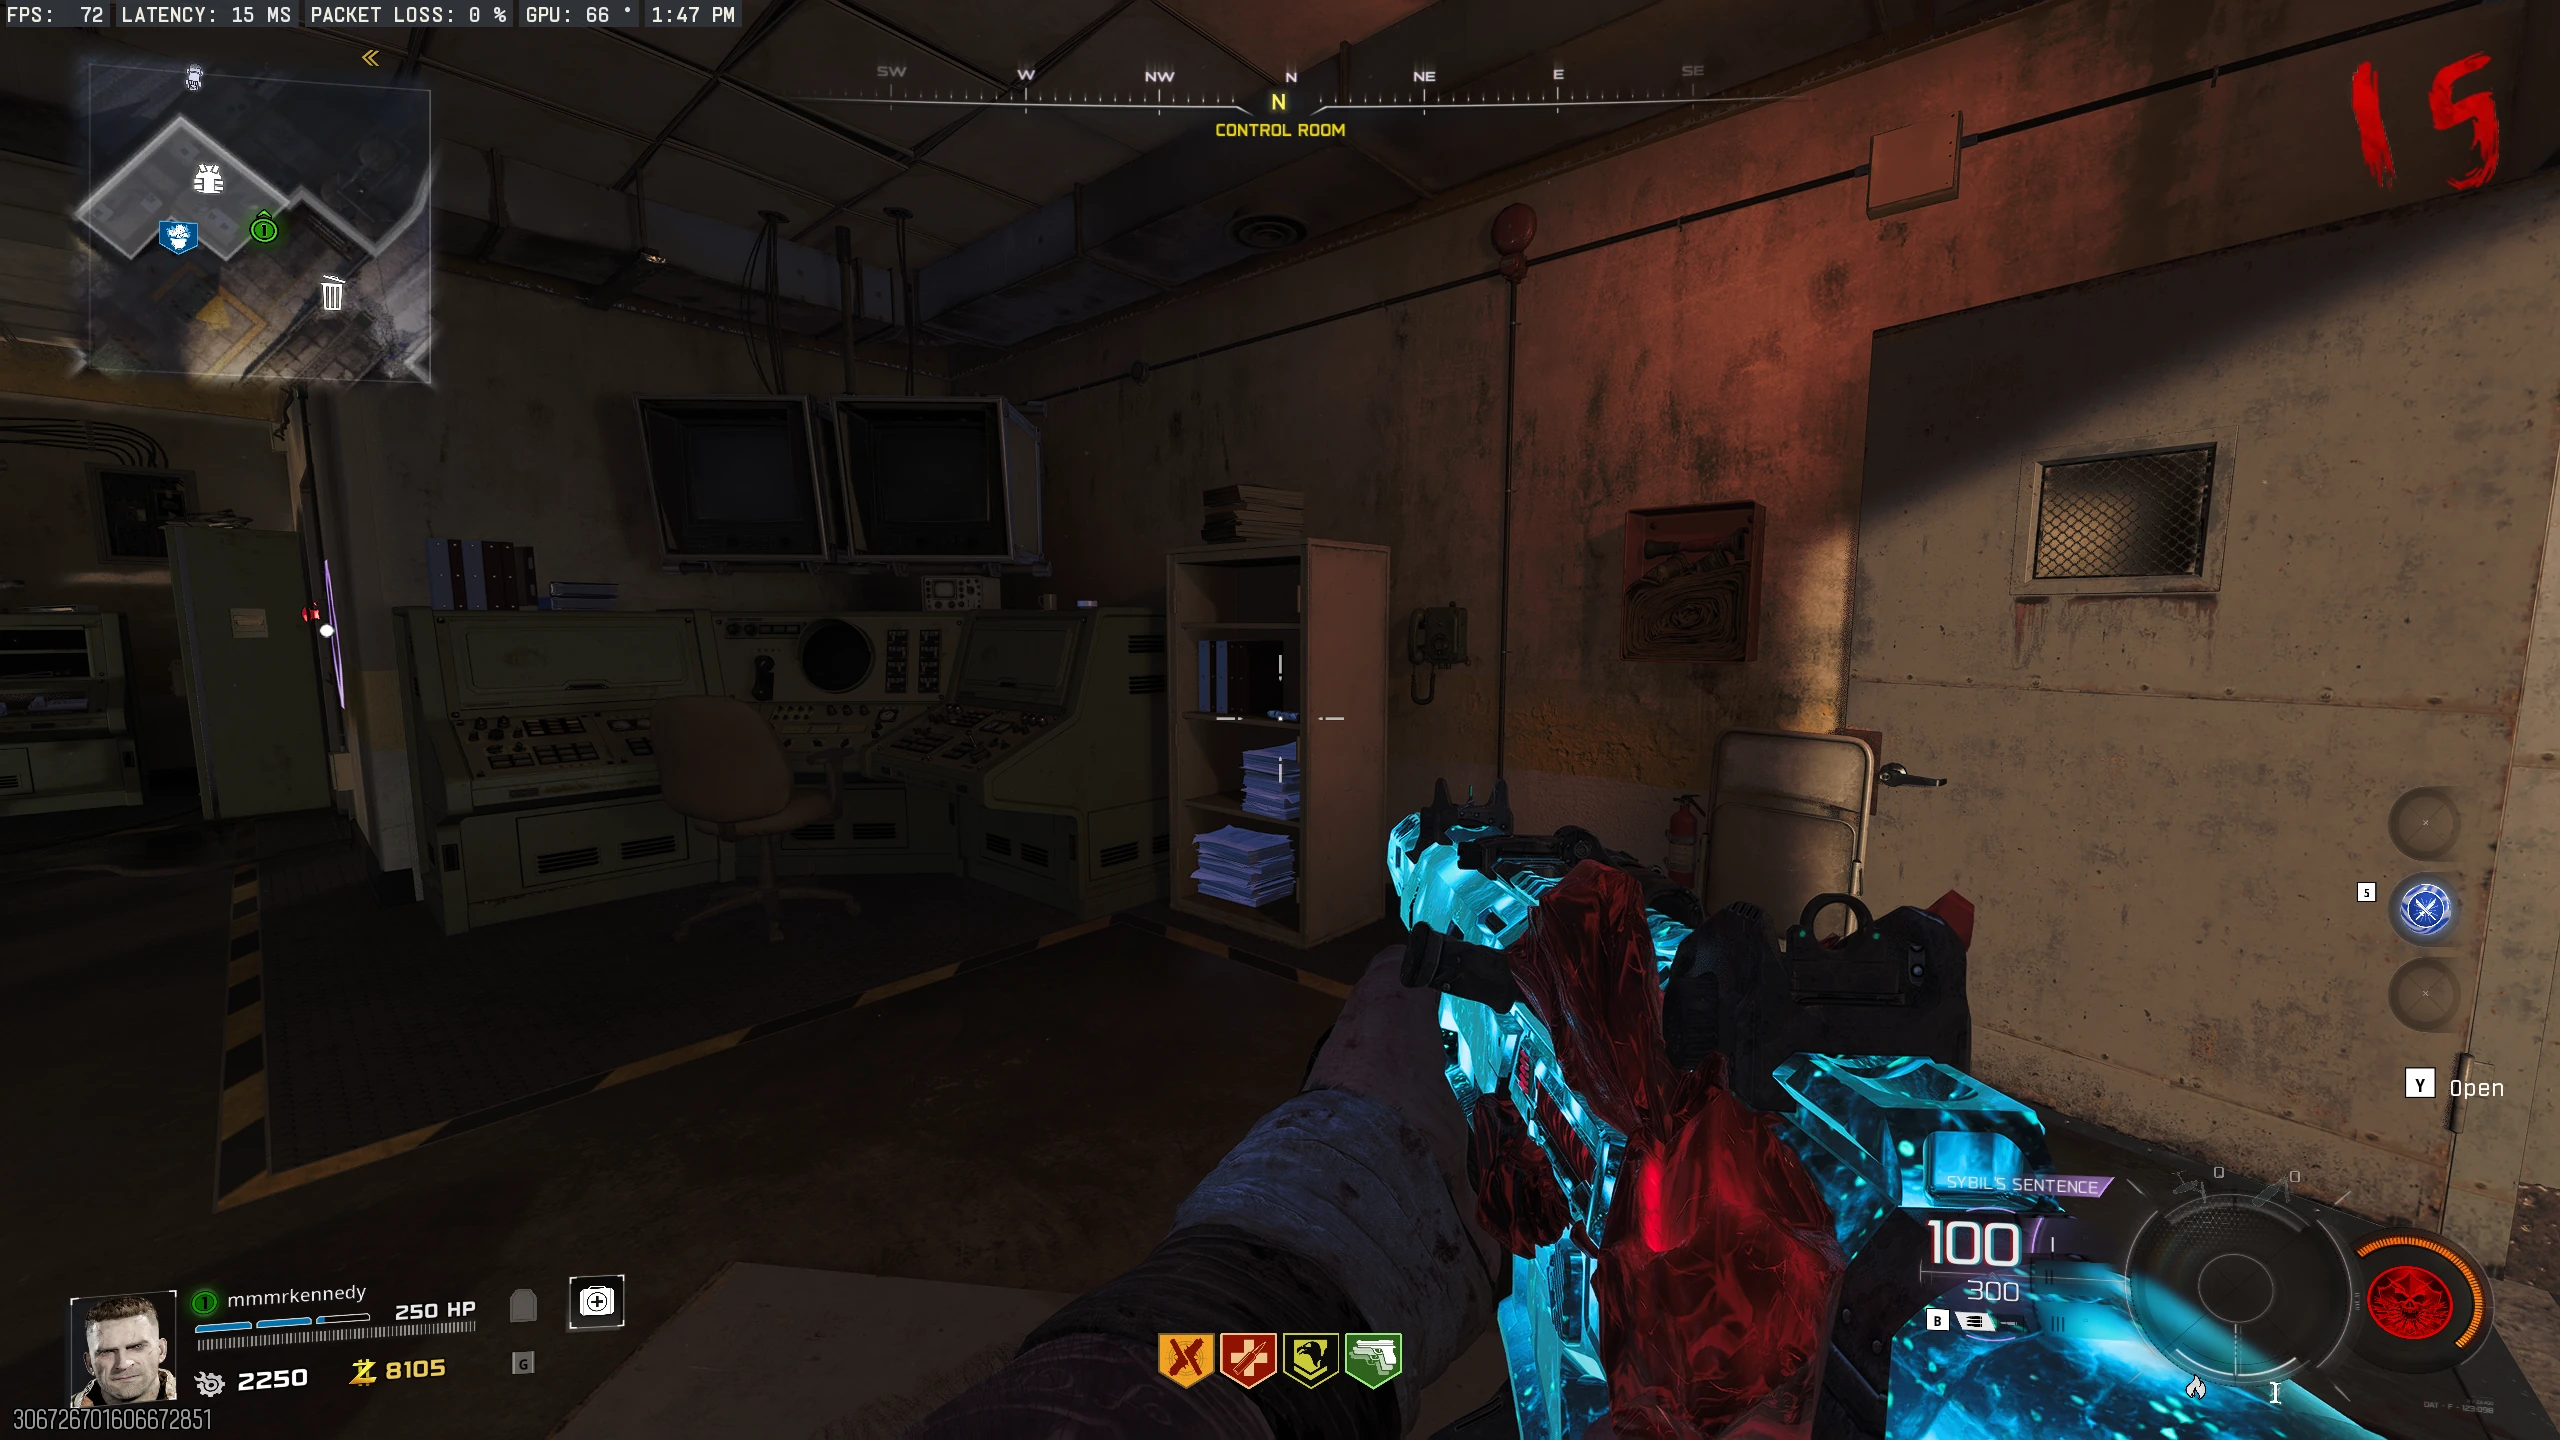
- Go to the 'Control Room' (behind the Wisp Tea machine). Inside, you'll find eight TVs, six to the left of the Armour wallbuy, and two to the right.
- Translate the word and enter the corresponding numbers on the six left TVs by shooting the red buttons.
- The two TVs on the right will cycle through symbols. These symbols spell a word using pigpen cipher characters, two letters at a time. See the table below or use this cheat sheet to translate the symbols into a word.
-
Word in Pigpen Translated Word LAUNCH LAUNCH WEAPON WEAPON ENGINE ENGINE ROCKET ROCKET -
Once you have your word, you'll need to enter its corresponding numbers into the remaining six TVs (left to right). Shoot the
red button on the bottom right of a TV to stop the numbers from cycling.
- If you stop the TV on the wrong number, CHANGE ME.
-
Word Number Sequence LAUNCH 11 - 00 - 20 - 13 - 02 - 07 WEAPON 22 - 04 - 00 - 15 - 14 - 13 ENGINE 04 - 13 - 06 - 08 - 13 - 04 ROCKET 17 - 14 - 02 - 10 - 04 - 19 - If done correctly, the wisps in front of the TVs will disappear, and the rocket will launch.
-
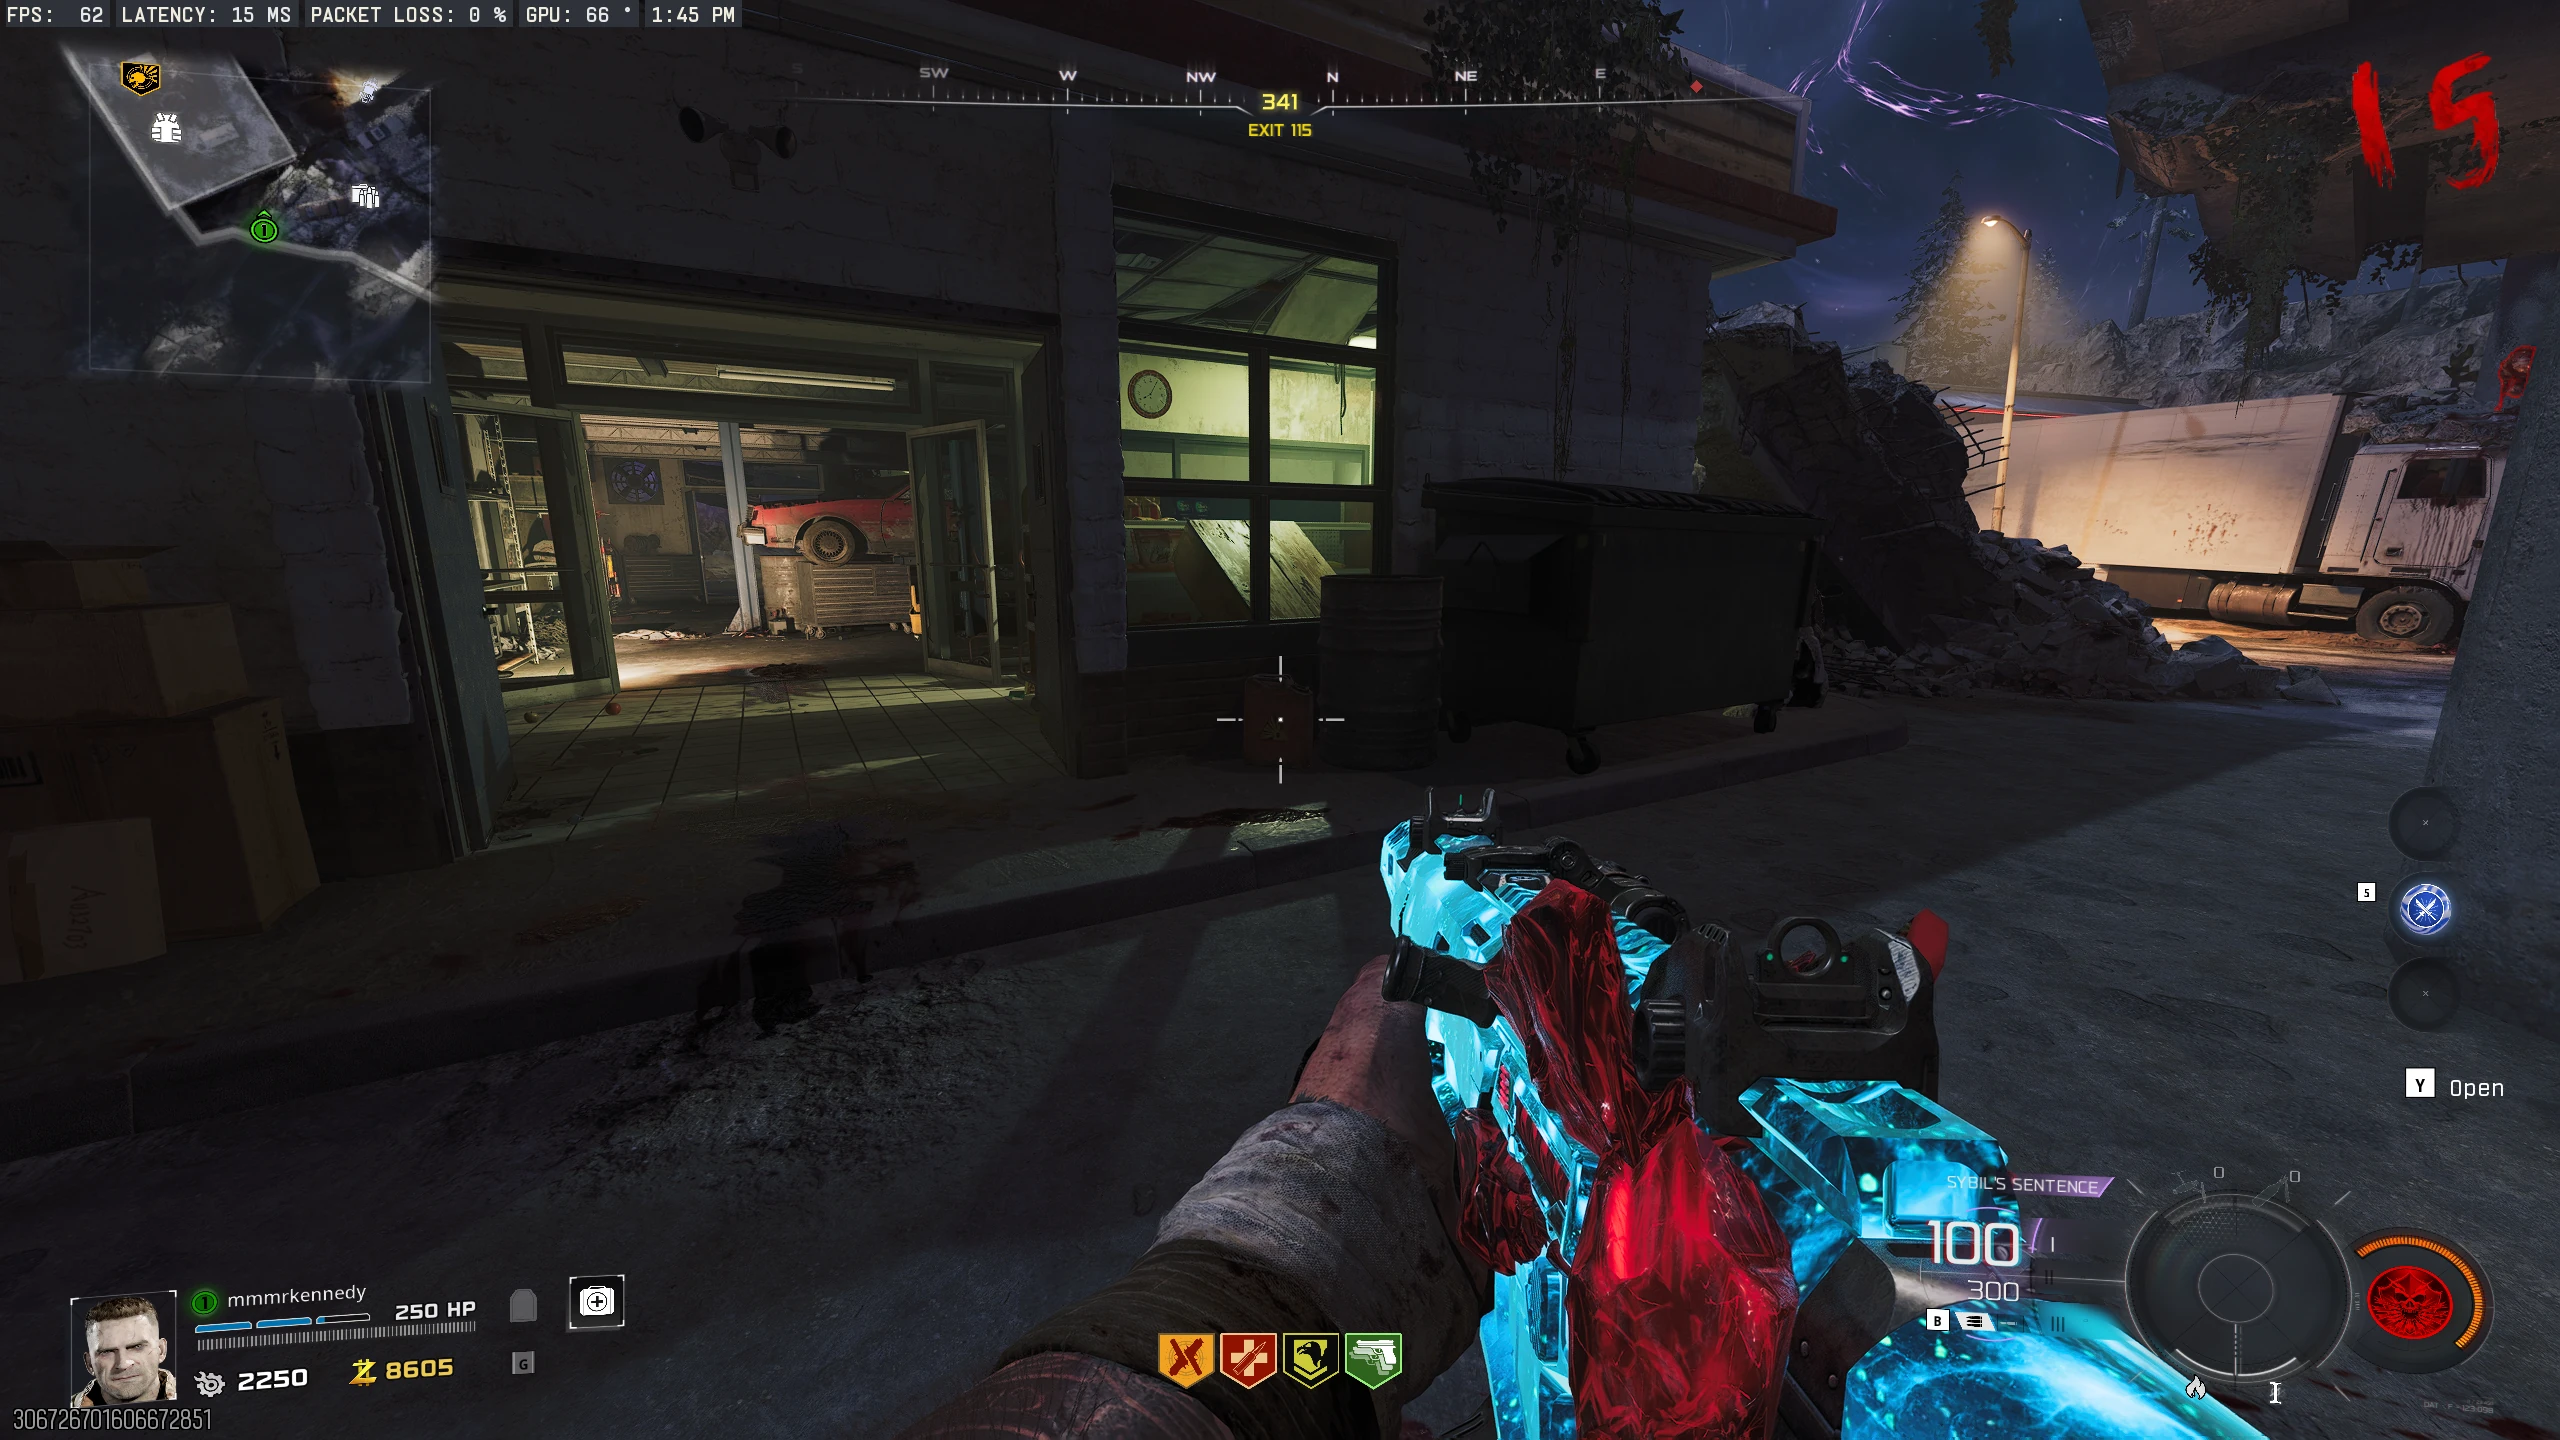
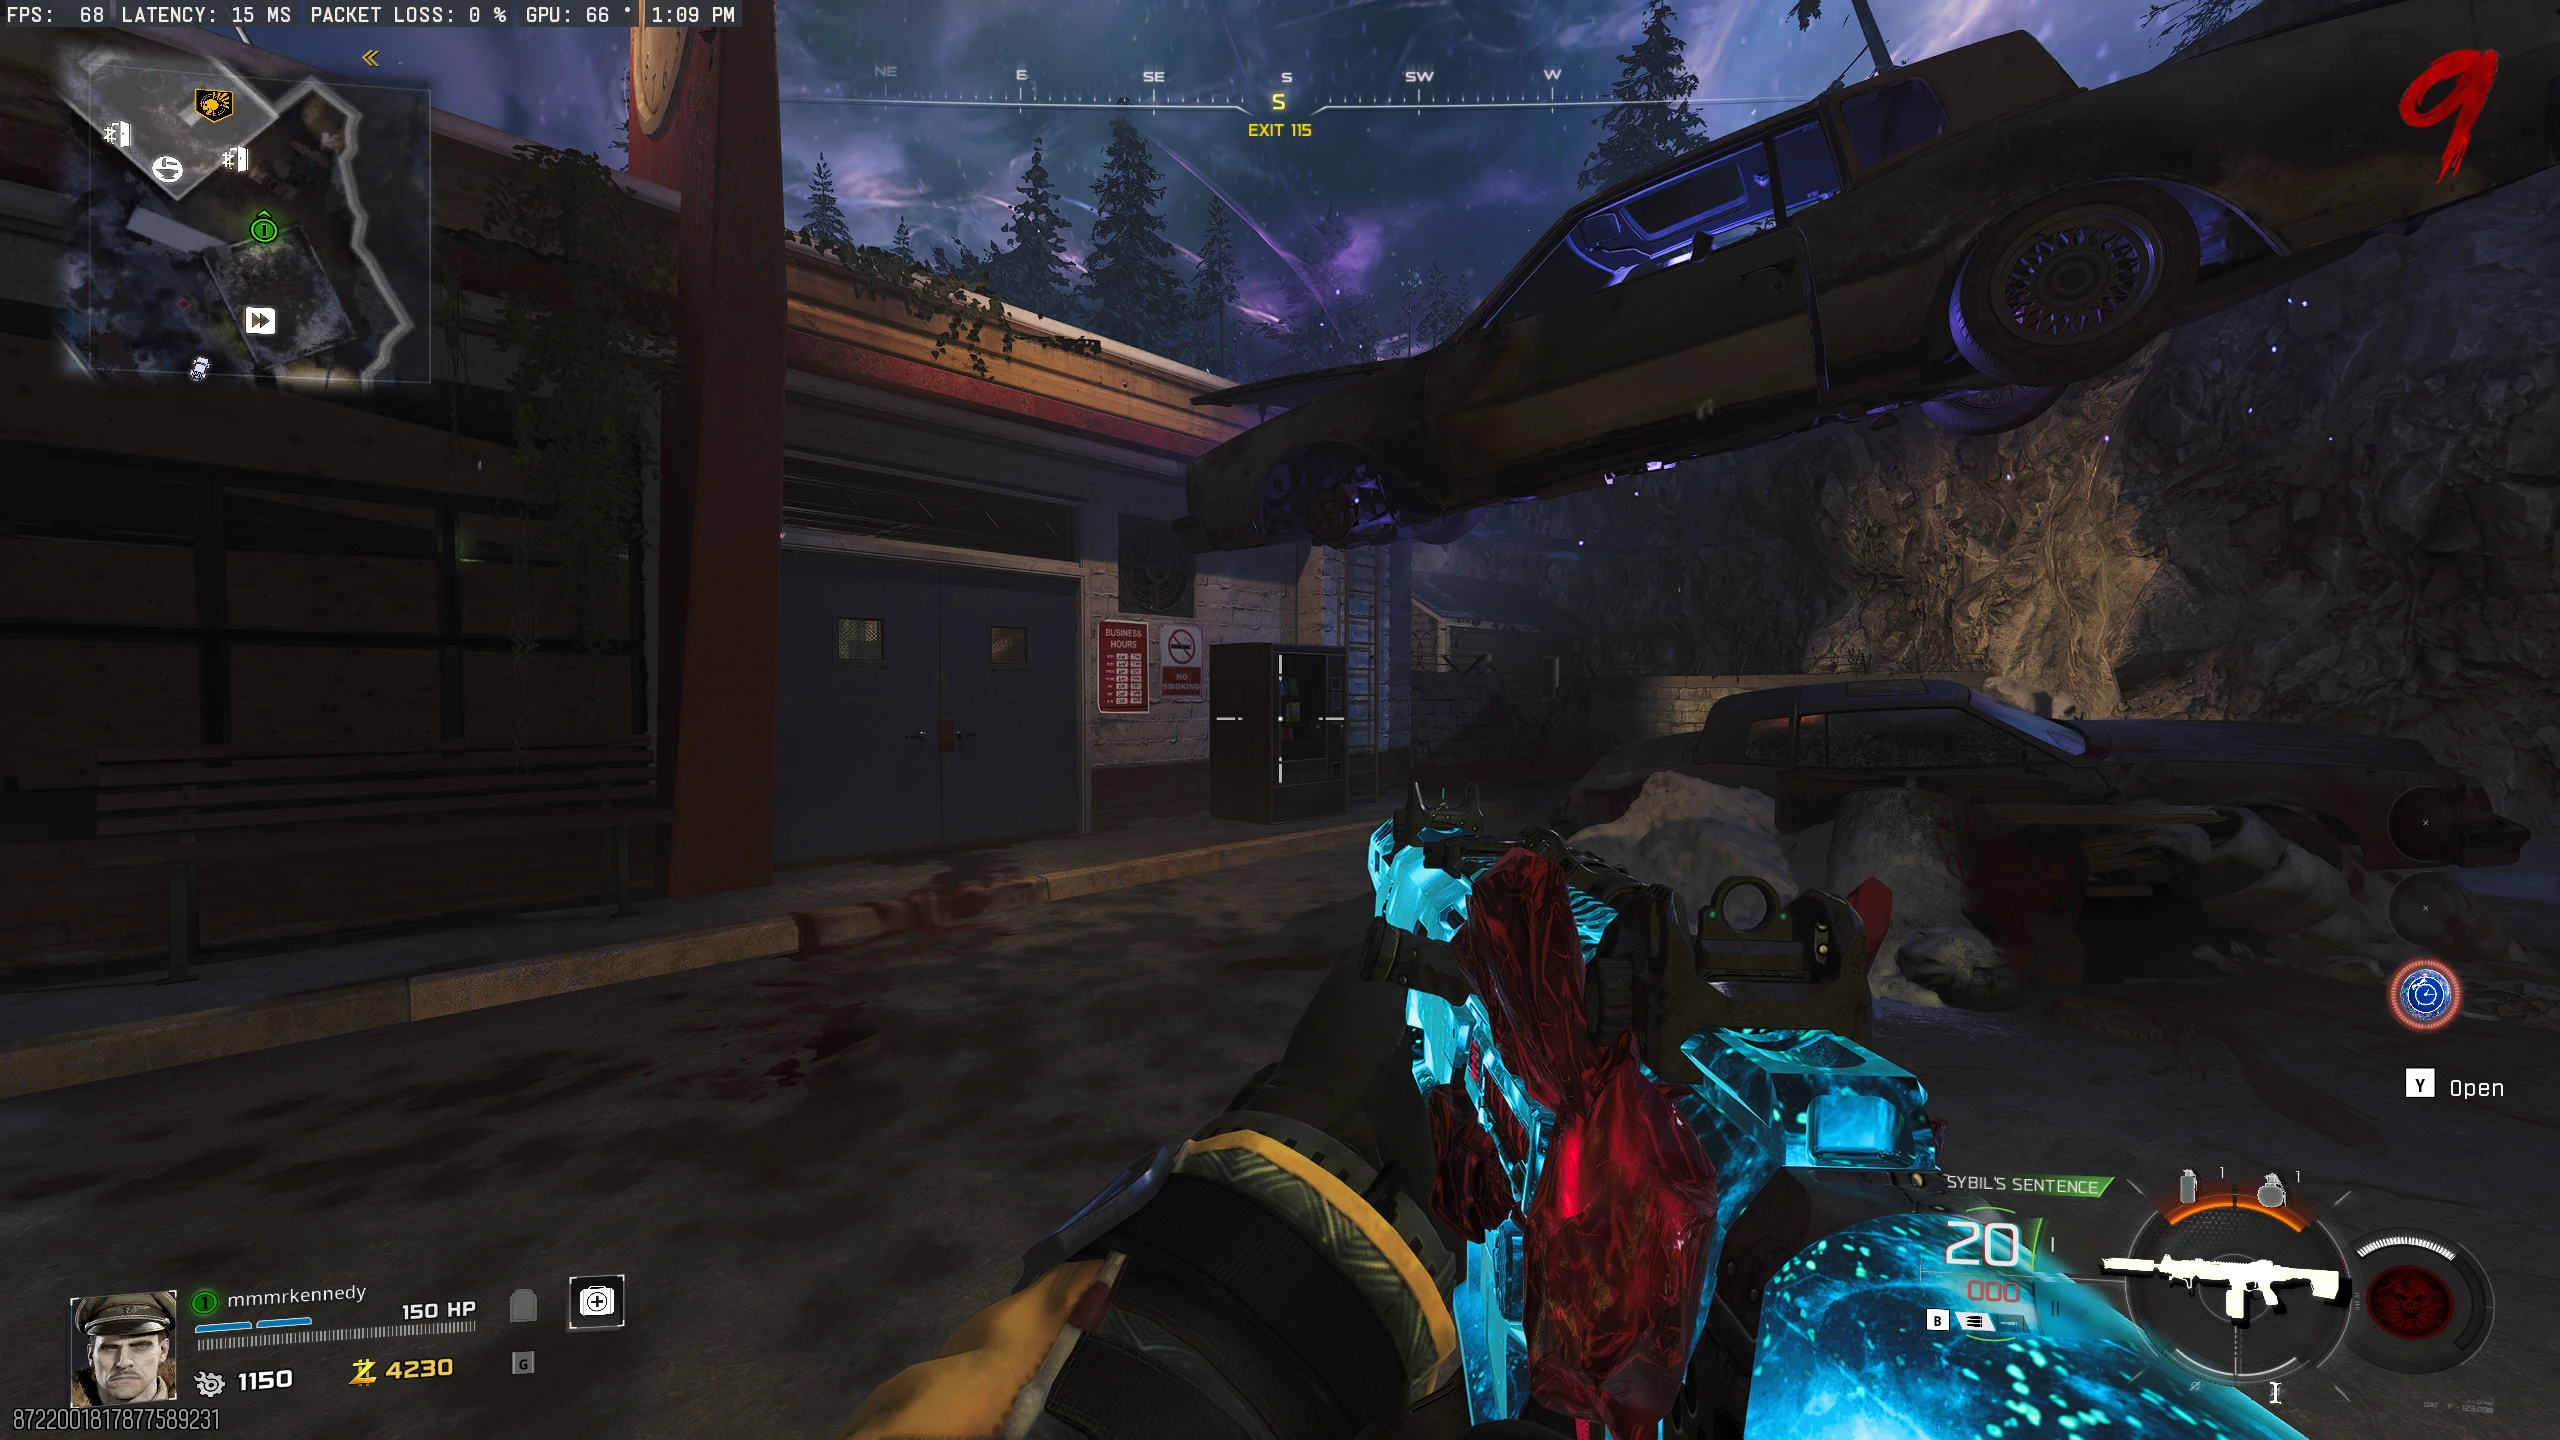
Exit 115 Challenge
- Don't get a purple shot yet. To start this challenge, coloured lightning needs to be actively striking various buildings in the Exit 115 area. There are two ways to get the lightning to strike:
-
- Wait a round. The lightning will activate every other round.
- Shoot three street lights around Exit 115 in order with Ol' Tessie's DG-2 Turret. One street light will be sparking at a time, and once shot, the spark will move to another street light.
- Shoot the clock on the mechanic's roof with a purple shot to freeze time for 60 seconds.
-
While time is frozen, awaken three specific zombies and lead them to a specific colour lightning. The zombies don't need to be woken up at the same time; you can lead one at a
time.
- Mechanic: Summon Klaus near the garage corpse -> Lead to Yellow Lightning (Service Station Roof).
- Trucker: Ram the red crate across from gas pumps with Ol' Tessie -> Lead to Red Lightning (Gas Pump Roof).
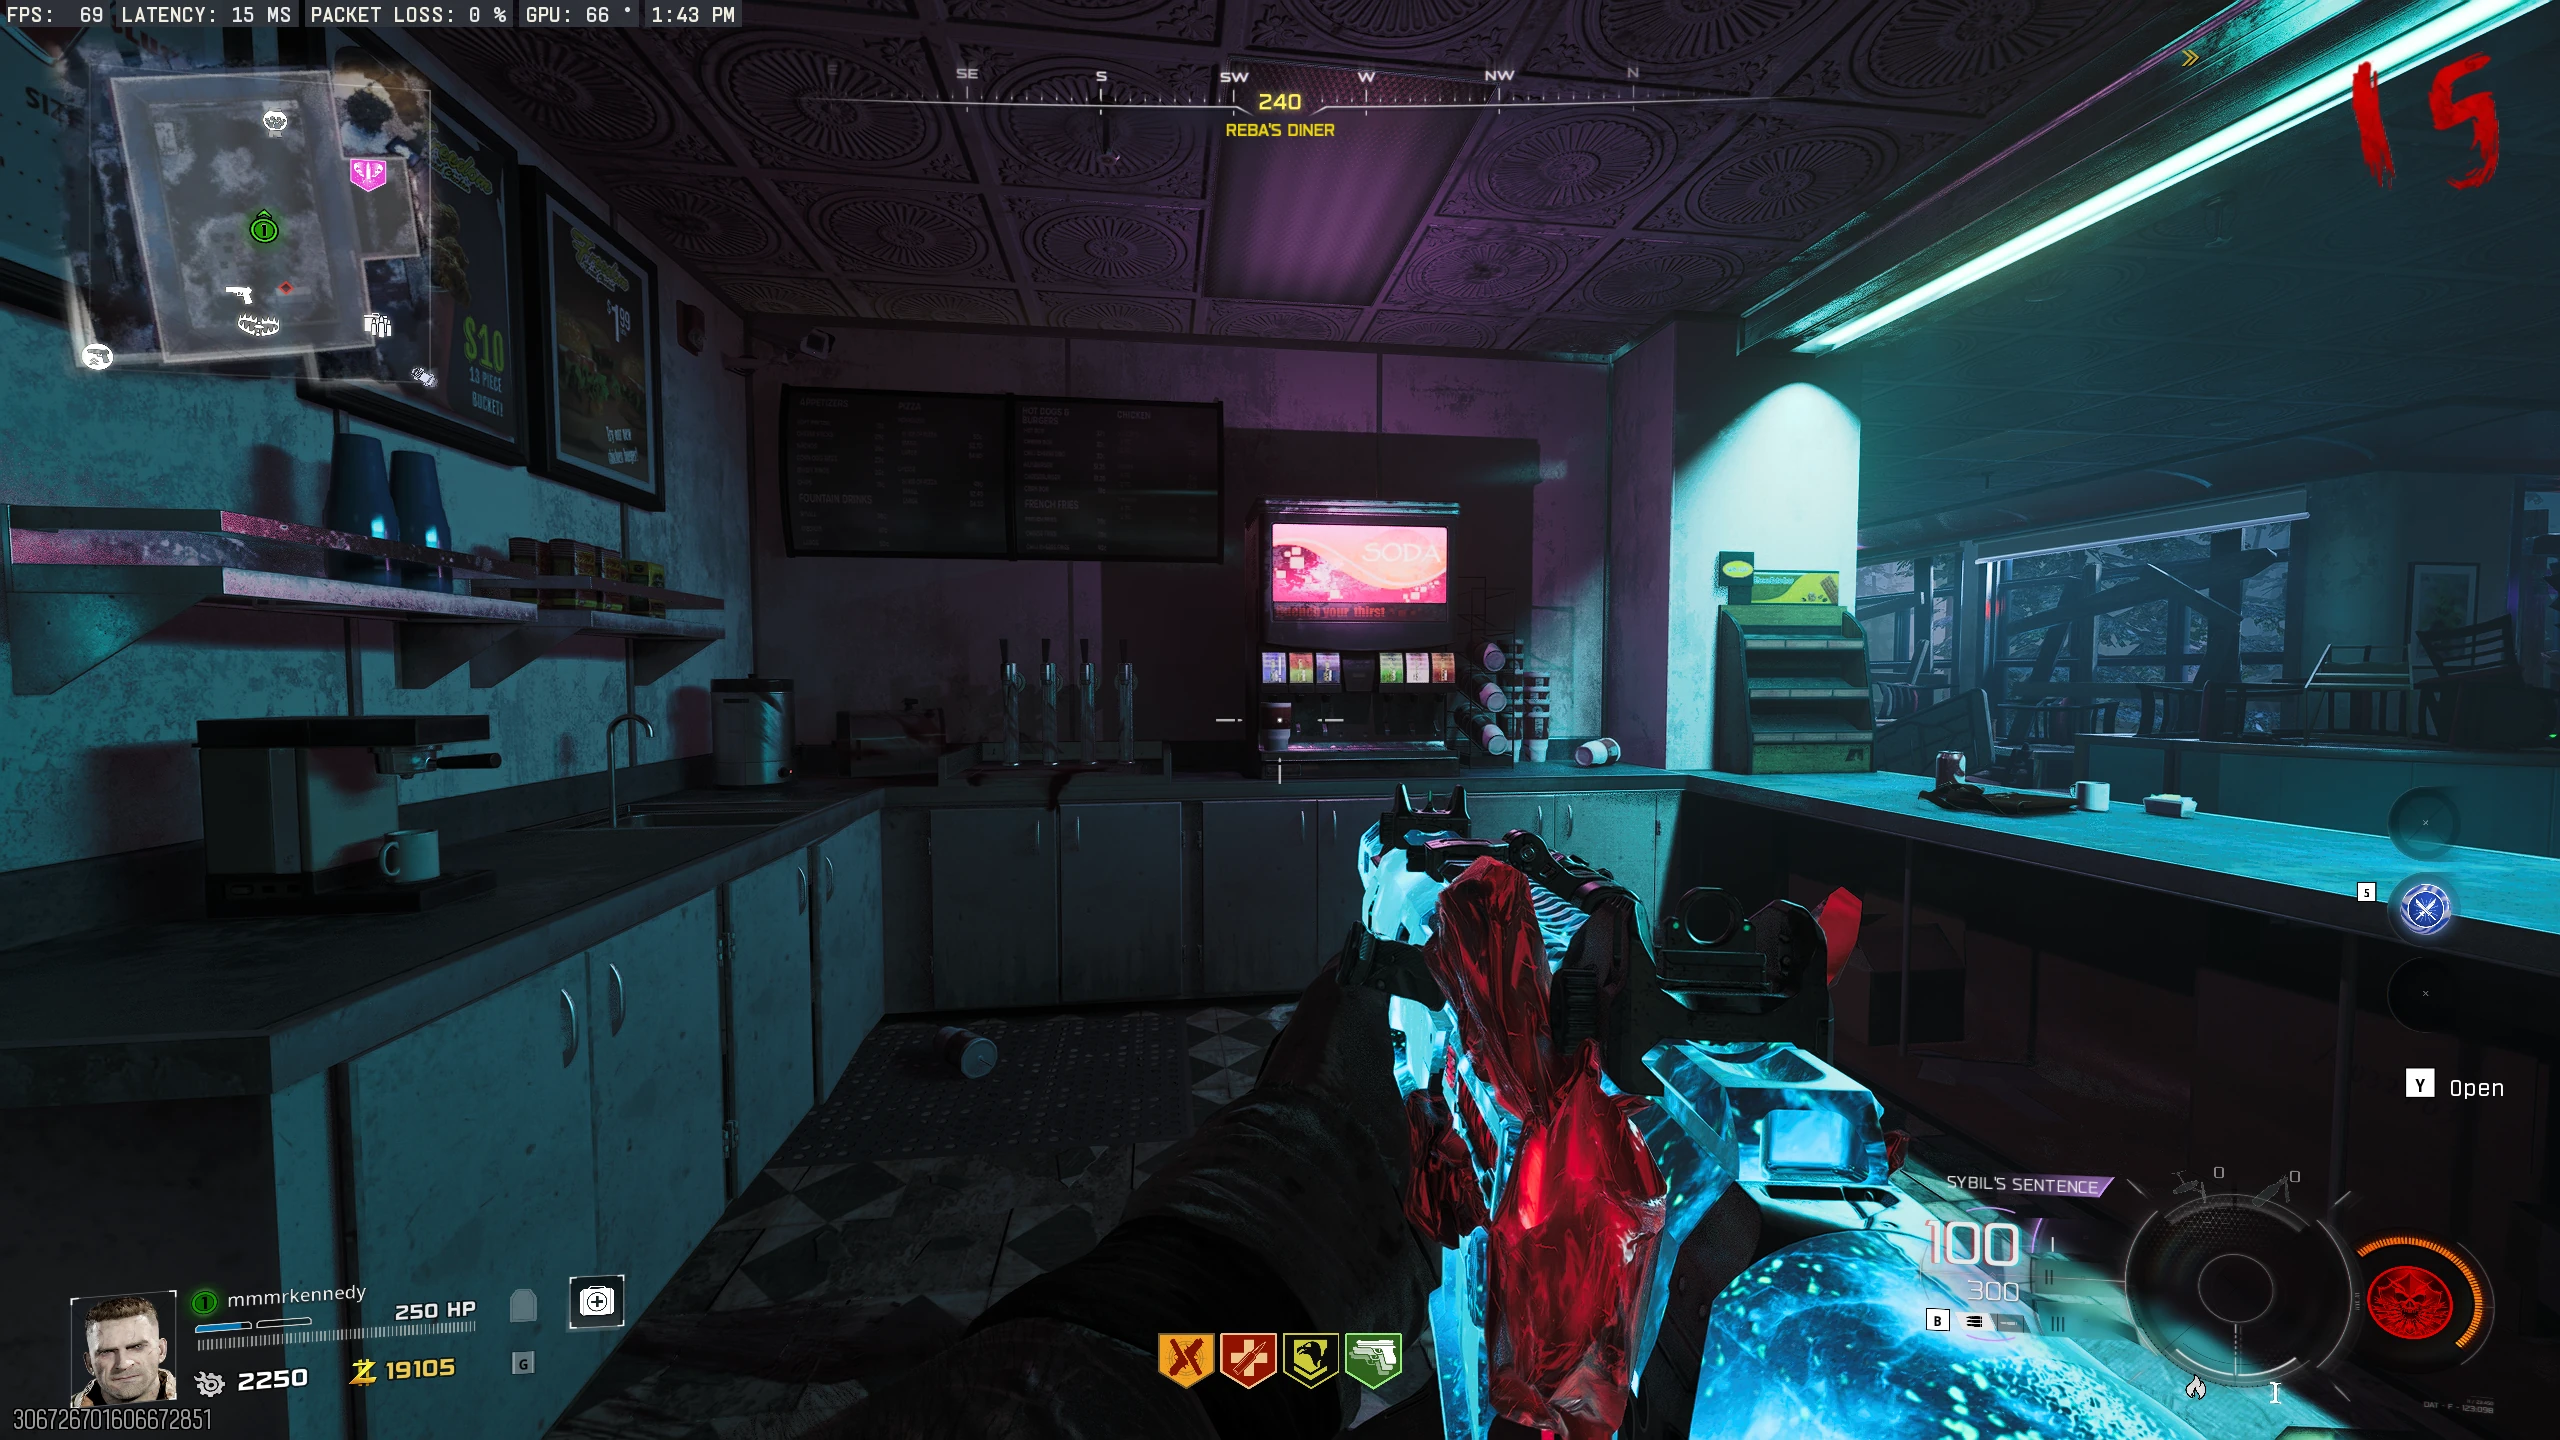
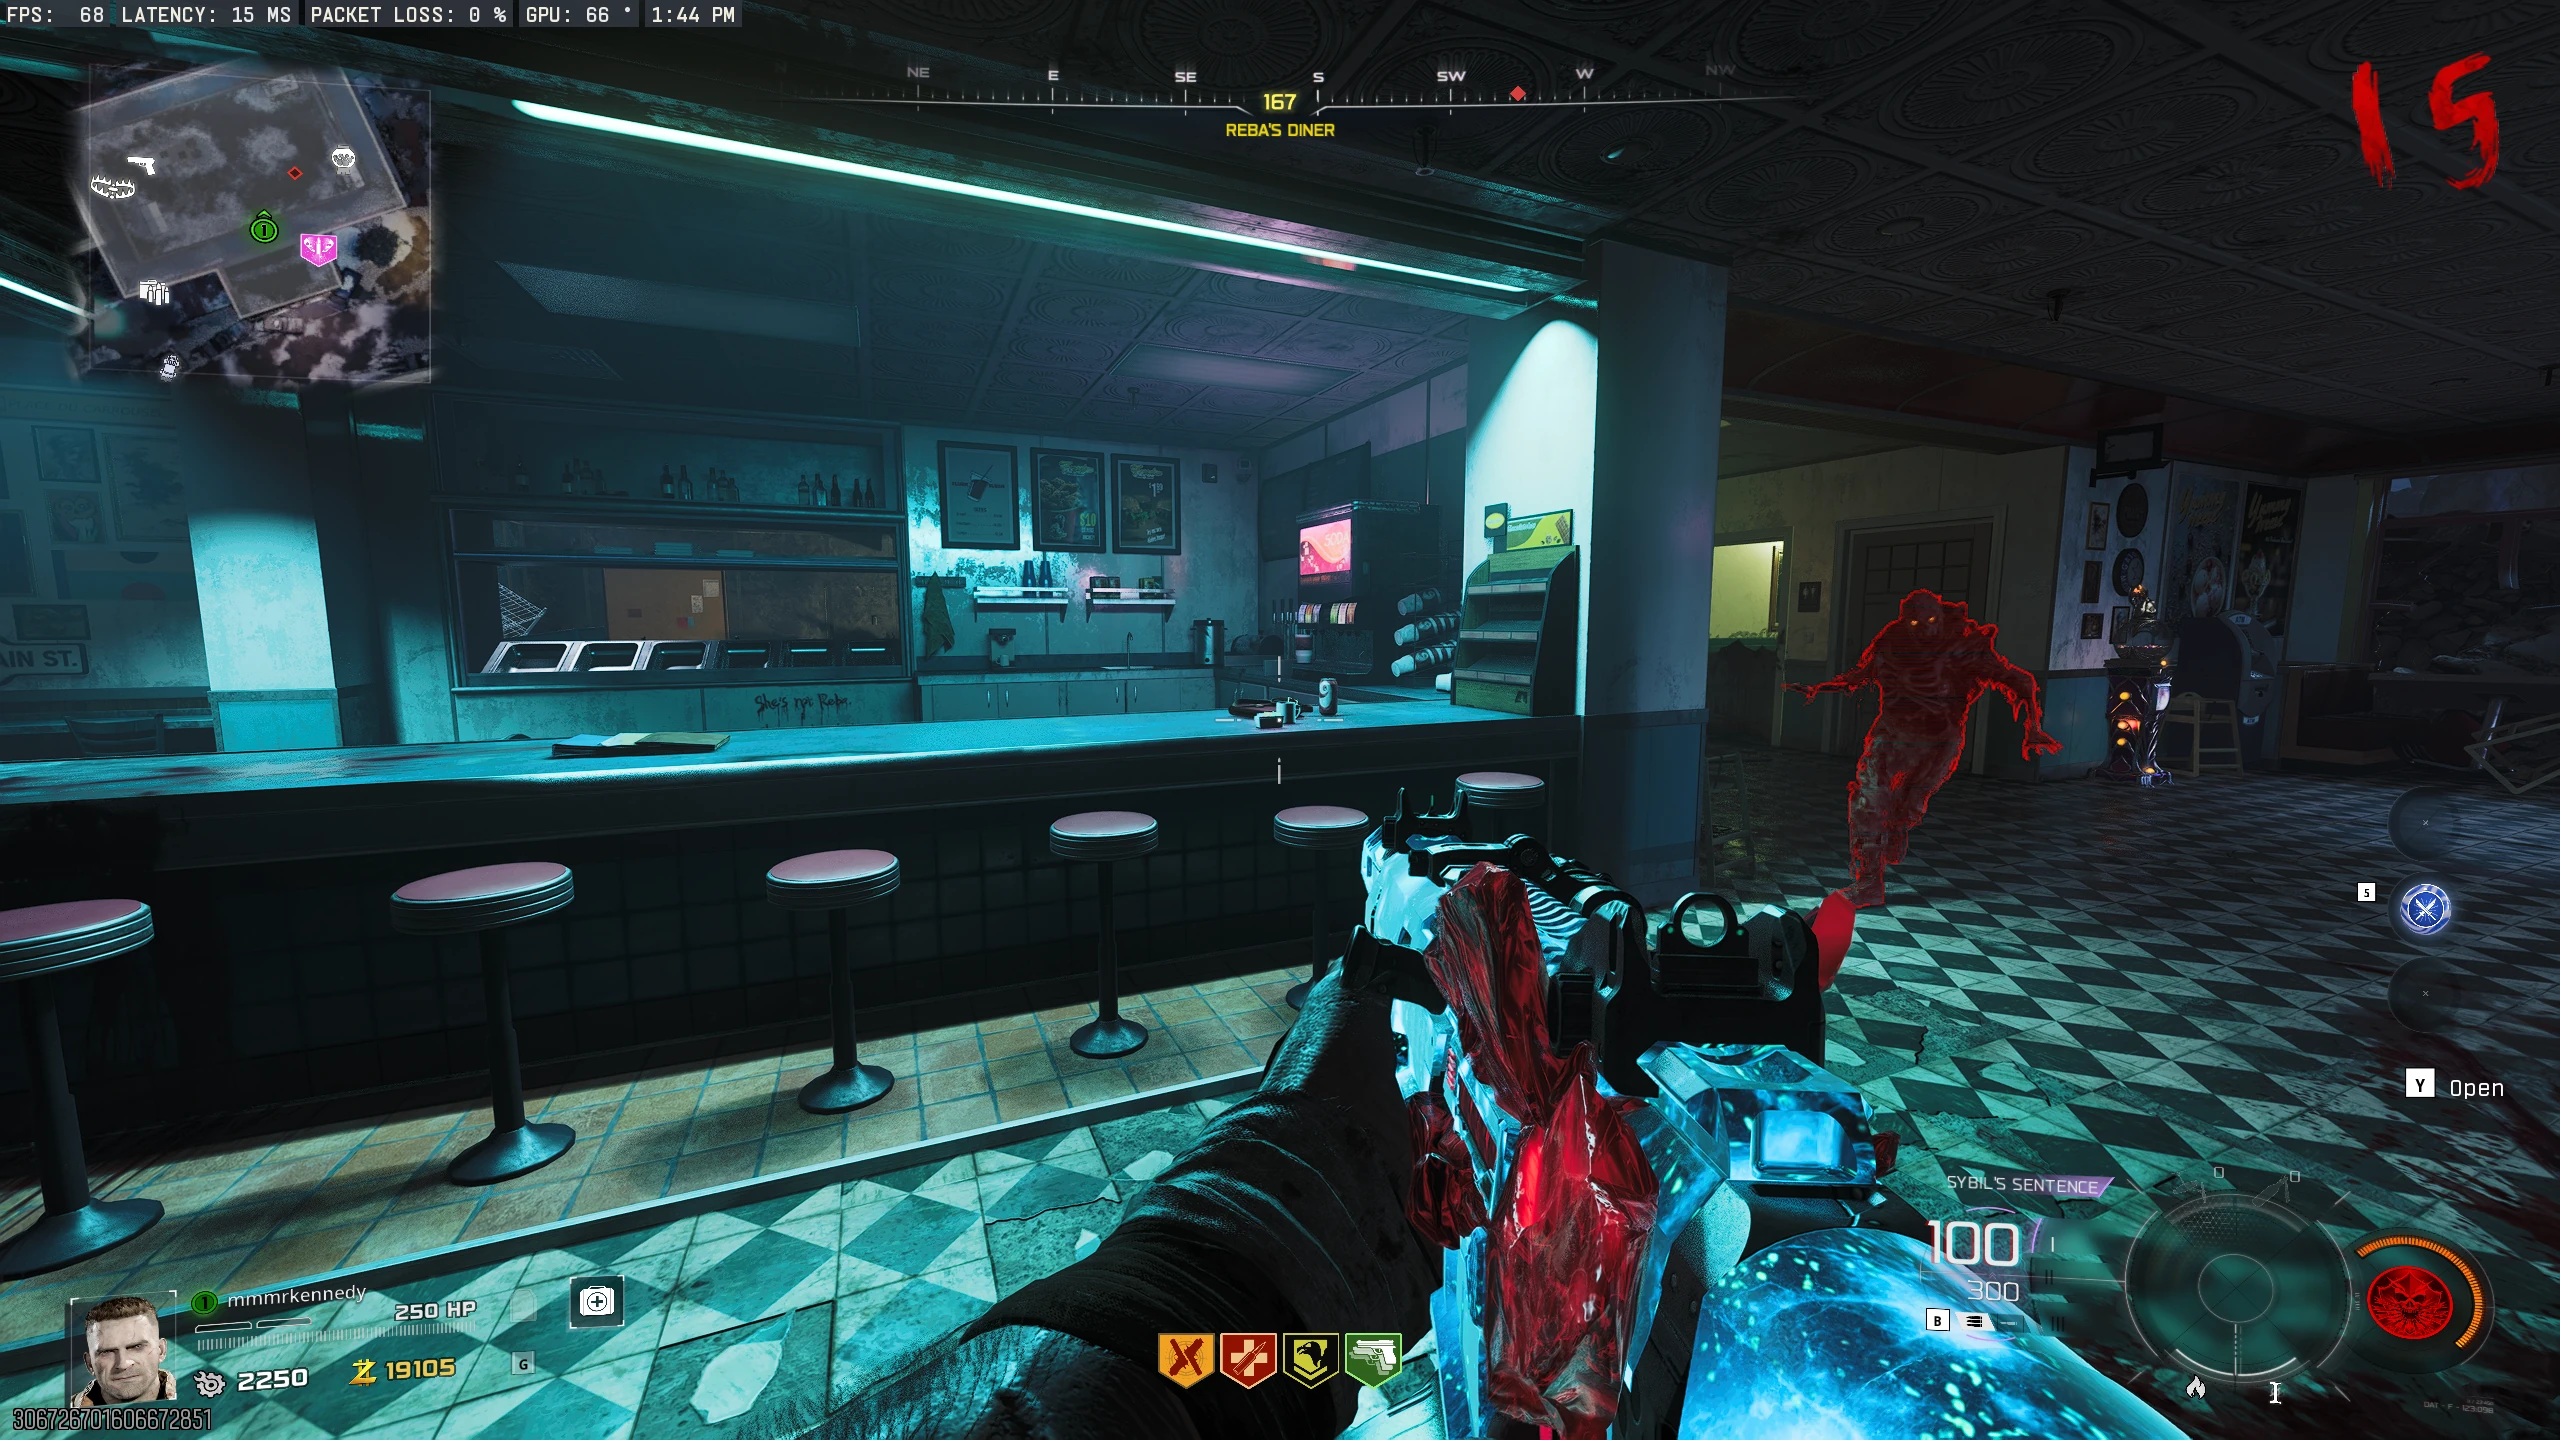
- Waitress: Melee the Diner cash register (takes multiple melees if you don't have Melee Macchiato) -> Lead to Blue Lightning (Diner Roof).
- Once at the lightning, the zombie will stand still, and look like they're being shocked. Once all zombies are in their respective lightning strikes, they'll all disappear, and wisps will spawn in their place.
-
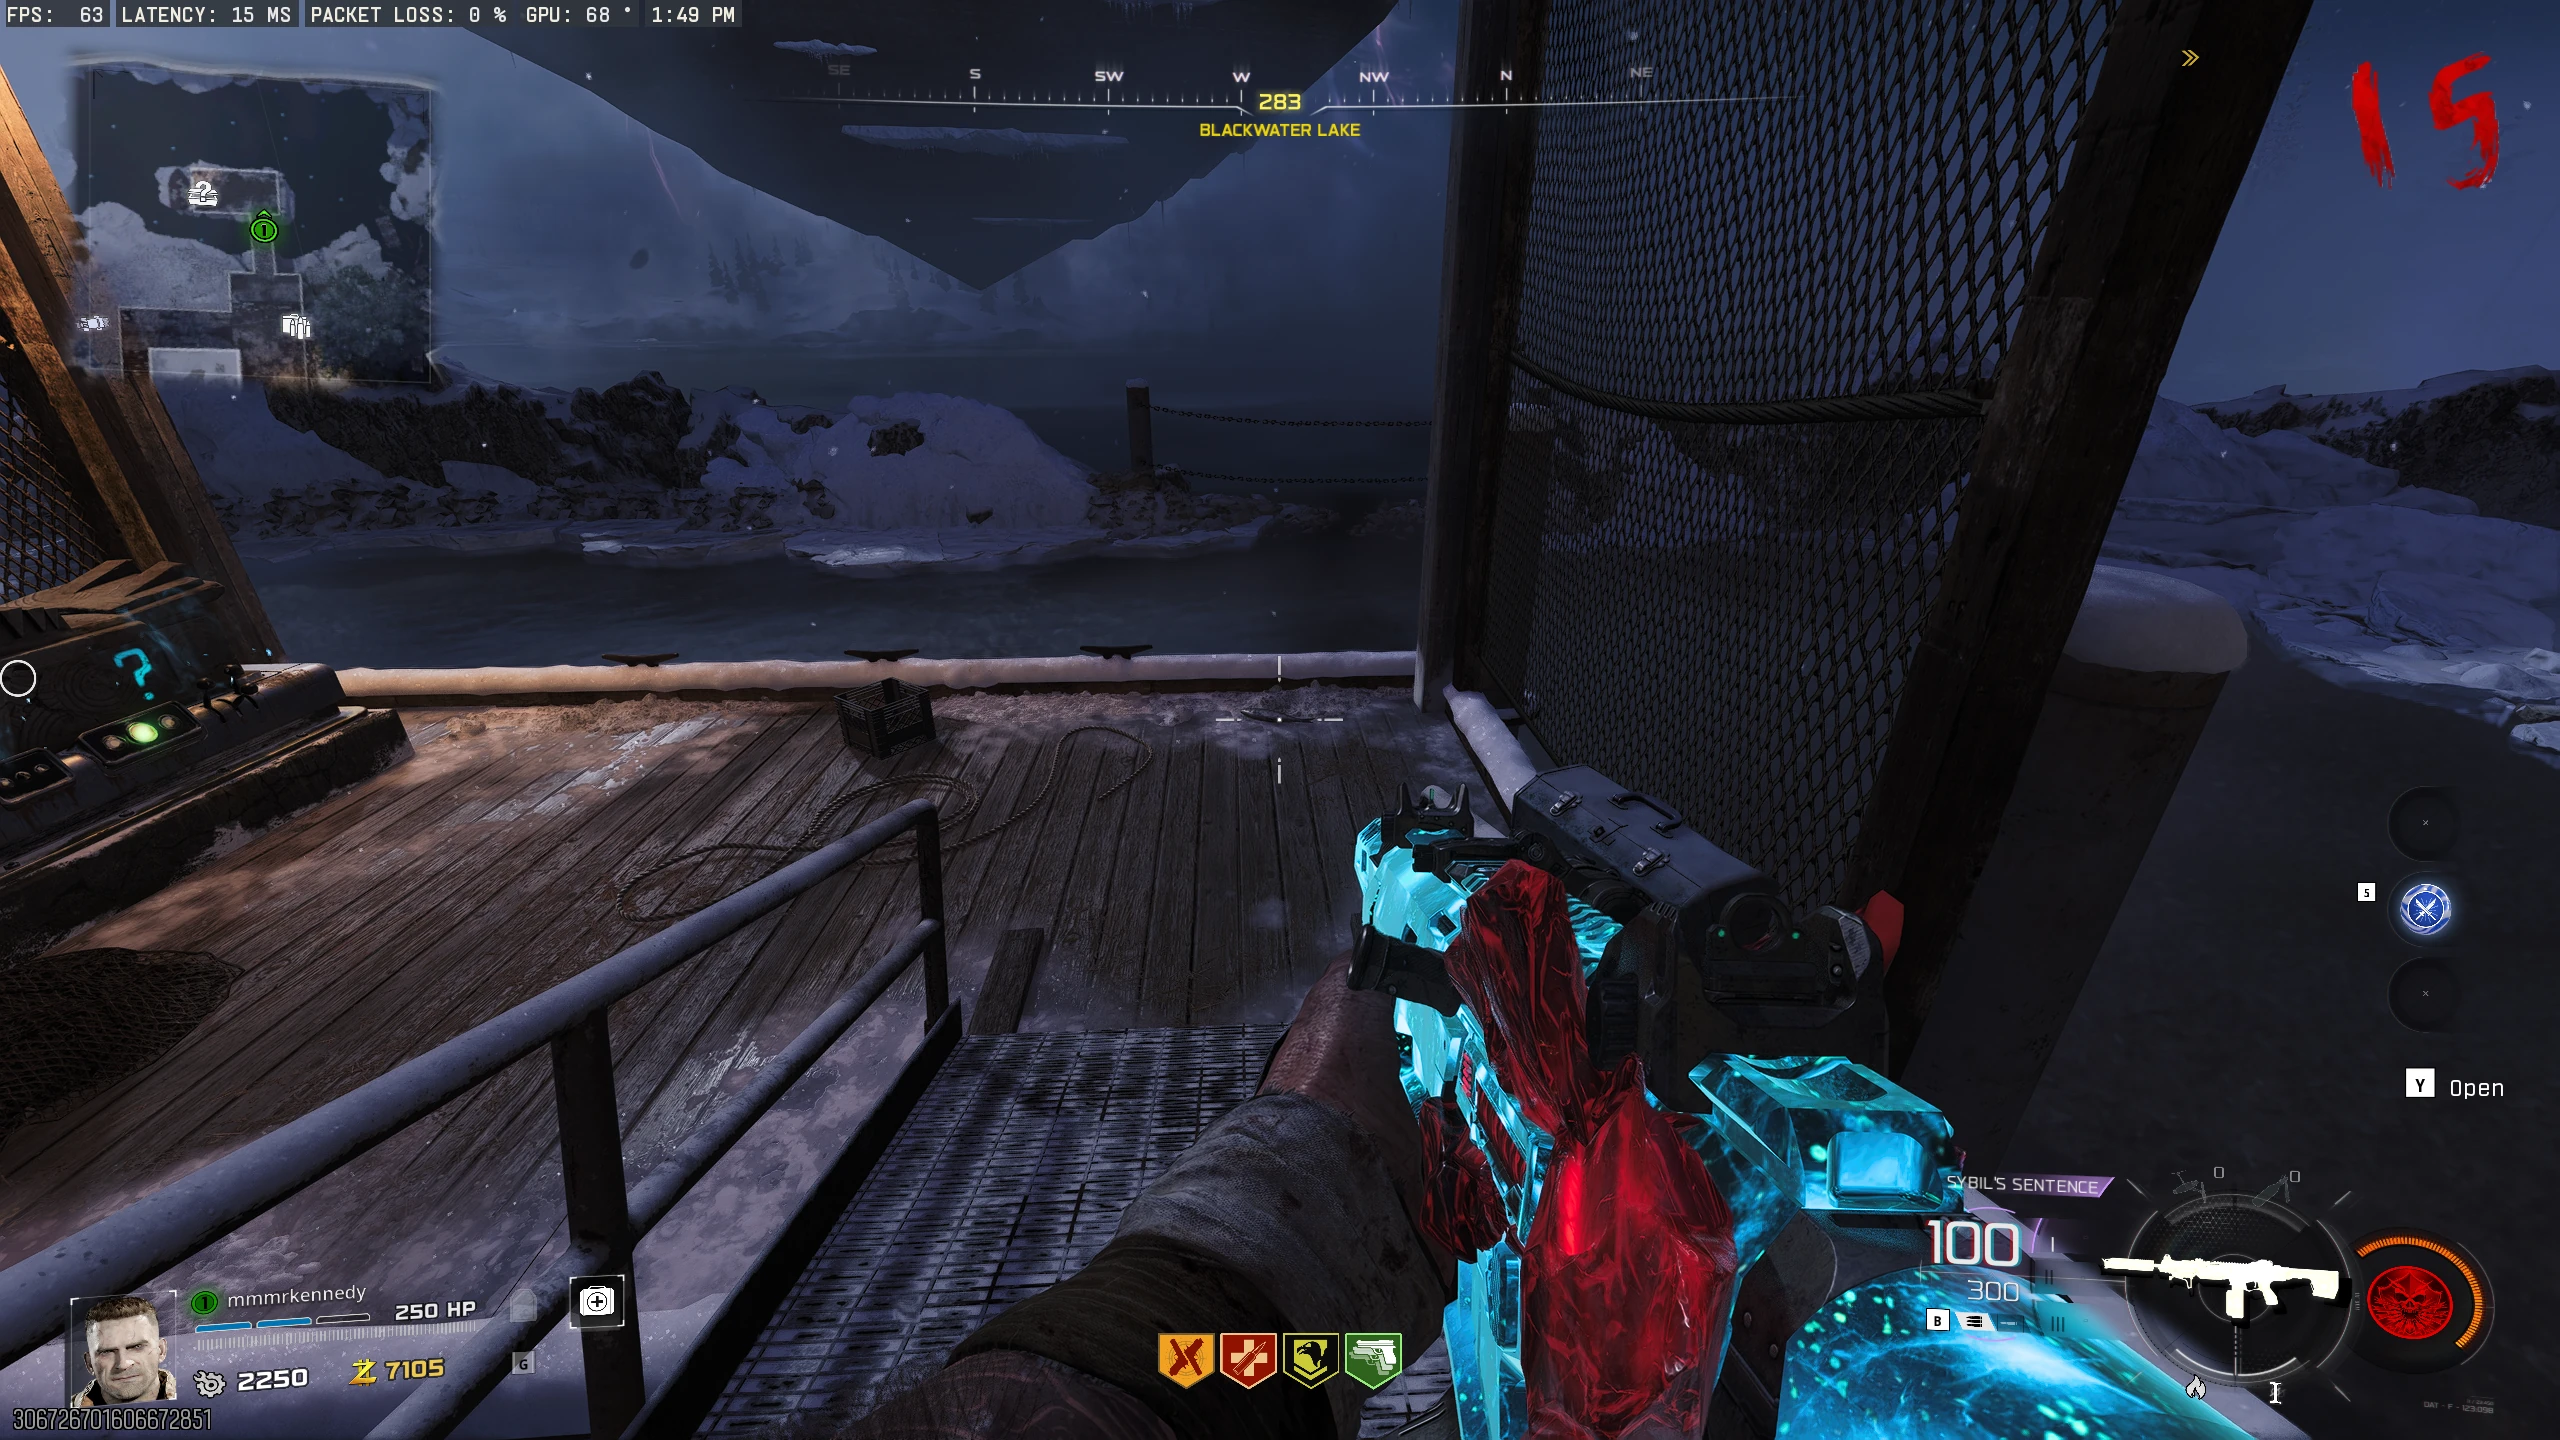
Blackwater Lake Challenge
- Interact with the wisp on the dock in Blackwater Lake.
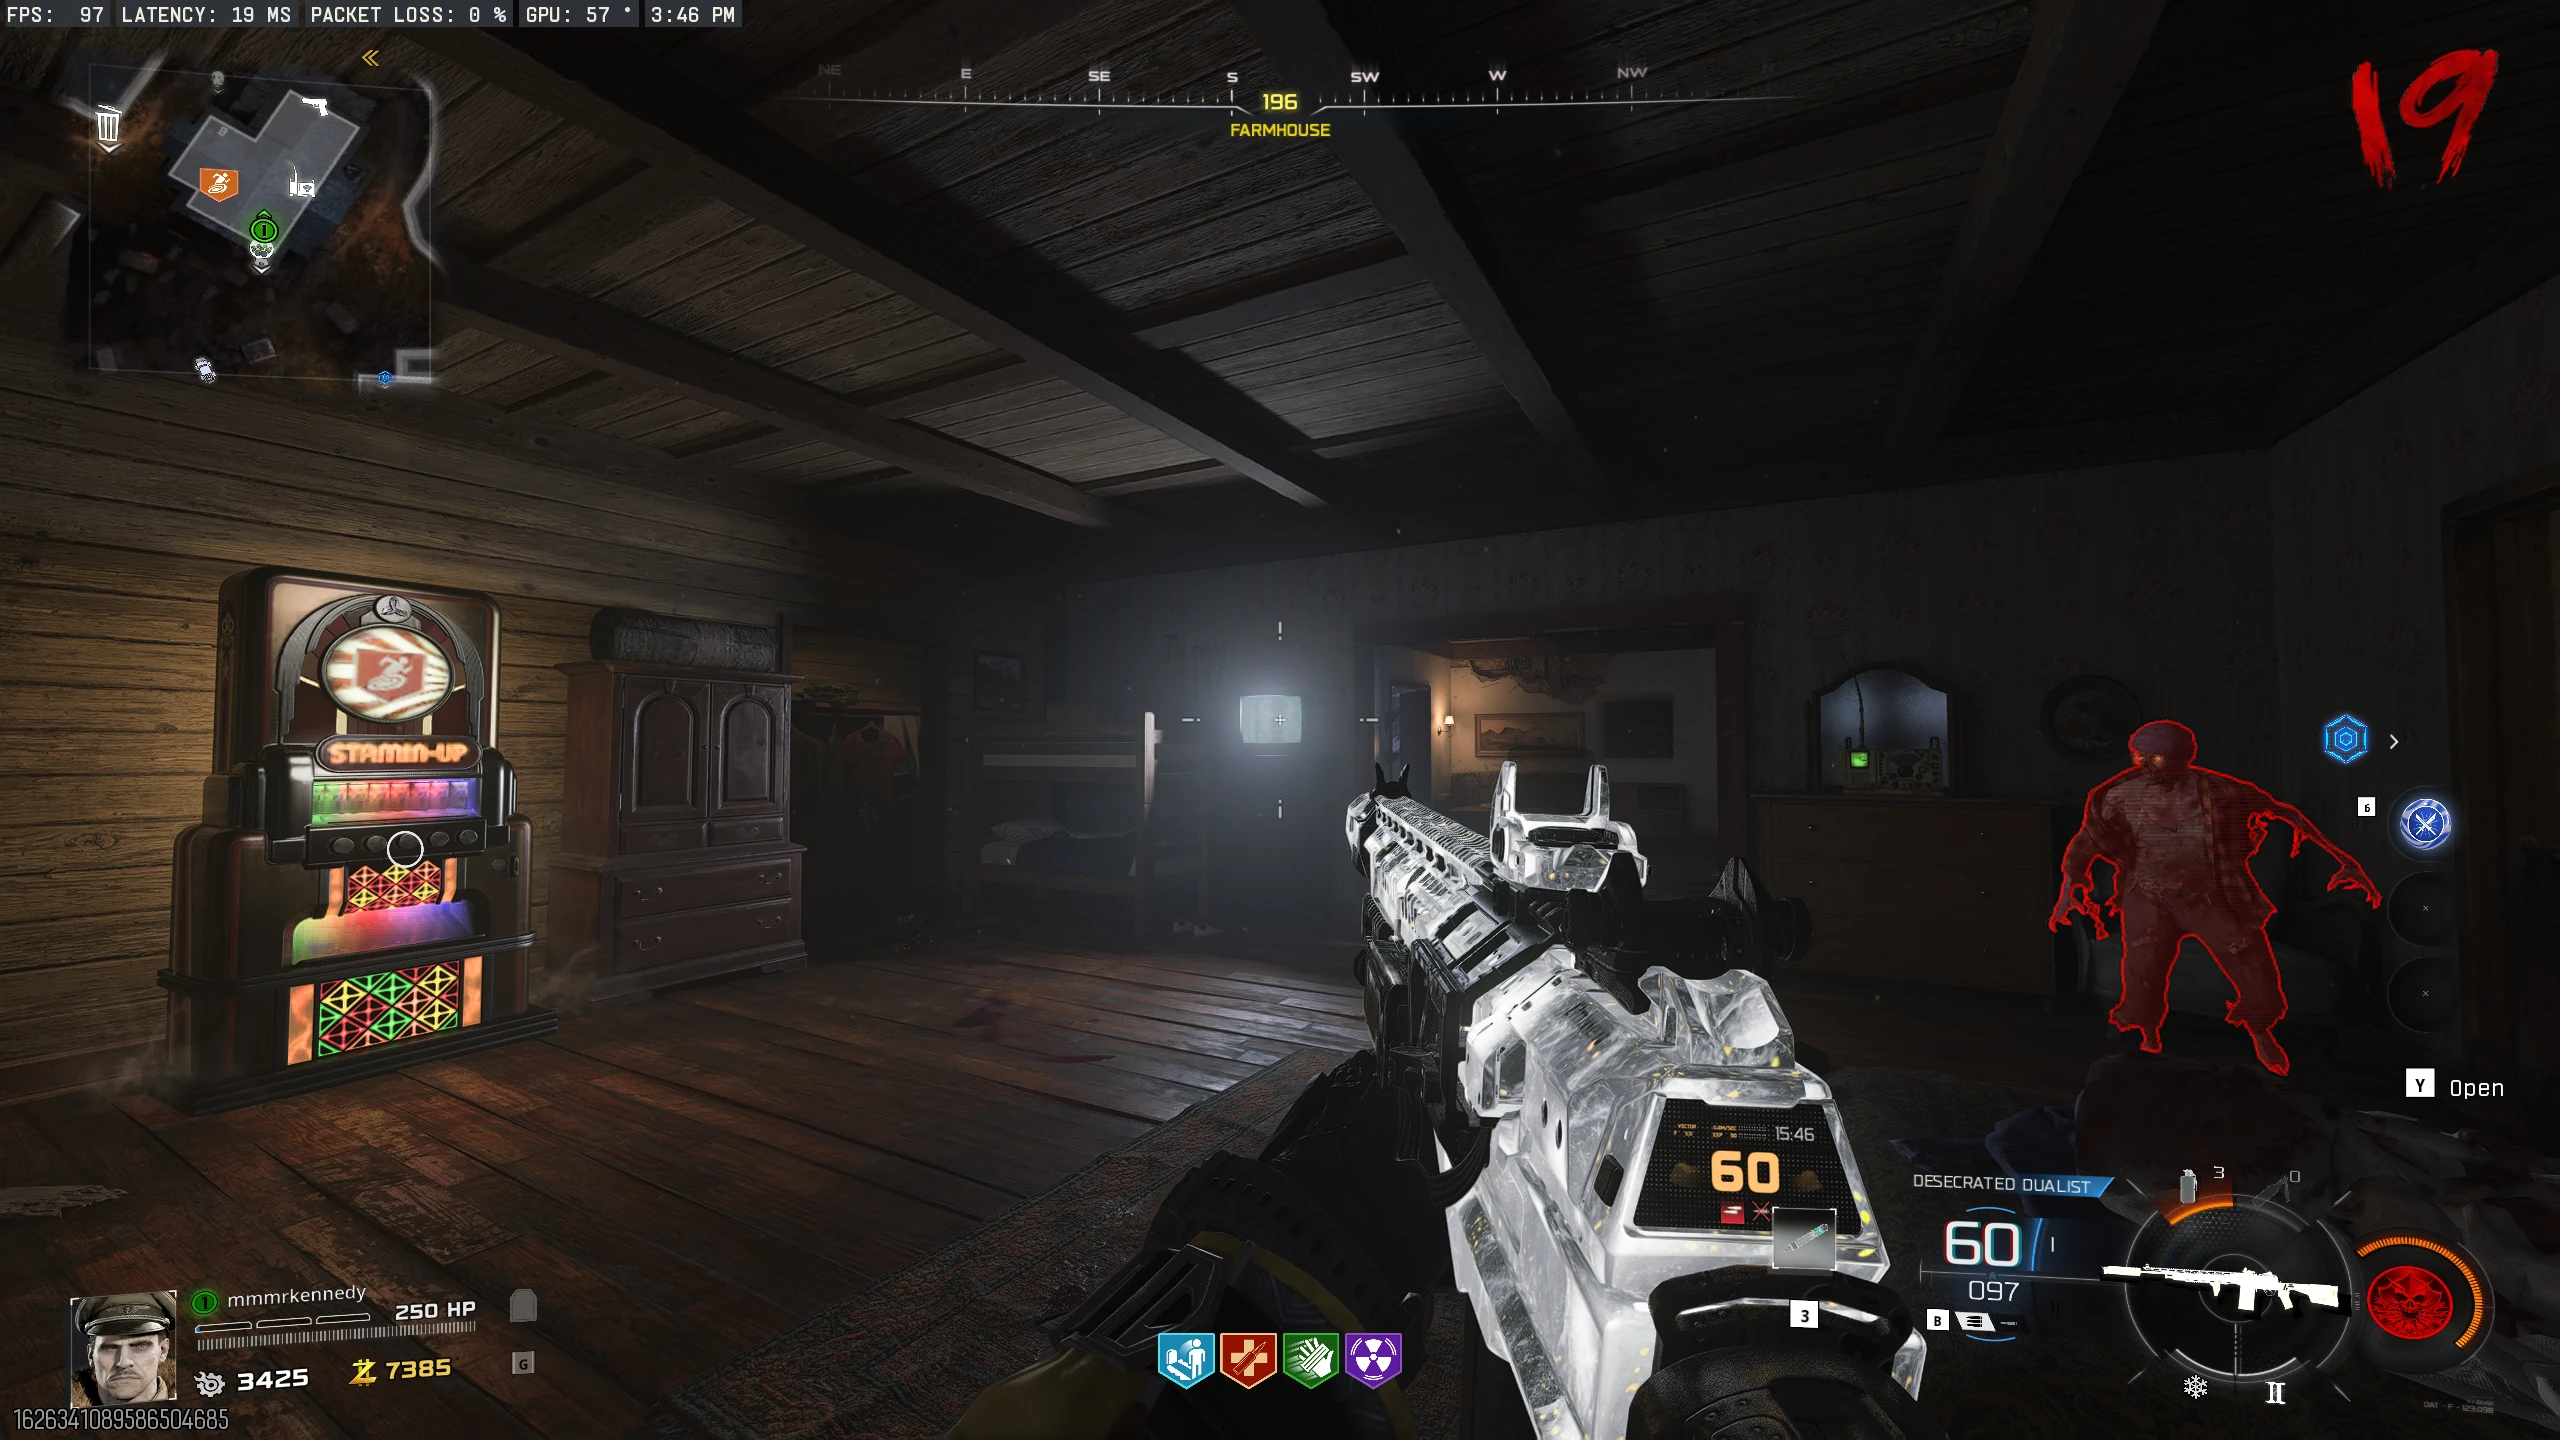
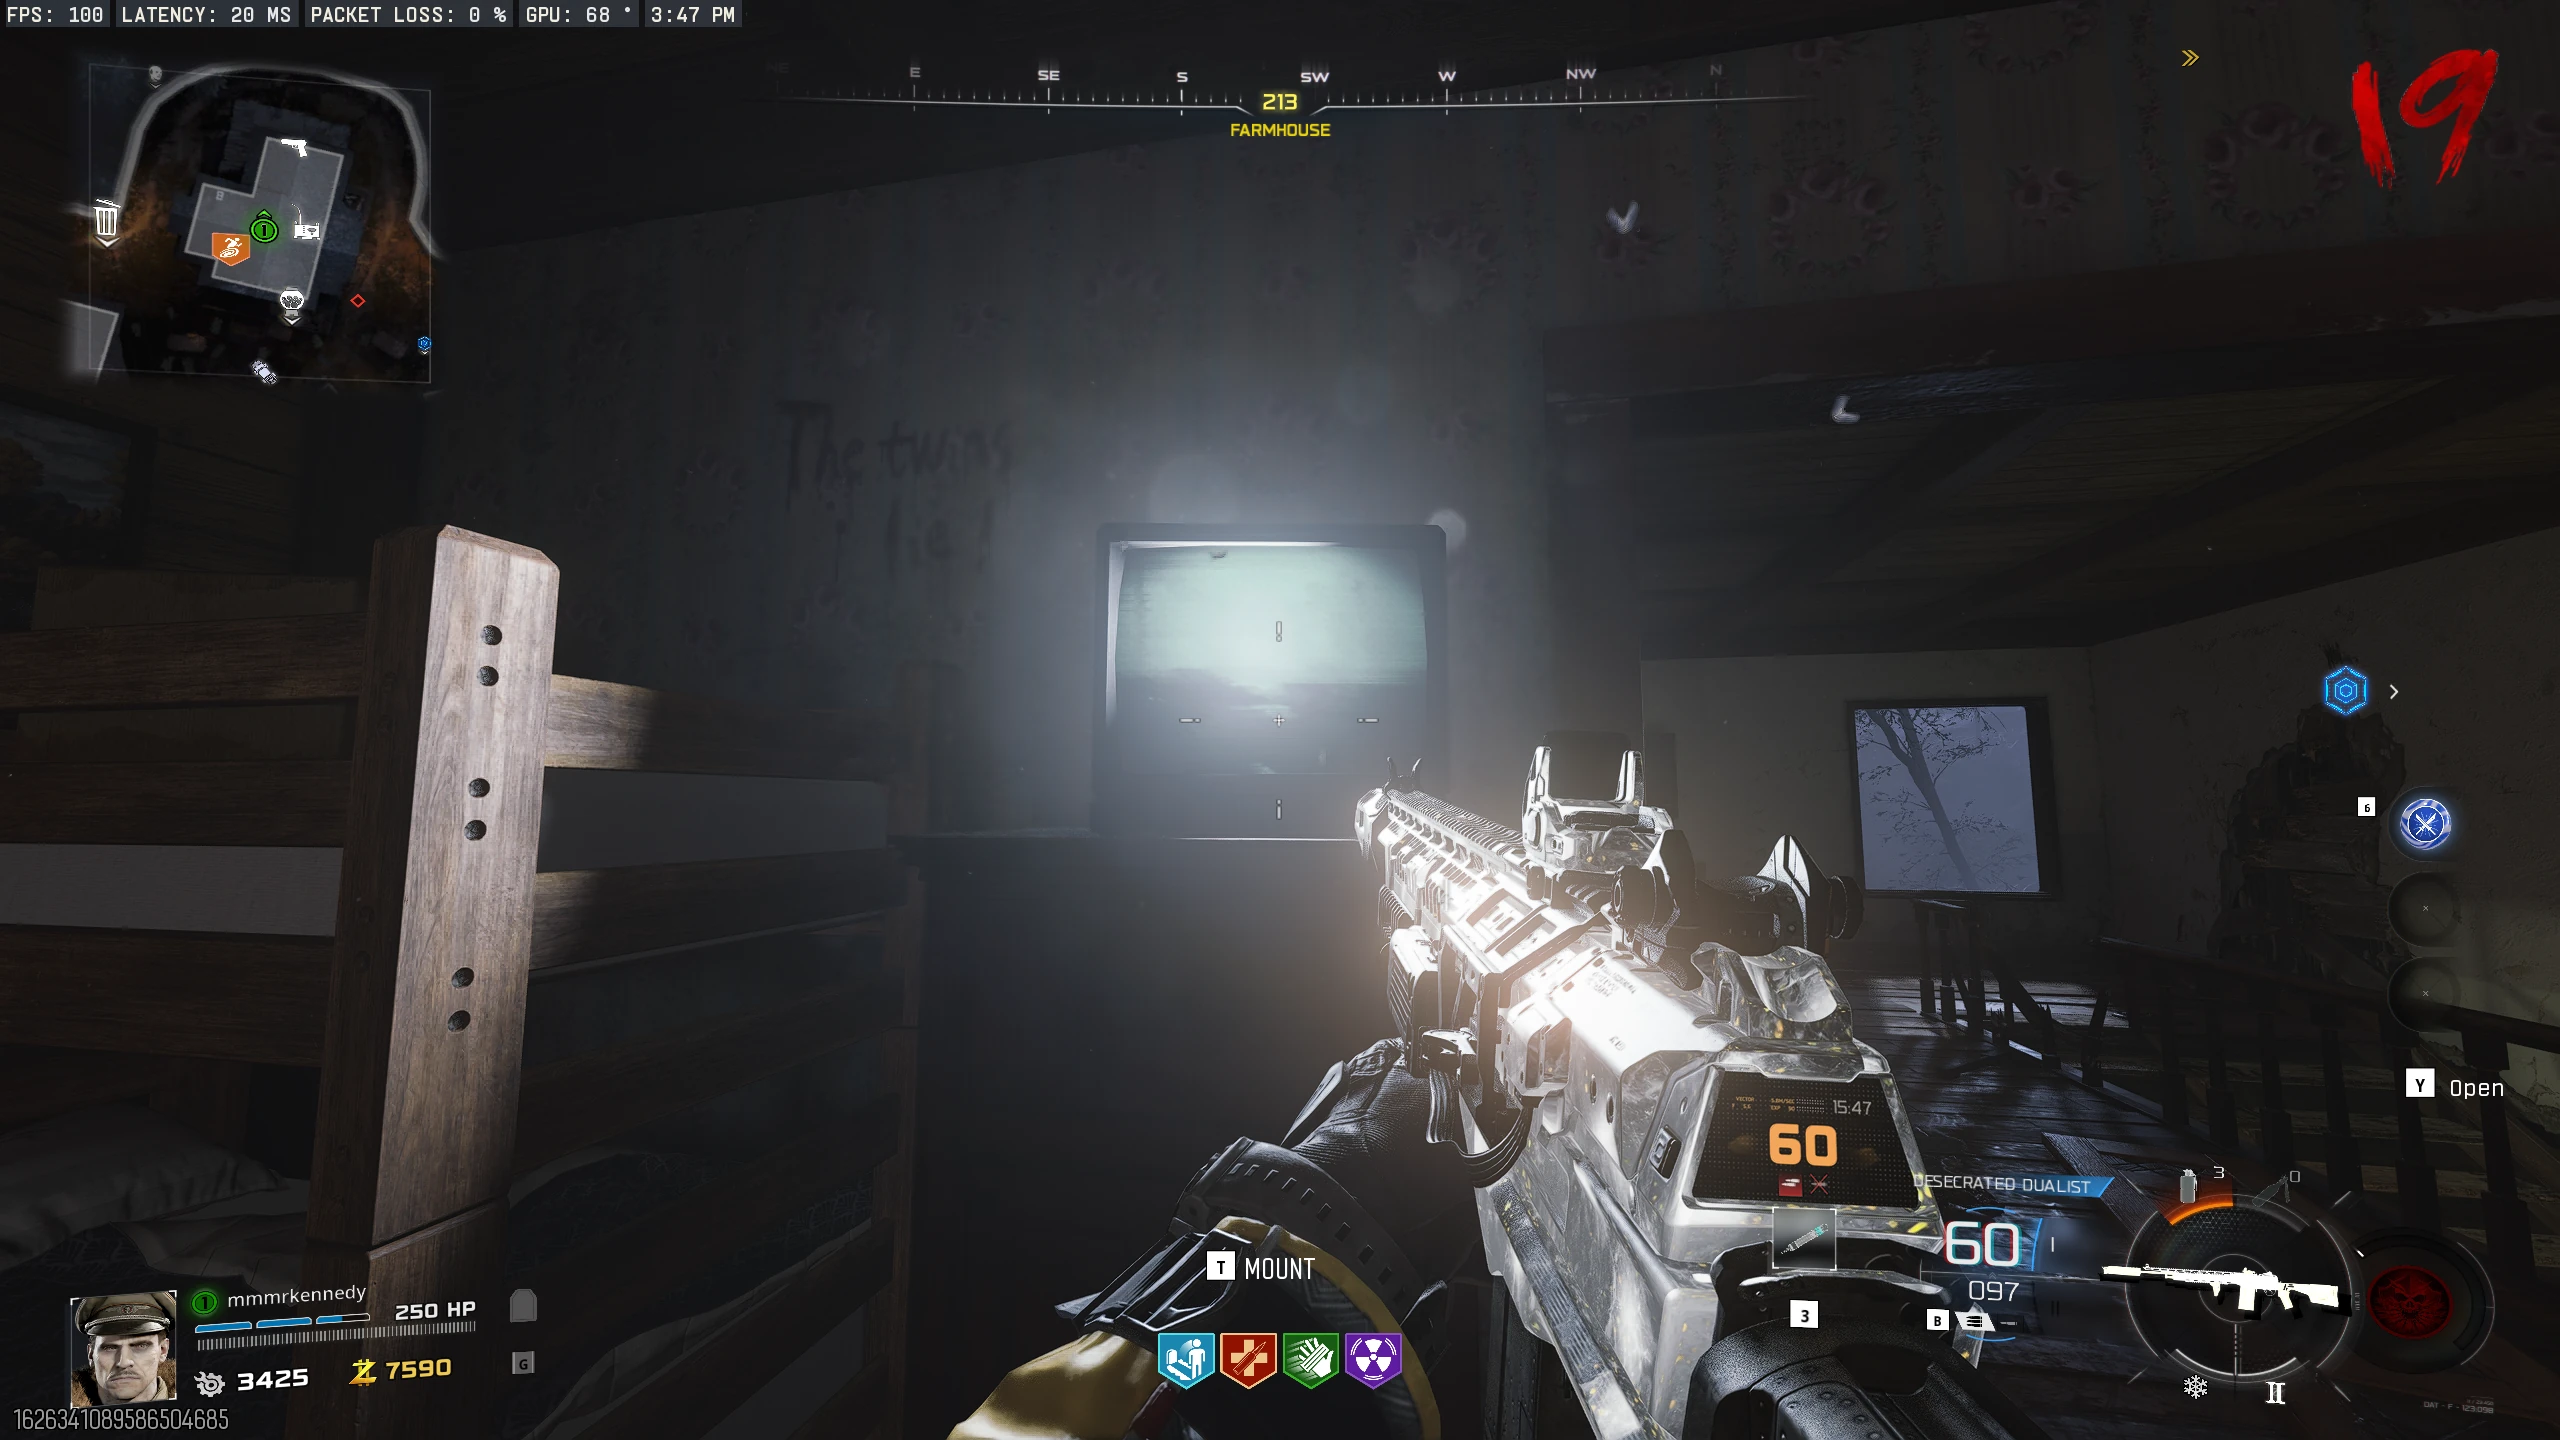
- Shoot the projector in the Cabin with a purple shot. It will show a sequence of four different images on the projection screen.
- Note the sequence of four images shown, then shoot the corresponding film reels in that order. Image to Reel location:
- Stand by the box at the foot of the bed in the Cabin's upstairs bedroom.
- Summon Klaus (the closest radio is at the back of the Cabin) and command him to the bed to pick up the Death Whistle.
-
Veytharion Boss Fight
Pre-fight Wisp Collection
- Interact with Klaus to blow the horn. After 20-30 seconds, wisps will fly from the Pyramid.
-
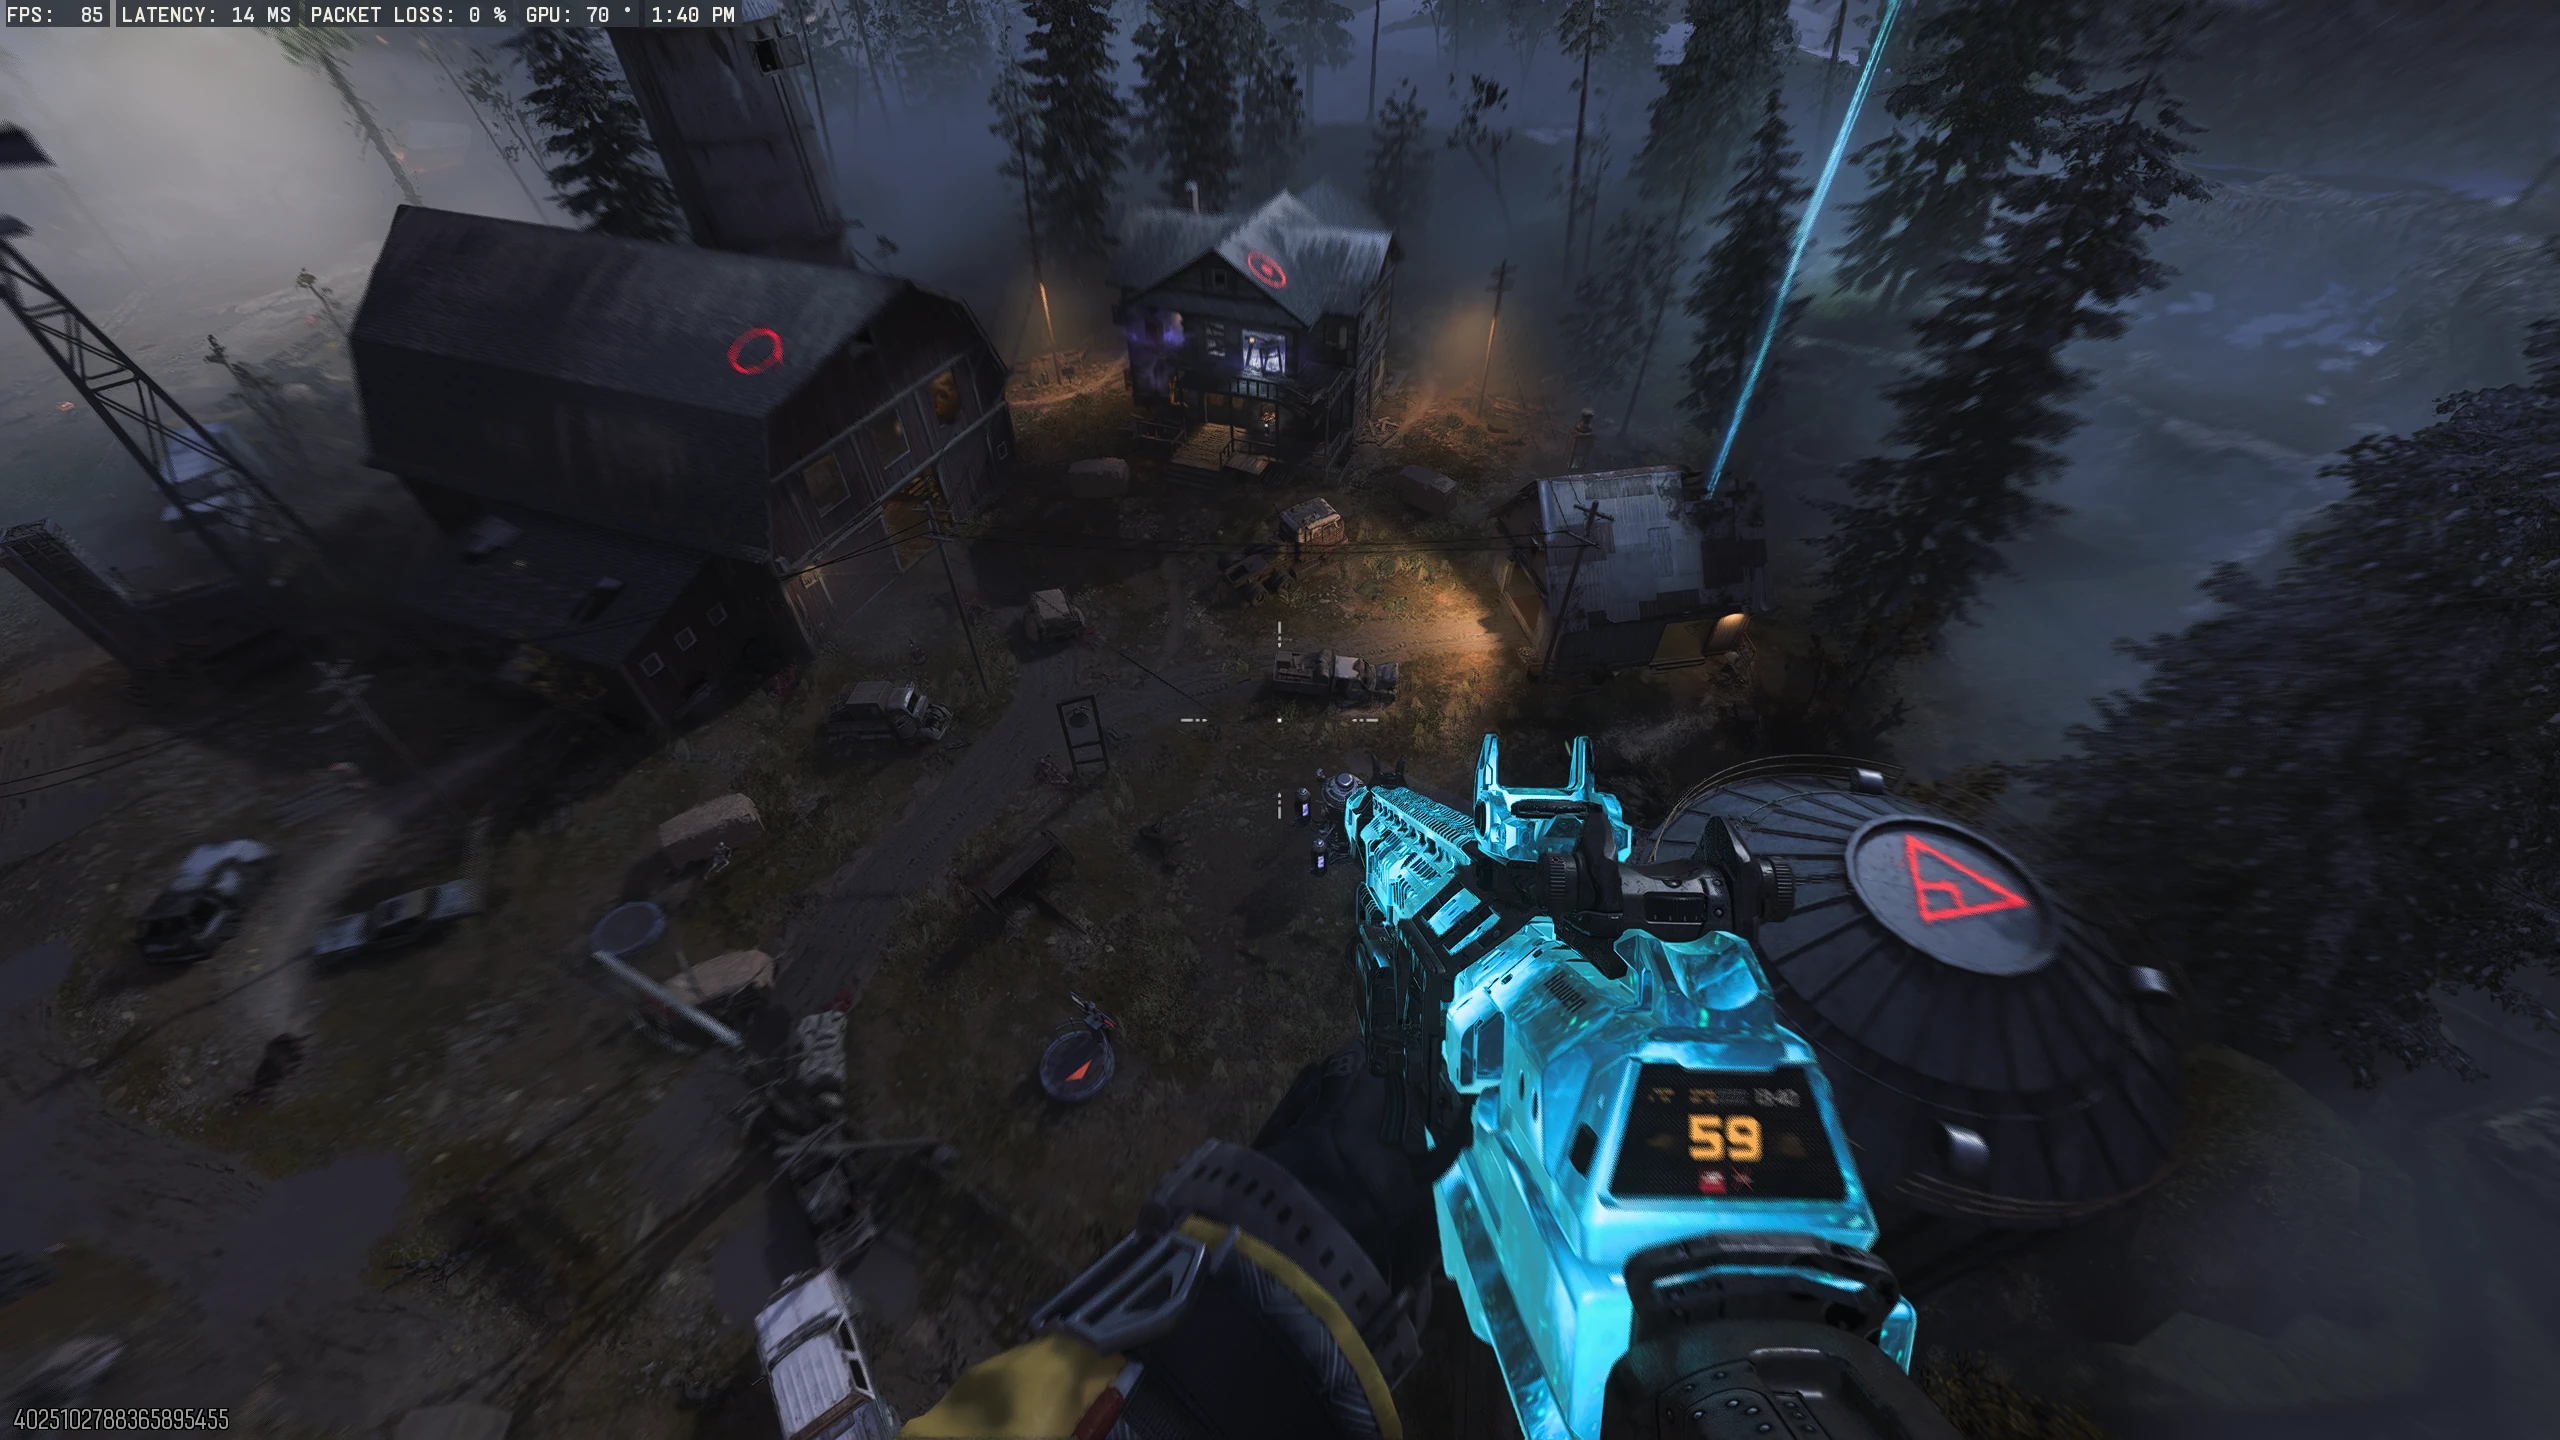
You must drive Ol' Tessie through four specific "Fog" areas, collecting three Wisps in each area (12 total). All players must be in Ol' Tessie and stay
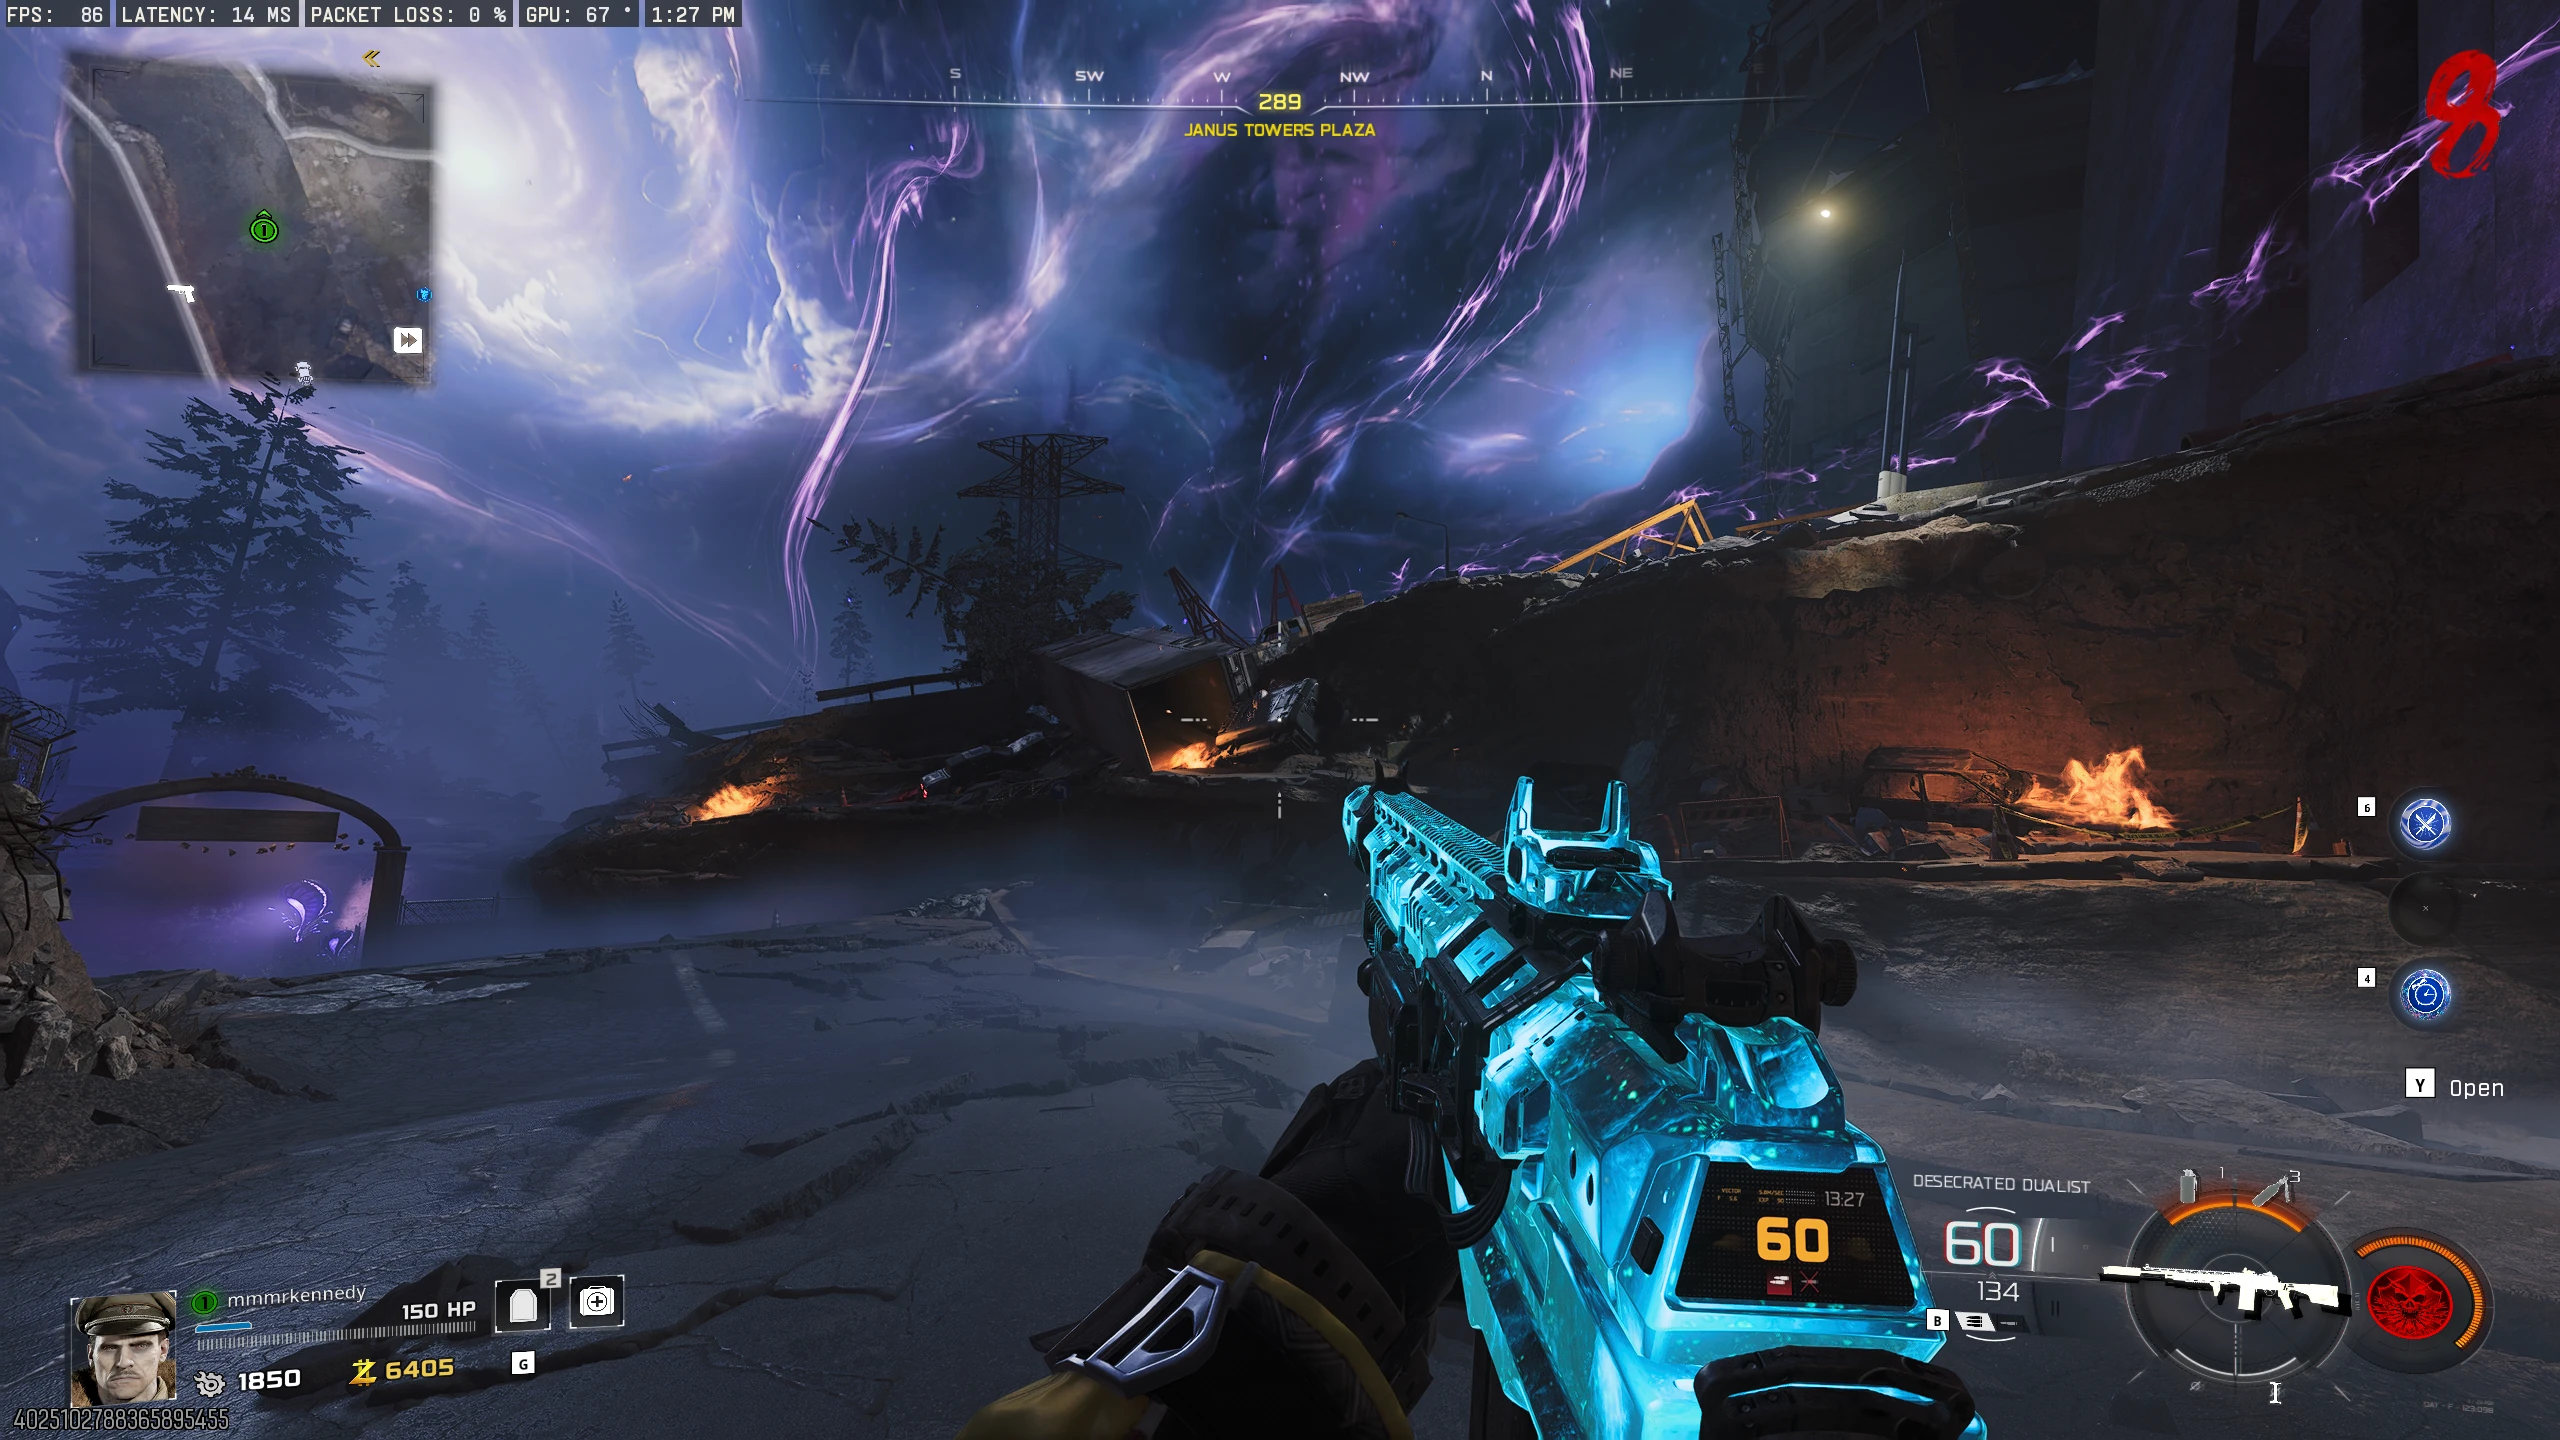
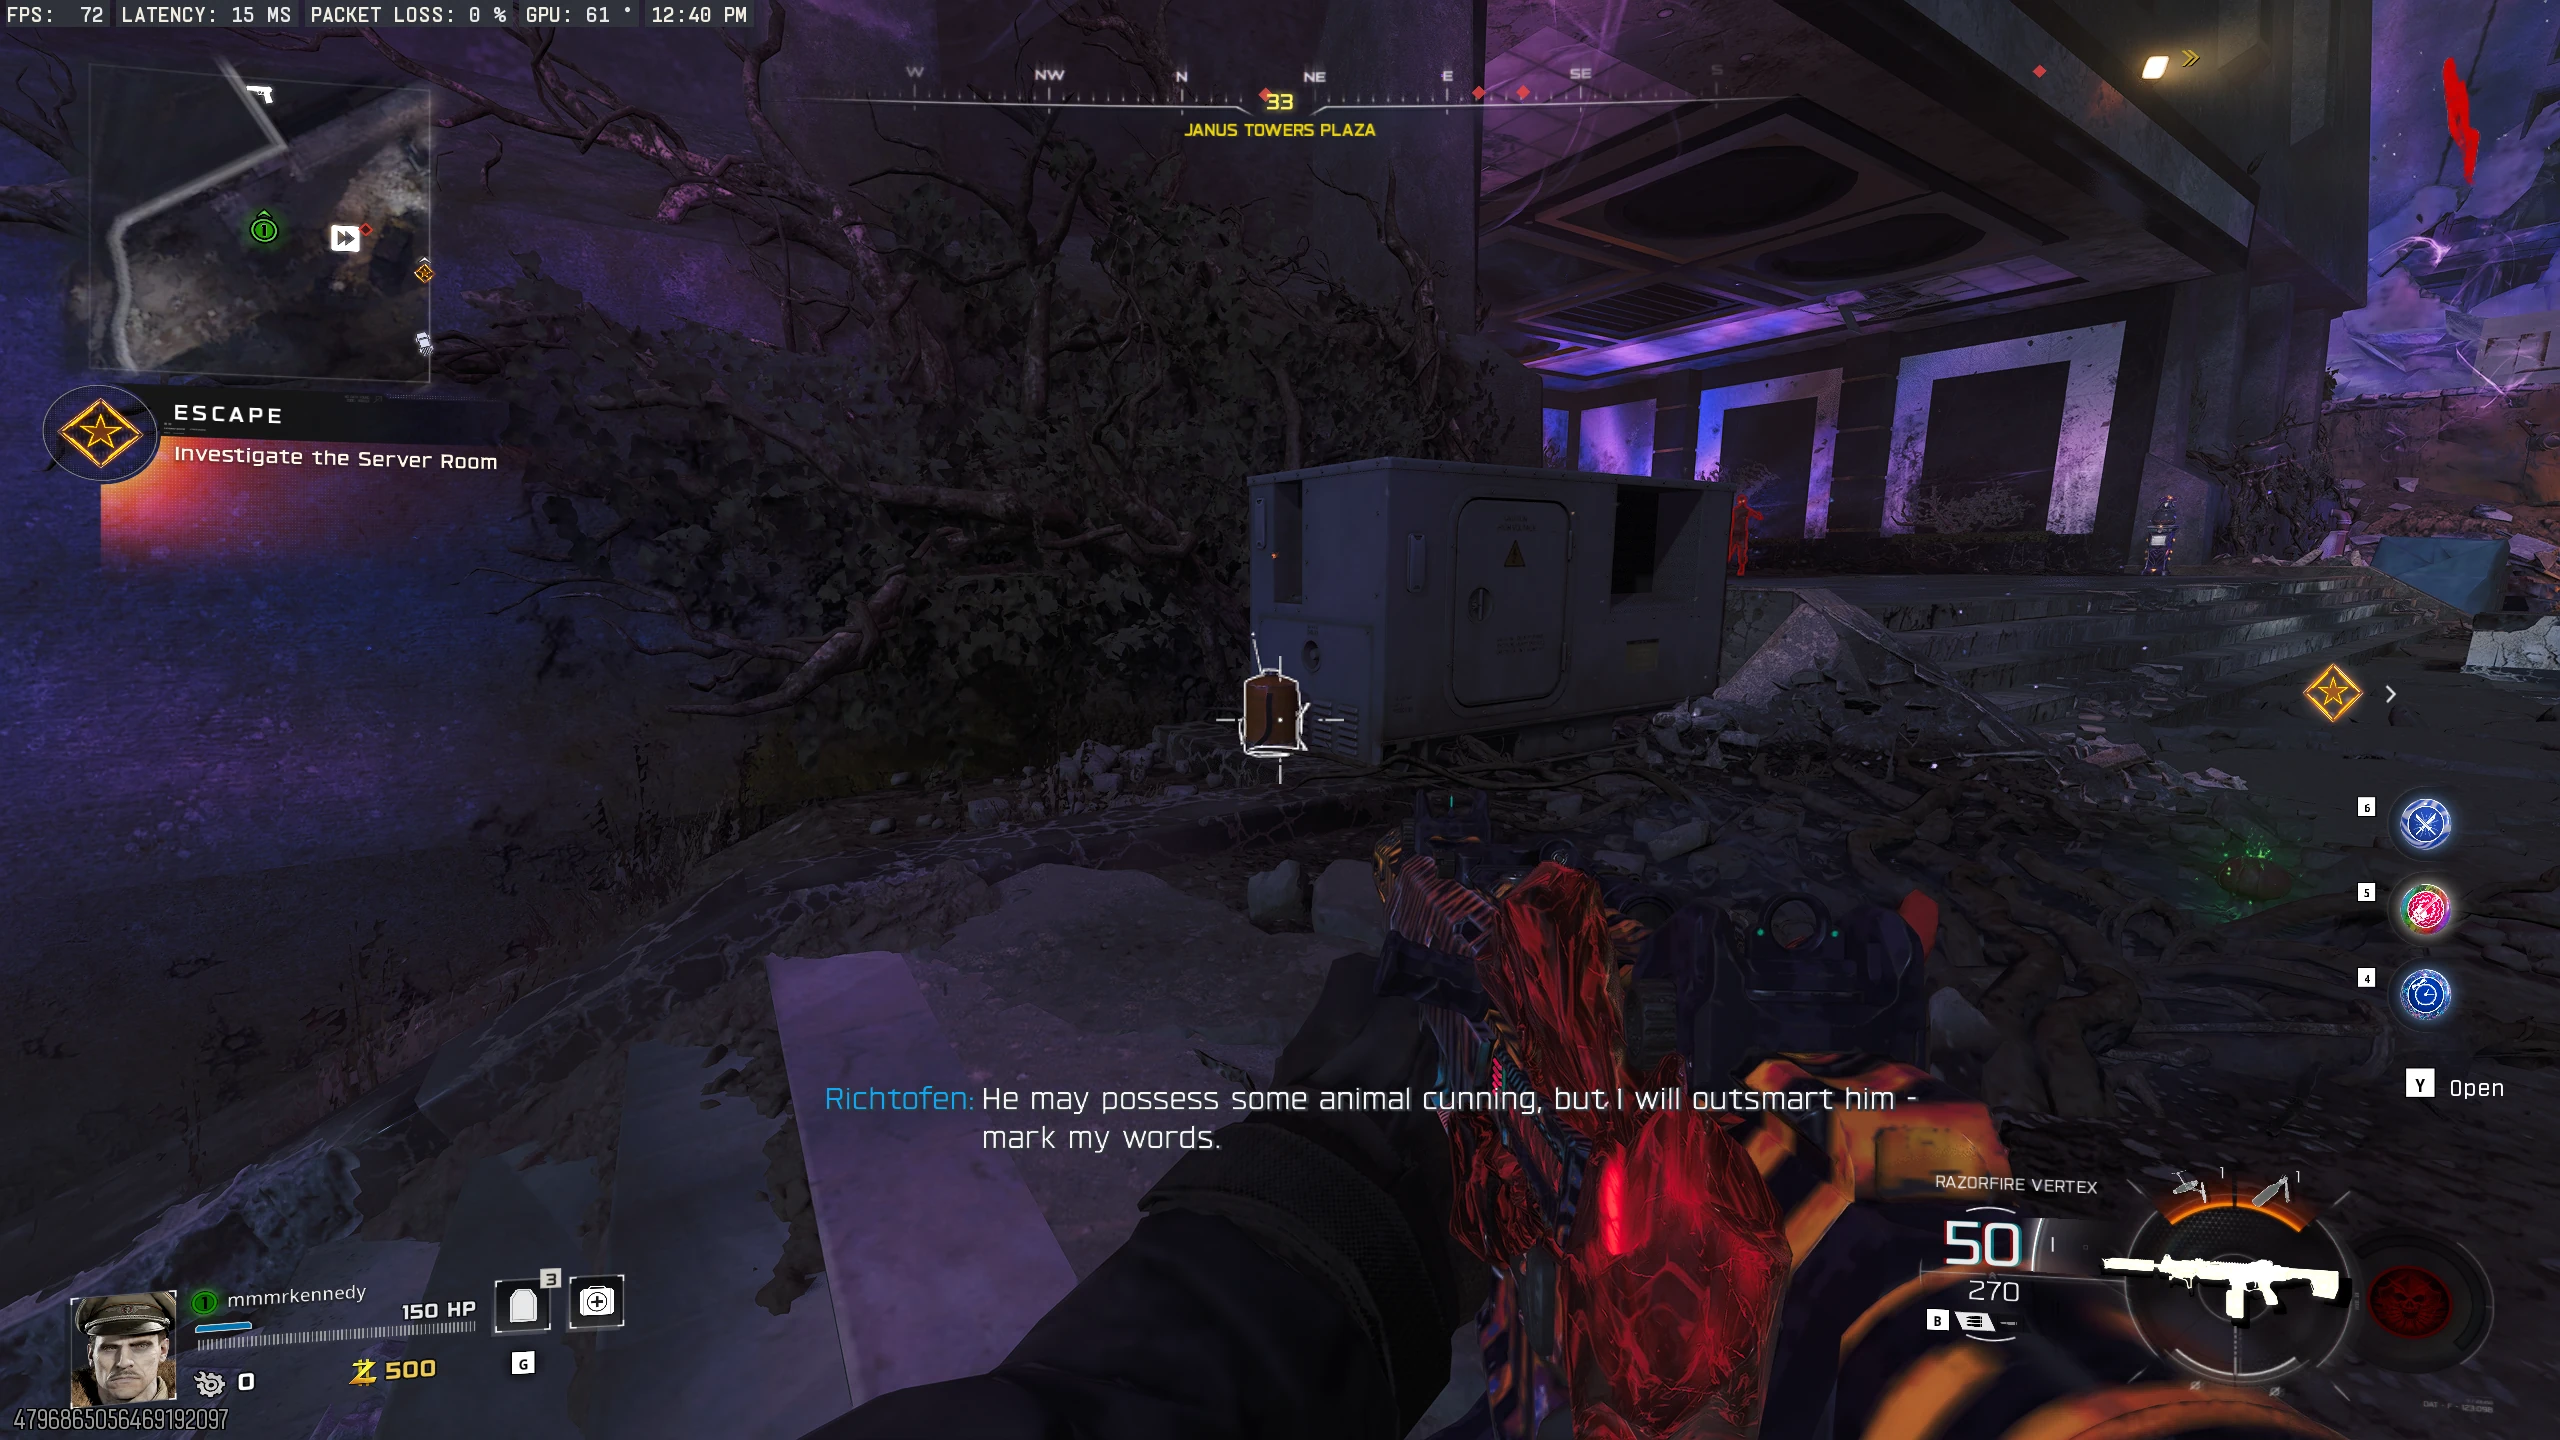
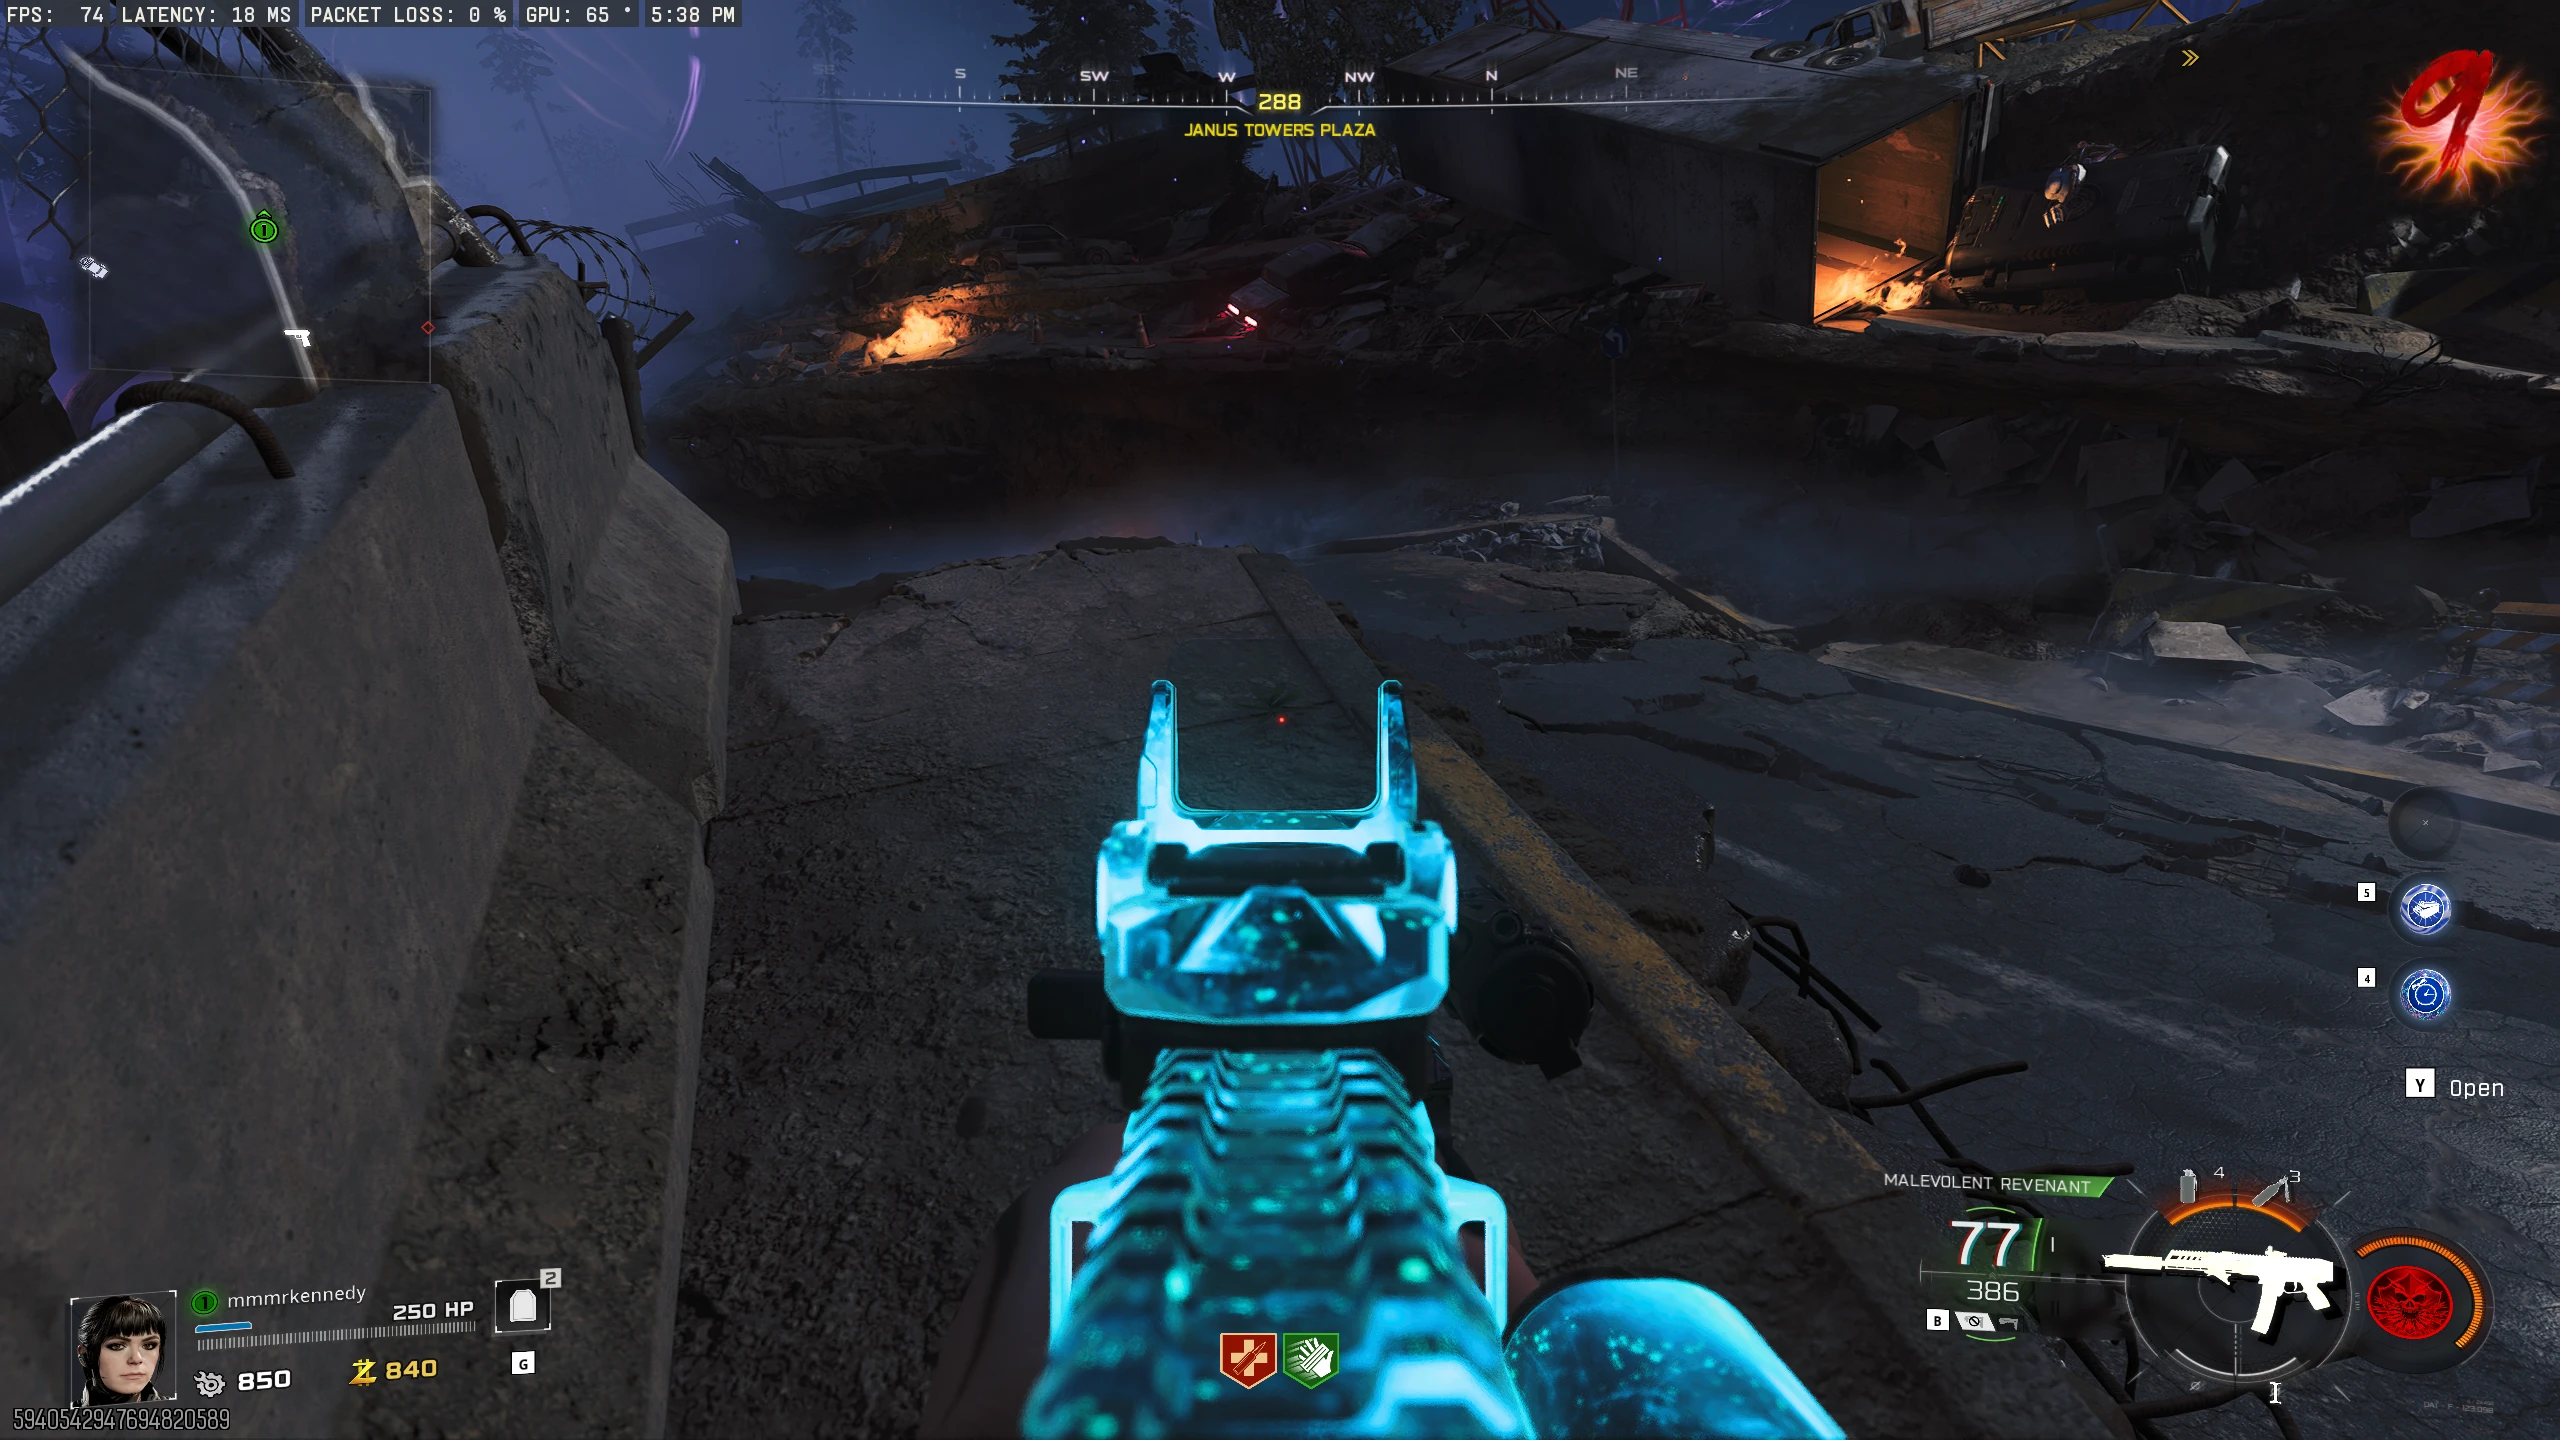
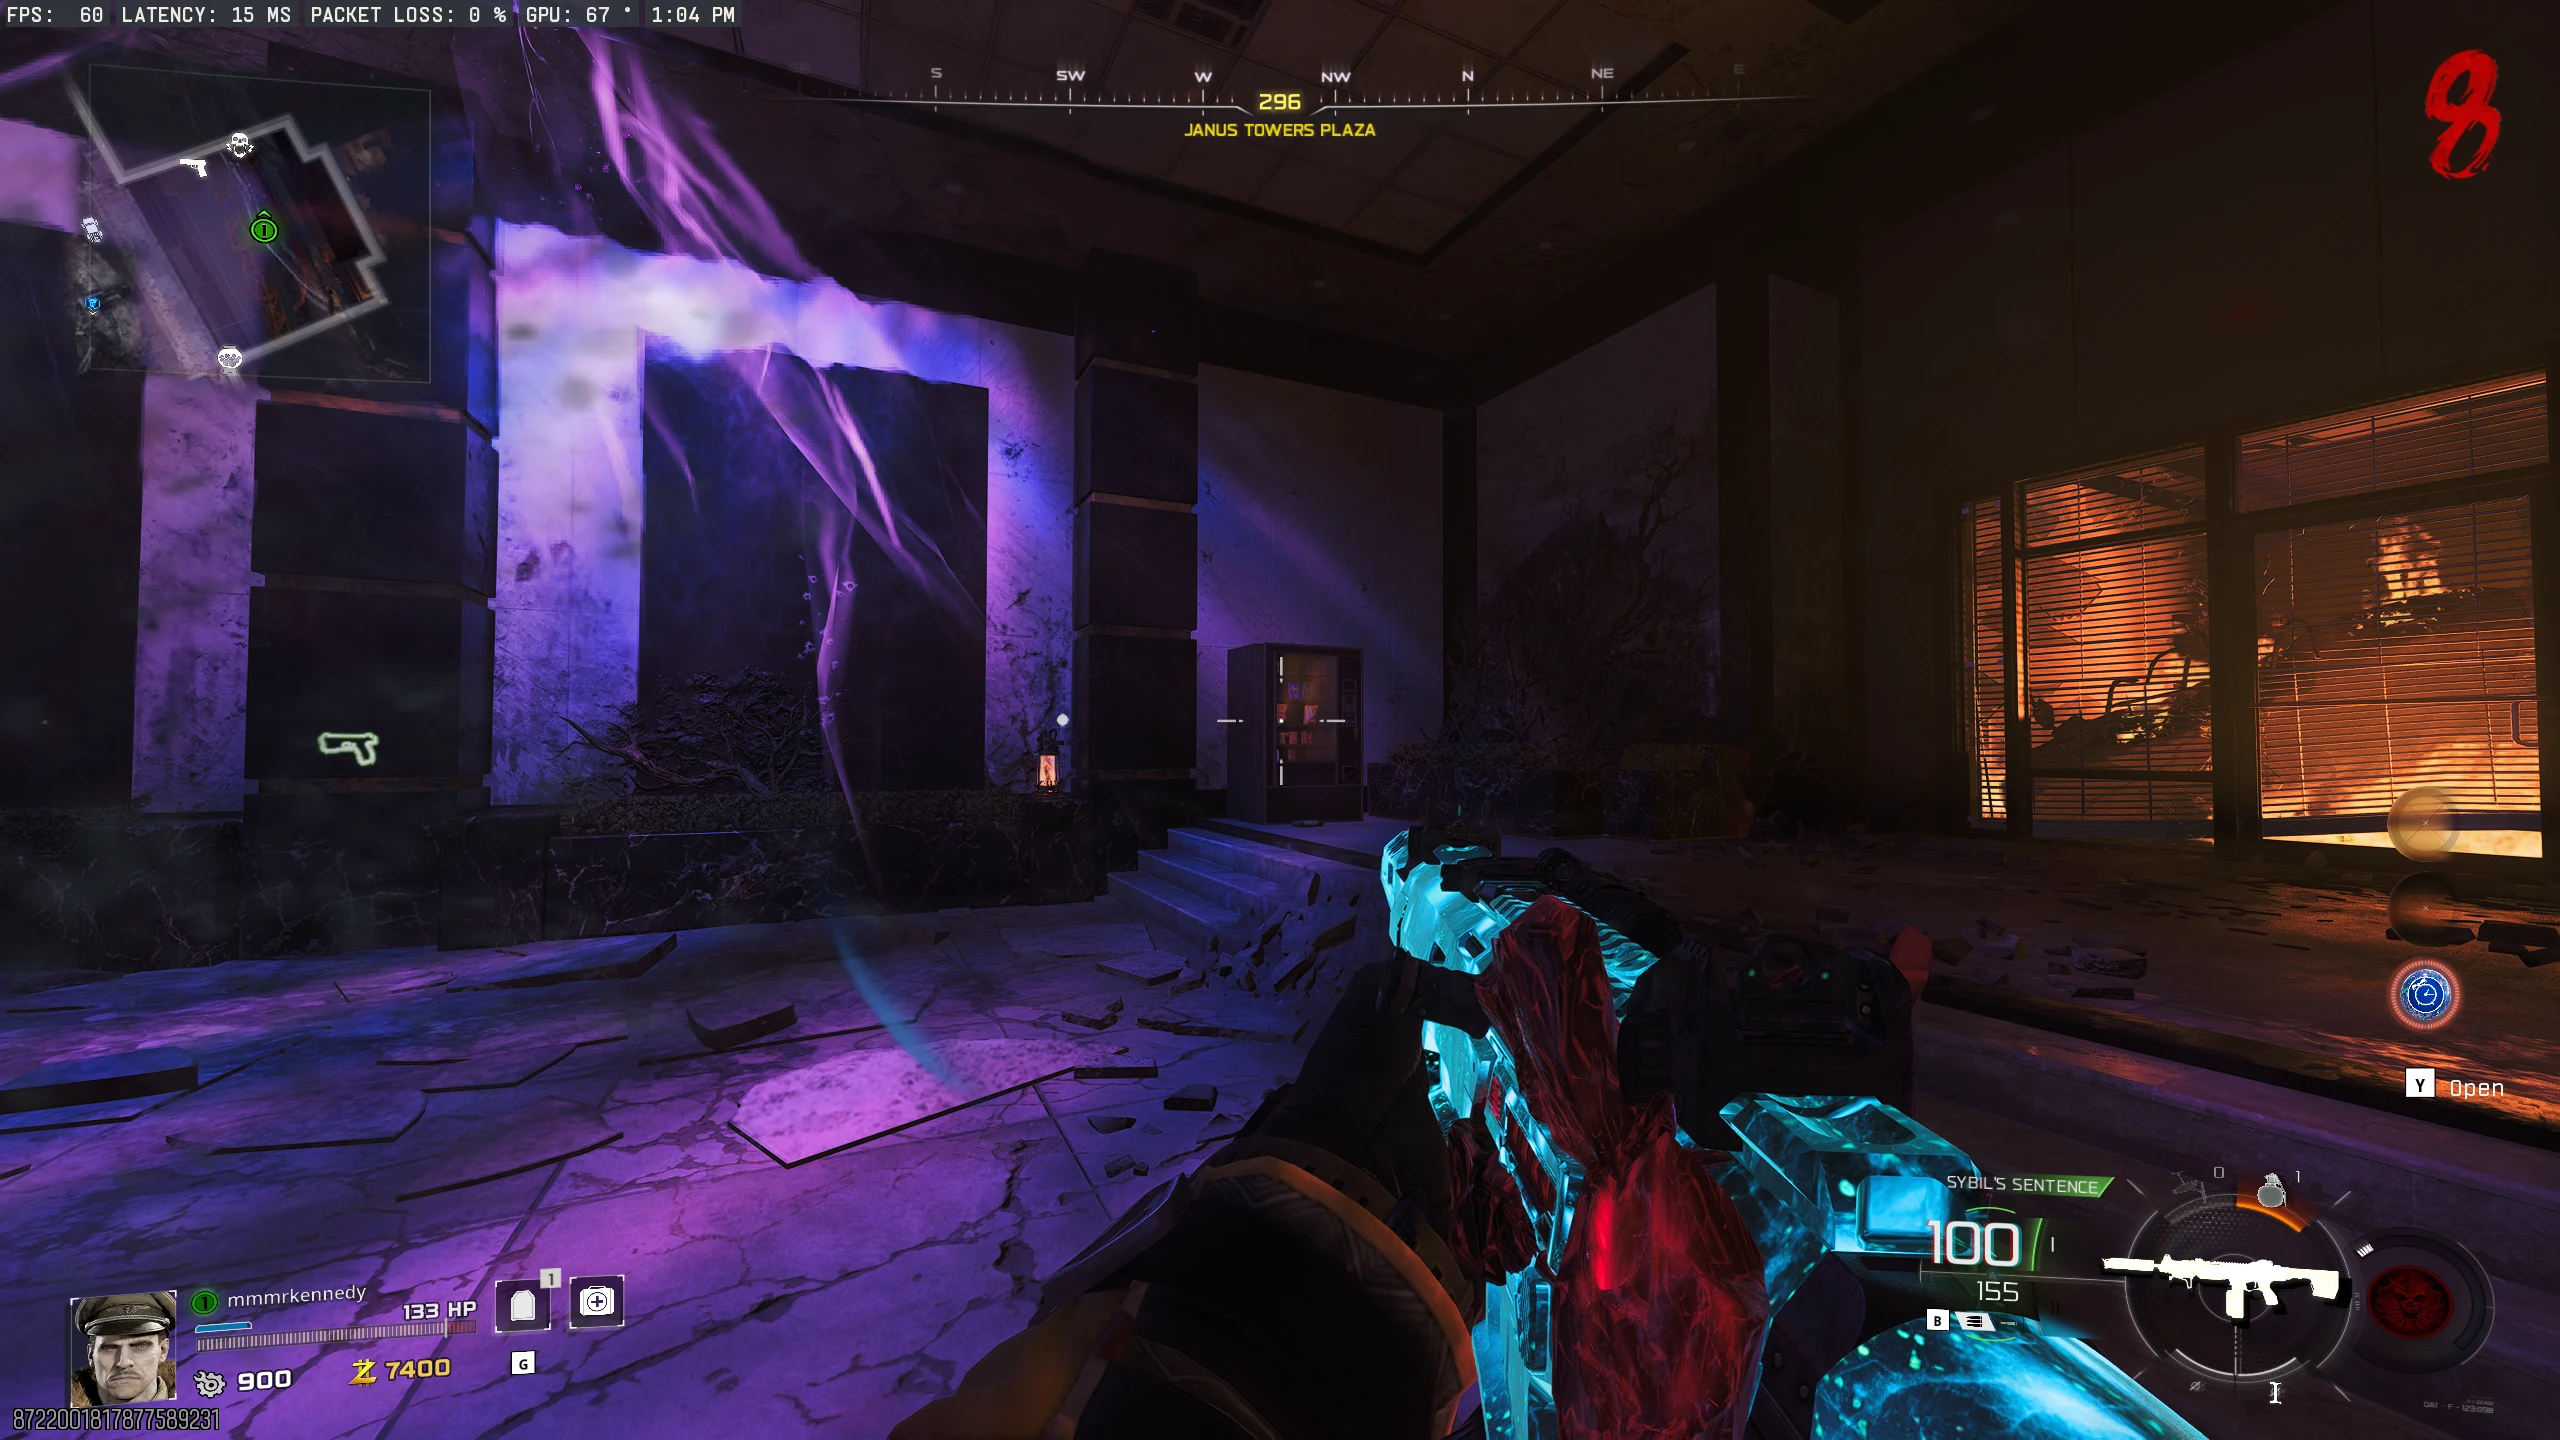
inside until you collect all wisps or fail. Follow this path around the map: Blackwater Lake -> Janus Tower Plaza -> Vandorn Farm -> Ashwood -> Blackwater Lake.
- You must collect all three wisps in an area before leaving it. If you exit a fog zone without collecting all three, or go in the wrong order/direction, you will fail and must wait for the next round.
- Once you collect the last wisp, you will be teleported (with Ol' Tessie) inside the Pyramid for the boss fight against Veytharion.
-
Boss Fight Notes
-
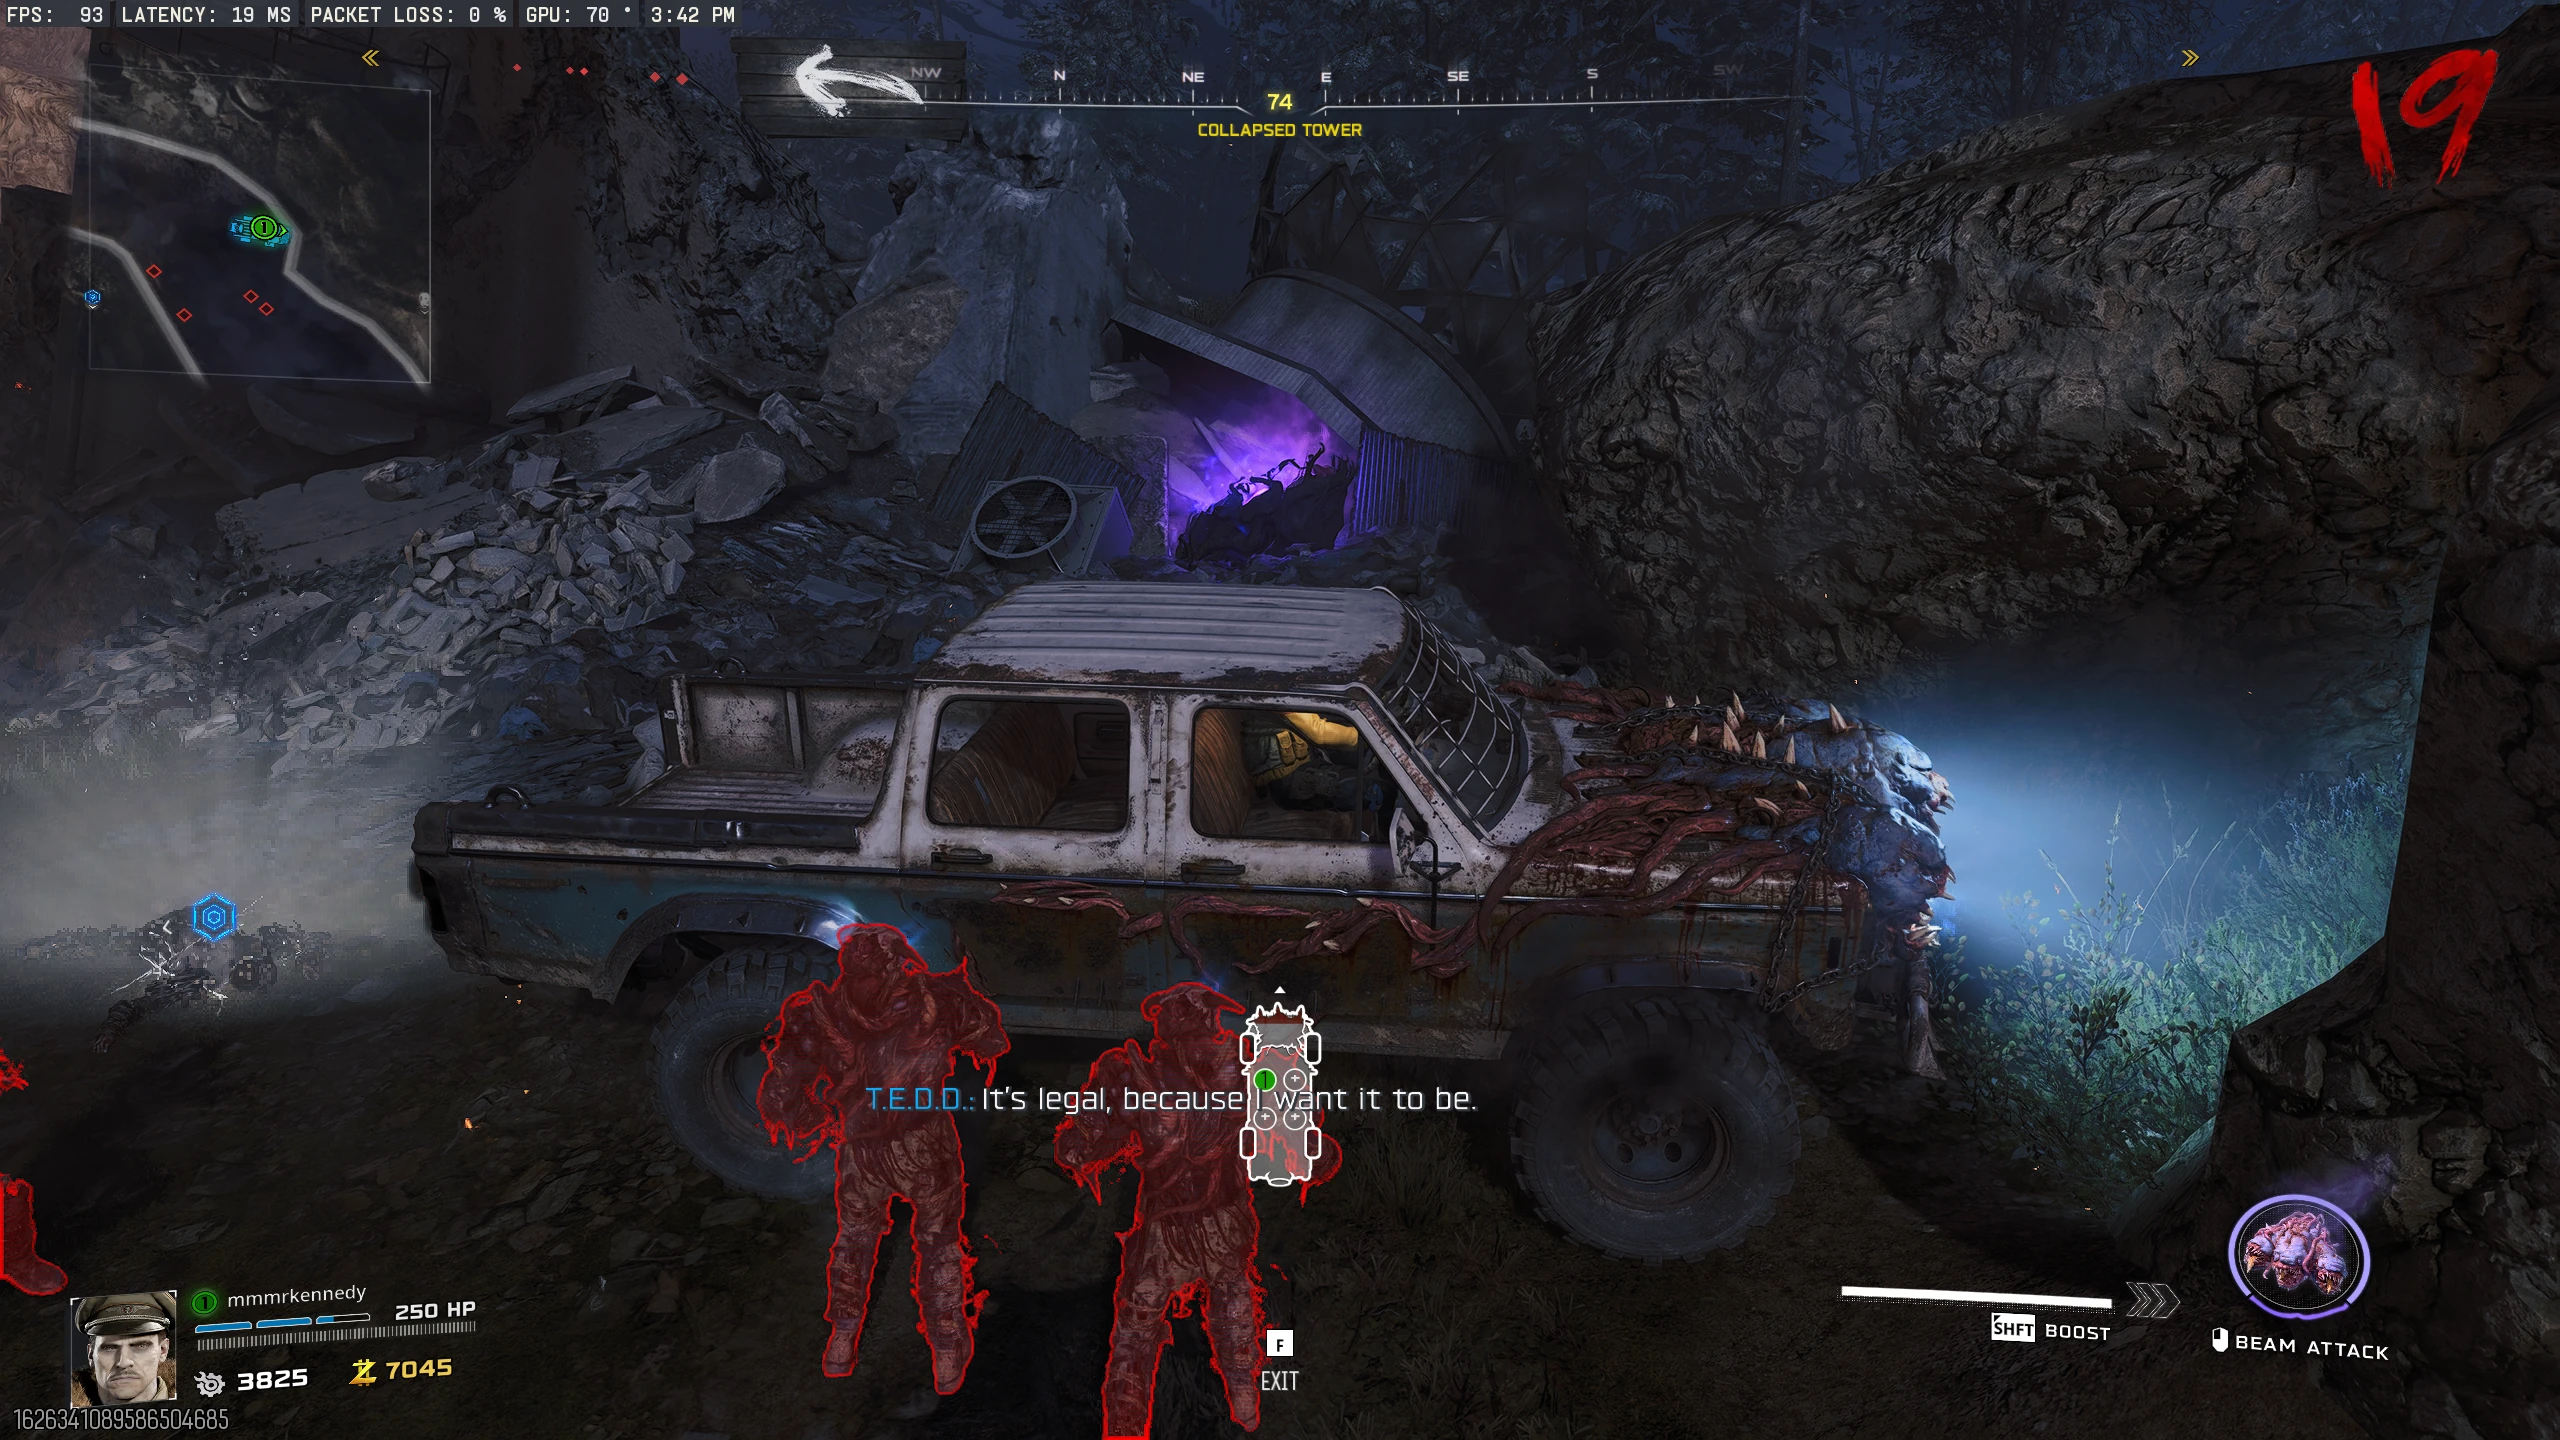
Almost all the damage you deal in the fight will come from Ol' Tessie. Here's a summary of Ol' Tessie's Mechanics:
- When the boss is above the raised area in the middle of the arena, ram it to deal damage (using the boost is not required, as the game will automatically speed you up).
- Drive over the Green Barnacles on the ground to repair the vehicle. In standard mode, these respawn on a timer (in Cursed or past round 100 in any mode, these will not respawn).
- If the vehicle reaches zero health, you'll be ejected. Interact with Ol' Tessie to repair it.
-
Almost all the damage you deal in the fight will come from Ol' Tessie. Here's a summary of Ol' Tessie's Mechanics:
-
Phases 1 and 2
- Dodge missiles (indicated by red circles on the ground) and ram the boss with Ol' Tessie when it is safe.
- Ramming a "mouth" on the boss 1-2 times will break it, revealing a red glowing "crit" spot. Try to ram/shoot this to deal more damage.
- Eventually, Veytharion will enter an immunity state and start spinning.
- To end the immune phase, look for a Purple Beam of light in the arena. Drive Tessie into it to "charge" the vehicle.
- Once charged, ram Veytharion to stun him and expose a yellow, glowing weak point on his underbelly.
- Shoot the weak point. The Necrofluid Gauntlet and the DG-2 Turret are recommended for this part.
- Max Ammo and Max Armour power-ups spawn. If they spawn up in the air in the corners of the arena, you'll need to shoot and retrieve them with the Necrofluid Gauntlet.
-
Phase 3:
- Veytharion will charge a massive Laser Attack, indicated by one of the mouths glowing purple.
- You must boost directly into him while he is charging the laser to interrupt the attack.
- If you fail to interrupt, you can try hiding behind a pillar.
- Repeat the charge/ram/shoot cycle to defeat him and trigger the final cinematic.
 Tips (Ko-Fi)