Map Progression
Wonder Weapons
Easter Eggs
- Main Quest
- "Magic" song
- Echoes of the Damned Dark Ops Calling Card (Nikolai's Side Quest)
- Ol' Tessie DG-2 Turret Upgrade
- "Bongo" The Friendly Ravager
Free Loot Easter Eggs
- The Five Skulls (Free Random Perk)
- The Twins (Free Cryo Freeze and loot)
- Gramophones Challenges (Free Mystery Perks)
- Lantern Wisp Orbs (Free Ray Gun)
Misc. Easter Eggs
Pack-a-Punch
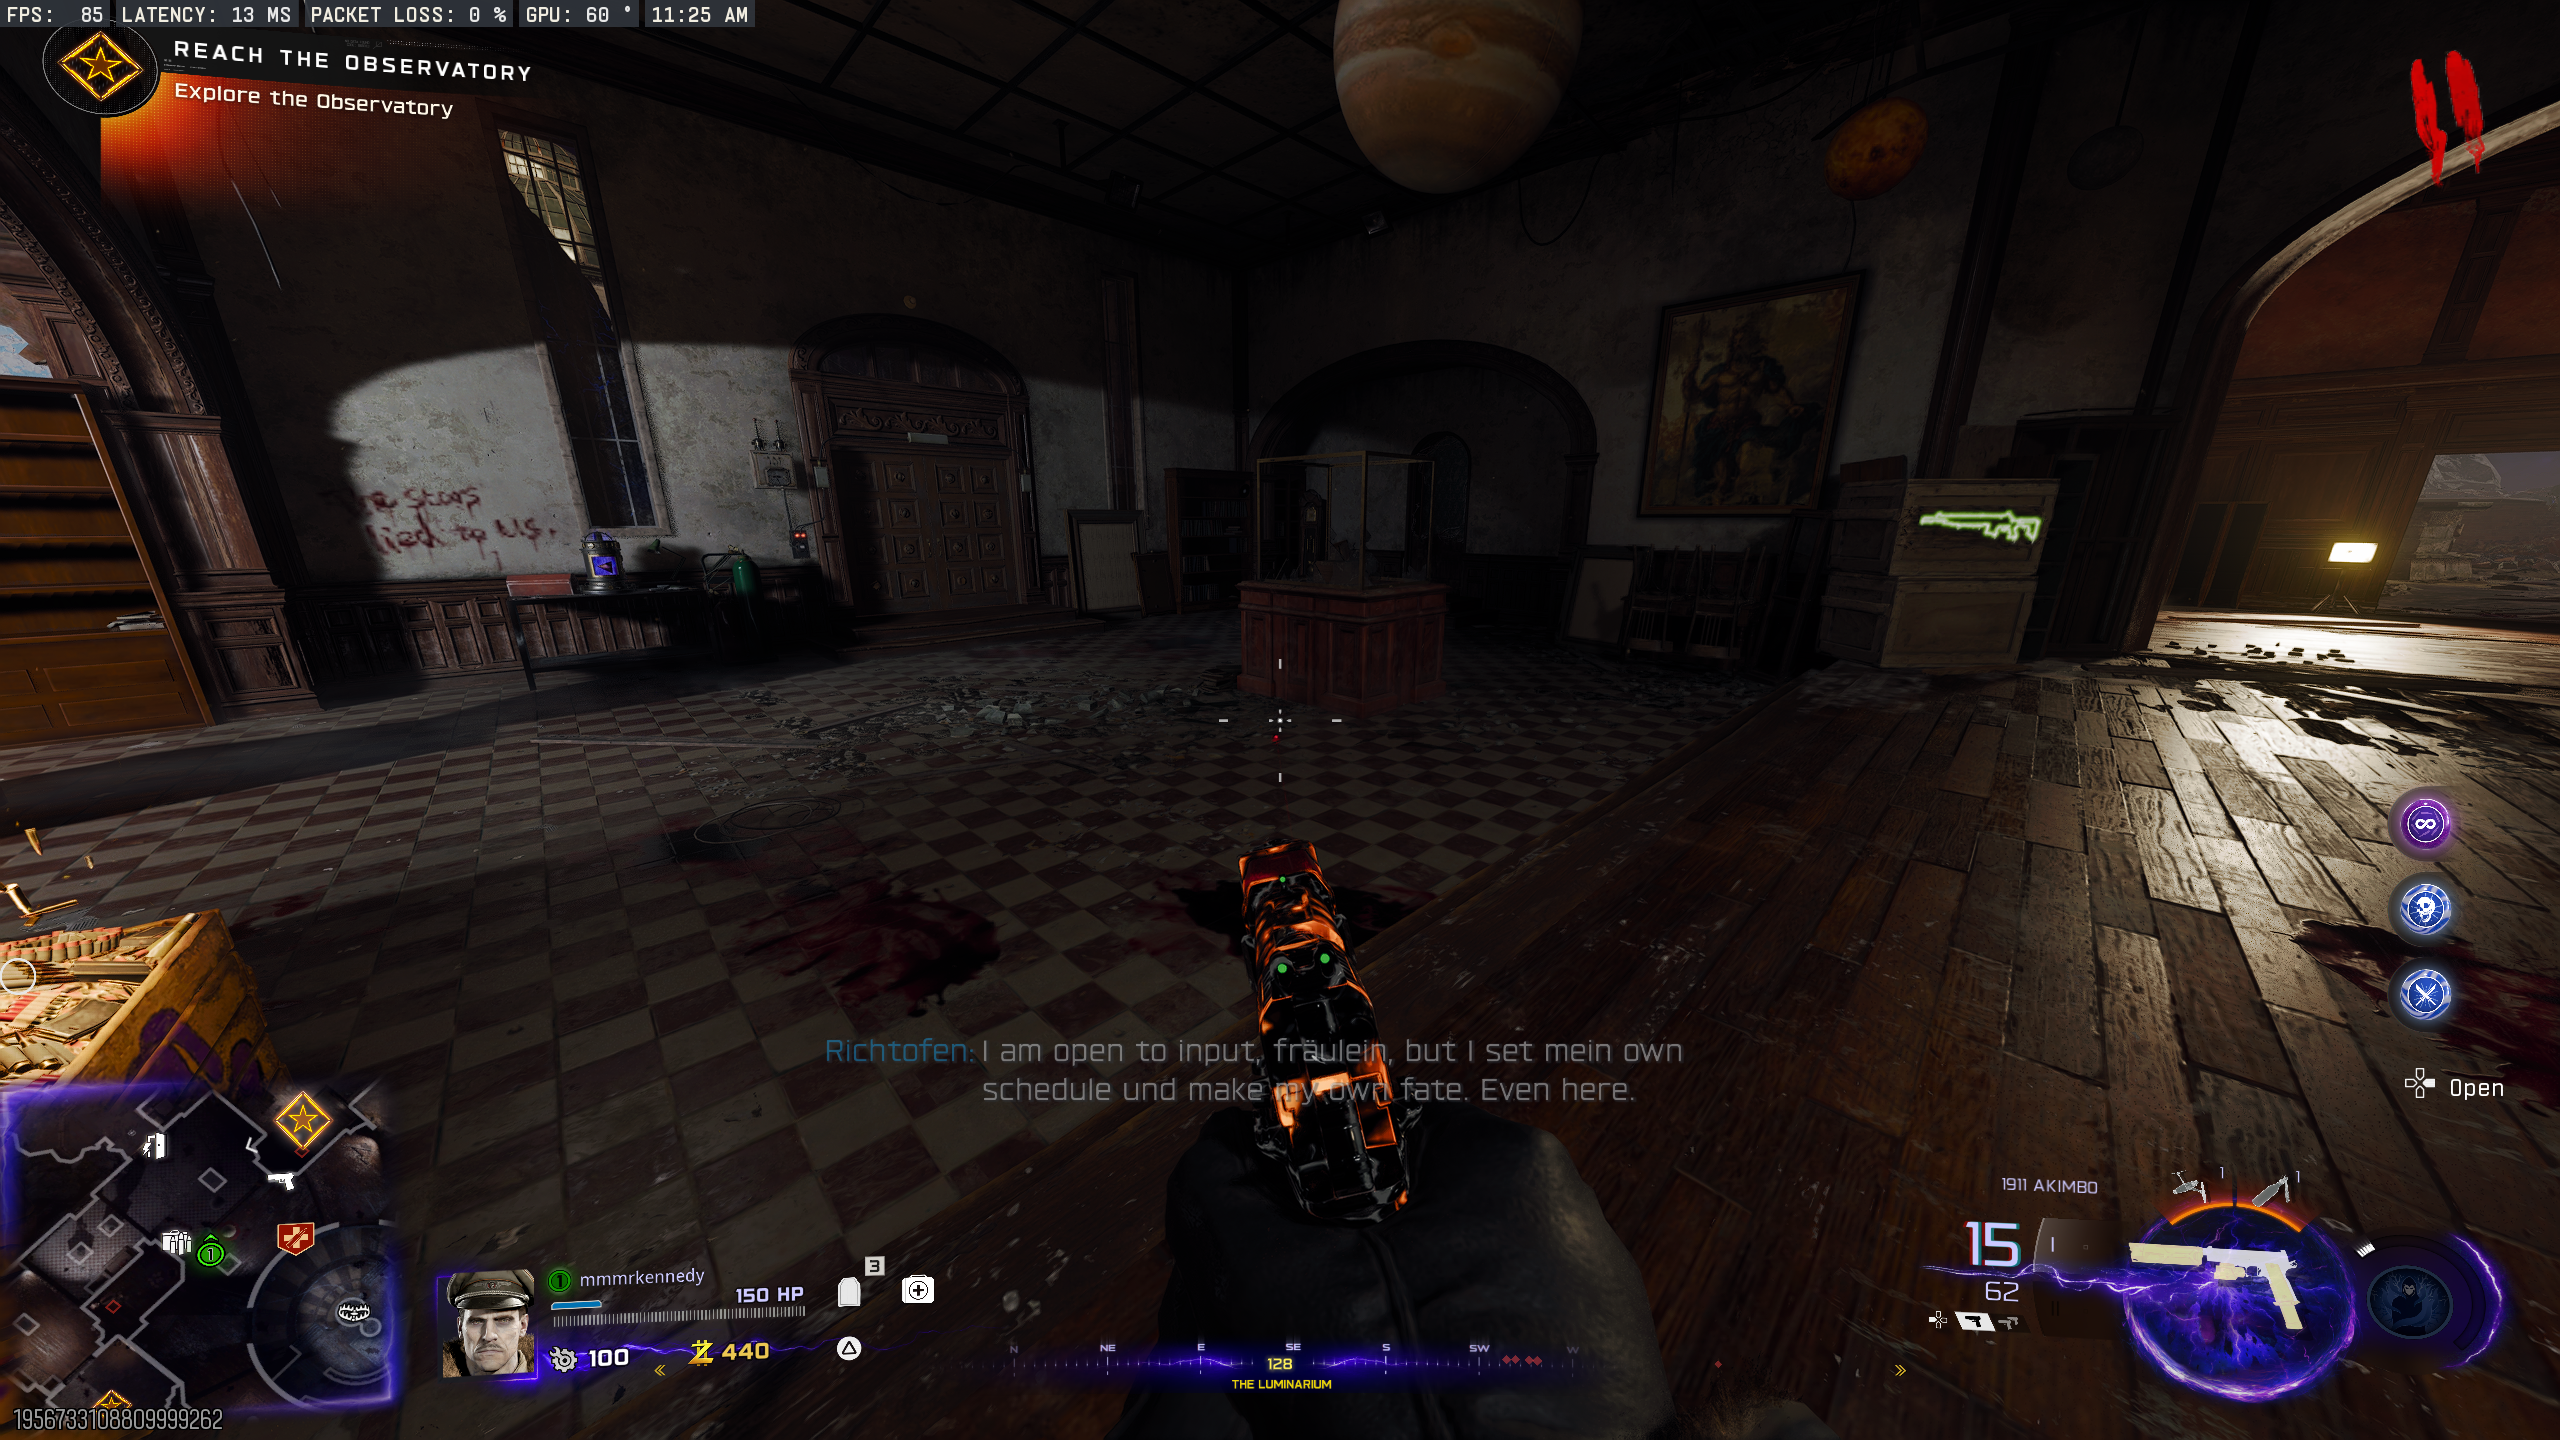
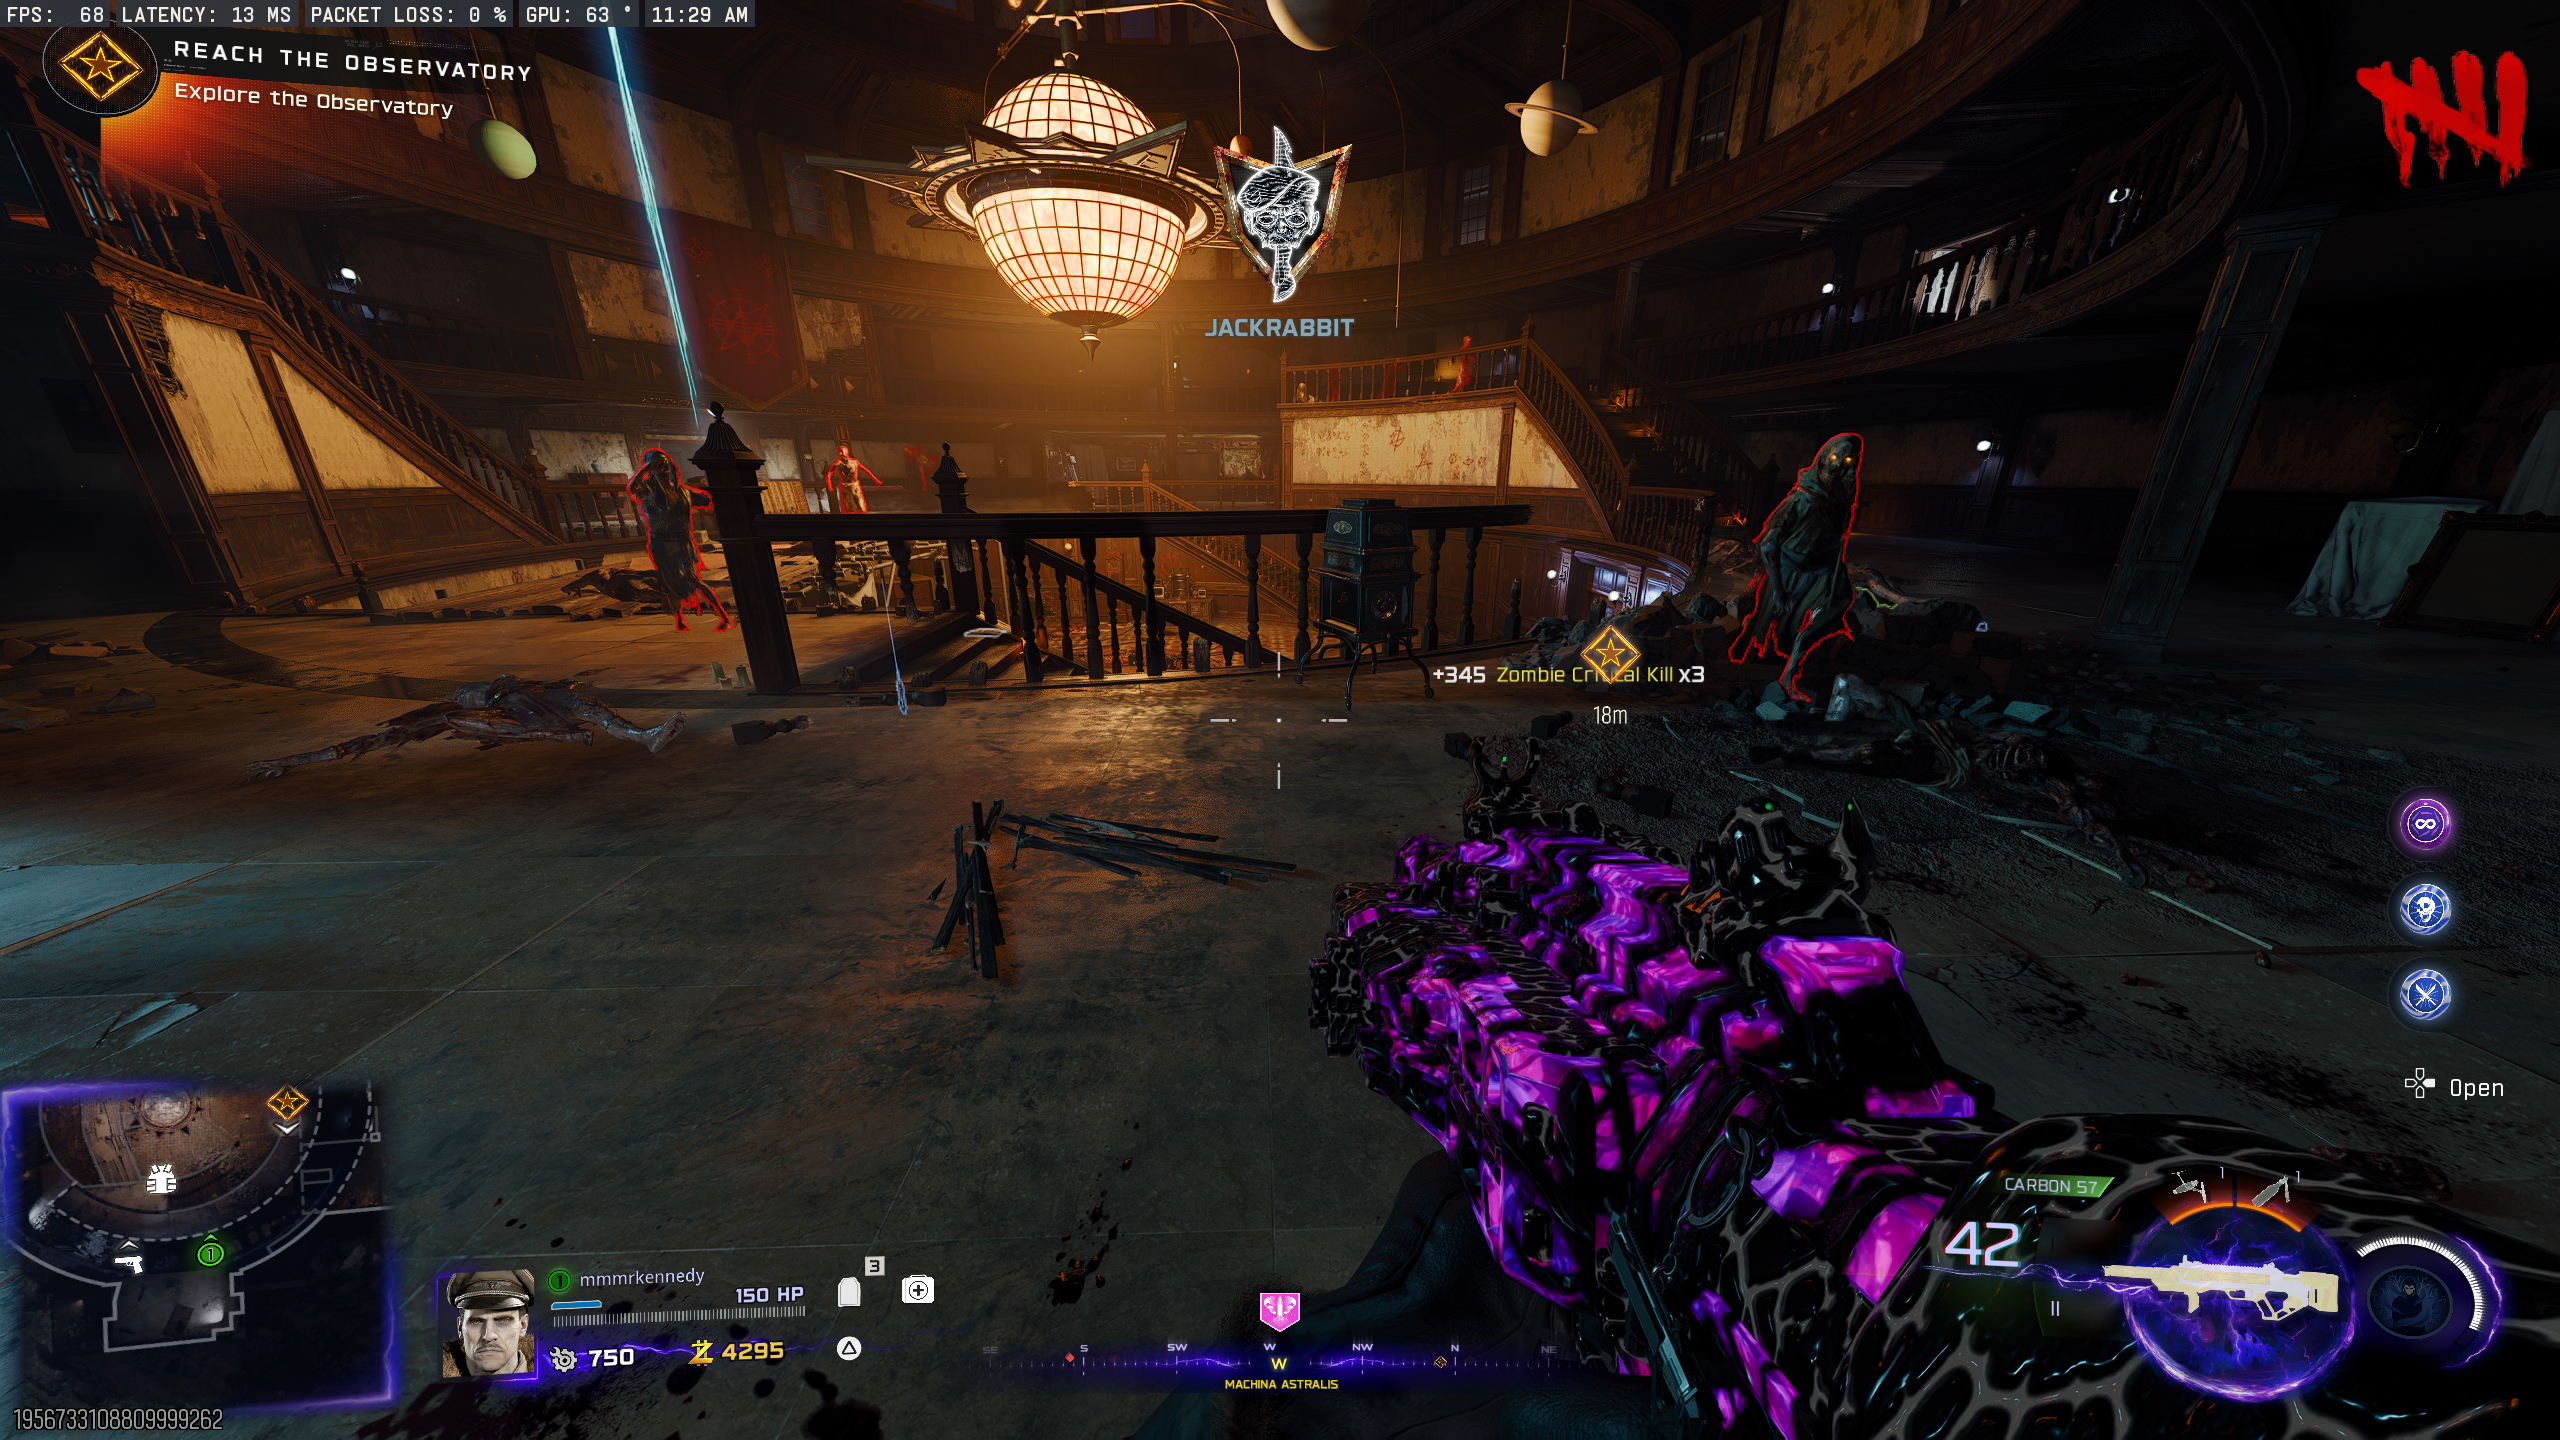
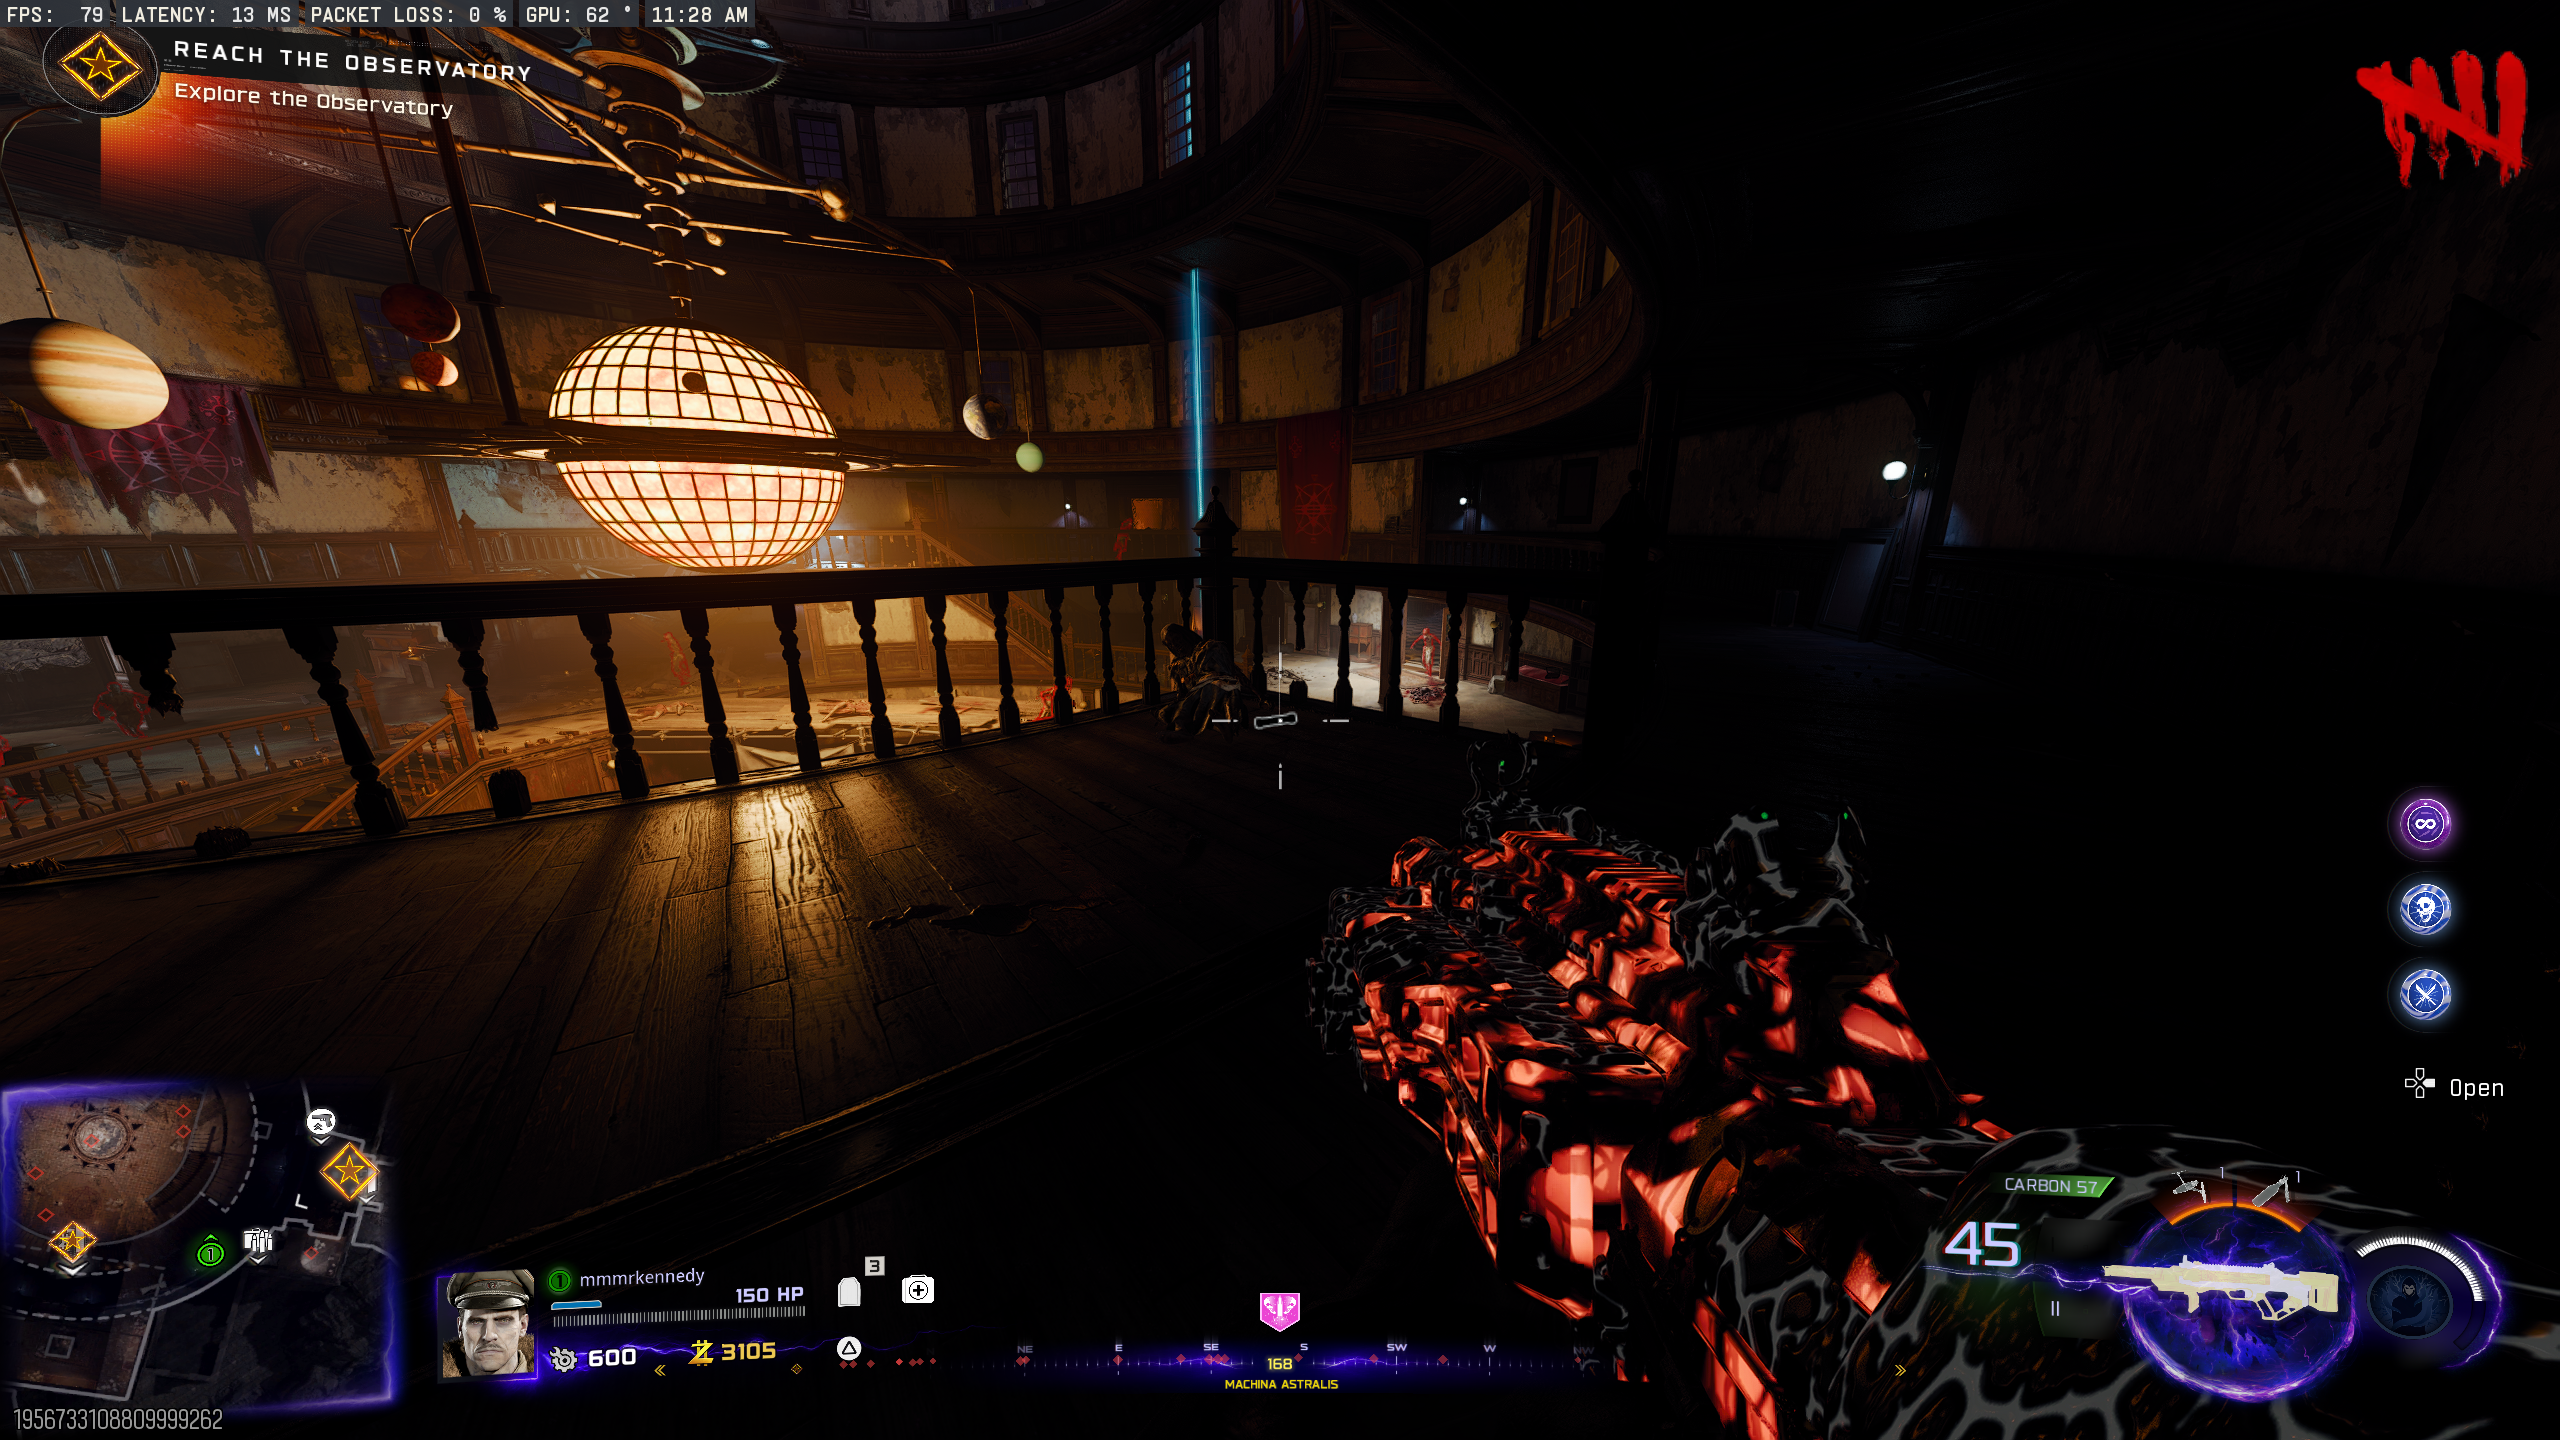
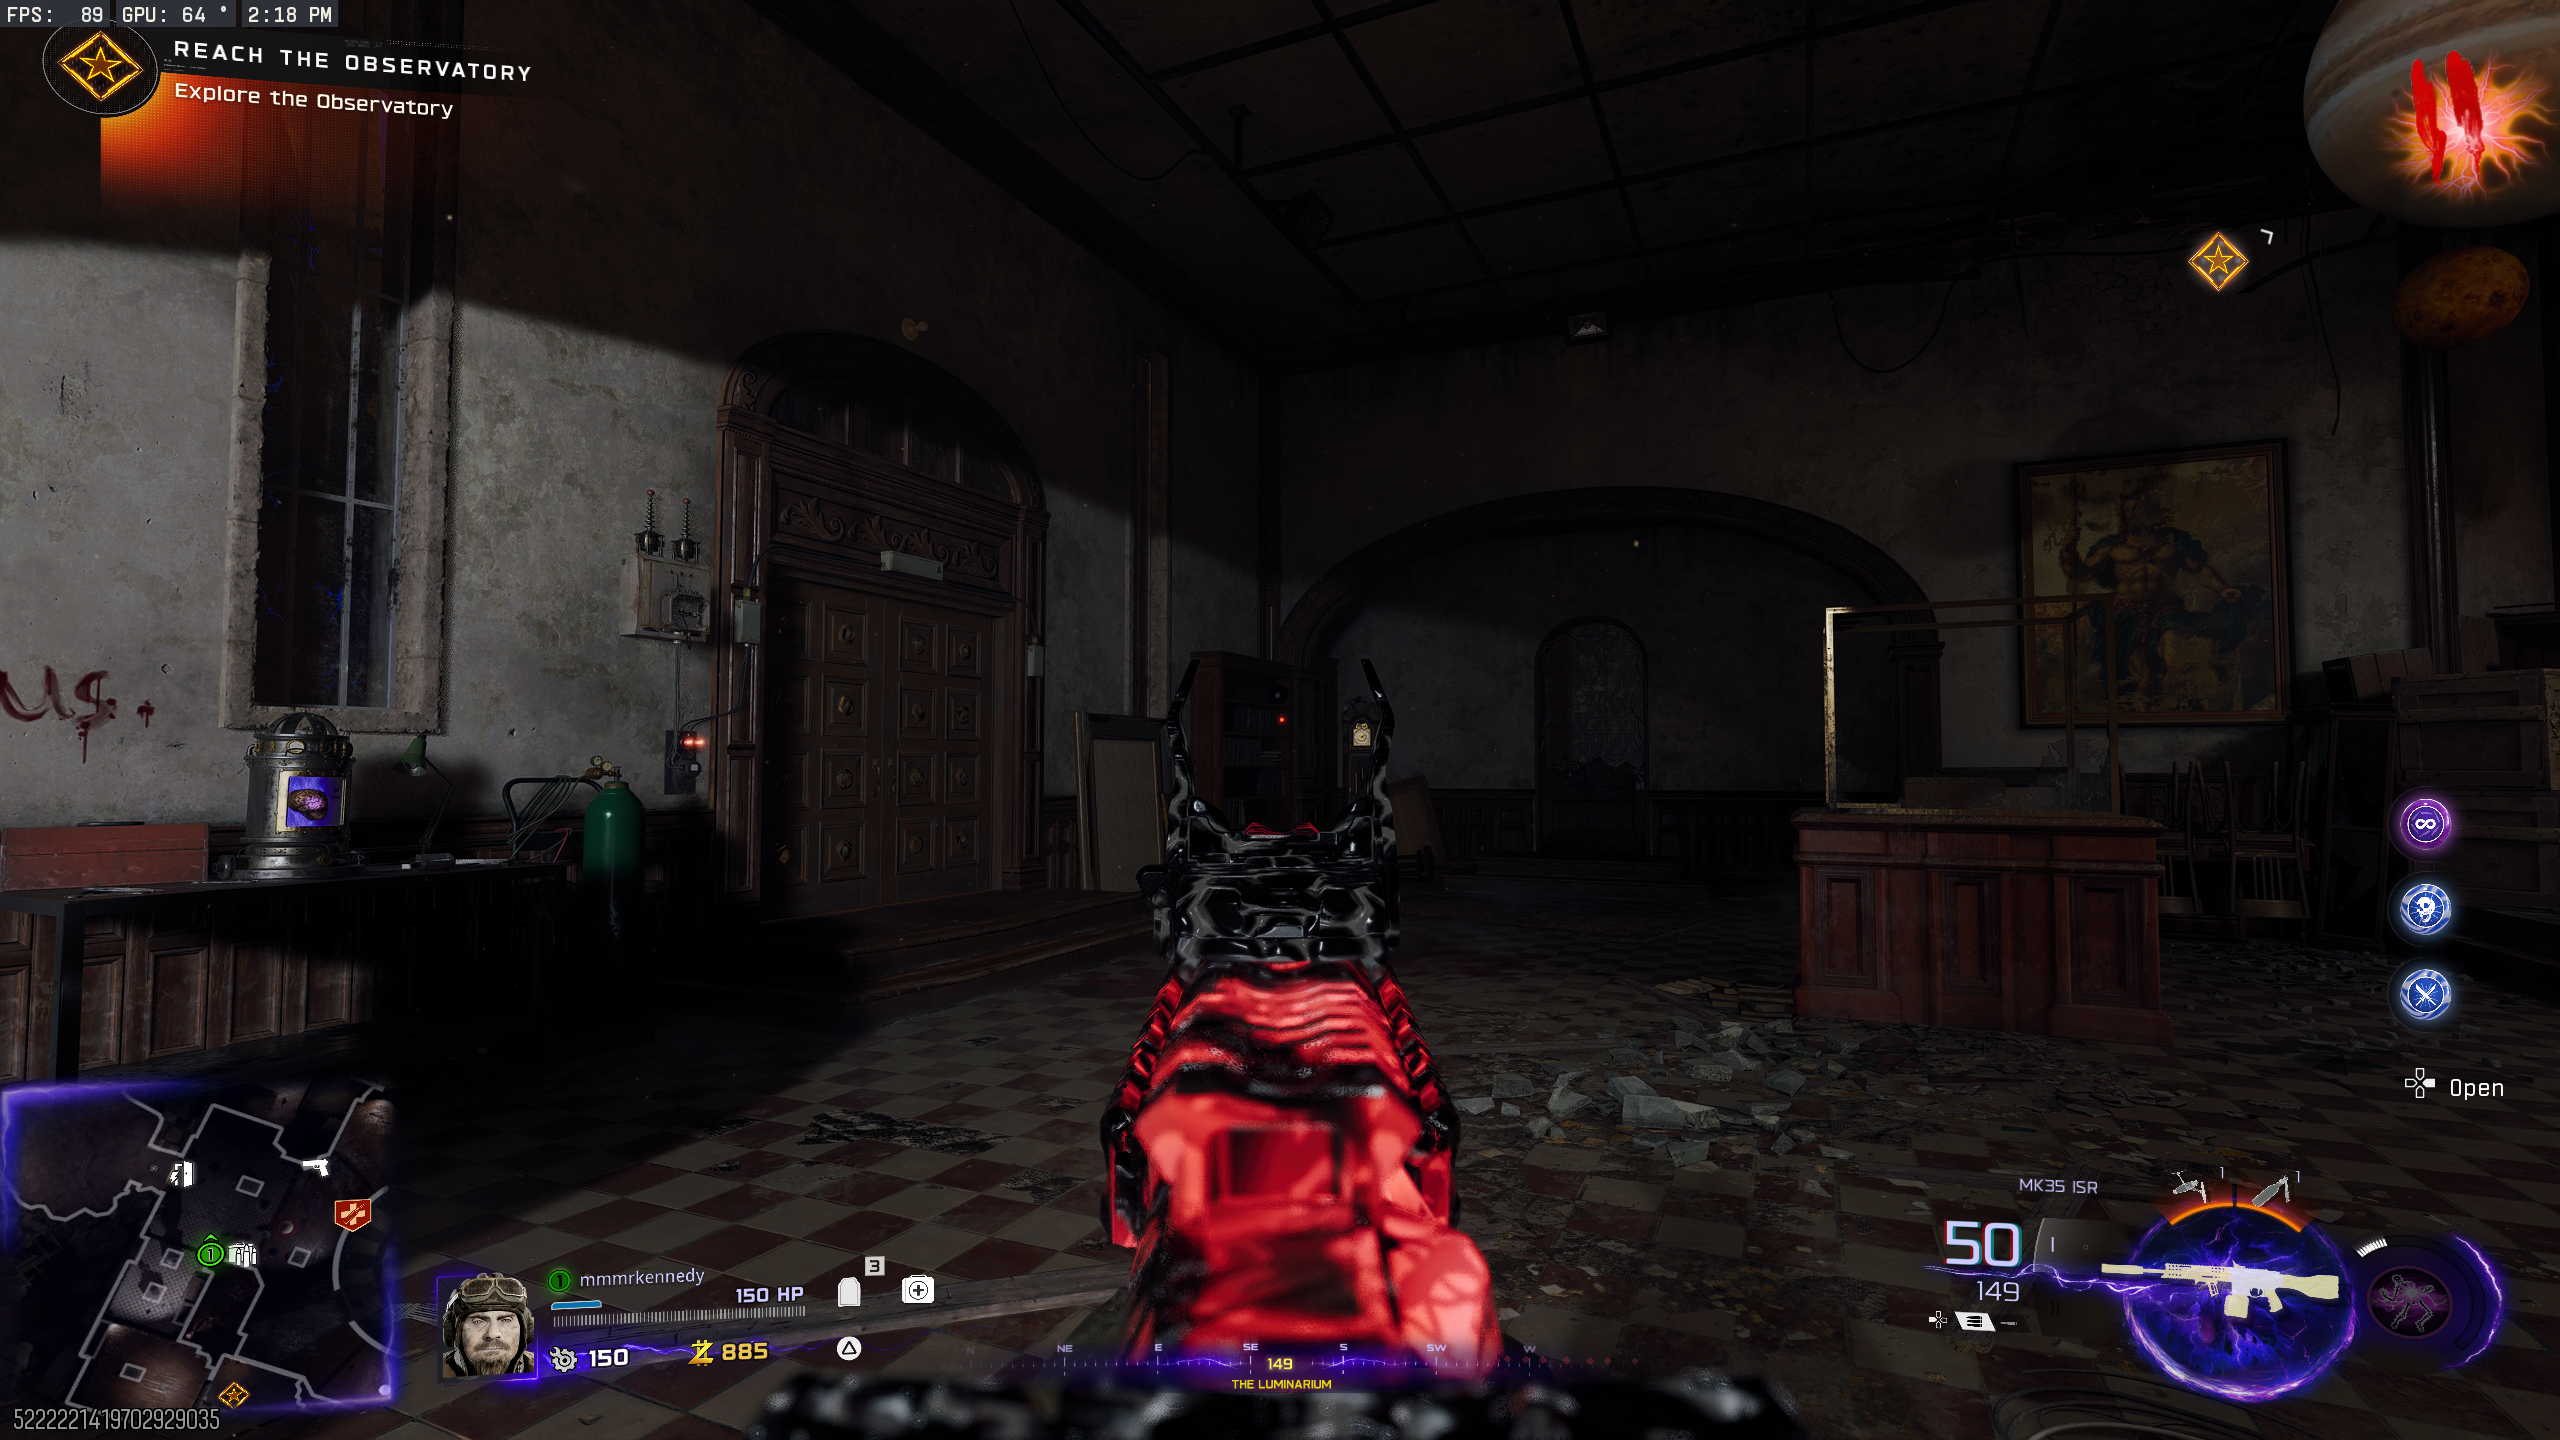
- Pick up a Harmonic Component. A corpse always spawns beside the part. Locations:
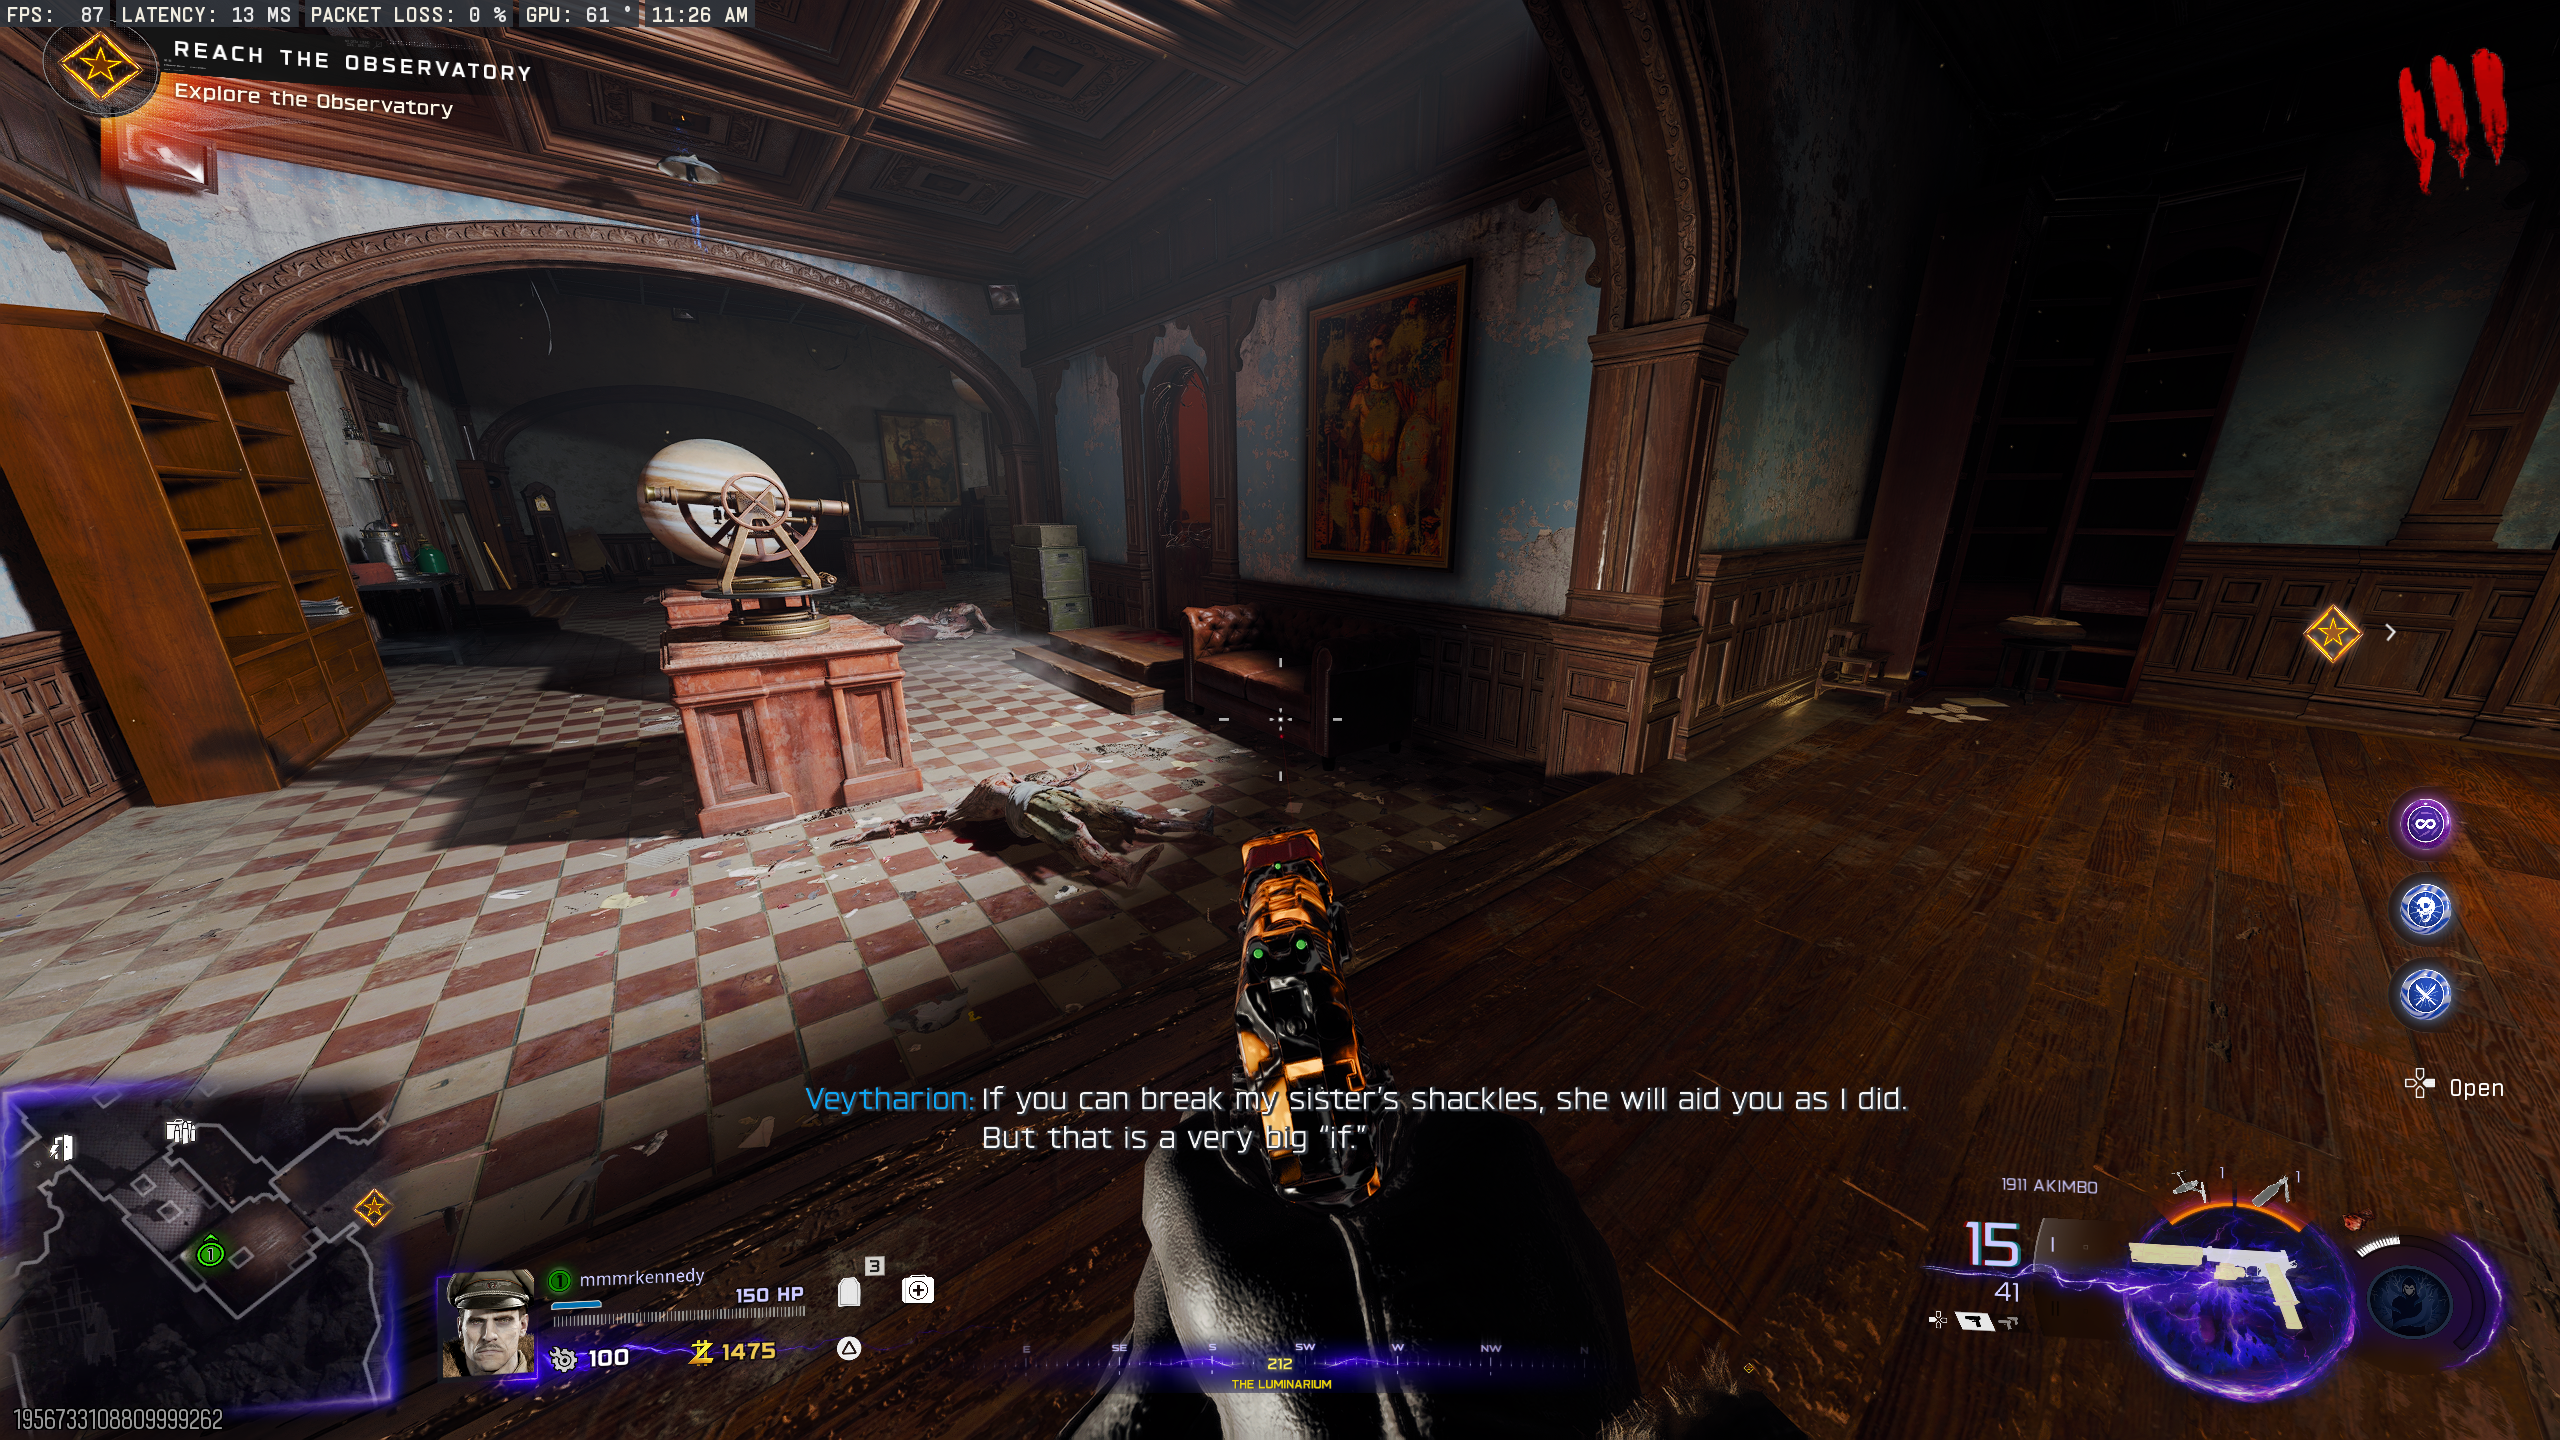
- Pick up another Harmonic Component. Locations:
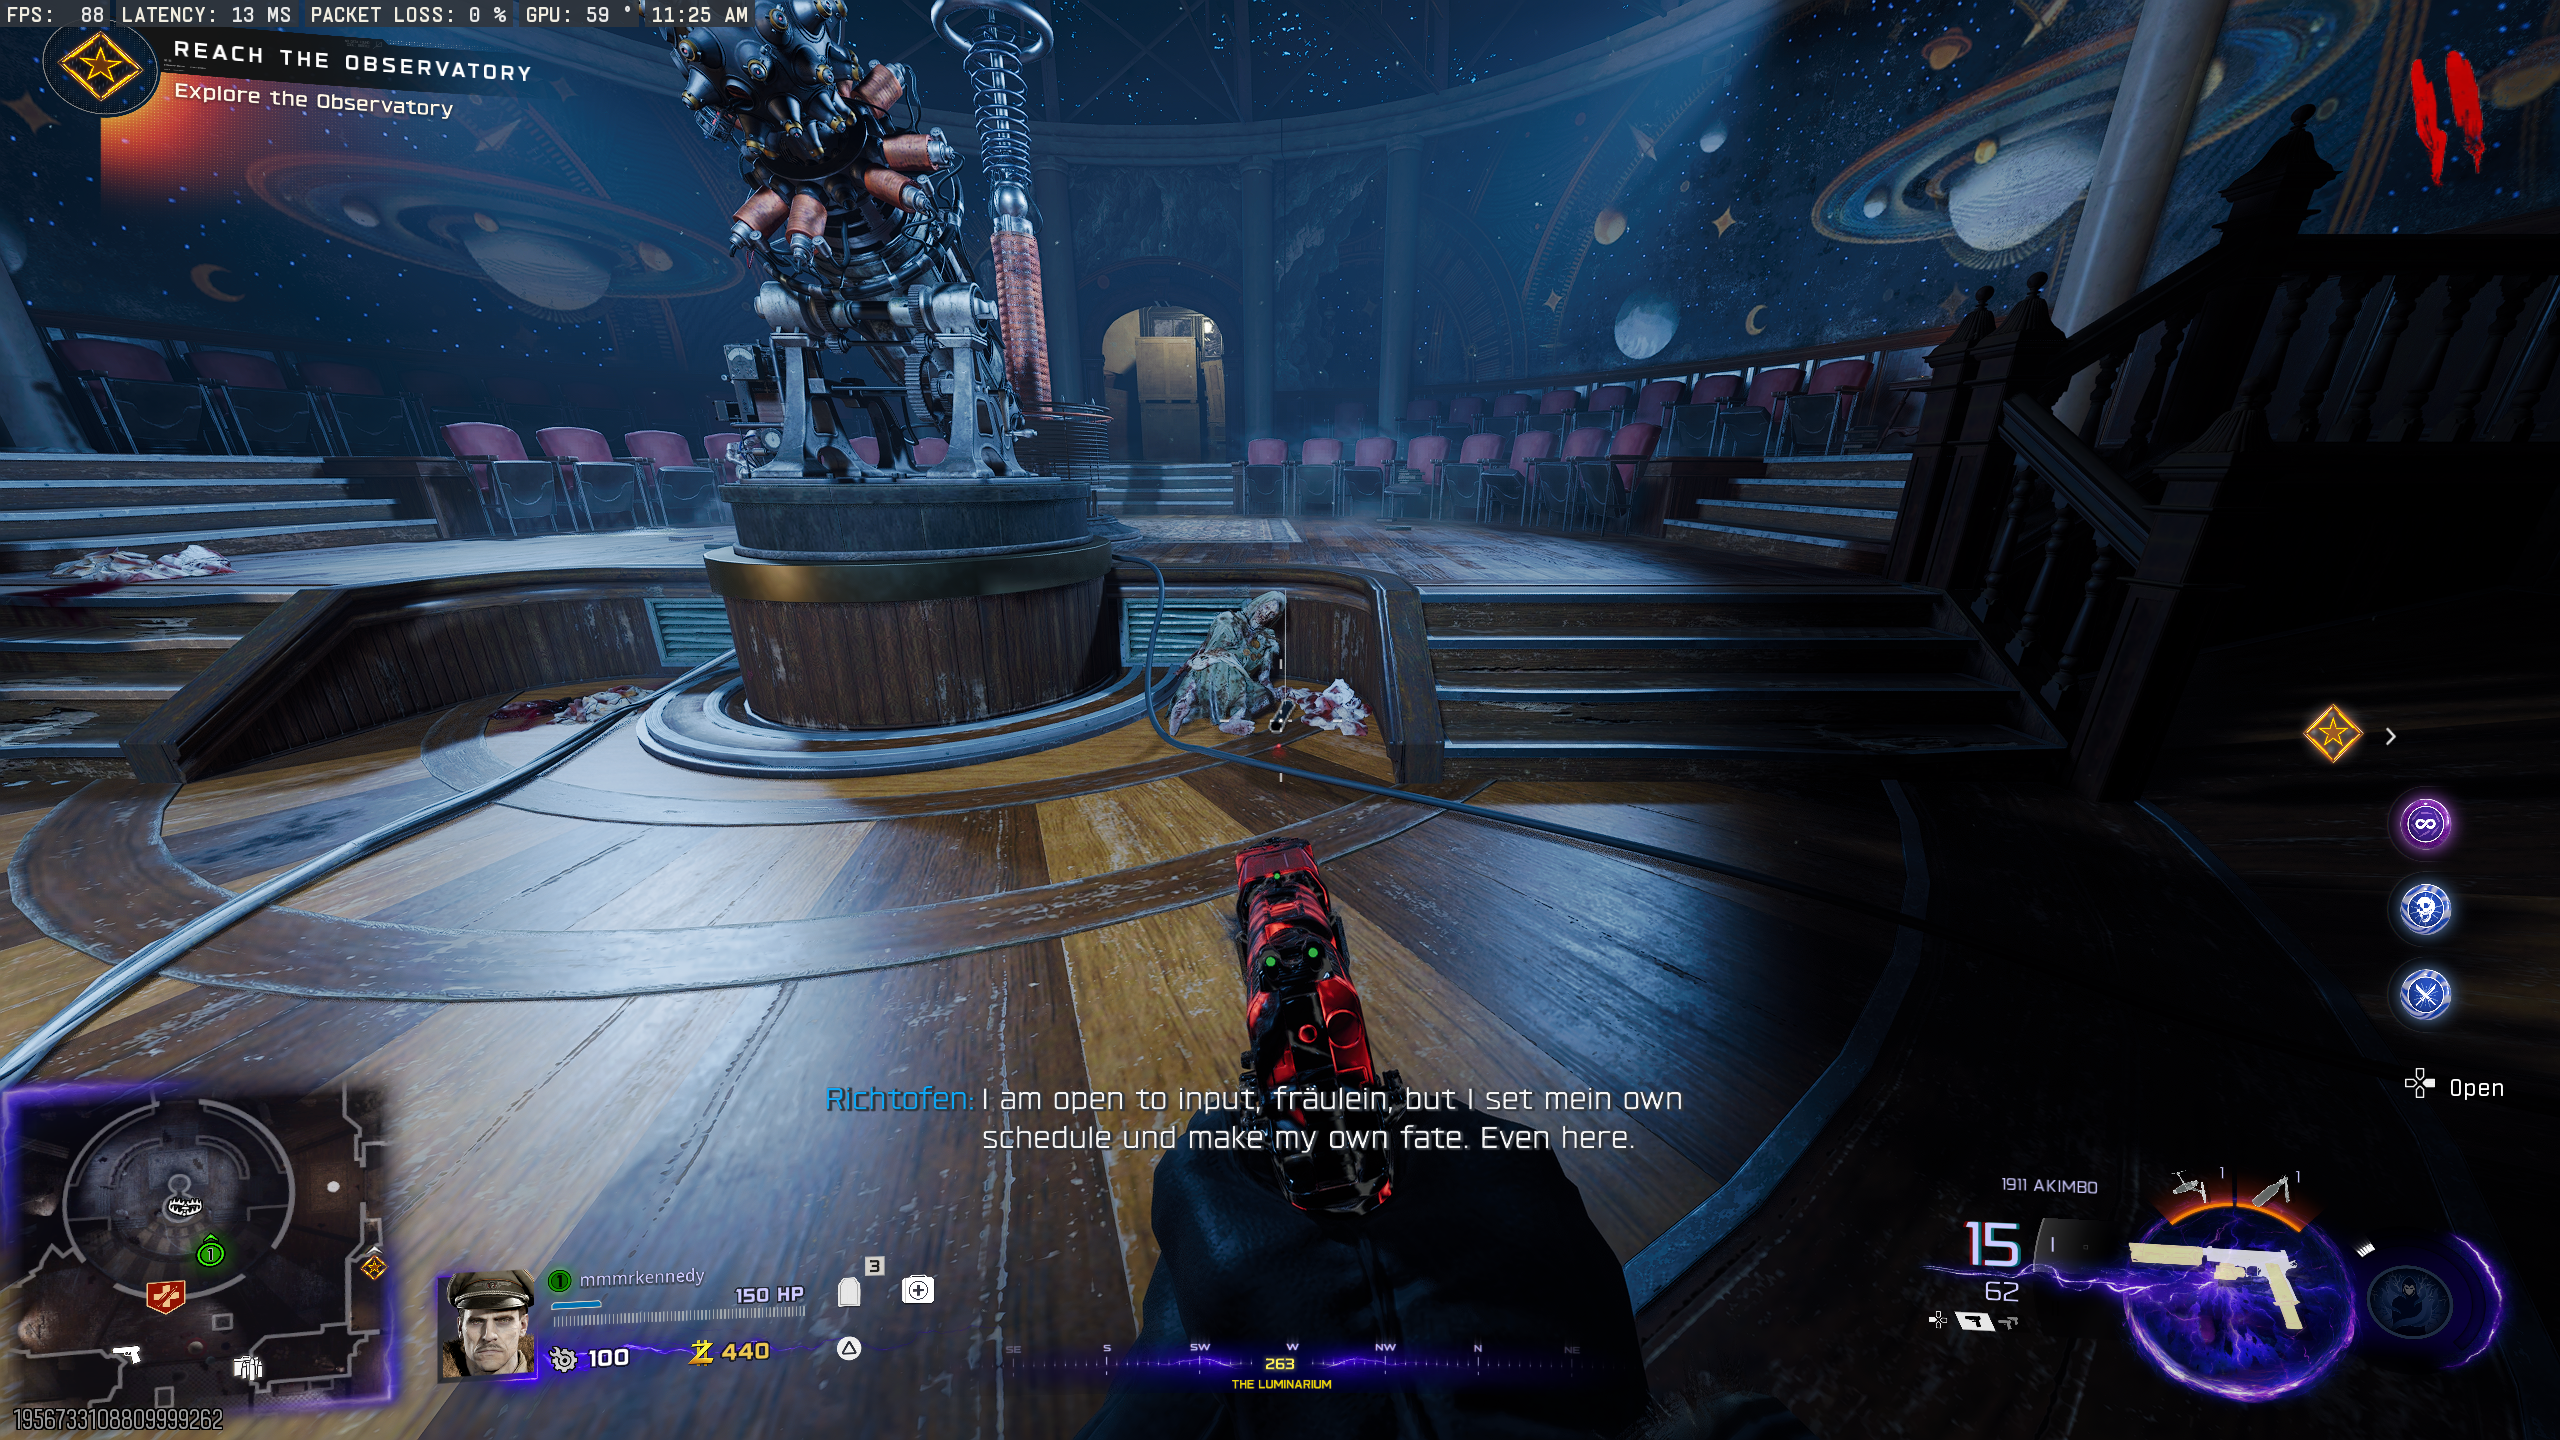
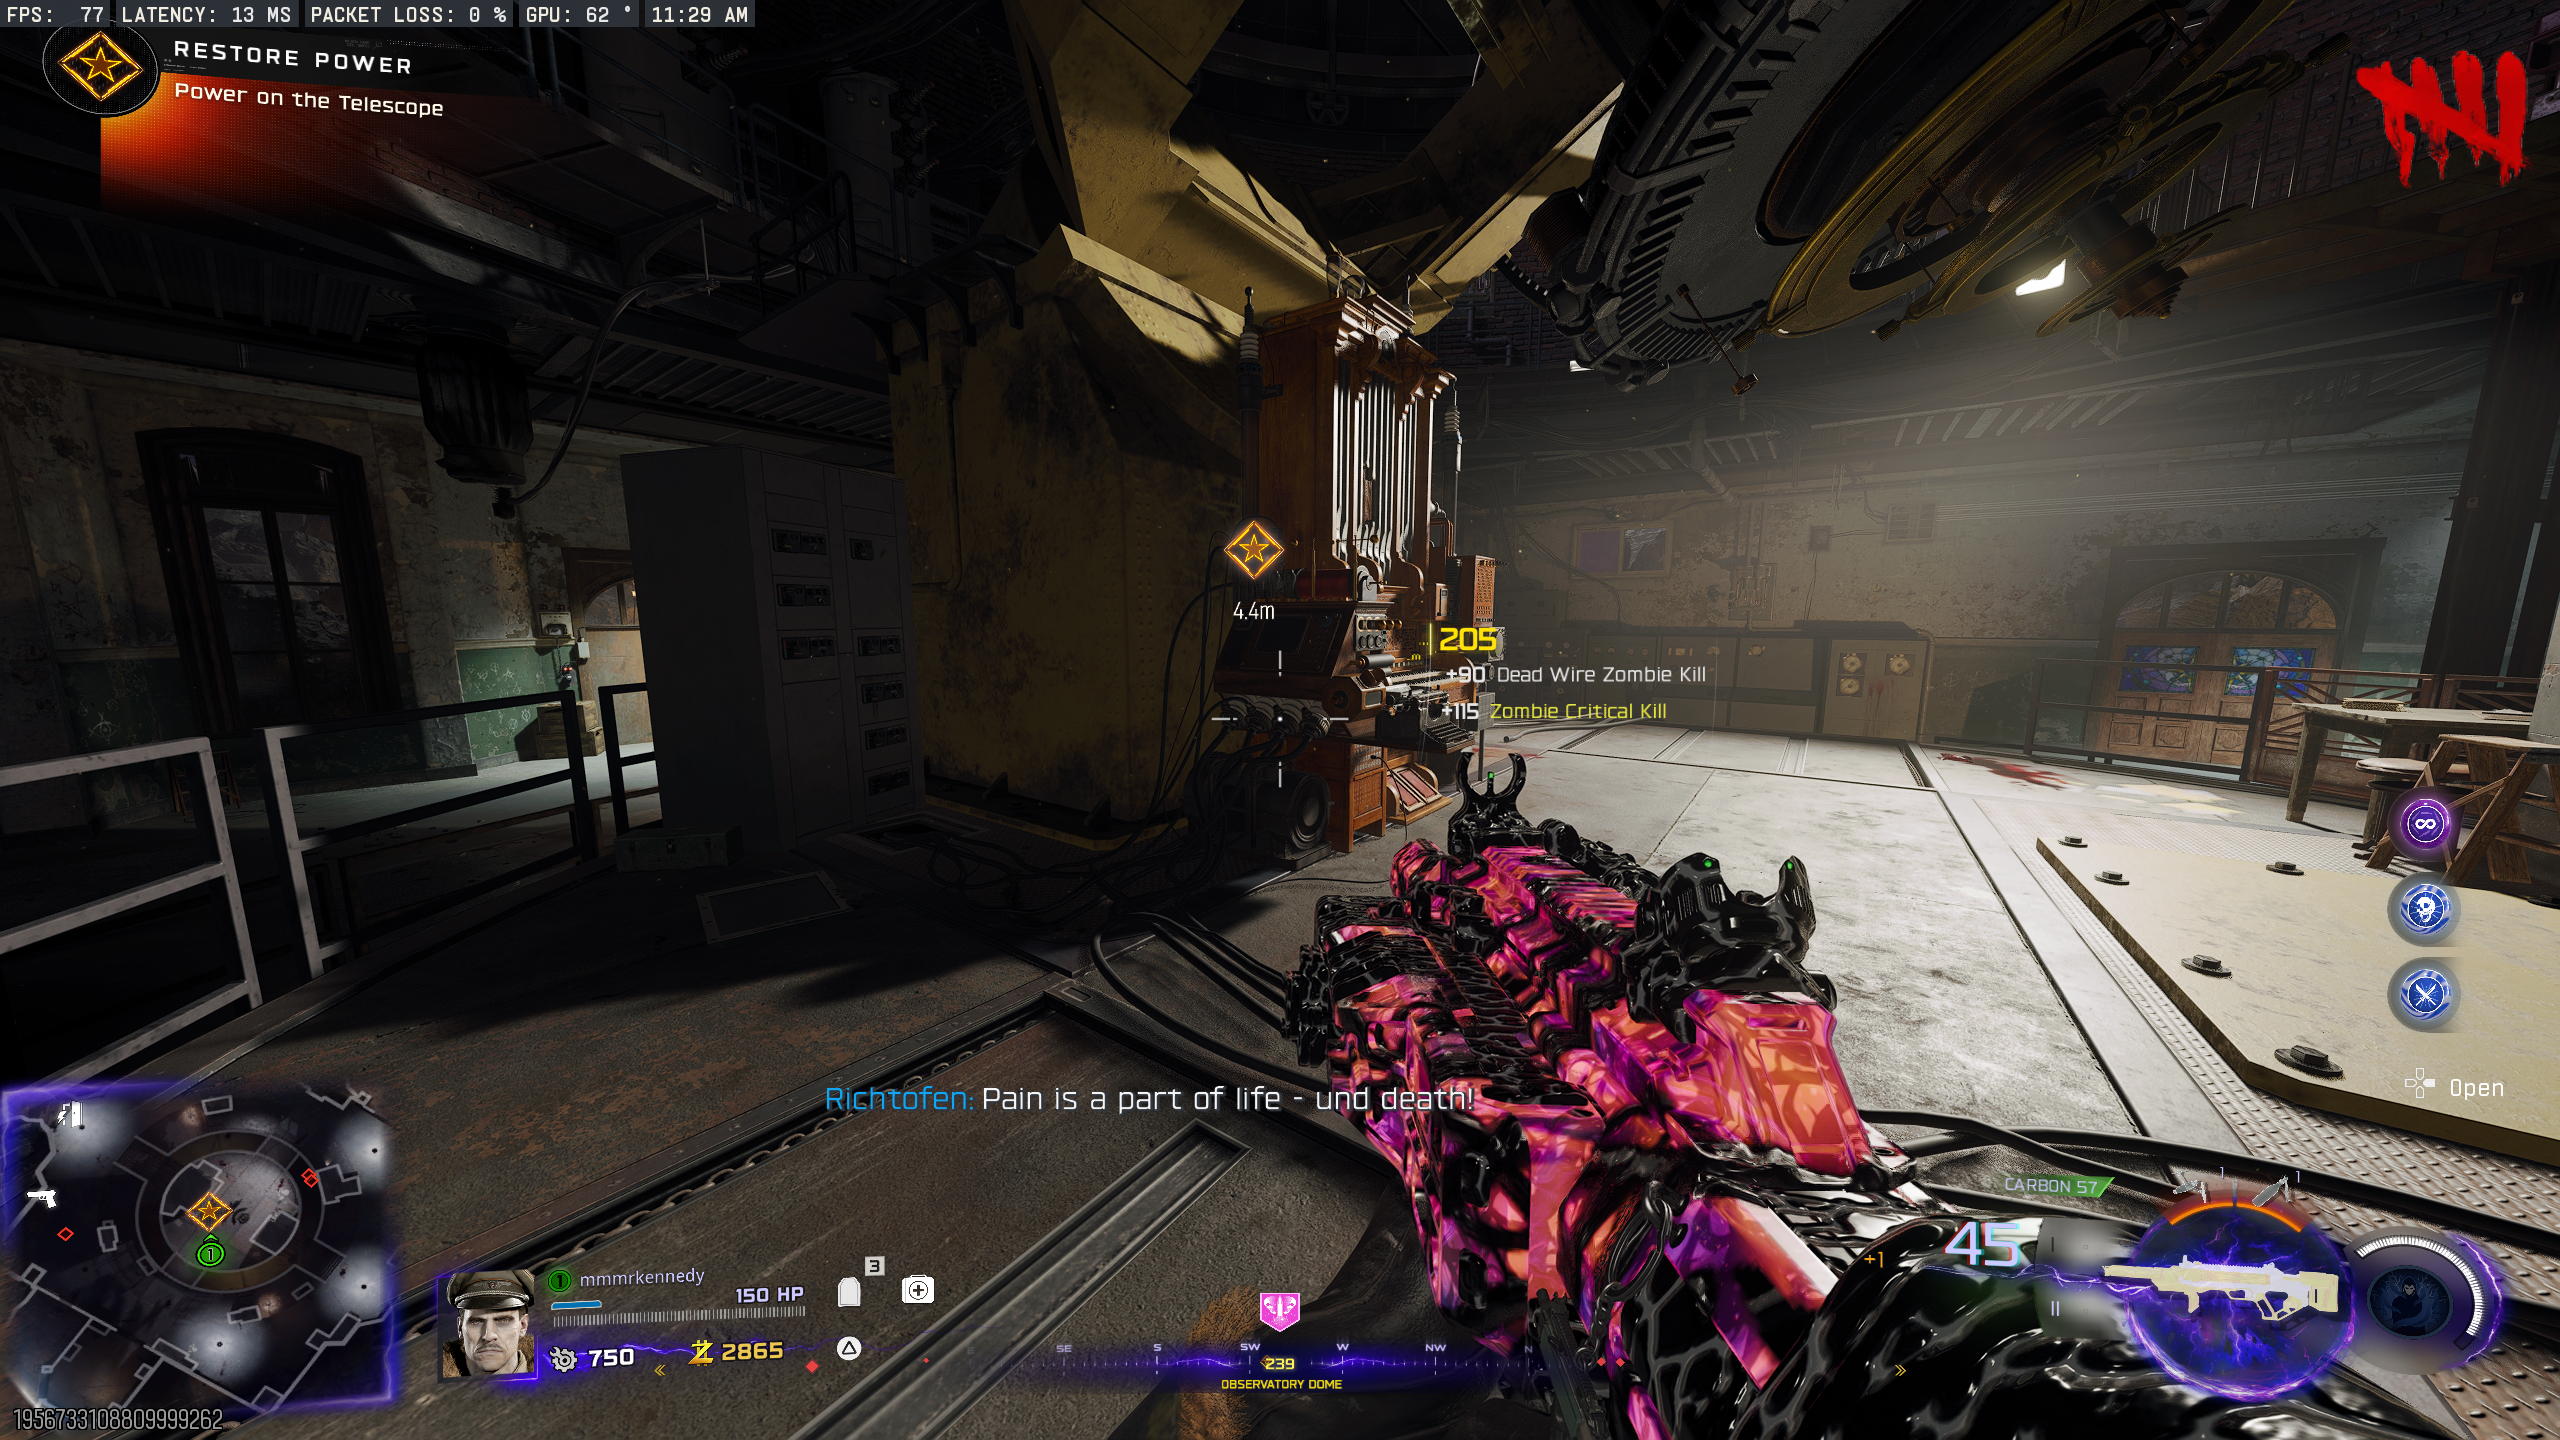
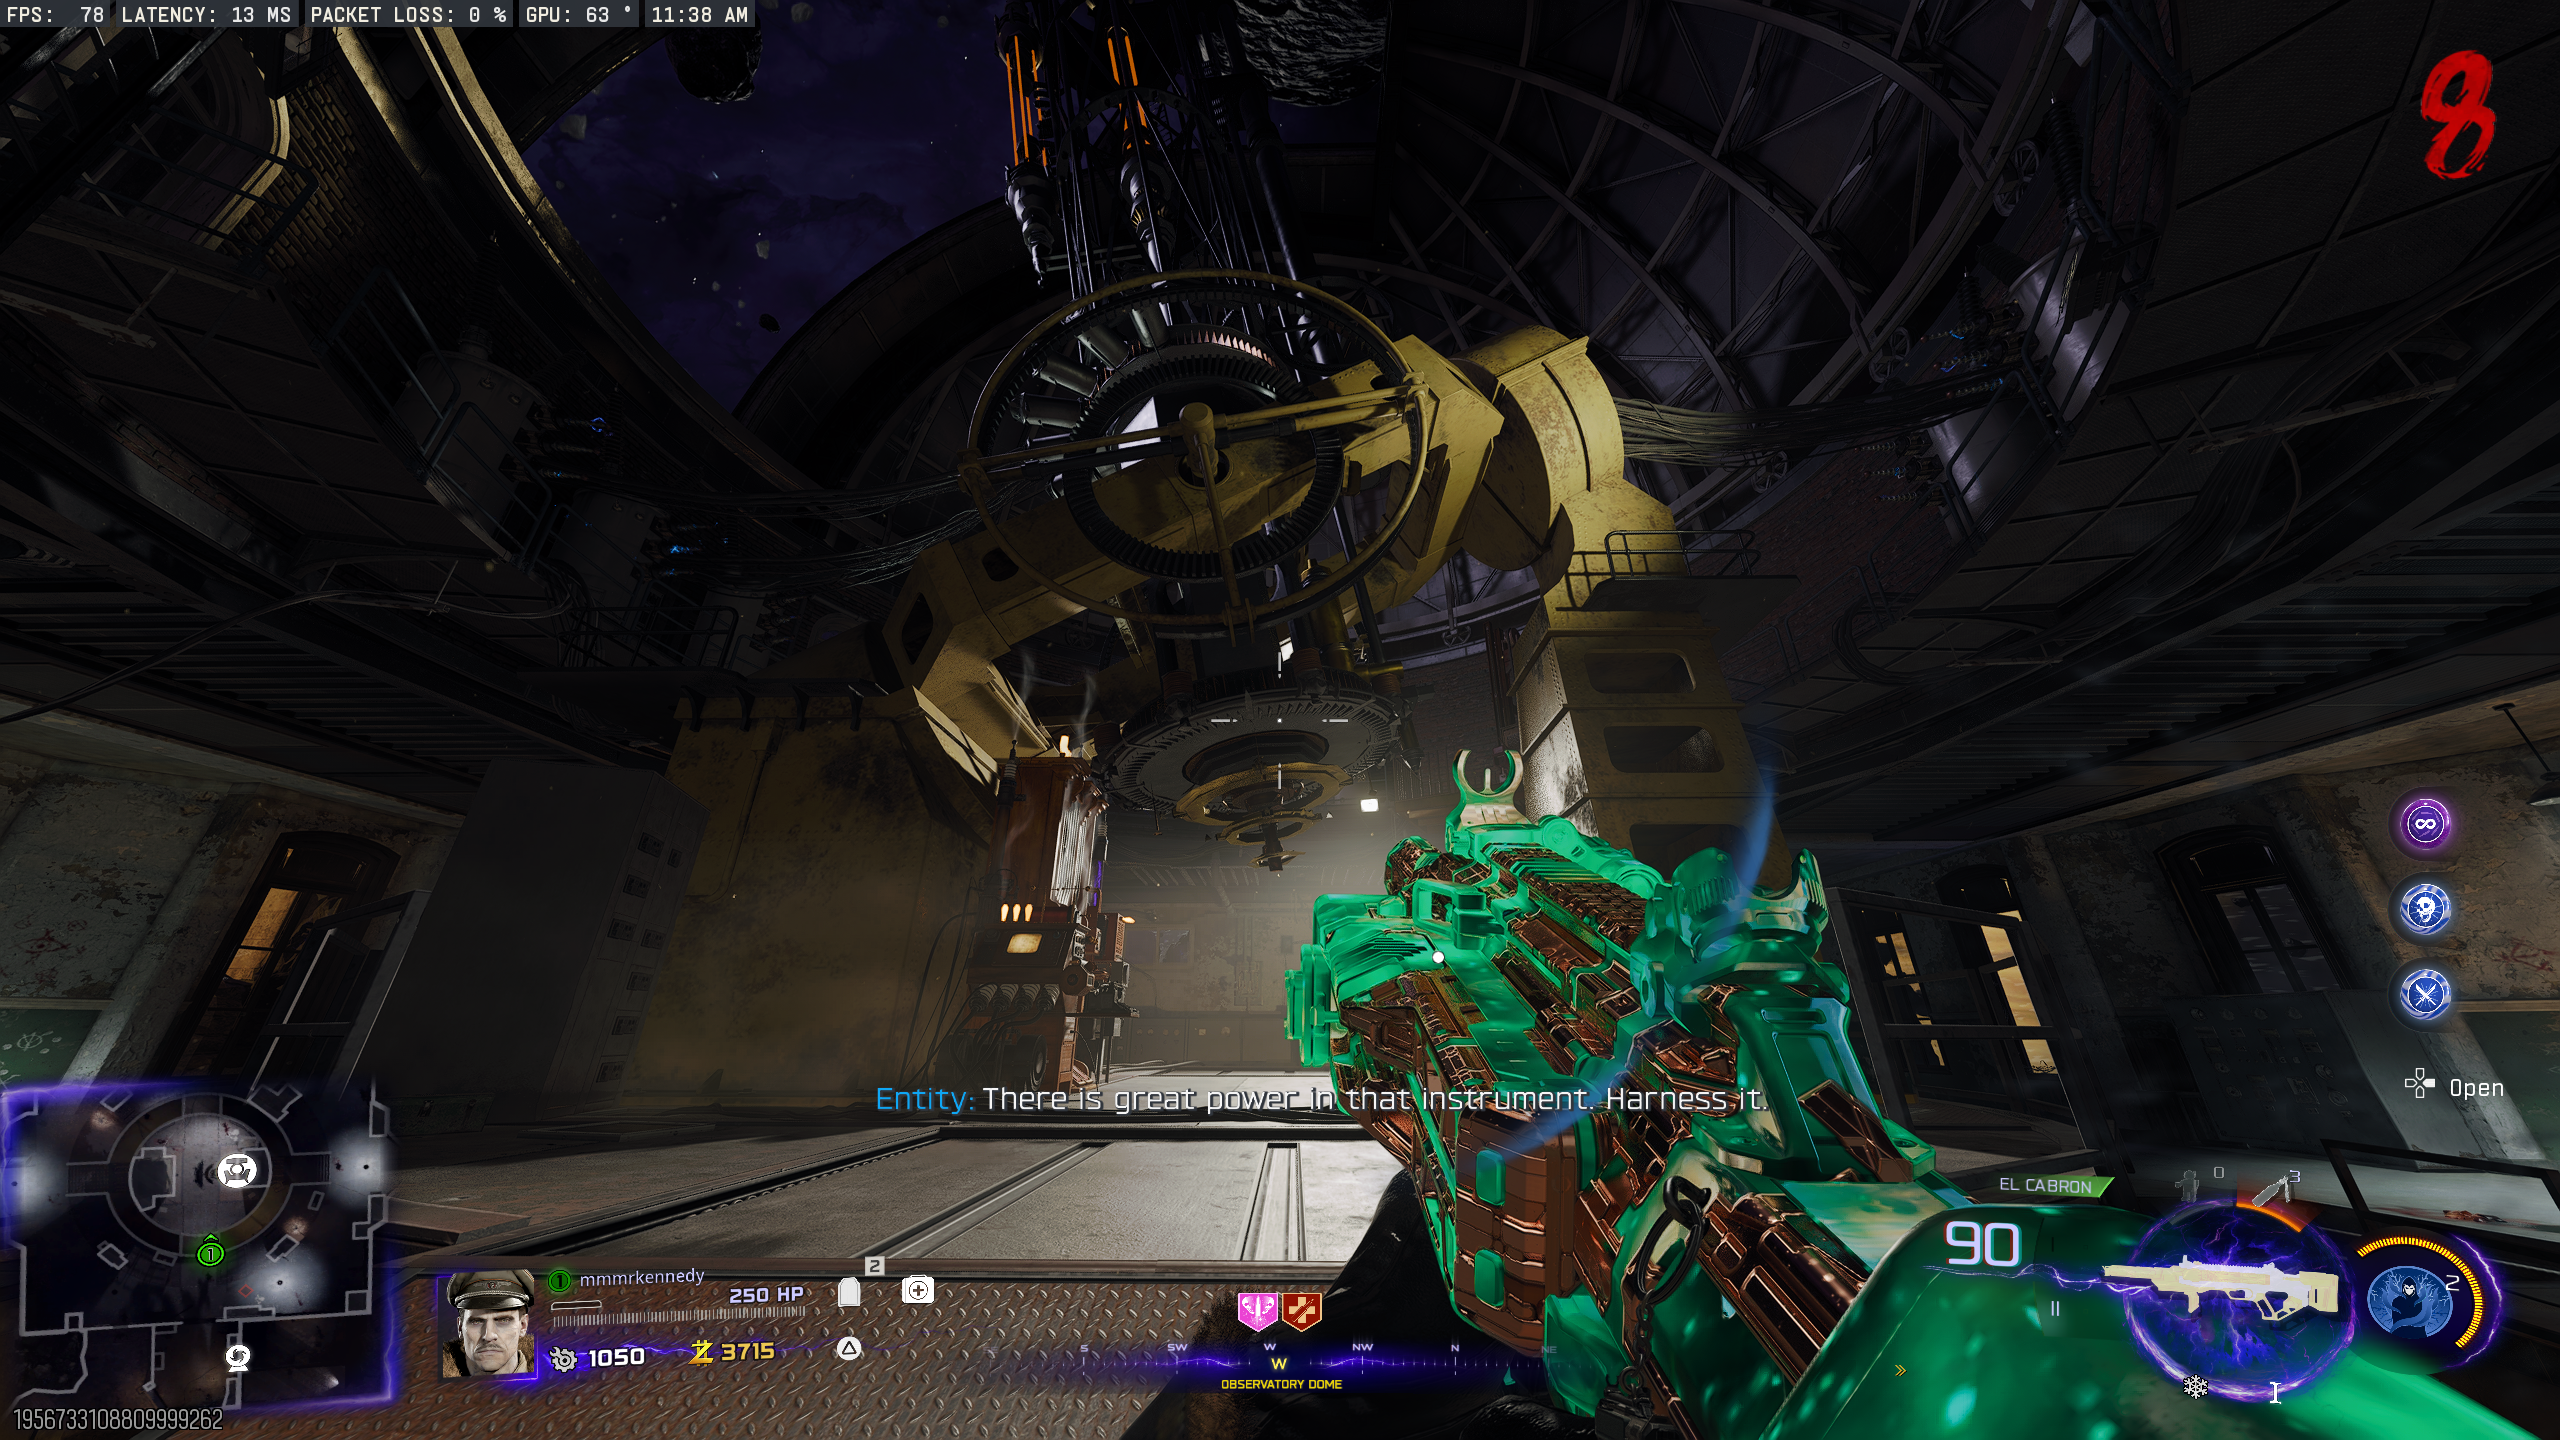
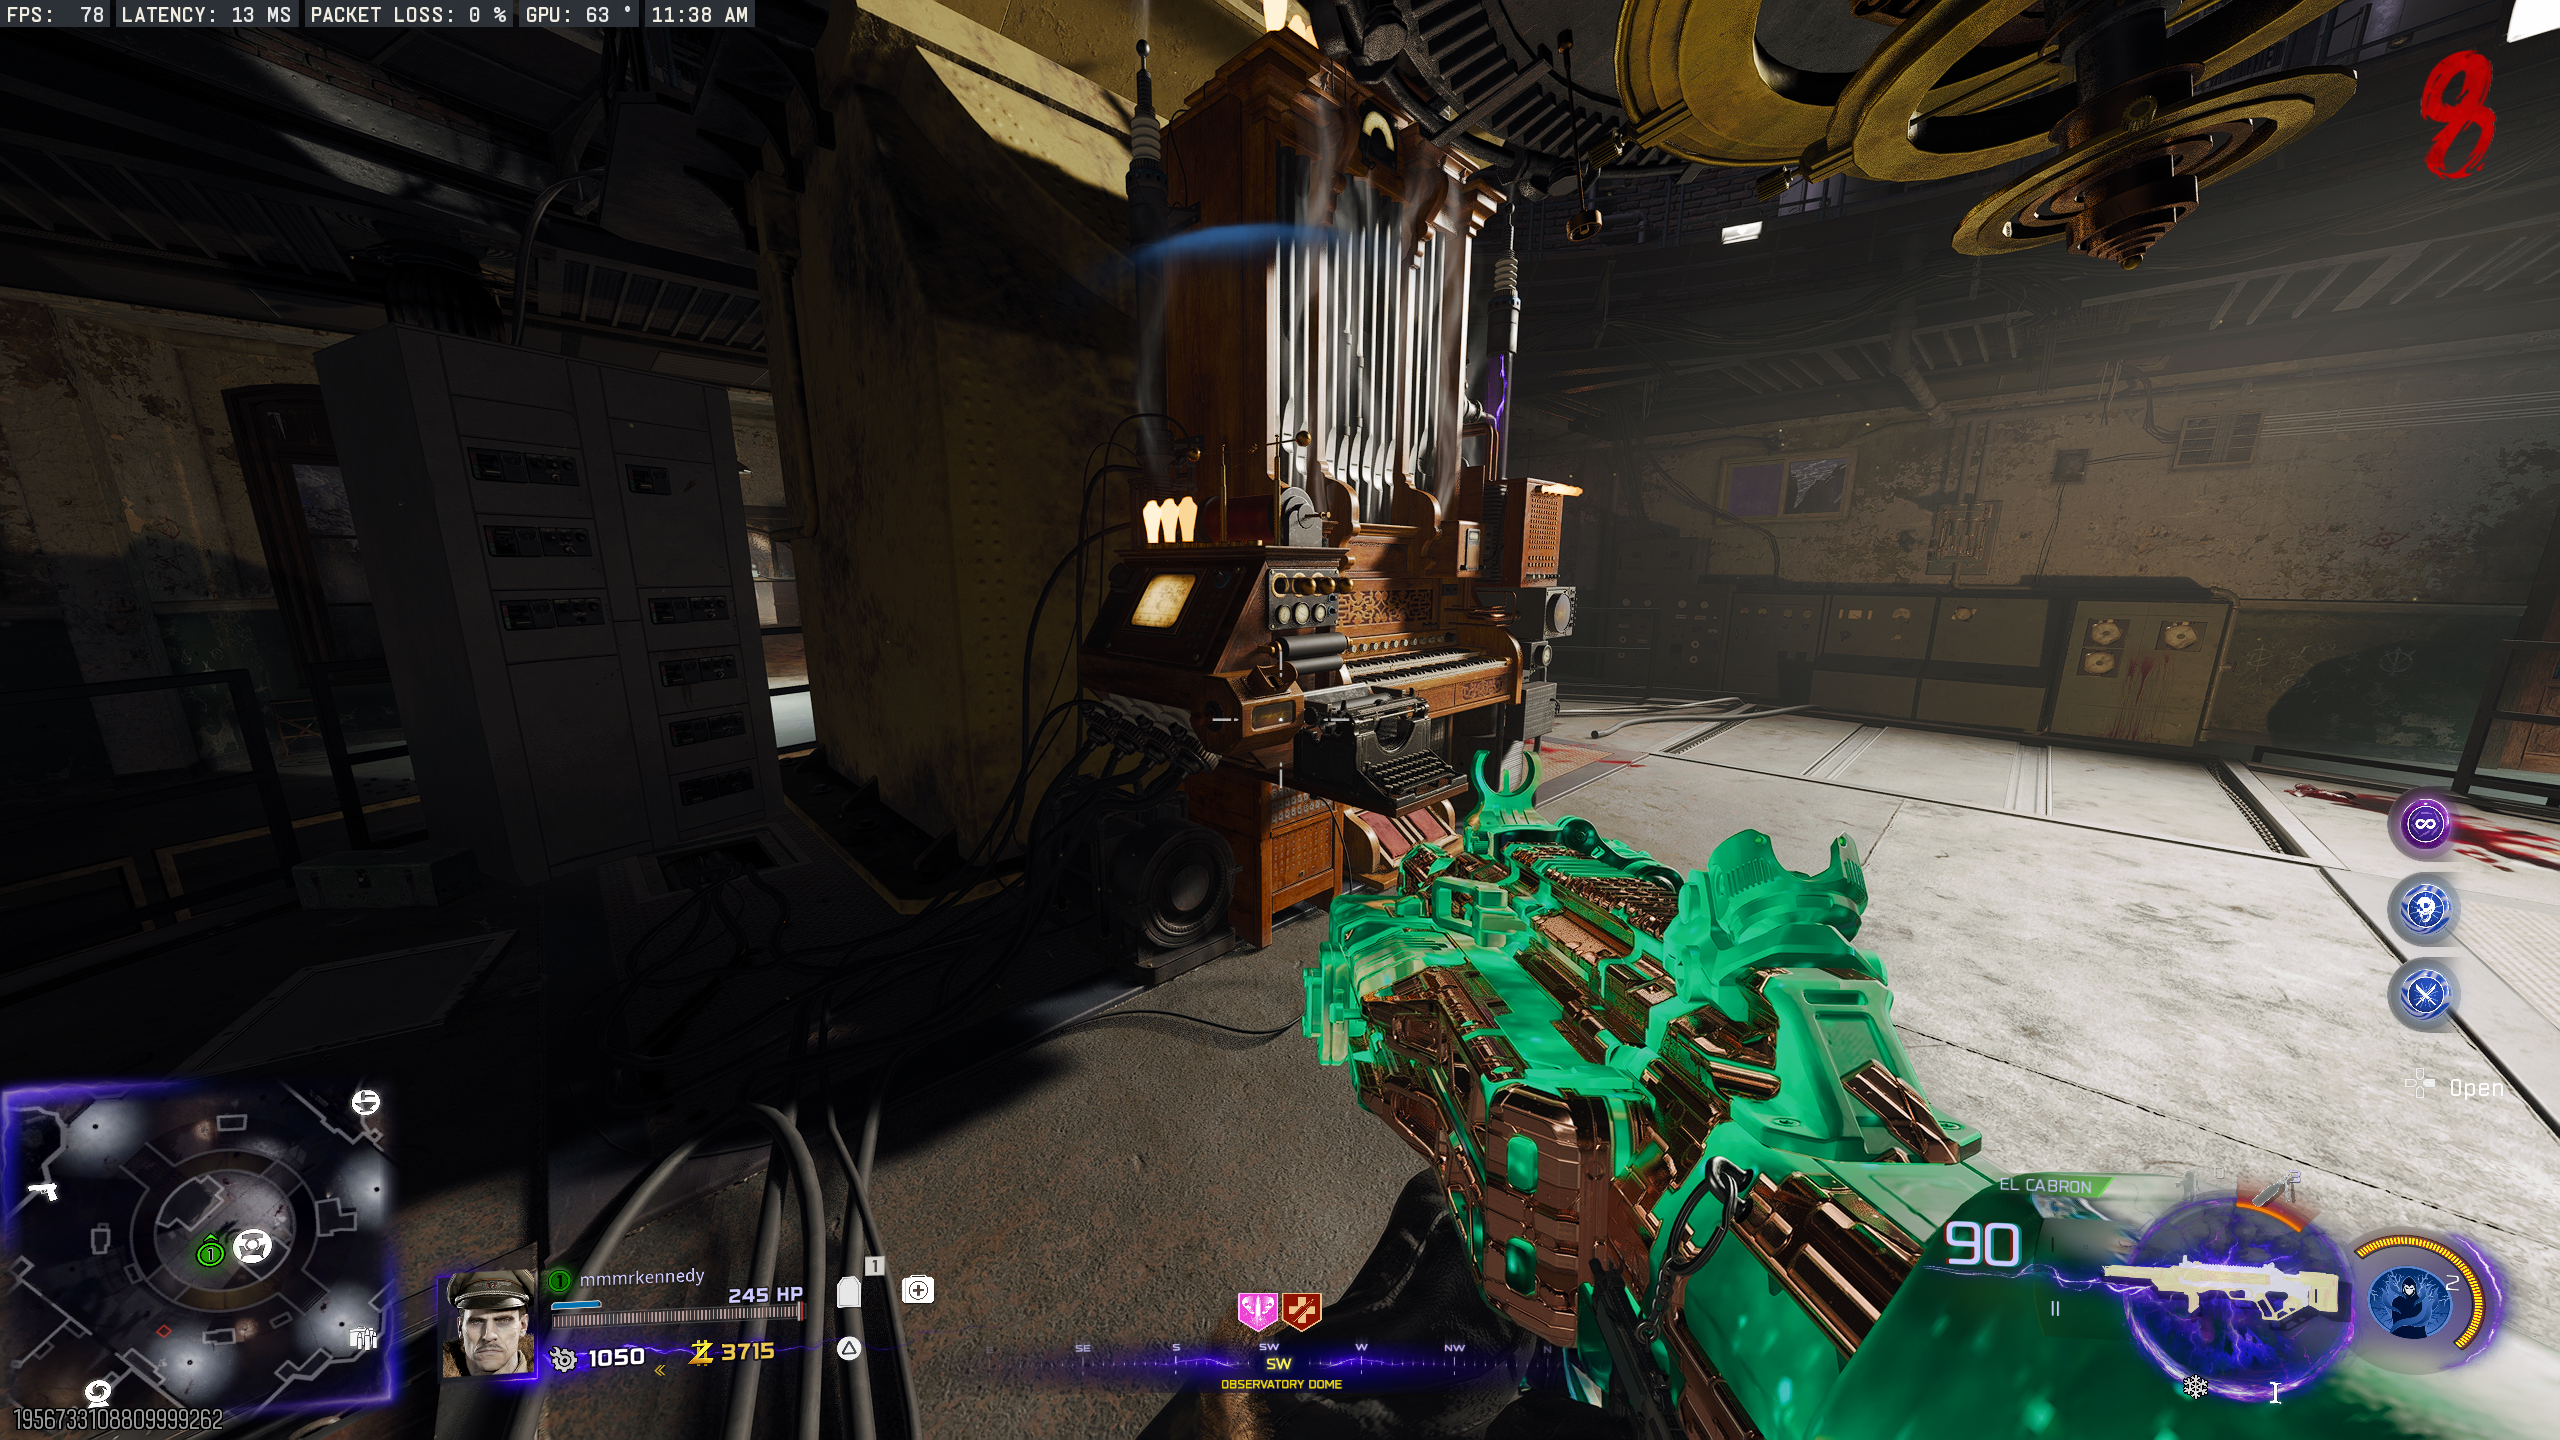
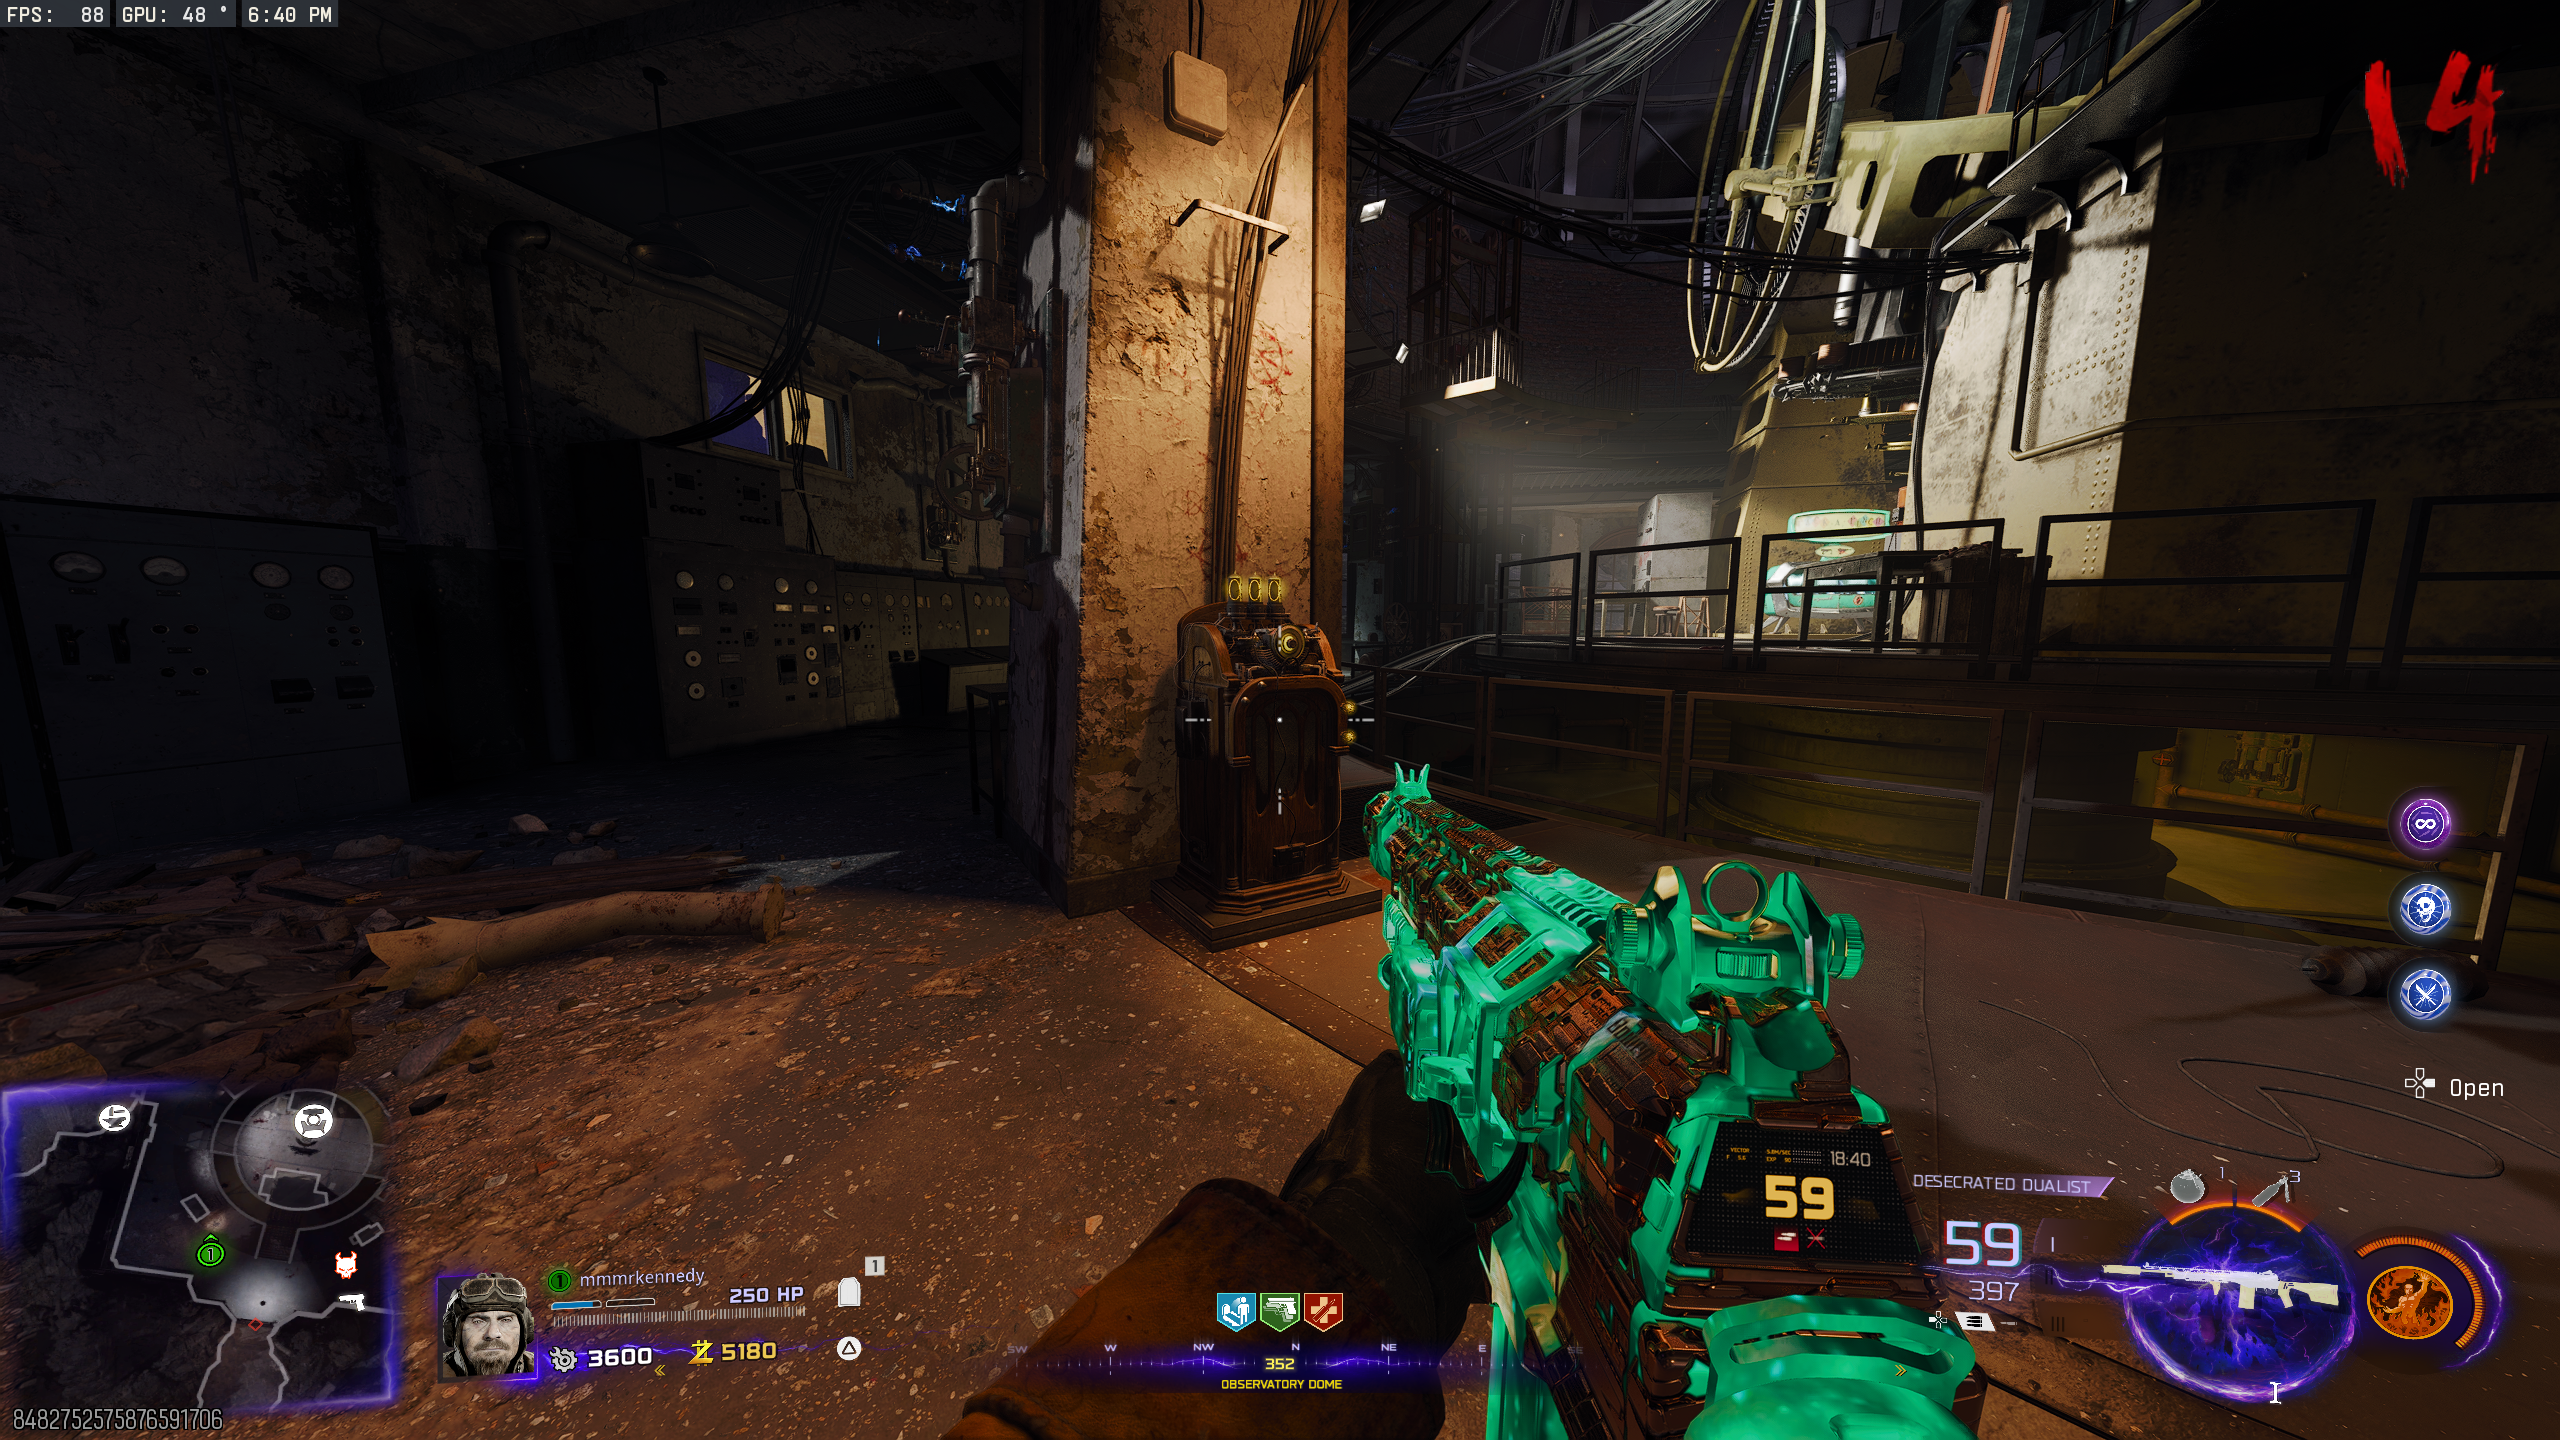
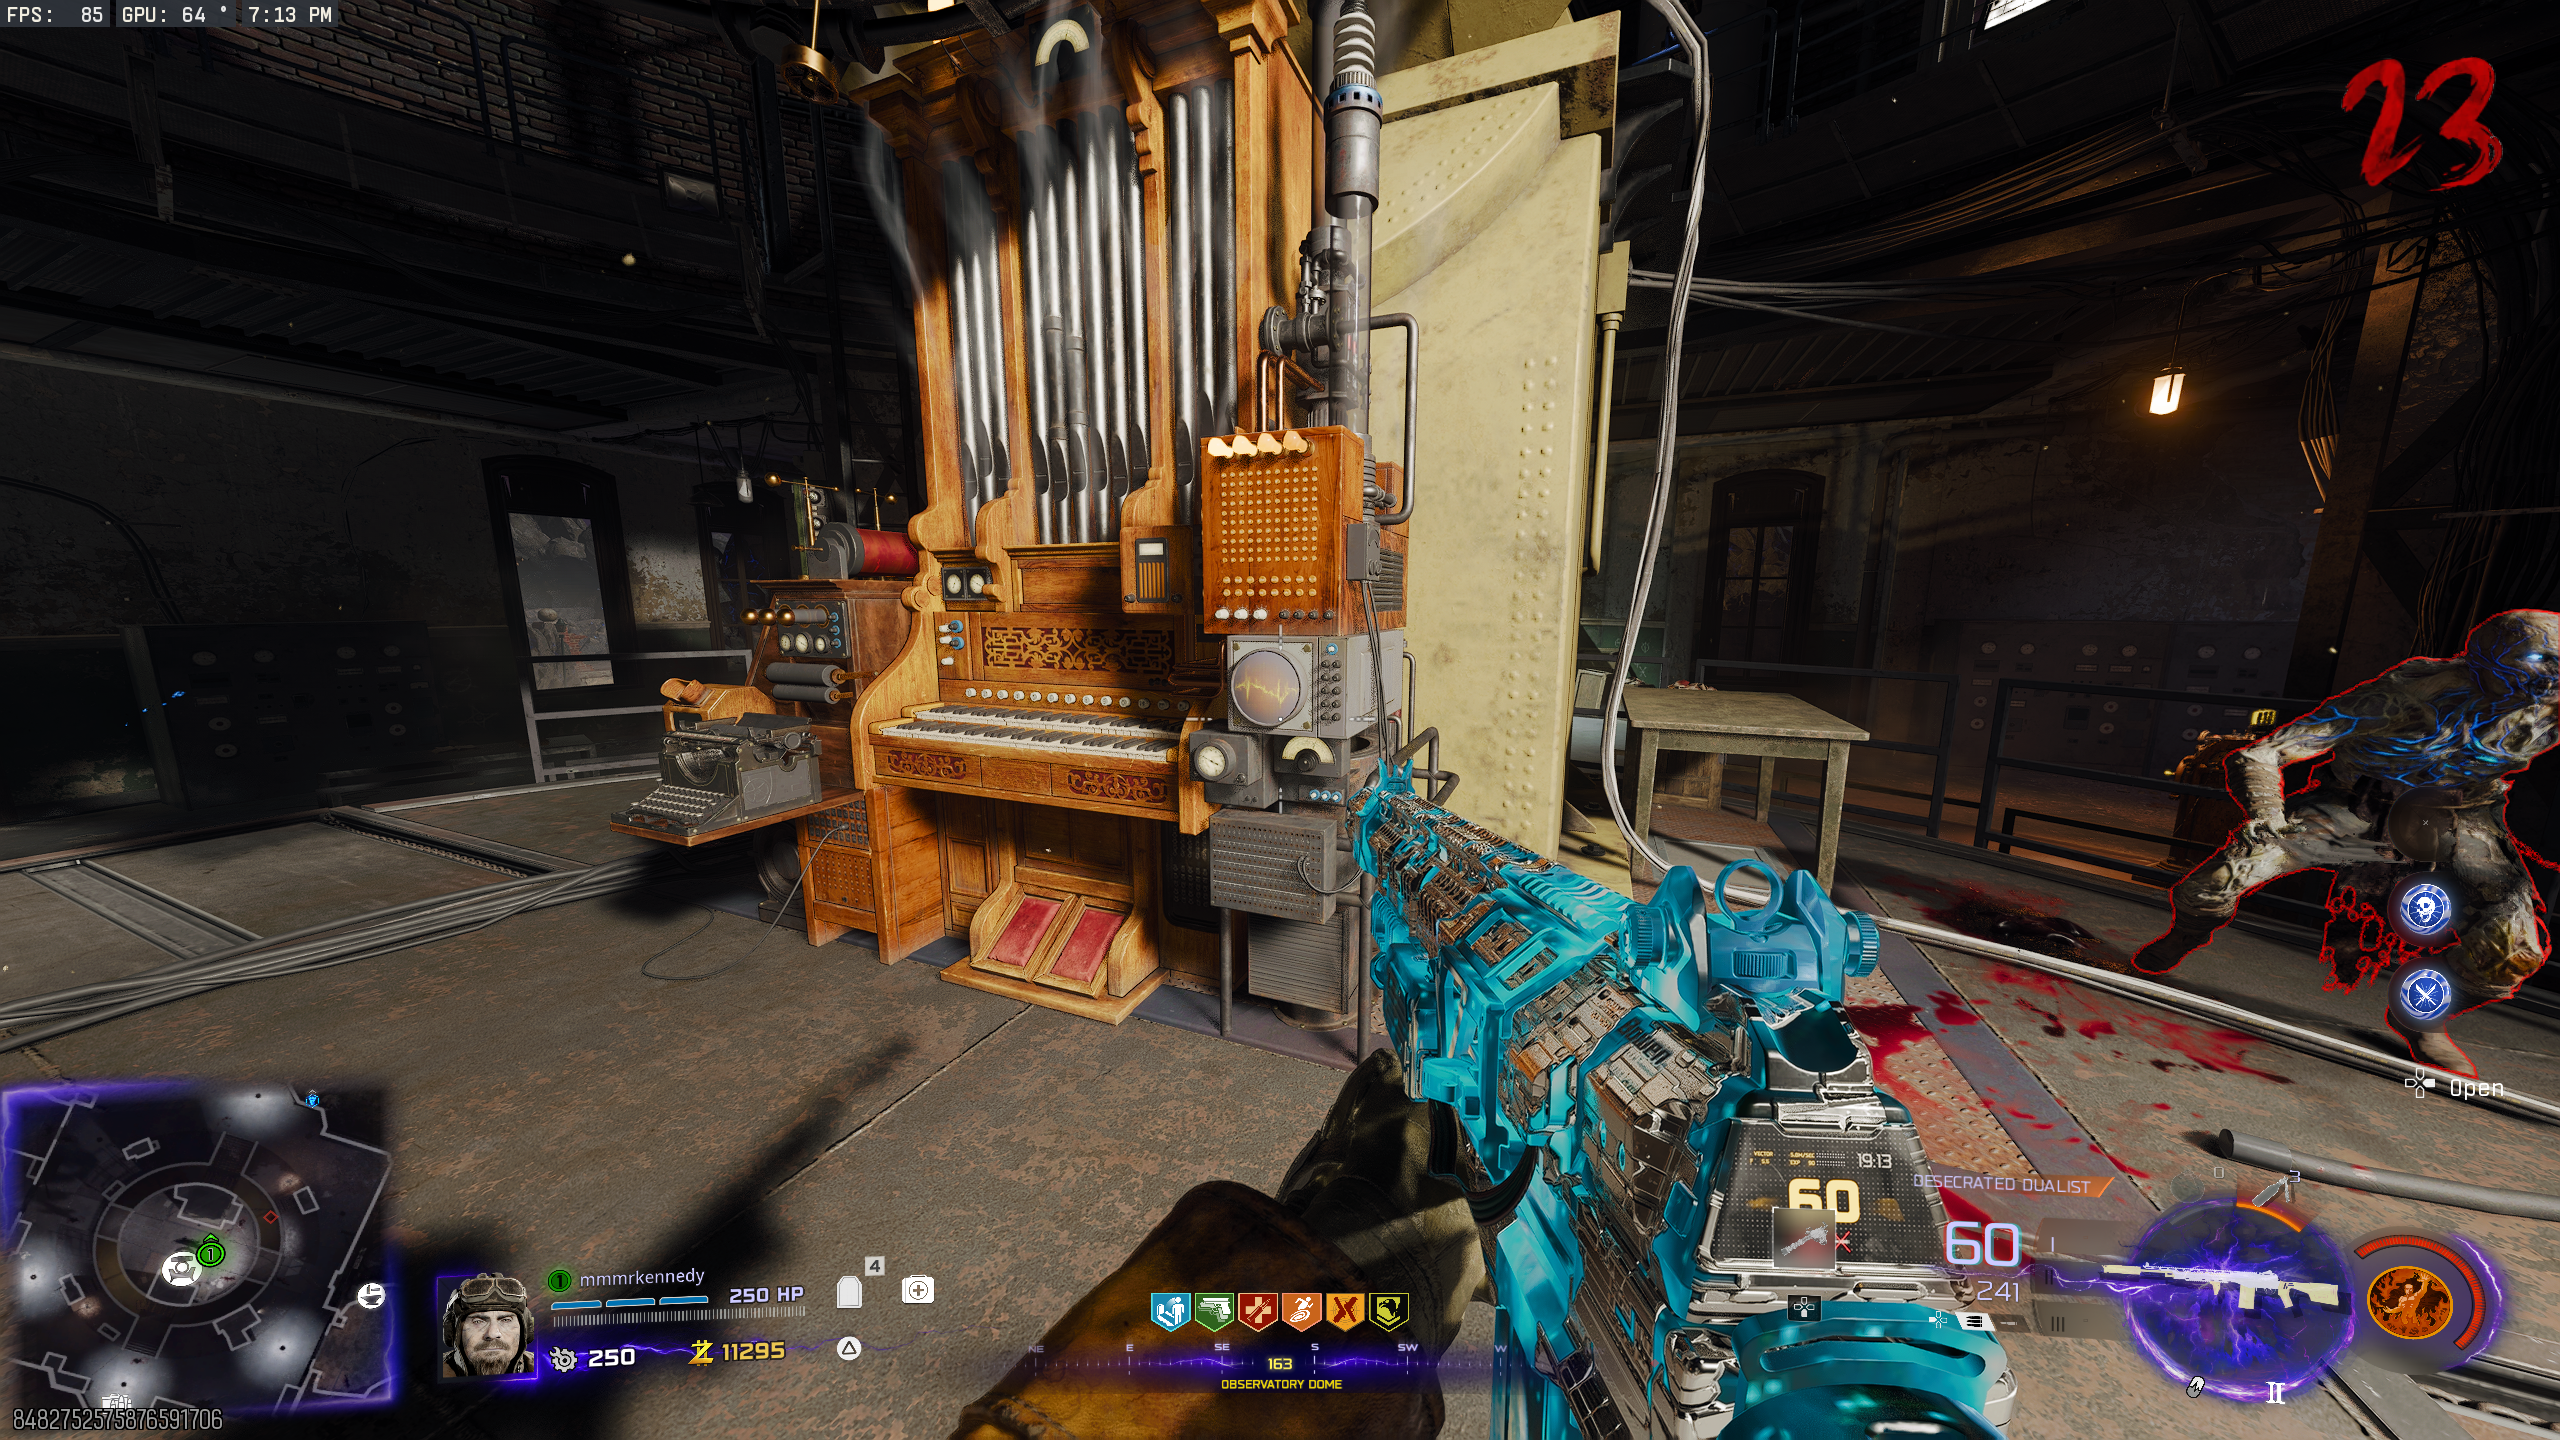
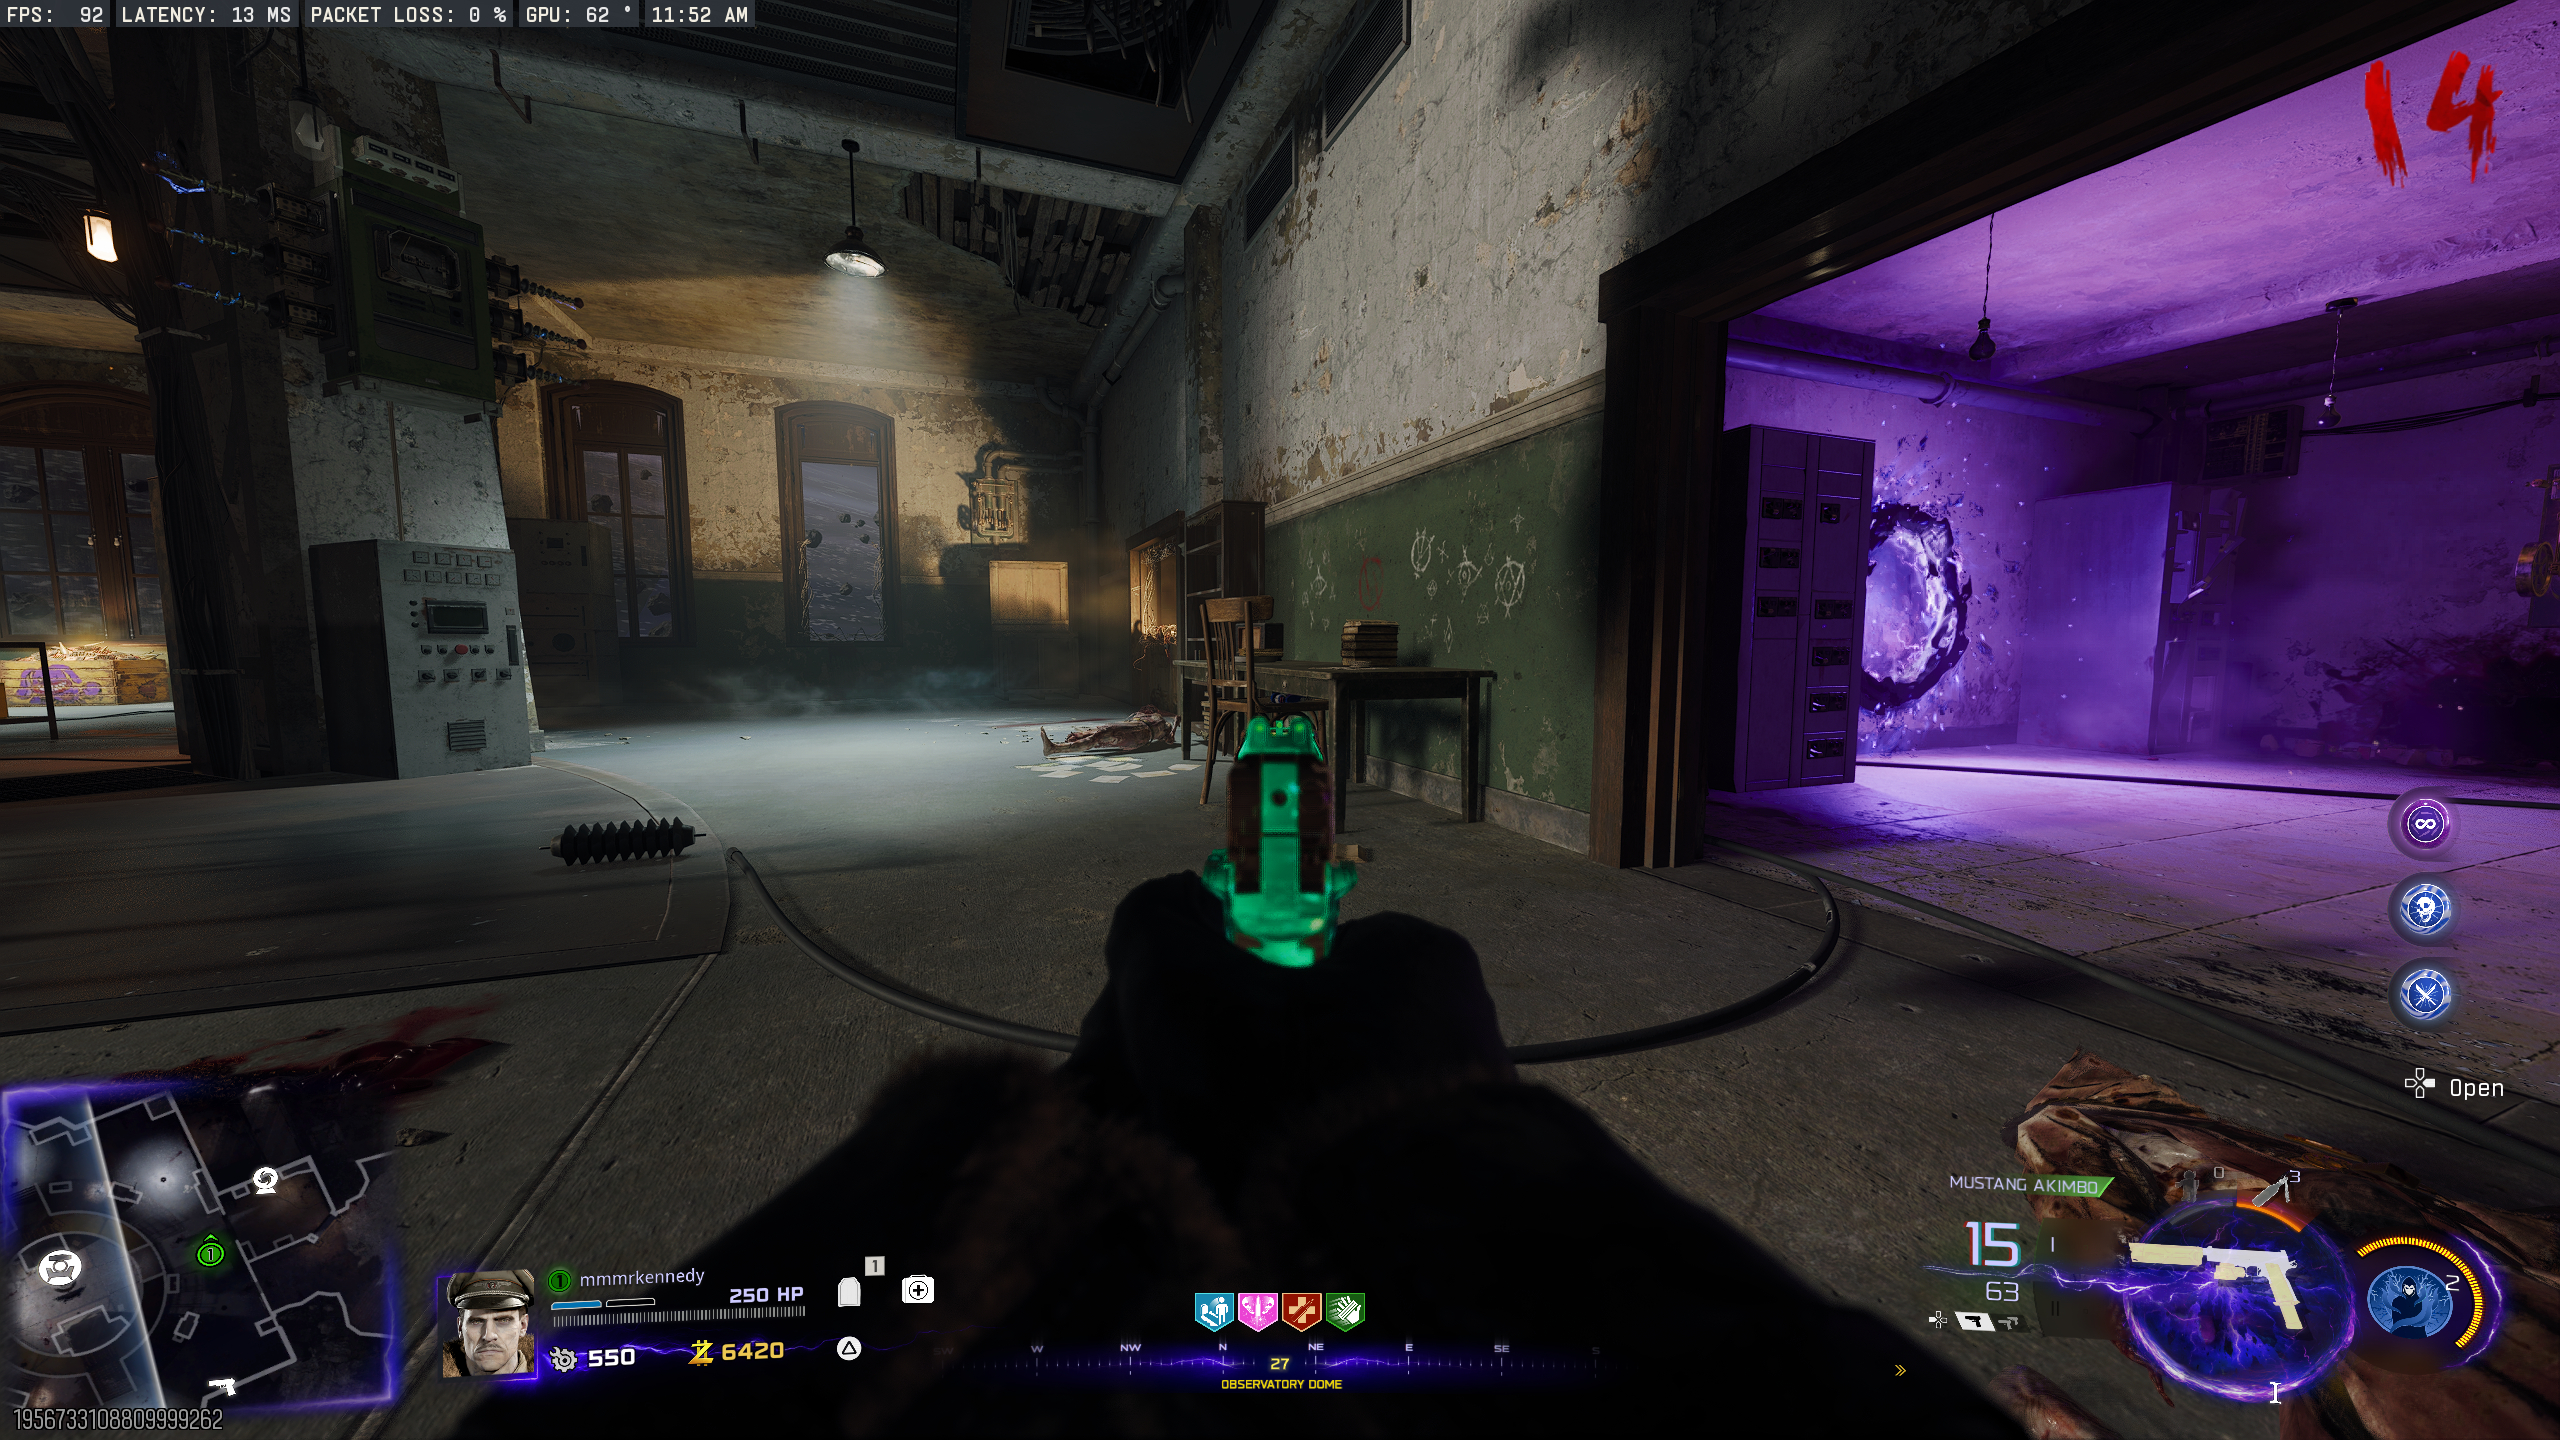
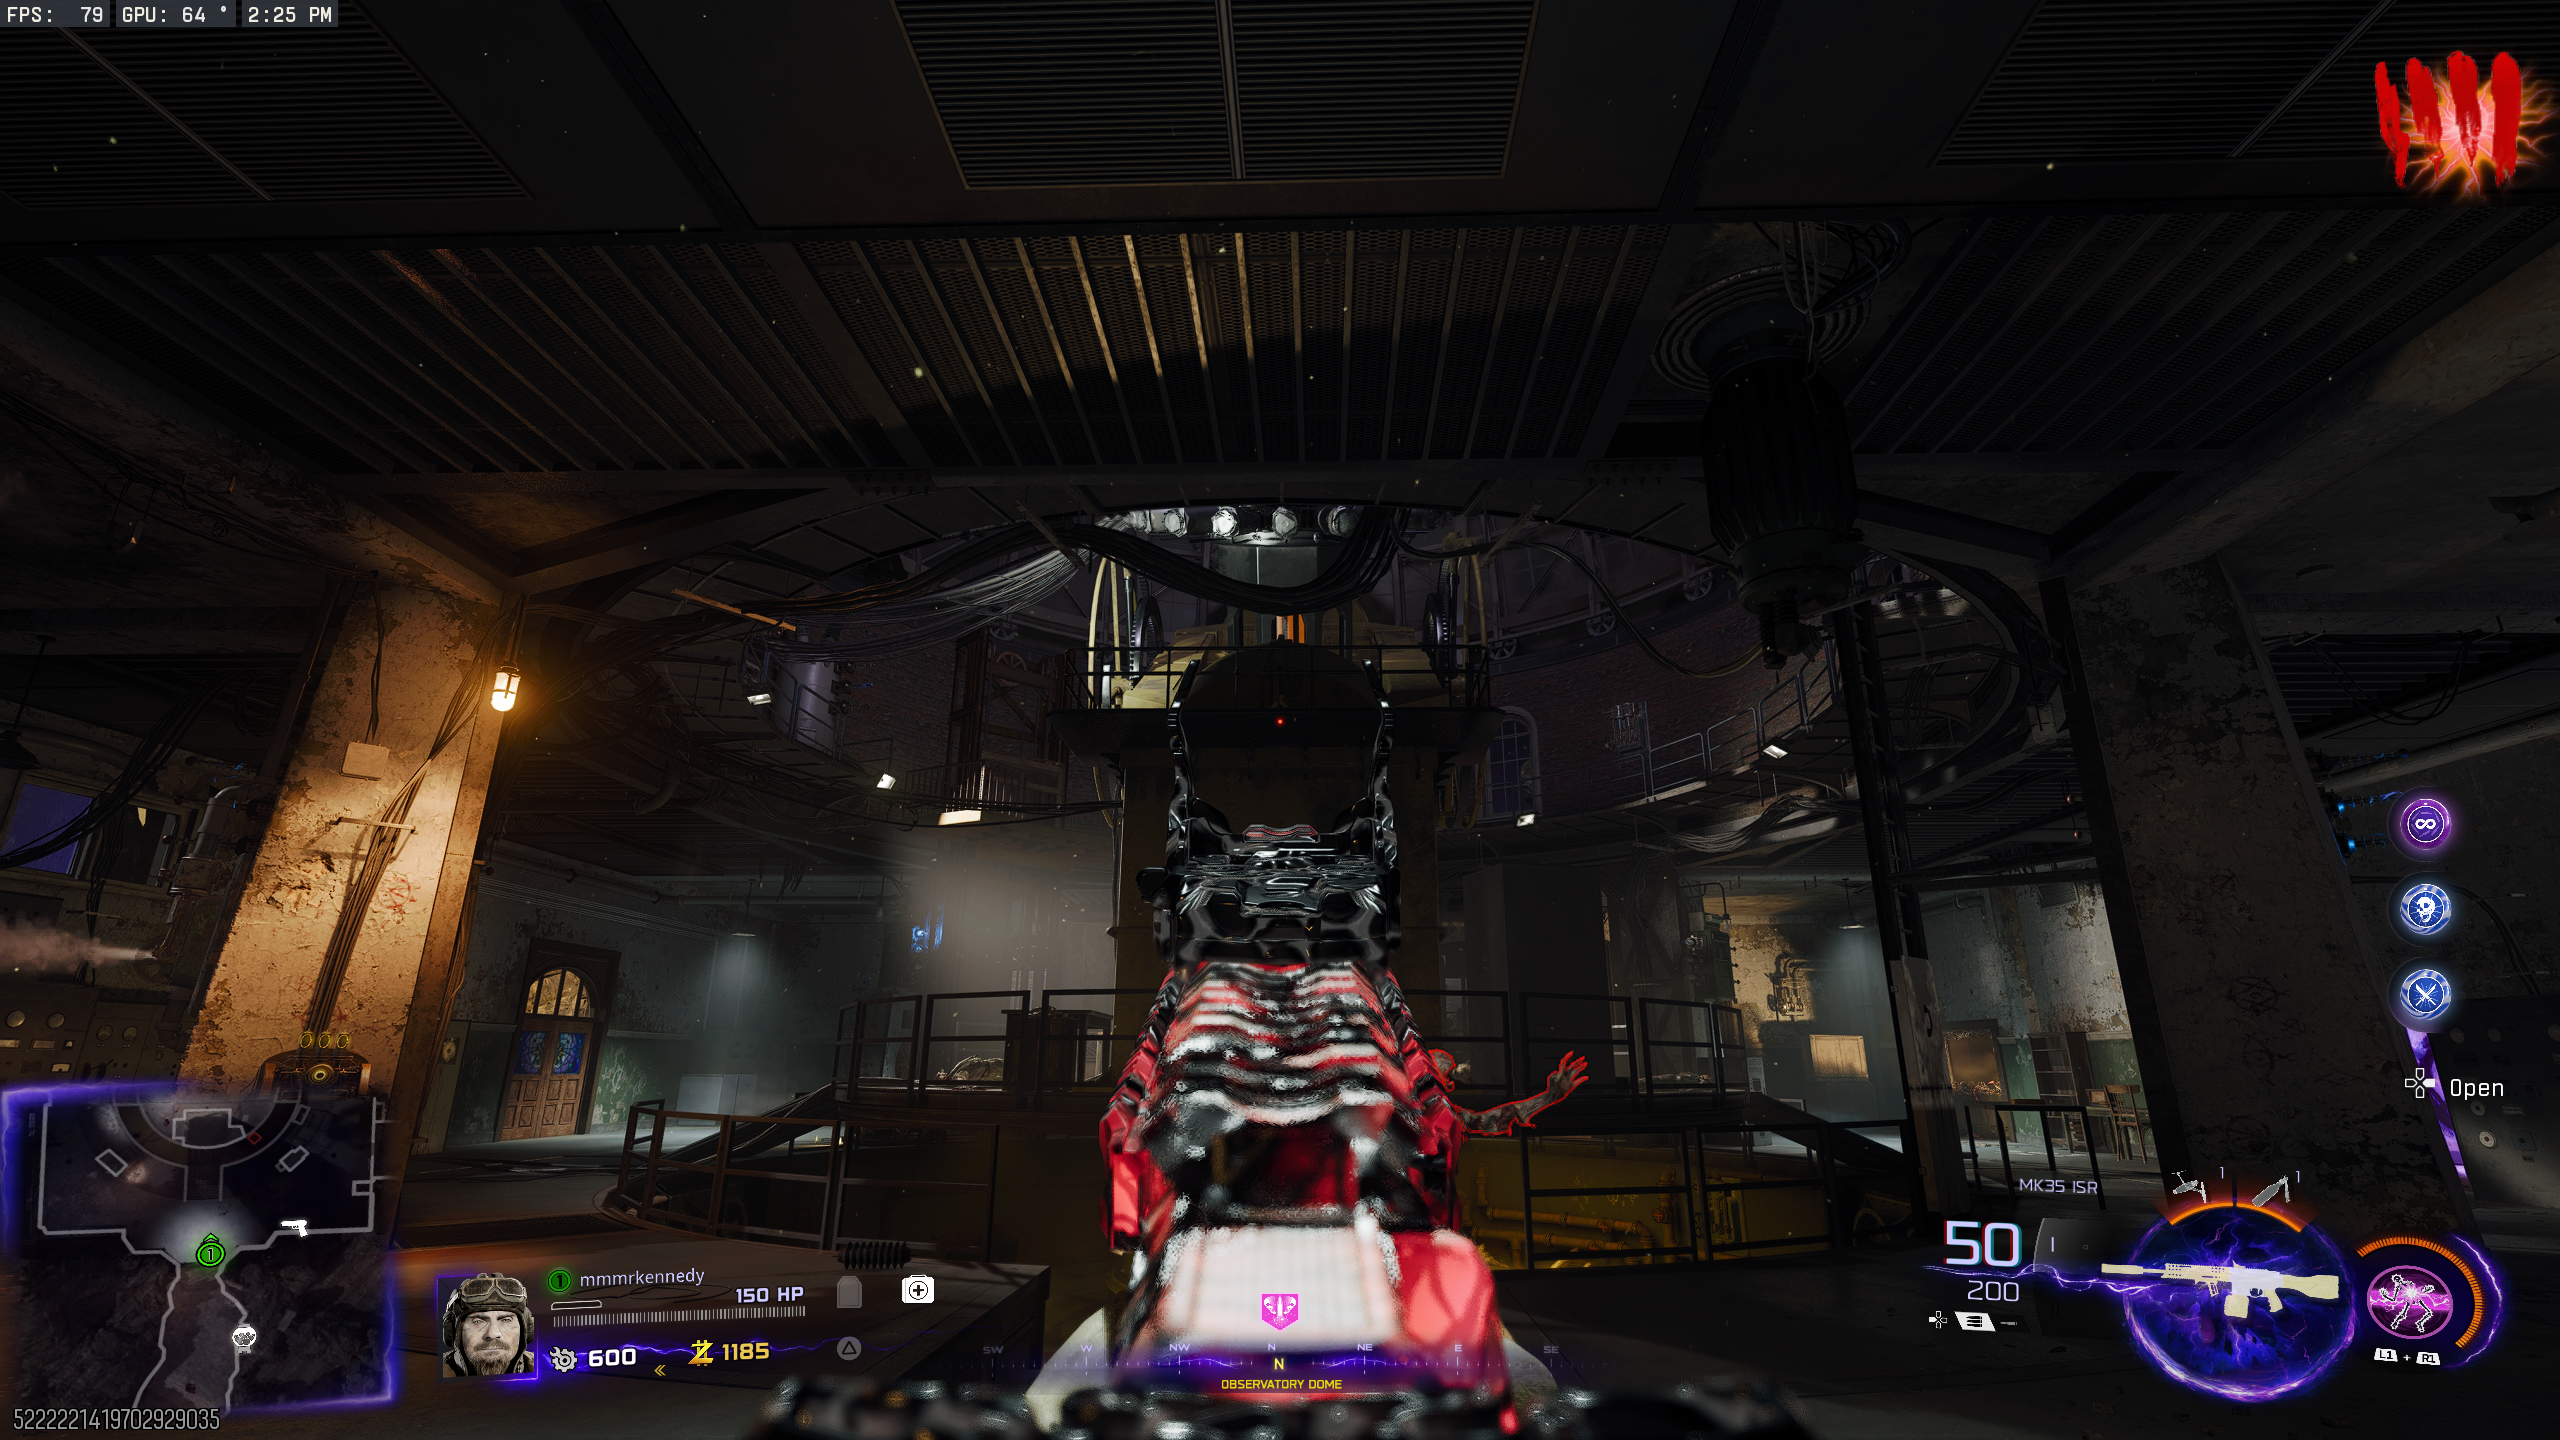
- Go to the 'Observatory Dome', and interact with the Organ to try to turn on the power. Then hold interact on the Organ to install the Harmonic Components.
- Interact with the Organ again to actually turn on the power. This starts a defence objective, where you must defend the Organ from Zombies for about 45 seconds.
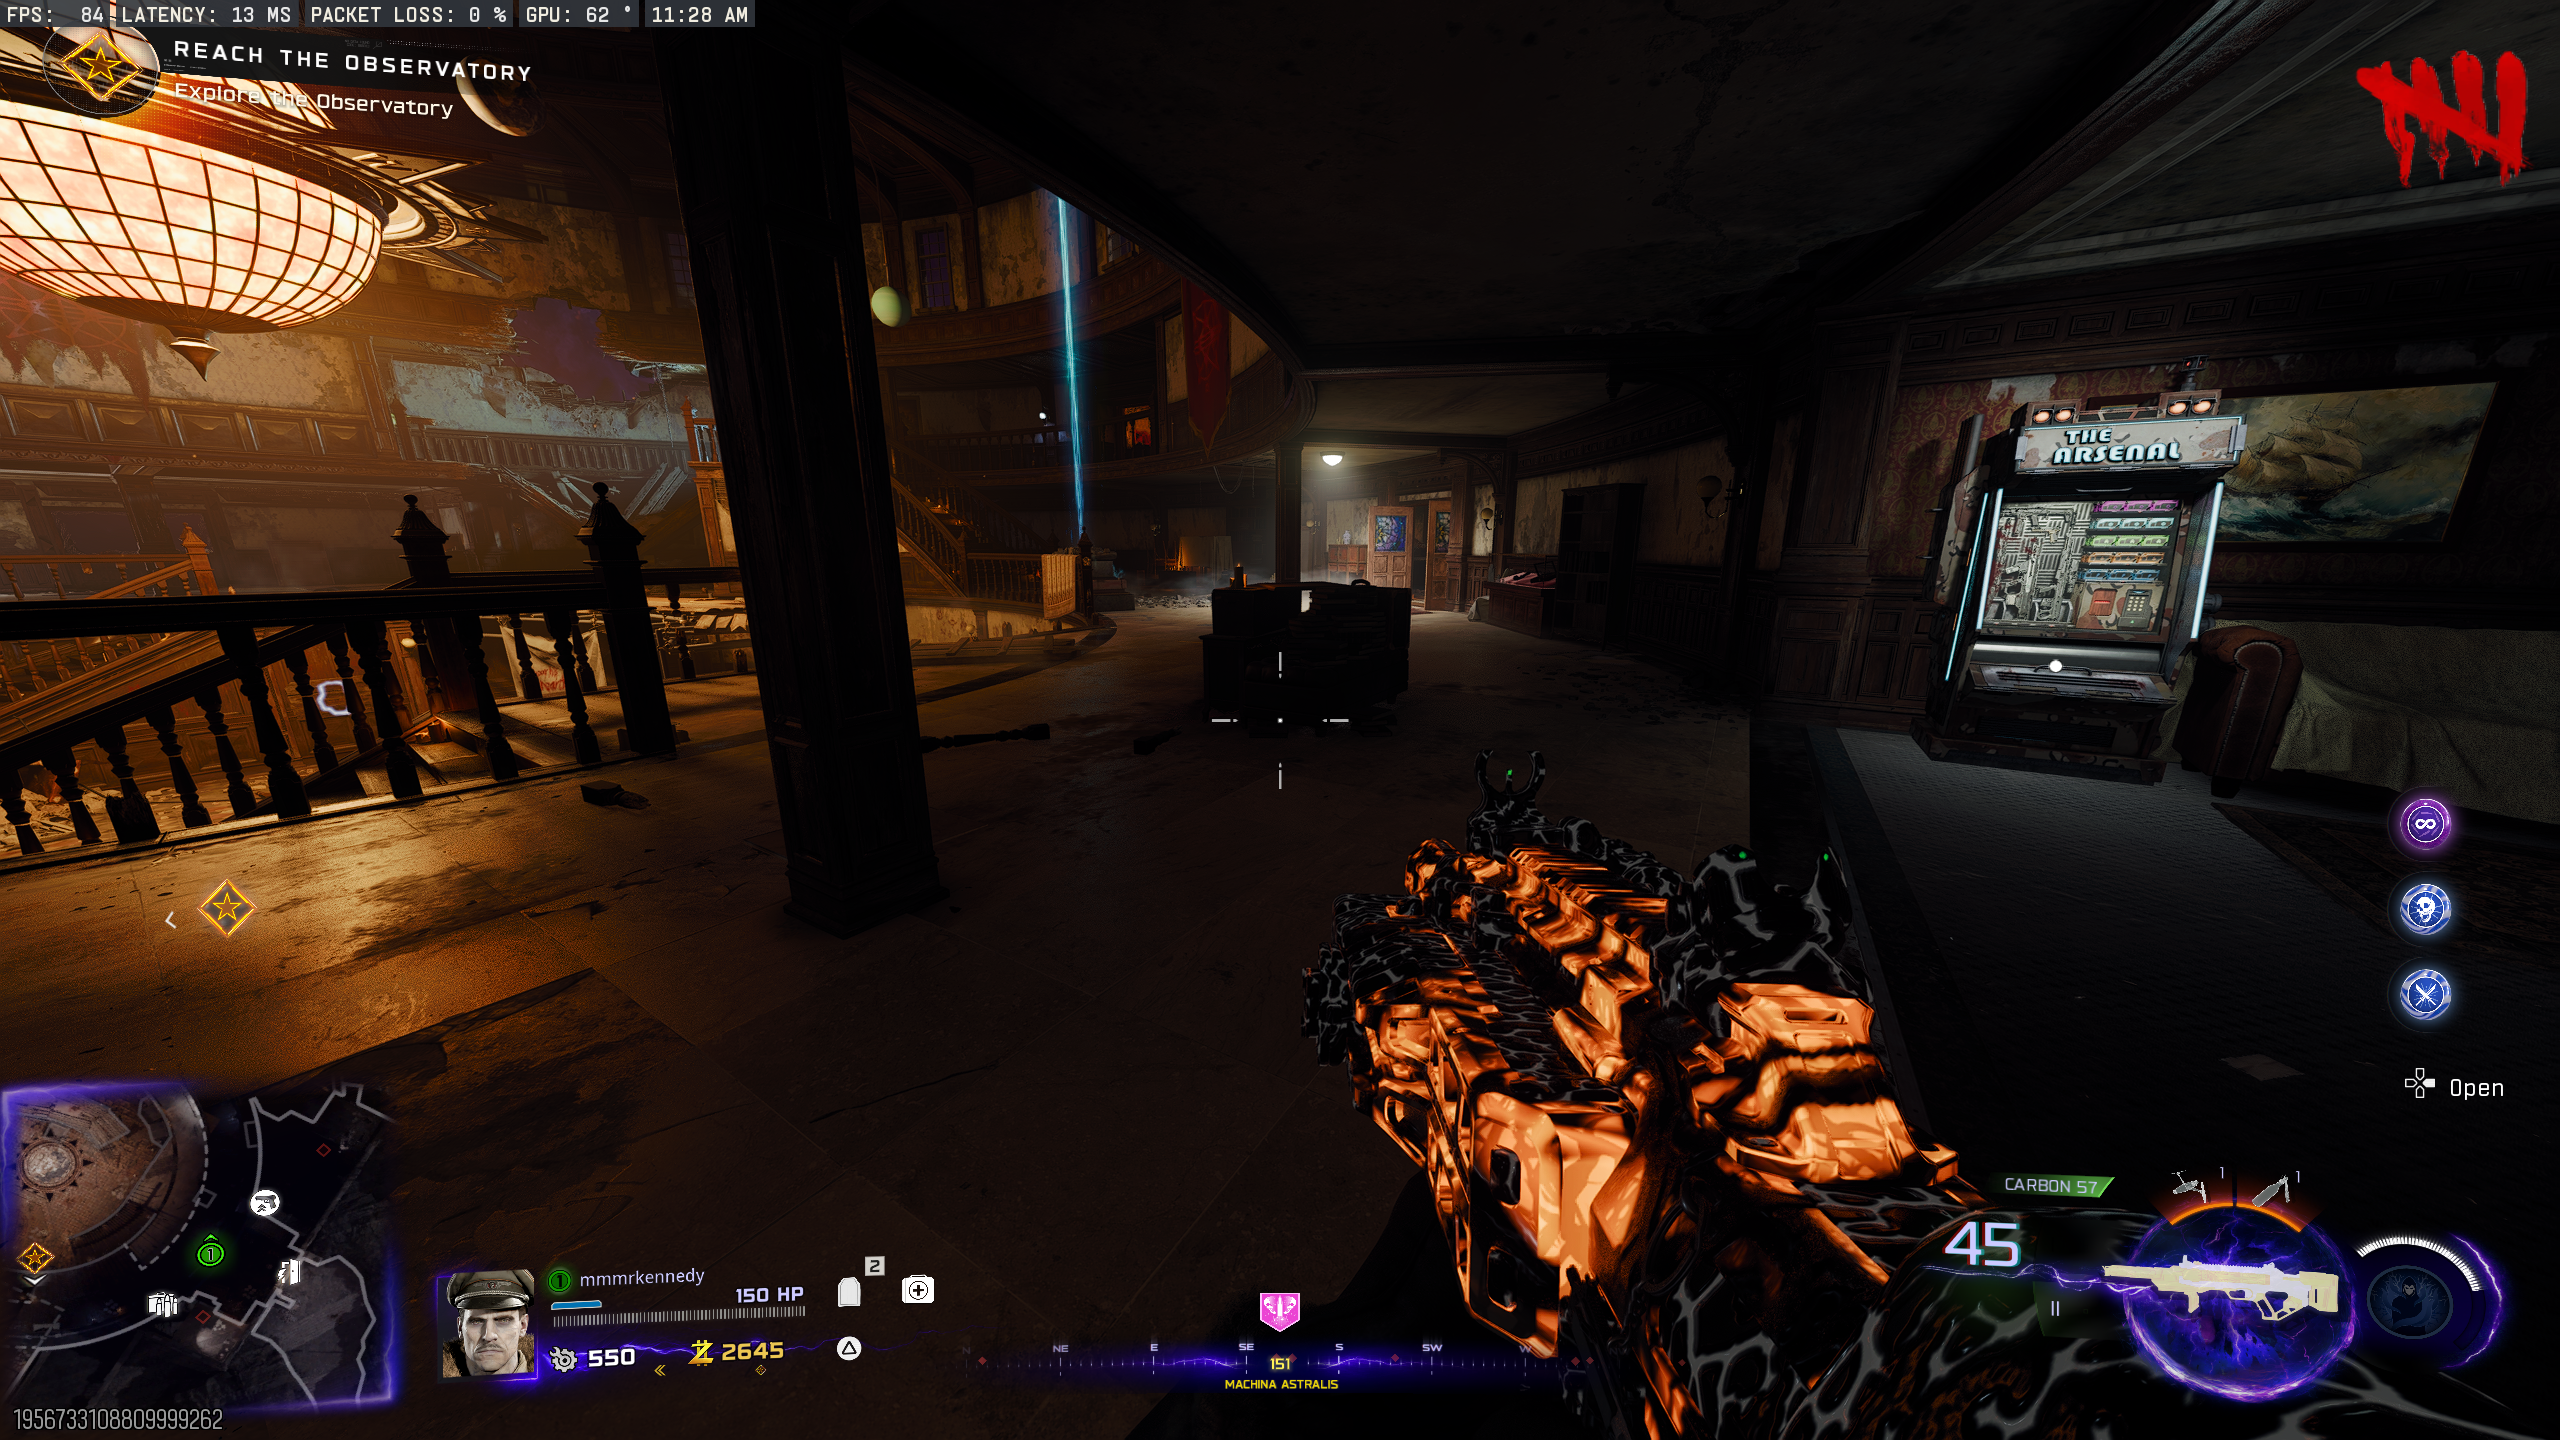
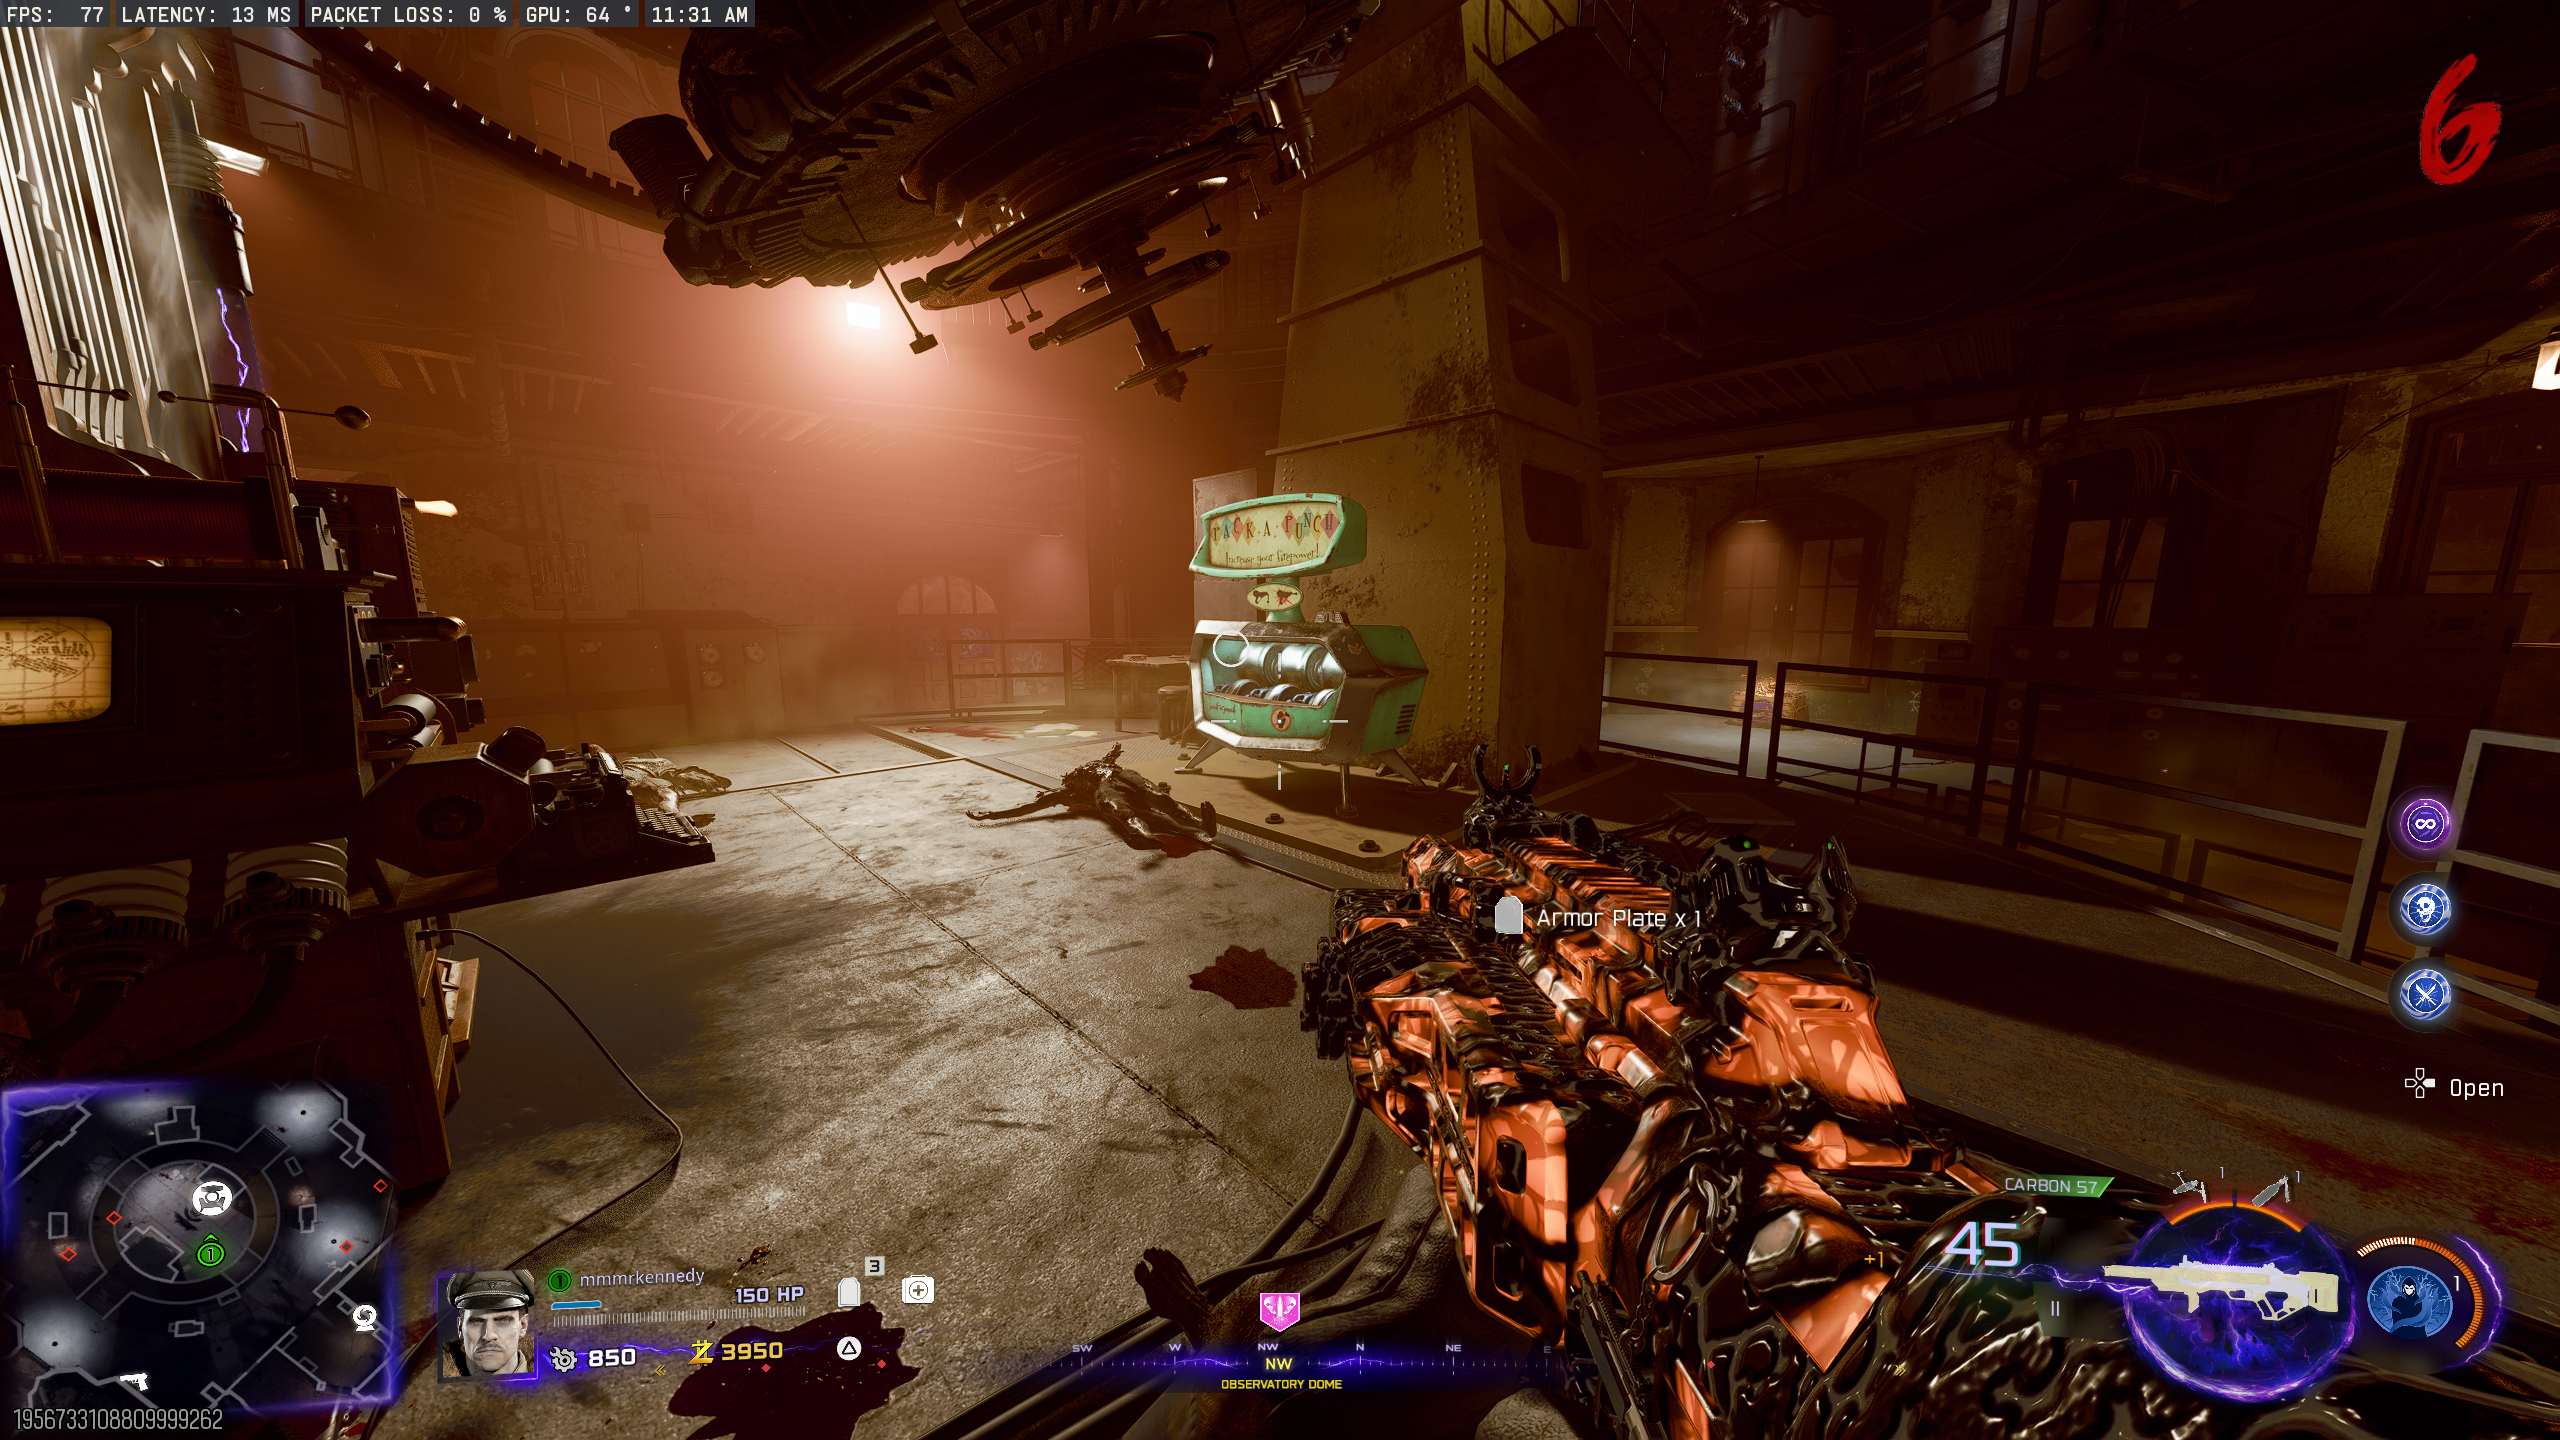
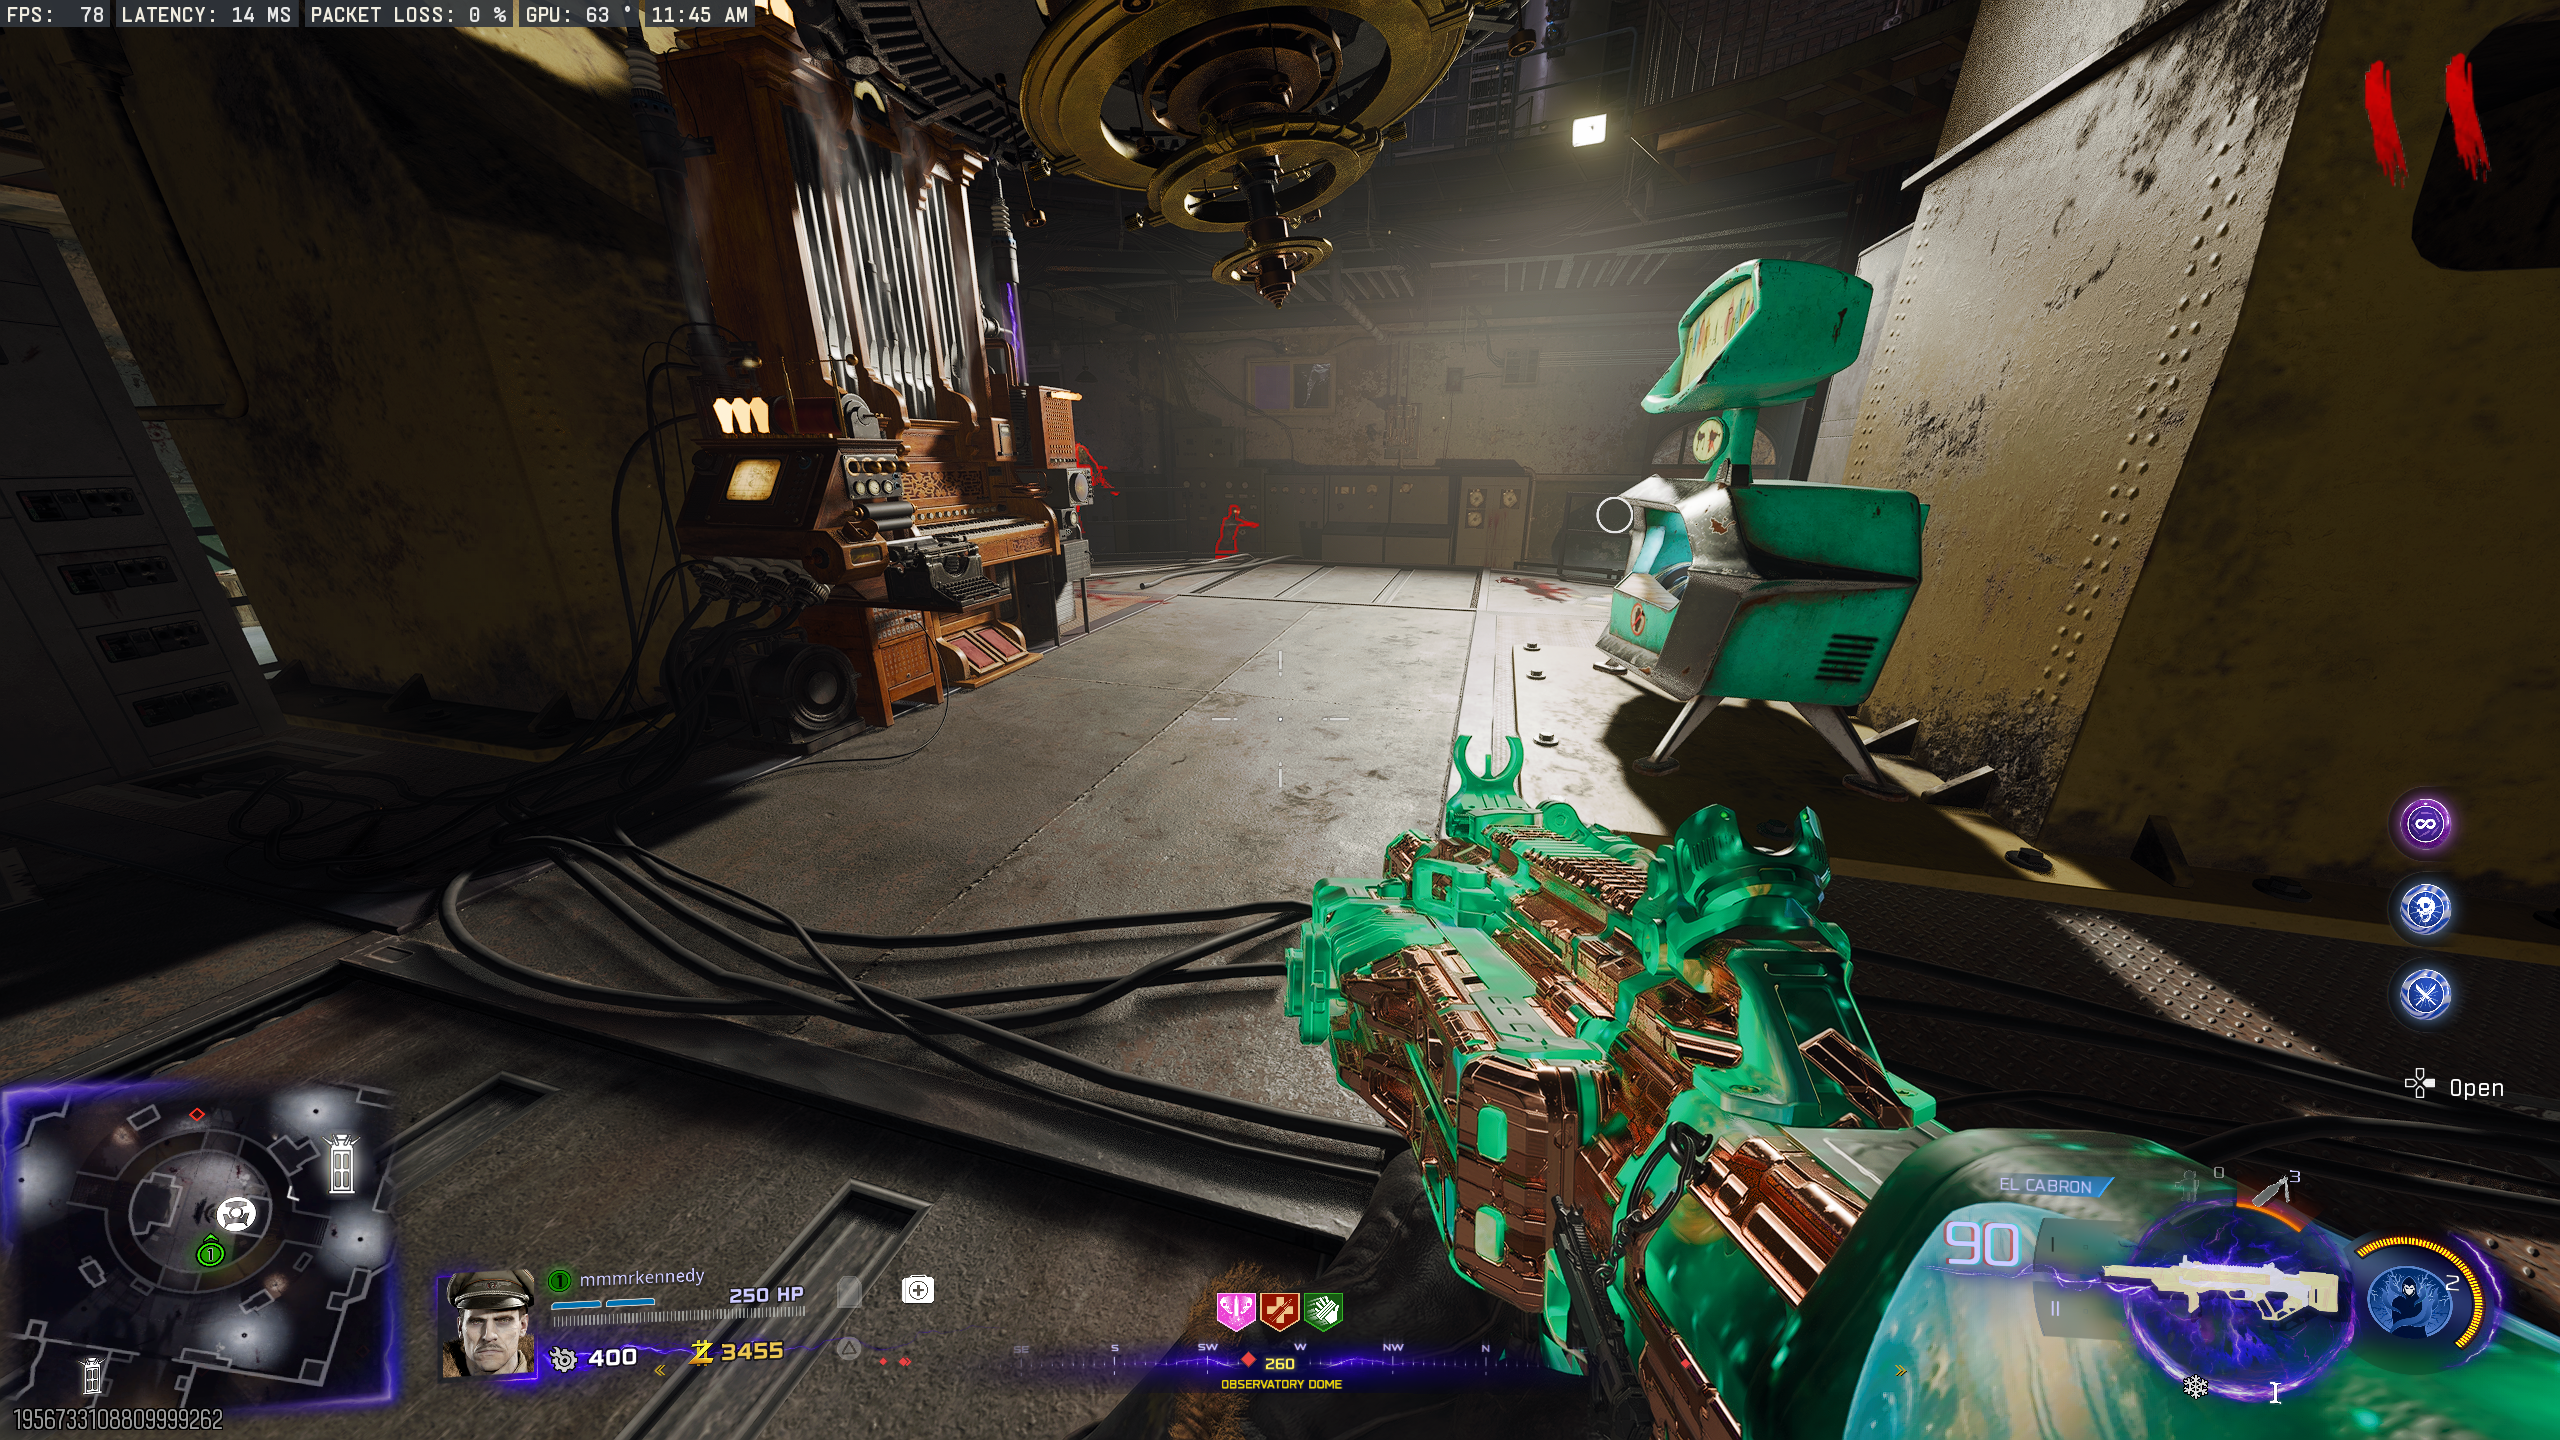
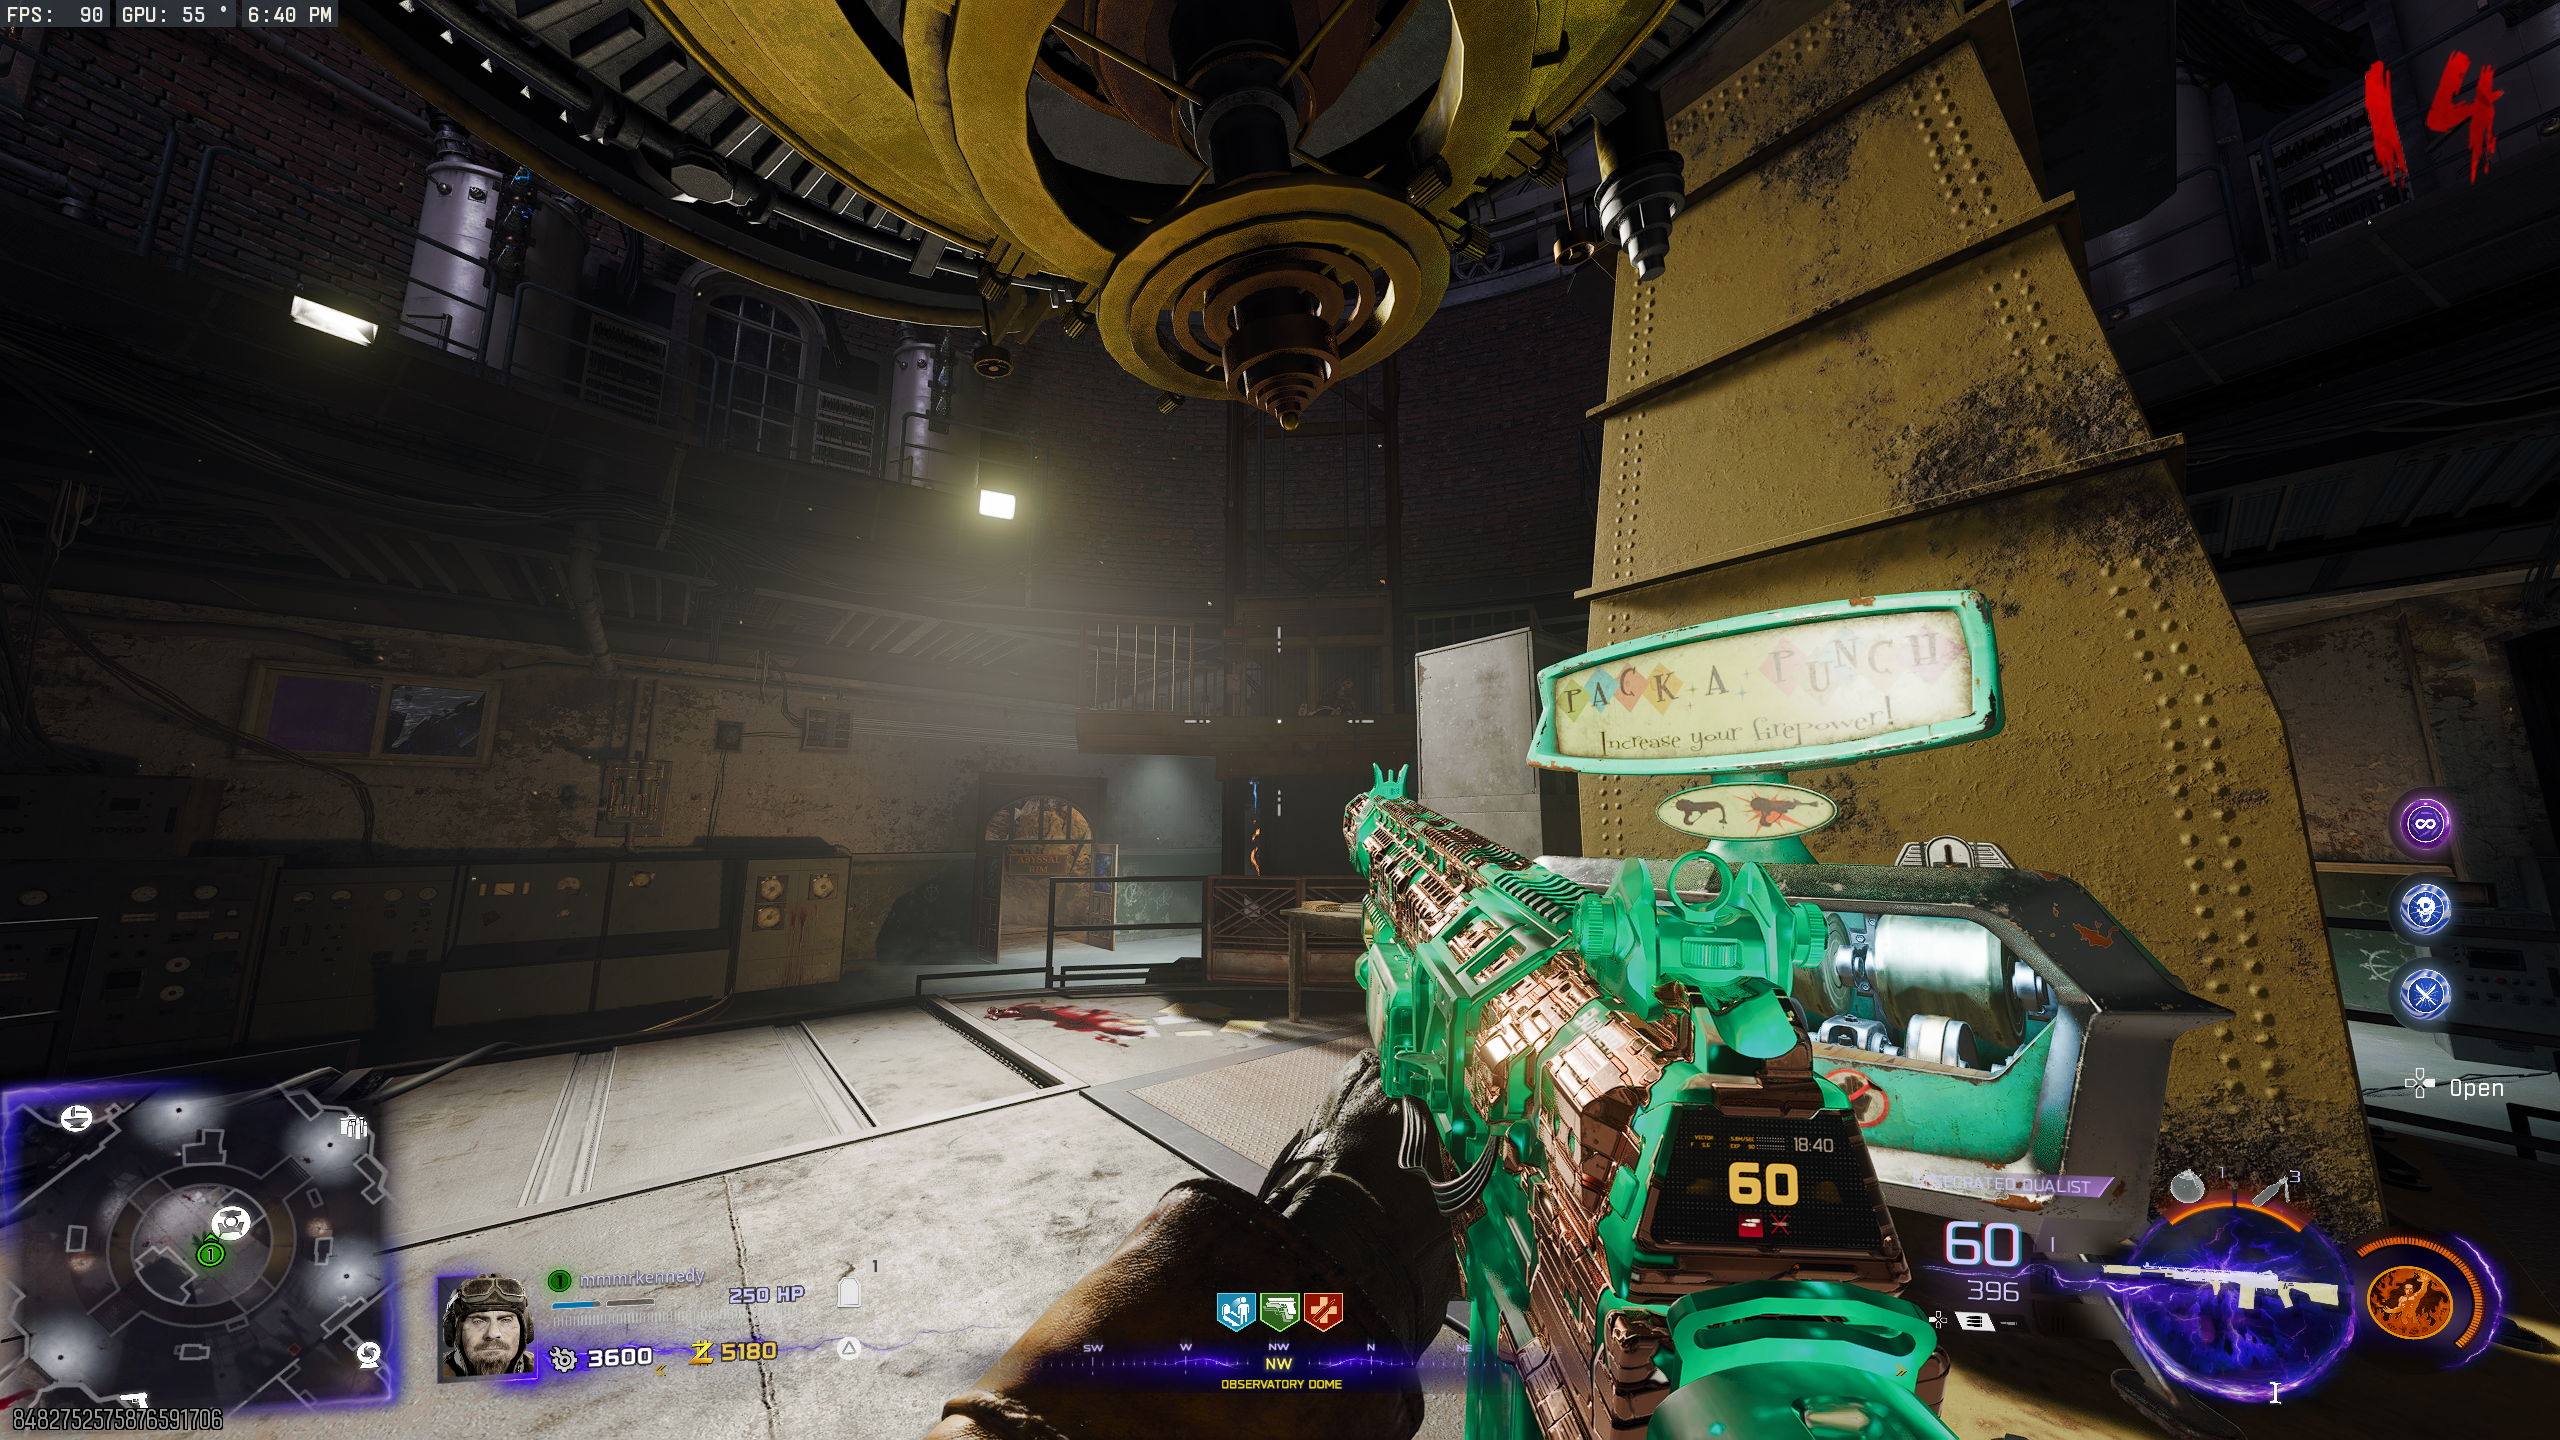
- If done correctly, the power will turn on and the Pack-a-Punch will spawn across from the Organ.
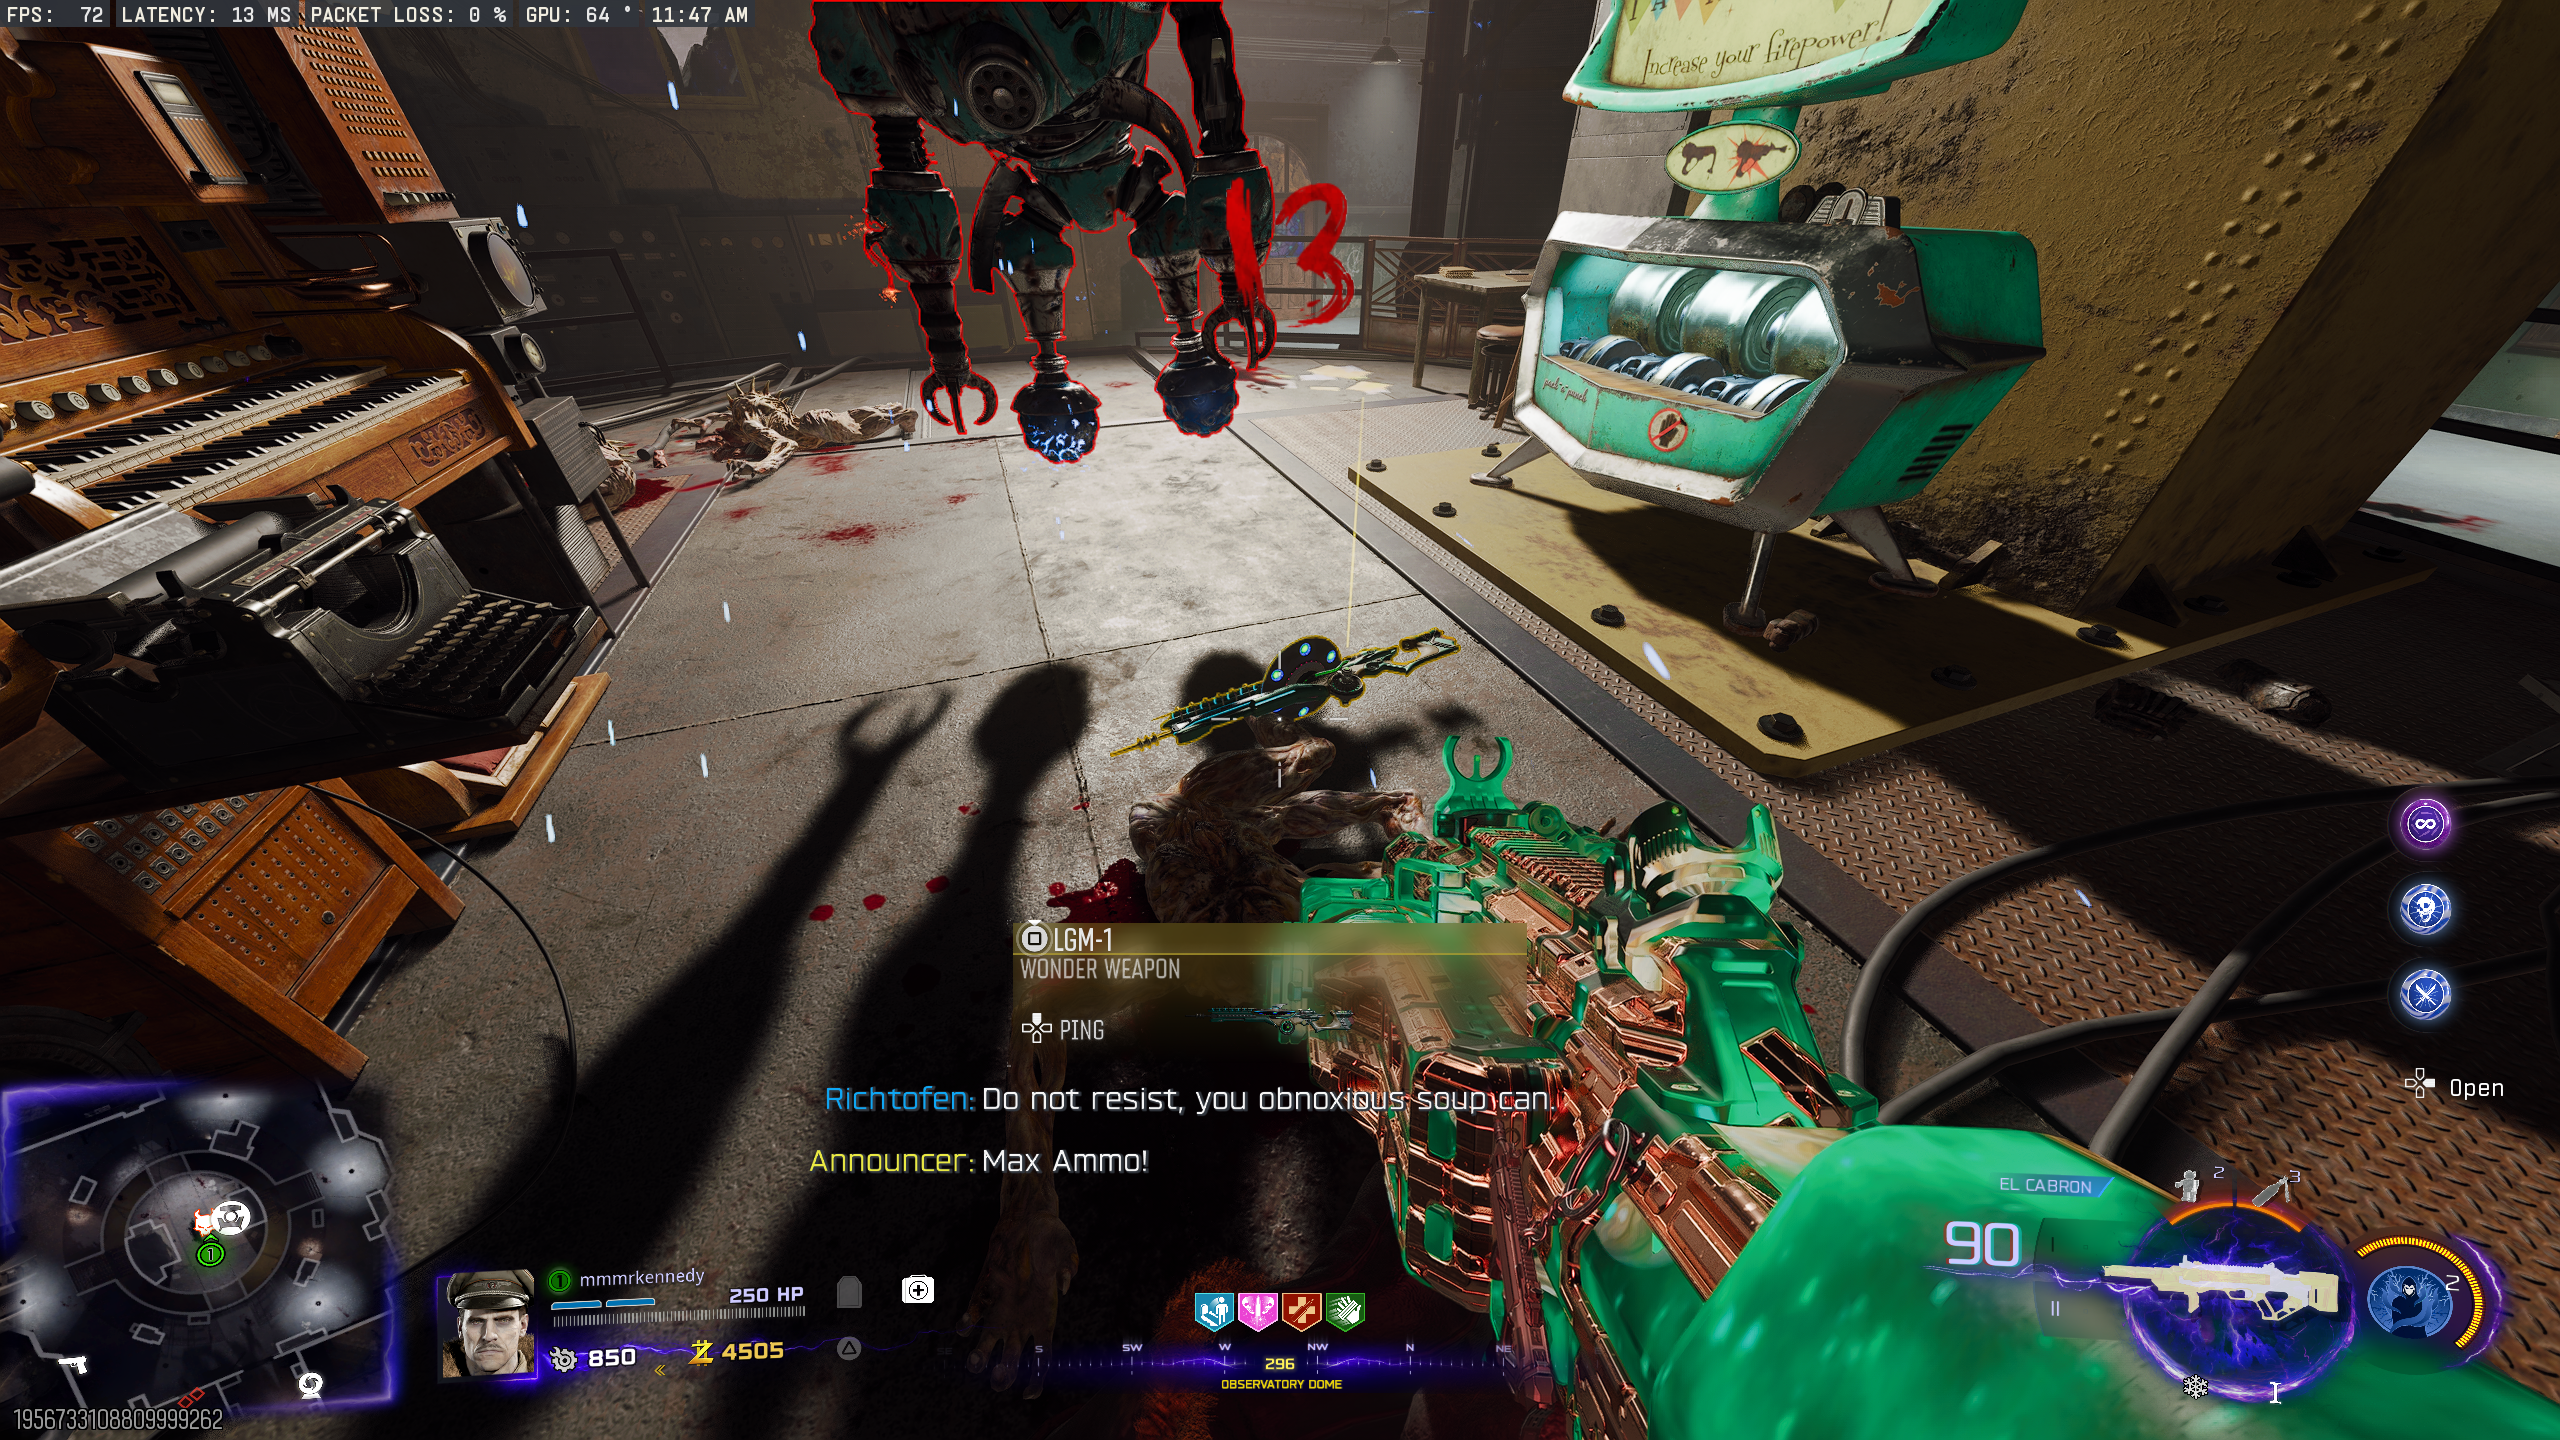
LGM-1
- Activate Pack-a-Punch.
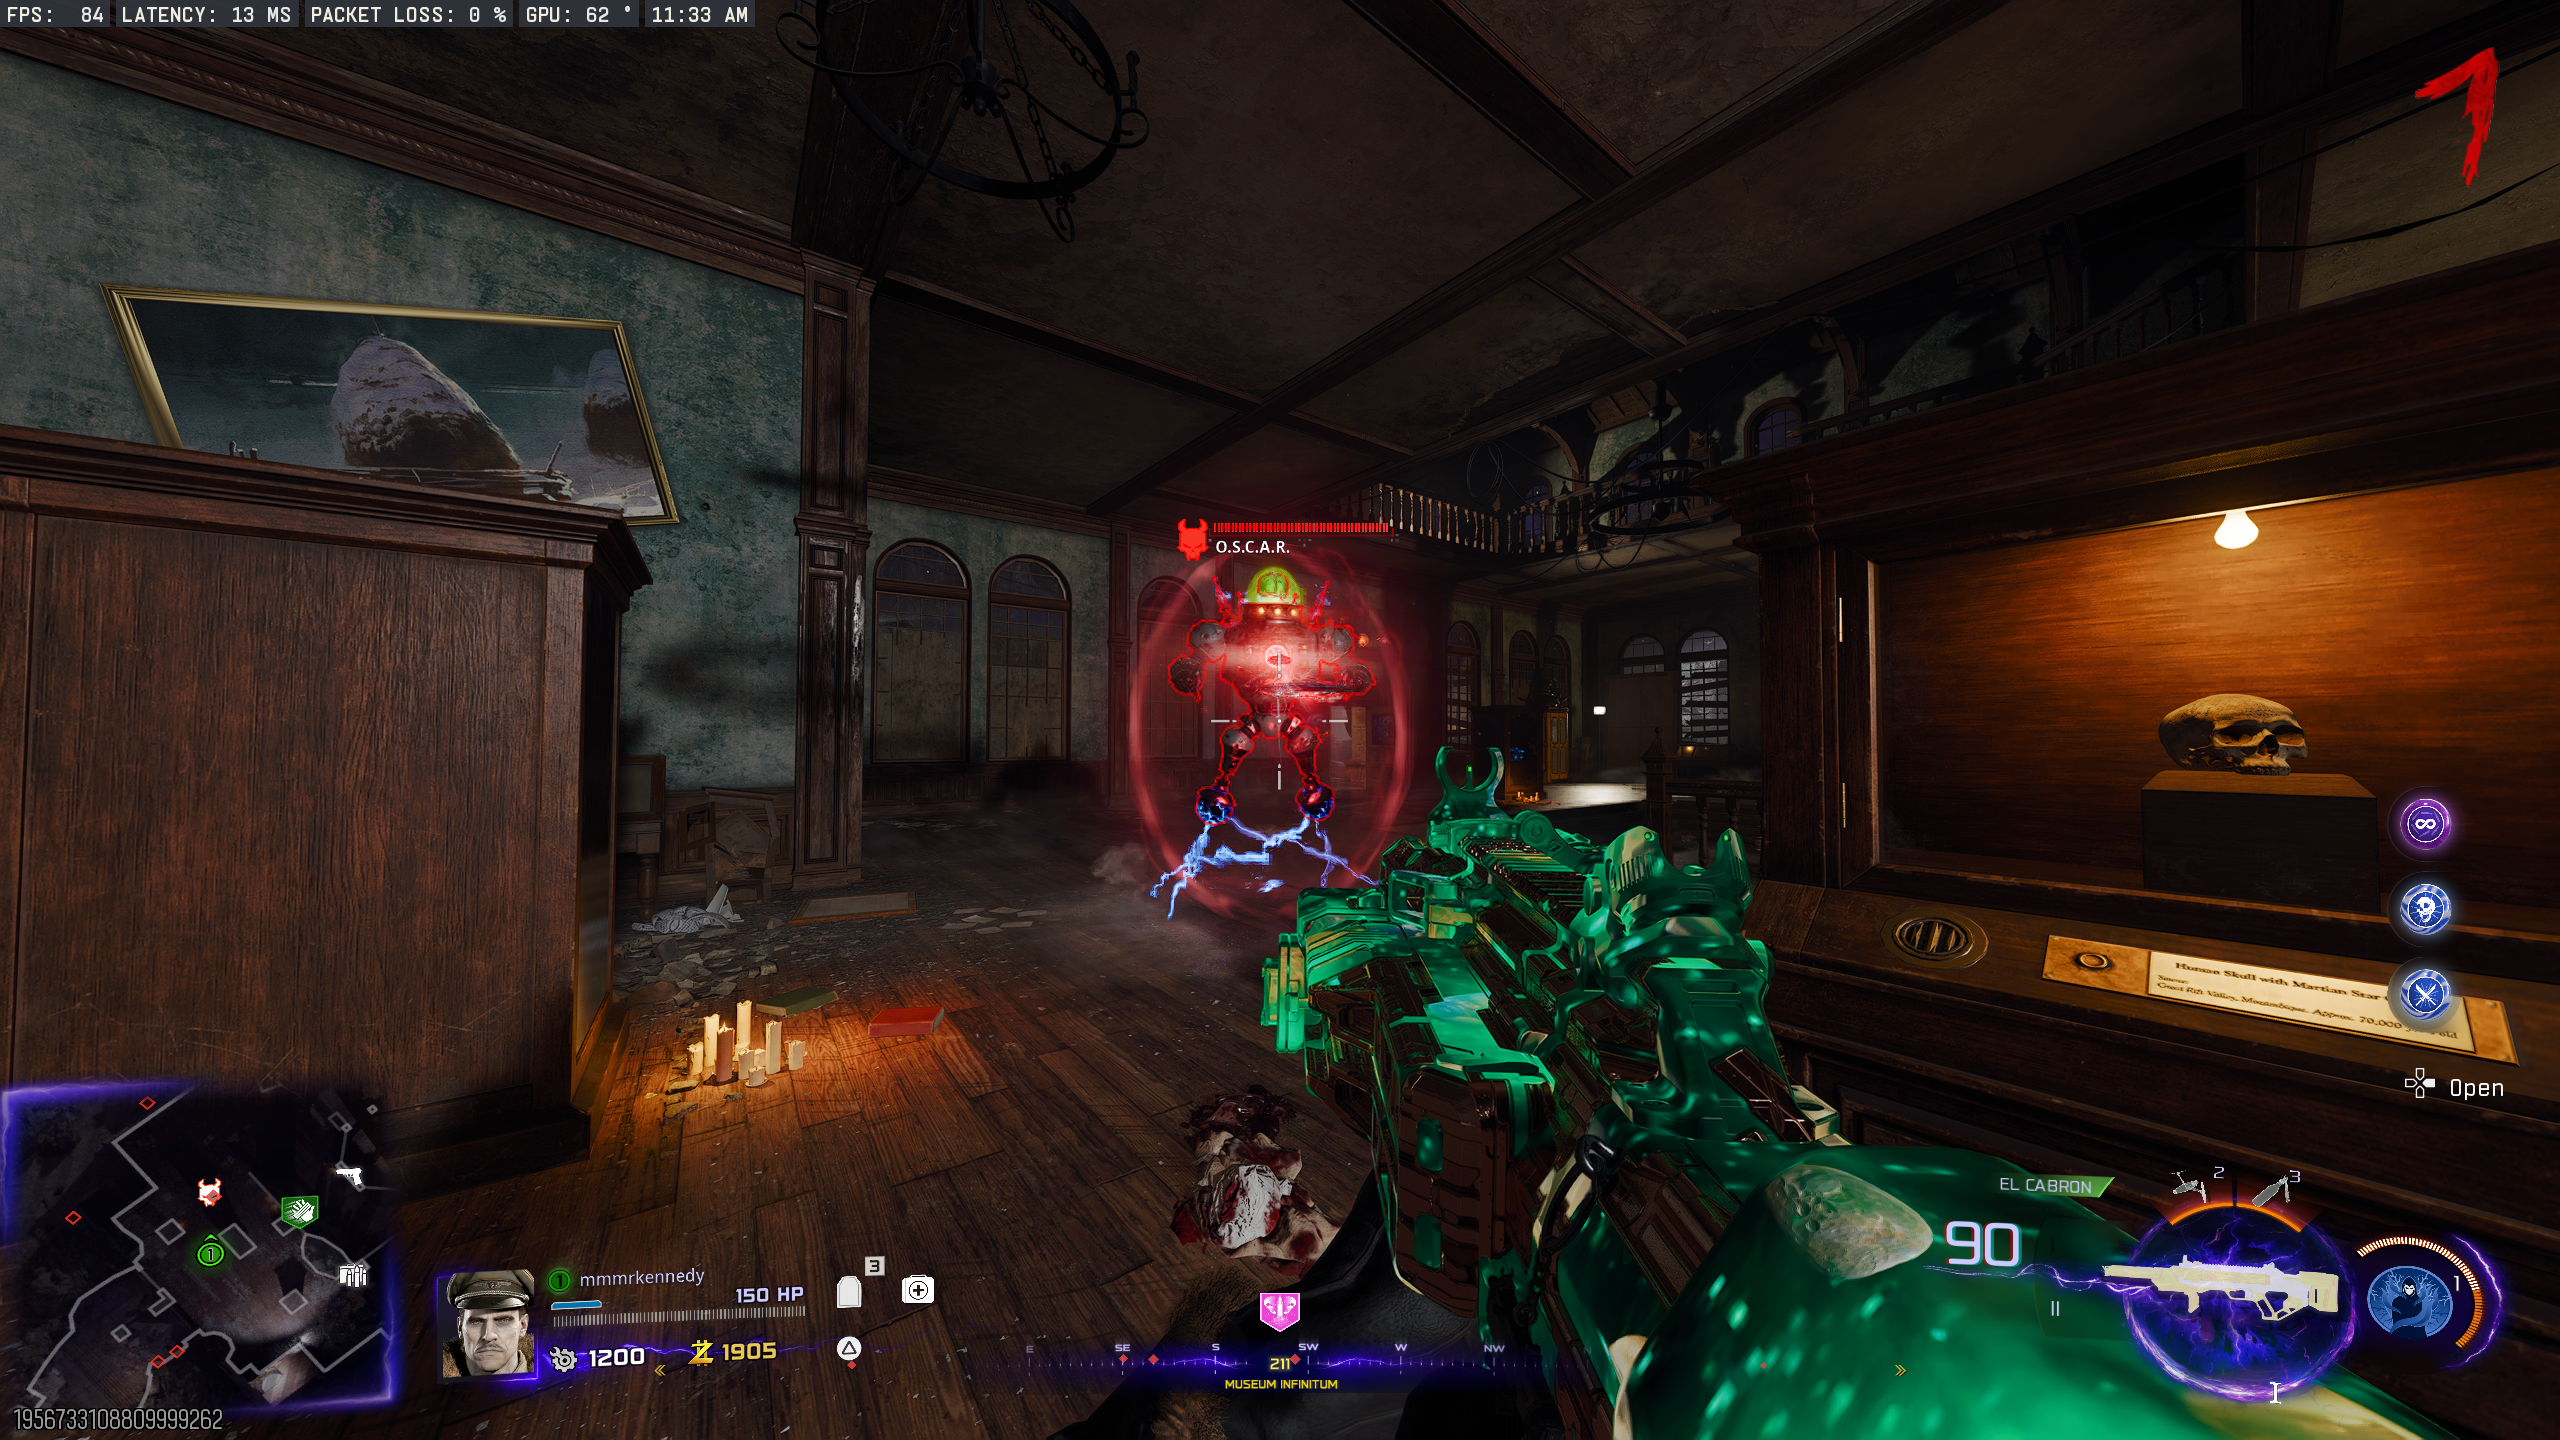
- Once Pack-a-Punch has been activated, O.S.C.A.R. will spawn. O.S.C.A.R. is a high-health elite enemy that passively roams the map, attacking any players he sees.
- To get the LGM-1, kill O.S.C.A.R. three special ways (with the Telescope Beam, Electro-Volt Projector, and Model Rocket Thrusters), in any order. After the third kill, he'll drop the LGM-1 for one player to pick up.
Telescope Beam
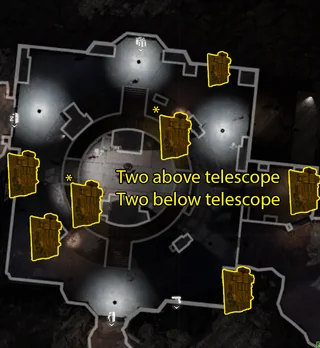
- Inside the 'Observatory Dome', there are nine valves. One will be emitting steam. Shoot it, and another valve will start emitting steam. Shoot that one too. Shoot a total of five smoking valves quickly. Use this cheat sheet for all the valve locations.
- If you take too long to shoot a valve, you'll have to wait until the next round.
- If done correctly, the telescope will start moving. Once the telescope is done moving, interact with the left side of the Organ. This will open a view of the sky. Move the cursor to just beside the Sun, but not on it.
- Bring O.S.C.A.R. to the 'Observatory Dome', and have him stand under the Telescope (just in front of Pack-a-Punch). Interact with the left side of the Organ again, and move the cursor over the sun. You should get kicked off if you did it correctly.
- The Telescope should produce a large beam of light. Make O.S.C.A.R. stand under it as long as possible. After a few seconds, he should die from the beam.
Electro-Volt Projector
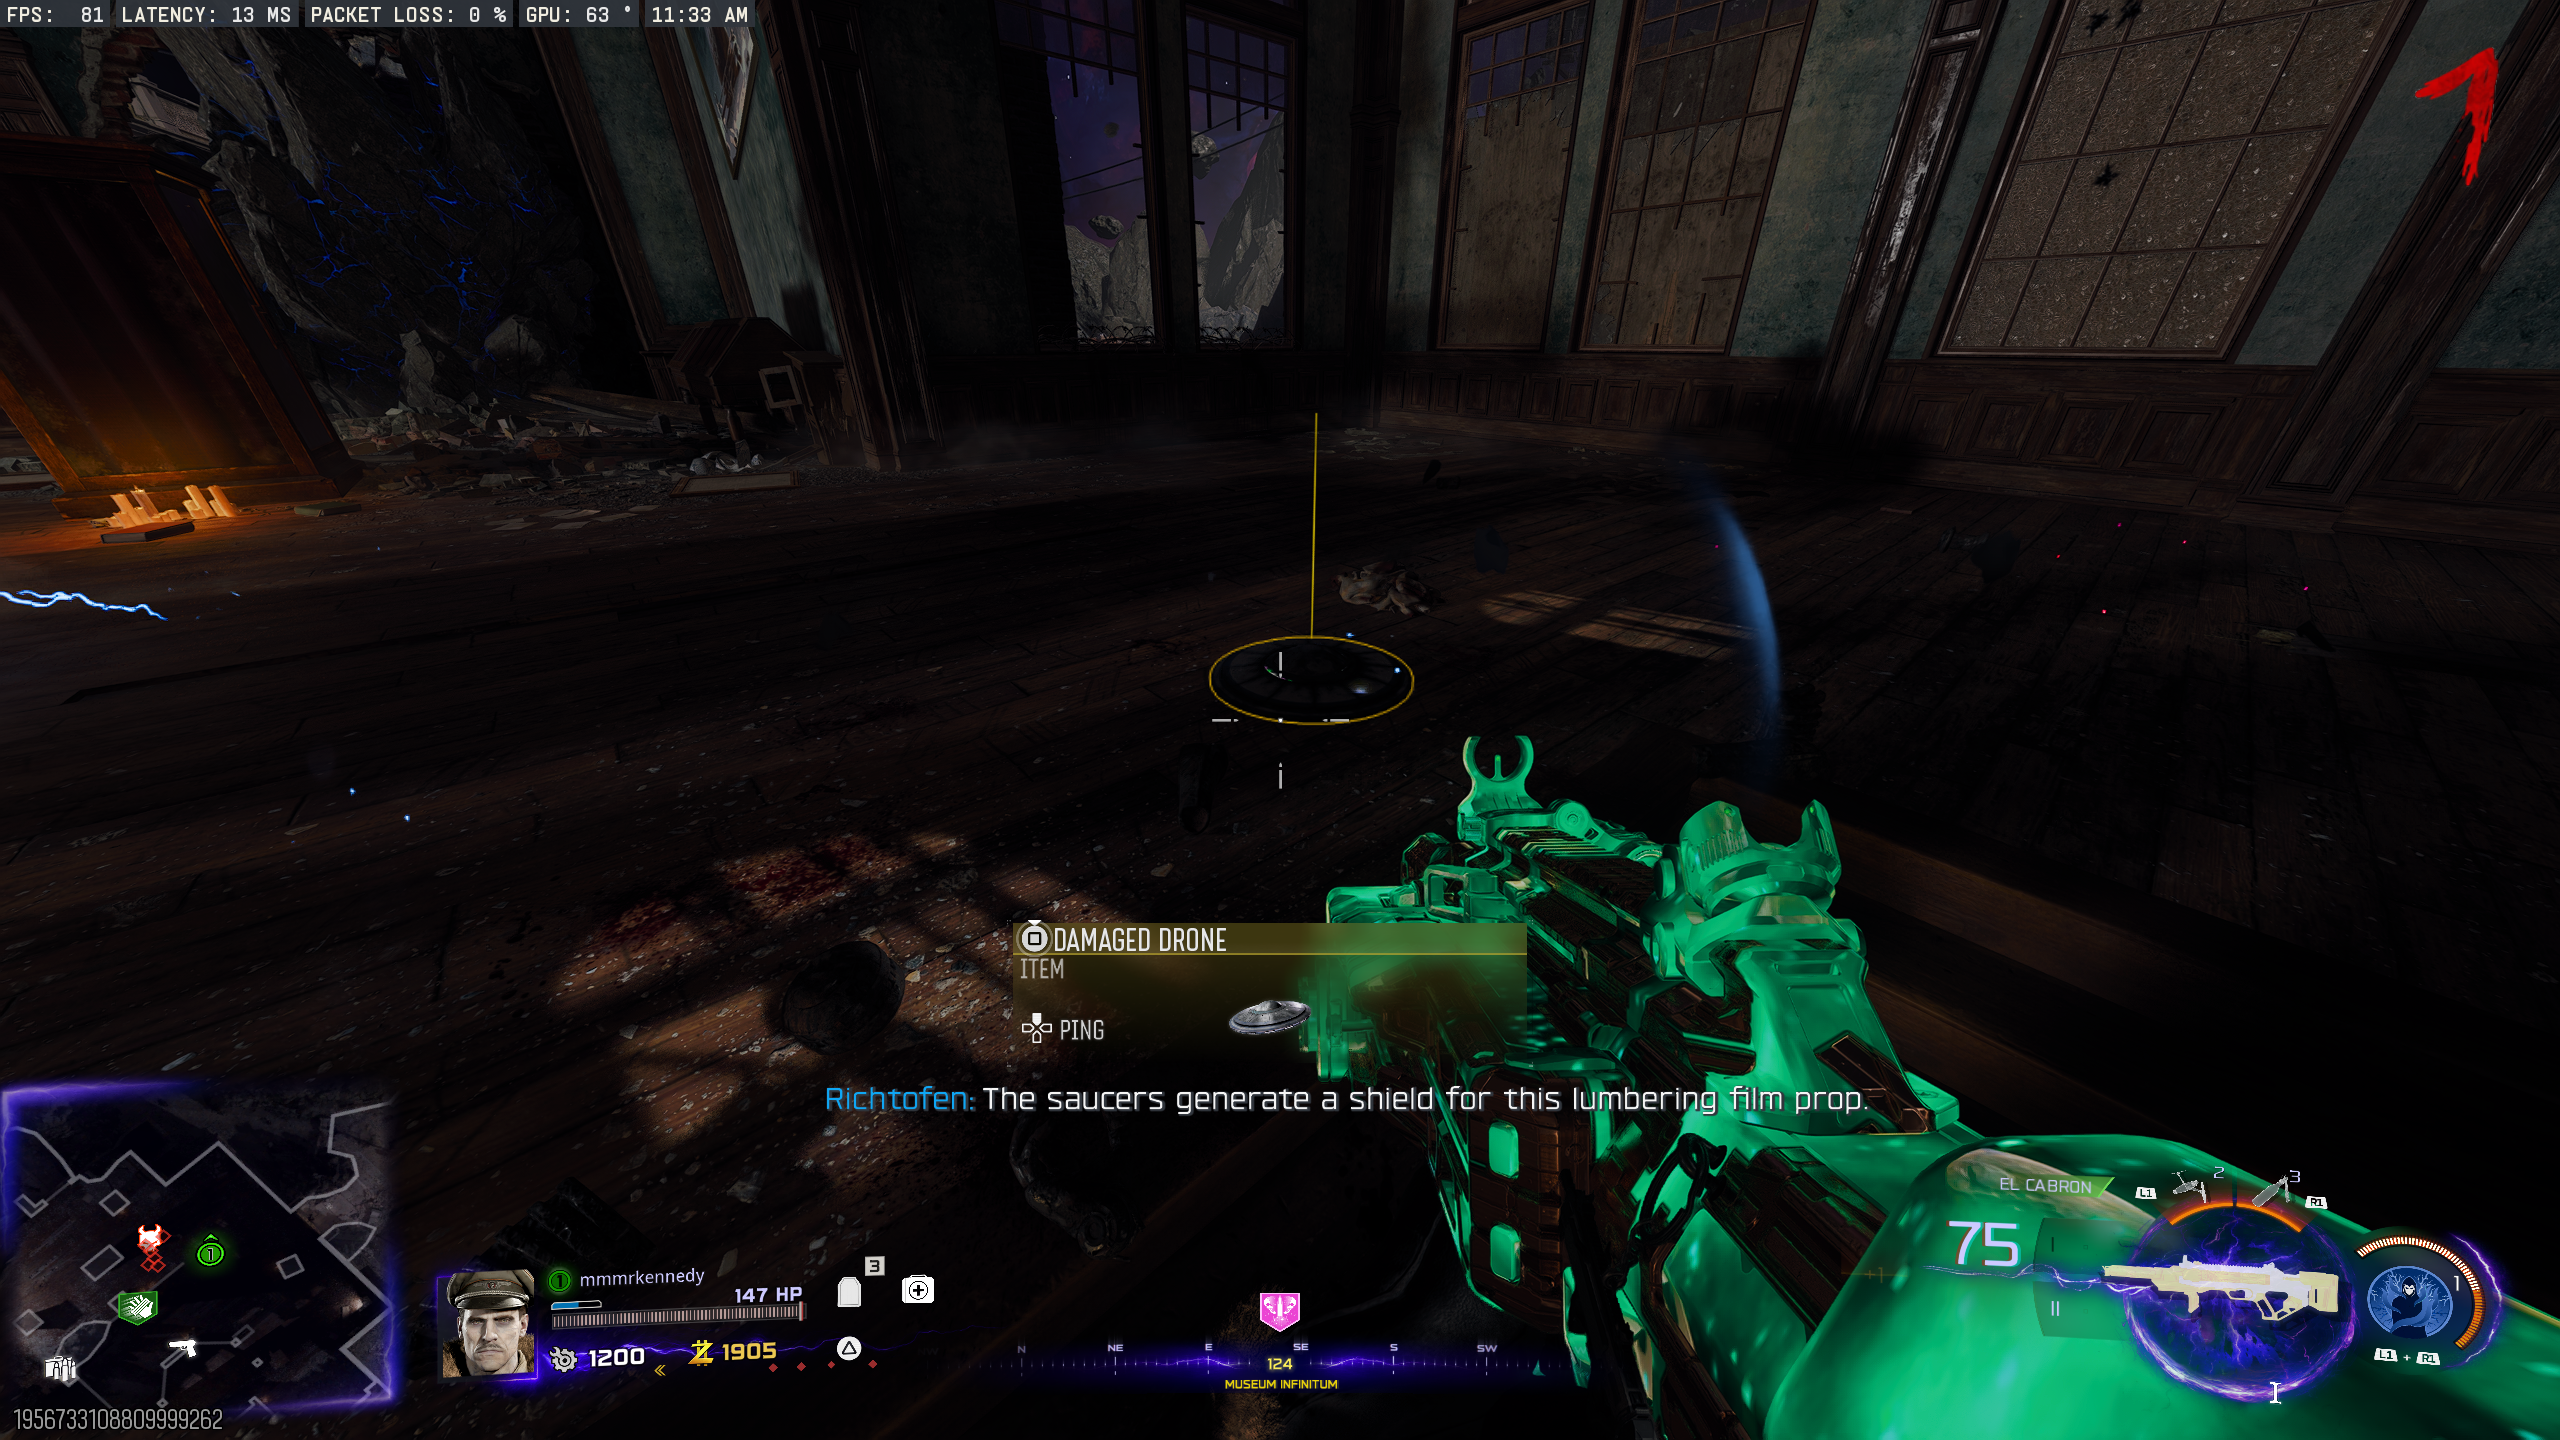
- Destroy a Drone that is flying around O.S.C.A.R. The first drone destroyed will drop to the floor, and can be picked up.
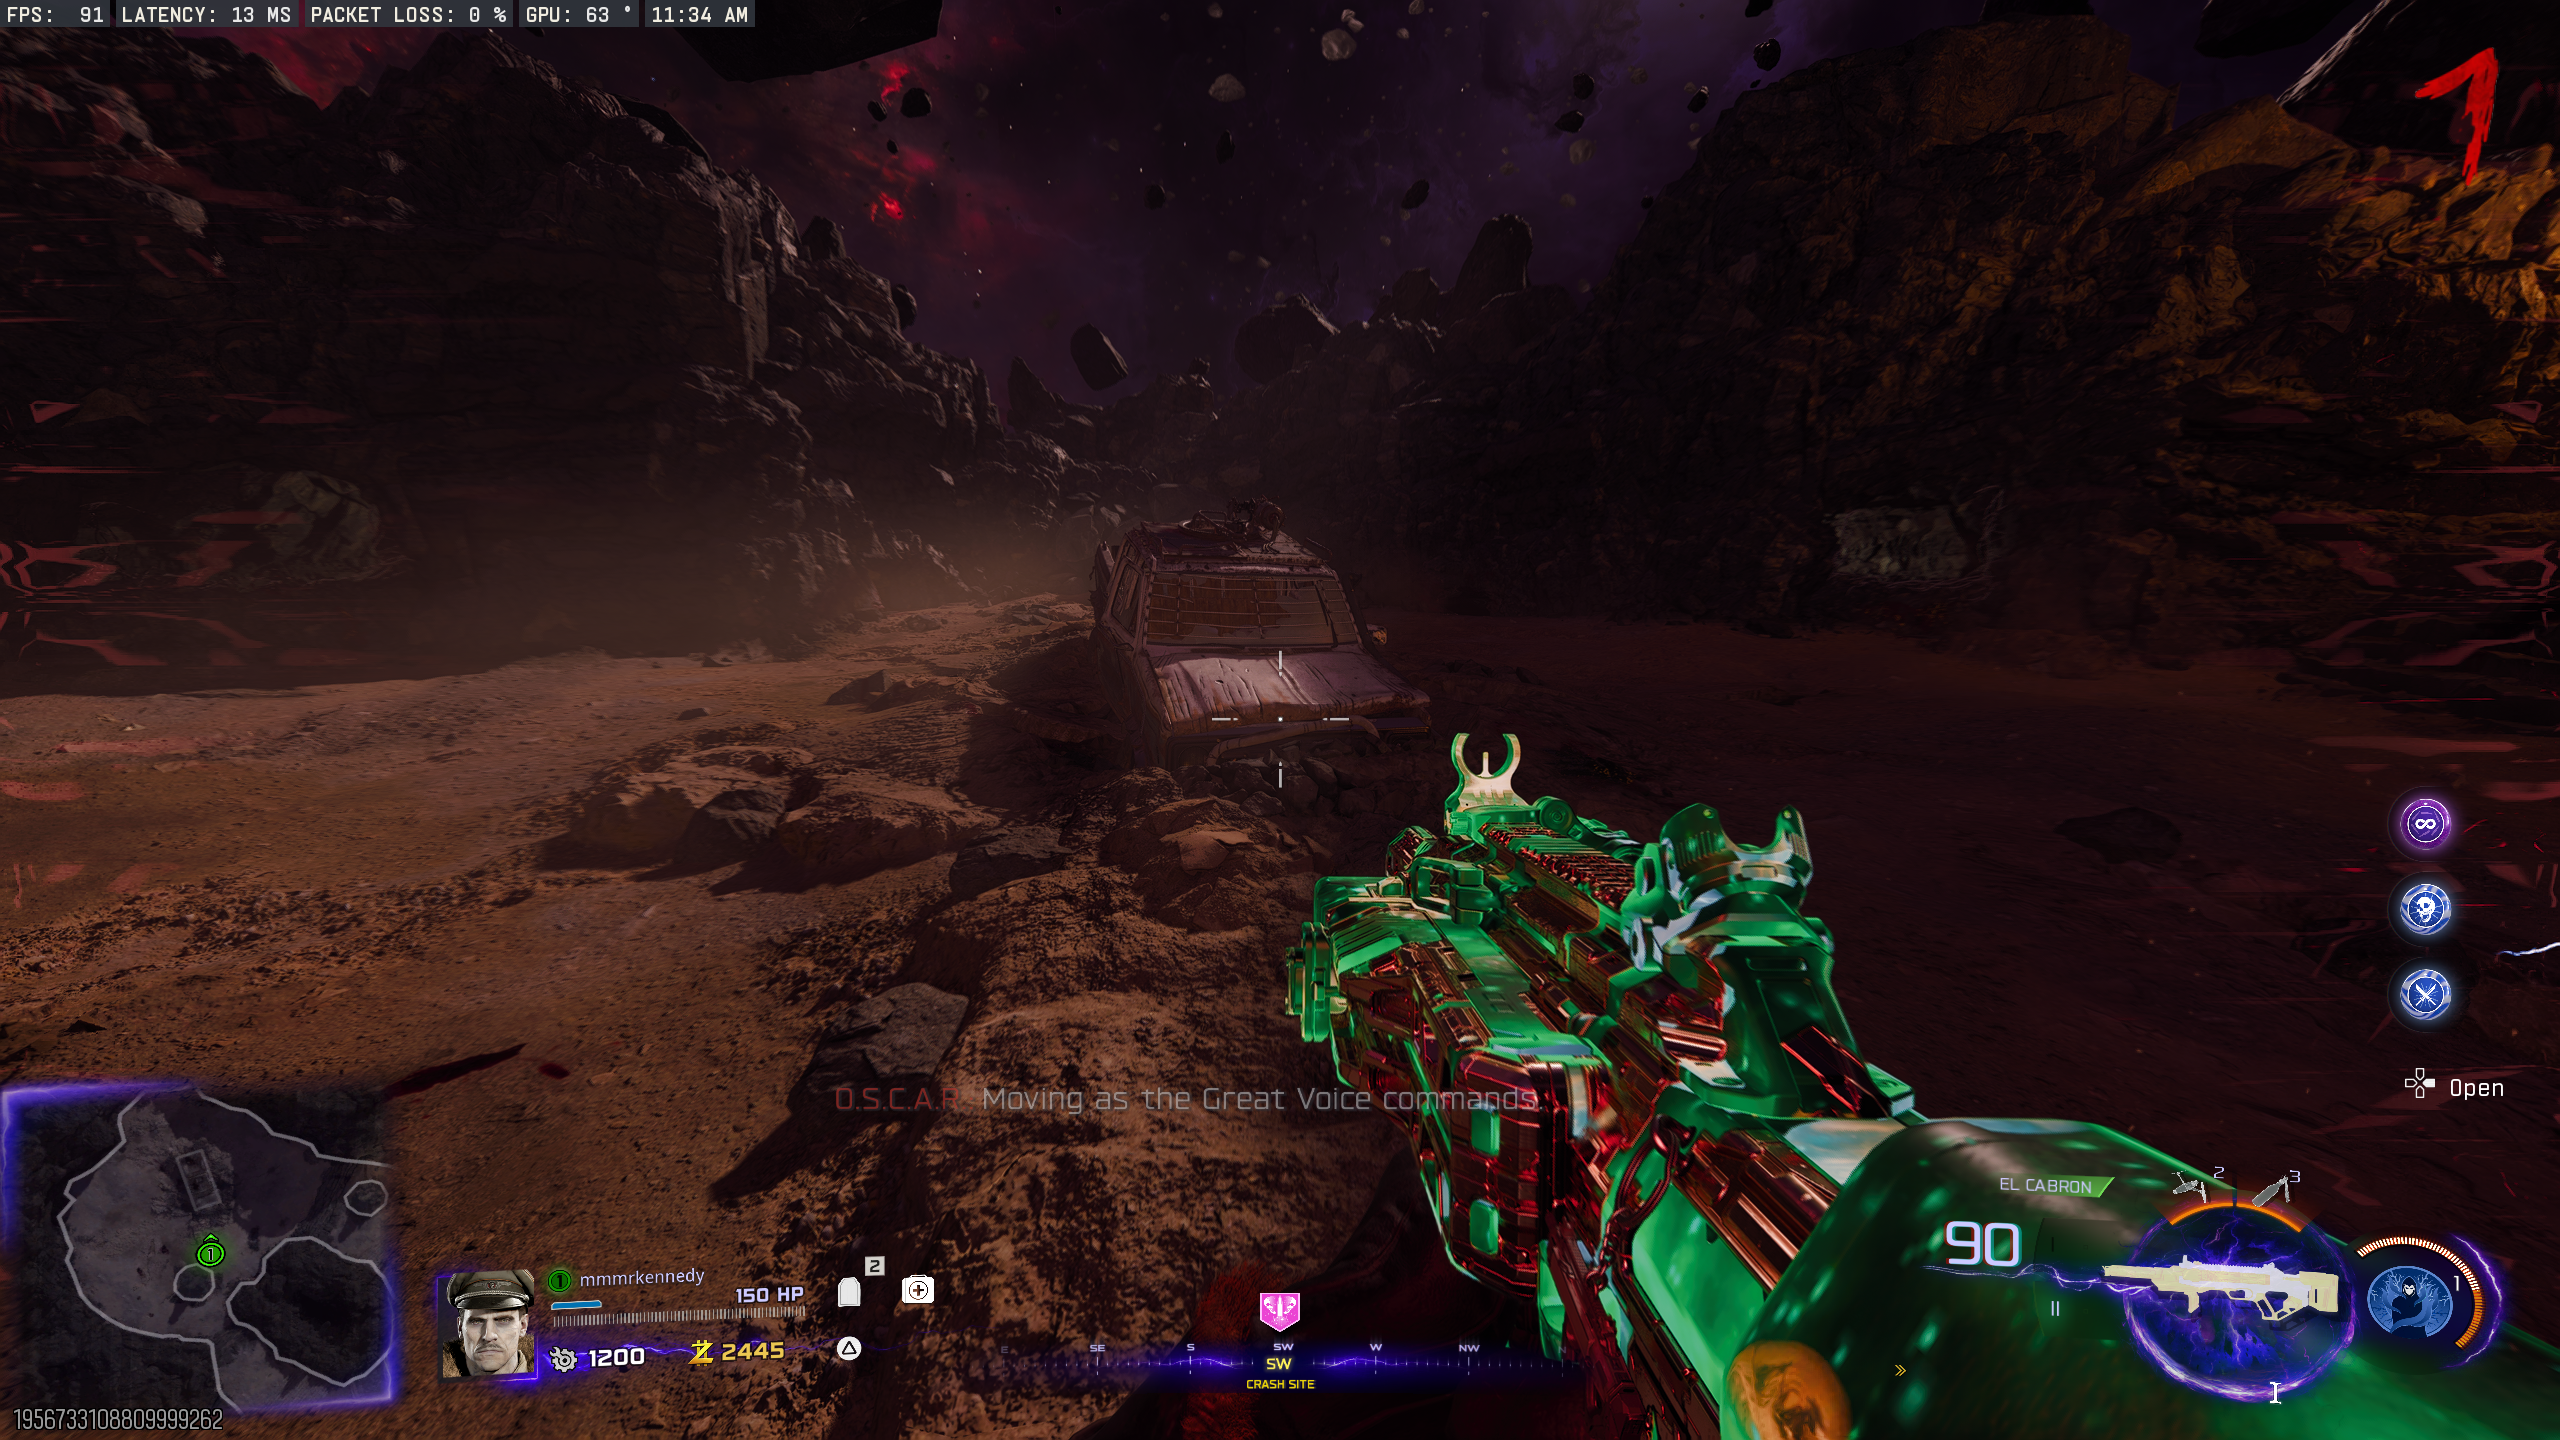
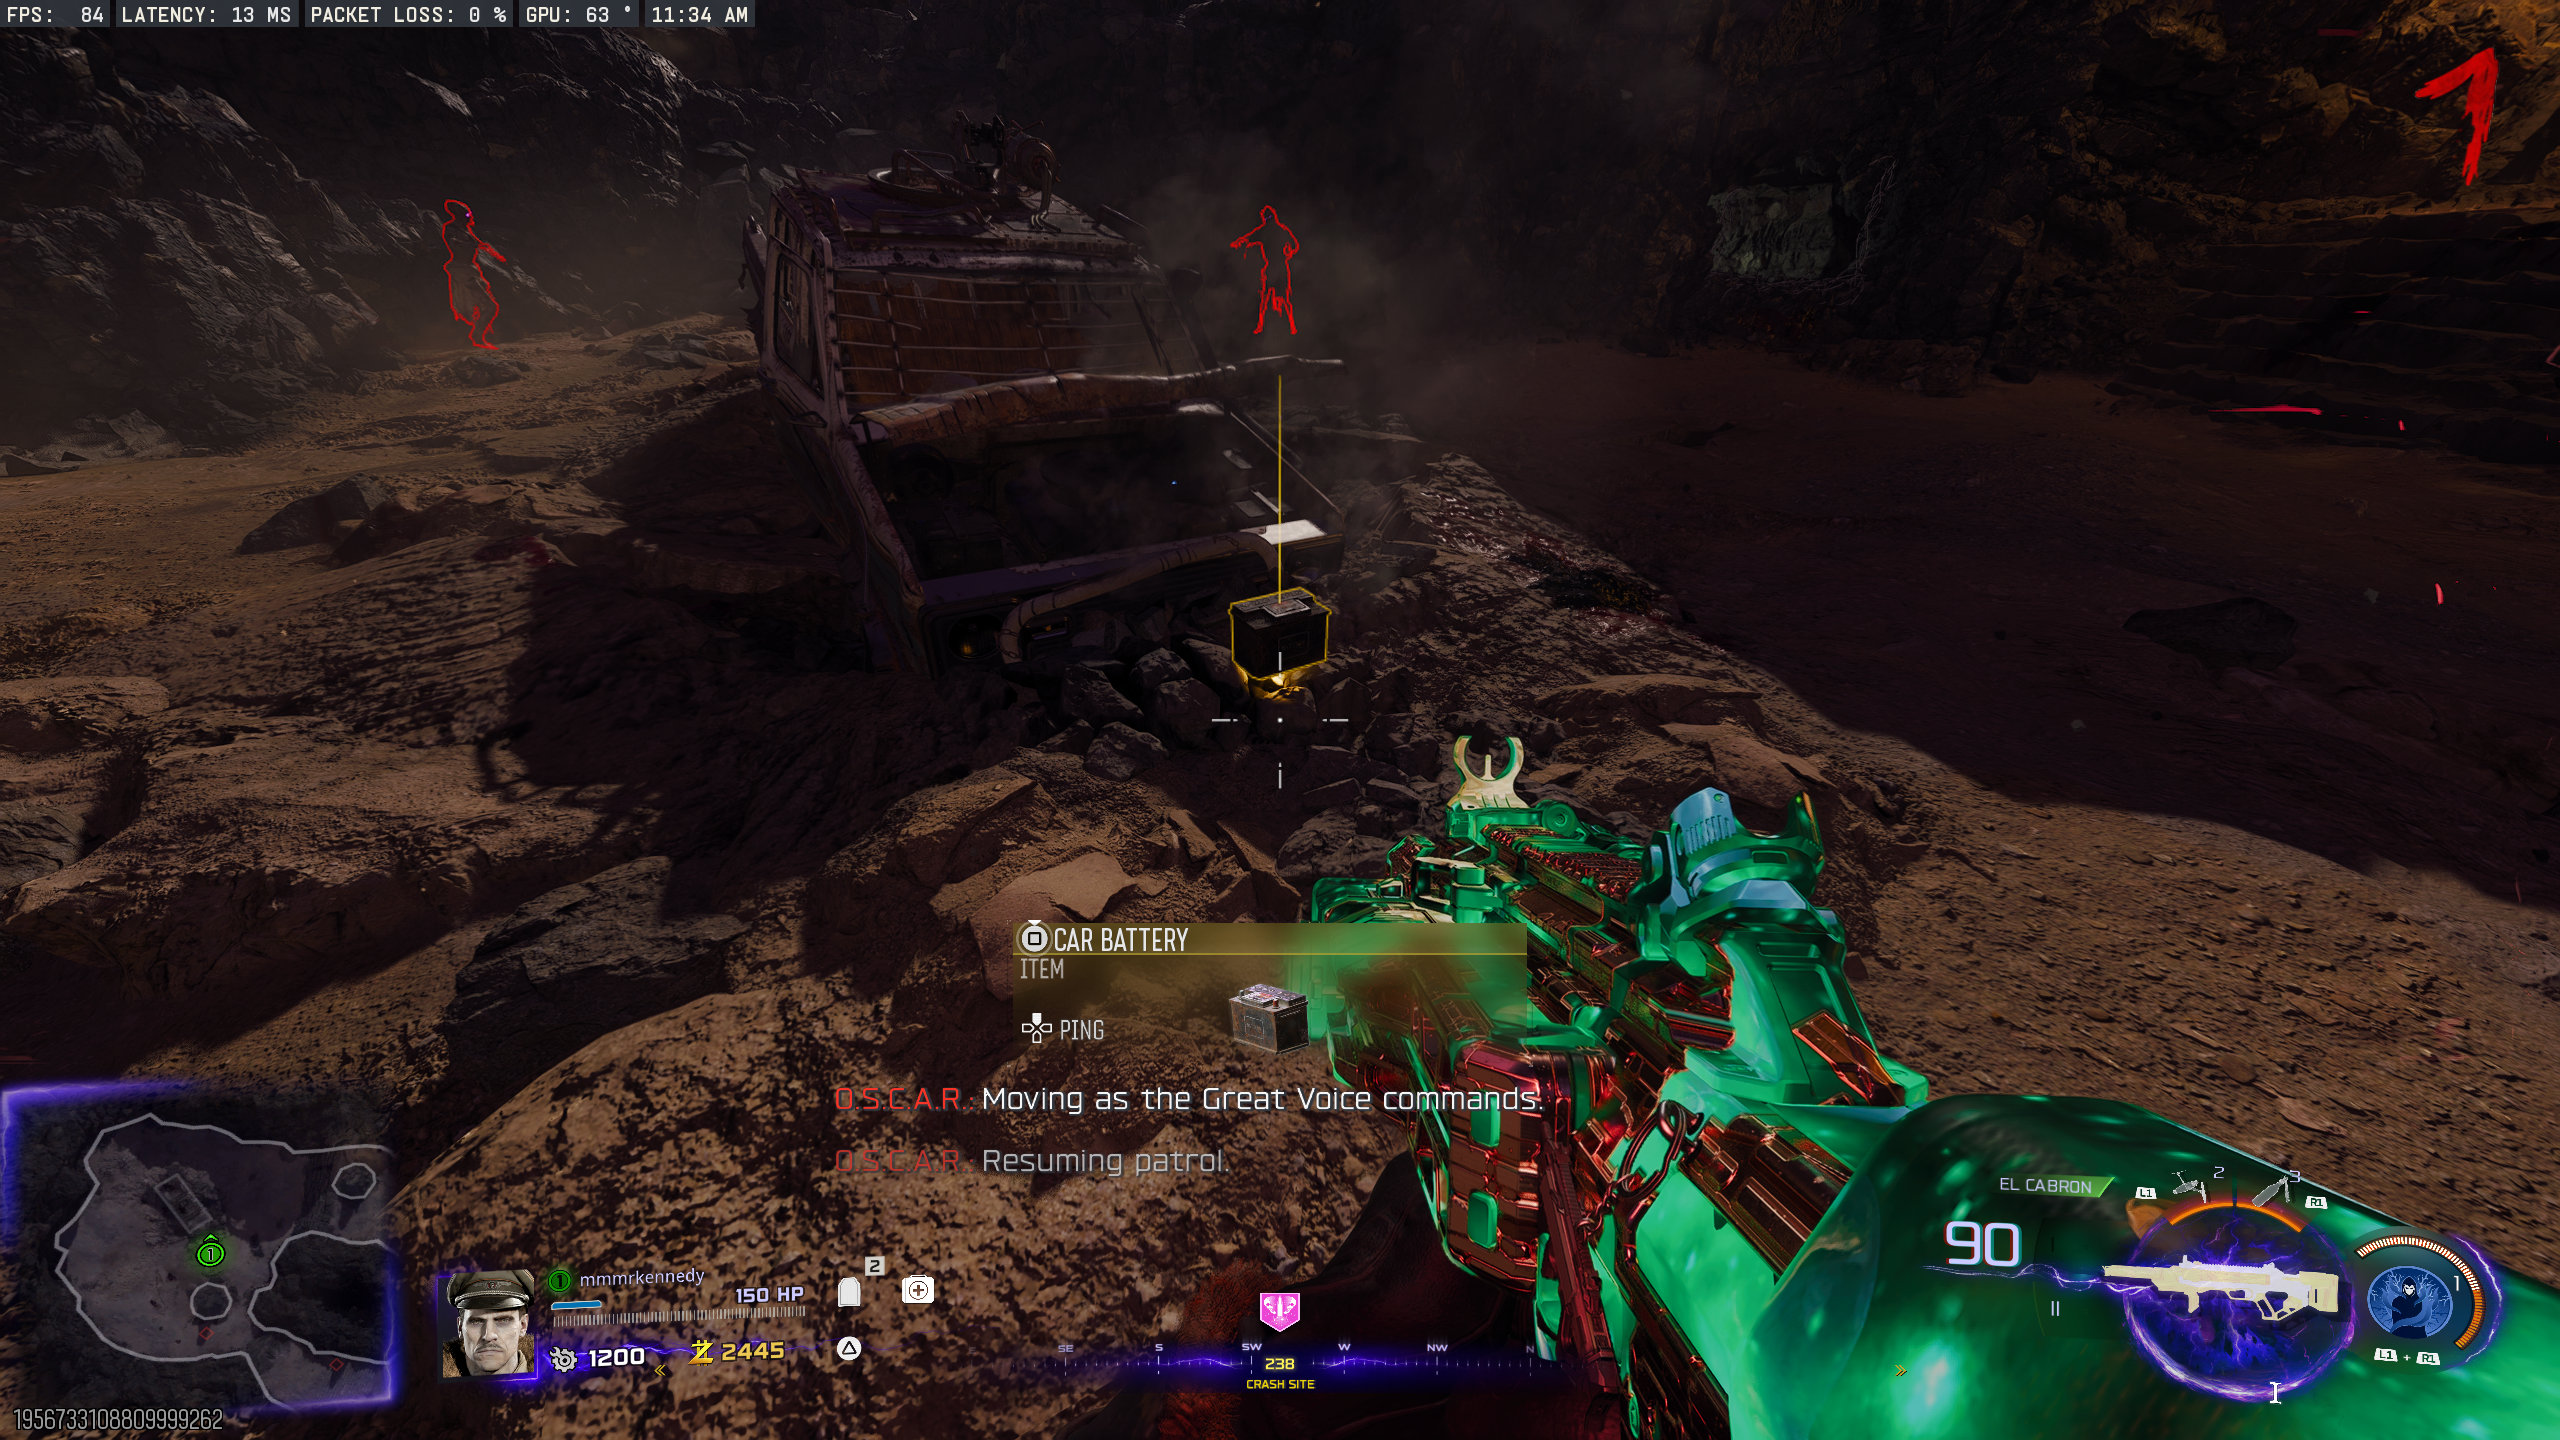
- Obtain a Pack-a-Punched weapon. Shoot the hood of Ol' Tessie in 'Crash Site' from close range.
- If close enough, the Car Battery will fly out onto the floor for you to pick up. This also teleports O.S.C.A.R. to the 'Crash Site' (if he's not dead), and spawns a bunch of purple-eyed Zombies.
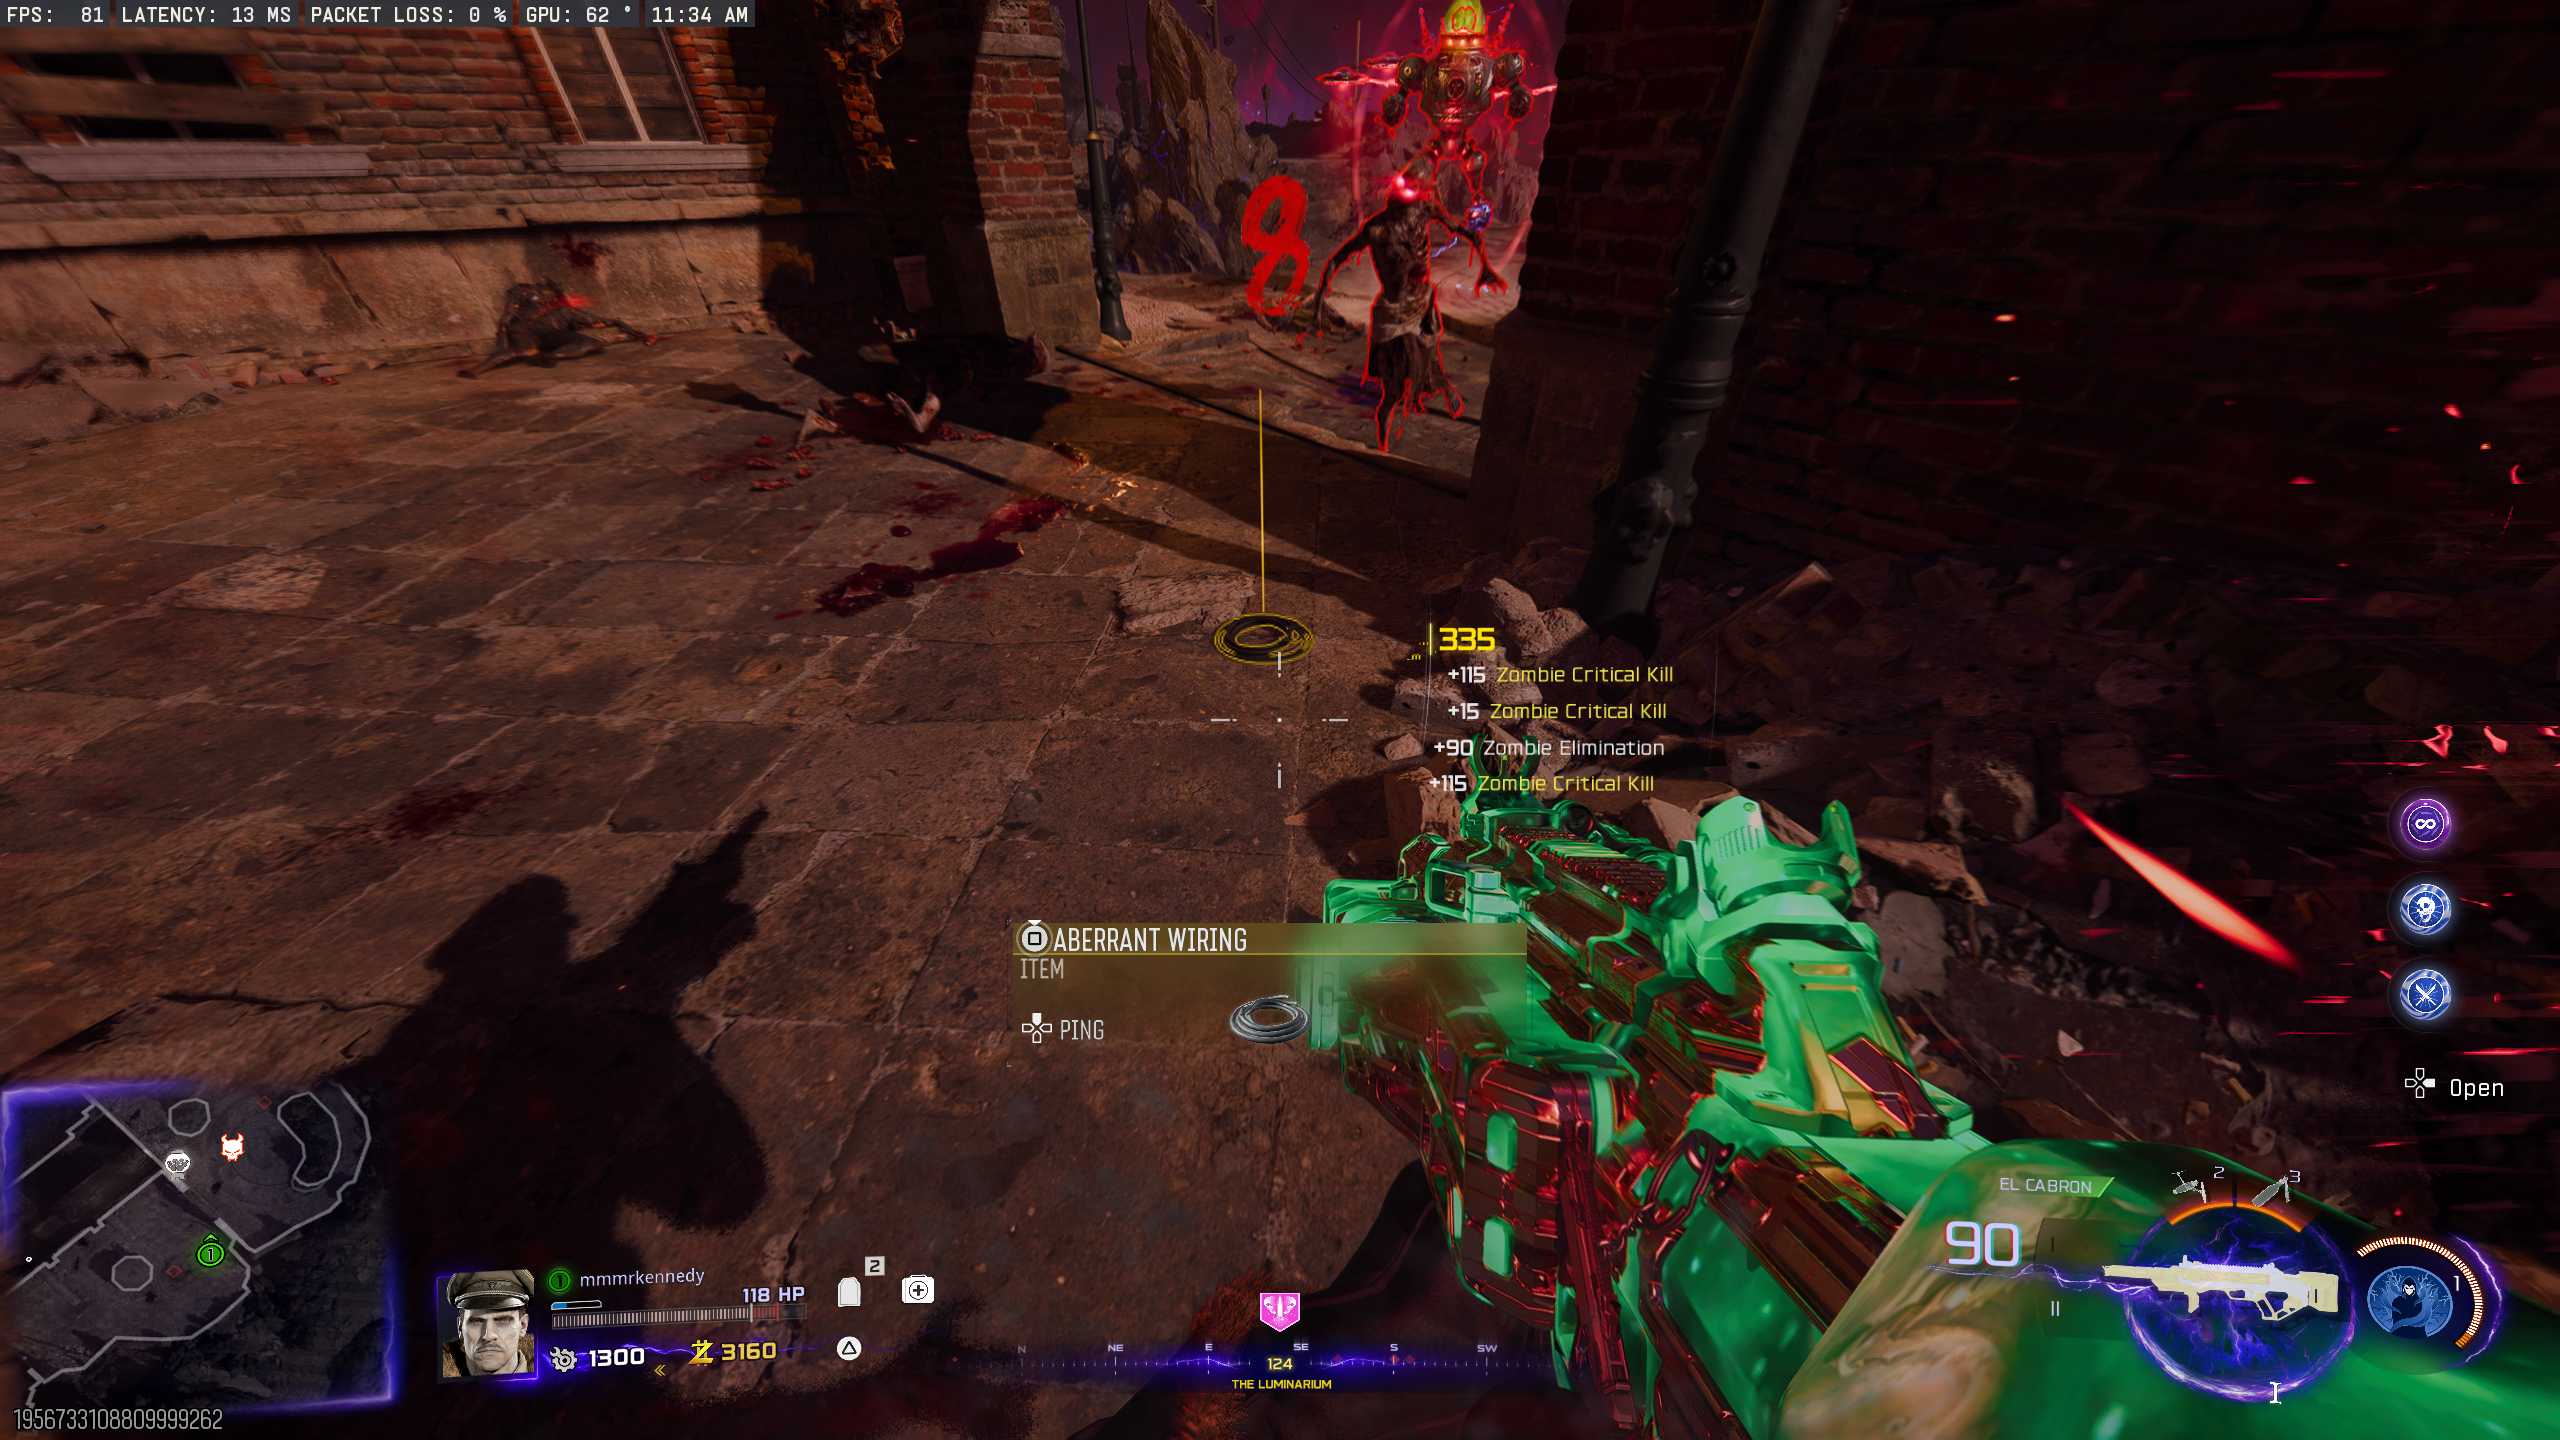
- Around the map, one lamp post will be blinking. Shoot the light until it drops the Aberrant Wiring for you to pick up.
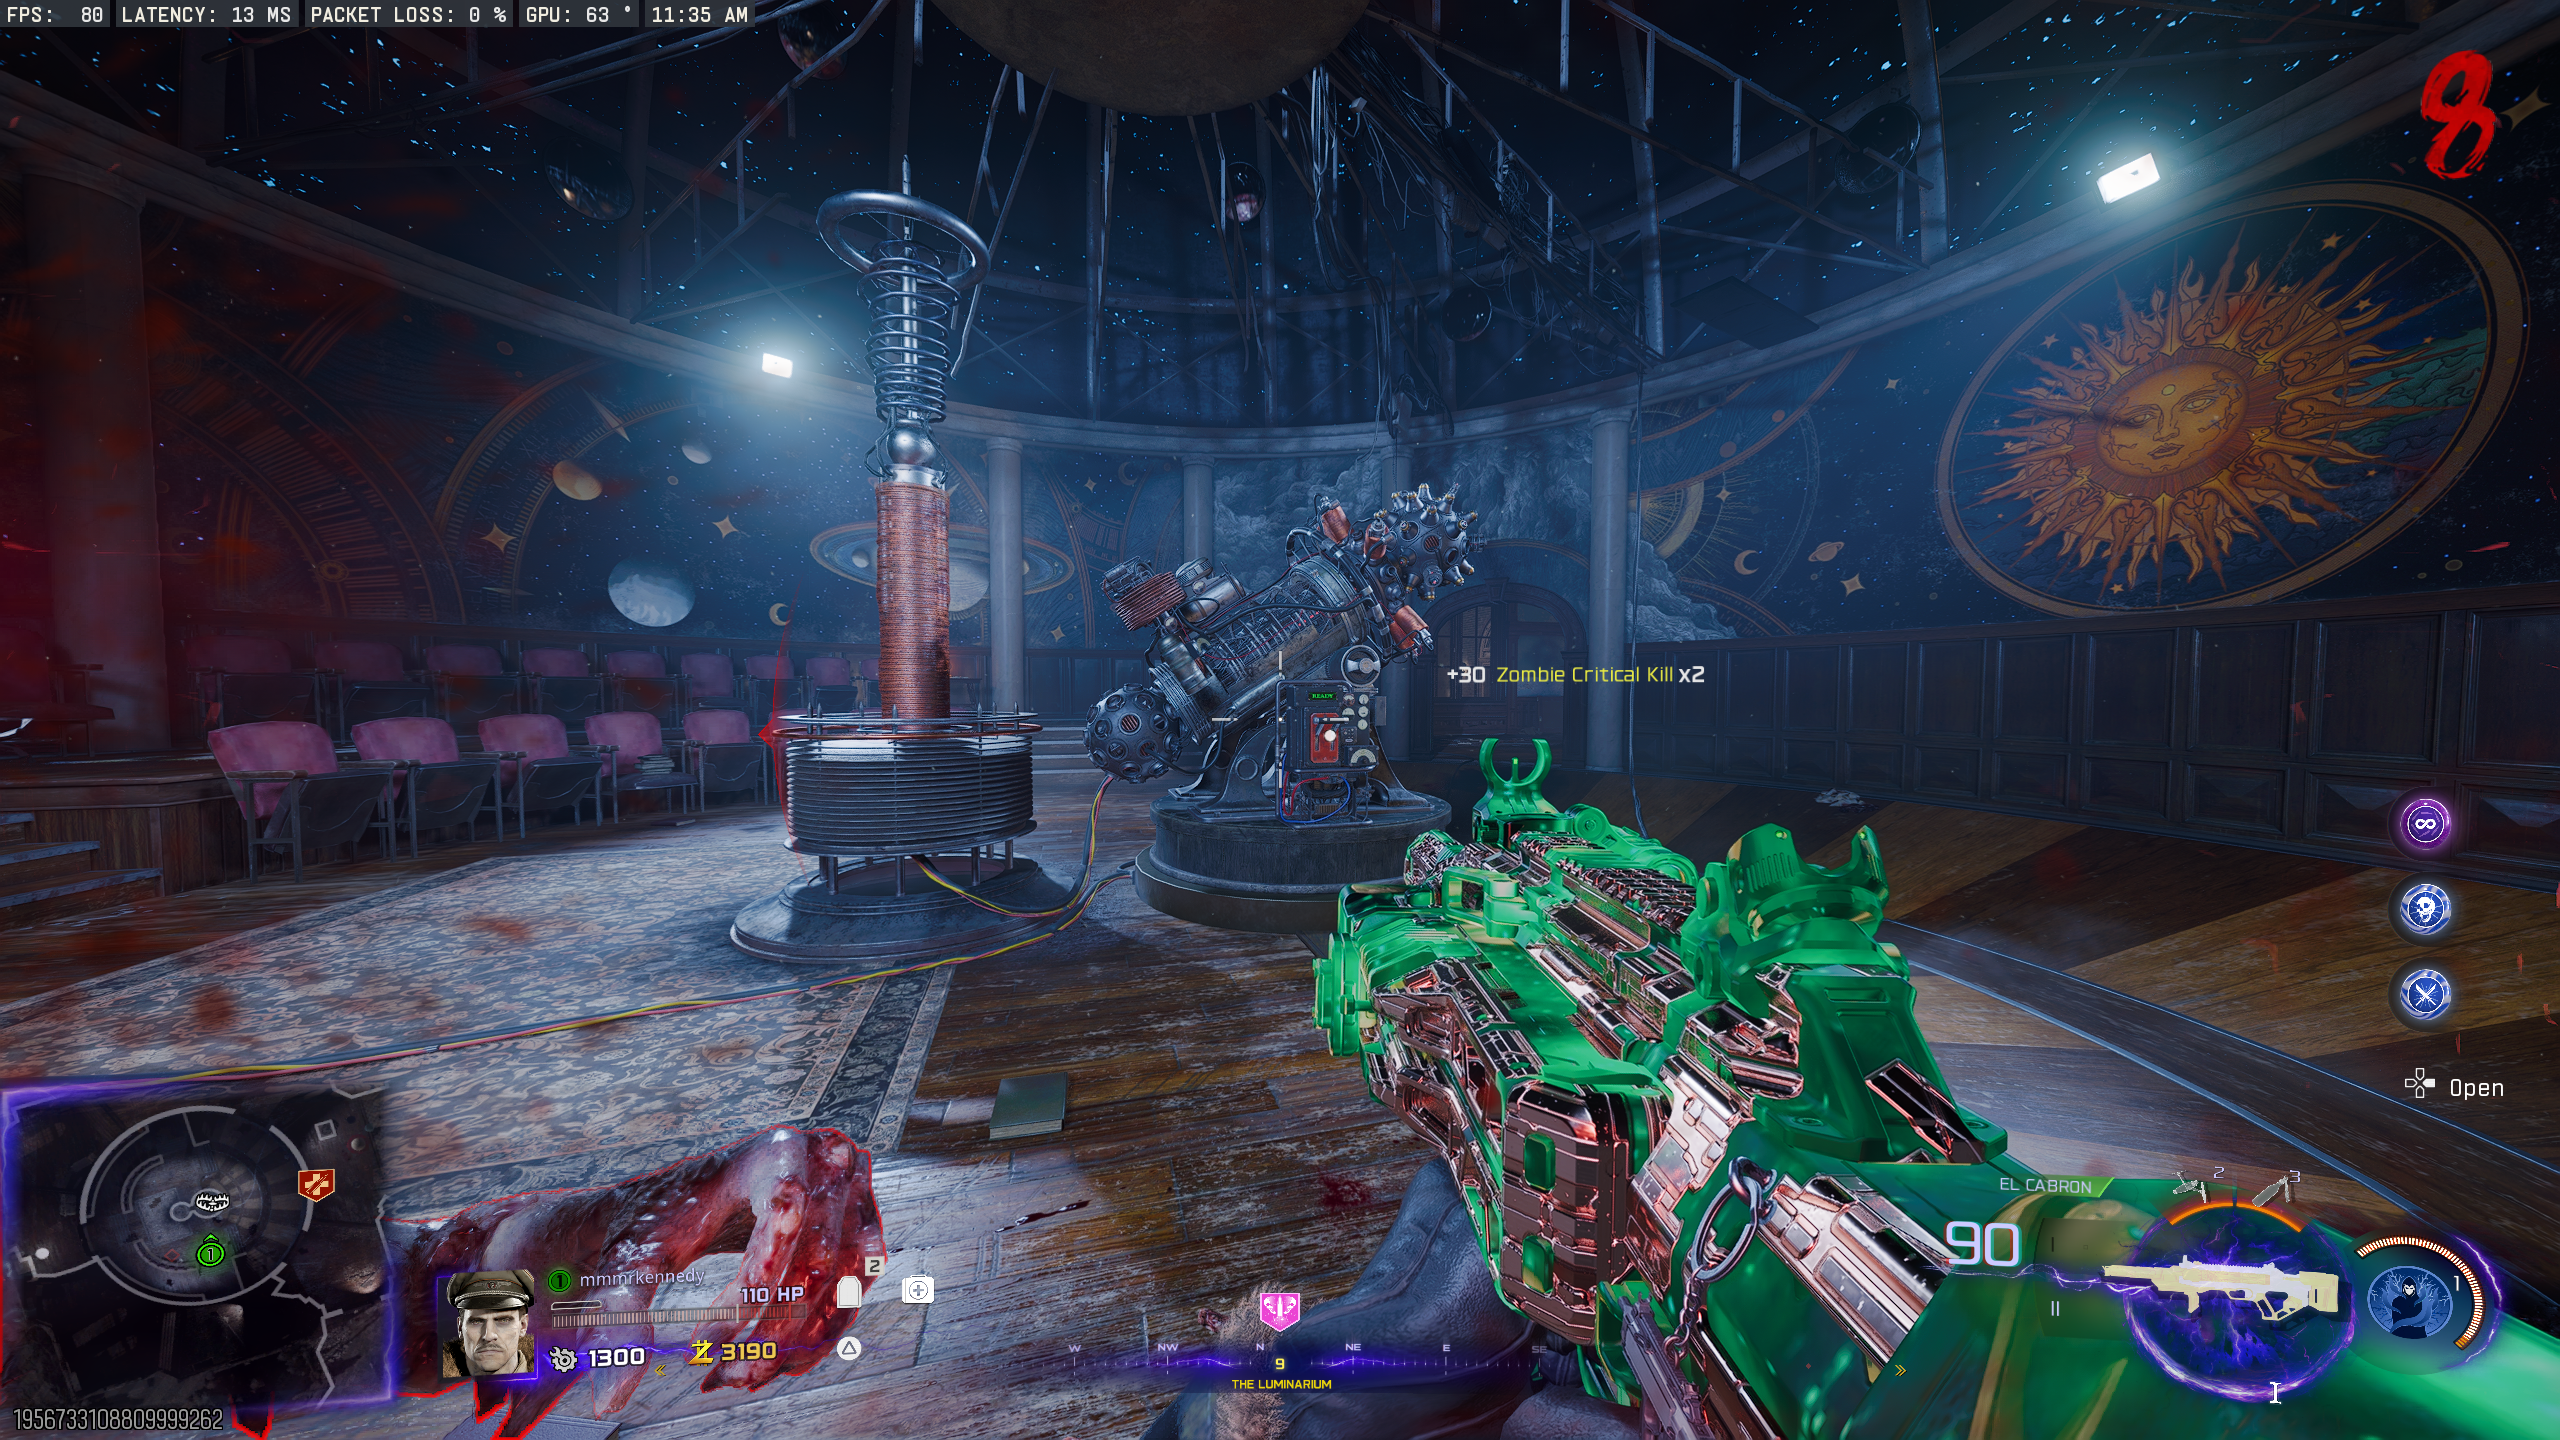
- Once you have the three parts (Damaged Drone, Aberrant Wiring, and Car Battery), interact with the Electro-Volt Projector in 'The Luminarium'. You should now be able to activate a non-lethal version of the trap for free.
- Bring O.S.C.A.R. into the room with the Electro-Volt Projector. Activate the trap, and keep O.S.C.A.R. in the room until he dies.
Model Rocket Thrusters
- Equip the Cryofreeze Ammo Mod. If you don't have it unlocked, see the Twins easter egg for how to get one for free.
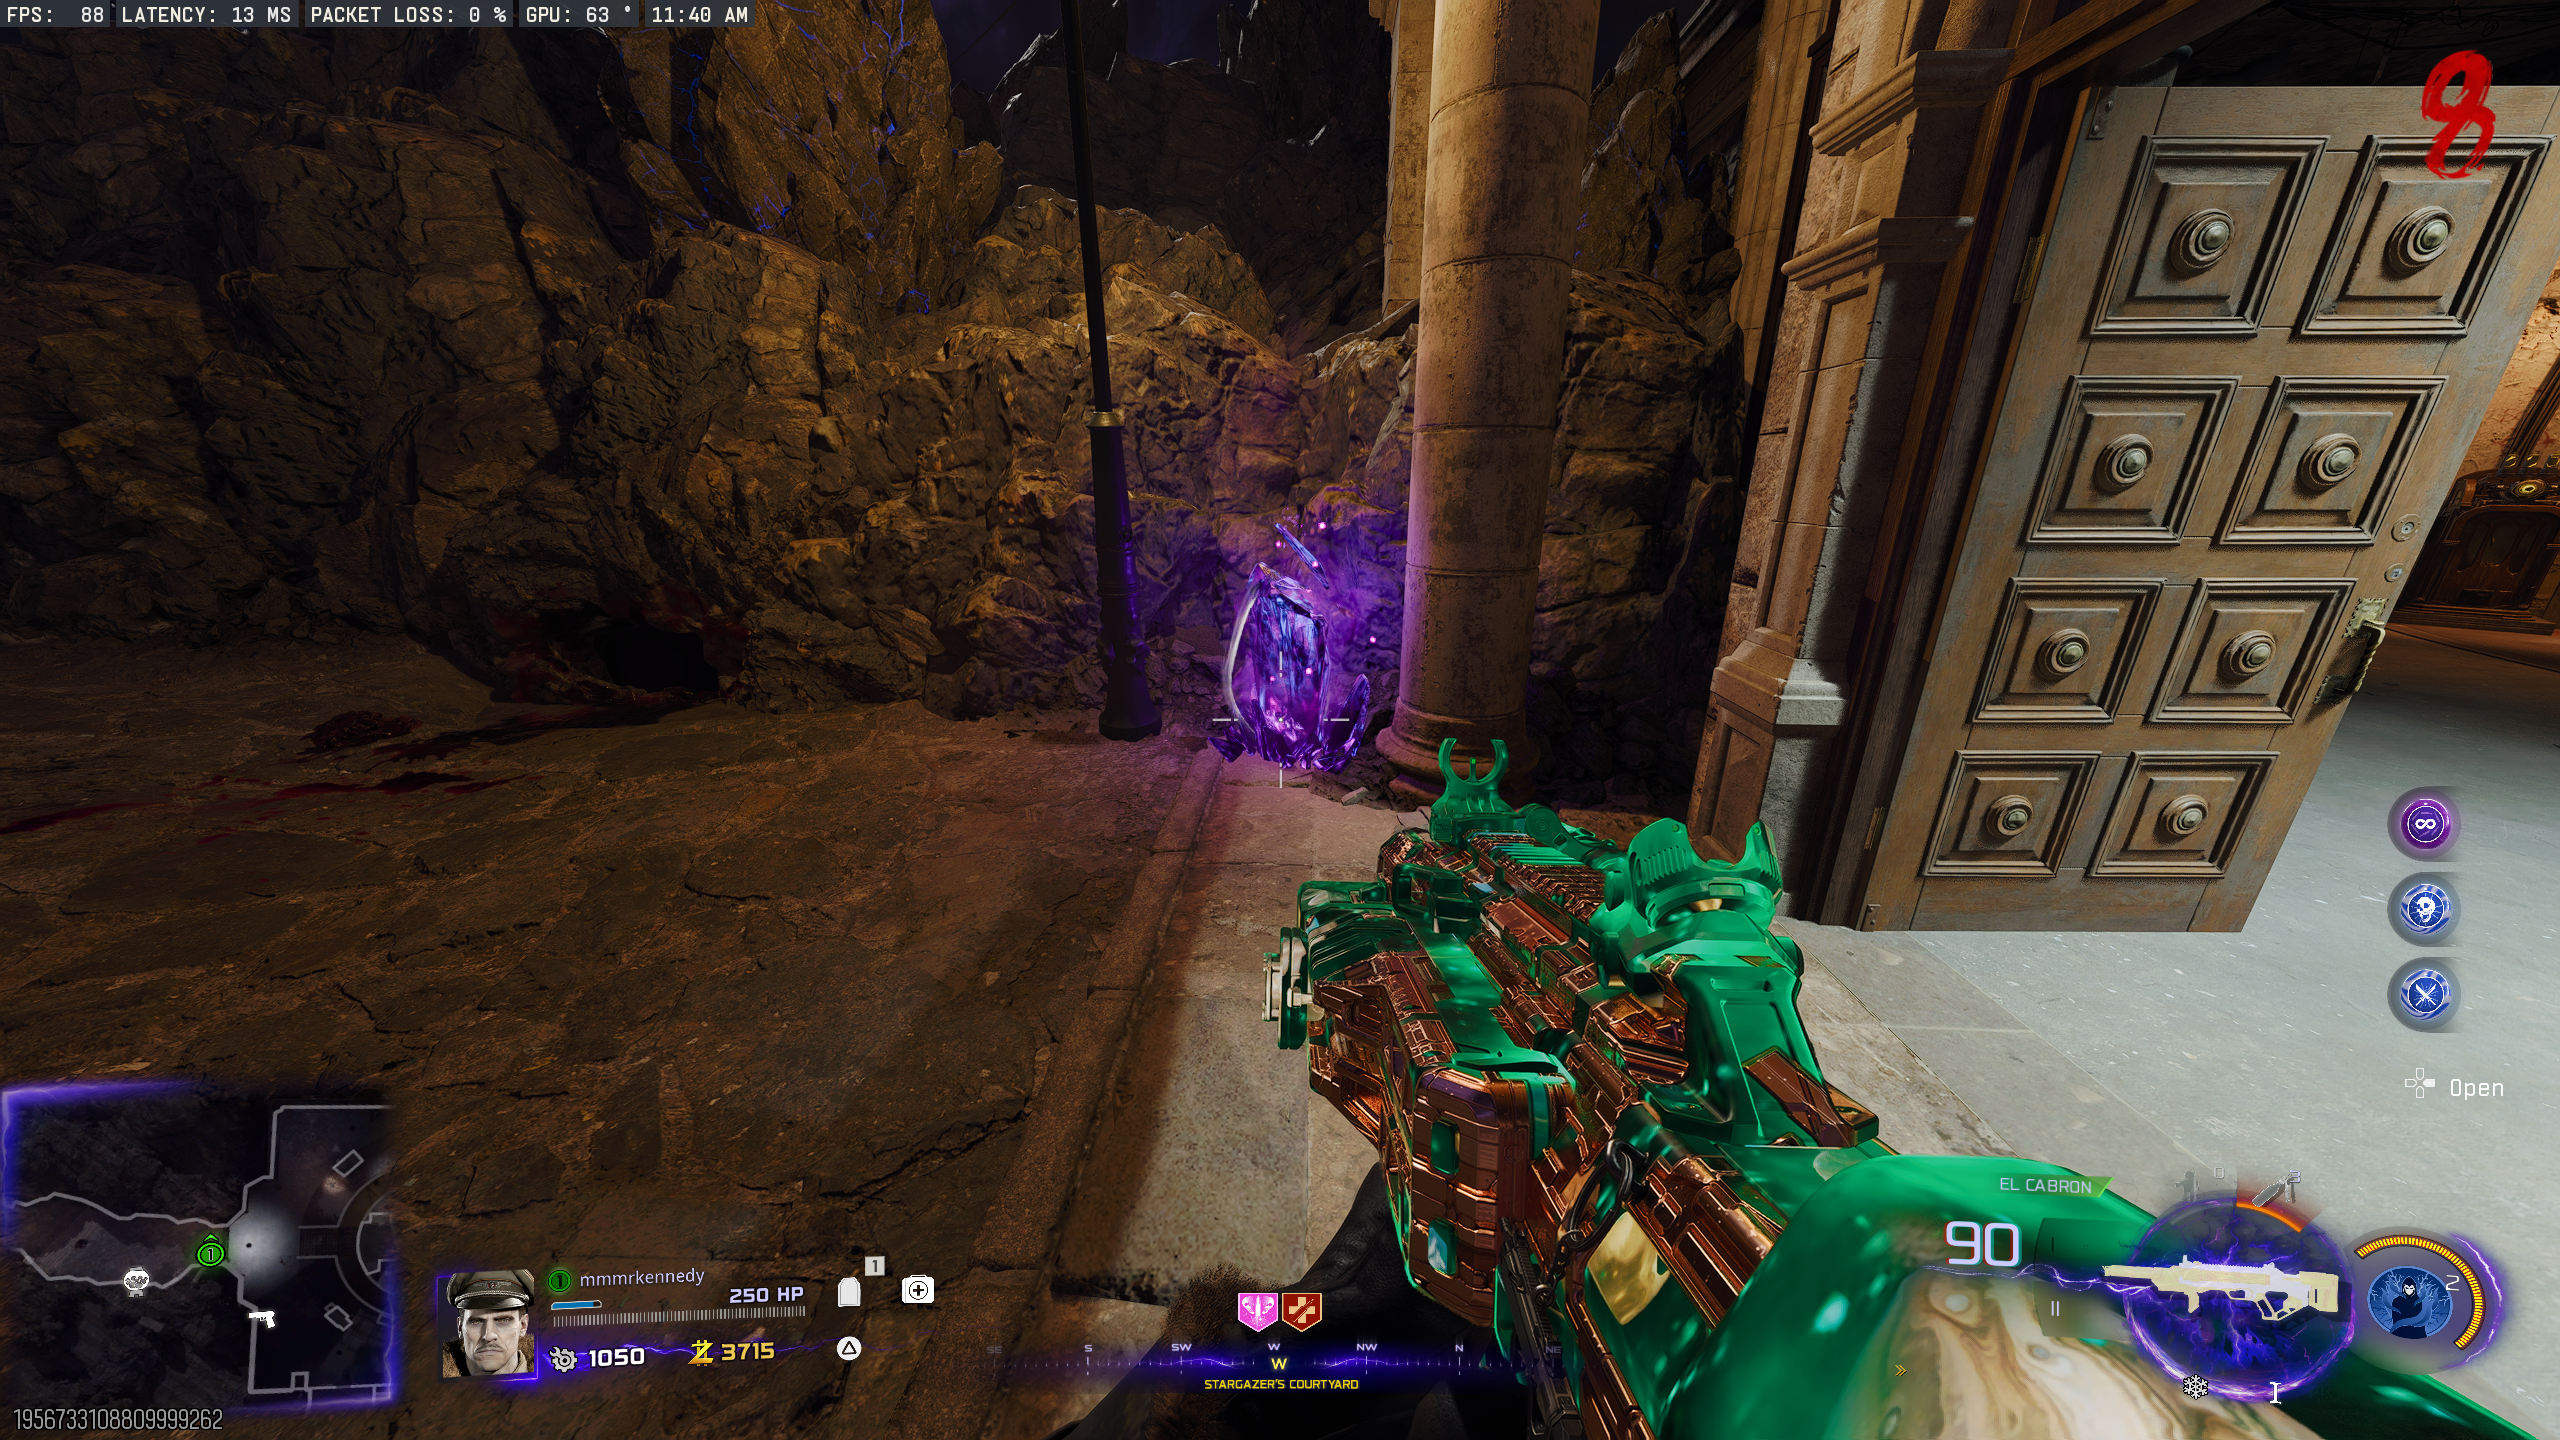
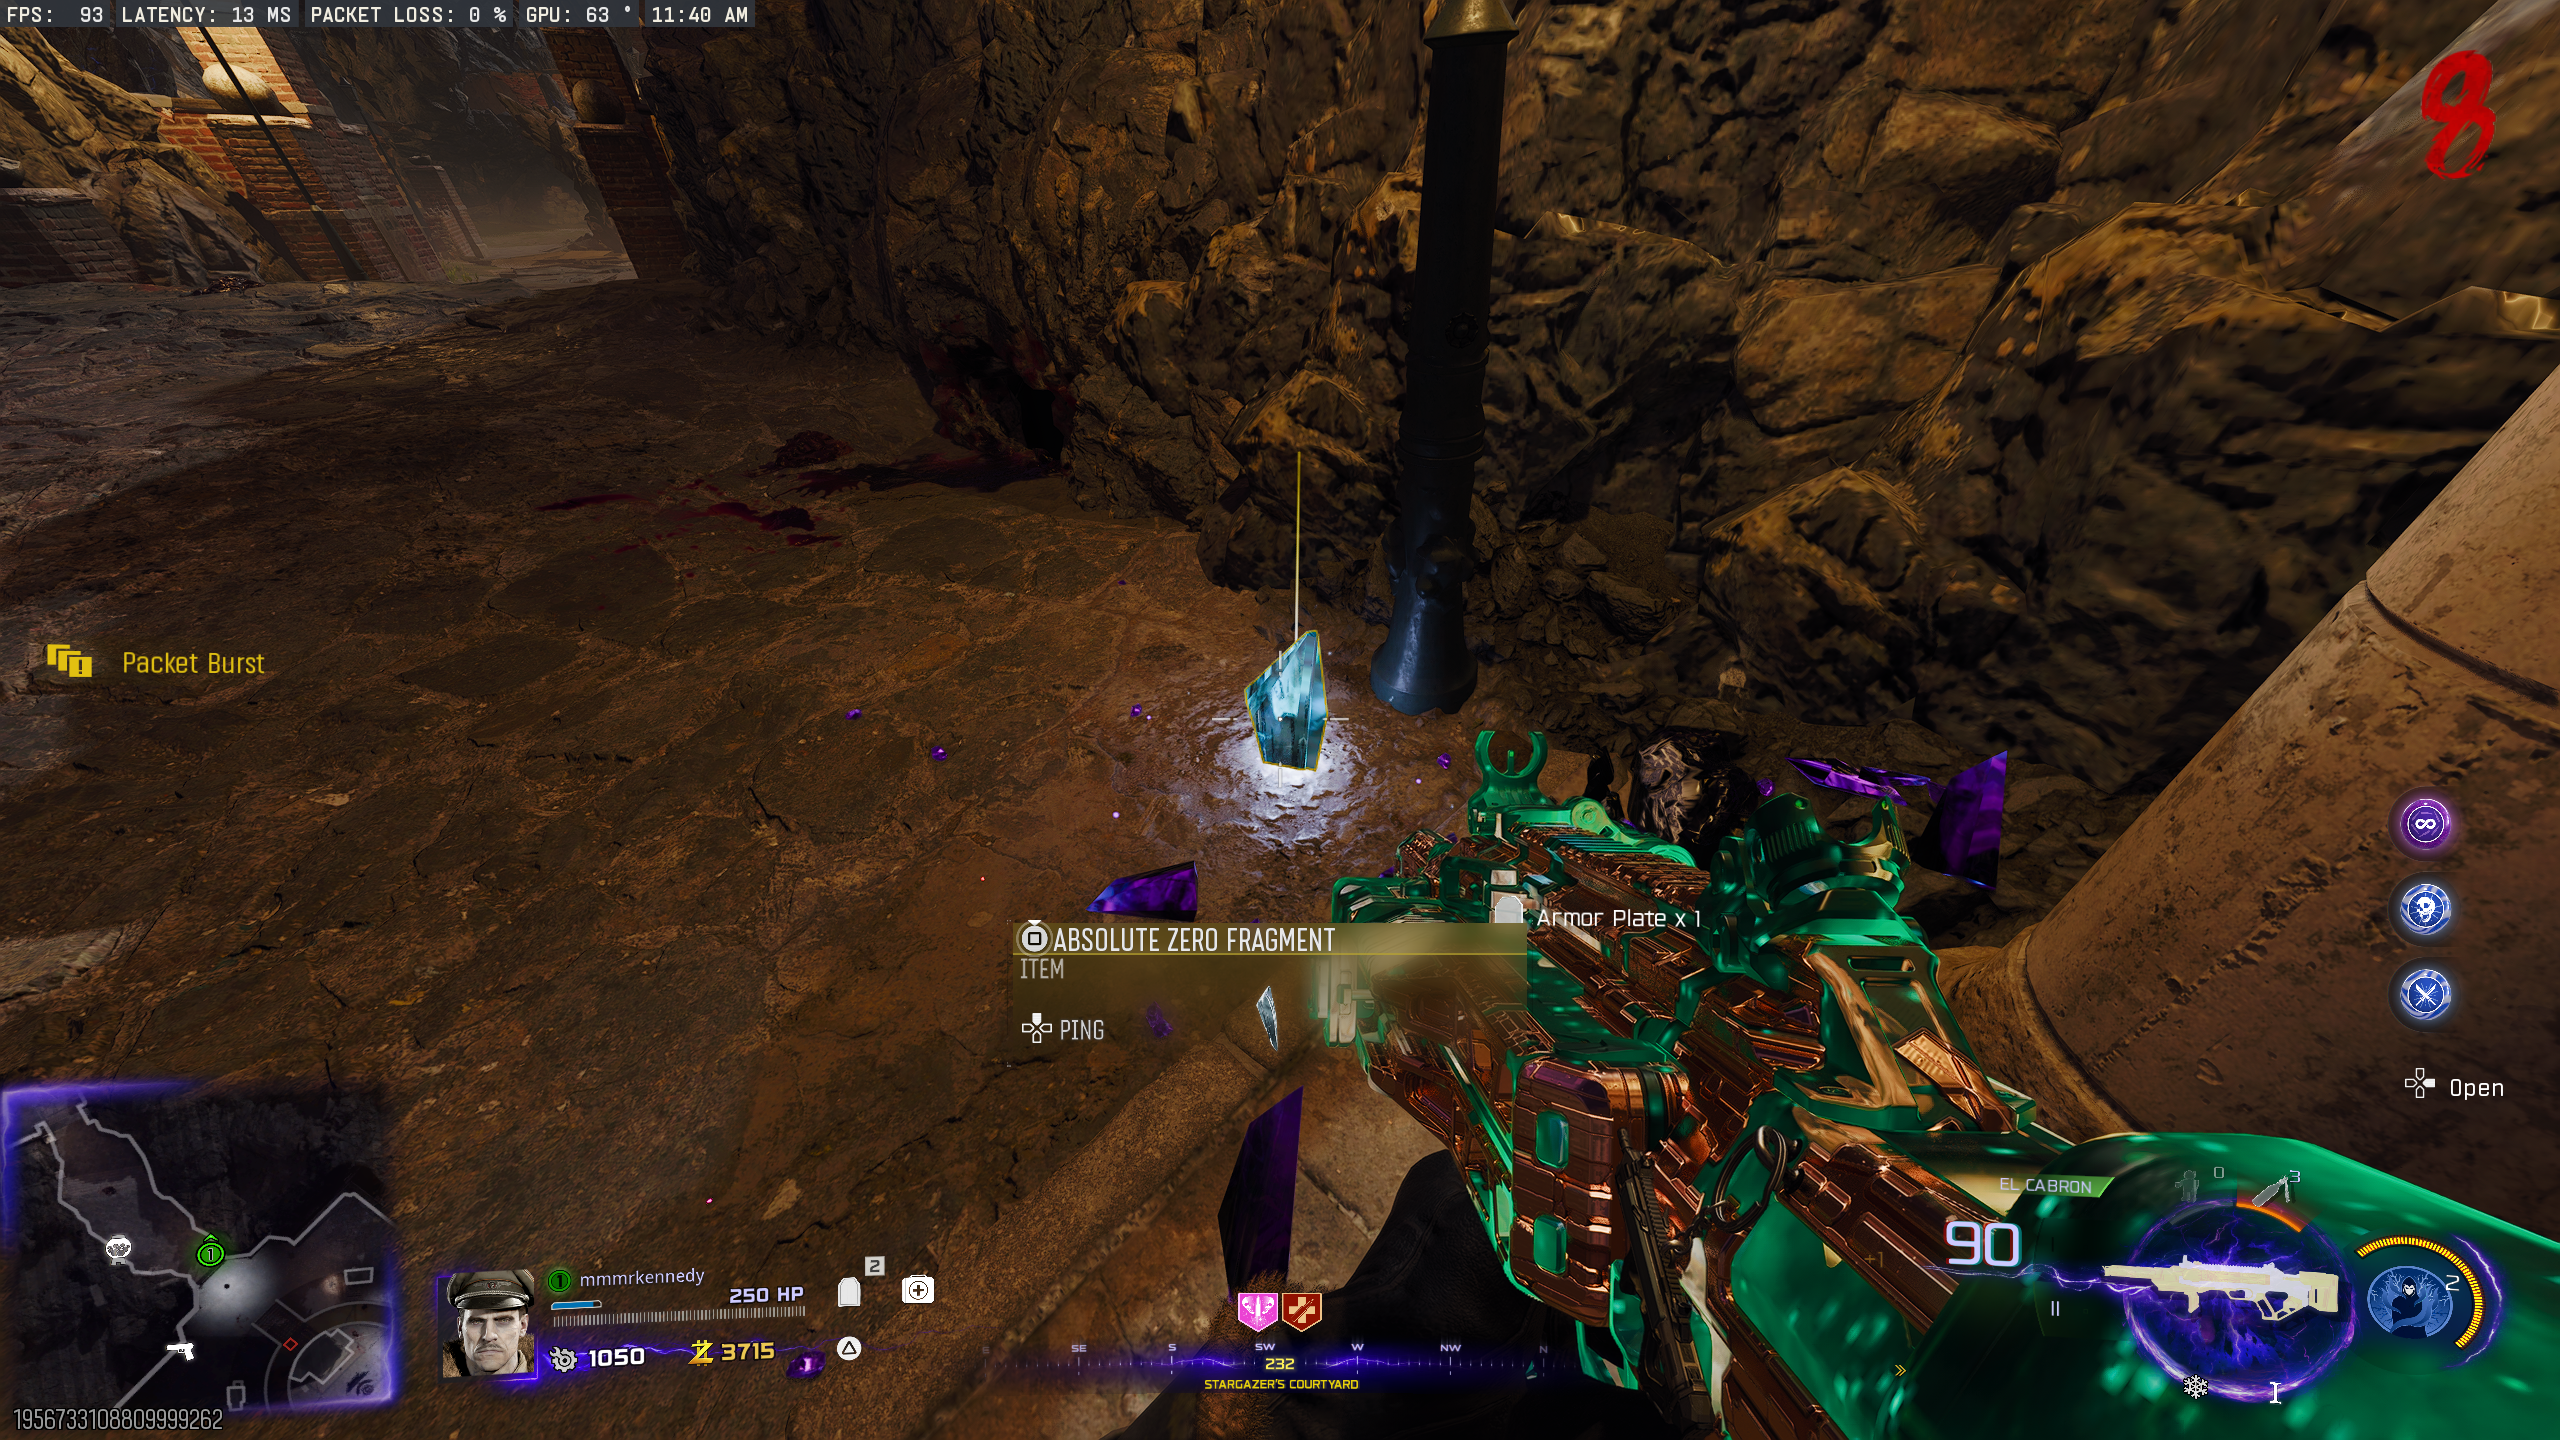
- Shoot three Aether crystals around the map with the Cryofreeze gun. When shot, it should drop an Absolute Zero Fragment for you to pick up.
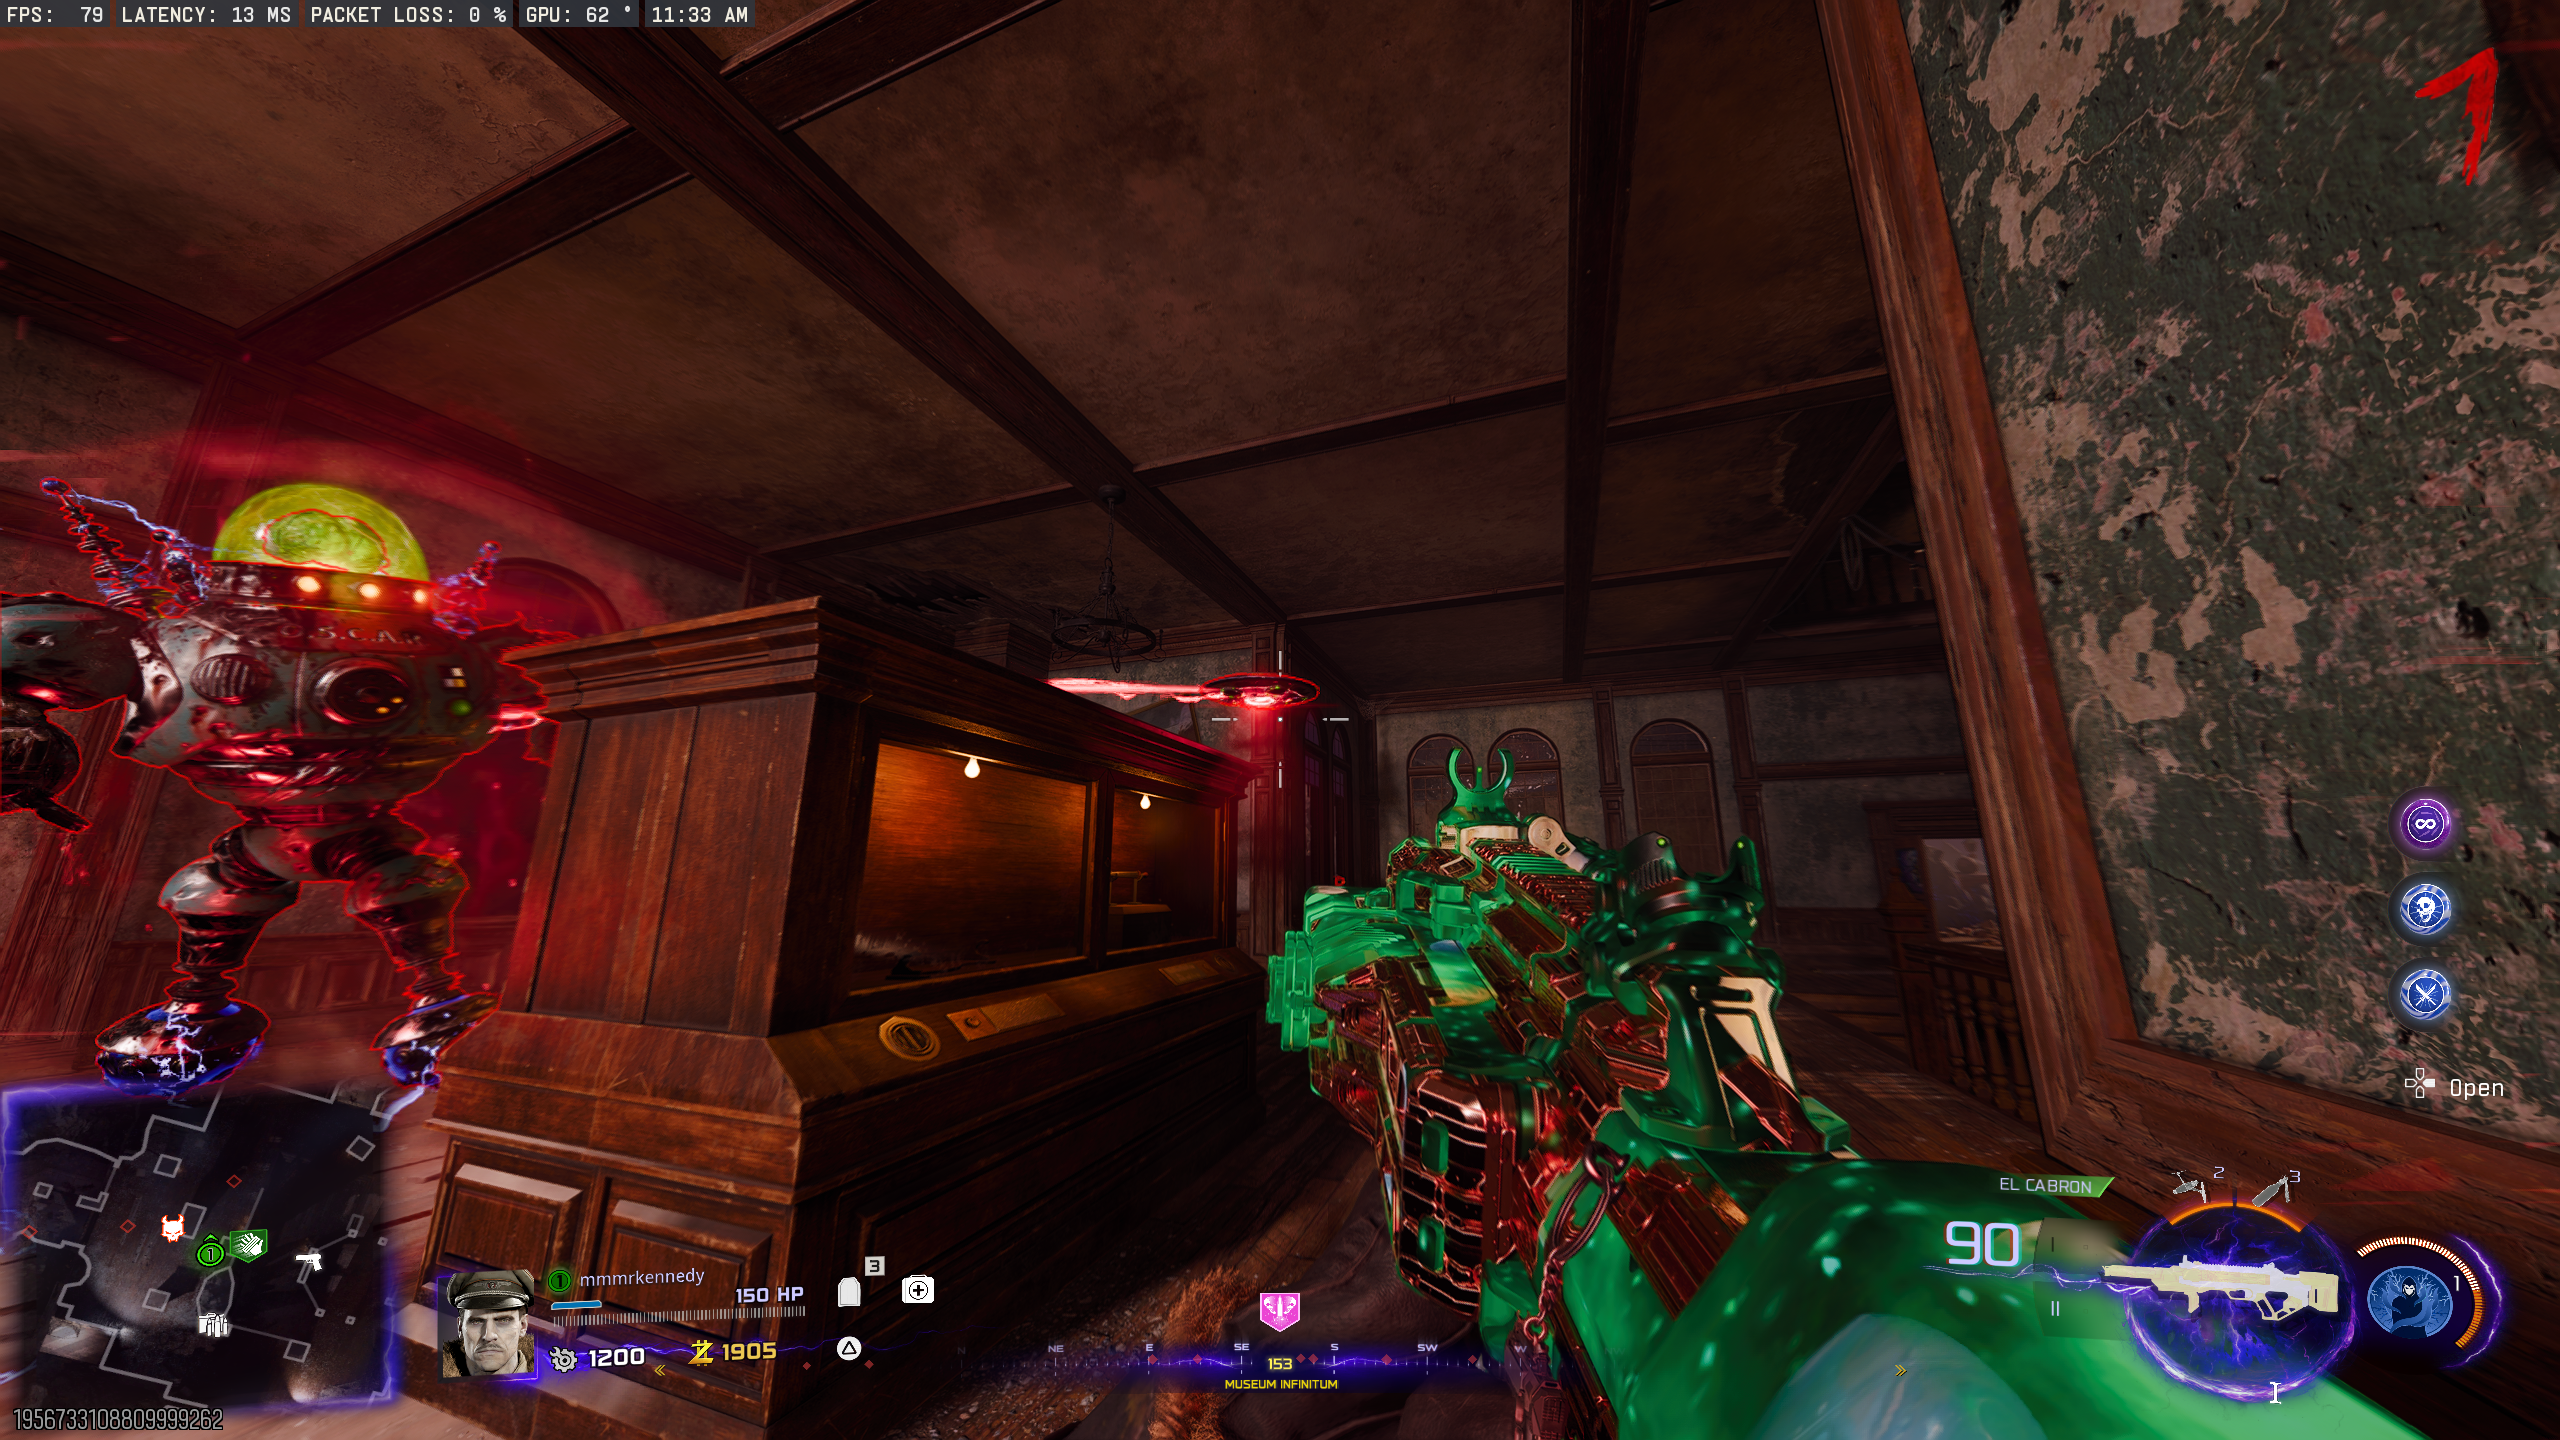
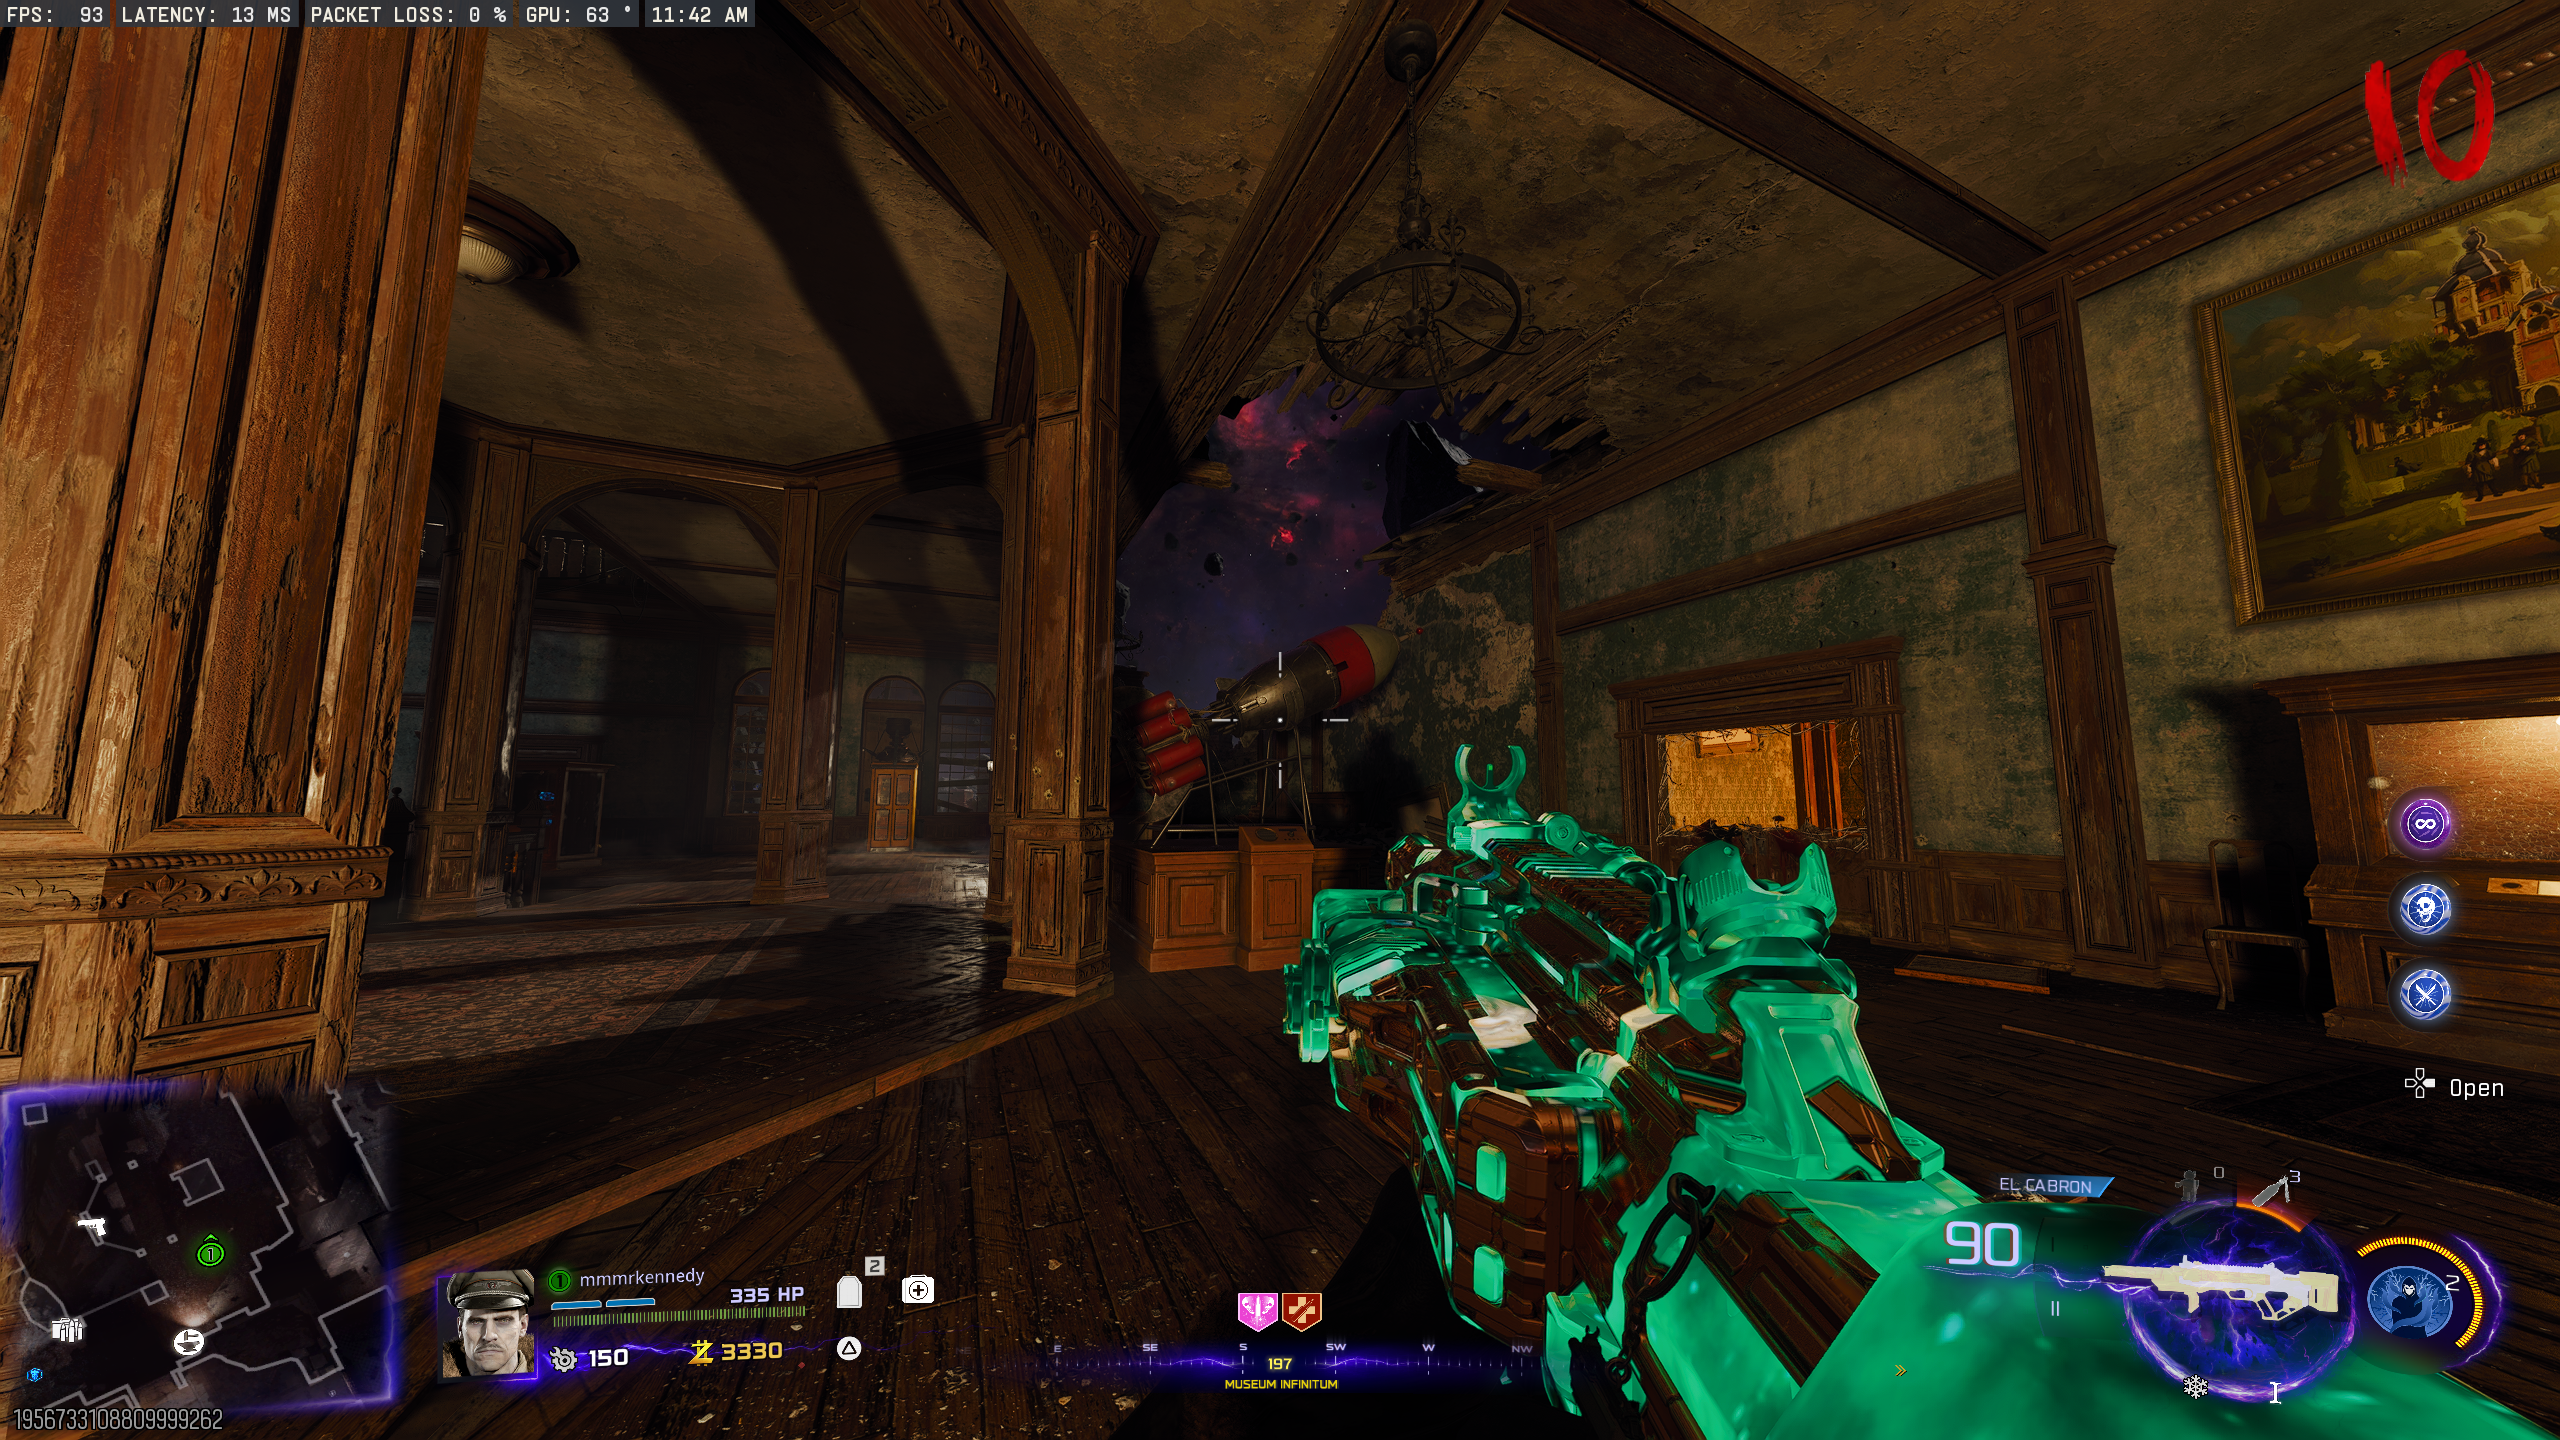
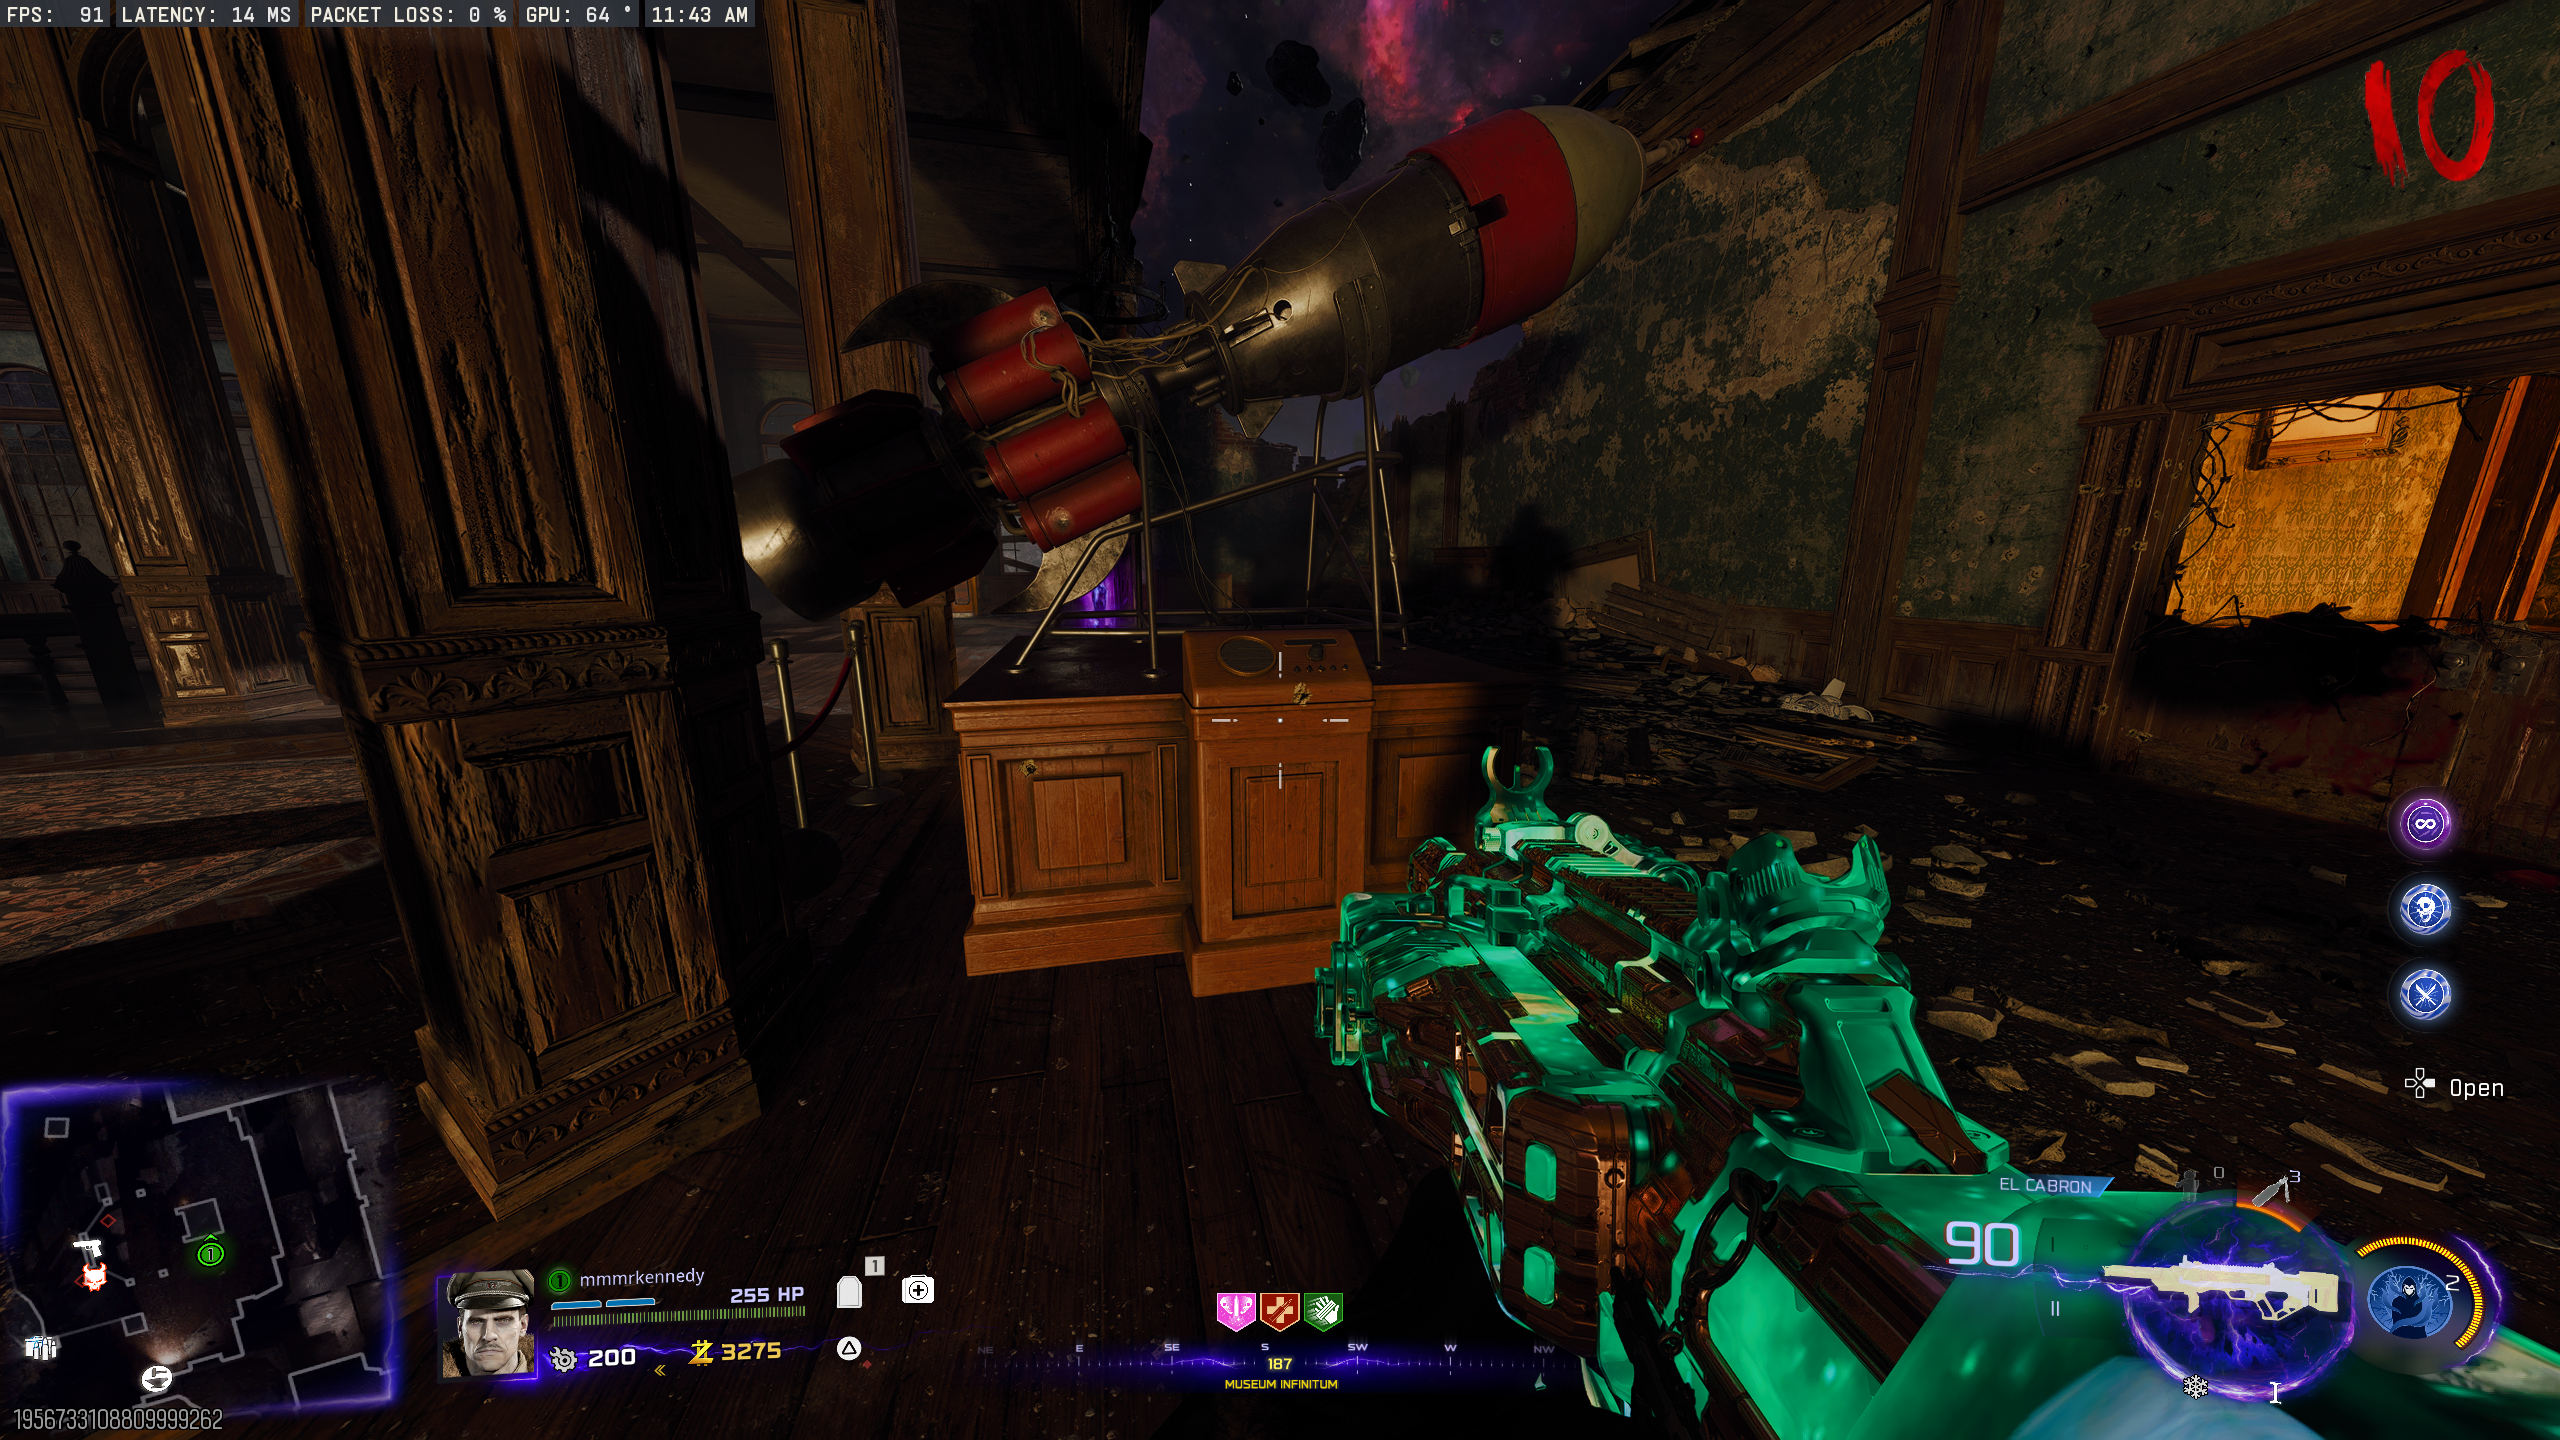
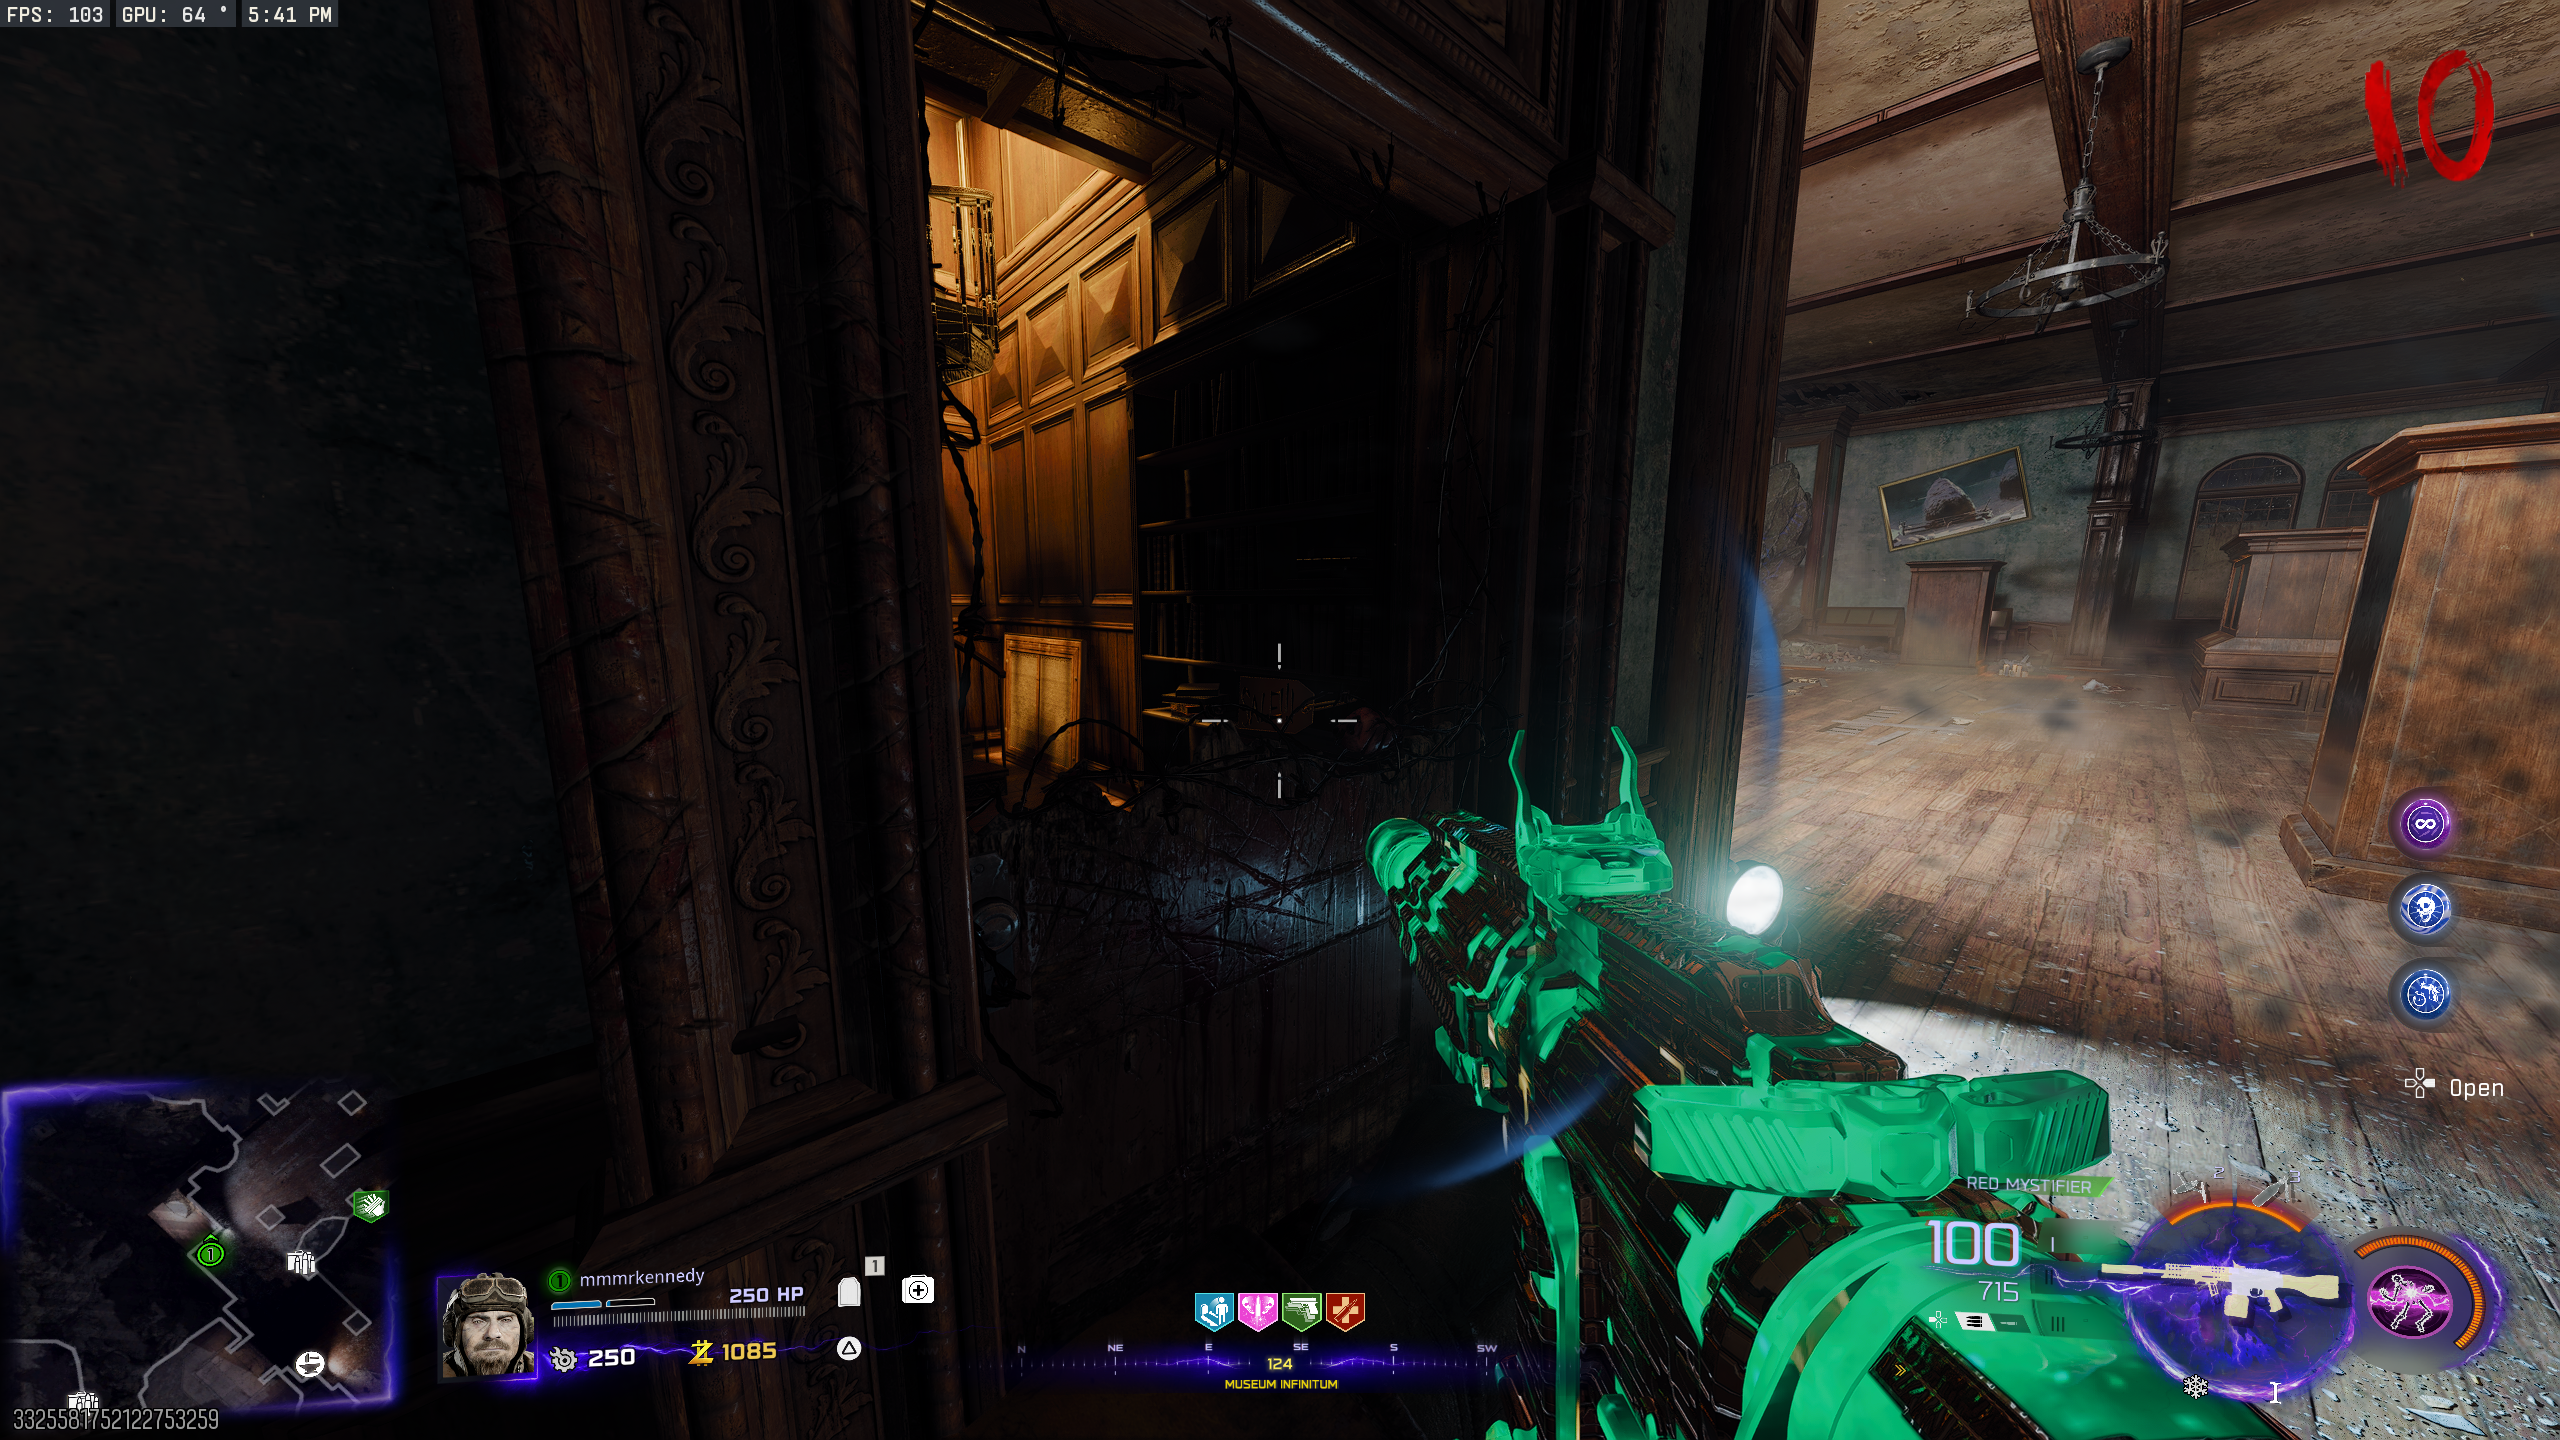
- Once you have all three Shards, bring O.S.C.A.R. to the 'Museum Infinitum' and have him stand around the Model Rocket. Once he's close, interact with the wooden panel by the Rocket. This starts a countdown, and the Rocket will begin emitting white smoke.
- Make sure O.S.C.A.R. is standing behind the end of the Rocket (in the white smoke) when the countdown hits 0. If done correctly, he'll die.
- If O.S.C.A.R. doesn't die from the Rocket, you'll need to collect another three shards from Aether crystals around the map. These crystals respawn every few rounds.
Main Quest
Stats (Solo): Difficulty - 7/10, Est. Completion Time - 1 Hr to 1:30 Hrs
Obtaining Dr. Thurston's Brain
- Obtain the LGM-1 wonder weapon, and get to Round 10.
- Sneak up behind O.S.C.A.R. and follow him until he plays a recording. You need to wait for him to play recording number 20. Ignore the first three recordings (numbers 18, 7, and 12).
- O.S.C.A.R. can't hear or "feel" you, so as long as you don't damage him or get in his vision, he won't notice you. You can shoot while behind him with no consequences, as long as you don't damage him.
- During the fourth recording (number 20), Dr. Thurston will say the names of three planets in order. Convert those planets into numbers based on their distance from the Sun (Mercury = 1, Venus = 2, Earth = 3, Mars = 4, Jupiter = 5, Saturn = 6, Uranus = 7, Neptune = 8).
- Once you have the three digit number, enter it into the machine in the 'Observatory Dome'. If done correctly, a platform will come down left of the Pack-a-Punch machine that you can jump onto. On this platform, interact with the Key on the floor to pick it up.
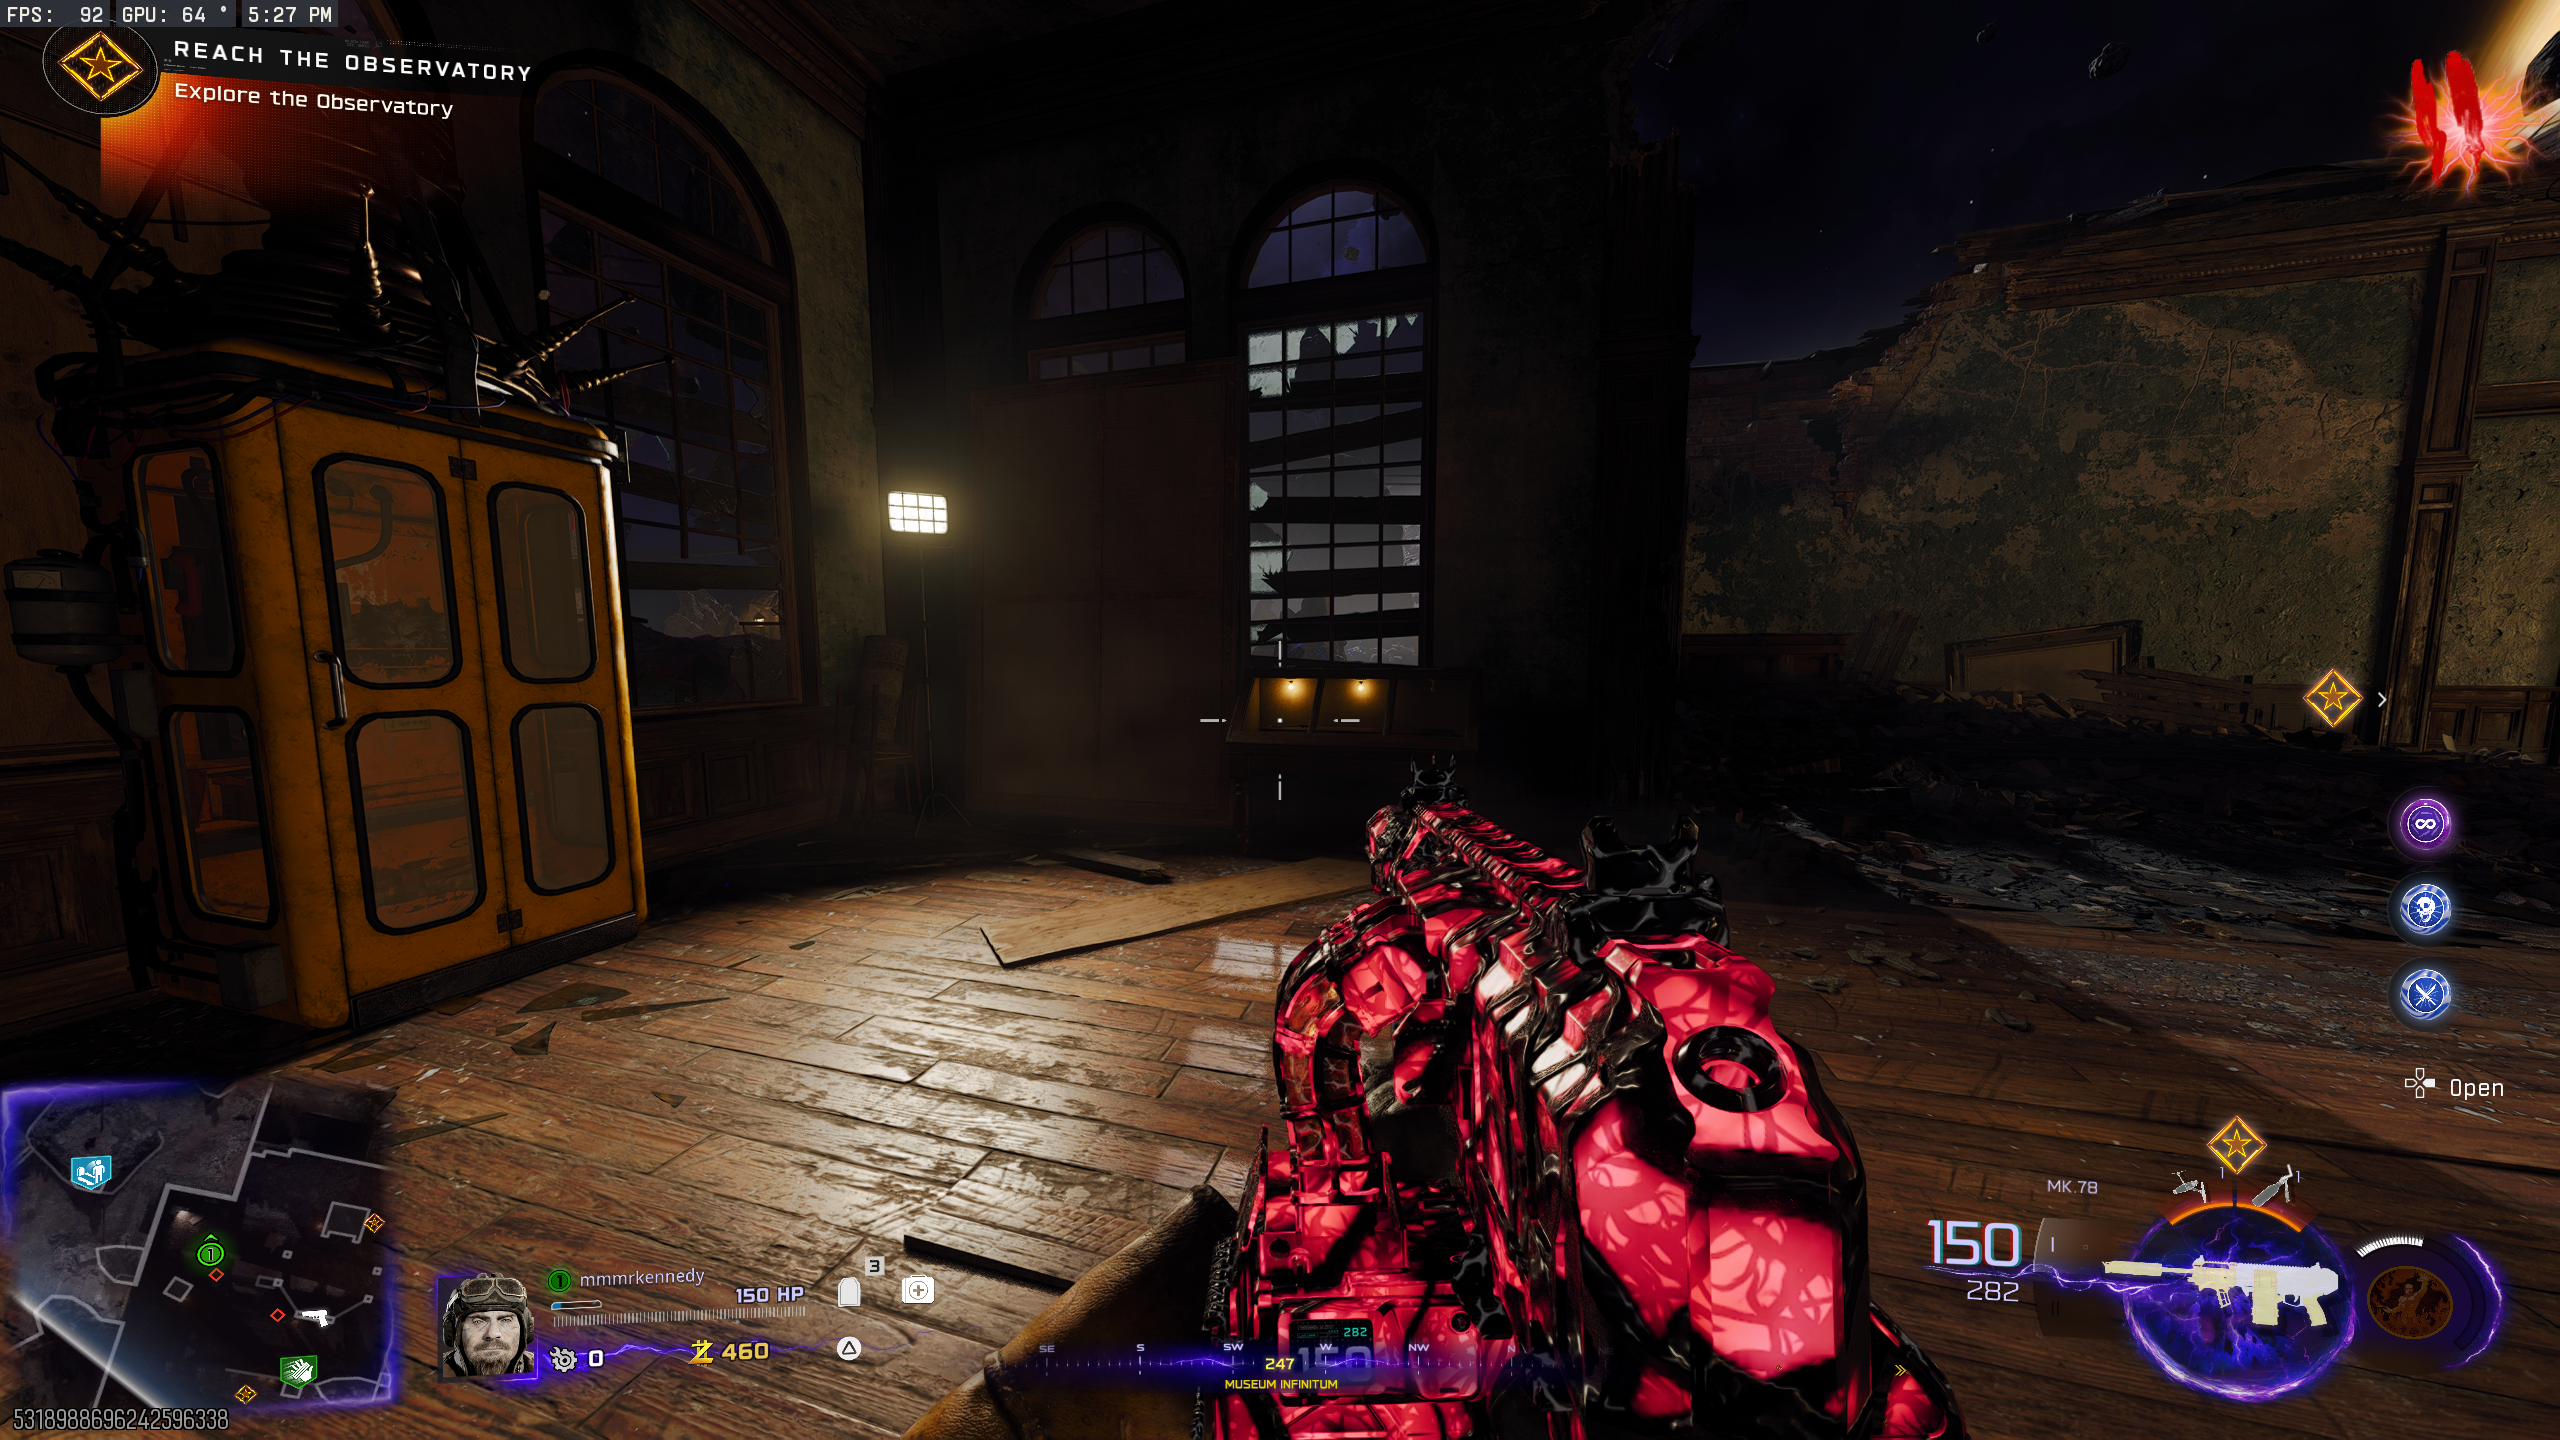
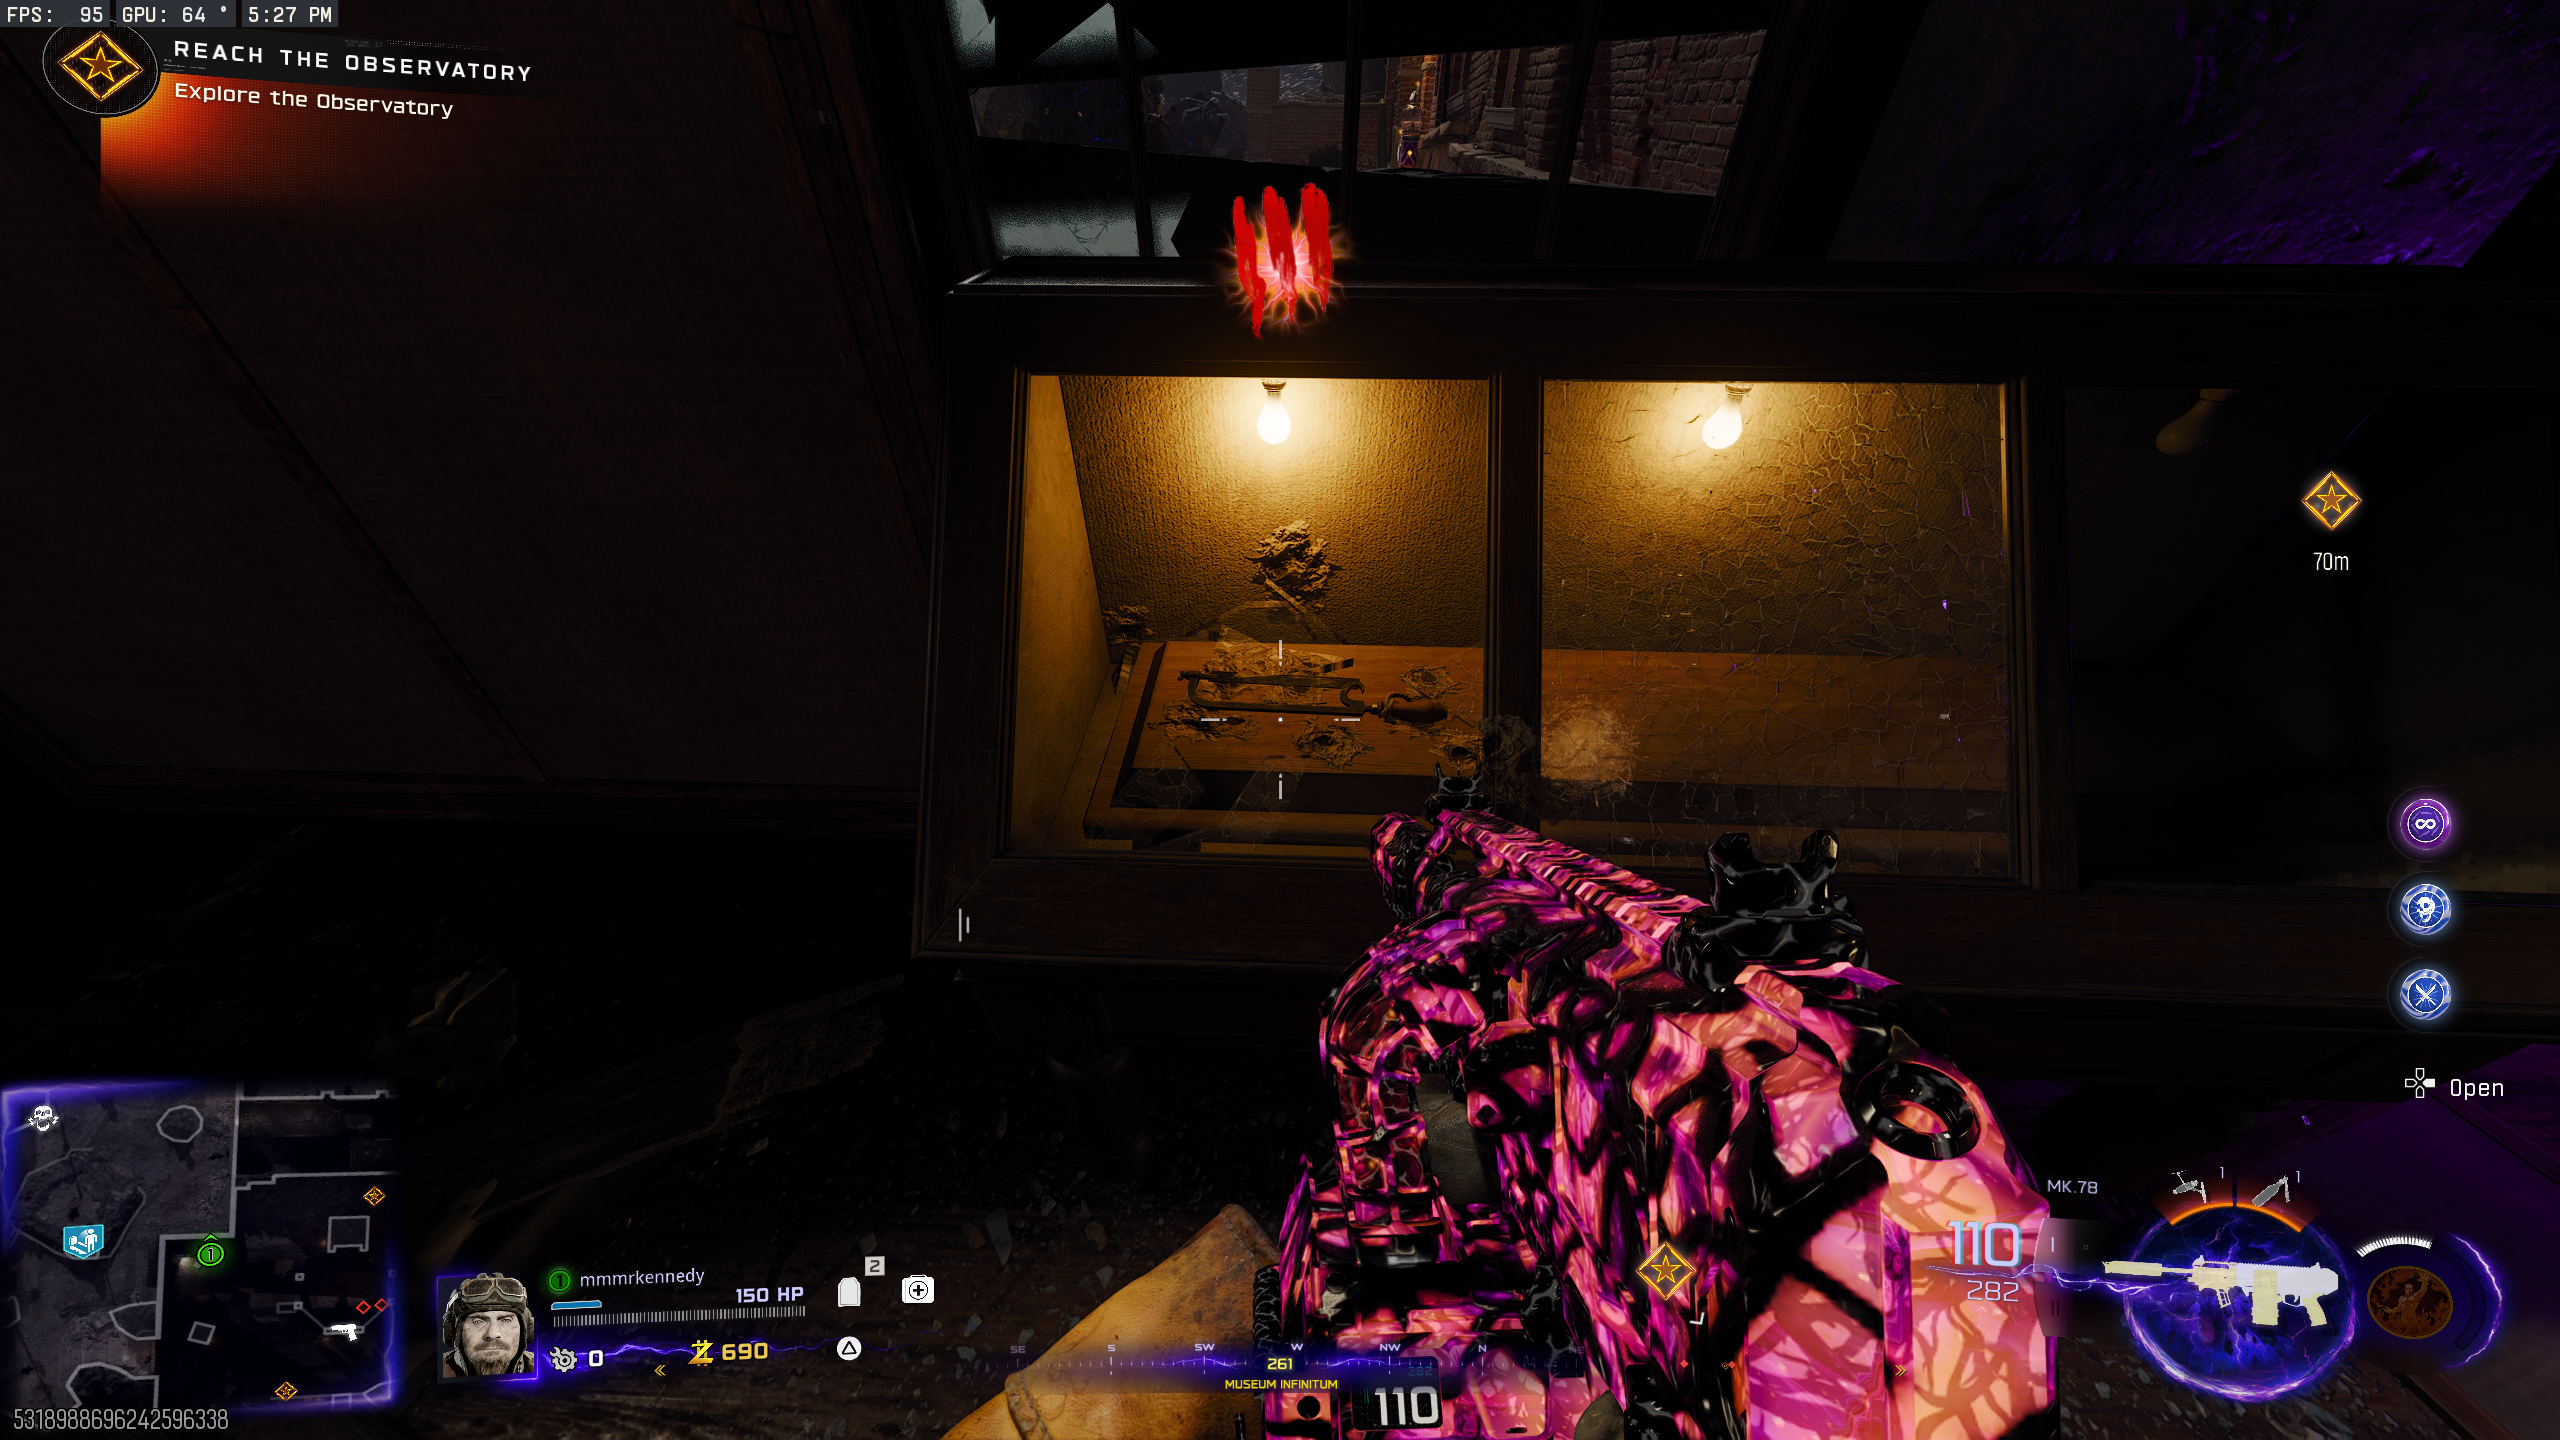
- In the 'Museum Infinitum', shoot the glass on the display case, right of the Exfil phone booth, to break it. Once broken, pick up the Rock Saw.
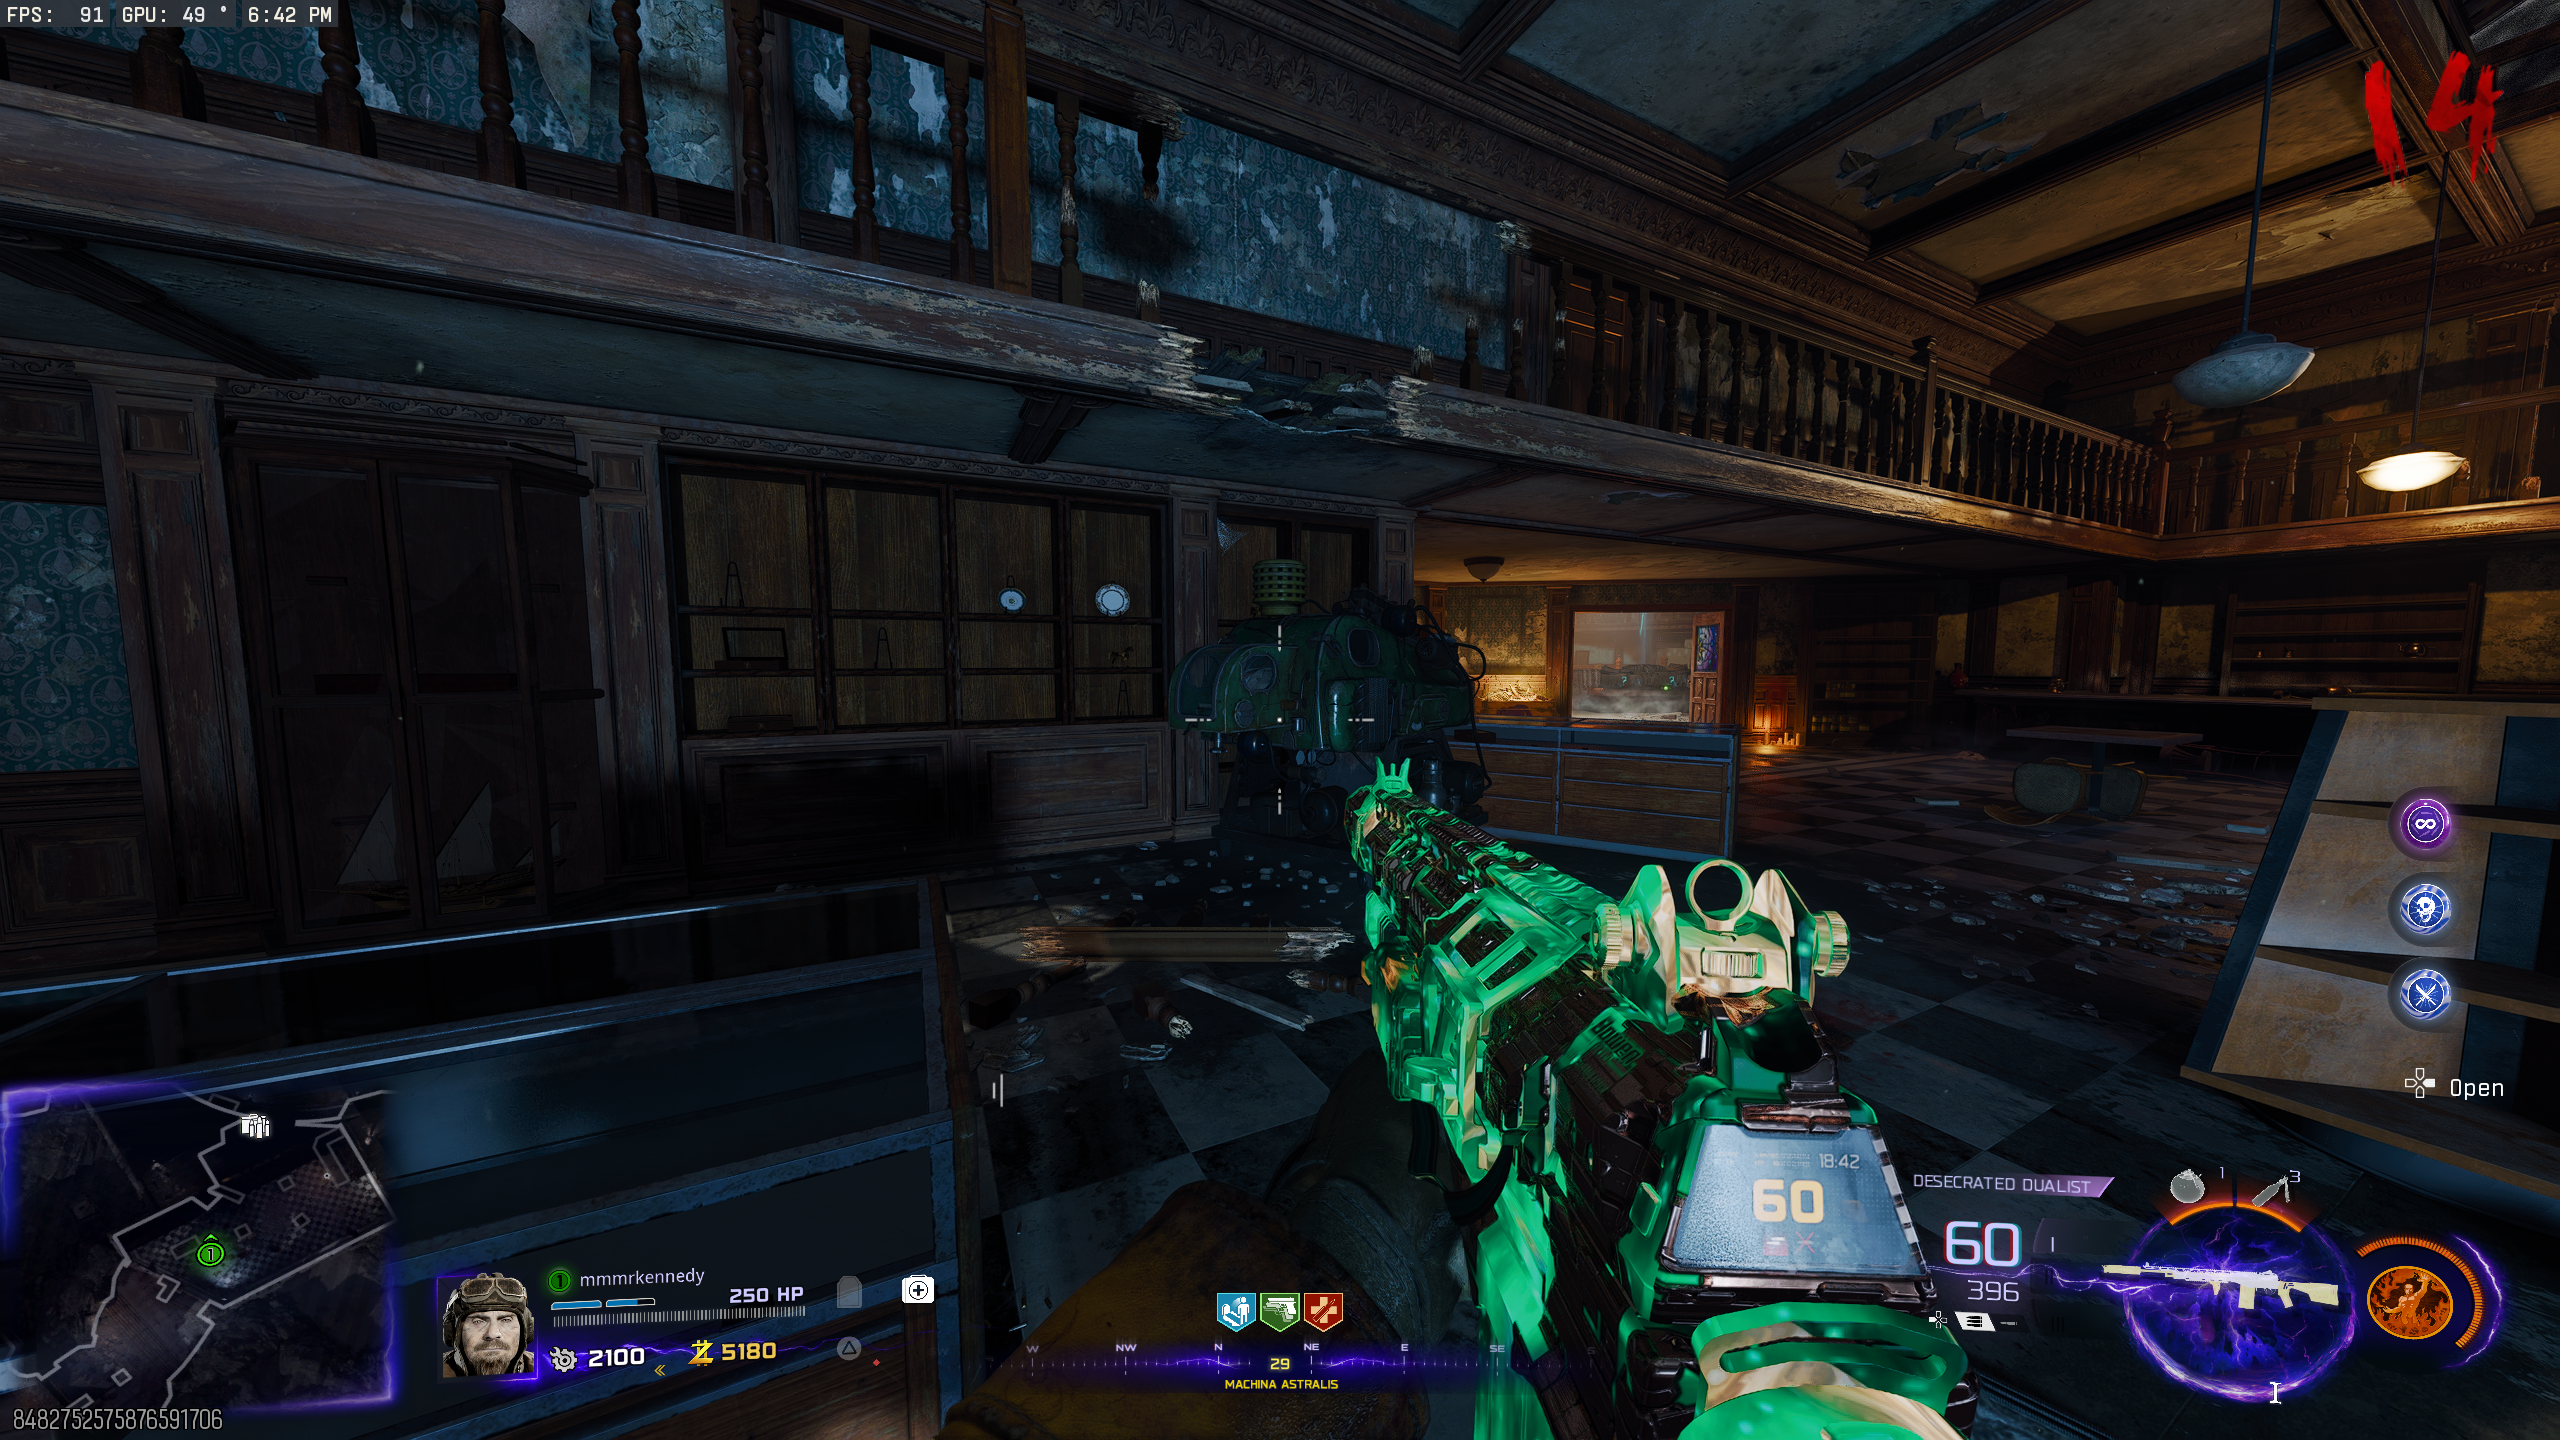
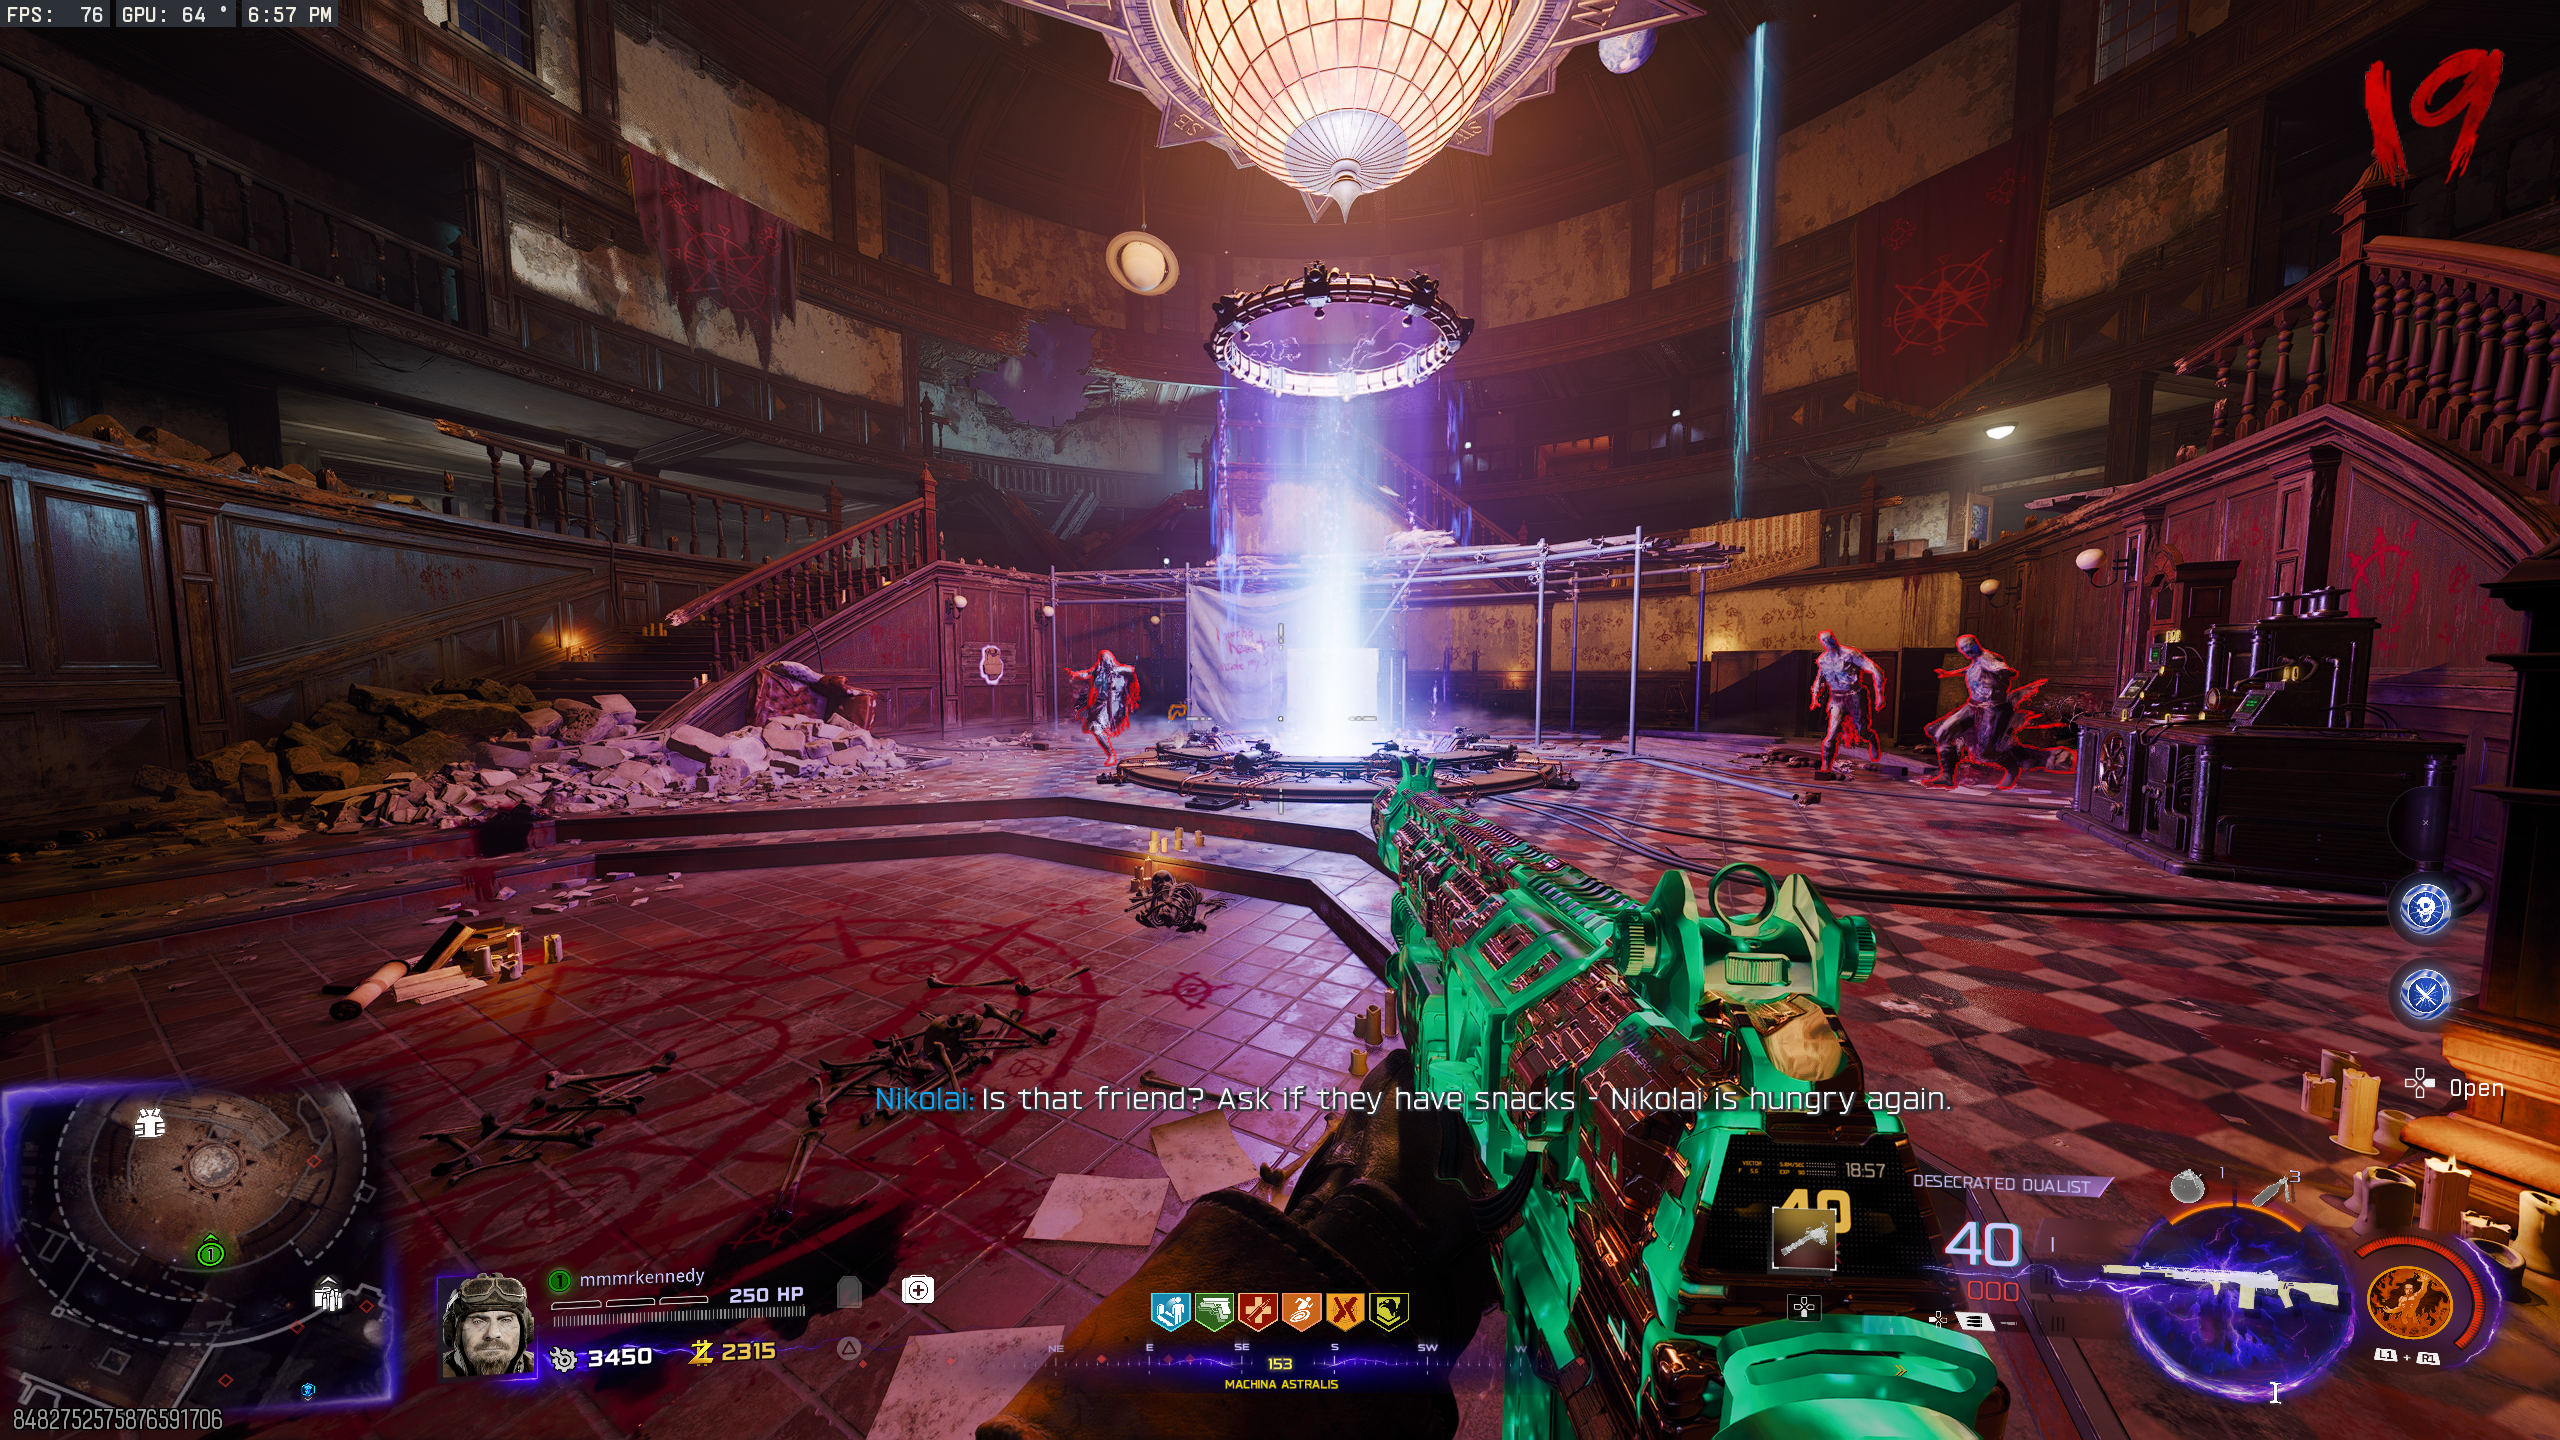
- In 'Machina Astralis', interact with the Cryopod to open it. Hold interact on the body to cut out the brain. O.S.C.A.R. will automatically teleport to this room while you're cutting, but you are immune from all damage while cutting.
- Once you have the Brain, interact with the Brain Jar across from the Juggernog machine in 'The Luminarium' to replace the brain that's already inside.
- Interact with the Jar again to start a defence objective. Defend the jar from Zombies for a minute.
- If you fail to defend the brain, you can retry on the next round.
- Once the defence objective is done, pick up the Brain Jar. You'll be slowed while holding it. Interact with the machine in 'Machina Astralis' to place the brain, then hold interact to connect the Brain to the machine.
Activating the Portal
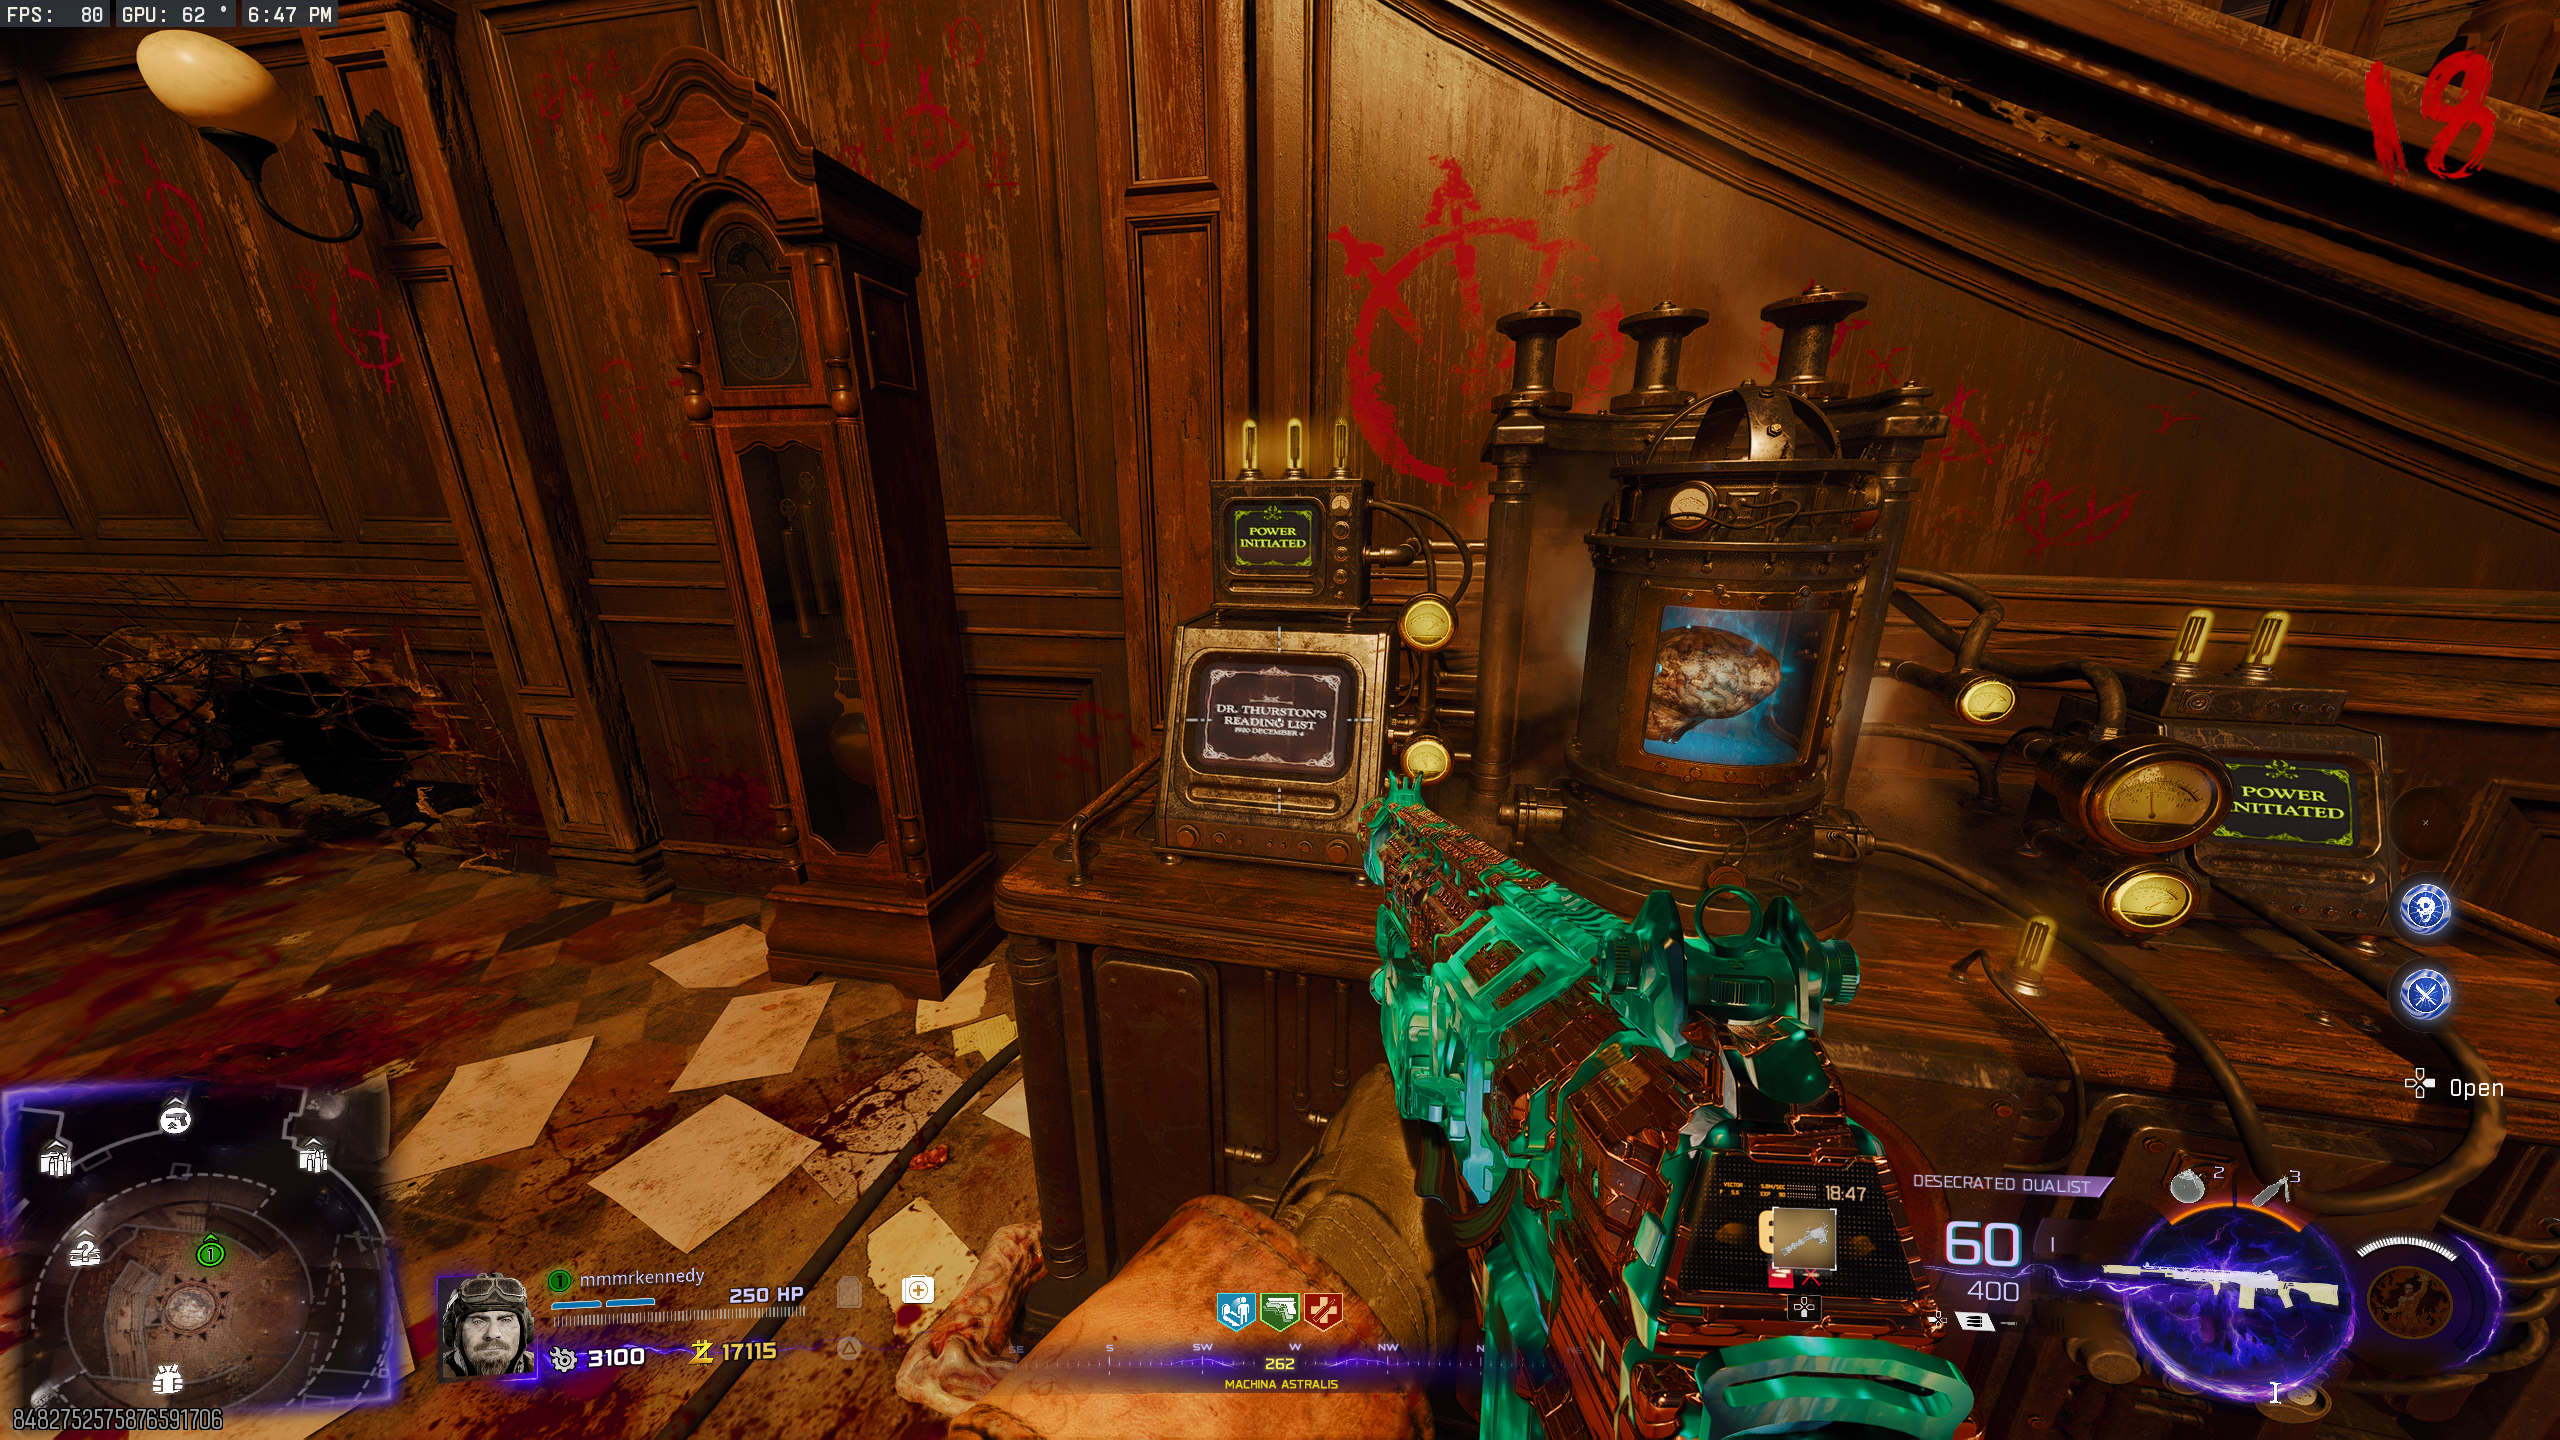
- Once the Brain is connected, the screen on the left side of the machine will show "Dr. Thurston's Reading List" followed by a list of books (the number of books is different for each game).
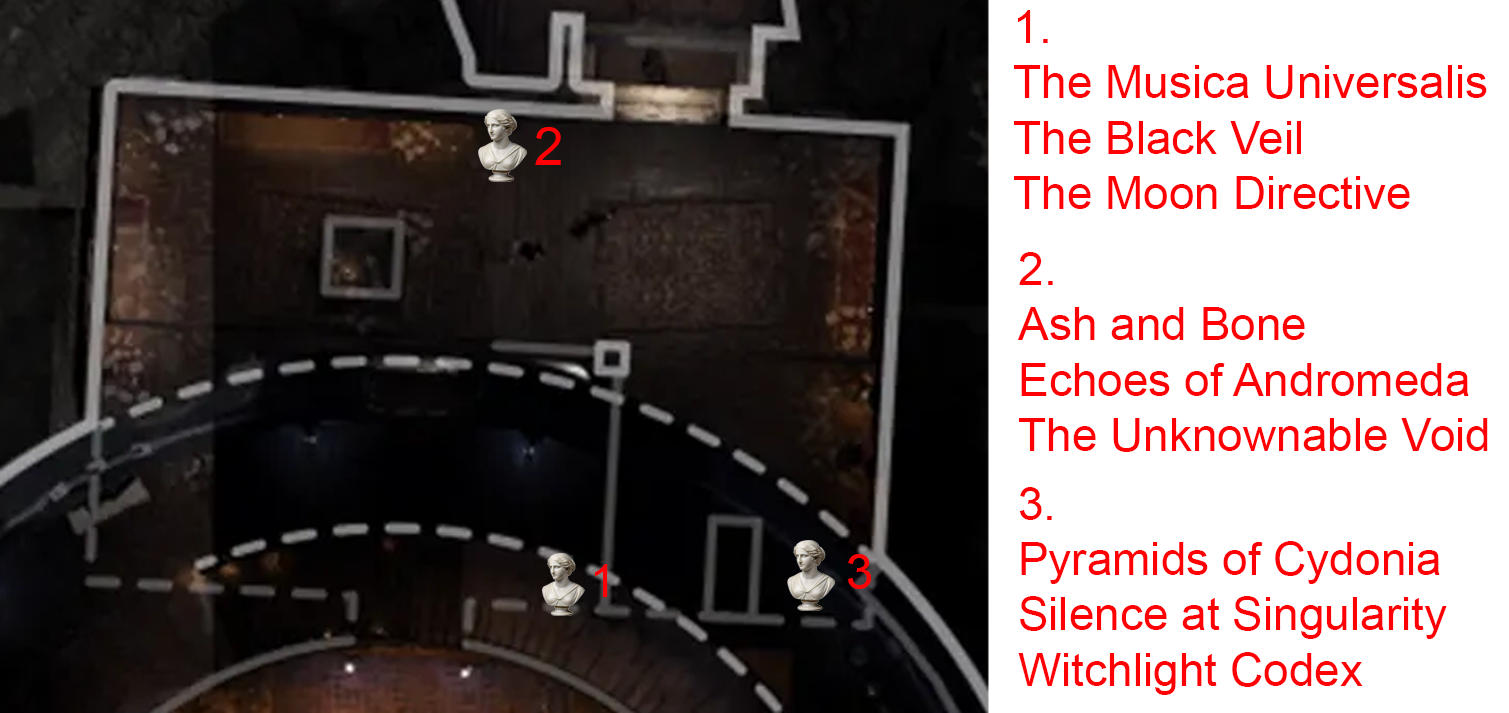
- Each book belongs to a group of three. Using this cheat sheet, find the number of books corresponding to each statue.
- Example: Your books were "The Black Veil, Ash and Bone, Echoes of Andromeda, Silence at Singularity, and Witchlight Codex". Based on the titles associated with the statues, your numbers would be: Statue 1 = 1, Statue 2 = 2, Statue 3 = 2.
- Once you have your numbers for each statue, go to the 'Archive of Orbis'. This is on a time limit, so quickly spin each statue (by interacting with it) the number of times indicated by the books. If done correctly, the ceiling above the ladder in the same room will open, revealing a model of Neptune for you to pick up.
- If you take too long to interact with the statues or enter the wrong numbers, you can retry on the next round.
- With the Neptune model, interact with the display rod coming from the large model on the ceiling in the 'Machina Astralis' to place Neptune.
- Around the map, there are three pieces of paper each showing a planet (Mars, Saturn, and Neptune), and a compass direction (NE, NW, SE, etc). Note down the combination of planet and direction. Page locations:
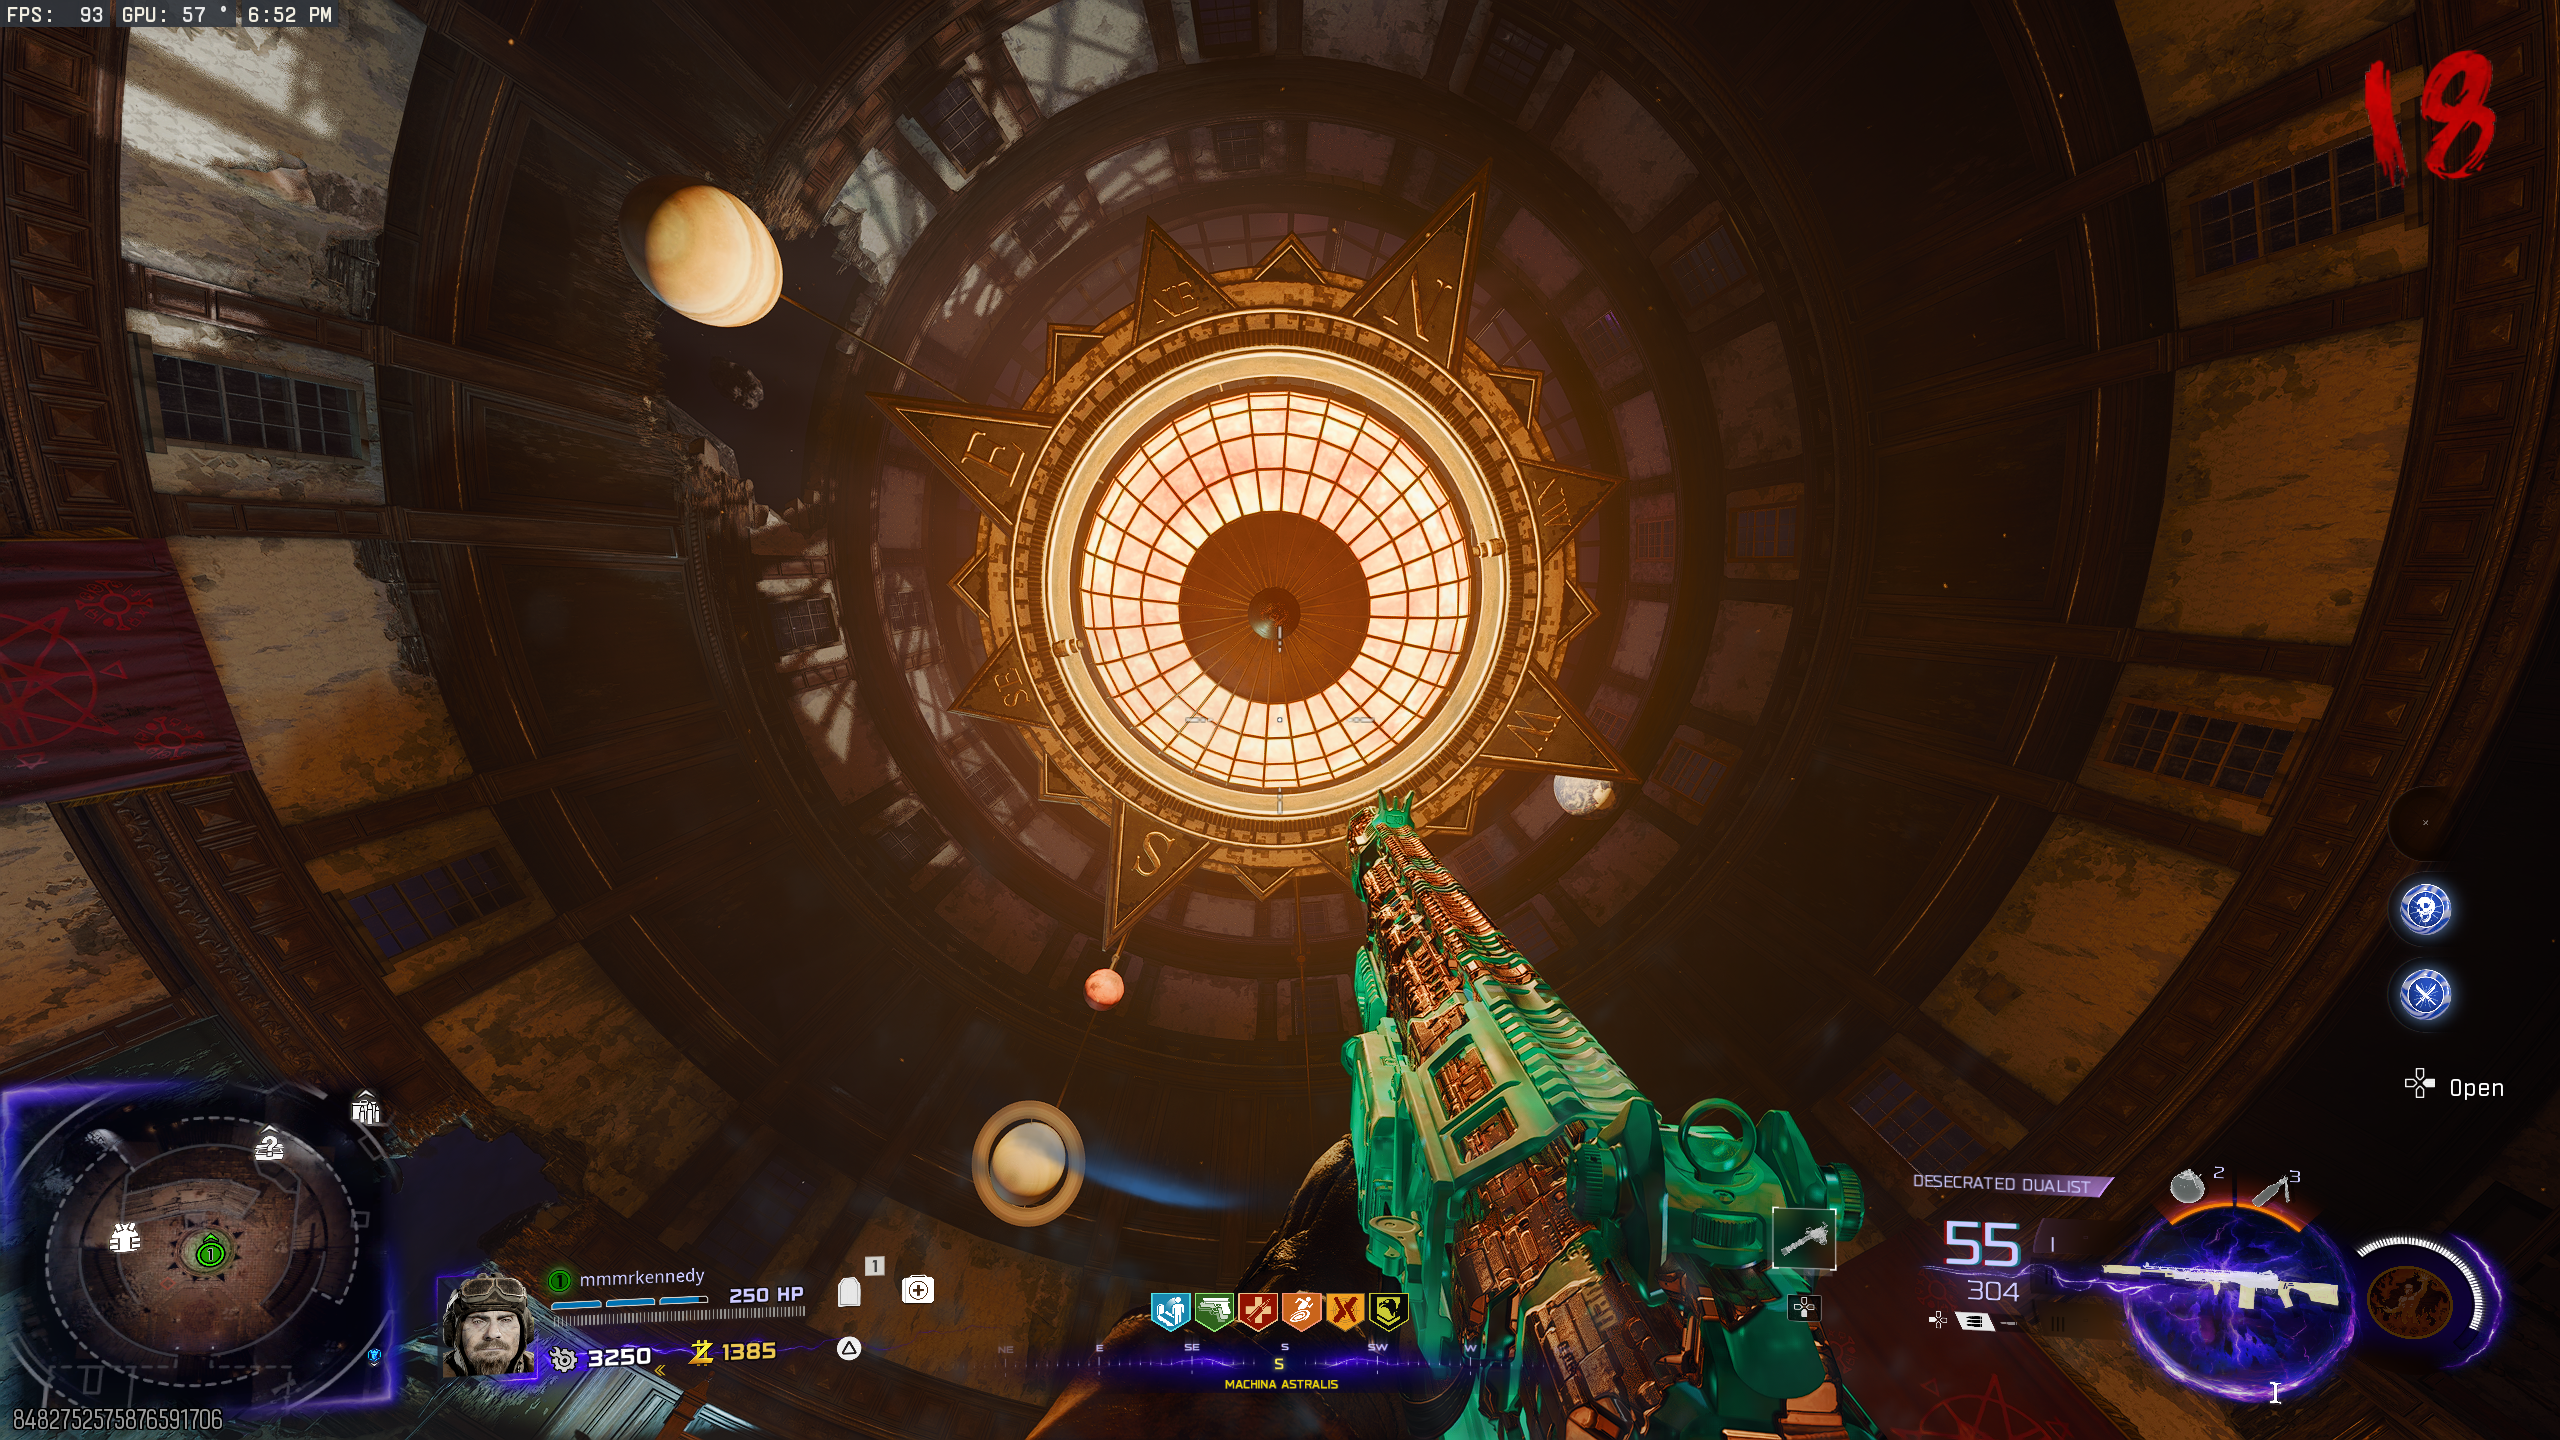
- Once you have all three combinations, go back to the Machina Astralis, and shoot the planets on the model to align each of them in the direction from the paper. There is a compass around the sun, on the underside of the model. The directions don't have to line up exactly with the compass (often they can't), so just get them as close as you can.
- Once the planets are in place, go to the 'Observatory Dome' and interact with the left side of the Organ to use the Telescope. Move the cursor over Mars and note down the DEC number on the bottom left. Combine both numbers into a 4-digit number.
- If one of the numbers is a single digit, add a 0 to the front. Example: 28° 1' becomes 2801.
- Go back to 'Machina Astralis' and enter the code into the machine on the middle level (behind the Armour wallbuy).
- Interact with the machine with the brain to reboot the portal. This locks down the room and spawns O.S.C.A.R. O.S.C.A.R. will repeatedly shoot drones (indicated by a beeping noise) at the portal while it's charging. Destroy the drones before they reach the portal, or you'll lose reboot progress. If the portal takes too much damage by the end of the timer, the step will fail.
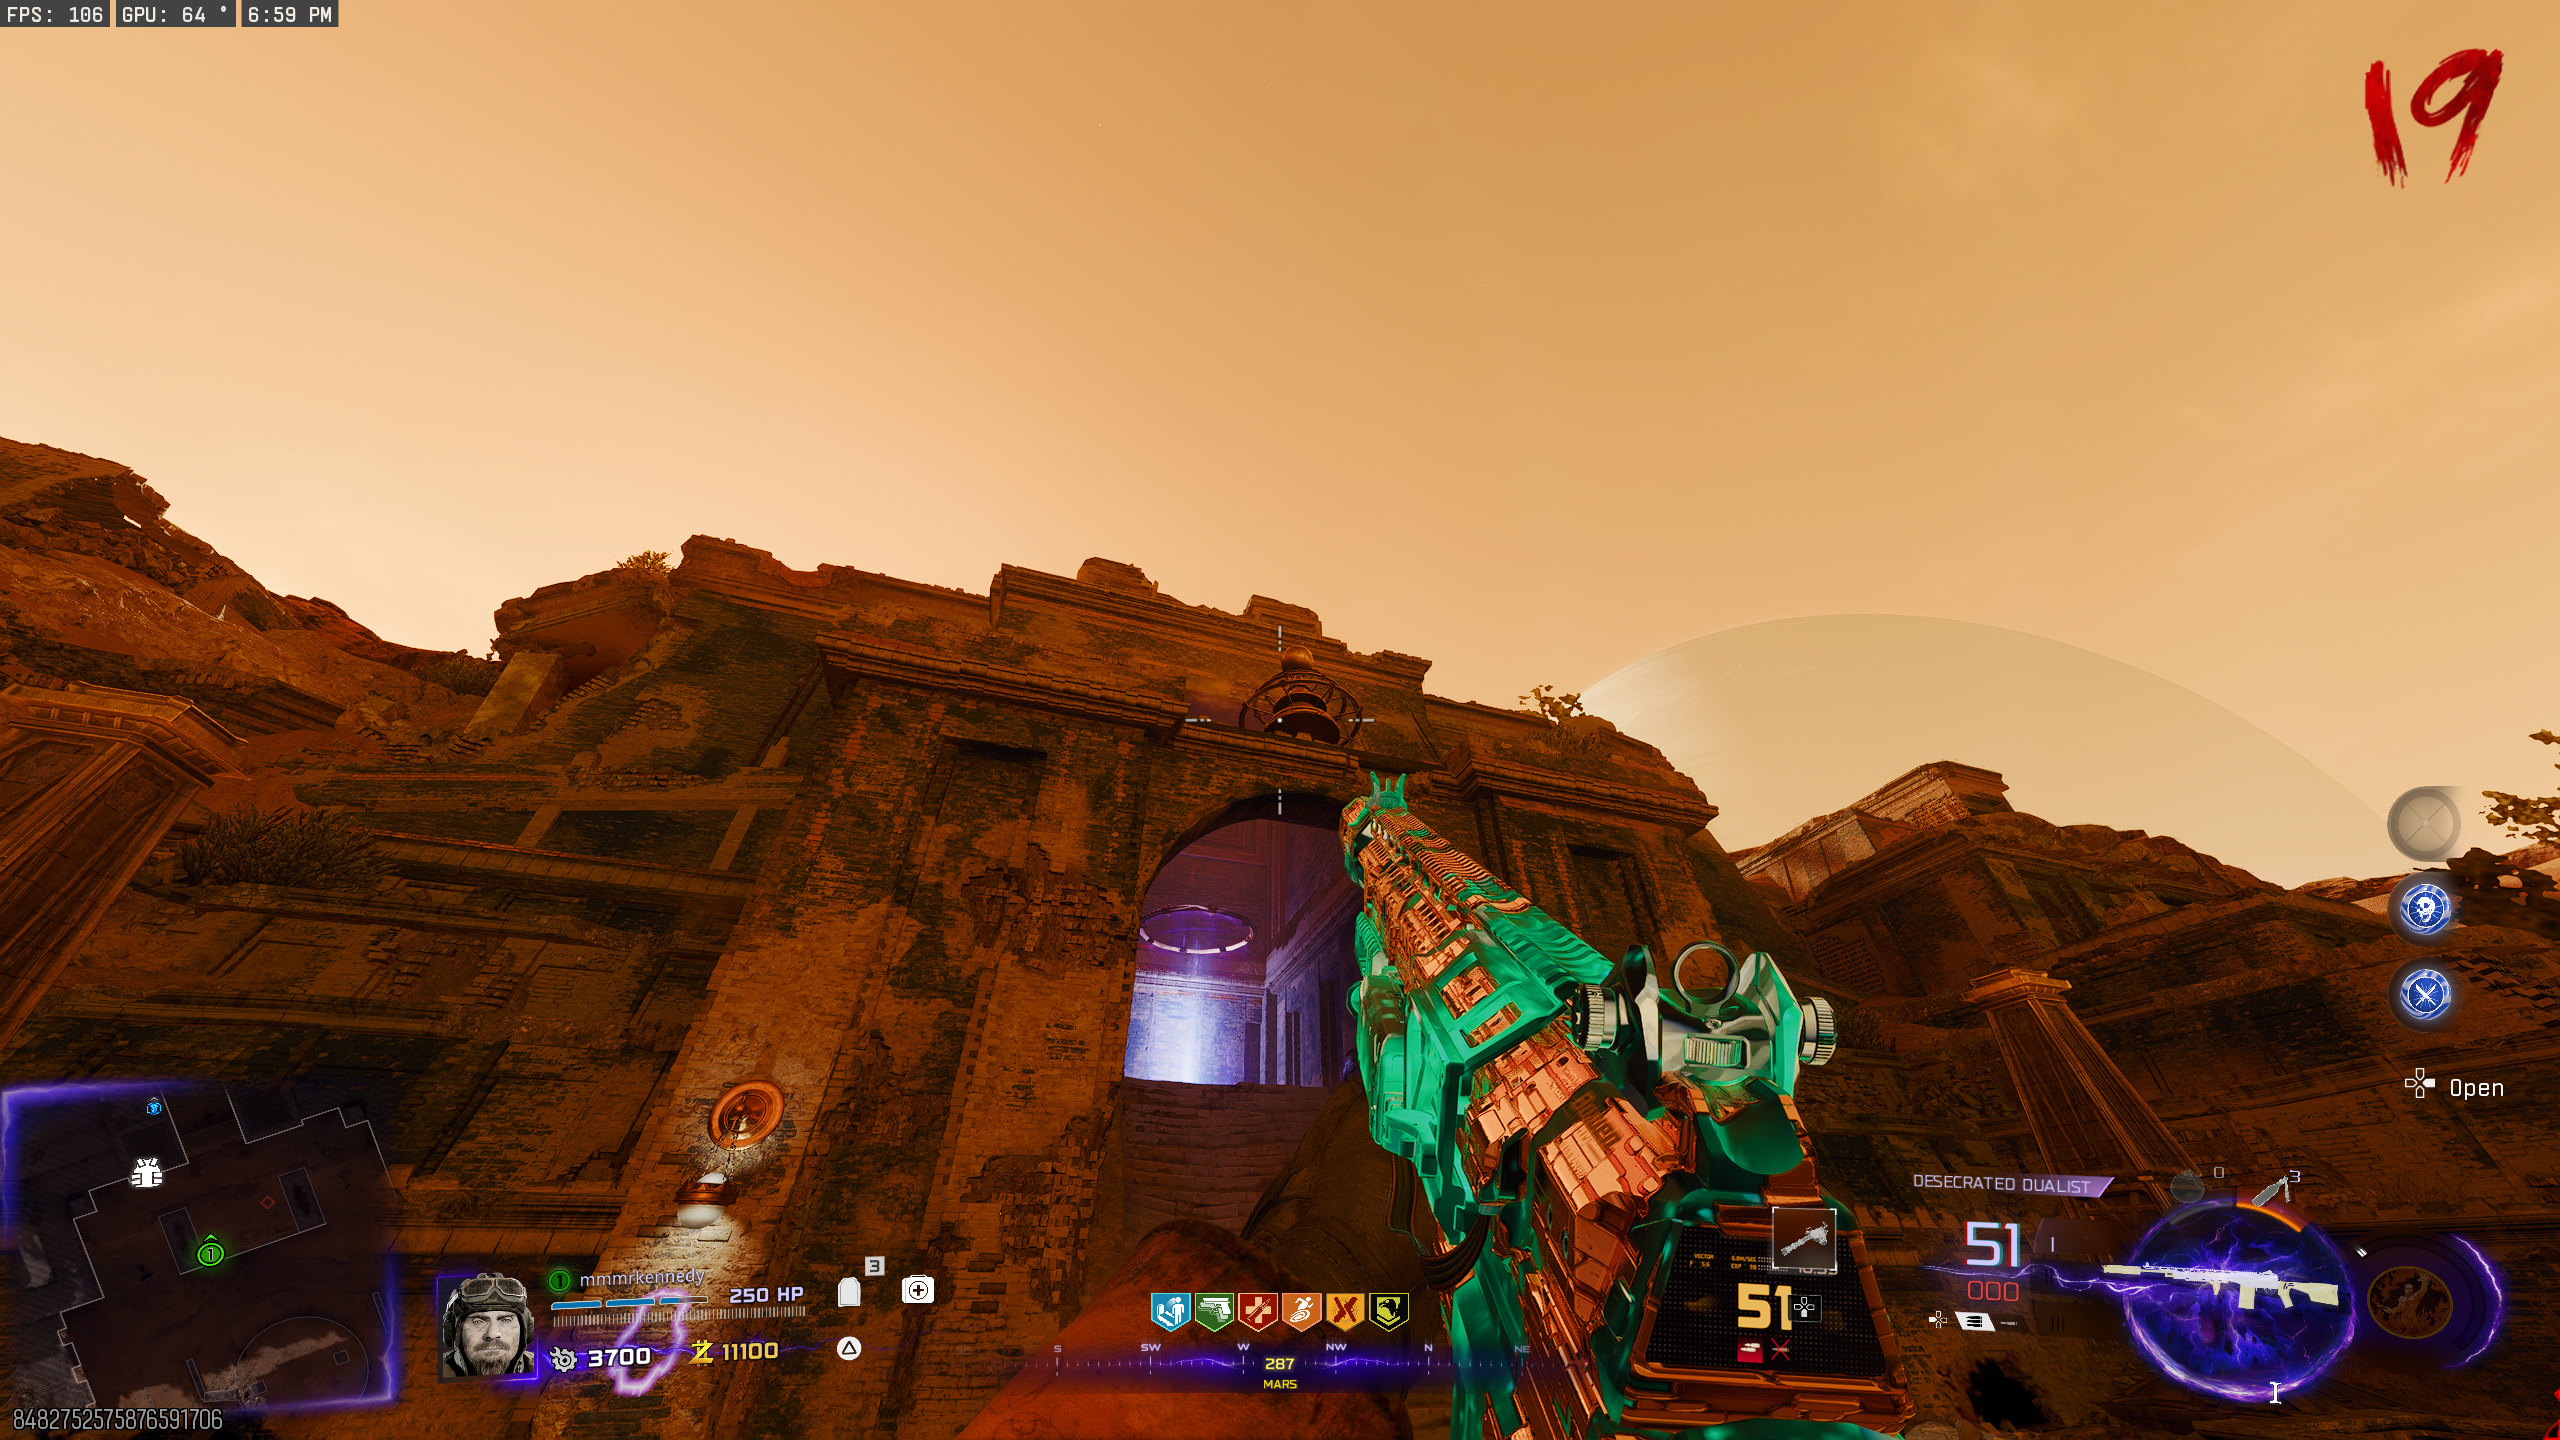
- If the portal was defended, you will be teleported to Mars automatically.
Obtaining the Ascendant Eye
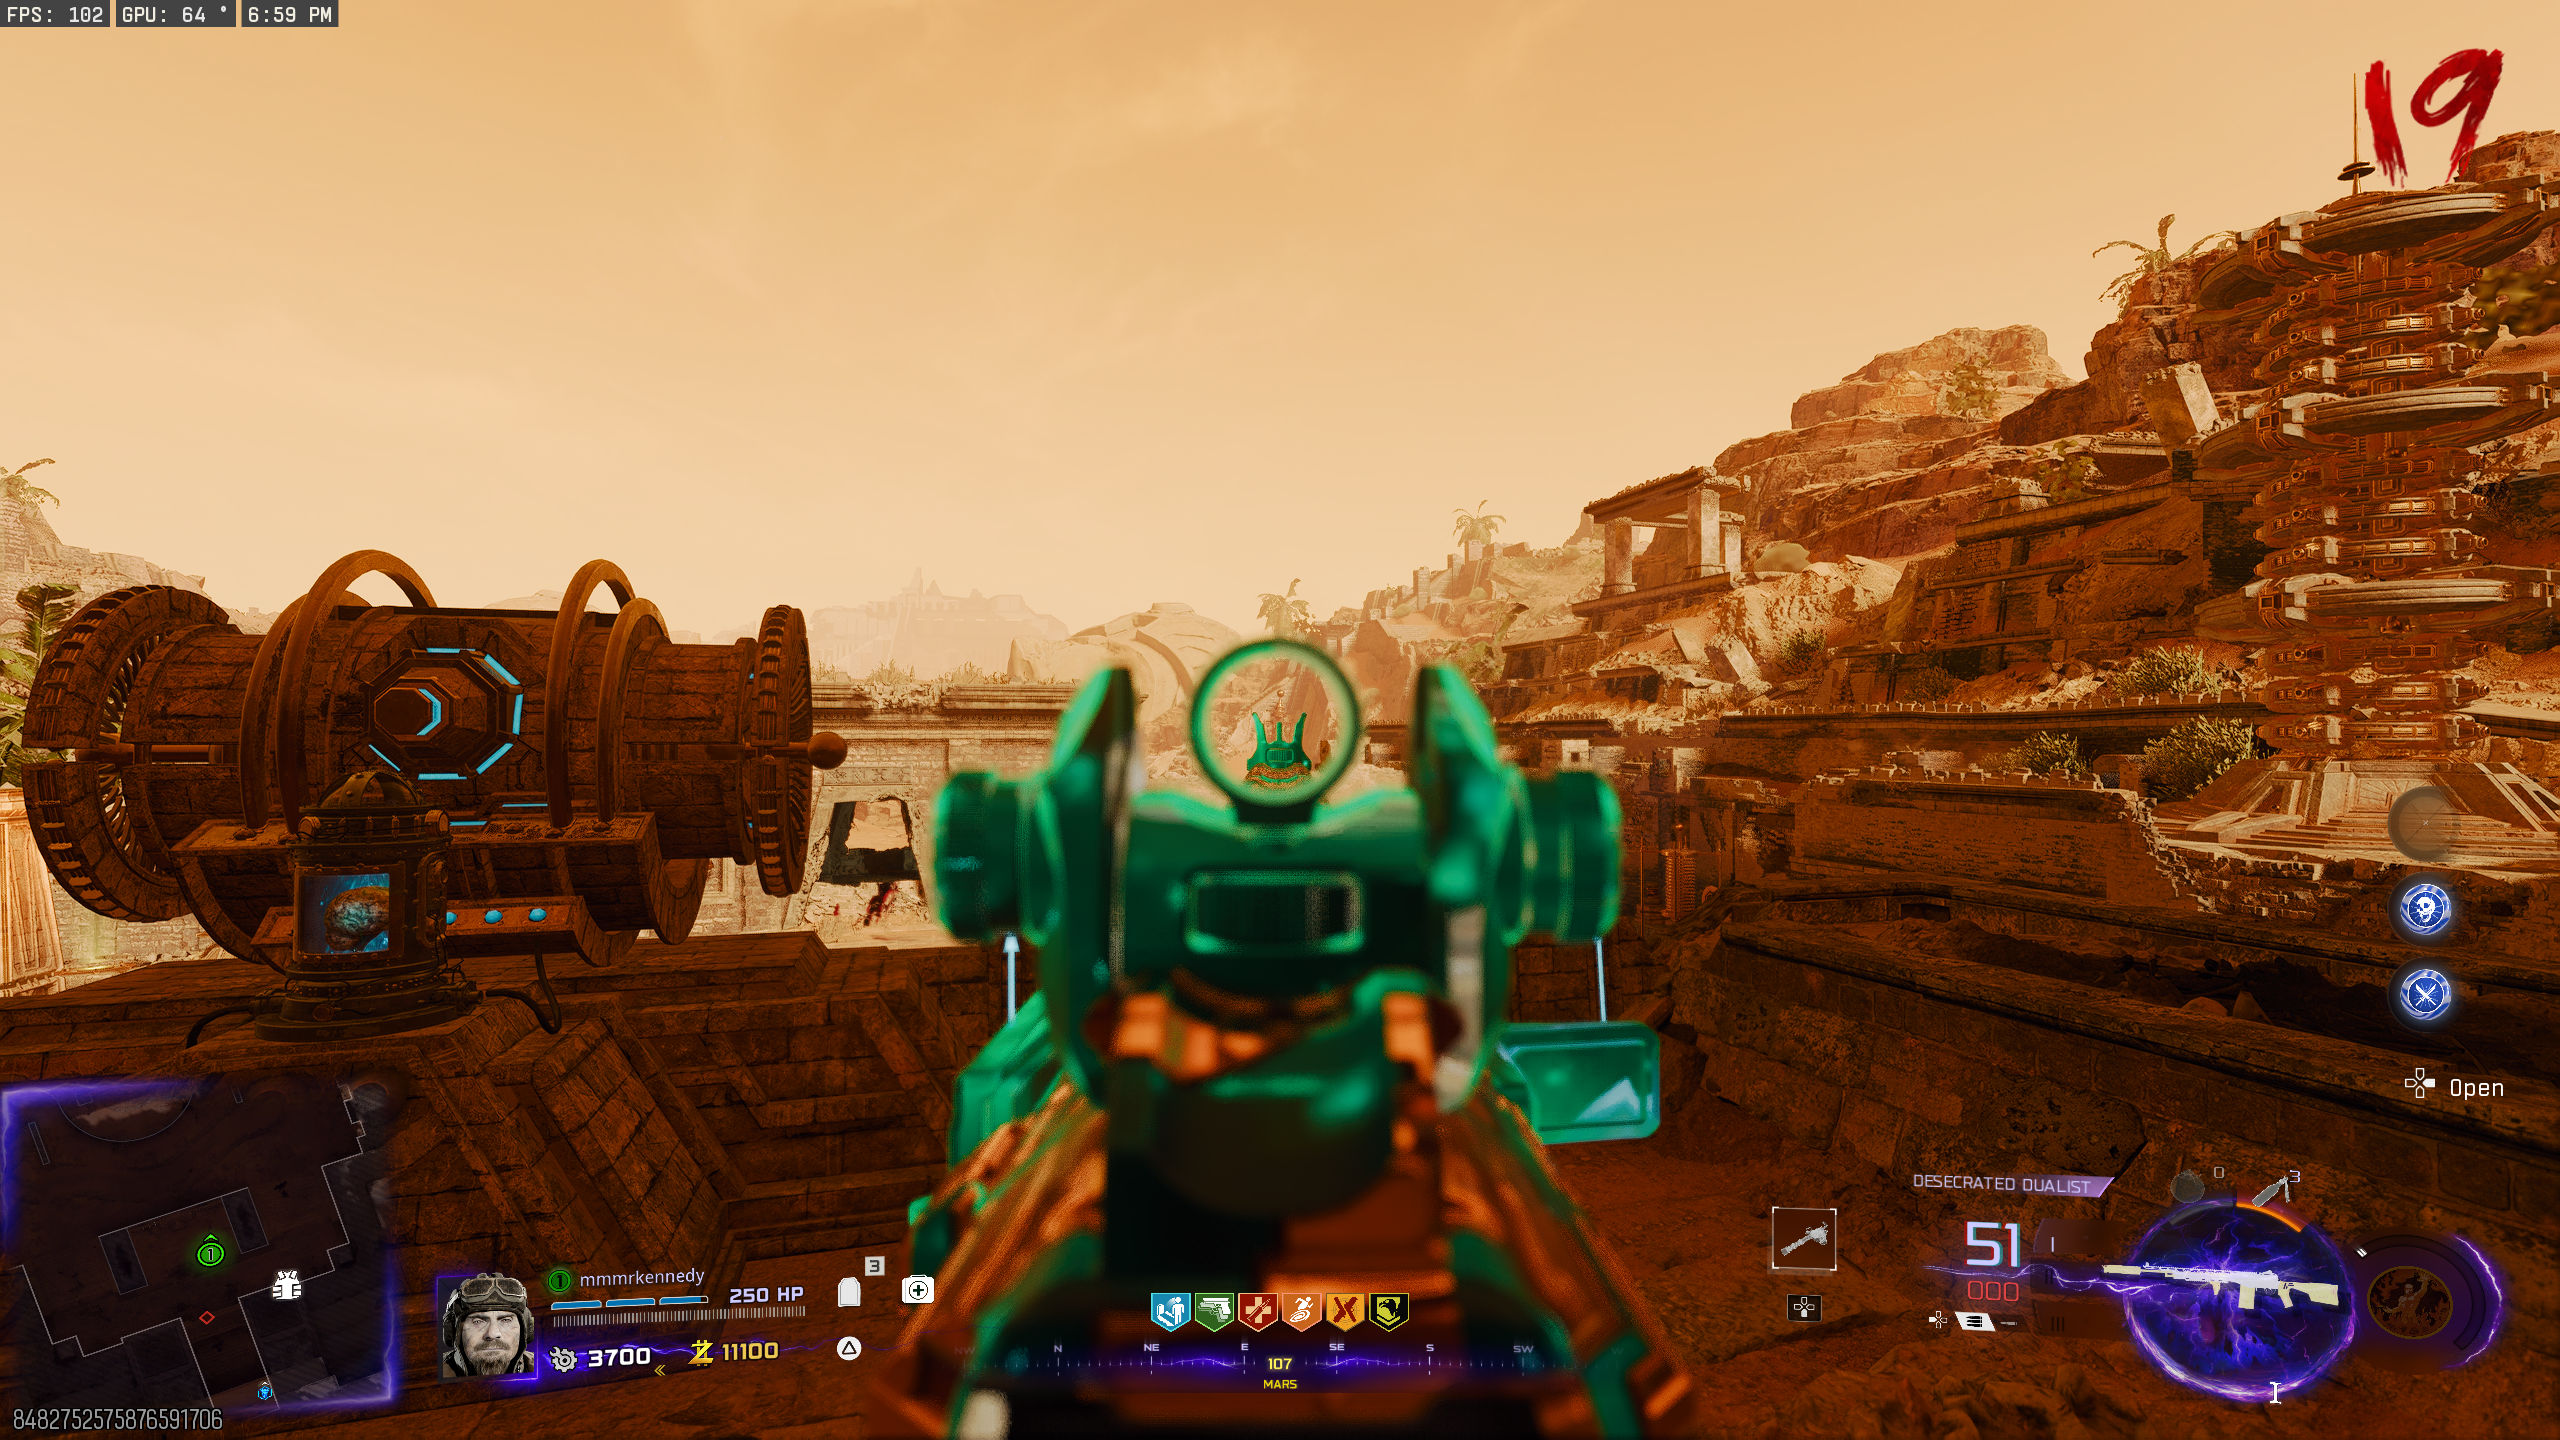
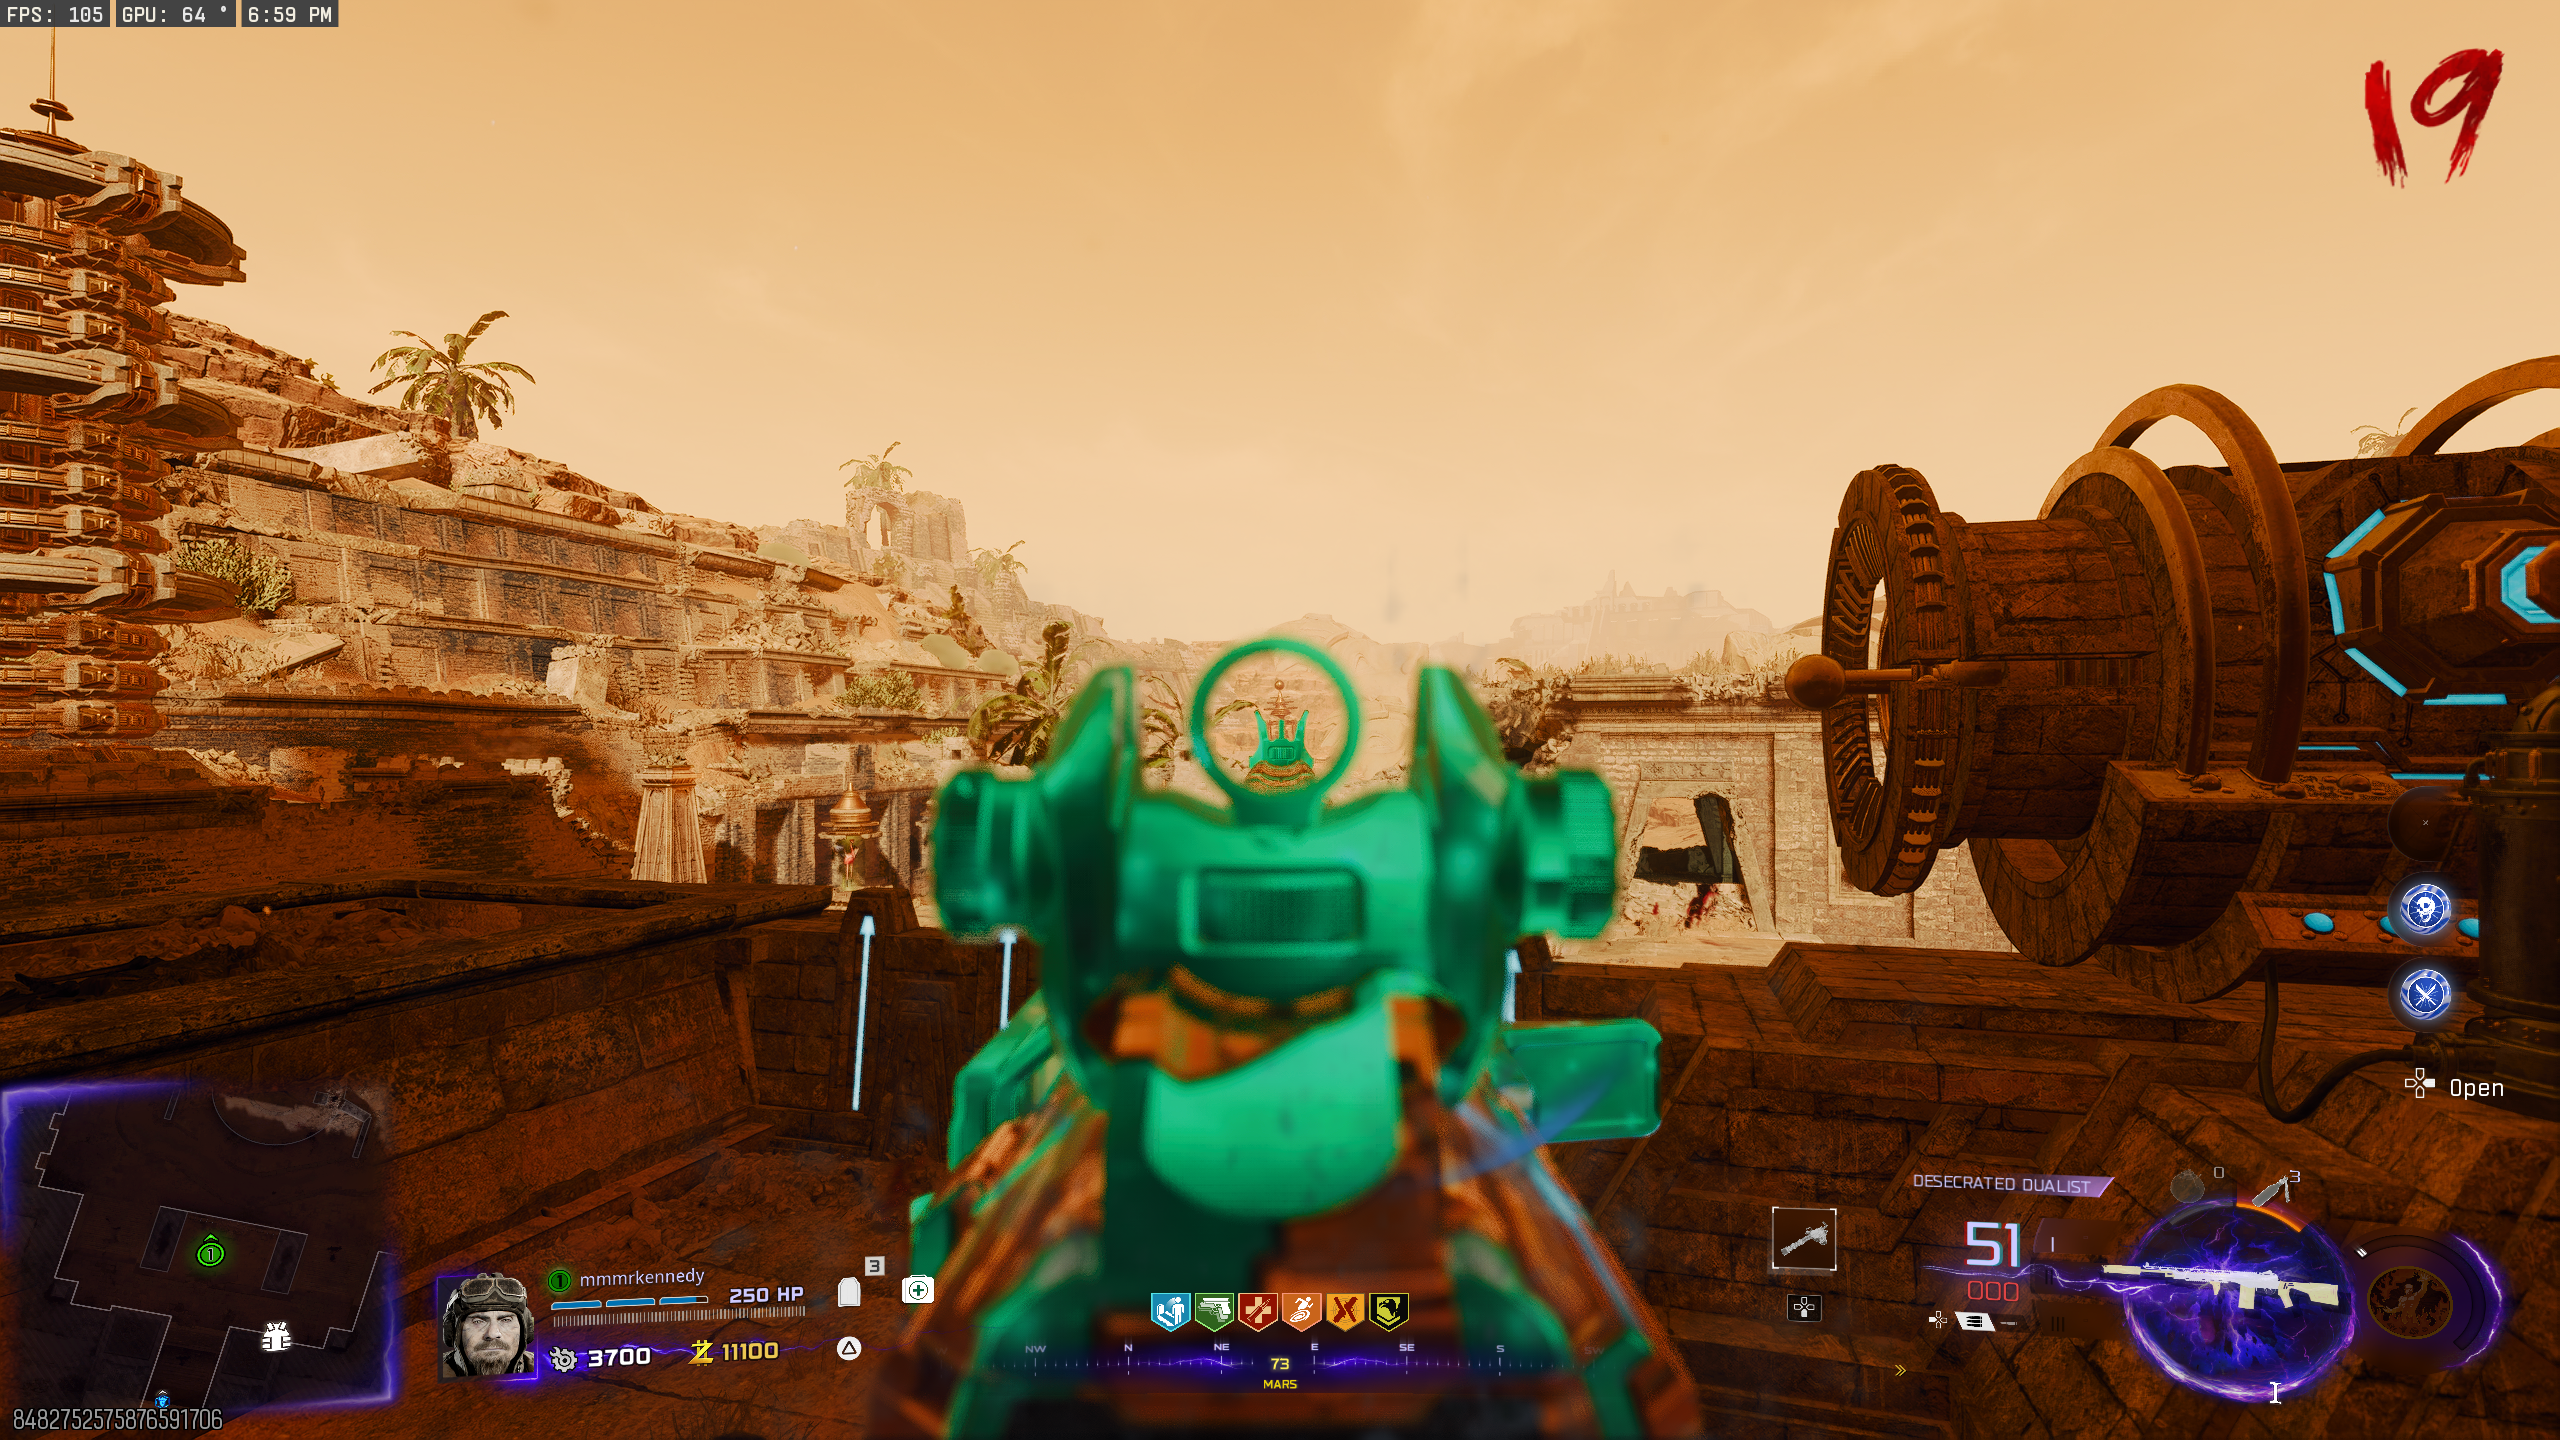
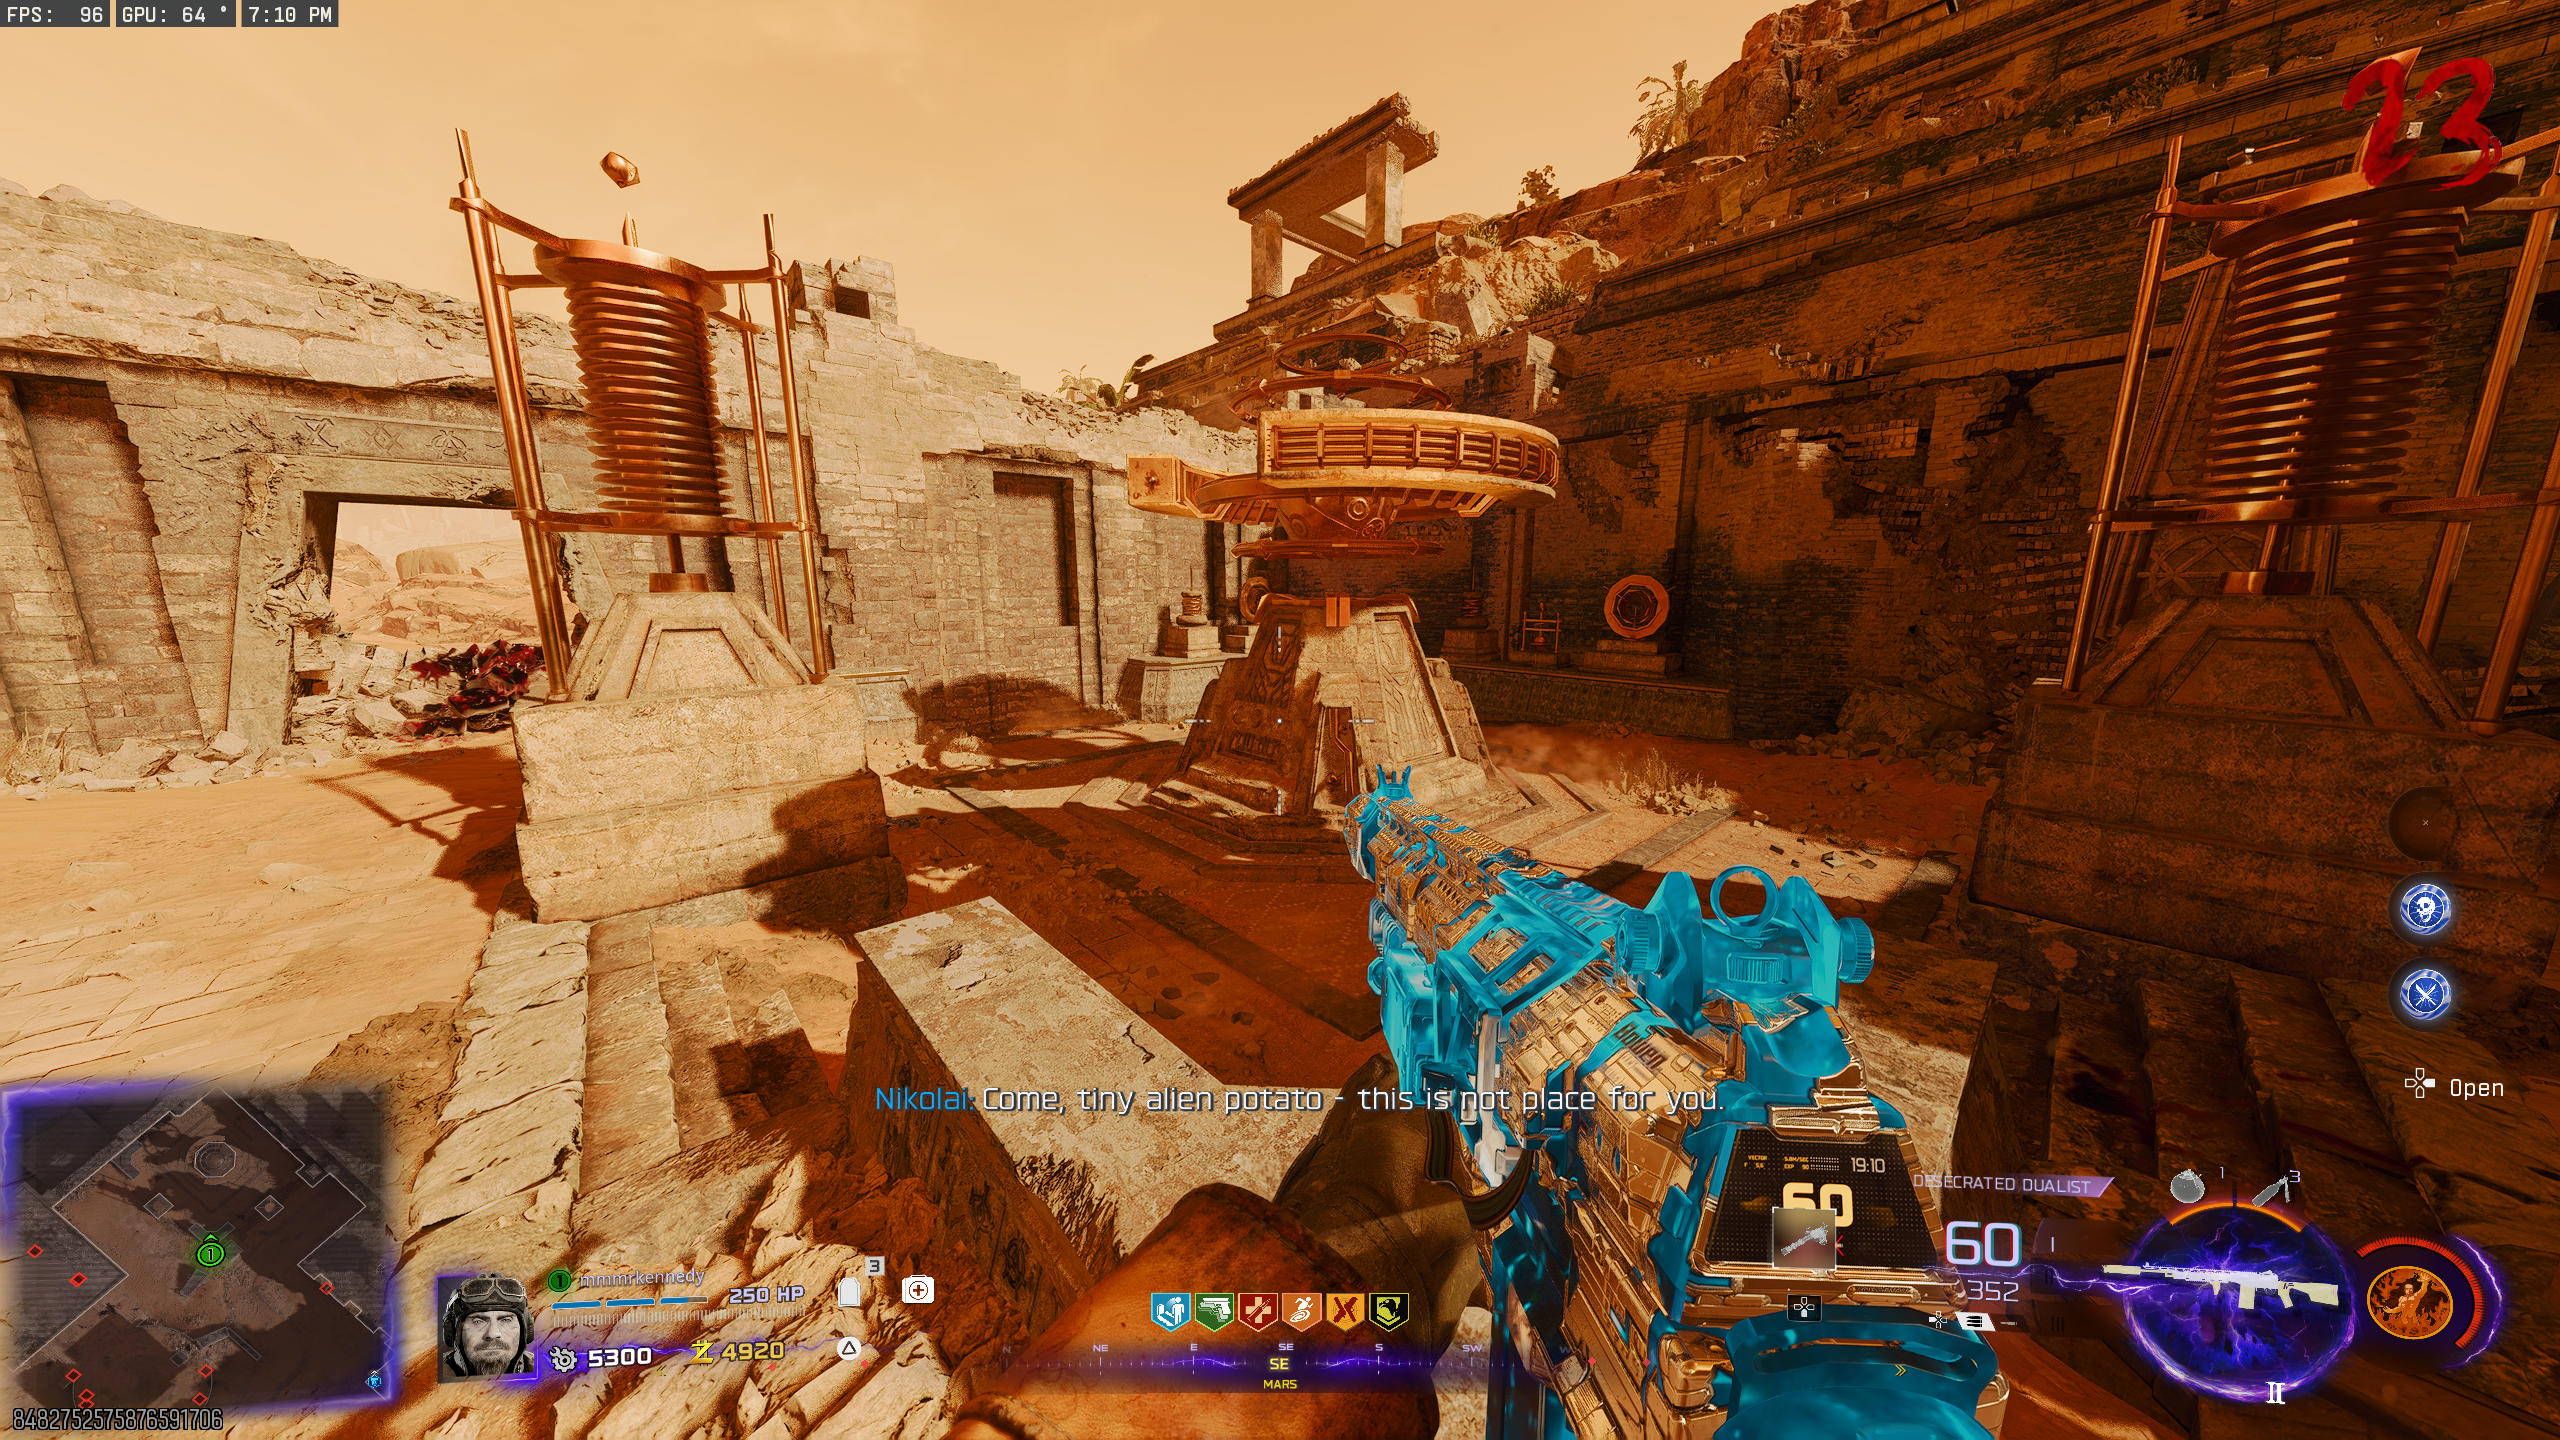
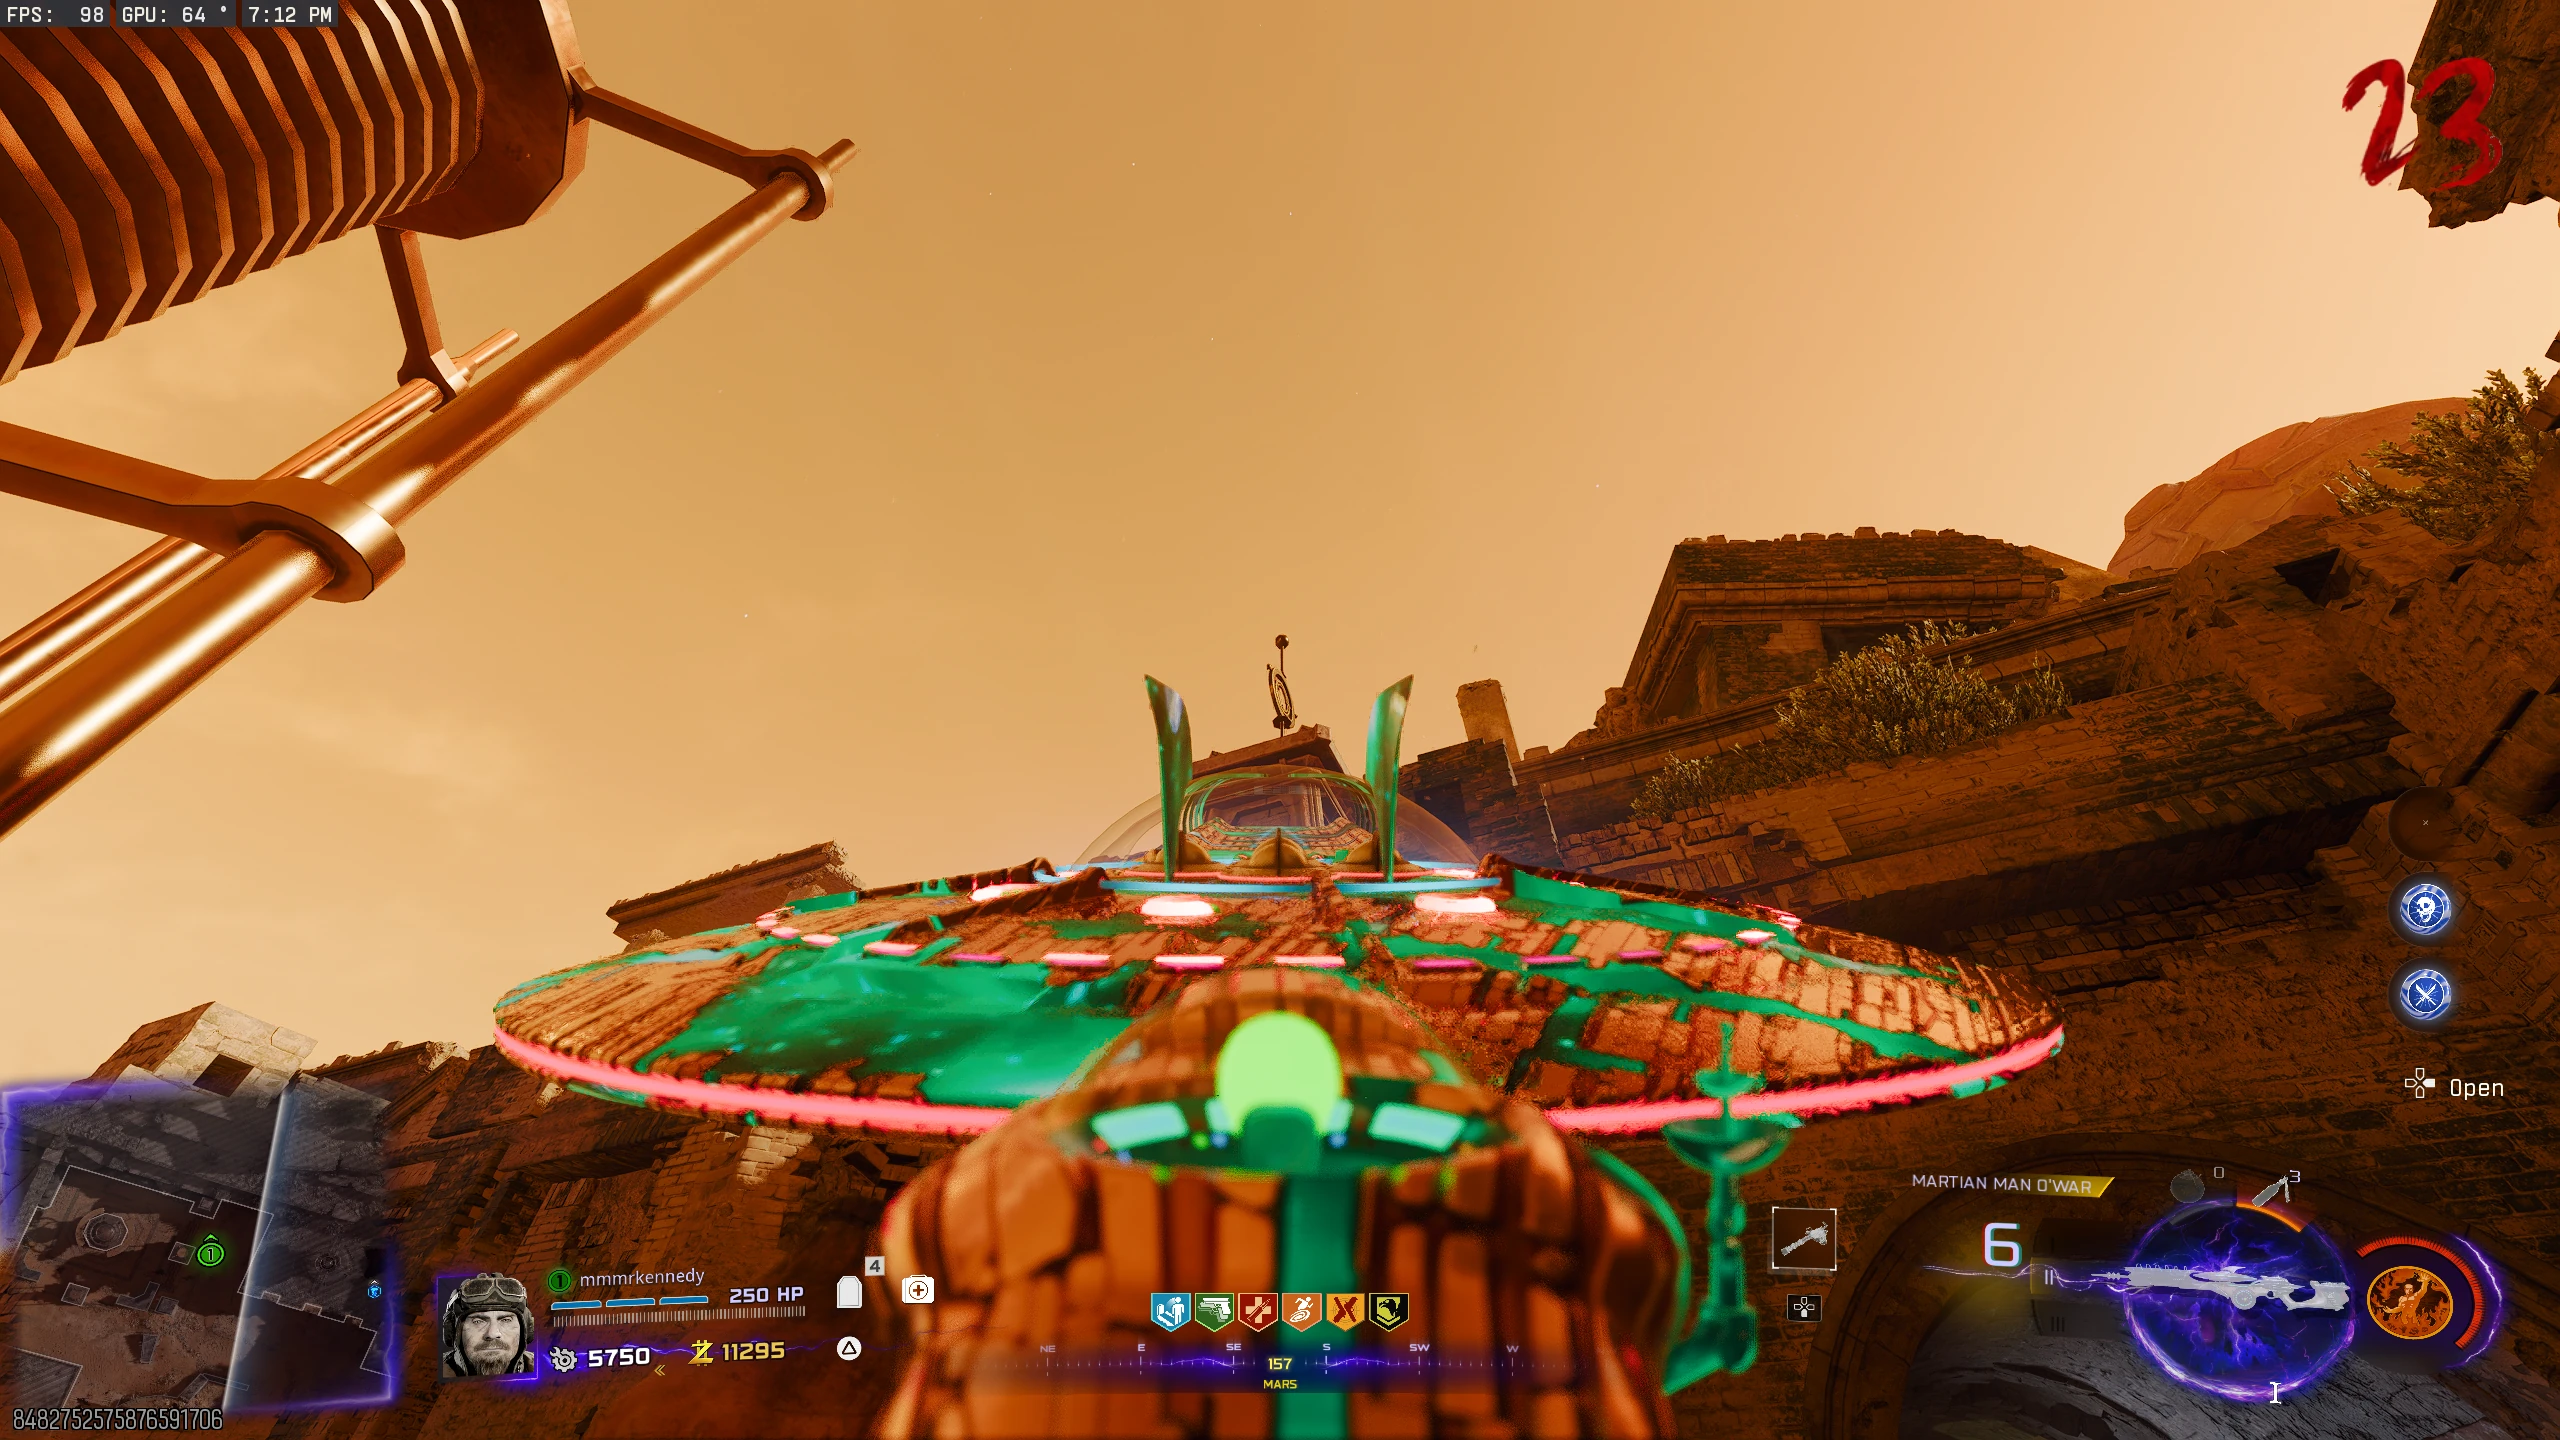
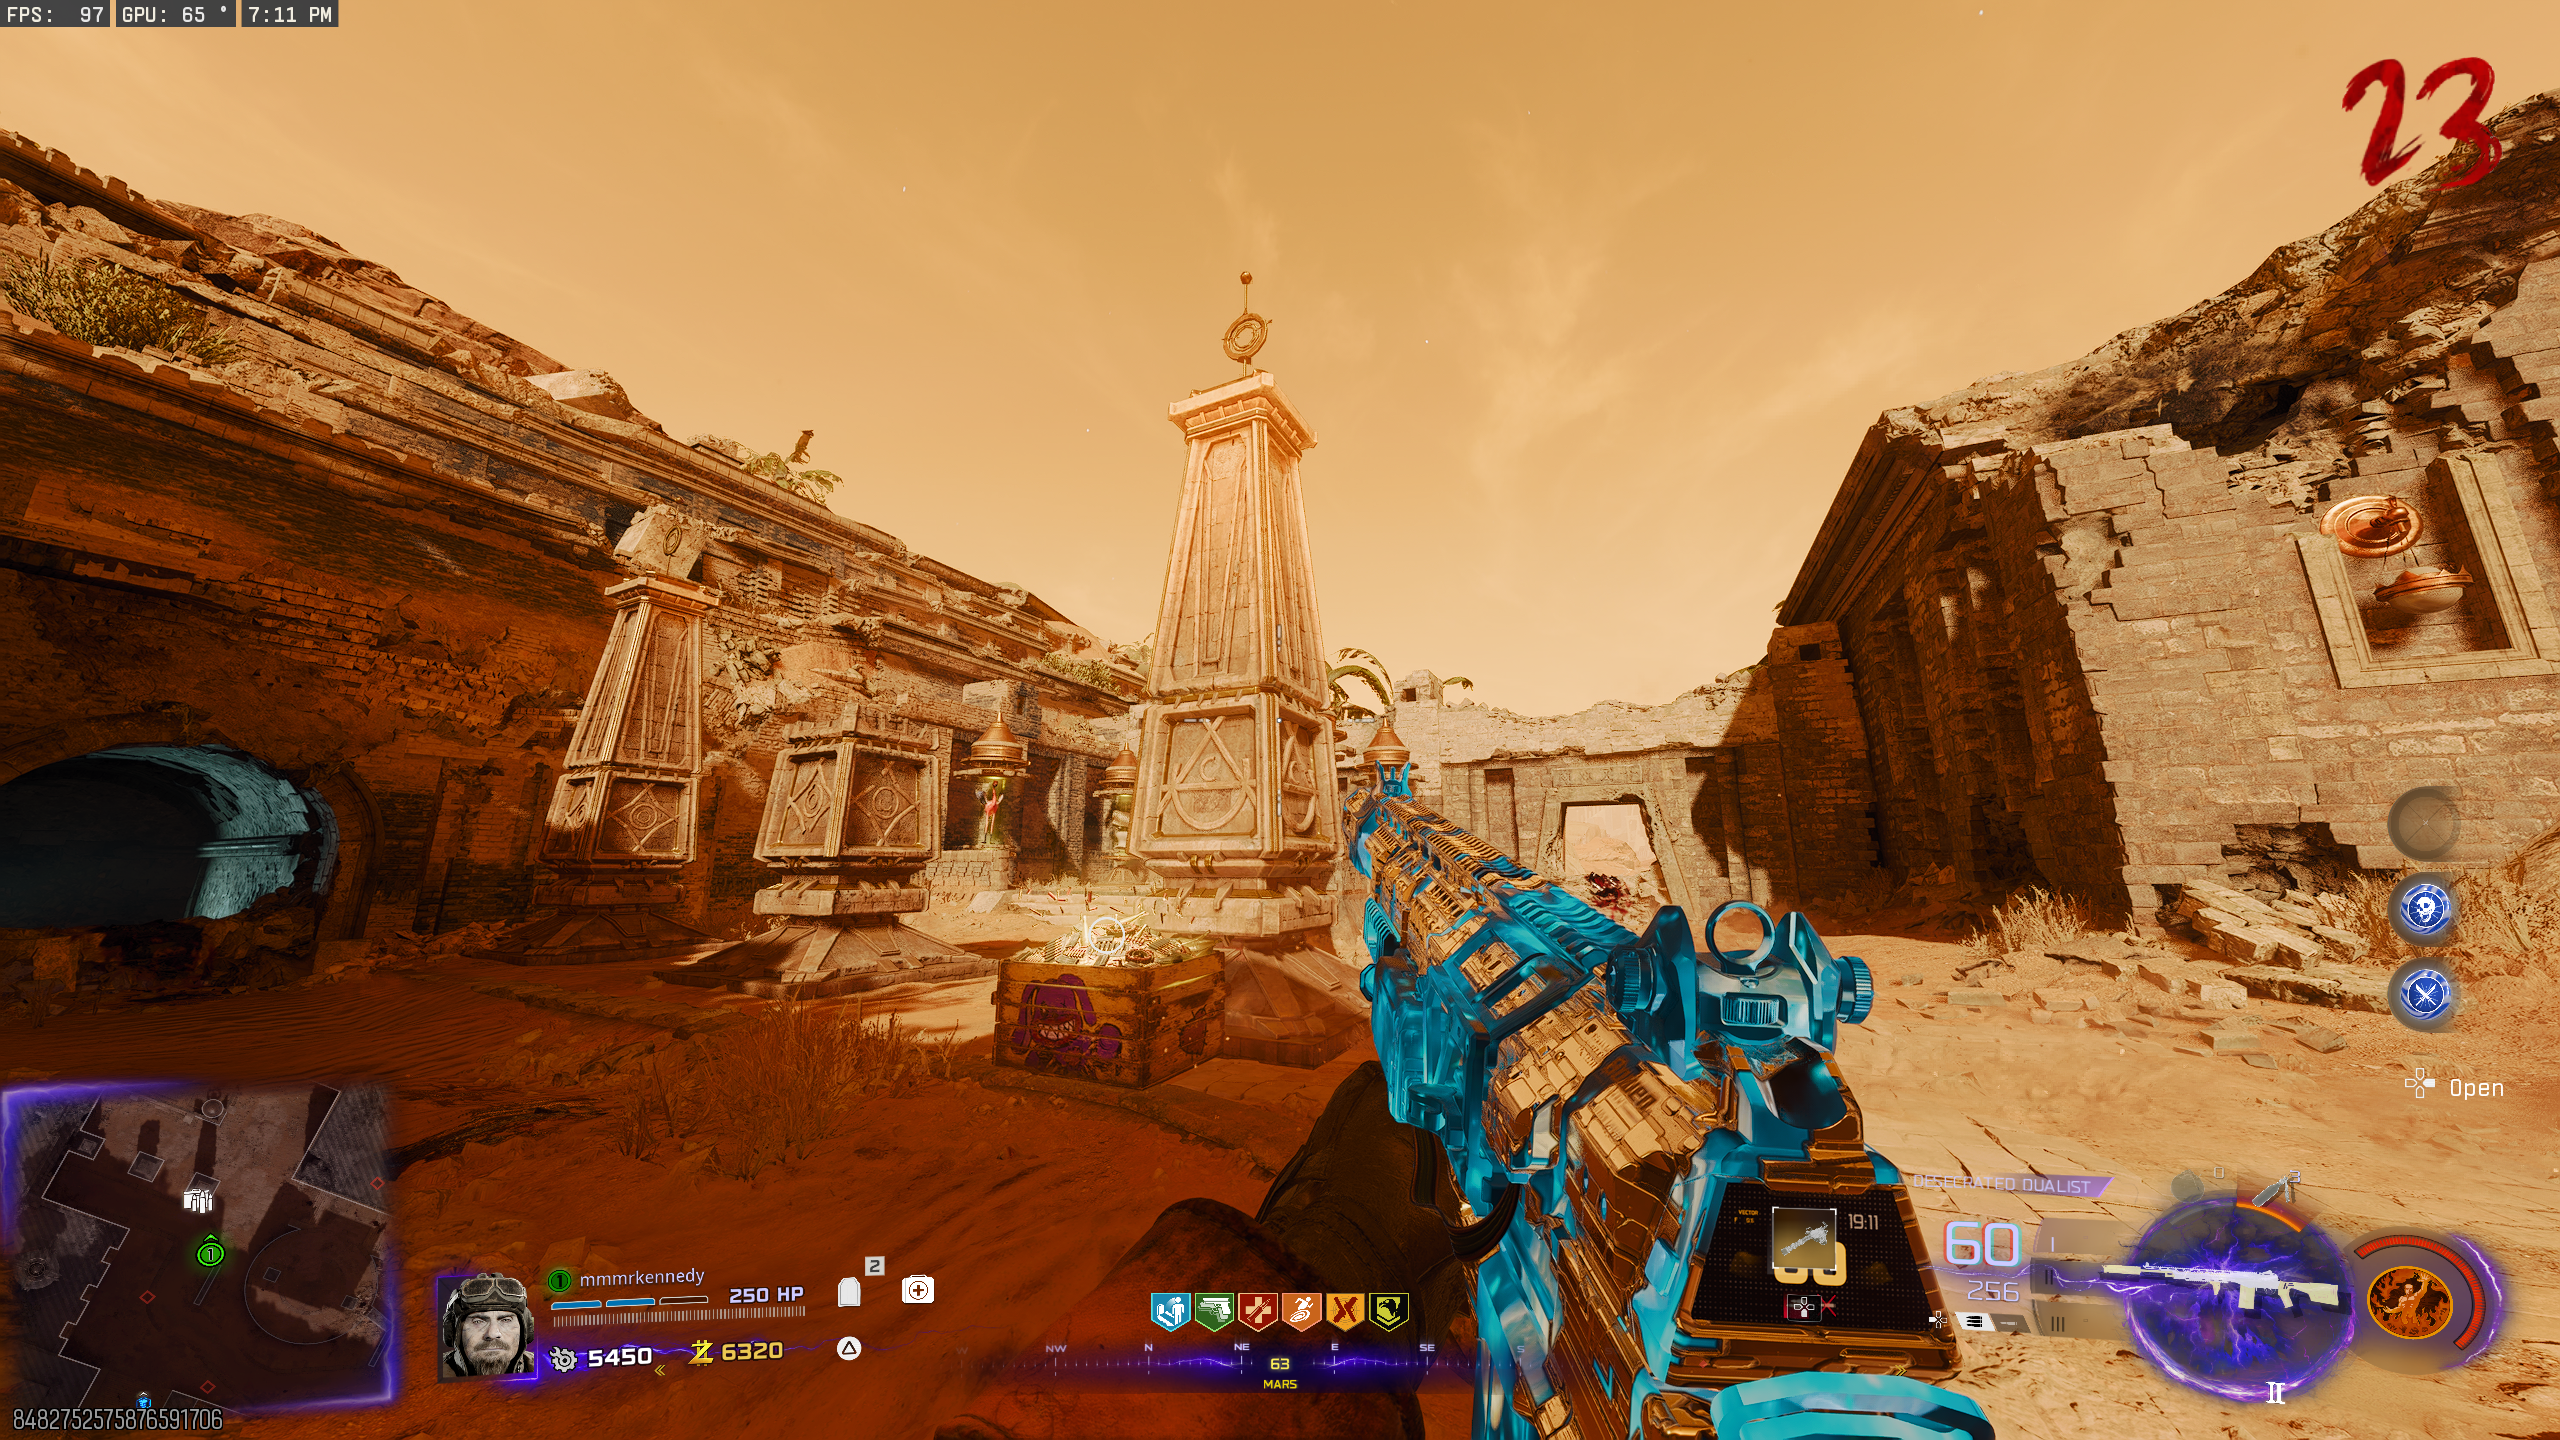
- Once you're on Mars, Thurston's Brain Jar will fall to the floor on the platform in the centre of the area (takes a few seconds to spawn). Pick it up. You'll be slowed again.
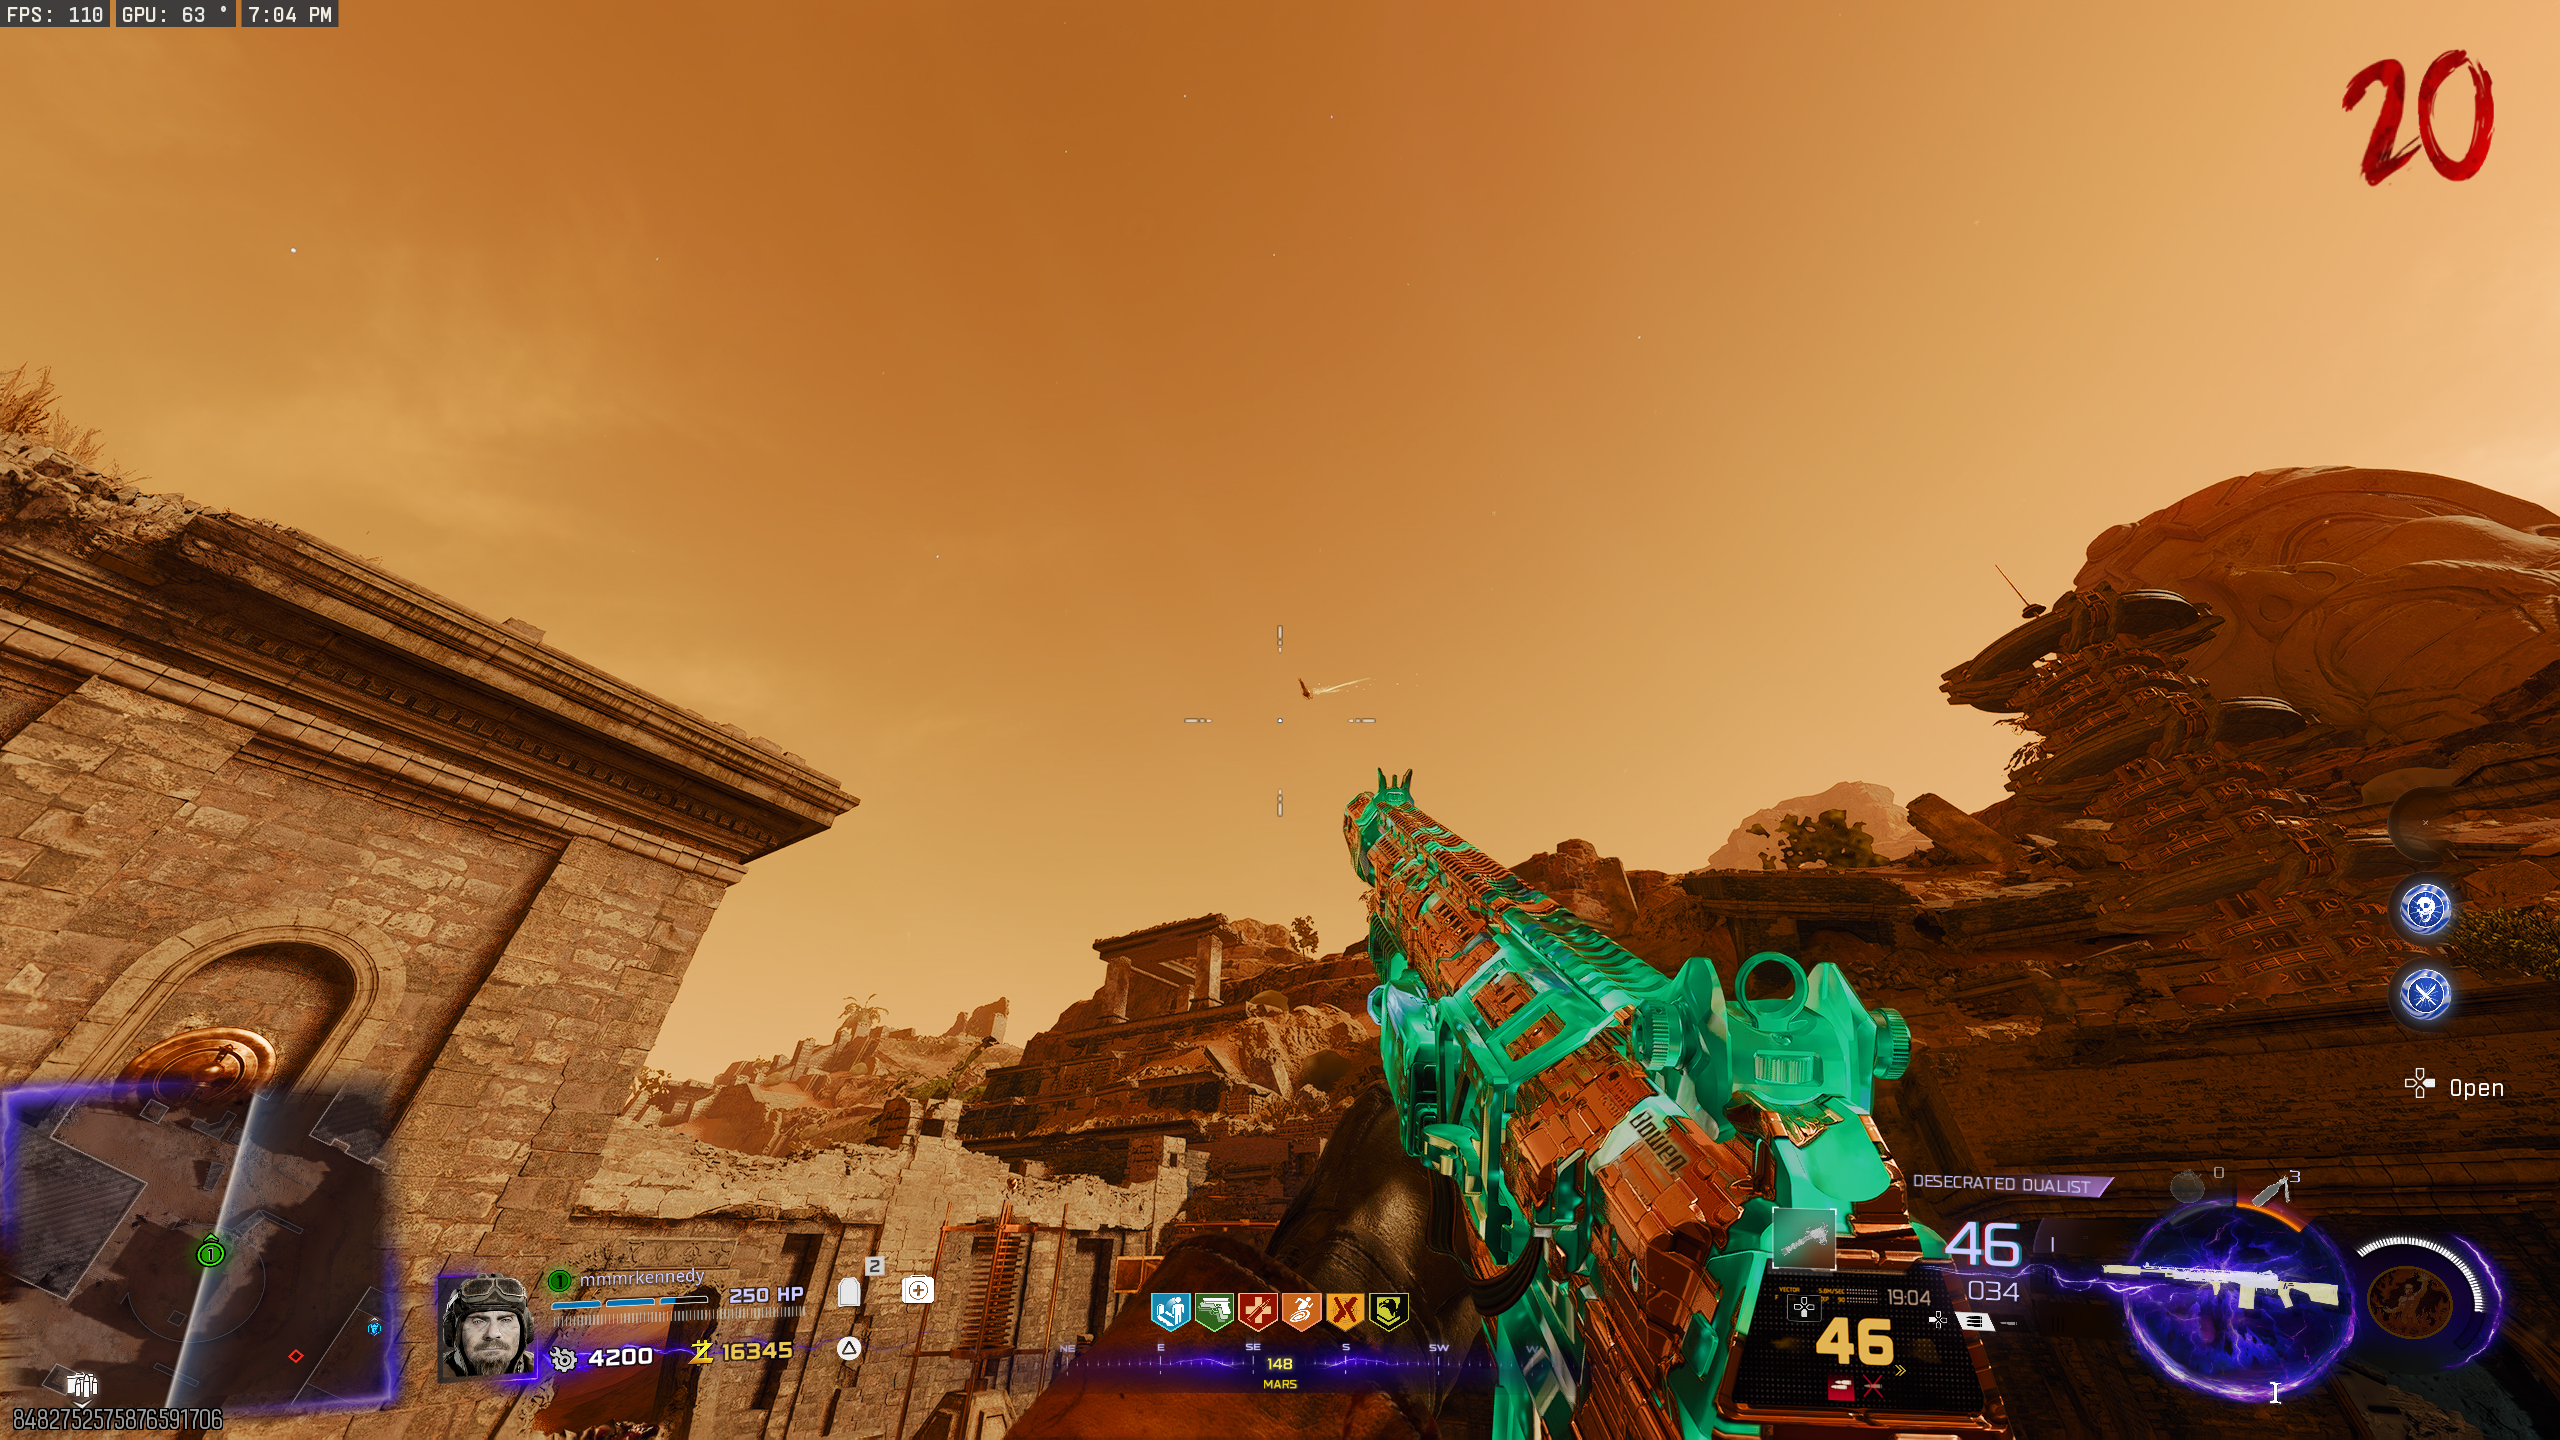
- While on Mars, (seemingly) randomly a low-gravity mode will activate. This is indicated by a few horn blasts.
- Interact with the machine where you spawned on Mars to place the jar. Hold interact to connect it to the machine. This will spawn a portal up the stairs from the machine that will take you back to the main map. You can teleport back to Mars from the portal in Machina Astralis.
- Interact with the Brain machine on Mars to play a long, single tone. This can only be done once per round. If you fail to grab the Ascendant Eye (a few steps away), you'll need to restart from here.
- The music will automatically activate after you connect Thurston's Brain Jar, so if you miss this, you'll need to end the round to try again. After that first automatic play, the music will only activate when you interact with the machine.
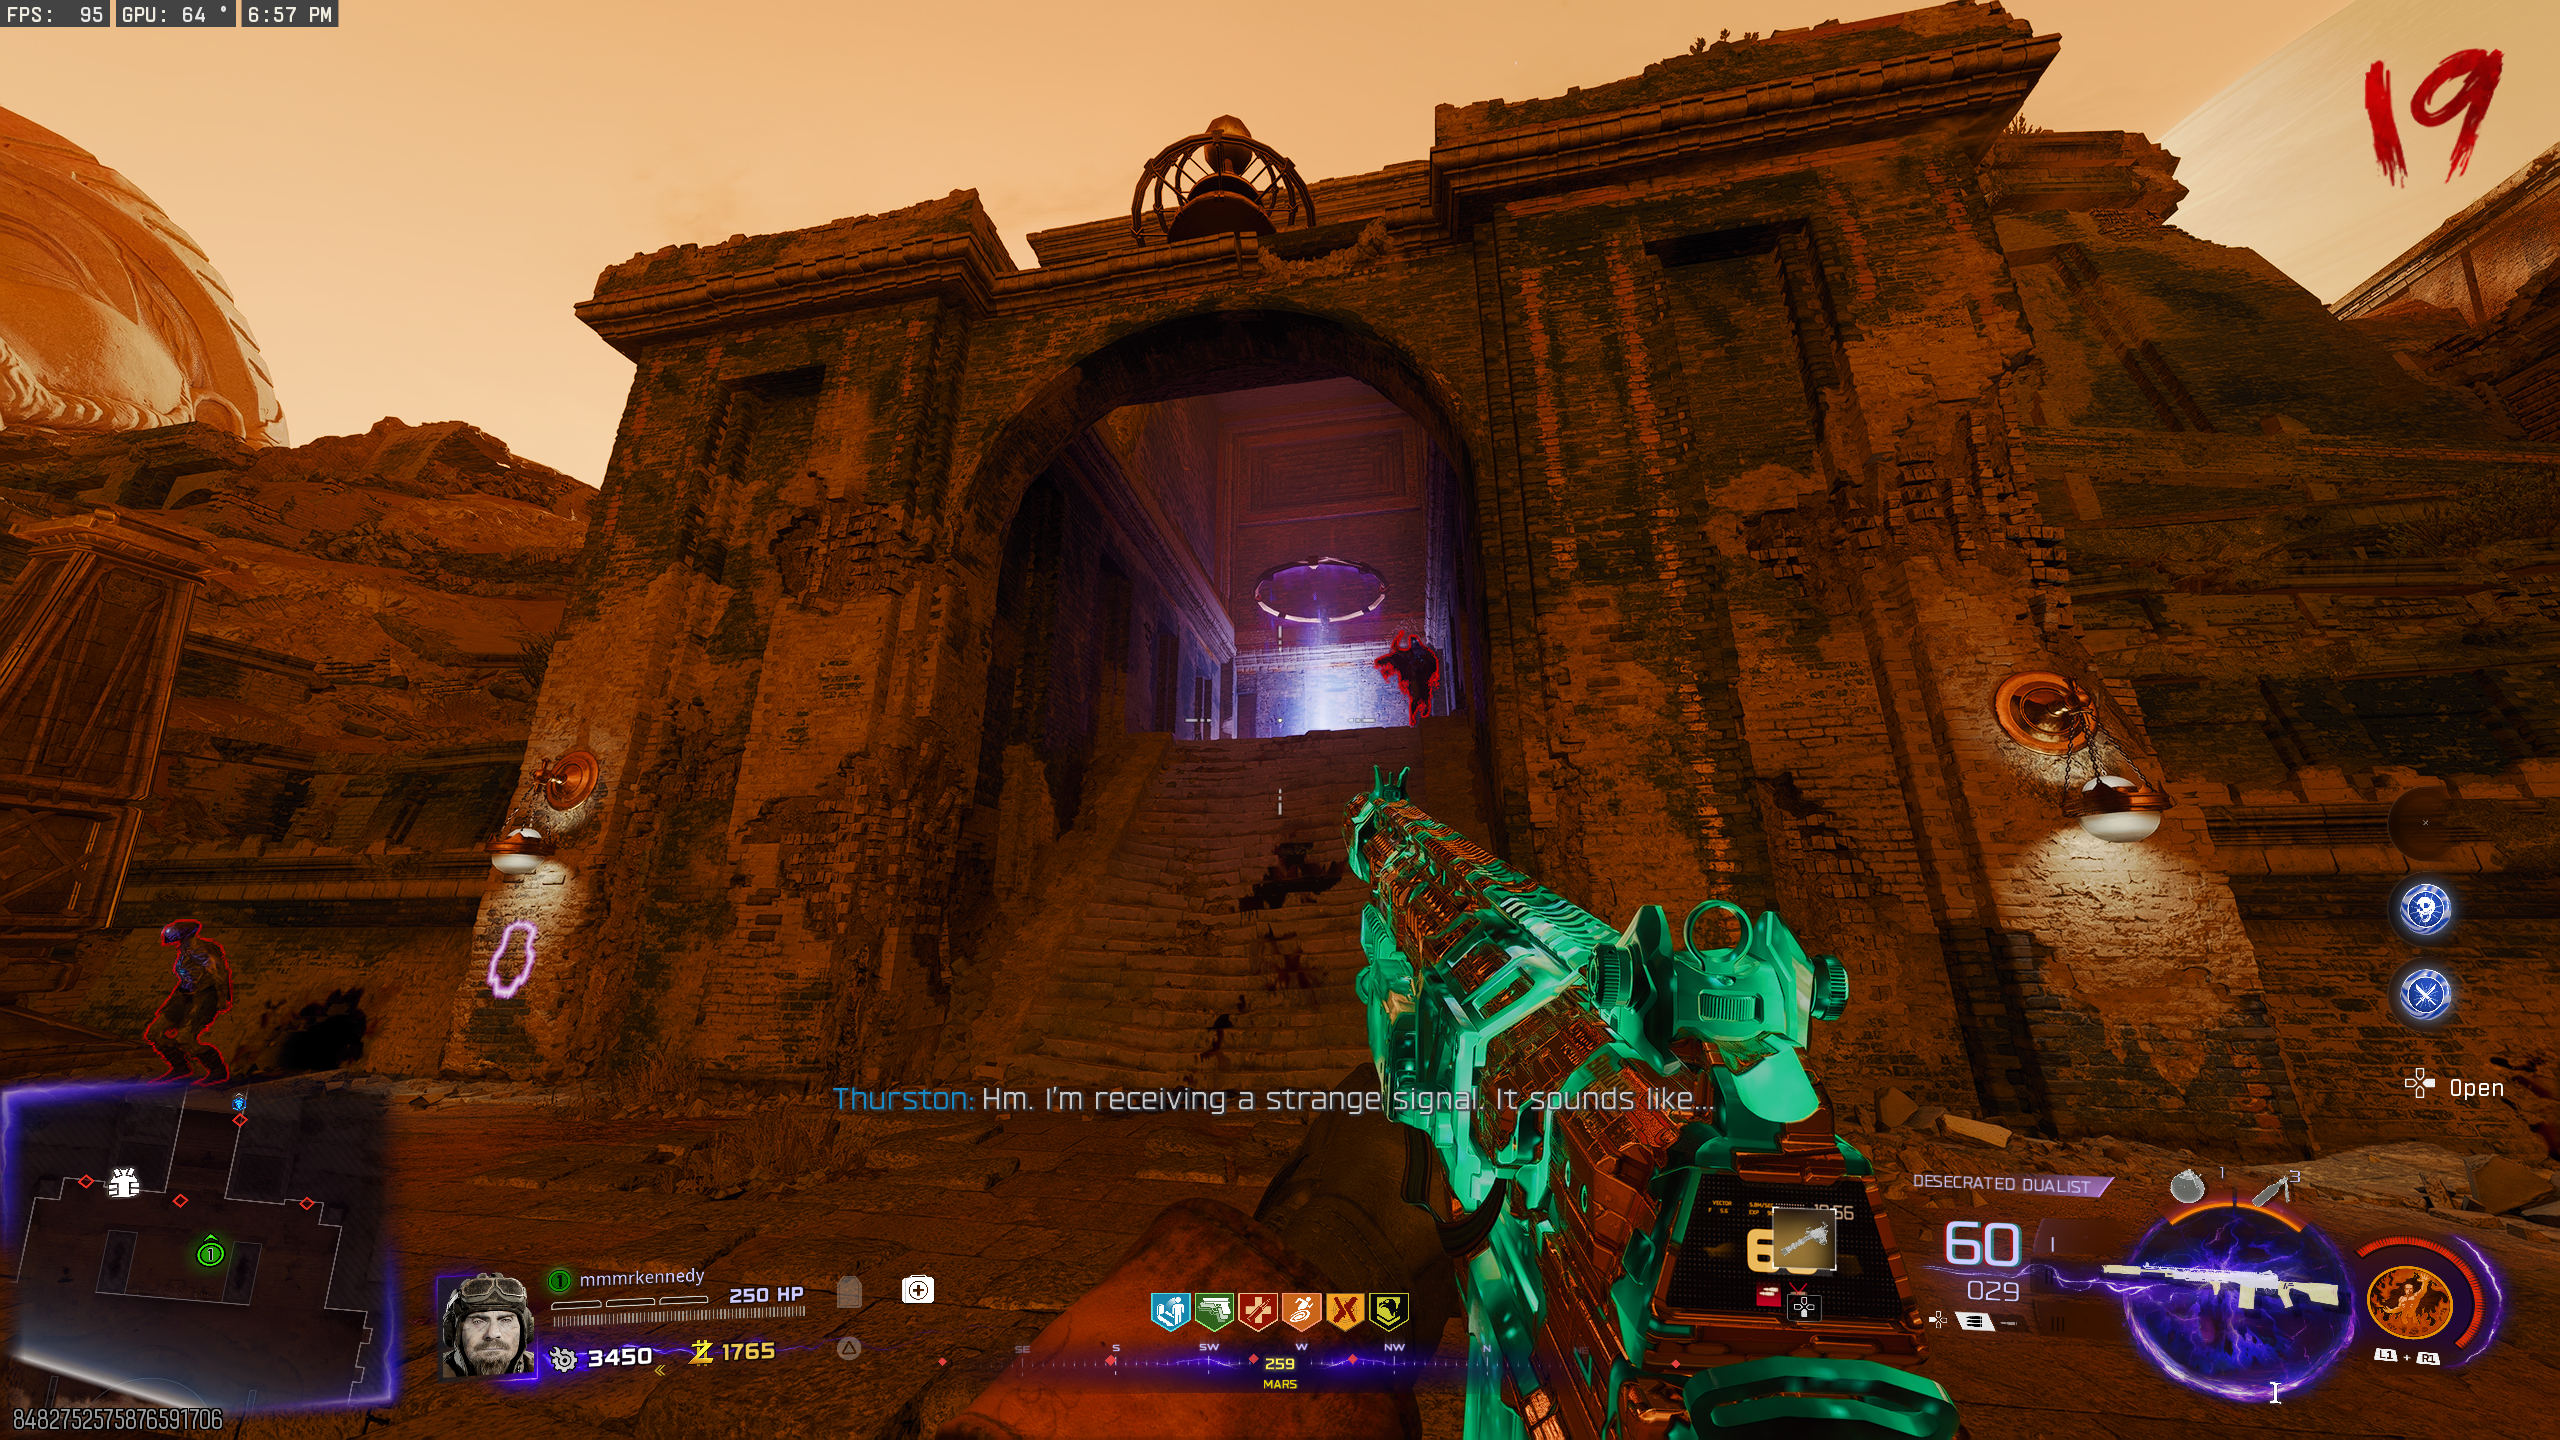
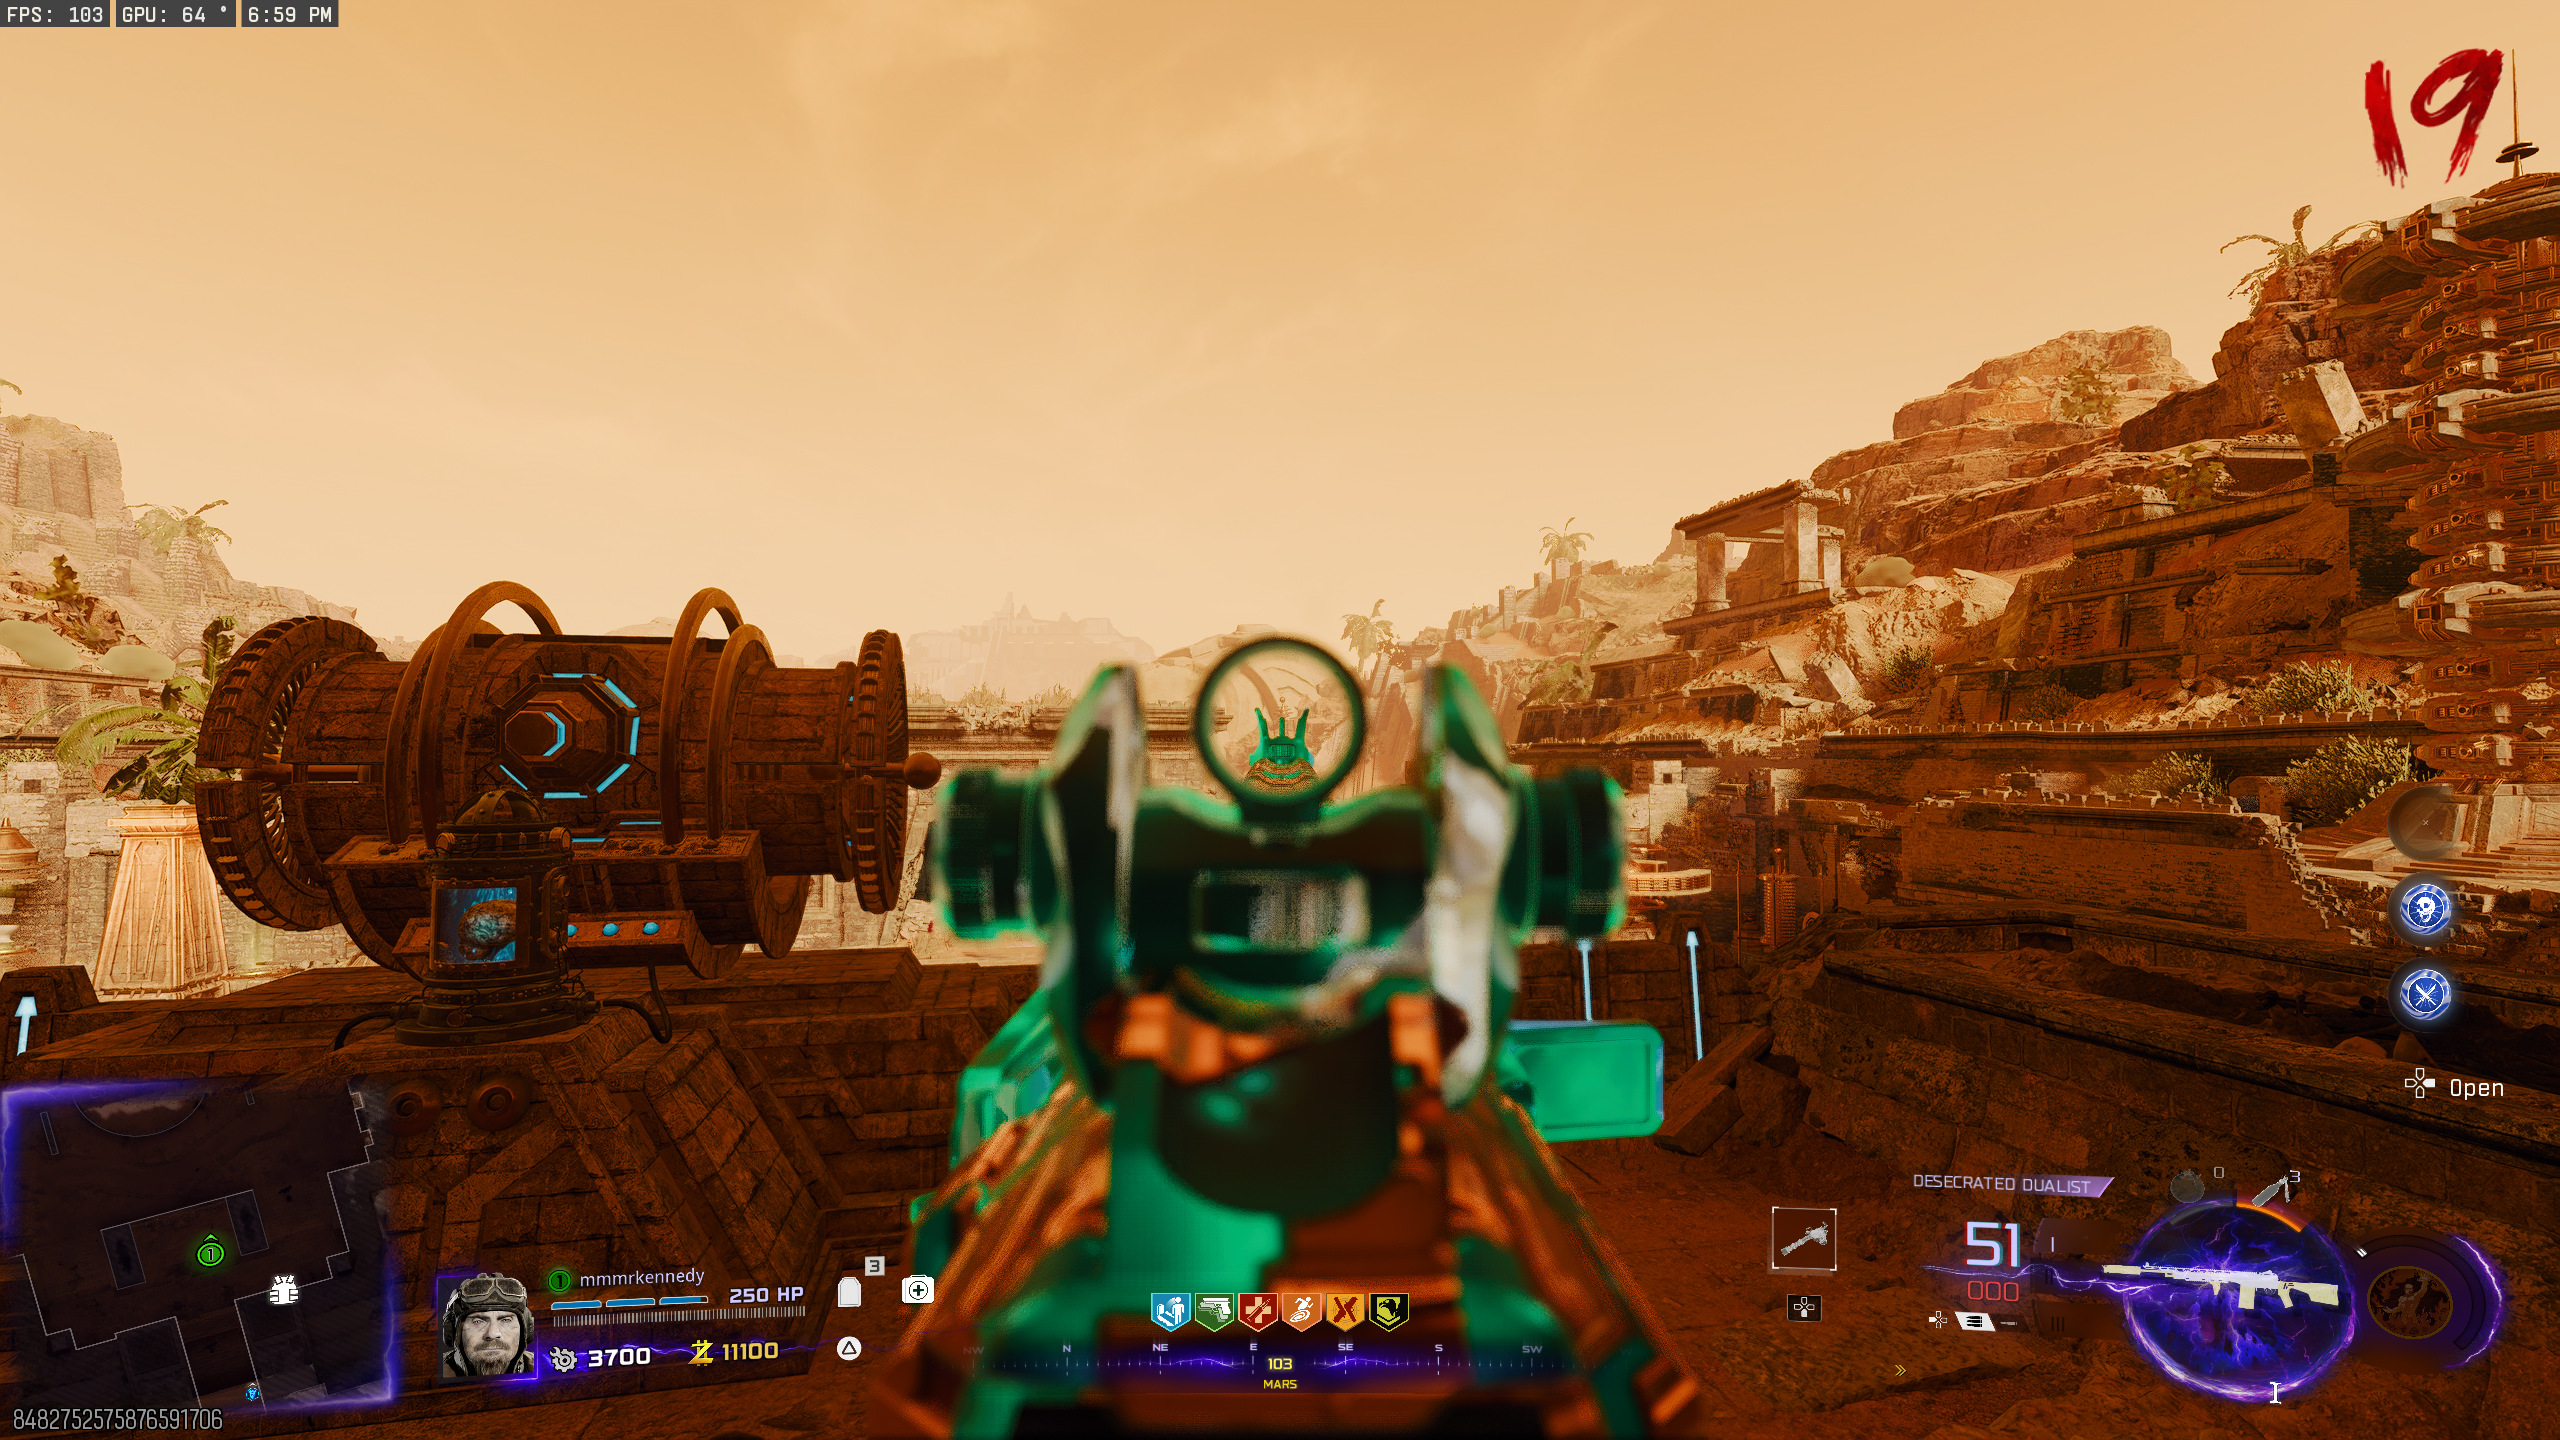
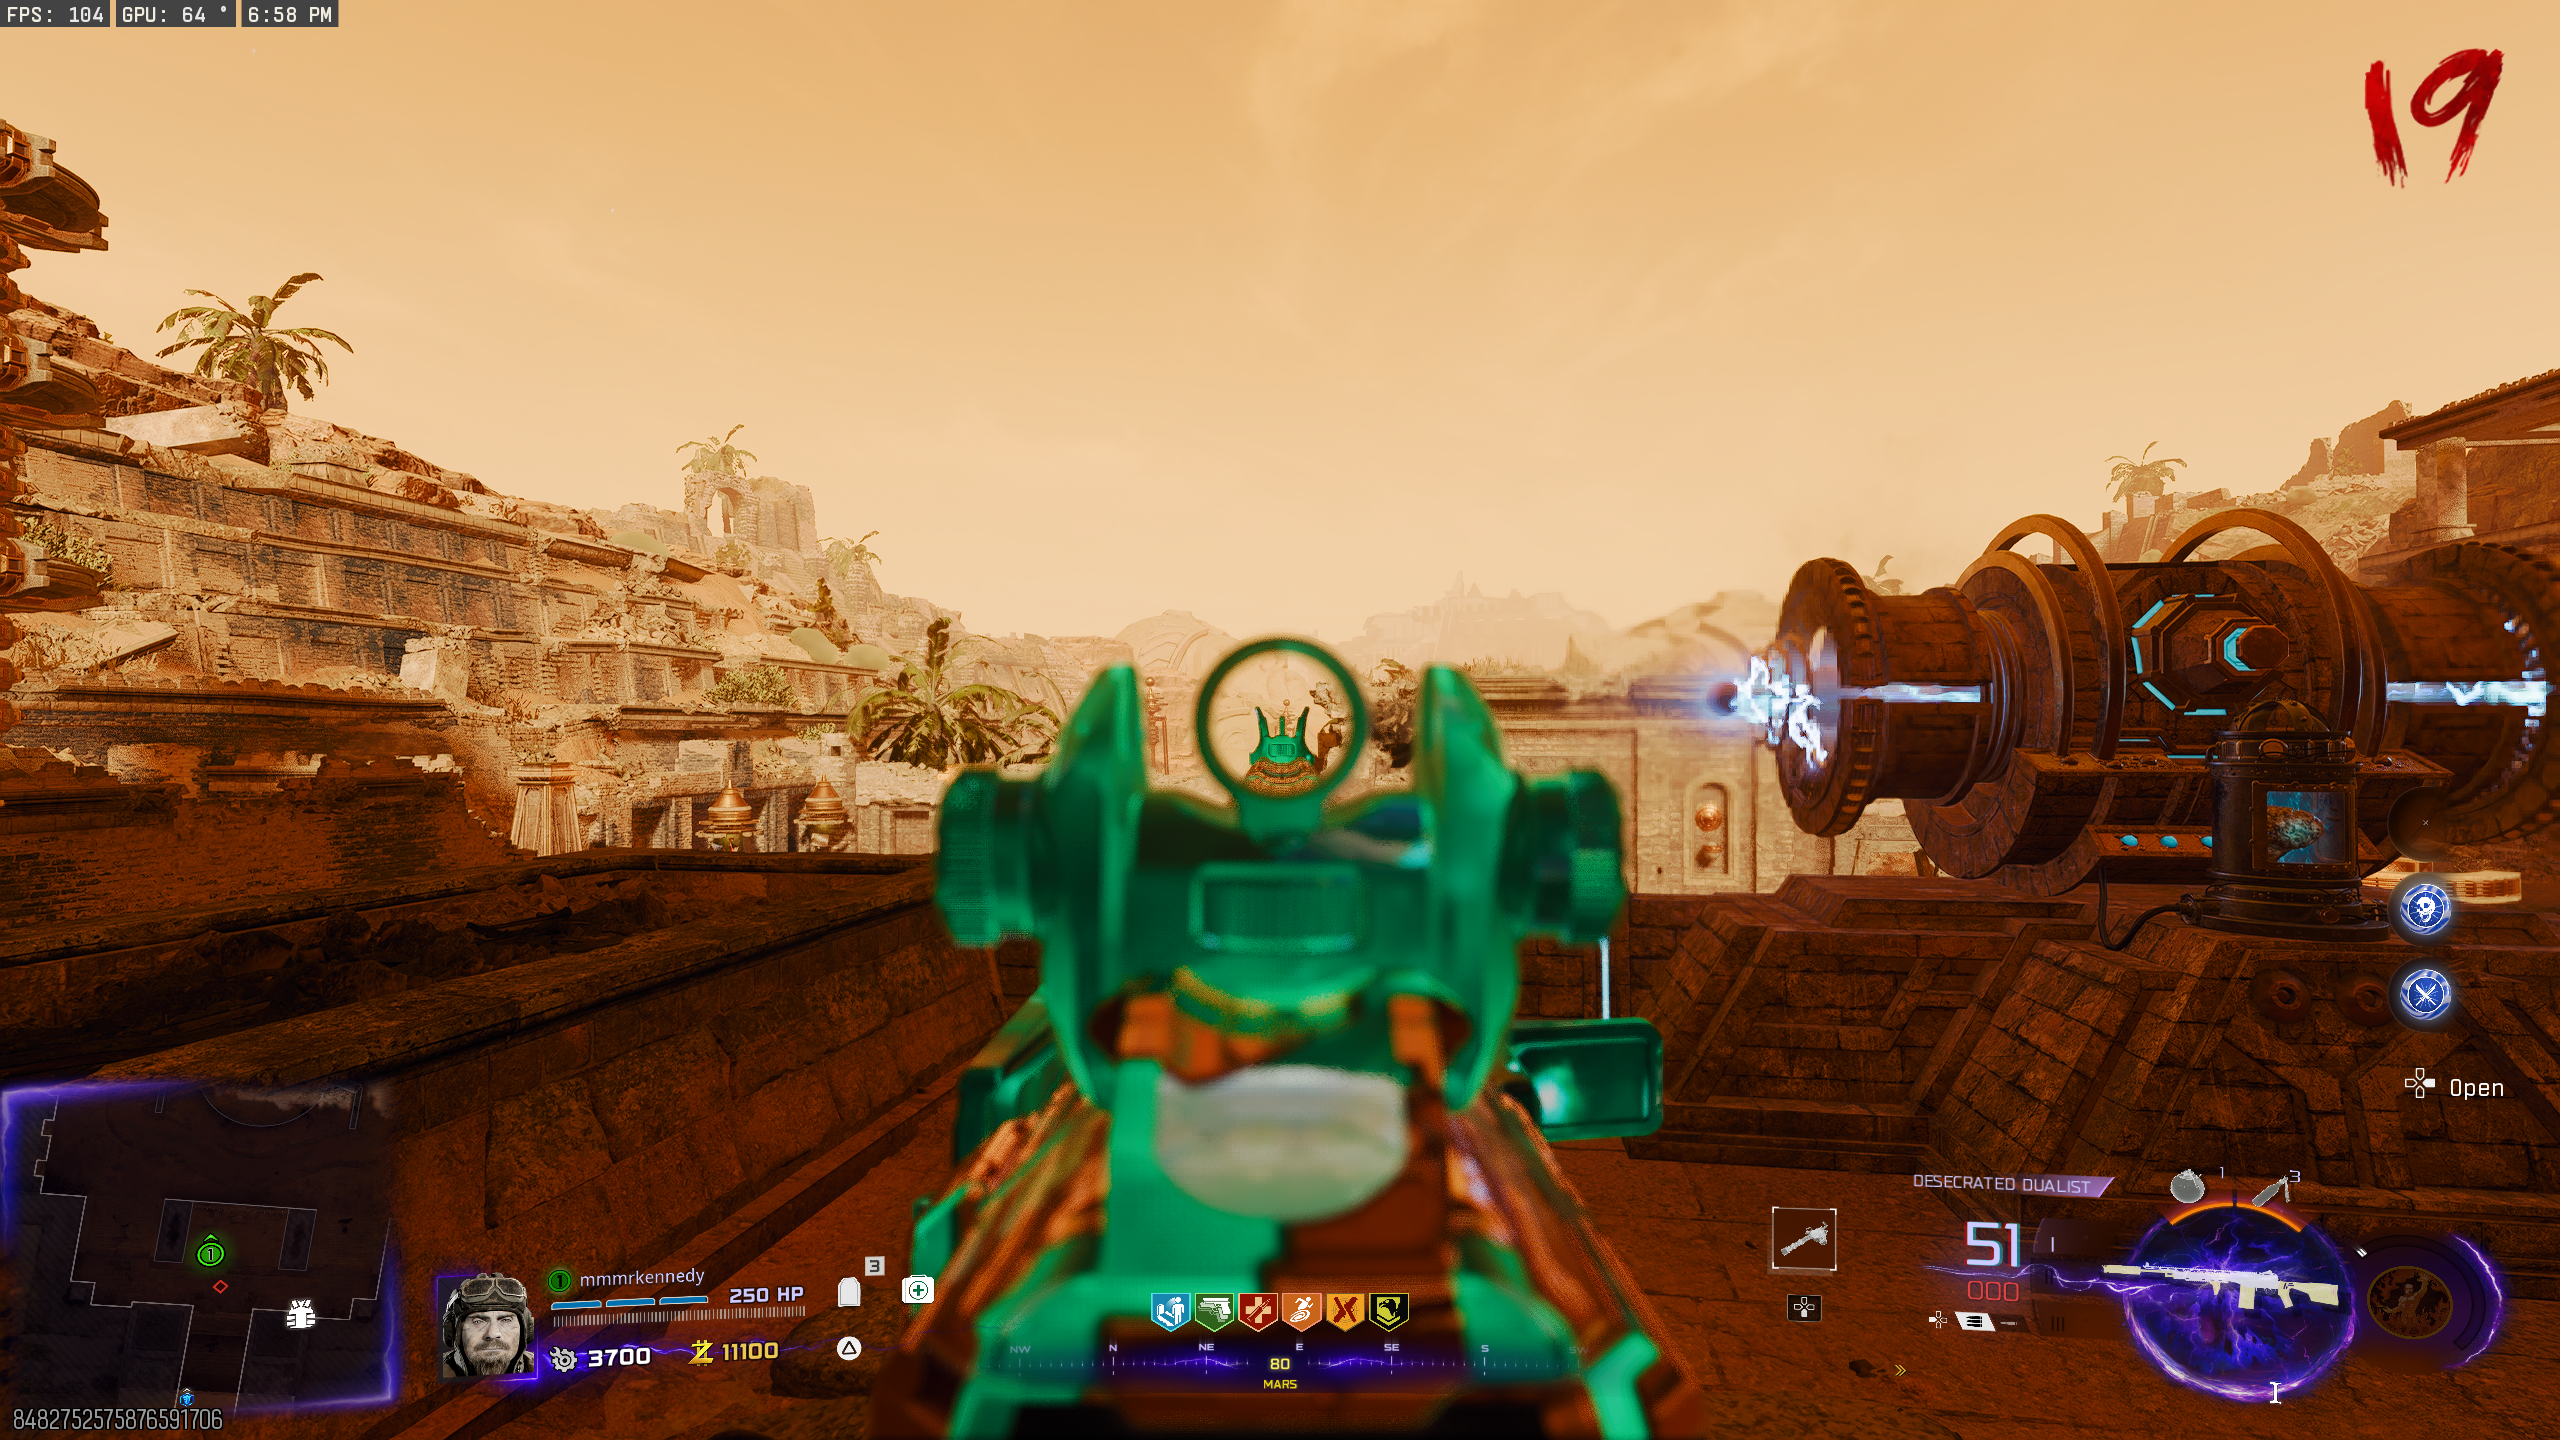
- On Mars, while the tone is playing, shoot five pylons around the arena in the order shown below. There are four pylons outside the map (from the perspective of facing the Brain machine) and one above the portal. When shot, the pylon will glow blue.
- If done correctly, the Ascendant Eye will fly around above the arena. Wait until it gets low enough to grab, then jump toward it and hold interact to grab it. If you fail, it'll fly away. End the round, play the music, and shoot the pylons to try again.
Activating the Pillars
- Place the Ascendant Eye in the device at the back right side of the arena.
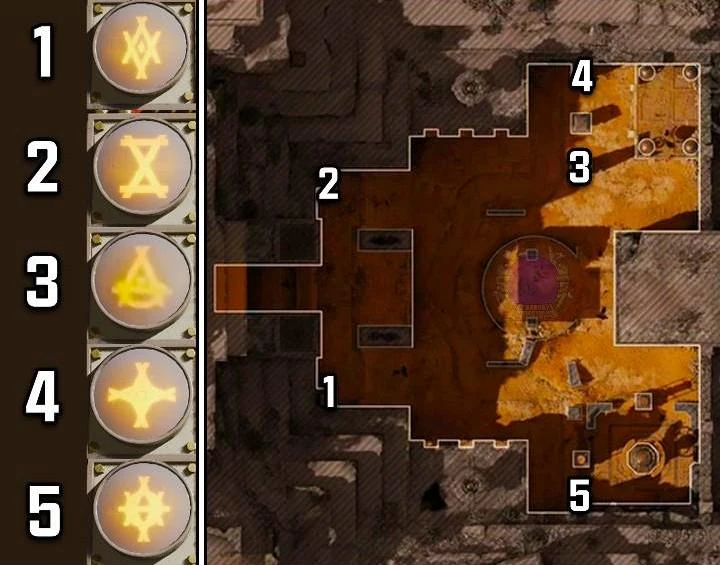
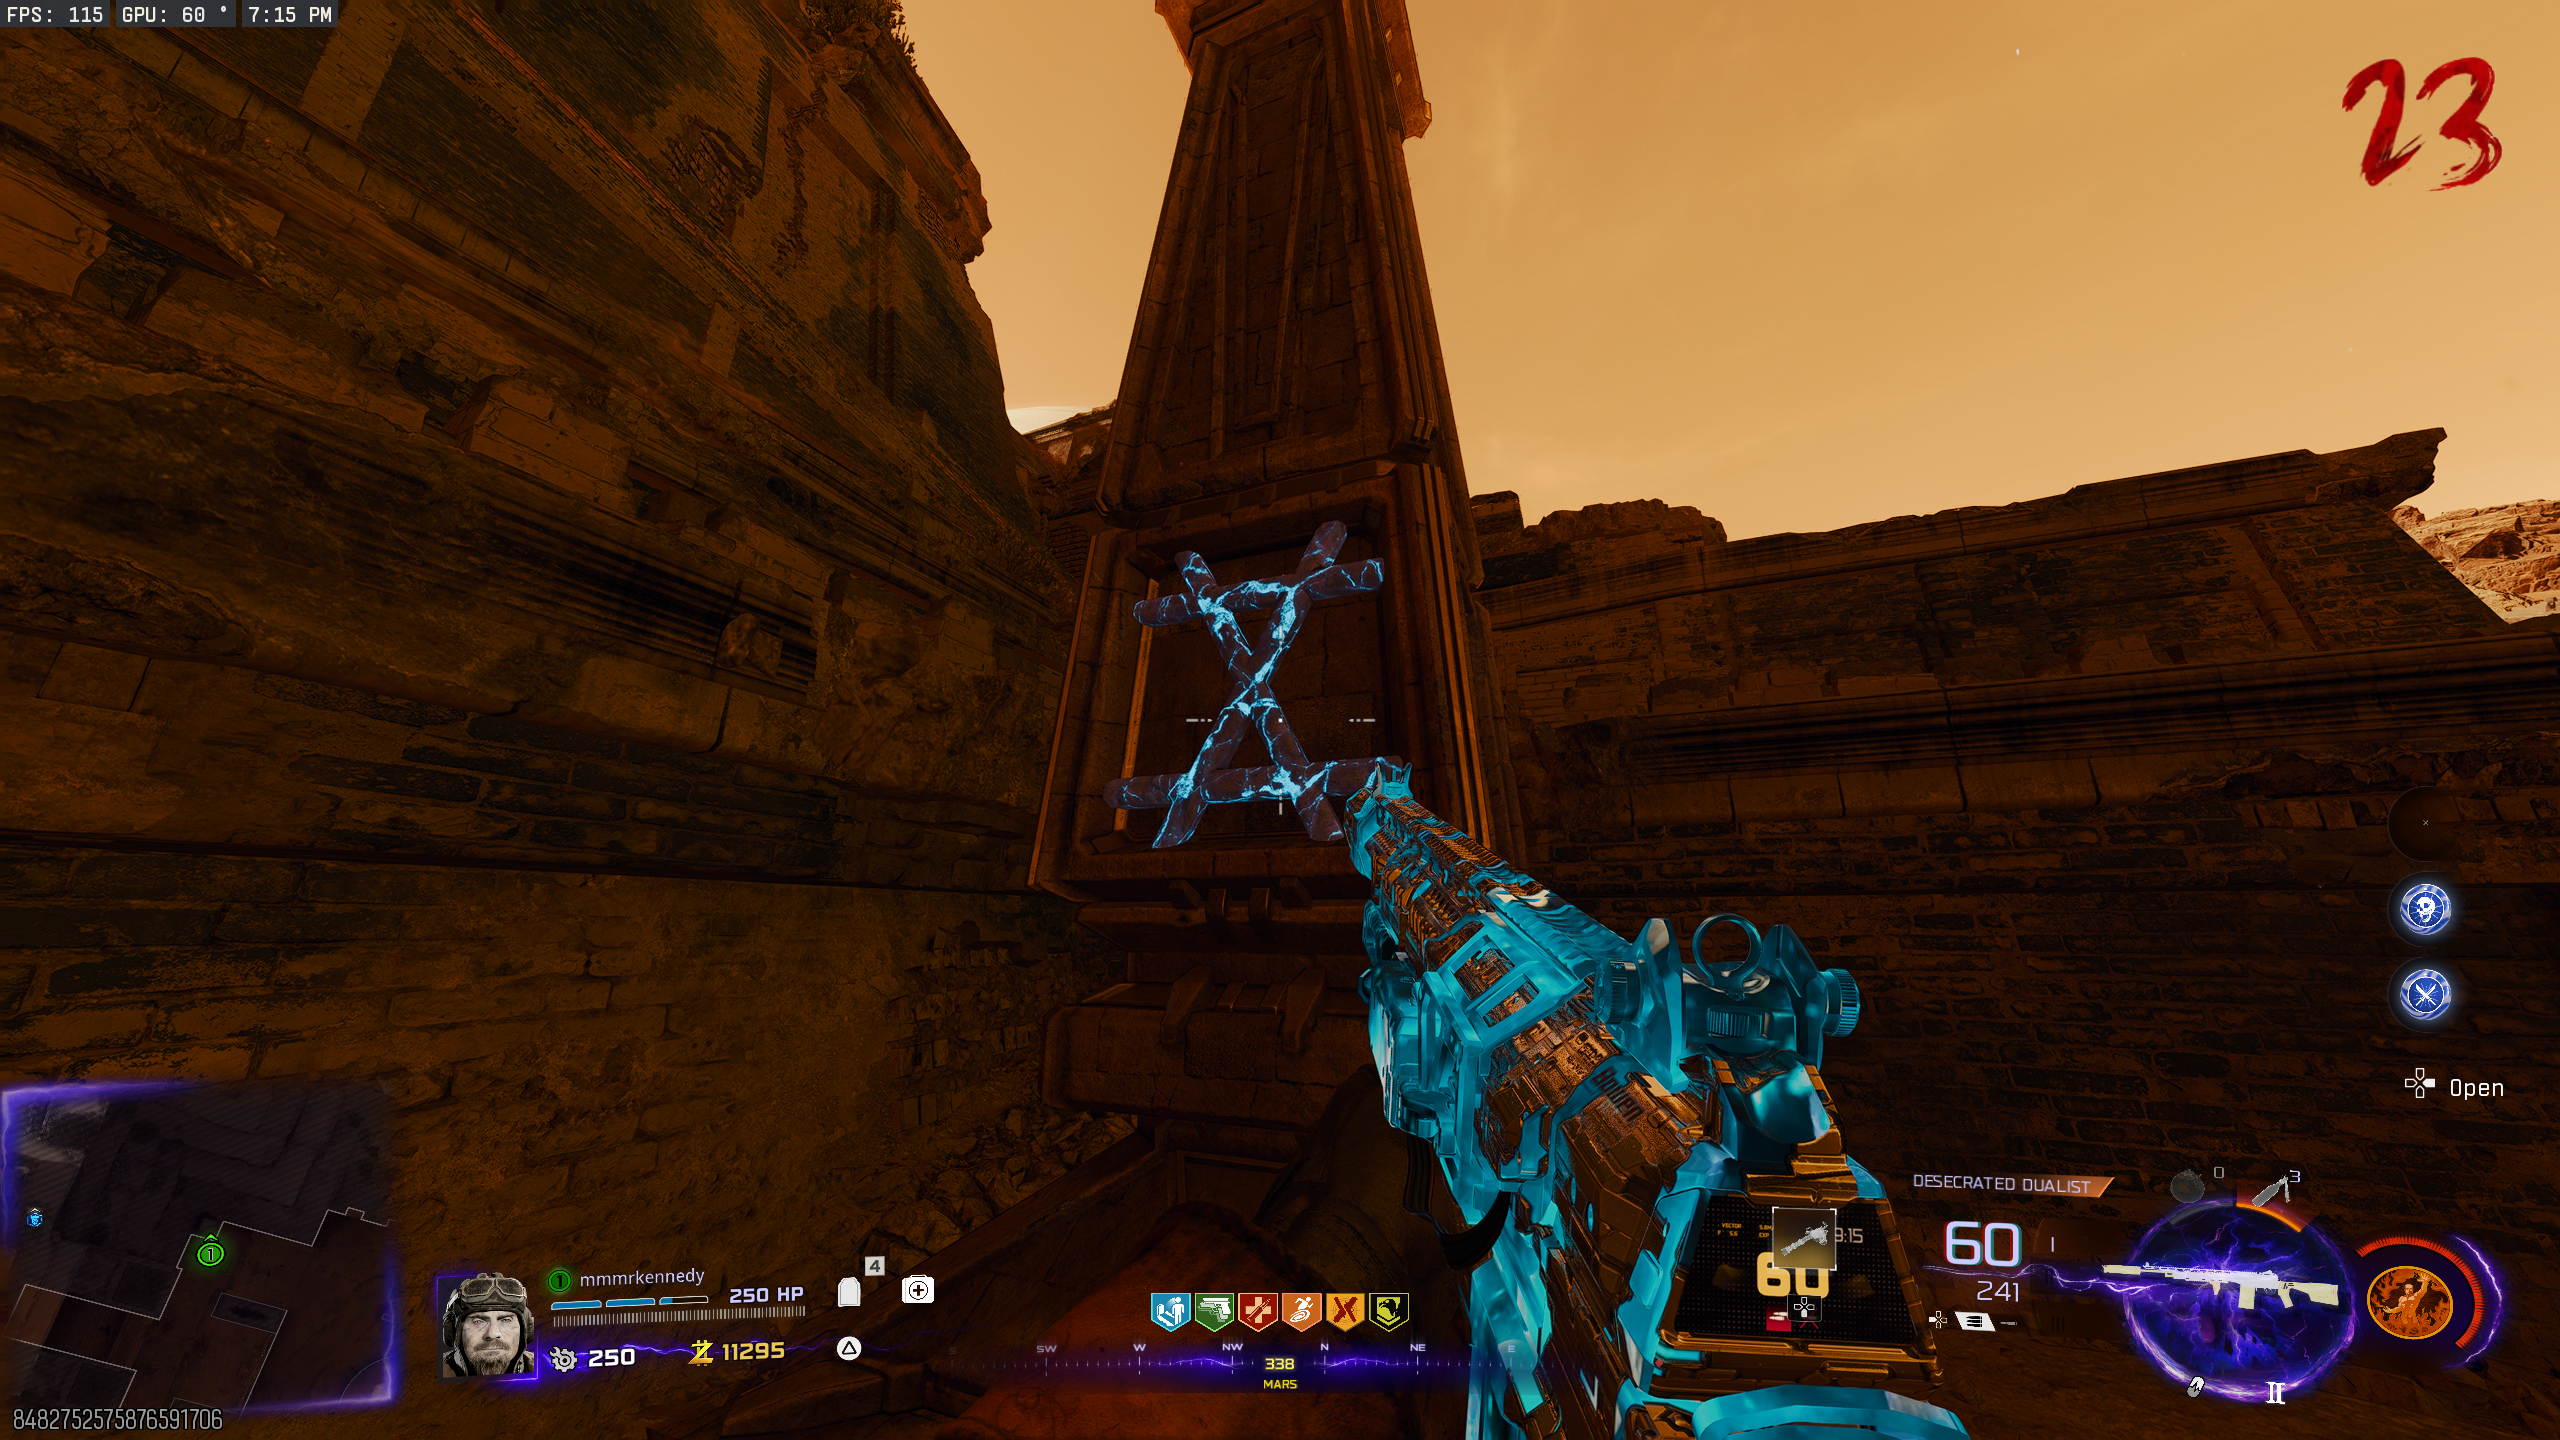
- Using the LGM-1, shoot the antennas on top of the five pillars found around the arena. If done correctly, each one will play a sound, and a symbol will be lit up at the base of the pillar. Pillar locations:
- Go back to the main map, and head to the Observatory Dome. Interact with the screen on the right side of the Organ. It will display five things: four symbols and one static. Using this cheat sheet, note the symbols and the order, and substitute the static for the missing number.
- Example: Screen showed 14░52 (░ = static), then your order is 14352 because 3 is not in the list already.
- Back on Mars, interact with the blue symbols on the pillars in the order from the Organ. If done correctly, the screen will flash white.
- If you interact with a pillar out of order, the blue symbol will turn red, and you can retry on the next round. The order of the symbols doesn't change if you fail.
Caltheris Boss Fight
Phase 1
- Interact with the Brain on Mars to start the boss fight.
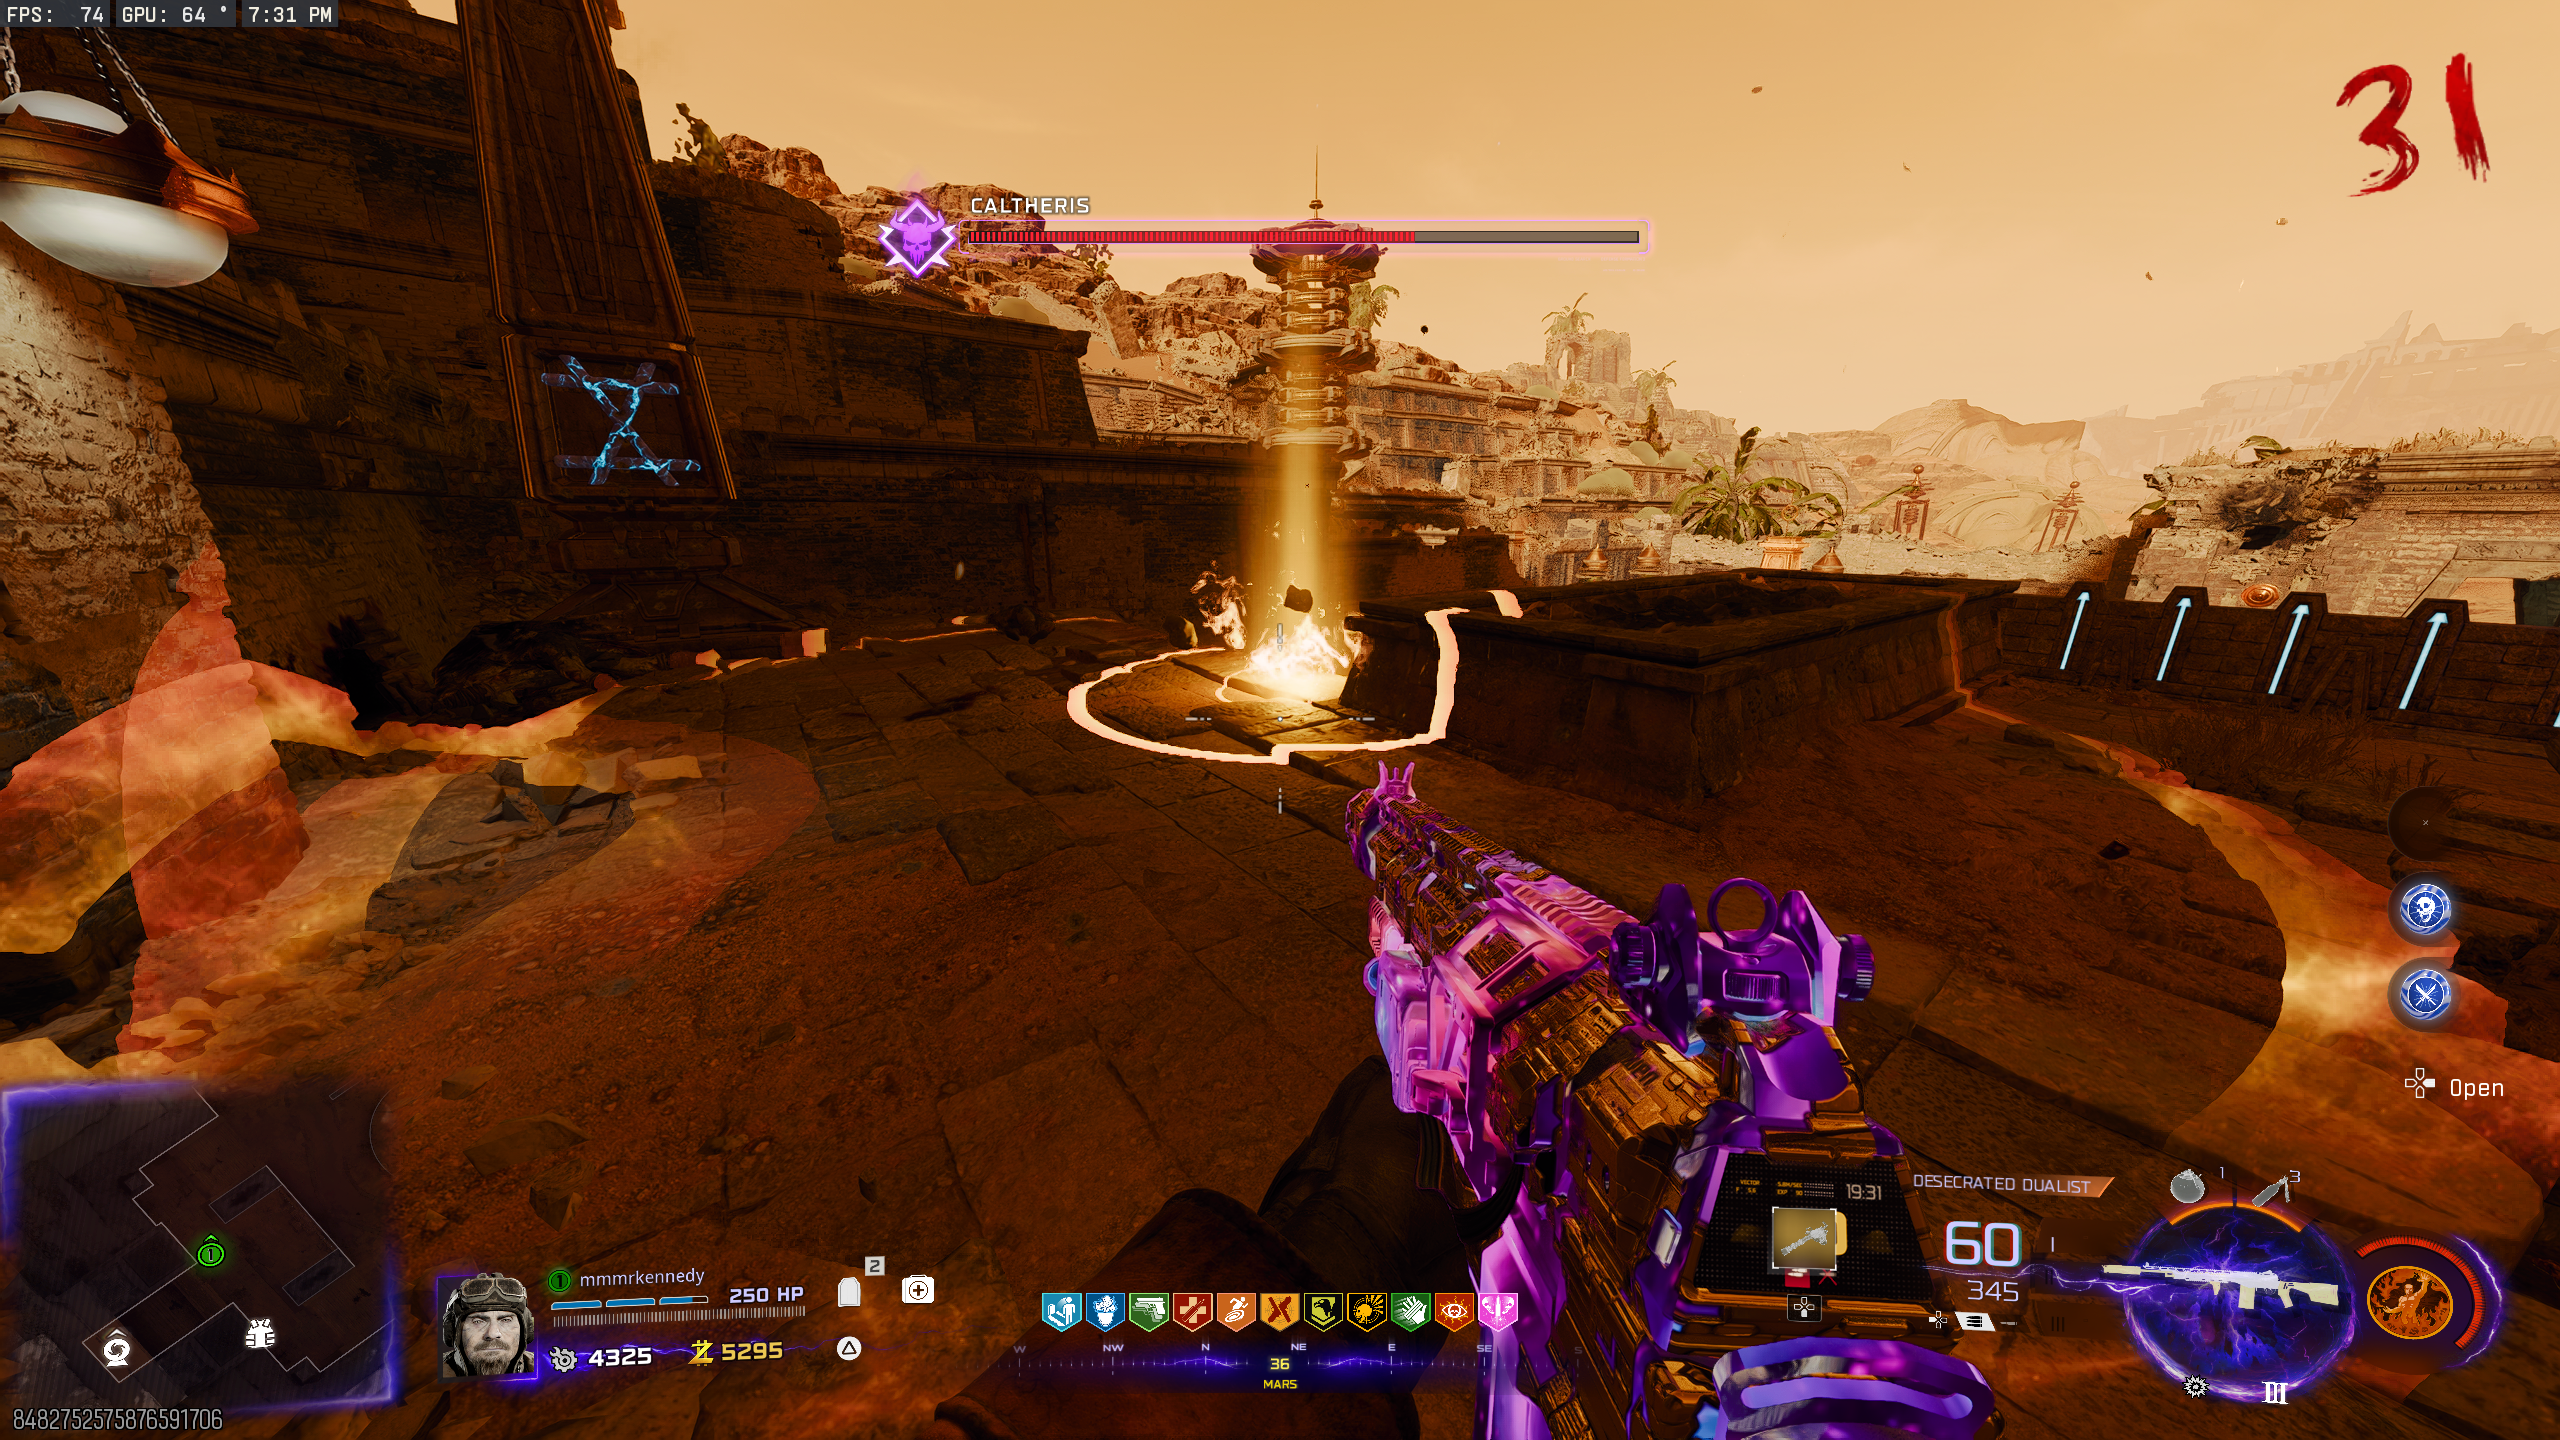
- A Giant Skull (Caltheris) will spawn in the sky above the arena. She can only attack you with a laser beam. You can outrun it, but it follows you as you move.
- Kill Zombies anywhere around the arena to charge the coil on the right side of the arena. The coil is made up of three parts; as you fill the coil with kills, the sections will begin glowing.
- Once the coil has been charged, the screen will flash white. Hold interact on the Brain to fire a beam at Caltheris. You're extremely vulnerable while interacting, so make sure it's safe before starting.
- Once the beam is done and Caltheris has been damaged, she gains a new attack. She will fire meteors at you, indicated by an orange circle on the ground. The meteor will leave fire on the ground that lingers for a while, damaging players who walk over it.
- Kill Zombies anywhere around the arena to charge the other coil on the left side of the arena. Once charged, fire the beam the same way as before.
- After the second beam, Caltheris can fill the lowest parts of the arena with gas that reduces the health of any player in it to 175. Toxic Zombies will spawn with the gas.
- Kill Zombies to charge both coils, and interact with the Brain when charged.
Phase 2
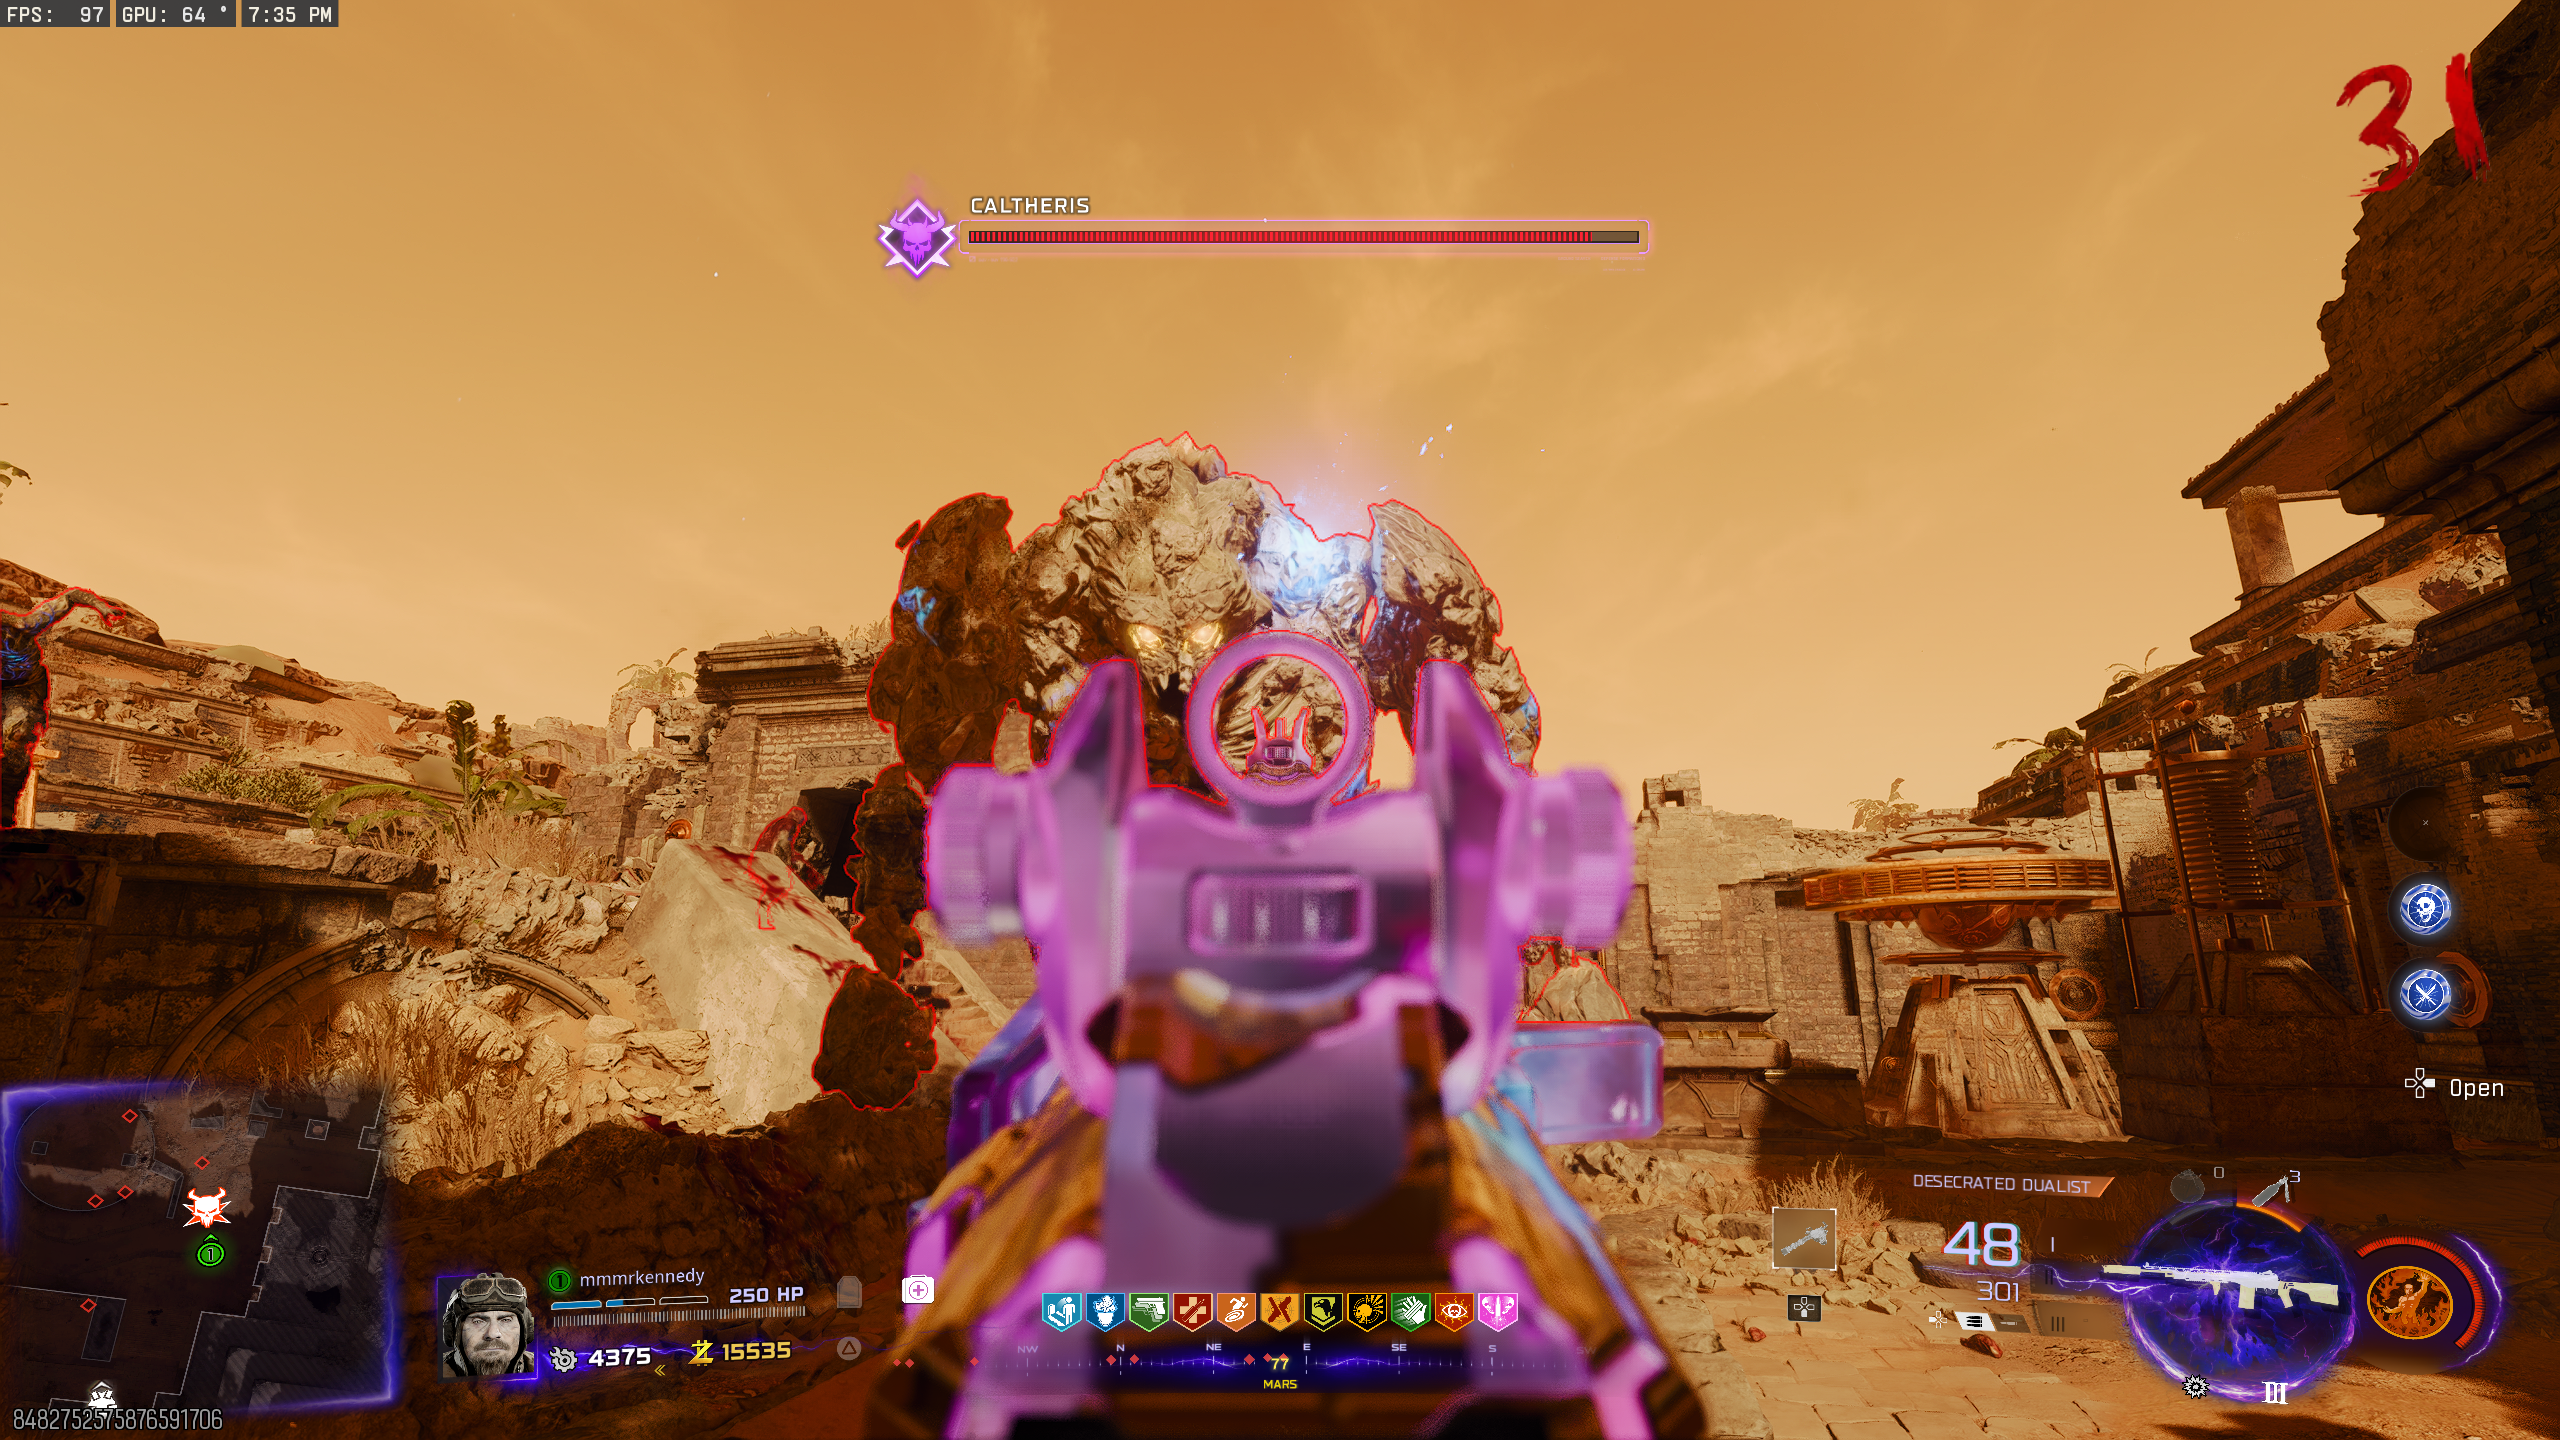
- Upon firing the beam for a third time, the Giant Skull will be destroyed, and Caltheris will spawn in the middle of the arena in the form of a rock creature. After a short animation, she'll start chasing the nearest player, slapping them if she gets too close. She'll also throw rocks.
- Shoot her anywhere to break her armour, revealing a glowing weak point. Once her health bar hits zero, the phase will end, and she will teleport back to the center of the arena.
Phase 3
- After being immune for 30 seconds, she'll become "Caltheris Ascendant". This phase is identical to phase 2, except she is now more aggressive in chasing and attacking players, and she gains a ground slam attack that can be avoided by jumping.
- Once her health hits zero, she'll teleport back to the center and become immune for another 30 seconds.
Phase 4
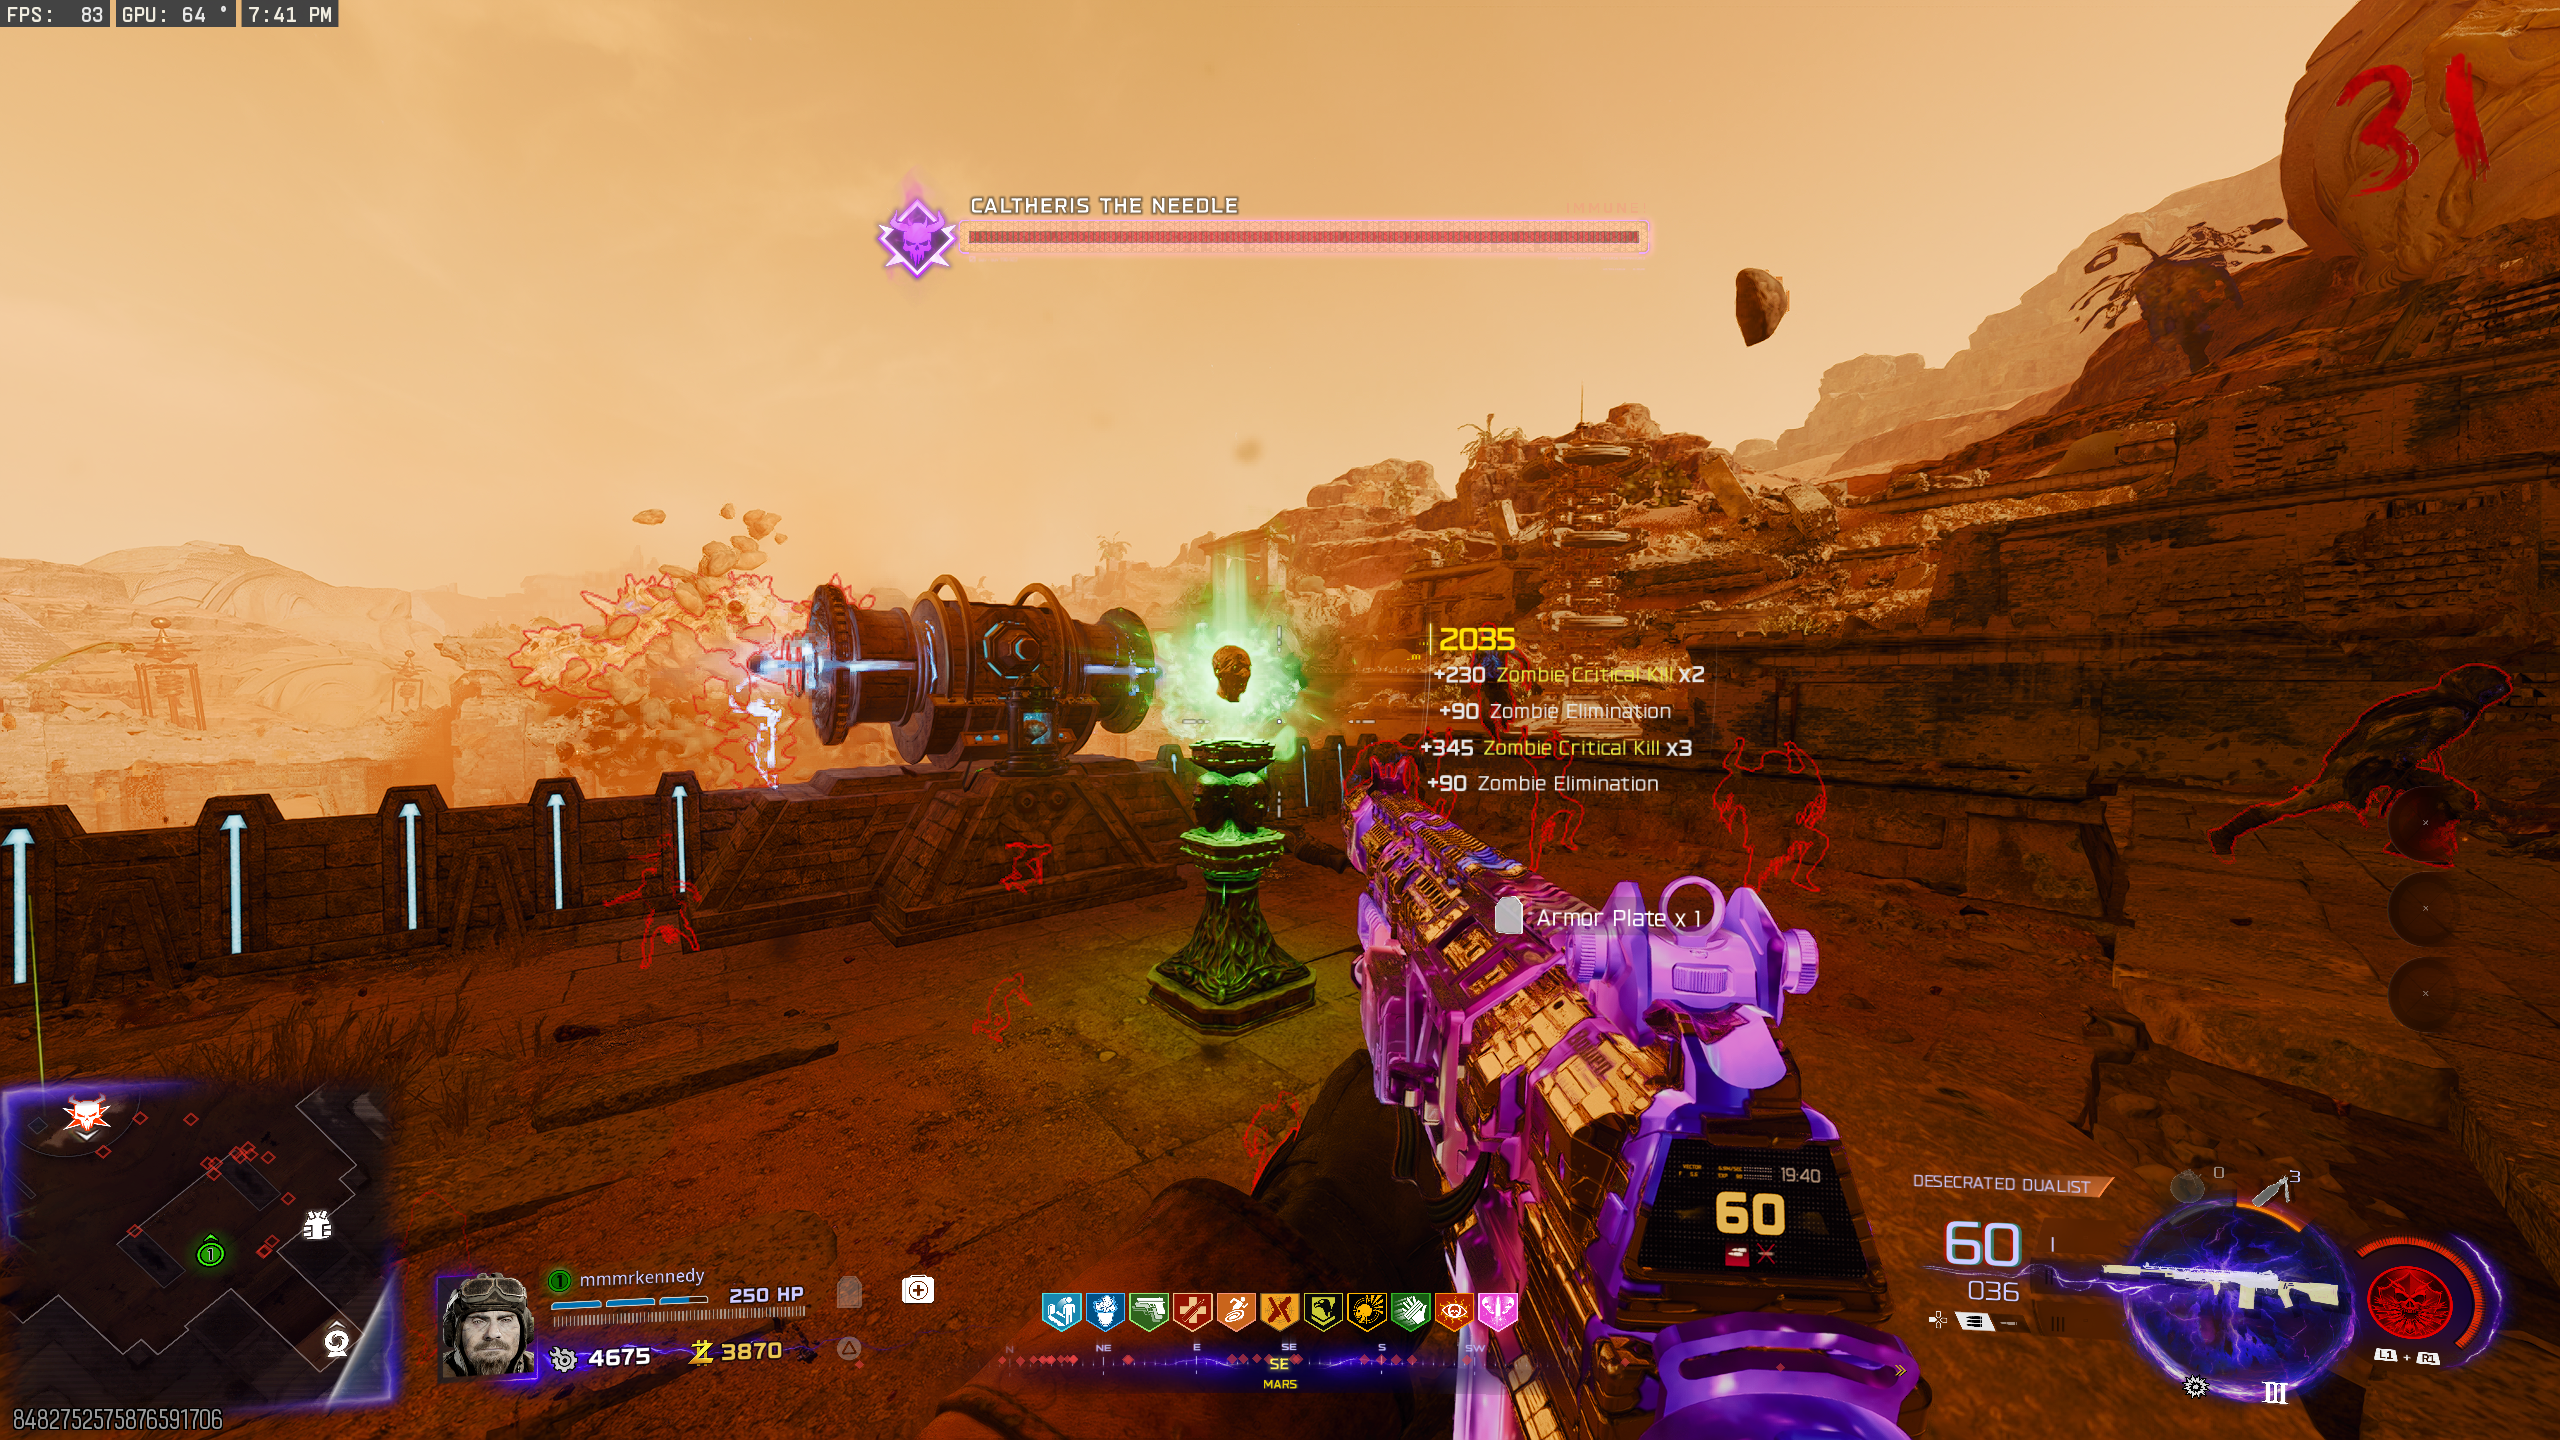
- After being immune, she'll become "Caltheris the Needle". She becomes faster and more aggressive, and the rock she throws will leave electricity on the ground that lingers and damages players.
- If you've completed the Ashes of the Damned easter egg, a power-up called Veytharion's Blessing will spawn in front of the Brain machine. It grants players infinite ammo and equipment for its duration.
- Once her health bar hits zero, she'll teleport to the middle and the ending cutscene will begin.
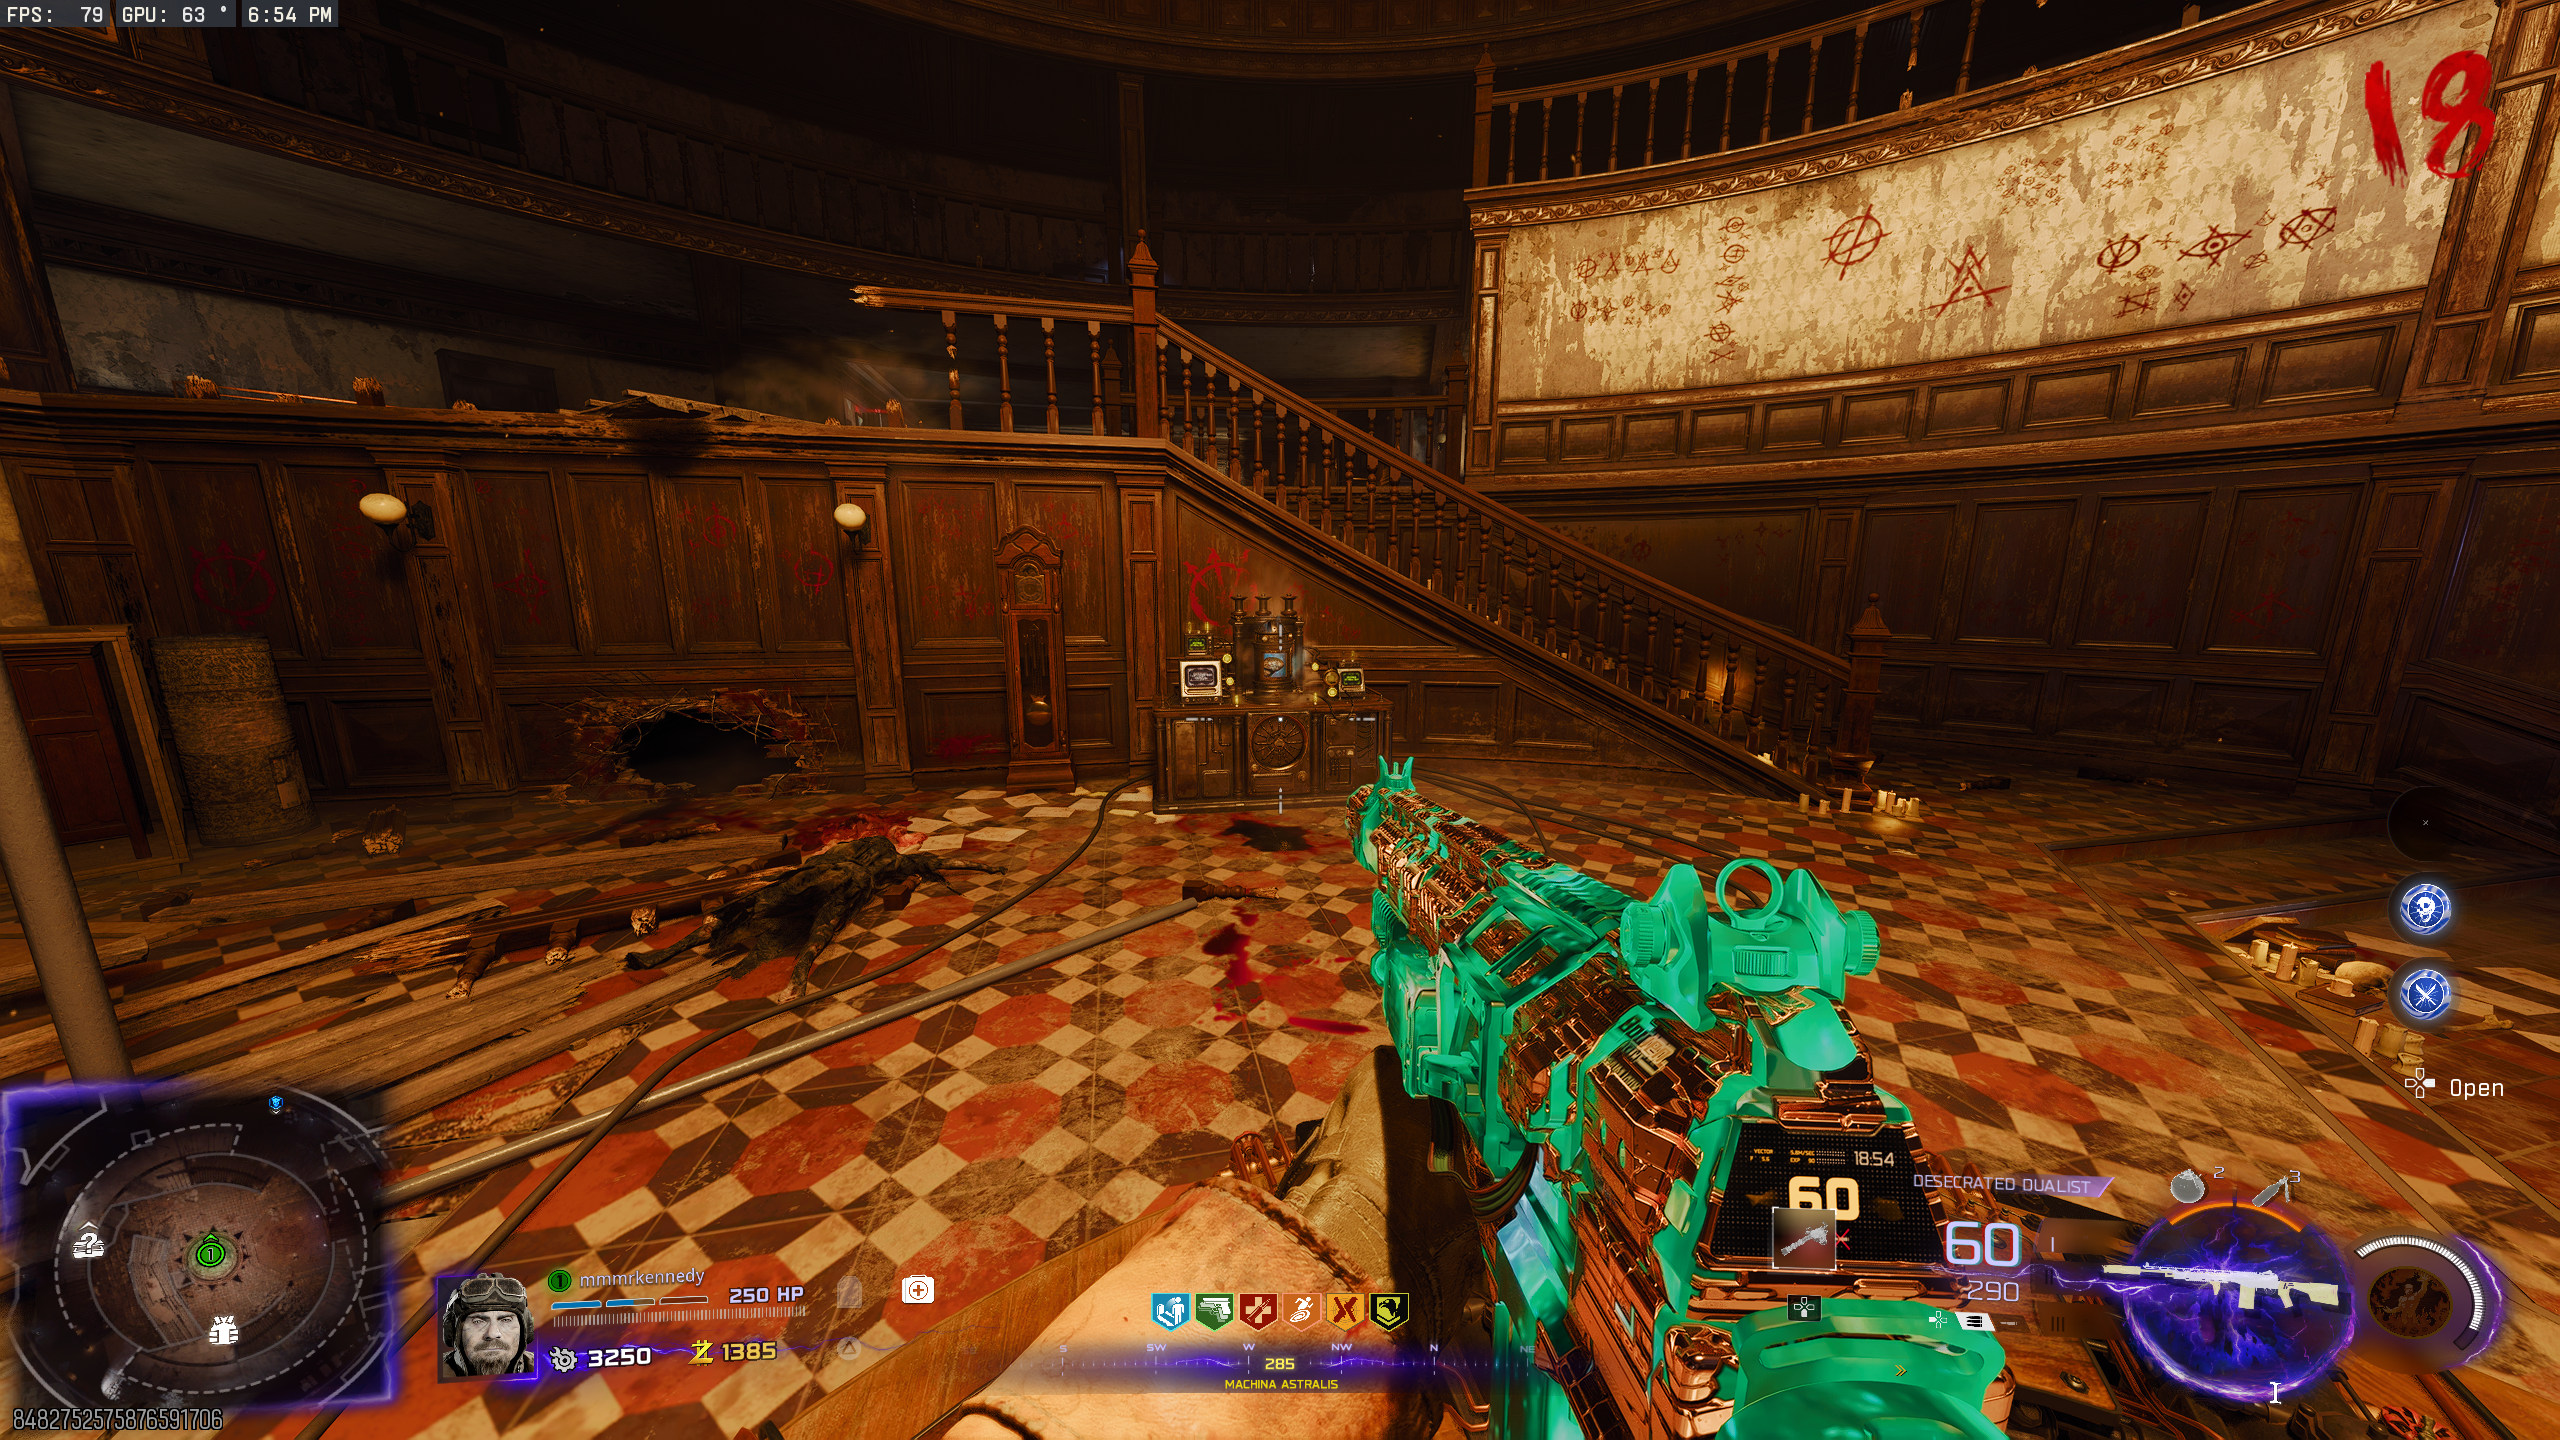
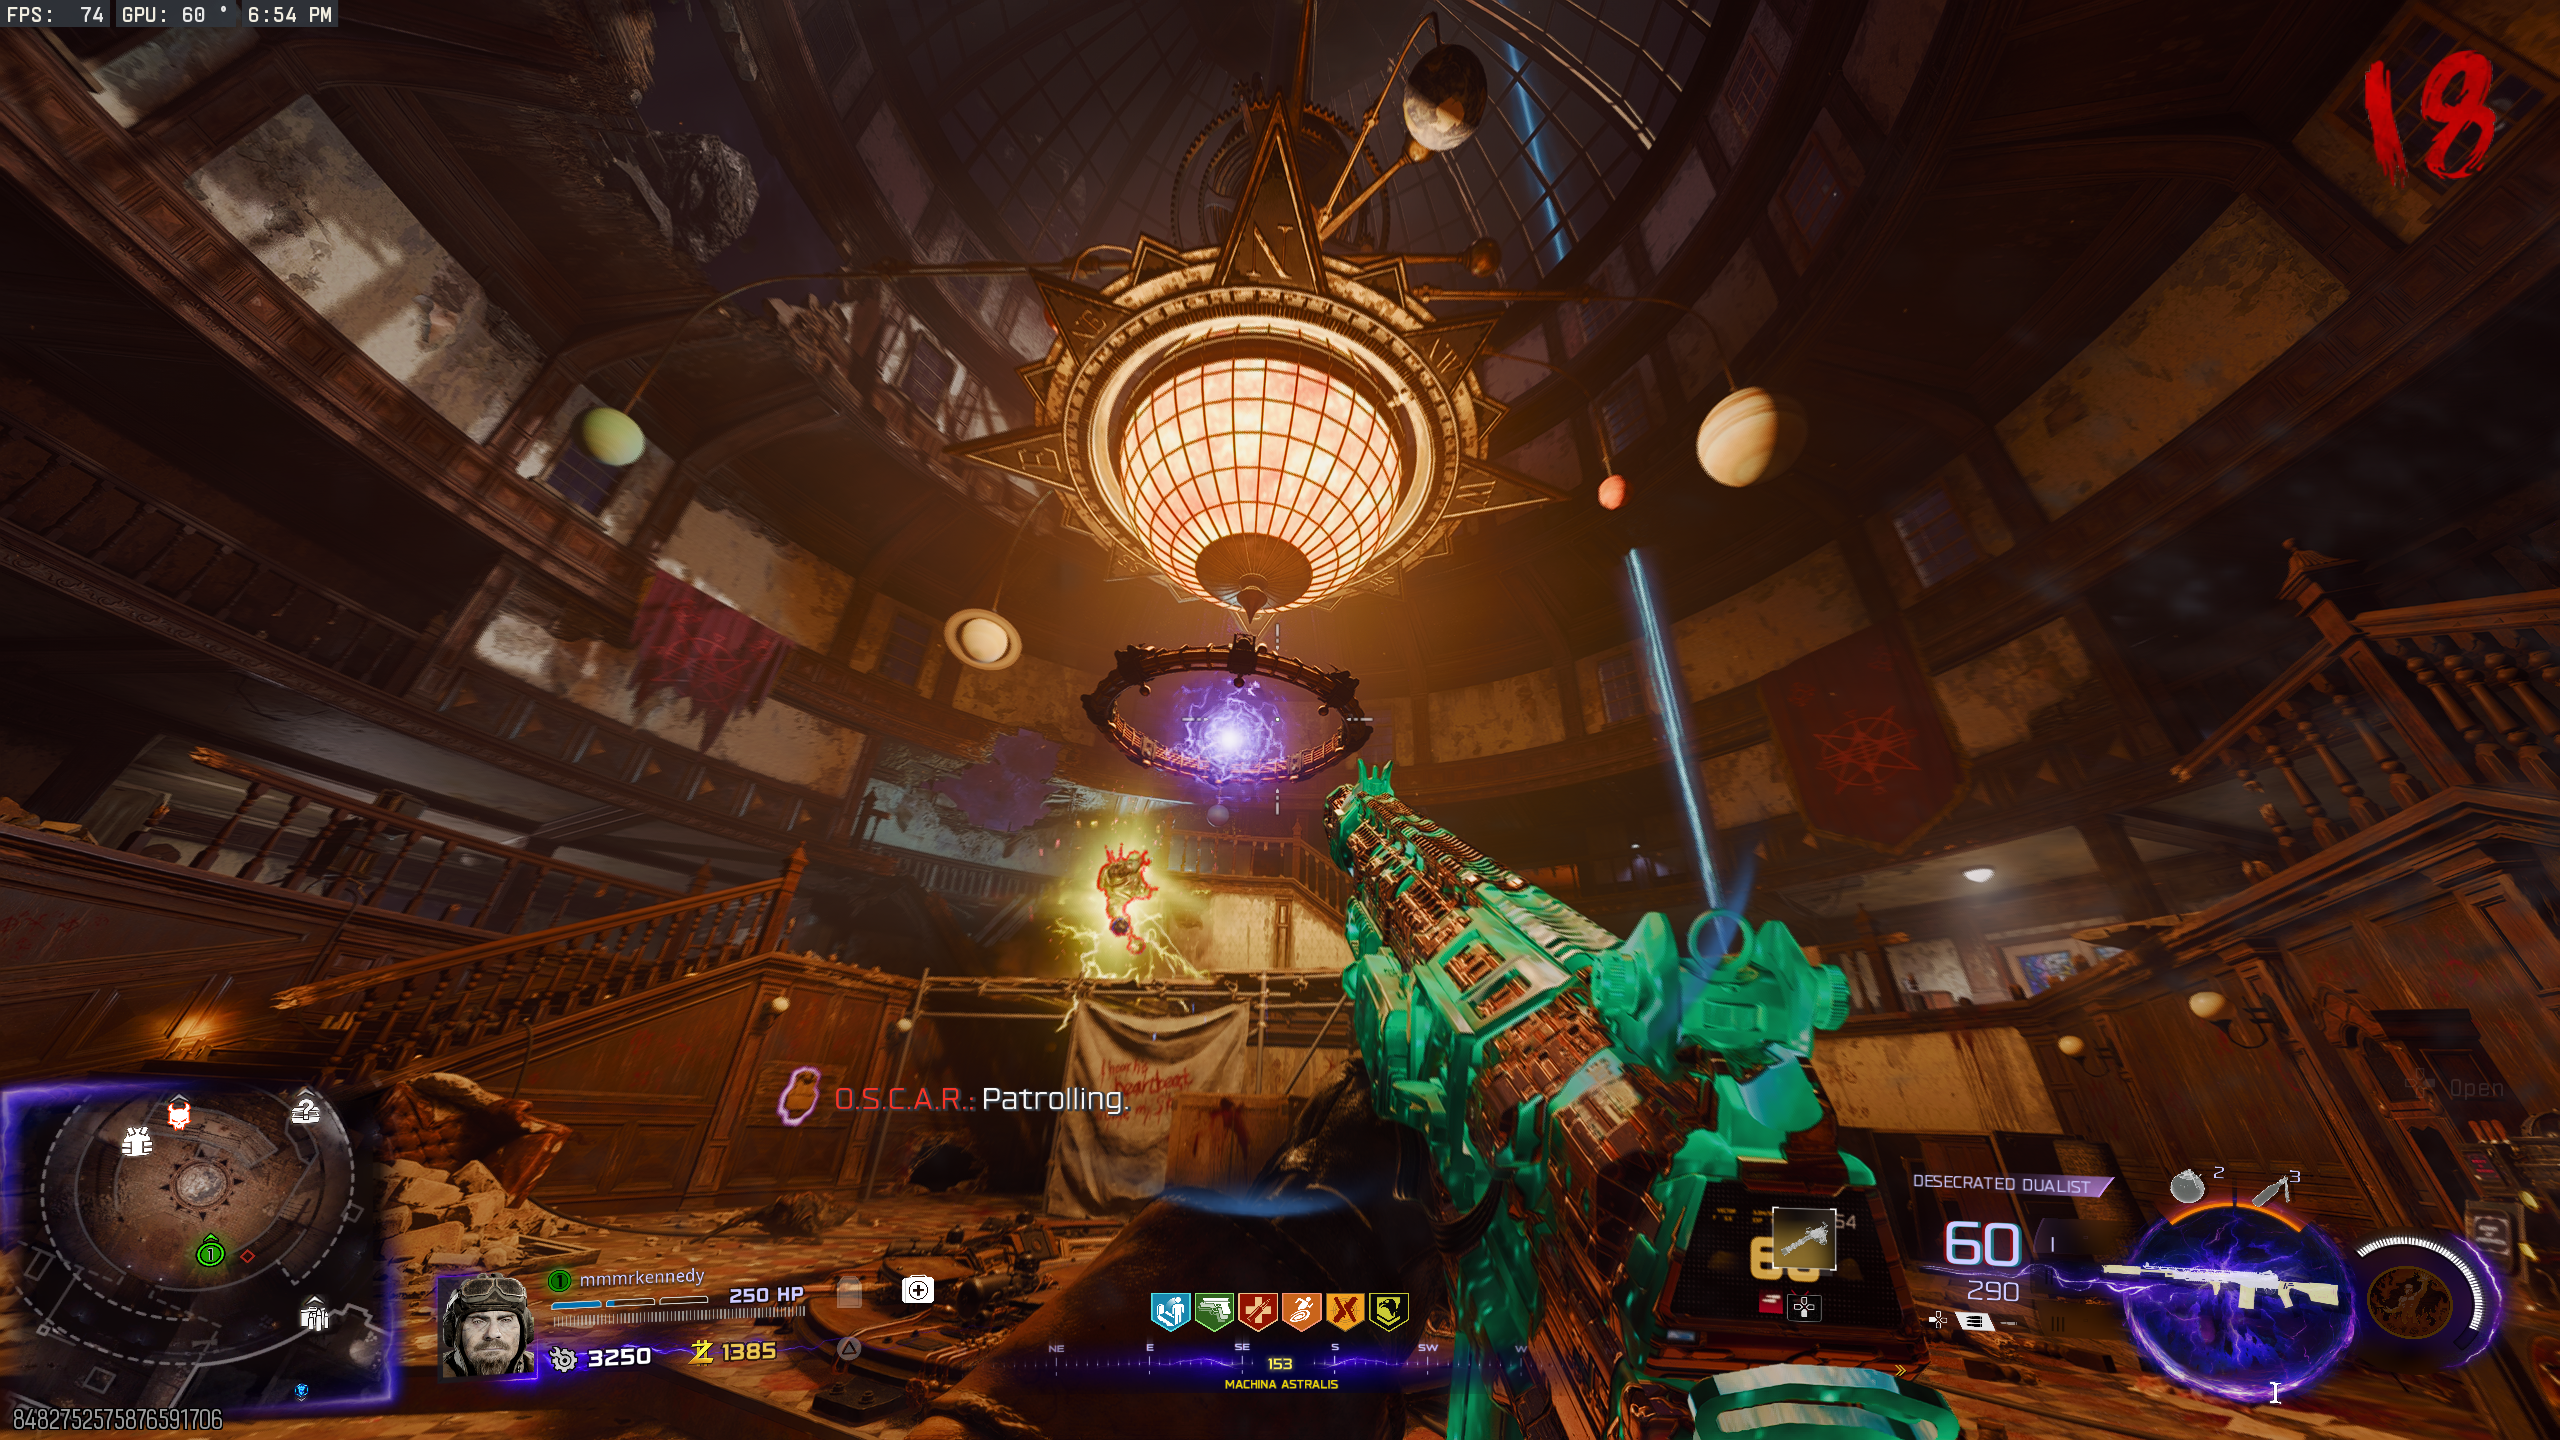
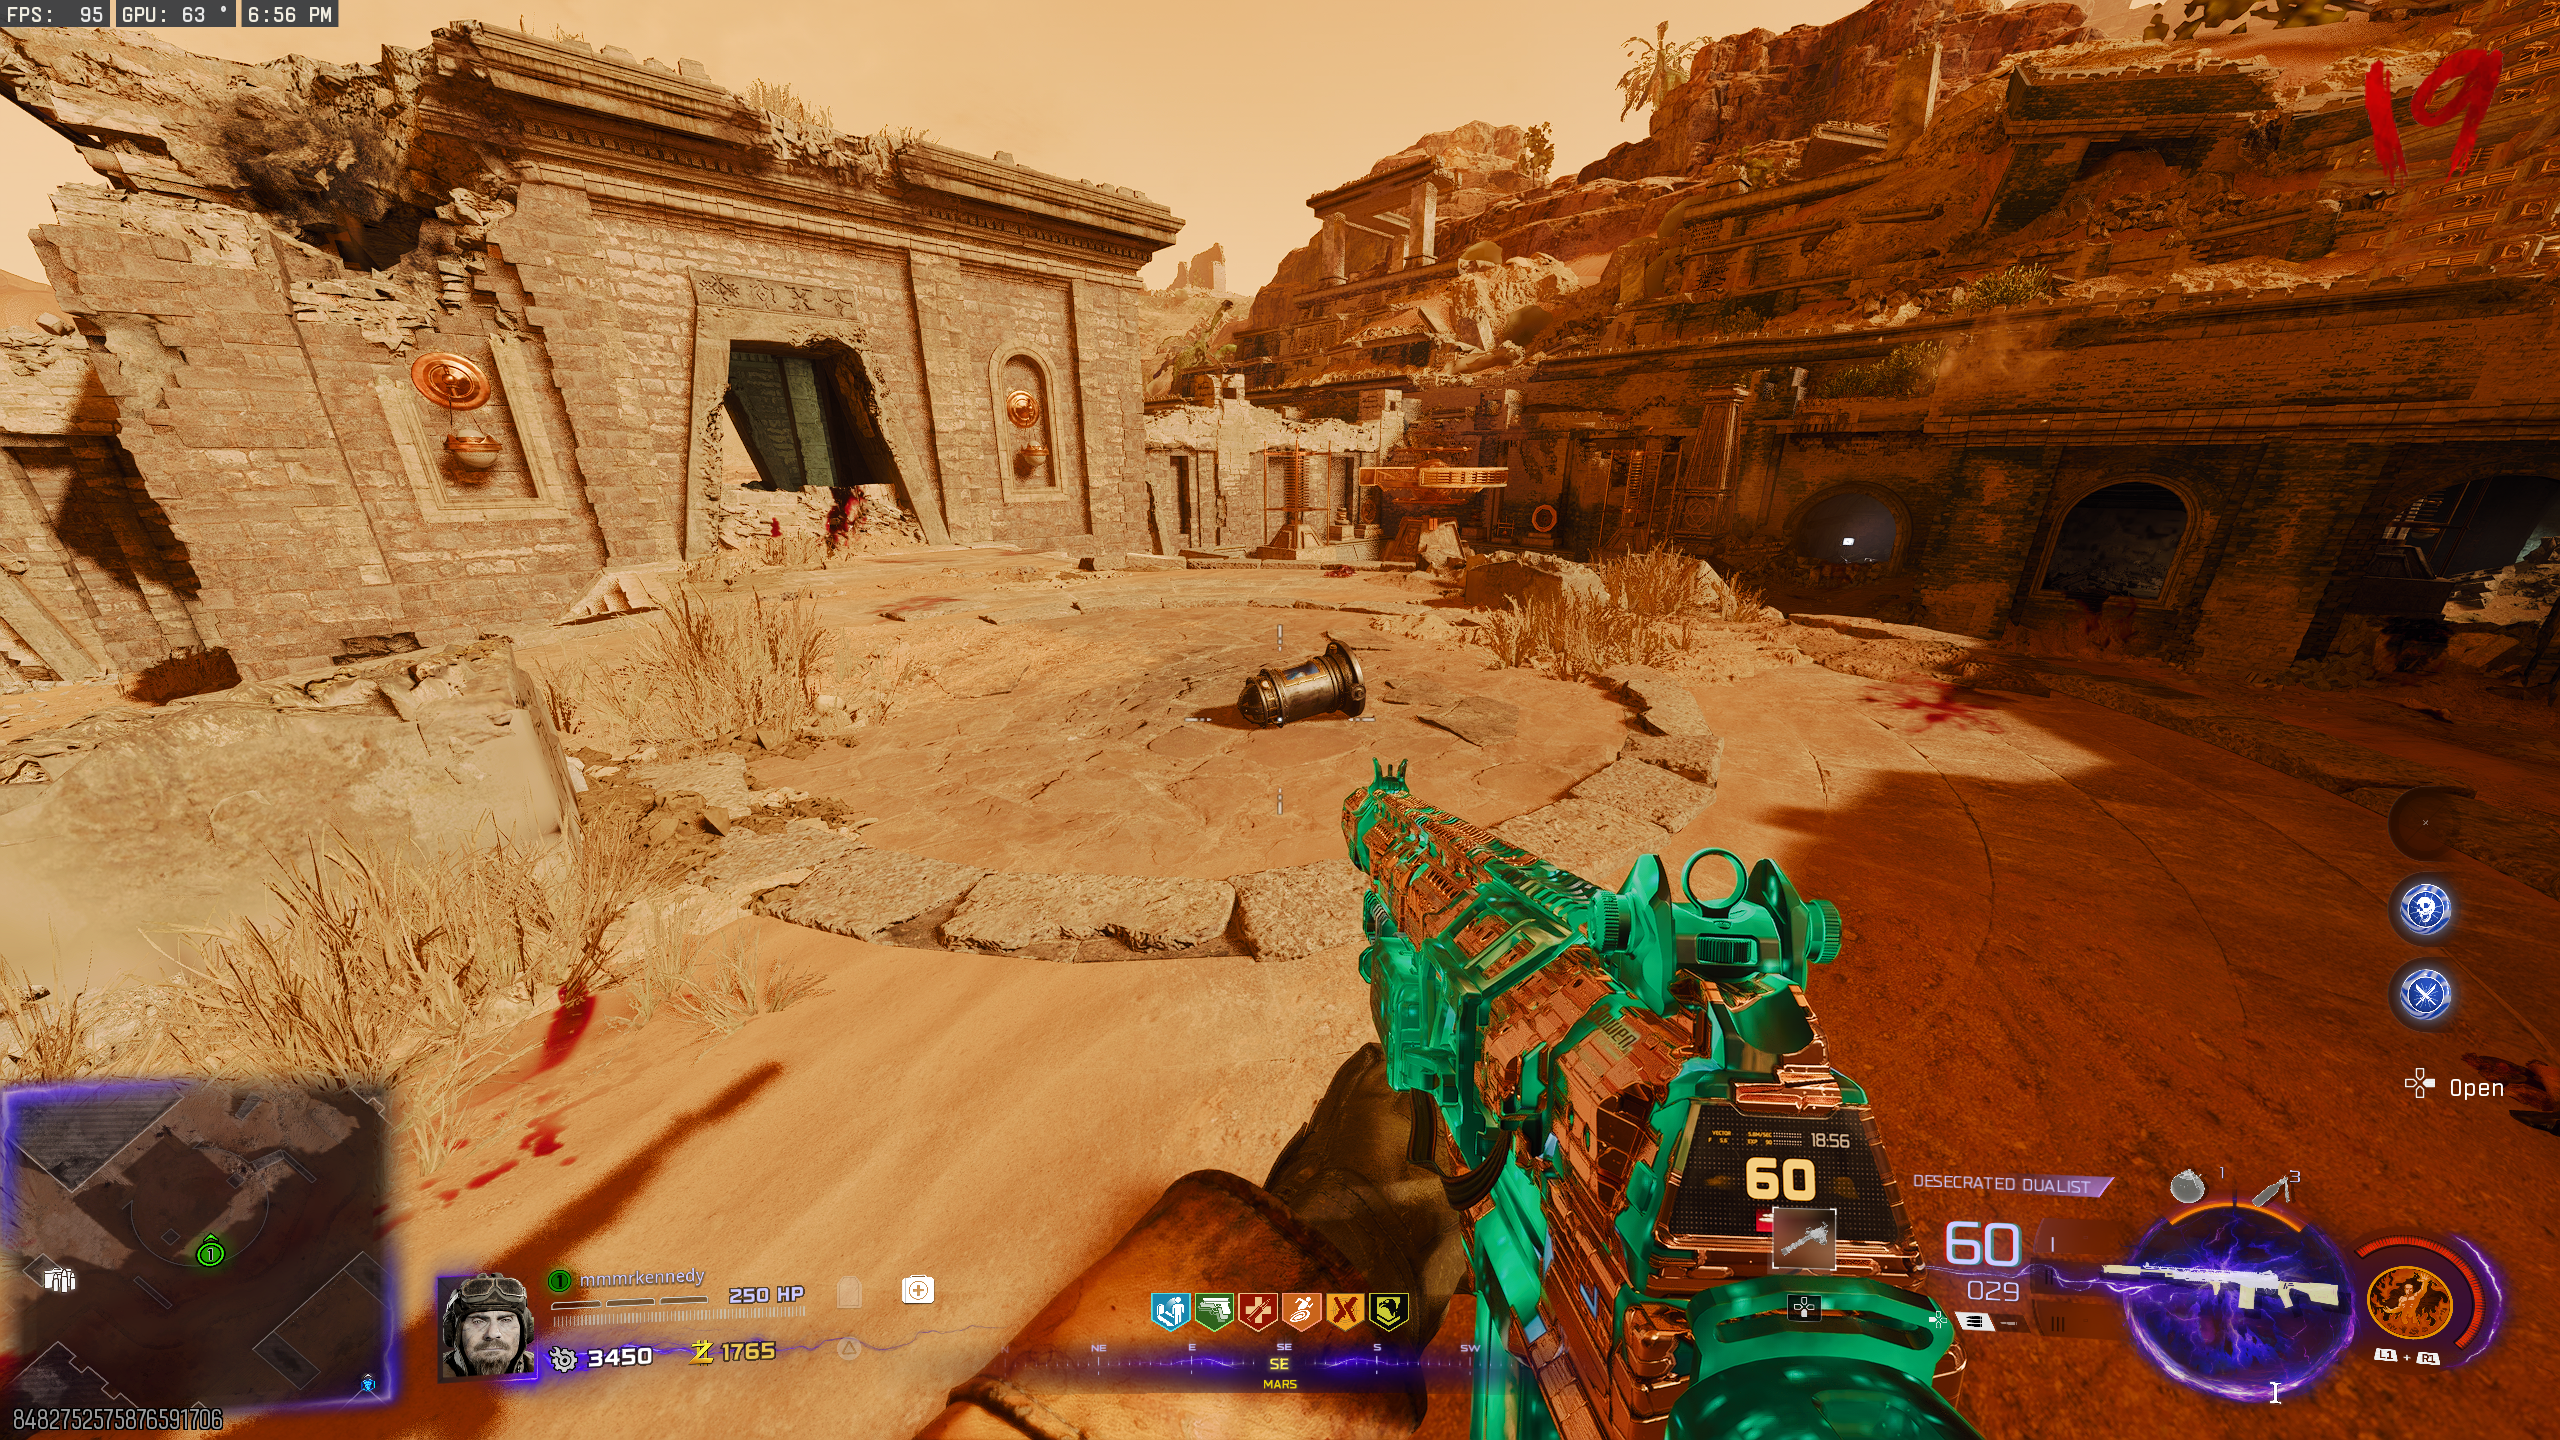
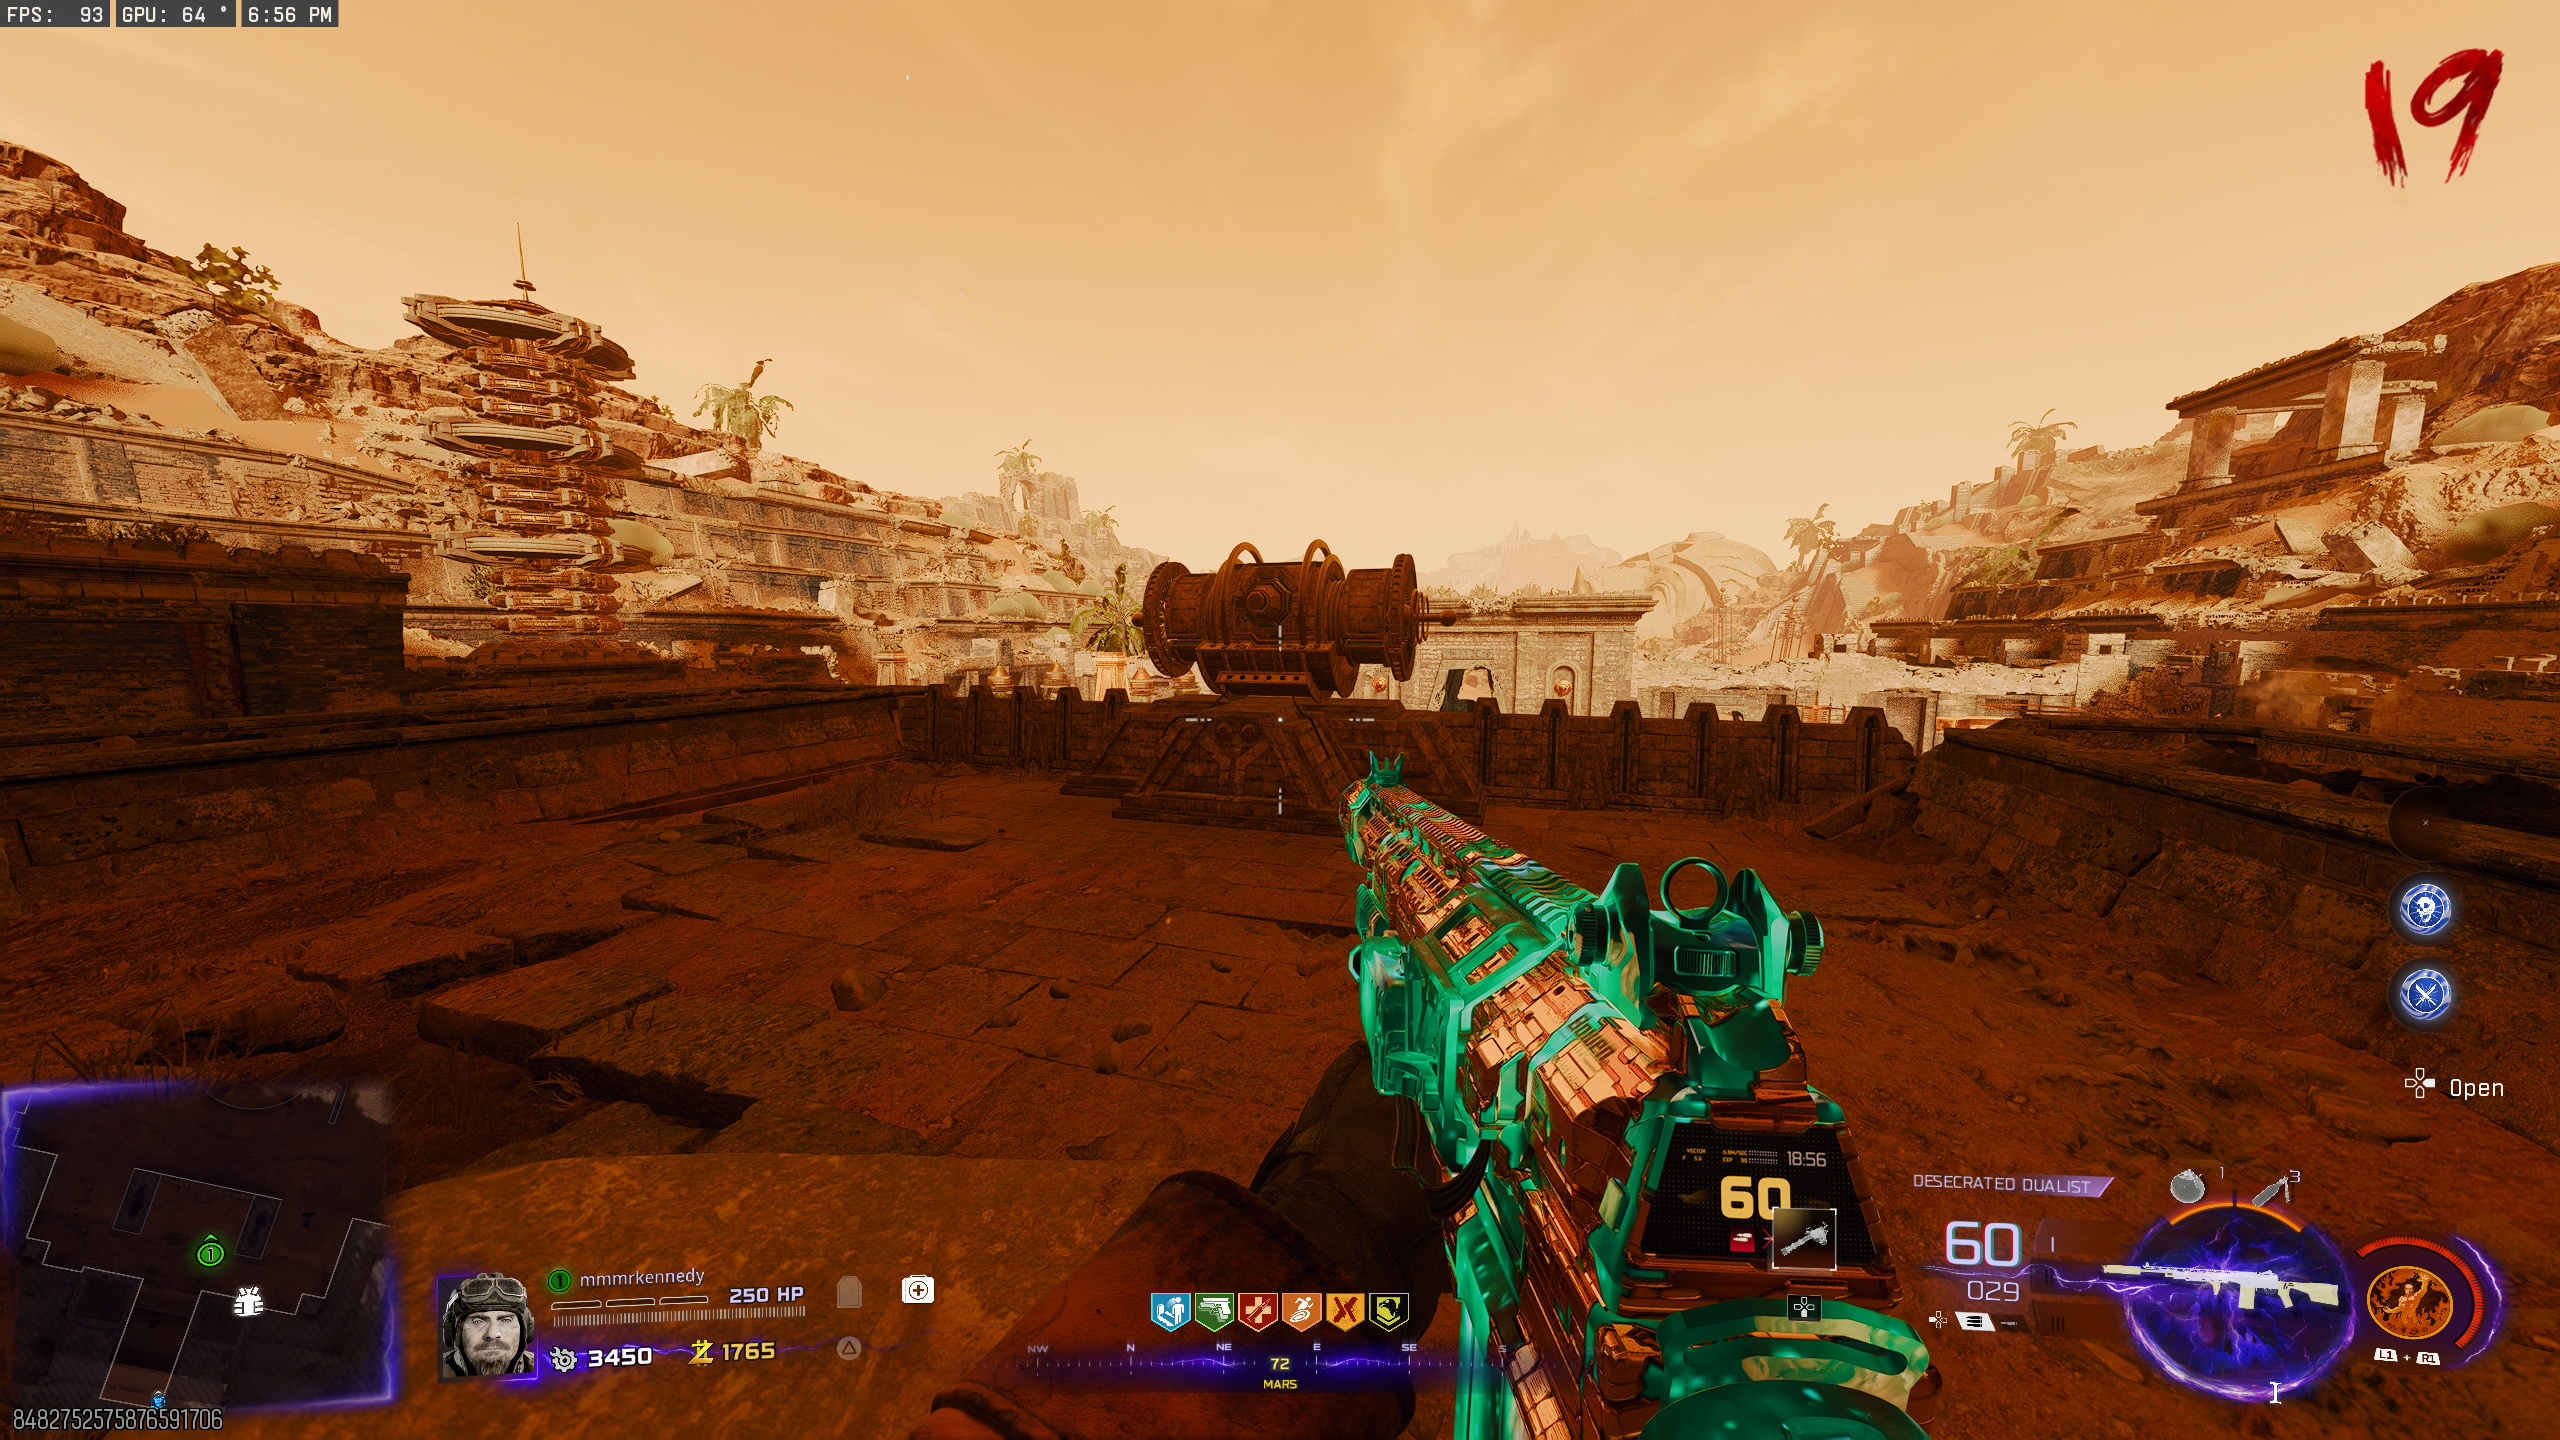
"Magic" song
Link to song on streaming here.
- Interact with three "Mister Peeks Headphones" around the map. Headphone locations:
- Once all three headphones are interacted with, the song will start.
Echoes of the Damned Dark Ops Calling Card (Nikolai's Side Quest)
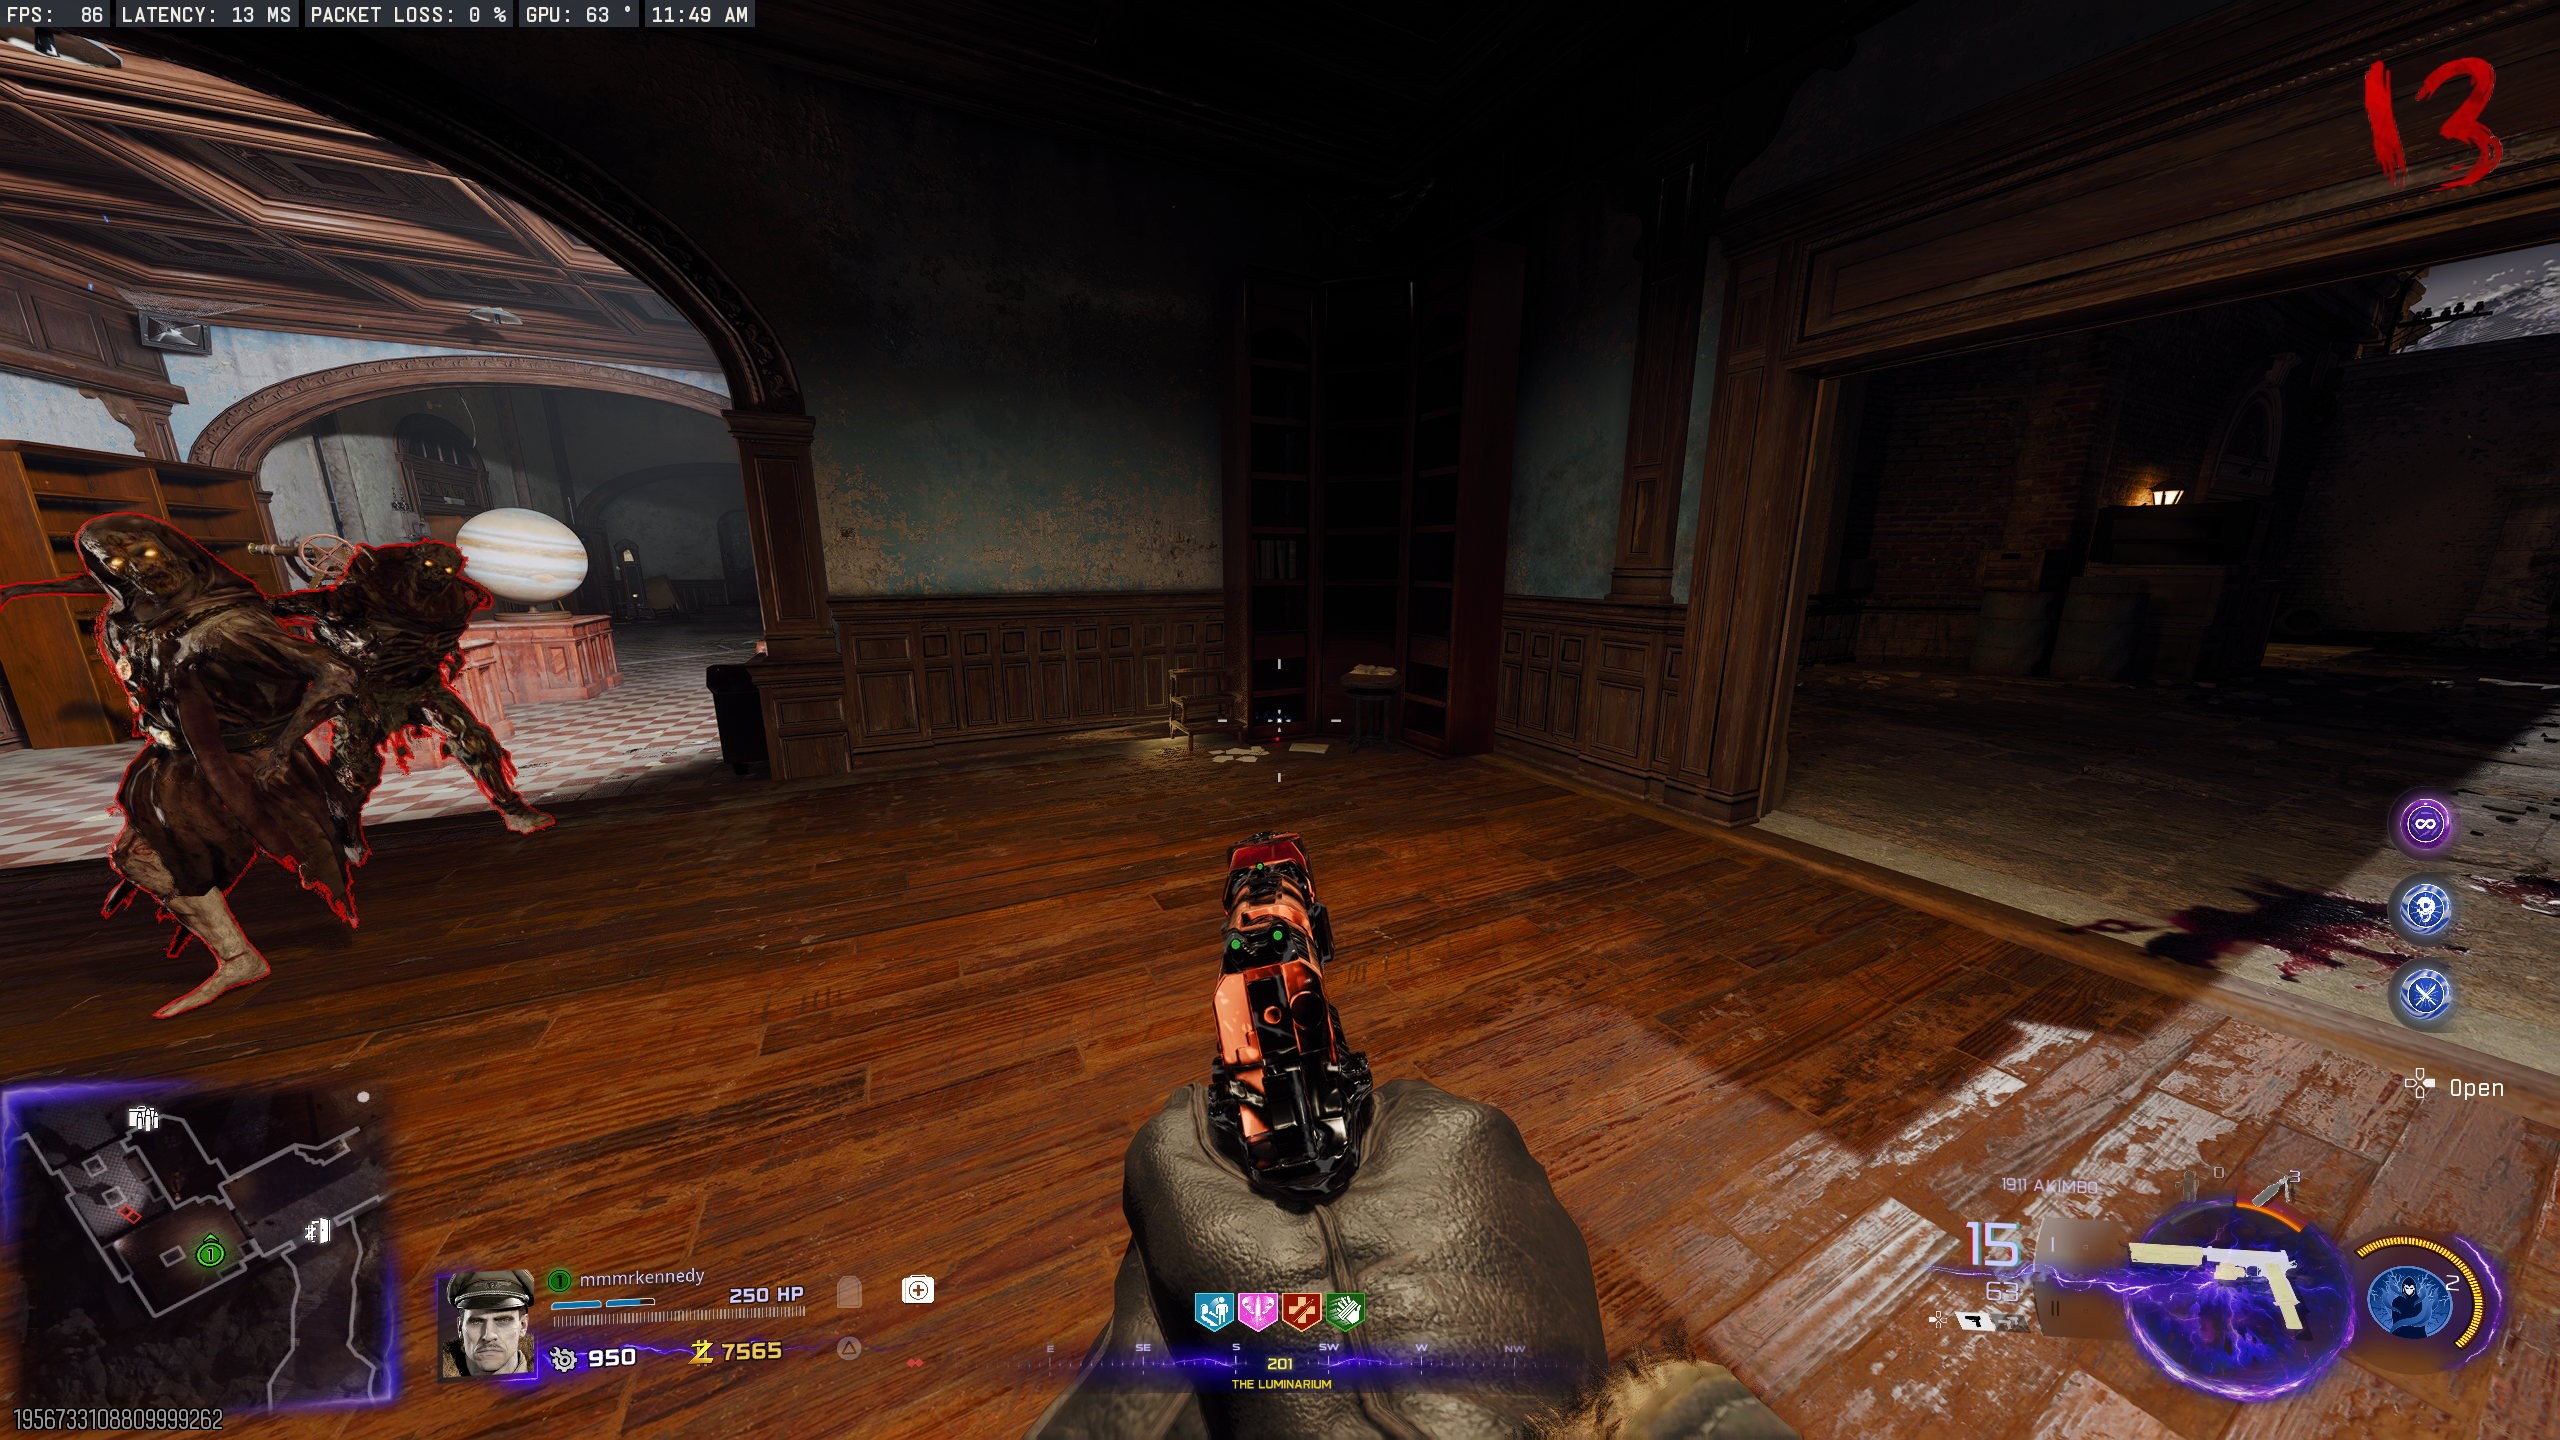
- Play as Nikolai Belinski.
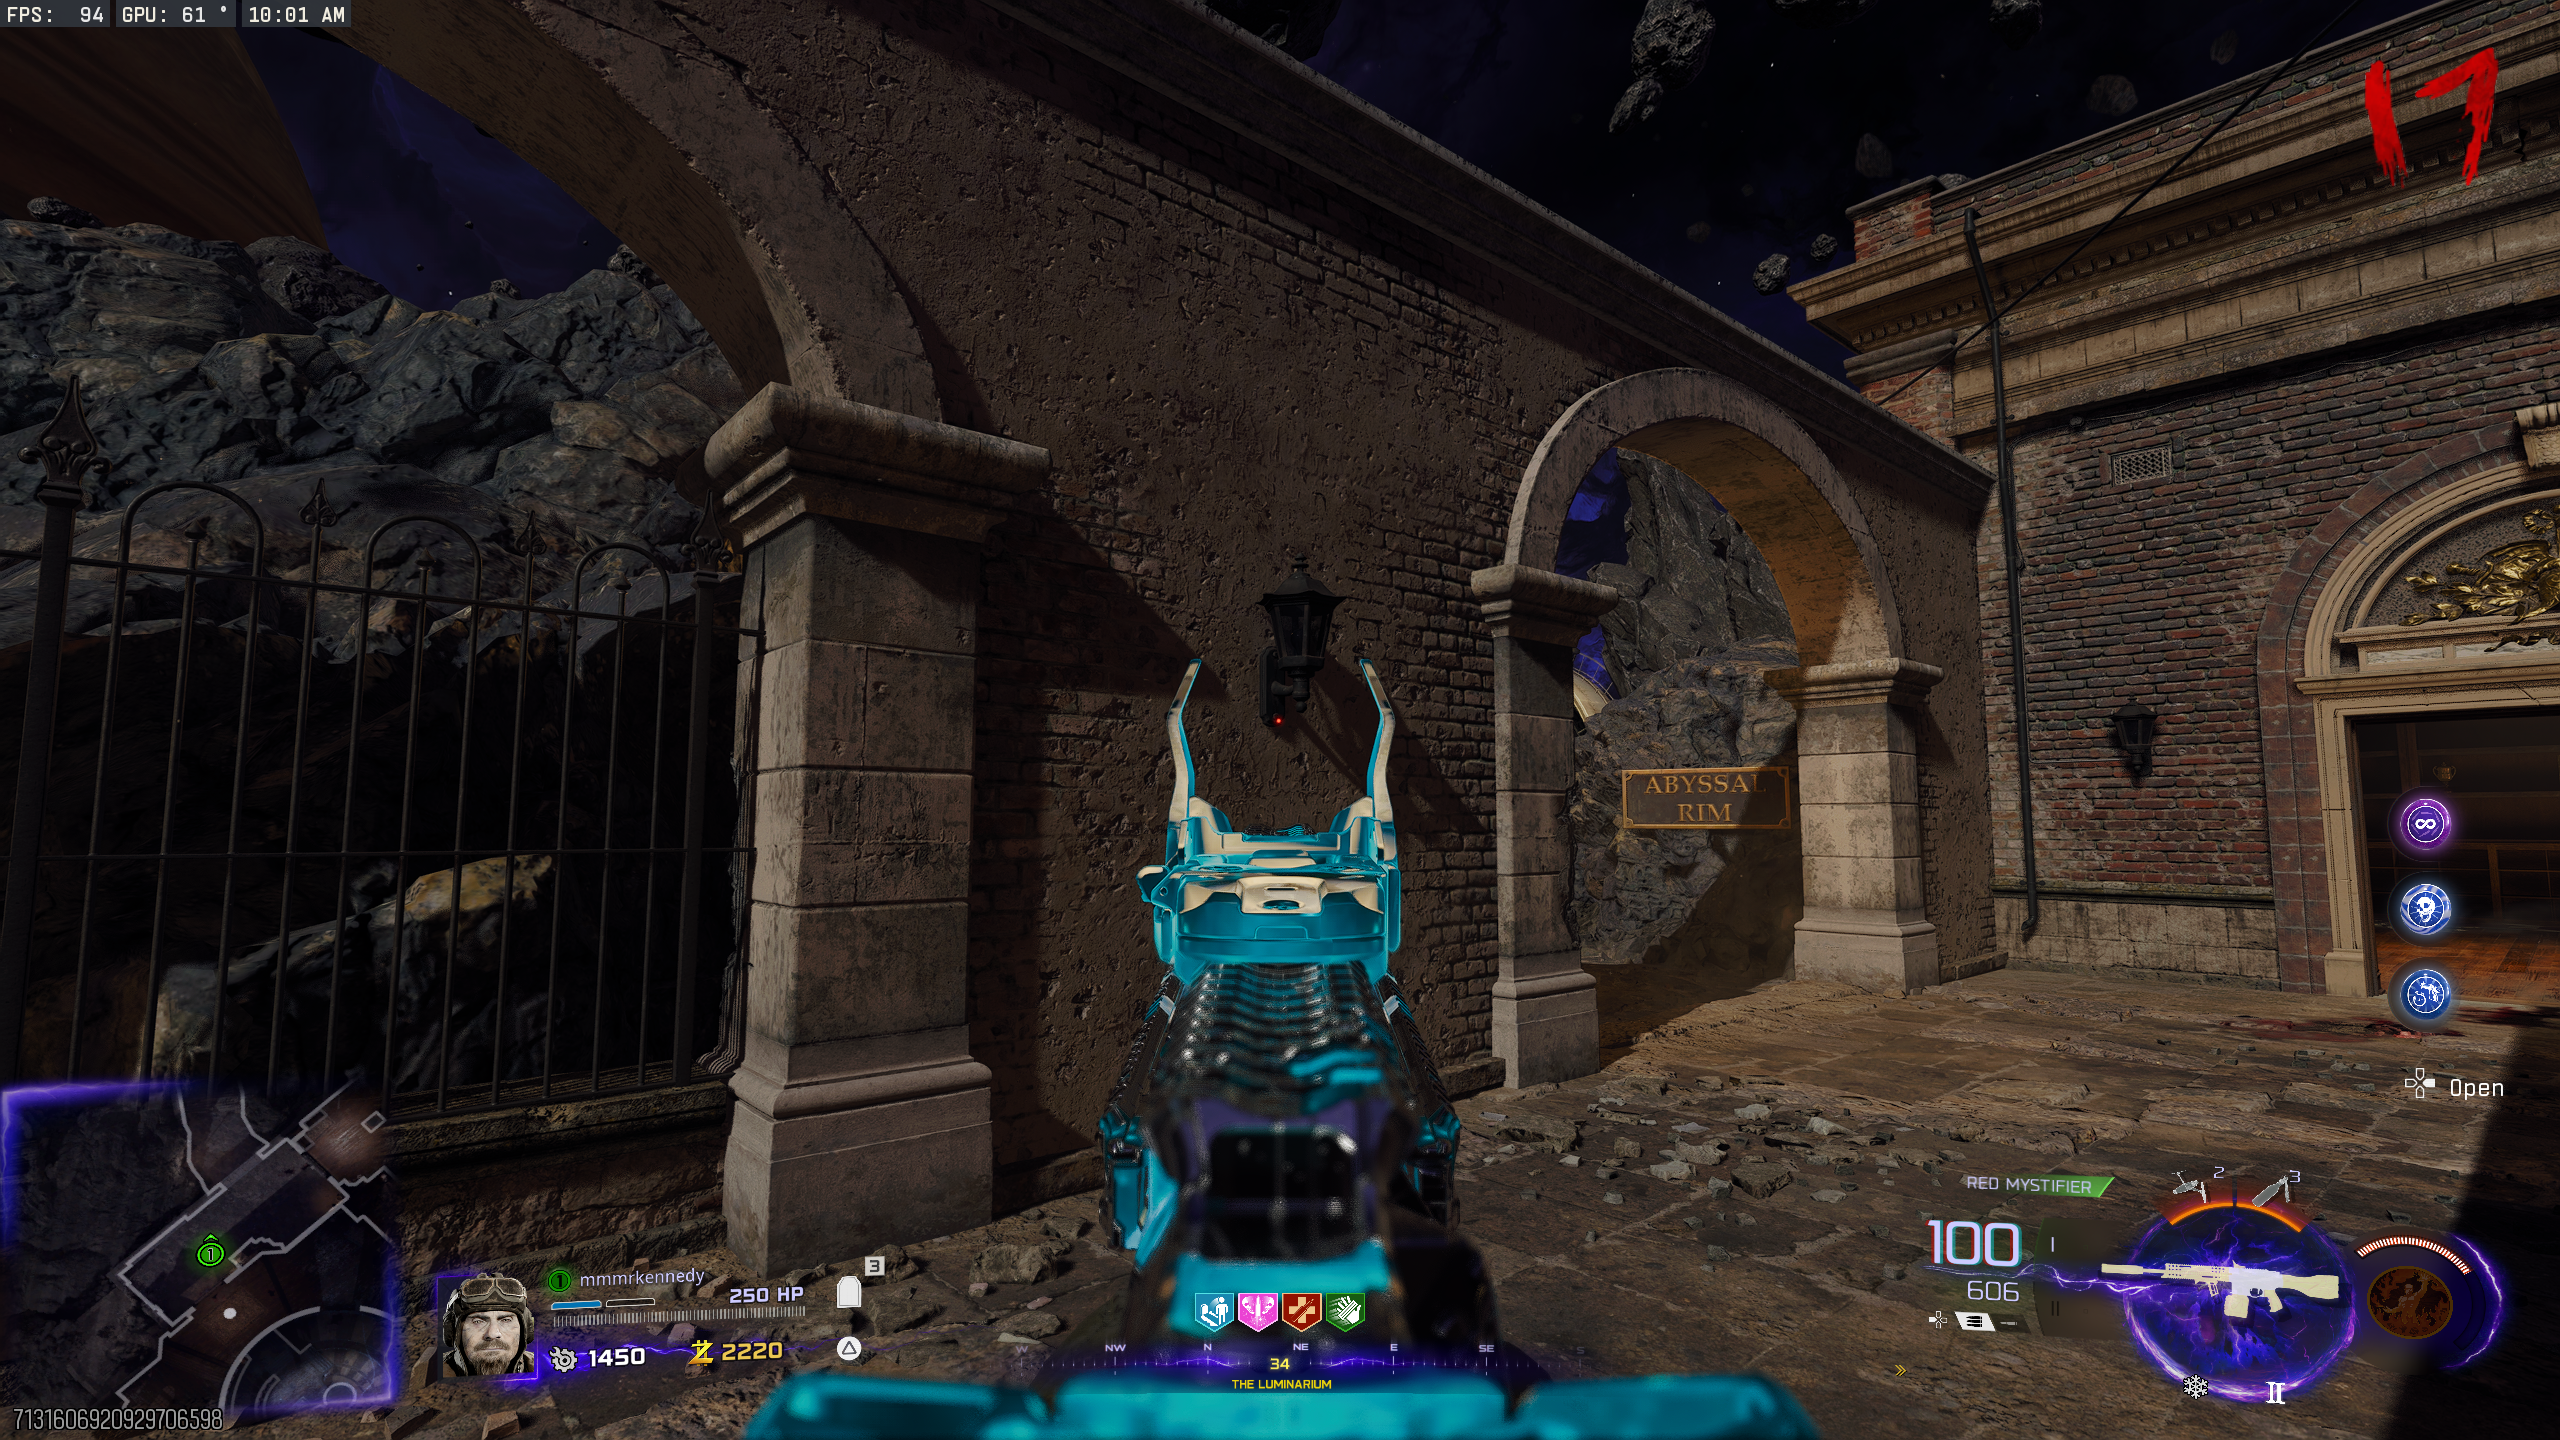
- Travel to the 'Abyssal Rim' and have three pieces of Molotov Cocktail equipment.
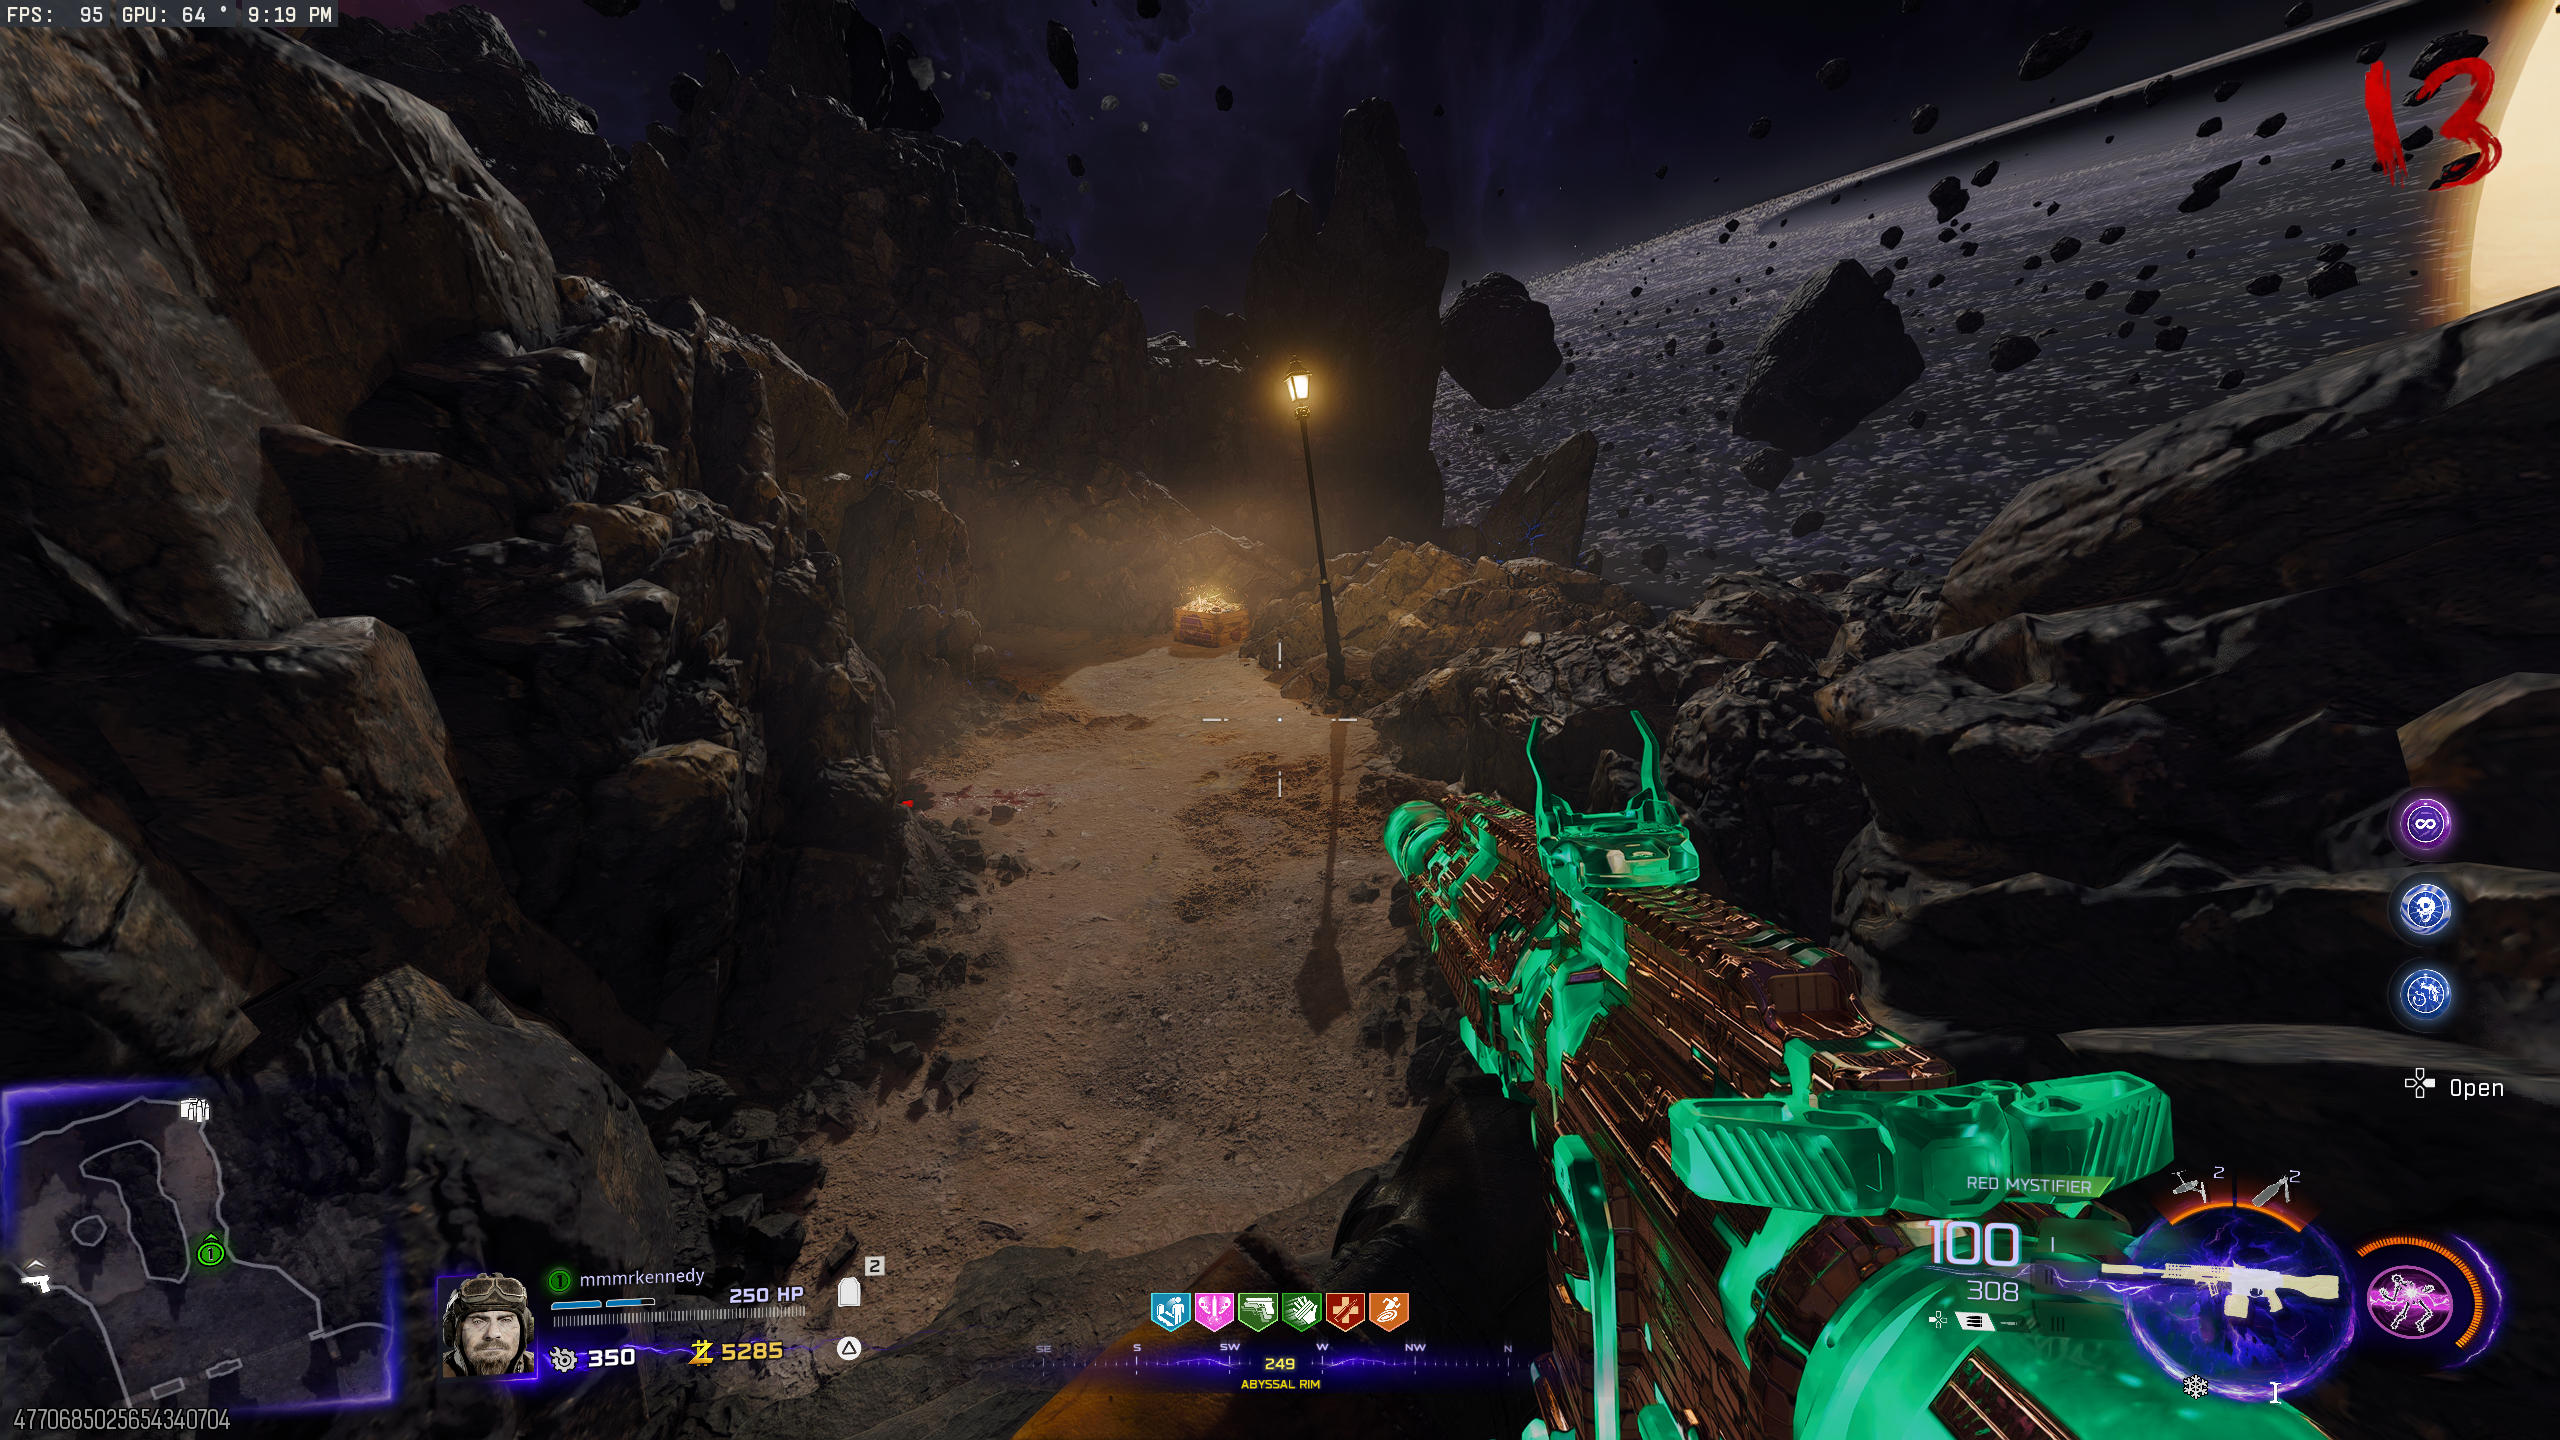
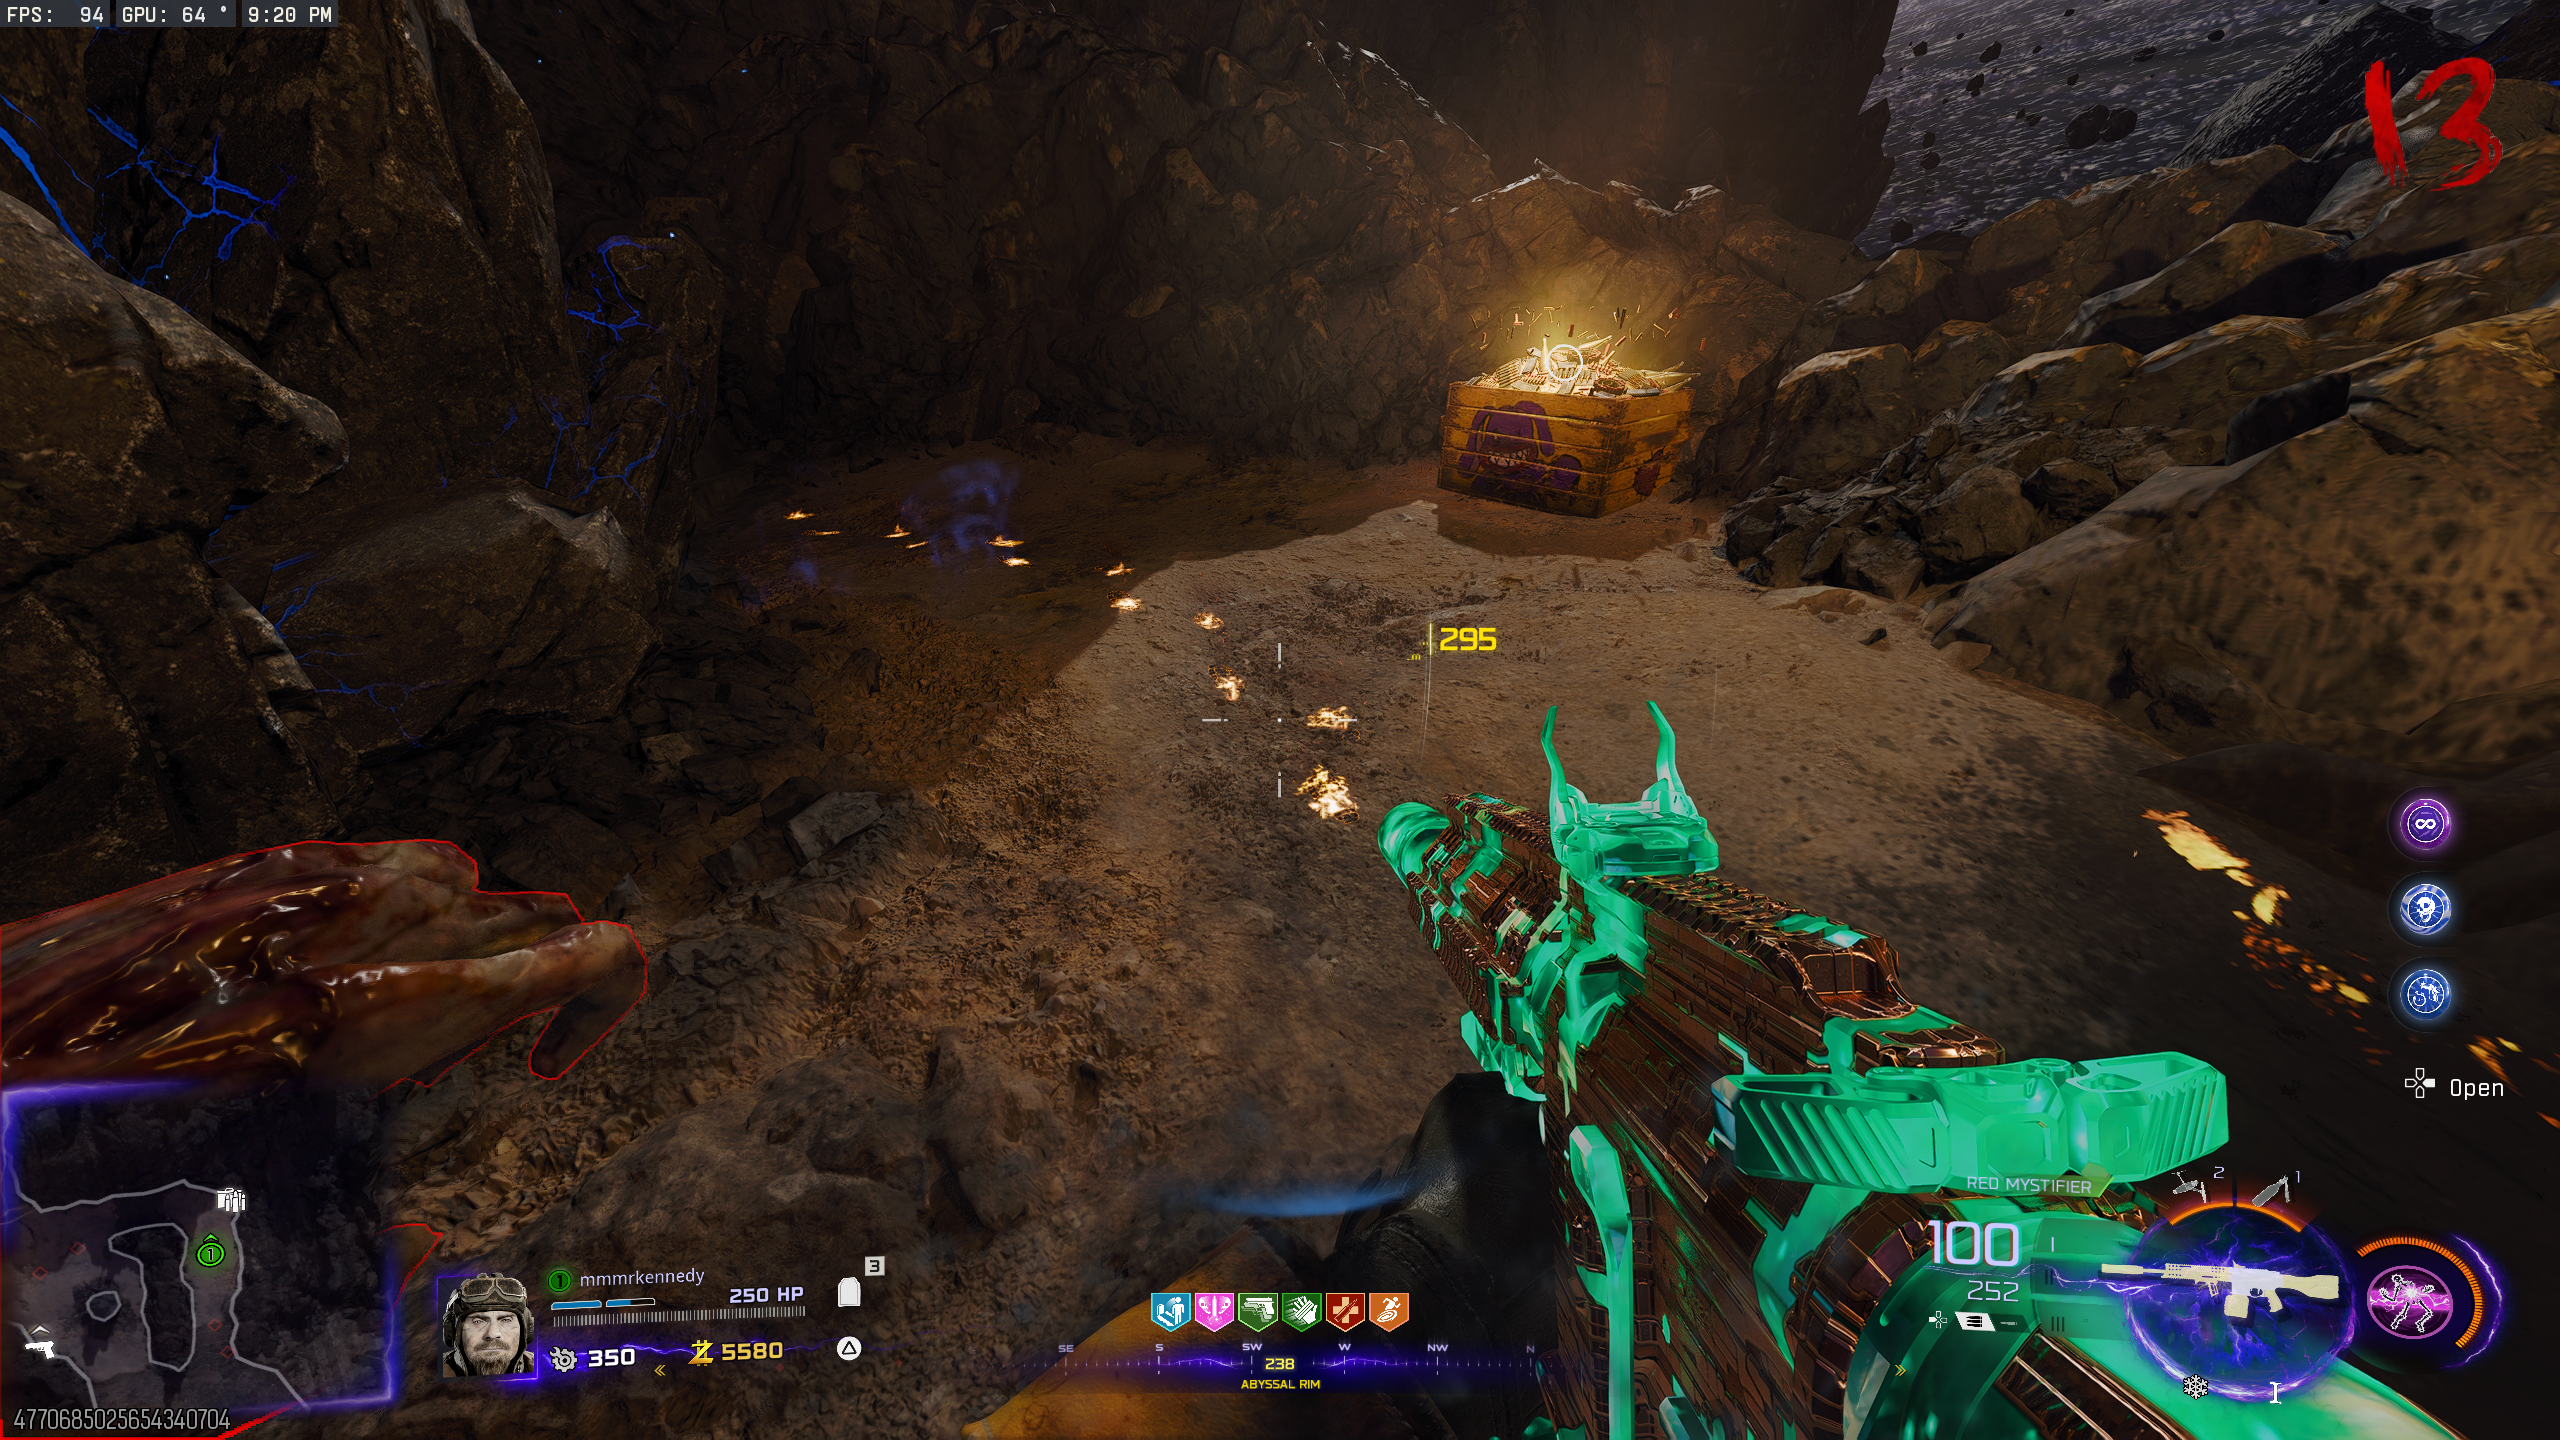
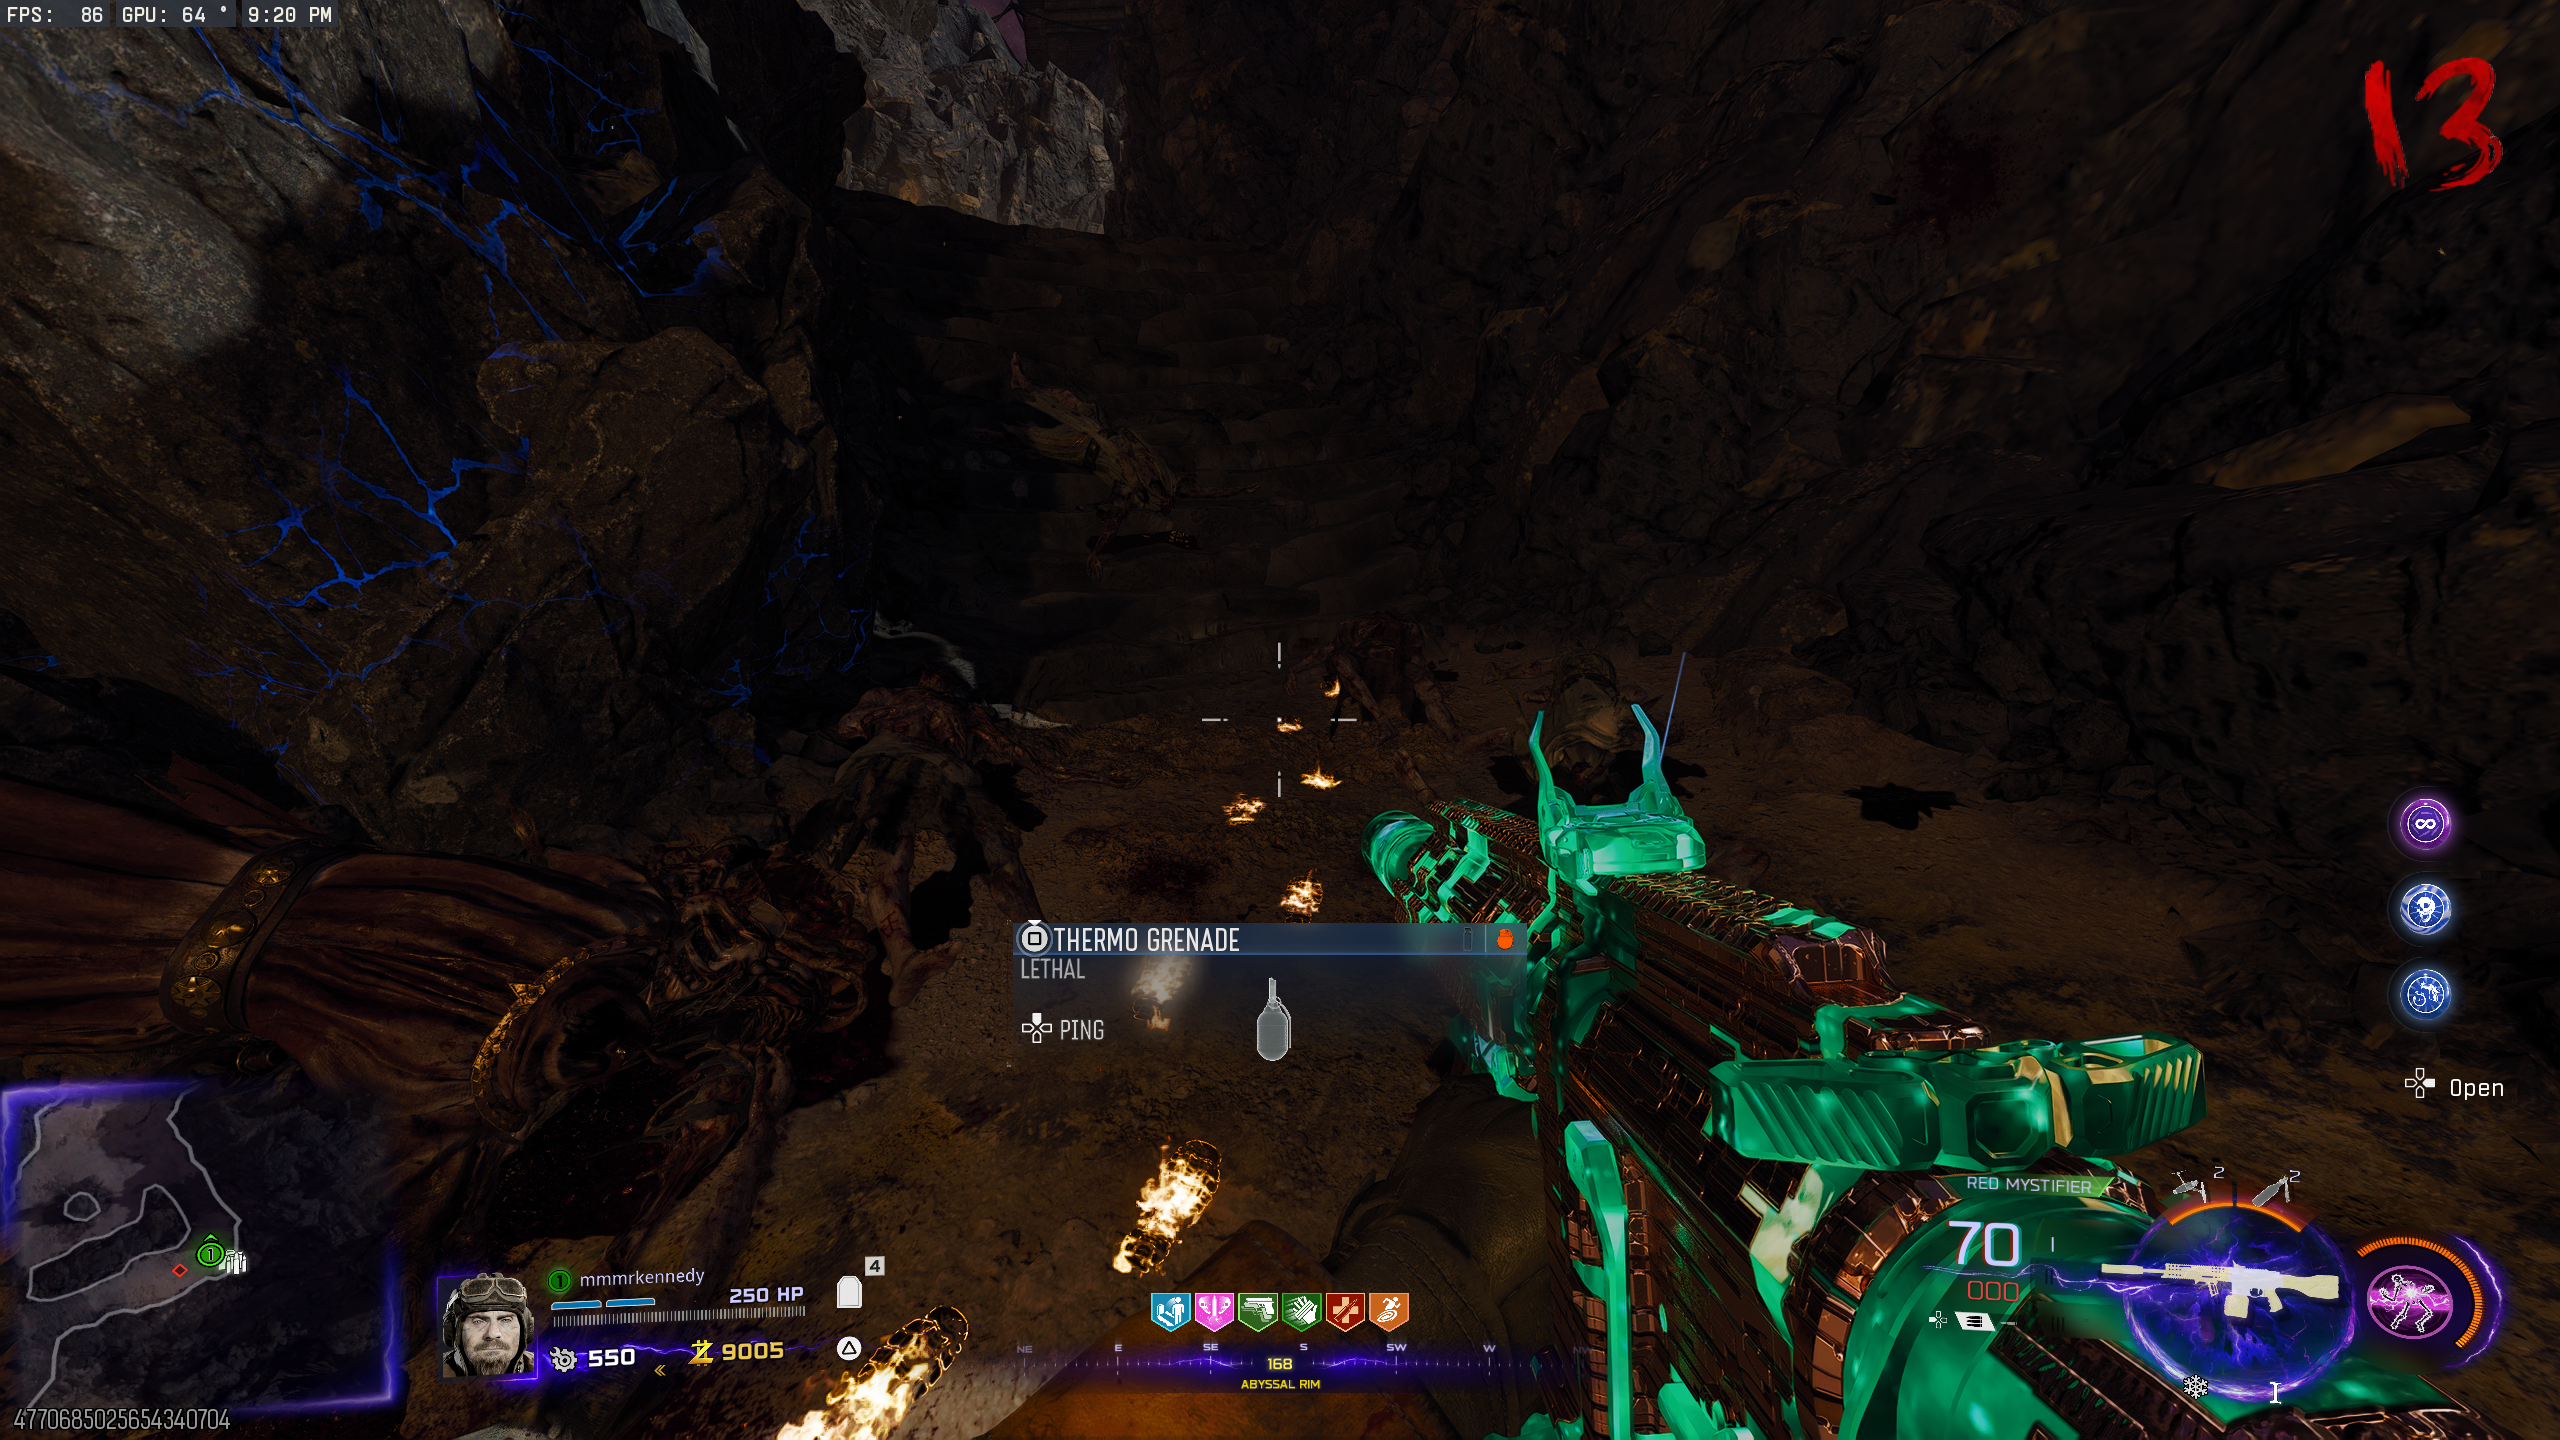
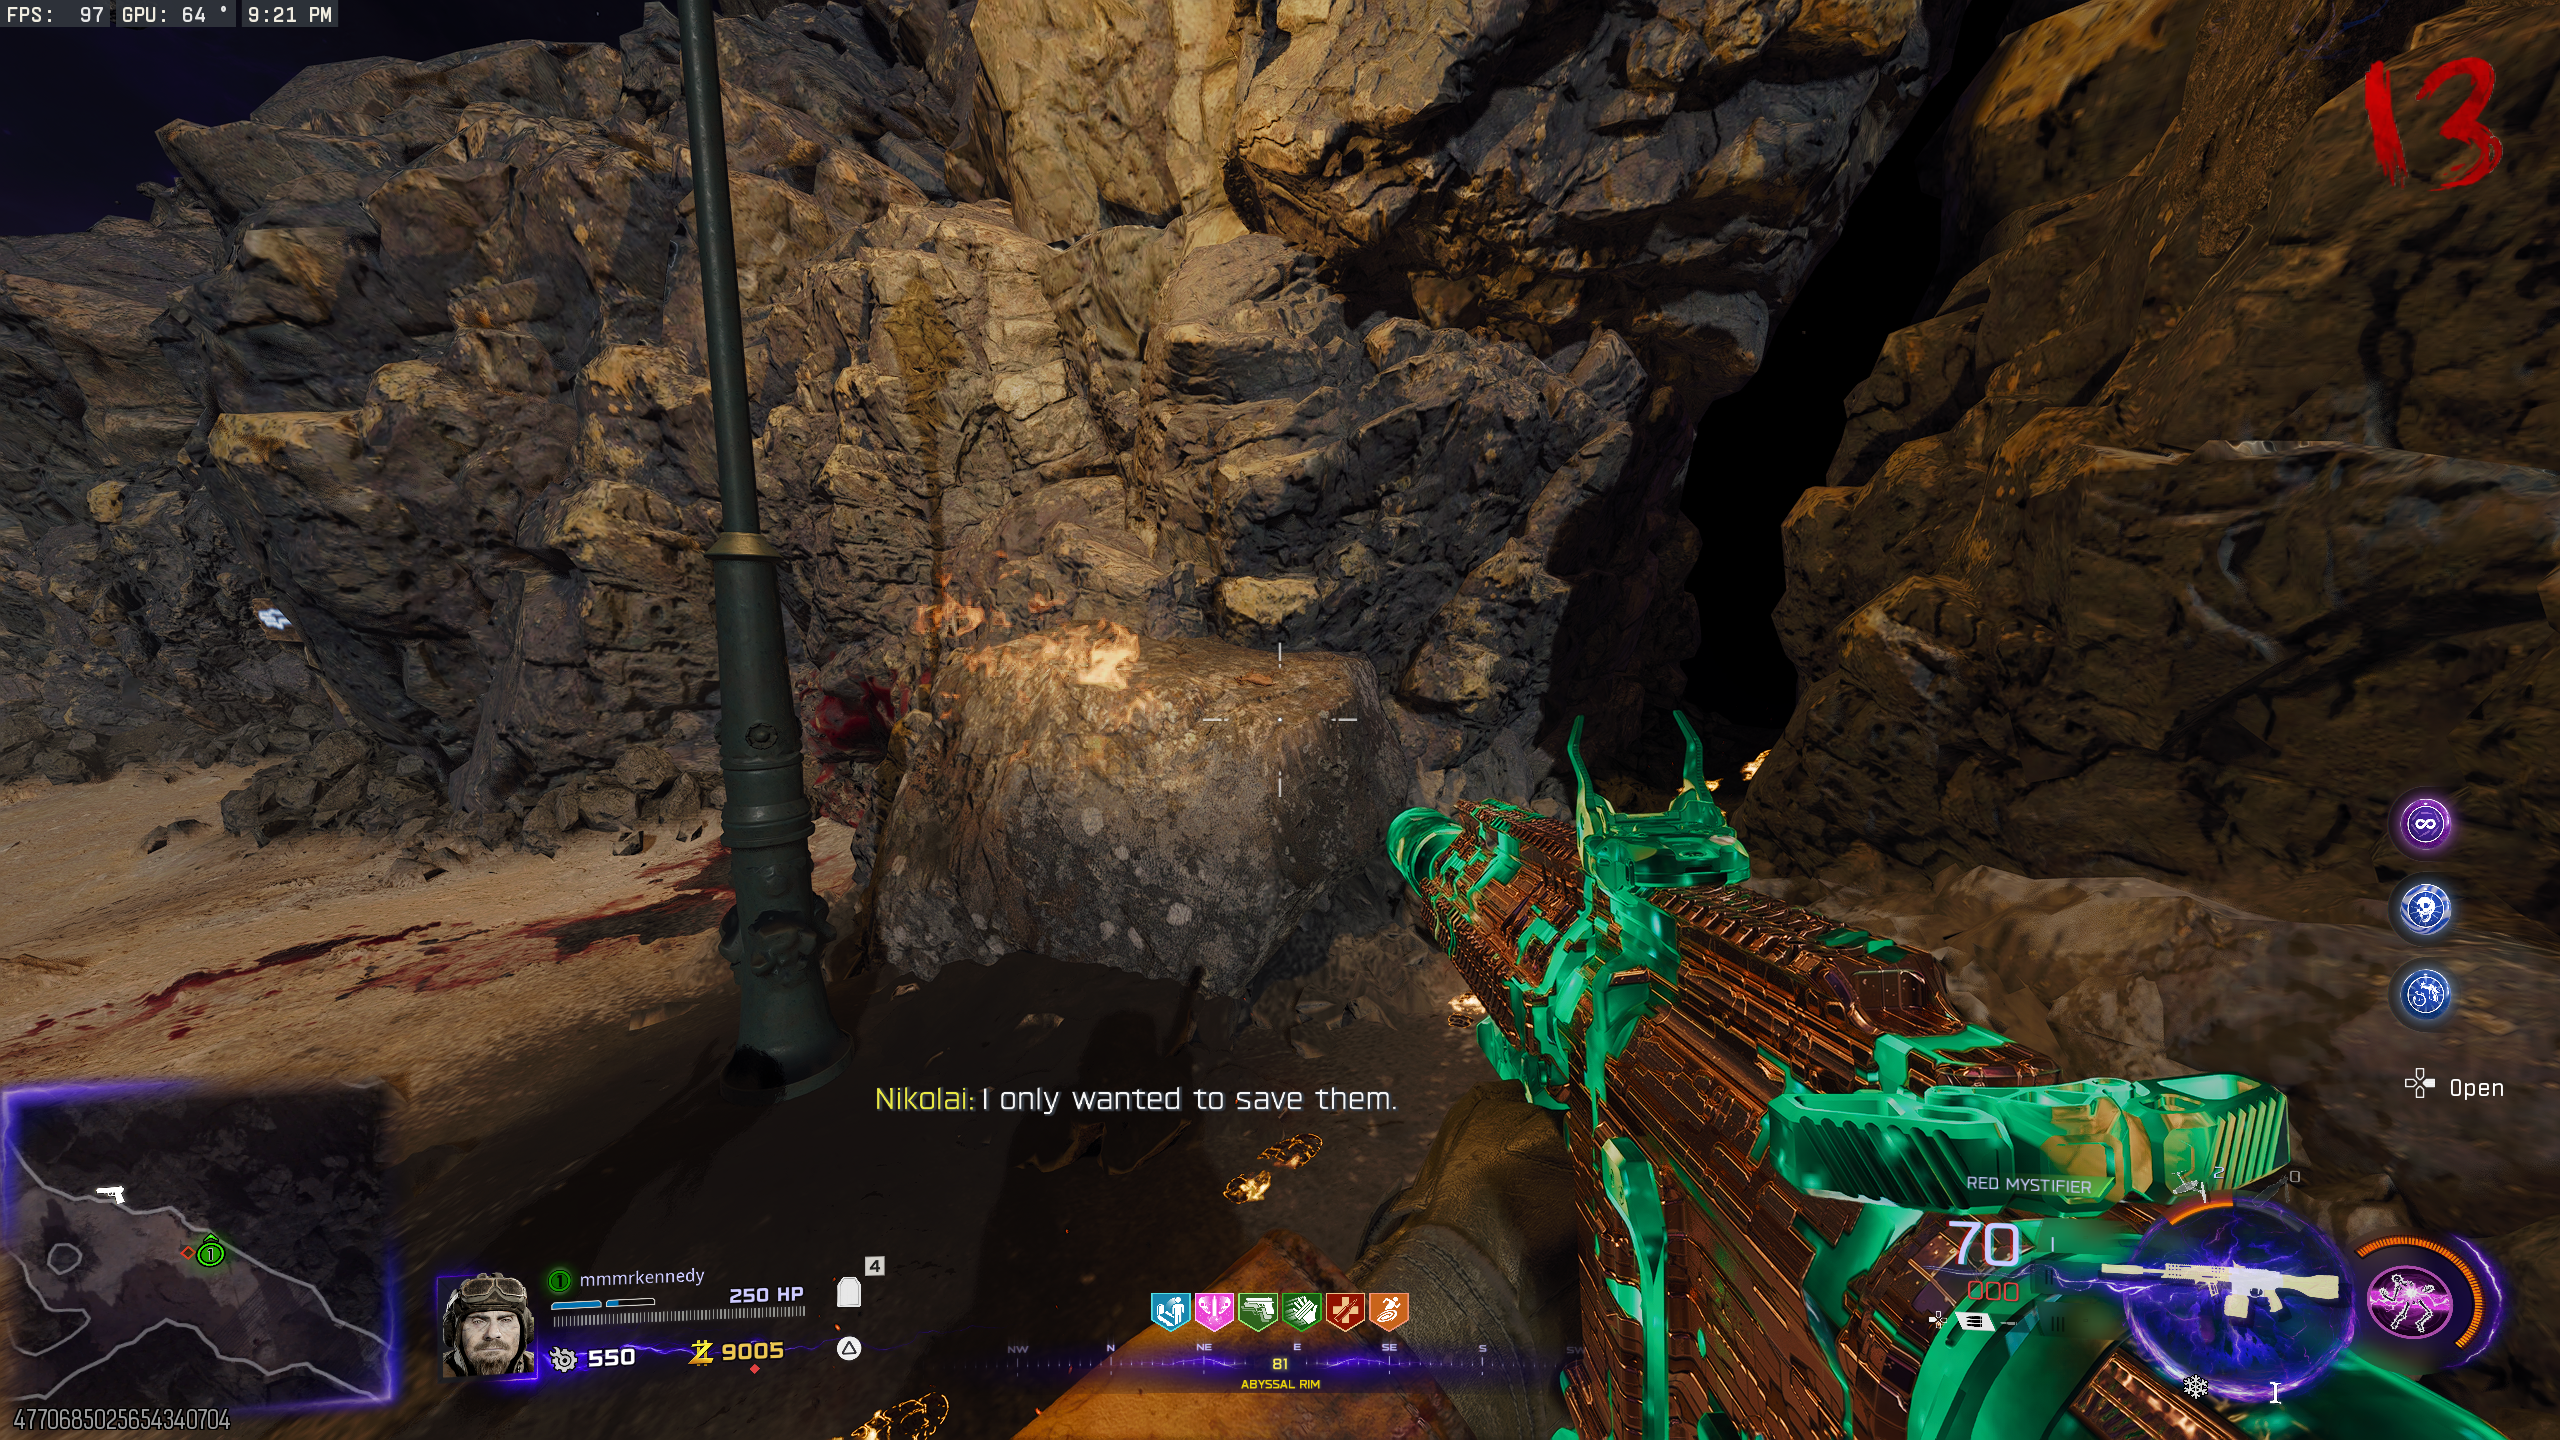
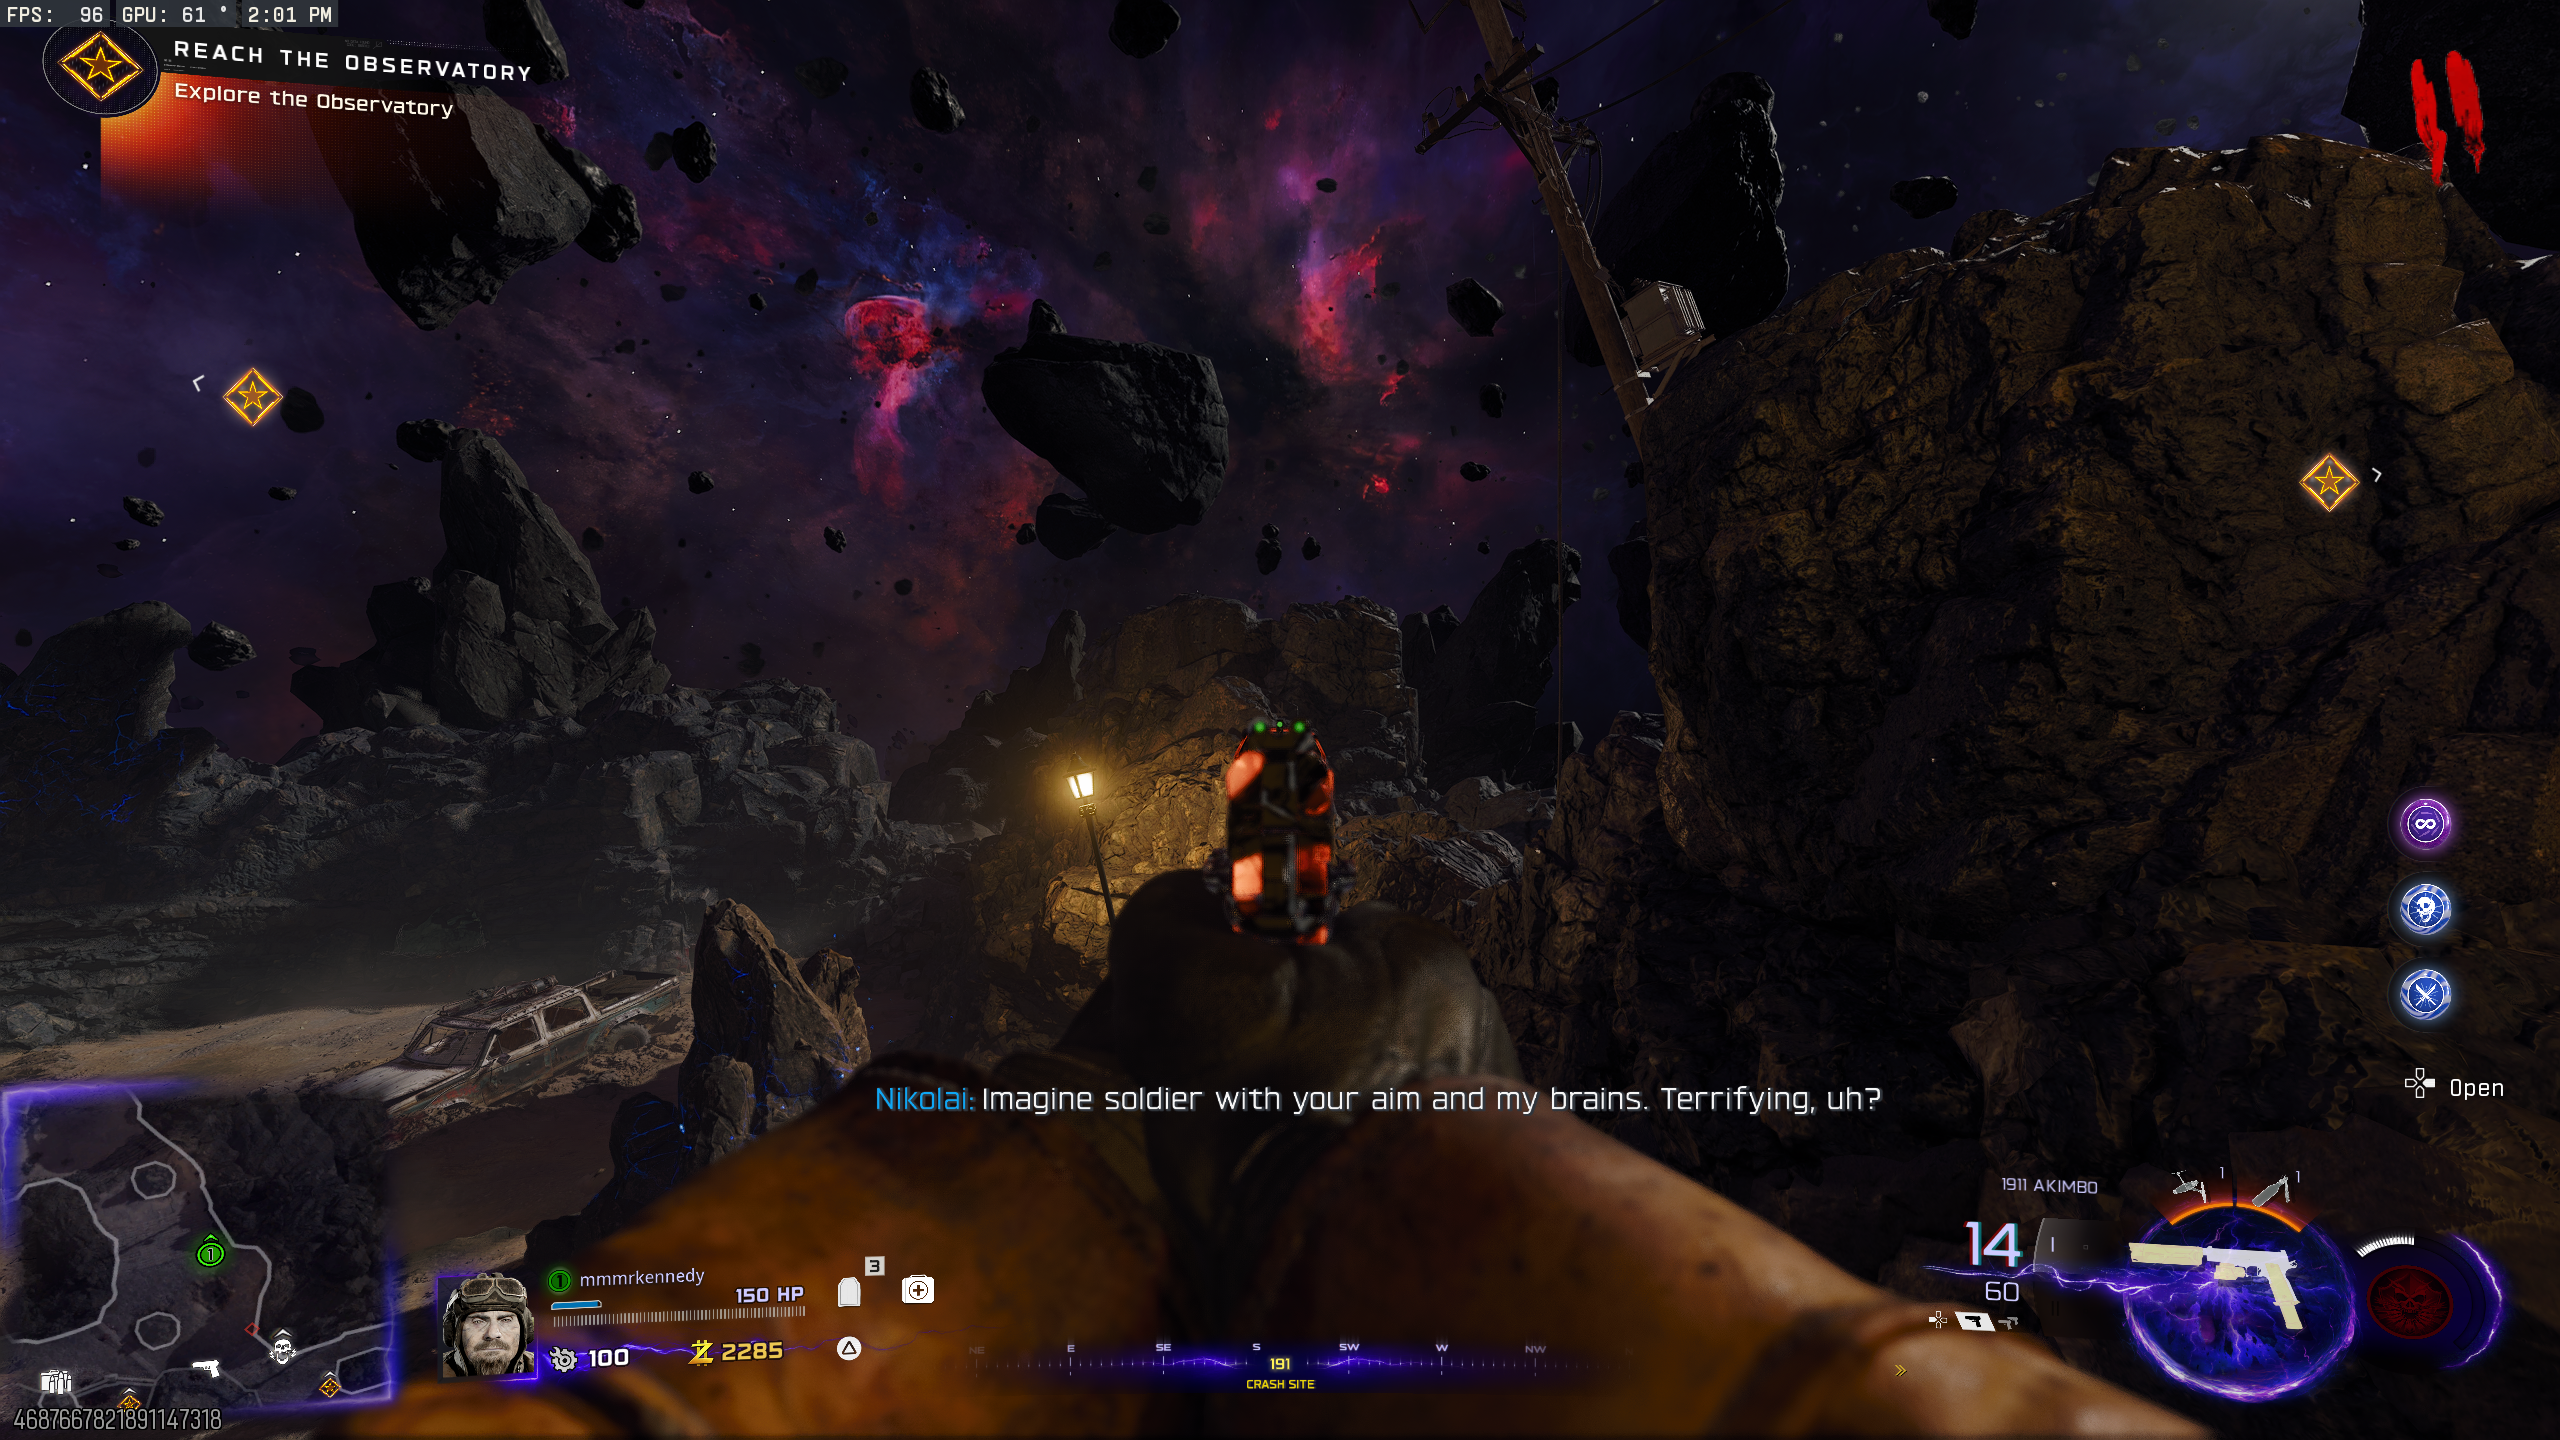
- On the lower level of the 'Abyssal Rim', throw a Molotov Cocktail on the ground at the base of the lamp post near the Ammo Crate. This will spawn fiery footprints.
- Throw another Molotov on the stairs where the footprints end to reveal more.
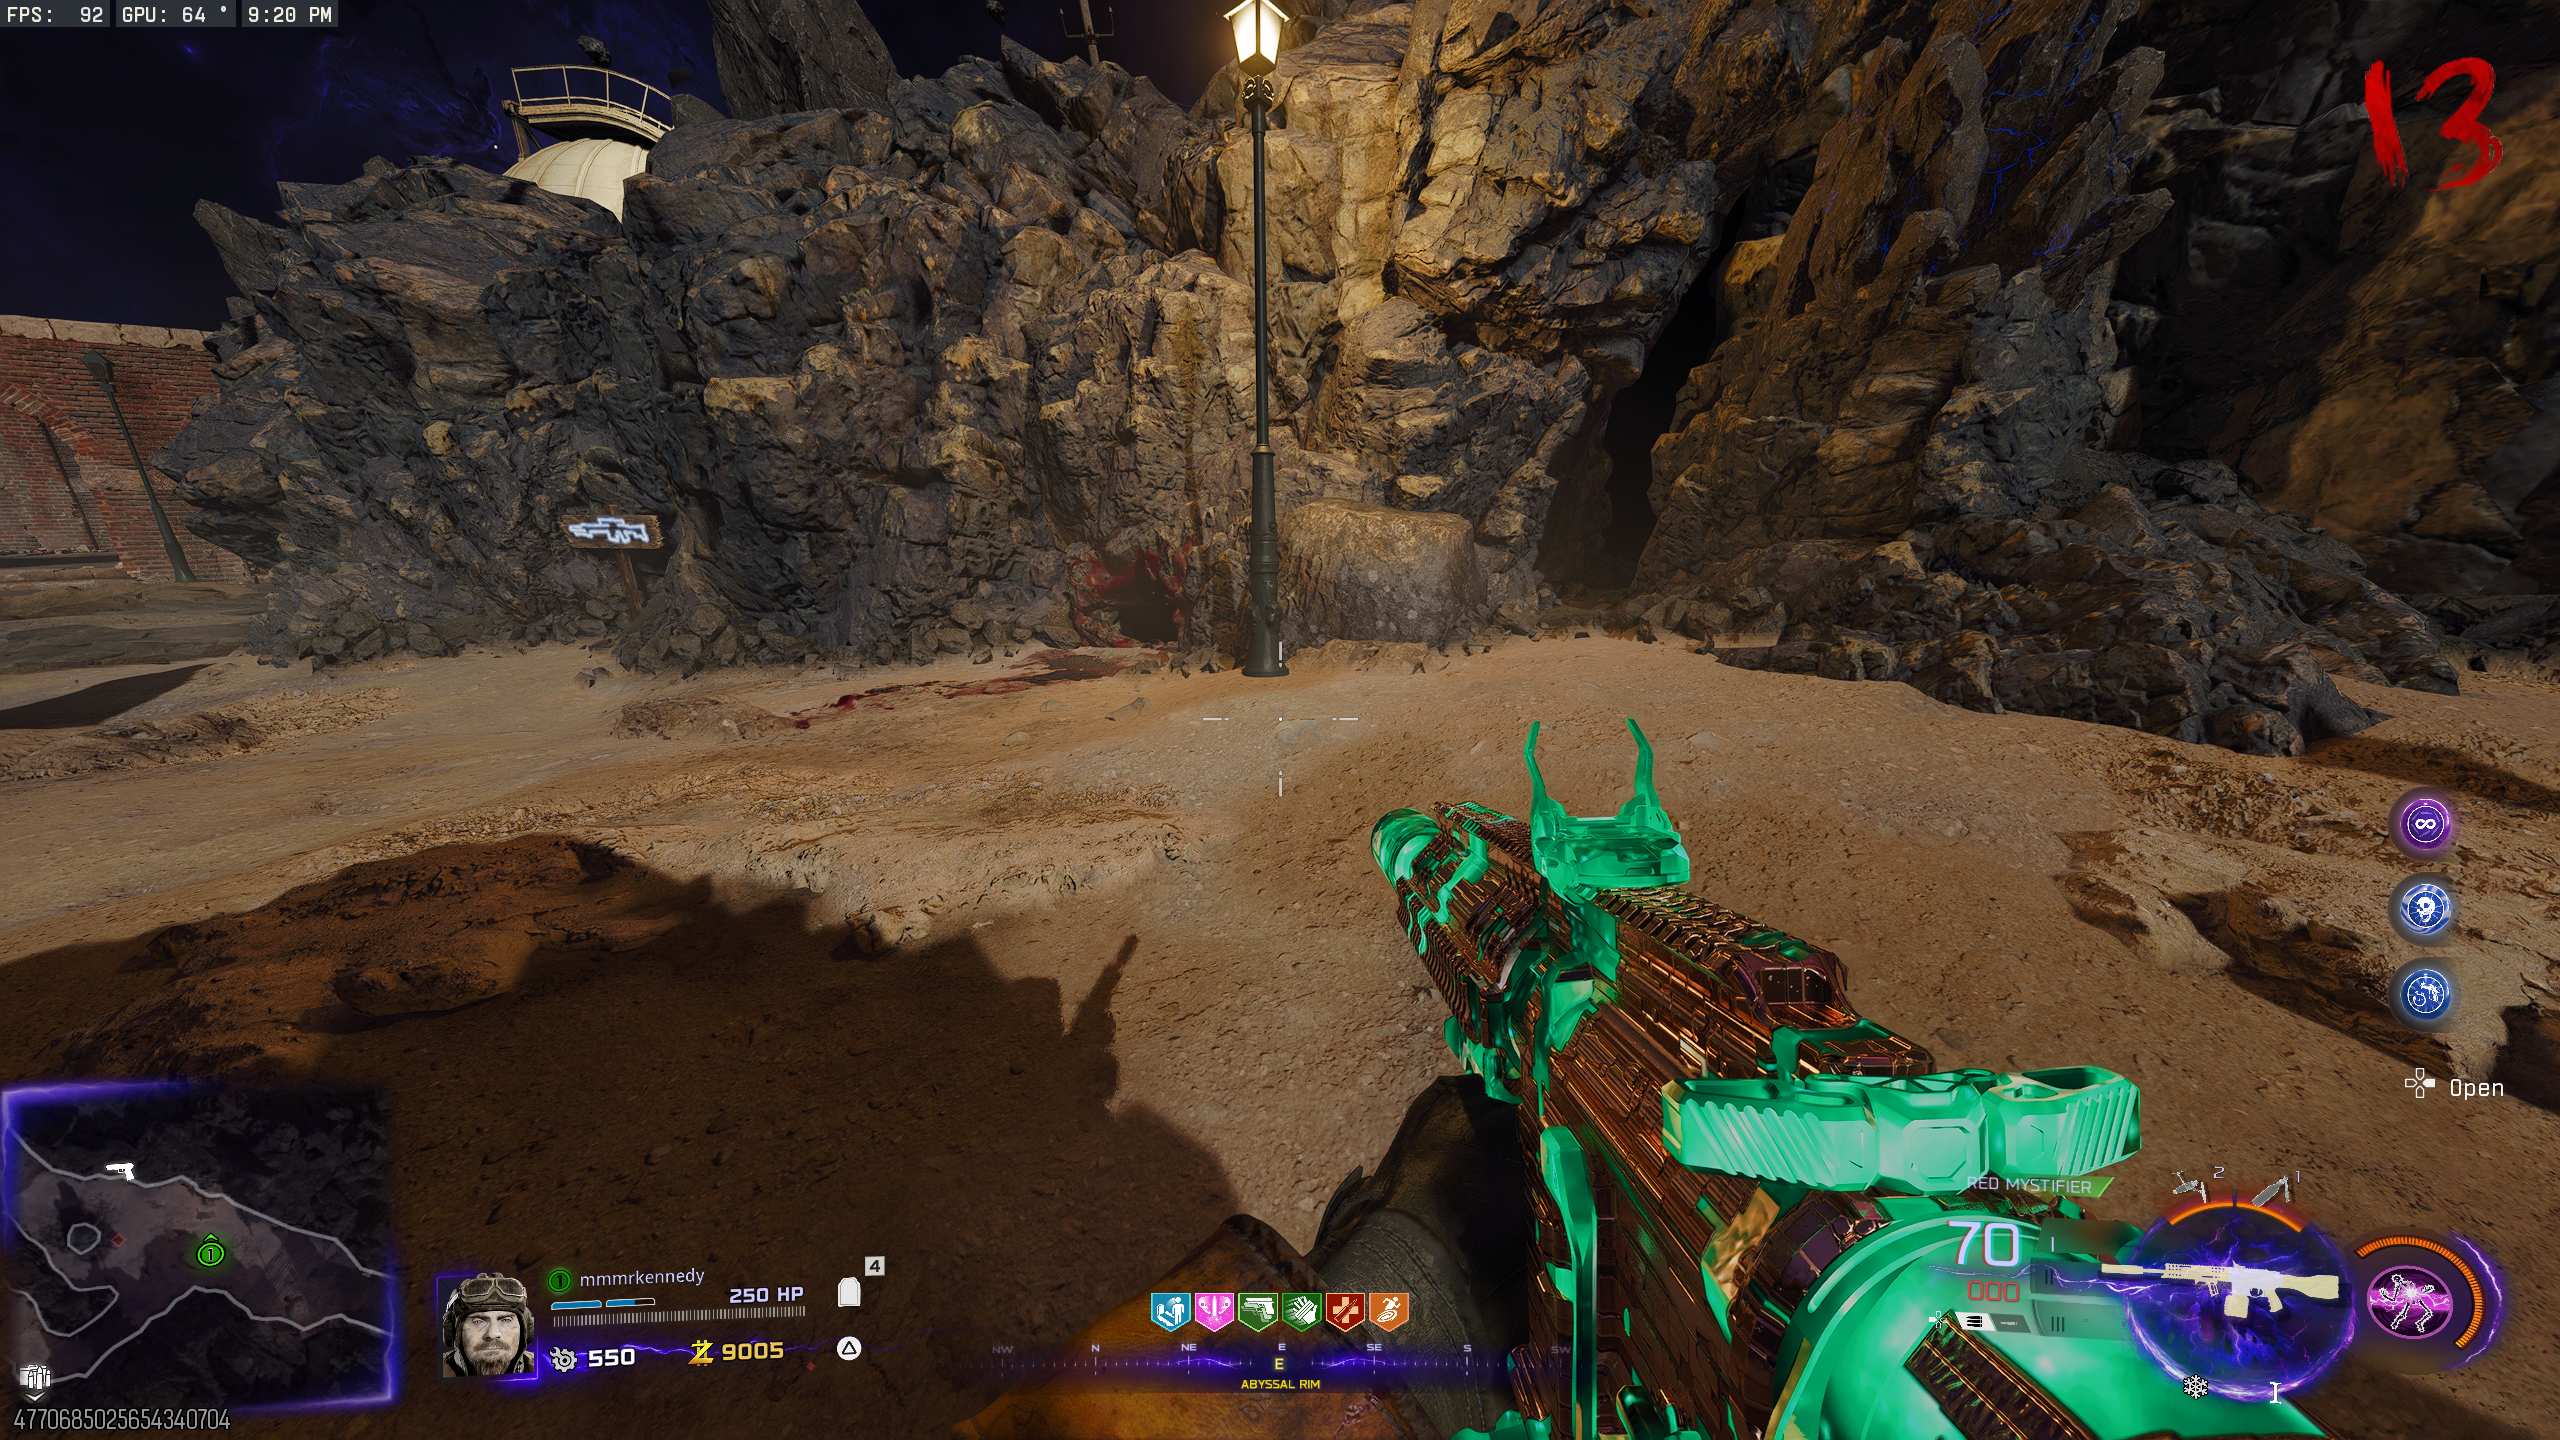
- Throw another Molotov at the base of the lamp post right of the Shadow SK wallbuy to reveal the last set. These footprints will go into the cave by the lamp post.
- Interact with the Goat toy on the rock left of the cave entrance.
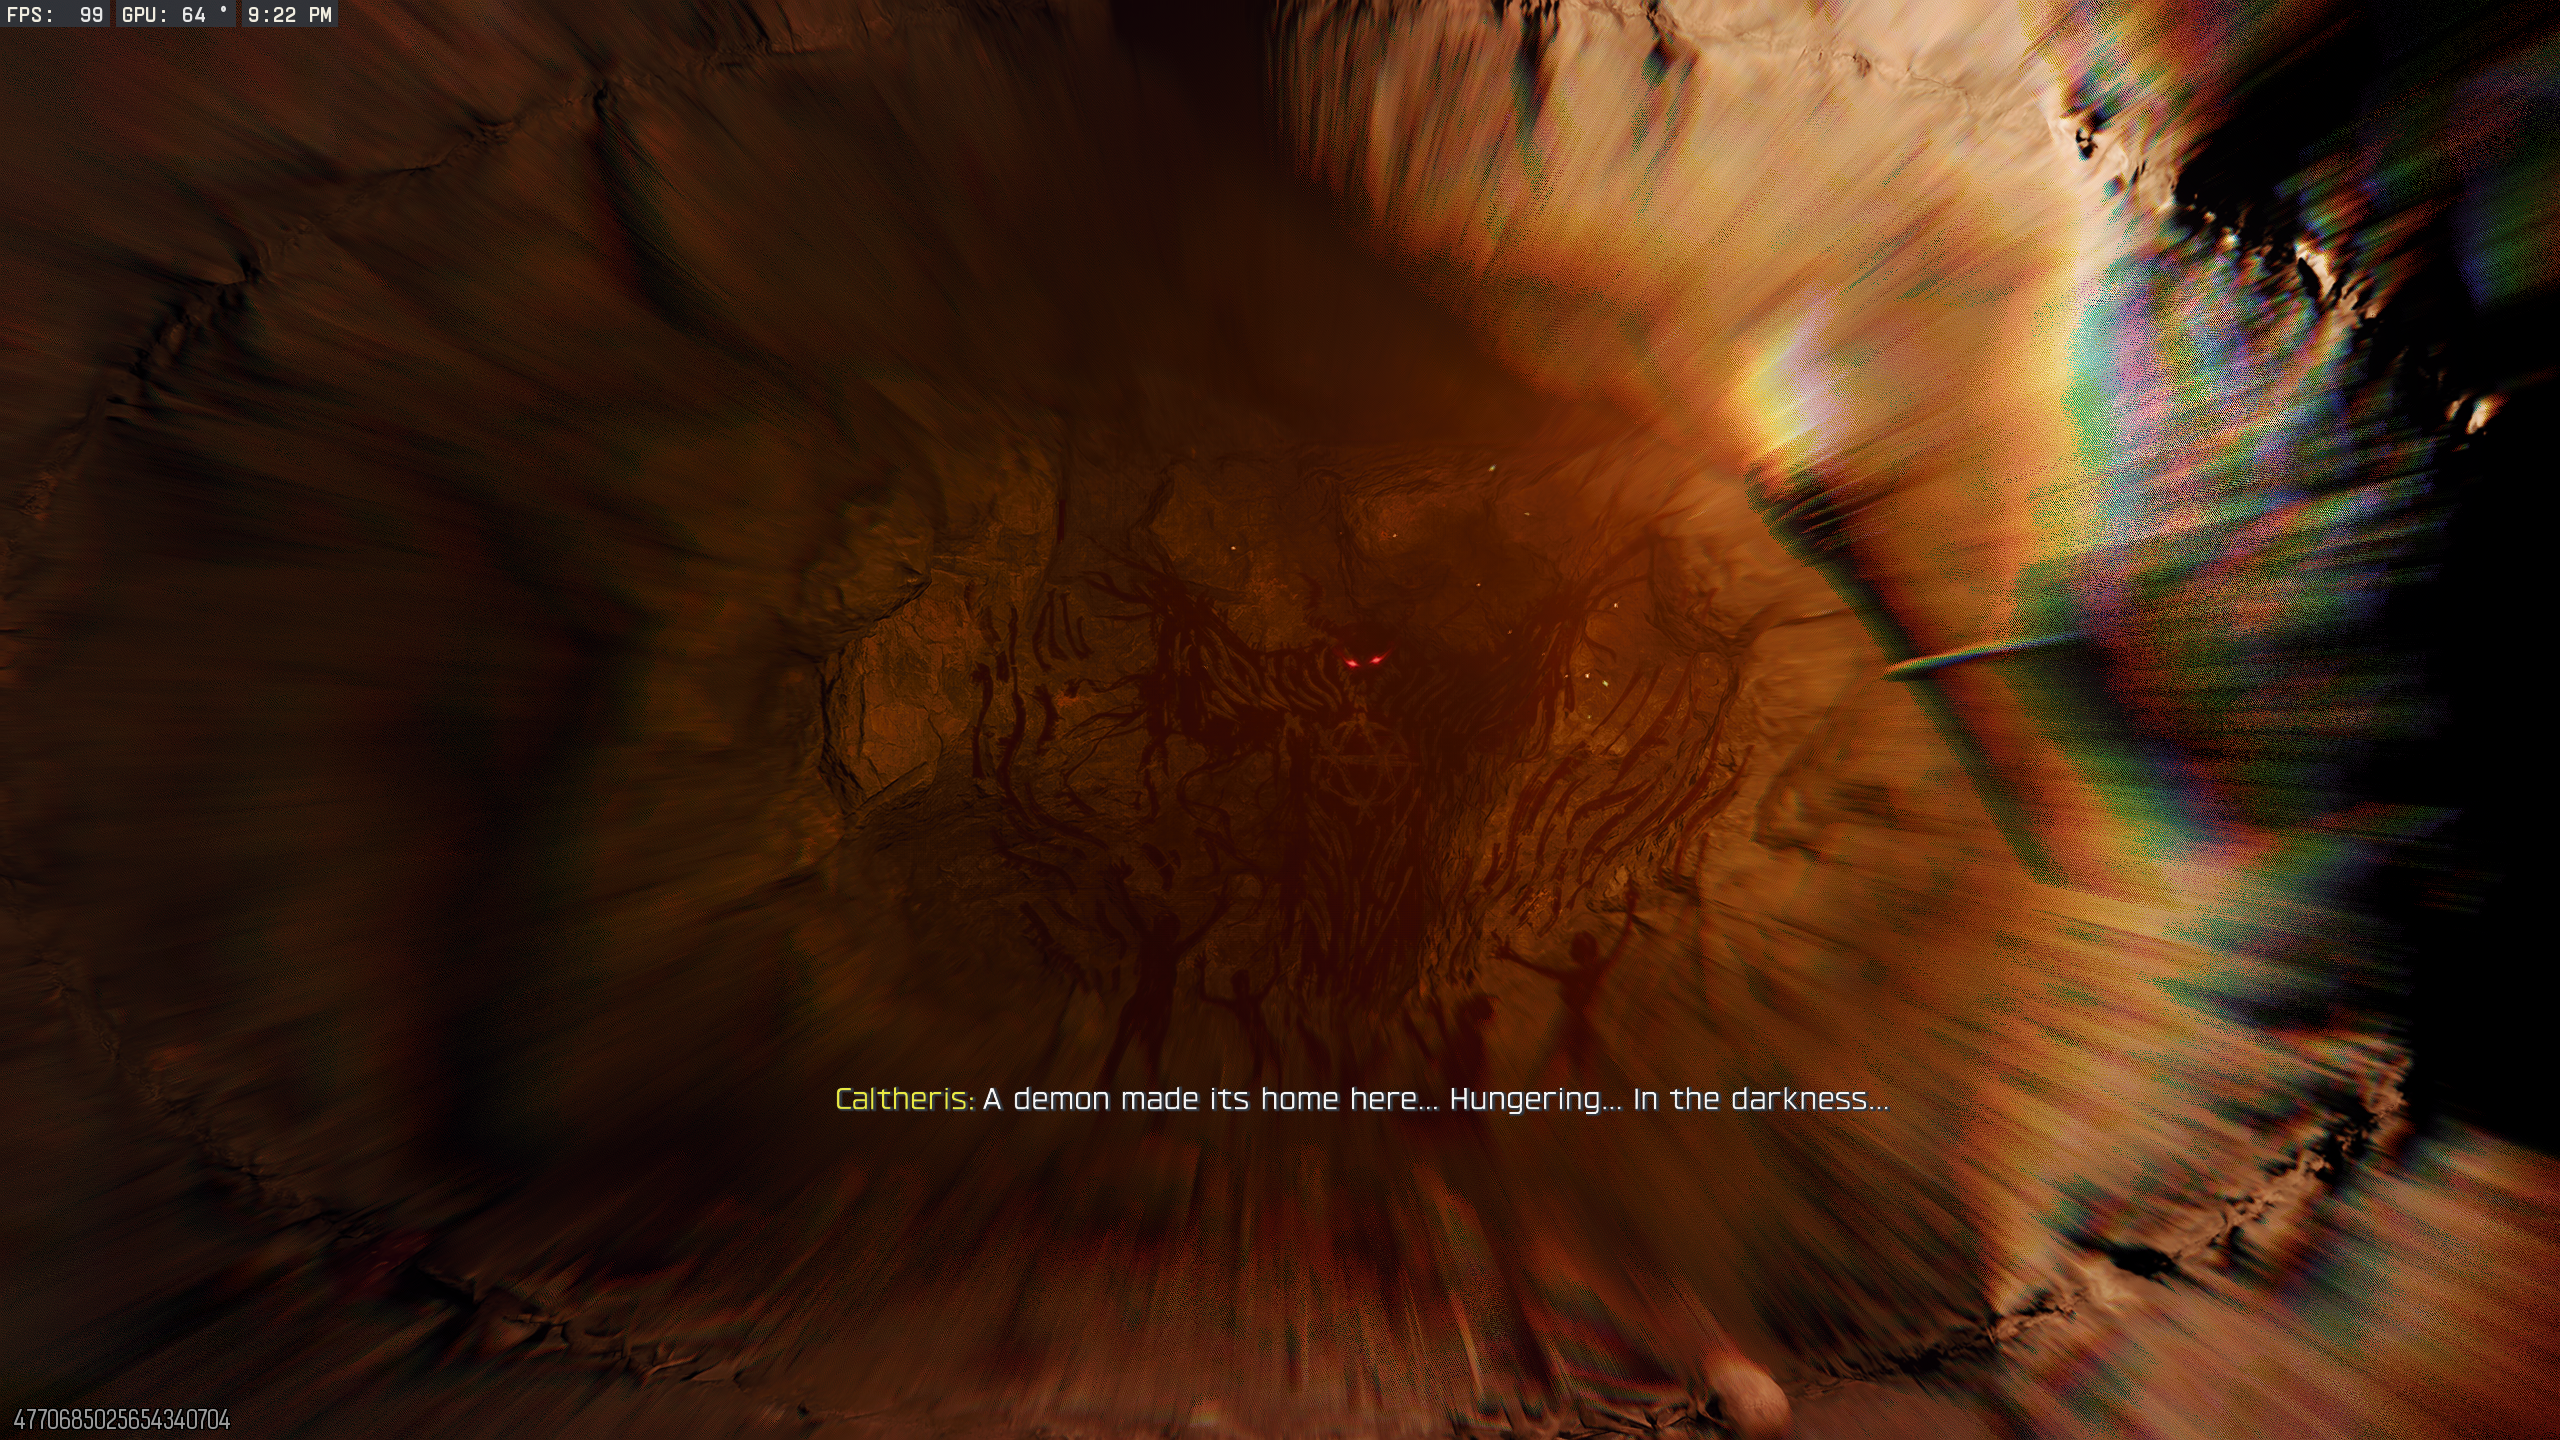
- You'll be teleported into the cave. Follow the path until you reach a dead end and see a ghost with red glowing eyes. Along the way, there are multiple things the camera will focus on, as well as a bunch of dialogue between Nikolai and Caltheris.
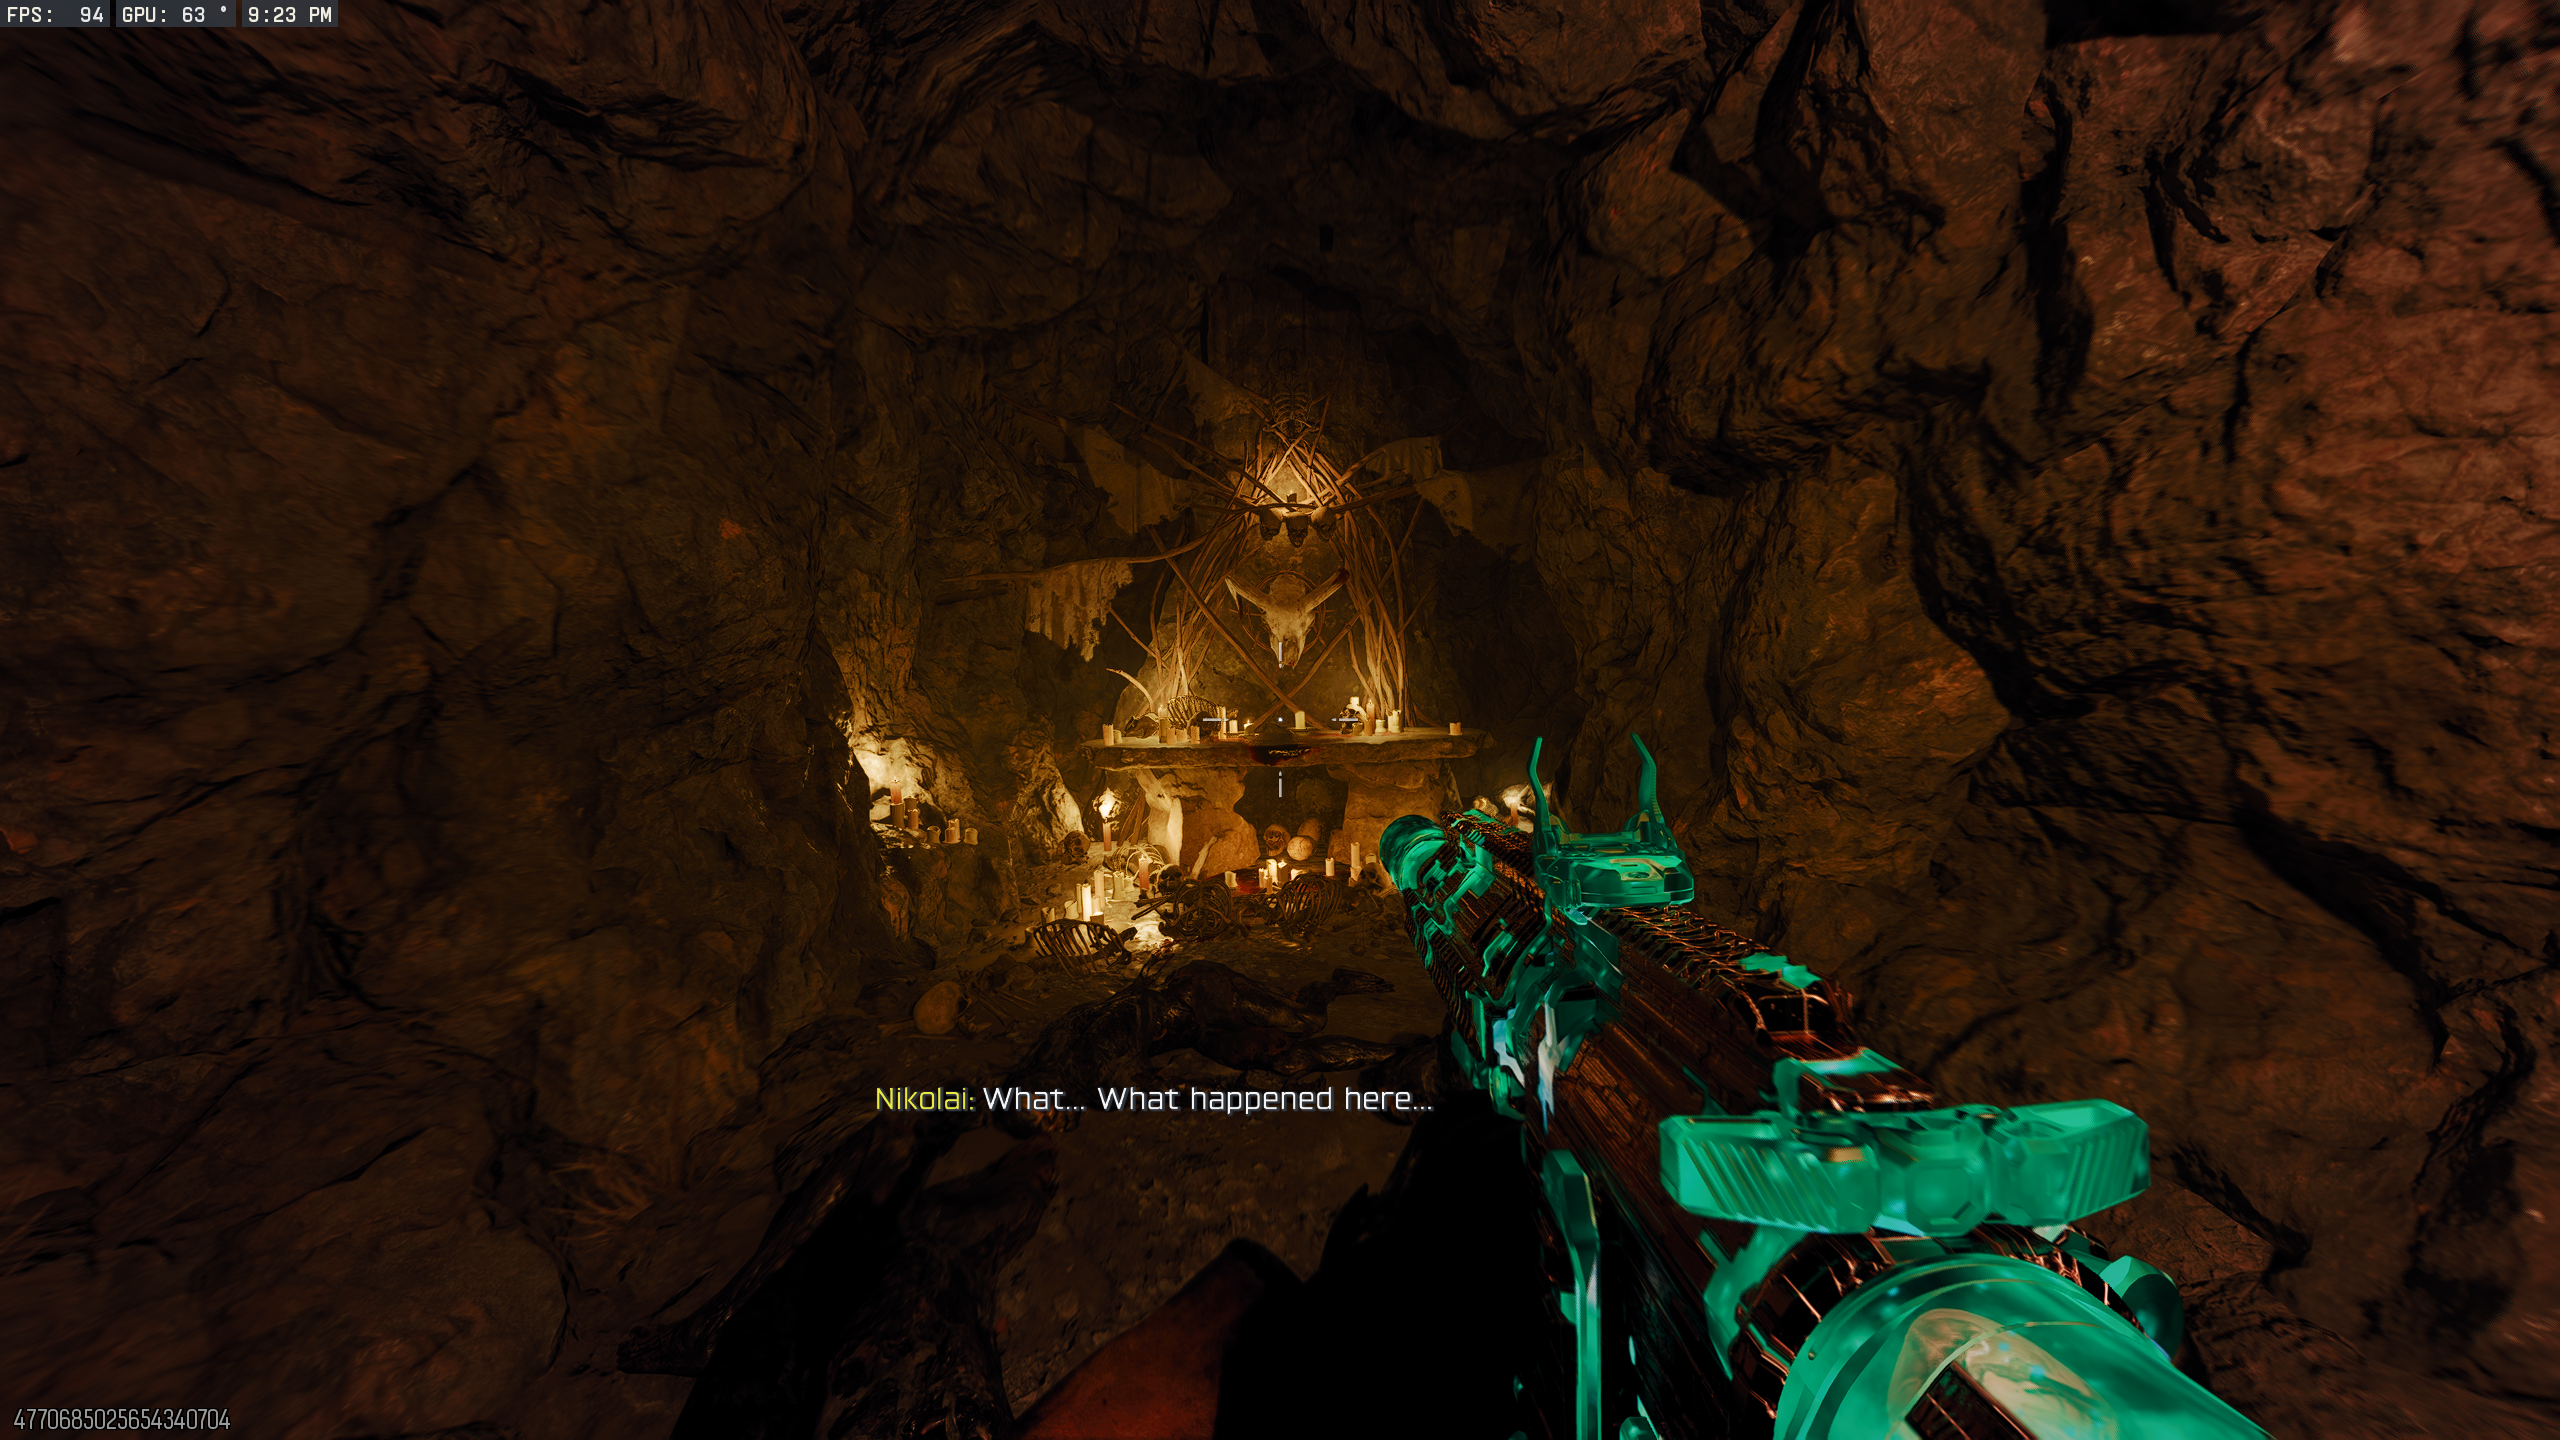
- Once you reach the dead end, walk toward the ghost until you're given your weapon back. Turn around and walk until you reach another dead end.
- Turn around and walk until you see an altar. Interact with the altar; after a short animation, the ghost will spawn and start chasing you. Run through the cave (away from the ghost), killing any Ravagers that get in your way, until you are forcibly "killed".
- You can't die on purpose early to get through this part faster; you must keep going till you are killed.
- After the death animation, you'll respawn outside the cave. A Legendary Shotgun and some Molotov Cocktails will spawn on the ground, and you'll receive the Echoes of the Damned Dark Ops Calling Card.

Ol' Tessie DG-2 Turret Upgrade
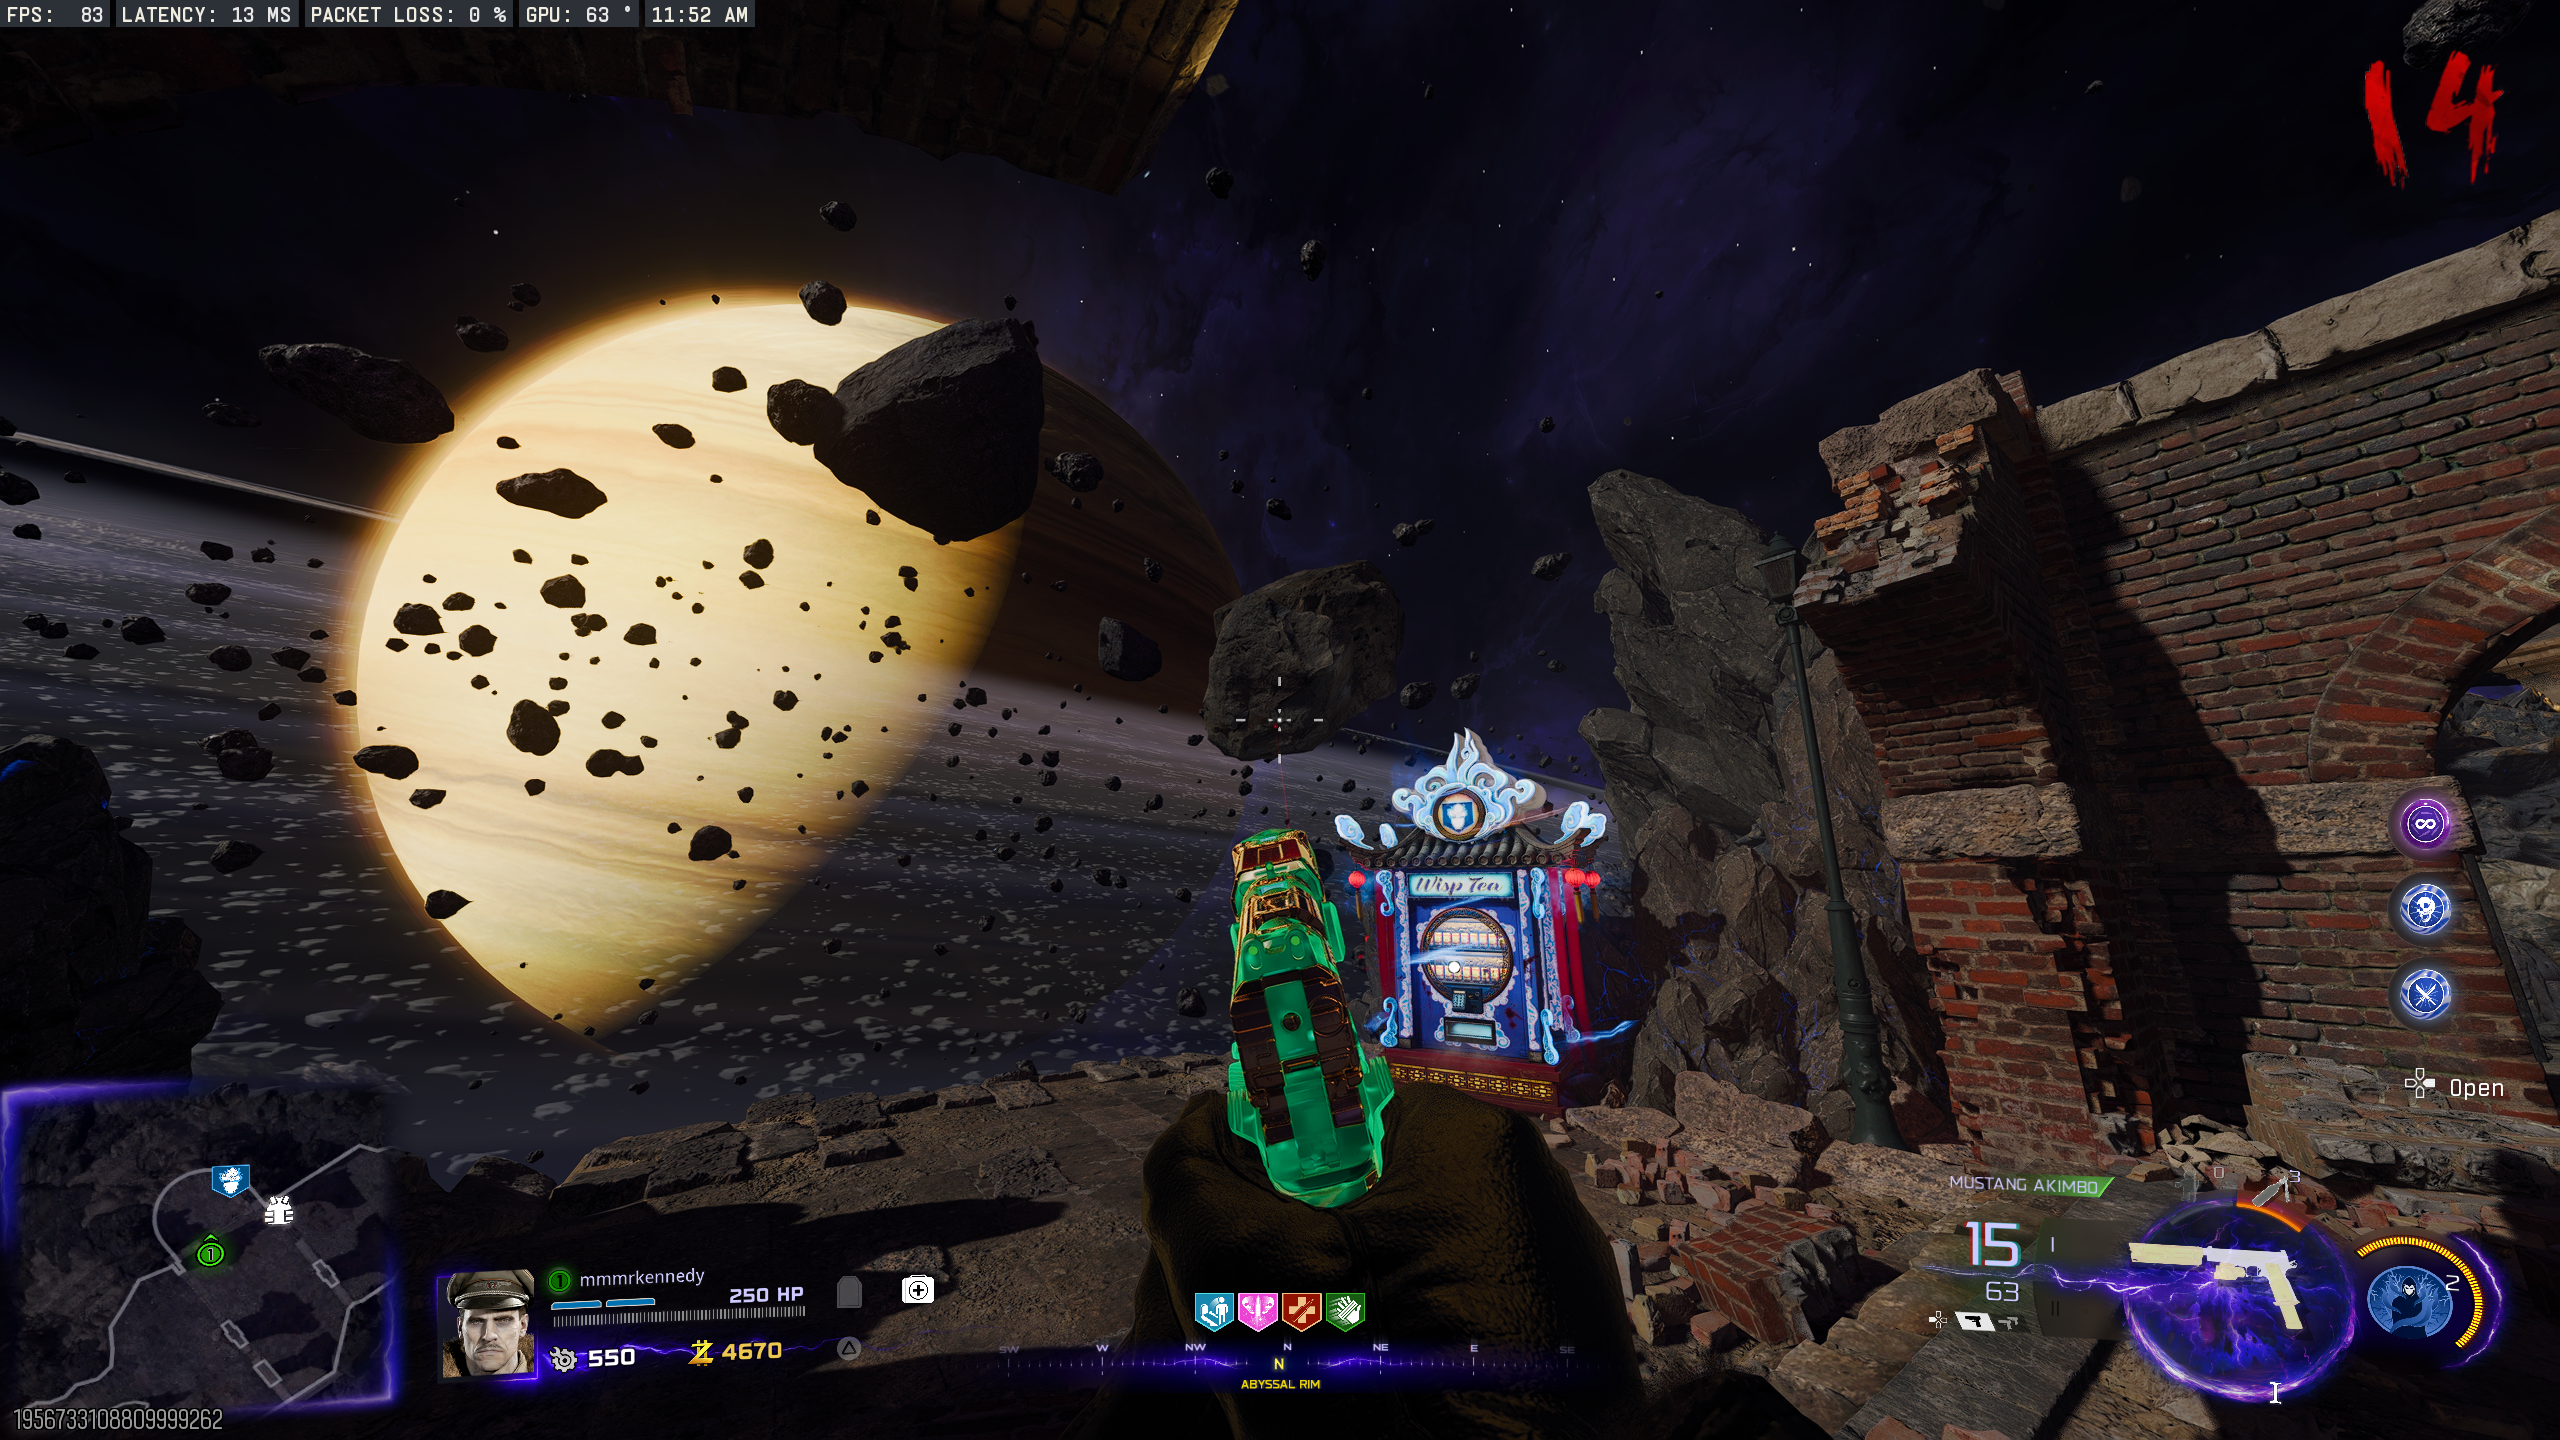
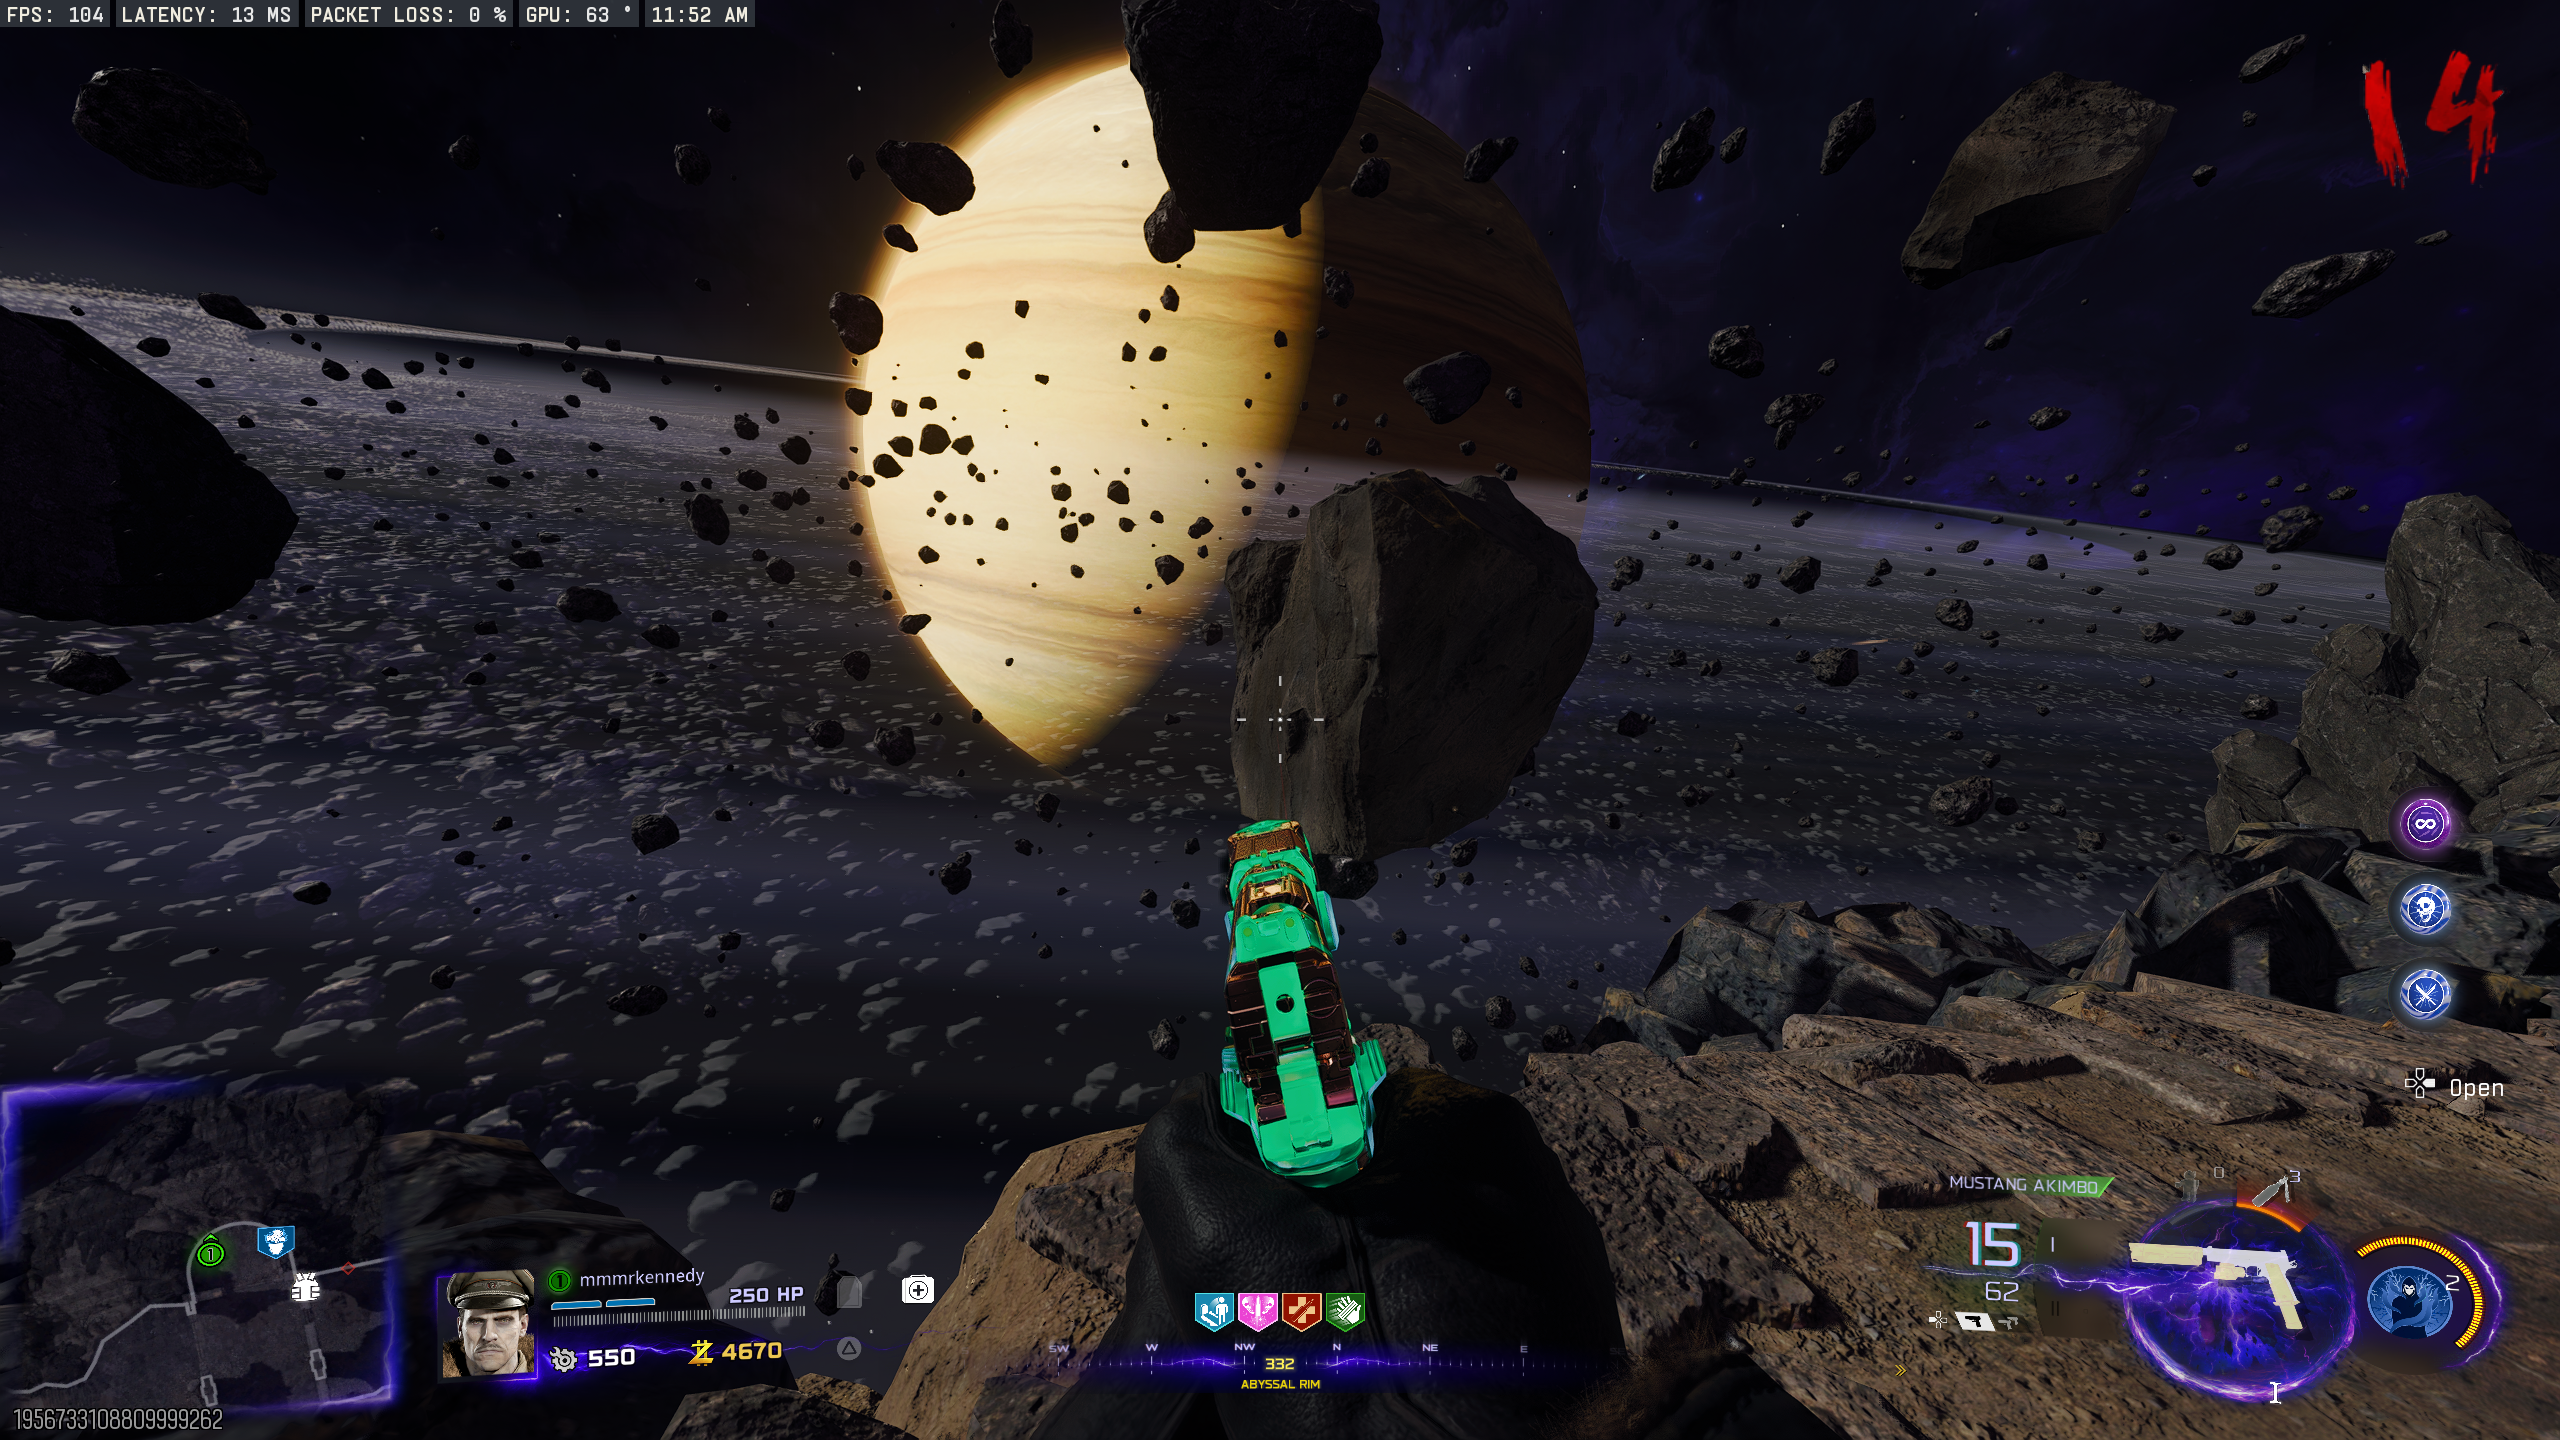
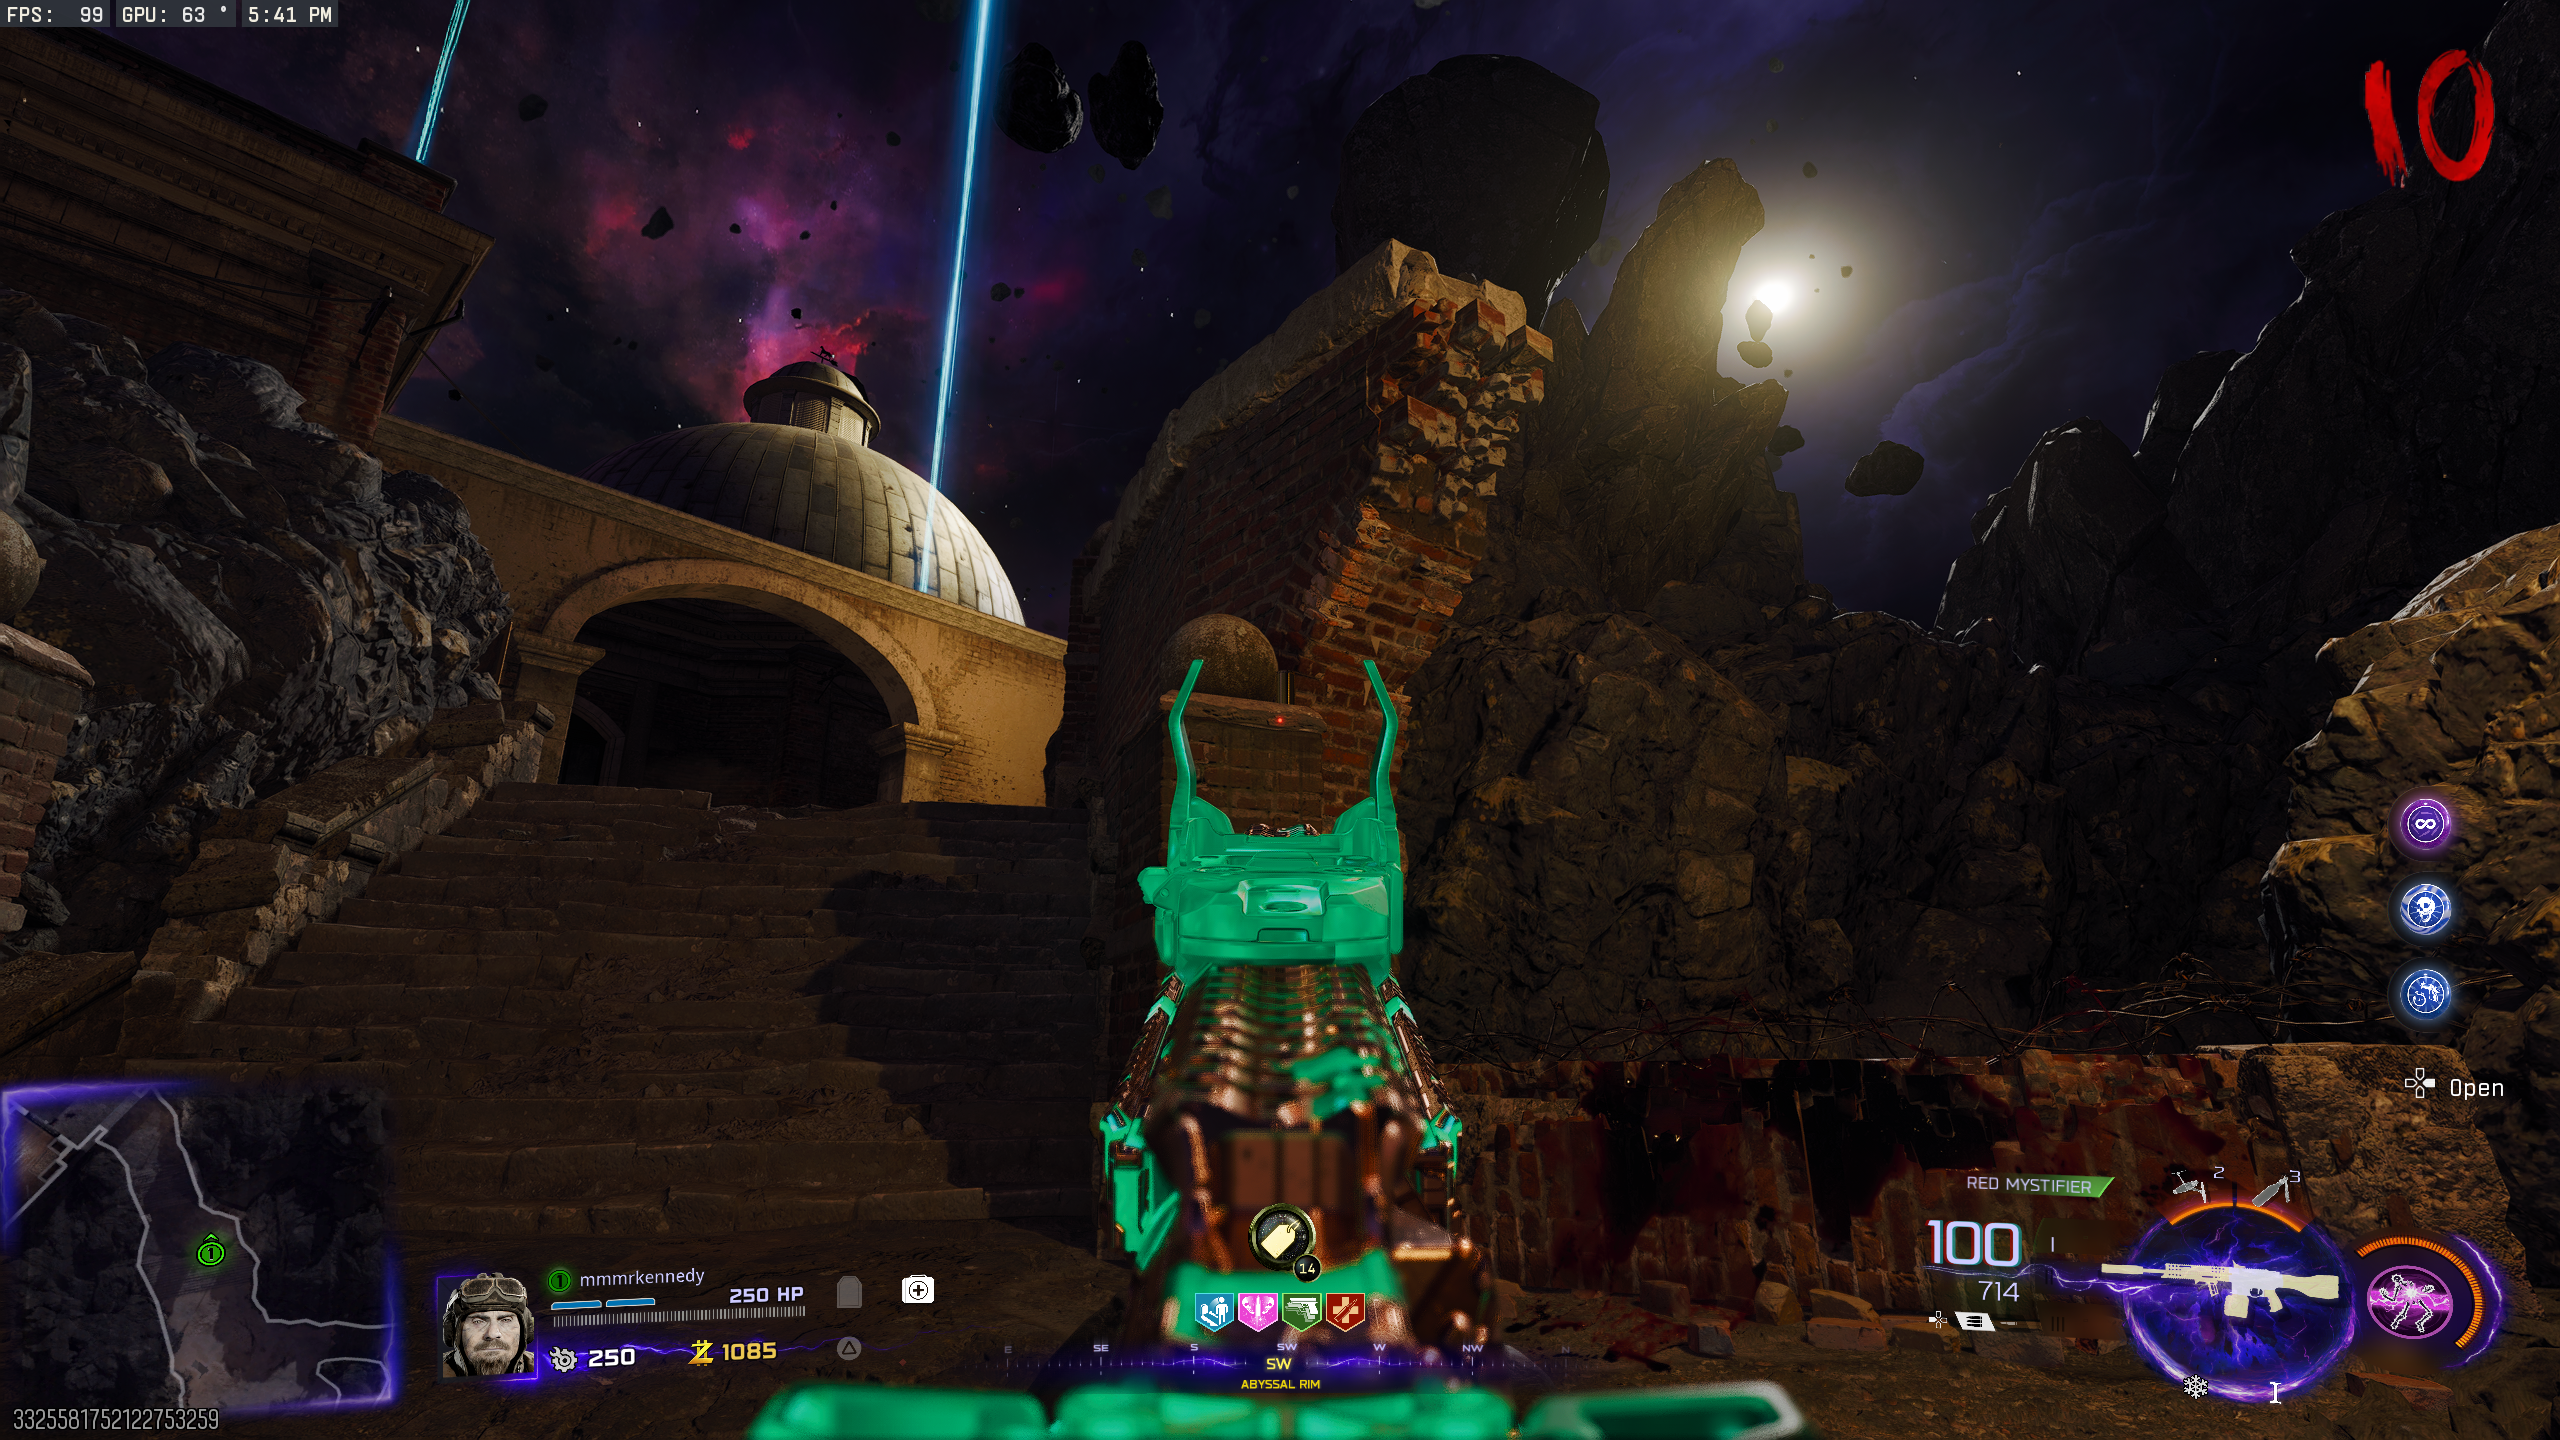
- Behind the Wisp Tea machine in 'Abyssal Rim', an asteroid will be floating. Hit the asteroid with an explosion. This will move the asteroid closer to the edge of the map.
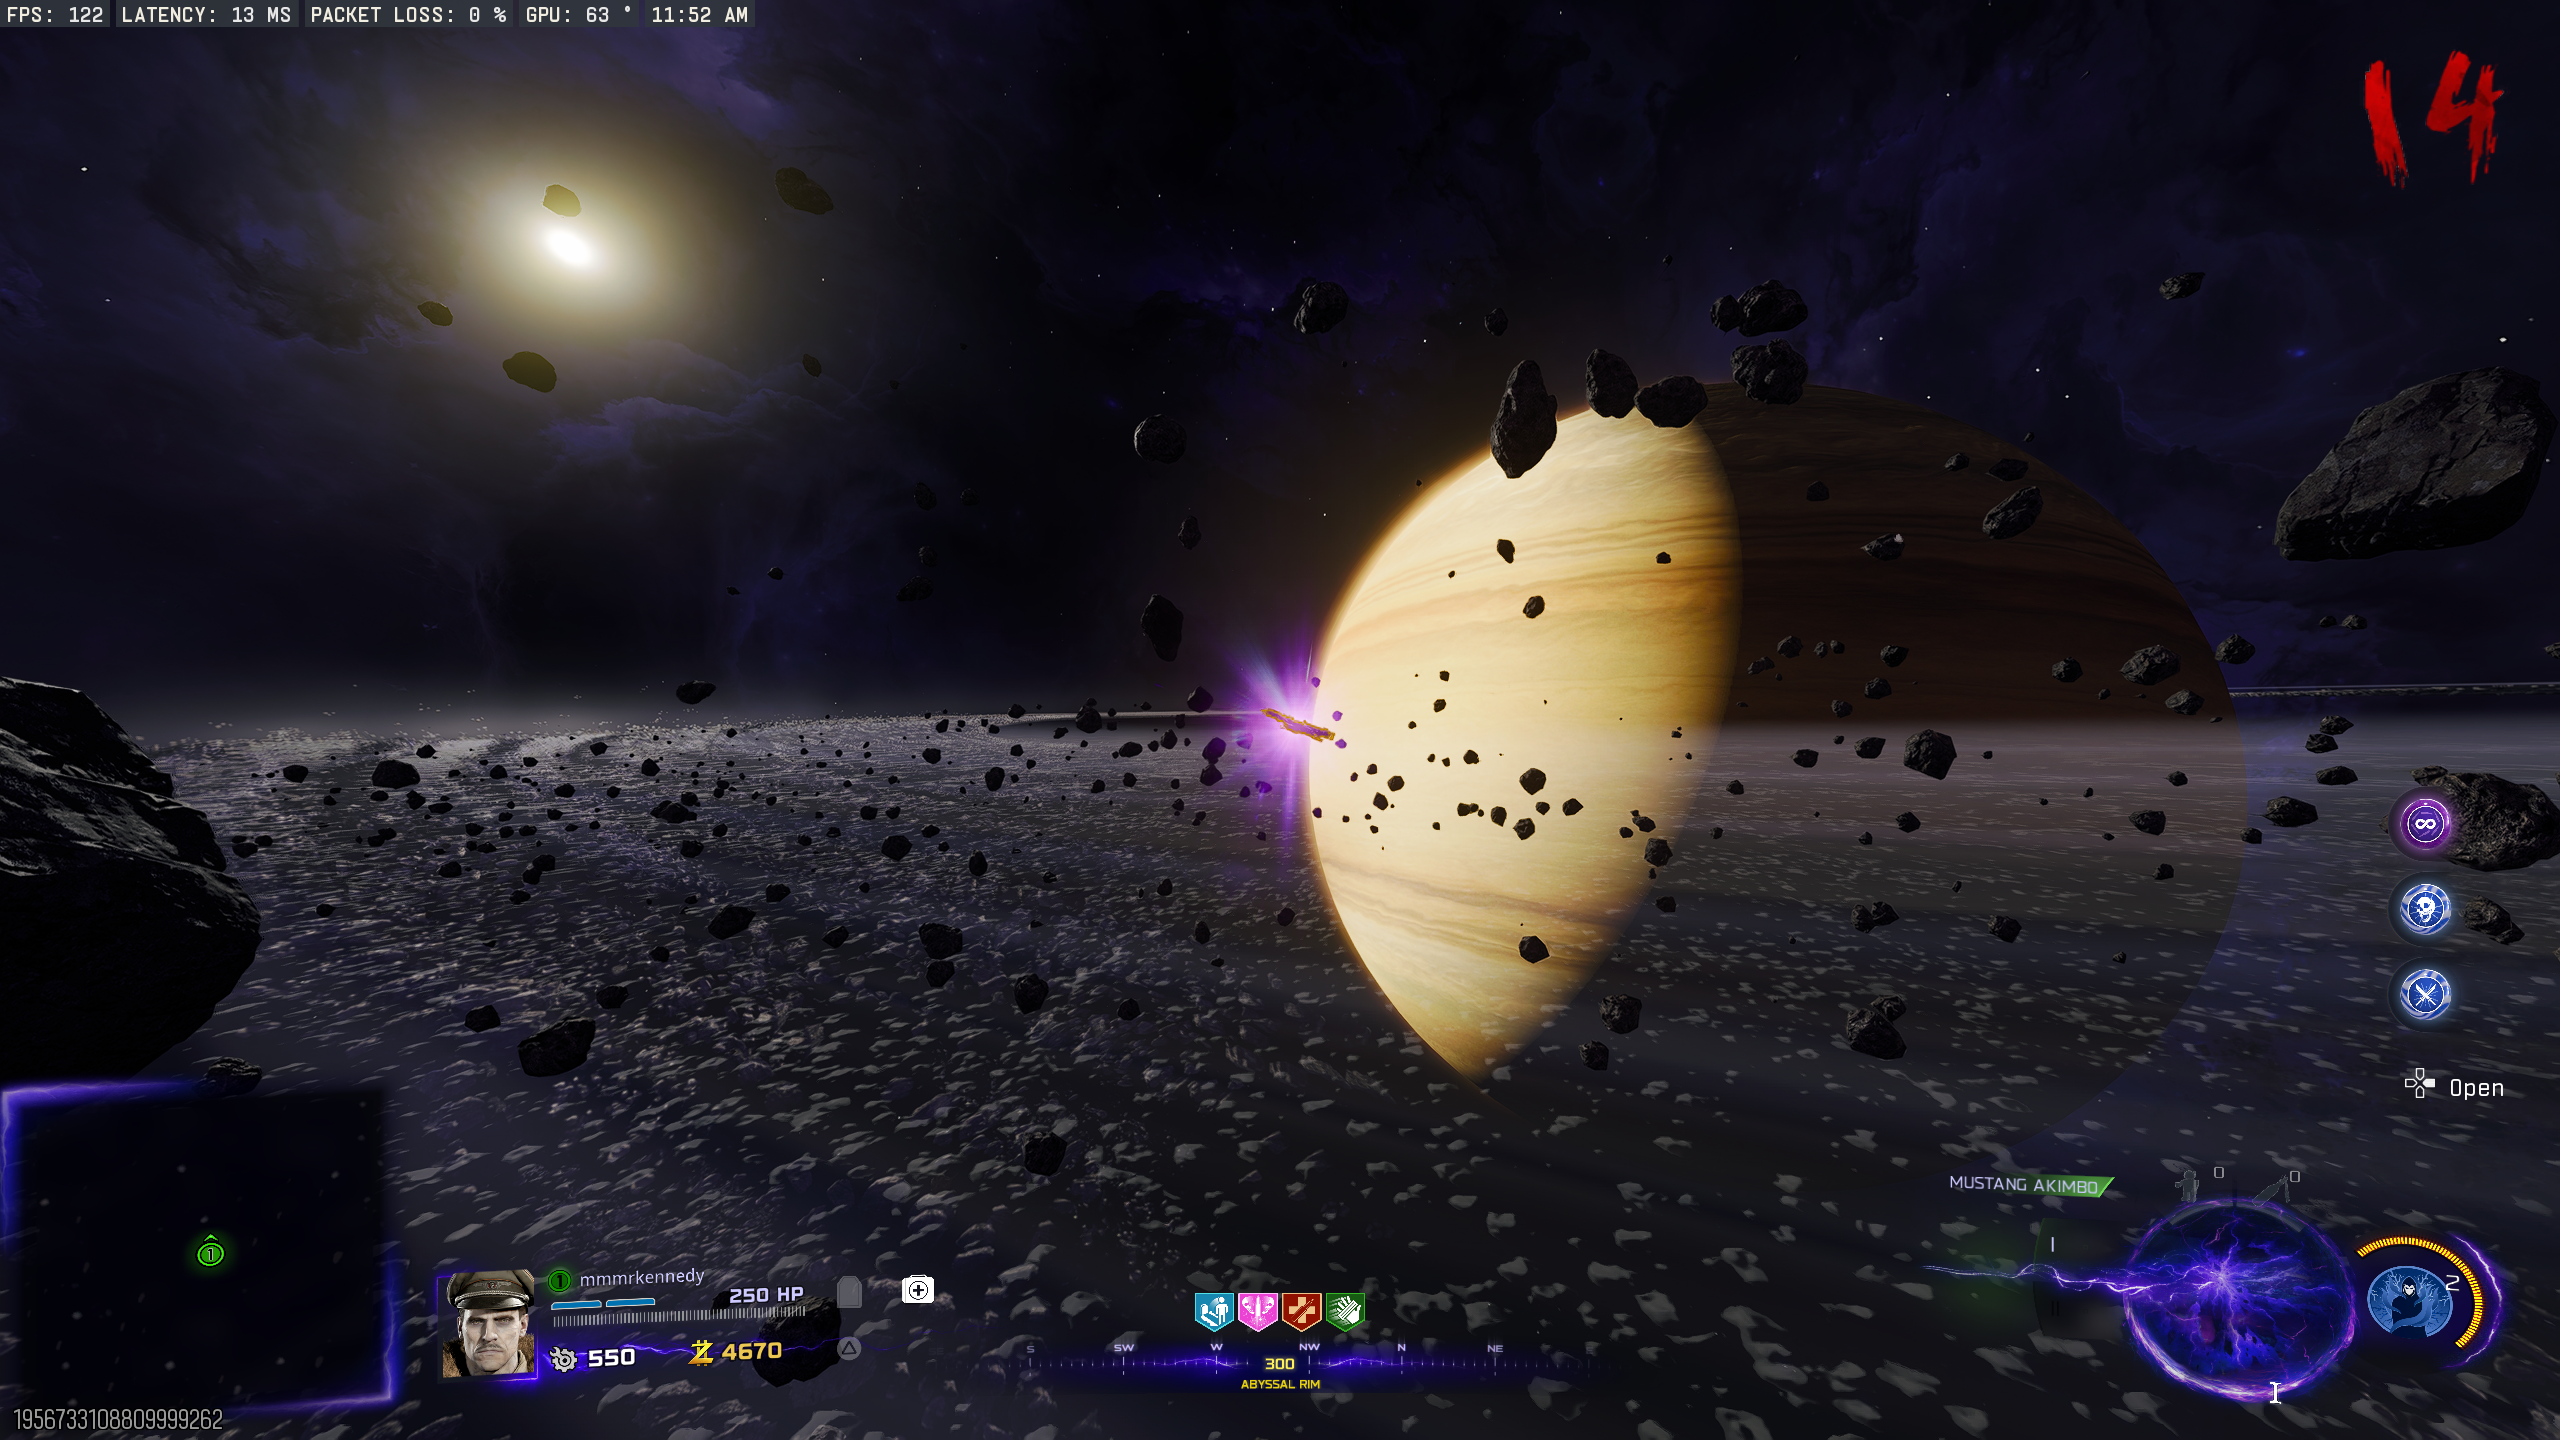
- Wall Jump off the flat, left side of the asteroid toward Saturn. If done correctly, you will float into space. As you travel, the DG-2 Turret will spawn in front of you. Interact with it to grab it.
- Once back at the 'Crash Site', install the turret onto Ol' Tessie. The turret can be used freely, but you will be attacked while using it.
"Bongo" The Friendly Ravager
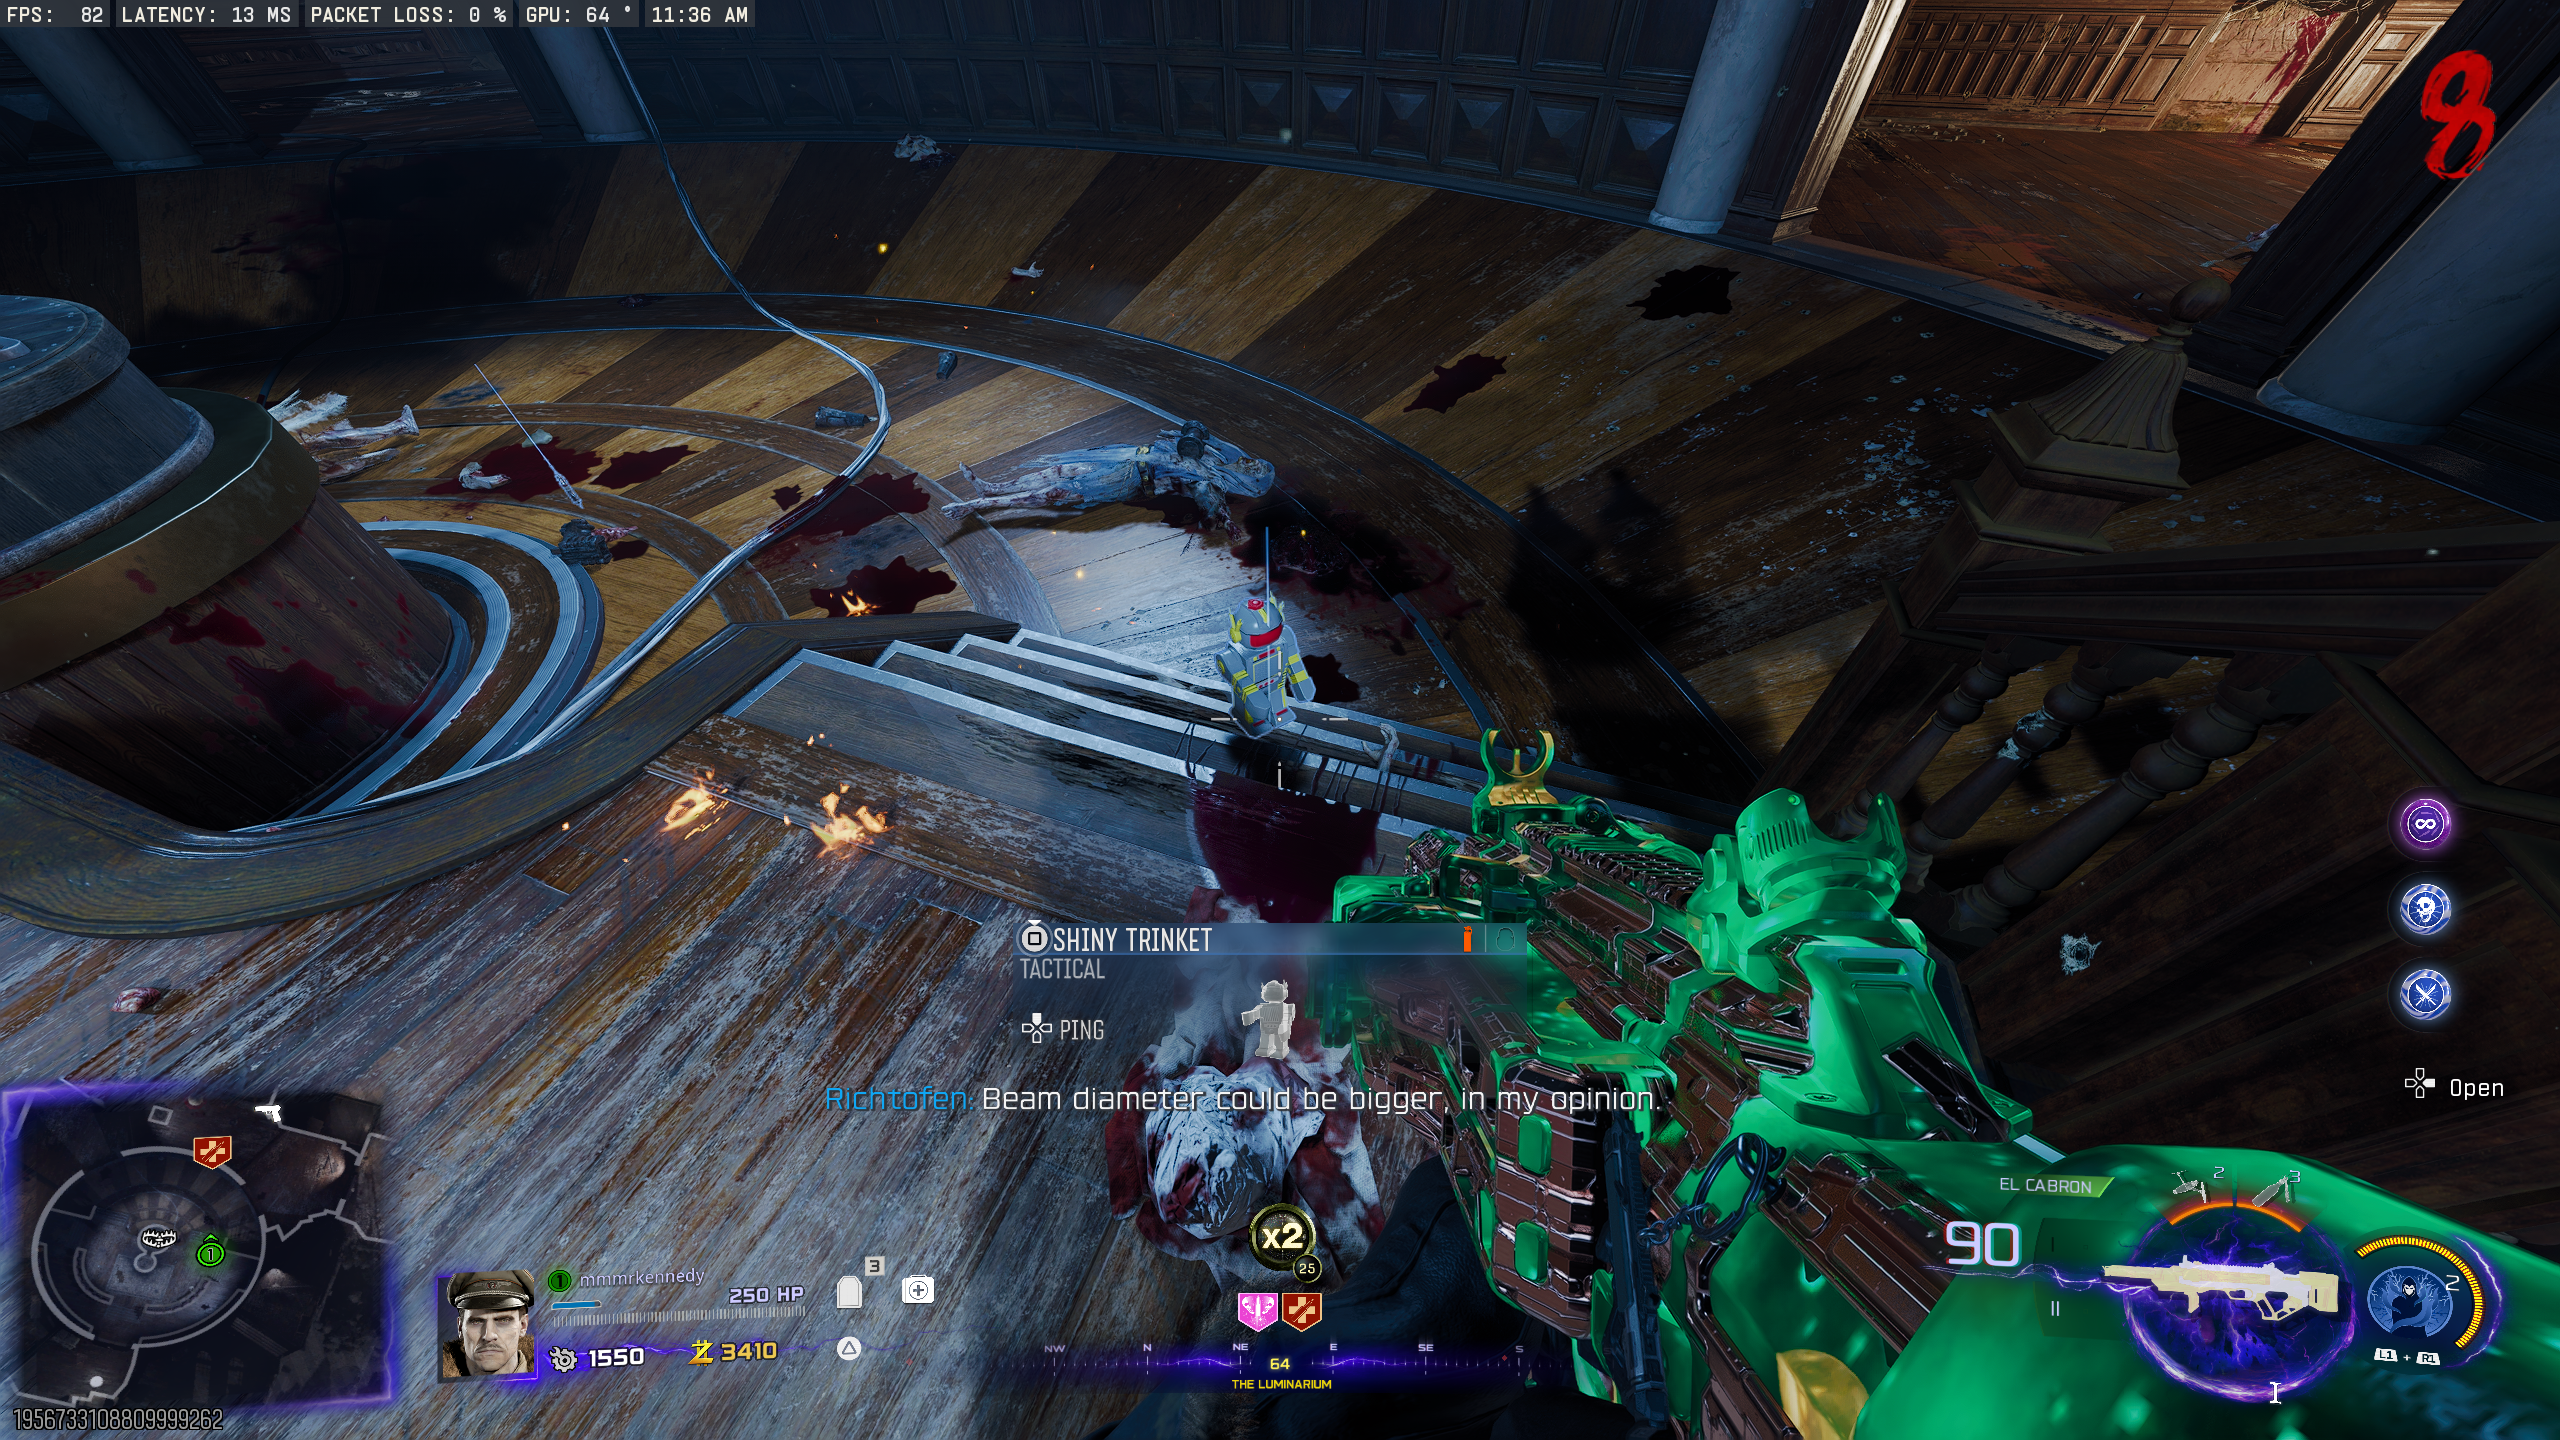
- Every time O.S.C.A.R. is killed, he'll drop a toy robot named "Shiny Trinket" which replaces your Tactical when picked up. This Tactical does nothing when thrown, and it can be picked up.
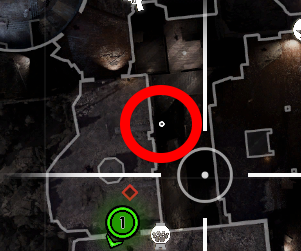
- On the Tac Map (Scoreboard menu), there will be a small white dot. This dot will always spawn in an inaccessible Zombie spawn window inside or outside the map.
- At the location of the dot, you'll find a green-eyed Ravager. Throw the Shiny Trinket at it. The Ravager will eat it and run away.
- Repeat the process two more times. The Ravager respawns immediately, and you can get more Shiny Trinkets with a Max Ammo (as long as you don't pick up other tactical equipment)..
- After being fed the third time, the Ravager will jump into the map. After playing the cymbals for a few seconds, it'll start attacking enemies for a few rounds.
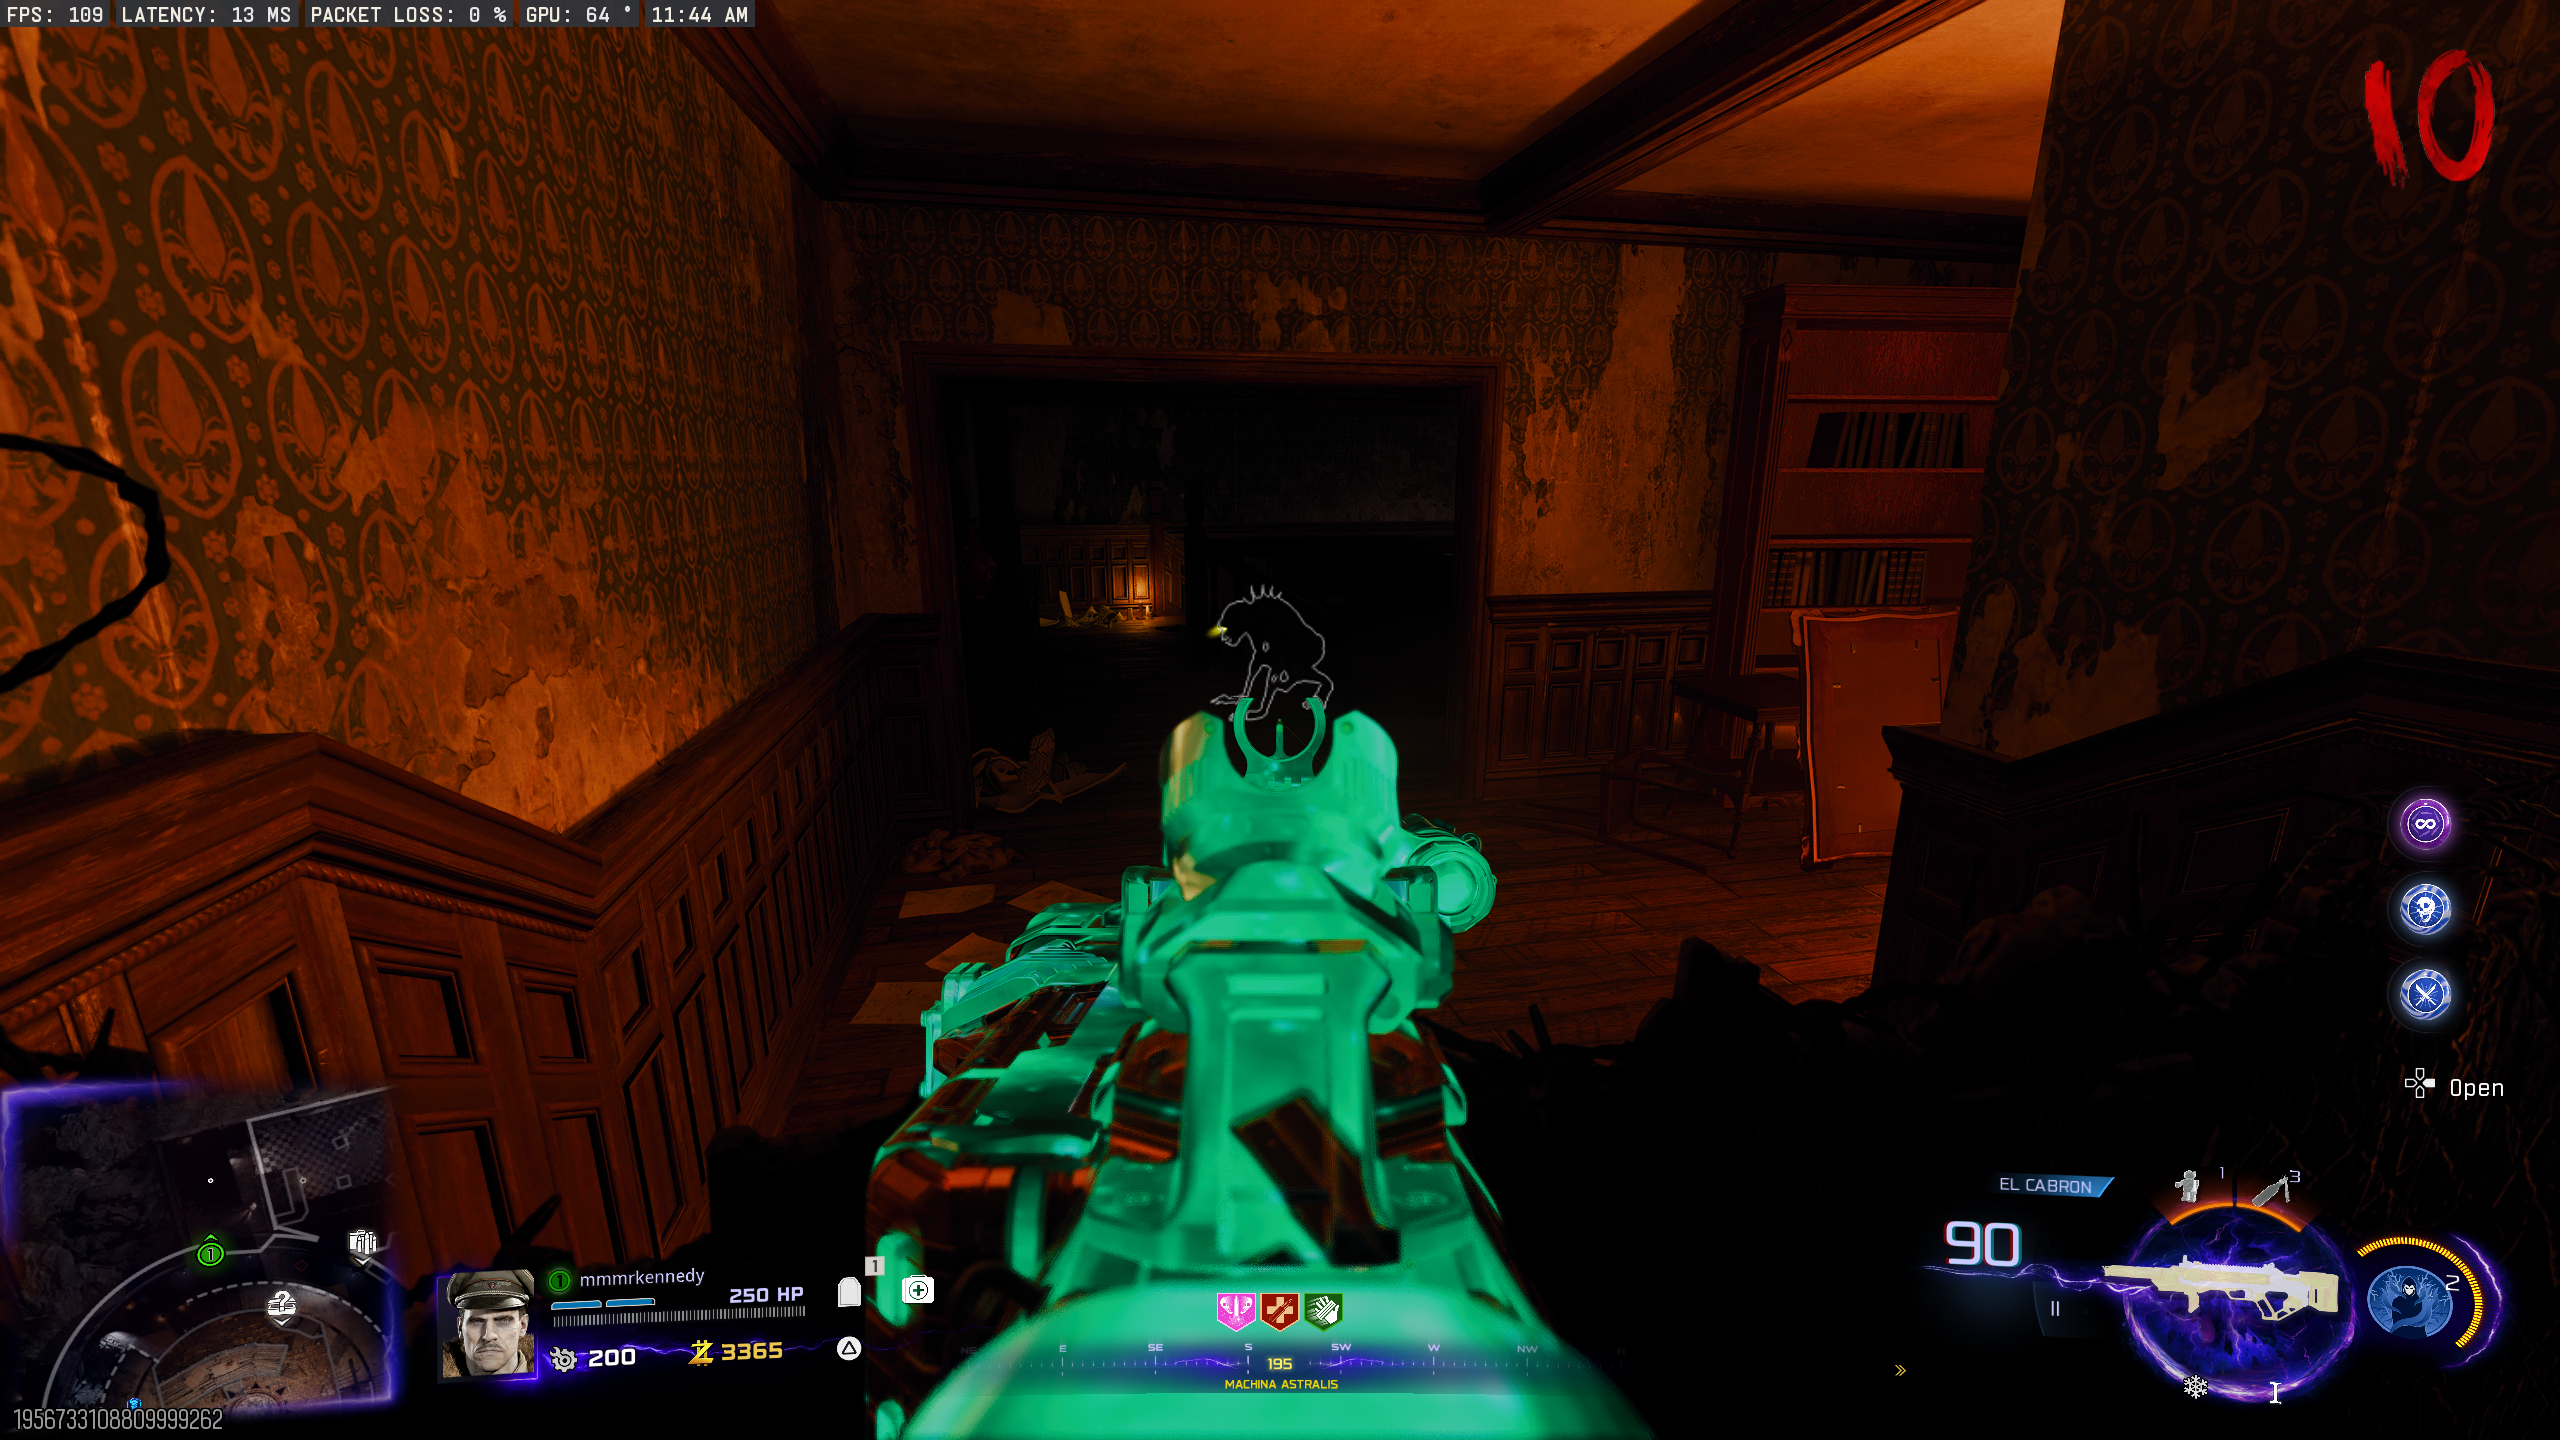
The Five Skulls (Free Random Perk)
- Get a Pack-a-Punched Weapon.
- Shoot and pick up five skulls around the map. Shooting a skull (with a Pack-a-Punched weapon) will make it glow, allowing you to pick it up. Skull locations:
- The Luminarium - In the courtyard just in from the 'Crash Site'
- Museum Infinitum - In the display case behind Speed Cola
- Stargazer's Courtyard - In a Zombie spawn hole left of the Ammo Cache across from the Wunderfizz
- Machina Astralis - In a display case across from the Arsenal machine
- The Veilwalk - On the left side of the Zombie spawn, closest to the 'Archive of Orbis'
- Once all the skulls are collected, place them on the cabinet with the large mirror behind the Armour wallbuy on the middle level of 'Machina Astralis'.
- Once placed, interact with the Skulls. They'll light up one-by-one, fly up, then come back down. Once they're back down, they'll light up one at a time in order, seven times. Remember this order.
- Shoot the skulls in the order they indicated. If you enter the wrong order, you'll need to end the round to try again.
- If done correctly, all the skulls merge into a Random Perk Power-Up.
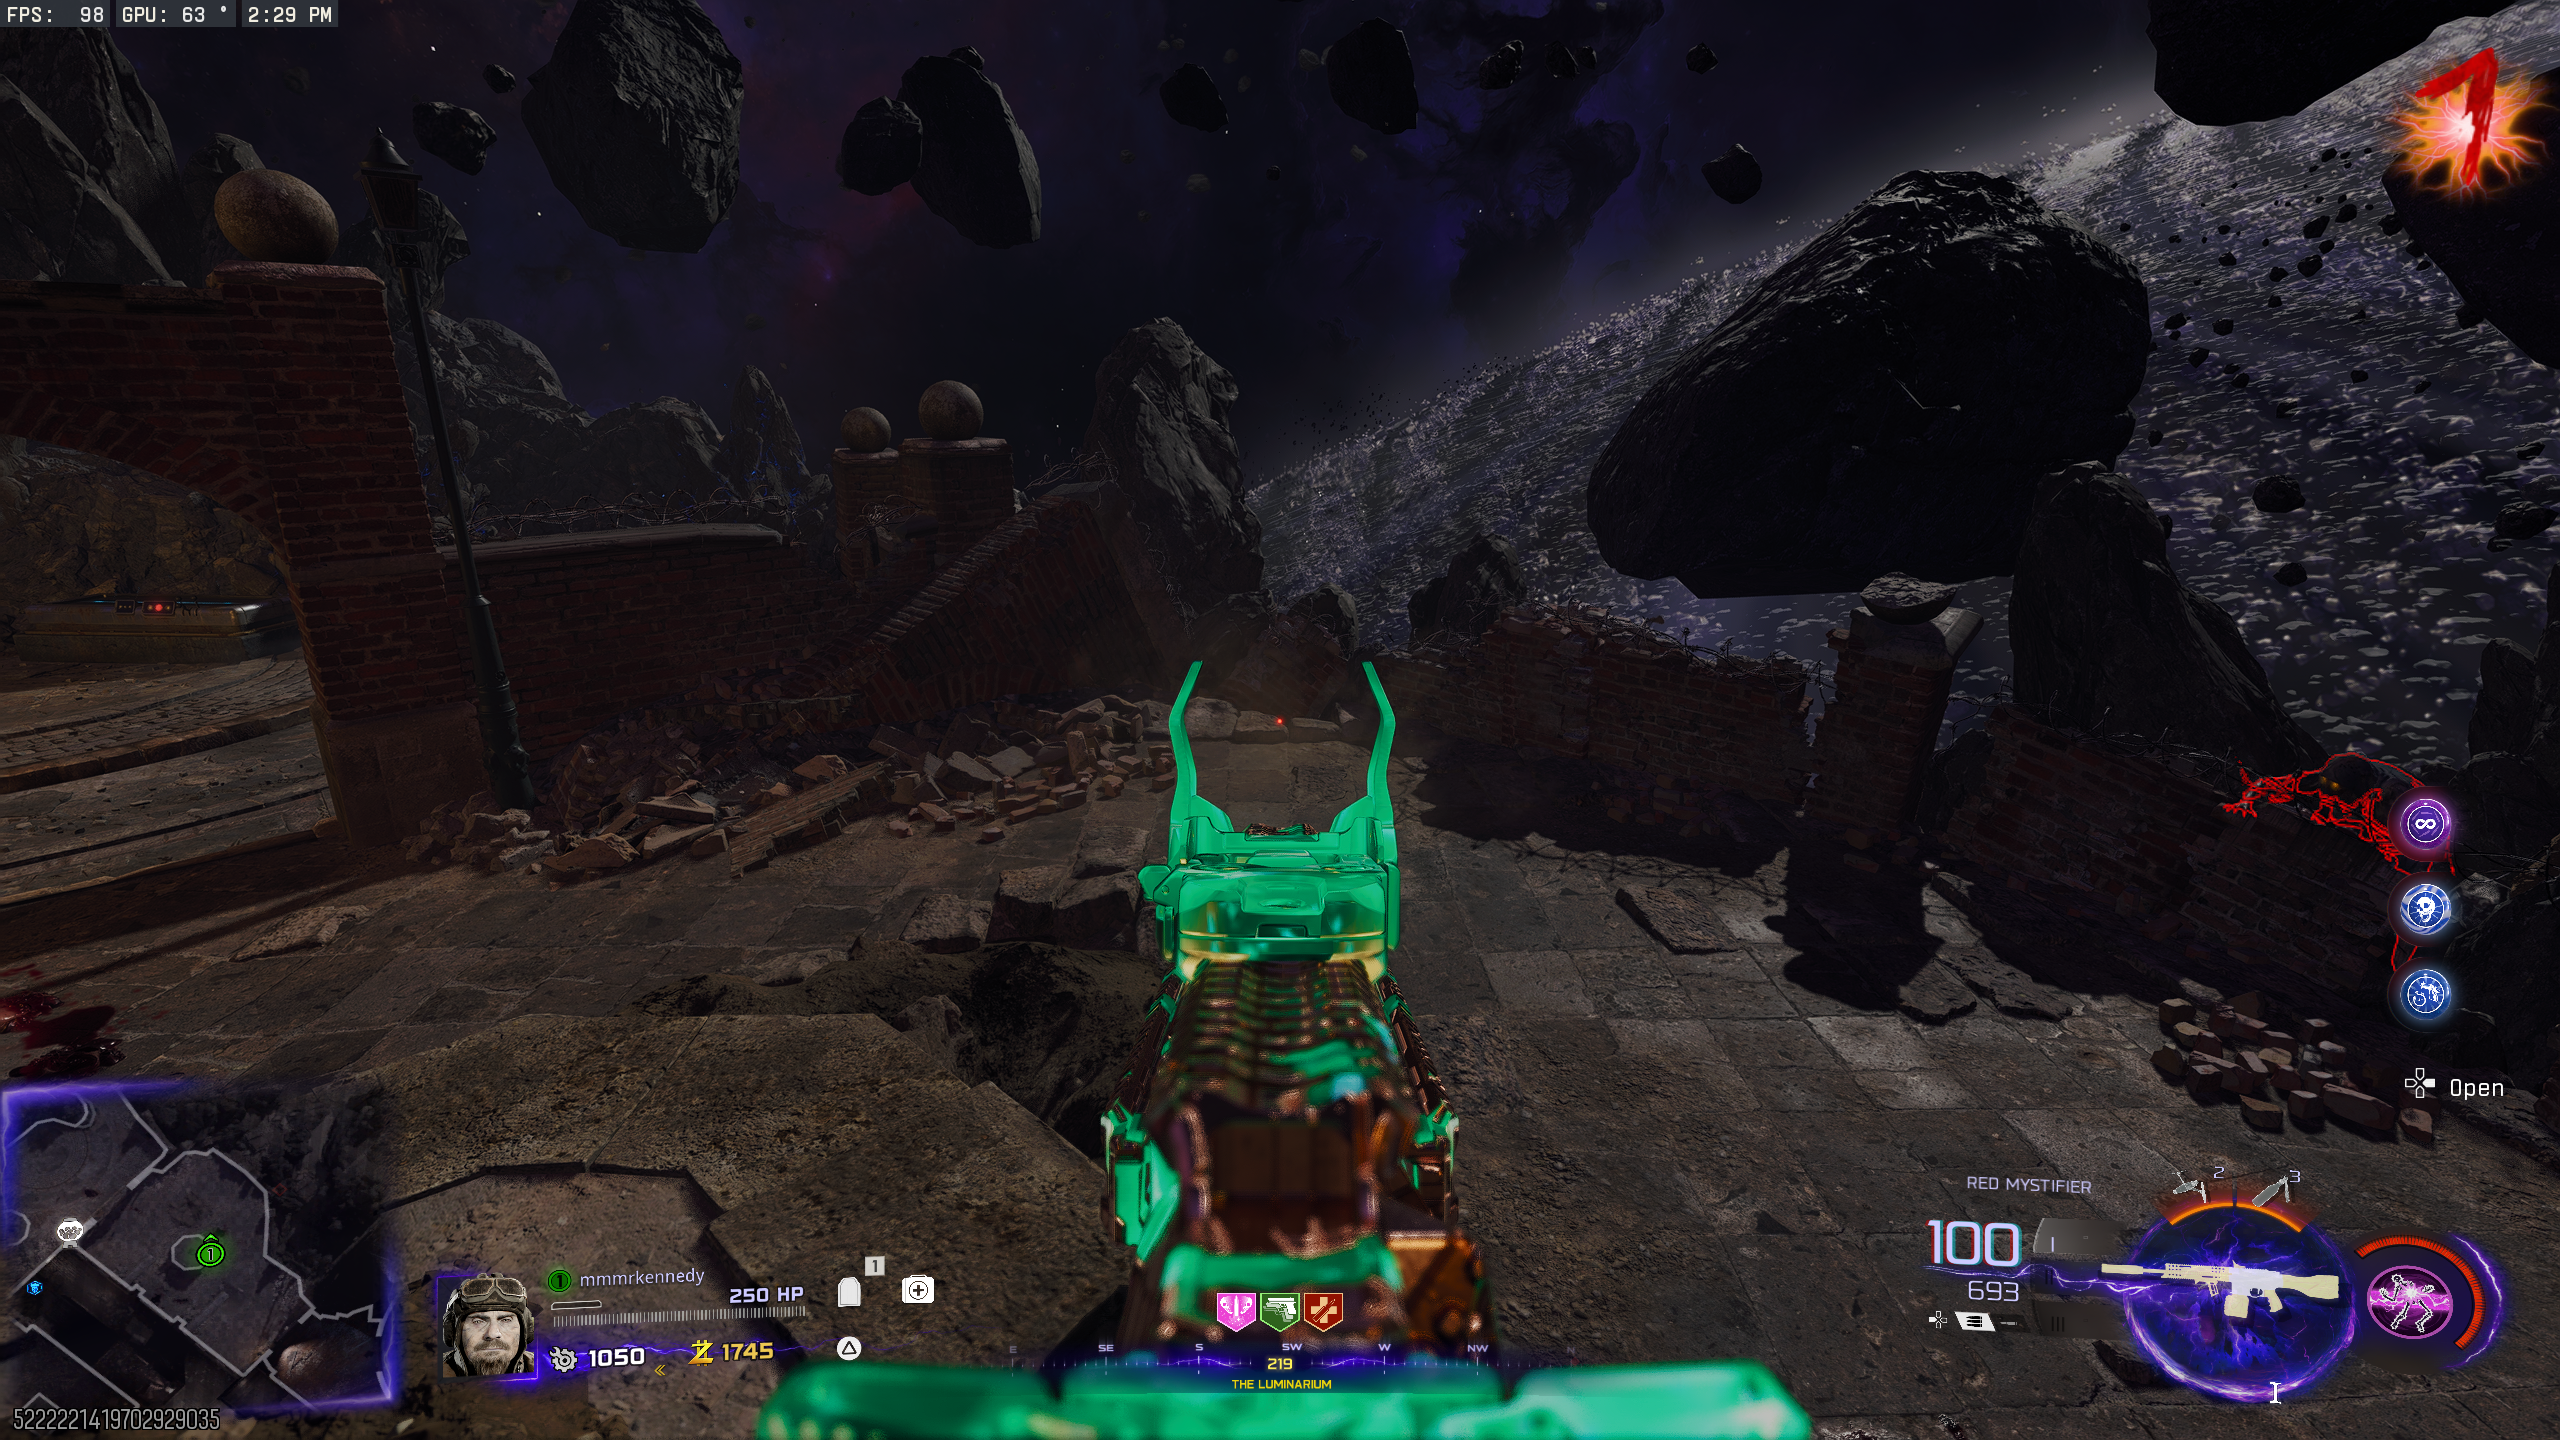
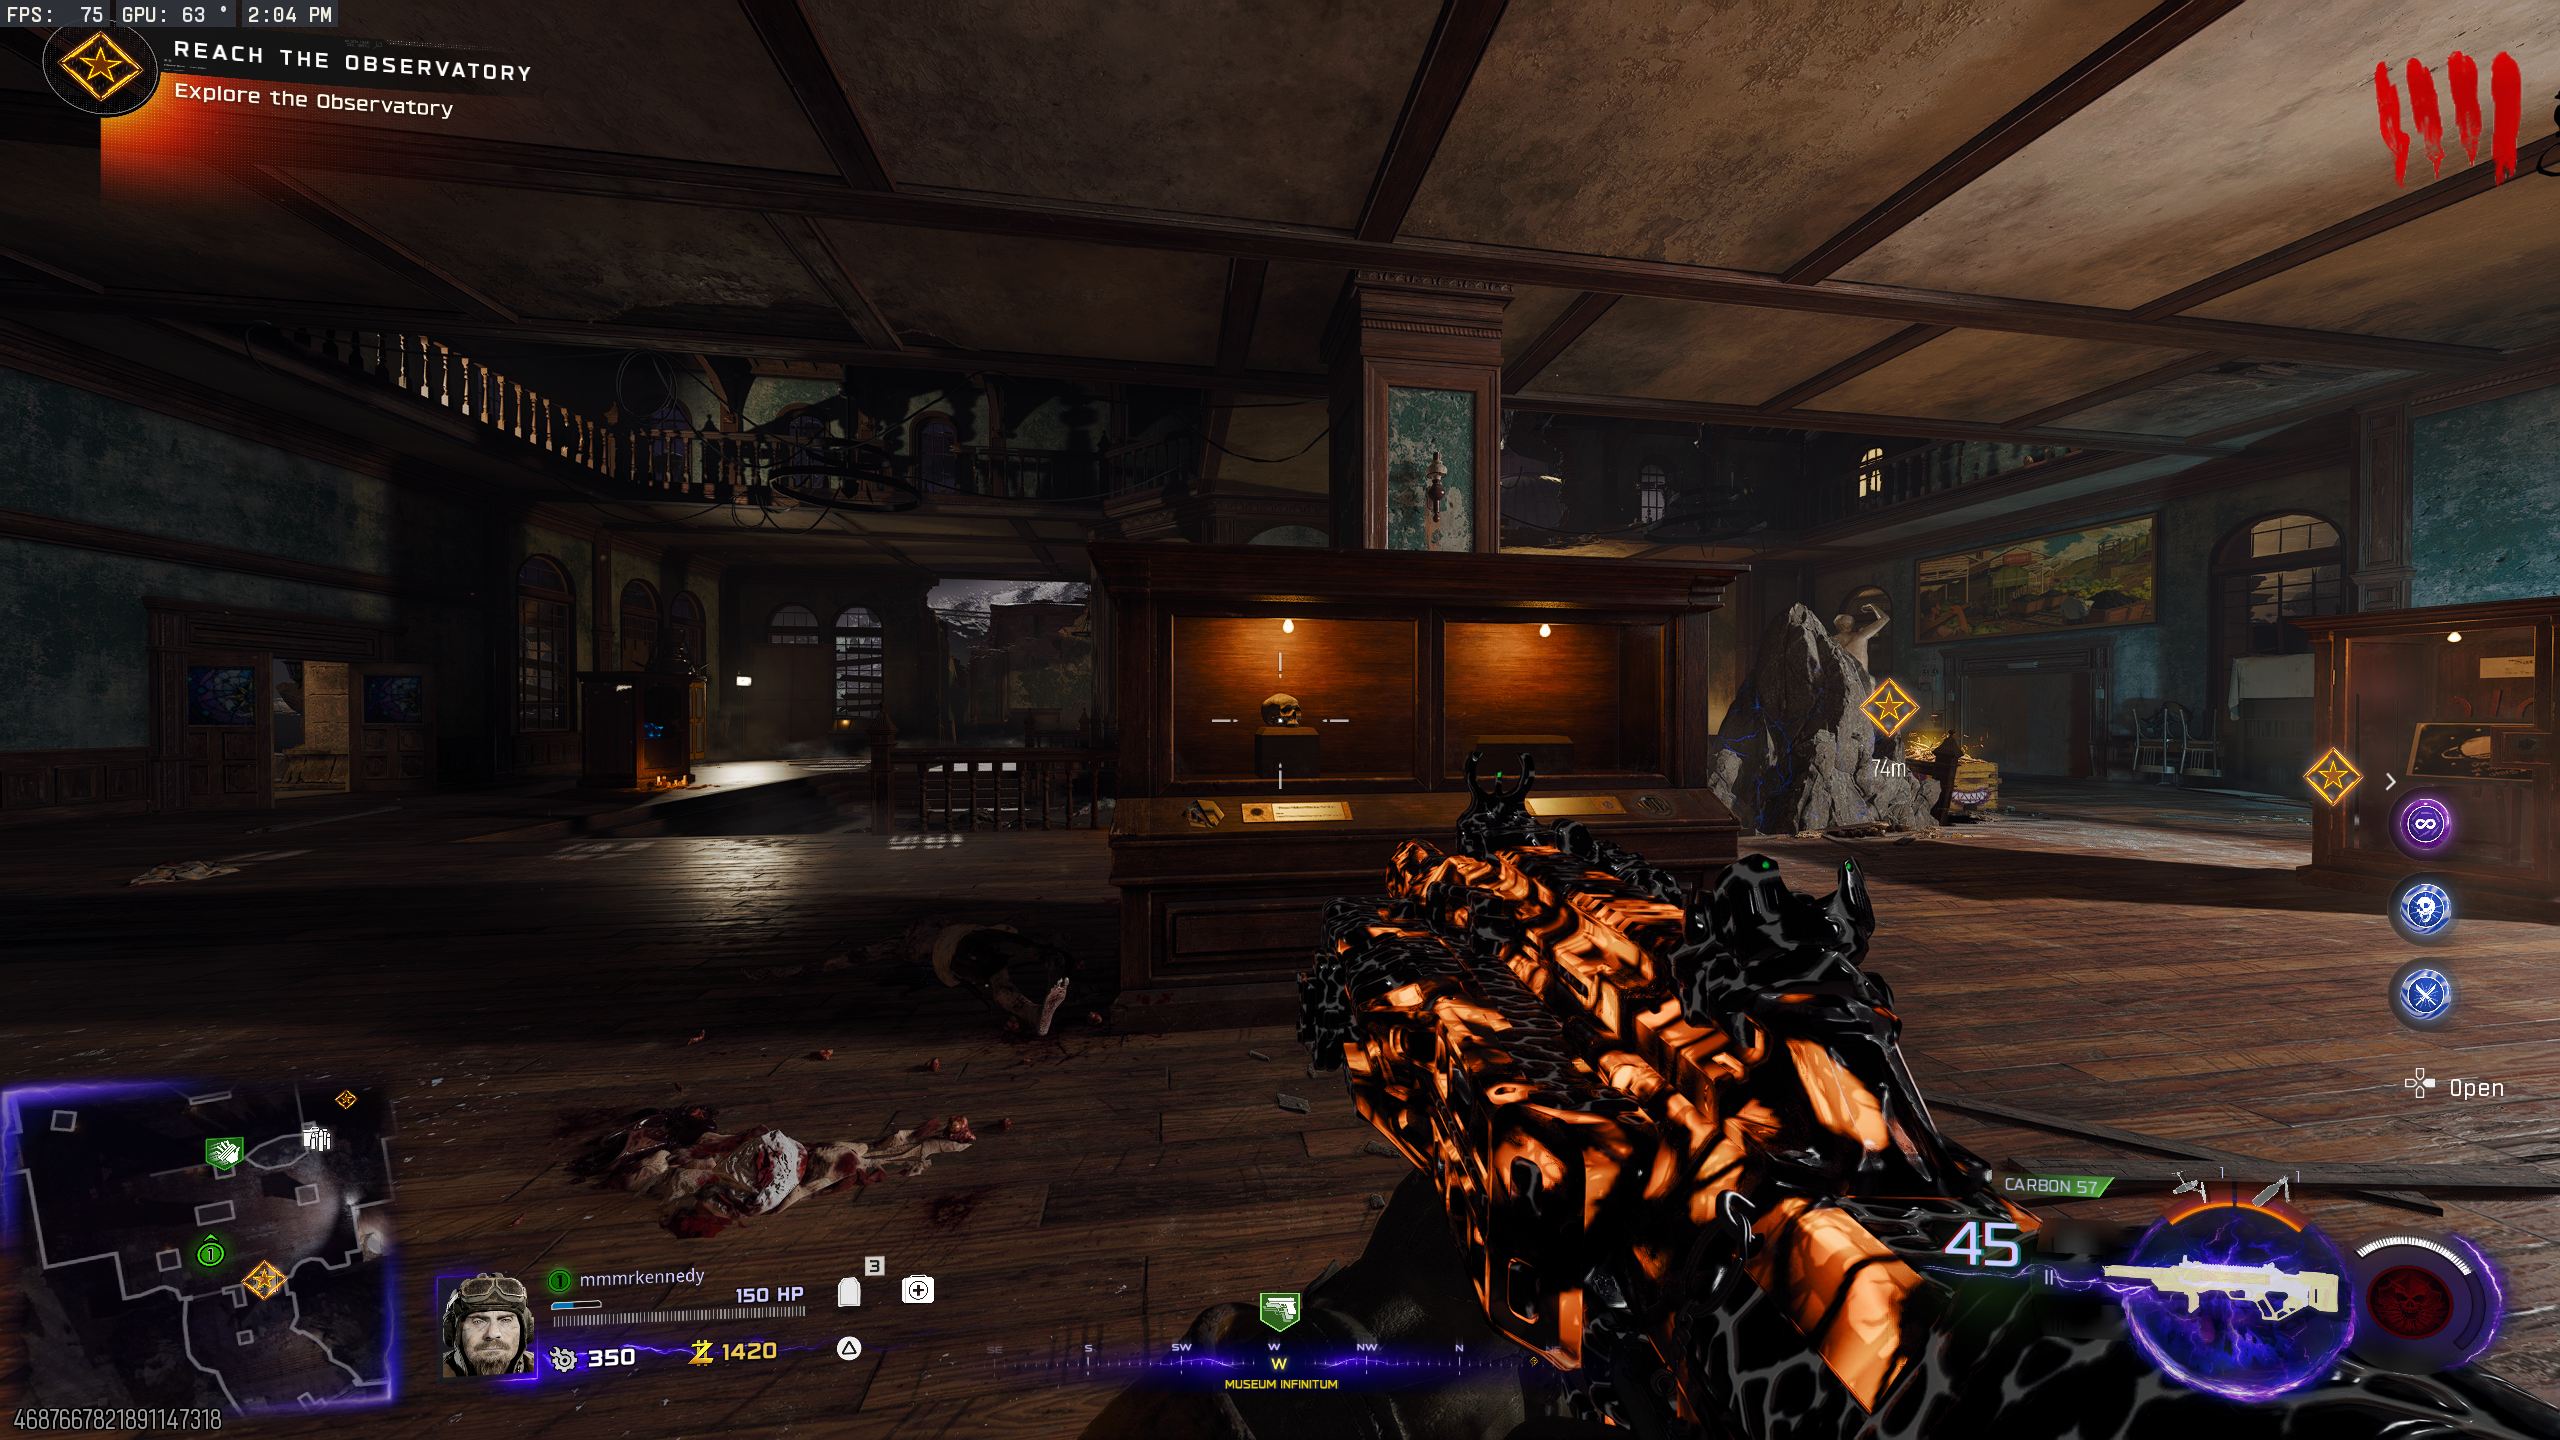
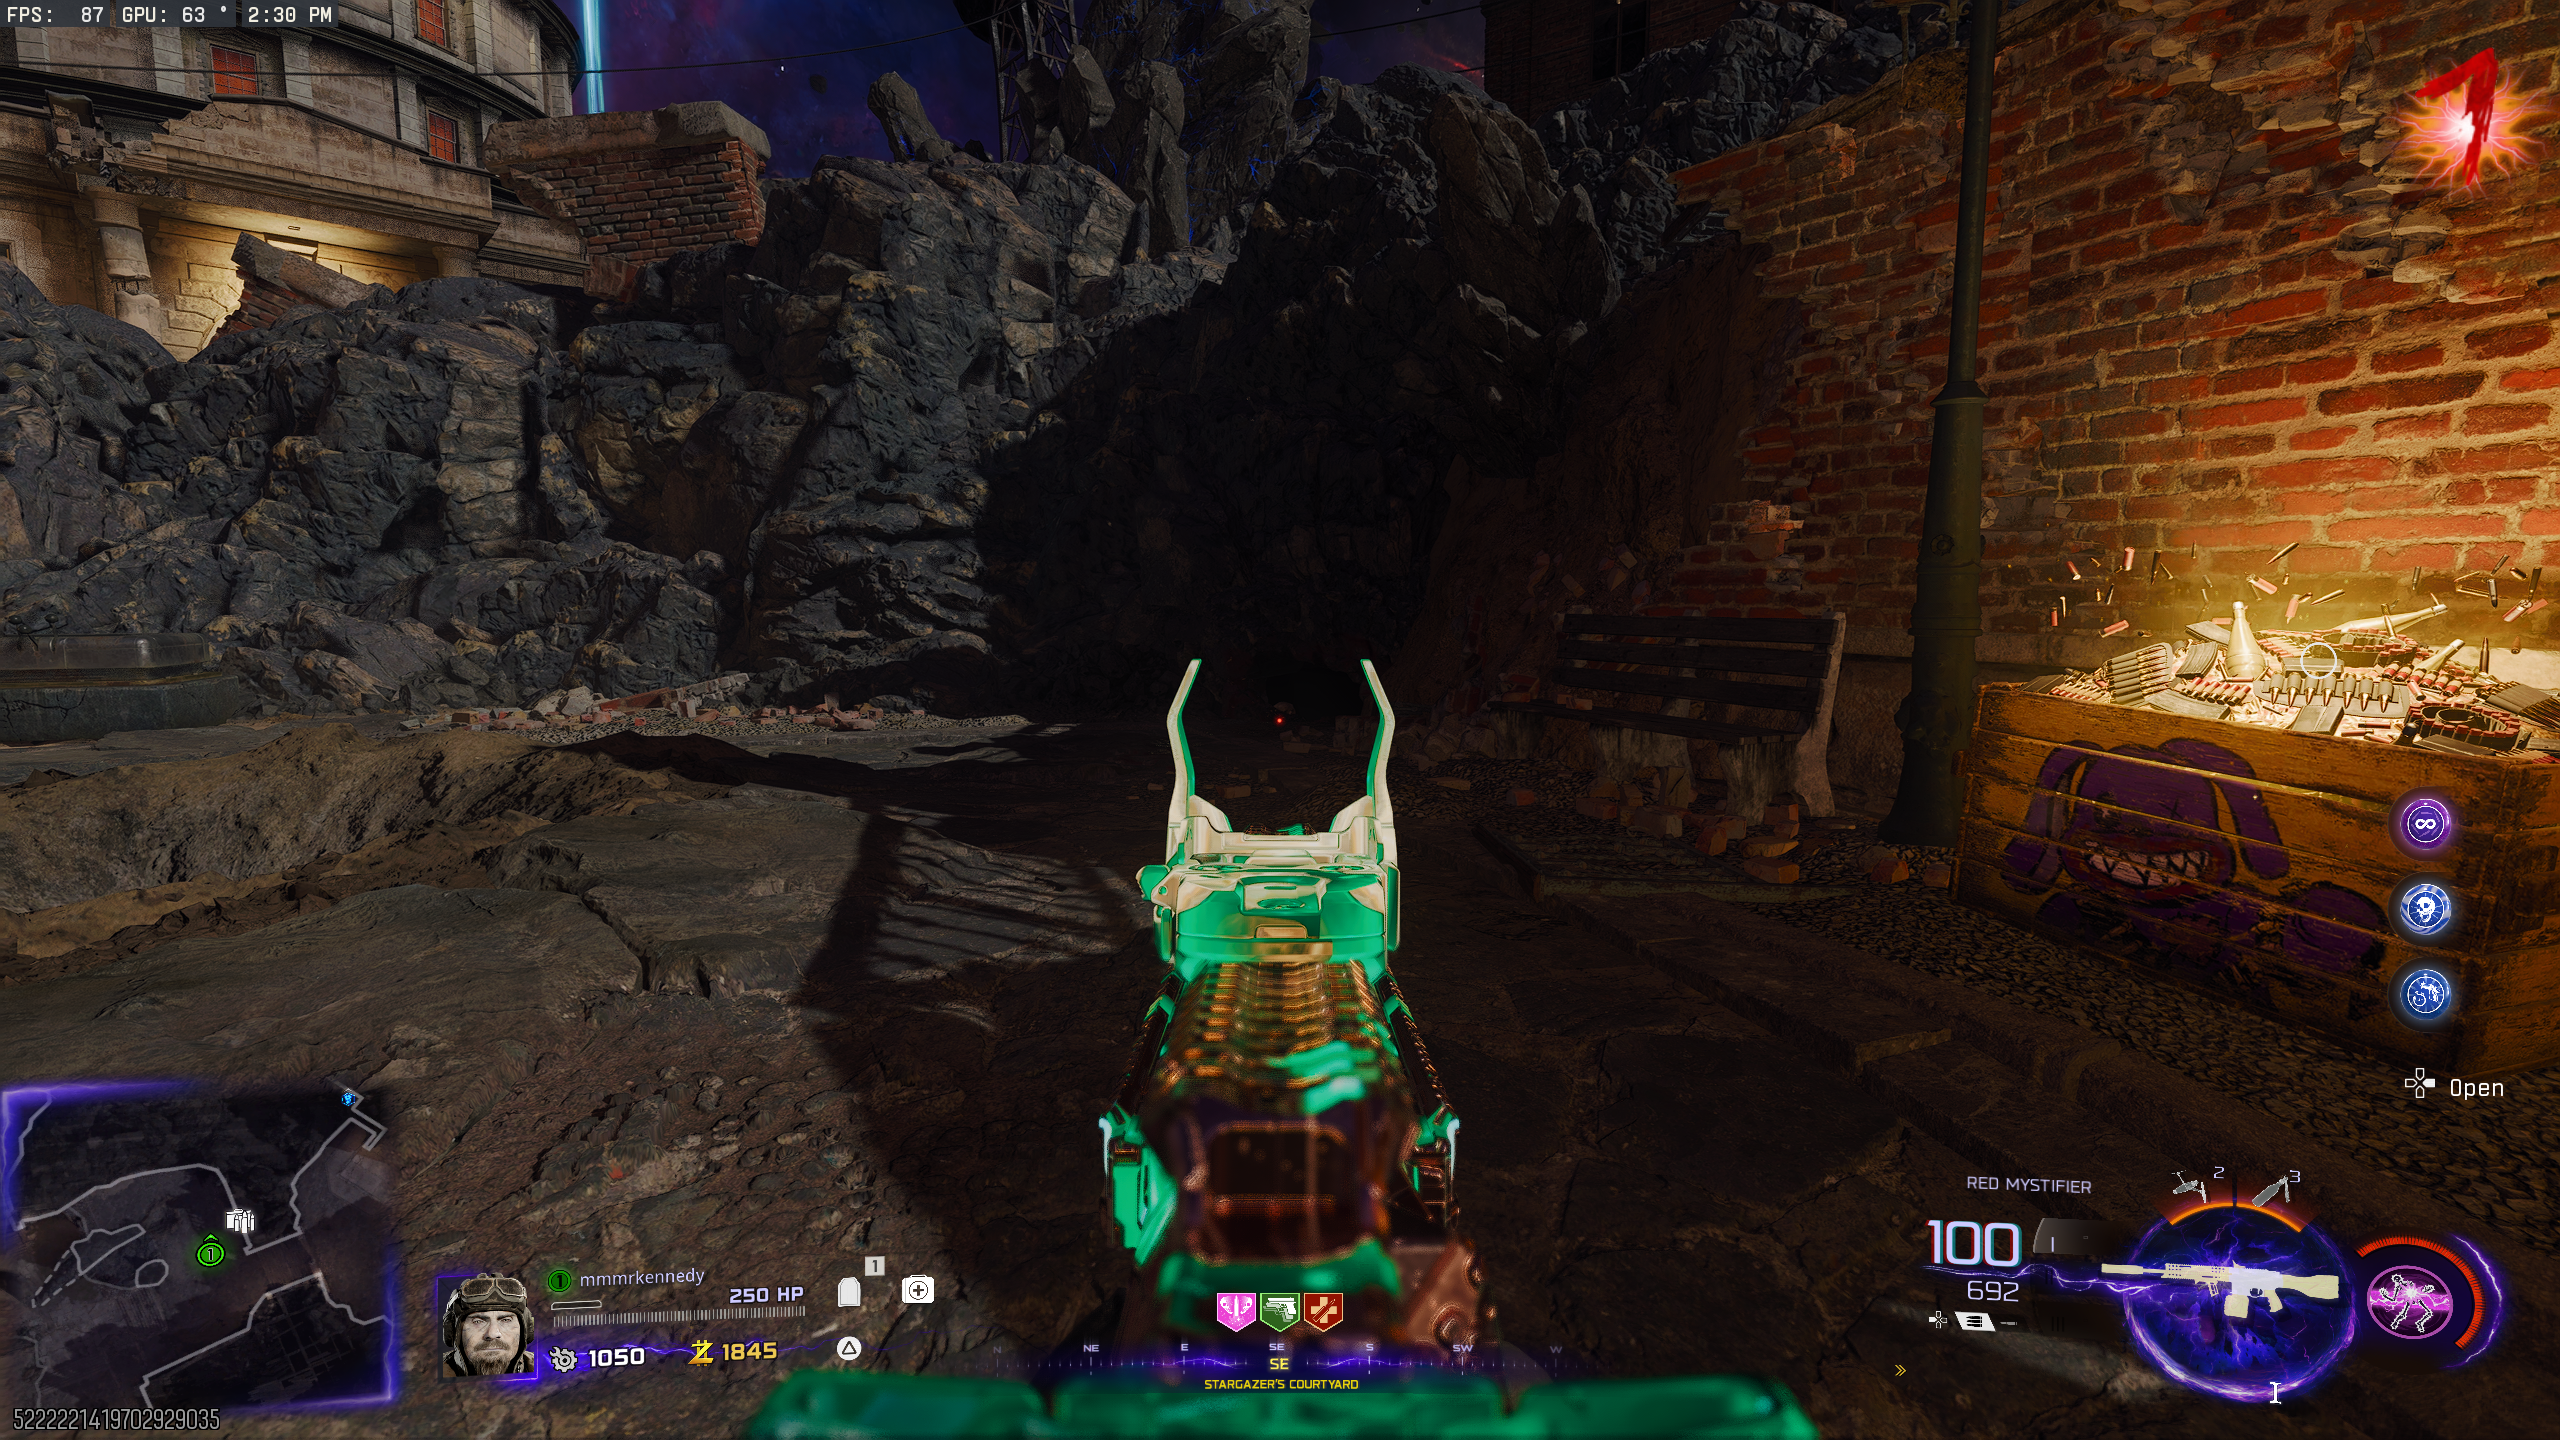
The Twins (Free Cryo Freeze and loot)
- During a special (Ravager) round, interact with the left-most display case beneath the painting of a mansion ("right" of the model Rocket) in the 'Museum Infinitum'. This will play a strange noise.
- On the next round, weird noises (like children laughing or screaming) will be coming from one of the display cases in the 'Museum Infinitum'. Interact with the display case making the noise.
- You can interact with every display case if you want; there are no consequences.
- End the round, and find the new "noisy" case on the next round. Interact with three of these cases total, one per round.
- If you miss a round, you won't fail; the case will wait until you interact with it, then you can do the next one on the next round.
- Reloading a save while a case is waiting to be activated might make the game bug, making it impossible to interact with the case and progress.
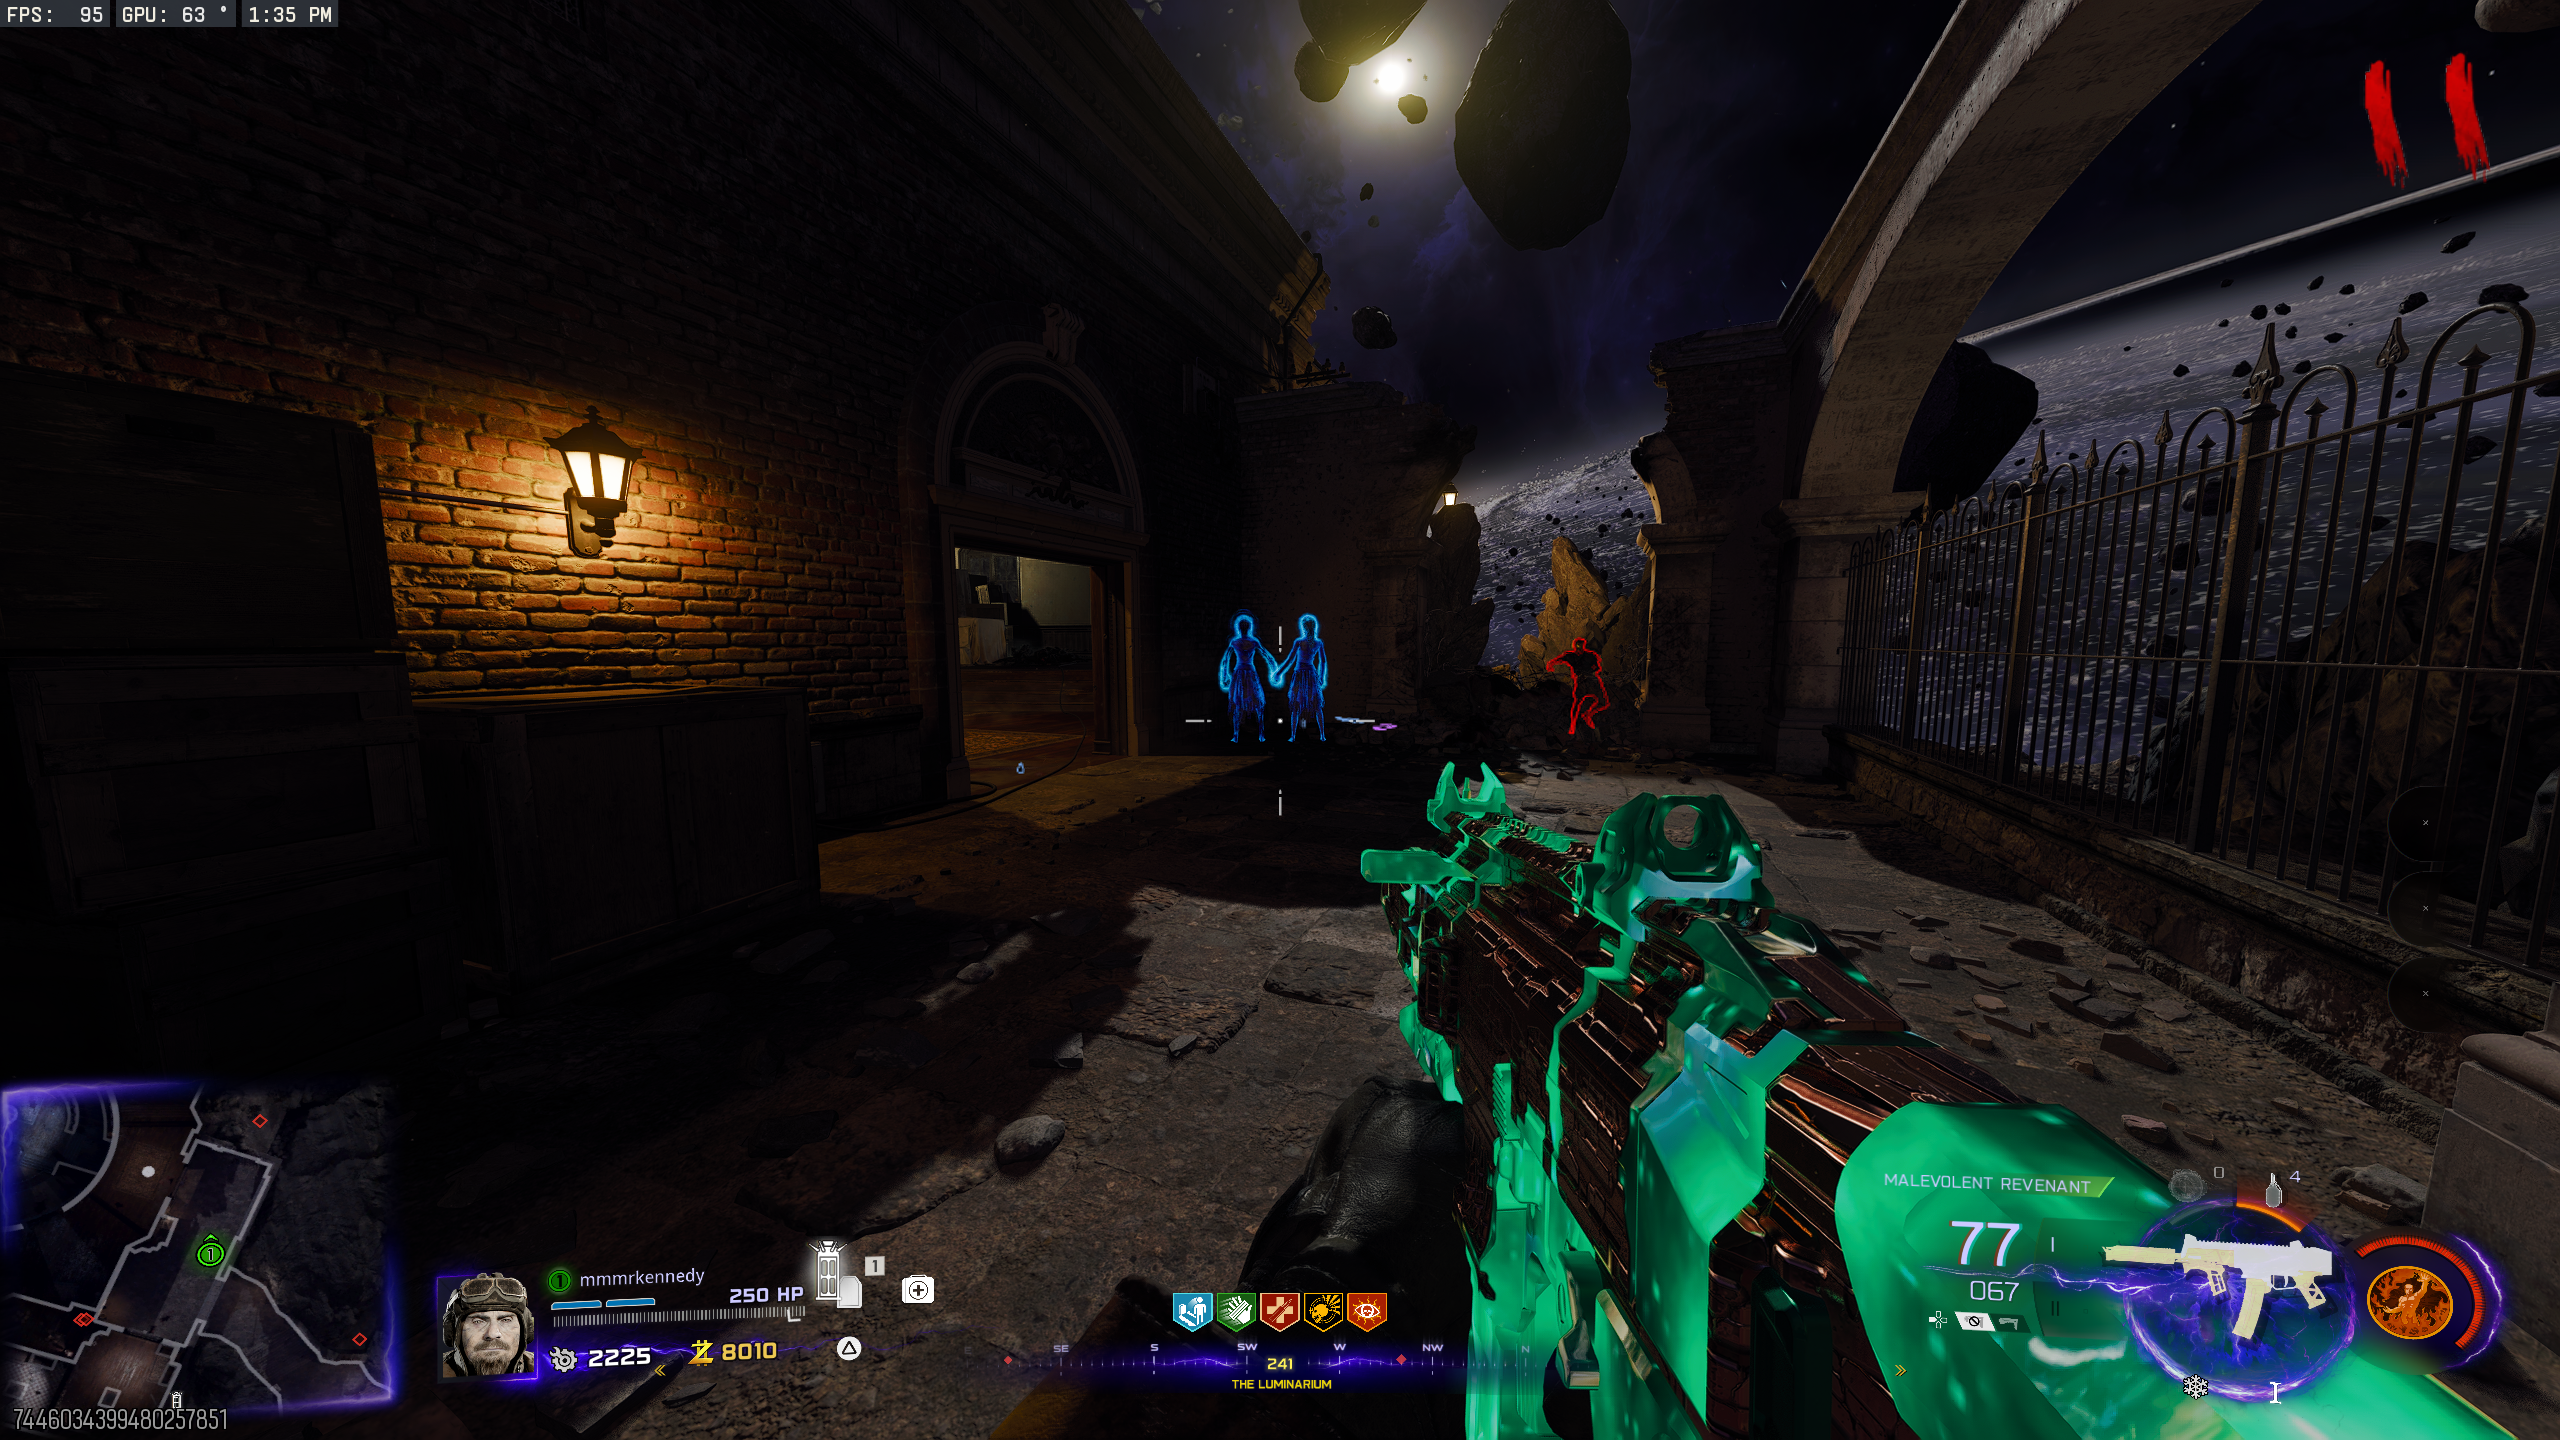
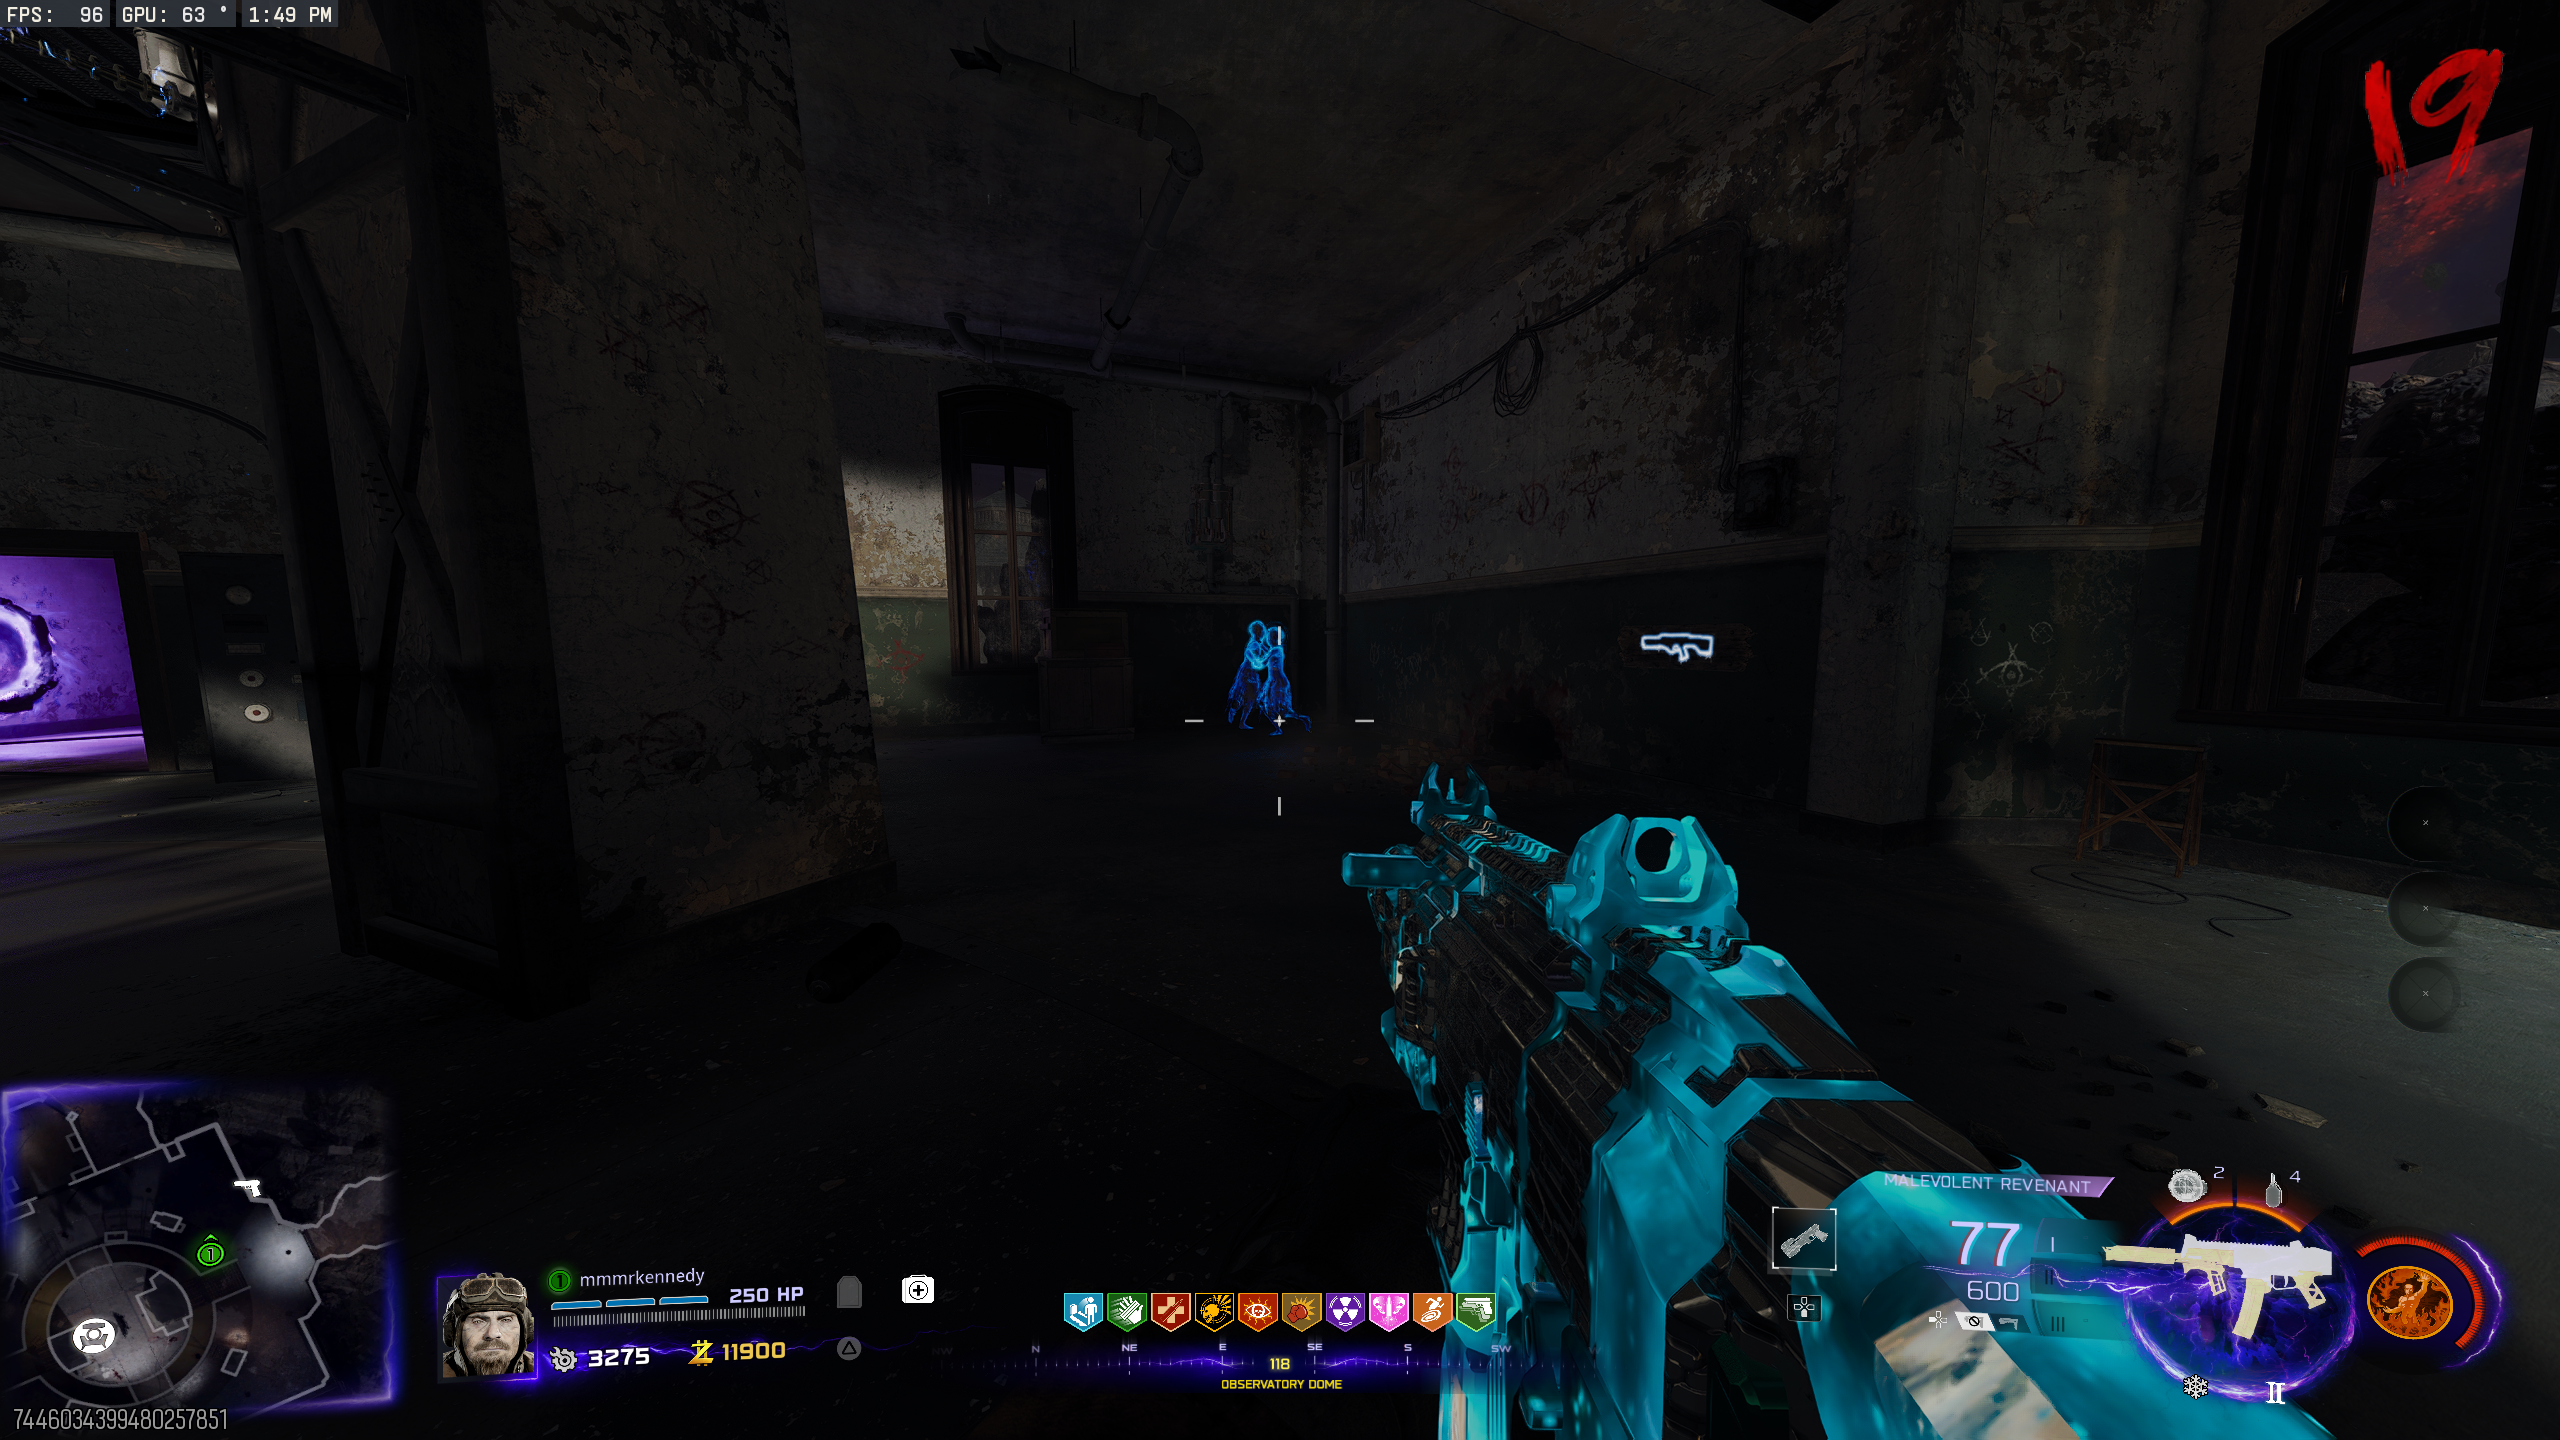
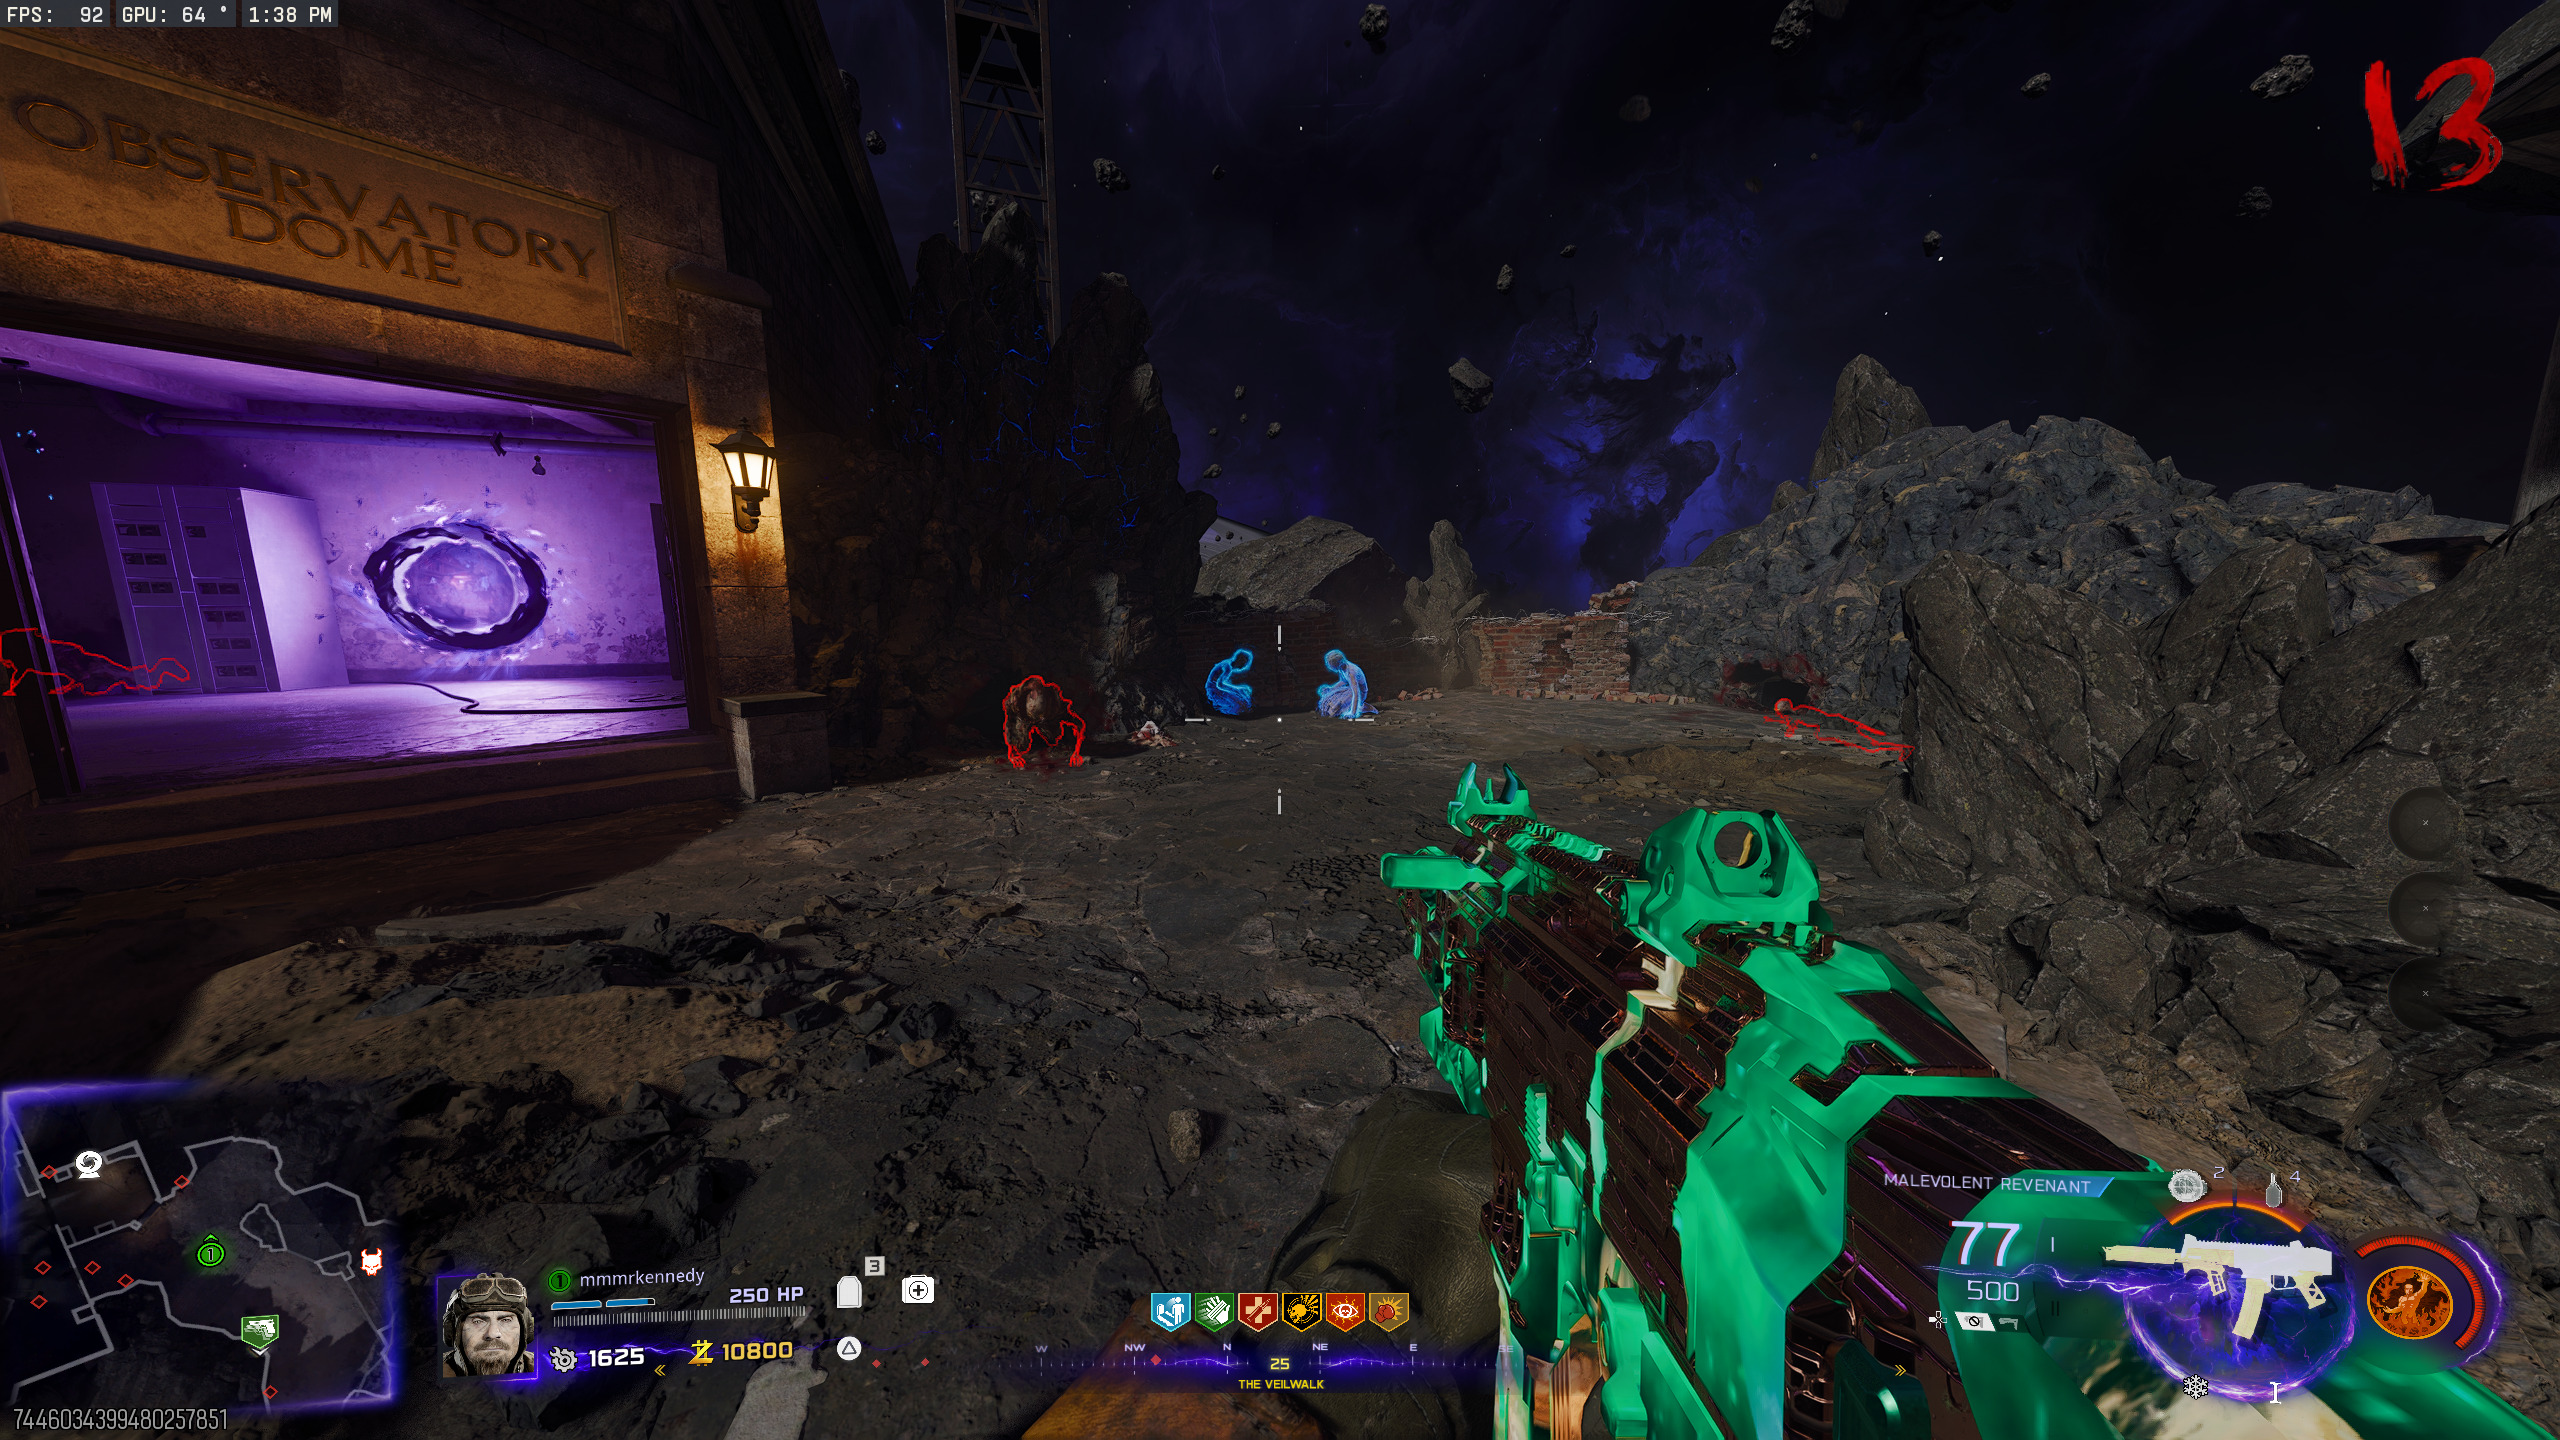
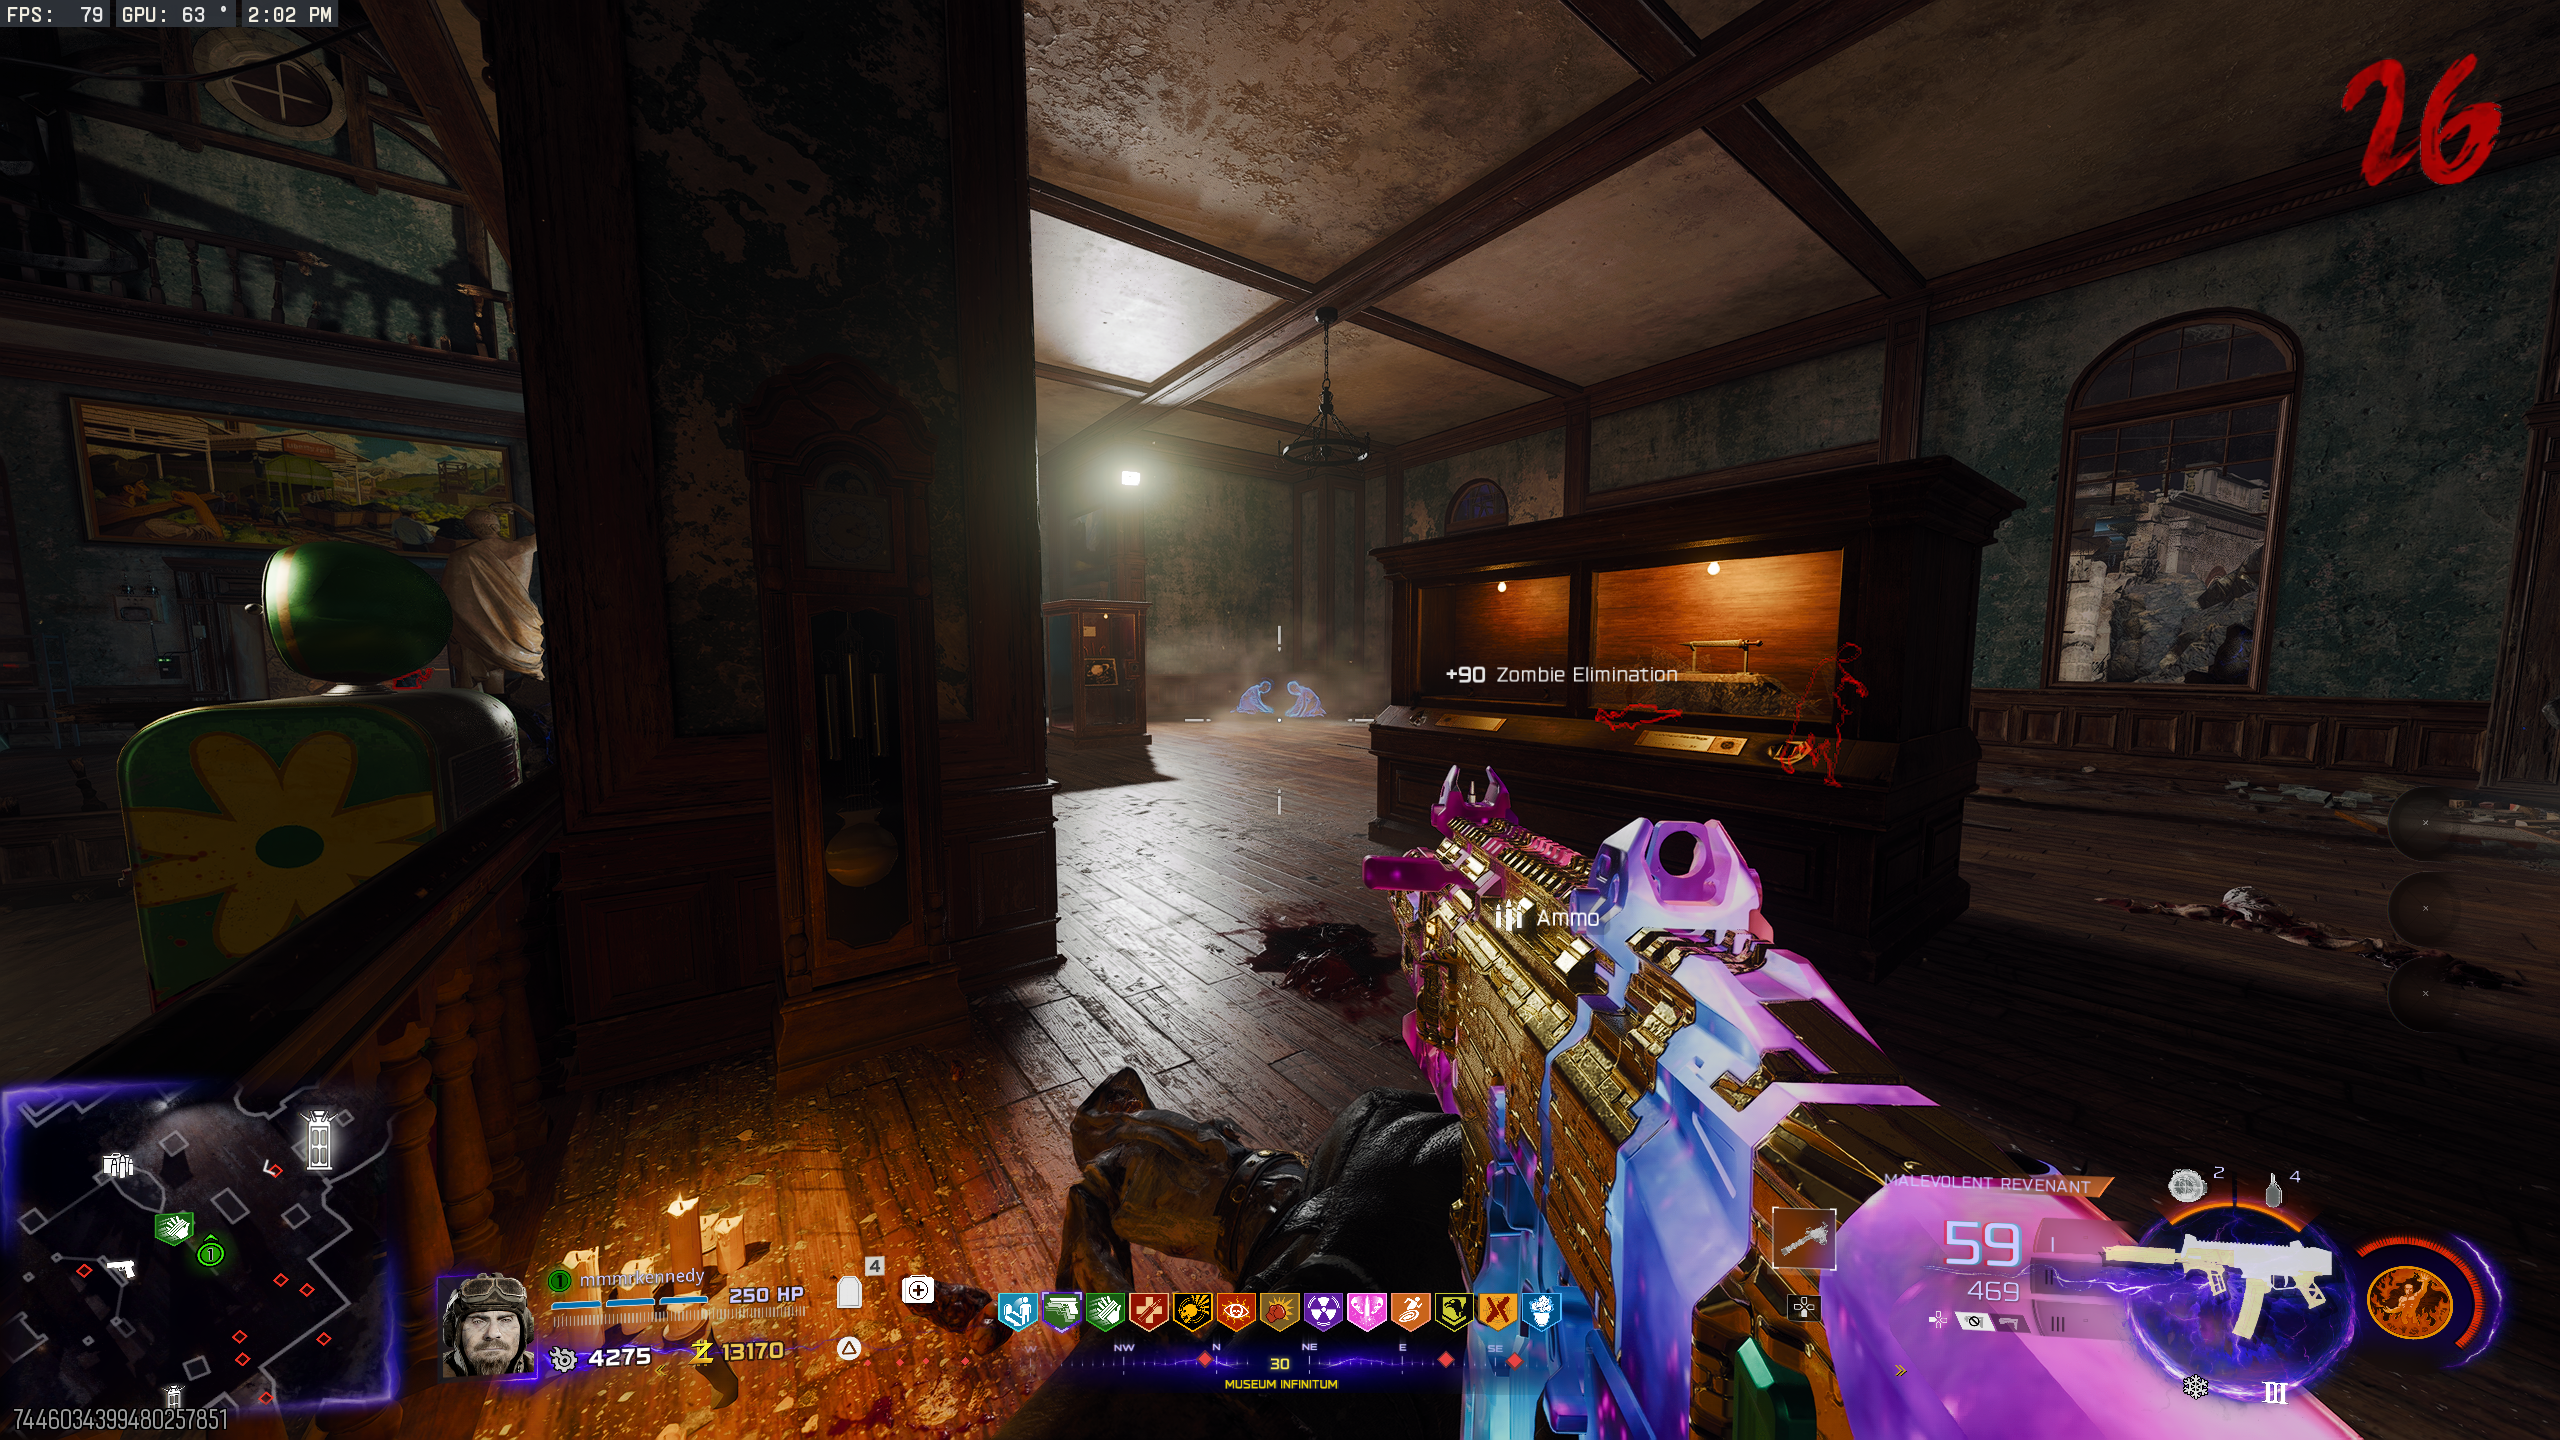
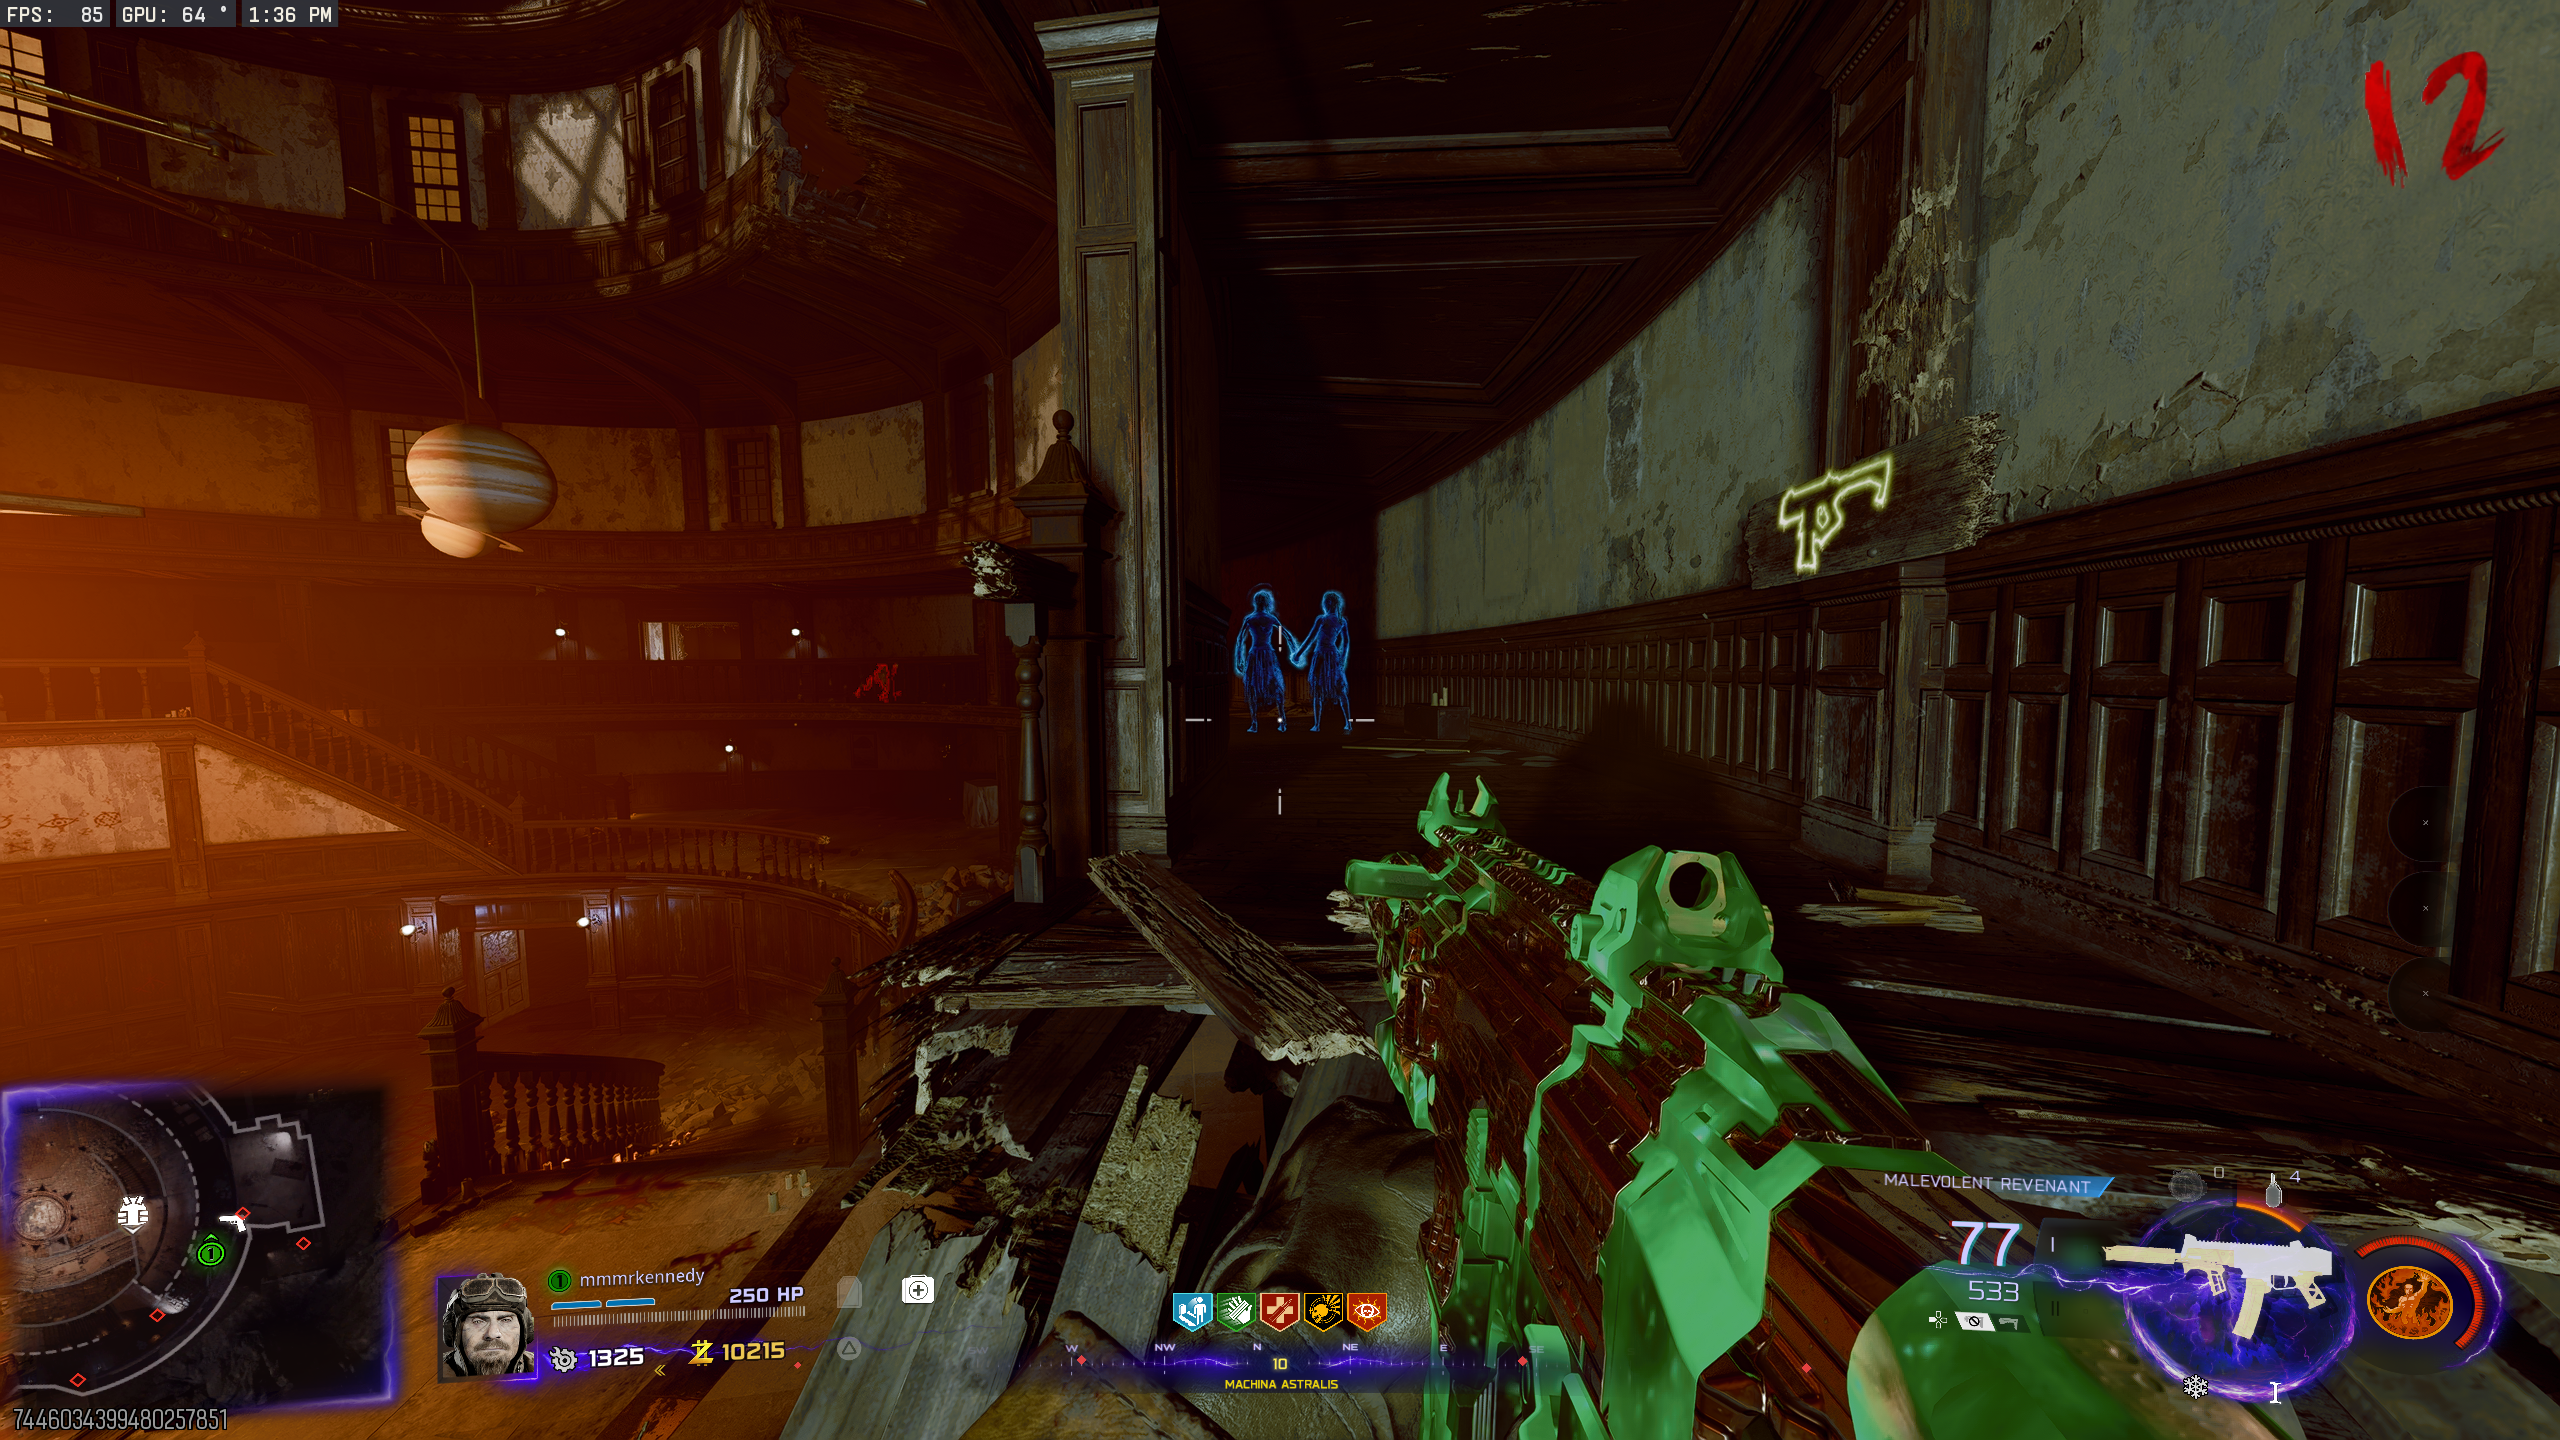
- After the third display case, the Ghost Twins will appear somewhere around the map. Locations:
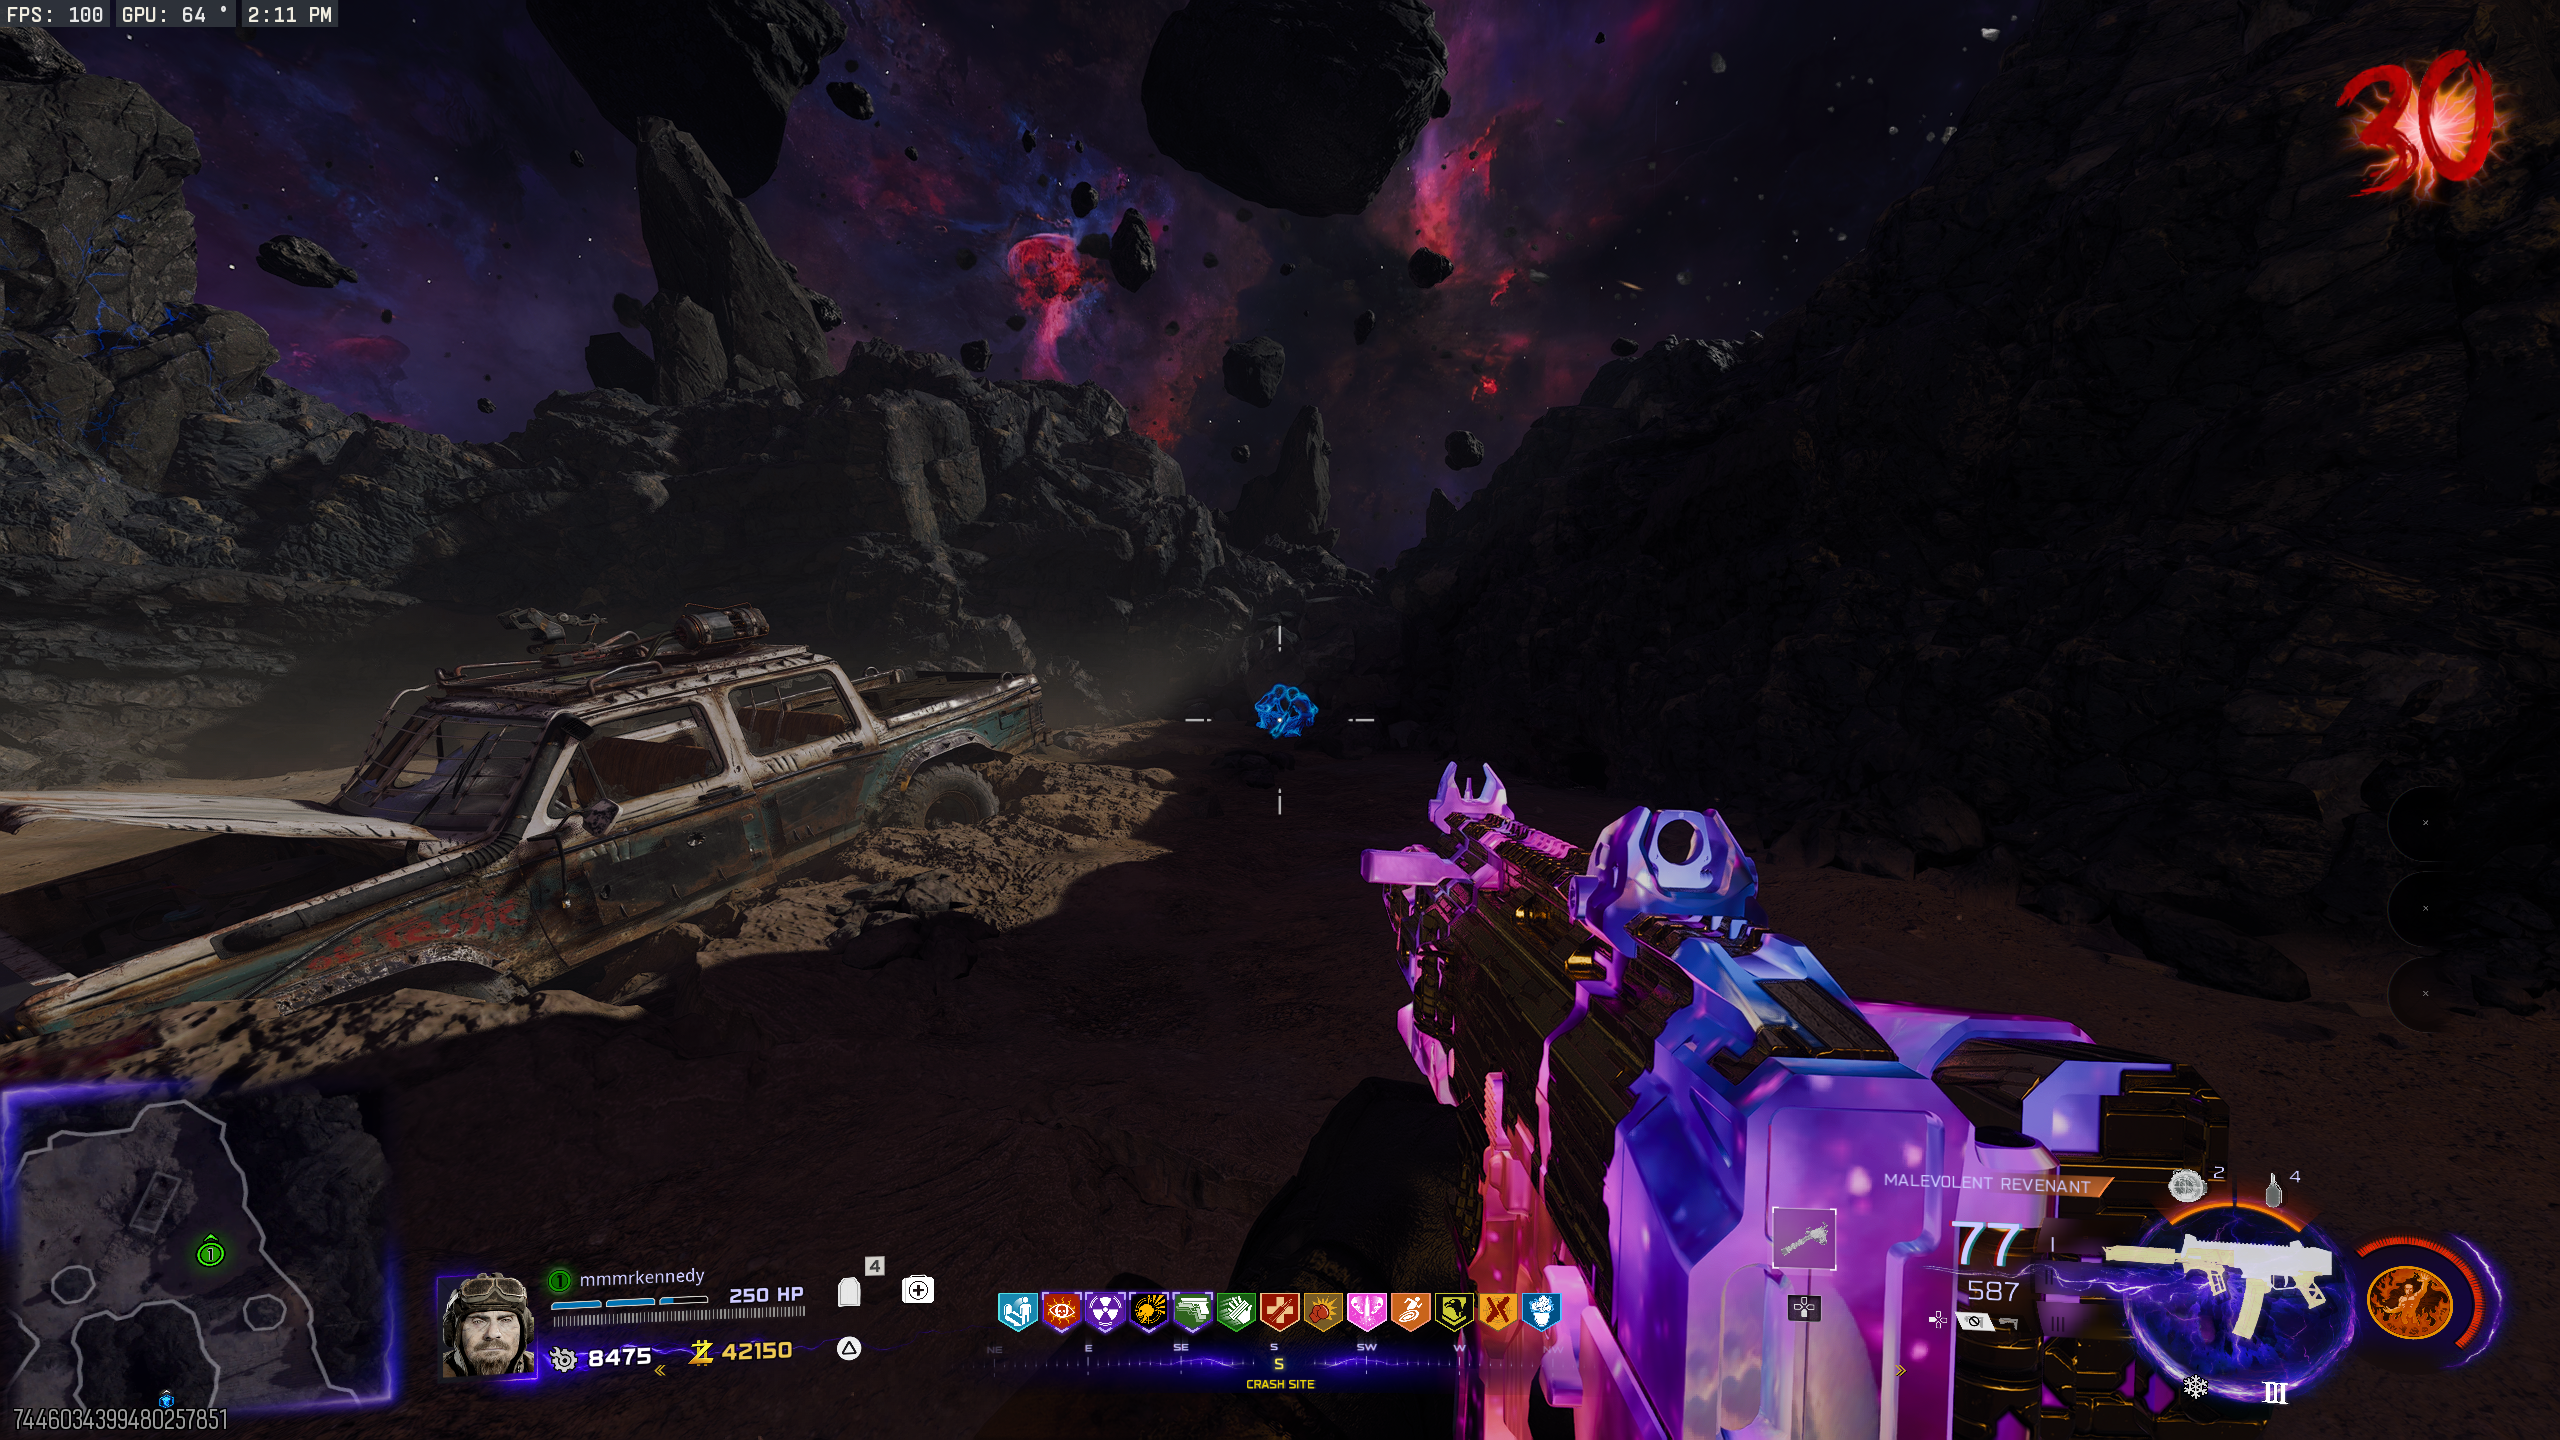
- Crash Site - Behind Ol' Tessie
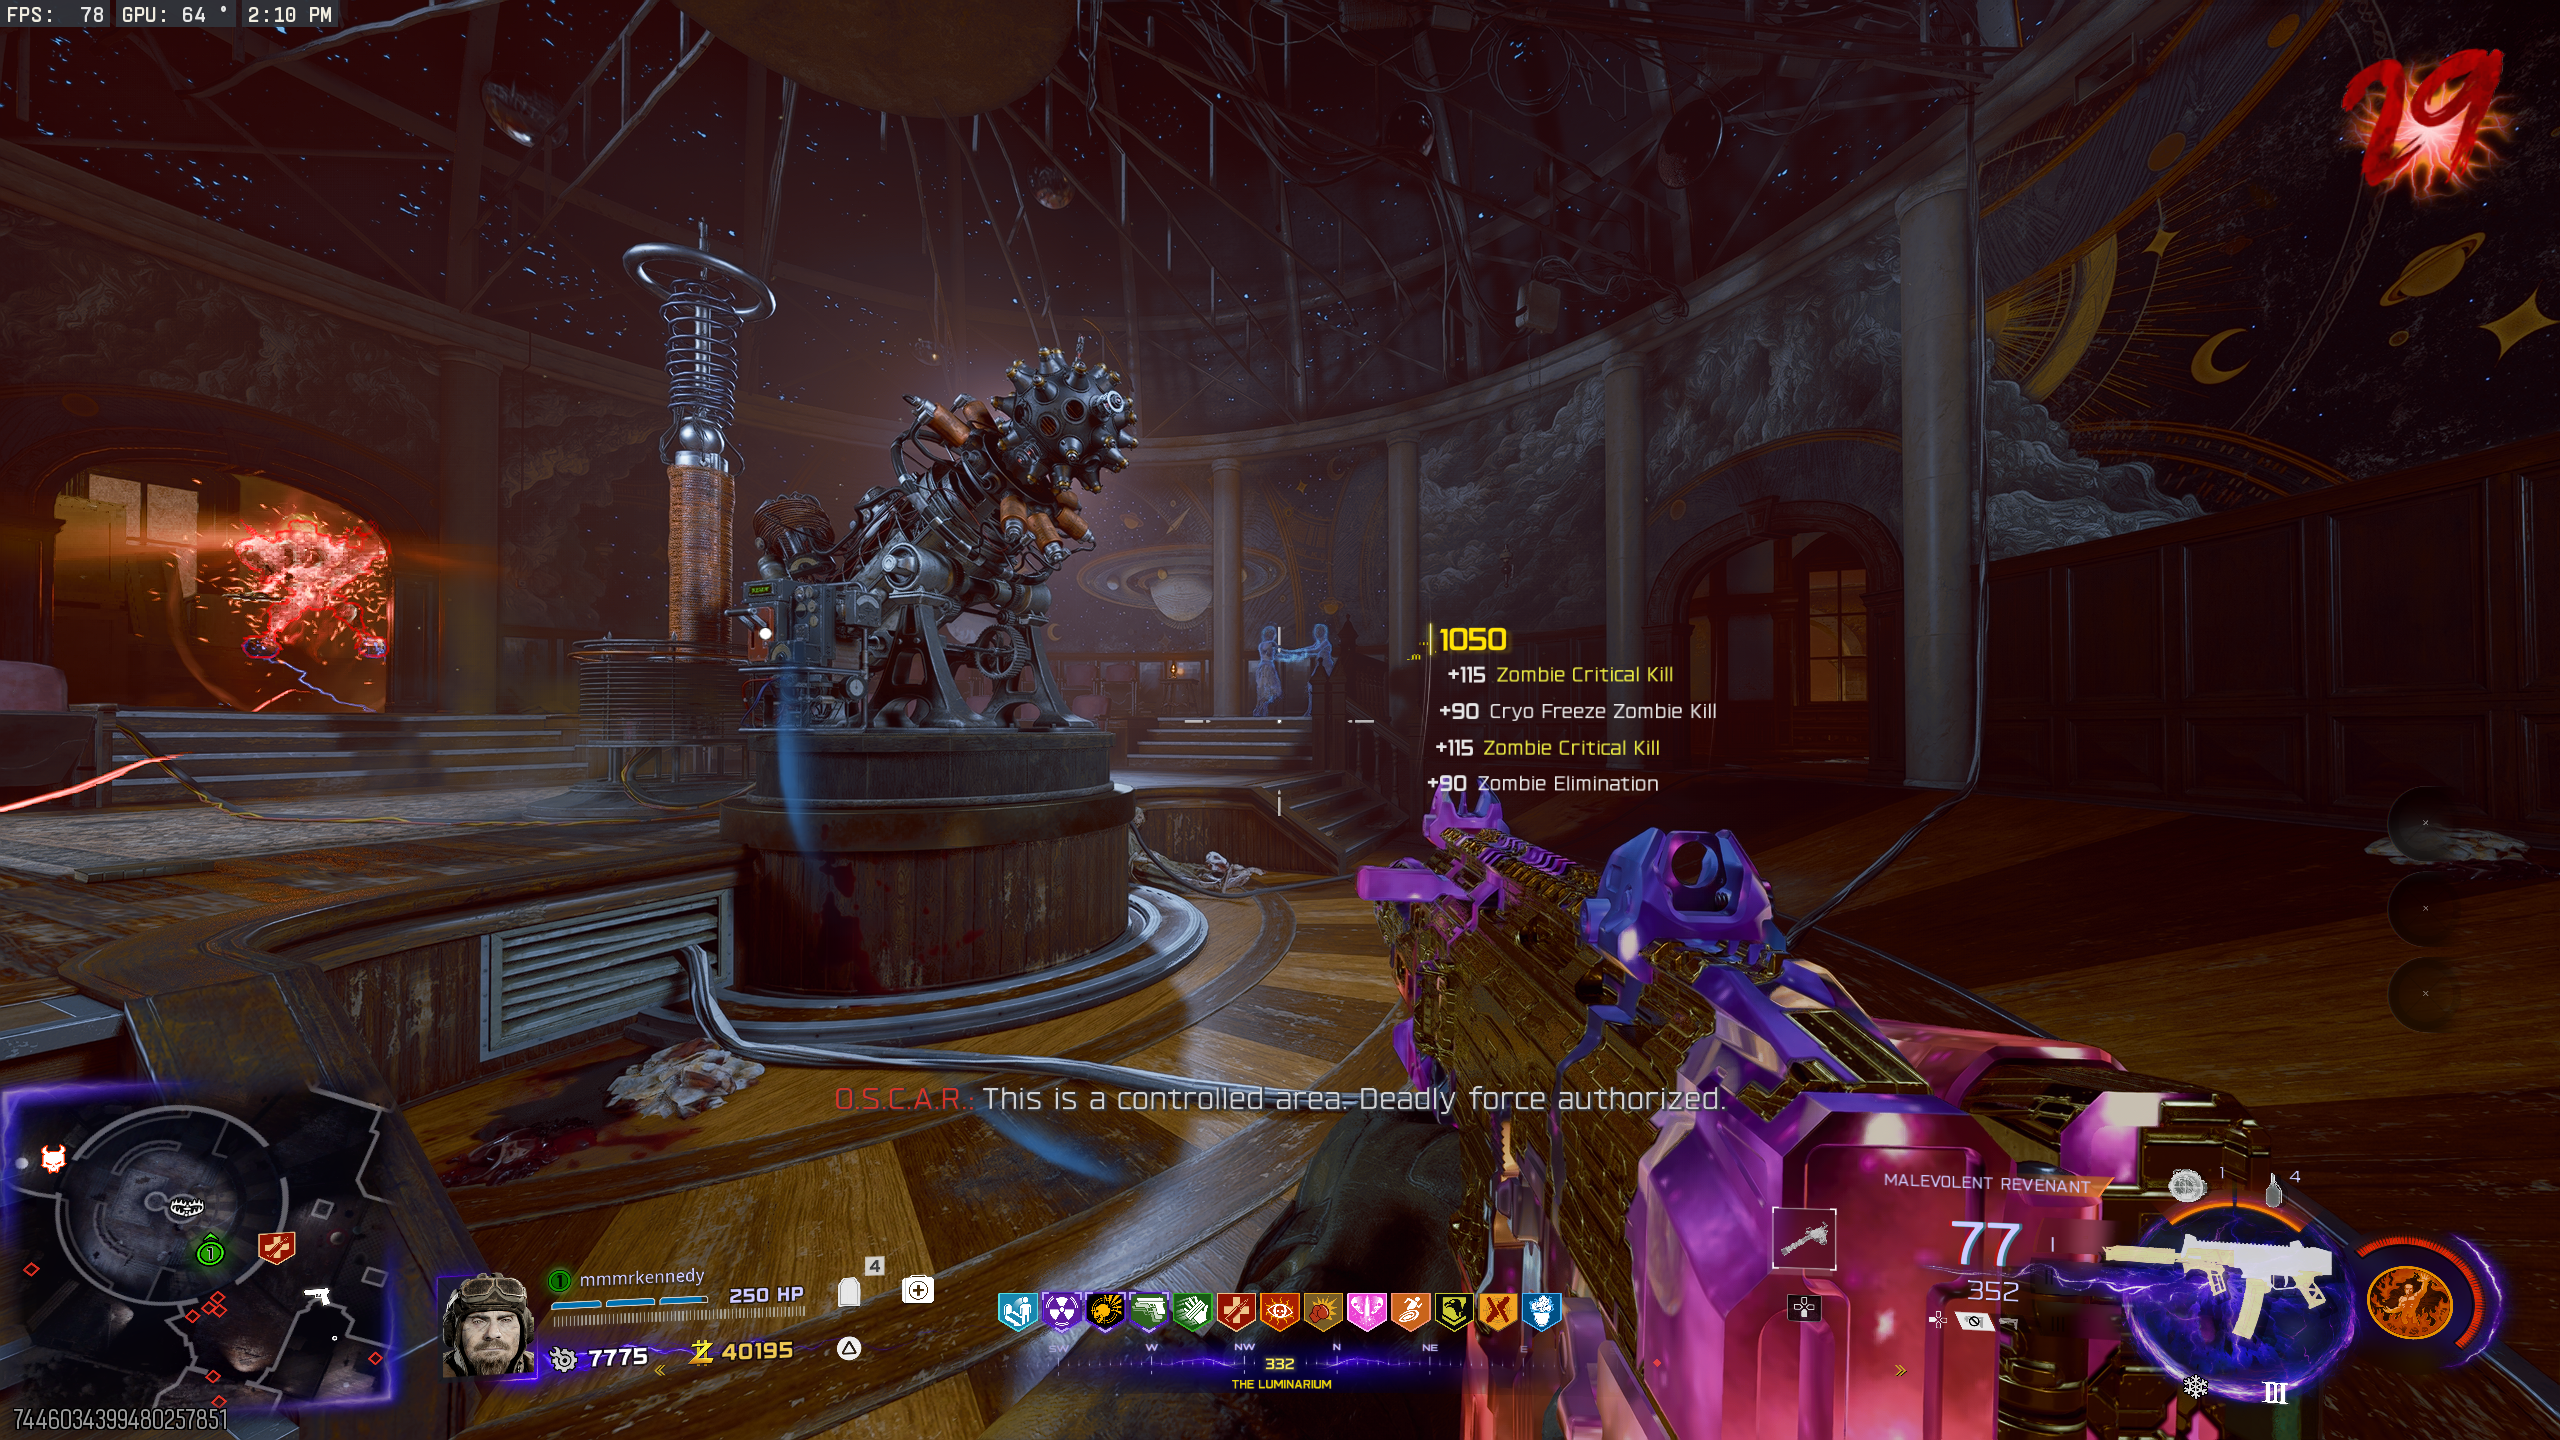
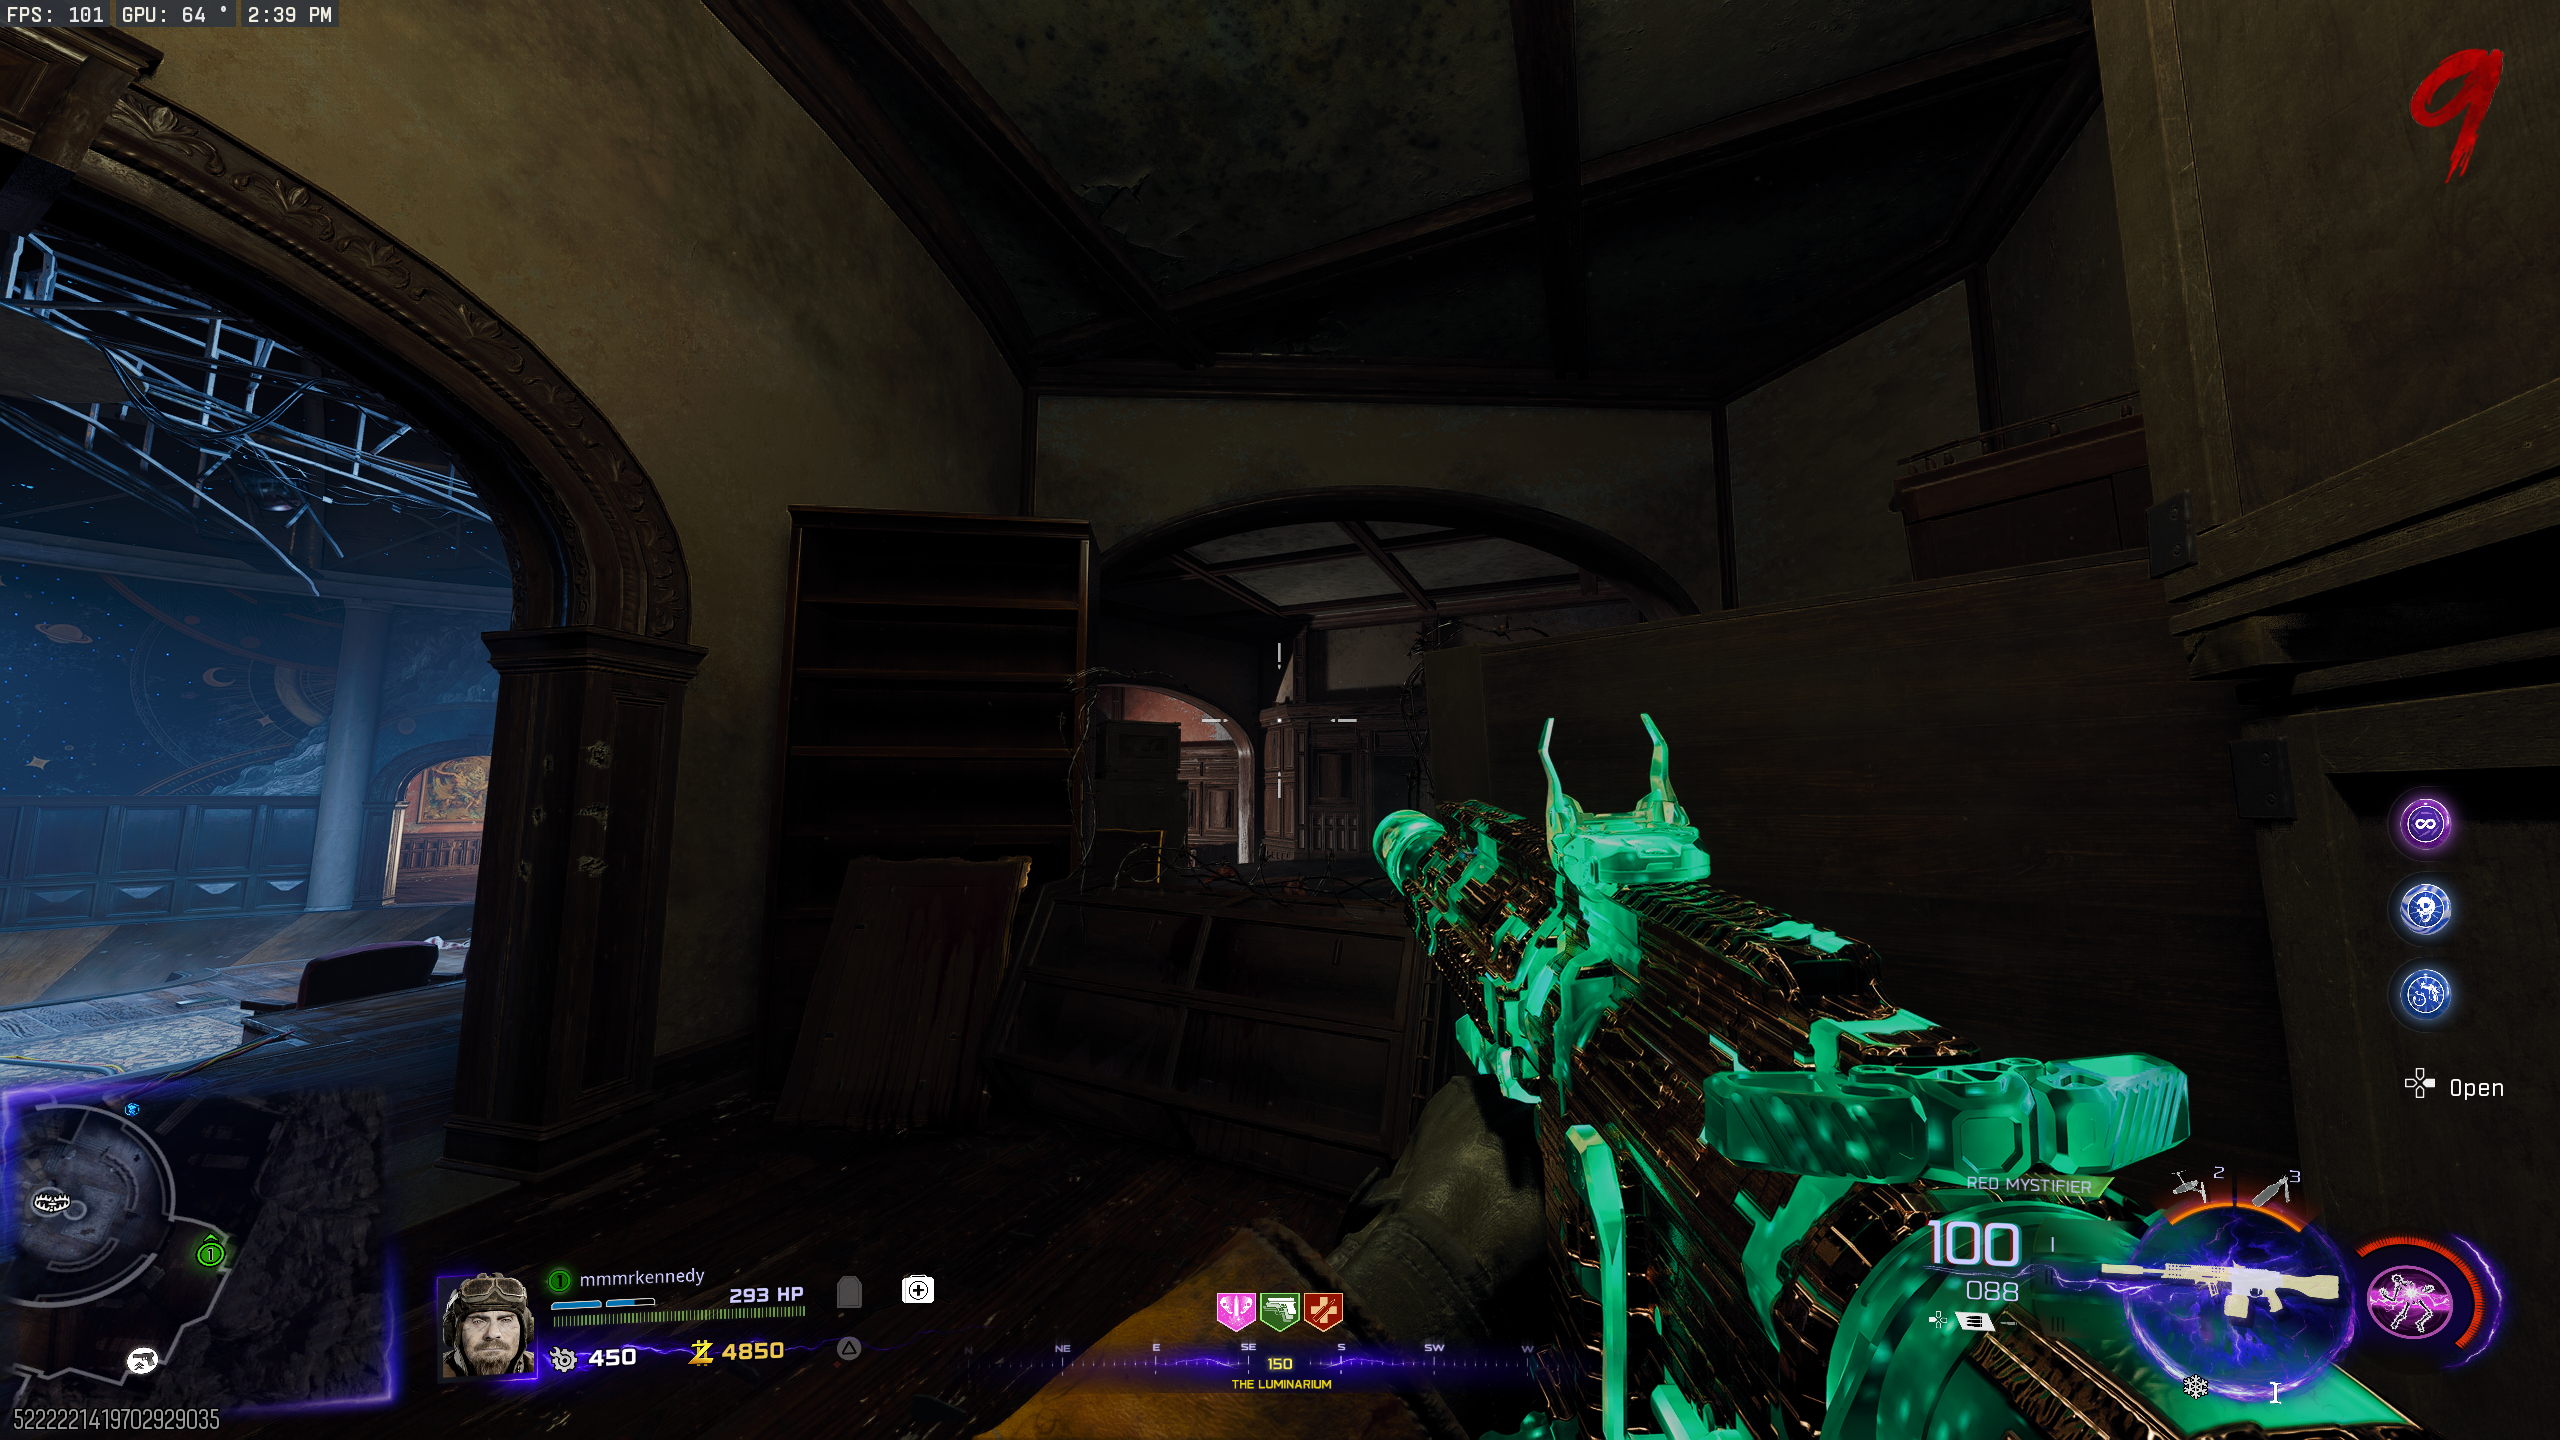
- The Luminarium - Inside the Stellar Dissector trap room
- The Luminarium - In a corner behind the Mystery Box locations toward the 'Abyssal Rim'
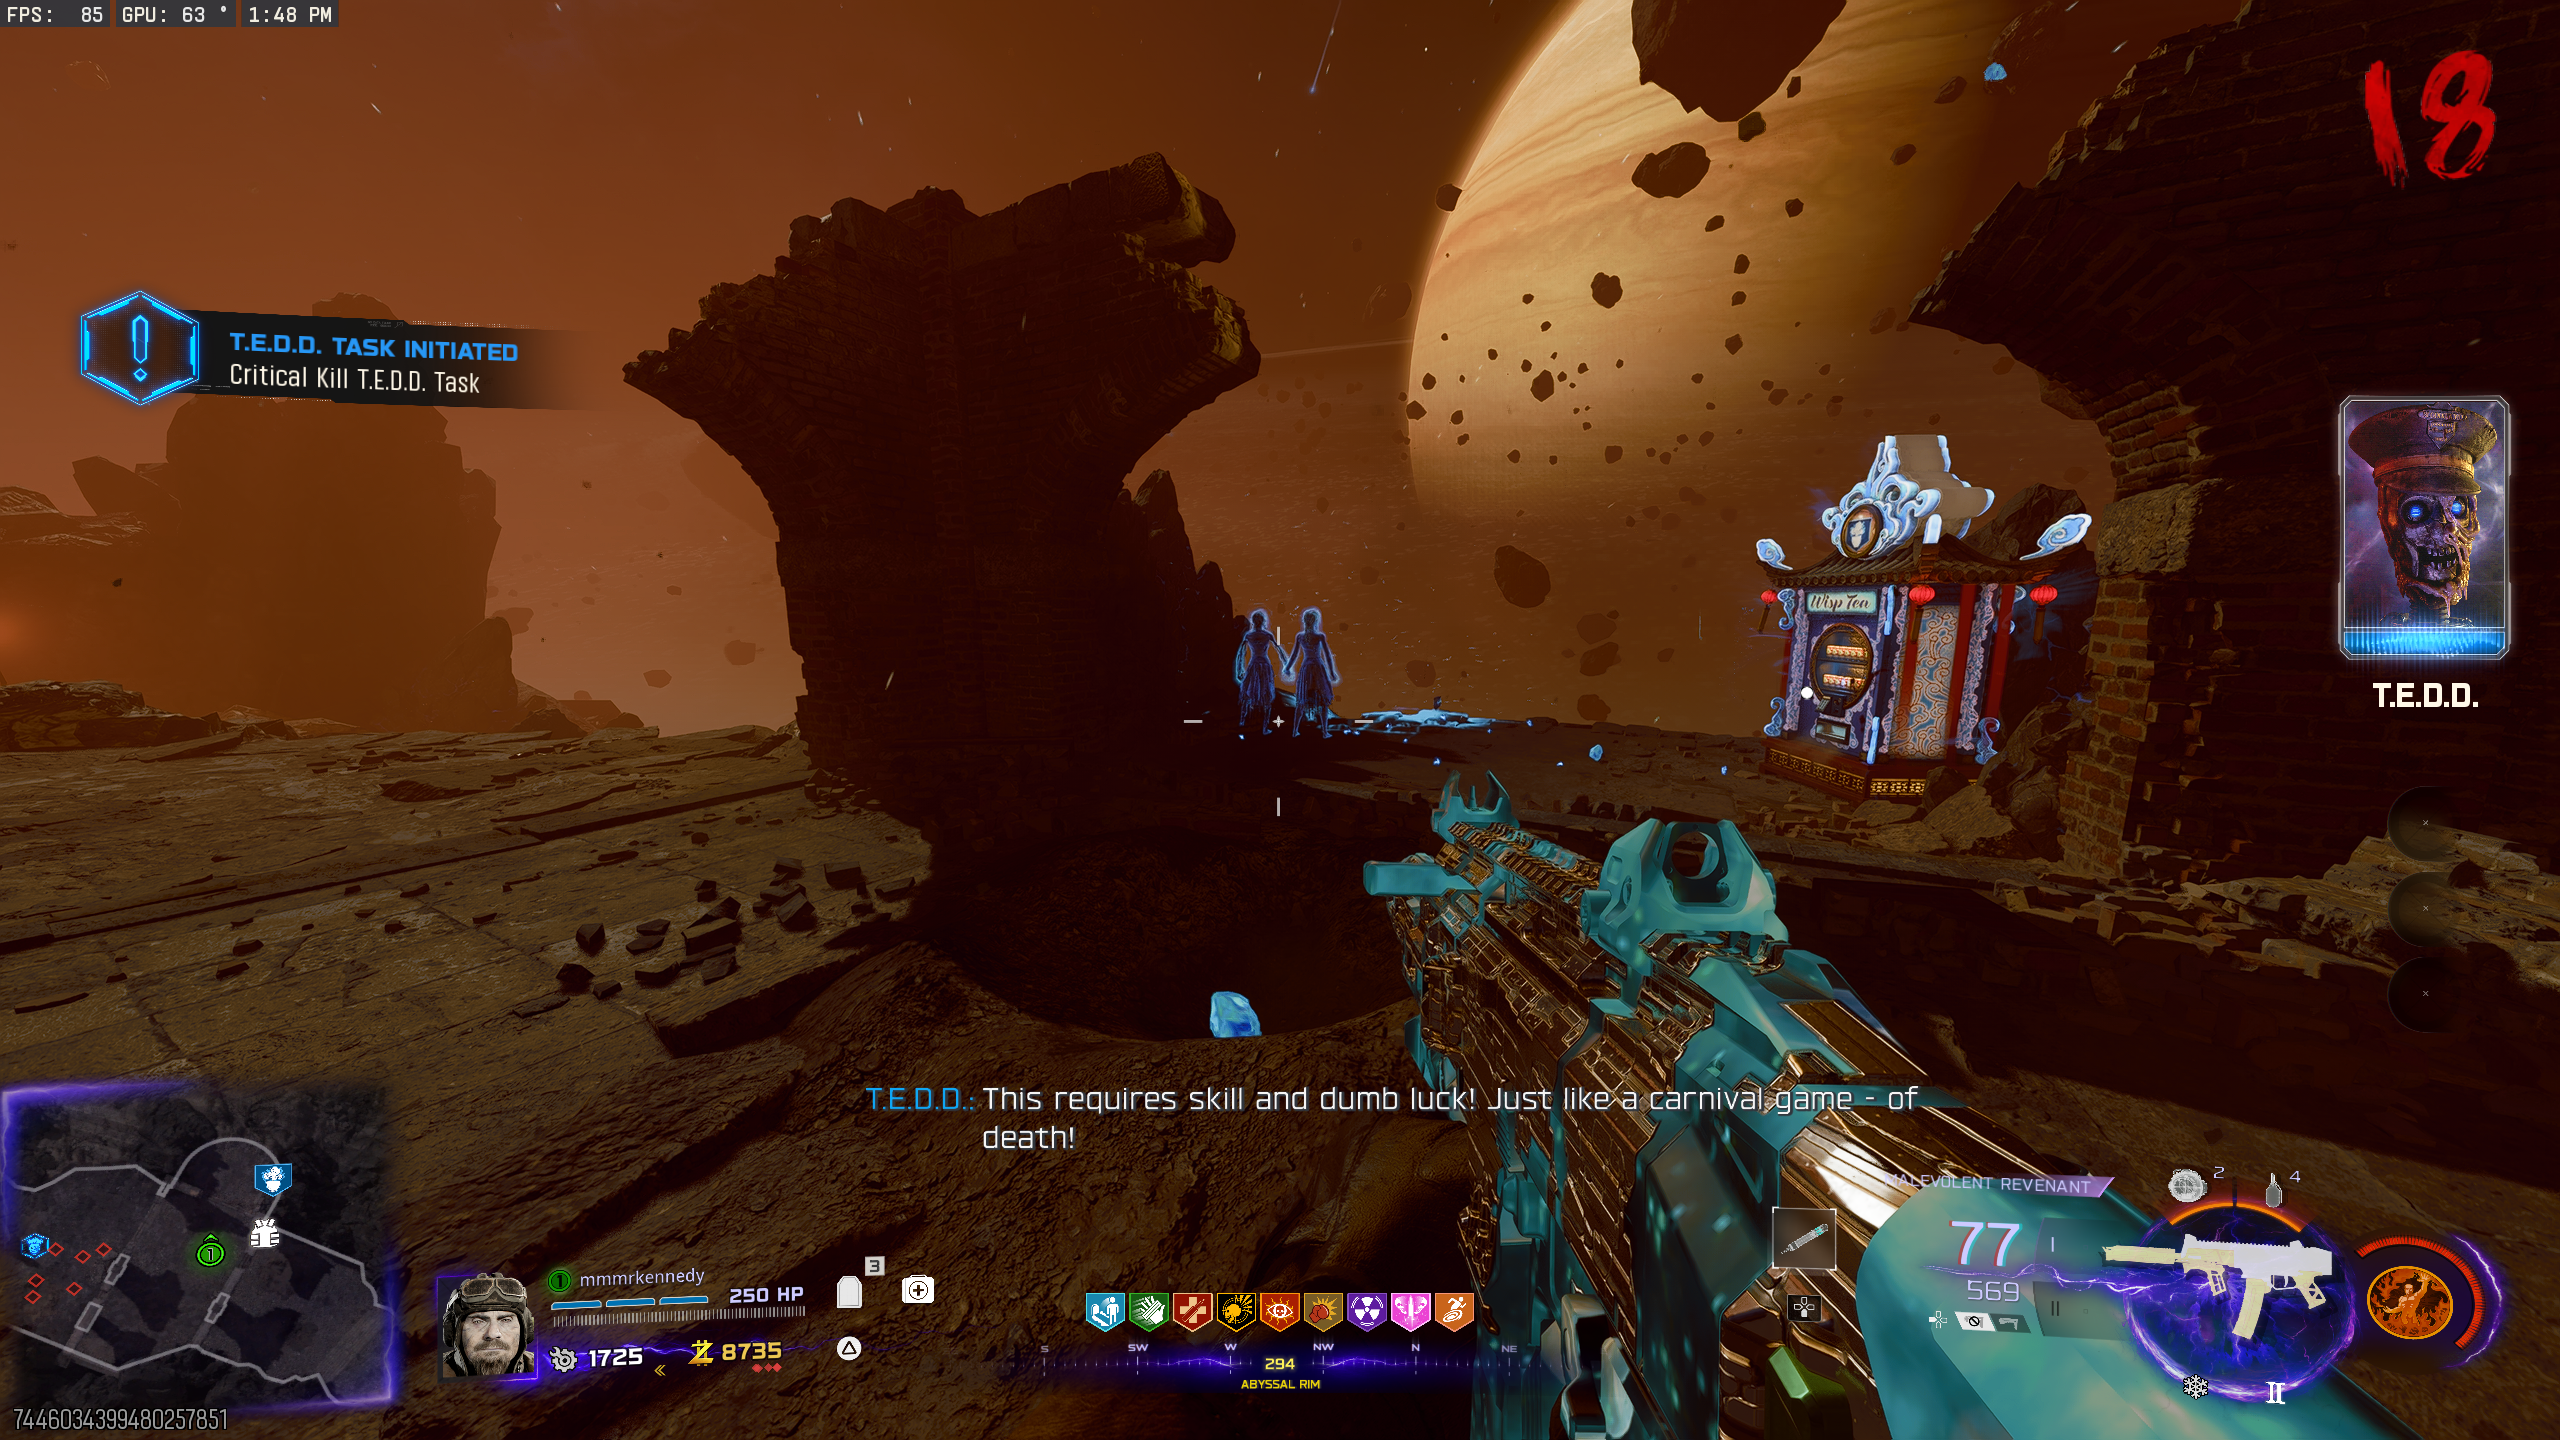
- Abyssal Rim - Next to the Wisp Tea perk machine
- Observatory Dome - In a corner left of the X9 Maverick wallbuy
- The Veilwalk - Just outside the Gazebo, next to the door to Observatory Dome
- Museum Infinitum - Left of the door to 'Scholar's Way'
- Machina Astralis - Left of the Akita wallbuy
- Machina Astralis - In the corner near the Cryopod
- Once you find the Twins, walk up to them and they'll disappear. They'll drop Salvage, Equipment, and a free Cryo Freeze Ammo Mod.
- The Twins will reappear every round (with seemingly no end) giving additional loot like Weapons, Salvage, Mystery Perk, Scorestreaks, etc. If you end the round without finding the Twins again, they'll remain where they are, waiting to be found.
Gramophones Challenges (Free Mystery Perks)
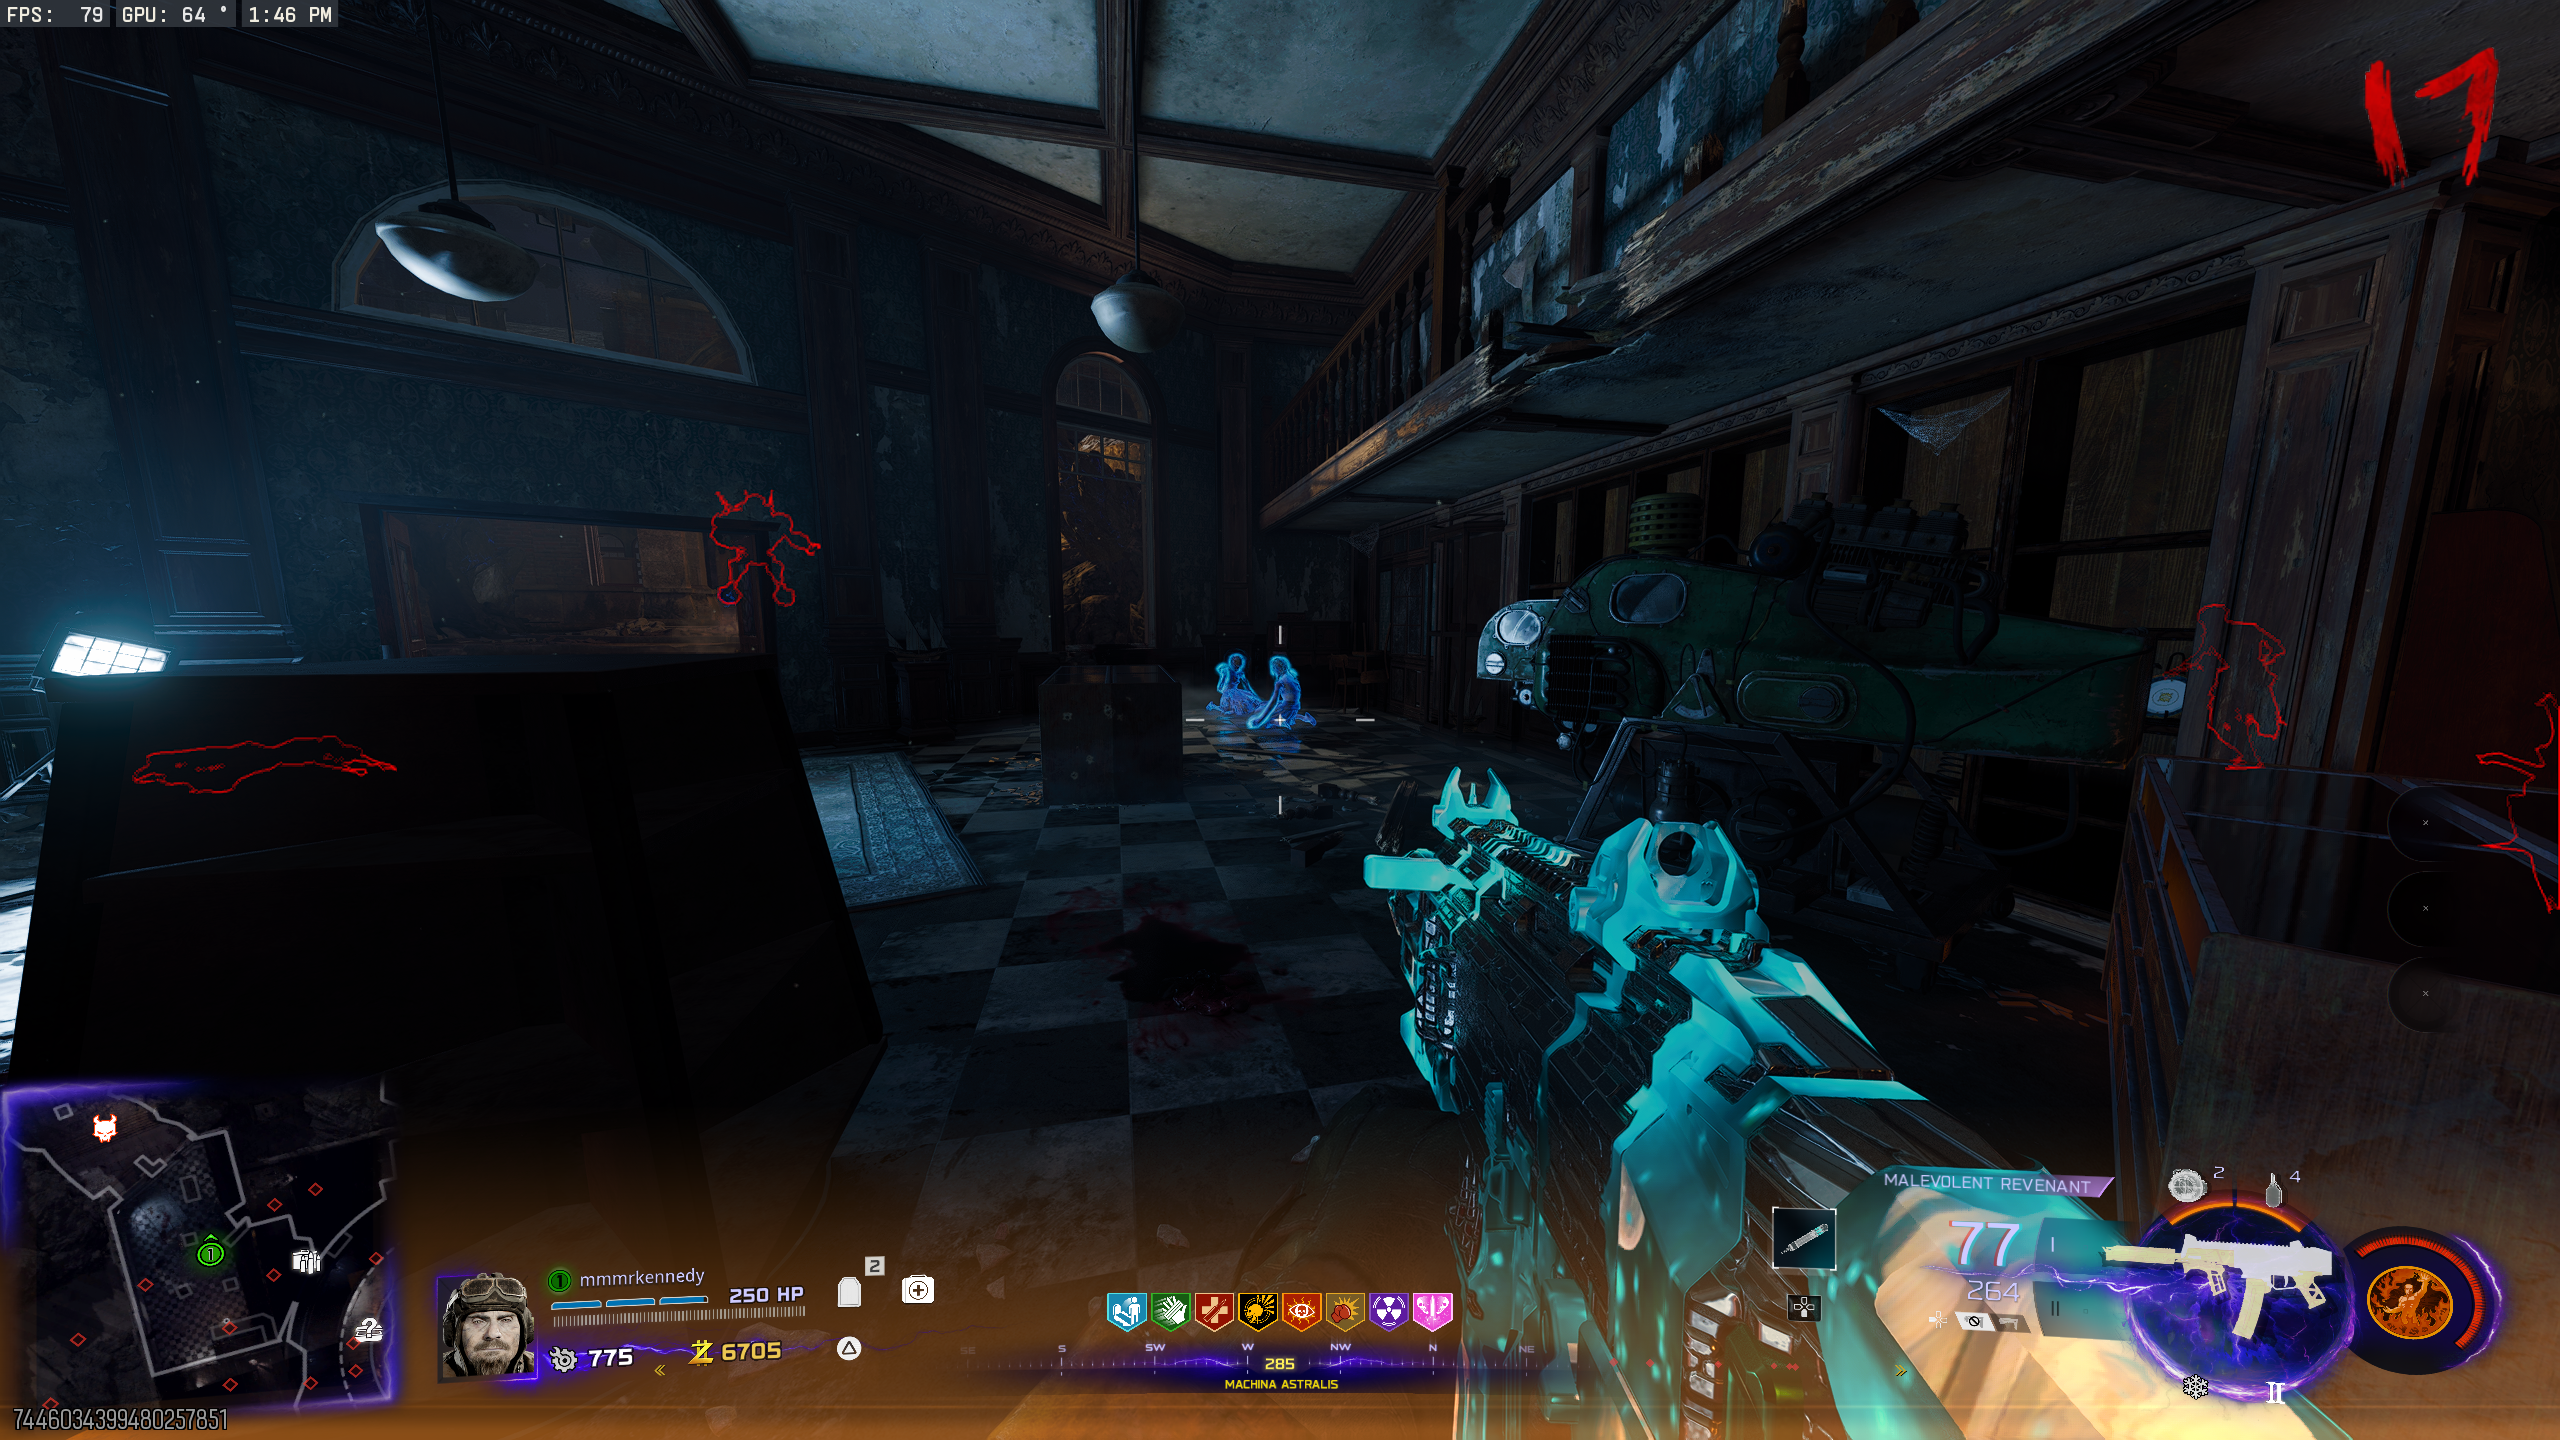
- There are three gramophones around the map that need a corresponding vinyl record. Once you have the record, place it on the gramophone to start playing music. While the music is playing, get kills in a certain way to charge the gramophone. Once you get enough kills, a Mystery Perk Can will drop along with some loot.
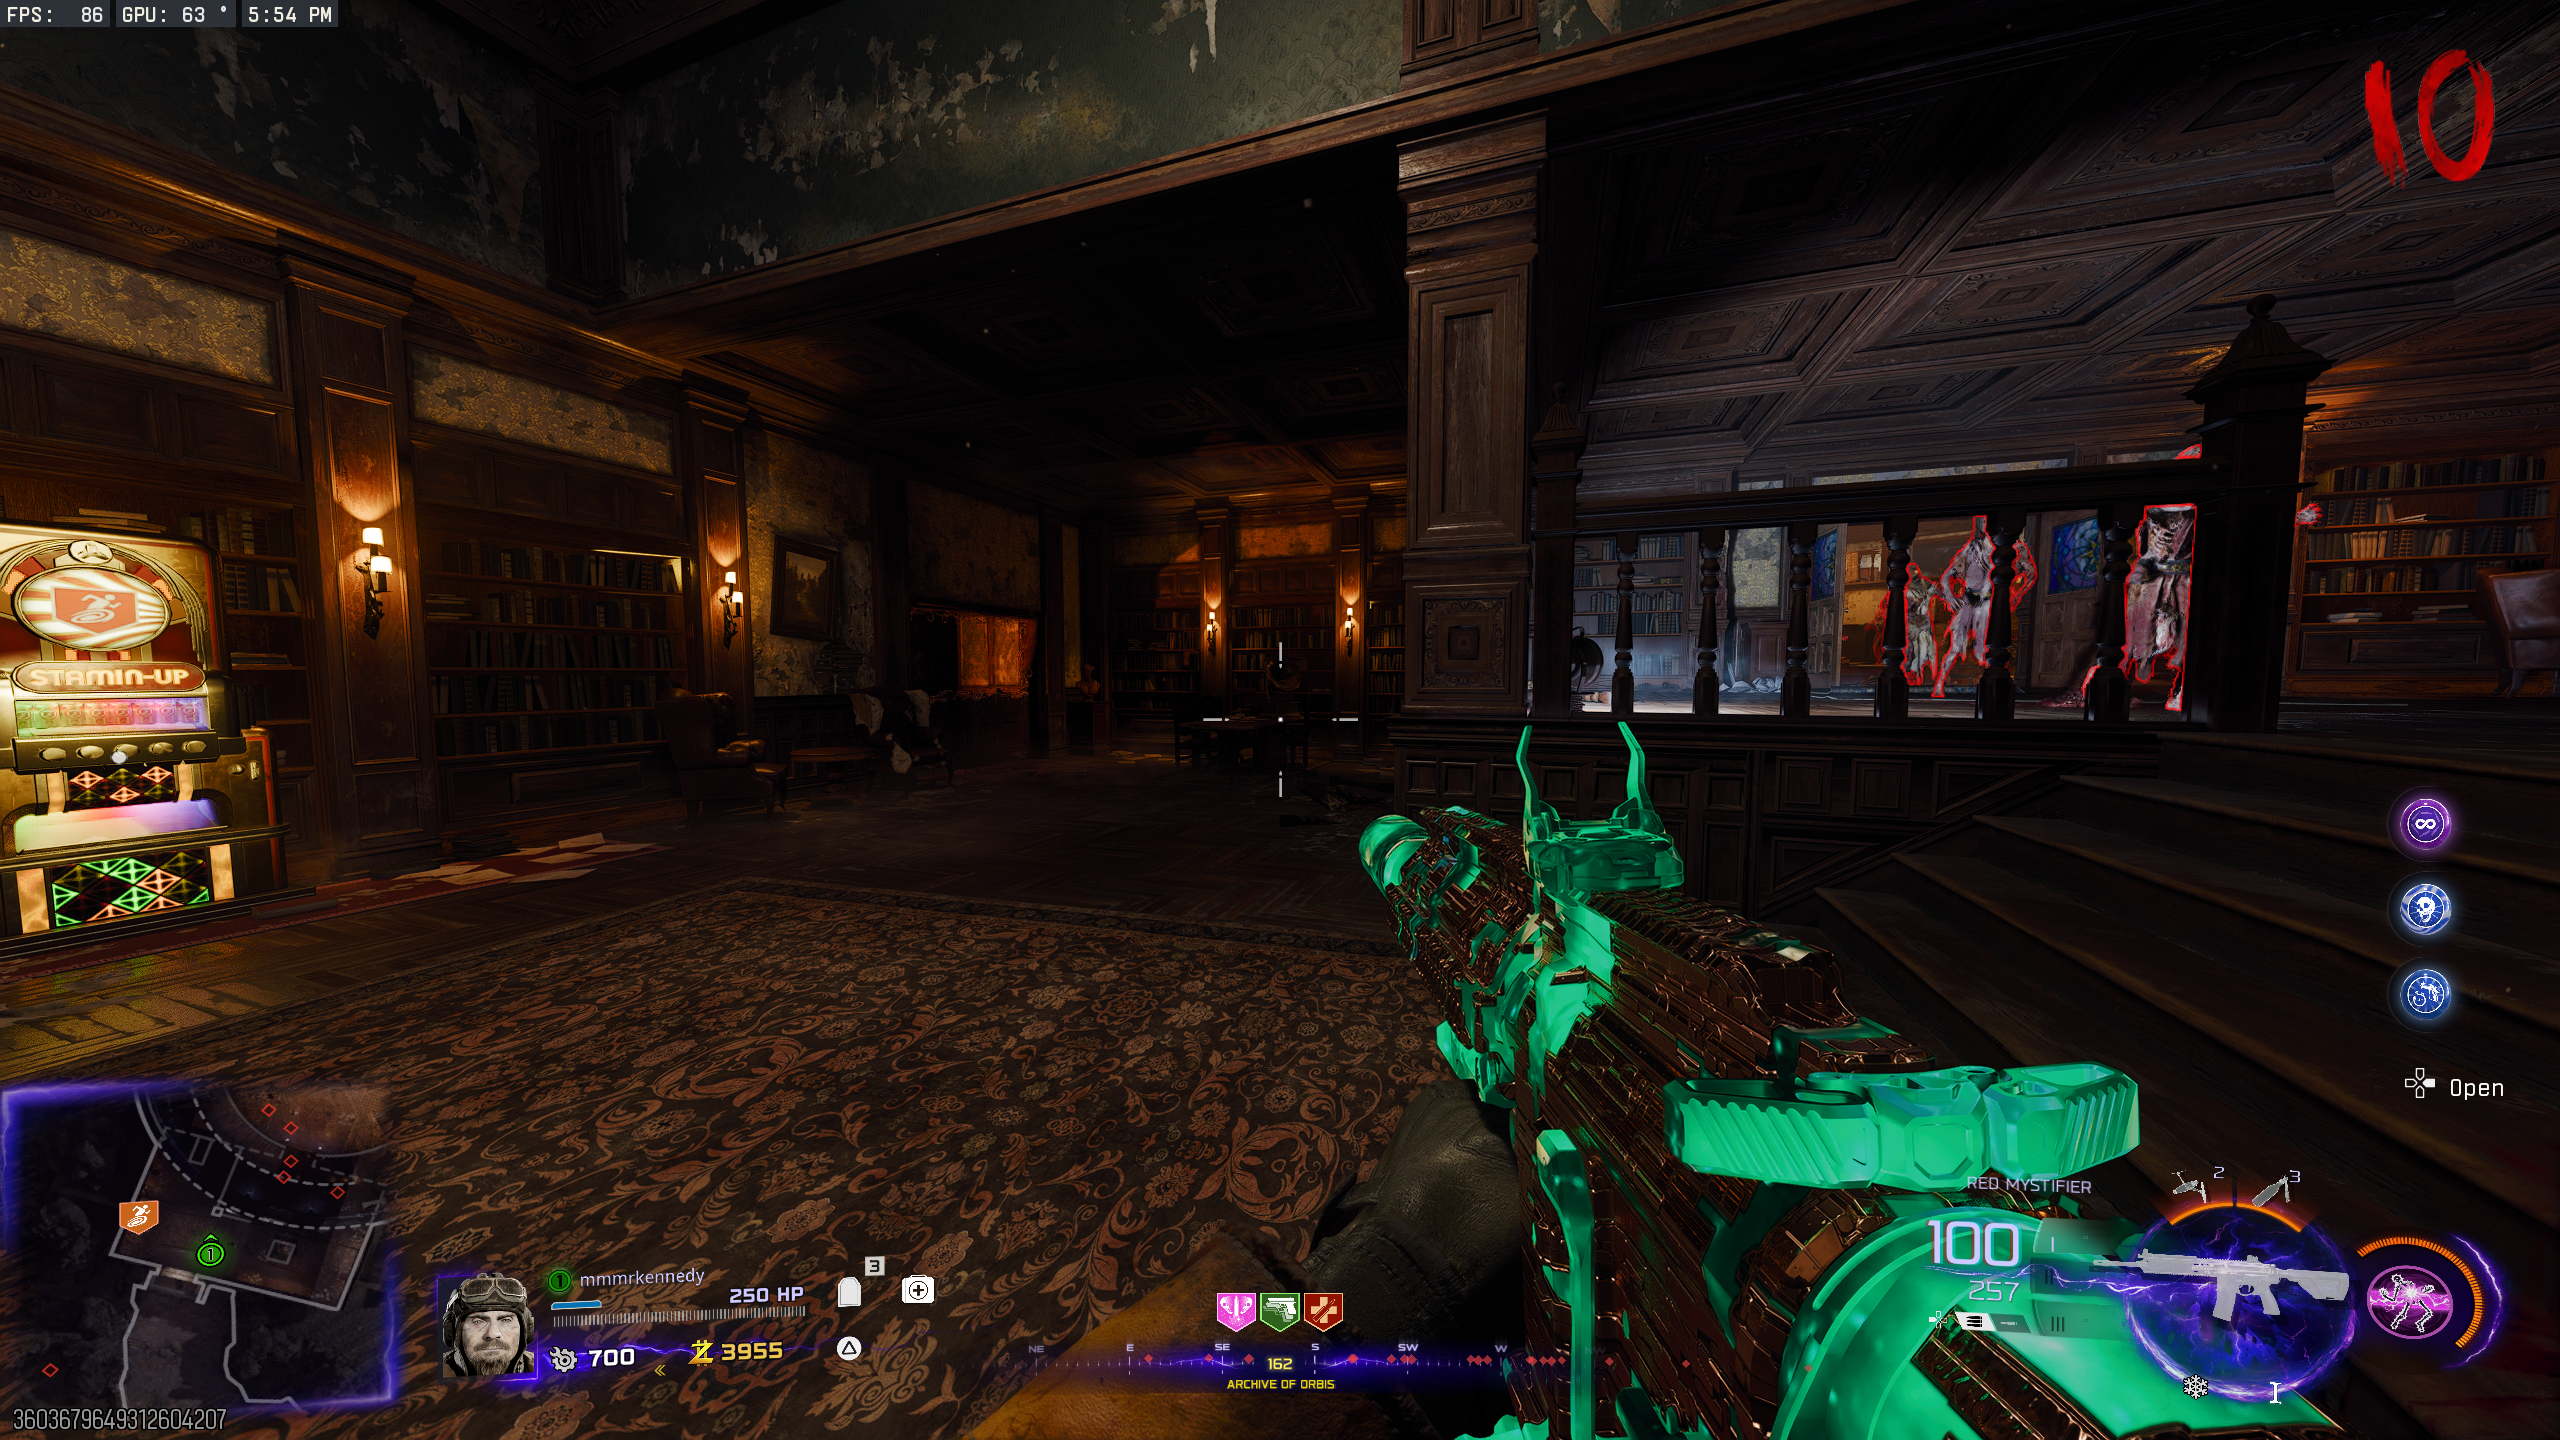
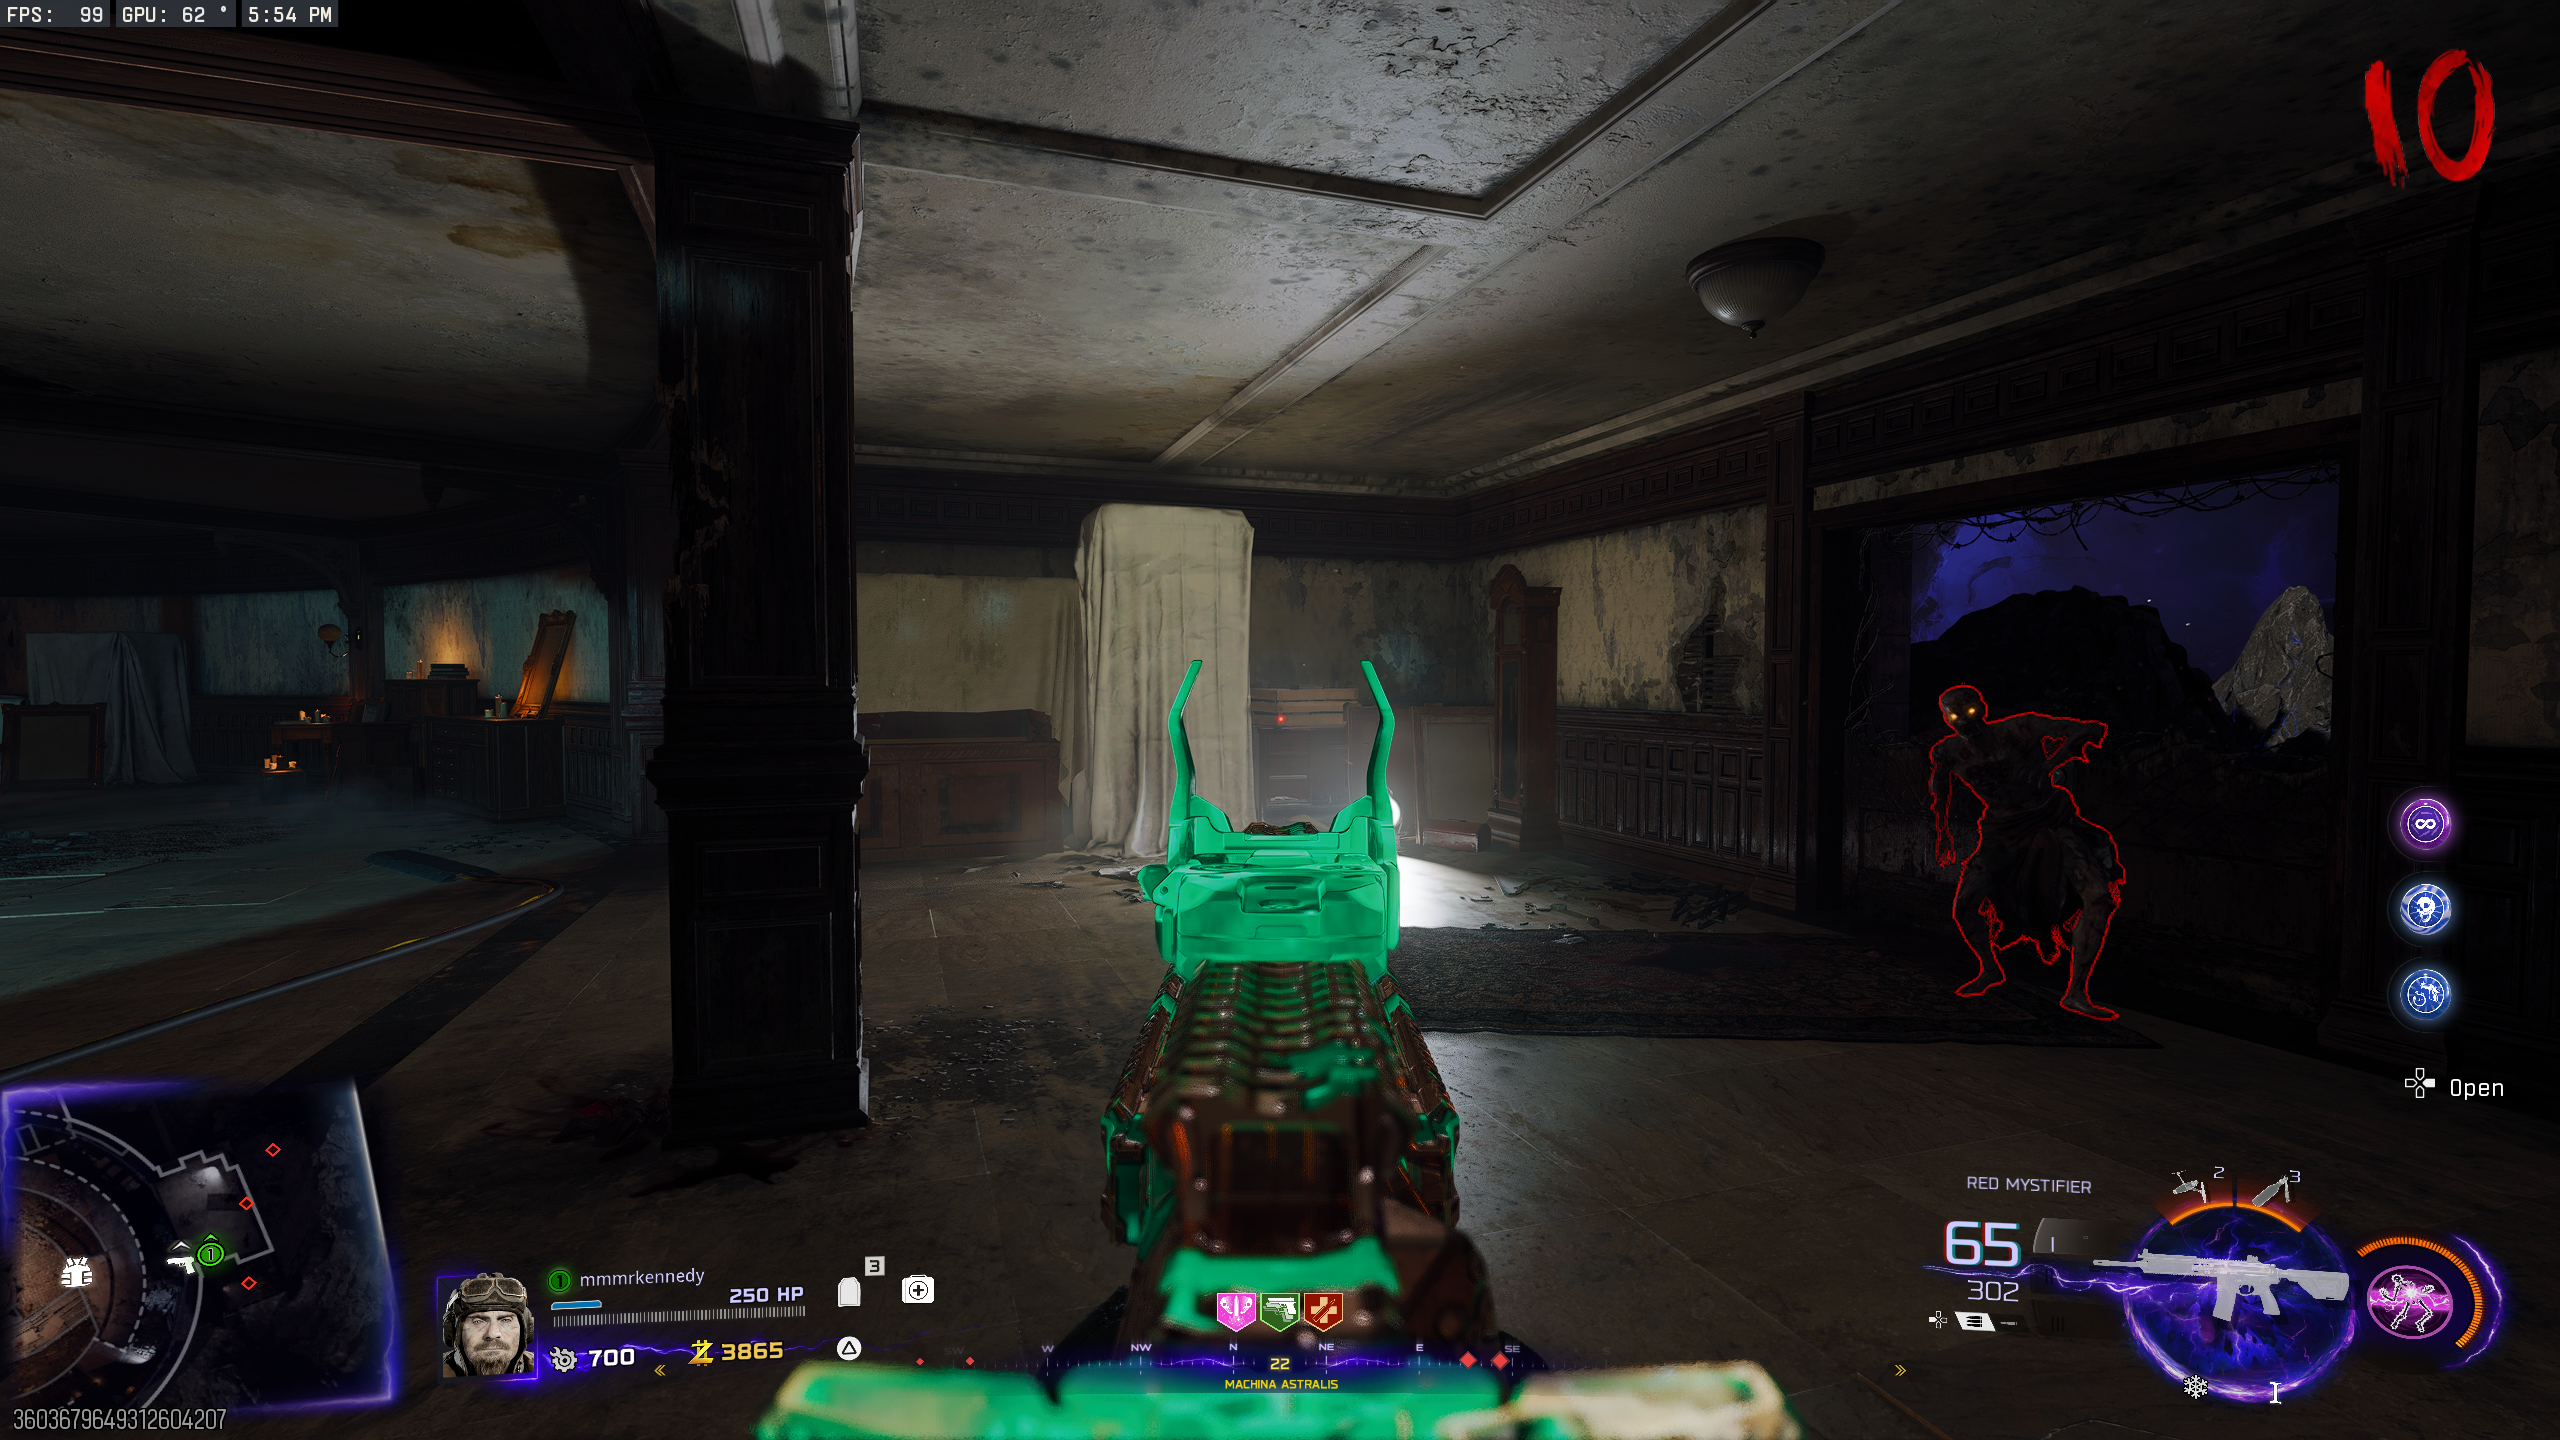
Location Gramophone Record Challenge Reward Museum Infinitum On a table across from the Speed Cola machine On the top of the wooden pillar above a Zombie spawn window, behind/left of the Crafting Table Kill 5 Zombies with melee weapons Salvage and a Mystery Perk can The Luminarium On a table, just inside from the 'Abyssal Rim' At the top of a bookshelf, next to one of the grandfather clocks Kill 15 Zombies with Field Upgrades (must be killed by the upgrade itself, not just while it's active) Essence and a Mystery Perk can Archive of Orbis On the table, right of the Stamin-Up machine Inside a wooden box on the middle floor of 'Machina Astralis', beside the grandfather clock, below the Akita wallbuy Kill 5 Zombies with equipment Equipment and a Mystery Perk can
Lantern Wisp Orbs (Free Ray Gun)
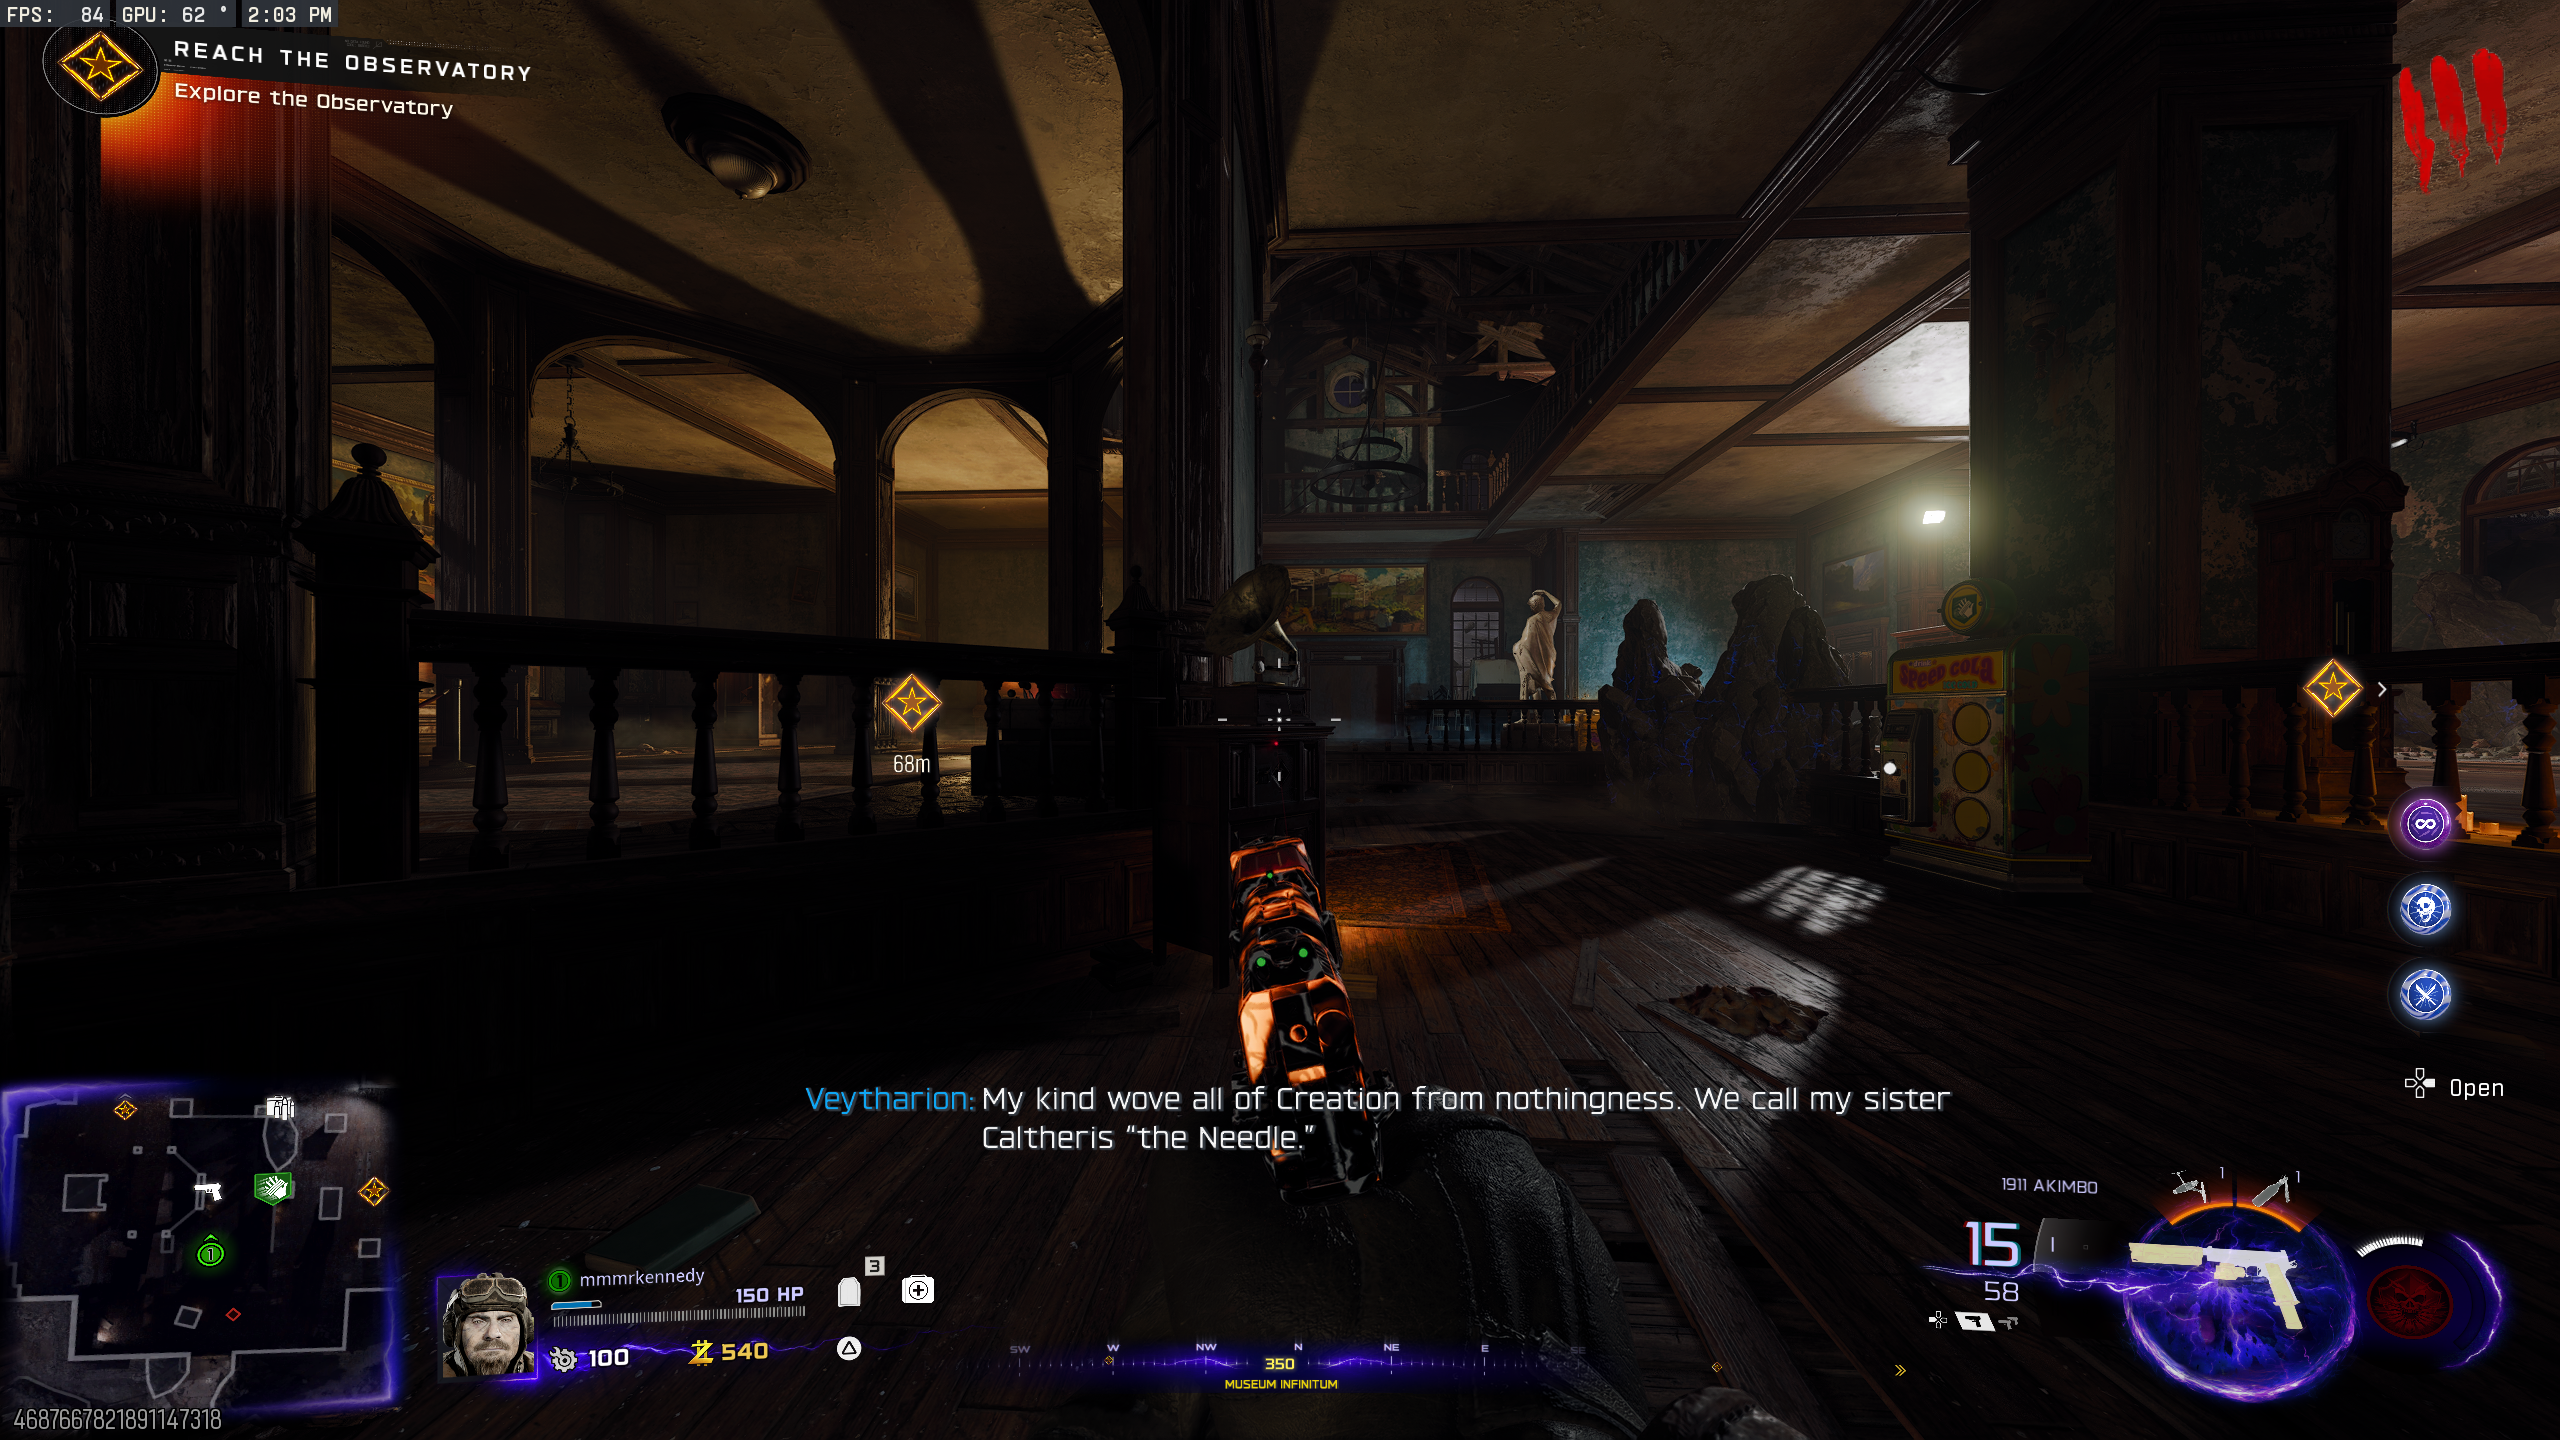
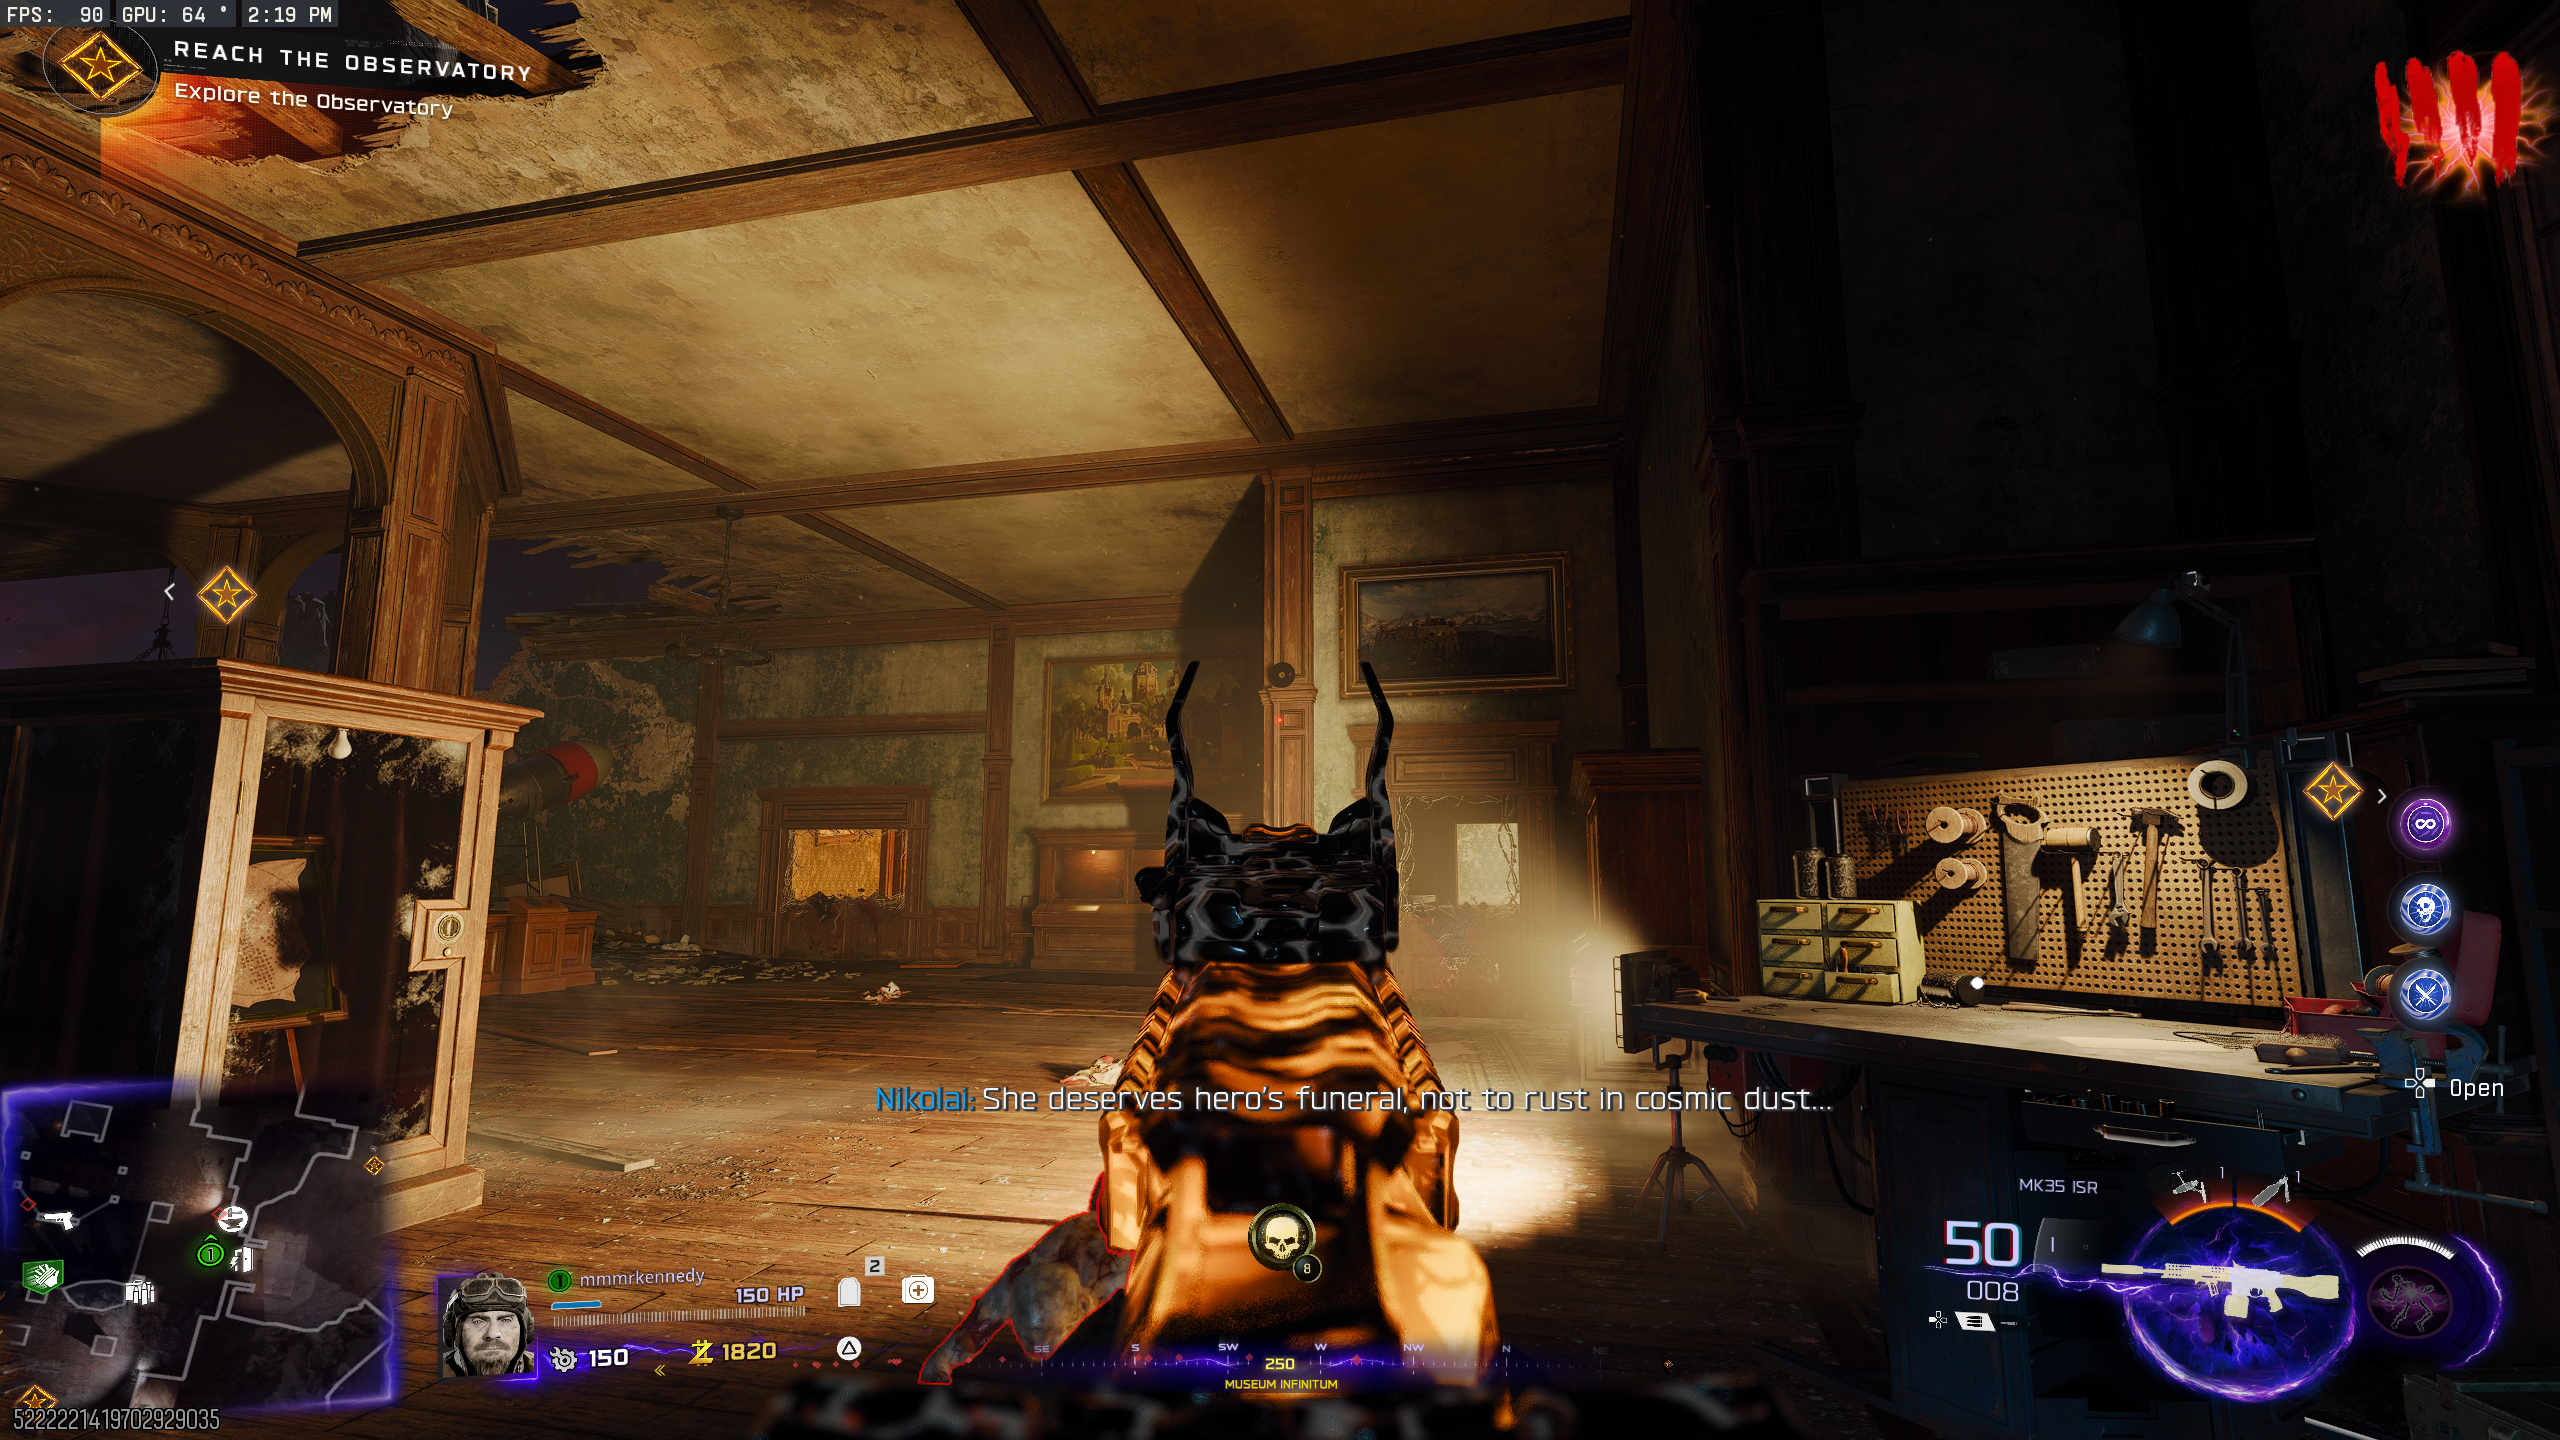
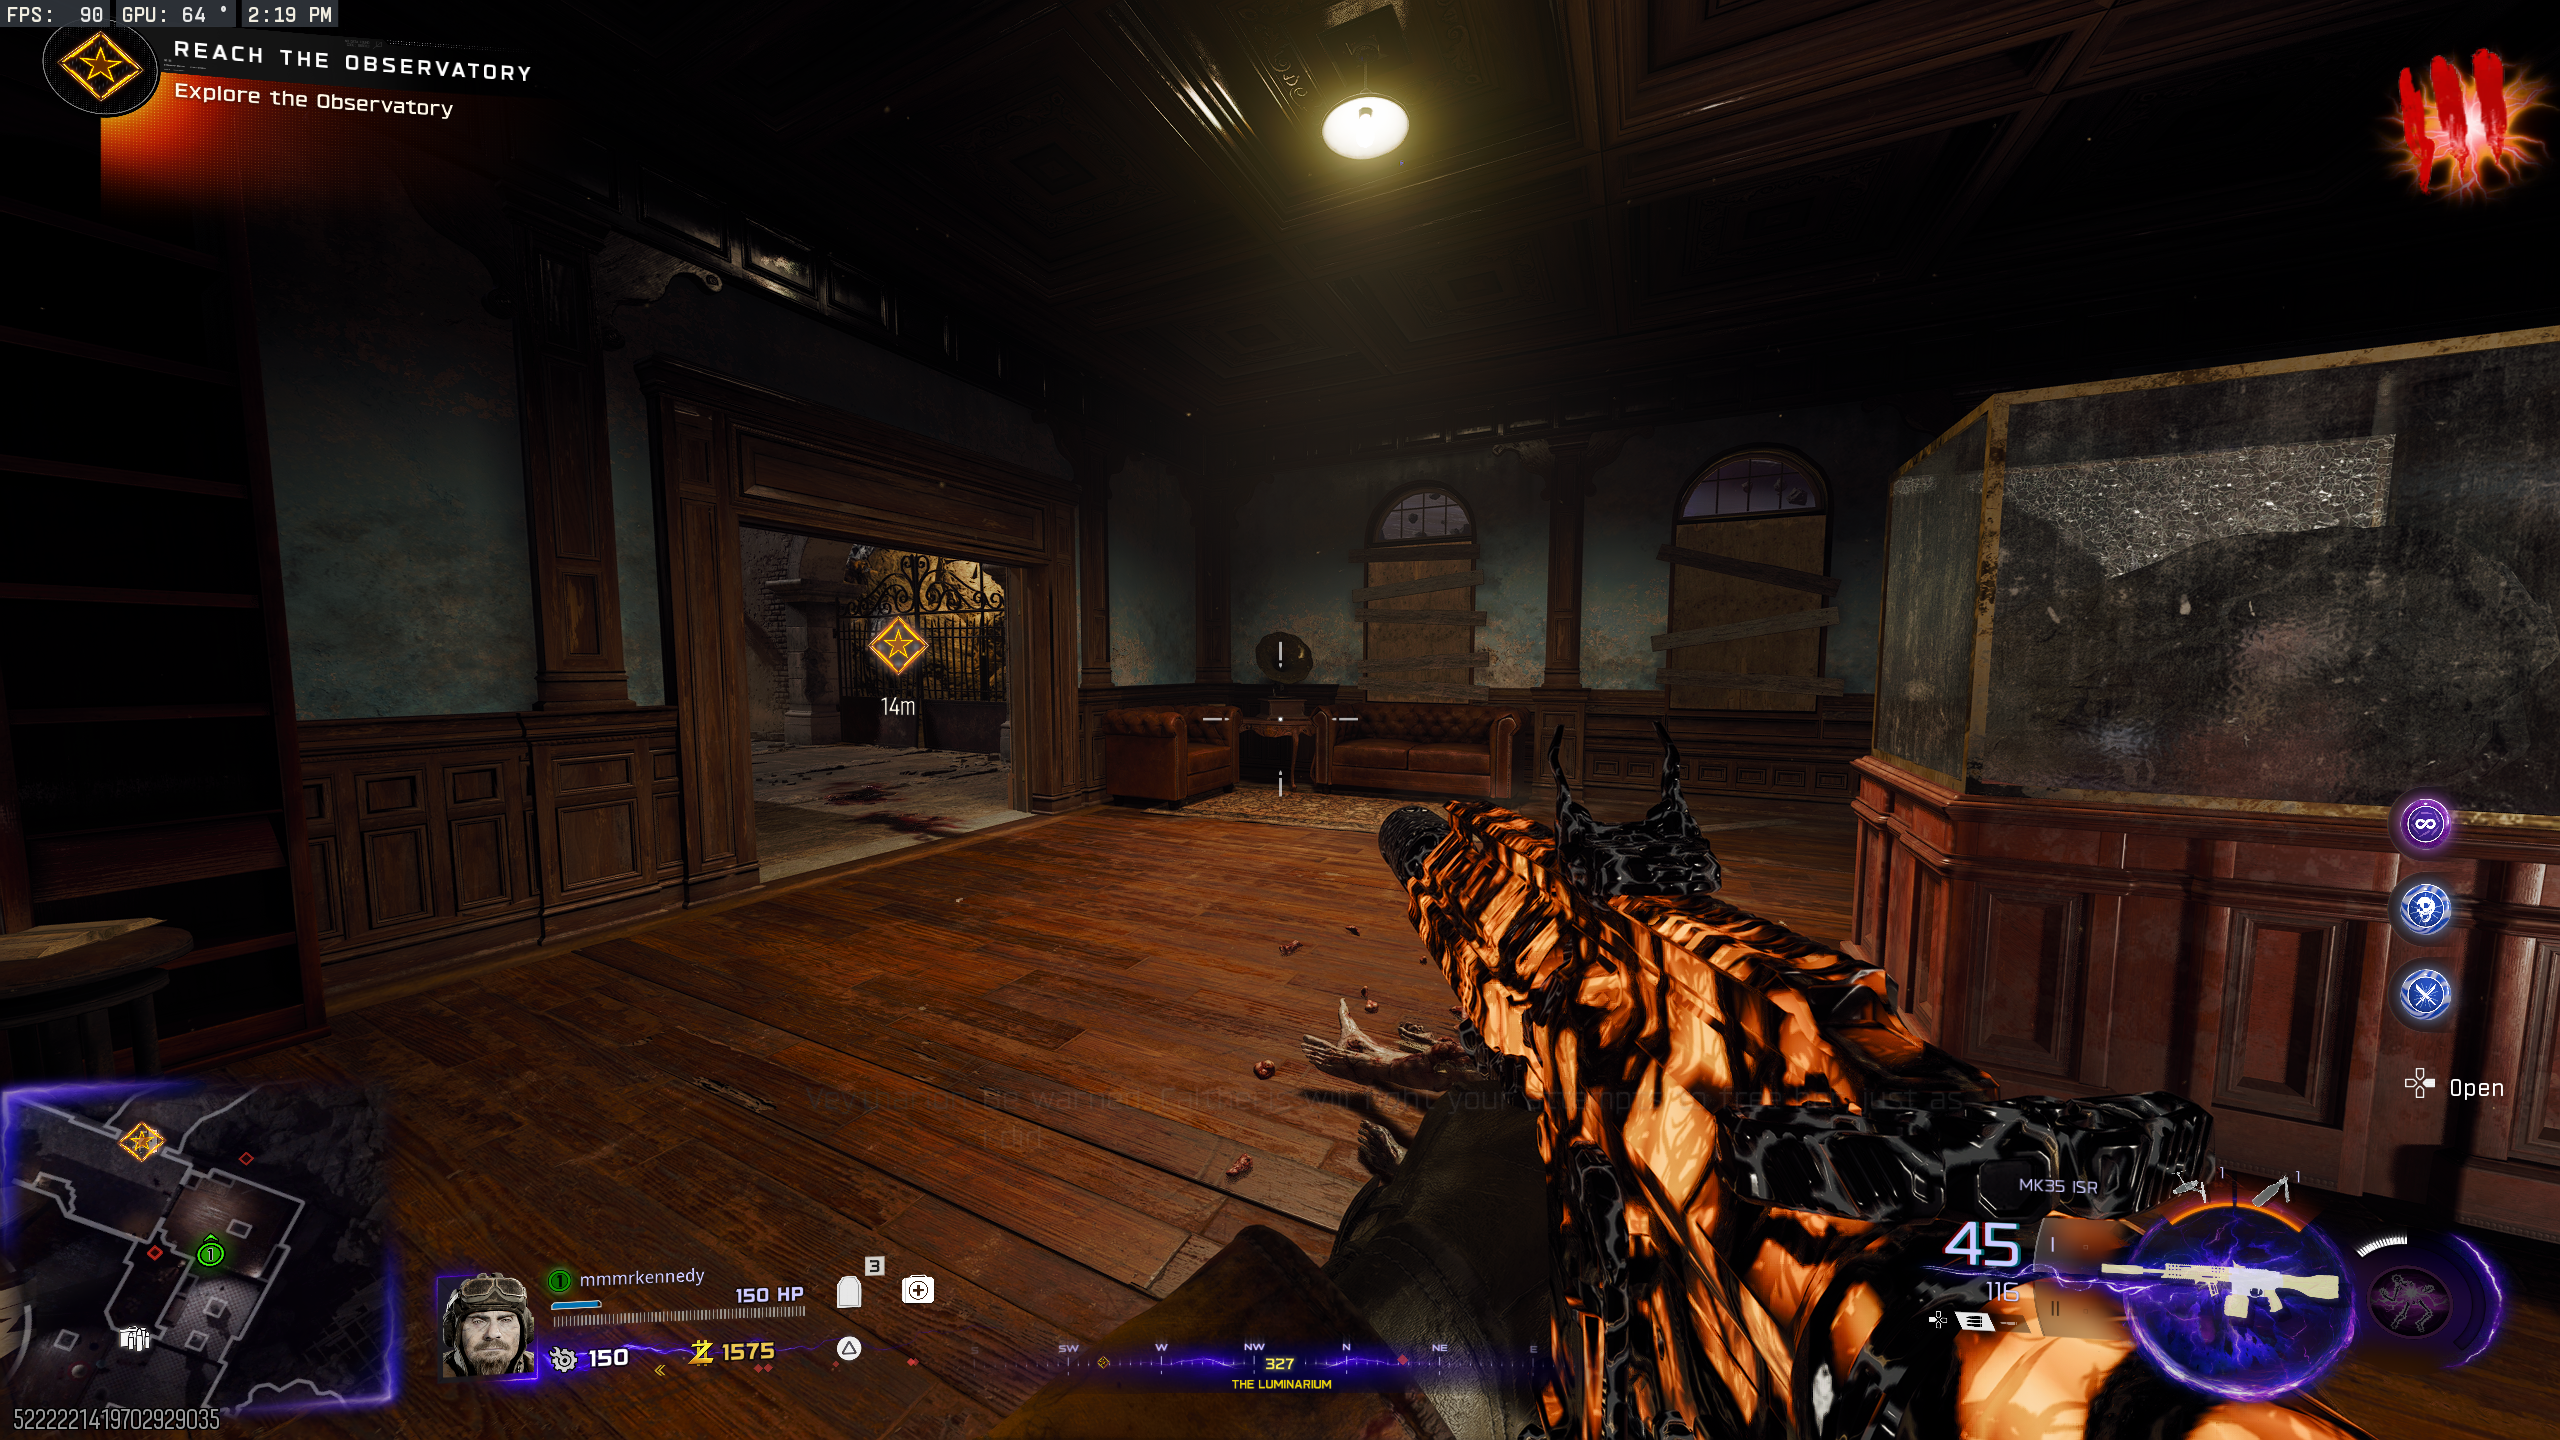
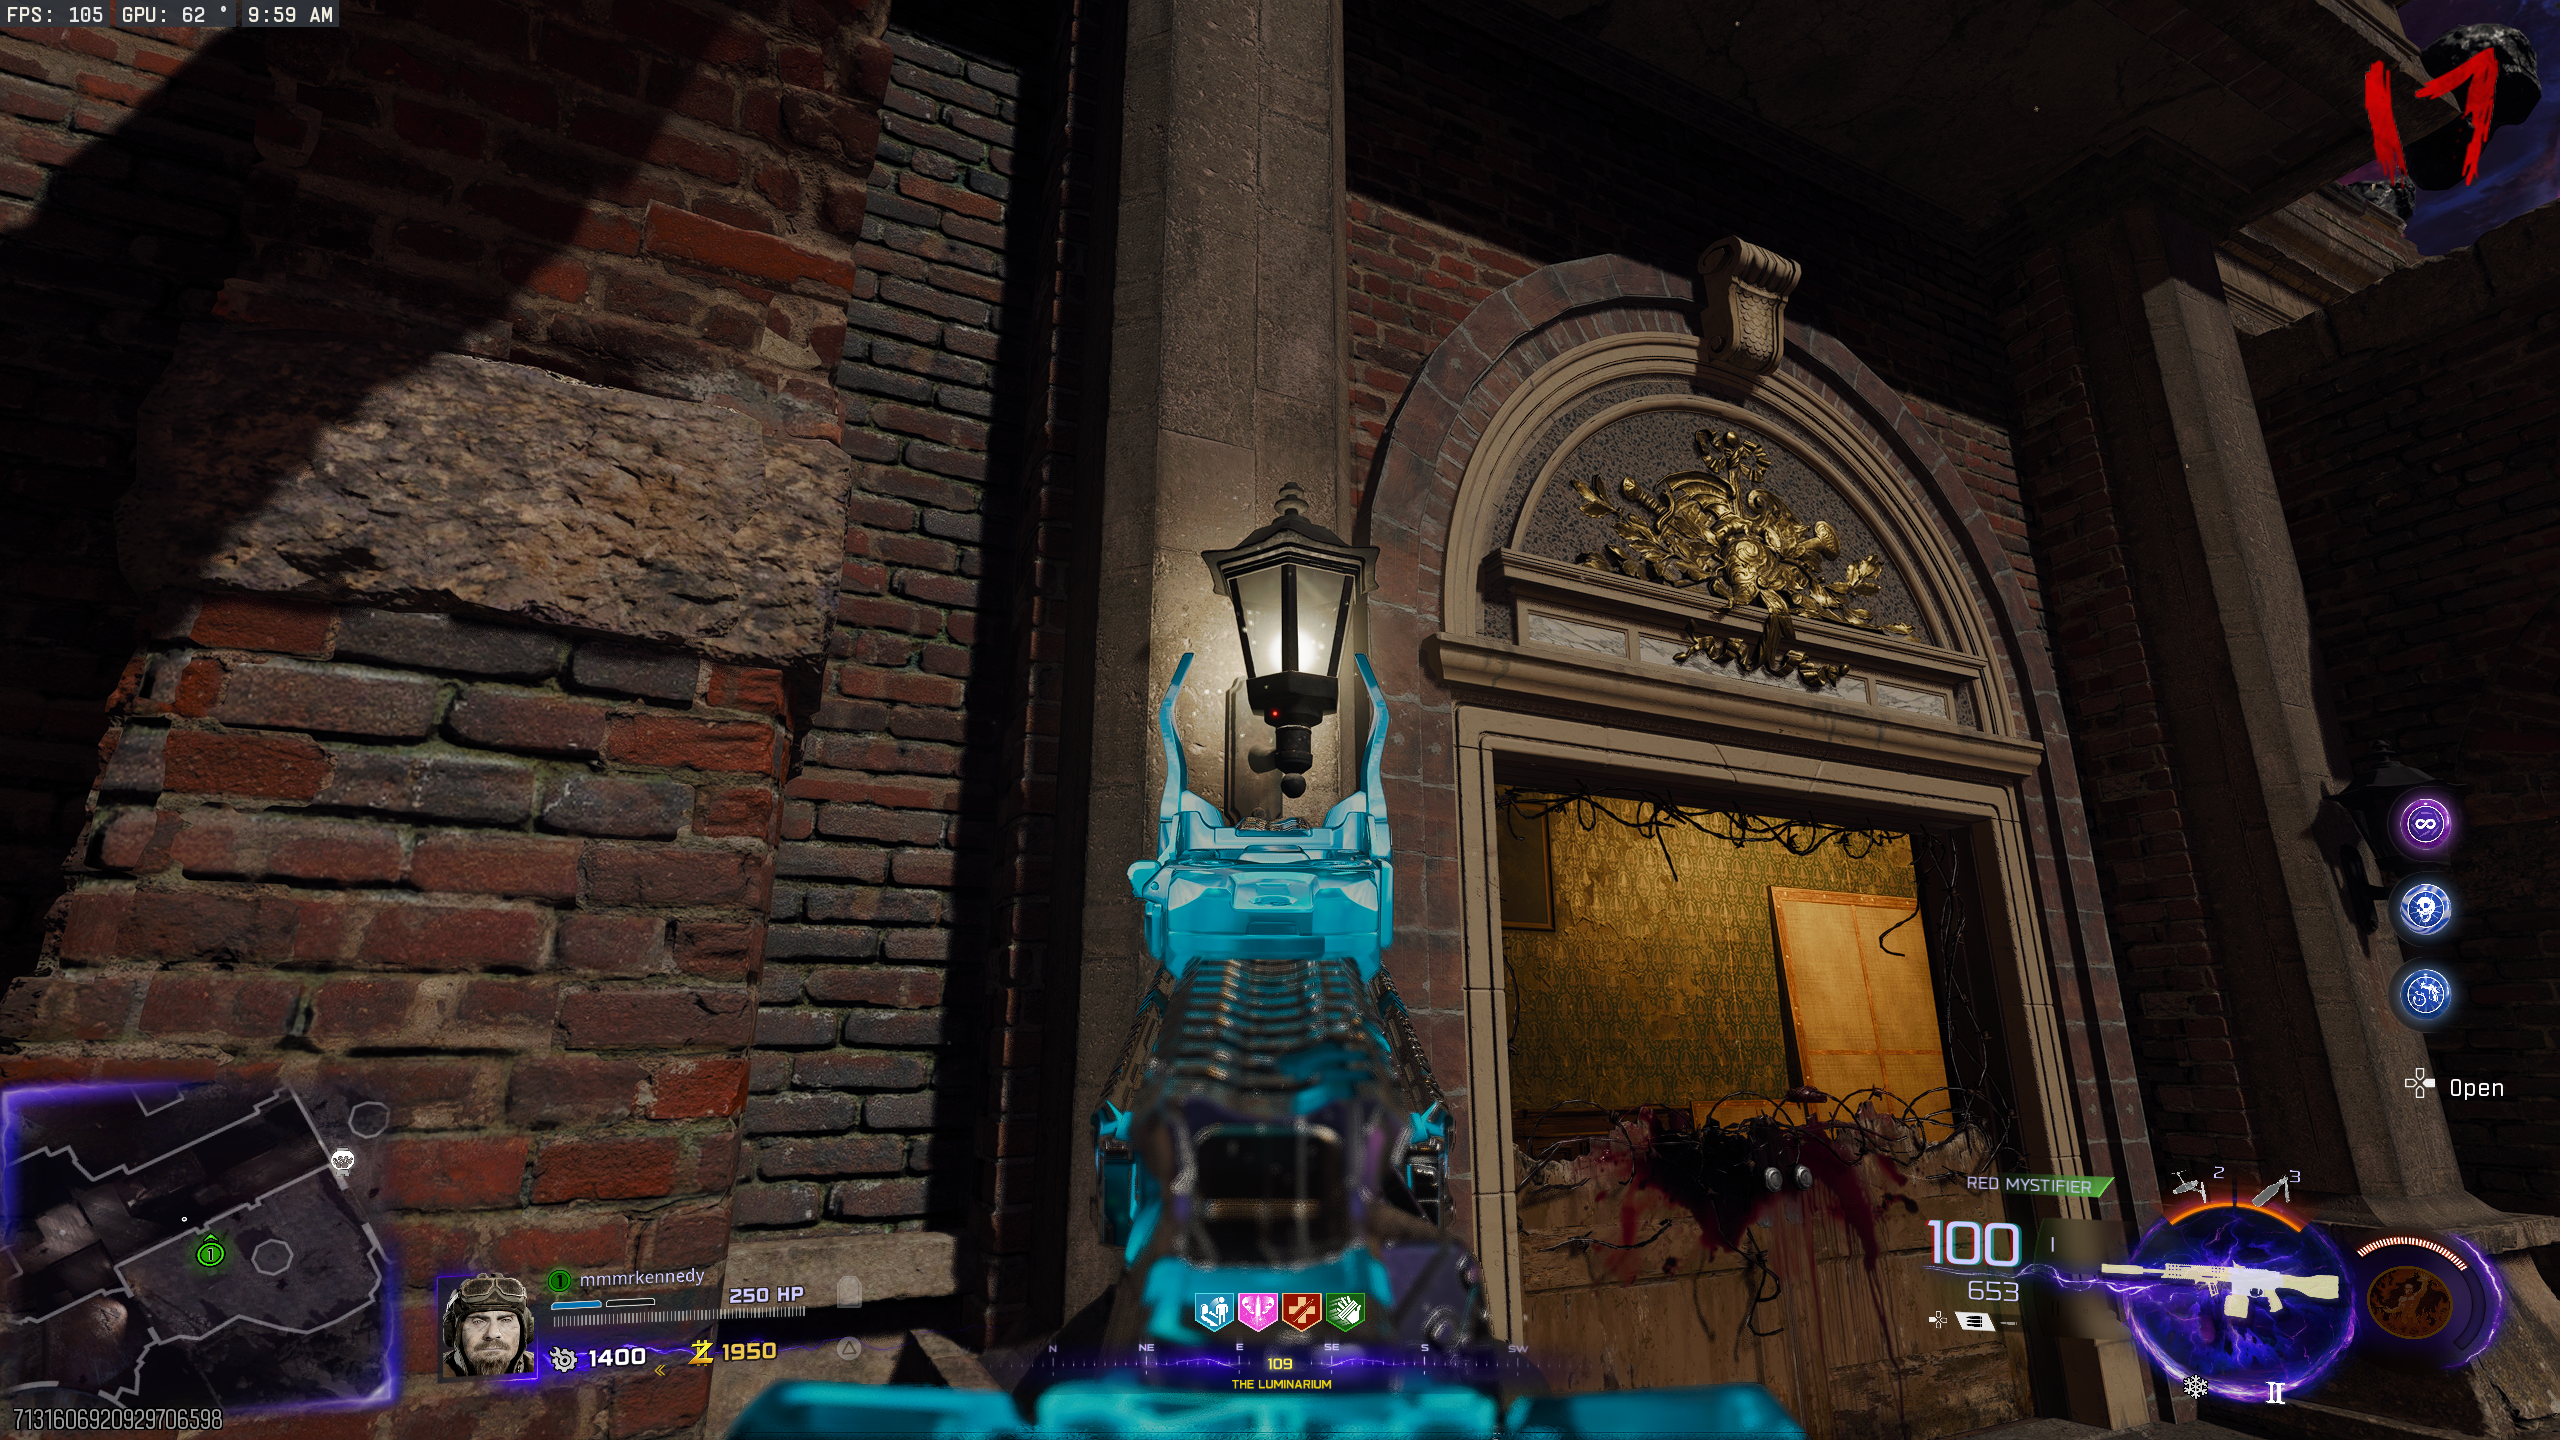
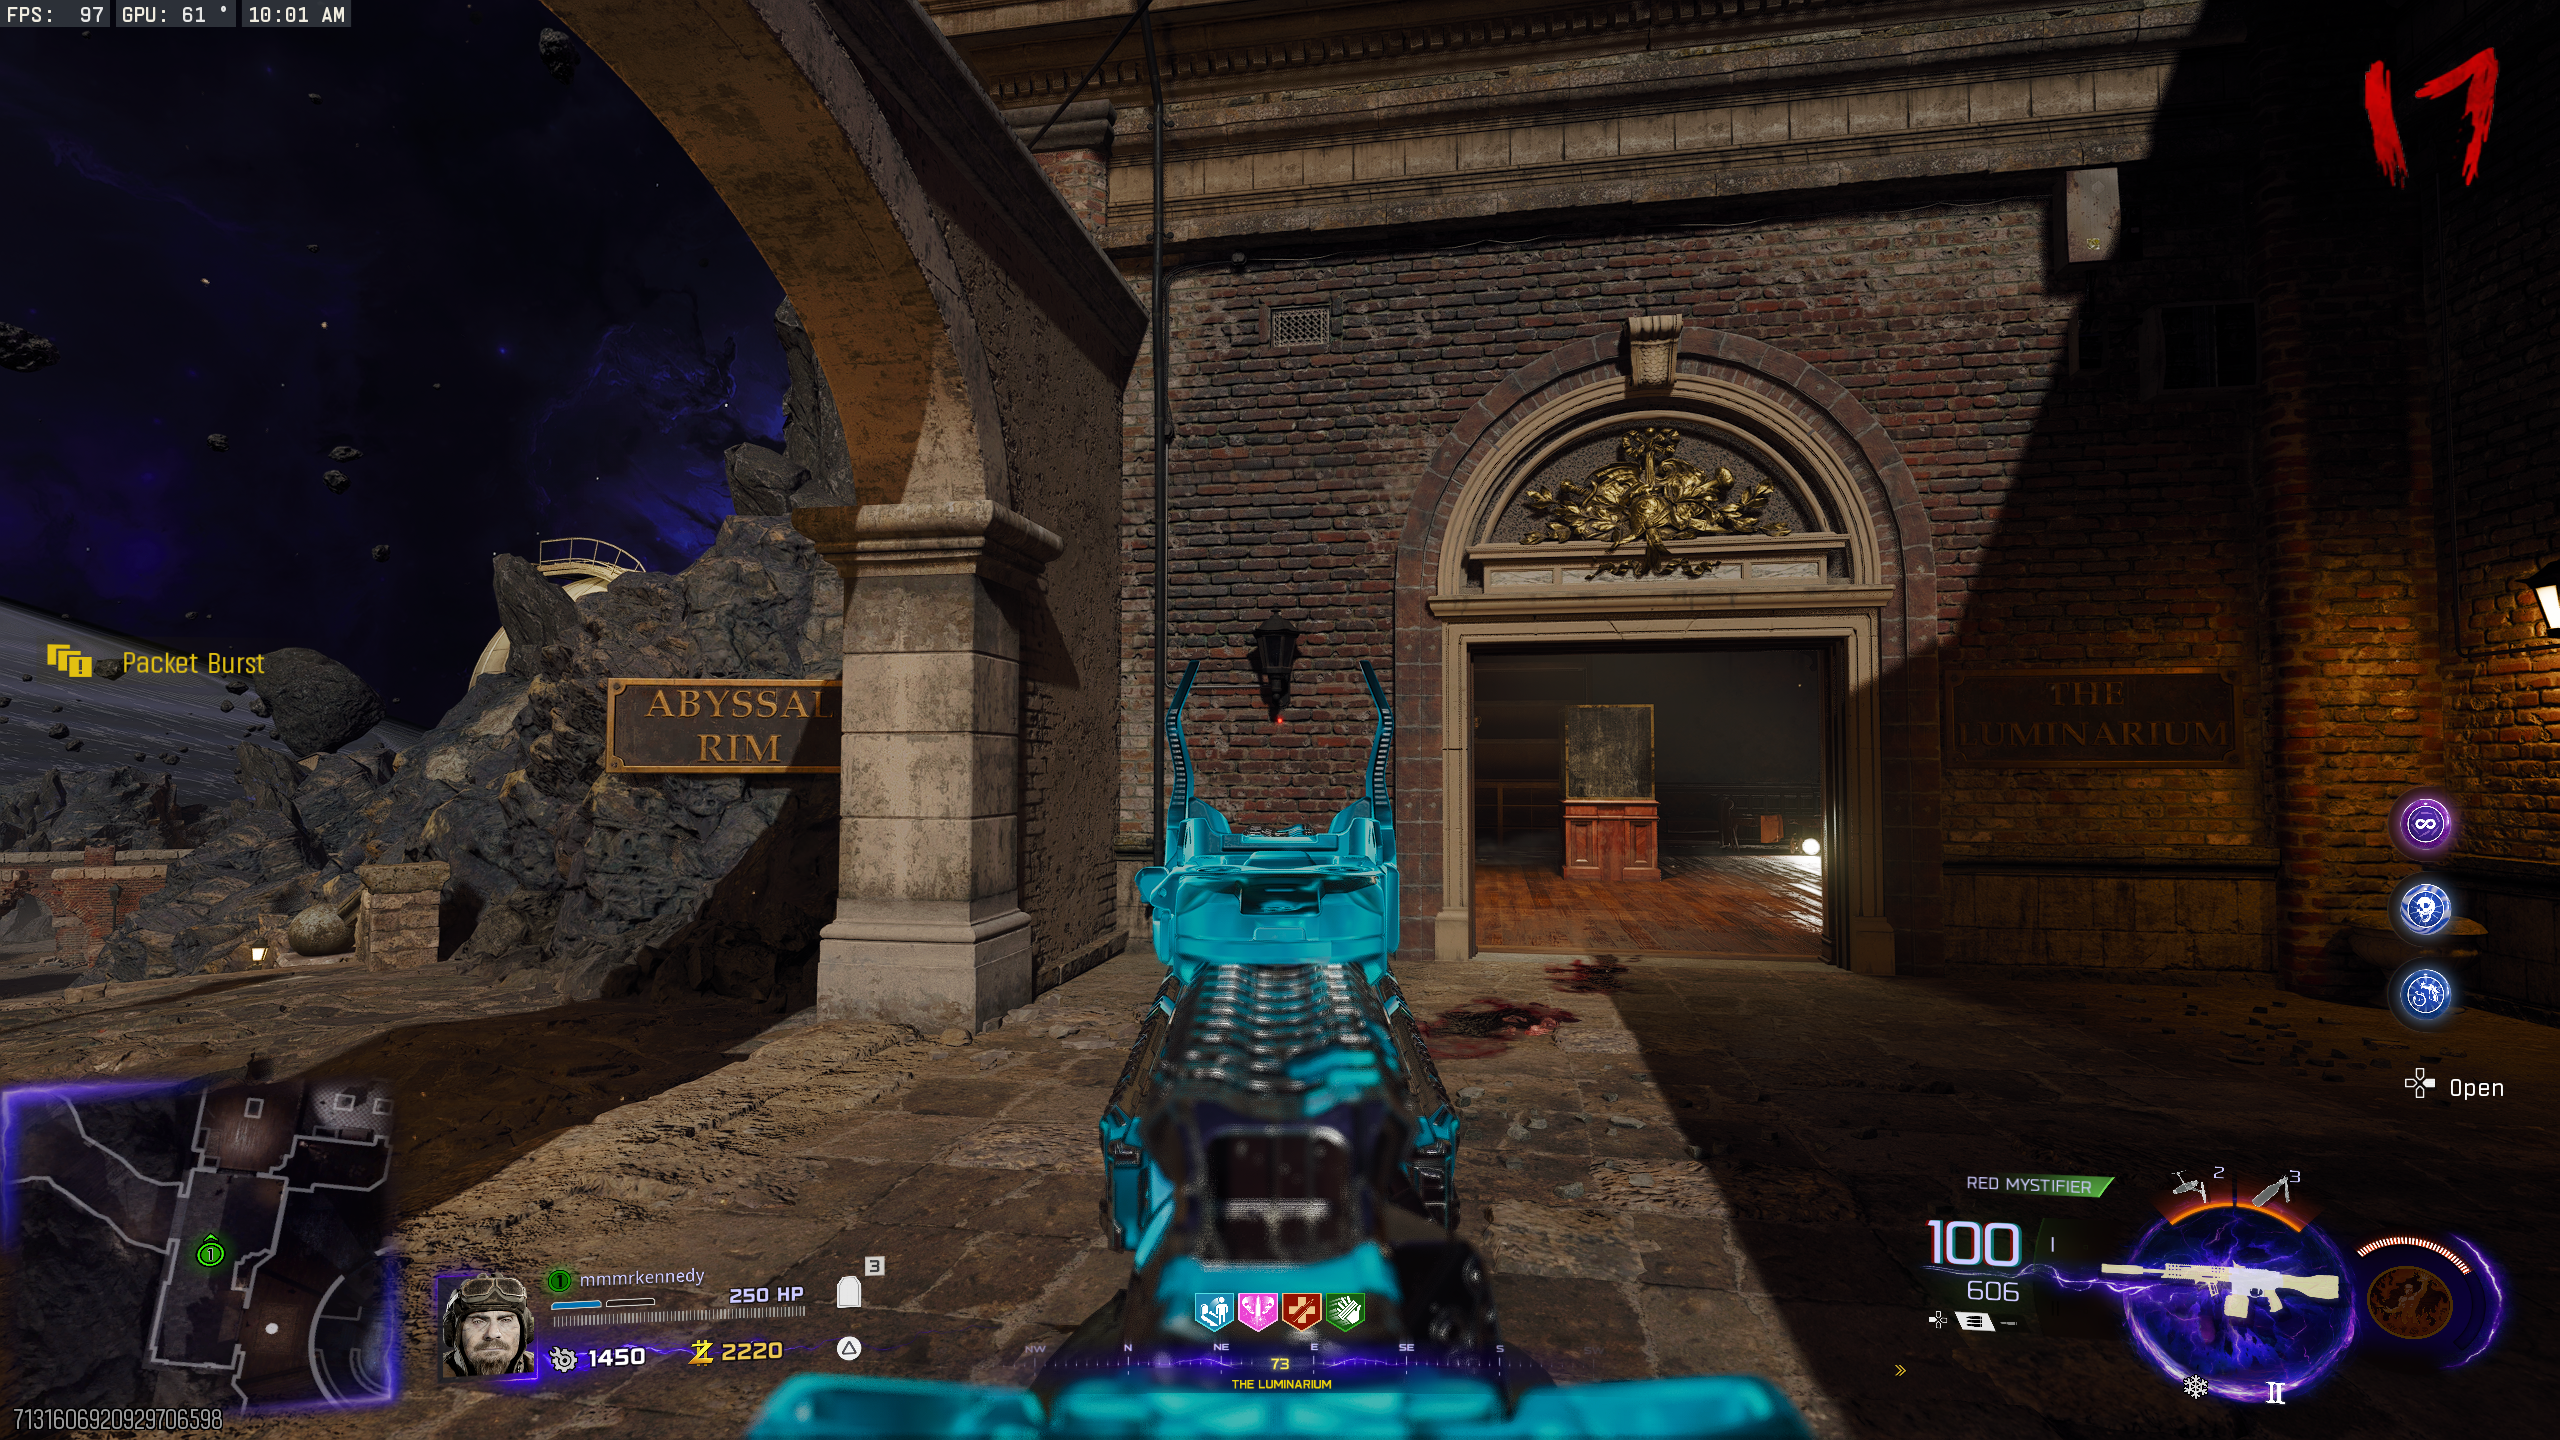
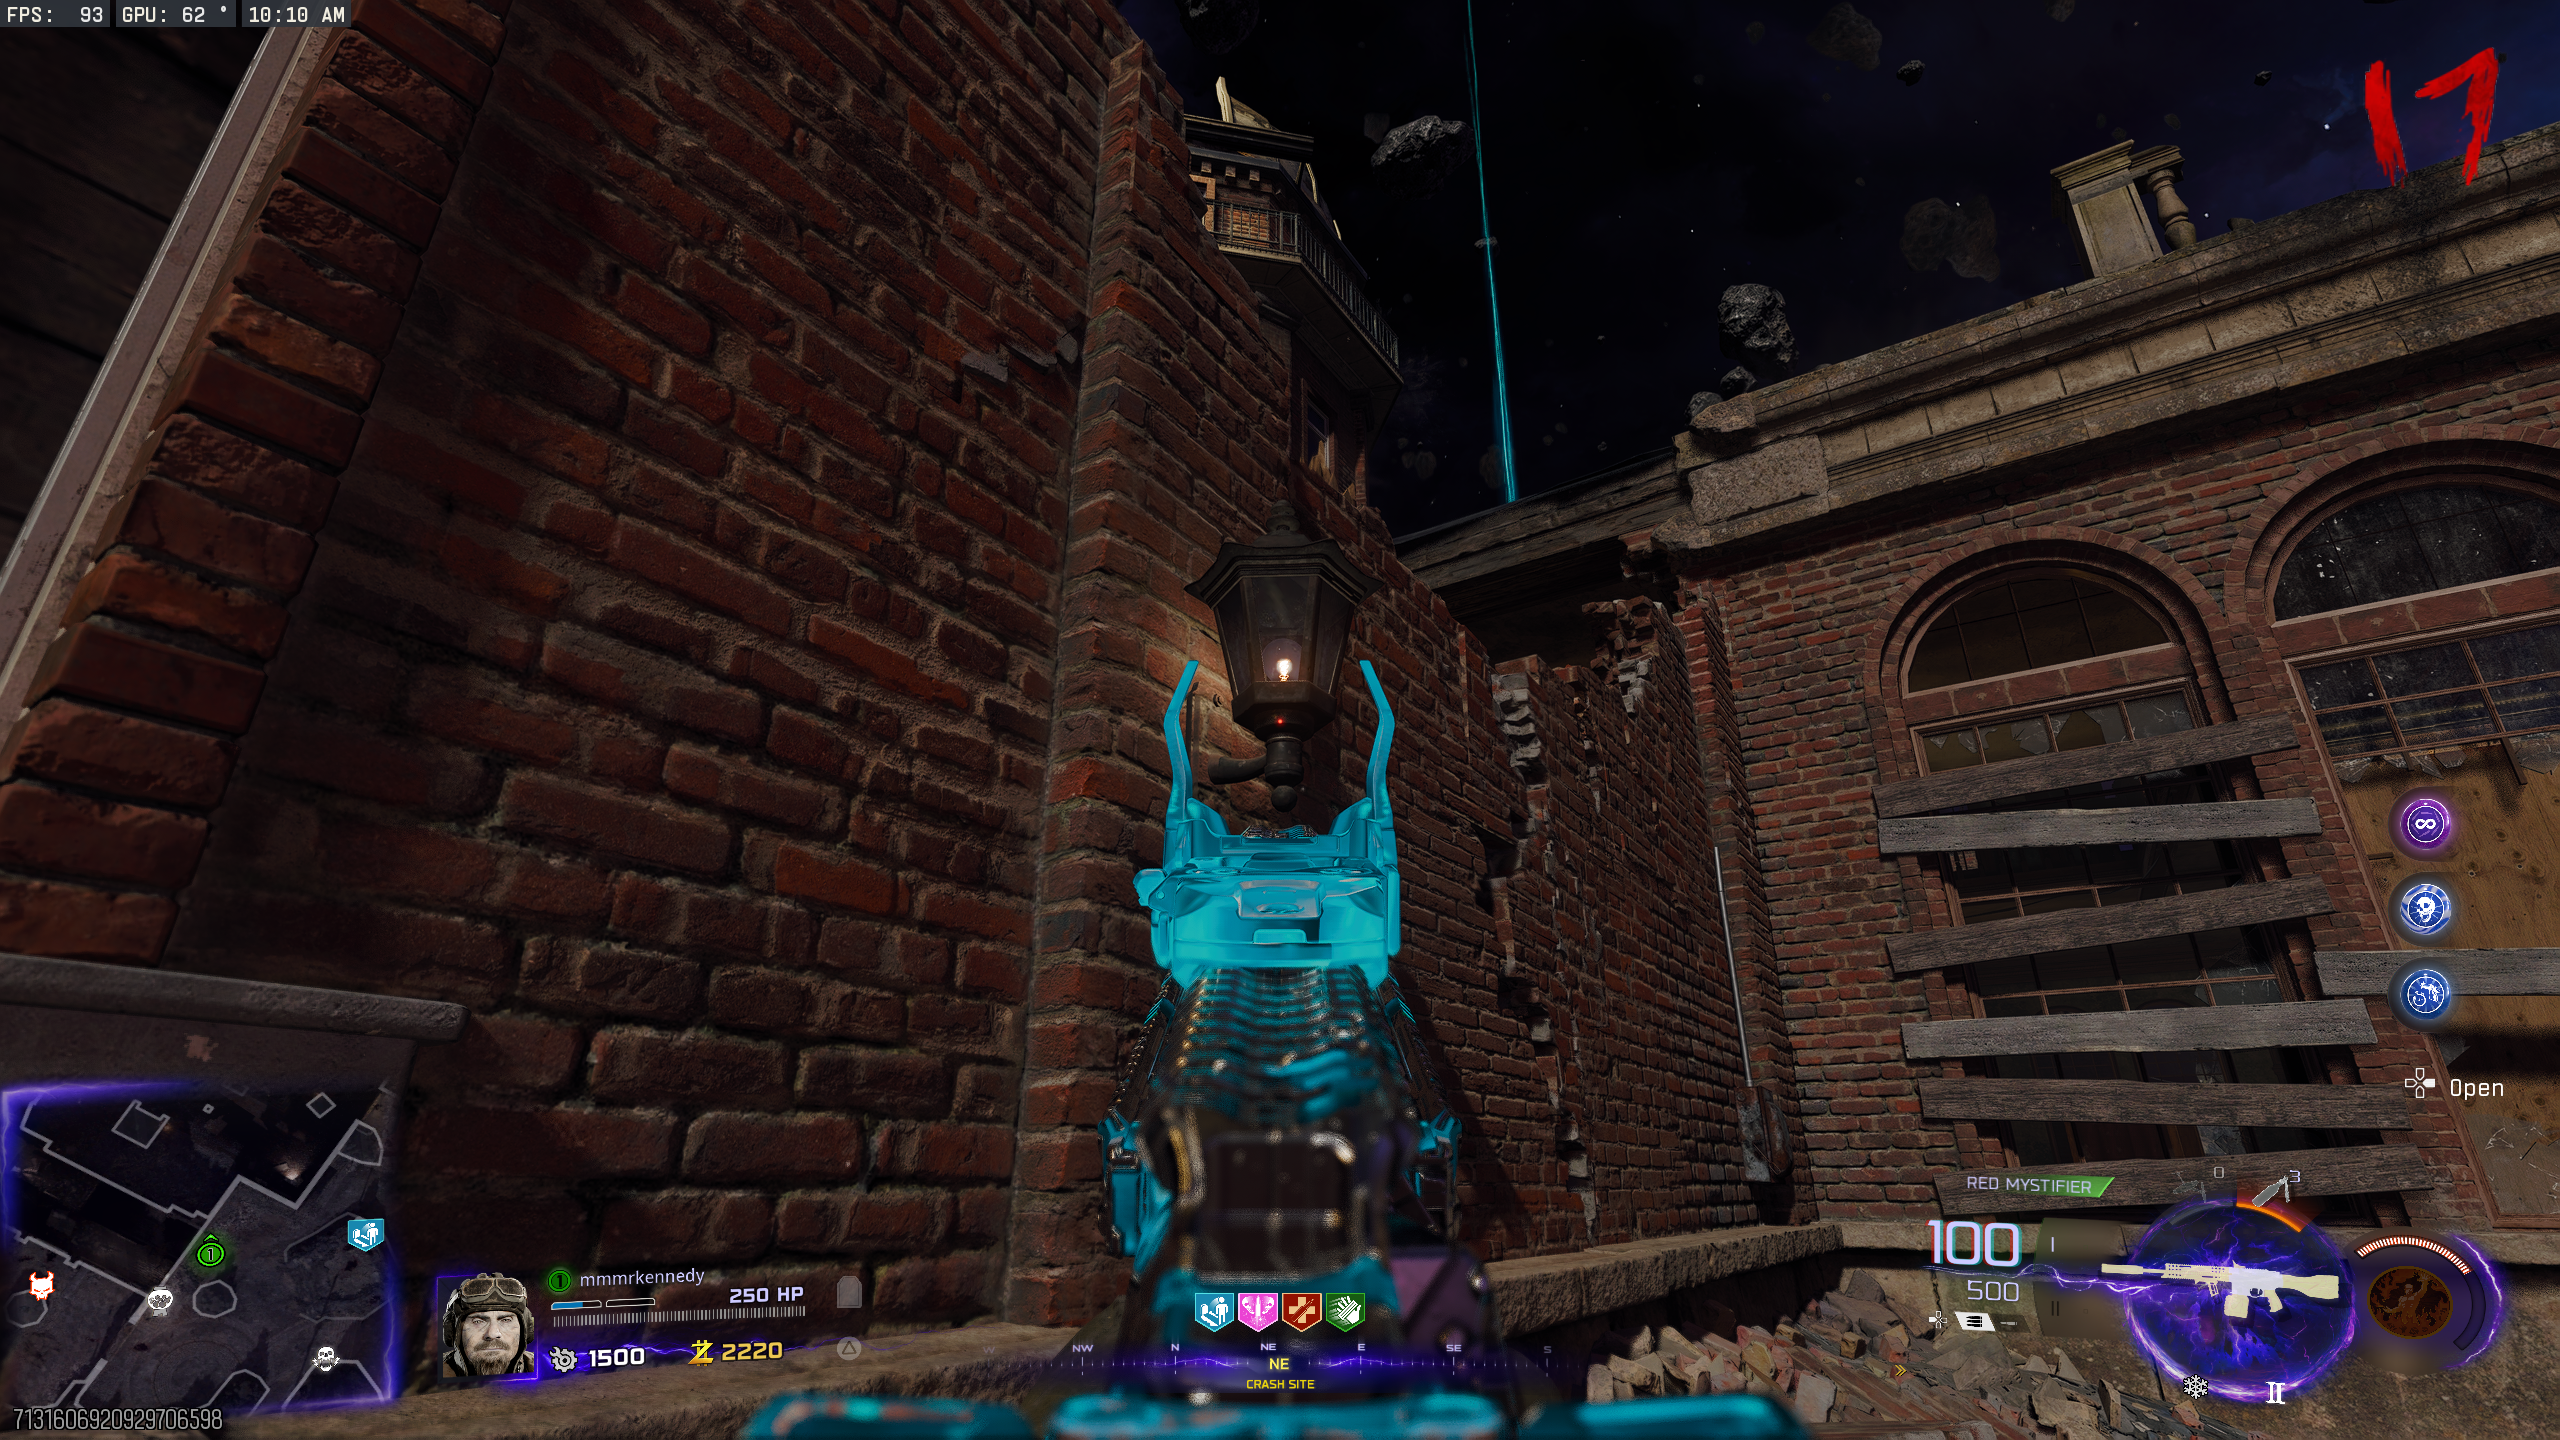
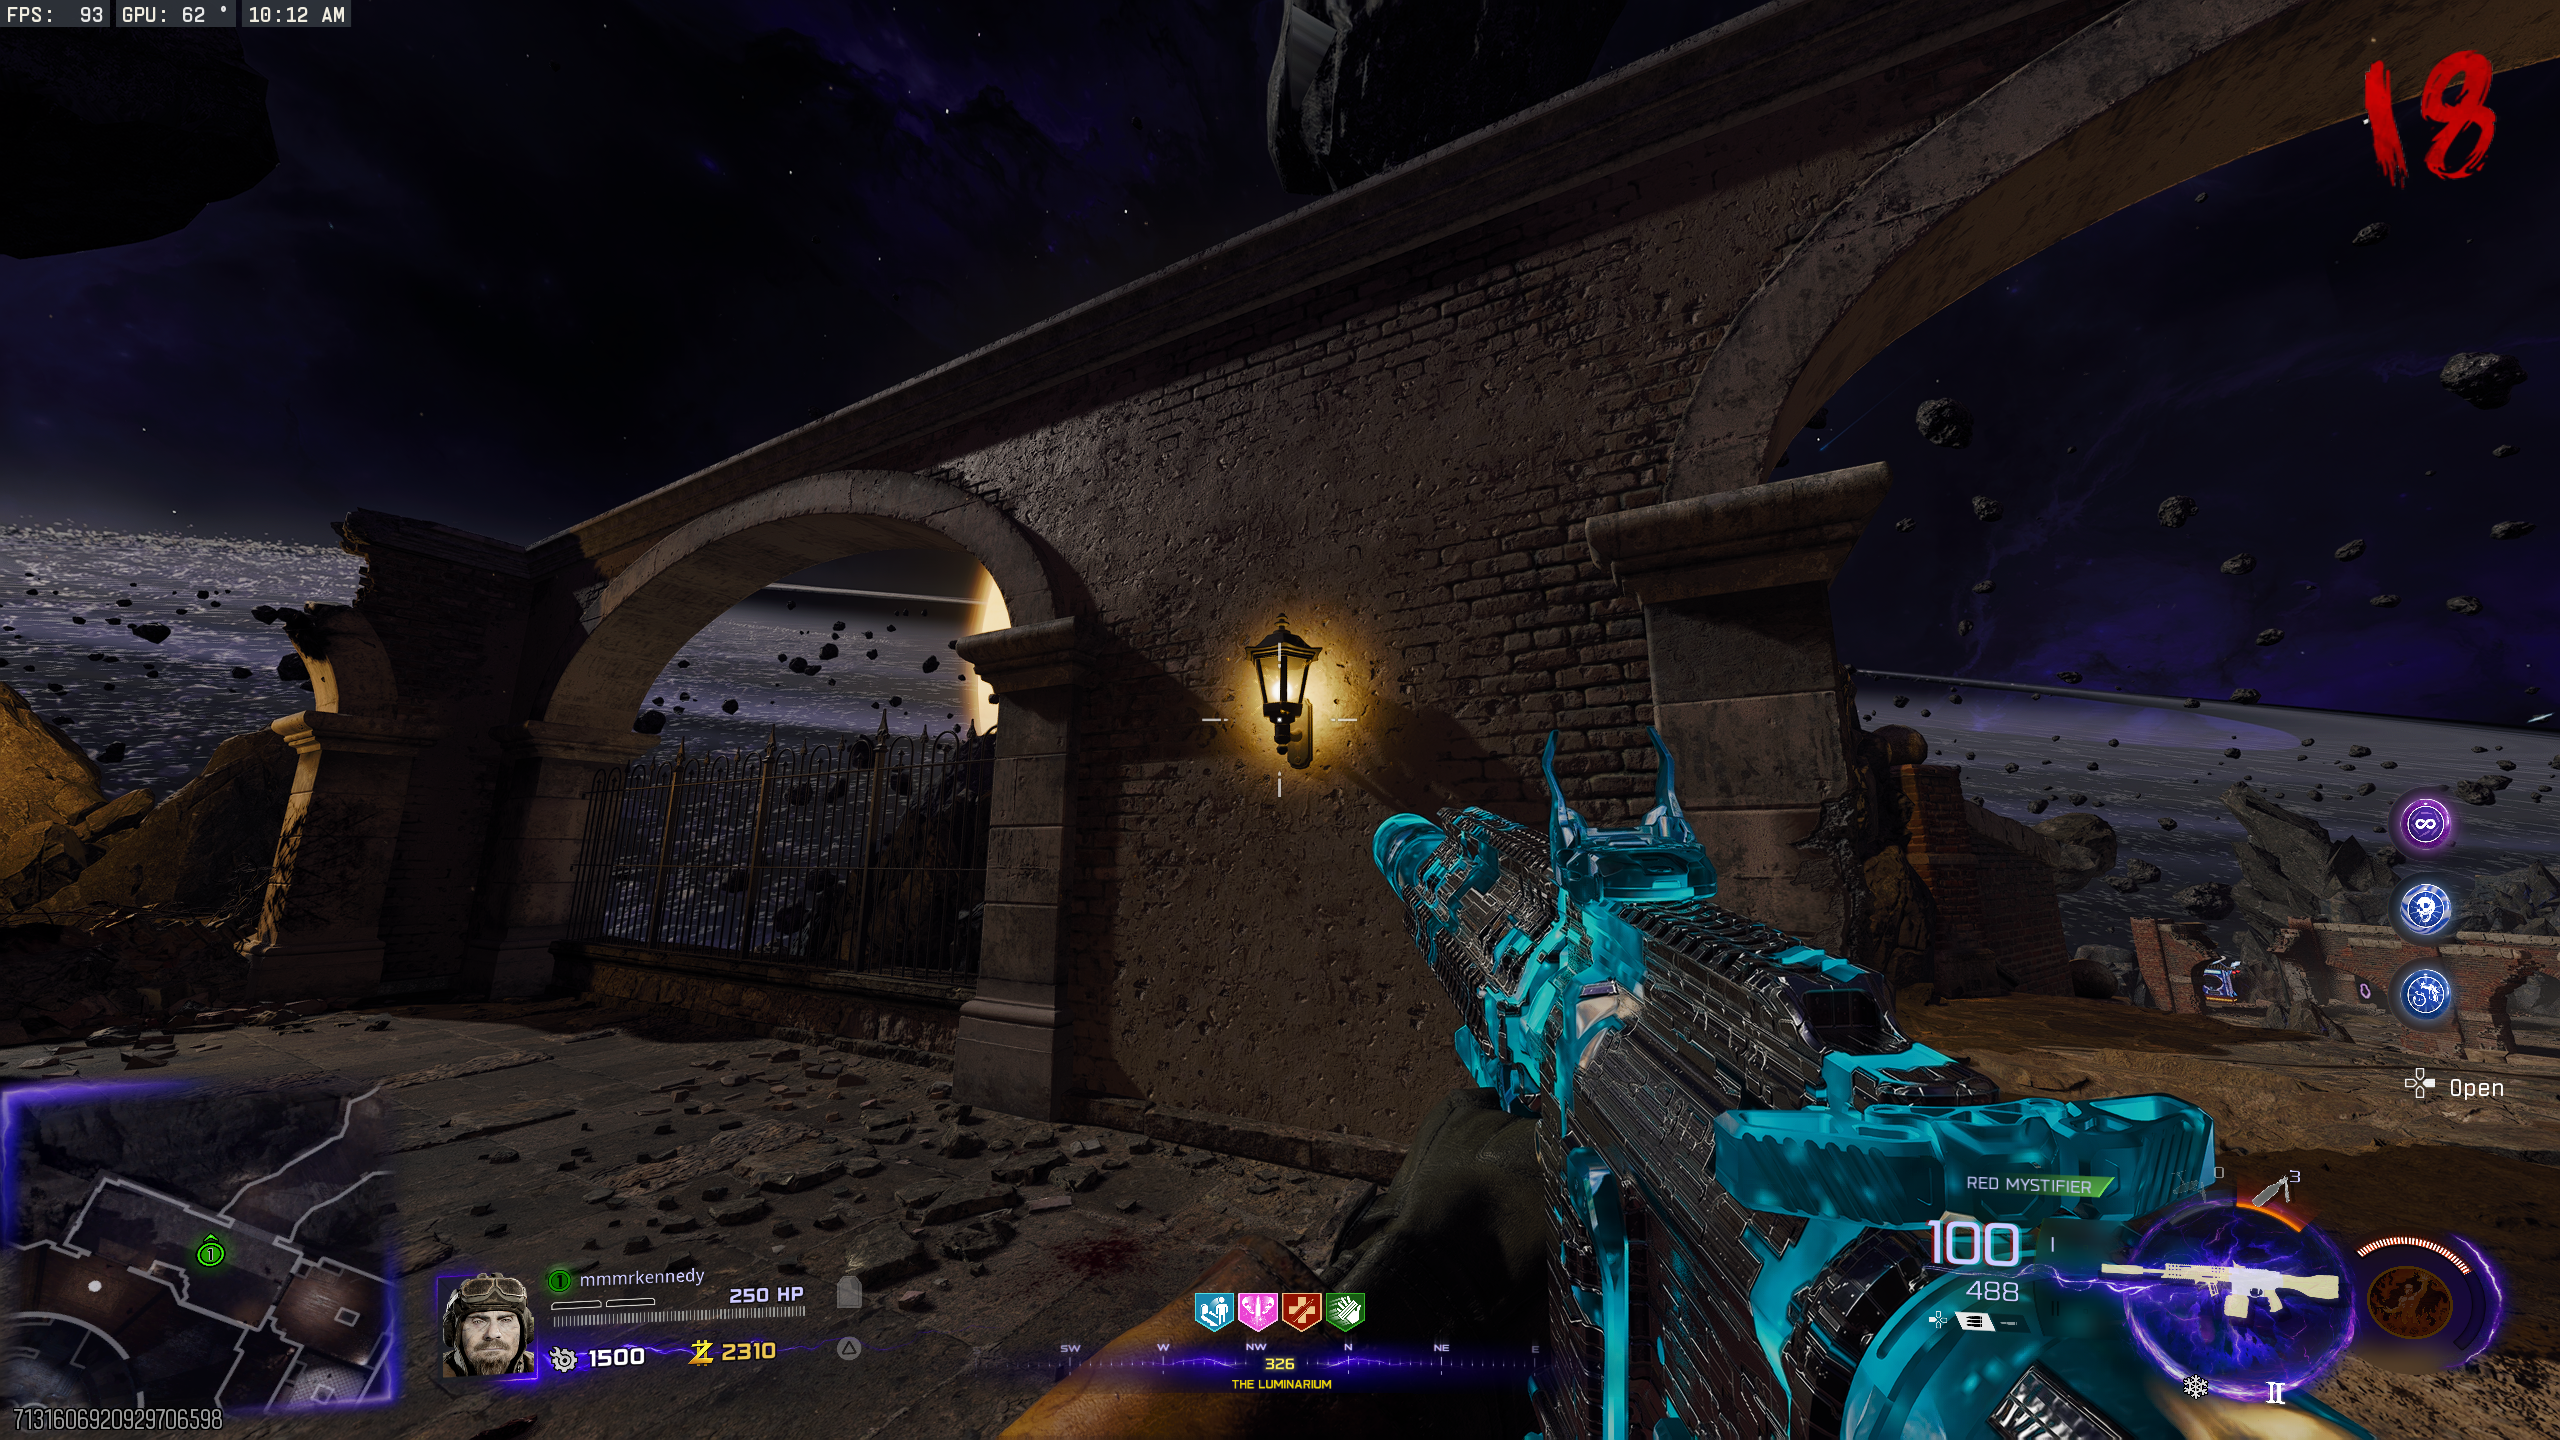
- Around the map, there are nine lanterns, one will have a white wisp inside. Aim at the wisp for a few seconds to collect it. The wisp will now orbit around you. Lantern locations:
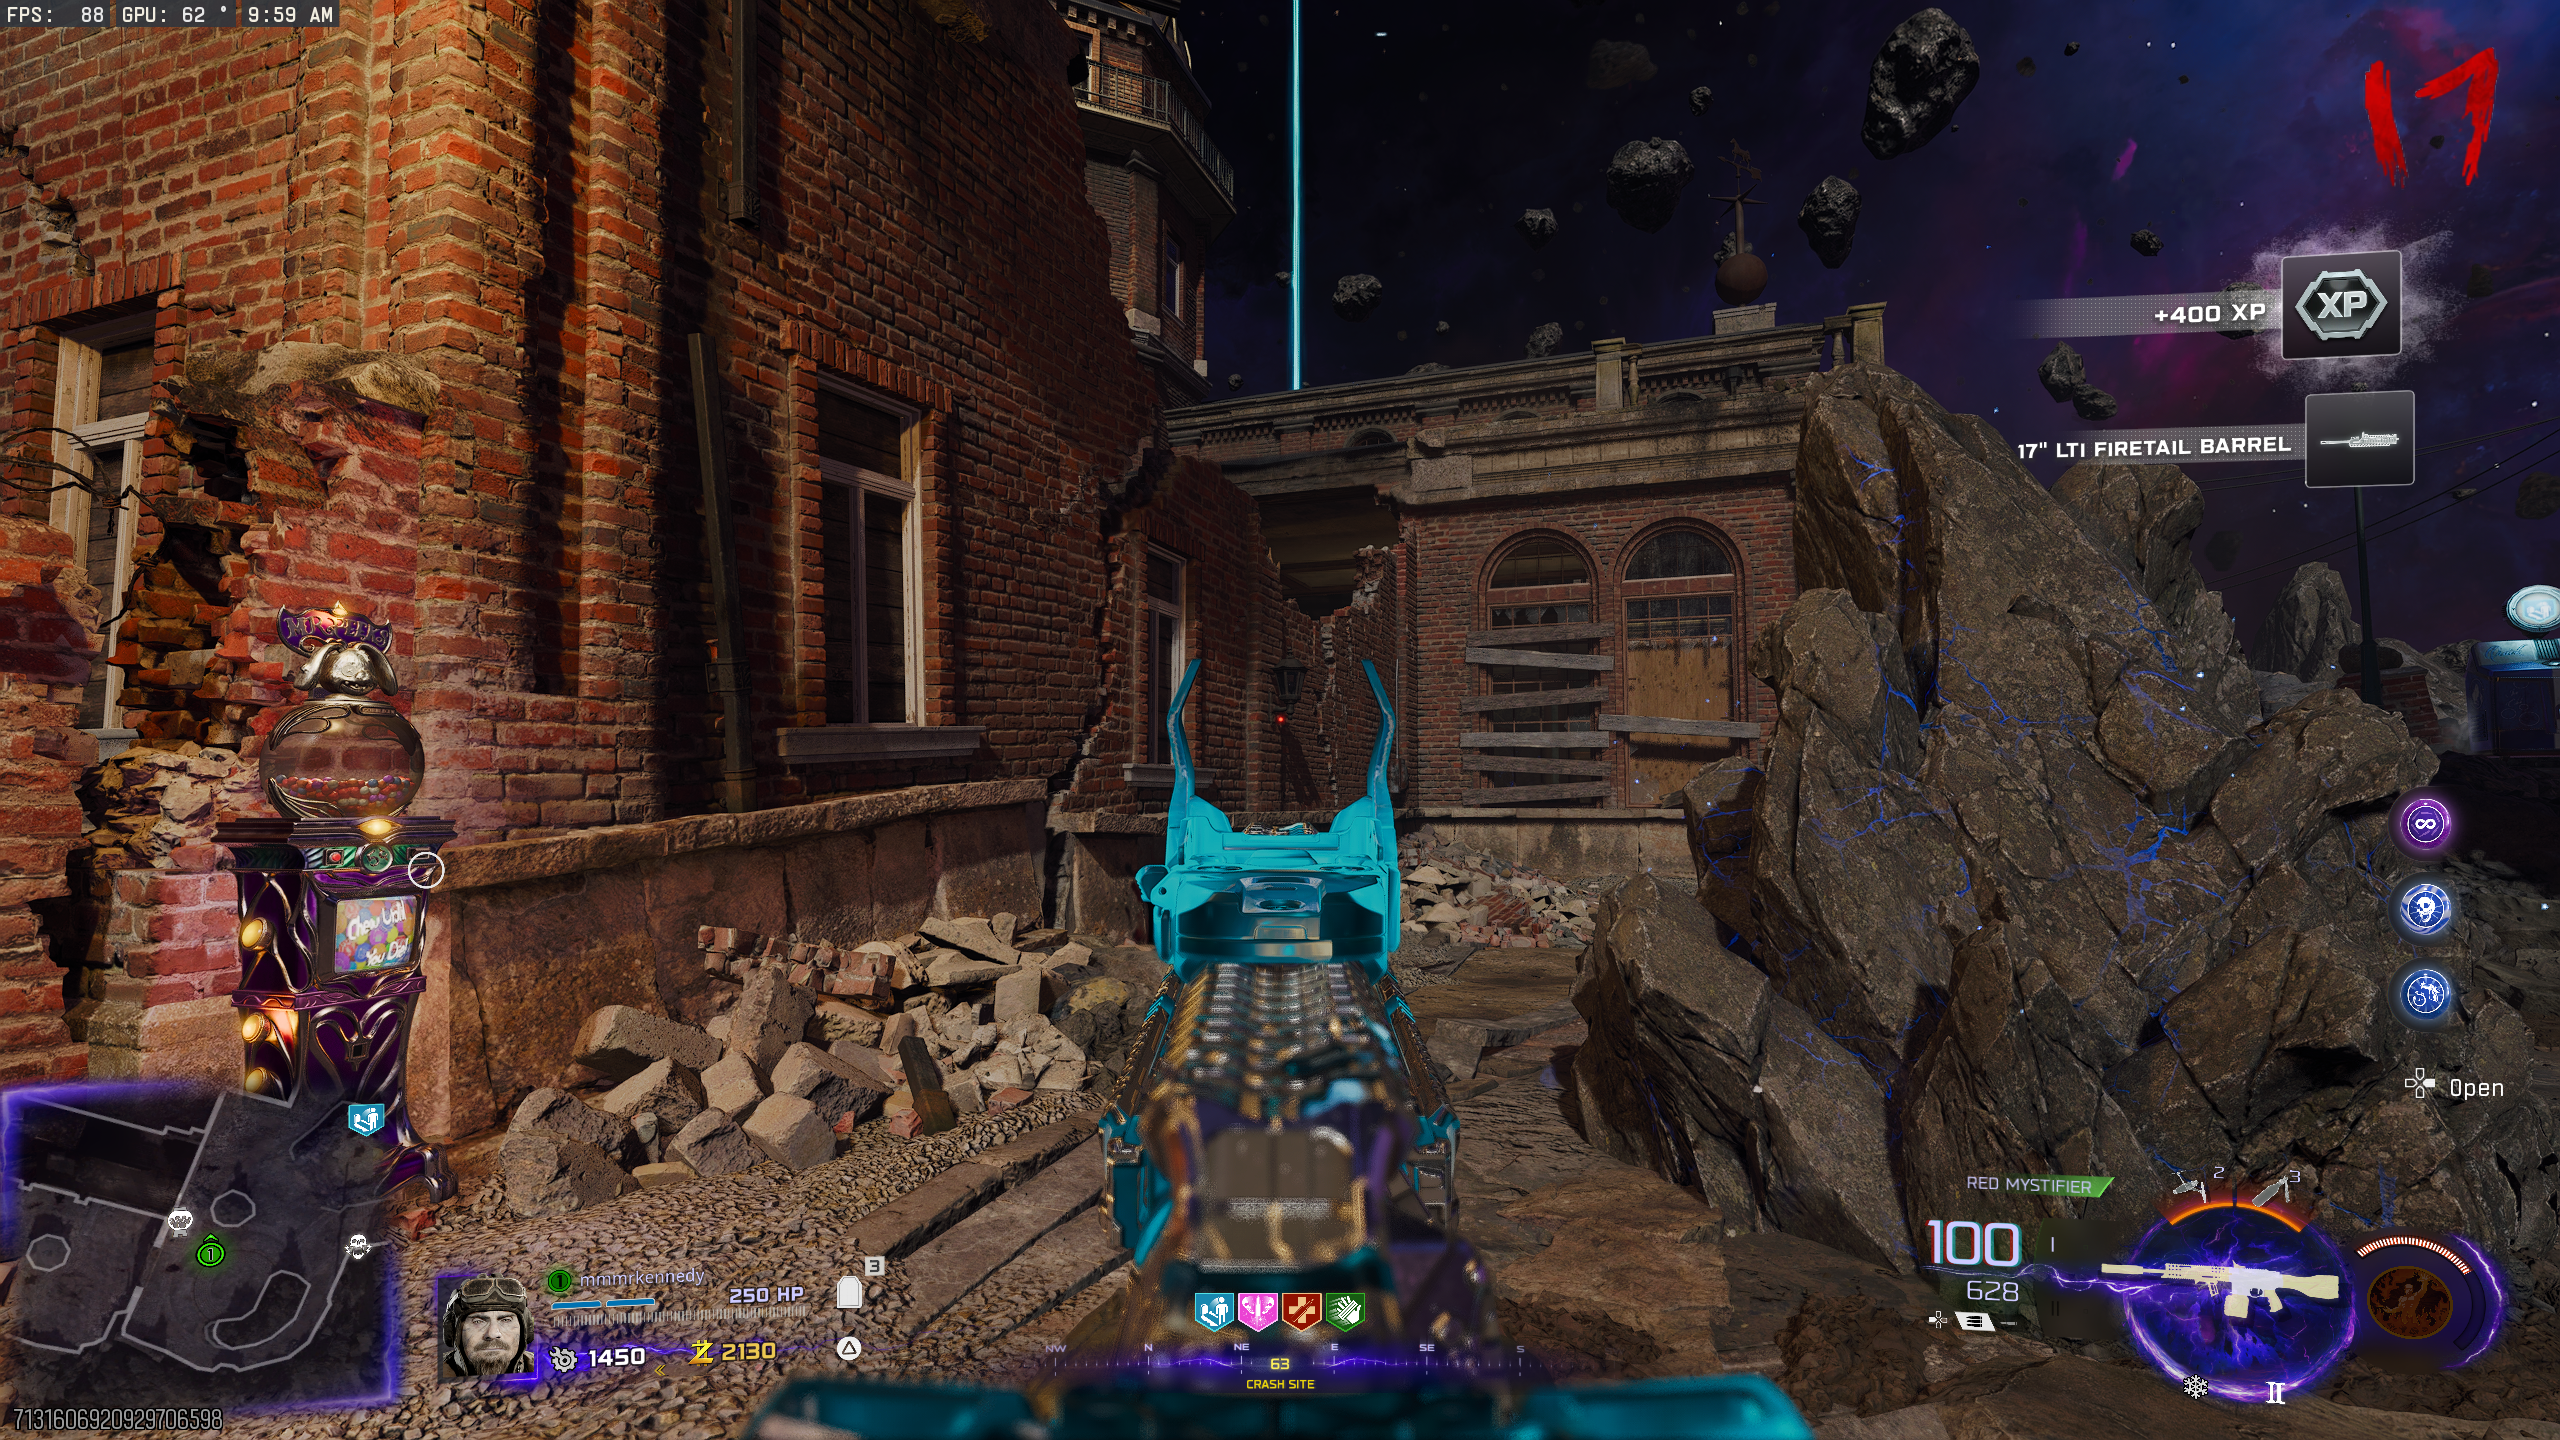
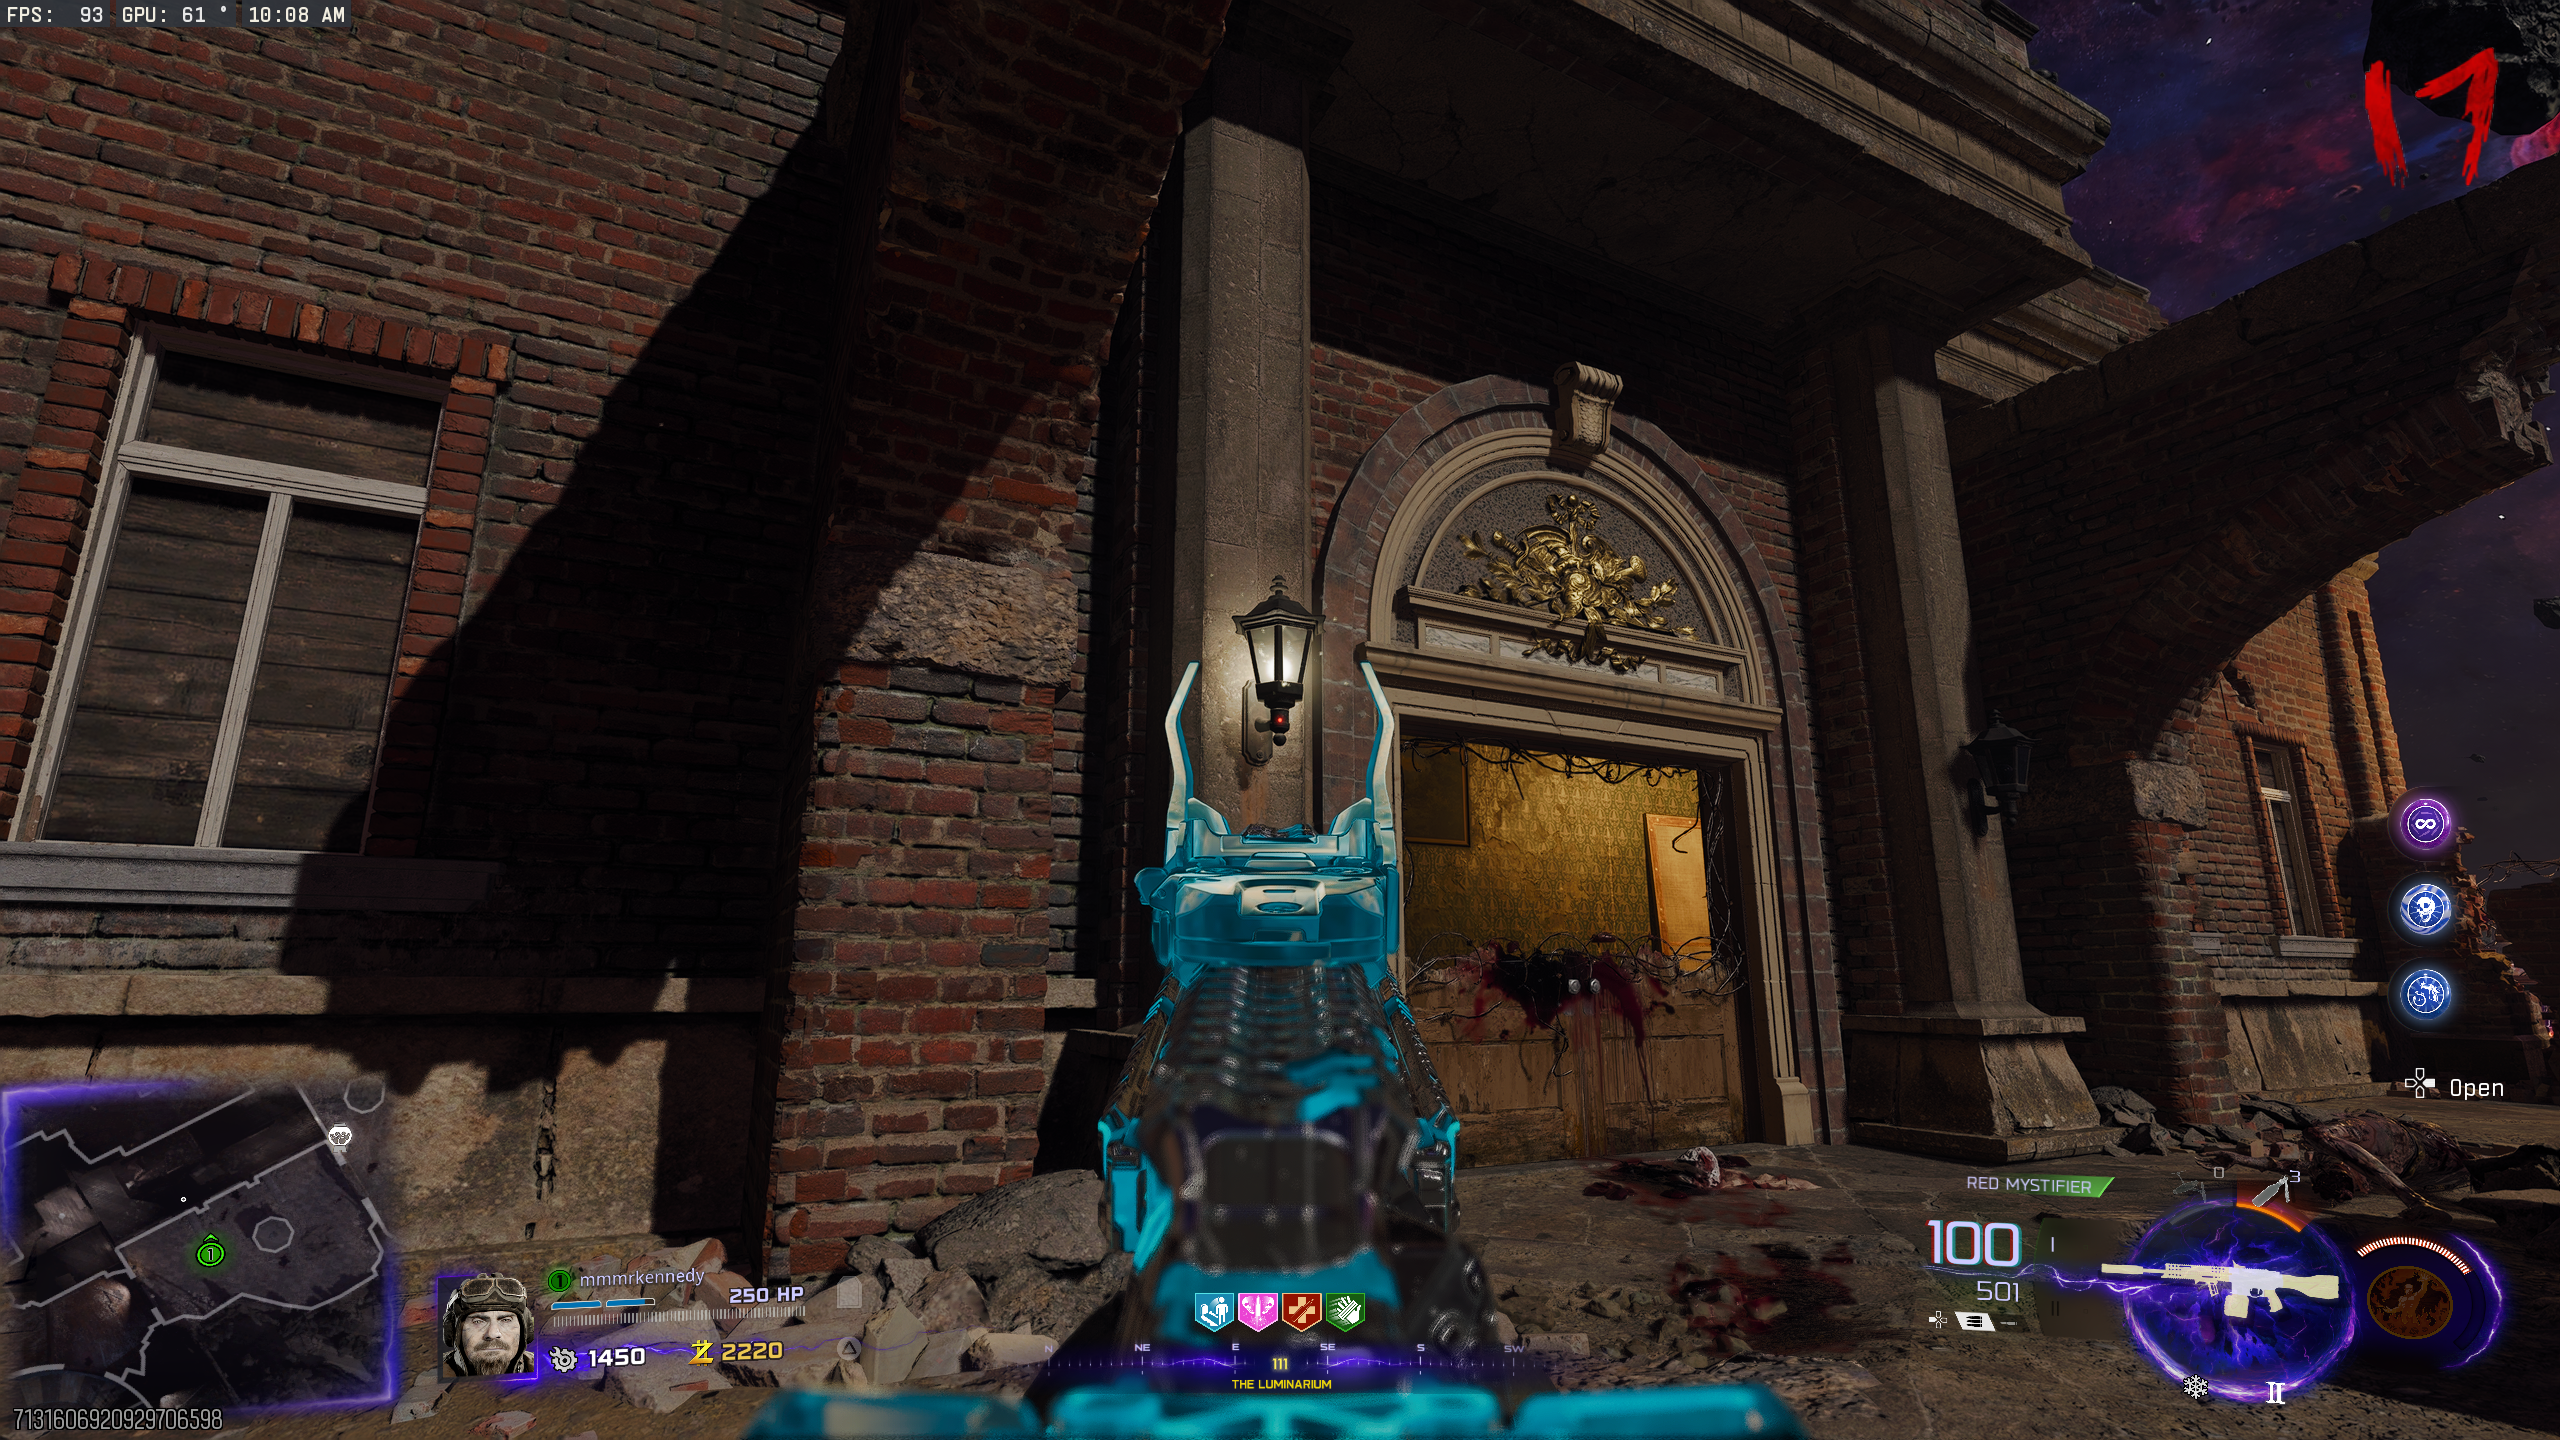
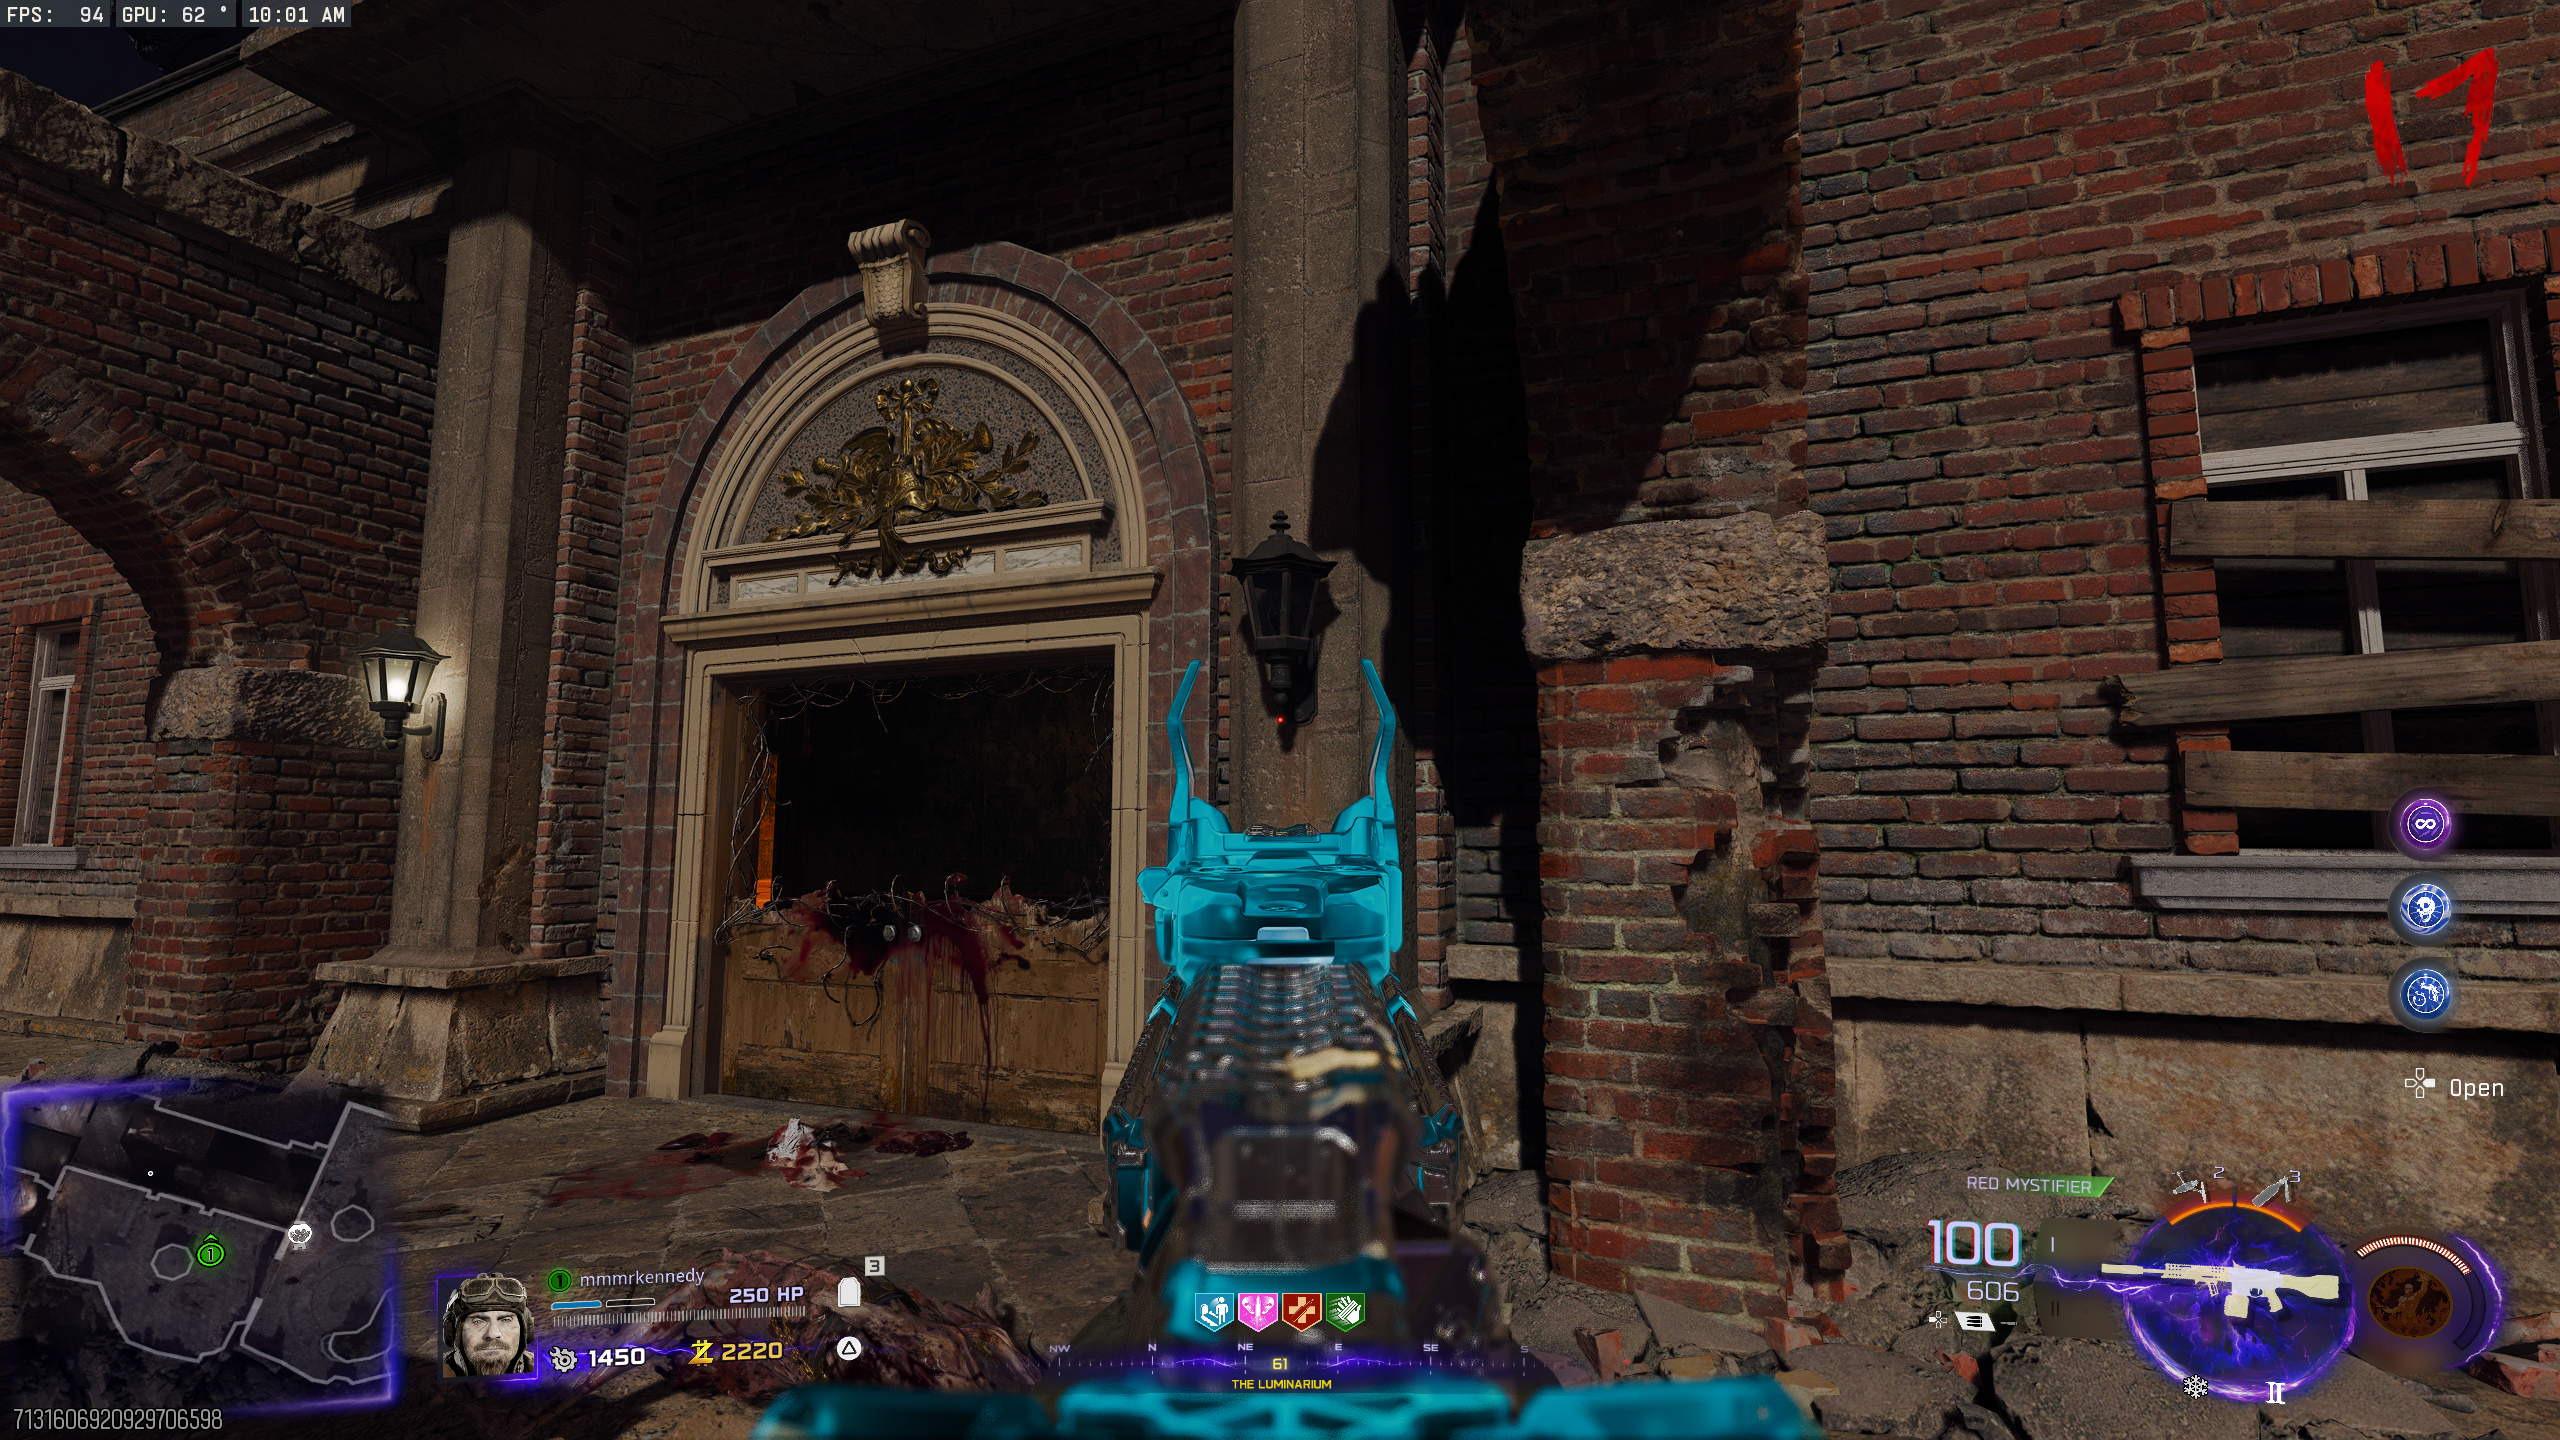
- Crash Site - Right of the Gobblegum machine
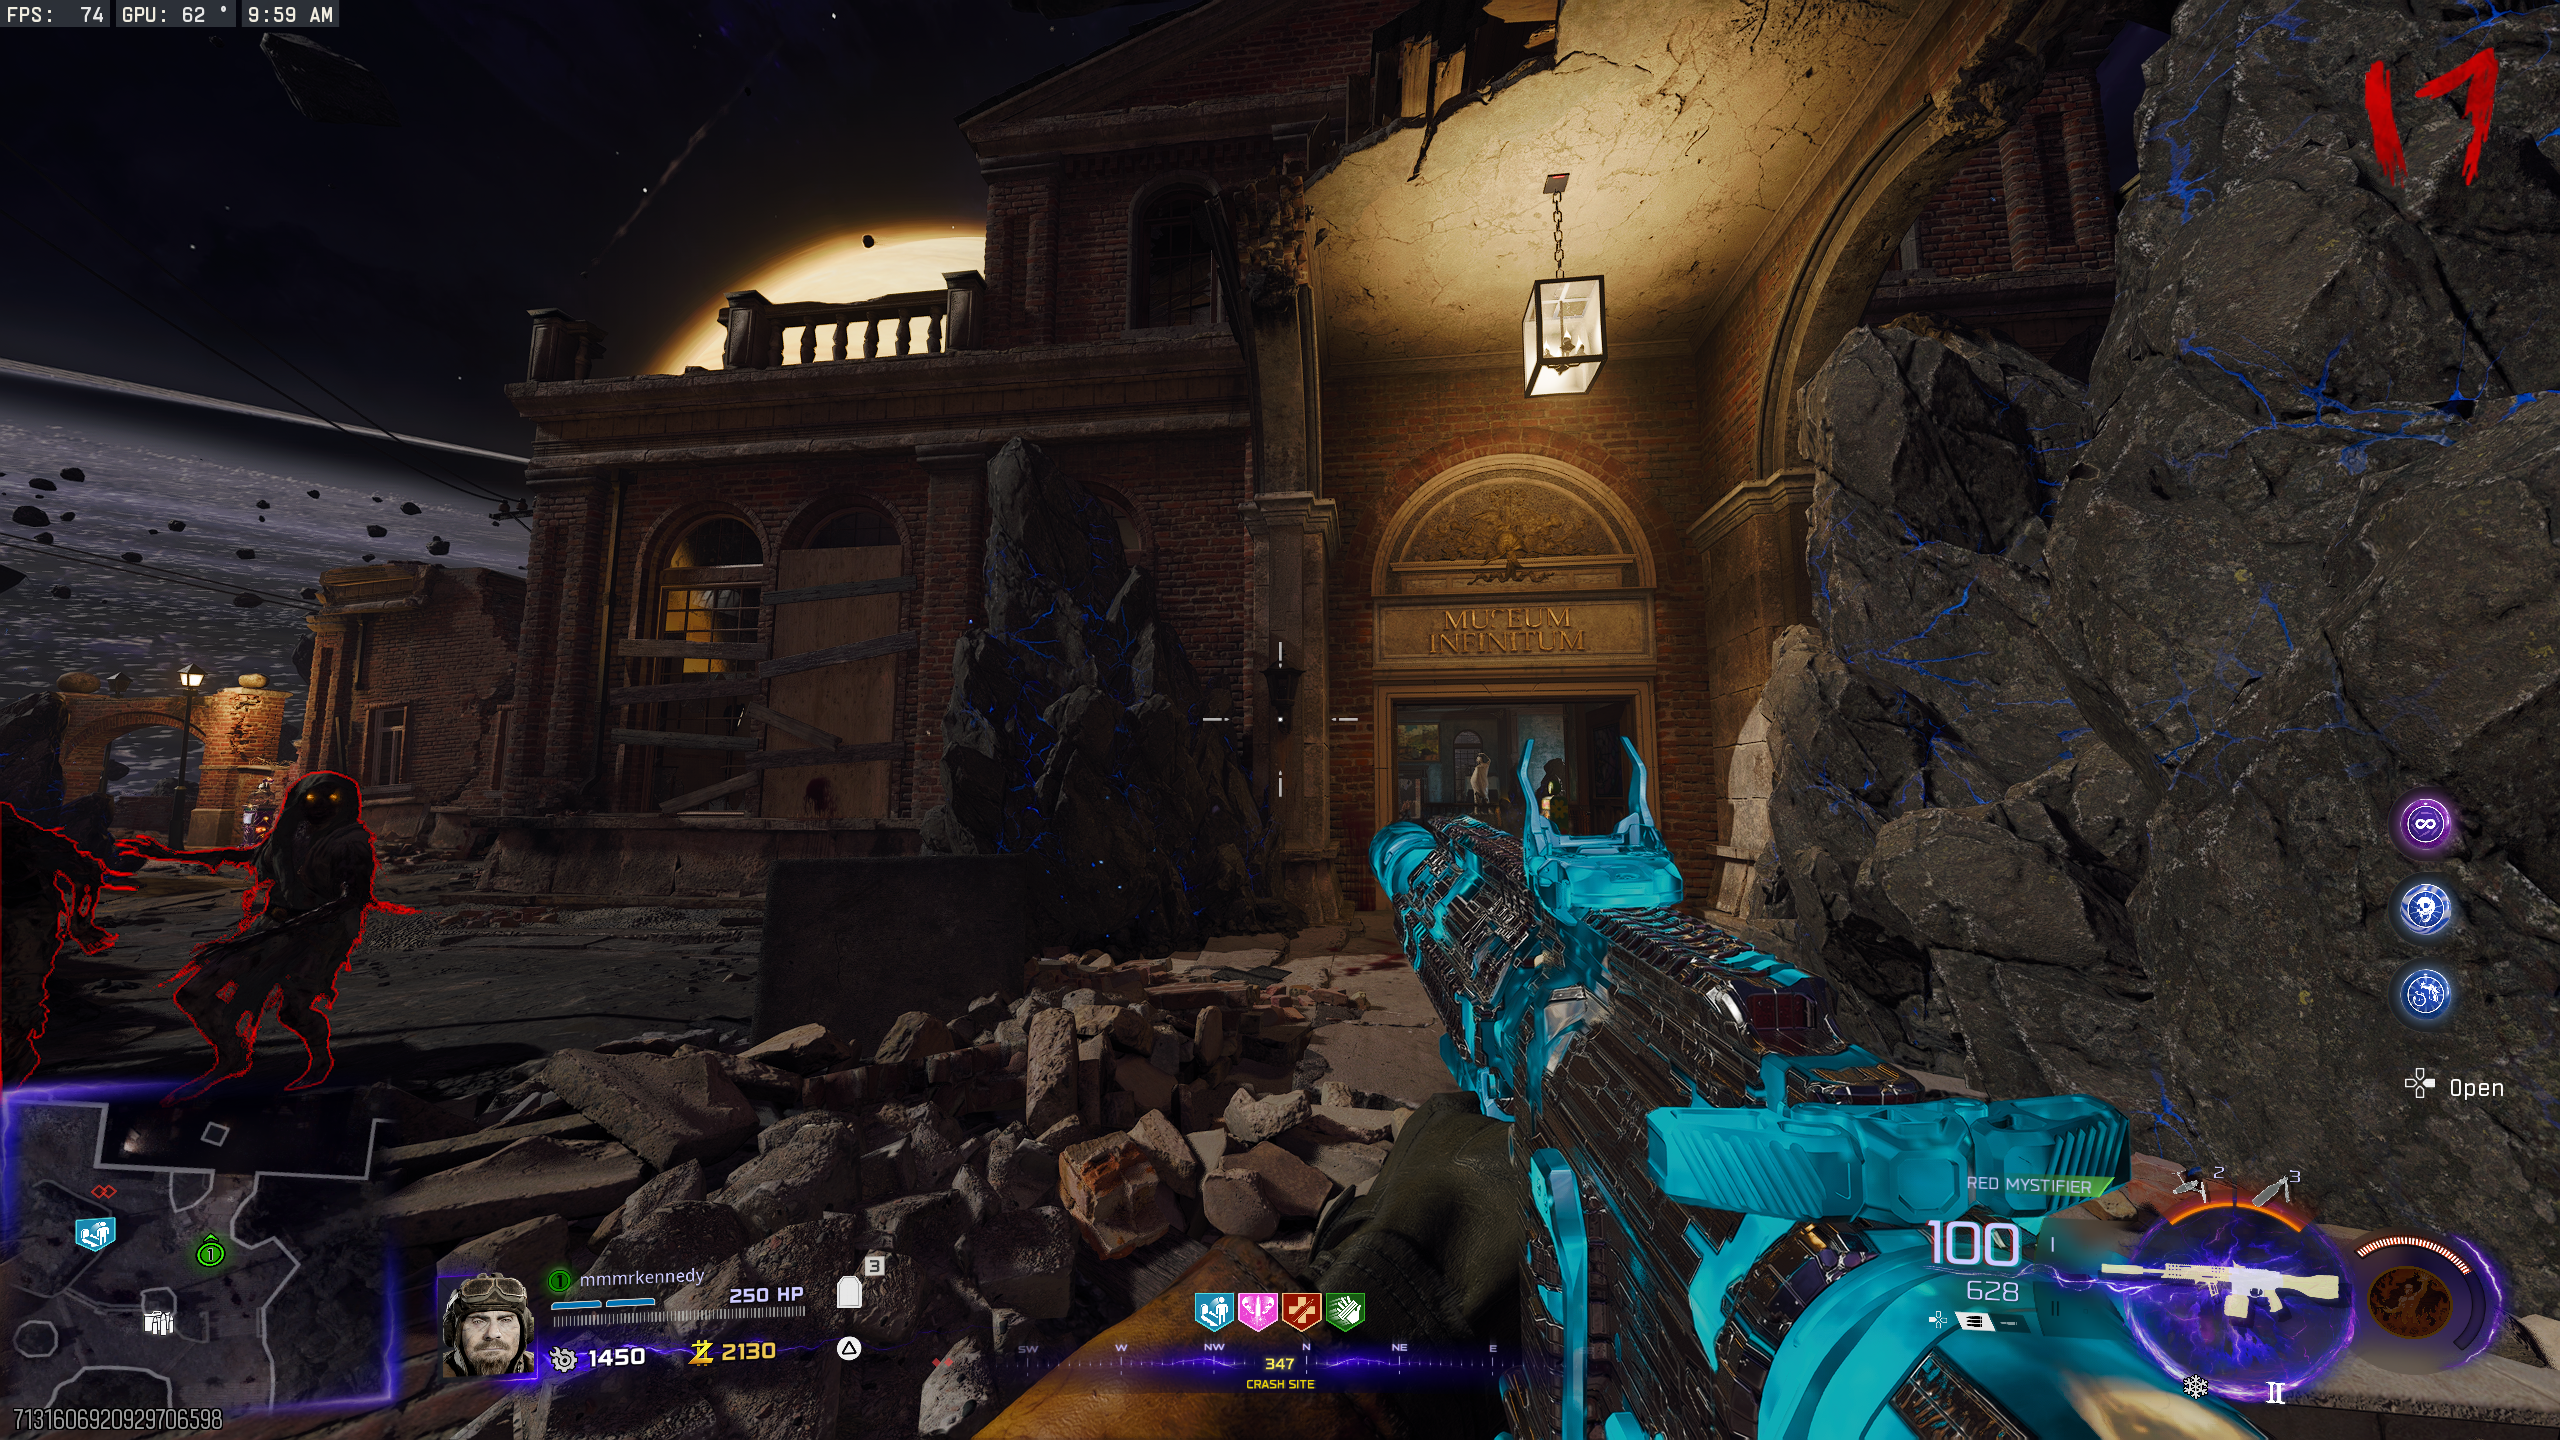
- Crash Site - On the left side of the doorway to the 'Museum Infinitum'
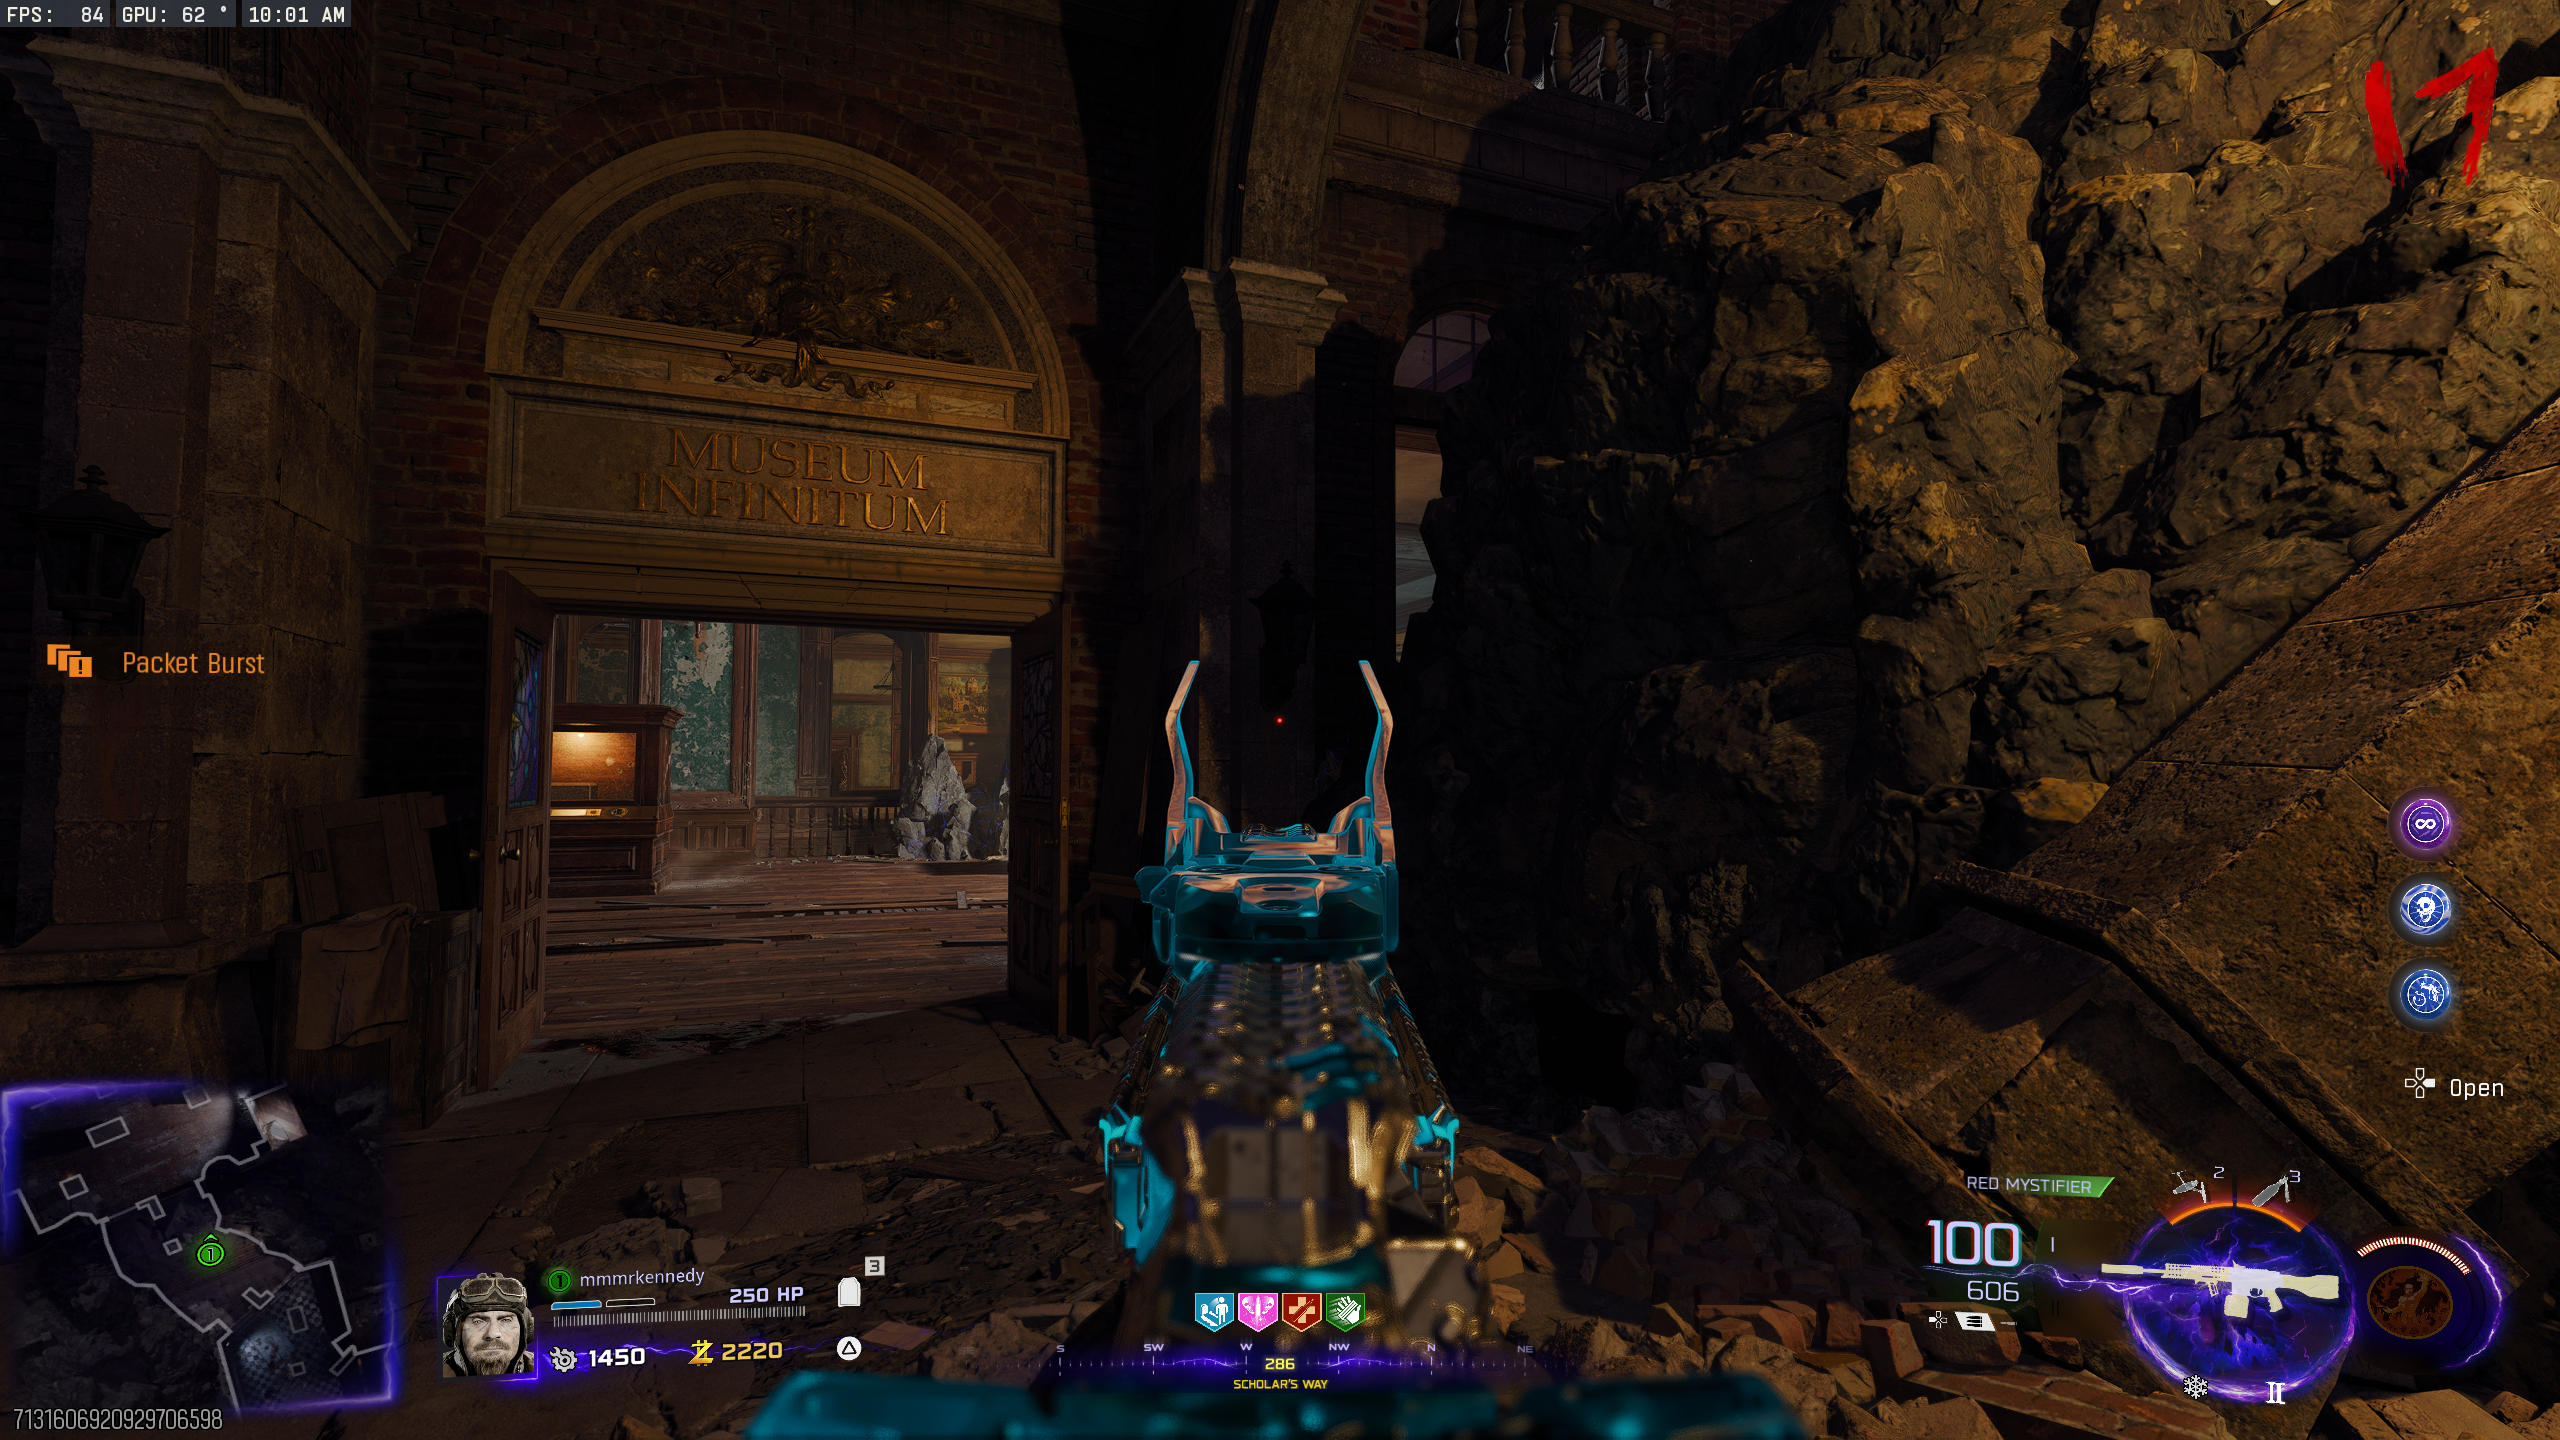
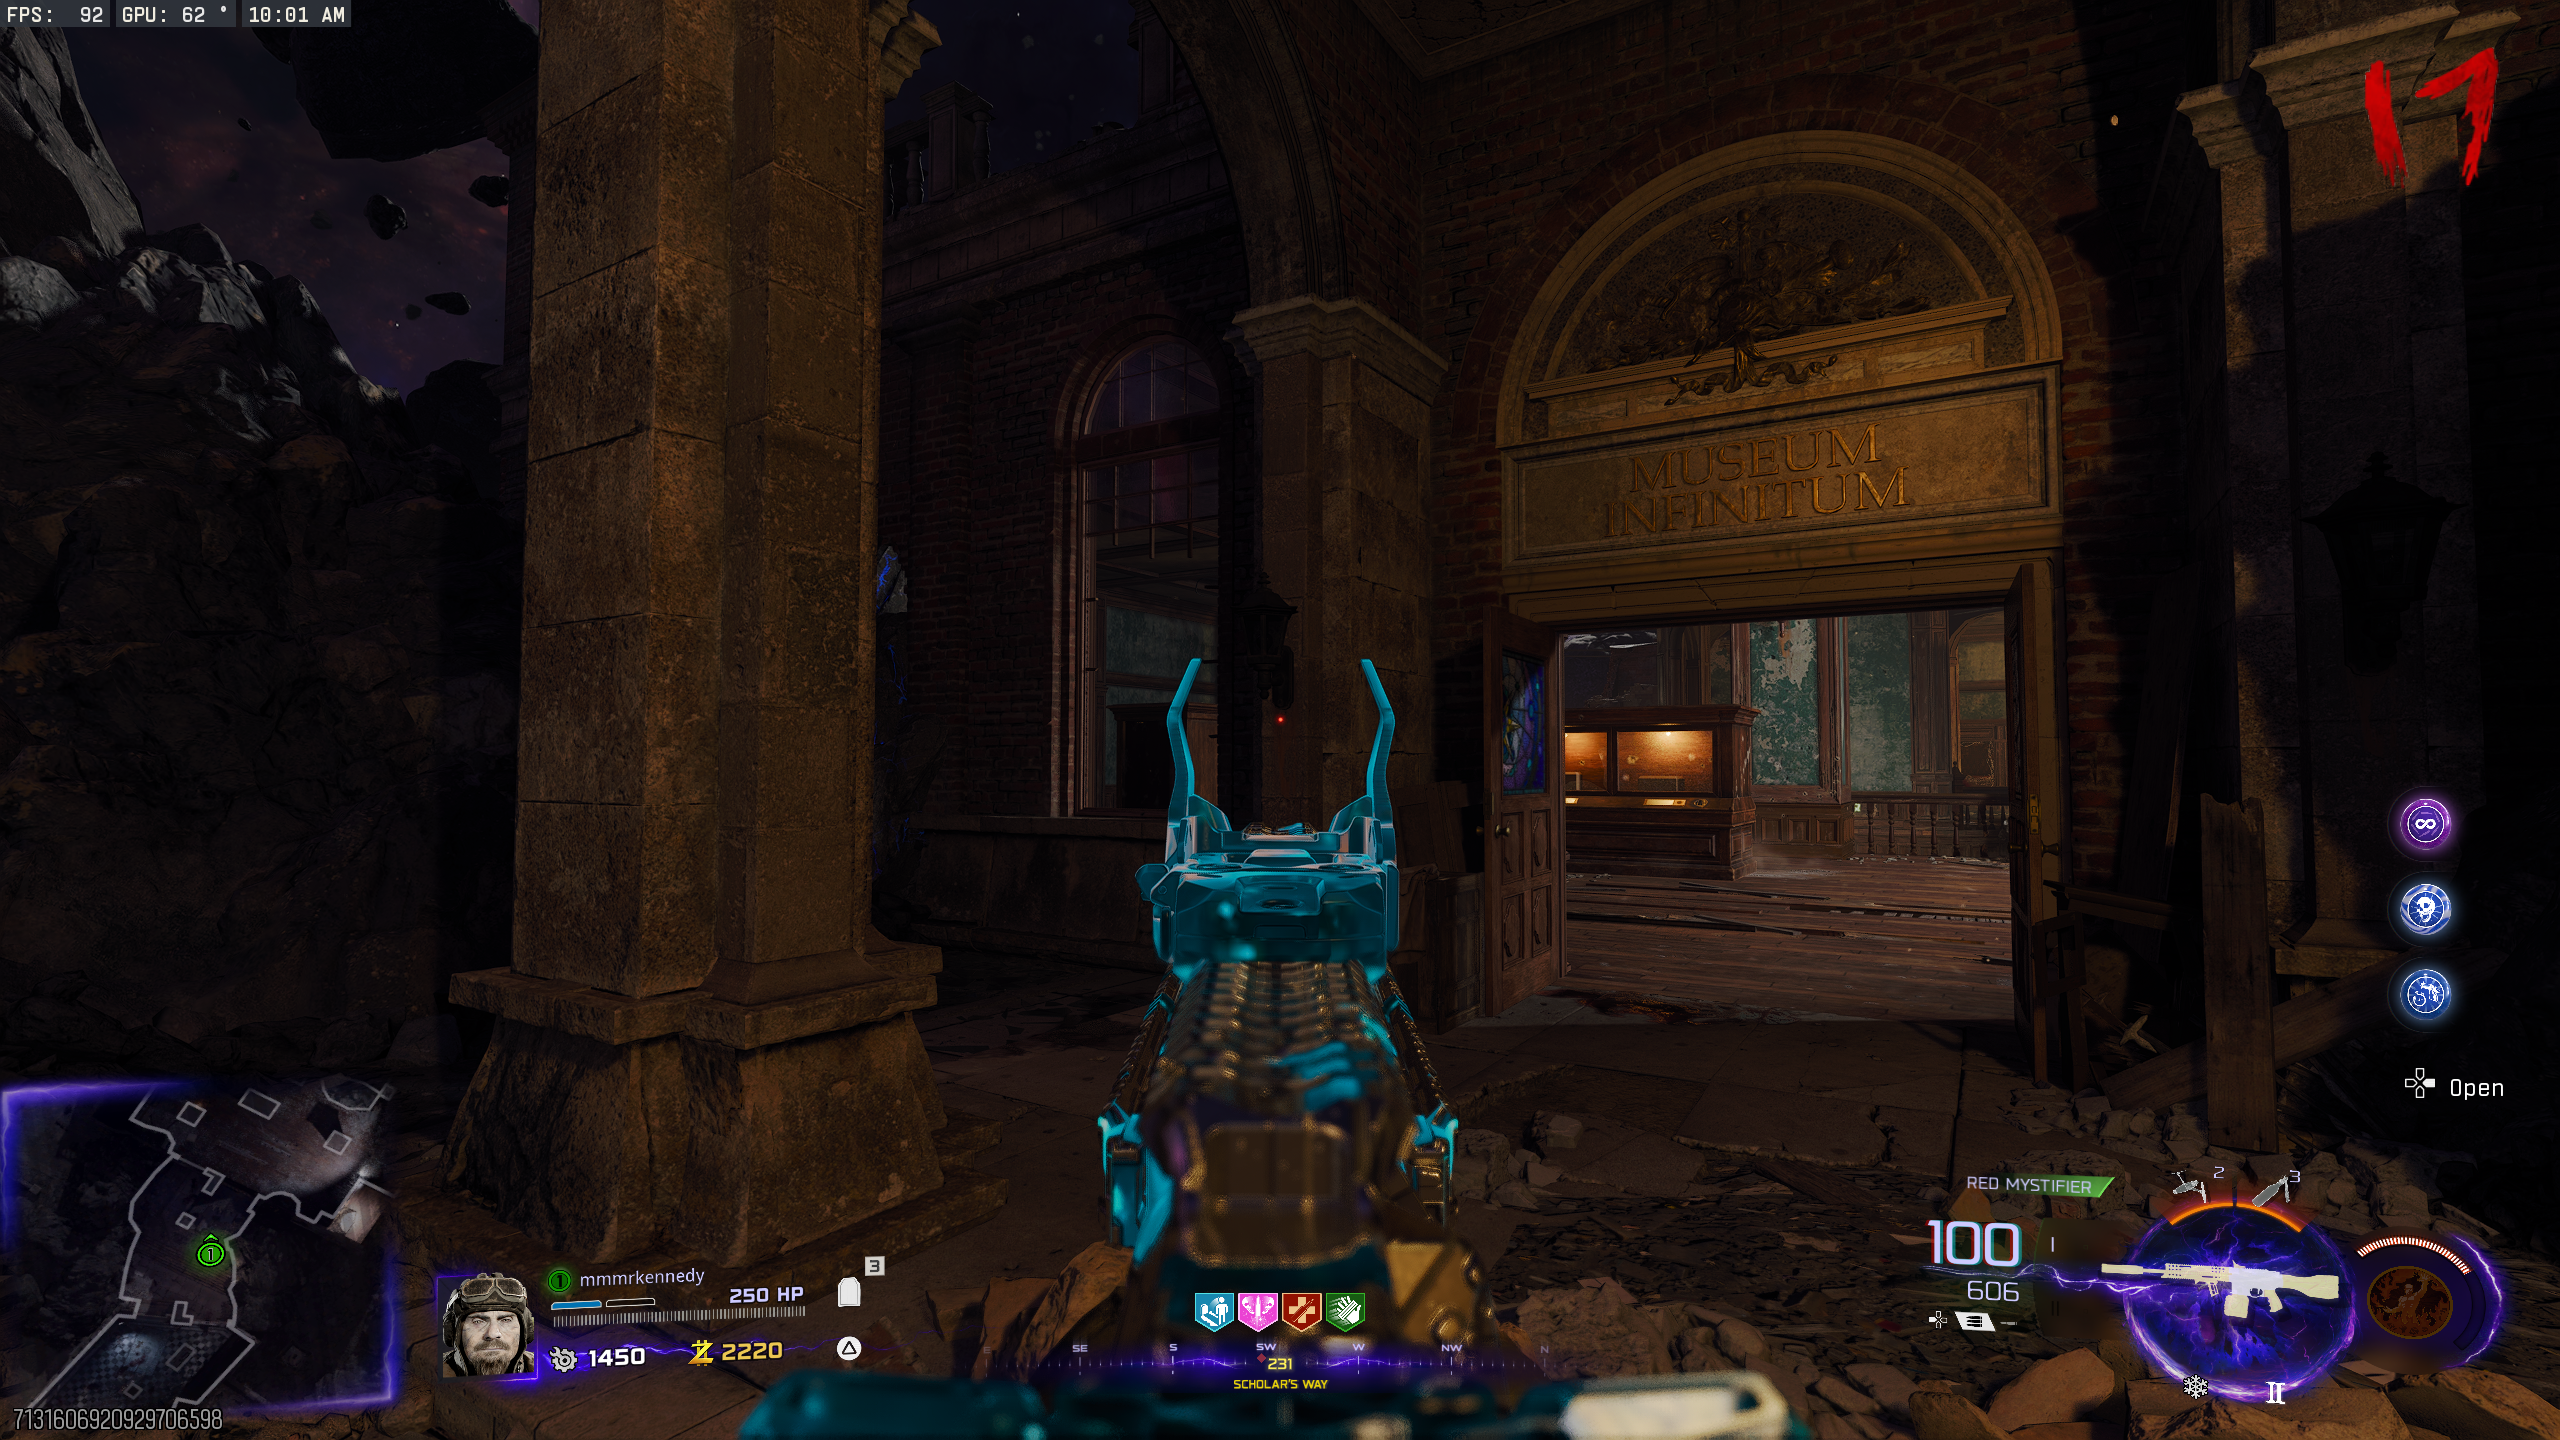
- Scholar's Way - On the right side, outside the door behind Speed Cola
- Scholar's Way - On the left side, outside the door behind Speed Cola
- The Luminarium - On the left side of the Zombie spawn
- The Luminarium - On the right side of the Zombie spawn
- The Luminarium - Left of the doorway to inside the building
- The Luminarium - Outside the back of the building, left of the path to the 'Abyssal Rim'
- The Luminarium - Outside the back of the building, right of the path to the 'Abyssal Rim'
- With the wisp, throw the wisp (by pressing the melee button) at each of the other eight lanterns. Once the wisp is in a lantern, collect it again. The lantern should have a faint glow.
- The wisp can also be thrown at the Zombies, but it will only kill a few, and will not give any Essence.
- Once the wisp is in the last lantern, leave it there and end the round. The wisp should now turn orange, and a wisp will be available from any lantern. You can collect up to five wisps at a time.
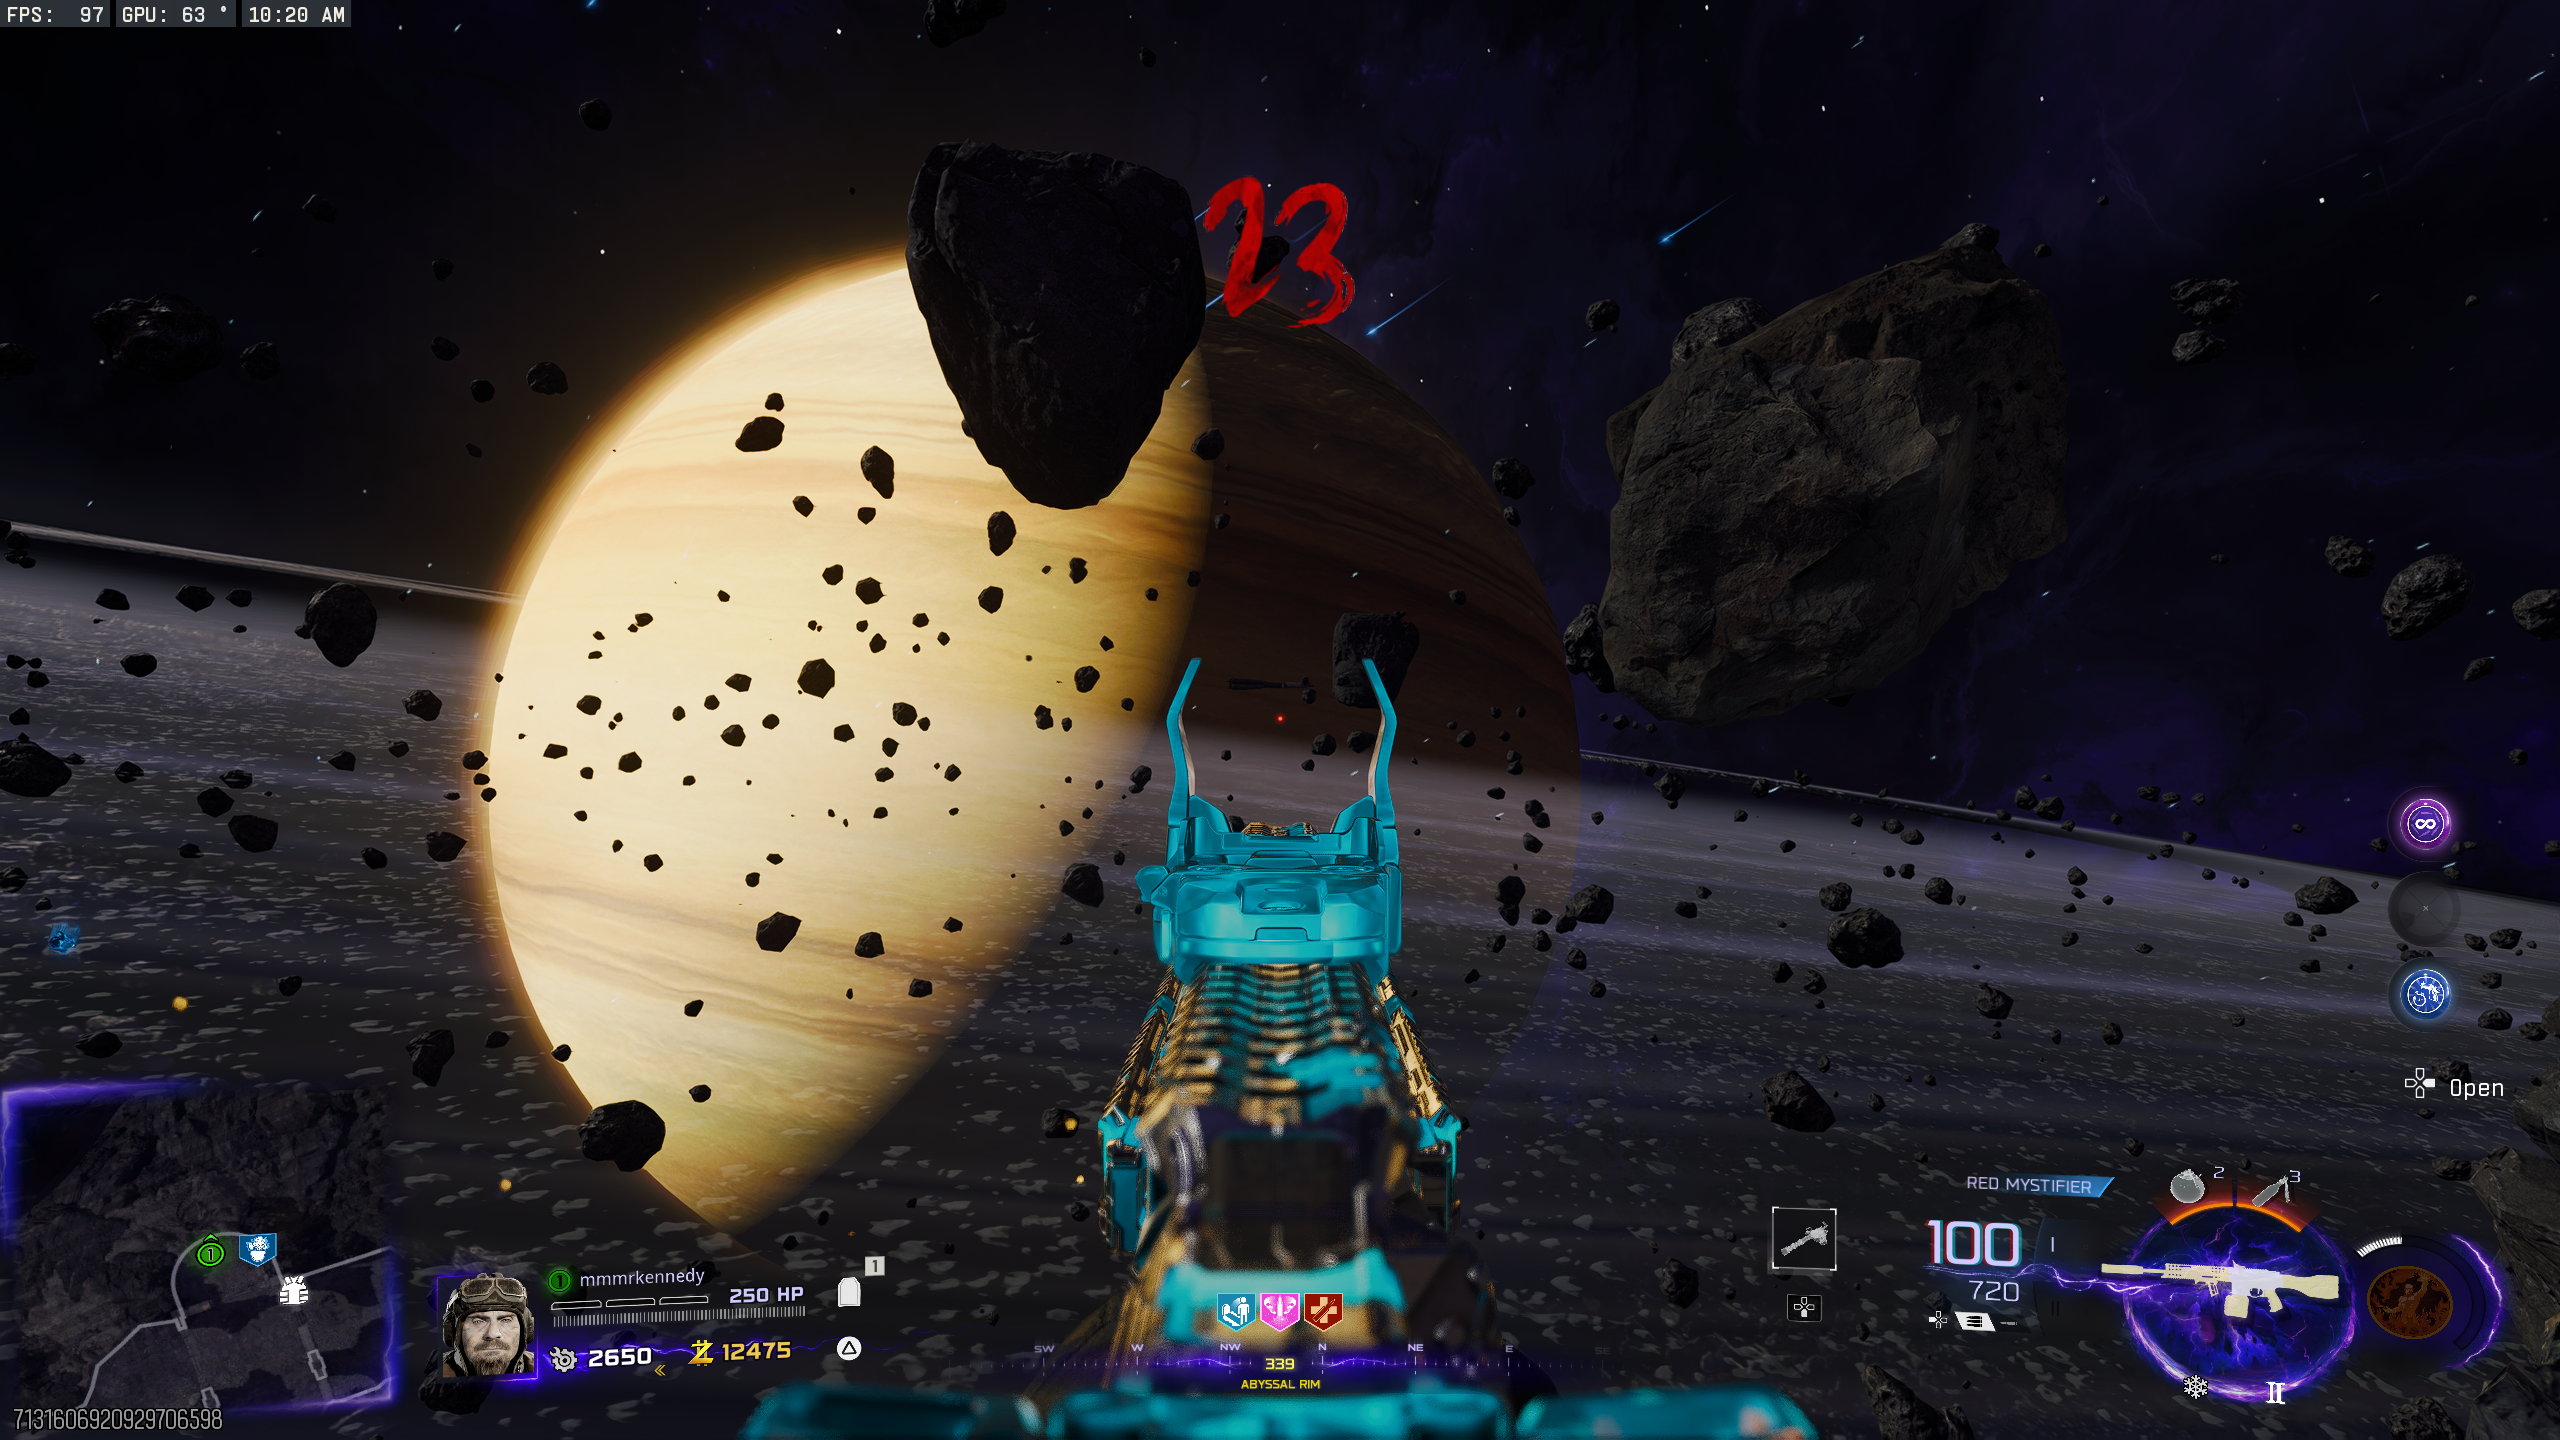
- Starting on round 16, the rocket from Ashes of the Damned will be seen floating in front of Saturn. Throw a wisp at the Rocket as it flies by. Hitting it is extremely difficult due to how the rocket moves.
- If you miss the rocket, it'll come back every few rounds (about 3 to 8 rounds, but I'm not sure exactly).
- If the wisp hits the rocket, a Ray Gun will spawn where you were standing.
Free Power-Ups
- There are eight power-ups hidden around the map that will spawn when shot. Each power-up can only be spawned once per match. Locations:
- Bonus Points: Crash Site - On a rock behind the lamp post, left of the portal
- Insta-Kill: Scholar's Way - Top of a pillar on the right side when looking towards 'Machina Astralis'
- Double Points: Machina Astralis - Below a cabinet on the top floor right of the Akita walbuy
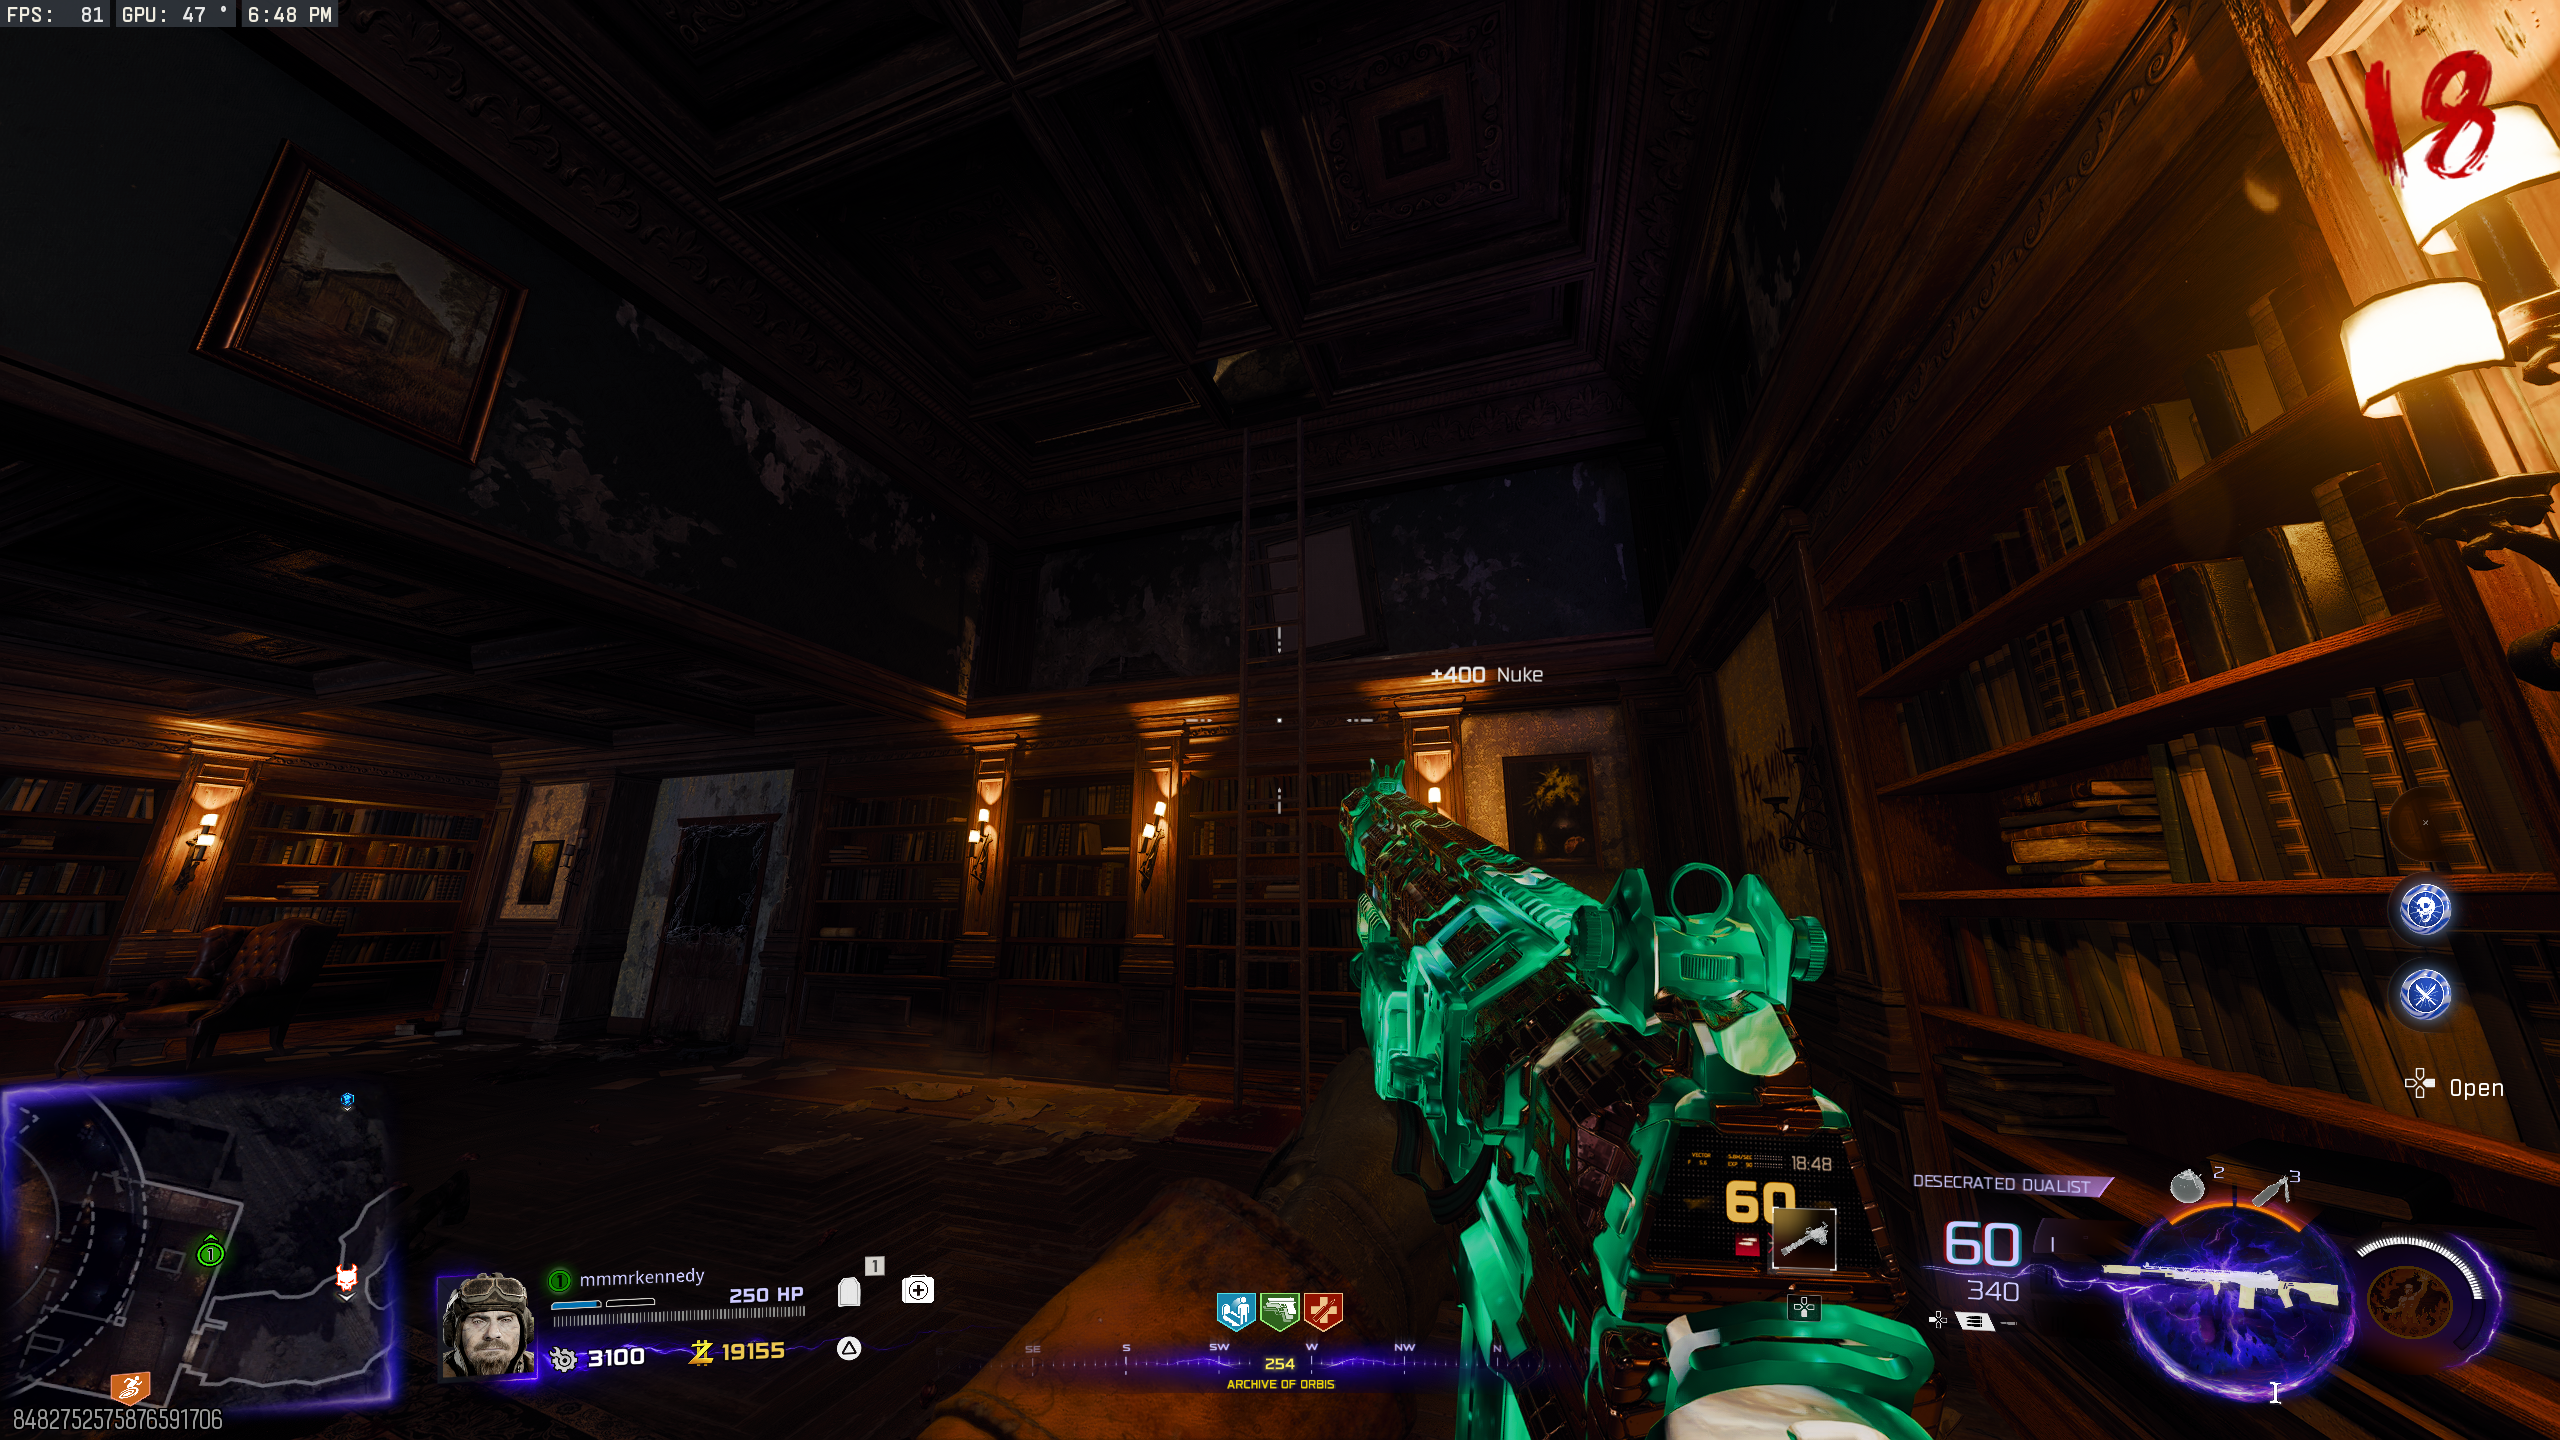
- Nuke: The Veilwalk - On the broken balcony above and to the right of the doorway, just outside from the 'Archive of Orbis'
- Full Power: Observatory Dome - On the telescope platform when looking from 'Stargazer's Courtyard'
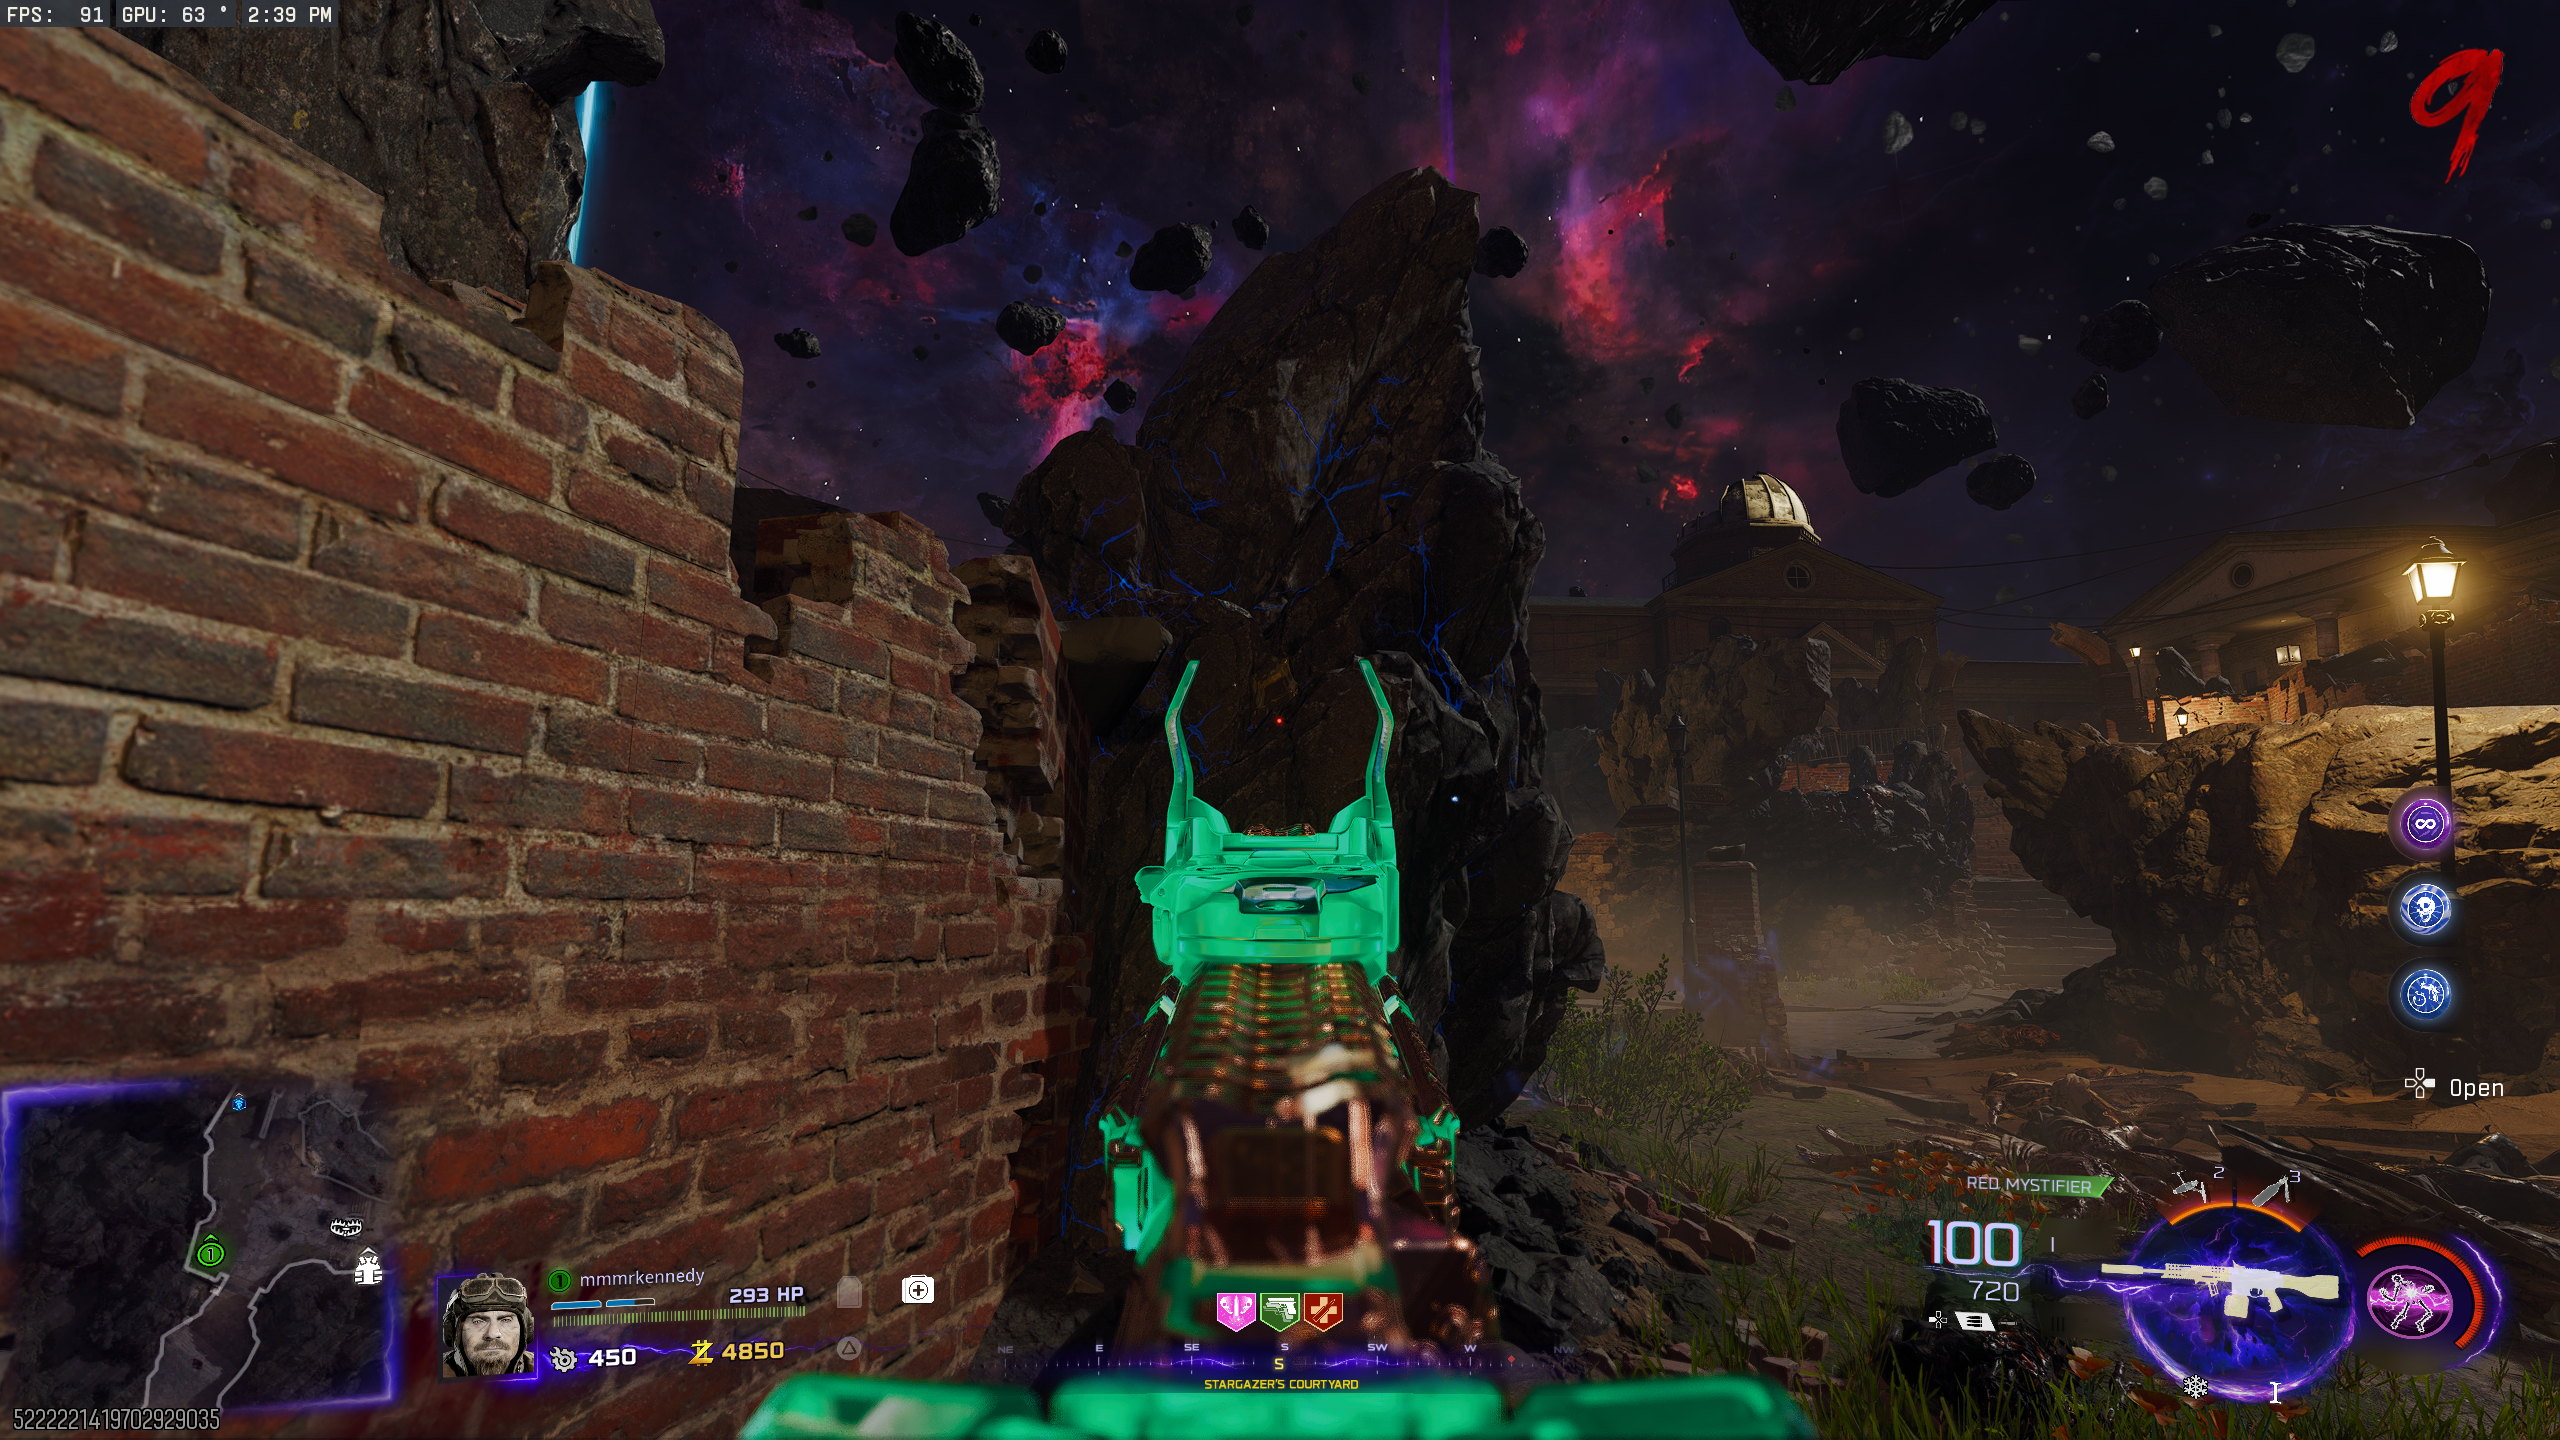
- Max Armour: Stargazer's Courtyard - In the second blue rock, left of the XM325 wallbuy
- Max Ammo: The Luminarium - Above the door in a Zombie spawn, on the left outside the back of the Stellar Dissector trap room
- Fire Sale: Museum Infinitum - In the first Zombie spawn window on the left when coming from the 'Stargazer's Courtyard'. Only available after all the others have been activated
- Random Perk: Abyssal Rim - On a pillar, left of a Zombie spawn halfway up the stairs to 'The Luminarium'. Only available after all the others have been activated
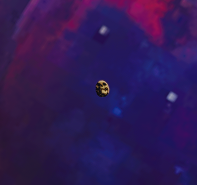
Skull Jumpscare
- Activate the telescope in the 'Observatory Dome'. See the Telescope Beam of the LGM-1 section for more information.
- Interact with the left side of the Organ to enter the Telescope. Move the cursor to the small-sized skull located at RA 2h 23m and DEC 42° 21'.
- If done correctly, the jumpscare will be triggered.
Slow Down Time
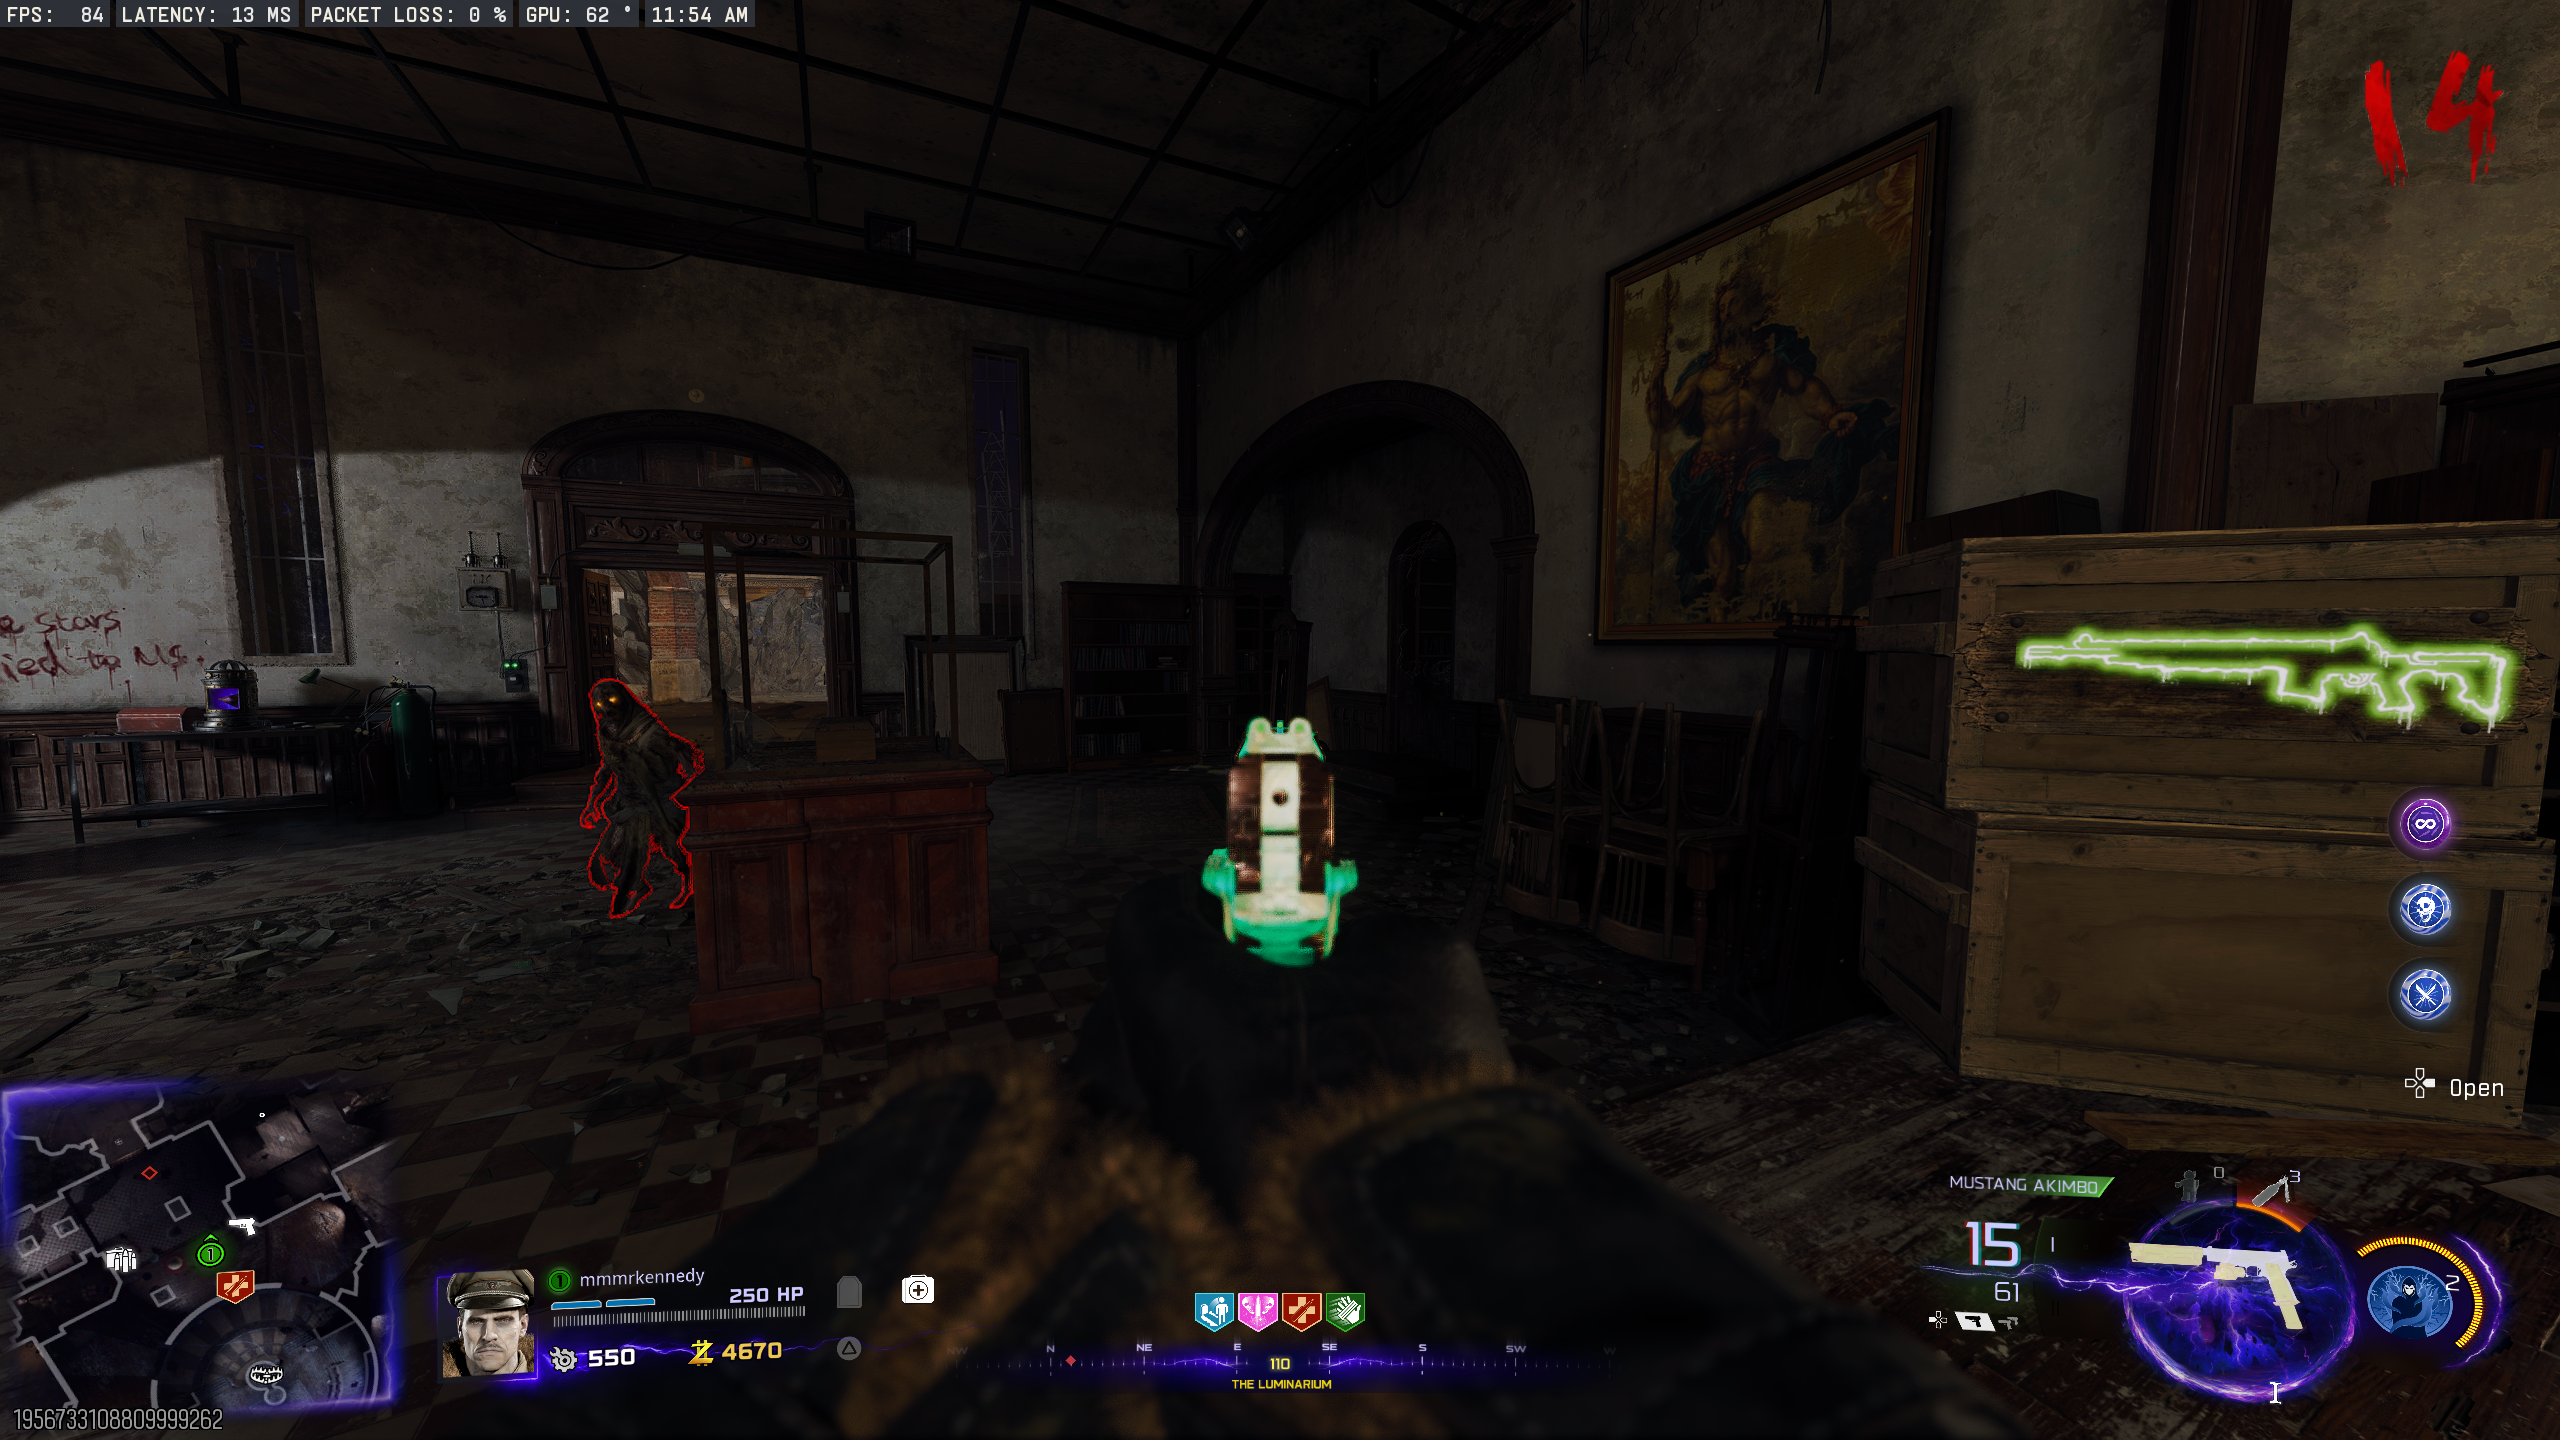
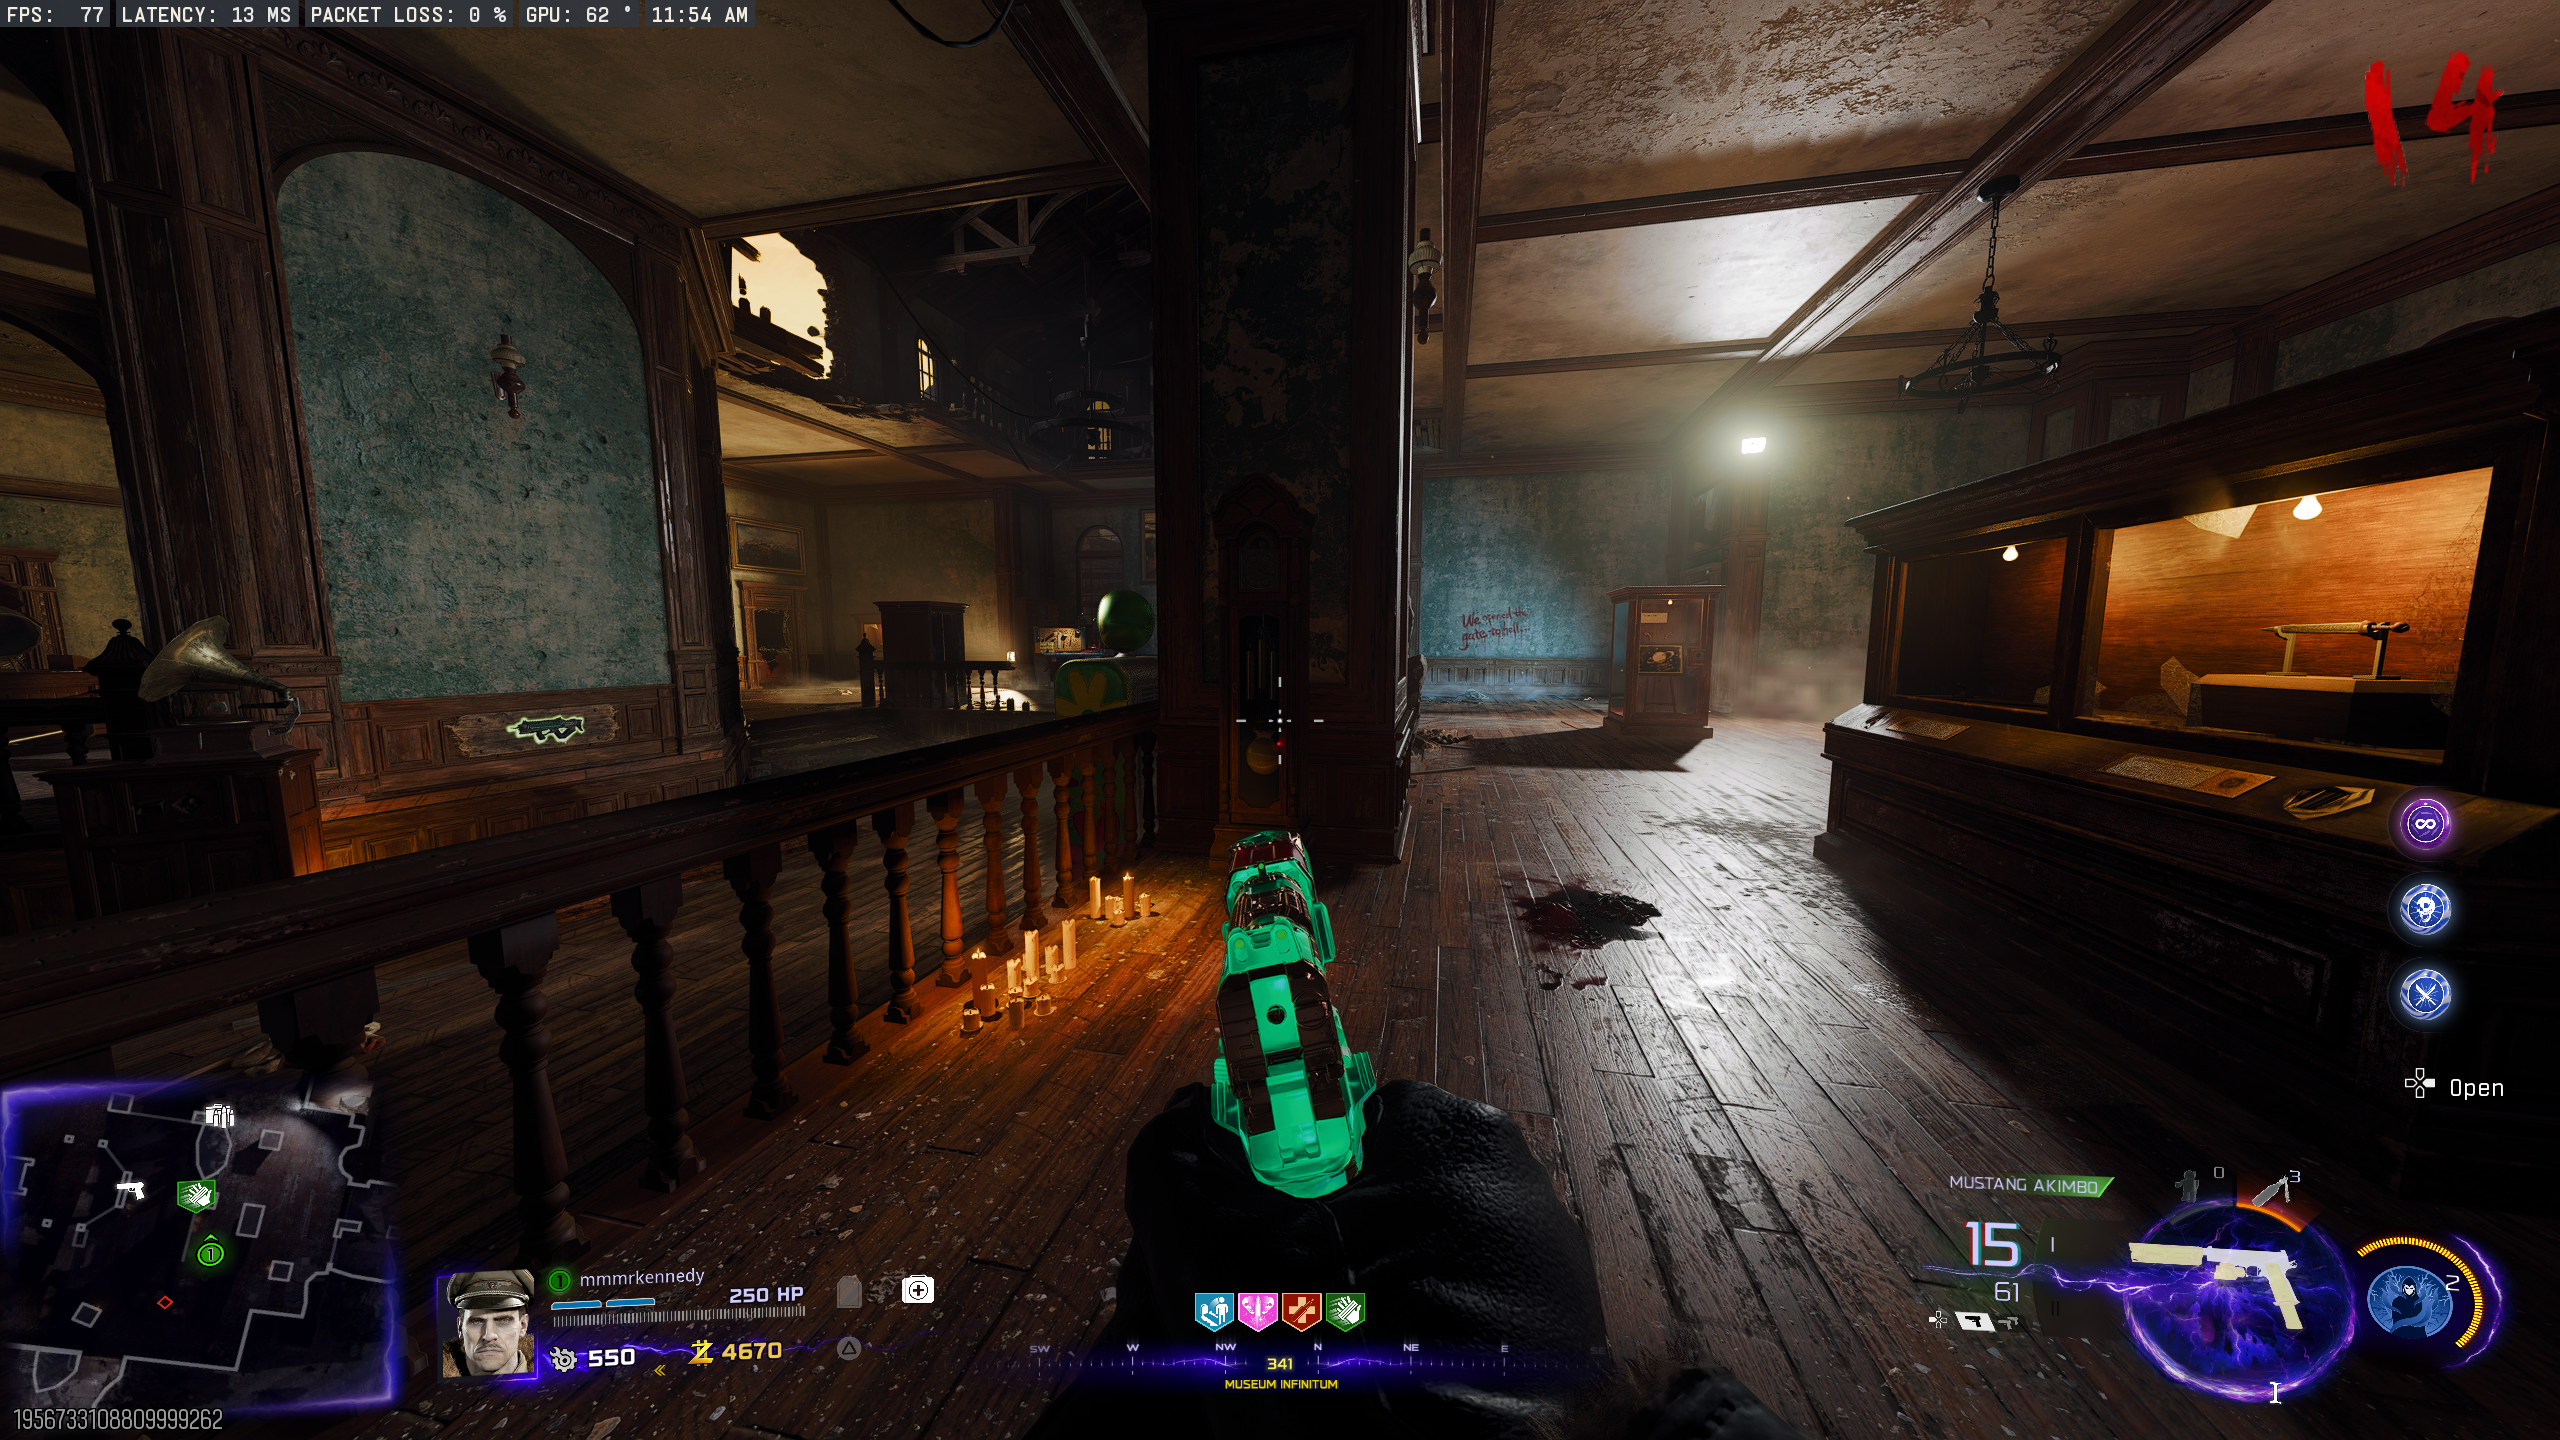
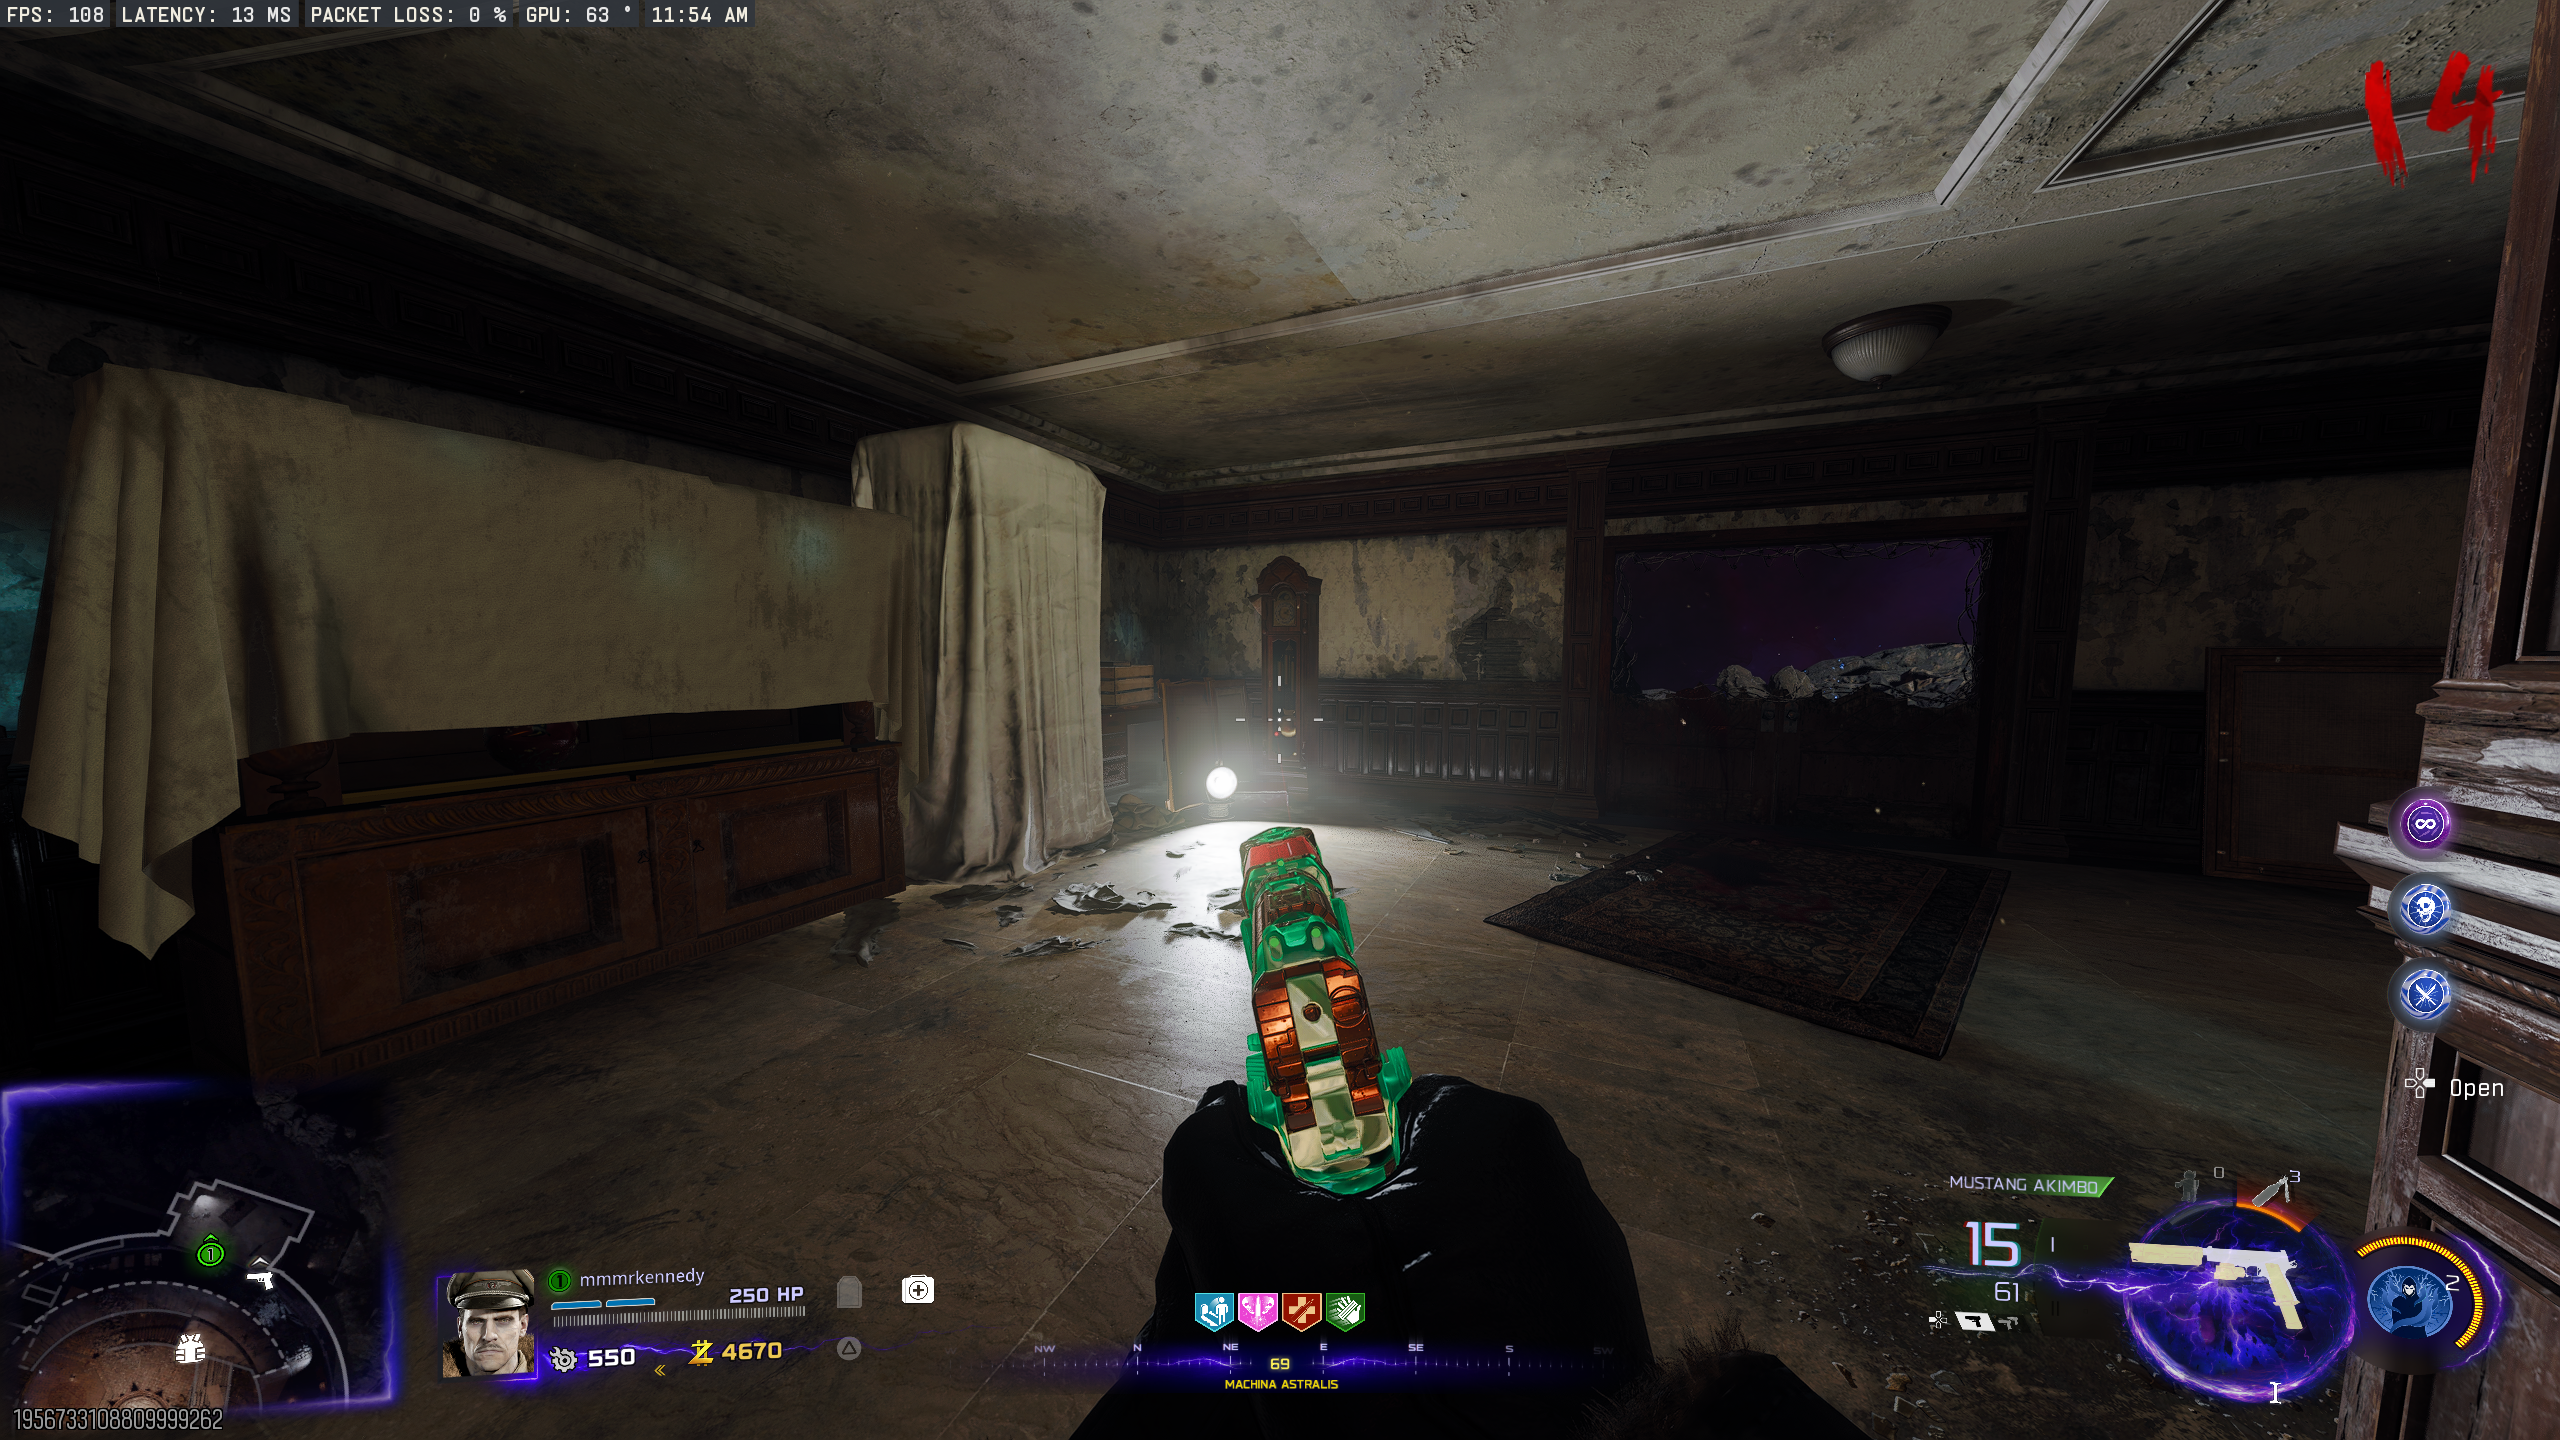
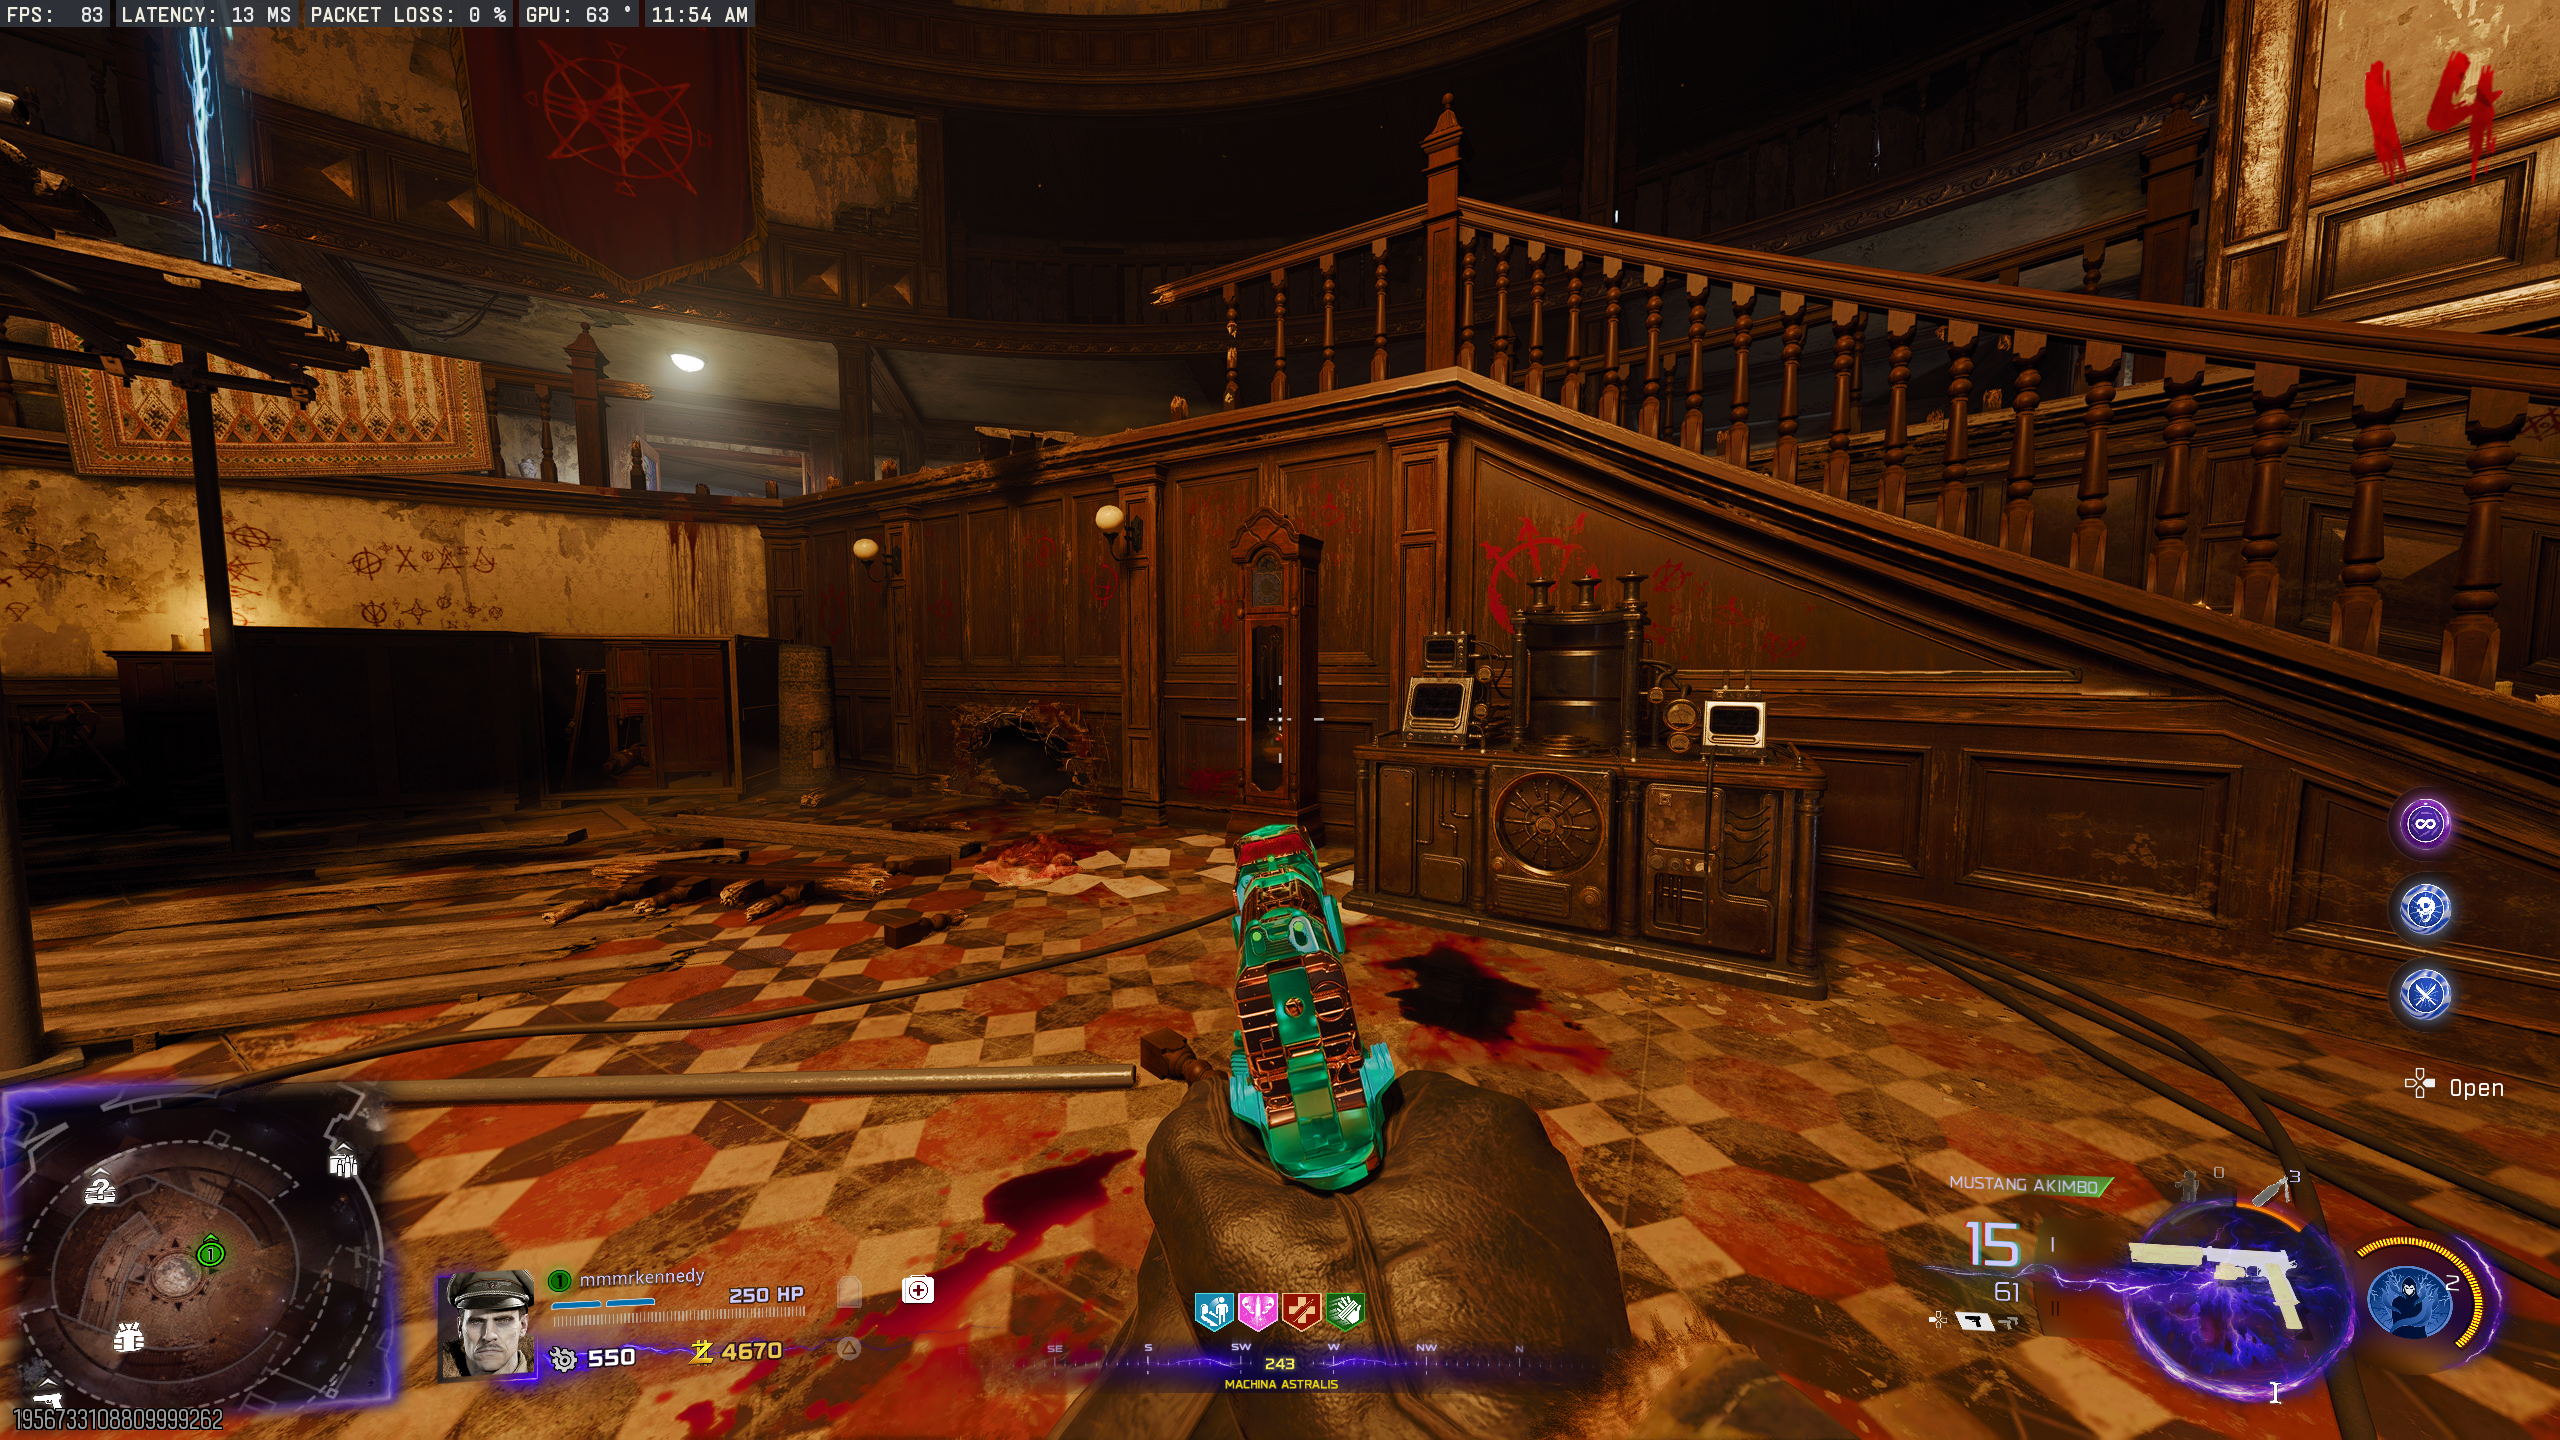
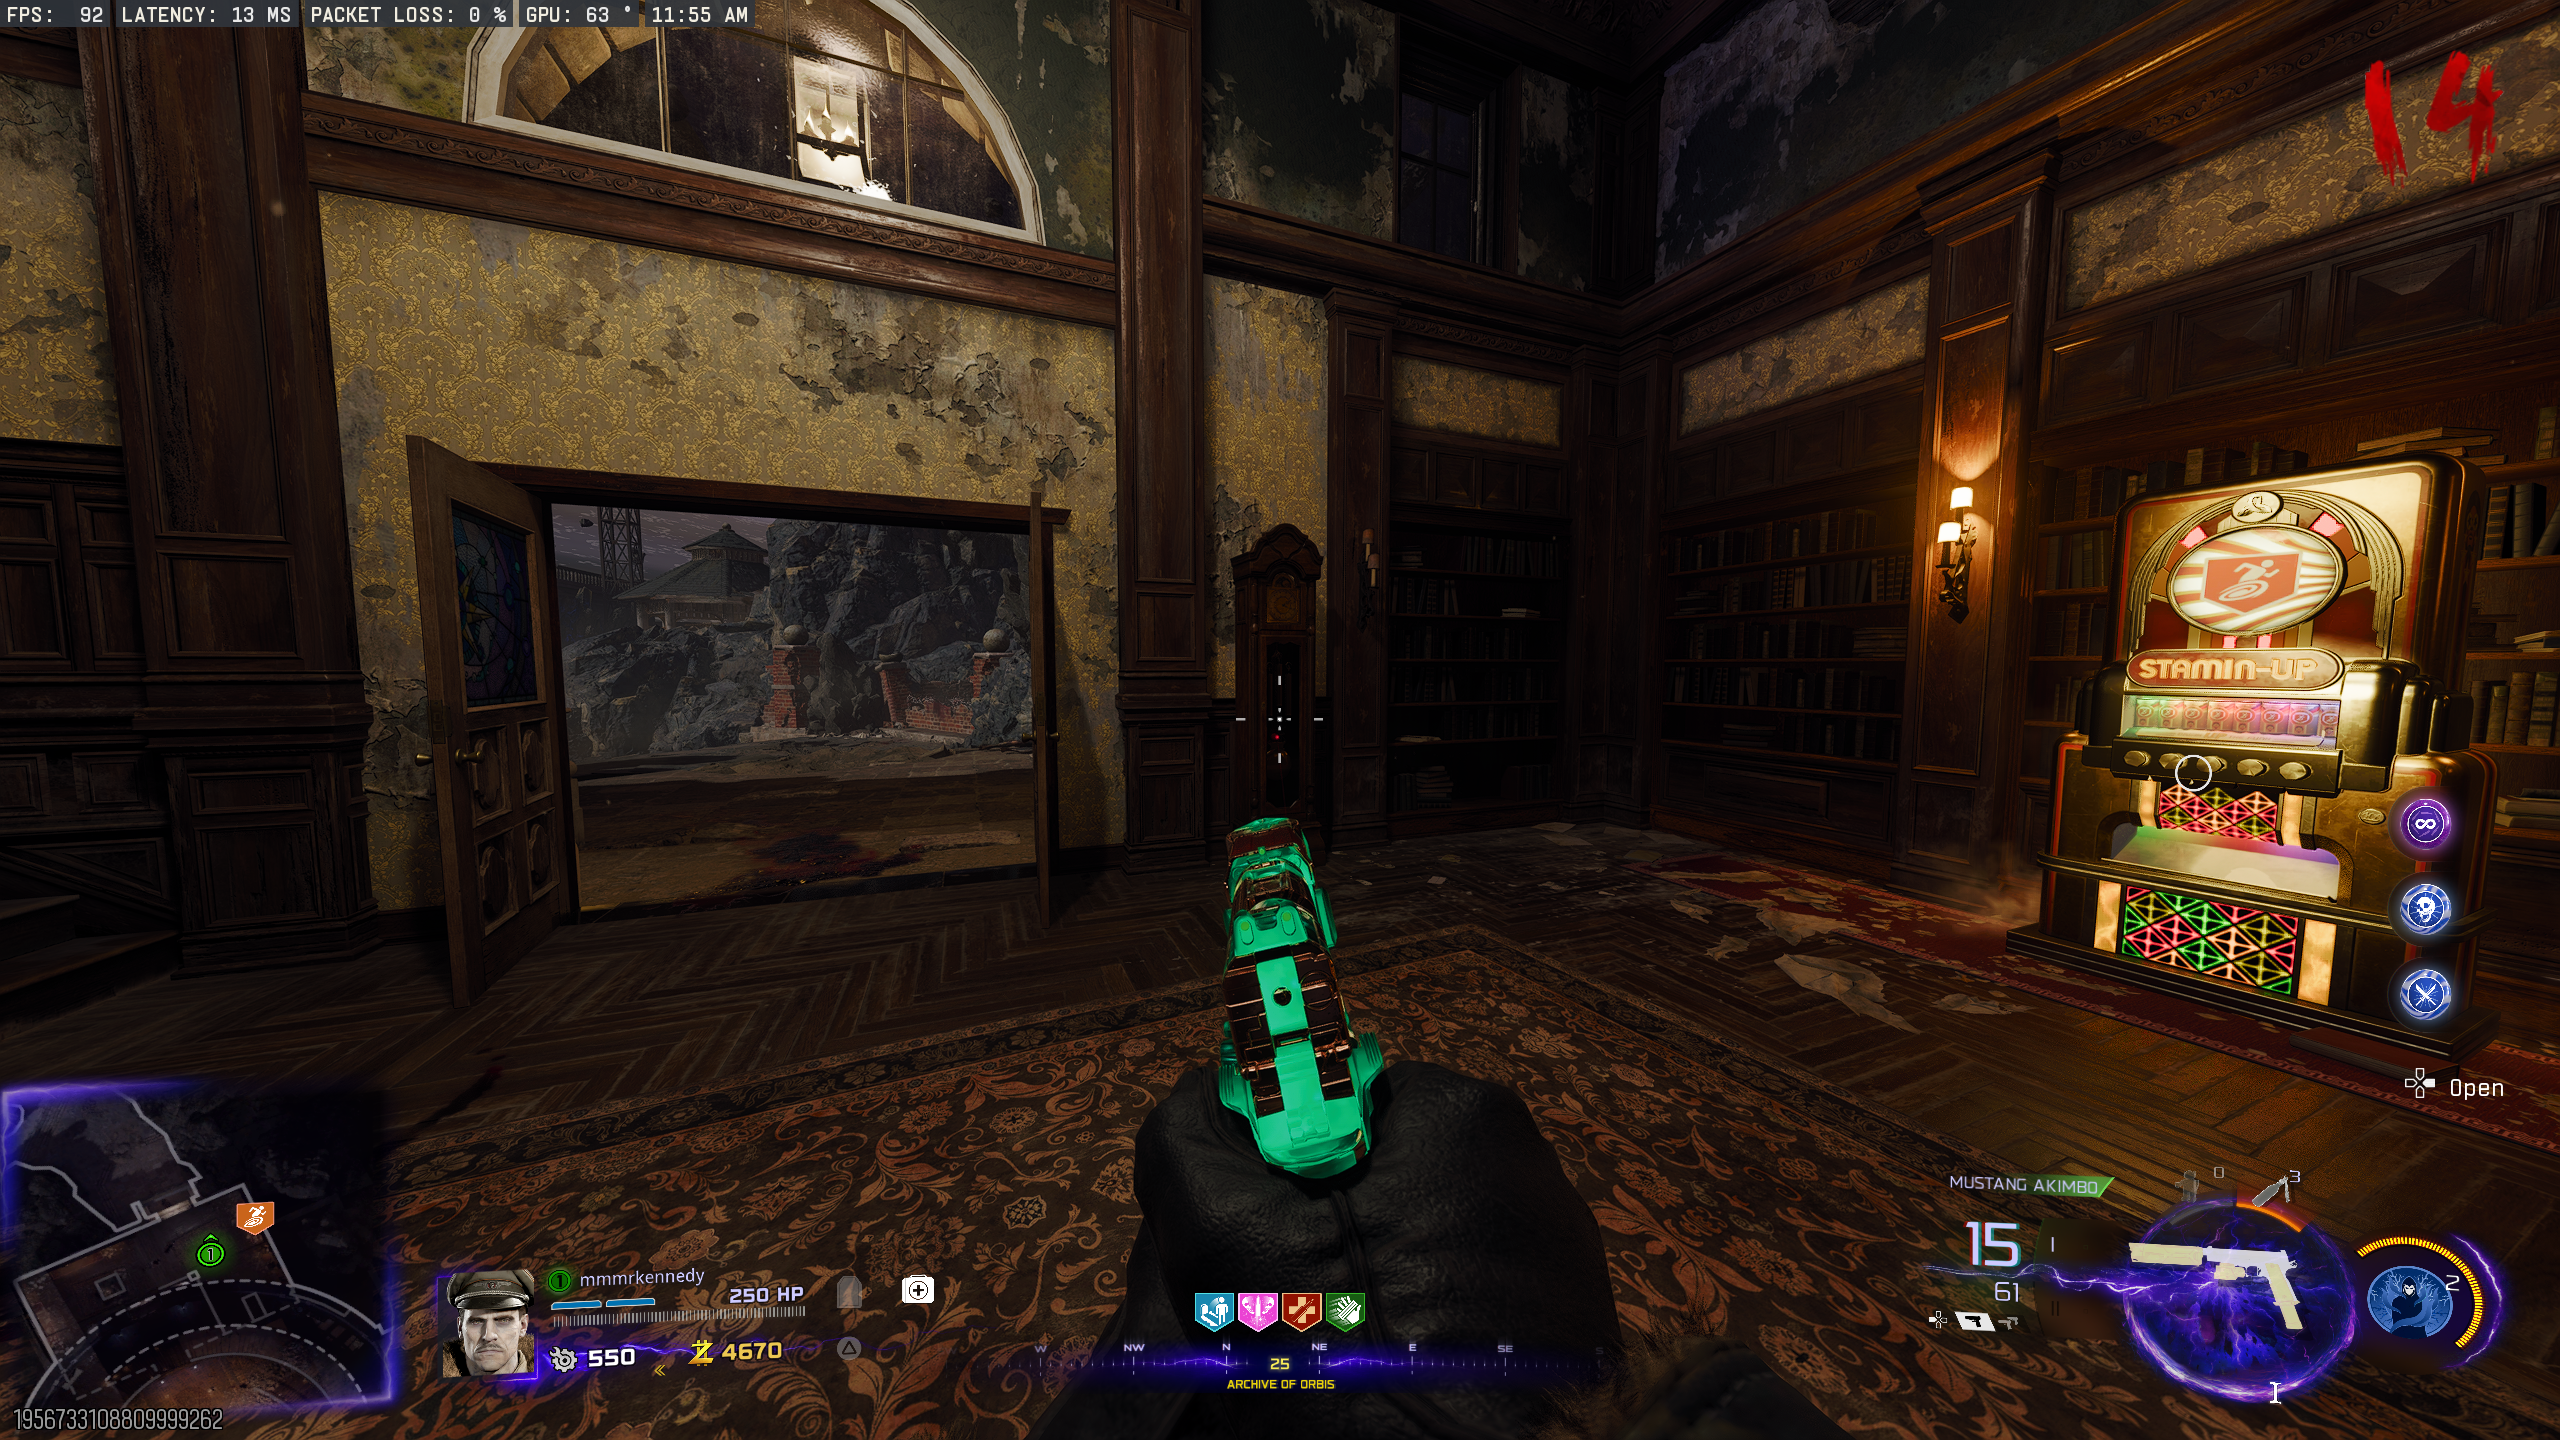
- Around the map, there are five grandfather clocks. Quickly melee all five. Locations:
- The Luminarium - next to the bookshelves in front of the Juggernog machine
- Museum Infinitum - Behind Speed Cola
- Machina Astralis - On the middle floor, below the Akita wallbuy
- Machina Astralis - On the bottom floor, left of the machine used in the Main Quest
- Archive of Orbis - Left of the Stamin-Up machine
- If done correctly, all the enemies will move slowly for 60 seconds. This can be done once per round.
Pareidolia Secret Song
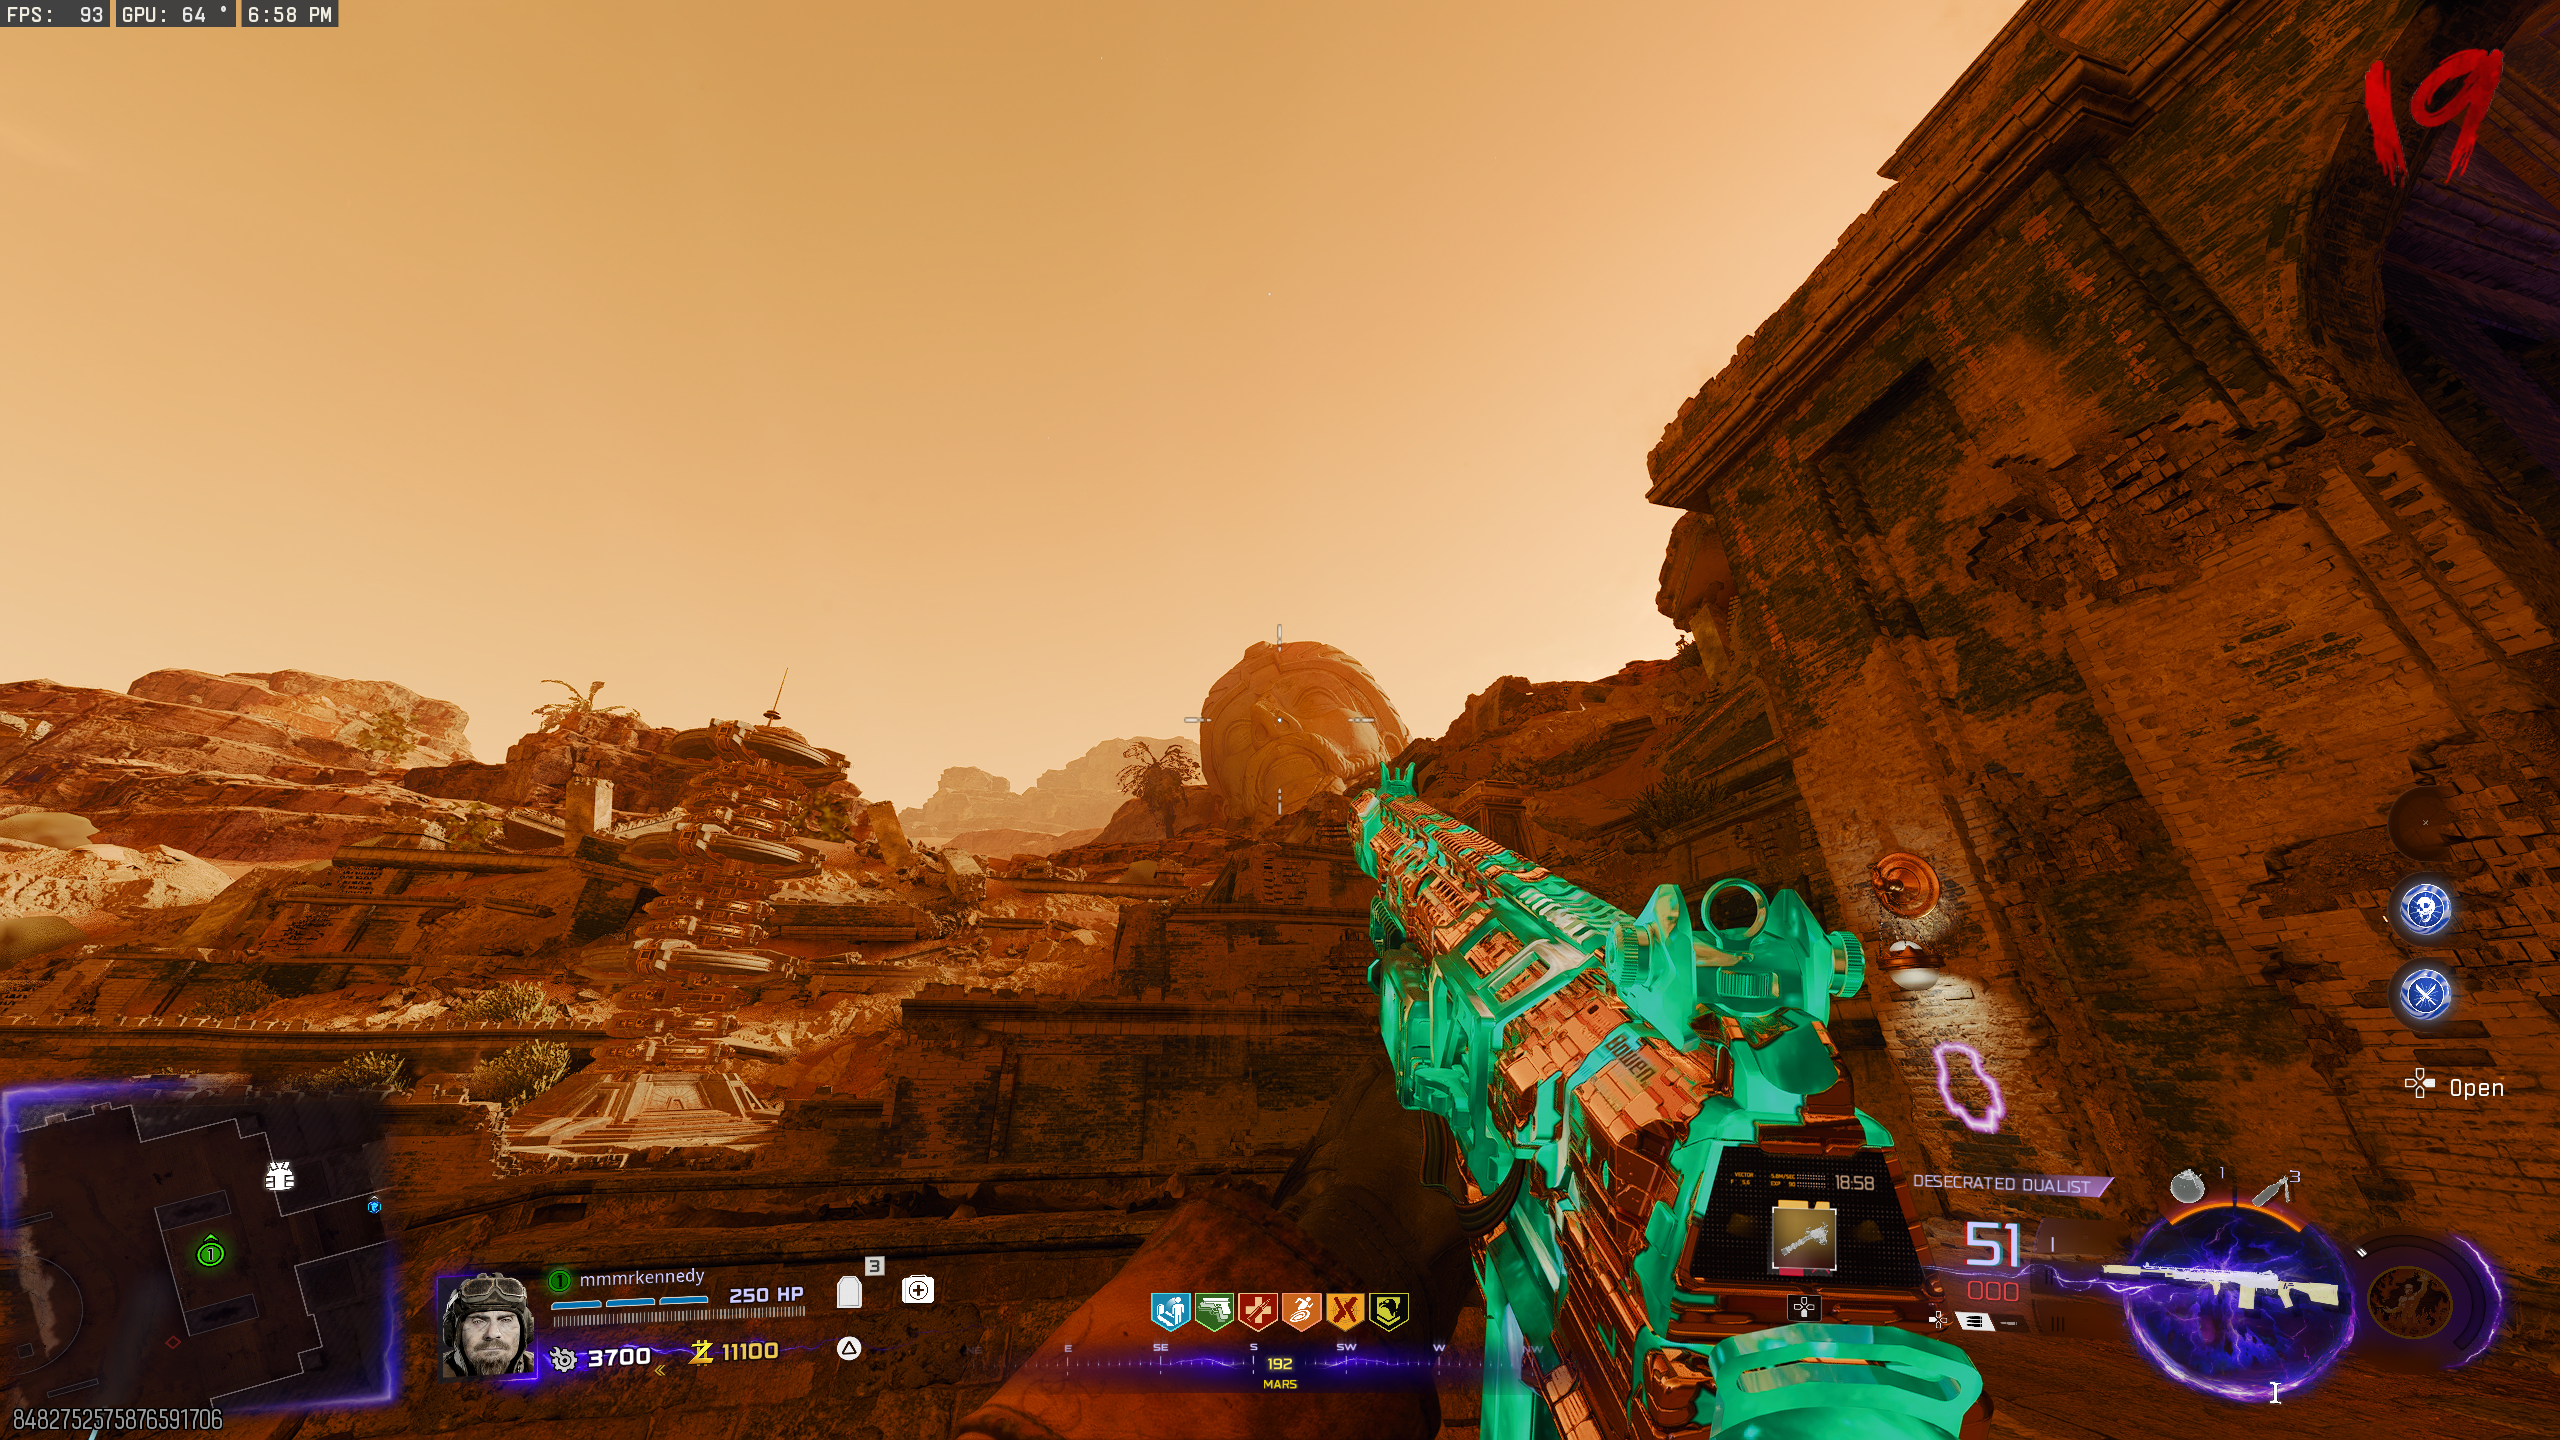
- Activate the portal to Mars. See the Main Quest section for more information.
- On Mars, aim at the giant statue head left of the Armour wallbuy at the top of the stairs.
- This will play a remastered version of Pareidolia (Easter Egg song from Shangri-La).
About This Map
Astra Malorum (also called "Astra") is the second Black Ops 7 Zombies map. This guide covers the main quest (main Easter Egg) with cheat sheets, the LGM-1 wonder weapon quest, and all side Easter Eggs. Also known as Astra.