"Ravenov Implications" Main Quest
Stats (Solo): Difficulty - 8/10, Est. Completion Time - 1 Hr to 1:30 Hr
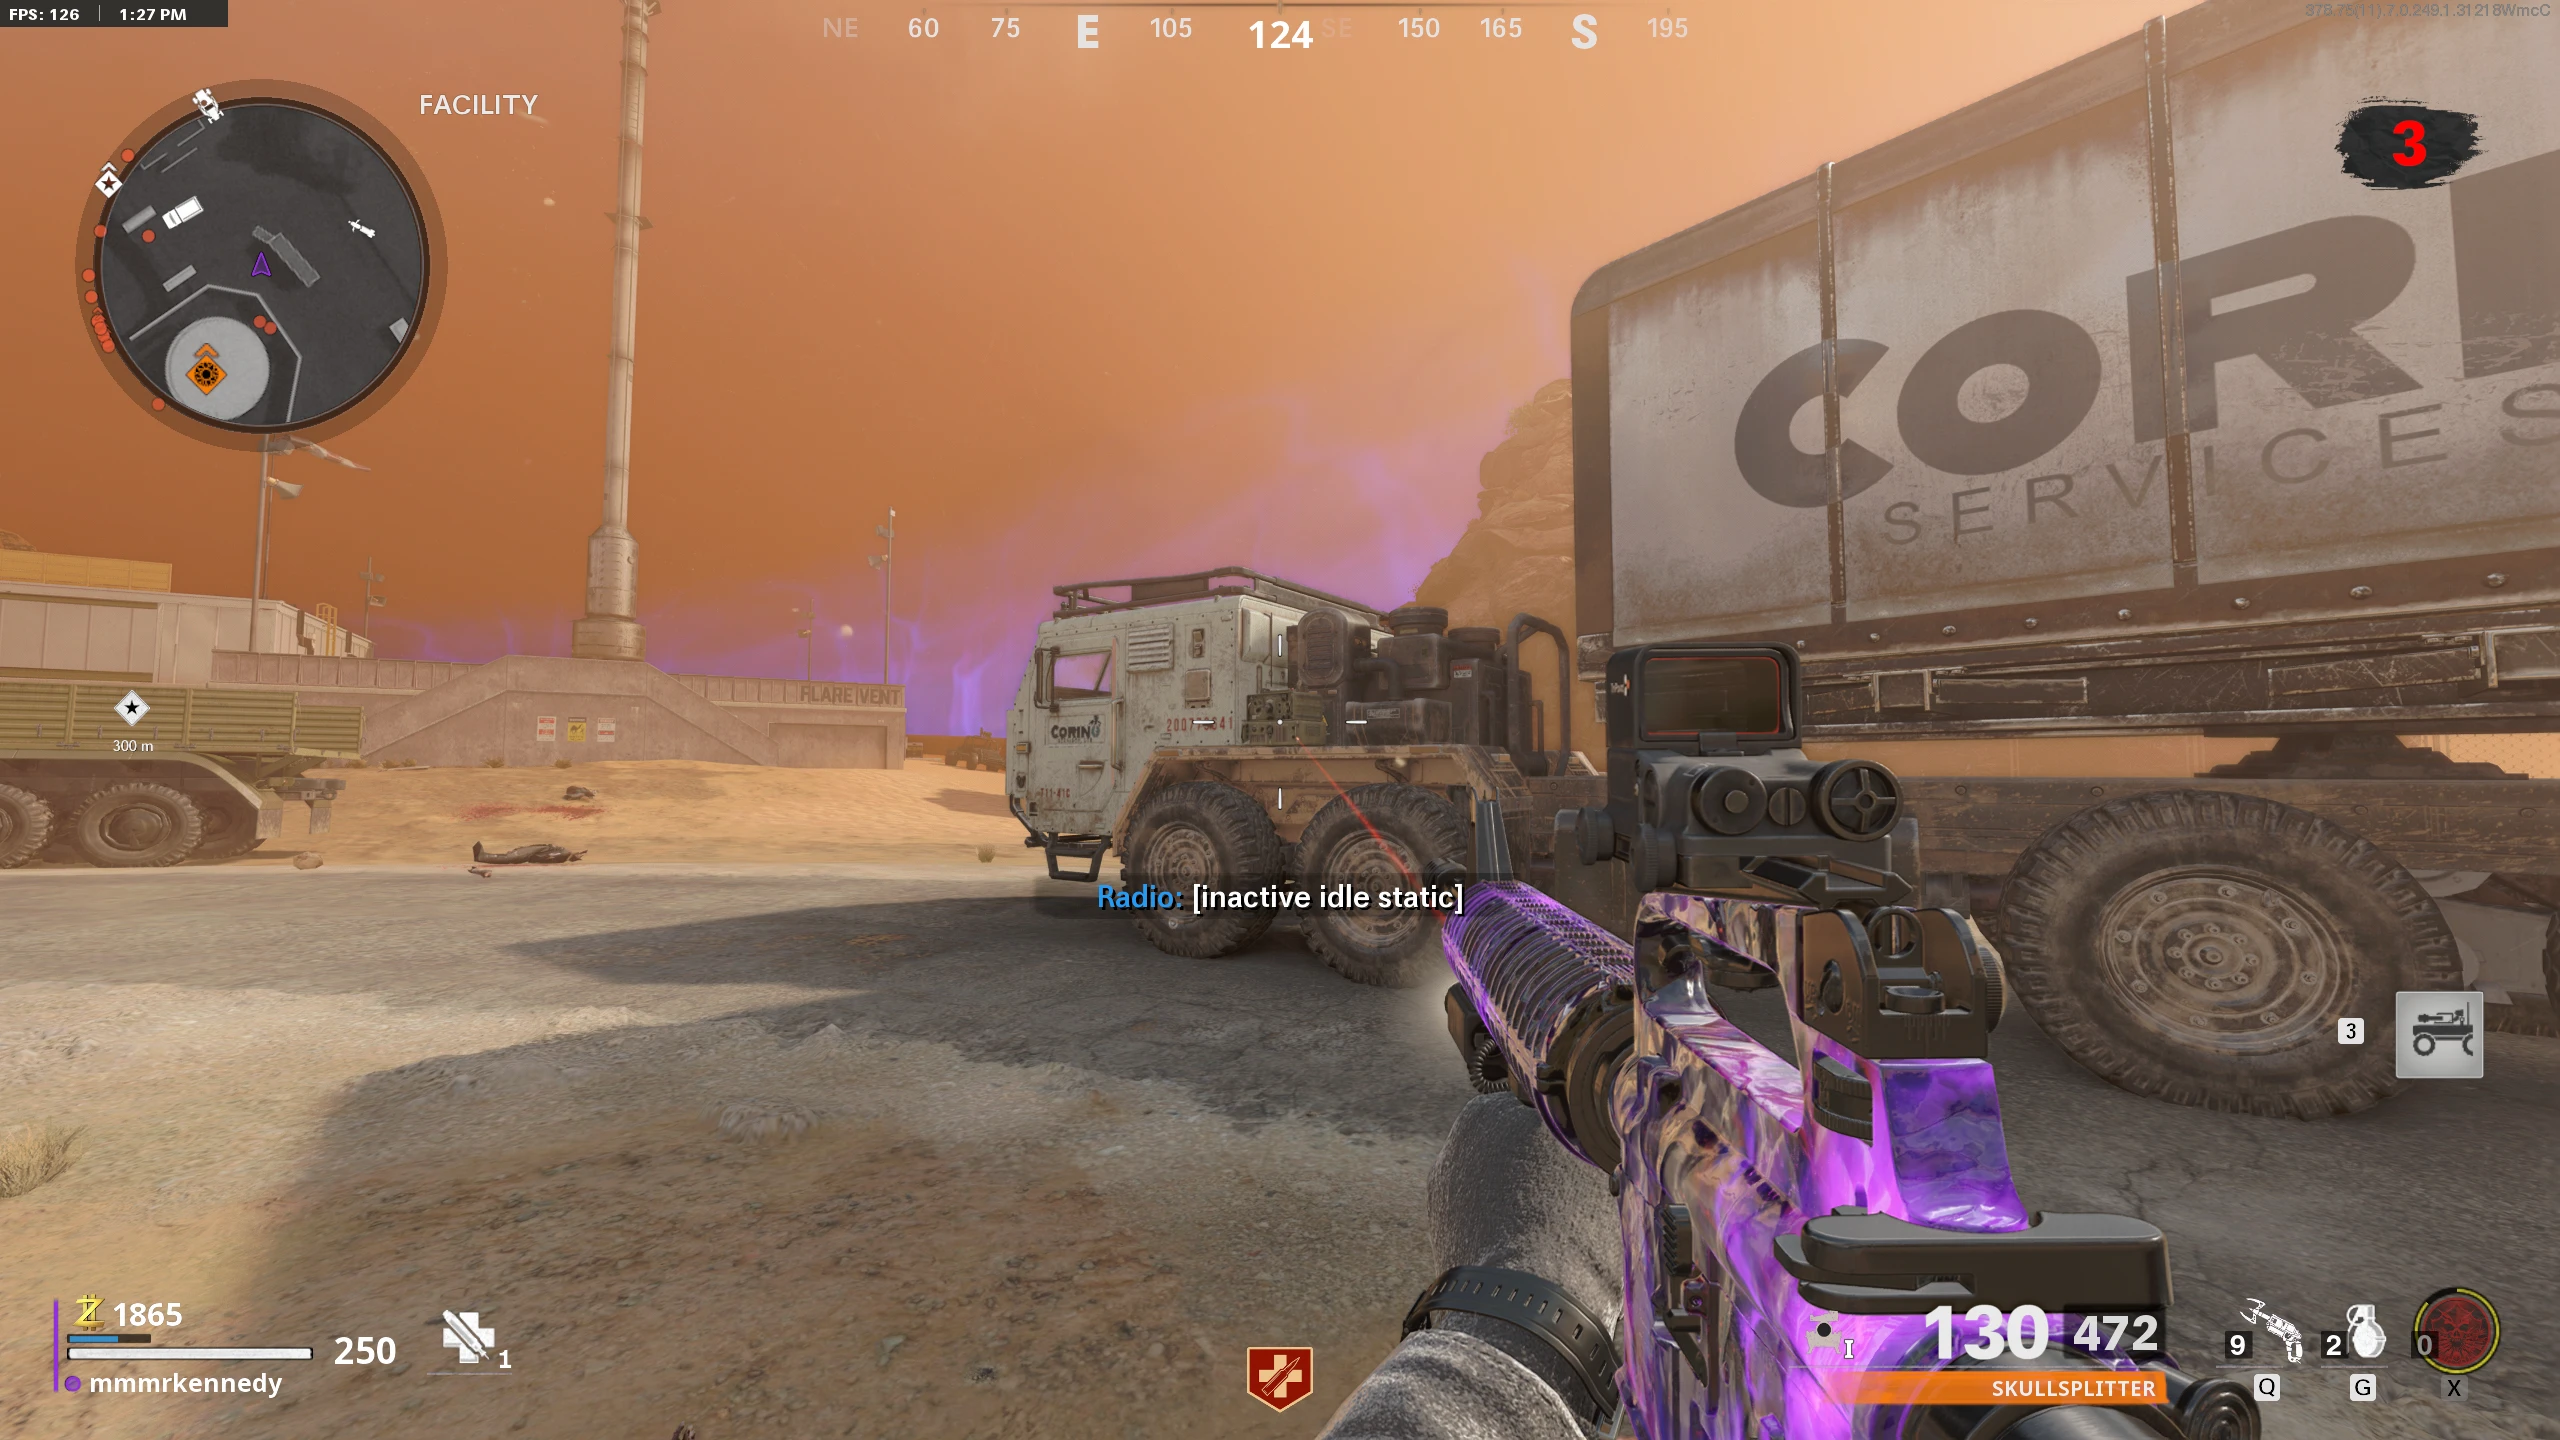
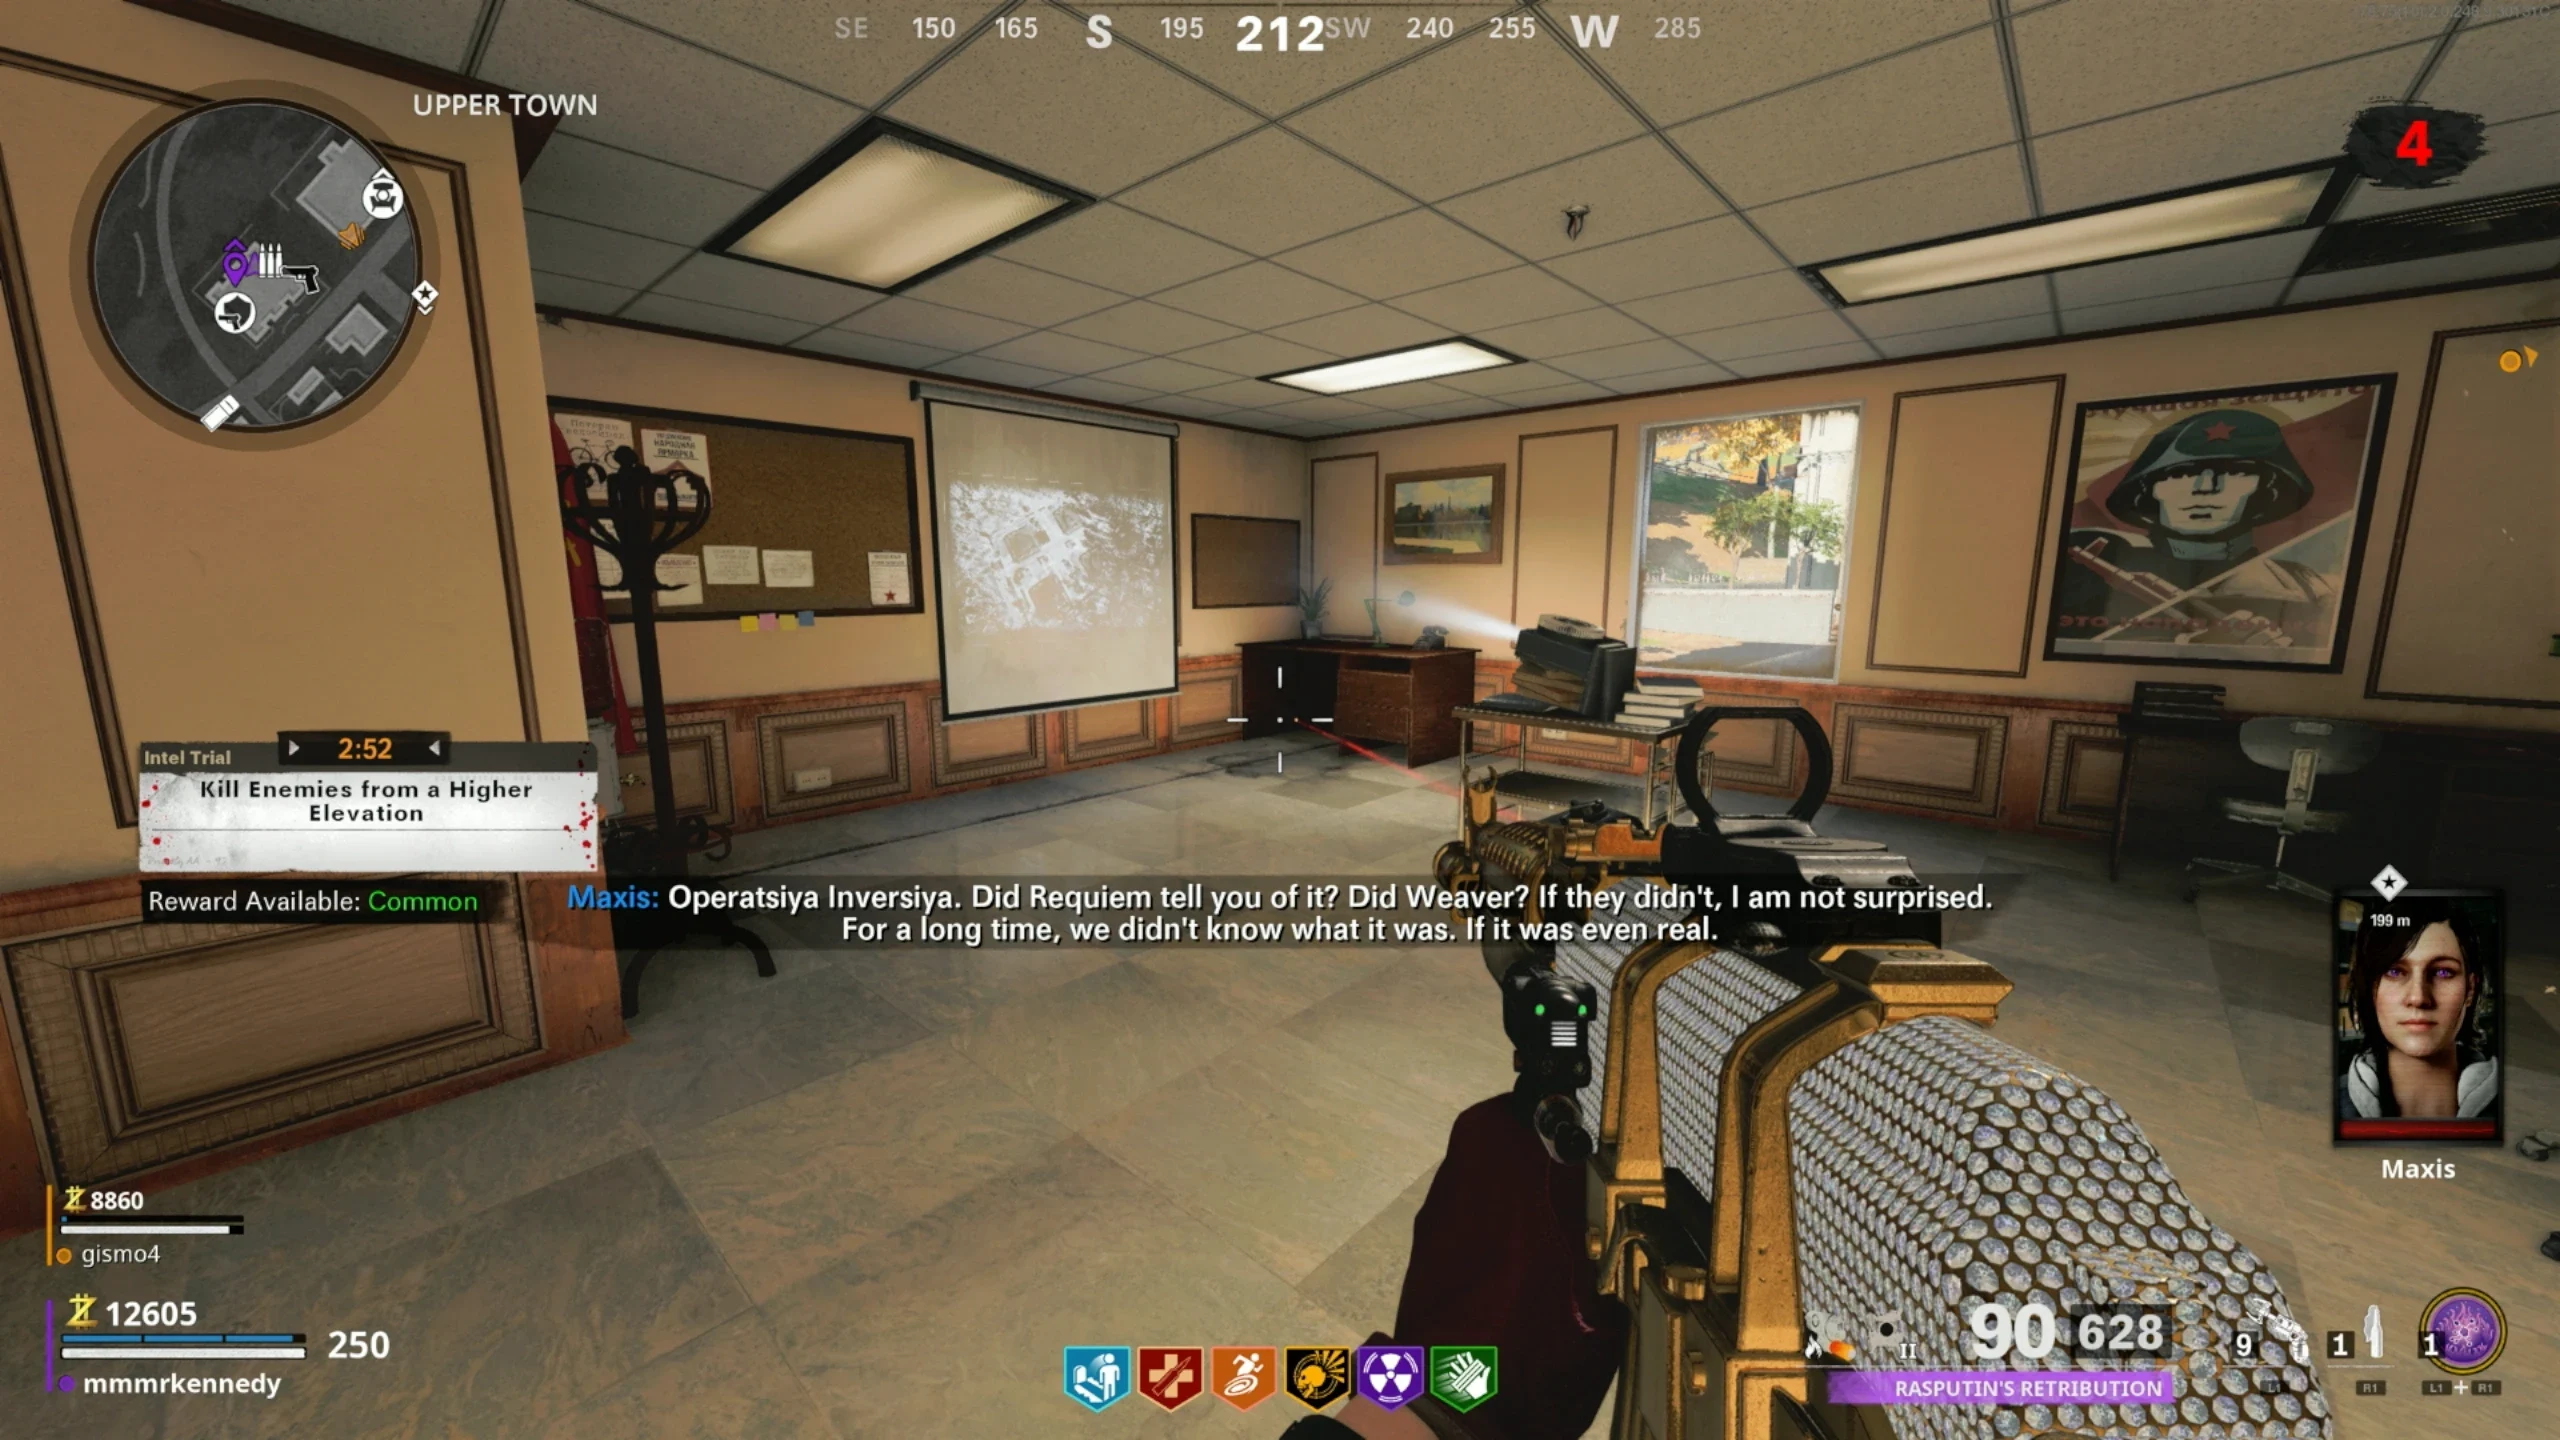
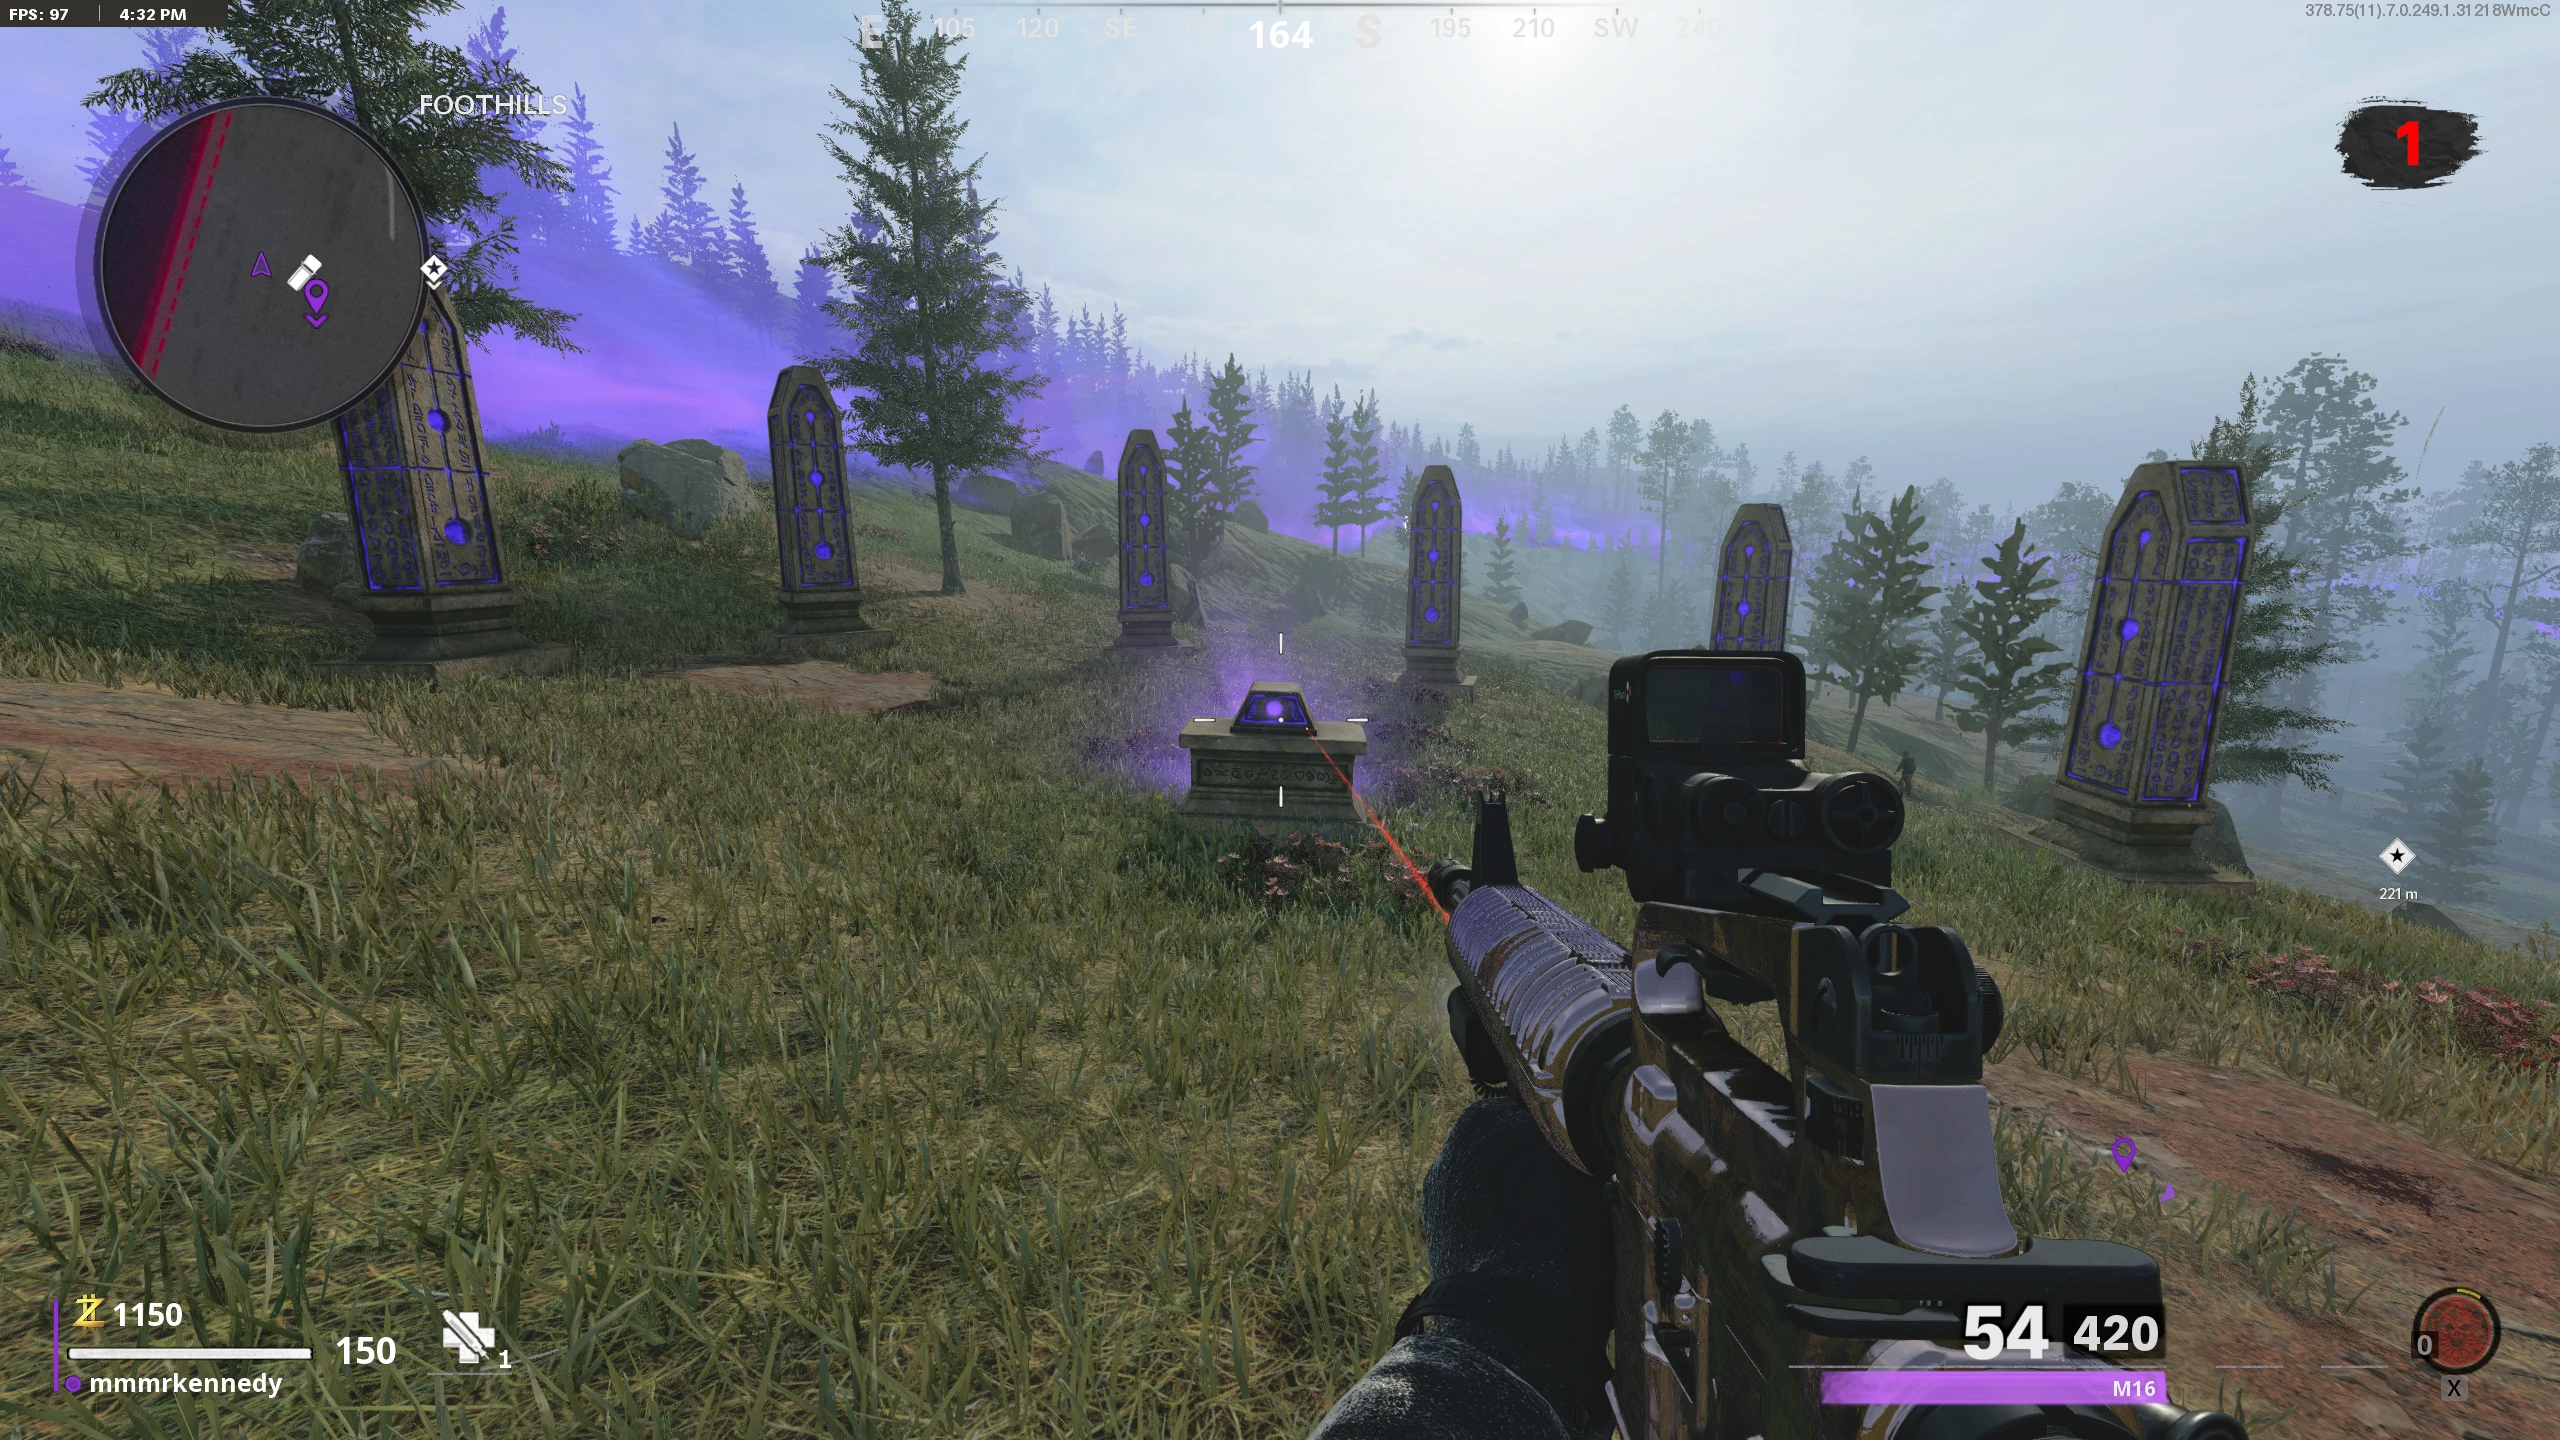
Recommended Loadout Category Type Recommended Item Field Upgrade - Frenzied Guard M16 Tactical Rifle Sight Optional (Hawksmoor recommended) Muzzle Infantry Compensator Barrel 20.5" Task Force Body Ember Sighting Point Underbarrel Patrol Grip Magazine Salvo 54 Rnd Fast Mag Handle Airborne Elastic Wrap Stock SAS Combat Stock Obtain the Beacon Listening Device
- Reach Round 3. After selecting warp at the beacon on round 1, shoot/melee the beacon until it breaks and leans over, skipping round 2 and going straight to round 3.
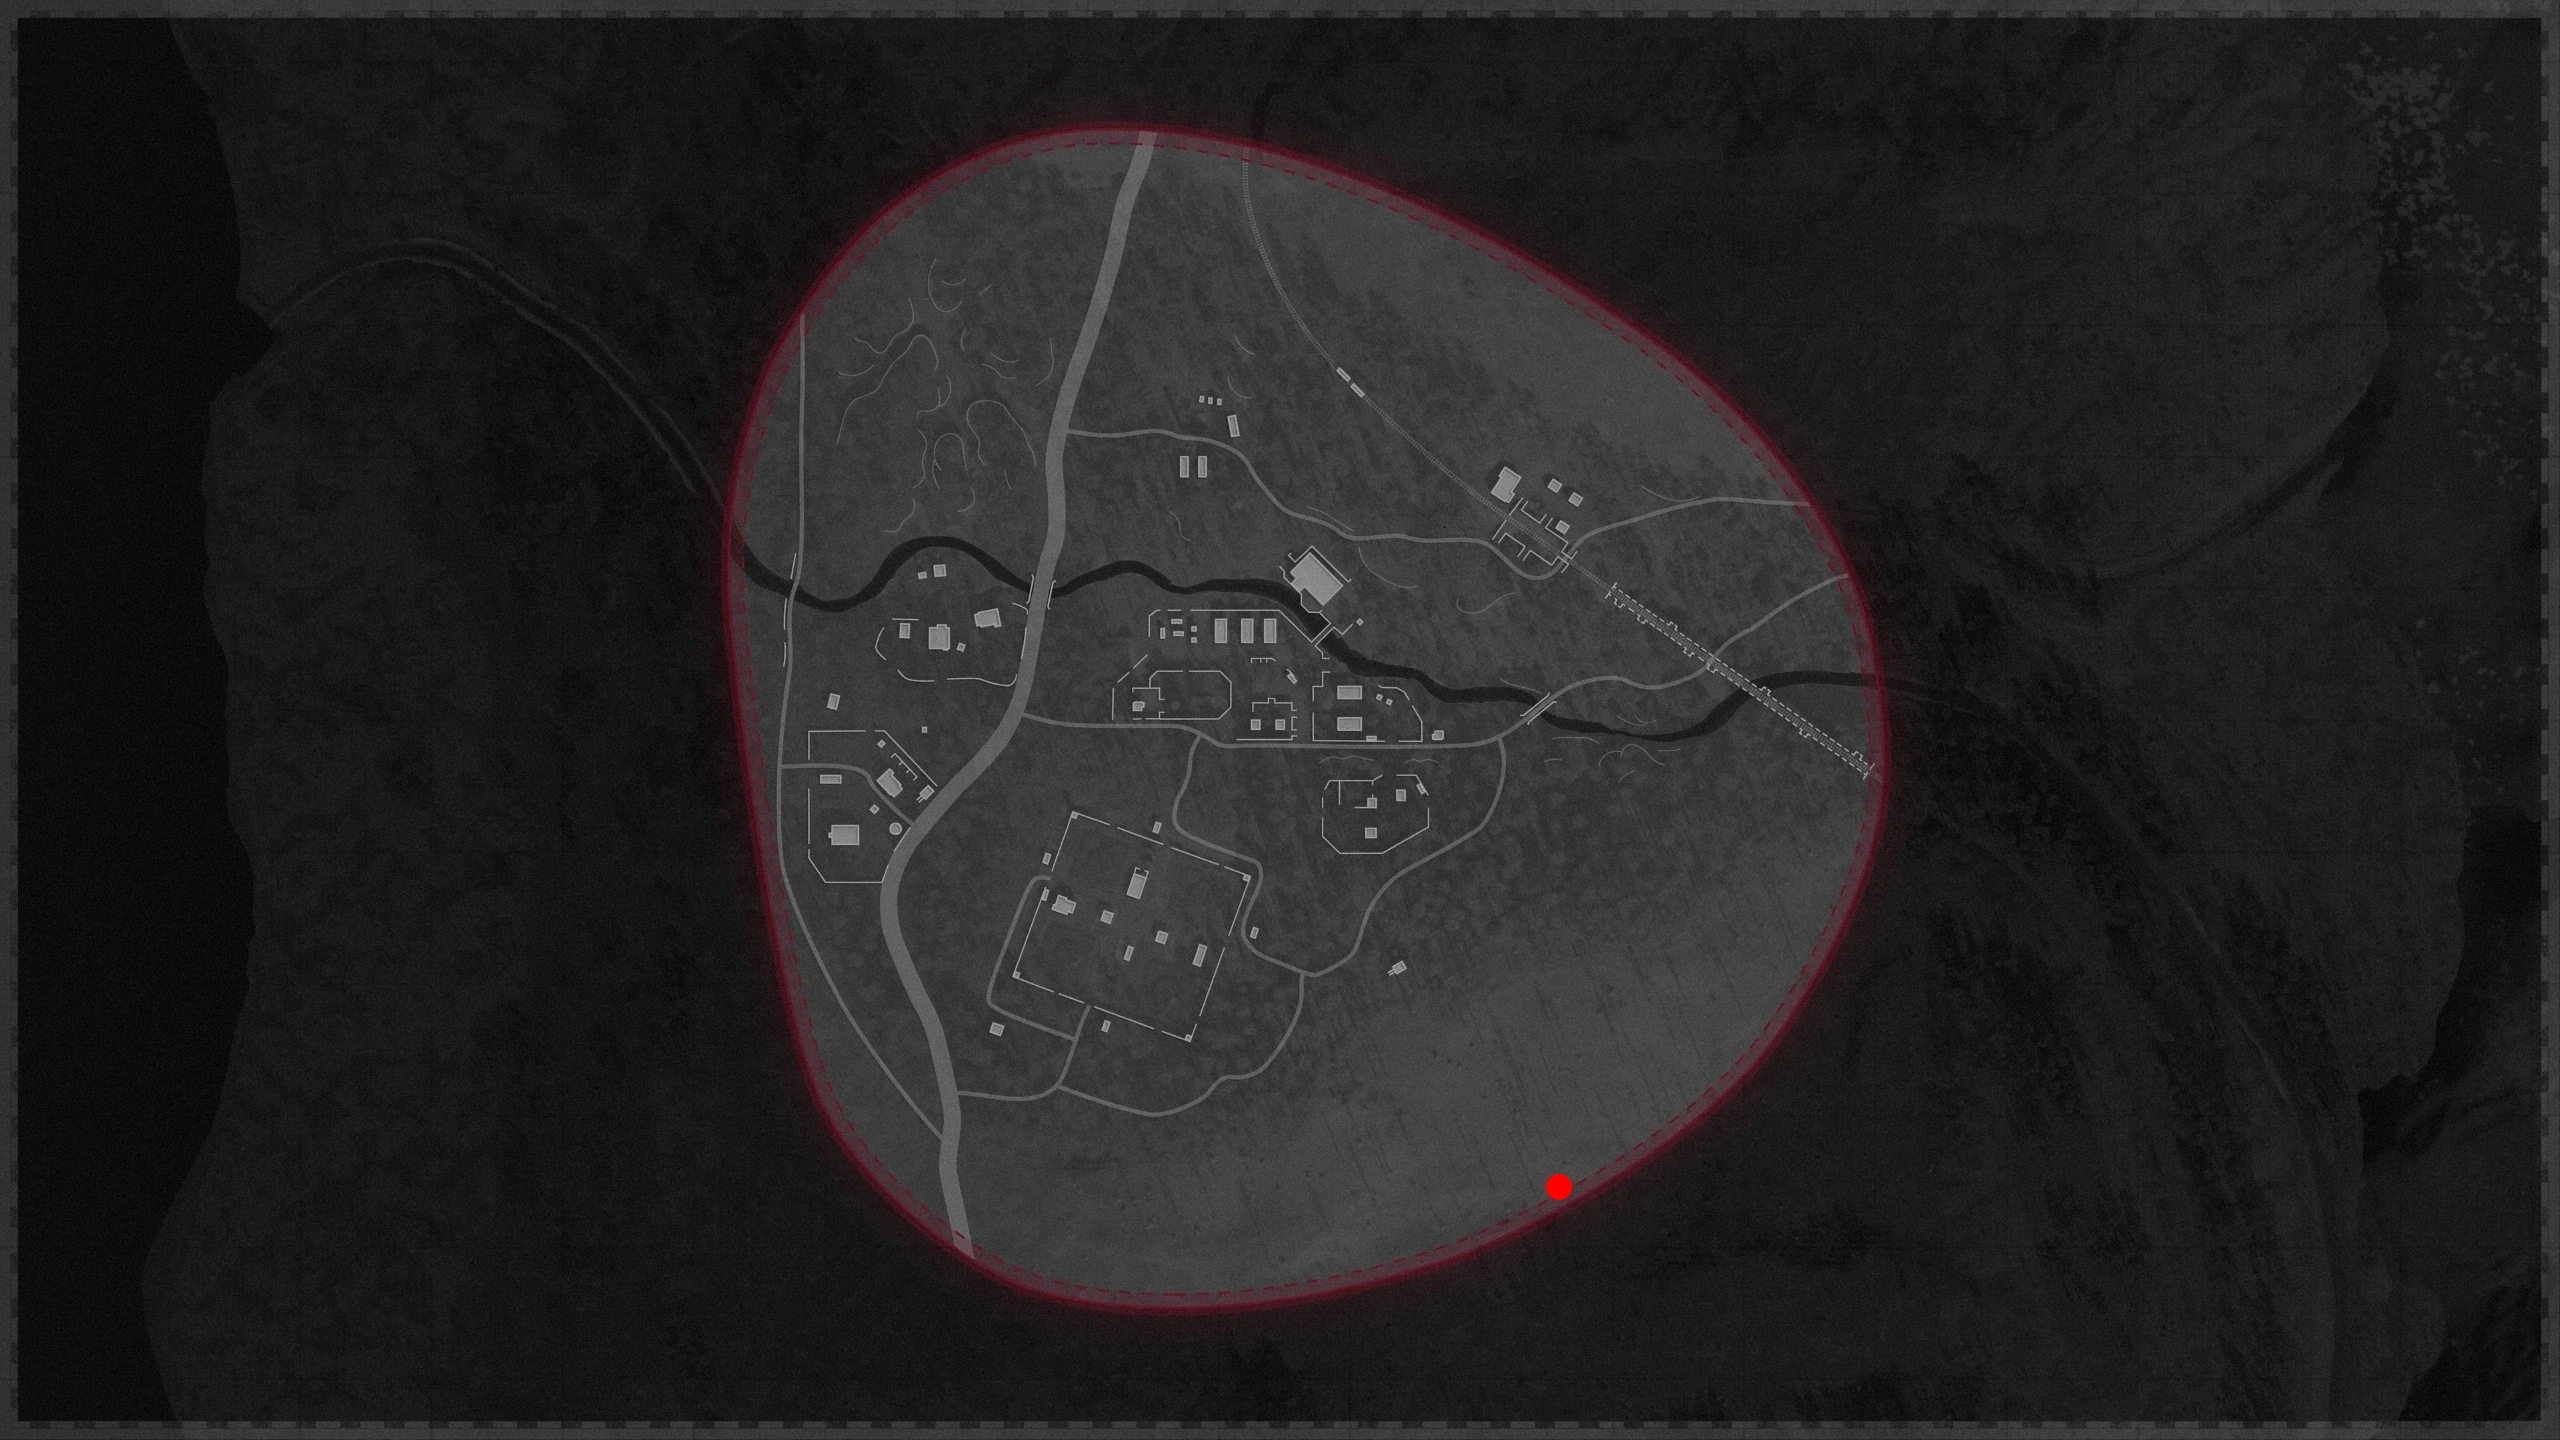
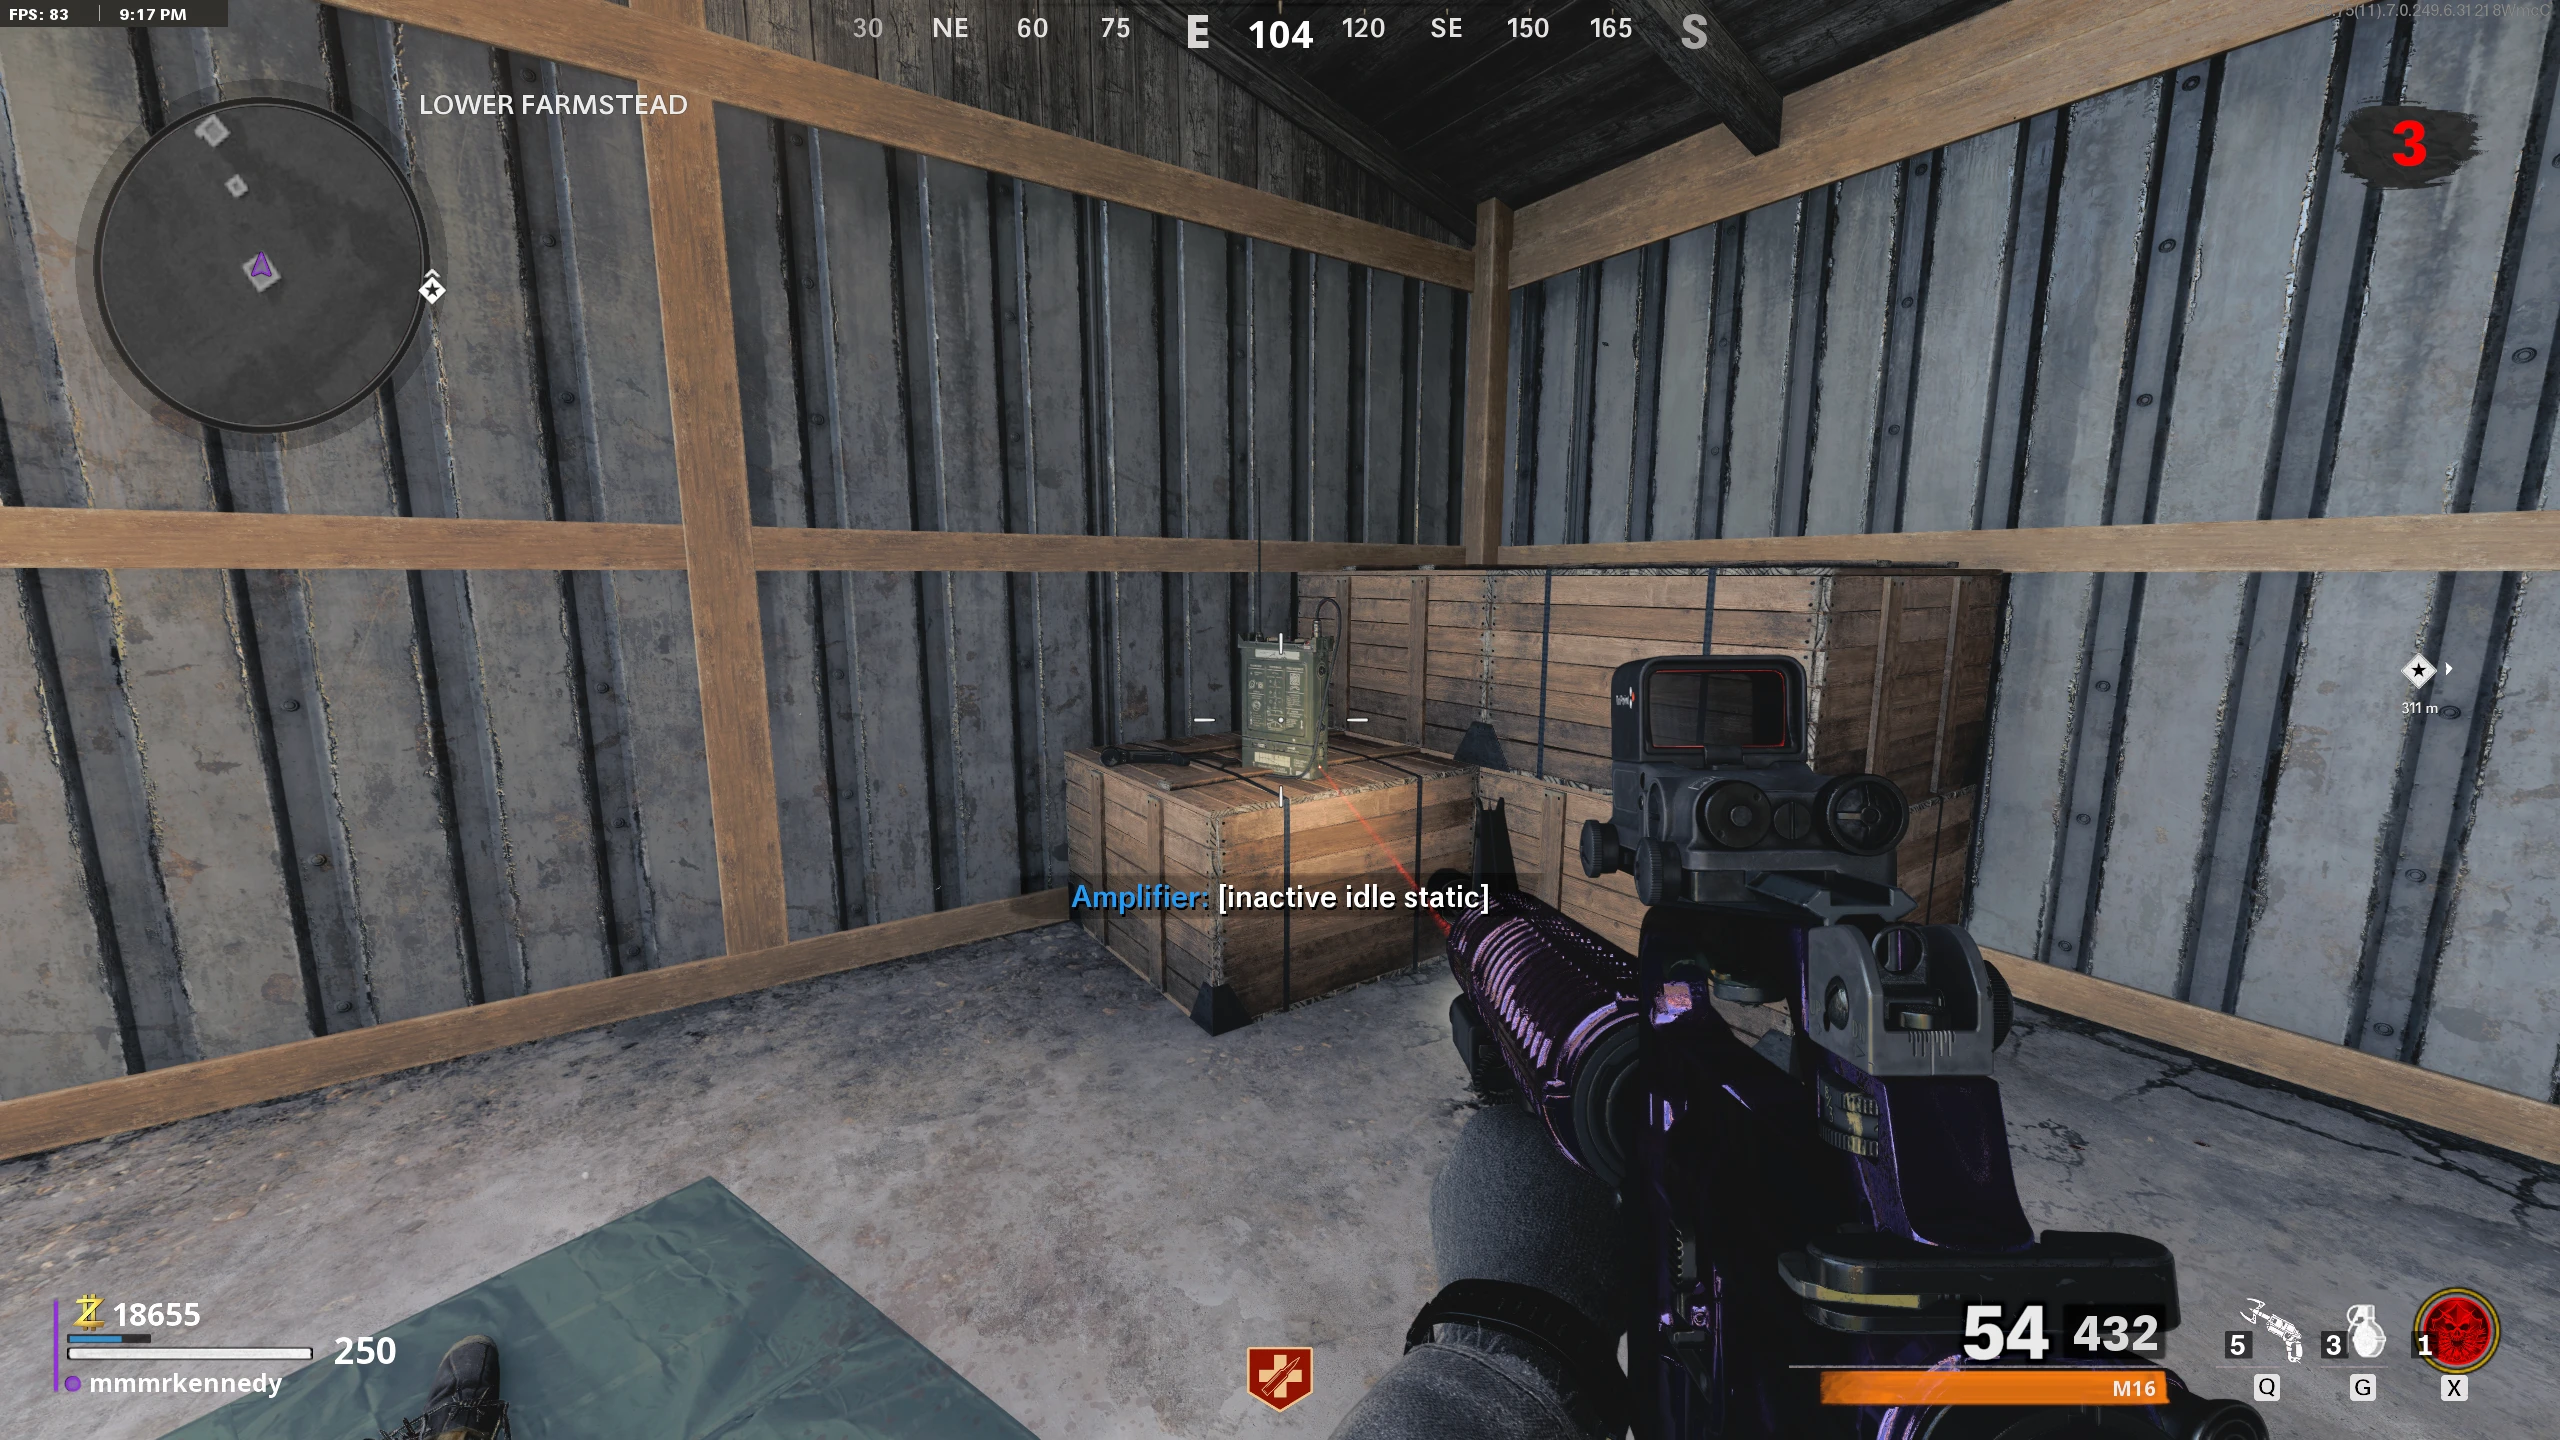
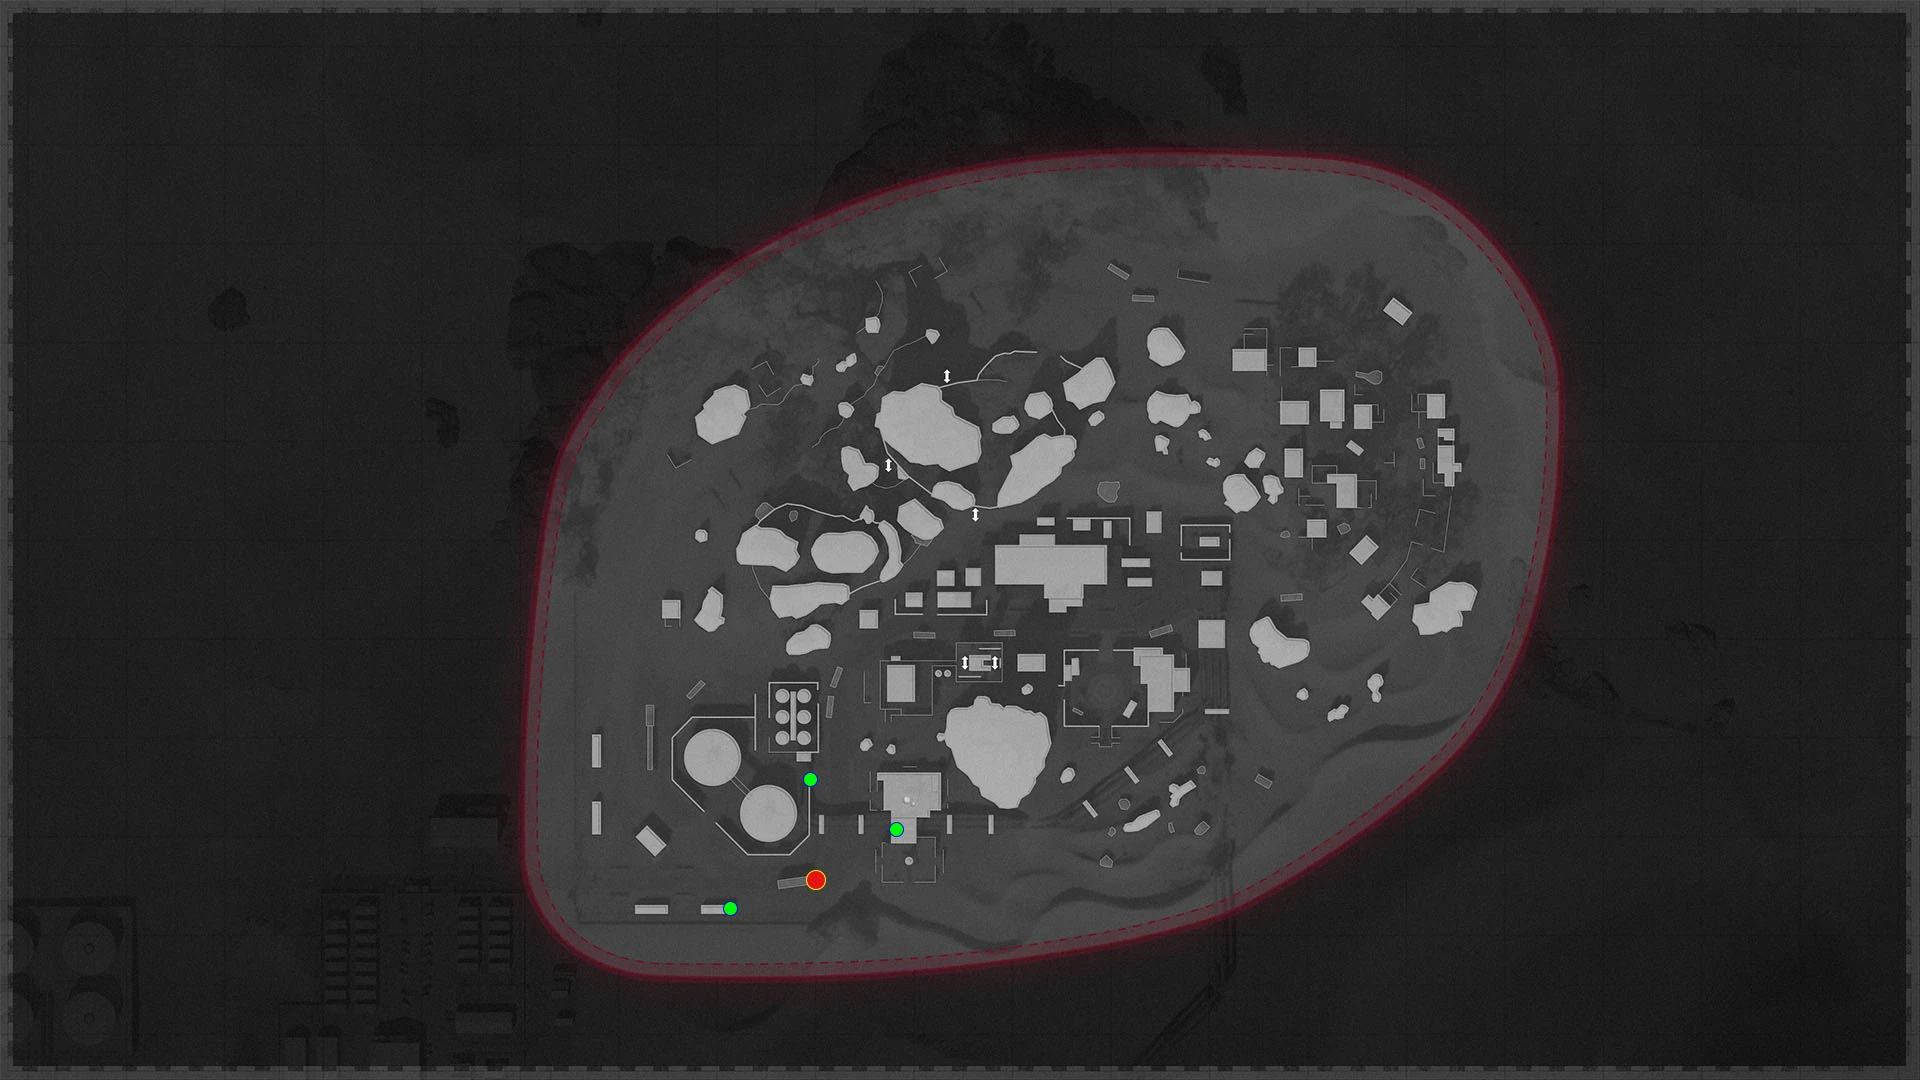
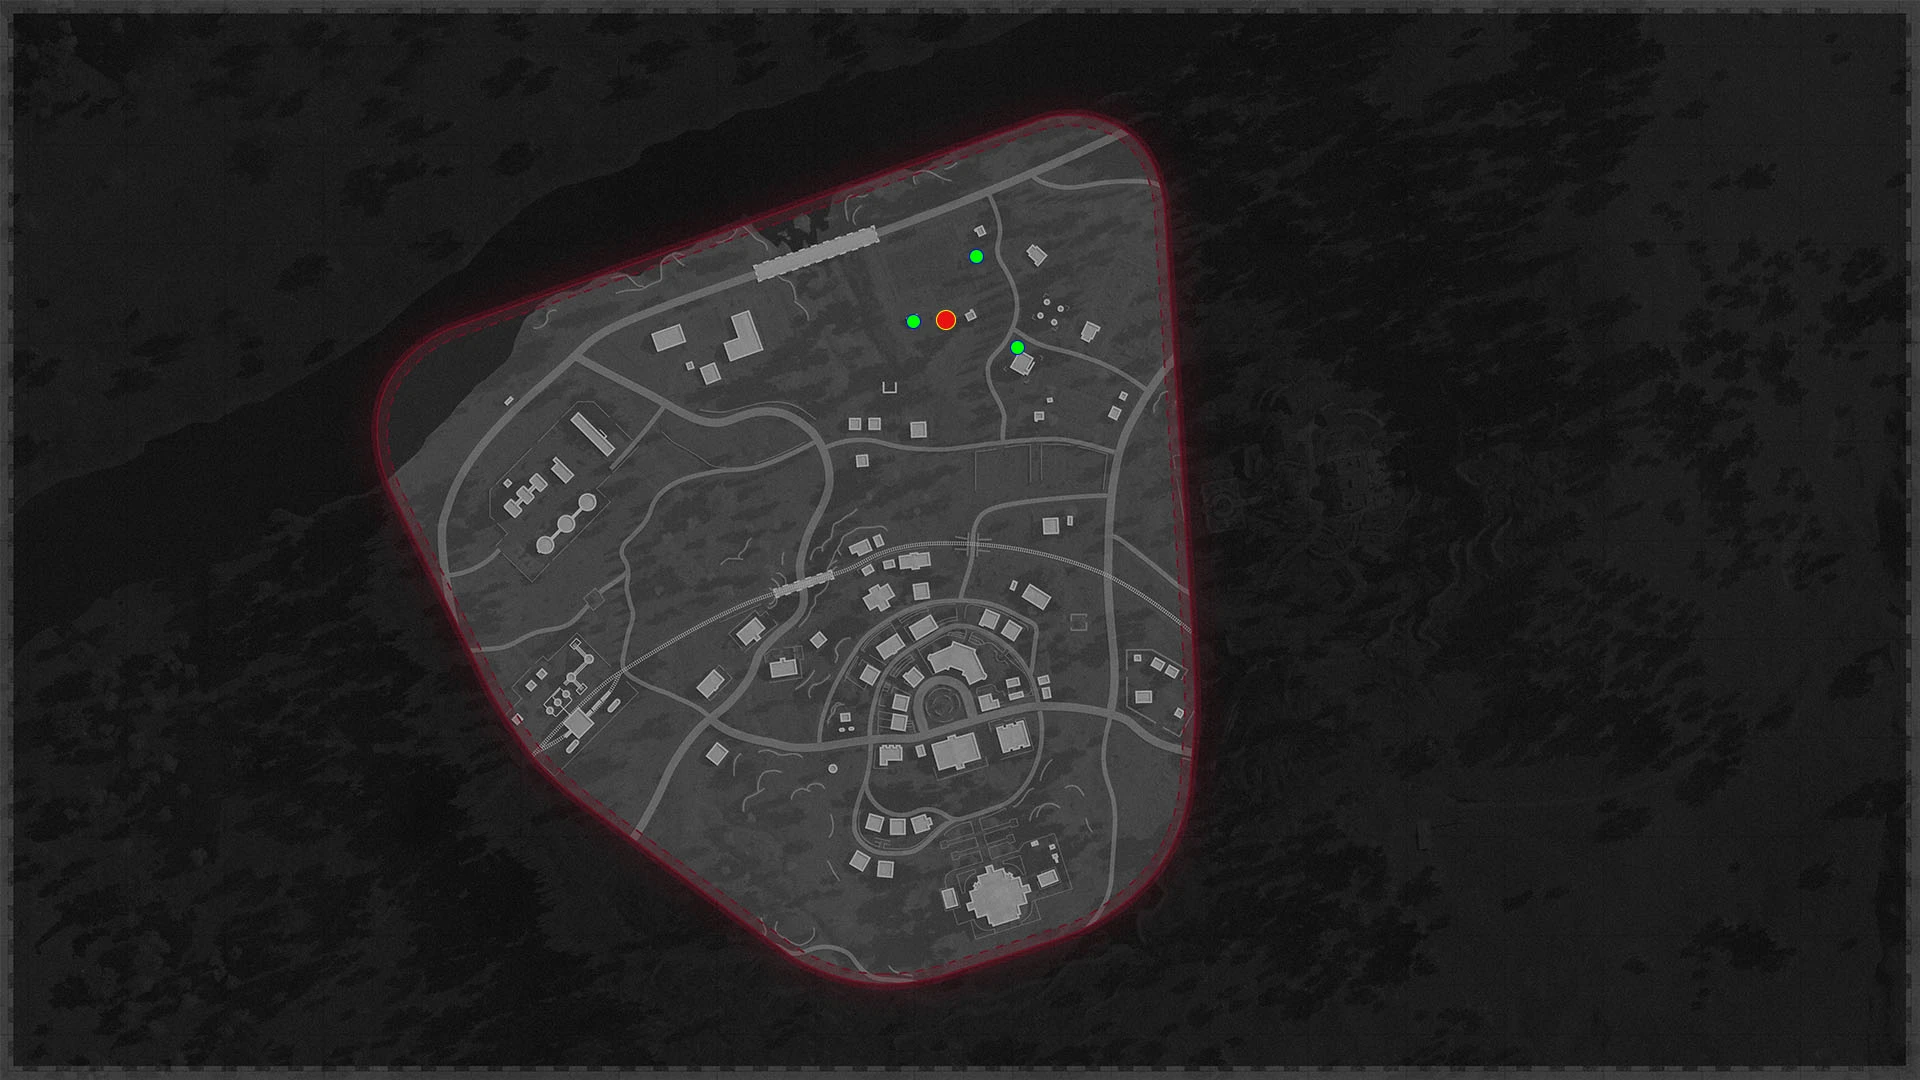
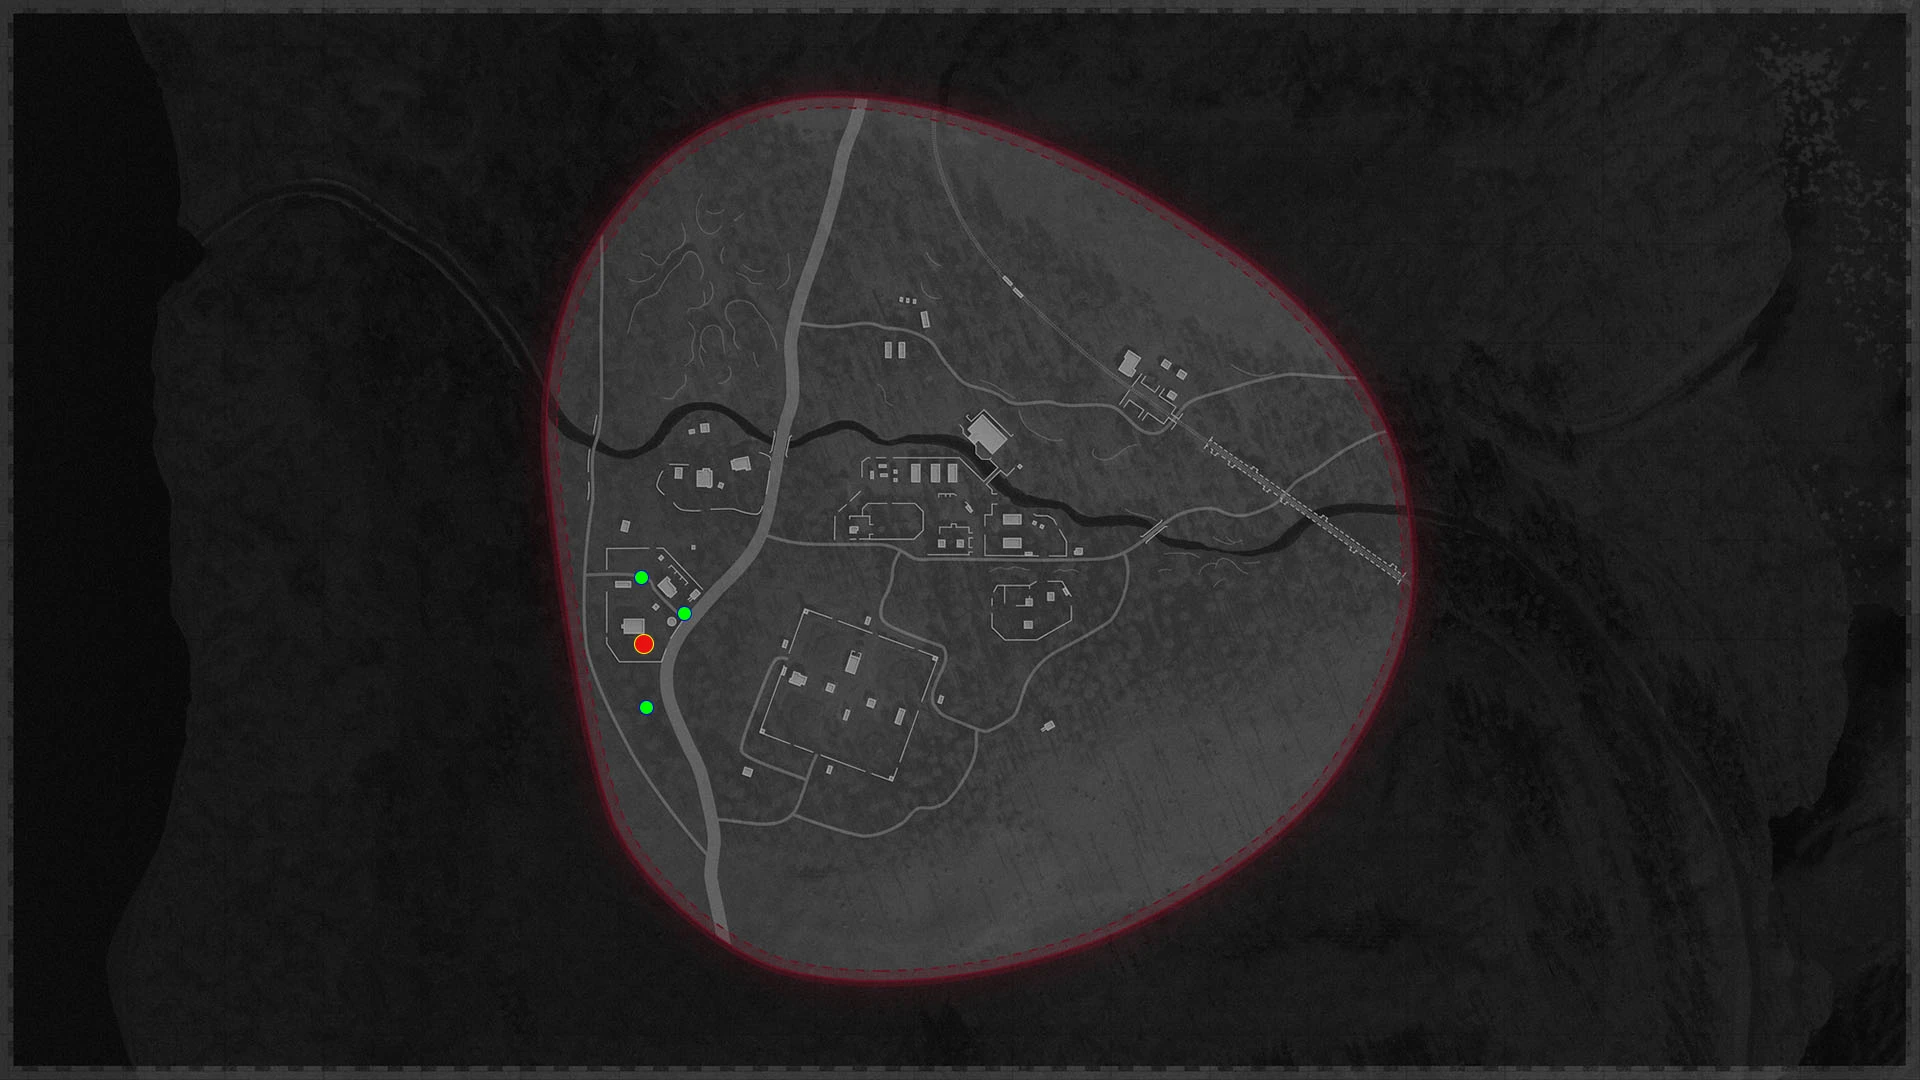
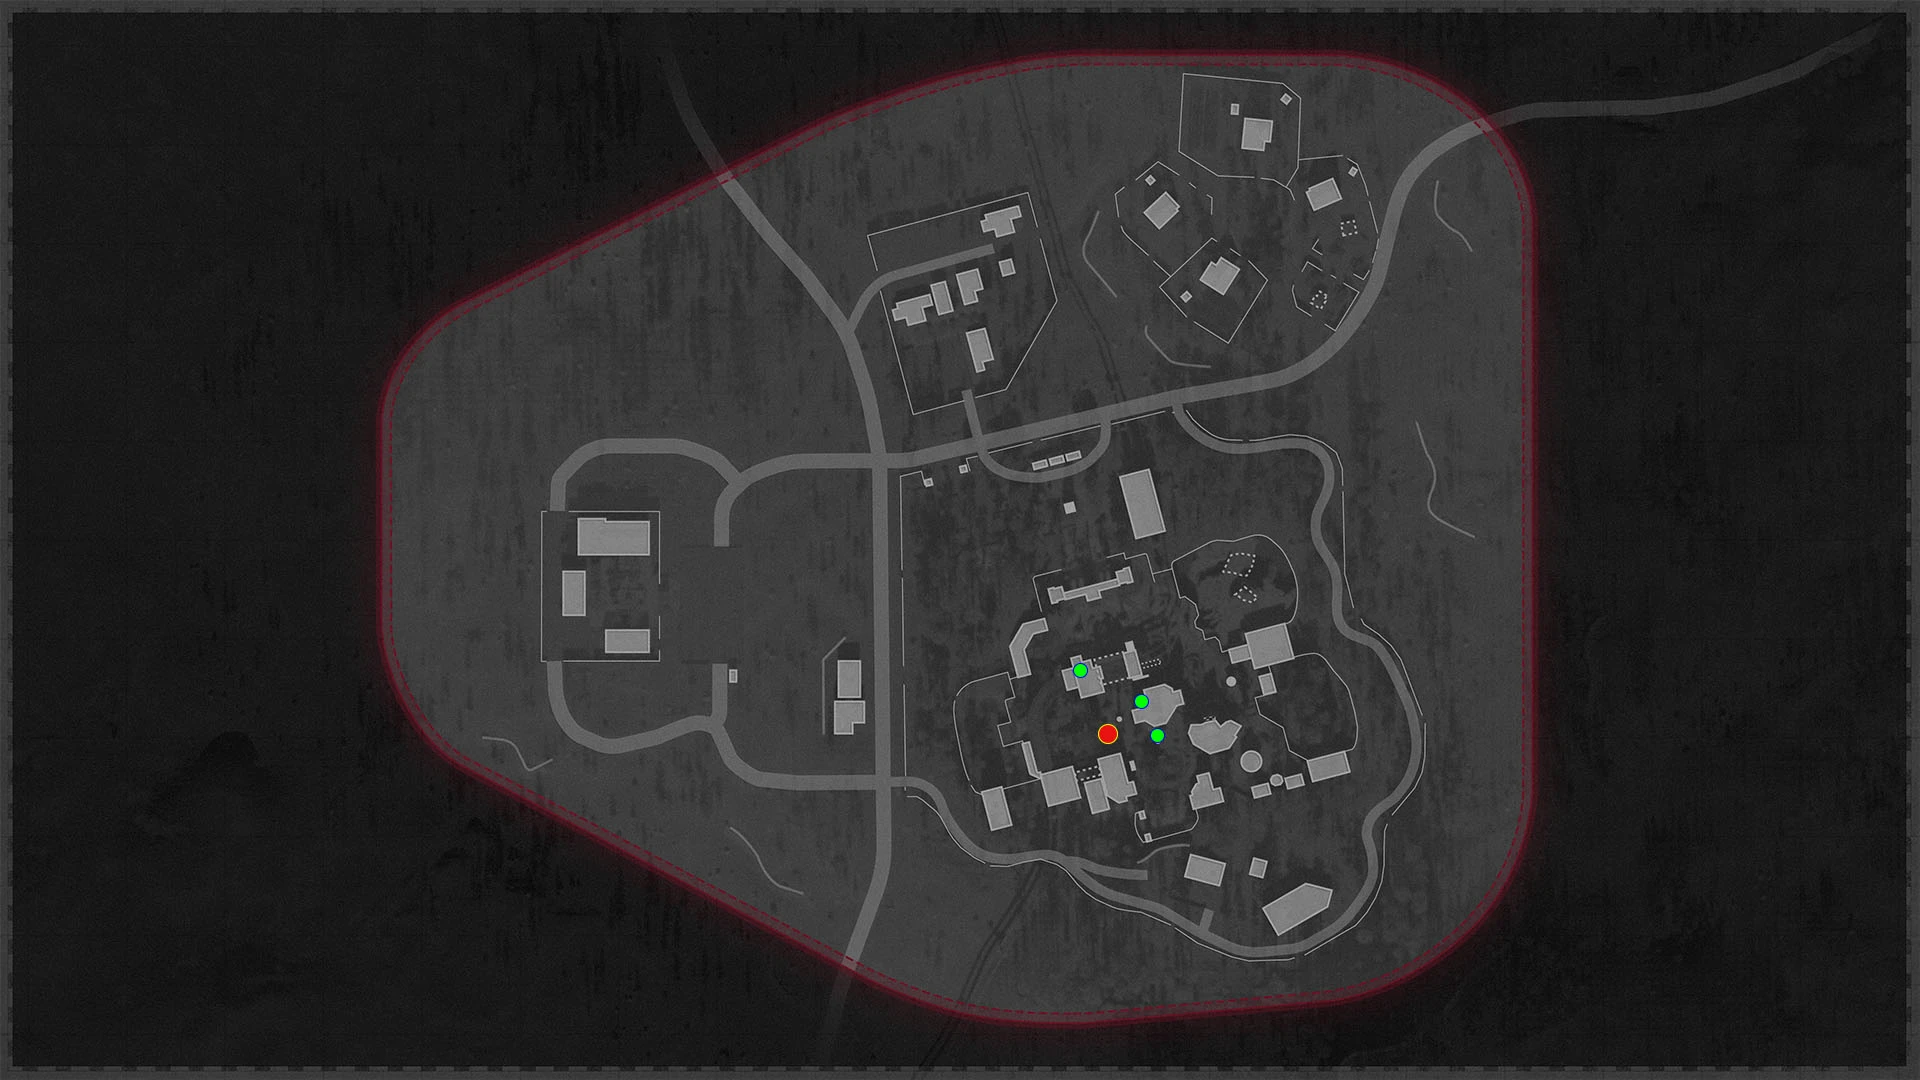
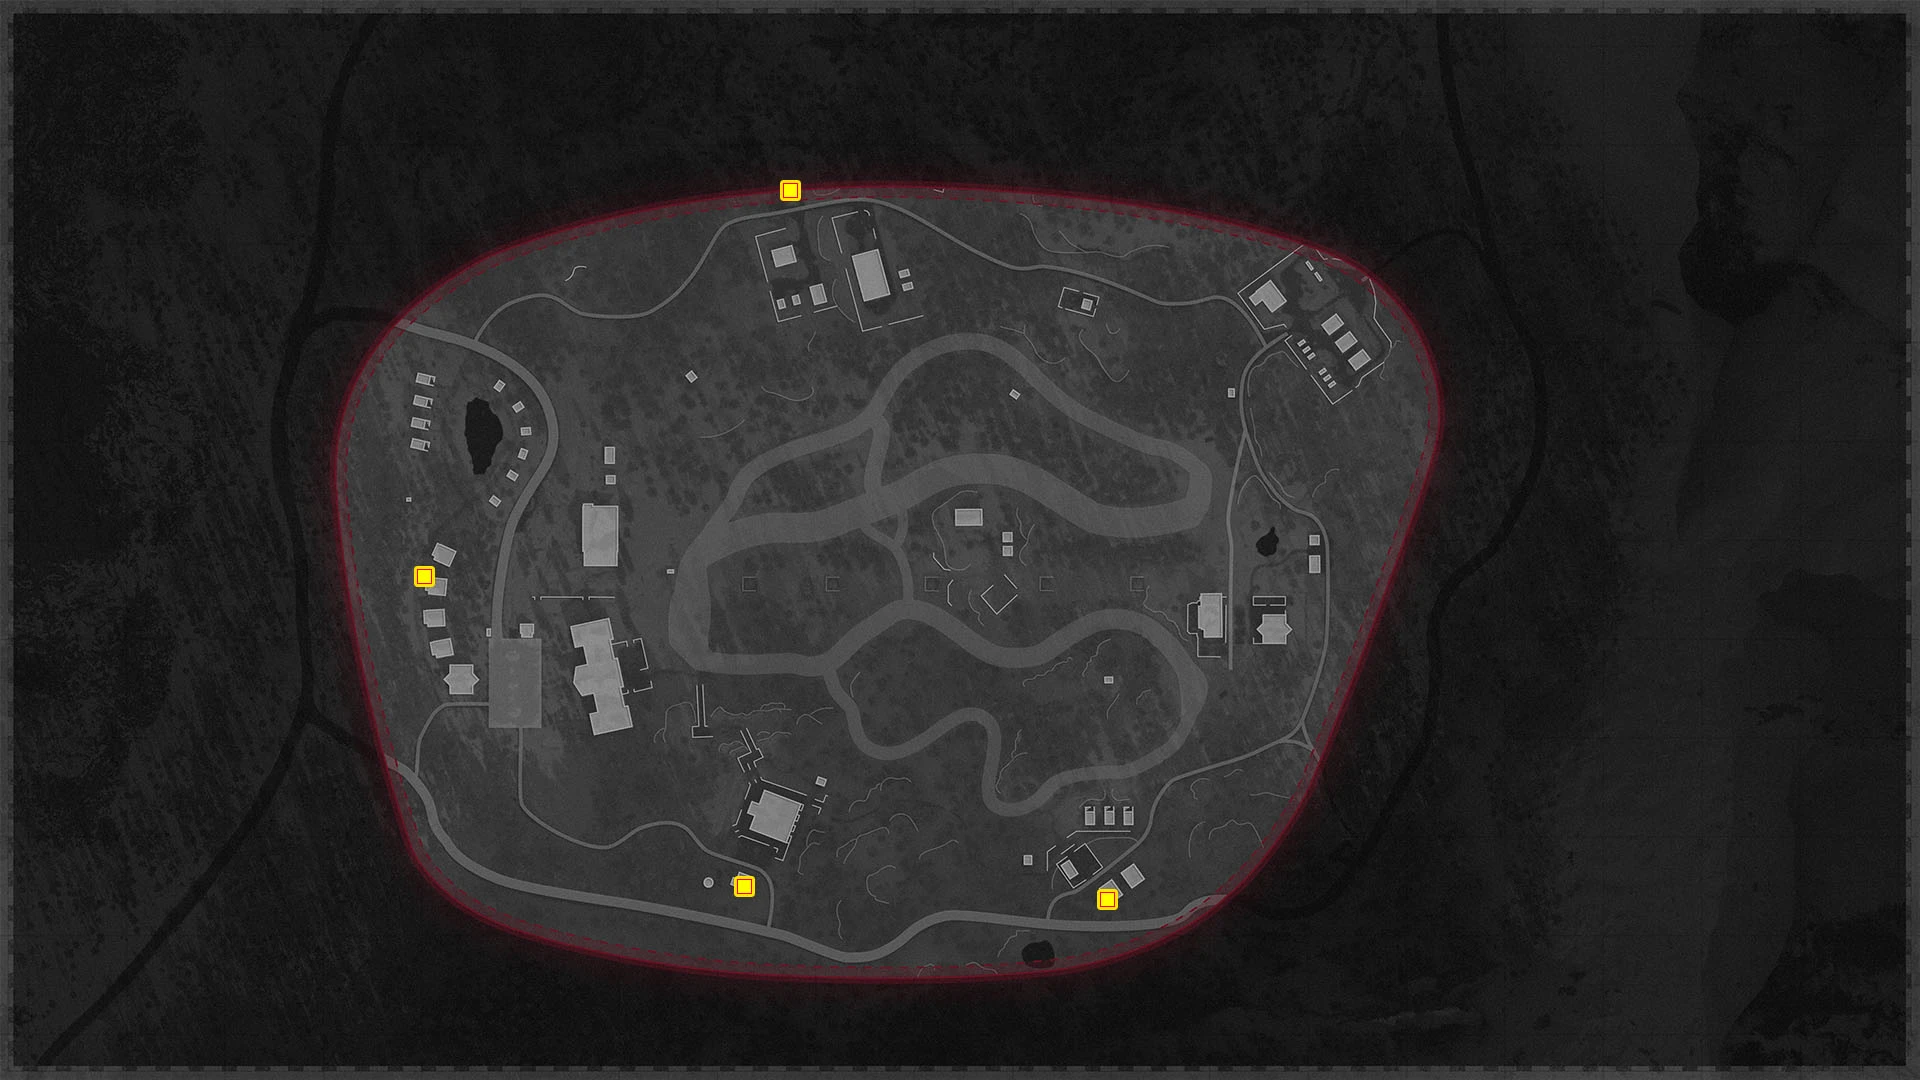
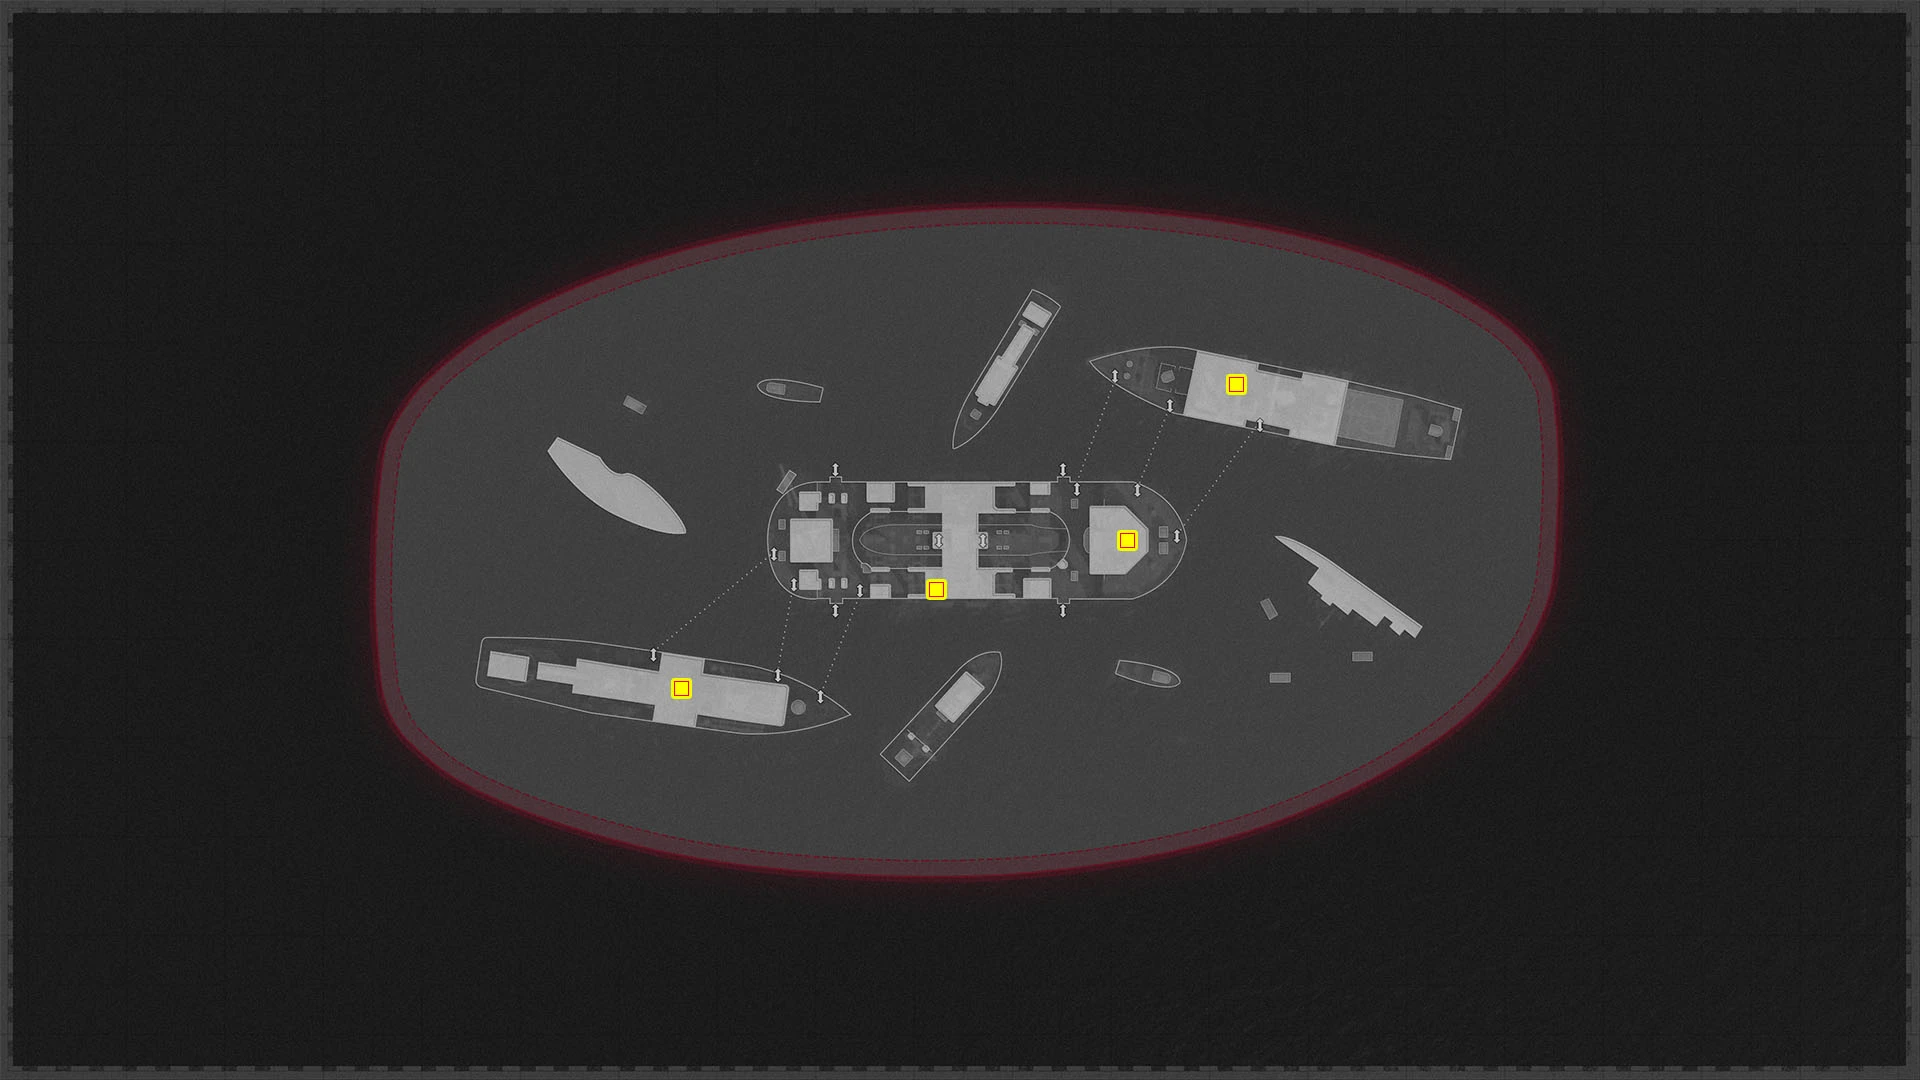
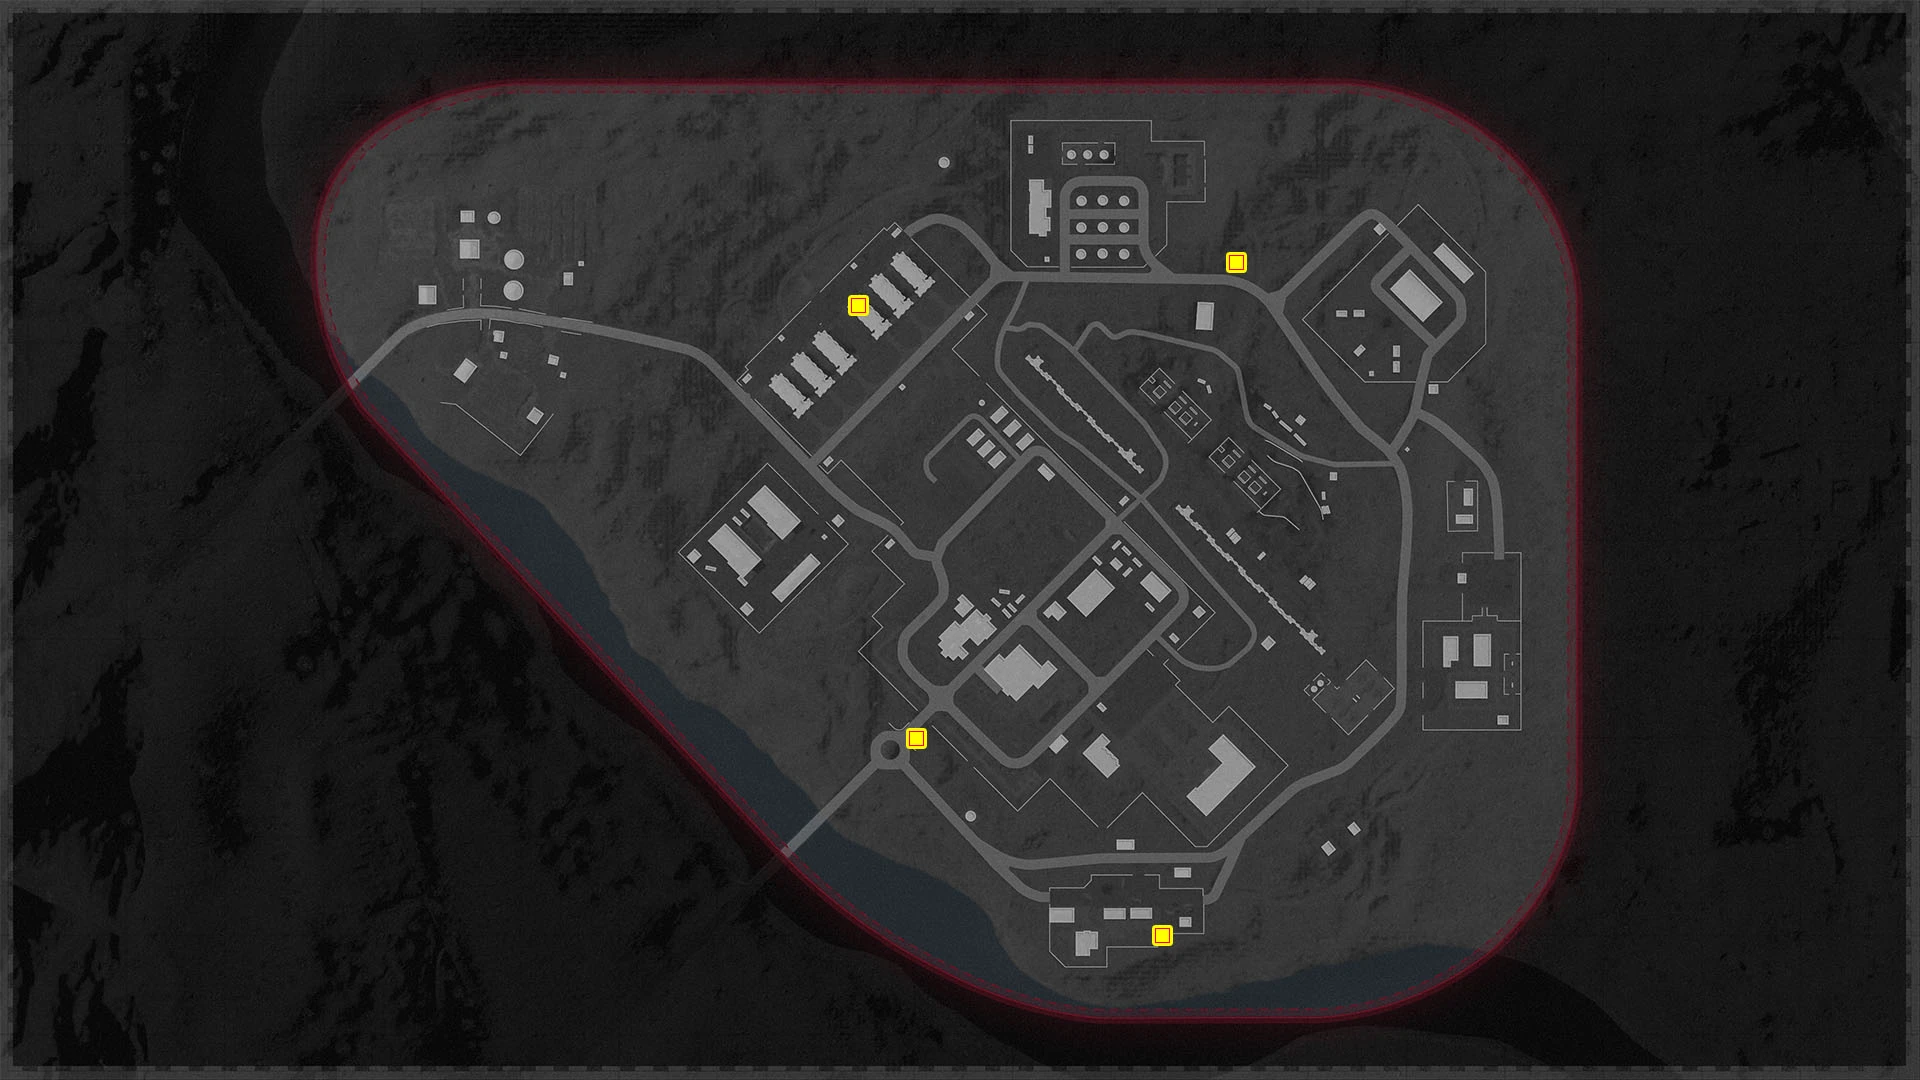
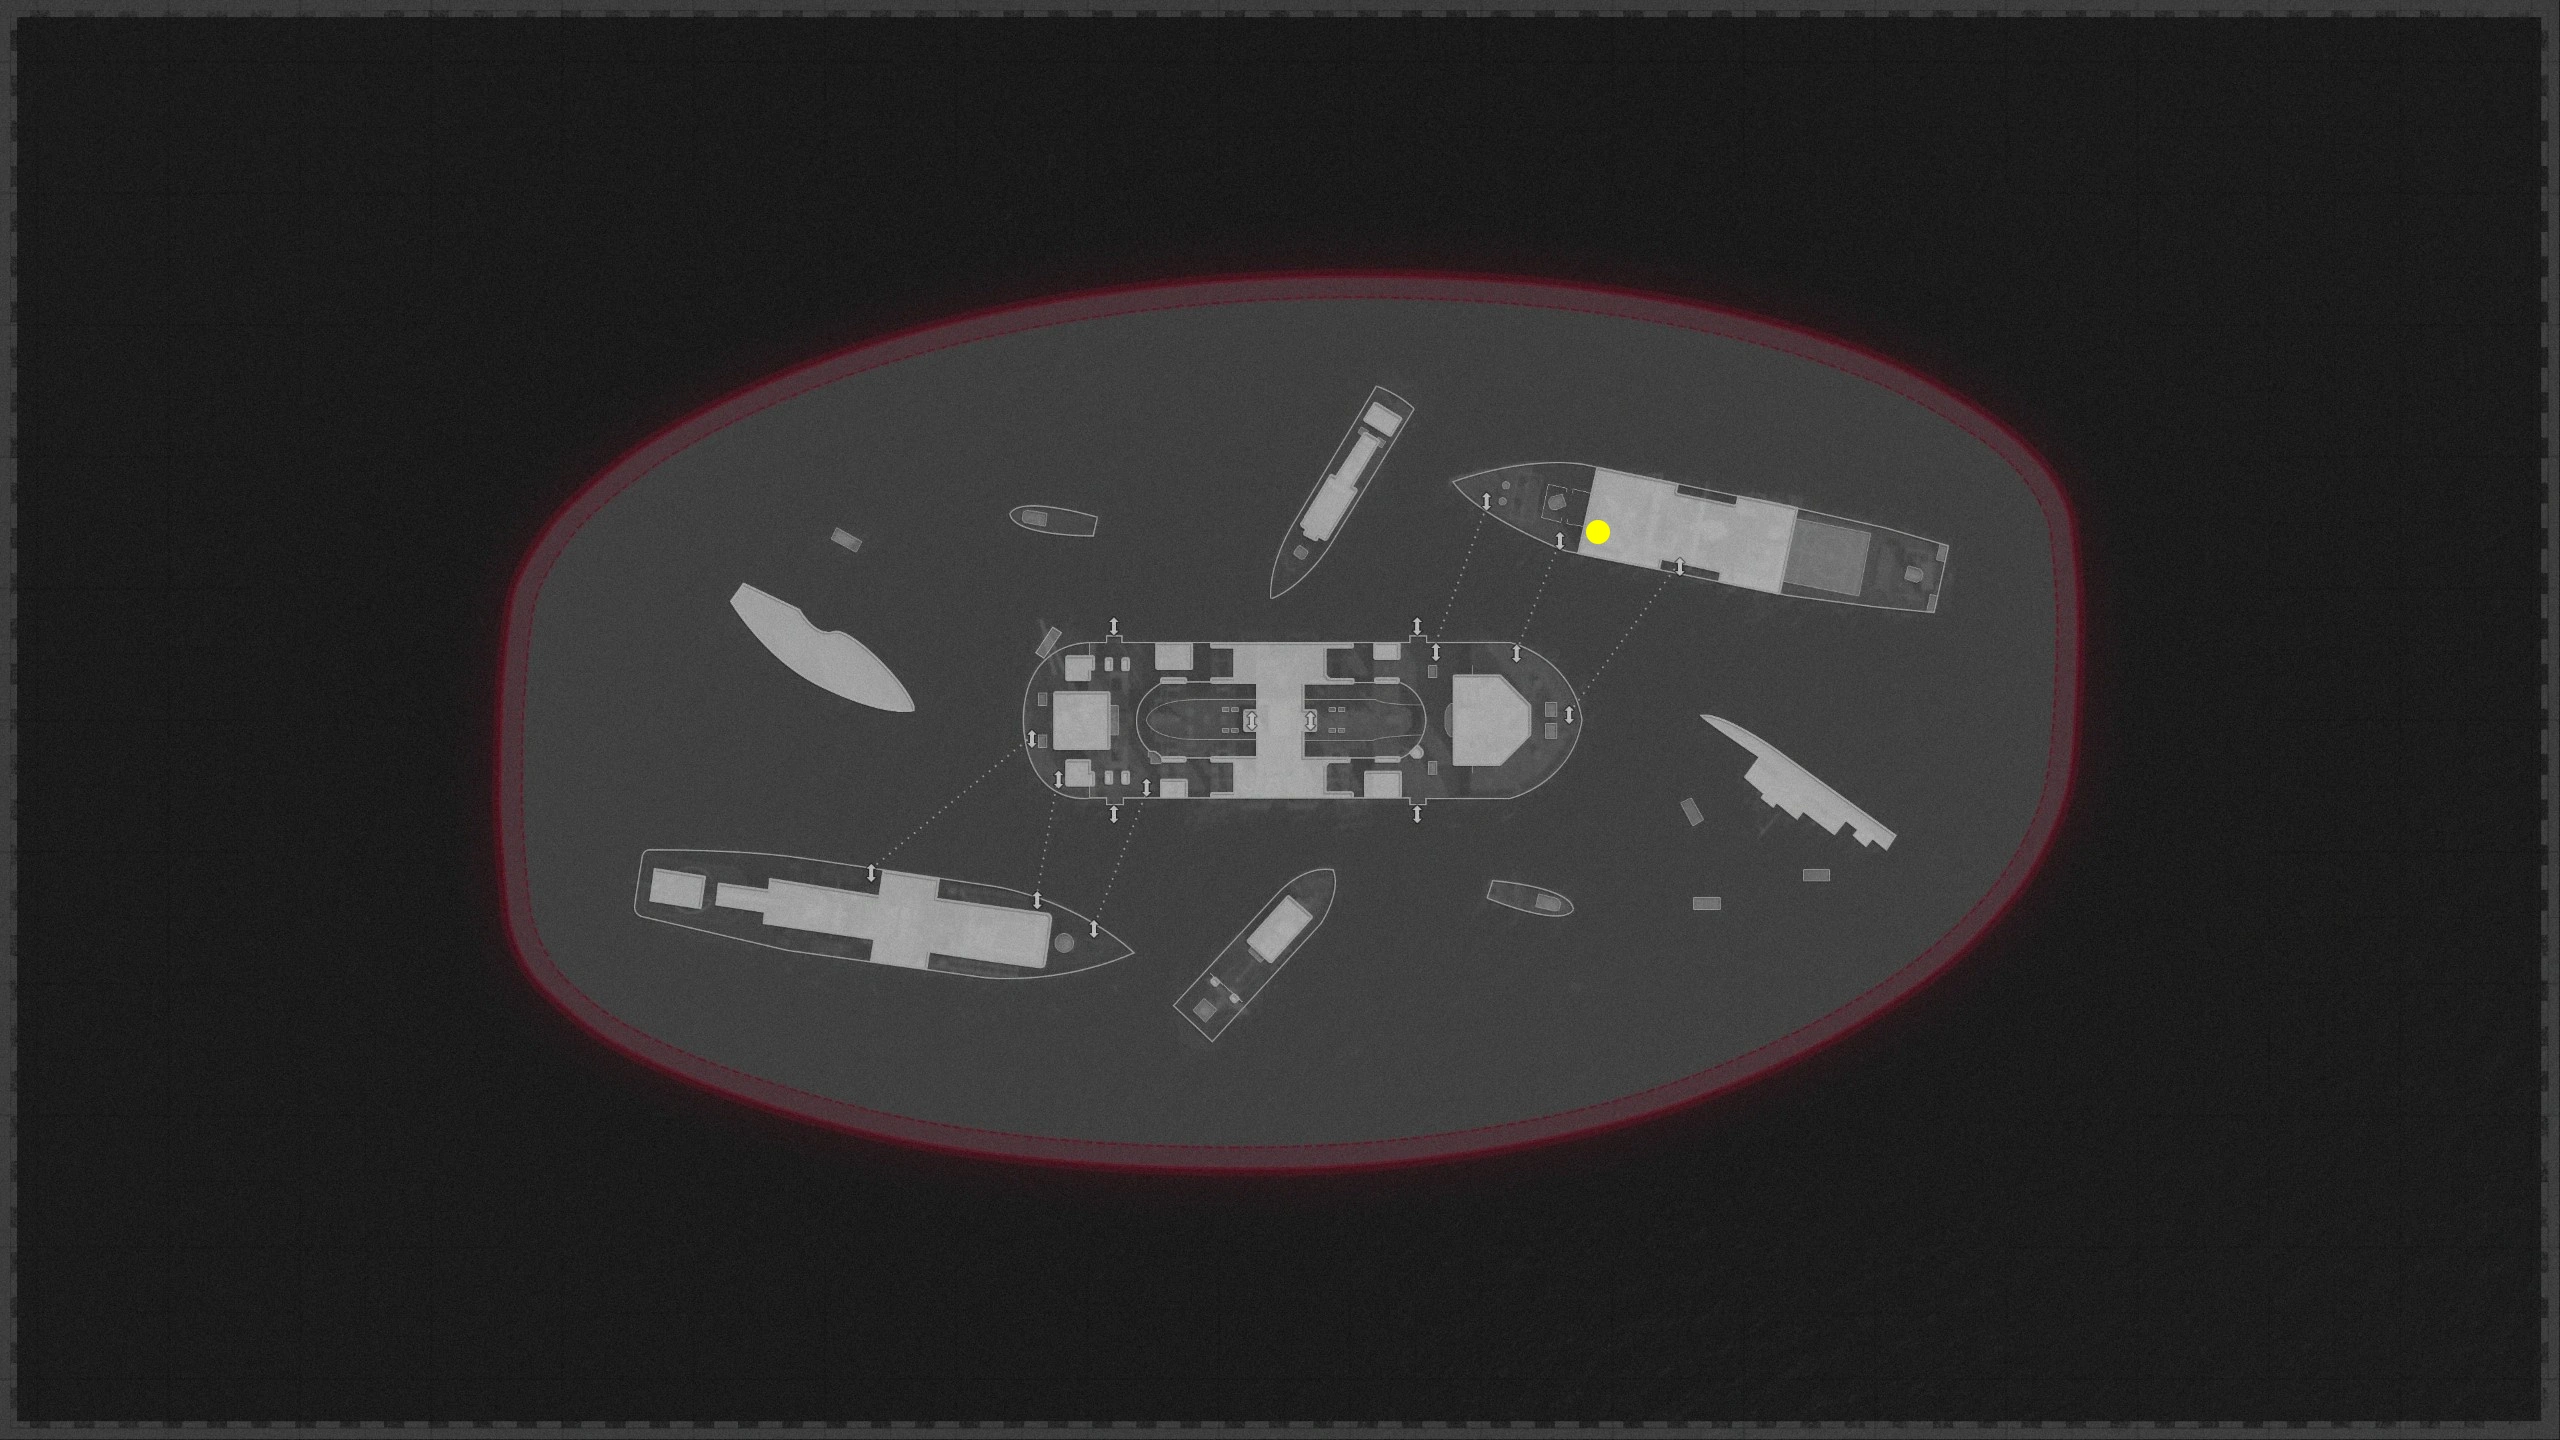
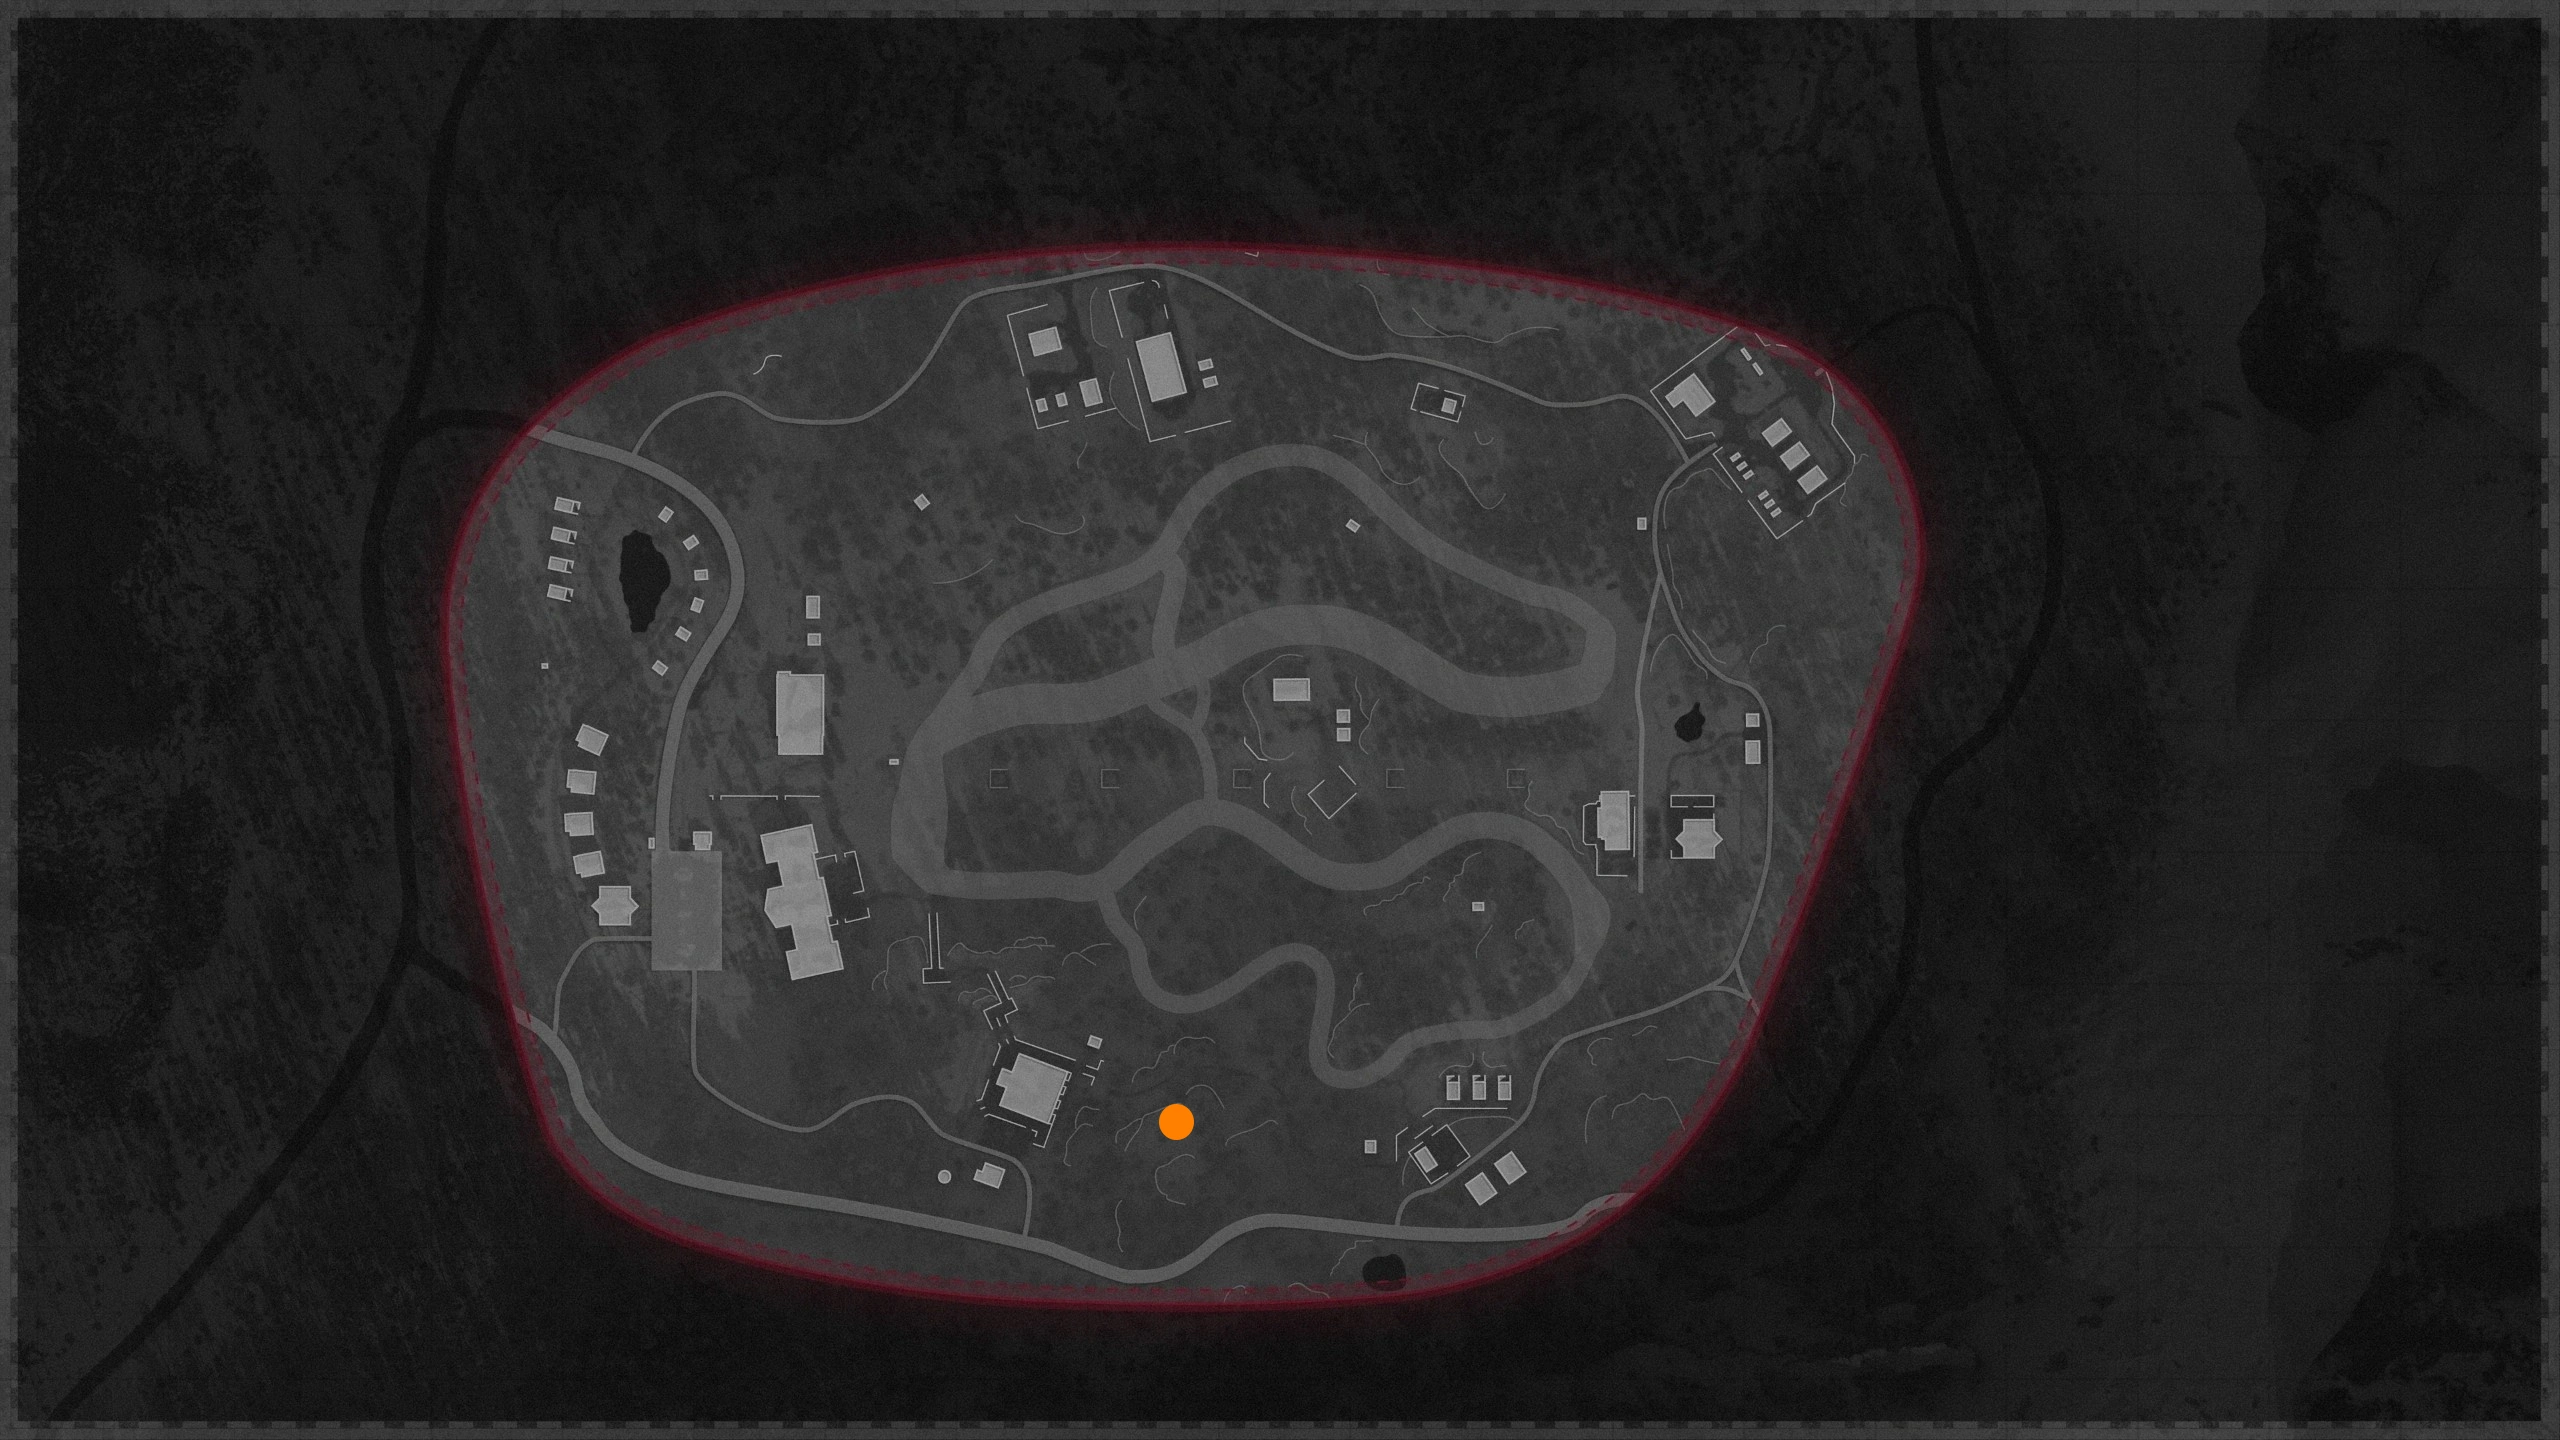
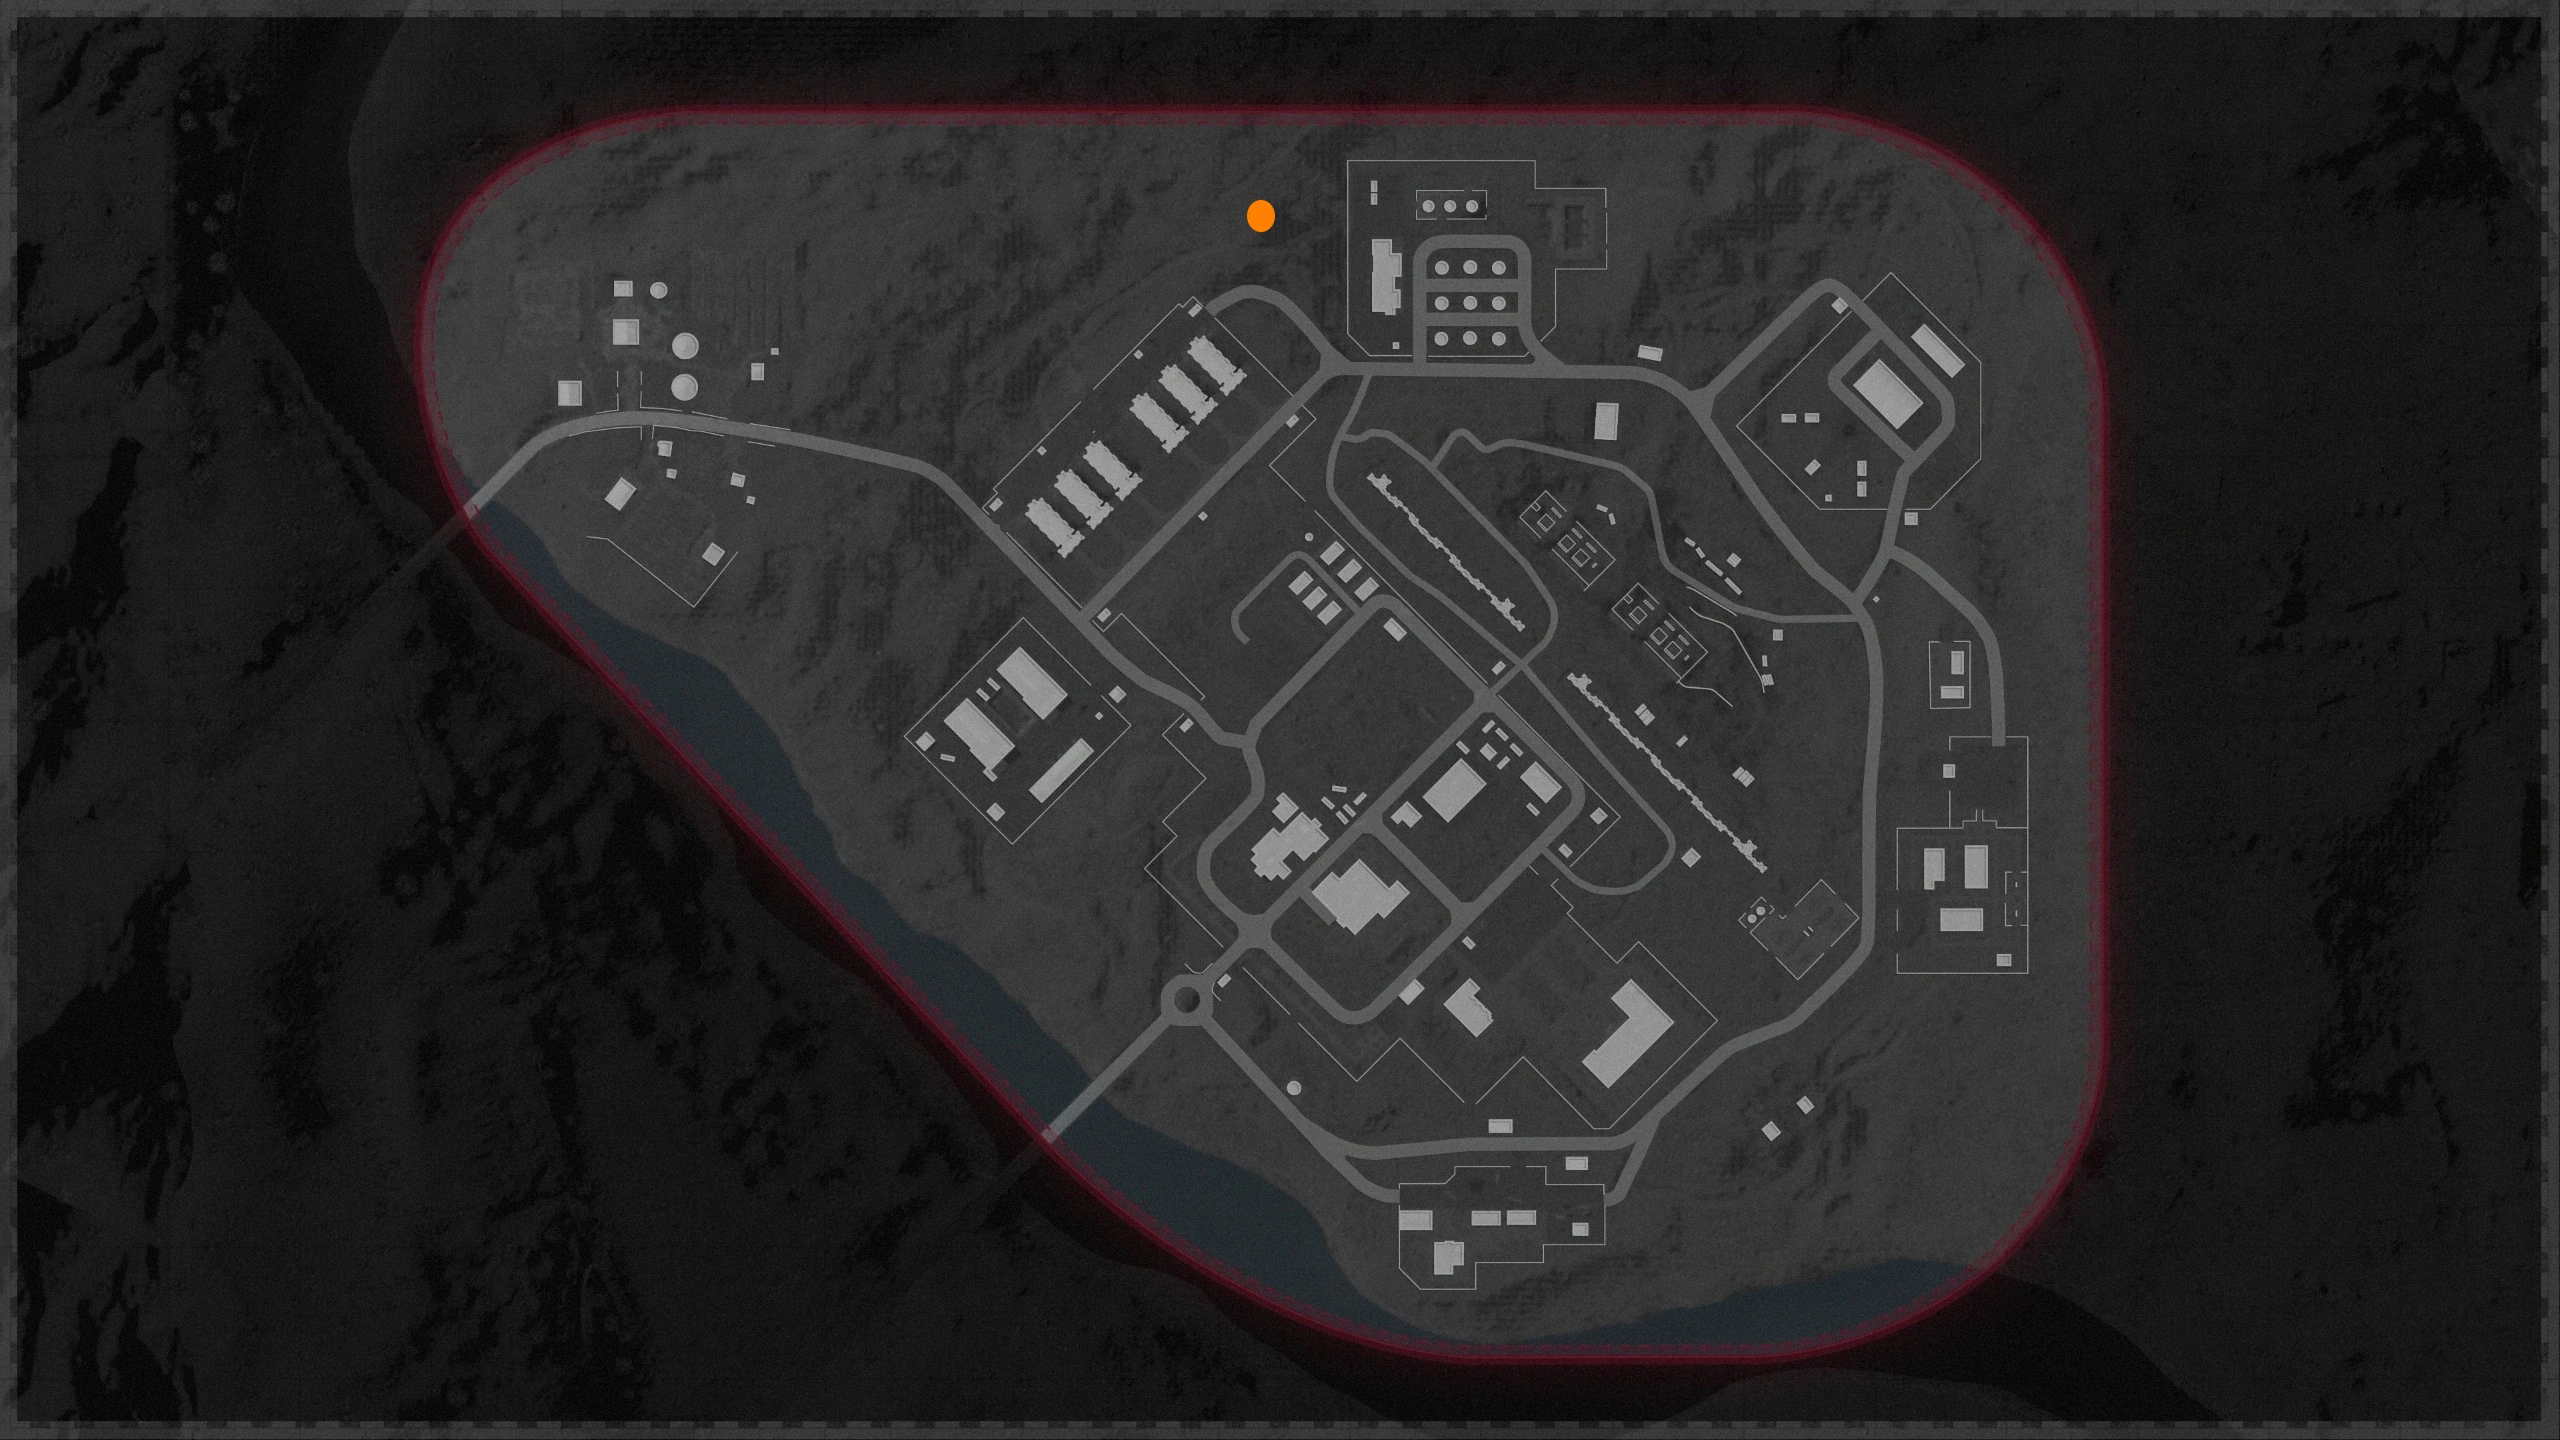
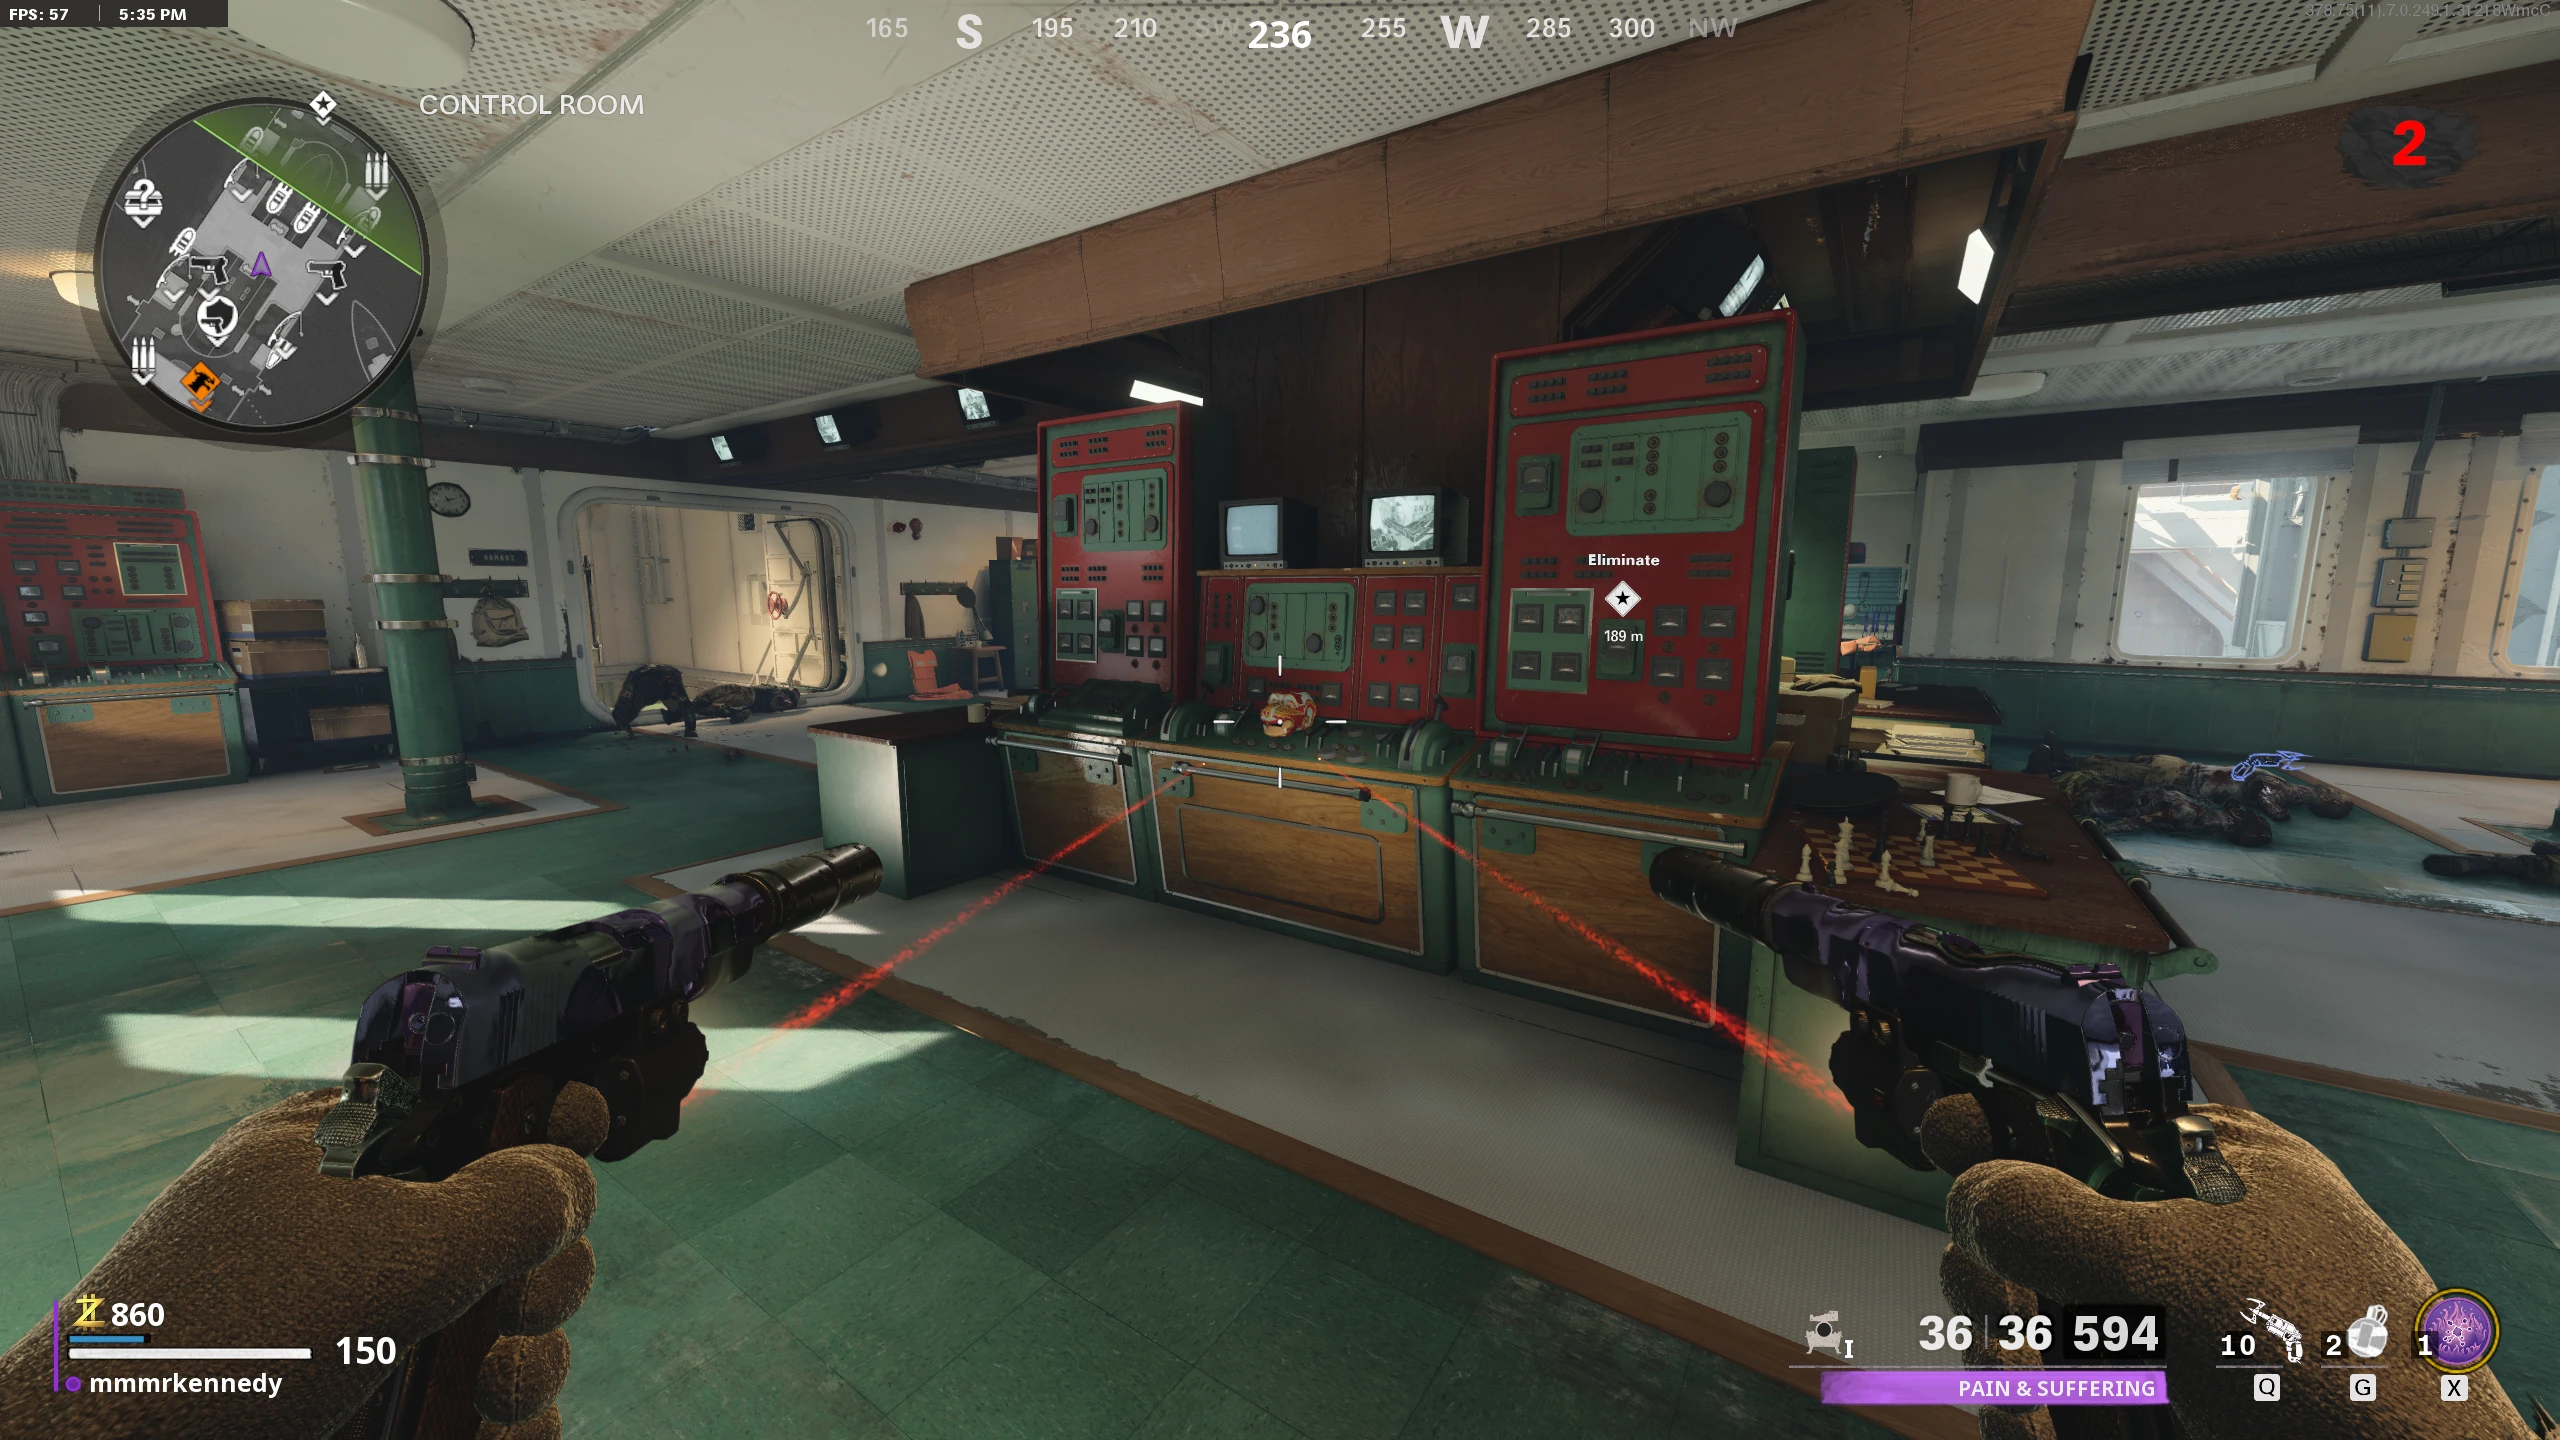
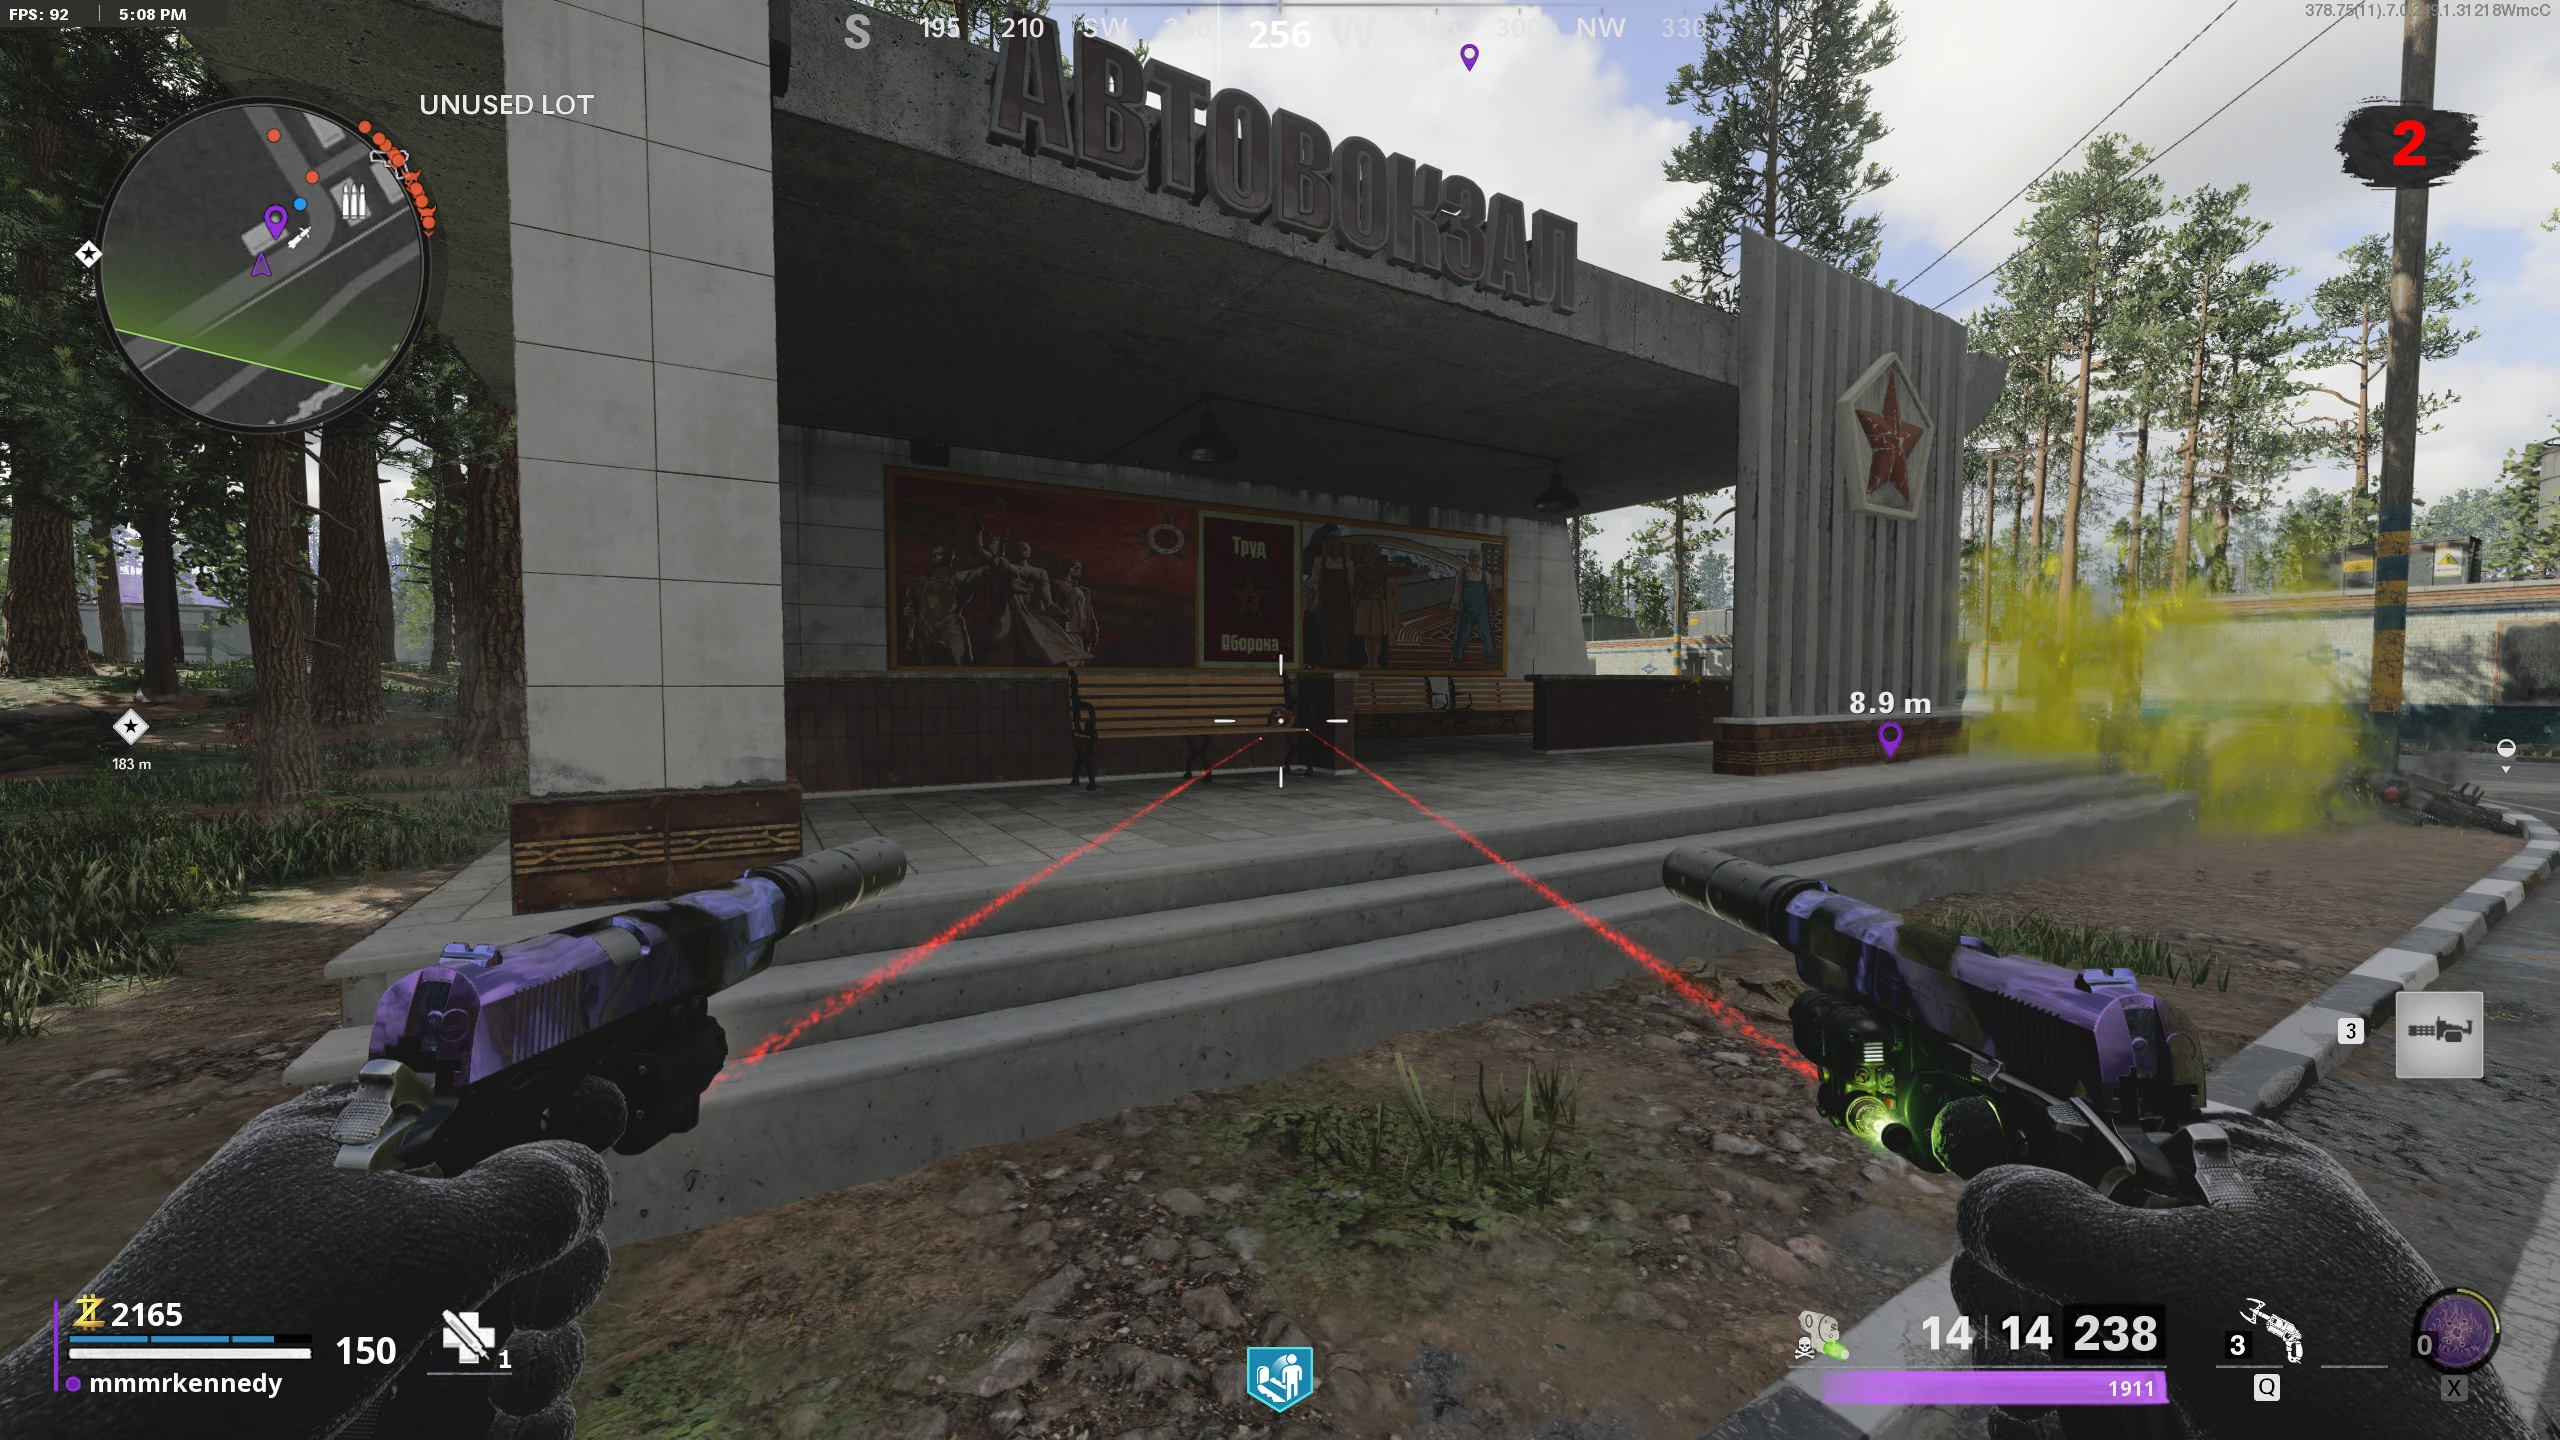
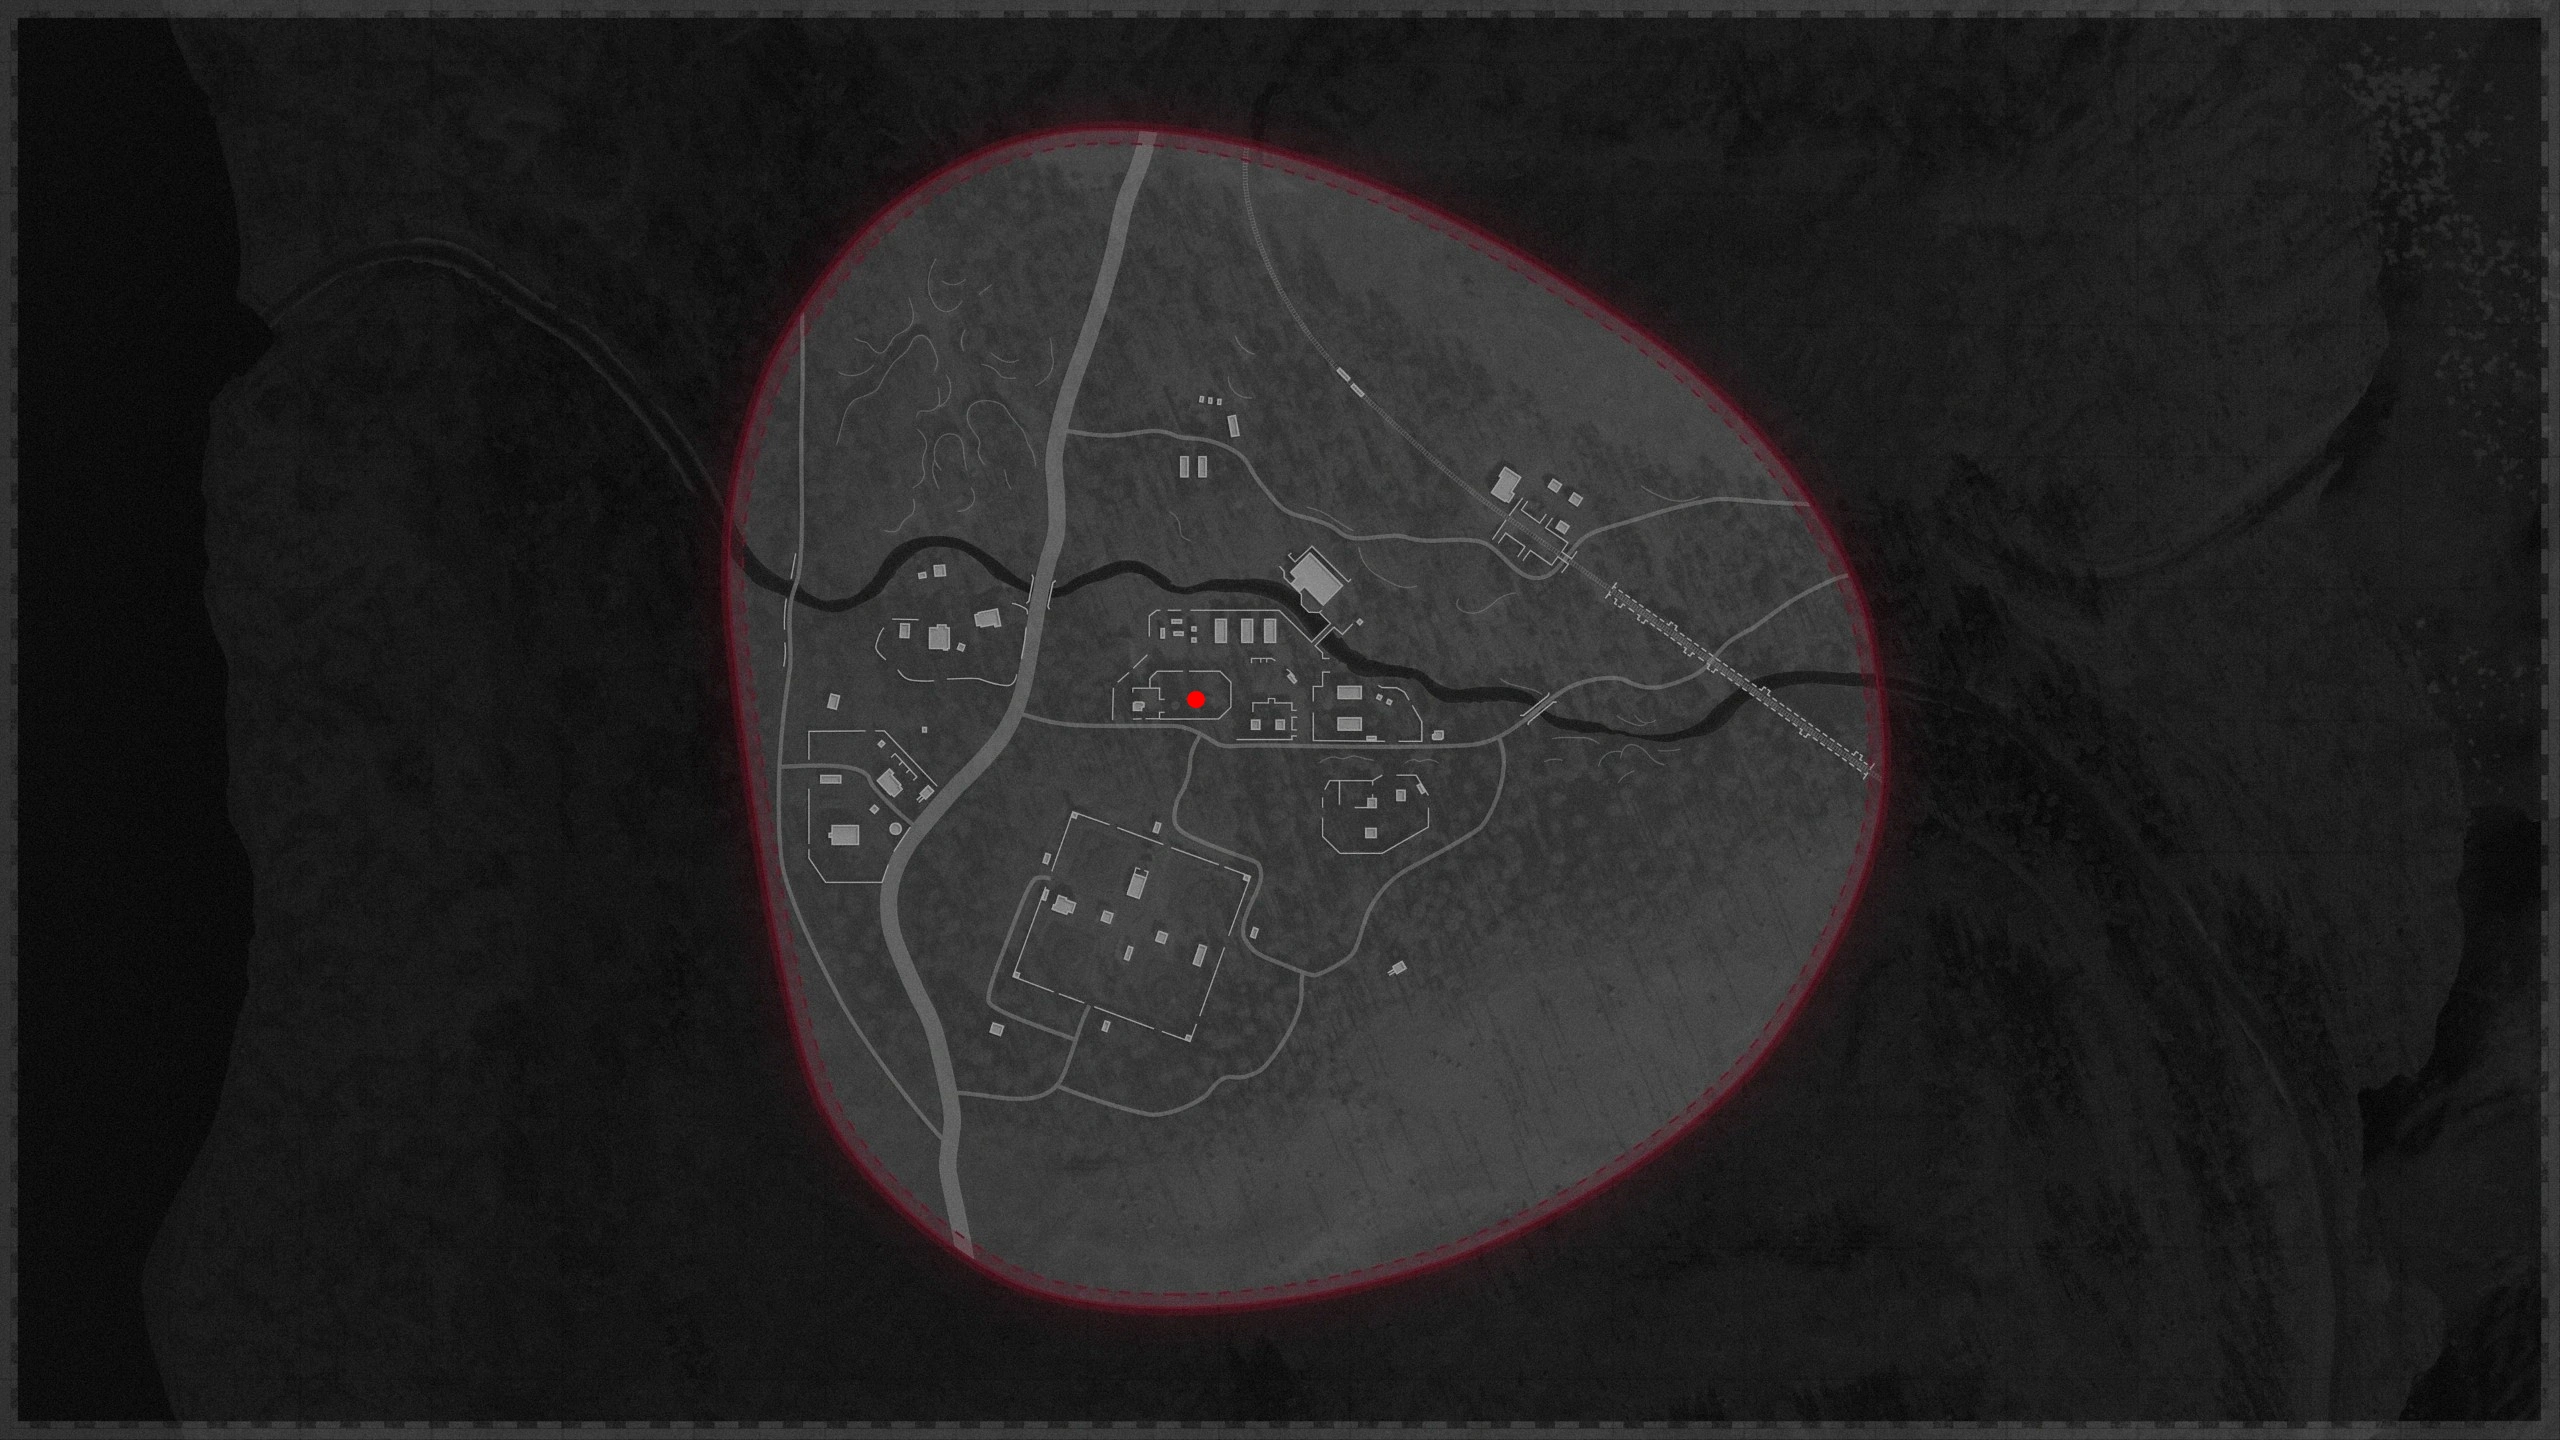
- Find a radio (locations below) and interact with it. Interacting starts playing Feedback and spawns a wave of zombies and mini-bosses nearby. Once you kill them, the subtitles will show a number. Find the three amplifiers around the radio and set them to that number.
- Once the three Amplifiers are set to the correct number, go back to the main radio and interact with it. It will drop a Beacon Listening Device.
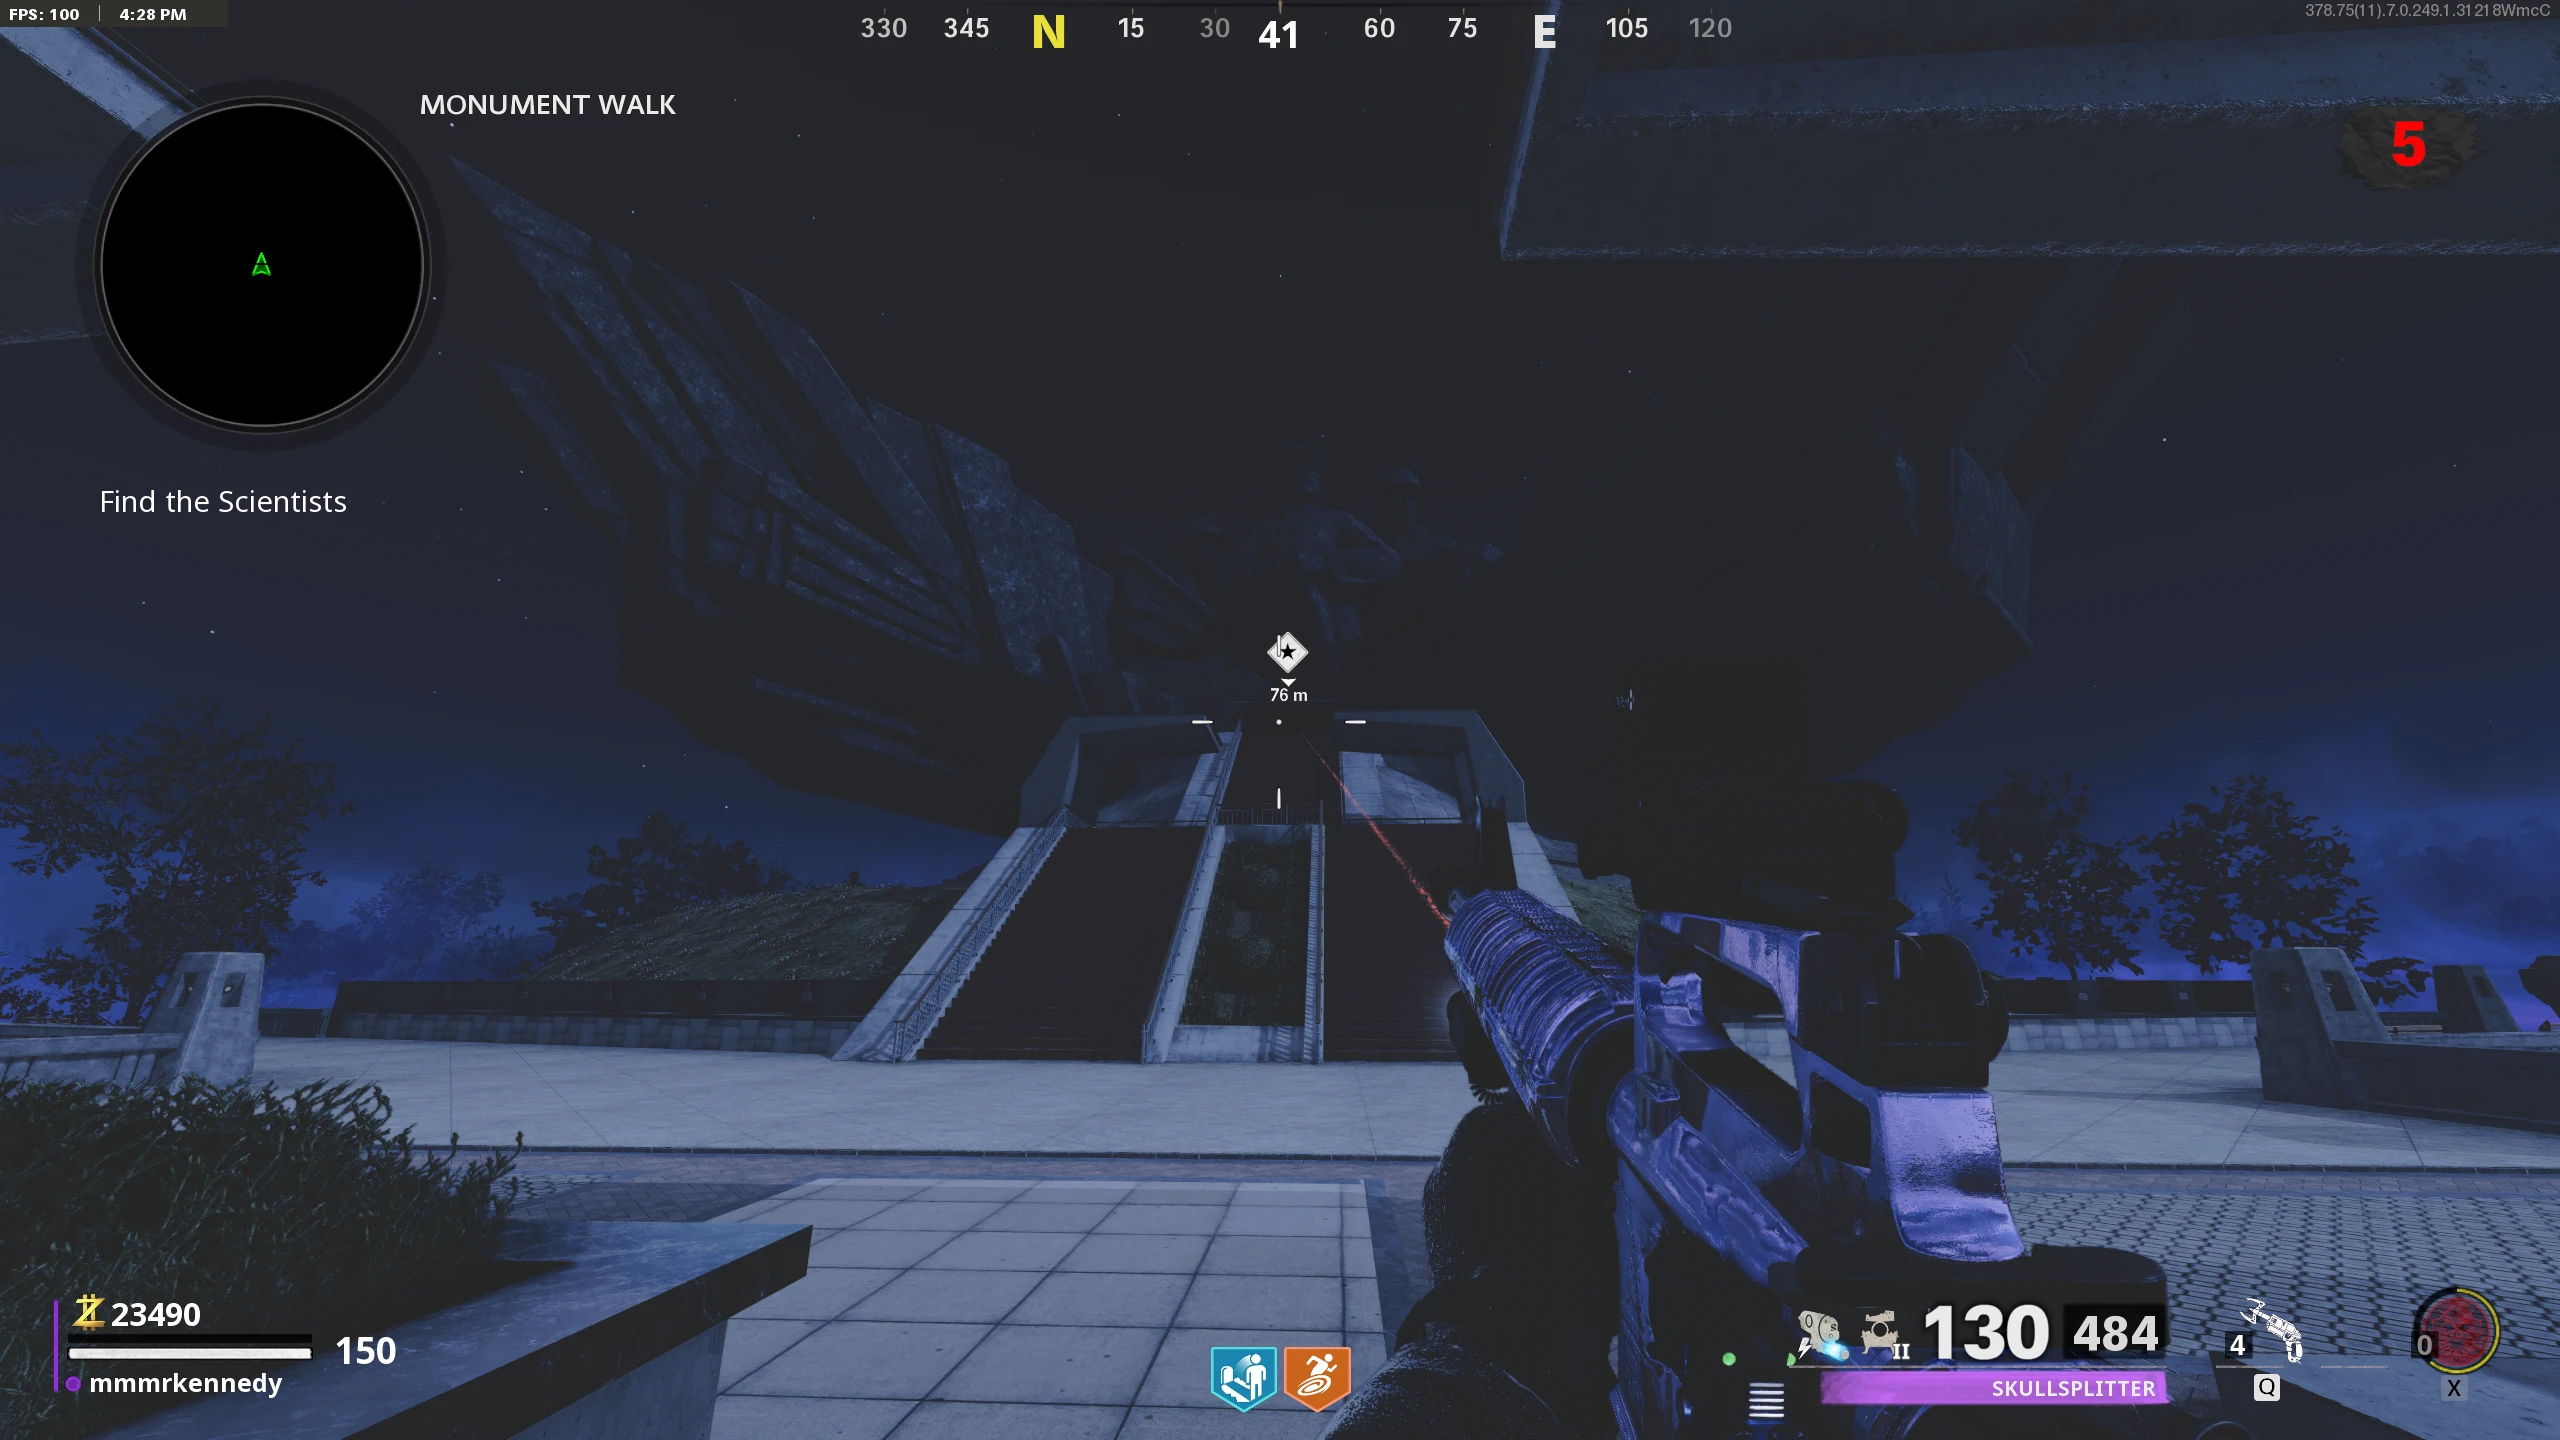
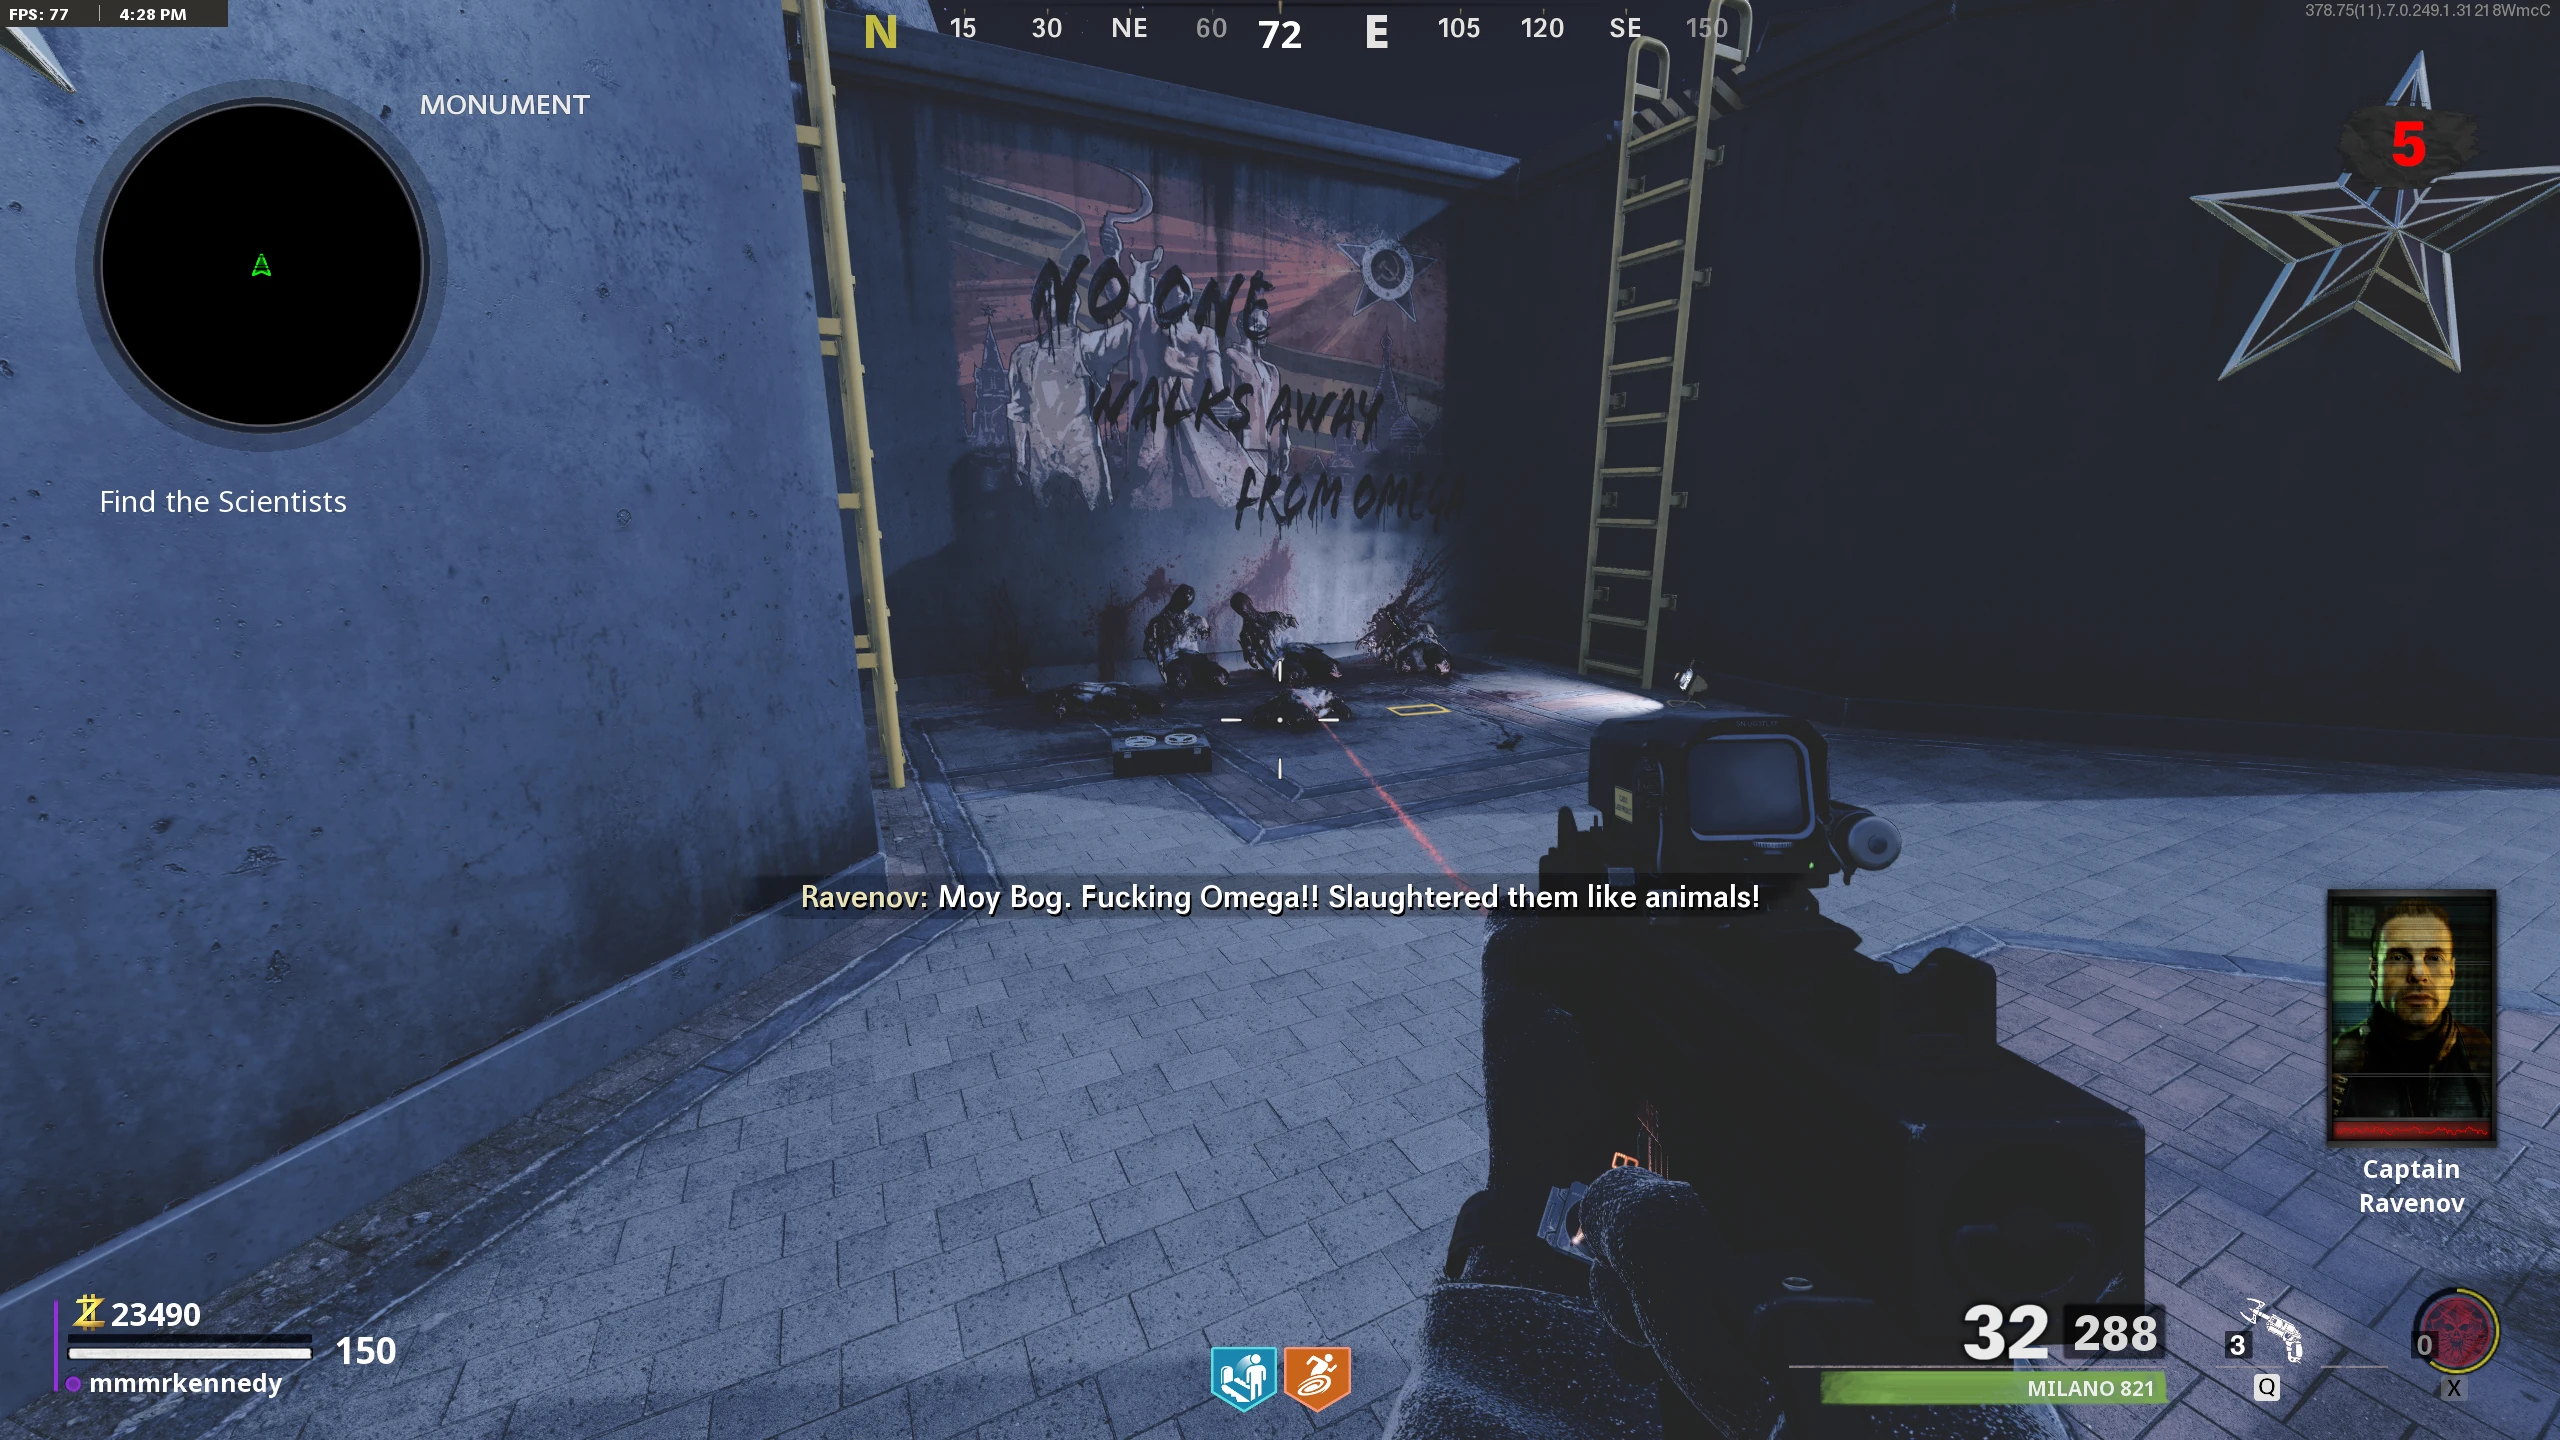
- Go to the Beacon and select the "Respond" option. If you don't want to listen to the dialogue, you can warp as soon as the beacon will let you interact with it again. Otherwise, warp whenever you'd like. If the next region is Ruka, skip ahead one more region.
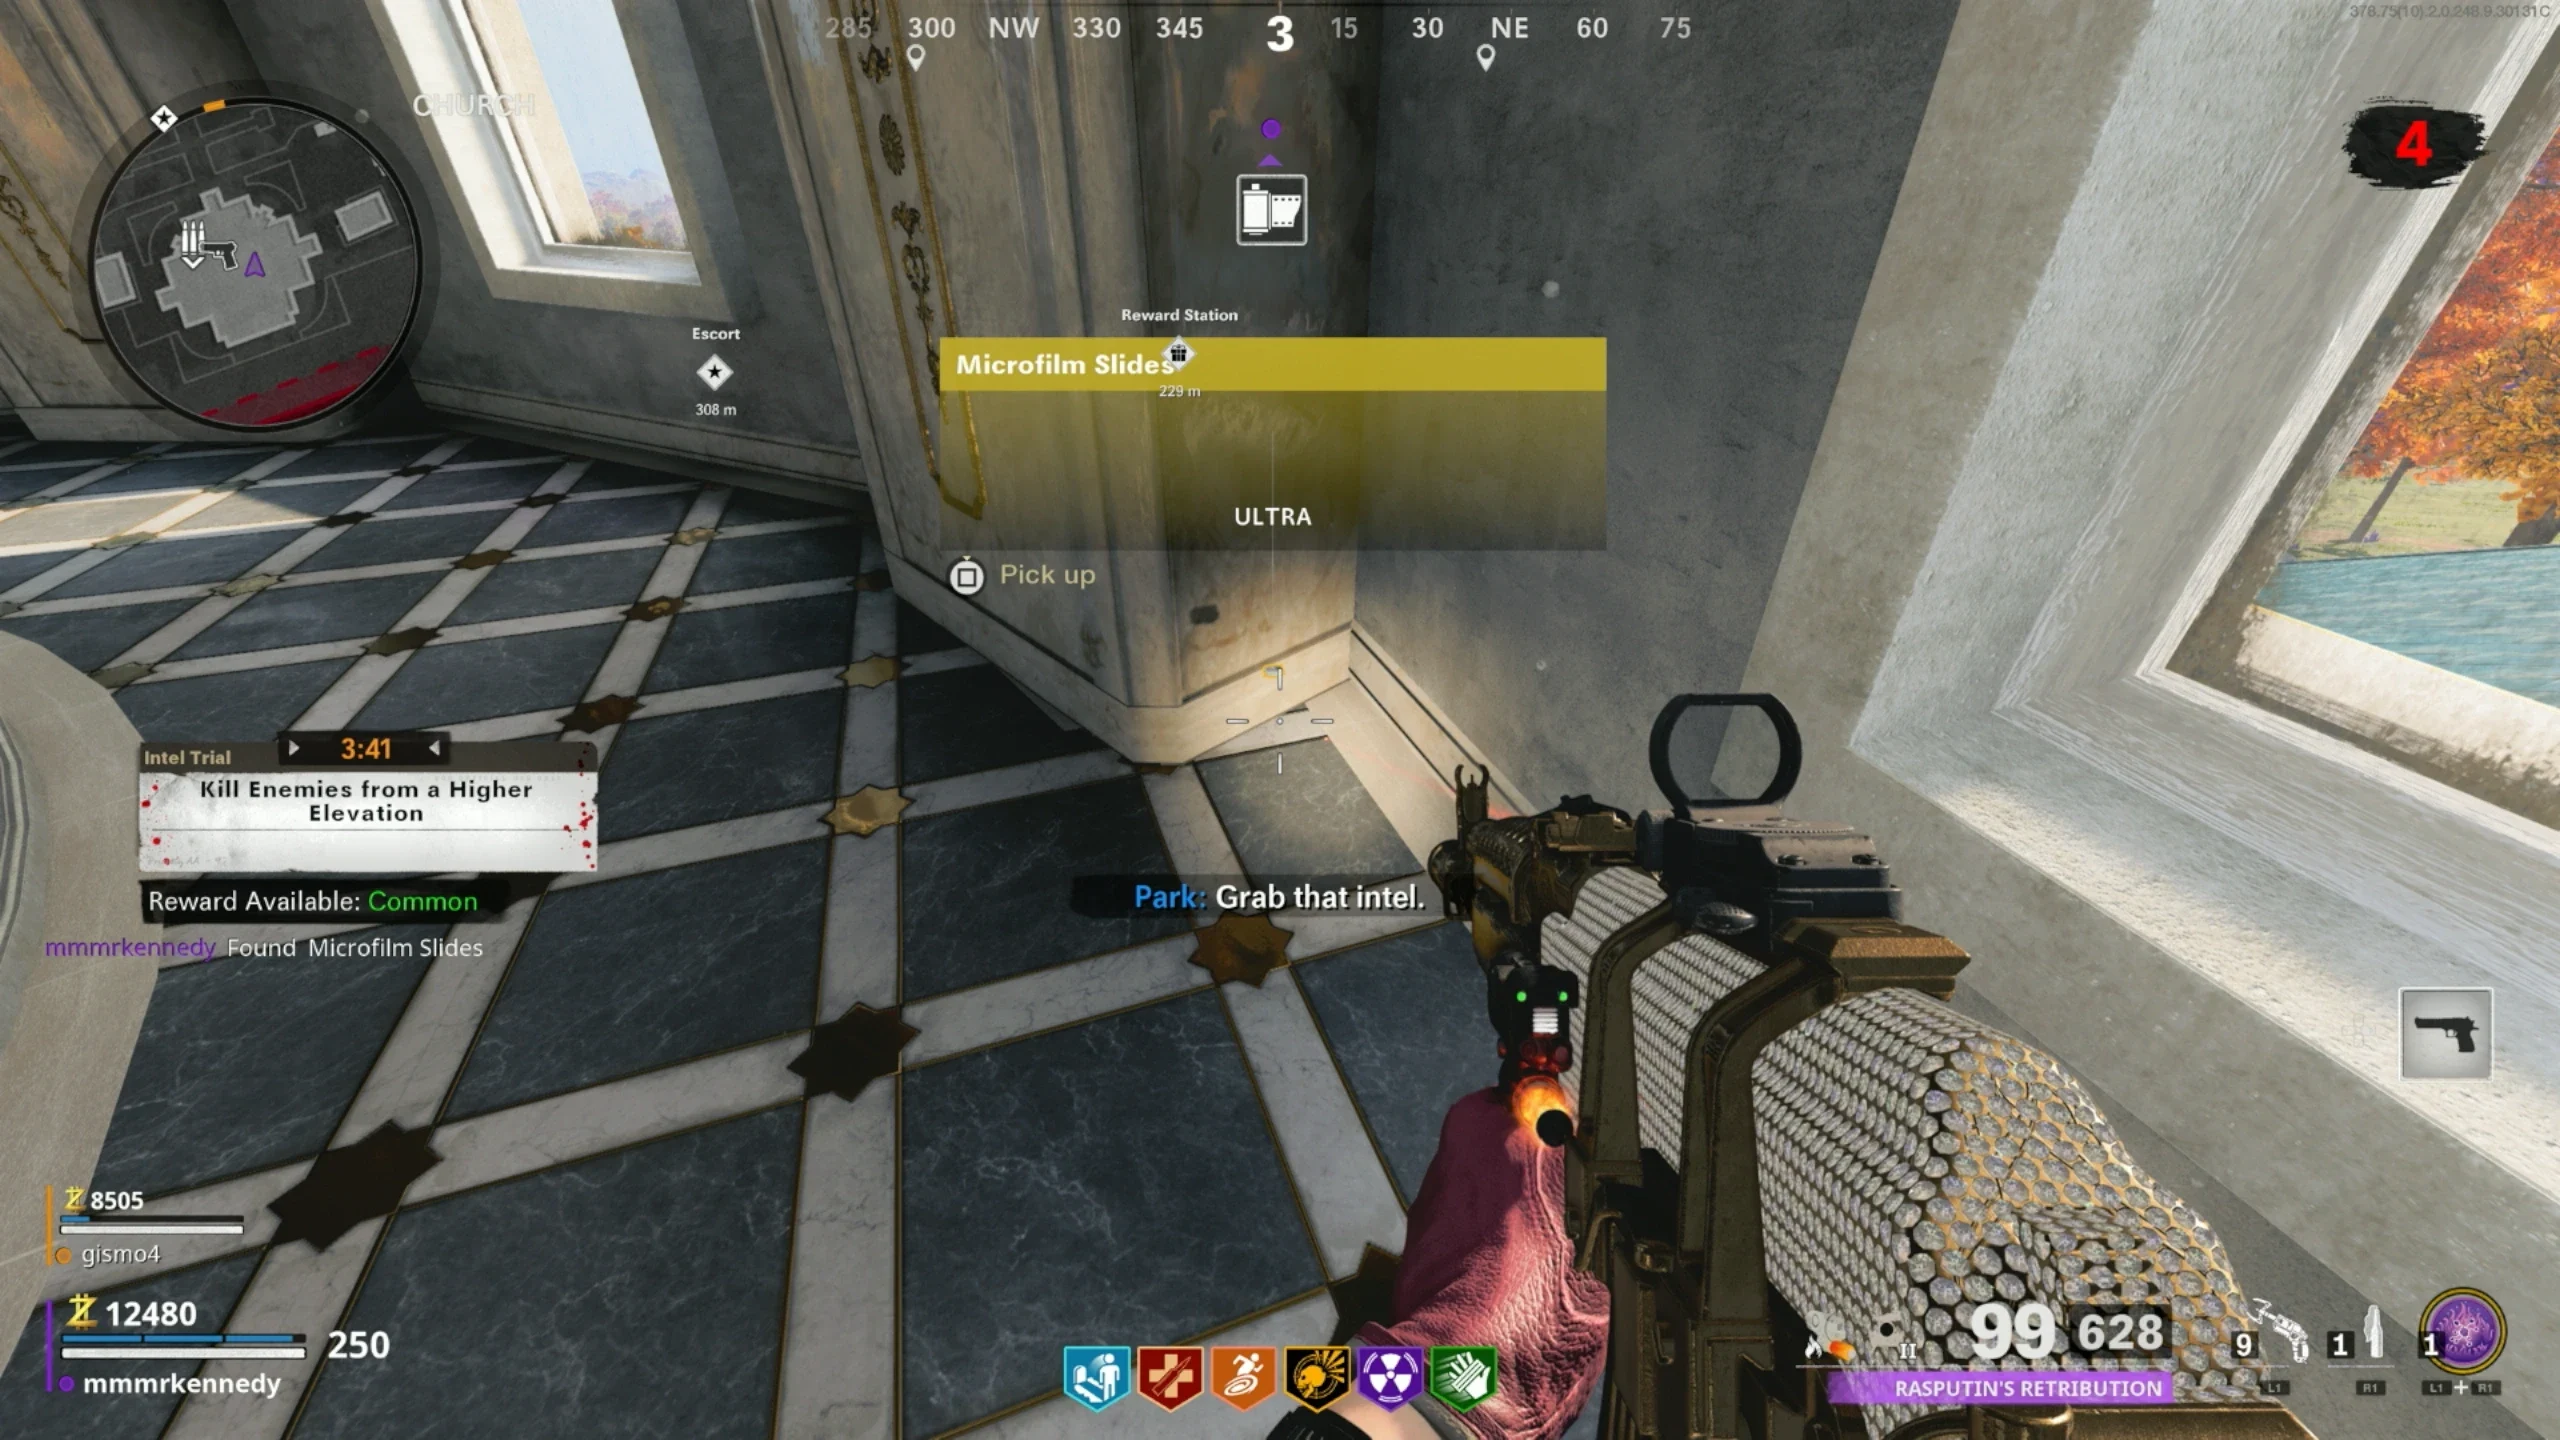
Obtain the Microfilm
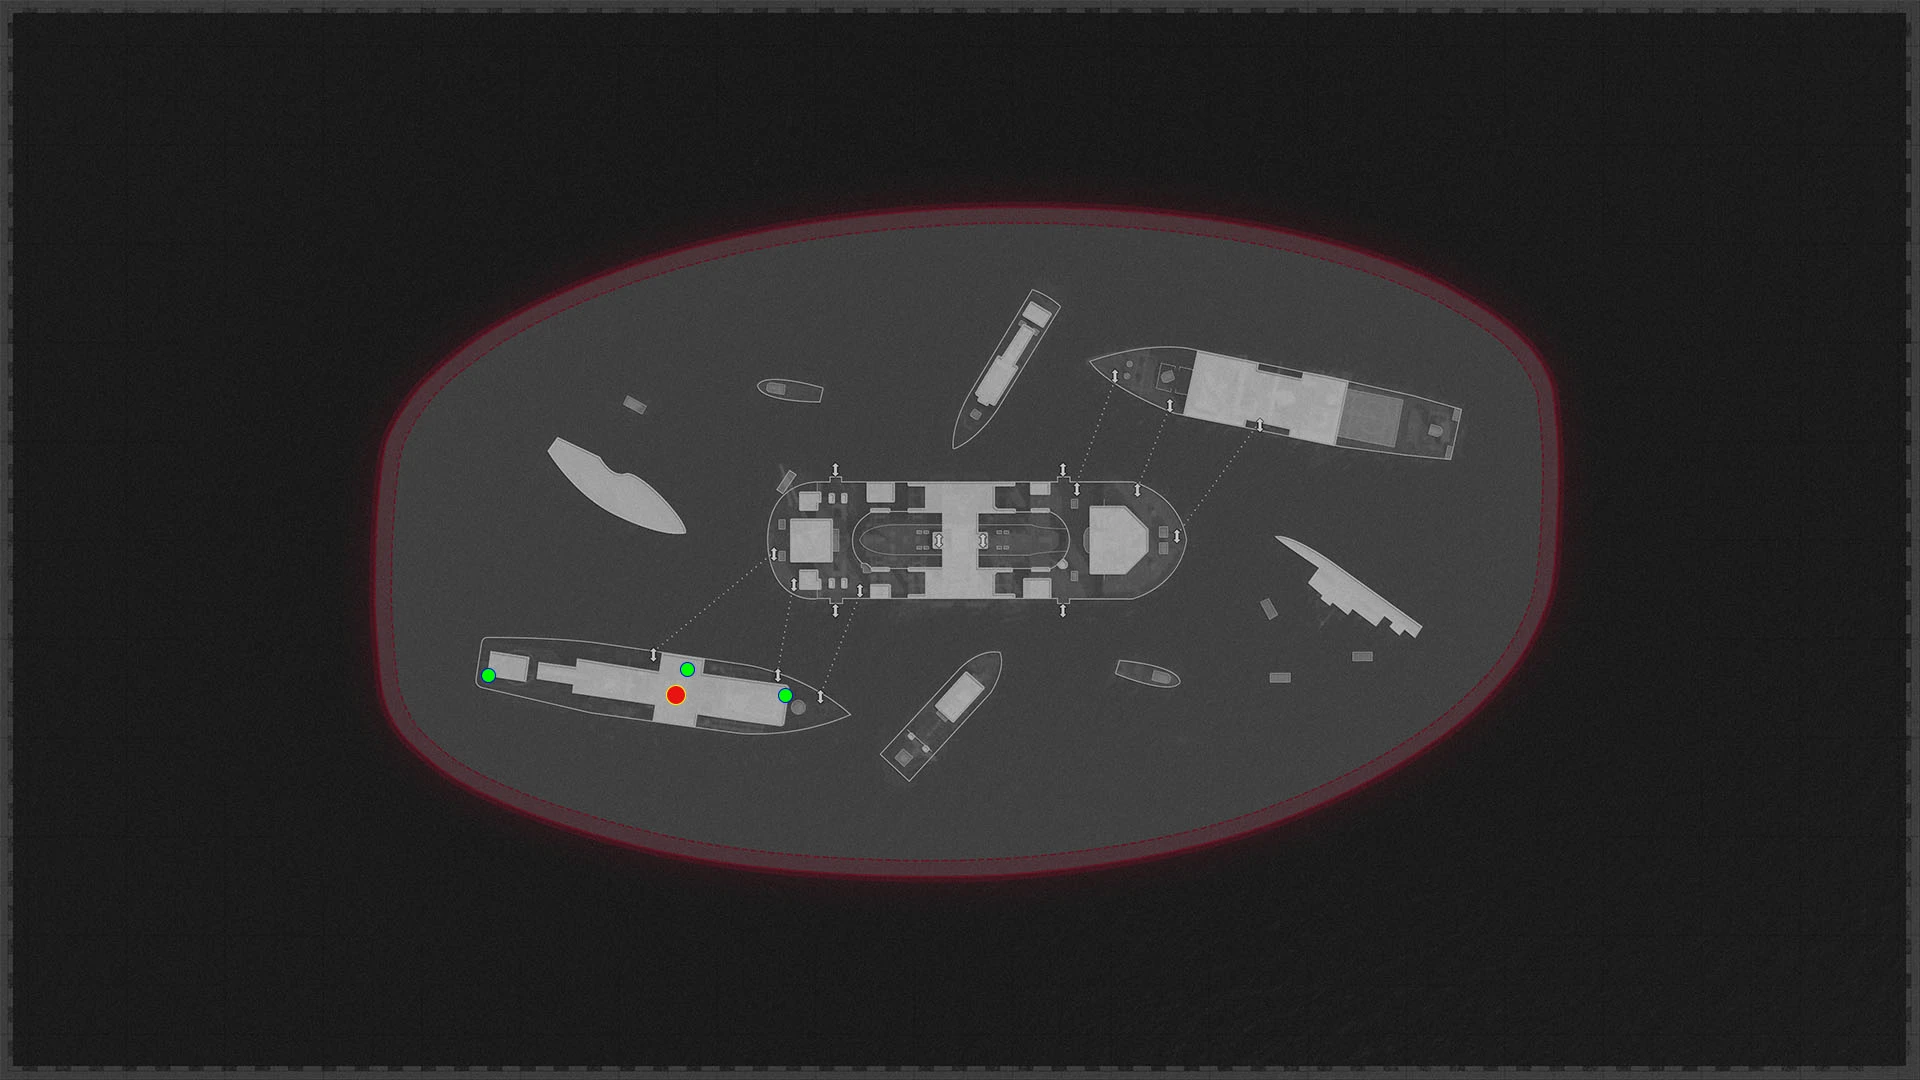
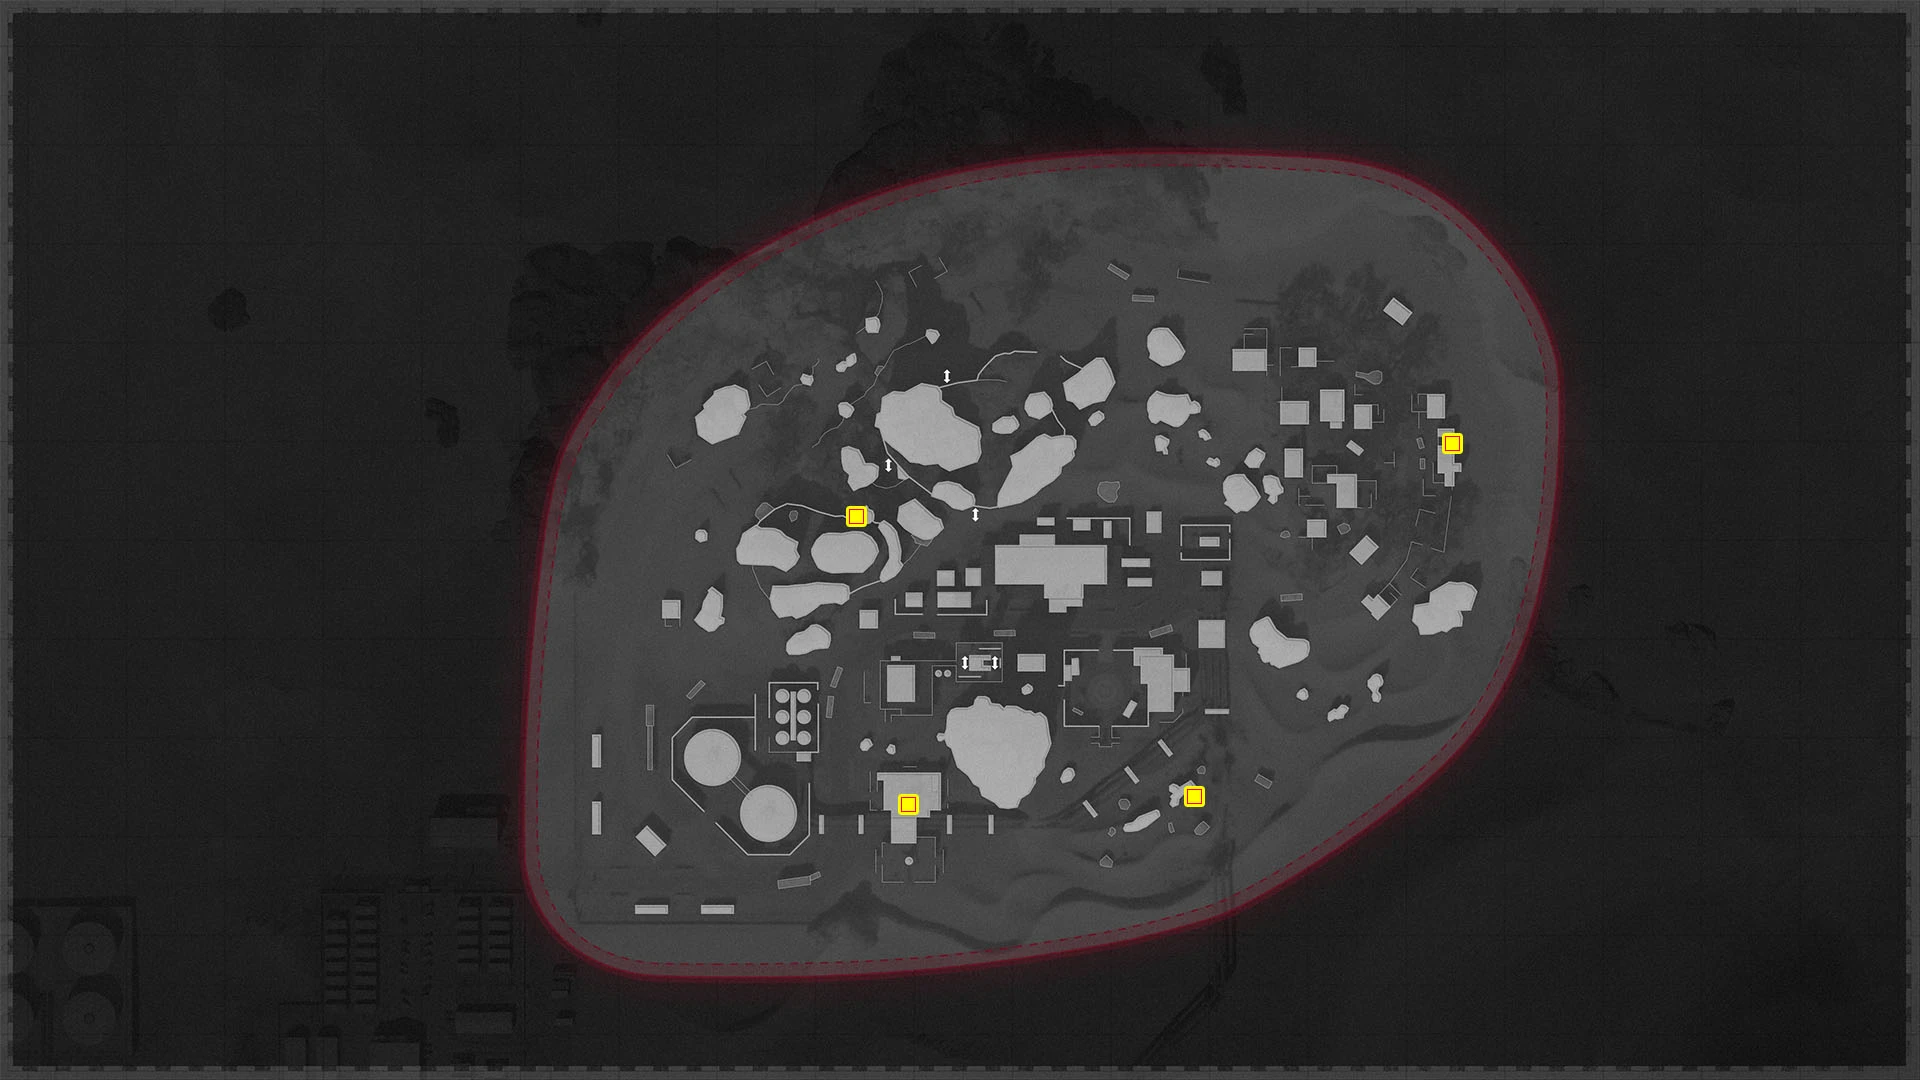
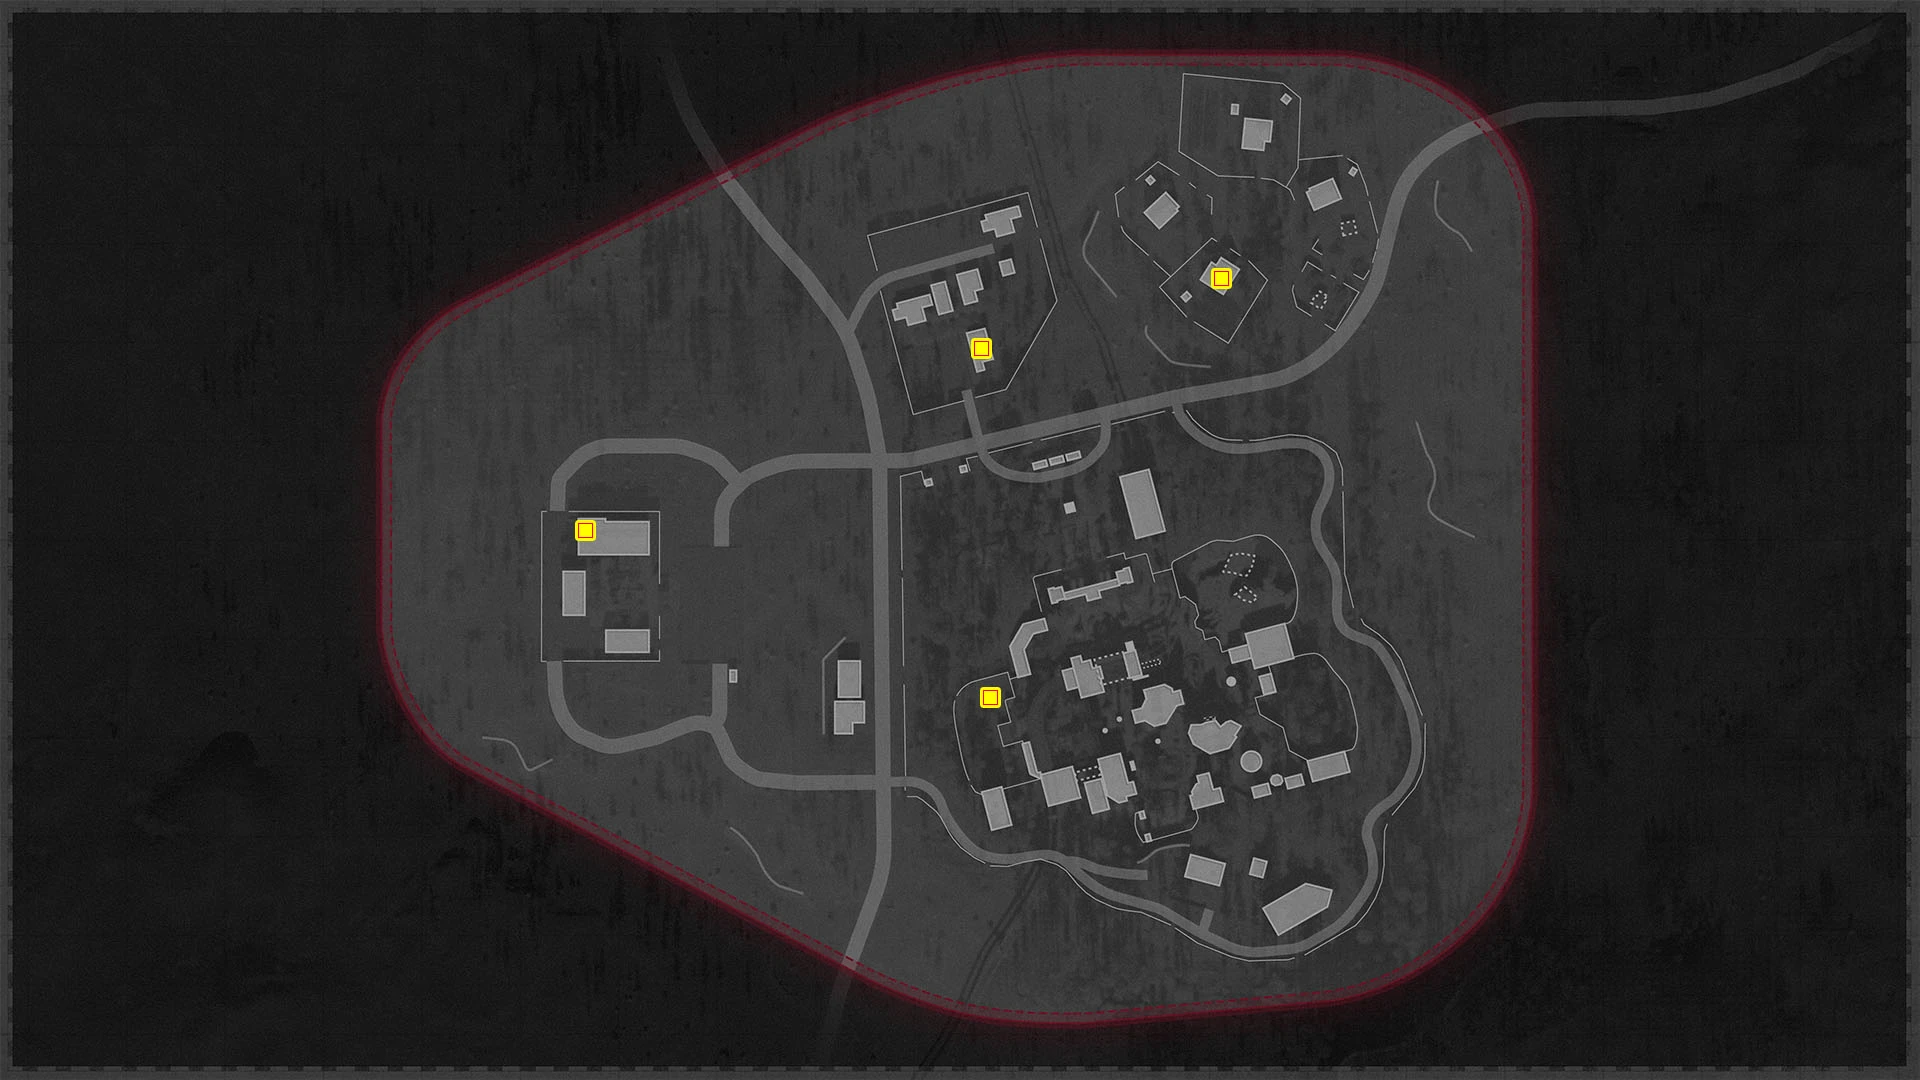
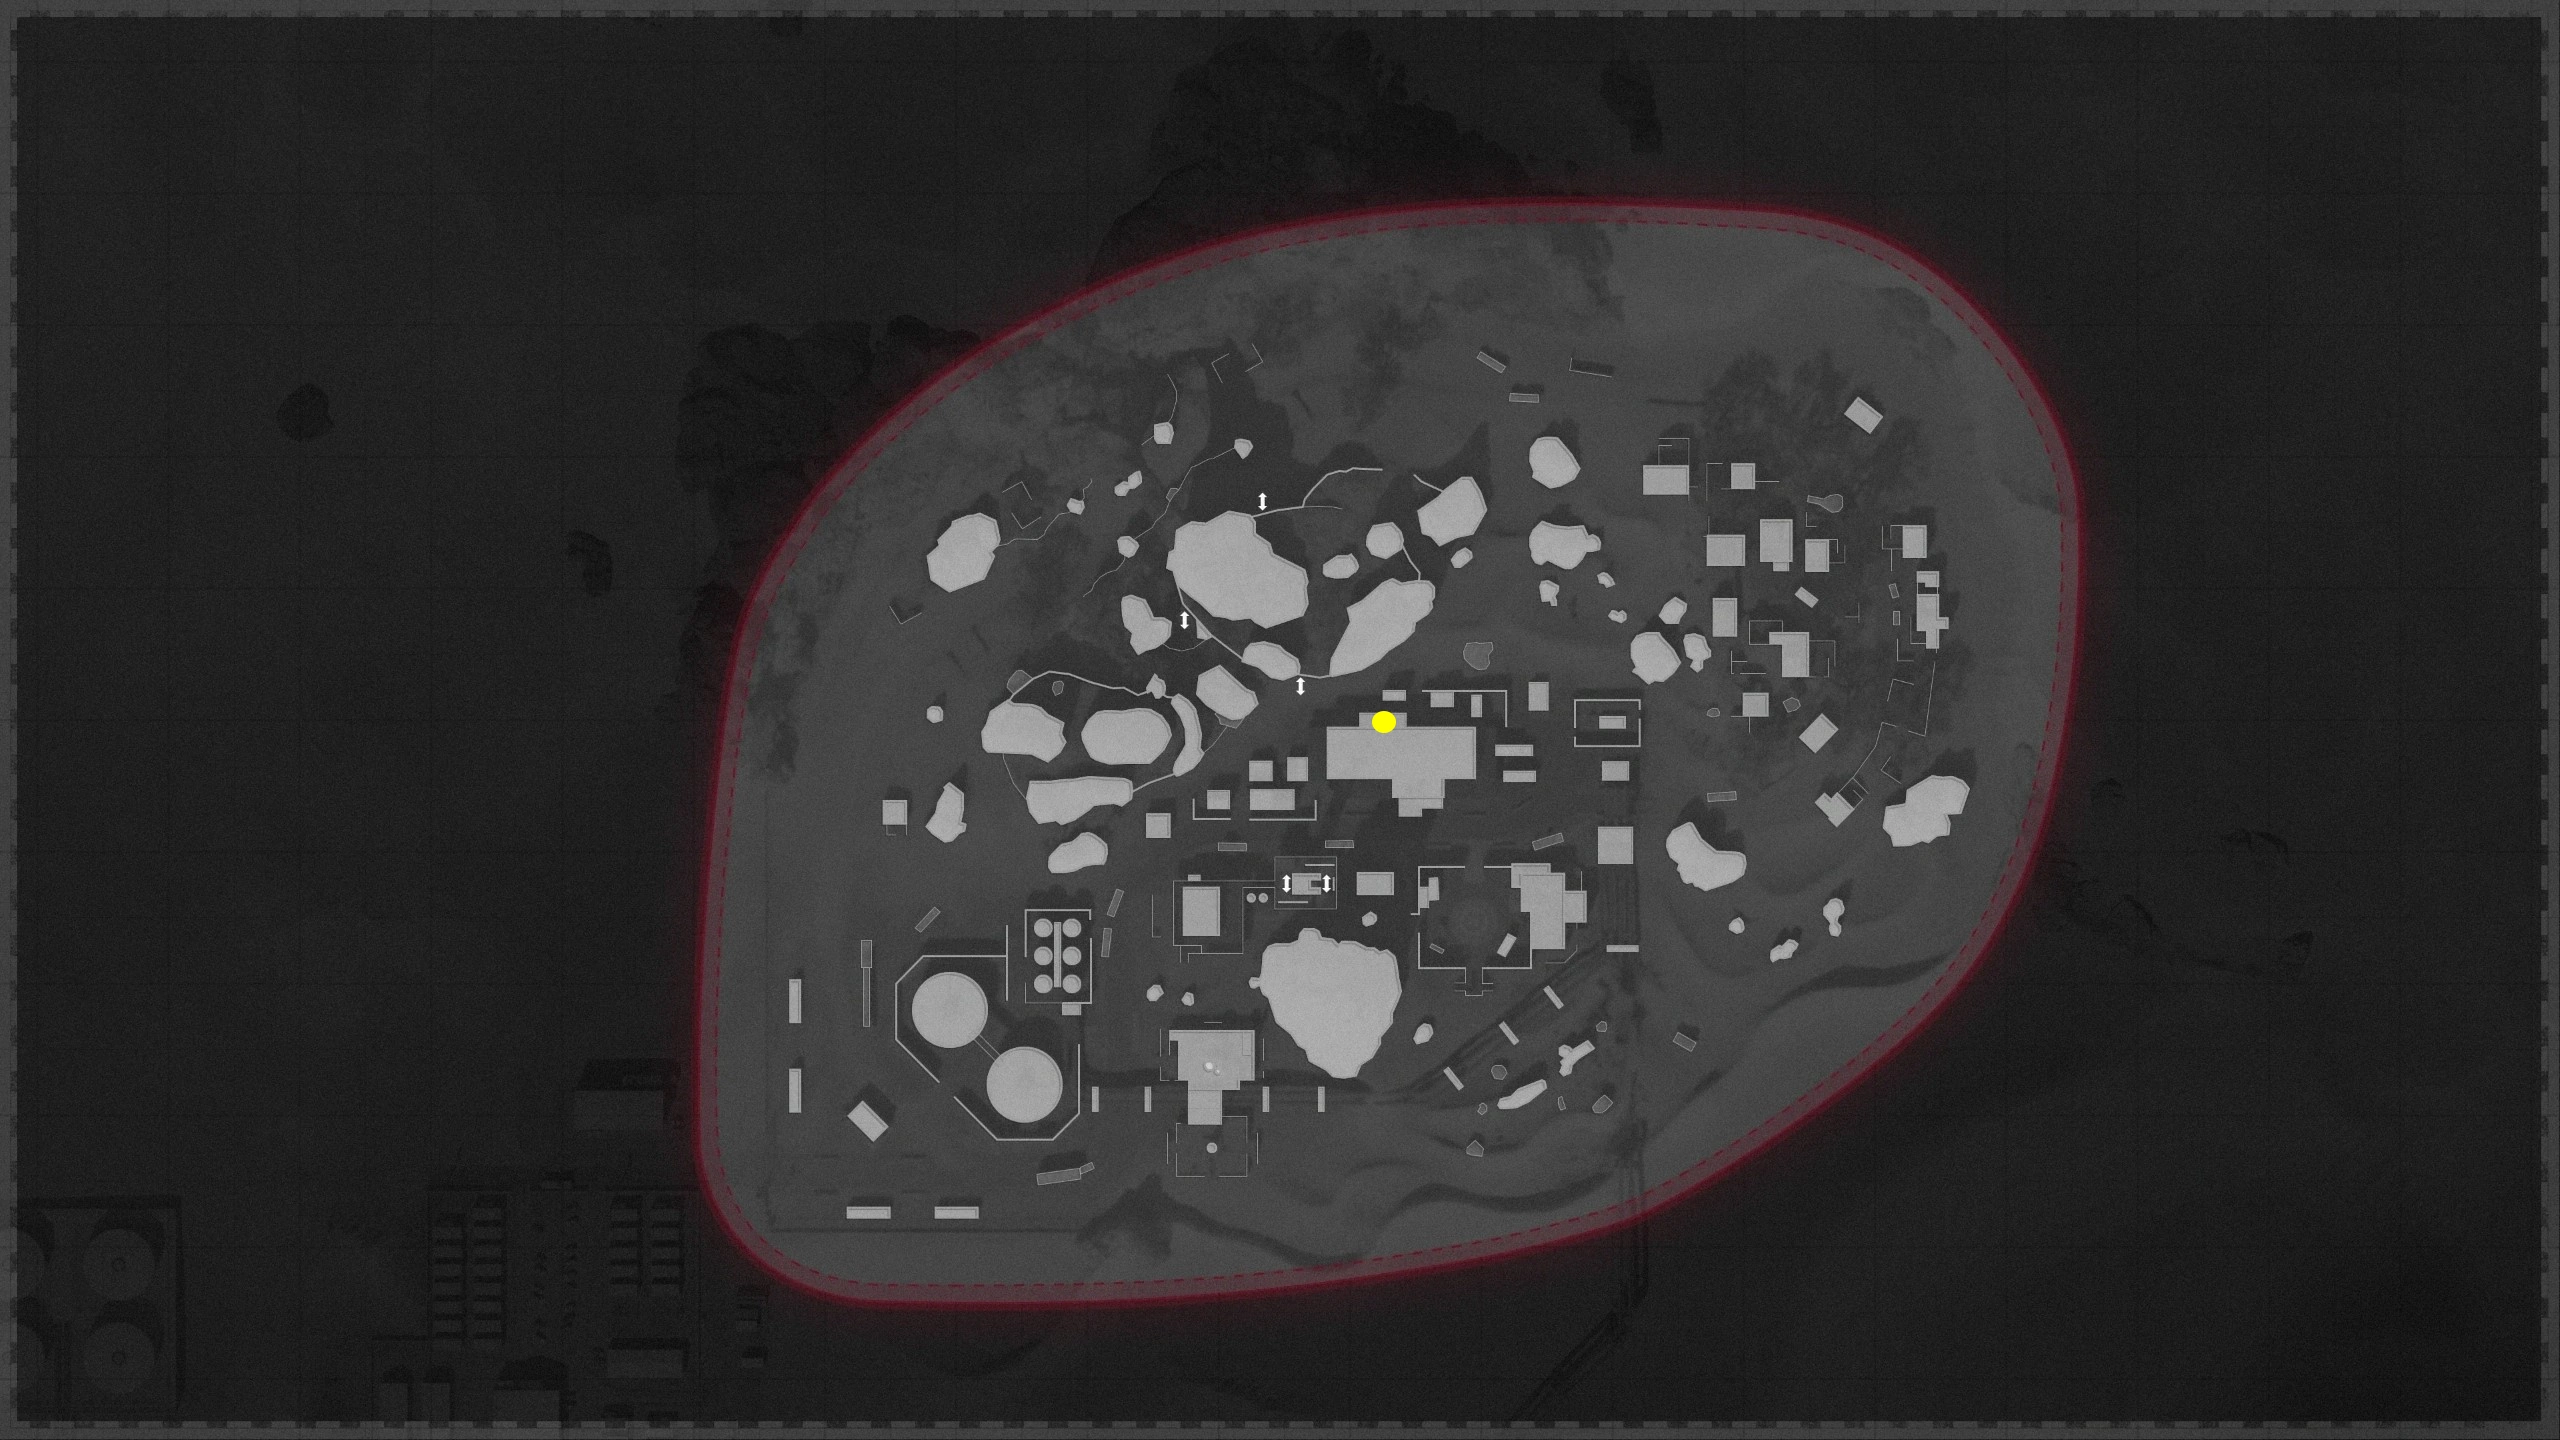
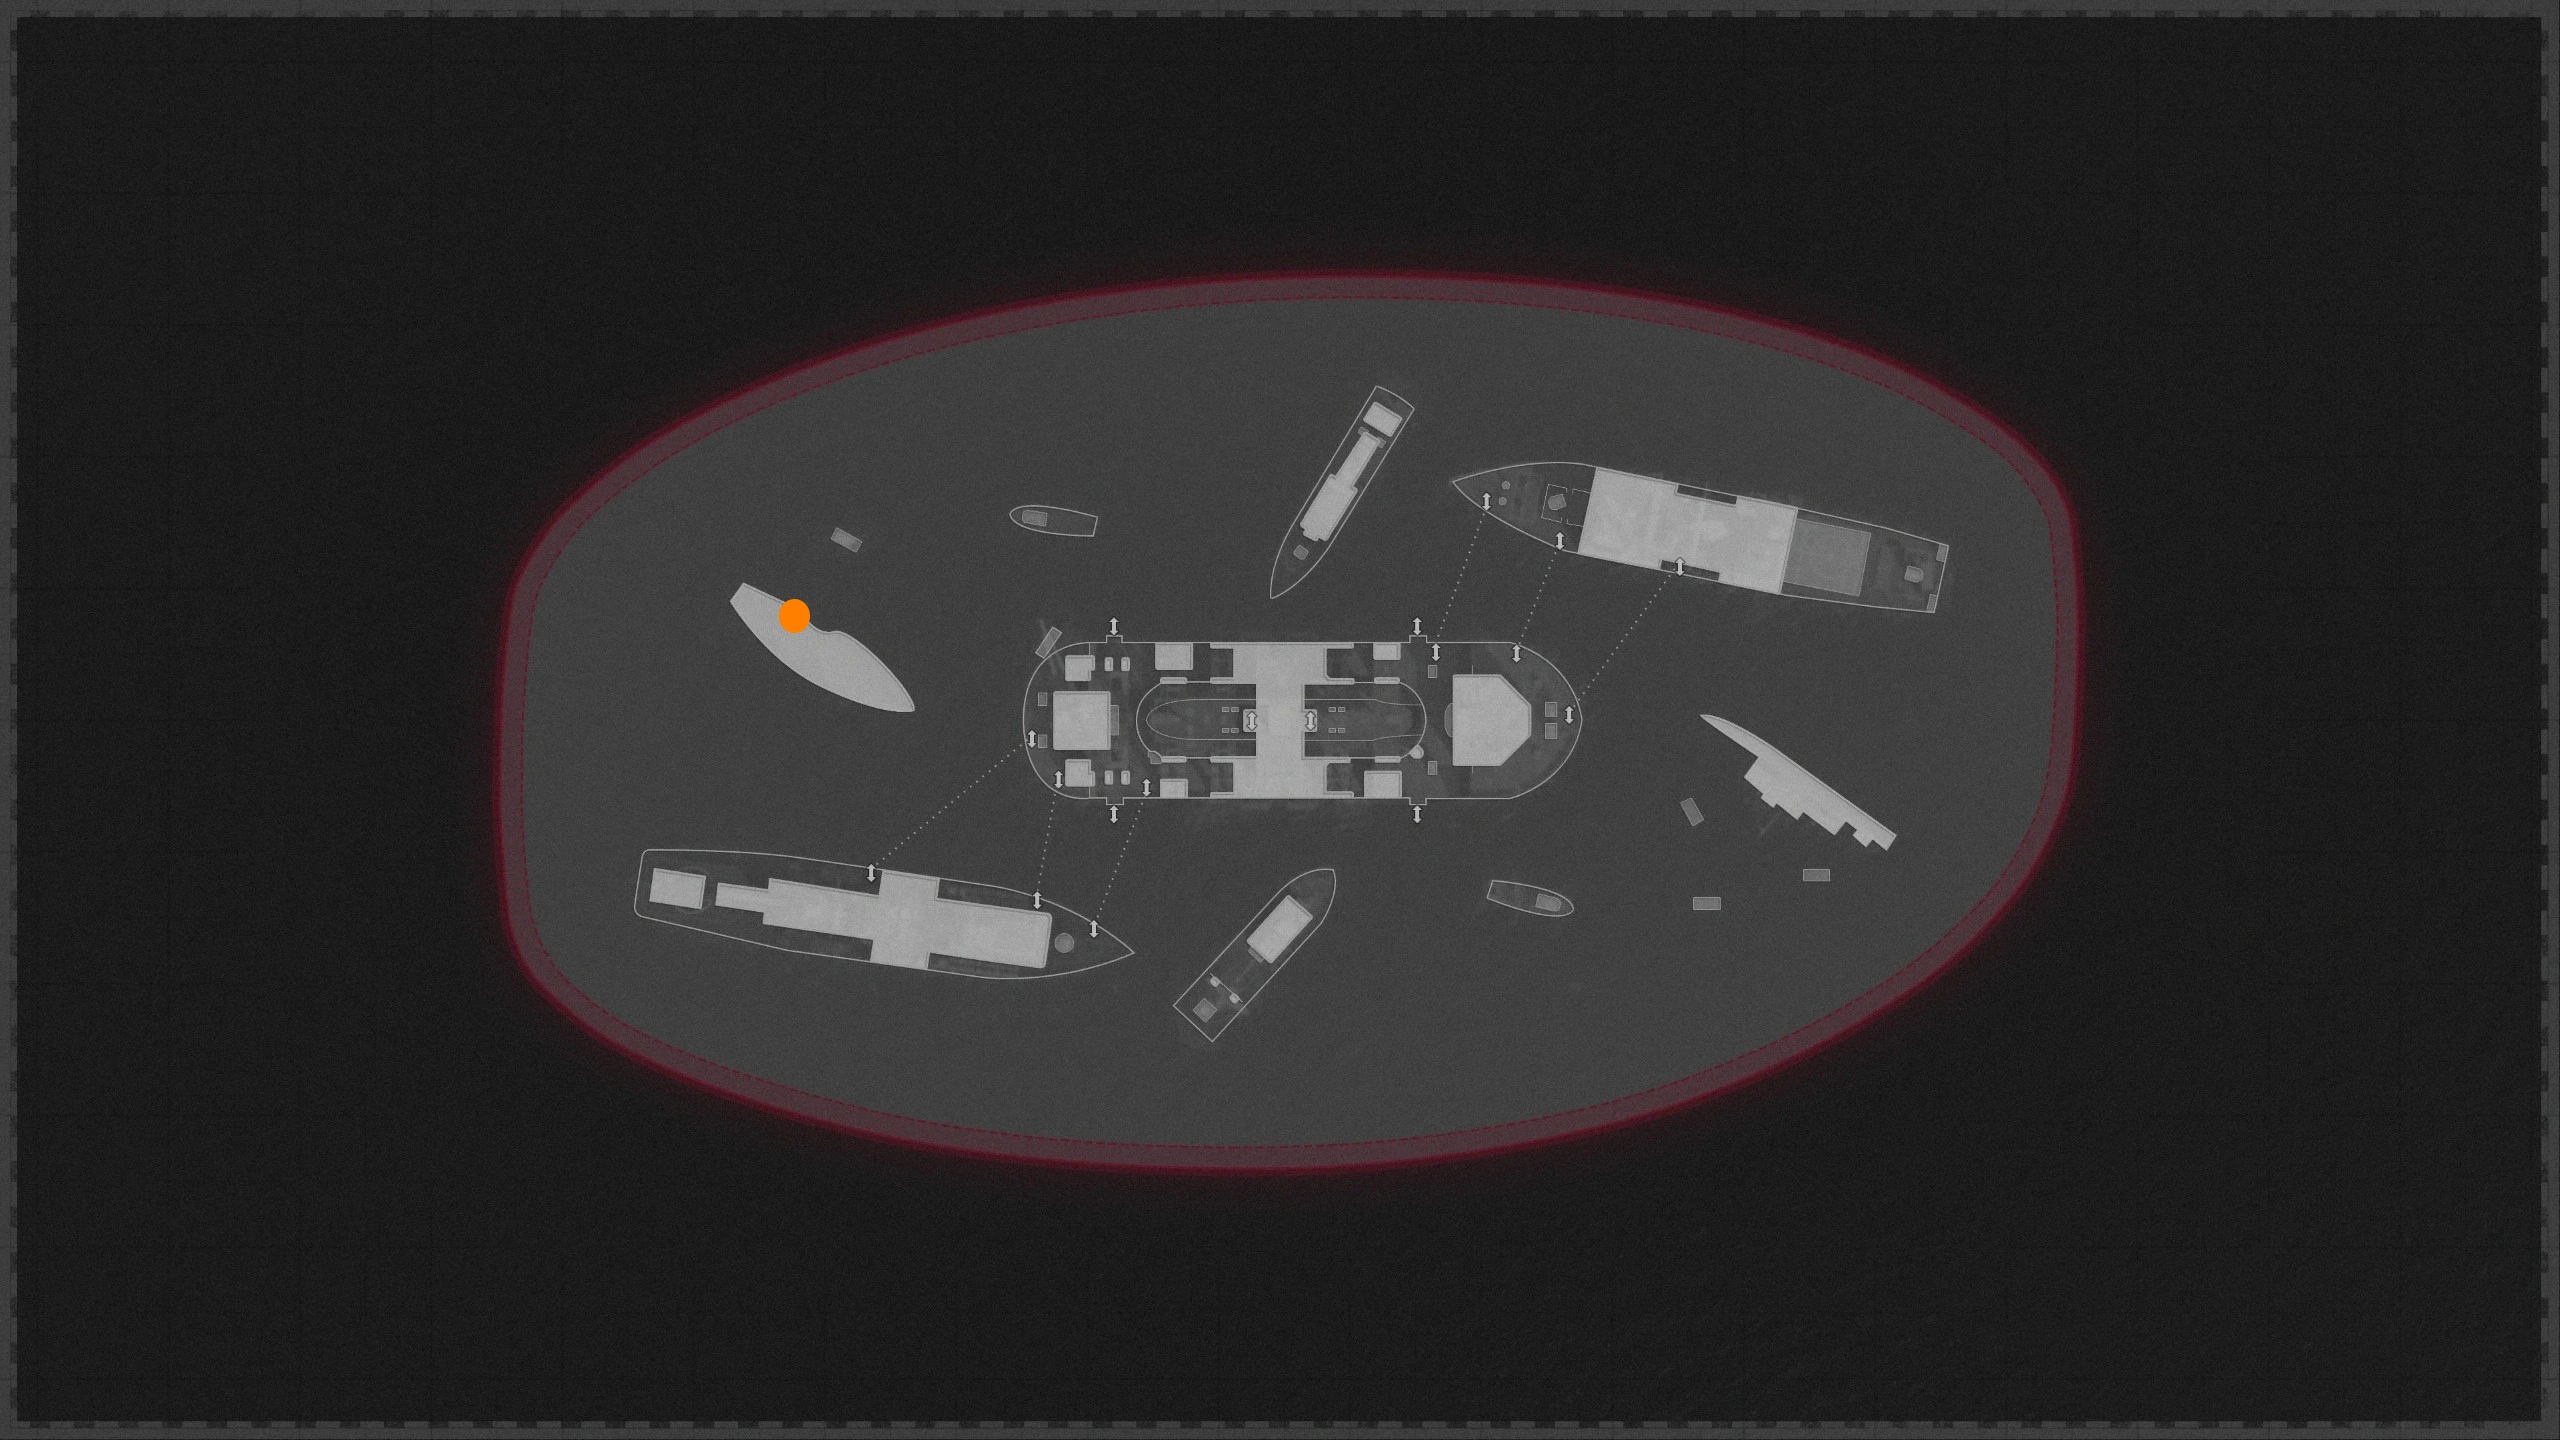
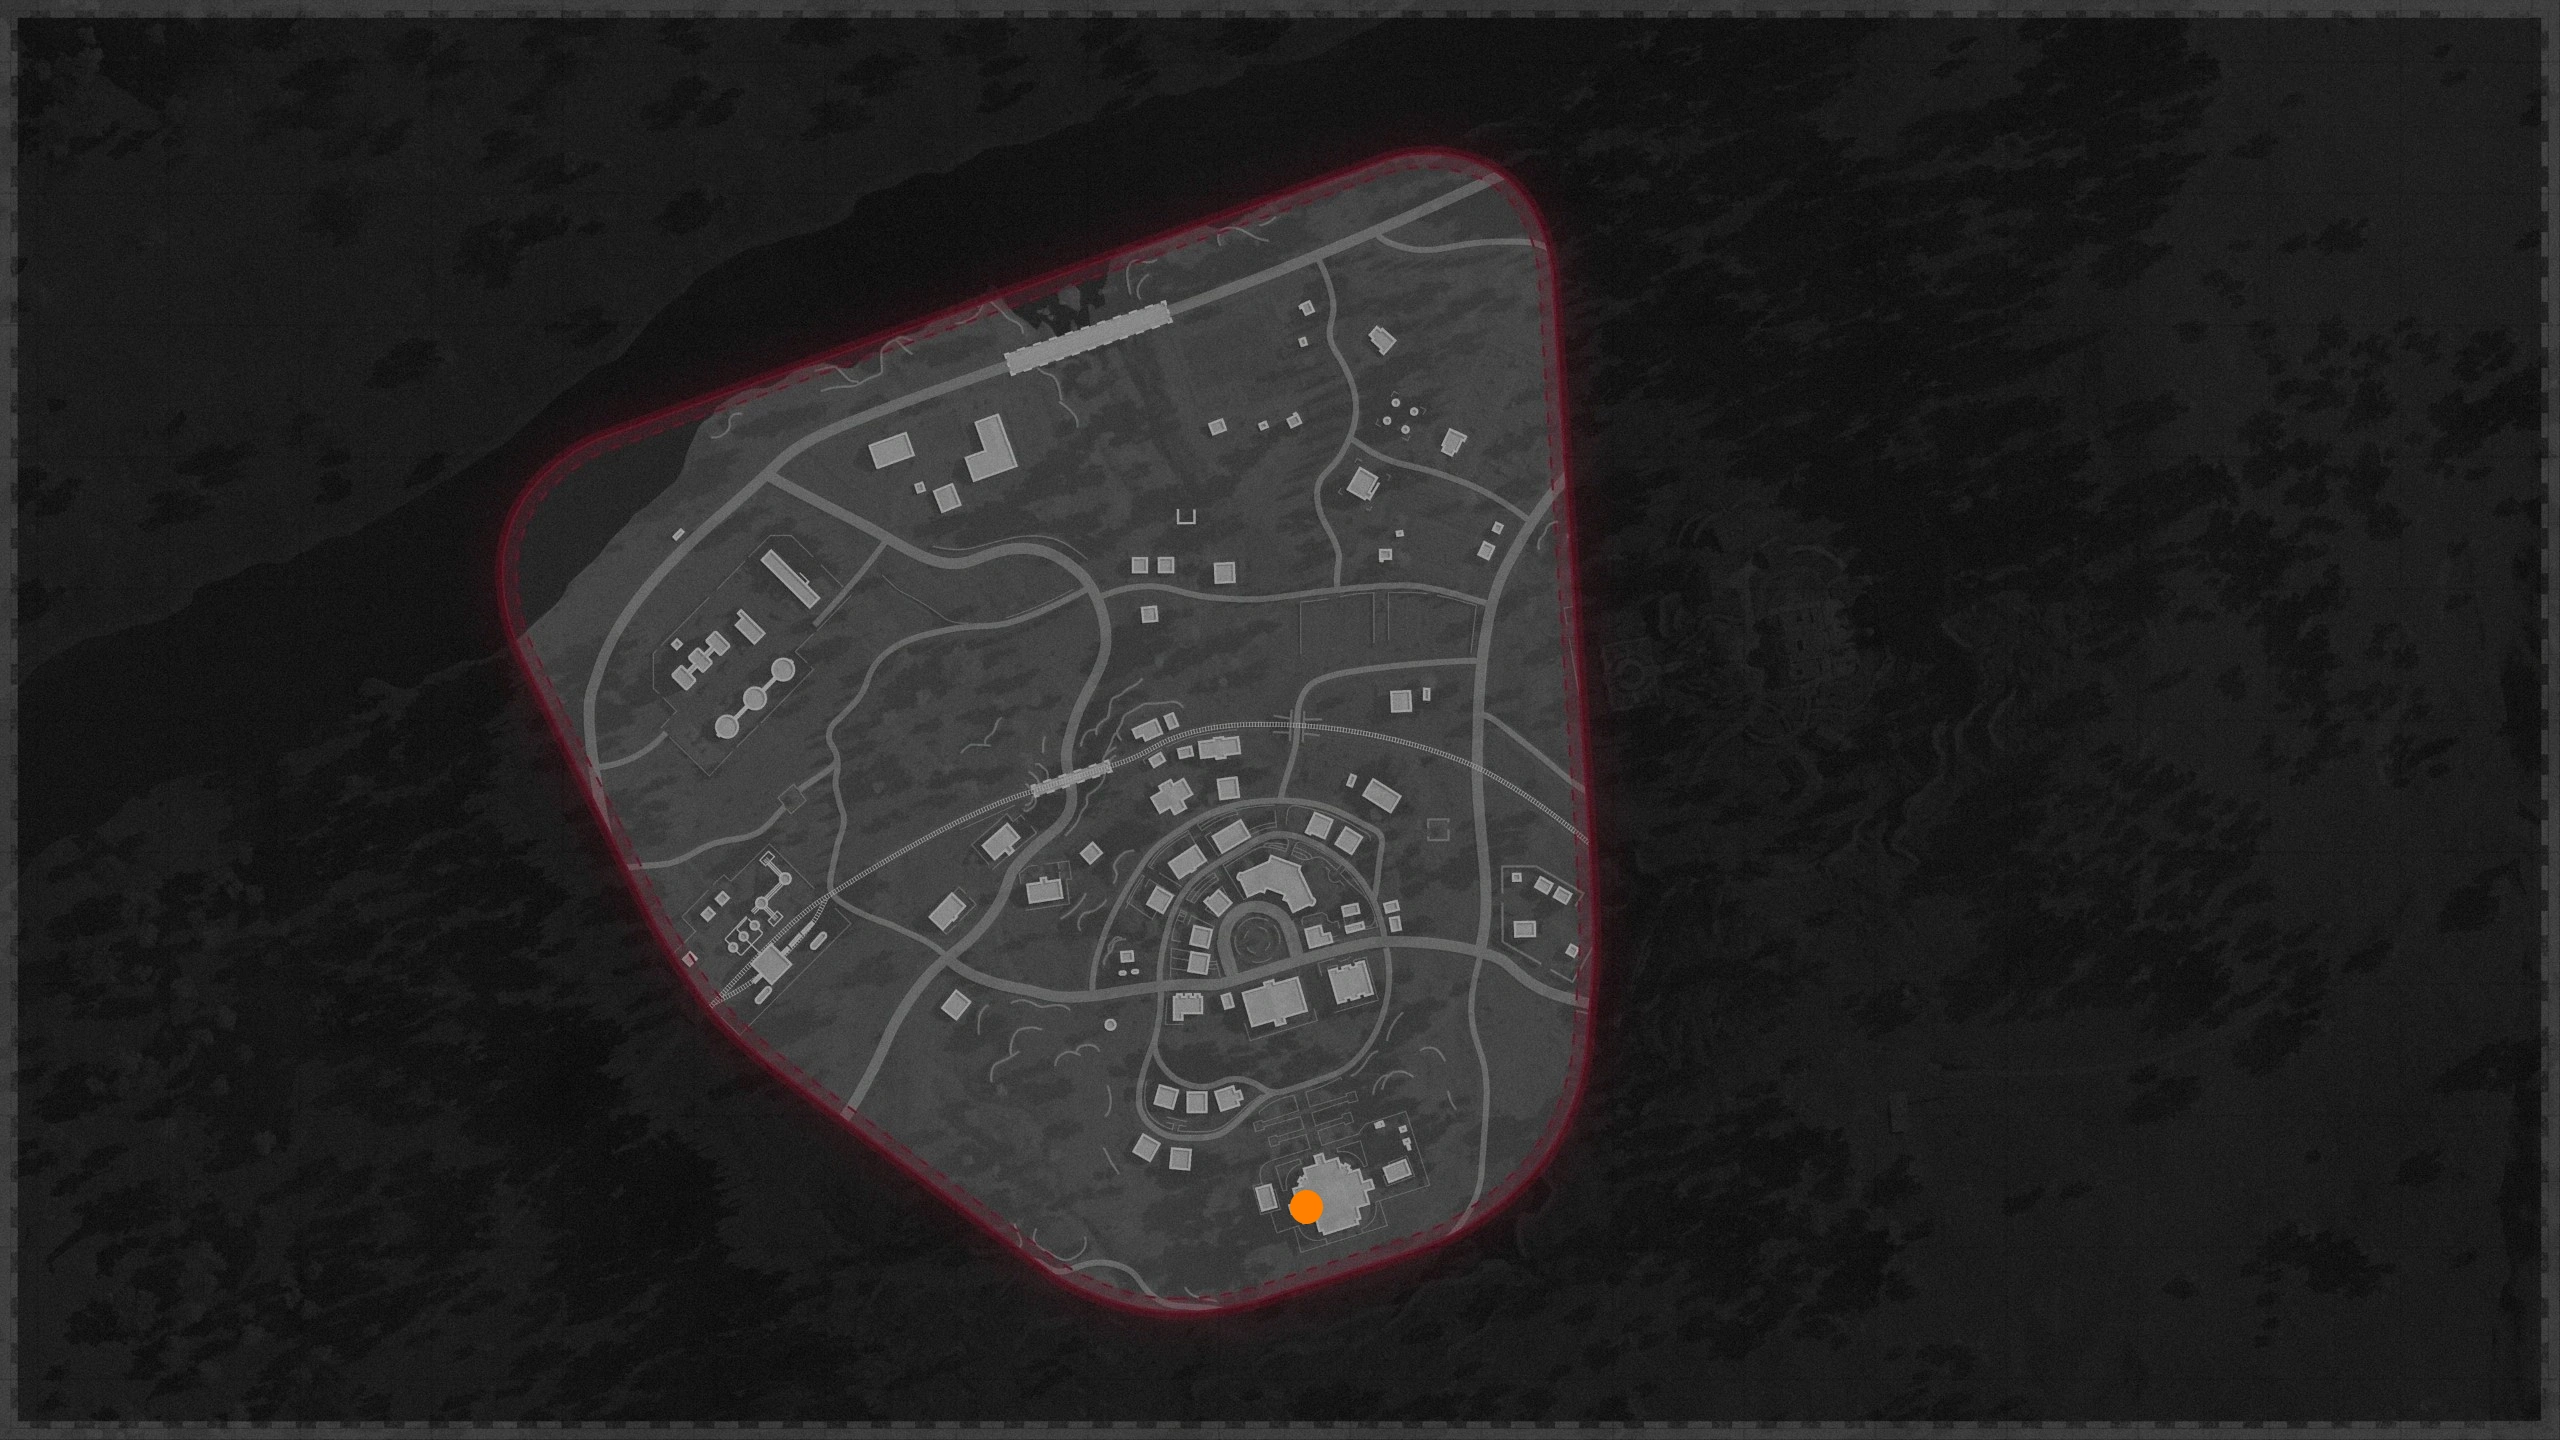
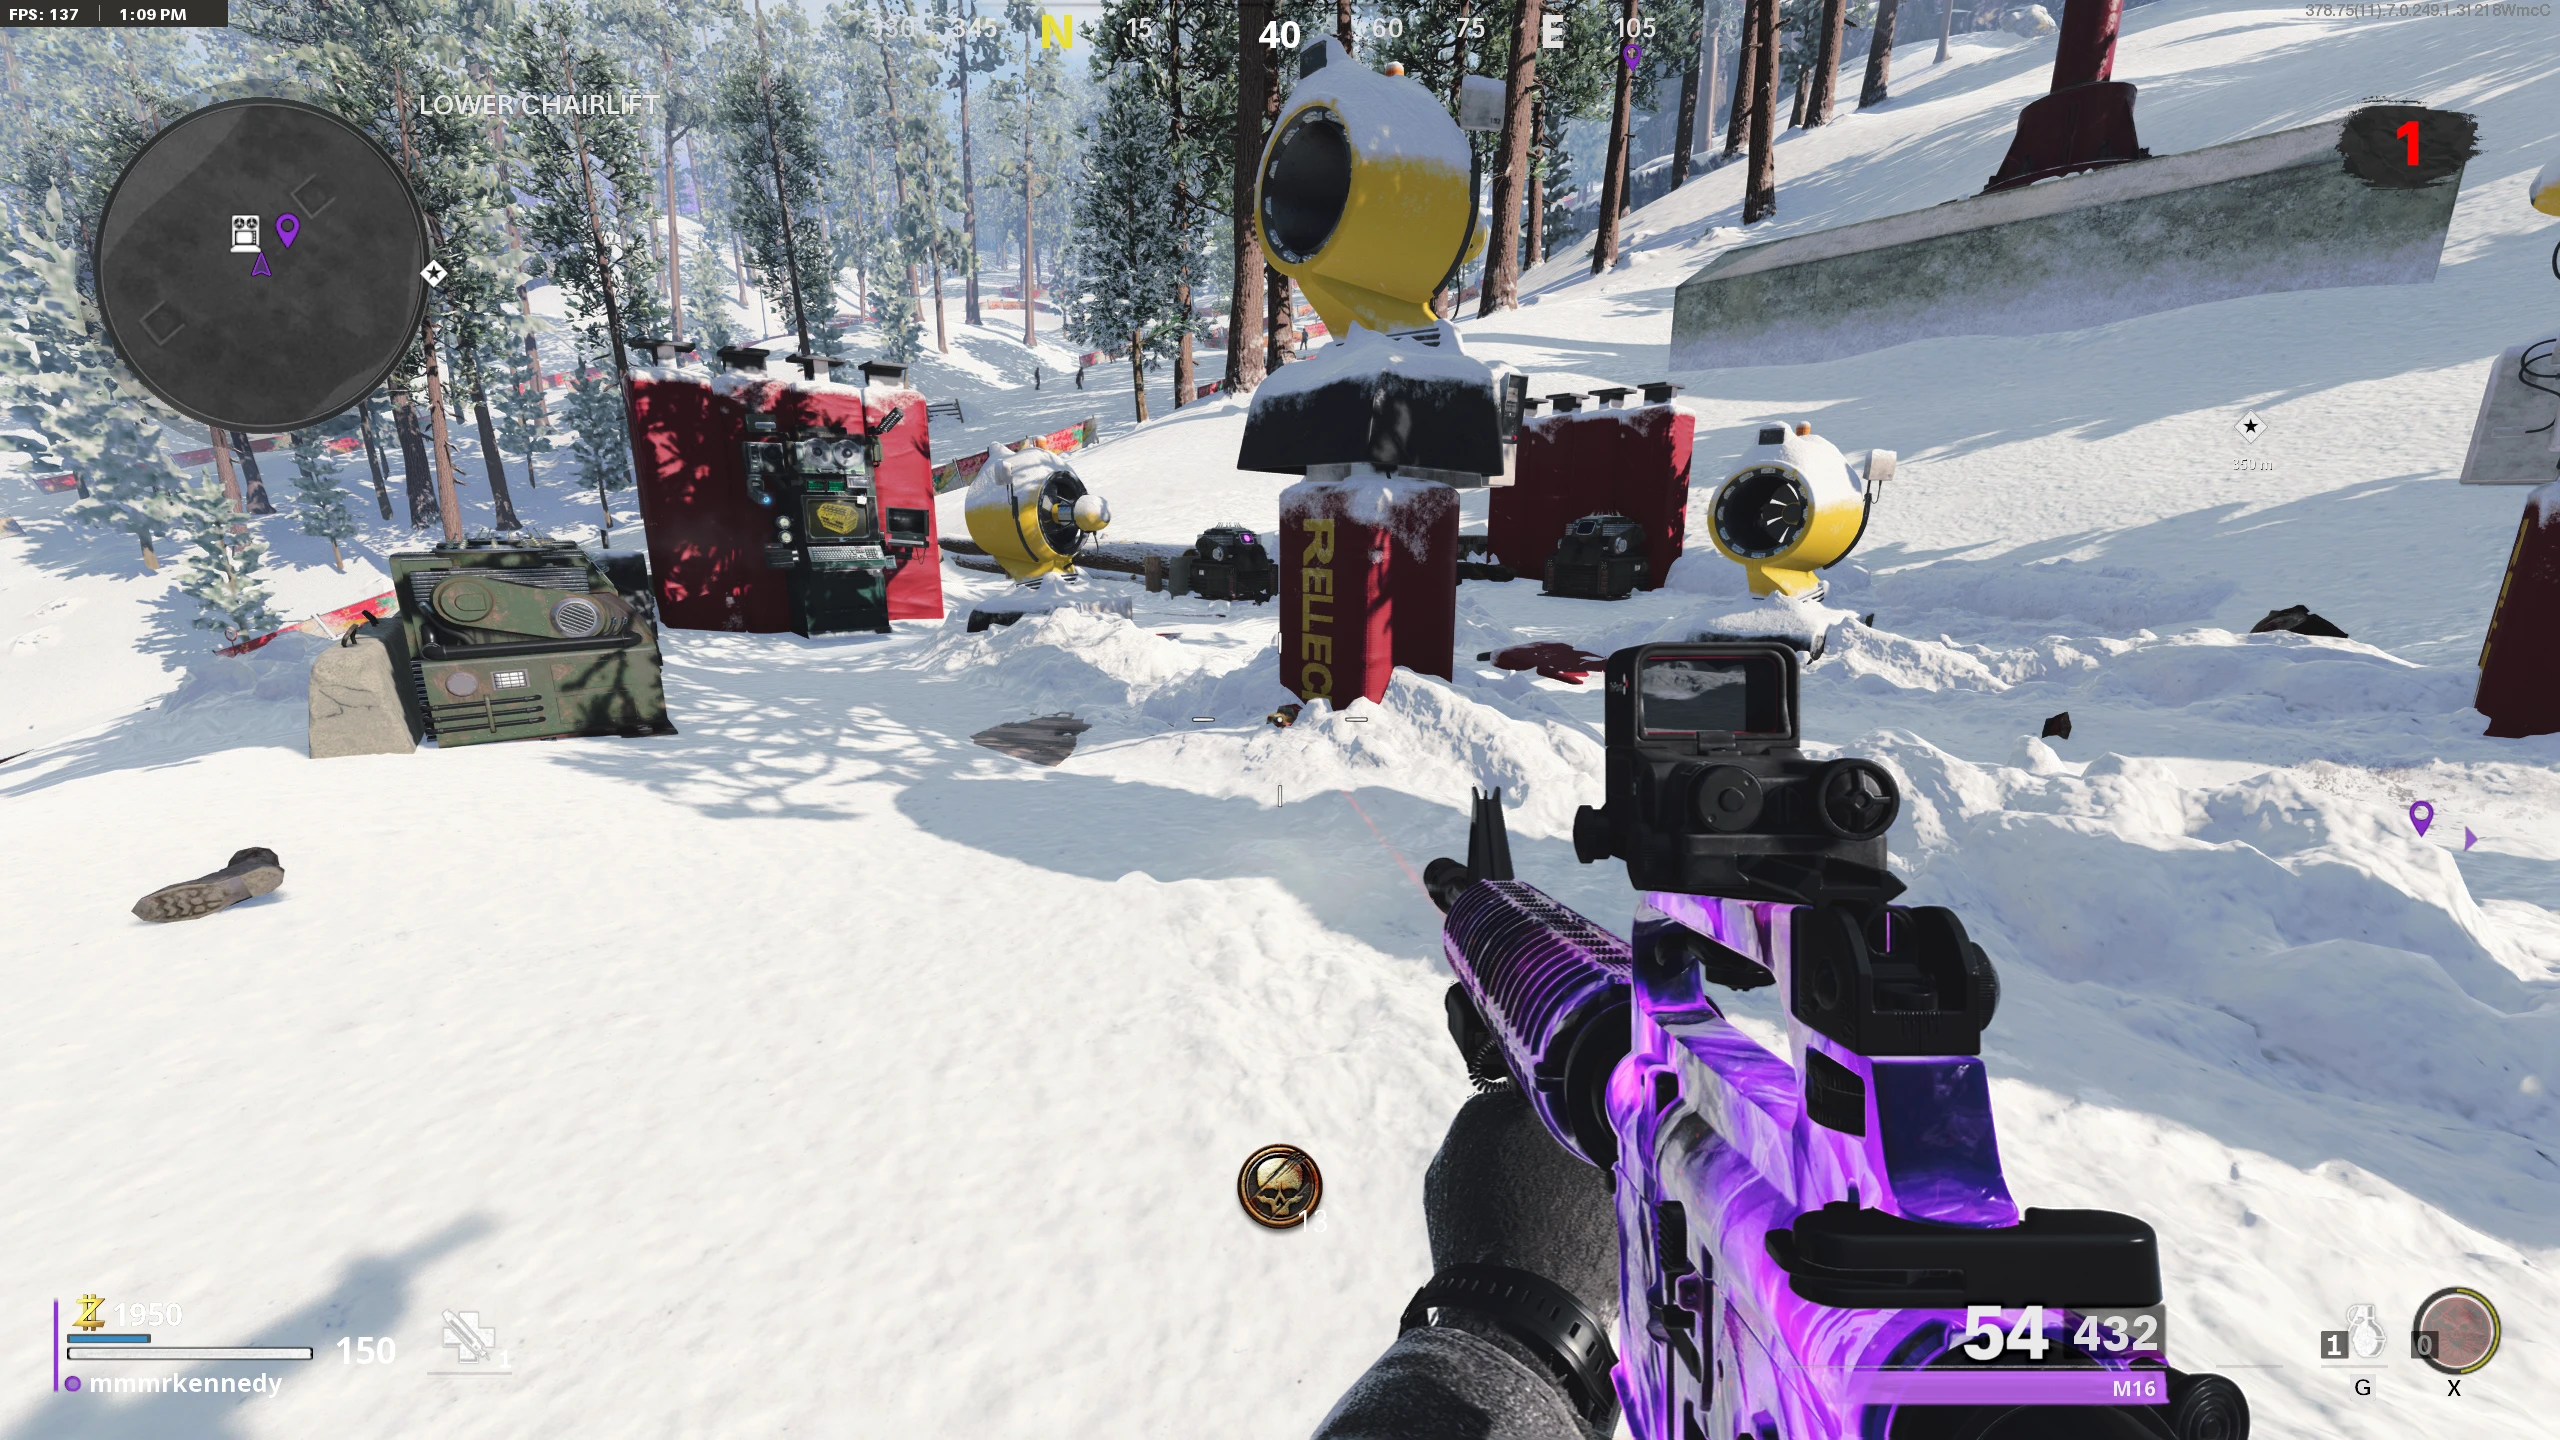
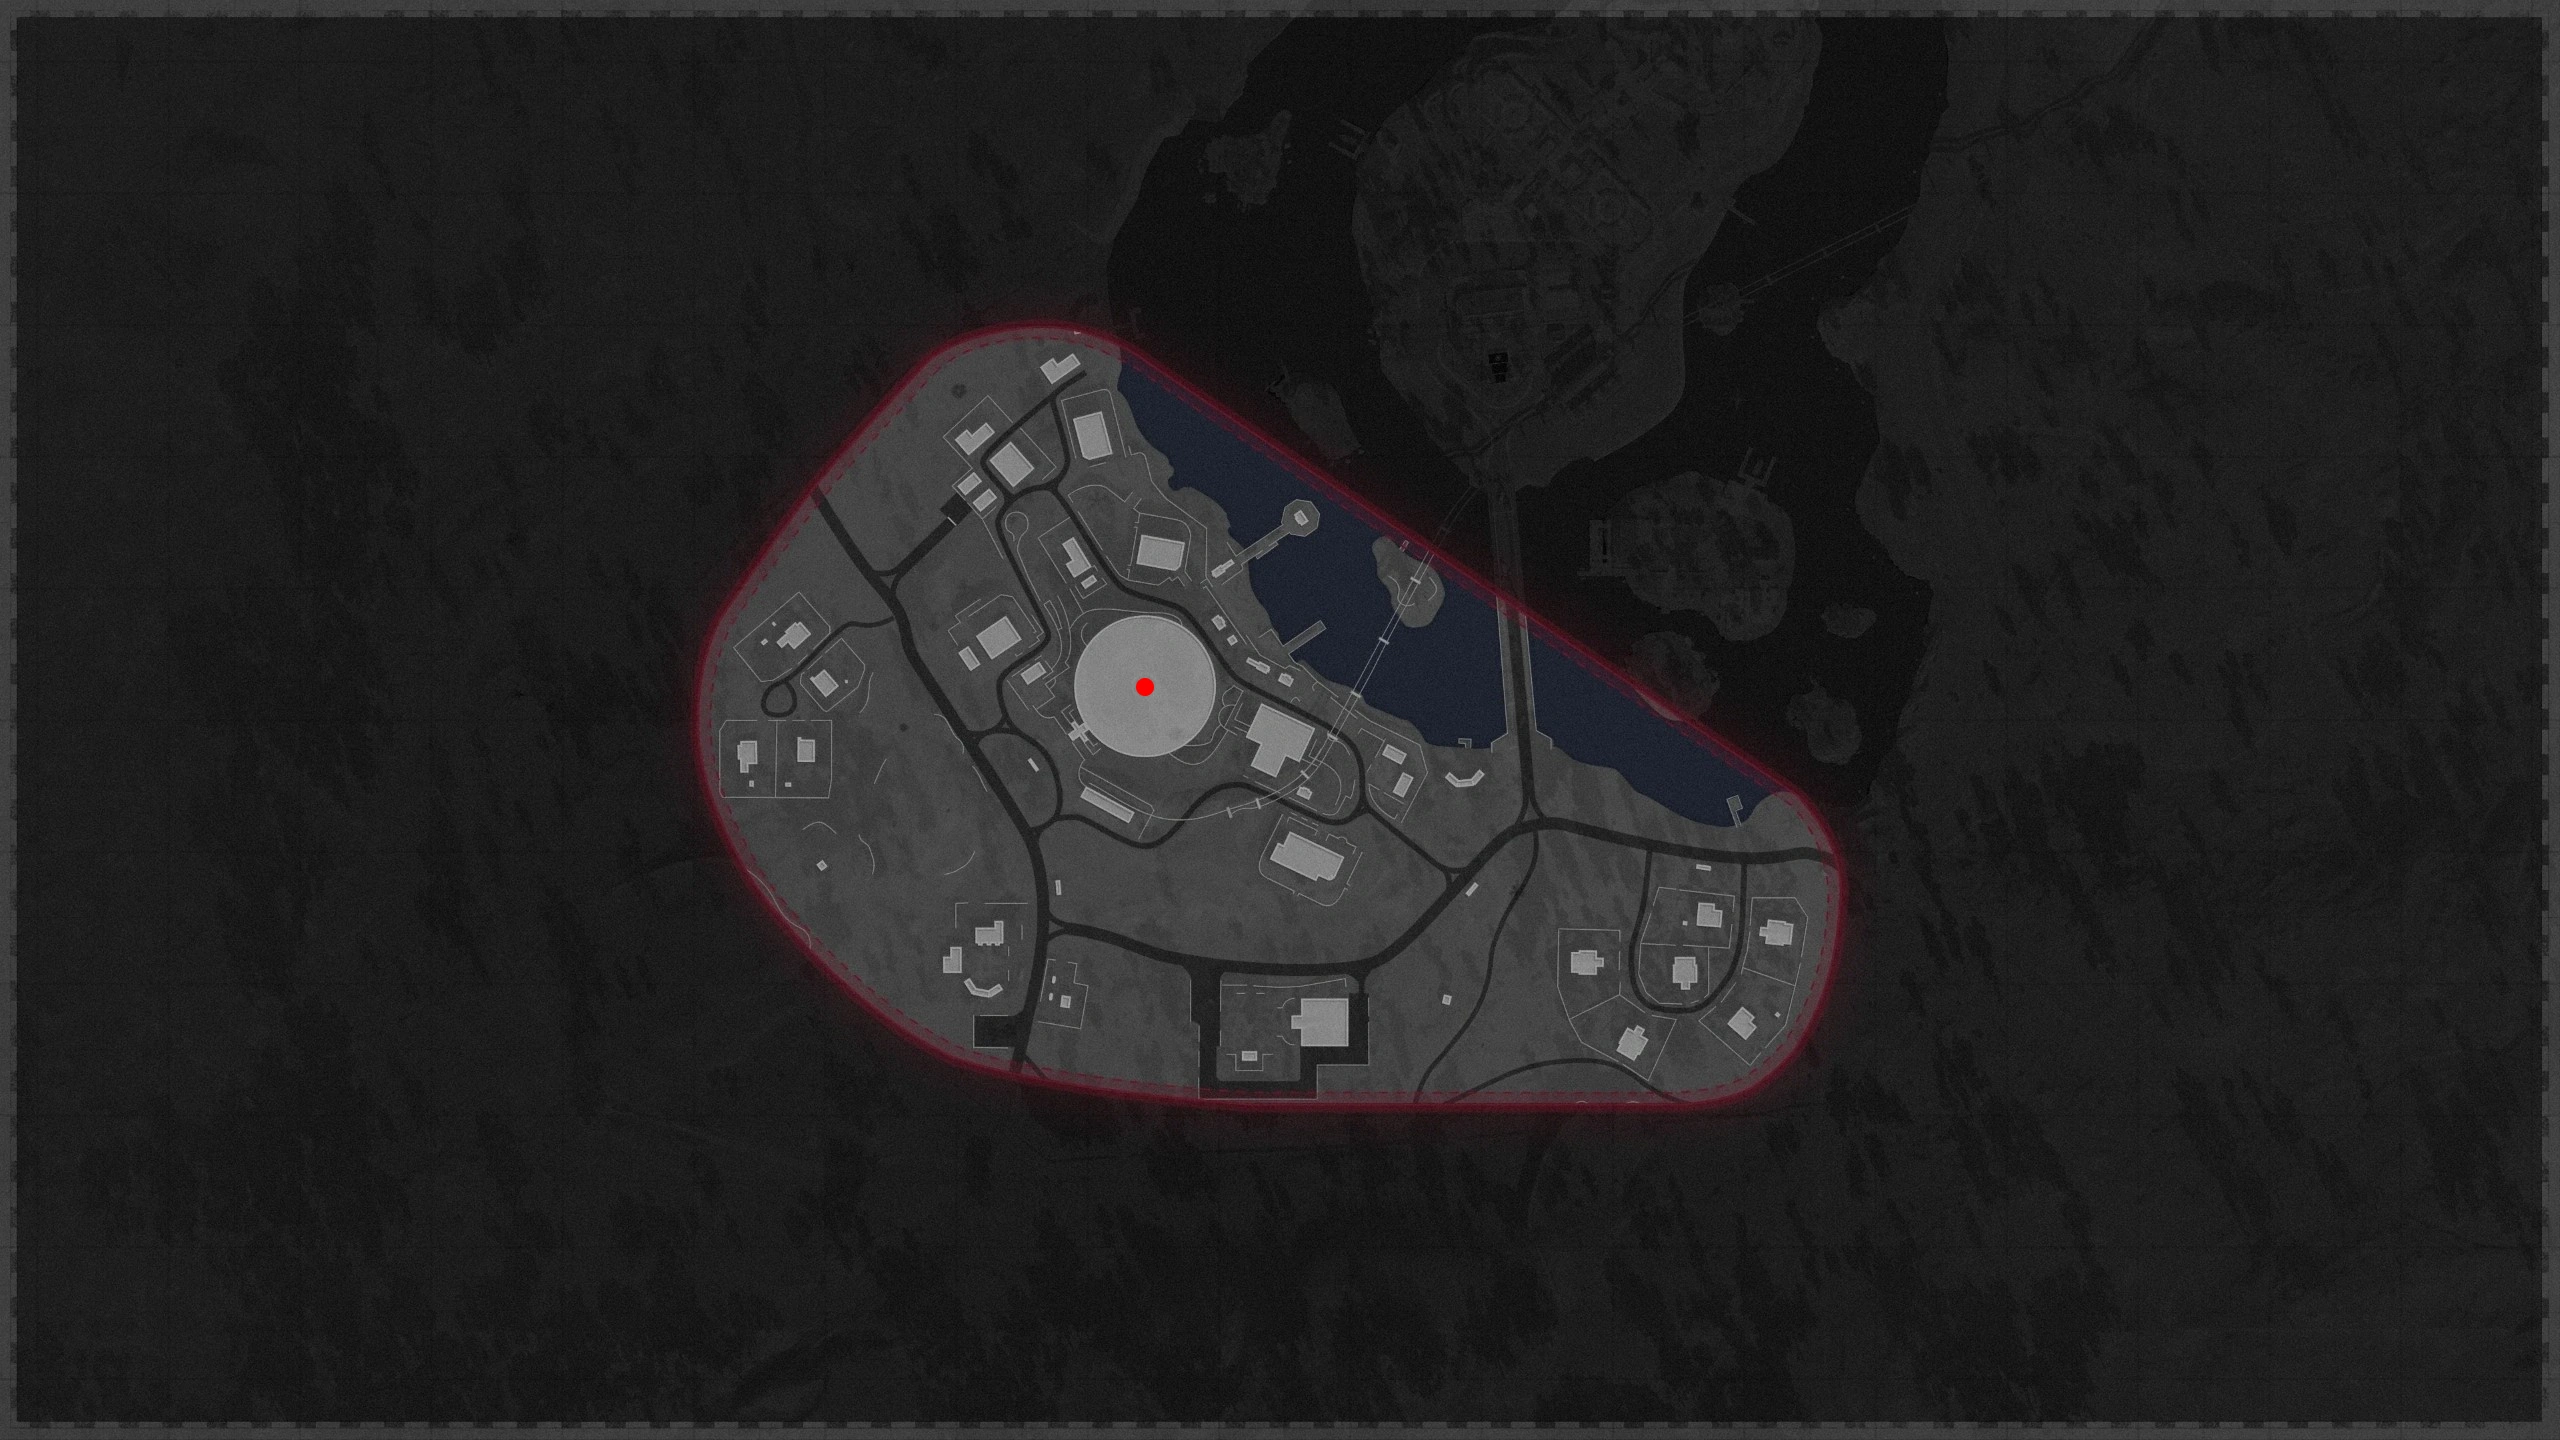
- In the new region (skip the map Ruka; if you get it), find the Stone Monkey Bomb Statues (locations below) and look for one with an "M" drawn on a nearby wall. Shoot that statue to drop Microfilm Reels. Shooting a wrong statue won't fail you, so you can just shoot them all until one drops.
- After picking up the Microfilm Reel, take it to a projector and interact with it three times. Wait for each dialogue to finish before interacting again. Once the third dialogue starts, you can warp.
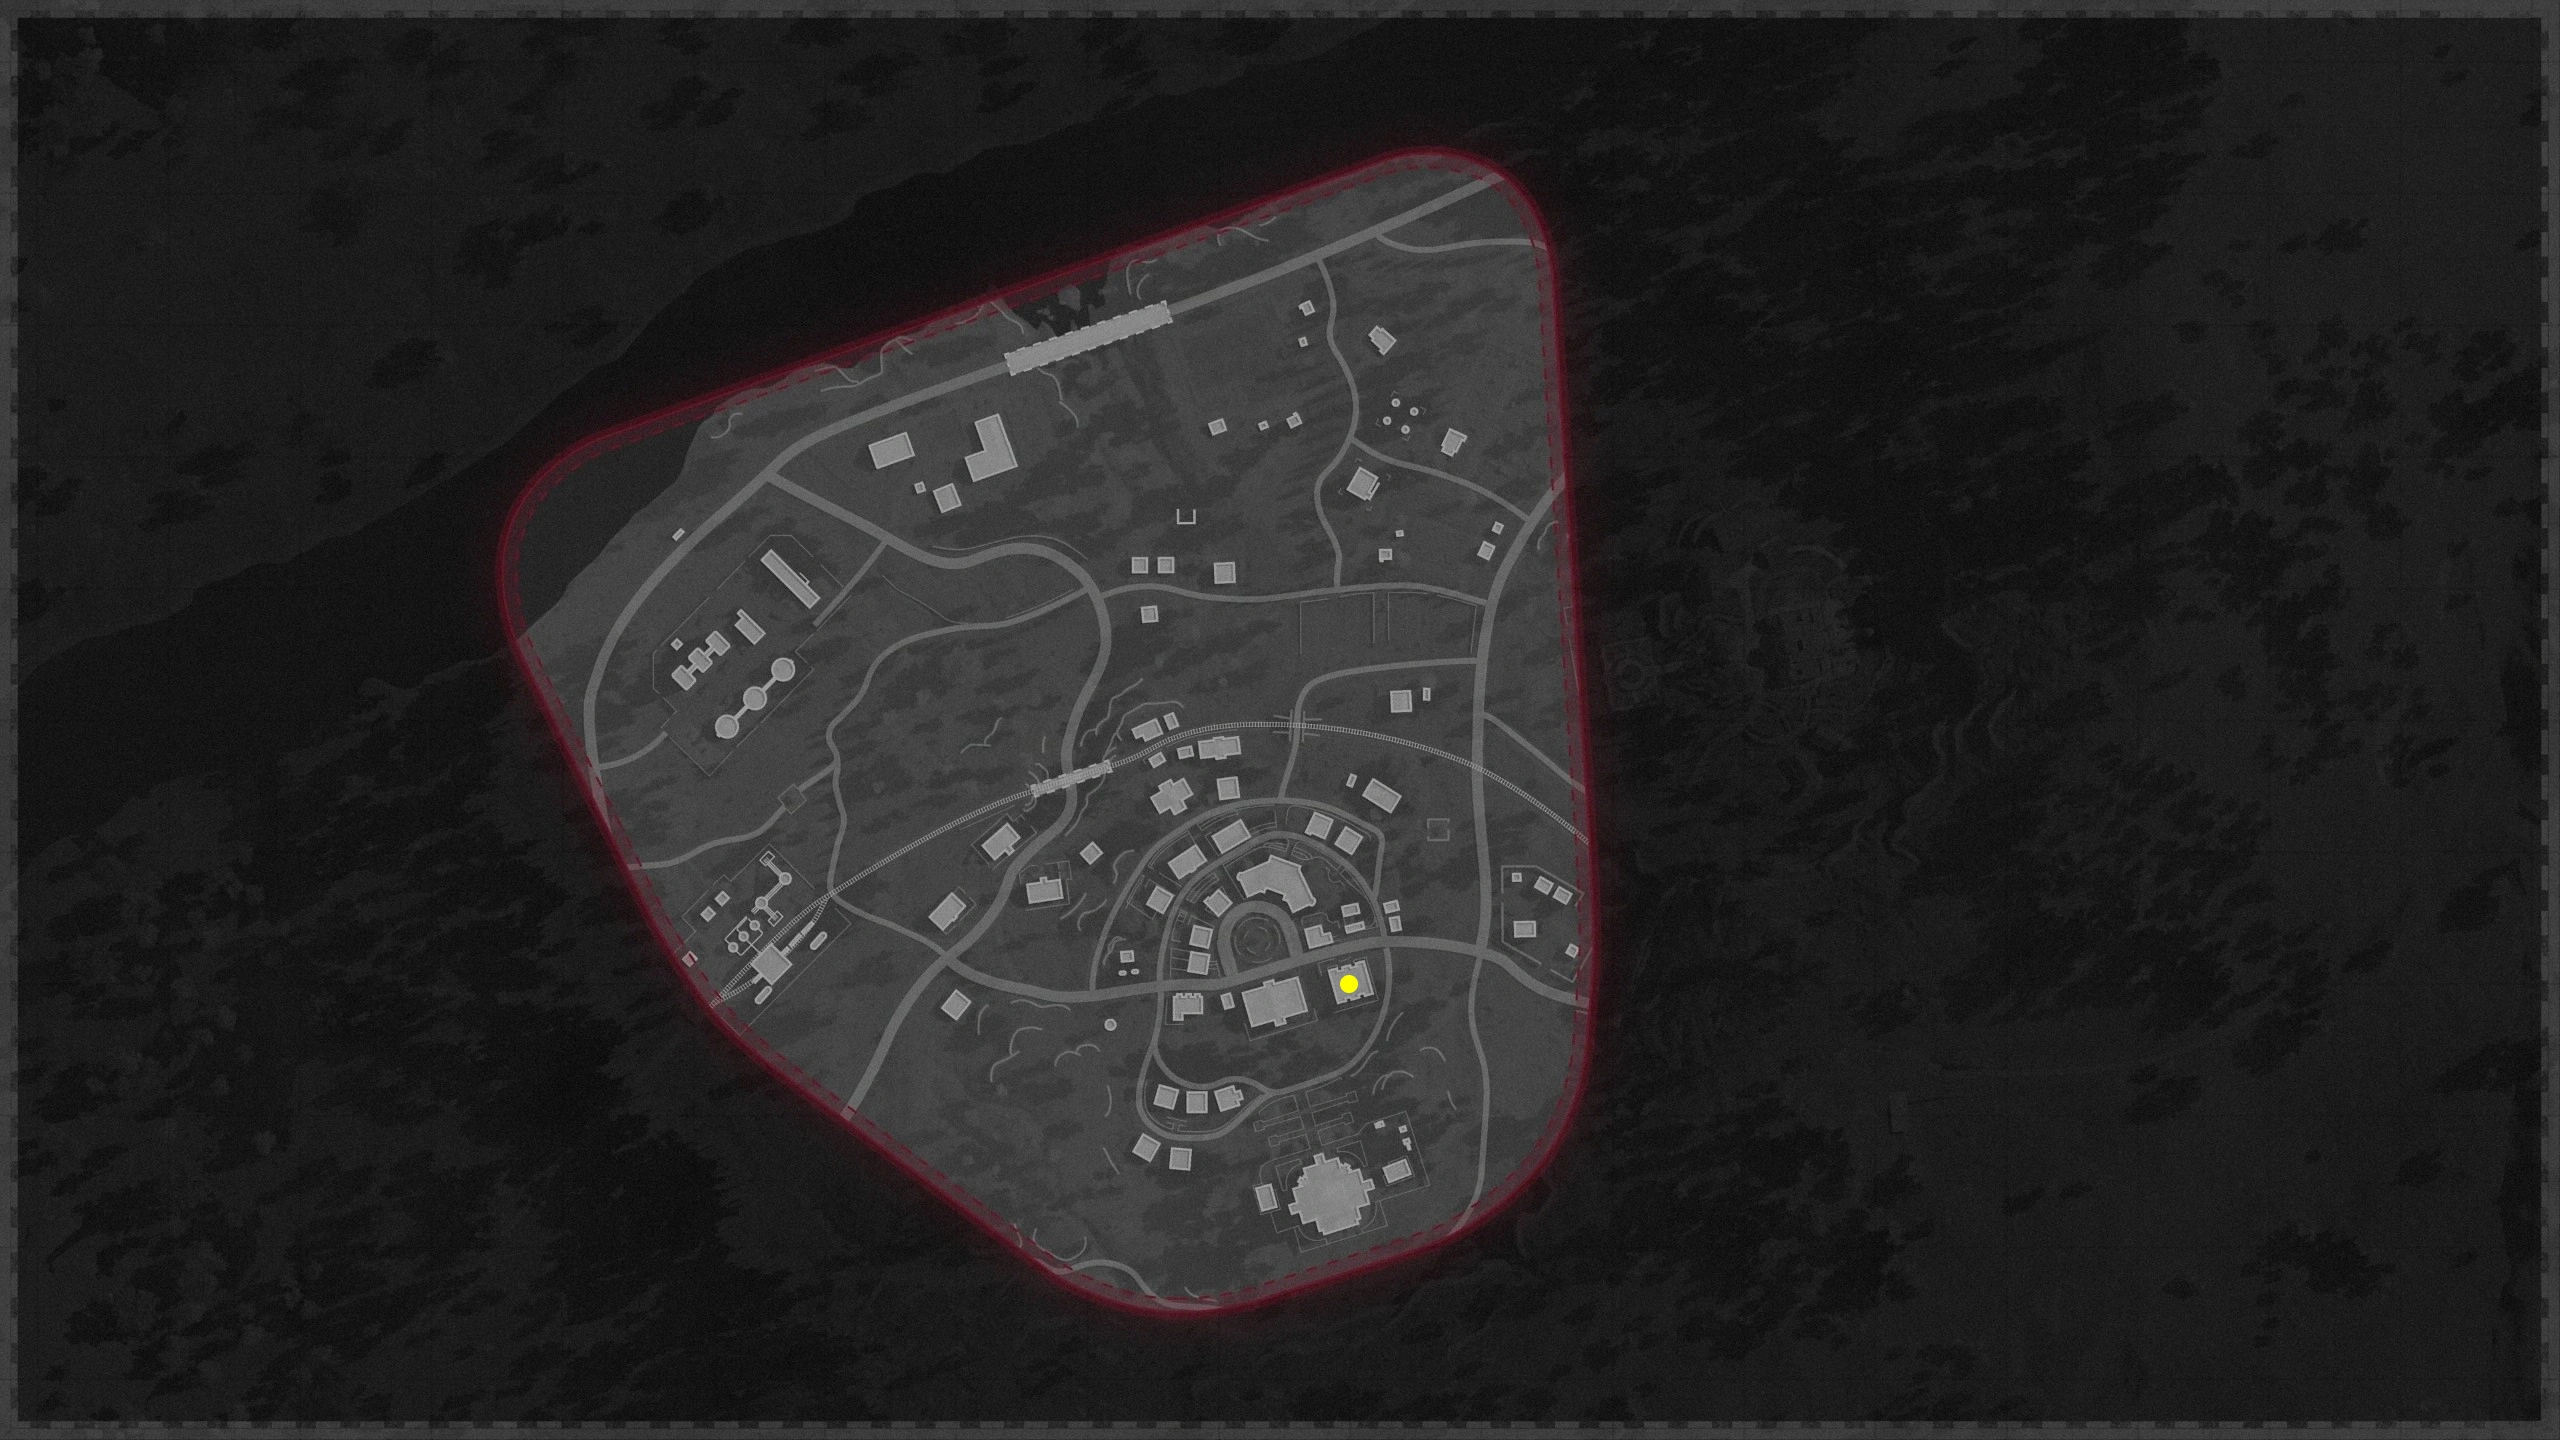
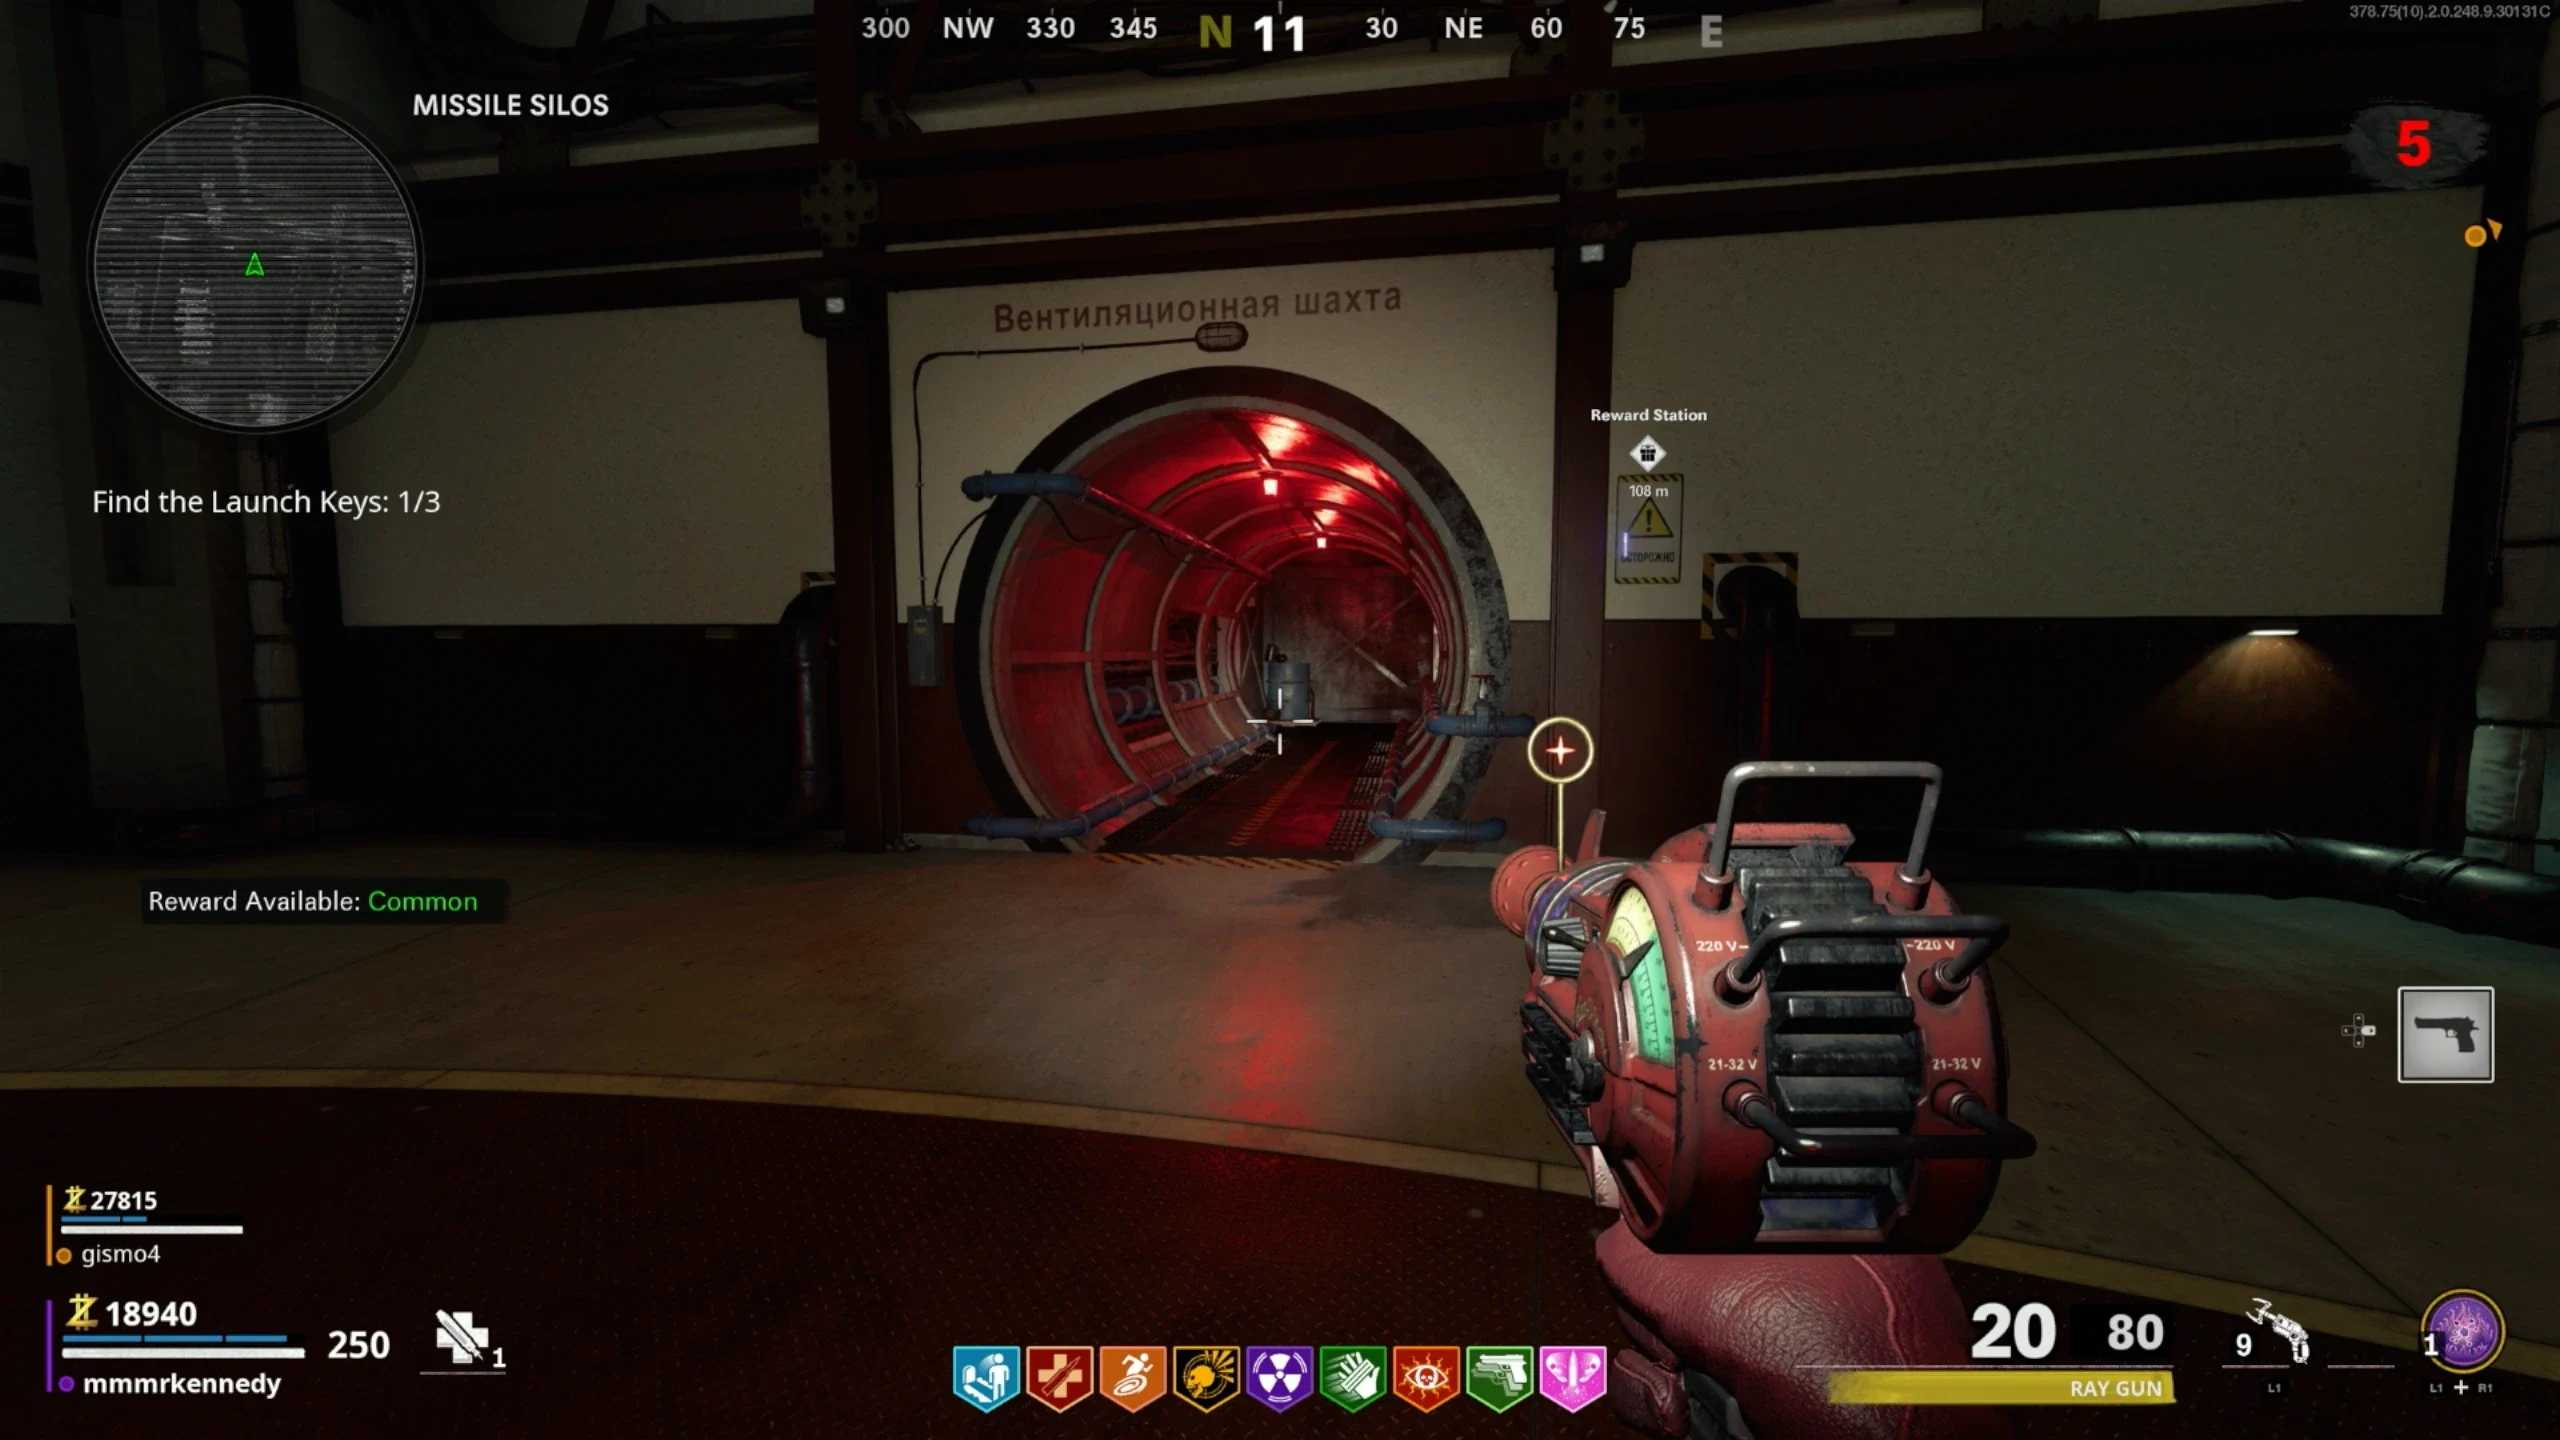
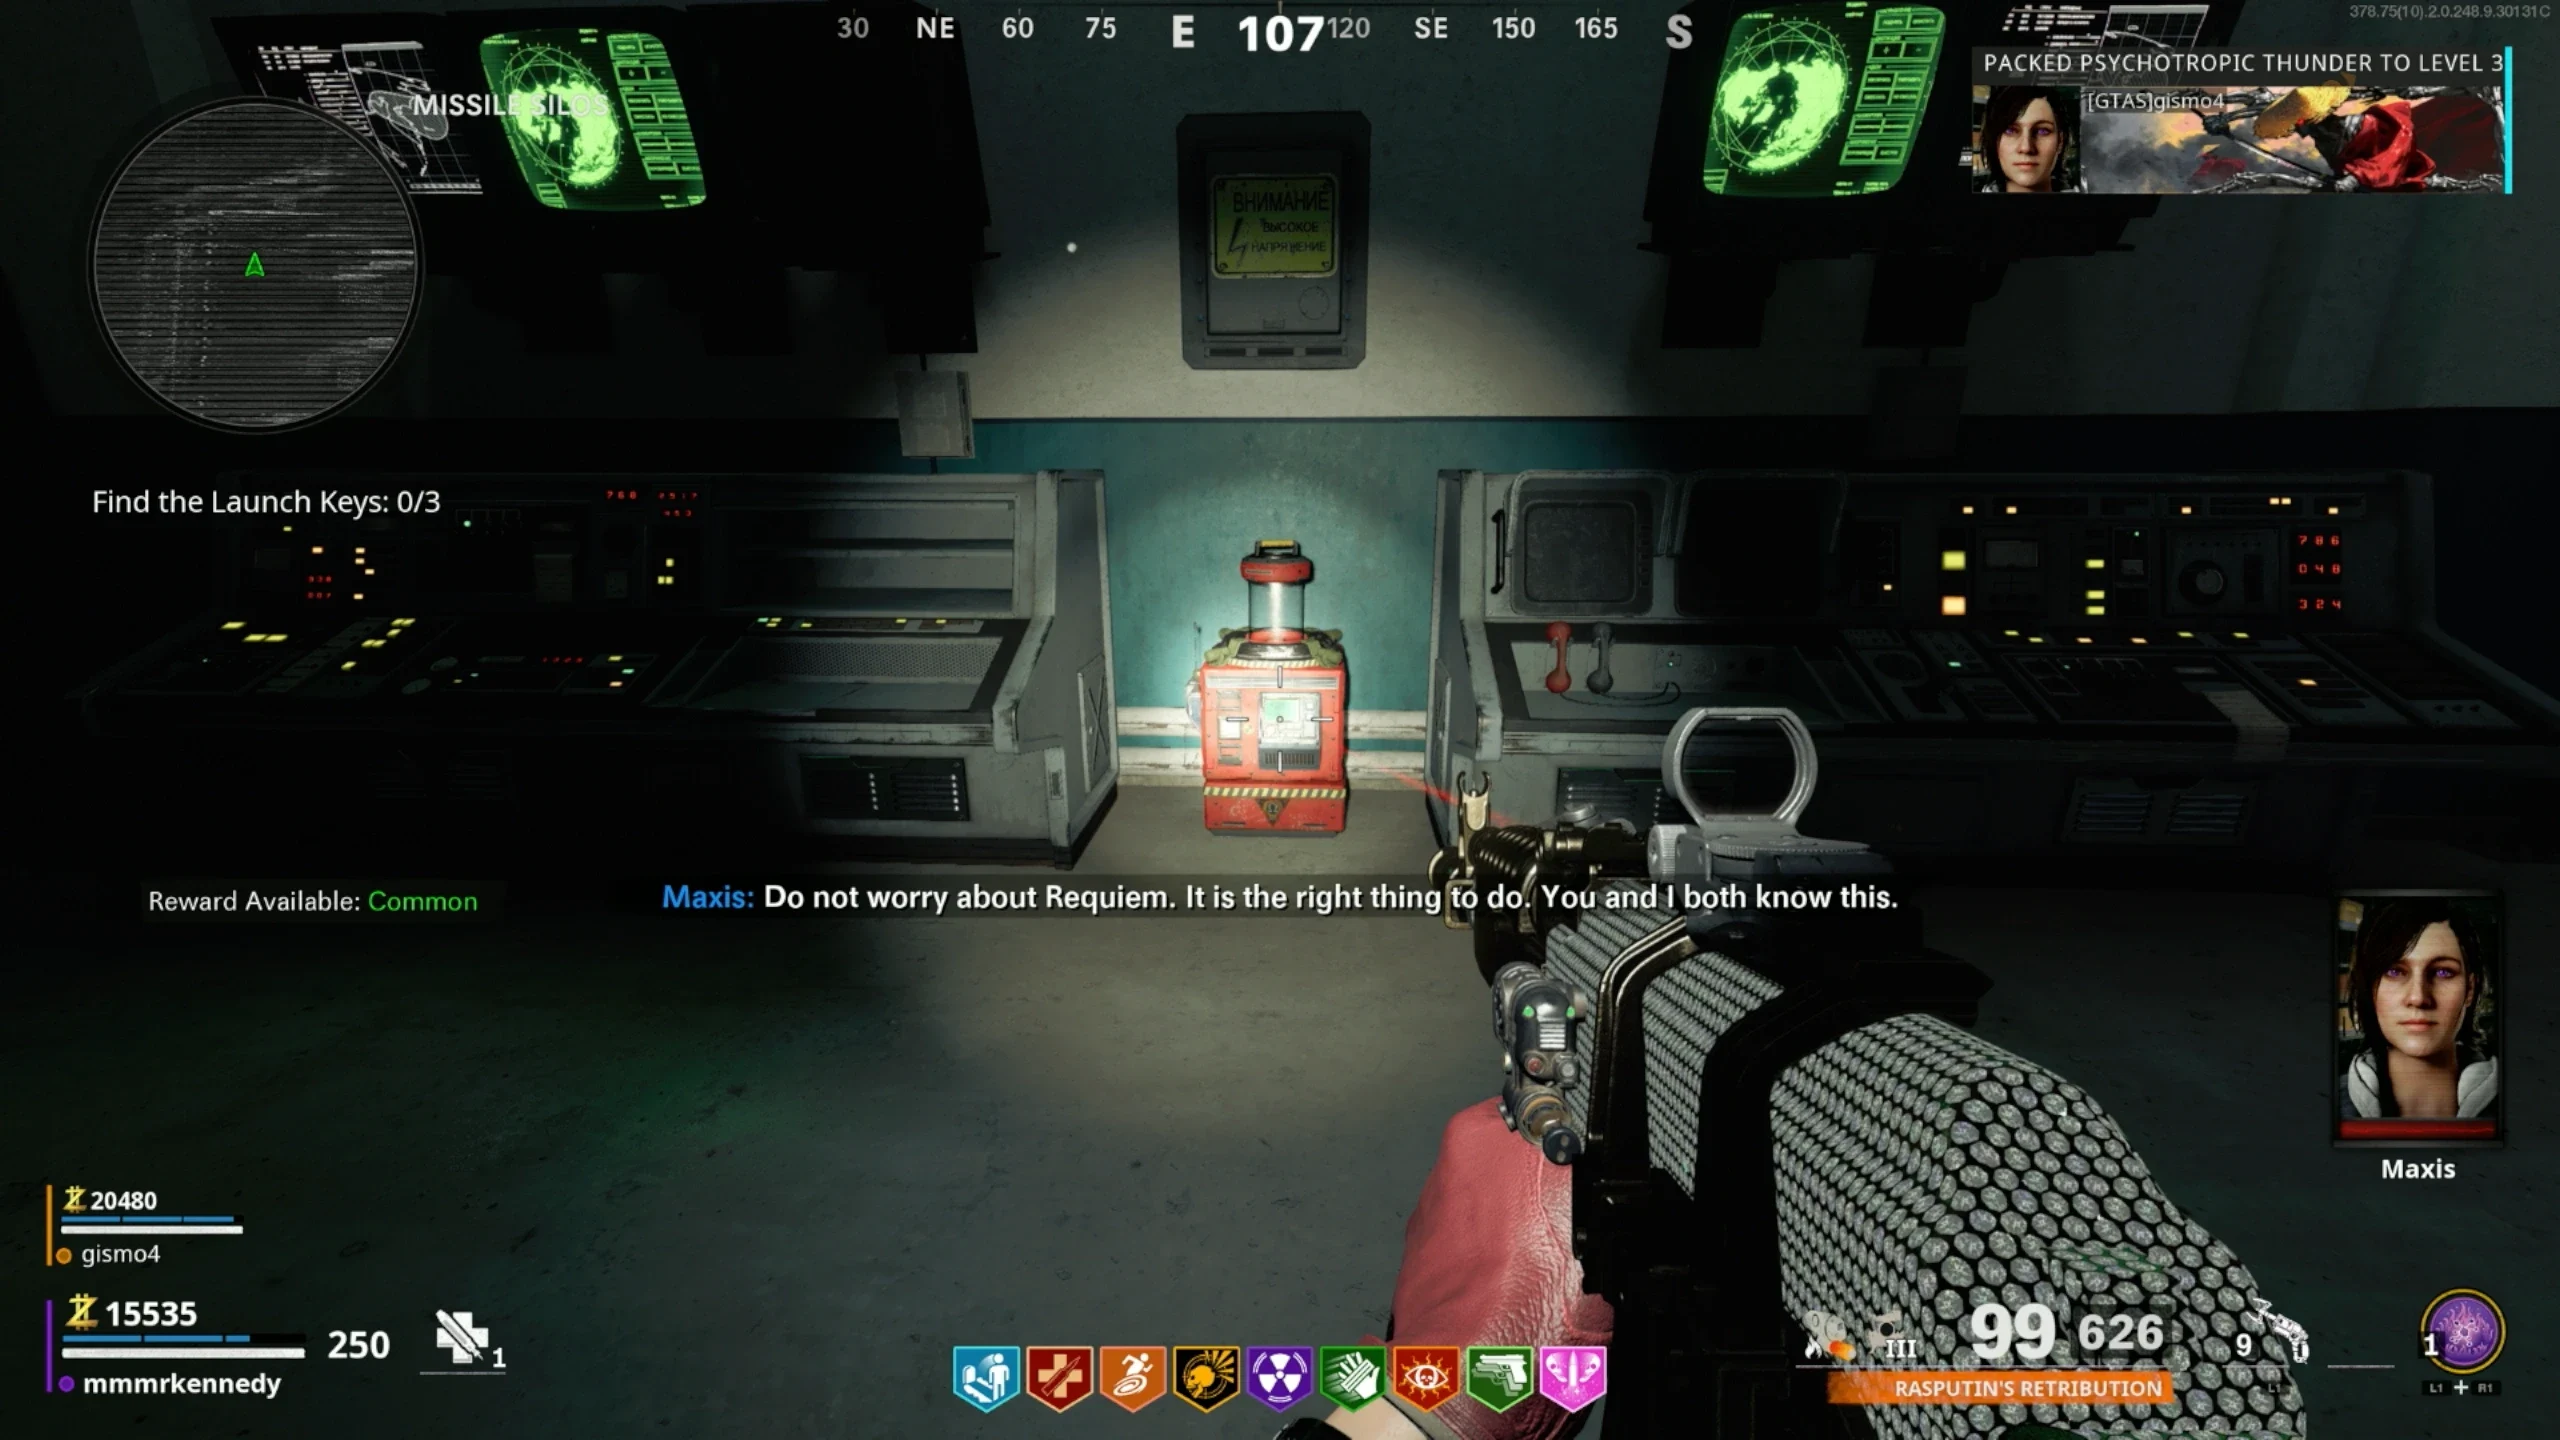
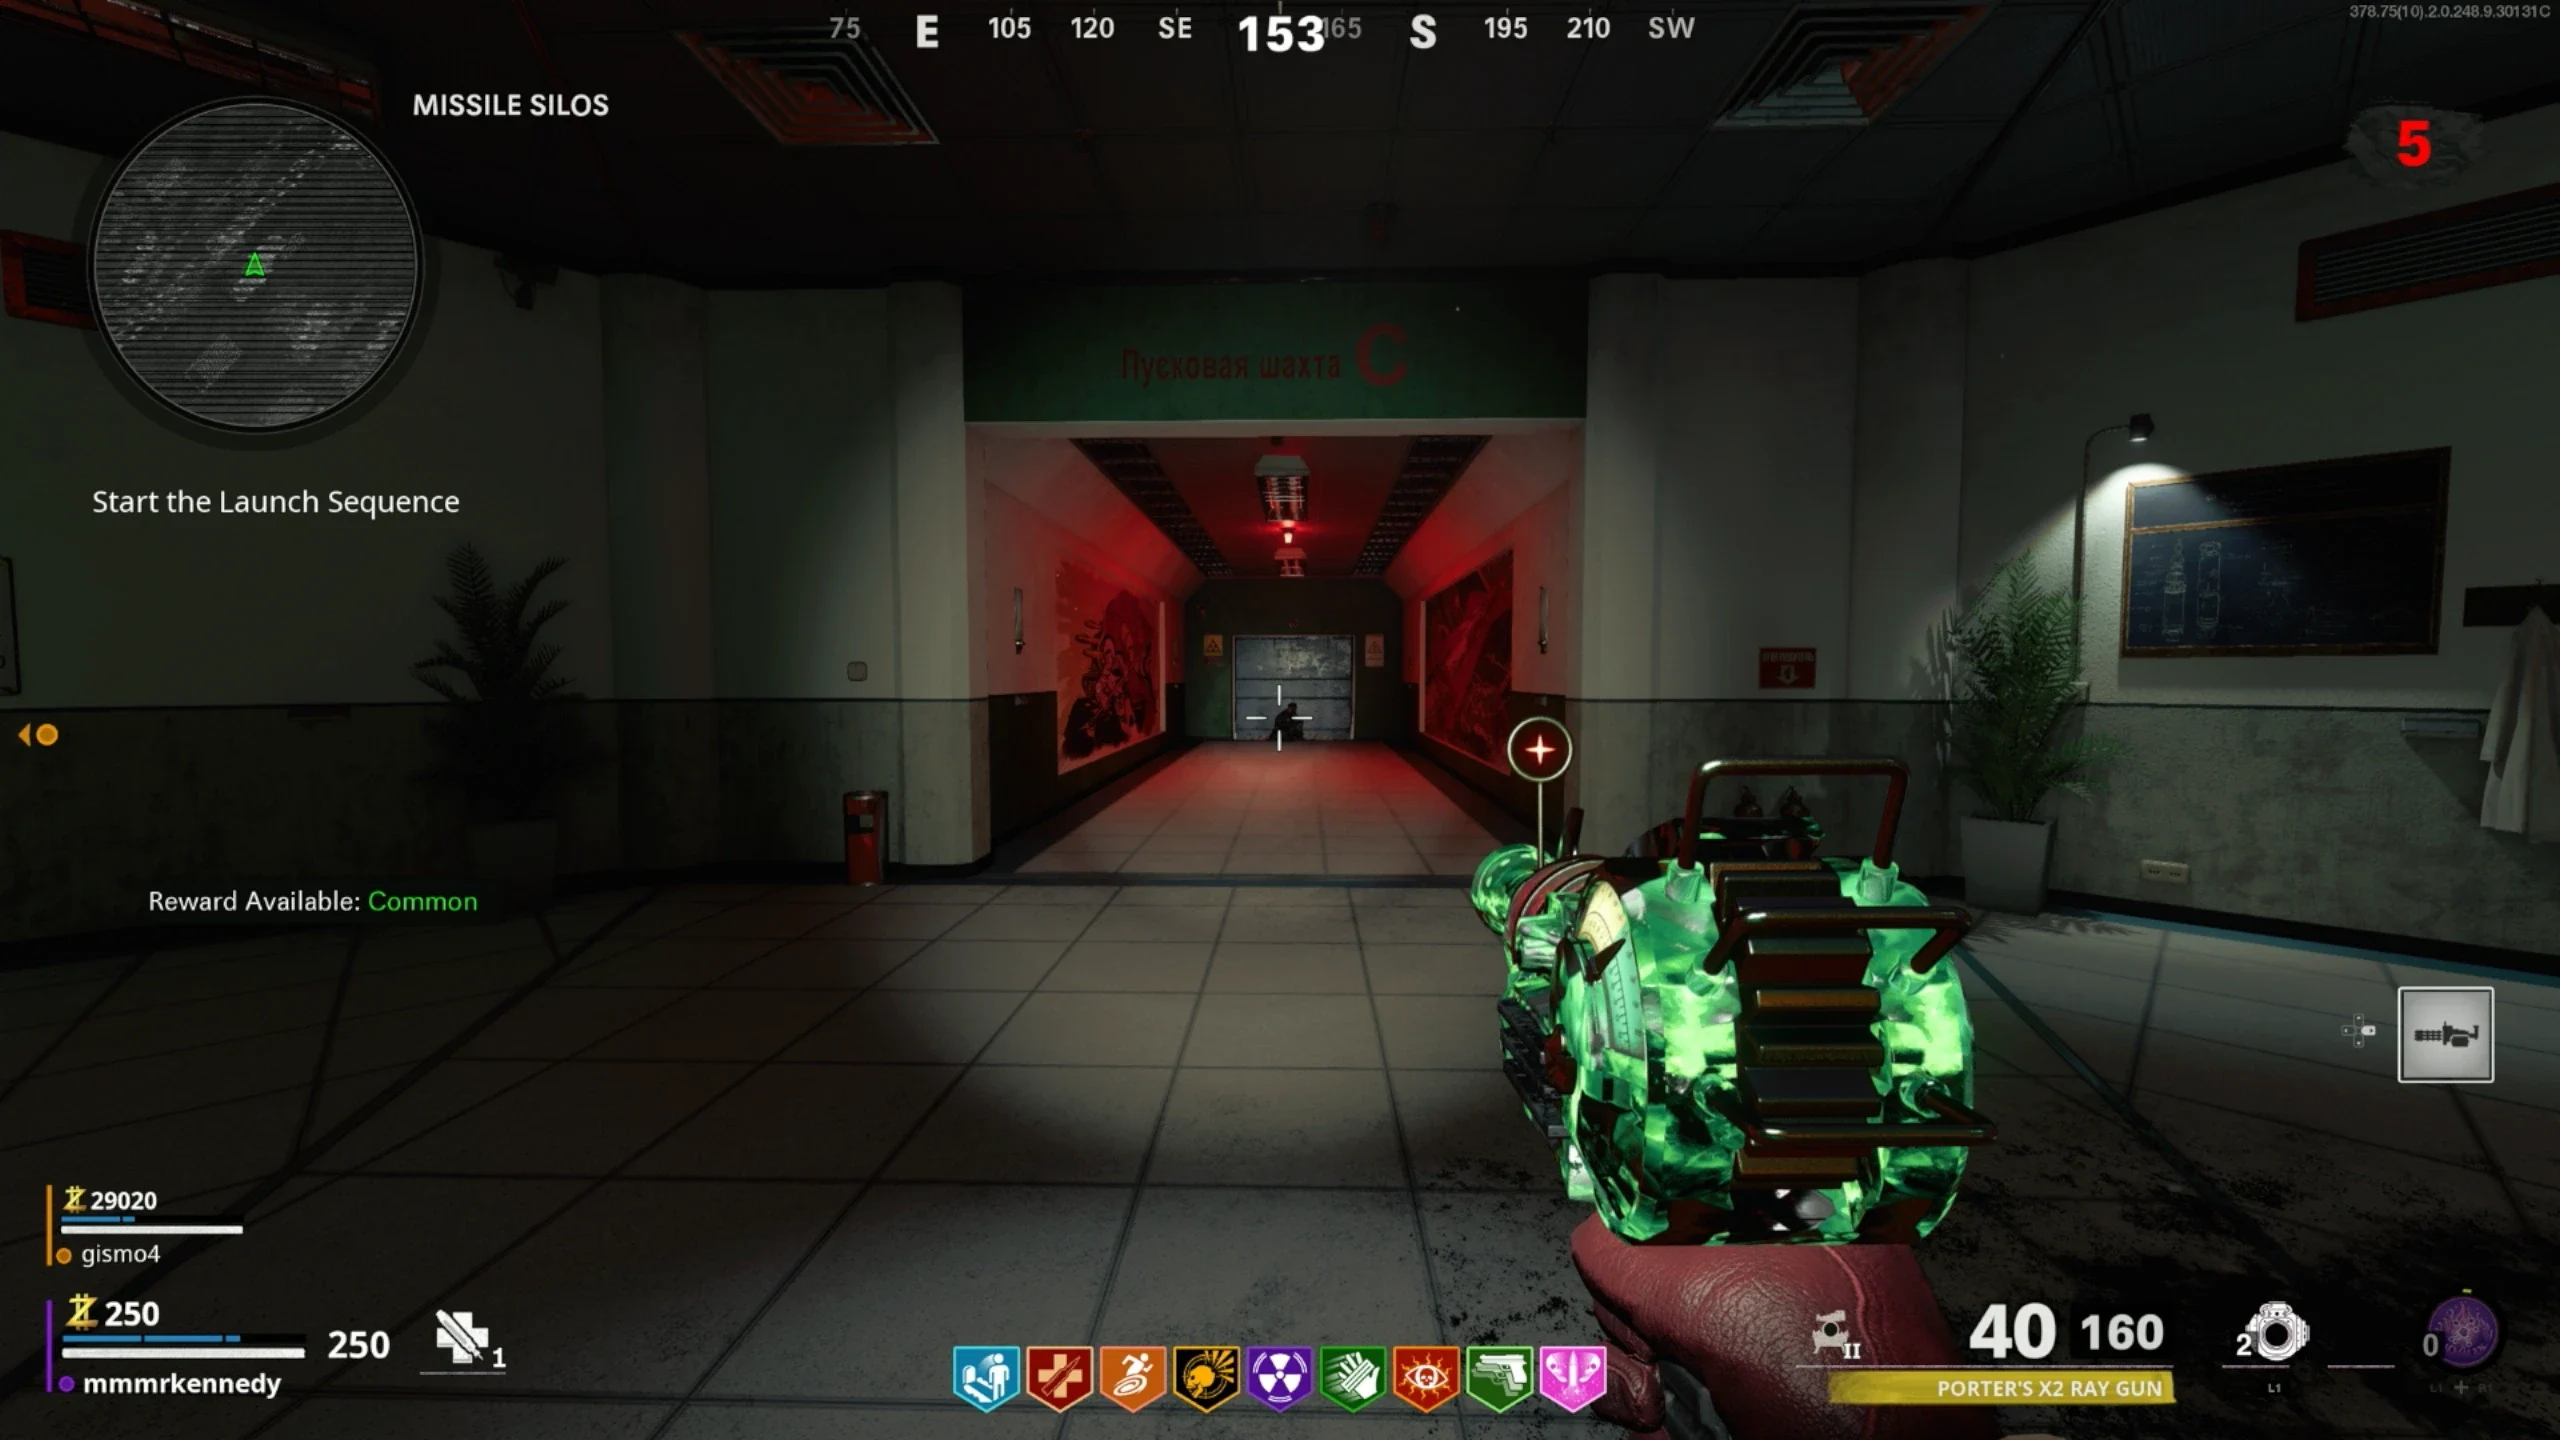
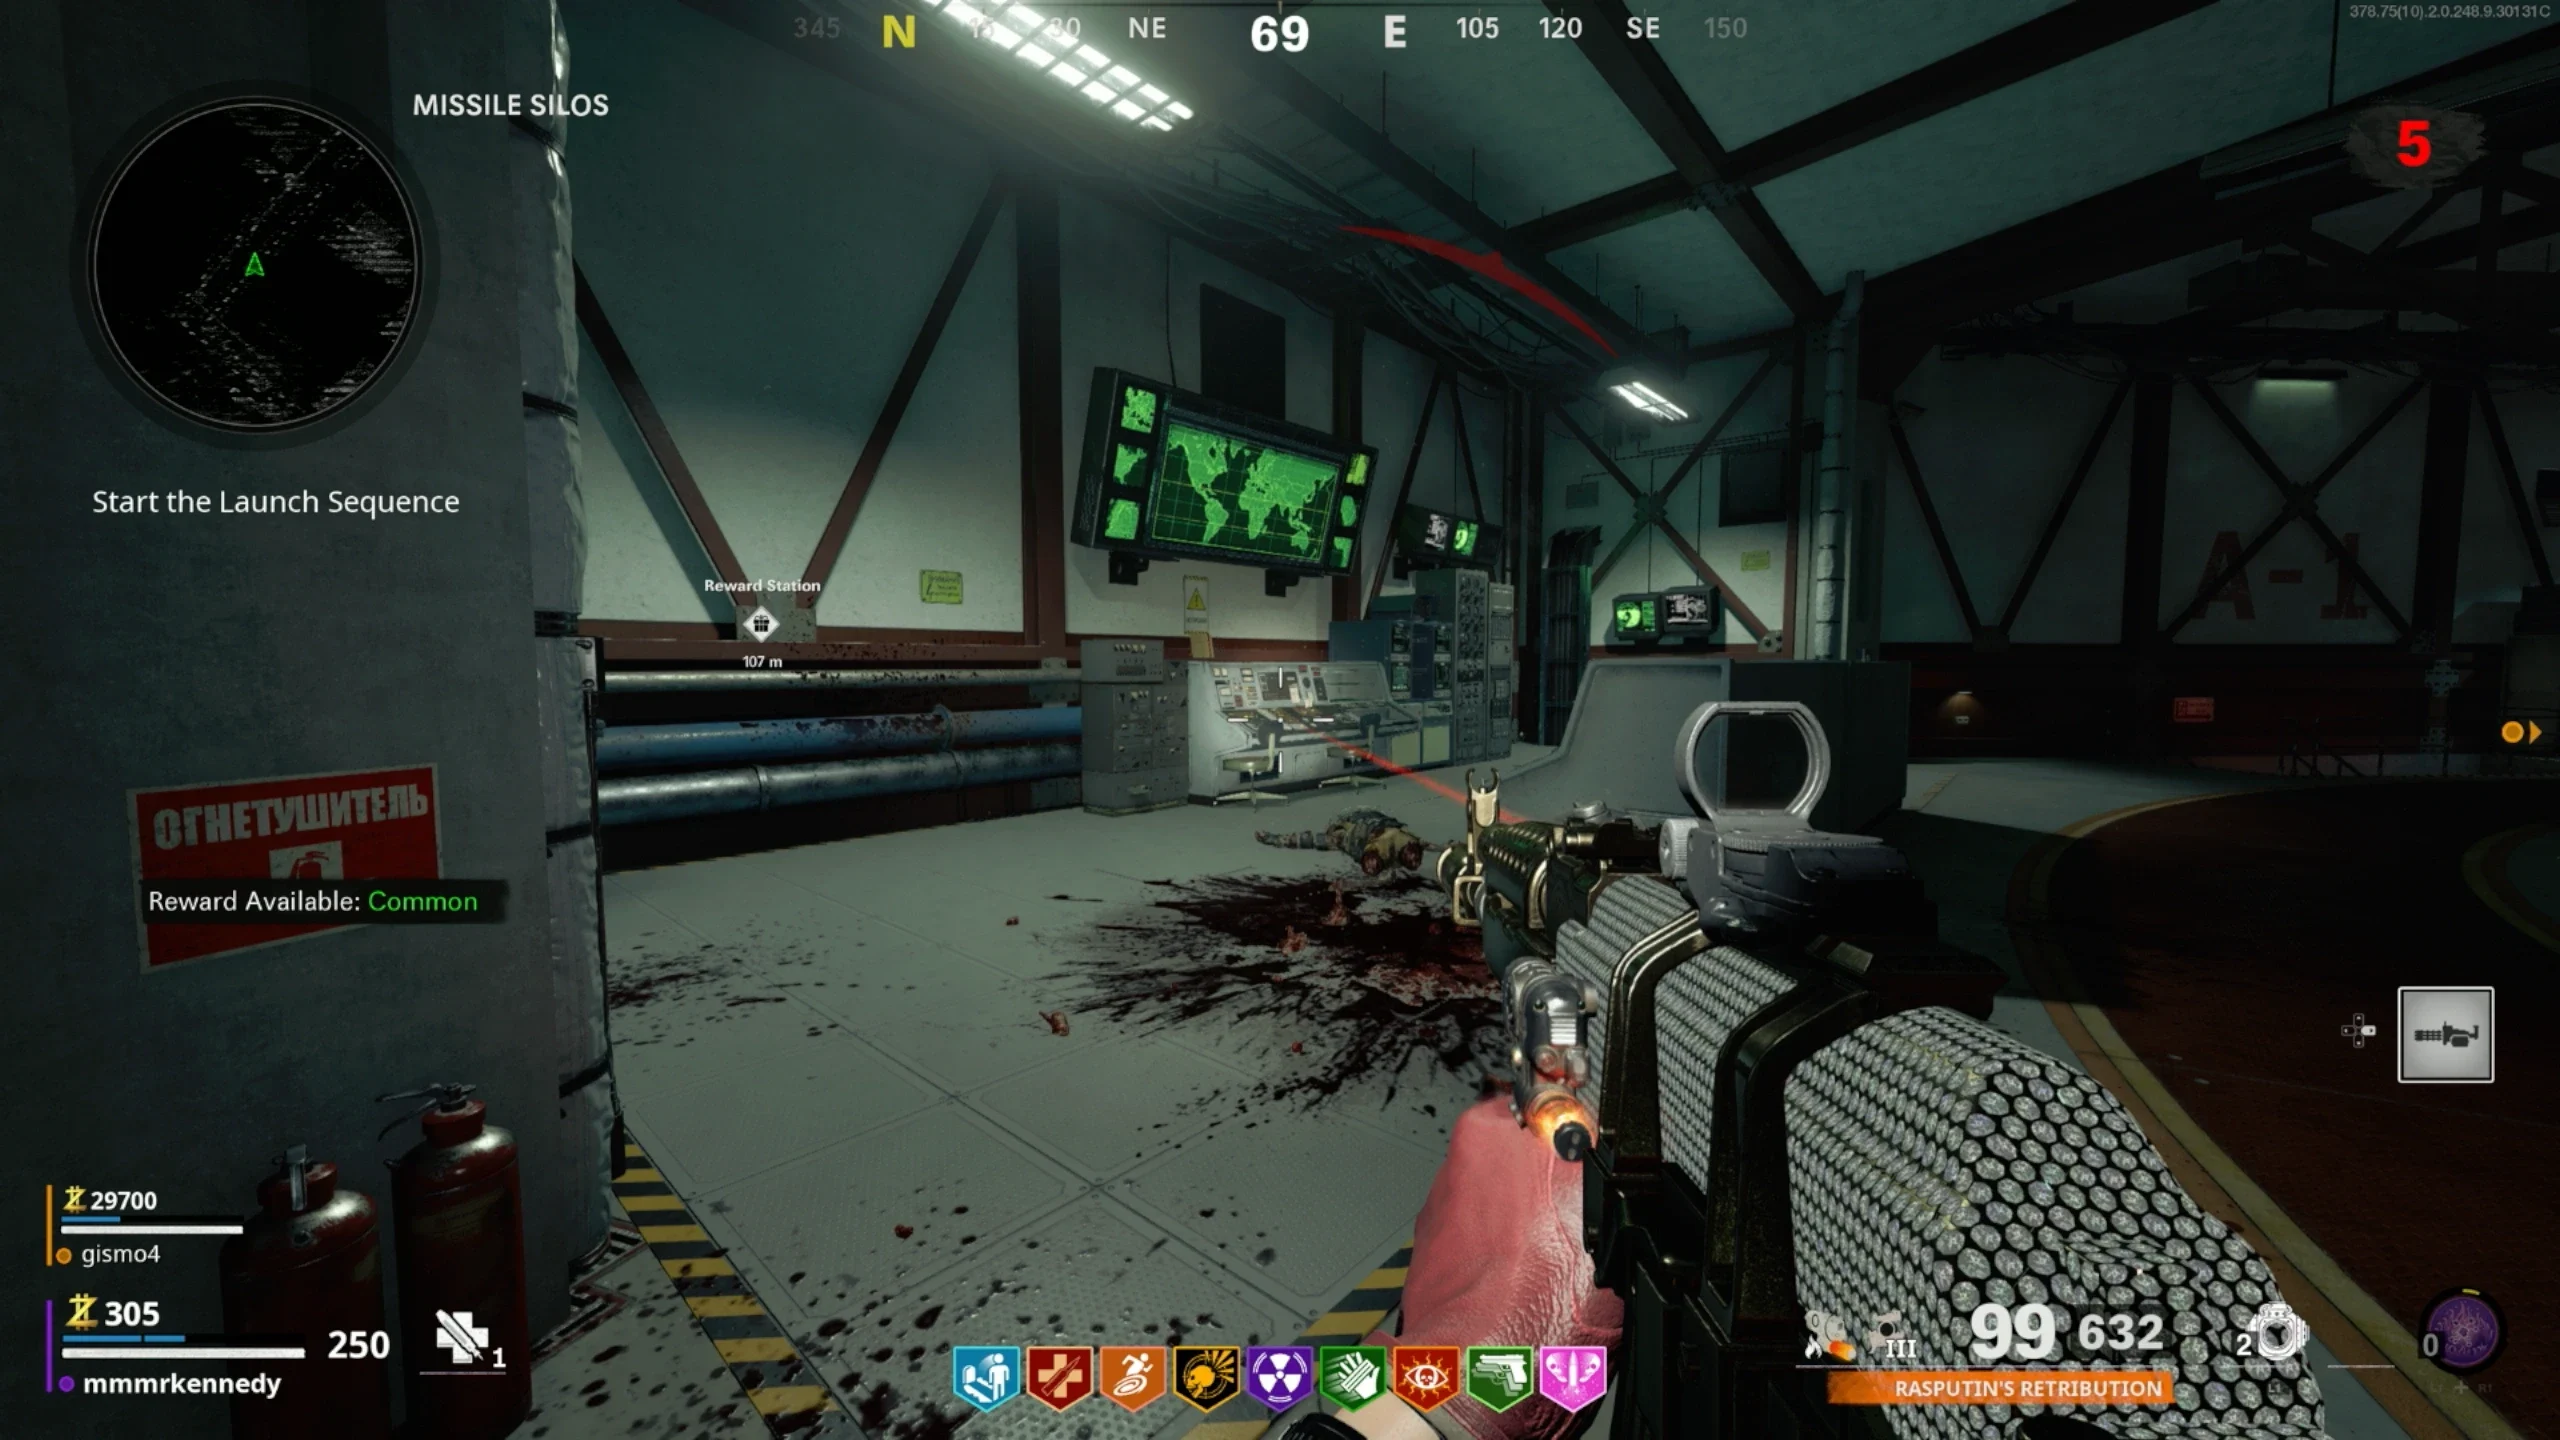
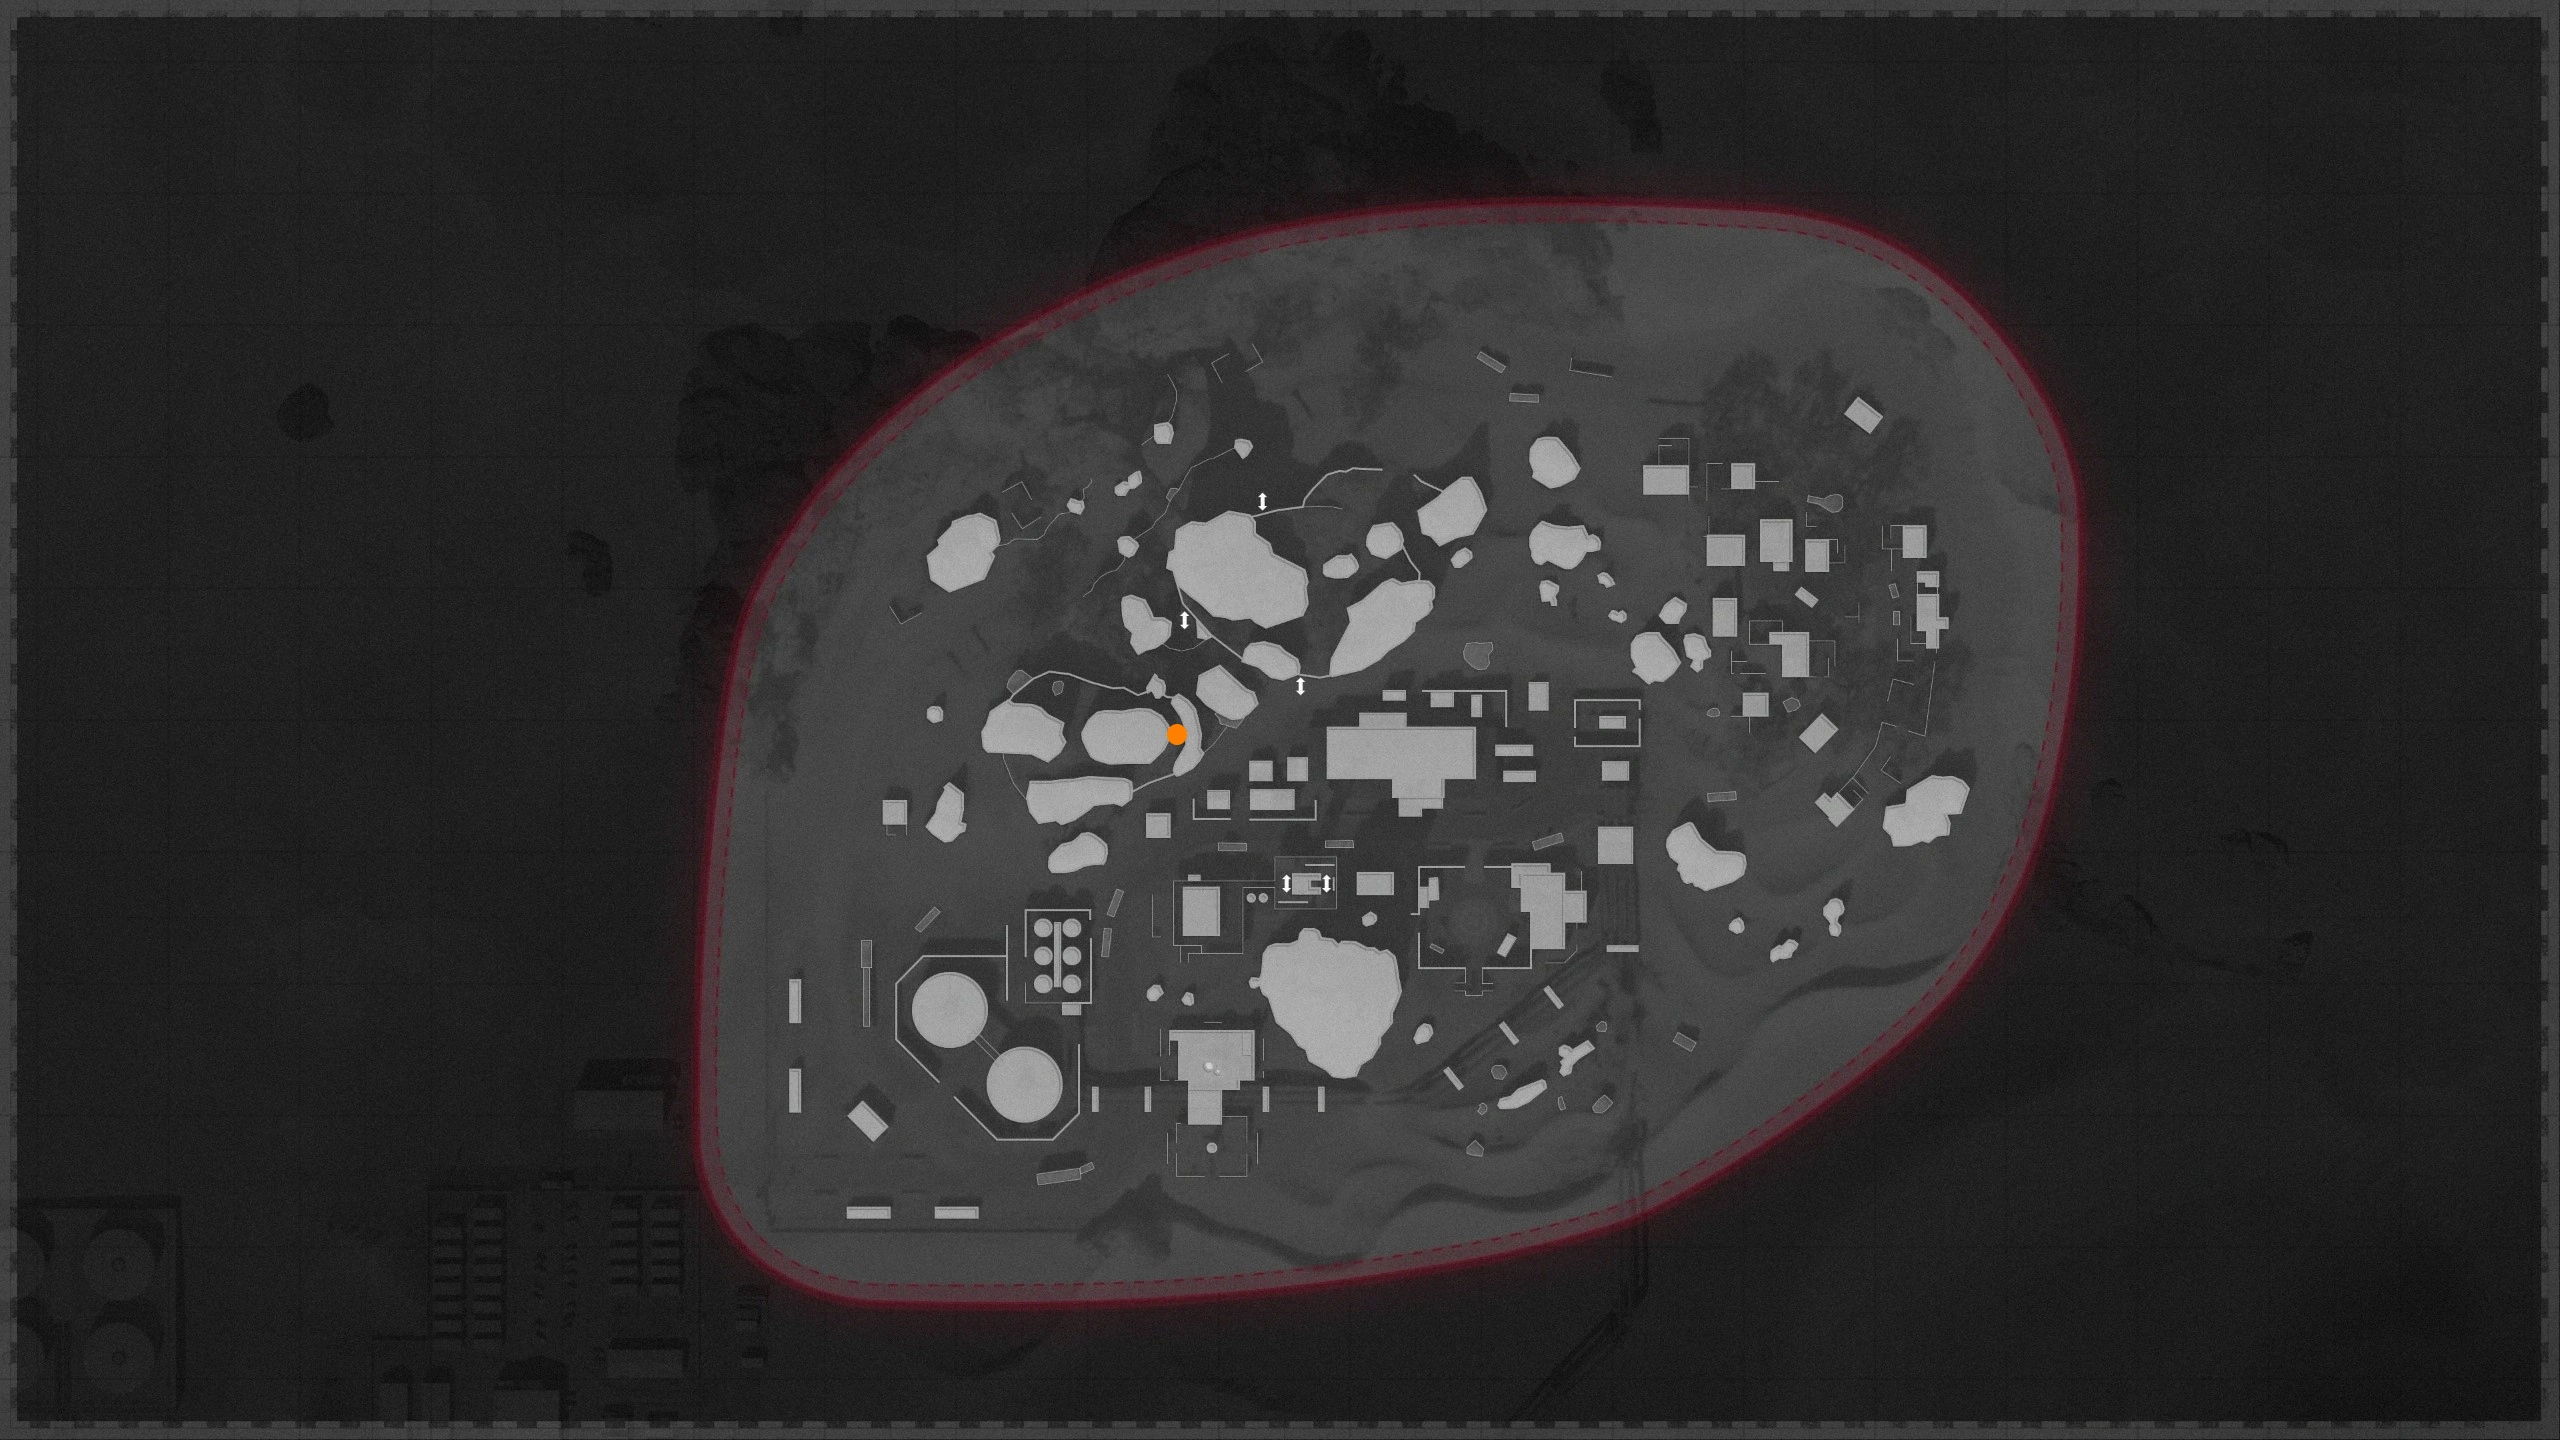
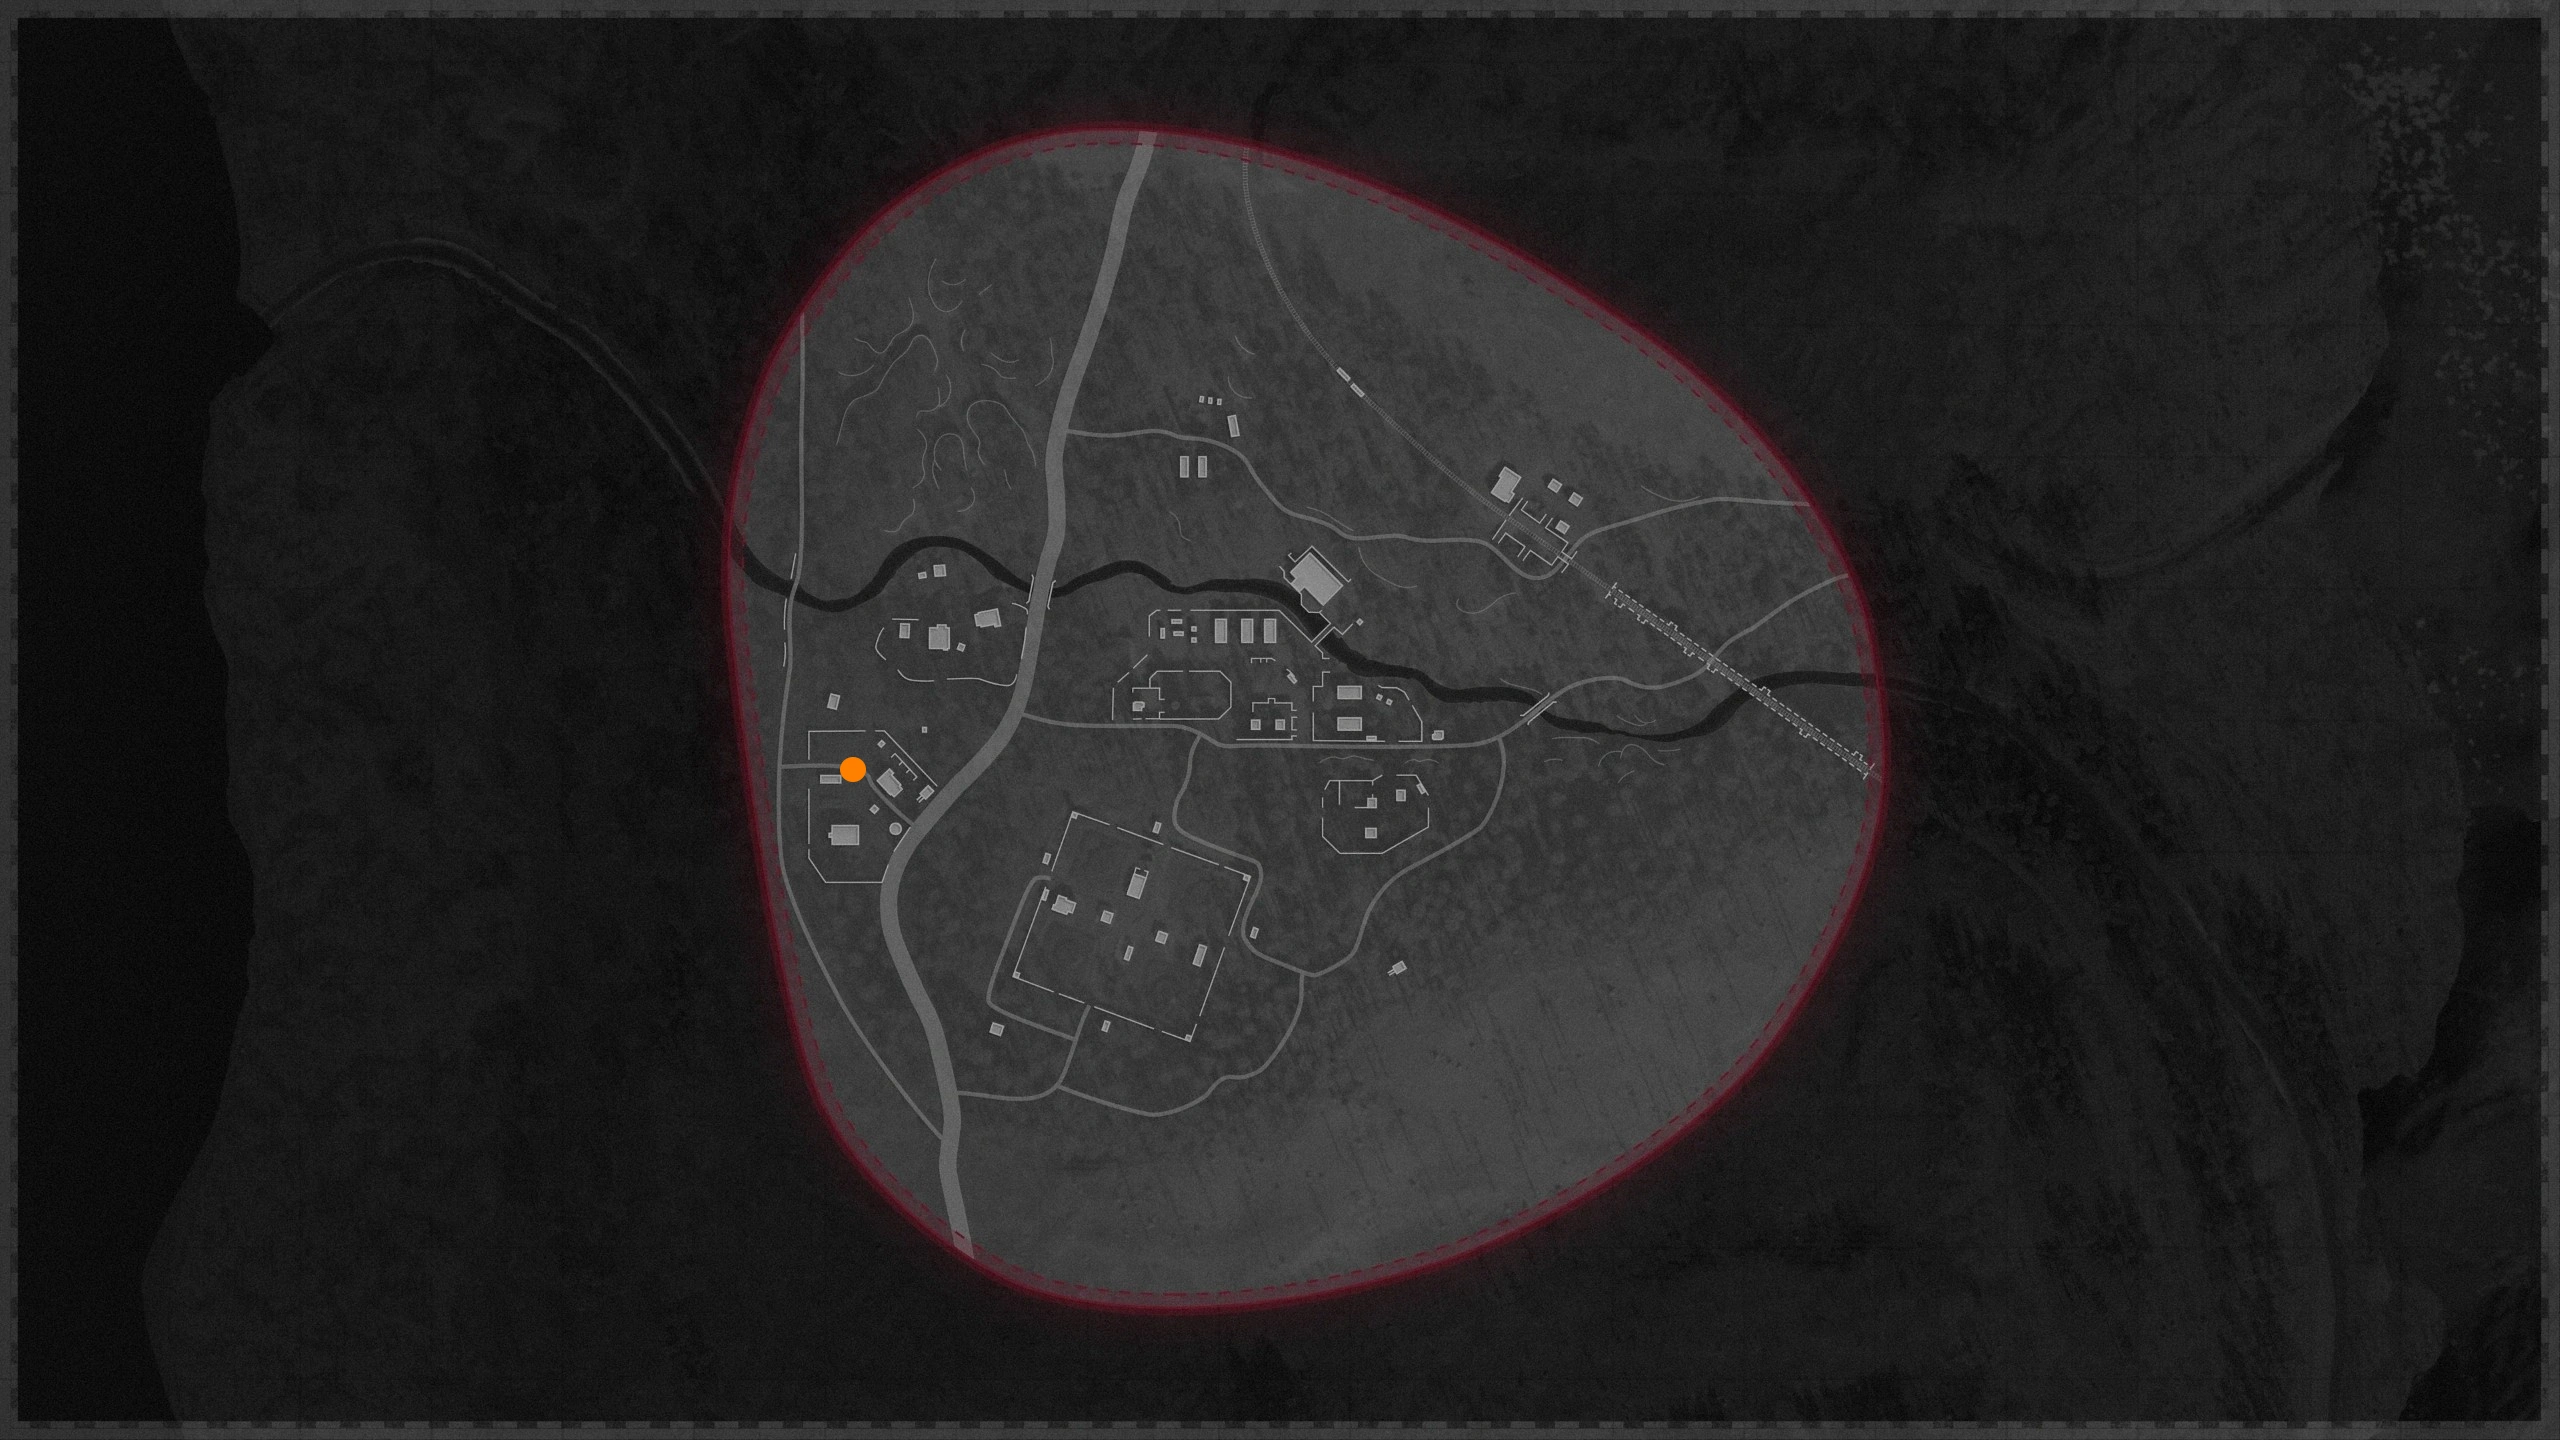
- Once you spawn in Ruka, follow the mission objective to enter the Missile Silos. Once inside, navigate to the bottom floor of Silo A and locate the computer terminal labelled "Lift the Lockdown." Interact with it to start the cutscene.
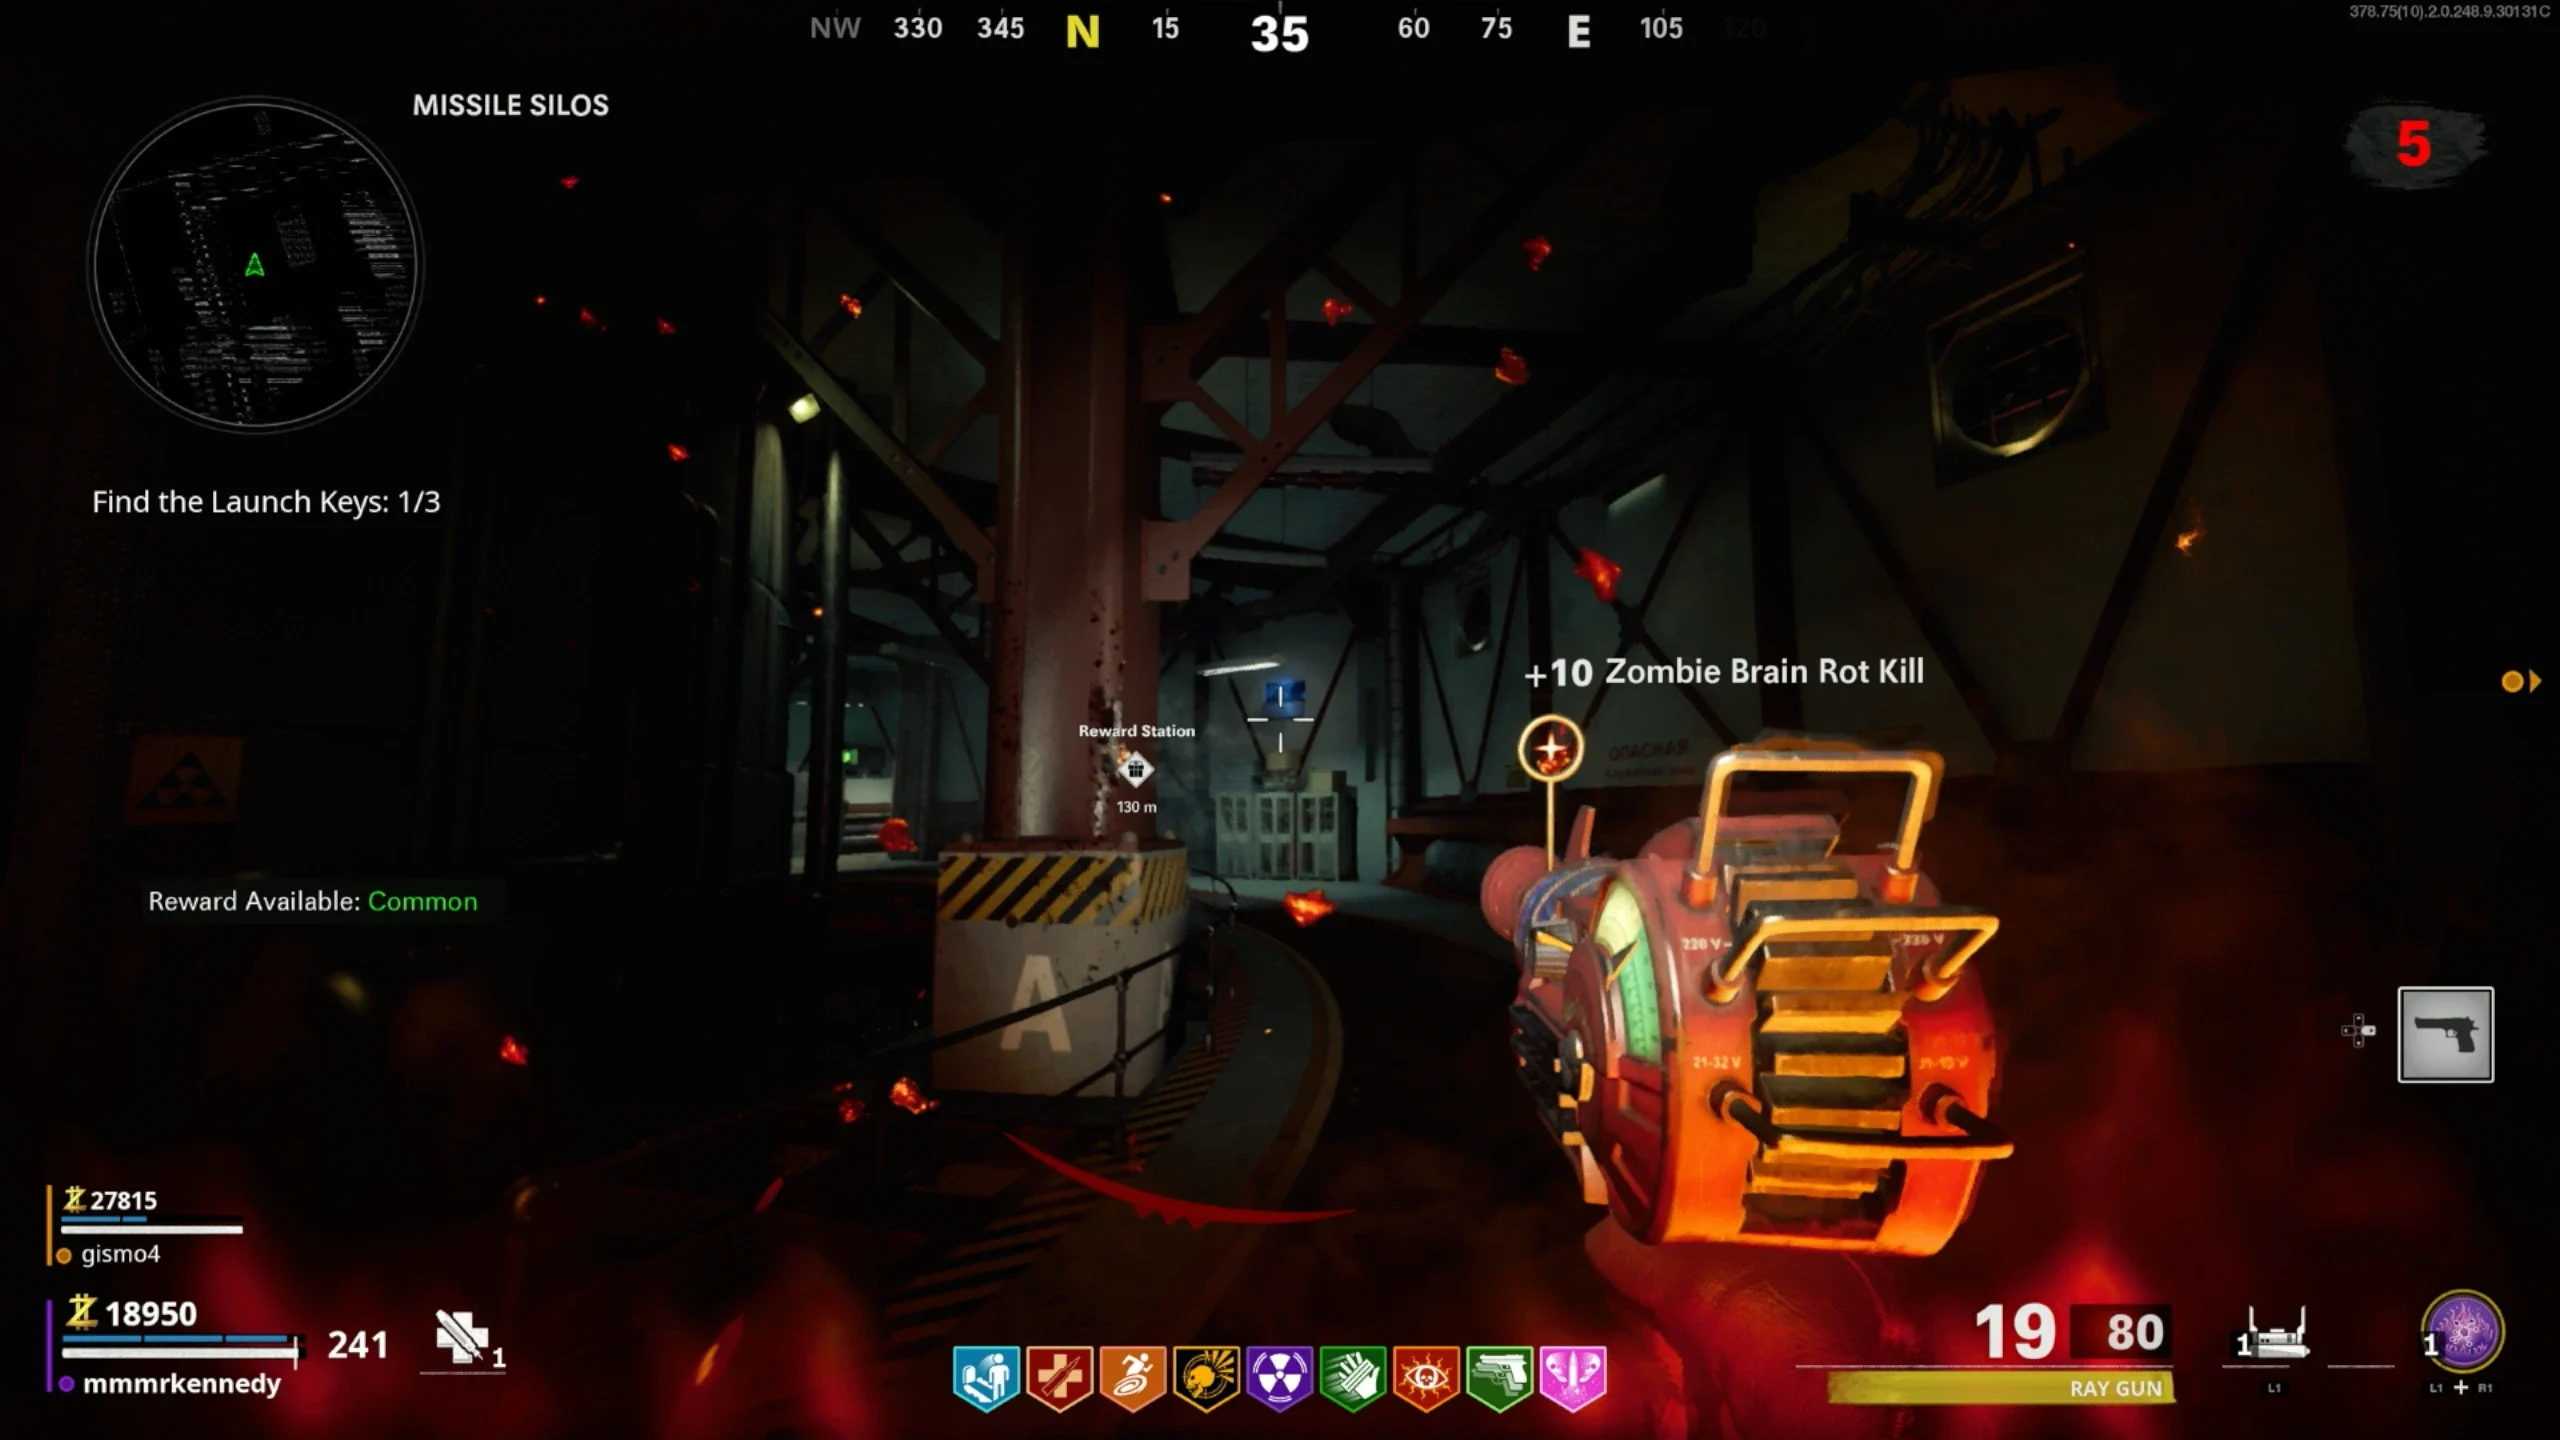
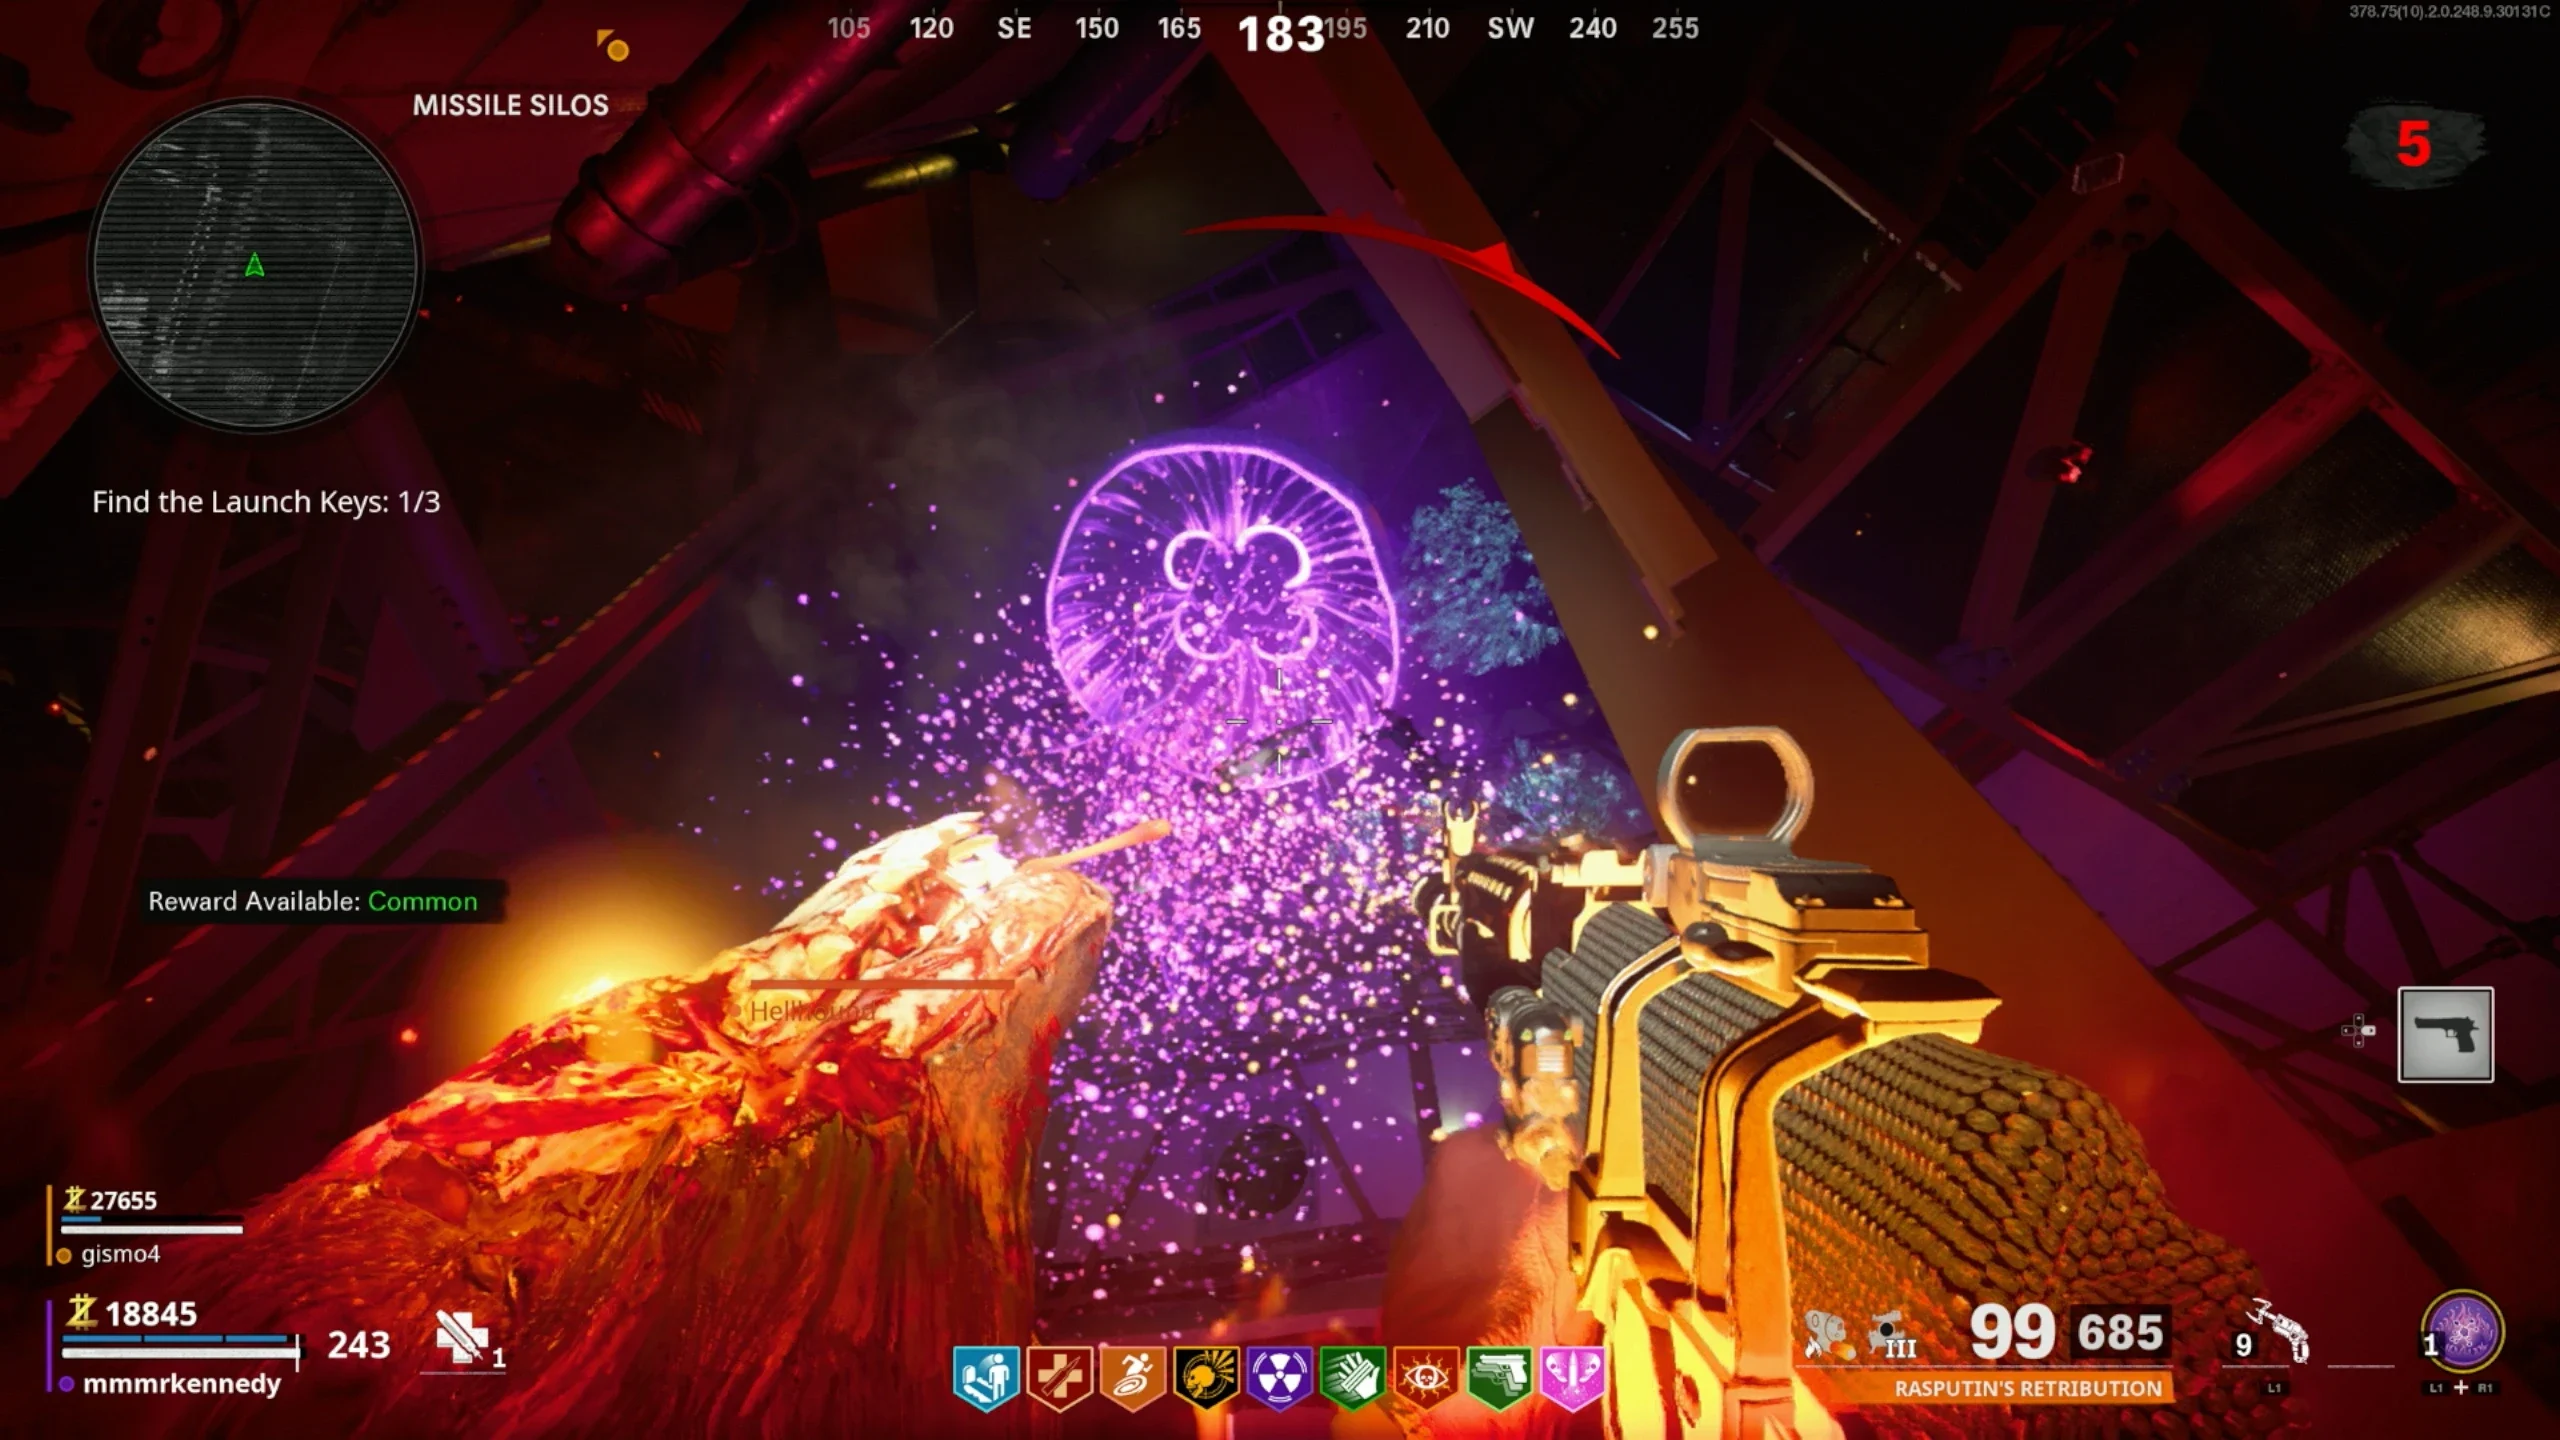
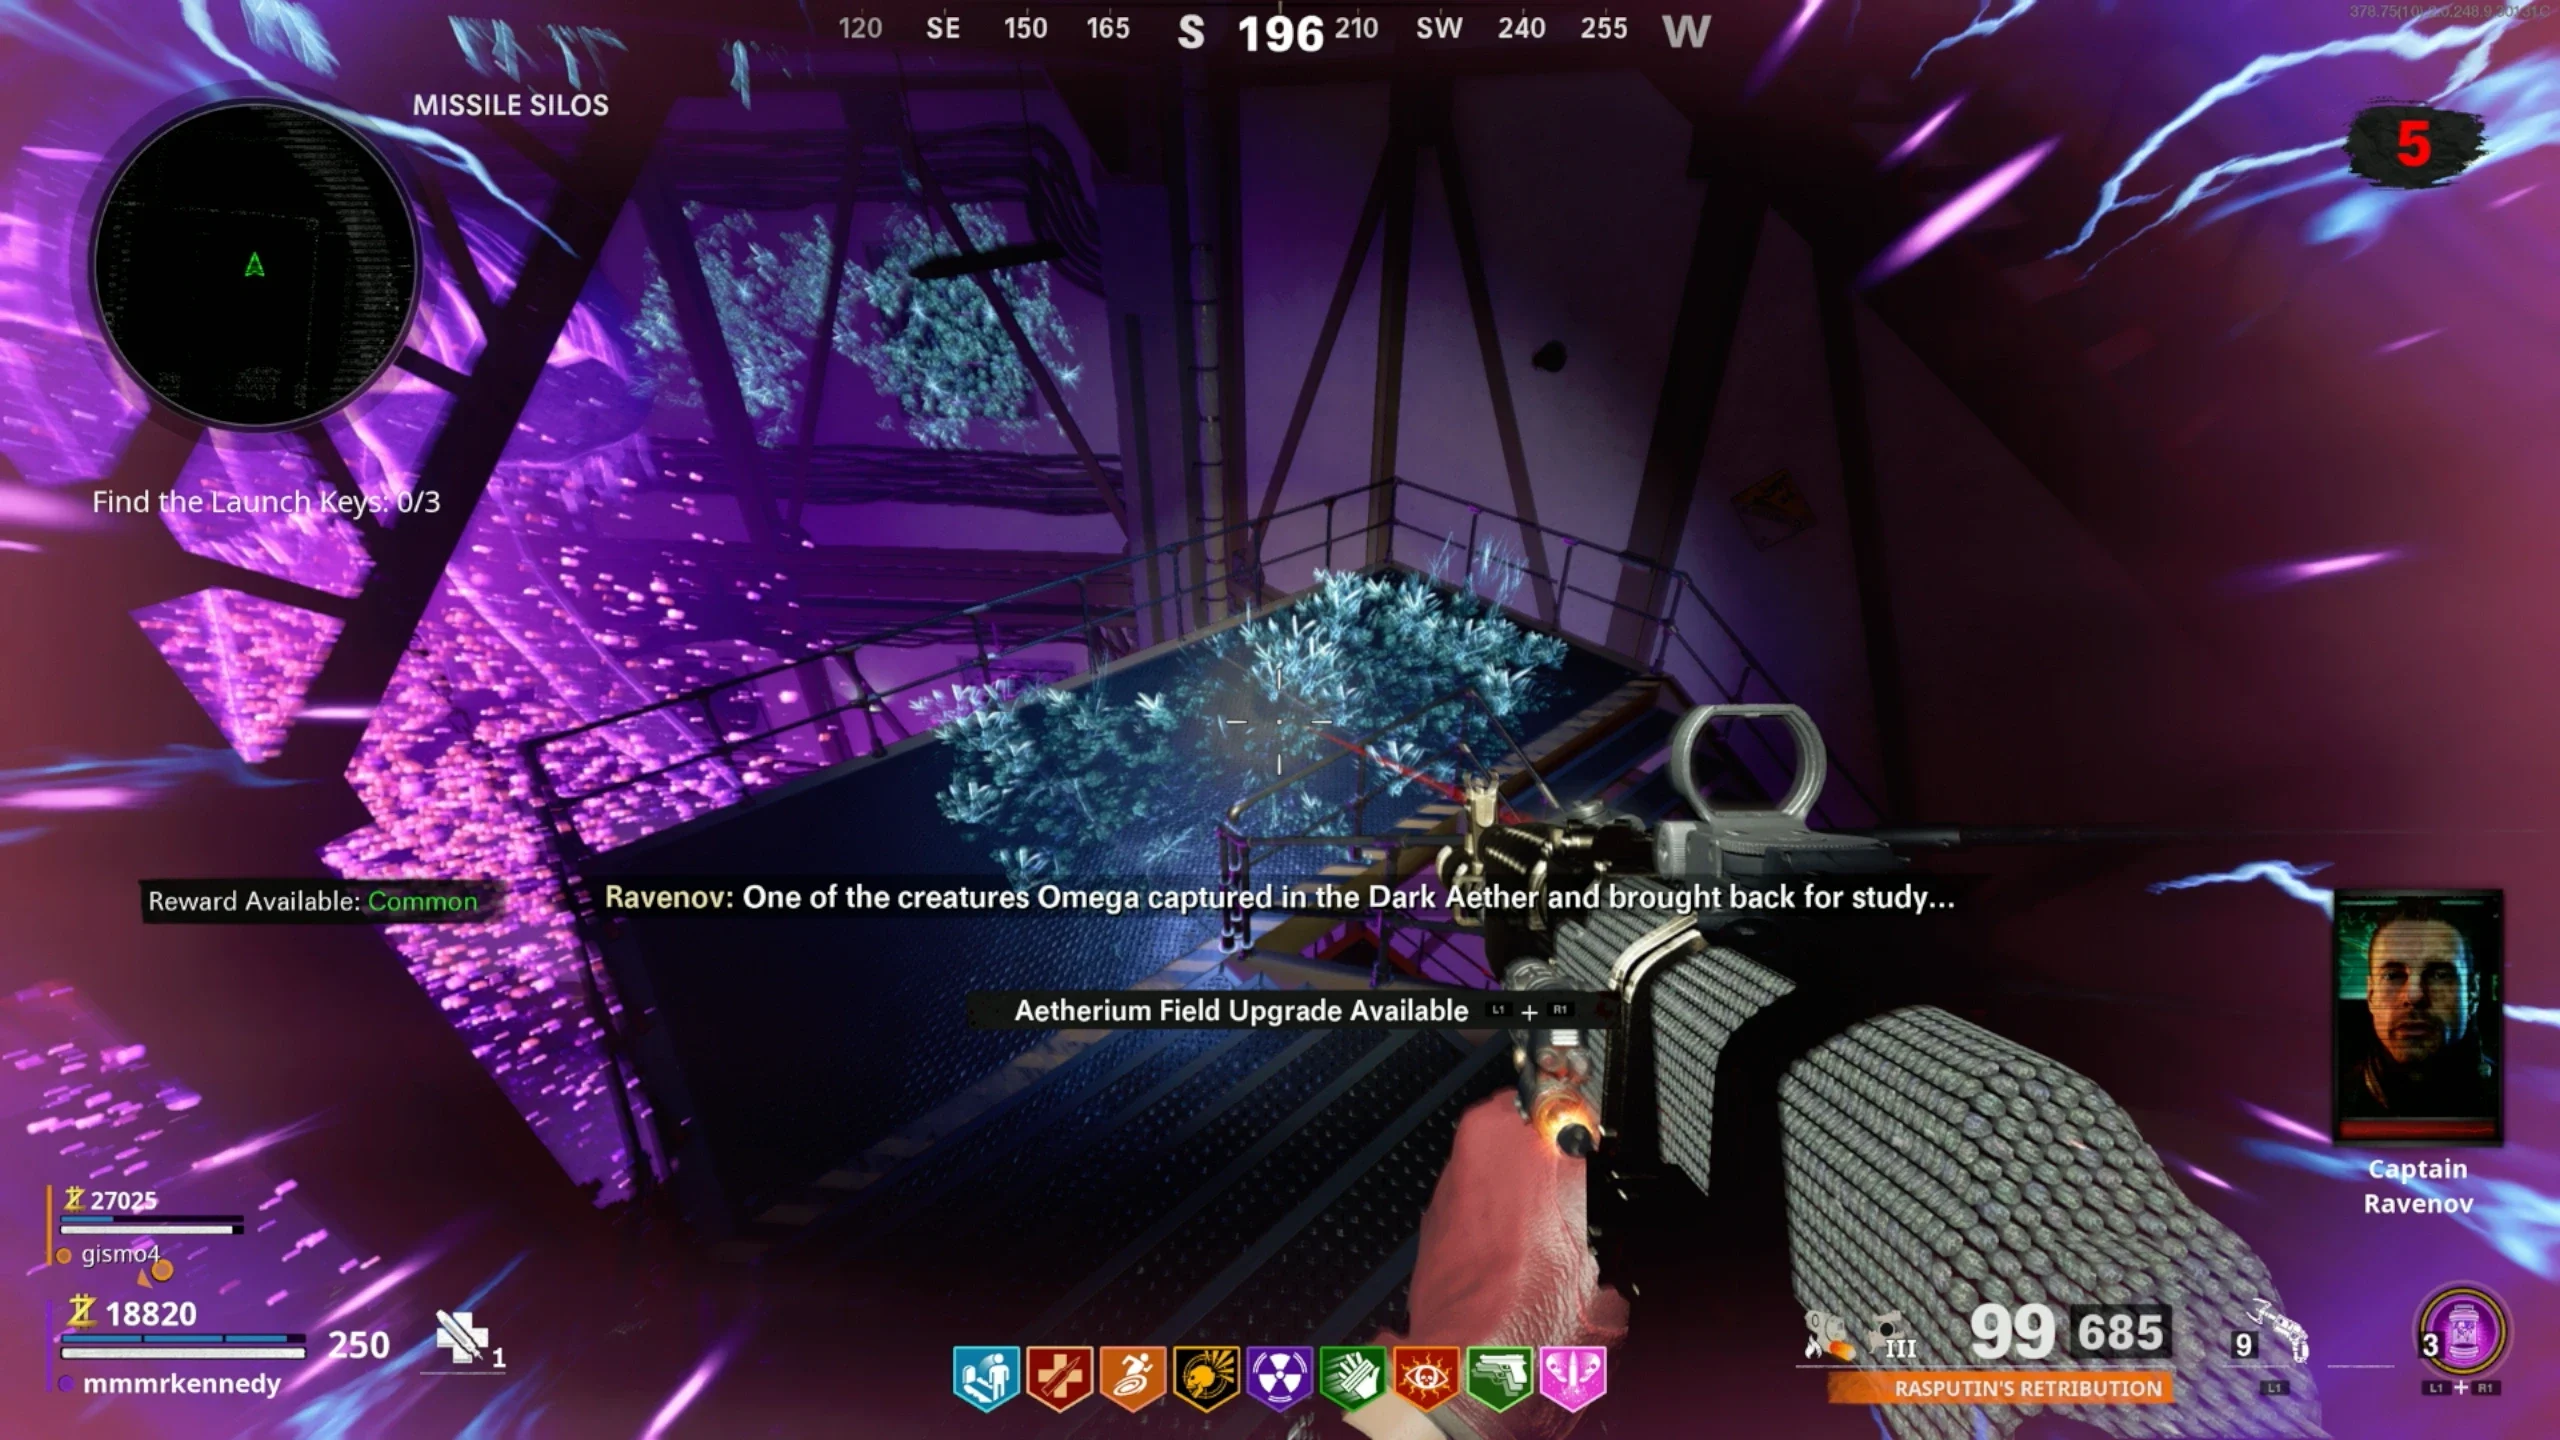
Finding and using the Launch Keys
- You must now find three launch keys. They're each tied to a series of steps and are located in Silo A, B and C respectively.
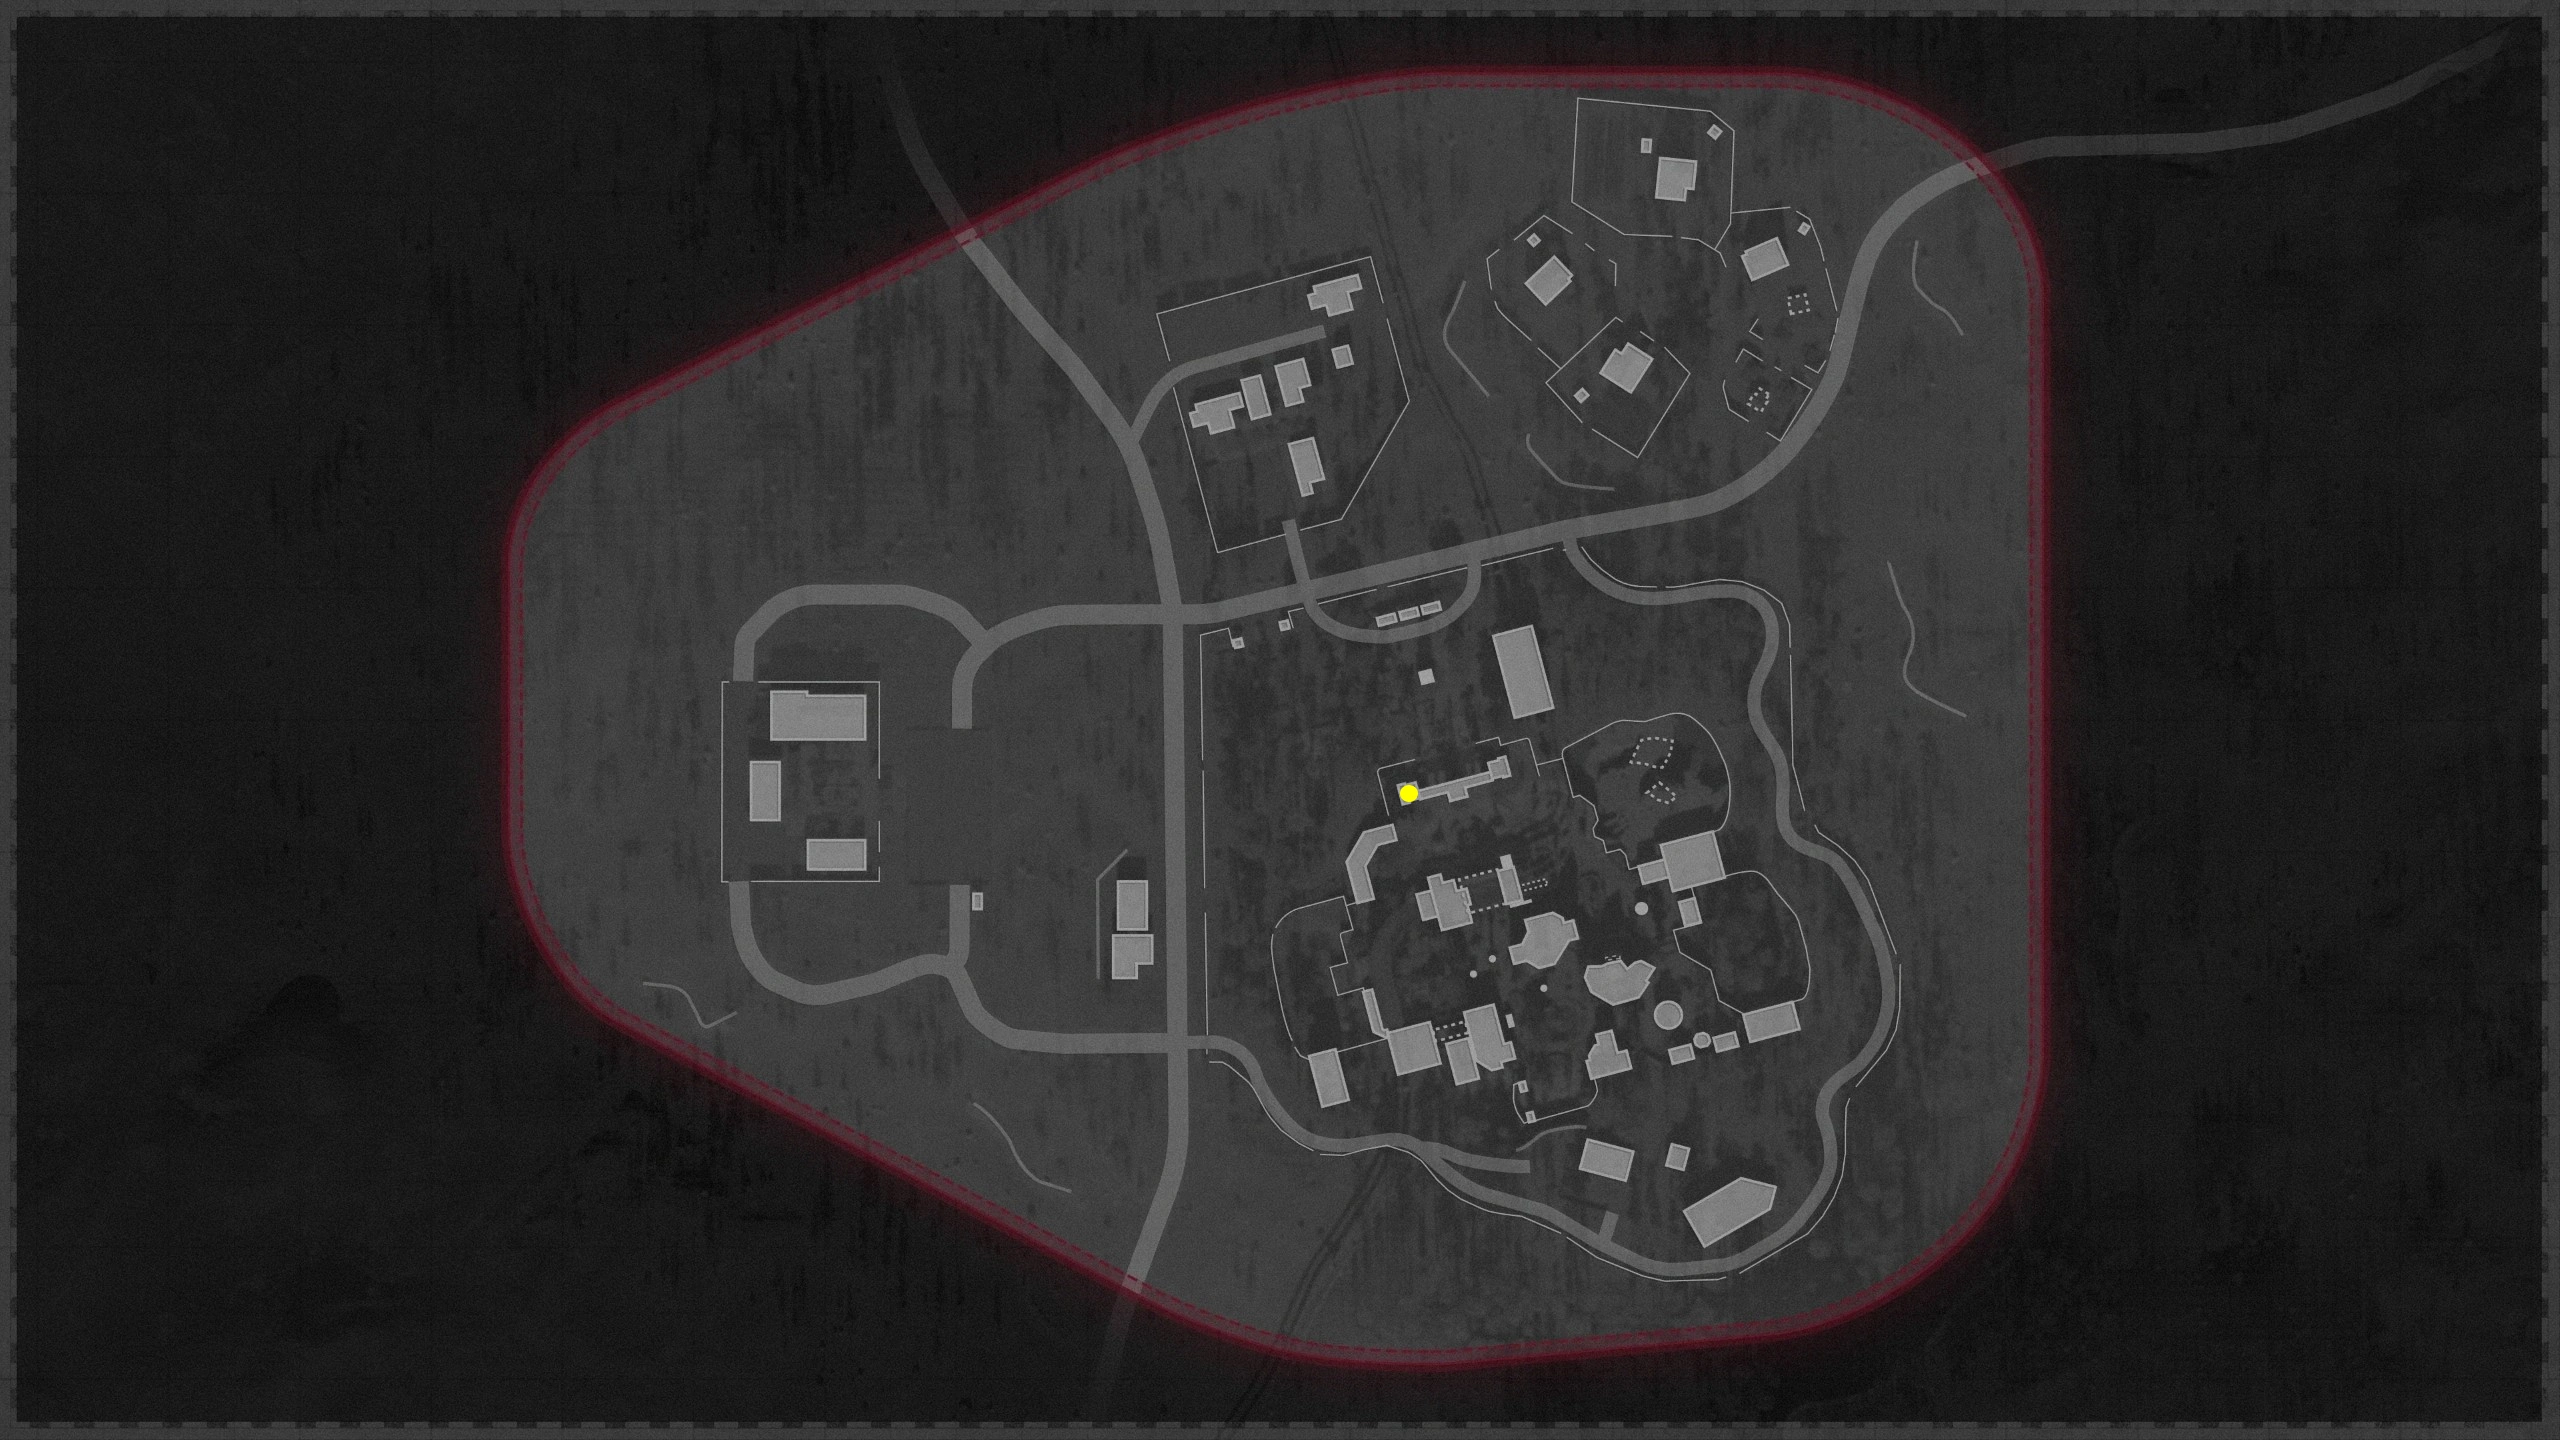
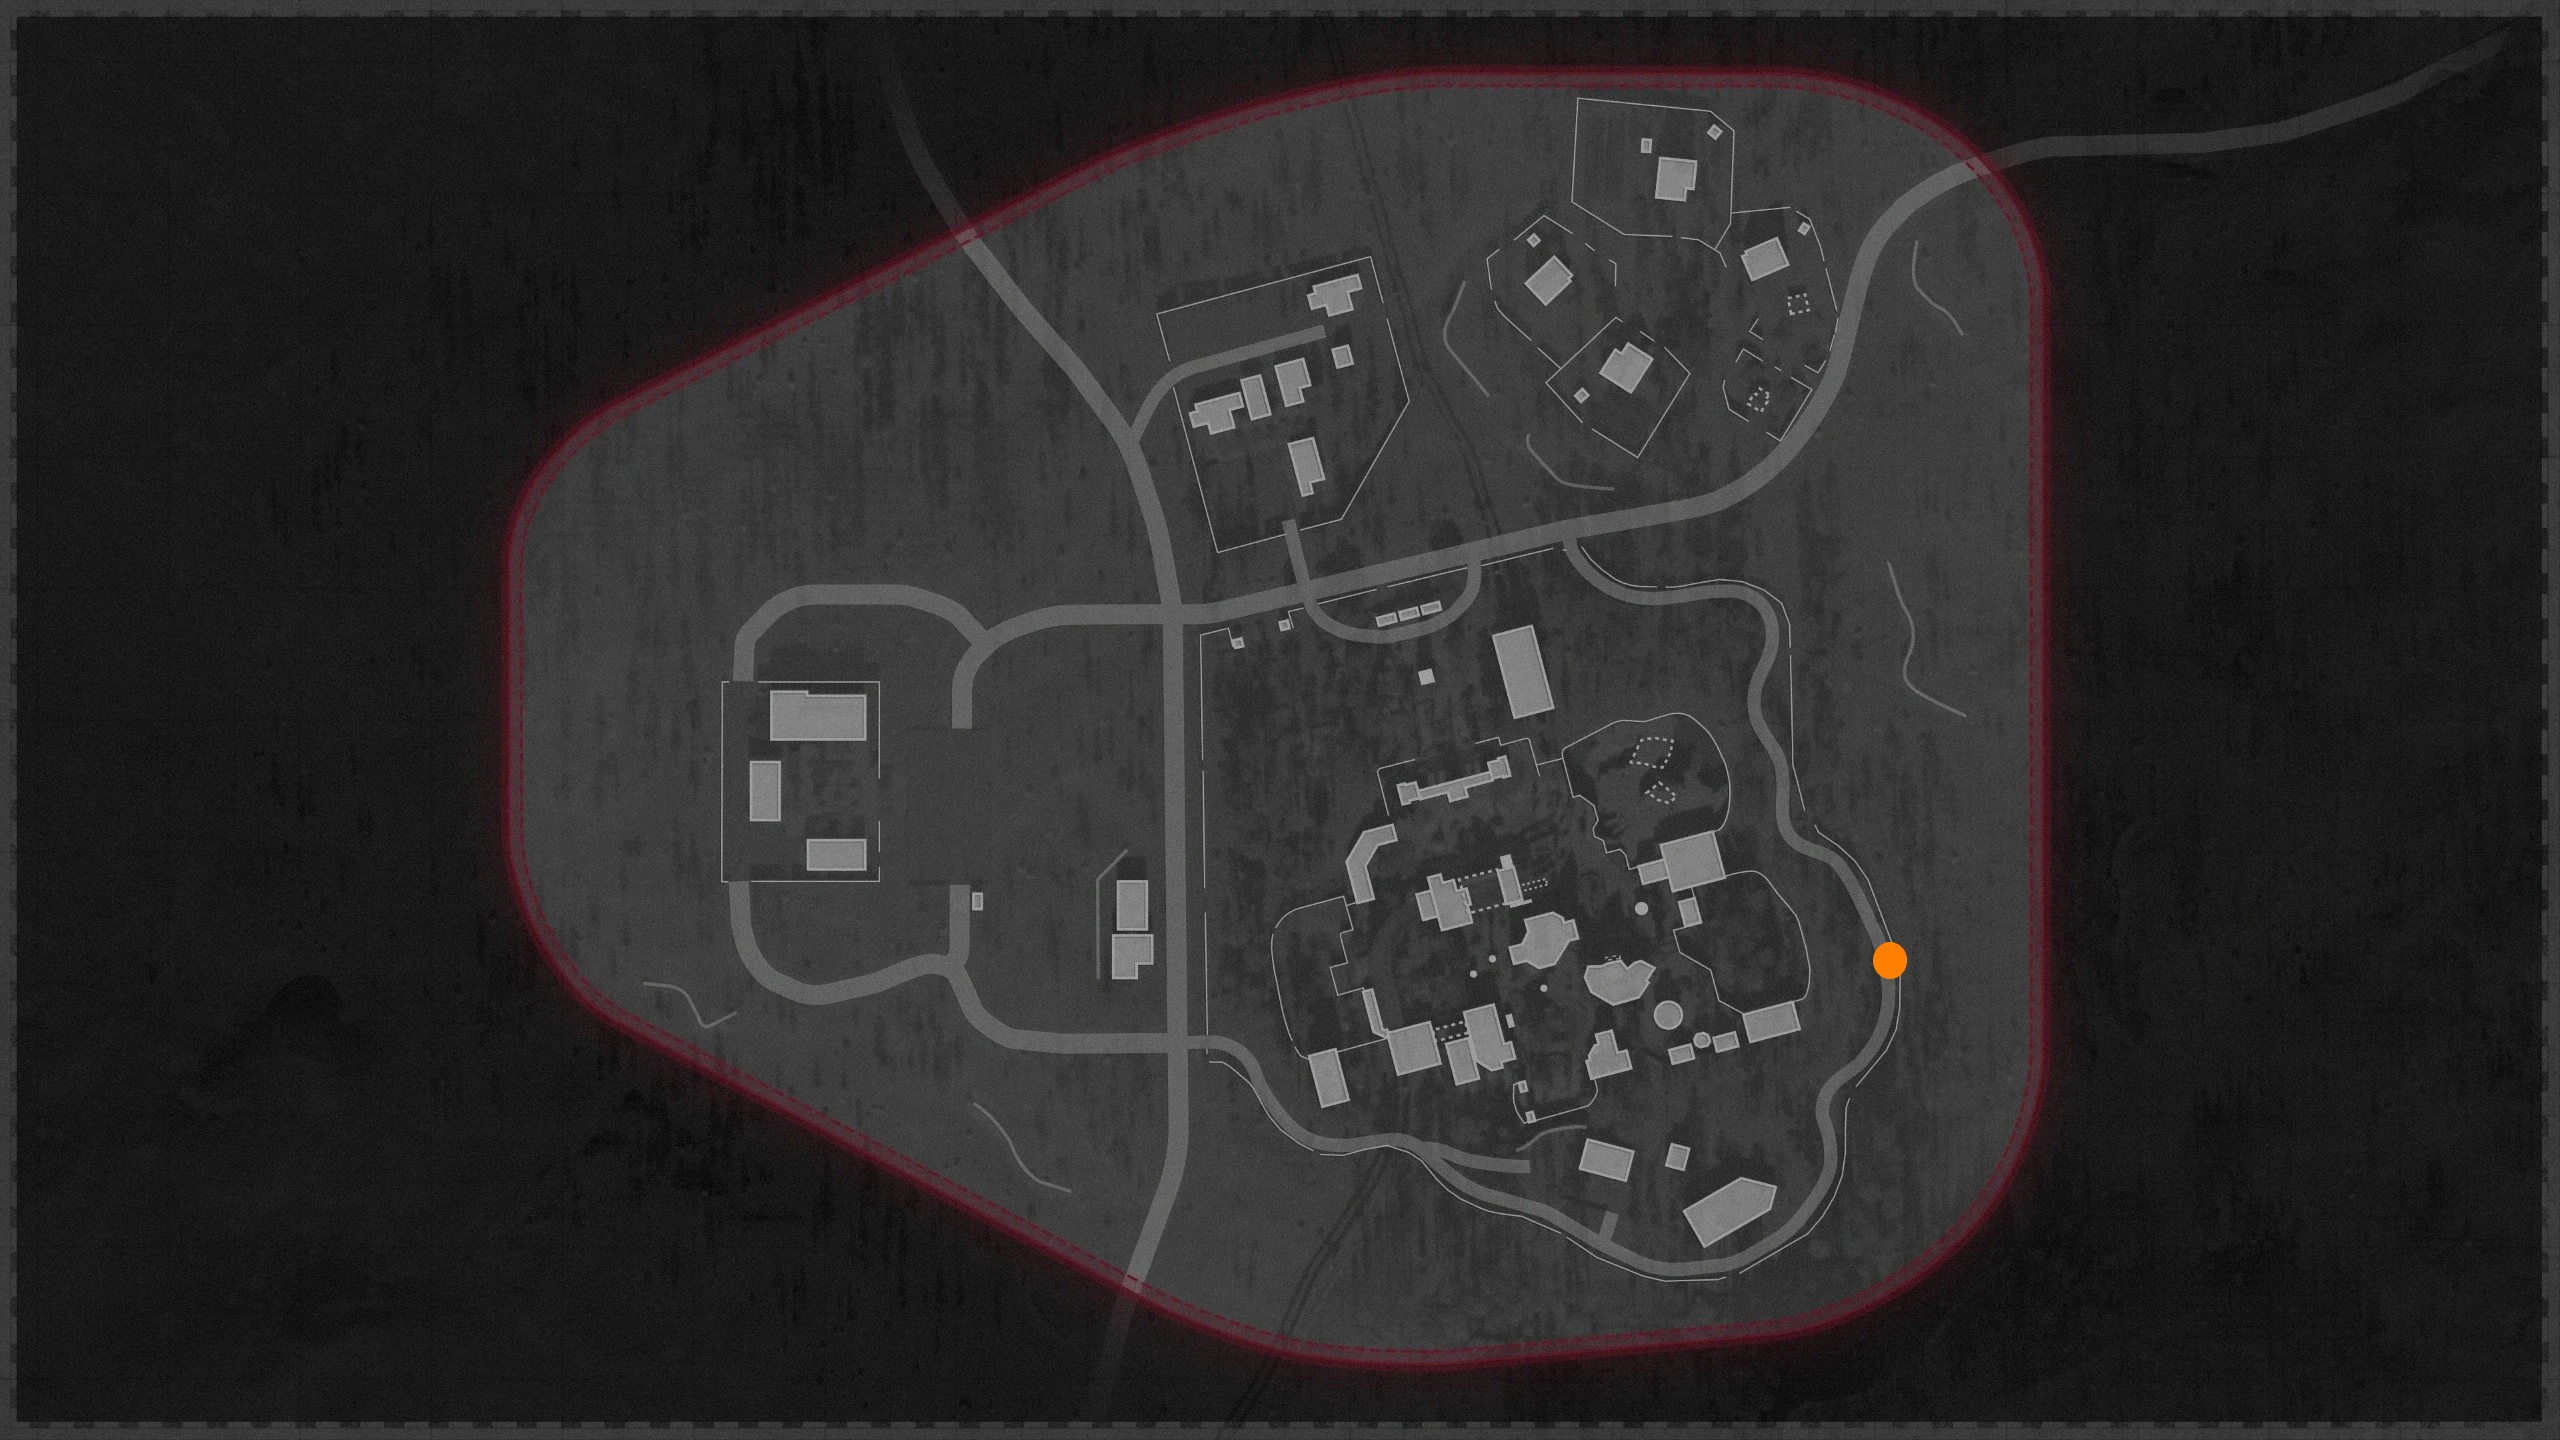
Silo A: Monkey & Essence Trap
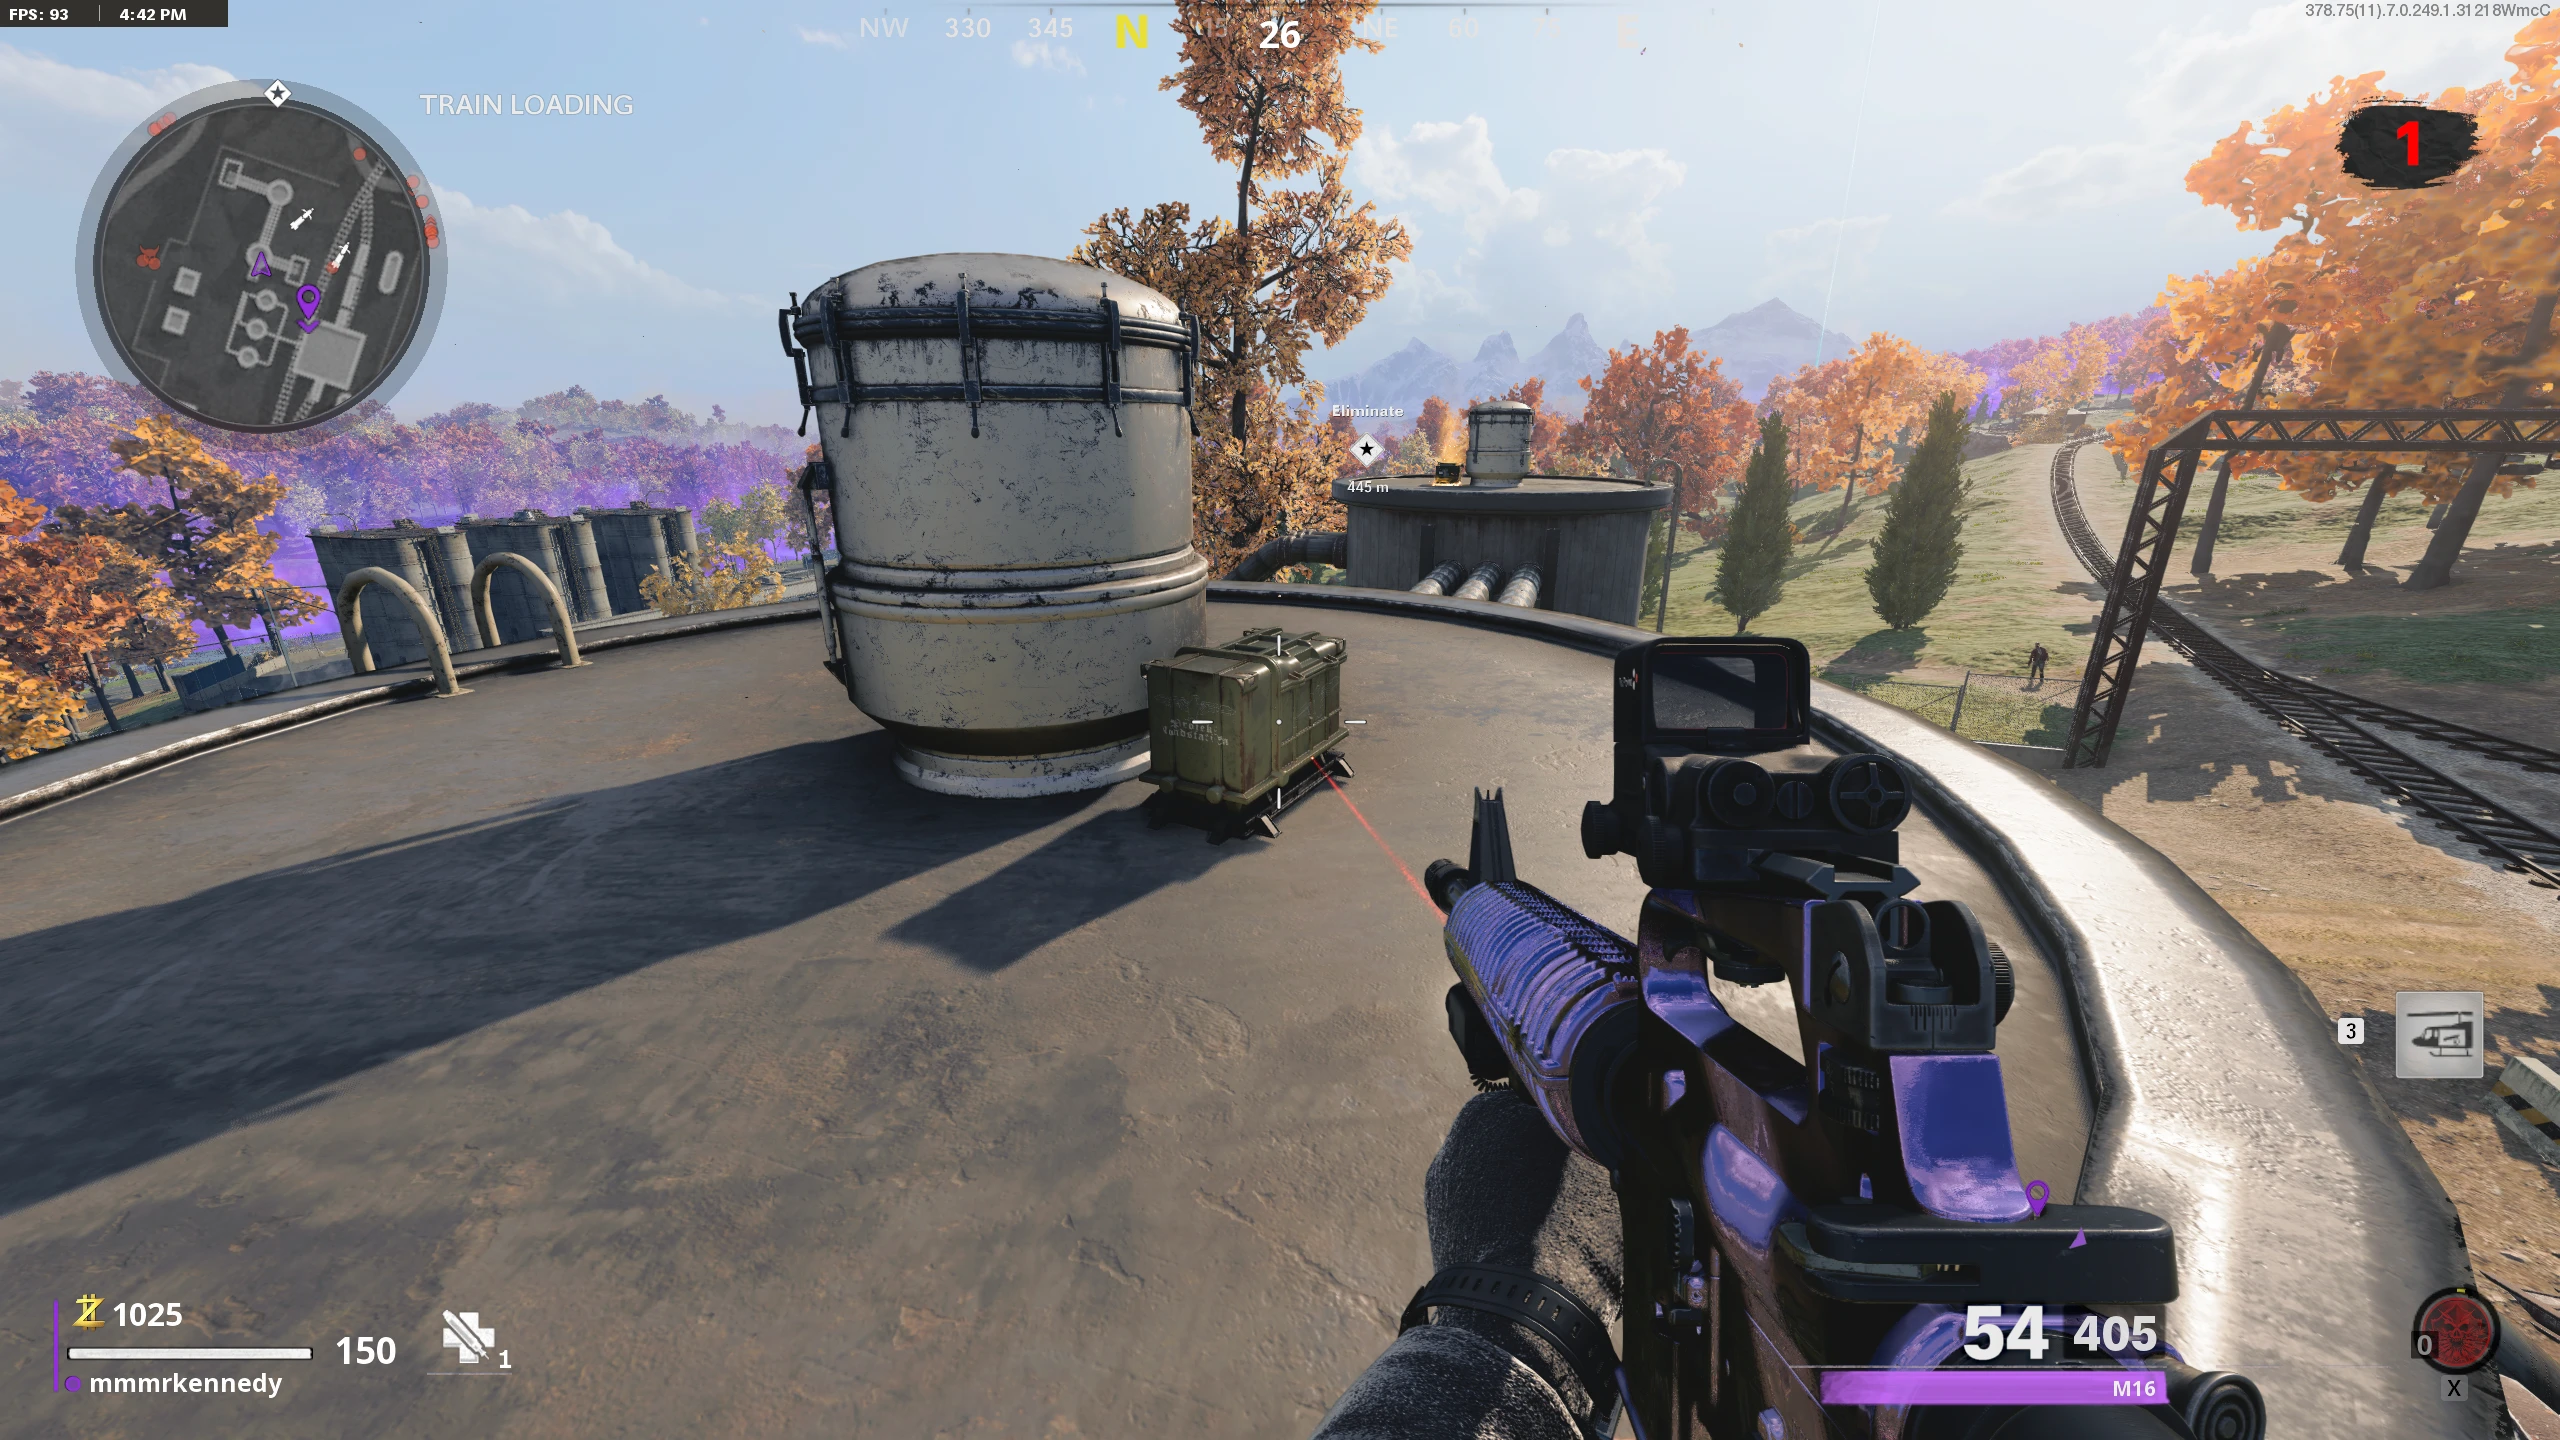
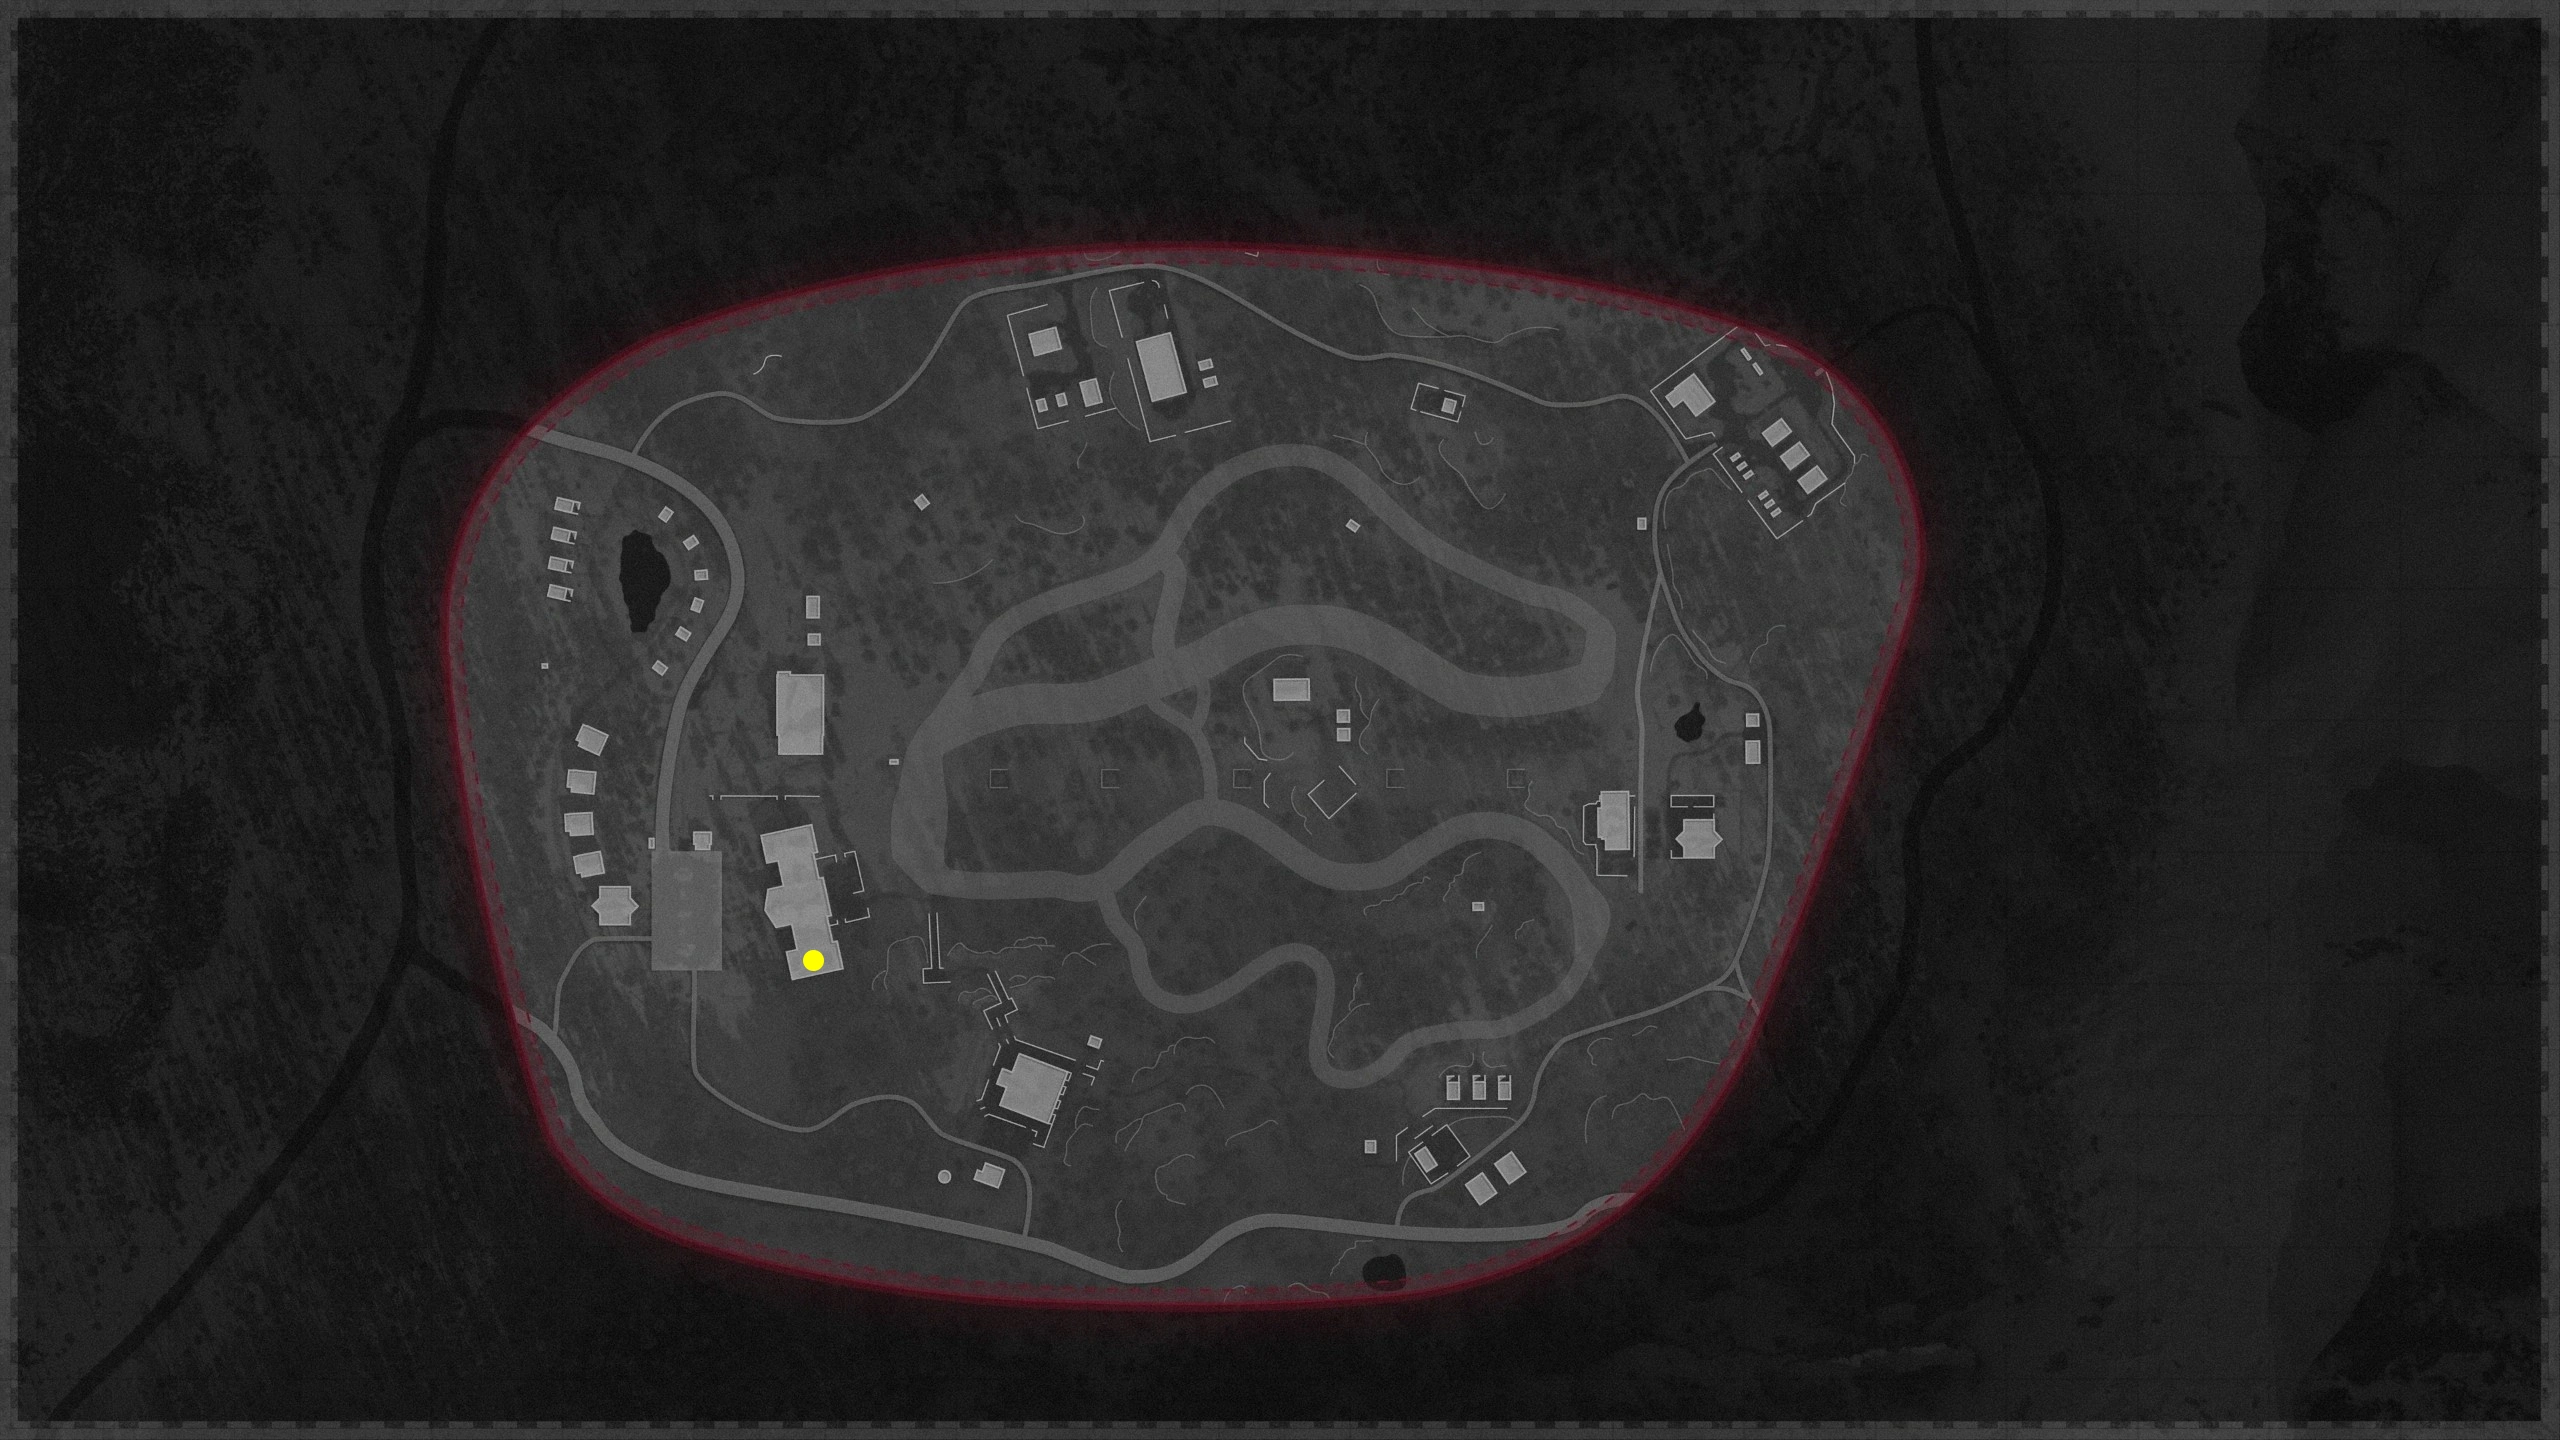
- On the bottom floor of Missile Silo A is a dead-end tunnel which contains an Essence Trap, collect it to replace your Tactical Equipment slot. (It is the same as the traps found in the Firebase Z Easter Egg)
- There will be an Aether Monkey in one of the vents along the walls of Silo A. You must slowly approach the vent the Monkey is in until it vanishes.
- Once it's gone, throw the Trap near the vent and then run away from the trap. Once you're far enough, the Monkey will teleport onto the trap, activate it to attempt to capture the Monkey.
- The Monkey will escape, but it will leave a key on the trap, interact with it to pick up the key.
Silo B: Aetherium Canister & Jellyfish
- Interact with the Aetherium Harvesting Unit on the bottom floor of Missile Silo B.
- Next, locate and shoot the Aetherium Crystals, which line the walls of the silo to drop Aetherium Crystal Chunks.
- Once 20 chunks have been collected (shared inventory among all players), return to and interact with the Aetherium Harvesting Unit to deposit the Aetherium Crystal Chunks.
- Upon depositing all the required chunks, a wave of enemies will spawn. Eliminate these enemies, then interact with the harvesting unit to collect the Aetherium canister and replace your Field Upgrade.
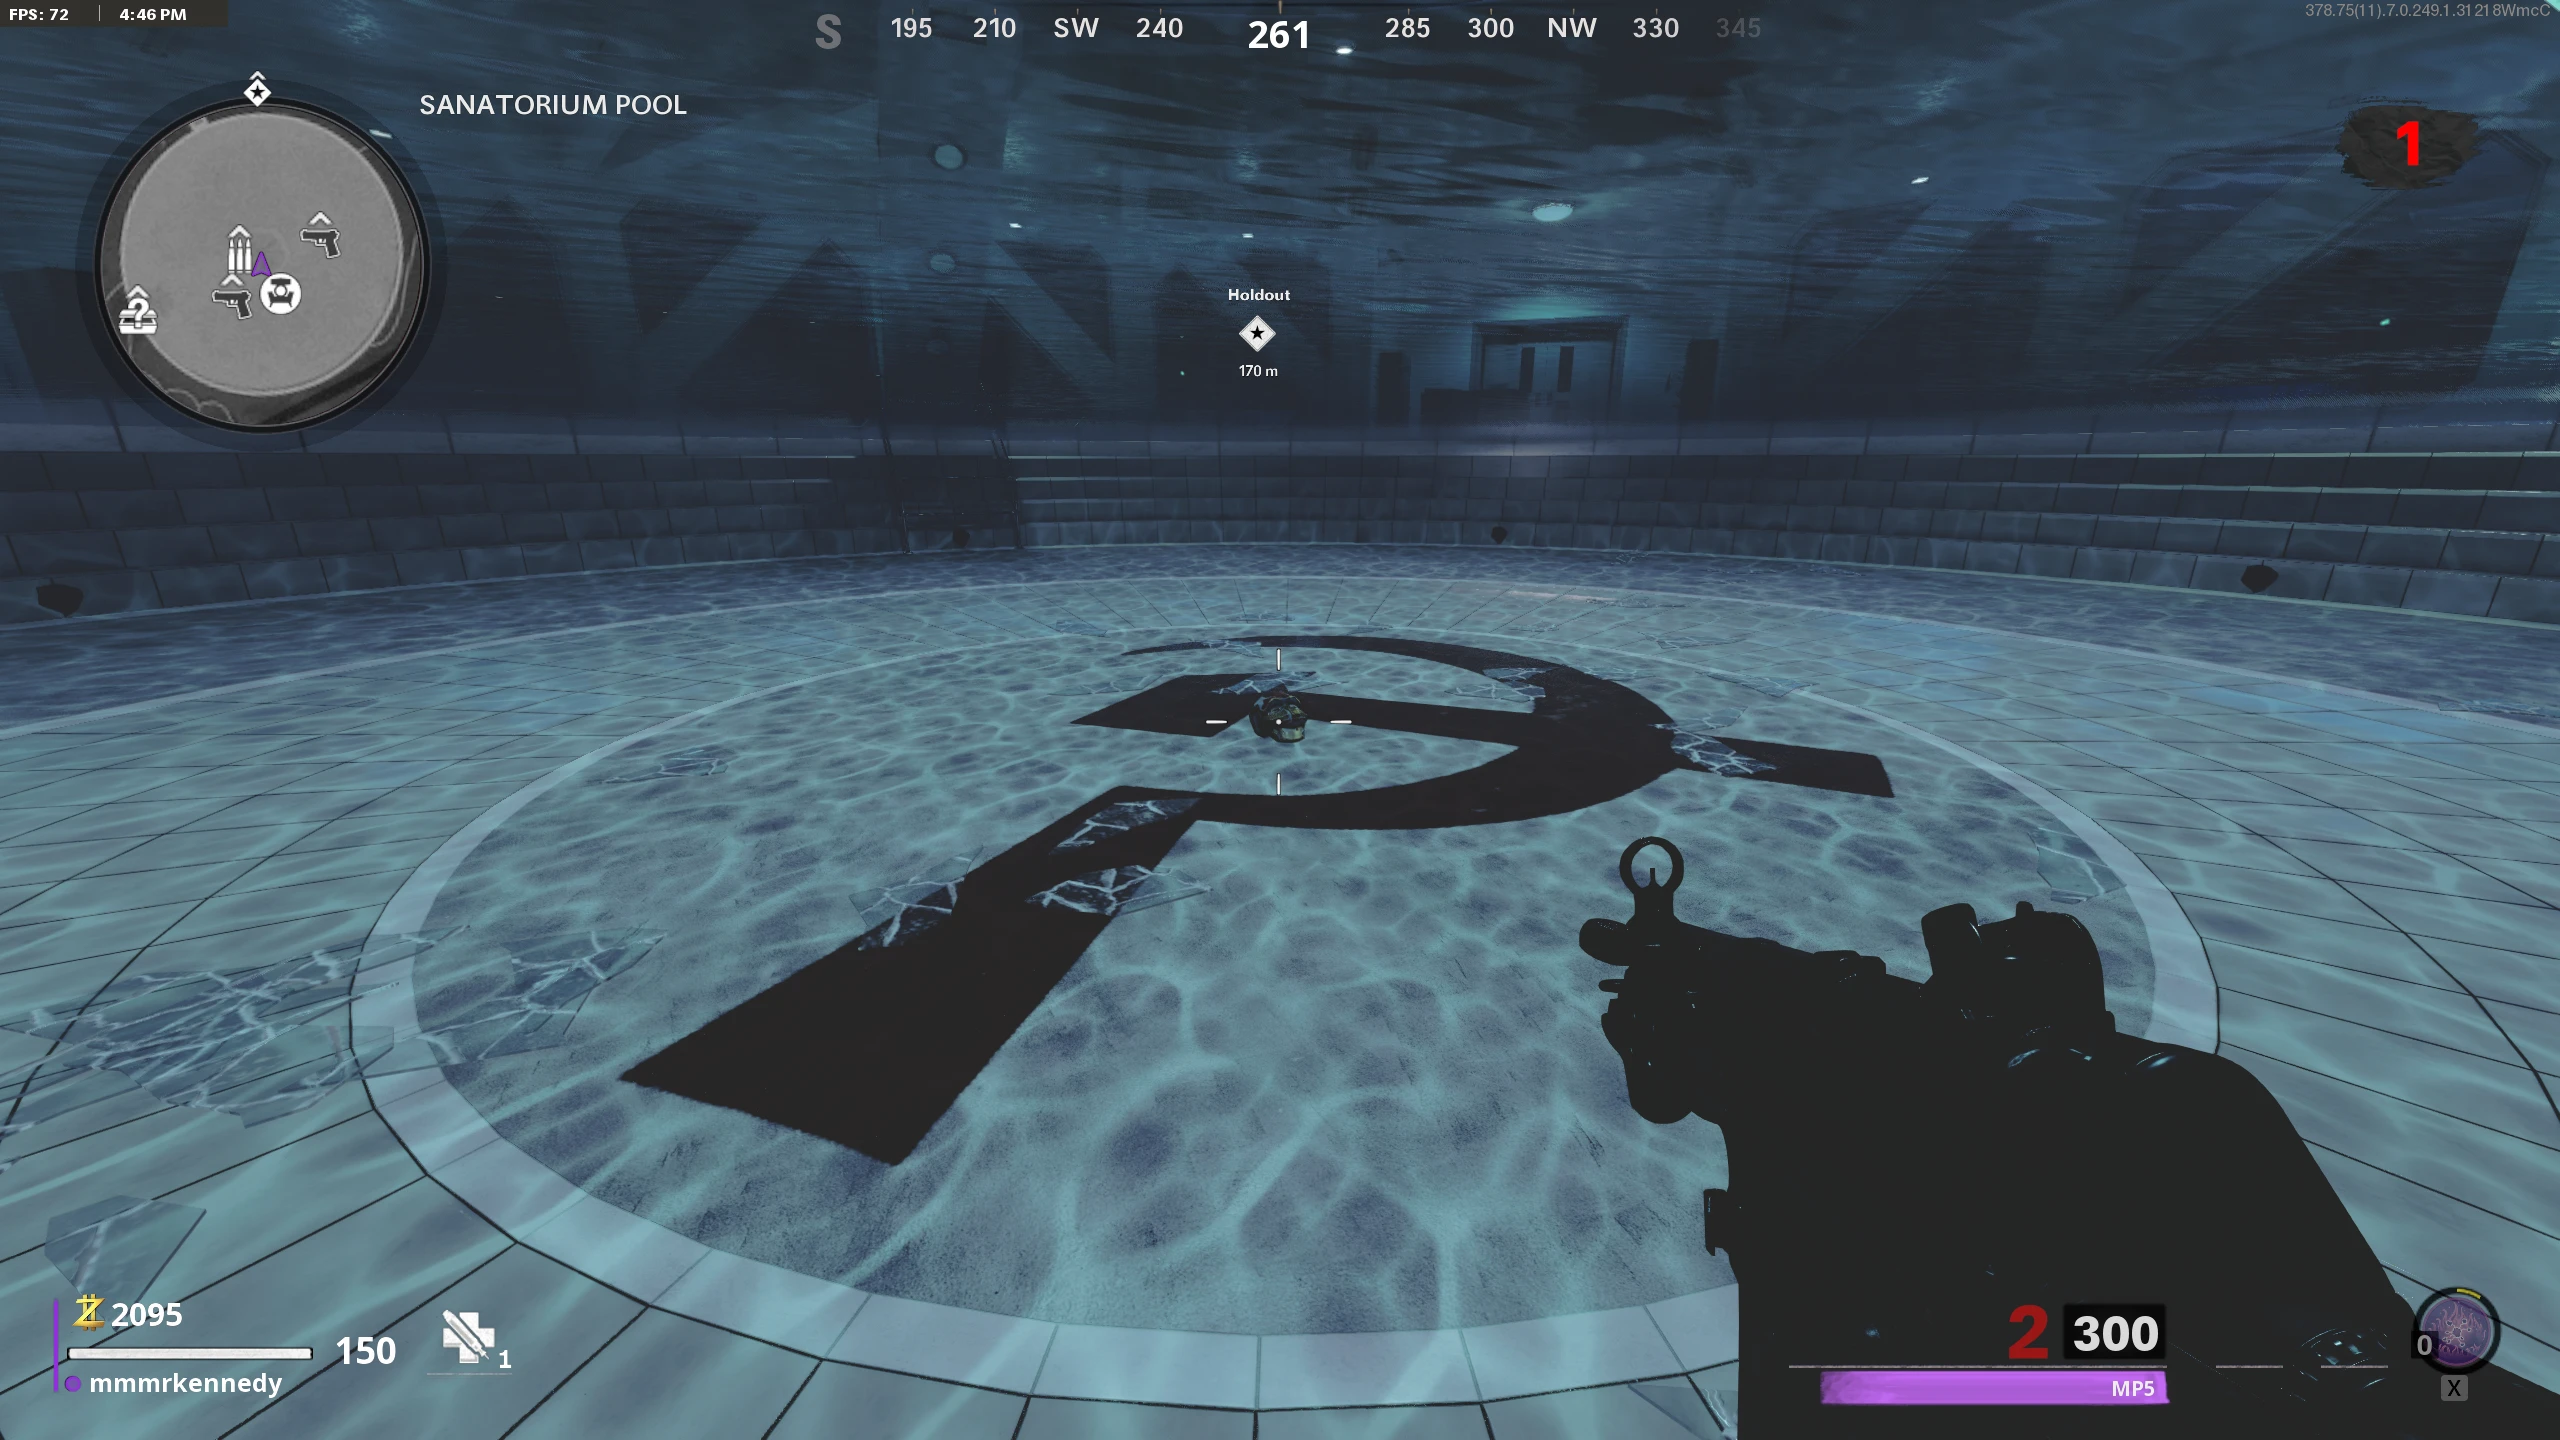
- Navigate to Missile Silo D and locate the large Aether jellyfish. While standing on the staircase closest to the jellyfish, activate the Aetherium Field Upgrade to enter the jellyfish.
- While within the jellyfish, you're able to collect one of the launch keys.
Silo C: Mimics
- In the Main Hub area connecting the silos, a bunch of mimics will spawn disguised as various items like TVs and Plants.
- After killing the Mimics, interact with the corpse that can be found within the corridor leading to Silo C.
- Interacting with the corpse will spawn Ruzarkon the Twisted. Defeat this HVT Mimic to collect one of the Launch Keys.
Warning: Point of No Return. Once you activate the three missiles, you will be put into the Boss Fight
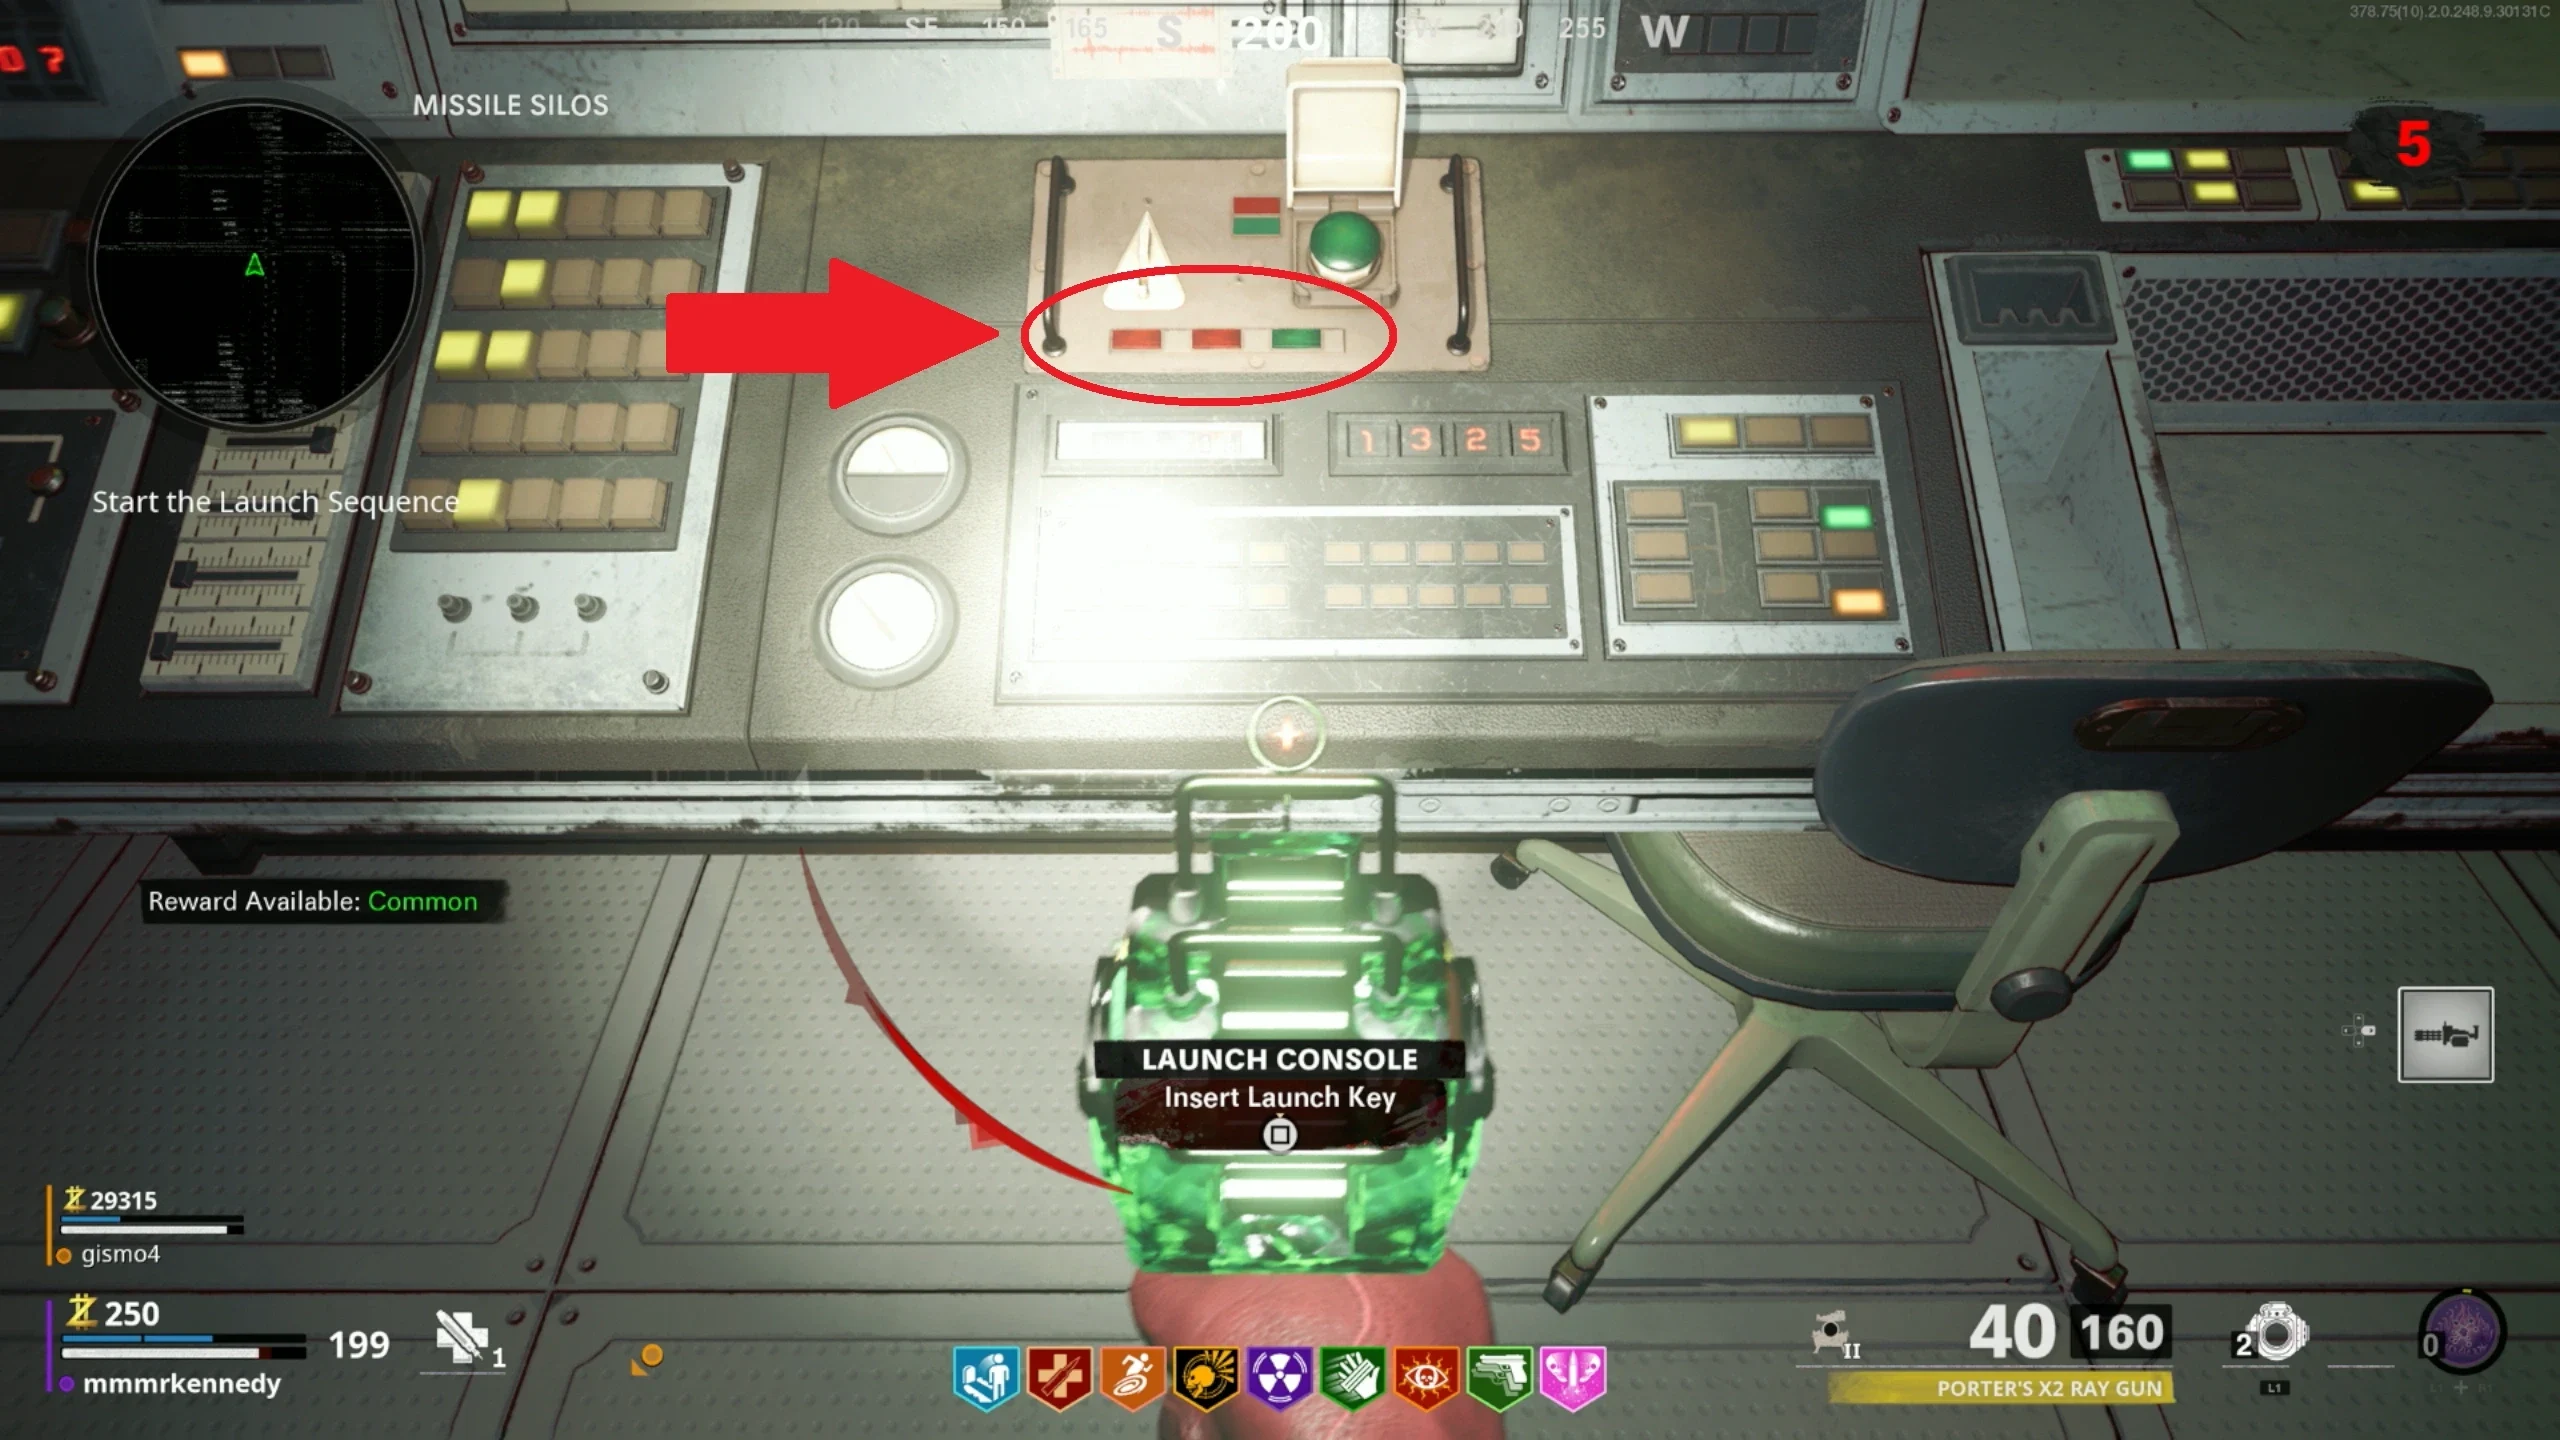
- Once all keys are collected, activate all missiles in order within the time limit using the control panel in each silo. Wrong order or timeout just means you can try again immediately.
- To find the correct order, check the three lights below the keyhole on each control panel. The green light's position indicates that silo's place in the sequence.
- For Example, If Silo D's Light is green in the third position and Silo A's Light is green in the second position, the activation order will be B, A, D.
Legion Boss Fight
Recommended: Death Machine Scorestreak
- Once you activate all three panels, a ten-minute countdown will start. You will have to complete the Boss Fight in this amount of time, or you will fail and have to start over.
- Go to the hub room (where all the mimics spawned) and run up the stairs to outside to start the boss fight.
- The boss is a giant floating tempest. Shoot it in the chest until it breaks and Legion becomes stunned. Three energy orbs will appear; destroy them before the stun wears off.
- Once all three orbs are destroyed, Legion will die, and you will have completed the Easter Egg.
- When one orb is destroyed, Legion instantly retracts the rest regardless of stun time, so try to damage all orbs equally before popping any. If you brought a Death Machine, skip the chest (damage reduction applies) and save it for the Orbs.
 Tips
Tips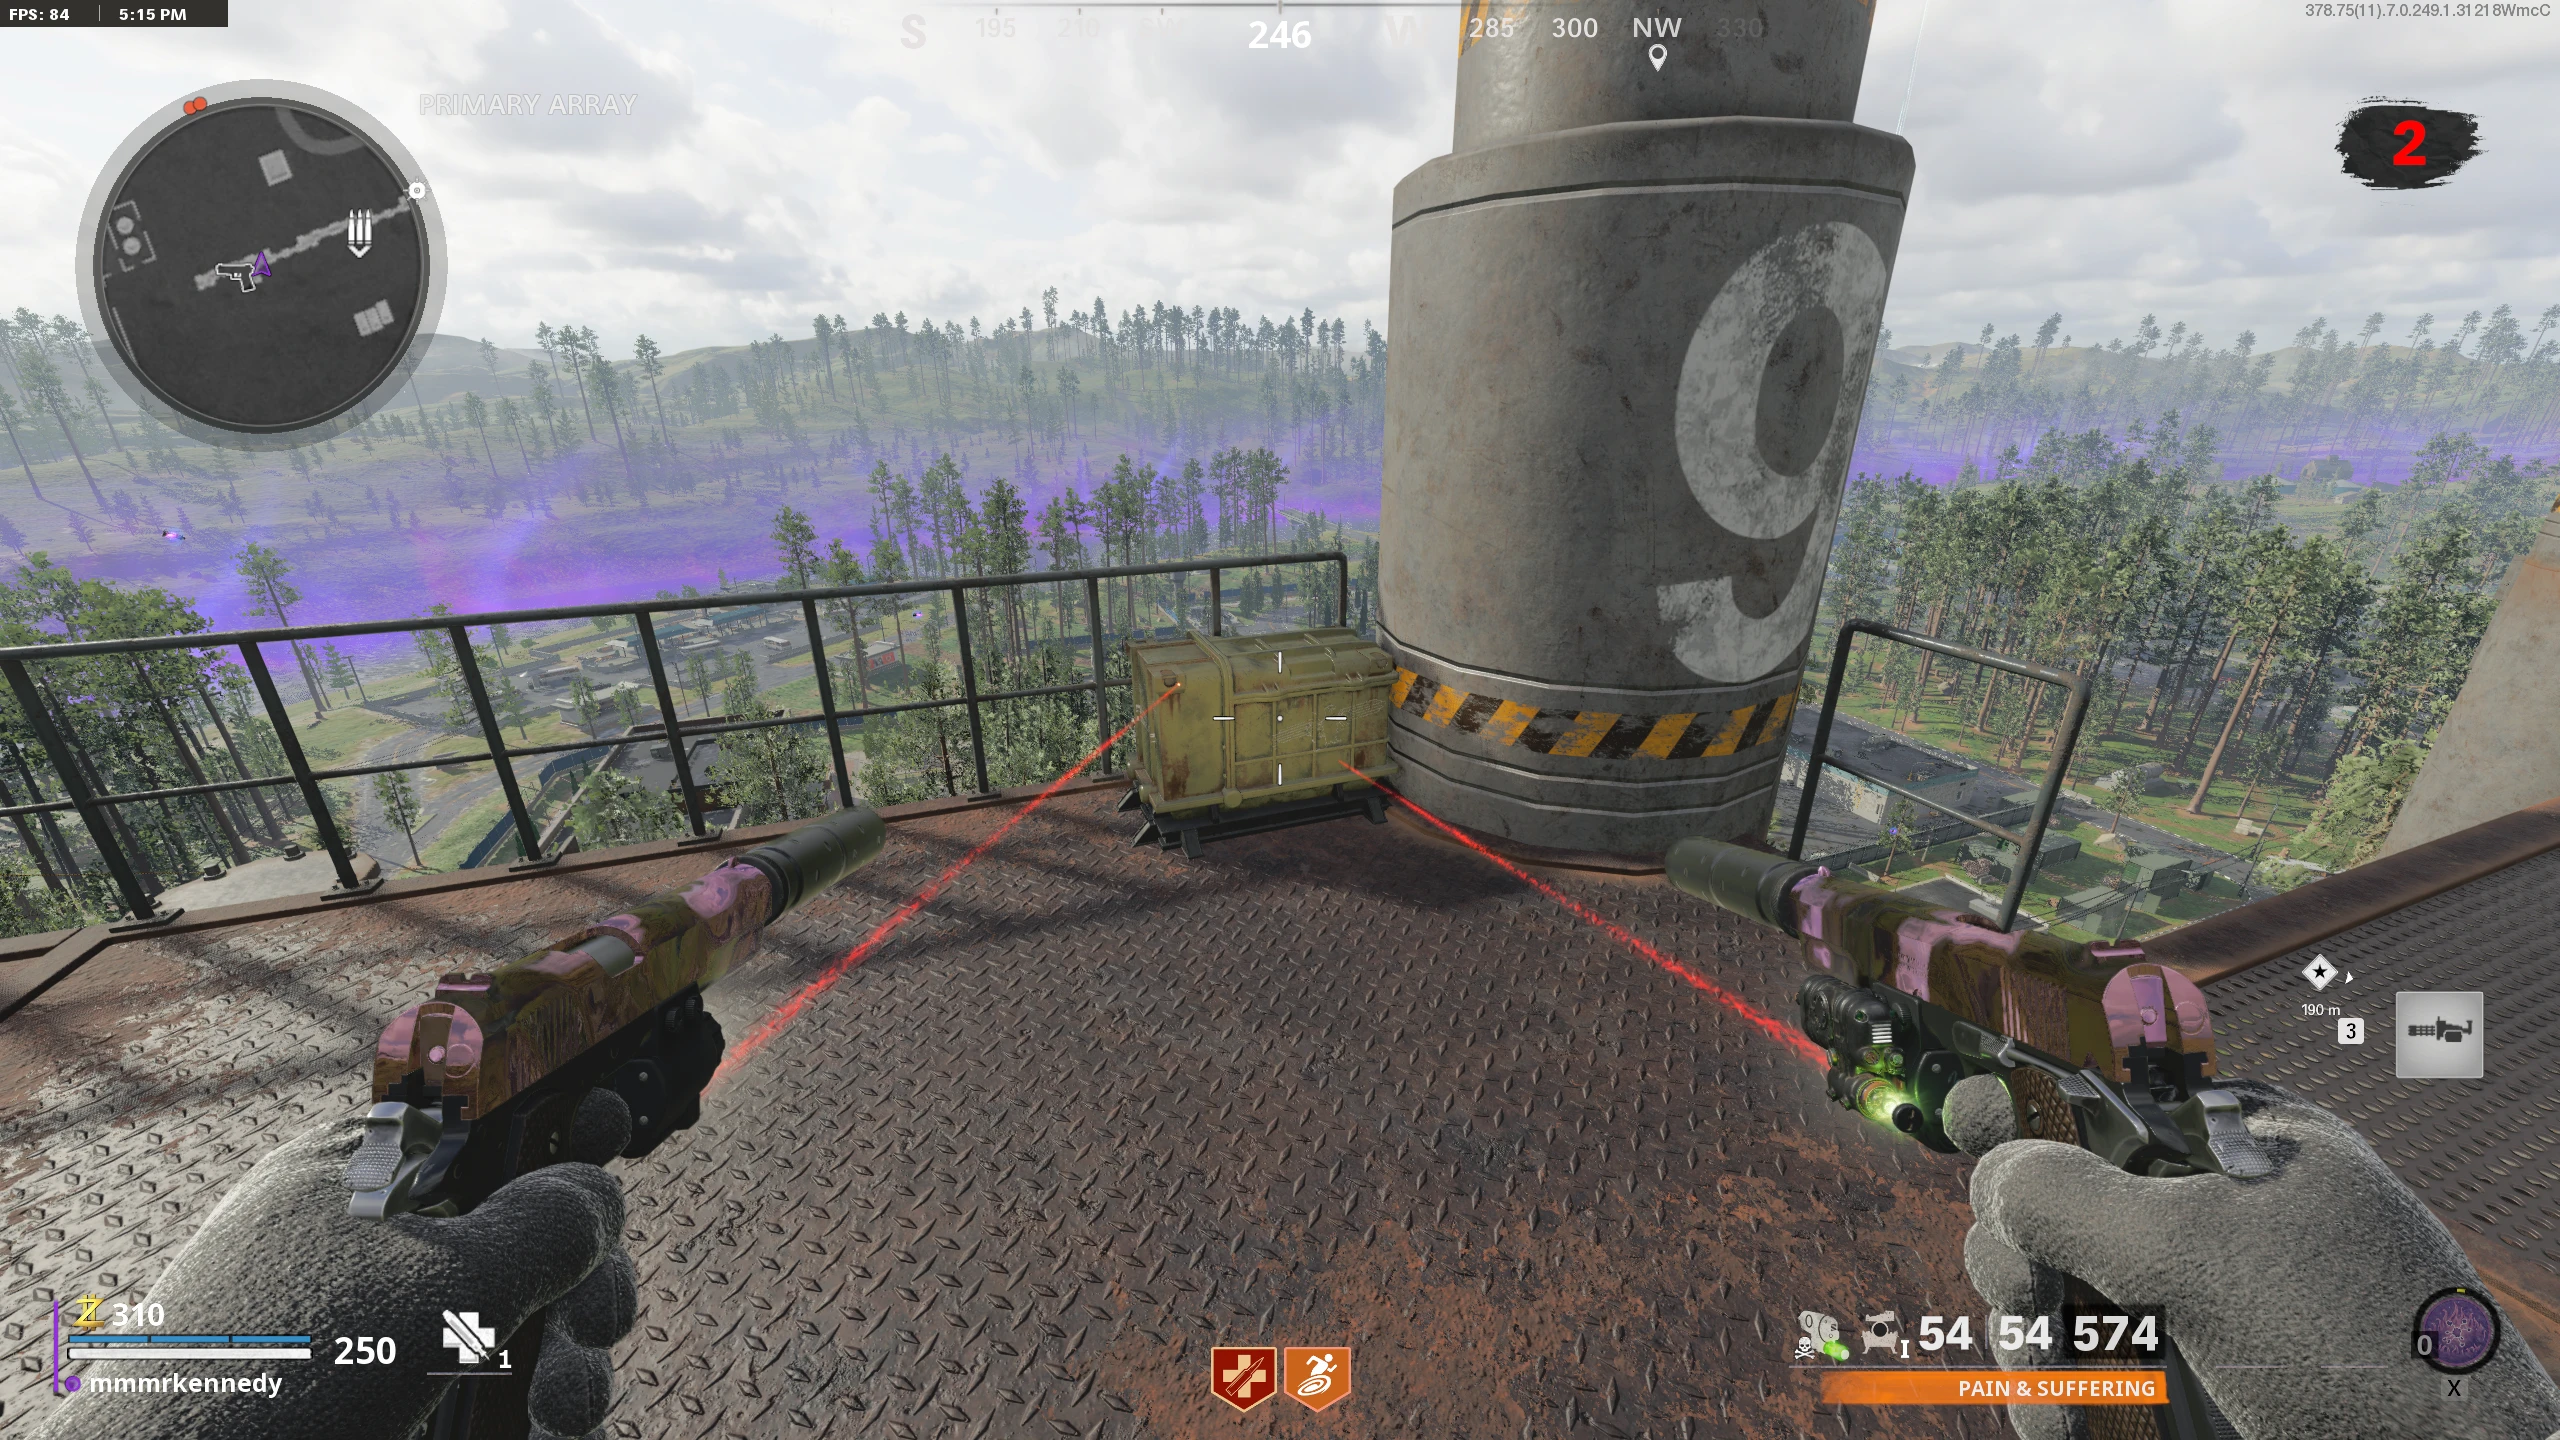