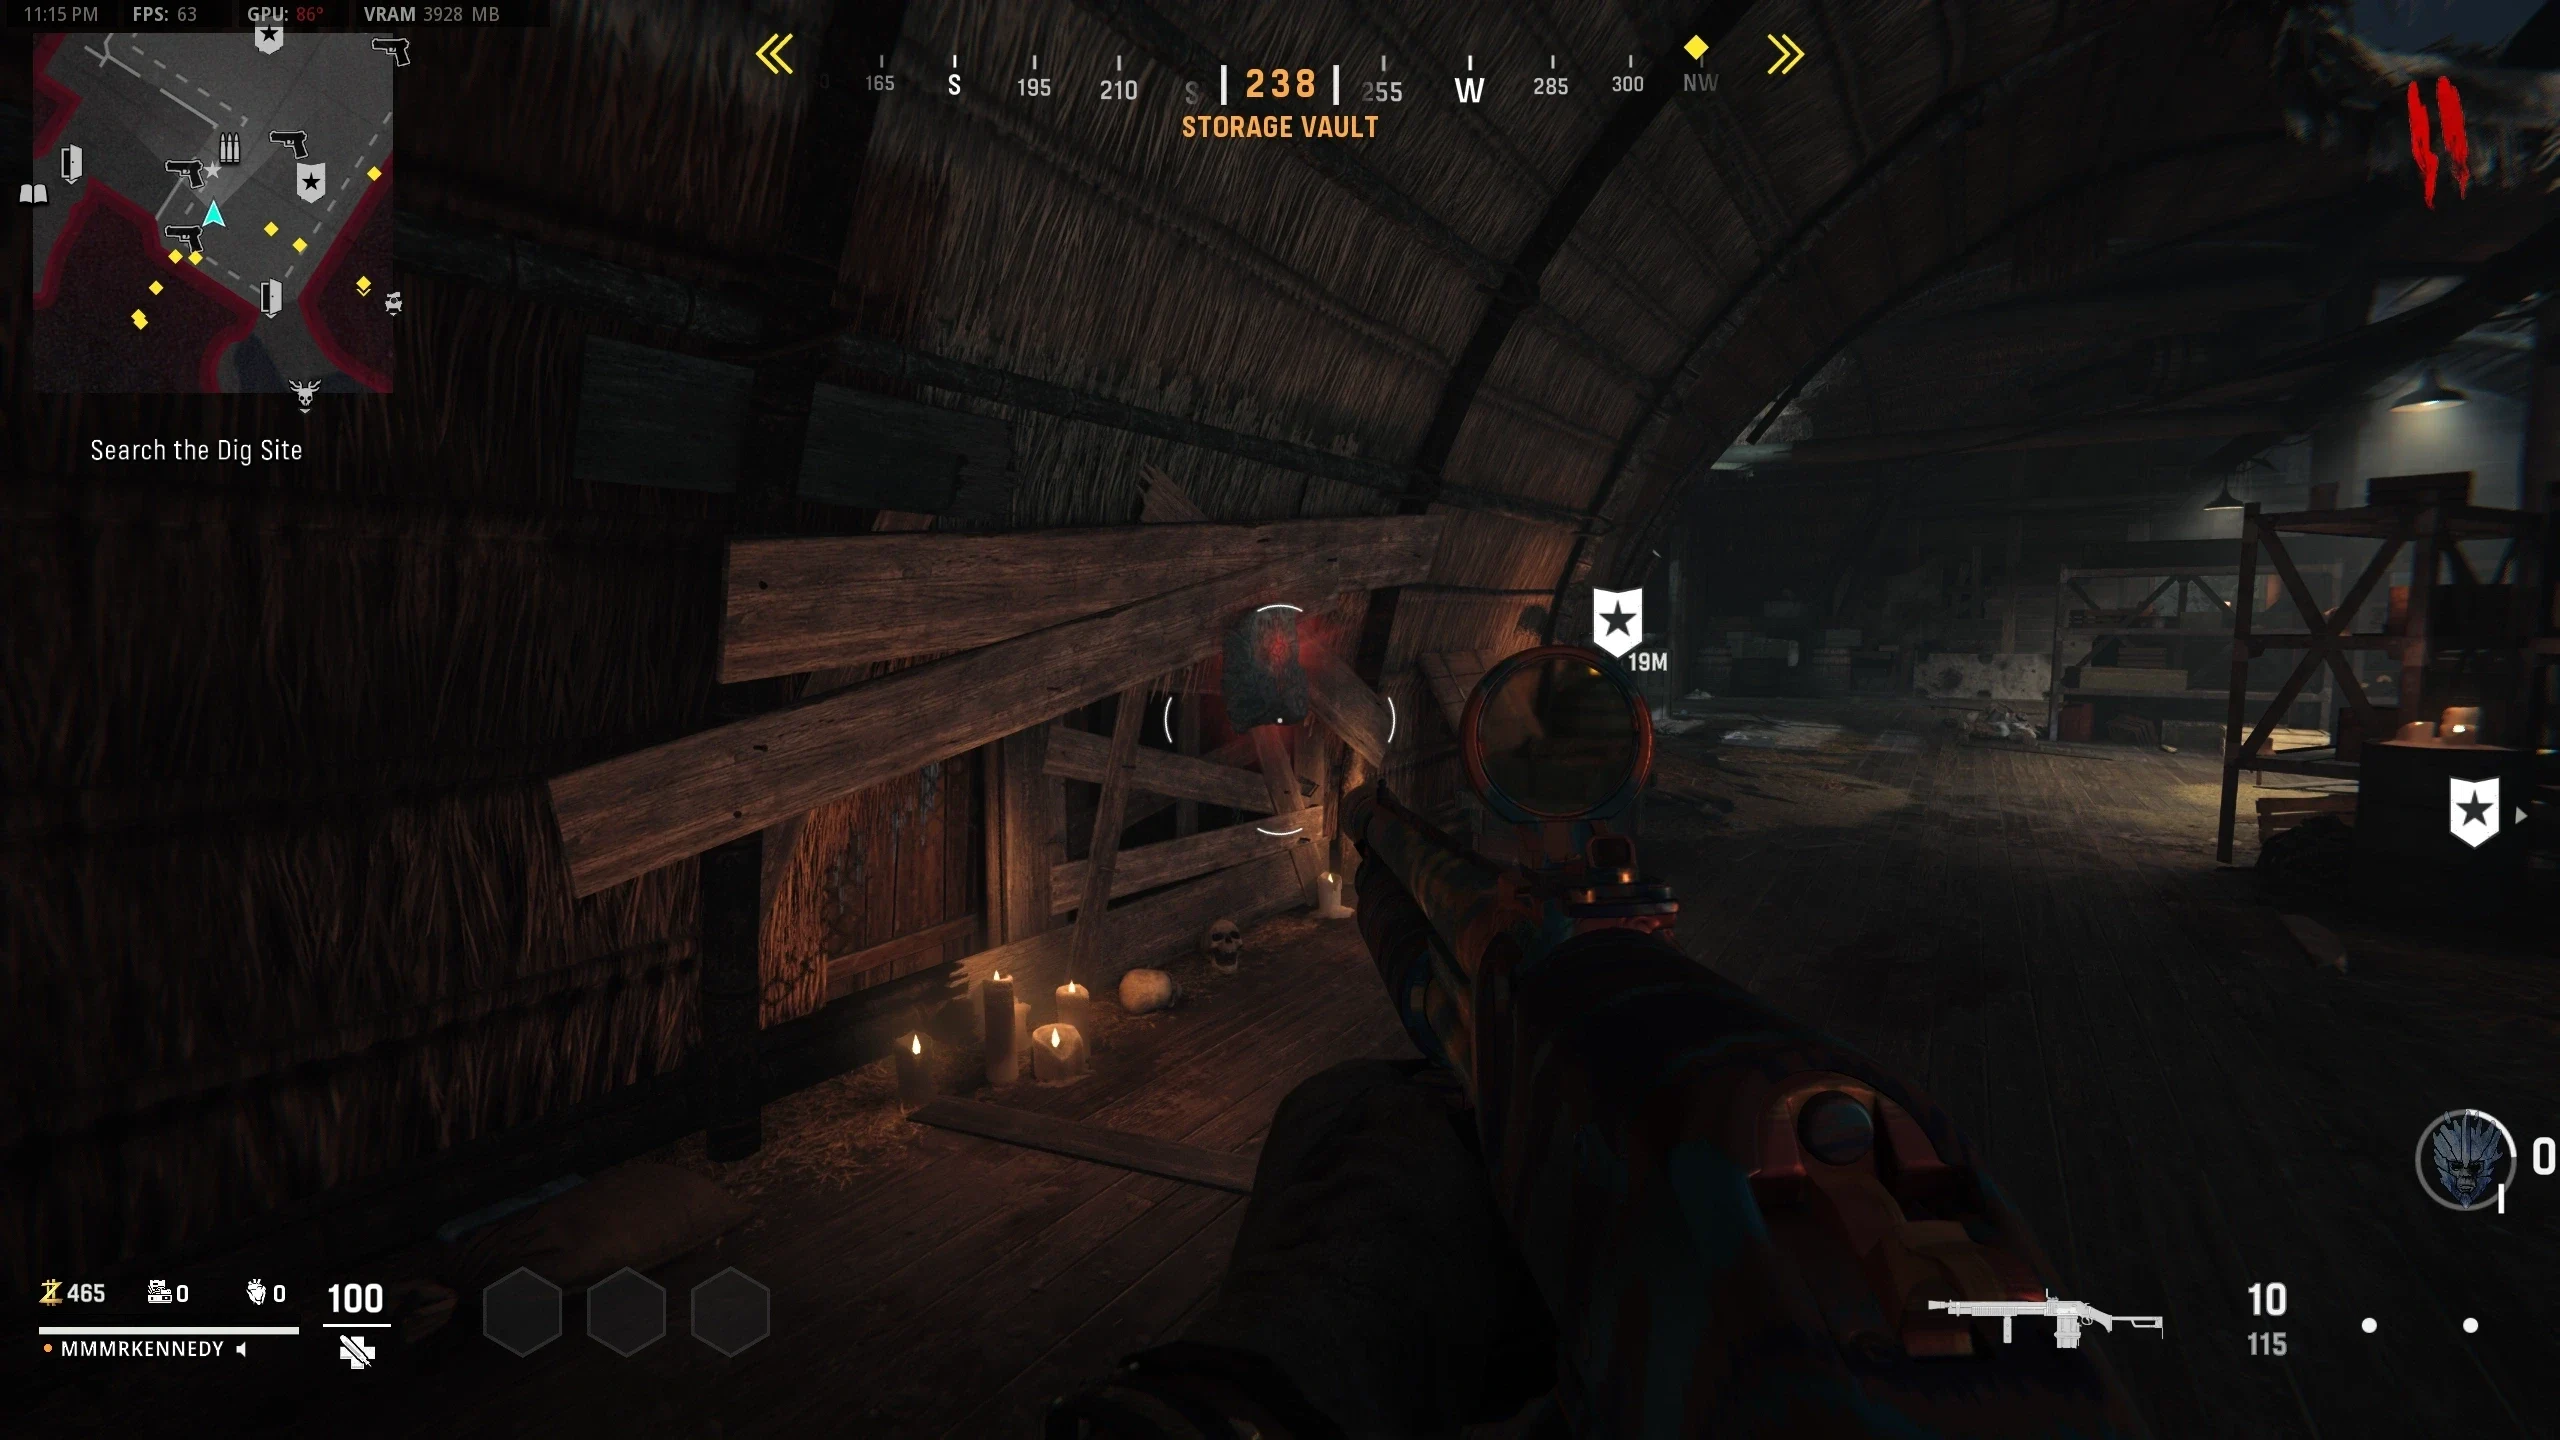
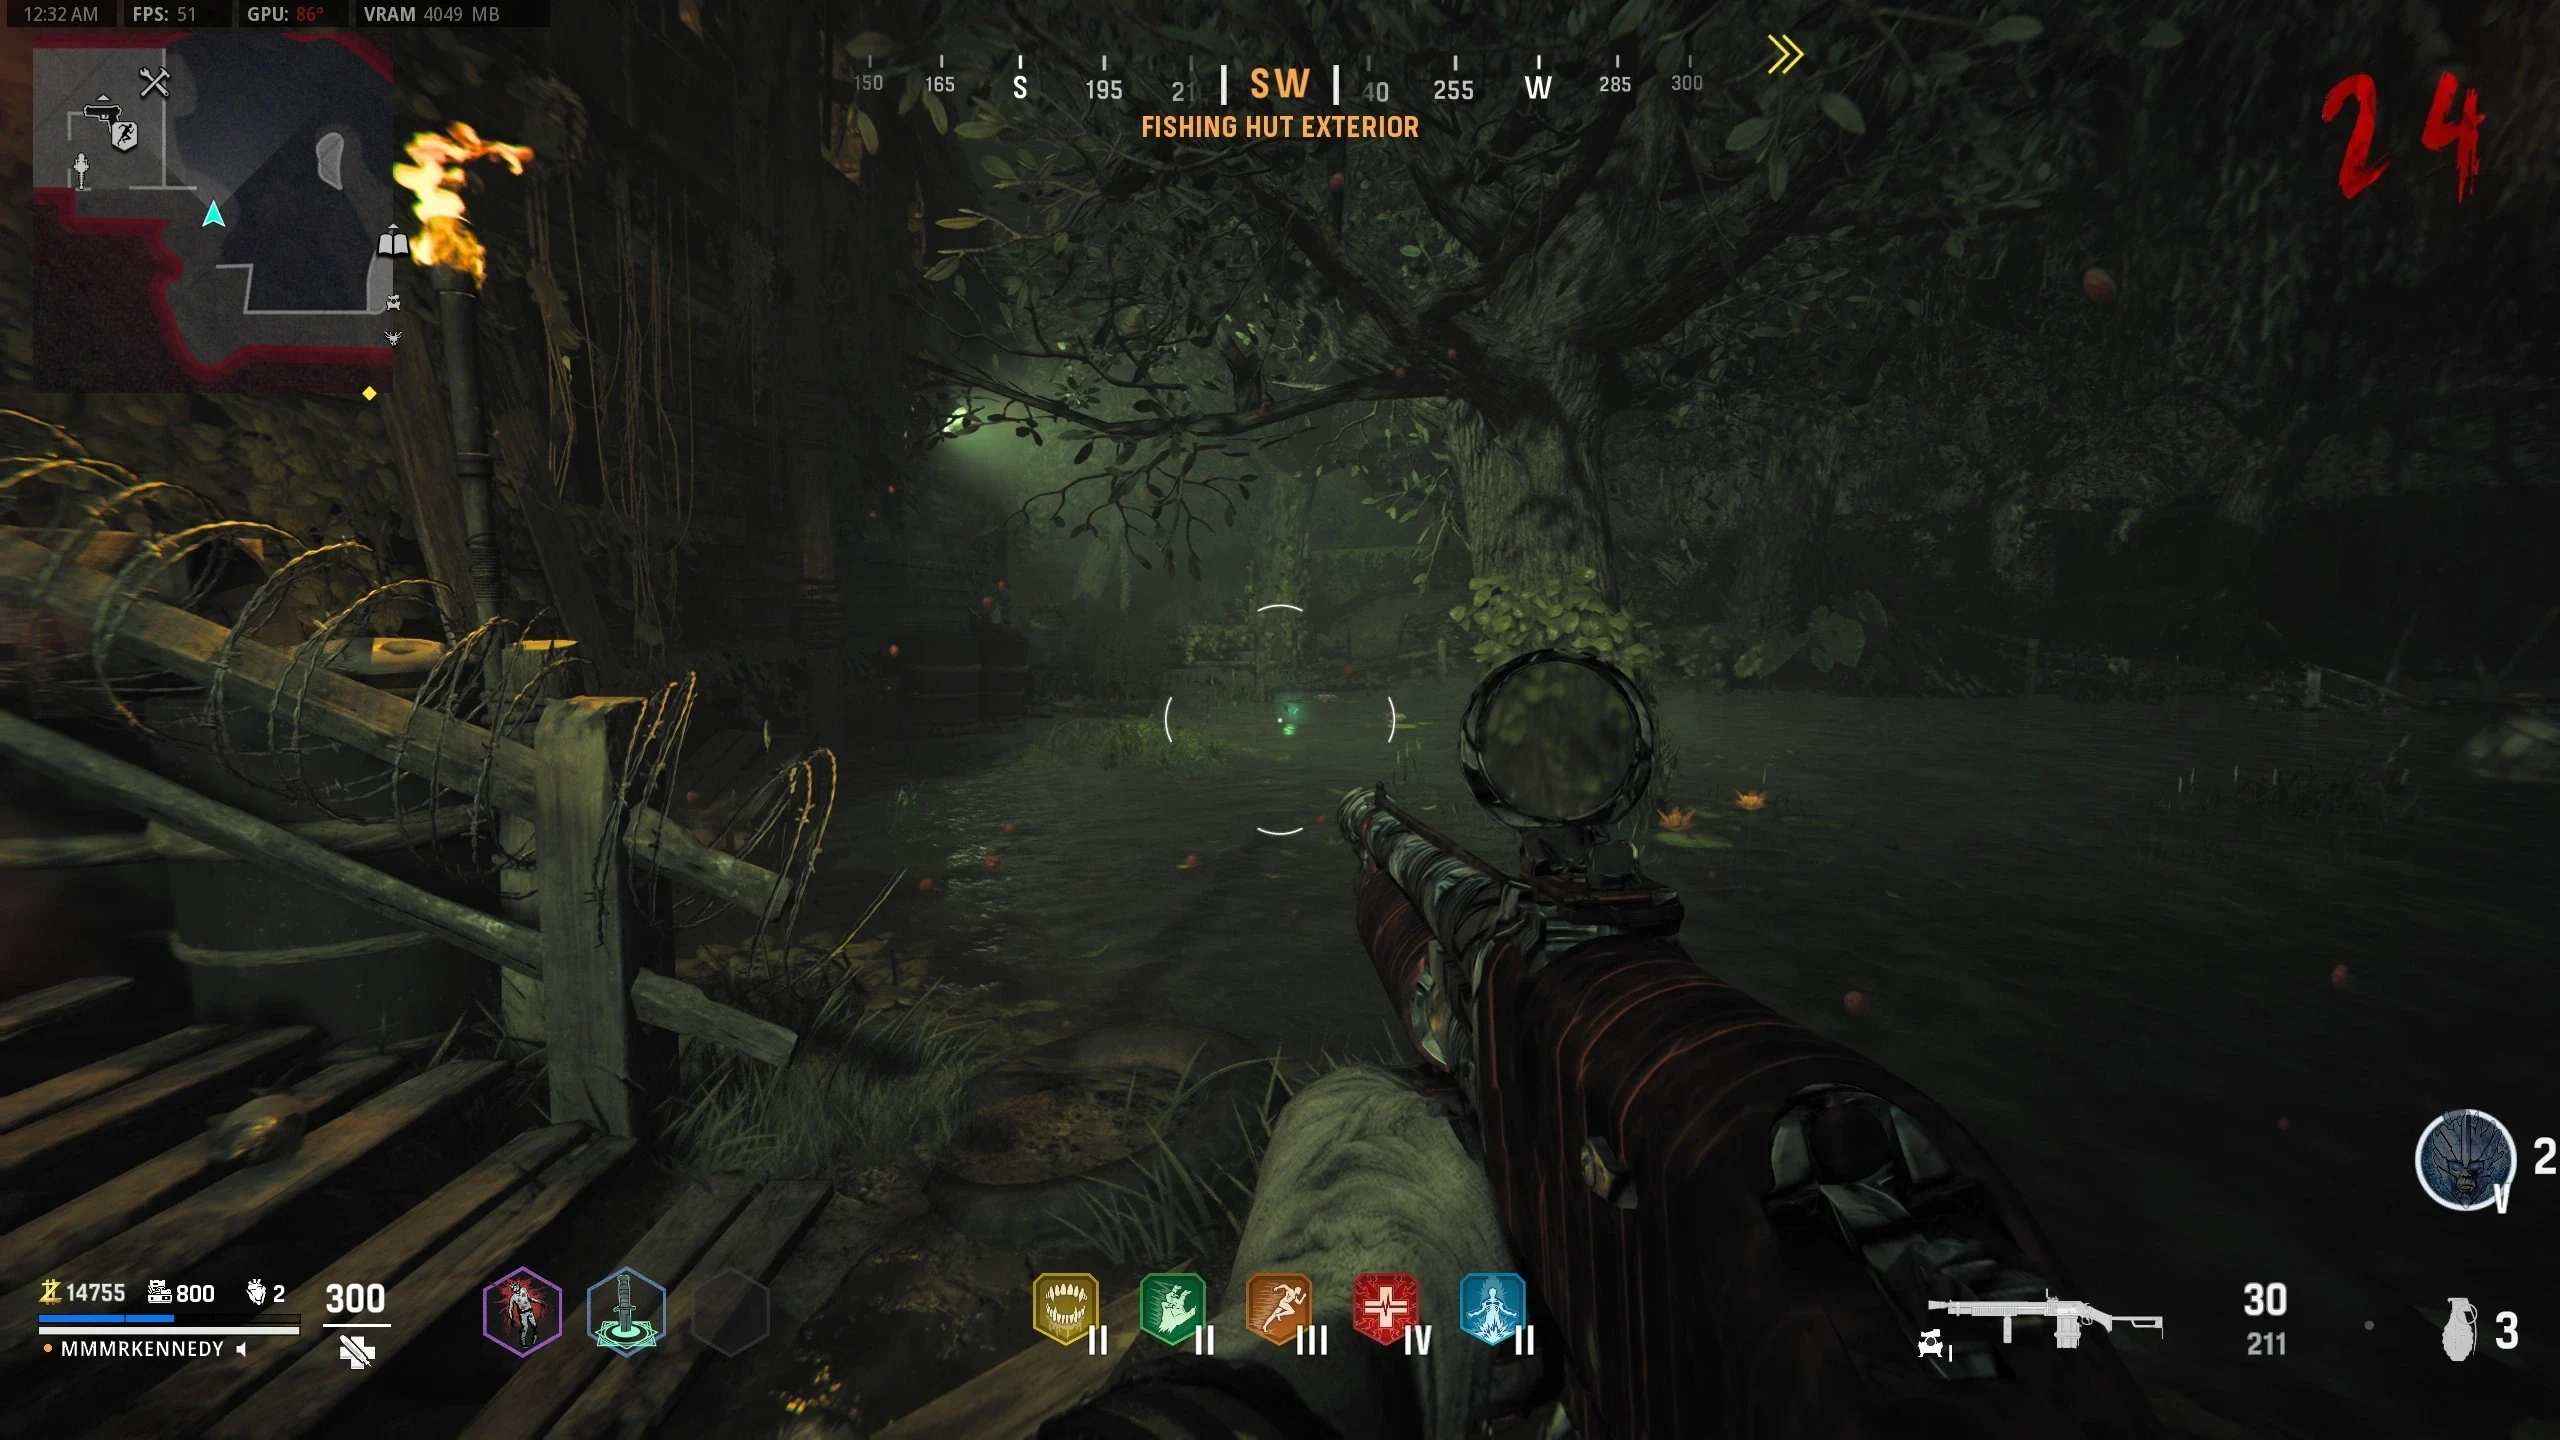
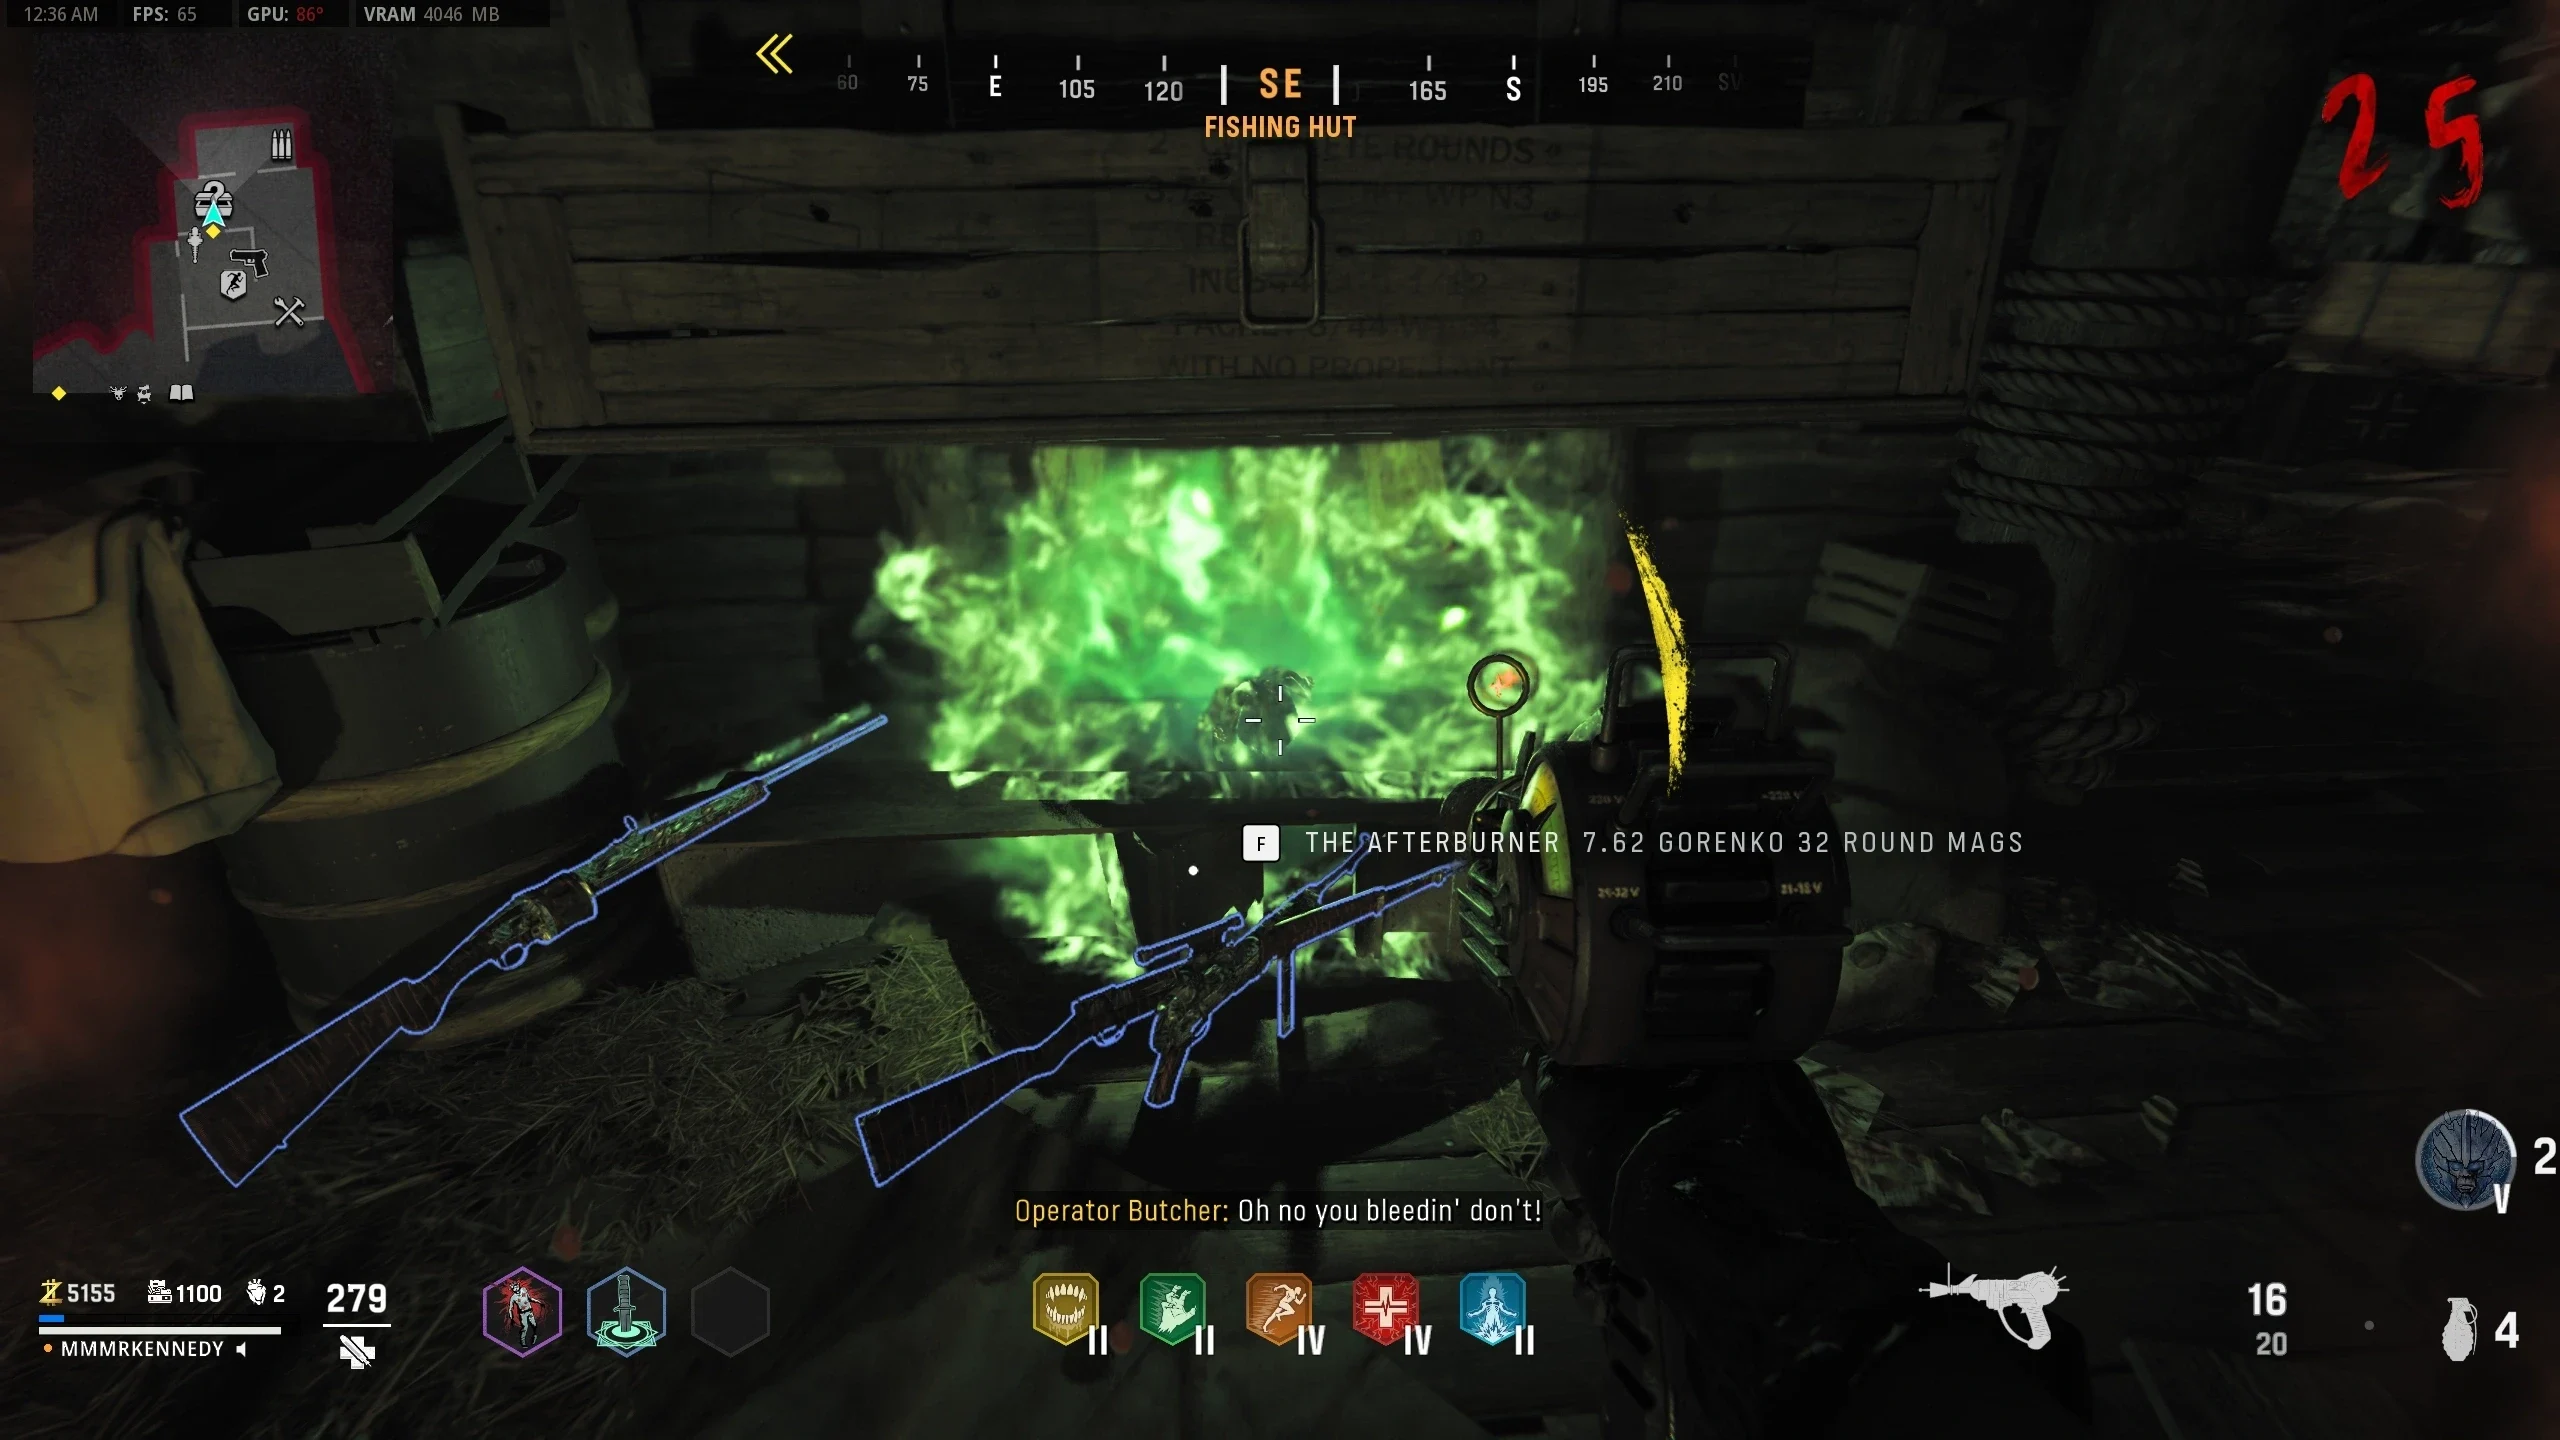
Main Easter Egg Quest
Stats (Solo): Difficulty - 3/10, Est. Completion Time - 25 to 40 Mins
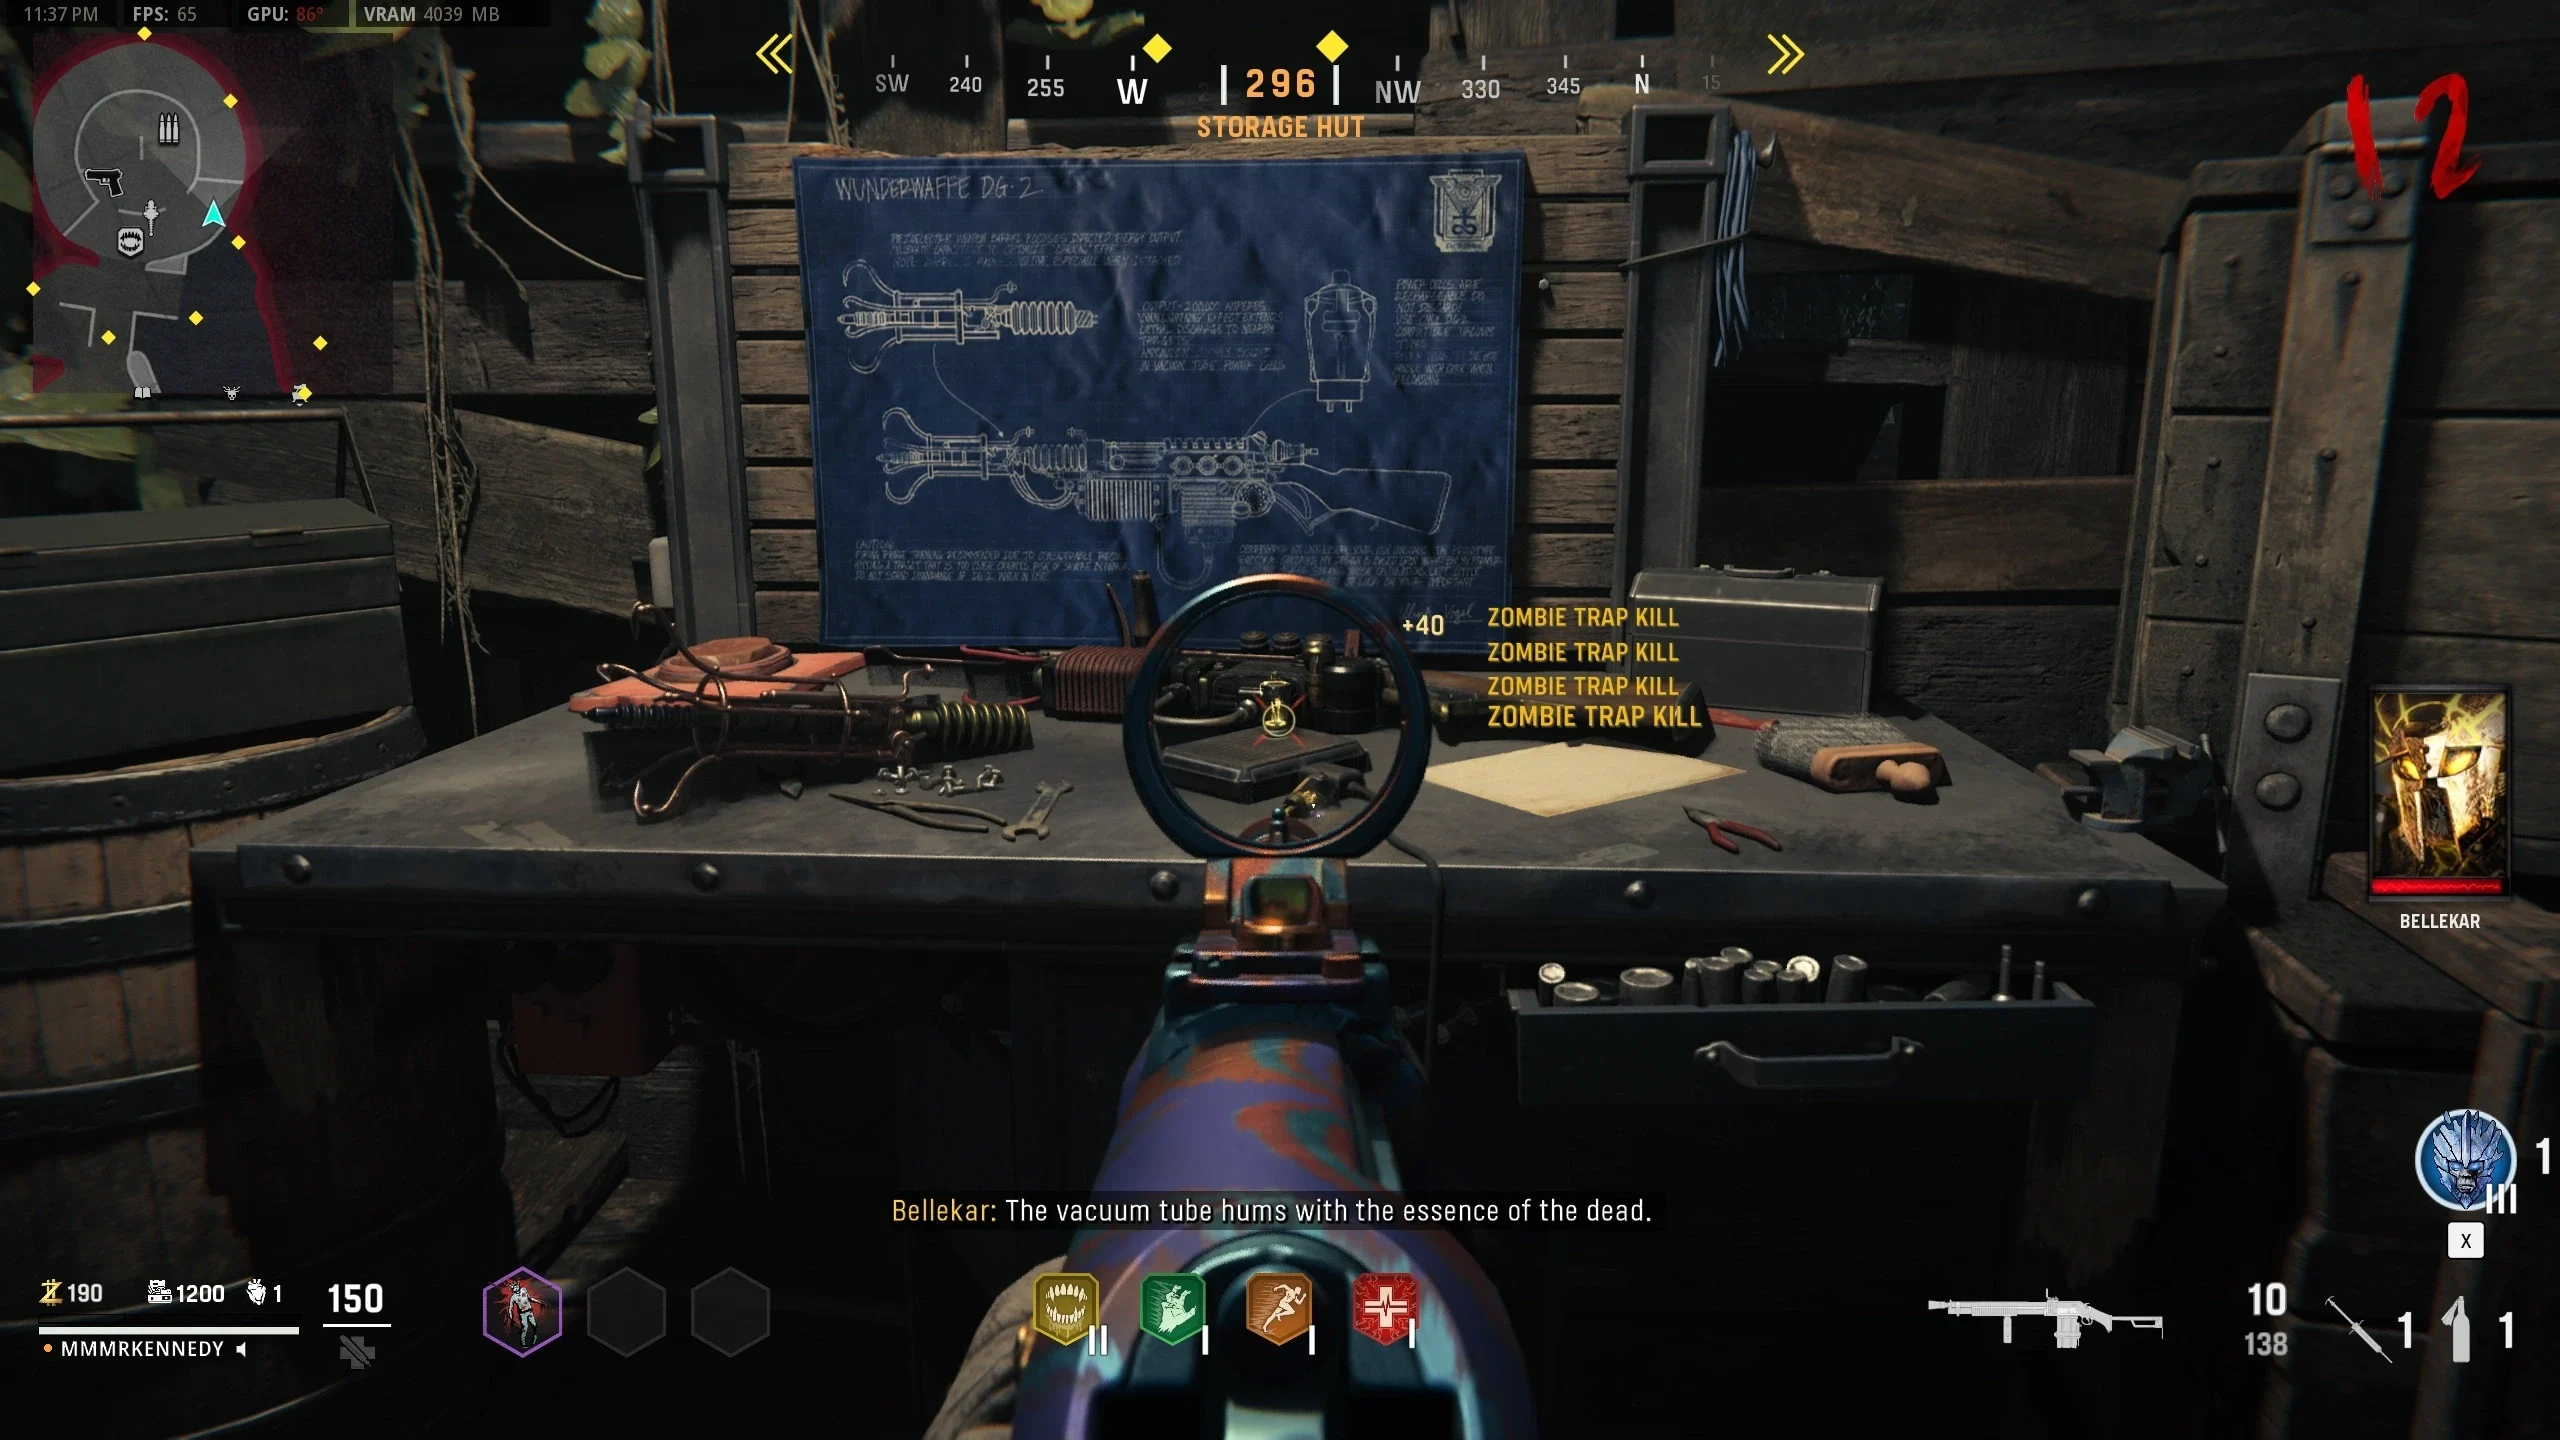
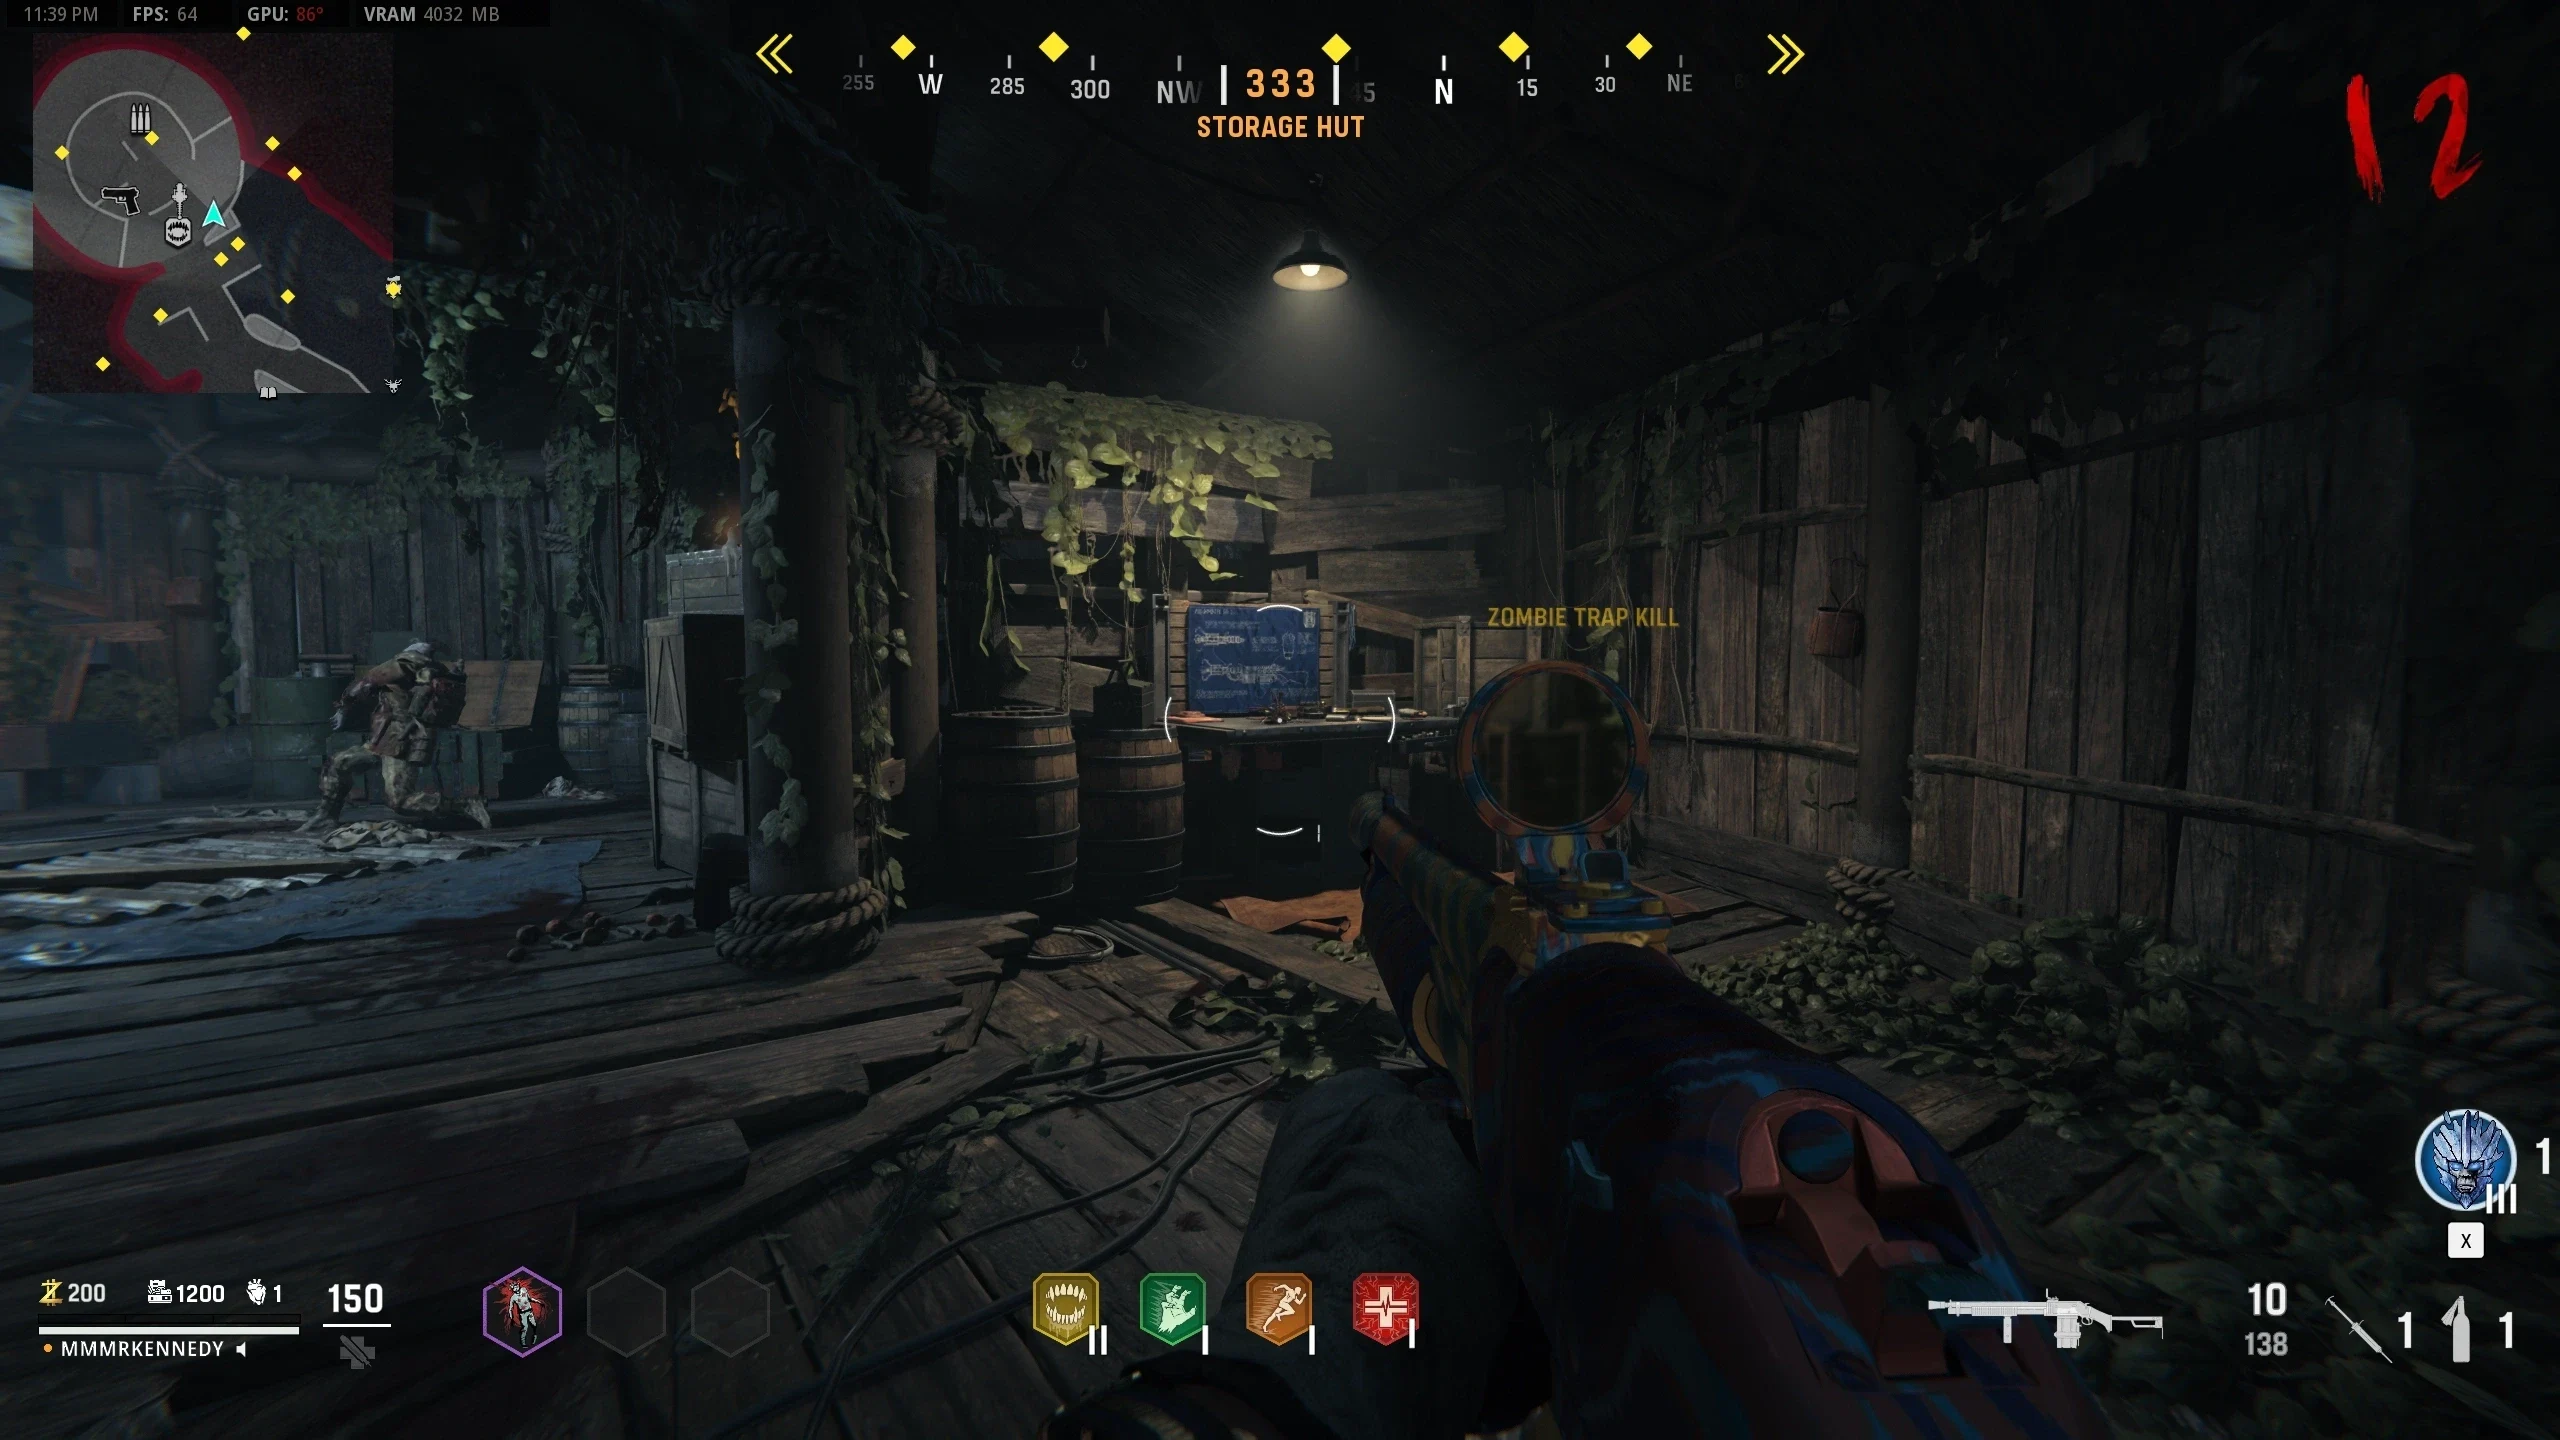
The Wunderwaffe DG-2 is required for the Easter Egg, but not until Step 9
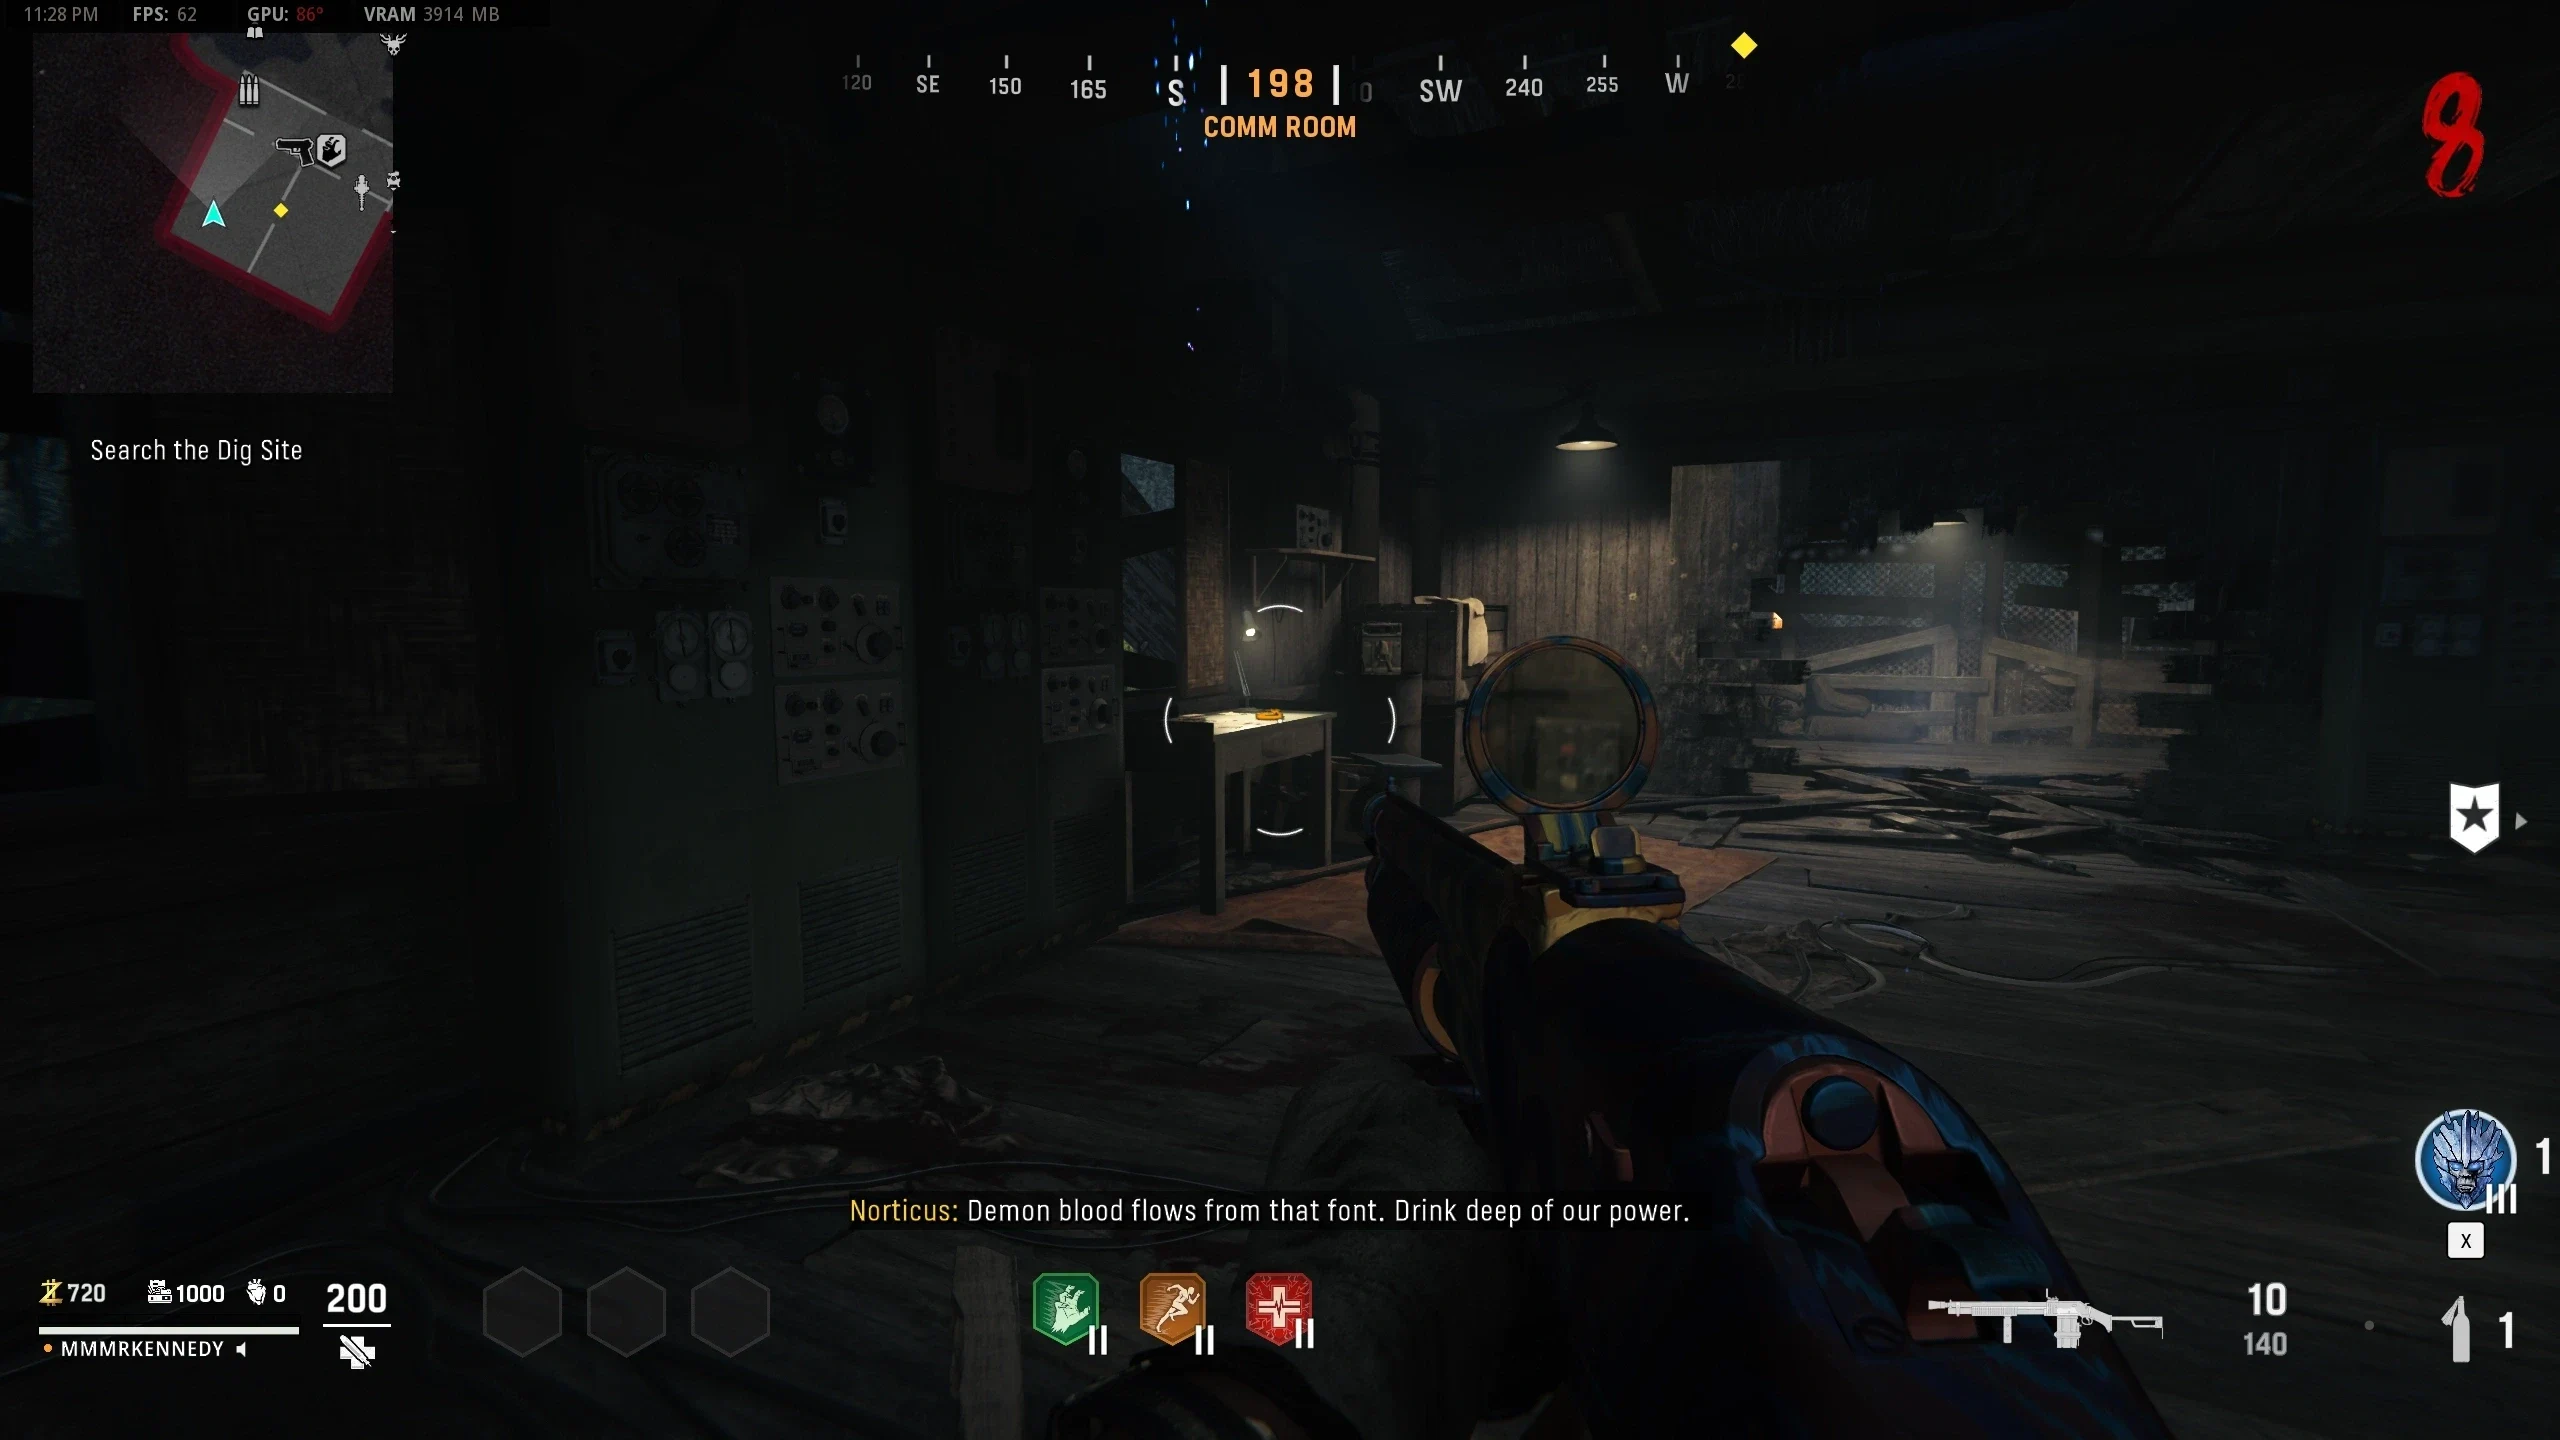
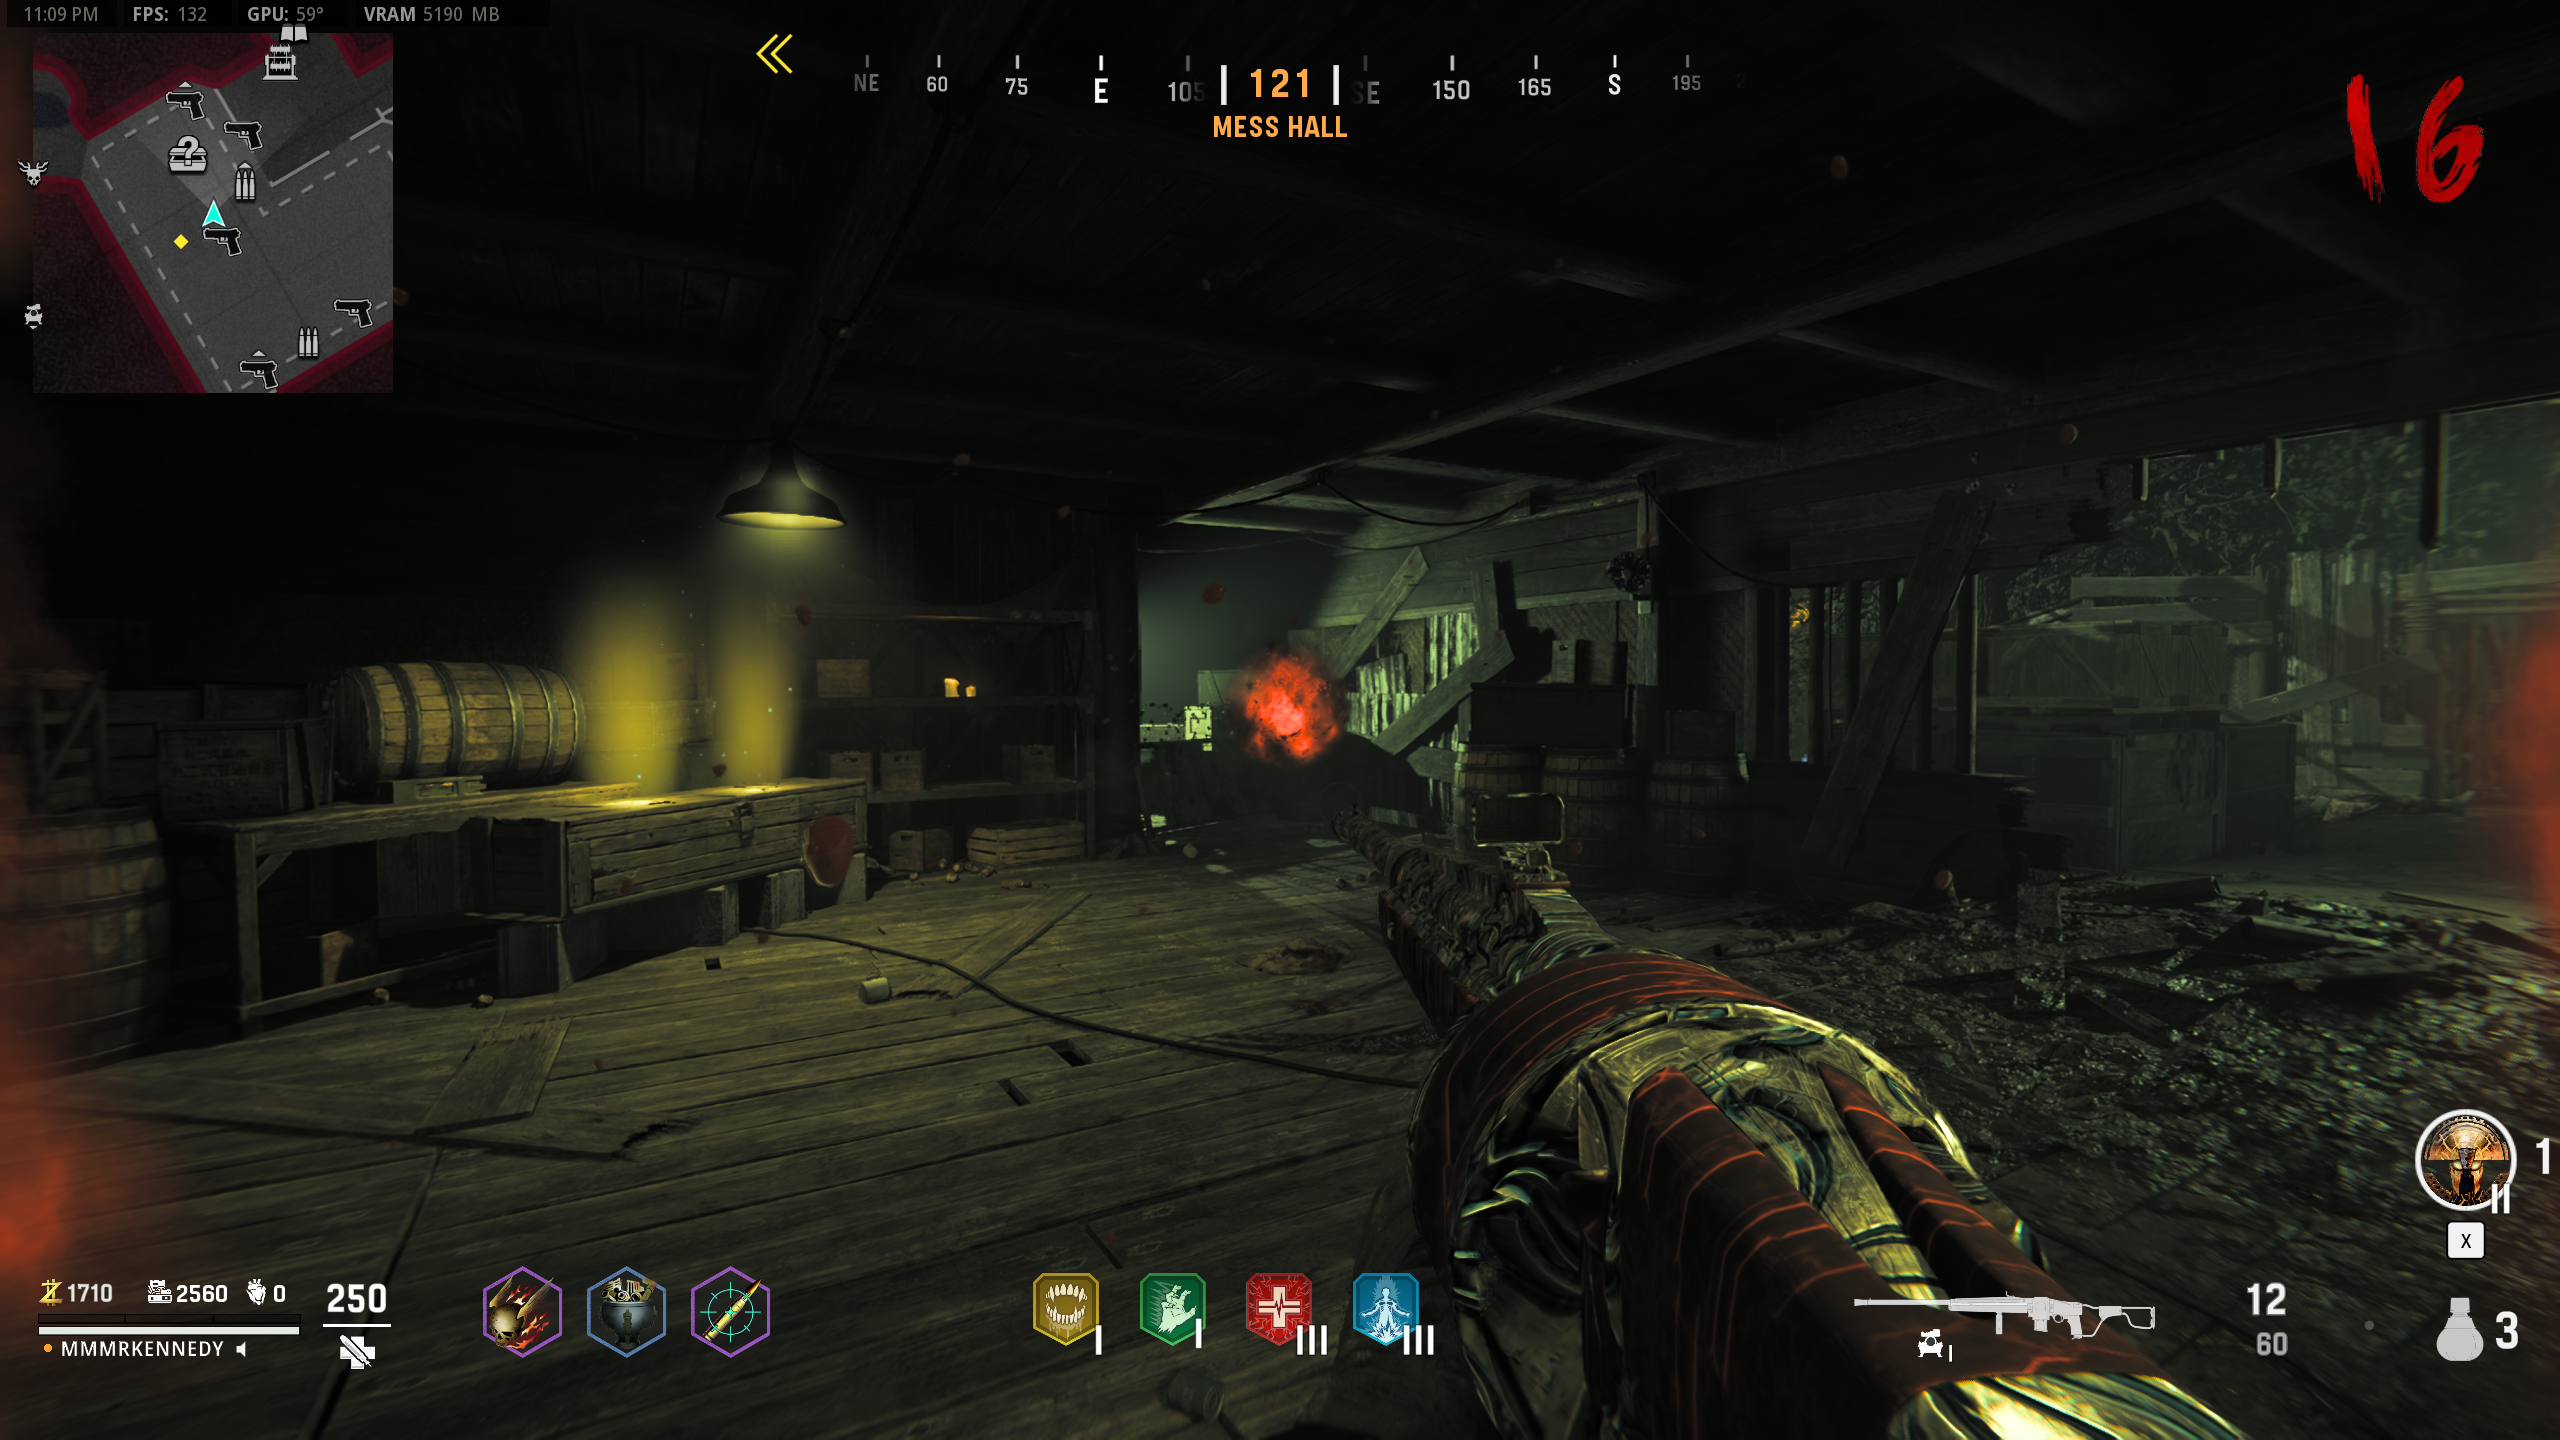
The Monolith & The Ceremony
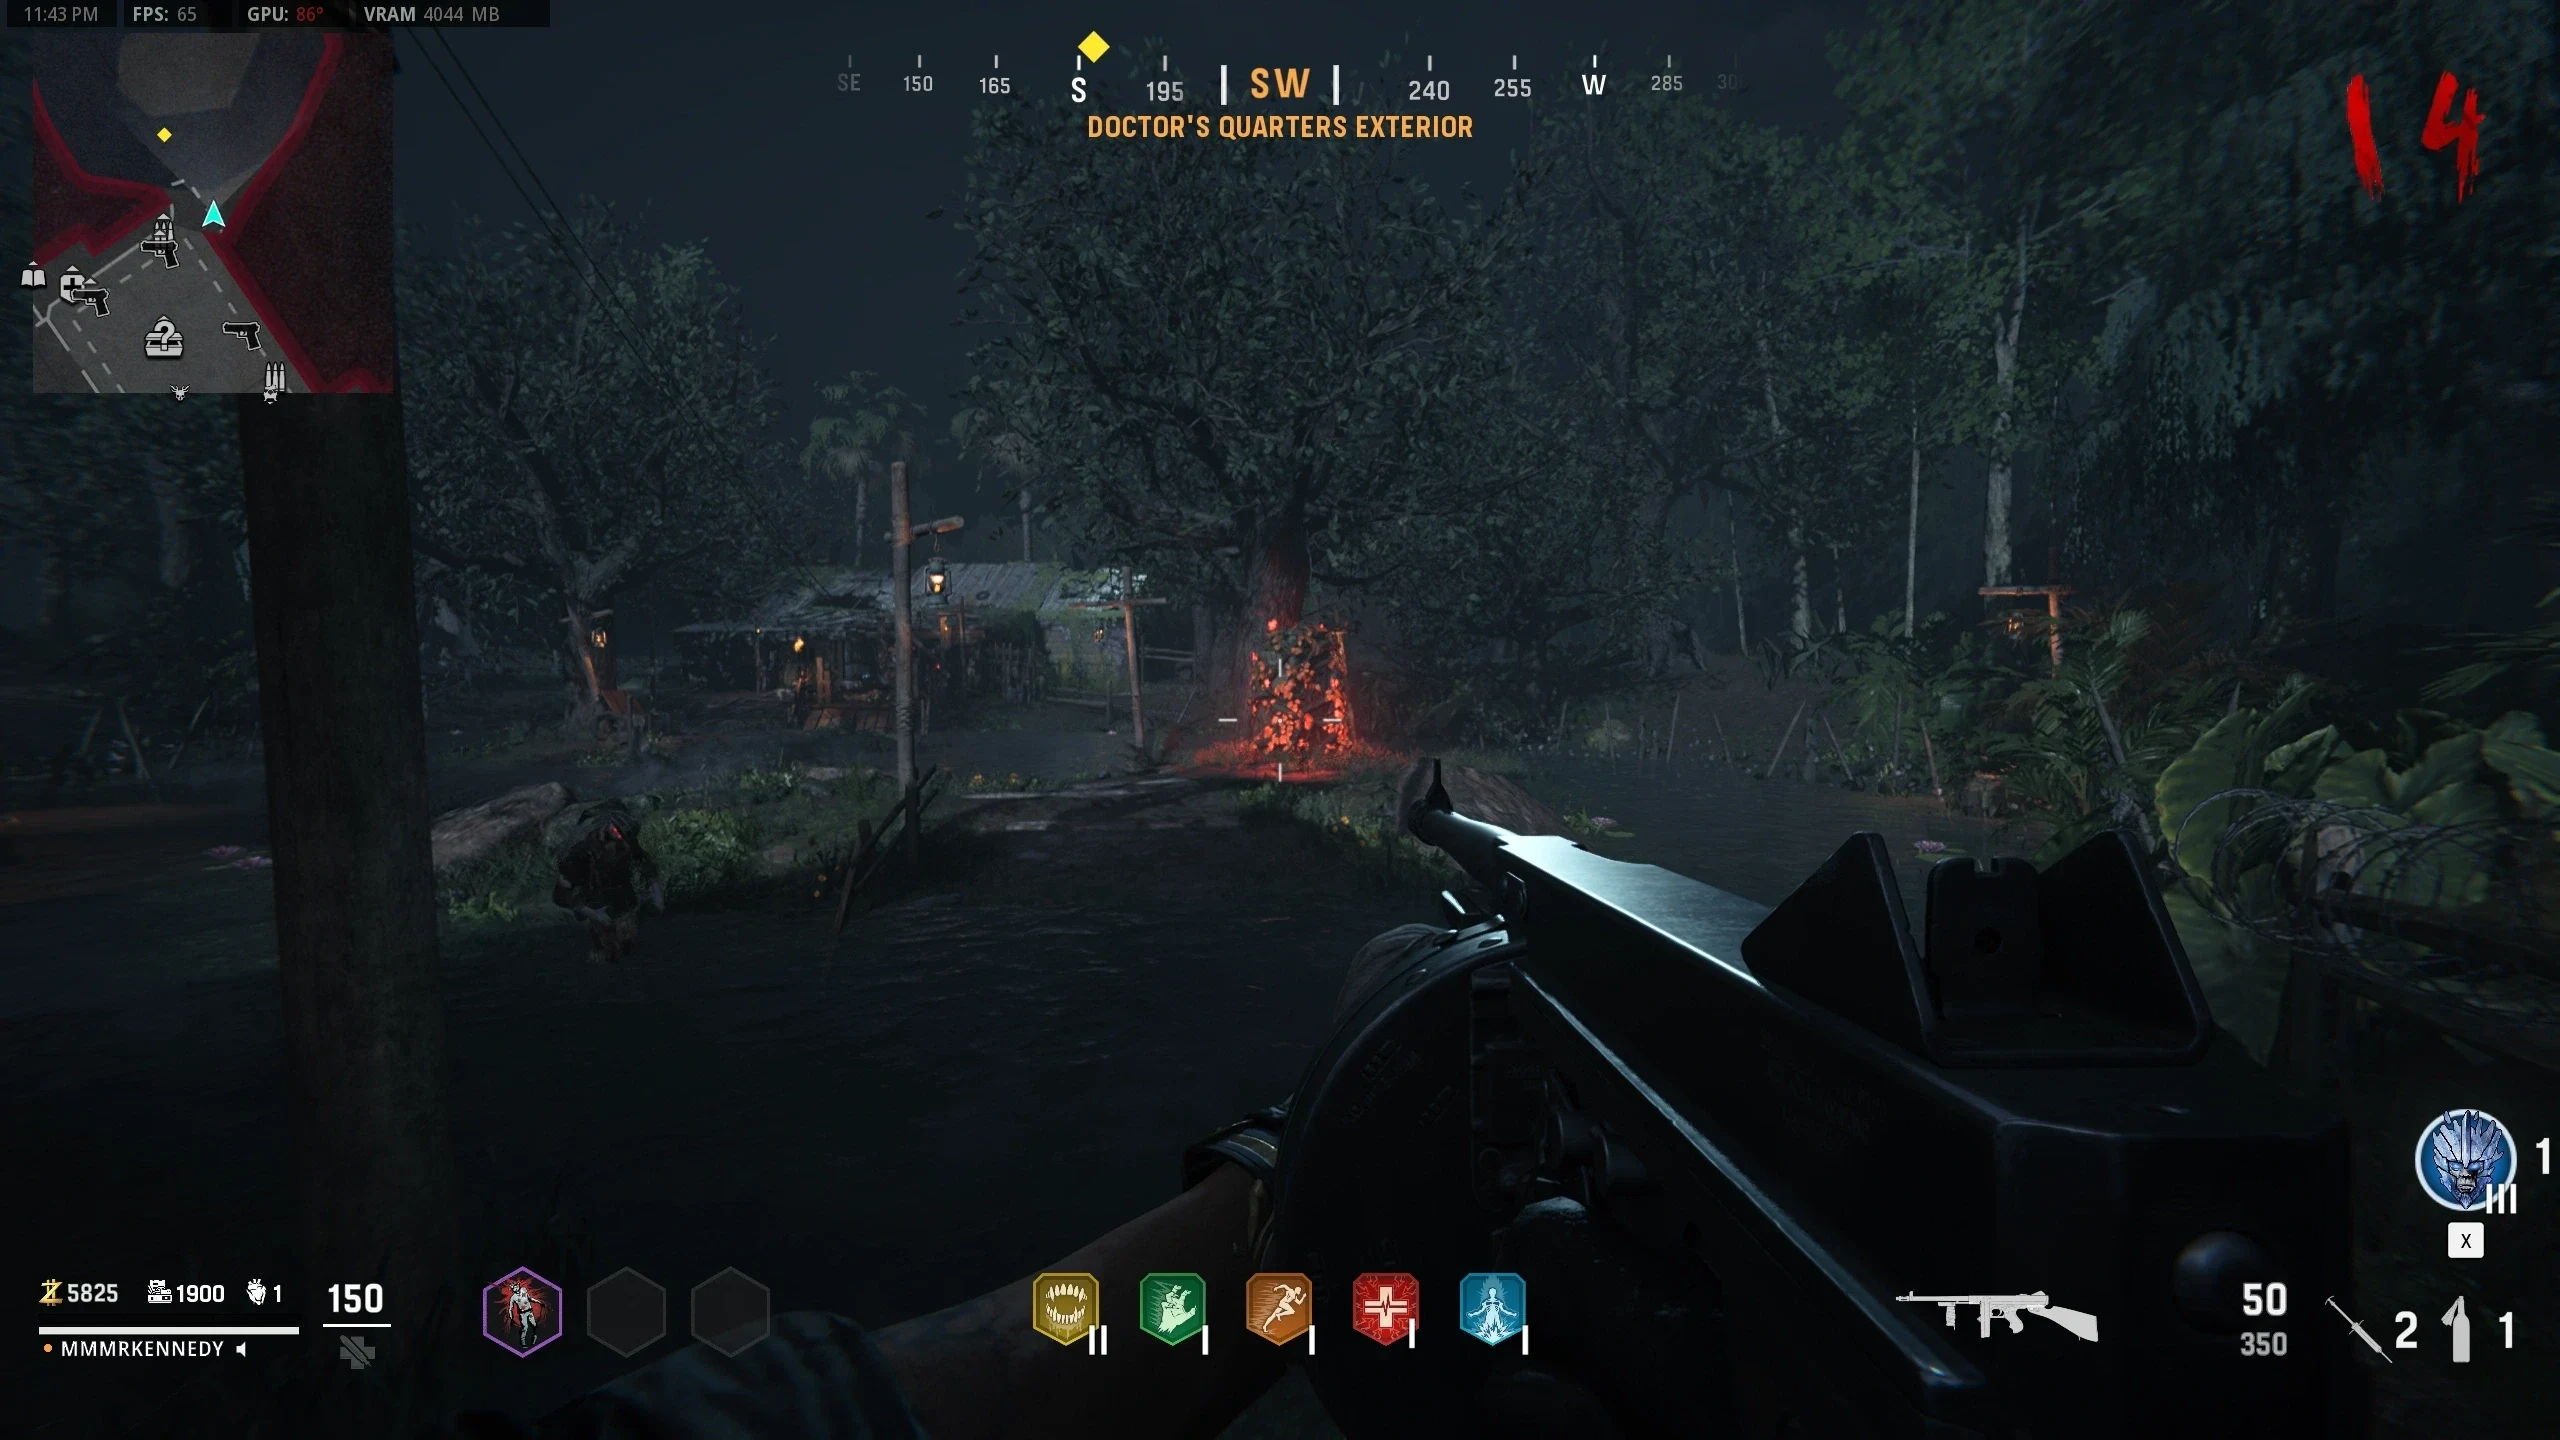
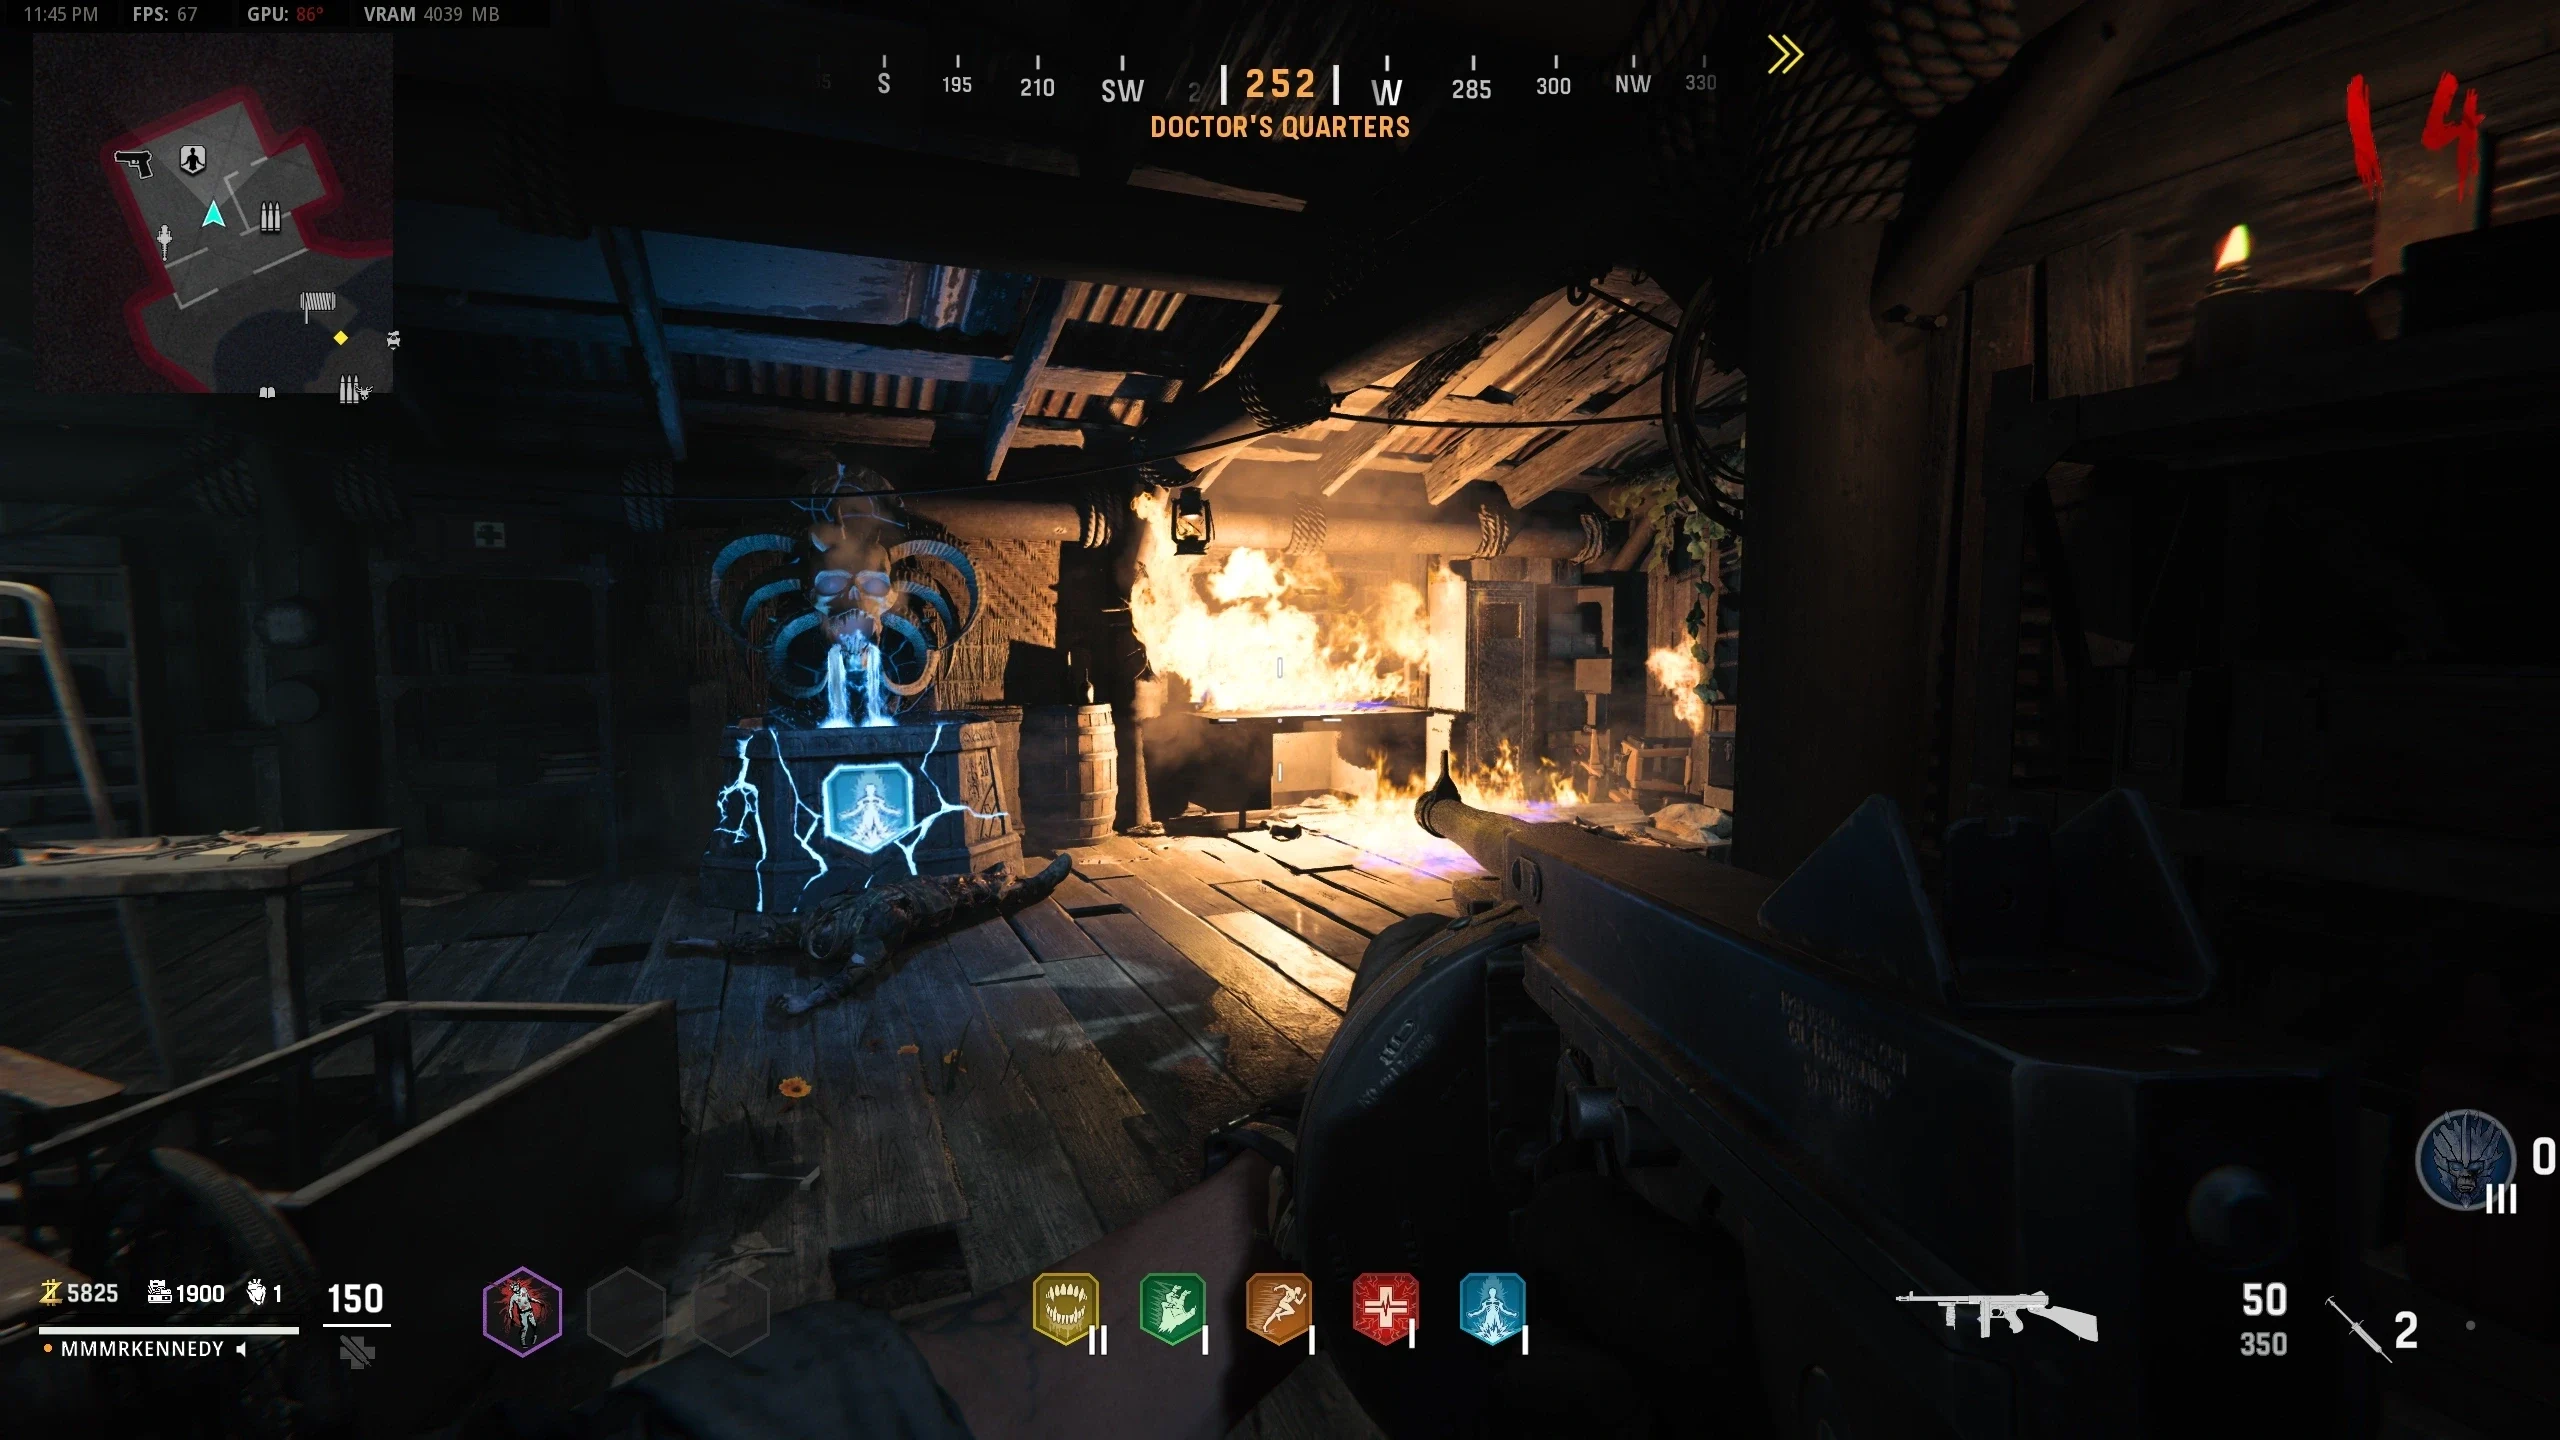
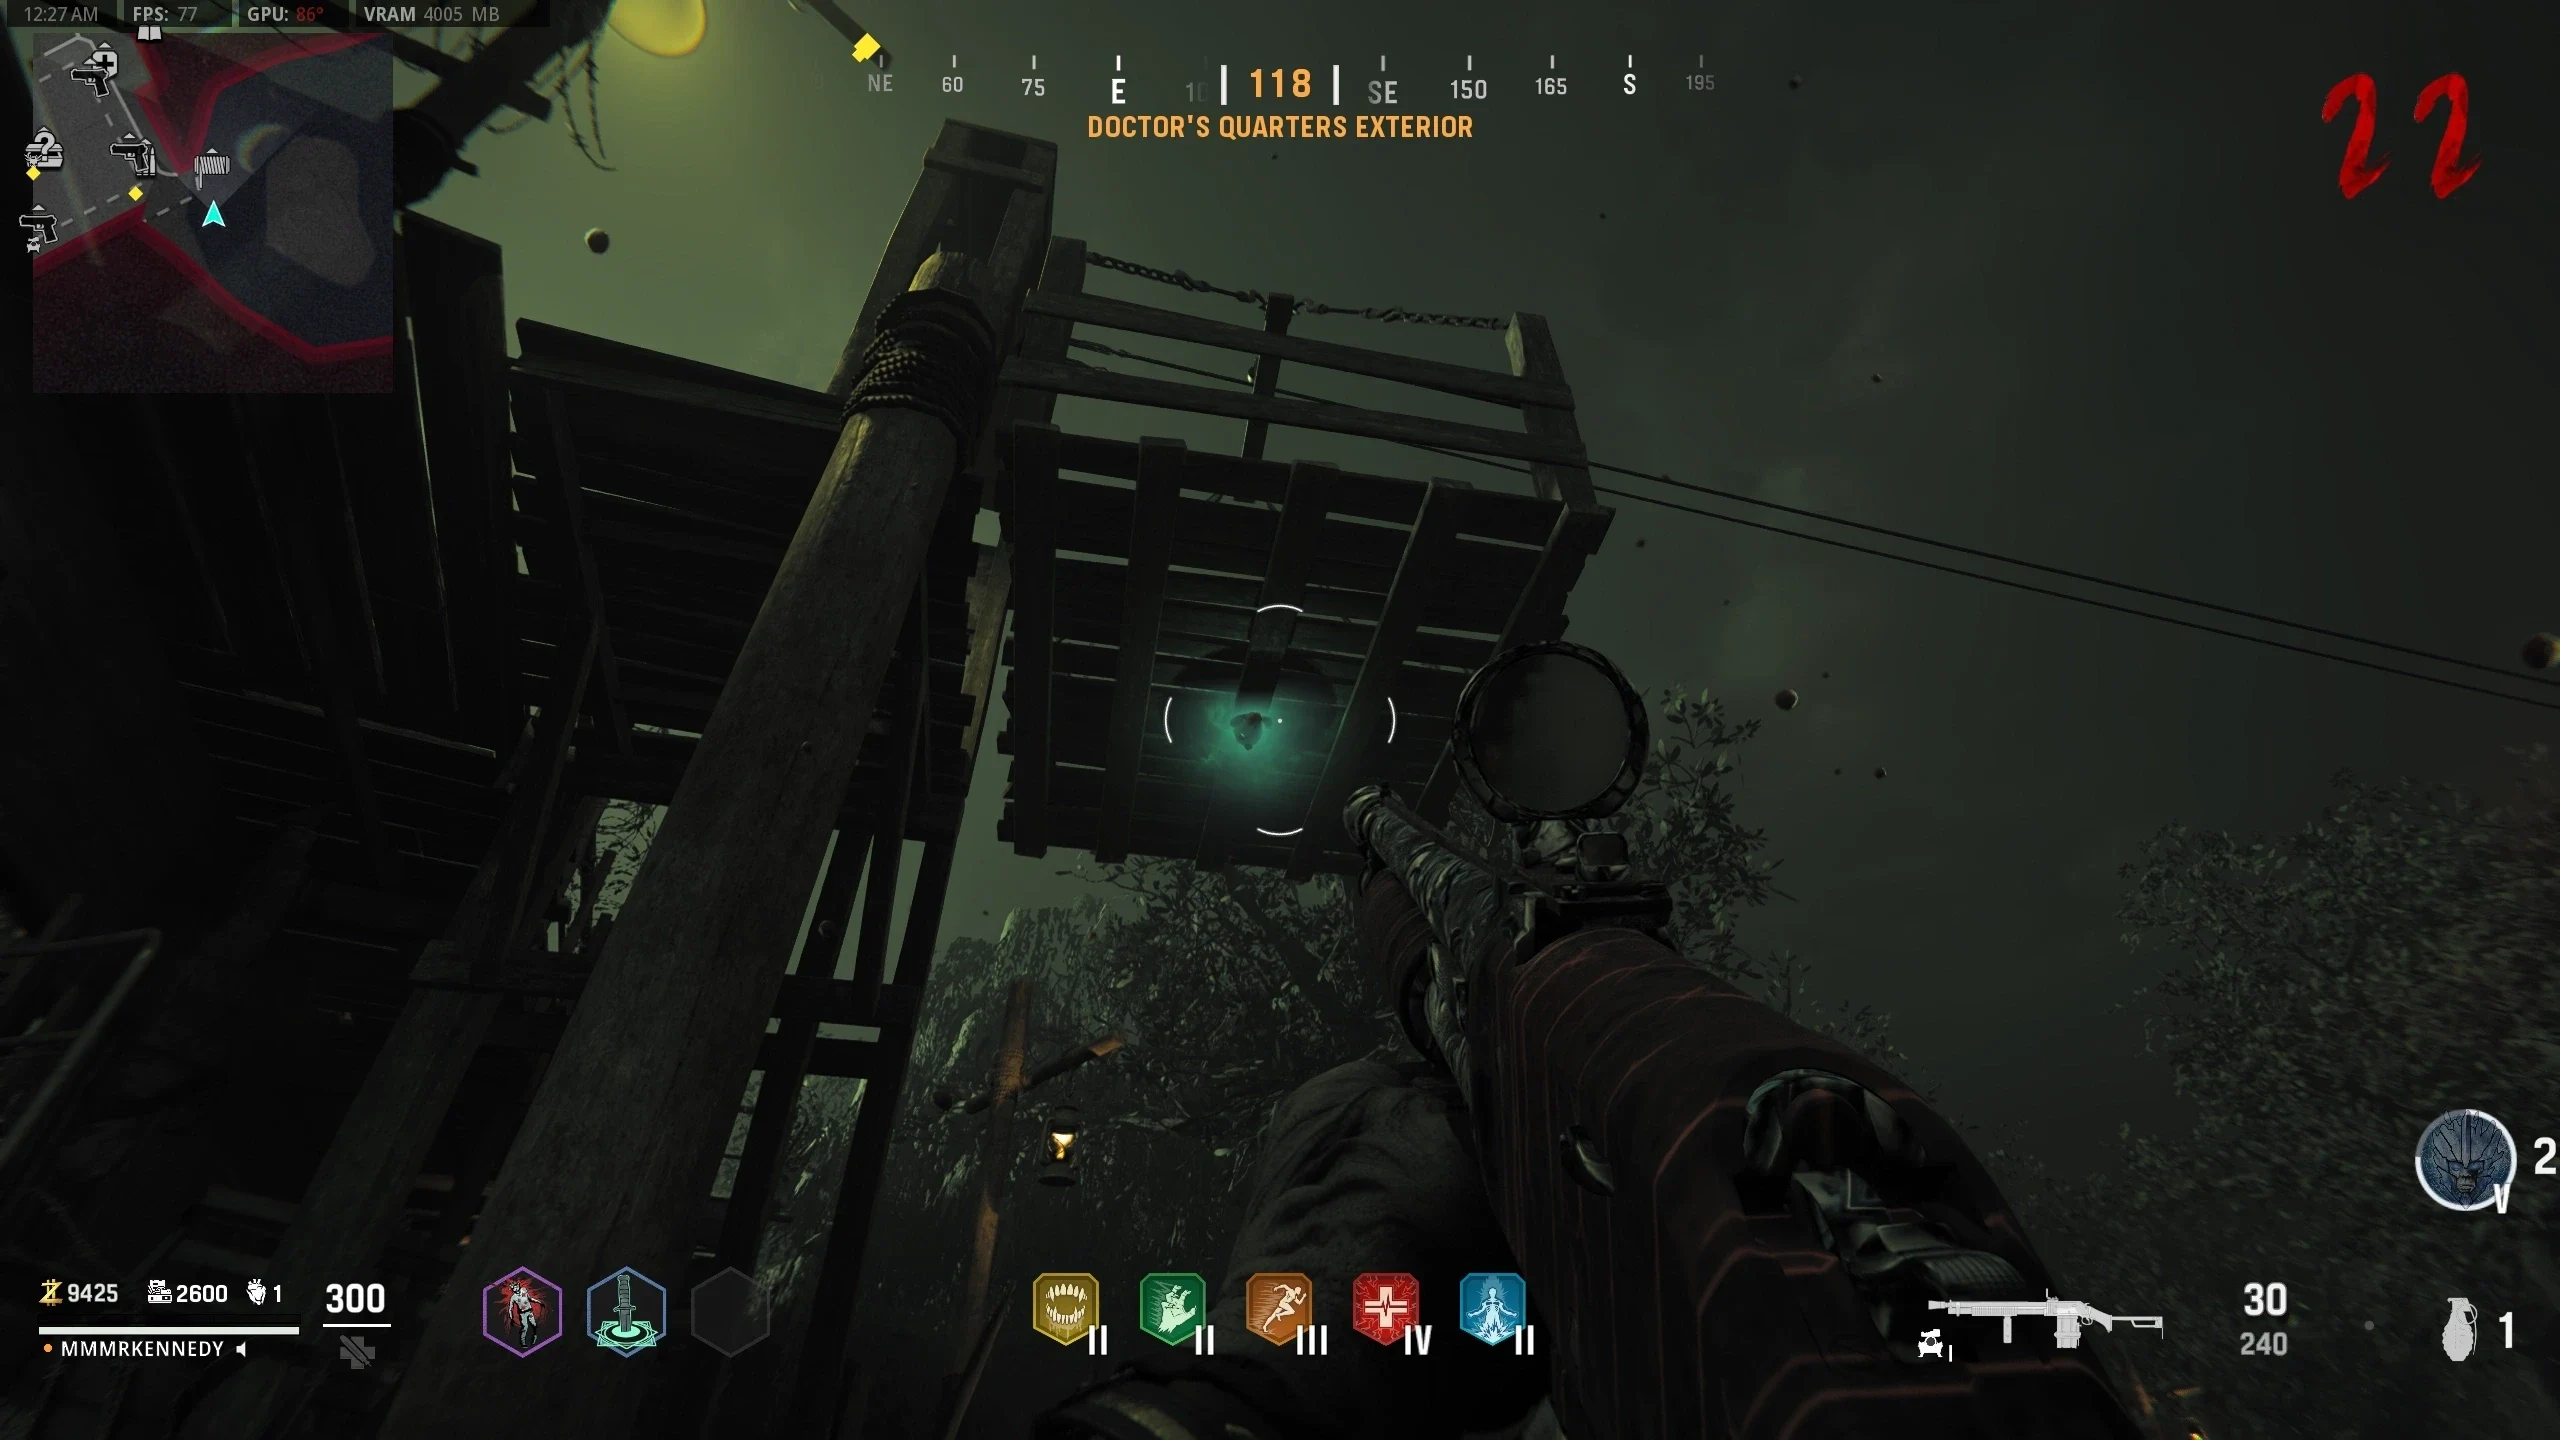
- Navigate to 'Doctor's Quarter's Exterior' to find the Monolith covered in vines.
- Explode three Boom Schreiers next to the Monolith to clear the vines.
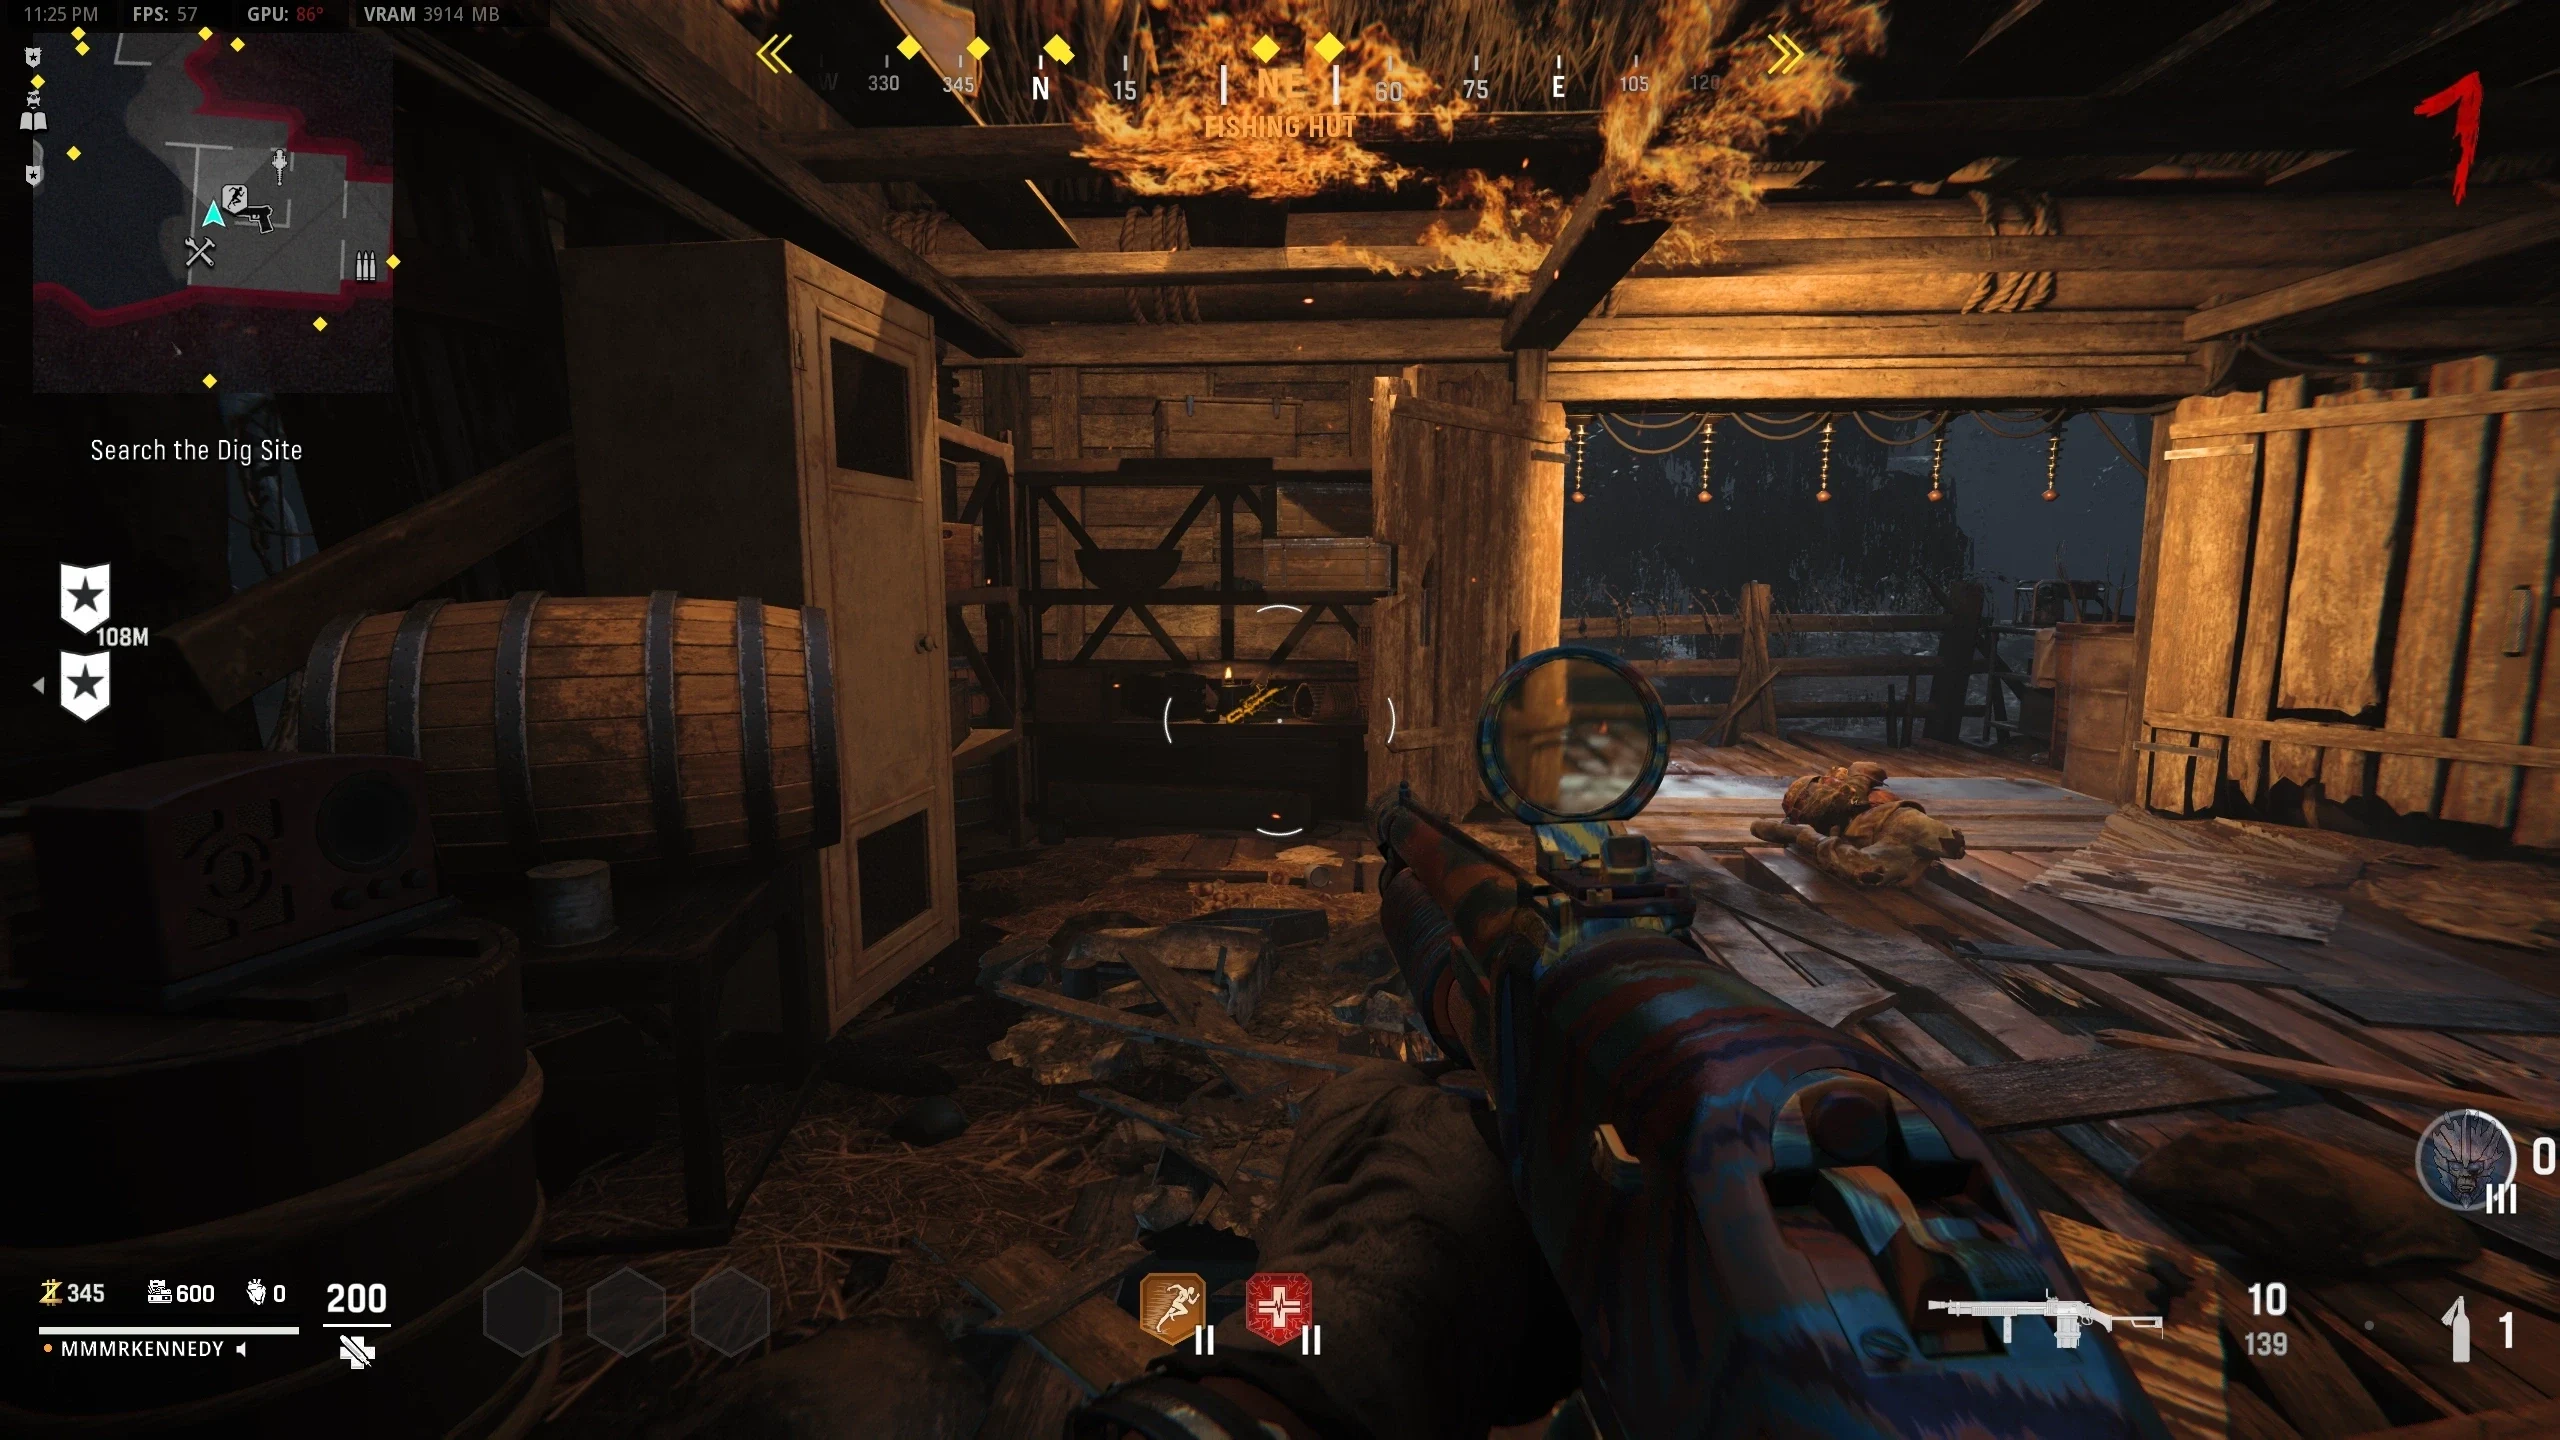
- Collect three Cypher Wheel parts:
- Interact with the Monolith to place the Cypher Wheels on it.
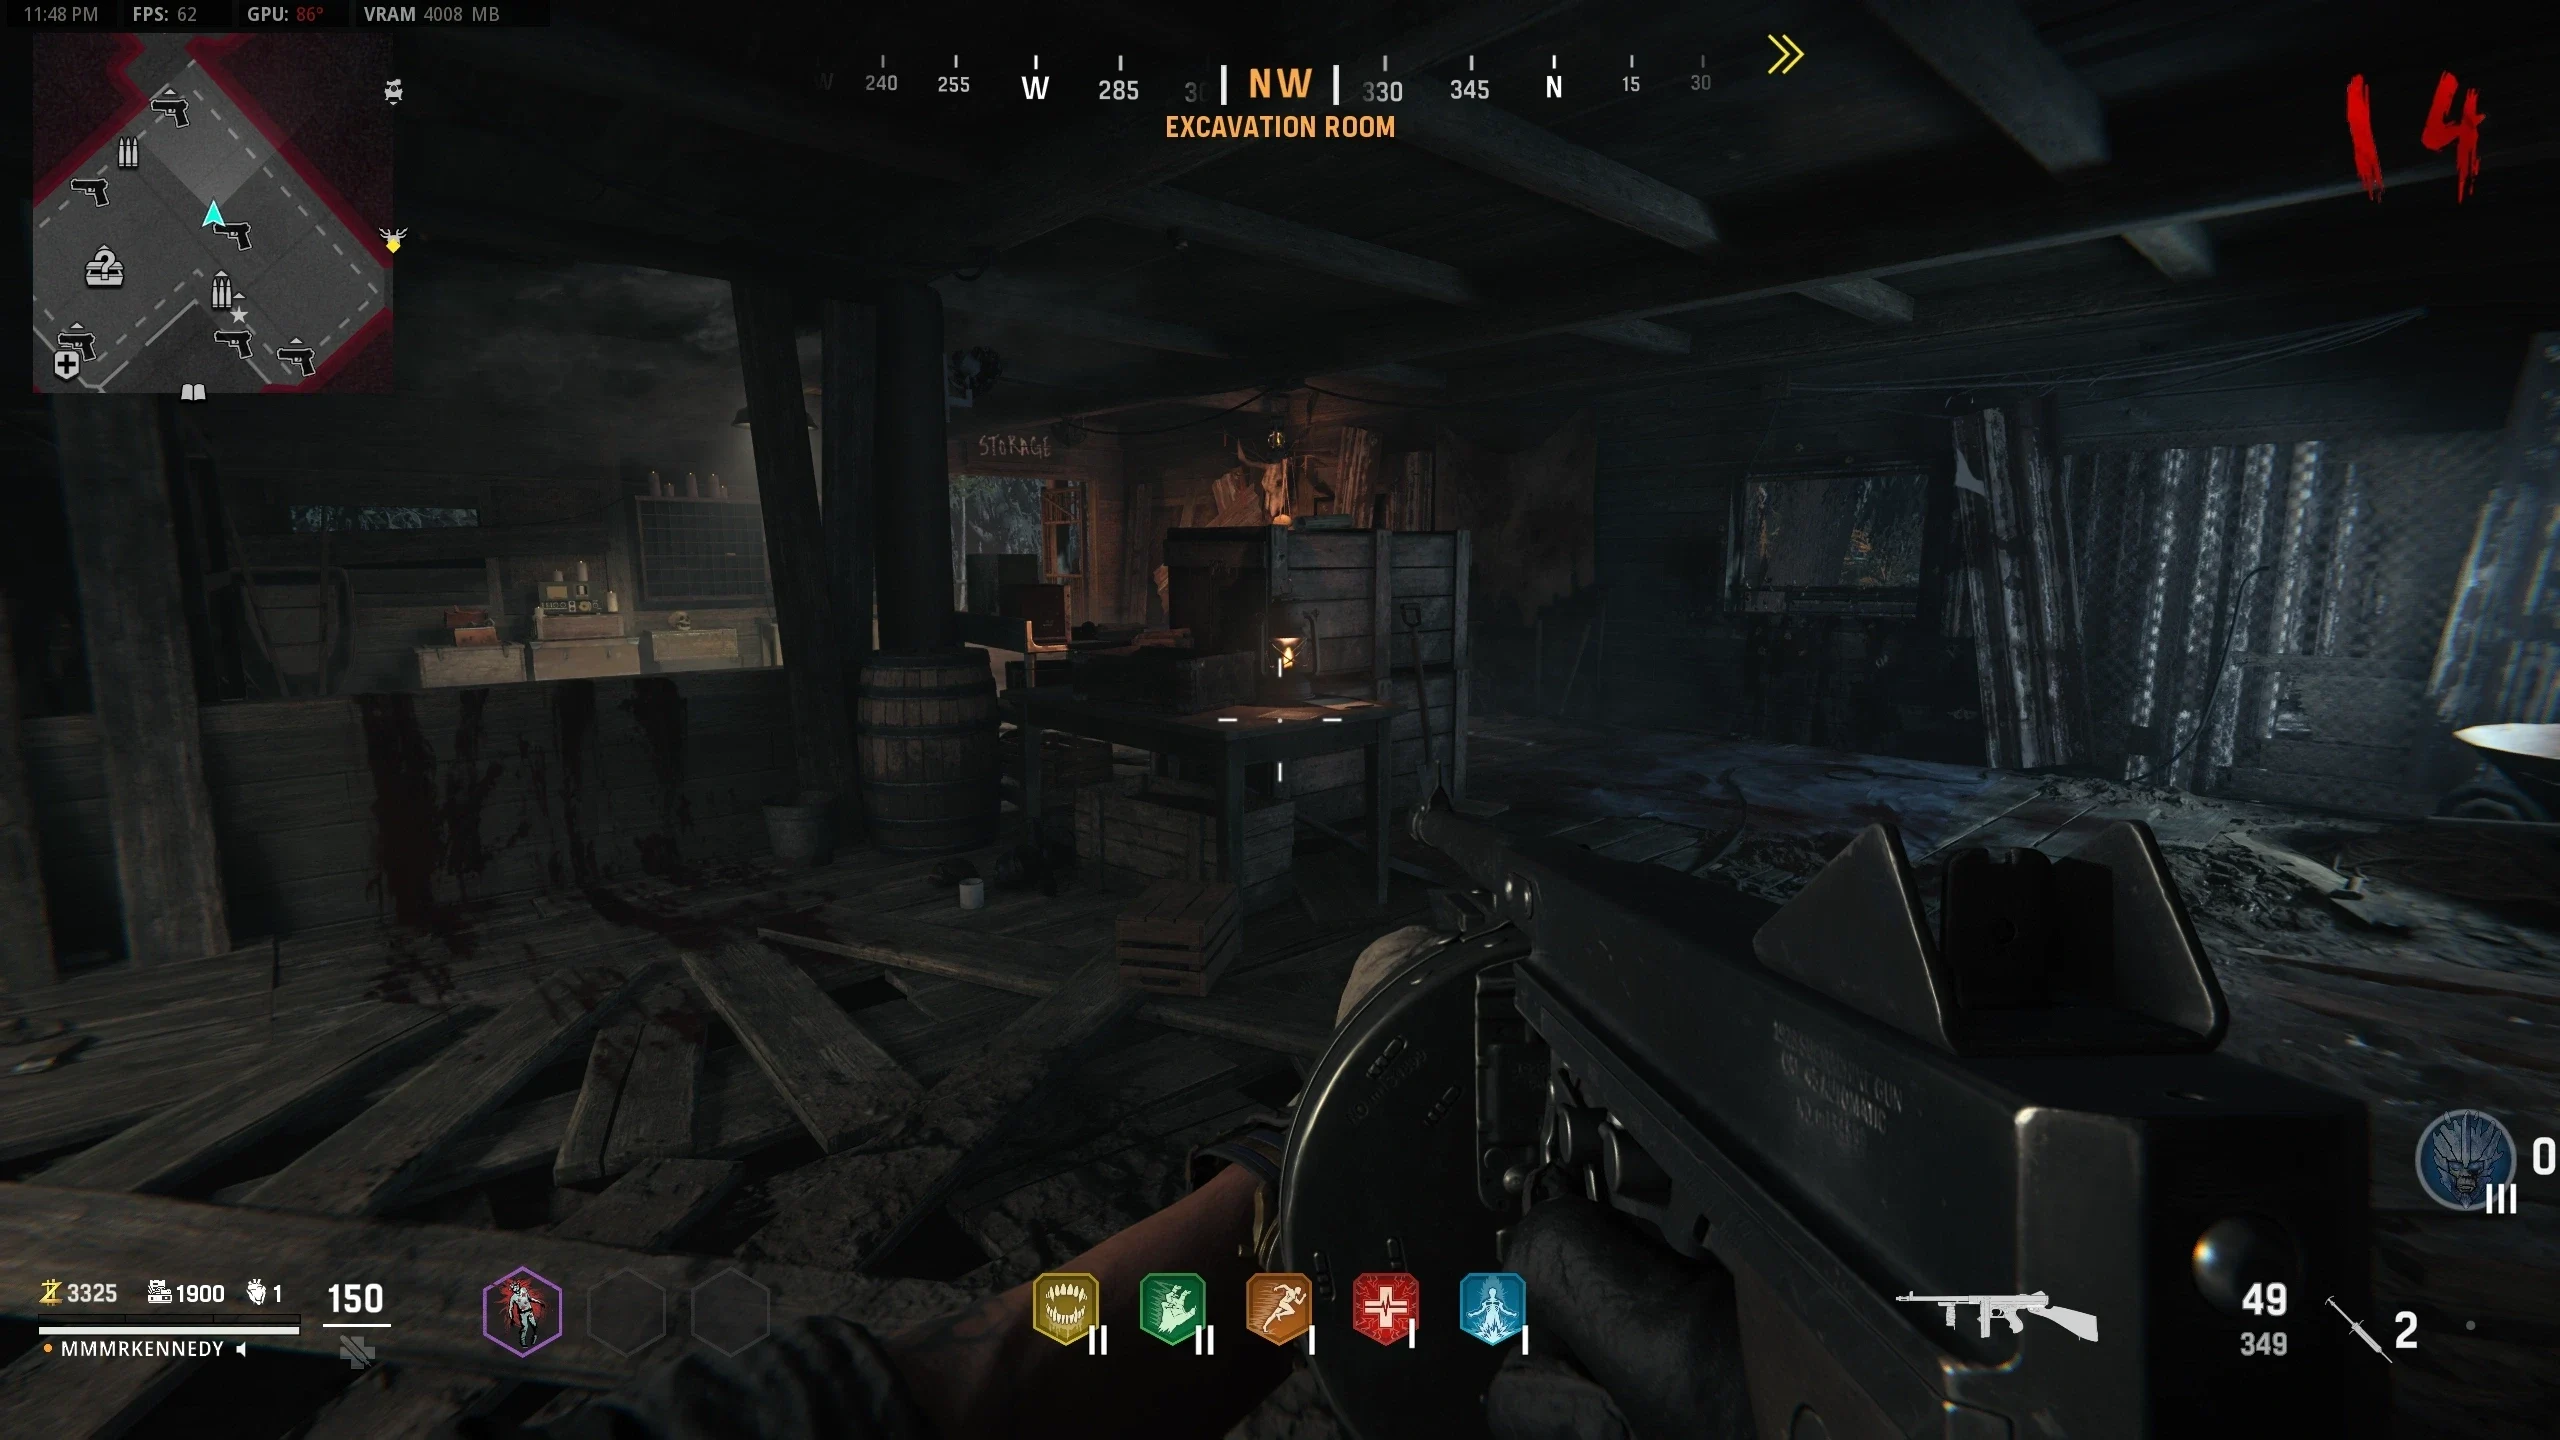
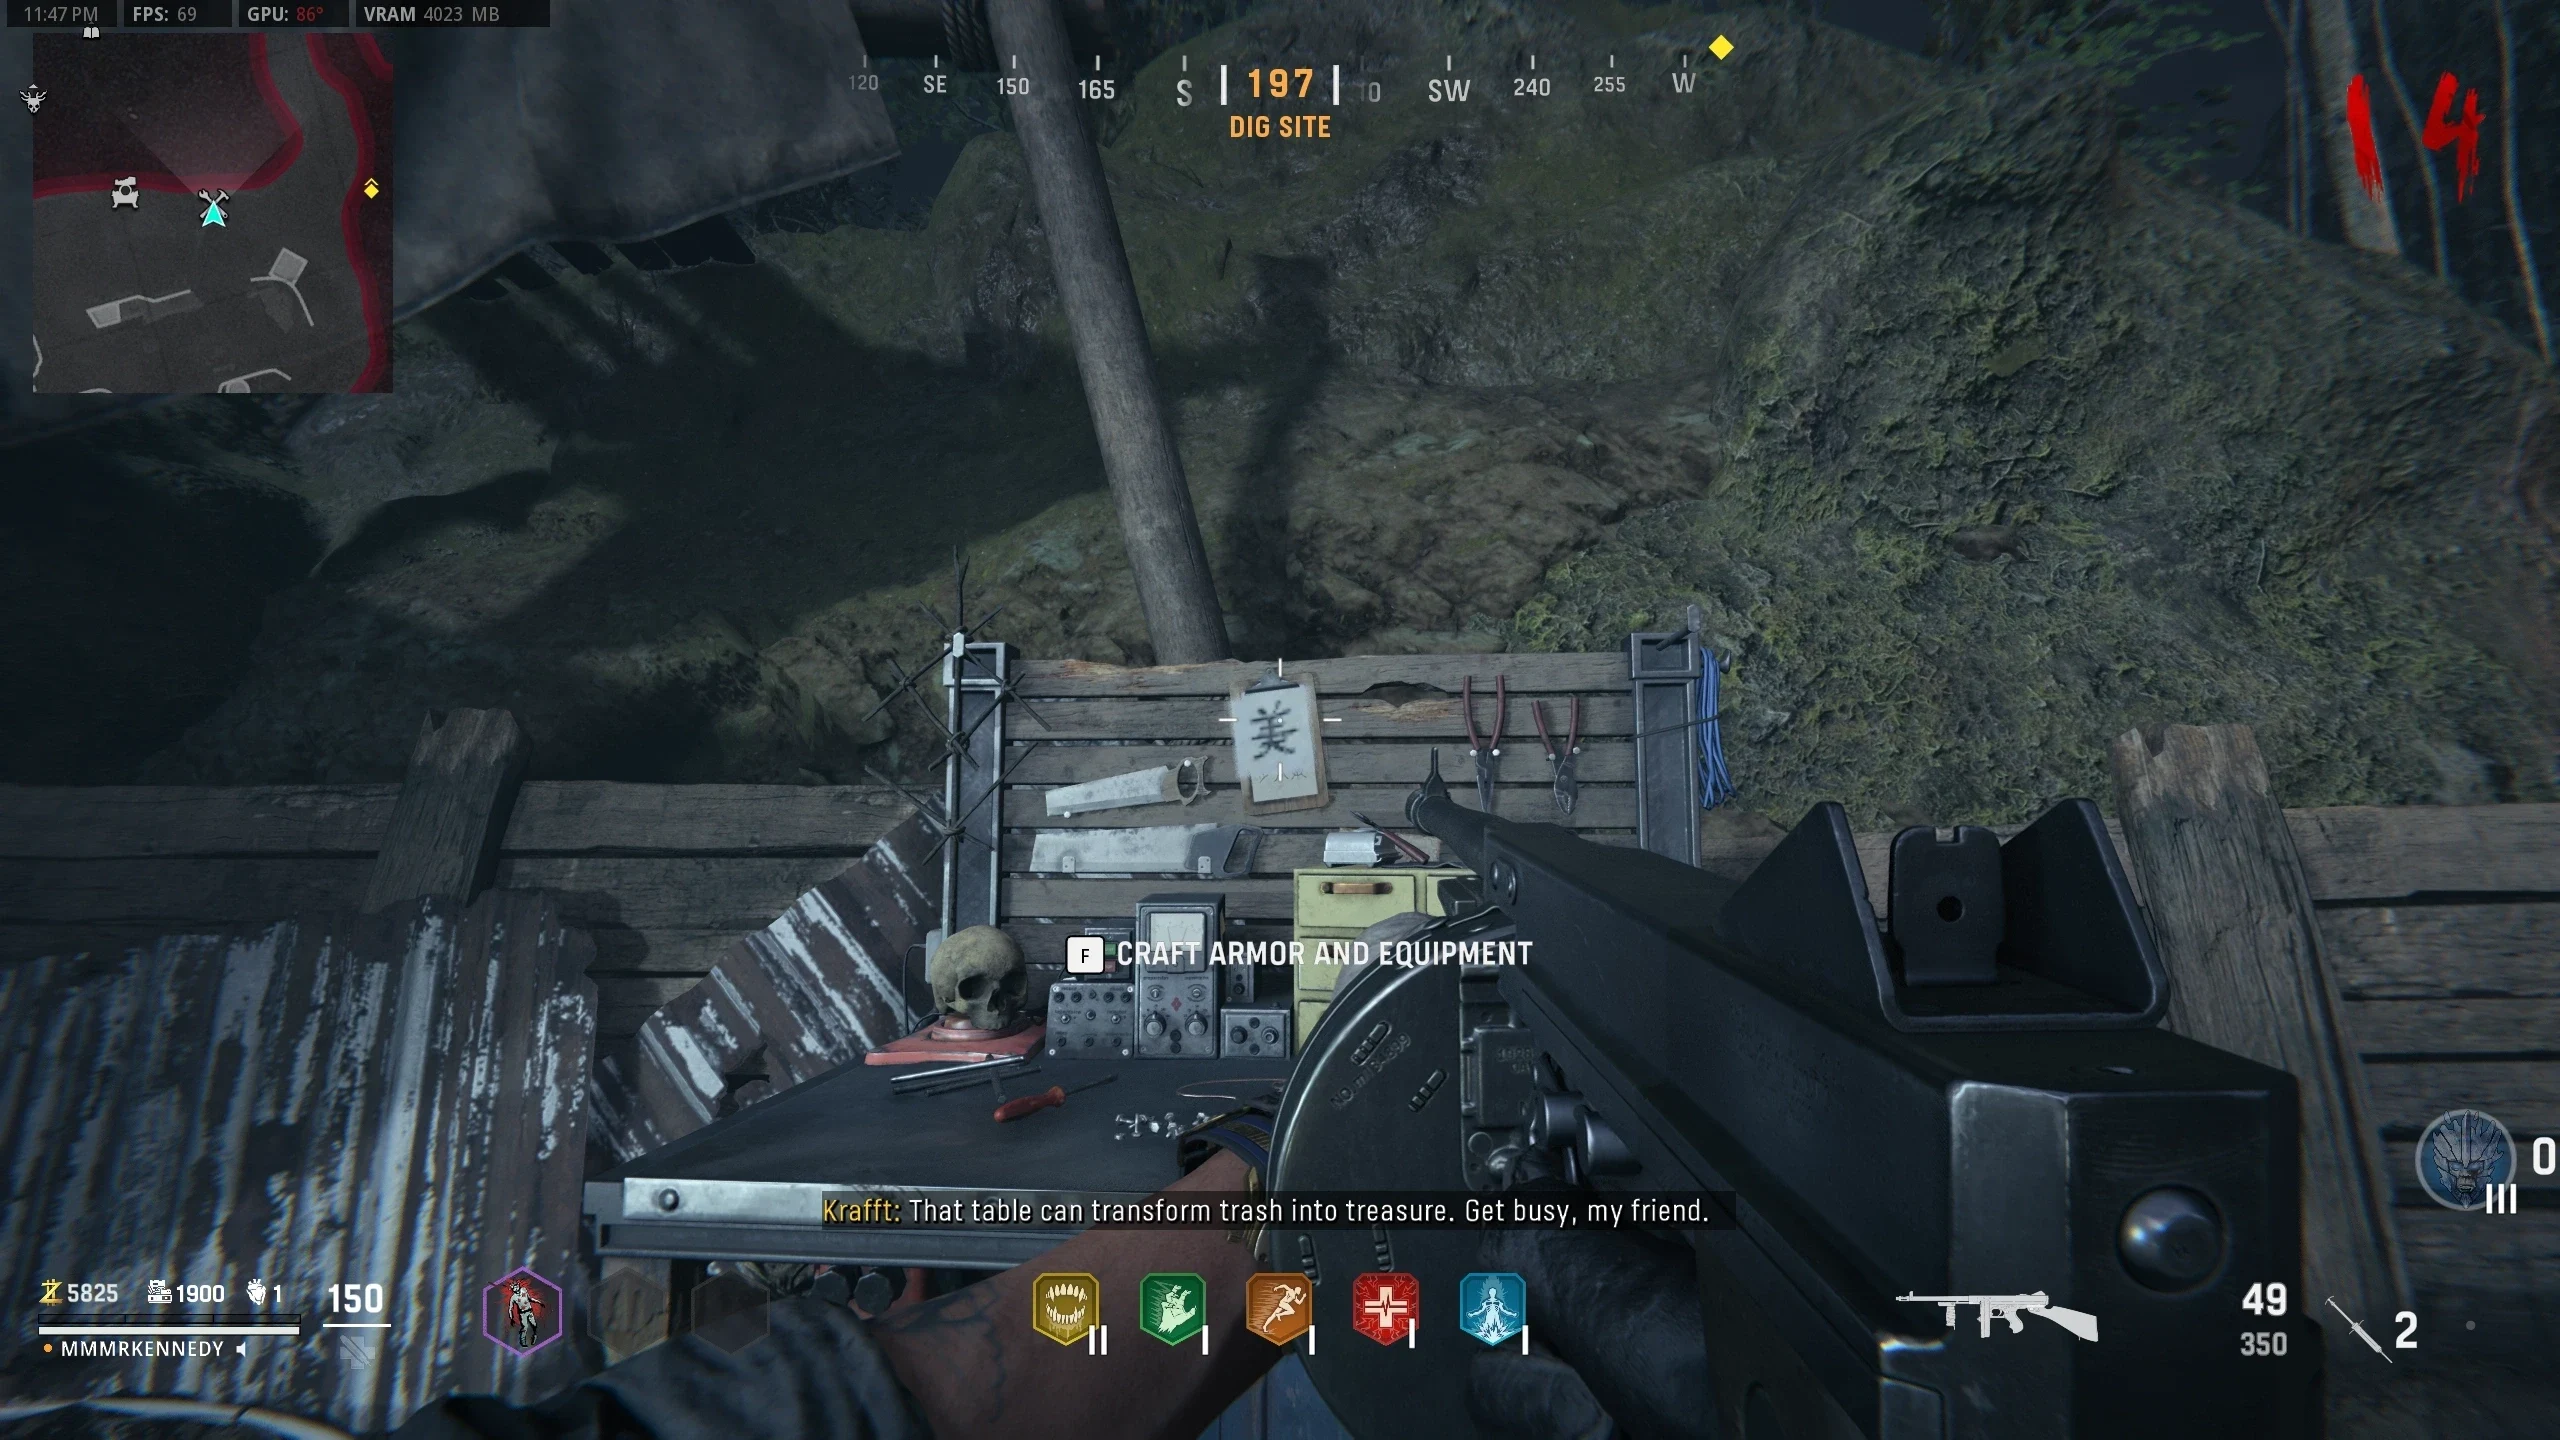
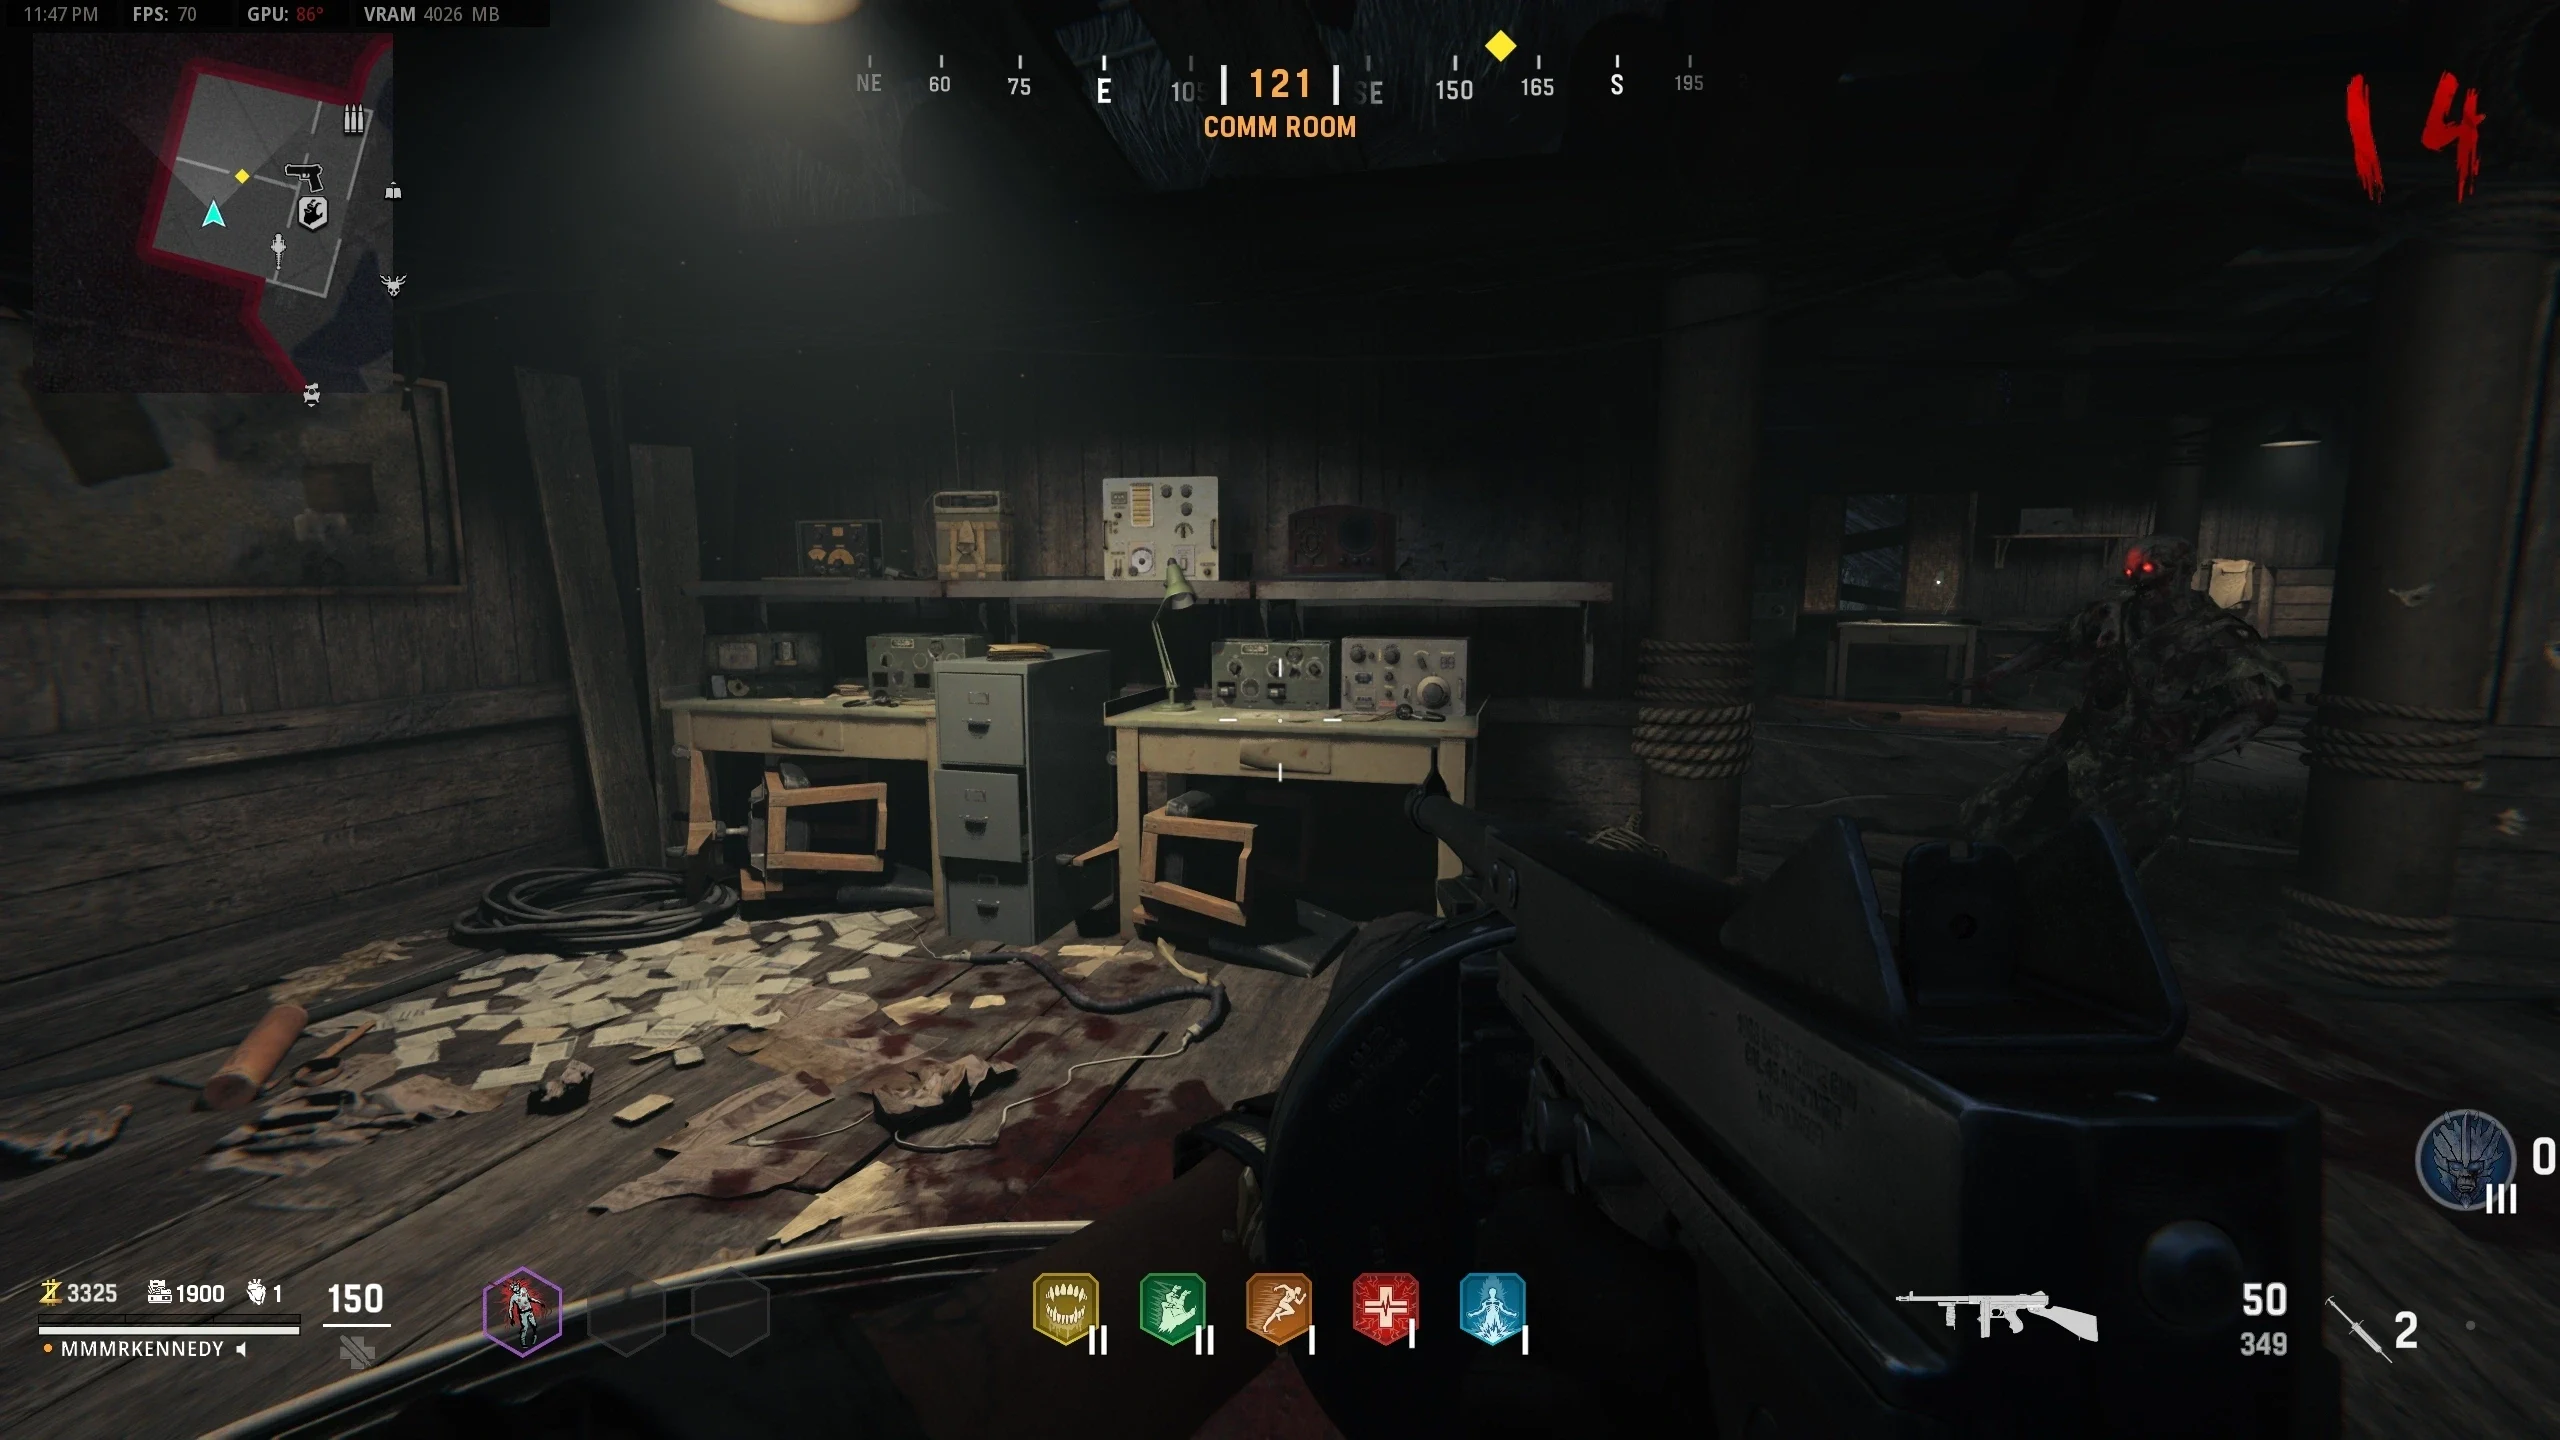
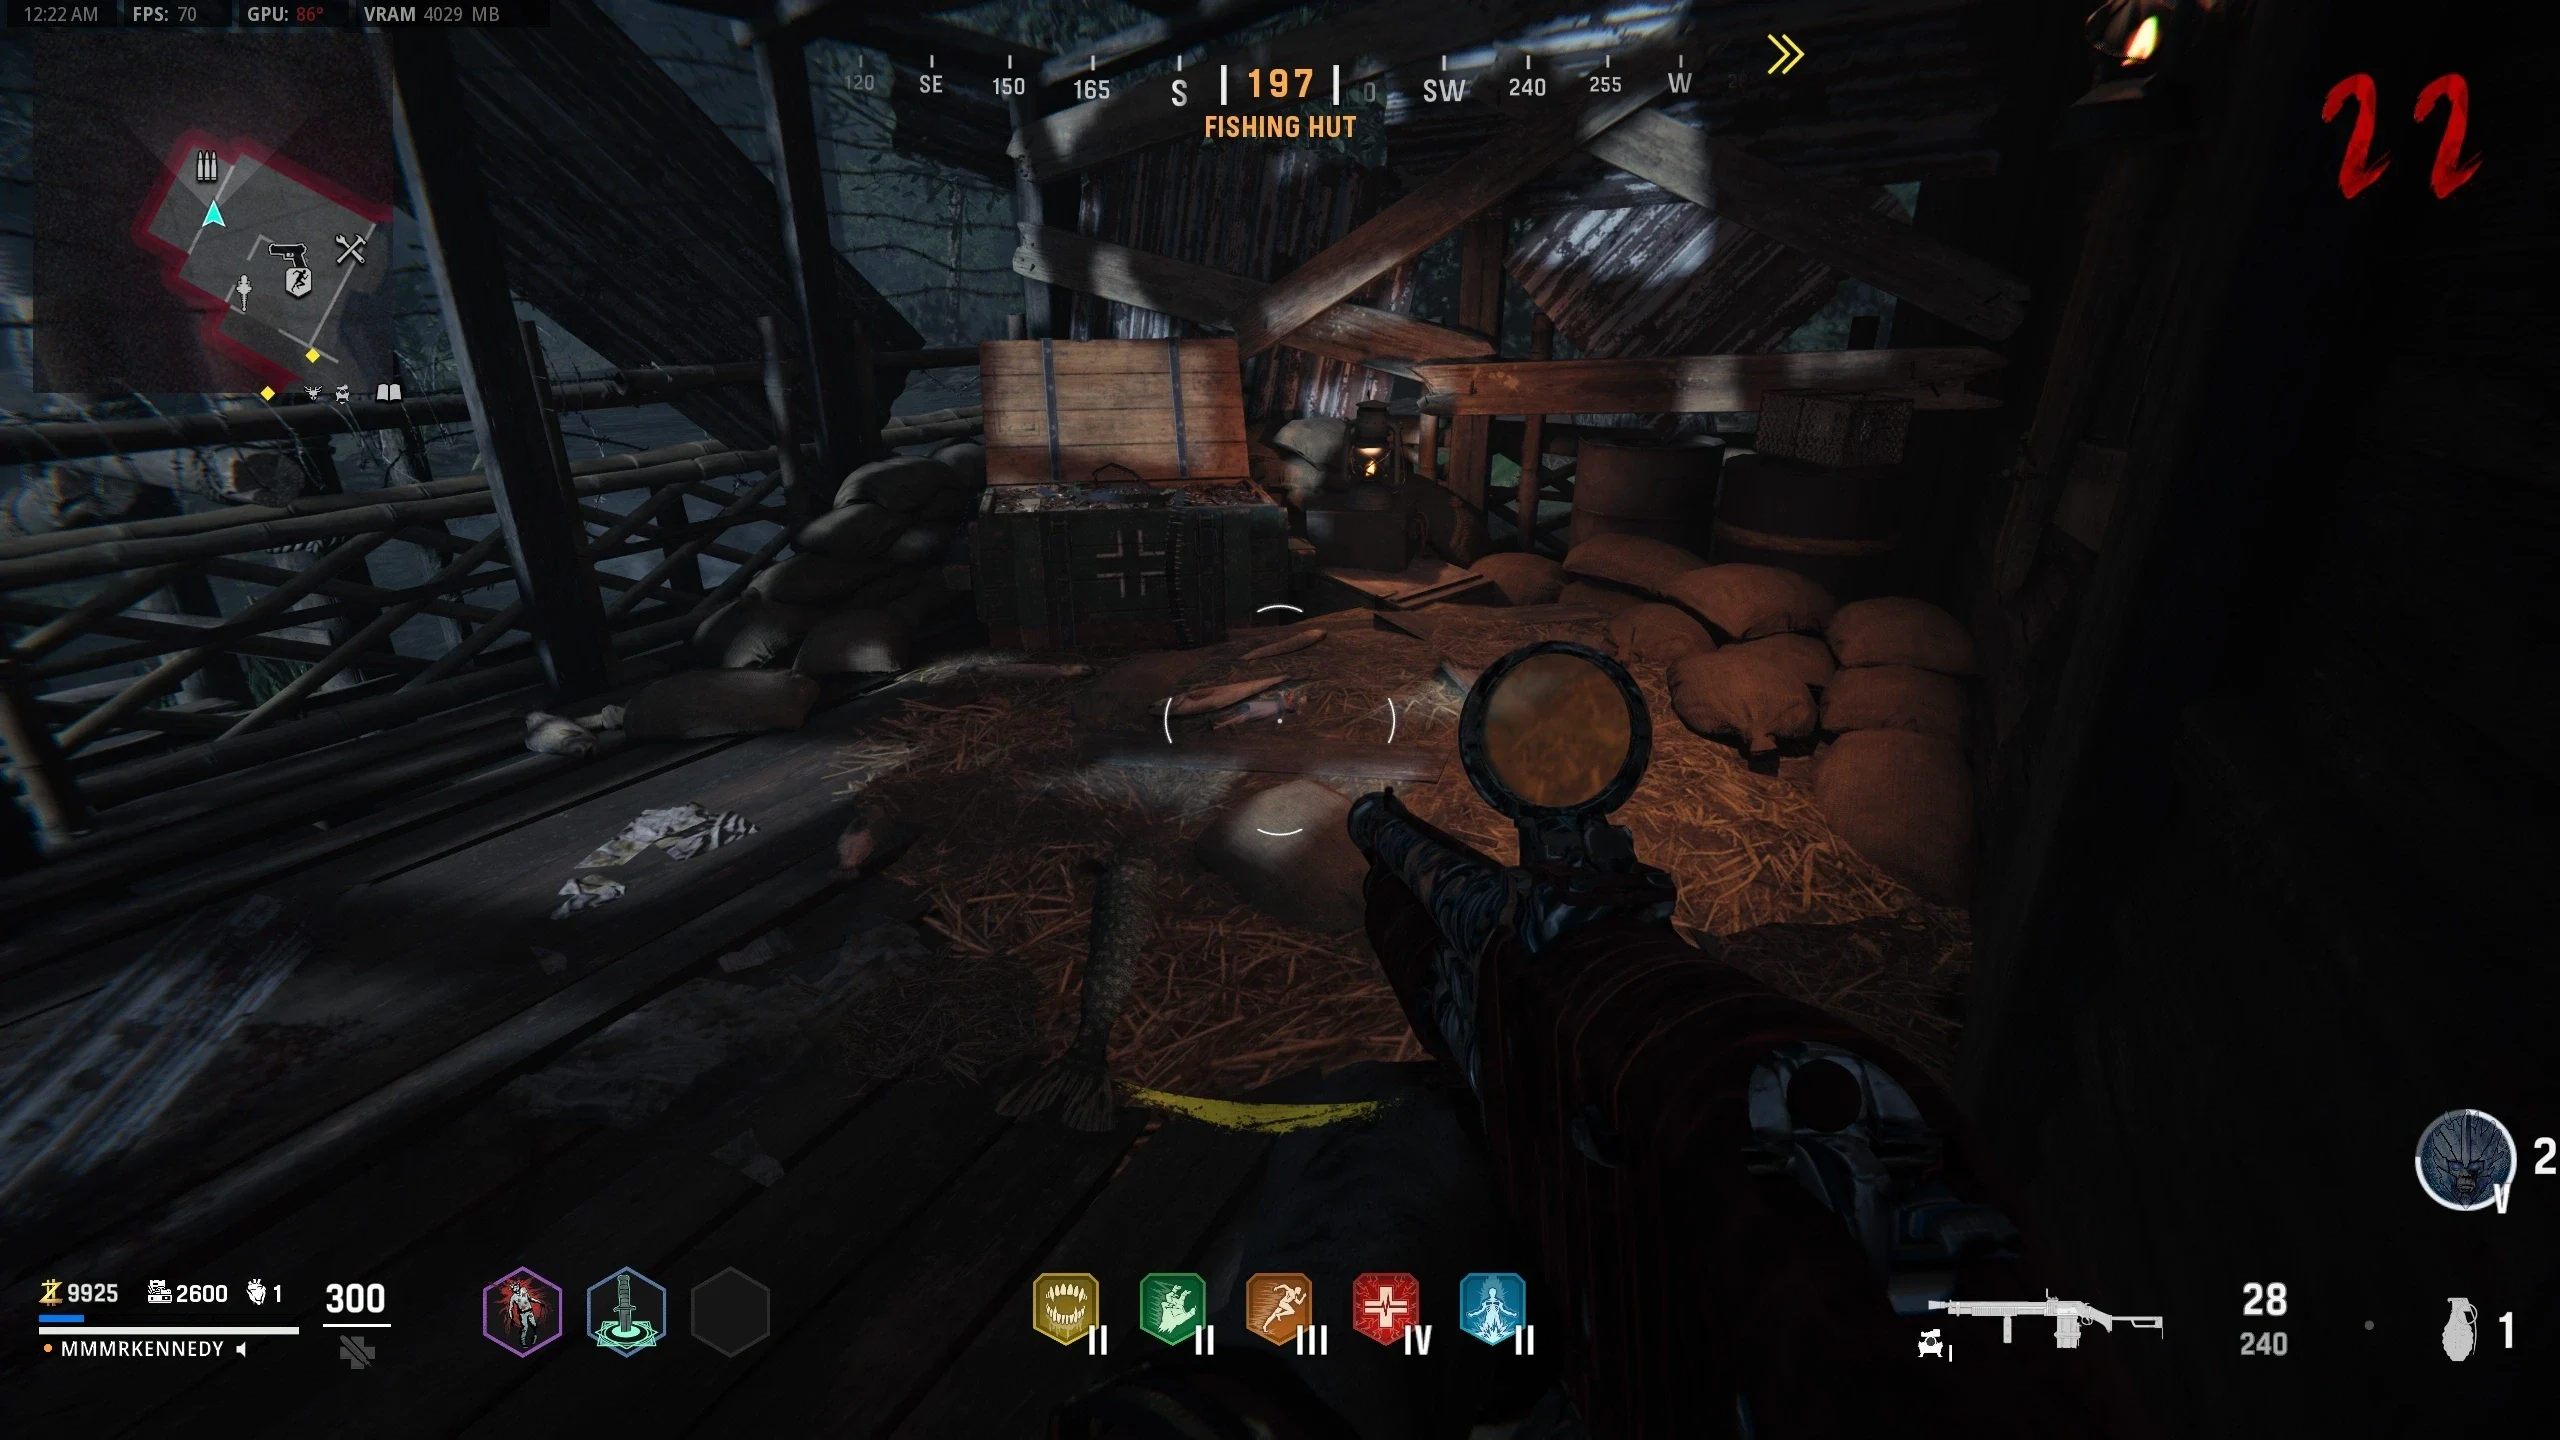
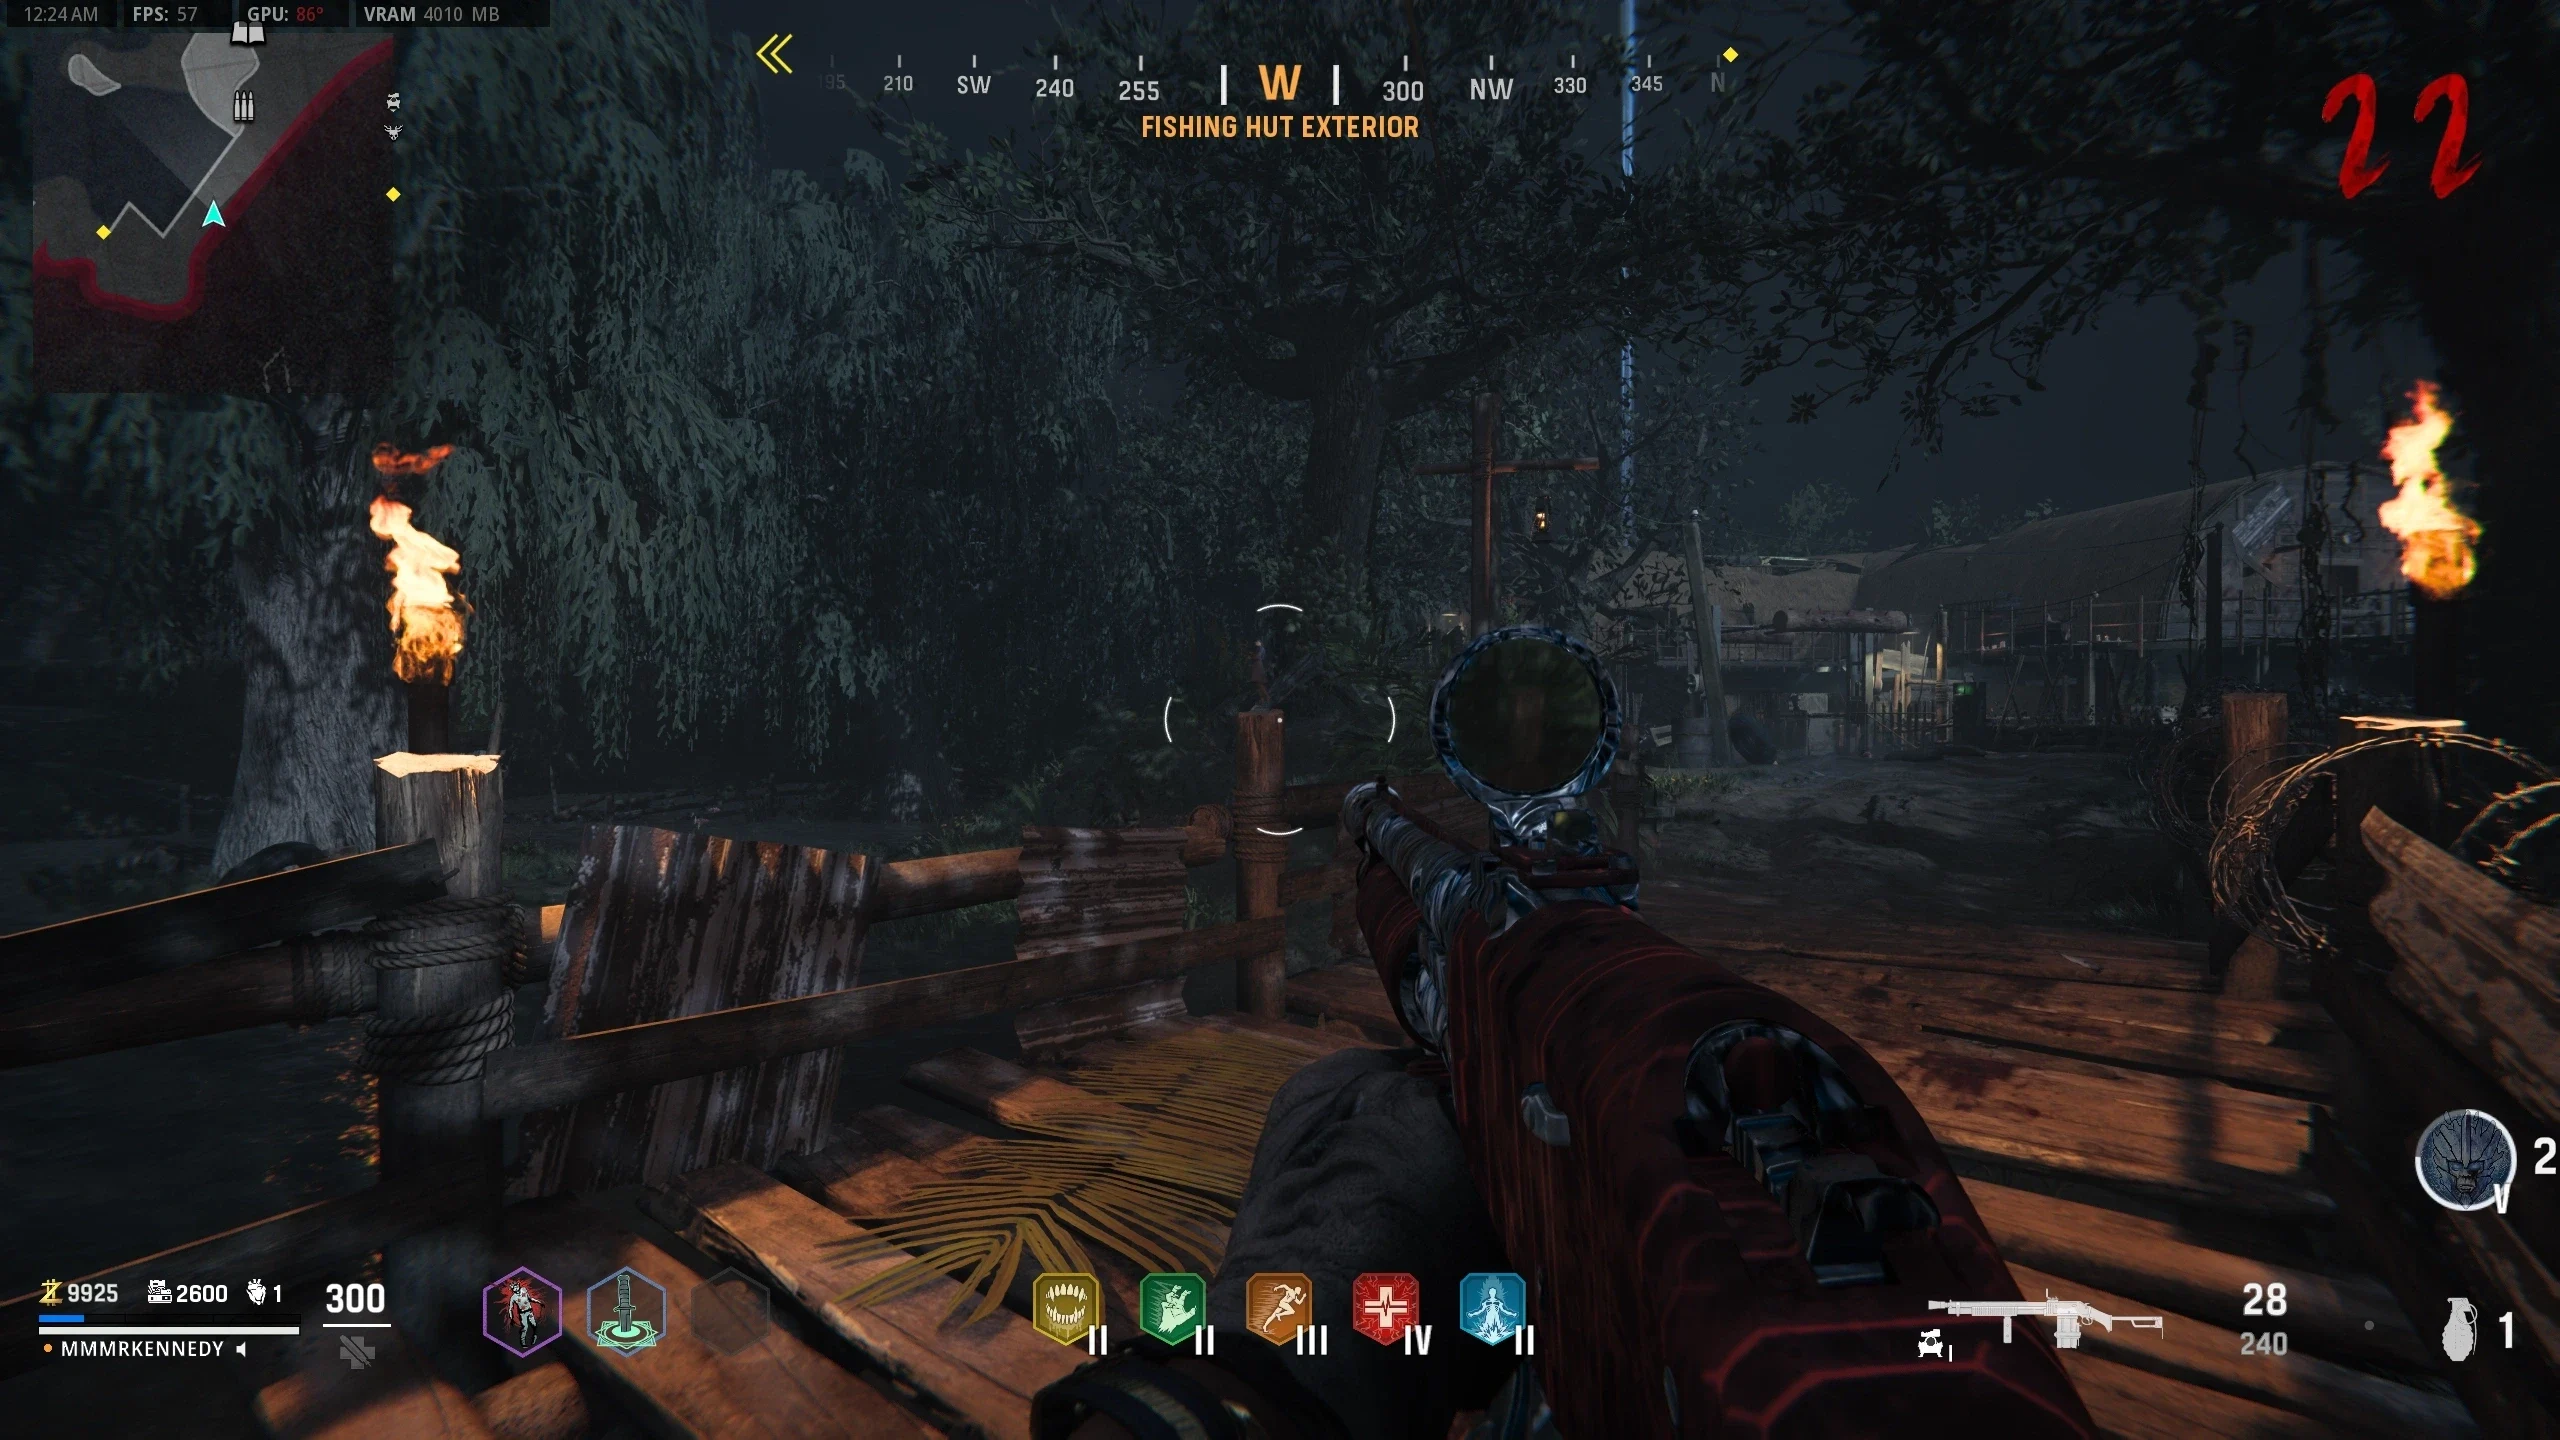
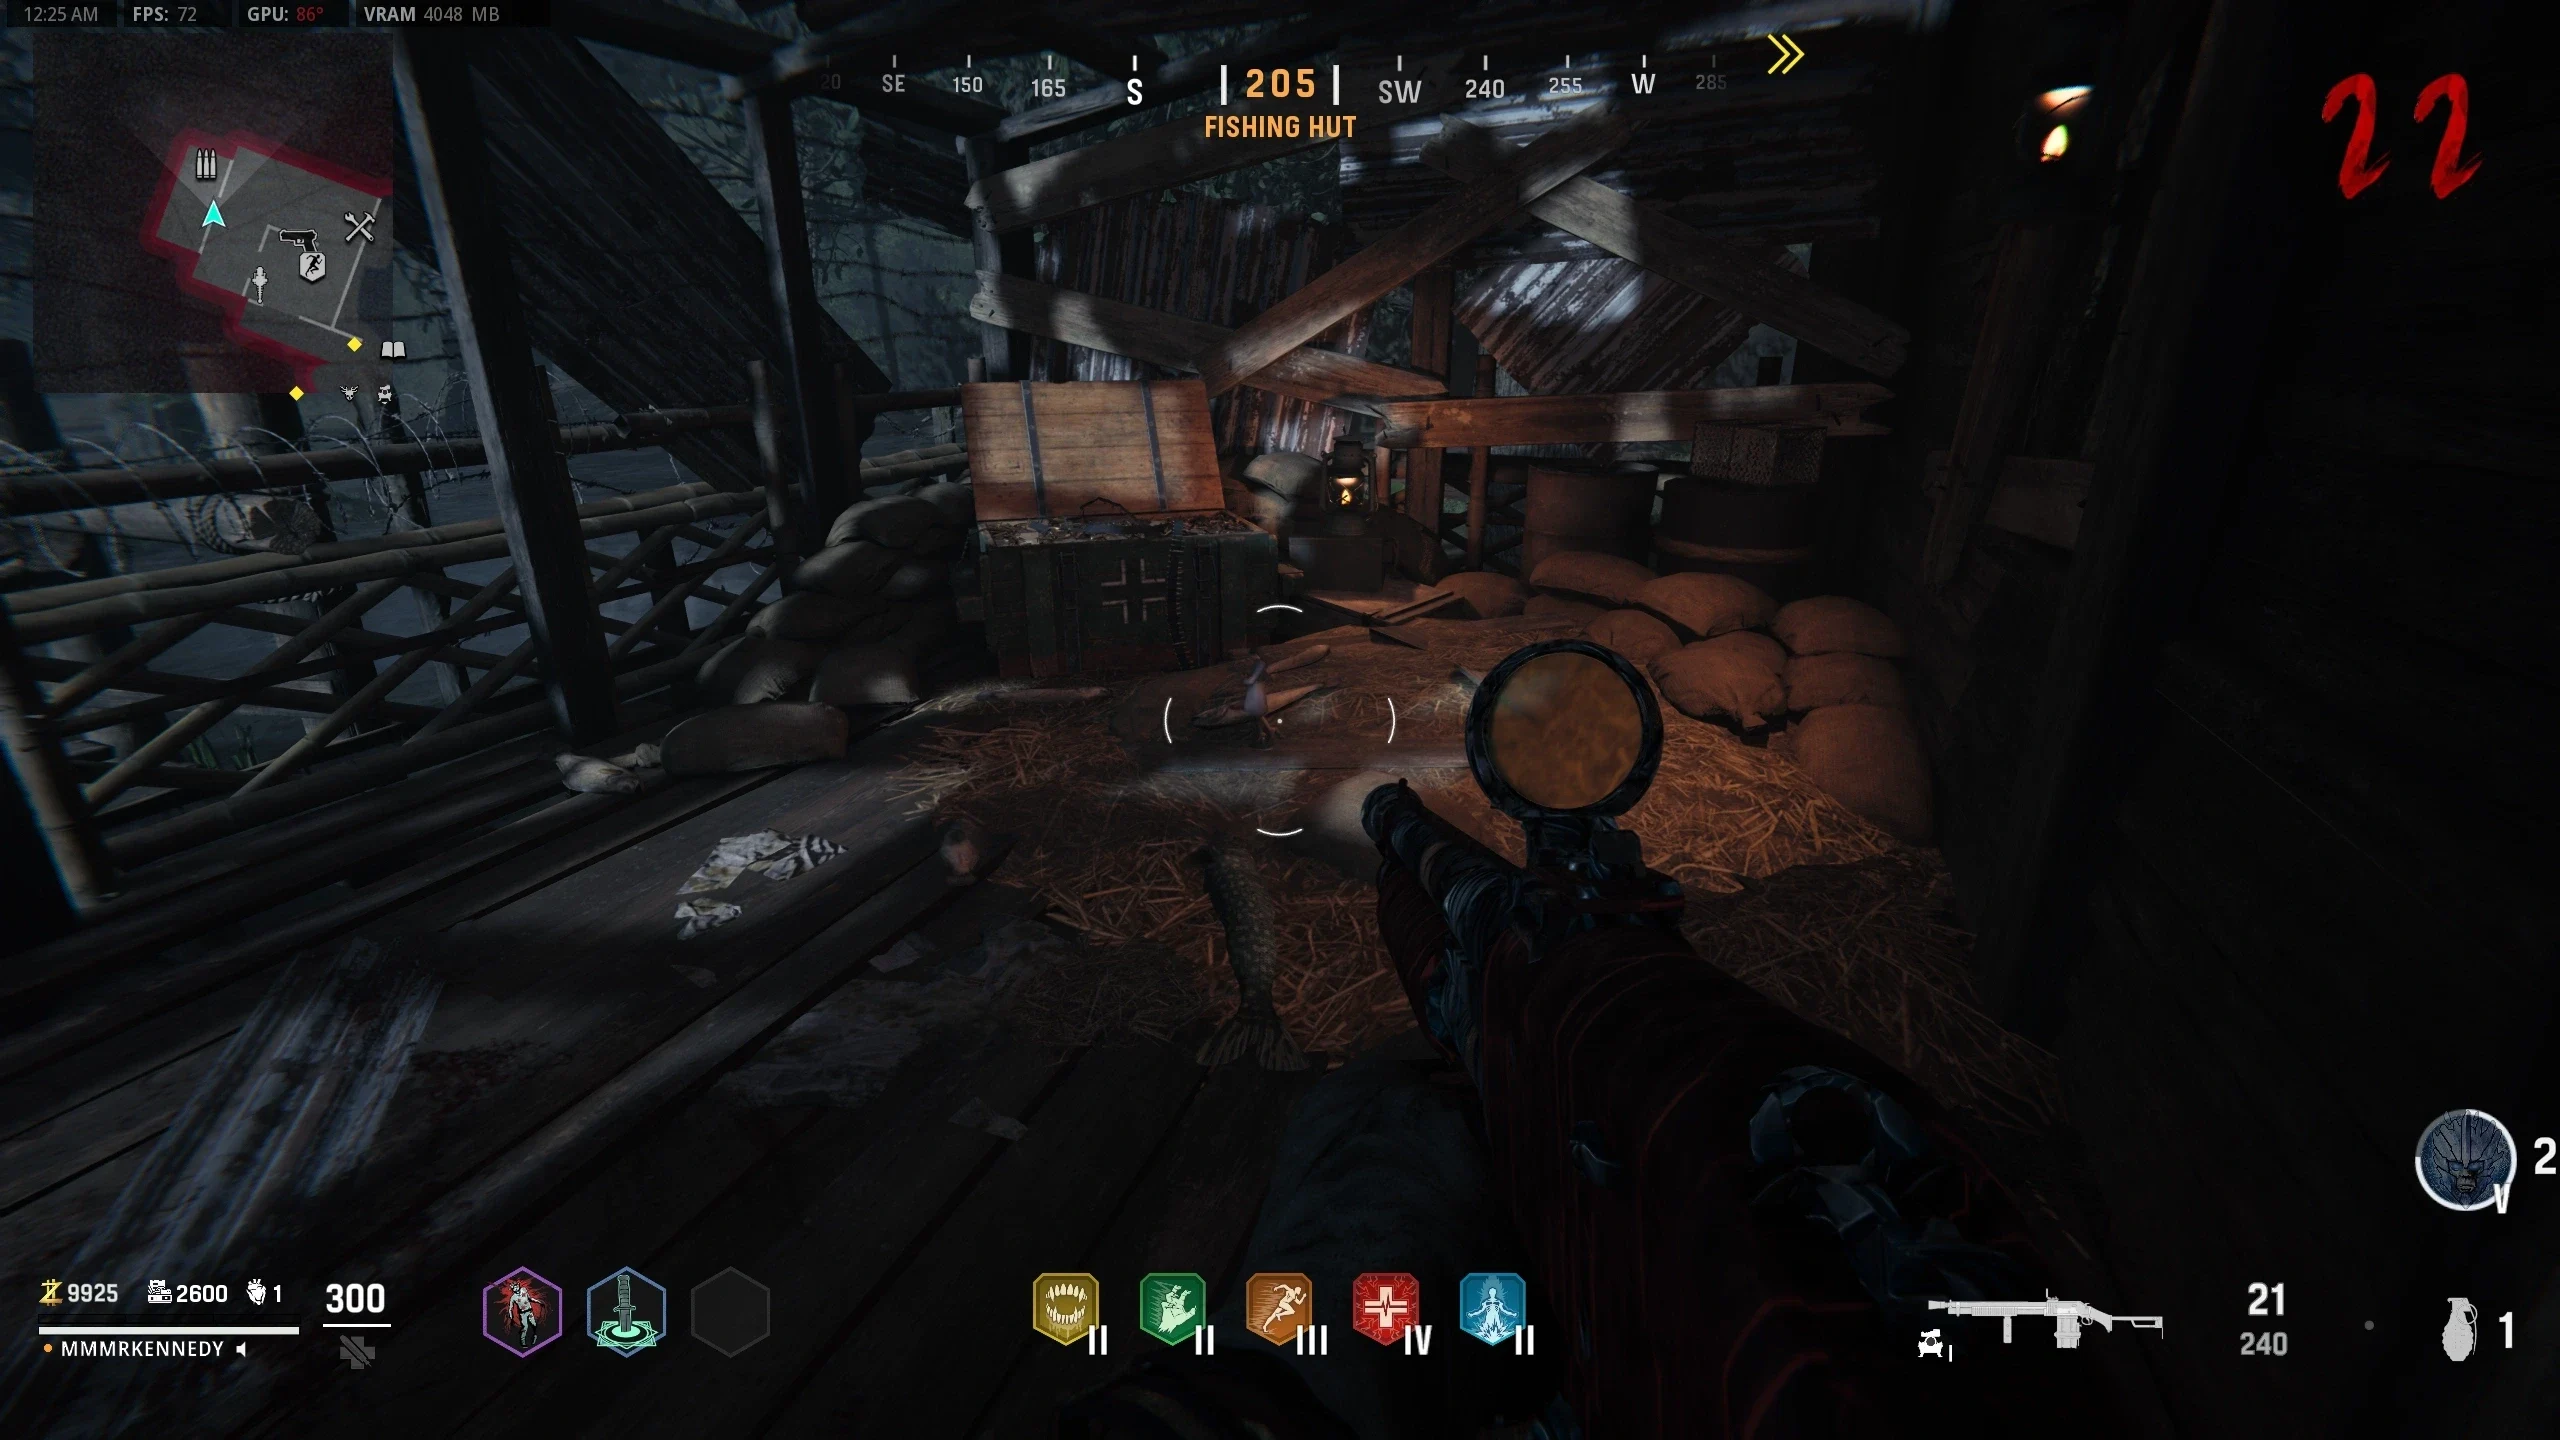
- Three symbols need to be found and translated to be input into the Monolith. The locations are:
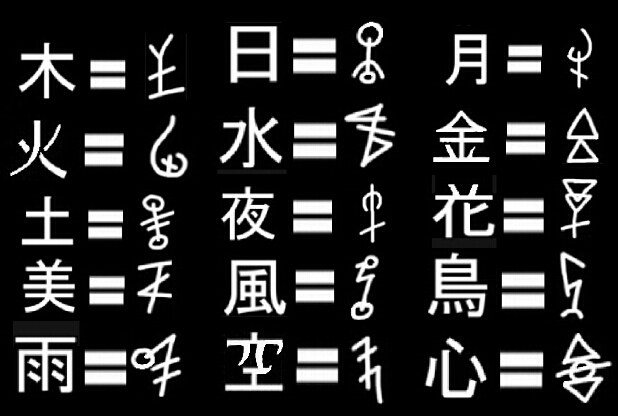
- The symbols from Step 5 need to be translated. There are two ways to do this:
- Using this graphic, translate the symbols from step 5 into symbols that can be input into the Monolith.
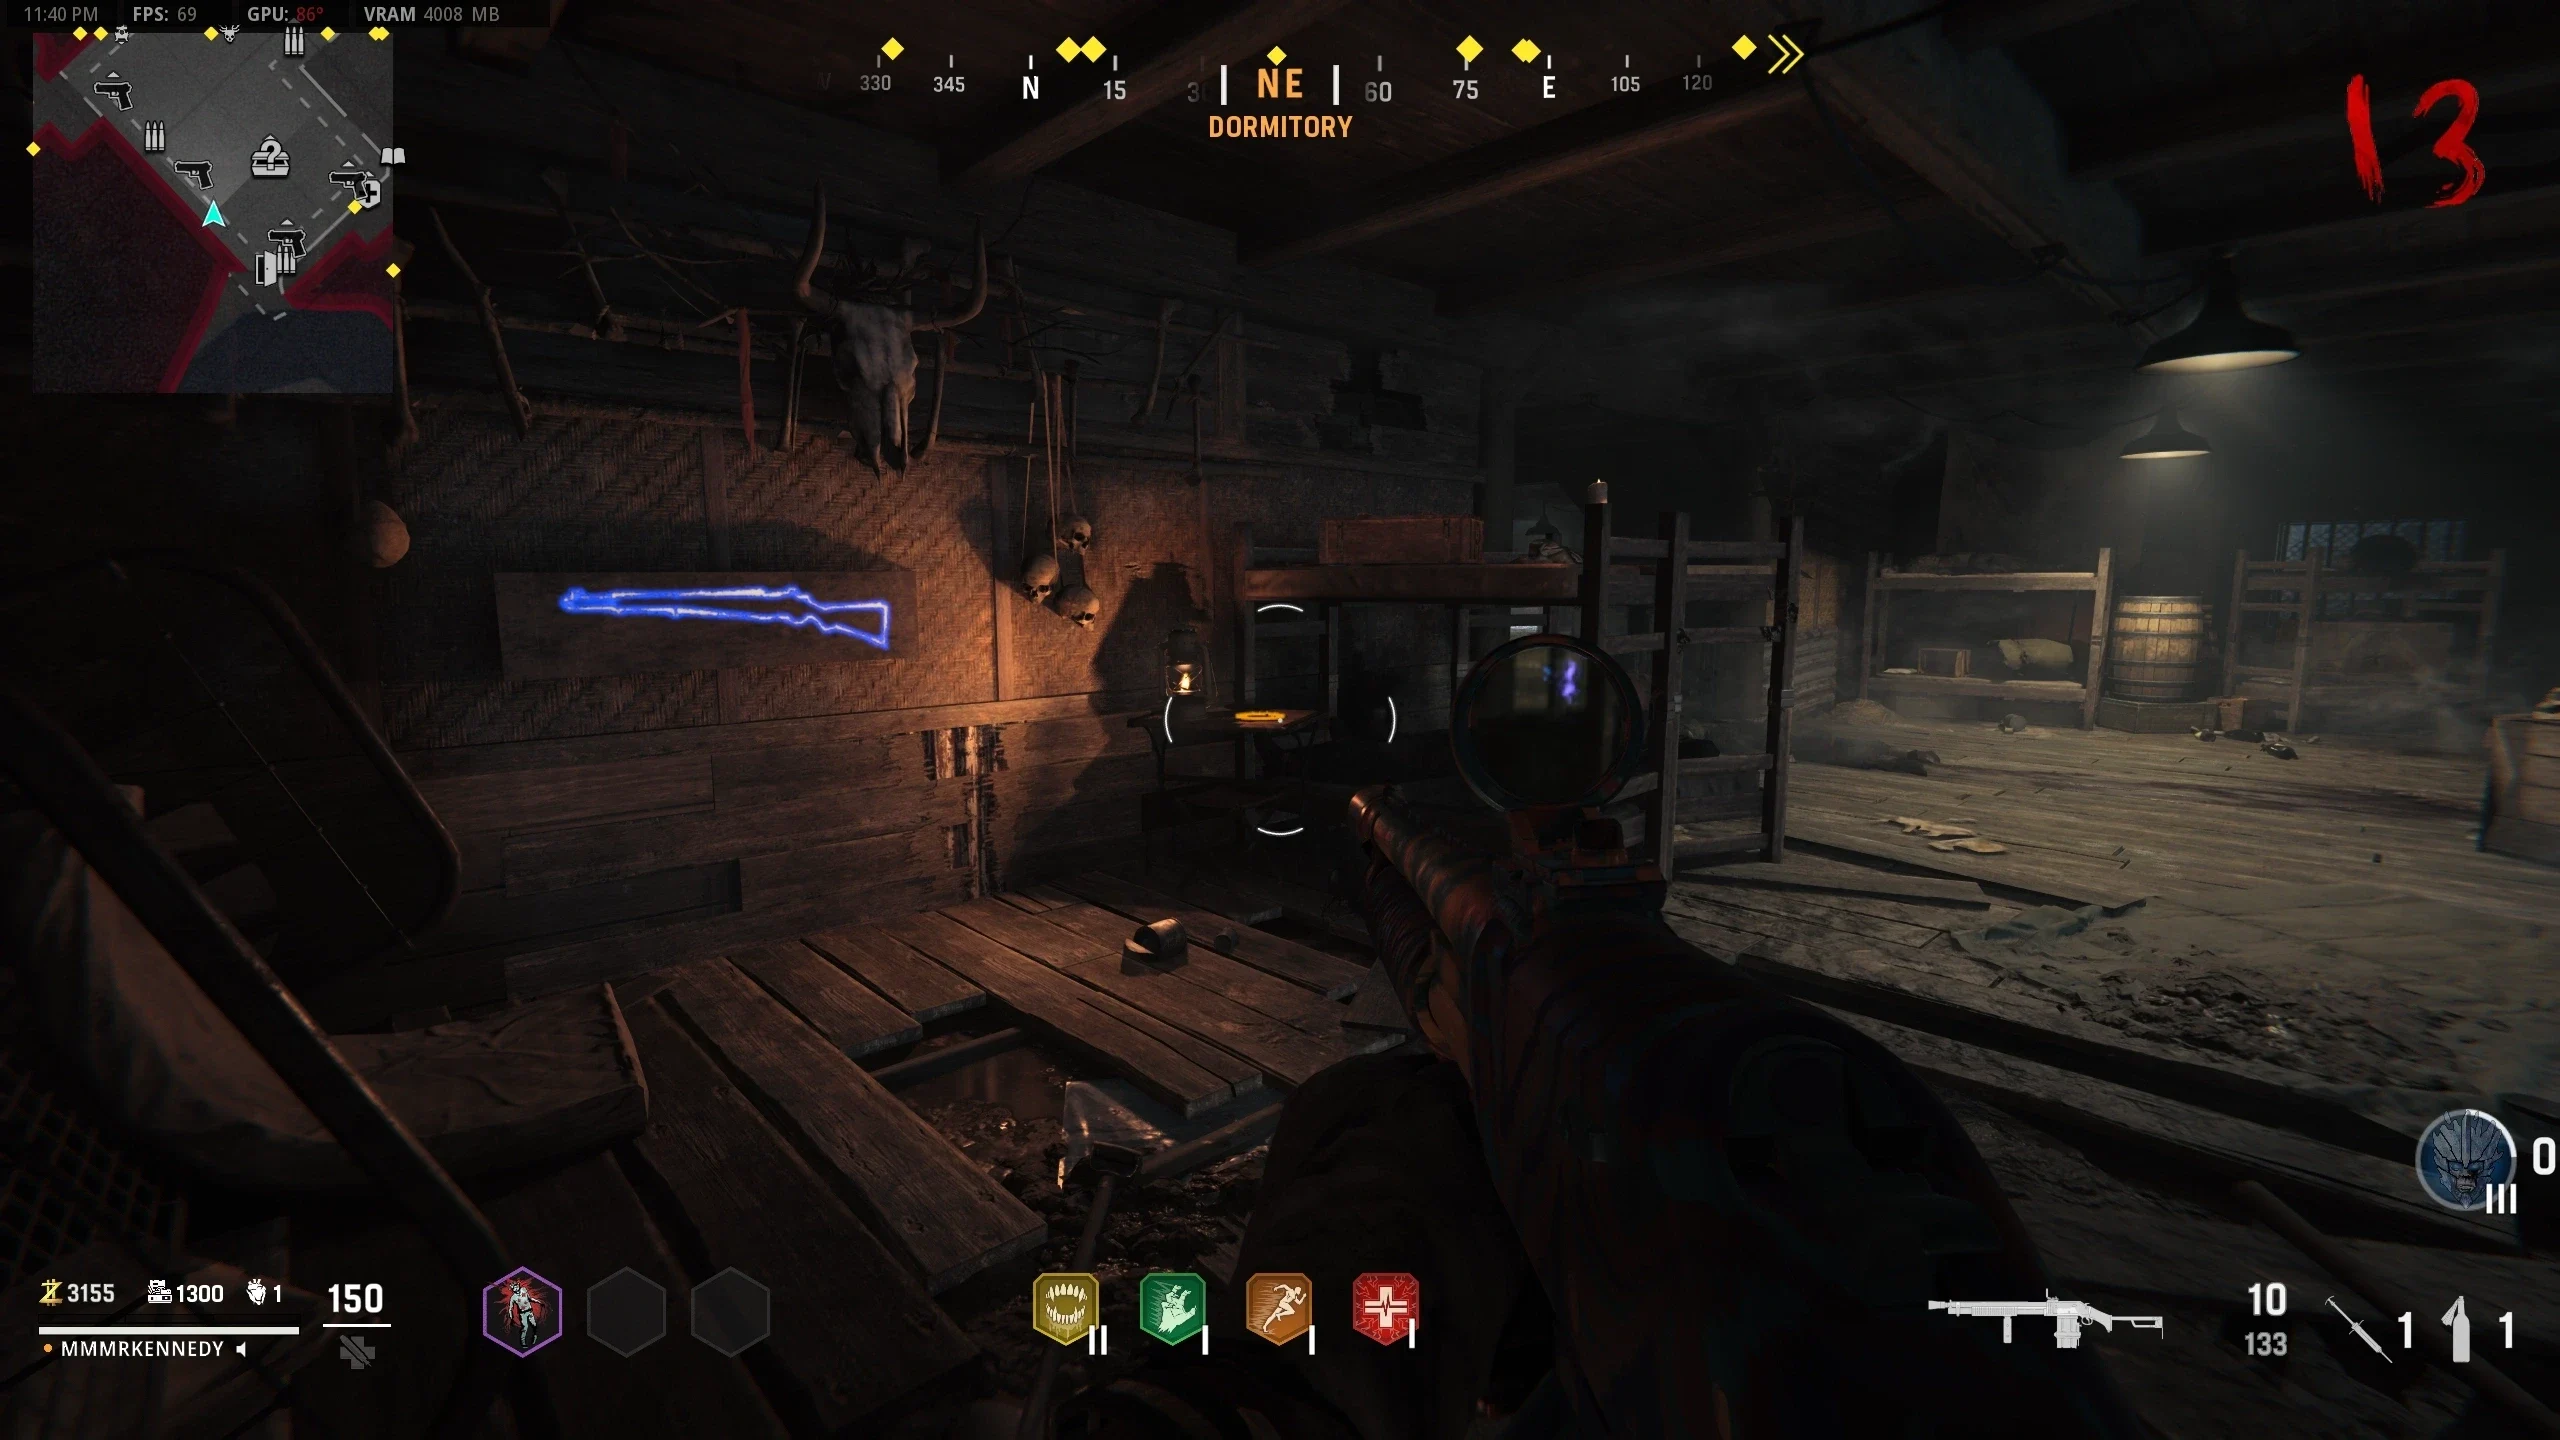
- Inside the 'Doctor's Quarters,' throw a Molotov or thermite on this piece of paper to reveal all the symbols on the paper. Using this paper, translate the symbols.
- Input the translated symbols into the Monolith. If correct, a glowing stone will spawn near the edges of the area, one per player.
- Obtain the Wunderwaffe DG-2.
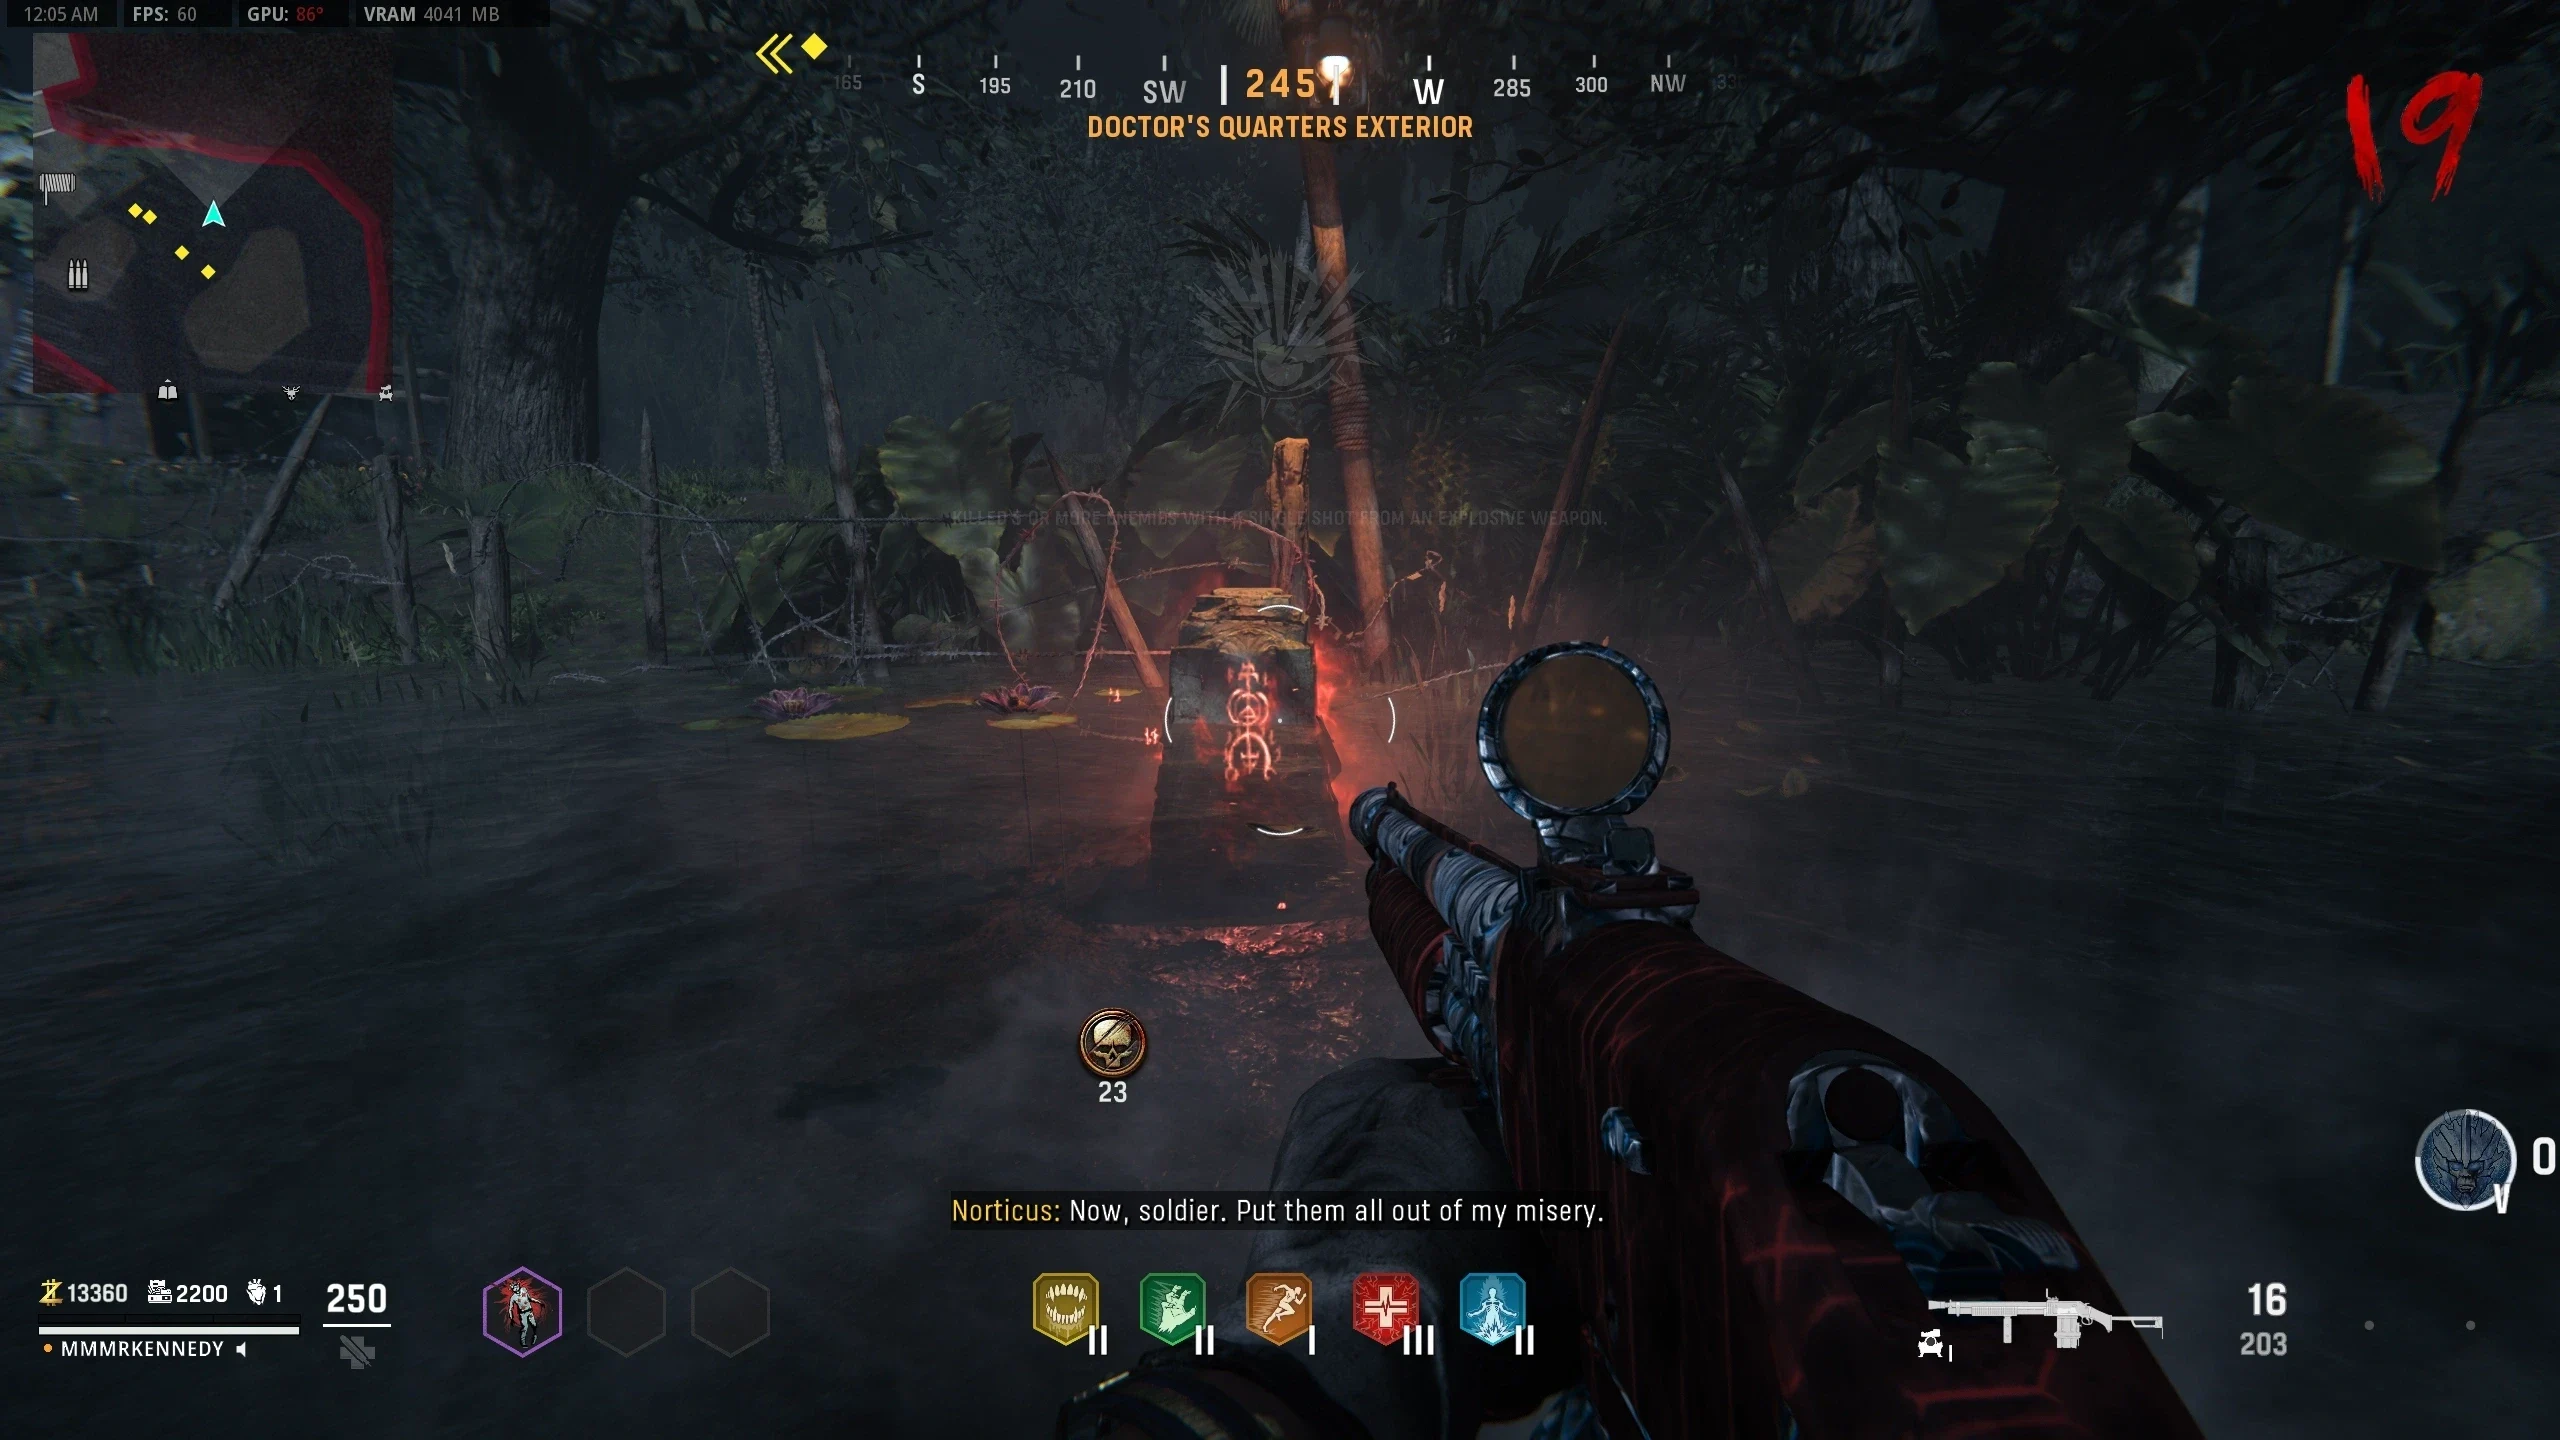
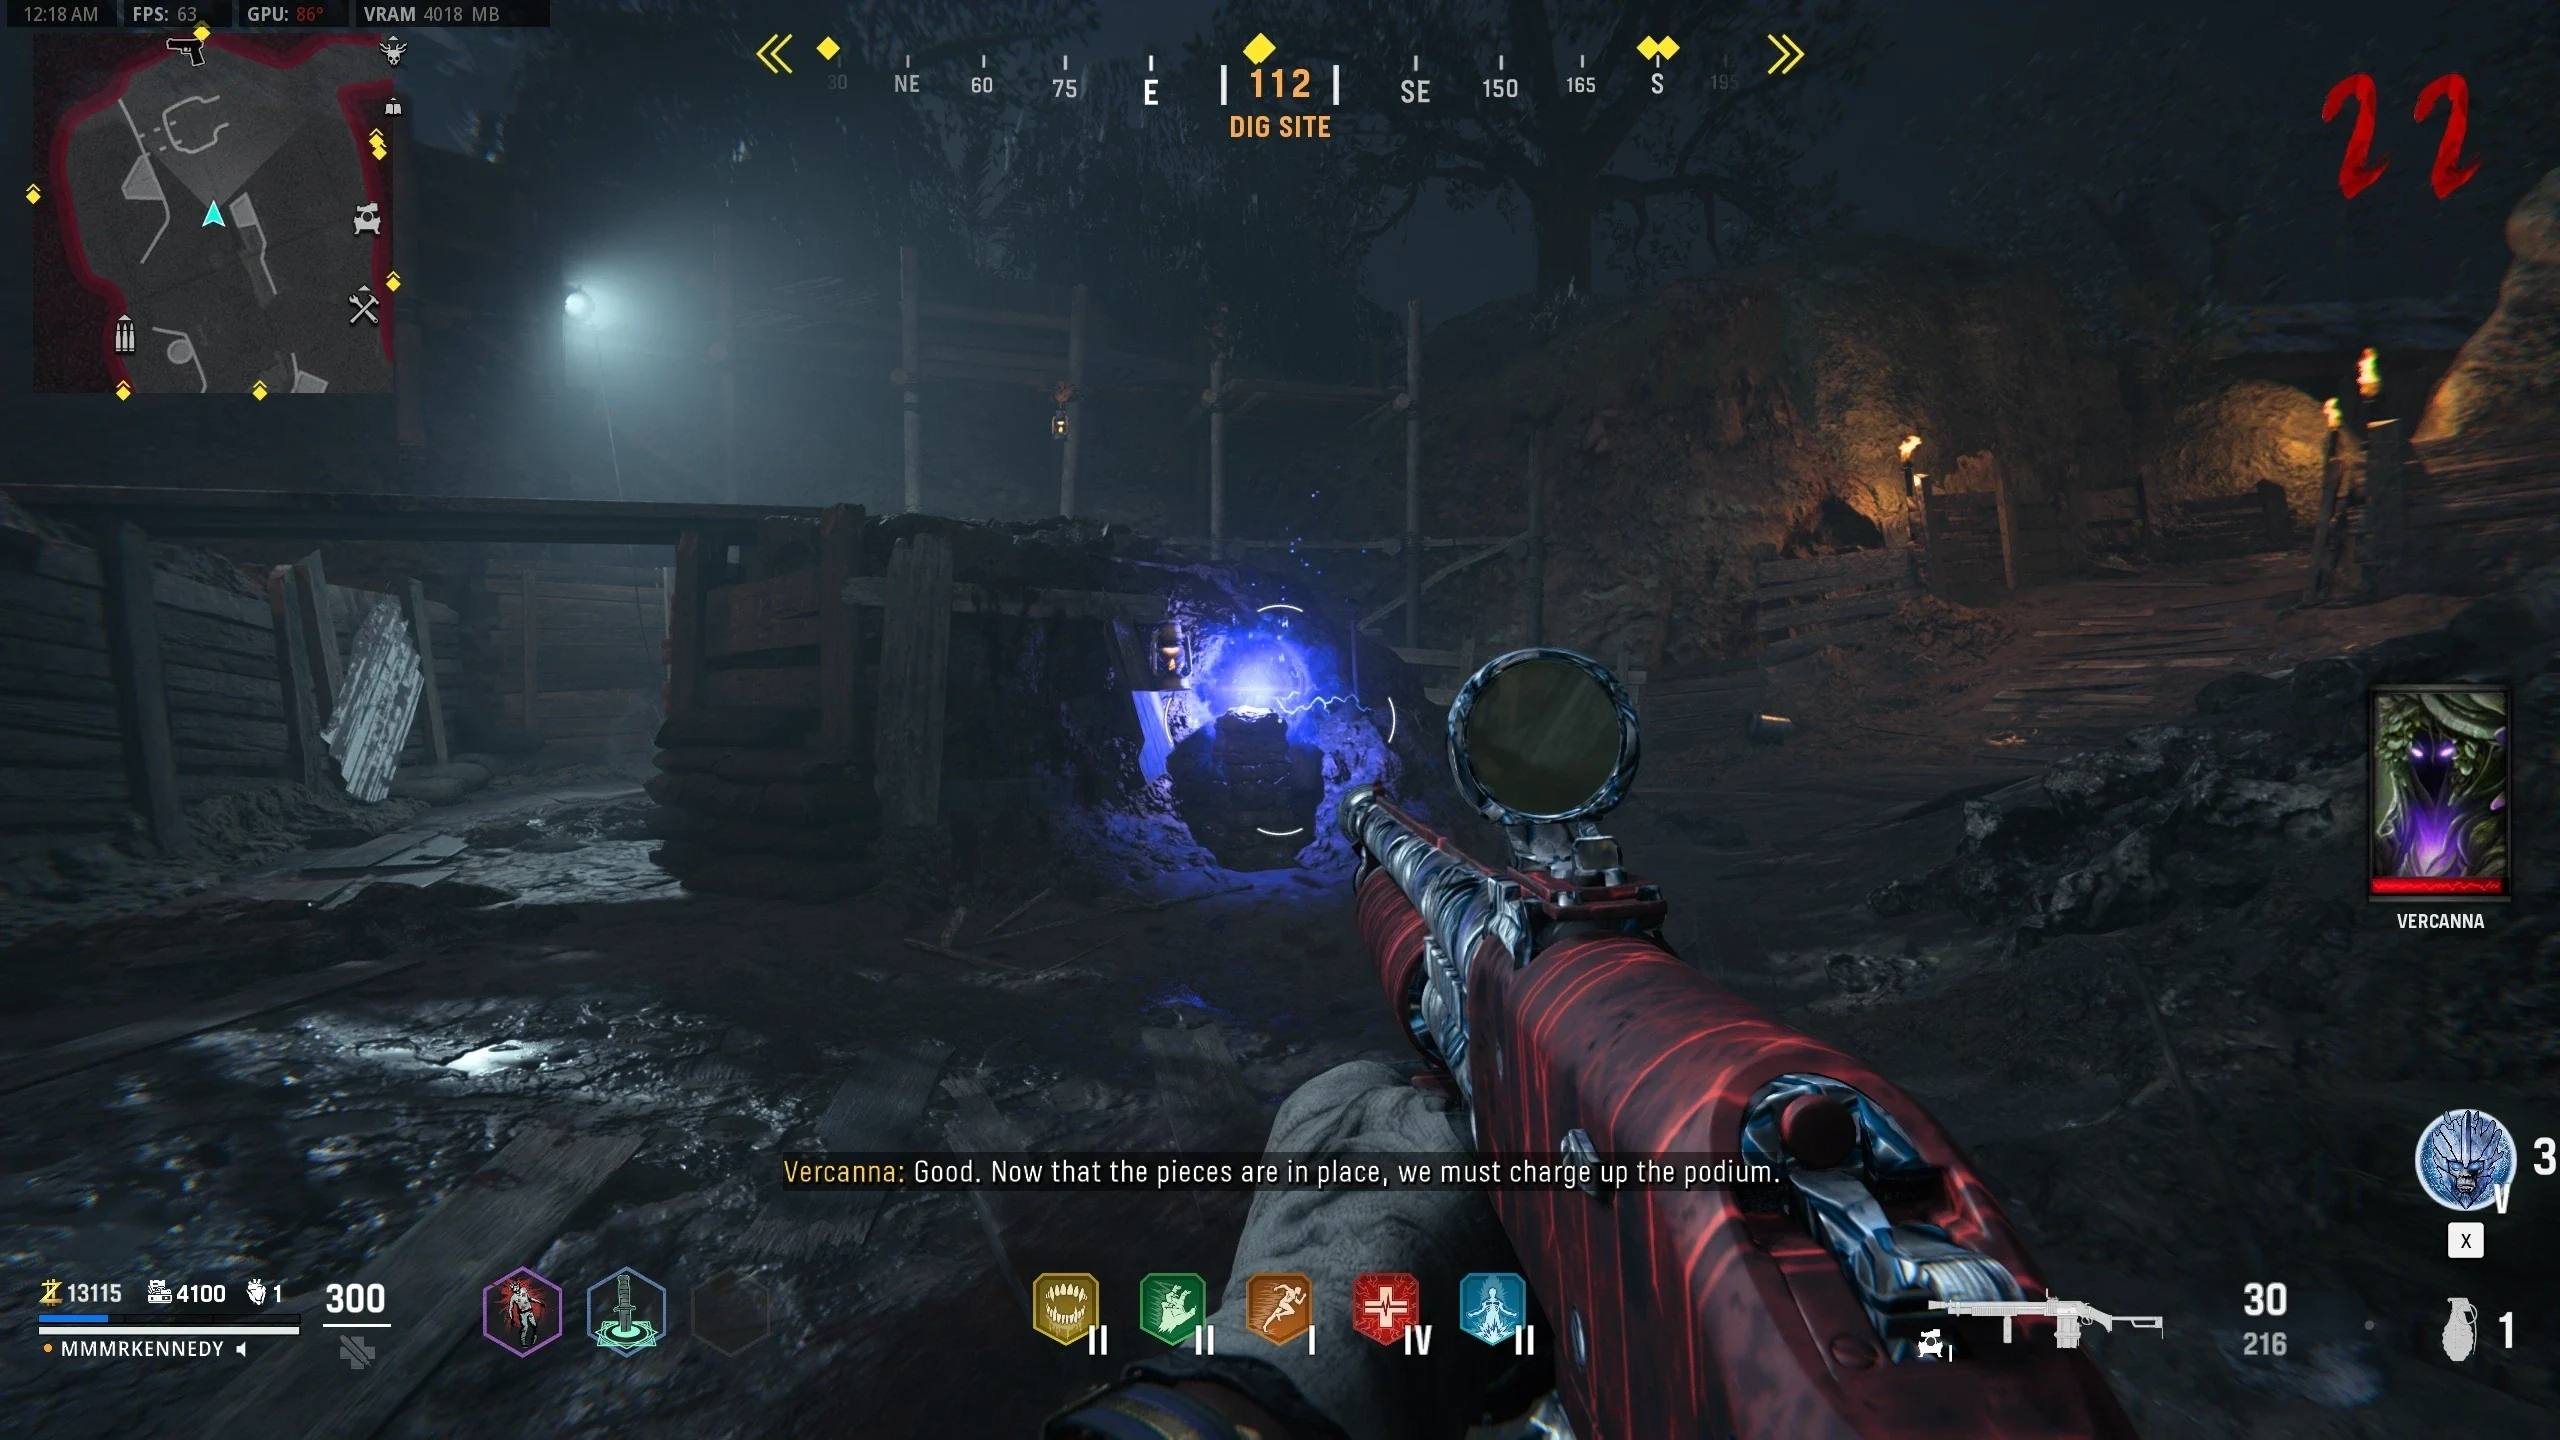
- All players must interact with a stone to "Start the Ceremony," which triggers a lockdown.
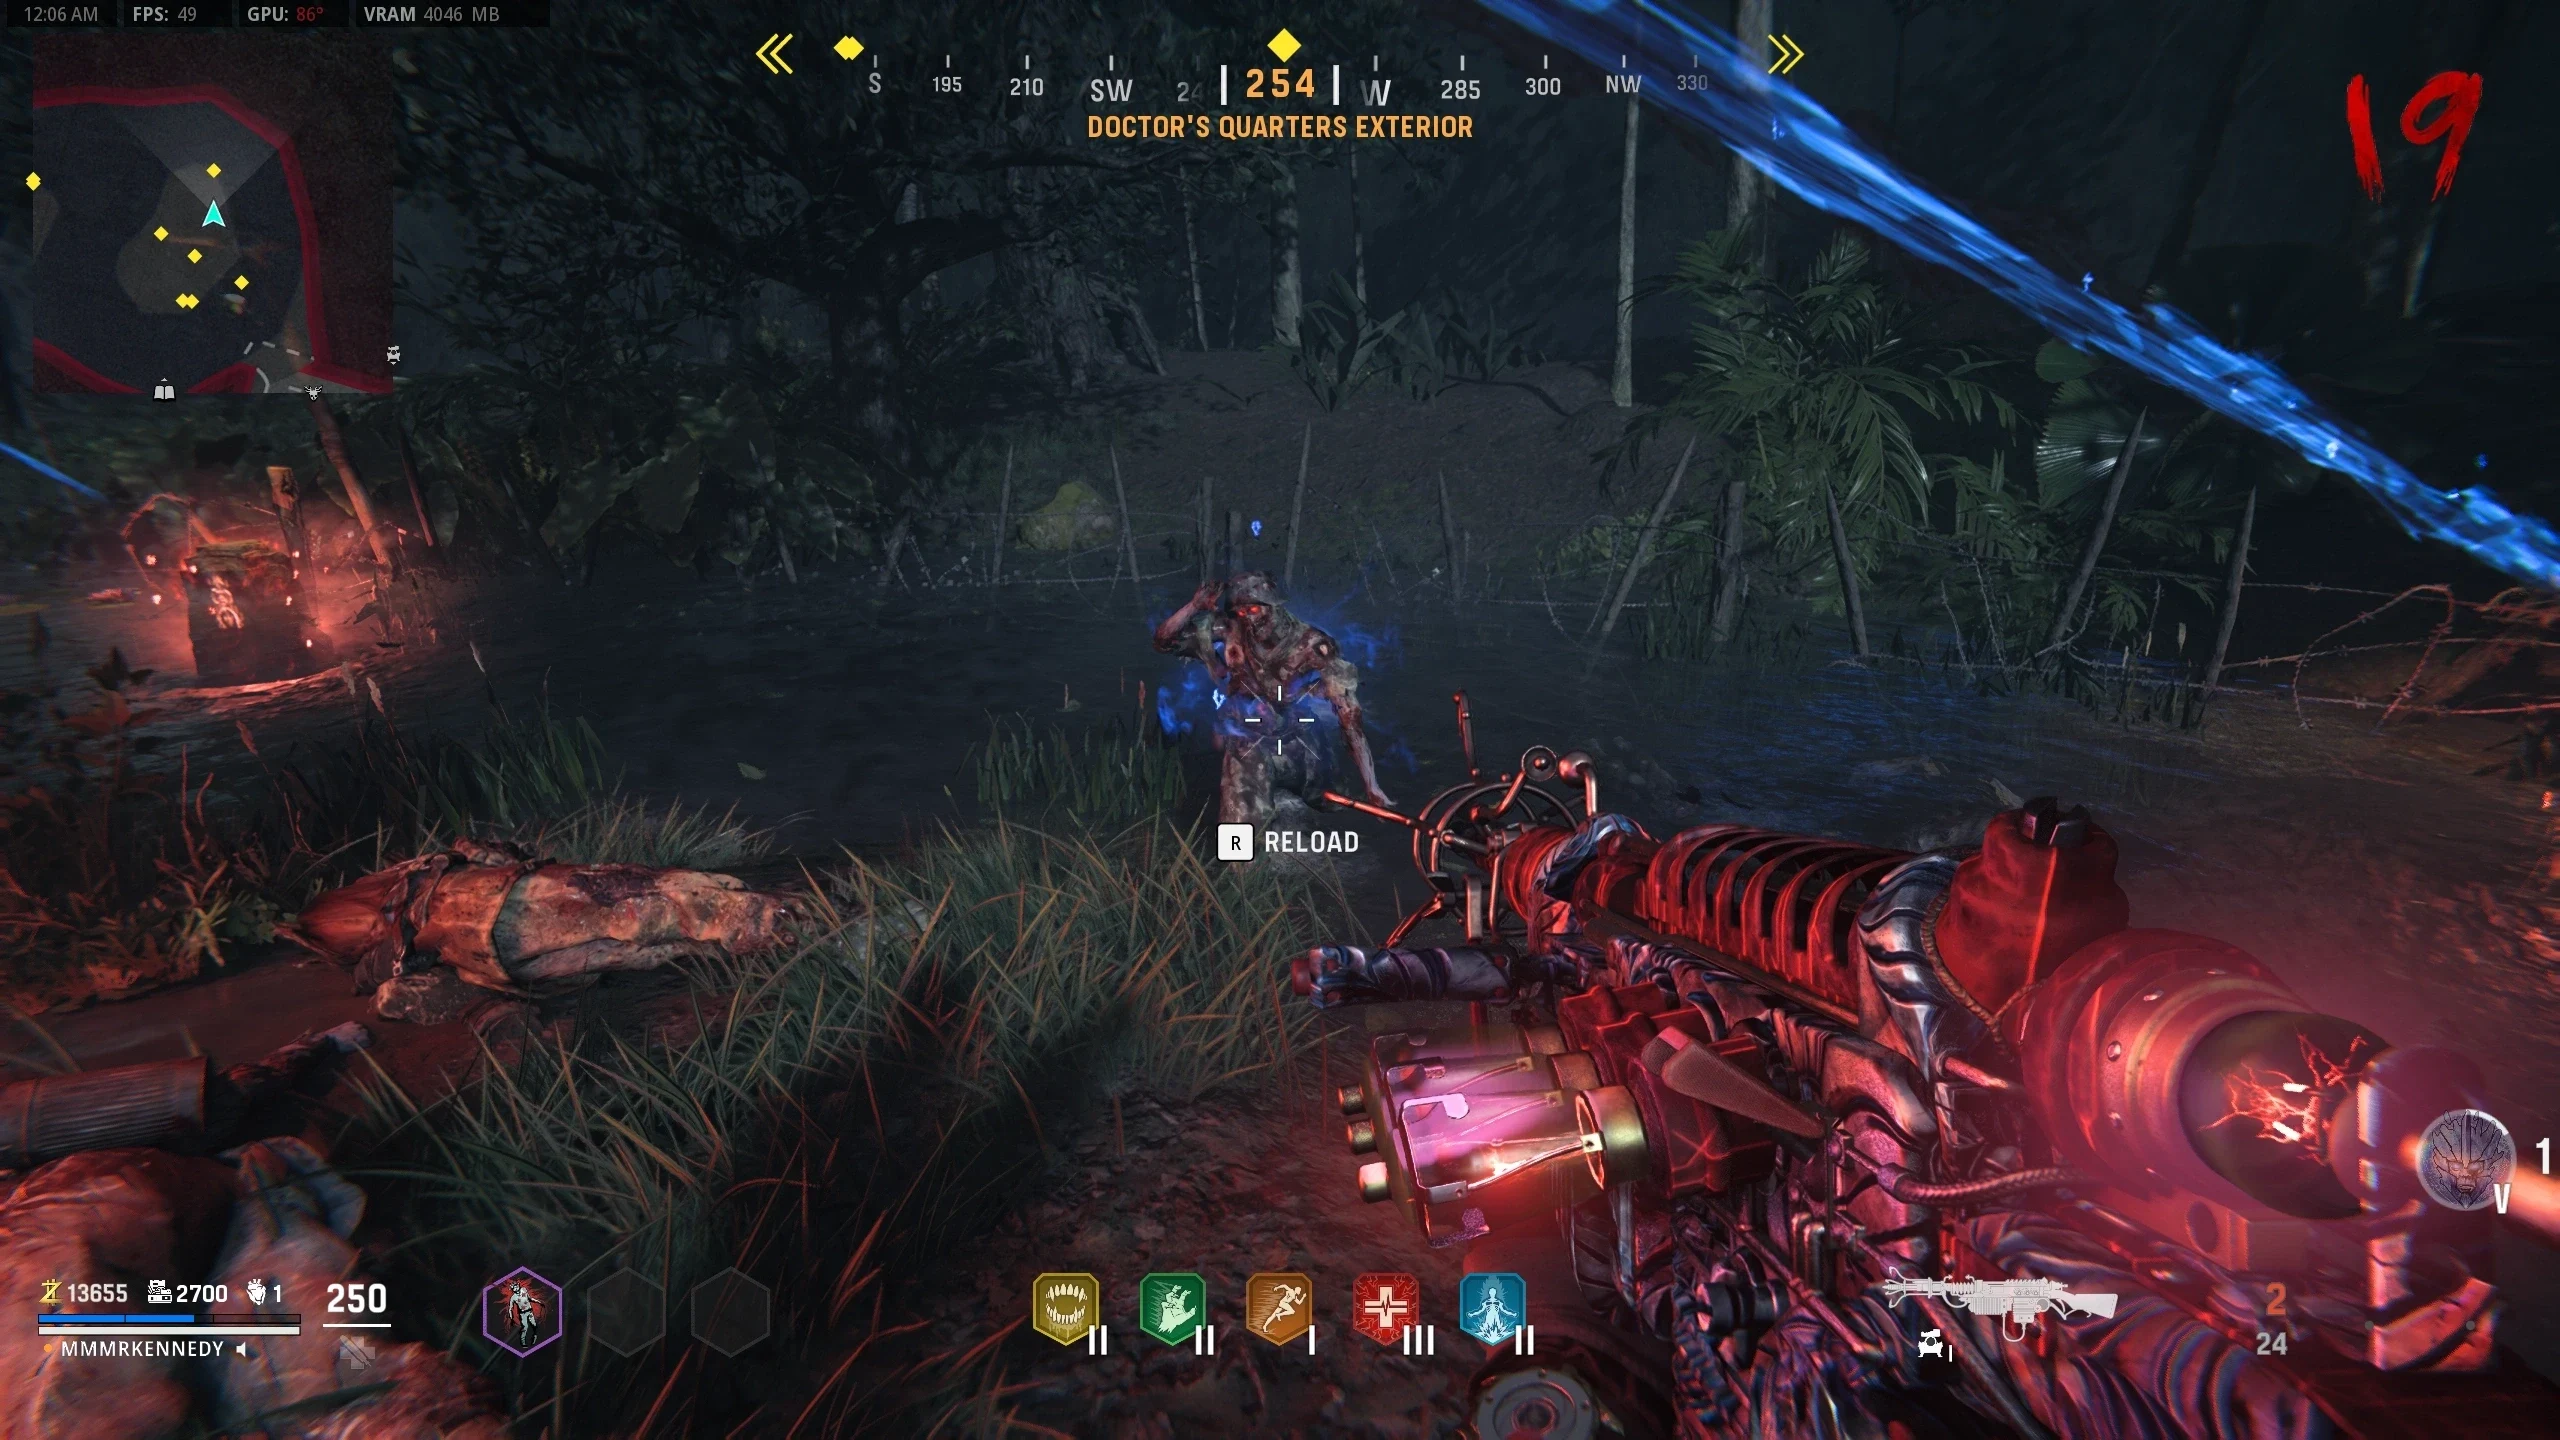
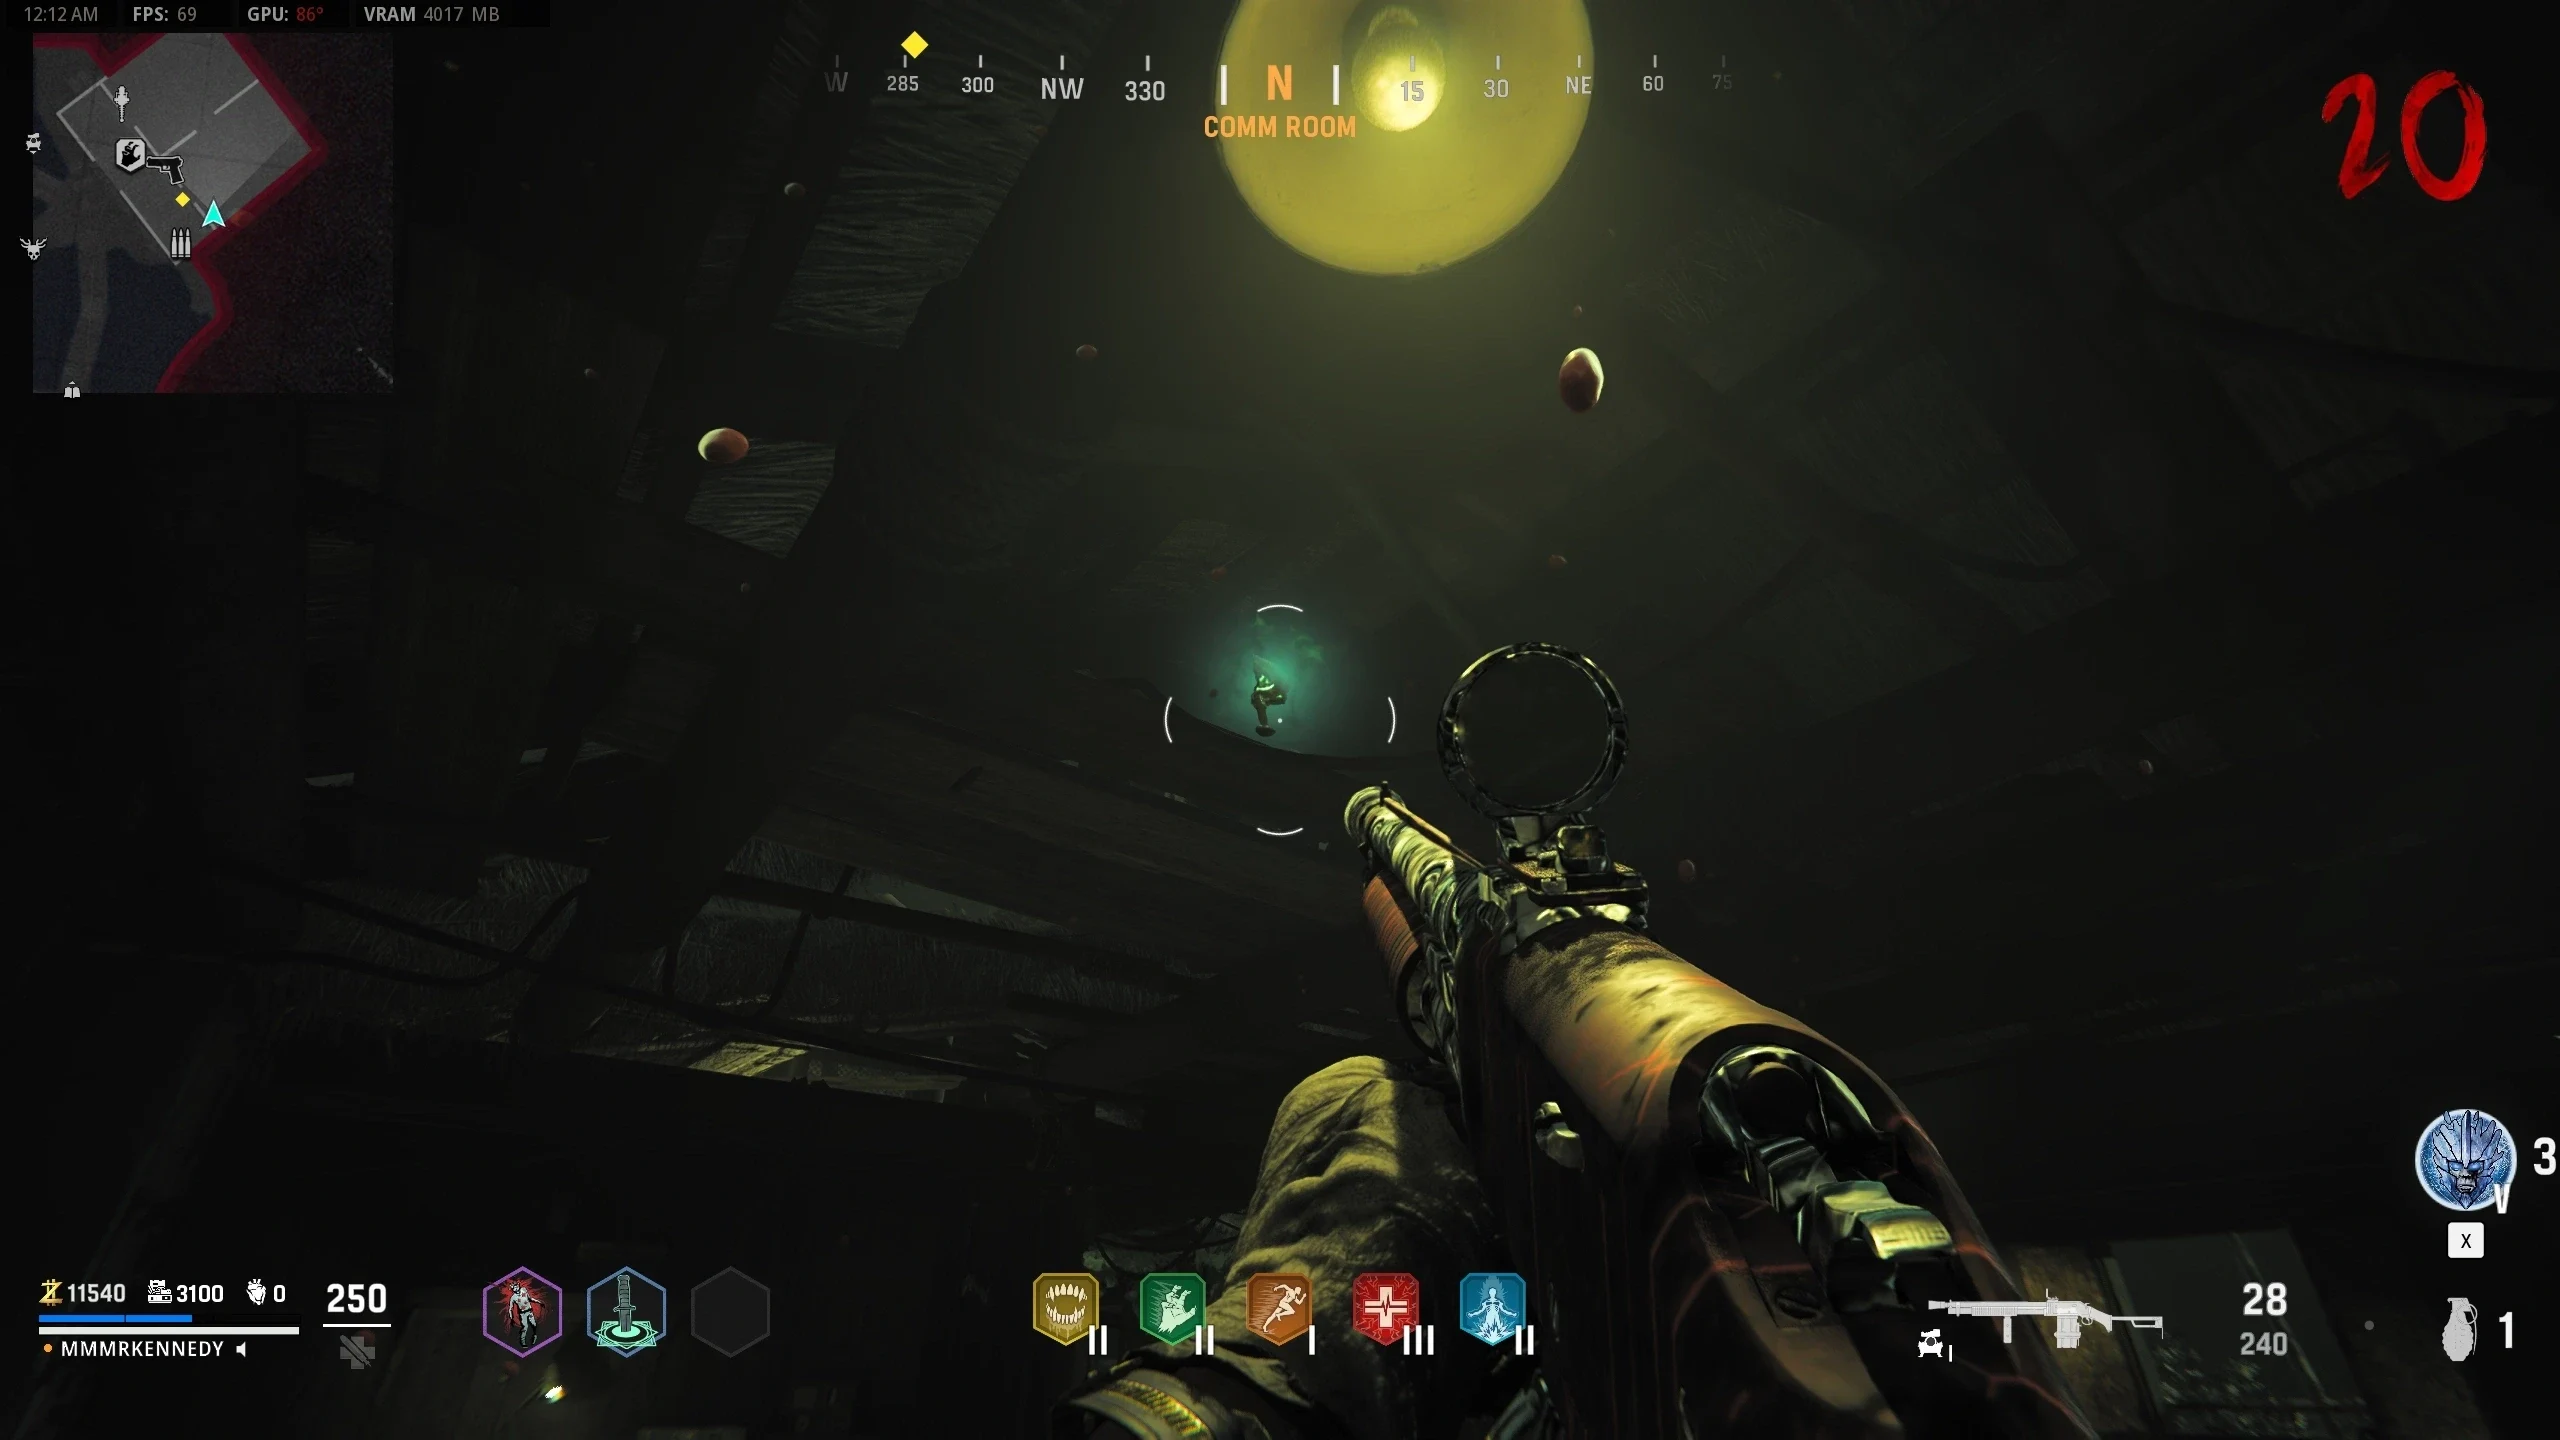
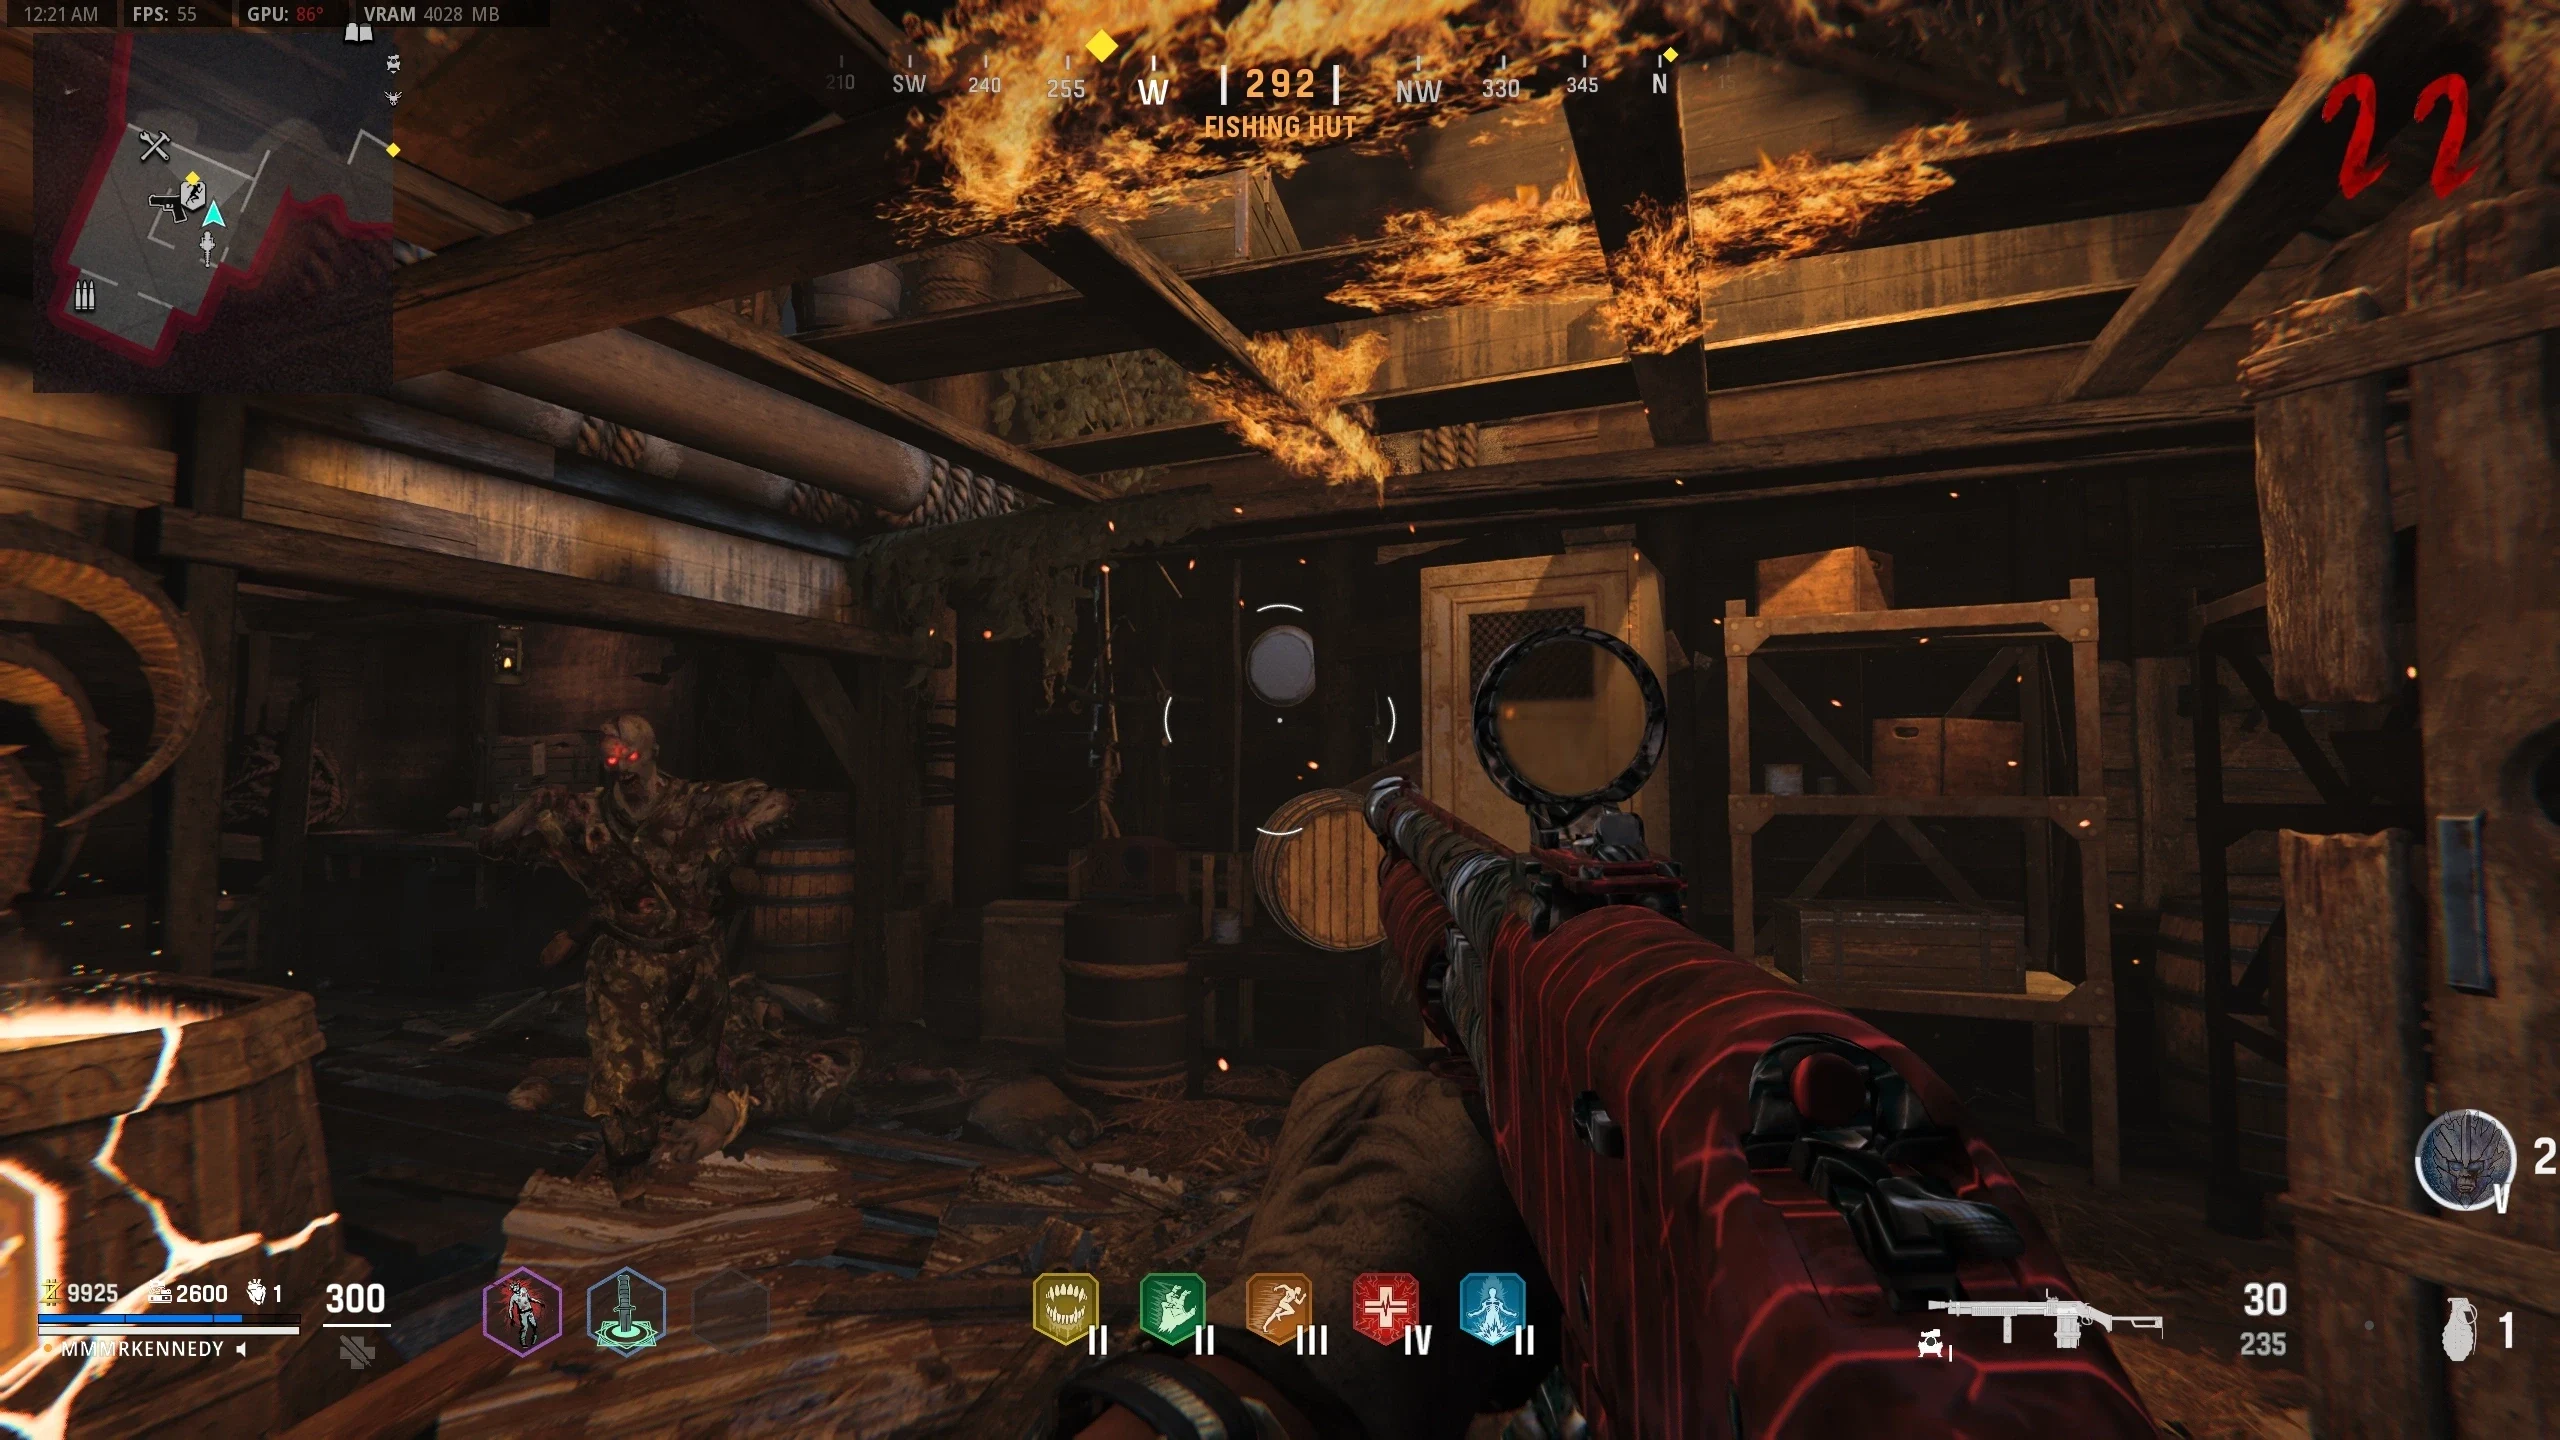
- During the lockdown, zombies shrouded in a blue mist will spawn that need to be killed near the shrine with the Wunderwaffe DG-2 before the lockdown ends.
- If completed successfully, a blue orb will spawn and a conversation will start. If failed, you can try again next round.
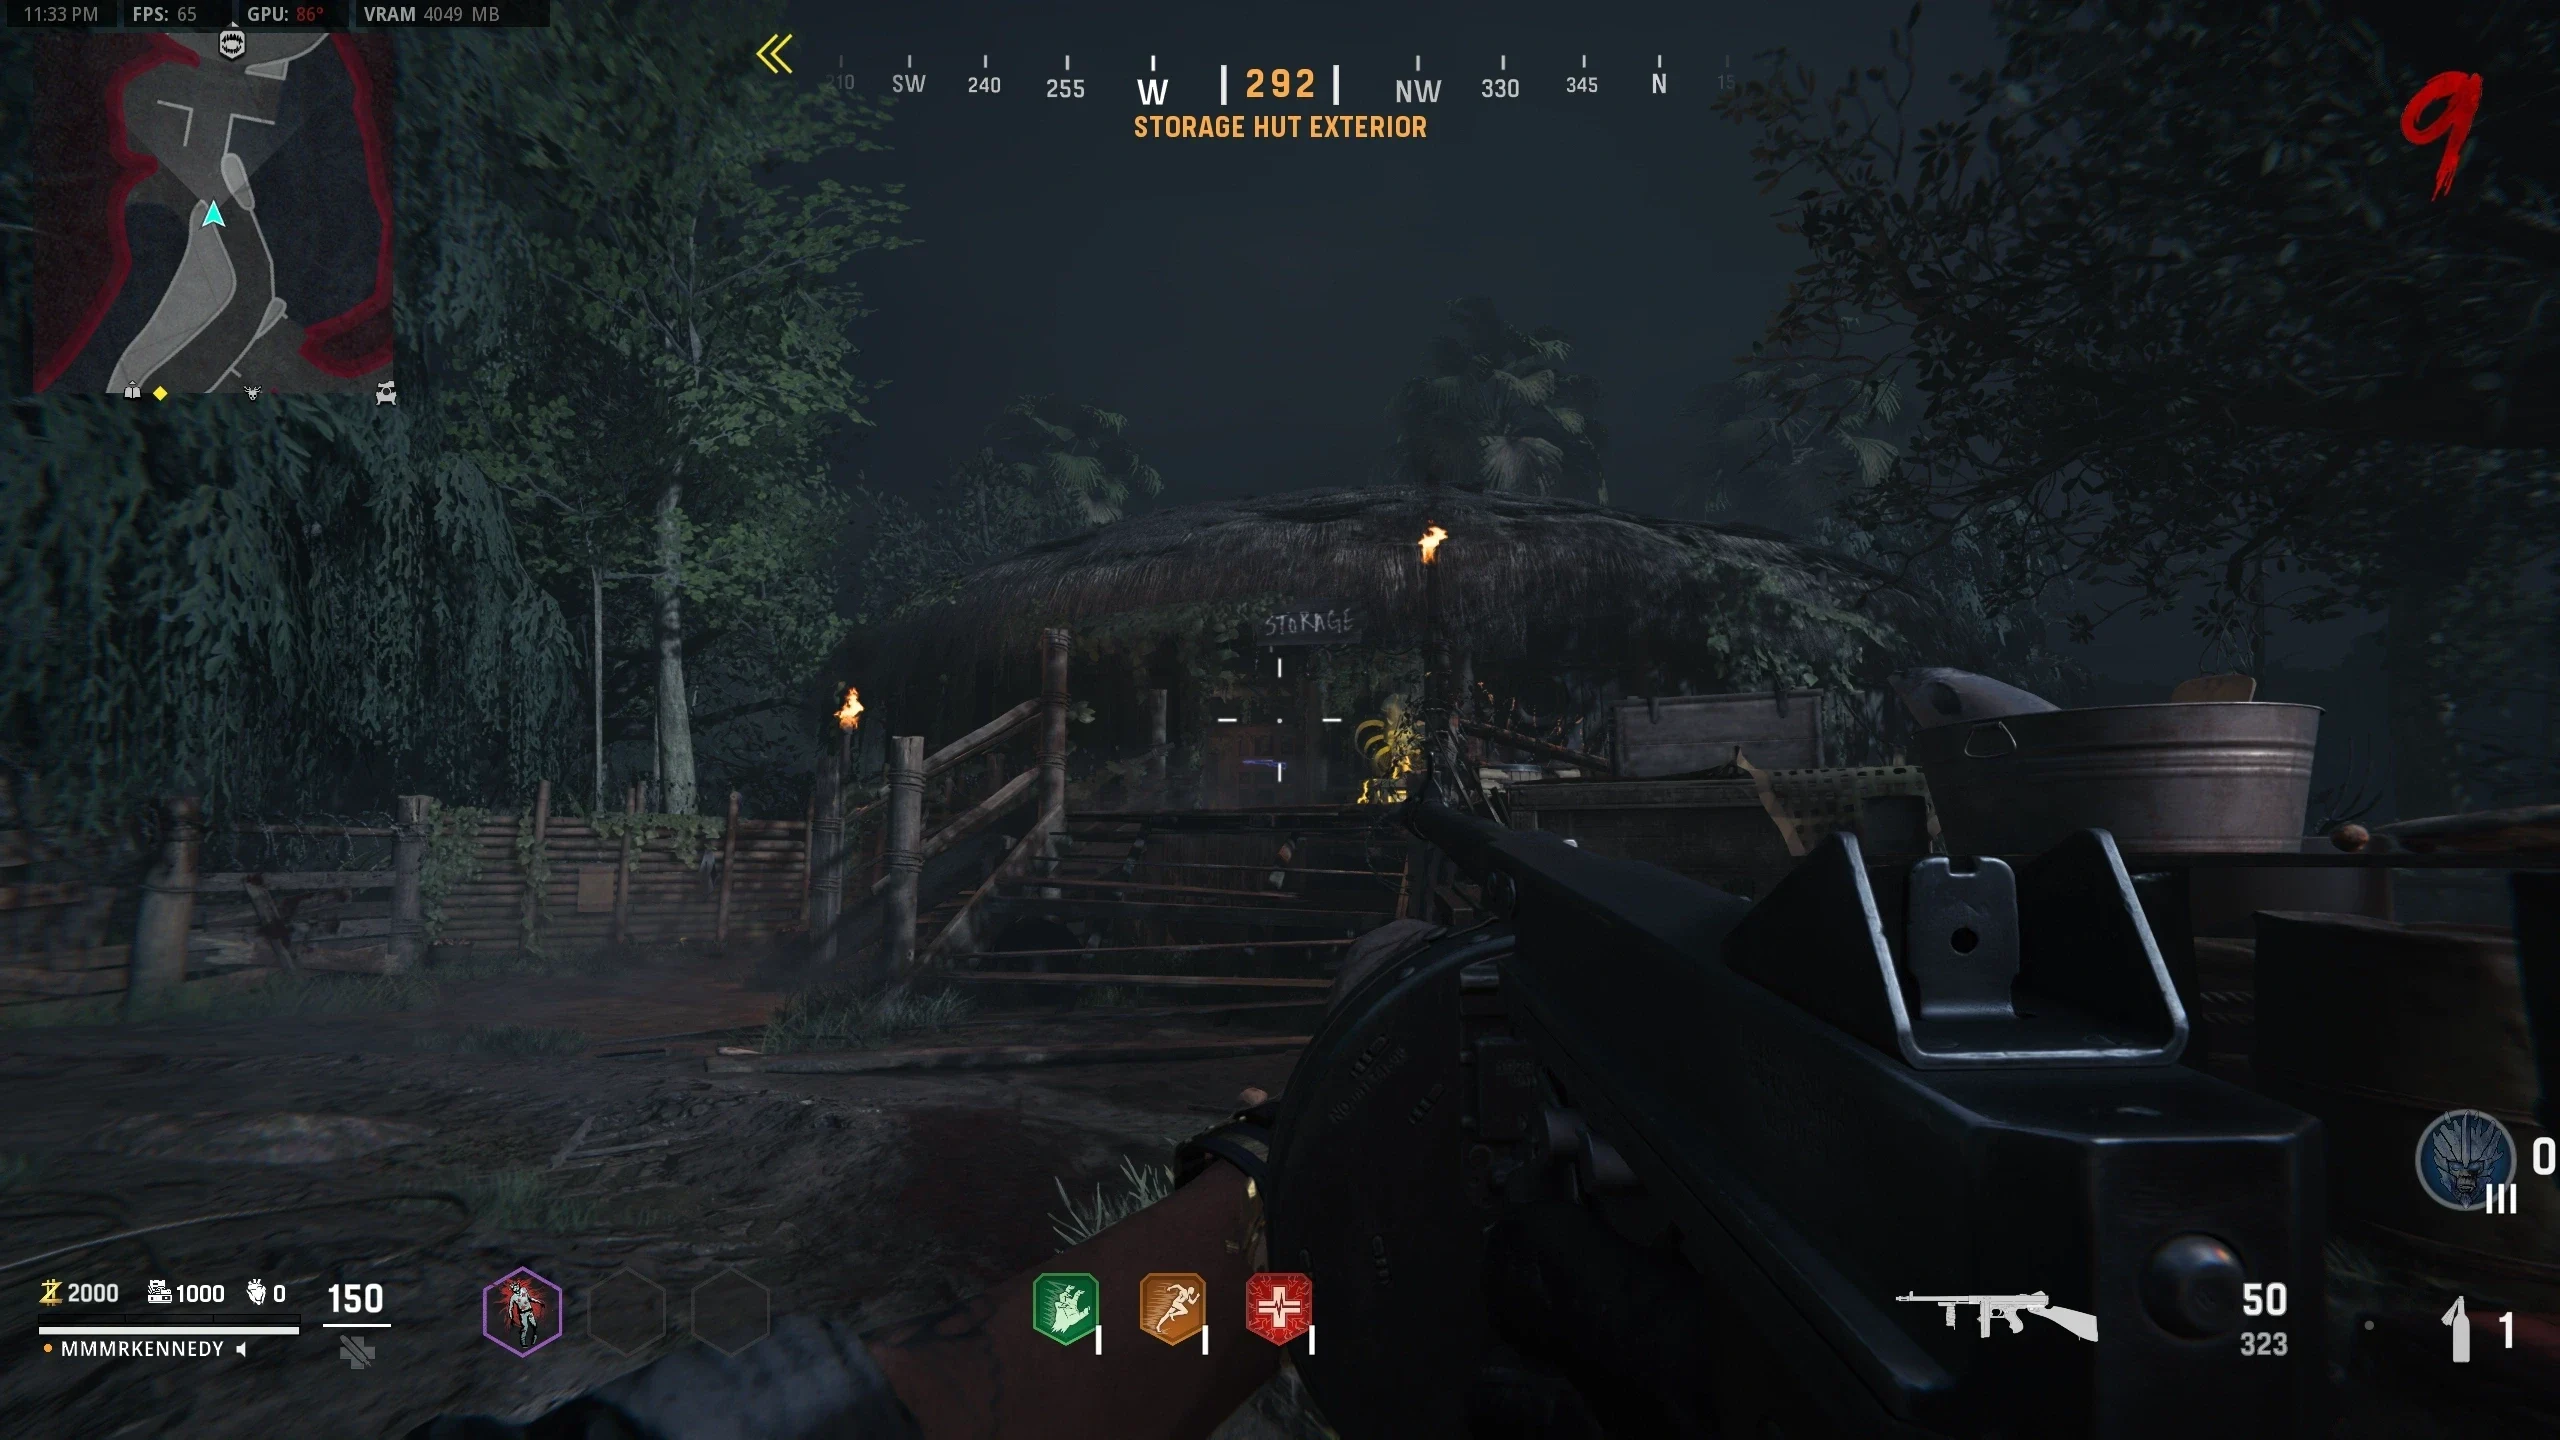
Repairing The Mirror
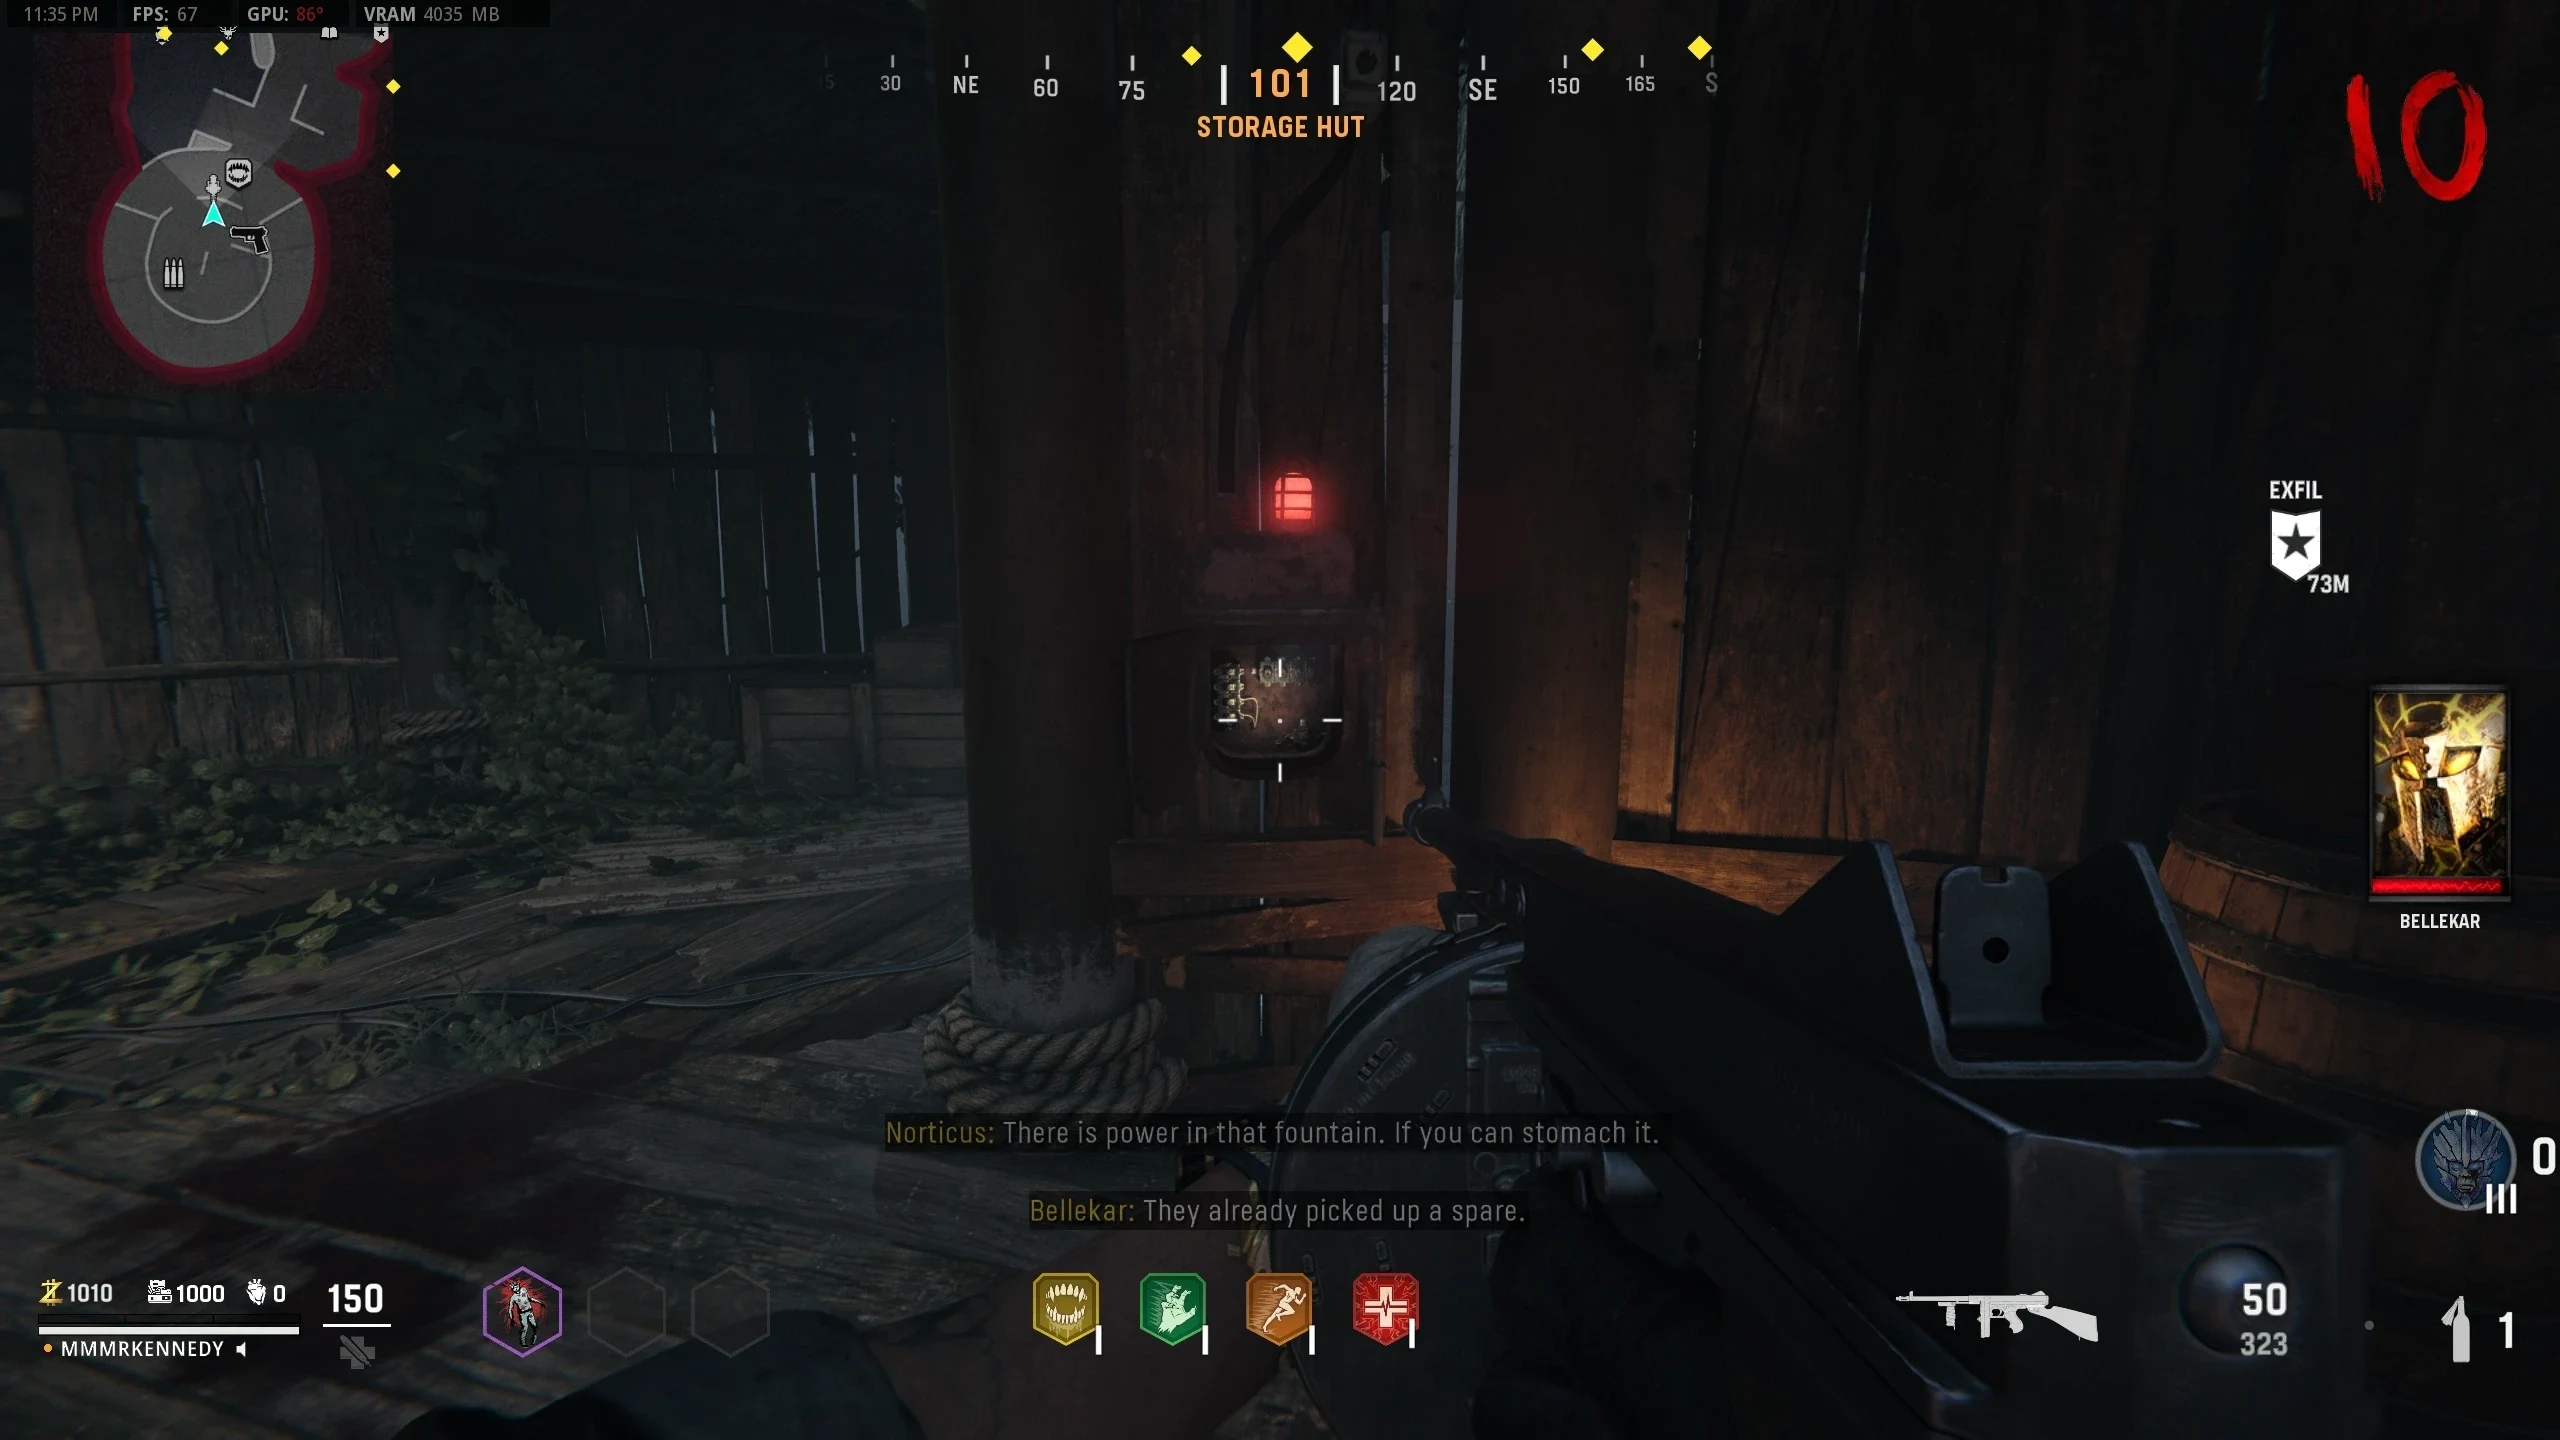
- Go to the 'Flogger Courtyard' and fill the empty Demonic Fountain with blood by flinging zombies into it with the Flogger.
- Once filled enough, you can drink from the fountain to get the "Zombie Blood" effect (unlike previous maps, zombies can still see and attack you). It lasts 45 seconds.
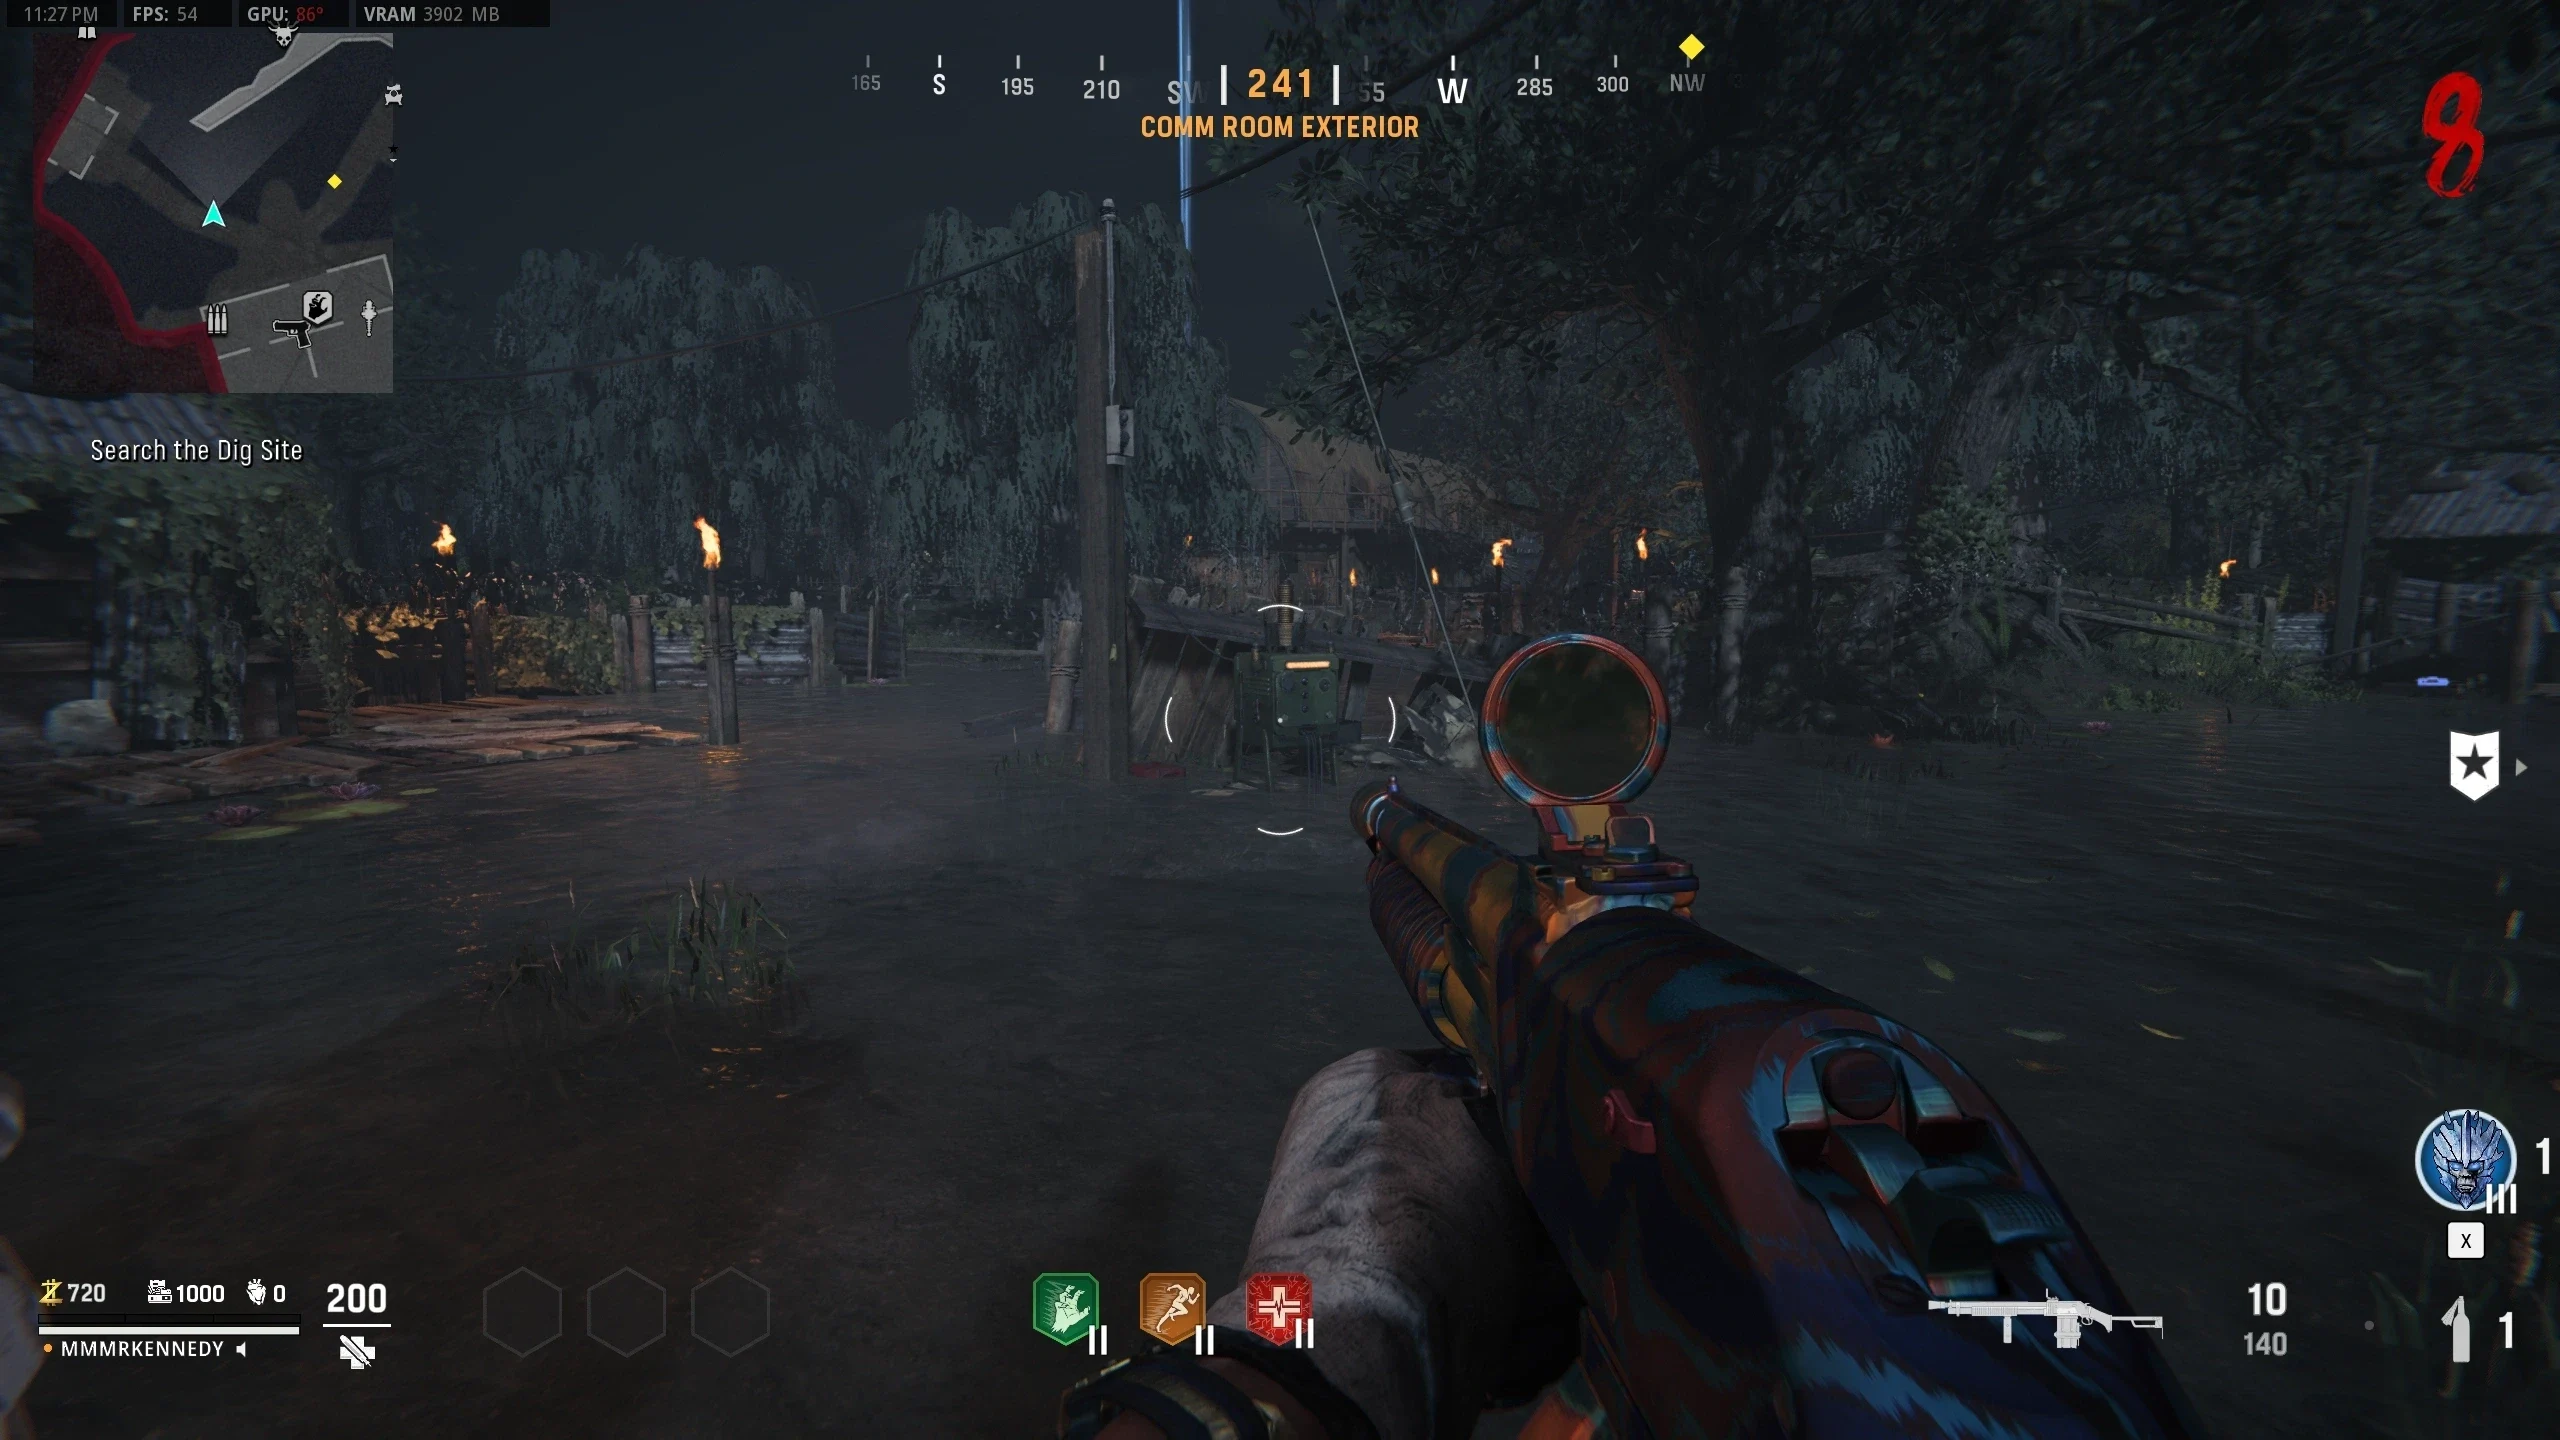
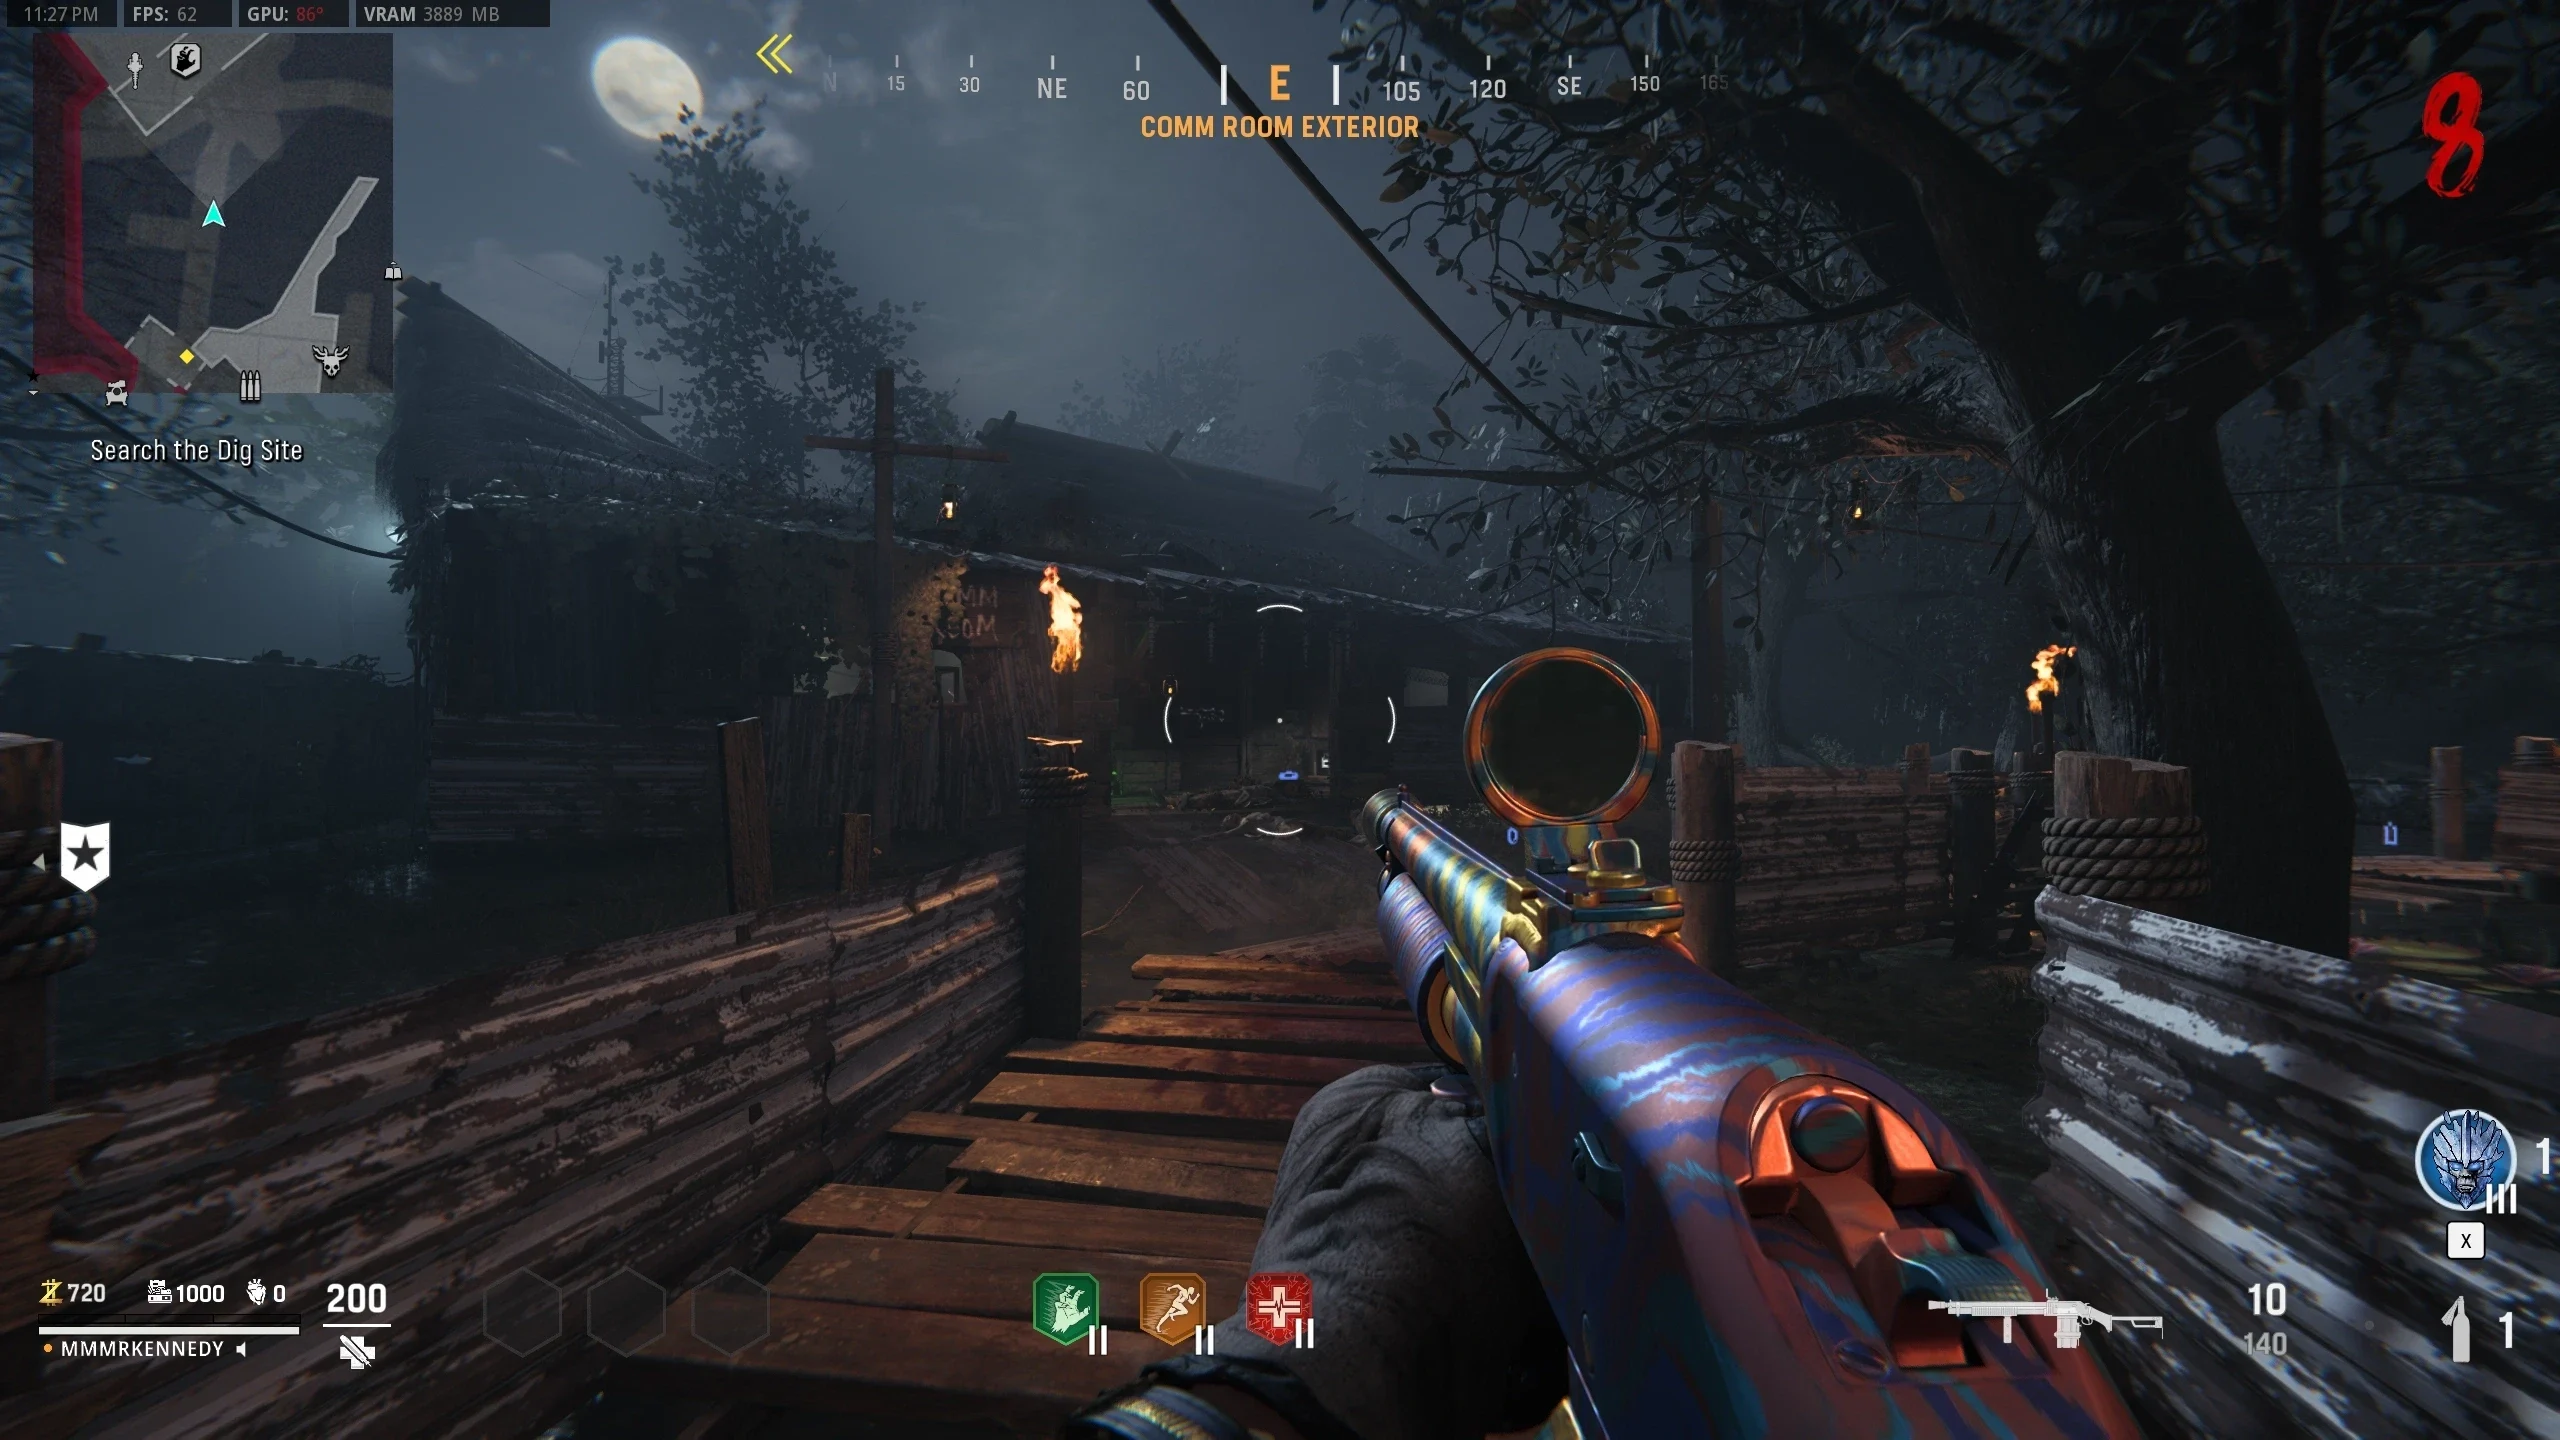
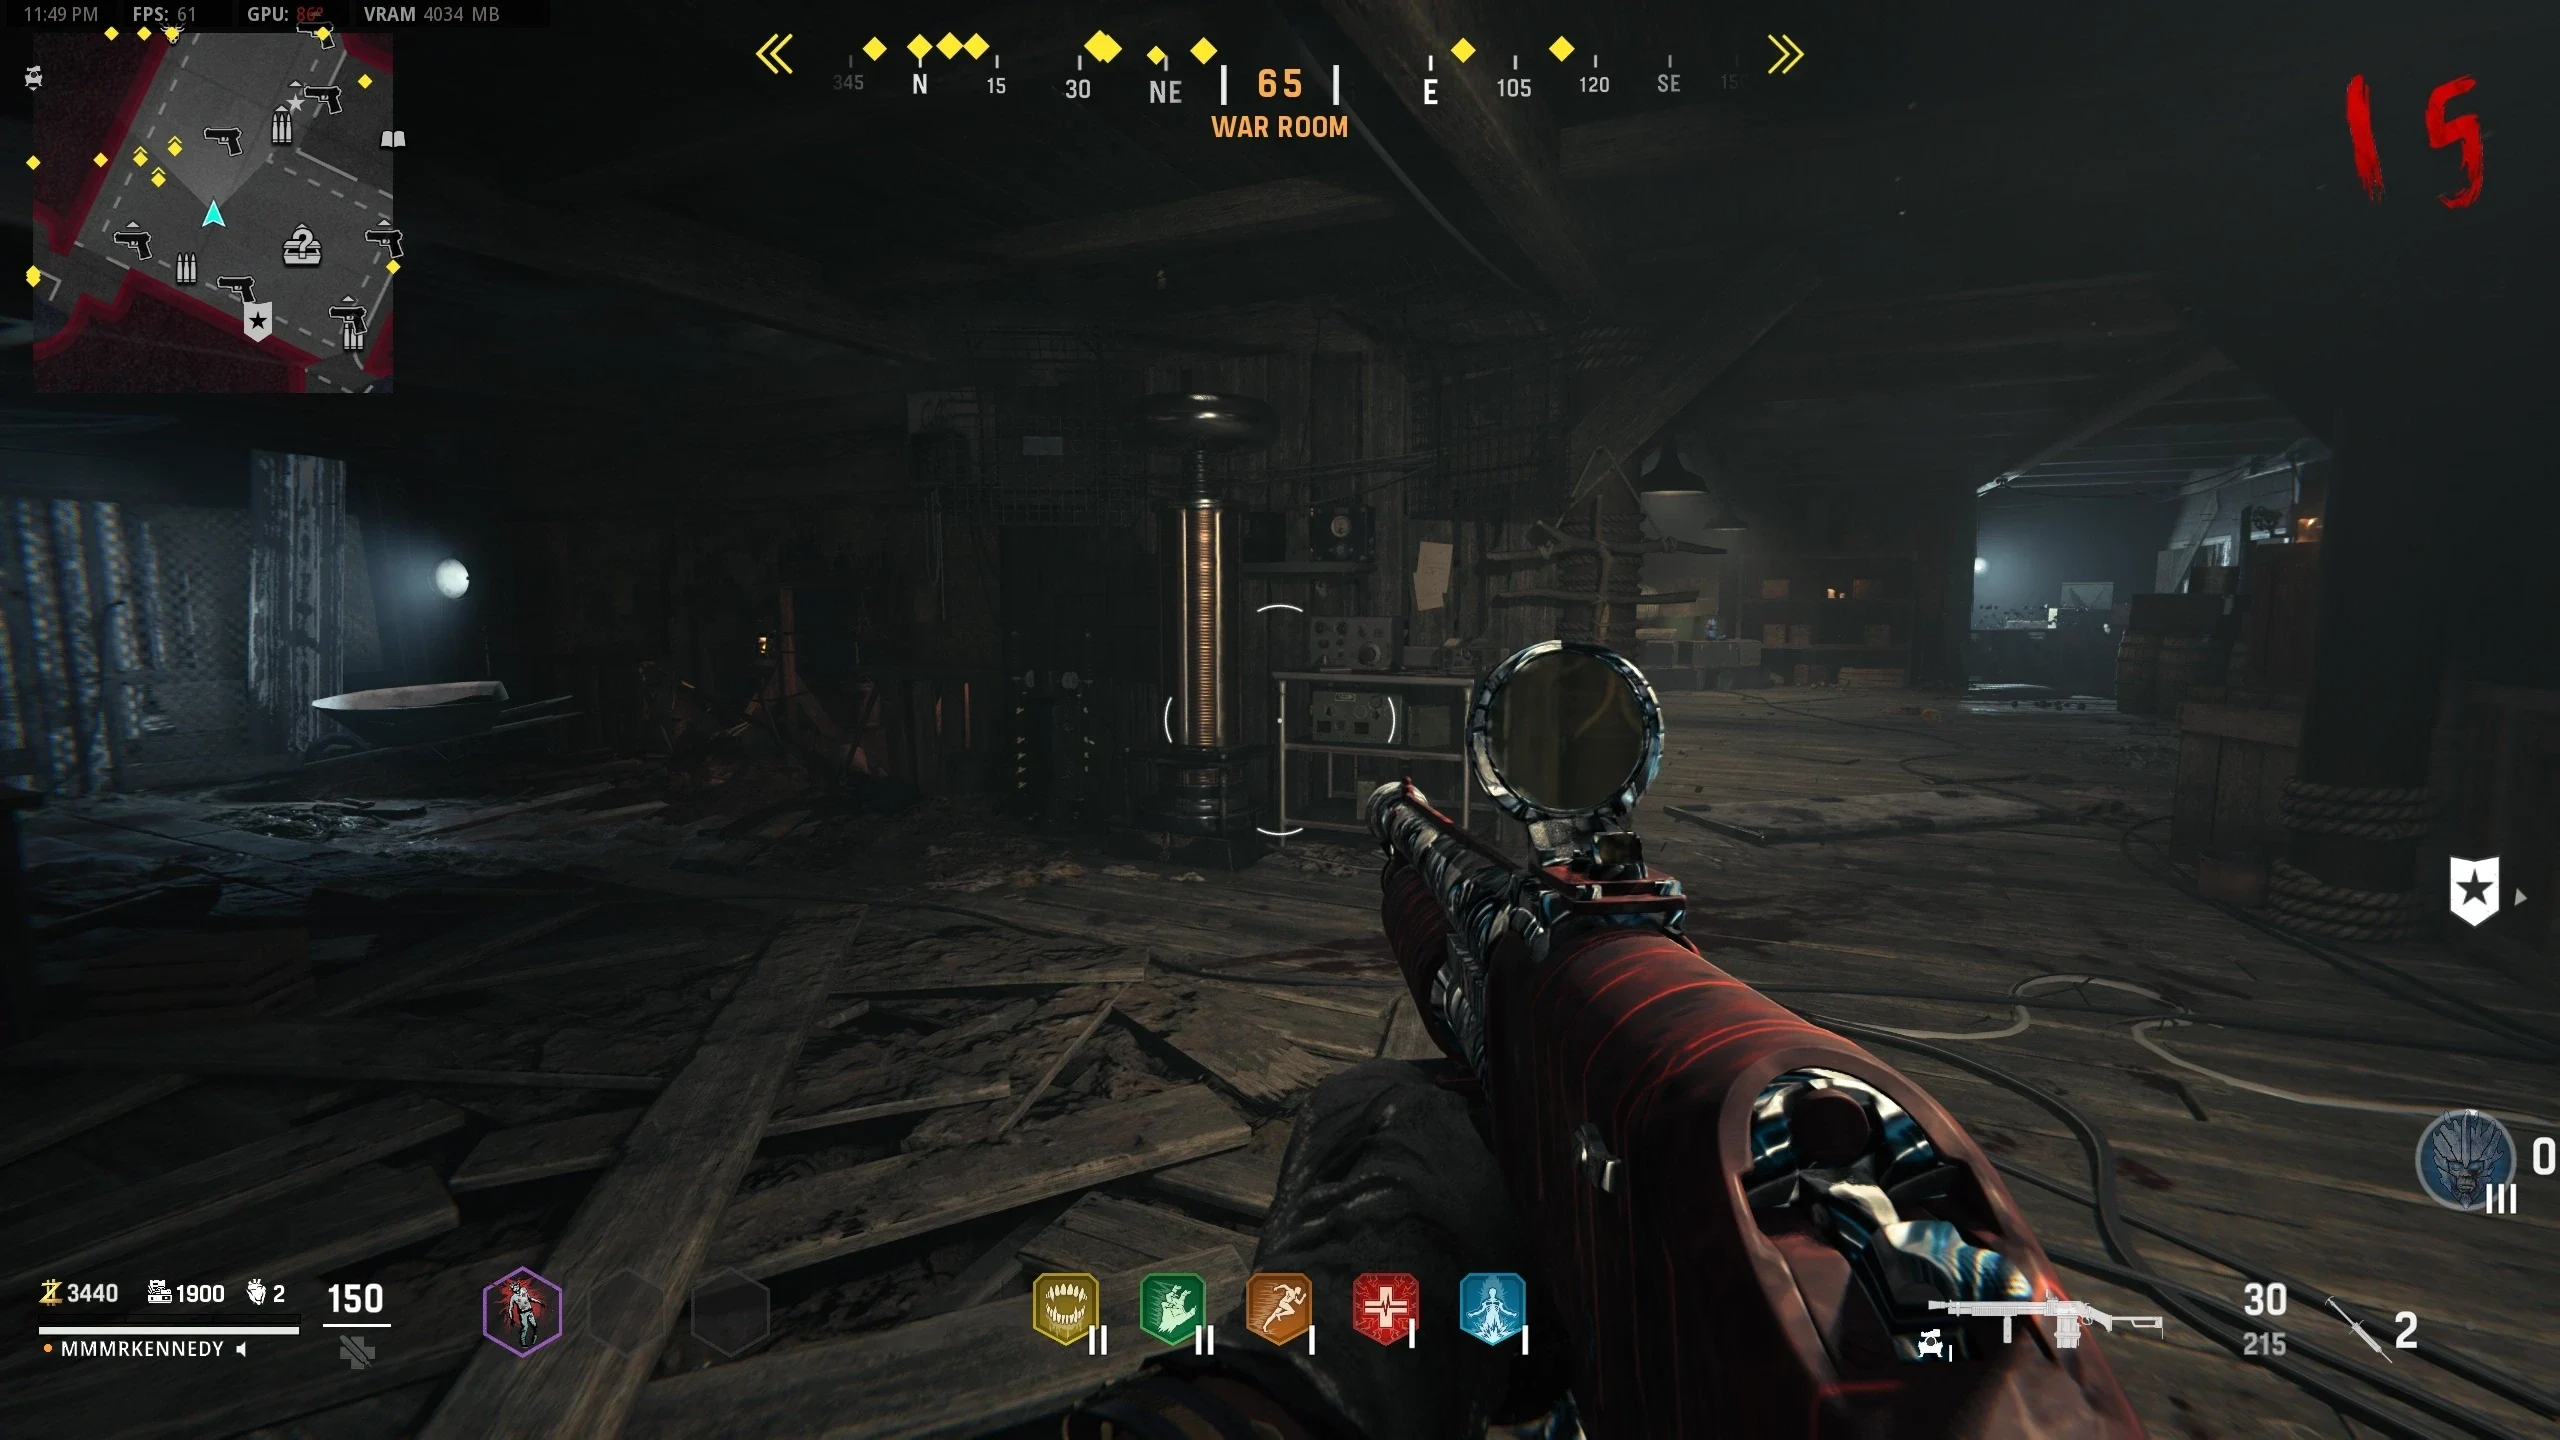
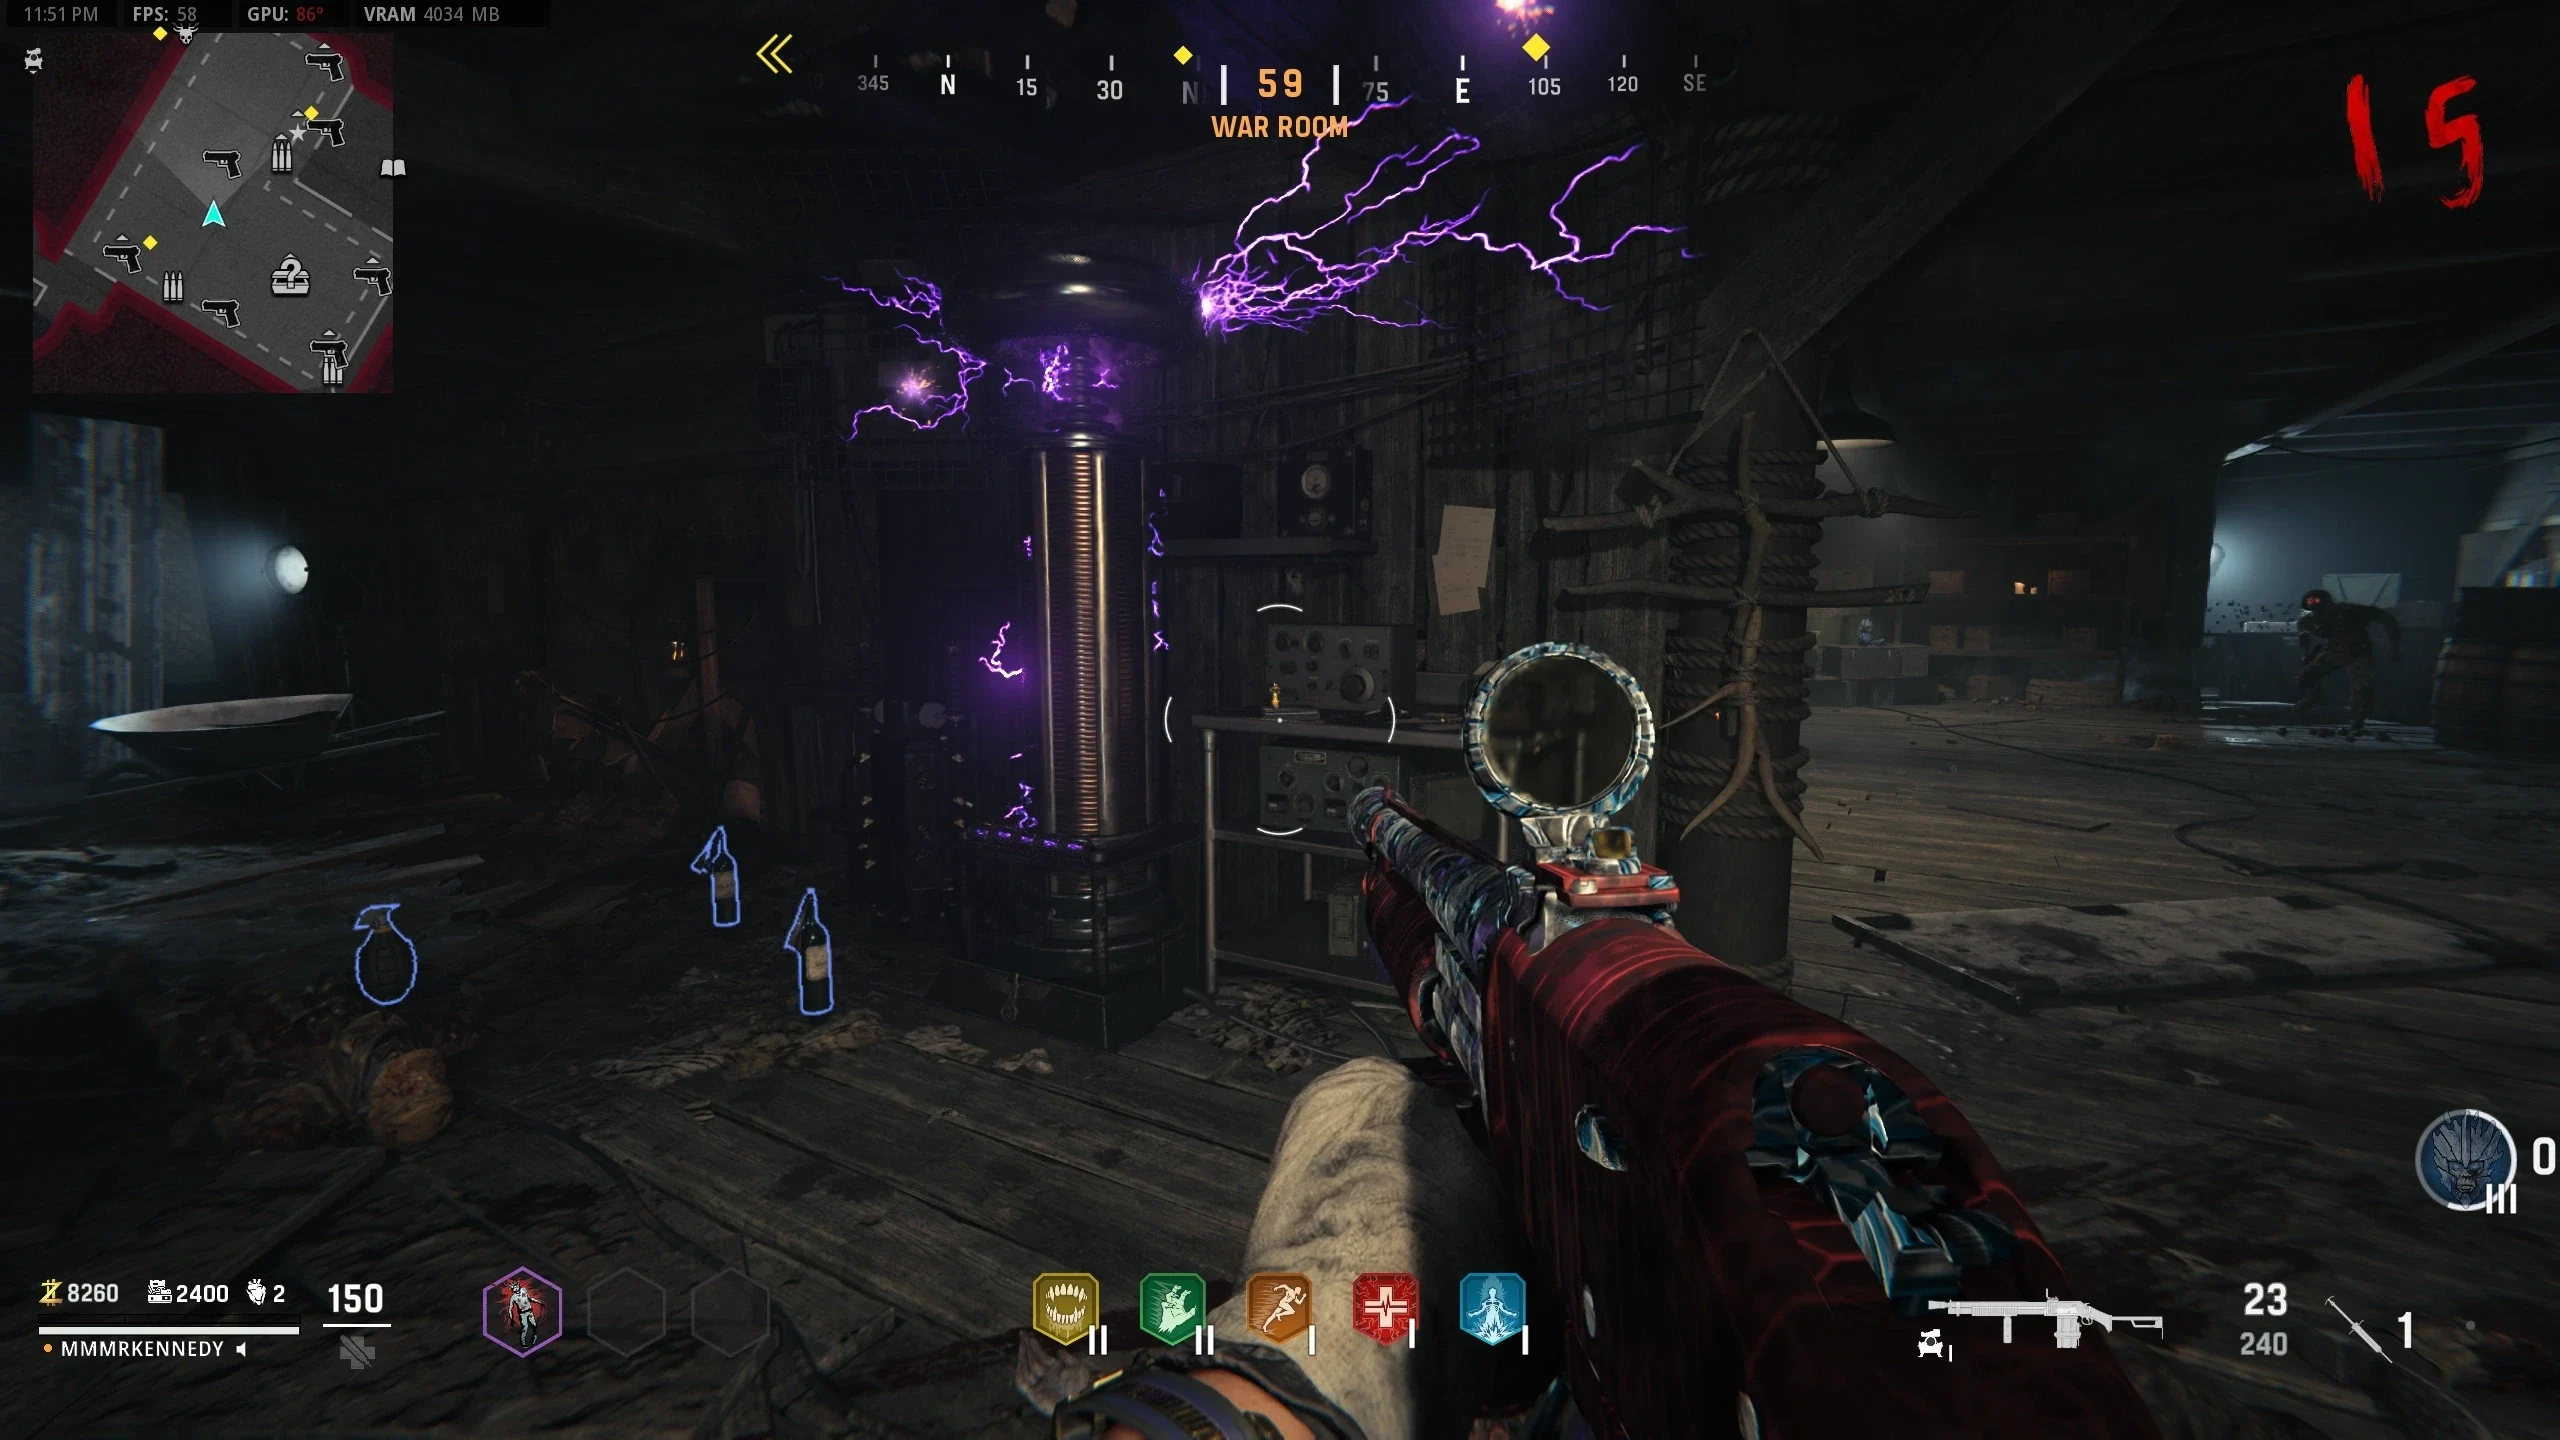
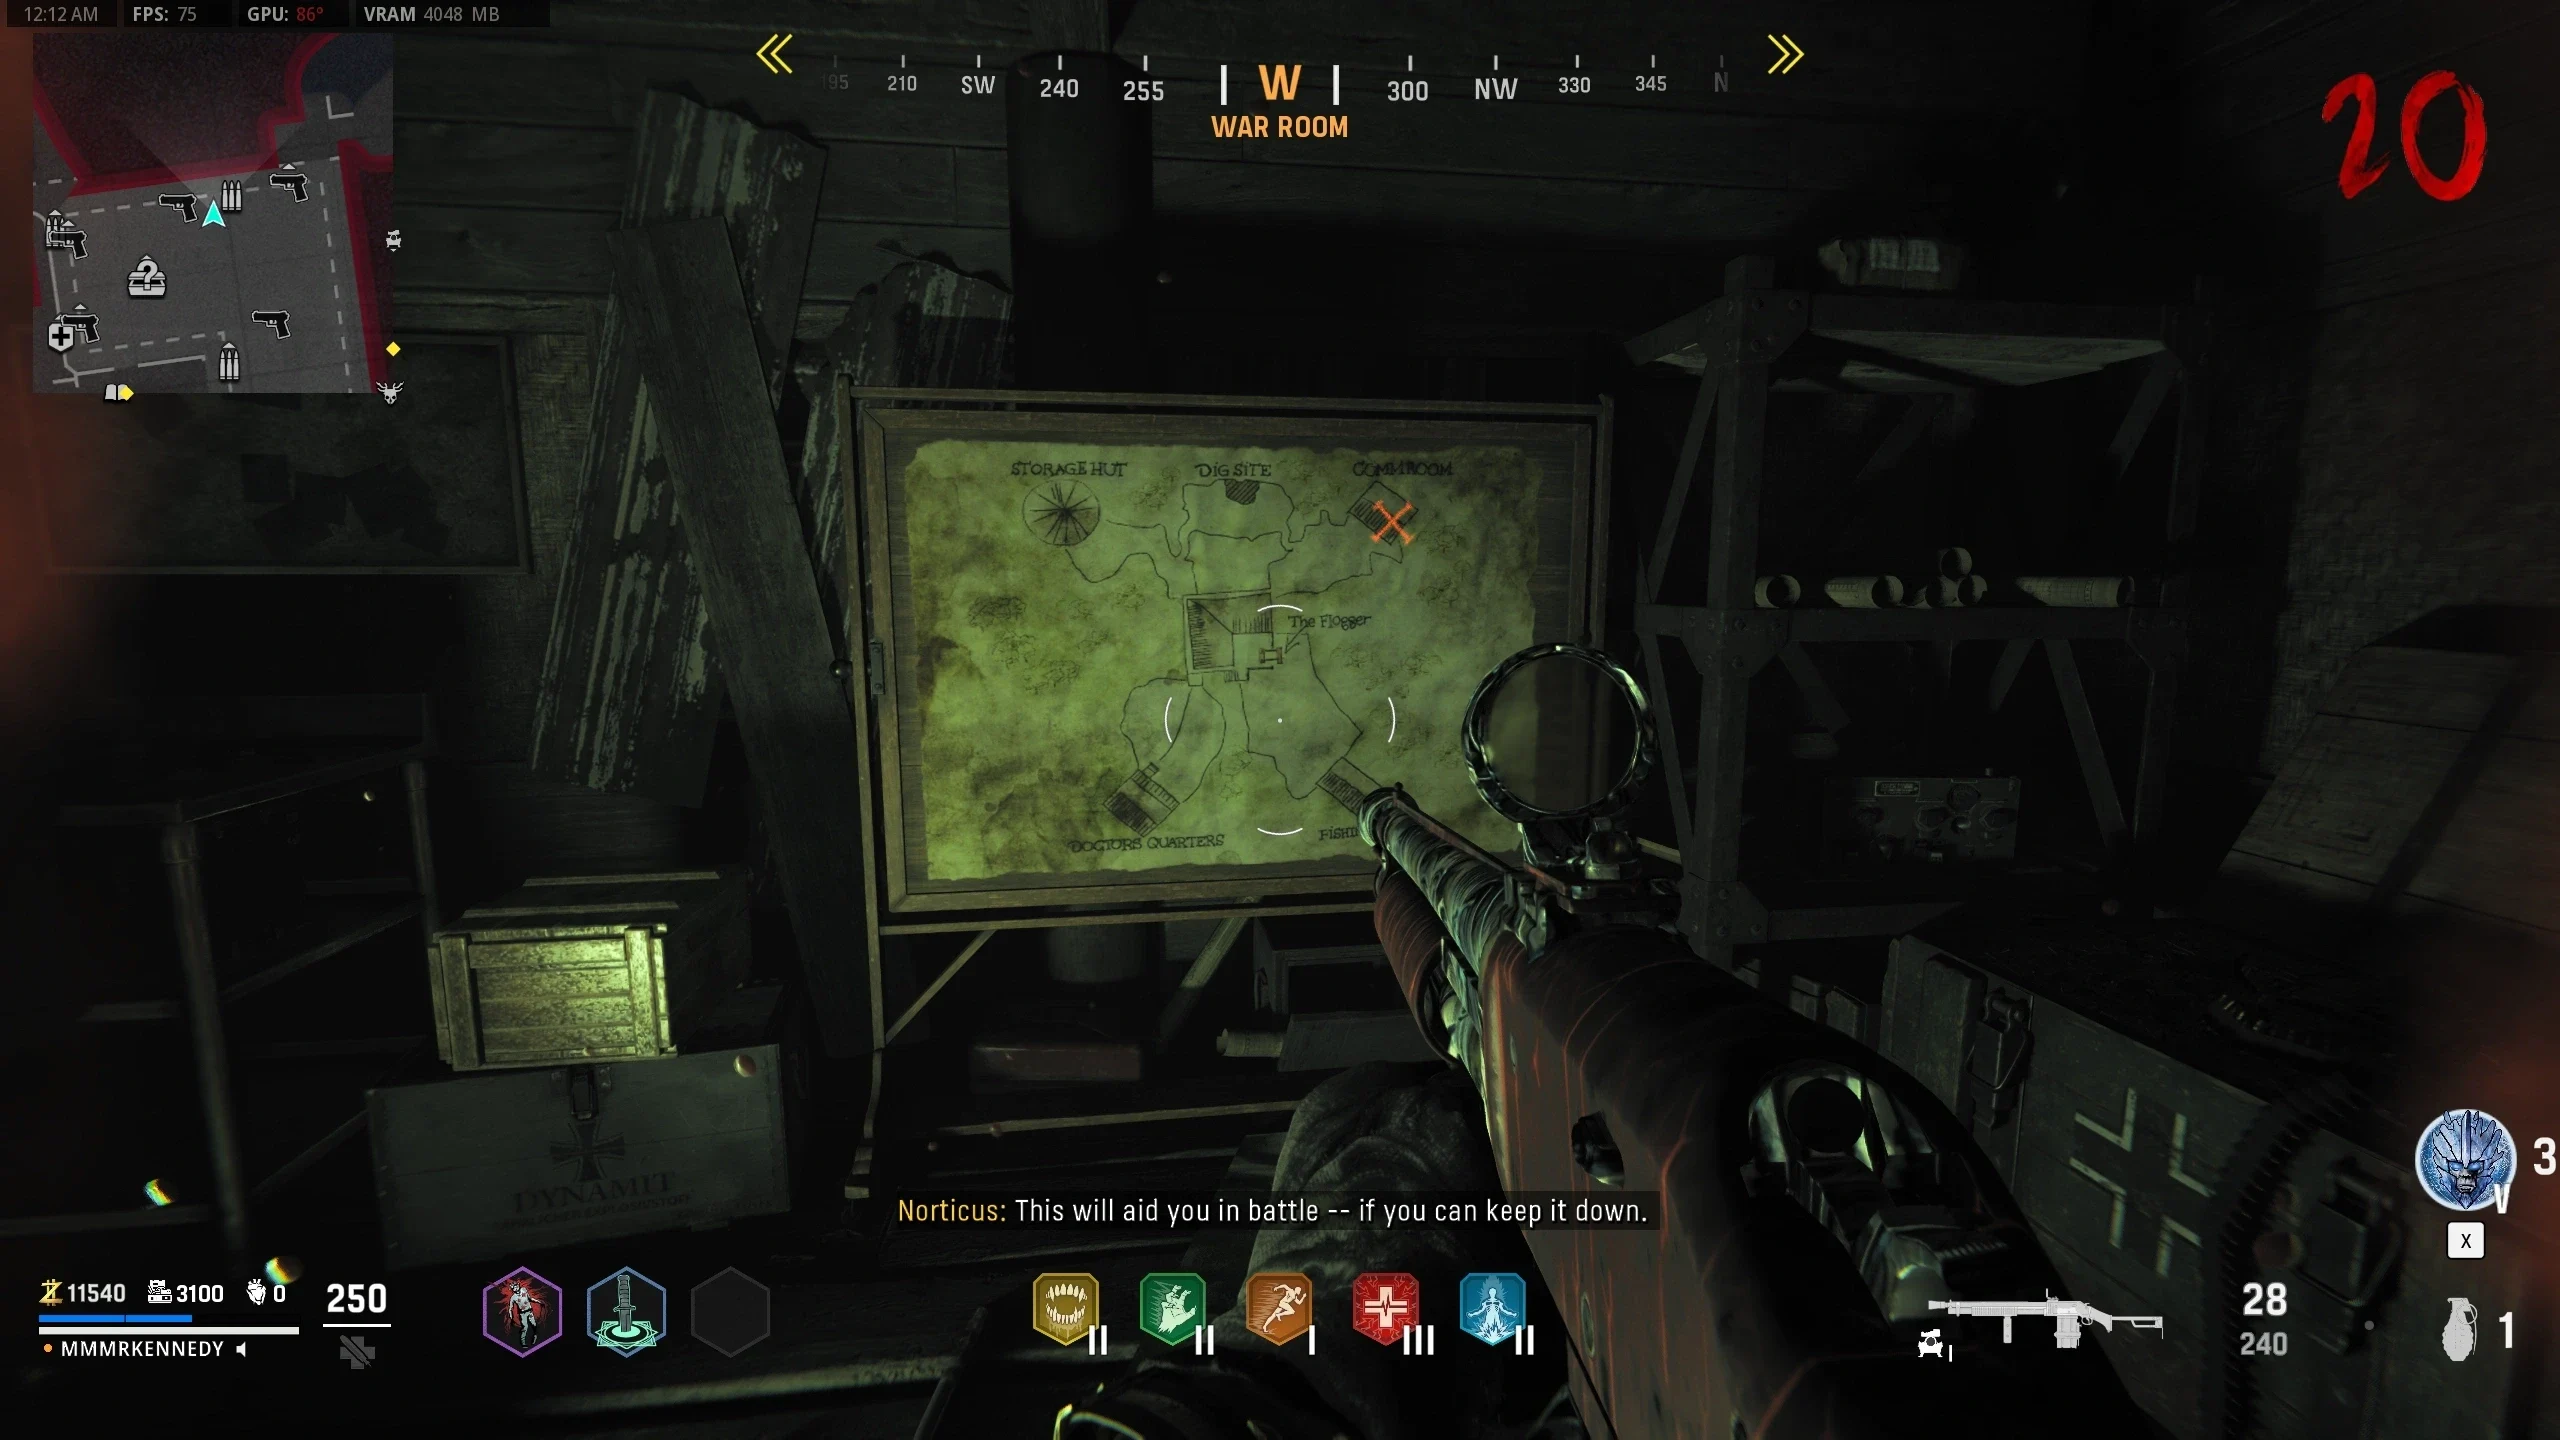
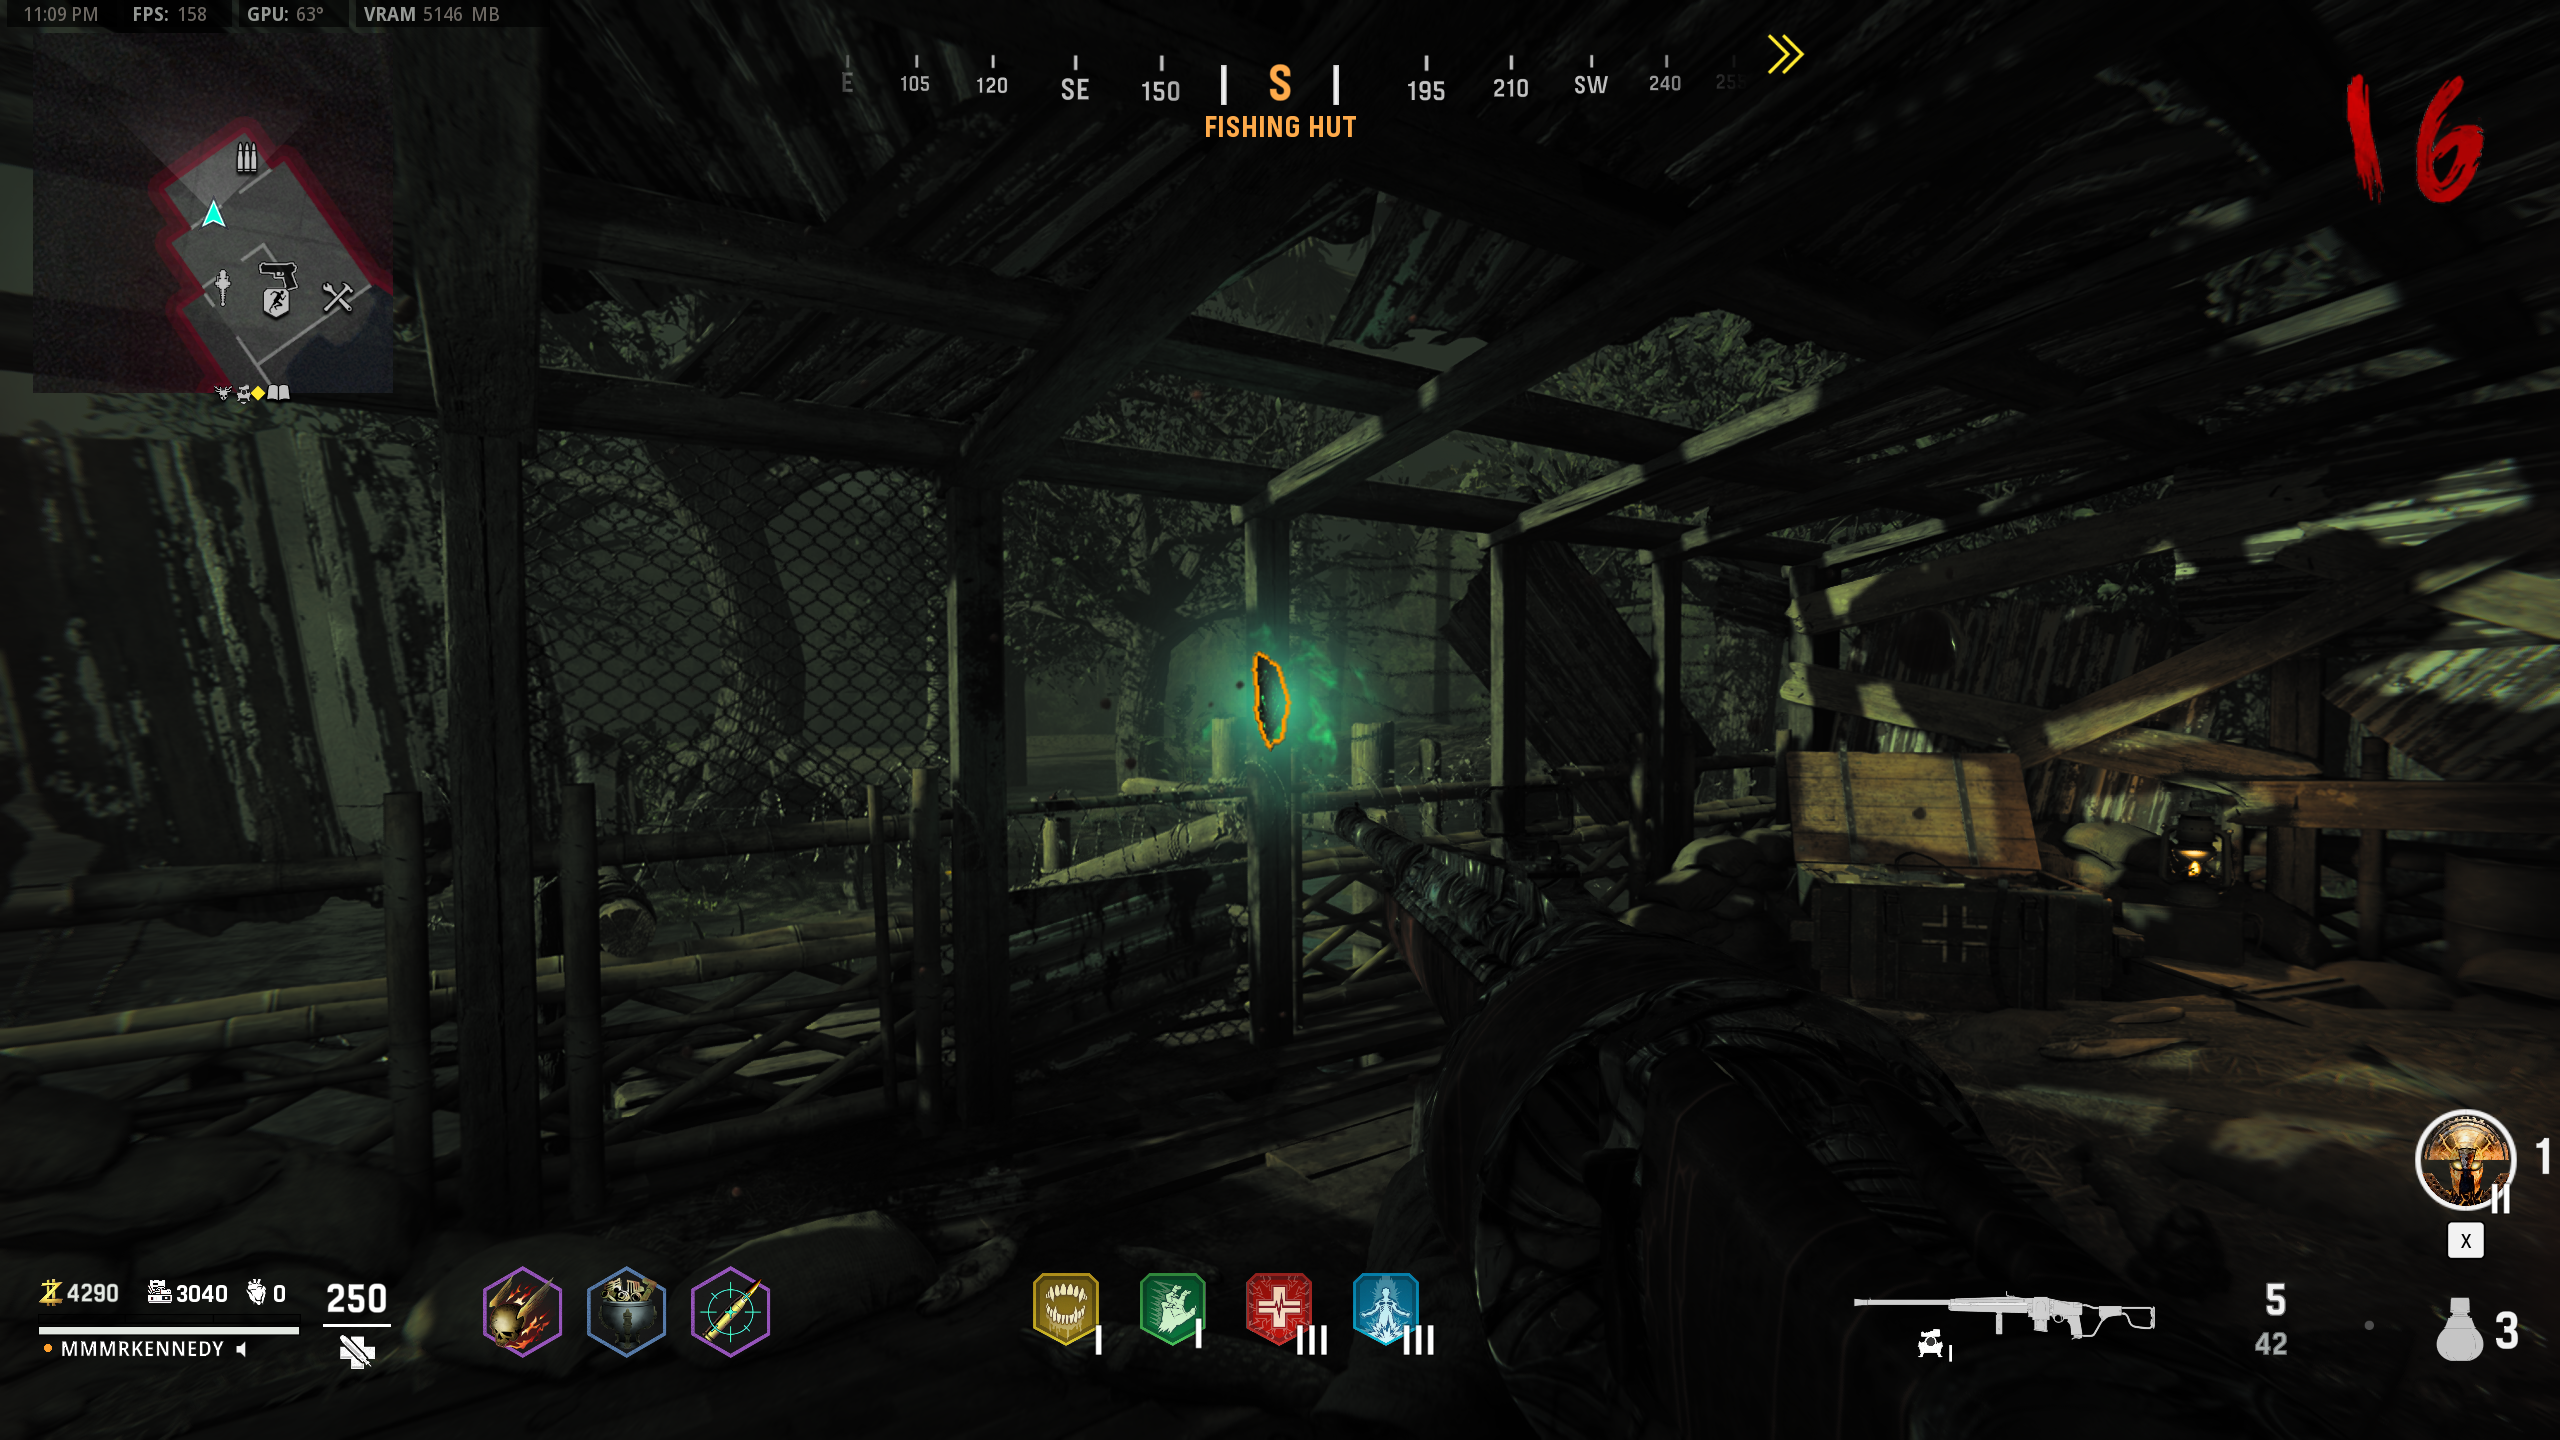
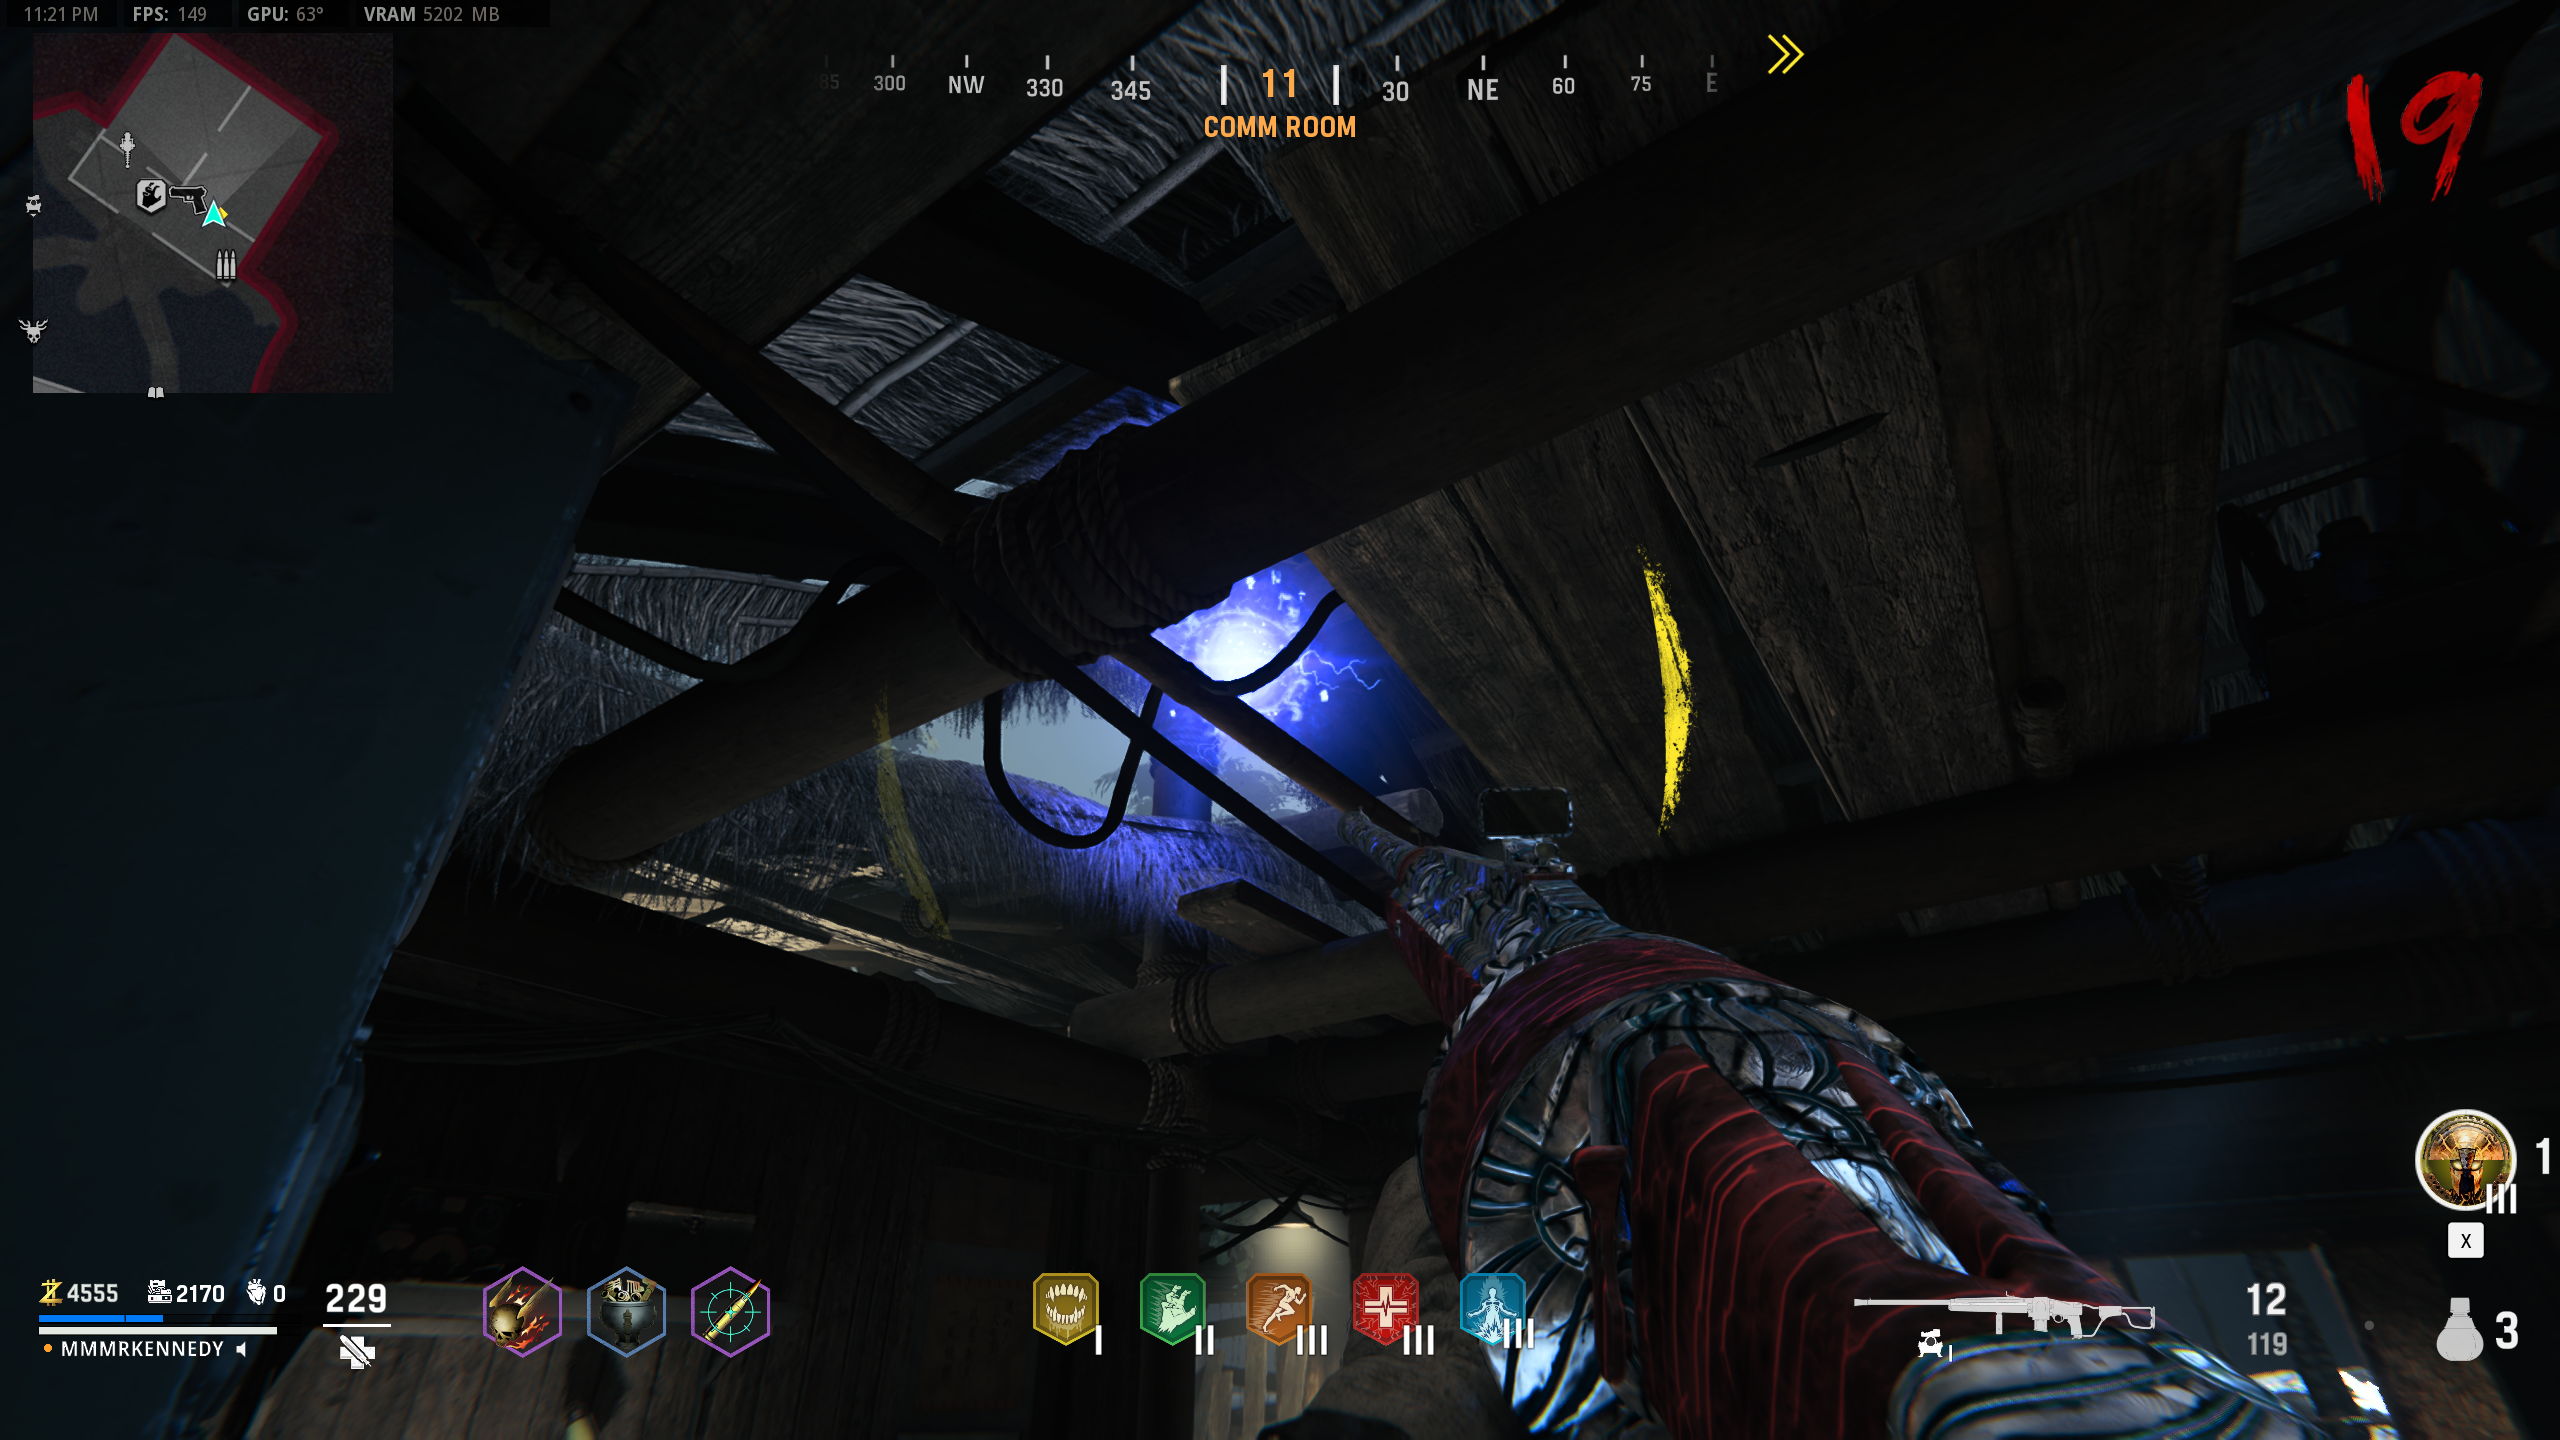
- While in "Zombie Blood", check the map in the War Room for where the red 'X' is. Go to the hut indicated by the red "X" and shoot the mirror piece in the ceiling to fall to the floor. pick it up.
- While in "Zombie Blood", a red orb will appear somewhere in the spawn building. Where the orb spawns determines its final destination. Orb Spawn/End Locations:
- Walk up to the orb to get it moving. You don't need to escort it after that.
- If you run out of "Zombie Blood" before grabbing the piece, drink from the fountain again and head to the orb's final destination.
- Once the orb reaches its destination, a mirror piece will spawn from it.
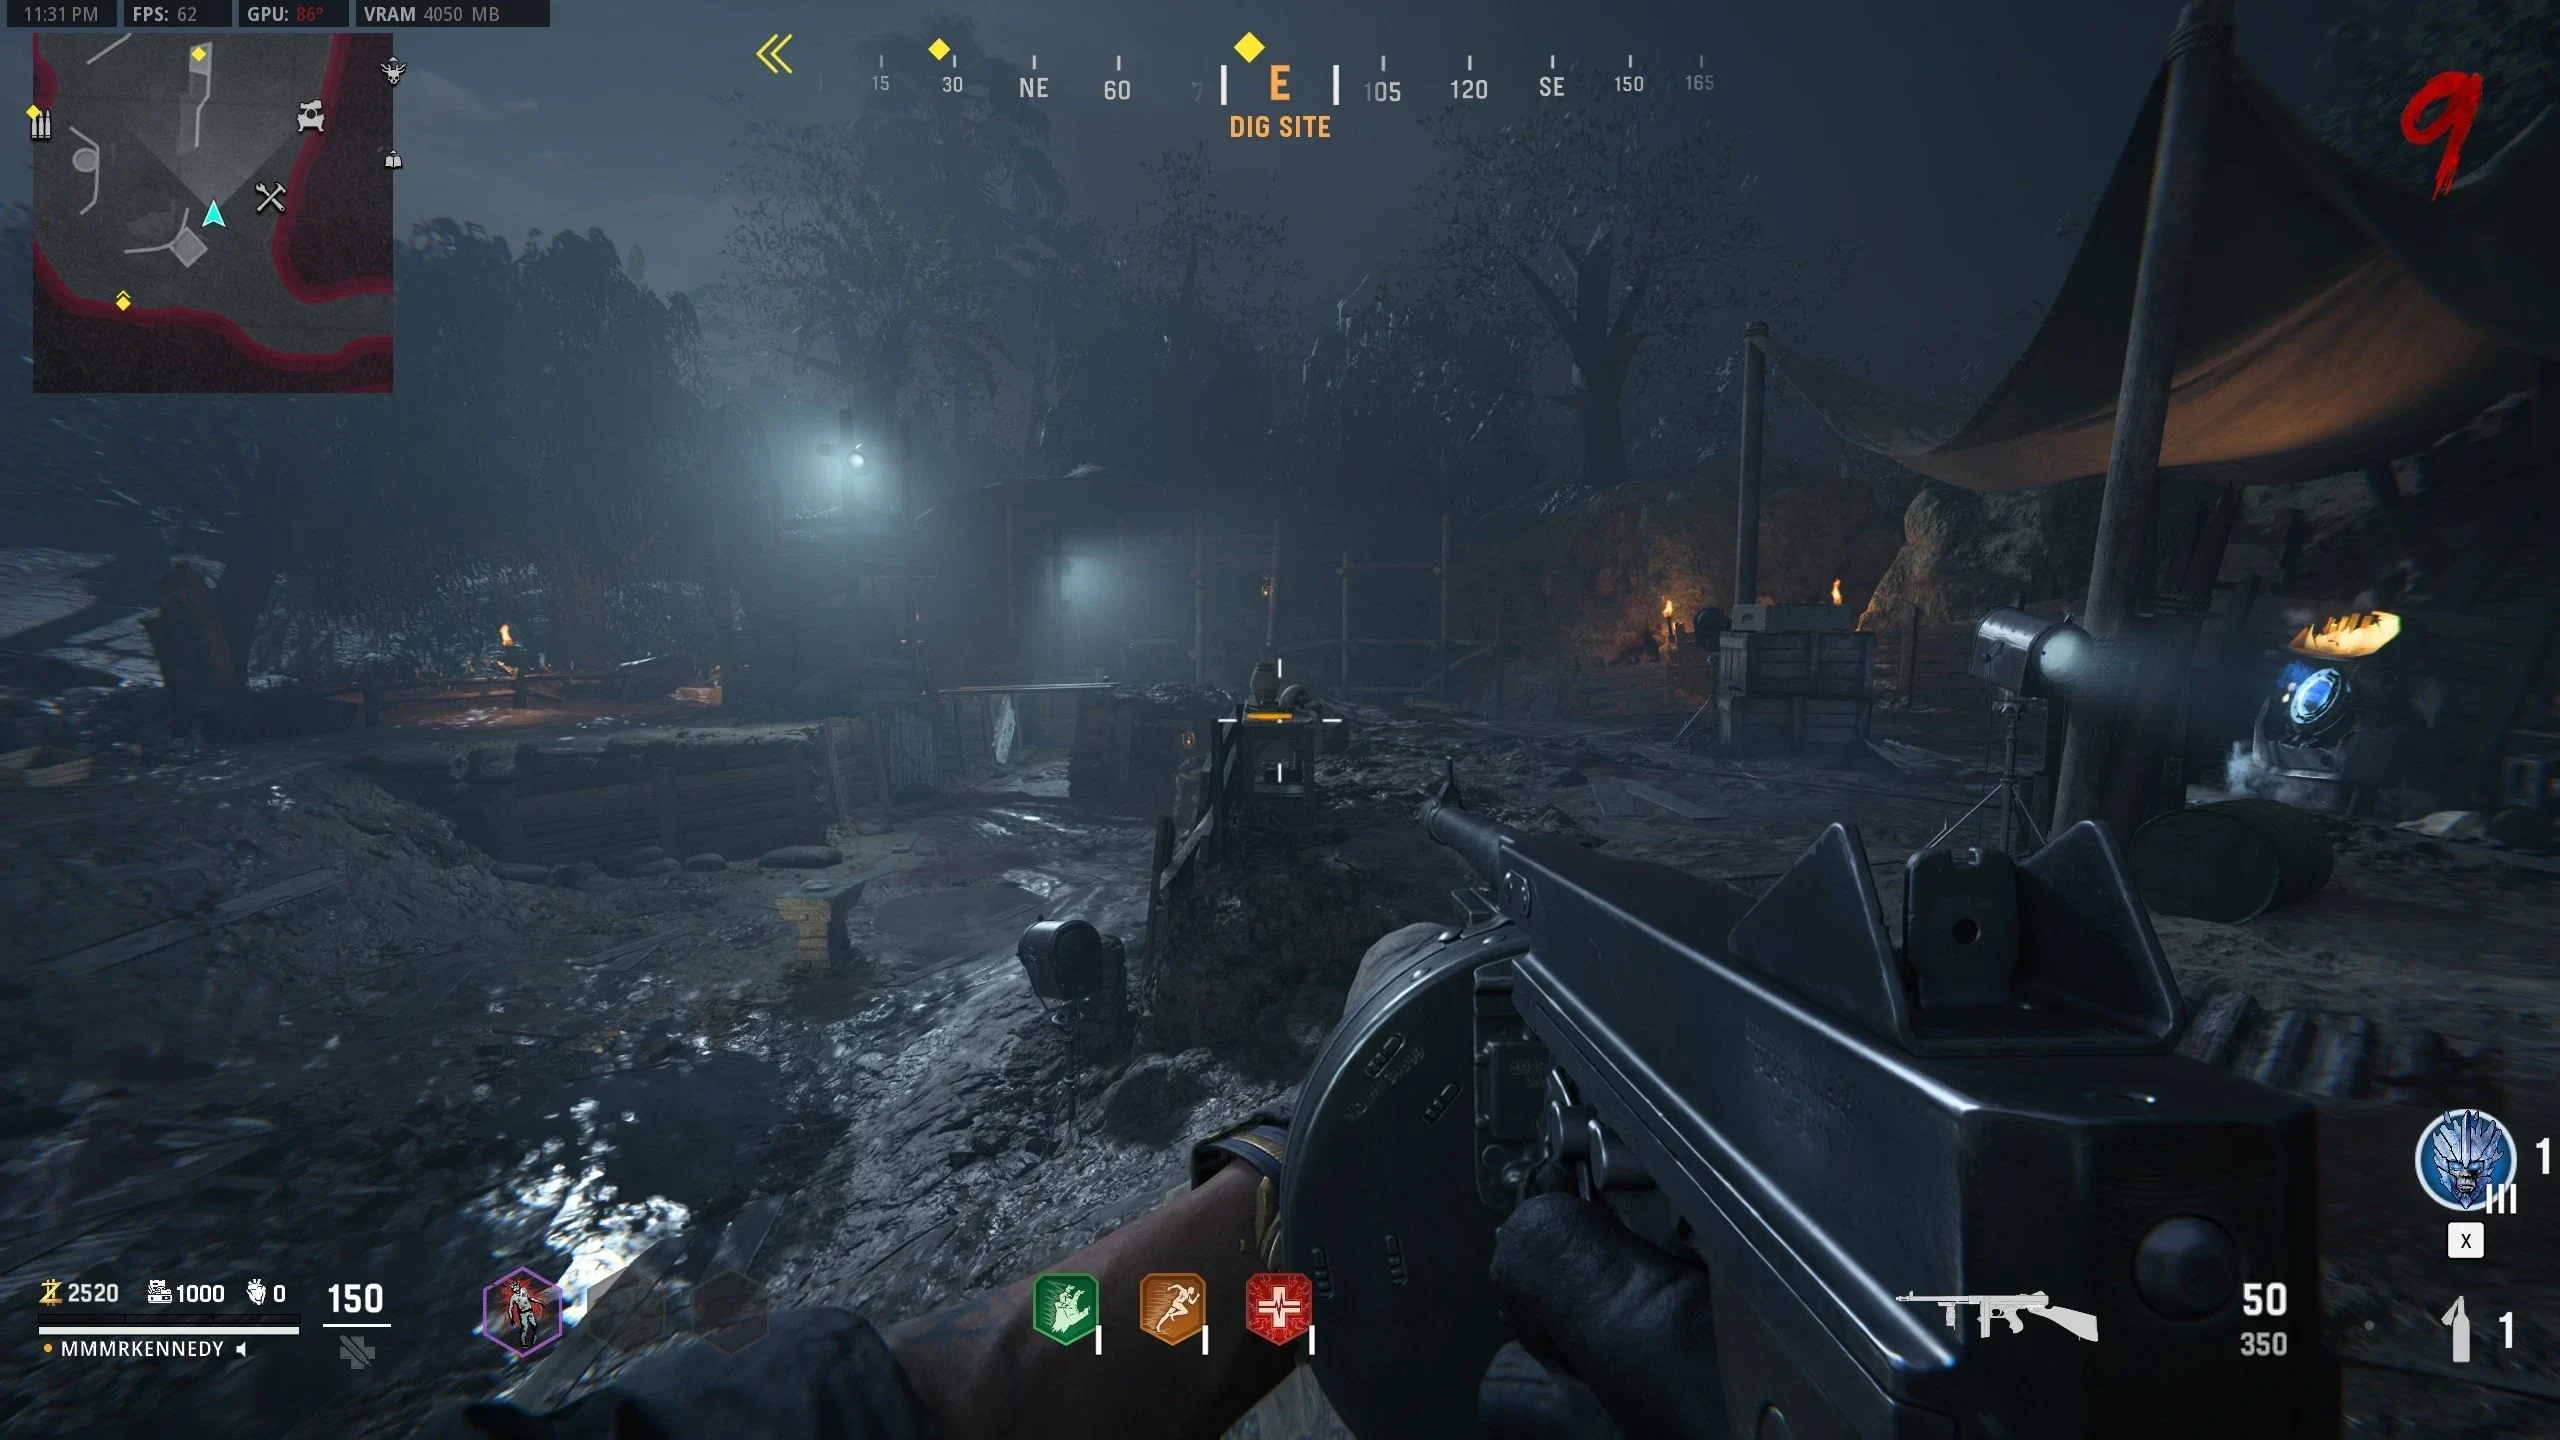
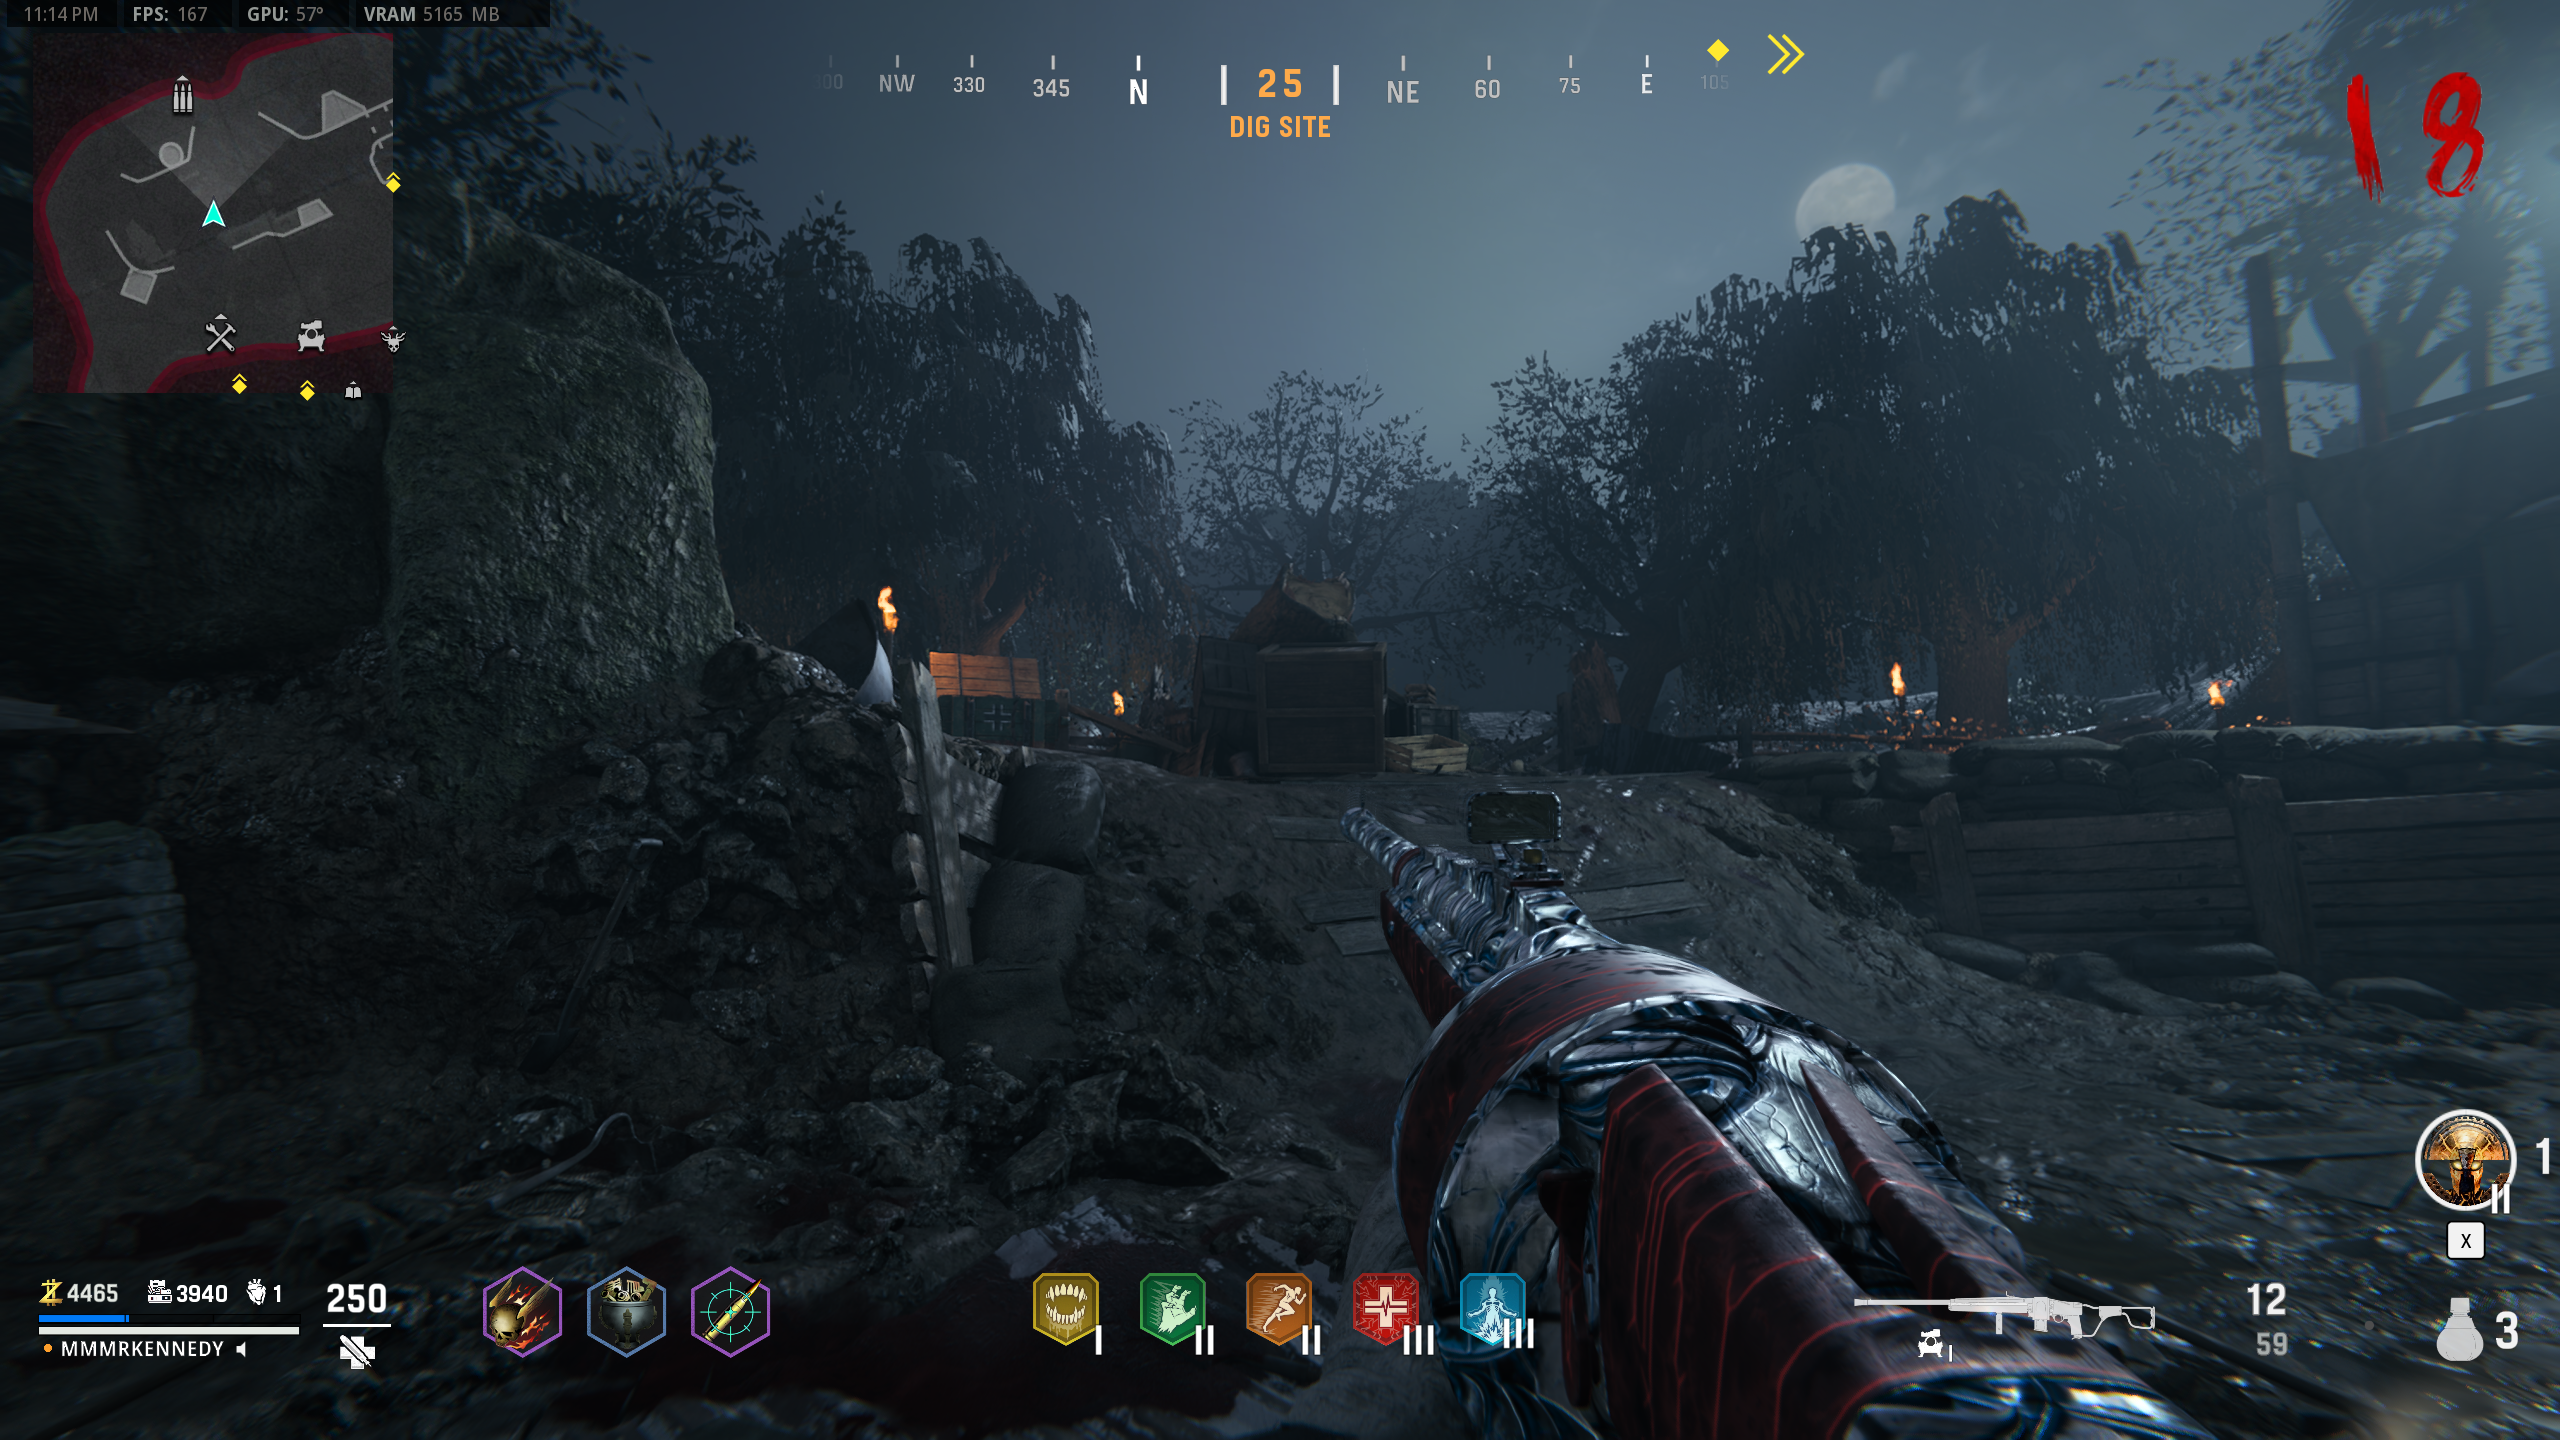
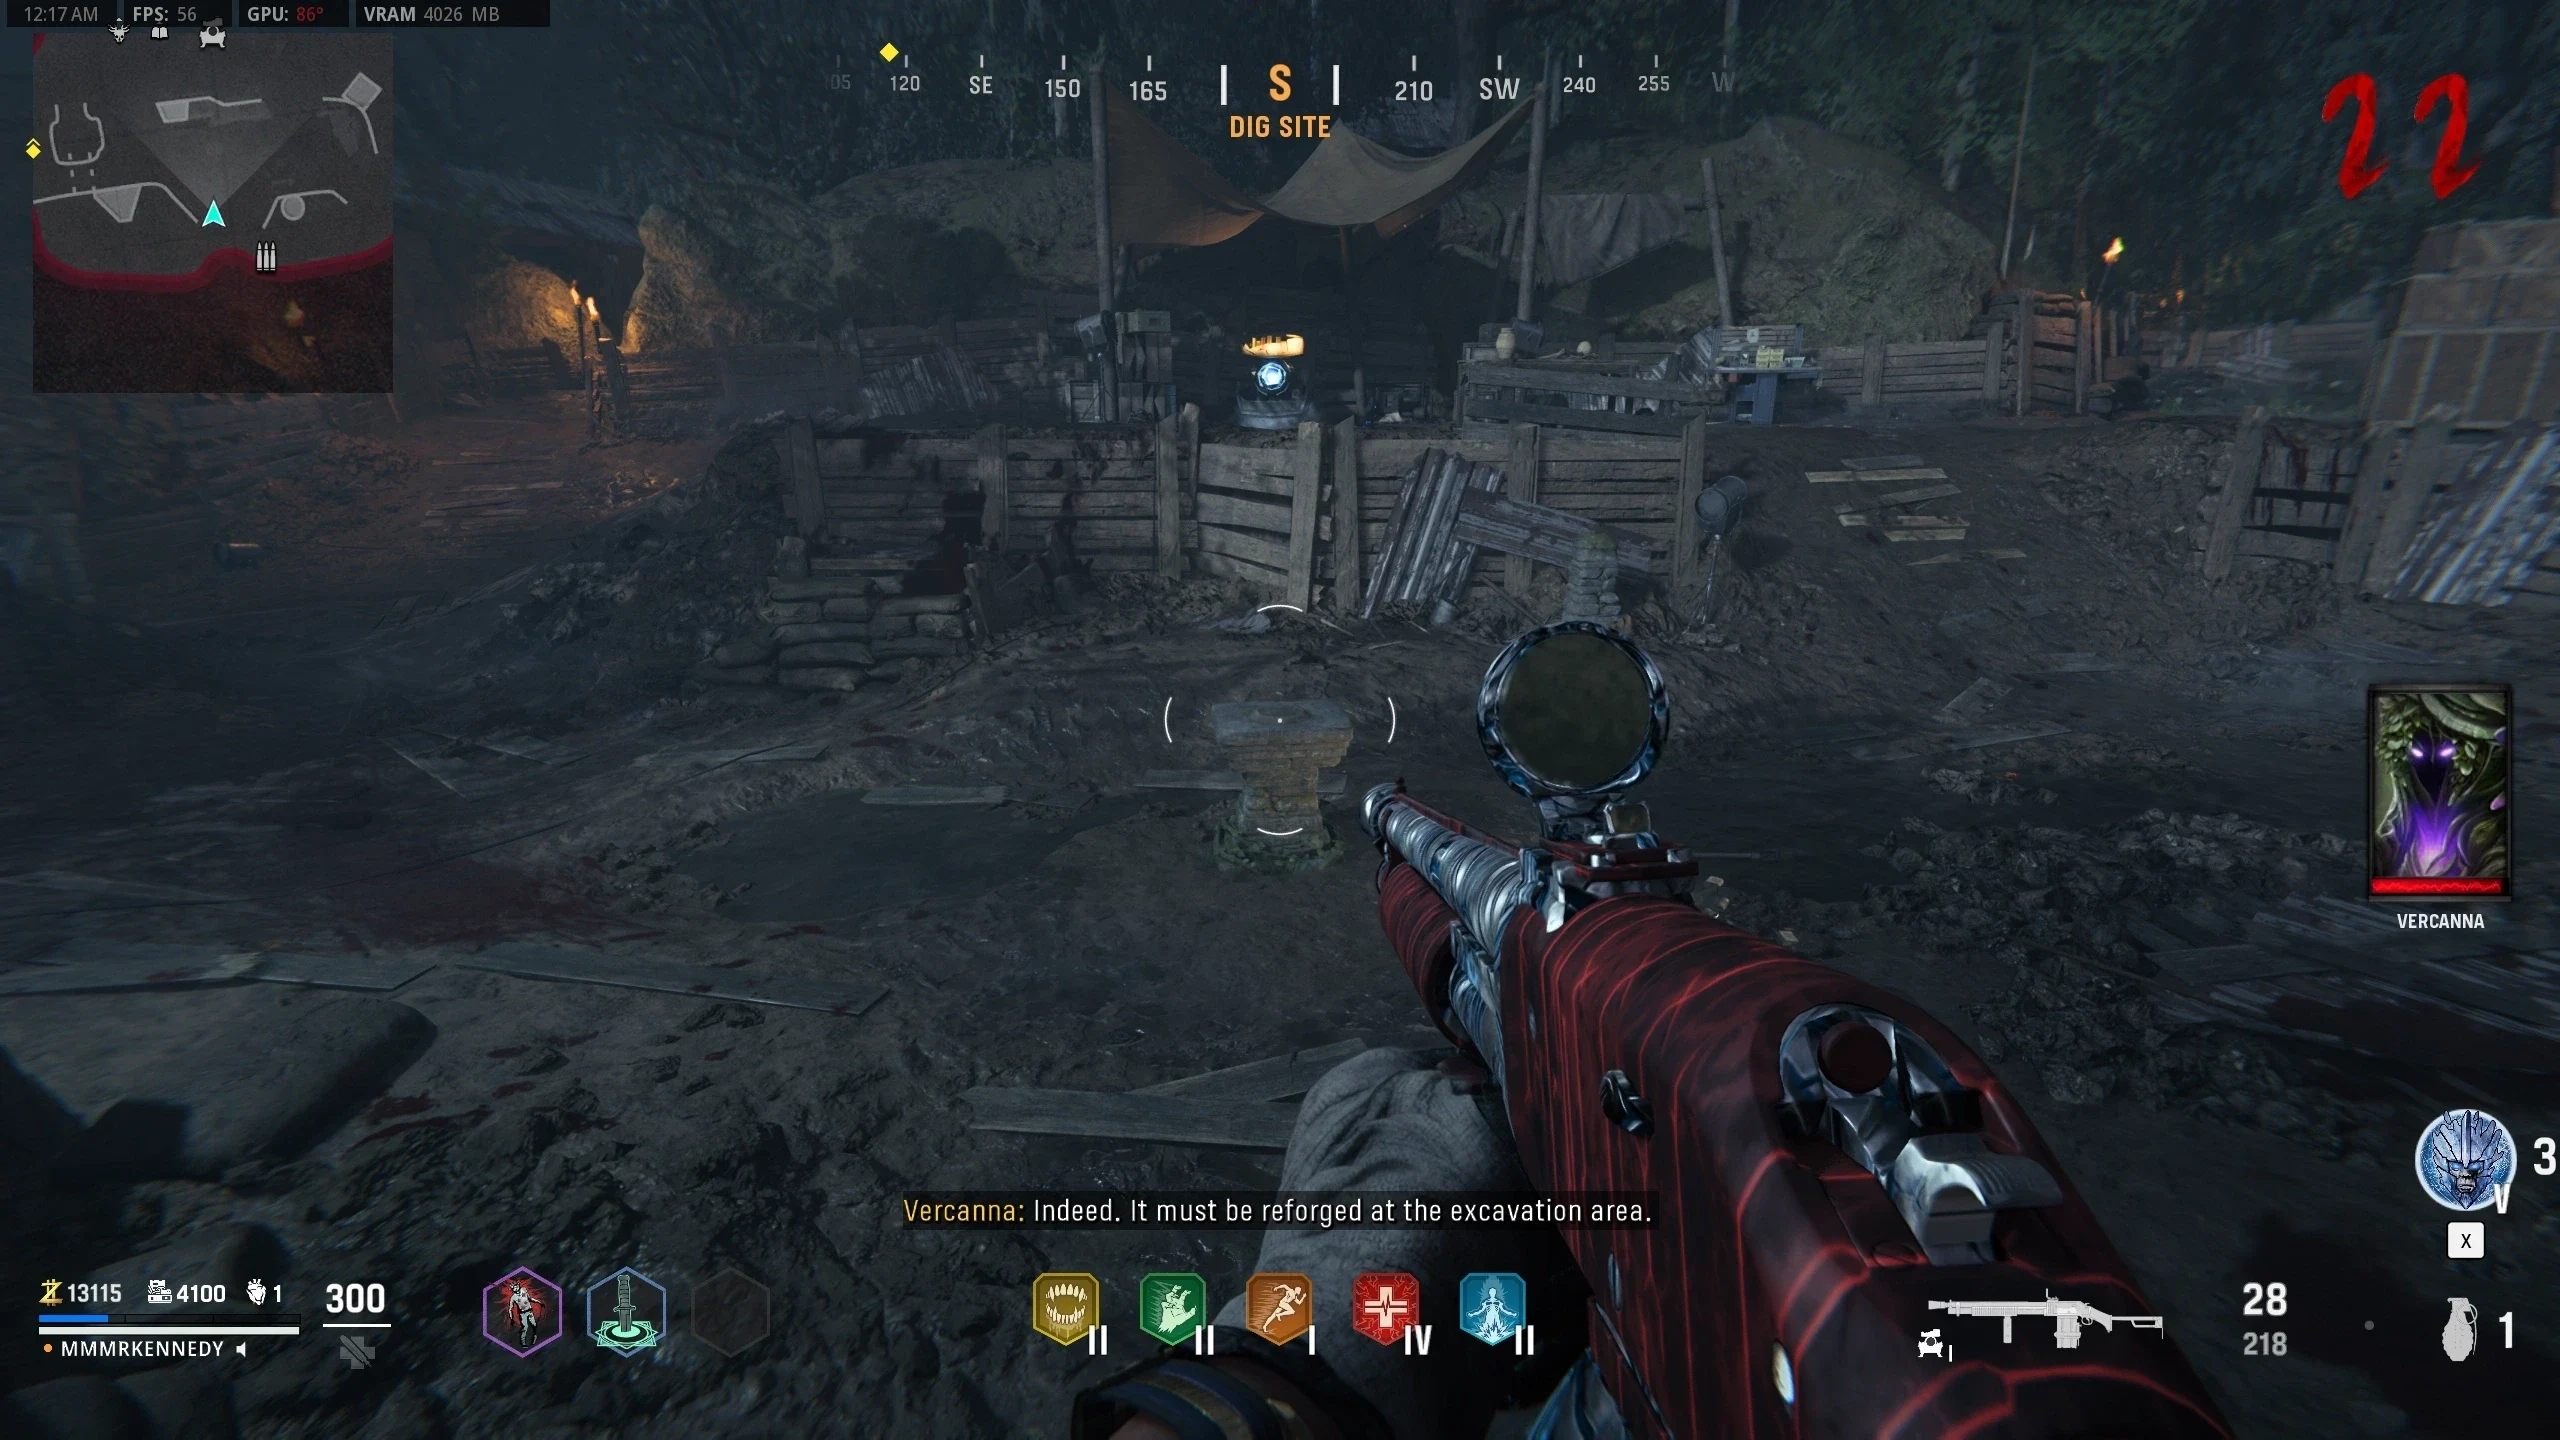
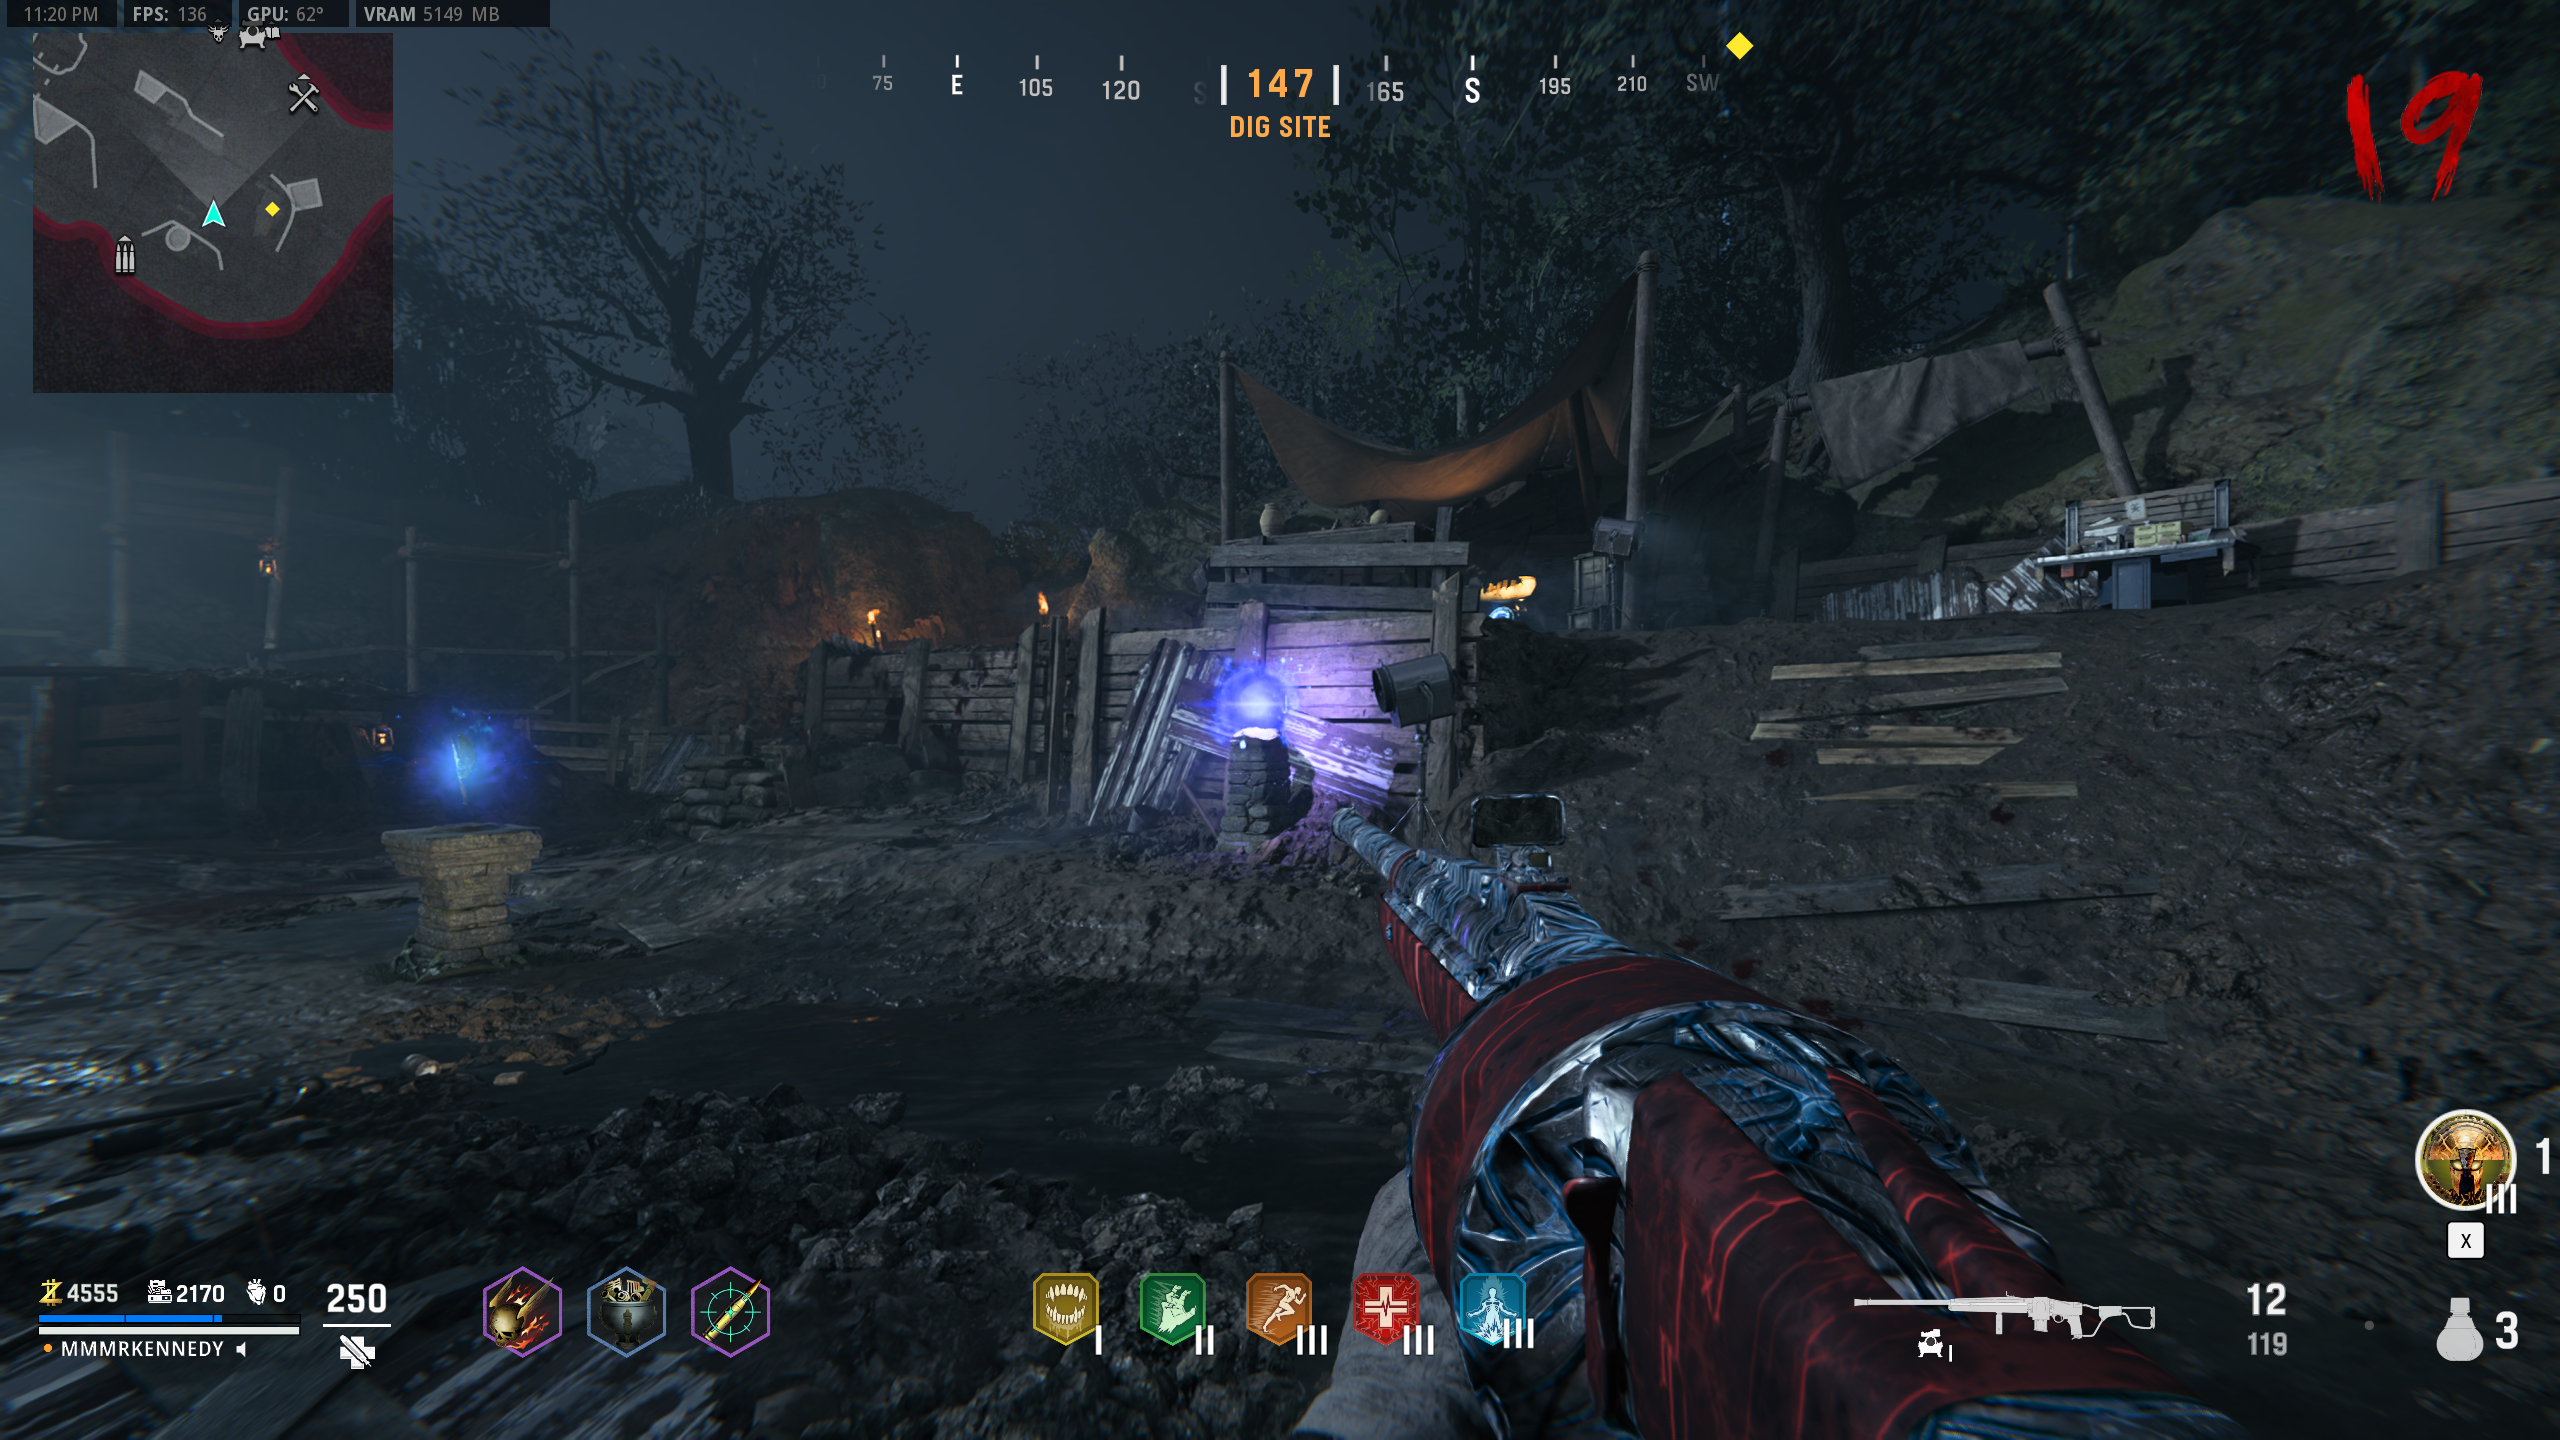
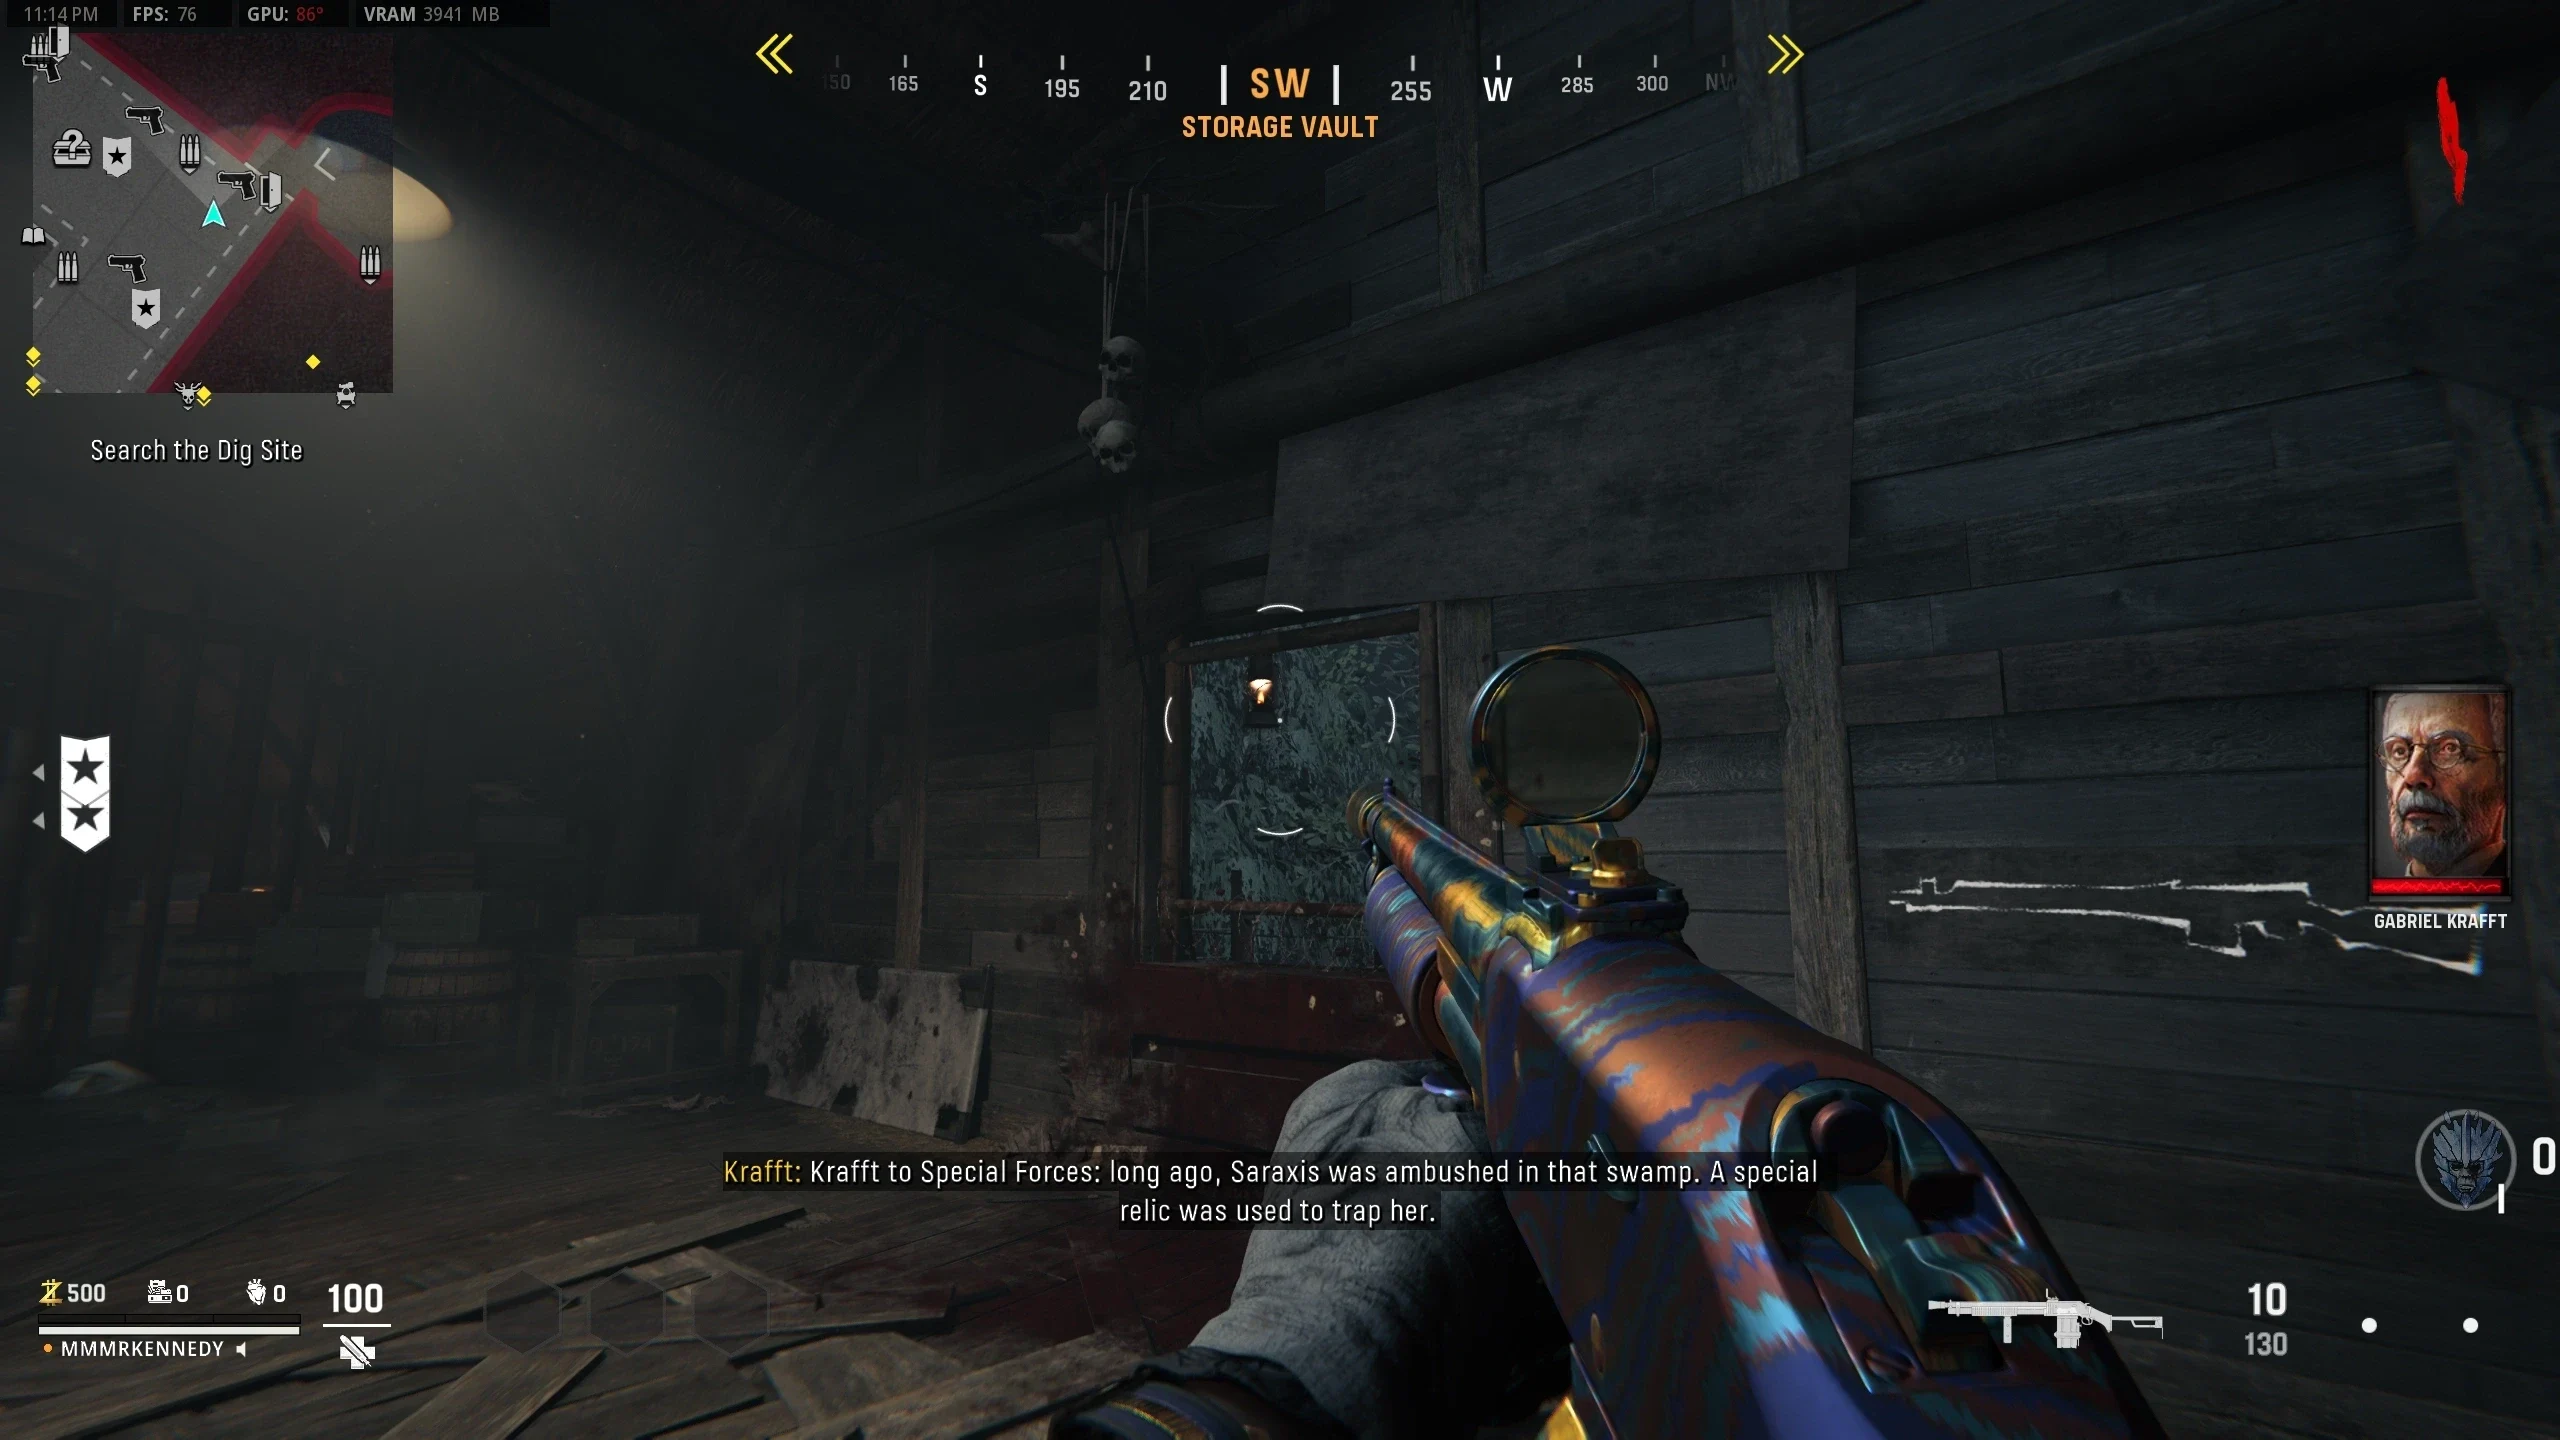
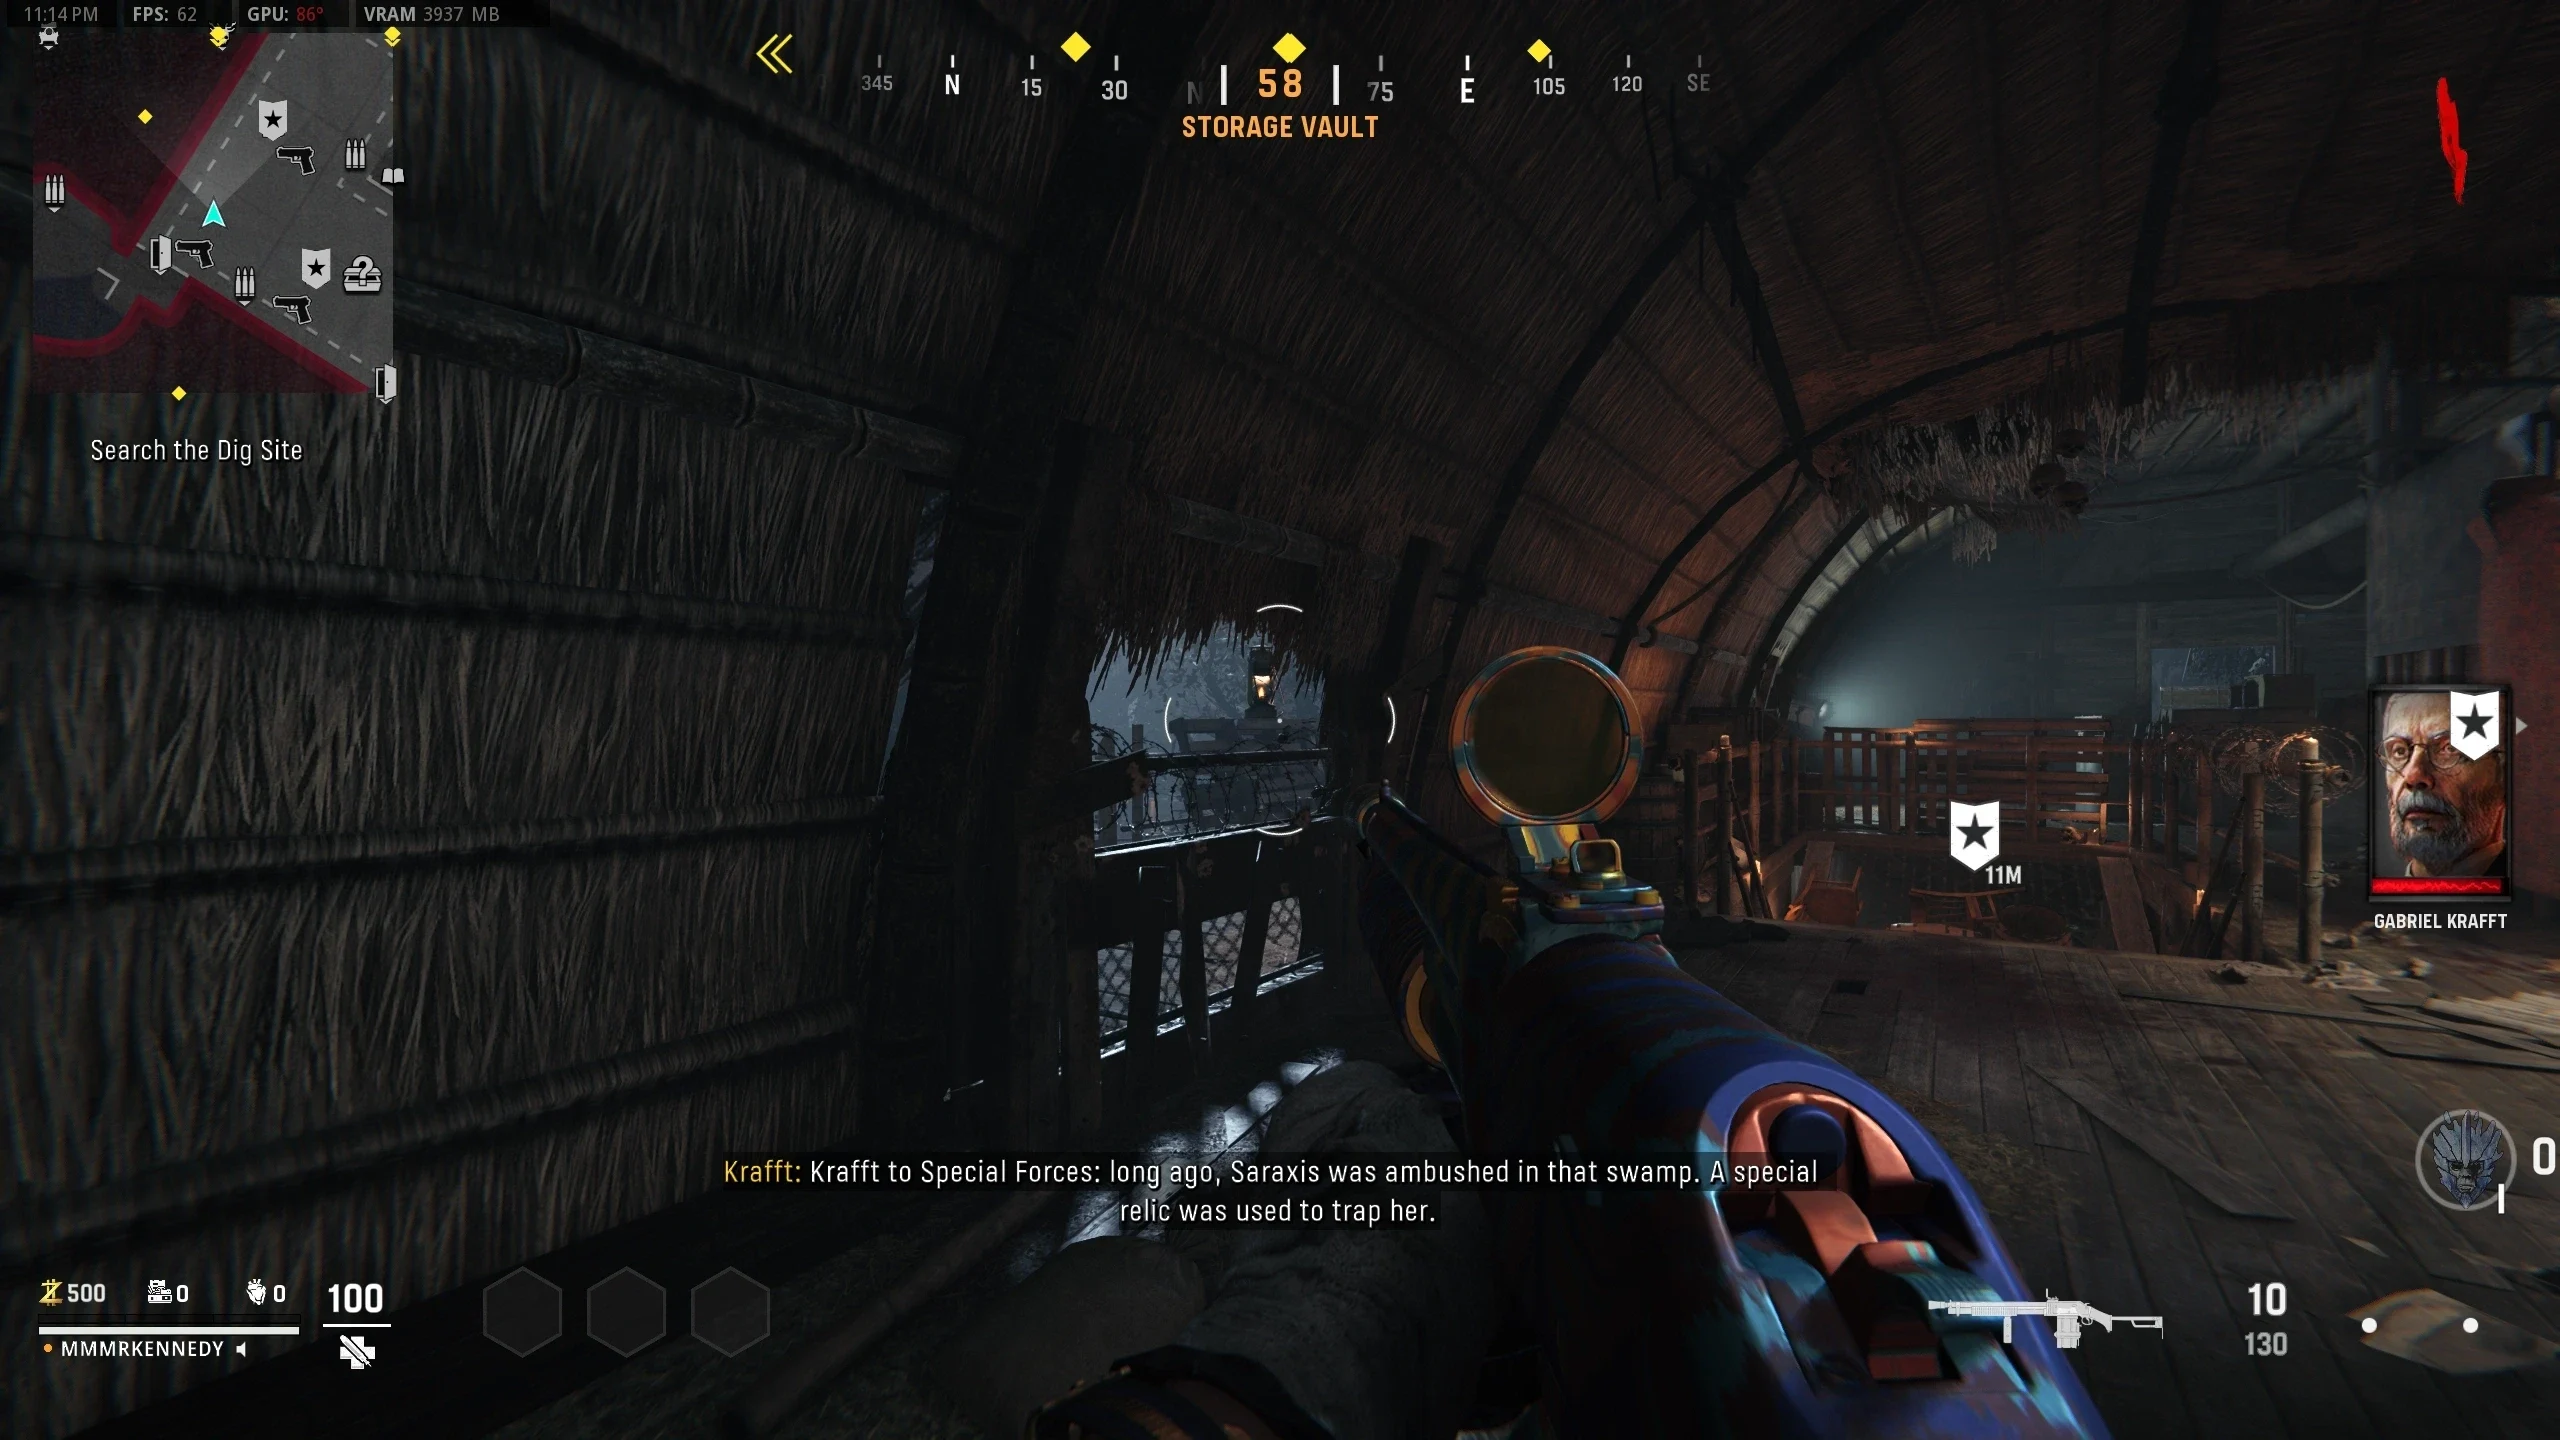
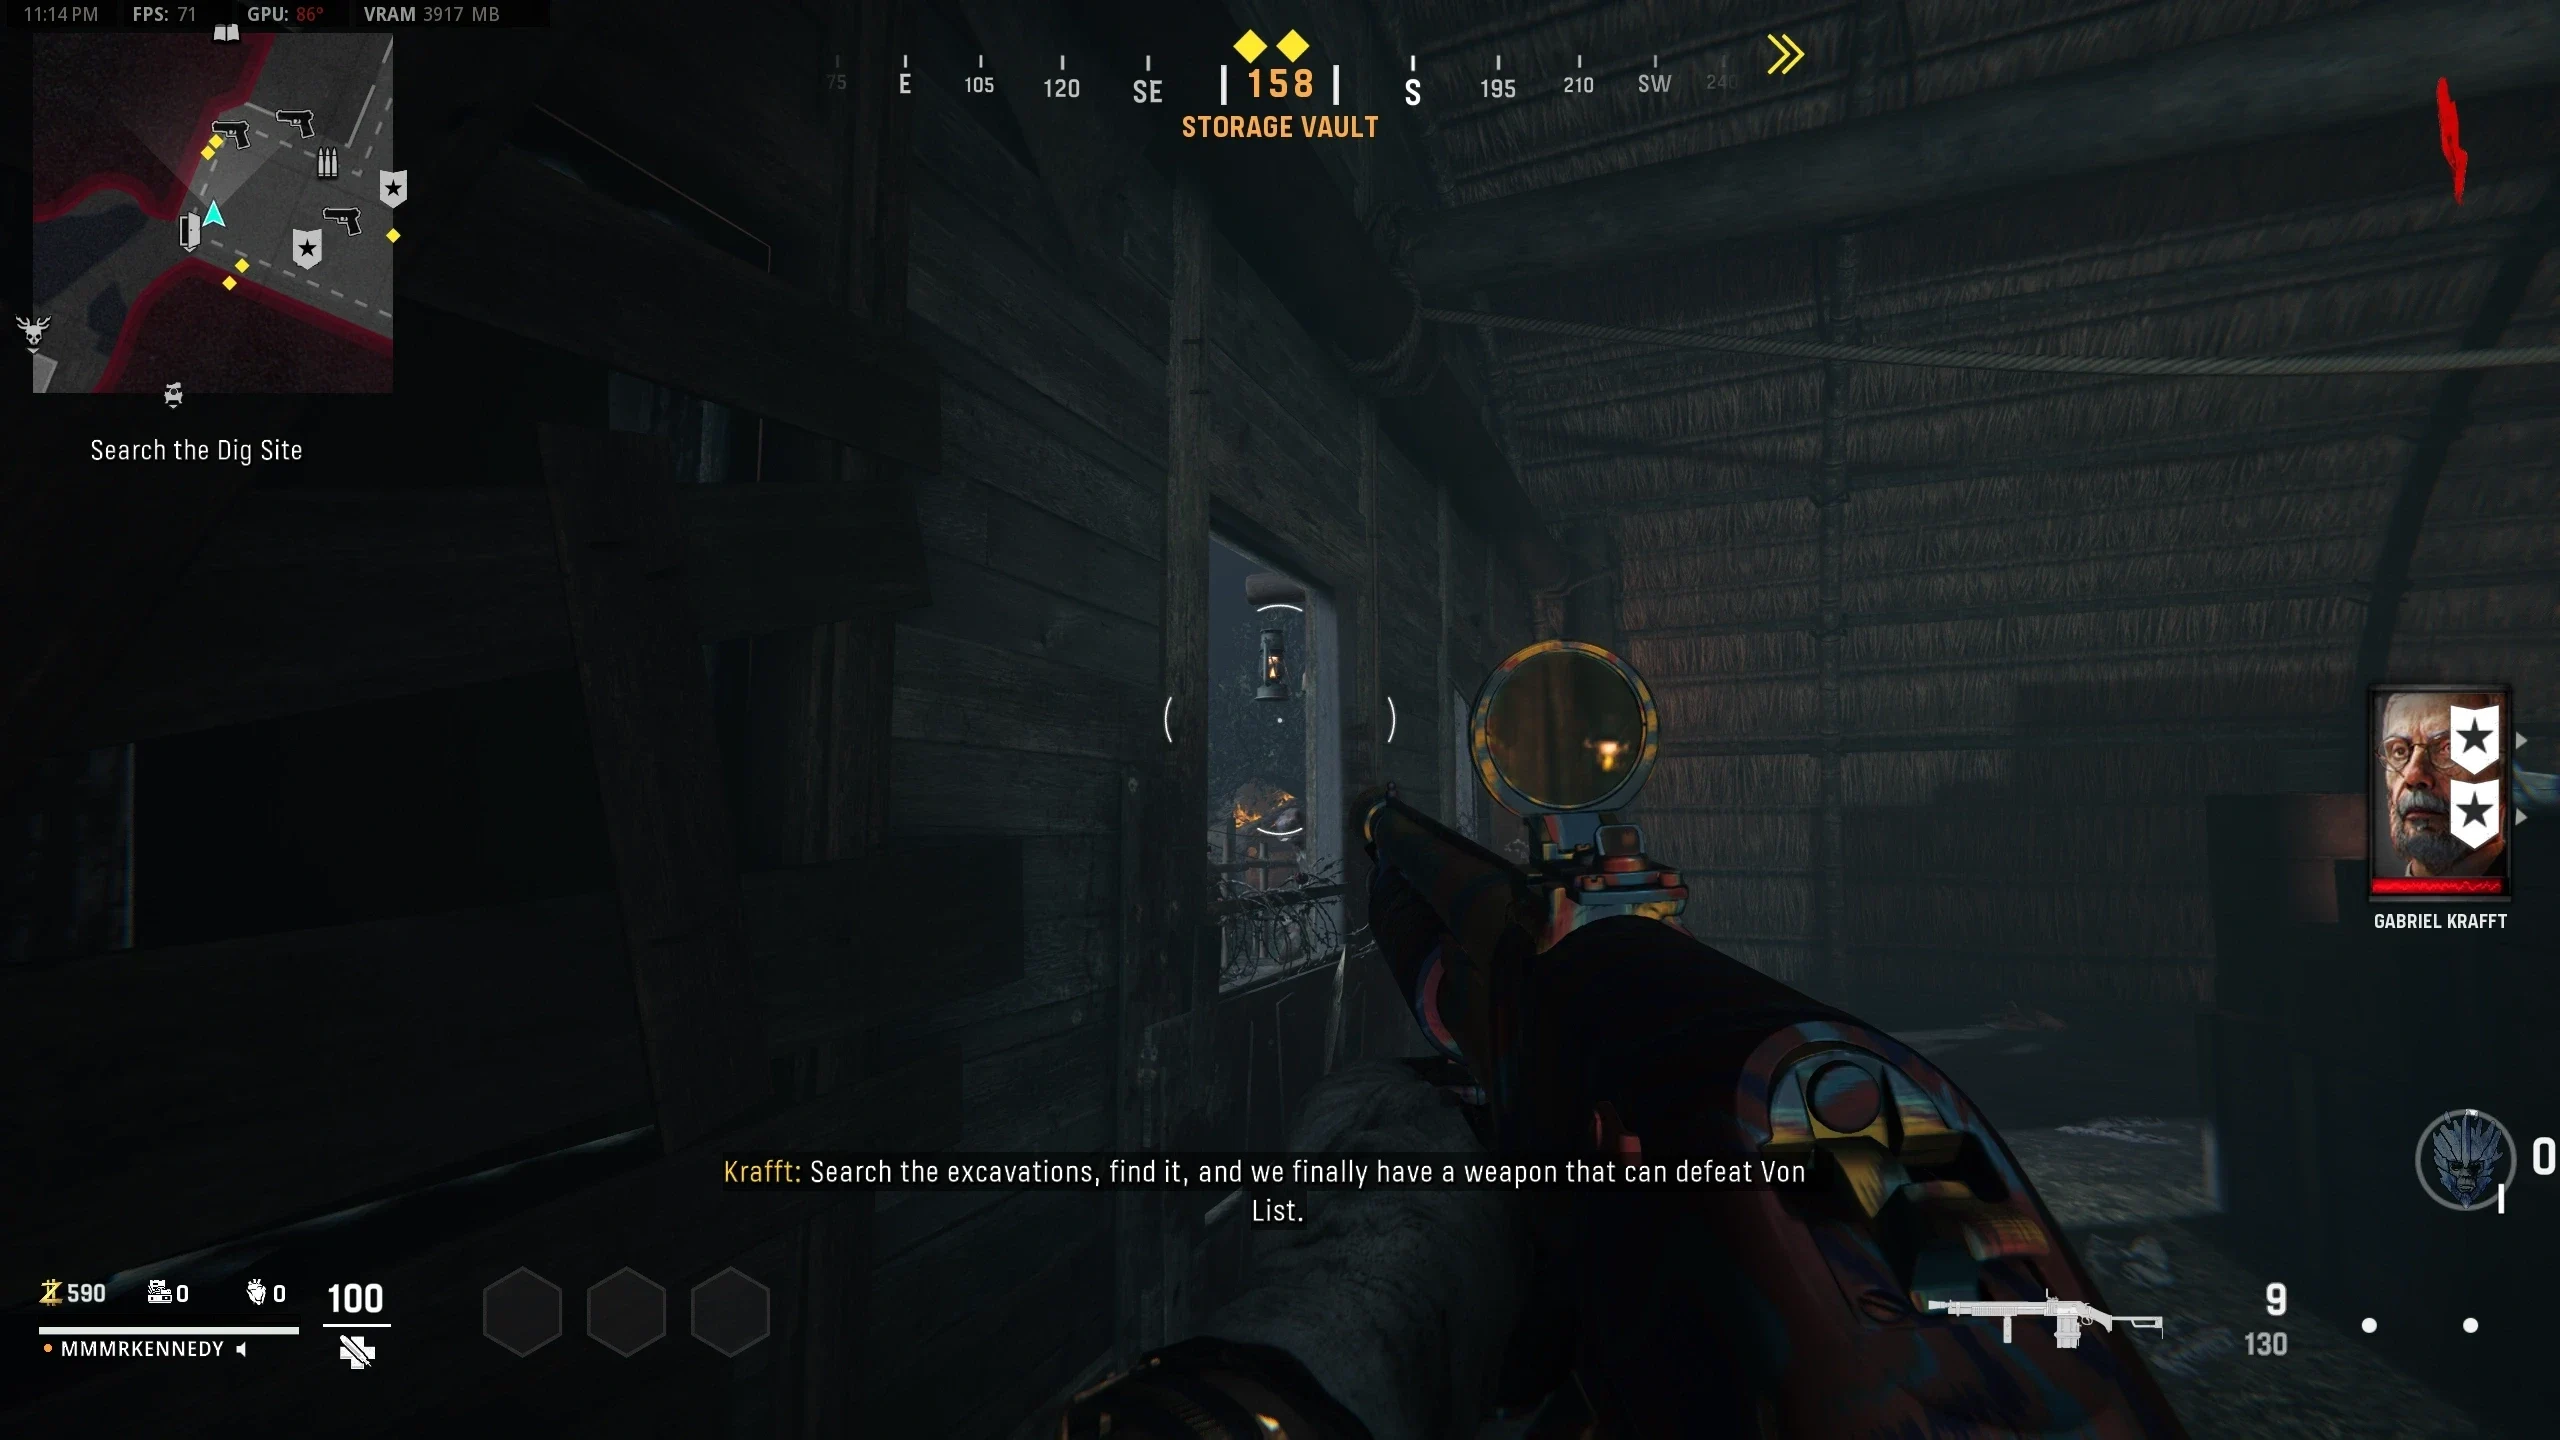
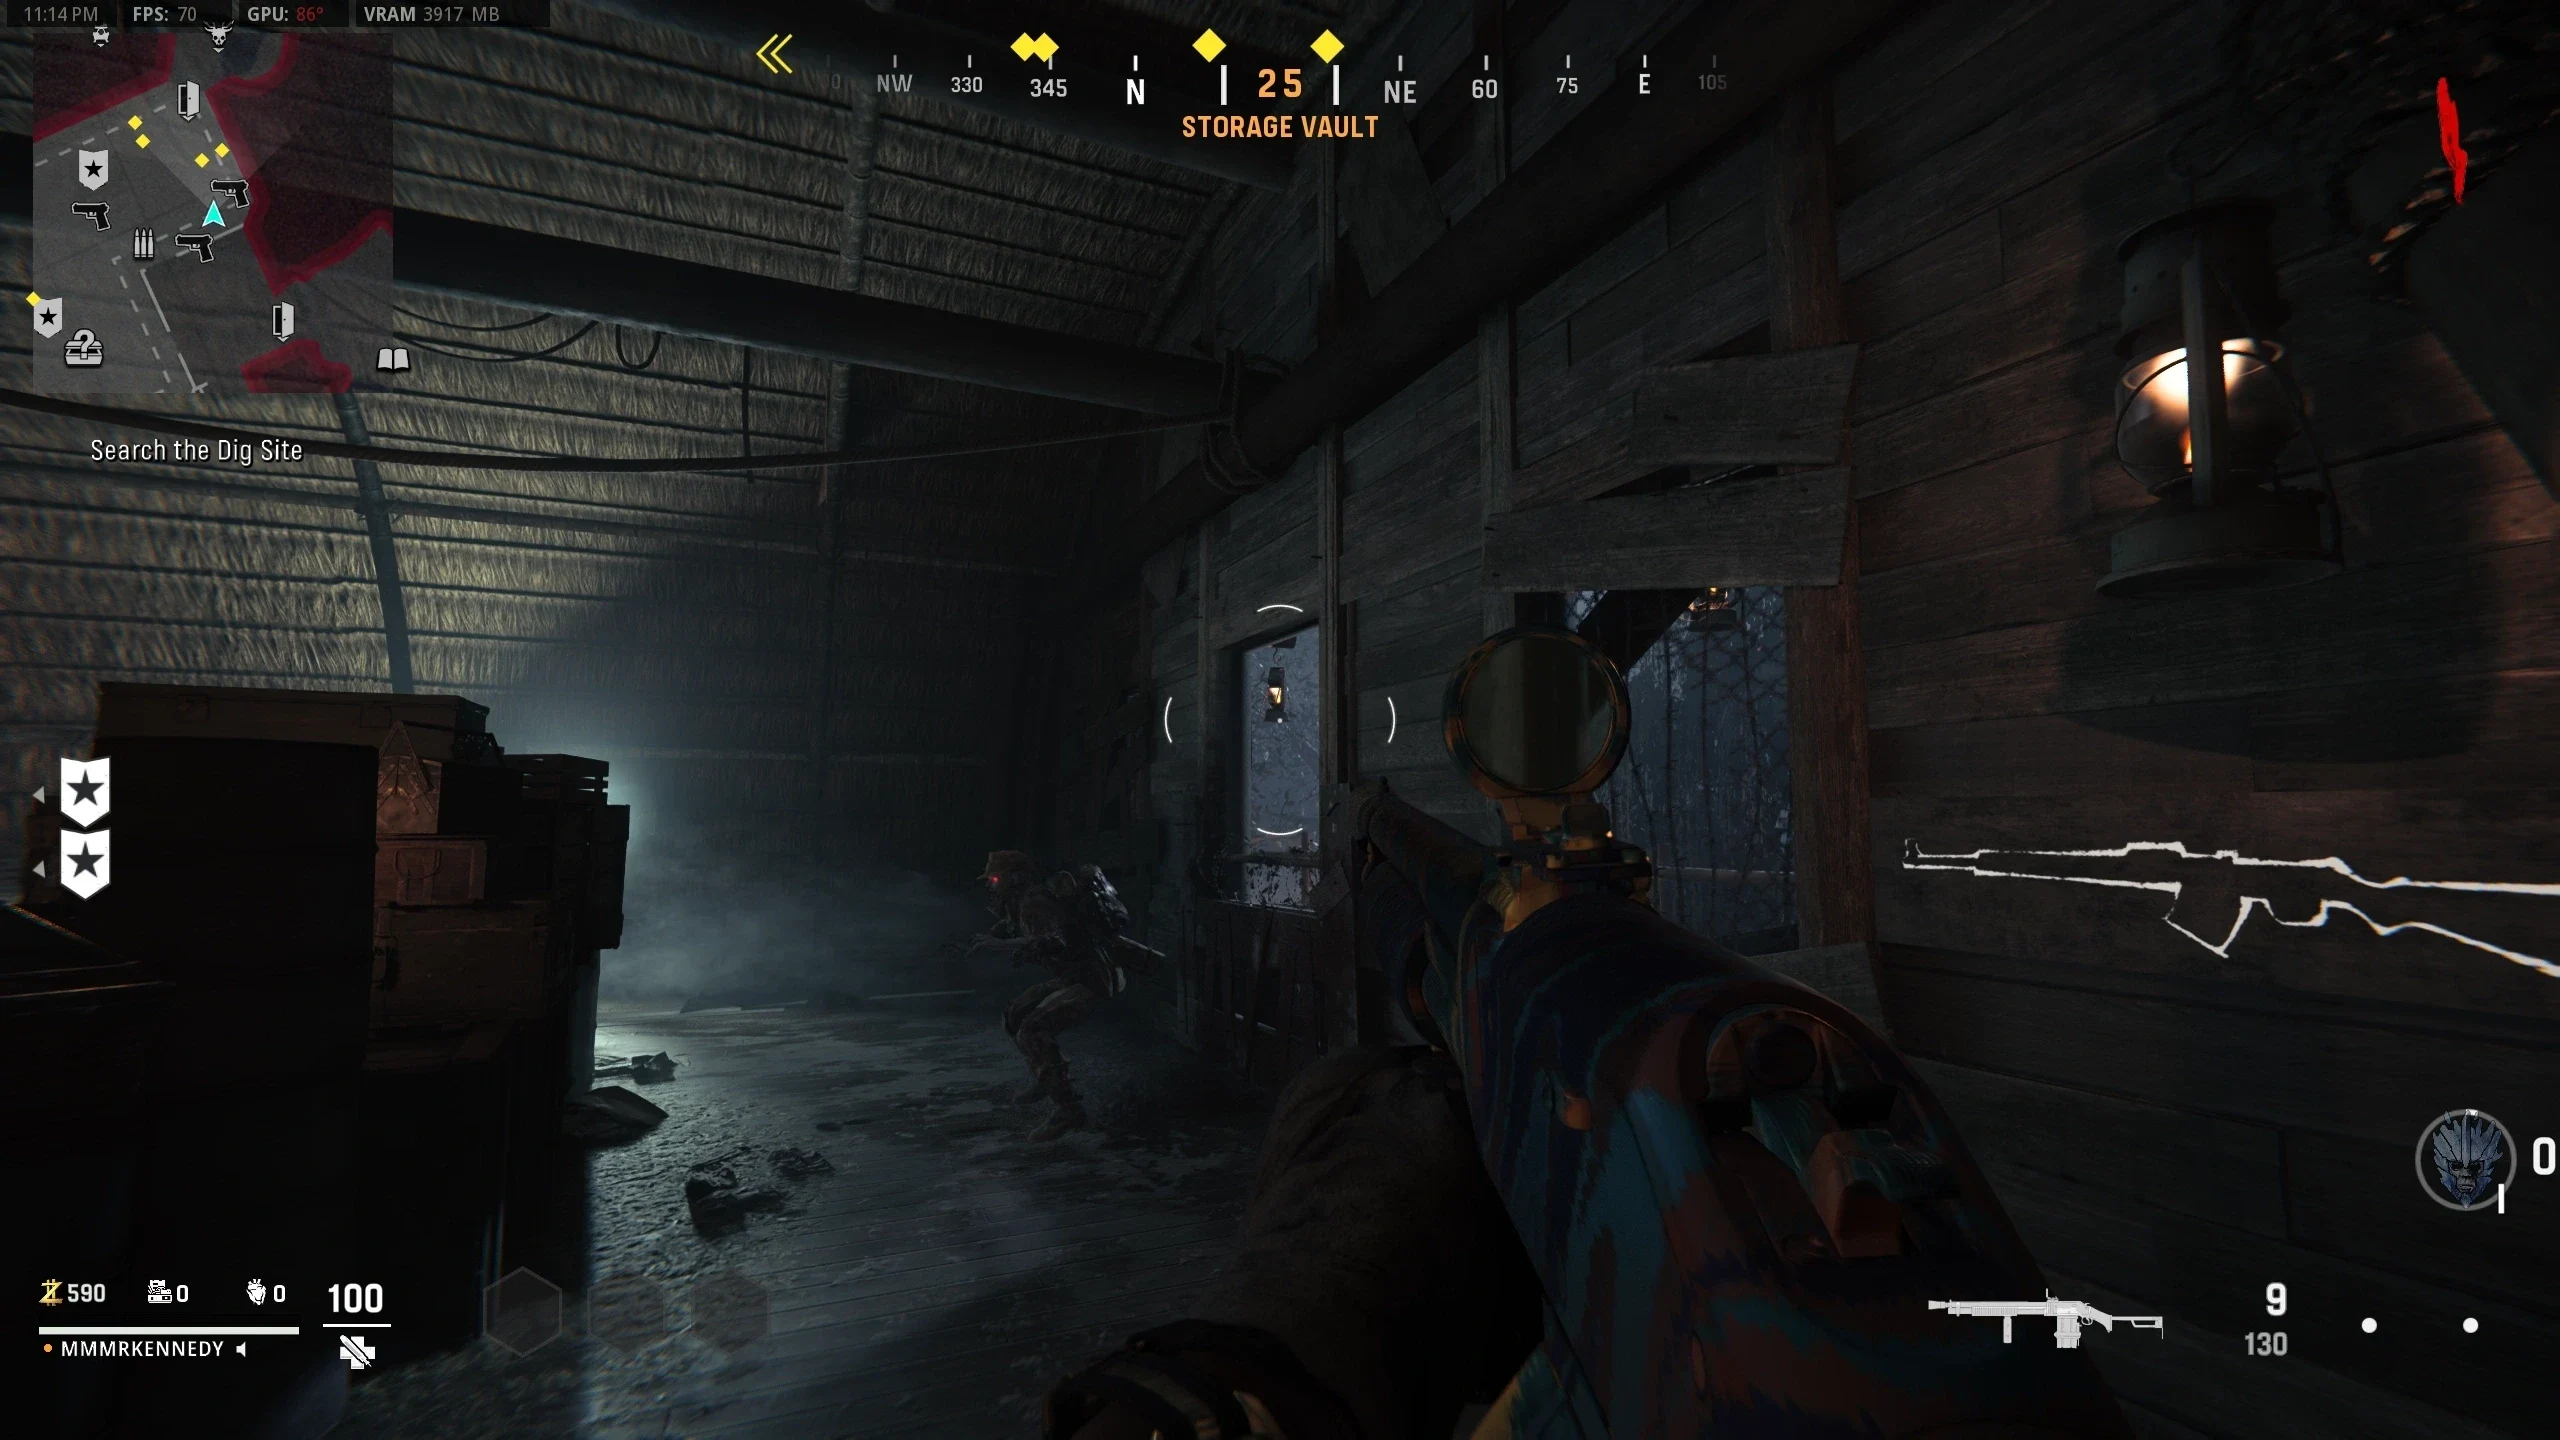
- Once both pieces are obtained, navigate to the 'Dig Site' and place the mirror on the central pedestal.
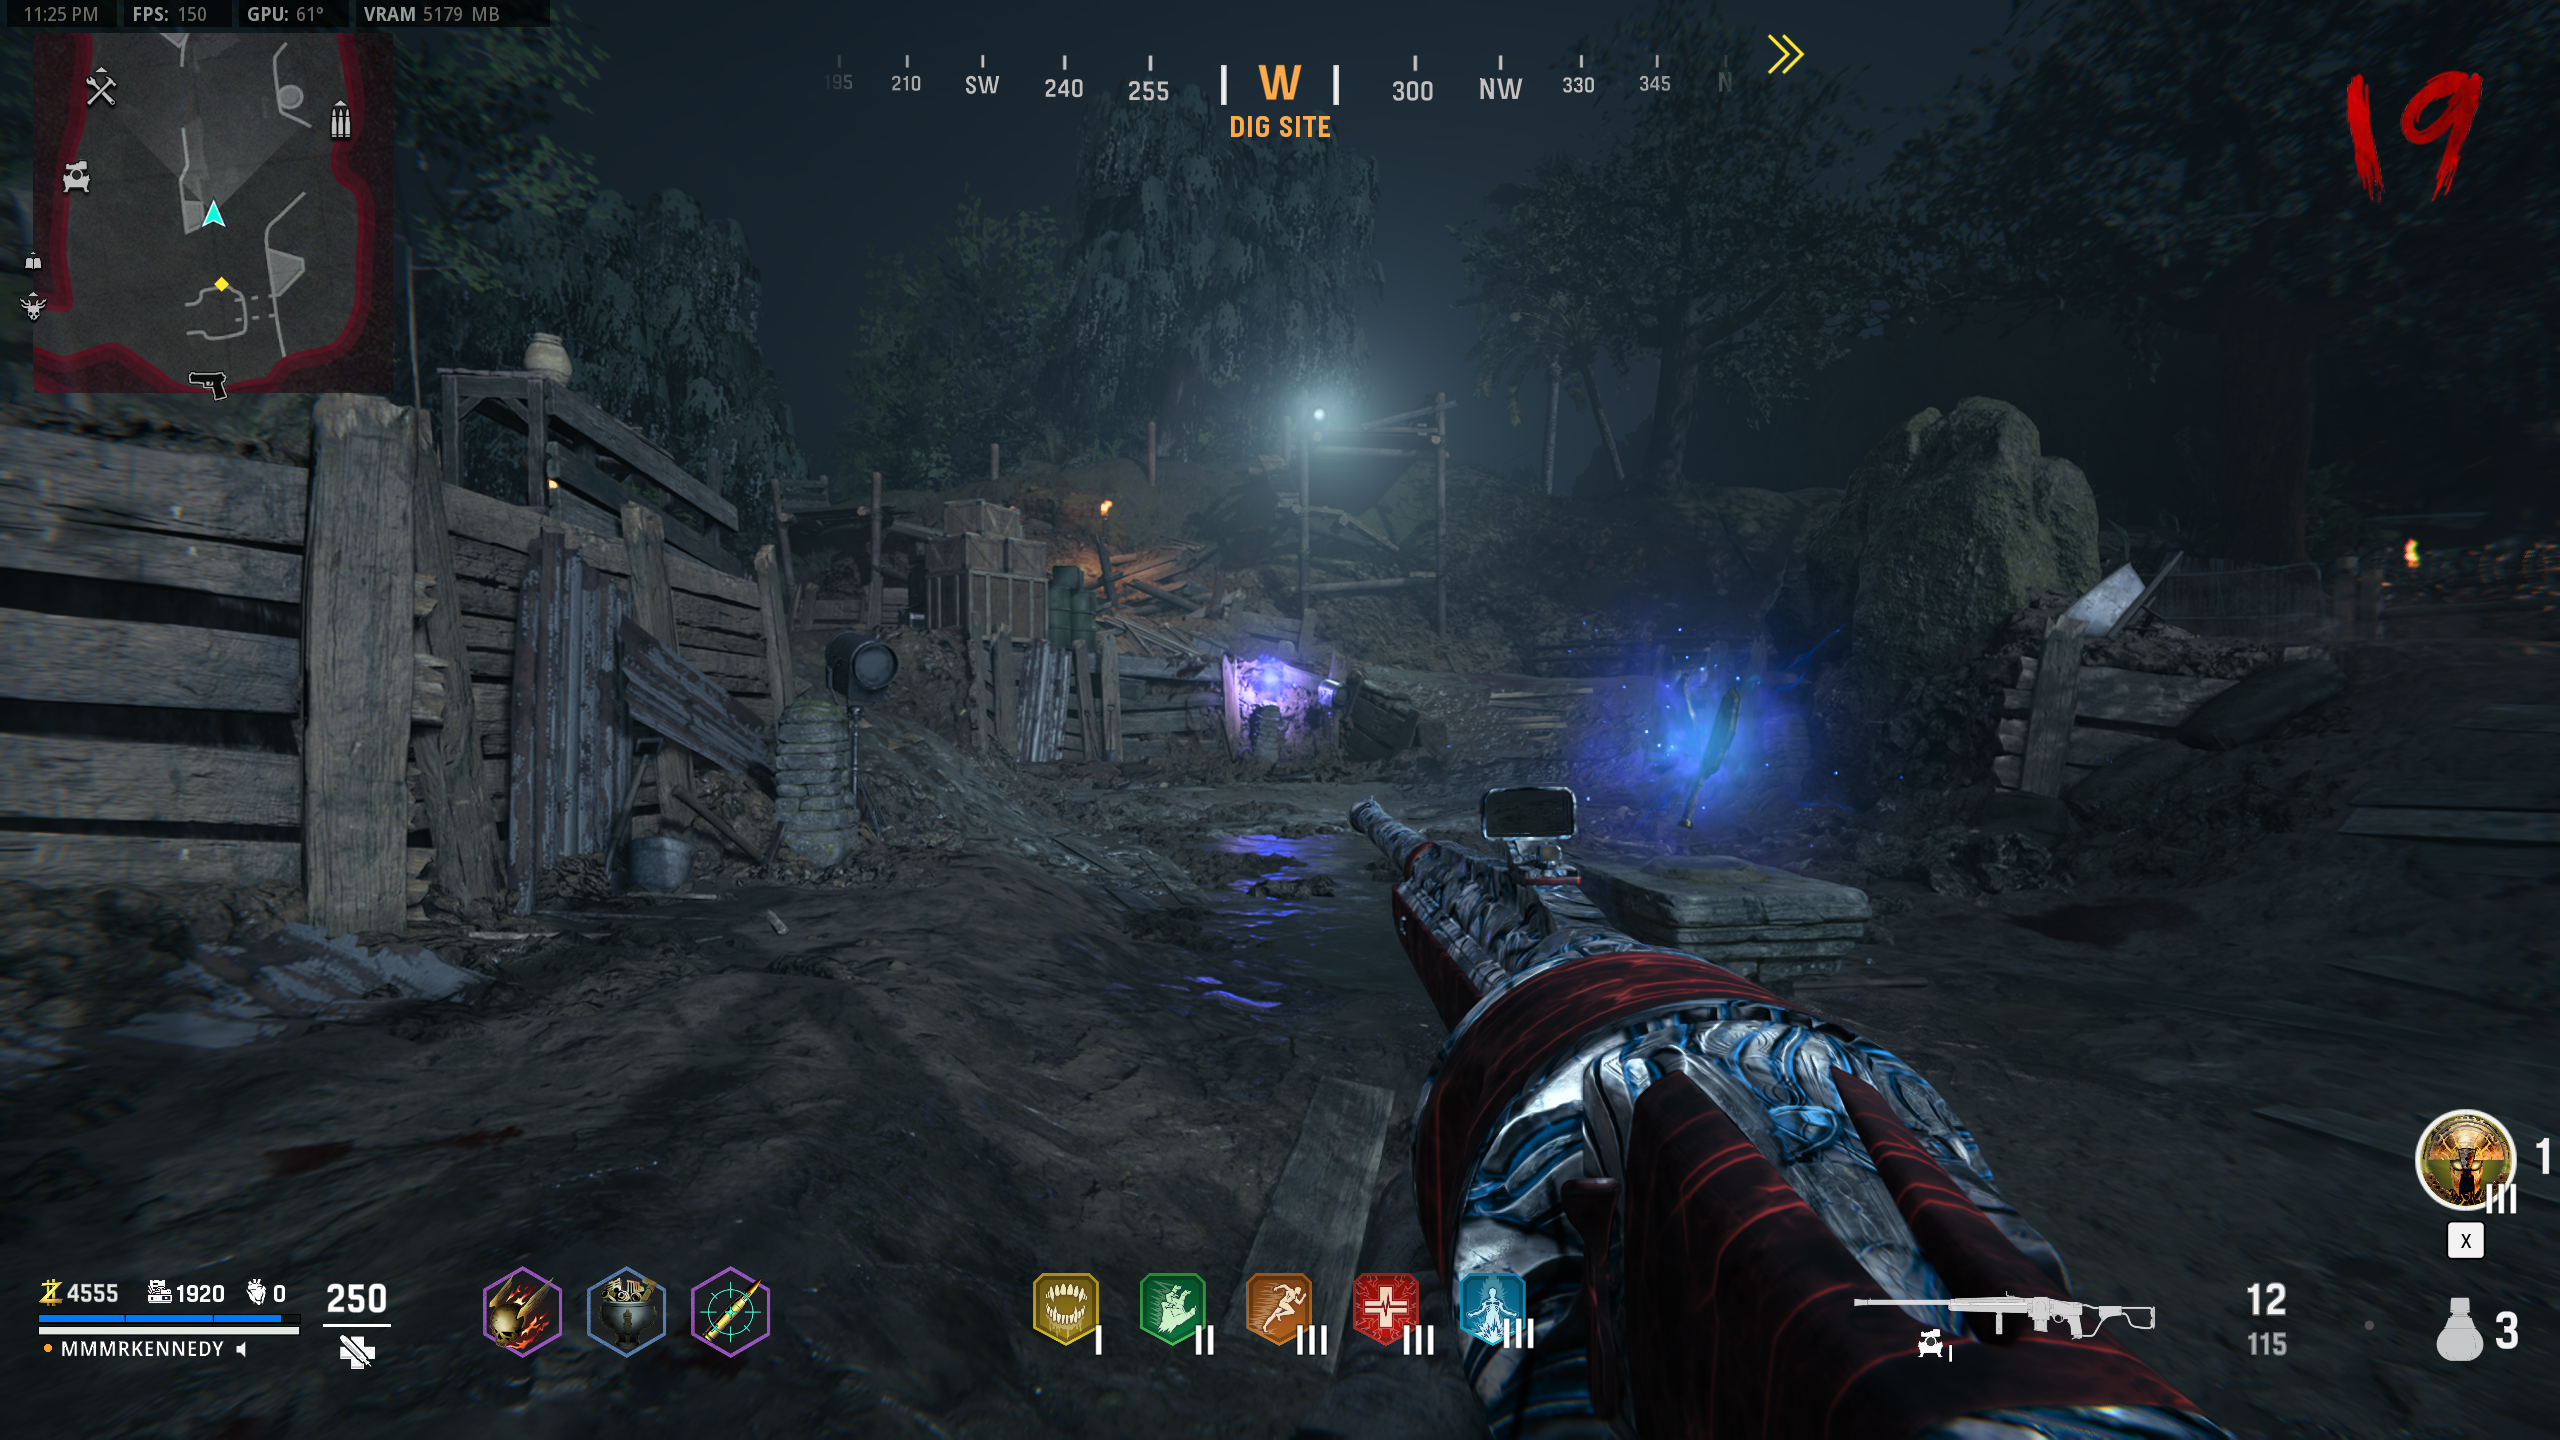
- Interact with the Blue Orb on a stone near the pedestal. Which pedestal your orb is on tells you which section the orb is flying to. The orb will always follow the same path as you shoot it for every location.
- Once you find the orb, shoot it to make it move. Repeat until the Orb returns to the 'Dig Site.'
- If you take too long to find/shoot the Orb, it respawns at the 'Dig Site' and you can interact with it to try again.
Warning: Point of No Return. Once the Echo is summoned, the Boss Fight starts.
Echo Boss Fight
- Tip: Equip the Energy Mine Field Upgrade at Tier 3 or higher, as it nearly one-shots the Echo.
- All players must interact with the Blue Orbs in the 'Dig Site' to summon the Echo.
- After a short cutscene, the Echo will materialize as Saraxis and begin a conversation.
- Once the conversation ends, the Echo starts attacking. Kill the blue mist zombies near the mirror with the Wunderwaffe, same as during the Ceremony.
- Once enough Zombies are killed, a blue dome will appear over the area and the Echo will be weakened.
- To damage Echo, she must be inside the dome. Once she's in, shoot her in the mask before she recovers.
- If you do enough damage, power-ups will spawn. If not, nothing spawns and you'll need to kill more zombies to weaken her again.
- Damage doesn't carry over between phases. If you don't do enough while she's weakened, her health resets.
- If equipped, use the Energy Mine Field Upgrade on the Echo now to instantly do enough damage and move to the next phase.
- Complete three phases, one per mask. Each phase requires killing a different zombie type to charge the mirror: blue mist Zombies, then Boom Schreiers, then Sturmkriegers.
- Once all the masks are destroyed, the Echo will be defeated and the repaired relic will be available to pick up.
 Tips
Tips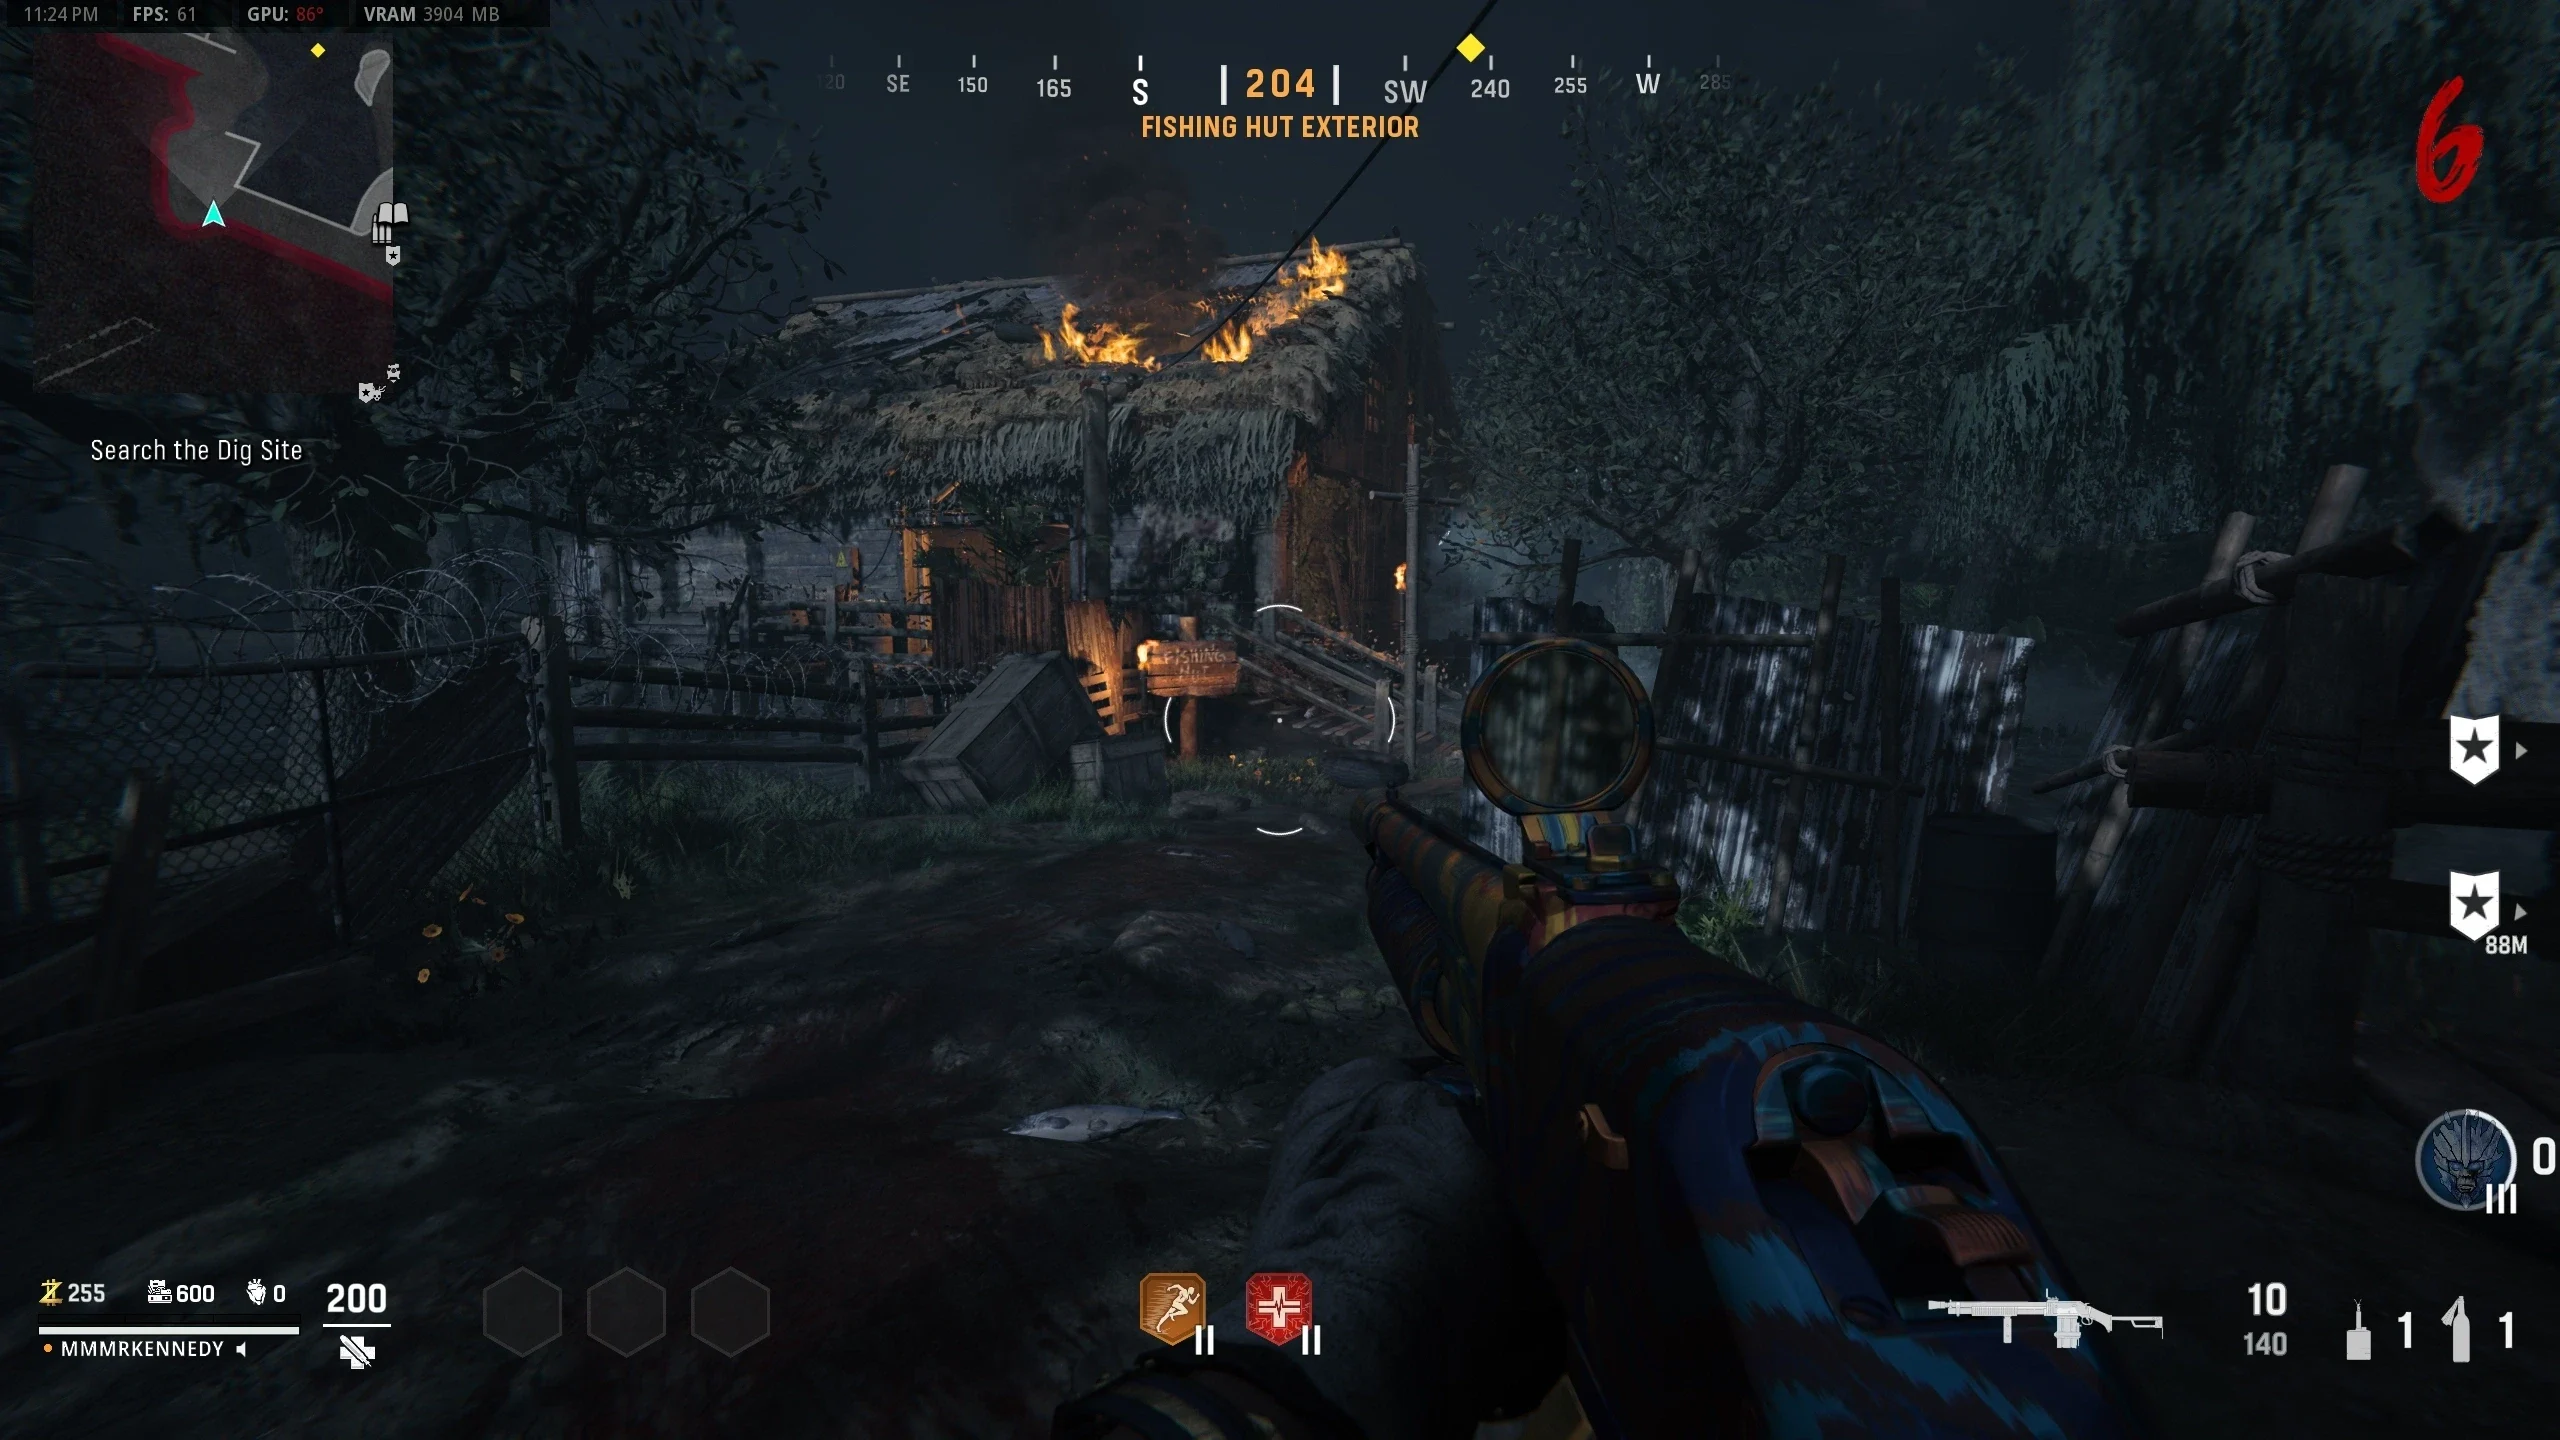