Map Progression
Easter Eggs
Power
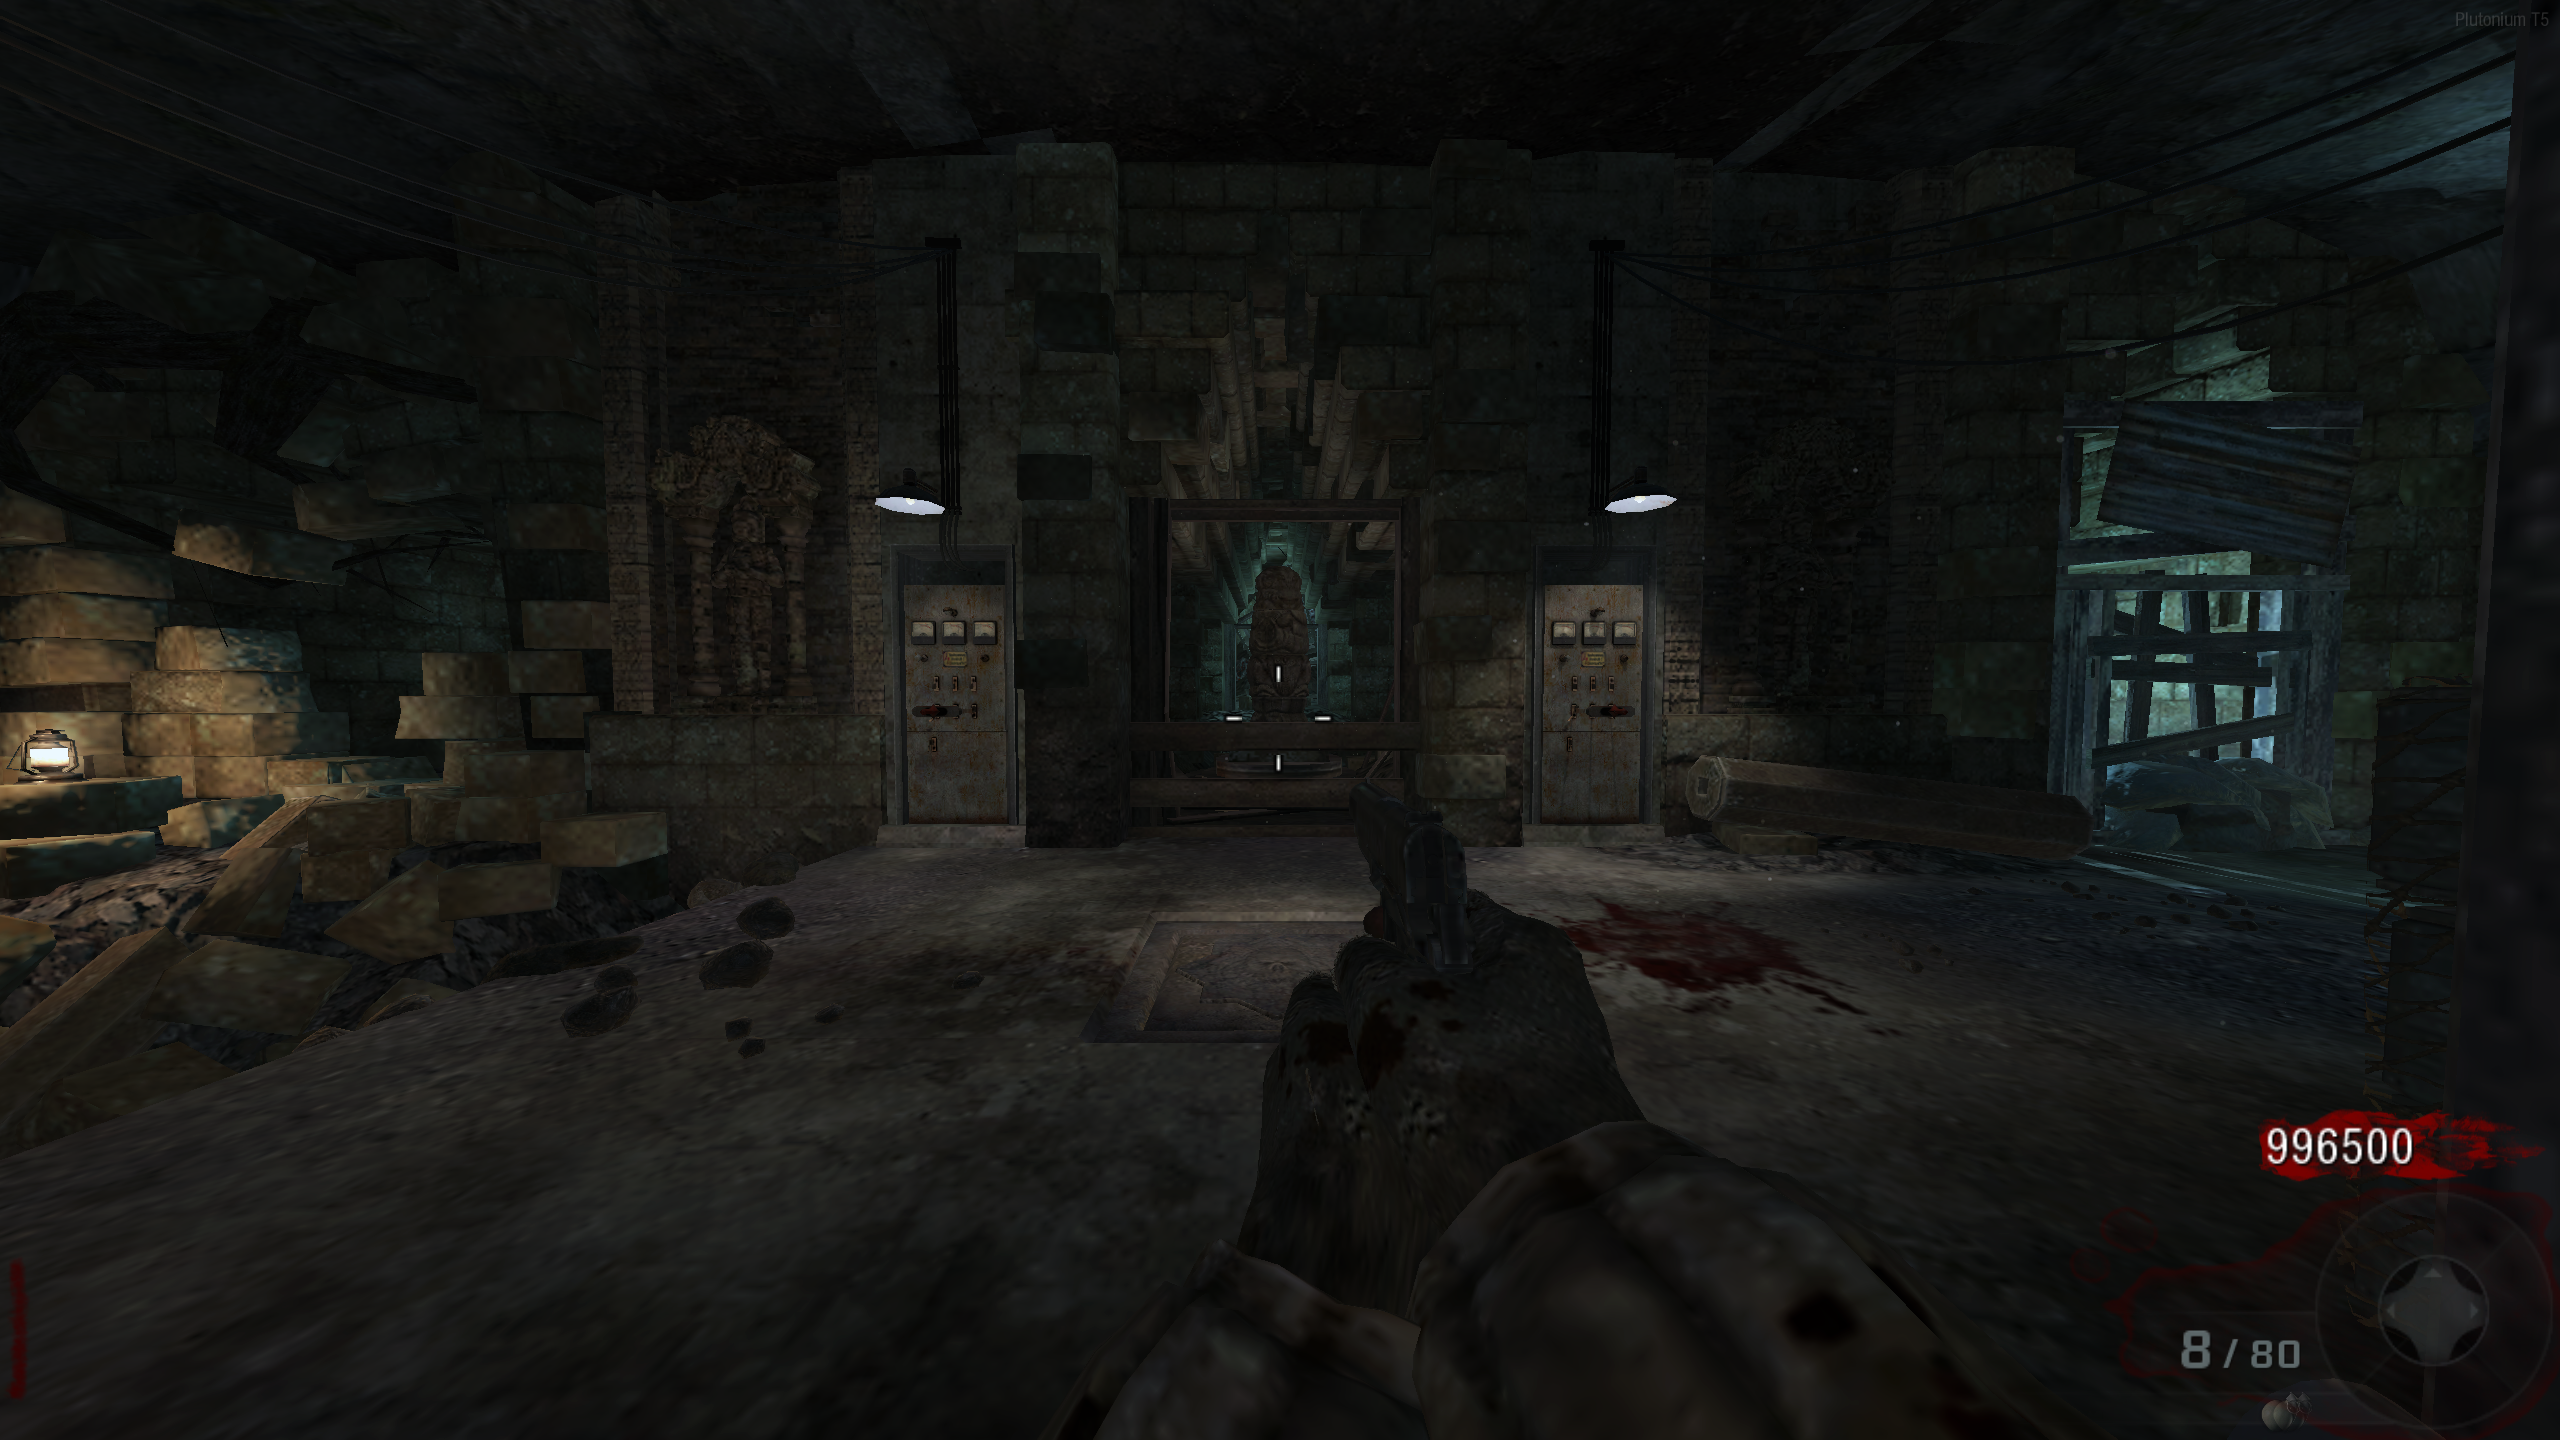
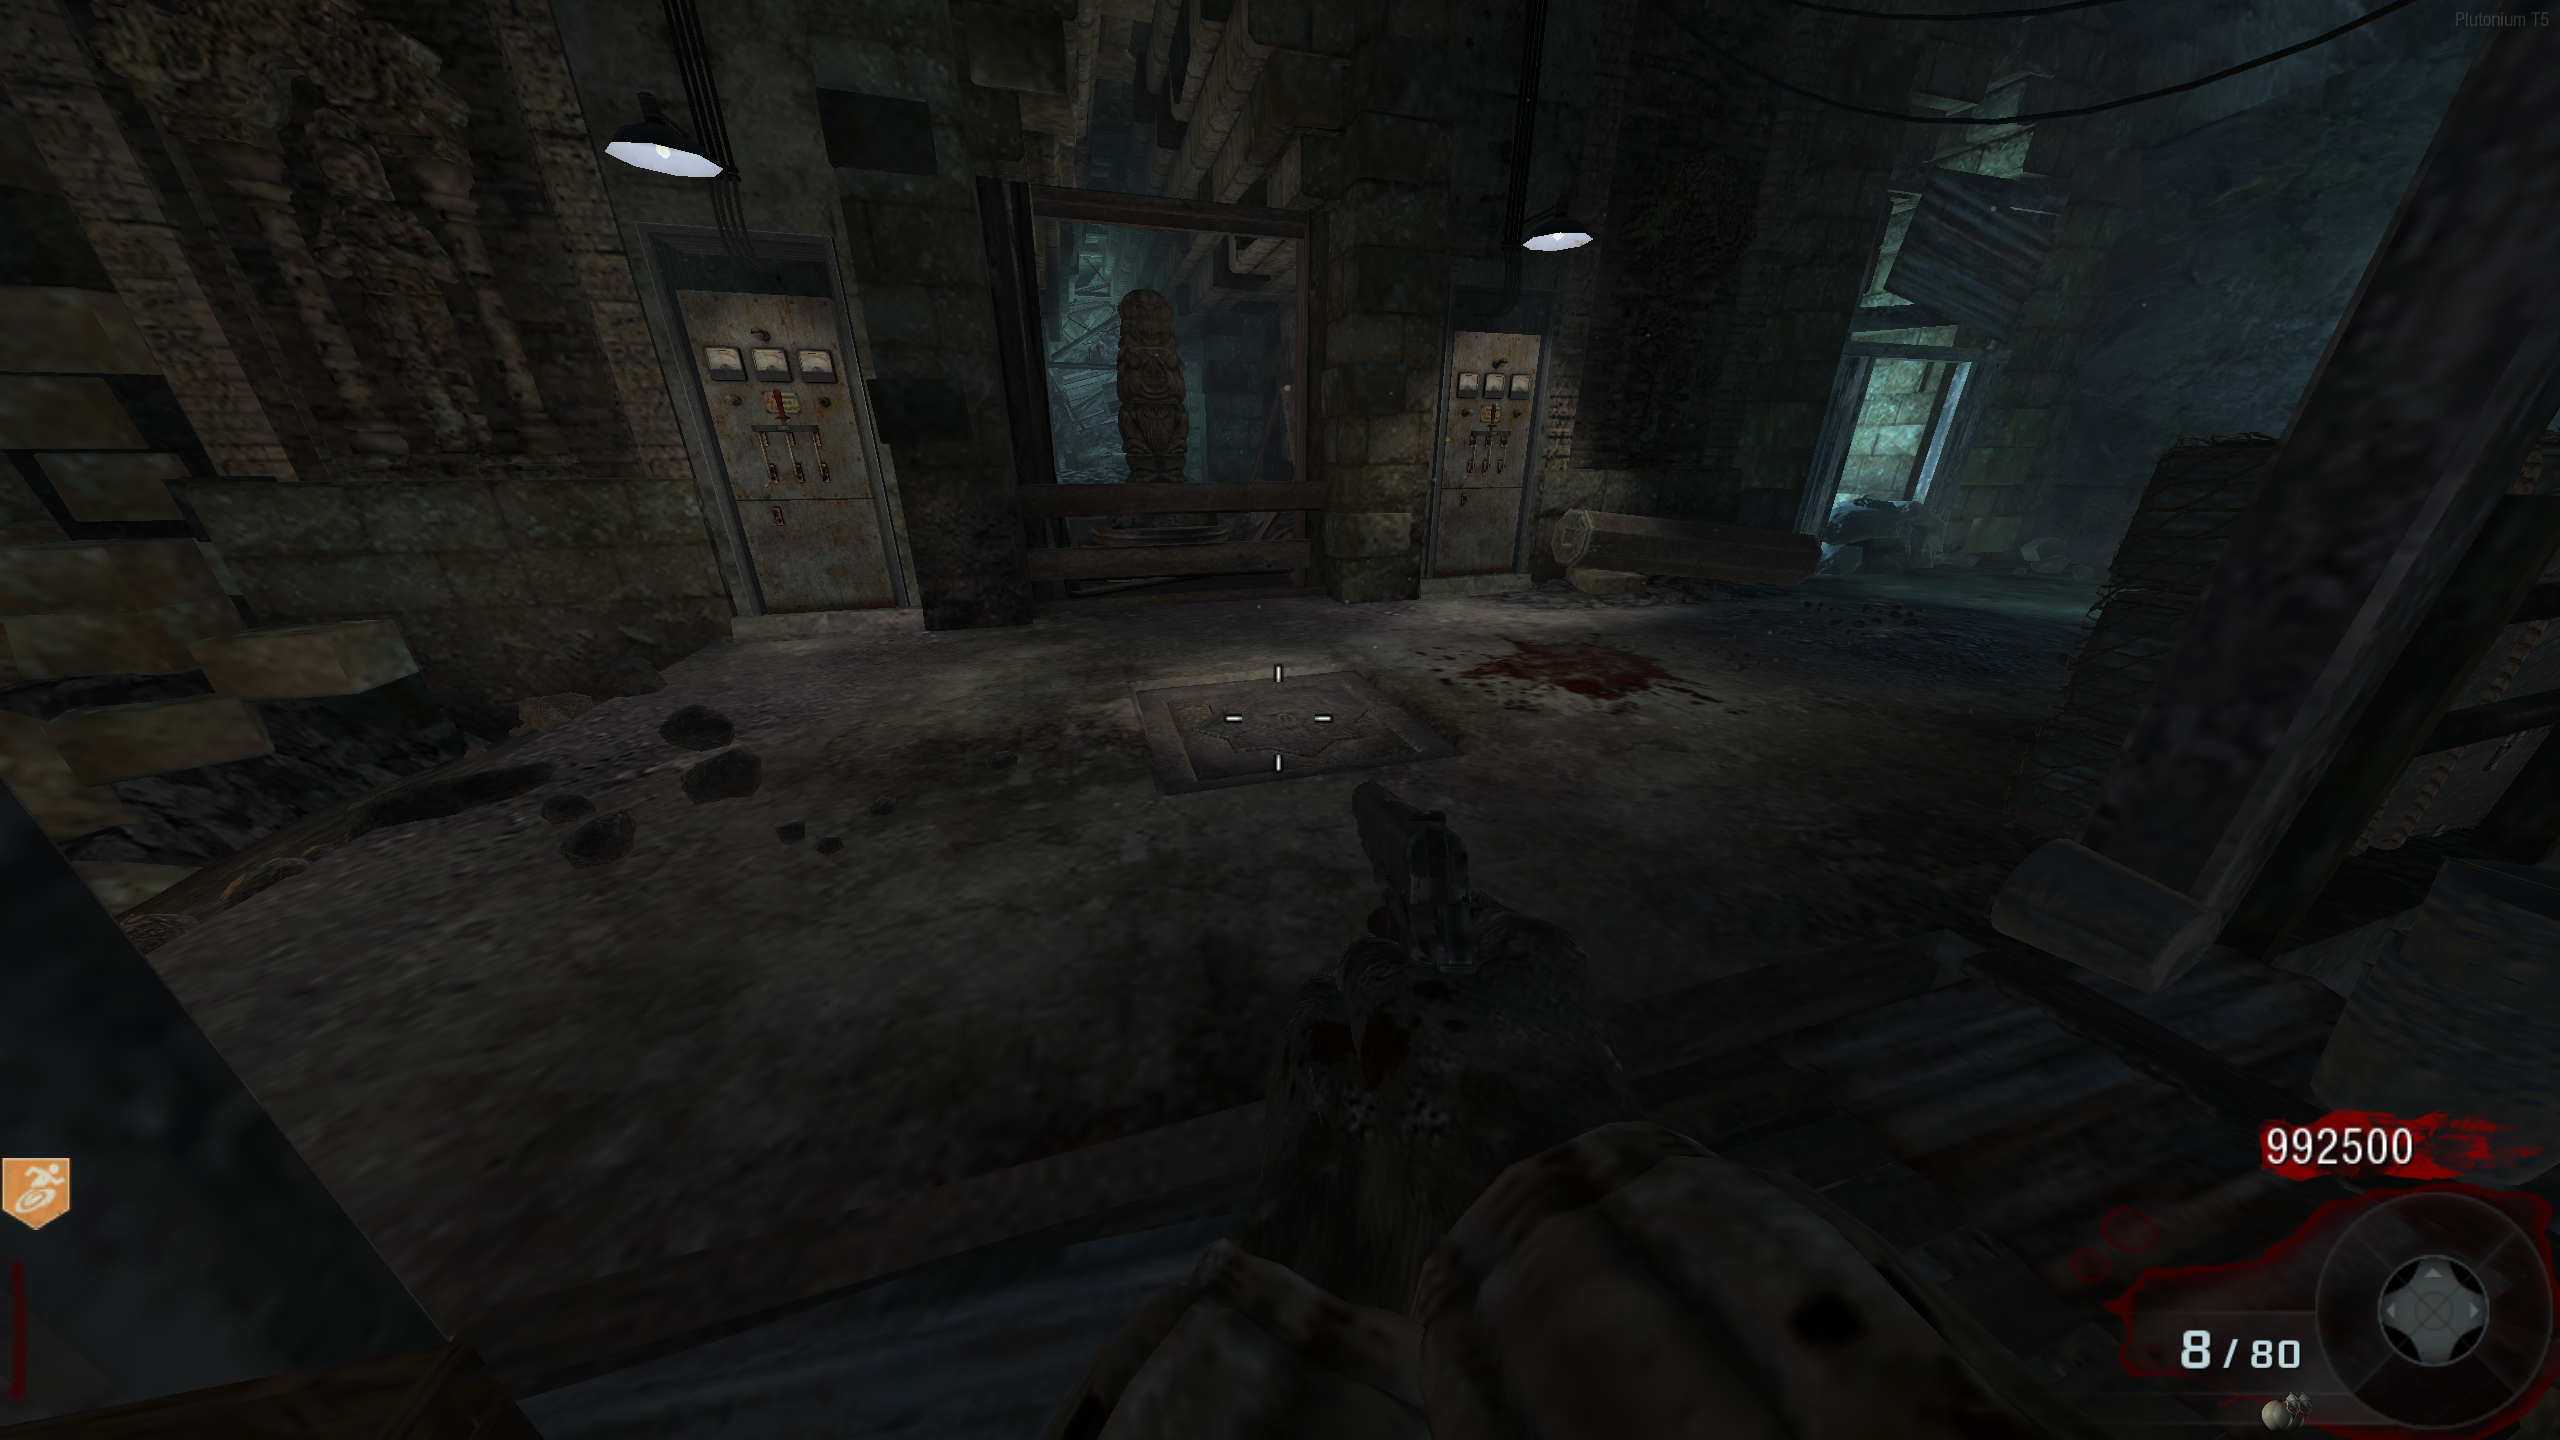
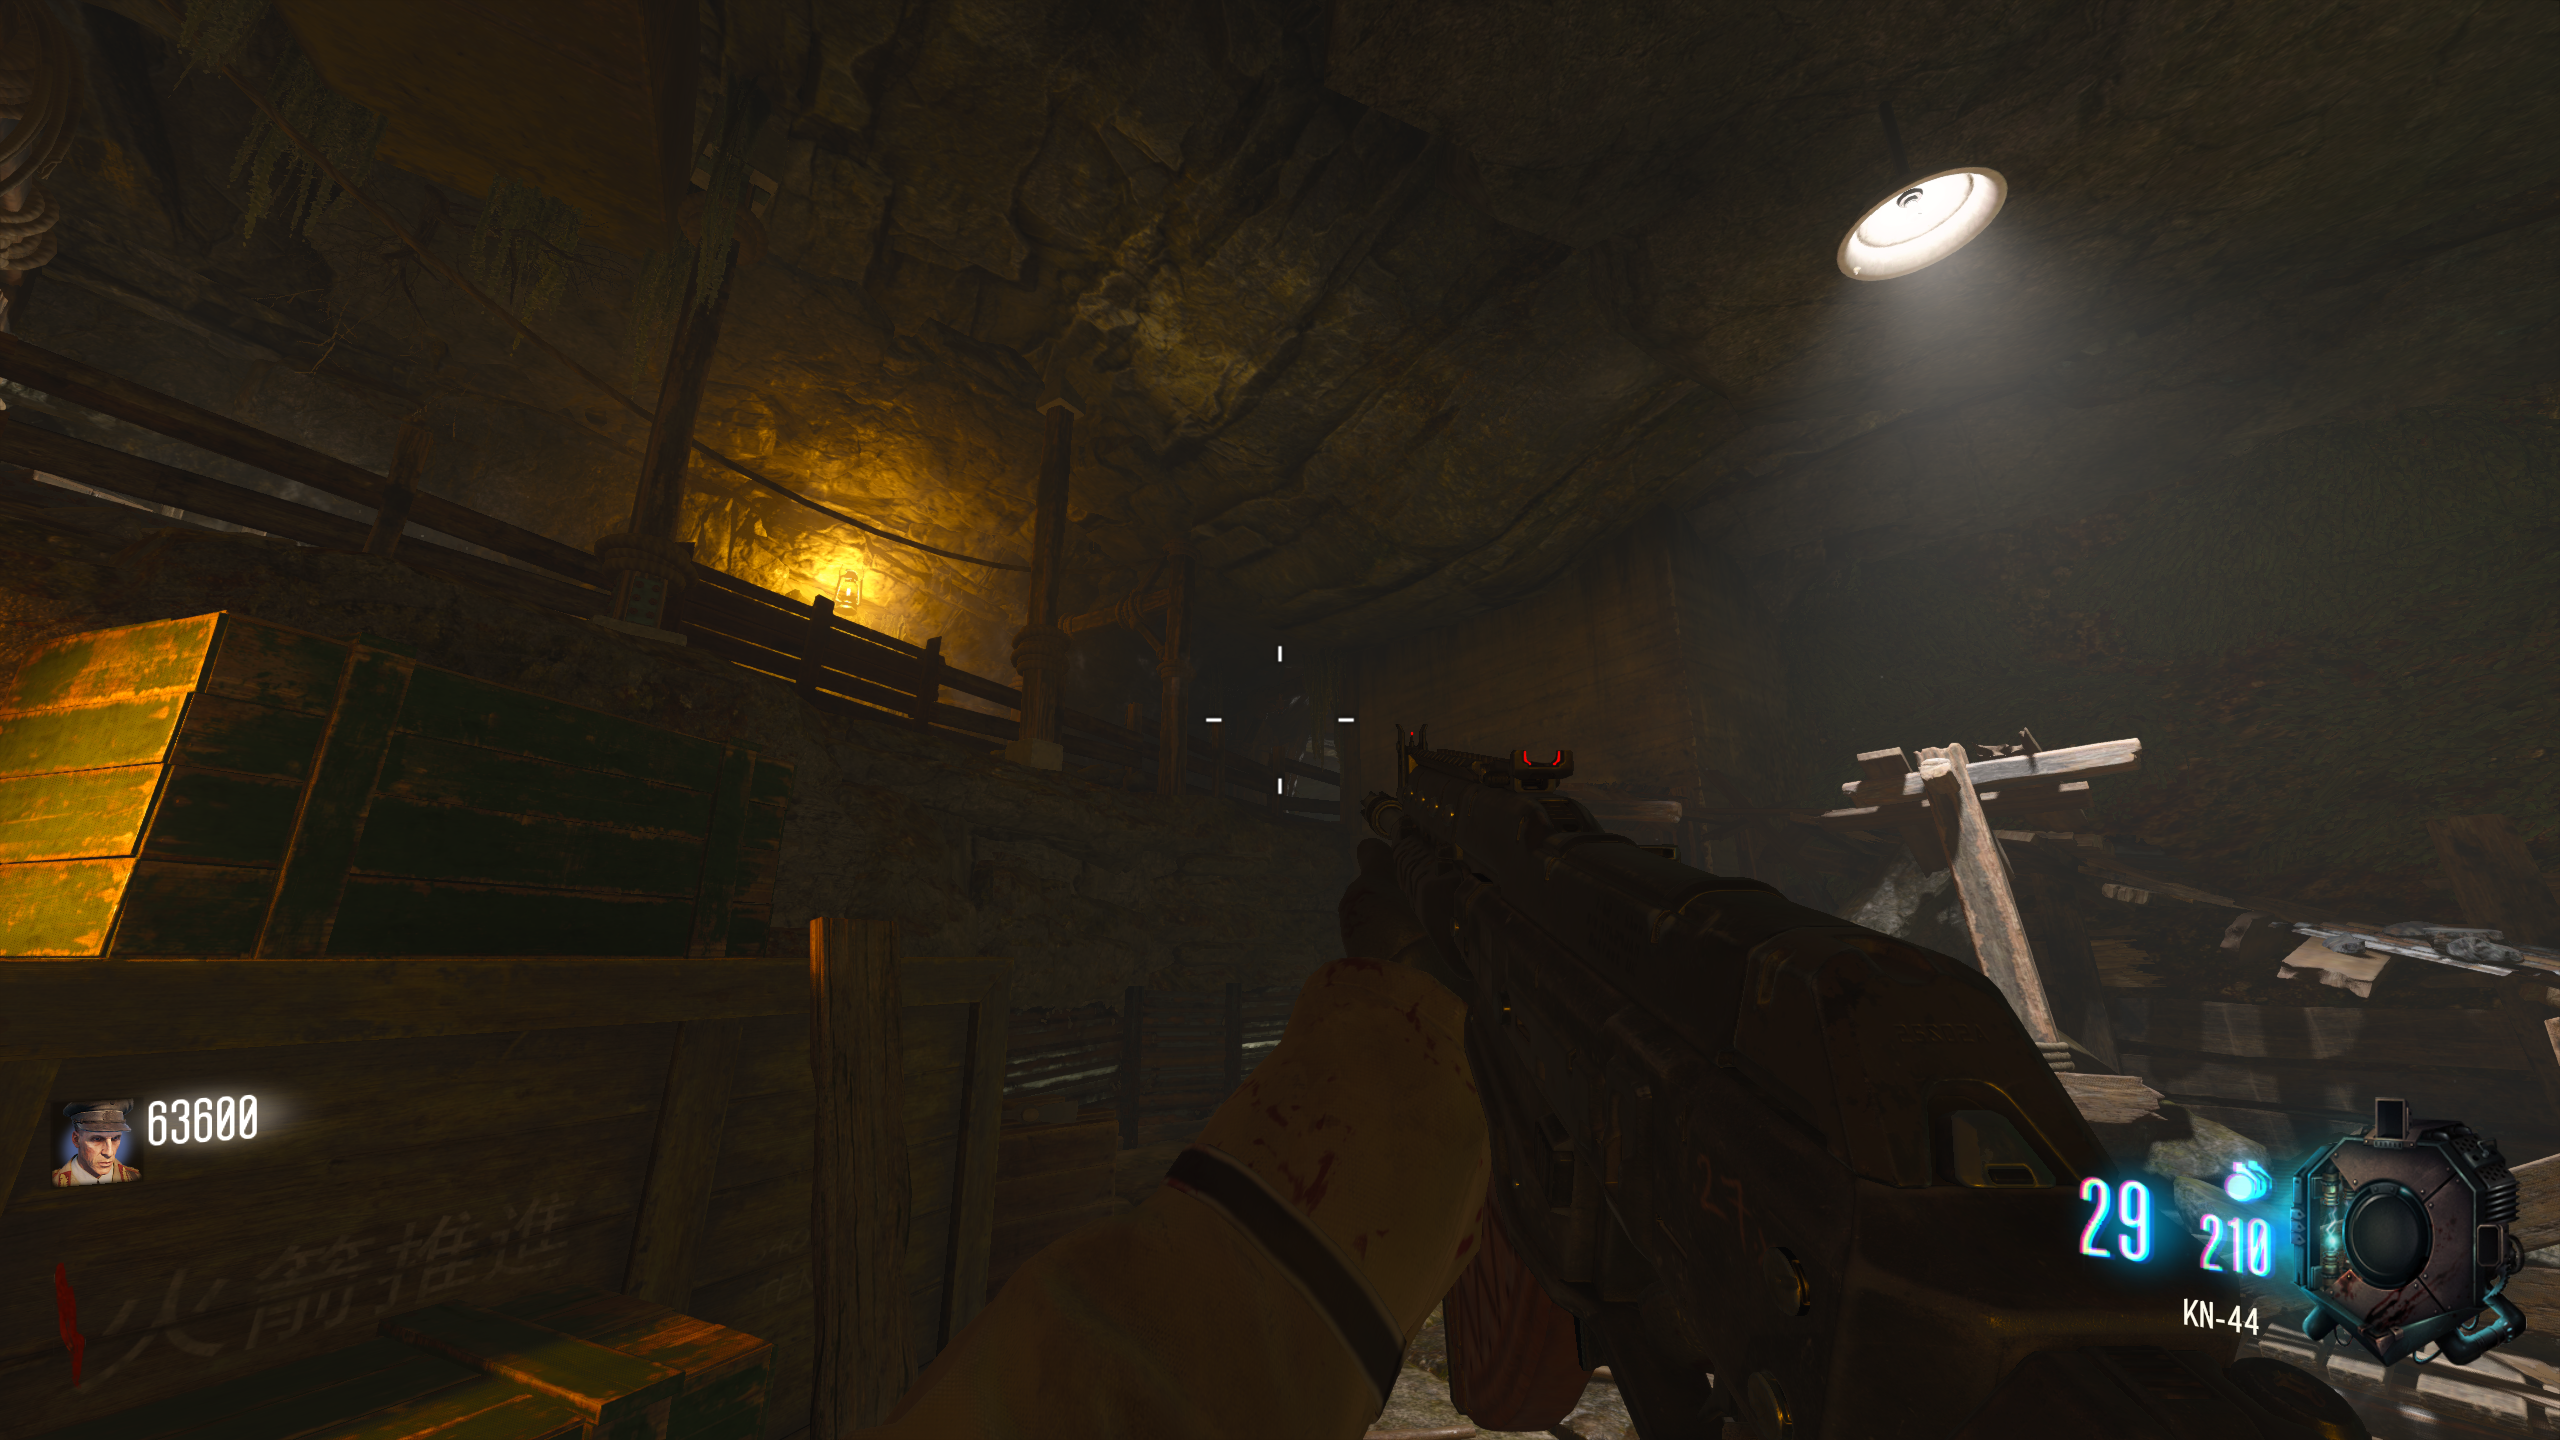
- There are two power switches. Both are located in the mine room under spawn.
Pack-a-Punch
- Turn on the power.
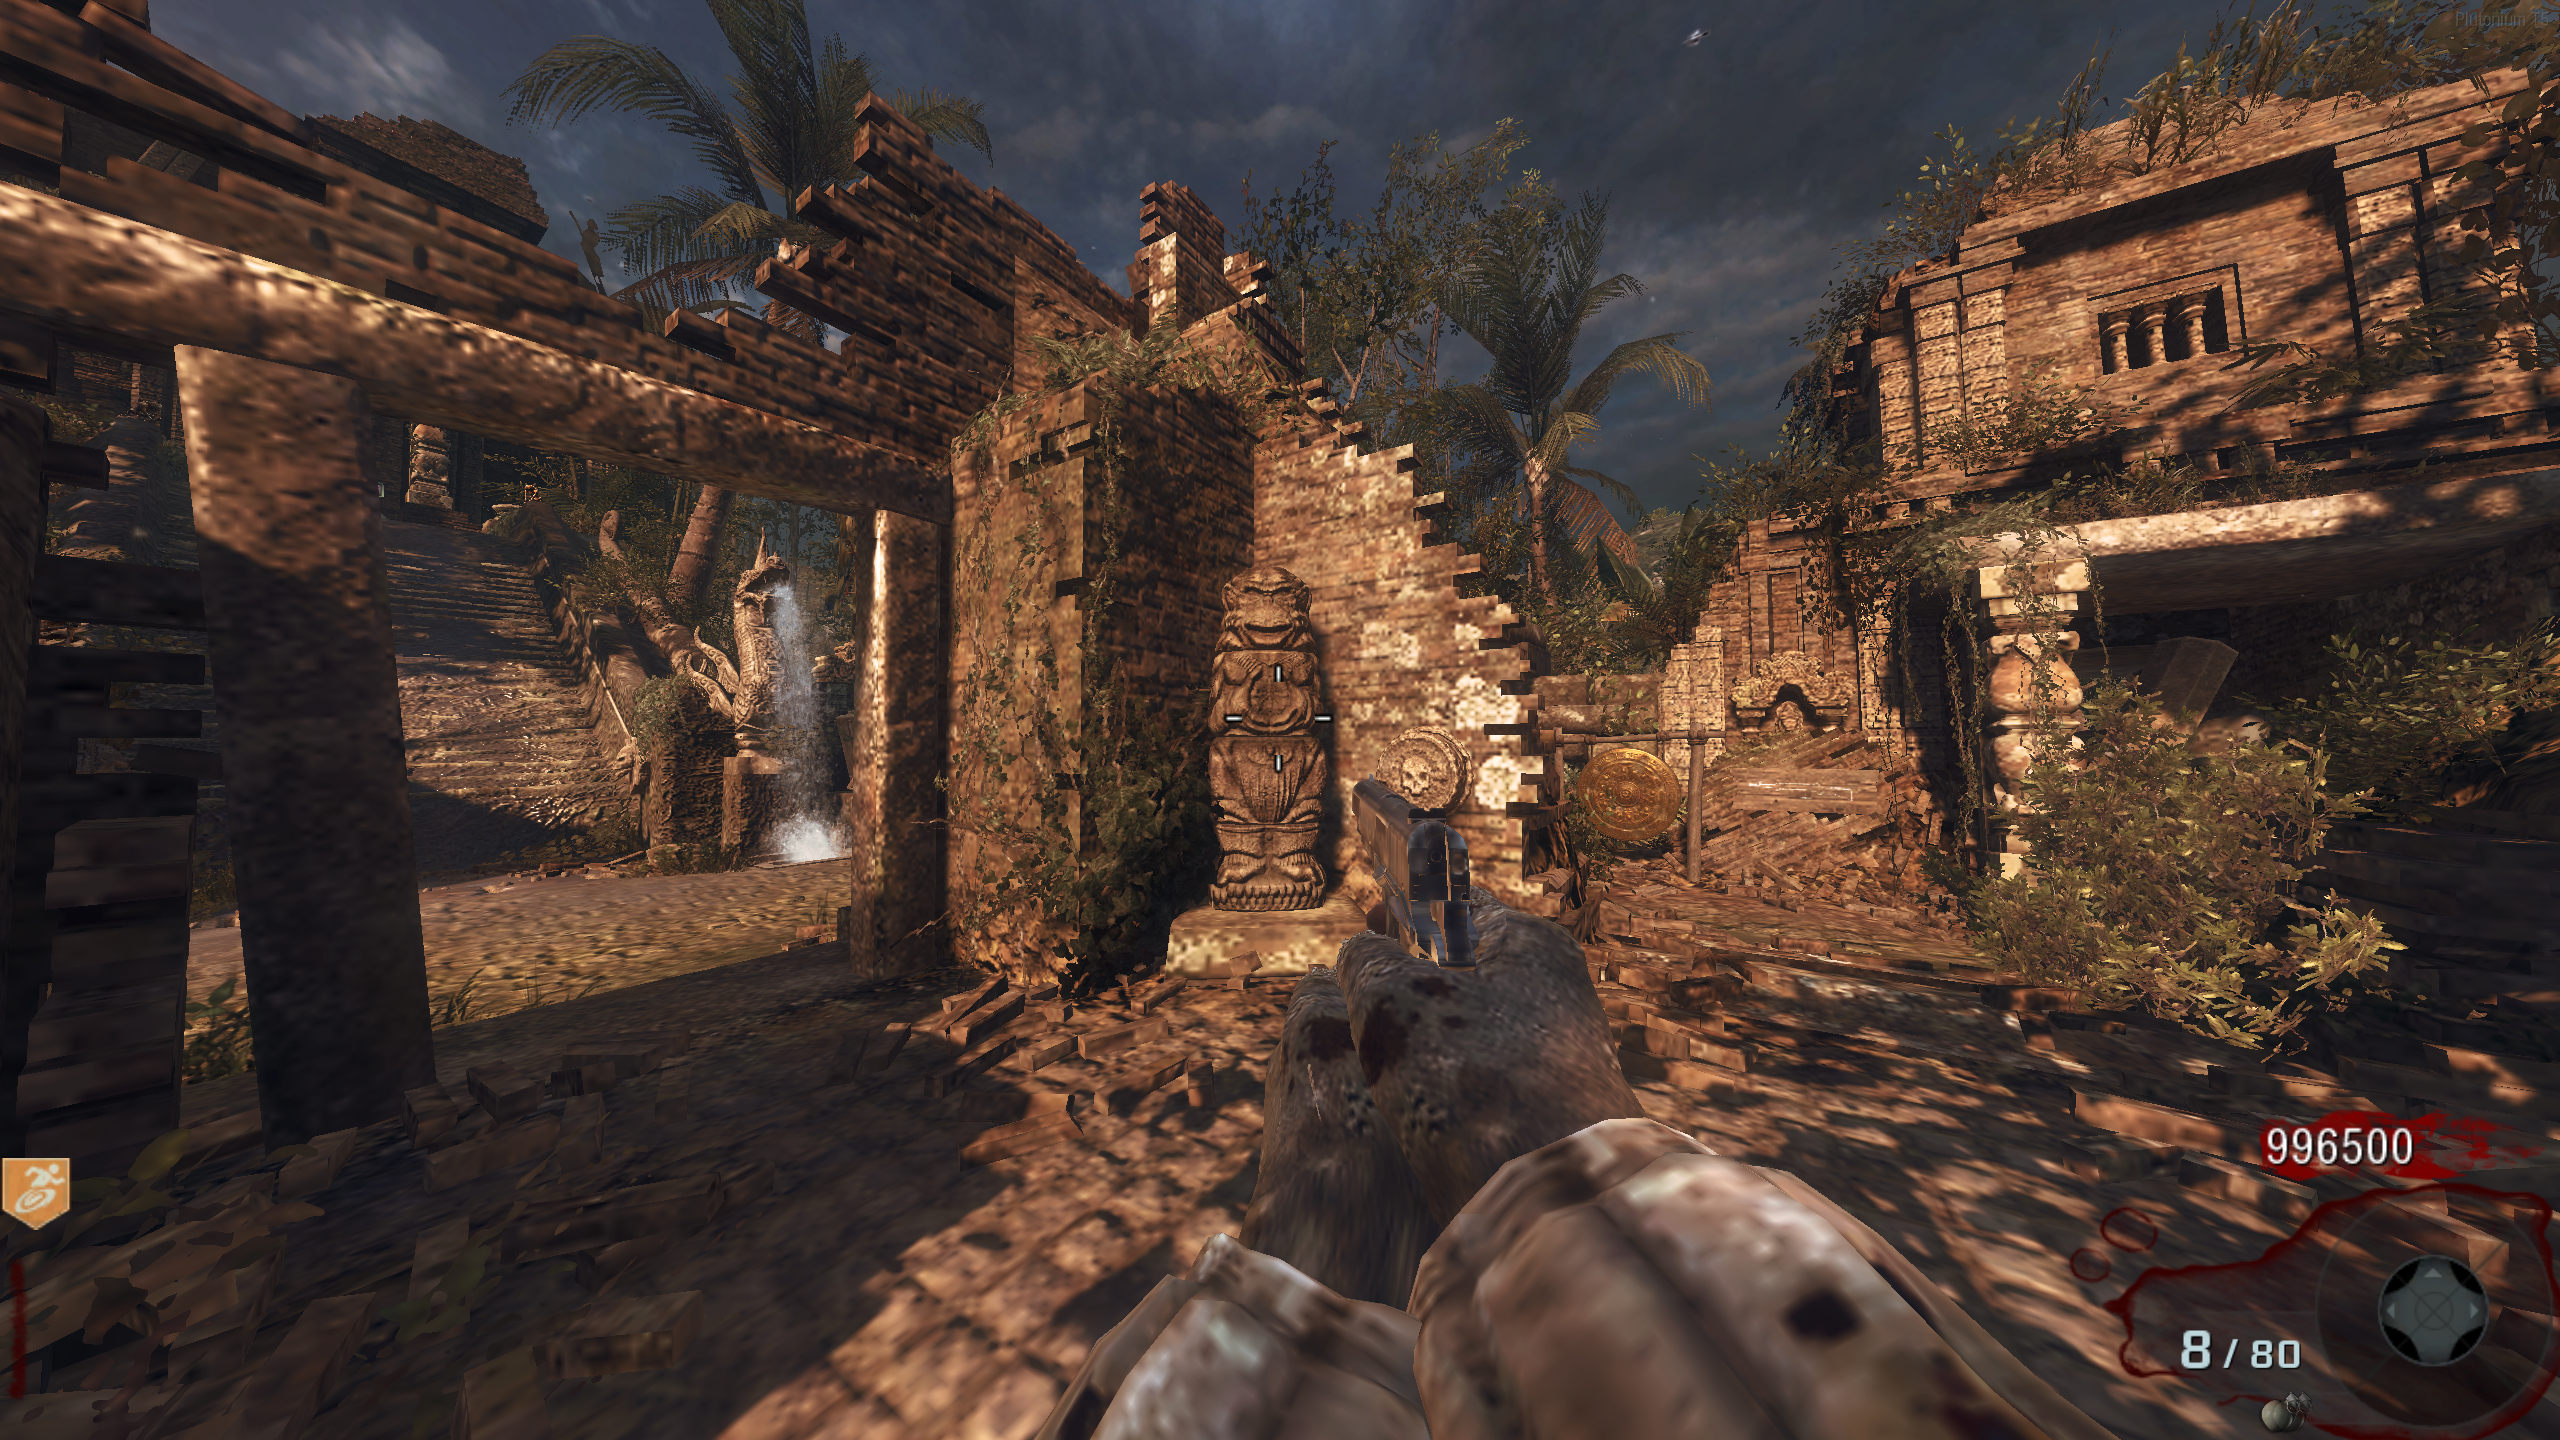
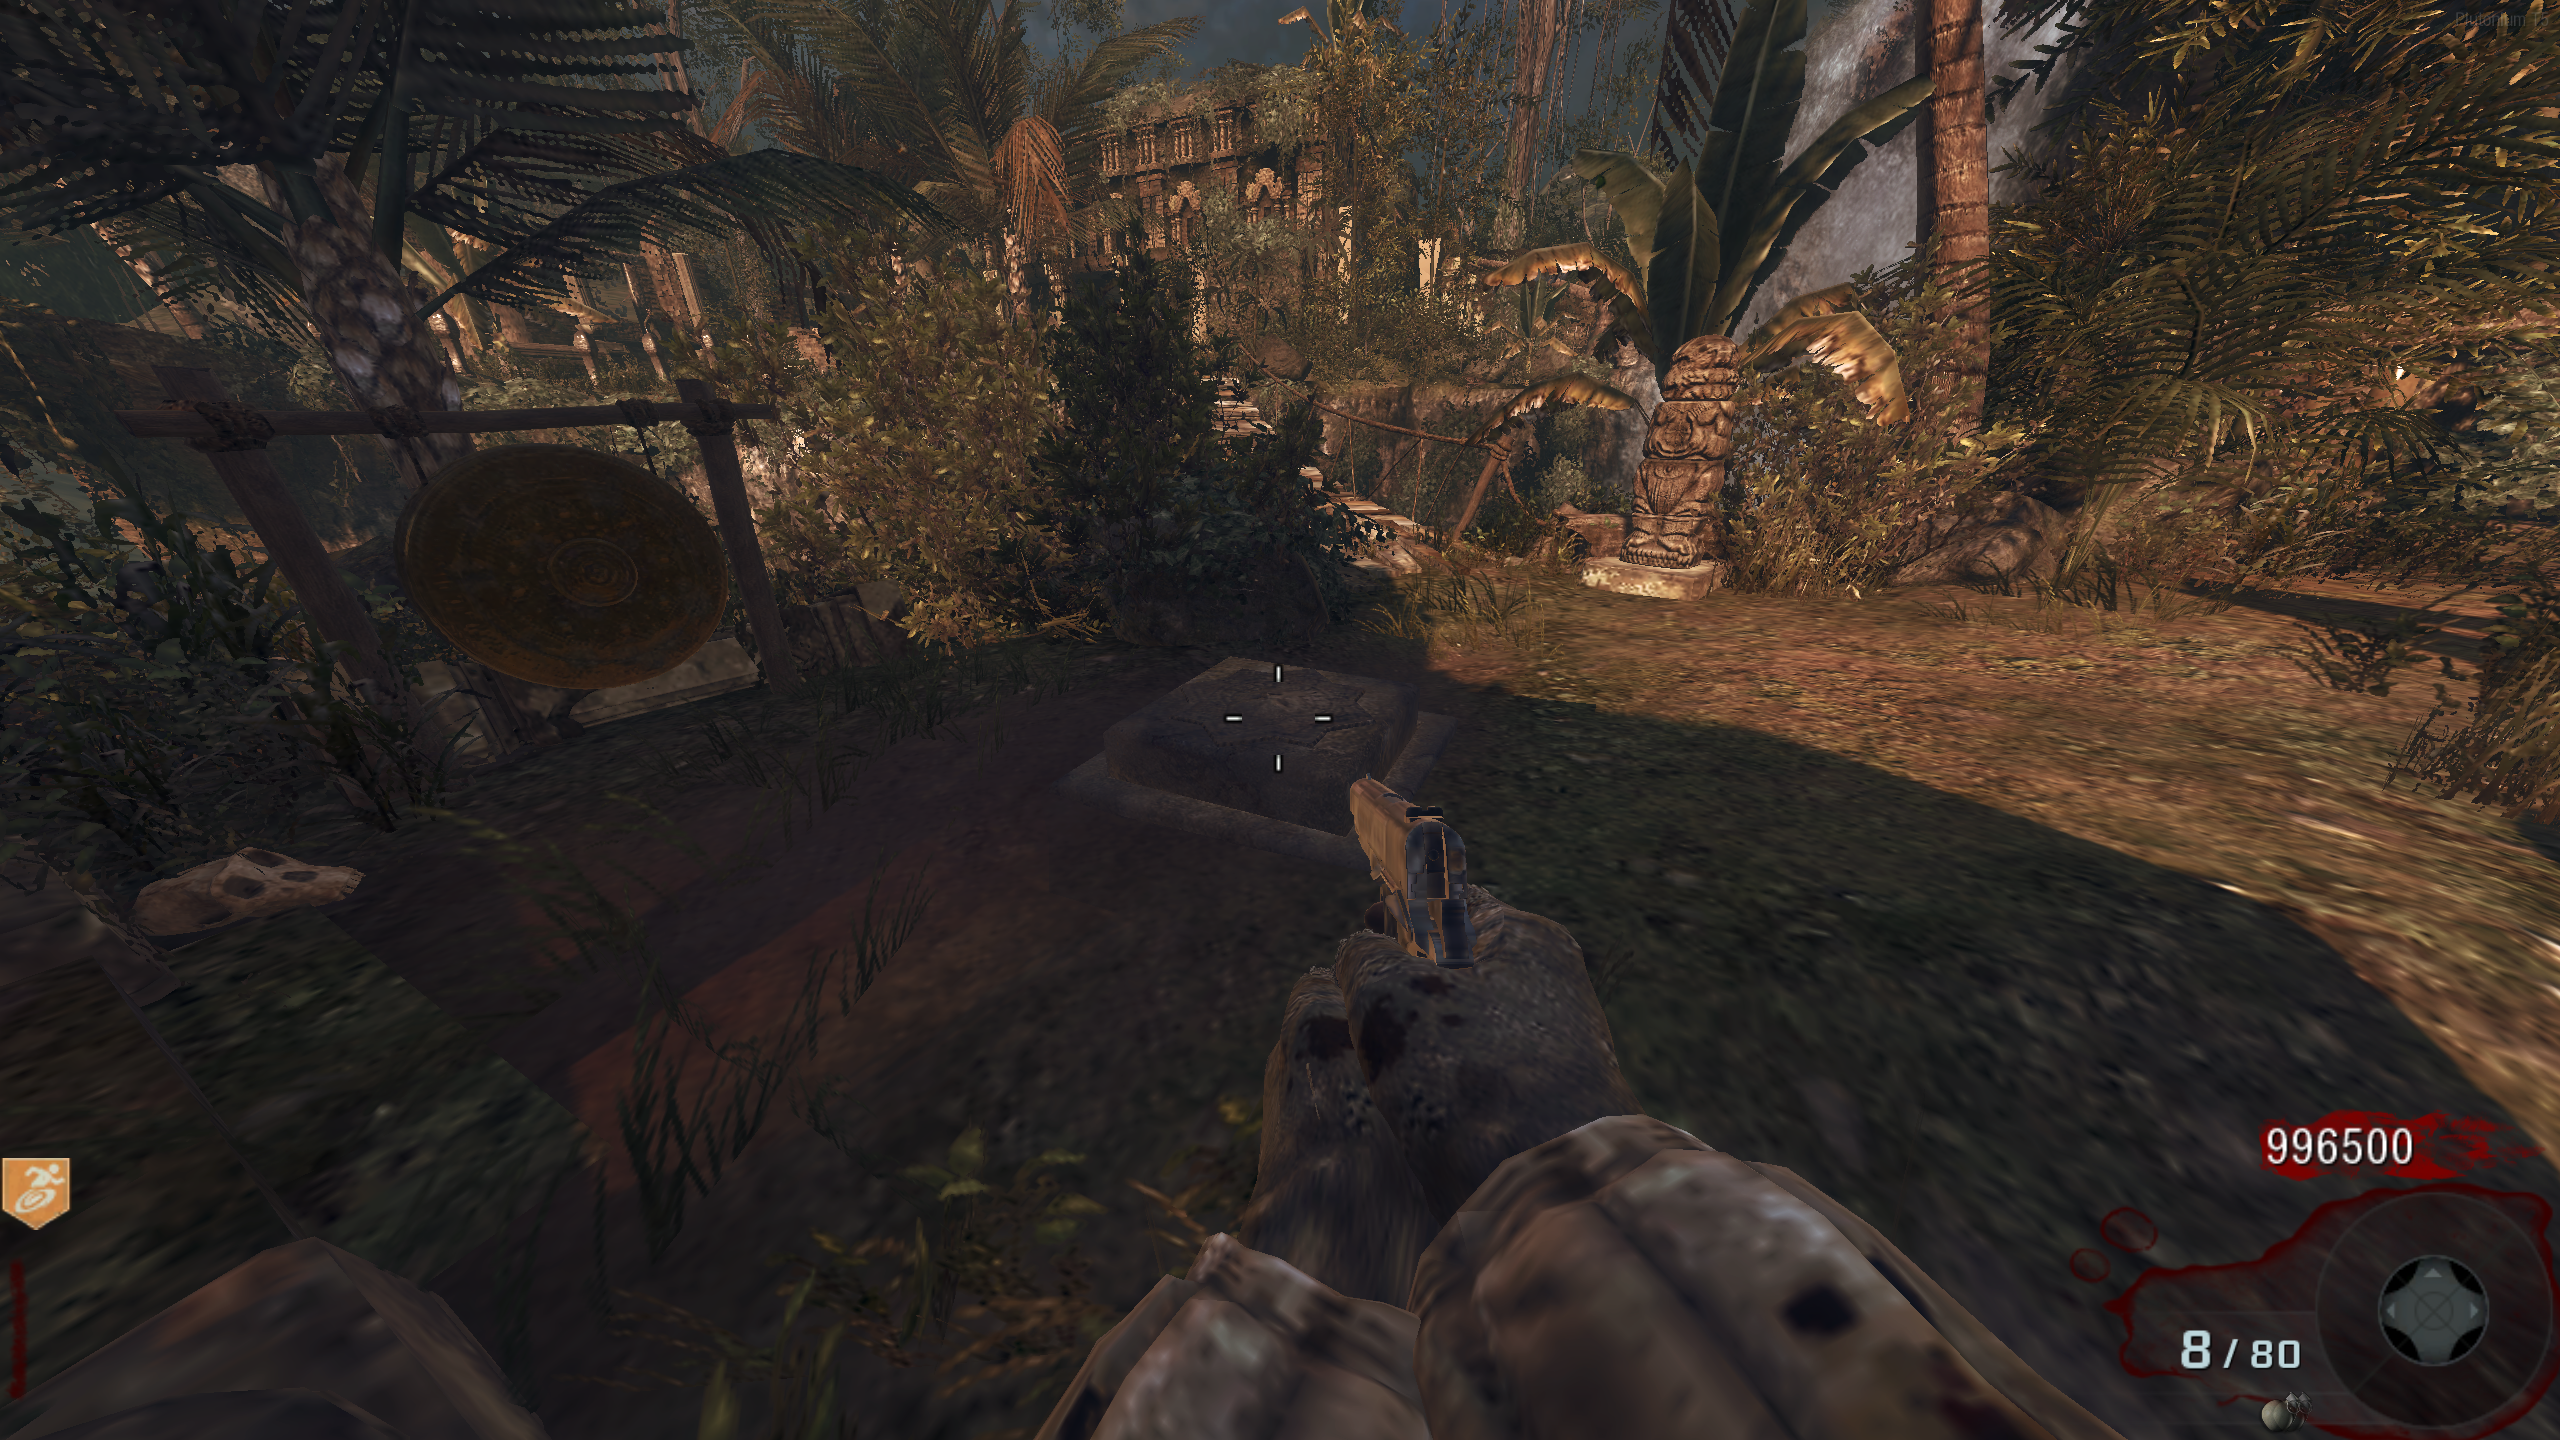
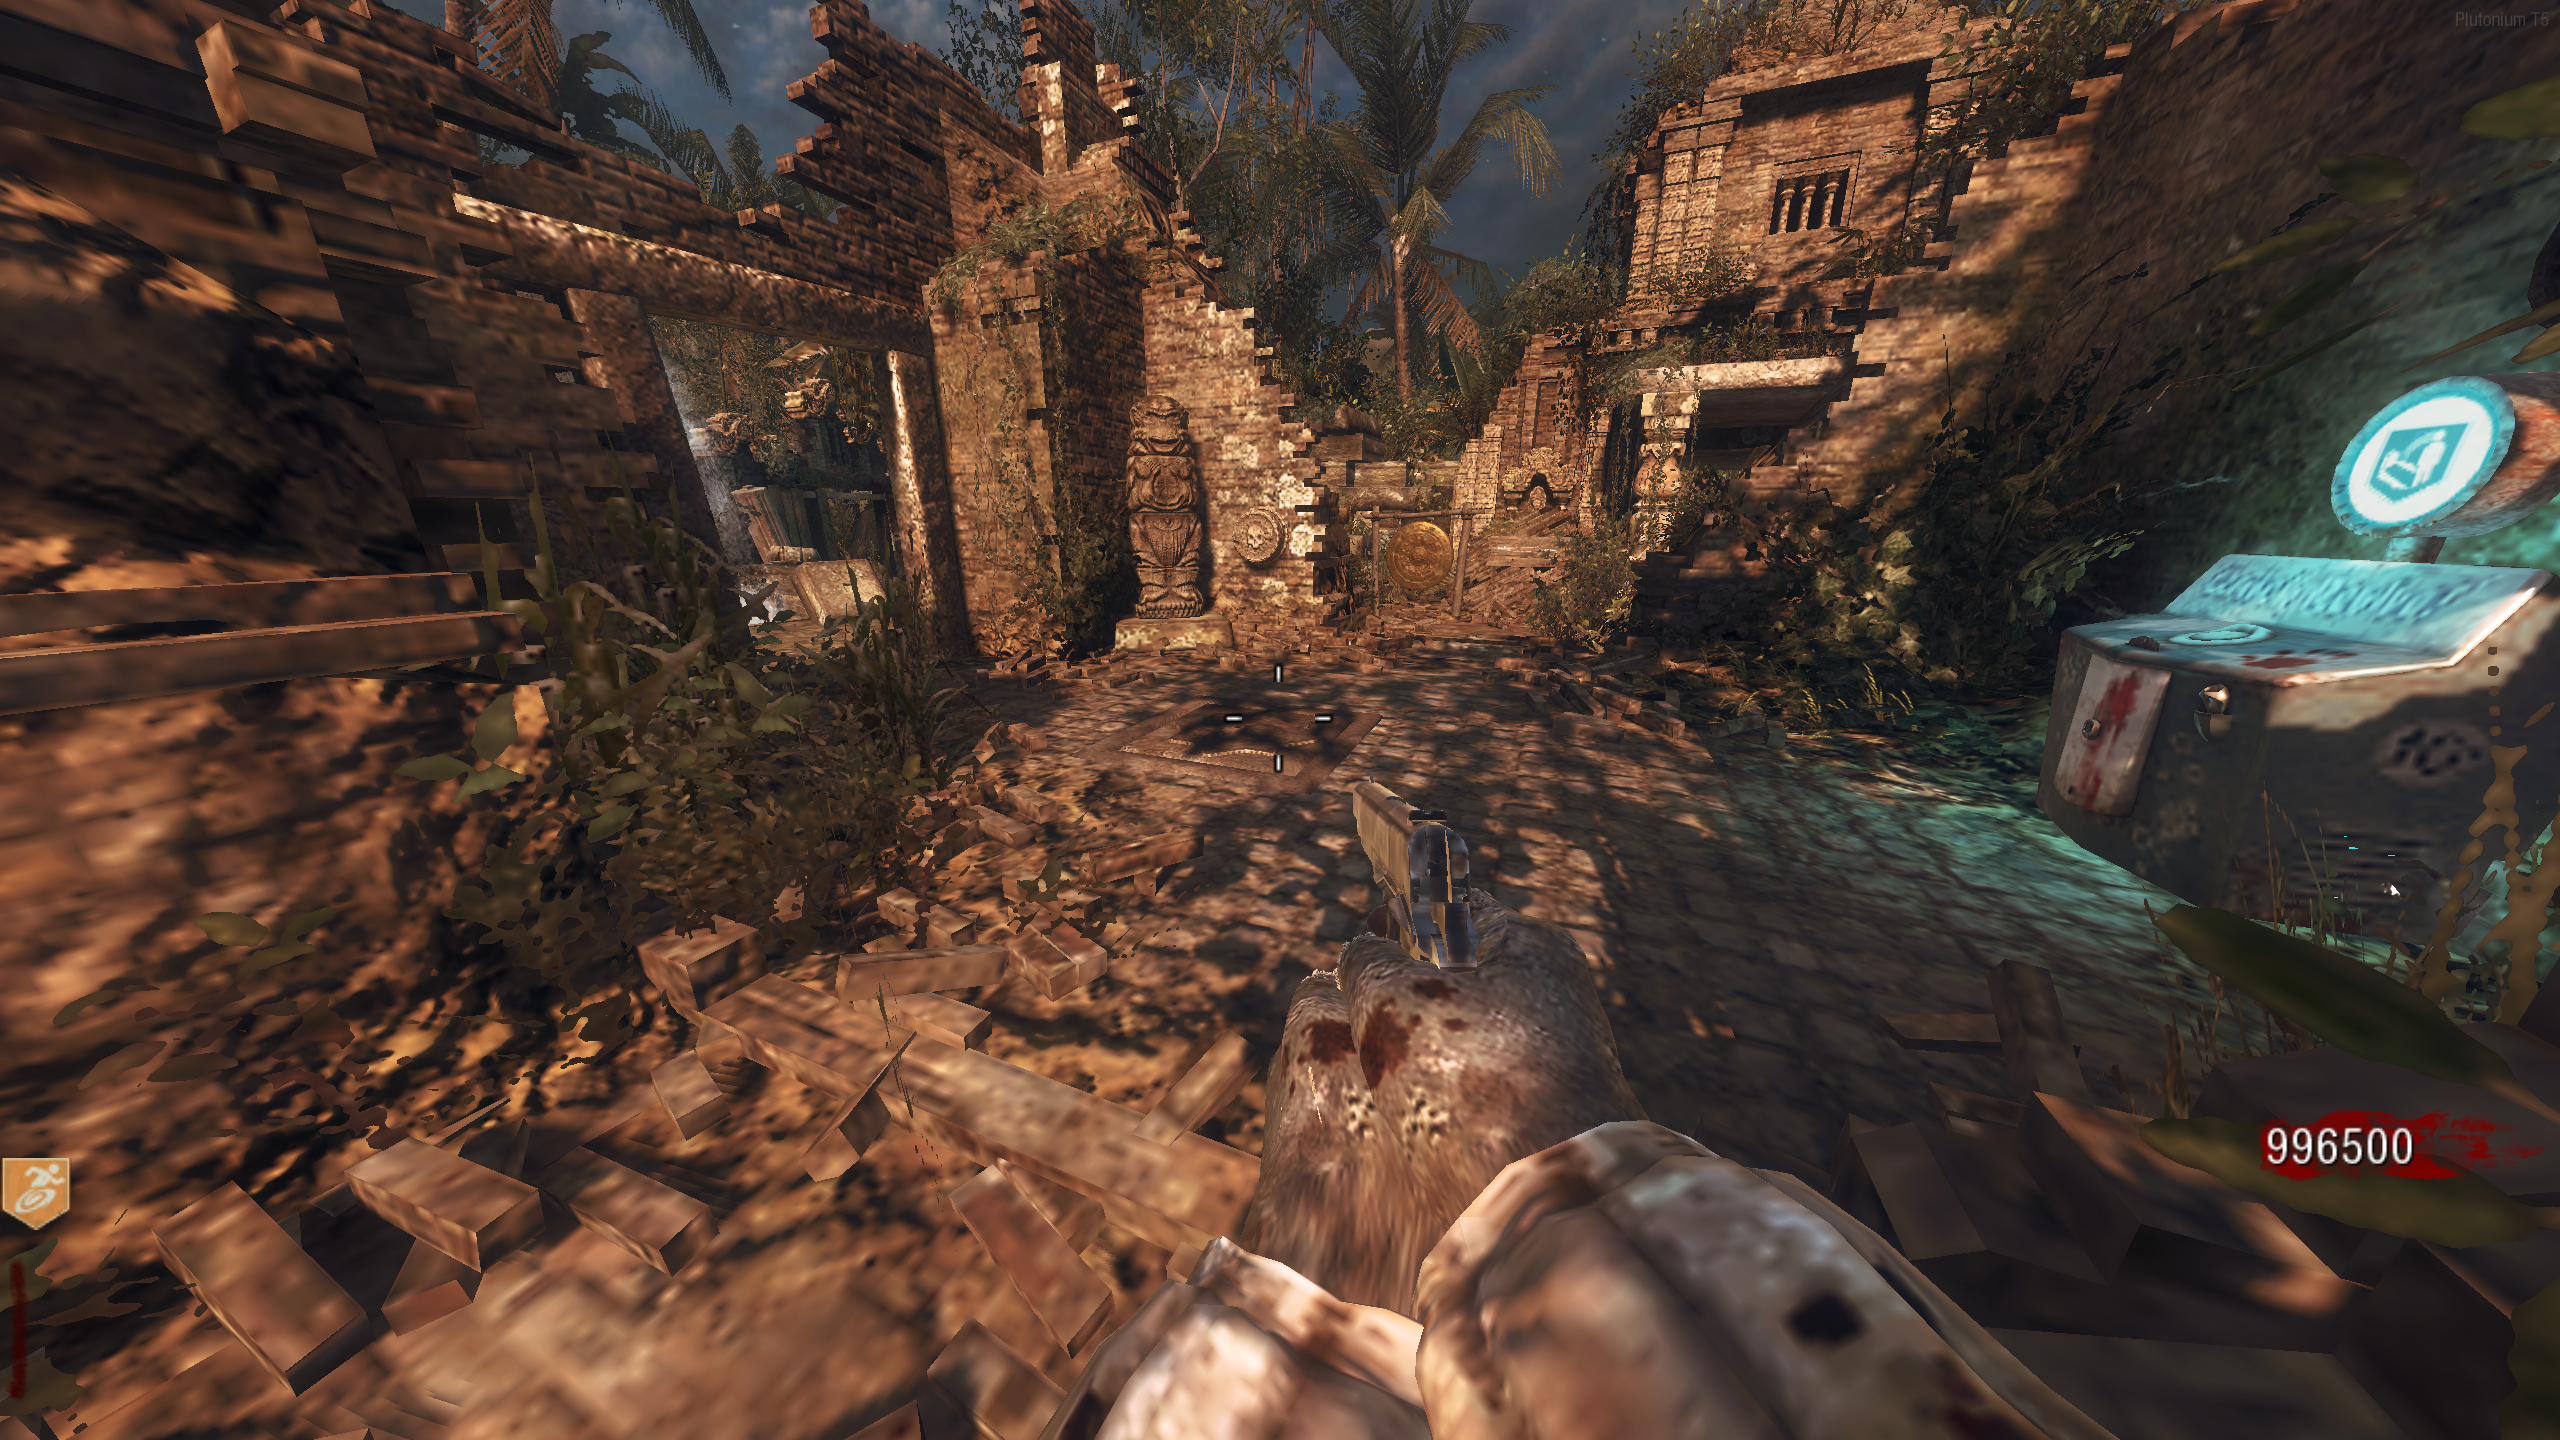
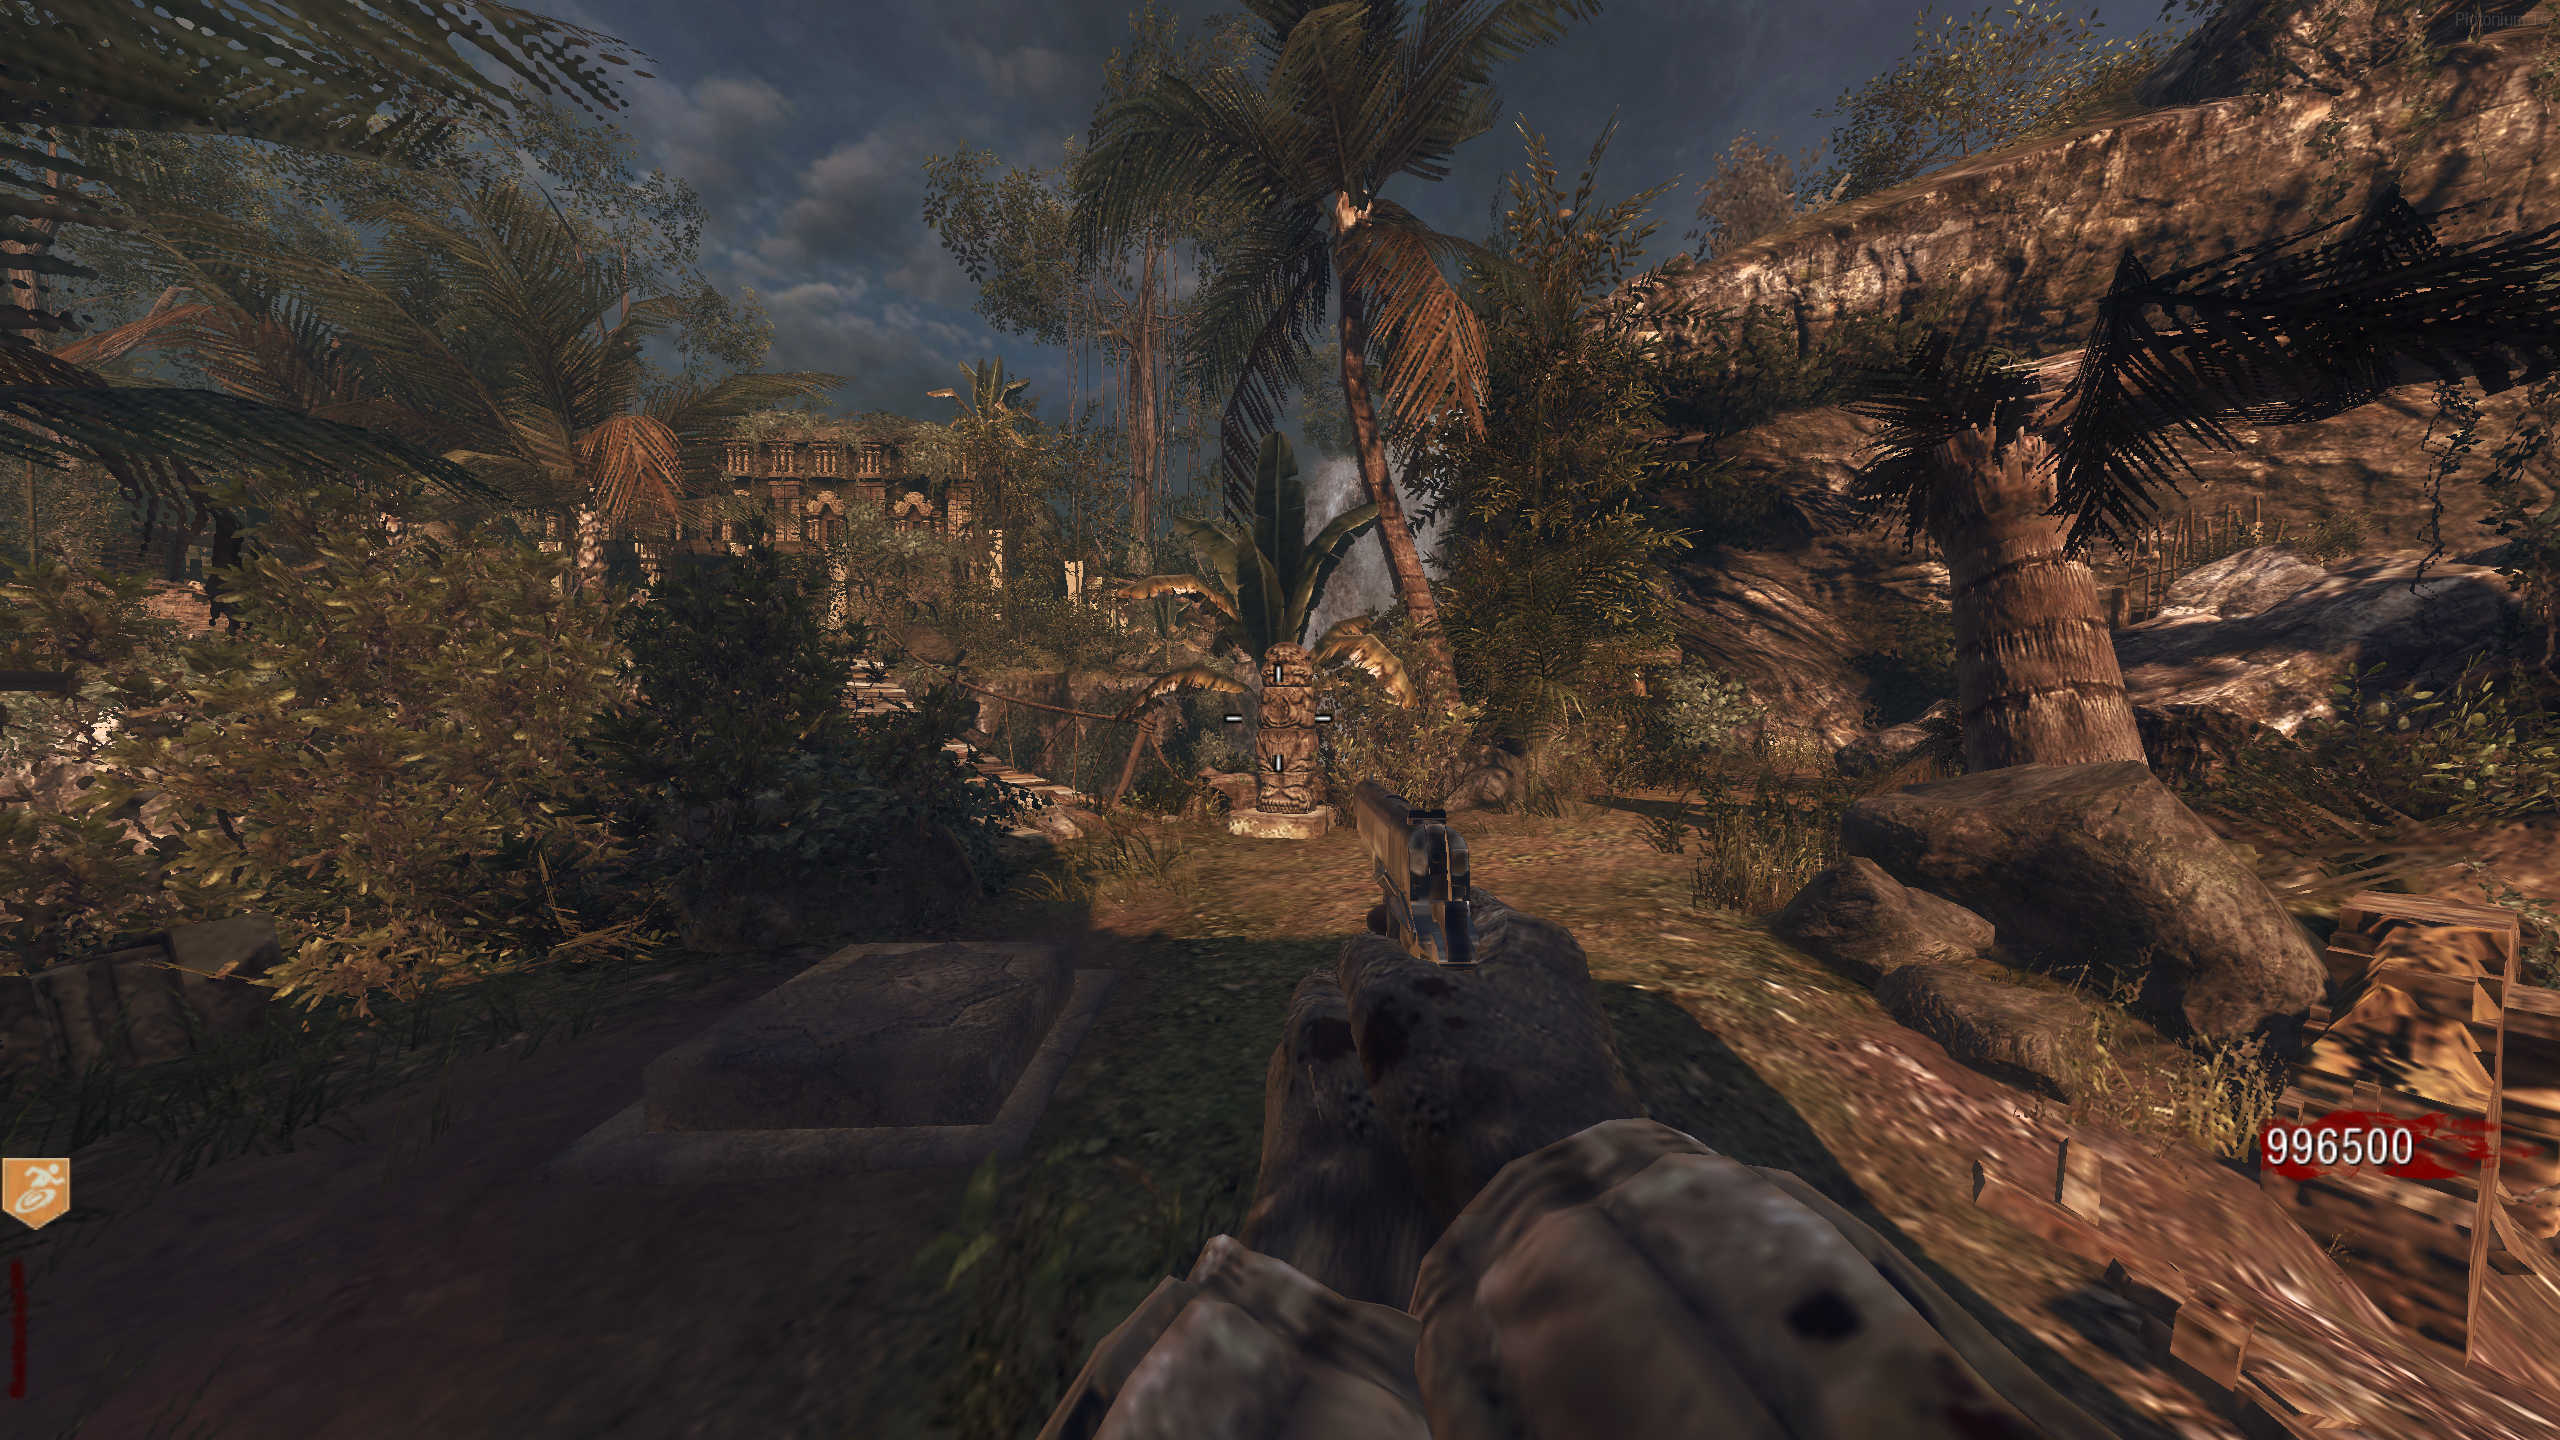
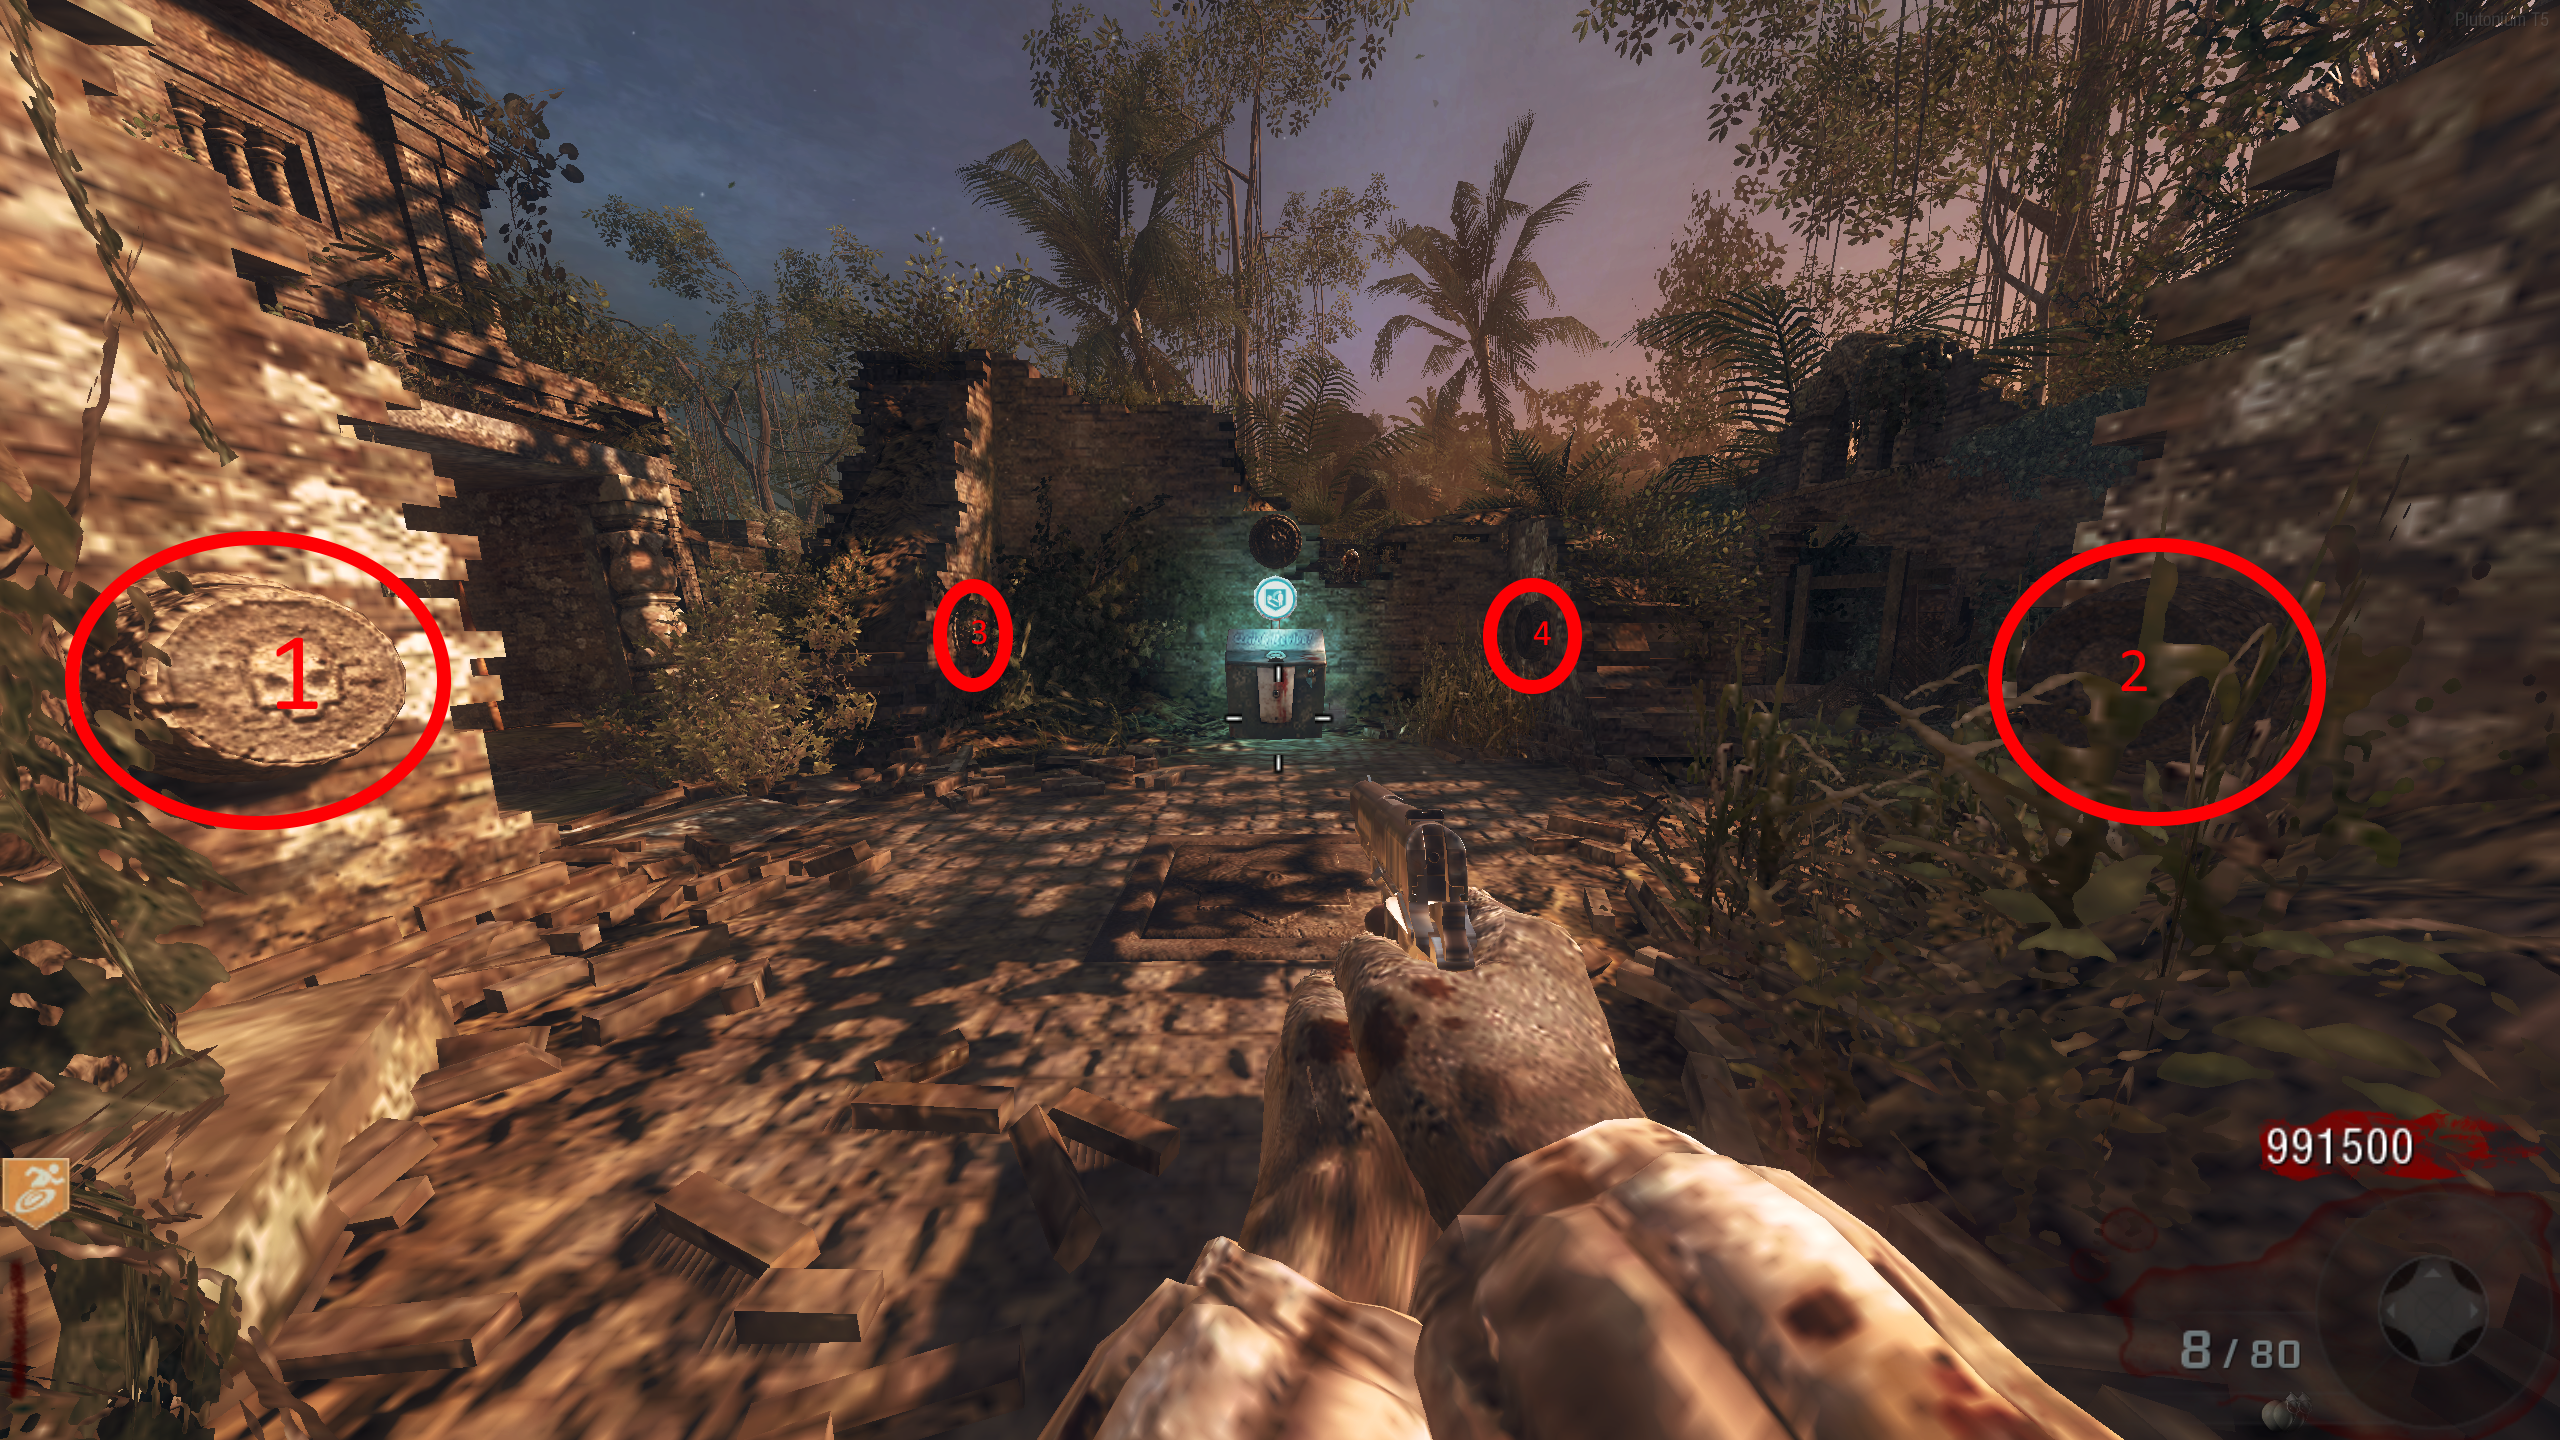
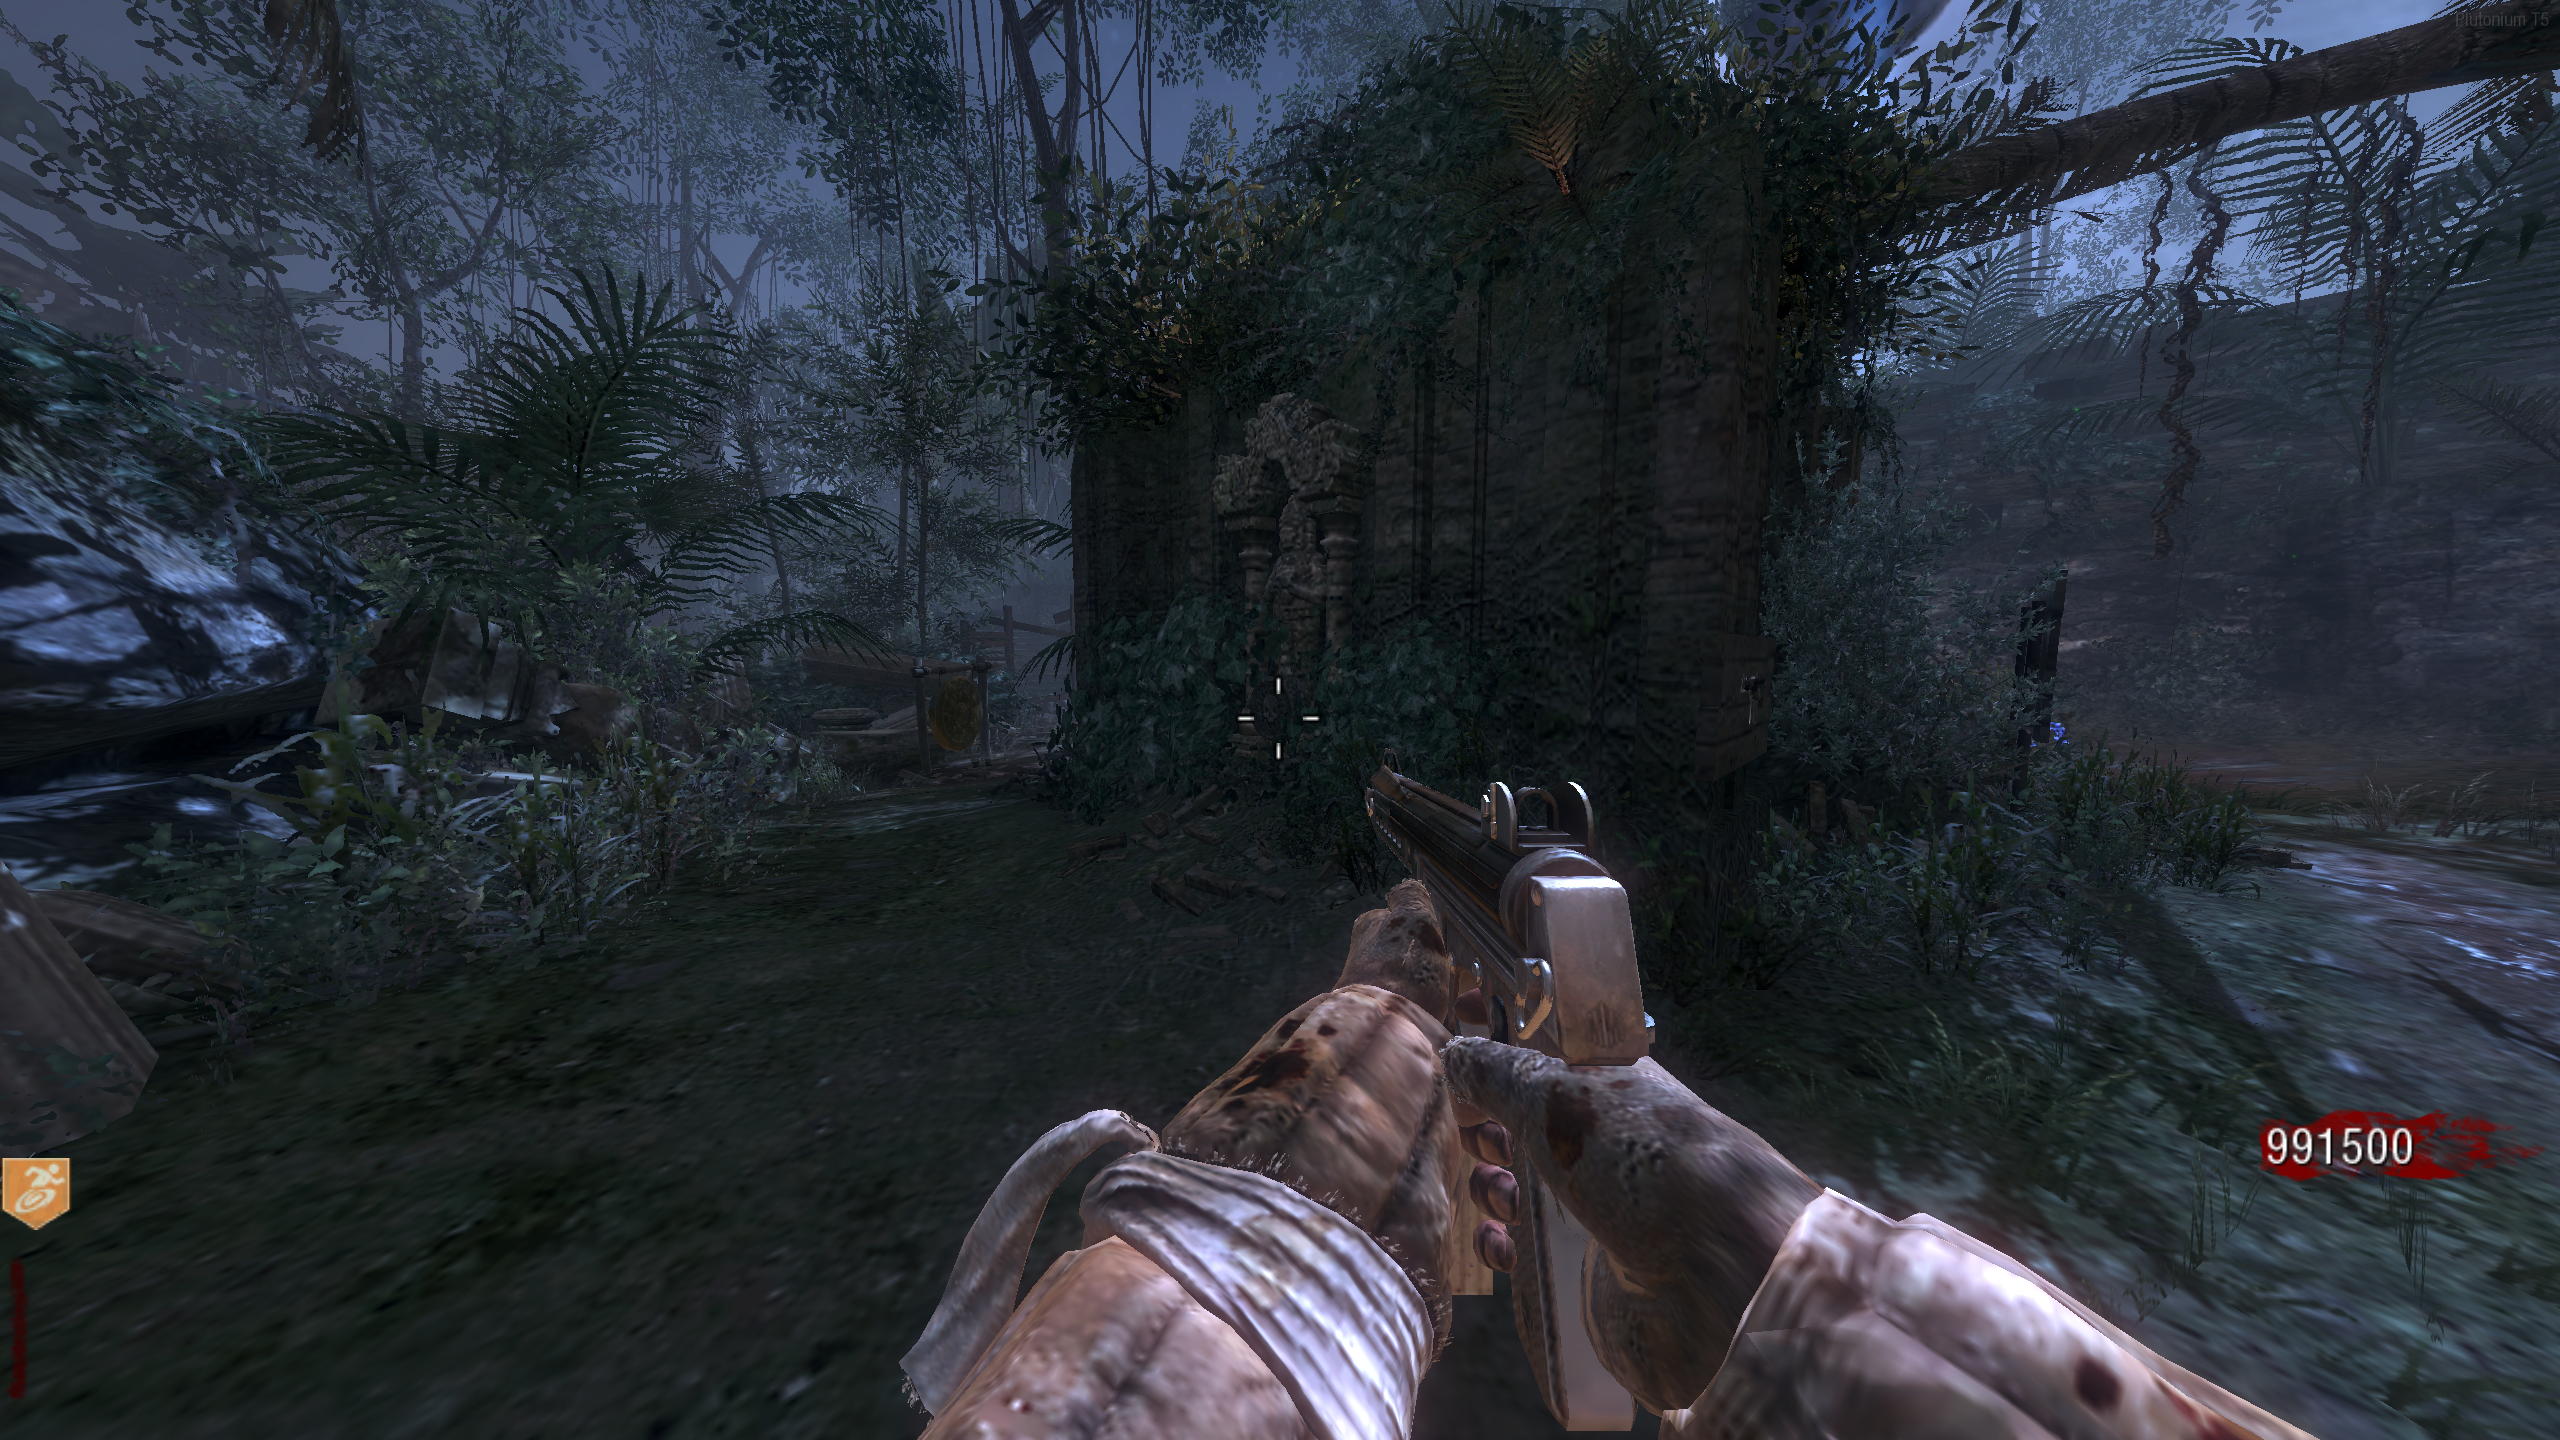
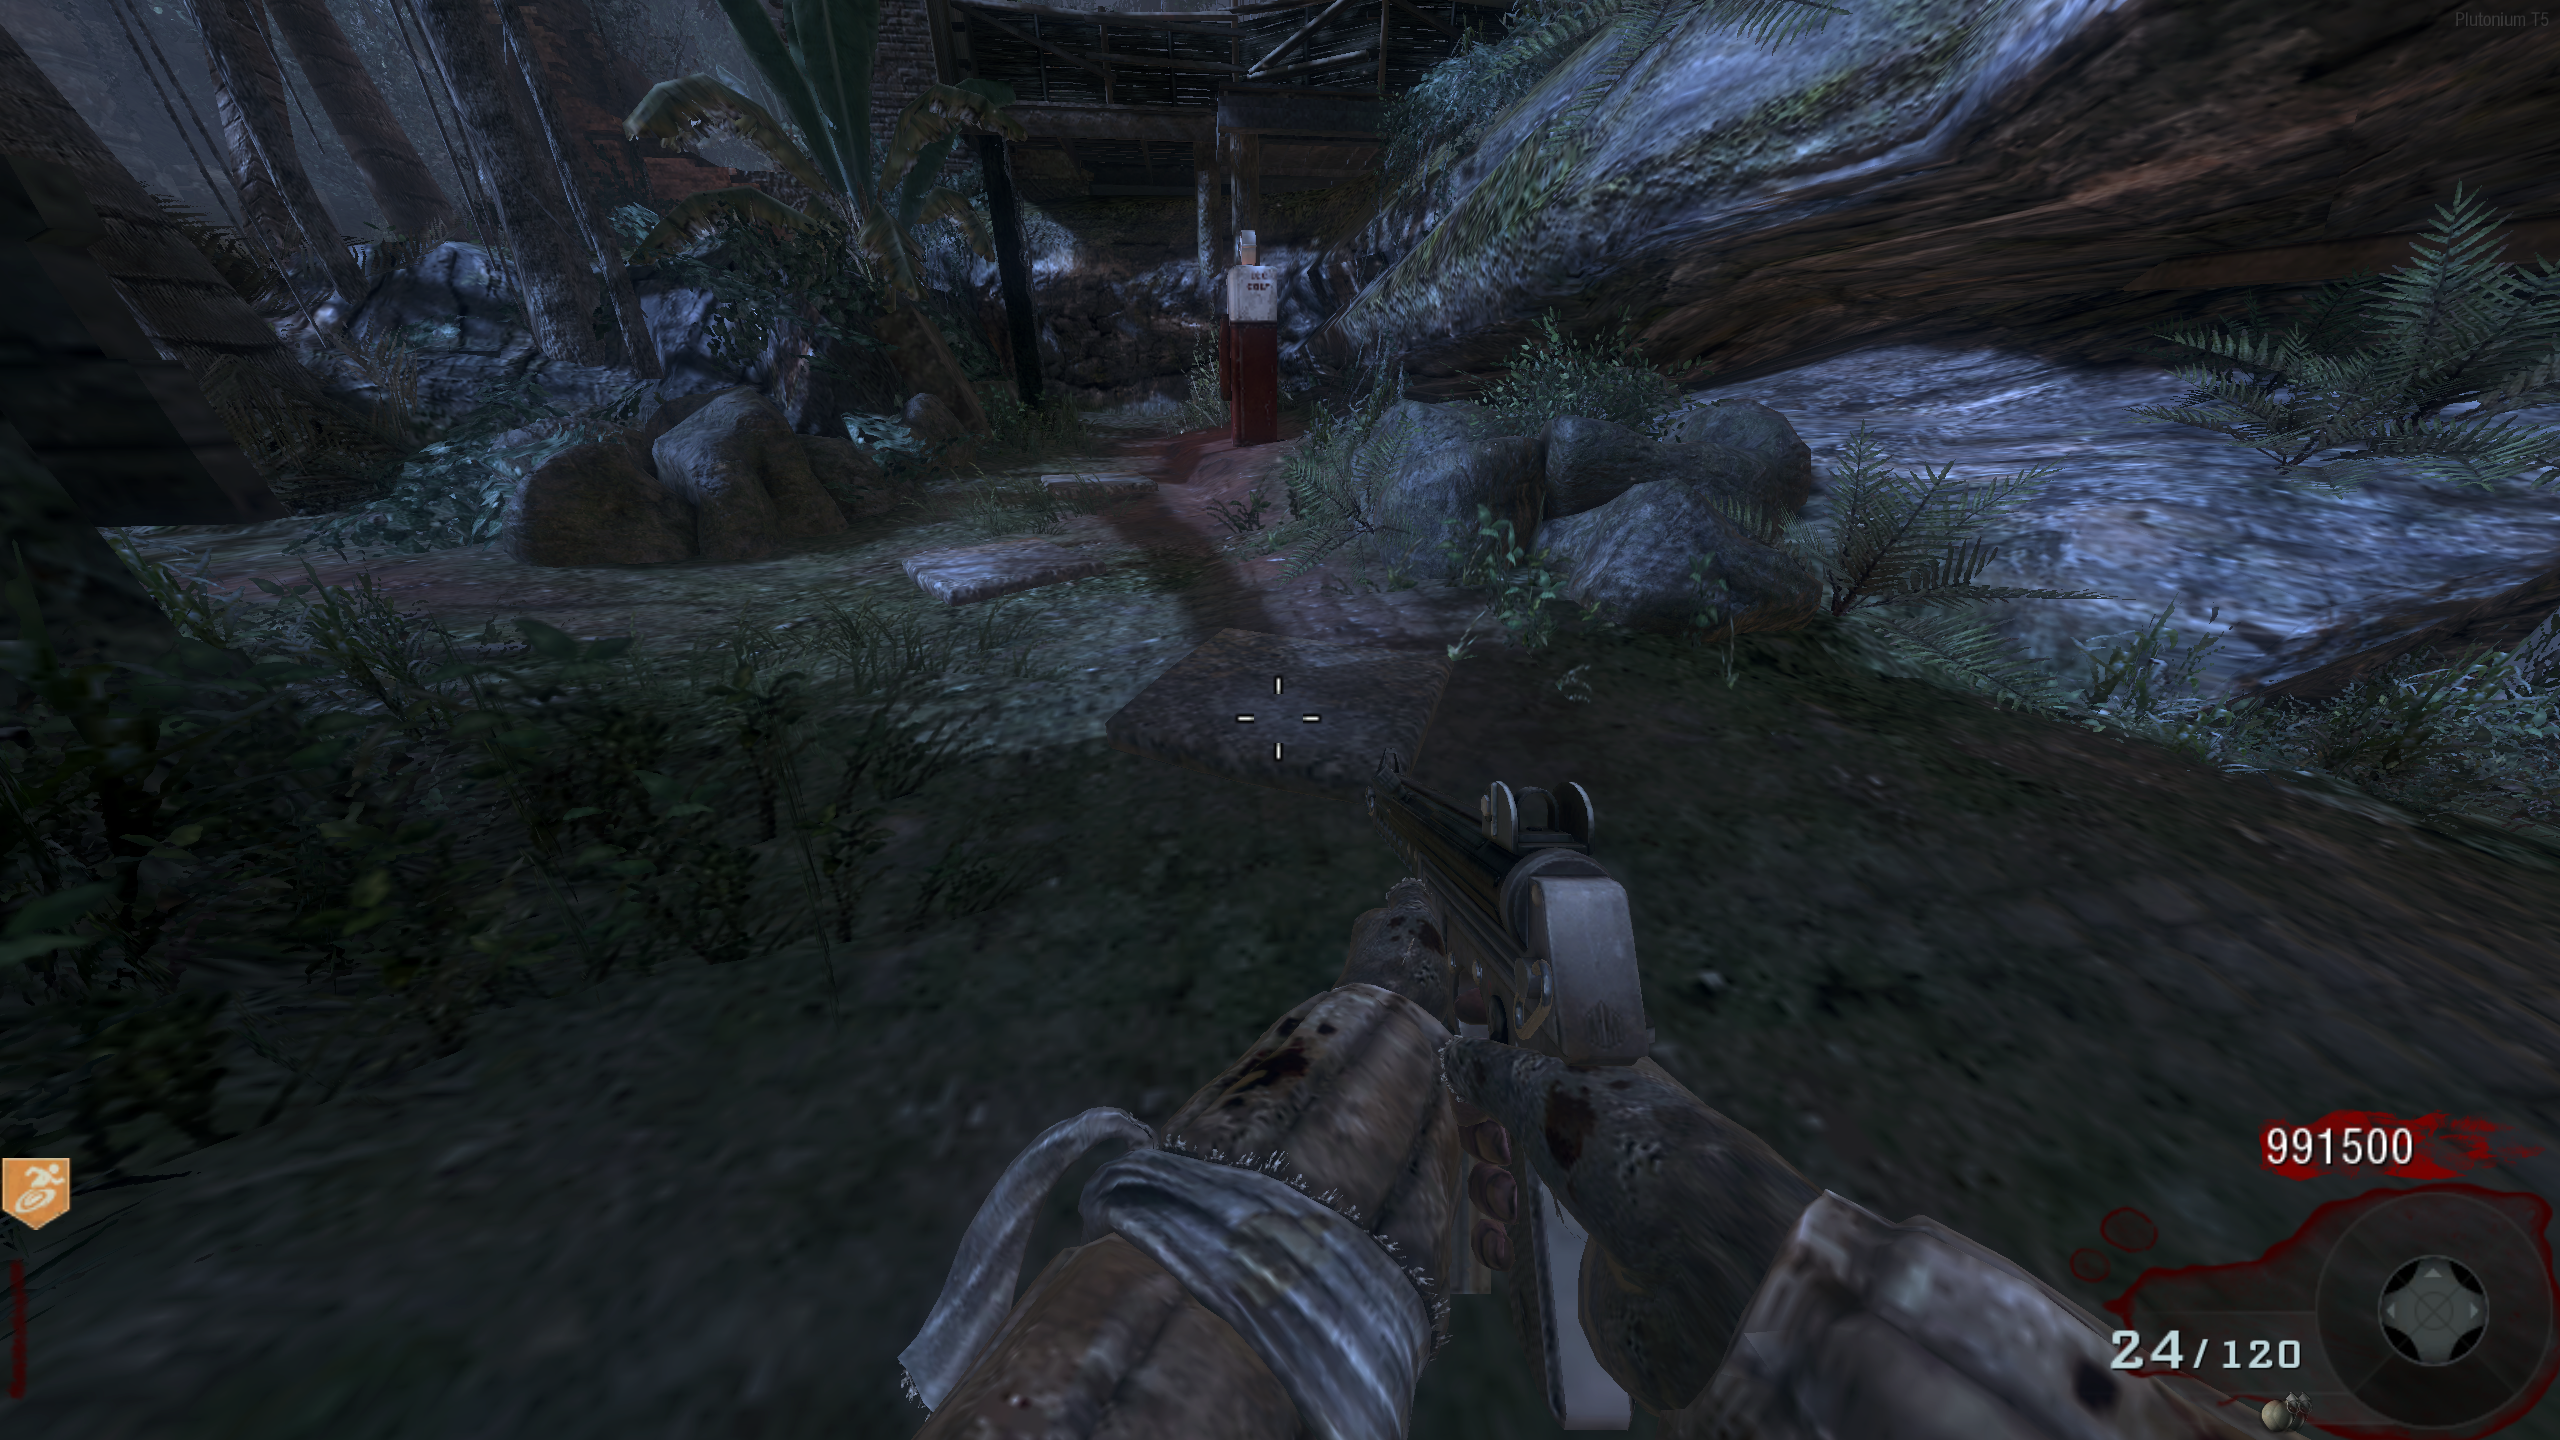
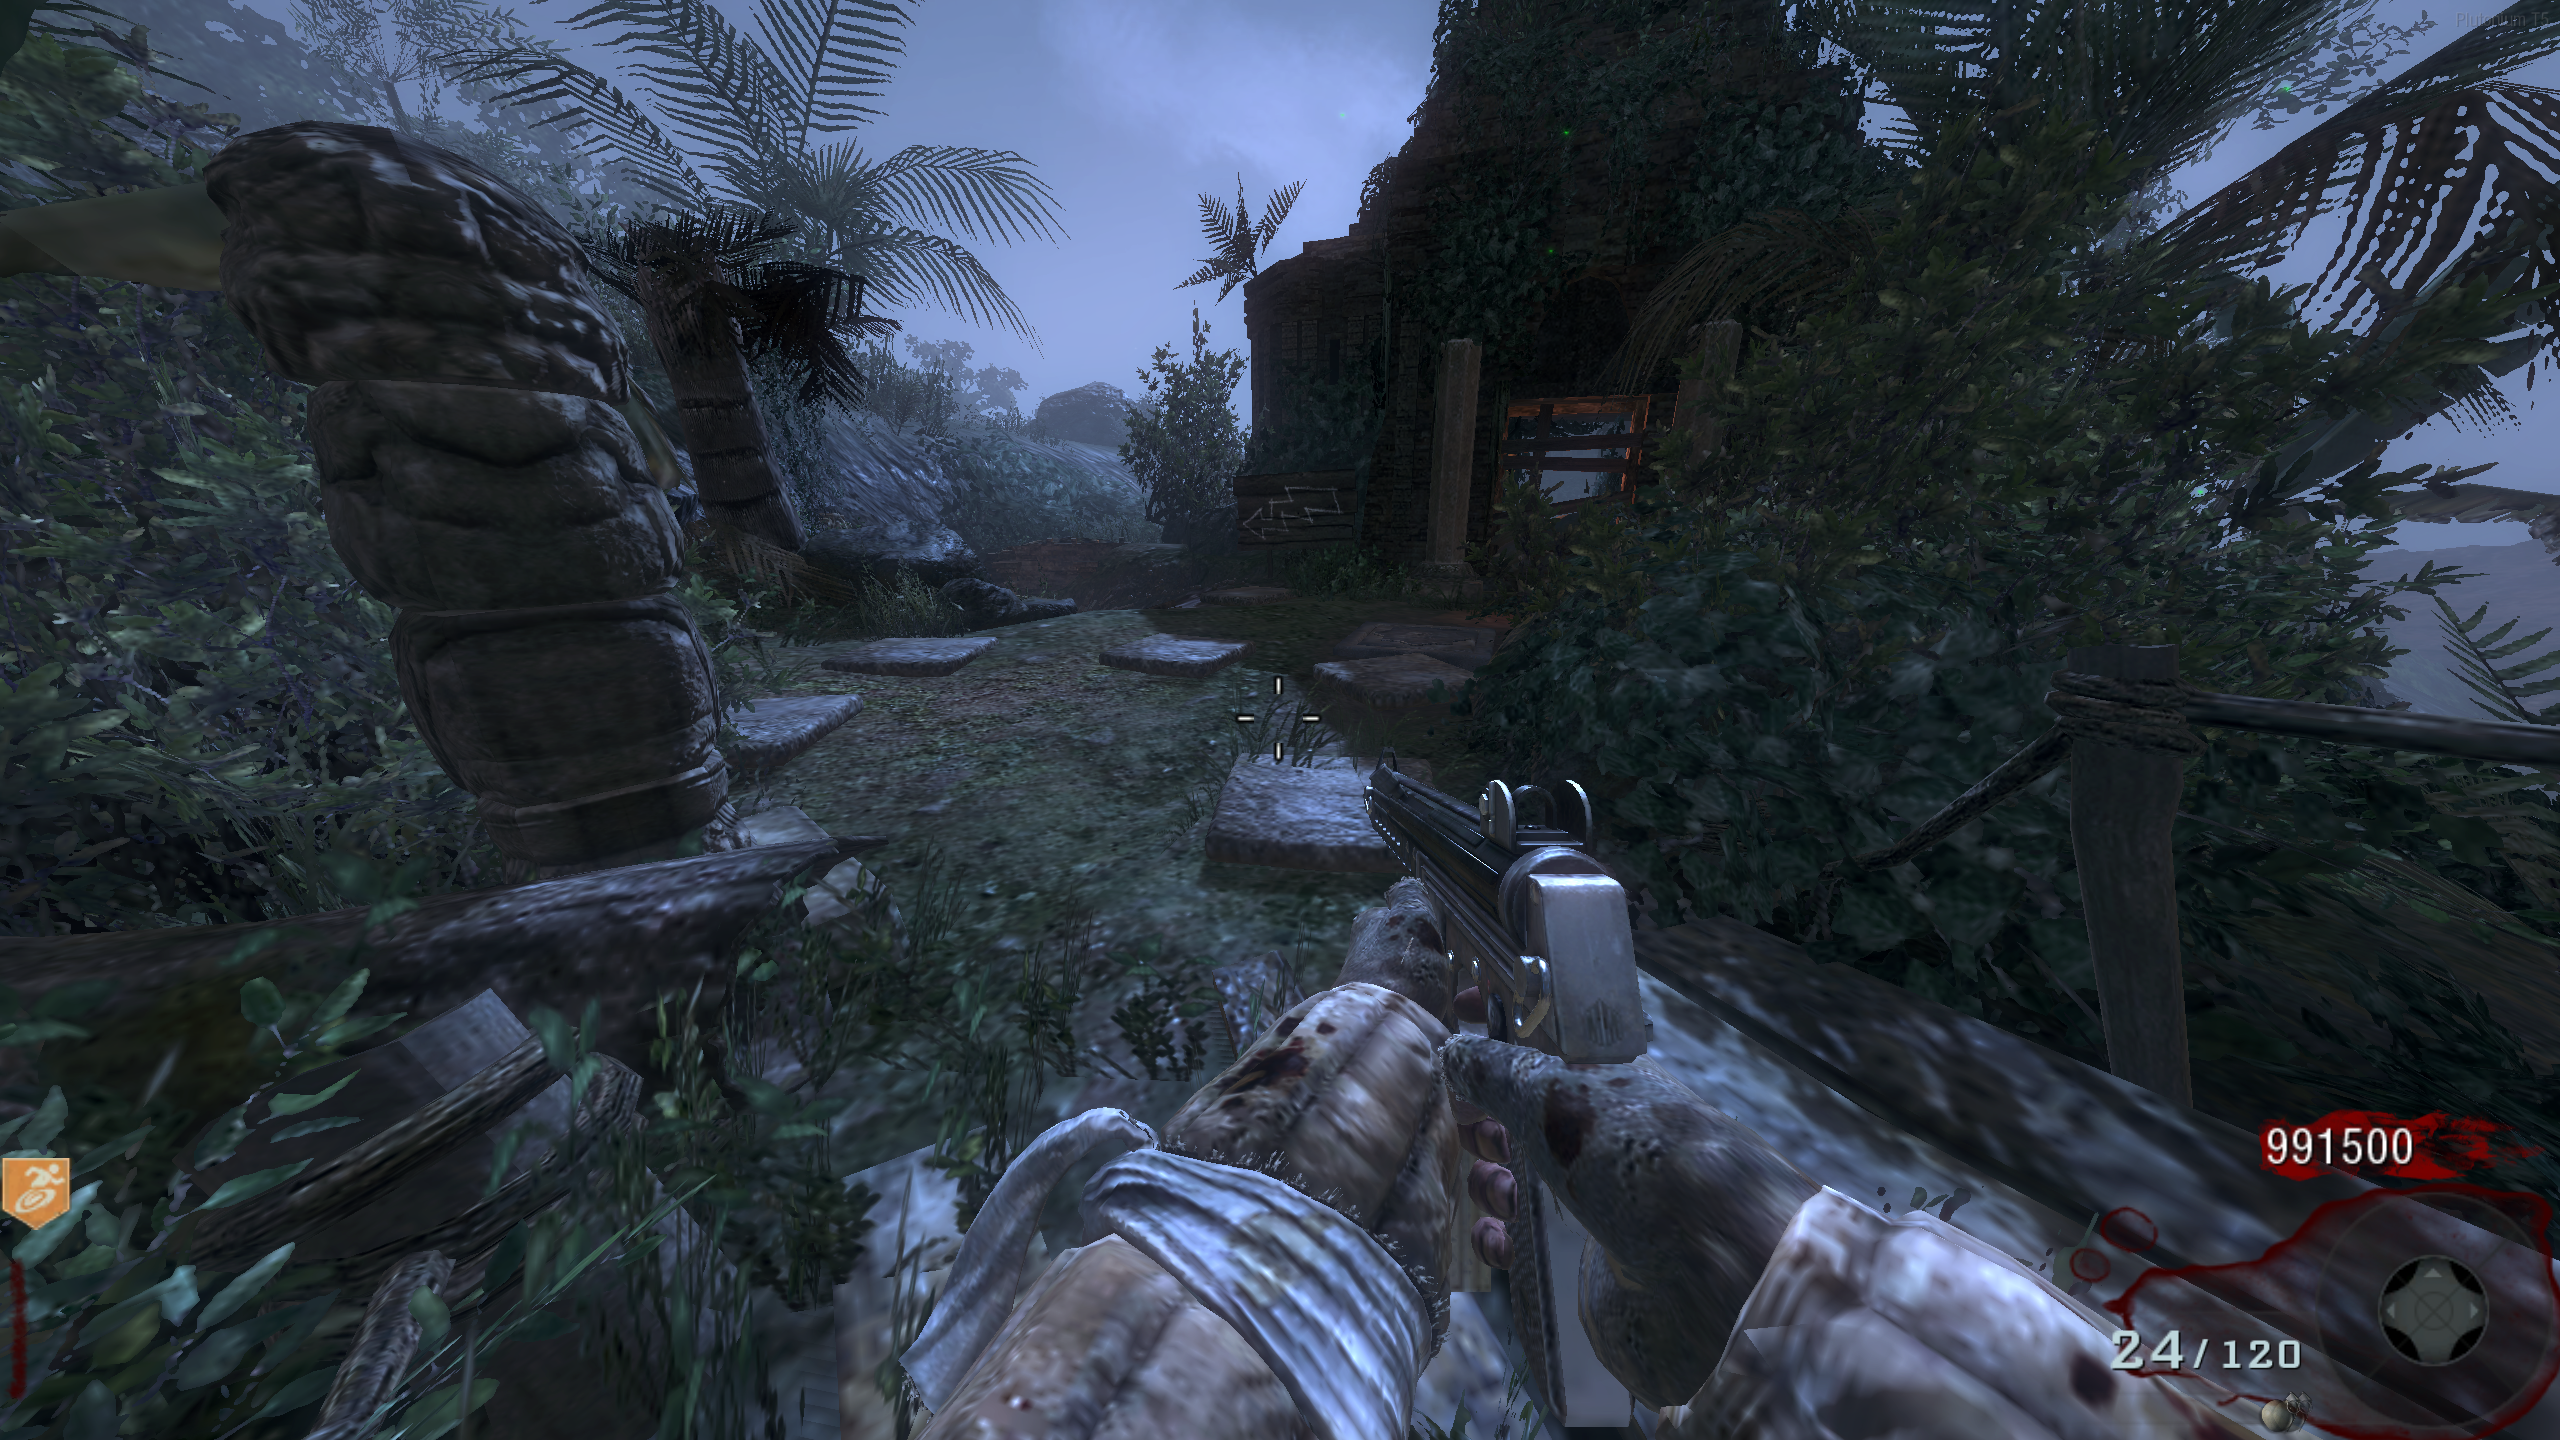
- Around the map, there are four statues with four sections each. One section will be spinning per player in the game. On the ground in front of each of these statues, there will be a pressure plate. Find the plate(s) that are raised.
- All players must stand on a different pressure plate at the same time. When a plate goes down, one of the spinning statue sections will stop. Plate locations:
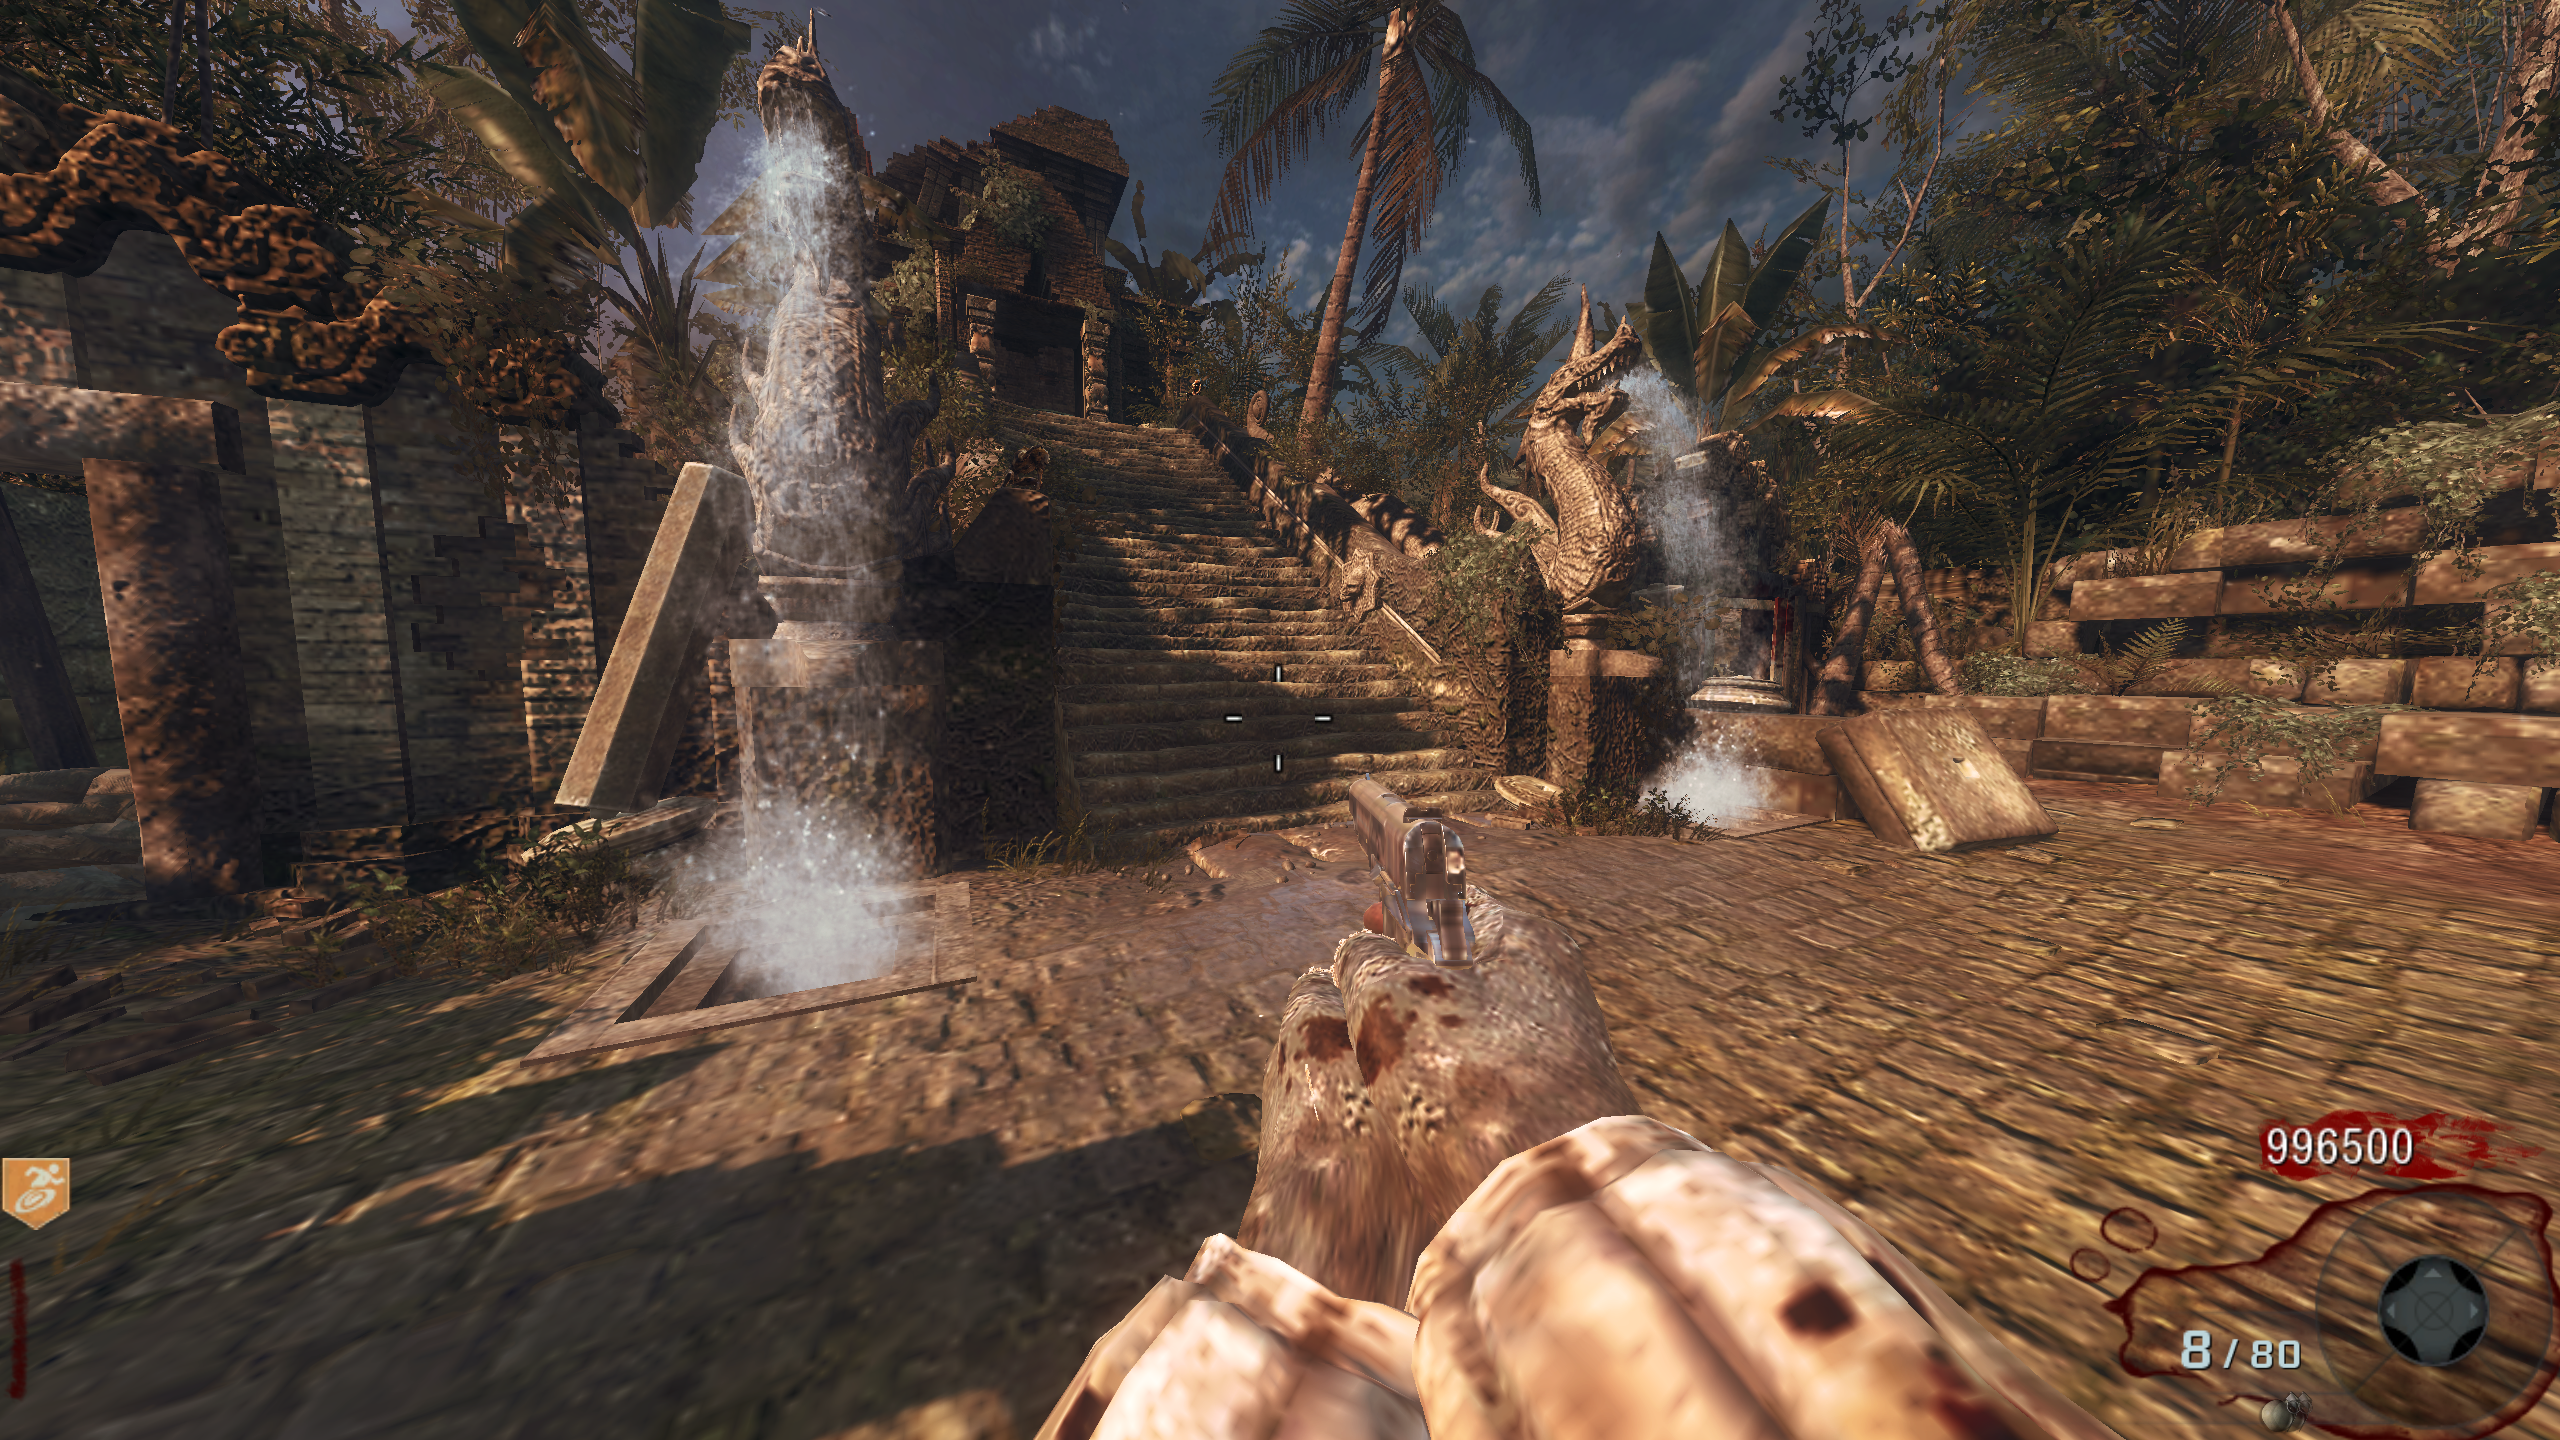
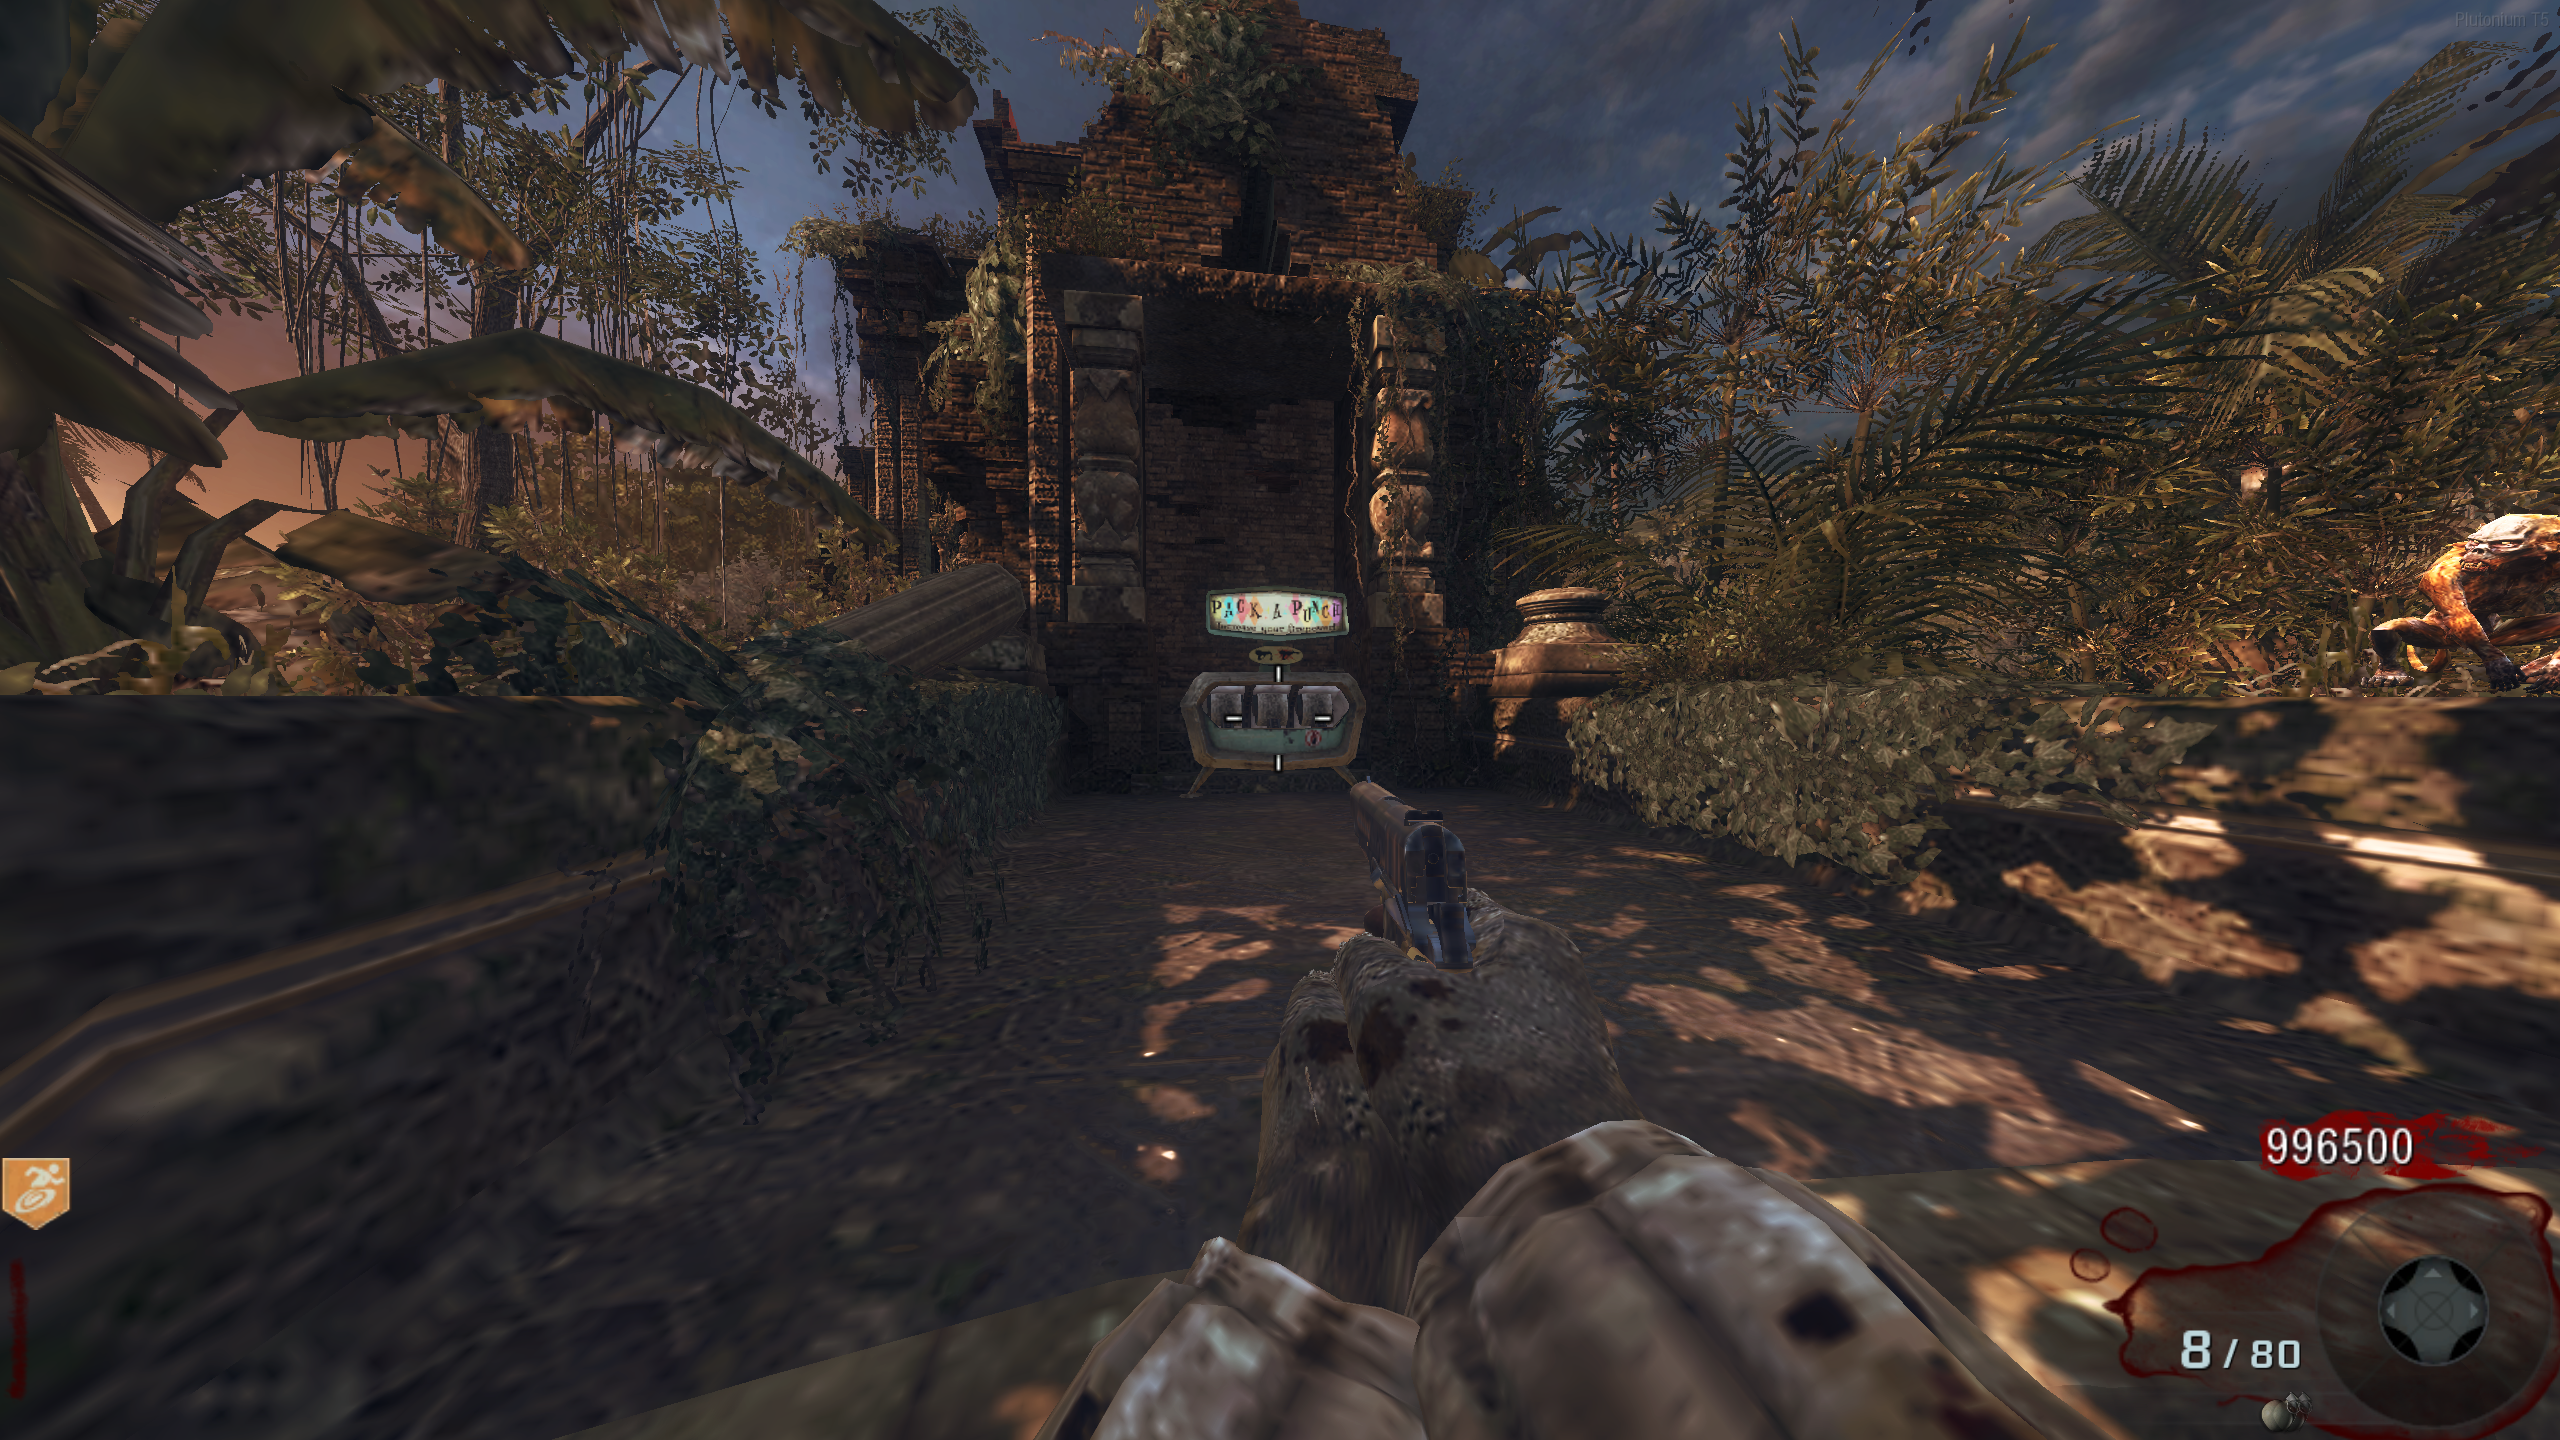
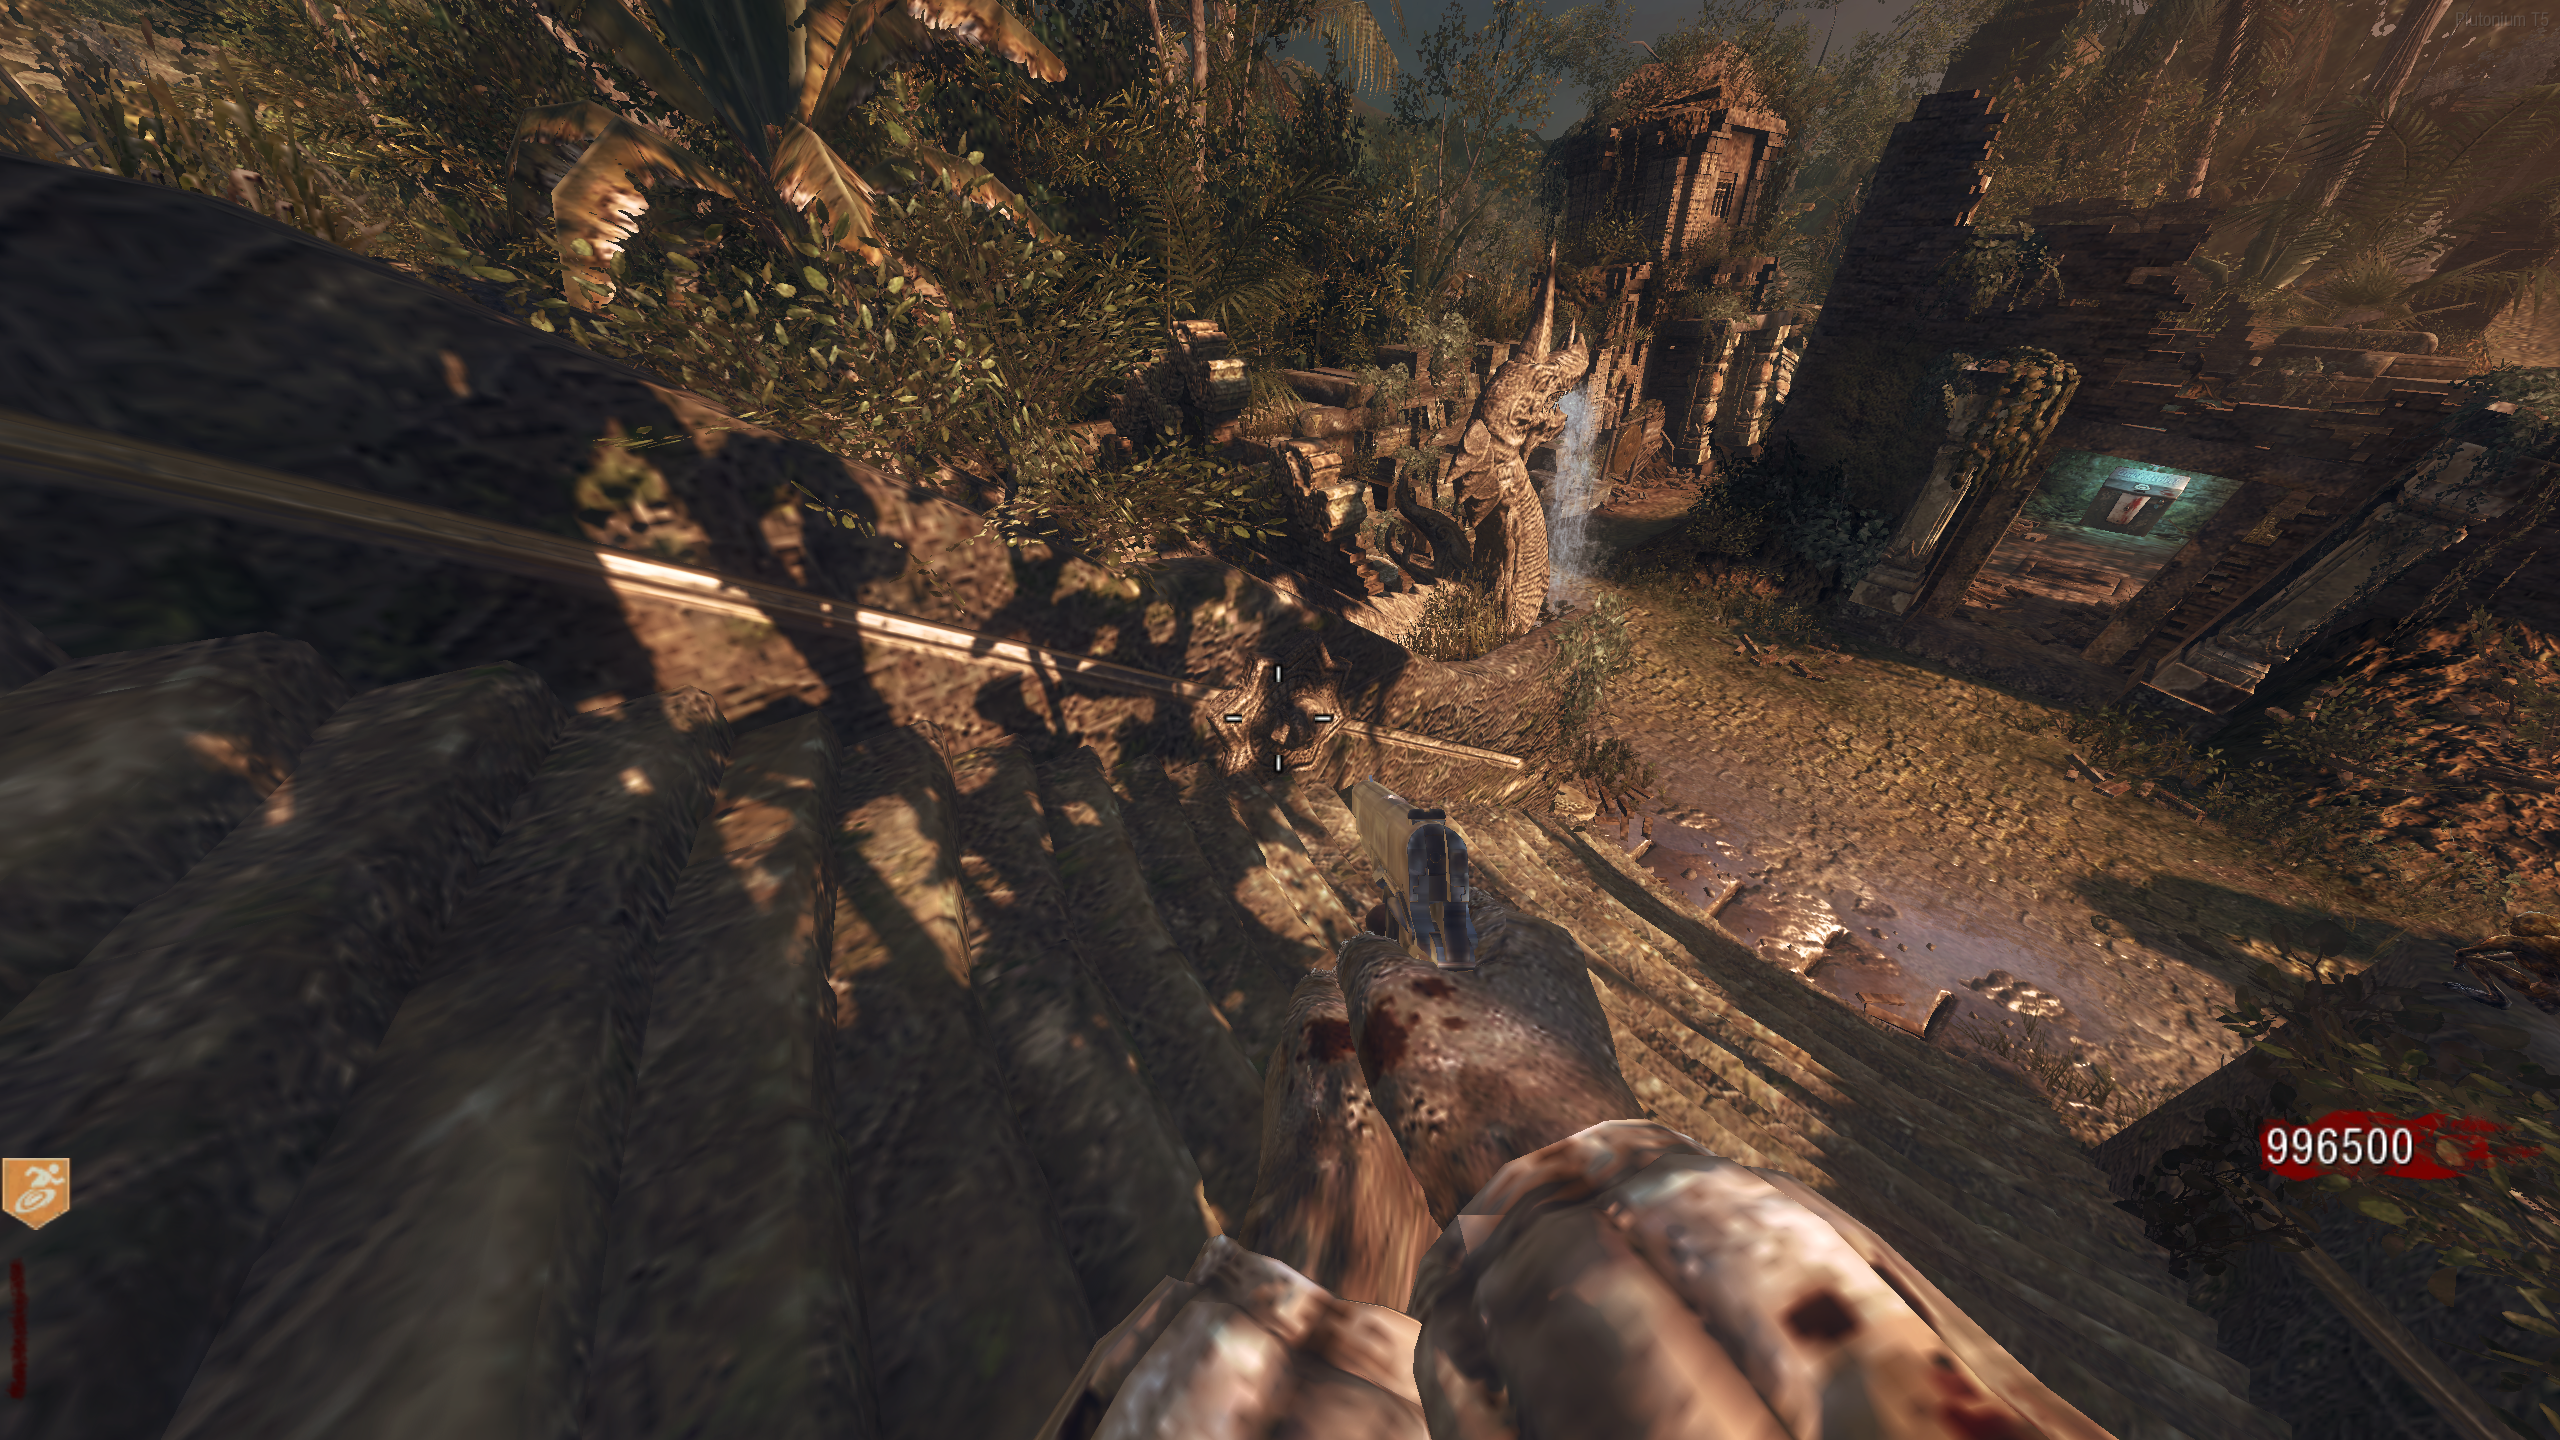
- Once all sections of the statue(s) are stopped, the stairs in front of Quick Revive in the Spawn room will rise, allowing you to access the Pack-a-Punch machine at the top.
- The stairs will stay raised for 60 seconds, regardless of the number of players. Stone "circles" on either side of the stairs will slowly move up to the top; this indicates the time you have left. Once the stones are at the top (after 60 seconds), you'll be forcefully pushed to the bottom, and you will lose any weapon in the machine at the time.
'Time Travel Will Tell' Main Quest
Stats (Co-op): Difficulty - 4/10, Est. Completion Time - 1:20 to 1:40 Hrs, RNG Rating - 3/5 (Box Luck)
Prerequisites
This quest requires four players to complete.
- Turn on the power.
- All four players must press the four buttons in each of the corners around Quick Revive simultaneously to enter the Eclipse.
- The Eclipse will always last 5 minutes (except for one specific case). The horizontal pillar above the Quick Revive machine will slowly move into the wall. This indicates the Eclipse time you have left.
- Nearly every step in the Easter Egg can only happen during the Eclipse; a failed step just ends the Eclipse rather than costing a round.
- To avoid repetition, I won't mention activating the Eclipse every new step. I will only mention if a step should be completed outside the Eclipse. Assume every step is during the Eclipse.
Crystal #1 - Symbol Tiles
- On the mine cart side of the map, press the button on the brick structure near the MPL/Pharo wallbuy.
- This will make 24 tiles rise from the ground, 12 in the mine cart area and 12 around the rope bridge. Each tile will have a symbol that can only be seen while it's being stood on. Each symbol has a matching tile/symbol on the other side.
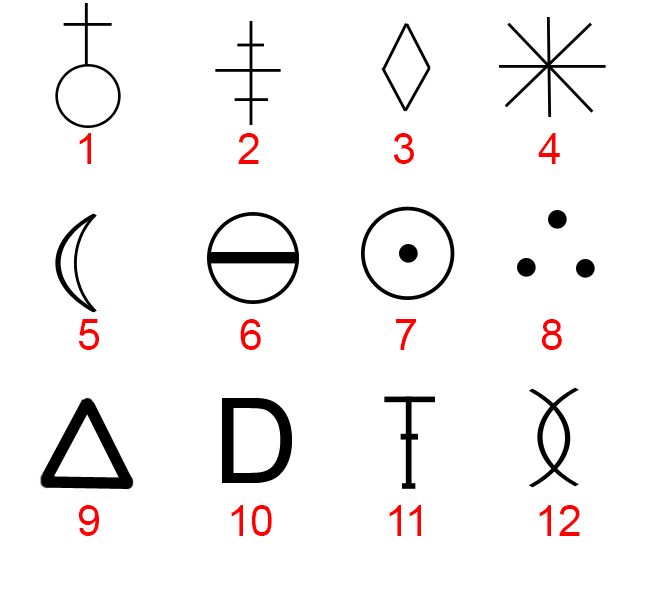
- You must match all 12 pairs of symbols by having two players stand on a matching pair at the same time. Use the numbers on this cheat sheet to help describe the symbols. Here's an example of how to do this quickly:
- Player A is on the Rope Bridge side, and Player B is on the minecart side.
- Have Player A stand far away from the tiles (to avoid accidental activations), while Player B finds the symbol on a tile.
- Once Player B has the symbol, they should remember the location, then step away from all tiles (again to avoid accidental activations).
- Player A must then find the matching tile.
- Once the matching tiles are found, both players should stand on them at the same time. If done correctly, the tiles will disappear.
- Standing on the wrong tiles will reset all the tiles.
- If done correctly, the Eclipse will end, and the Crystal Ball will appear above the structure with the button.
Crystal #2 - Waterfall Switch and Pressure Plate
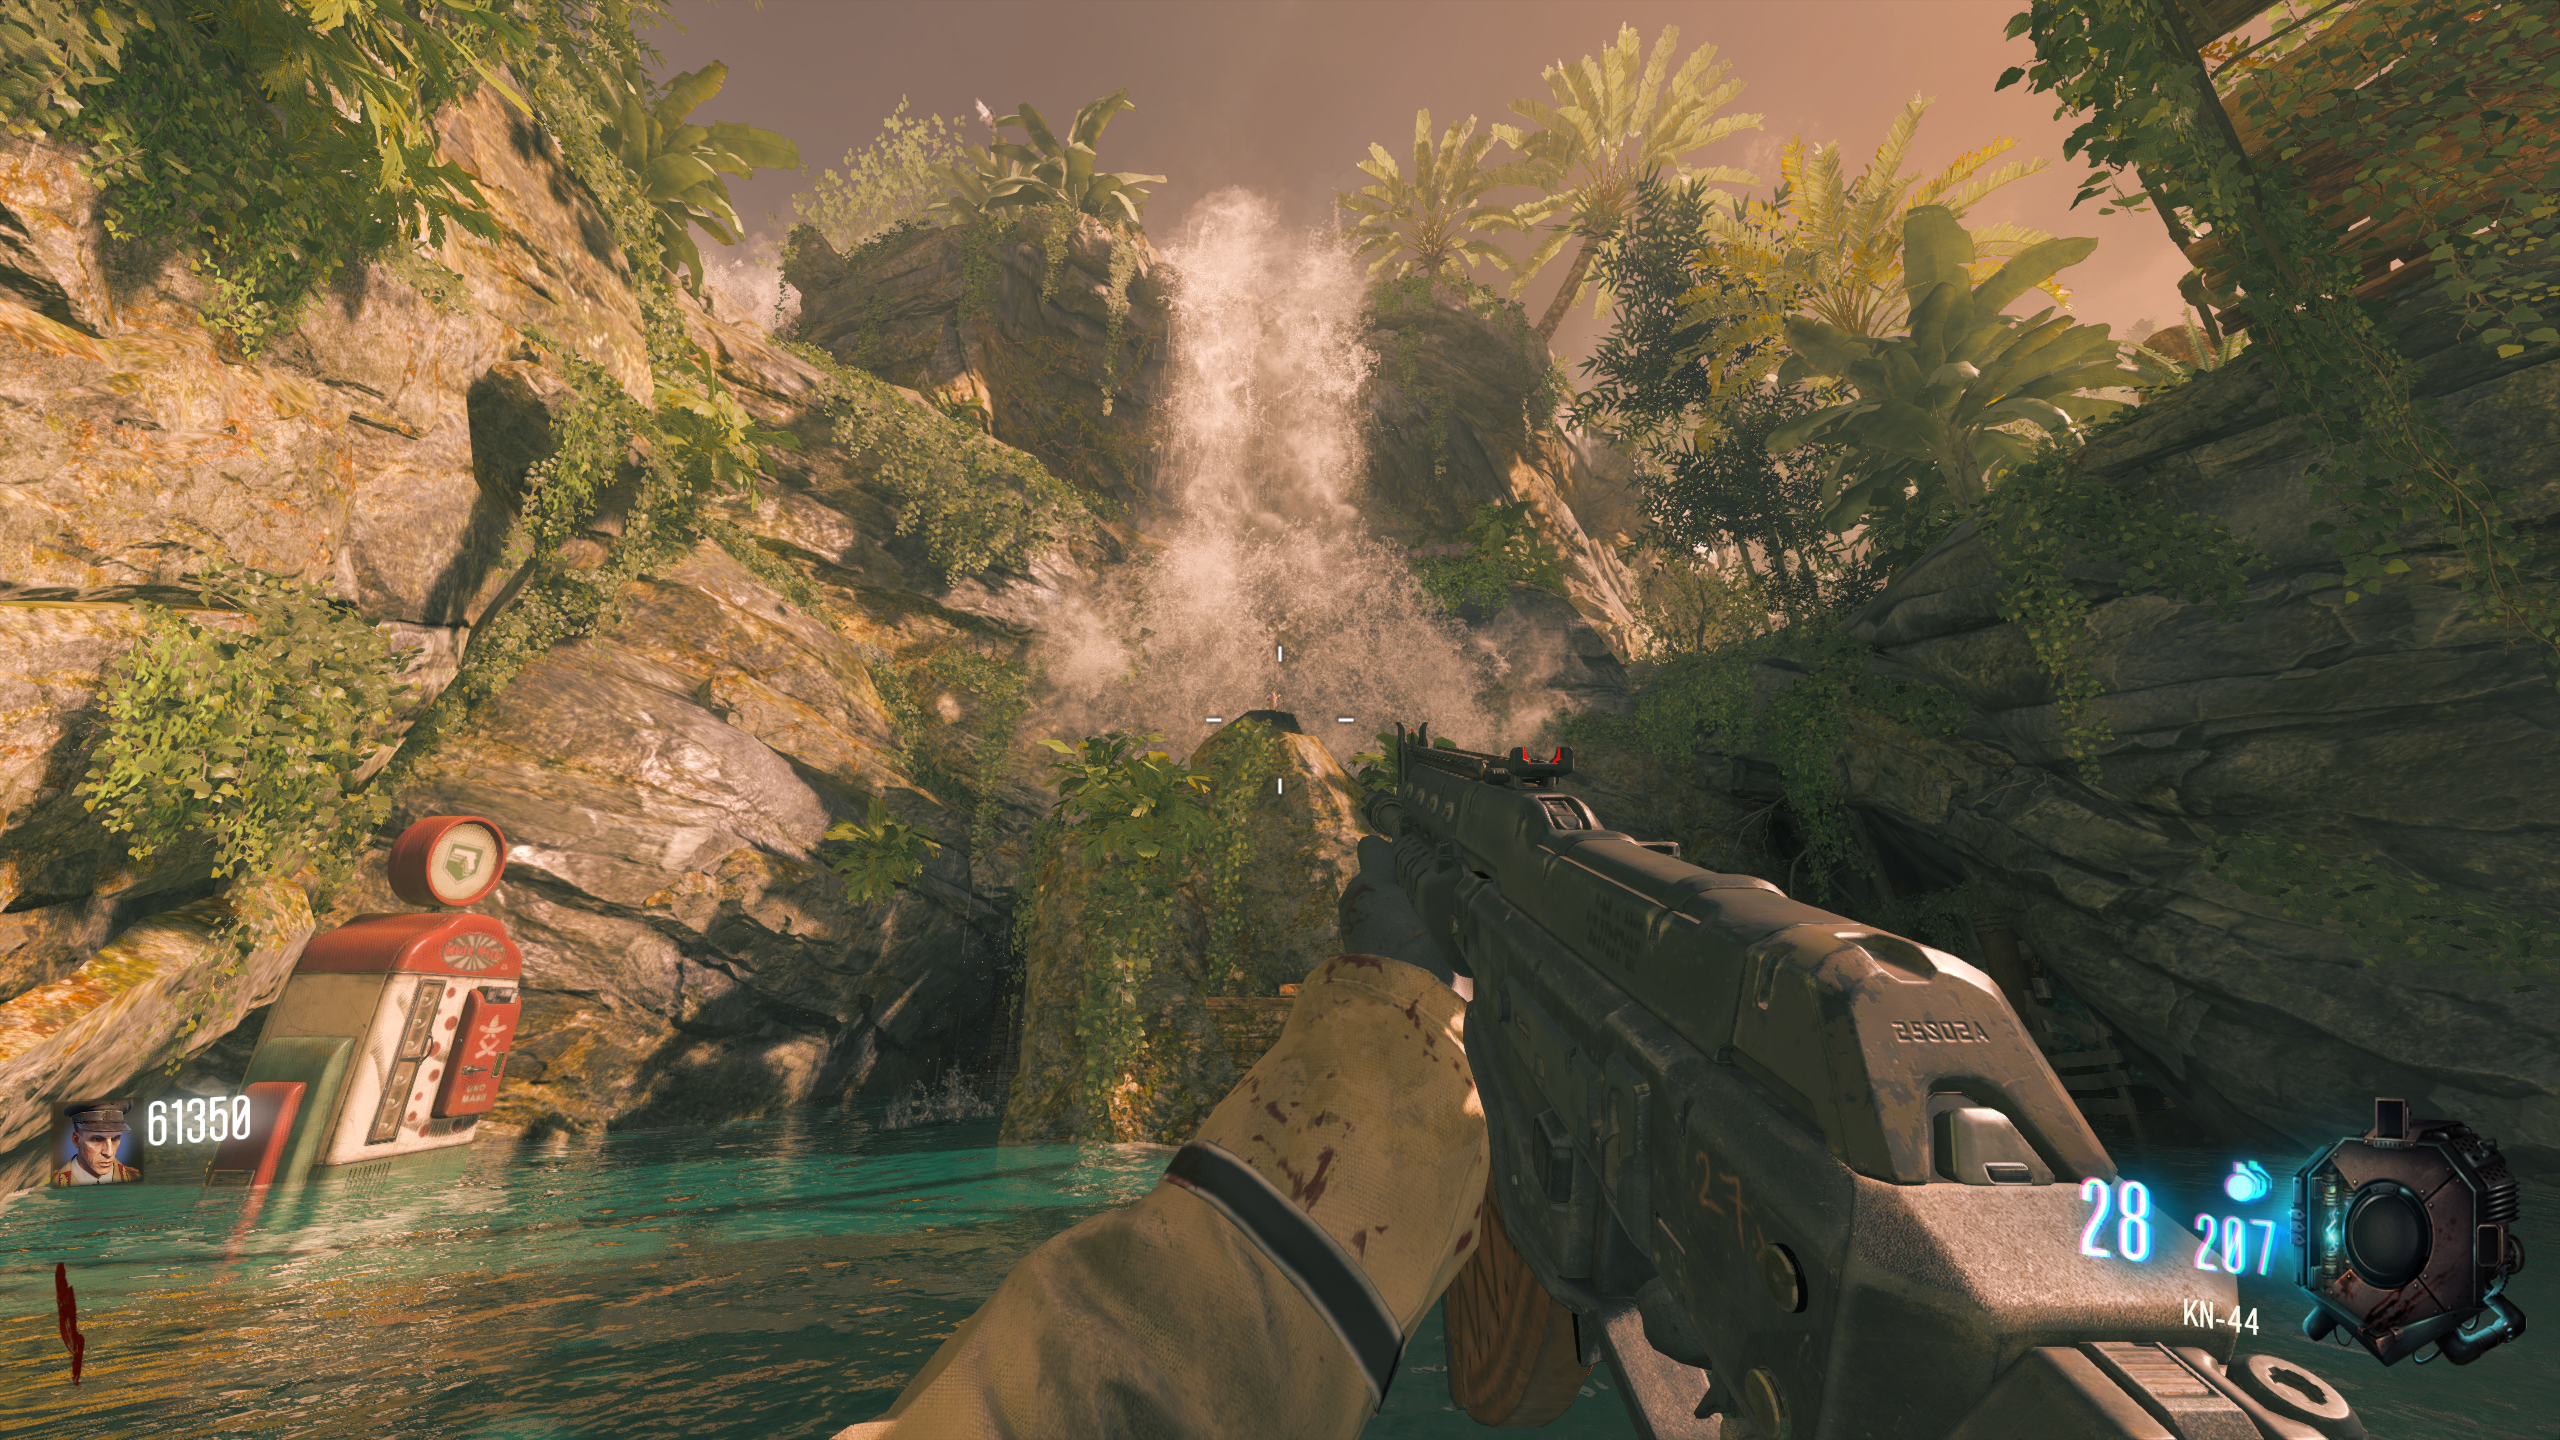
- Three players must stand on the metal grate at the bottom of the water slide.
- Once three players are on the grate, the fourth must ride down the slide, and interact with the lever on the right side on the way down. You might just have to pass through the lever without interacting, but I'm not sure, so just mash interact to be safe.
- If done correctly, the Eclipse will end, and the Crystal Ball will appear above the Geyser near the Minecart start.
Crystal #3 - Shrink the Ball
- Obtain the 31-79 JGb215 (called the "Baby Gun" from now on) from the Mystery Box (there's no other way to get it).
- Knock the crystal ball above the water slide down with an explosive. Shoot it with the Baby Gun to shrink it.
- Make sure to keep the Baby Gun, as its Pack-a-Punched version will be needed near the end of the quest.
- Once it's small, knife it to push it down the slide. It will land in the geyser at the bottom of the slide. Stand on the geyser to fling the ball into the air.
- If done correctly, the Eclipse will end, and the Crystal Ball will appear above the Spikes between the minecart area and Spawn.
Crystal #4 - Ignite the Gas
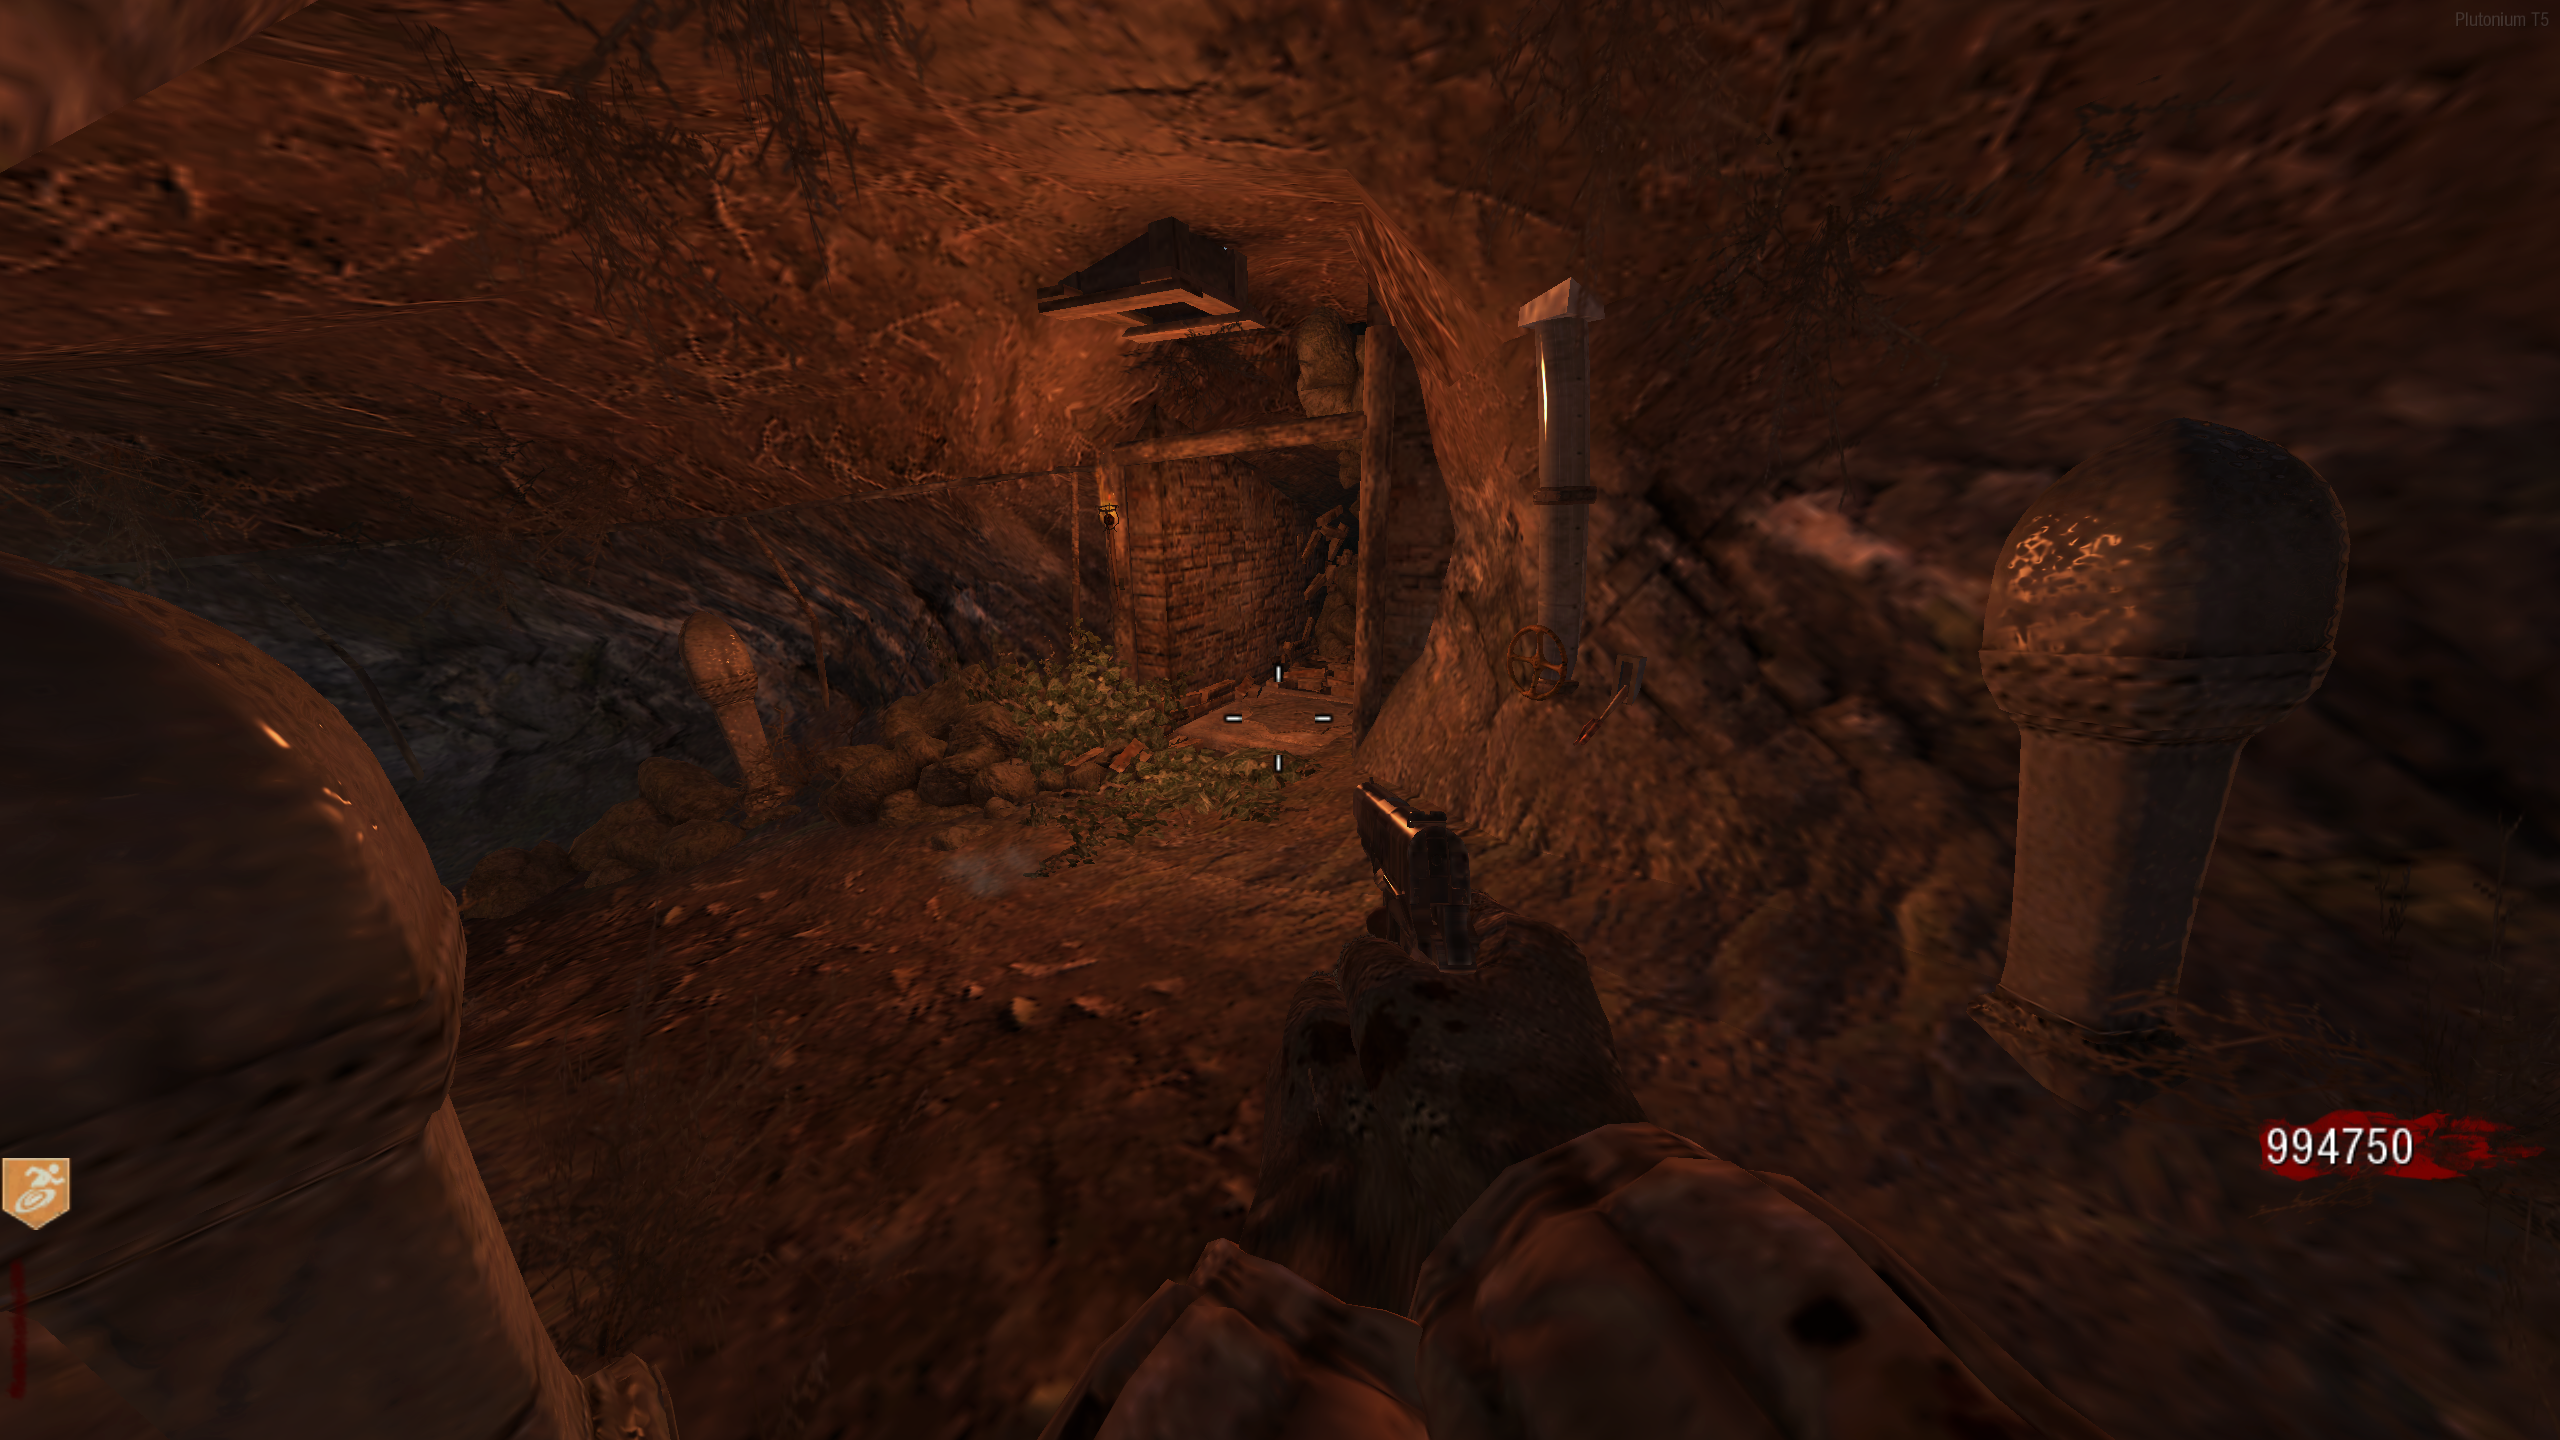
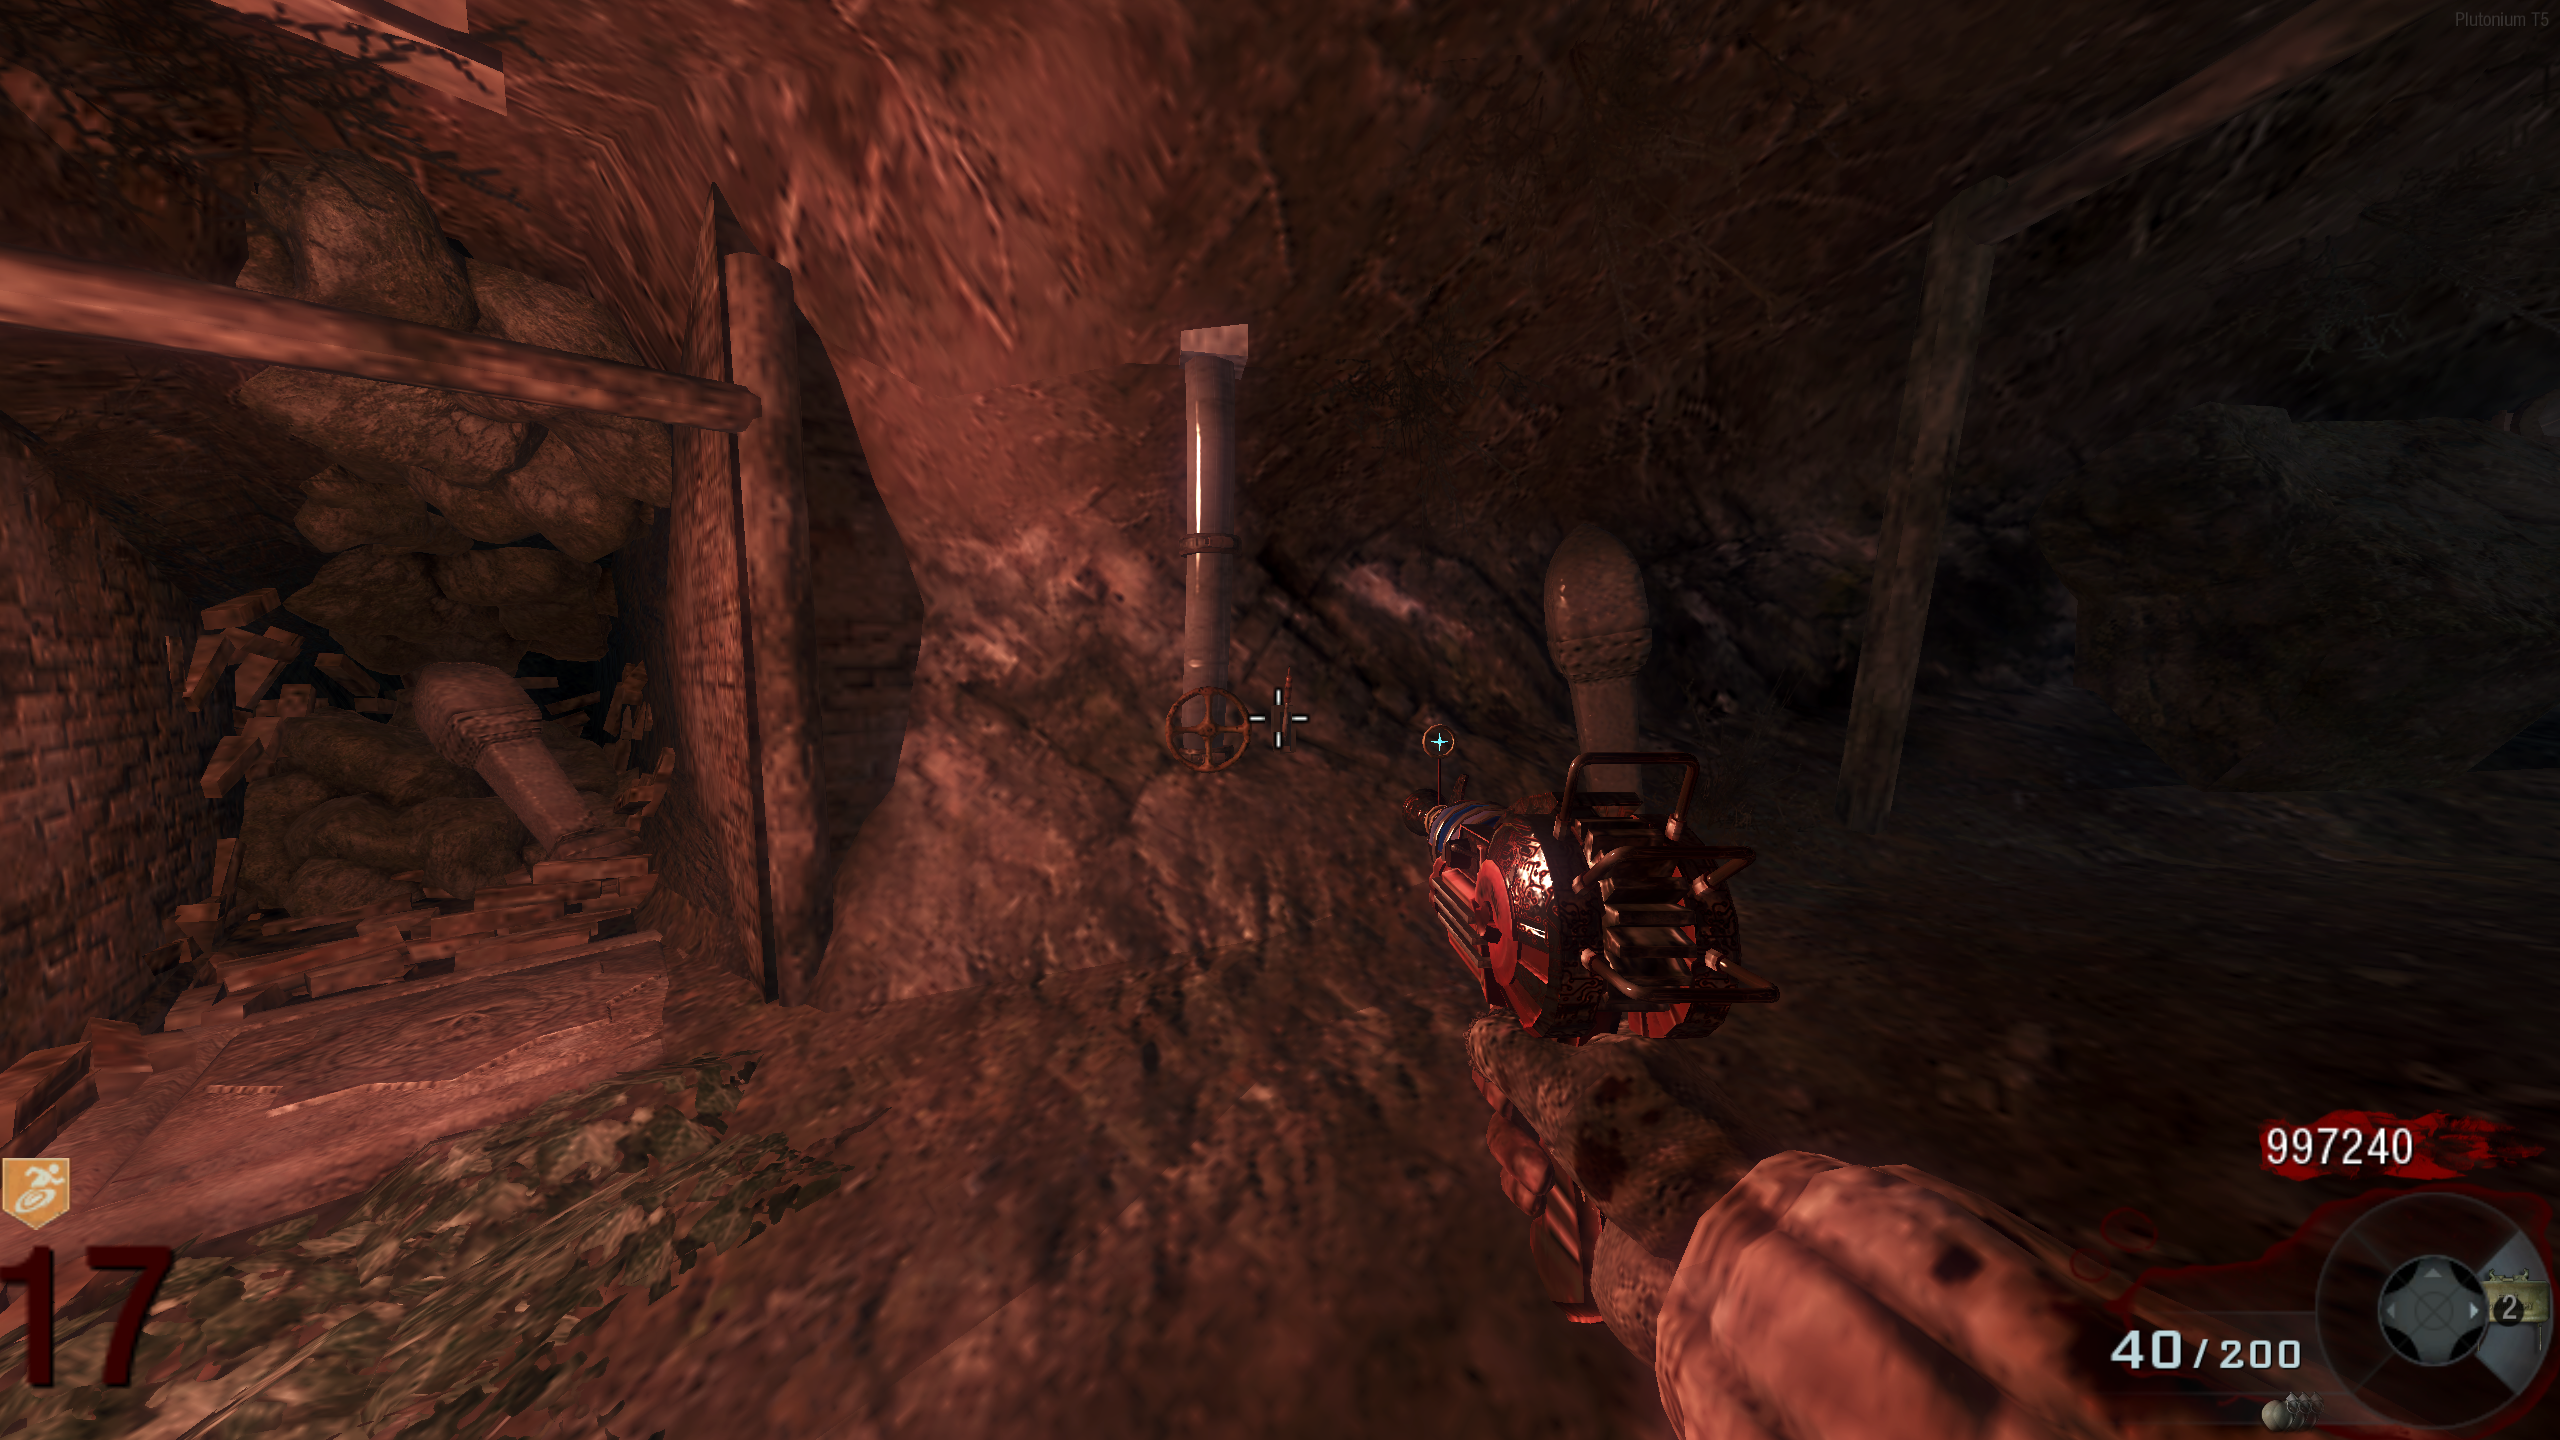
- Turn the valve in the tunnel, by the start of the Minecart, four times to open the gas. This will cause three pipes to start leaking gas.
- Wait for a Napalm Zombie to spawn; don't get too close to the Napalm Zombie or it'll explode and you'll need to wait for another to spawn.
- Lure the Napalm Zombie past all the leaks to ignite them. If they don't ignite, try again with the Napalm Zombie closer to the leak. Leak locations:
- Once all leaks are ignited, pull the lever beside the valve.
- If done correctly, the Eclipse will end, and the Crystal Ball will appear above the Zombie spawn near the Minecart start.
Crystal #5 - Plug the Holes
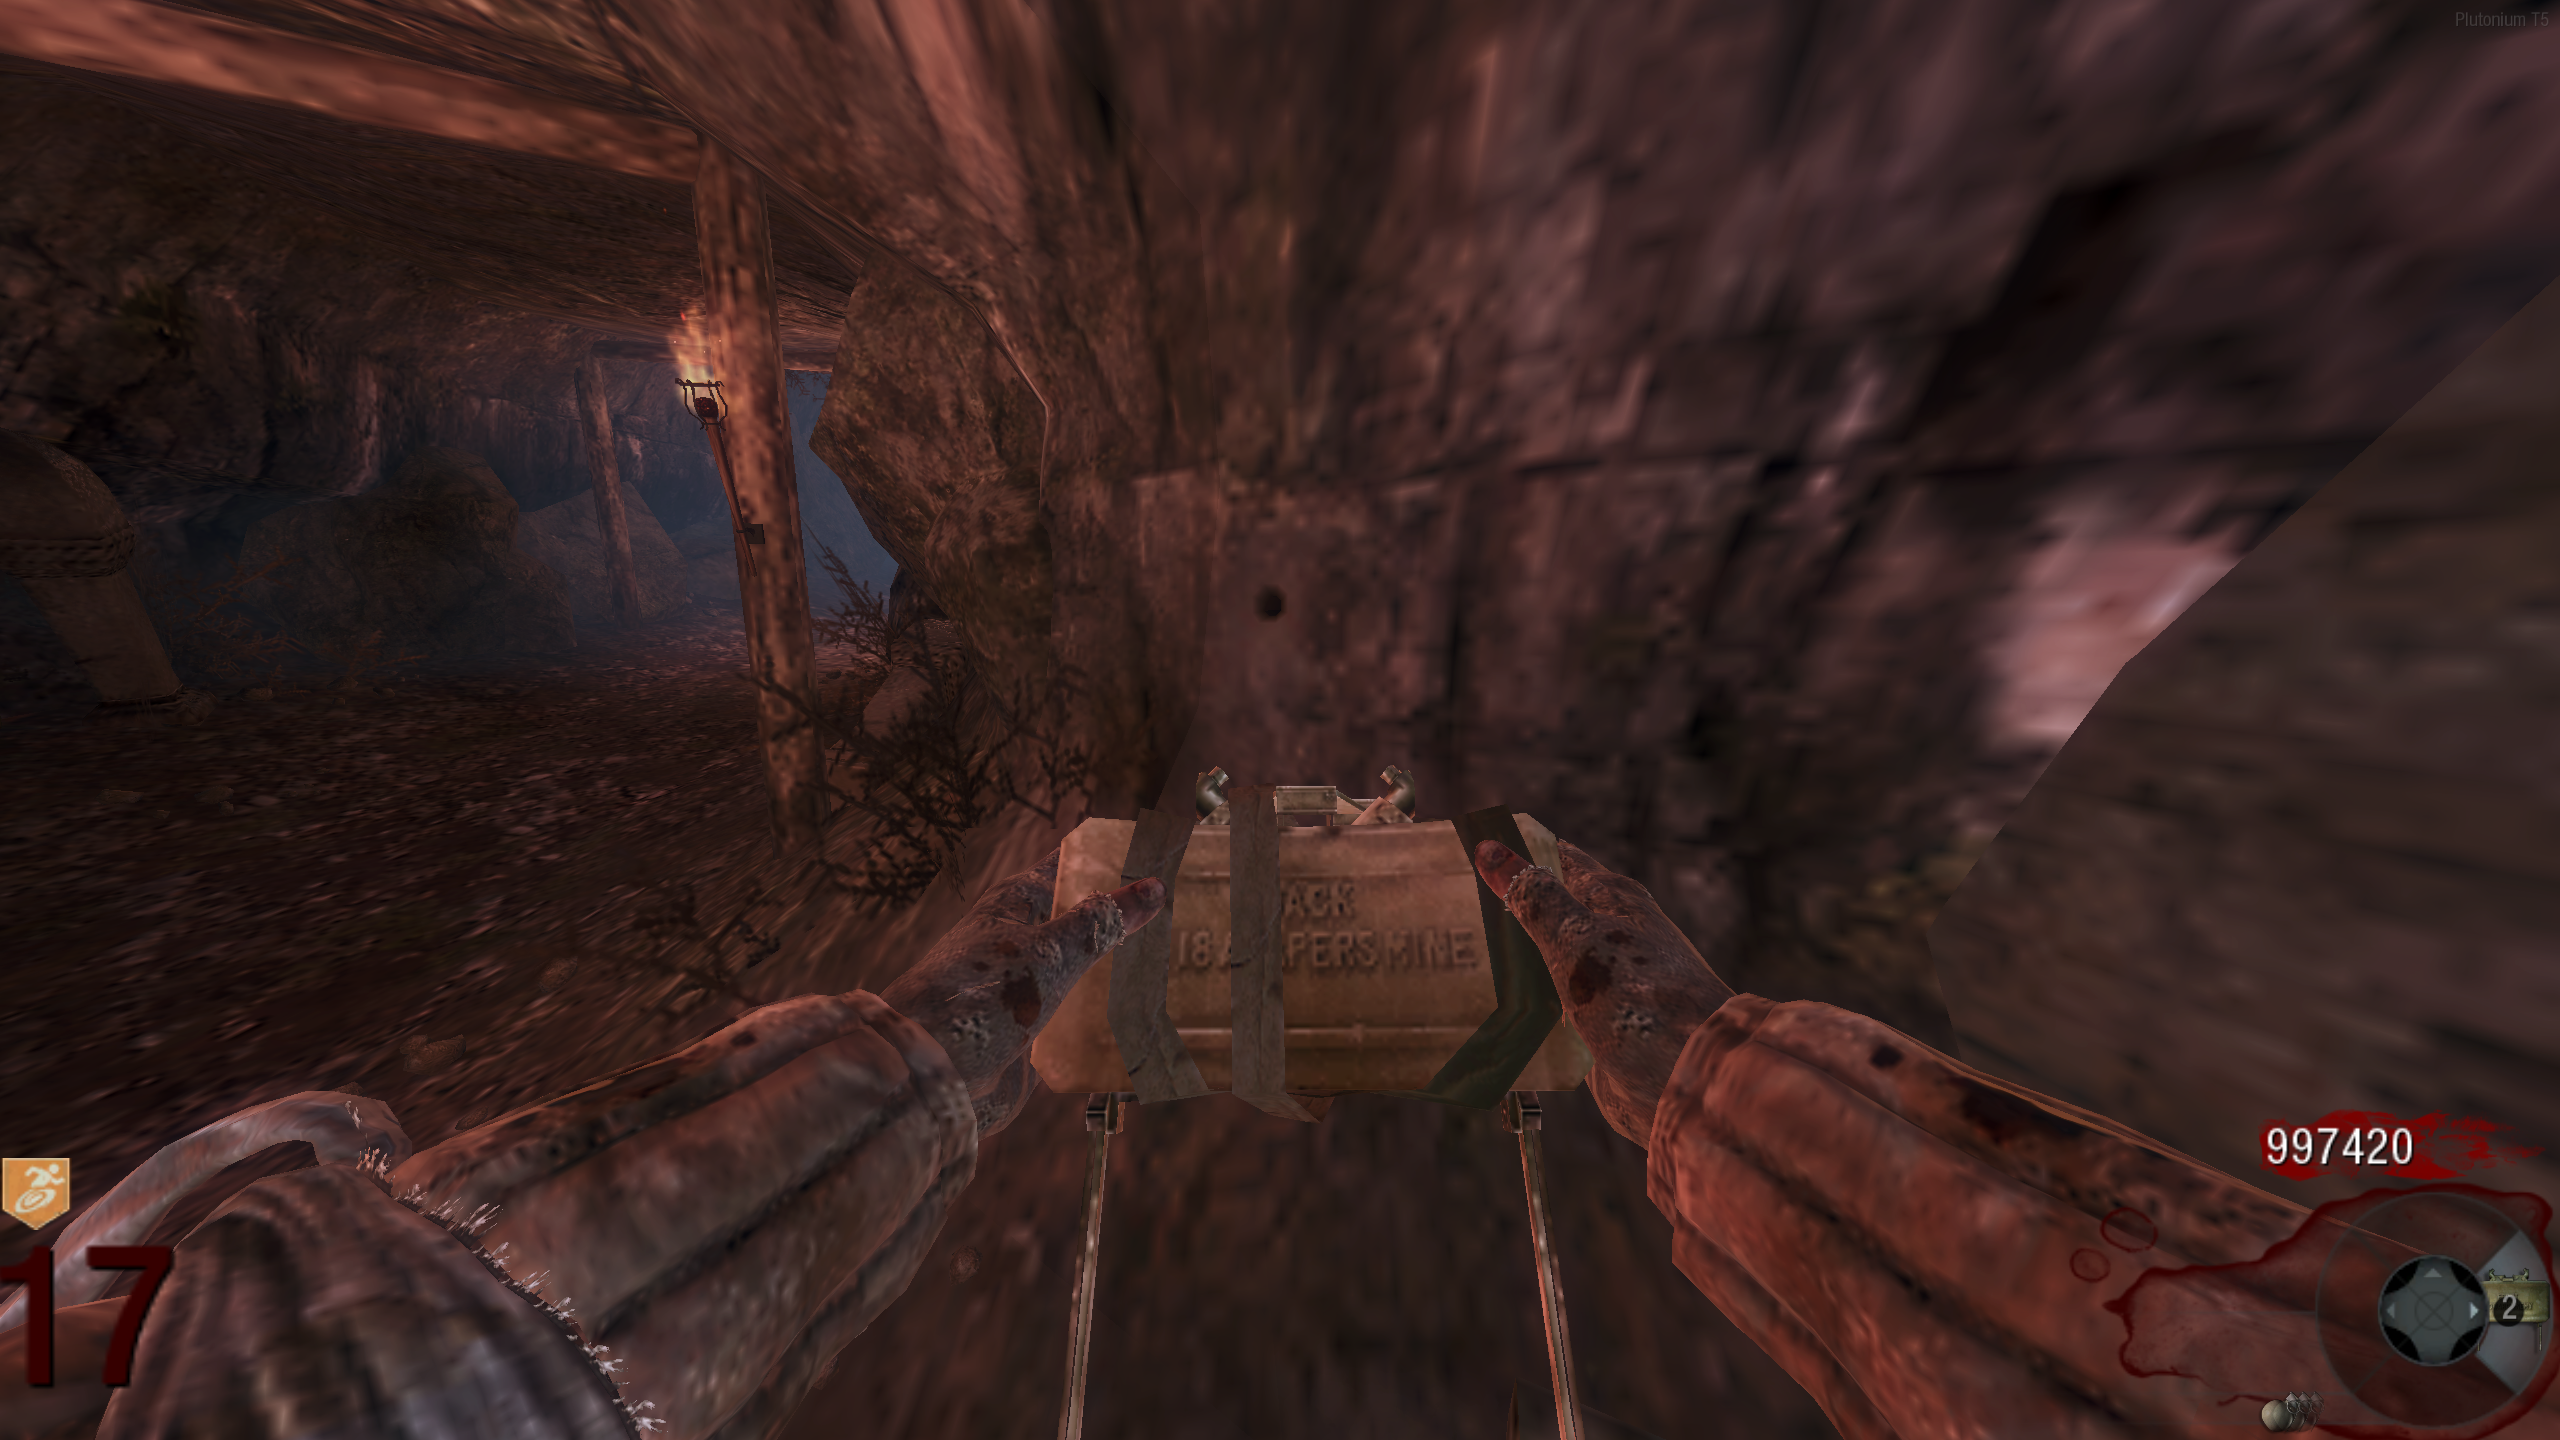
- Buy Spikemores/Trip Mines from the wallbuy in the power room.
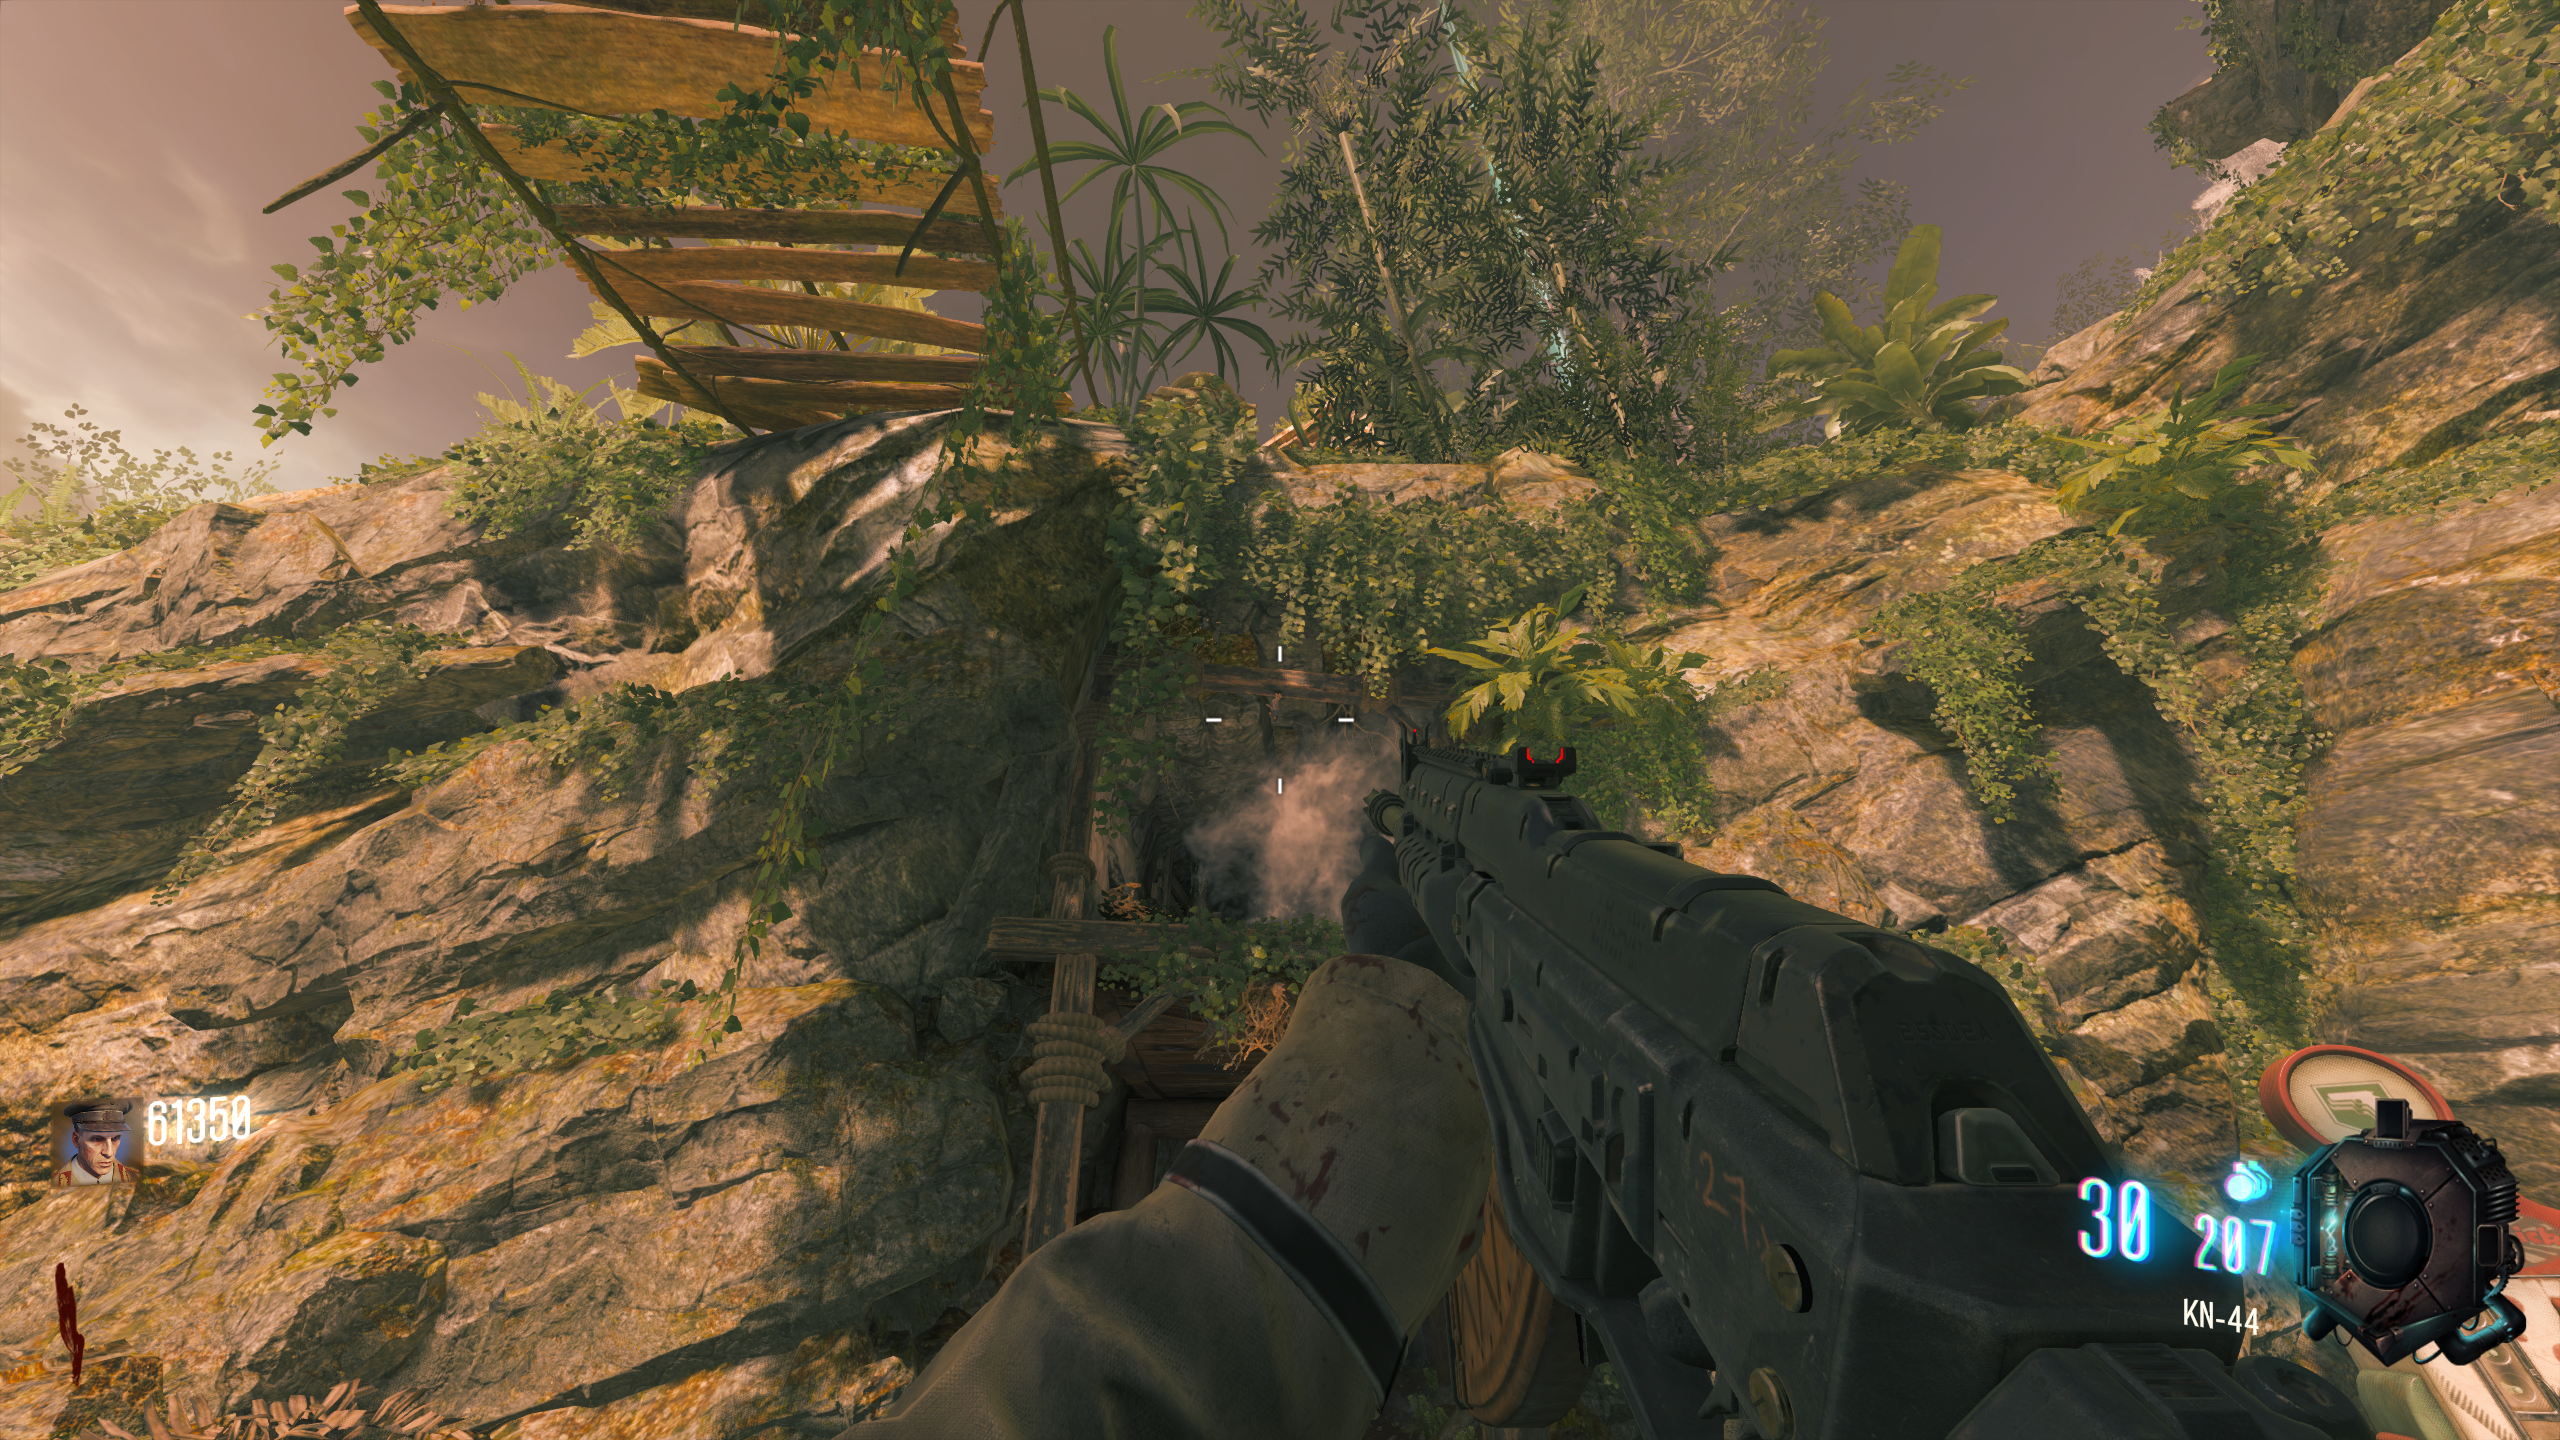
- In the tunnel that leads to the Waterfall, there are four holes in the wall along the left side (when going down) that you need to plug by detonating a Spikemore in front of each. If done correctly, the hole will have something inside plugging it.
- Once all four holes are plugged, press the brick on the wall in the pool at the bottom of the waterfall.
- If done correctly, the Eclipse will end, and the Crystal Ball will appear above the Mud room on the Rope Bridge side.
Crystal #6 - Teepee and Mud Room Dials
- Around the map, the tiles with the symbols from the beginning of the quest will be on the walls. Melee each of the tiles so they start glowing. Locations:
- Minecart Area - Left of the start of the Minecart
- Minecart Area - Around the corner from the previous location toward Spawn
- Minecart Area - On the wall by the spikes, between Spawn and the Minecart
- Spawn Room - Left of the Quick Revive machine, on the other side of the wall
- Spawn Room - Right of the Quick Revive machine, on the other side of the wall
- Spawn Room - On the wall by the spikes, between Spawn and the Mud Room
- Spawn Room - Left of the stairs to the Pack-a-Punch Machine
- Mud Room Area - Left of the dial closest to the Water Slide
- Mud Room Area - Left of the PM63/L-CAR 9 wallbuy
- Waterfall Area - Left of the Stakeout/ICR-1 wallbuy
- Waterfall Area - At the bottom of the stairs up to the Power room
- Power Room - Left of the left power switch
- Blow up the teepee outside the map near the start of the minecart with an explosive.
- This will end the Eclipse, but won't raise a Crystal Ball. Re-enter the Eclipse to continue.
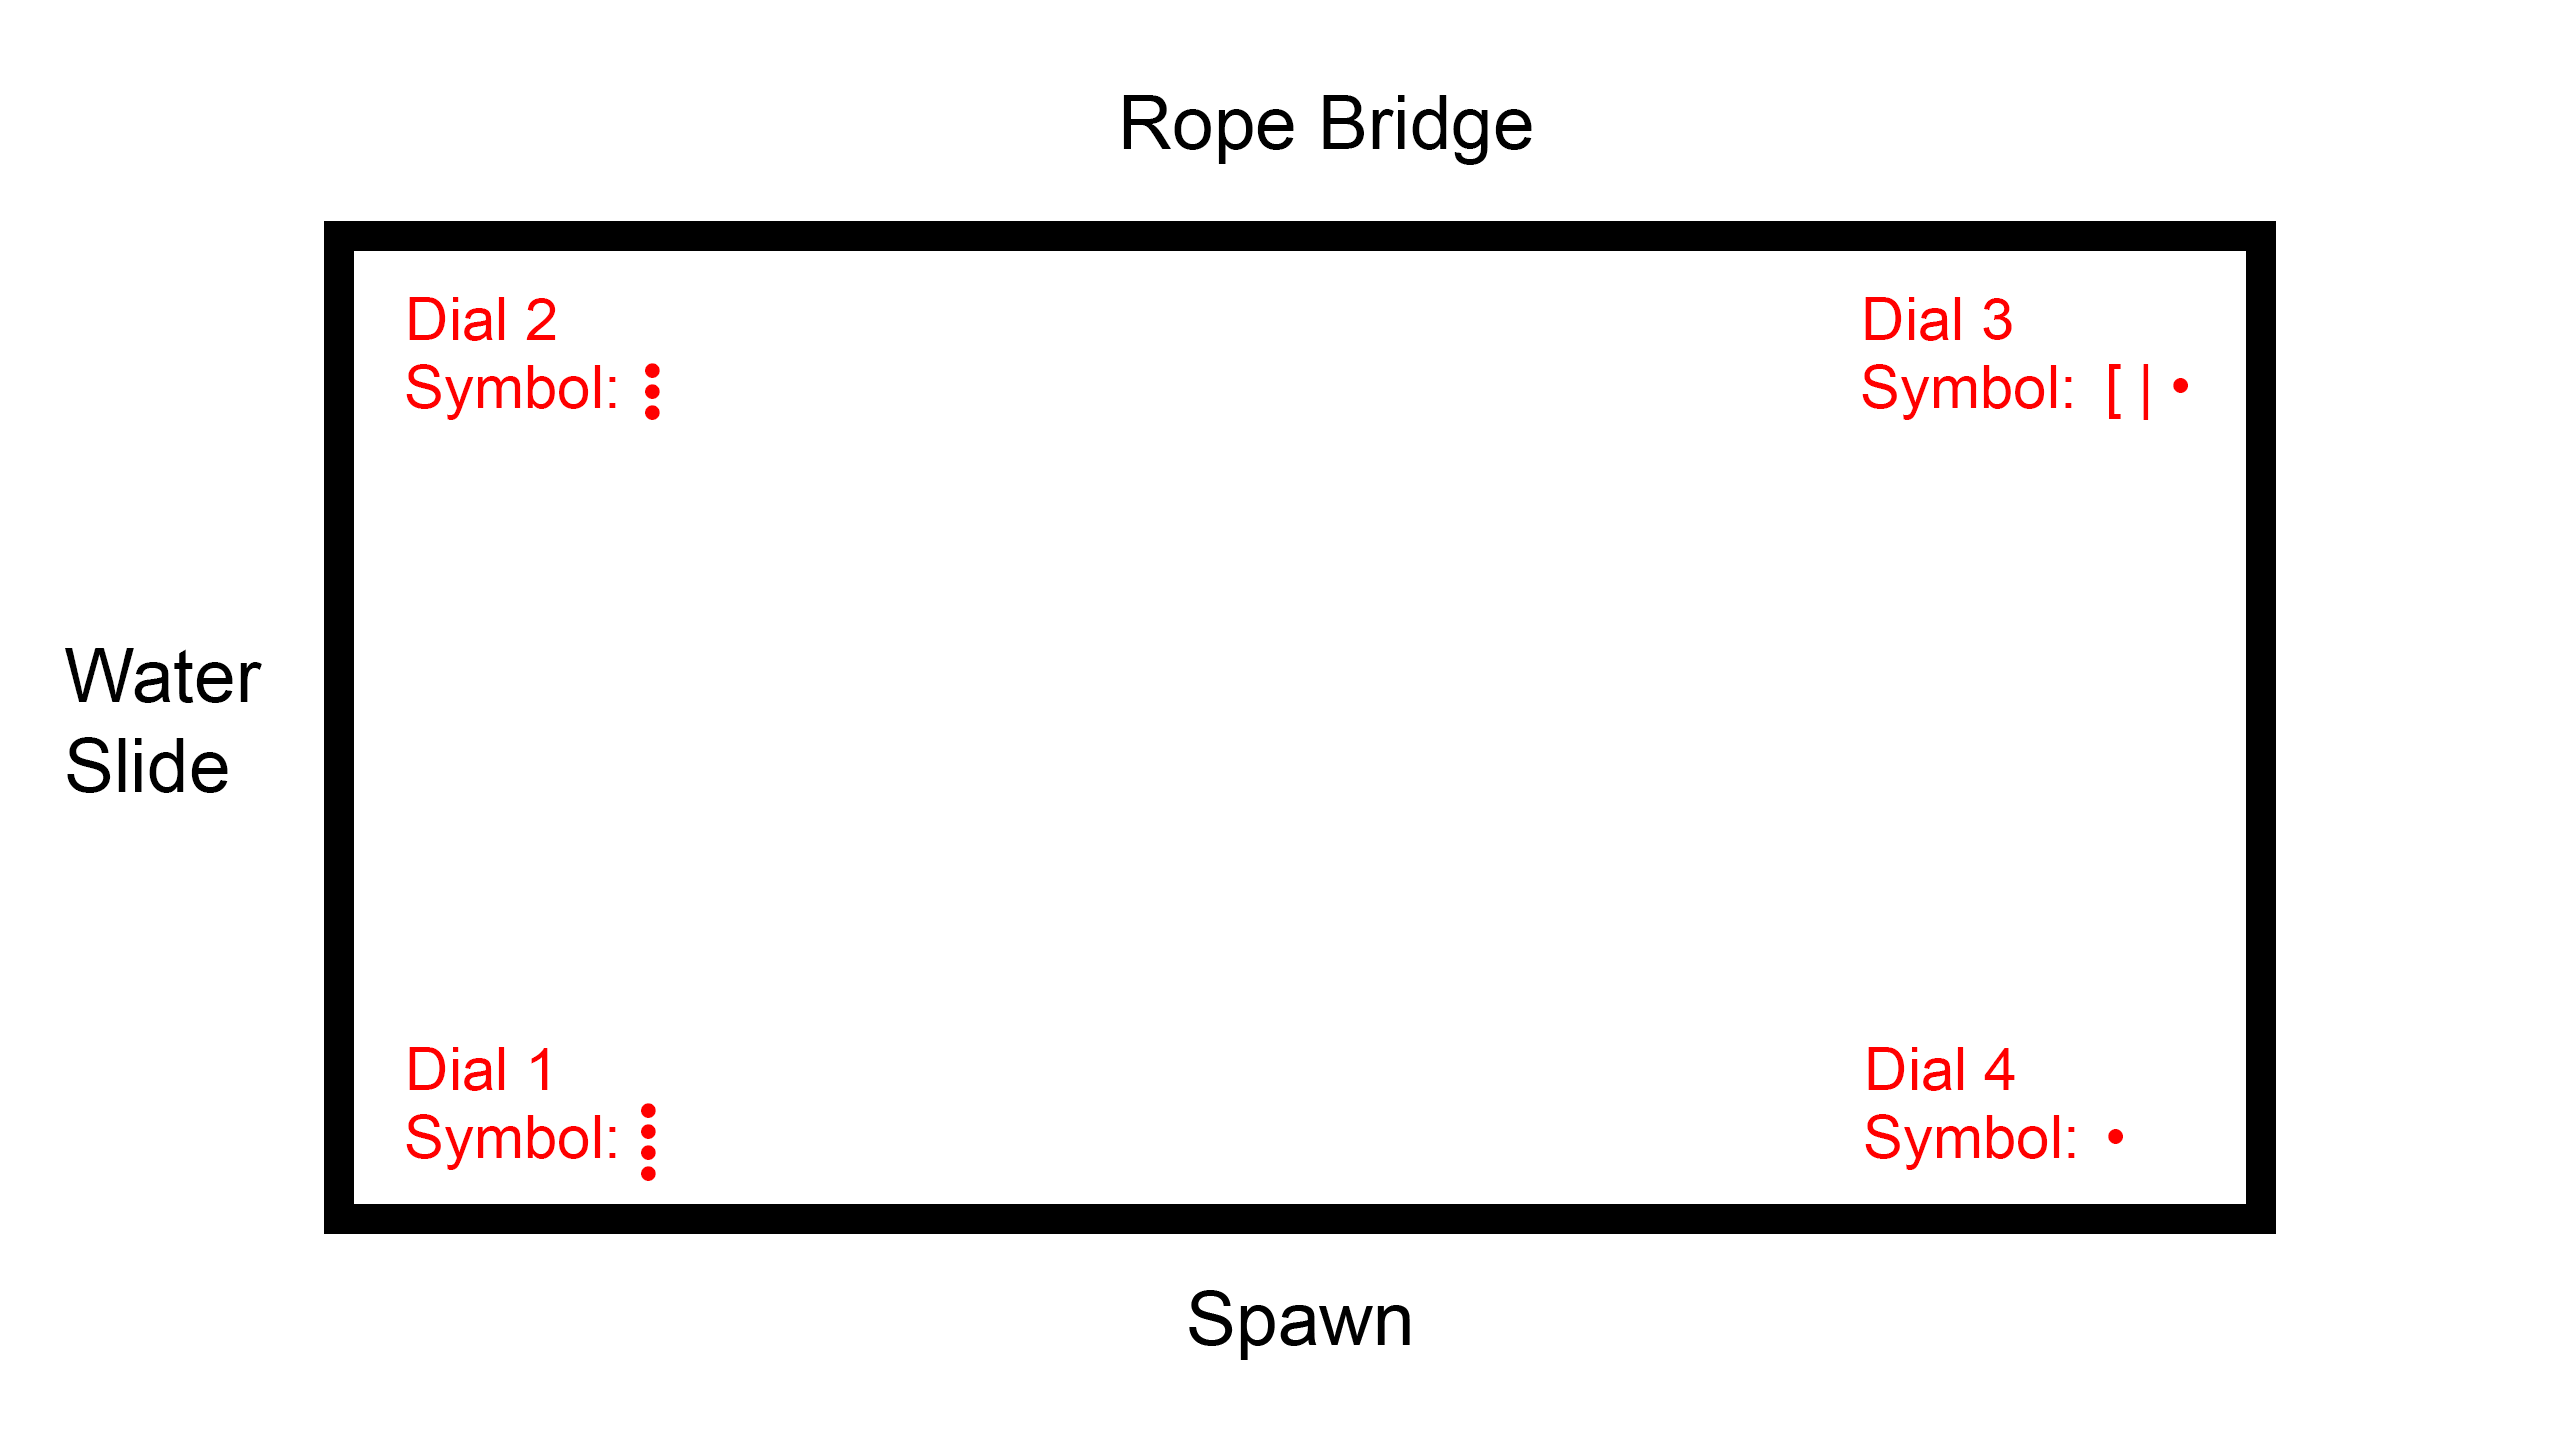
- Set the four dials in the Mud room to 4, 3, 16, 1. Interact with a dial to rotate it; the symbol at the top is the one that will be counted. They can be set in any order, but you should start with the dial on the left when coming from spawn then go clockwise. Use this cheat sheet to help.
- Symbol values are [ = 10, | = 5, • = 1, so the readings are ••••, •••, [|•, • with the dots being vertical.
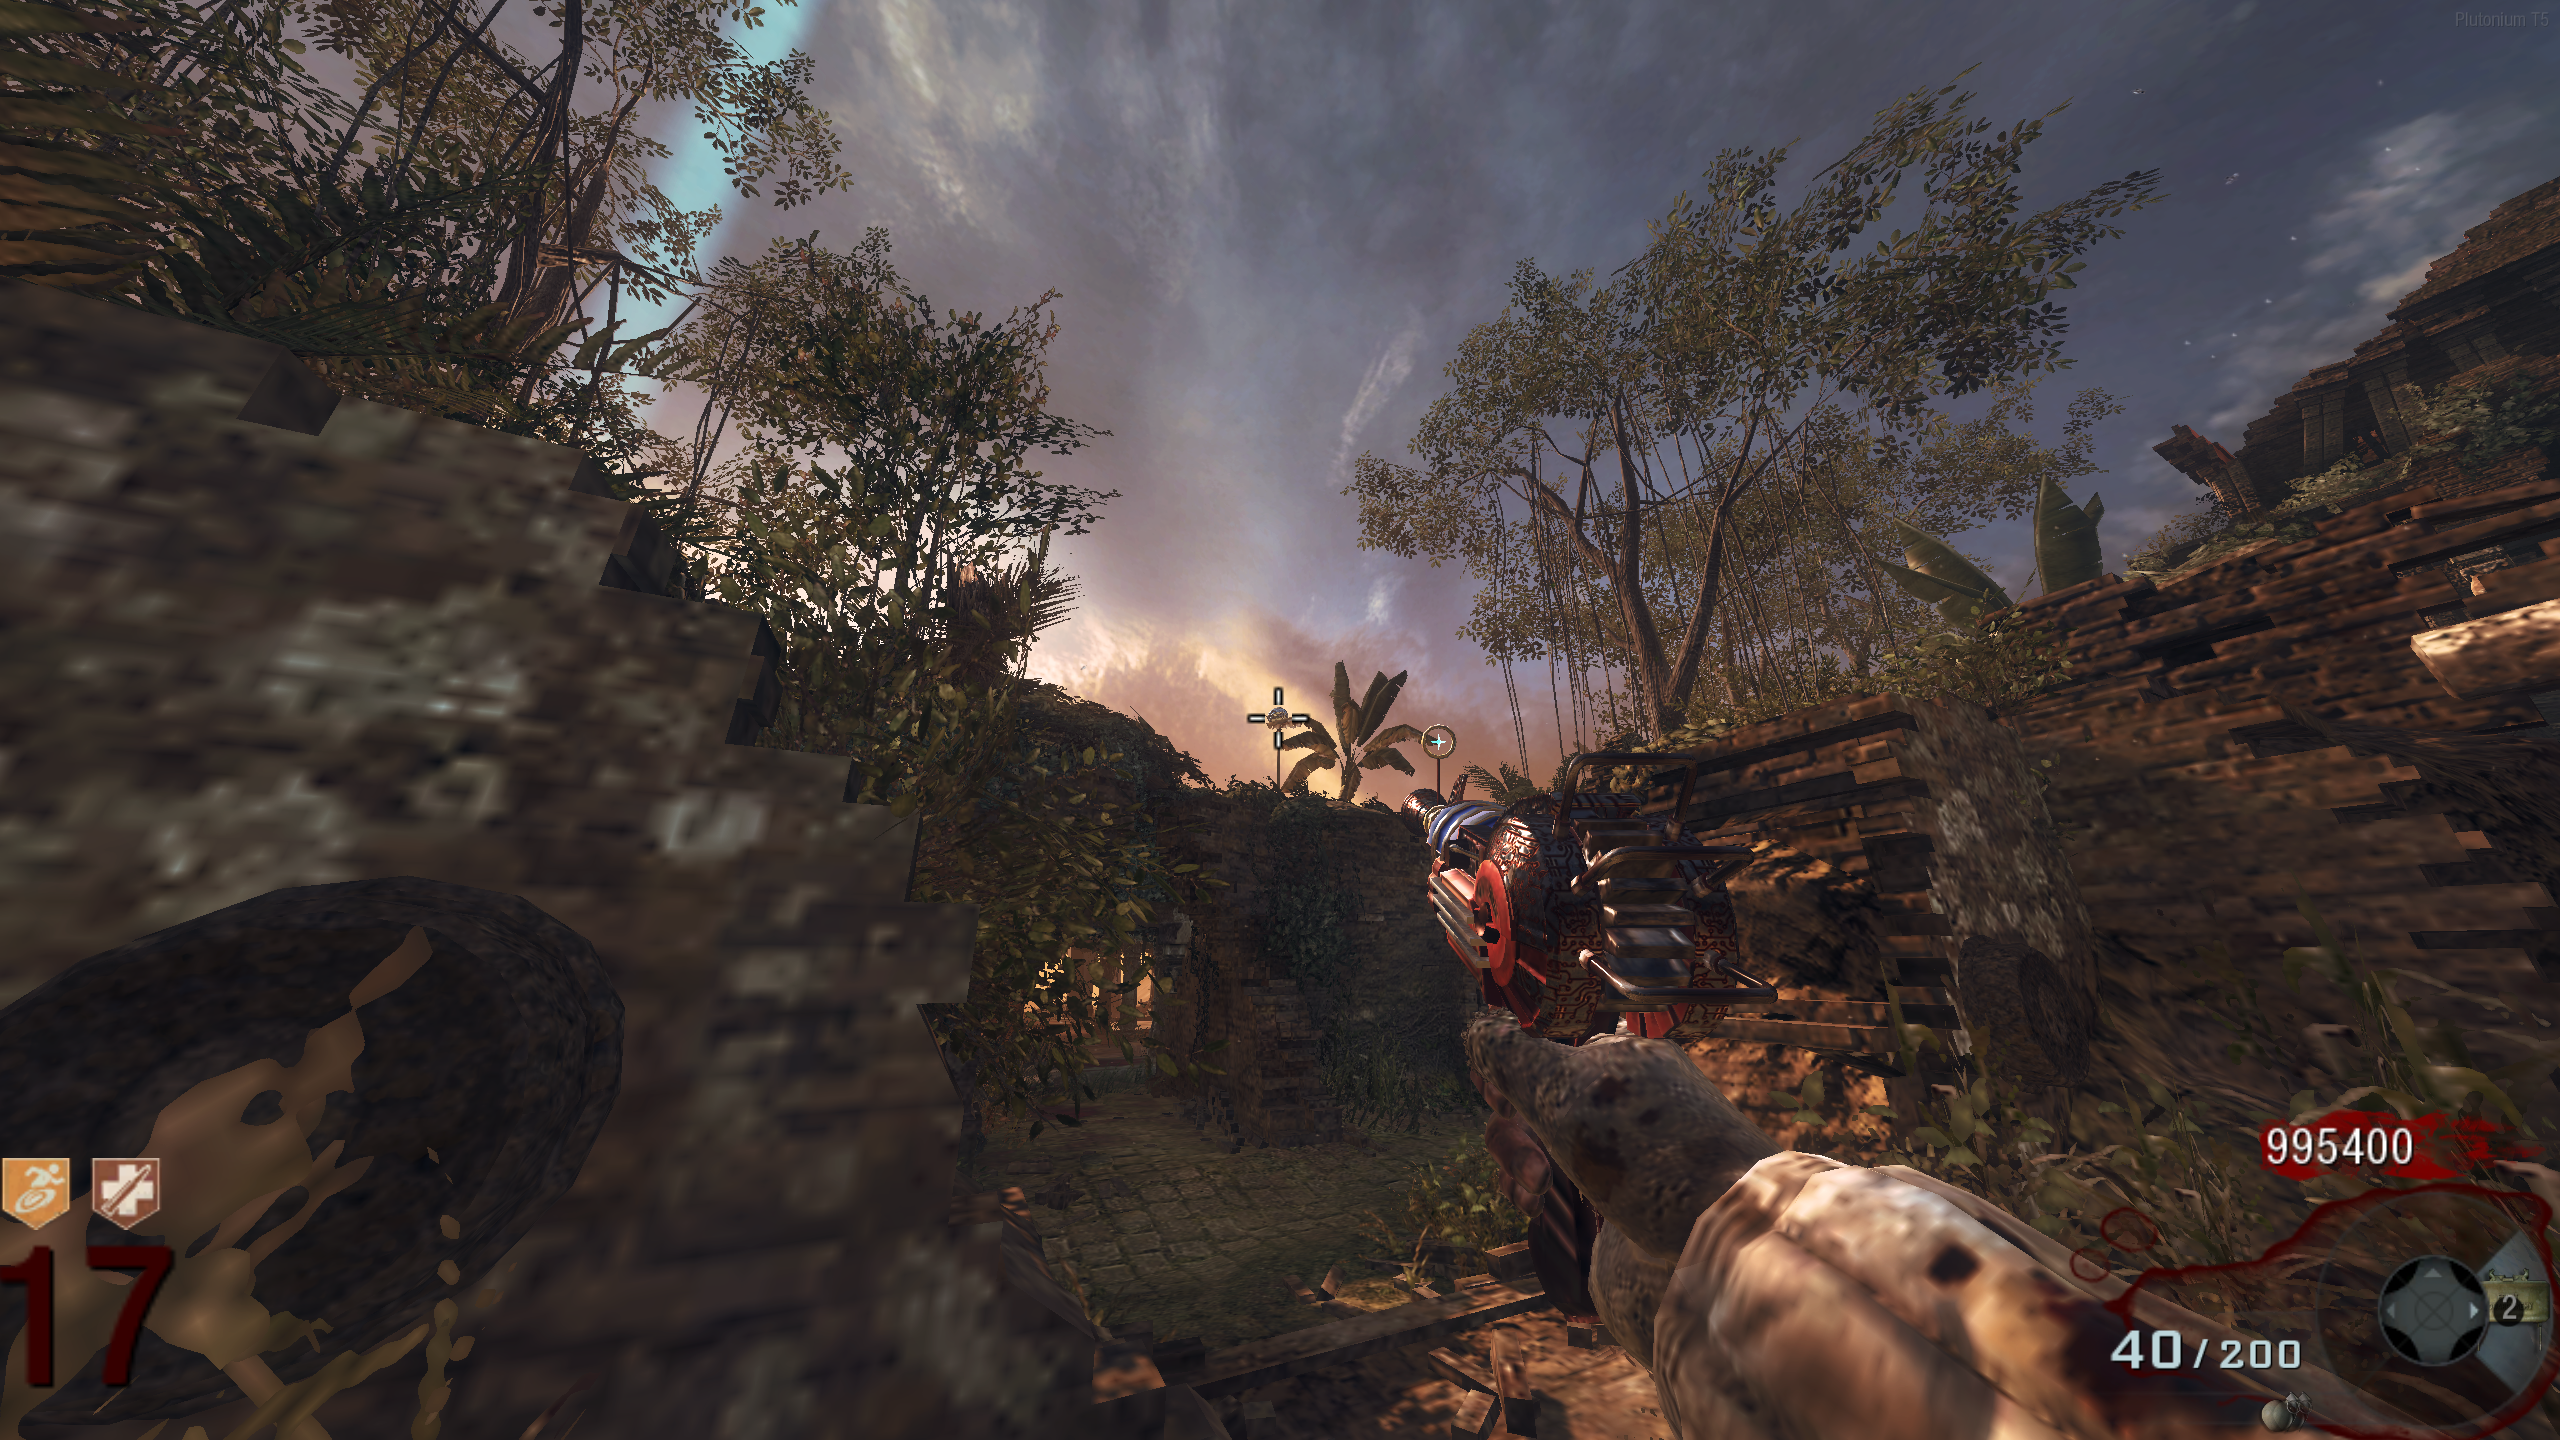
- If the dials are set correctly, the Eclipse will end, and the Crystal Ball will appear above the Mud room, behind the Olympia wallbuy.
Obtaining the Dynamite / Shrinking the Meteor
- Pack-a-Punch the Baby Gun into The Fractalizer. The normal Baby Gun will not work.
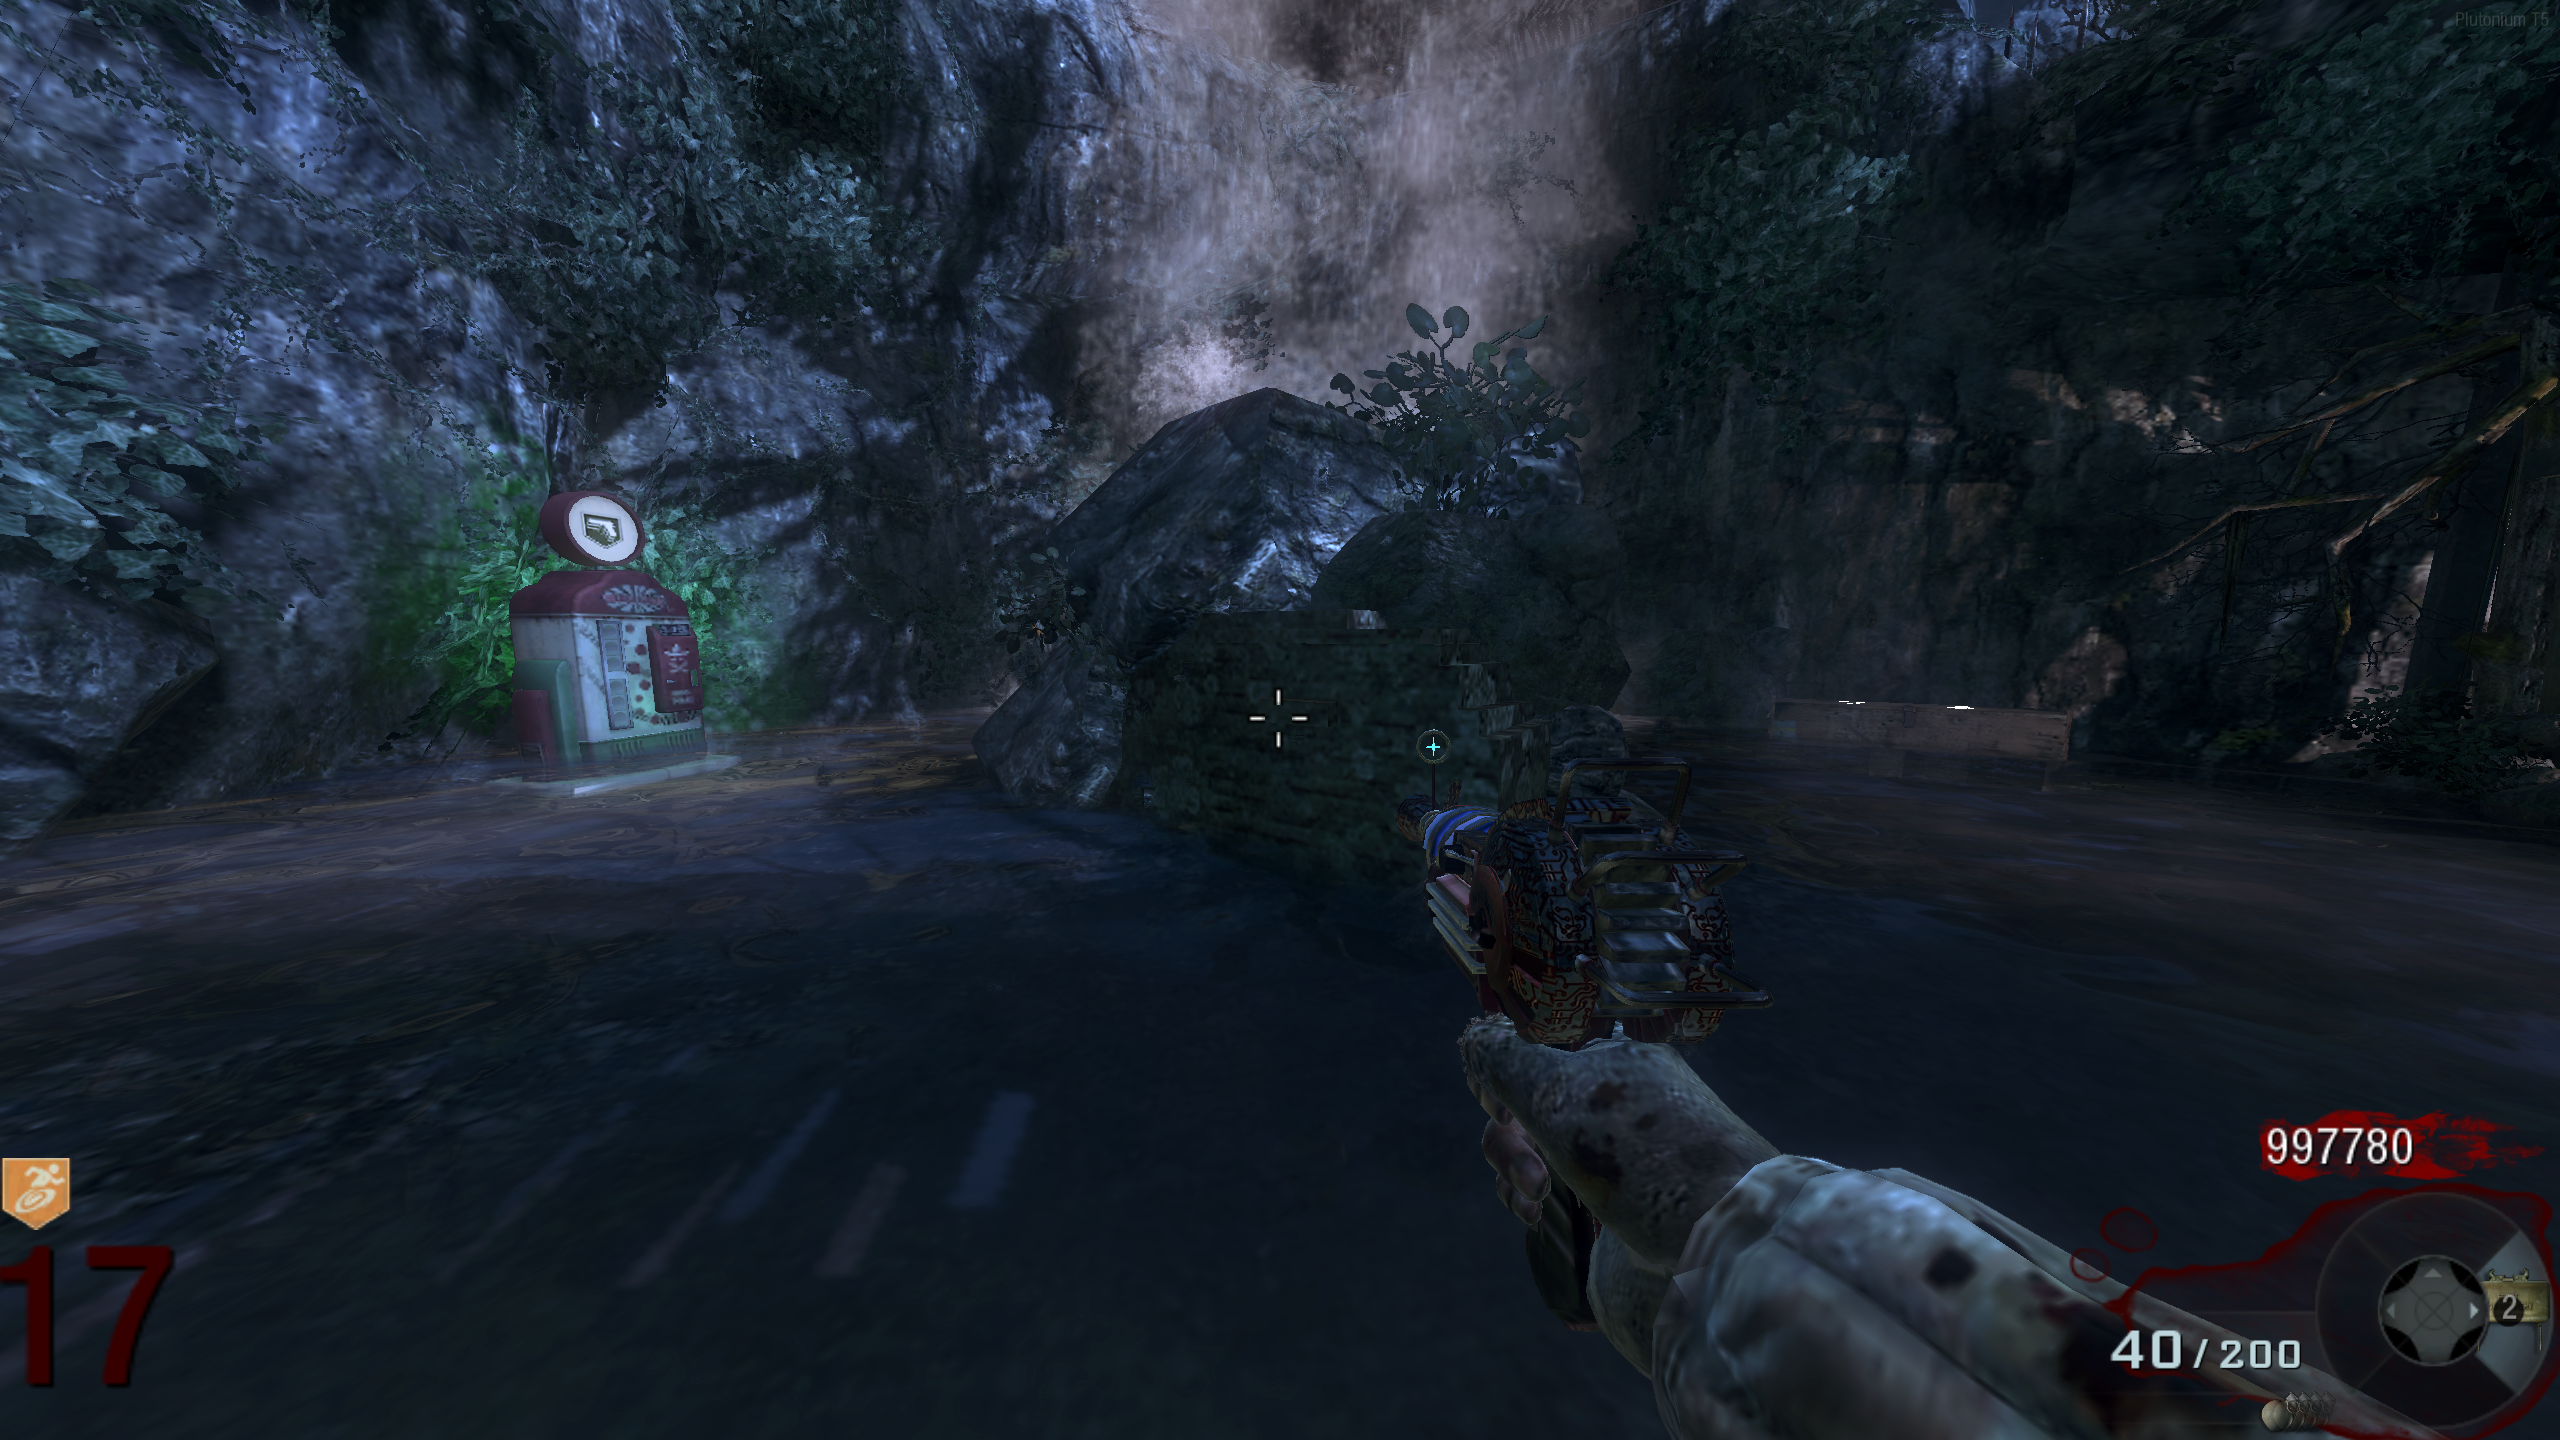
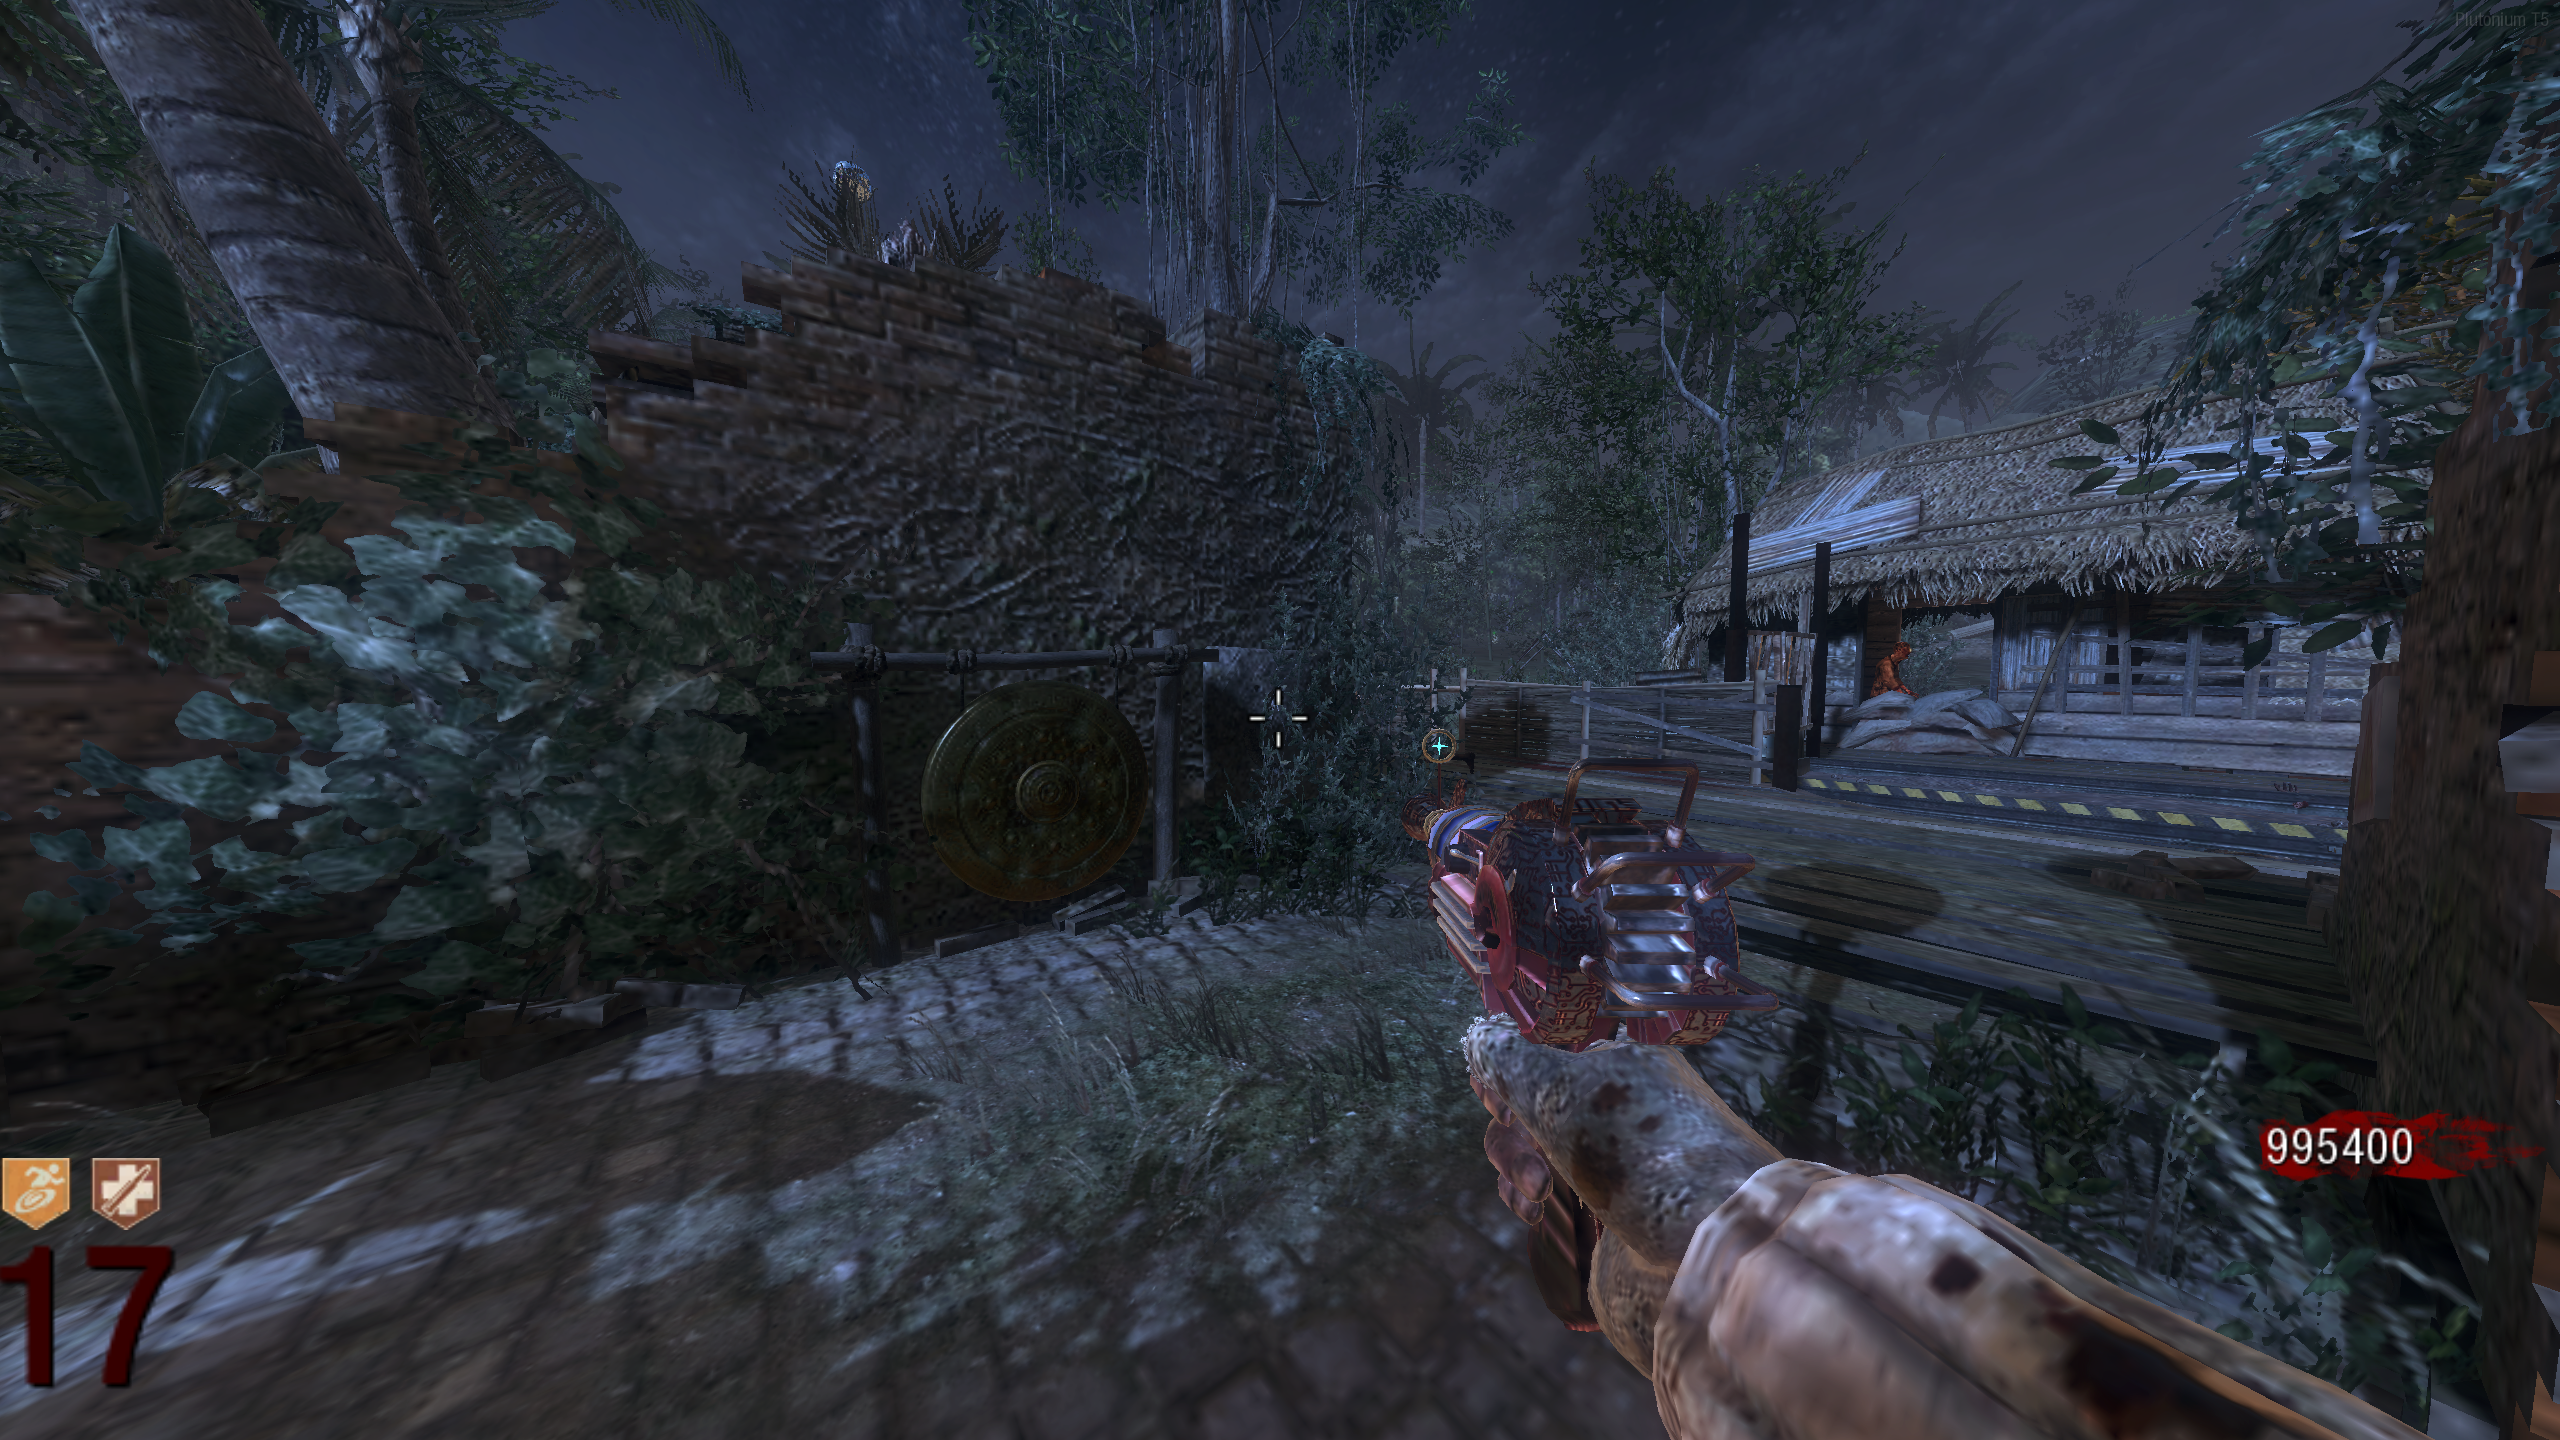
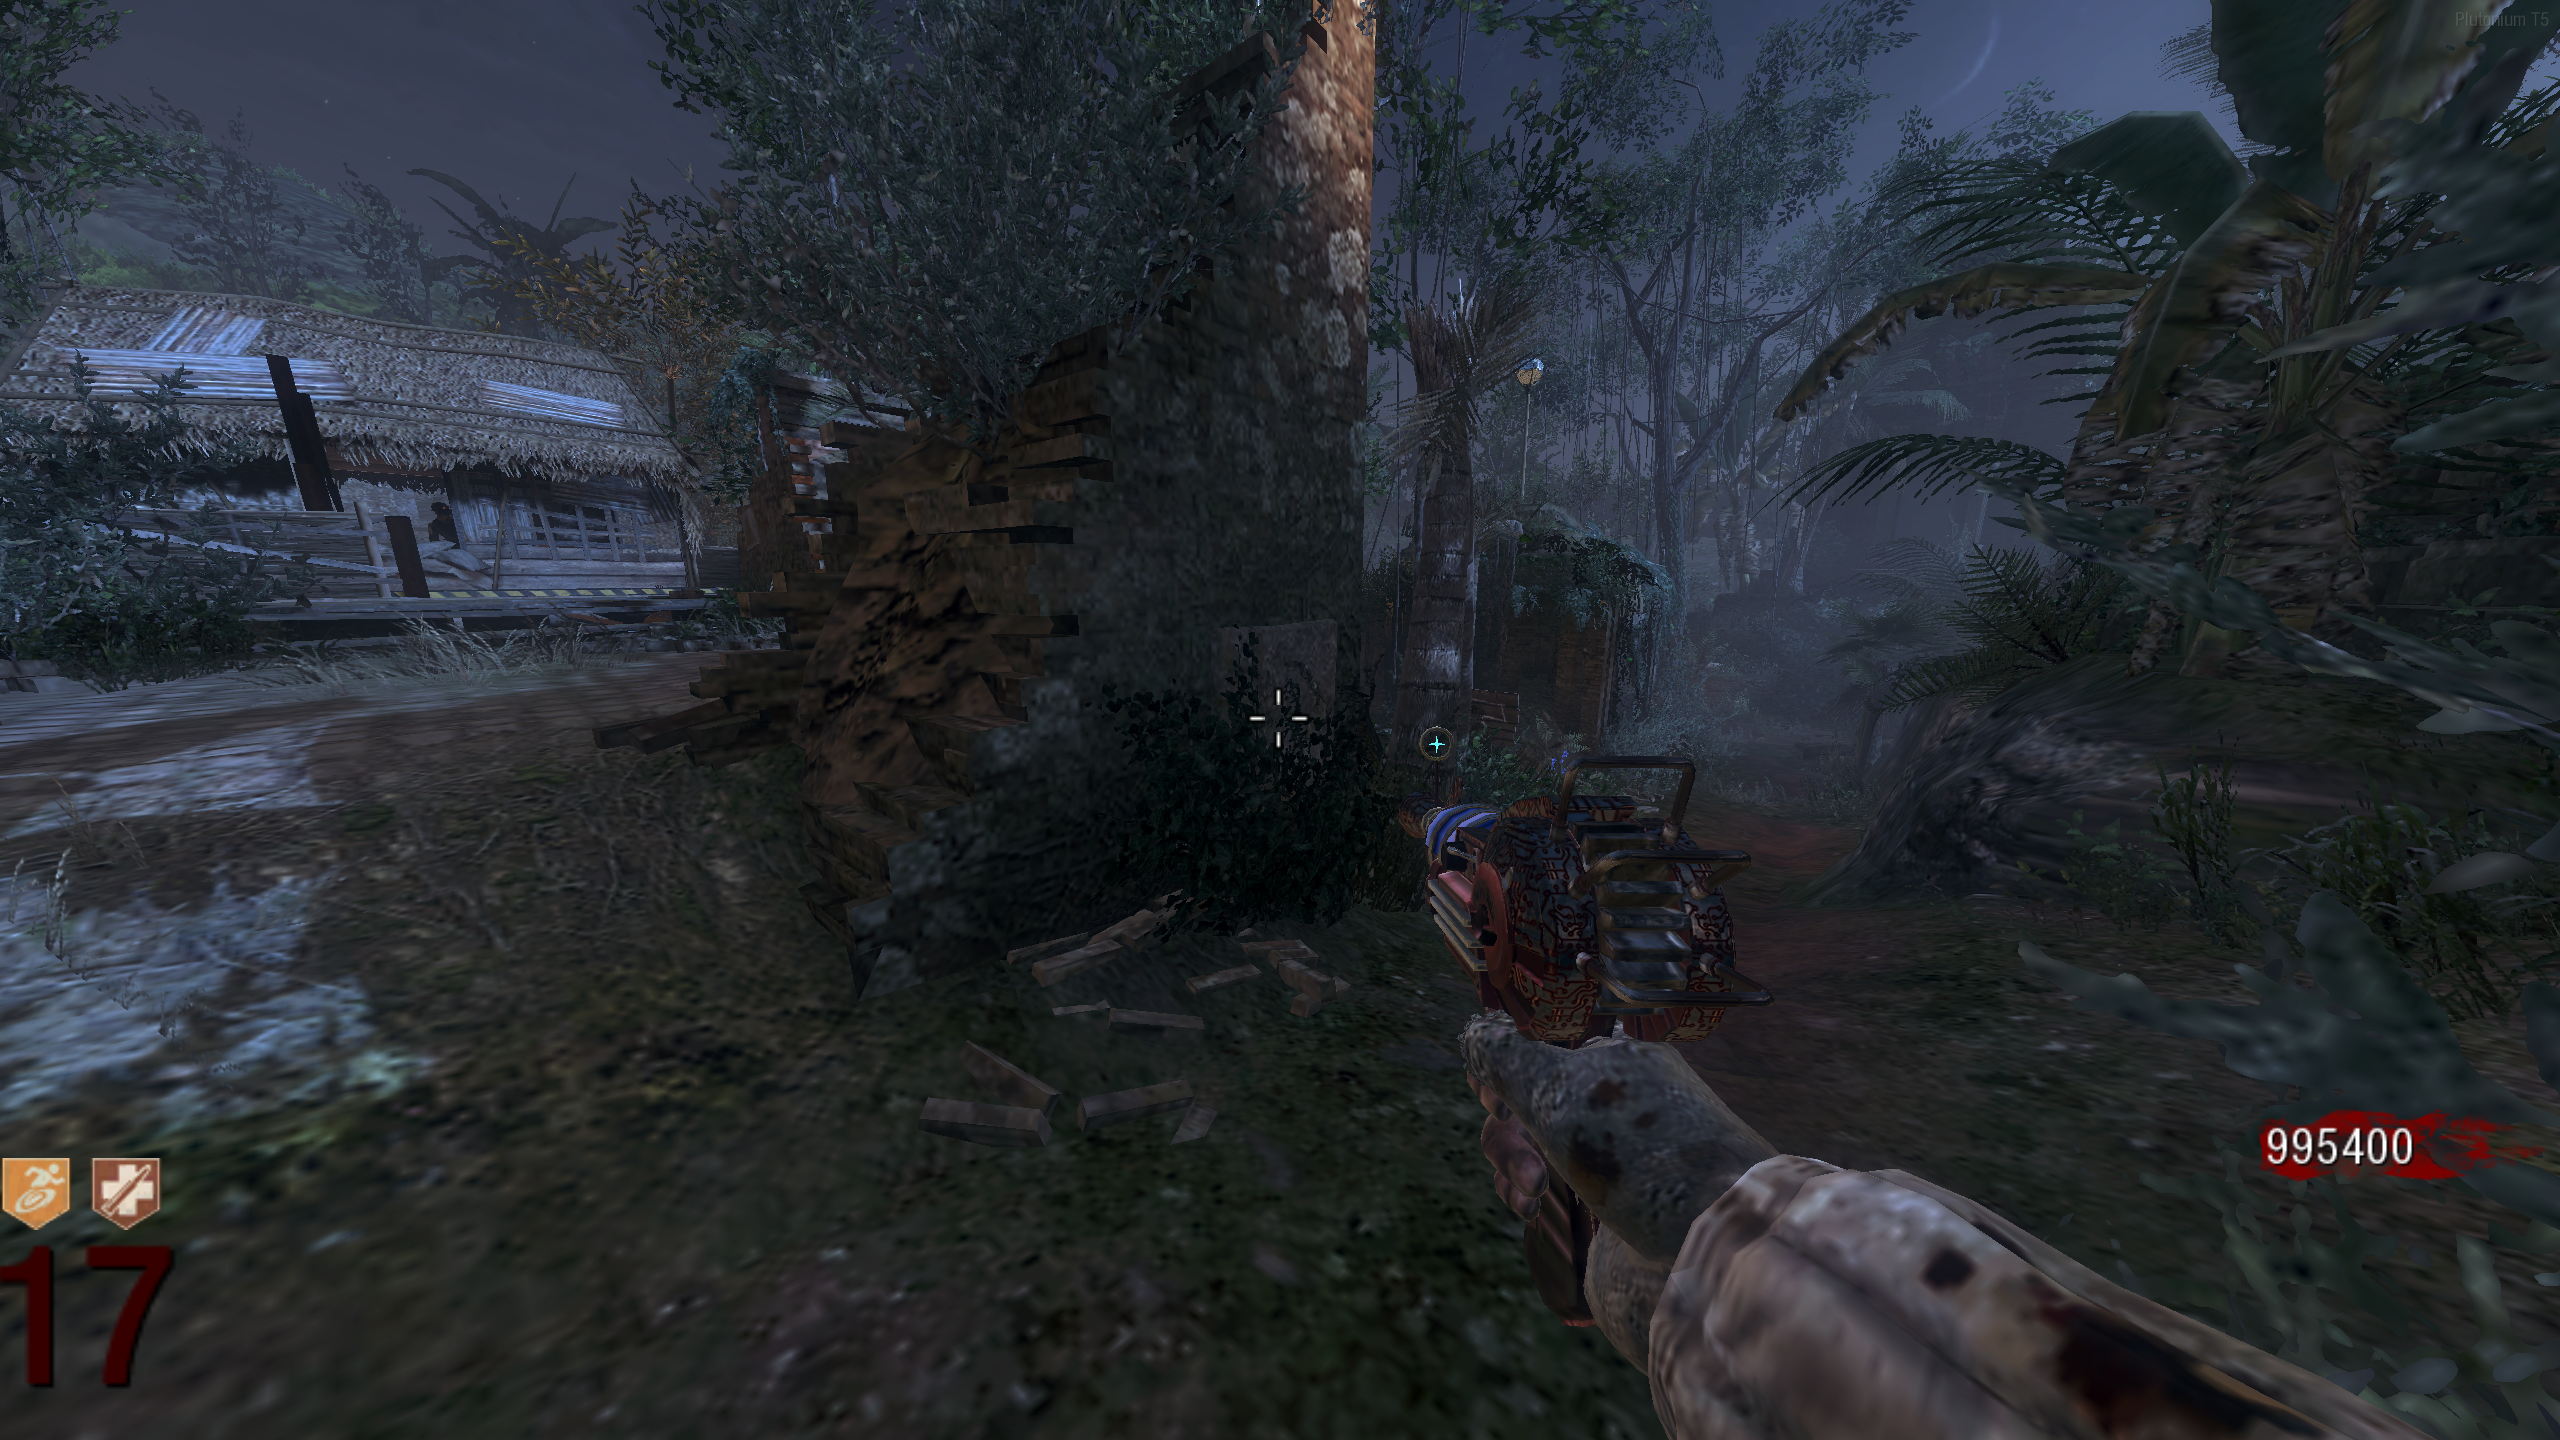
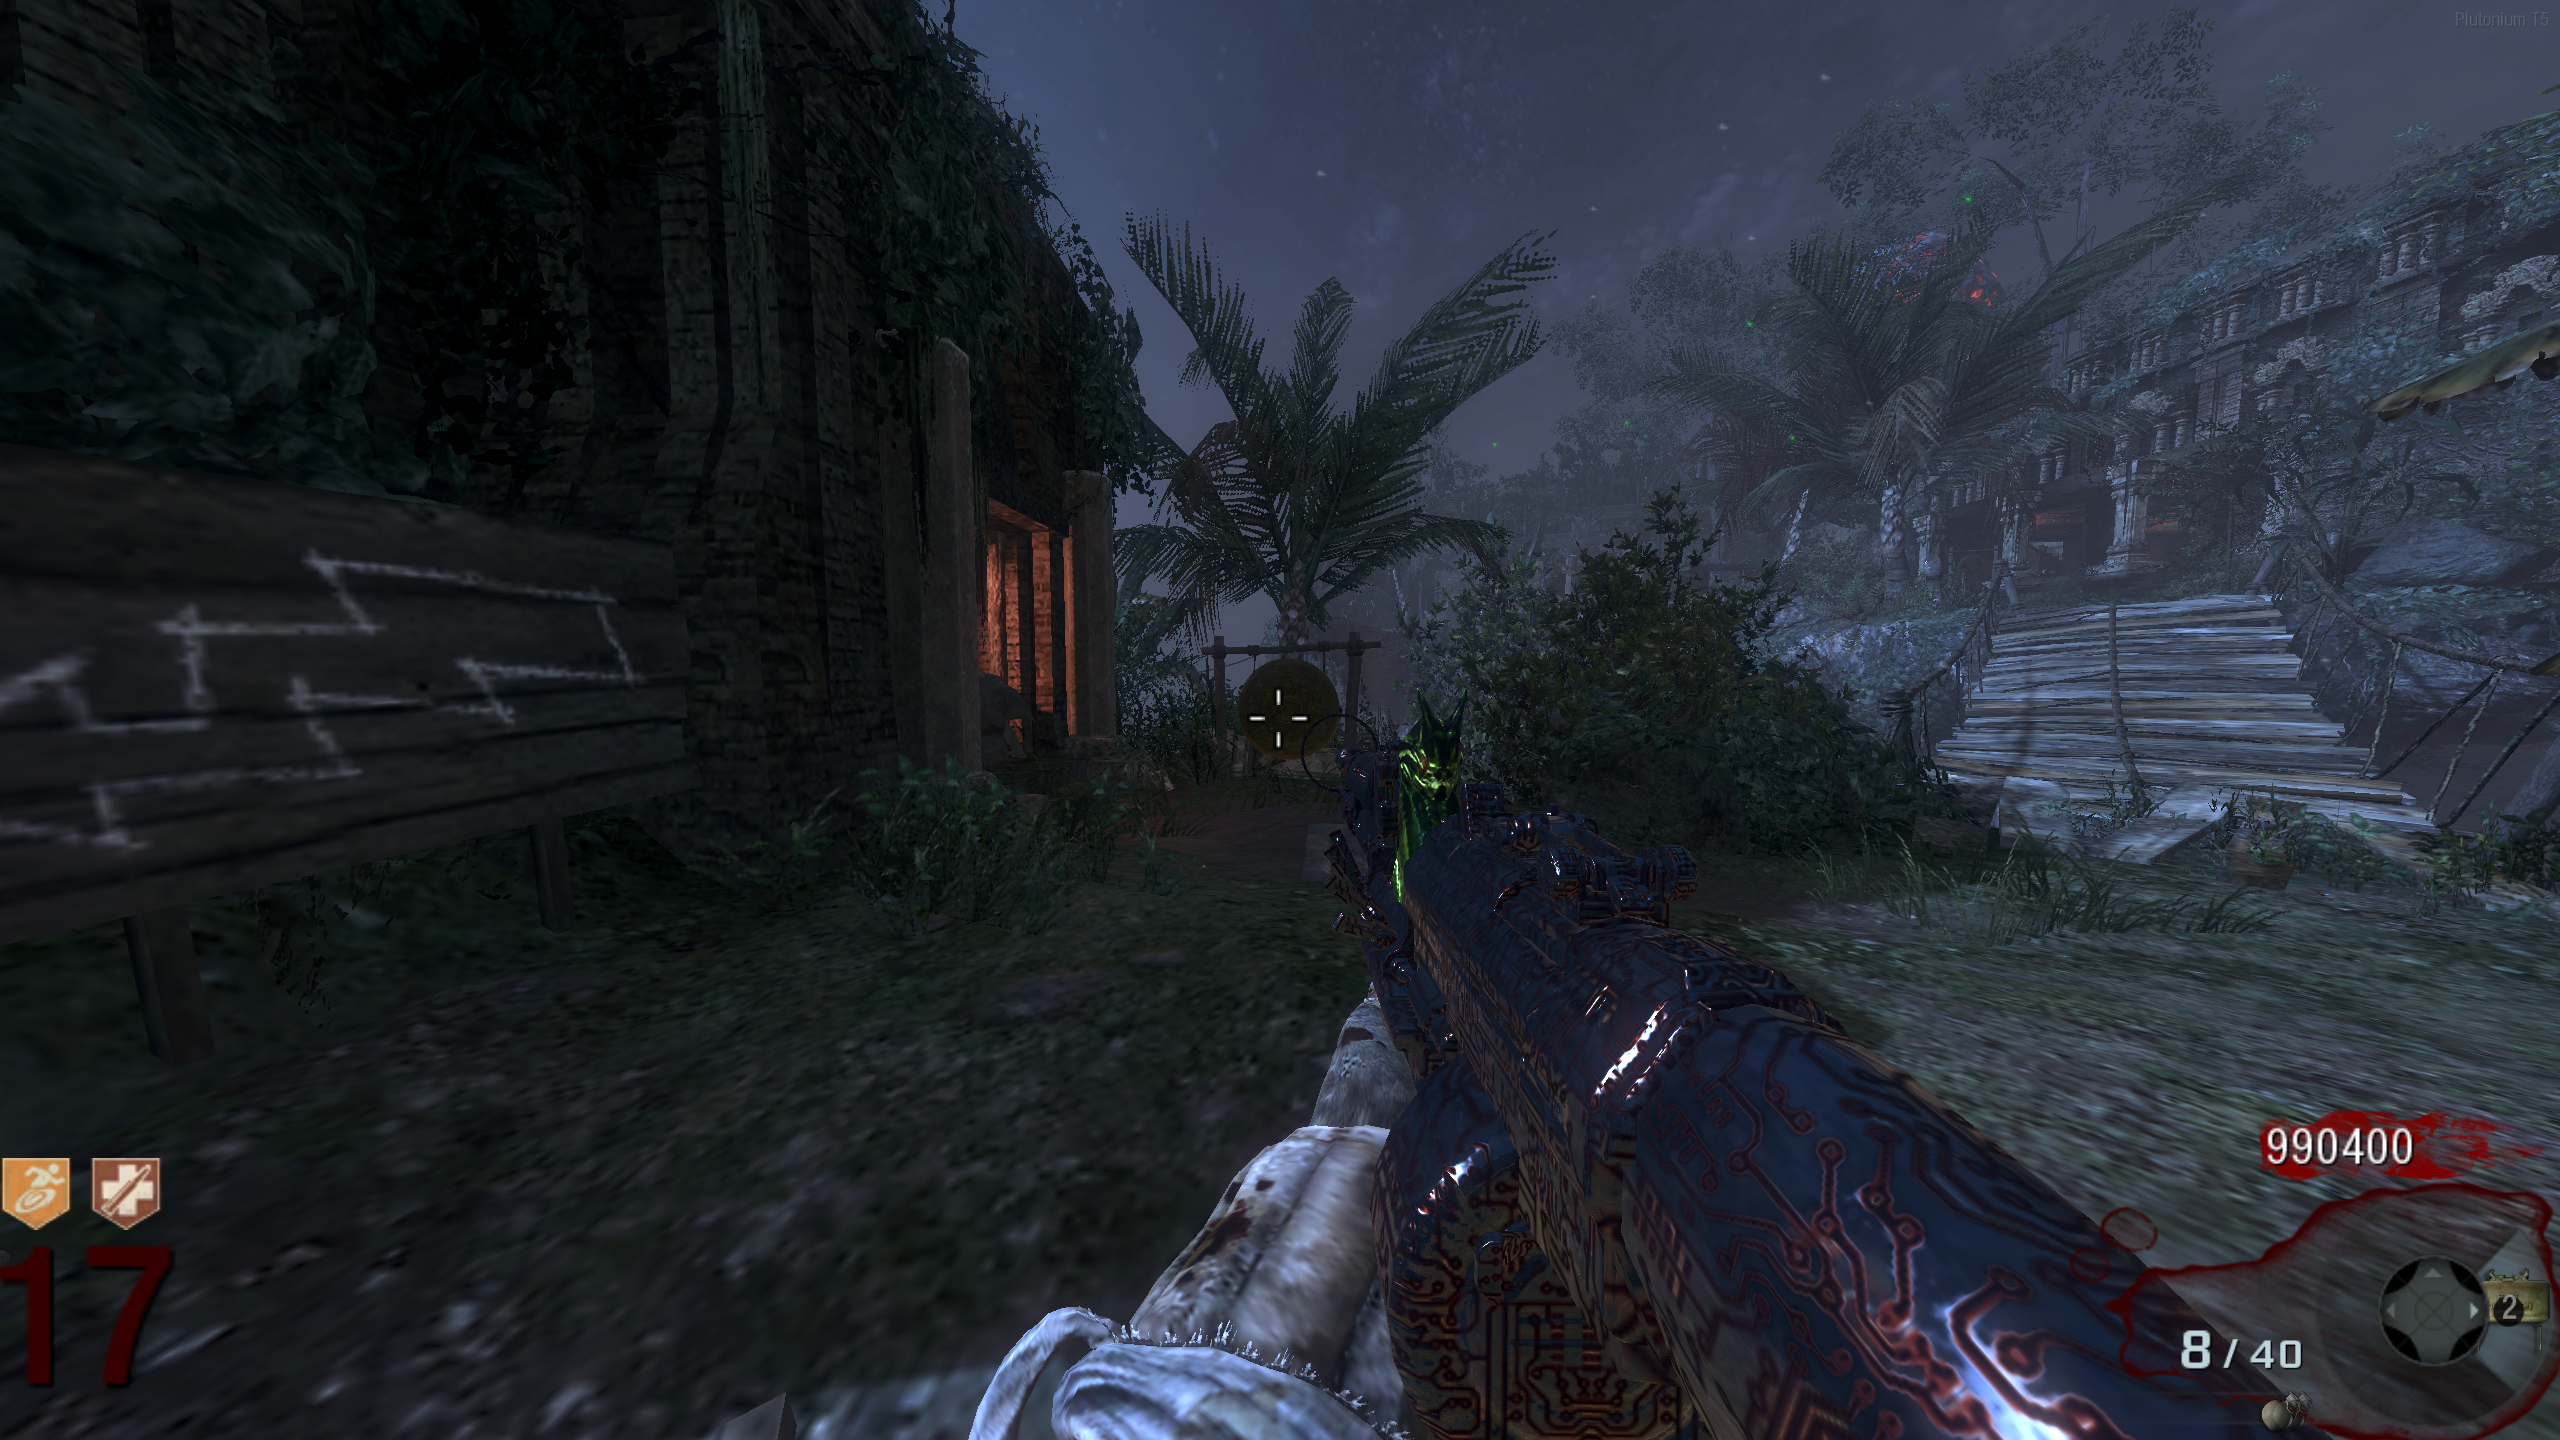
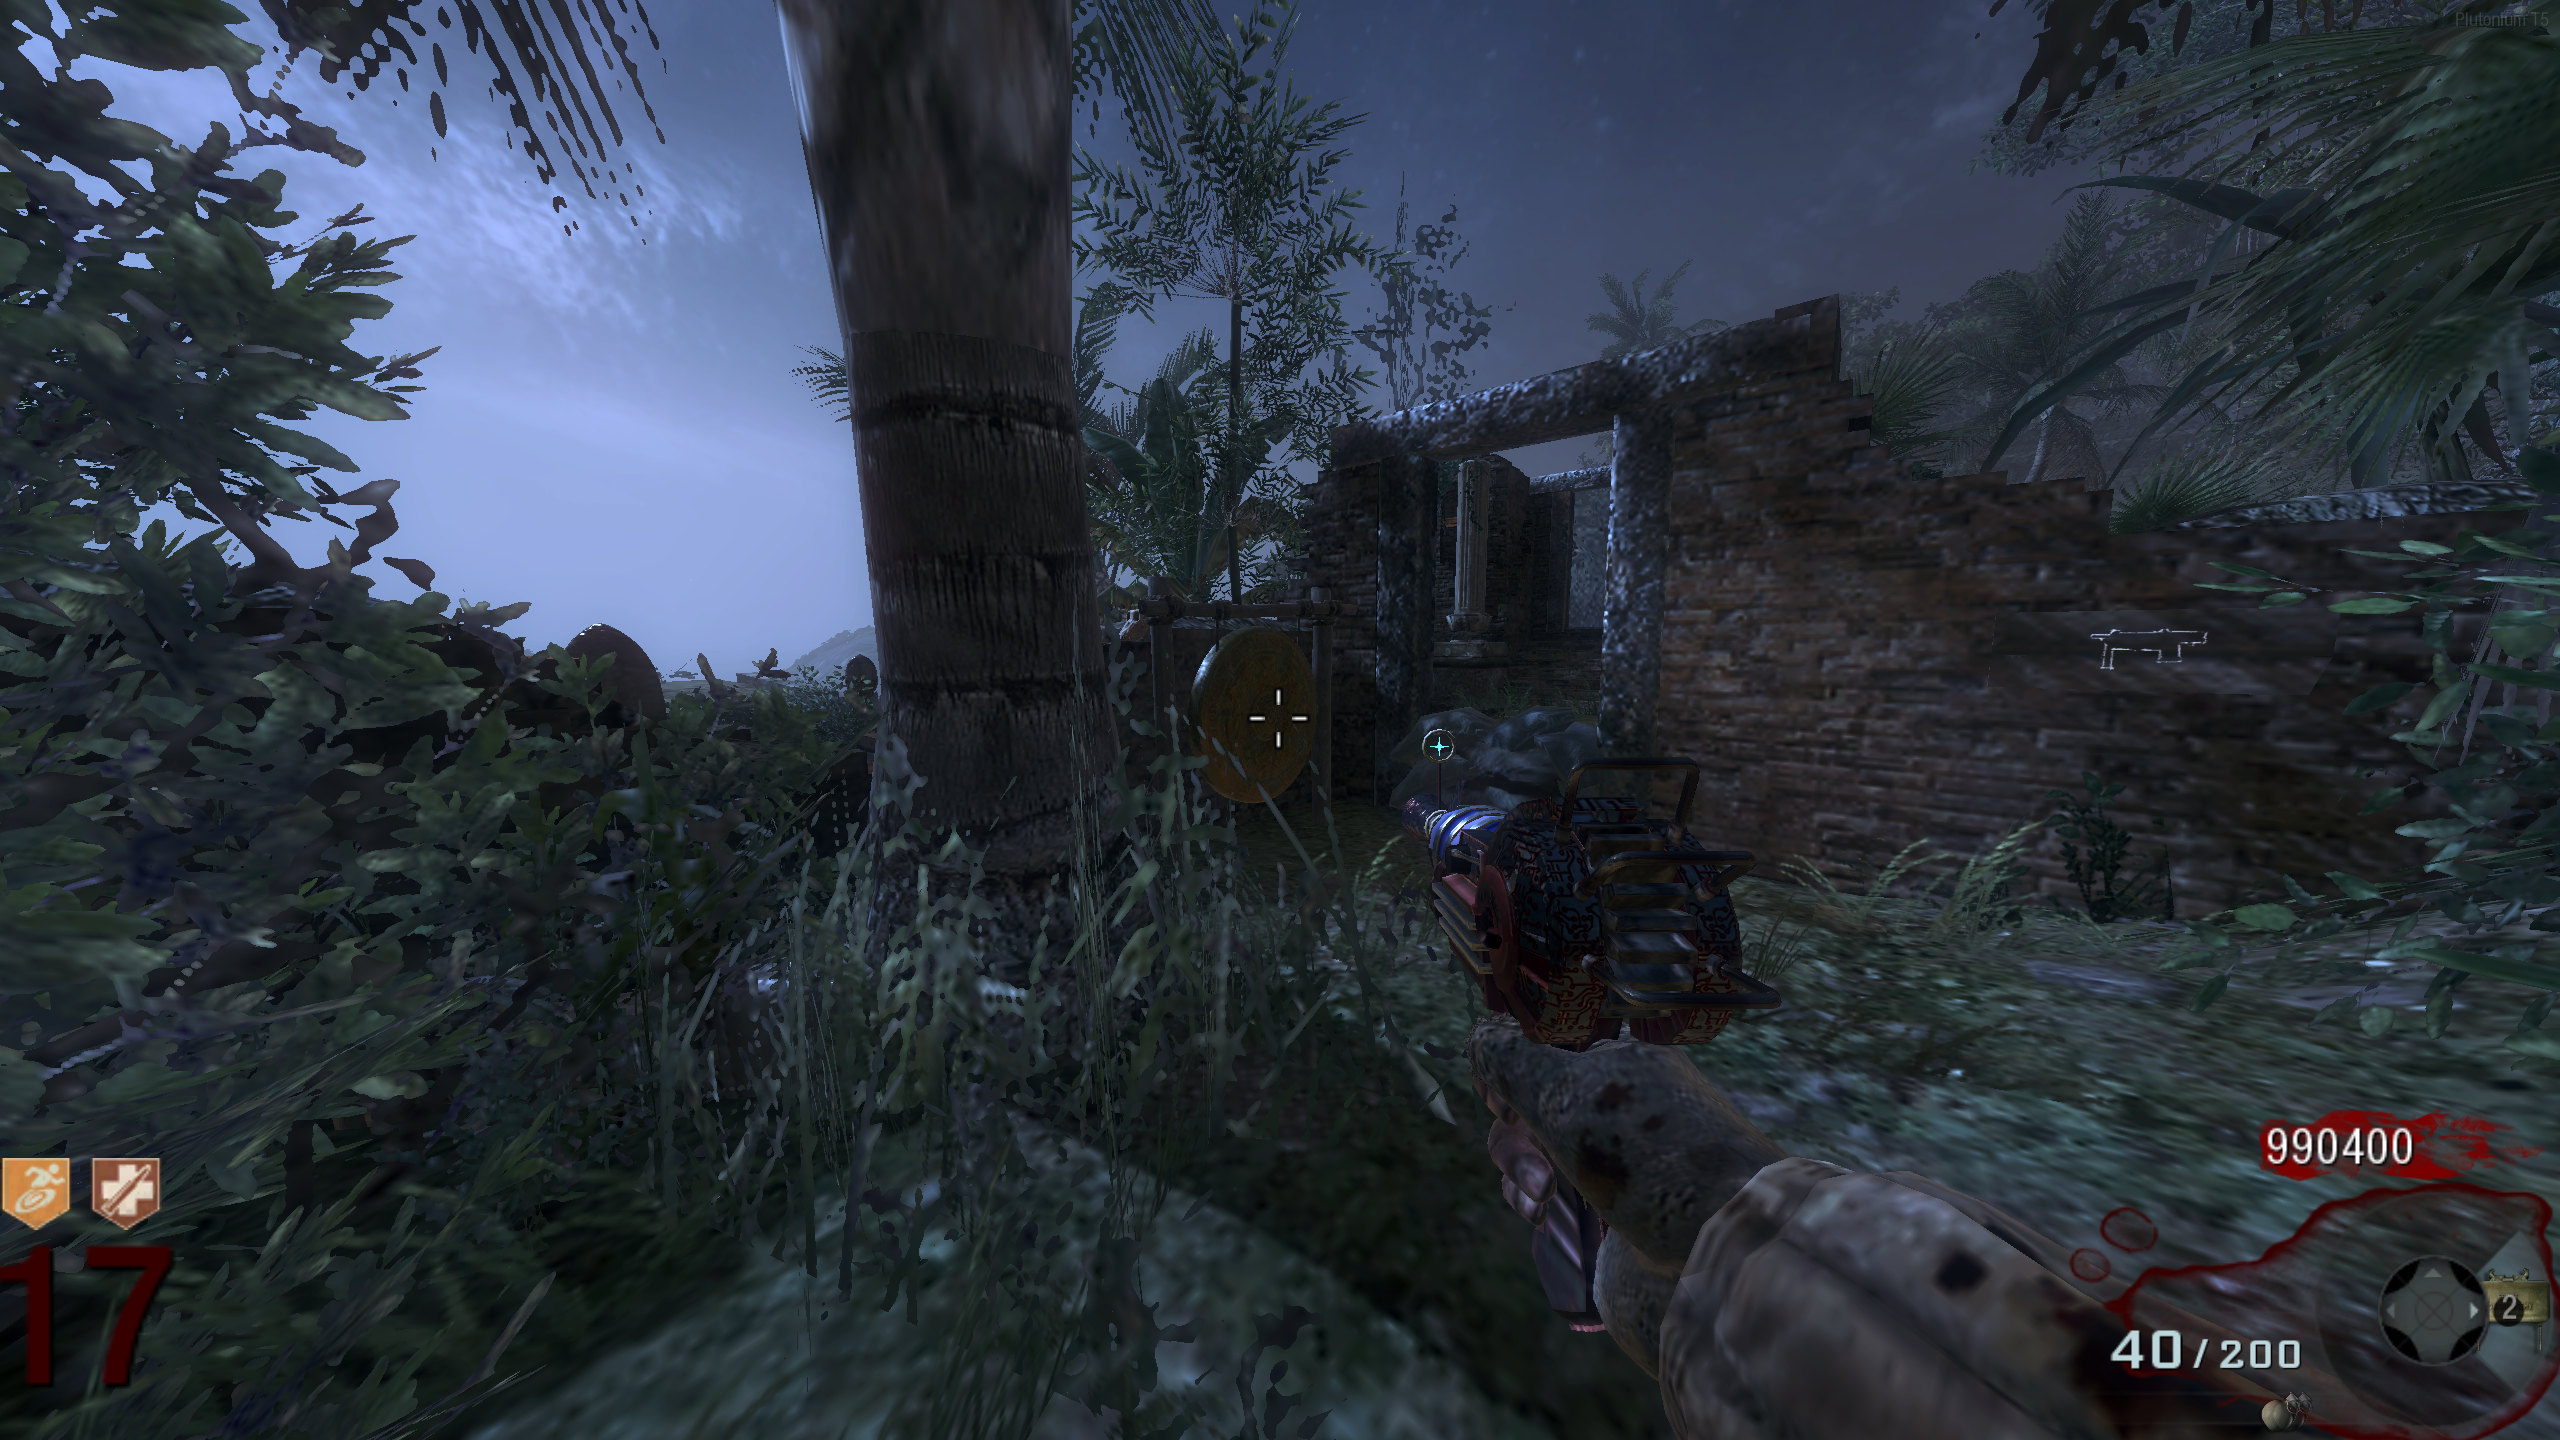
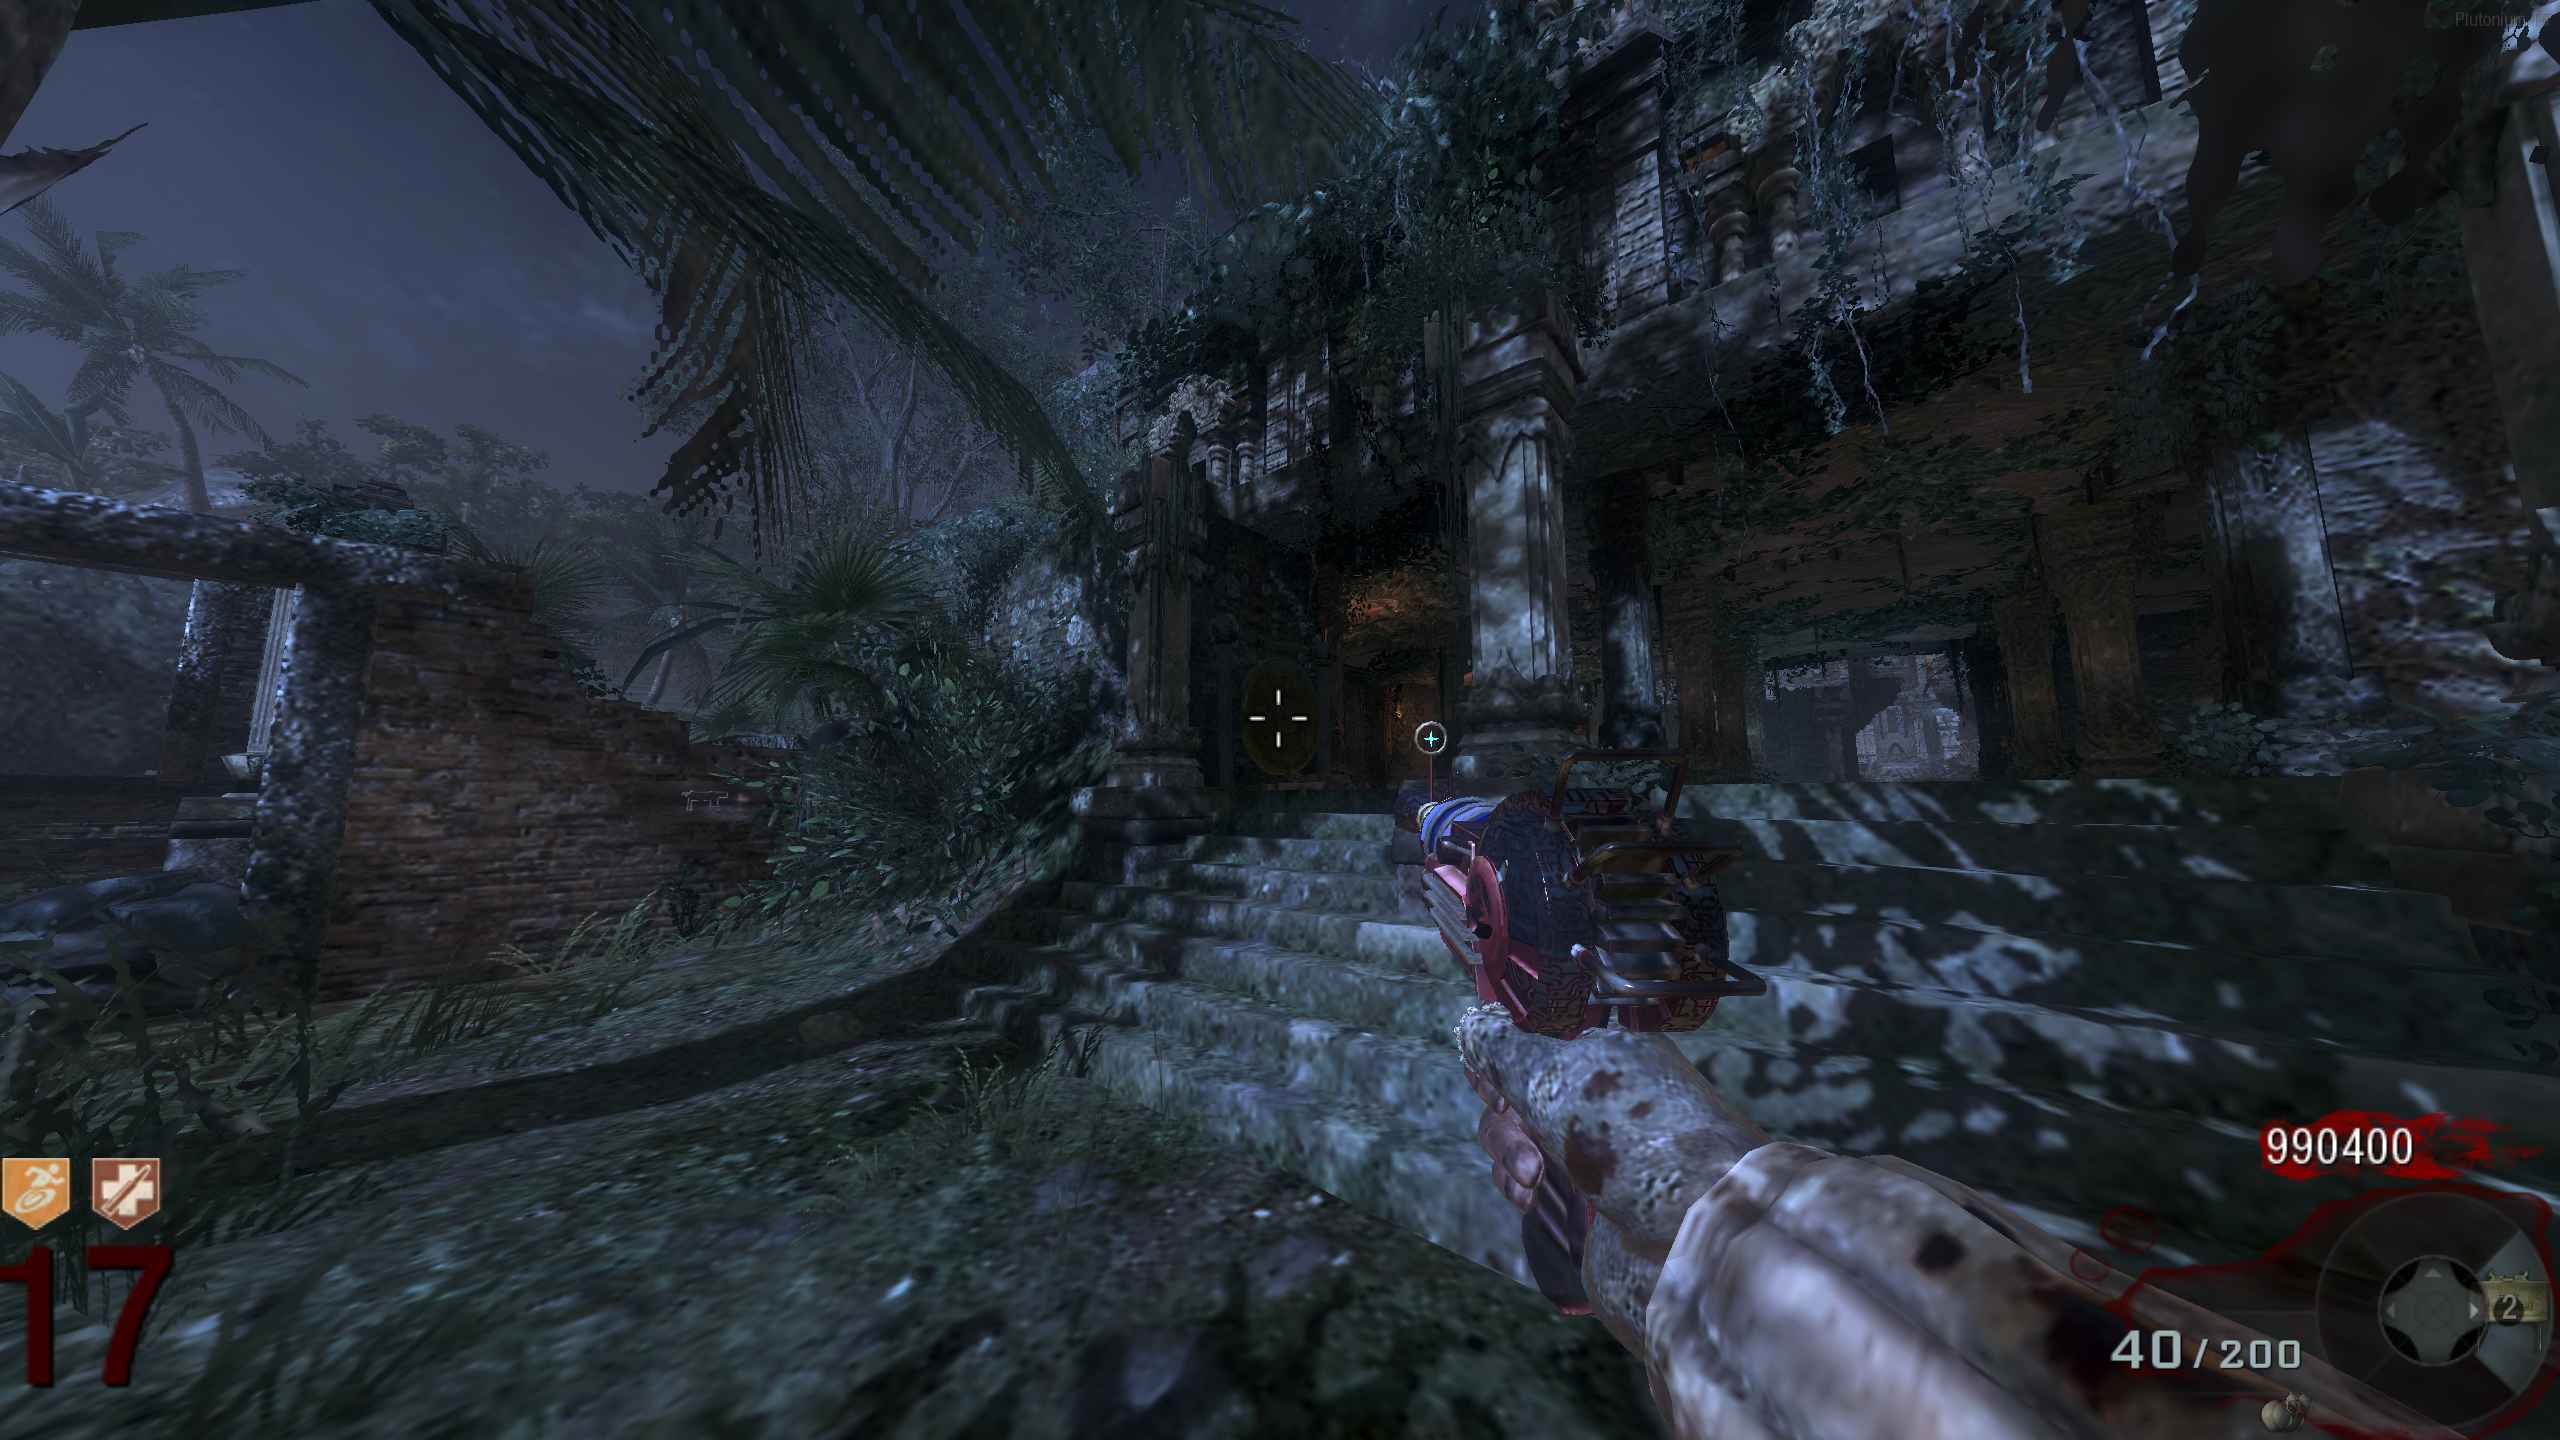
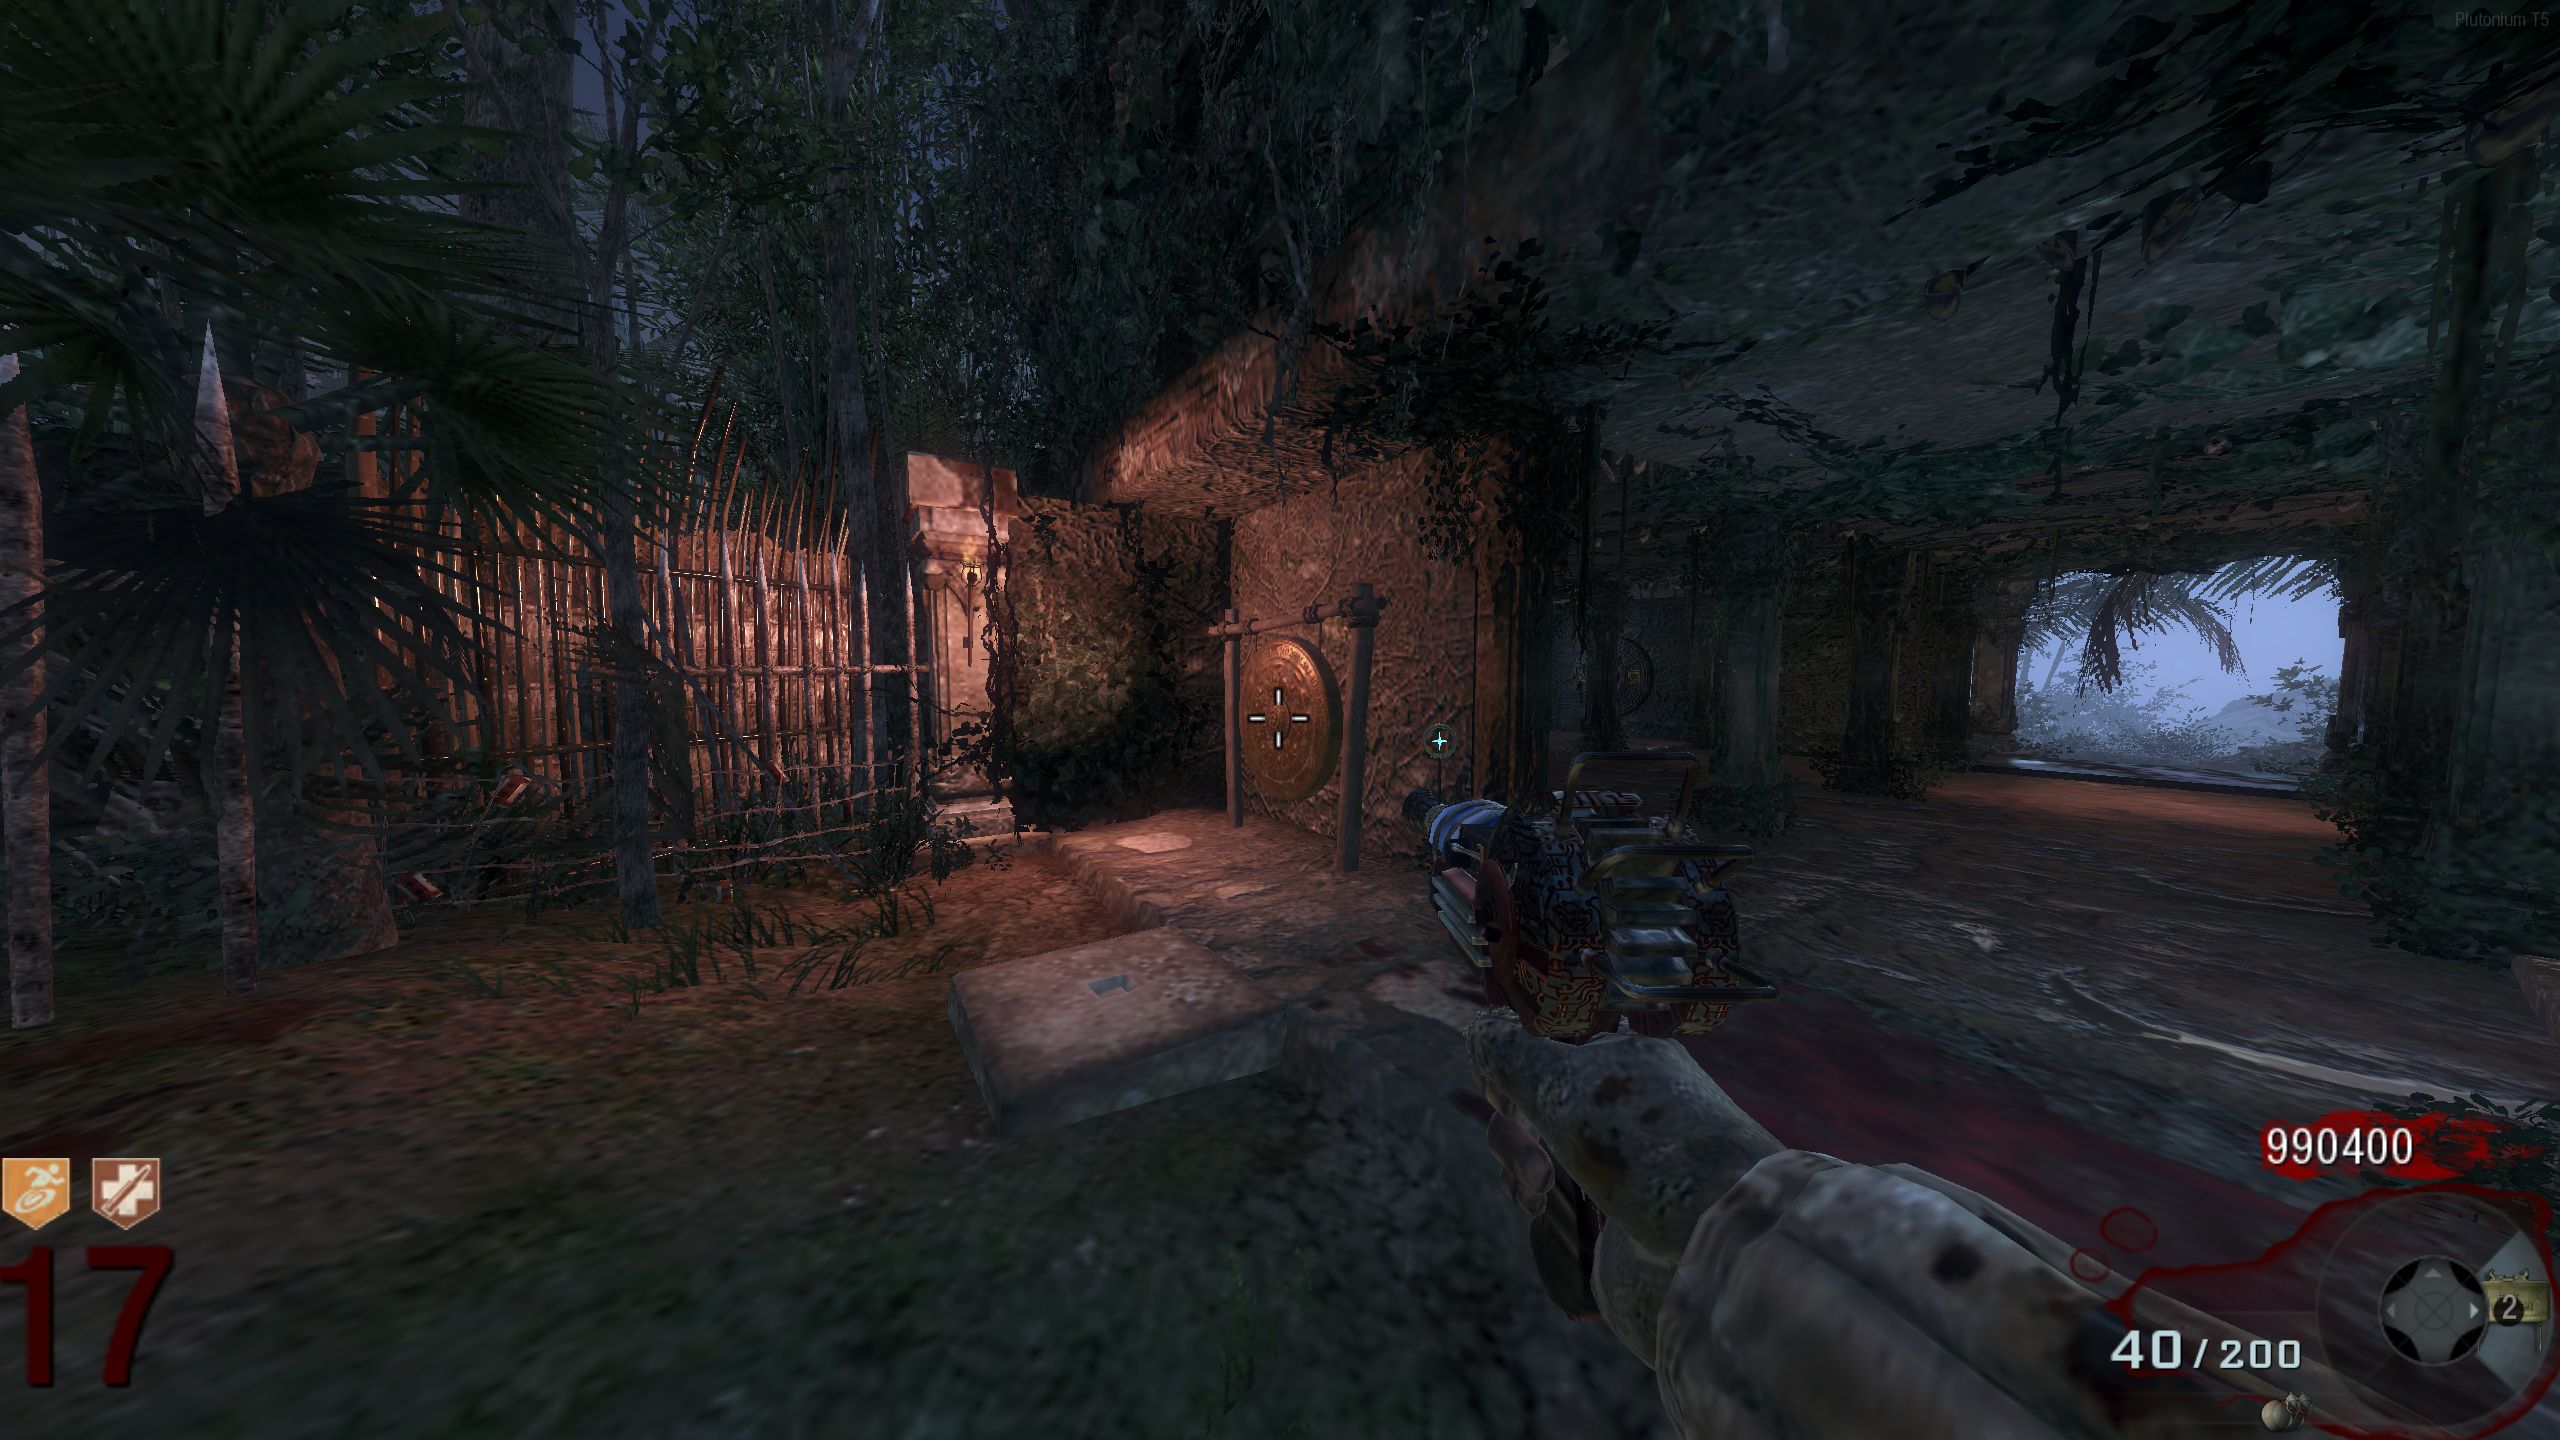
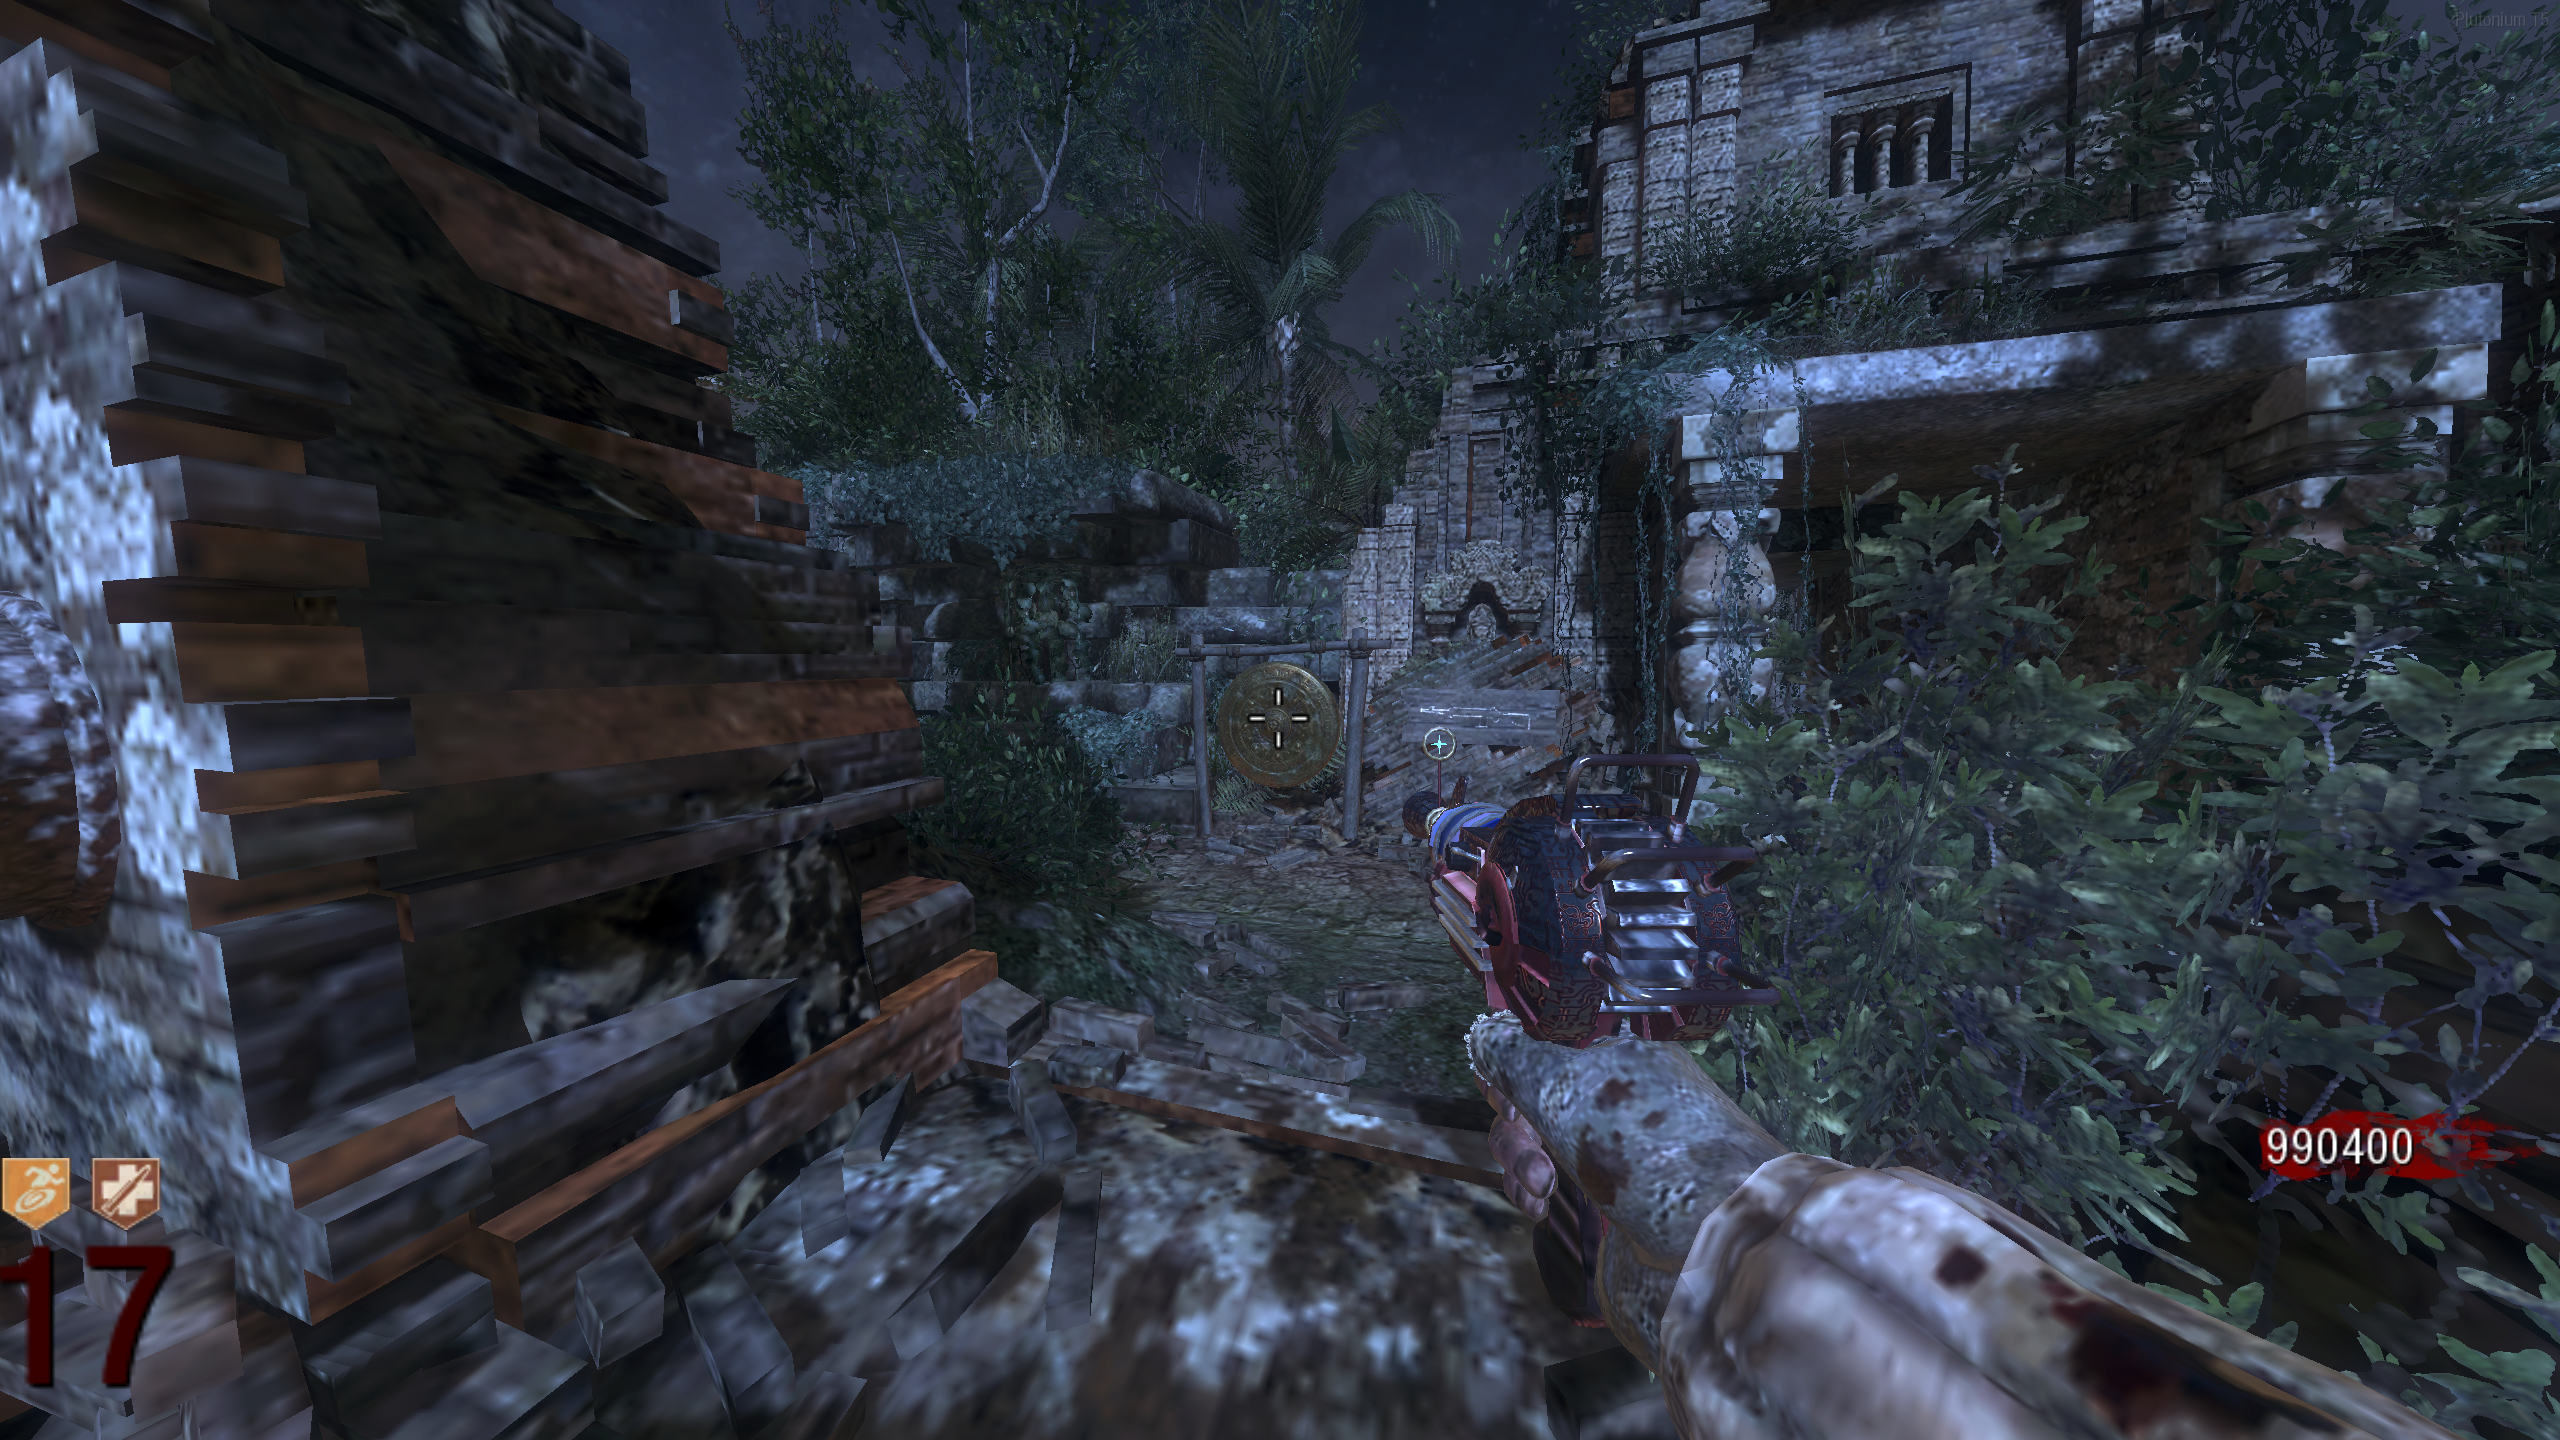
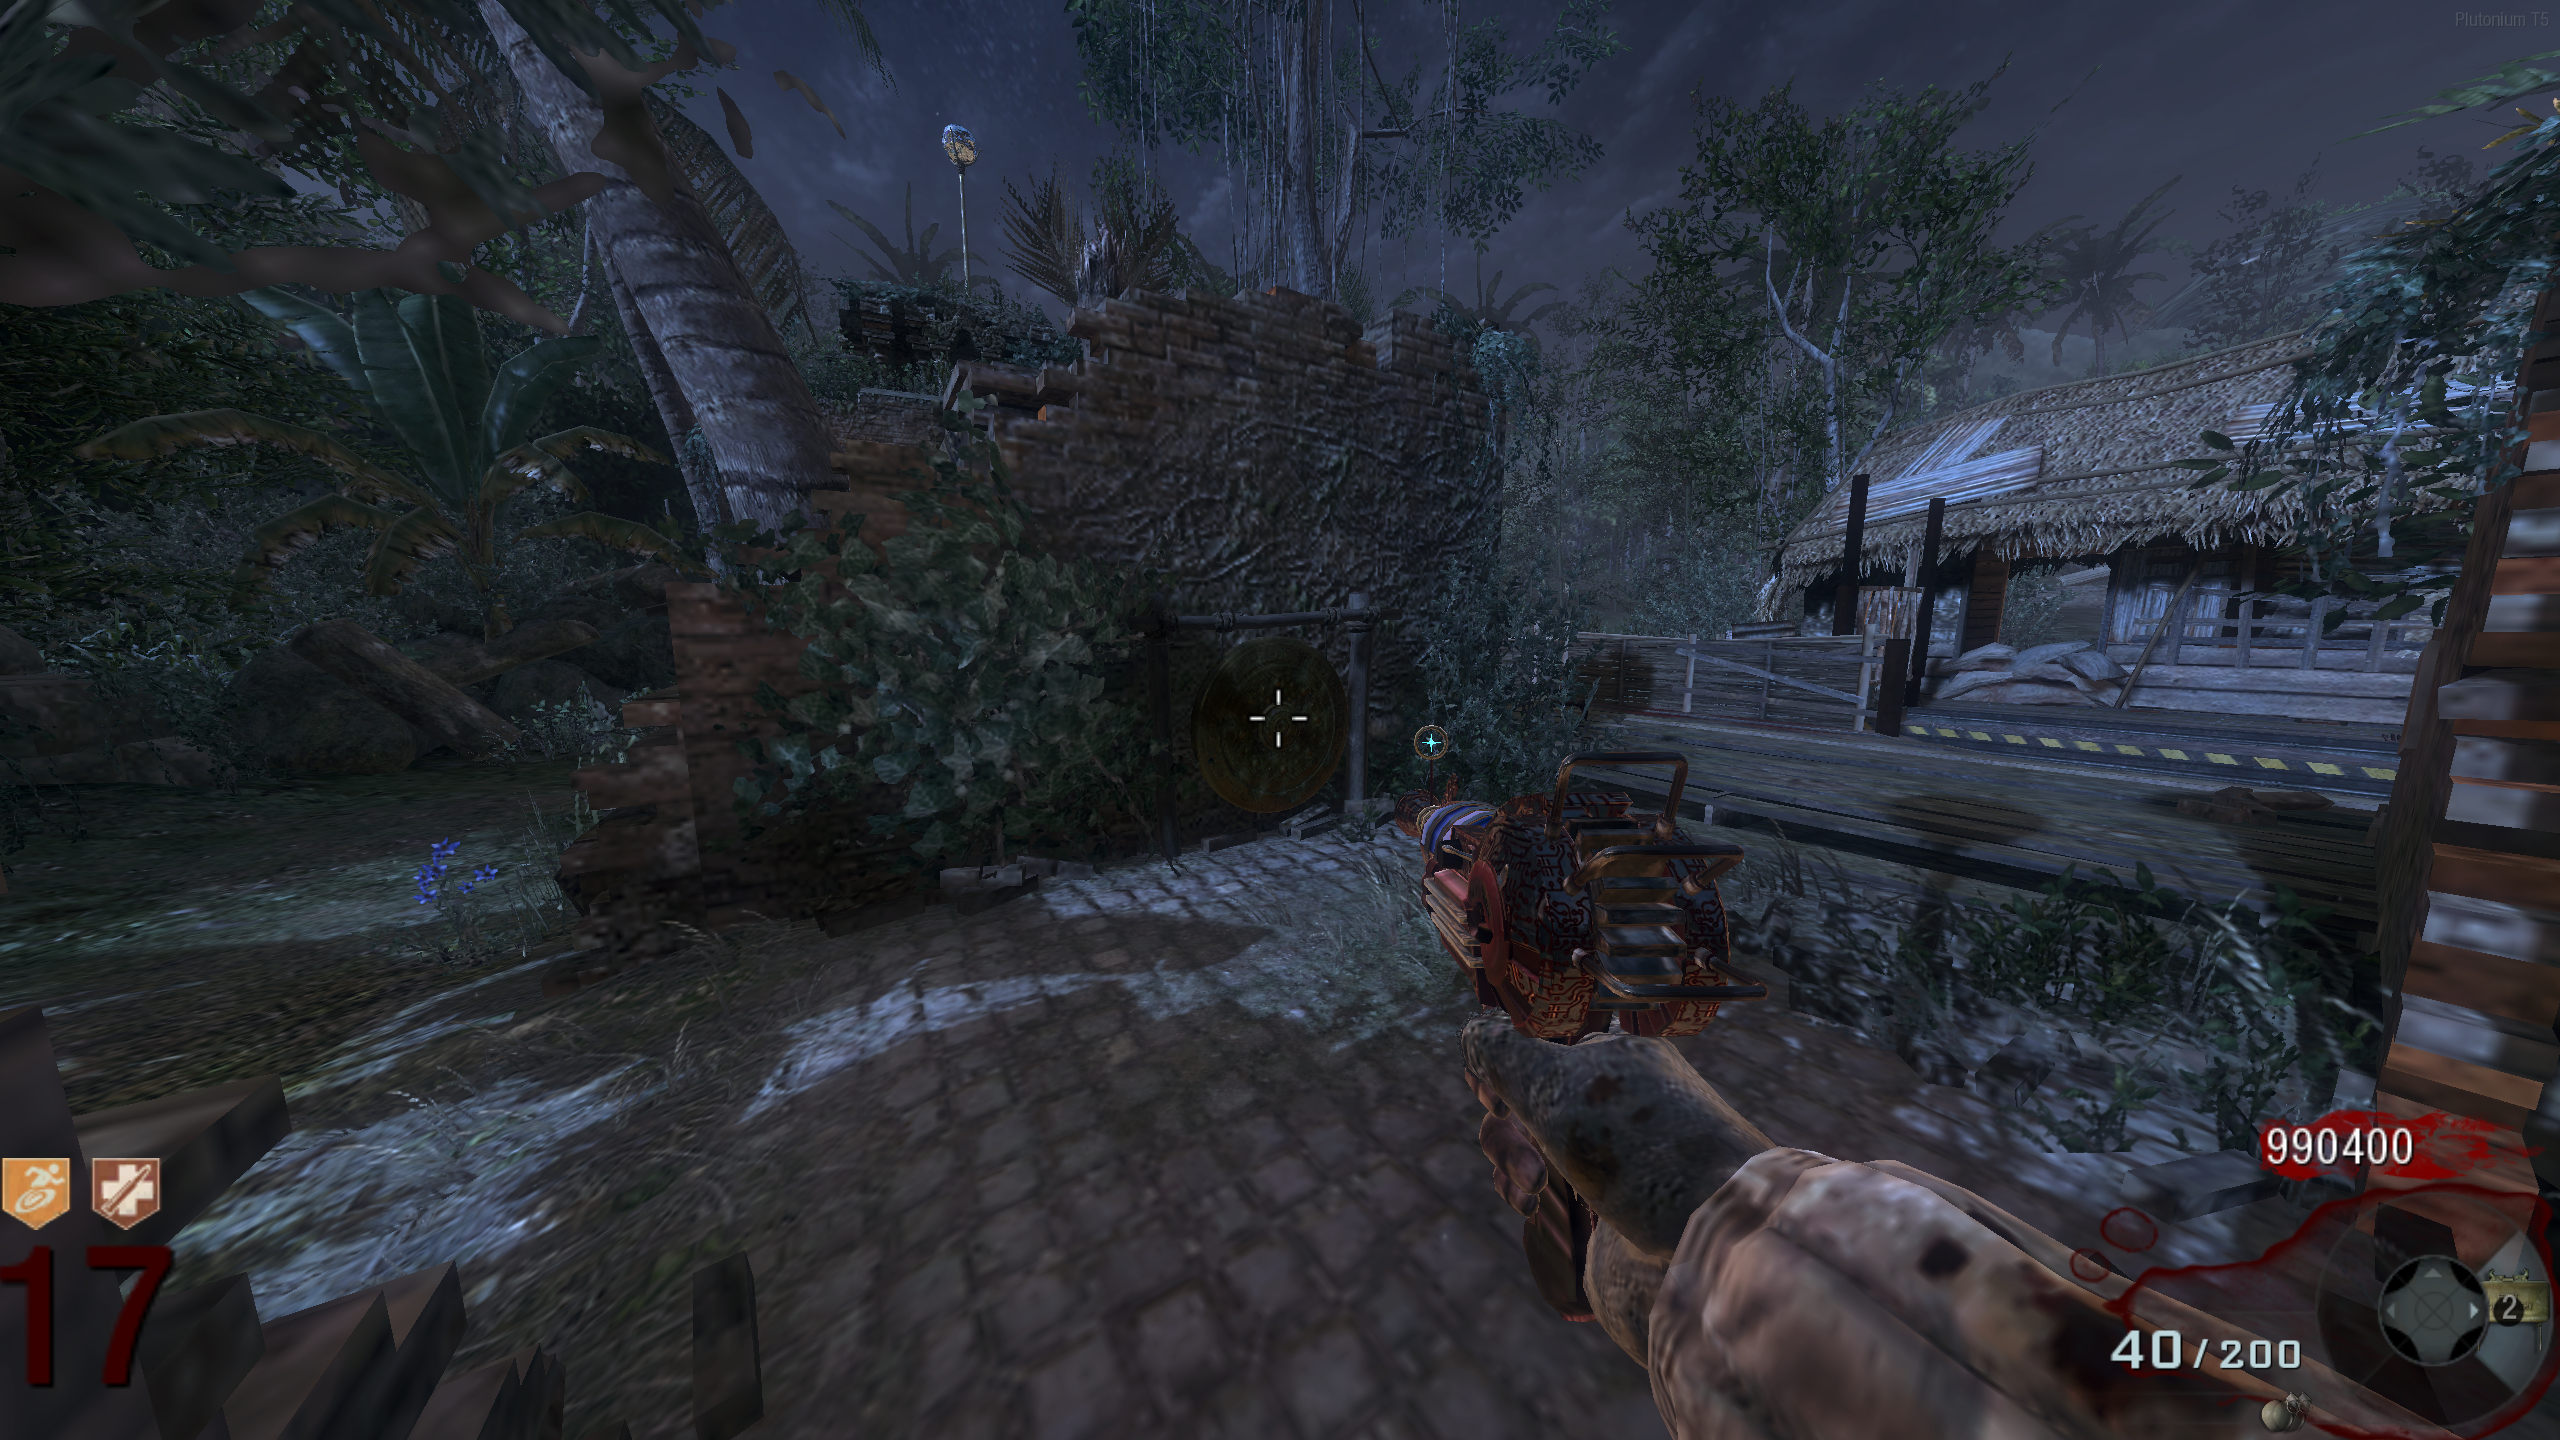
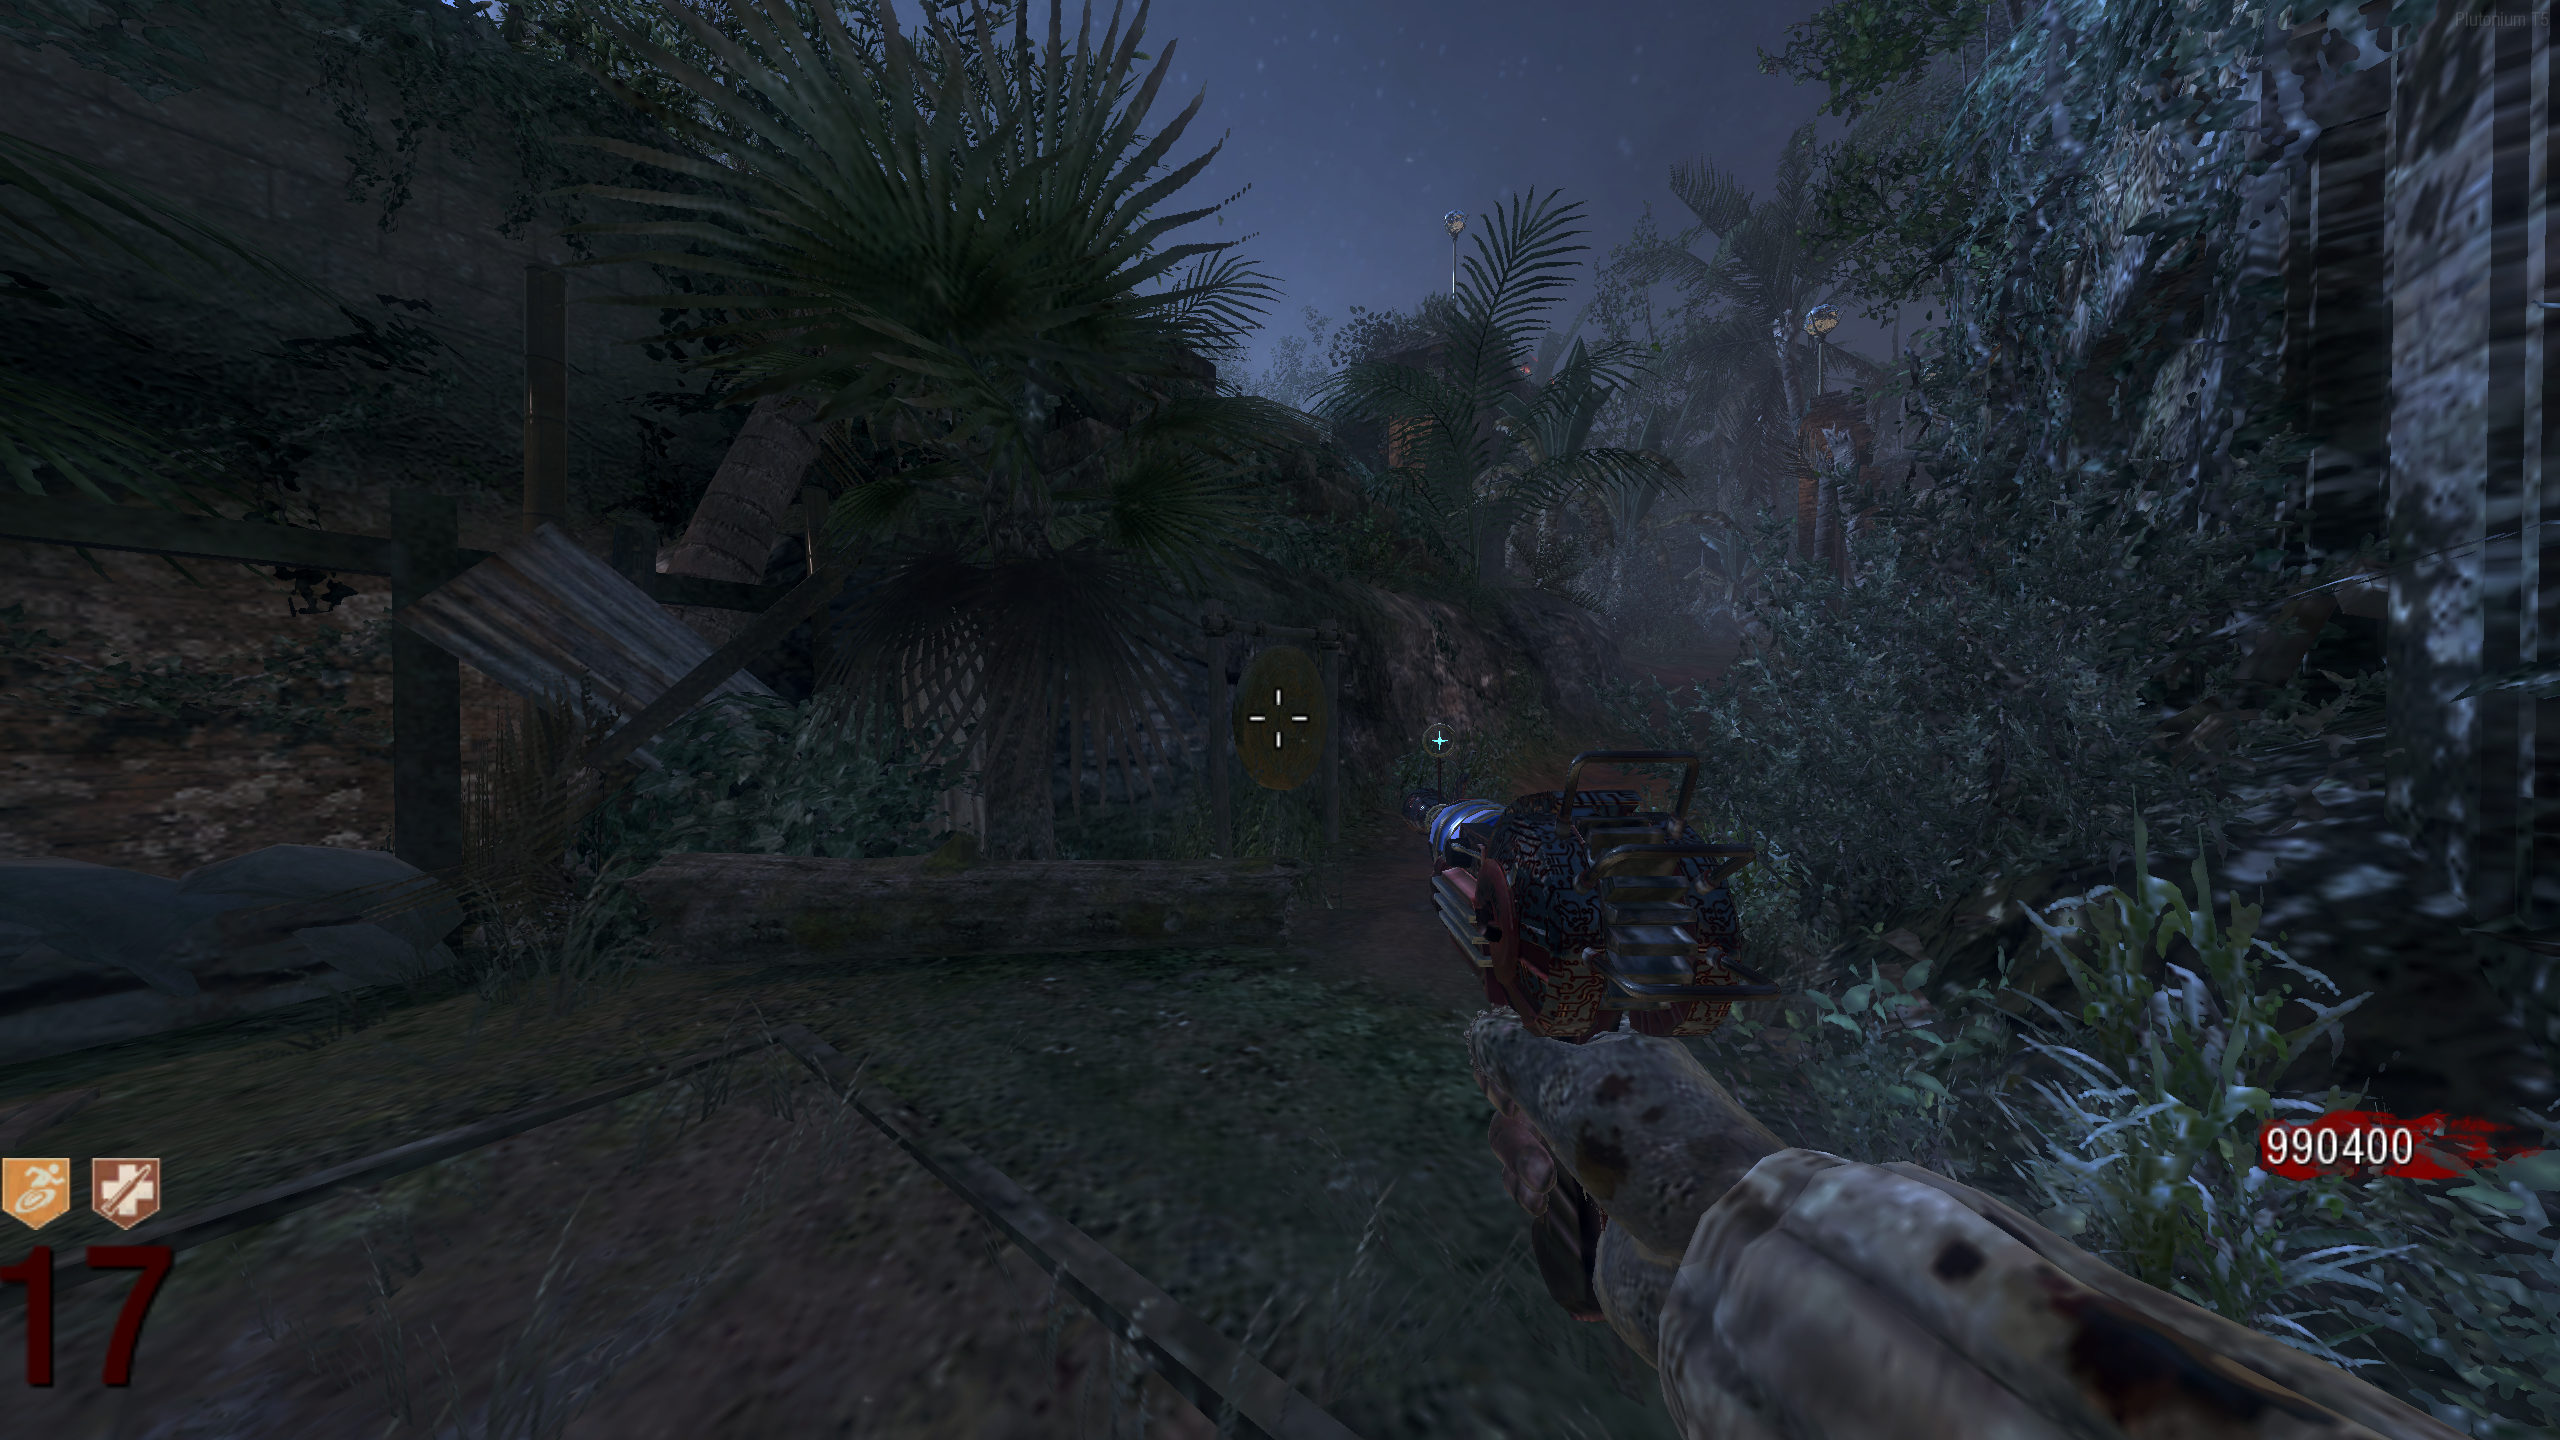
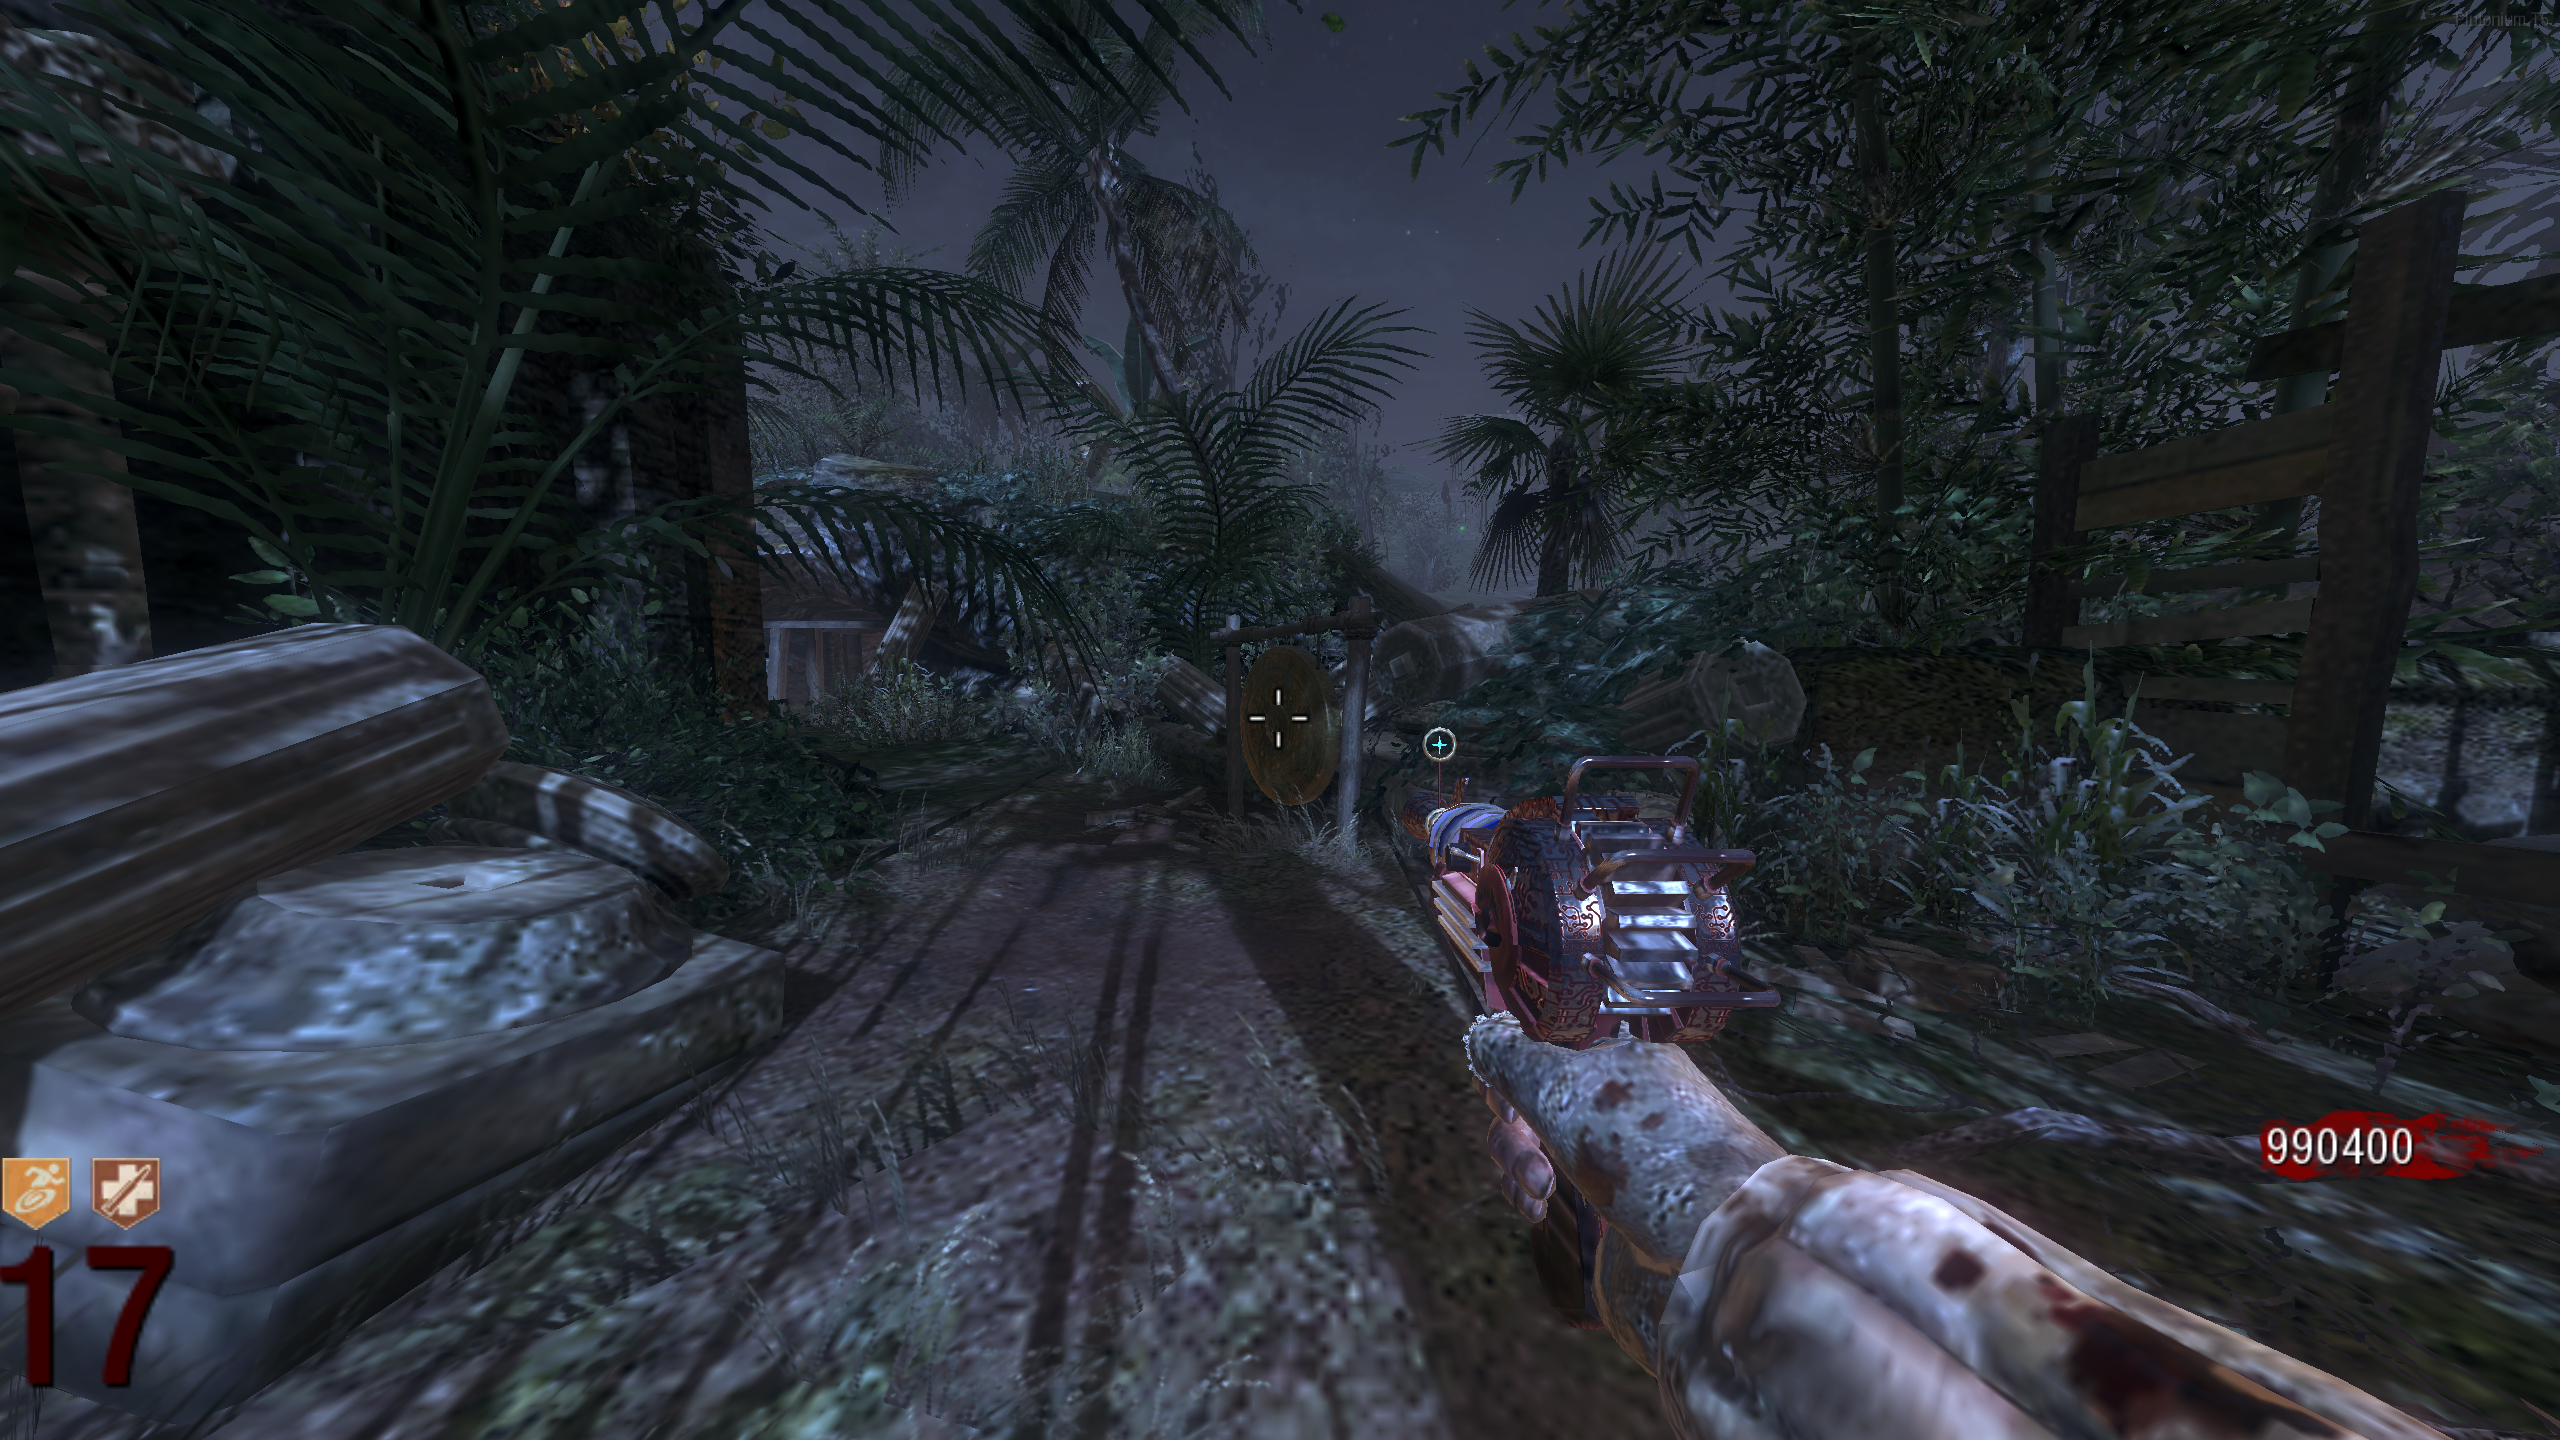
- Around the map, there are eight Gongs that will make noise when meleed. Melee the four correct gongs in any order. You need to find the correct ones using Trial and Error.
- Each correct gong starts ringing, and your character will say it sounds good.
- Knifing a wrong gong flashes the Crystals red and silences the gongs you've already activated, resetting your progress. Your character will also say something like, "That sounds terrible".
- The four "correct" gongs are random for each game, but they don't change if you fail.
- Gong locations:
- Rope Bridge Area - At the bottom of the bridge, near the Pack-a-Punch pressure plate
- Rope Bridge Area - At the top of the bridge, left of the PM63/L-CAR 9 wallbuy
- Rope Bridge Area - At the top of the bridge, right of the PM63/L-CAR 9 wallbuy
- Mud Room Area - Just outside the Mud Room toward Spawn
- Spawn Room - Left of the M14/Sheiva wallbuy
- Minecart Area - Left of the start of the Minecart
- Minecart Area - Down the slope from the previous location, right of the Zombie spawn window
- Minecart Area - Right of the tunnel
- Once all four correct gongs are ringing, the Crystals will start glowing yellow/gold.
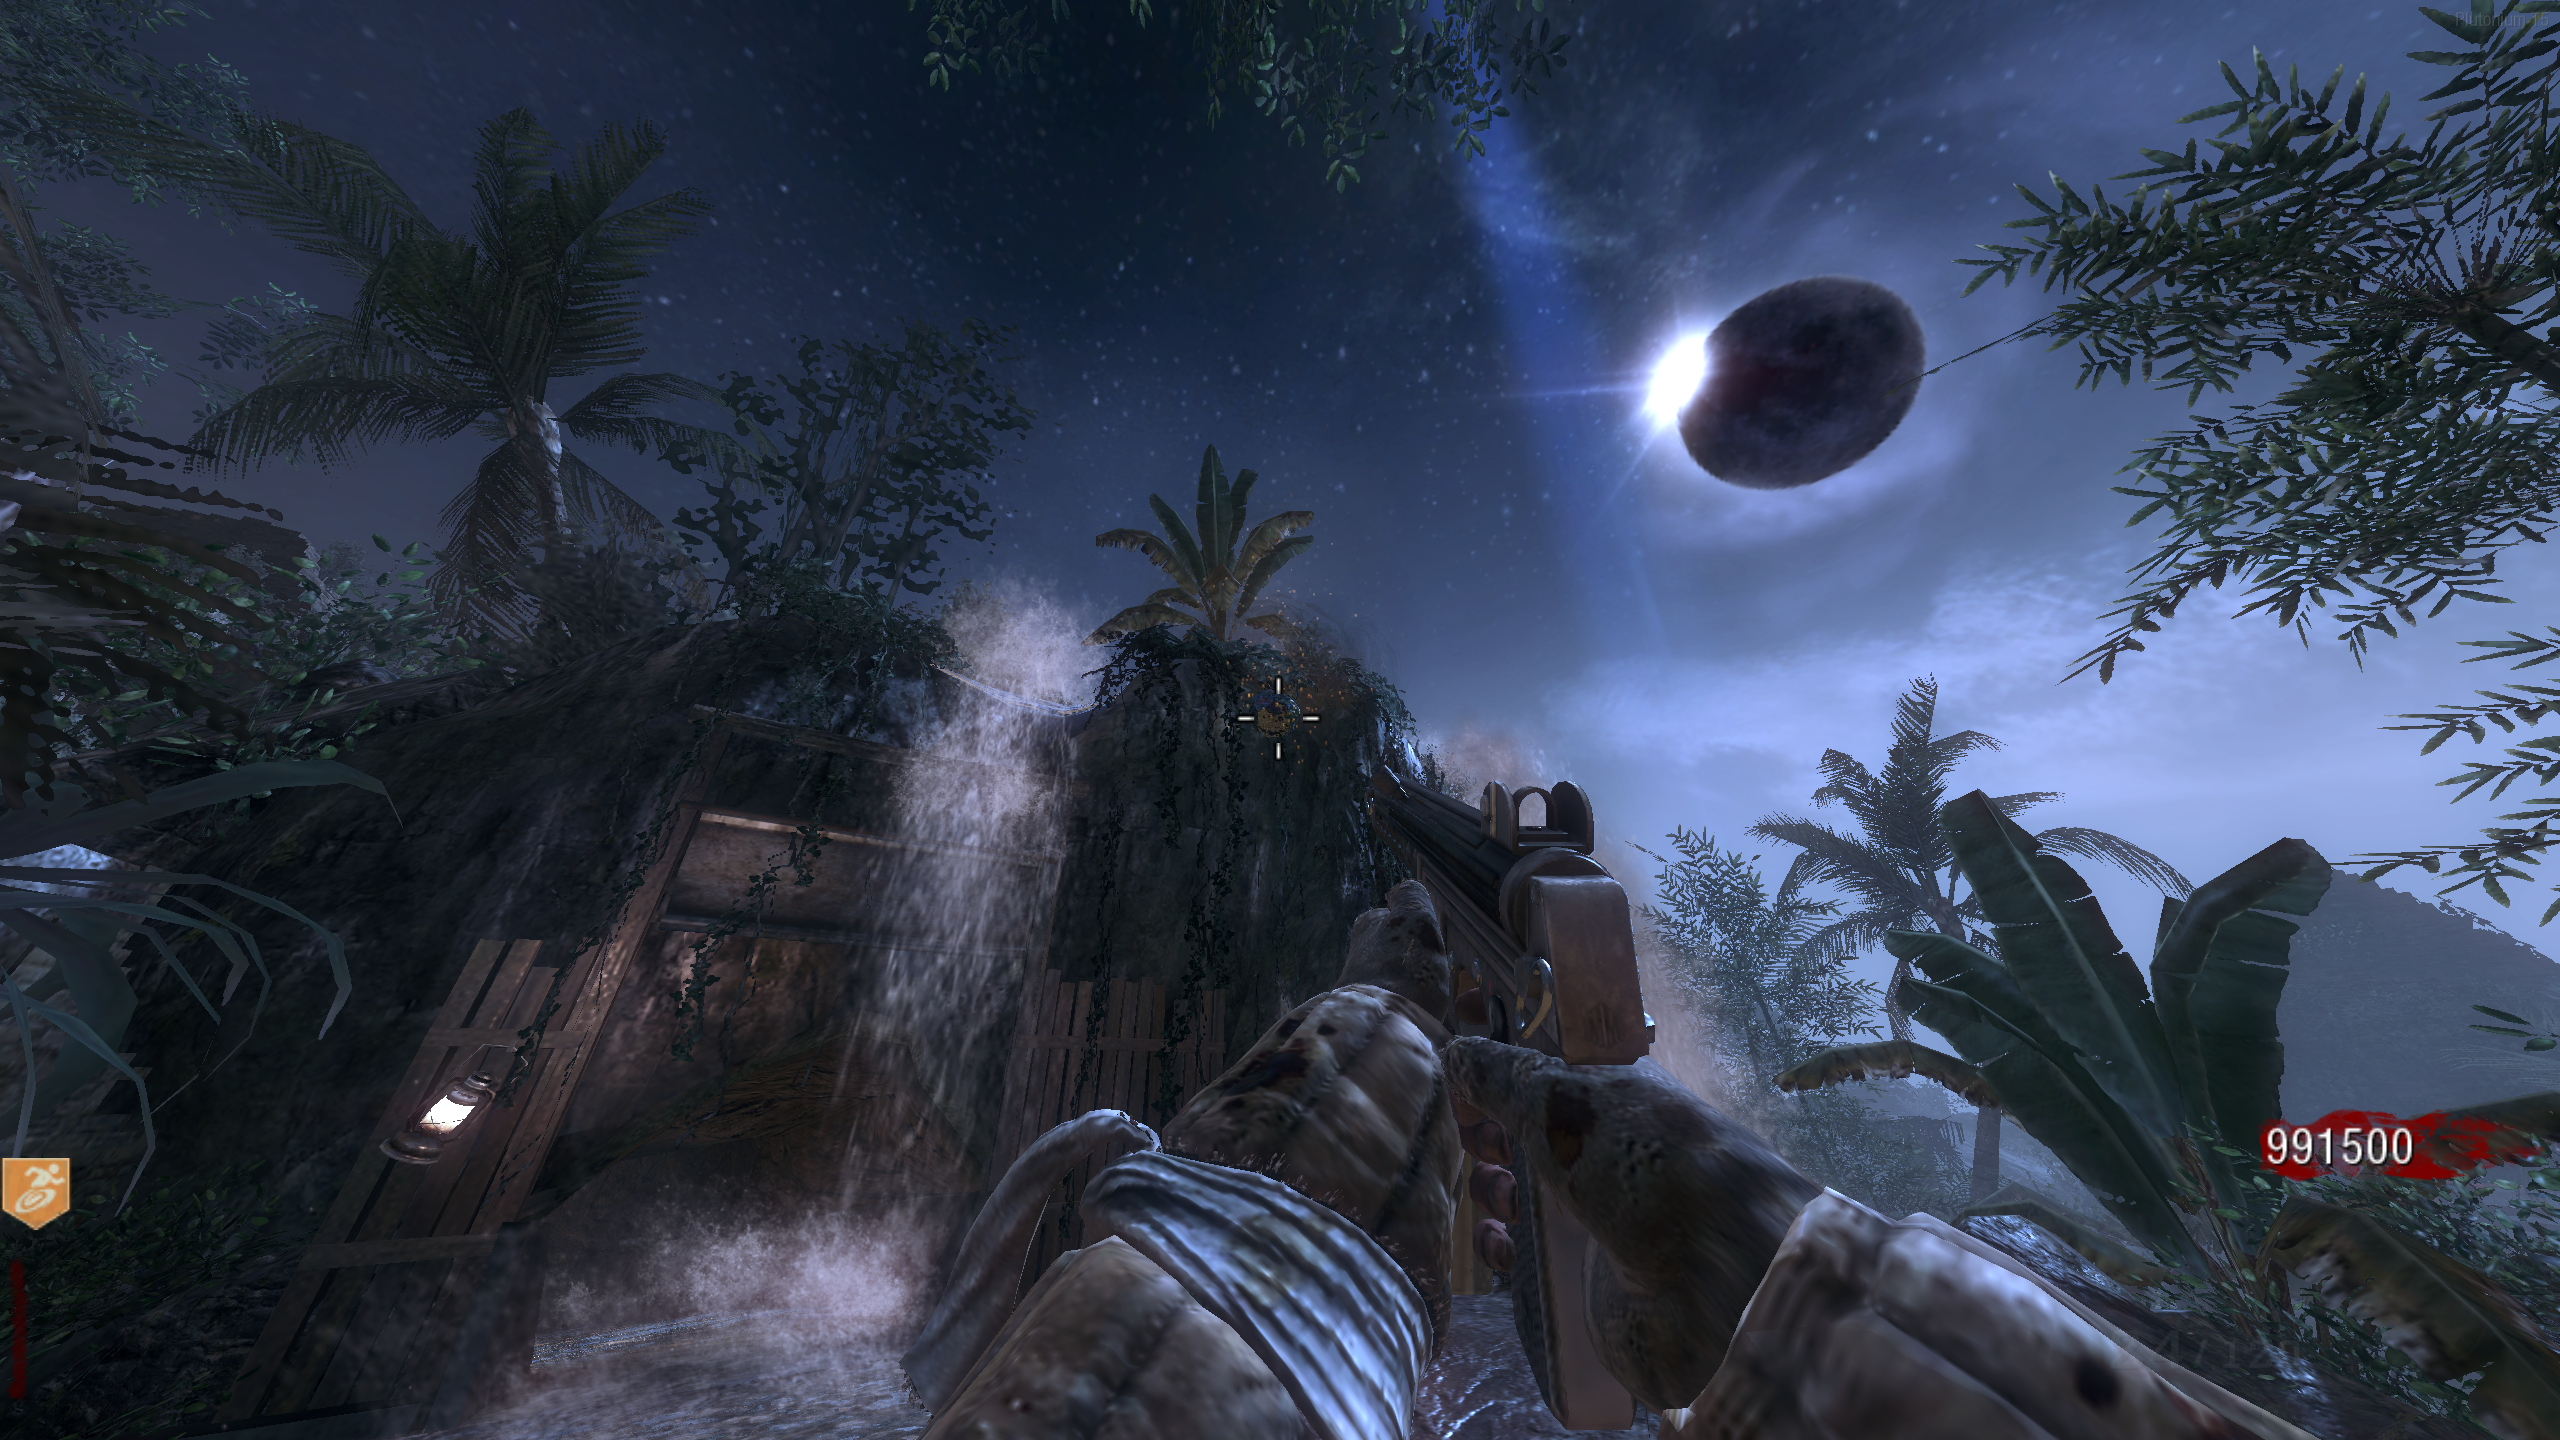
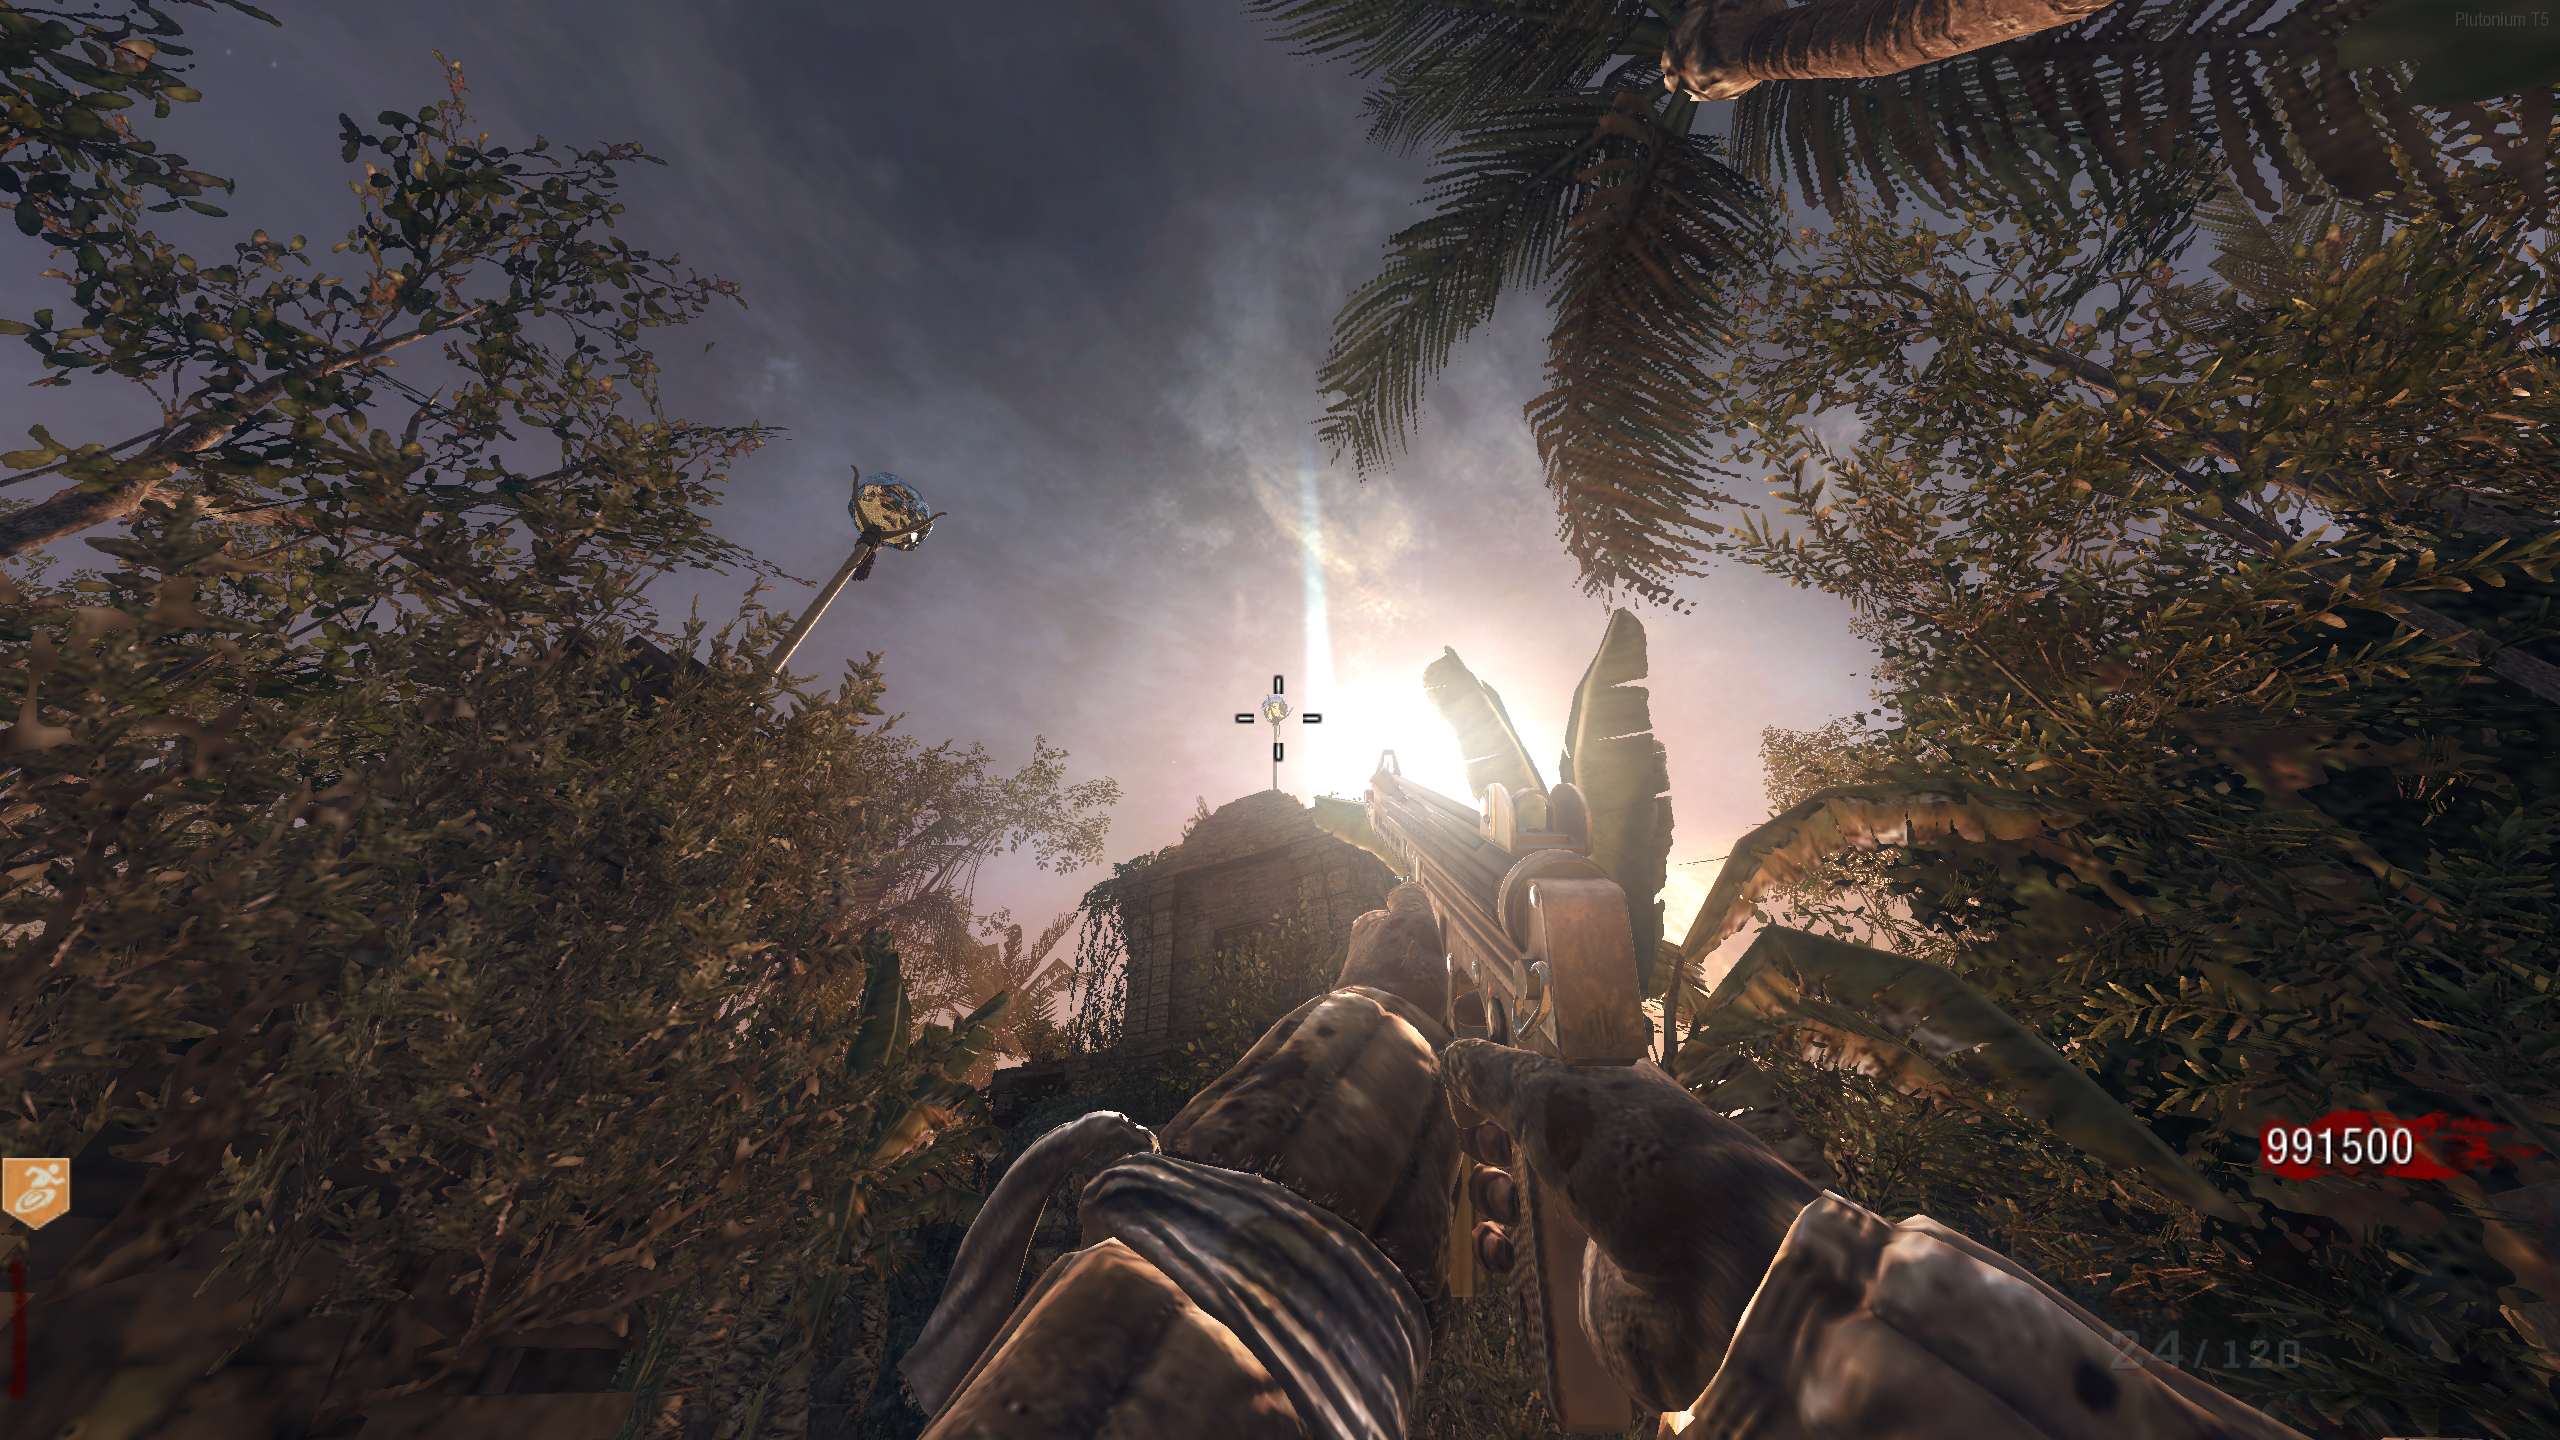
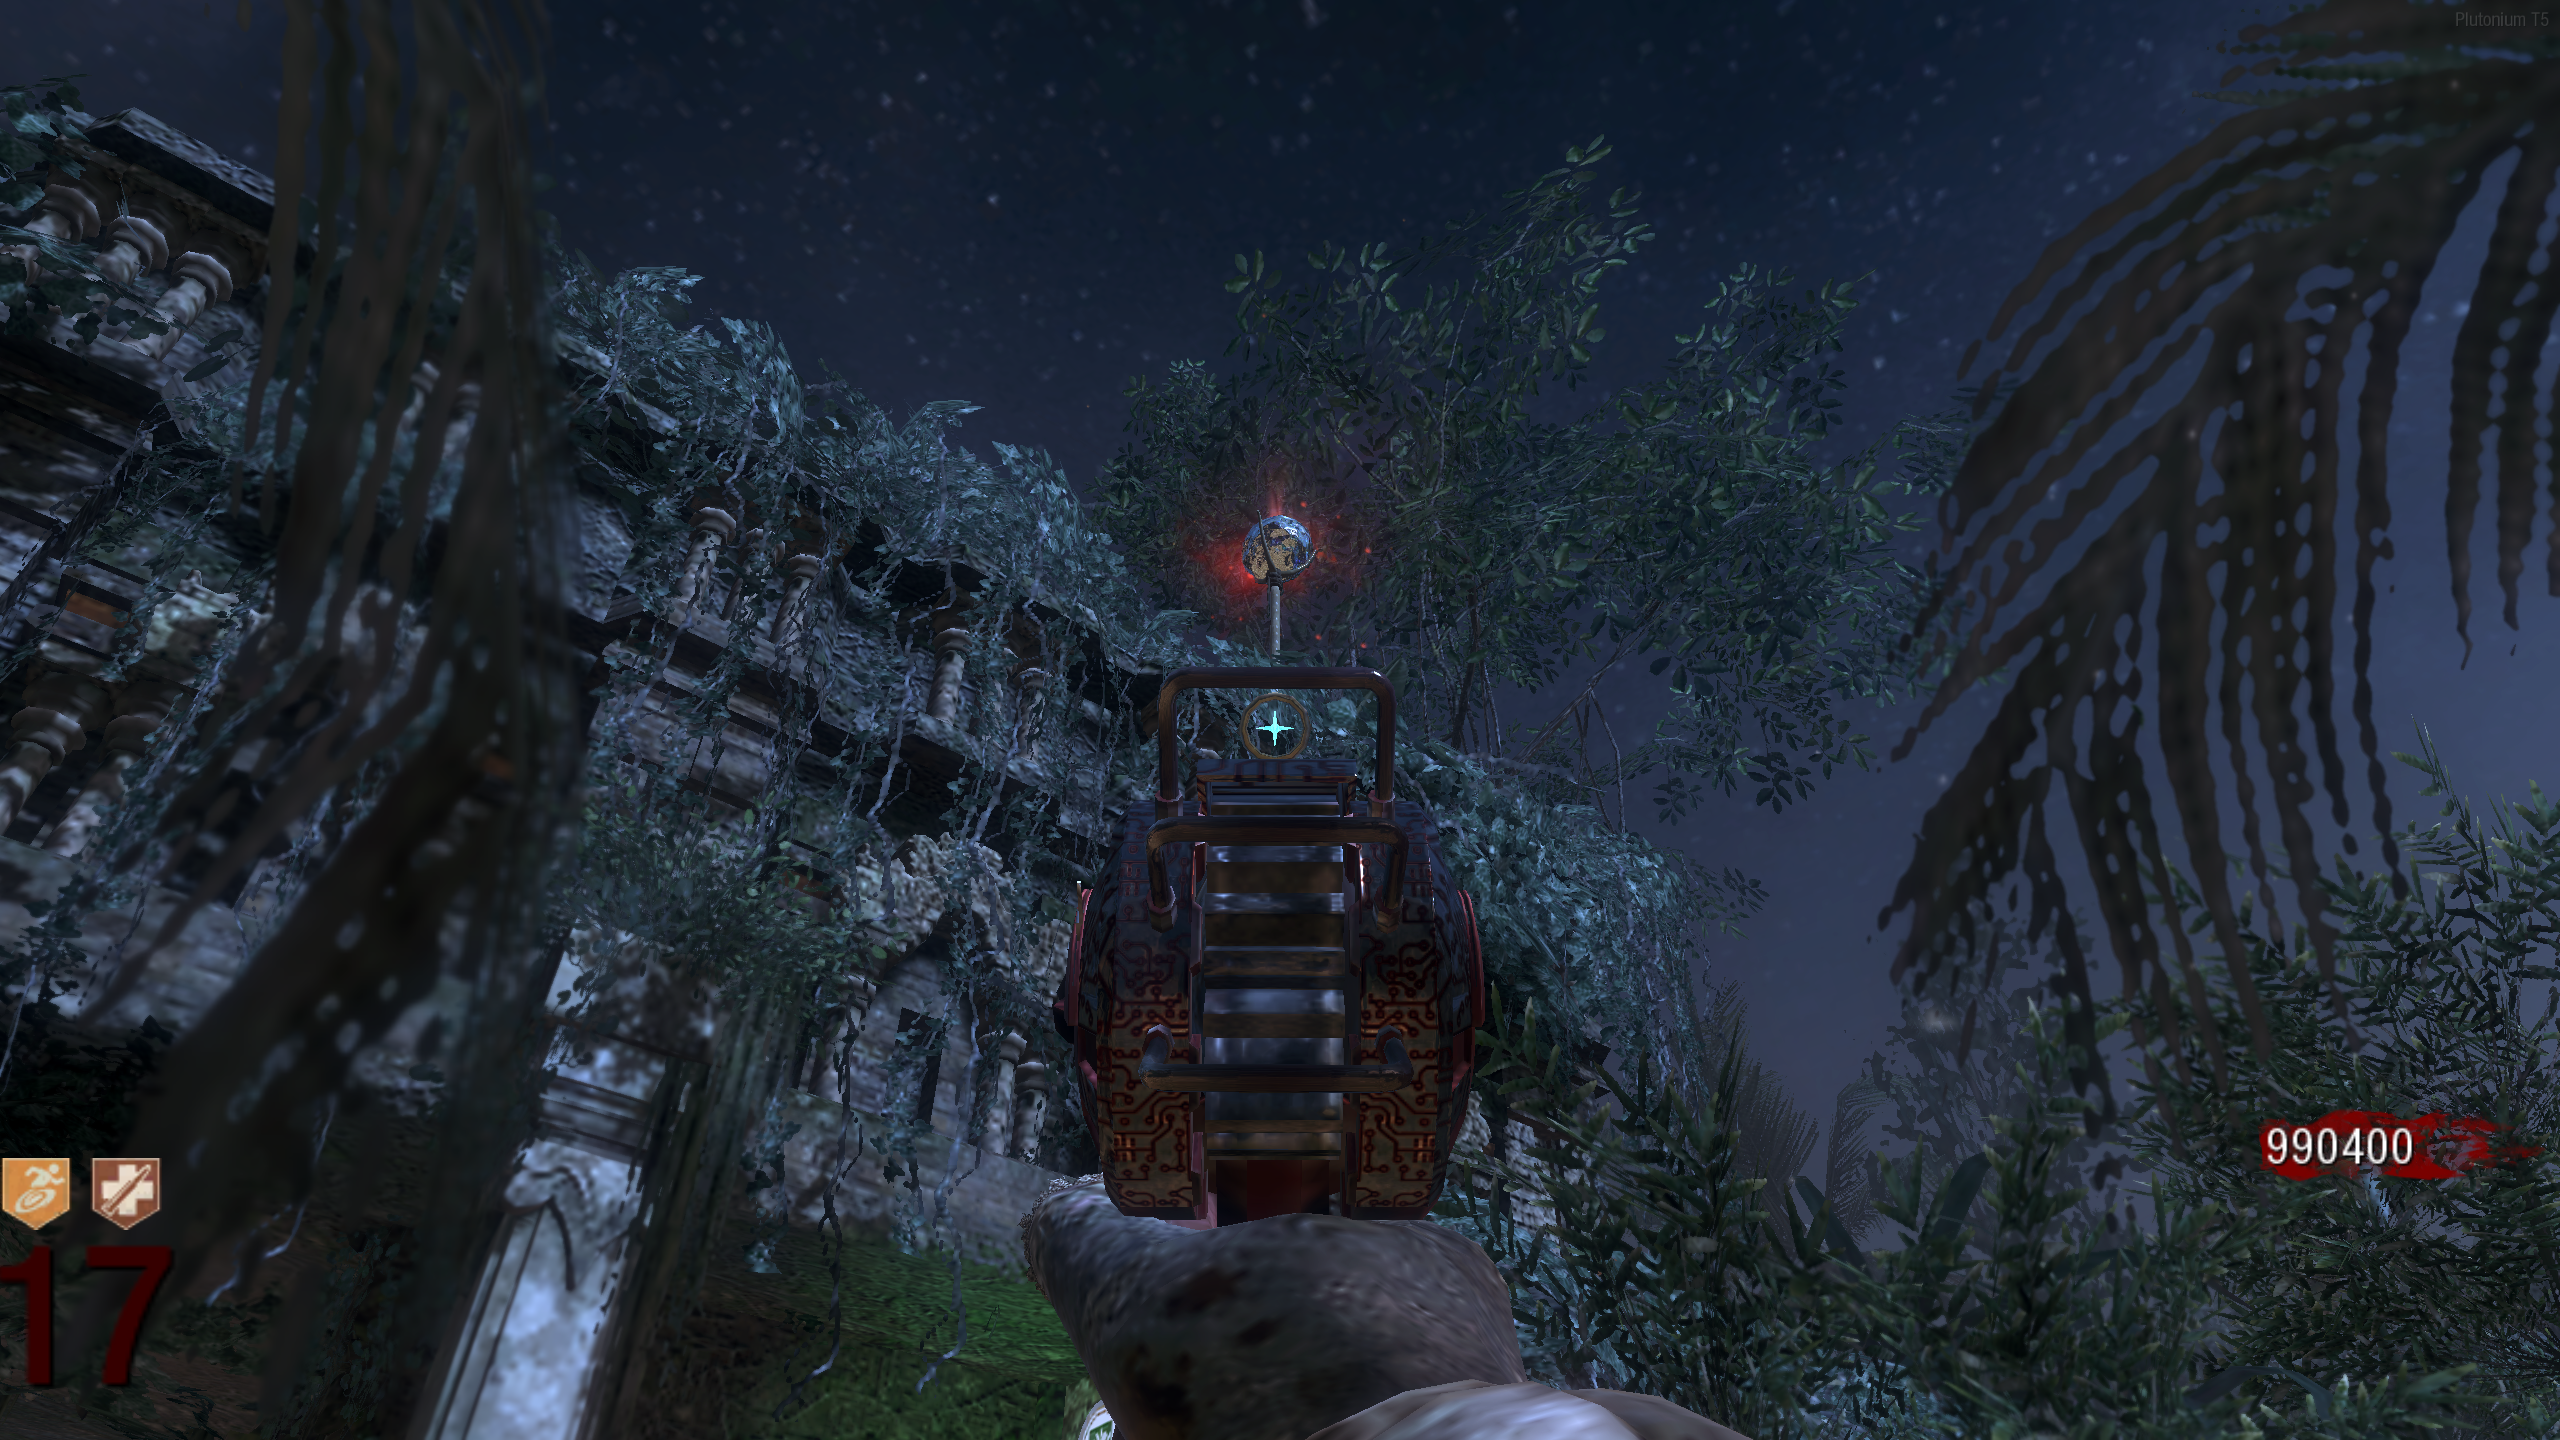
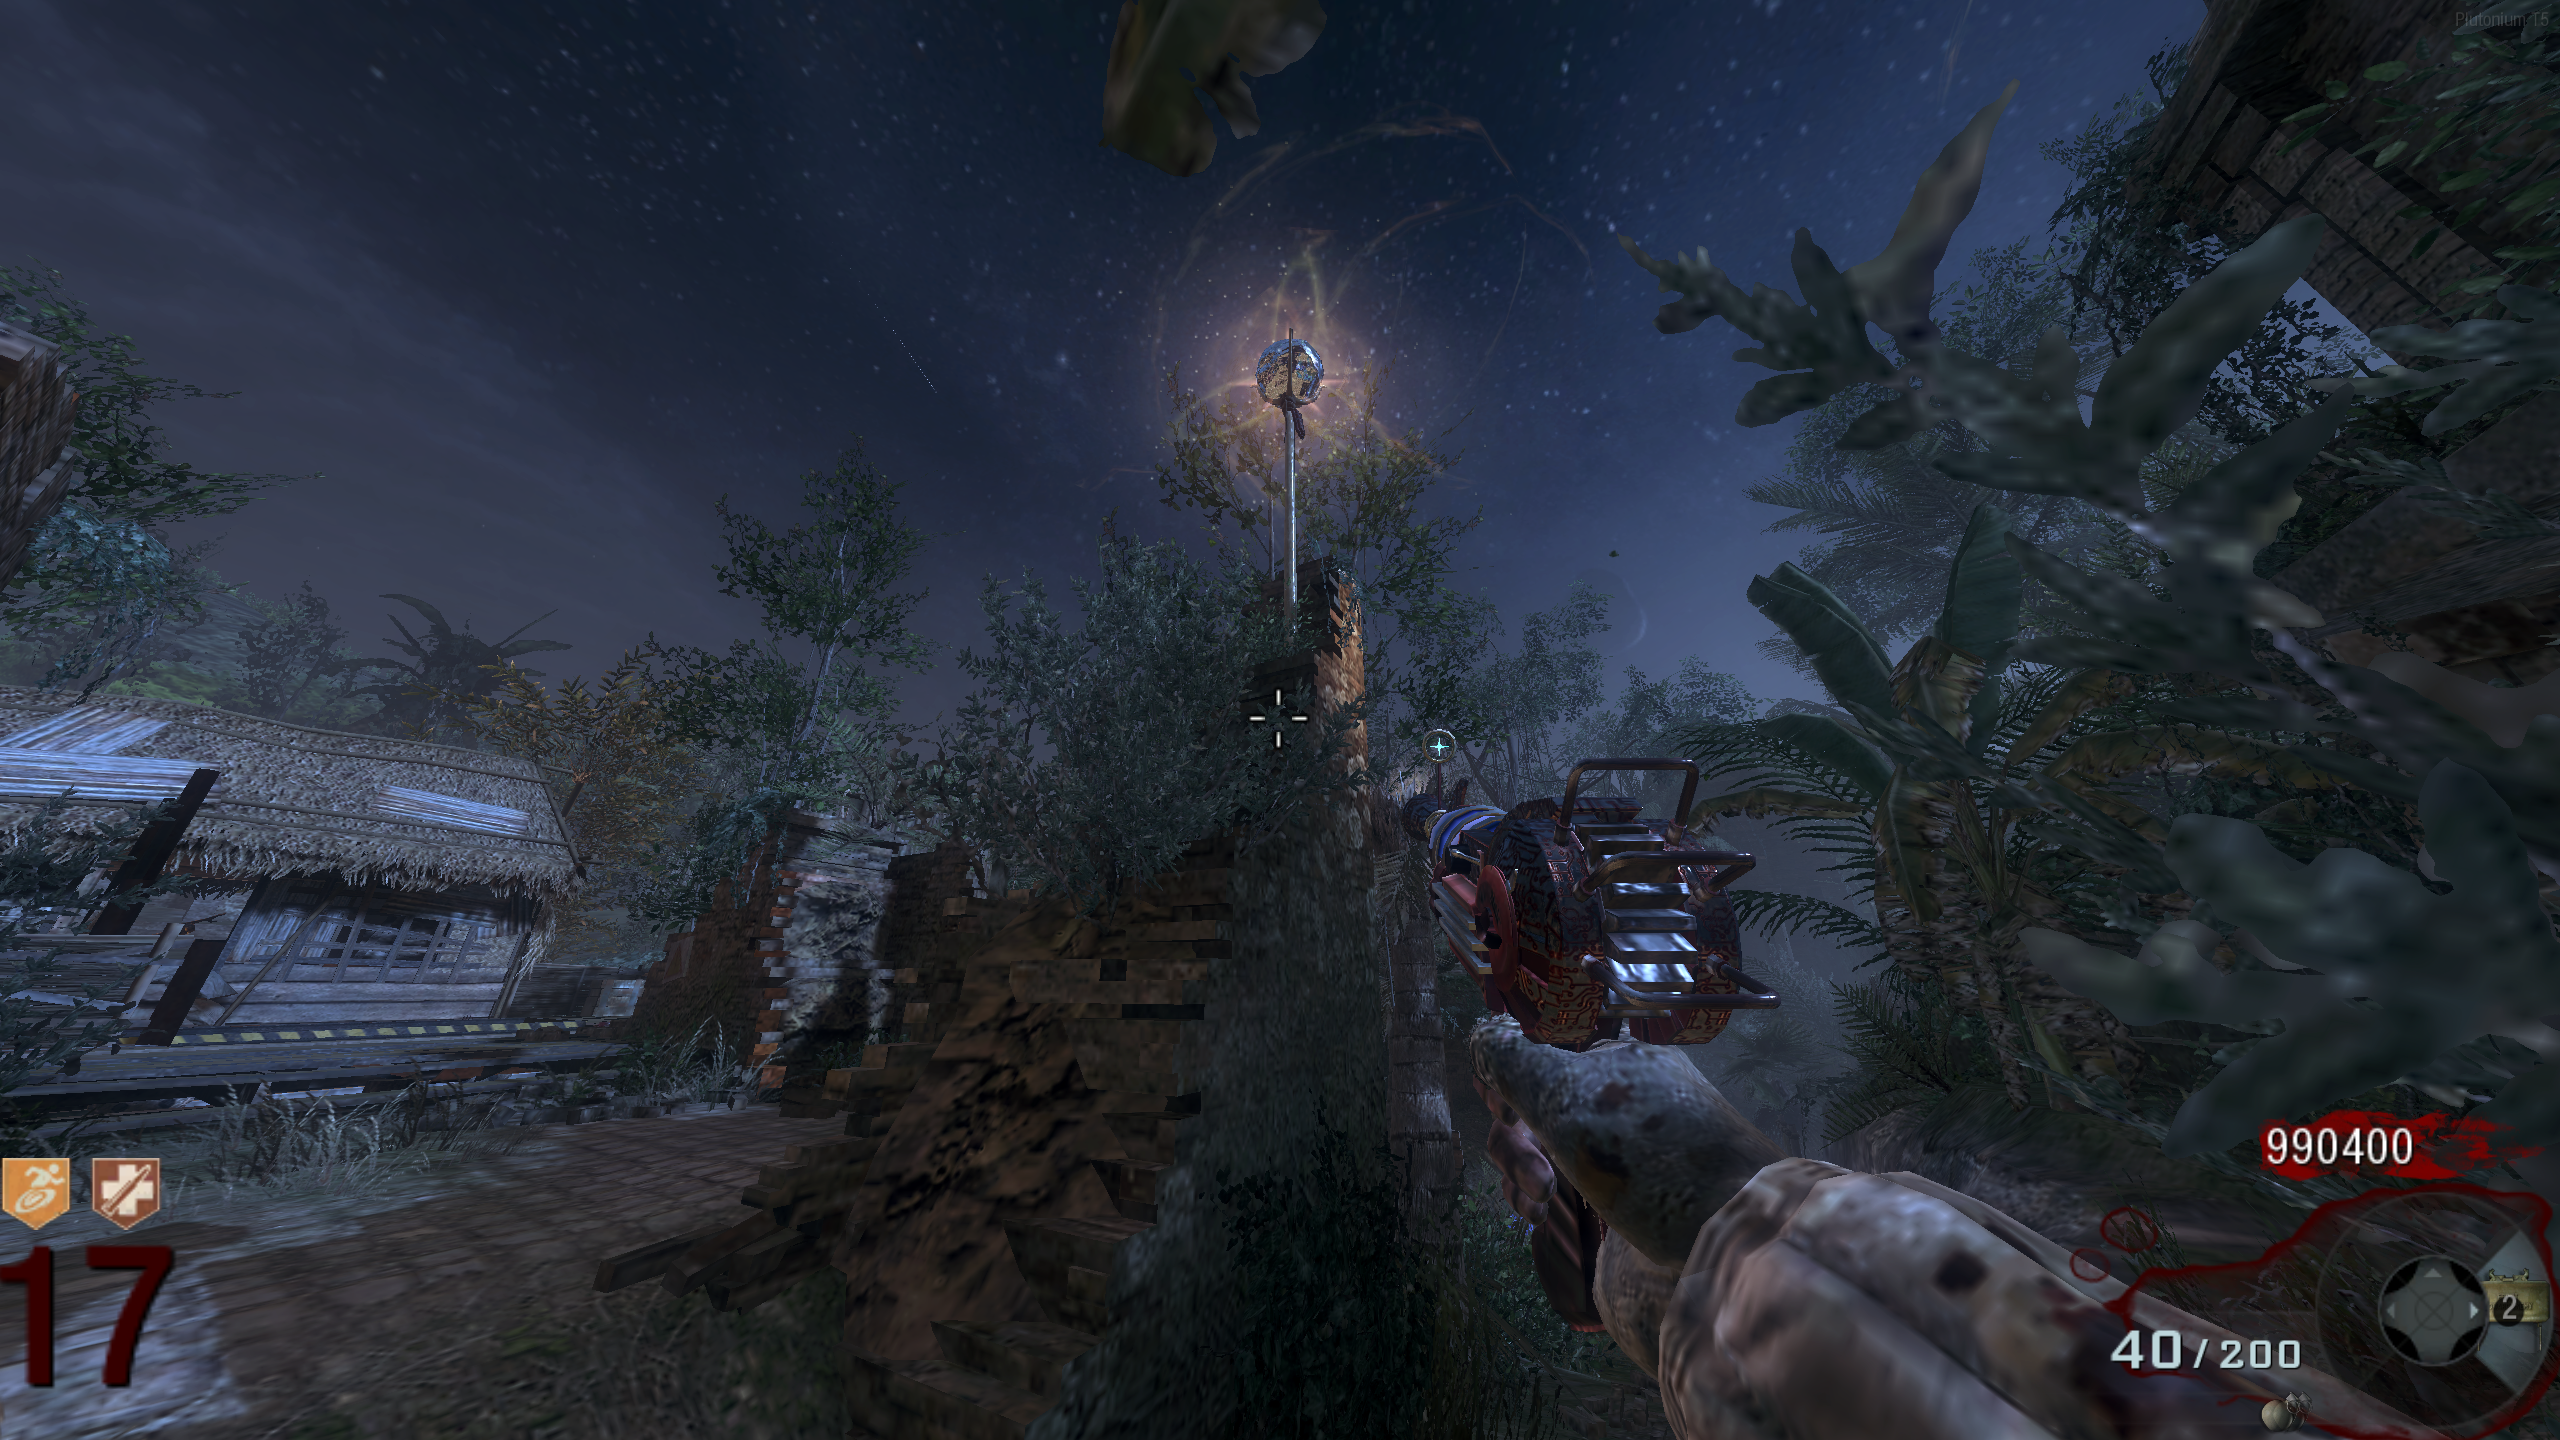
- While the Crystals are glowing, stand below the Crystal above the Geyser in the Minecart area. It should be holding the dynamite. Shoot it with the Fractalizer, and catch the dynamite before it lands (you don't need to interact with it, just stand below it).
- If you don't catch the Dynamite, you'll need to redo the gongs to get the Crystals glowing. The "correct" gongs will stay the same.
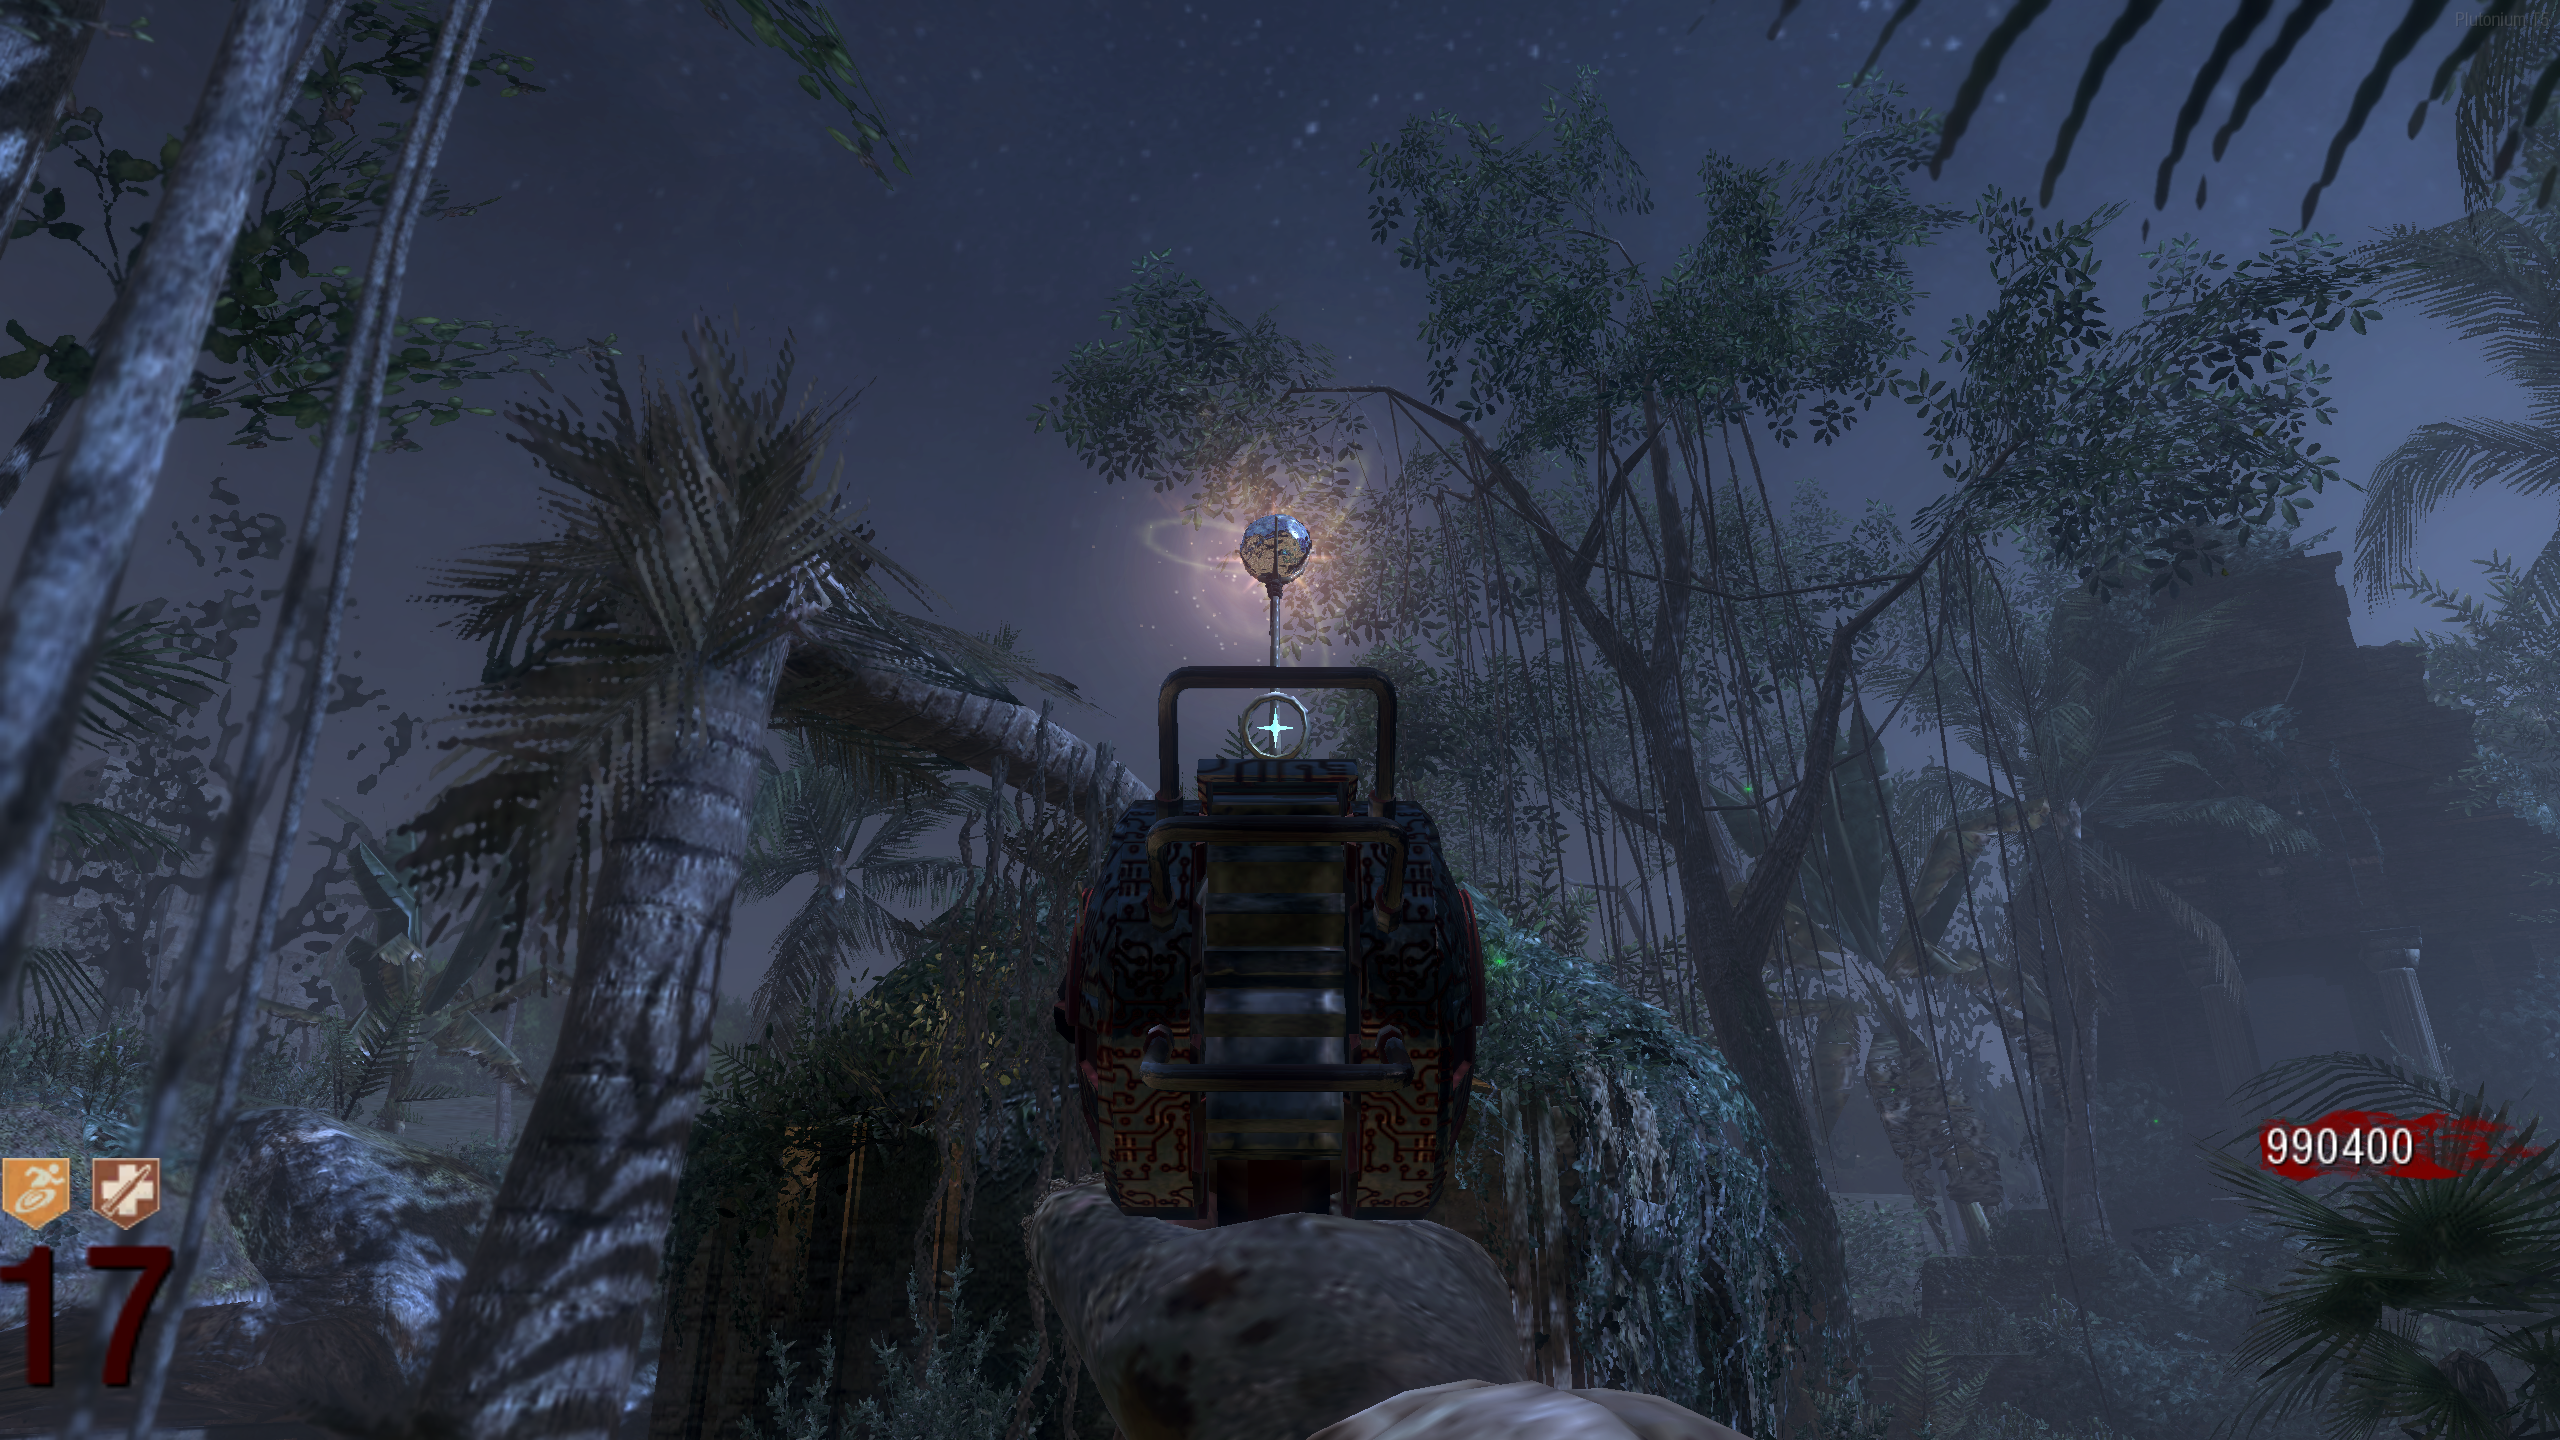
- While the gongs are glowing, shoot the Crystal above the Mud room with the Fractalizer. The shot from the Fractalizer will bounce between all six Crystal Balls then shrink the giant meteor above the PAP machine.
- Once the Meteor has been shrunk, activate the stairs to the Pack-a-Punch. At the top, the machine will be gone and you'll see a brick wall with some holes. Brock and Gary will talk about needing Dynamite. Once that conversation is over, interact with the hole to give Brock the dynamite.
- Once you give Brock the Dynamite, all players must run down the stairs. This should end the Eclipse.
- While out of the Eclipse, run up to the Pack-a-Punch again (you may need to activate the stairs again). At the top, the brick wall will be gone and the Focusing Stone will be atop an altar. Interact with it to pick it up, and end the Main Quest.
- Whoever picks up the Stone will be given all perks, and they will be permanent for the rest of the game.
- Once the Stone is picked up, the quest can be restarted in the same game, by activating the Eclipse again, to allow another player to get permanent perks. The quest can be done up to 4 times (one per player) in one game.
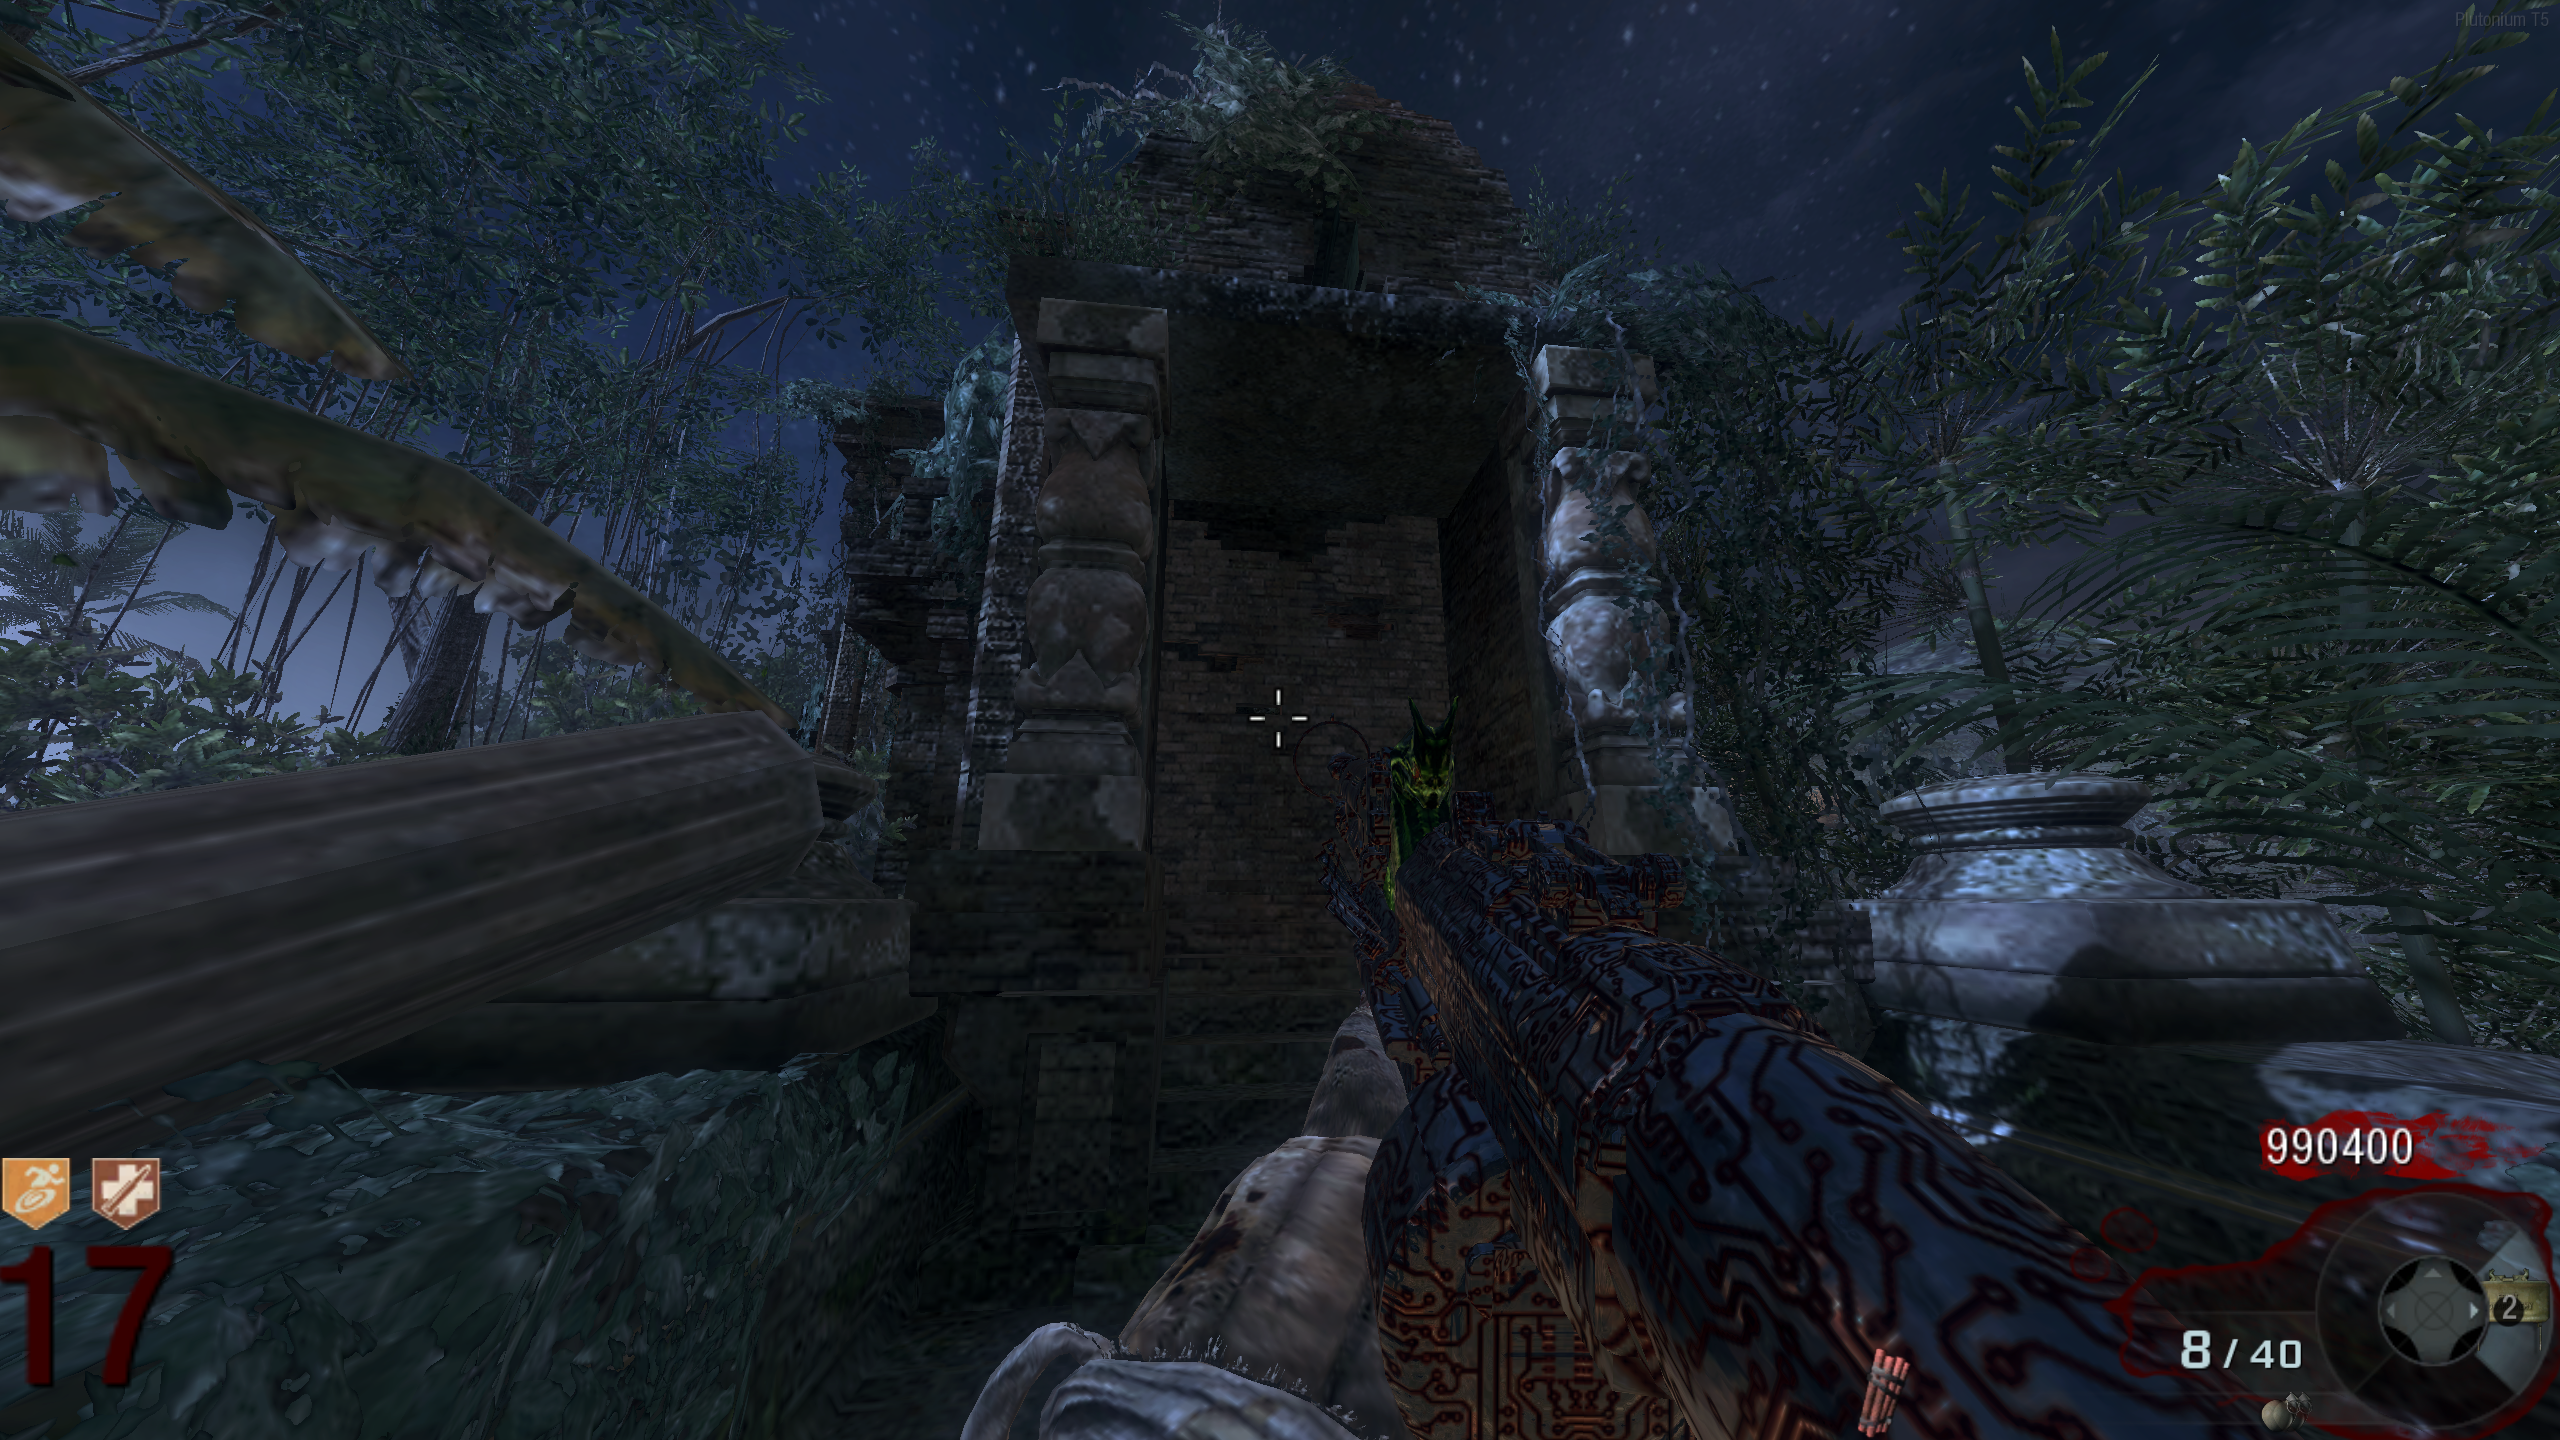
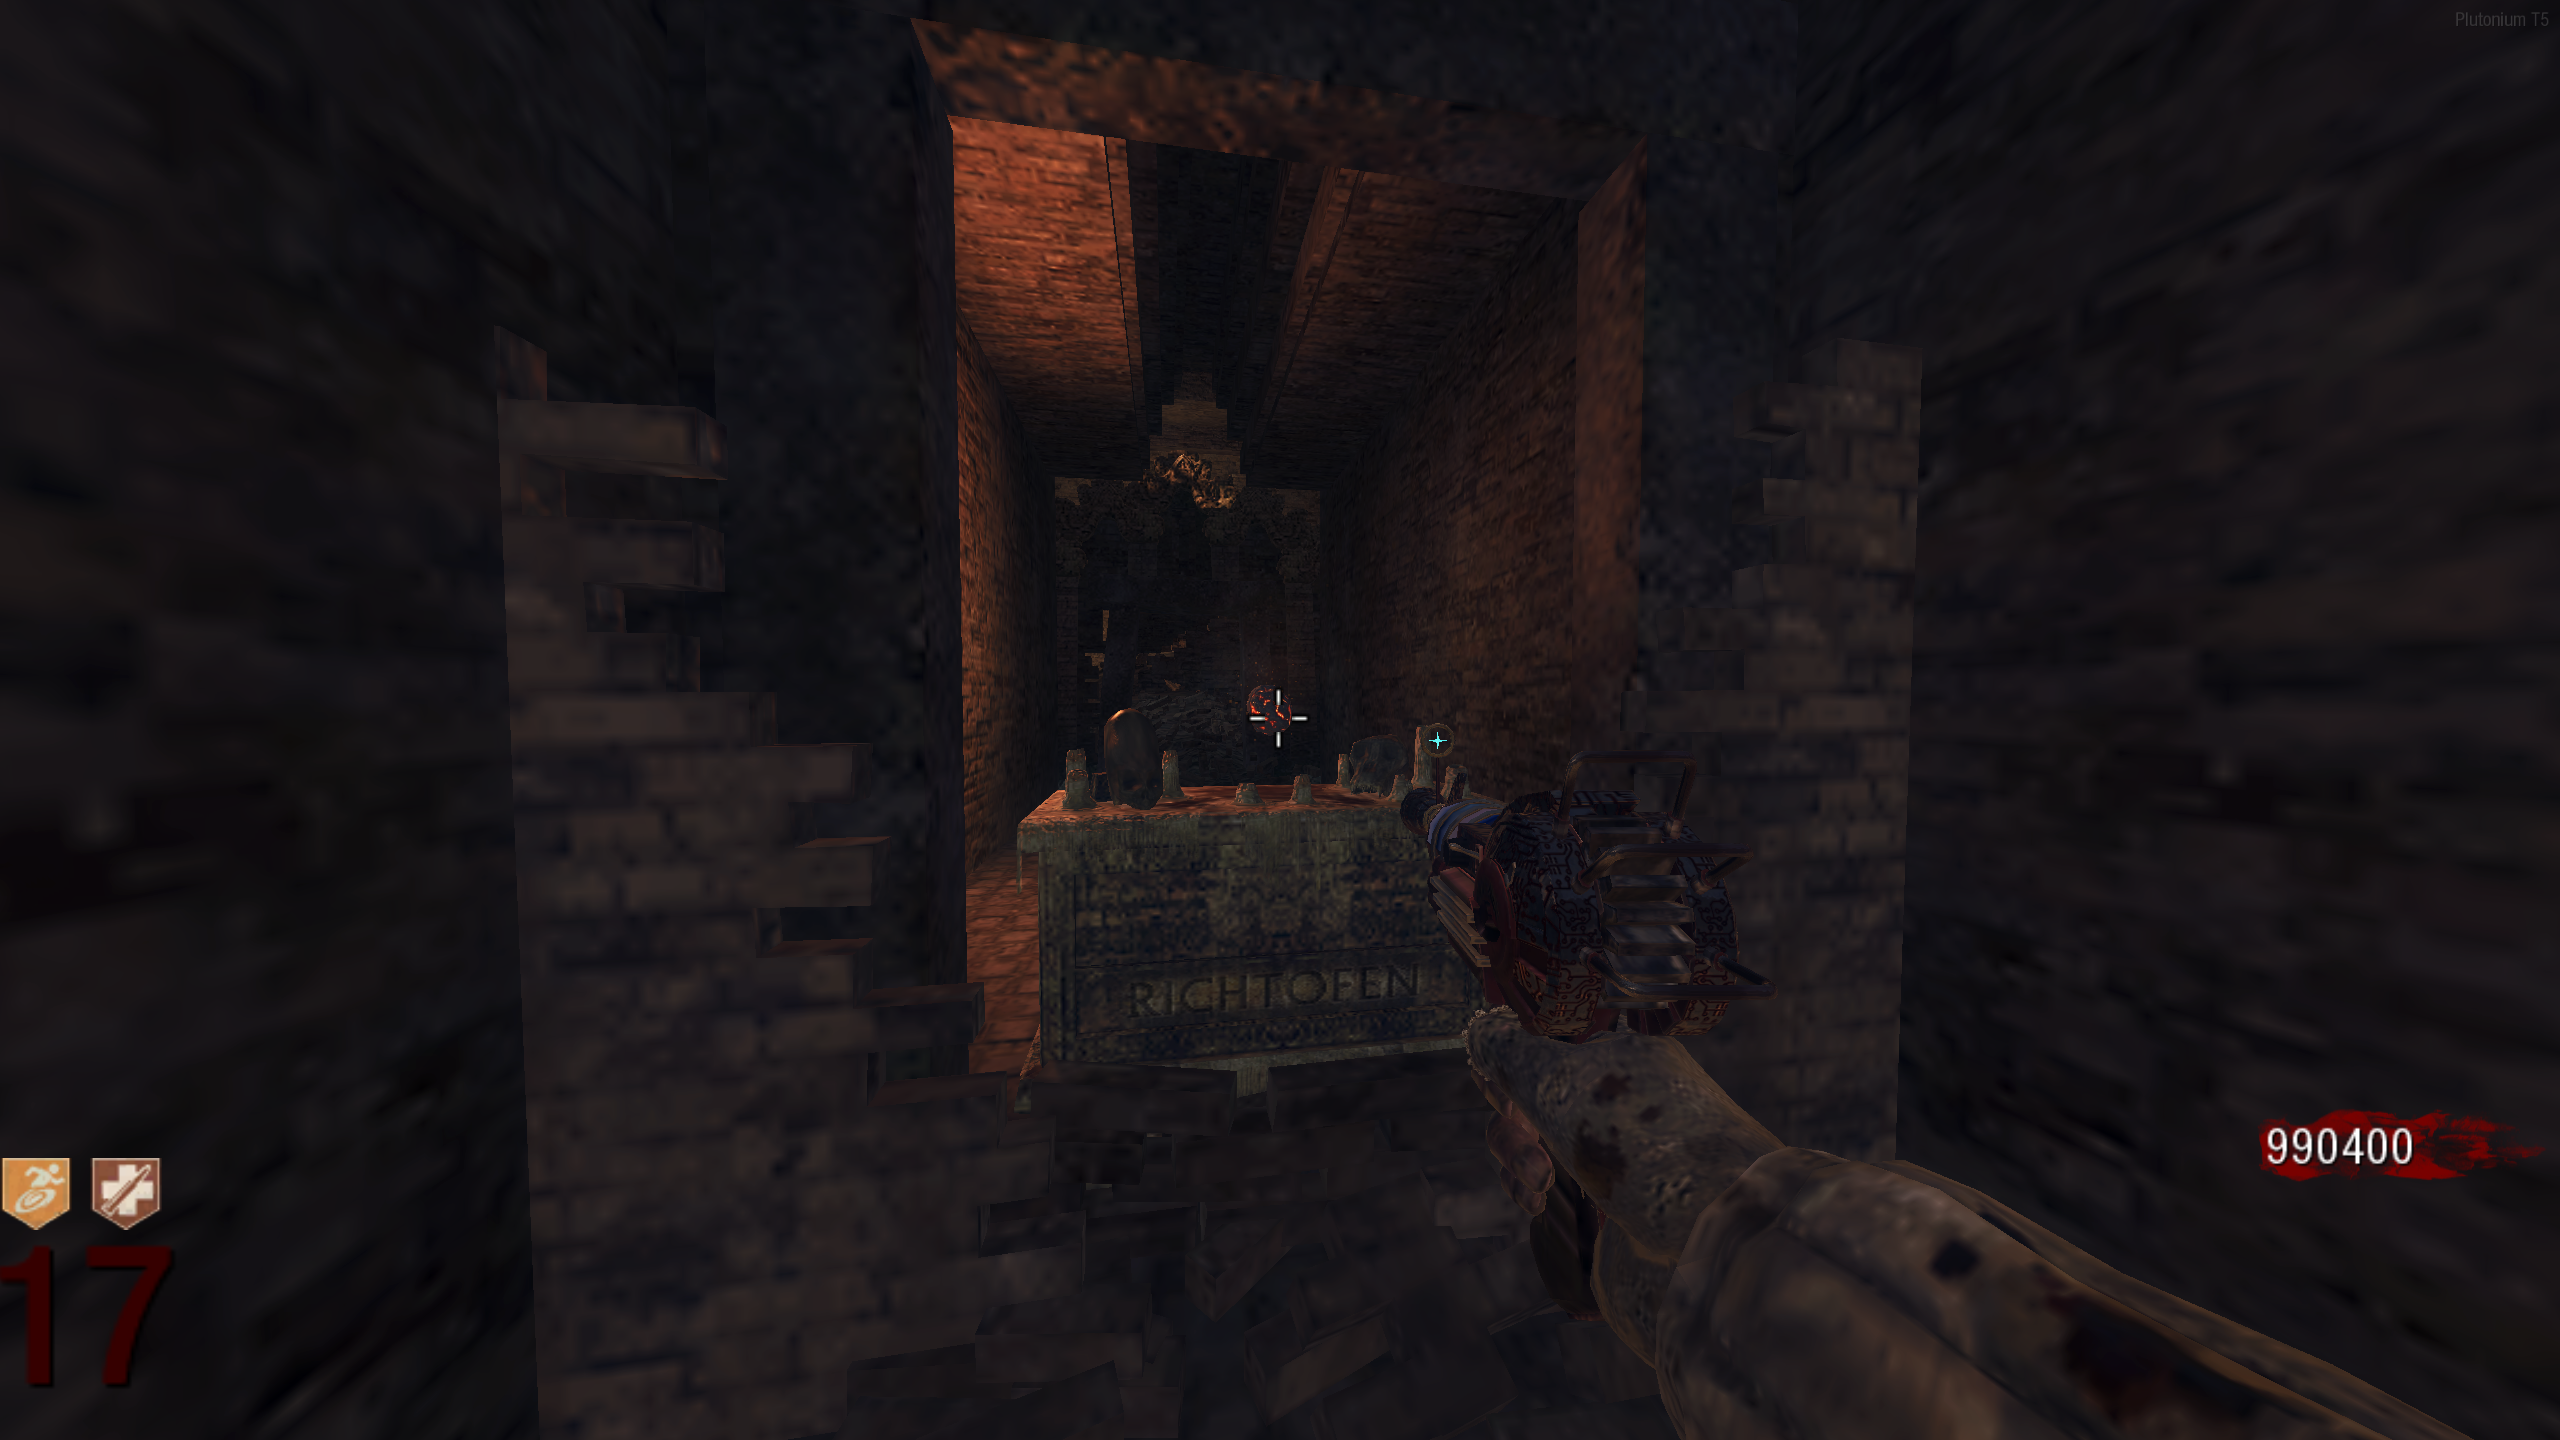
"Pareidolia" Song
Link to song on streaming here.
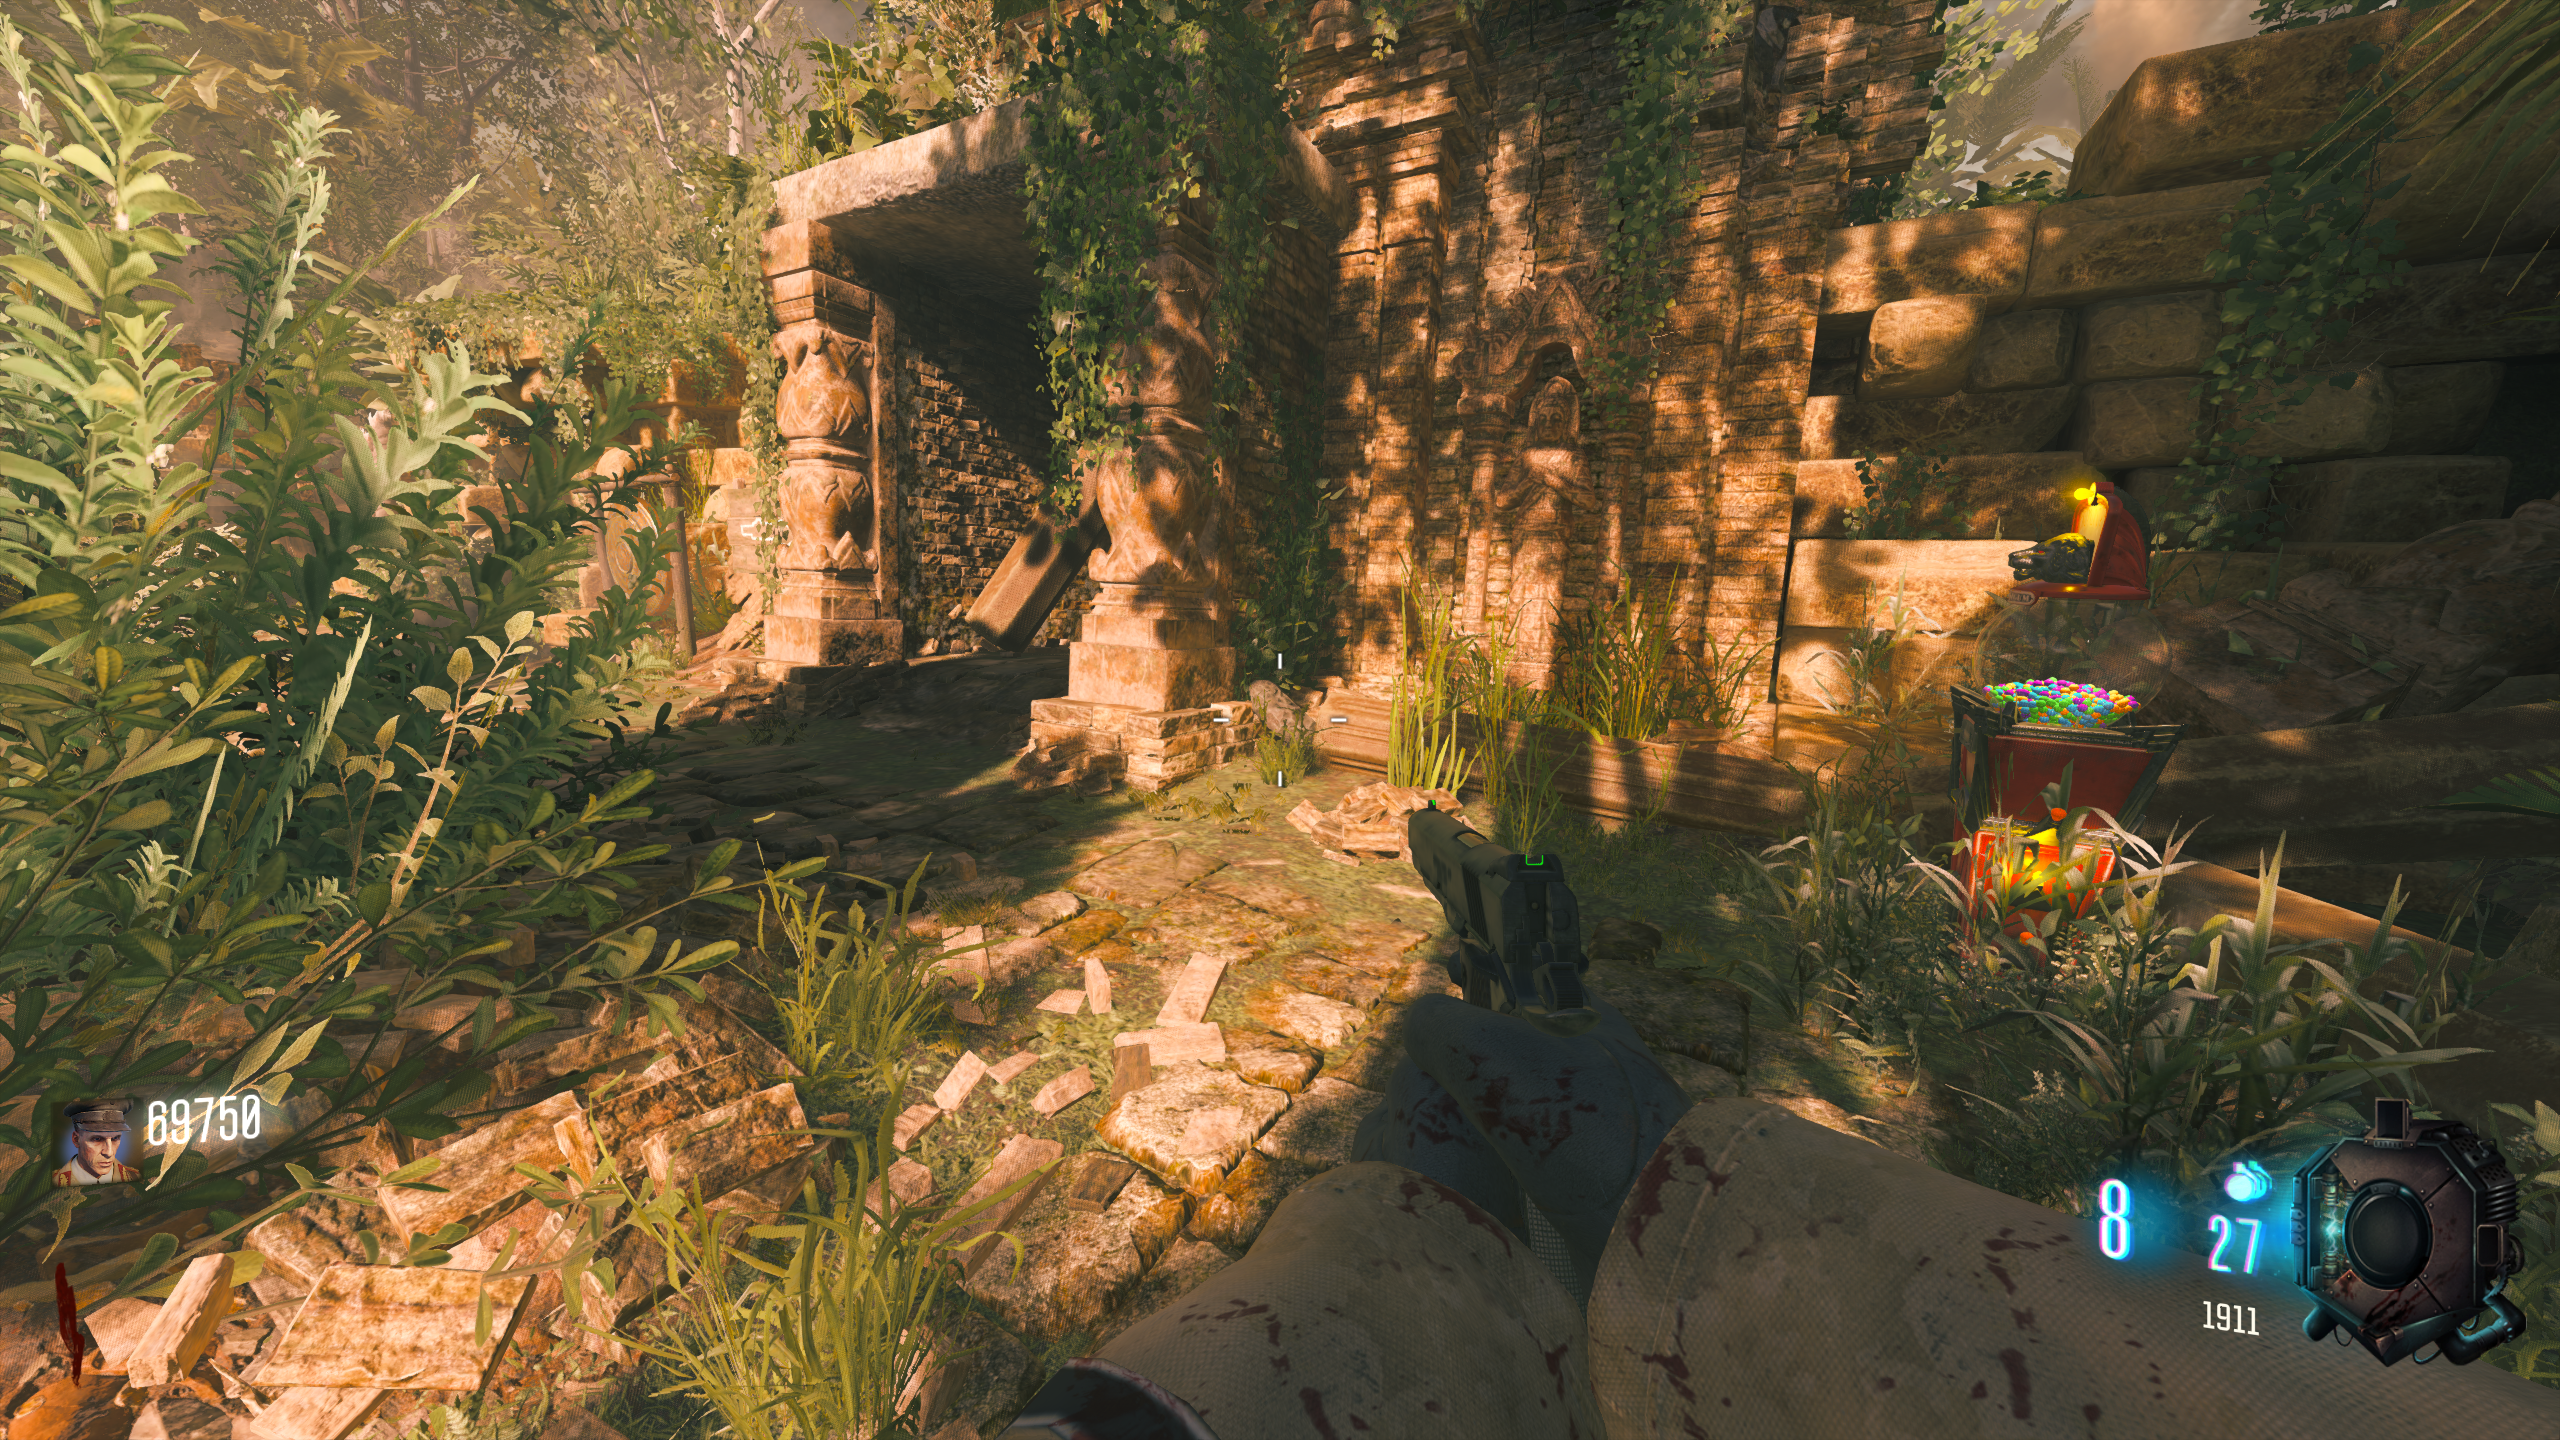
The location of the first meteor was moved slightly in the BO3 version of the map.
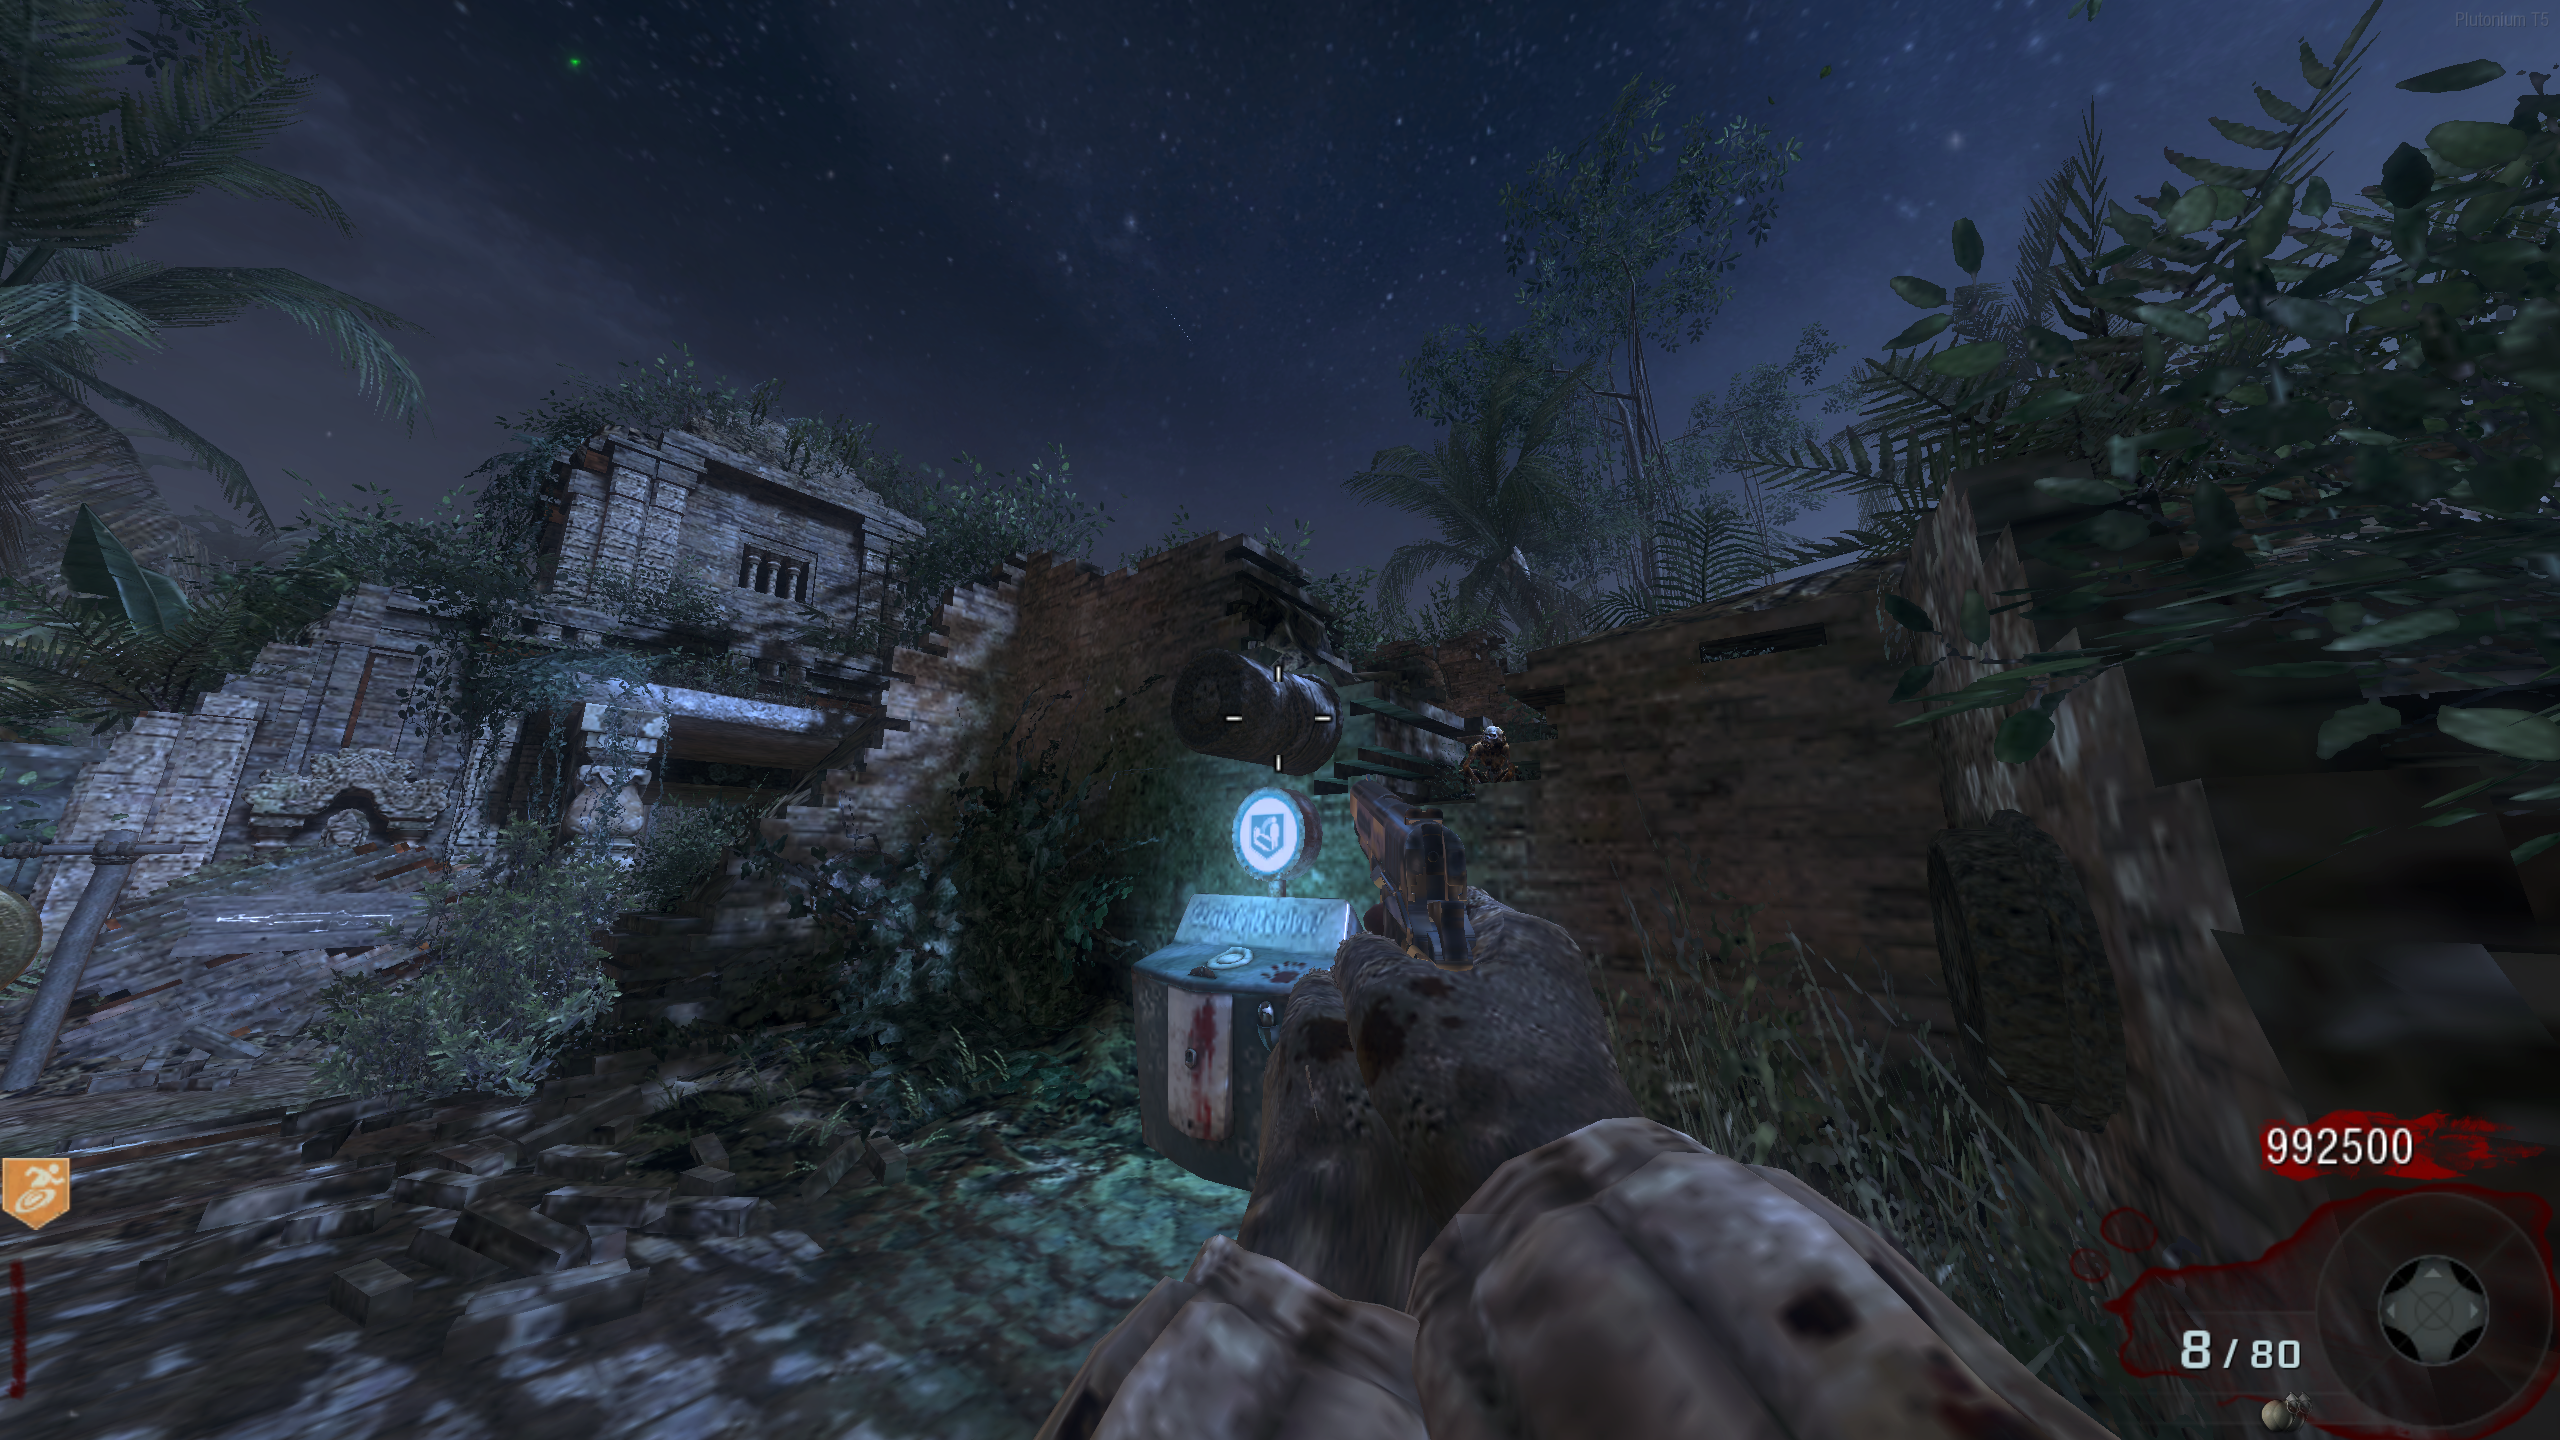
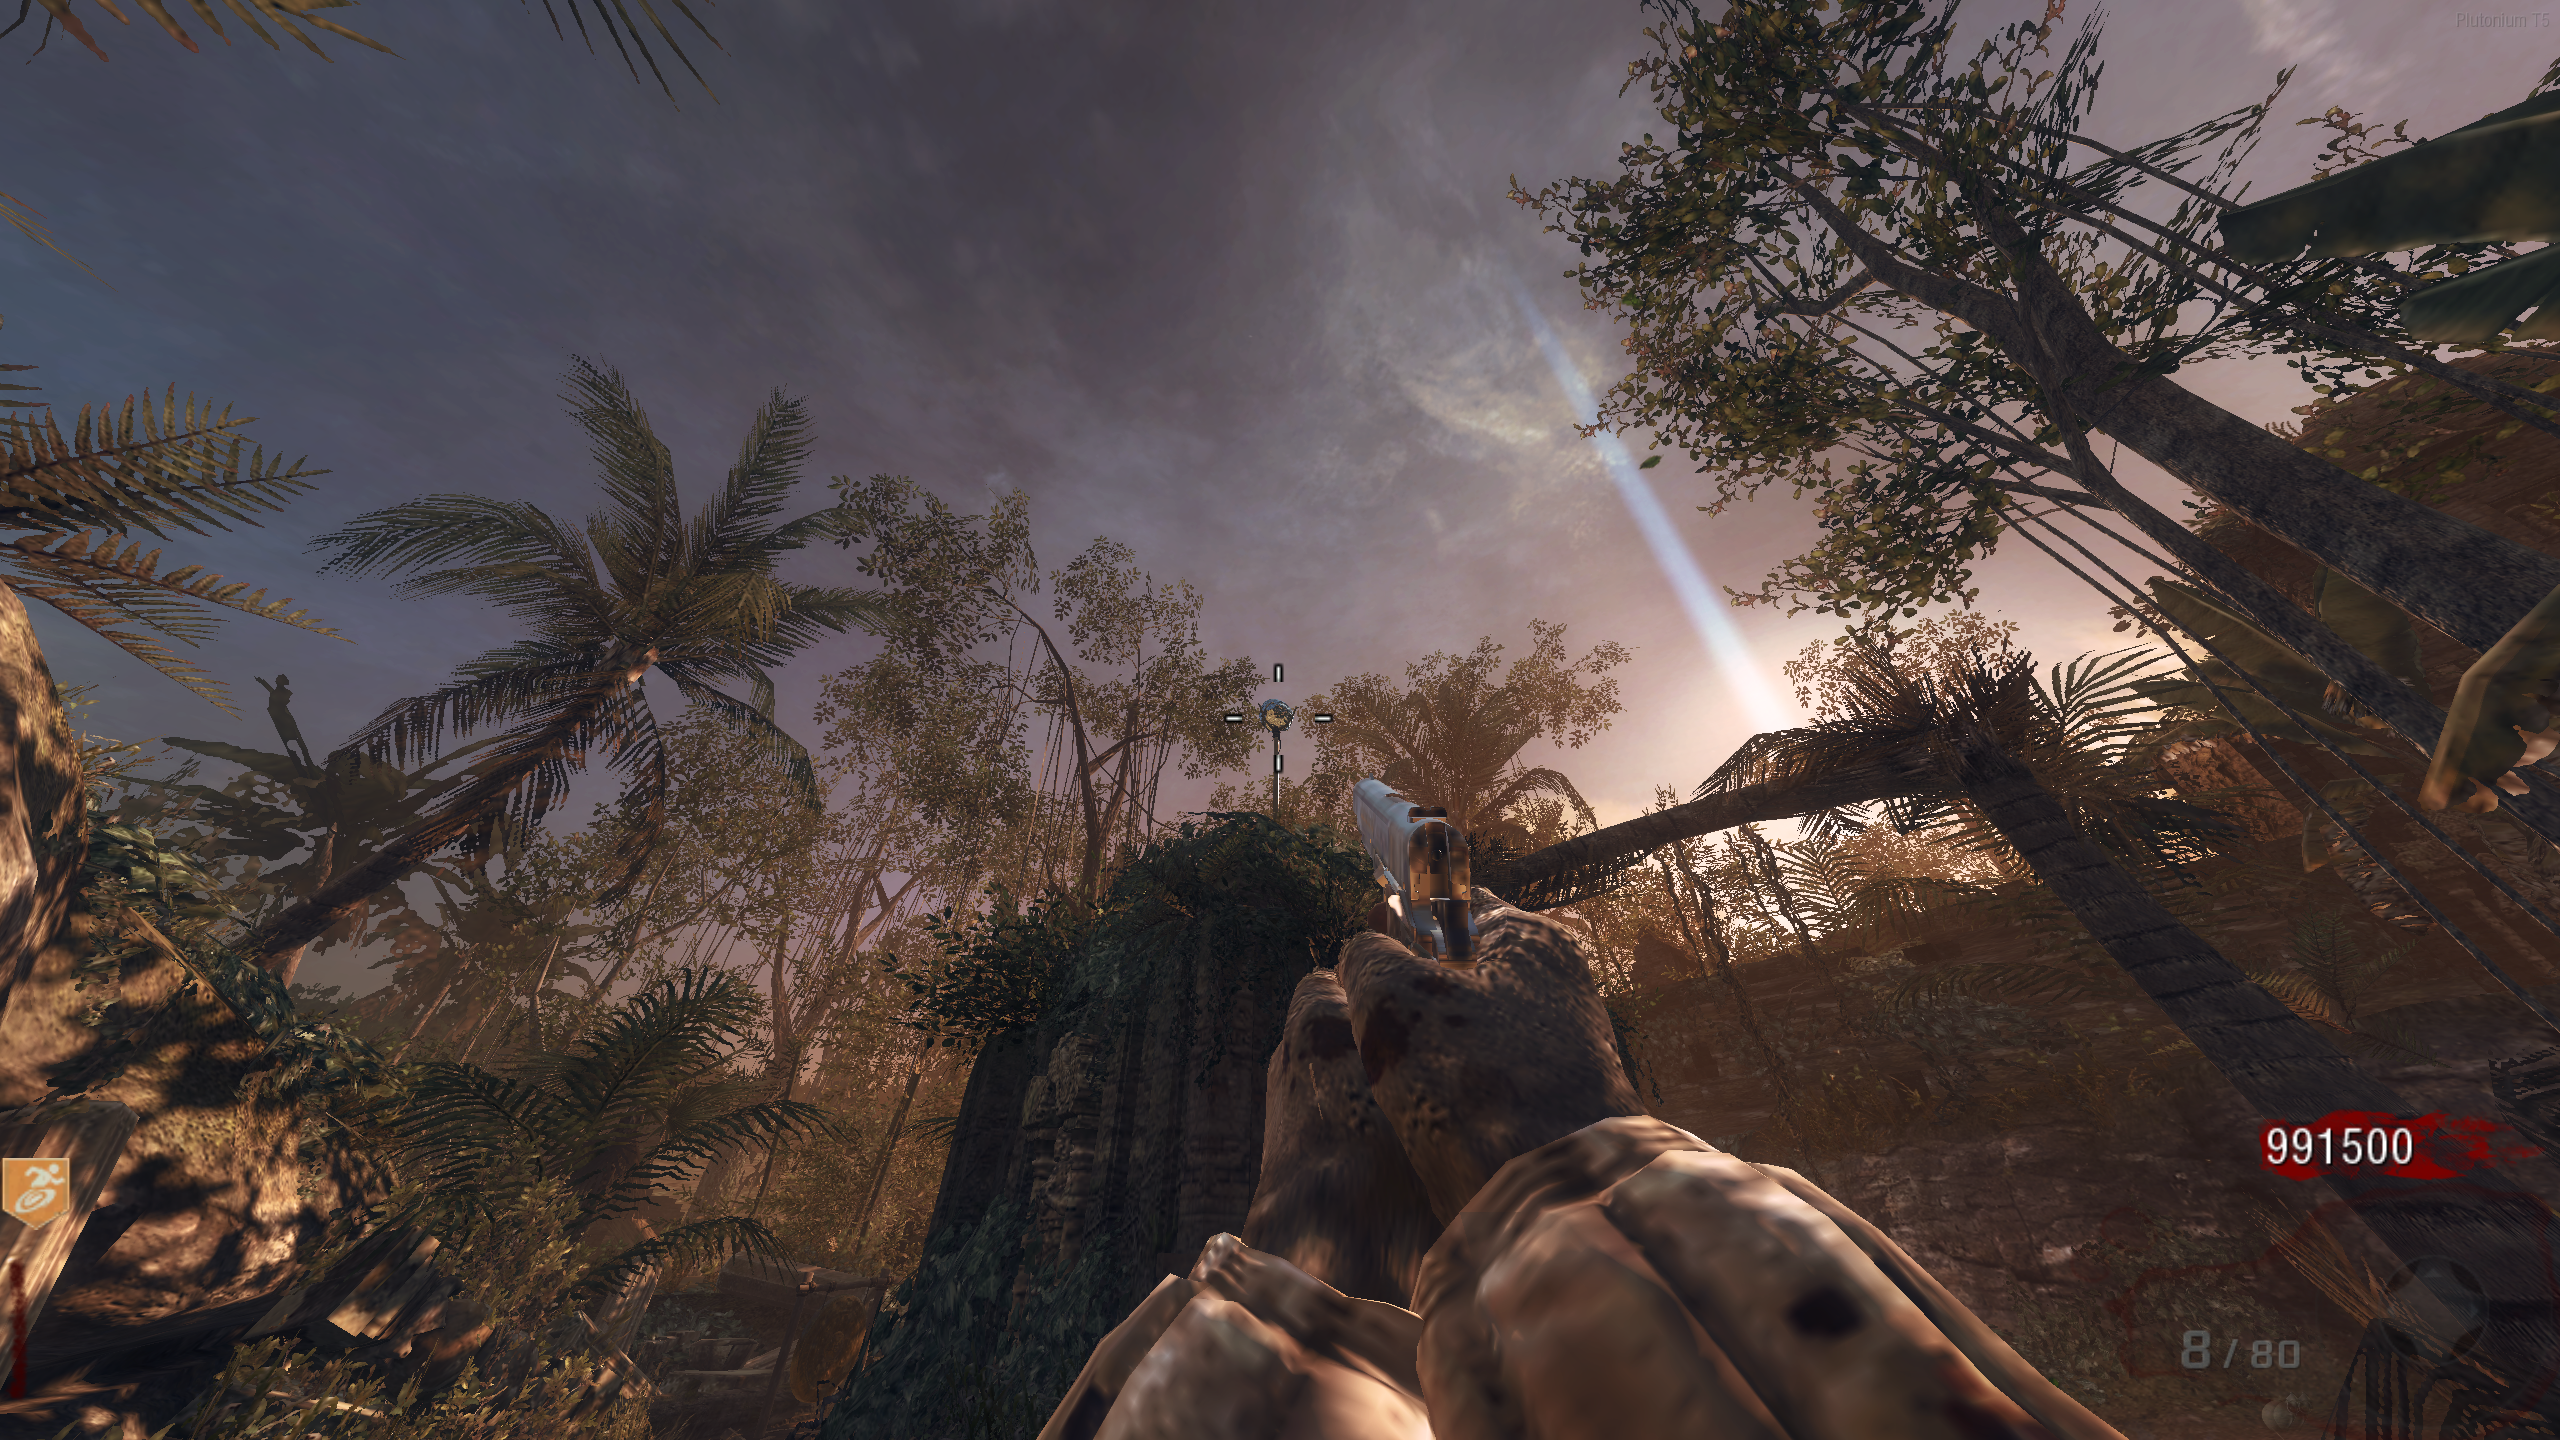
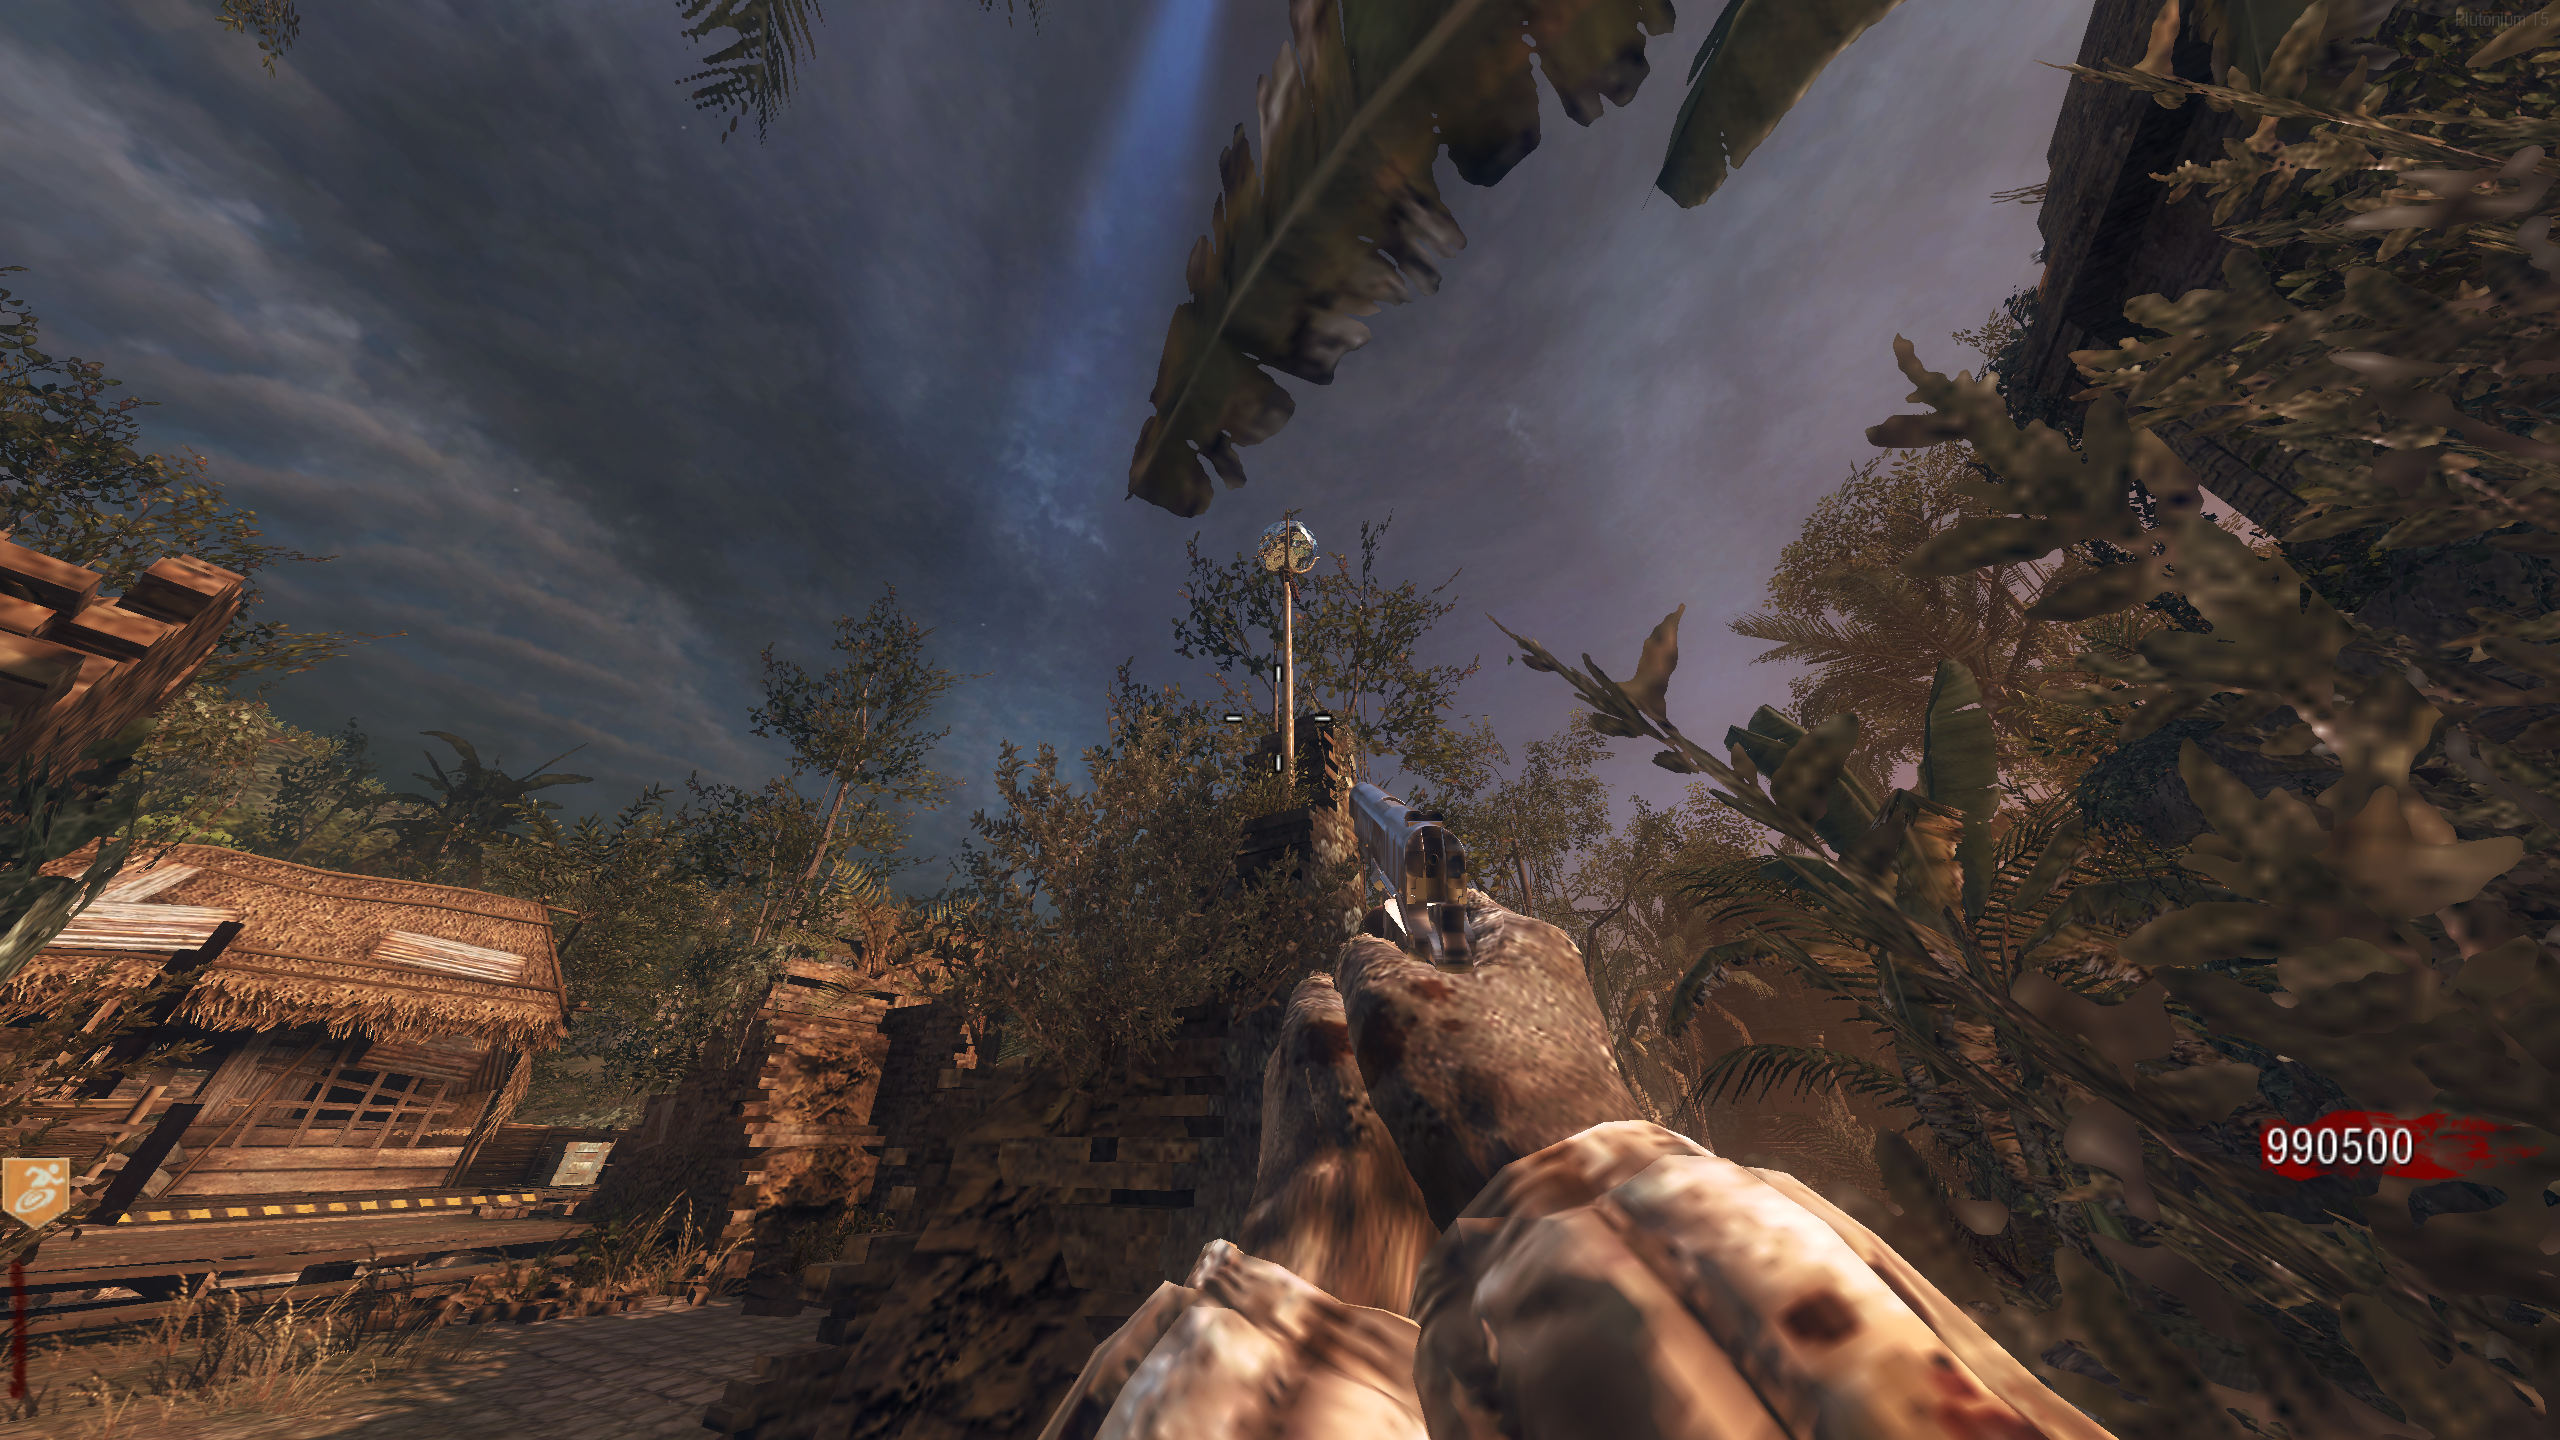
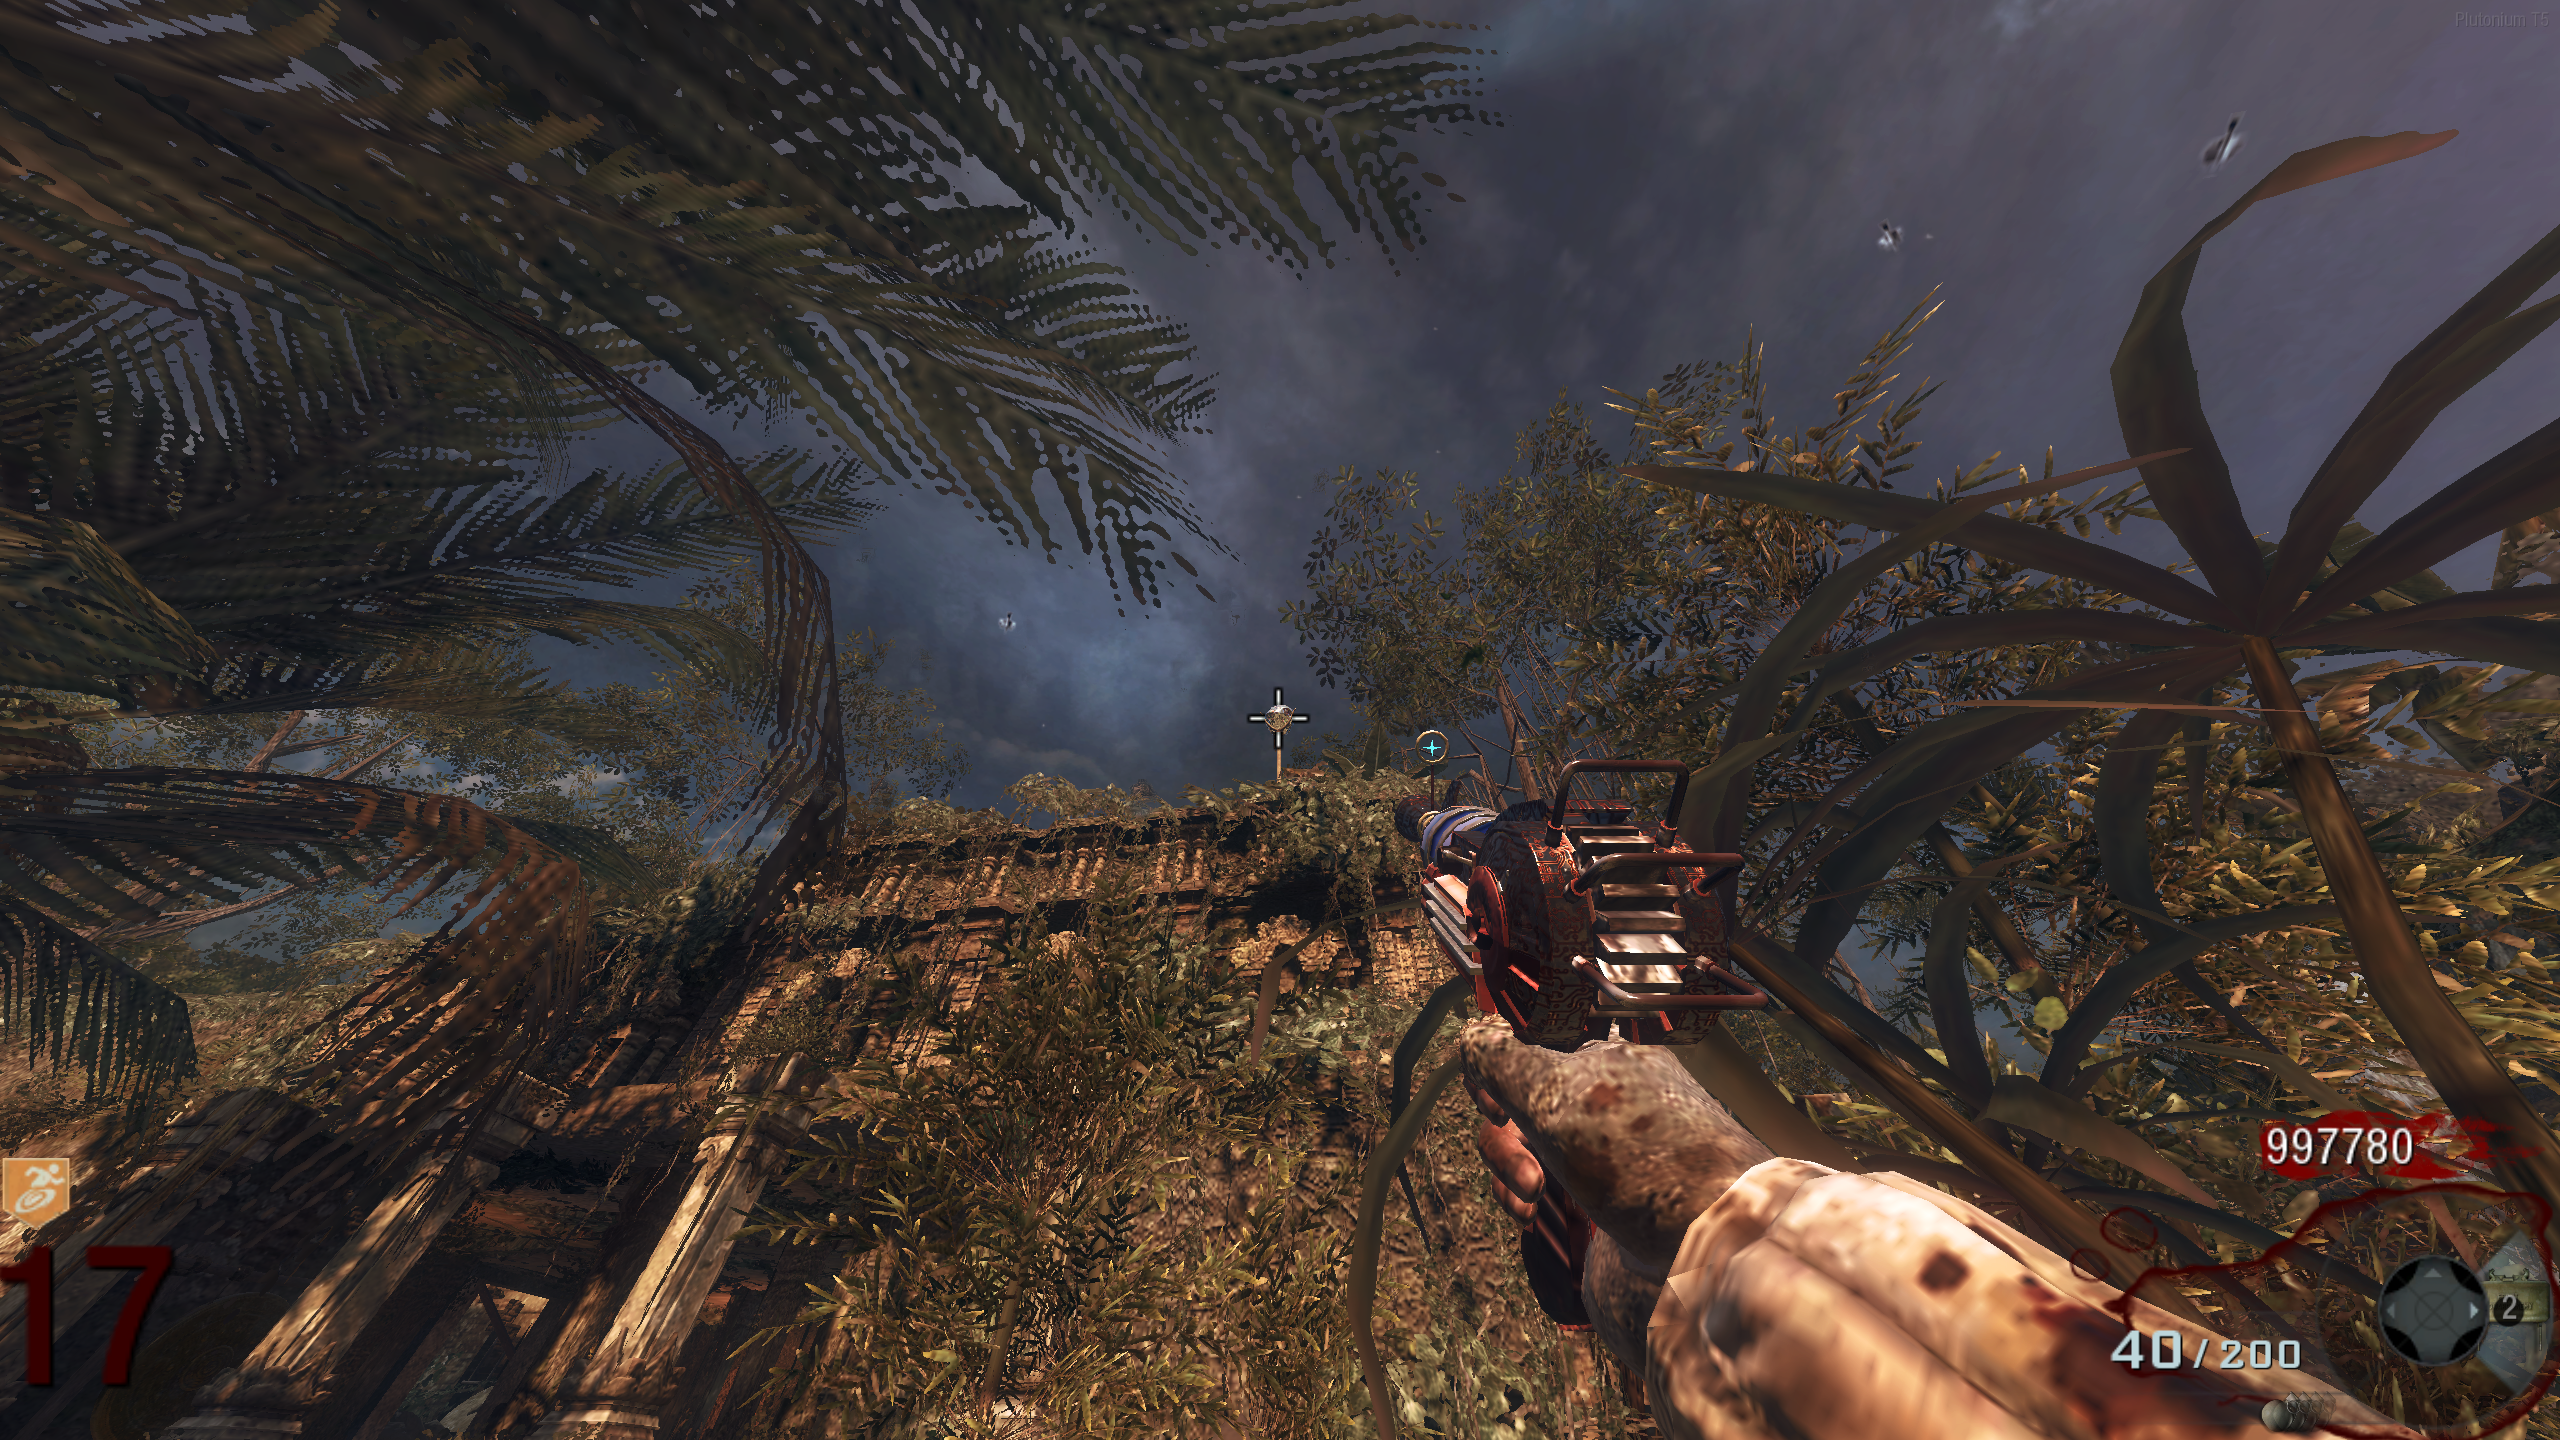
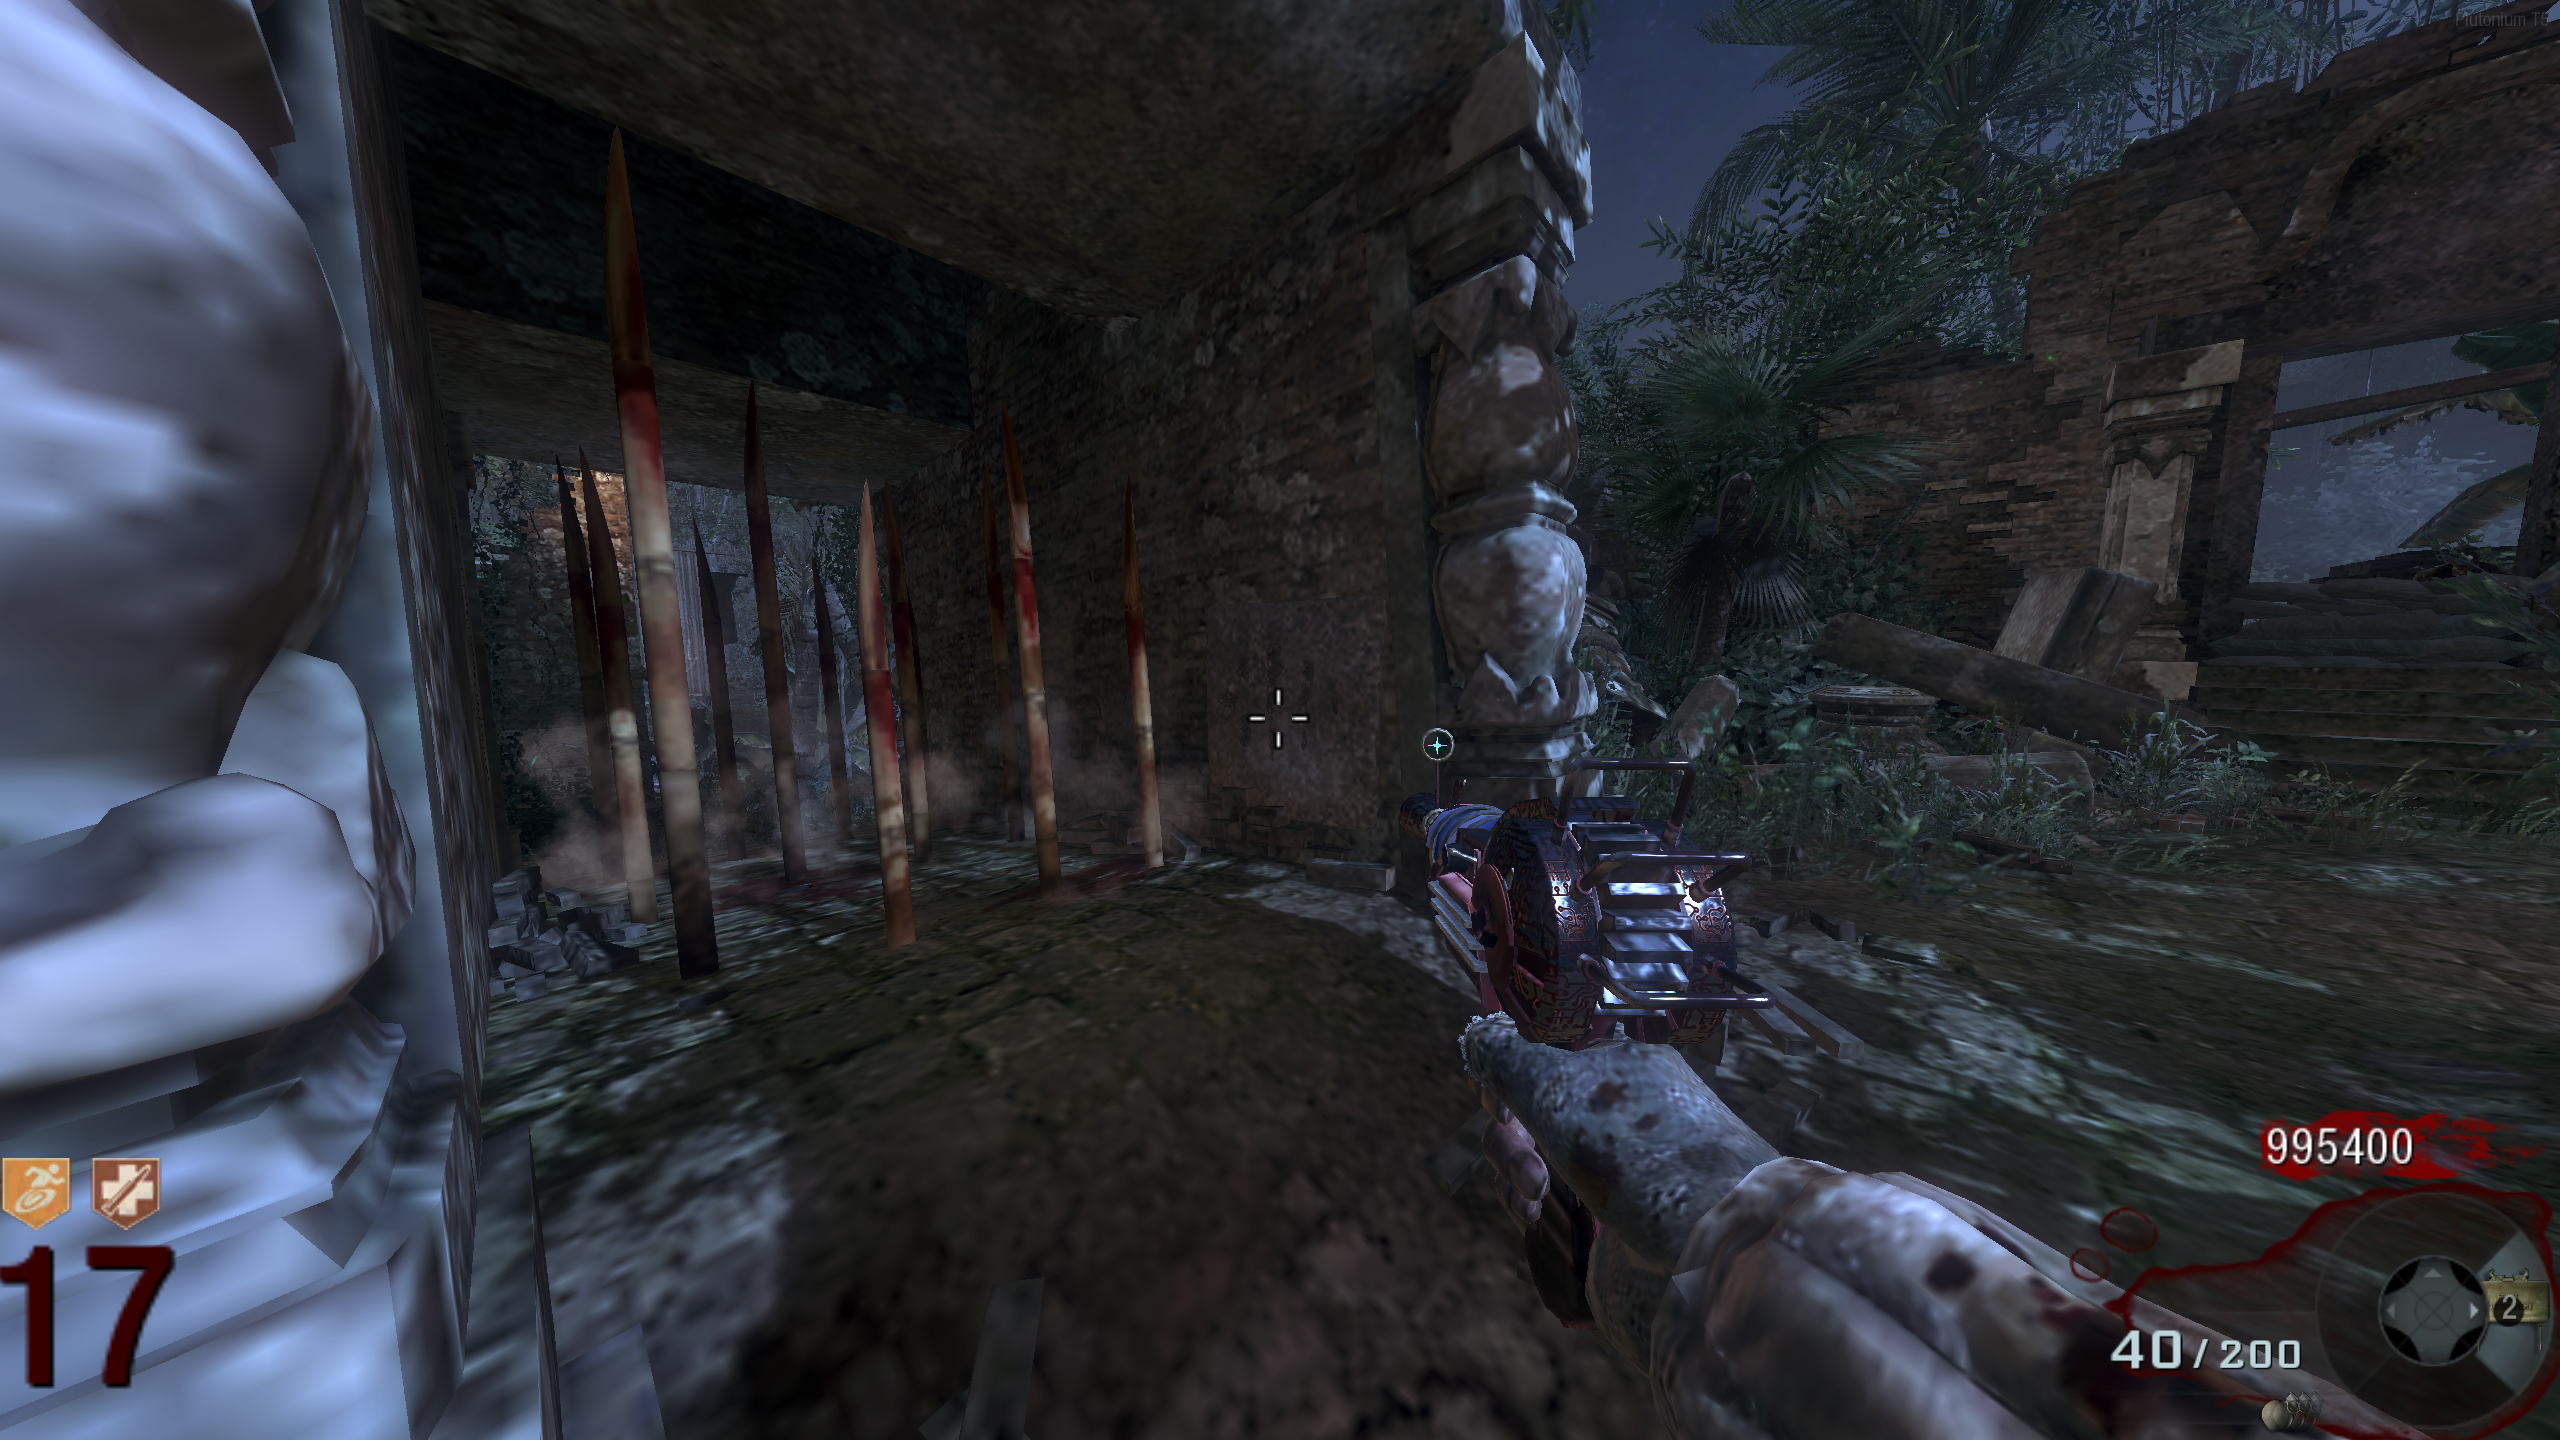
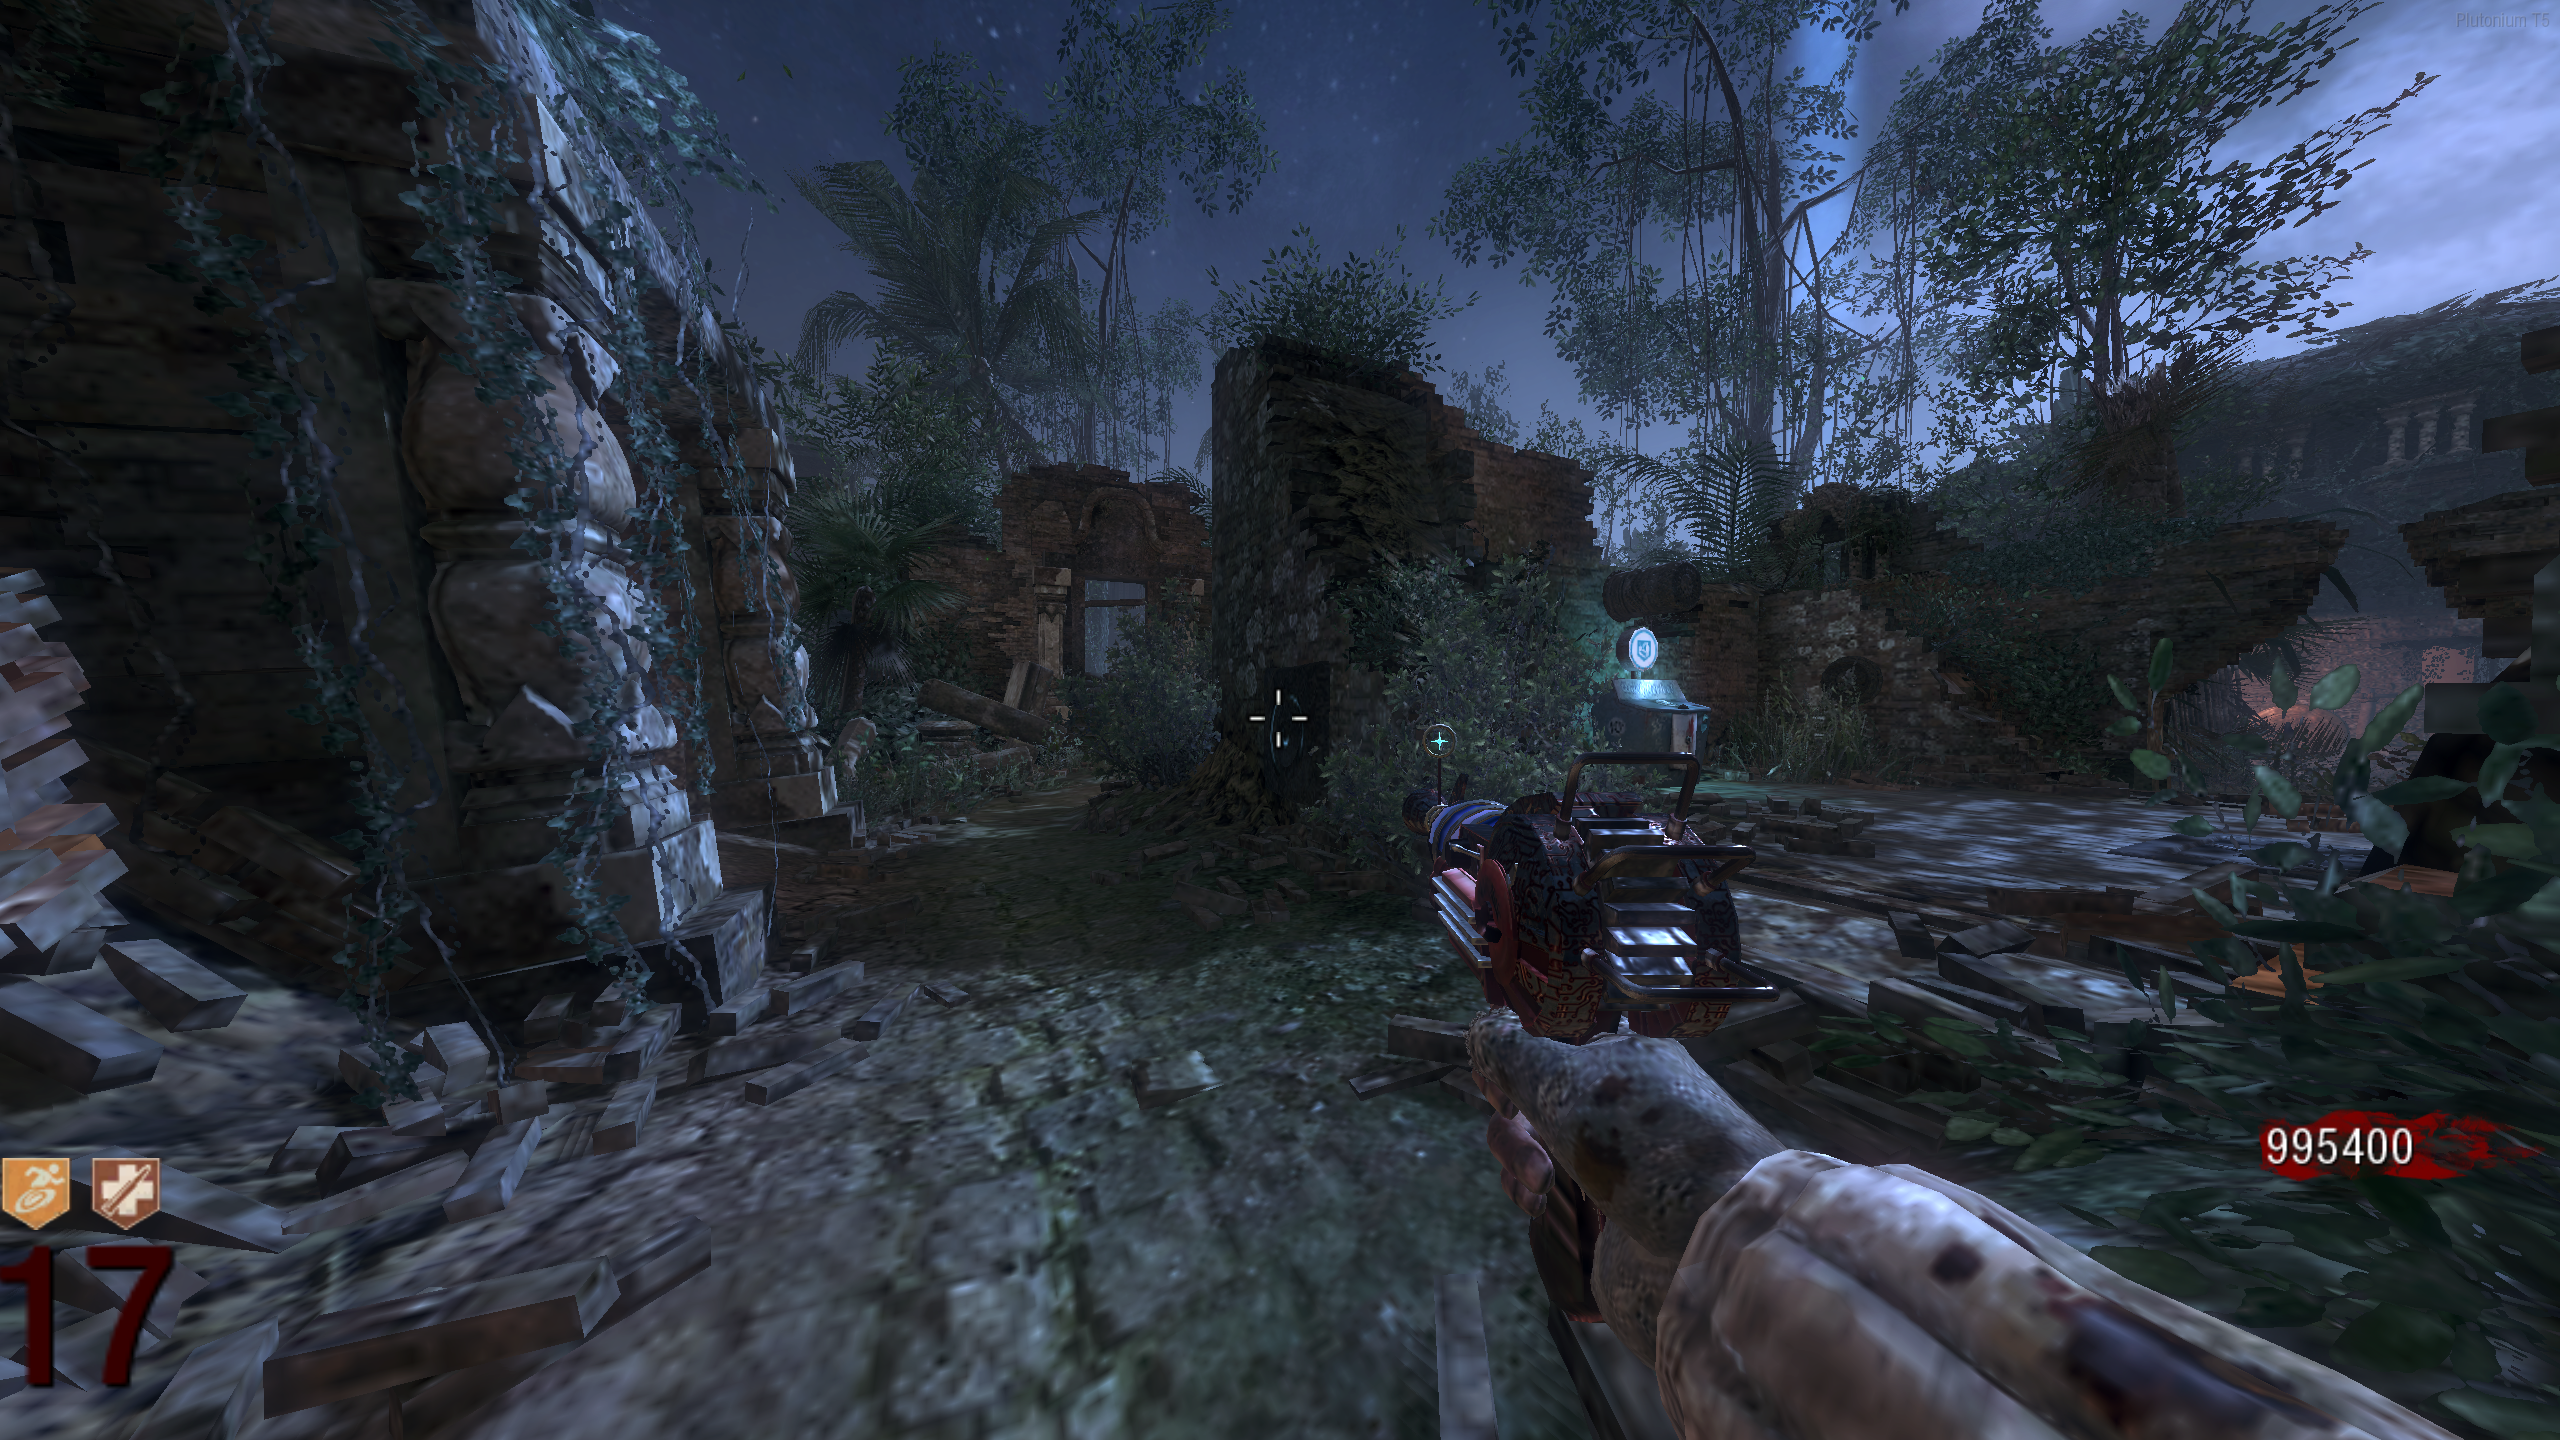
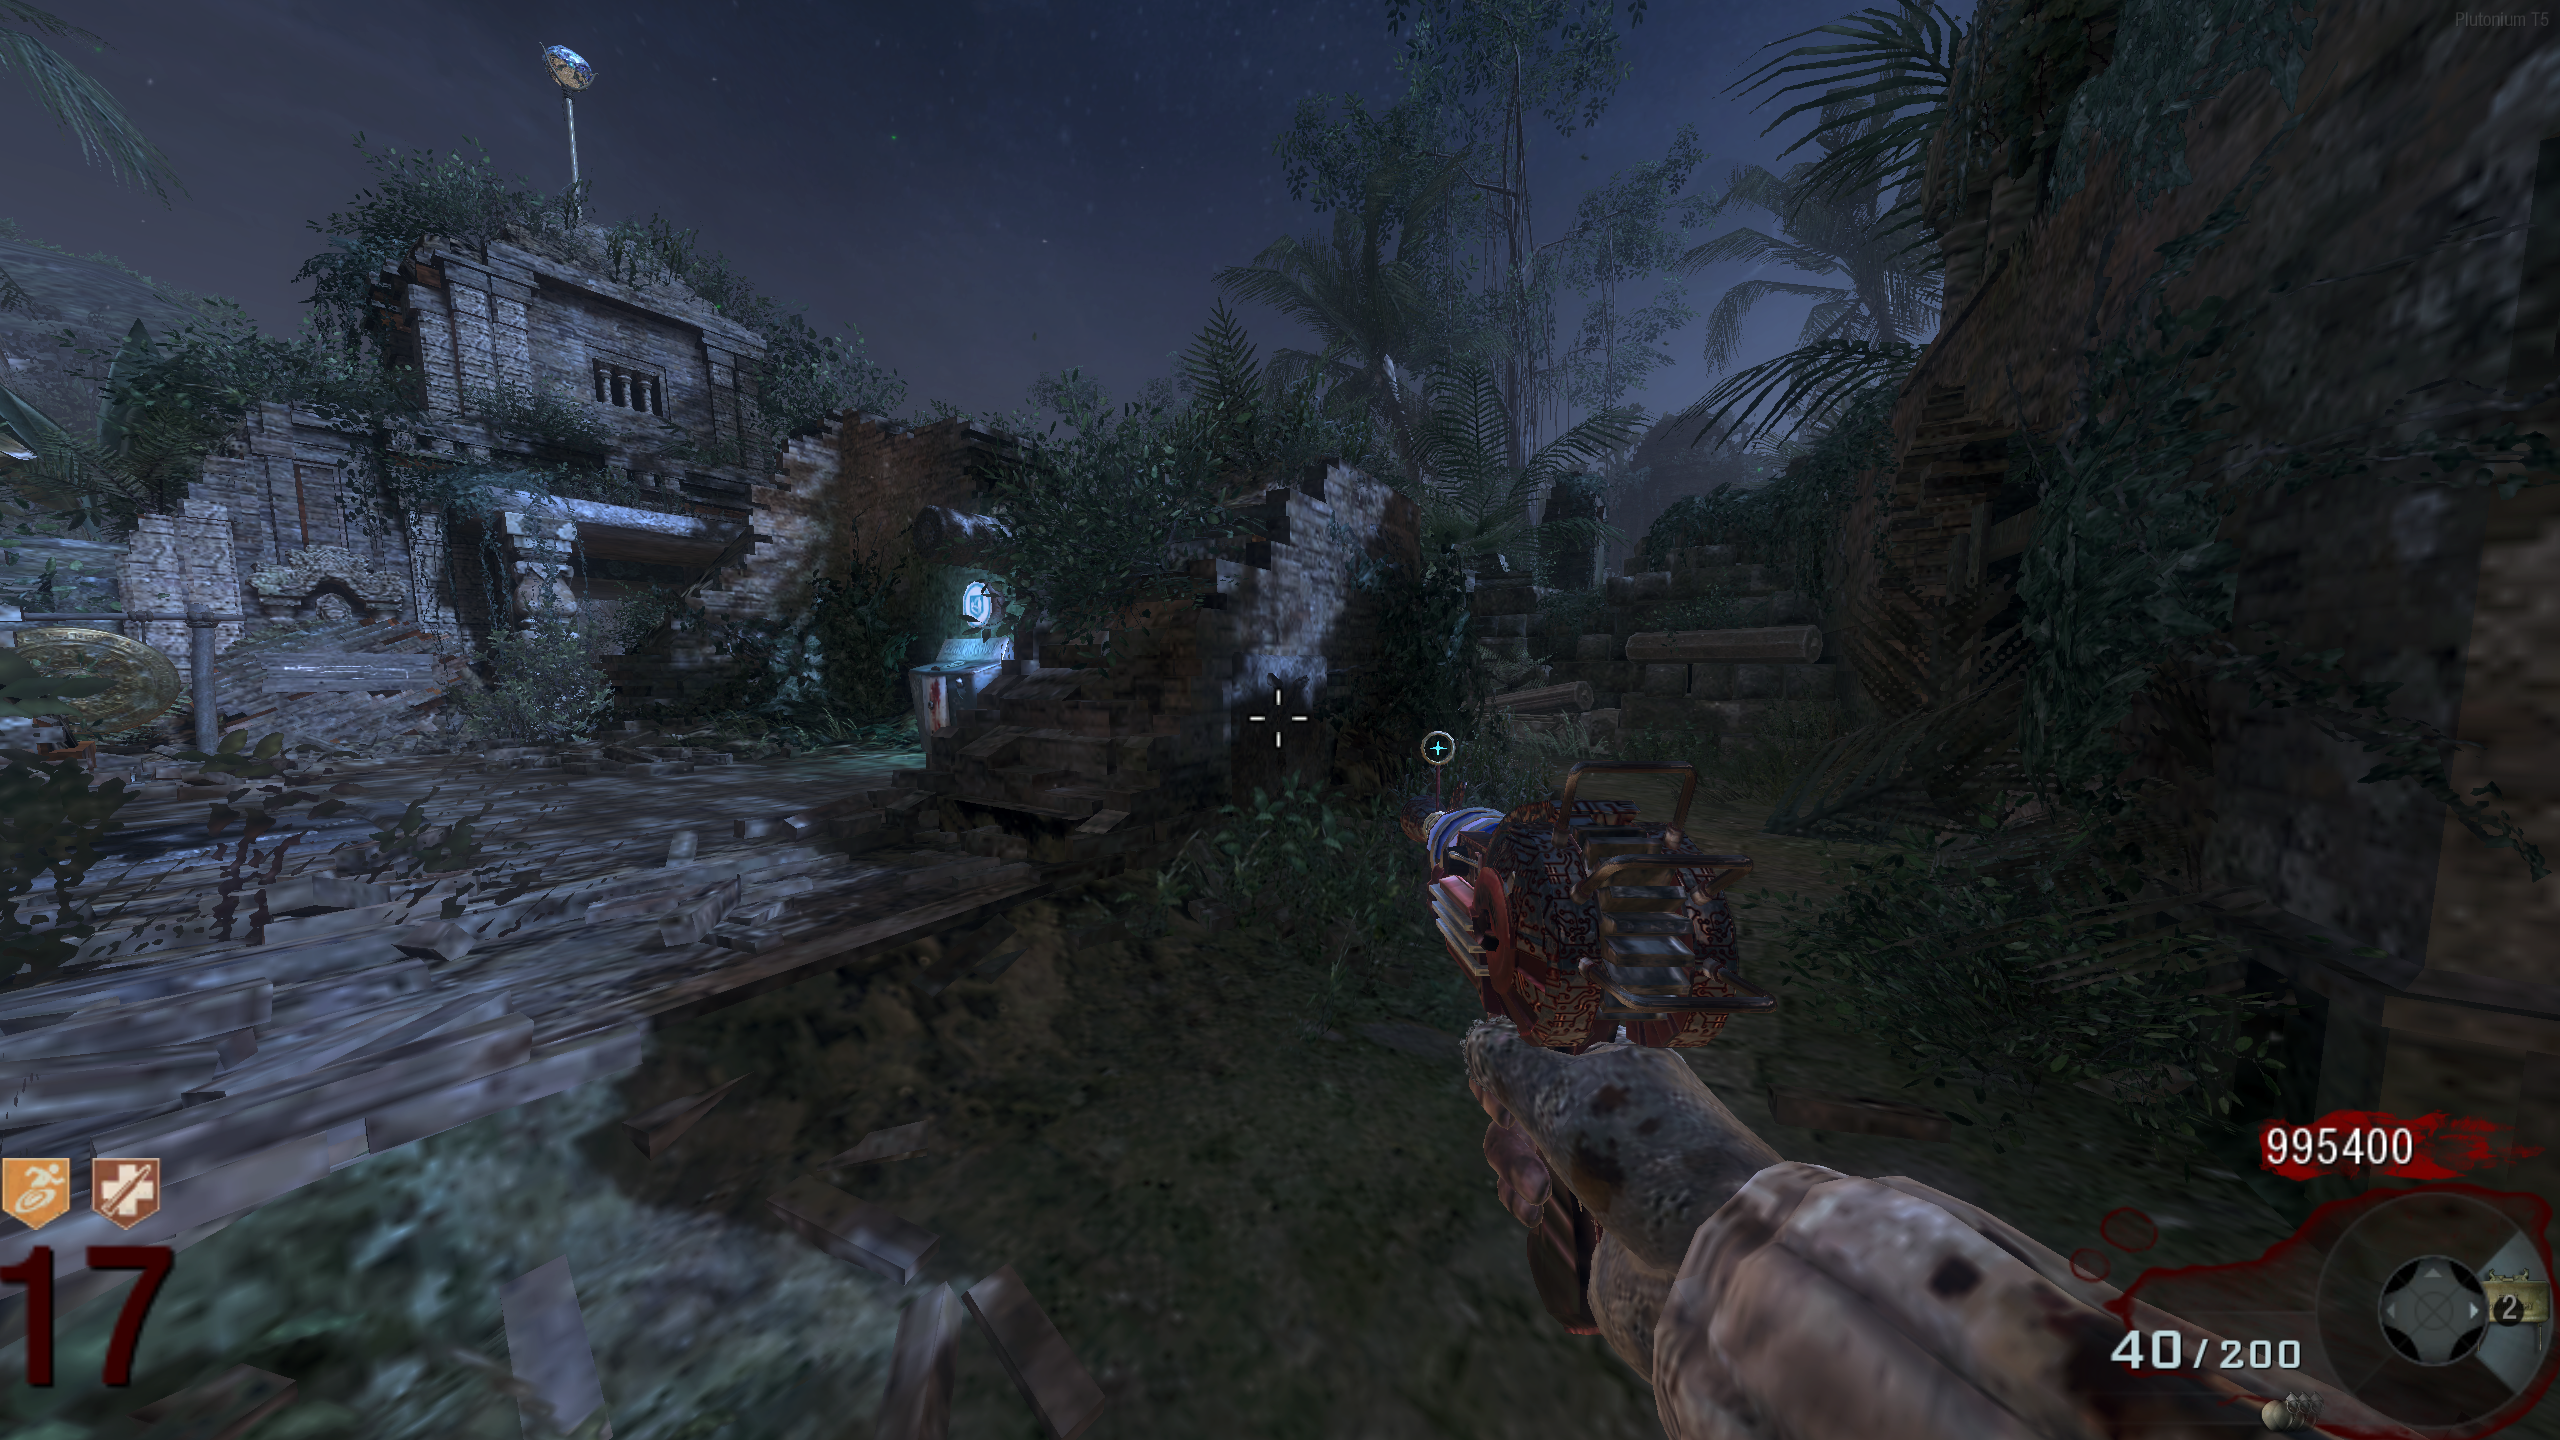
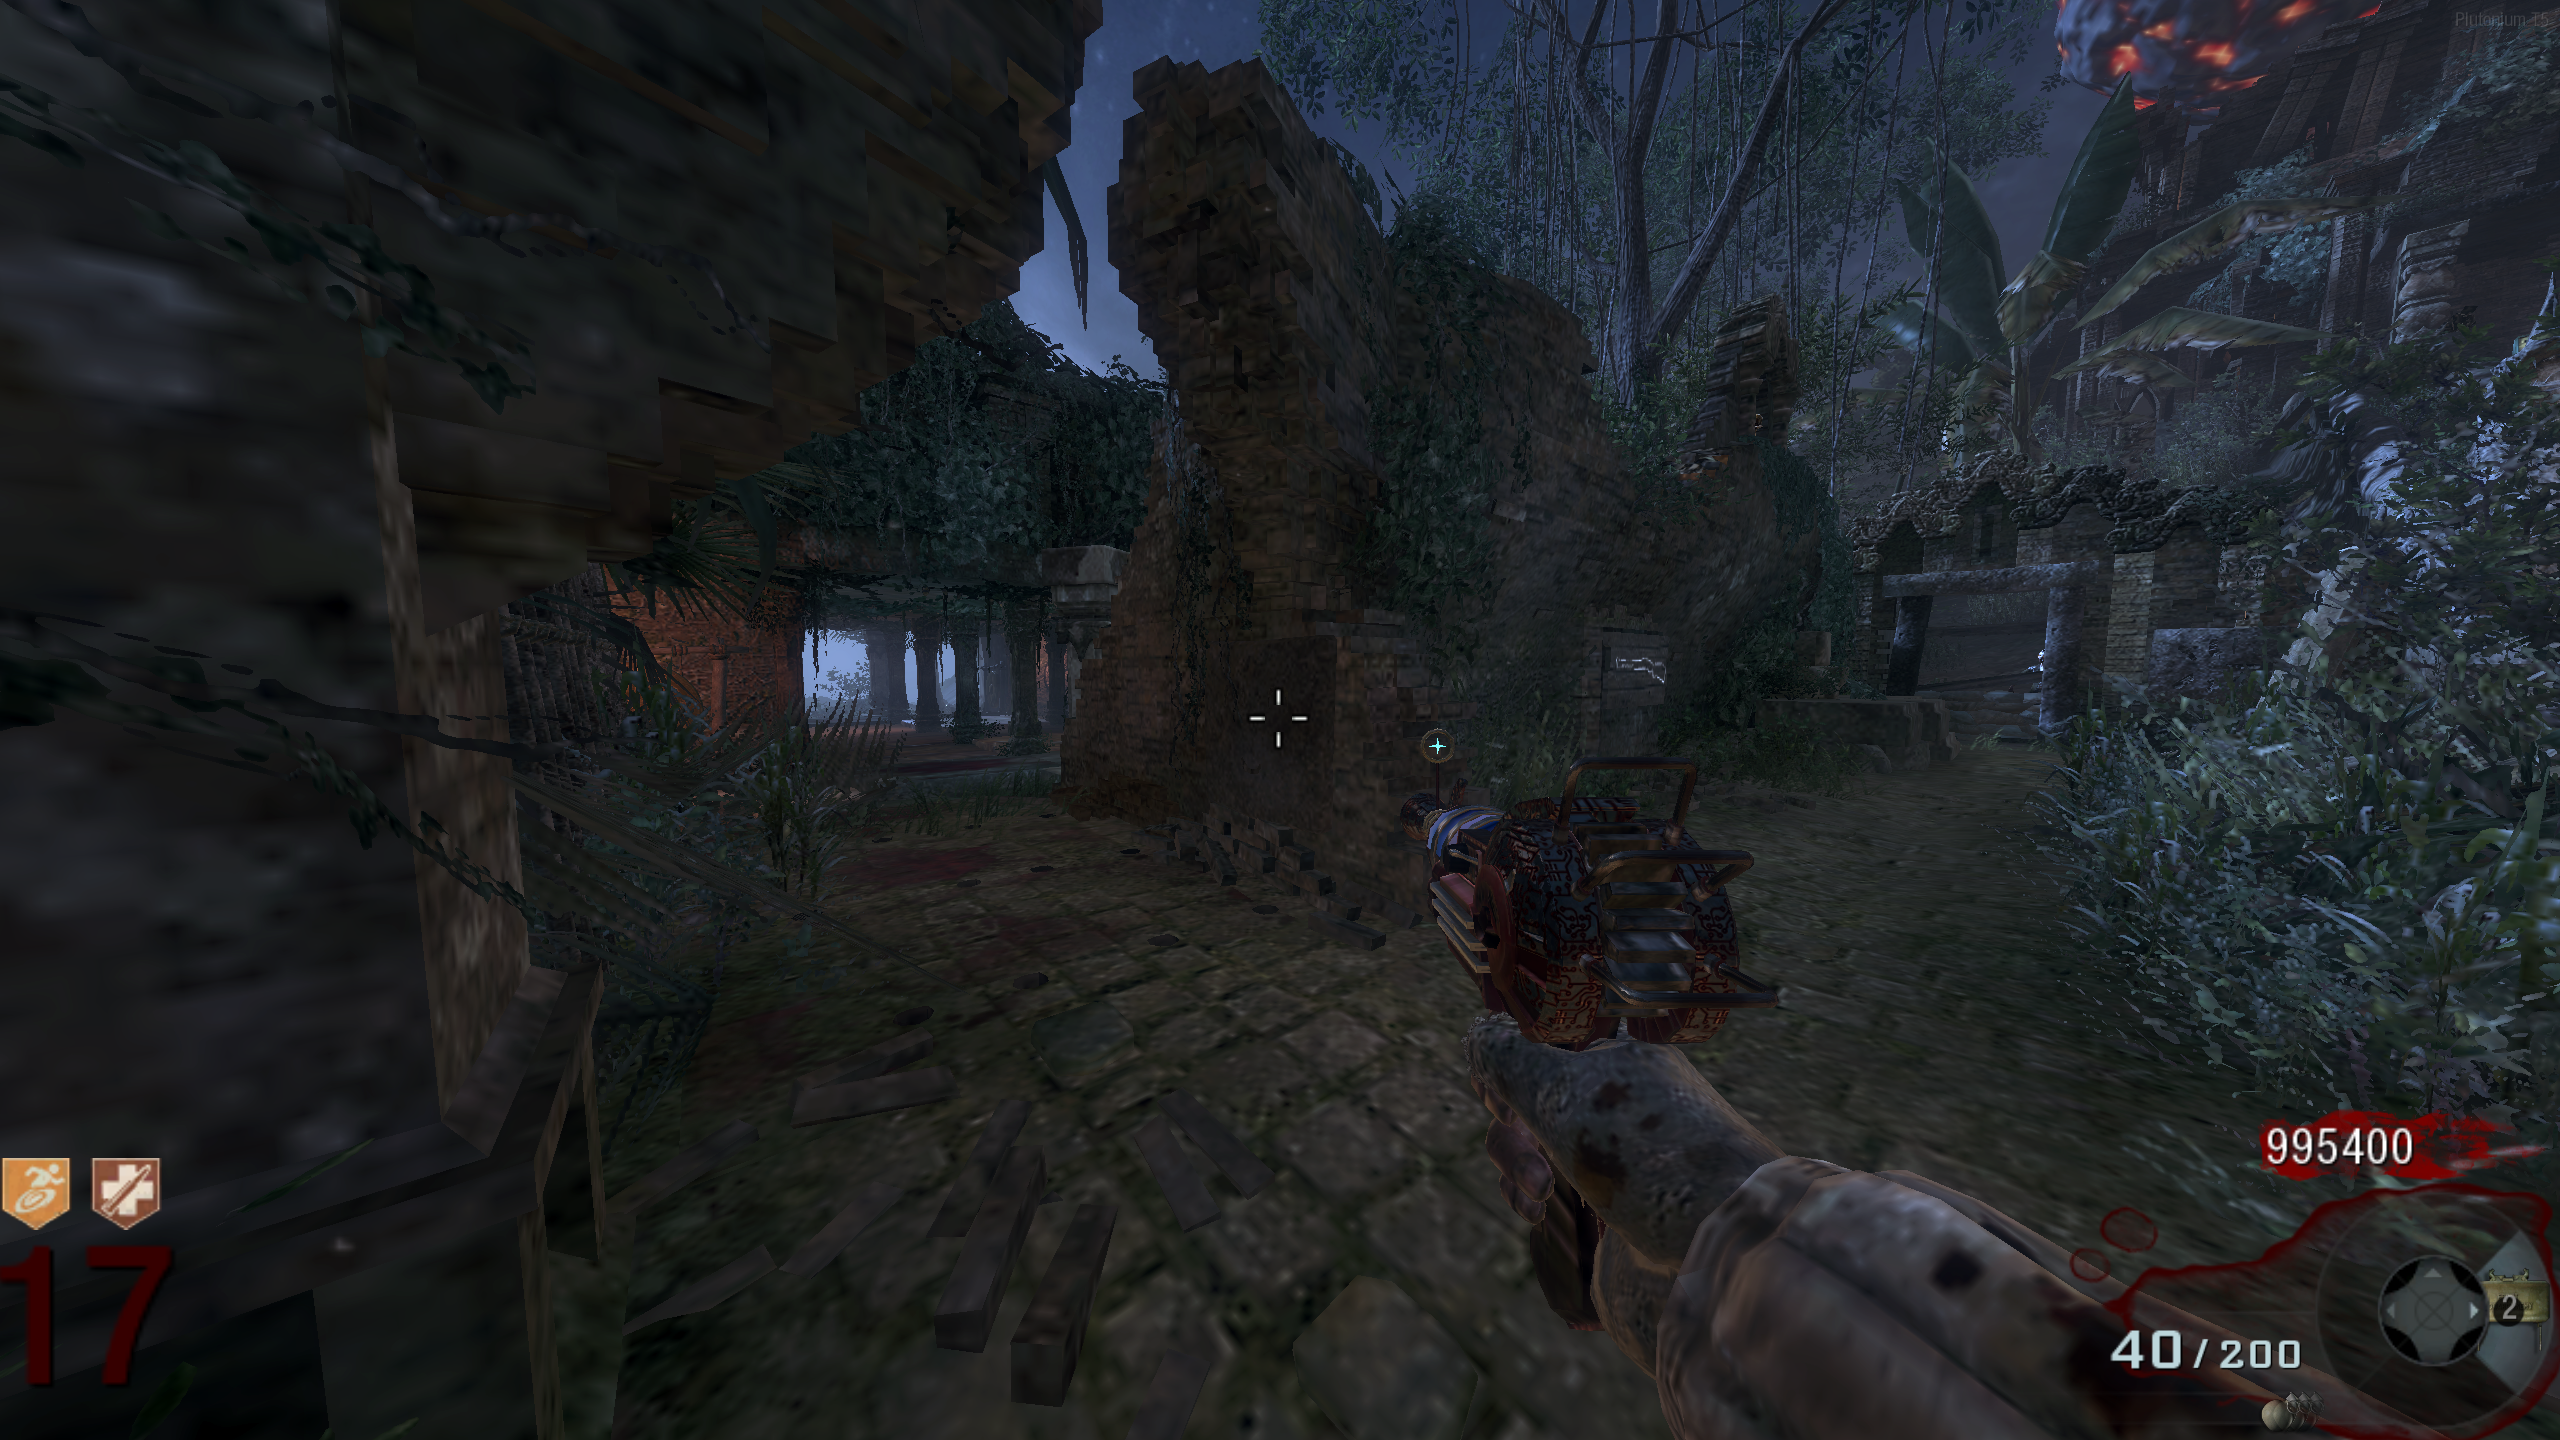
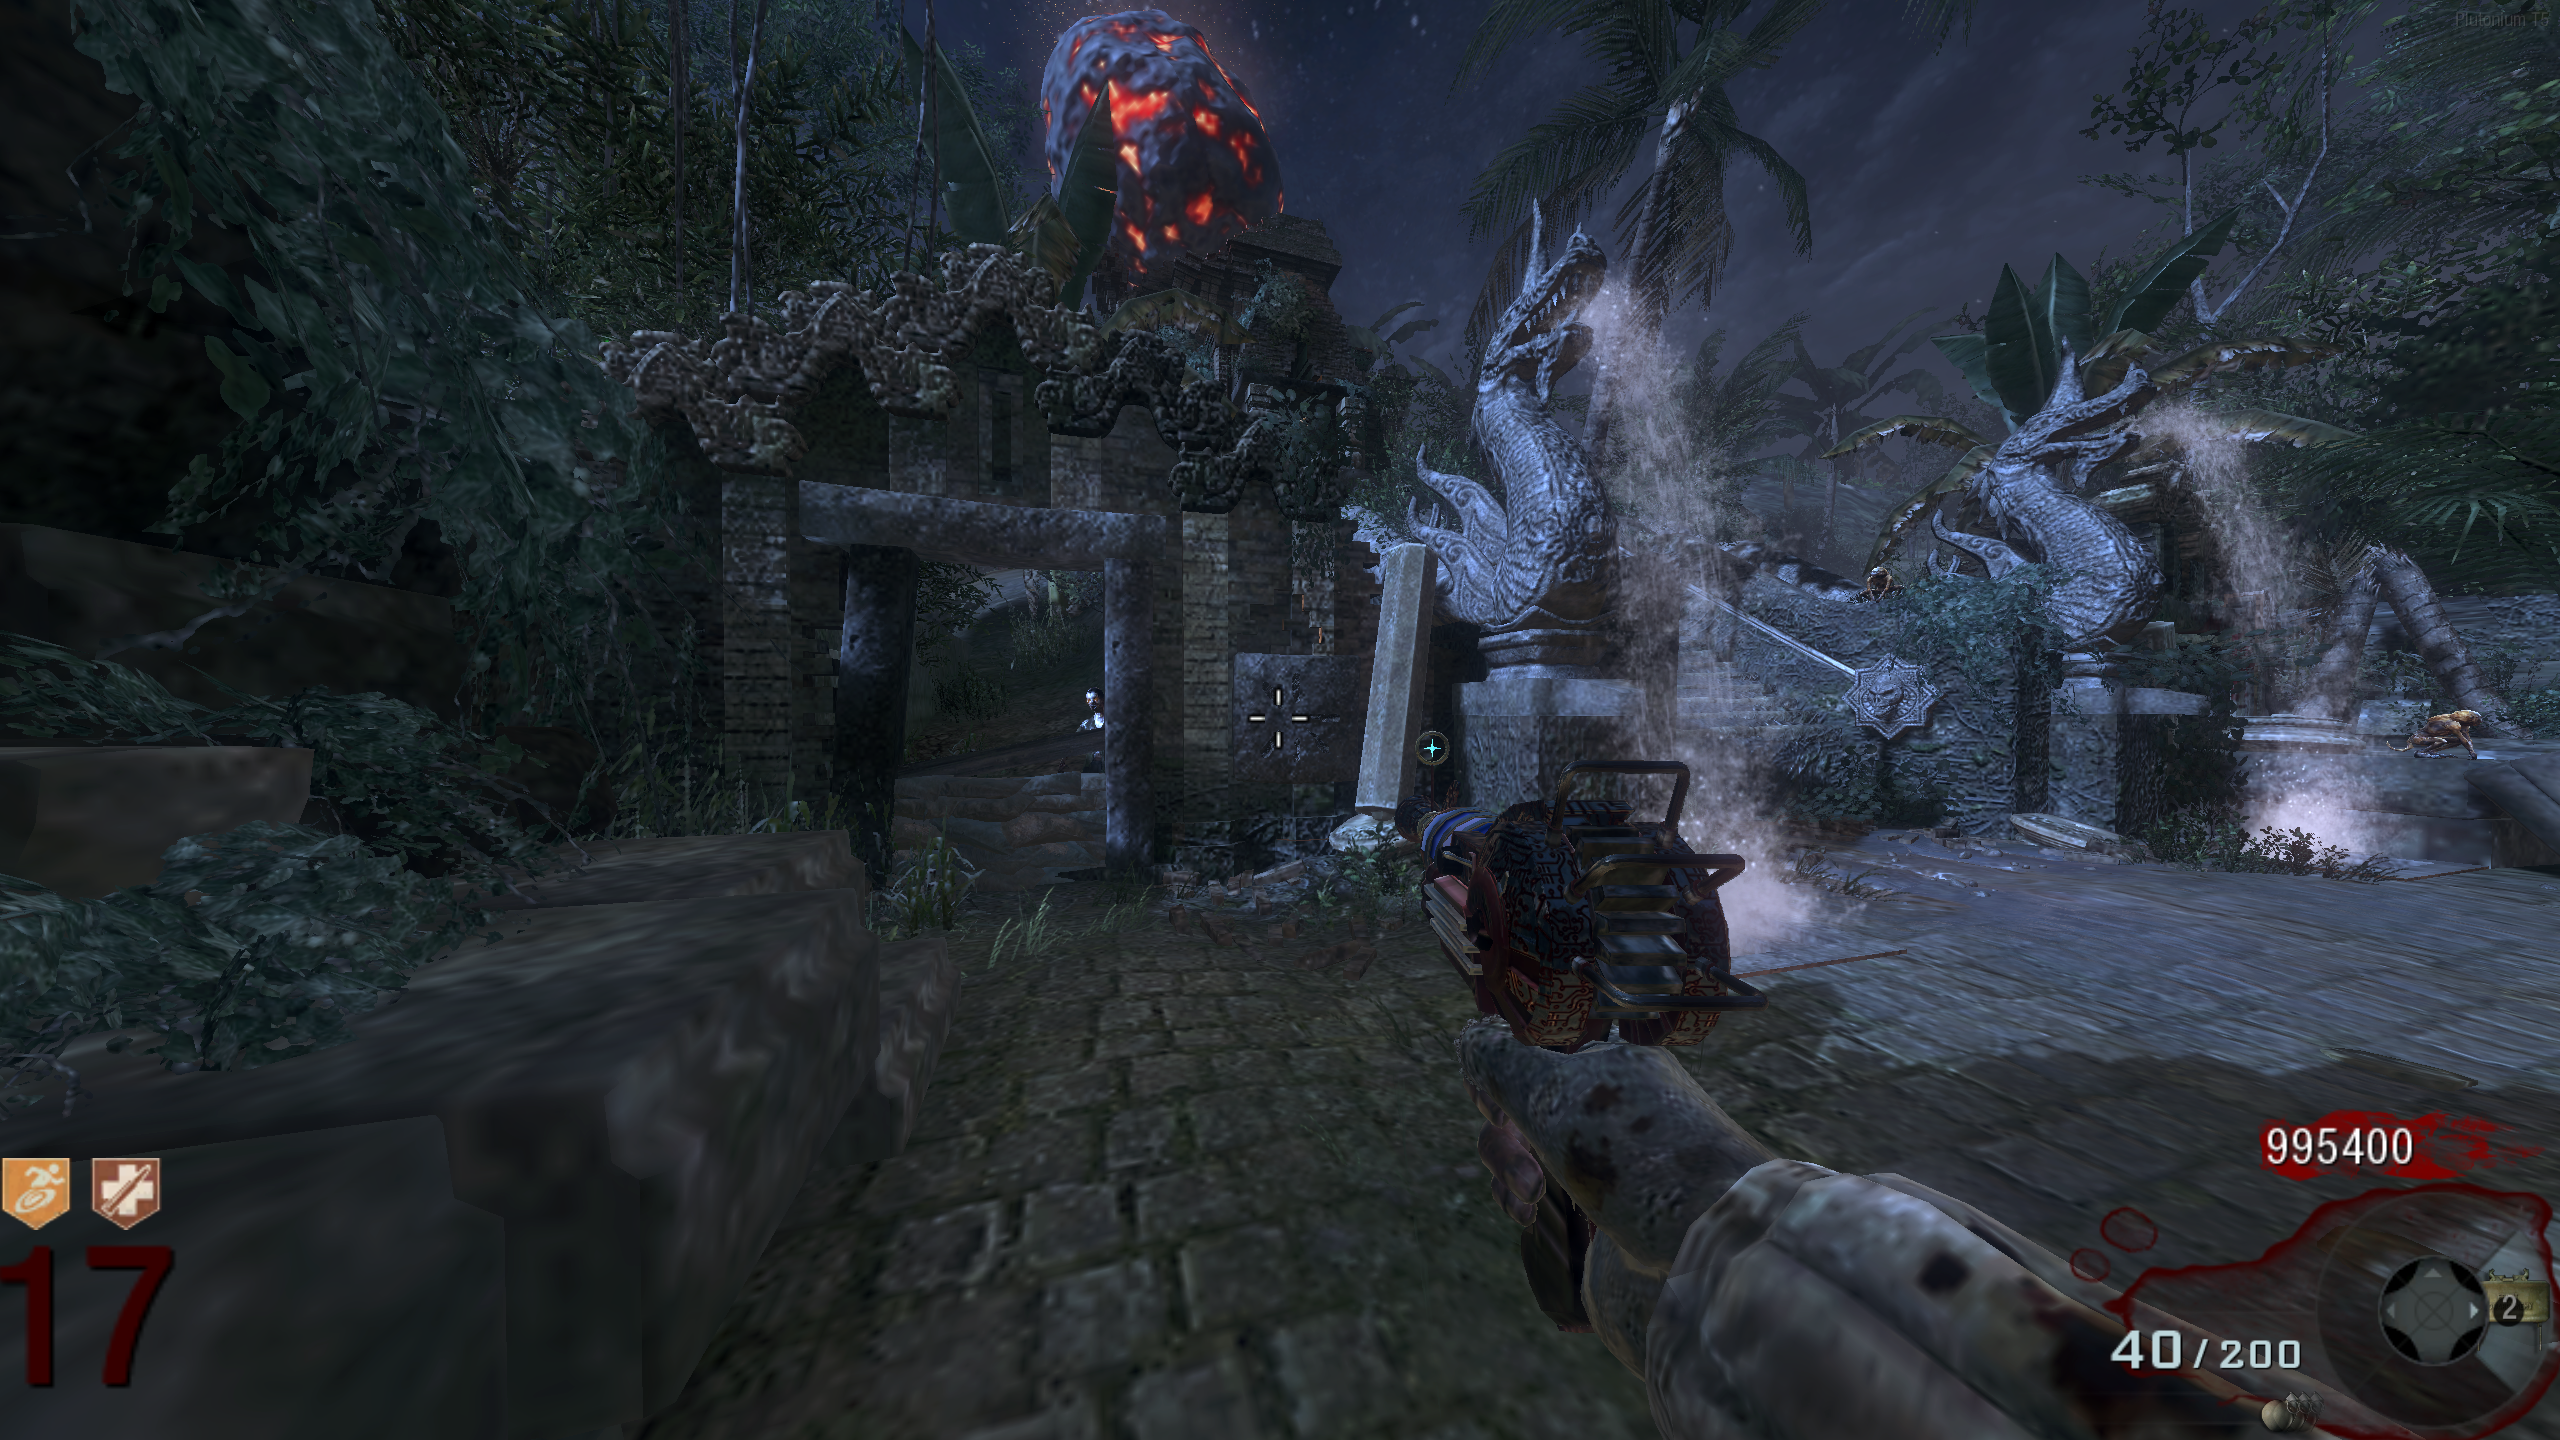
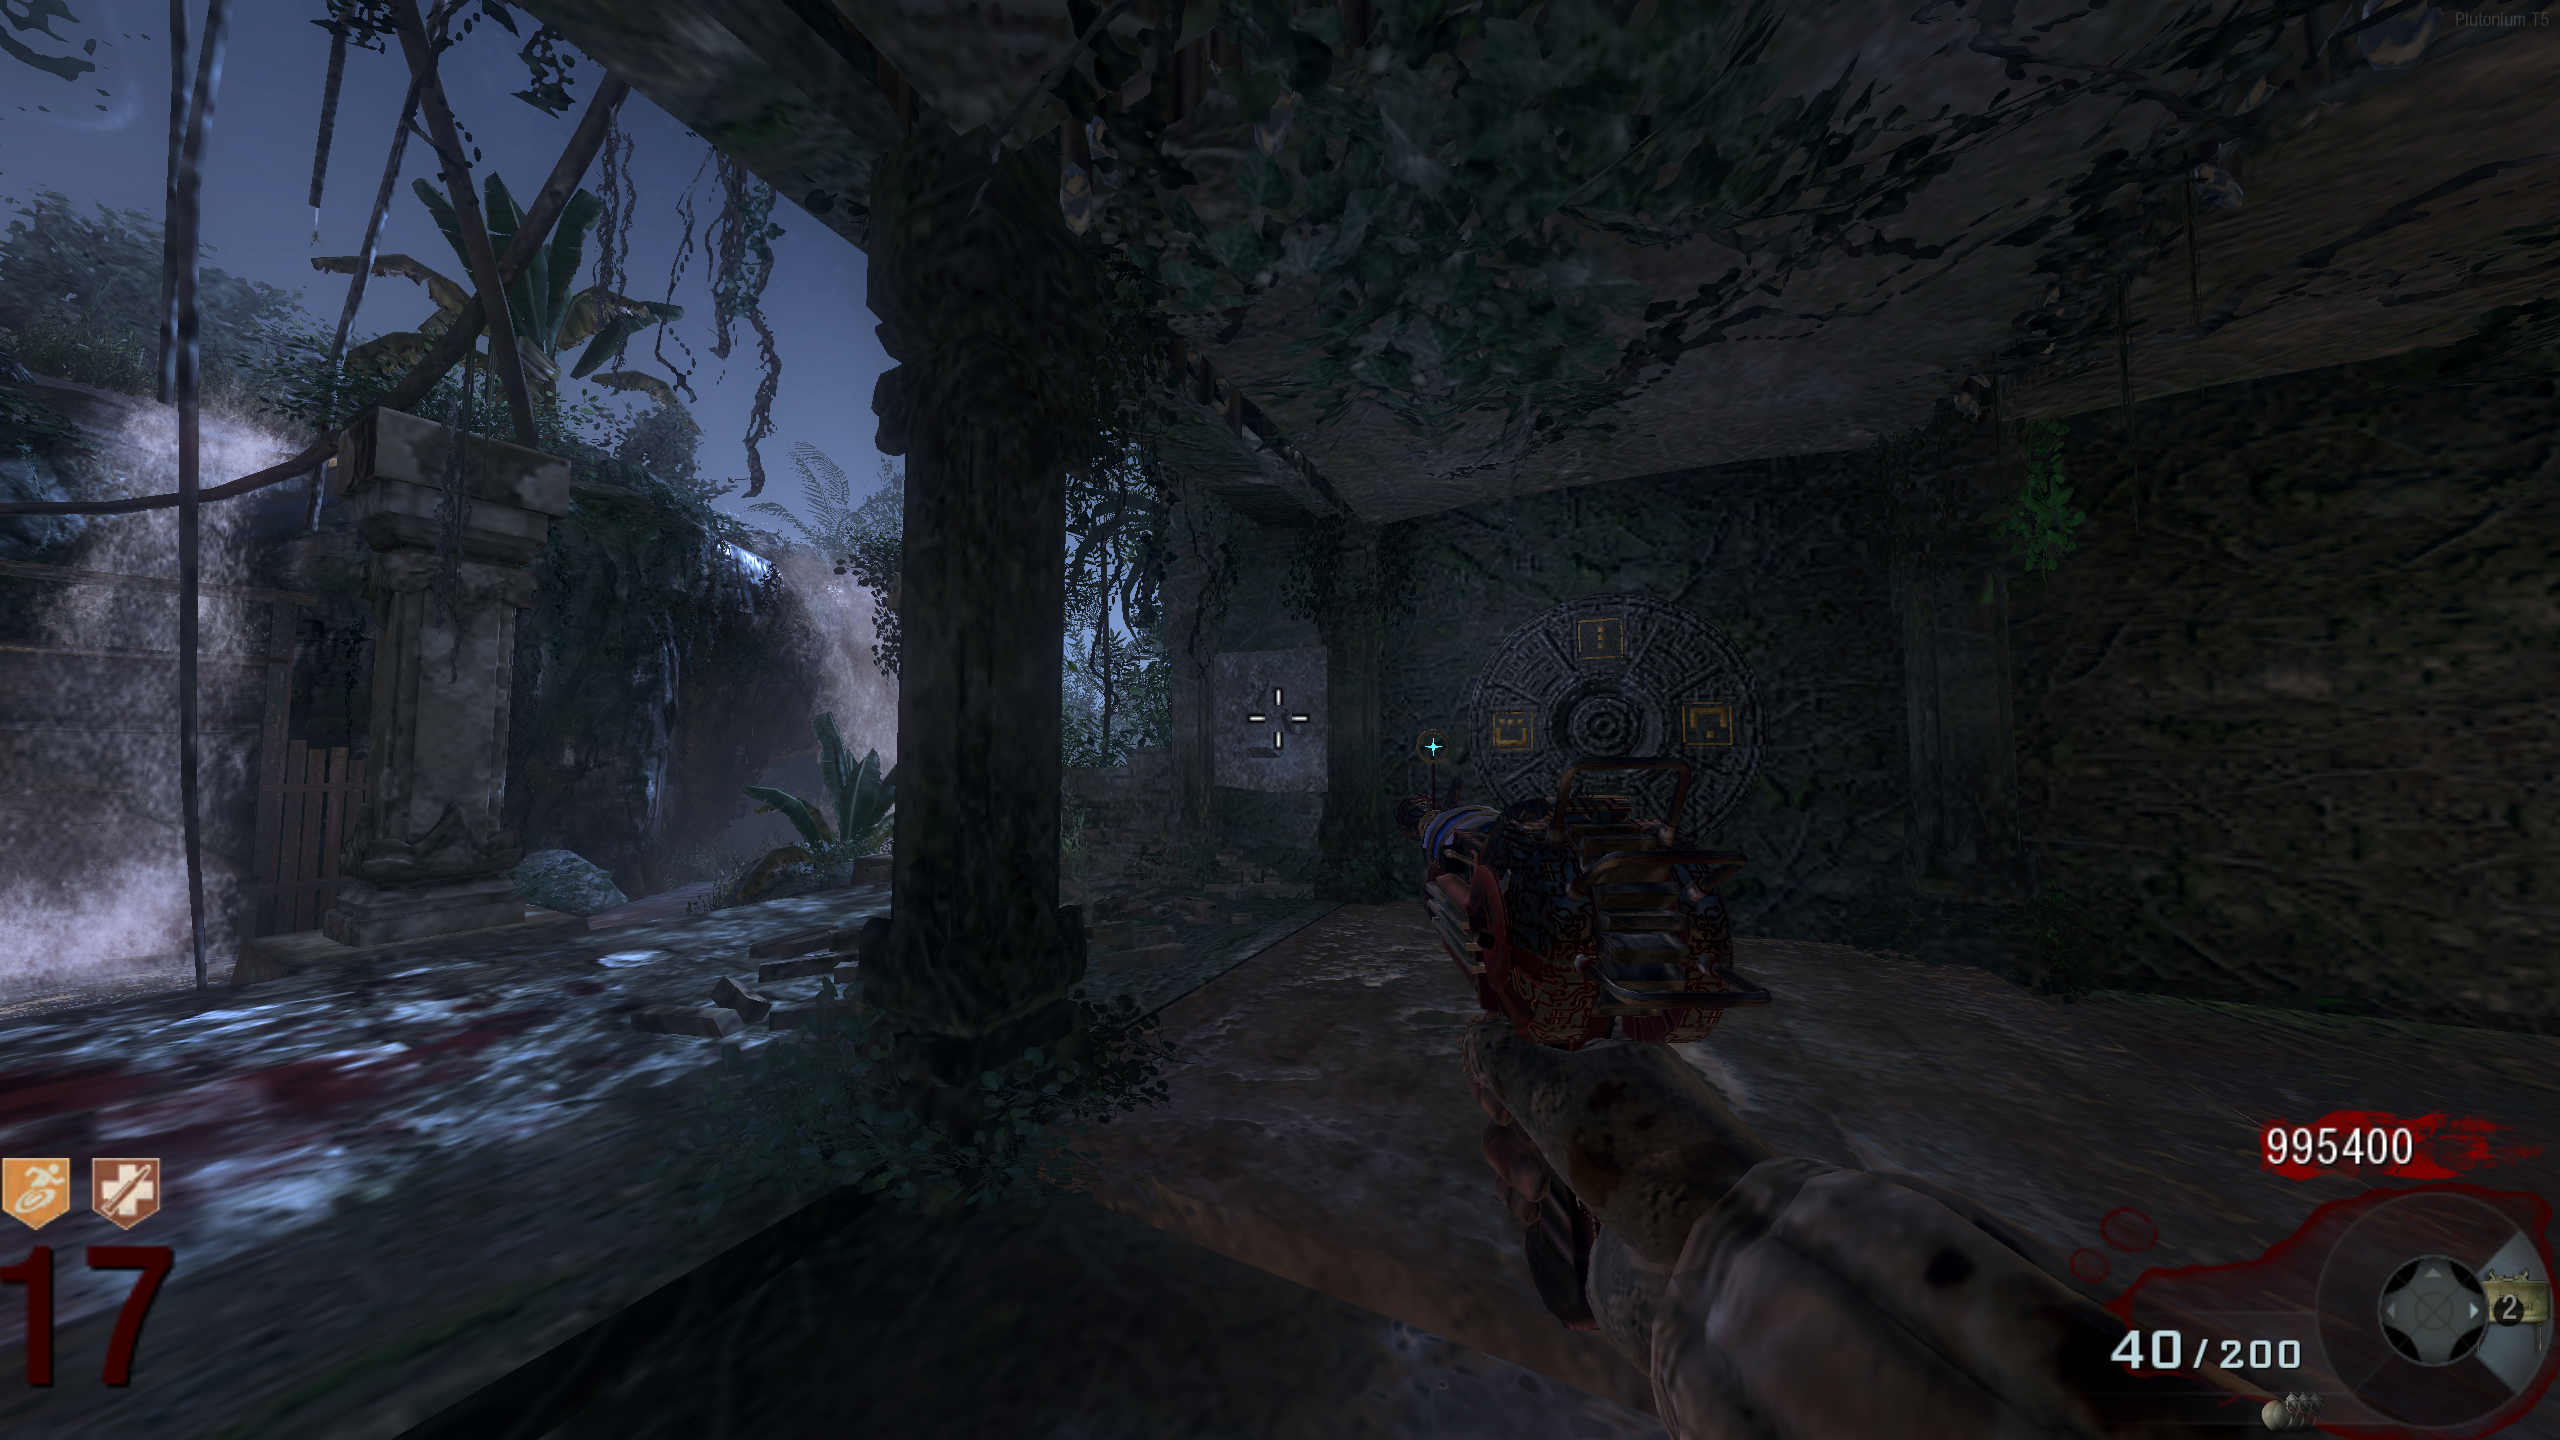
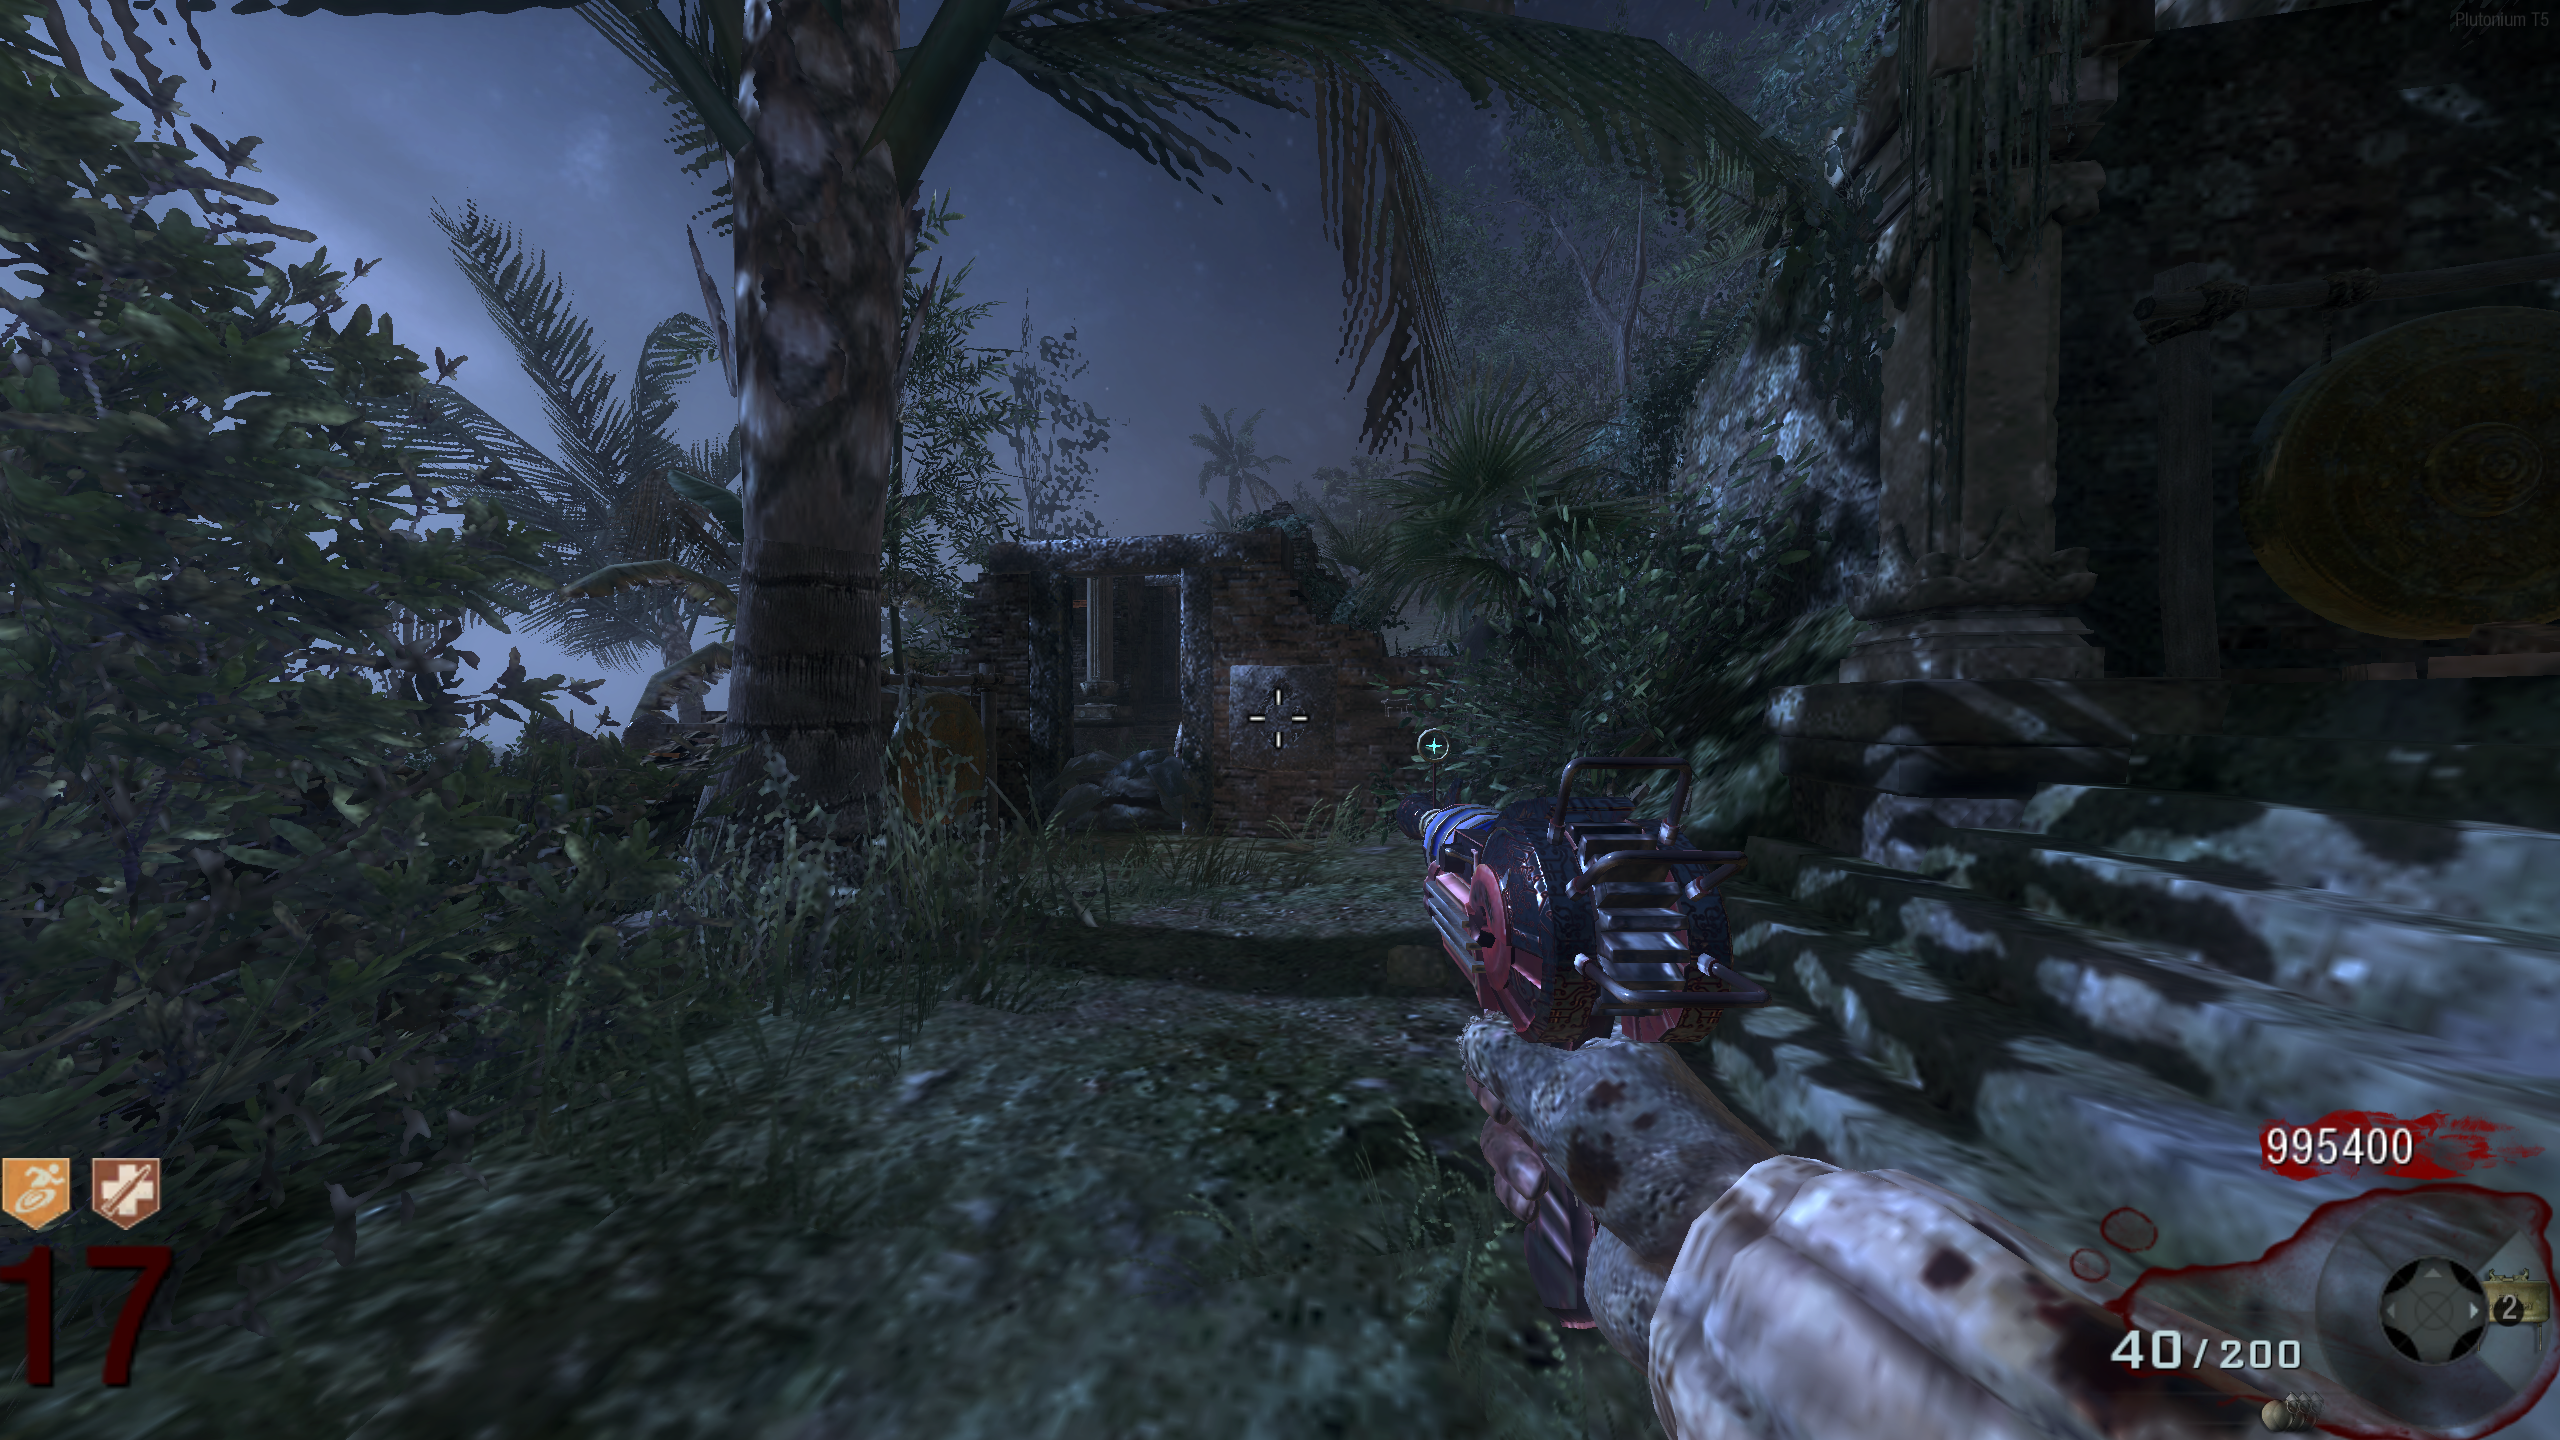
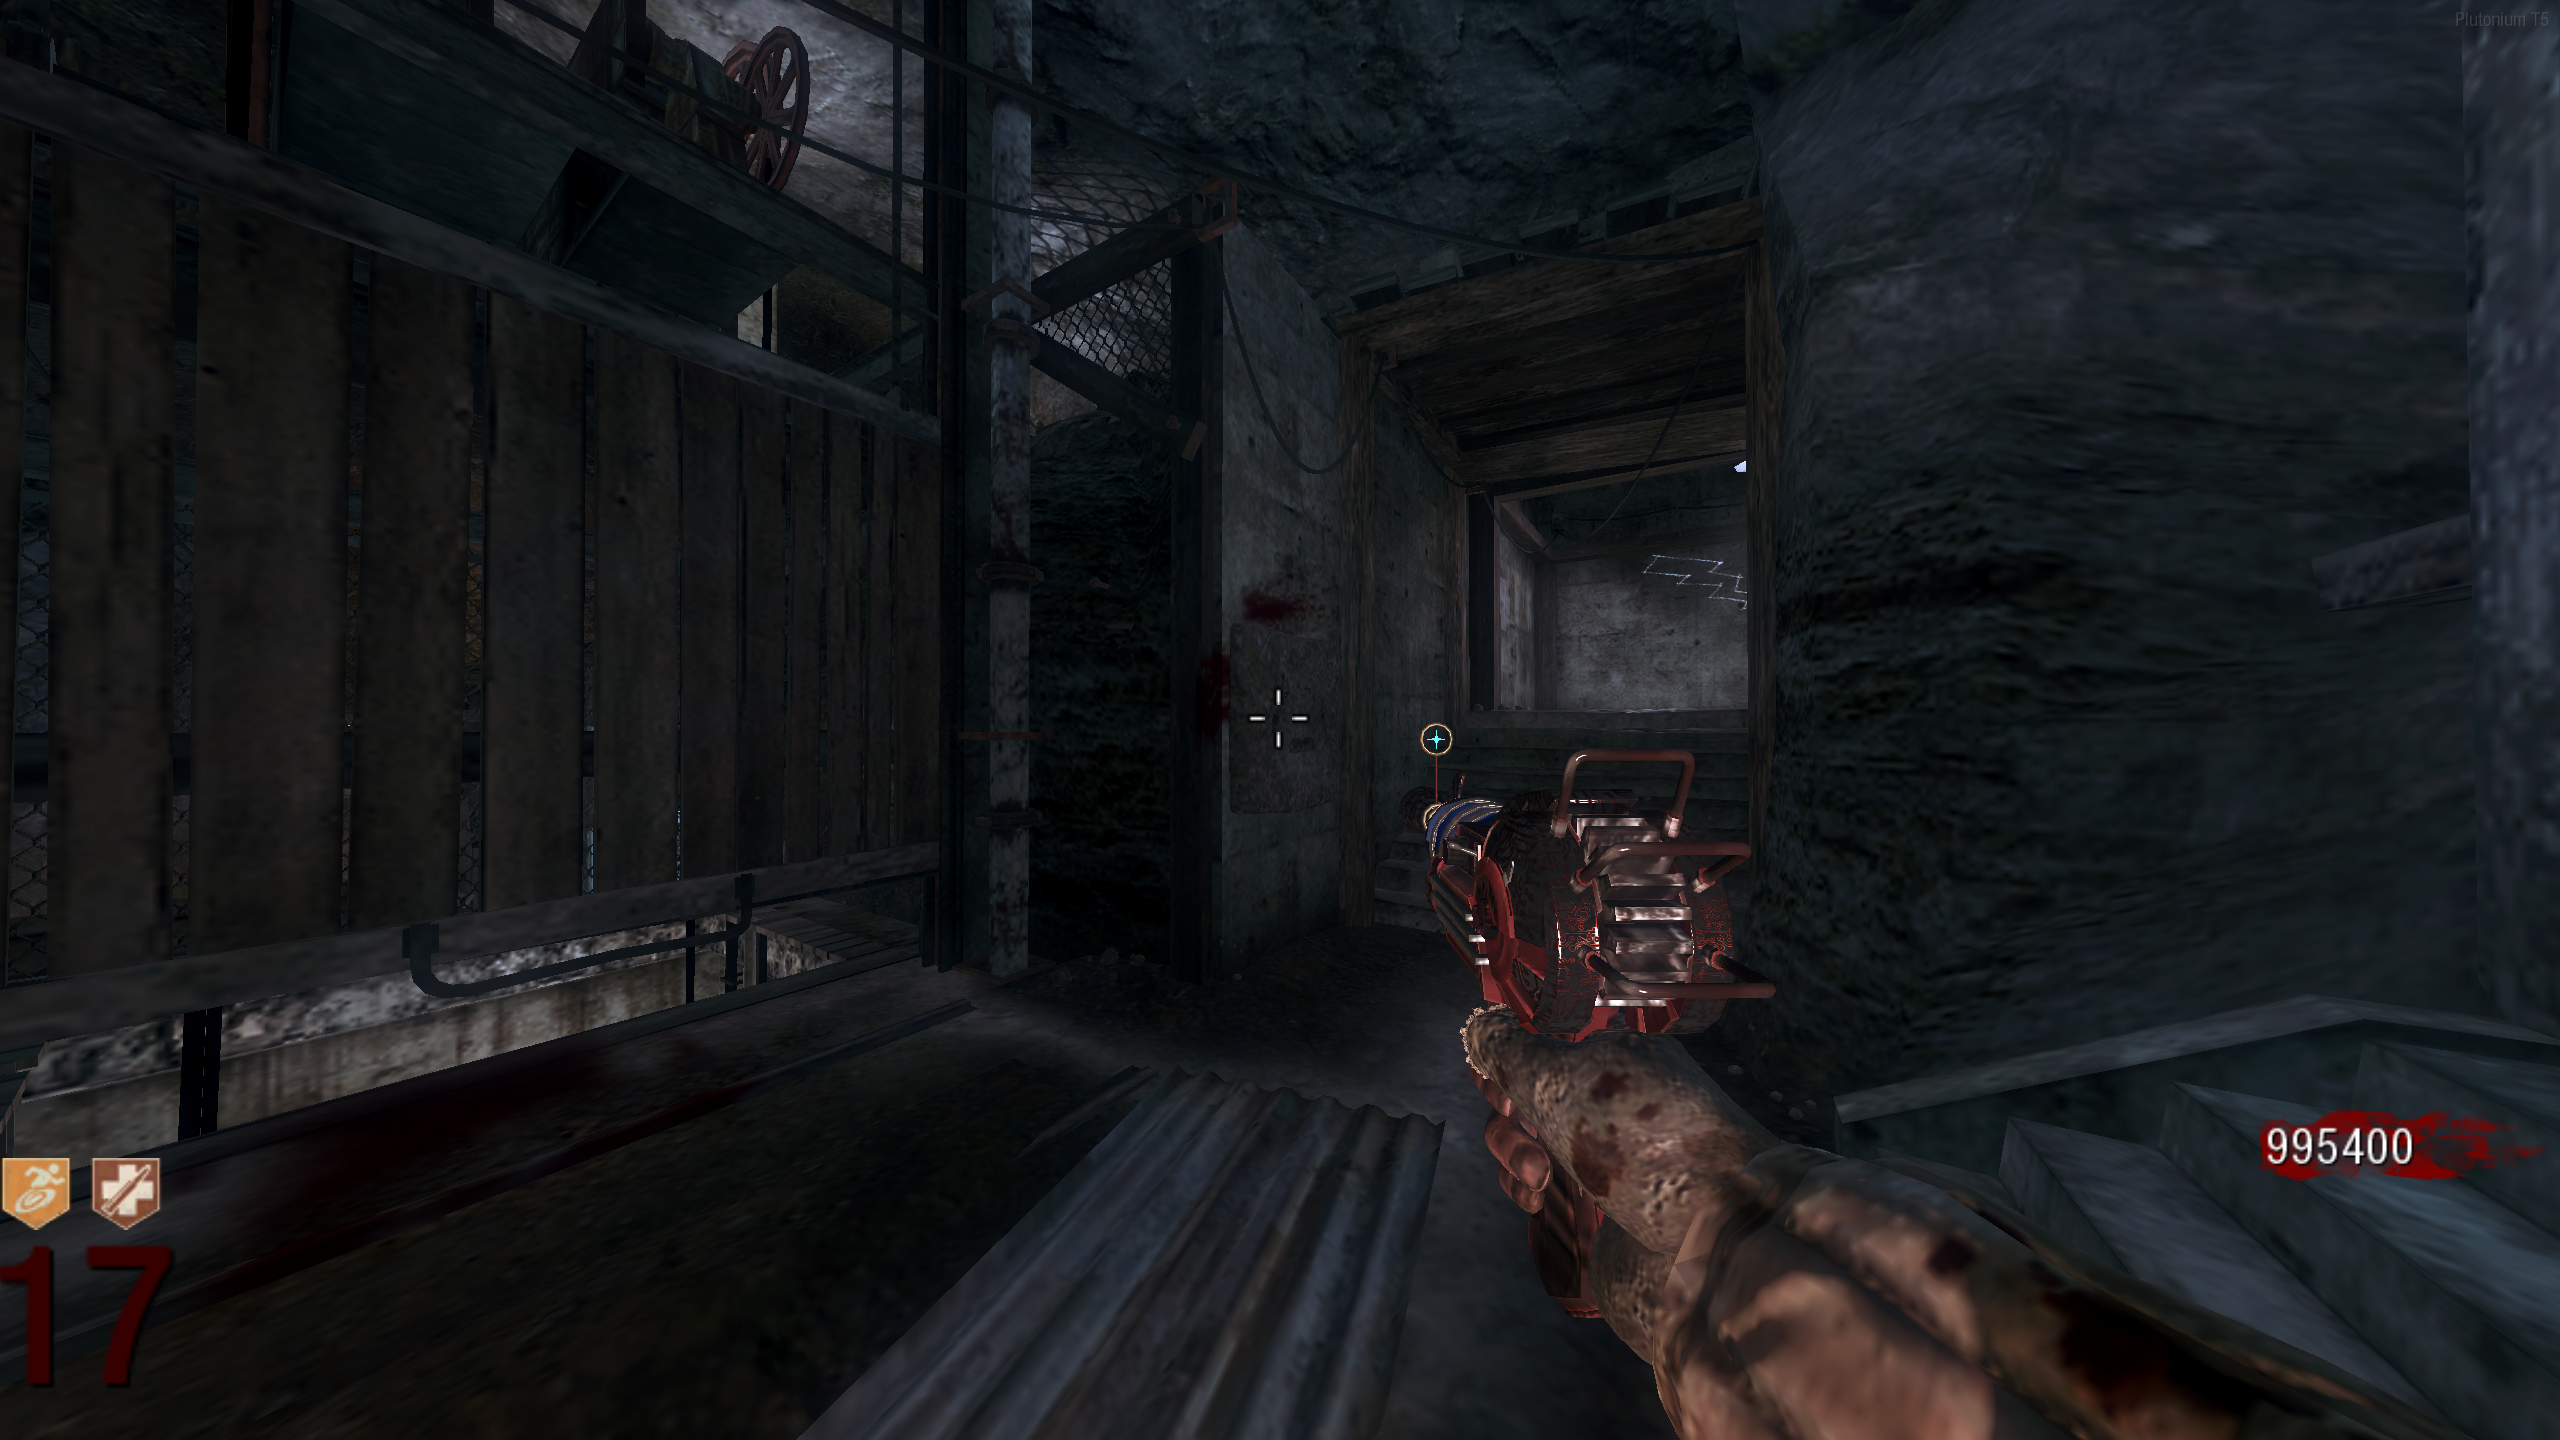
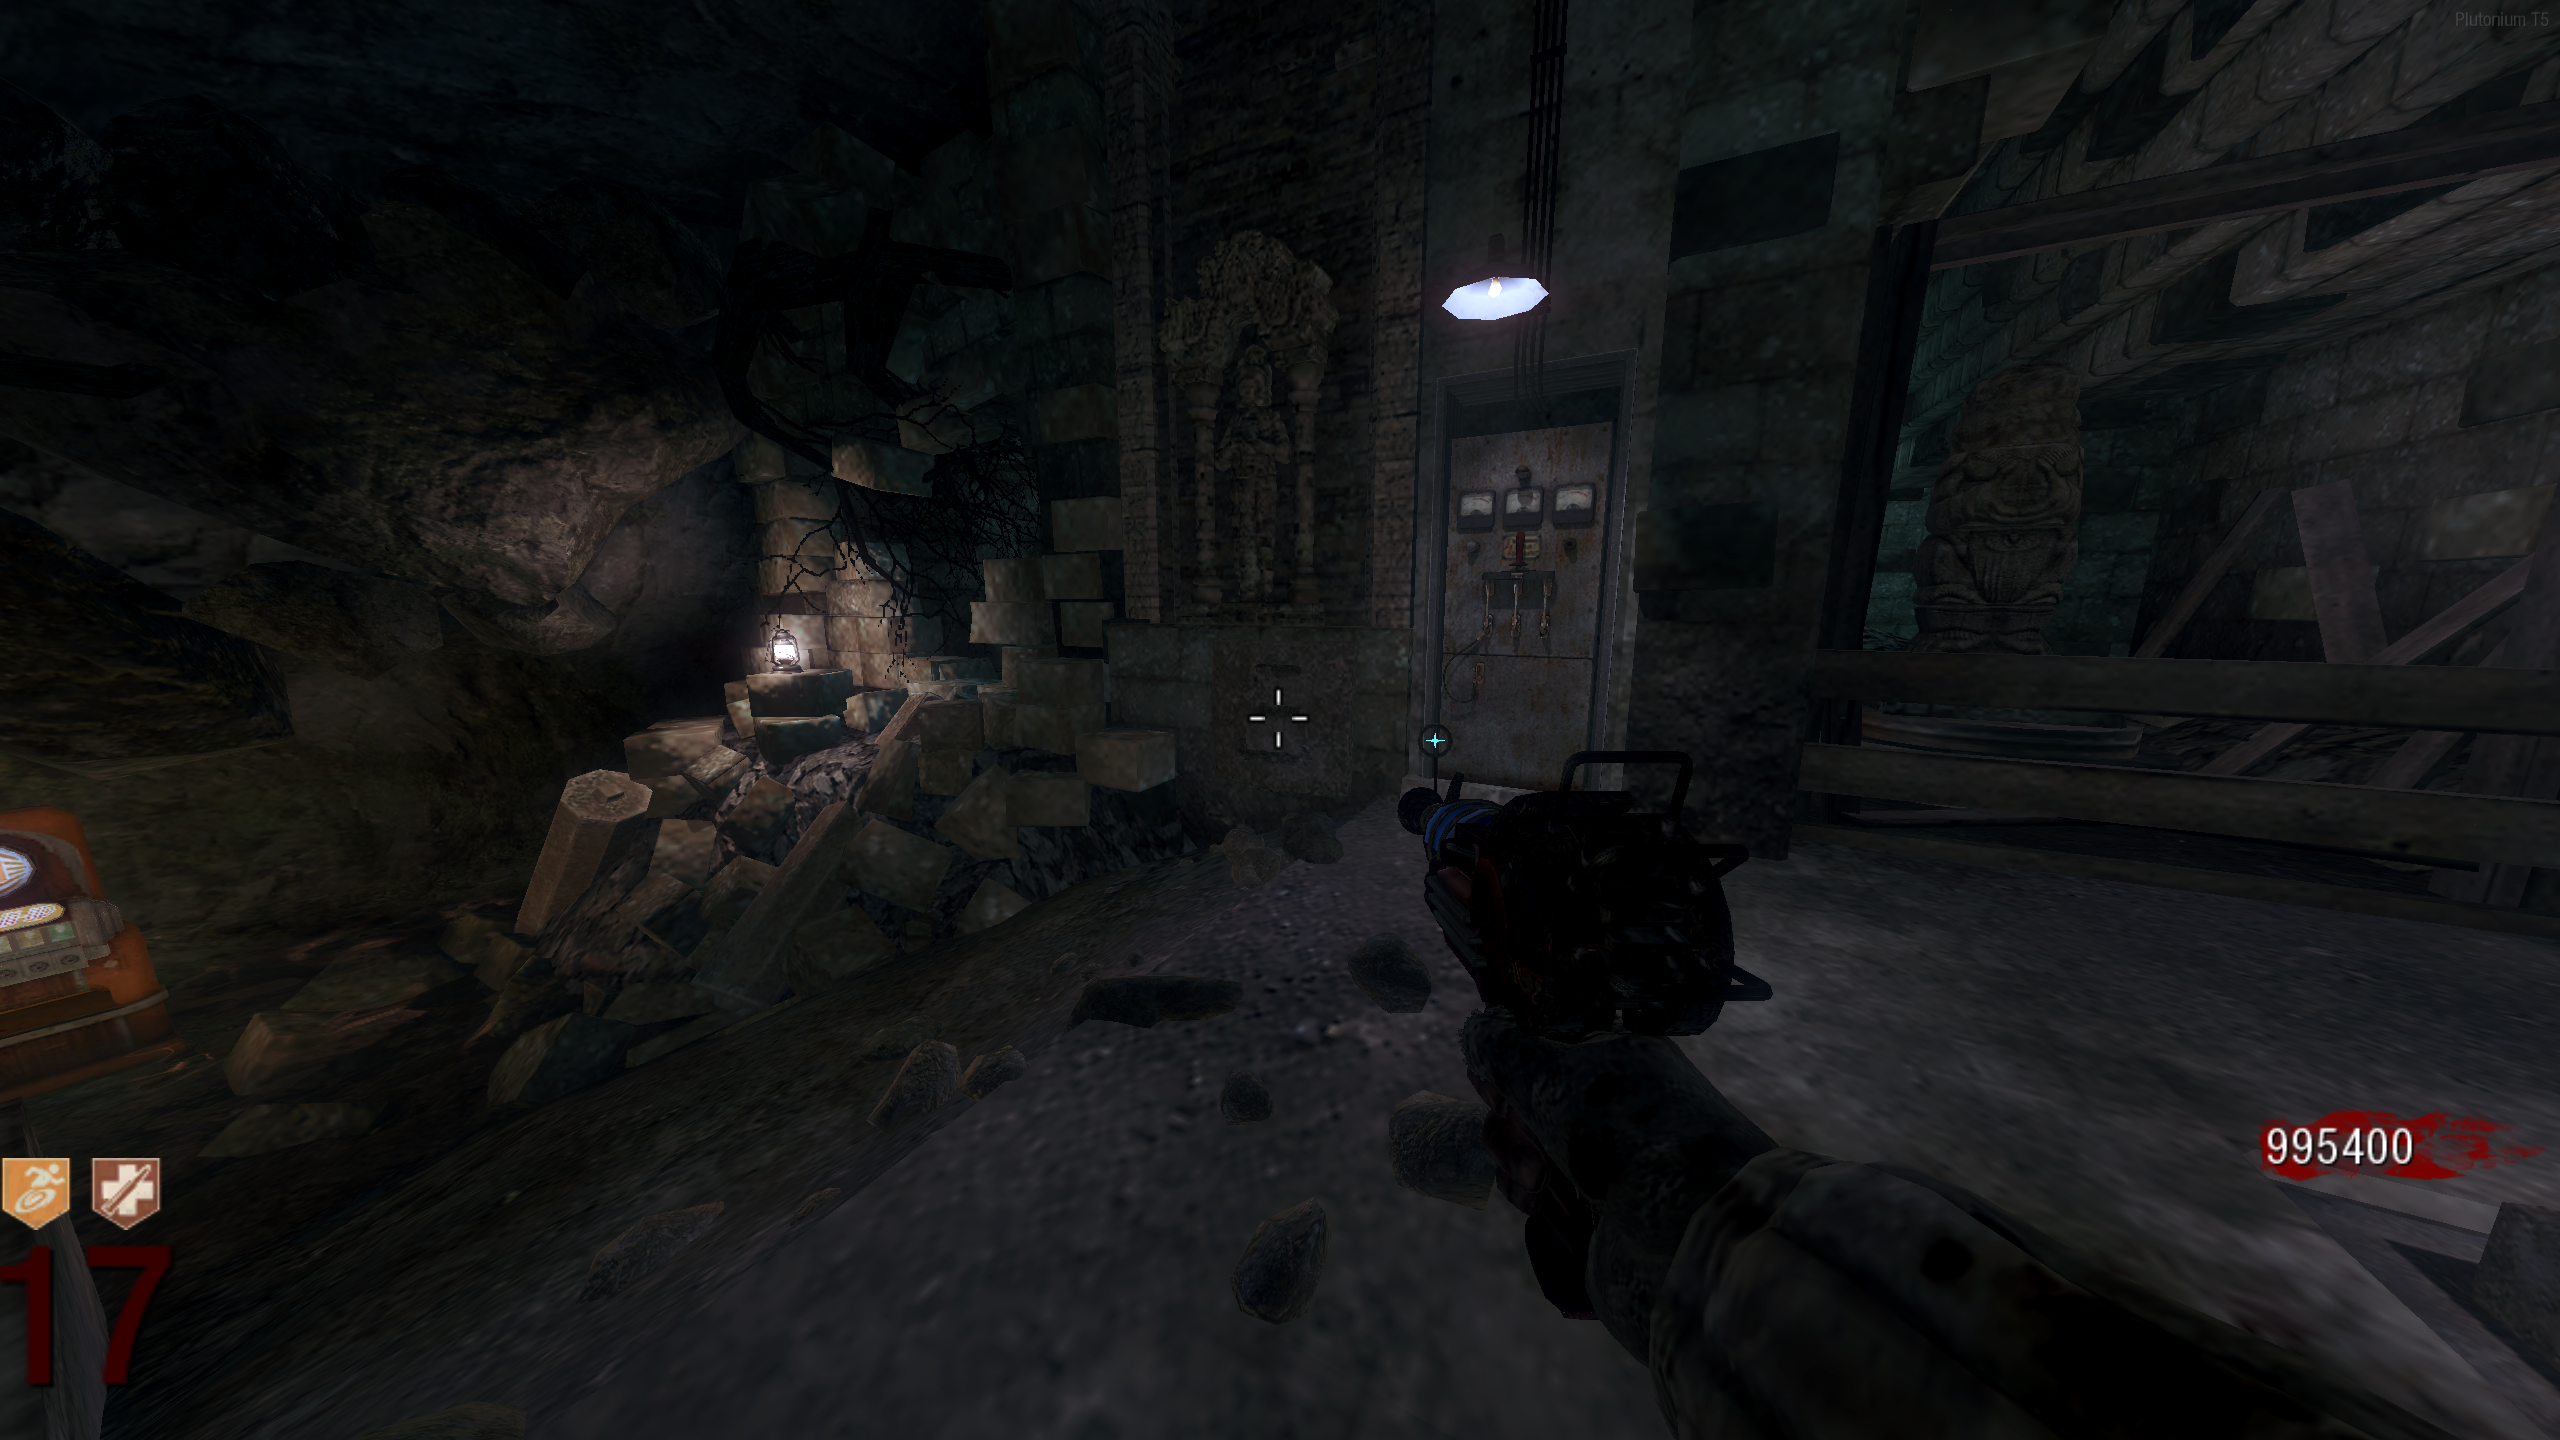
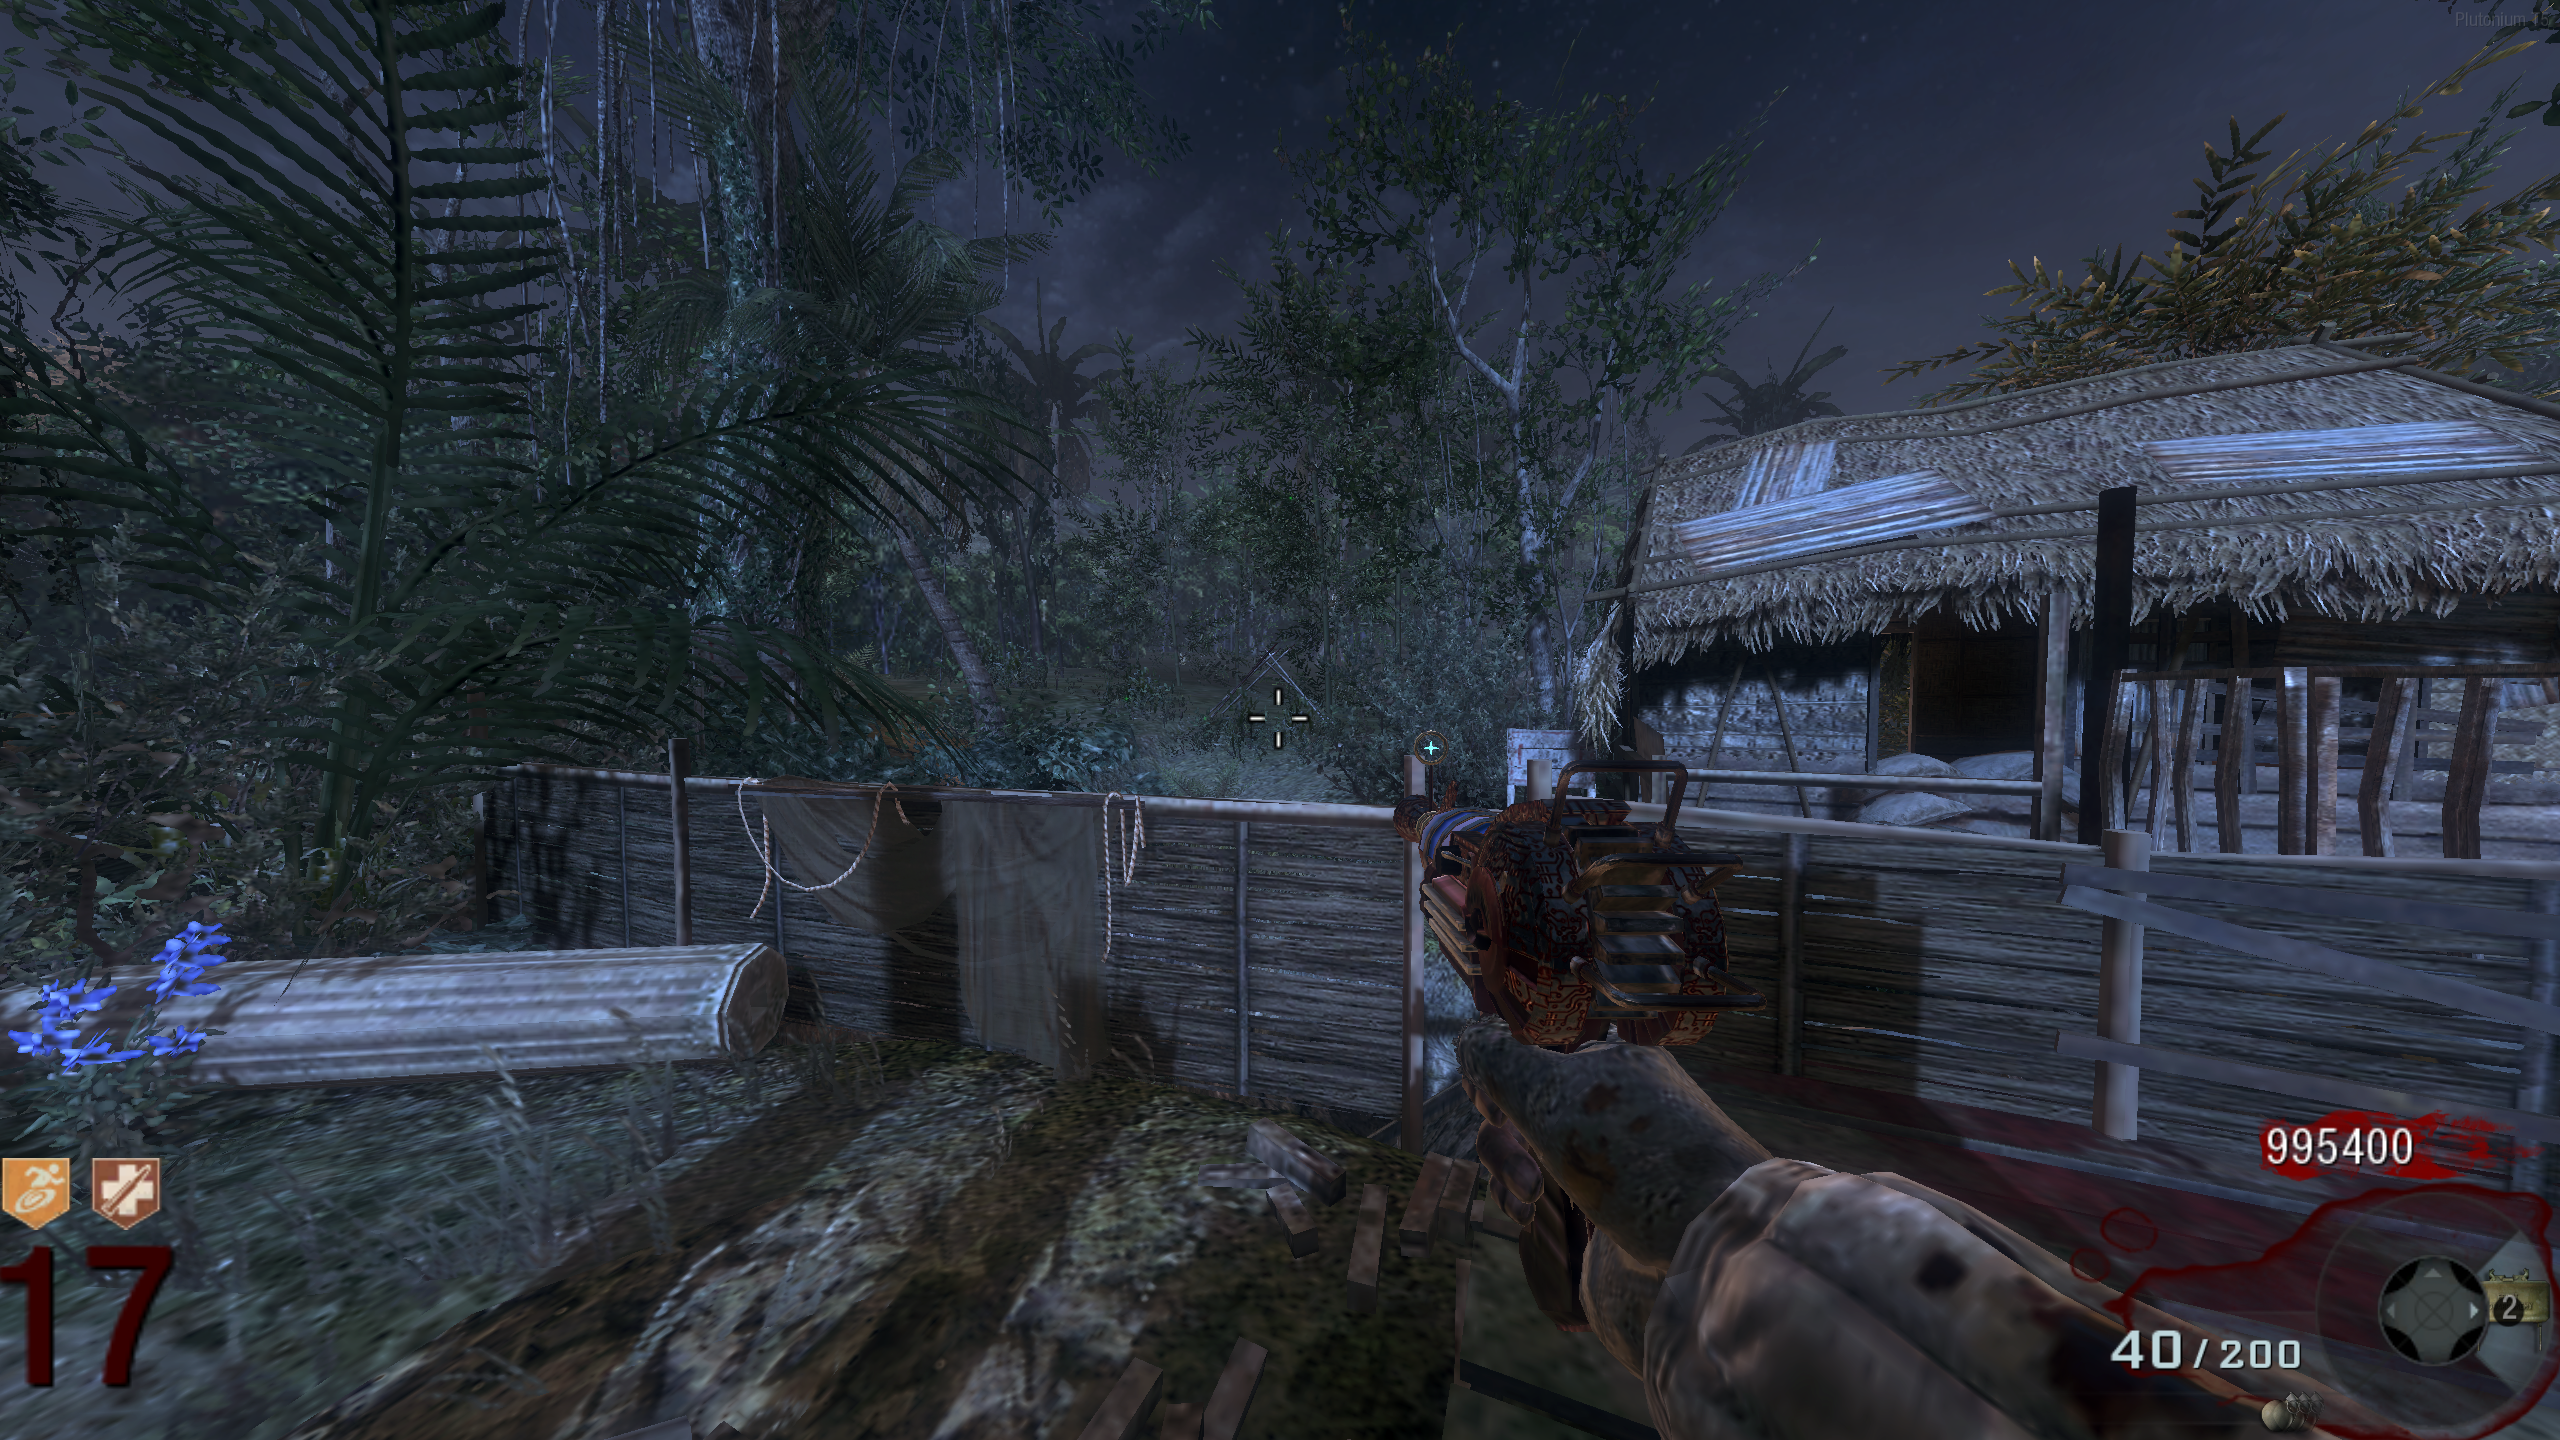
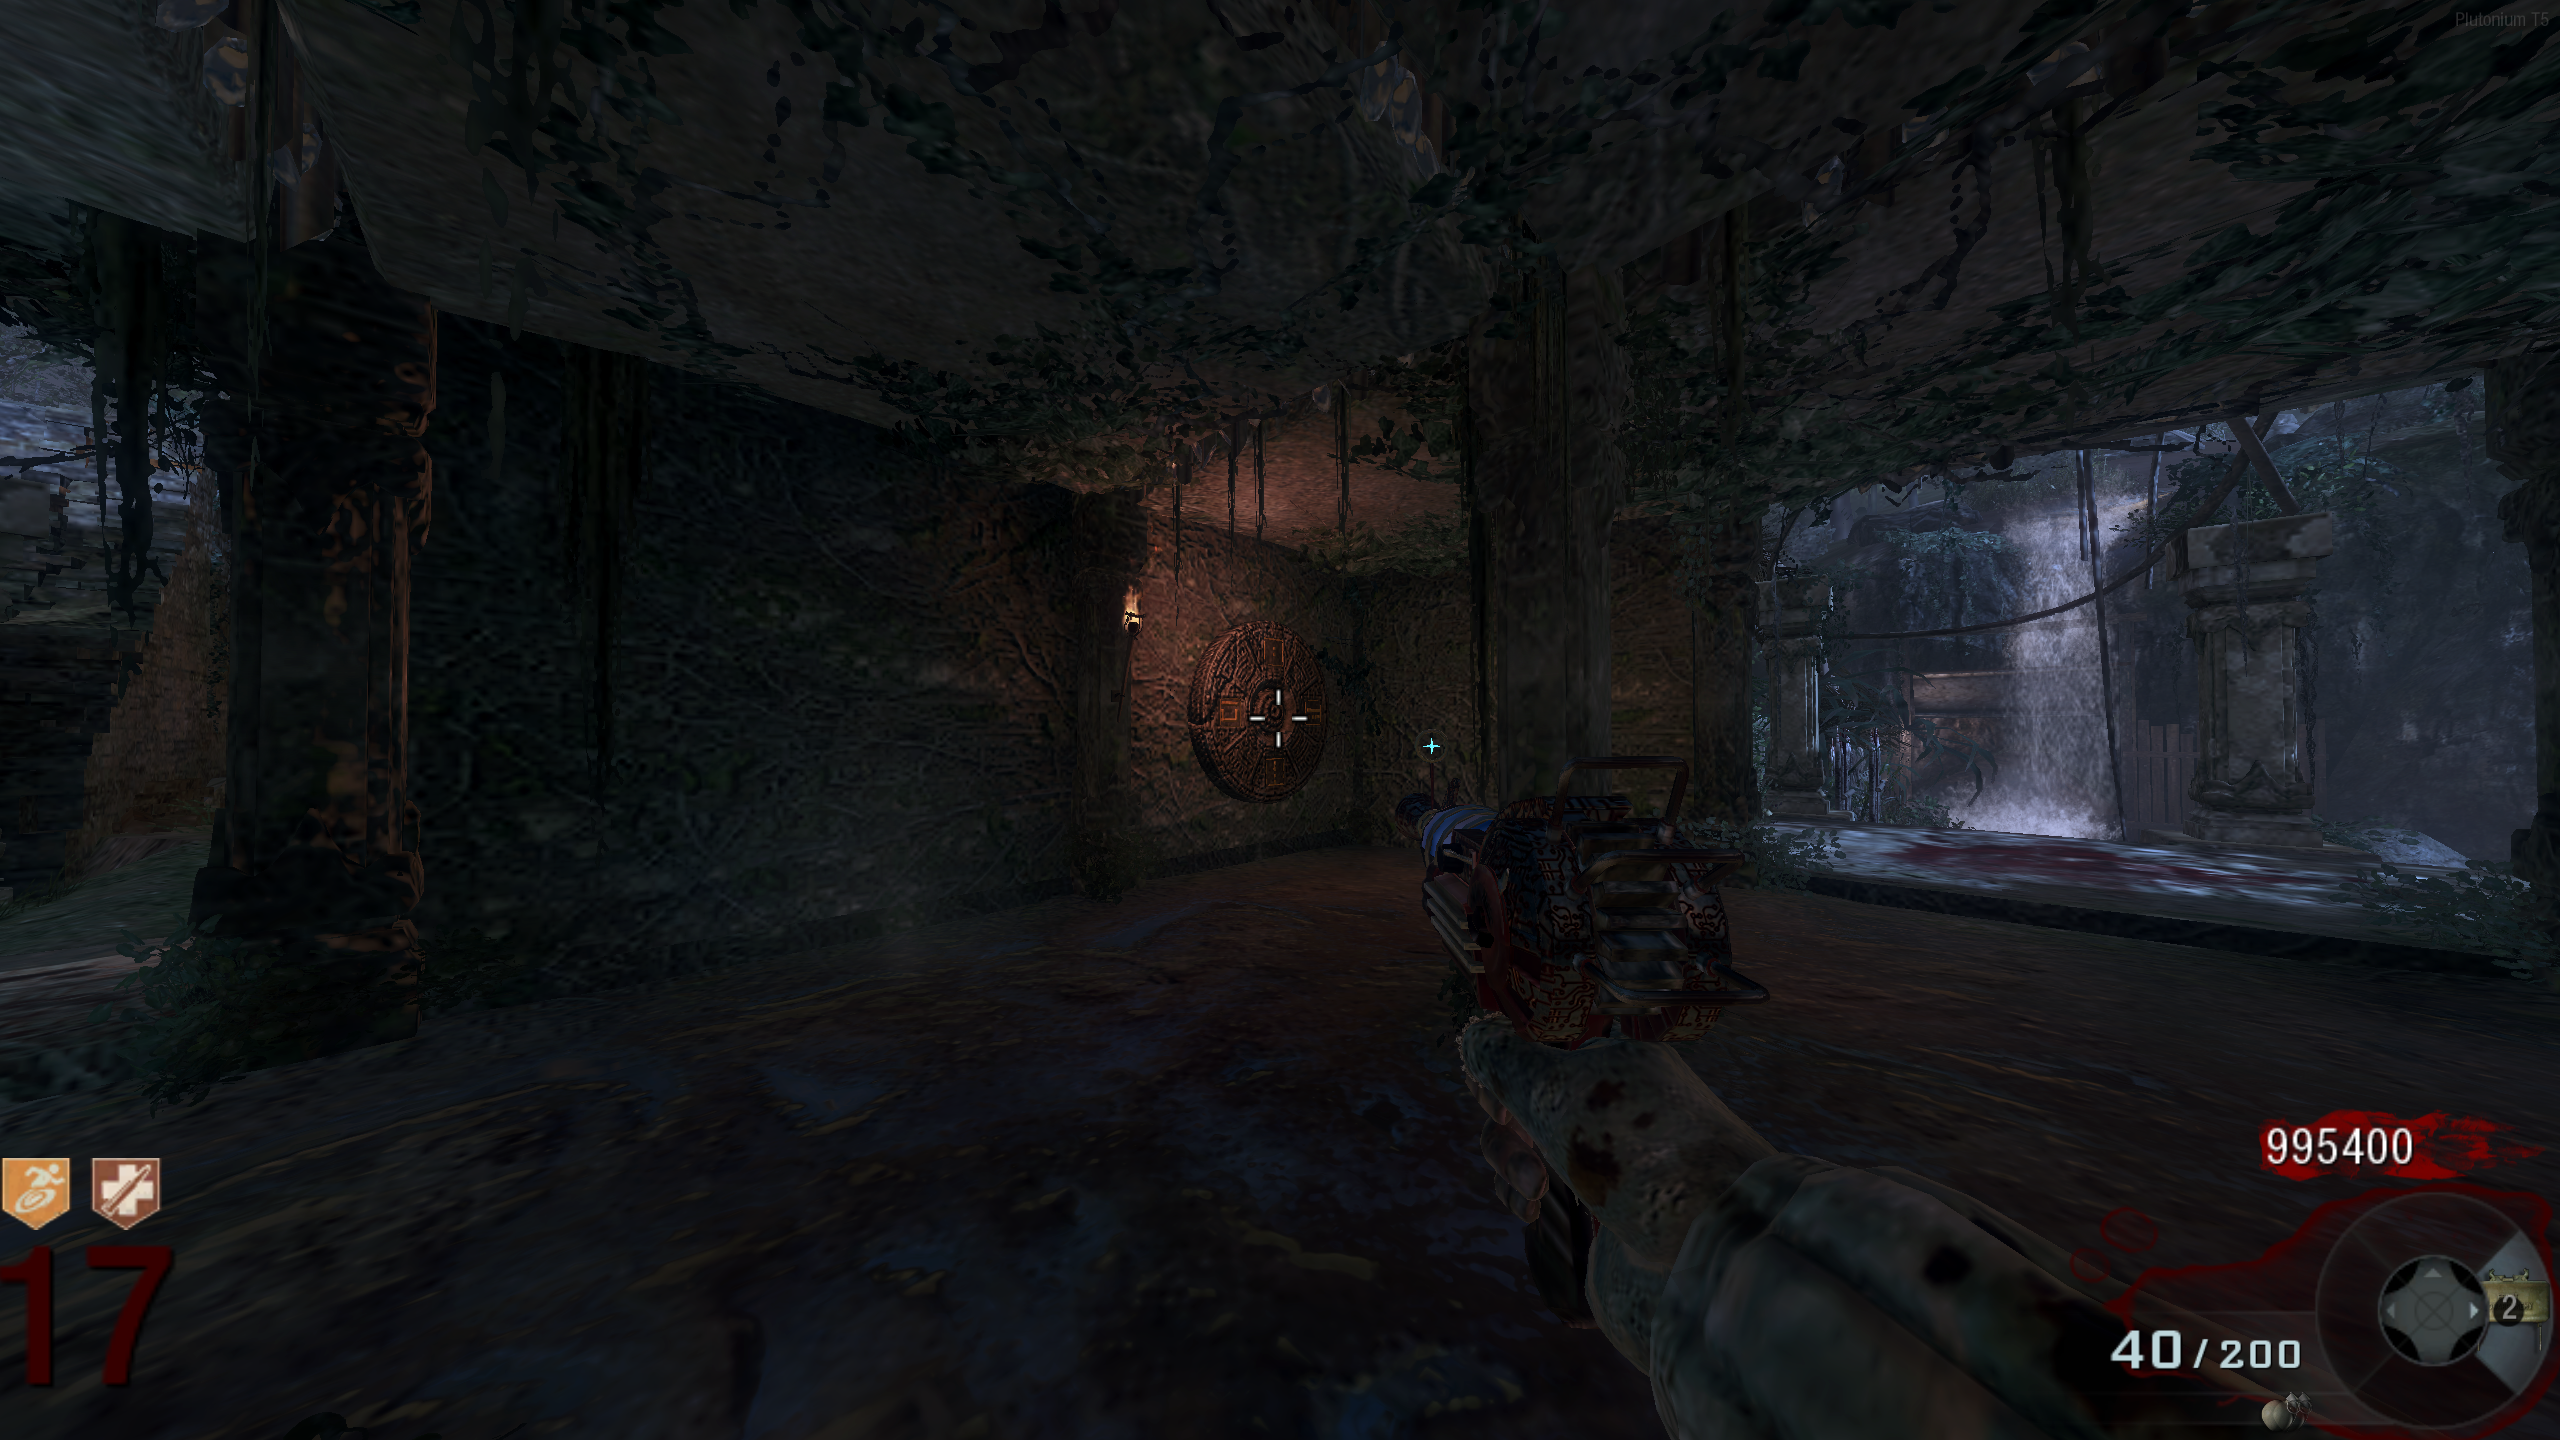
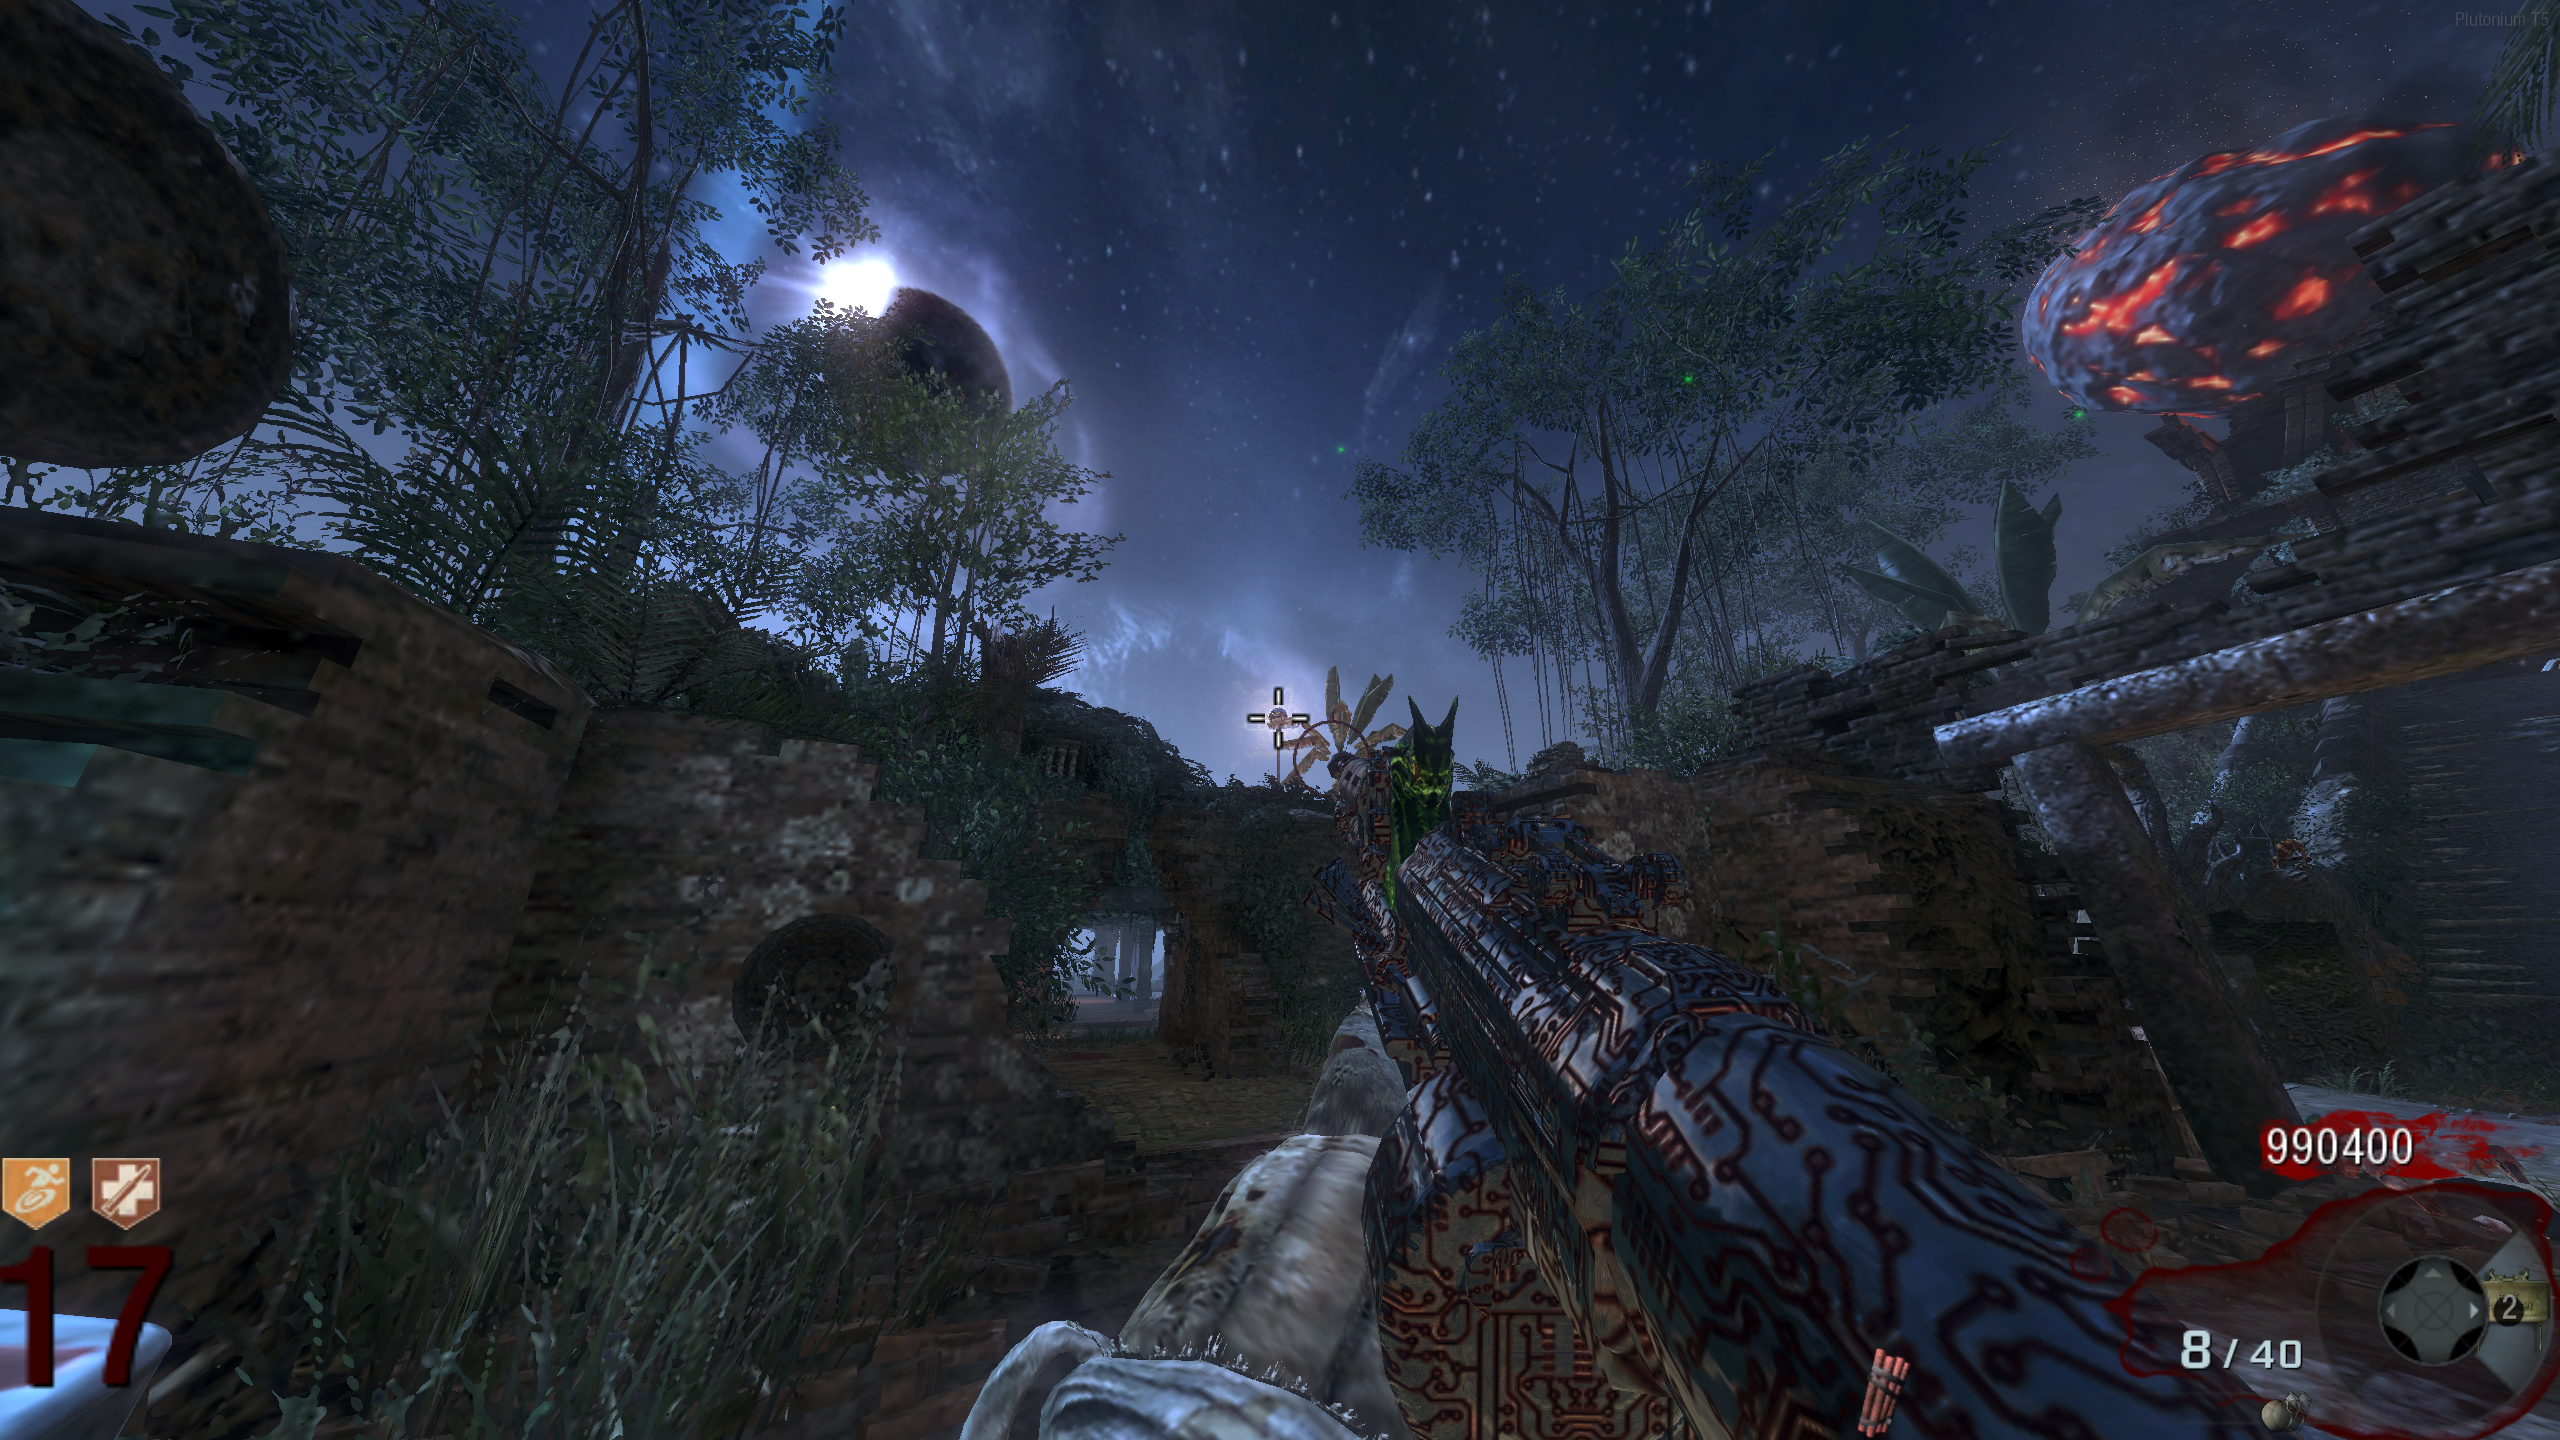
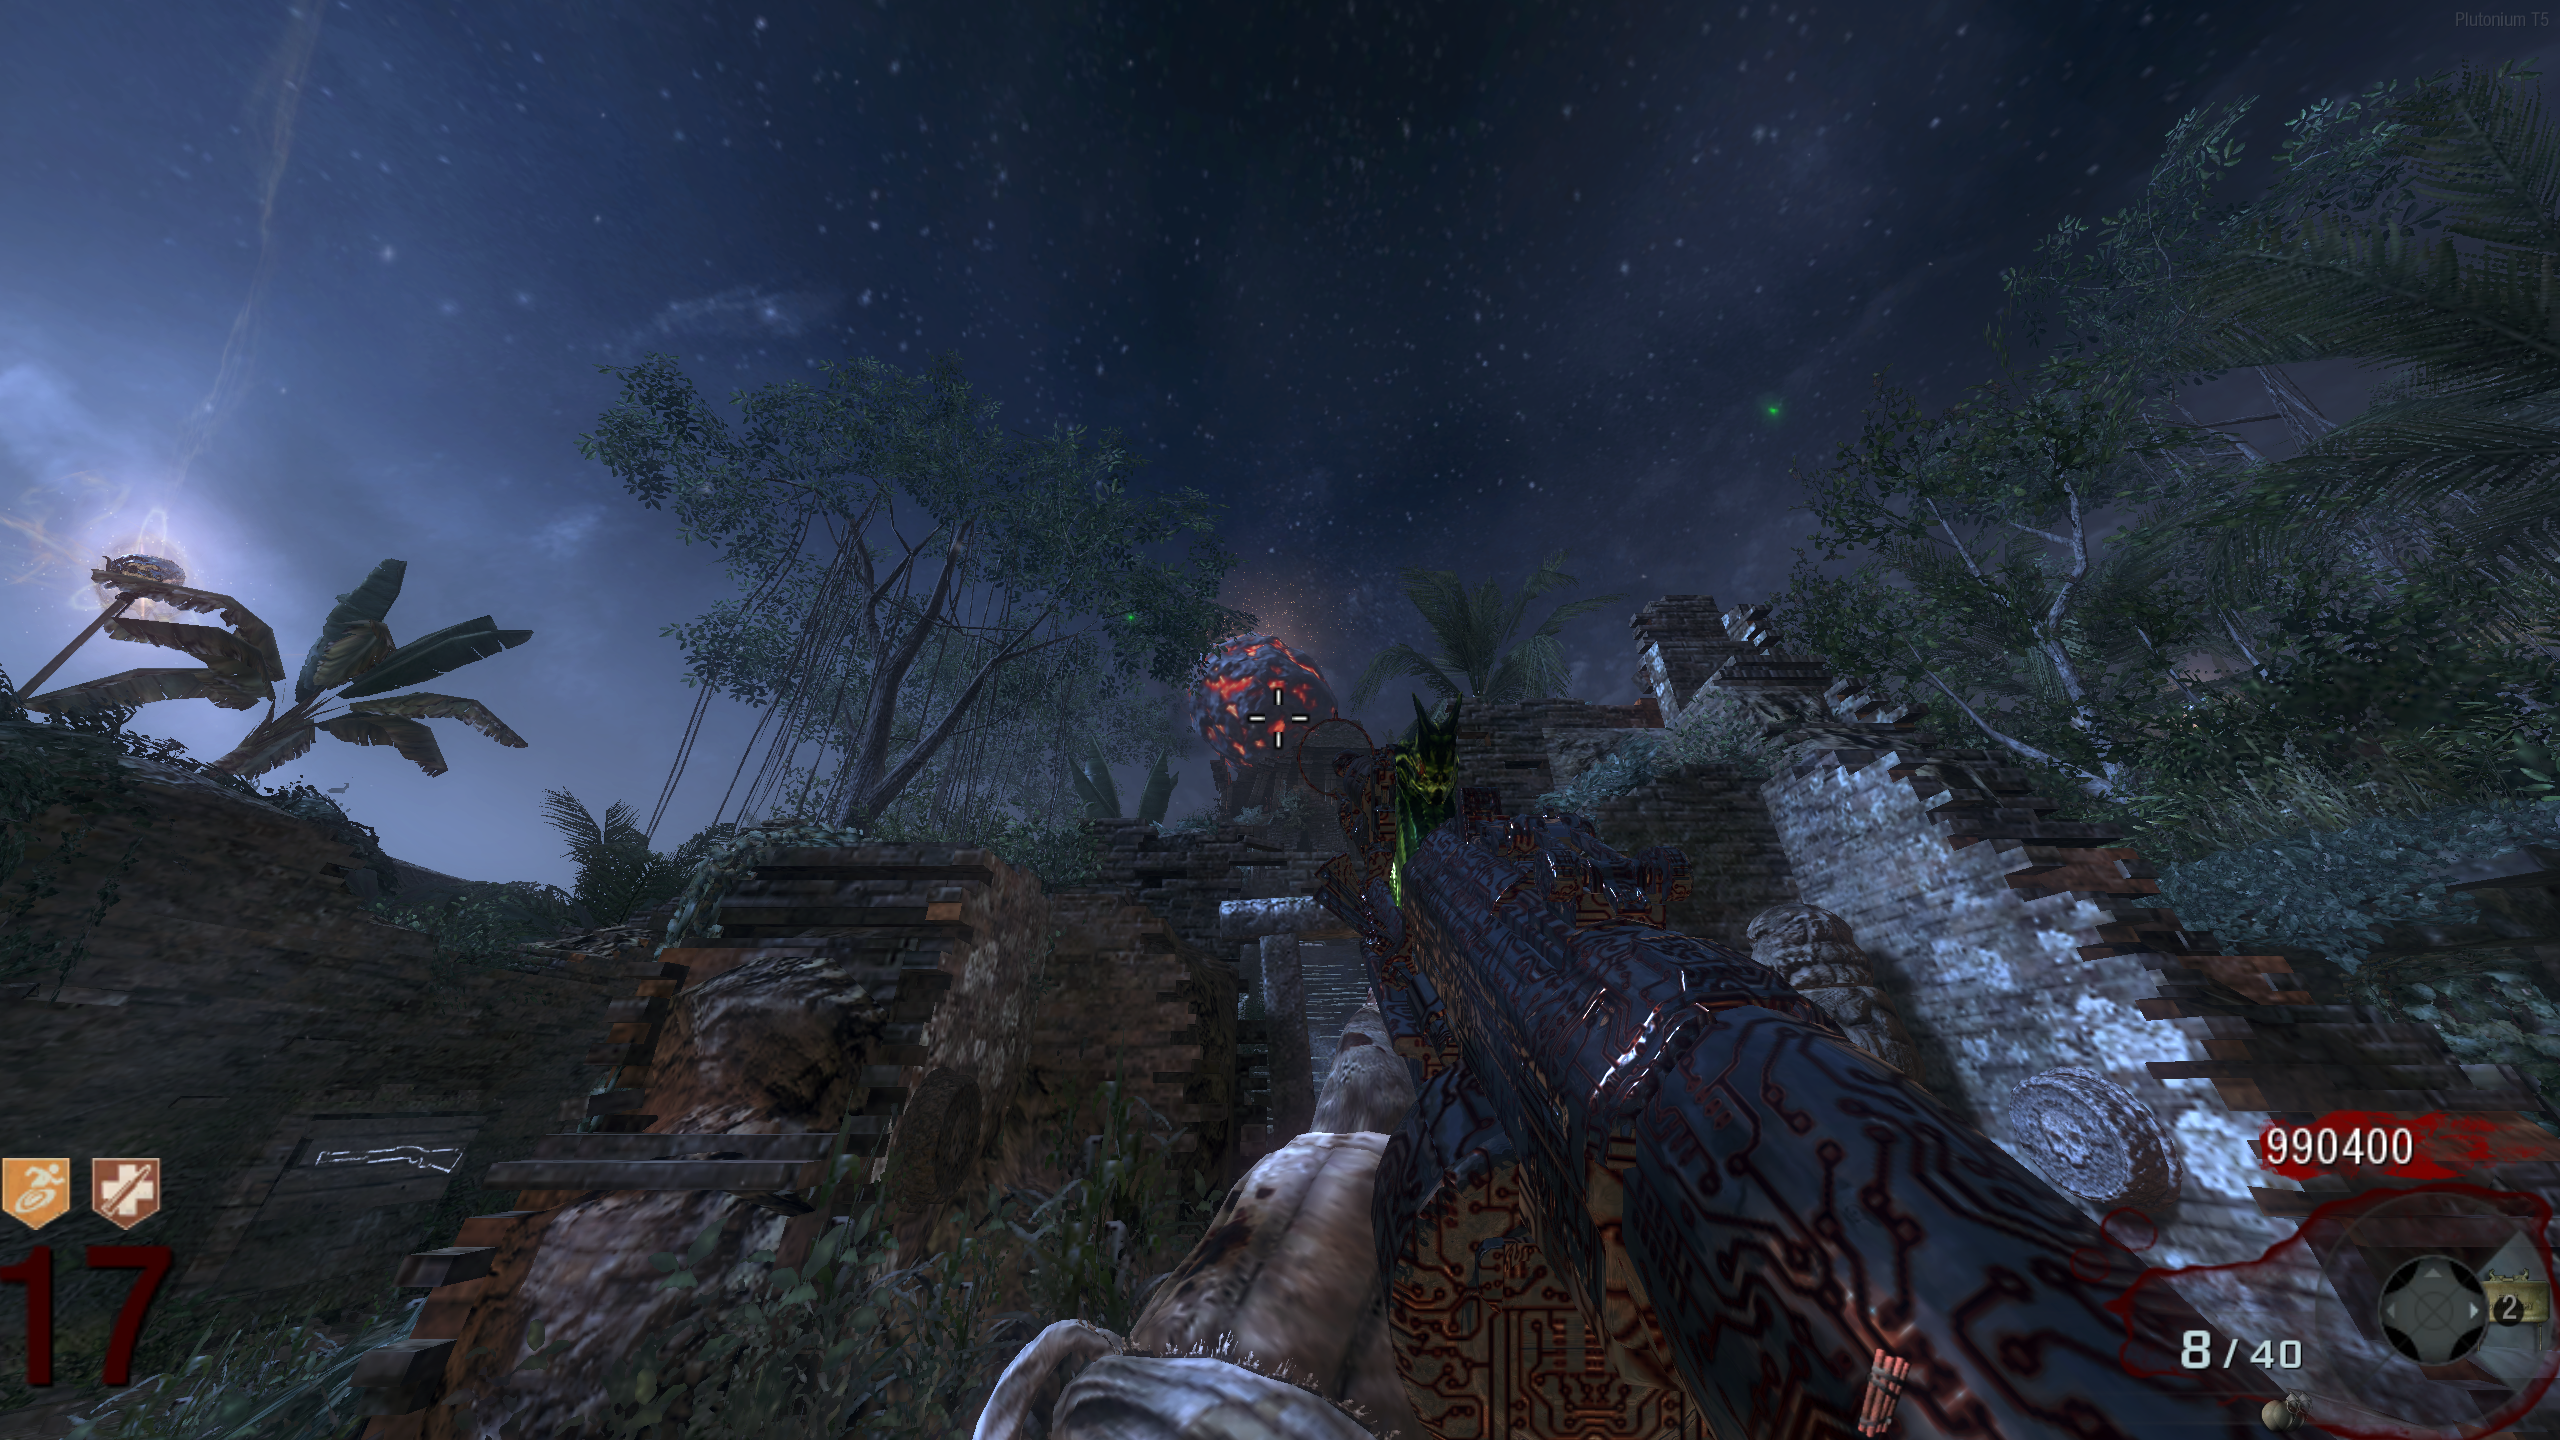
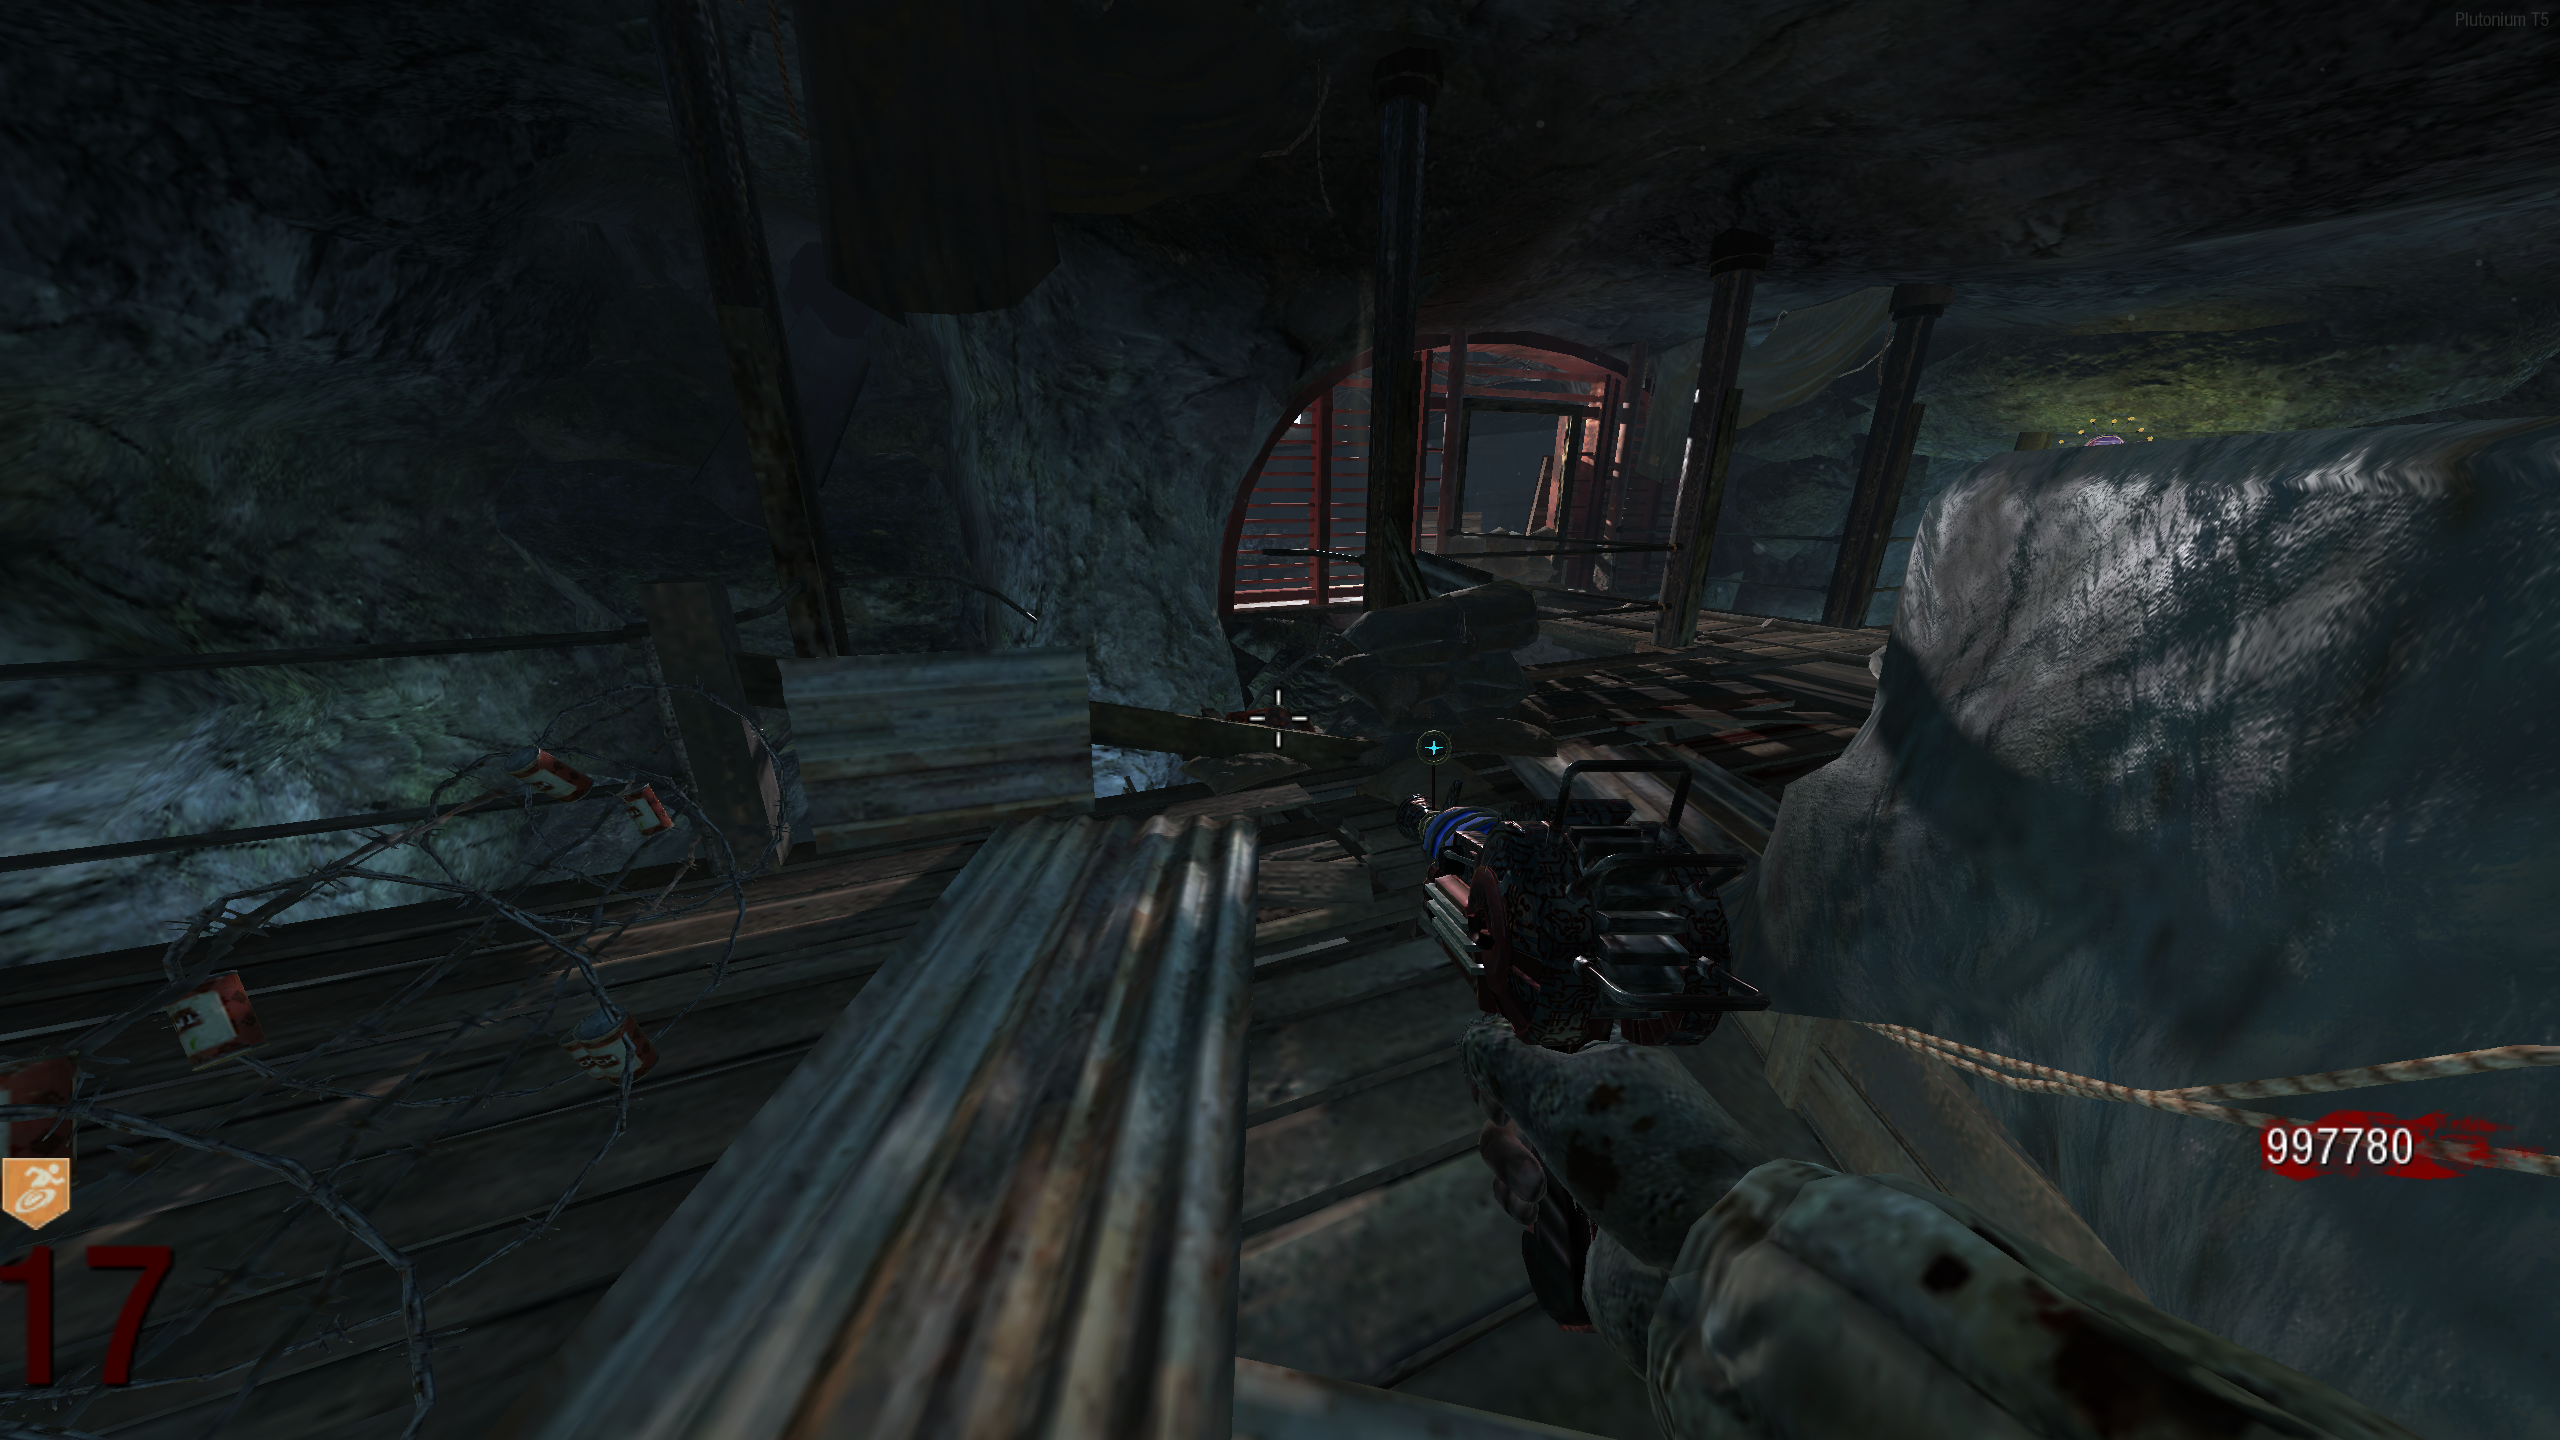
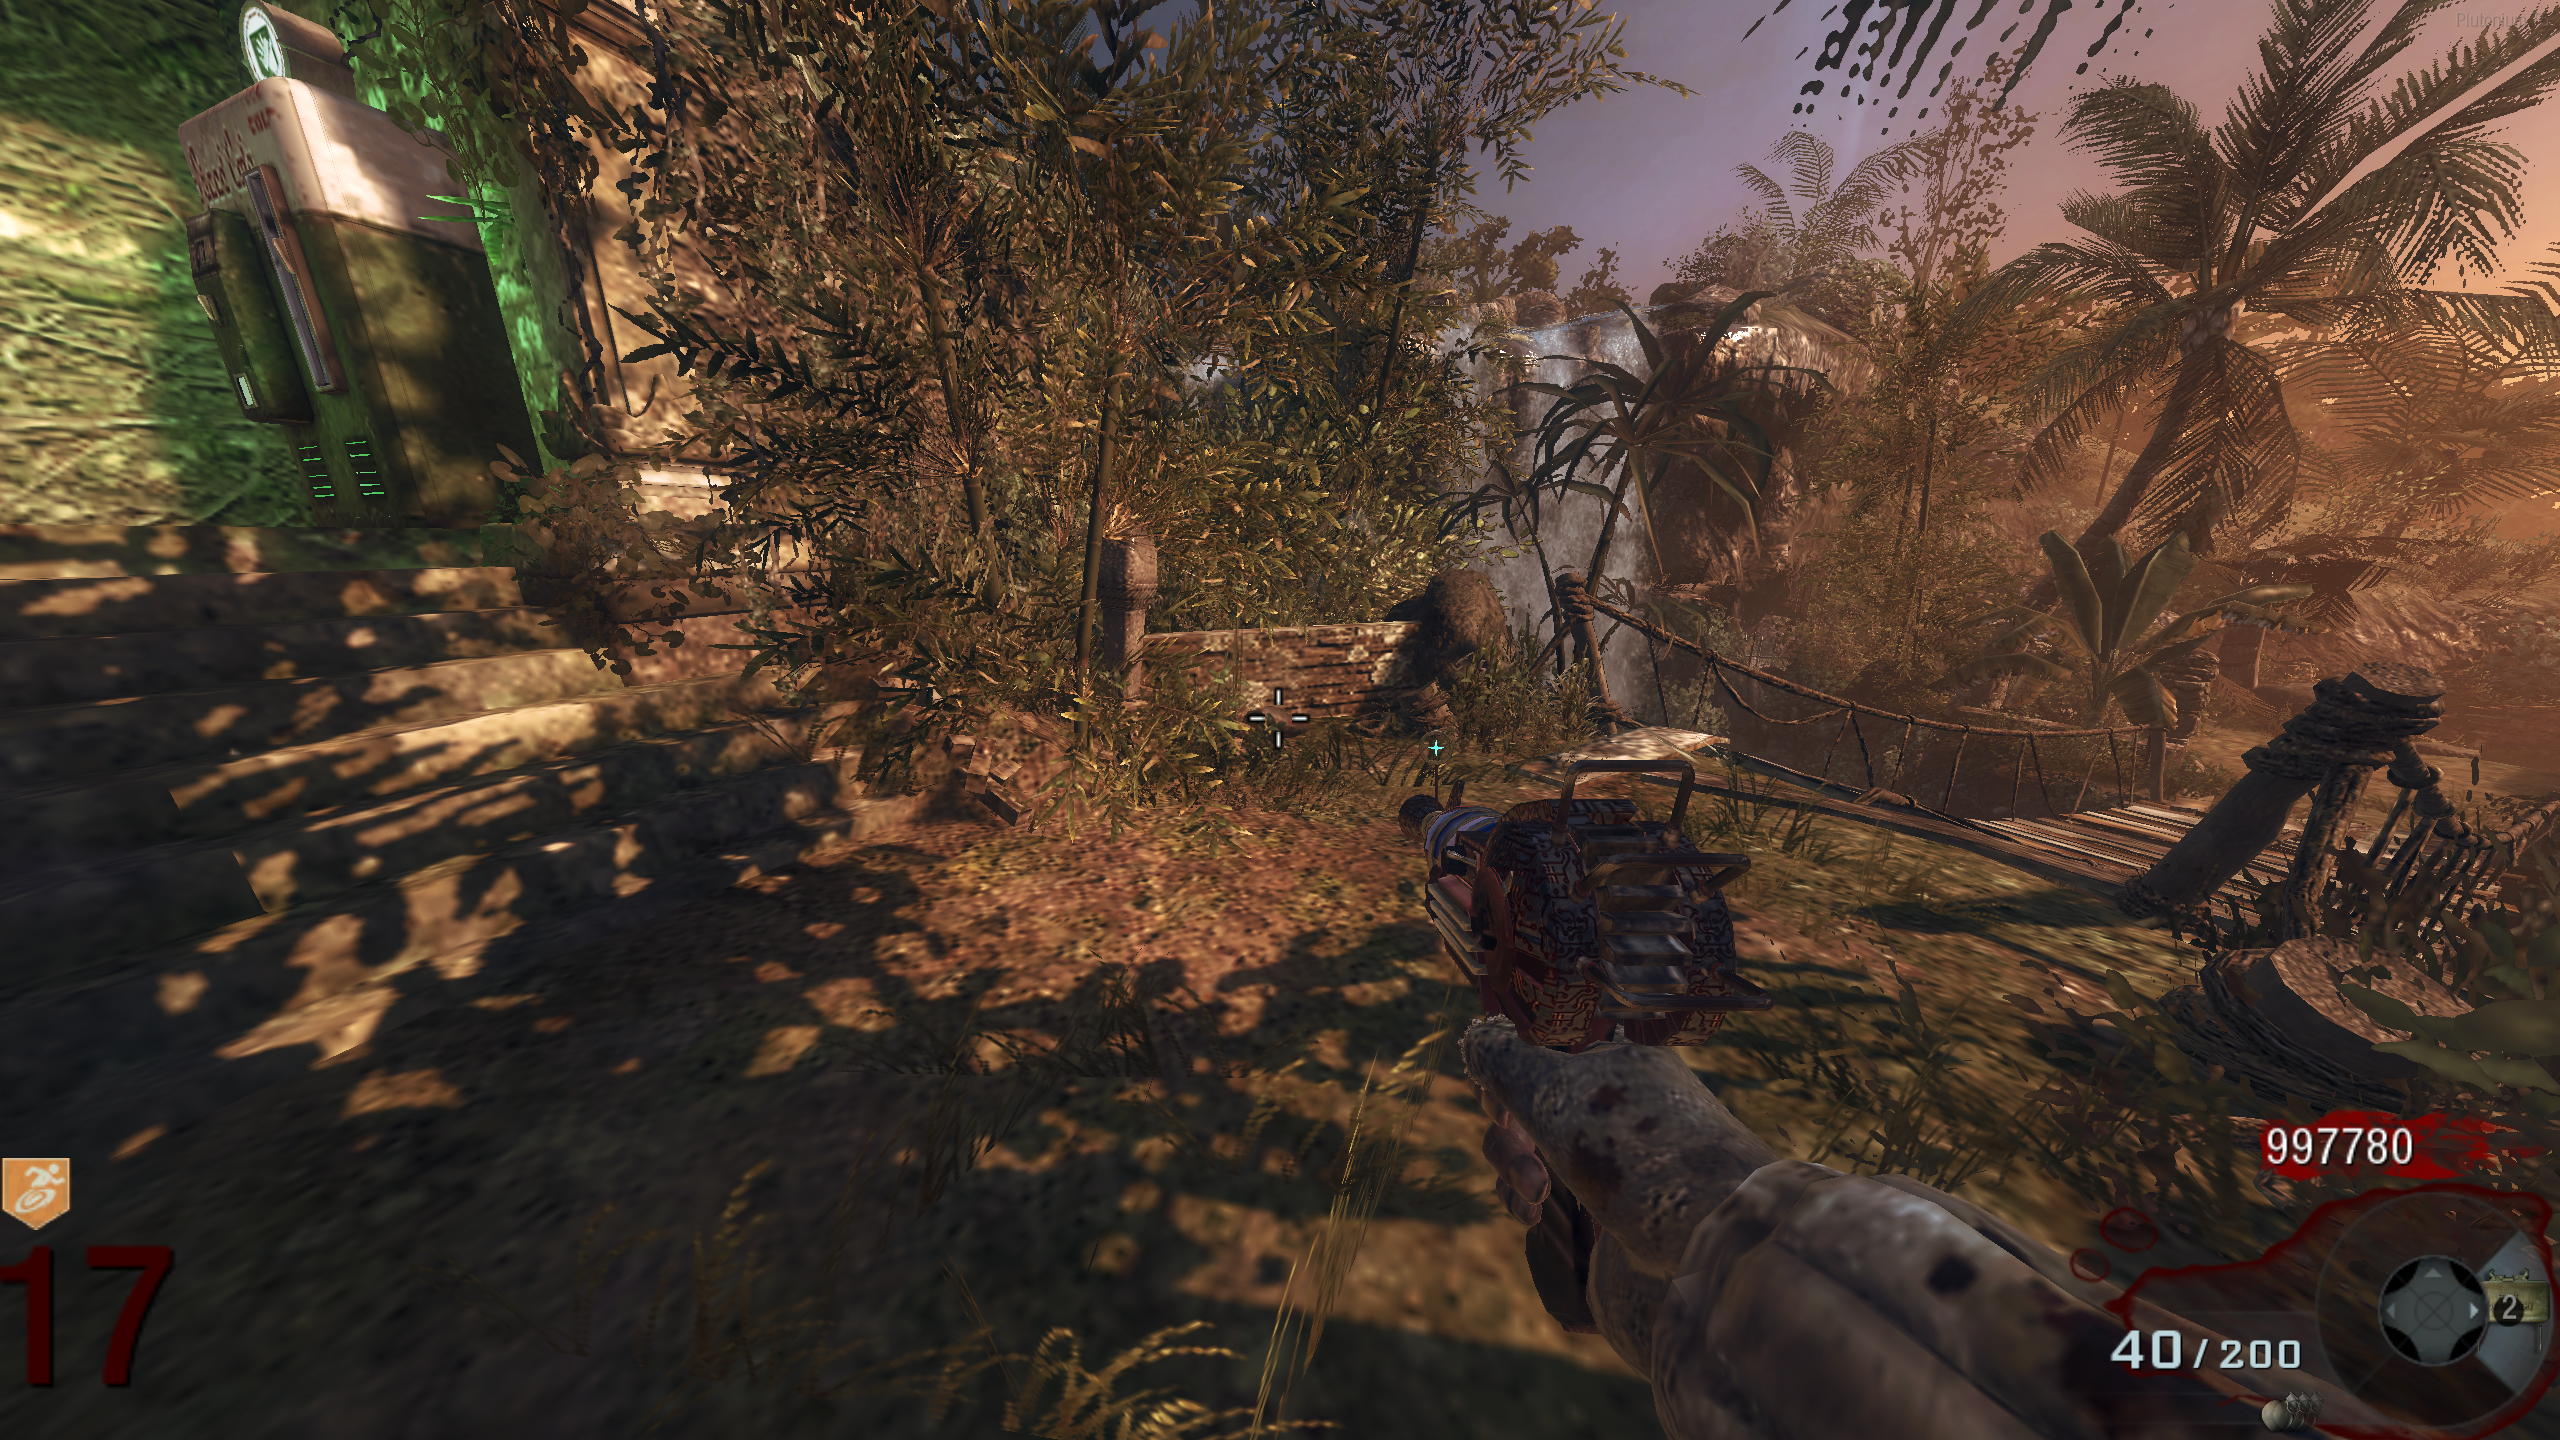
- Interact with three "Red Meteors" around the map. Meteor locations:
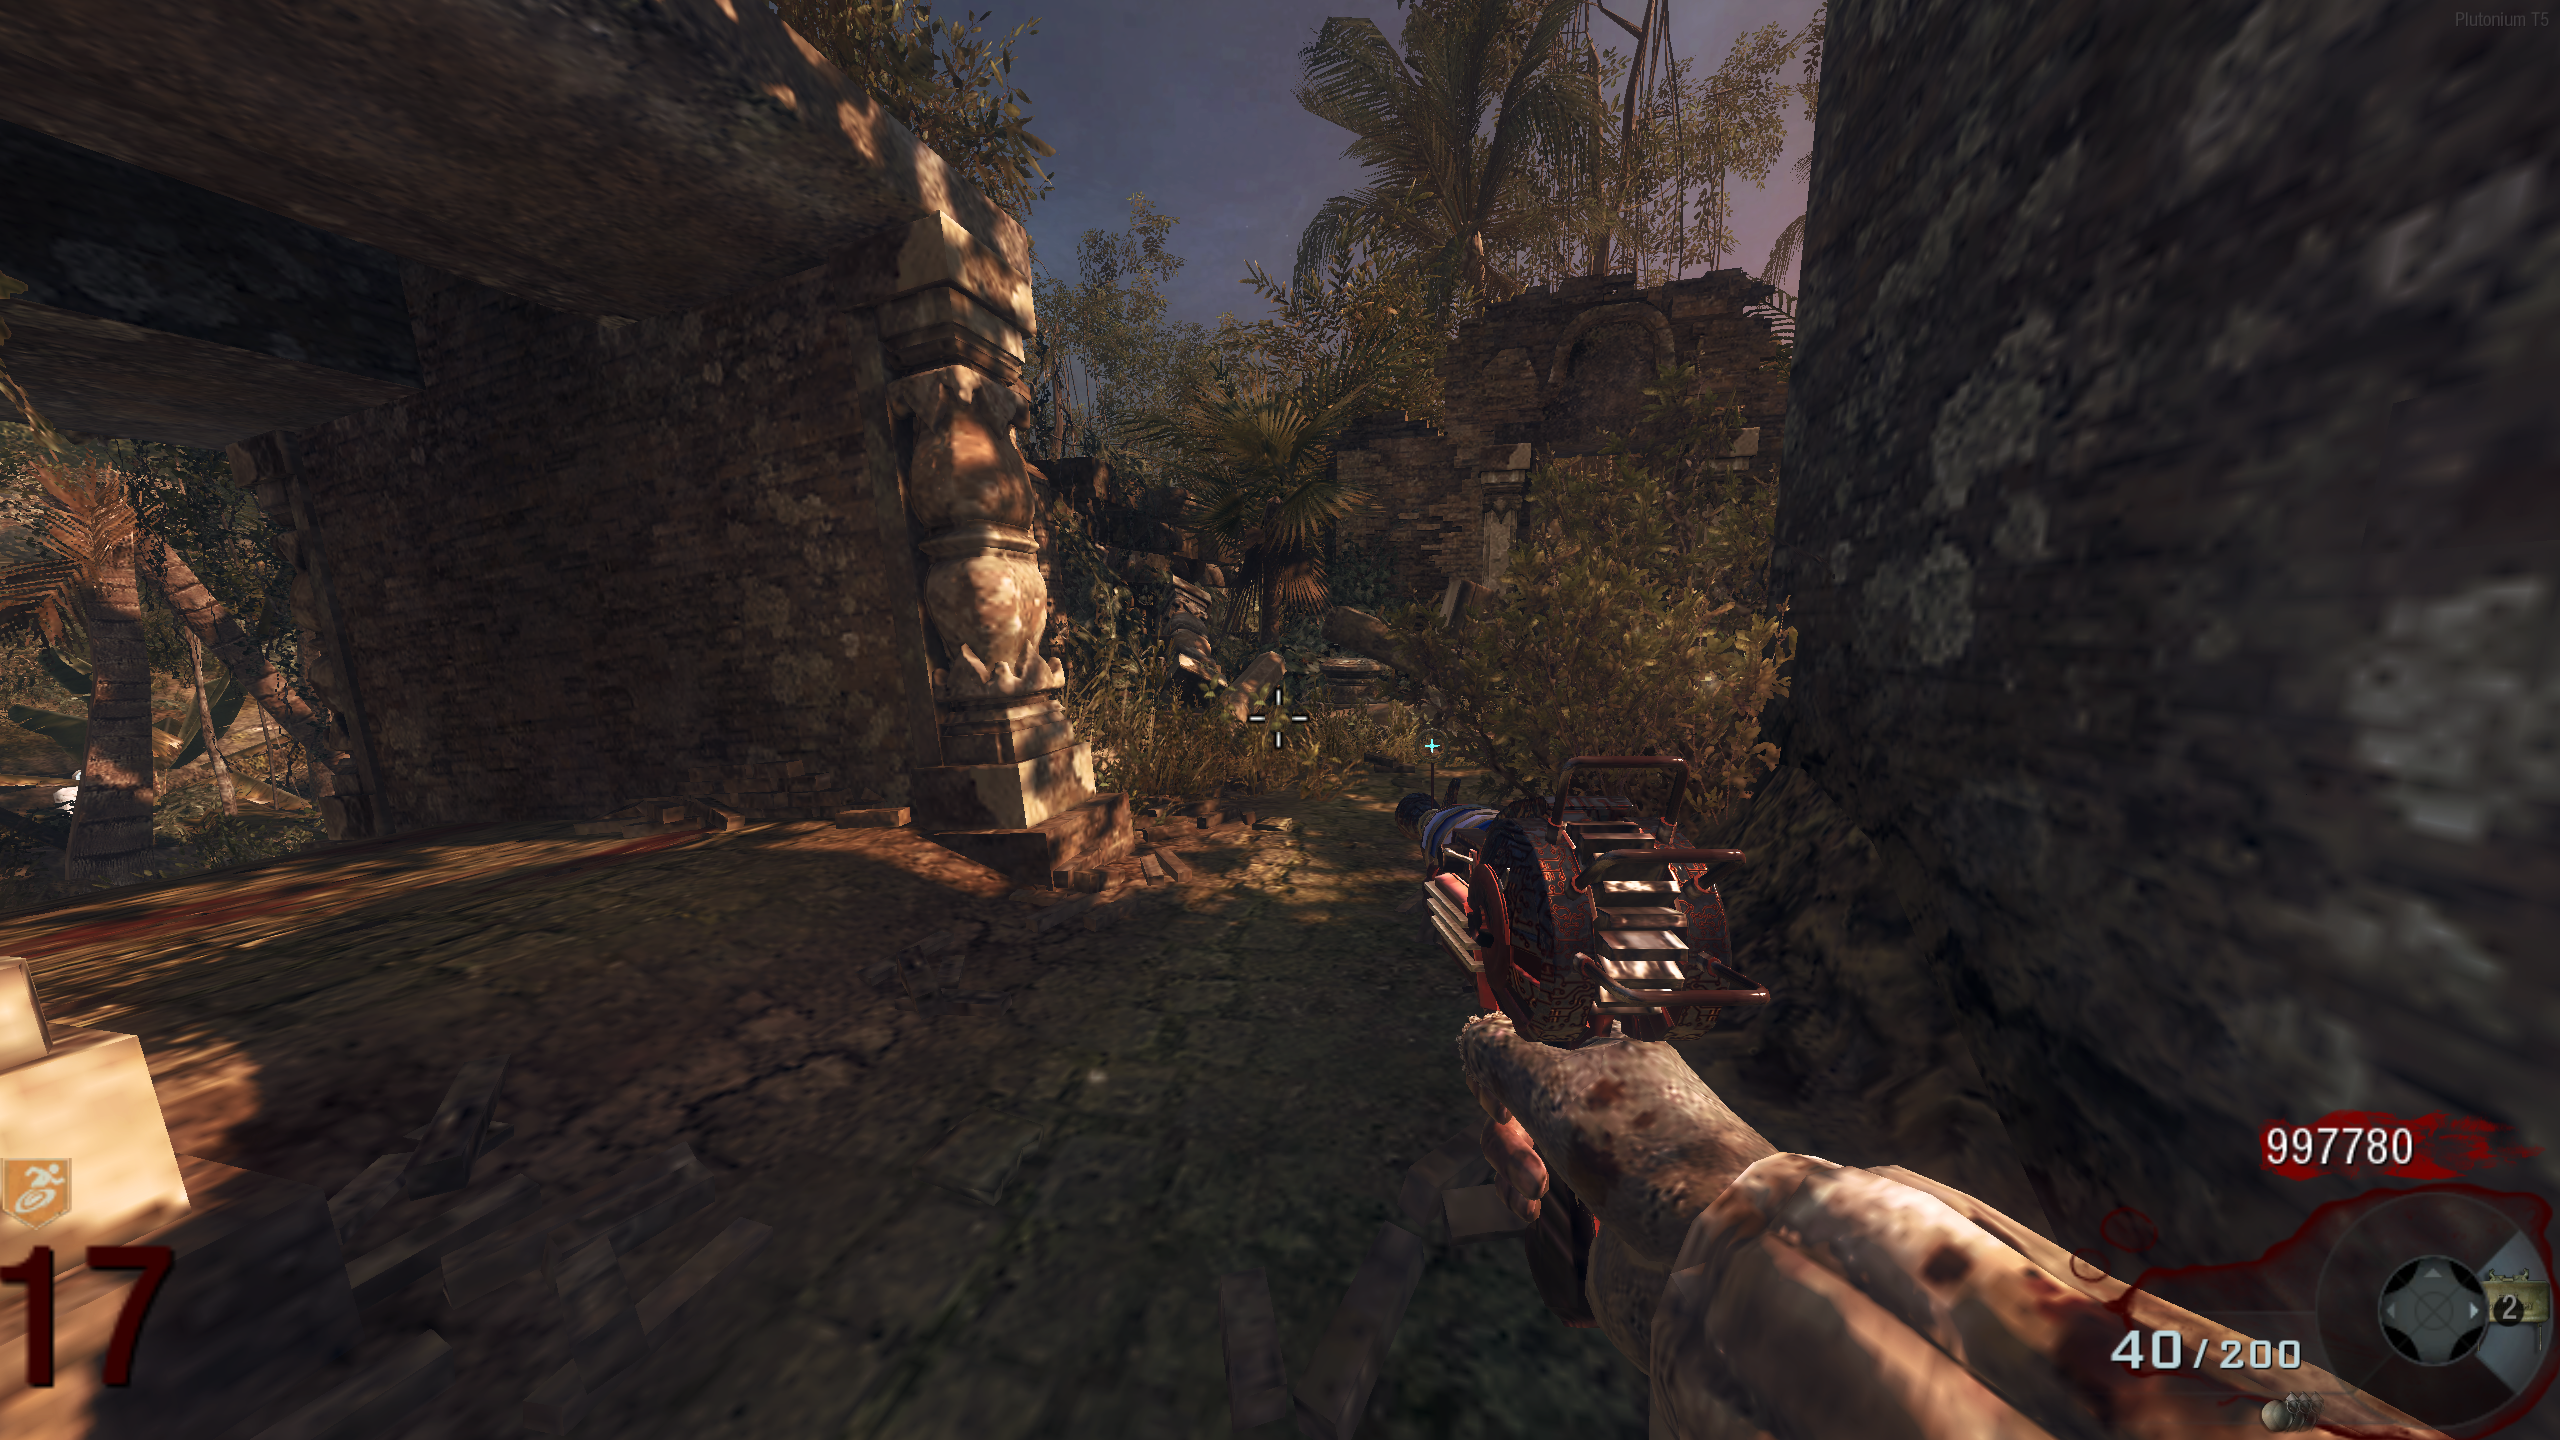
Free Perk From the Monkeys
- When a power-up spawns, if it is not picked up for a few seconds, a Monkey will carry it away. It will attempt to take it up the stairs to the Pack-a-Punch machine.
- While the Monkey is carrying the power-up, it will cycle between Carpenter, Fire Sale (if available), Nuke, Double Points, Insta Kill, and Max Ammo. Each power-up will be shown for 1 second.
- Killing the Monkey while it's holding a power-up will spawn that power-up (even if it's different from the power-up it picked up). Another Monkey will attempt to pick up this power-up.
- If the initial power-up was a Max Ammo, a Perk Bottle power-up will be added to the cycle. Unlike the other power-ups, the Perk Bottle will only be shown for 0.25 seconds. If you kill the Monkey while the Perk is showing and you pick up the power-up, you'll be given a free perk even if you're at the four perk limit.
"Samantha's Sorrow" Song + Free Max Ammo (BO3 Only)
- Keep the 1911 starting pistol as it's needed later and there is no way to get it back.
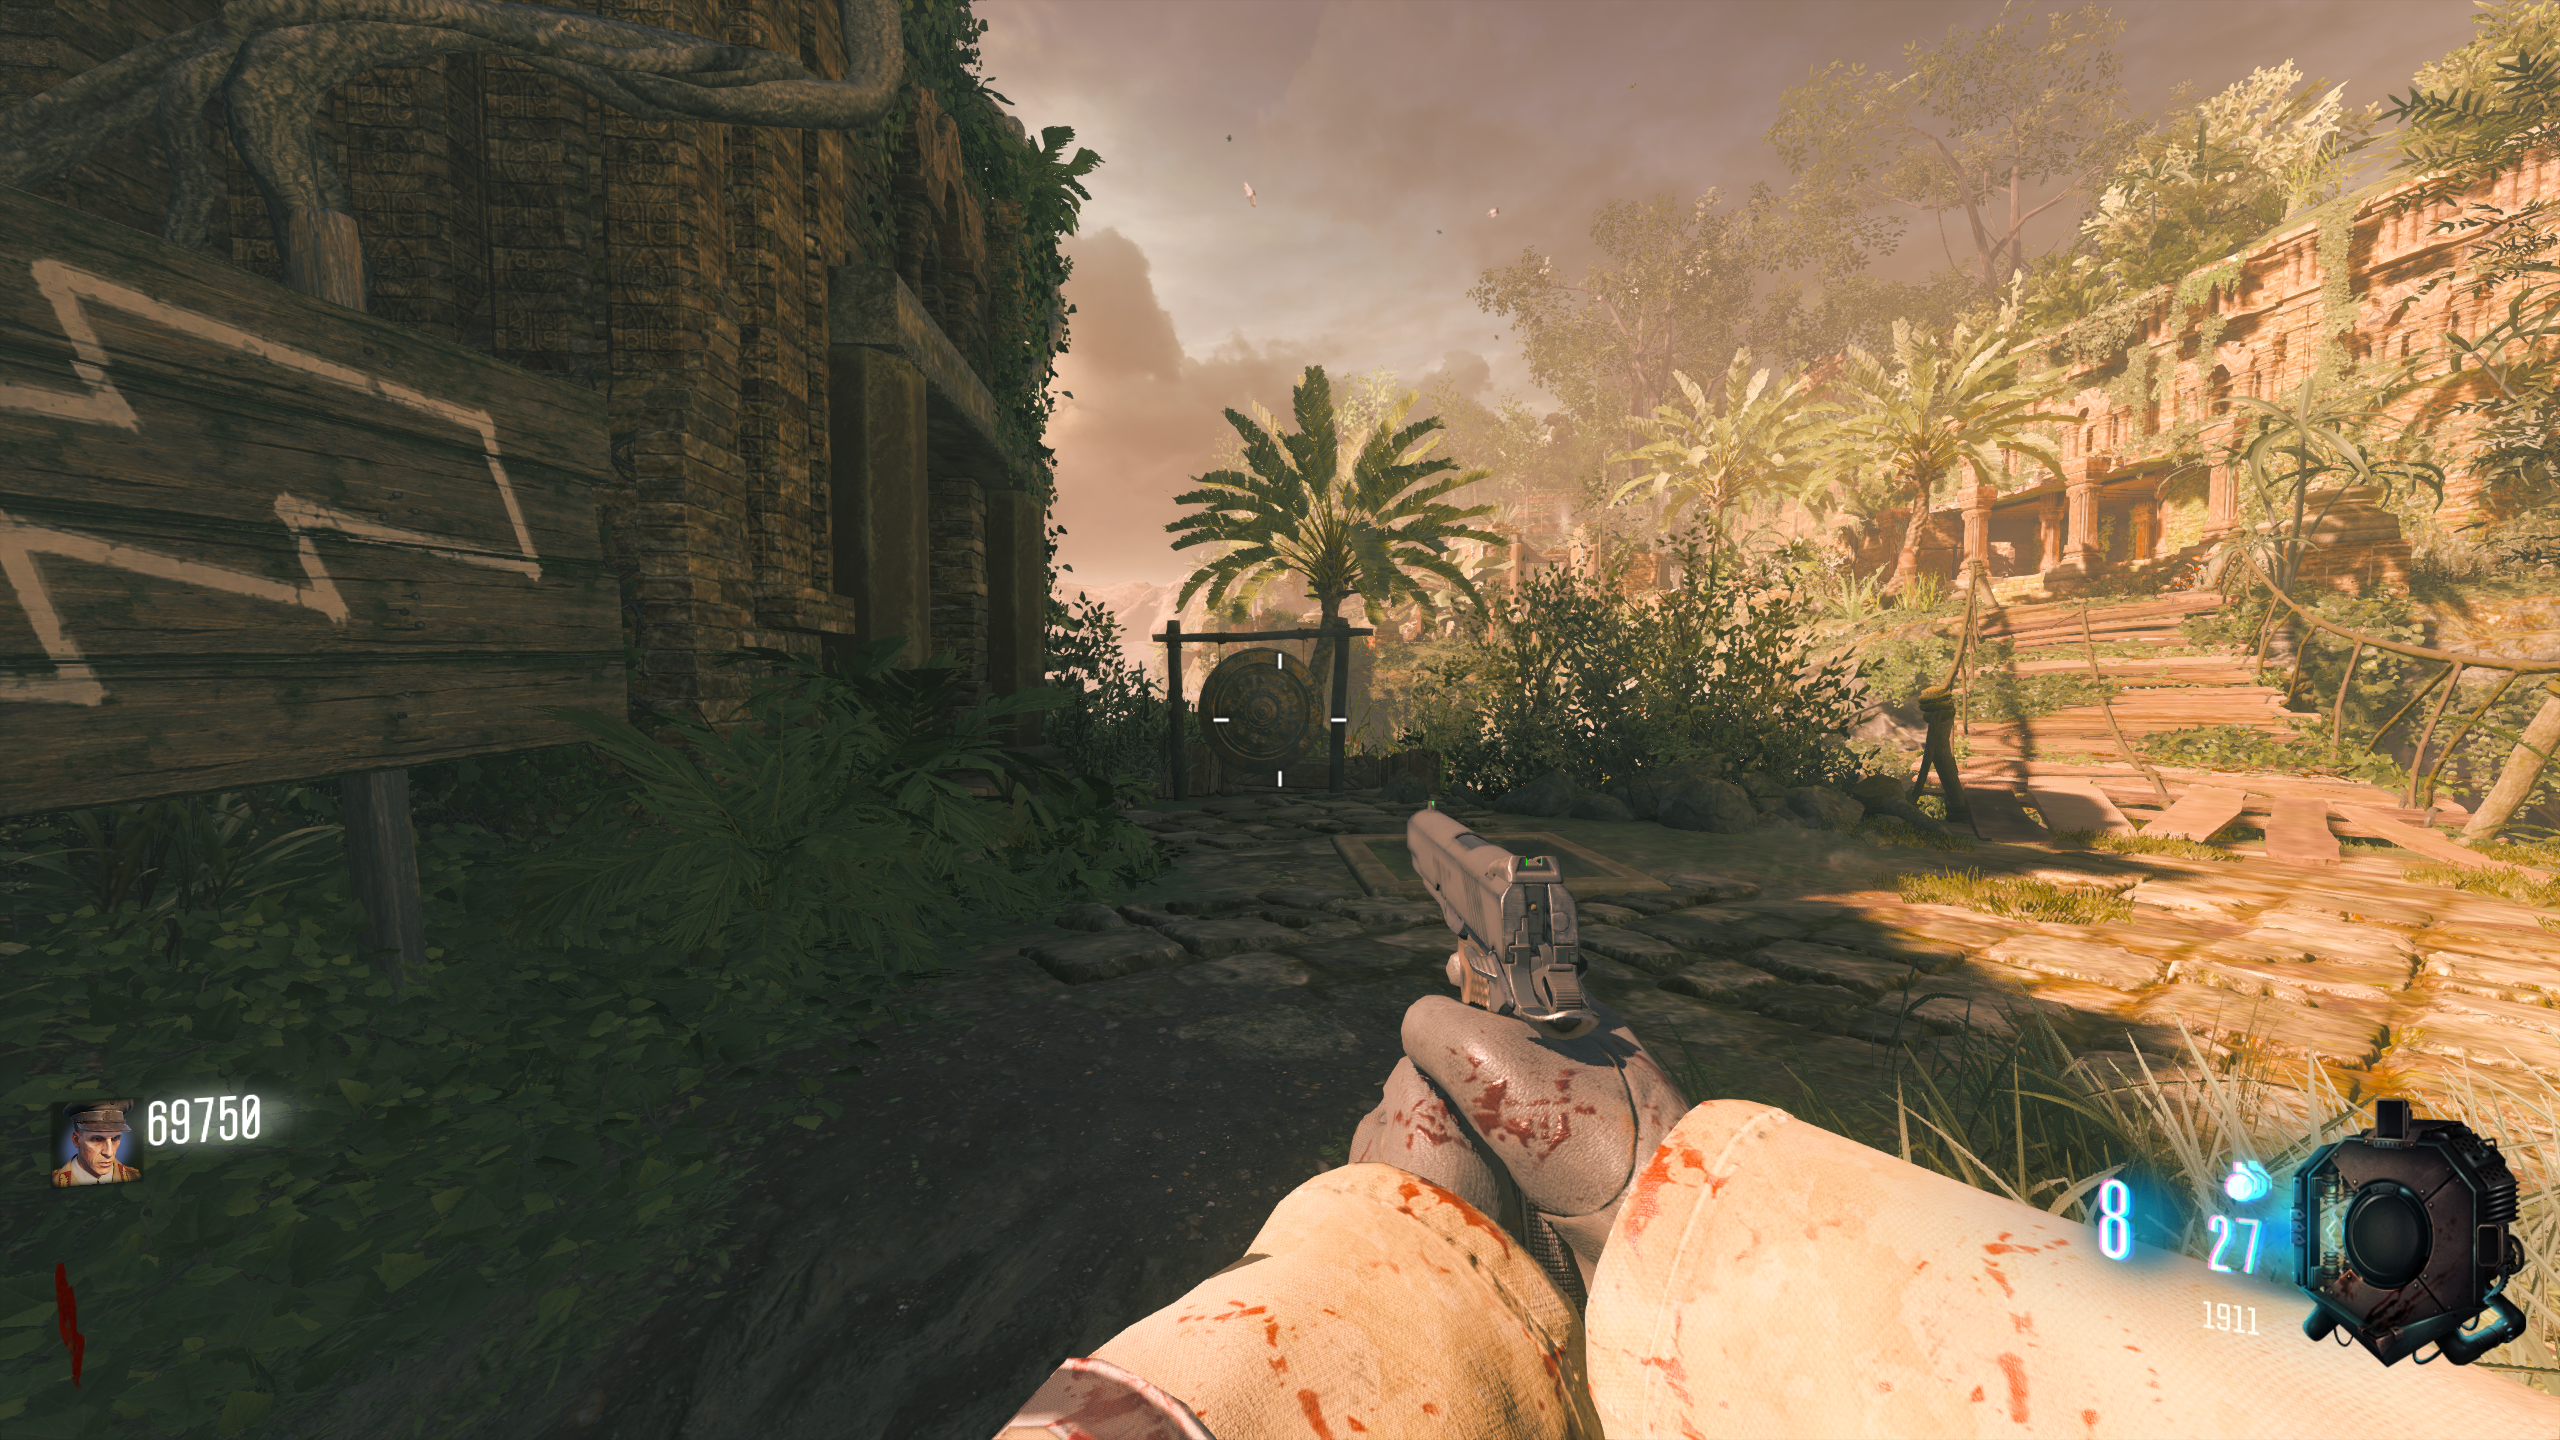
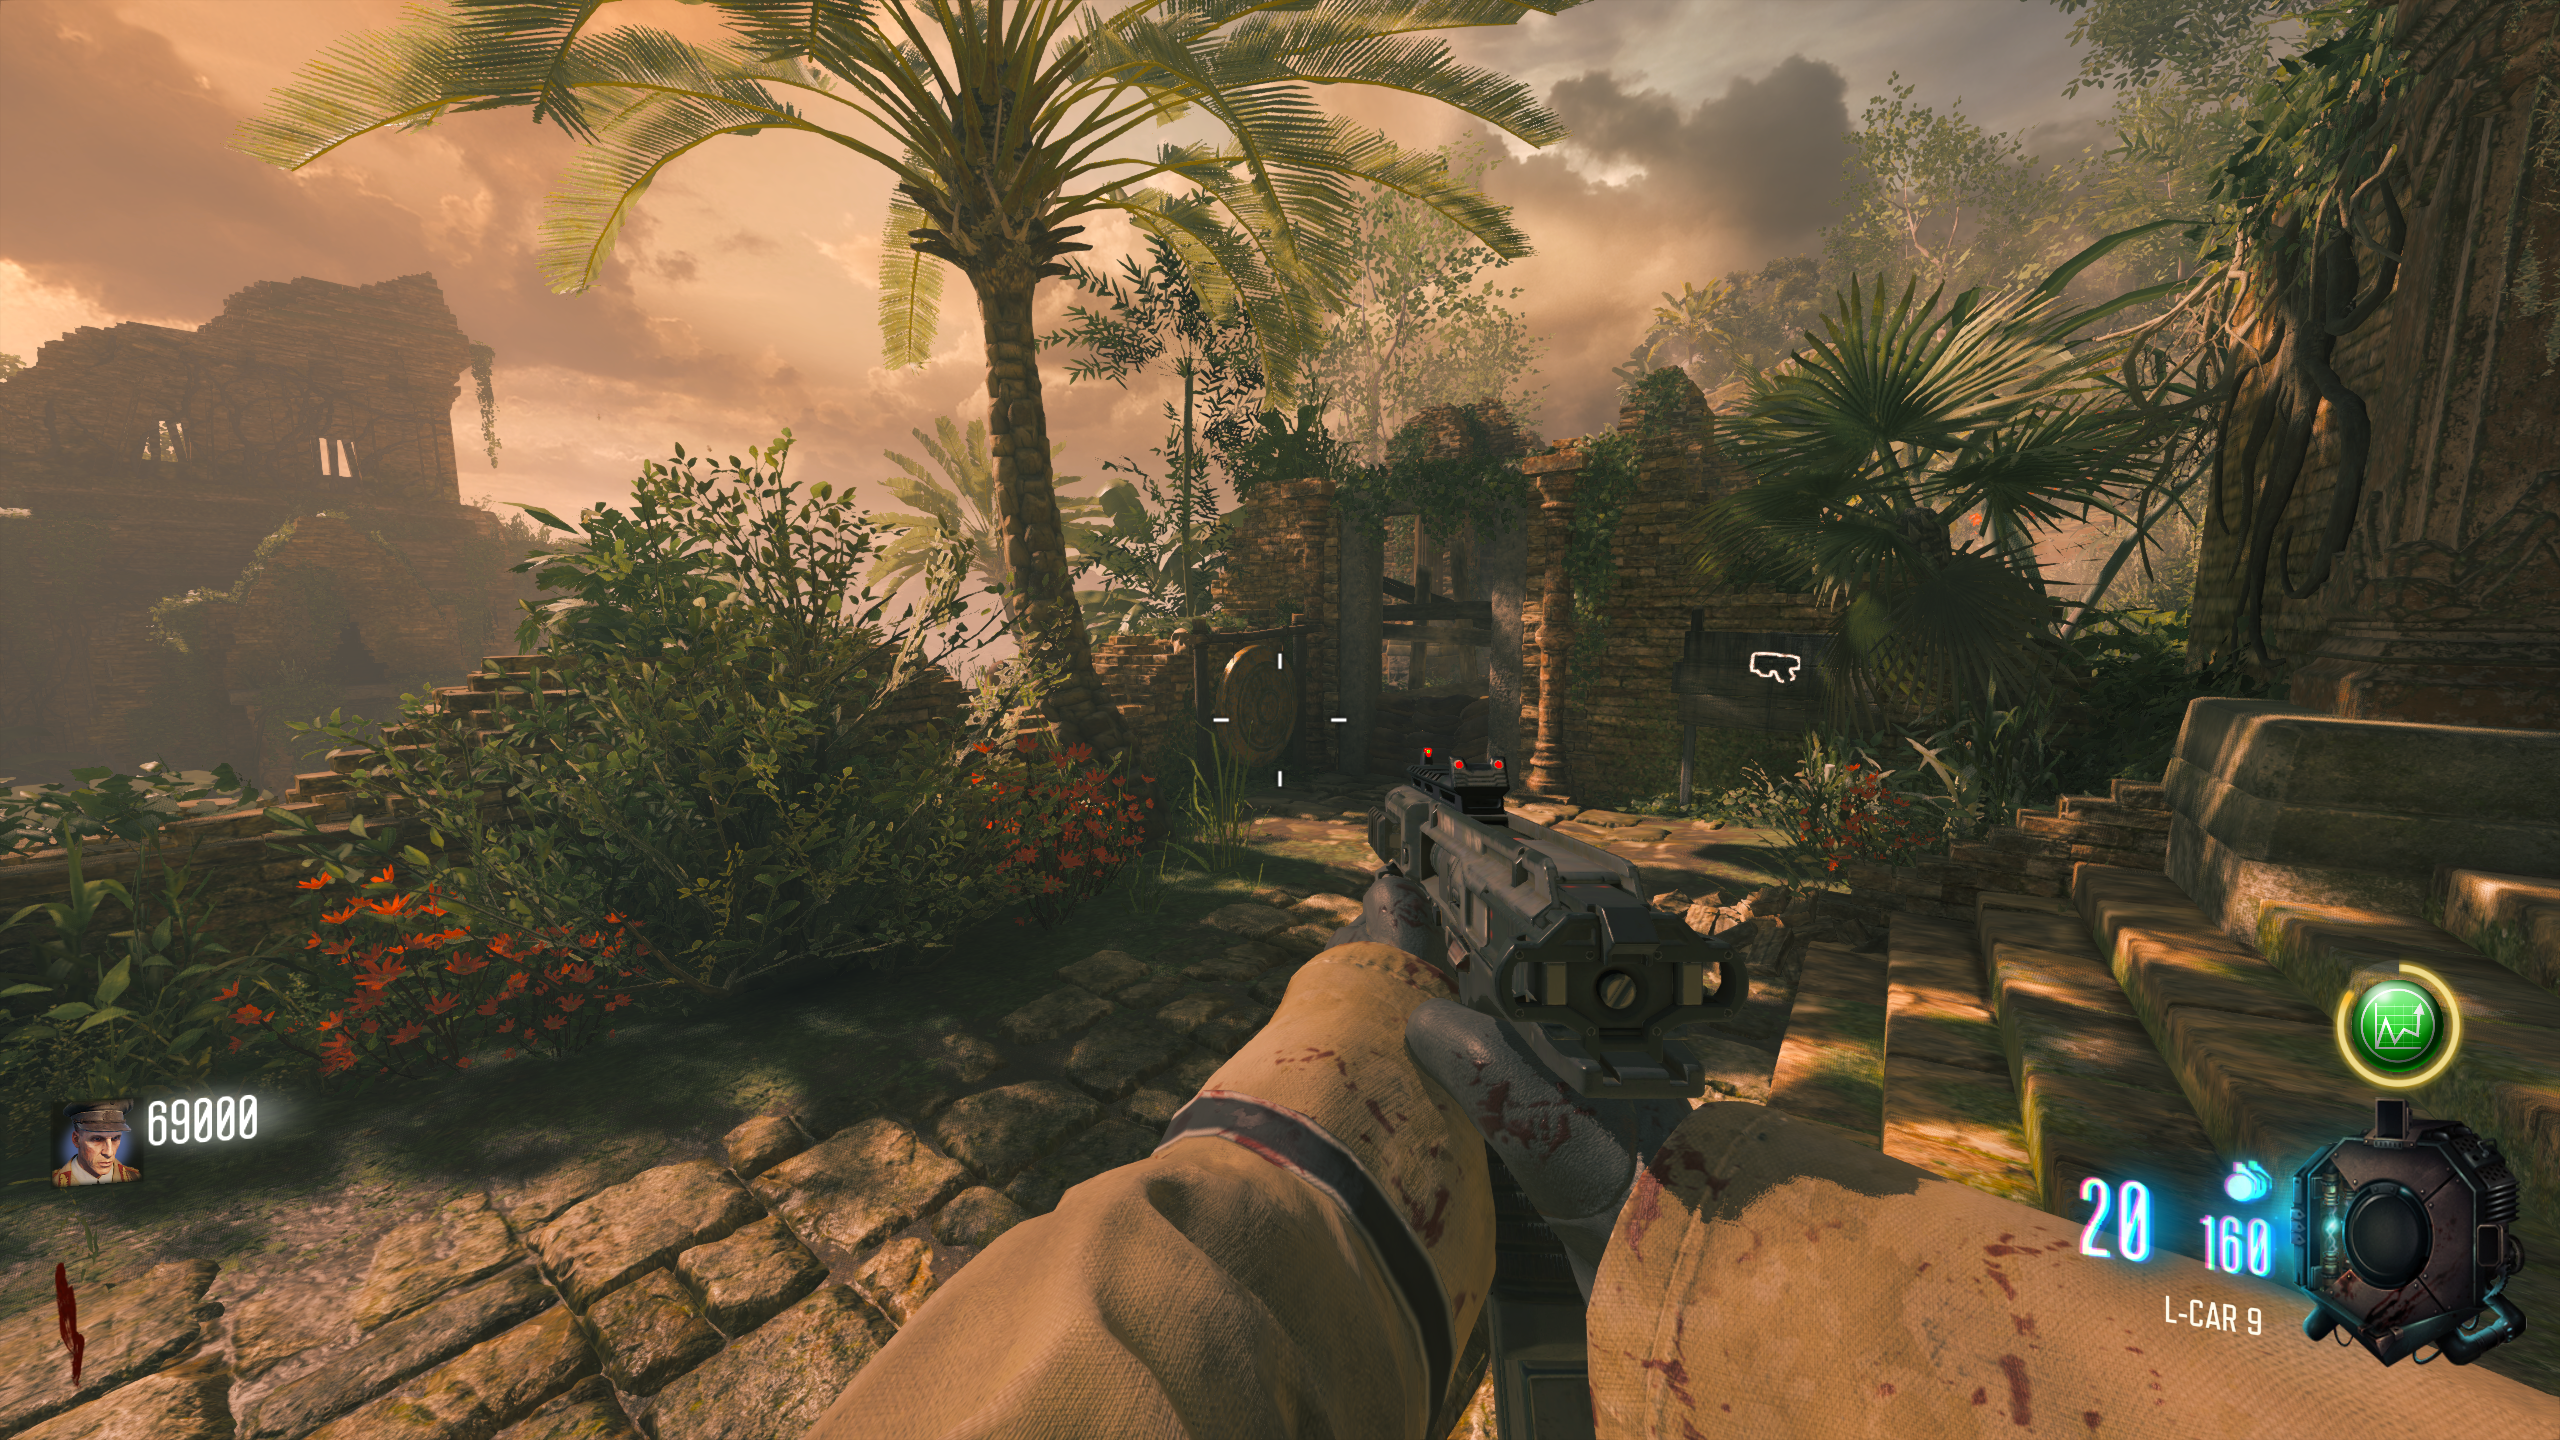
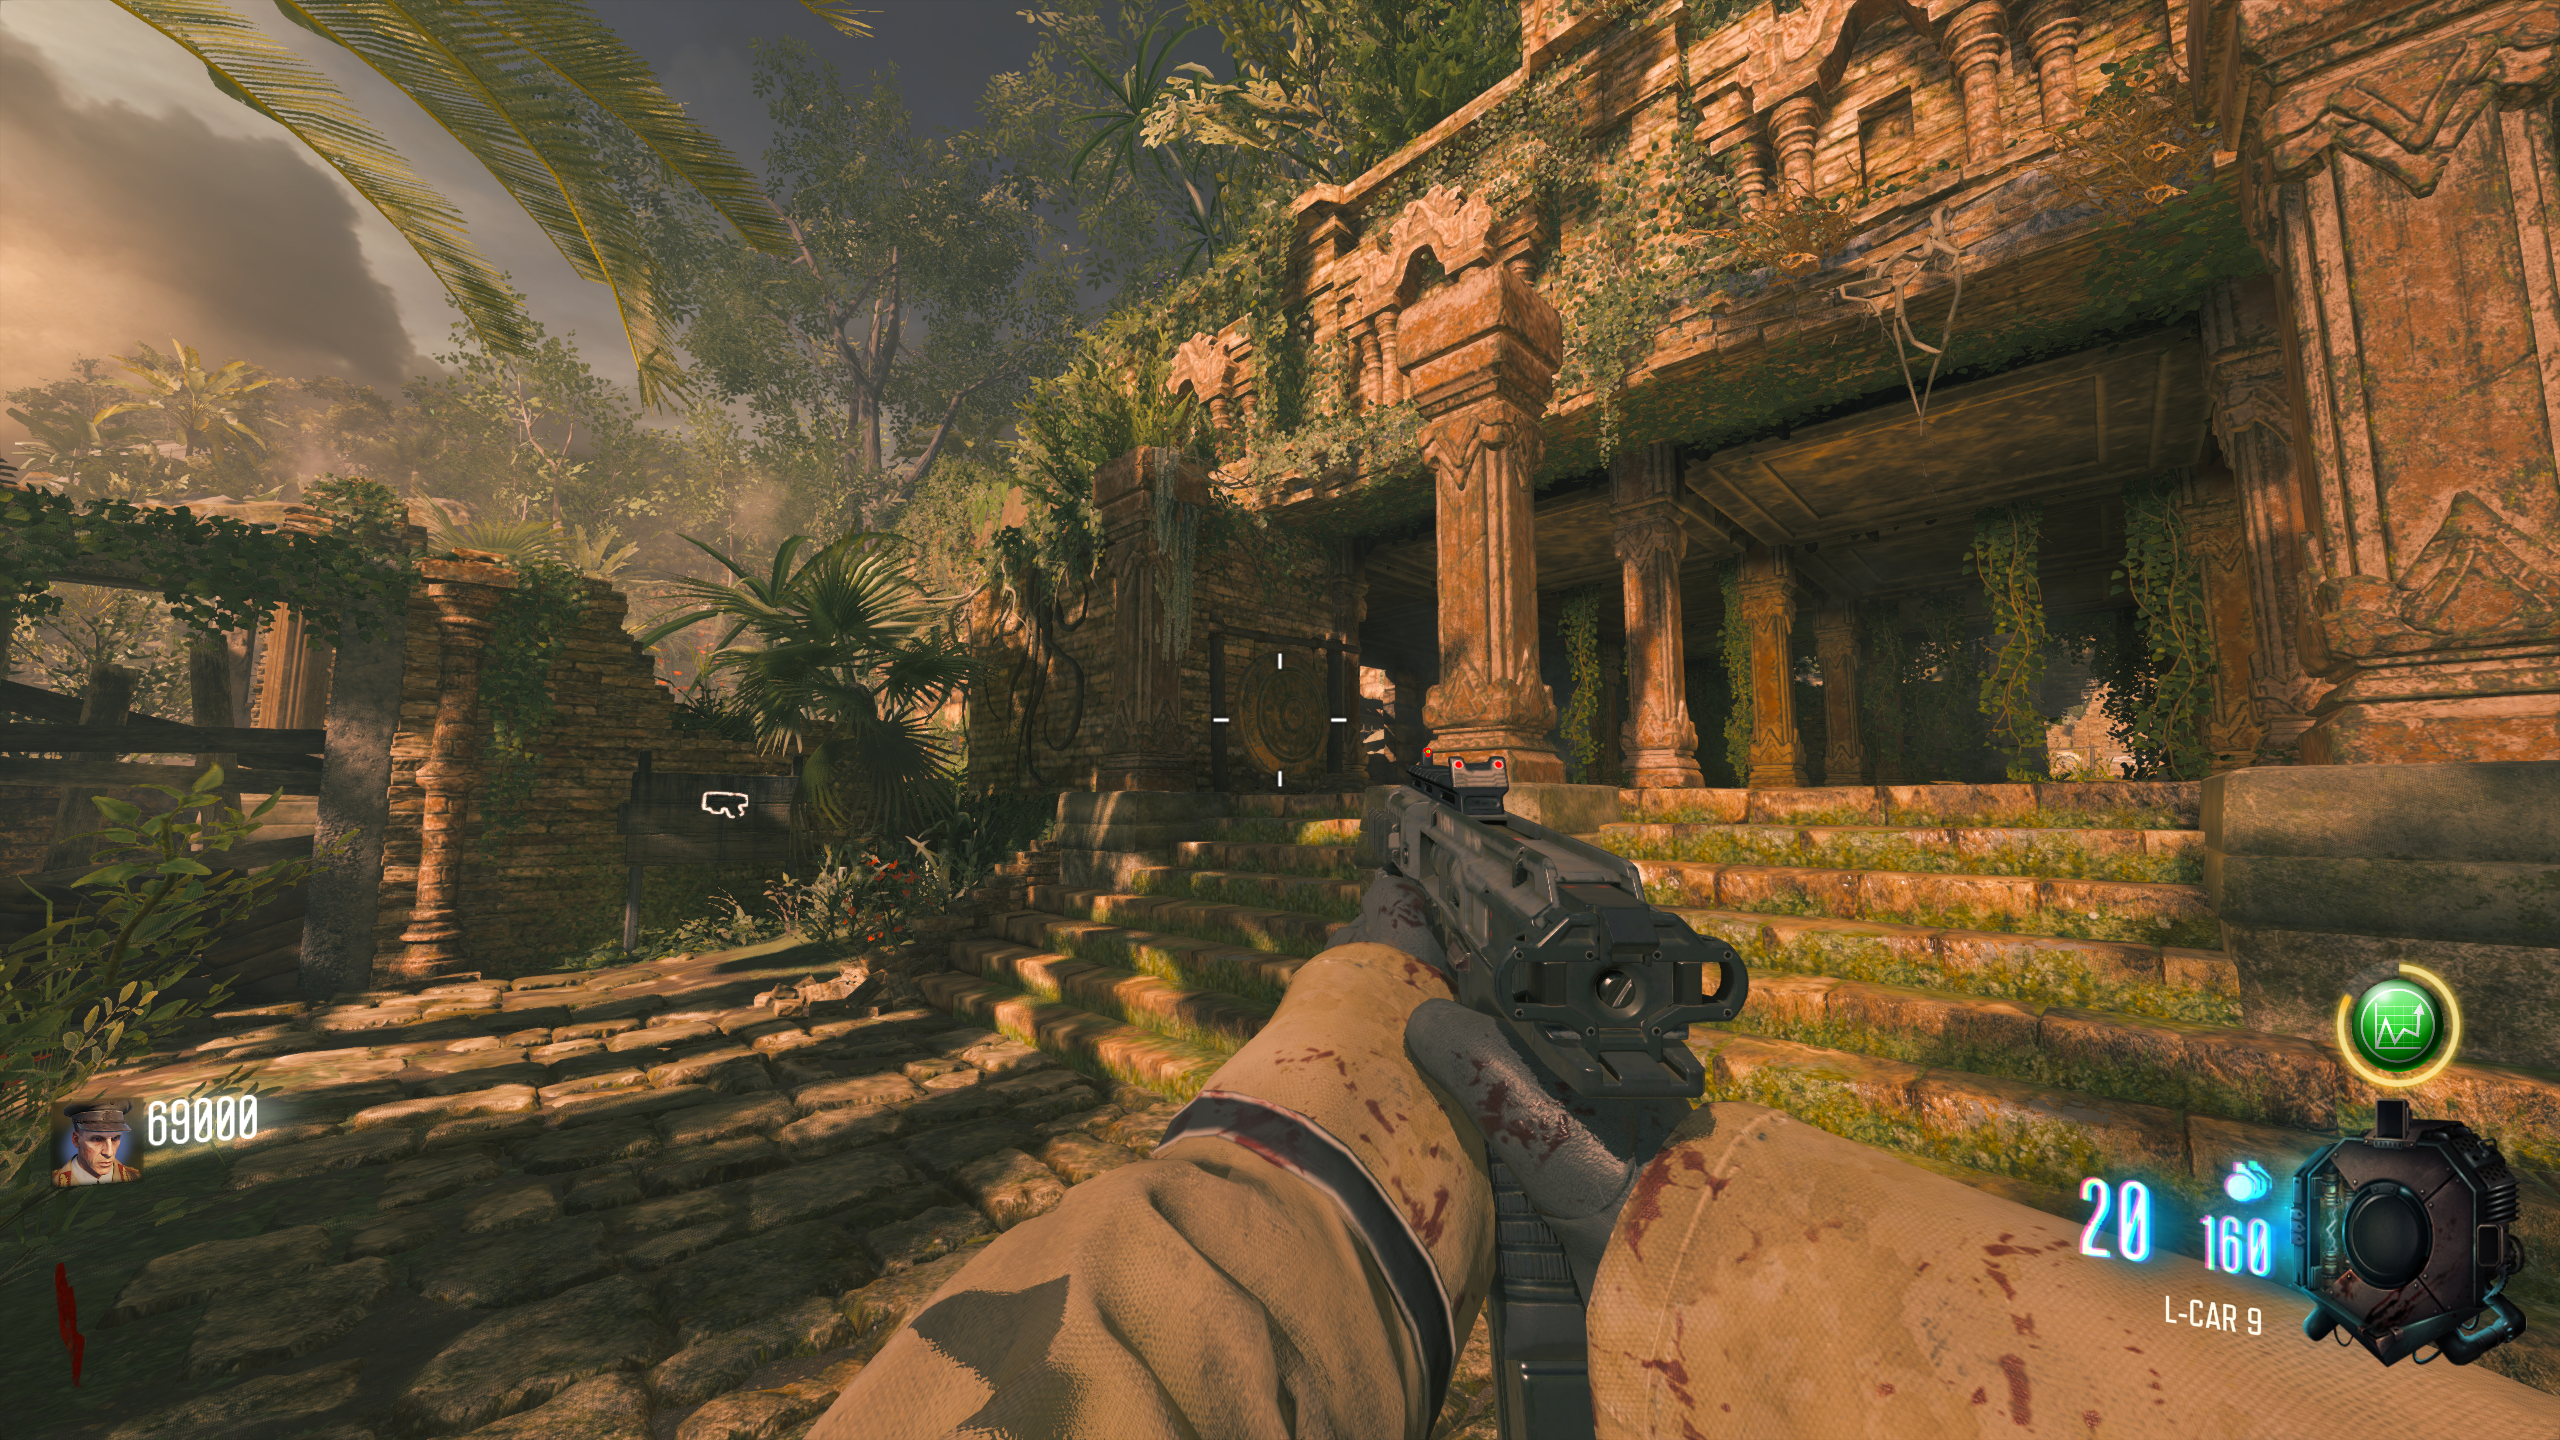
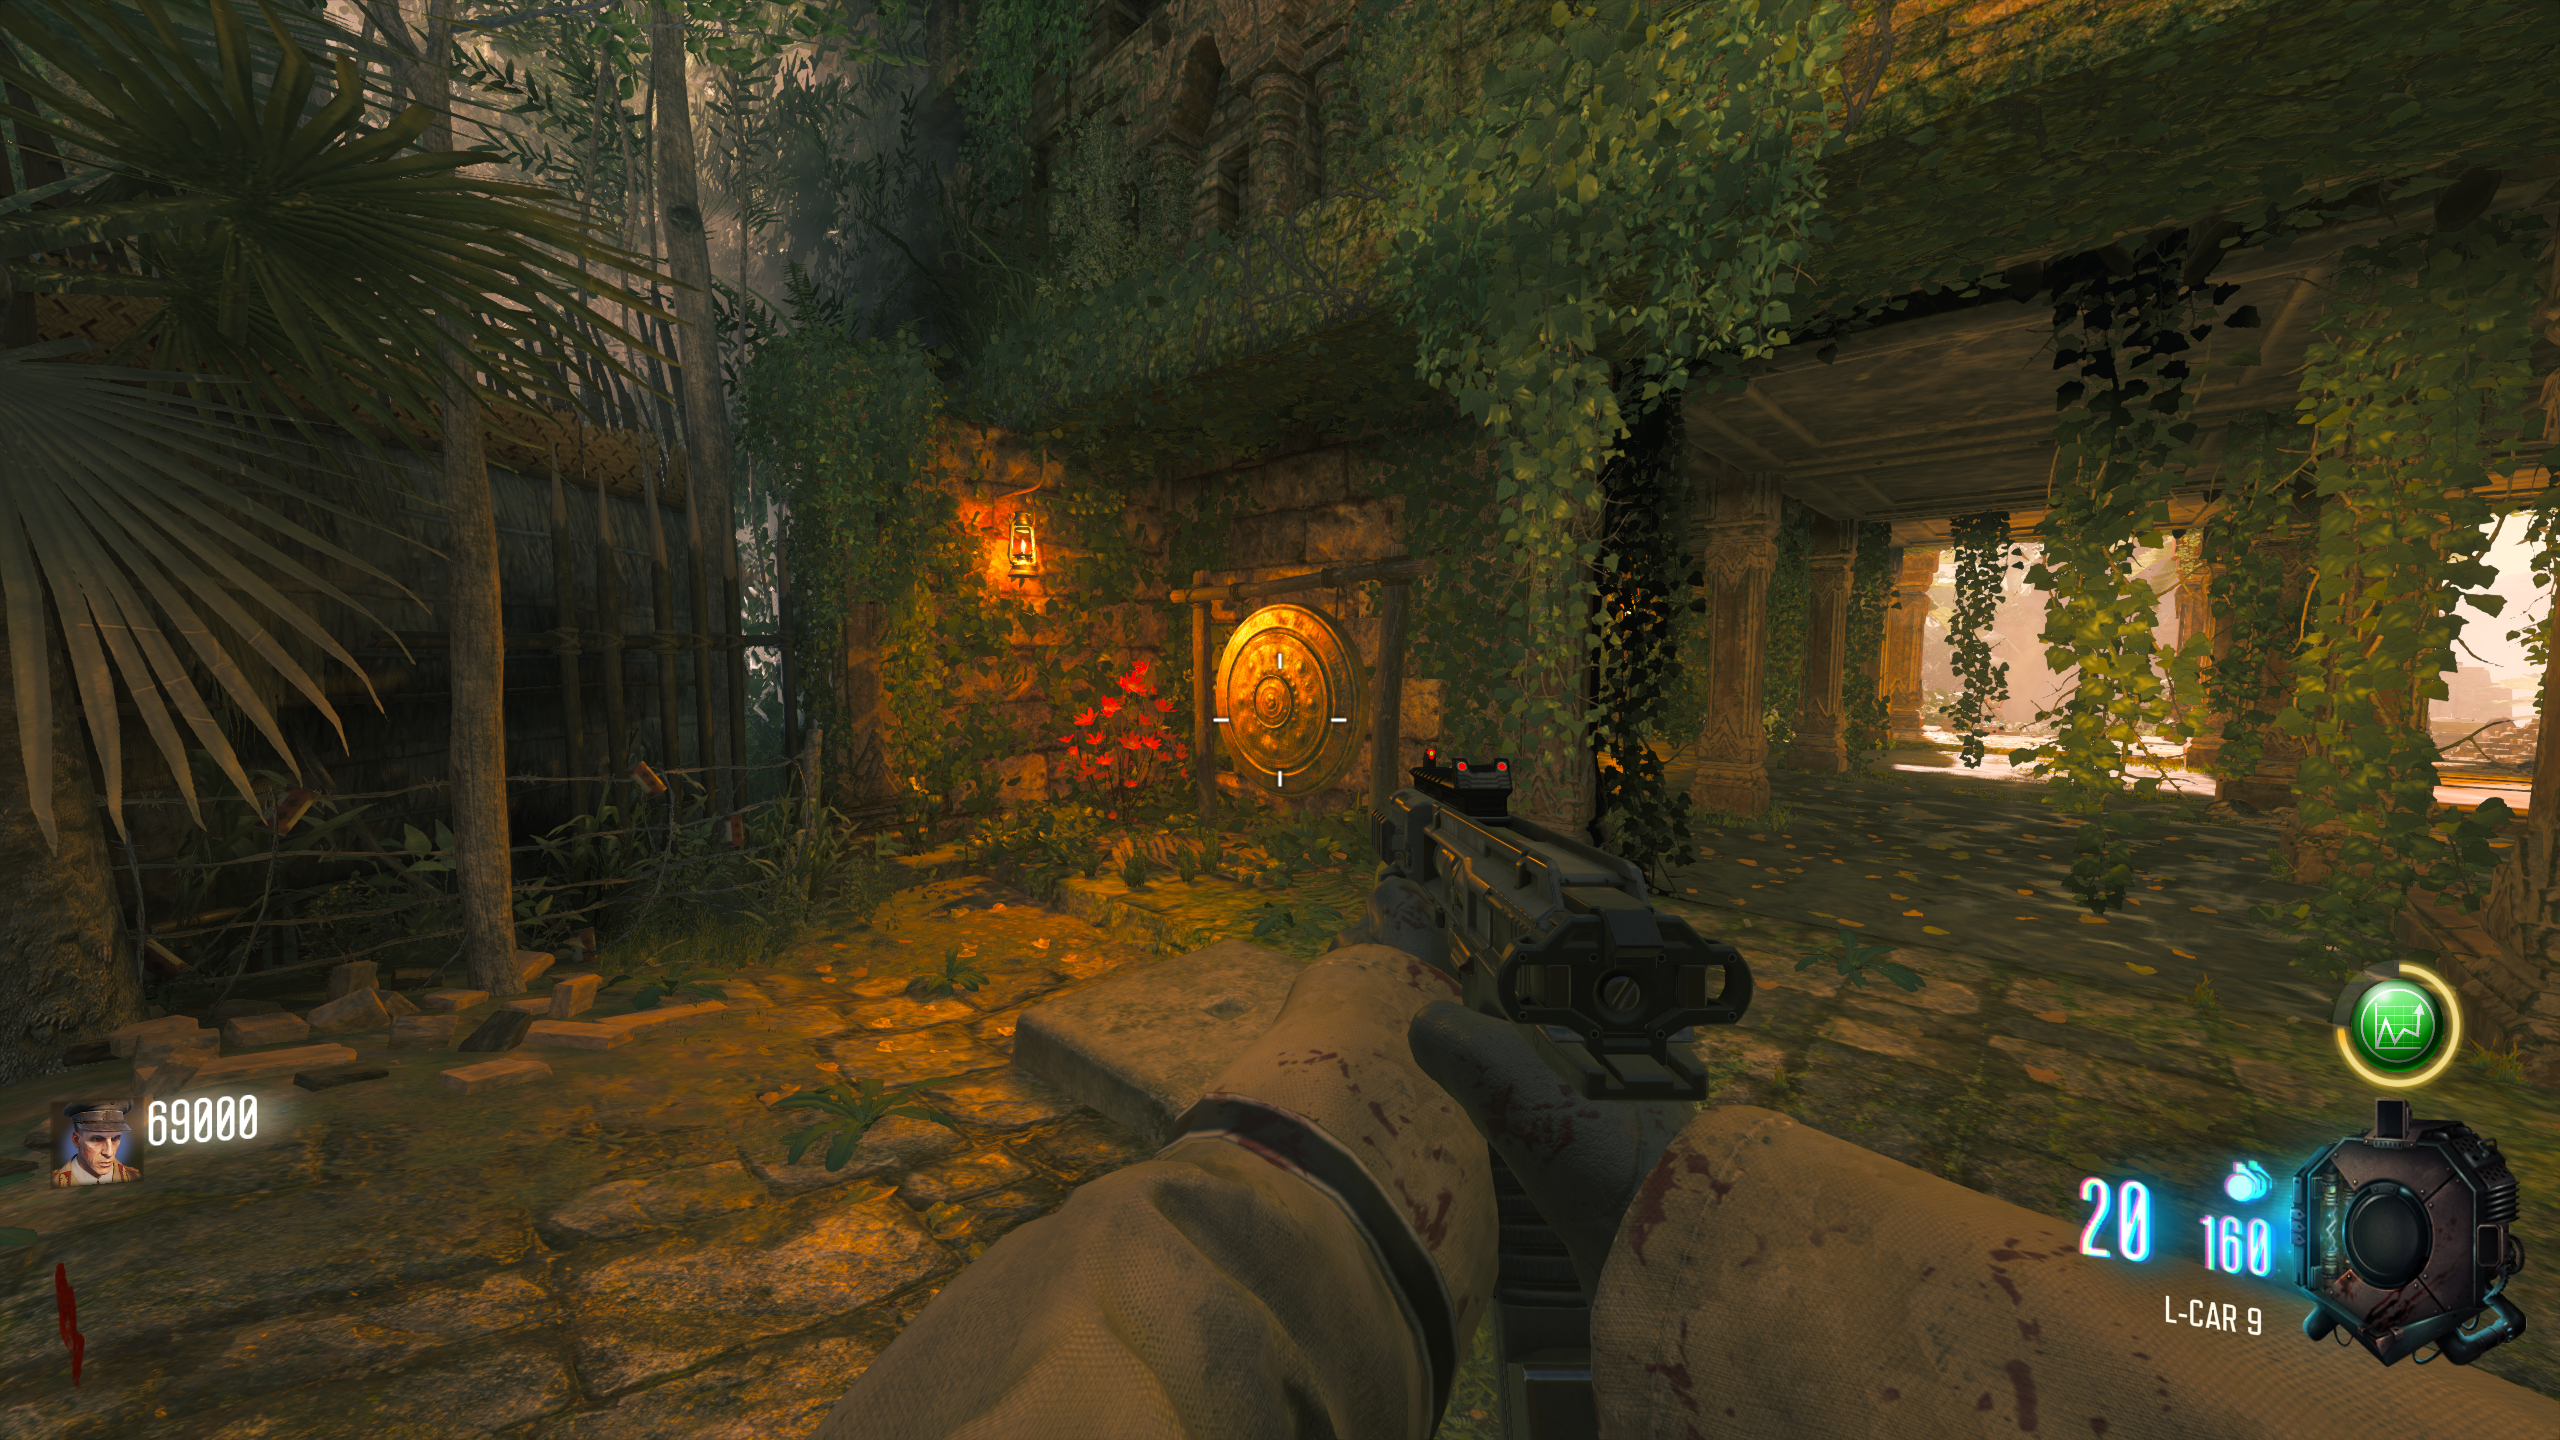
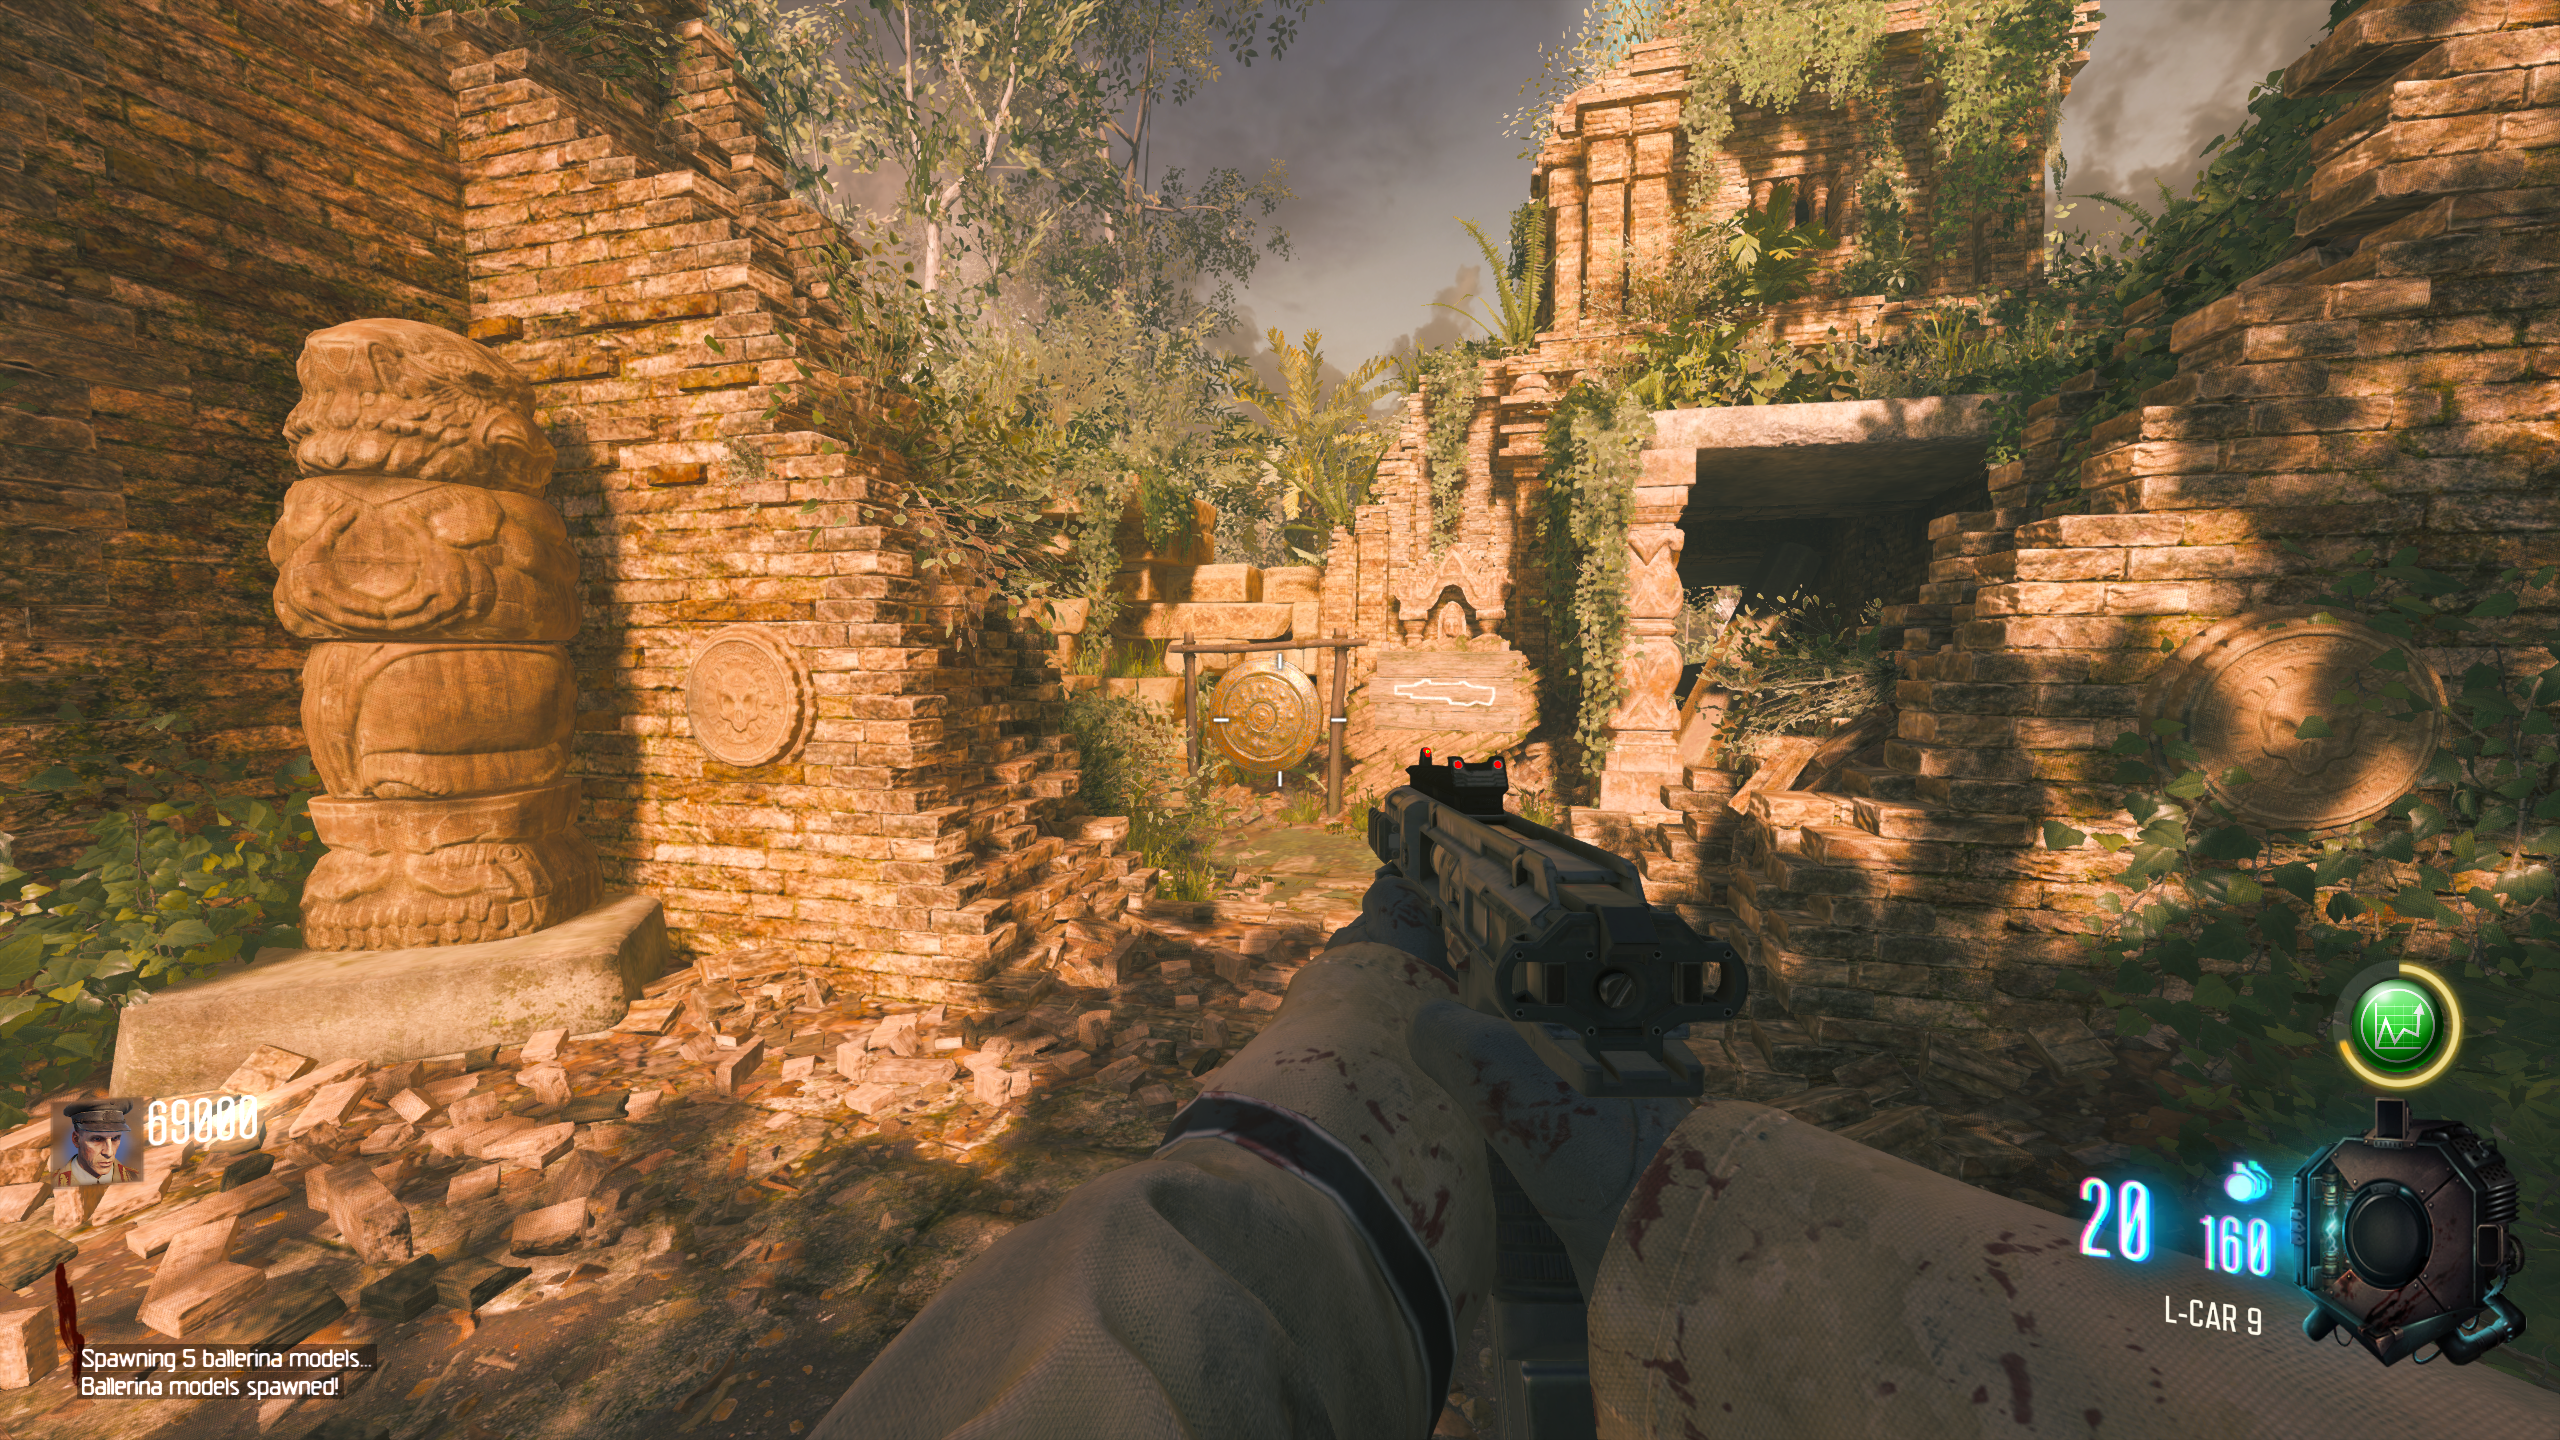
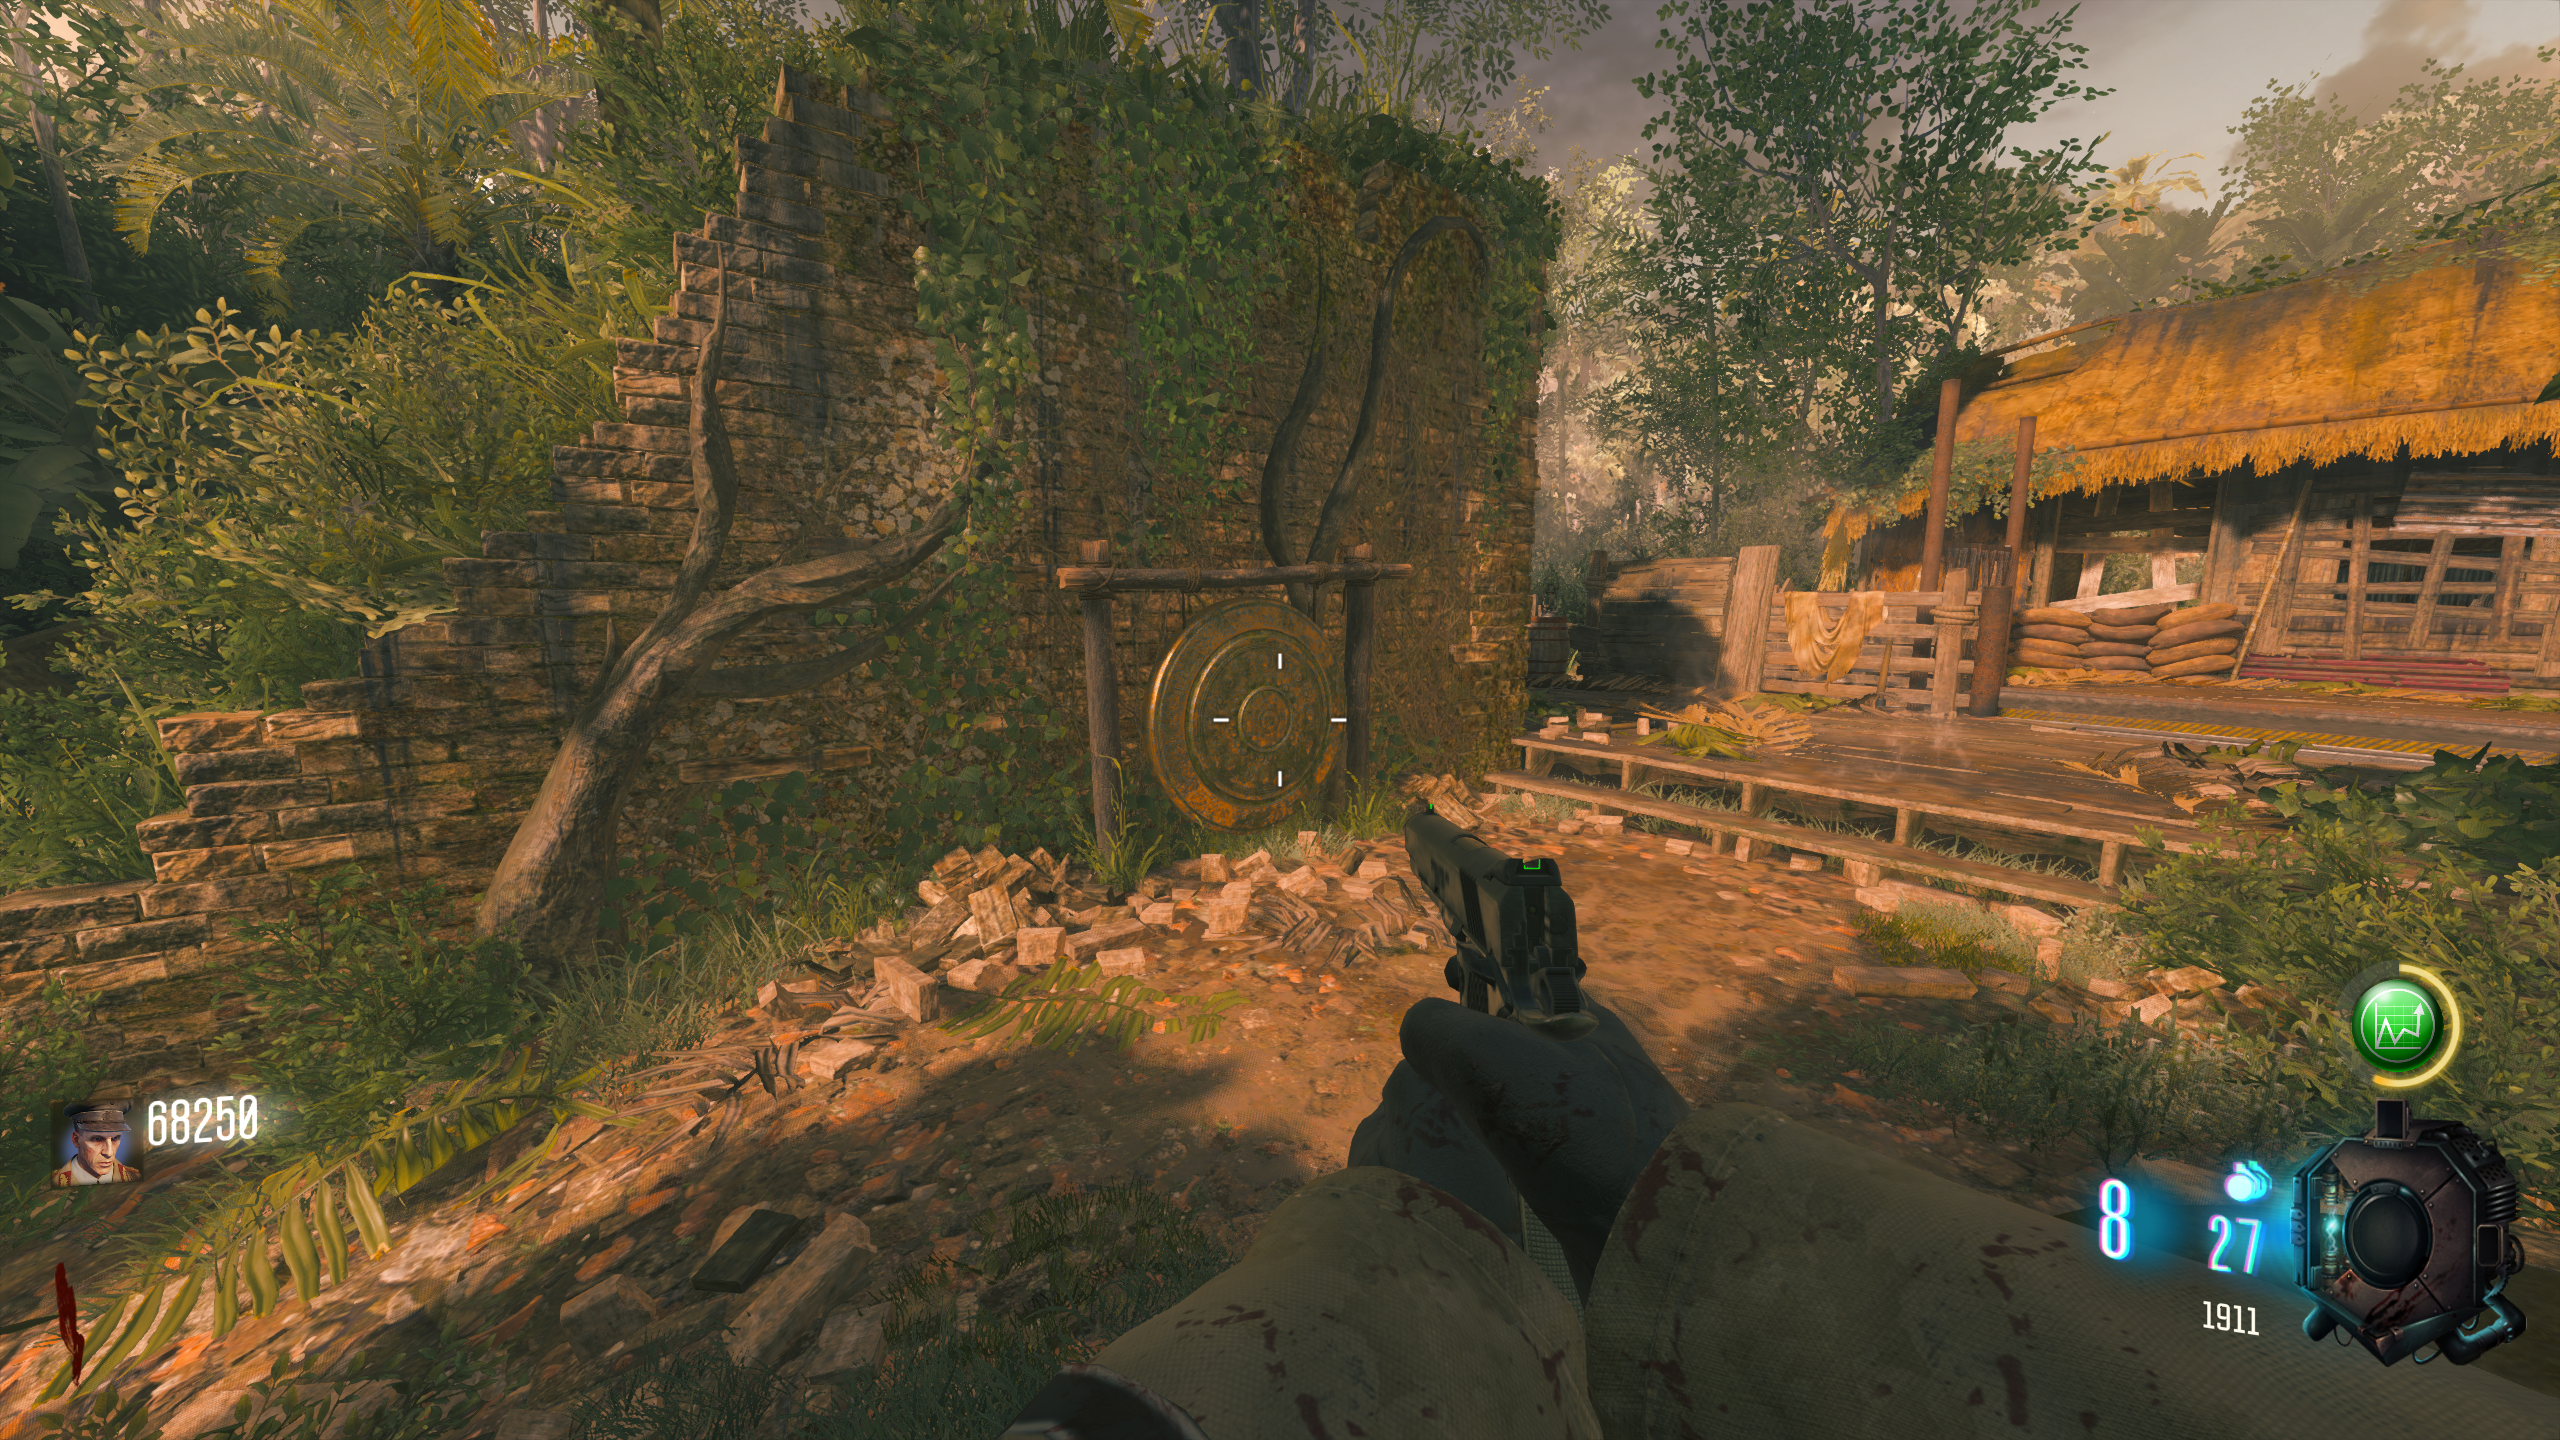
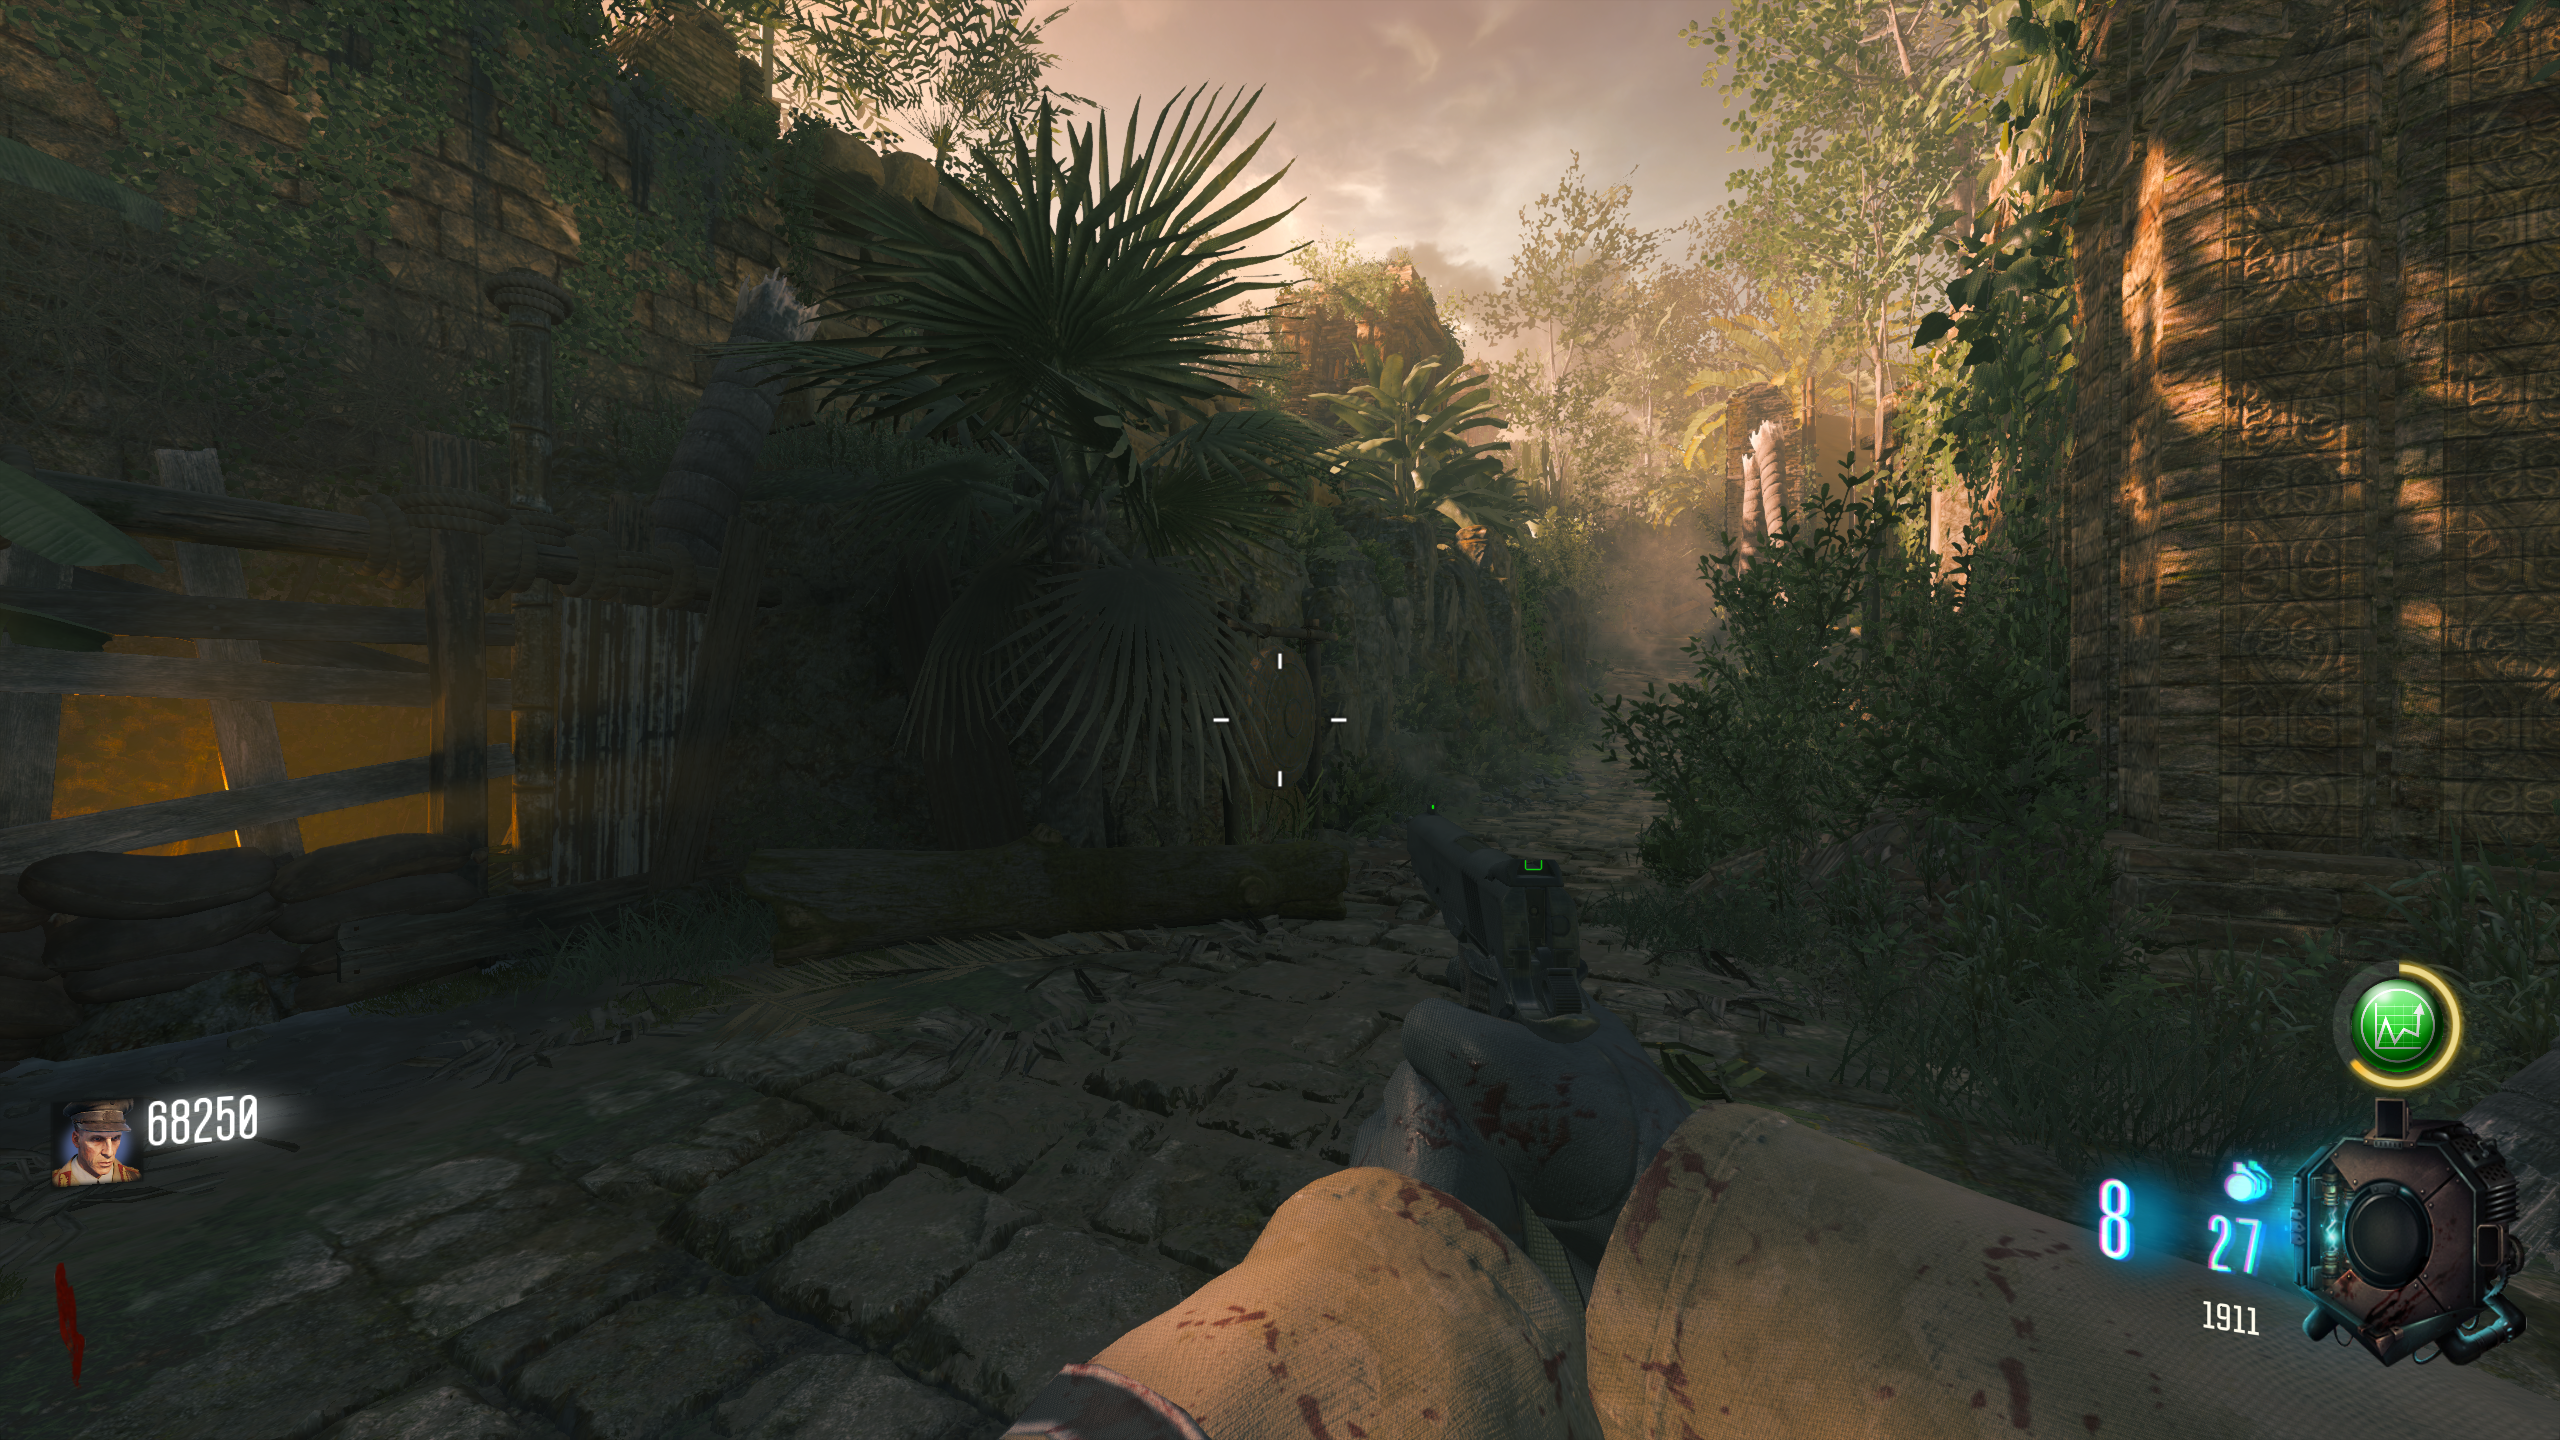
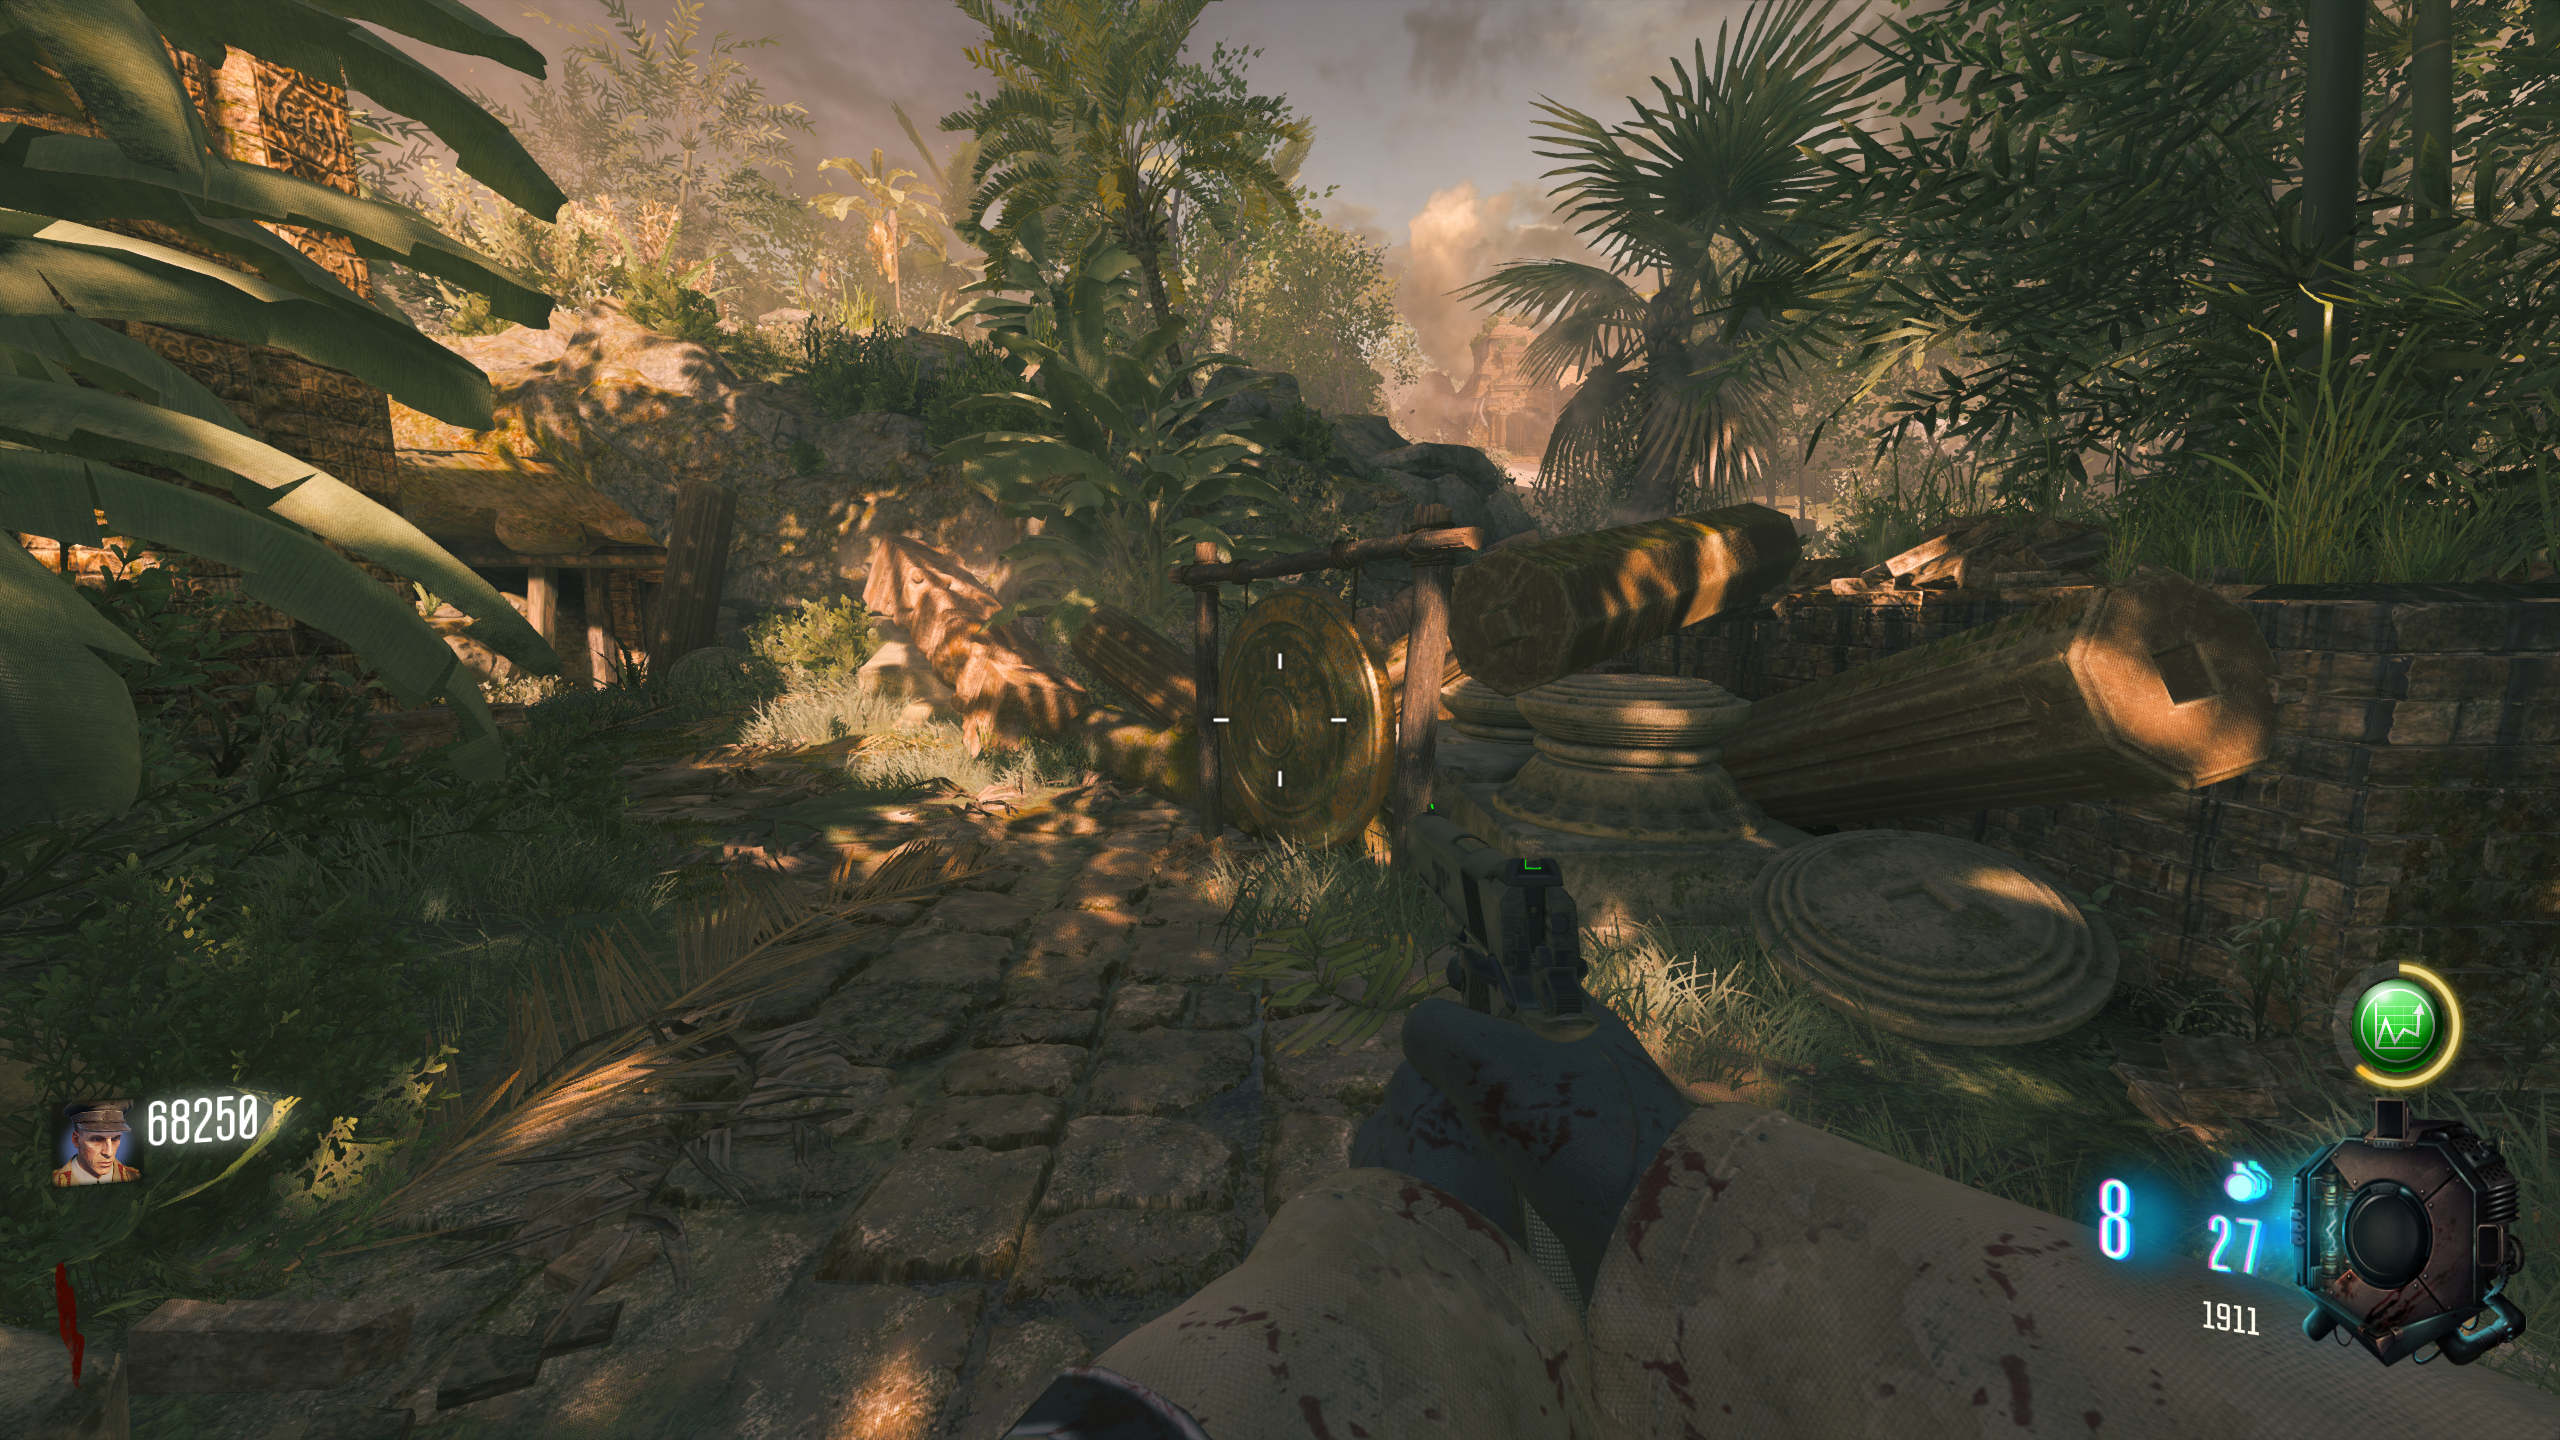
- Around the map, there are eight Gongs that will make noise when meleed. Melee the four correct gongs in any order. You need to find the correct ones using Trial and Error. These are the same gongs used in the Main Quest.
- A correct gong will ring out, and a wrong gong will have a high-pitched twang along with the ring.
- Each gong stays active for one minute, then stops. All four must ring at once.
- Hitting the wrong gong will silence all the currently active gongs. You can try again immediately.
- Gong locations:
- Rope Bridge Area - At the bottom of the bridge, near the Pack-a-Punch pressure plate
- Rope Bridge Area - At the top of the bridge, left of the L-CAR 9 wallbuy
- Rope Bridge Area - At the top of the bridge, right of the L-CAR 9 wallbuy
- Mud Room Area - Just outside the Mud Room toward Spawn
- Spawn Room - Left of the Sheiva wallbuy
- Minecart Area - Left of the start of the Minecart
- Minecart Area - Down the slope from the previous location, right of the Zombie spawn window
- Minecart Area - Right of the tunnel
- Once you melee the fourth correct gong, you'll hear a faint melodic "hum" from the gongs, and you'll have 60 seconds to complete the next step.
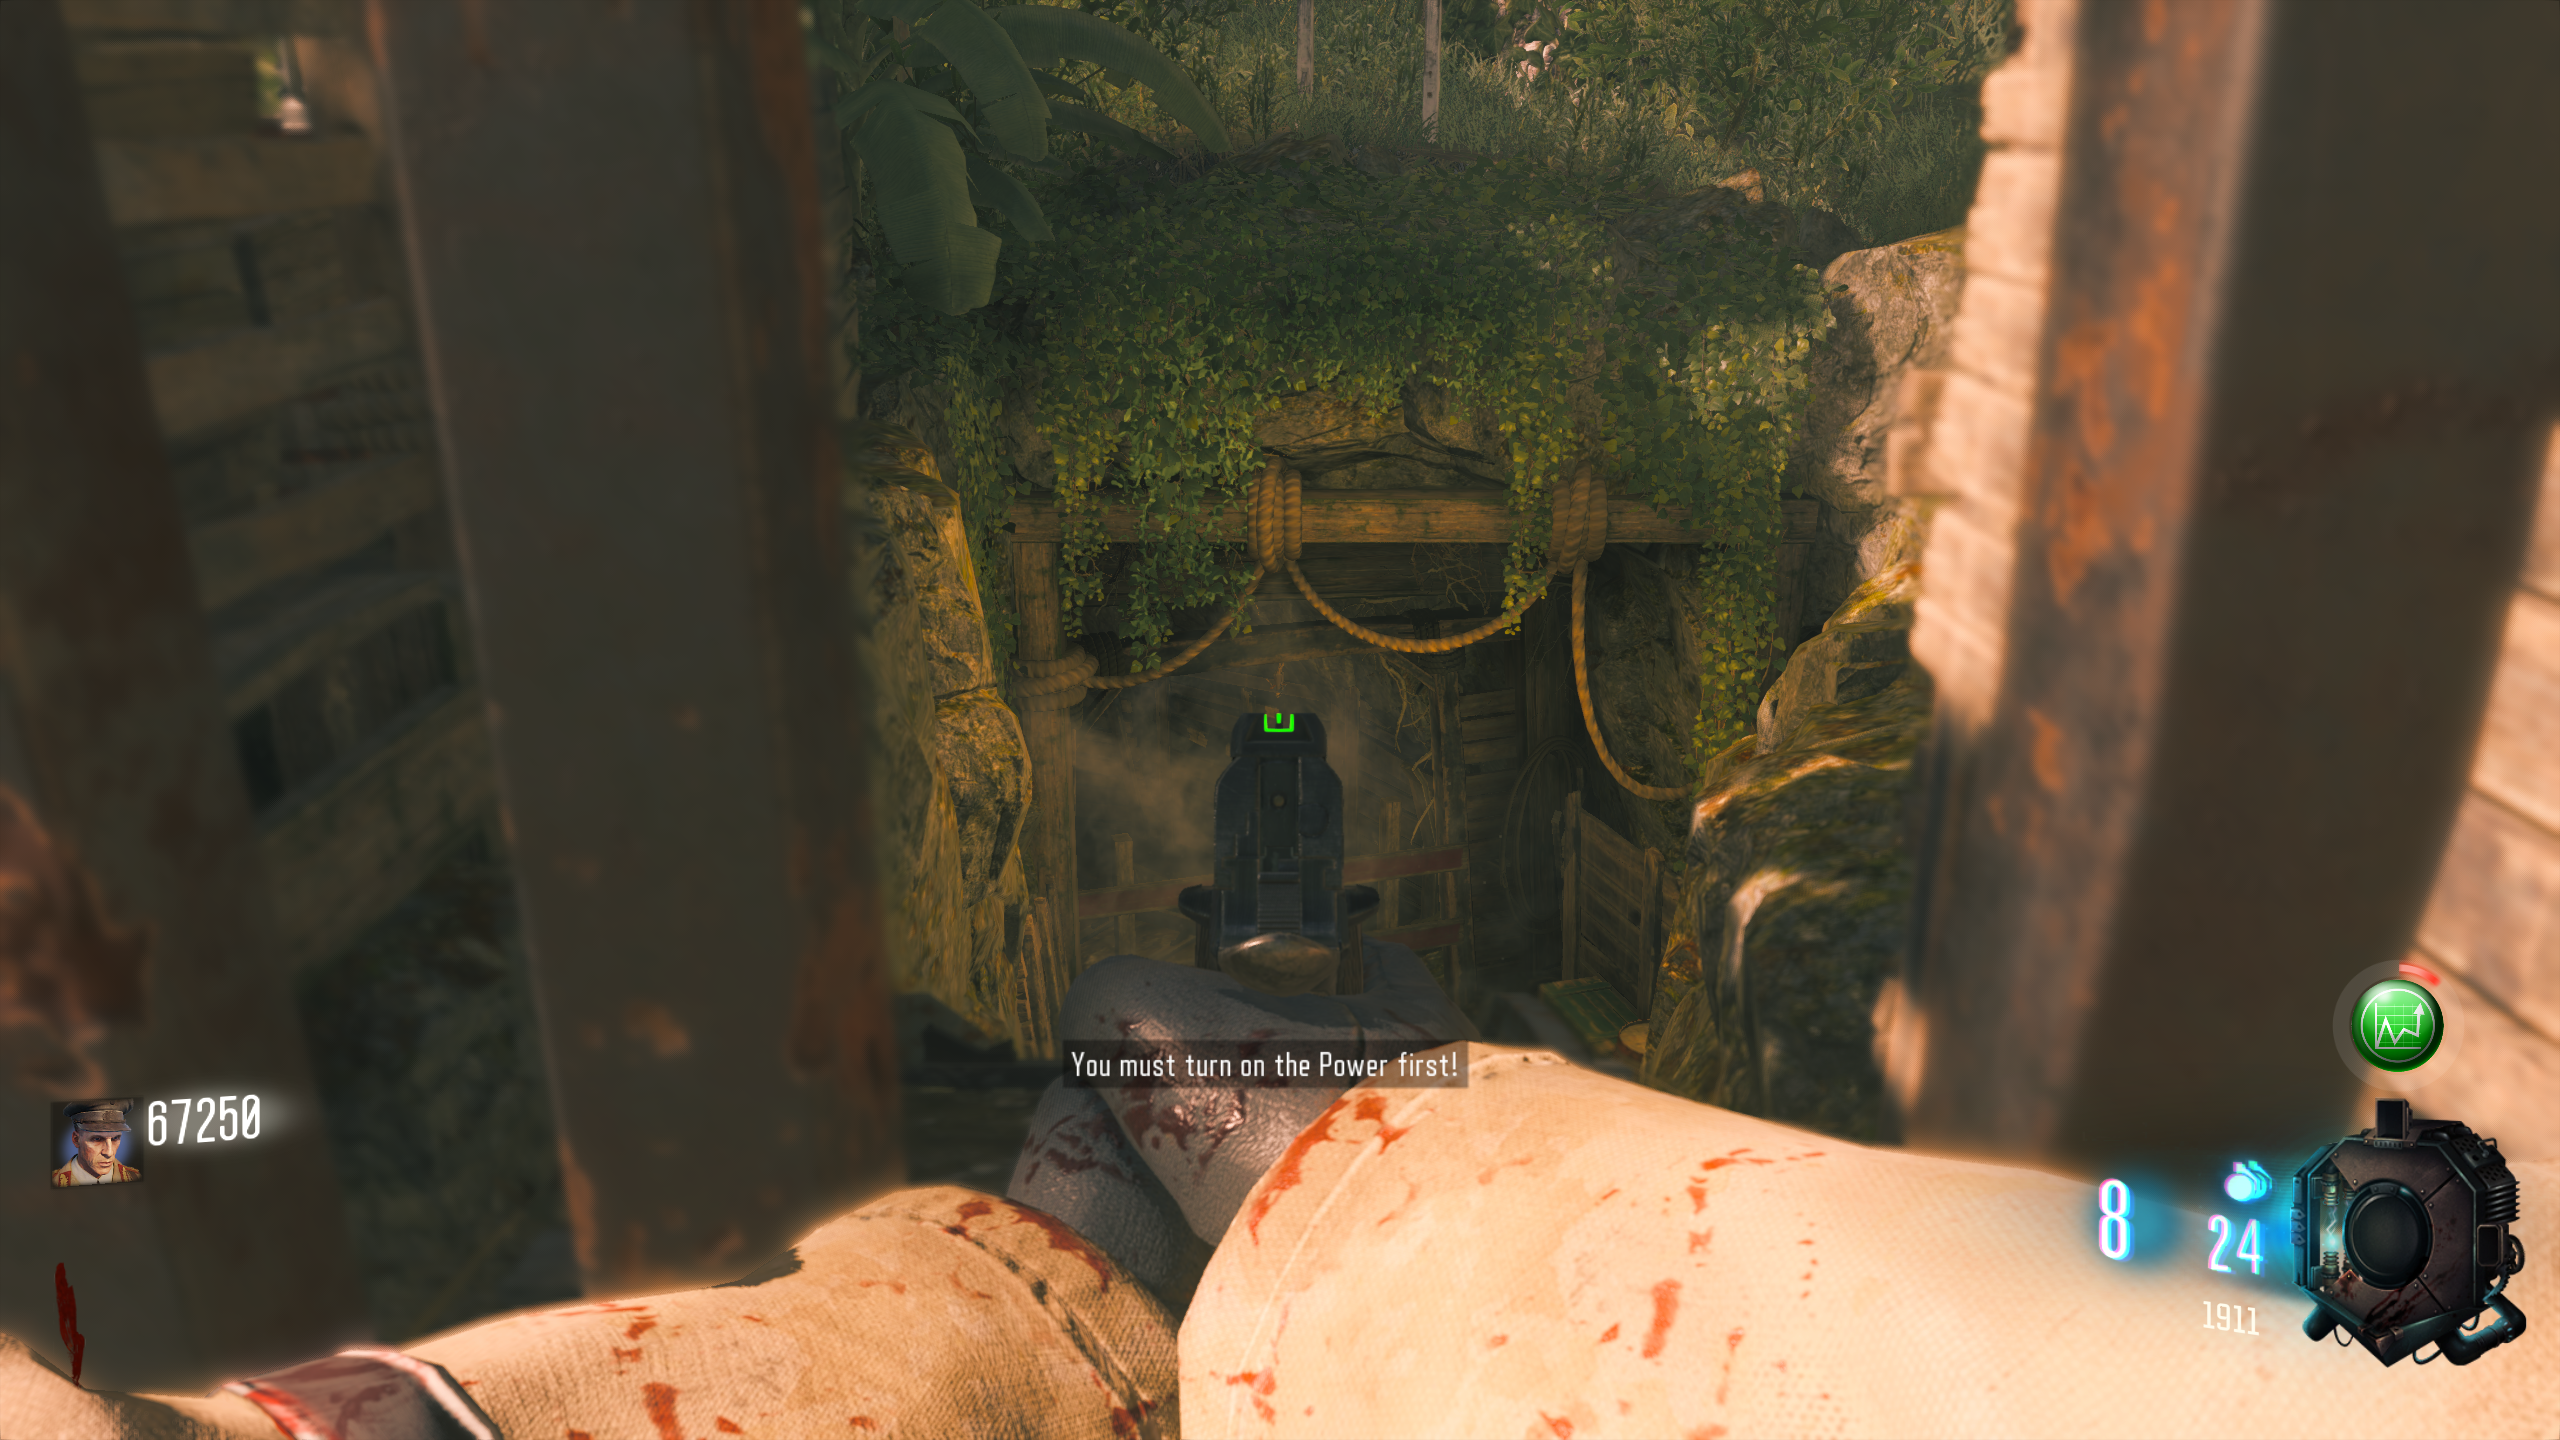
- At the bottom of the water slide, there's a wall with five metal pans. Shoot the first one on the left twice, and the fifth one once with the 1911 starting pistol. Shooting the wrong pan resets the input.
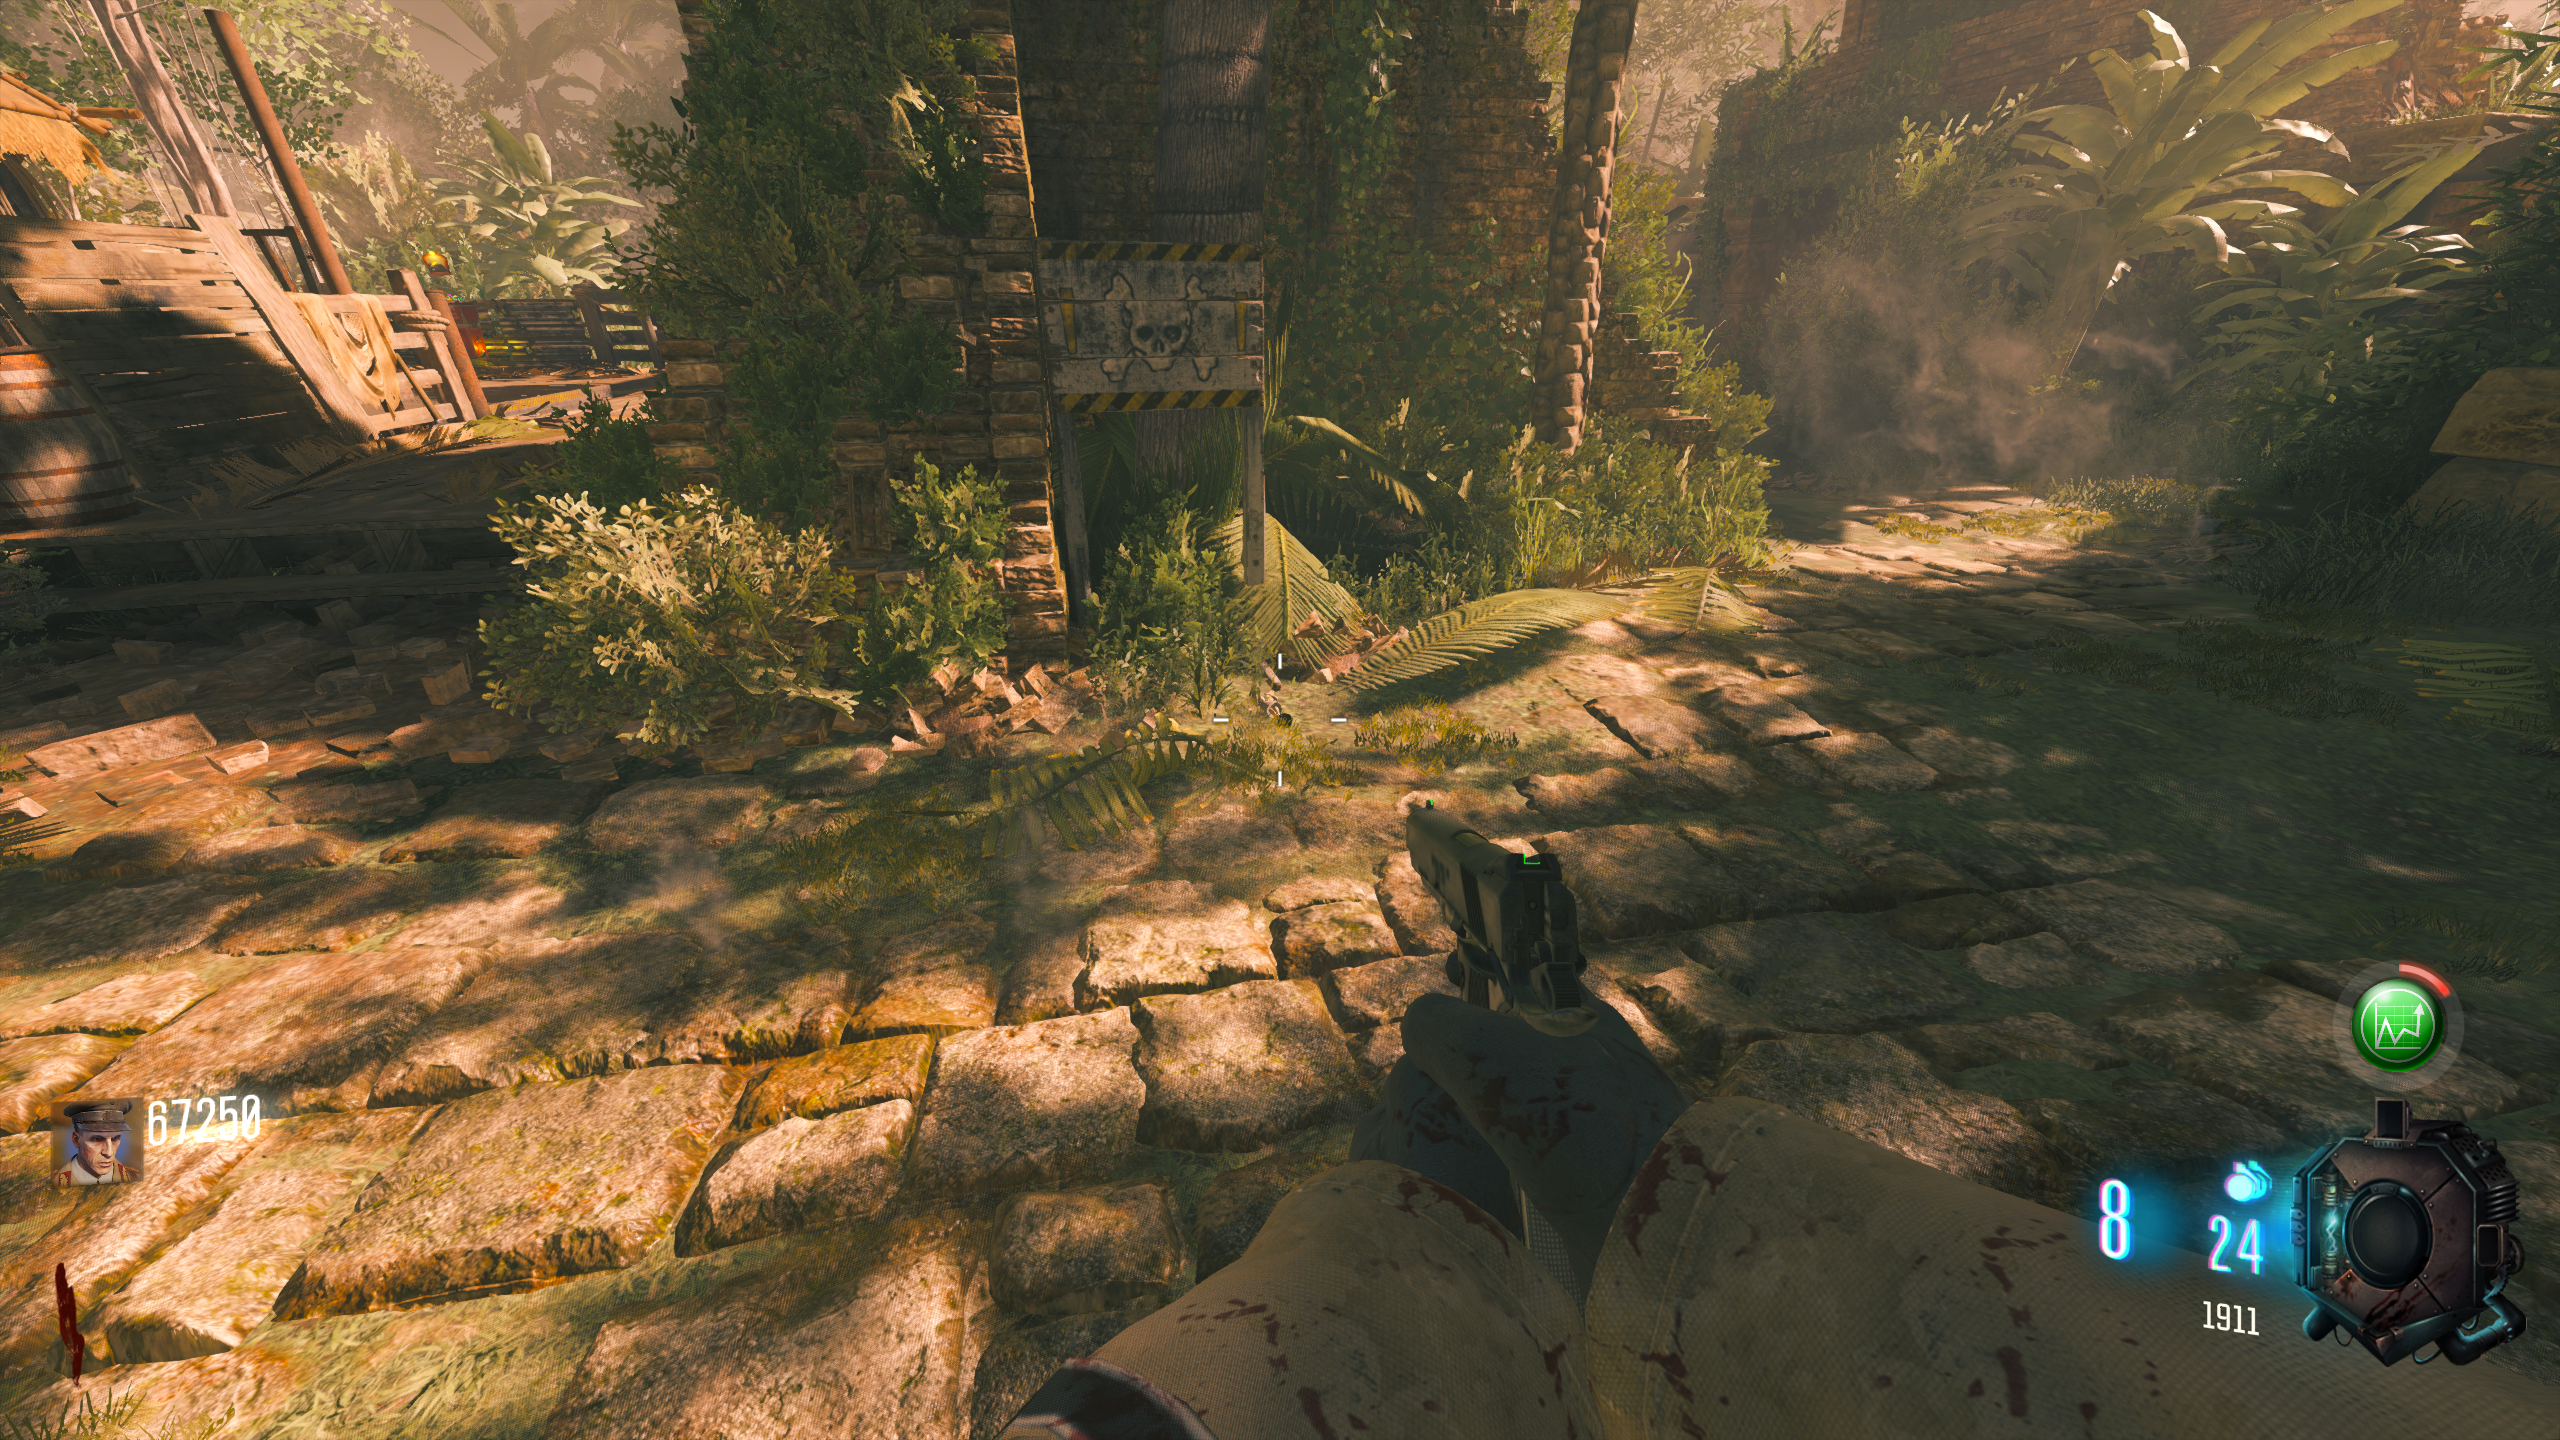
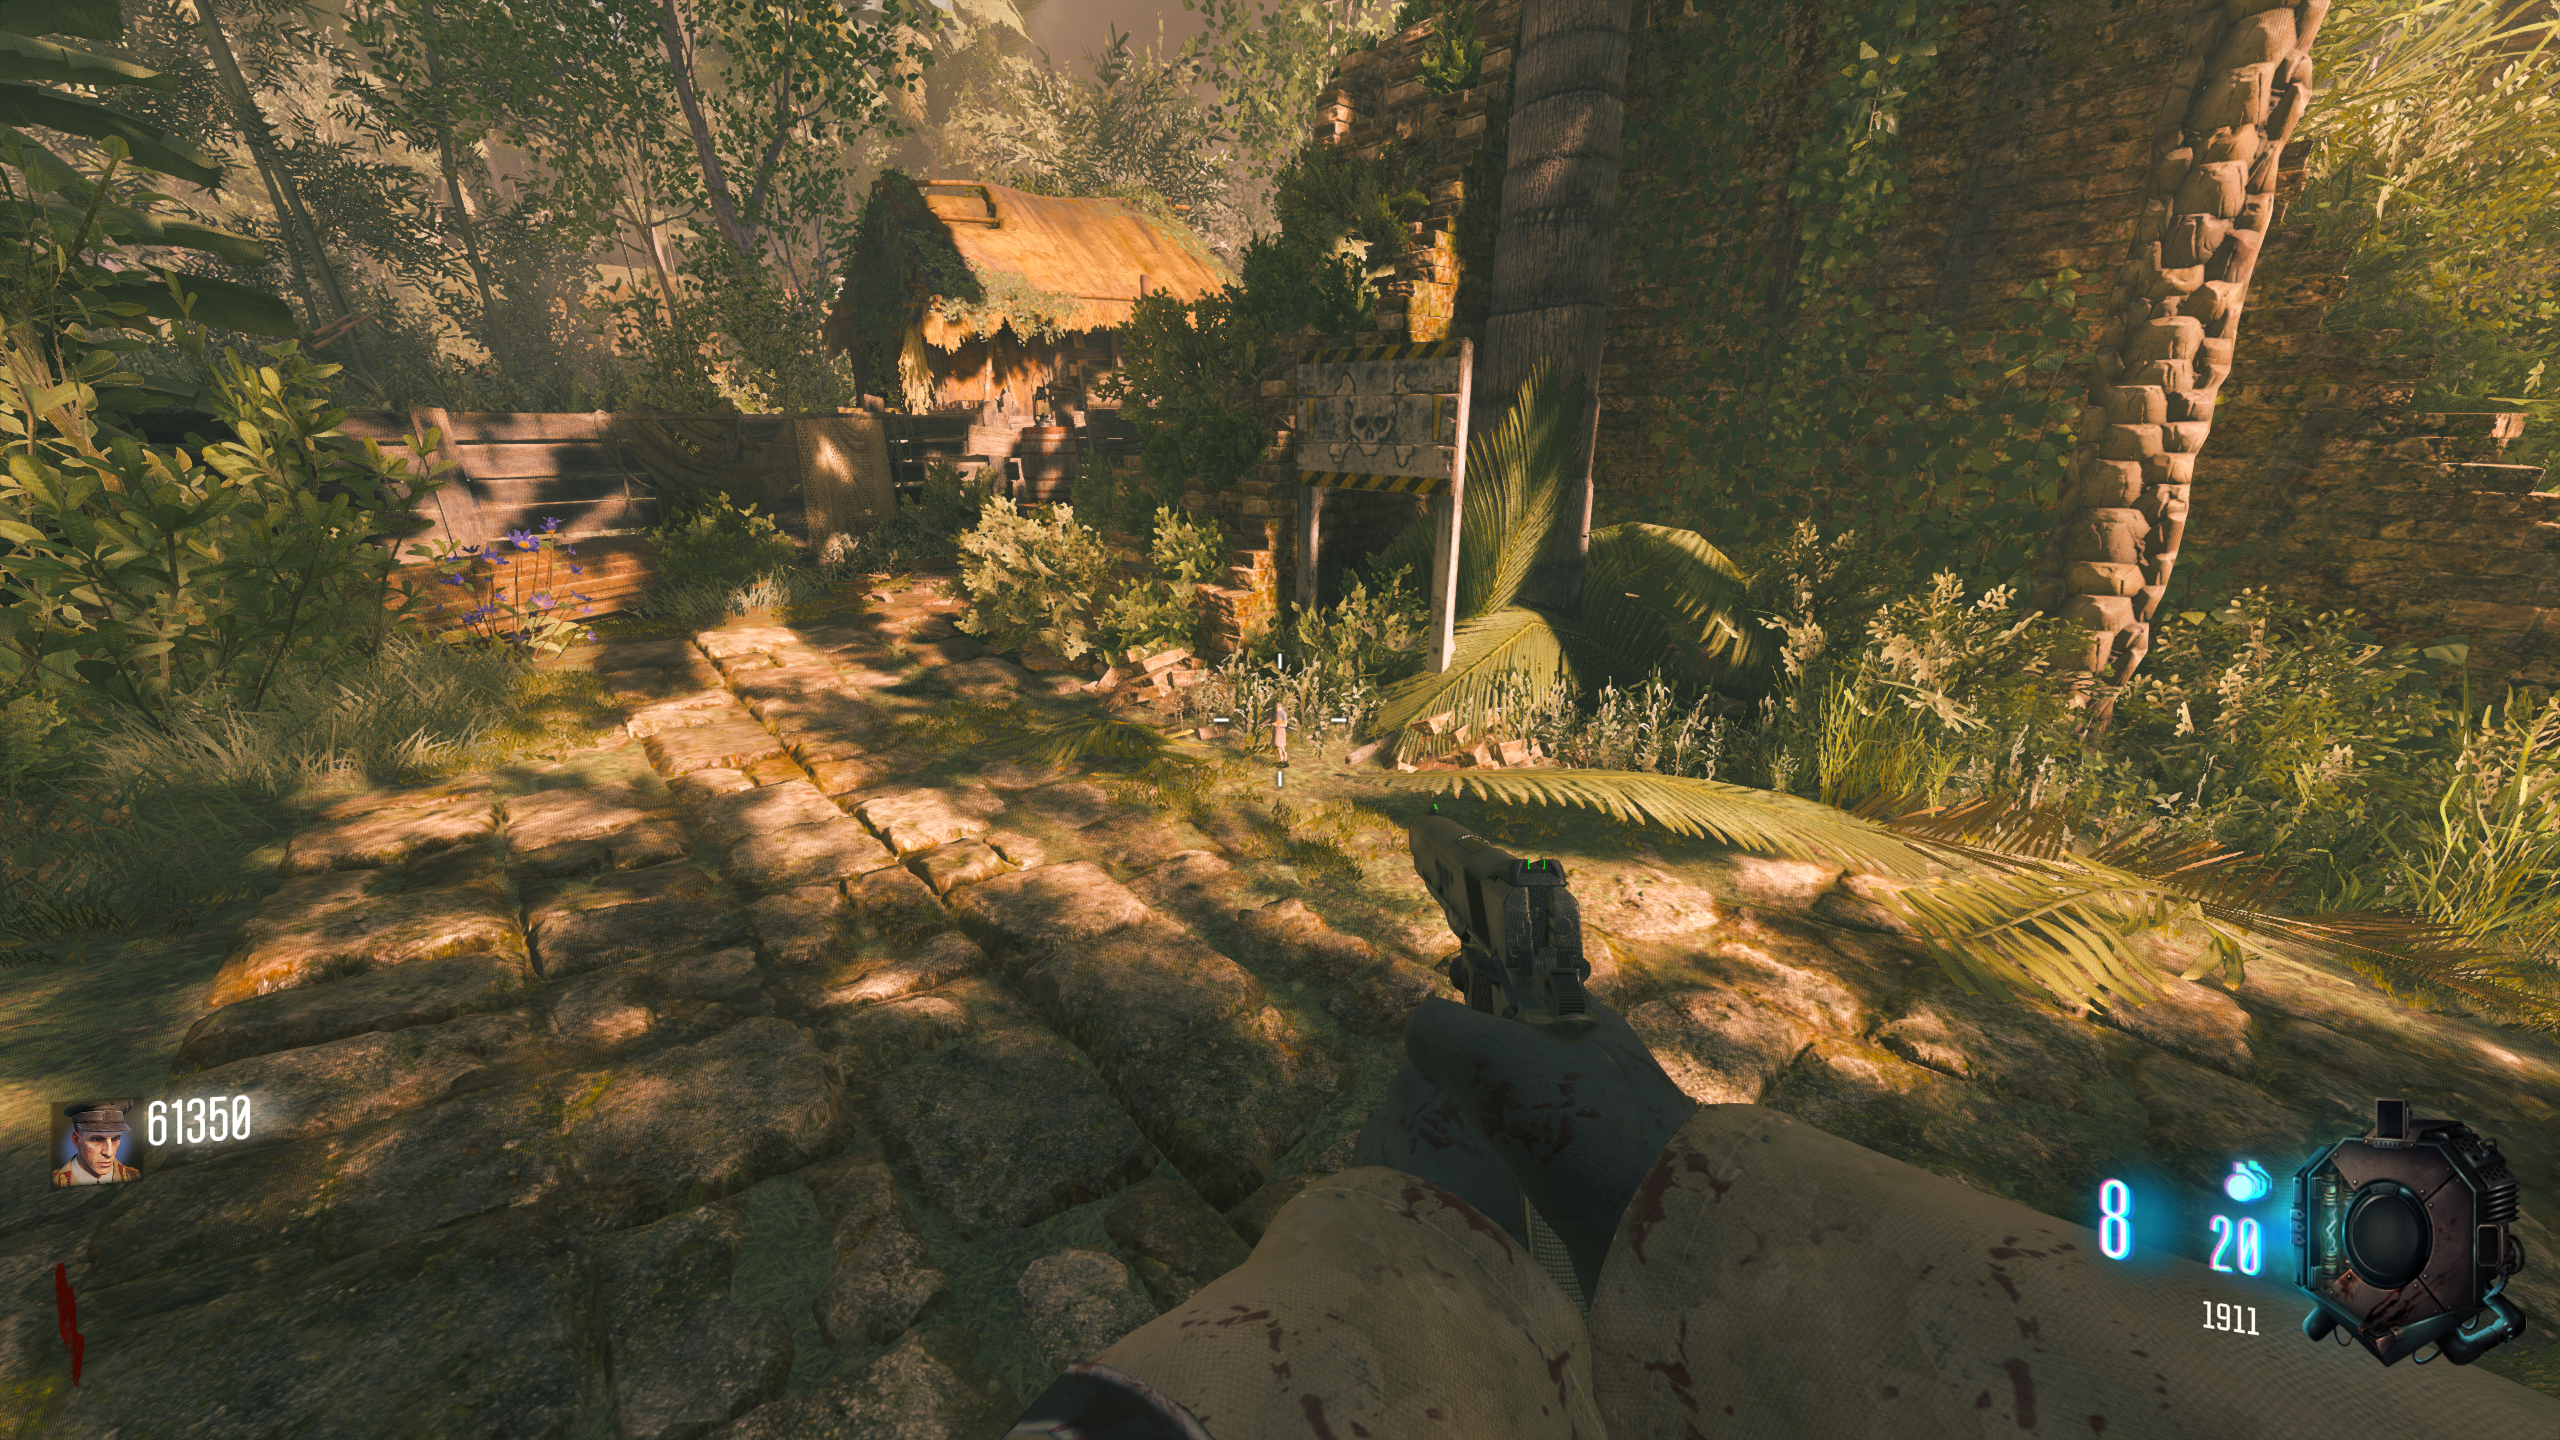
- If done correctly, you'll hear noise from Samantha, and a Samantha doll will spawn by a Danger sign near the start of the Minecart.
- Interact with the Samantha Doll to make it disappear. You need to find and shoot five Samantha Dolls; they make noise. These dolls spawn in order, and can all be found along the Minecart track, though you can see/shoot them all without riding the Minecart.
- You have 90 seconds to find each doll solo. This timer goes down by 15 seconds for each player in the game (down to 30 seconds at the lowest).
- If you don't find a doll in time, the first doll that you interacted with will respawn allowing you to try again.
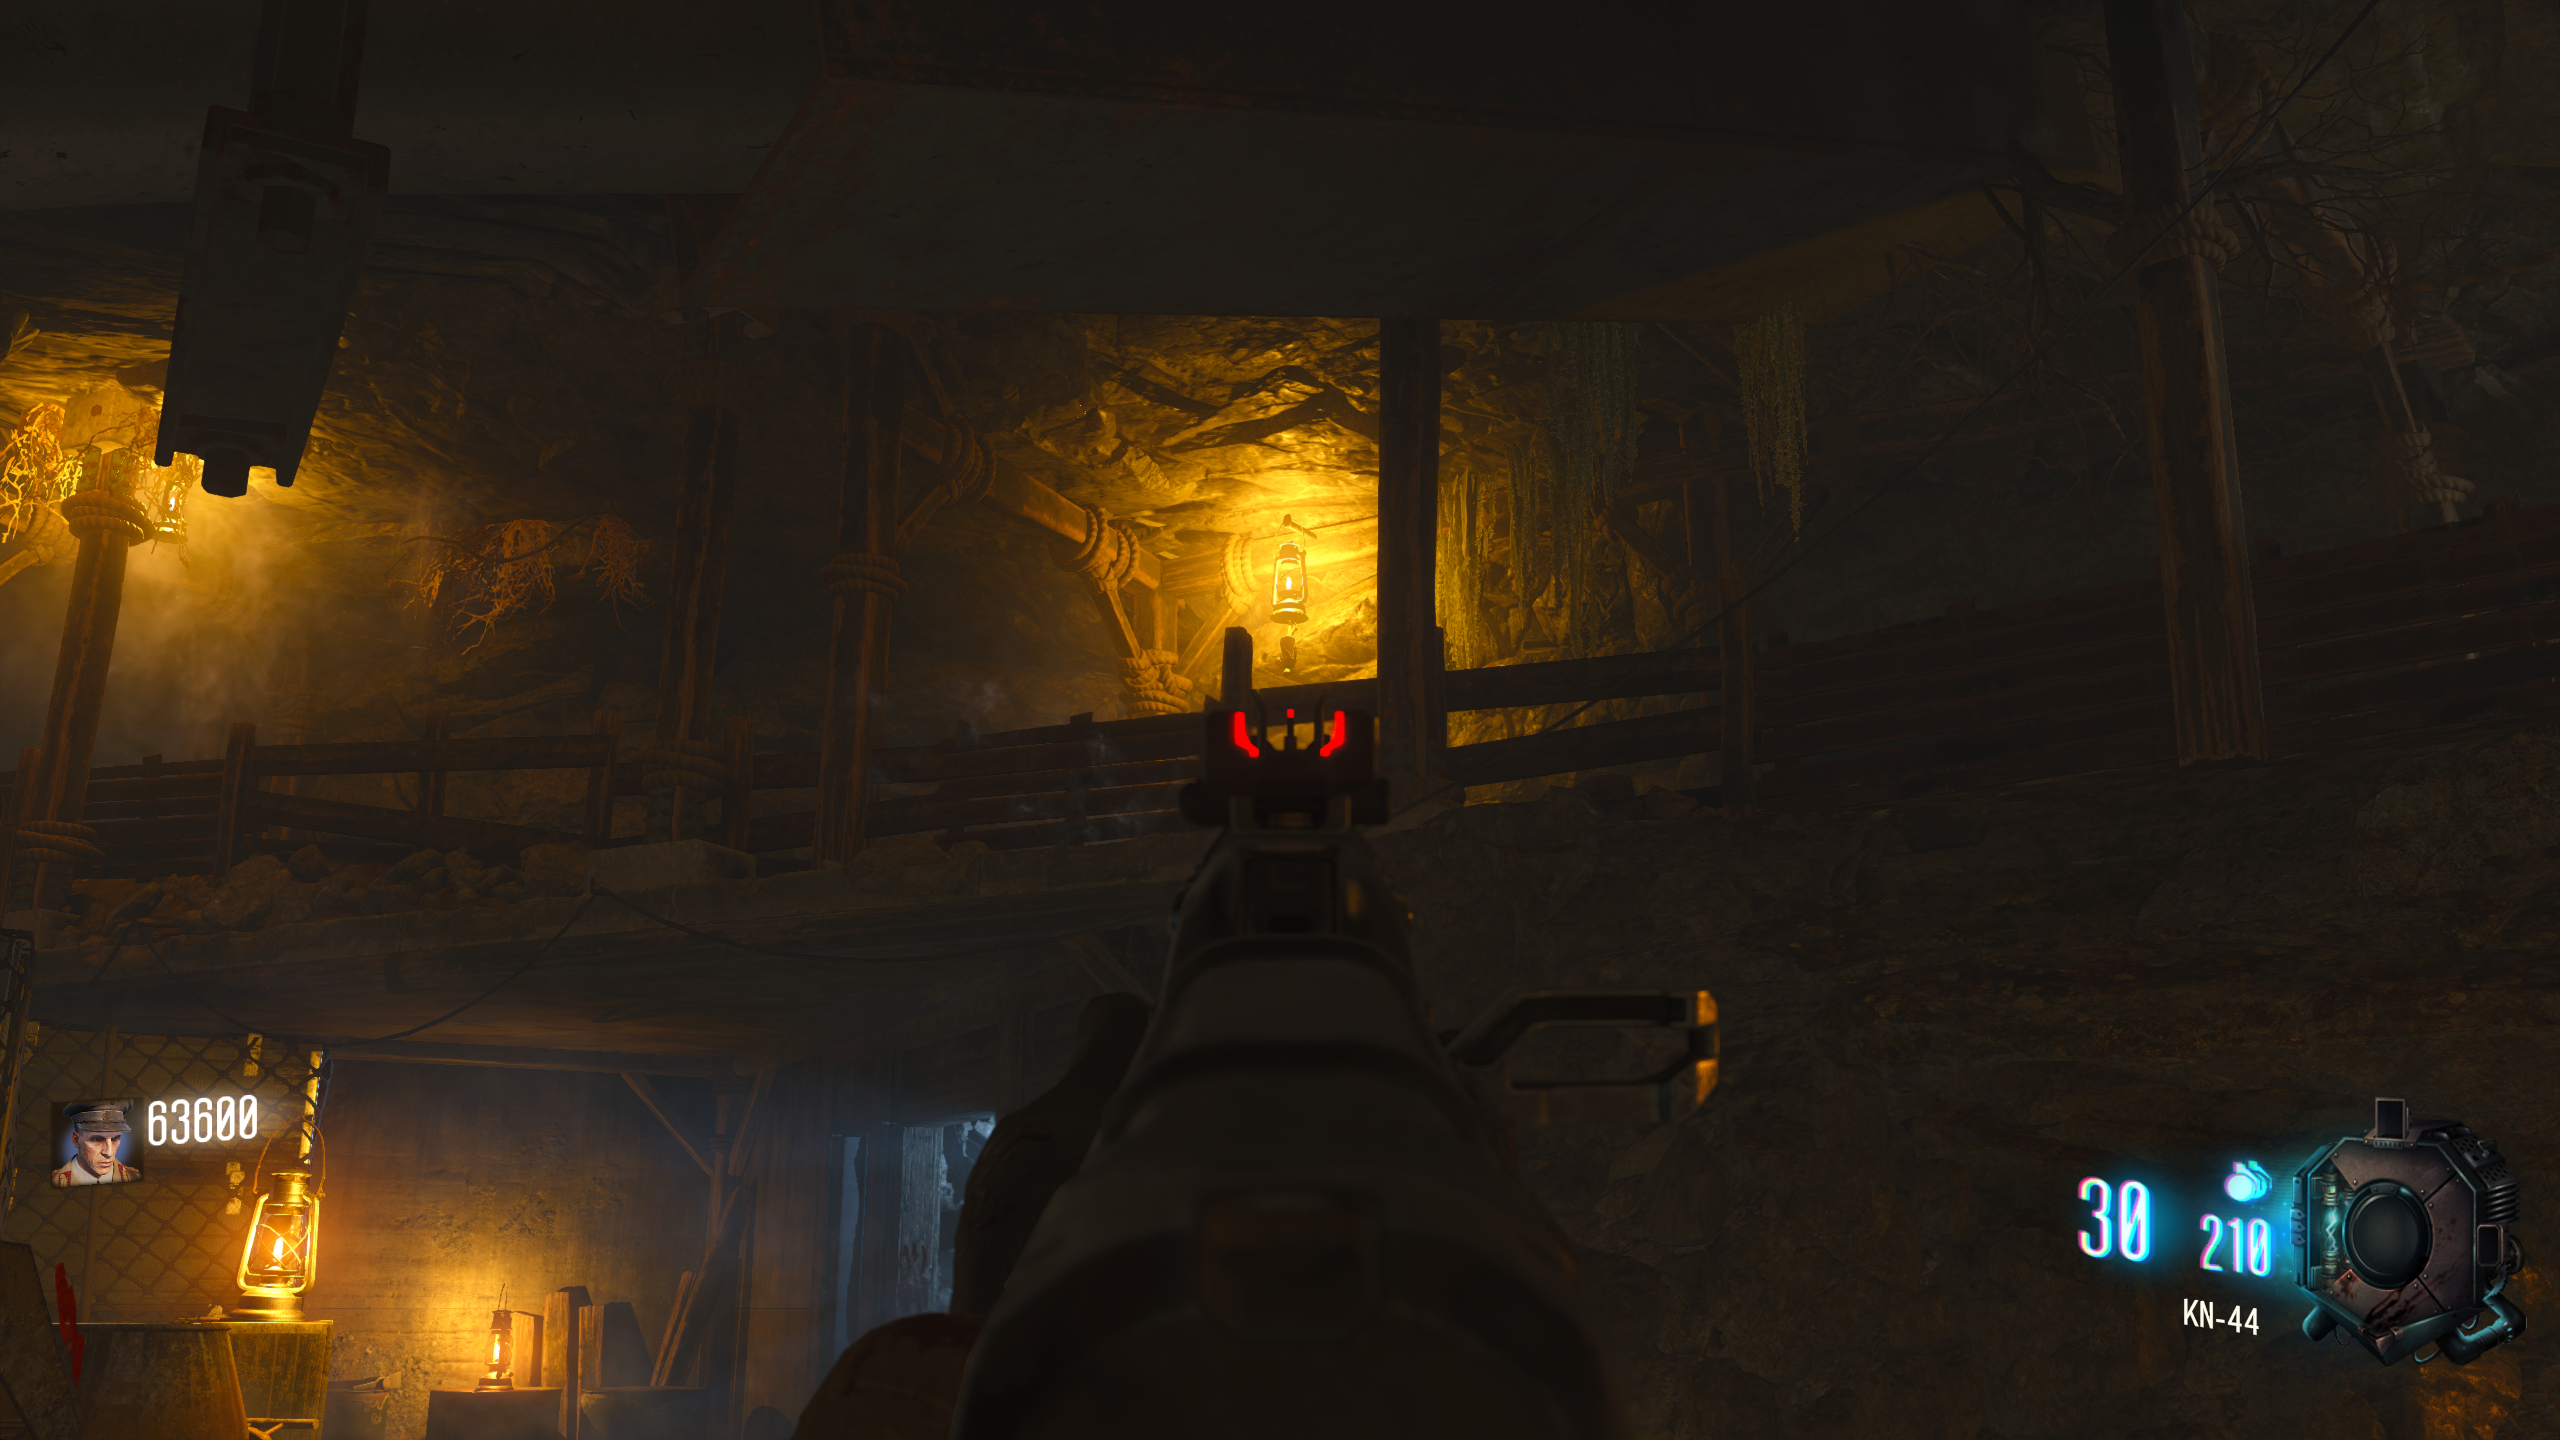
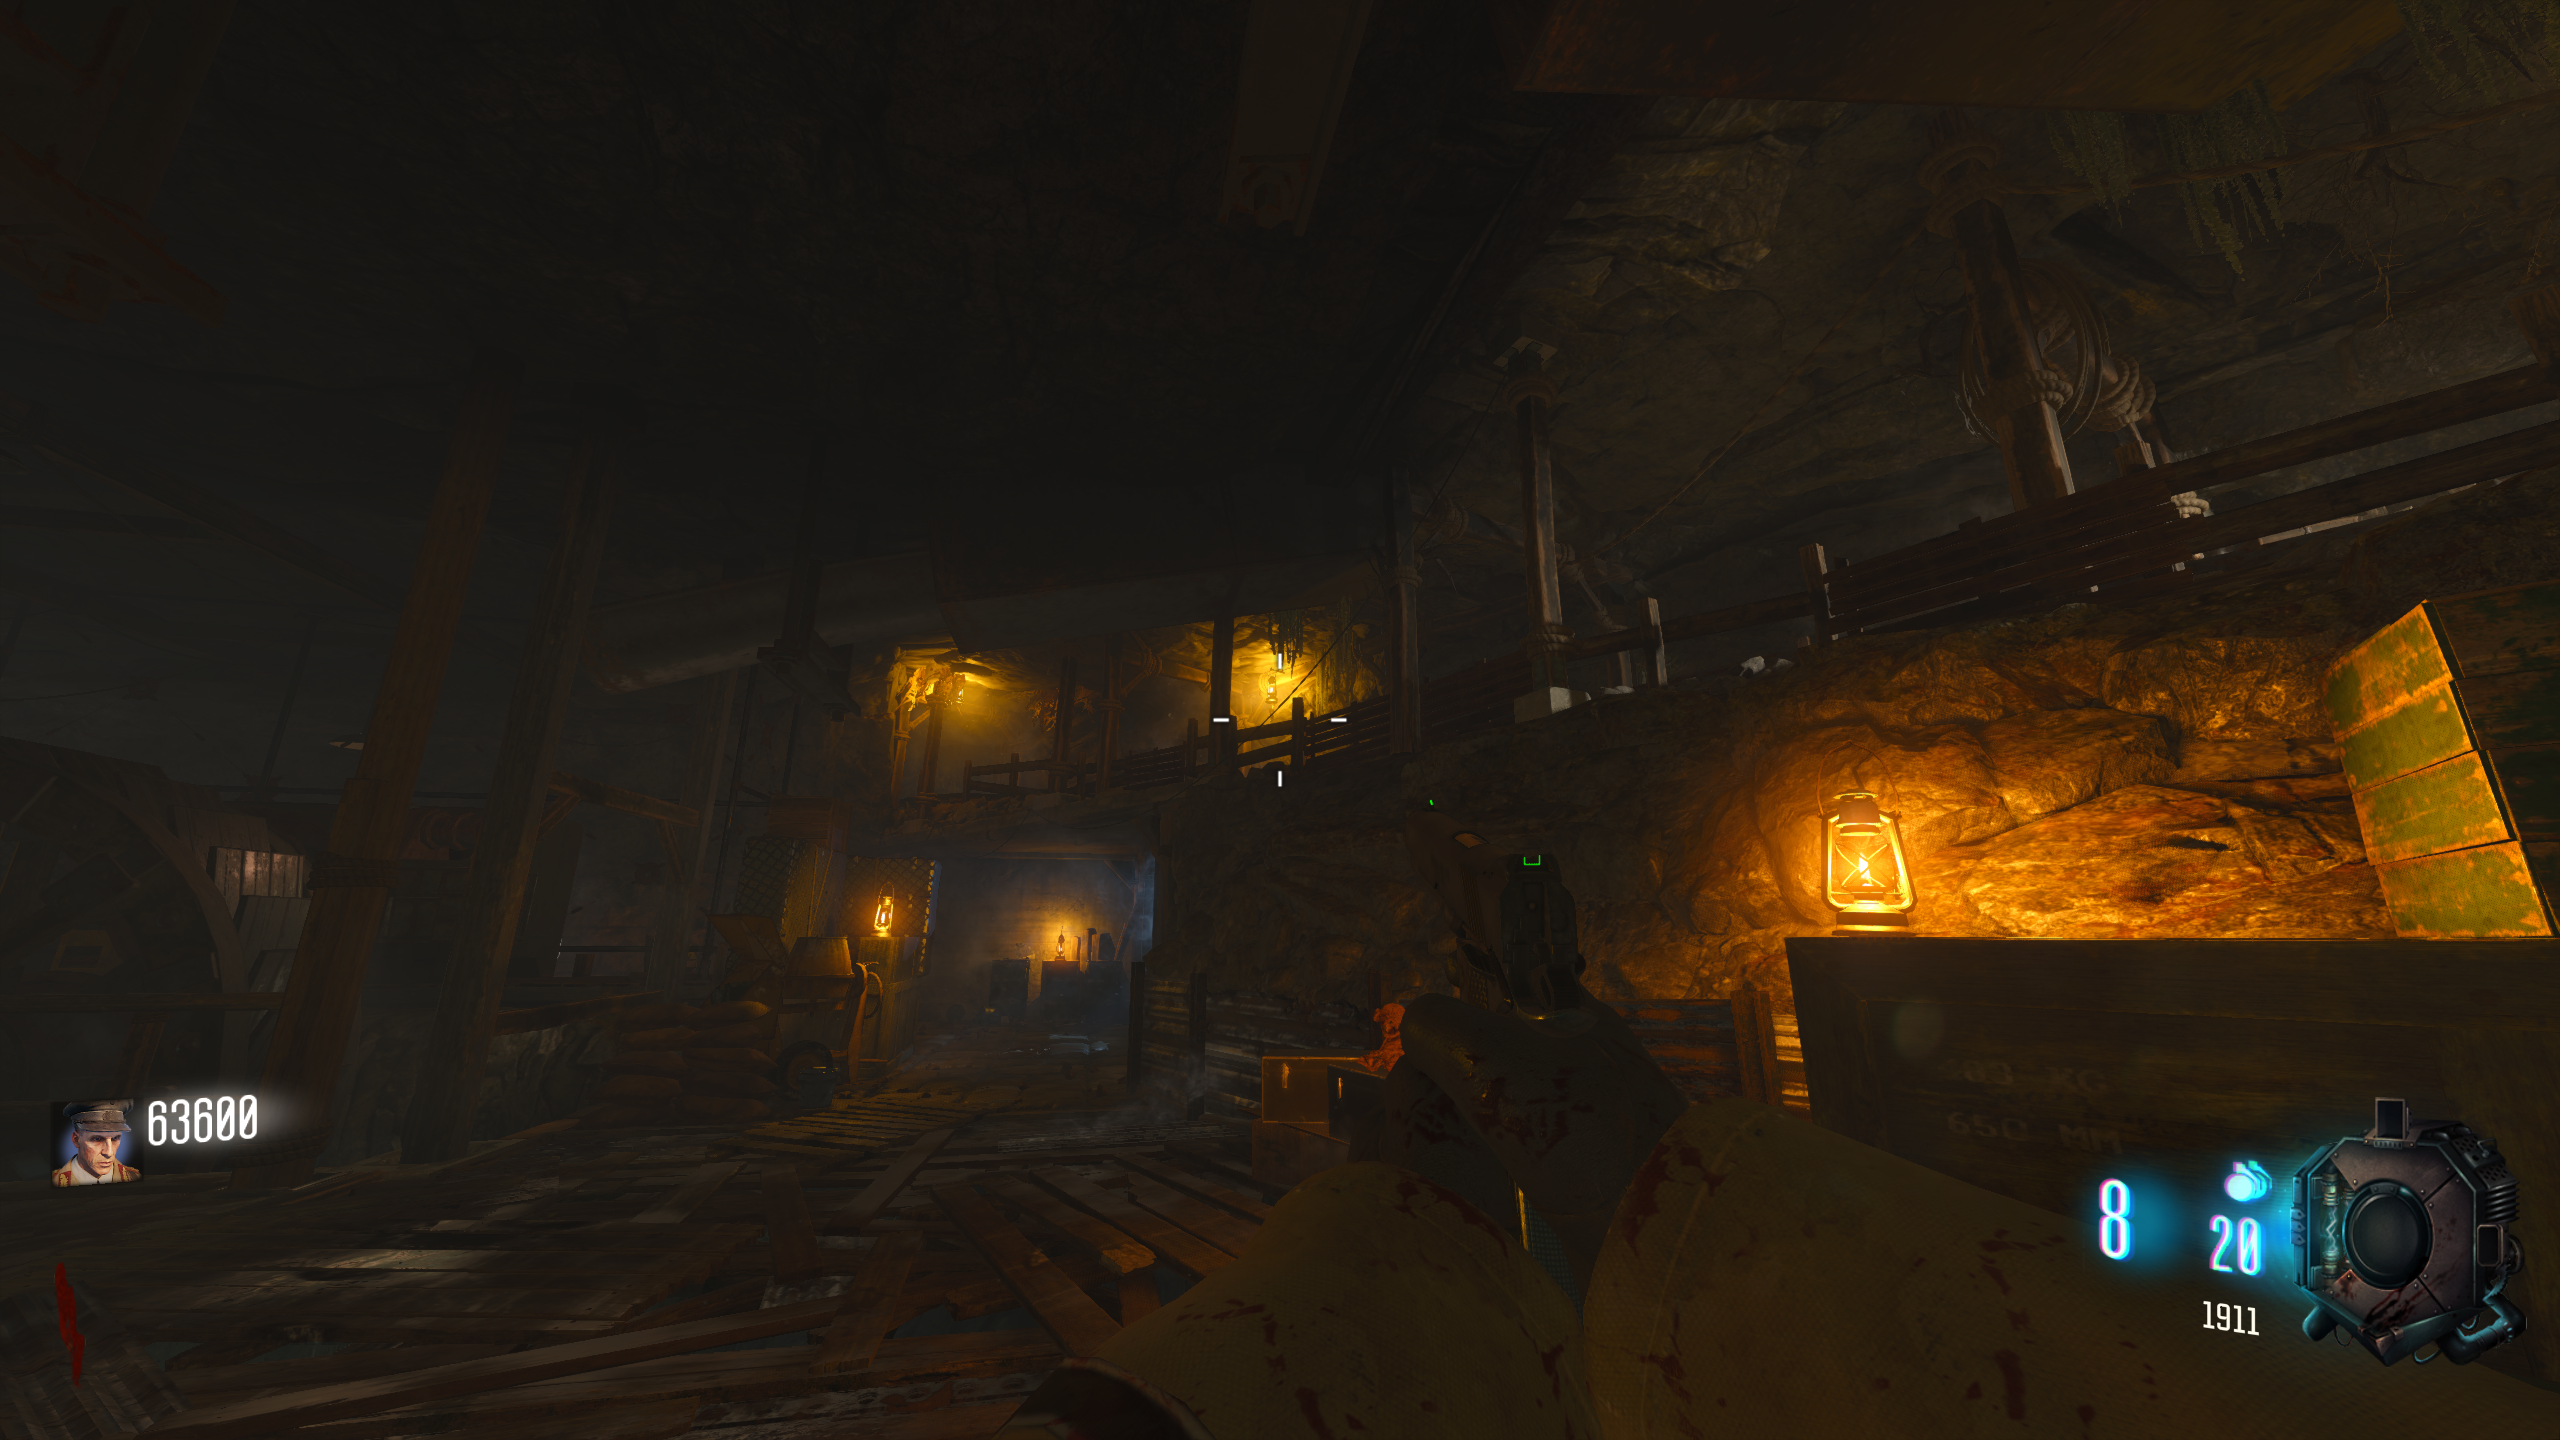
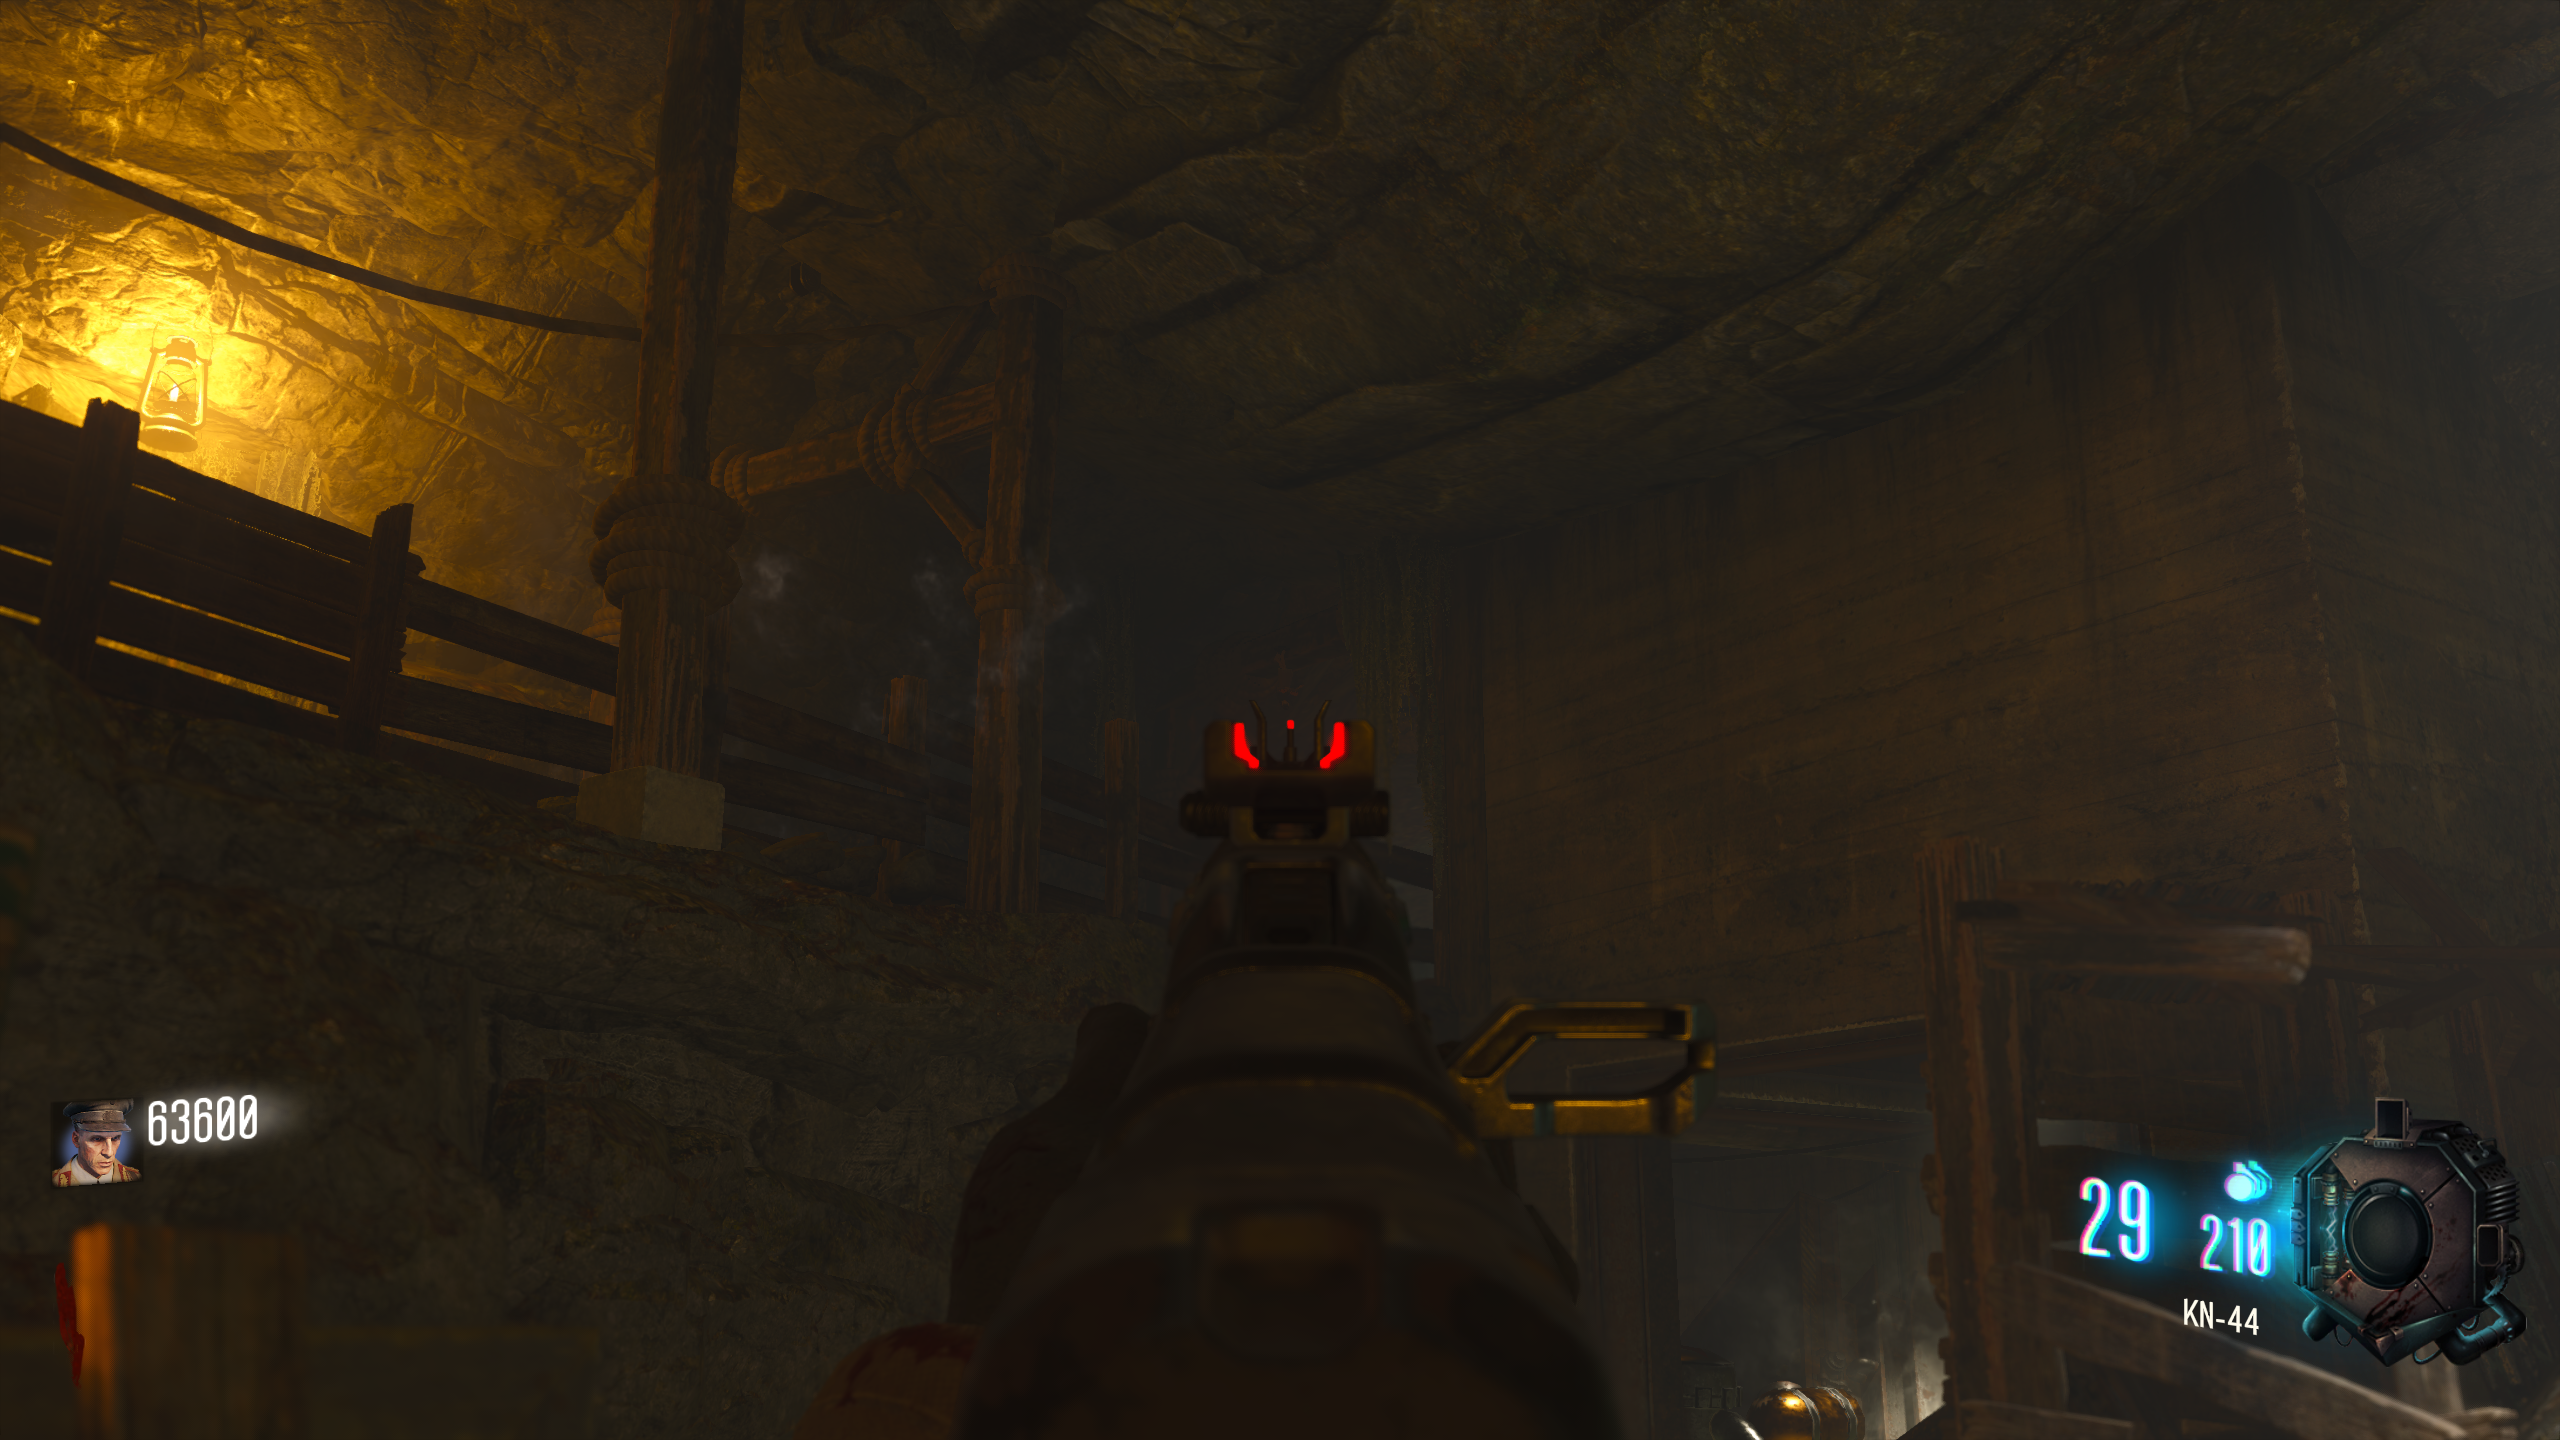
- Doll locations and order:
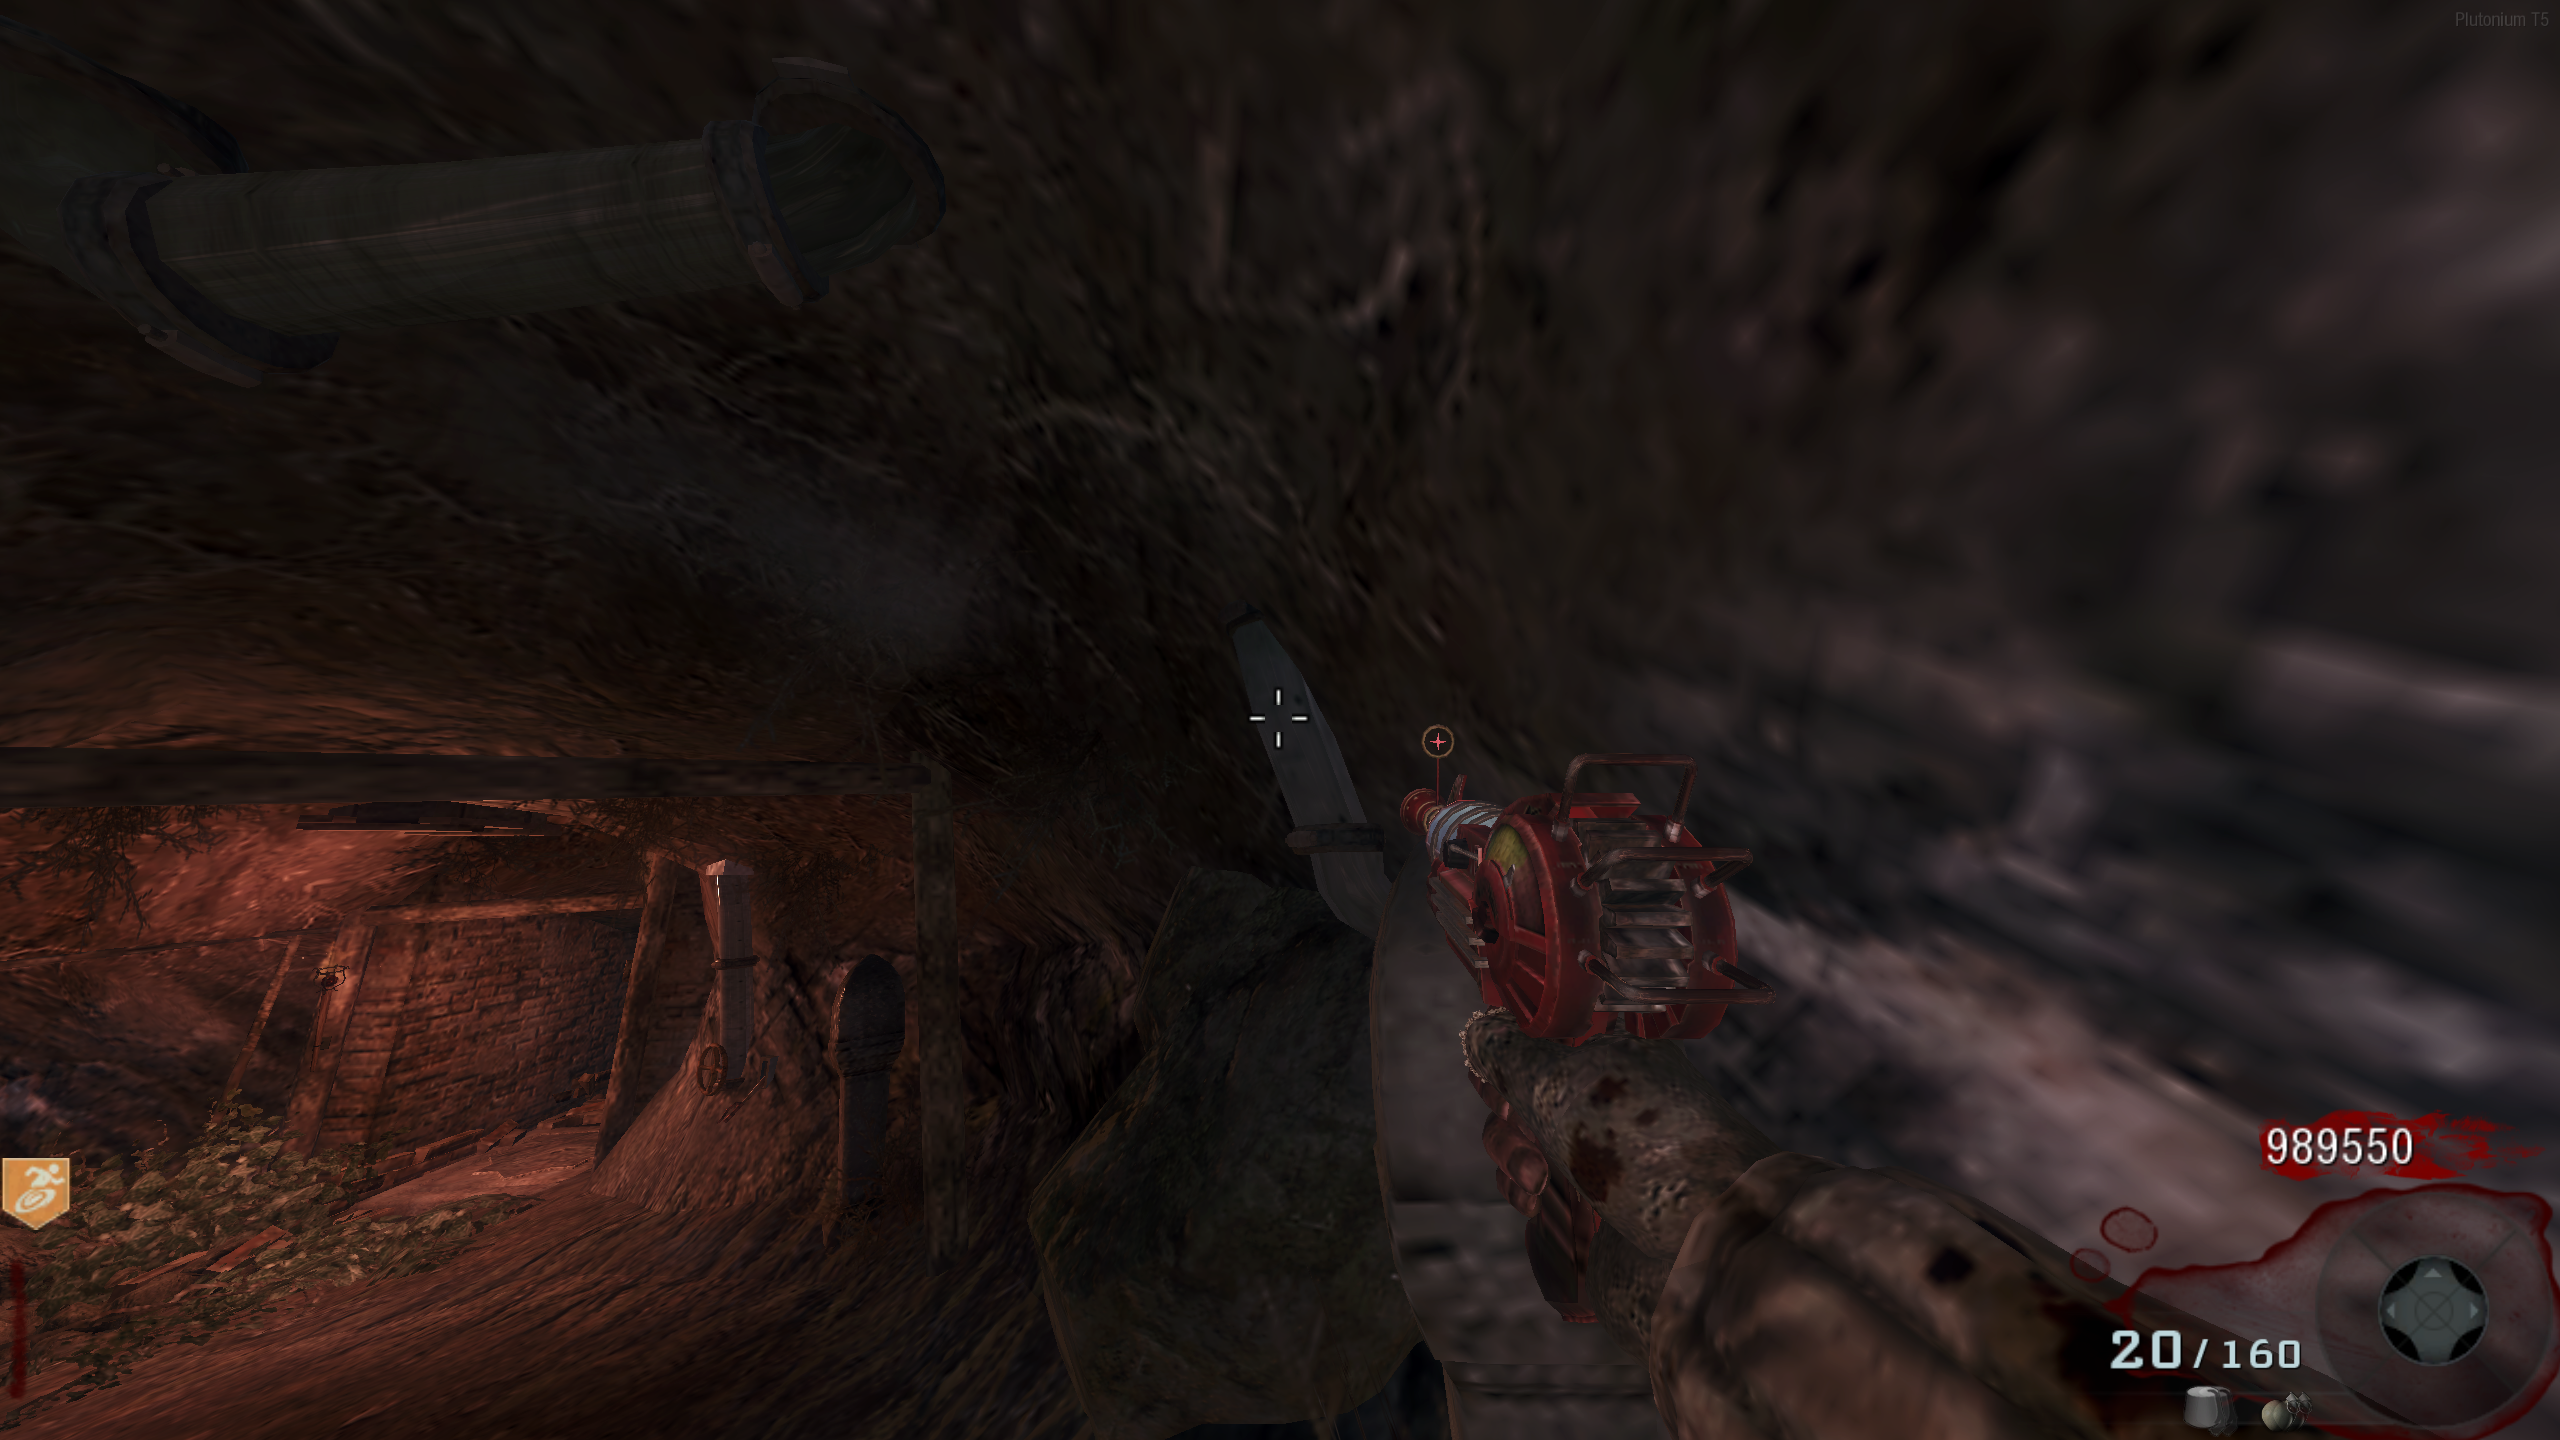
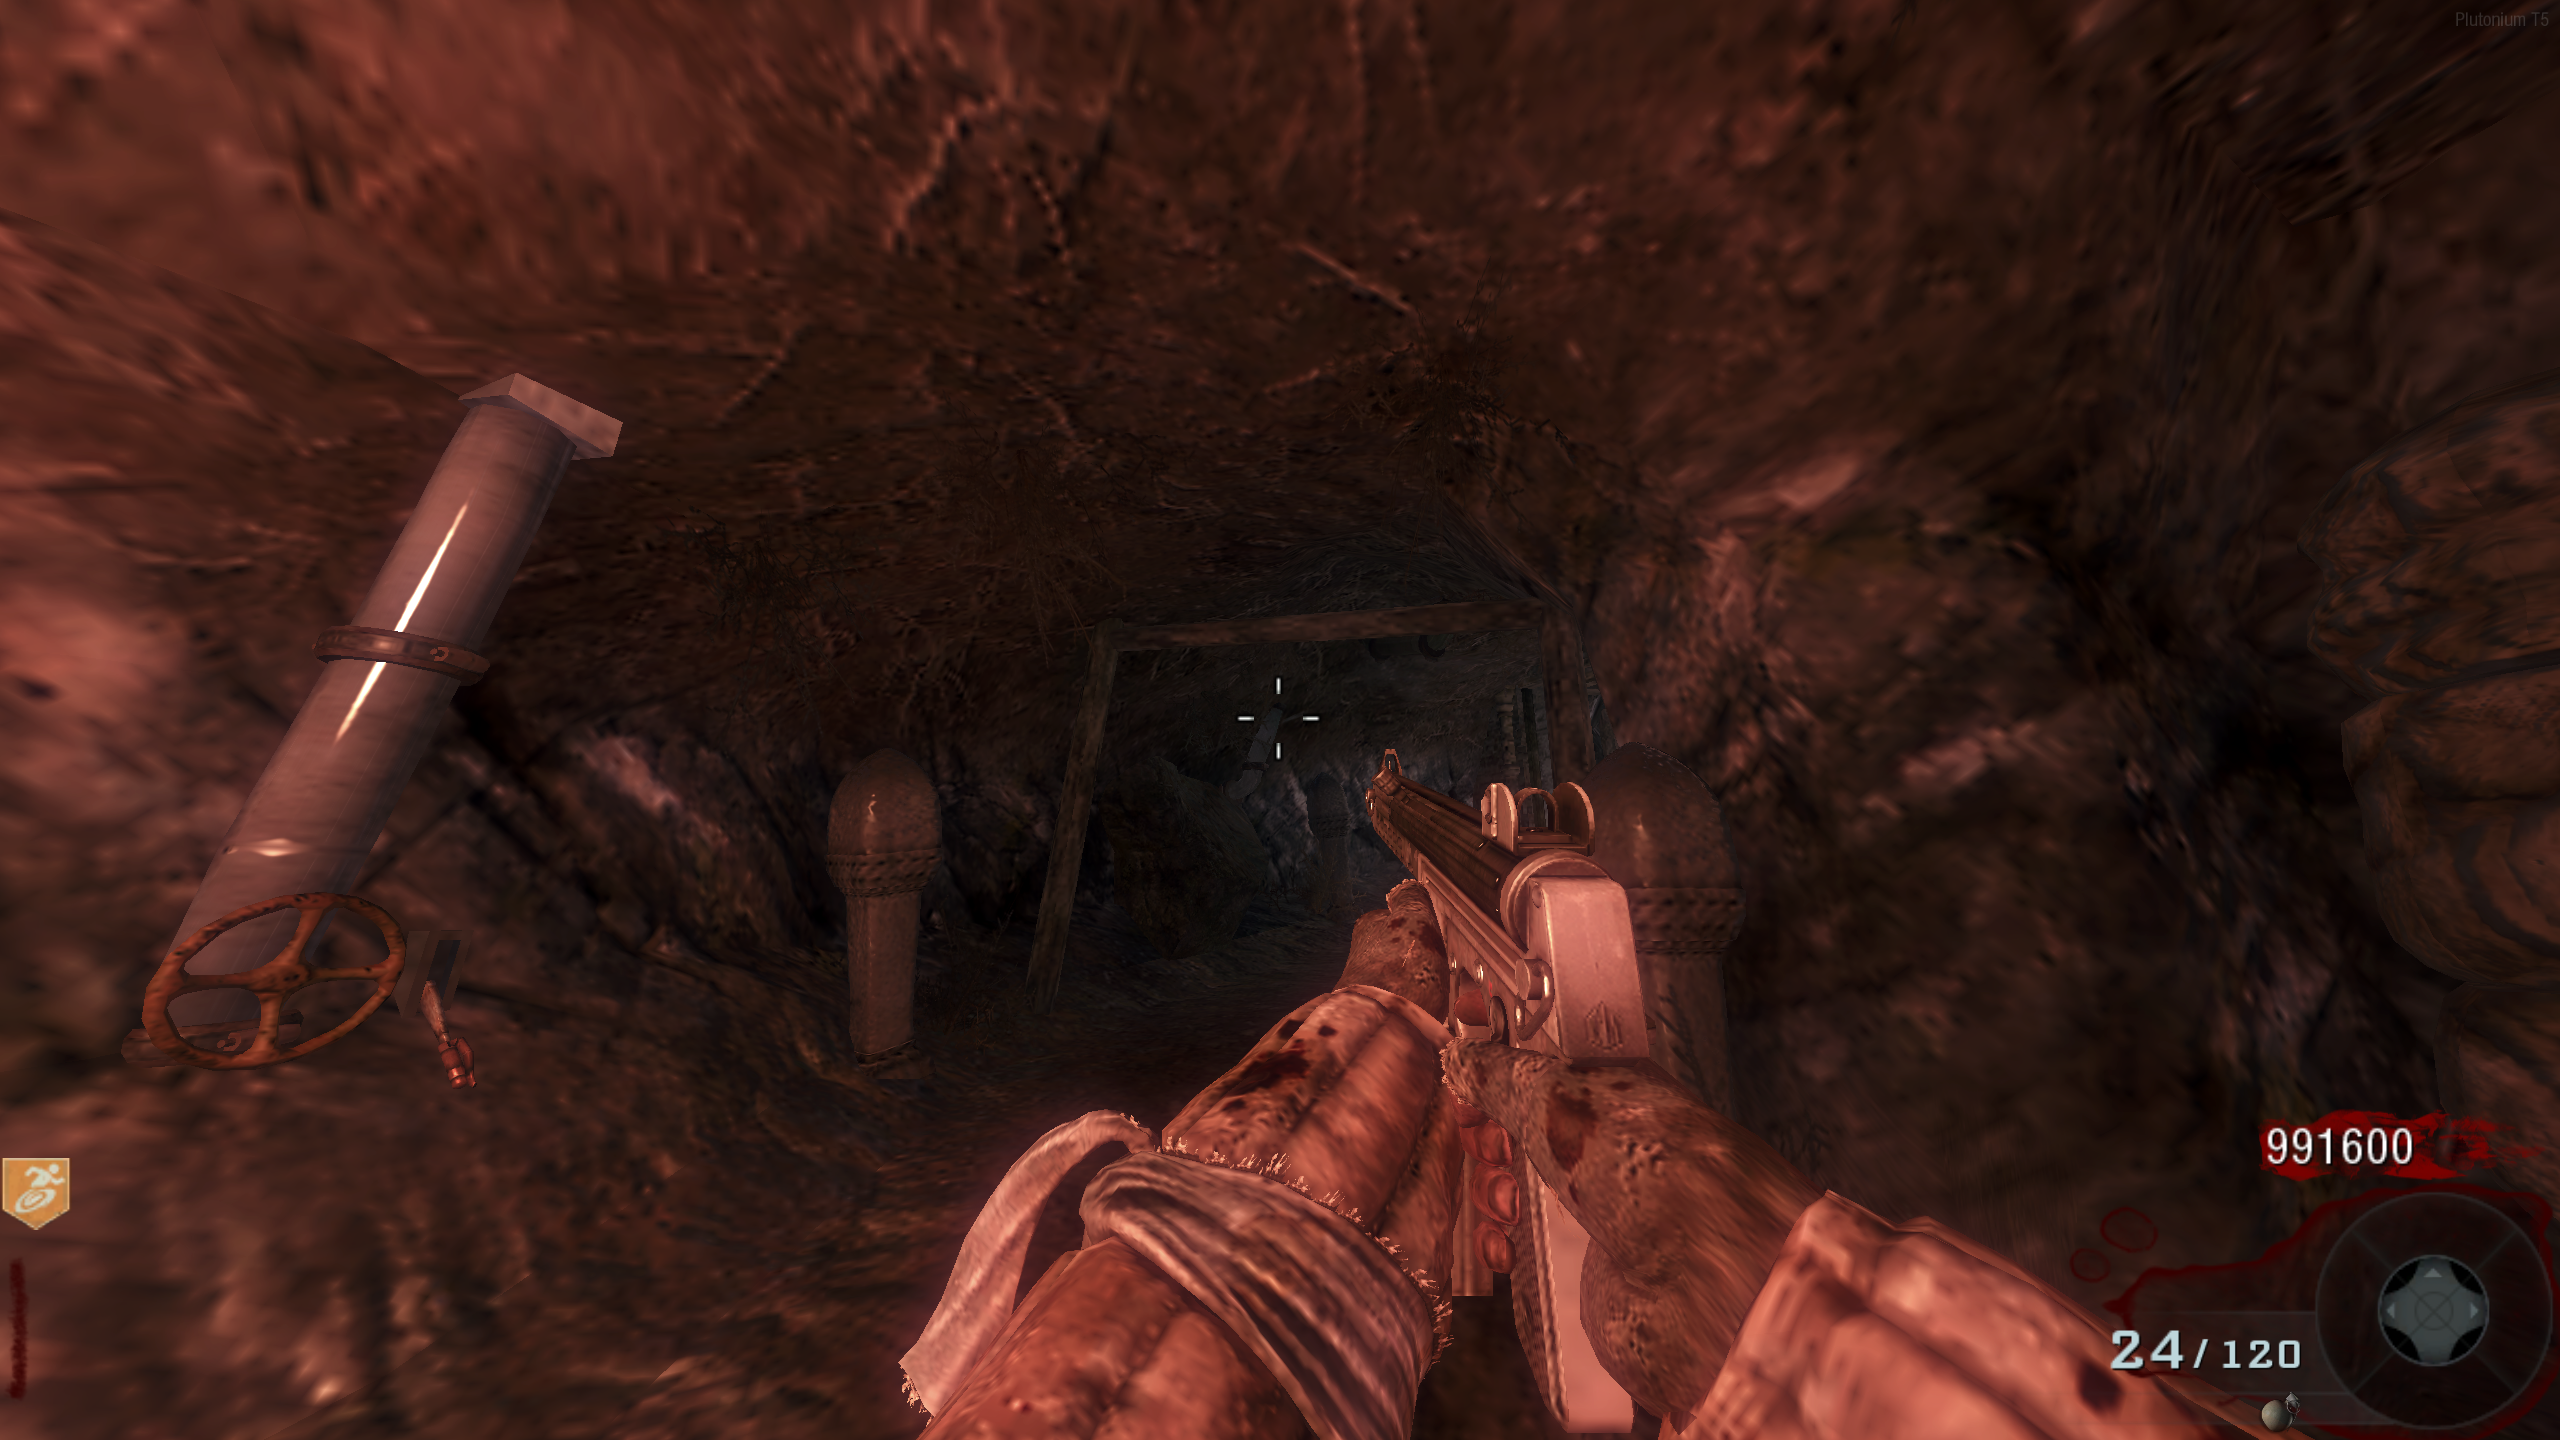
- Minecart Area - Hanging from the first cross beam at the start of the Minecart tunnel
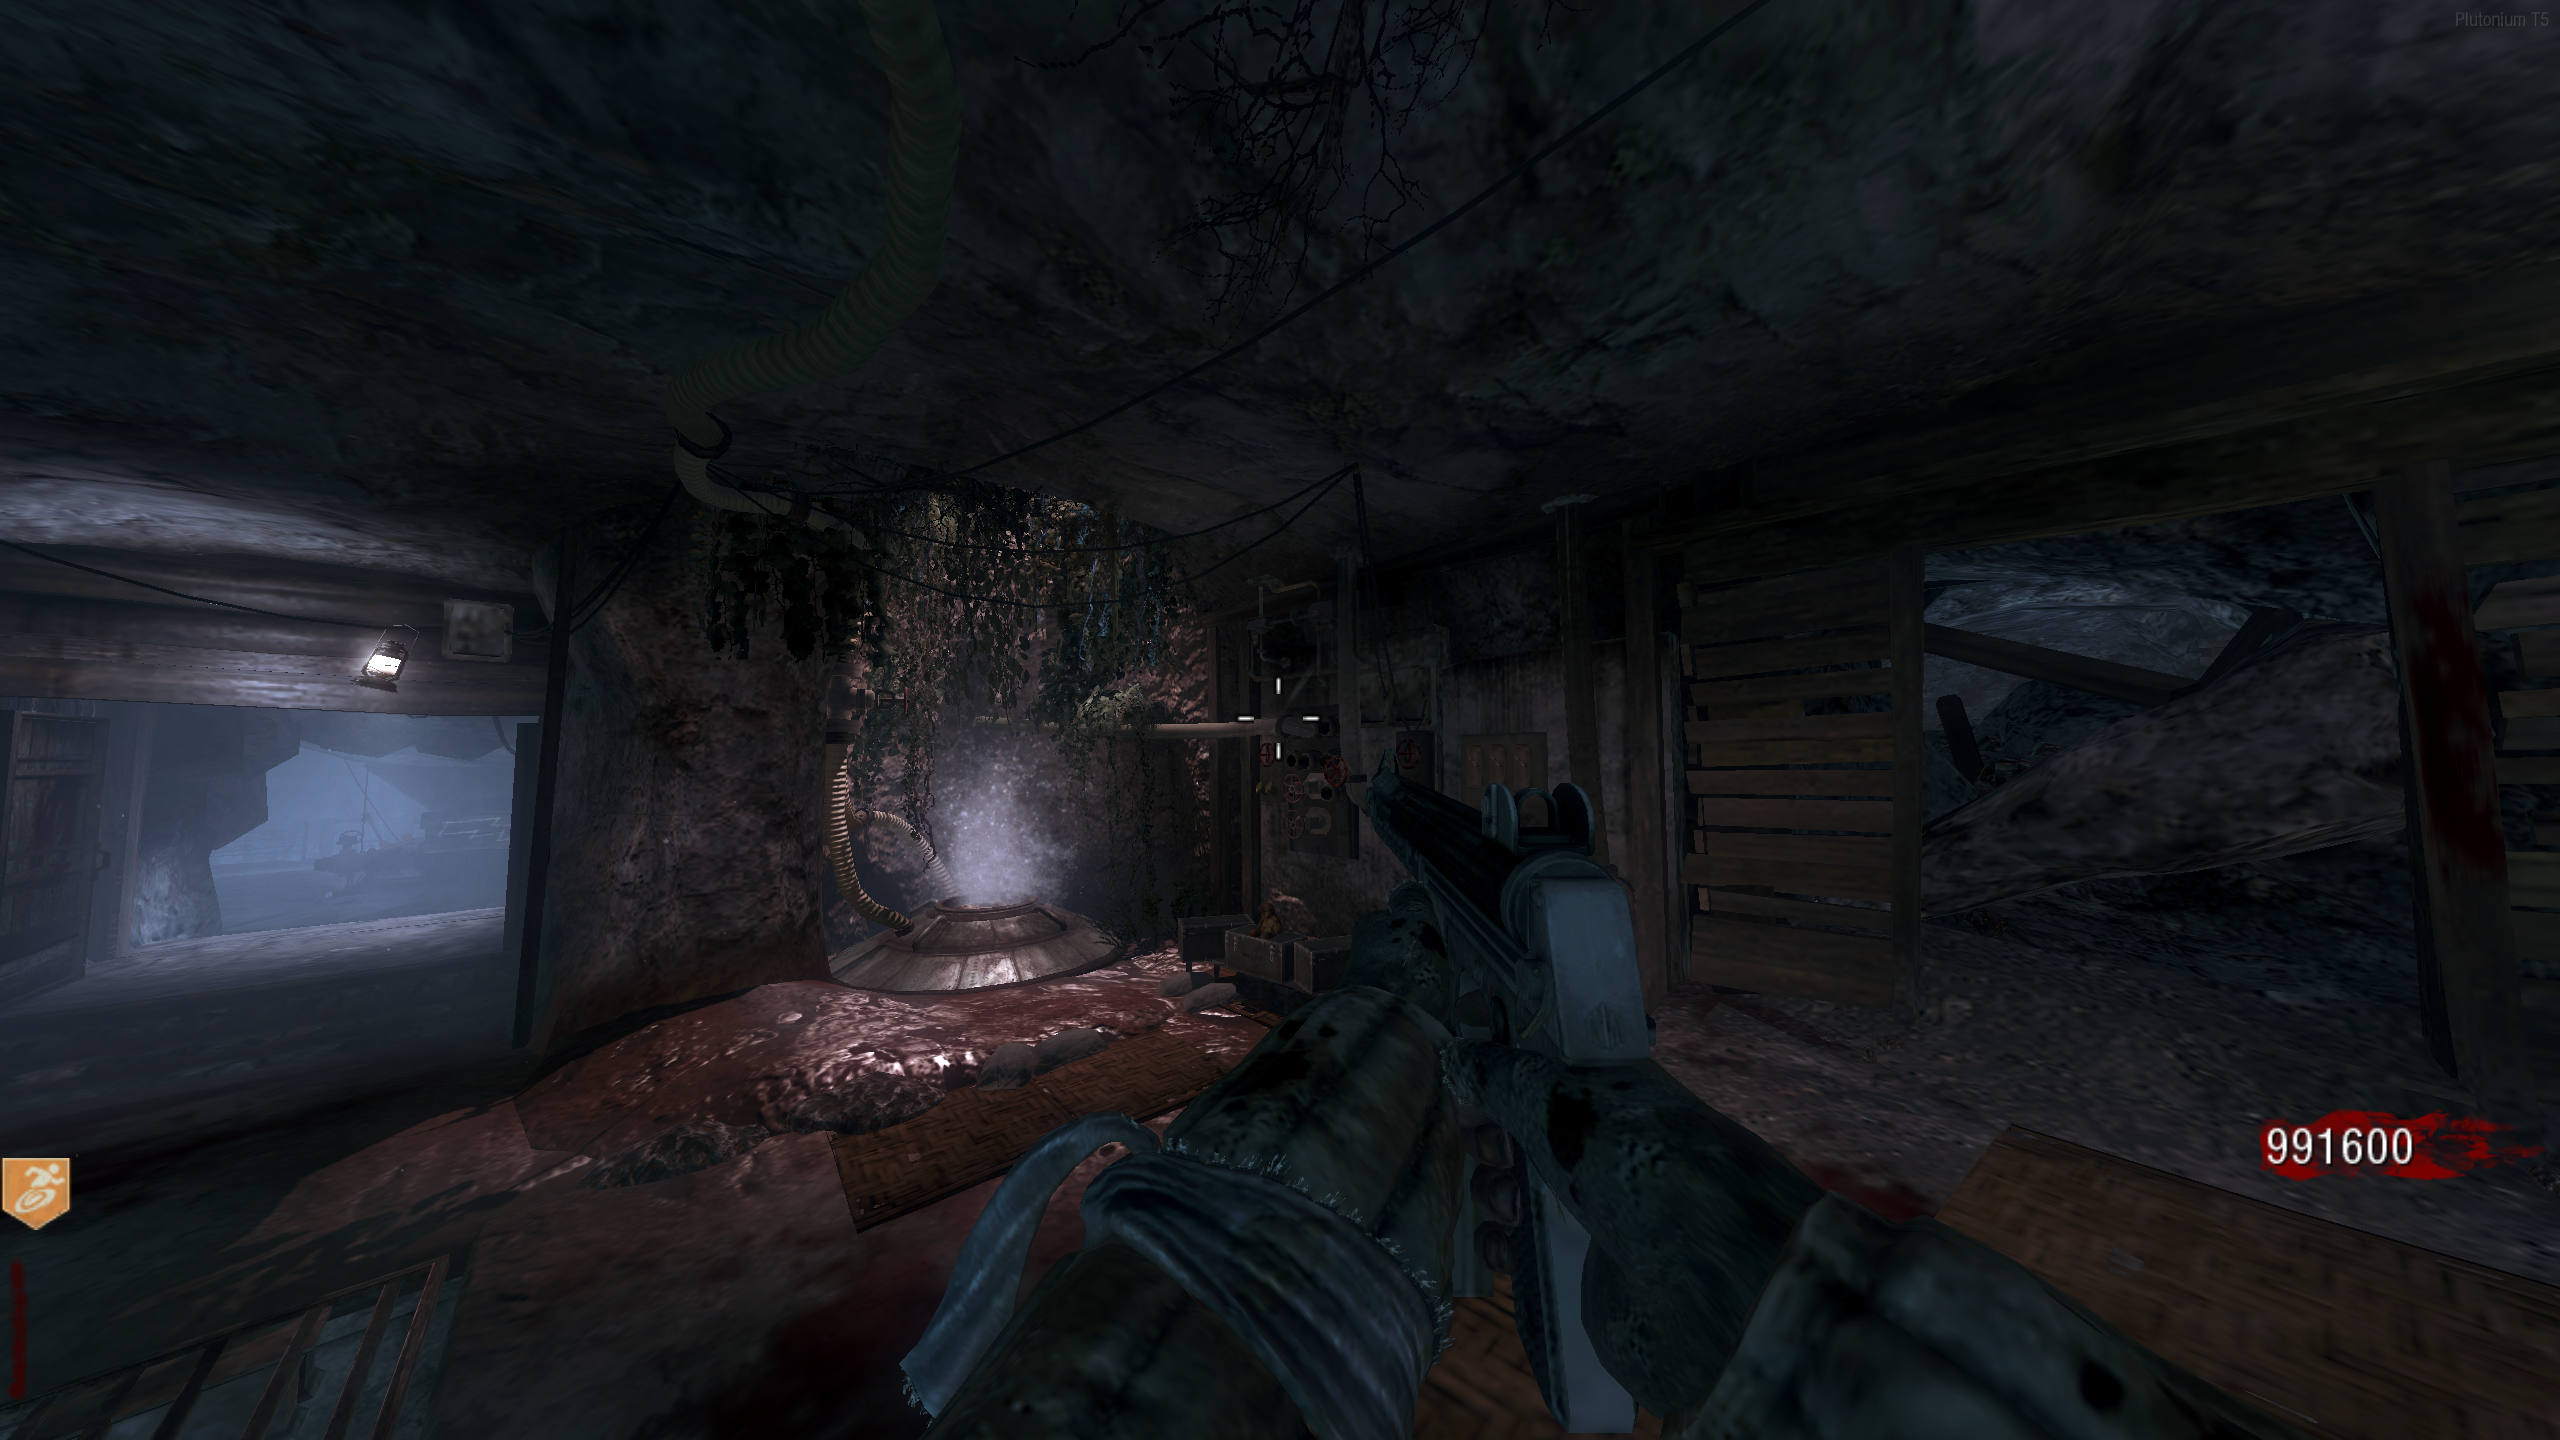
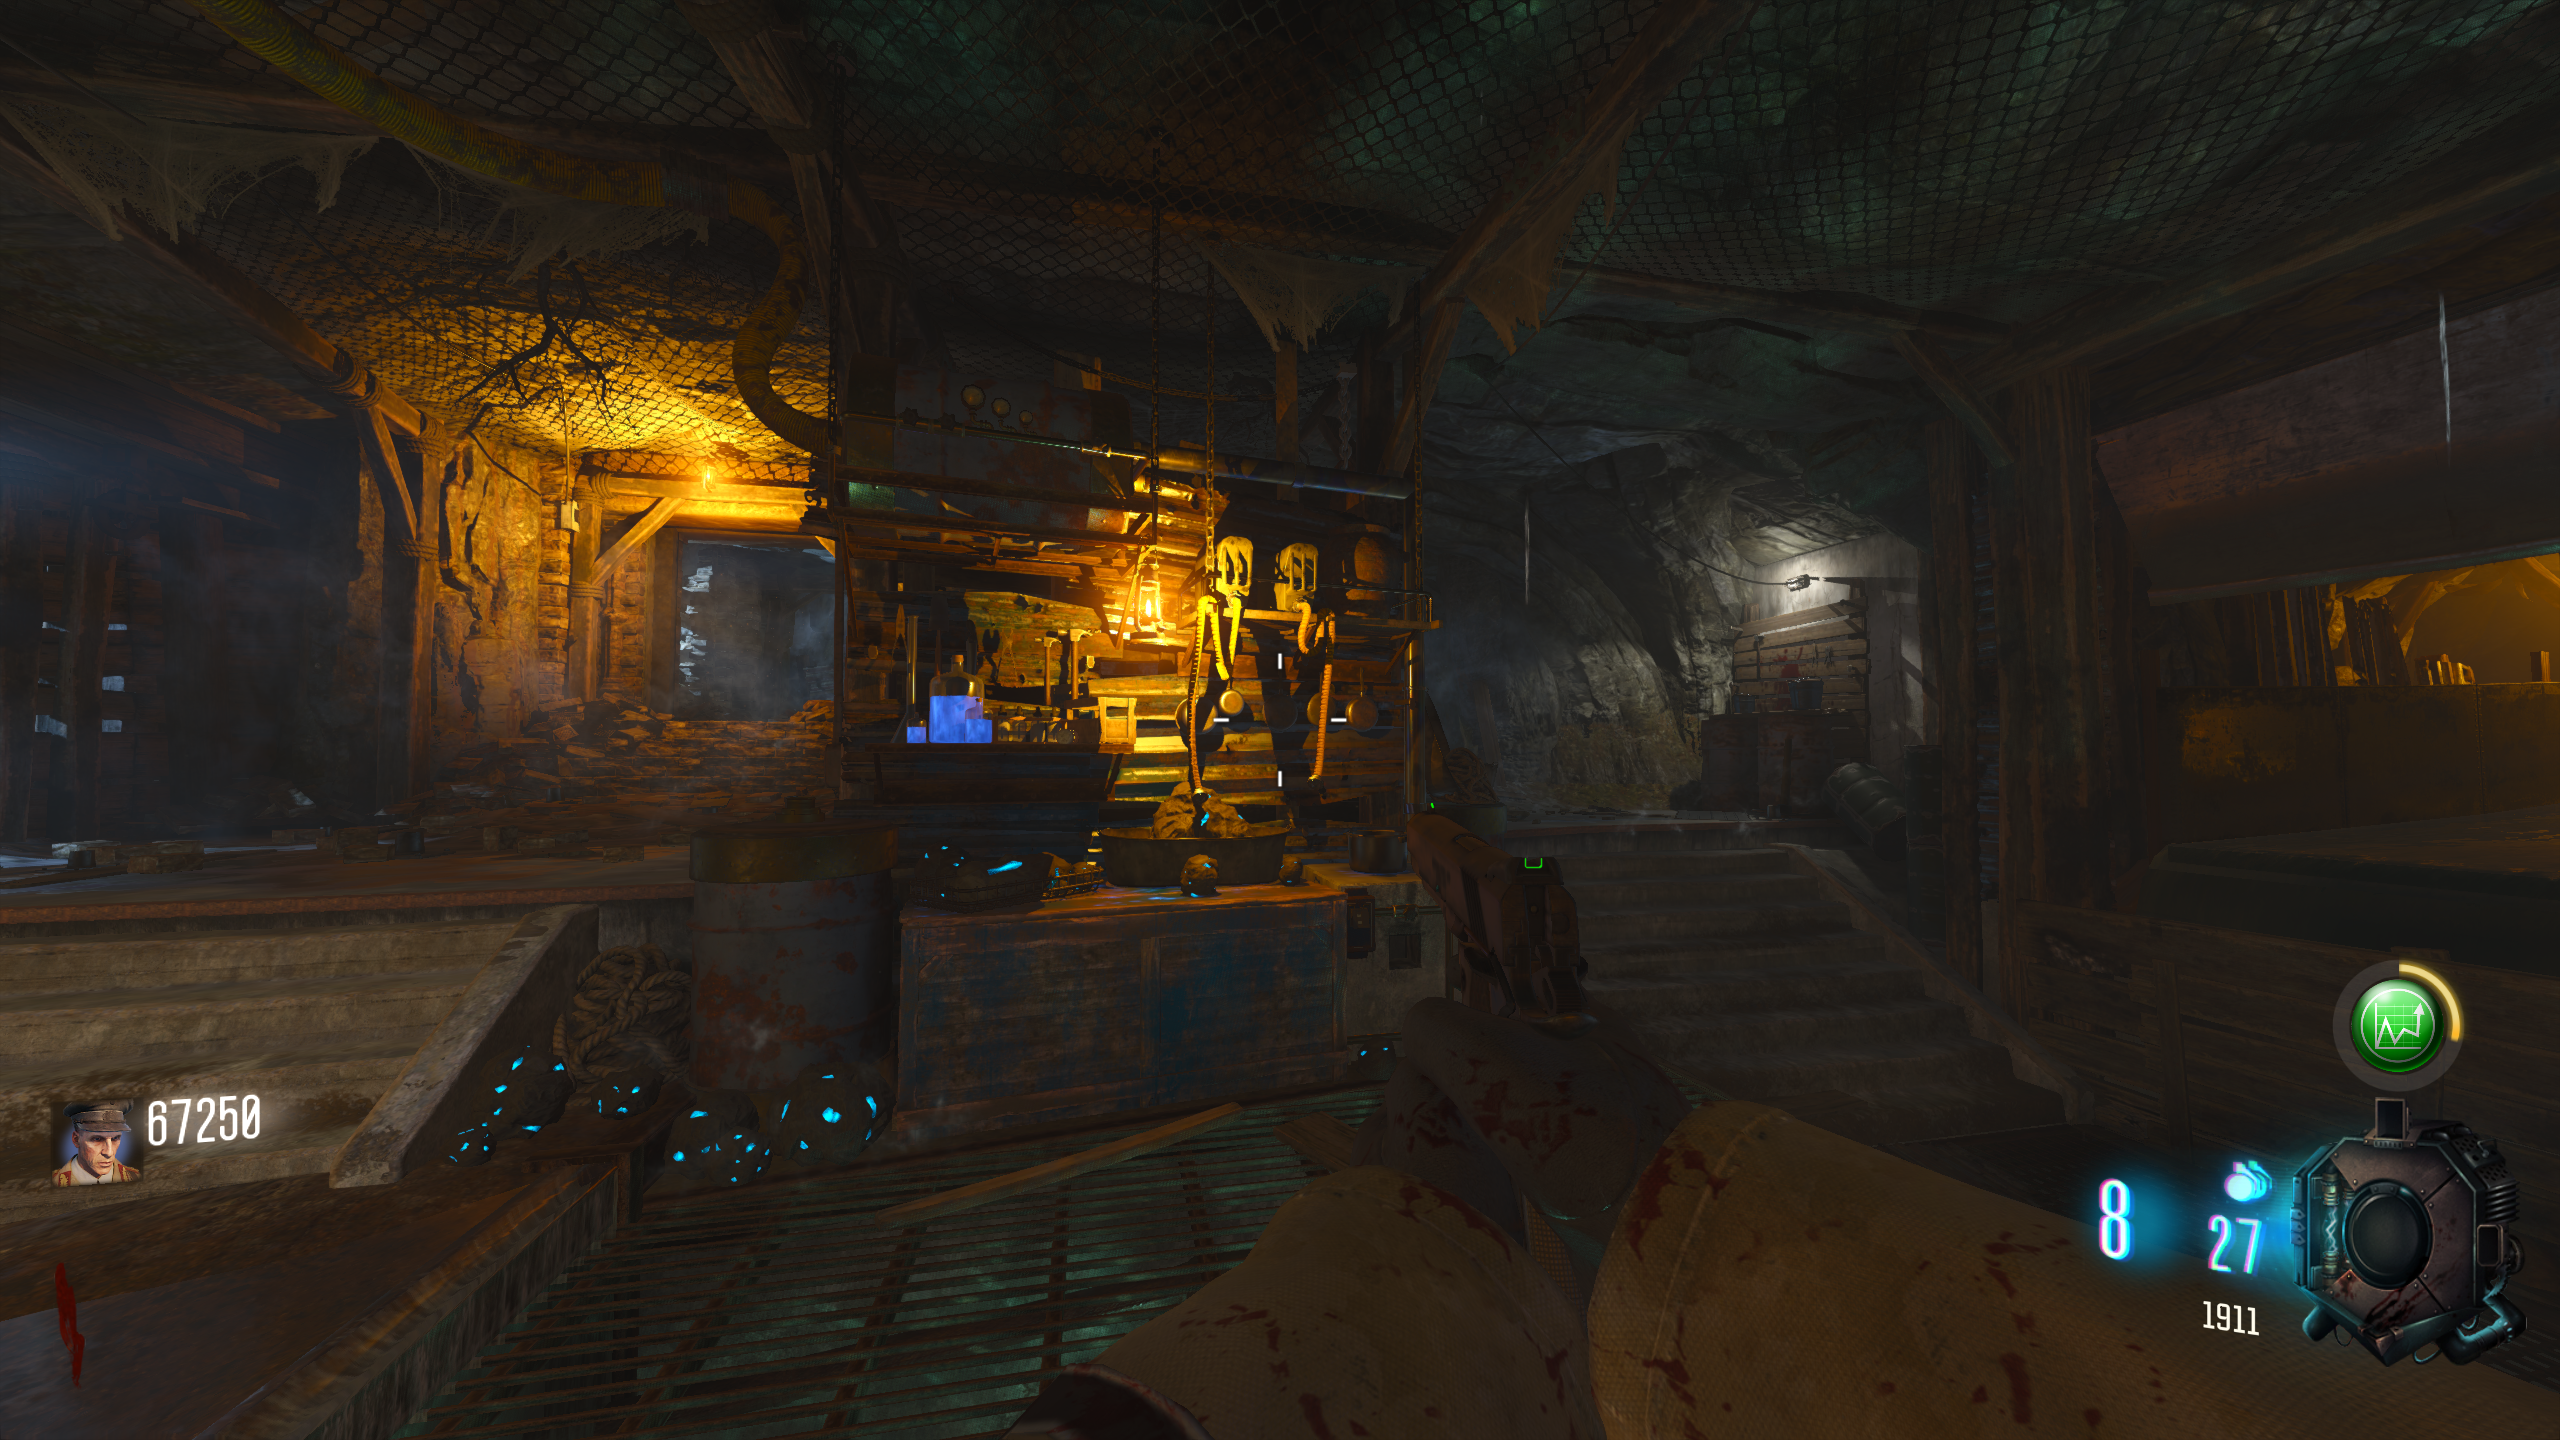
- Power Room - Hanging from a lantern in the Minecart Tunnel, above/behind and to the left of the Mystery Box location --- Zoomed Out
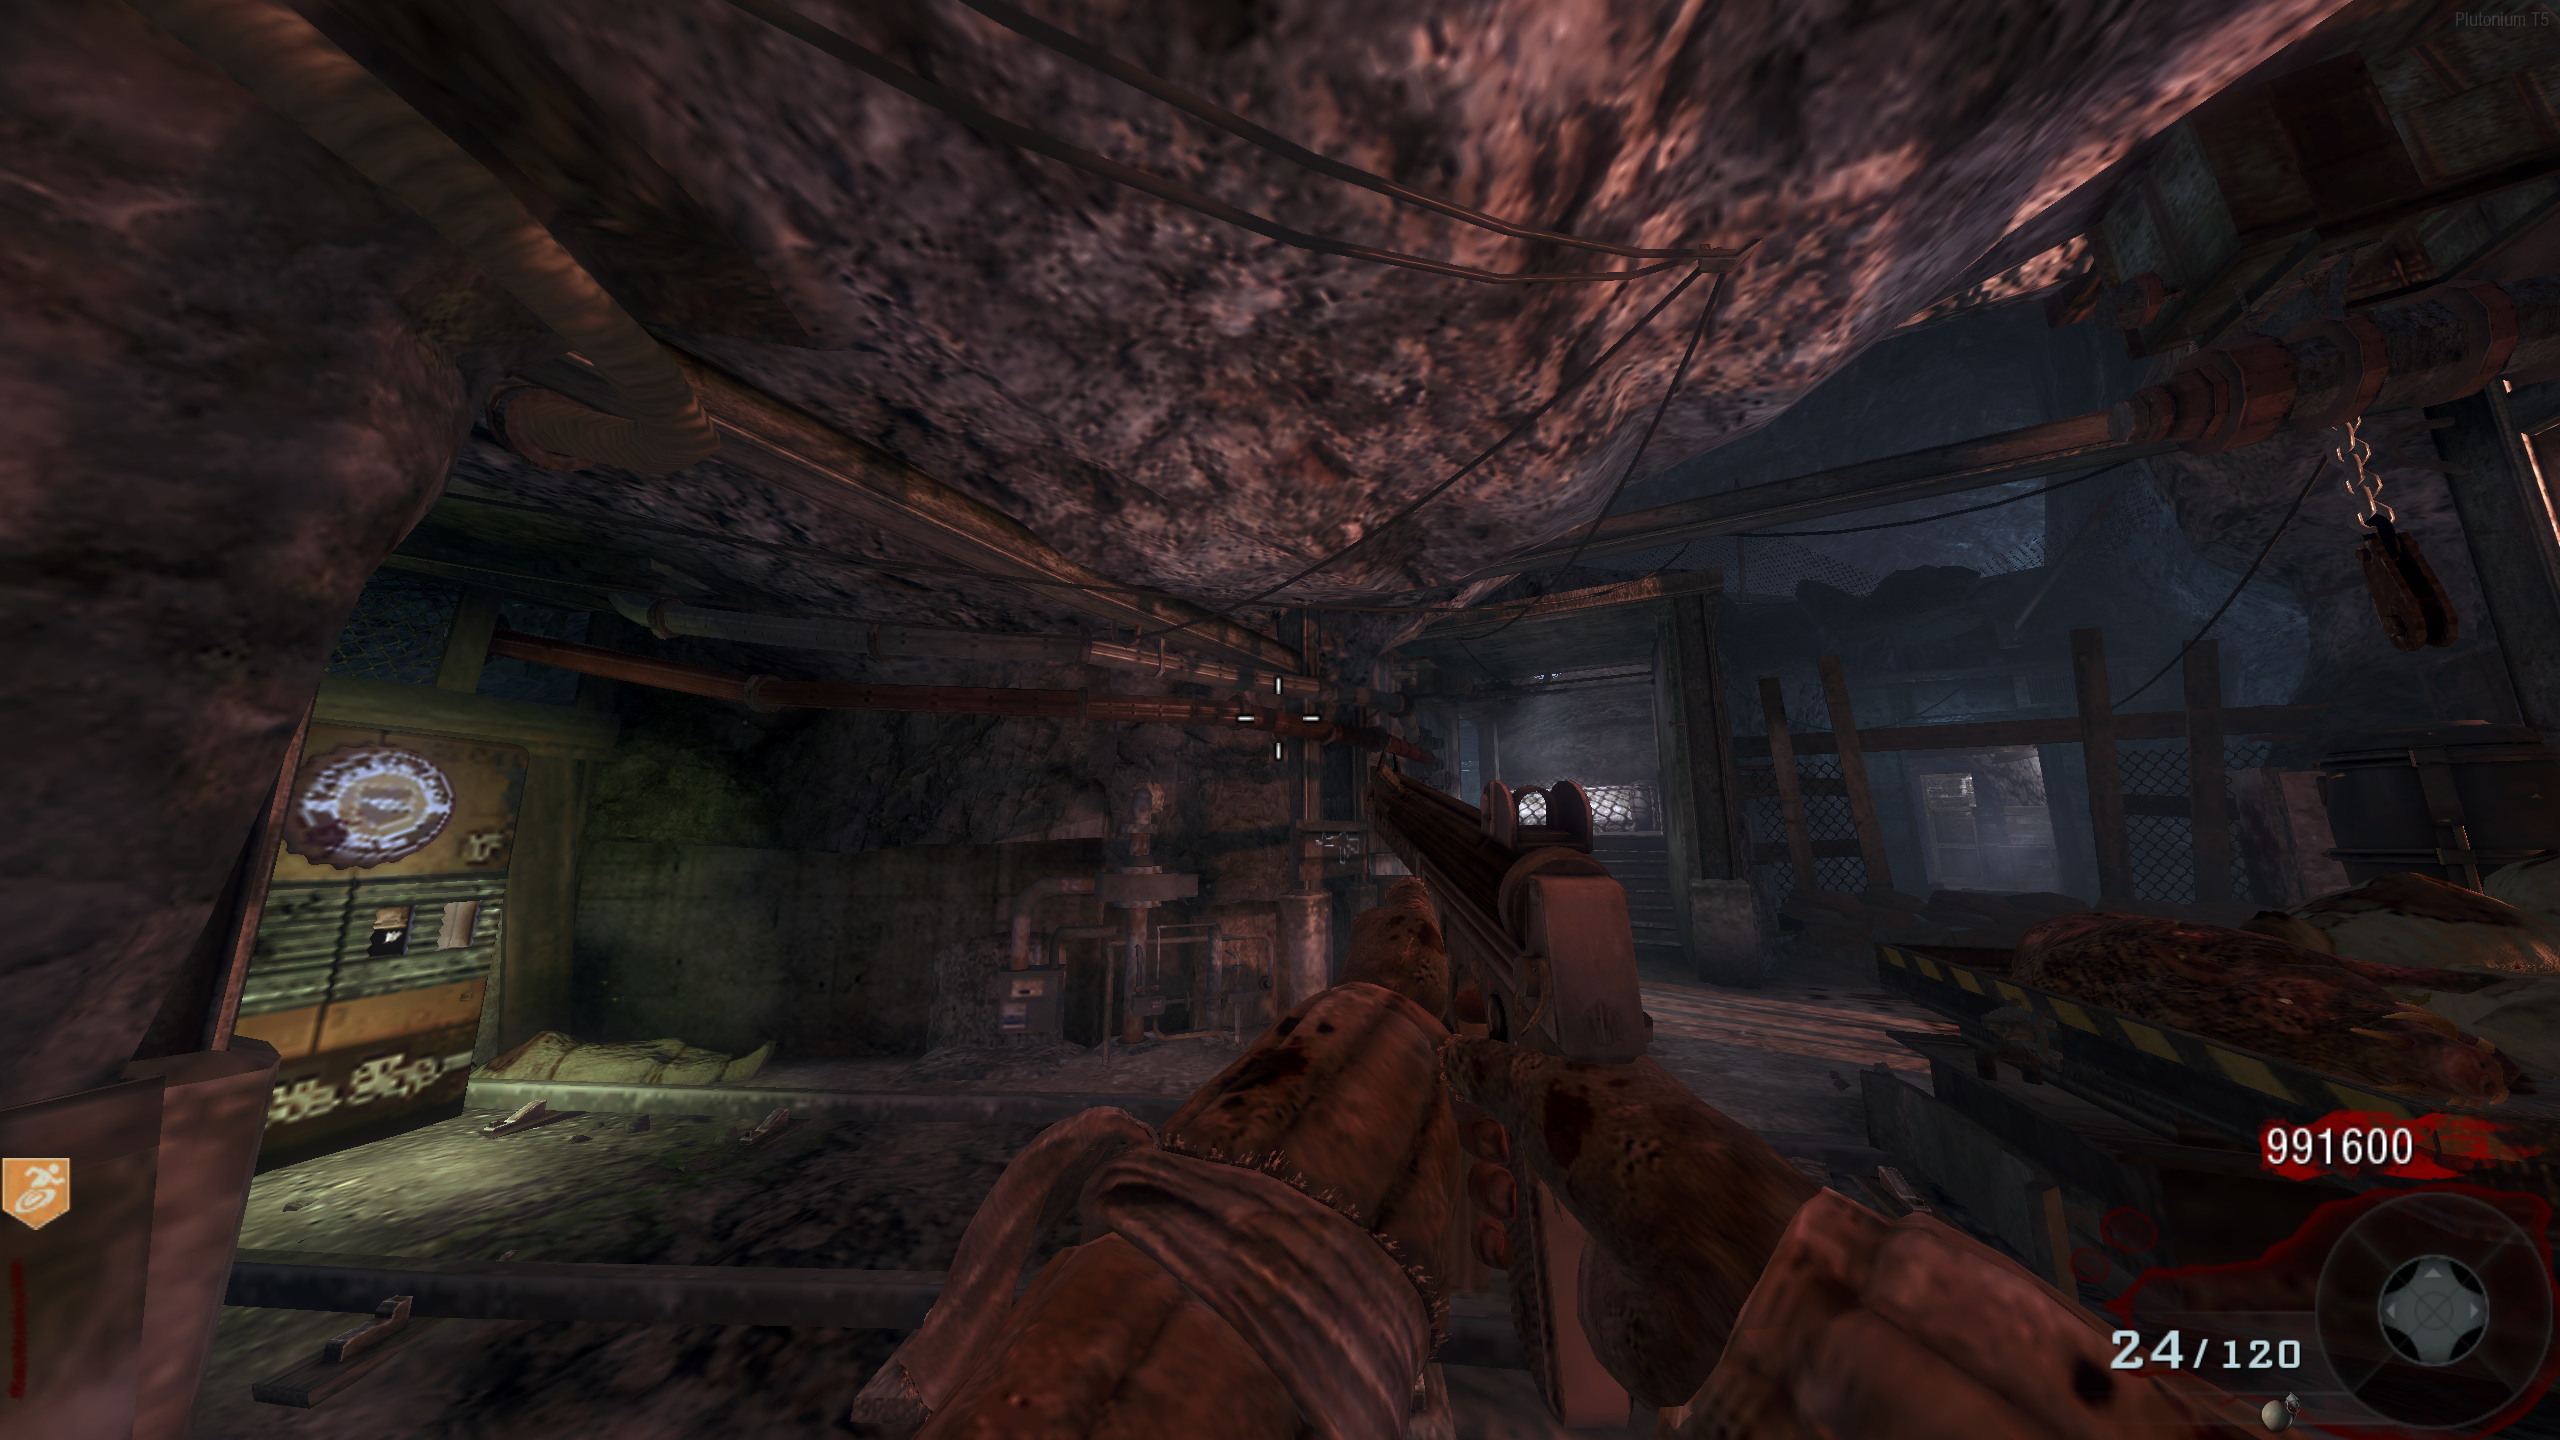
- Power Room - Hanging from the first cross beam in the Minecart tunnel leading out of the Power Room --- Zoomed Out
- Waterfall - Hanging from the last cross beam of the Minecart tunnel
- Waterfall - On top of the wall at the base of the waterfall
- Go back to where you interacted with the first doll. It will be standing. Interact with the doll. A skeleton hand will grab it, and a Max Ammo power up will spawn.
Explode all the Monkeys (BO1 Only)
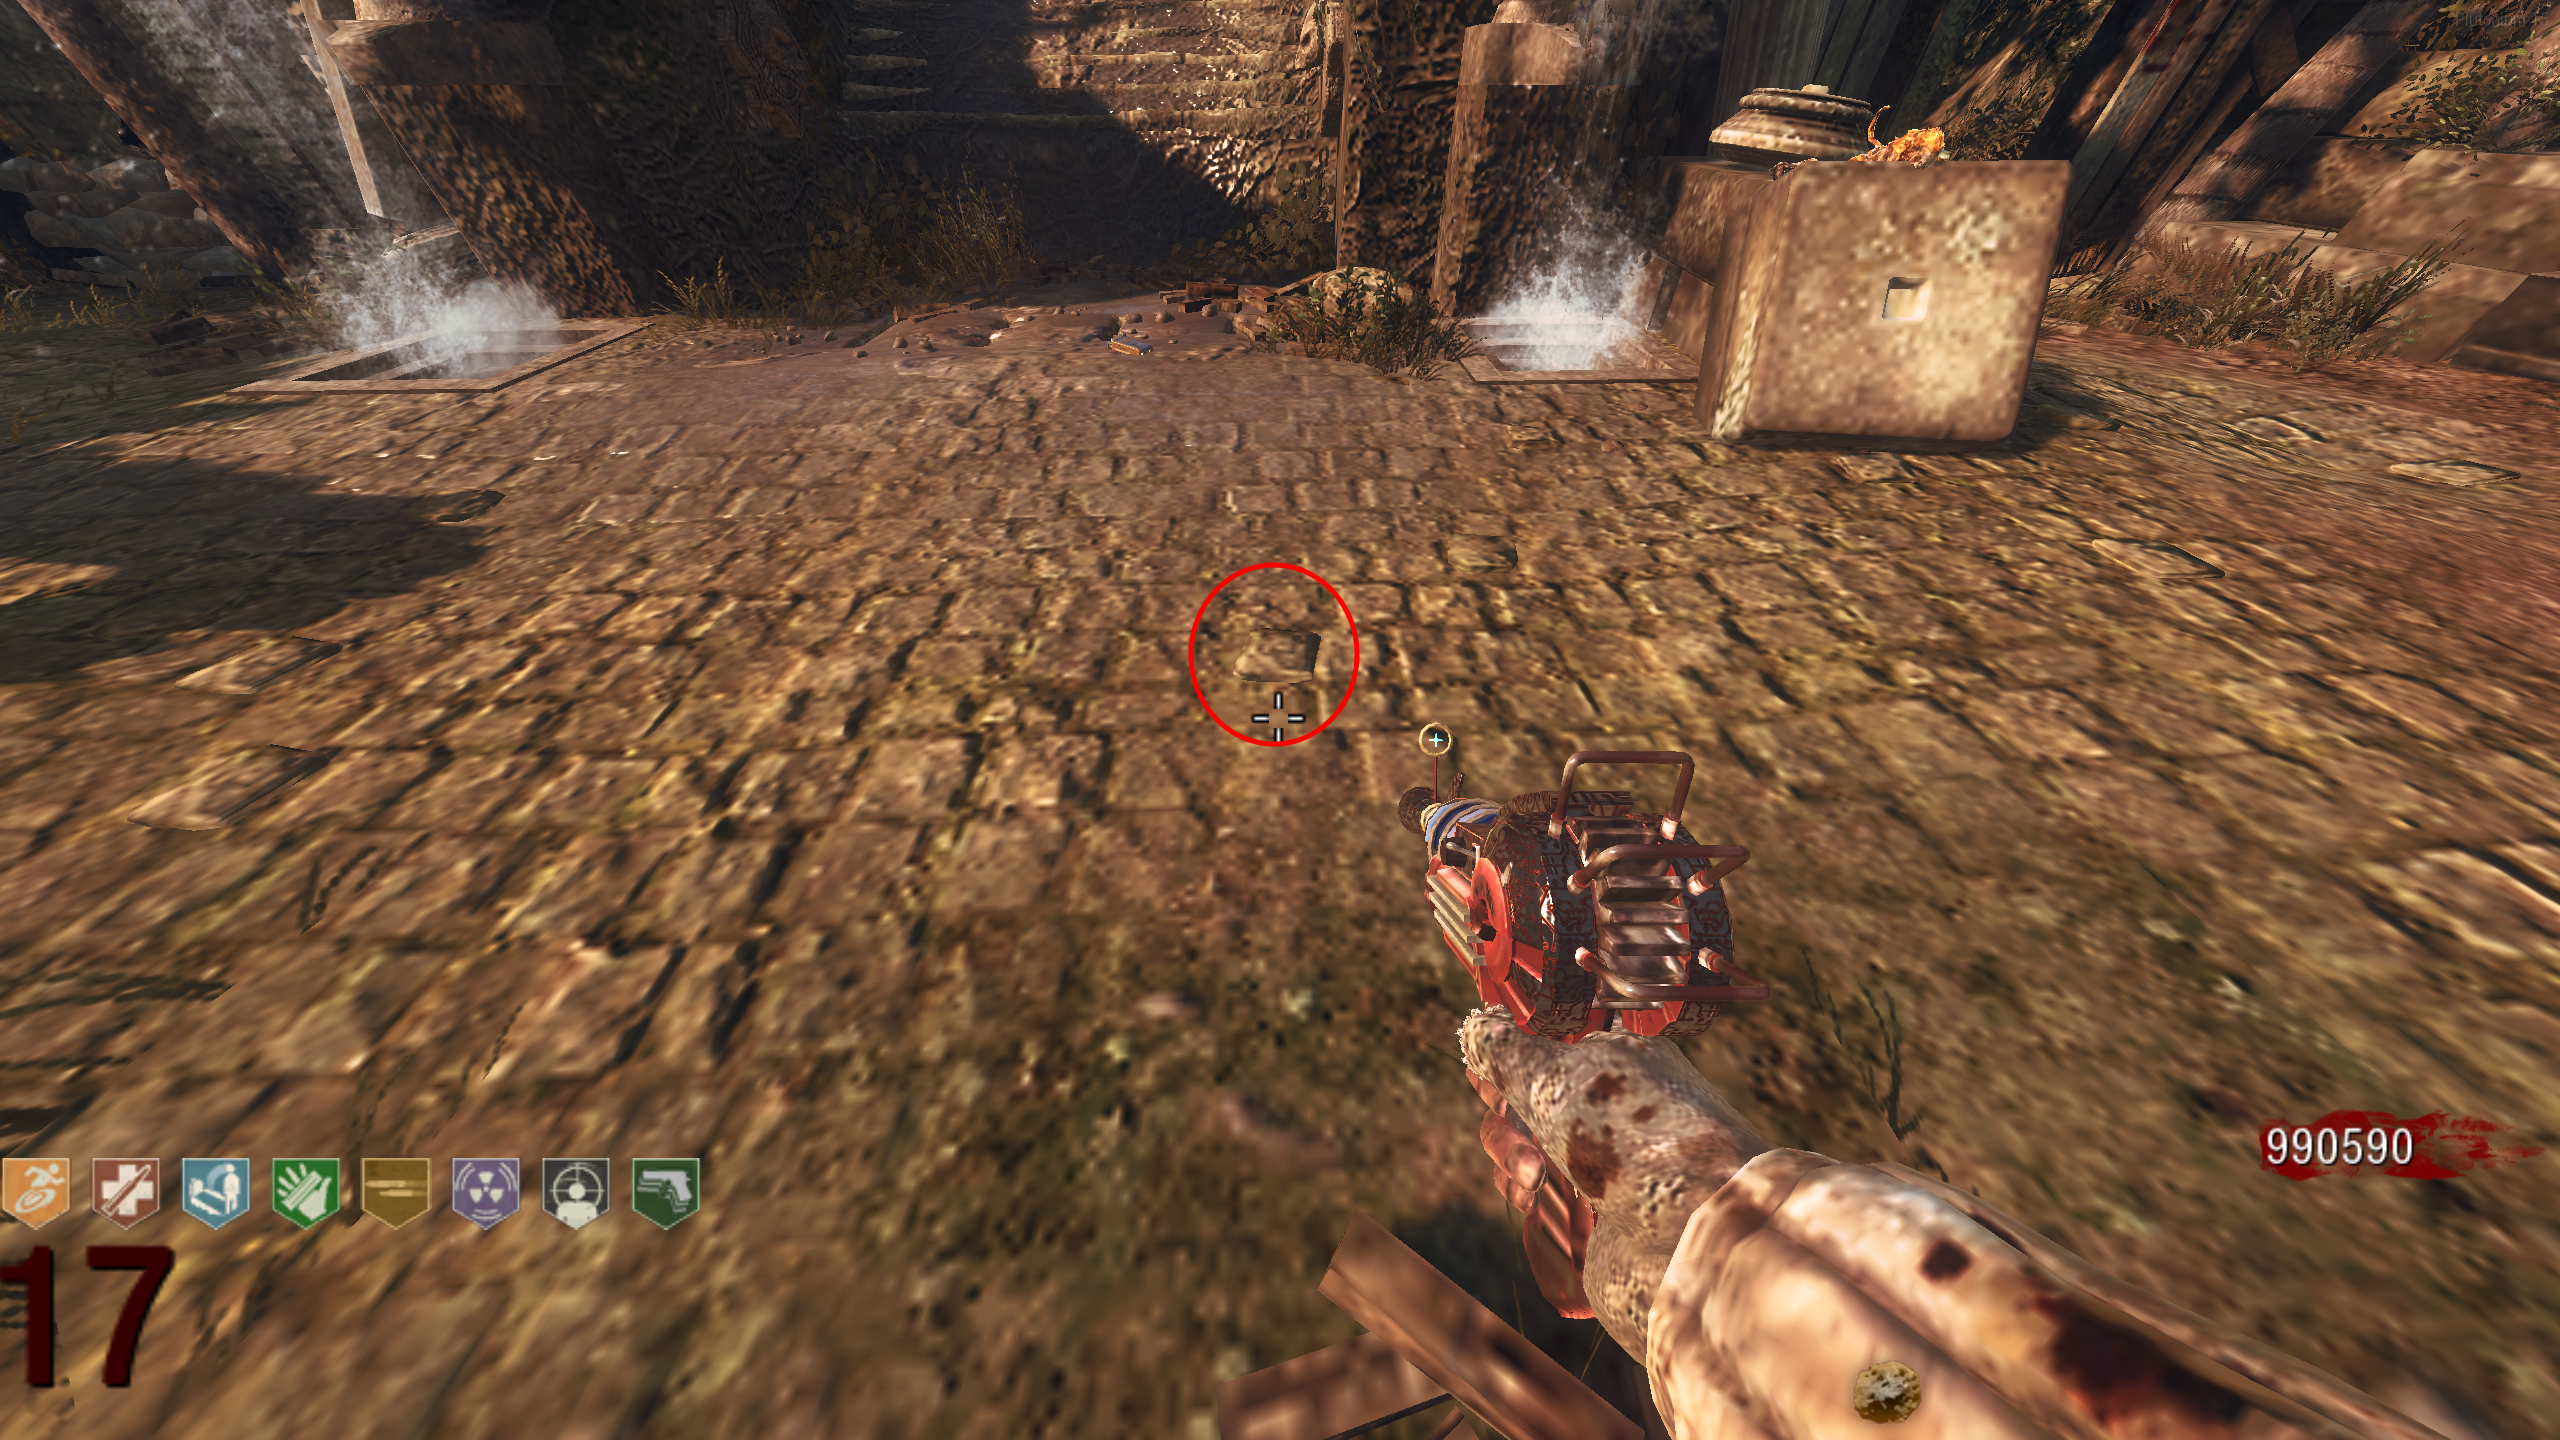
- In the Spawn Room, stand on this tile (it's slightly more elevated than the surrounding tiles), and look toward the Pack-a-Punch stairs.
- Quickly enter the following button combination: DPAD UP, DPAD UP, DPAD DOWN, A/Cross.
- You have 0.6 seconds to press each button.
- This is controller only. It can be done on PC with a controller plugged in.
- If done correctly, all Monkeys on the temple will explode.
About This Map
Shangri-La (or just "Shang") is a Zombies map from Call of Duty: Black Ops, released in the Annihilation map pack and set in a temple lost deep in an exotic jungle, later remastered in Black Ops III's Zombies Chronicles. This guide covers Power, Pack-a-Punch, the 'Time Travel Will Tell' Main Quest, both song Easter Eggs, and the free perk, free Max Ammo, and monkey side Easter Eggs. Also known as Shang, Shangri La.