"Sooooul Key" Main Quest
Stats (Solo): Difficulty - 9/10 (3/10 Dir. Cut), Est. Completion Time - 40 Mins to 1 Hr (20 to 30 Mins Dir. Cut)
Prerequisites
- Pack-a-Punch the Kendall-44 (spawn pistol) as it is very useful for this Easter Egg.
- Unlock Pack-a-Punch.
Crafting the SETI-COM
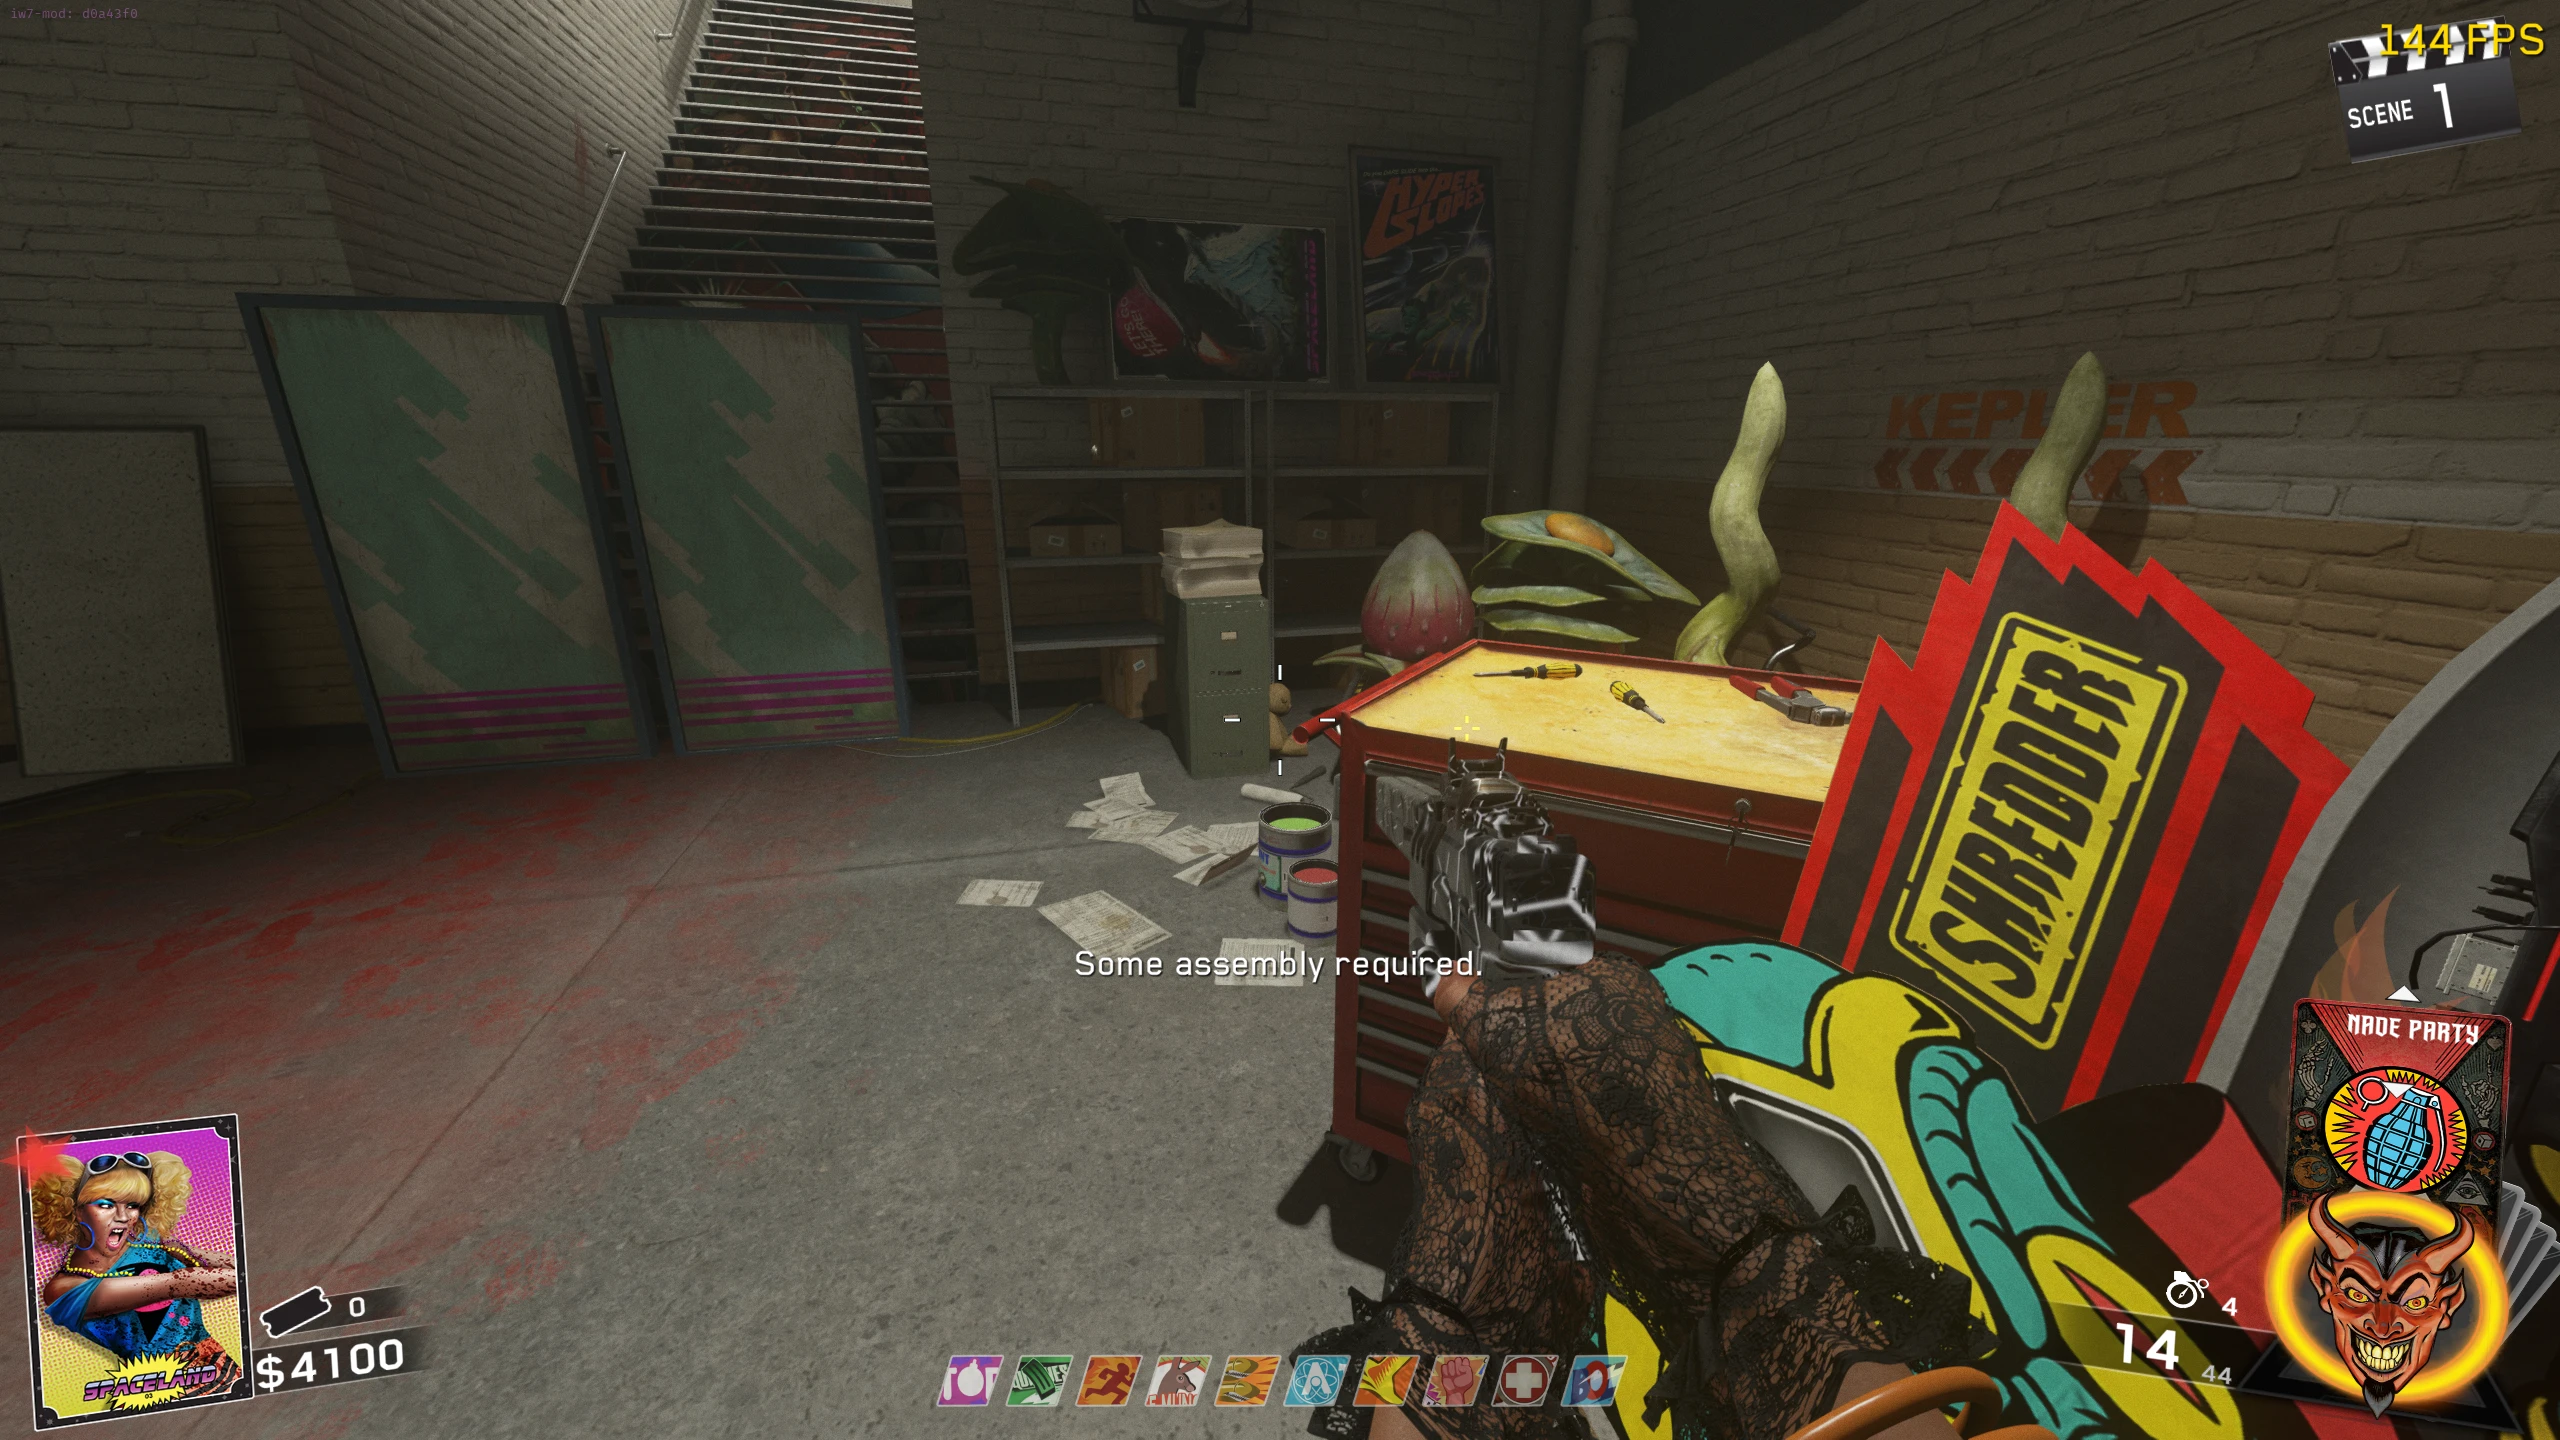
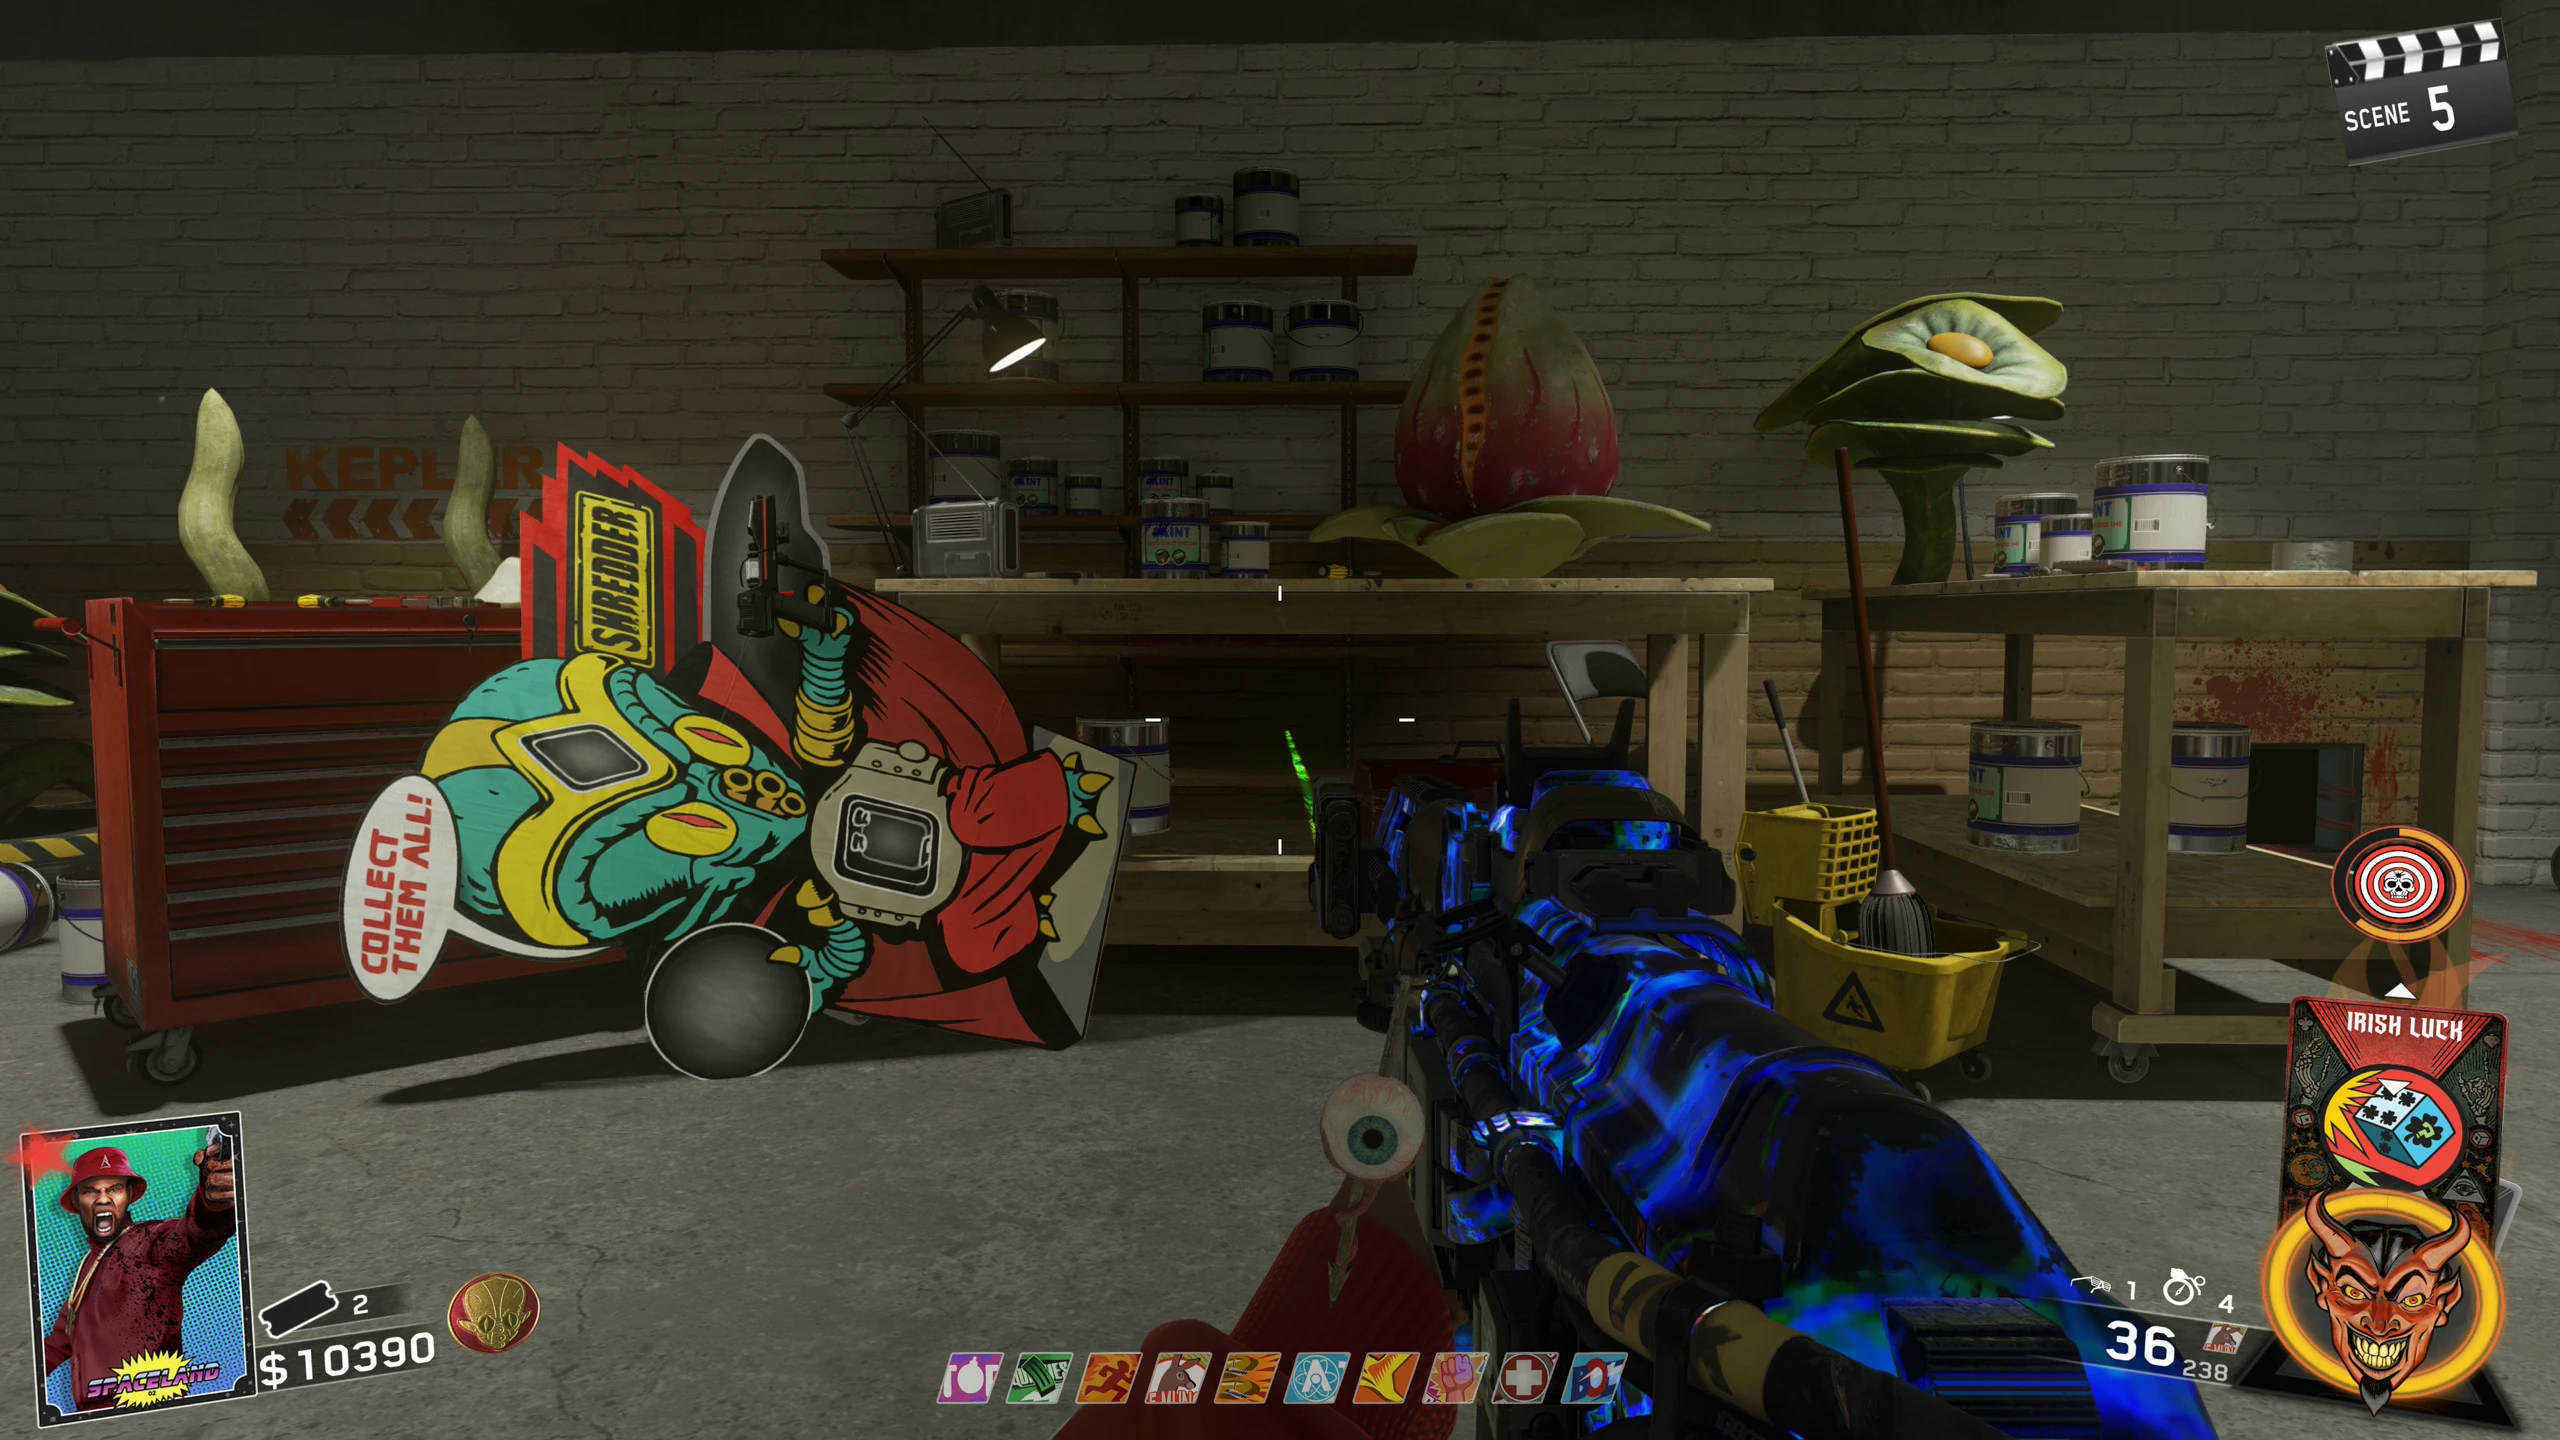
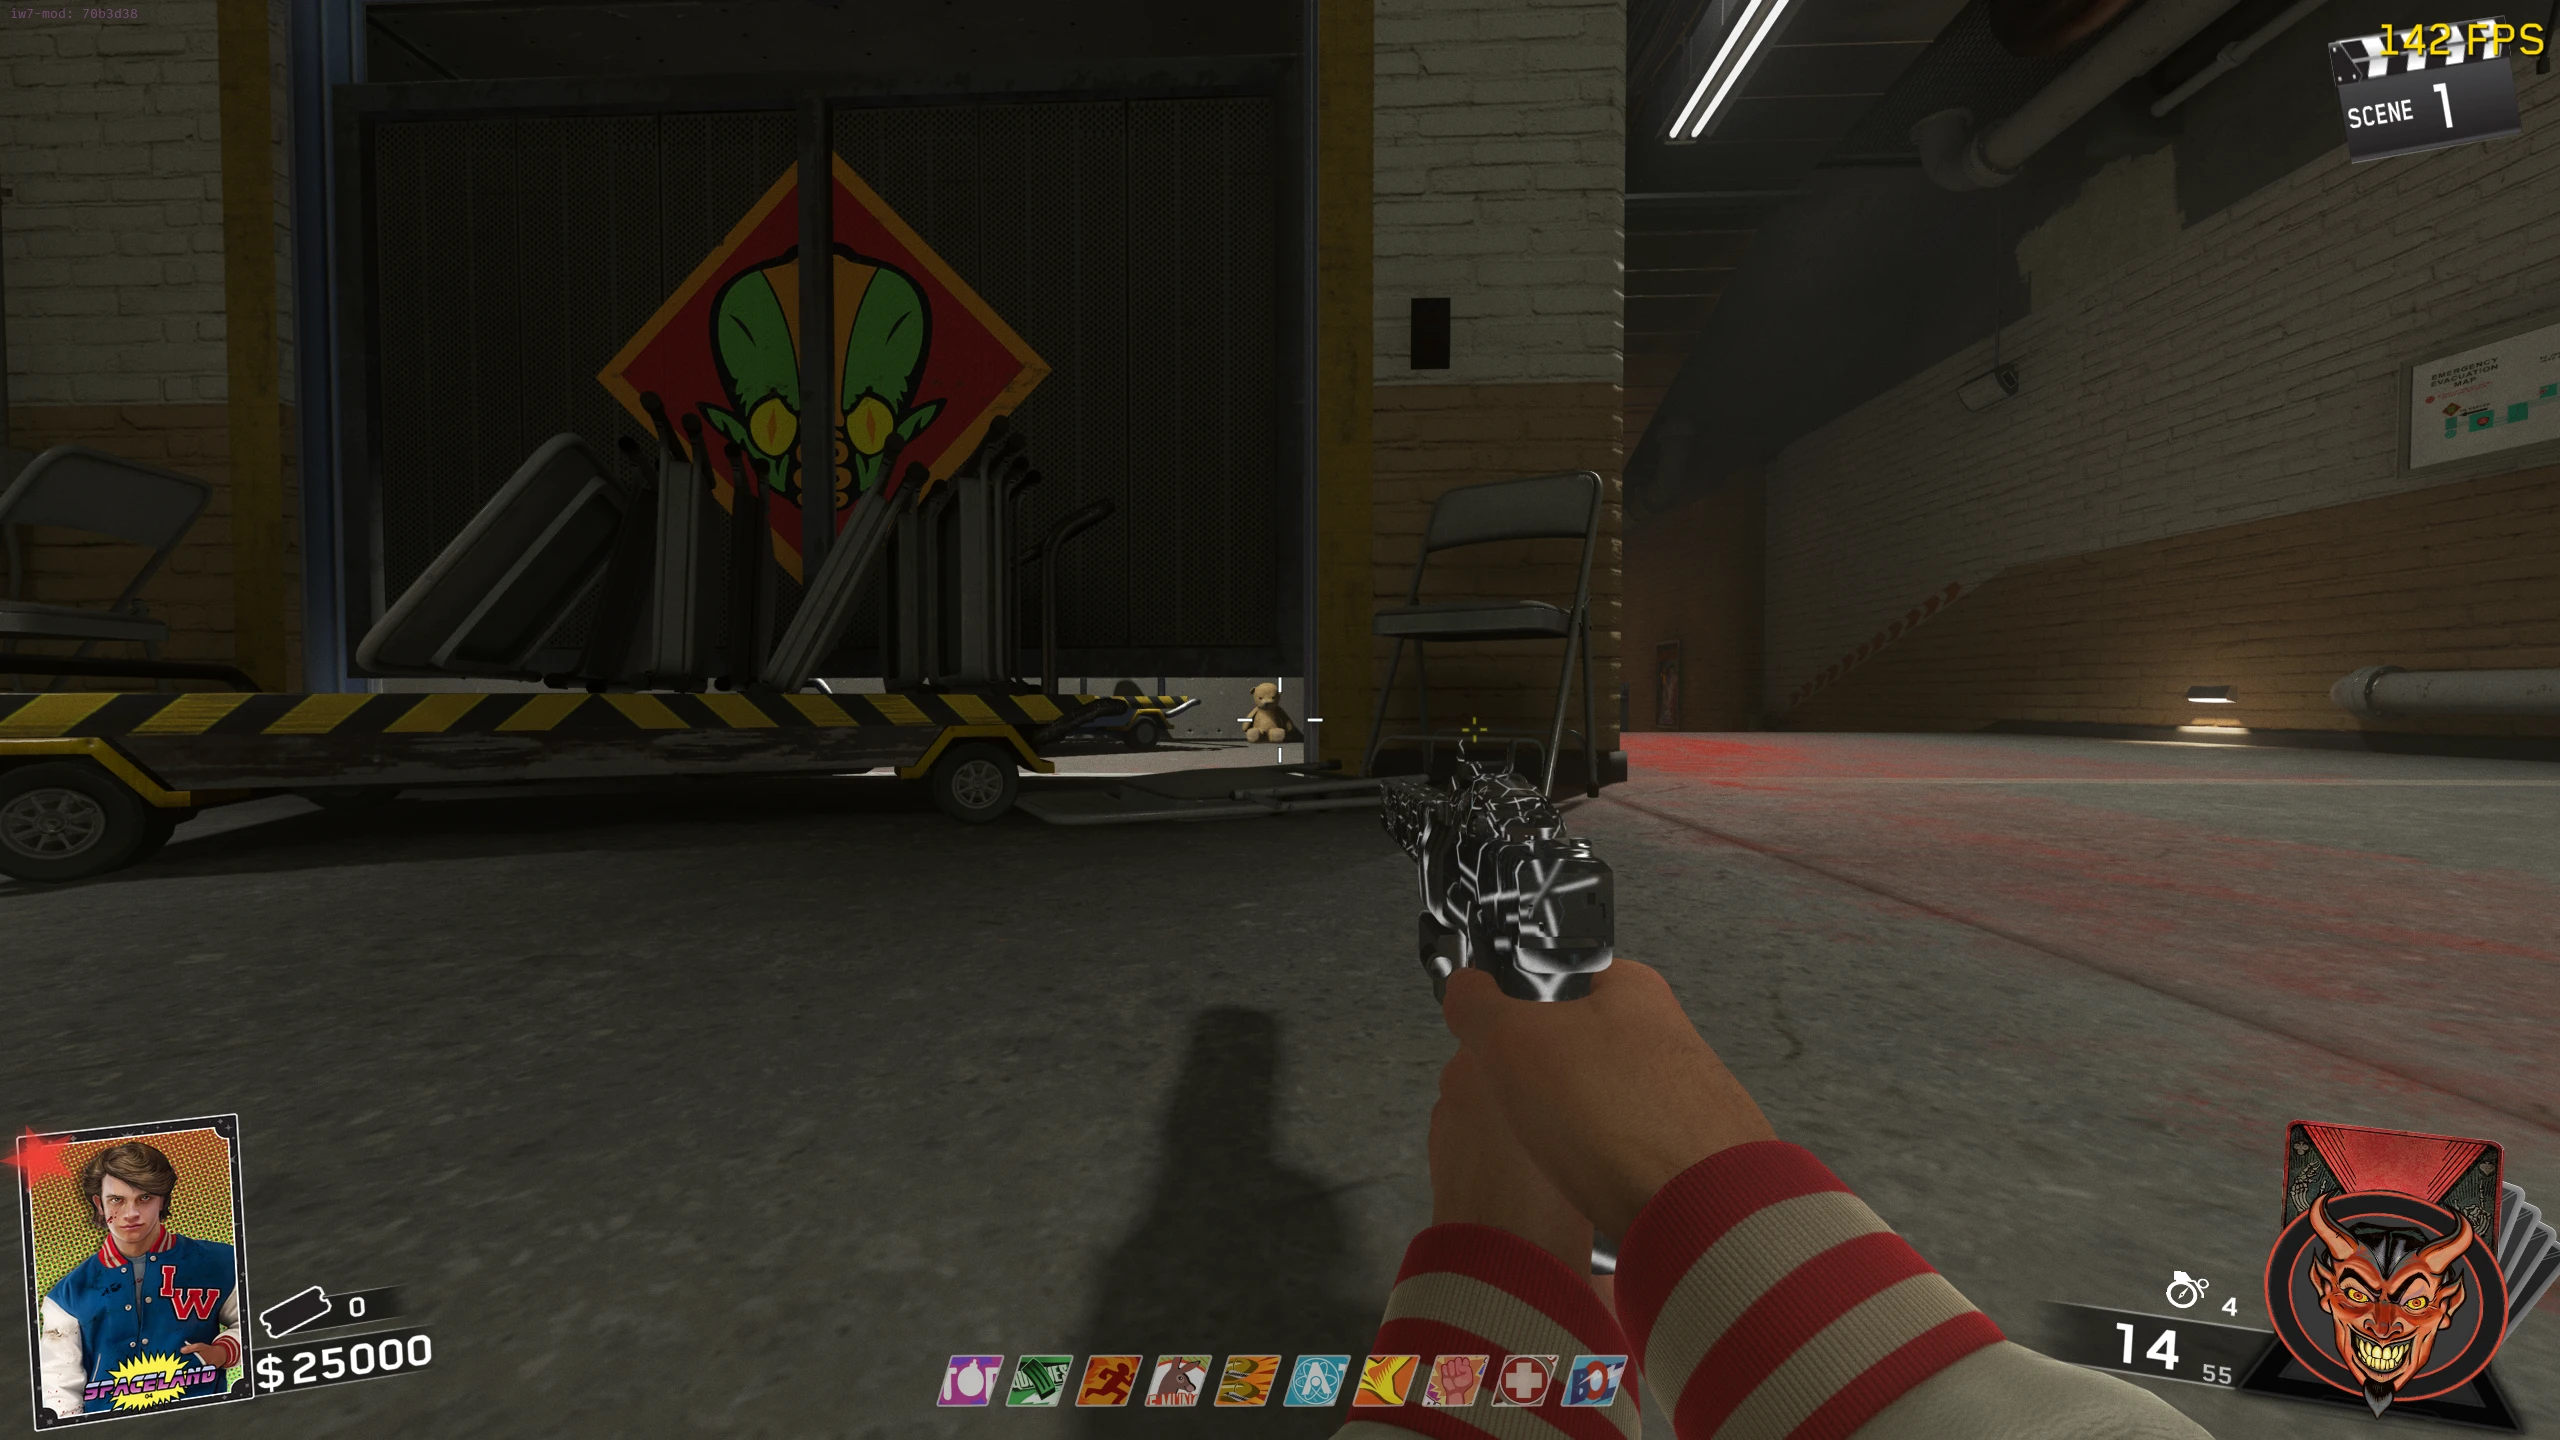
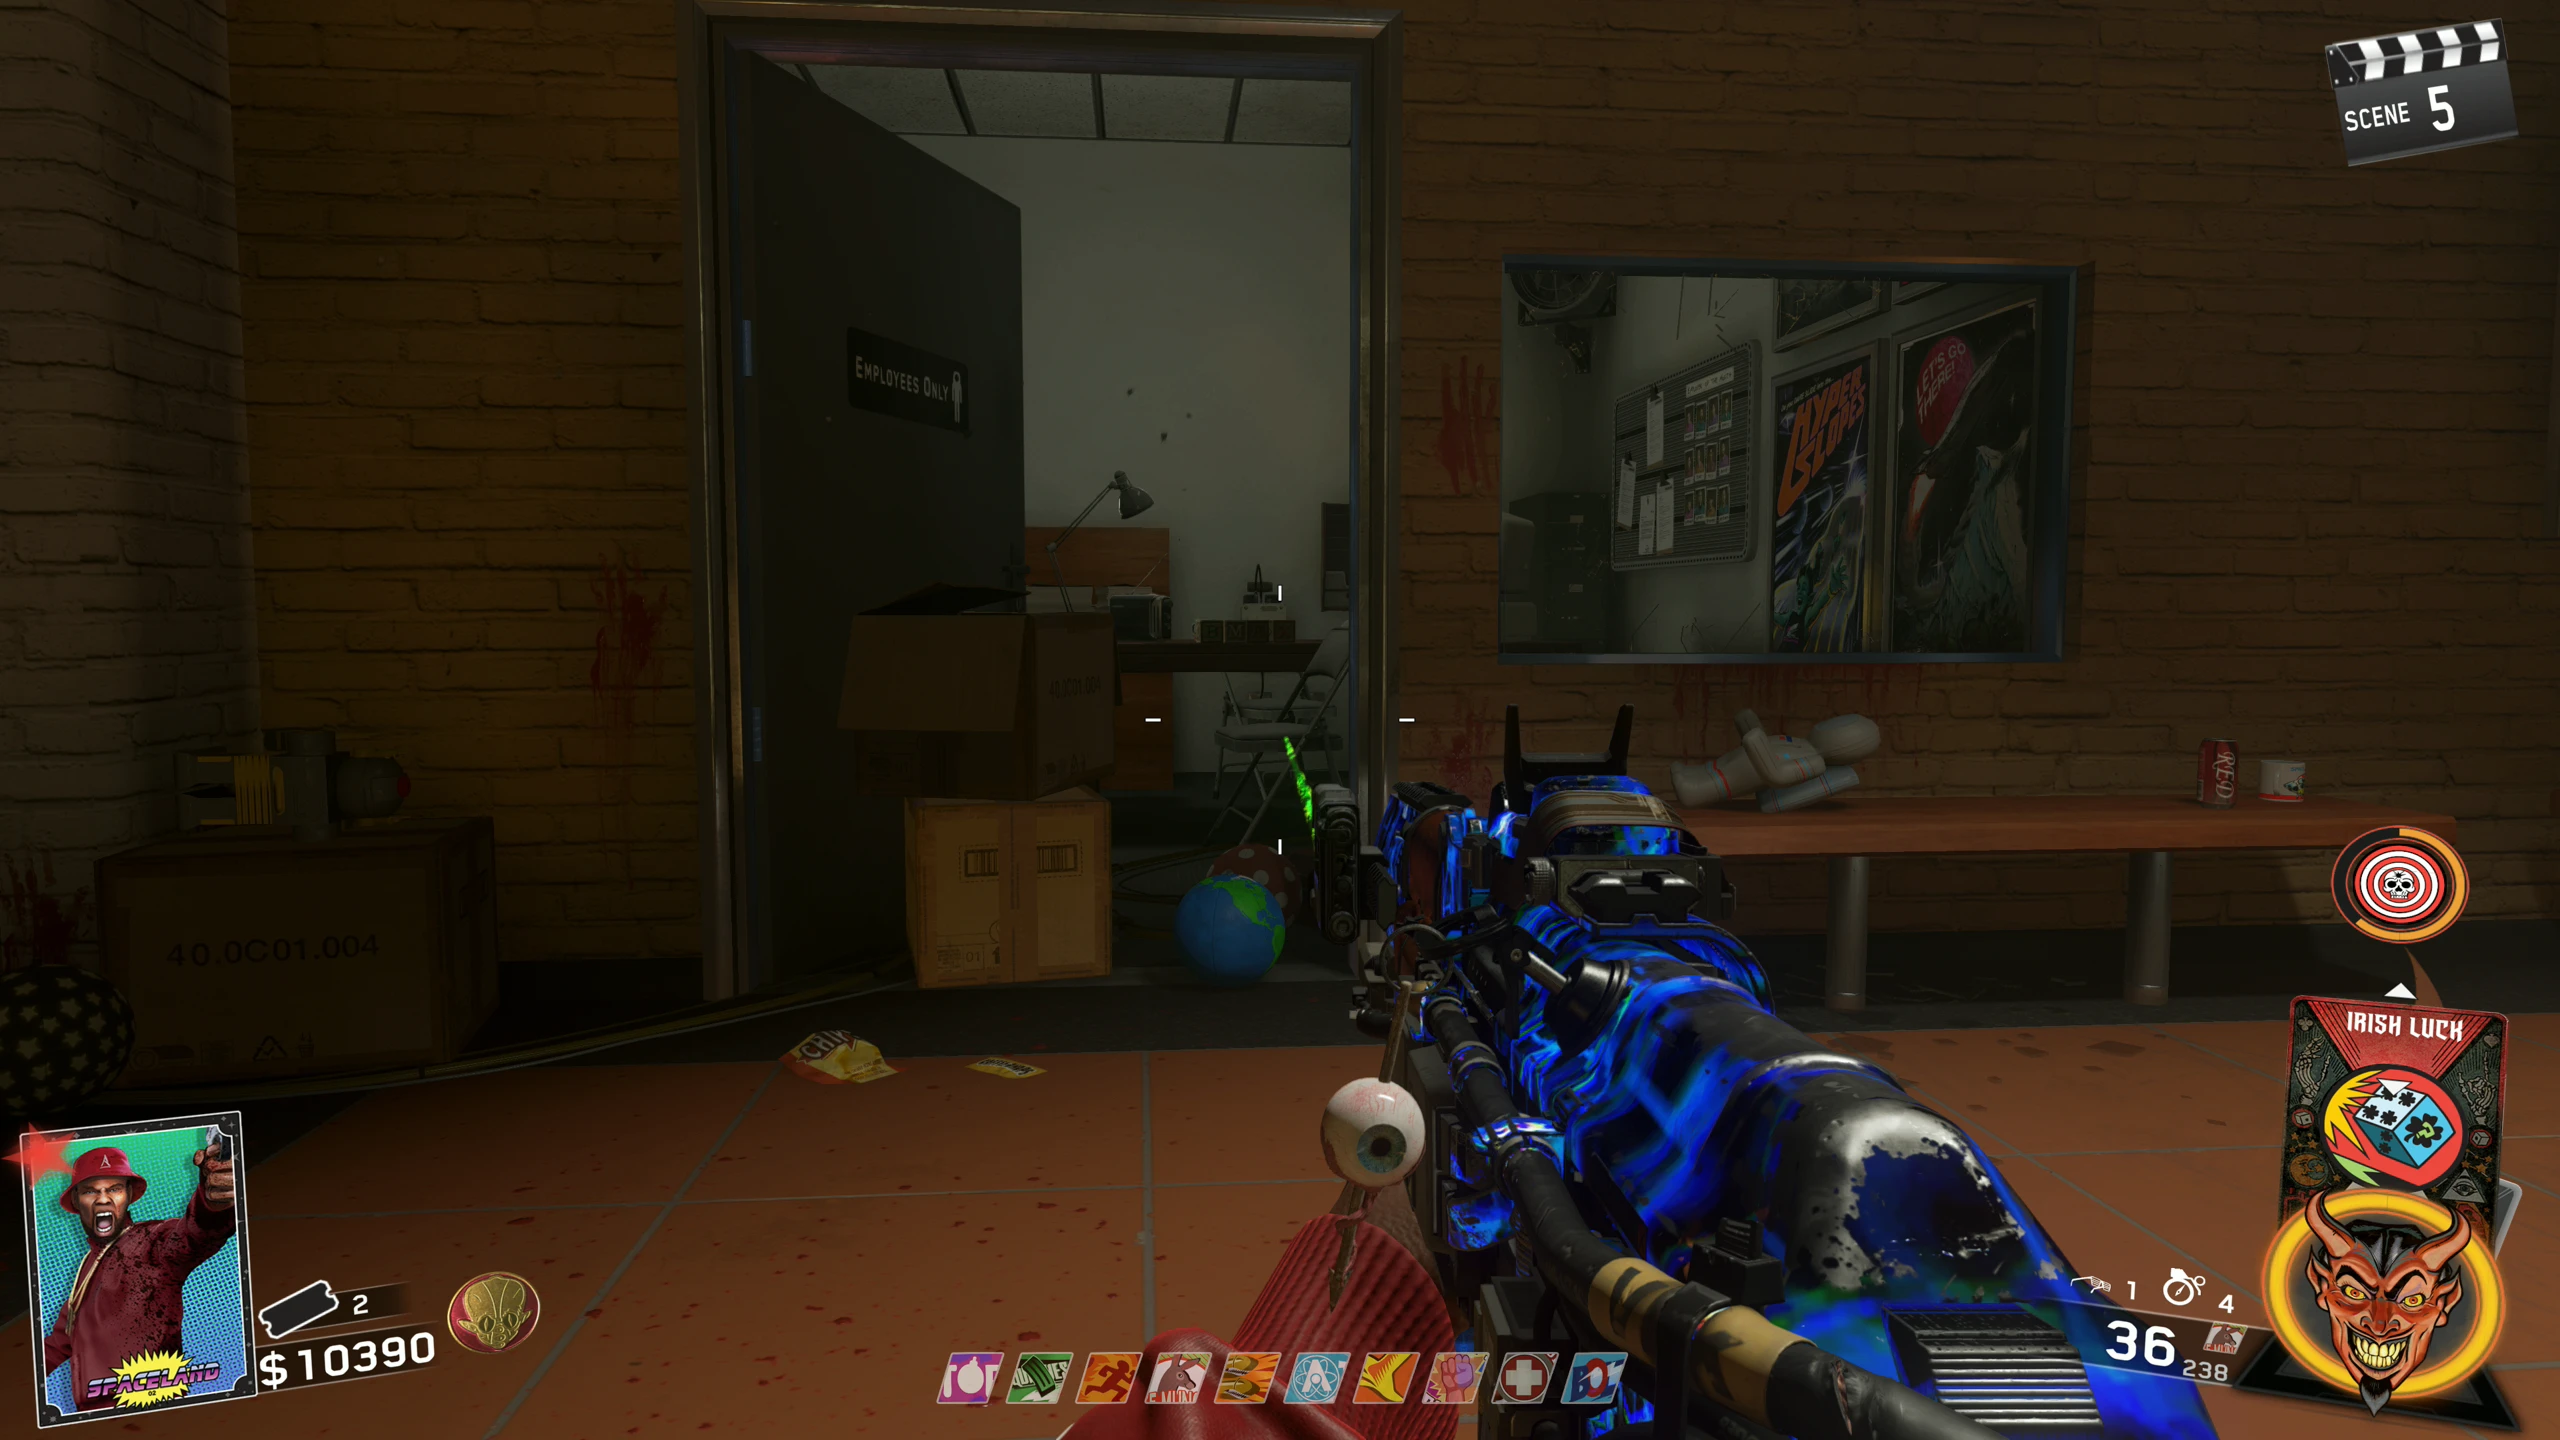
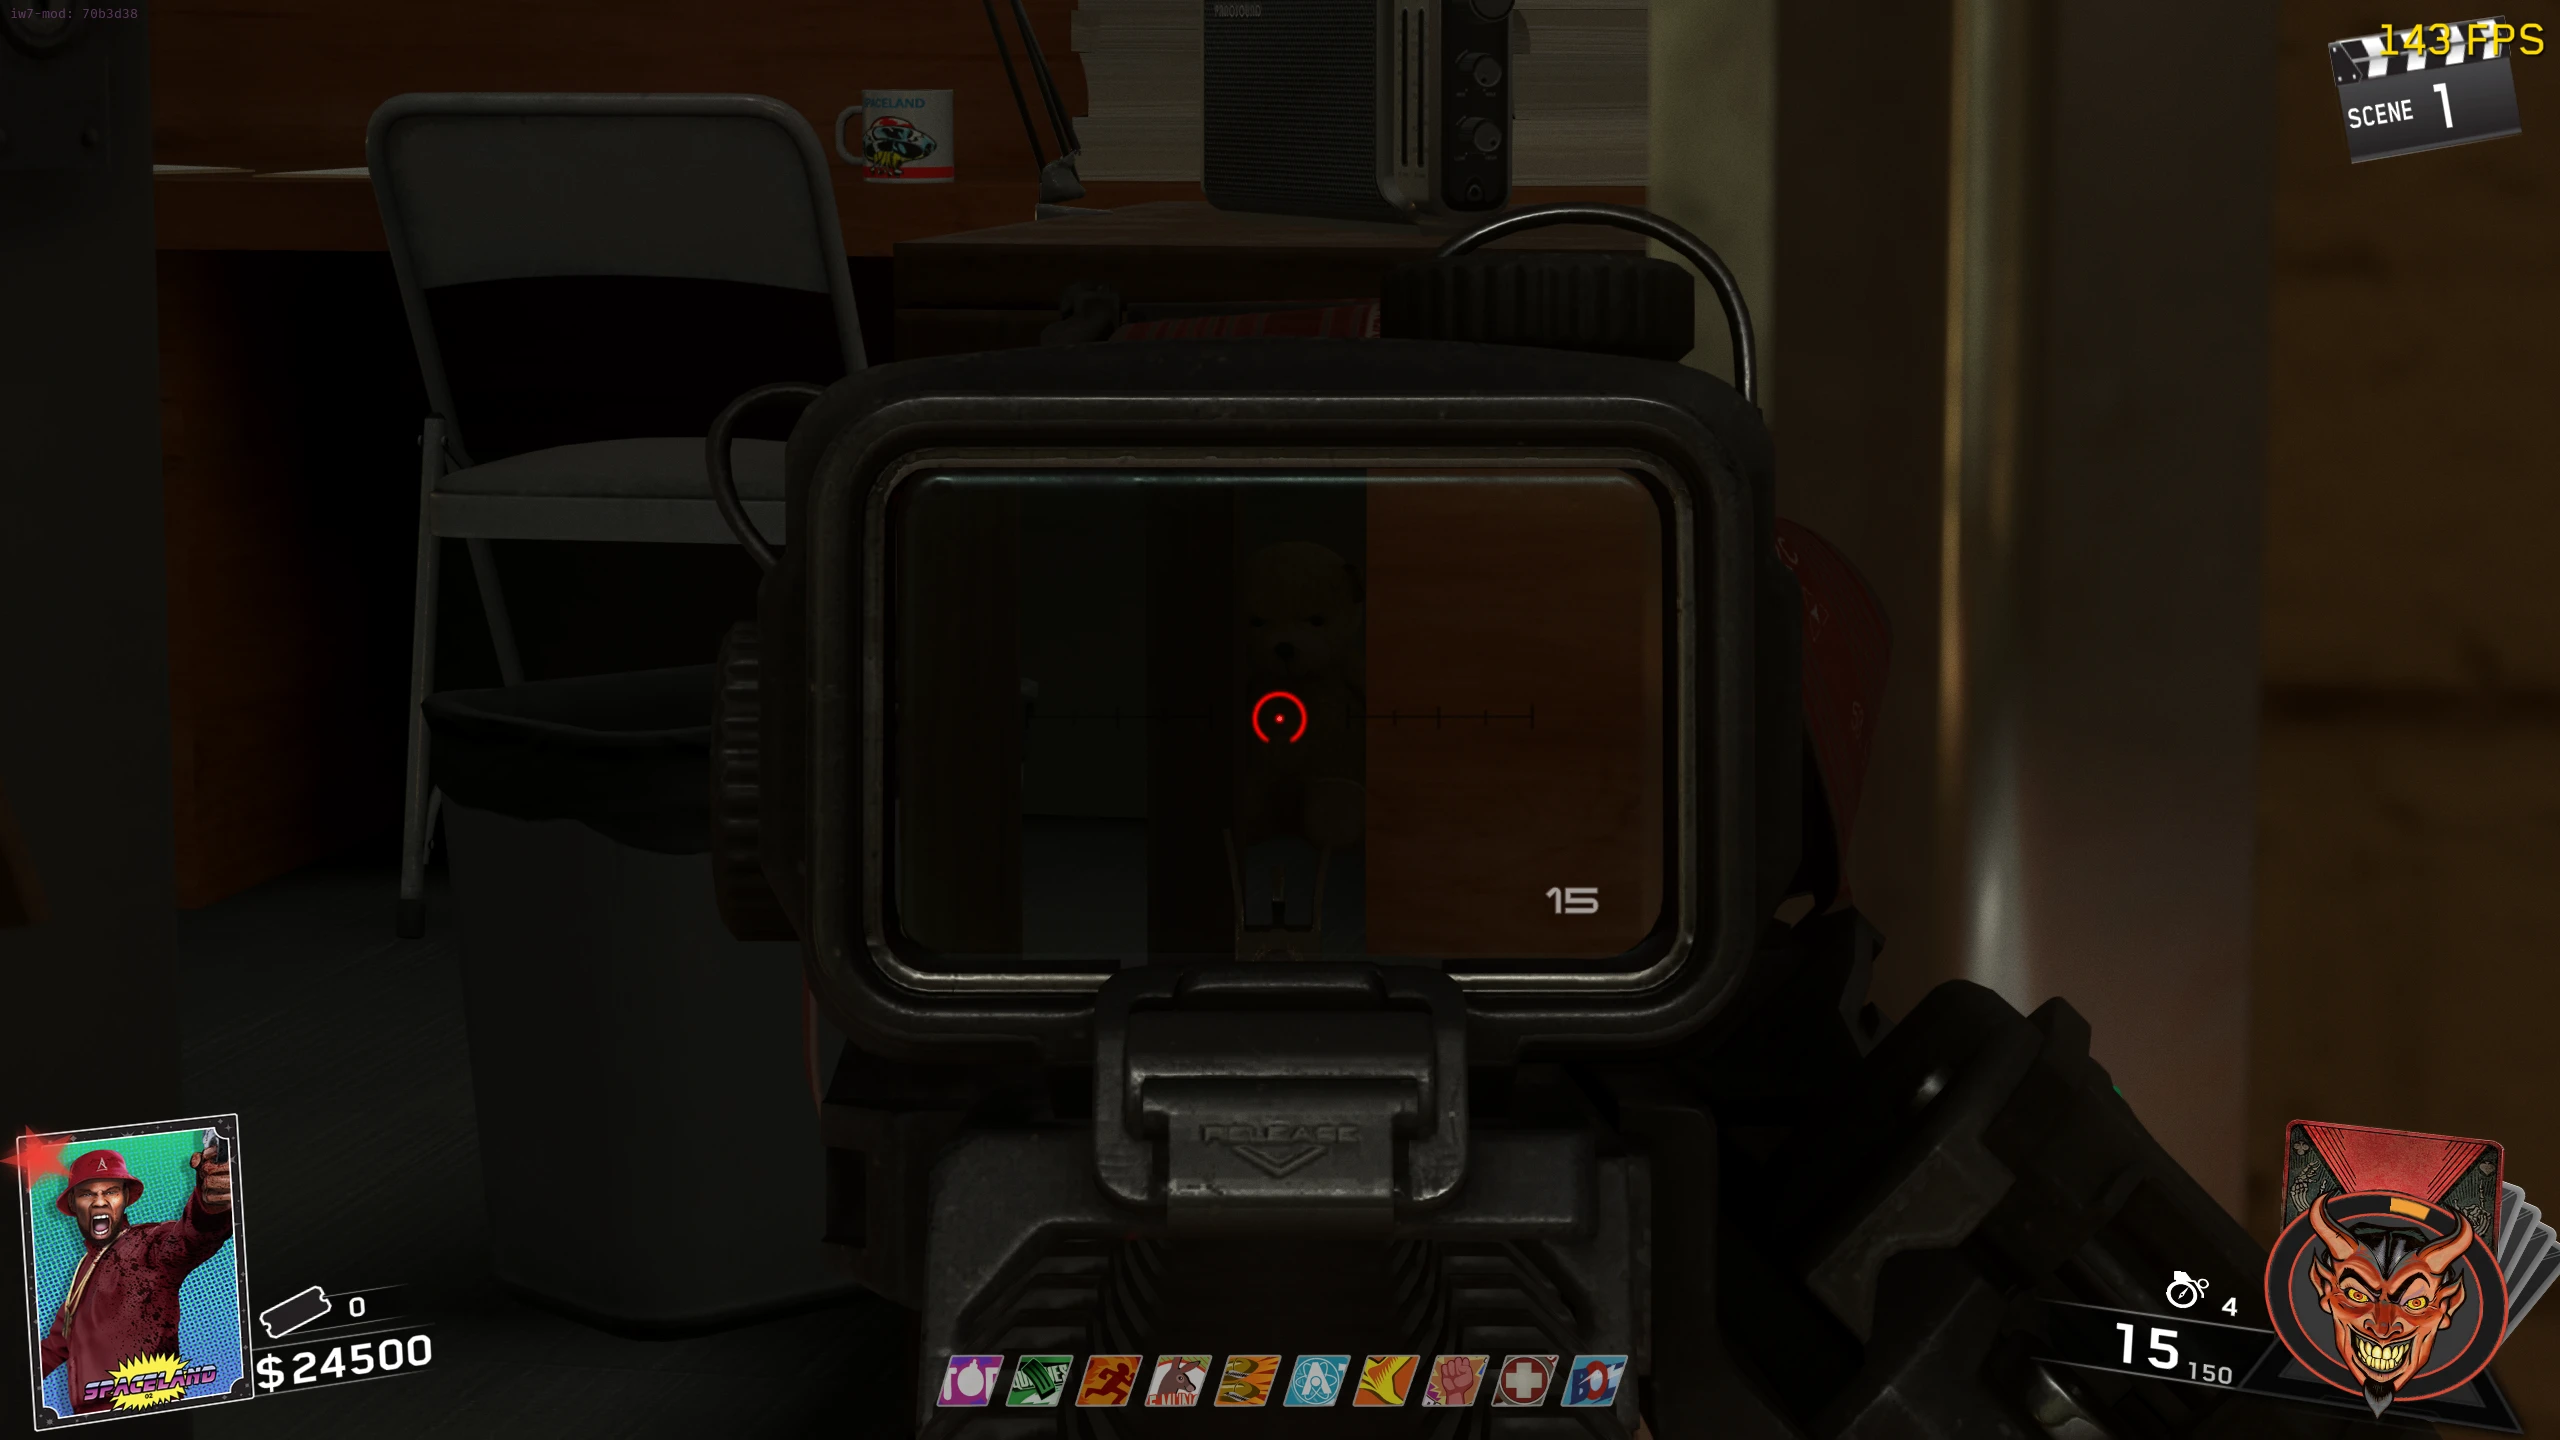
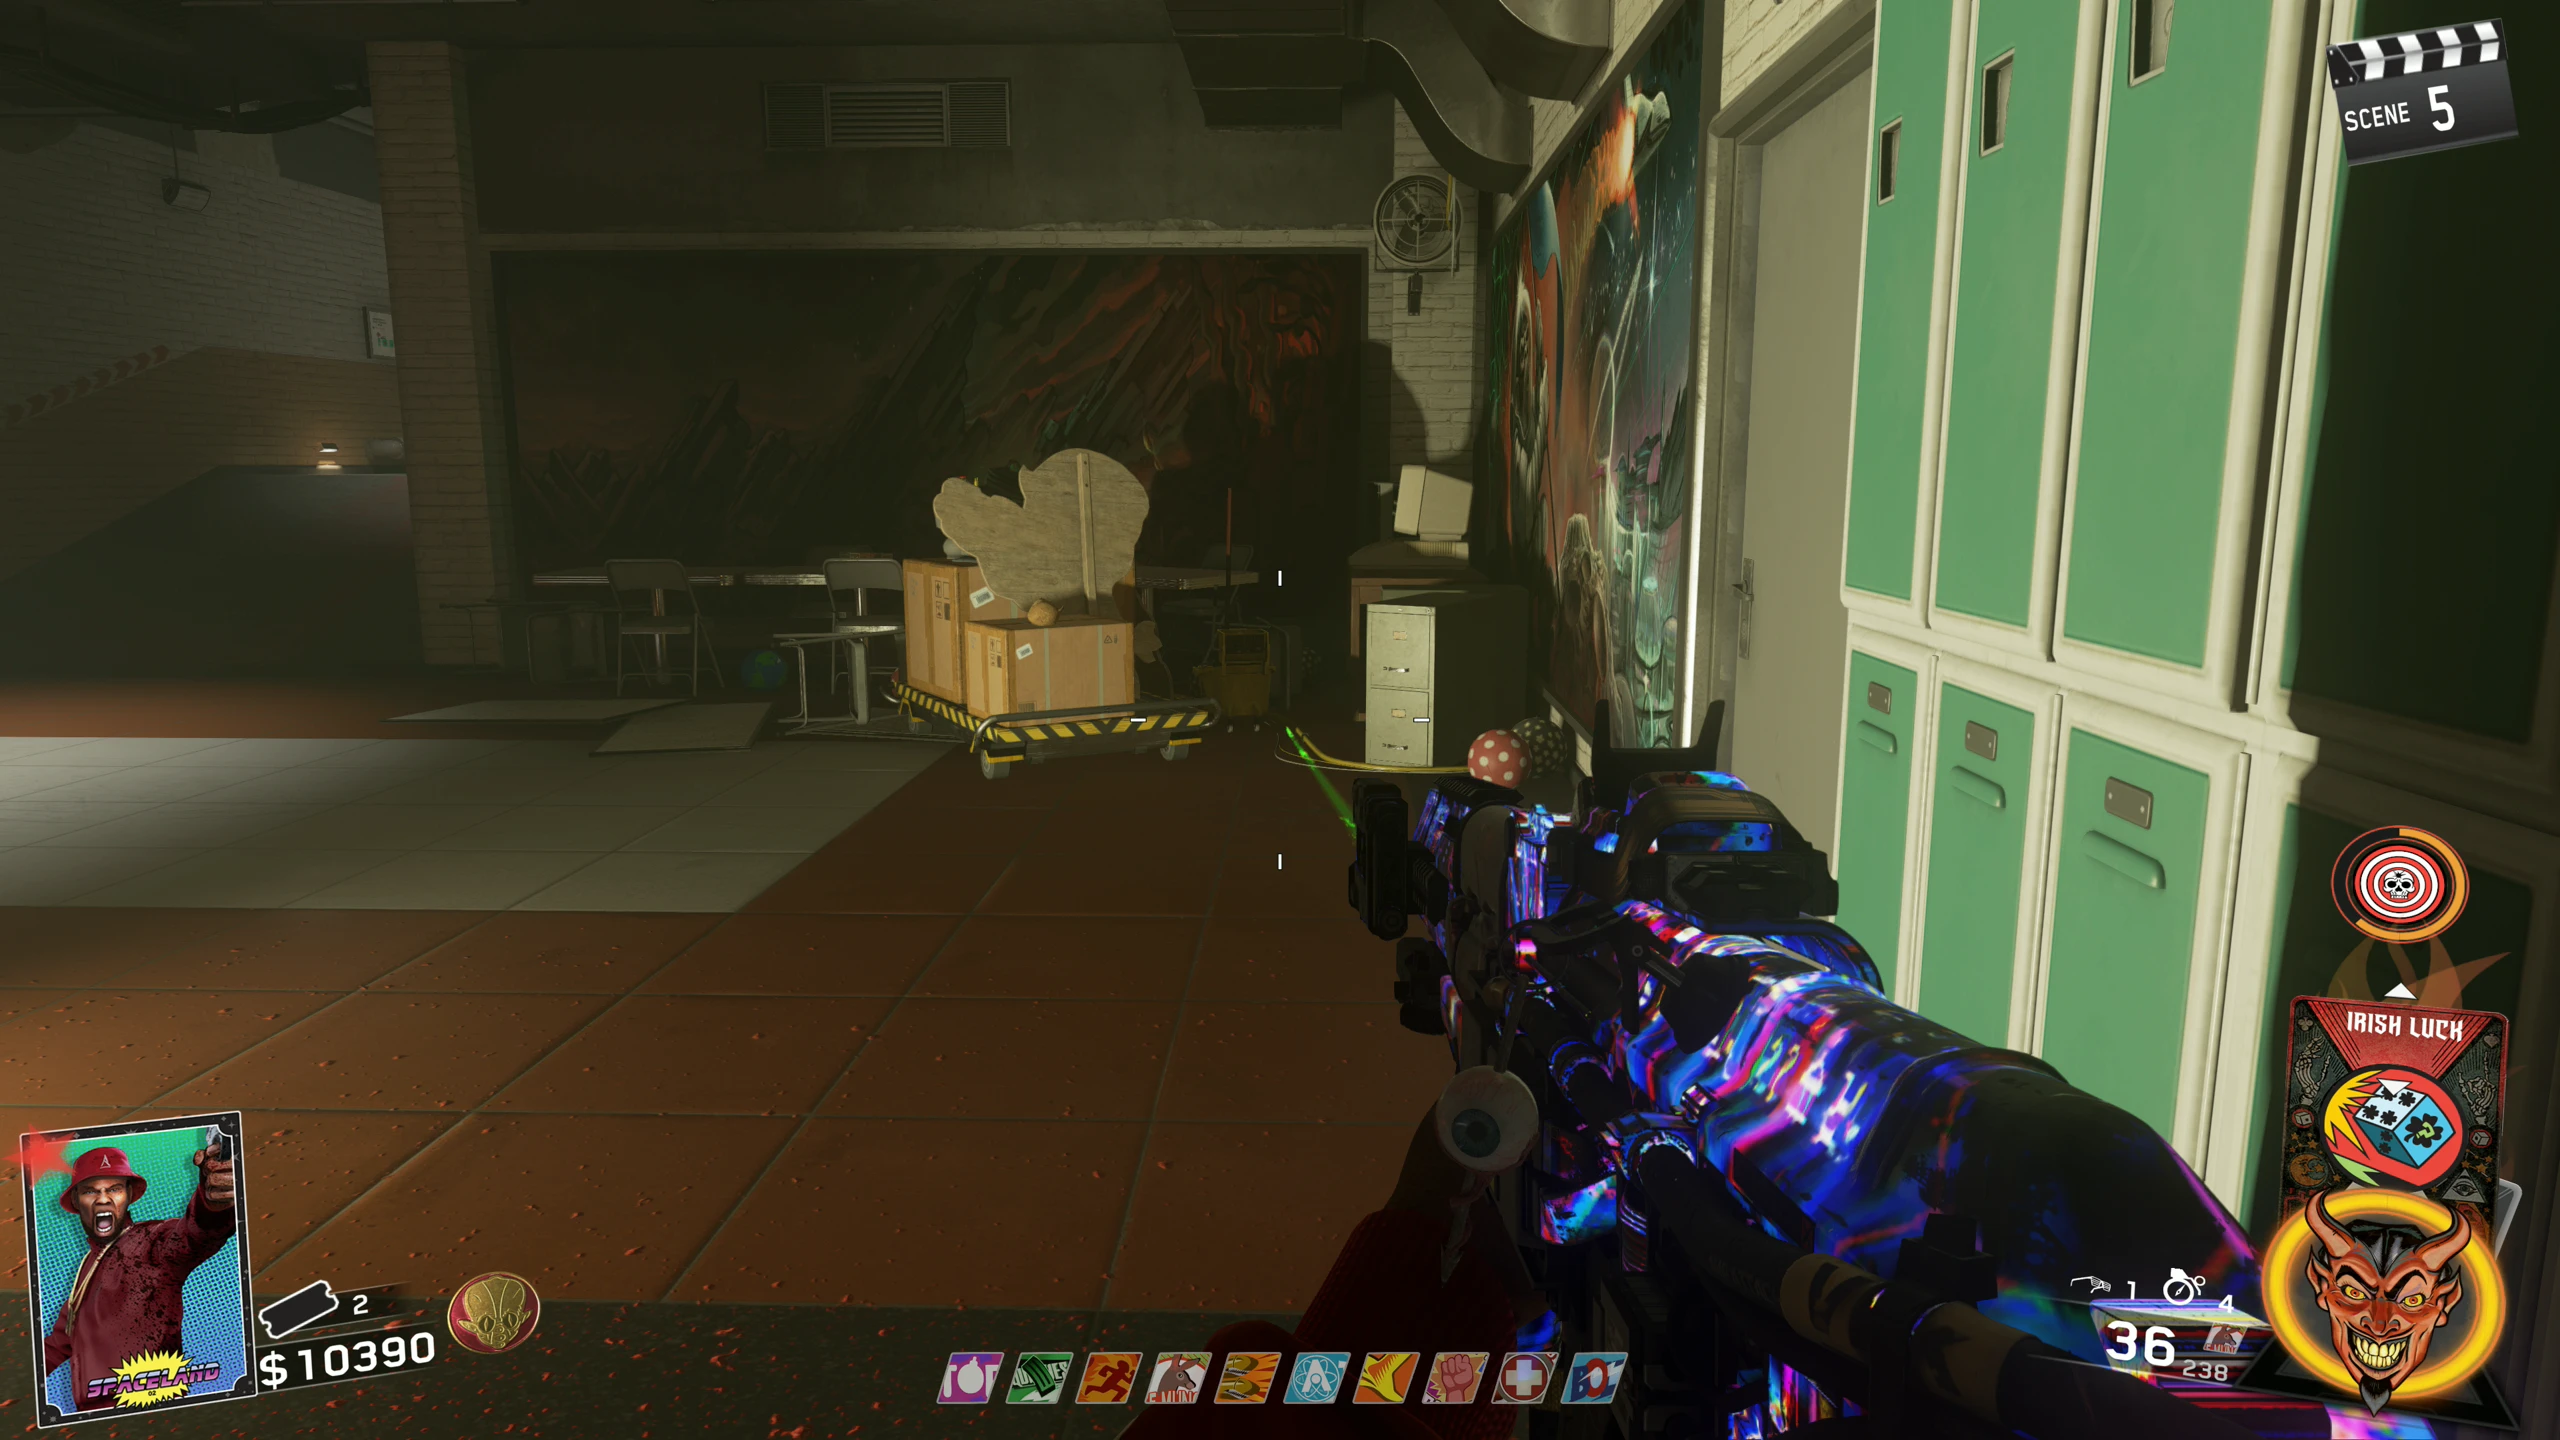
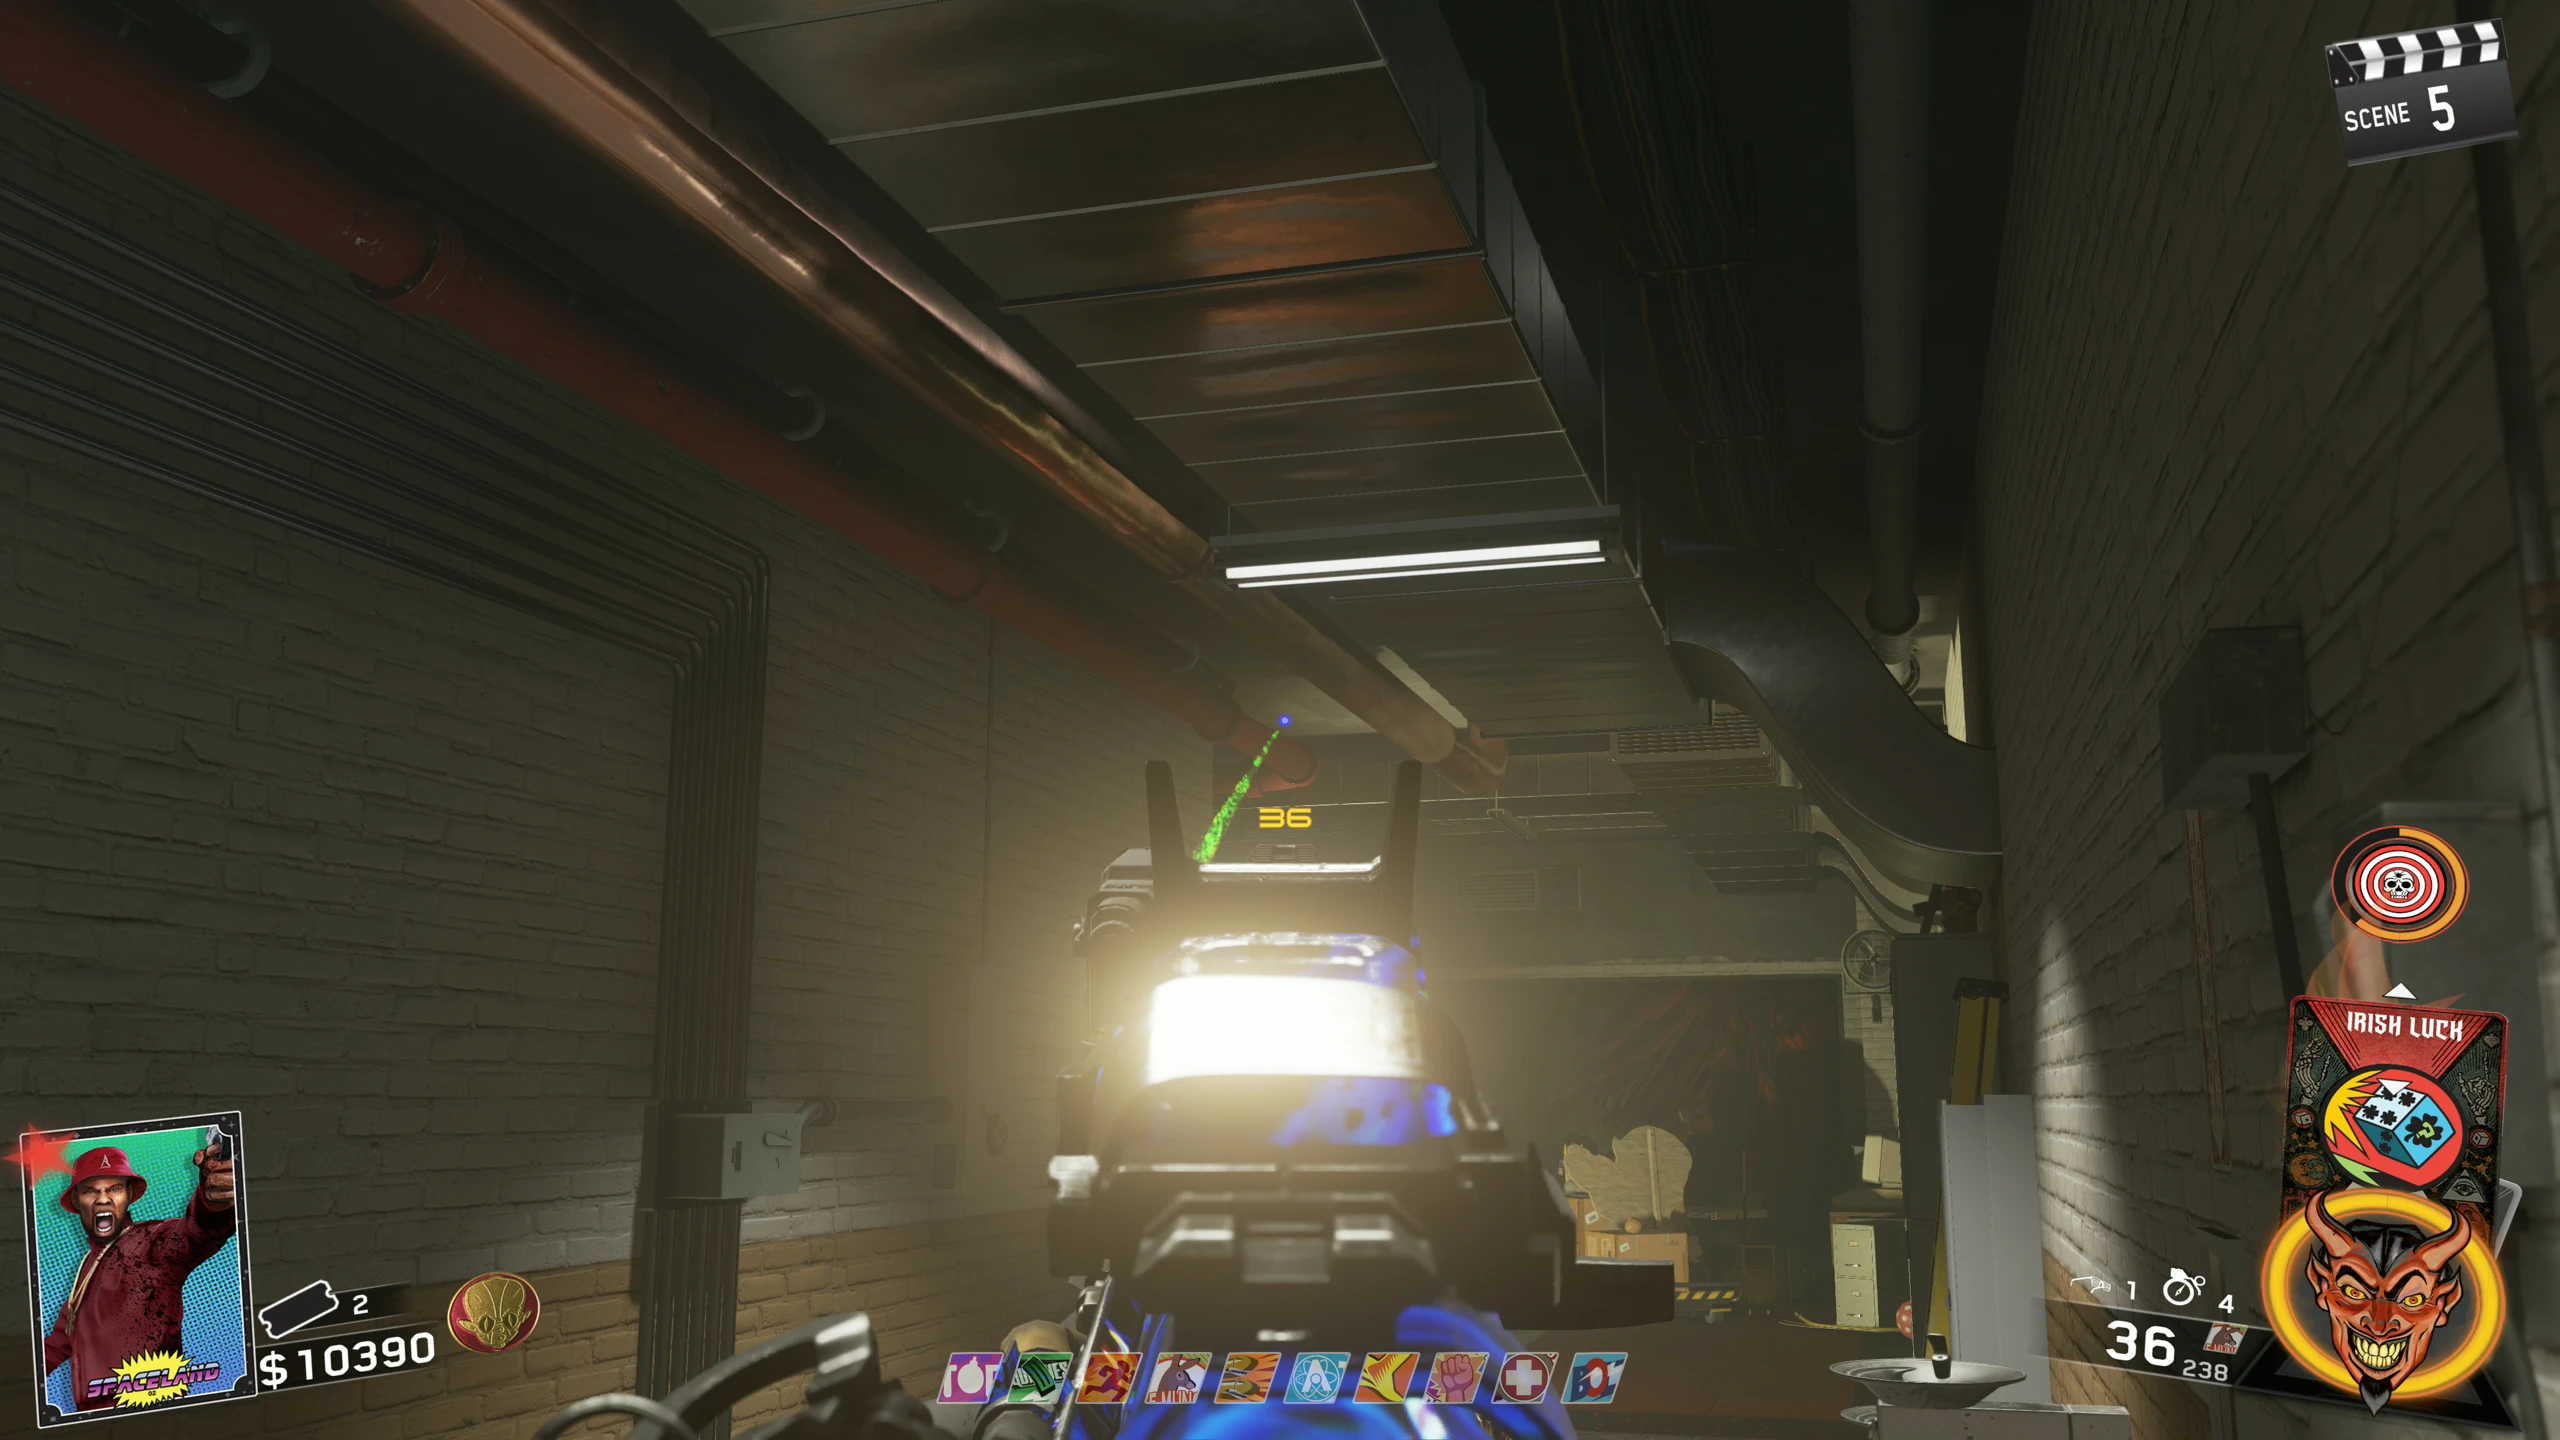
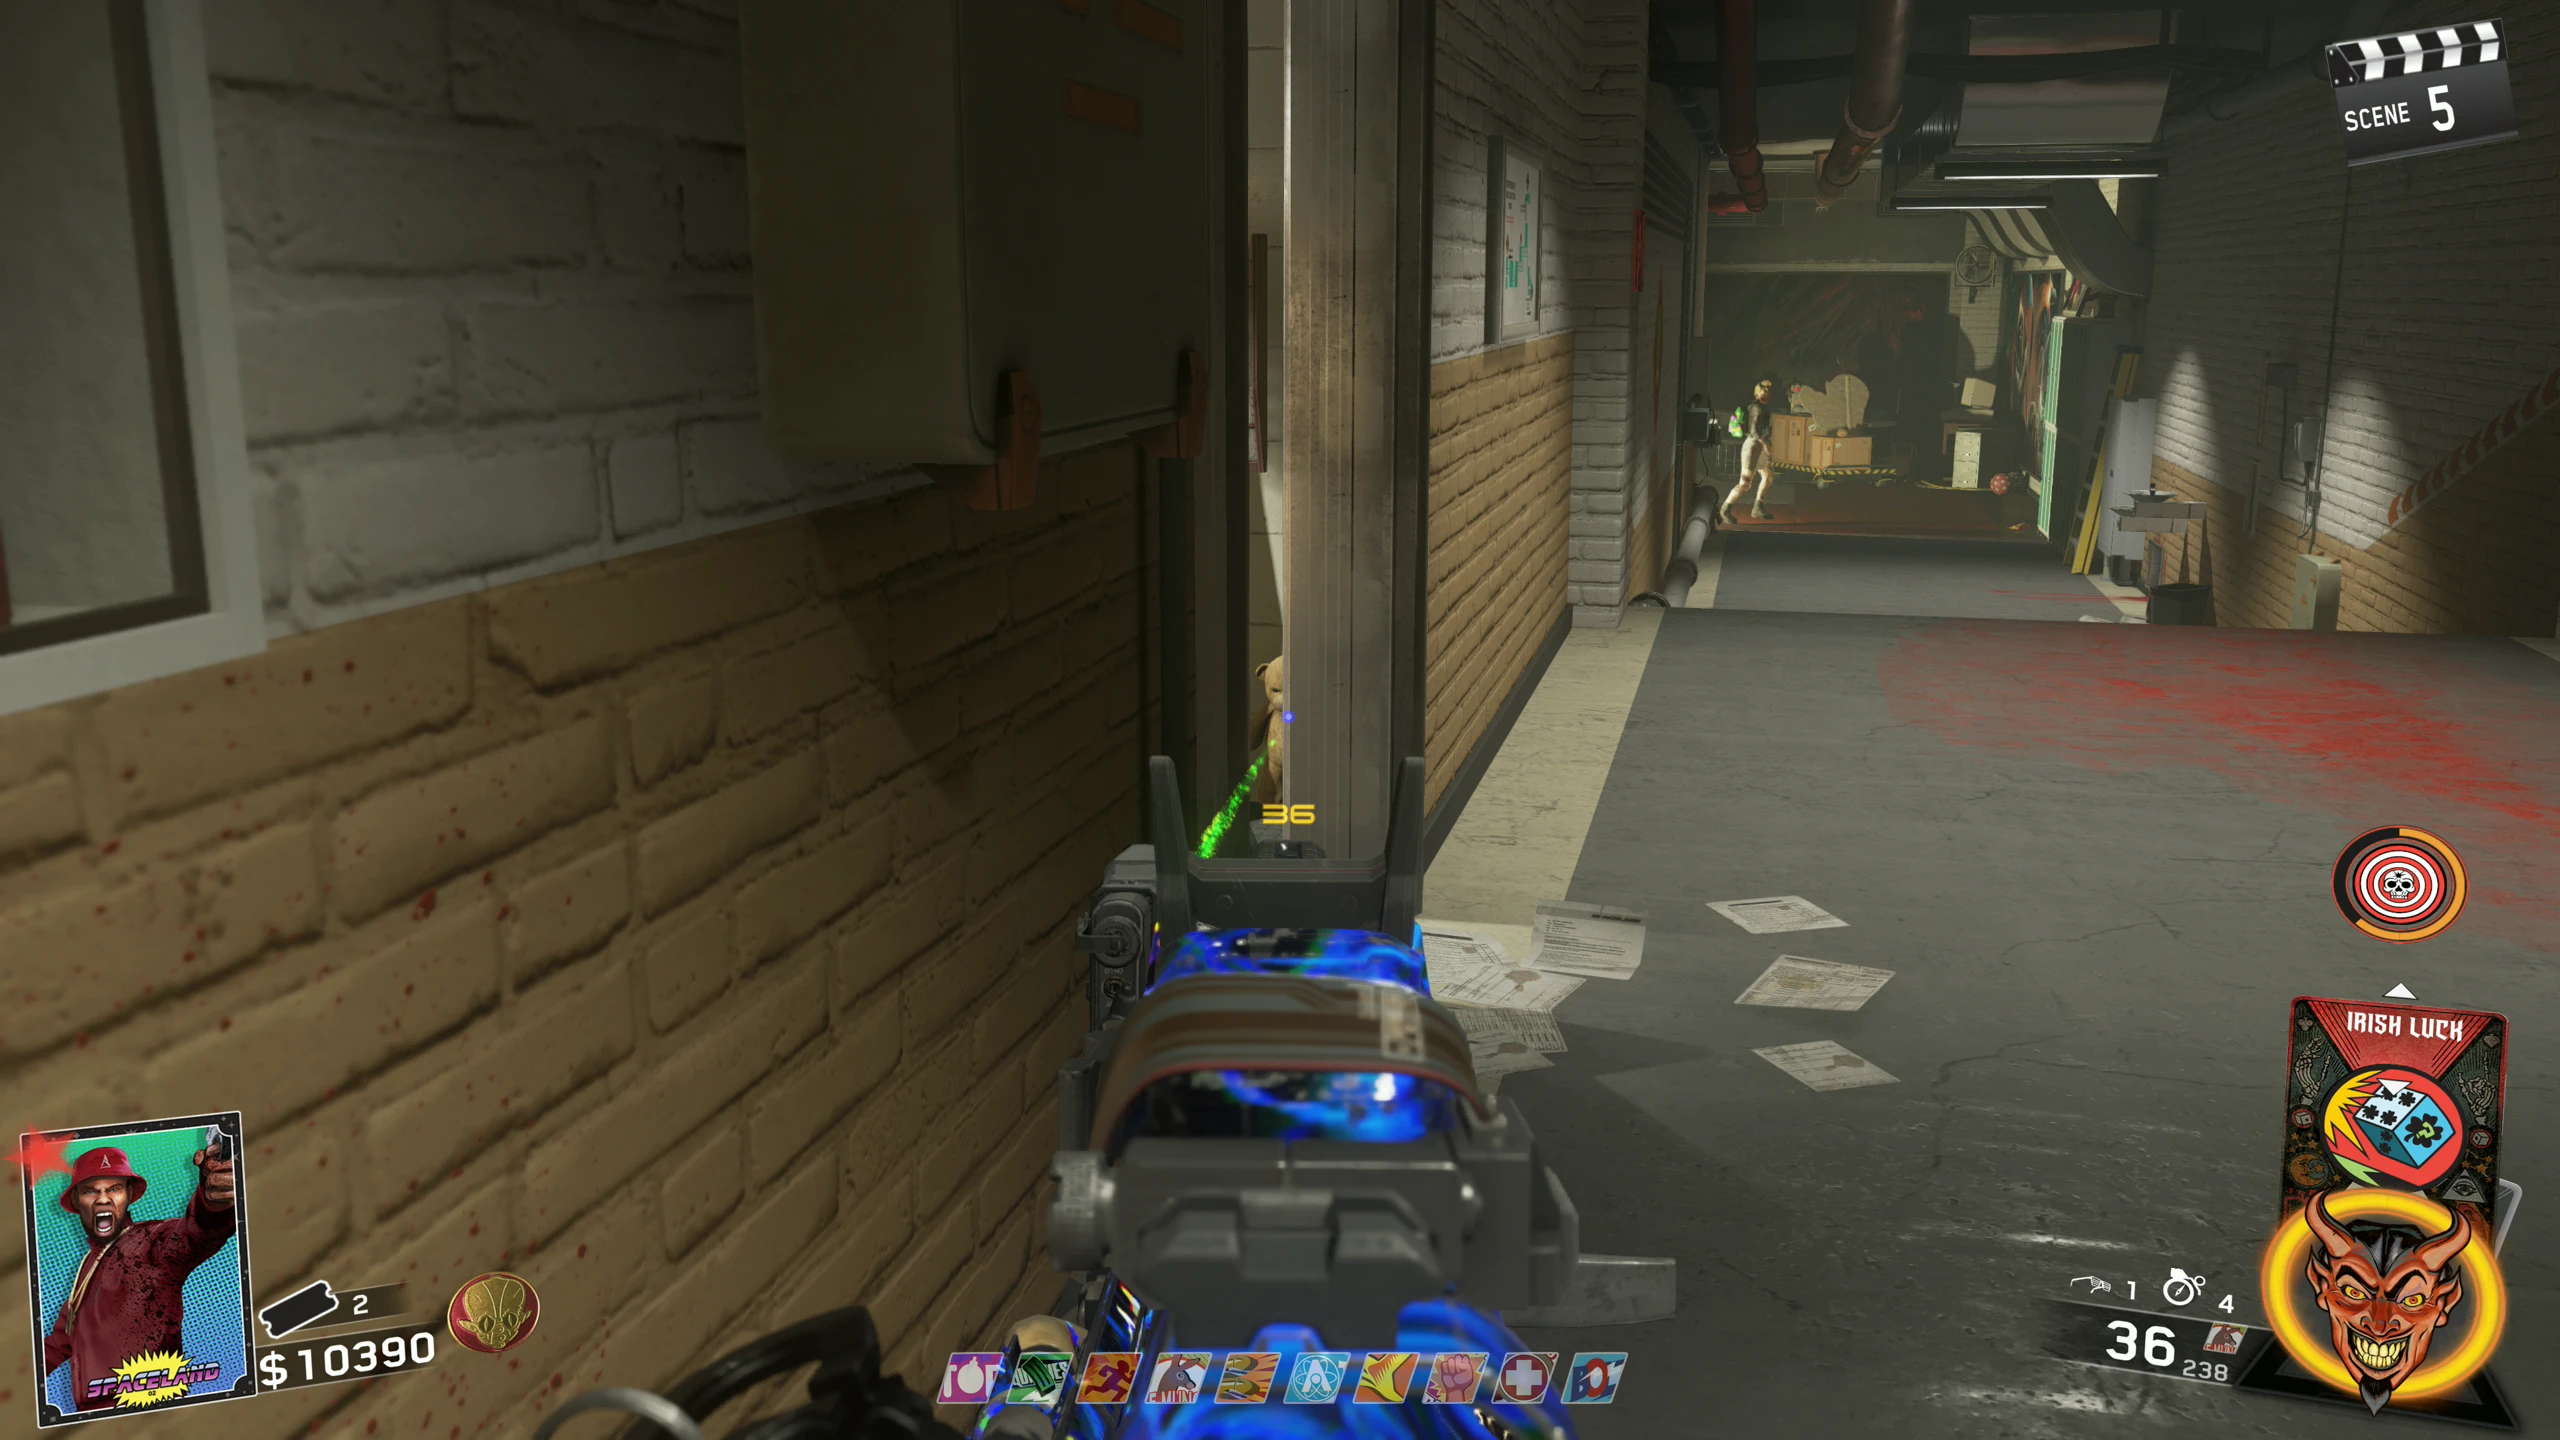
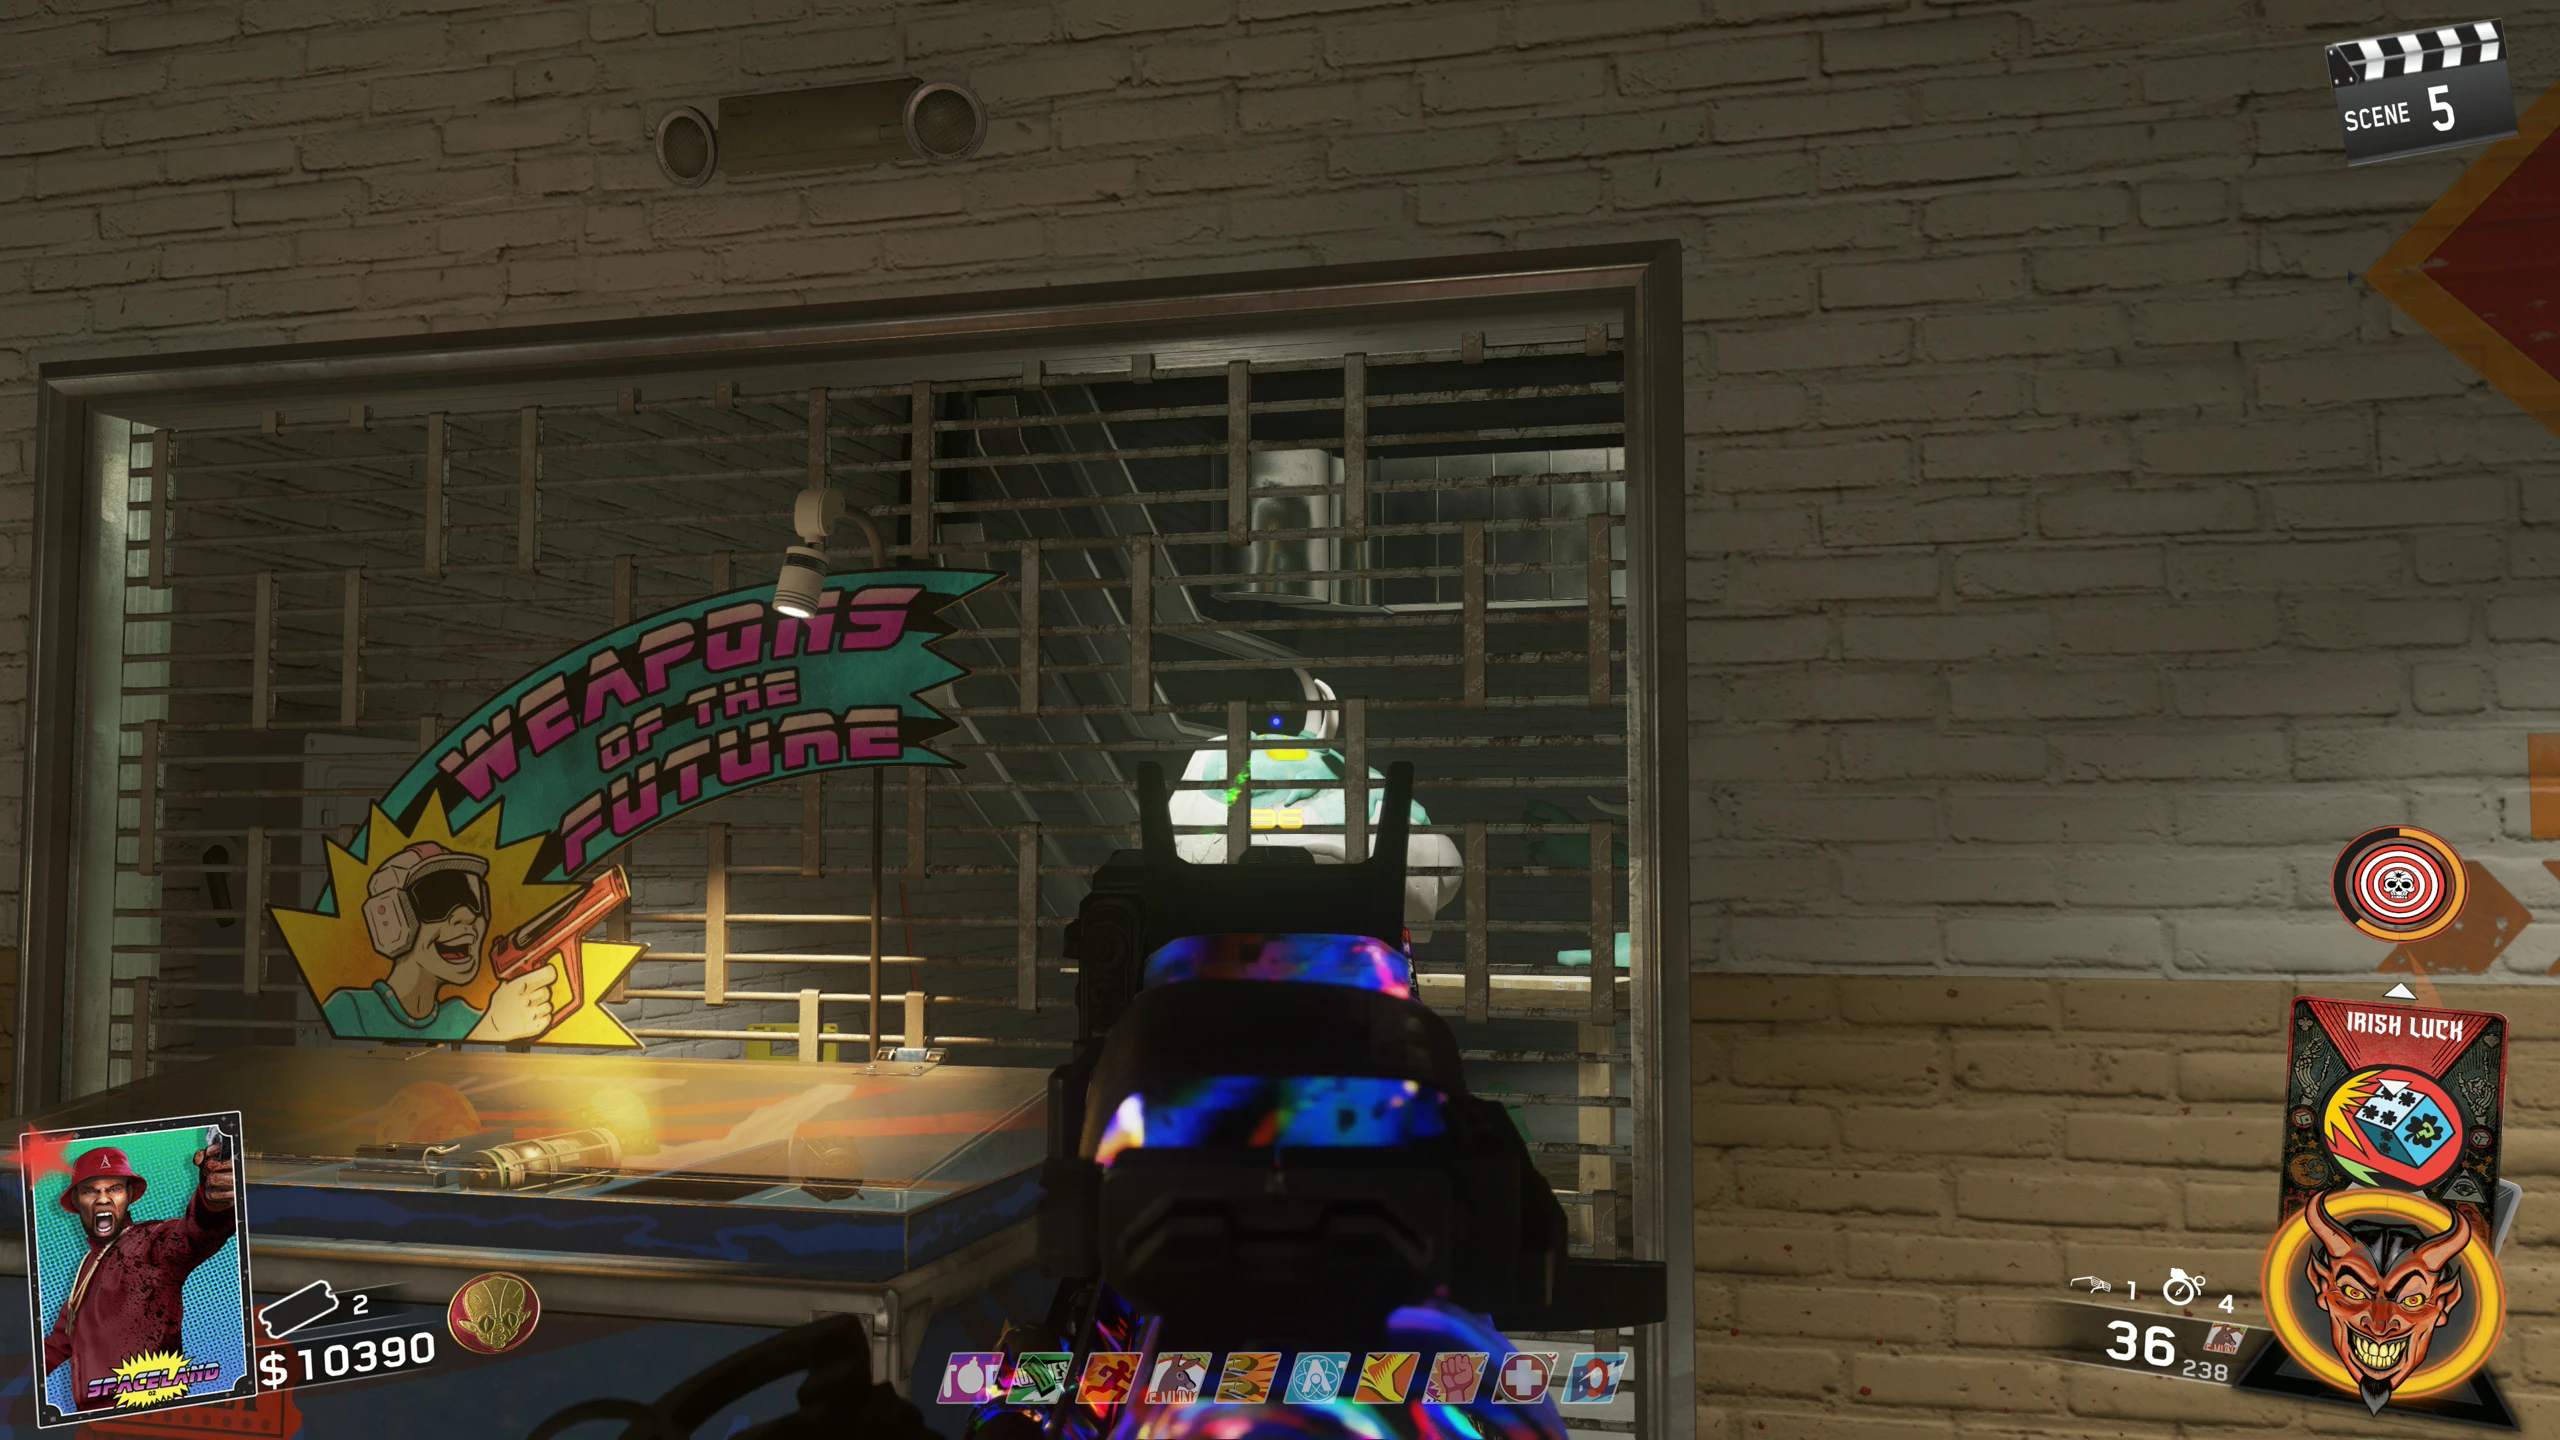
- You must craft the SETI-COM, which requires three parts to be built:
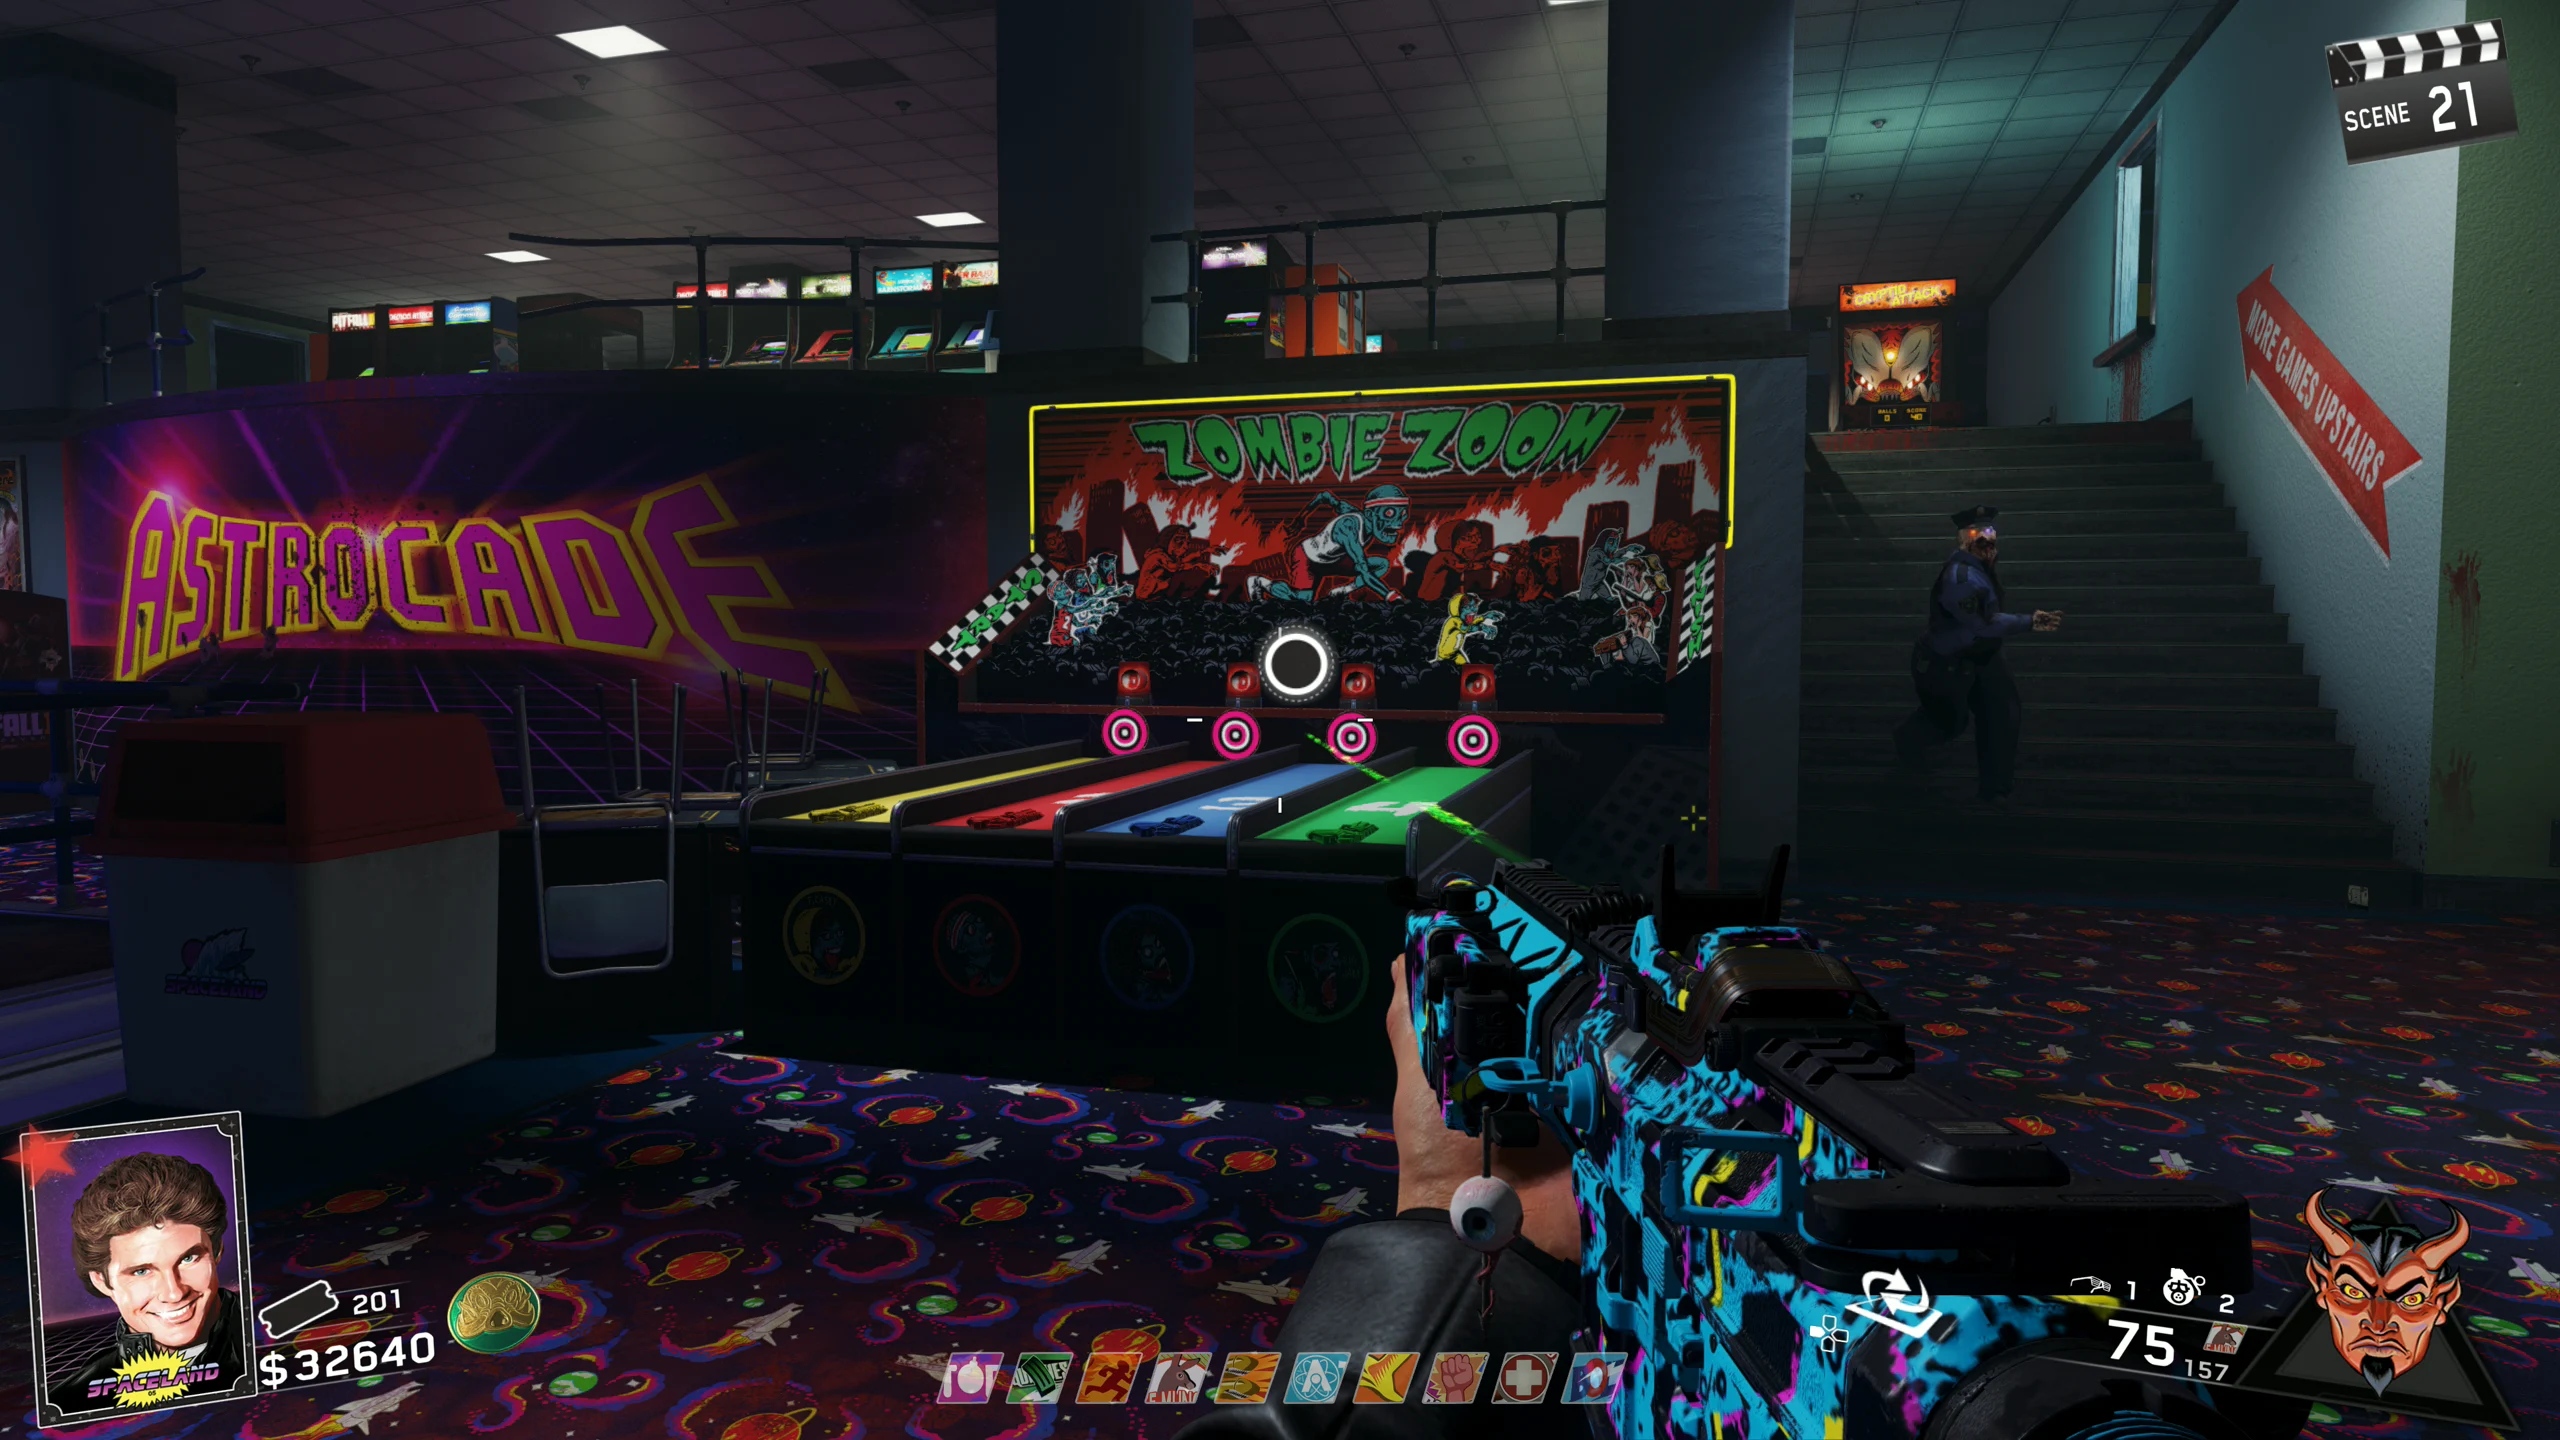
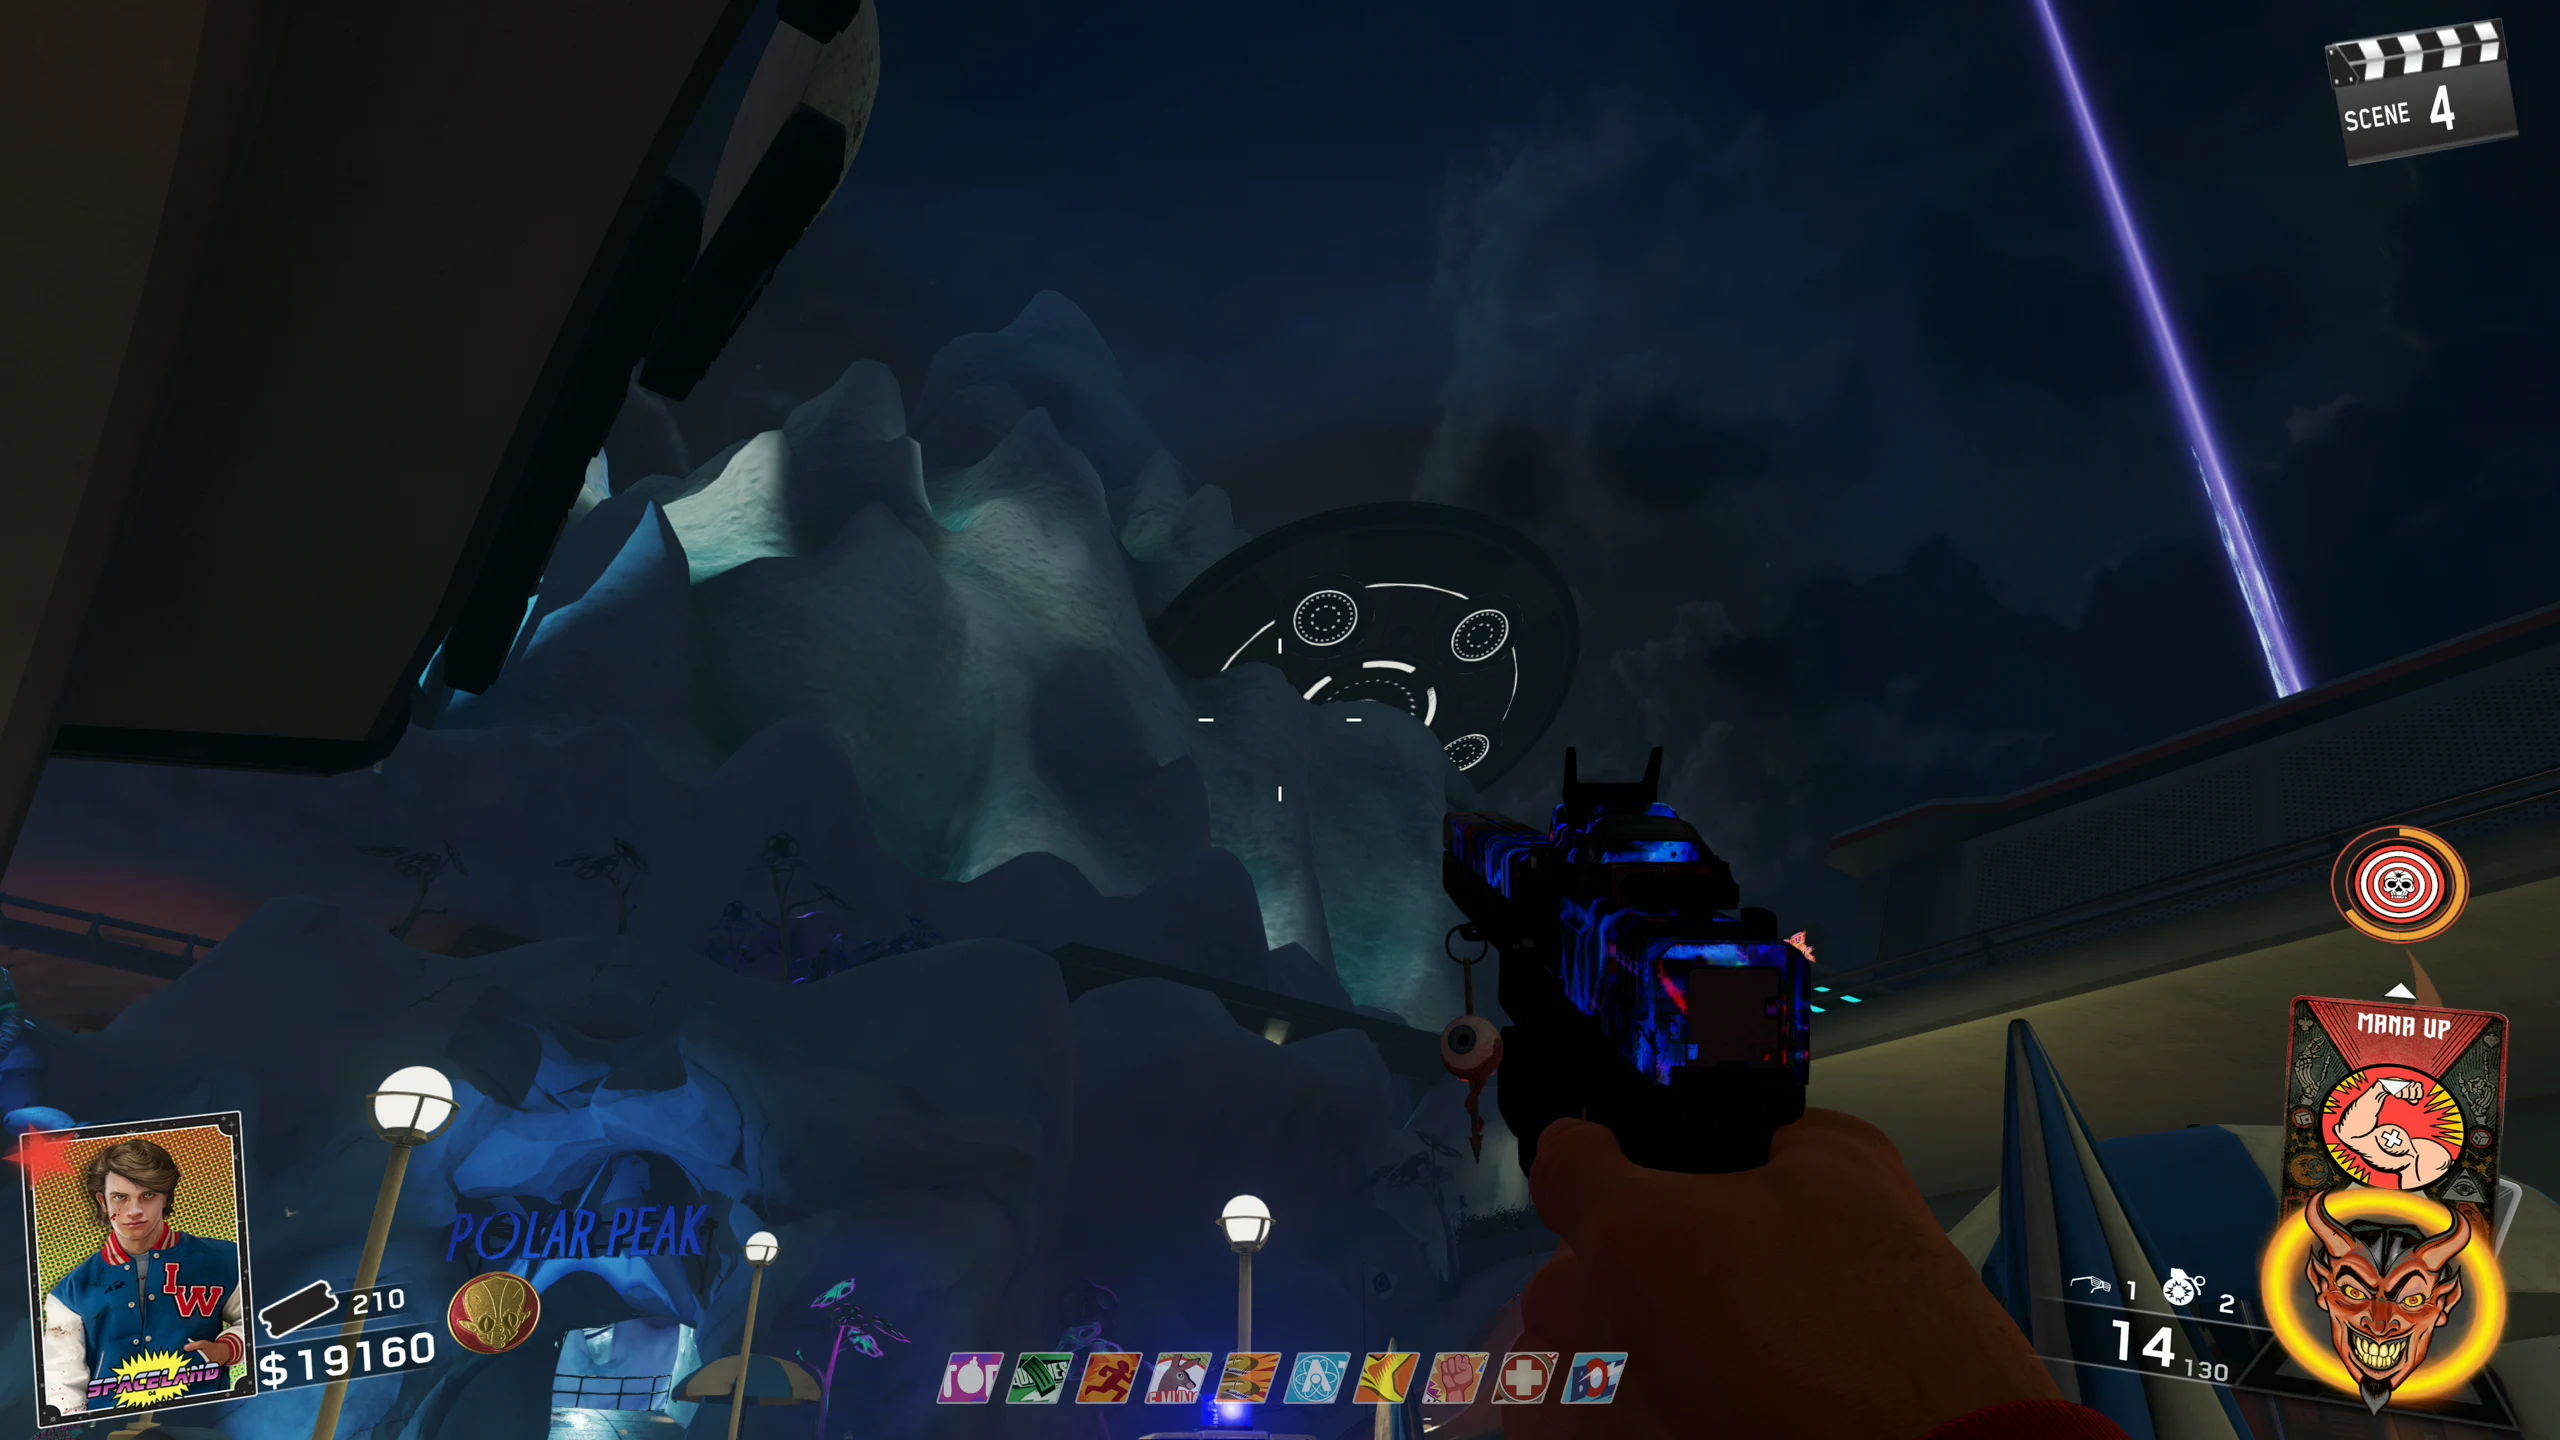
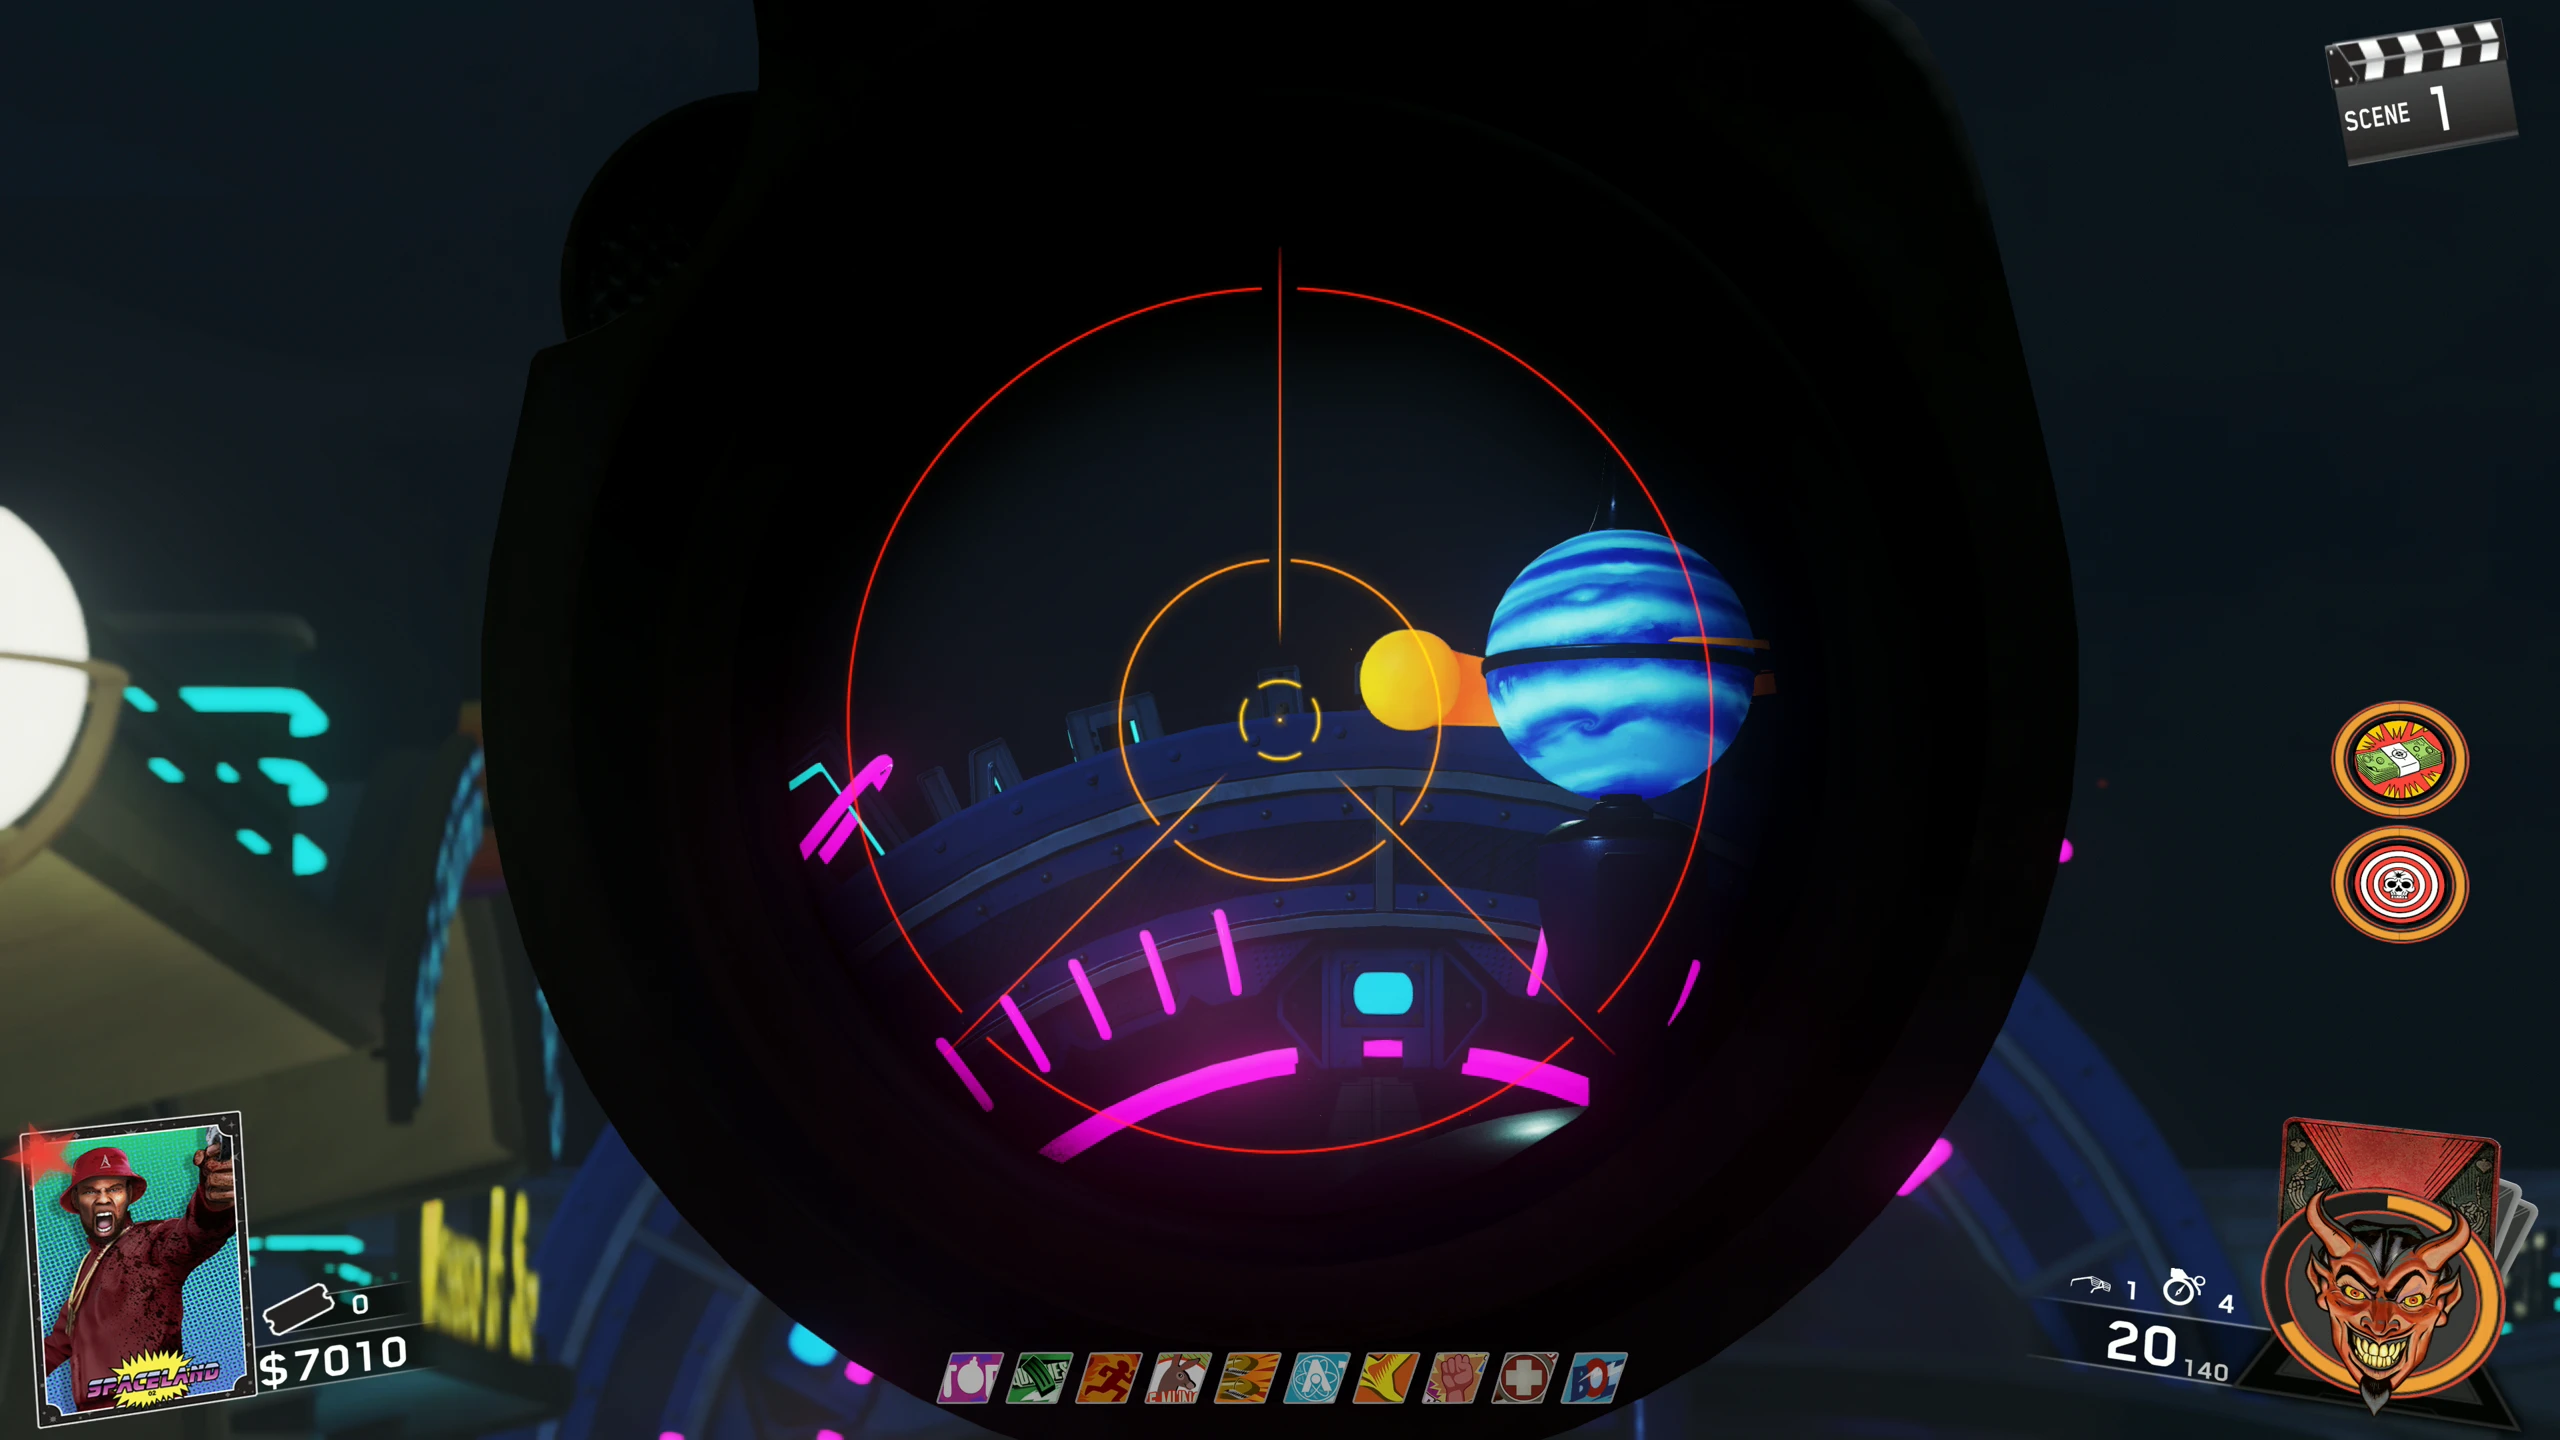
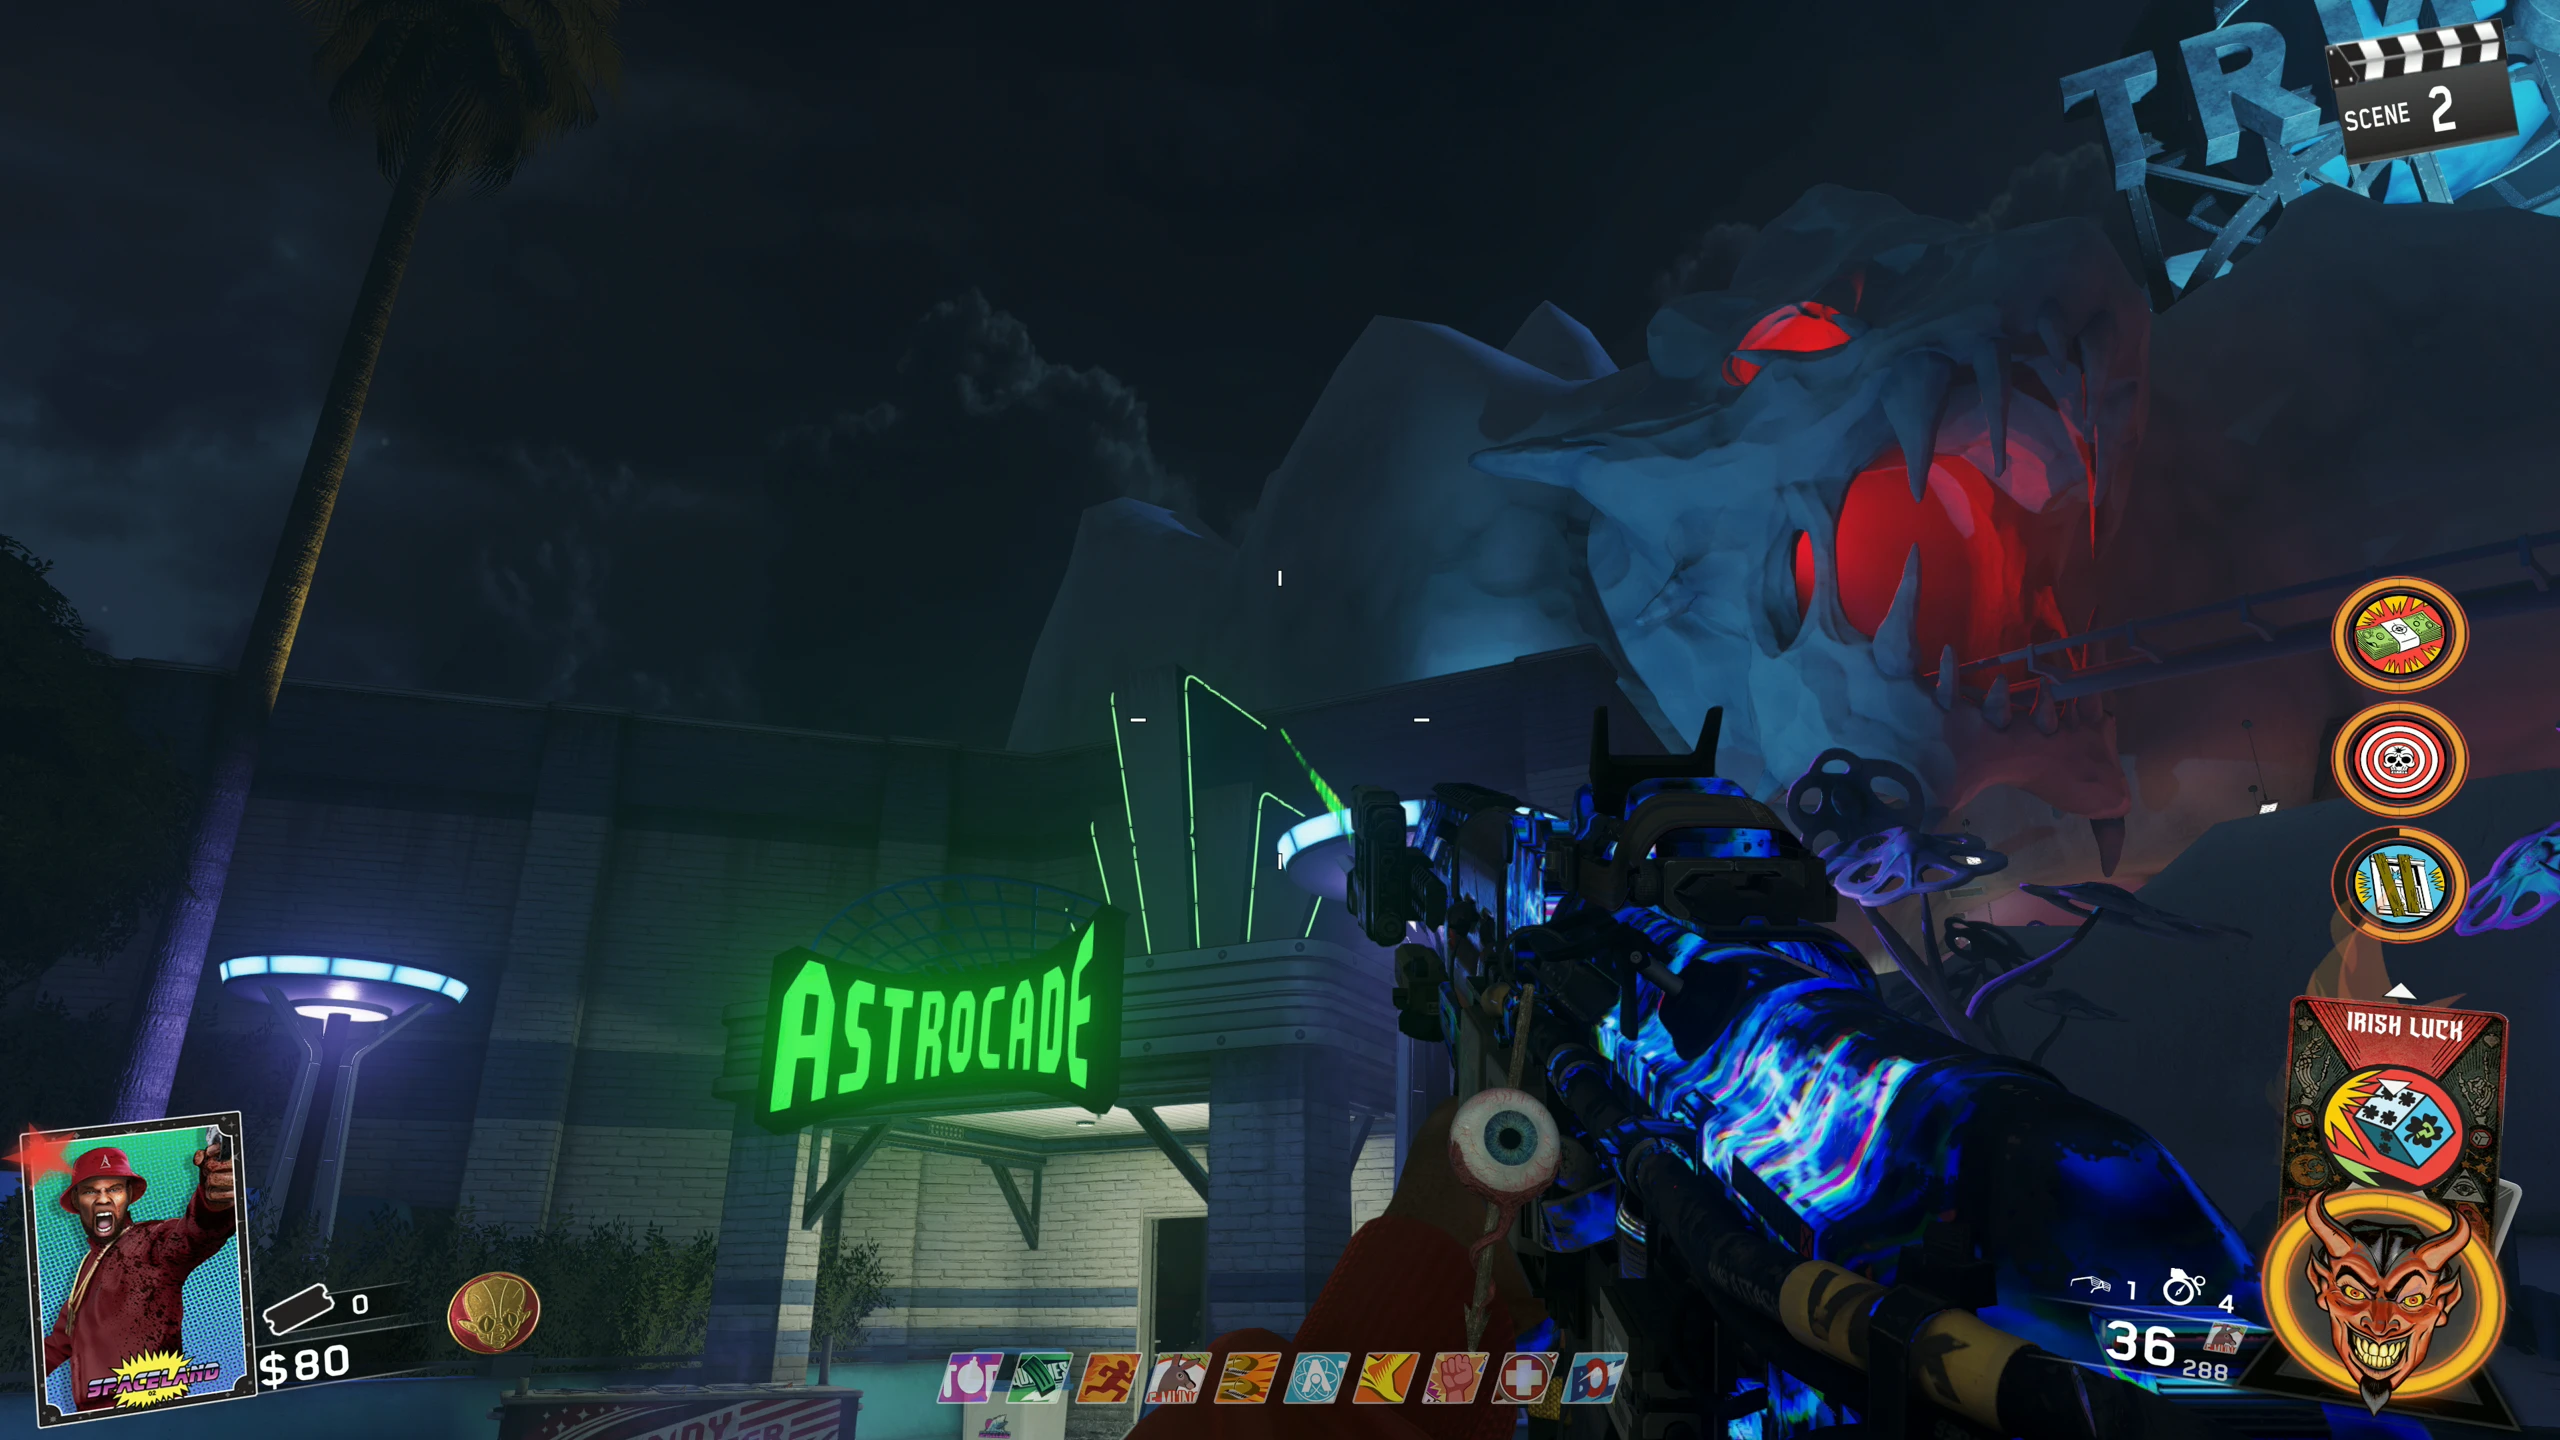
Part Locations Calculator Boombox Umbrella - One round after you've picked up all three parts, the screen will shake, and the UFO on the side of Polar Peak will flash its lights and play four loud sounds.
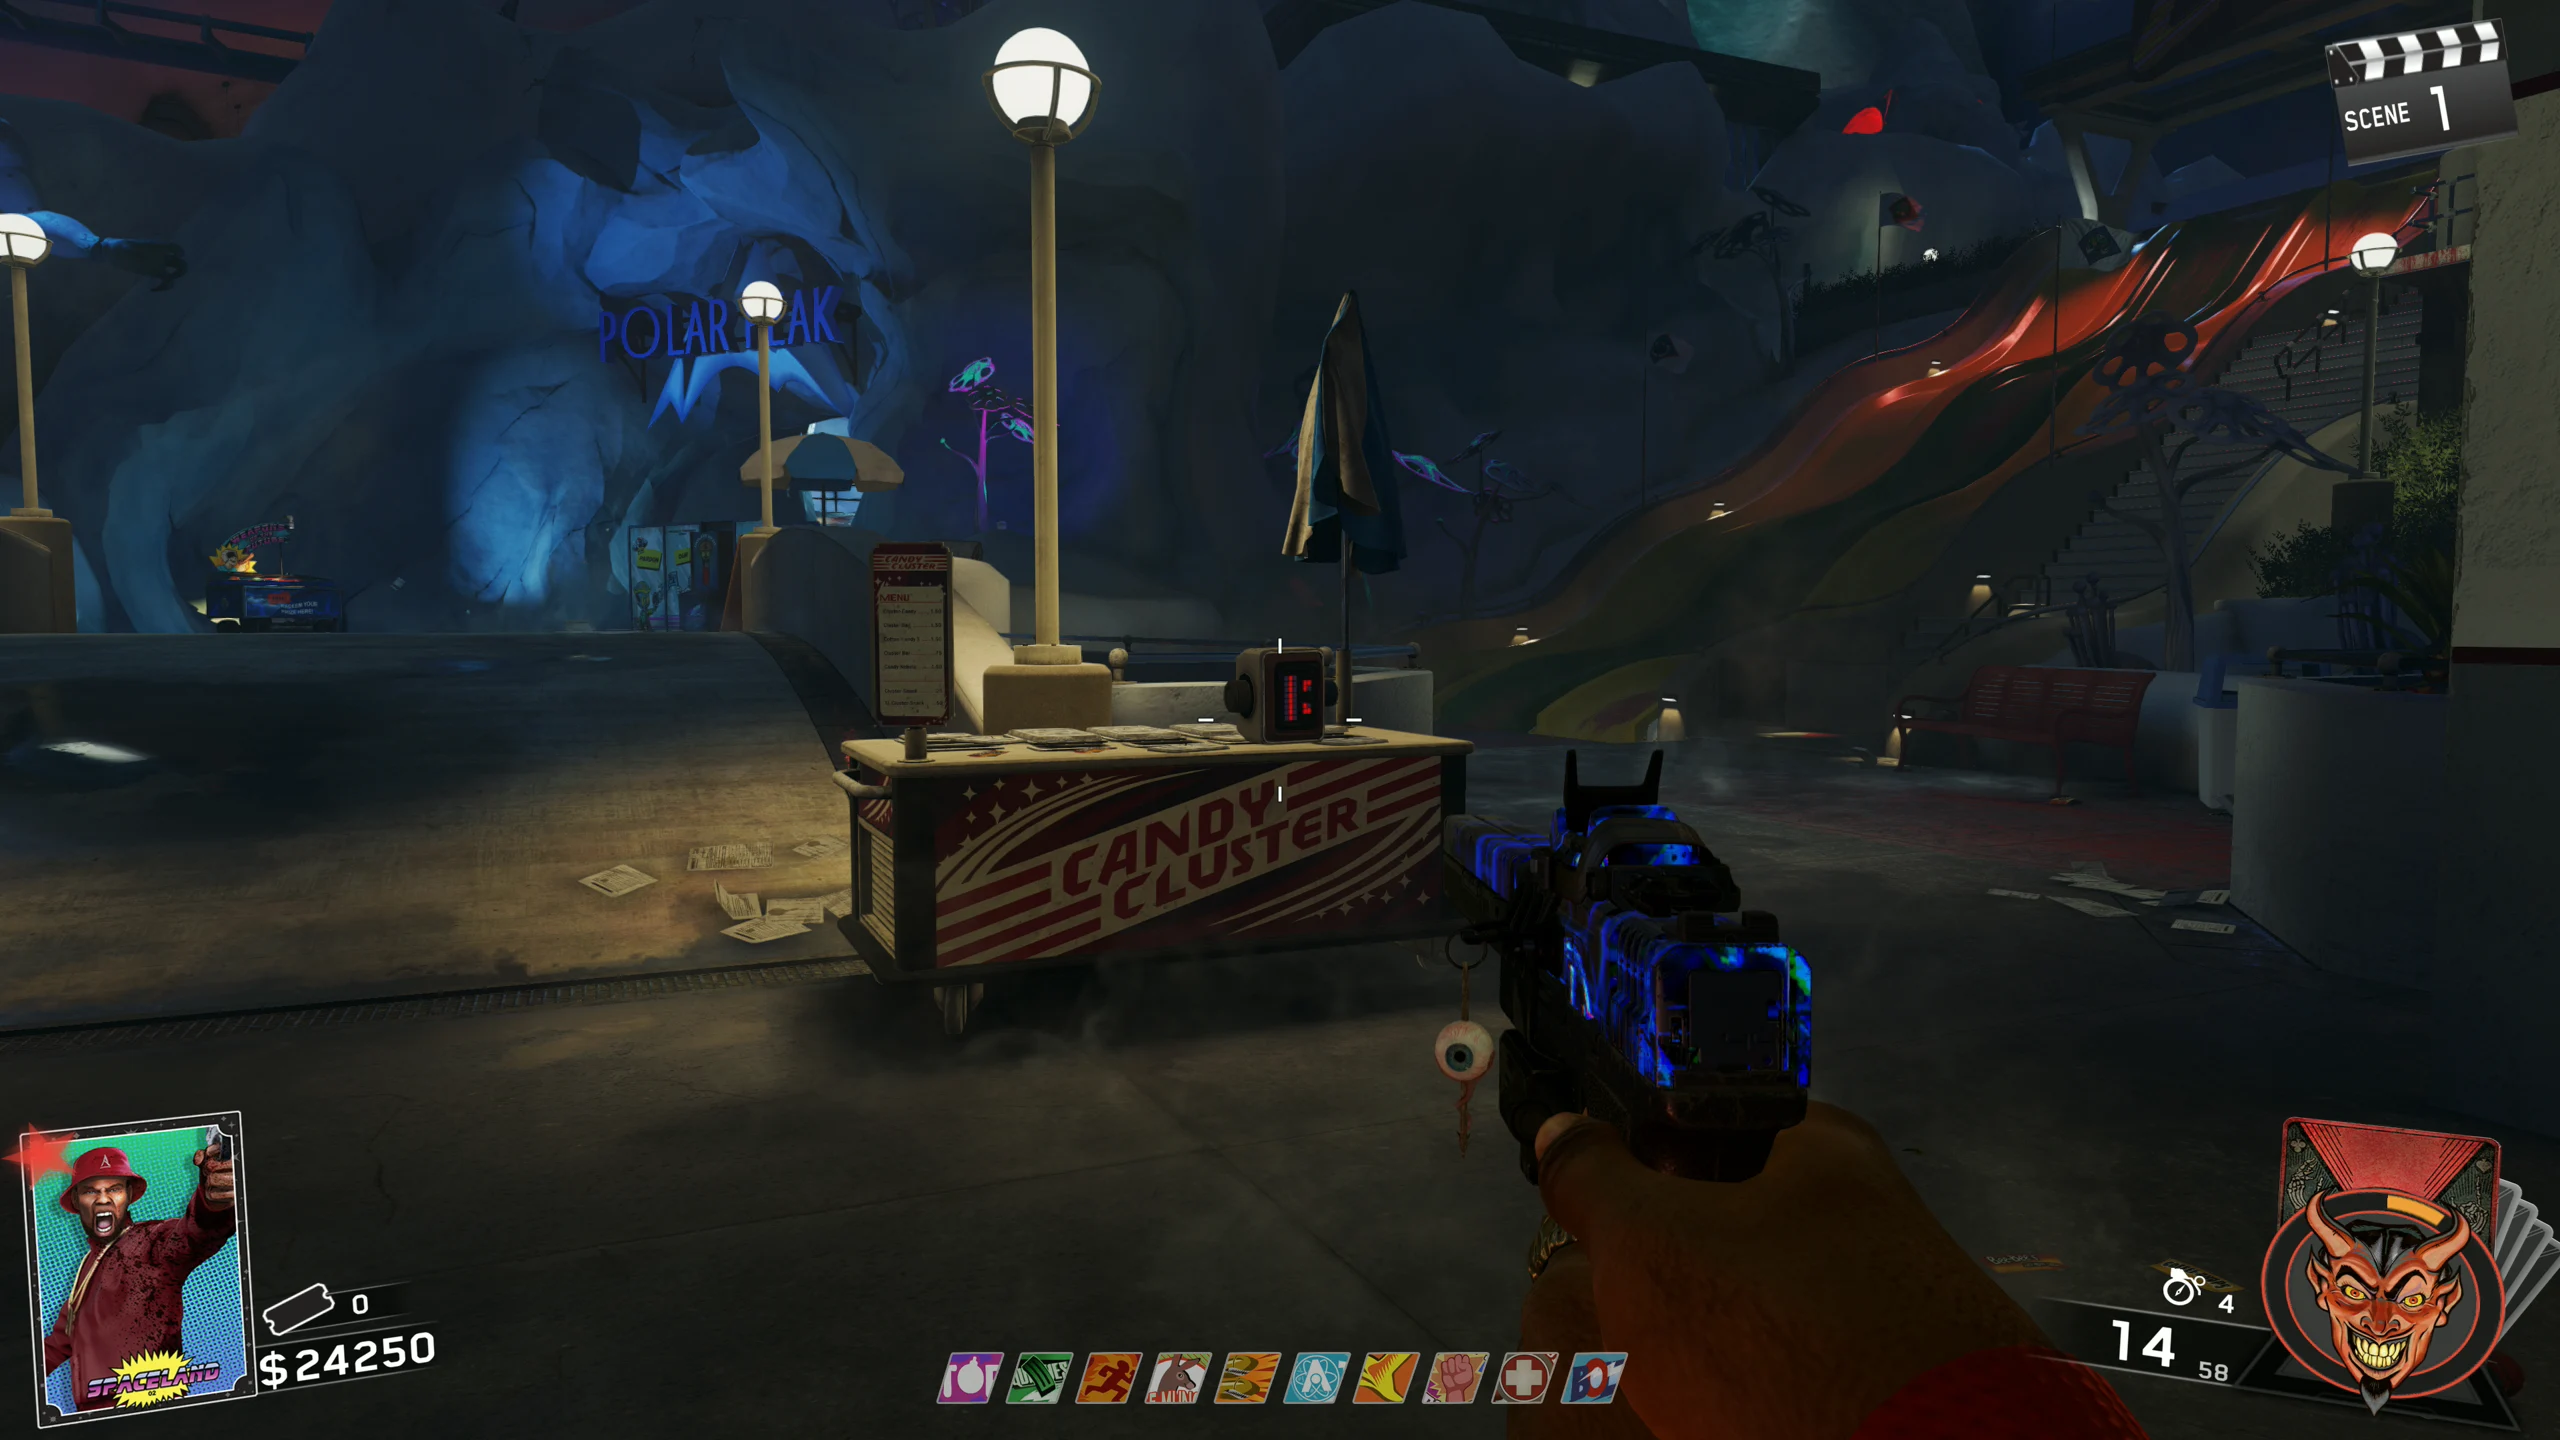
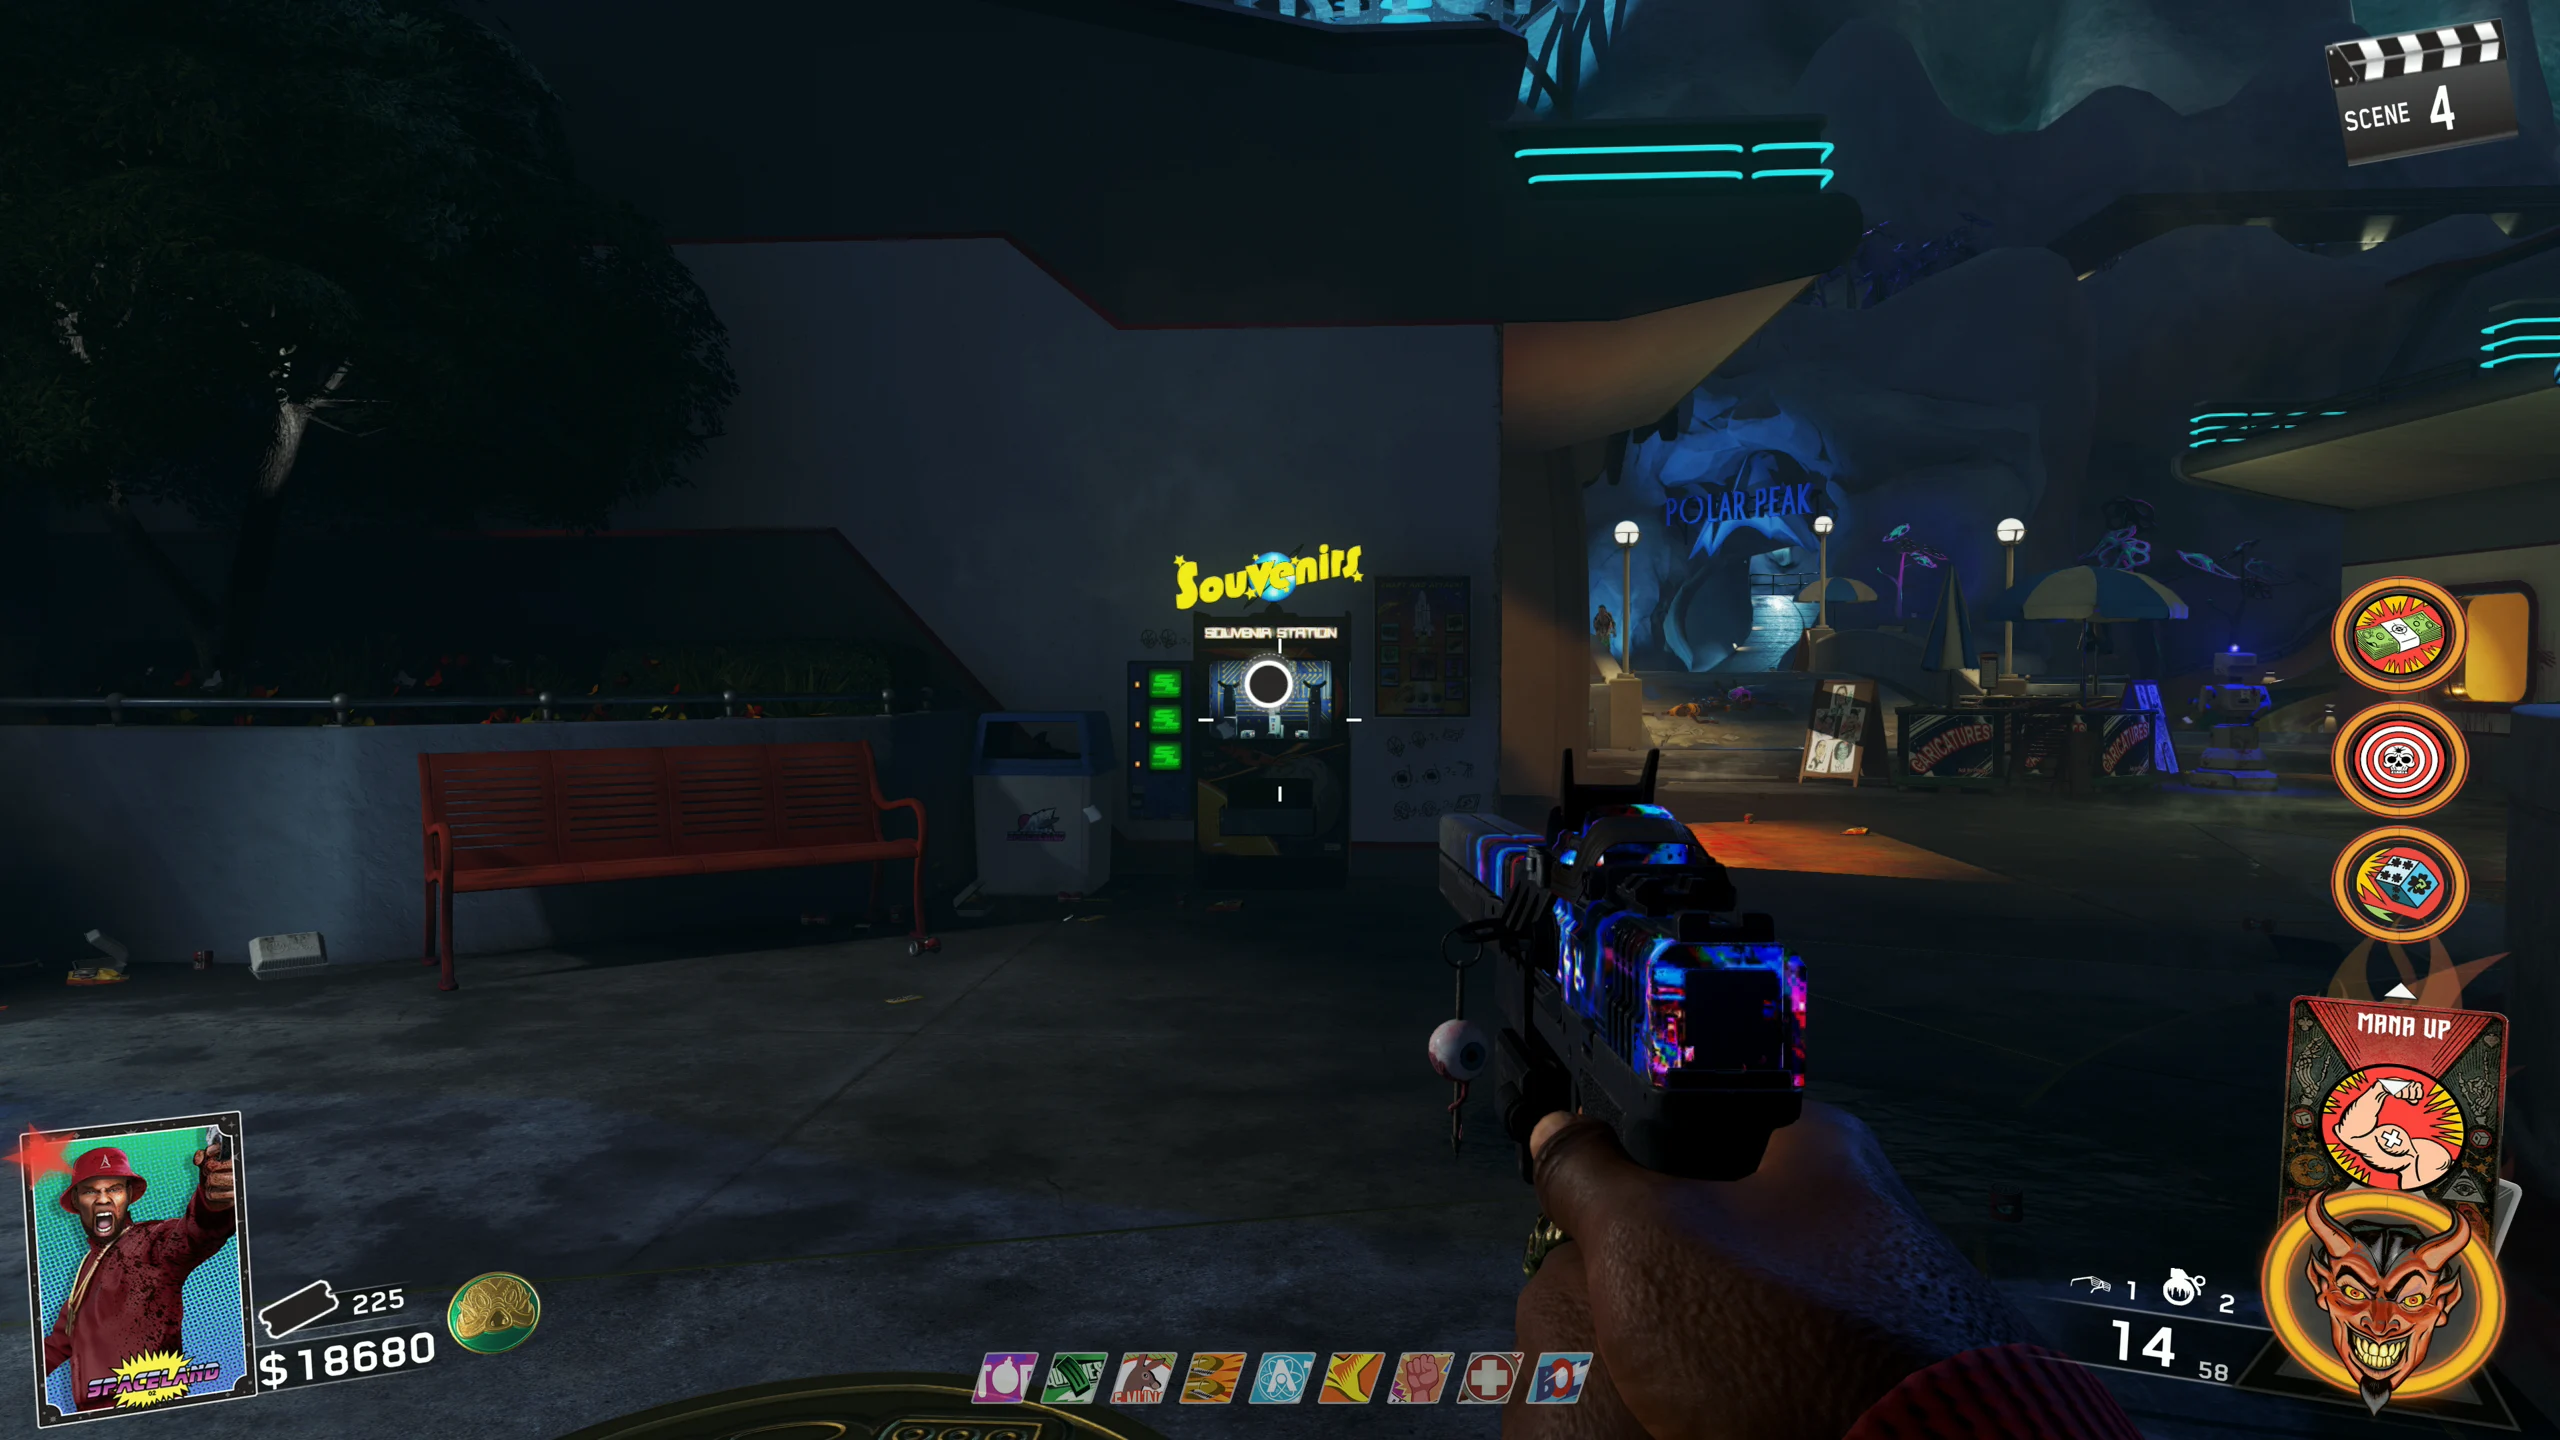
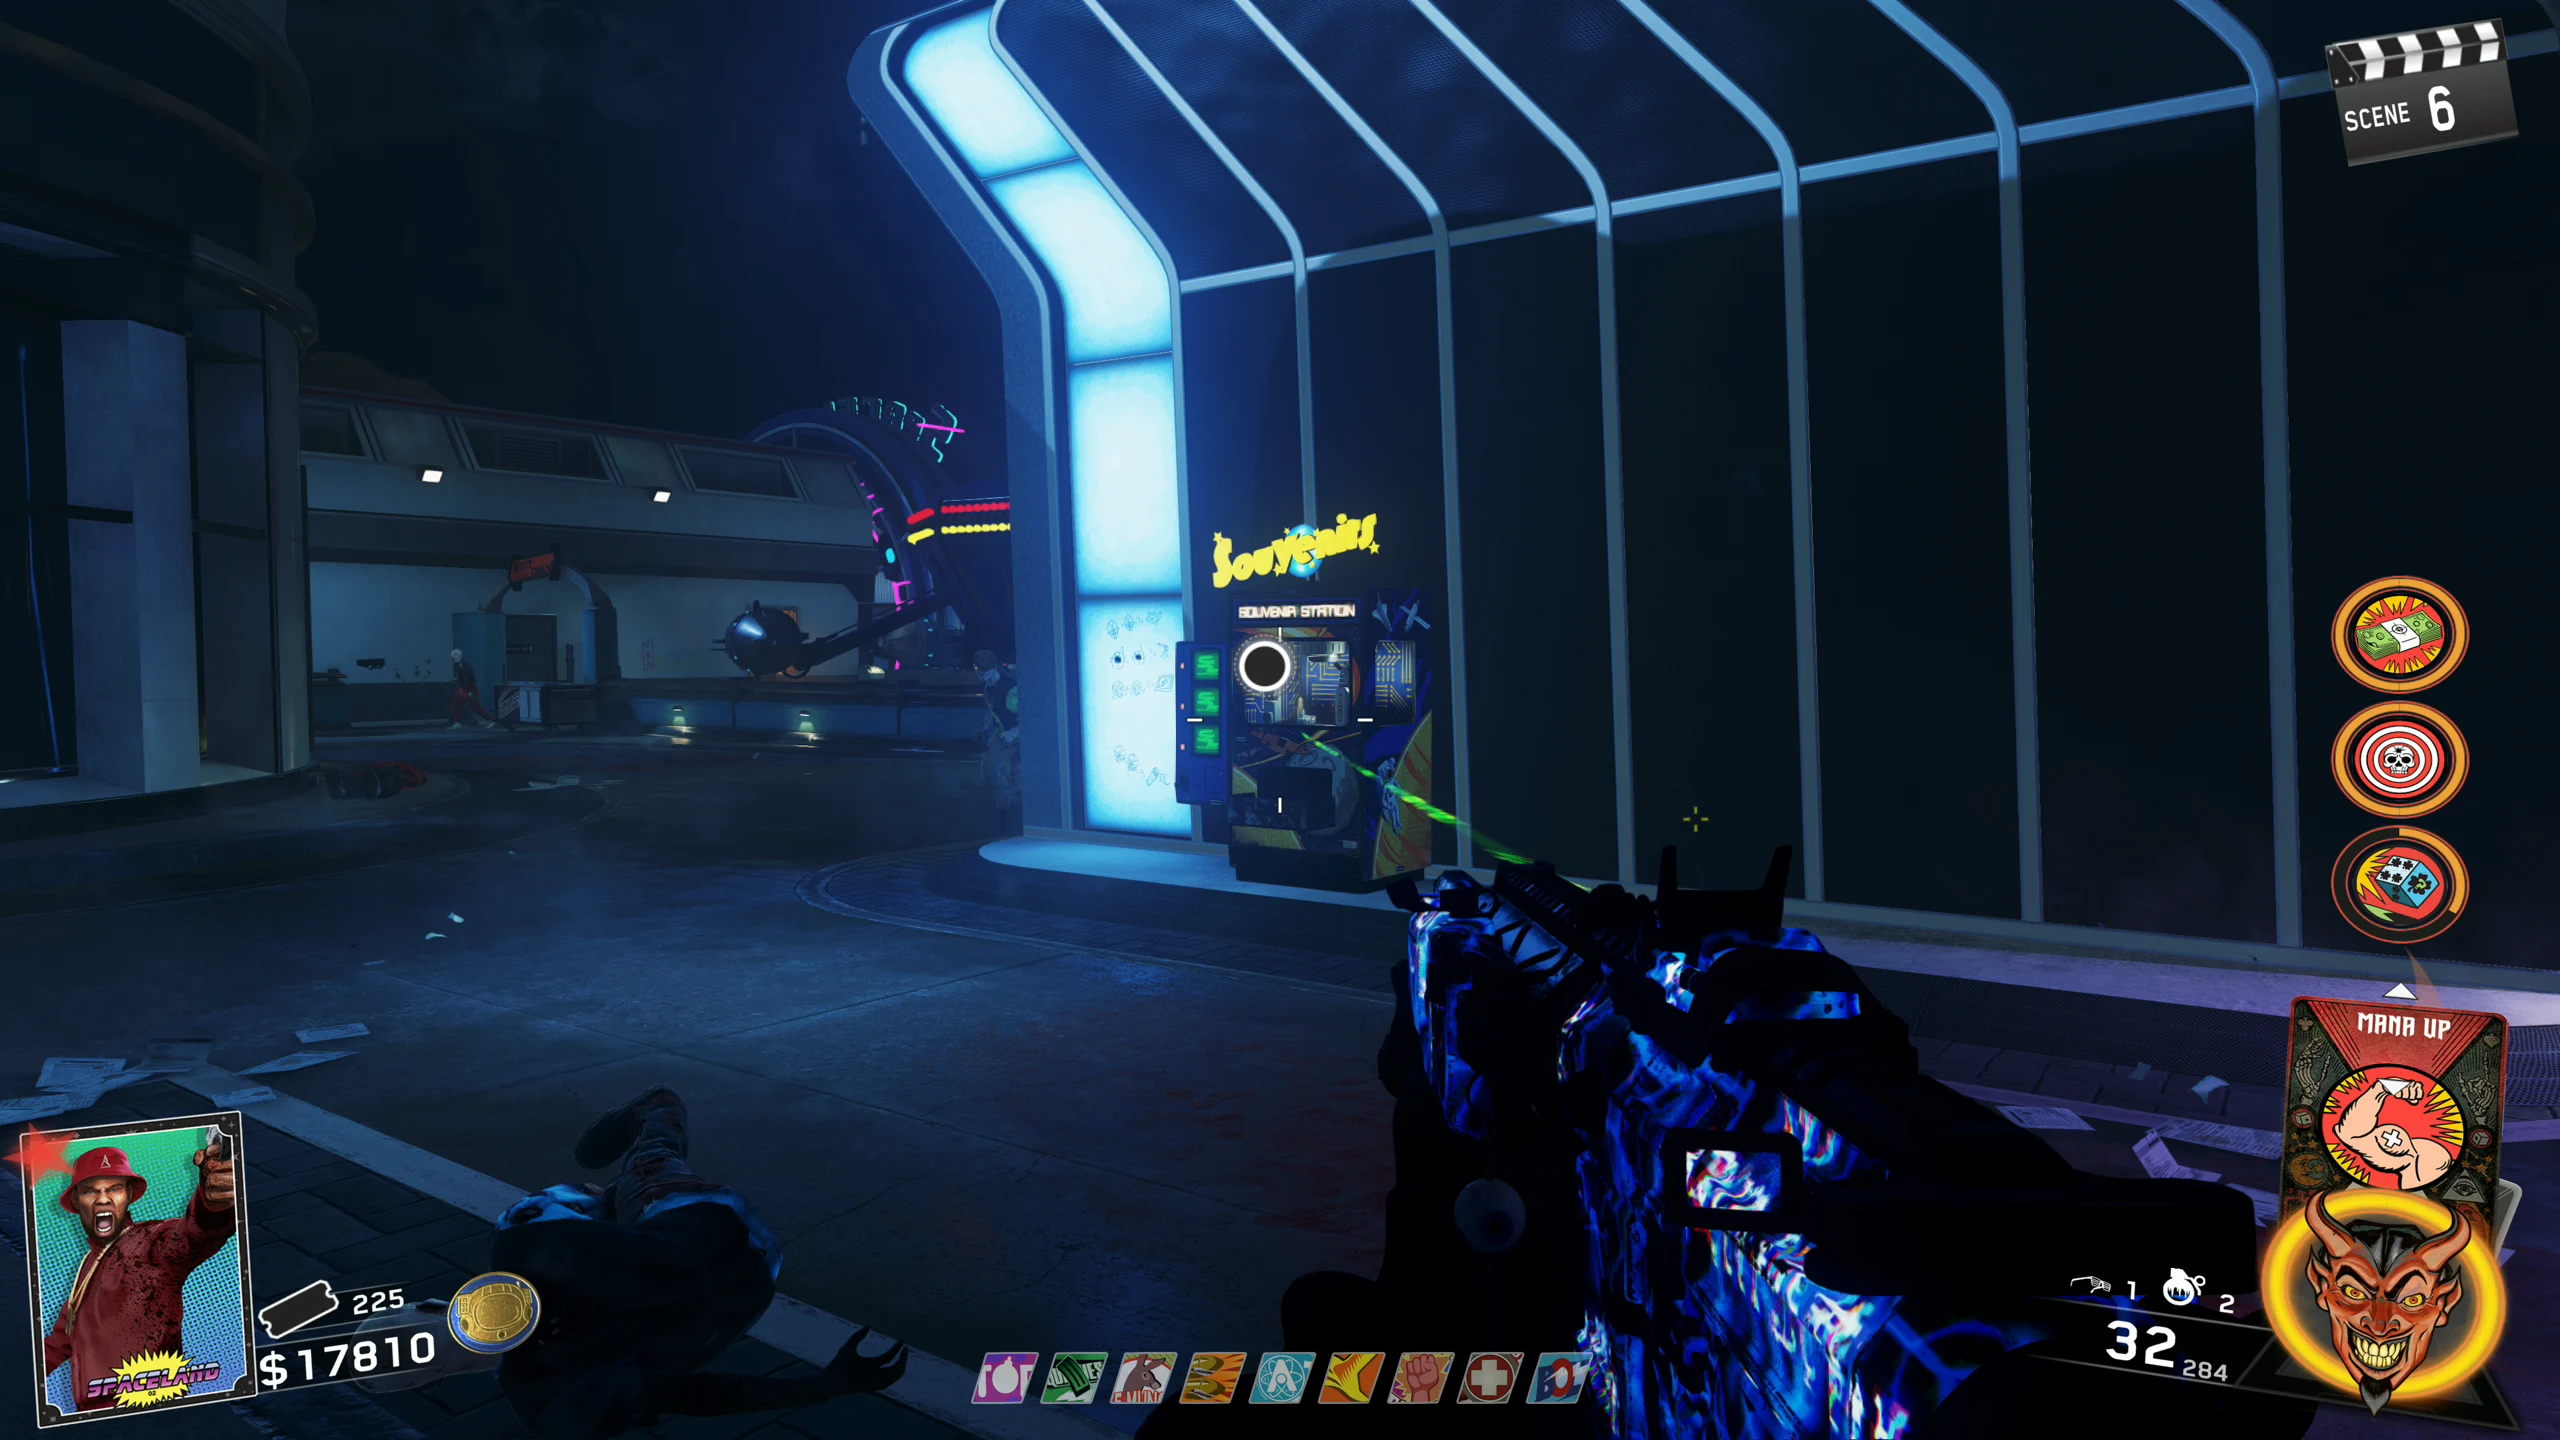
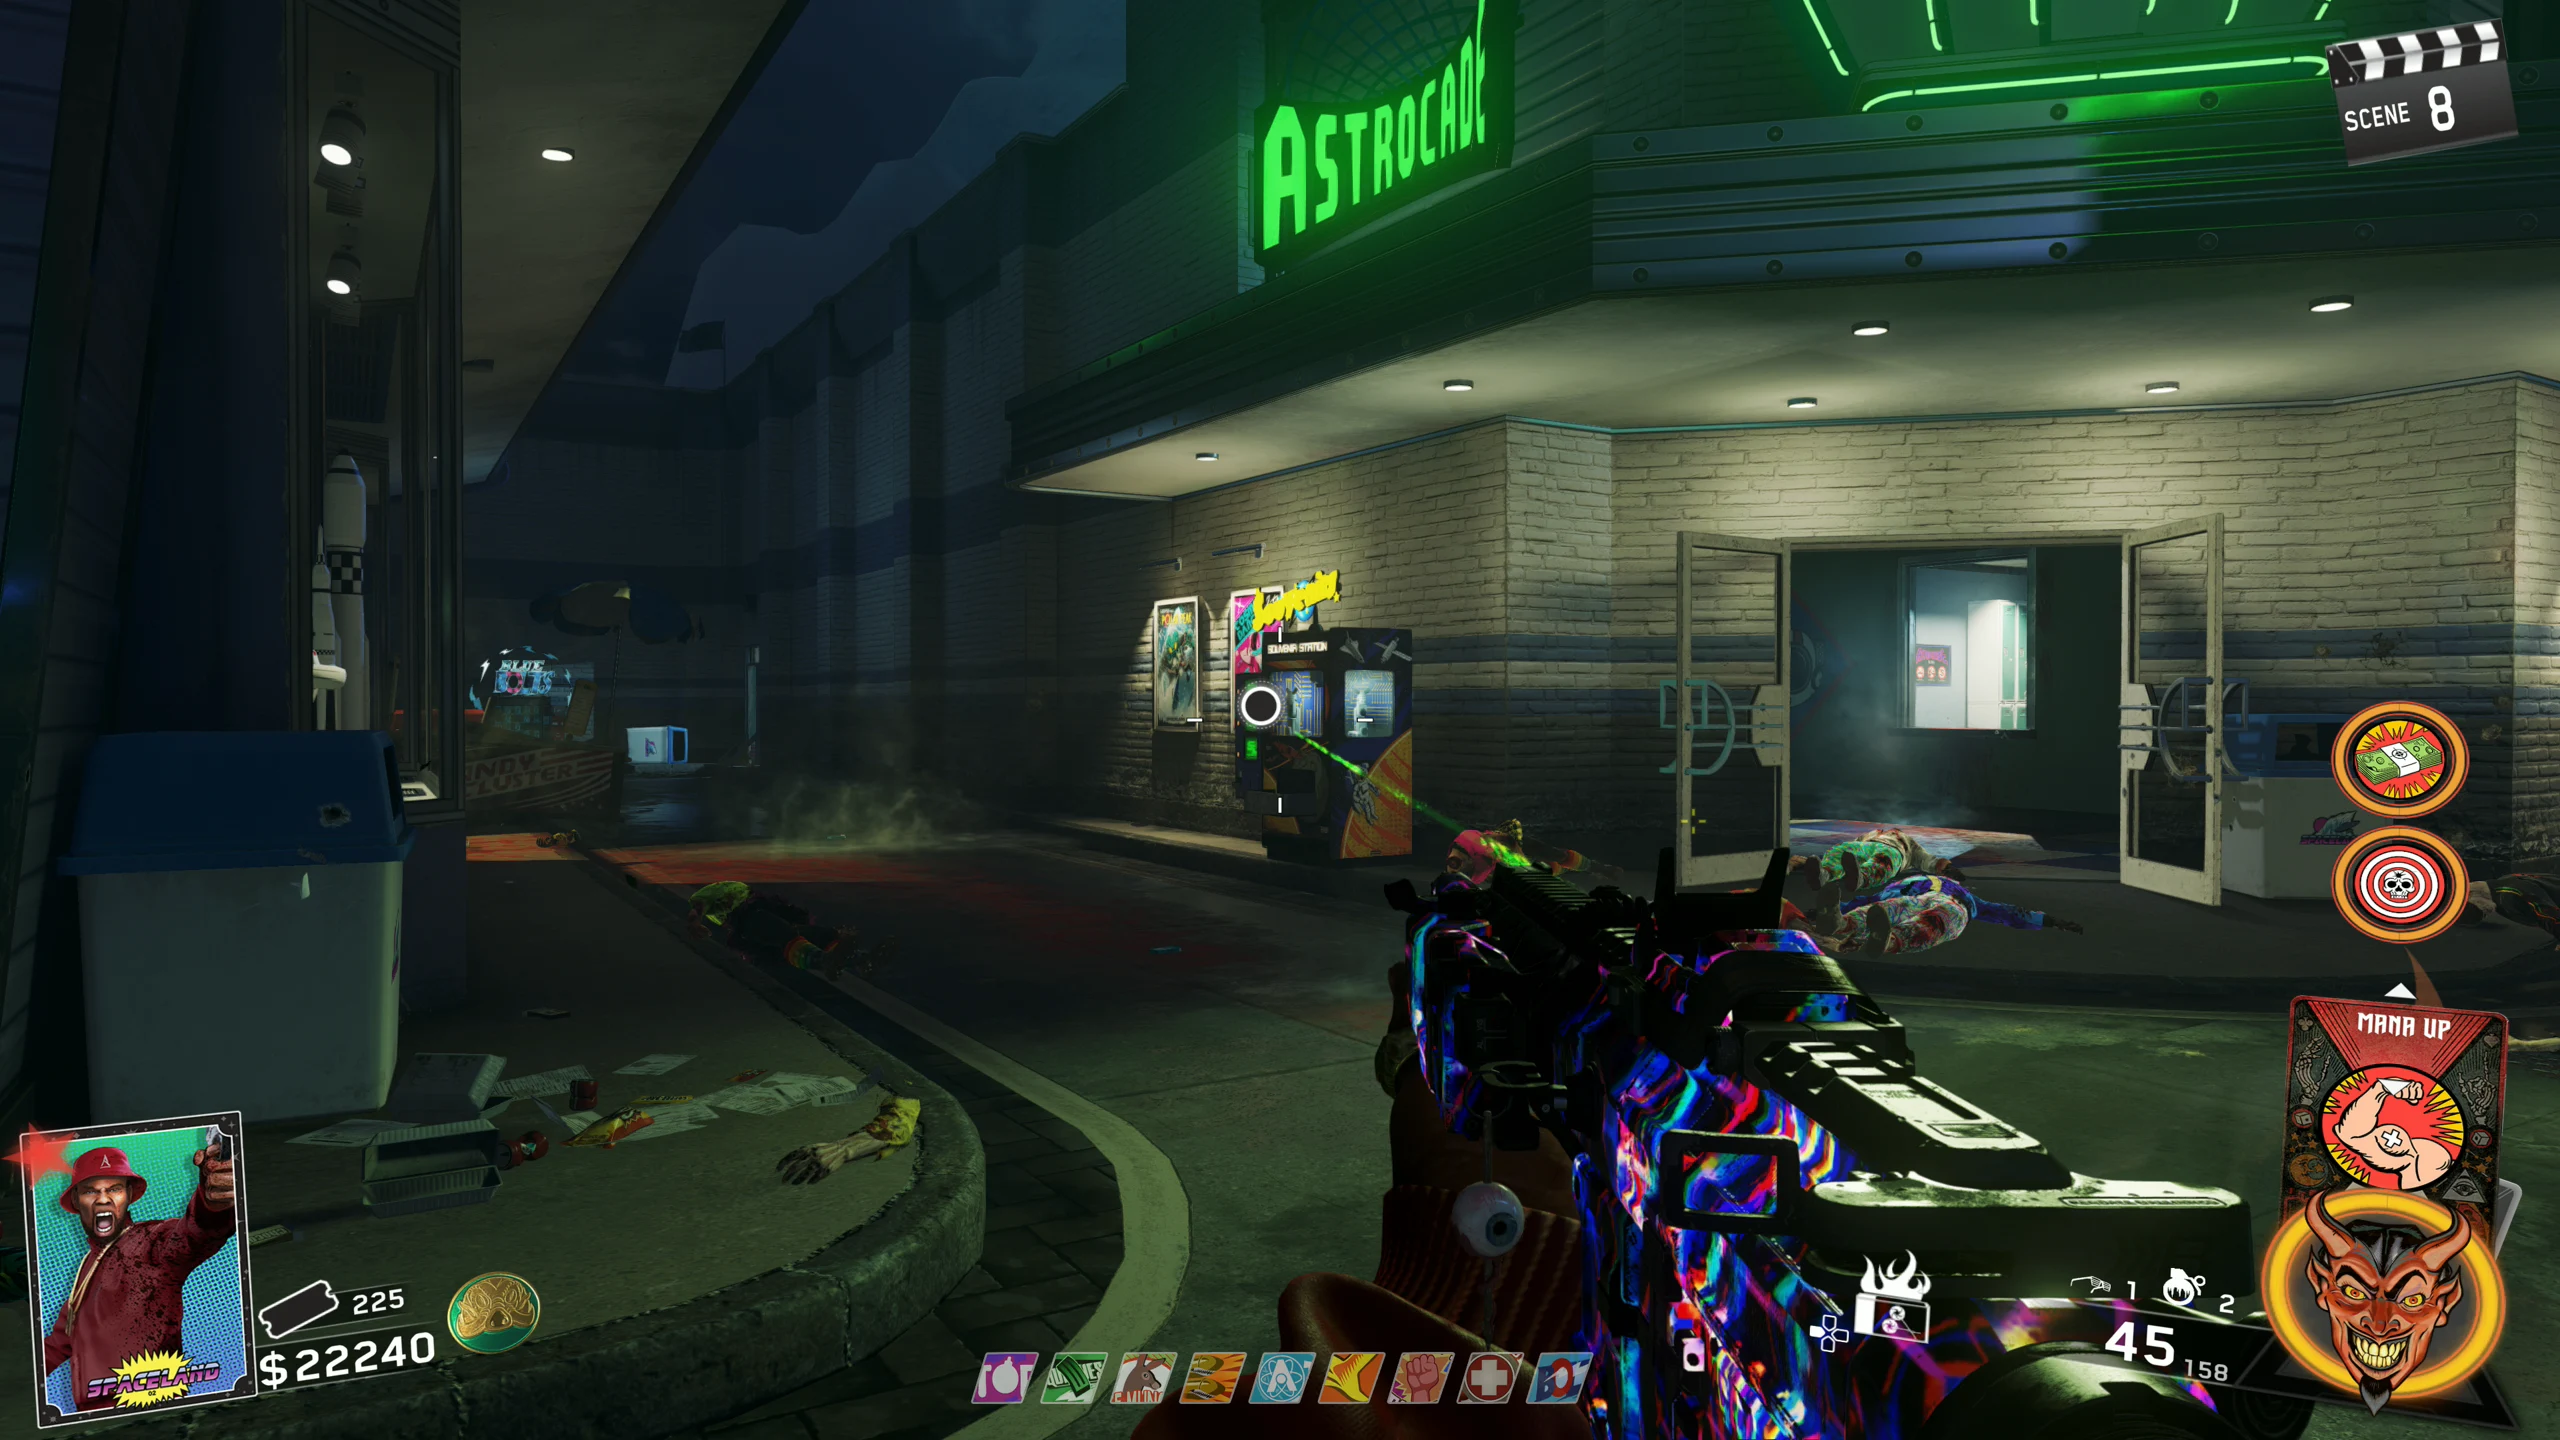
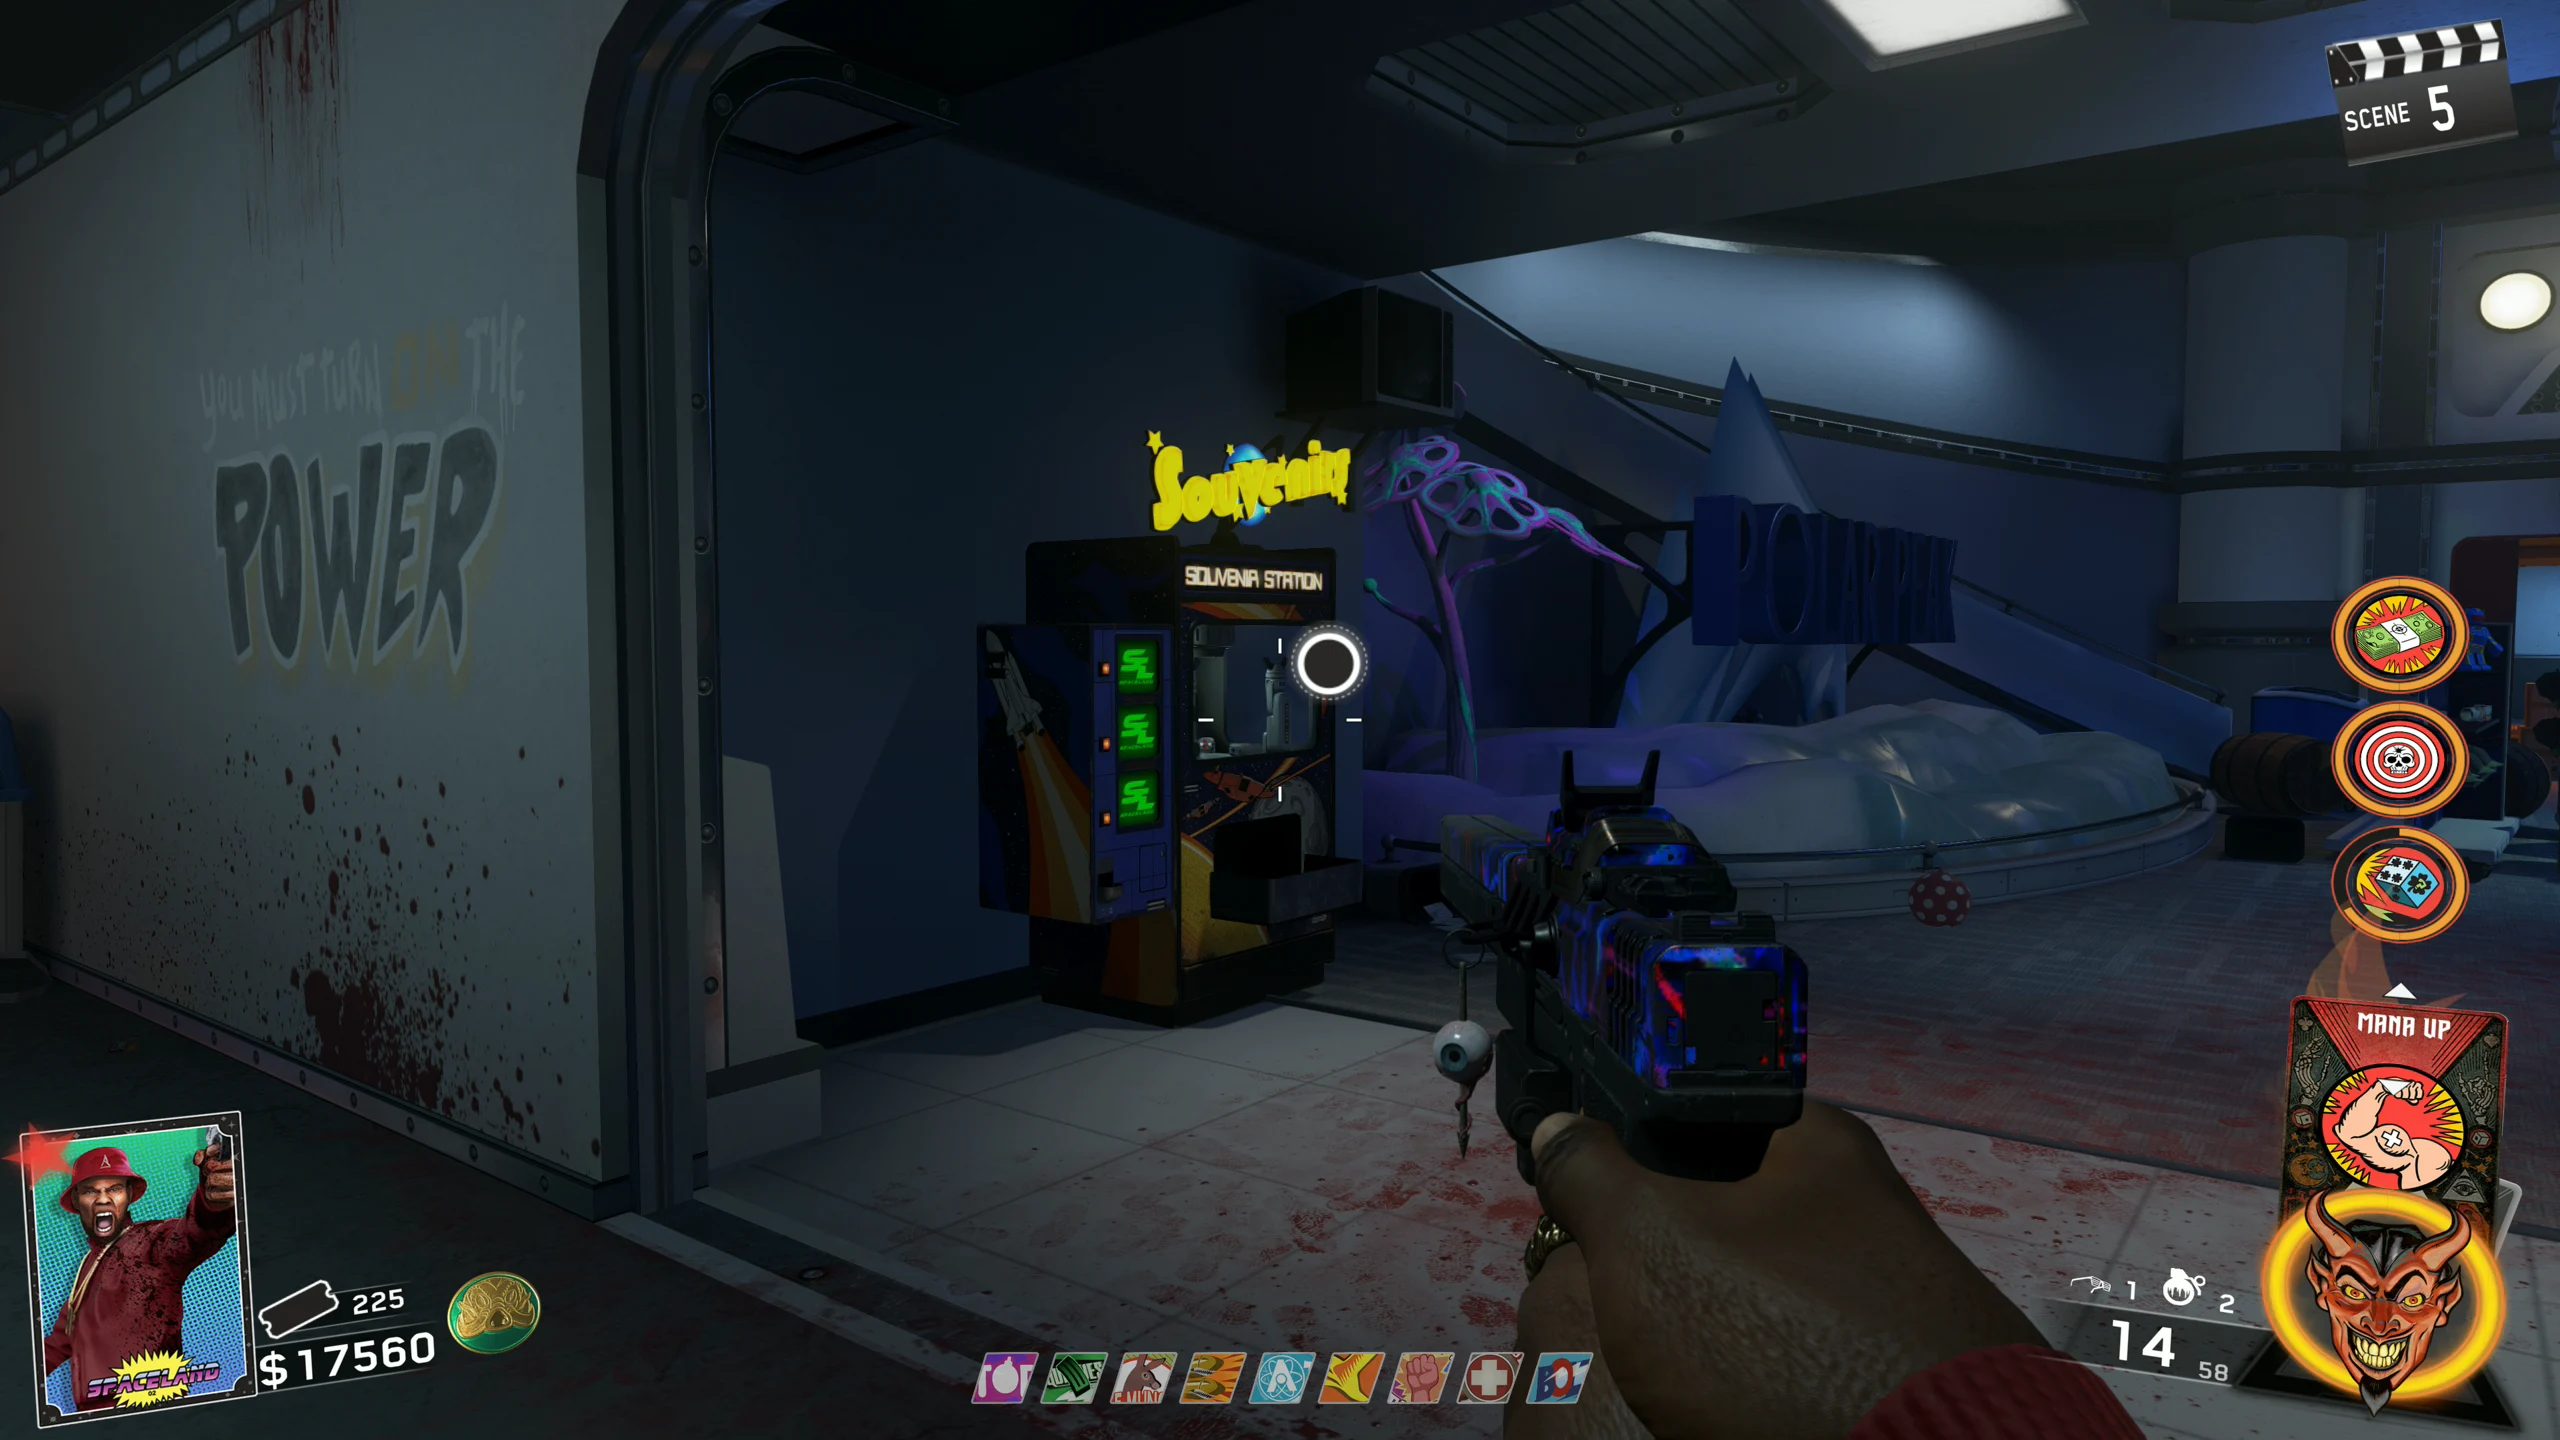
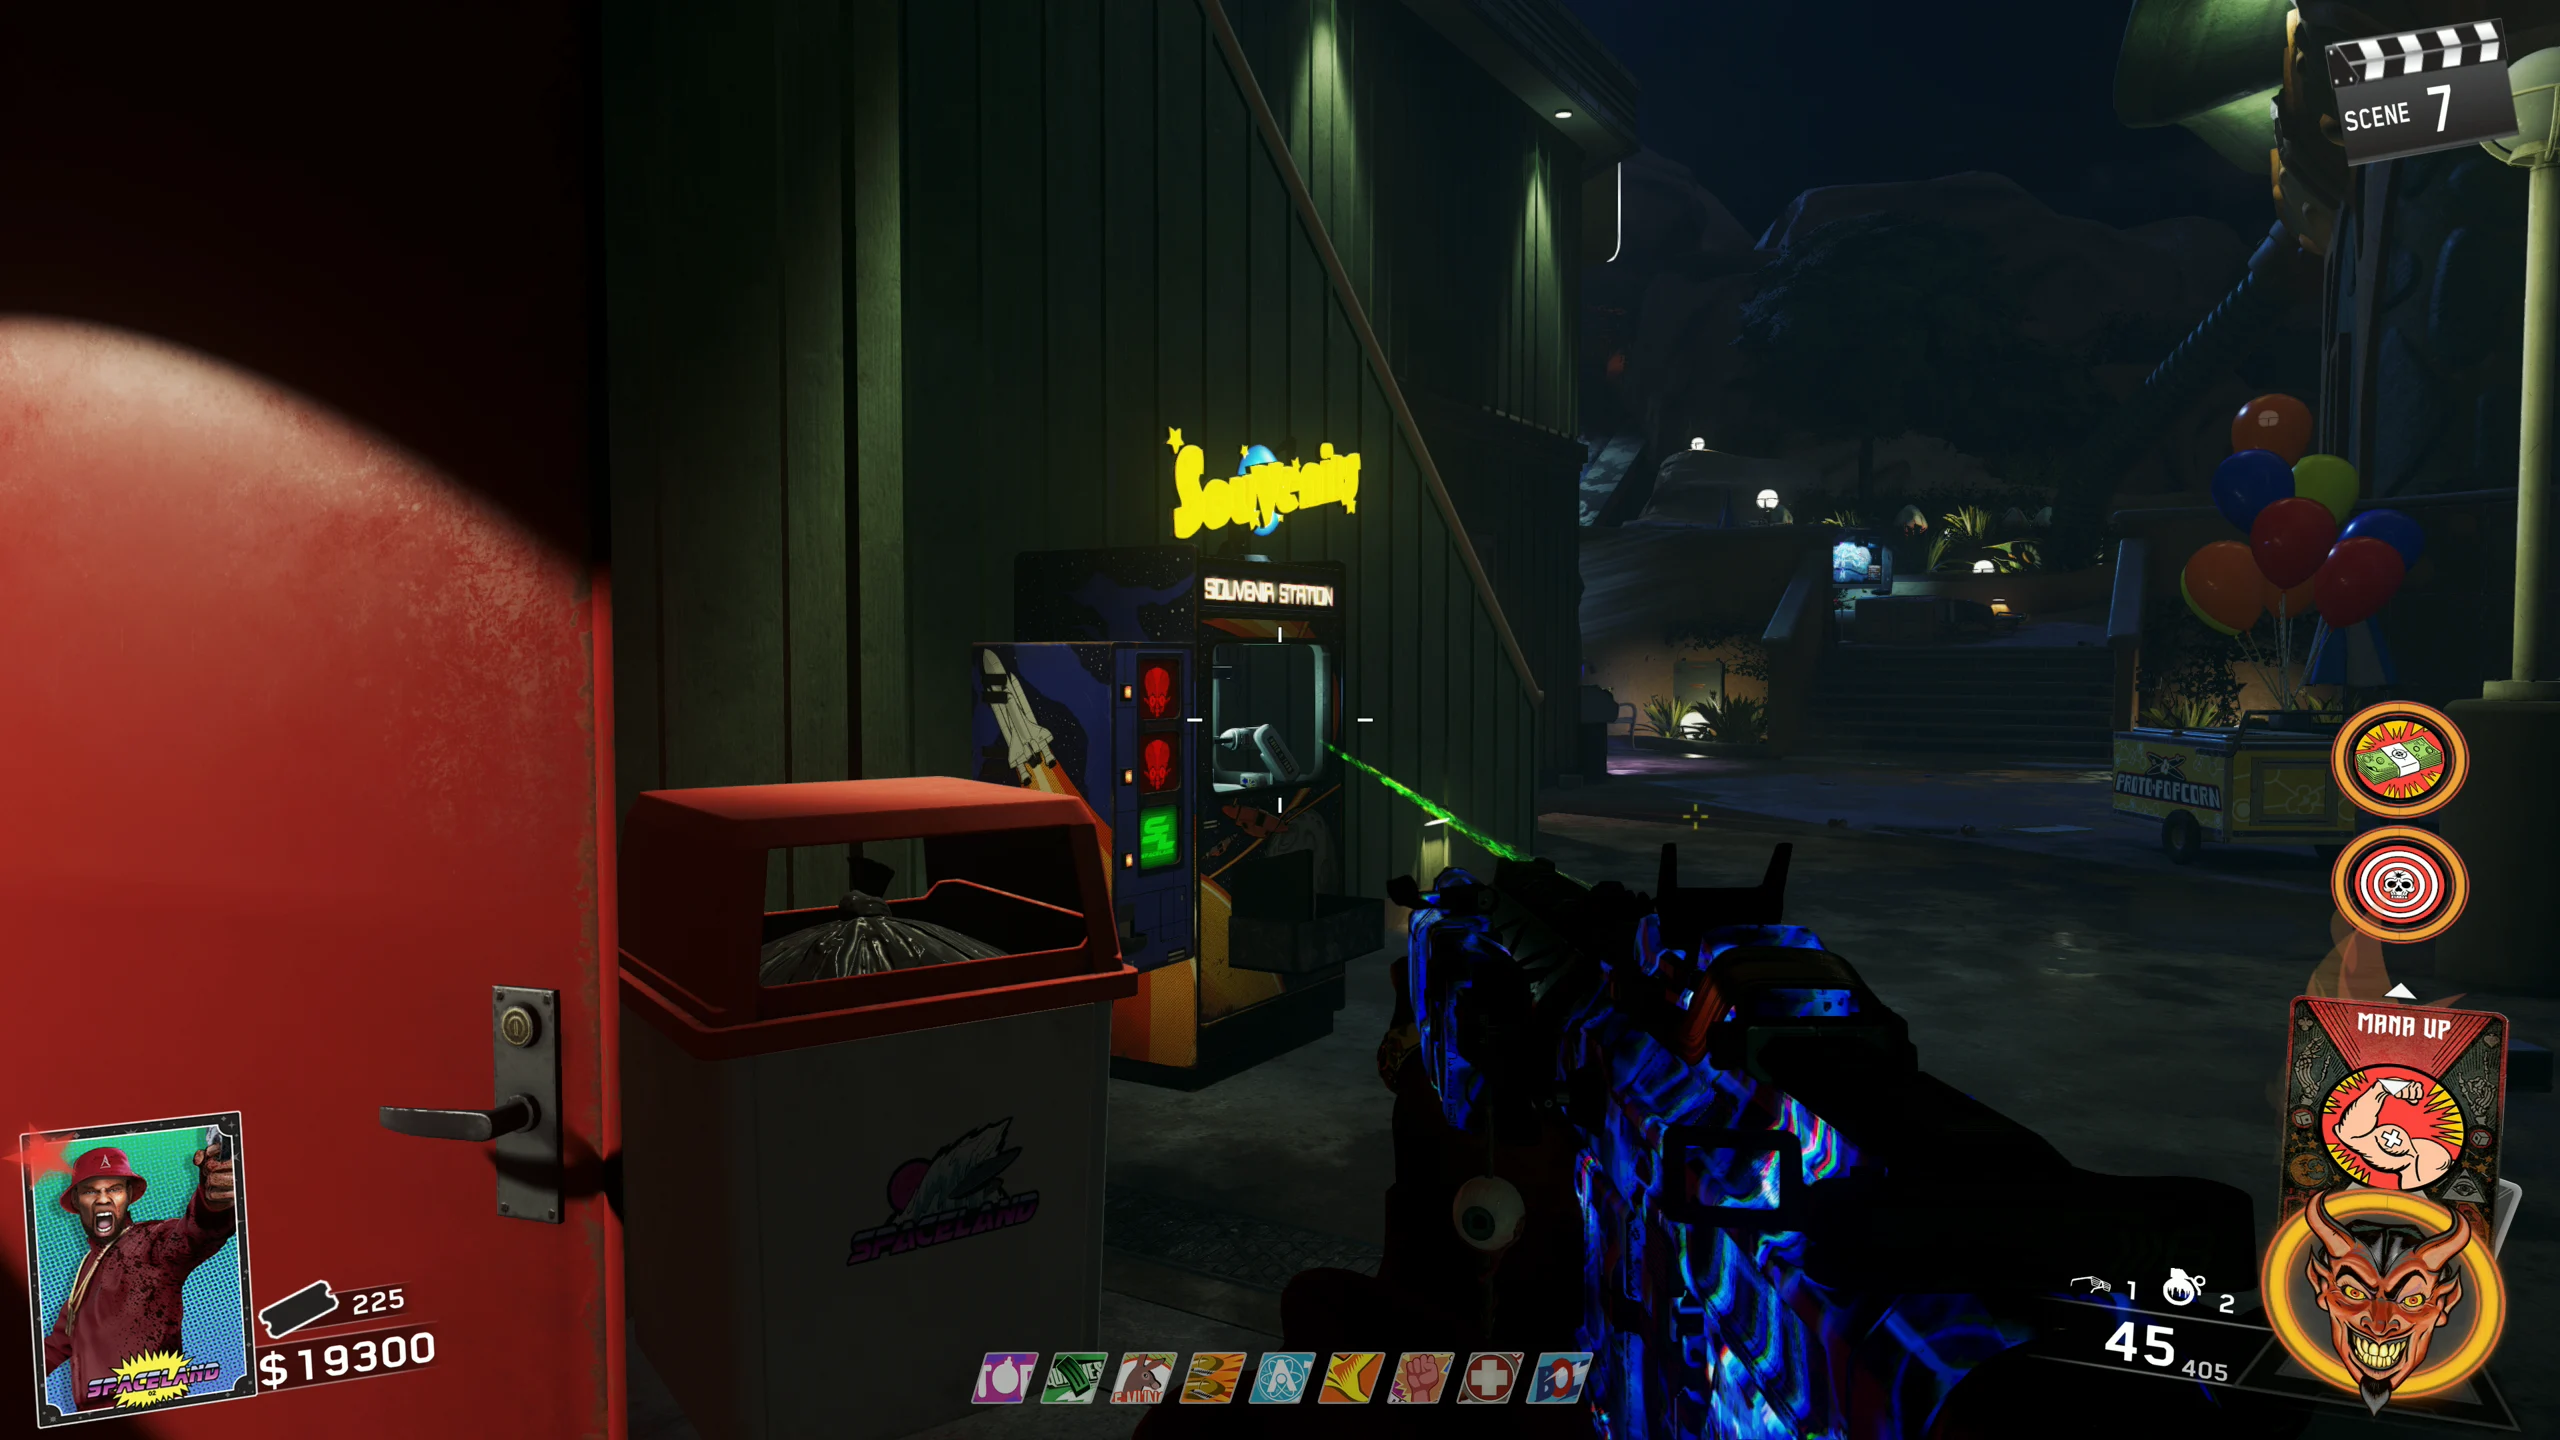
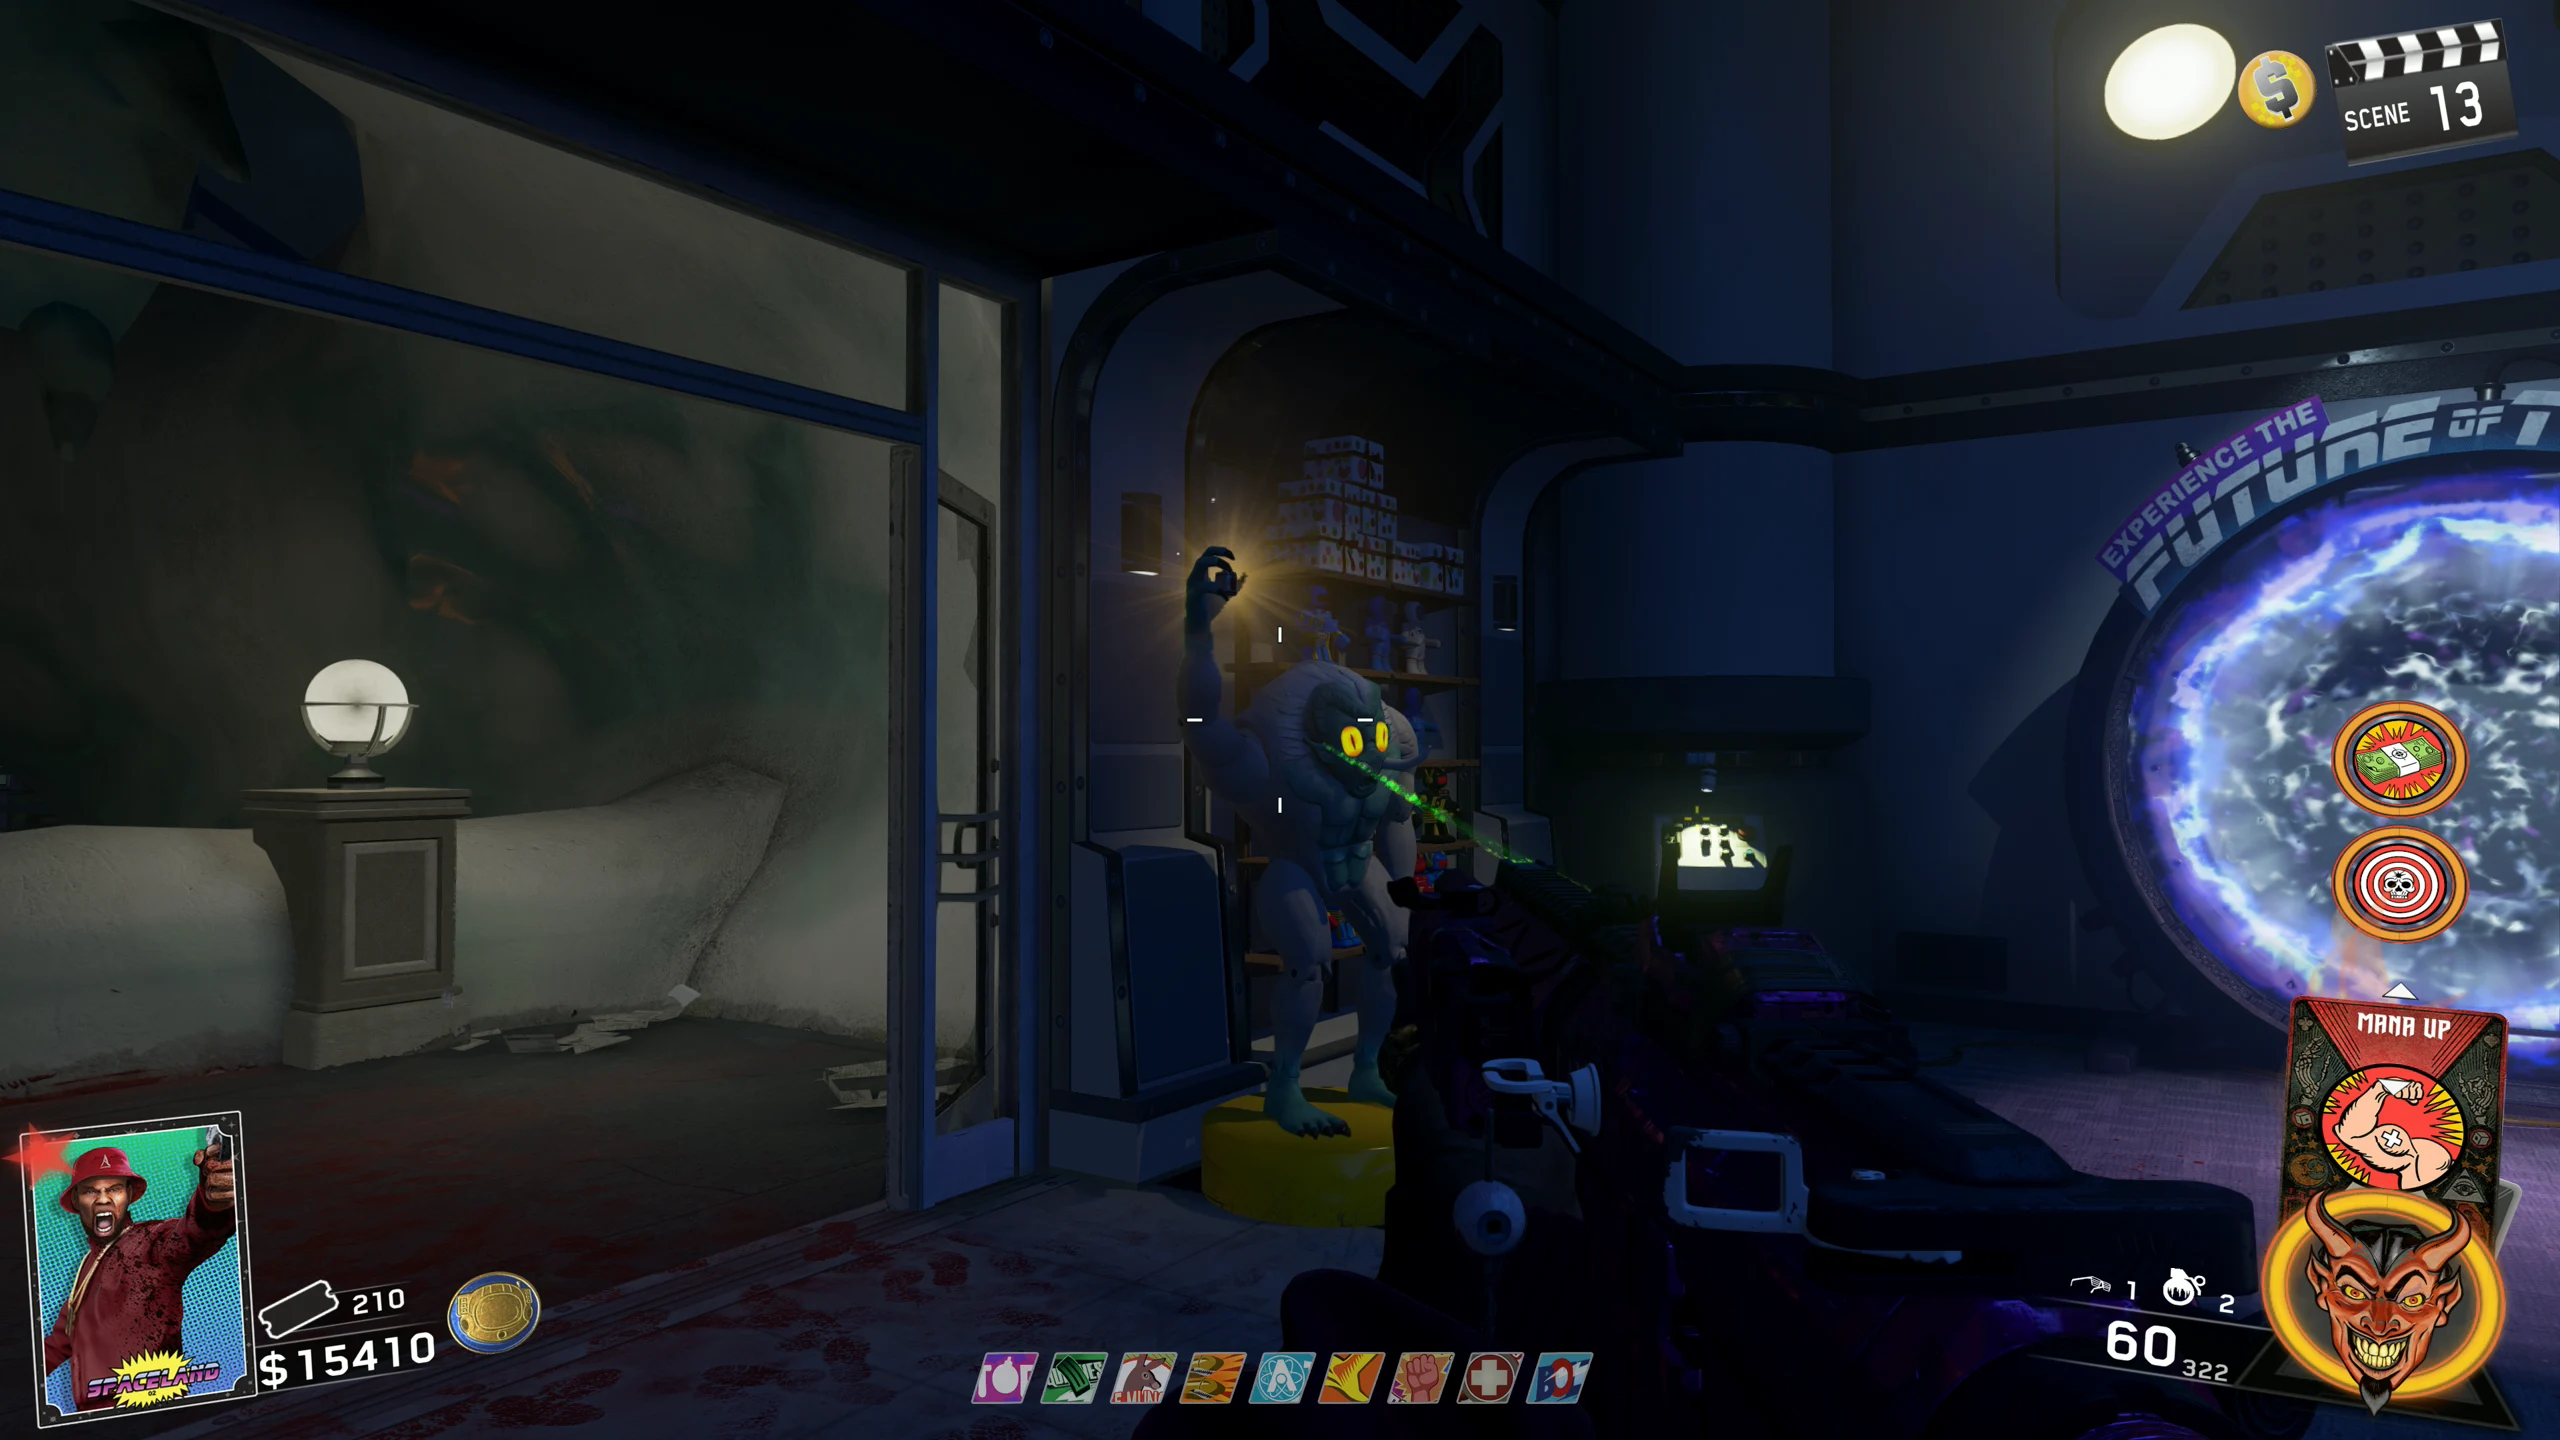
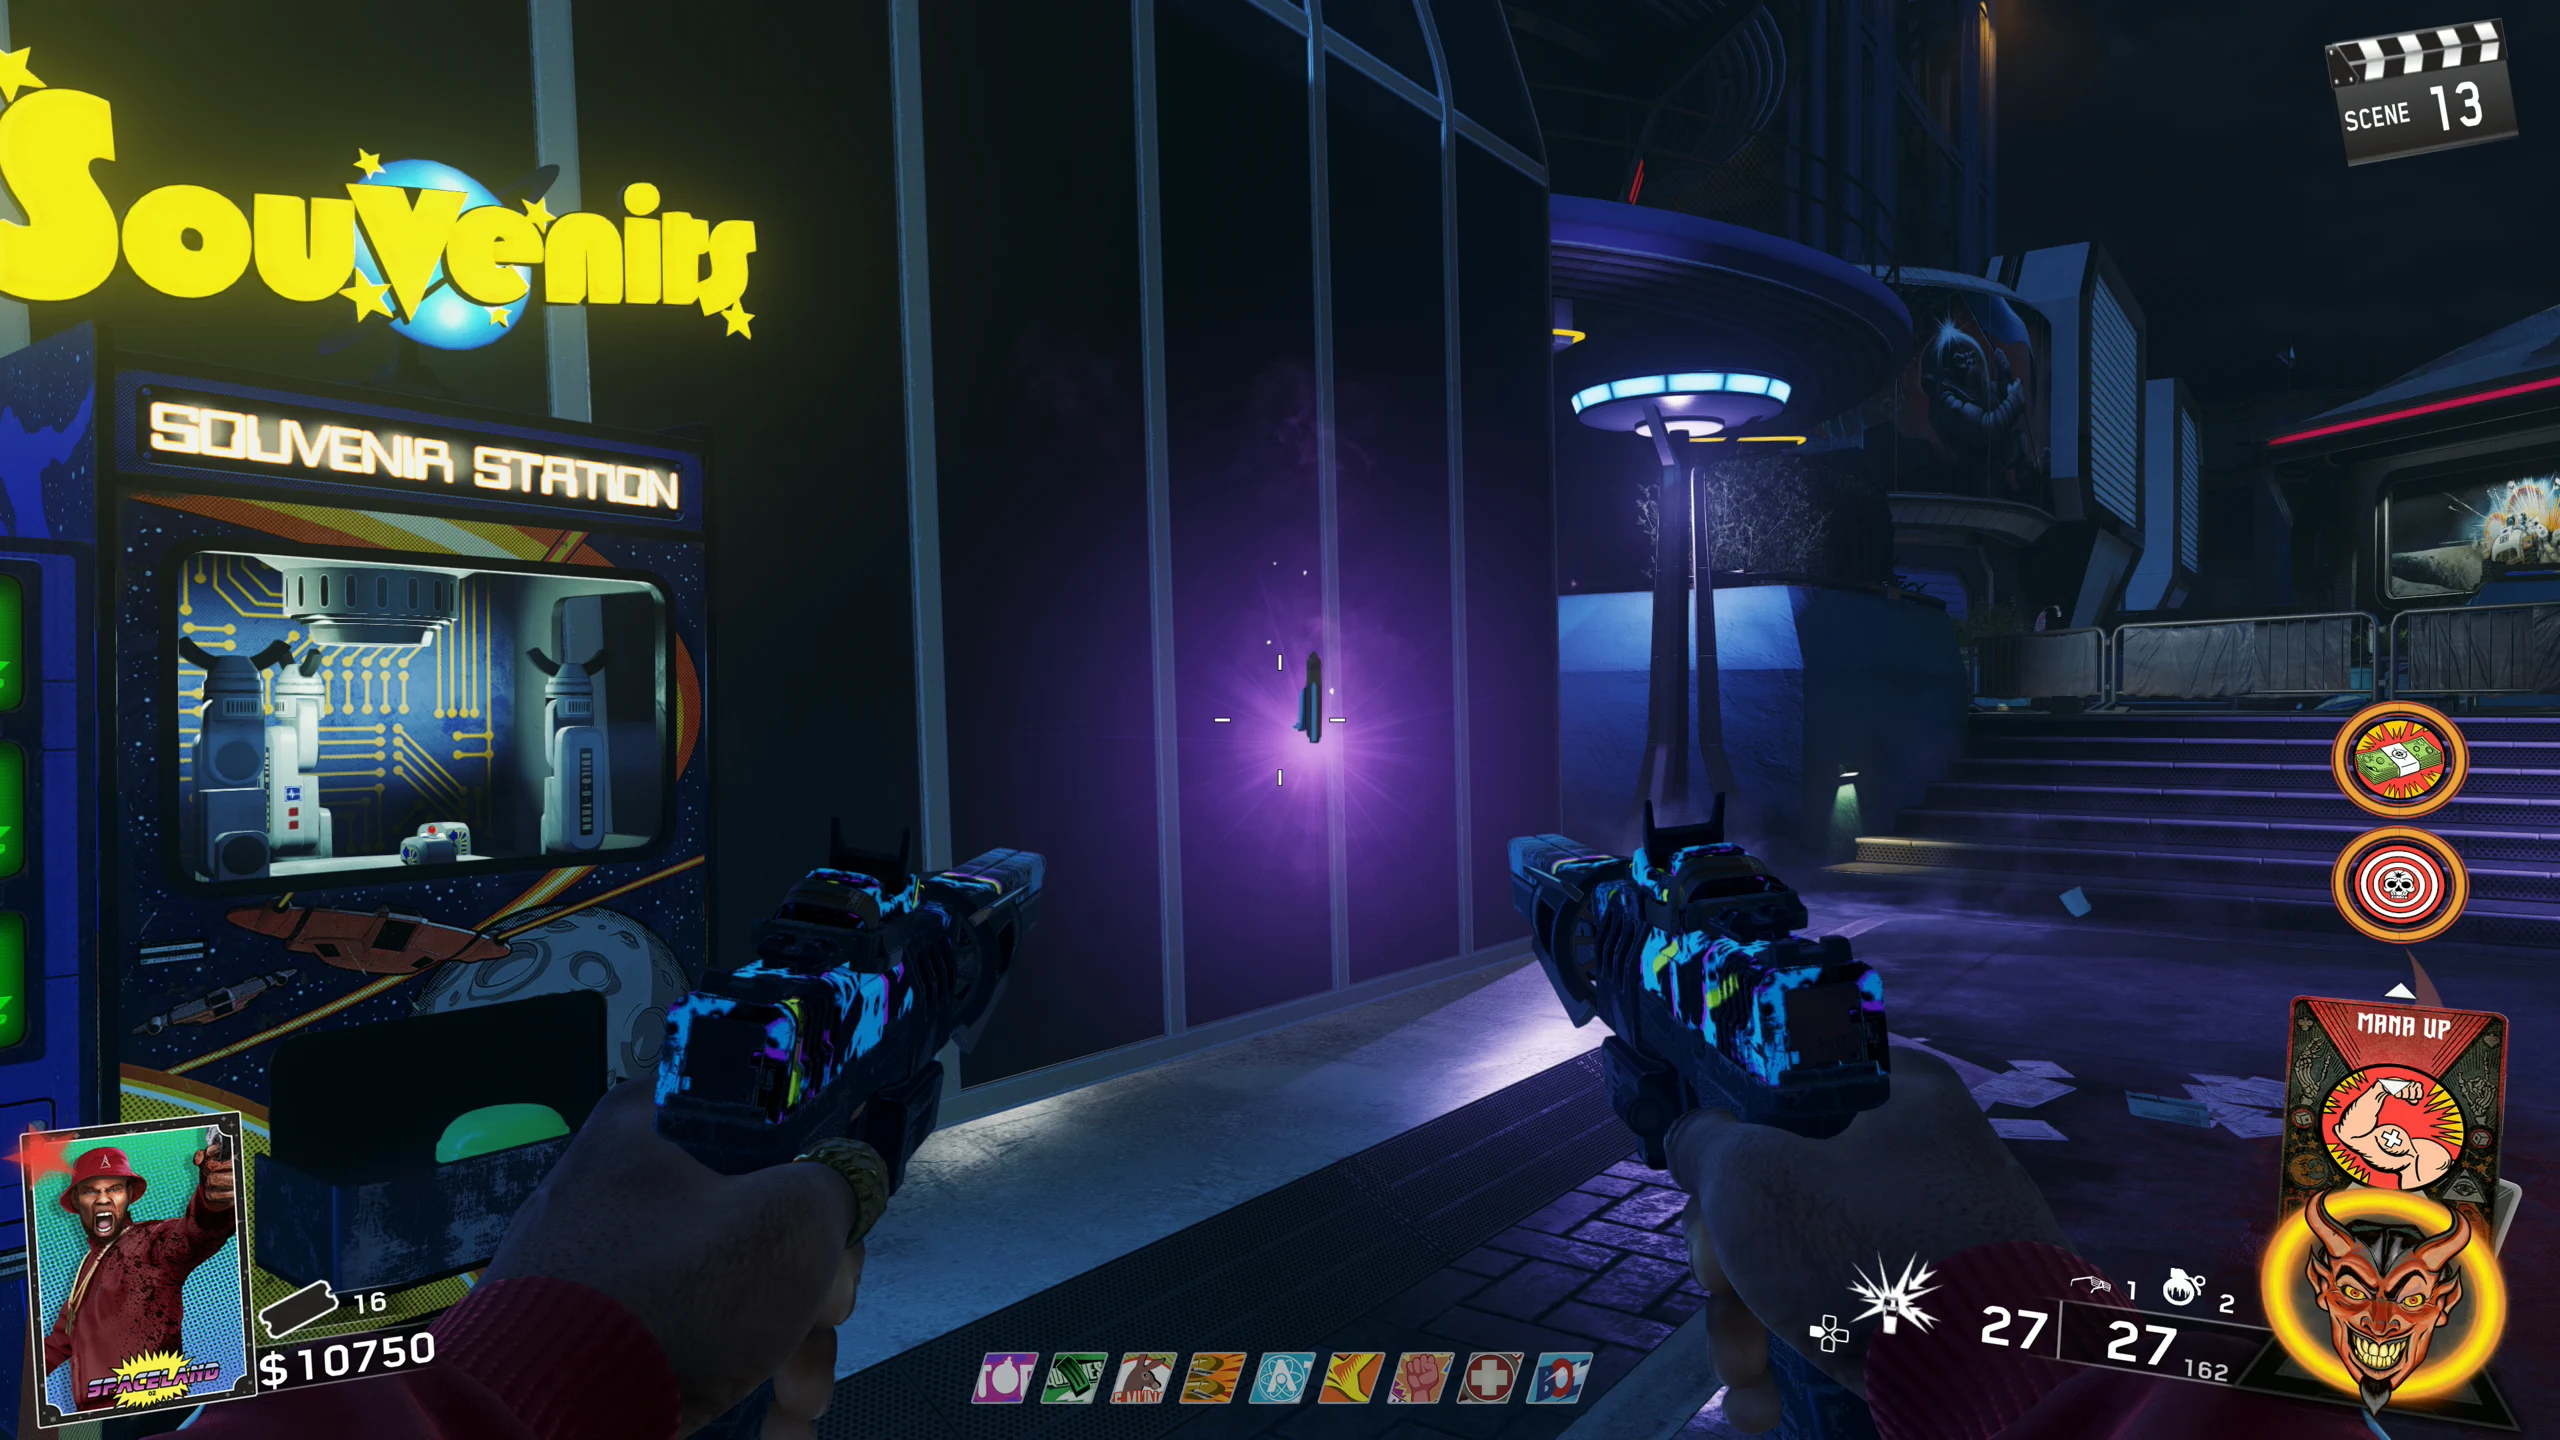
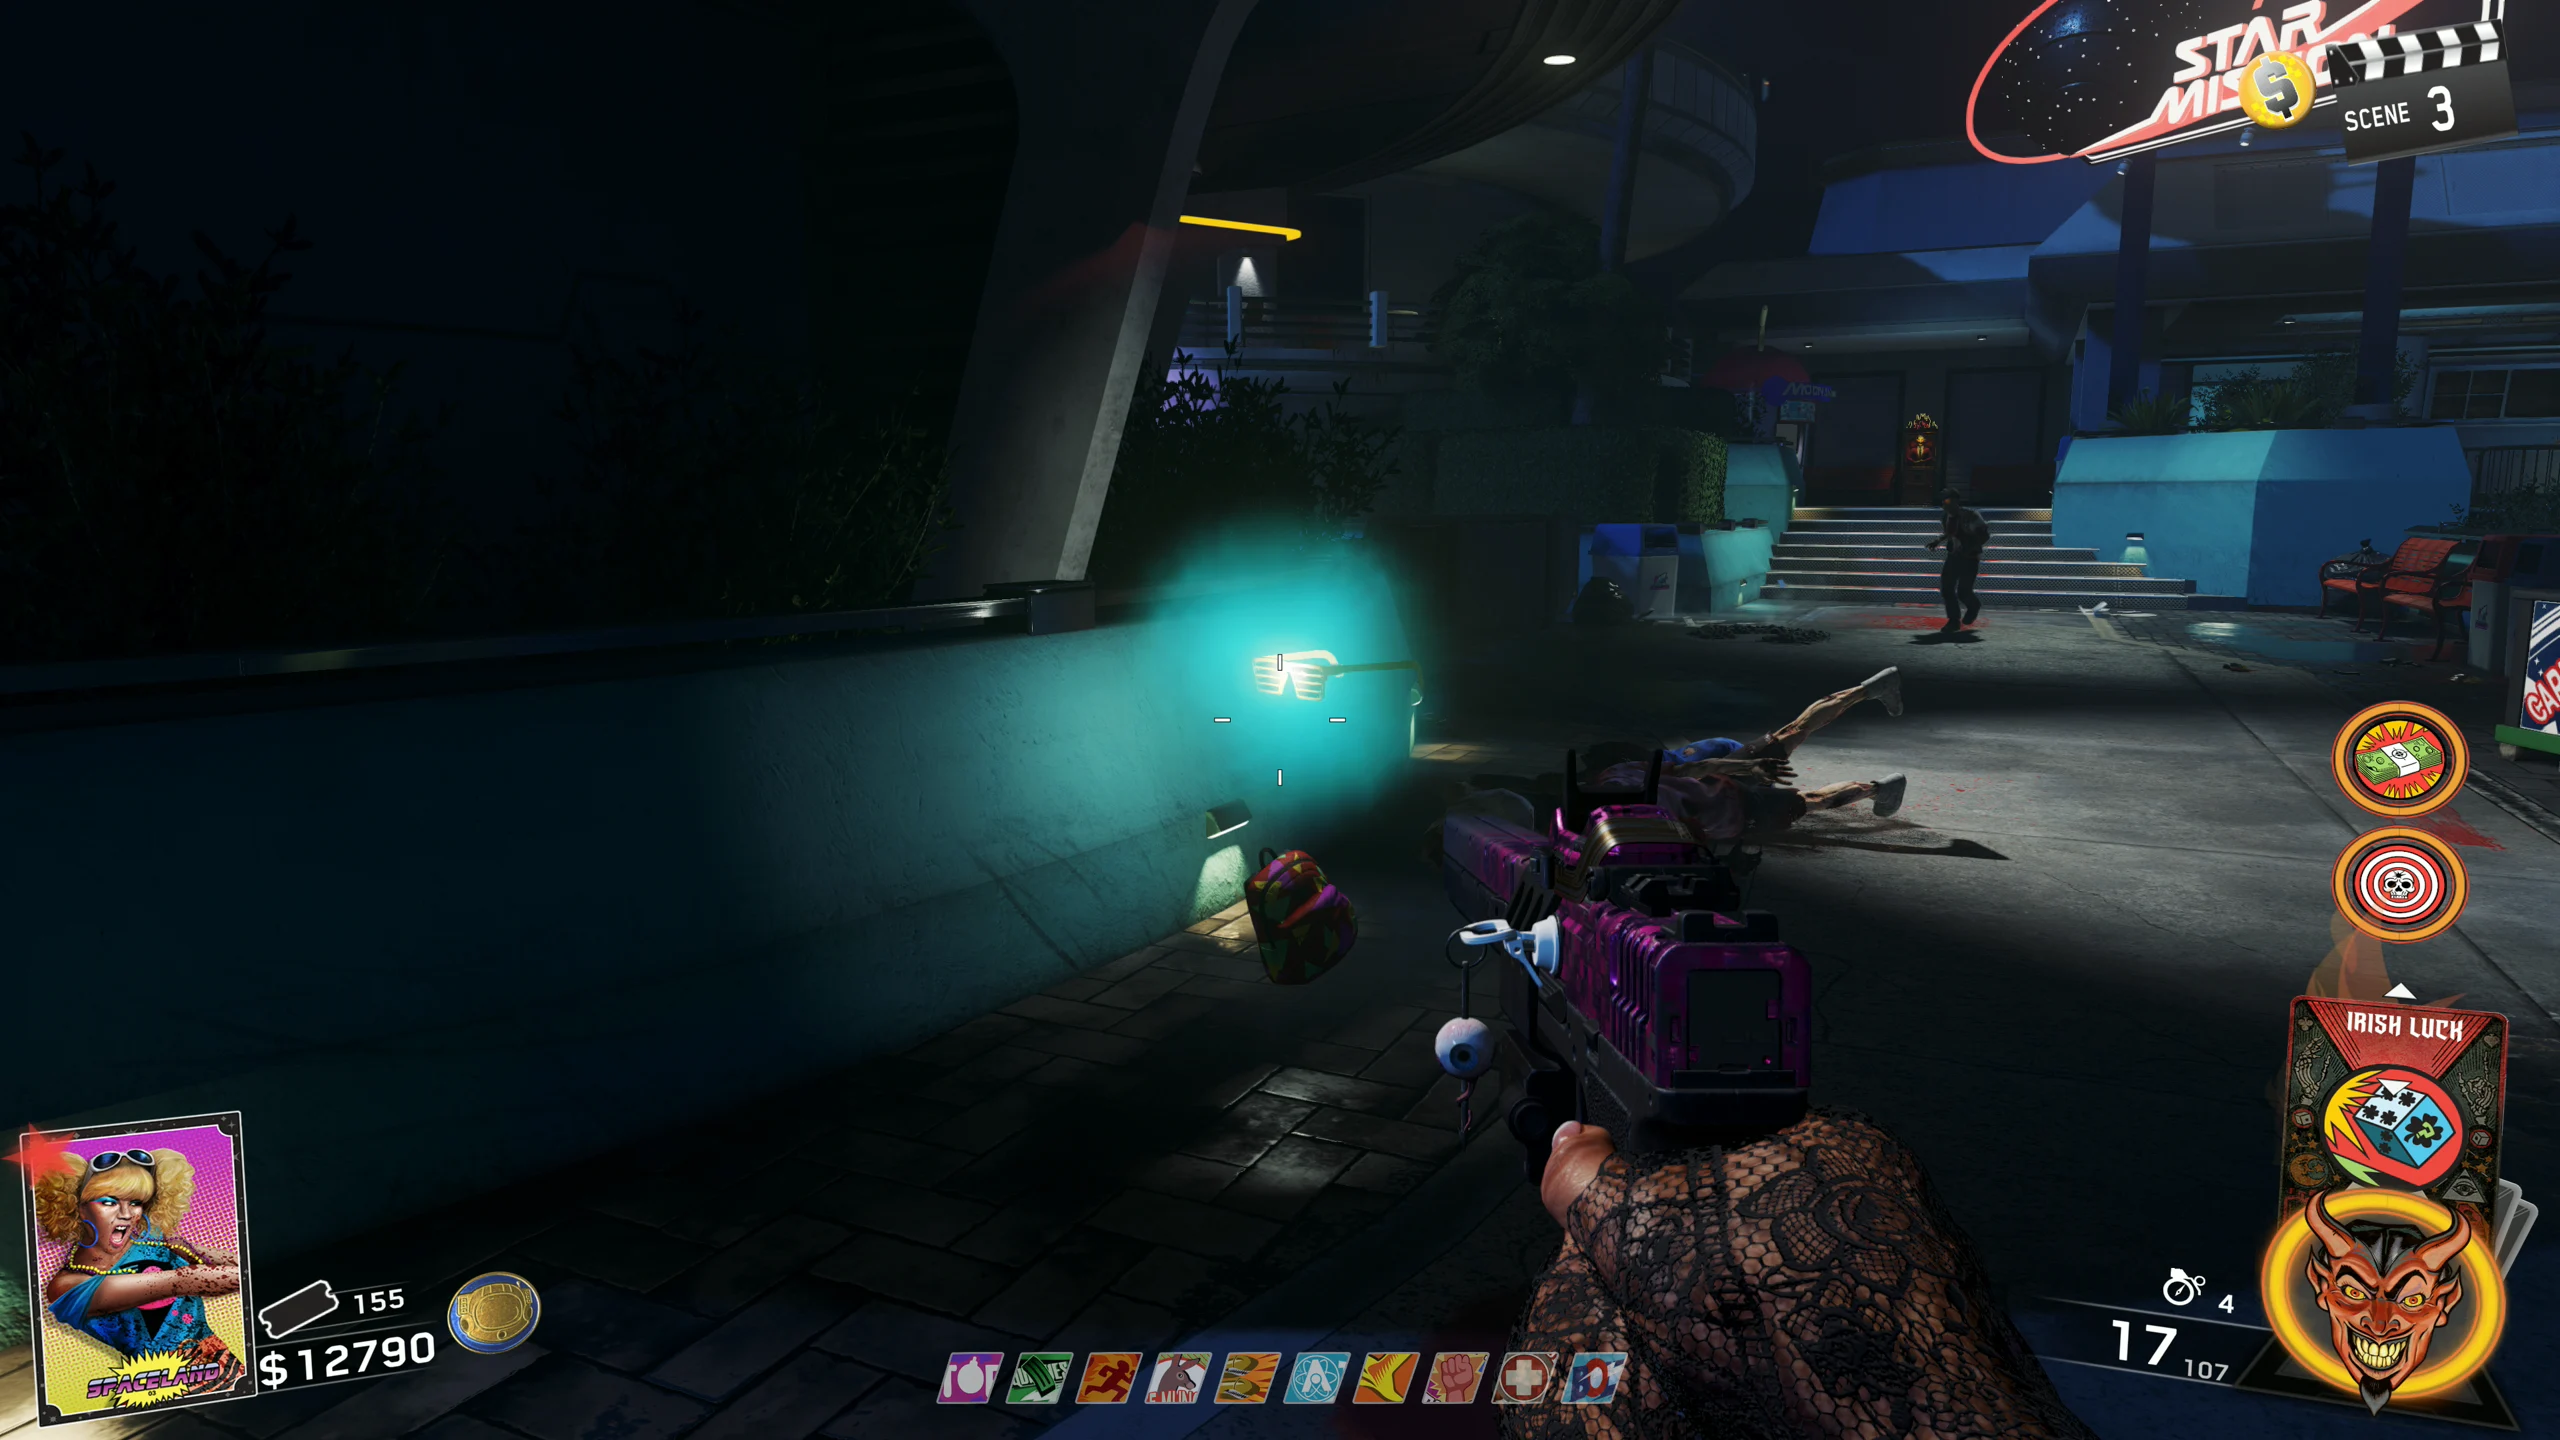
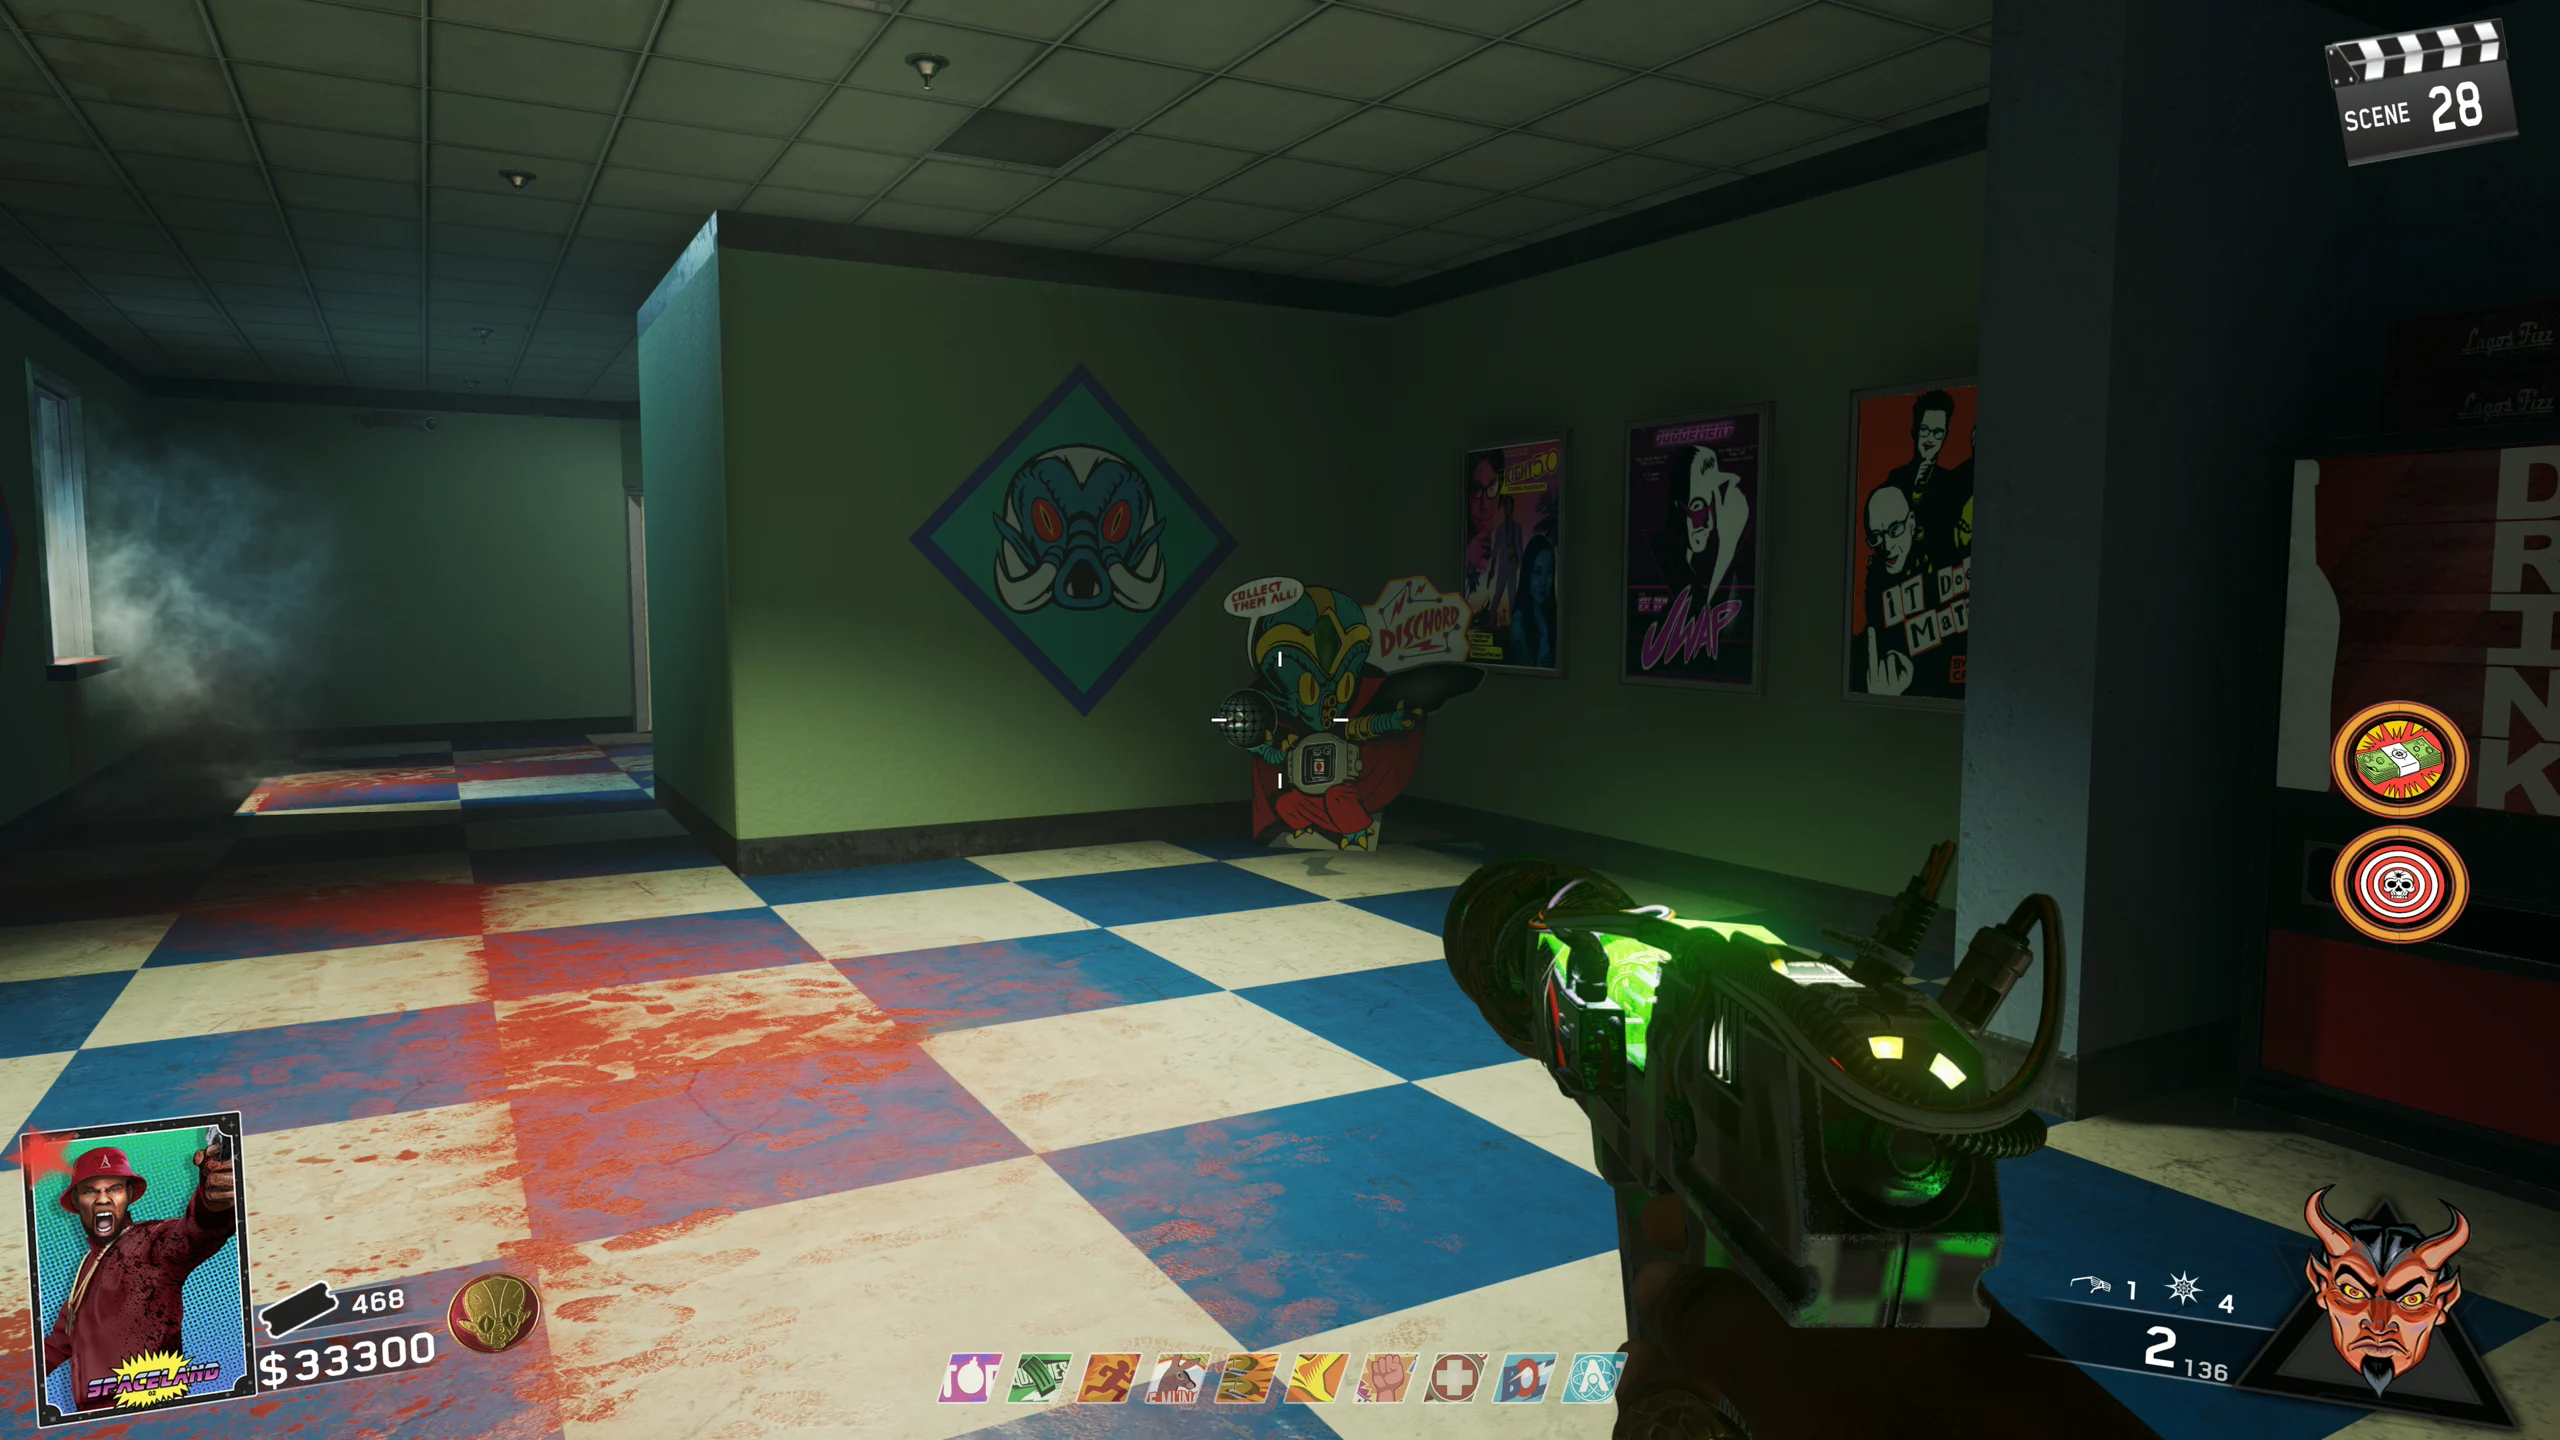
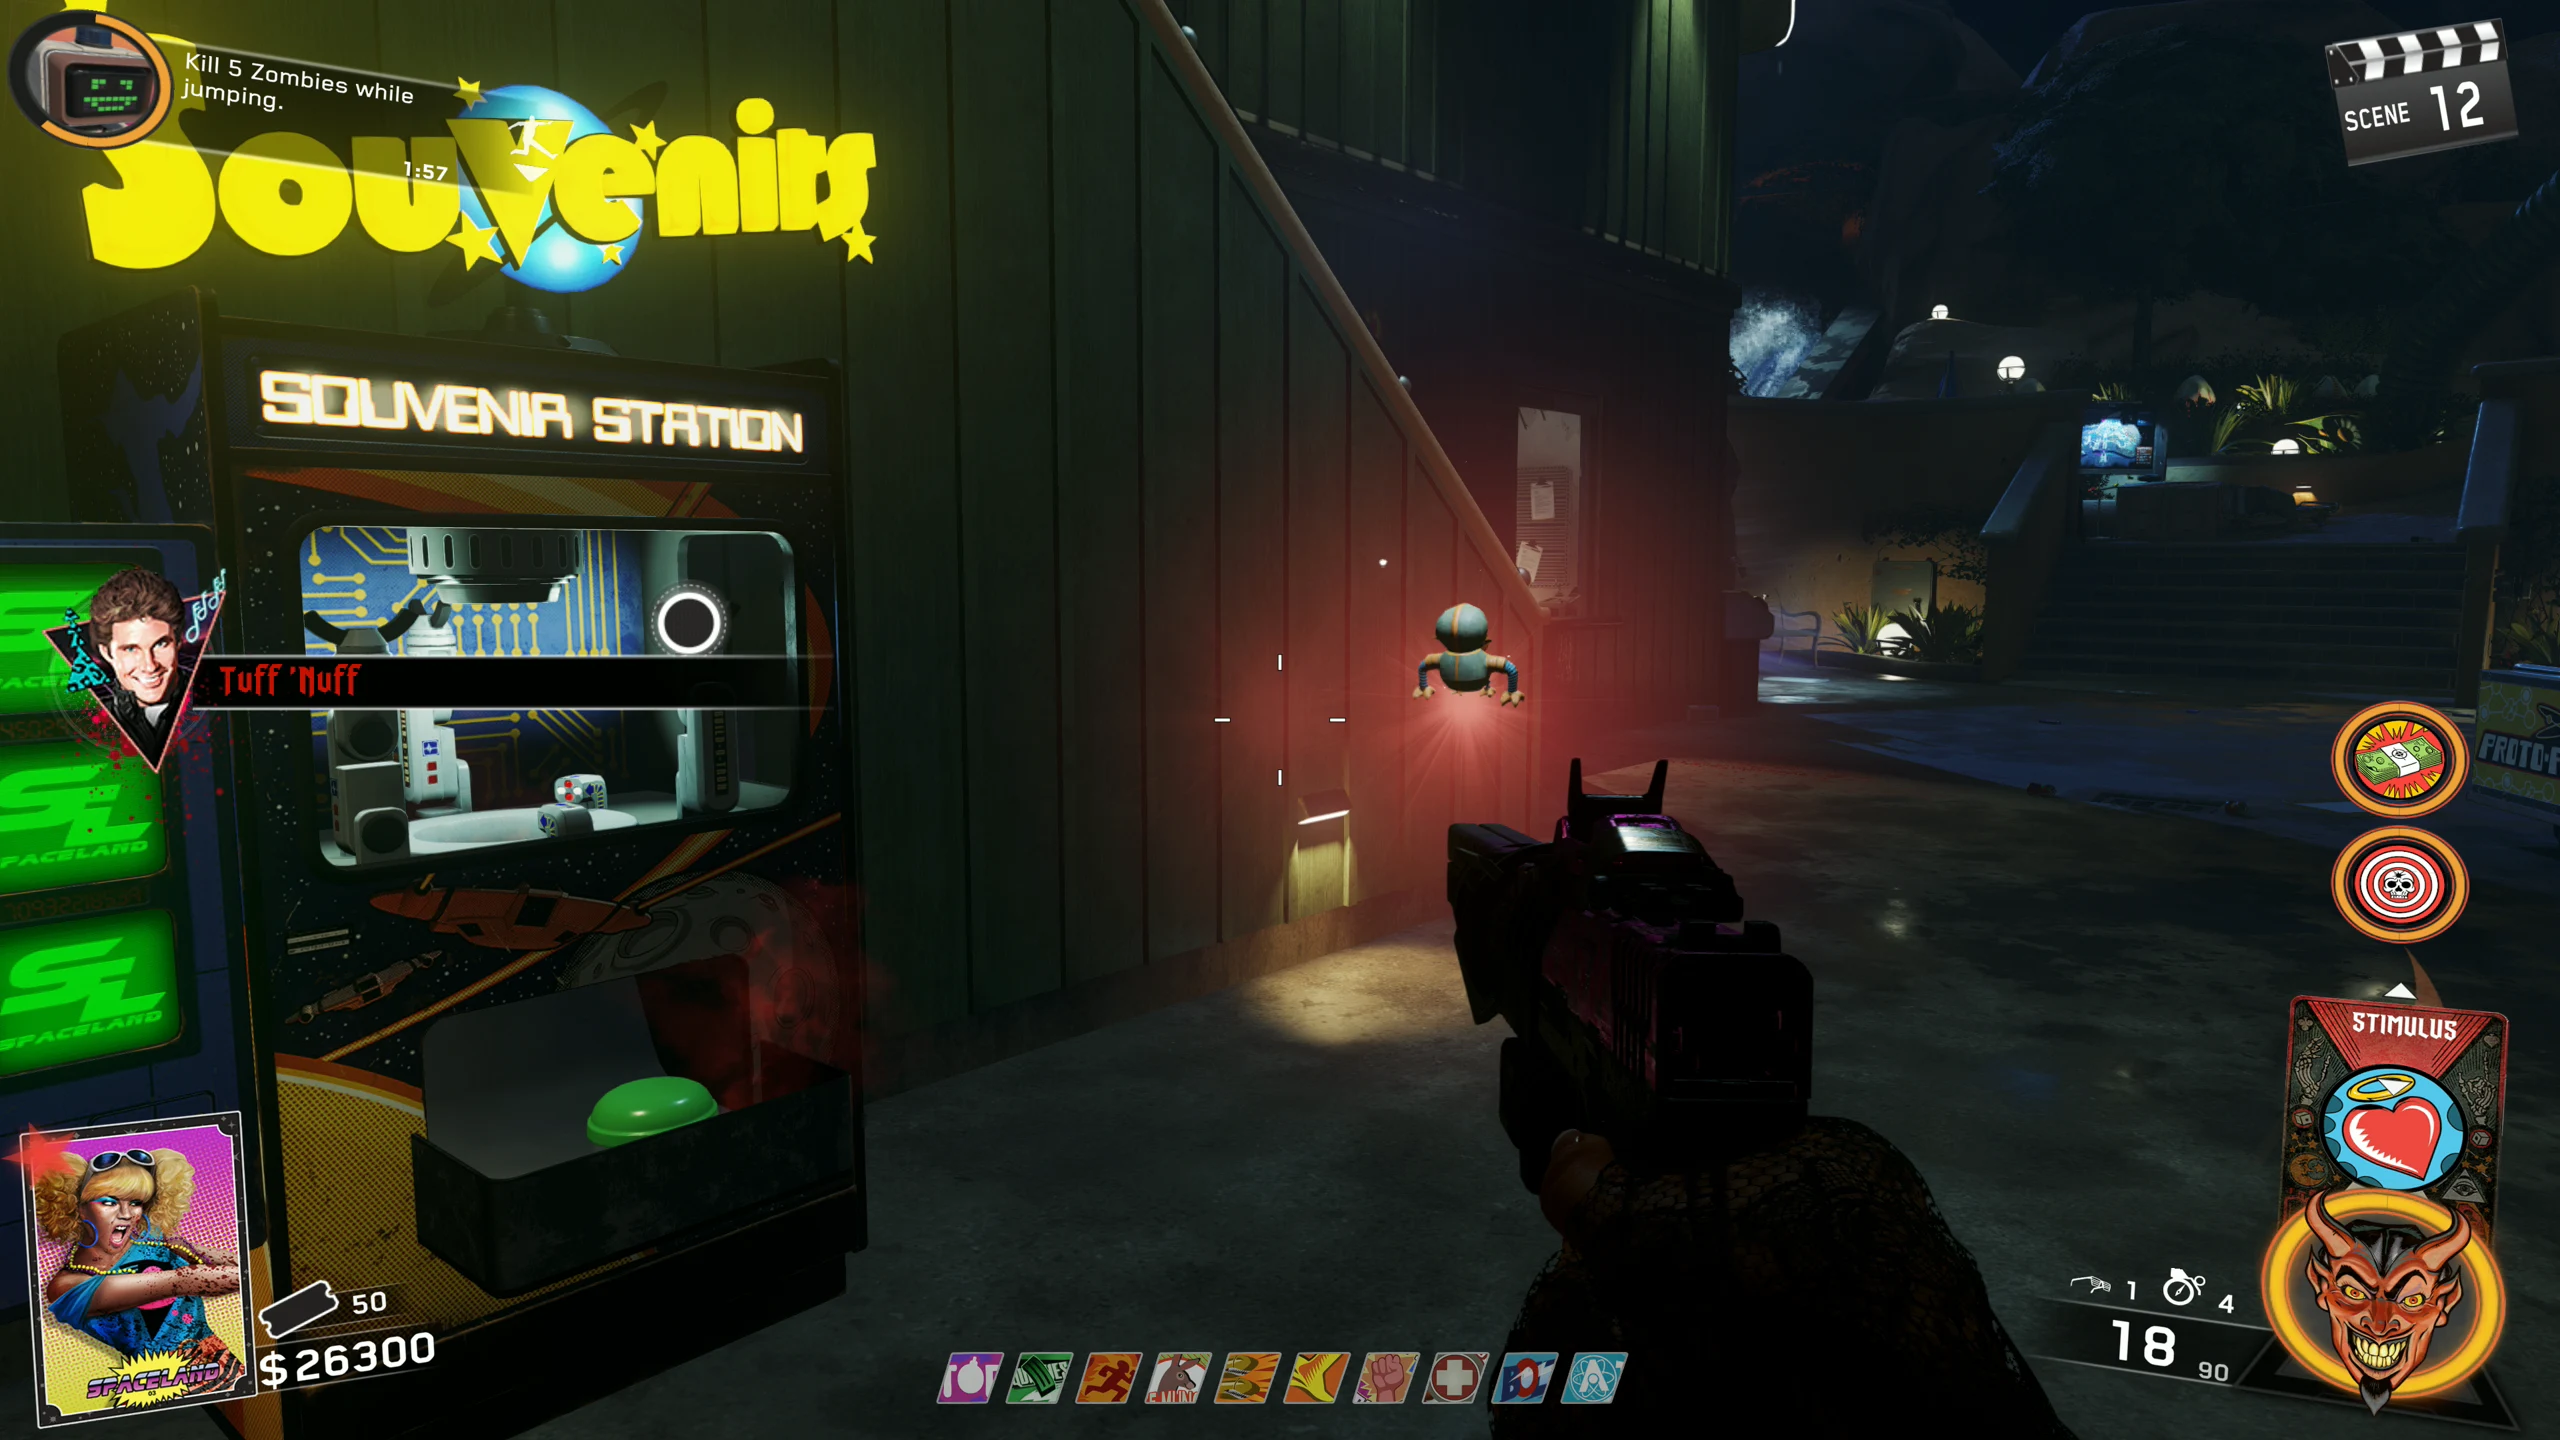
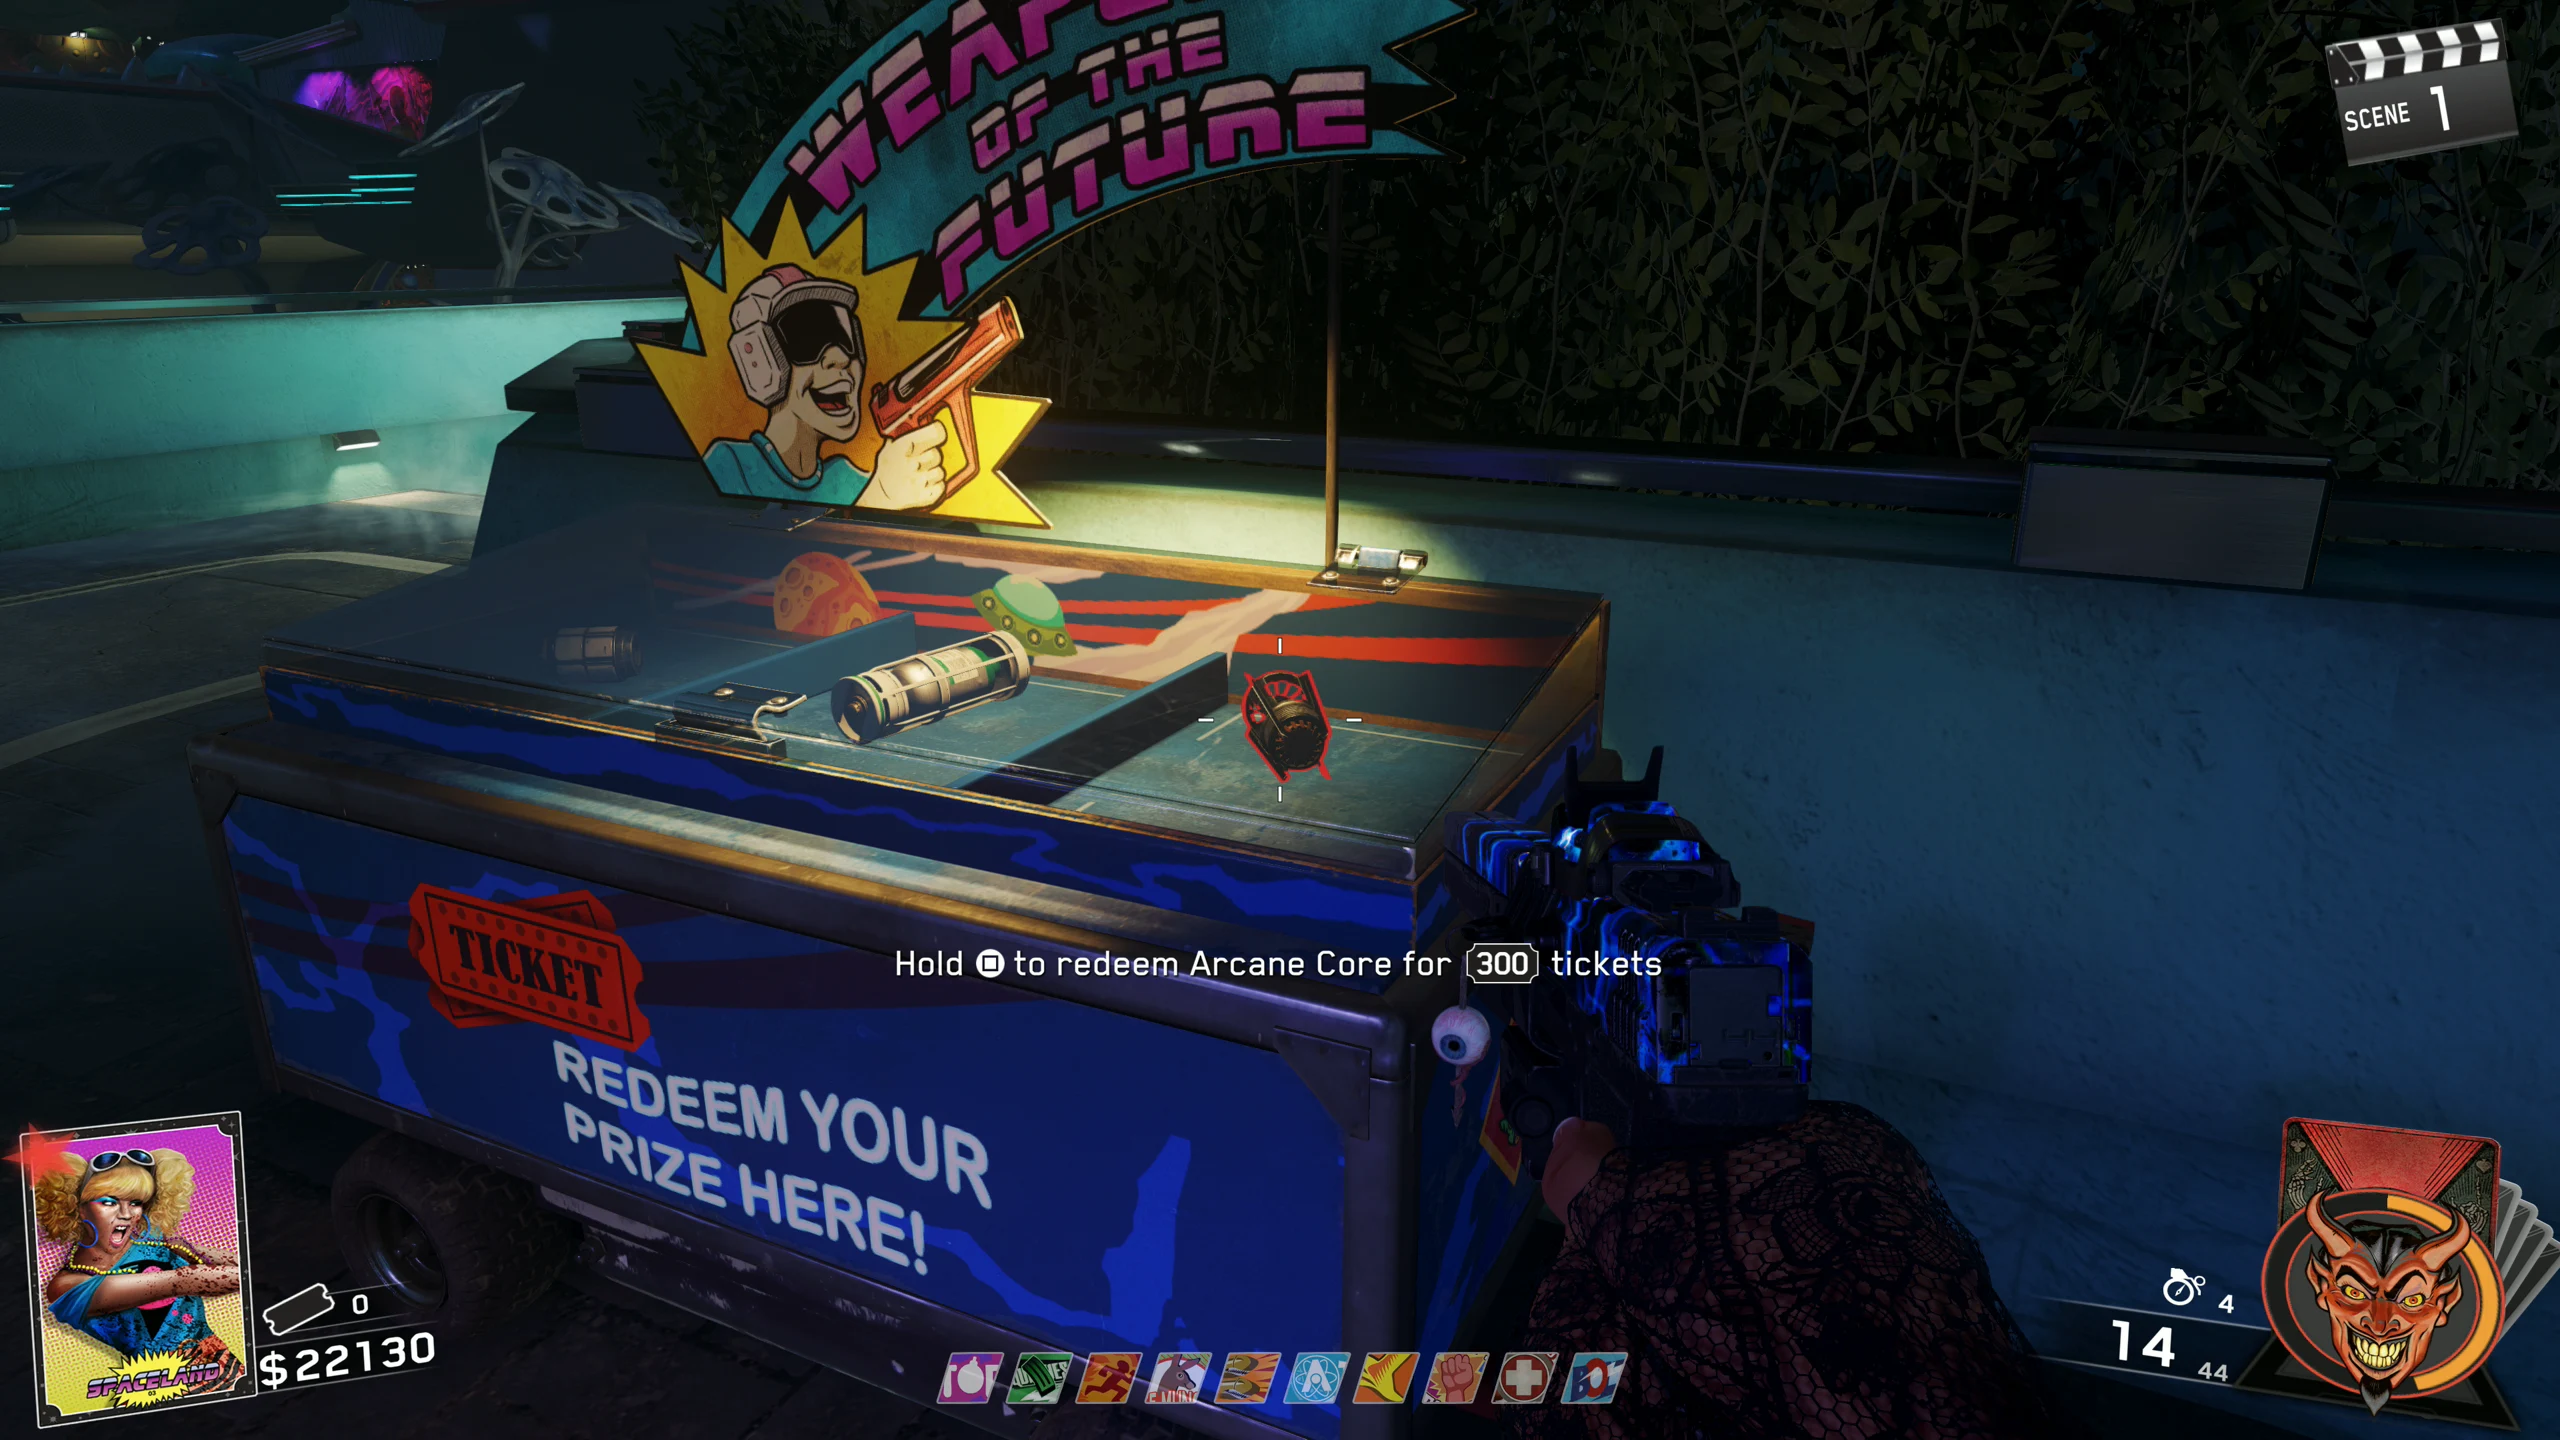
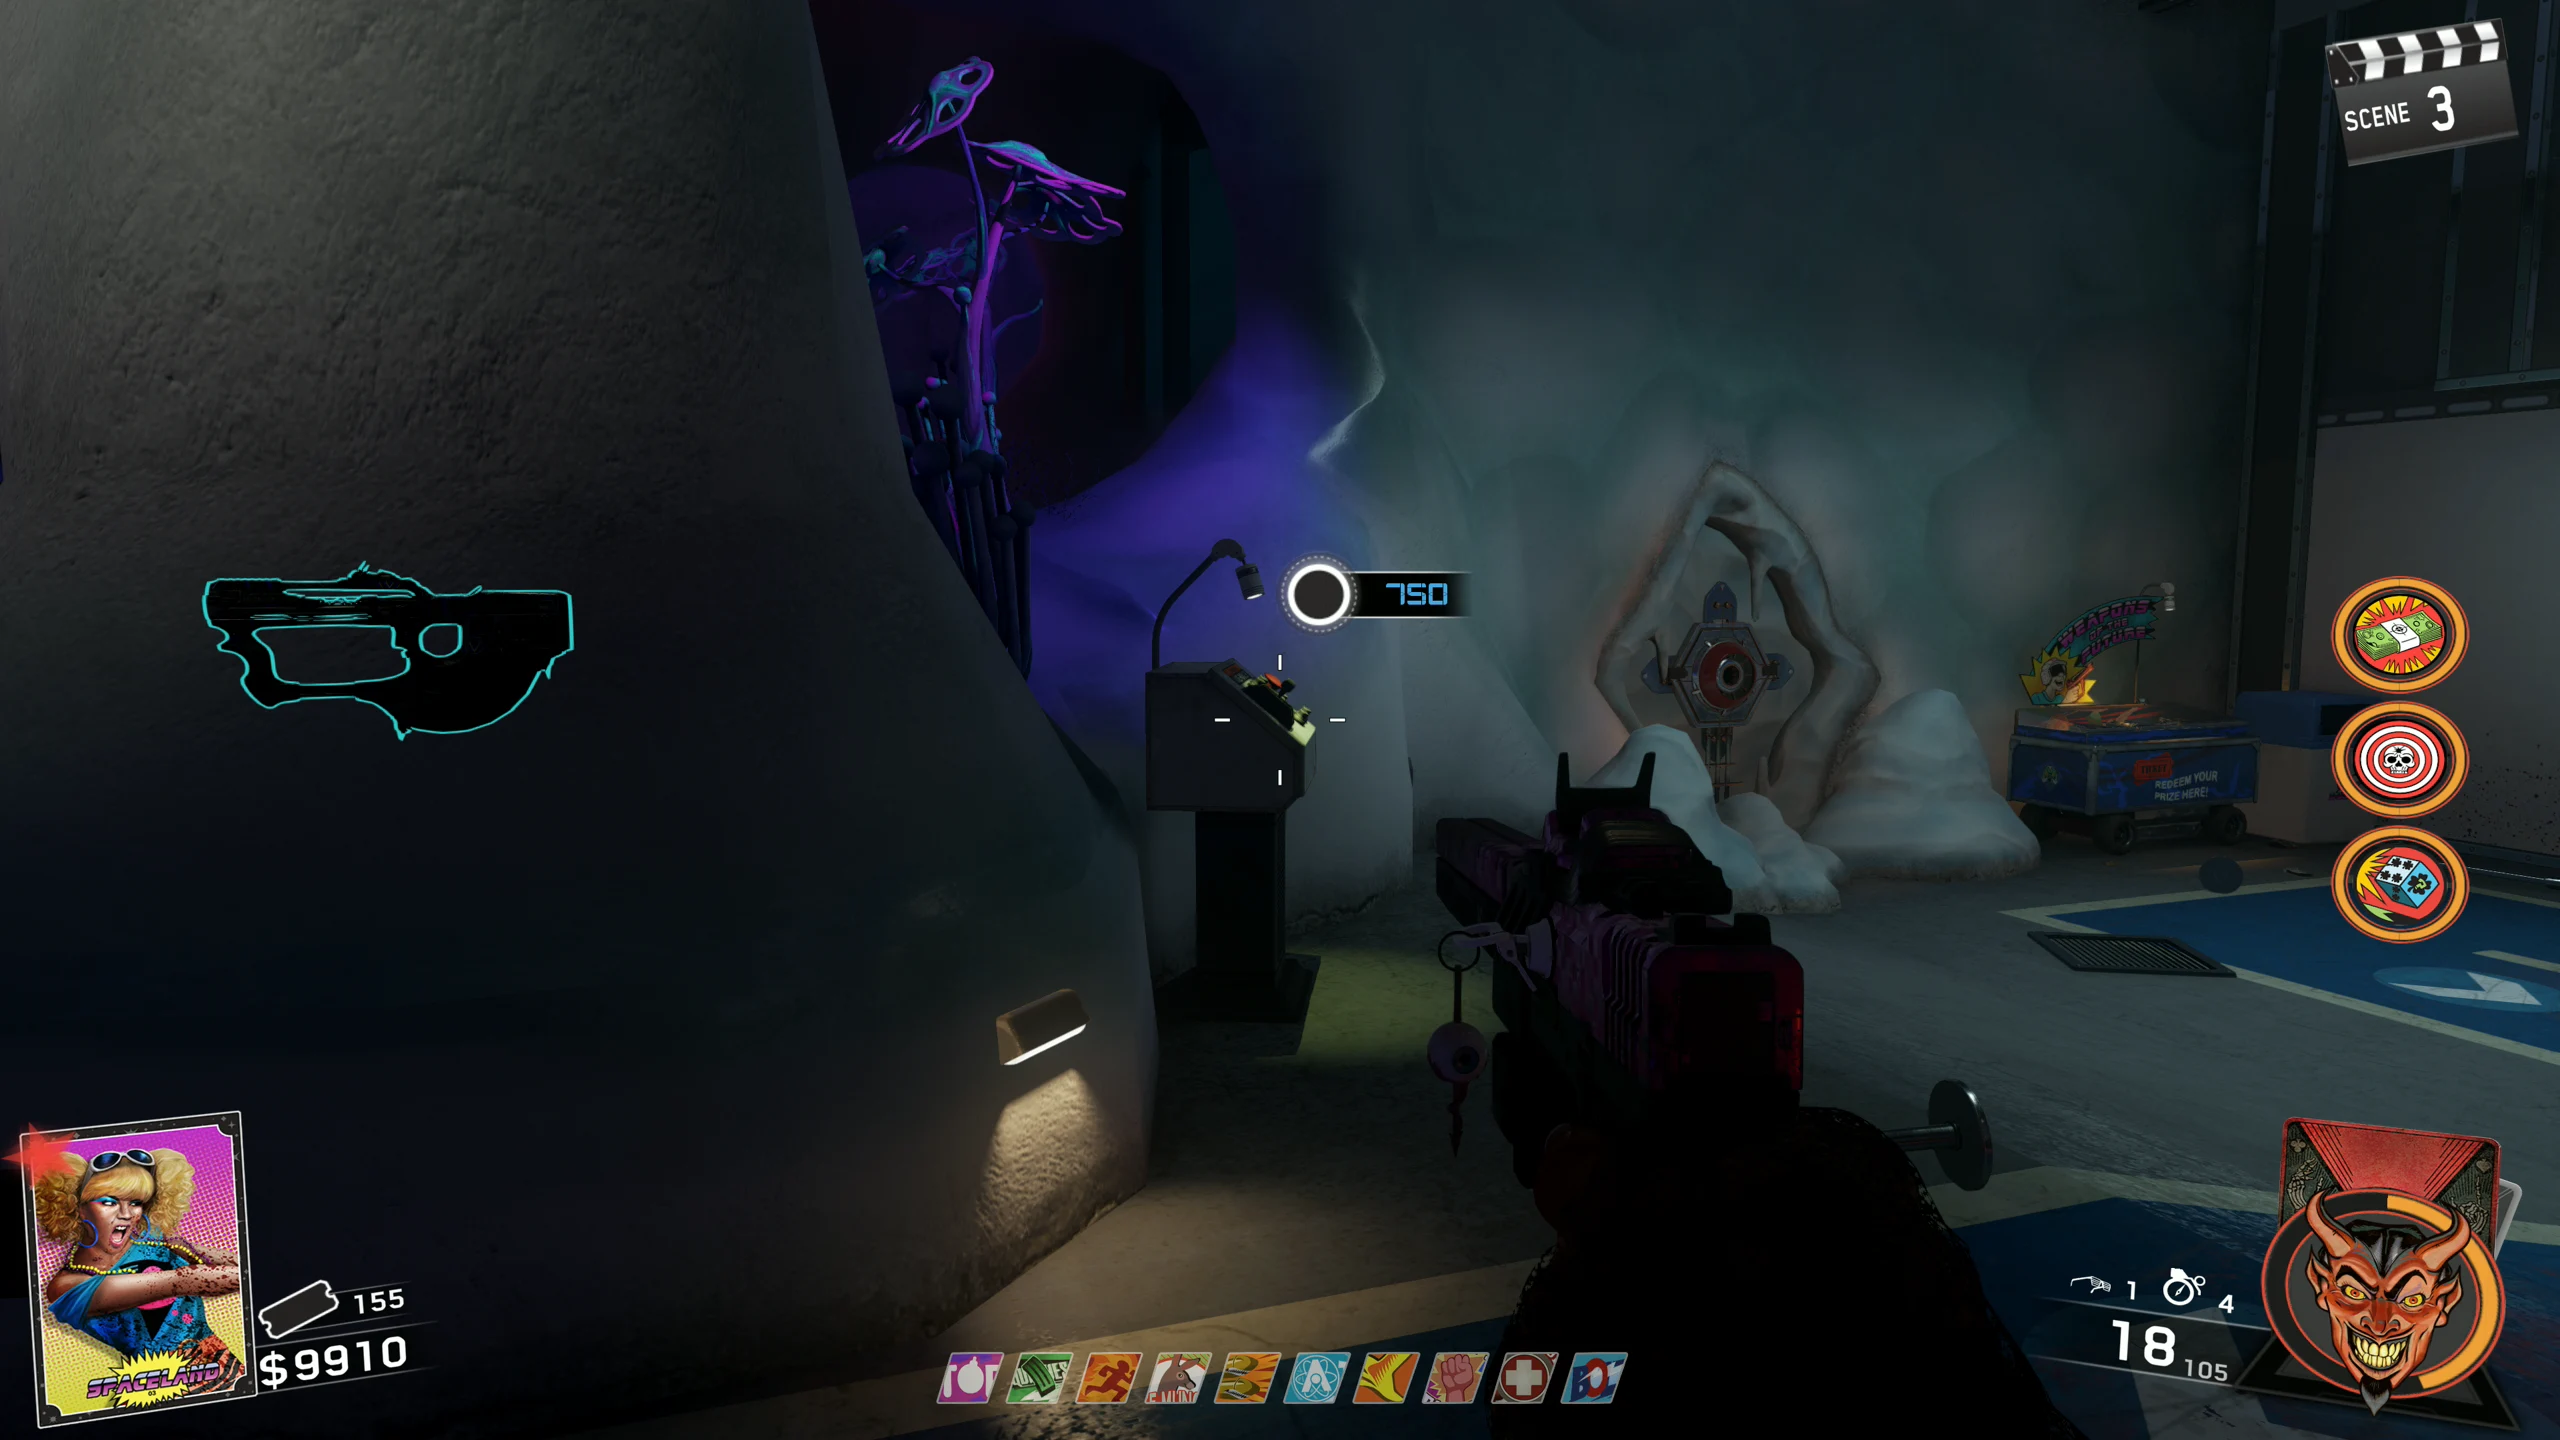
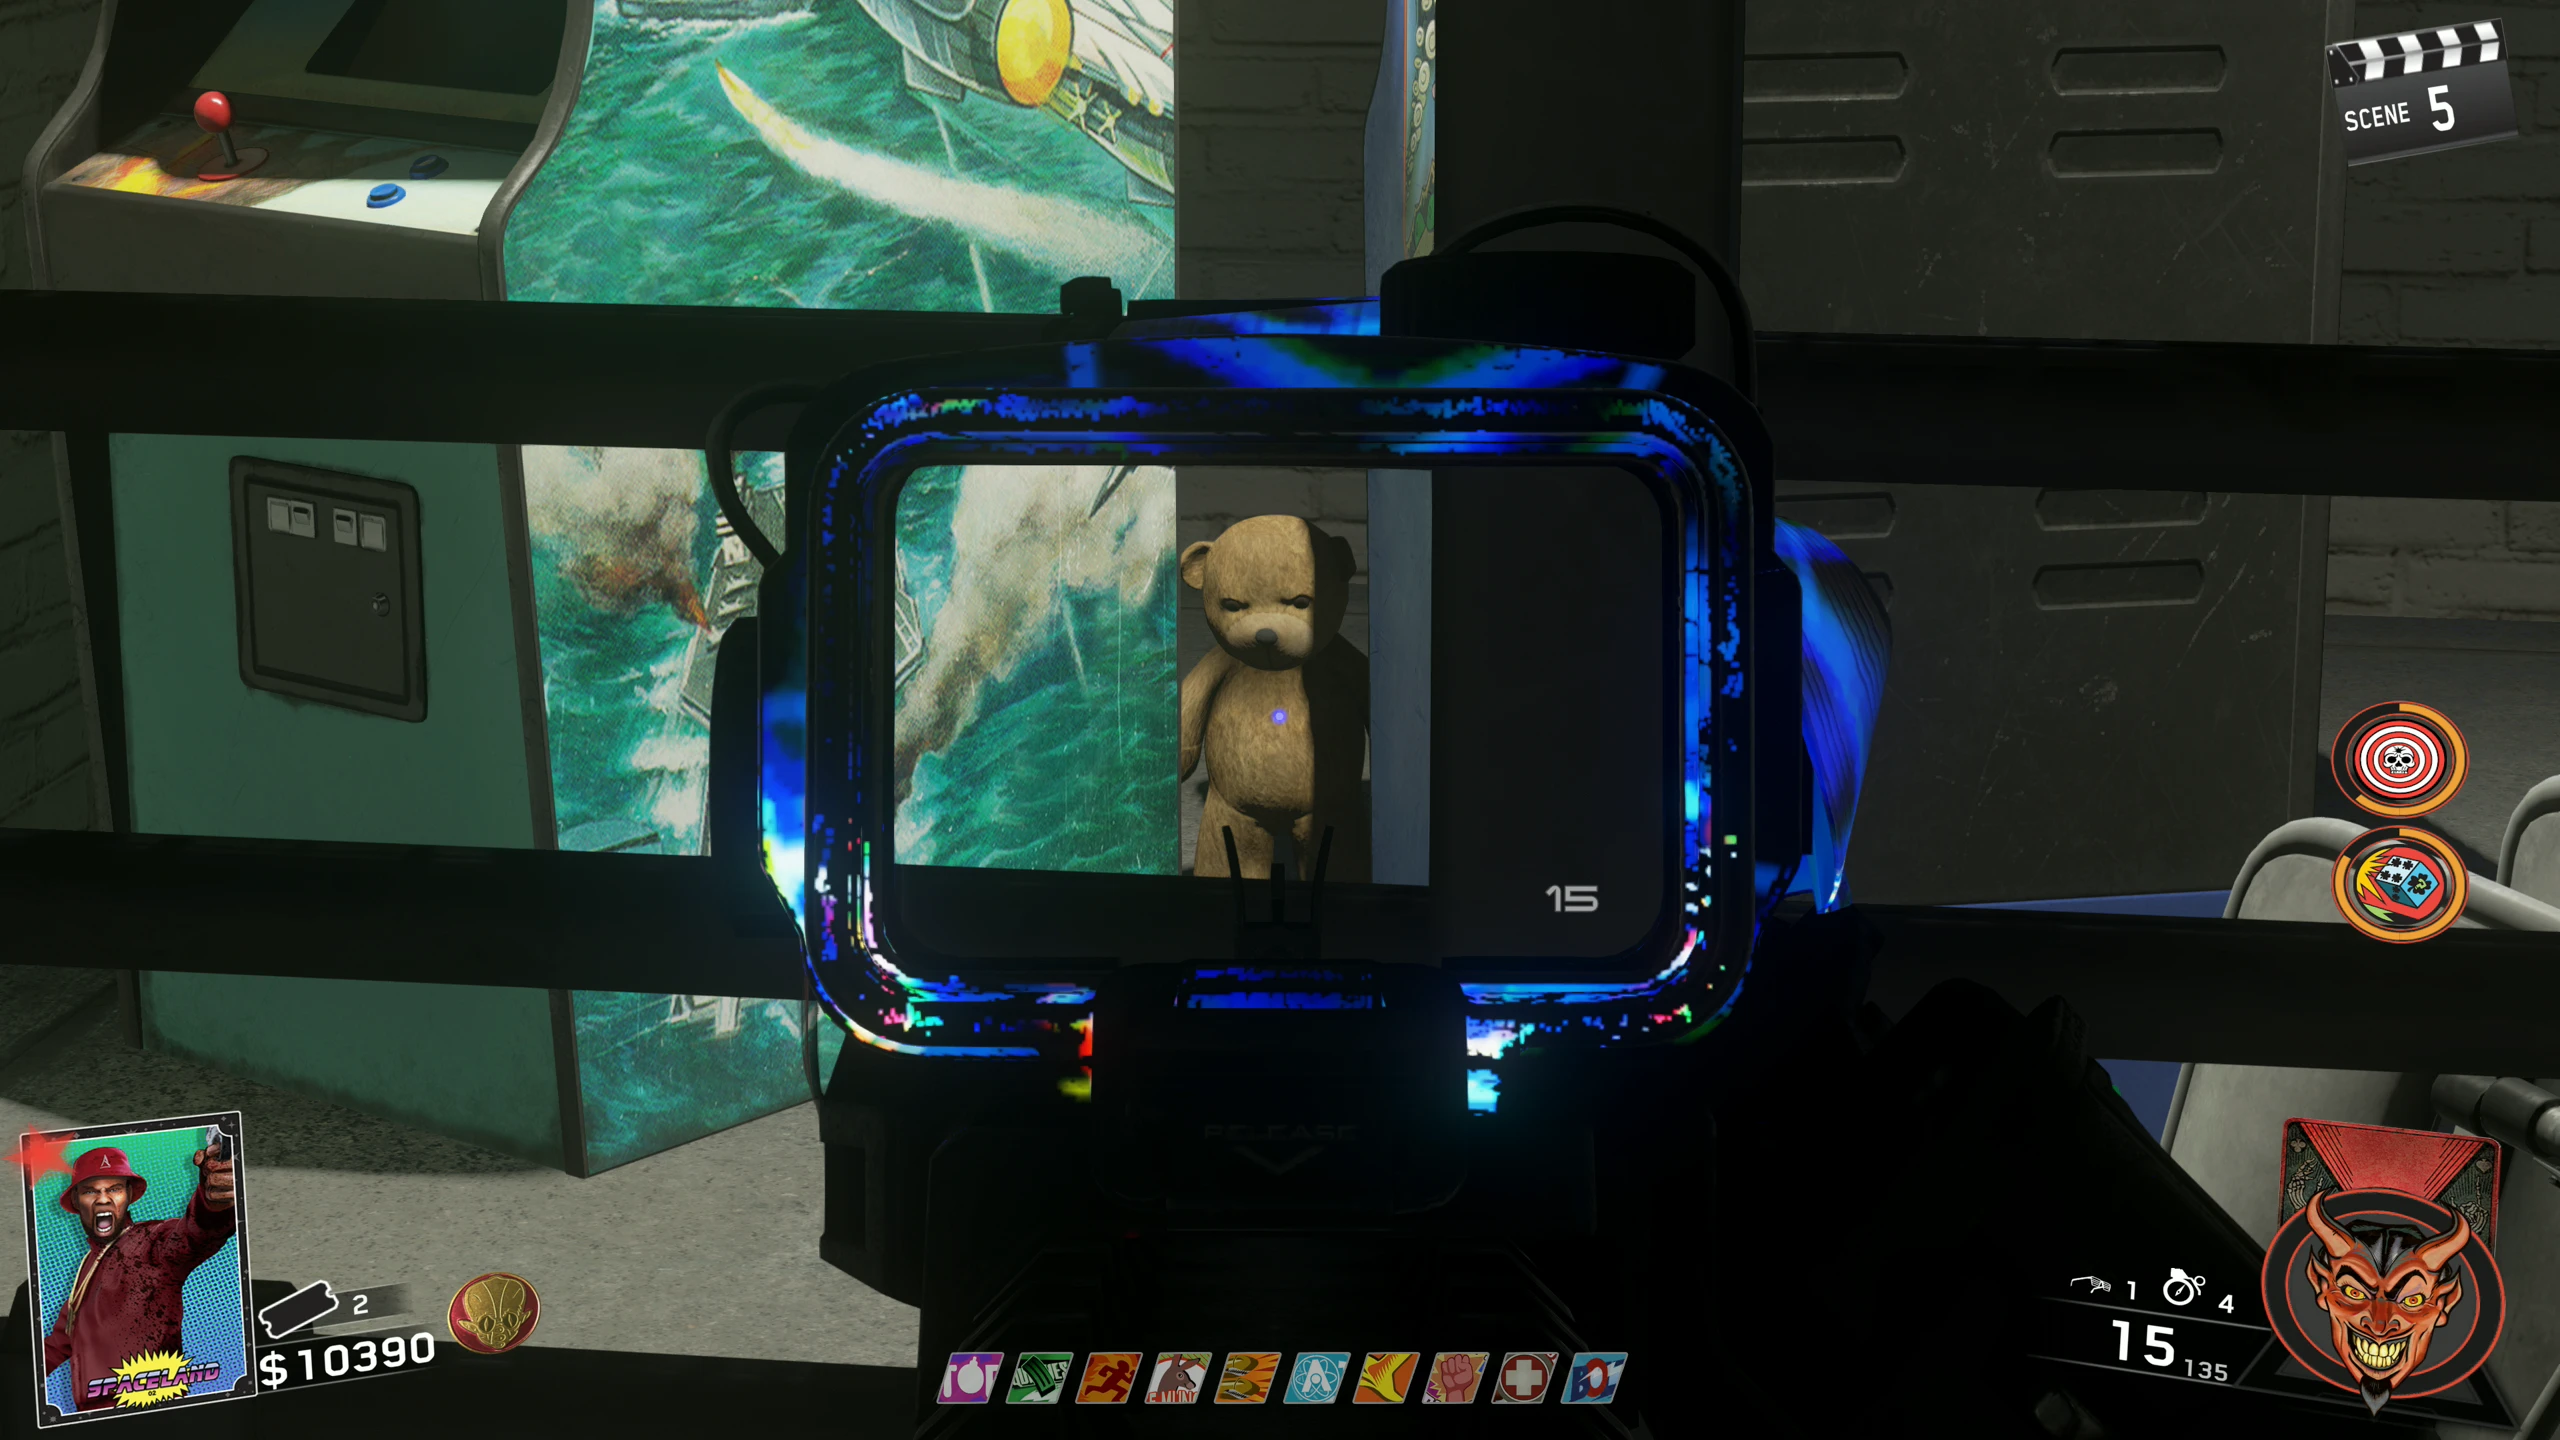
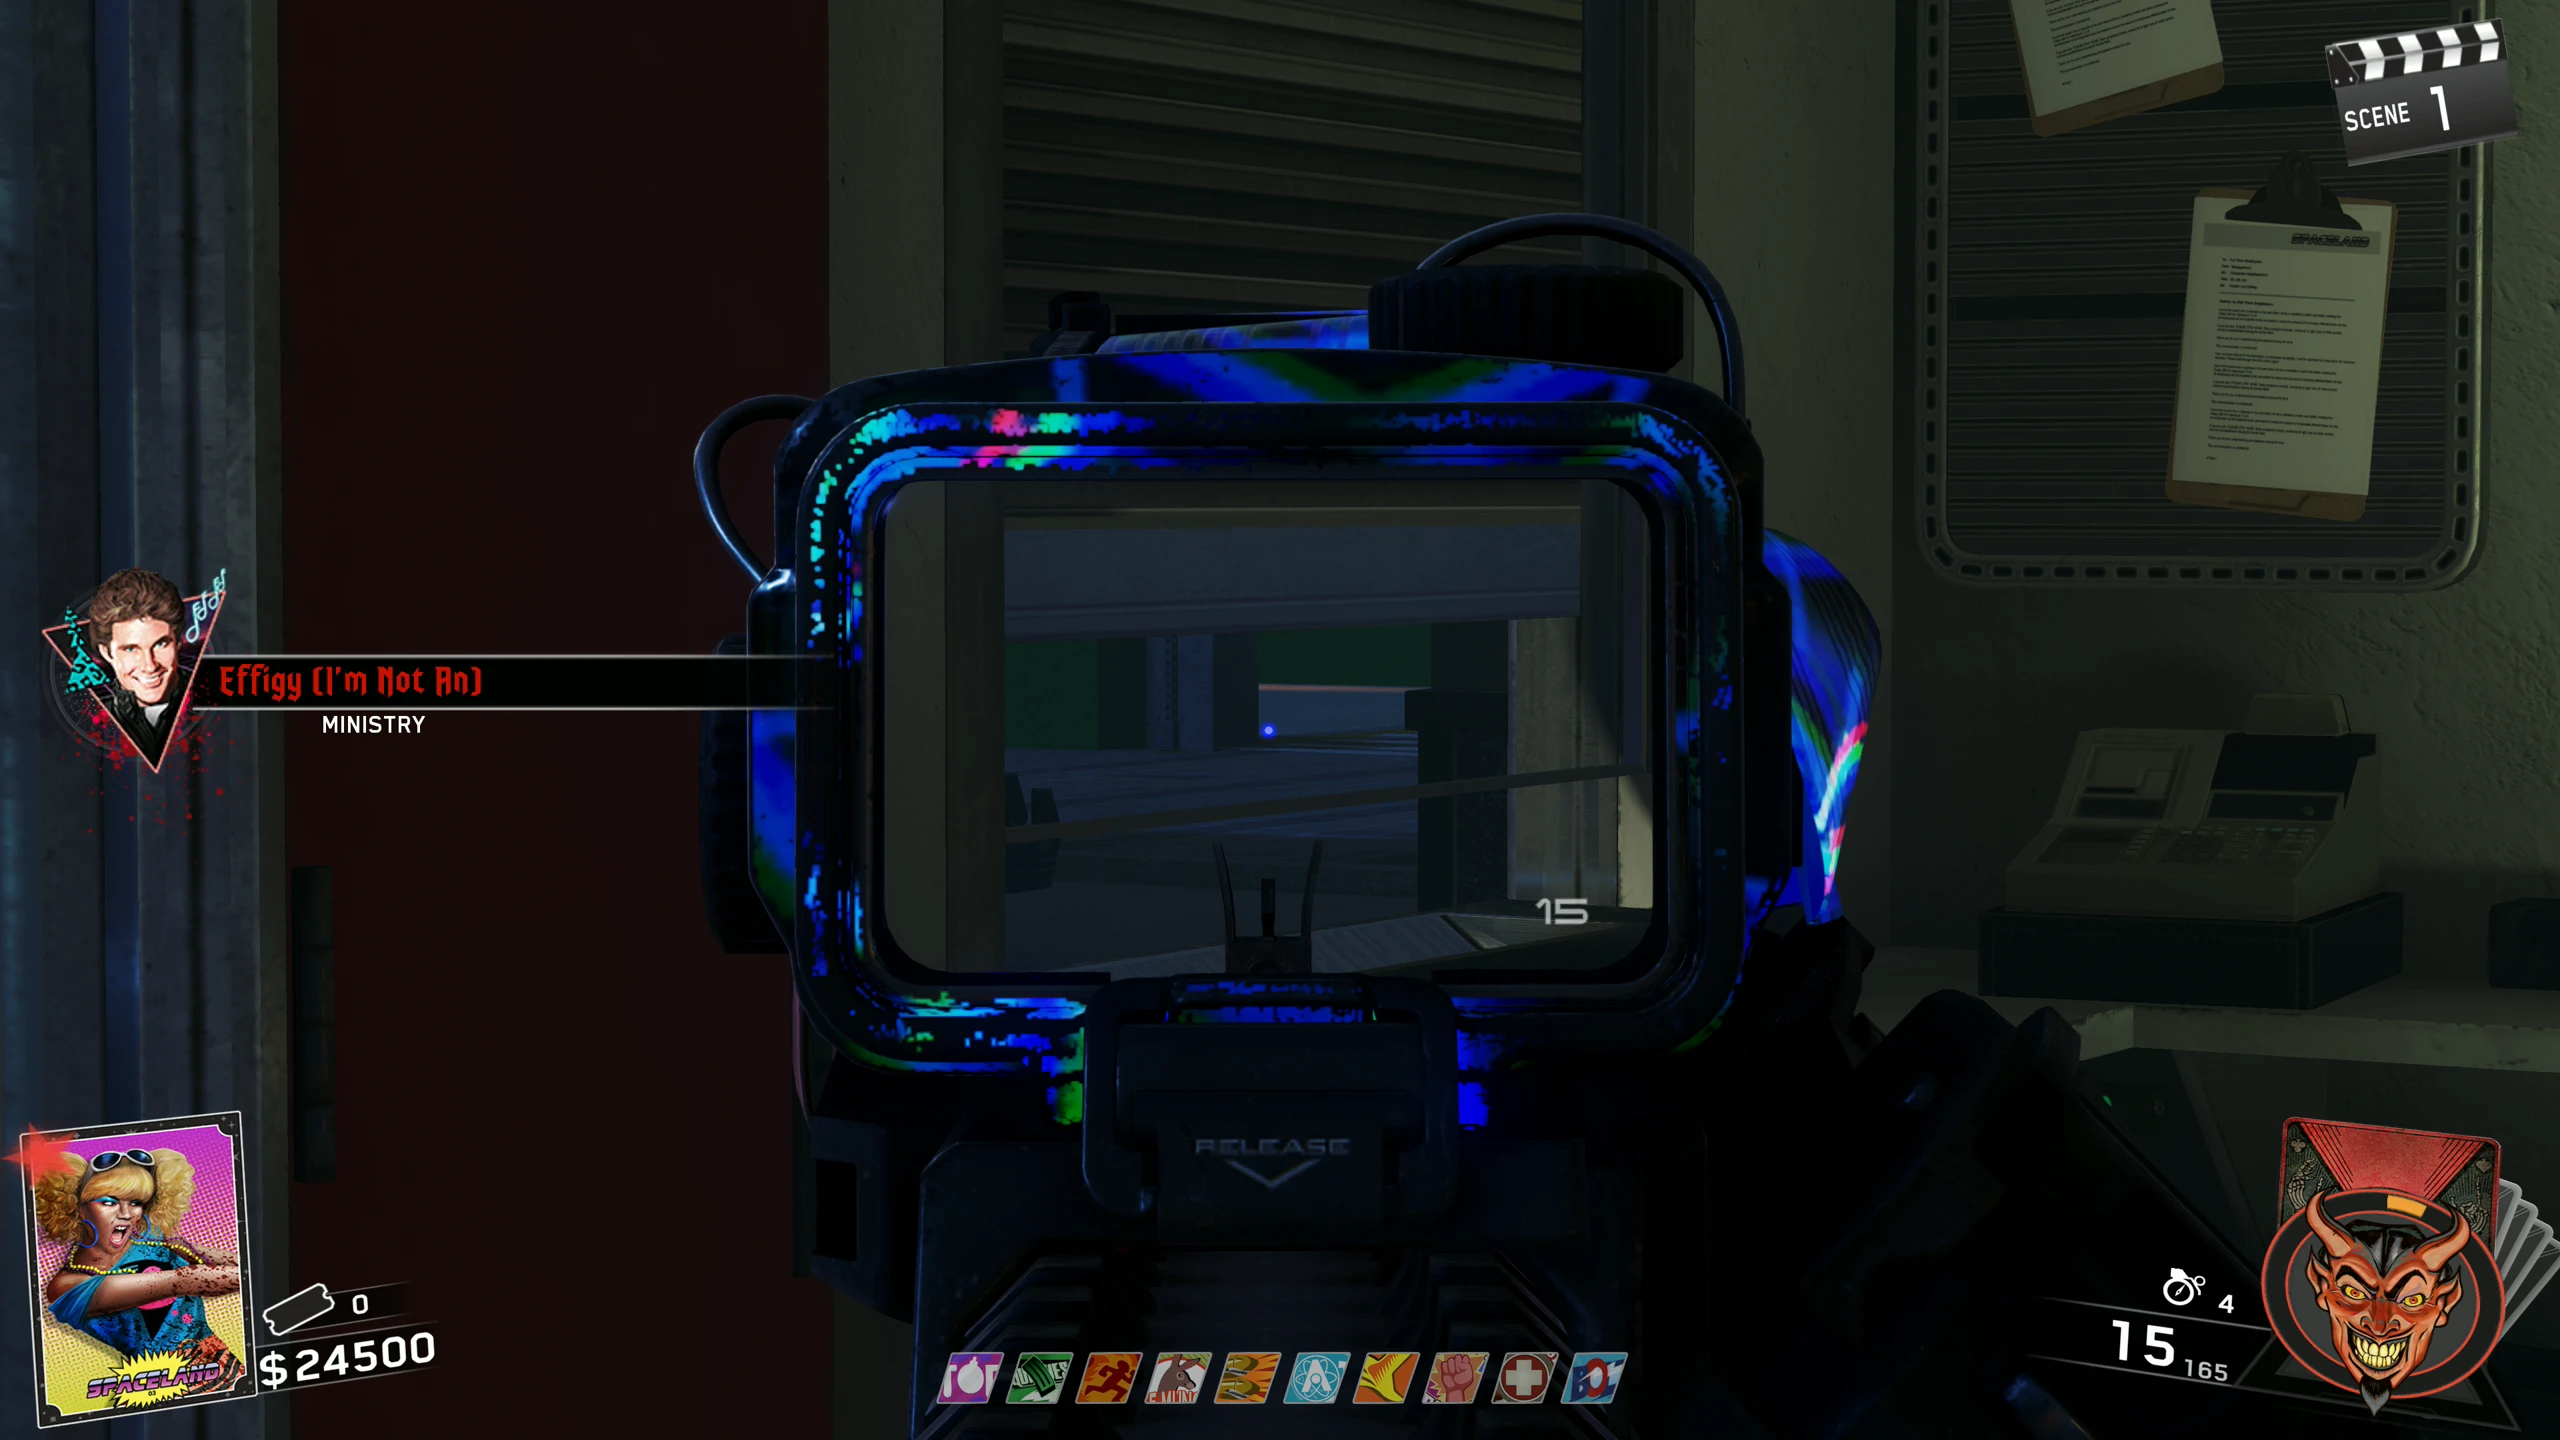
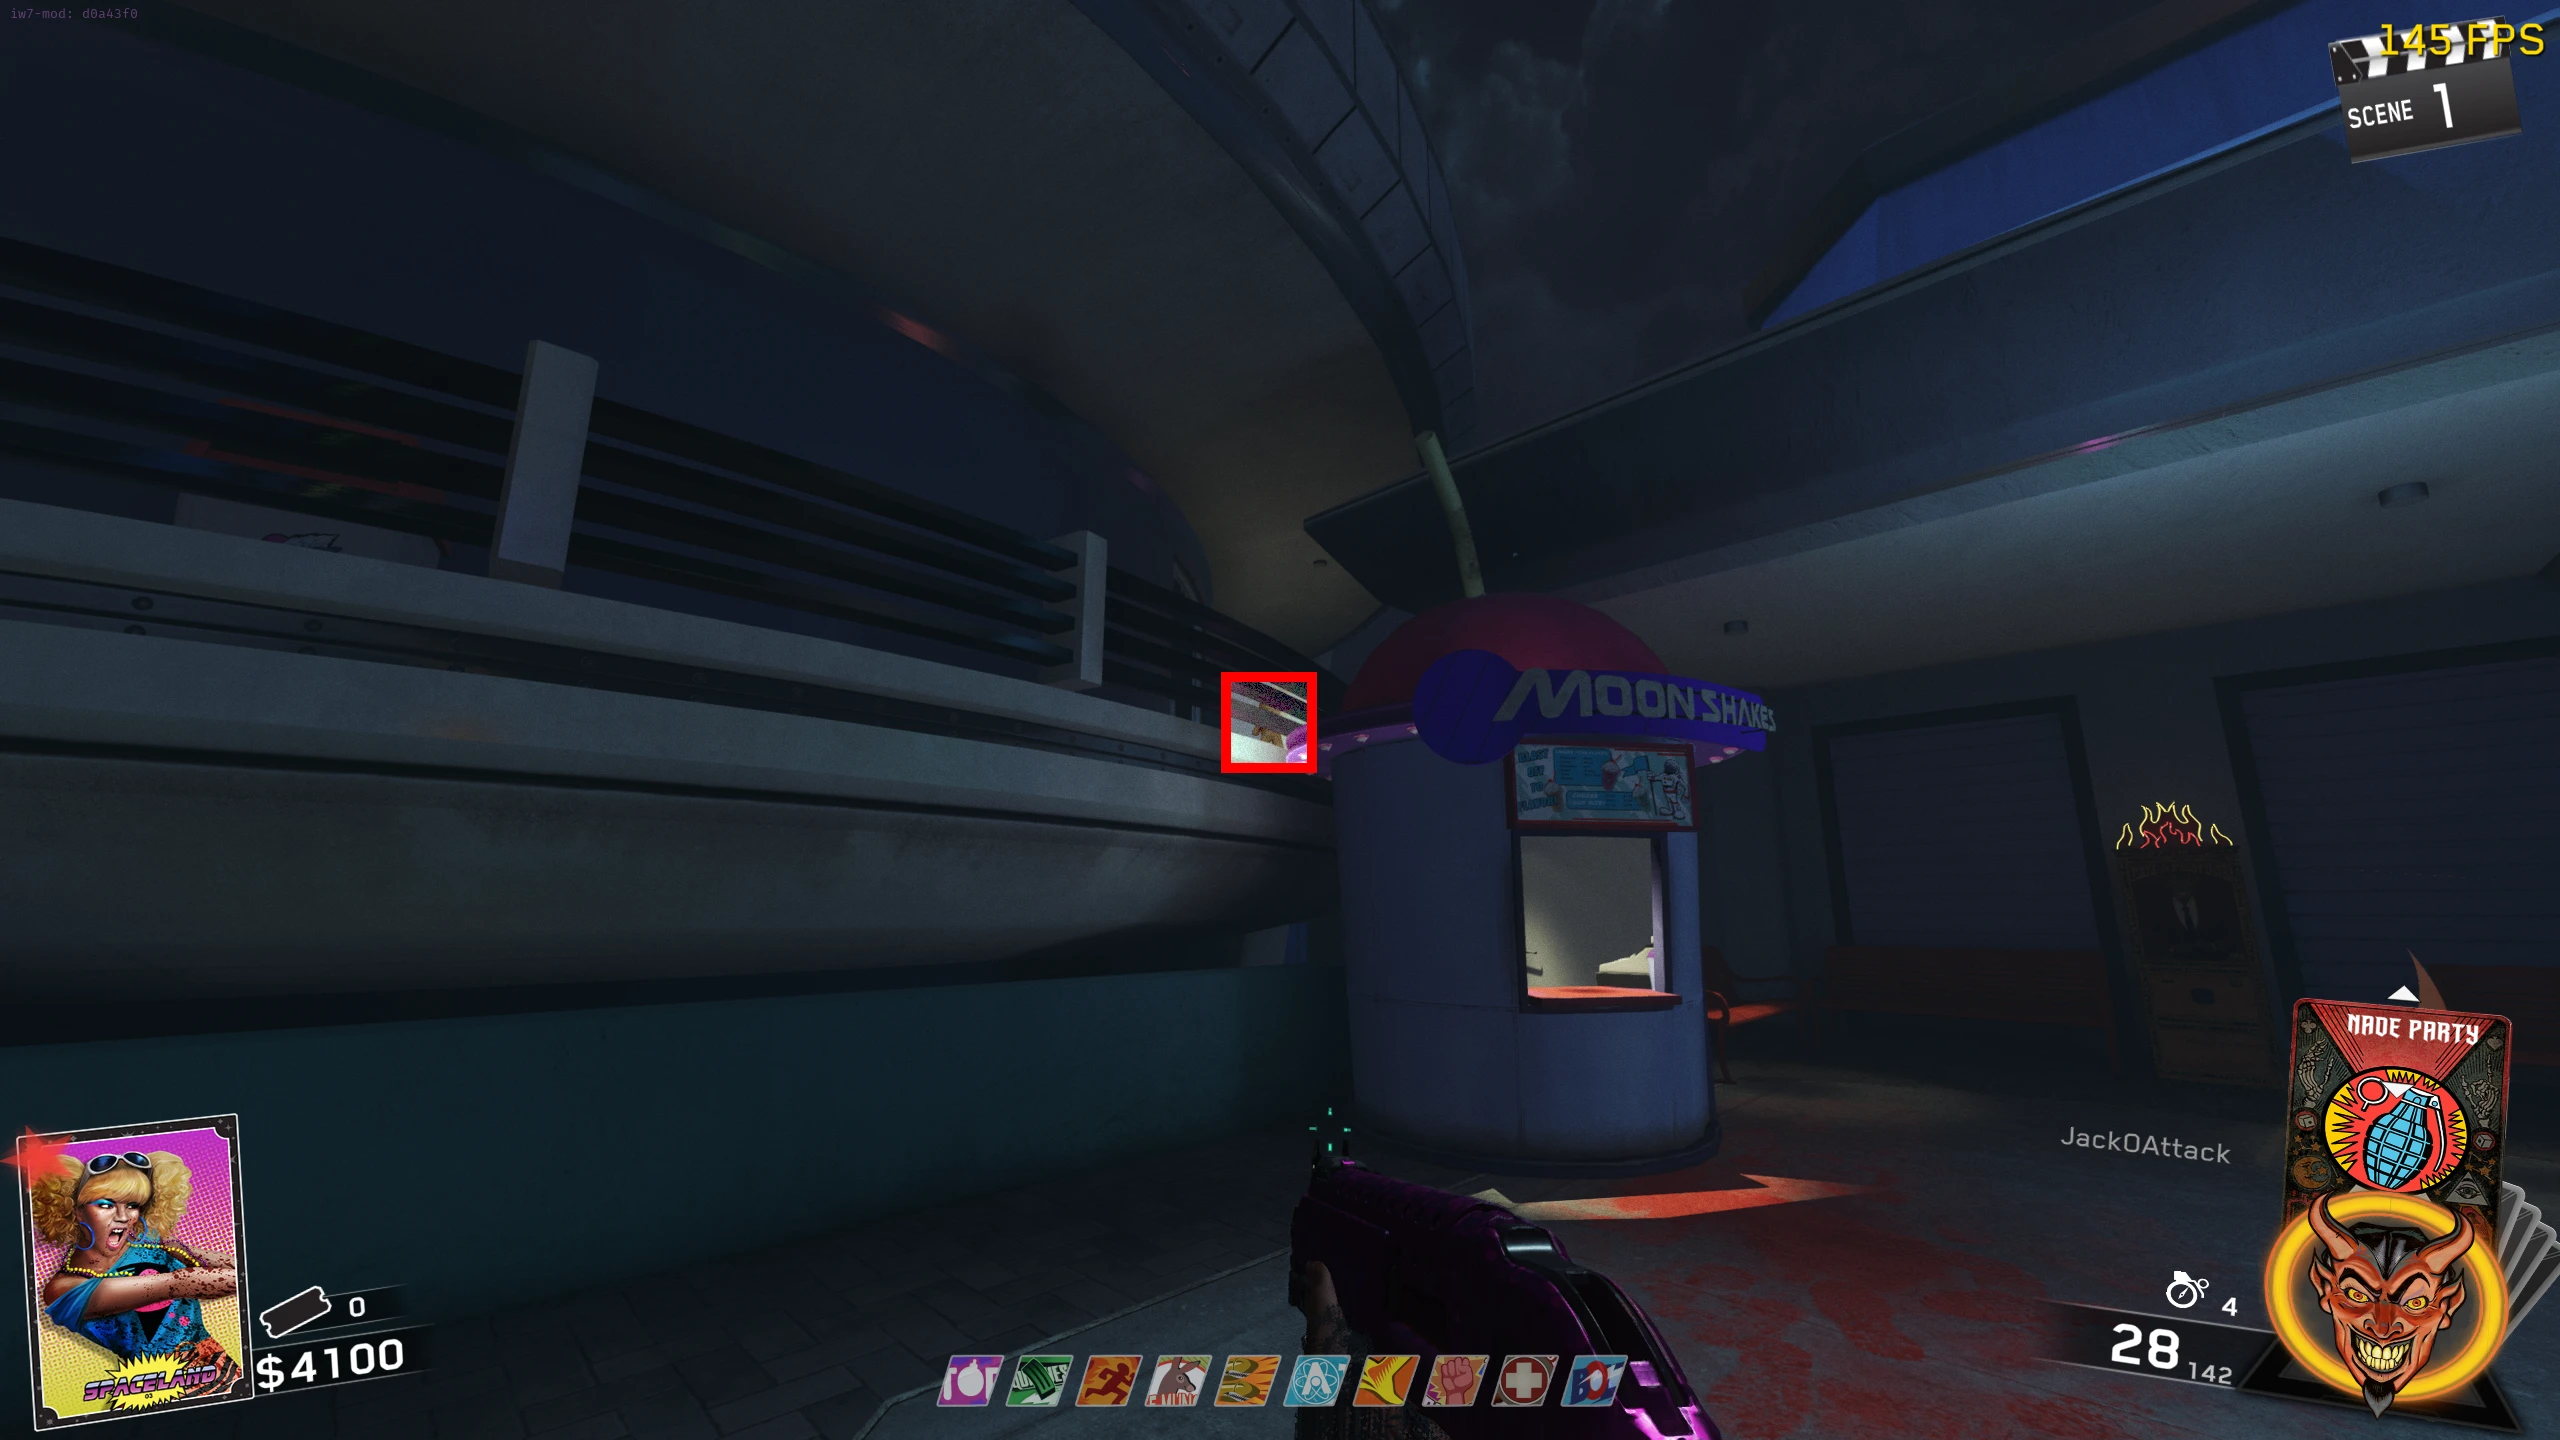
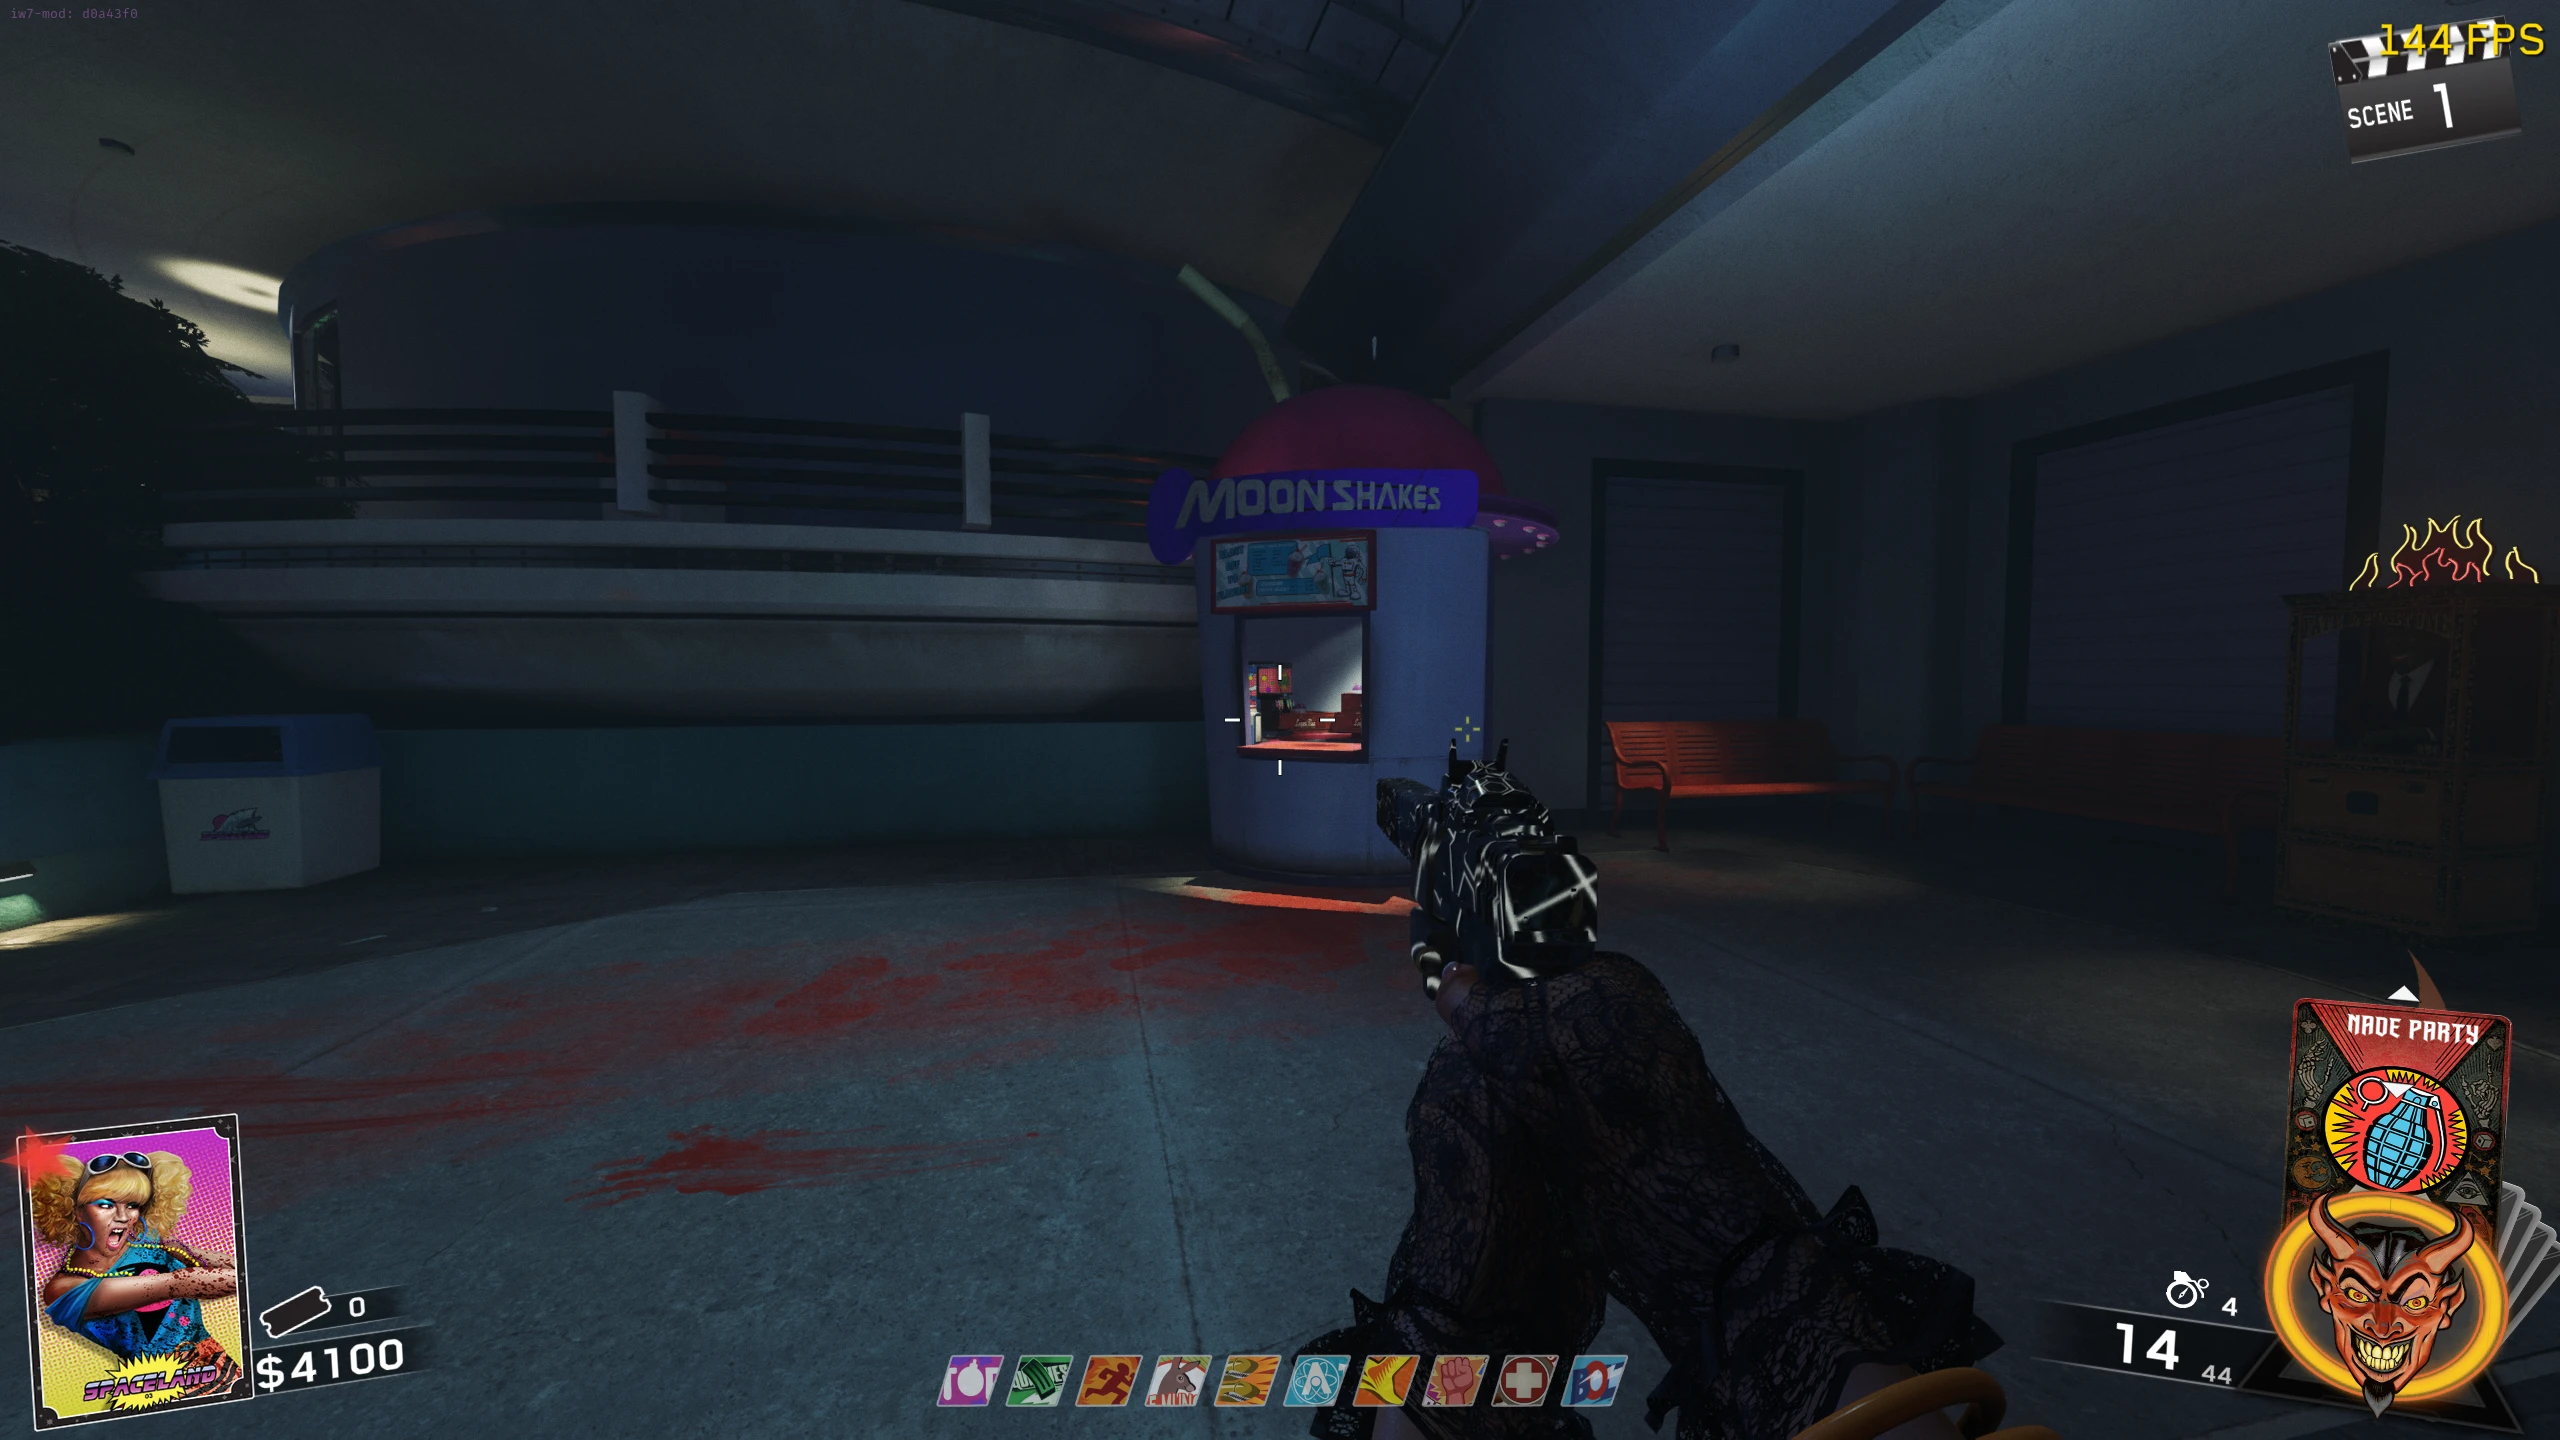
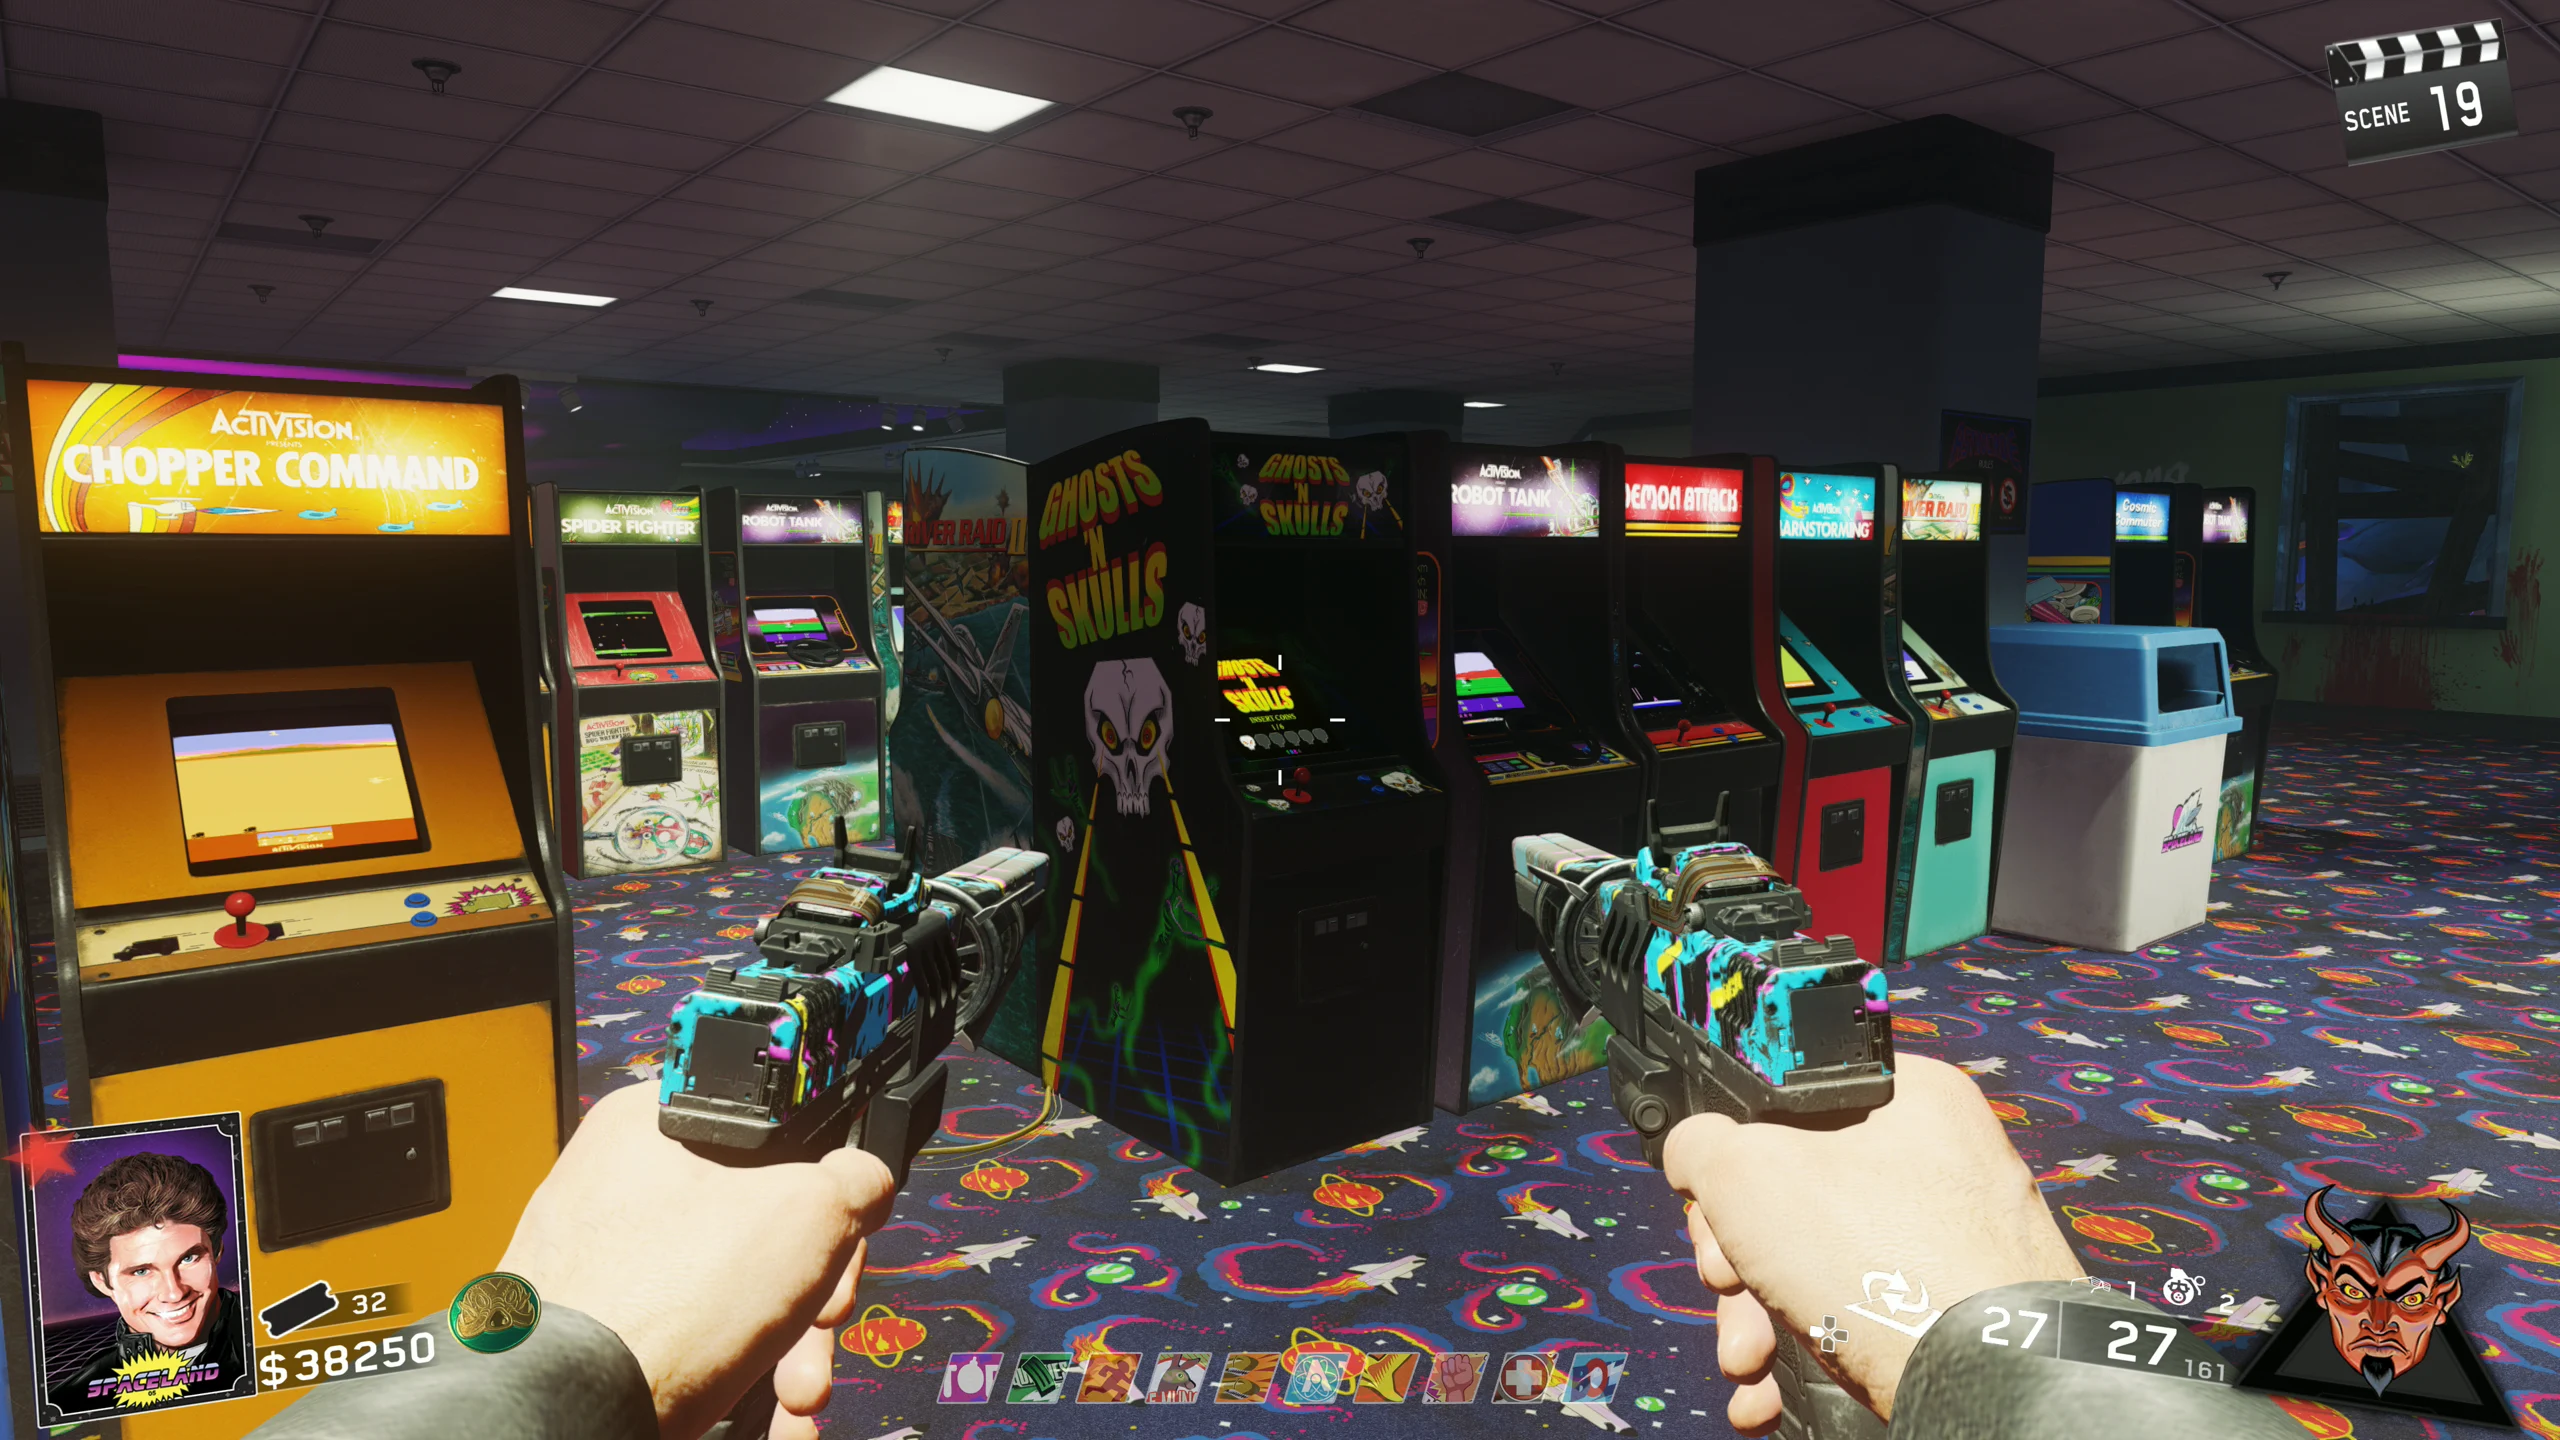
- You must now find "The 'Hoff" and interact with him; he will give you the crafted SETI-COM device. He can be found in one of the following Cosmic Tunes stand locations:
Defending the SETI-COM
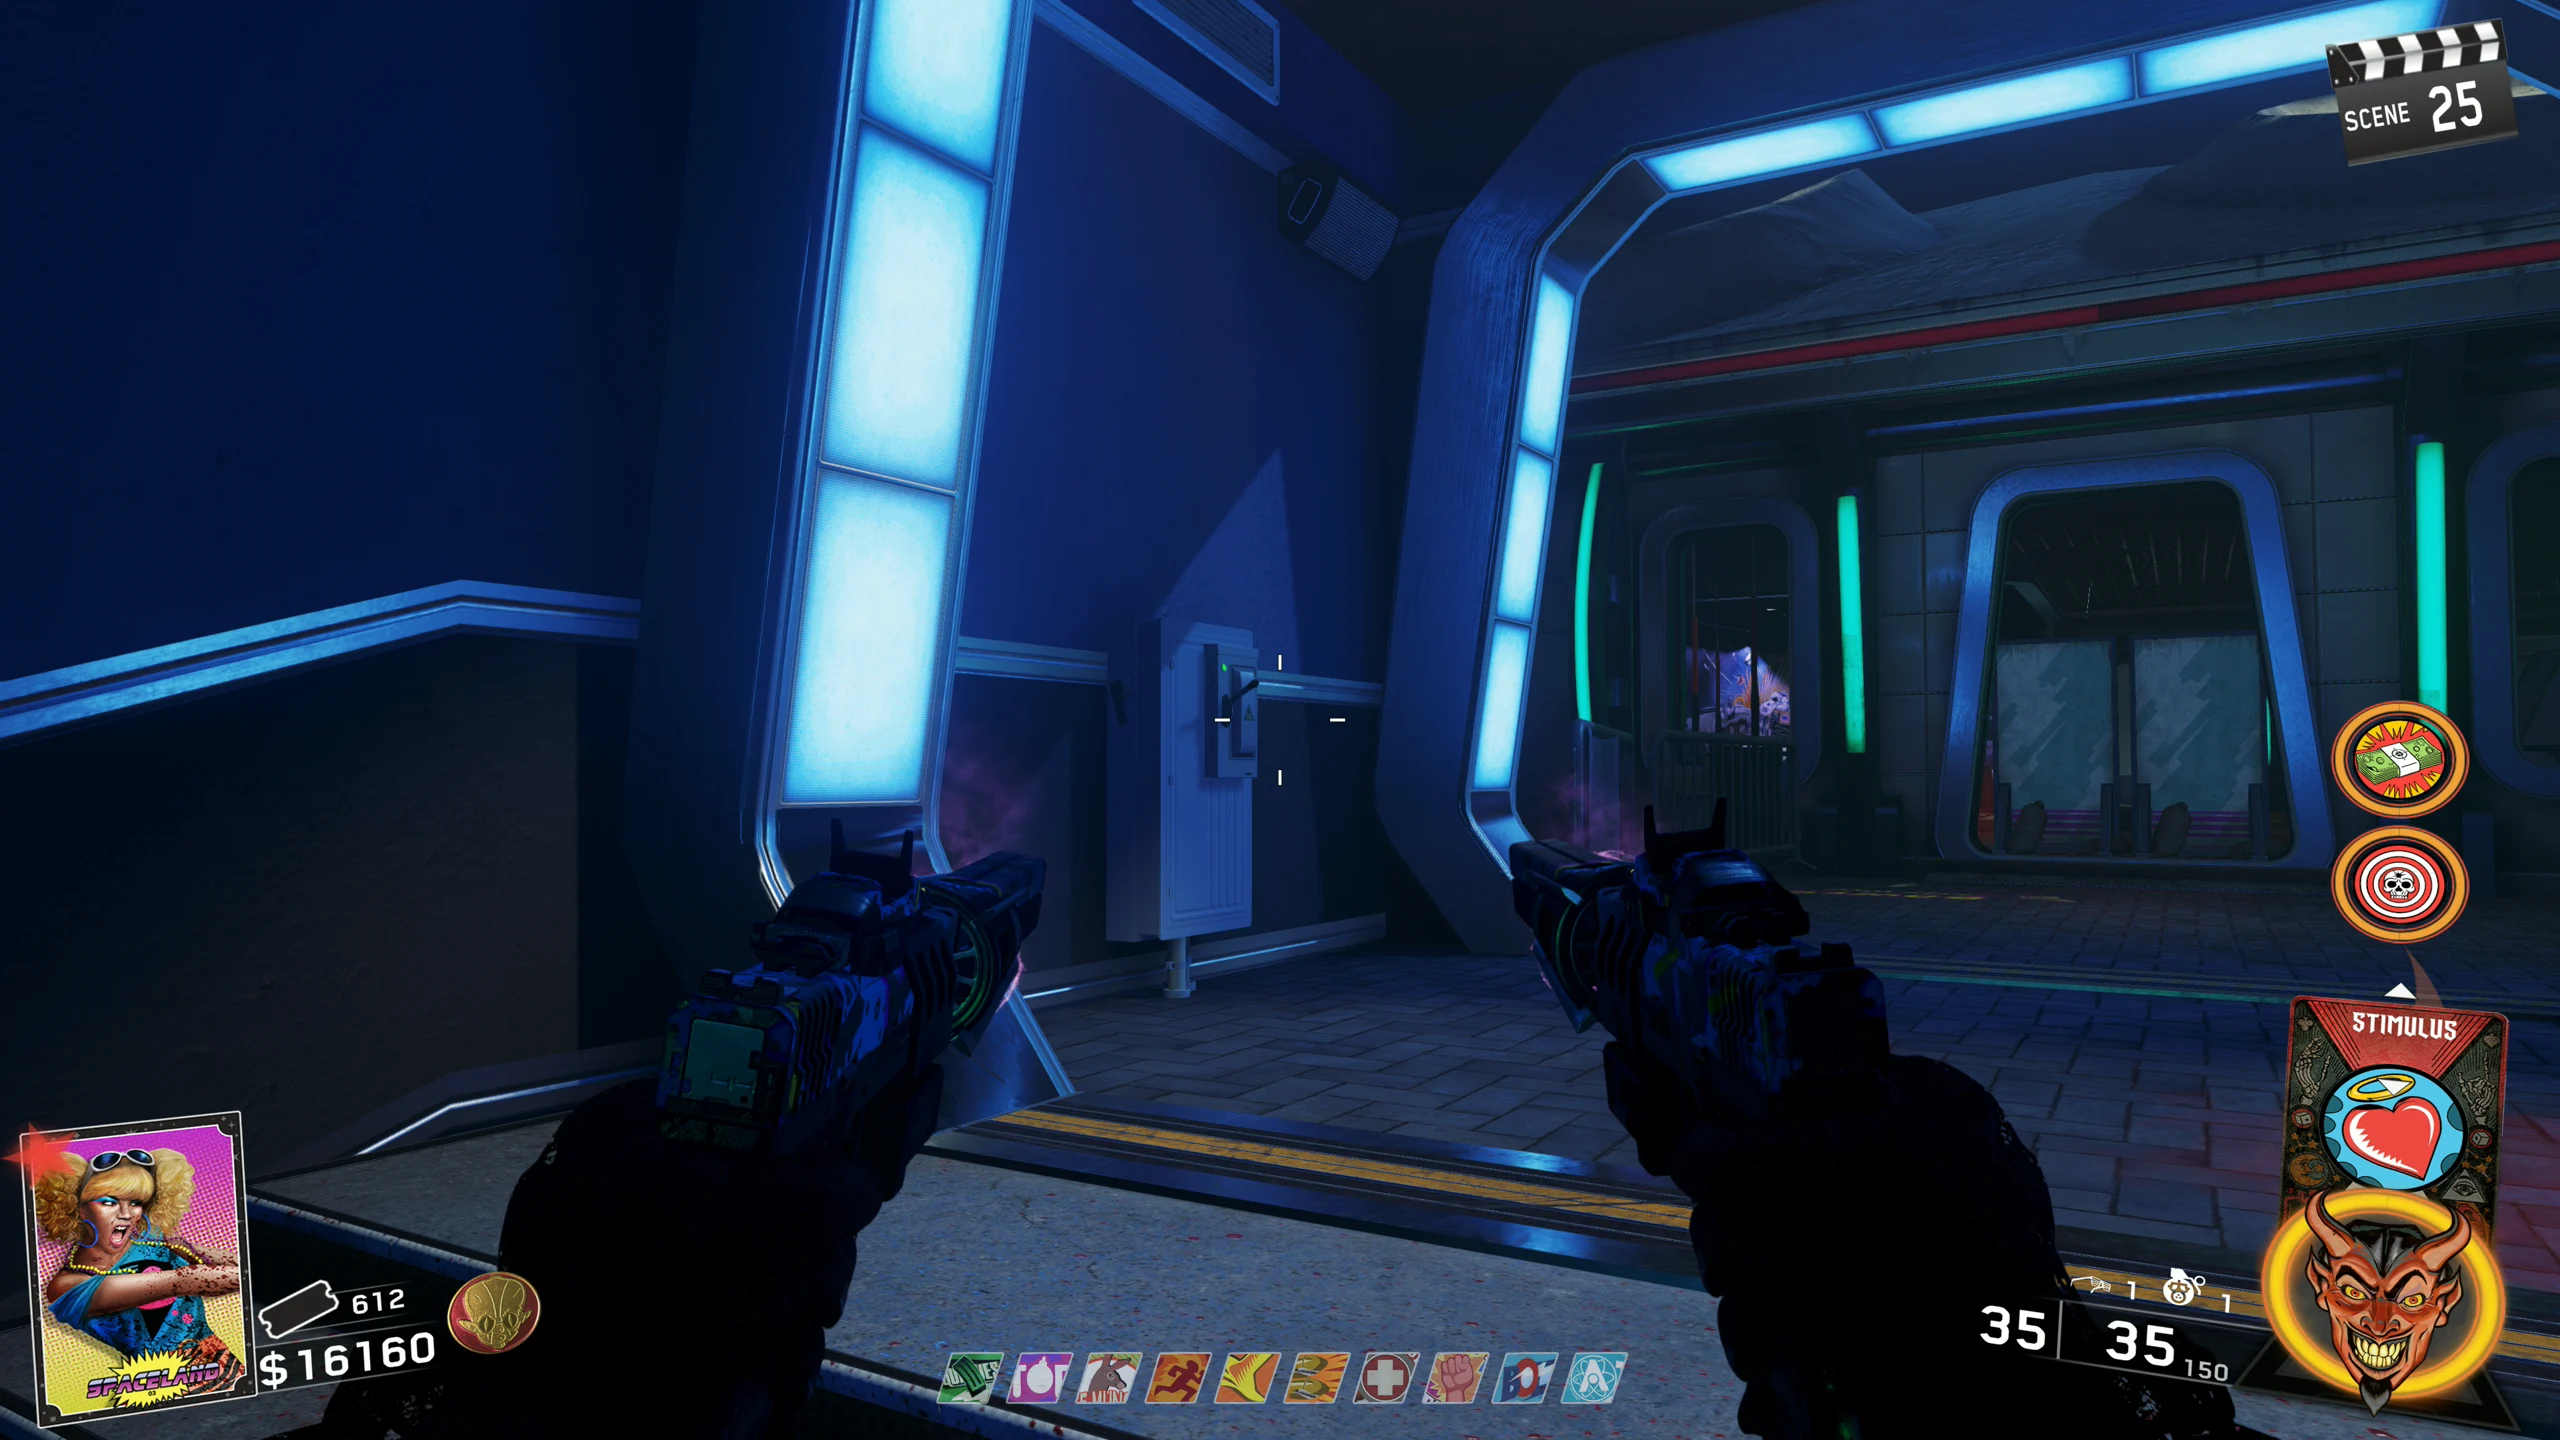
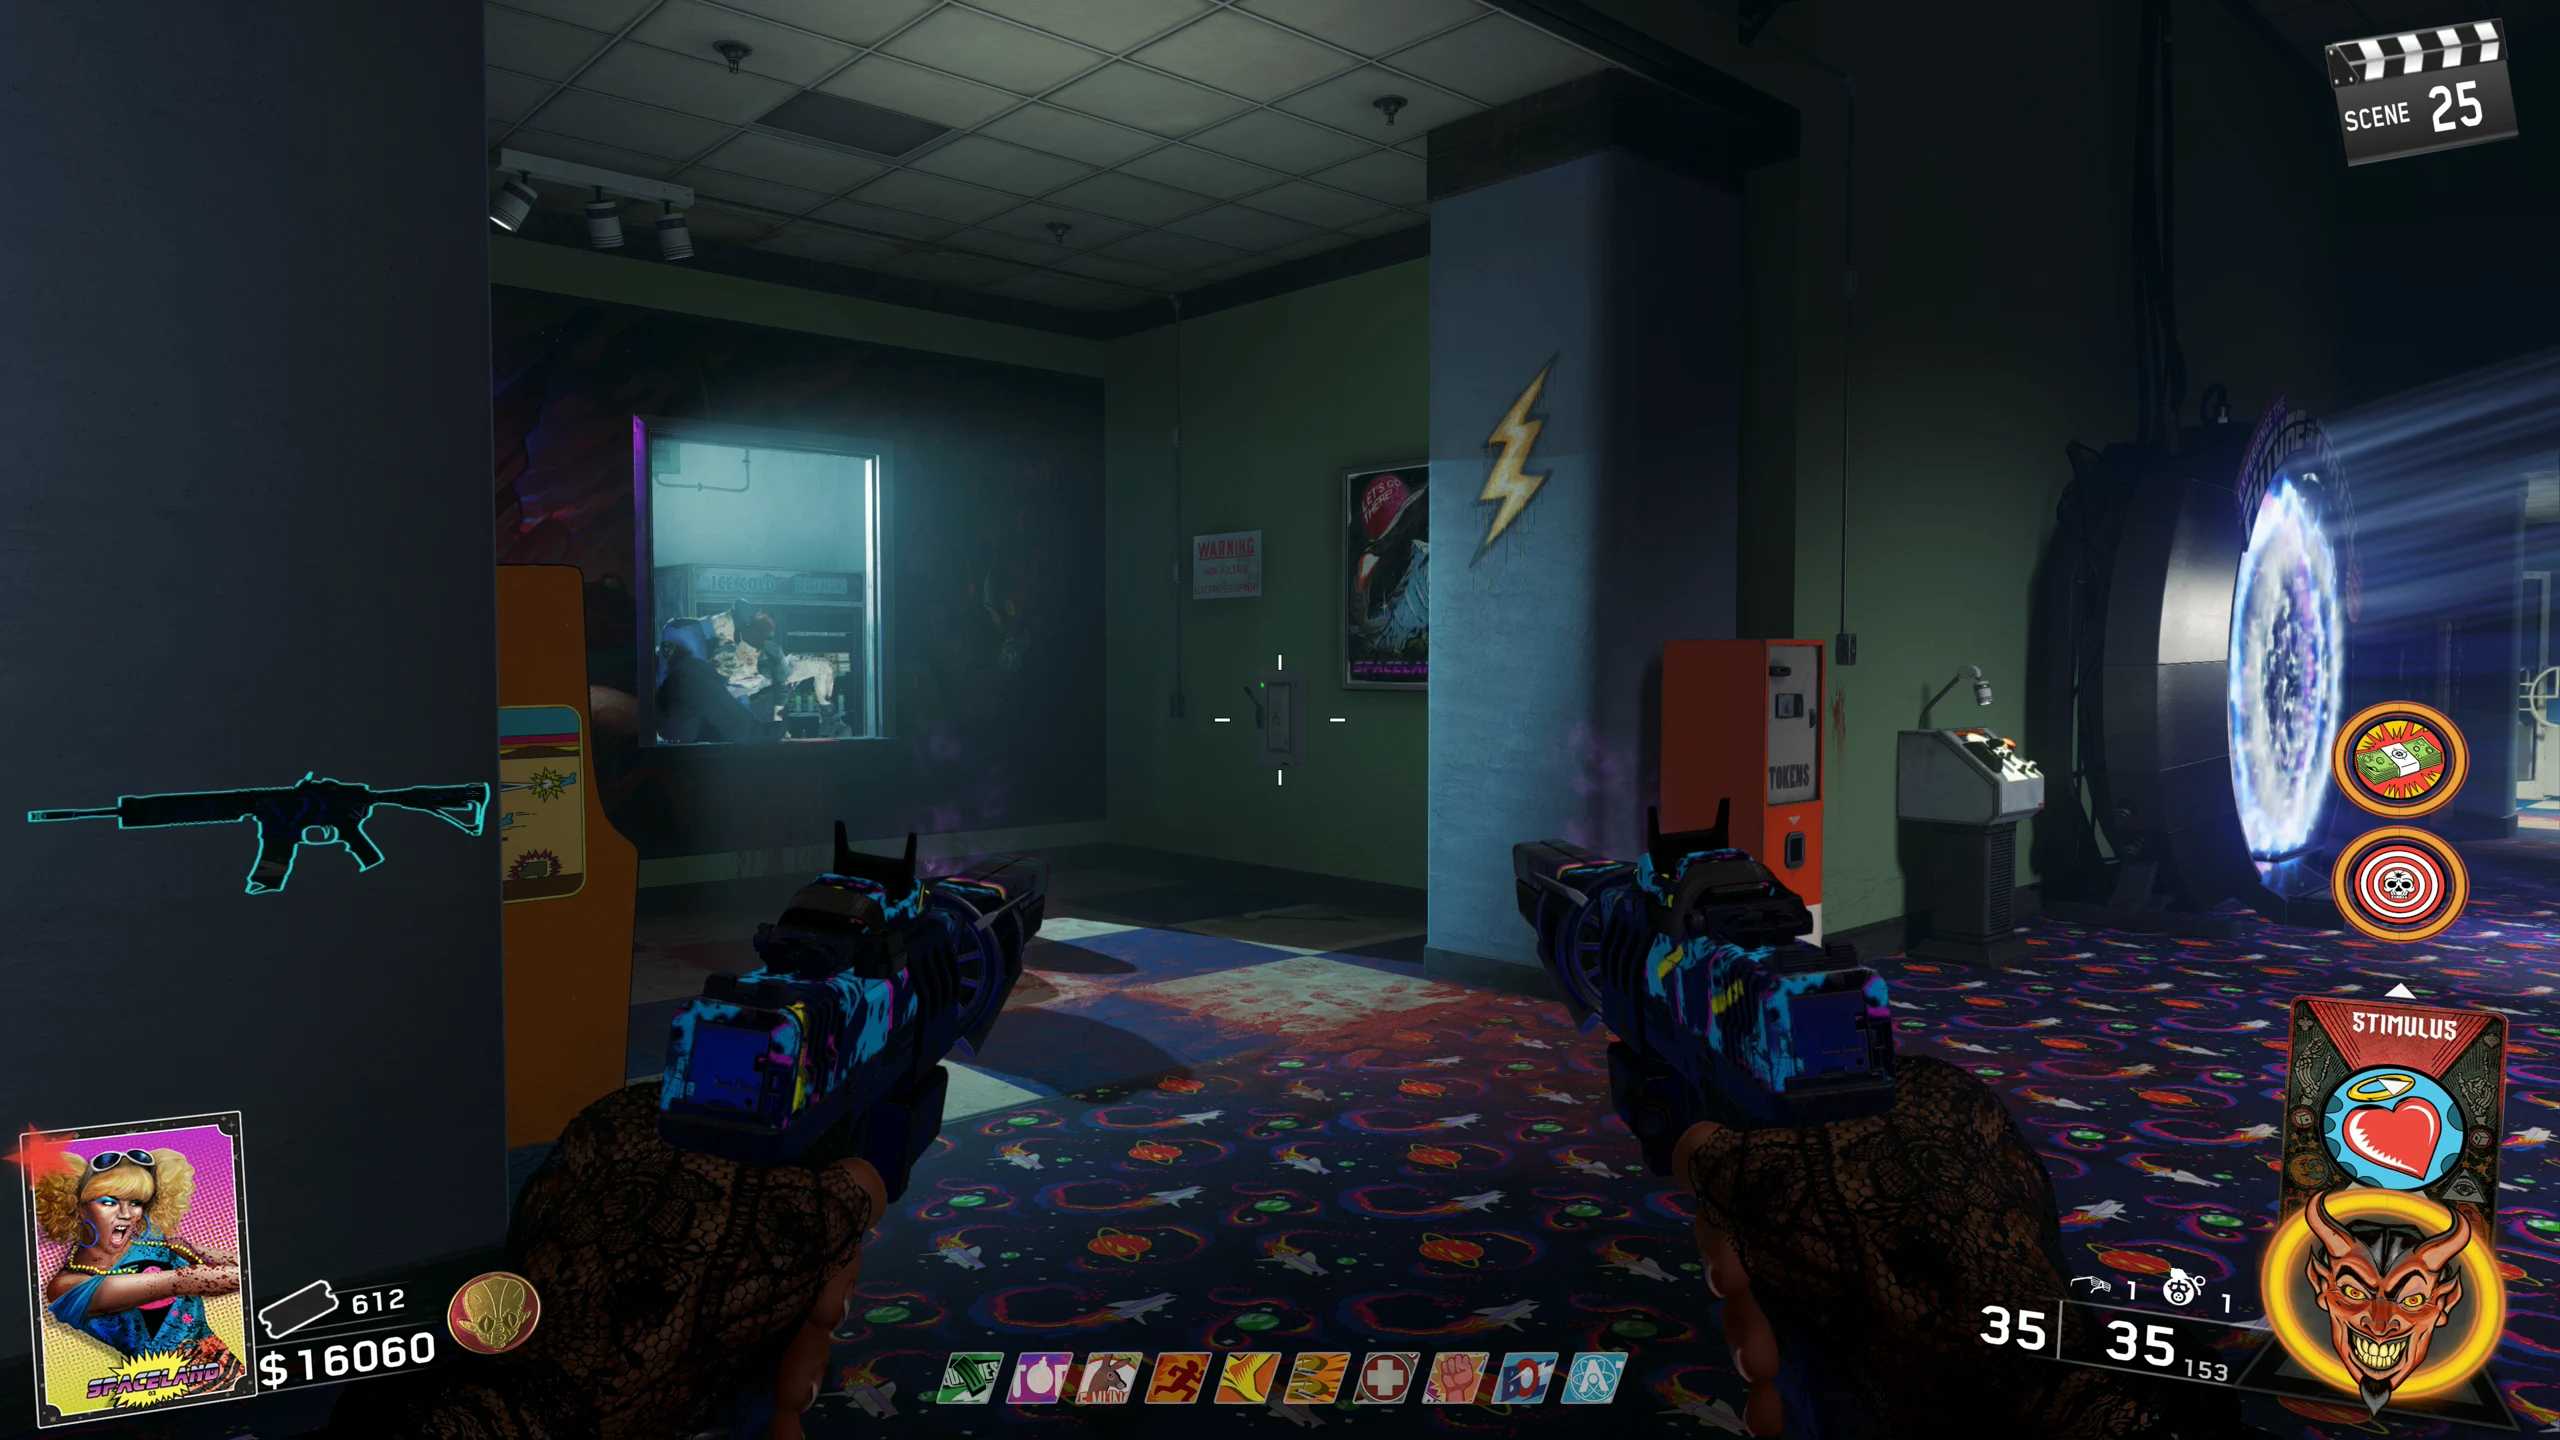
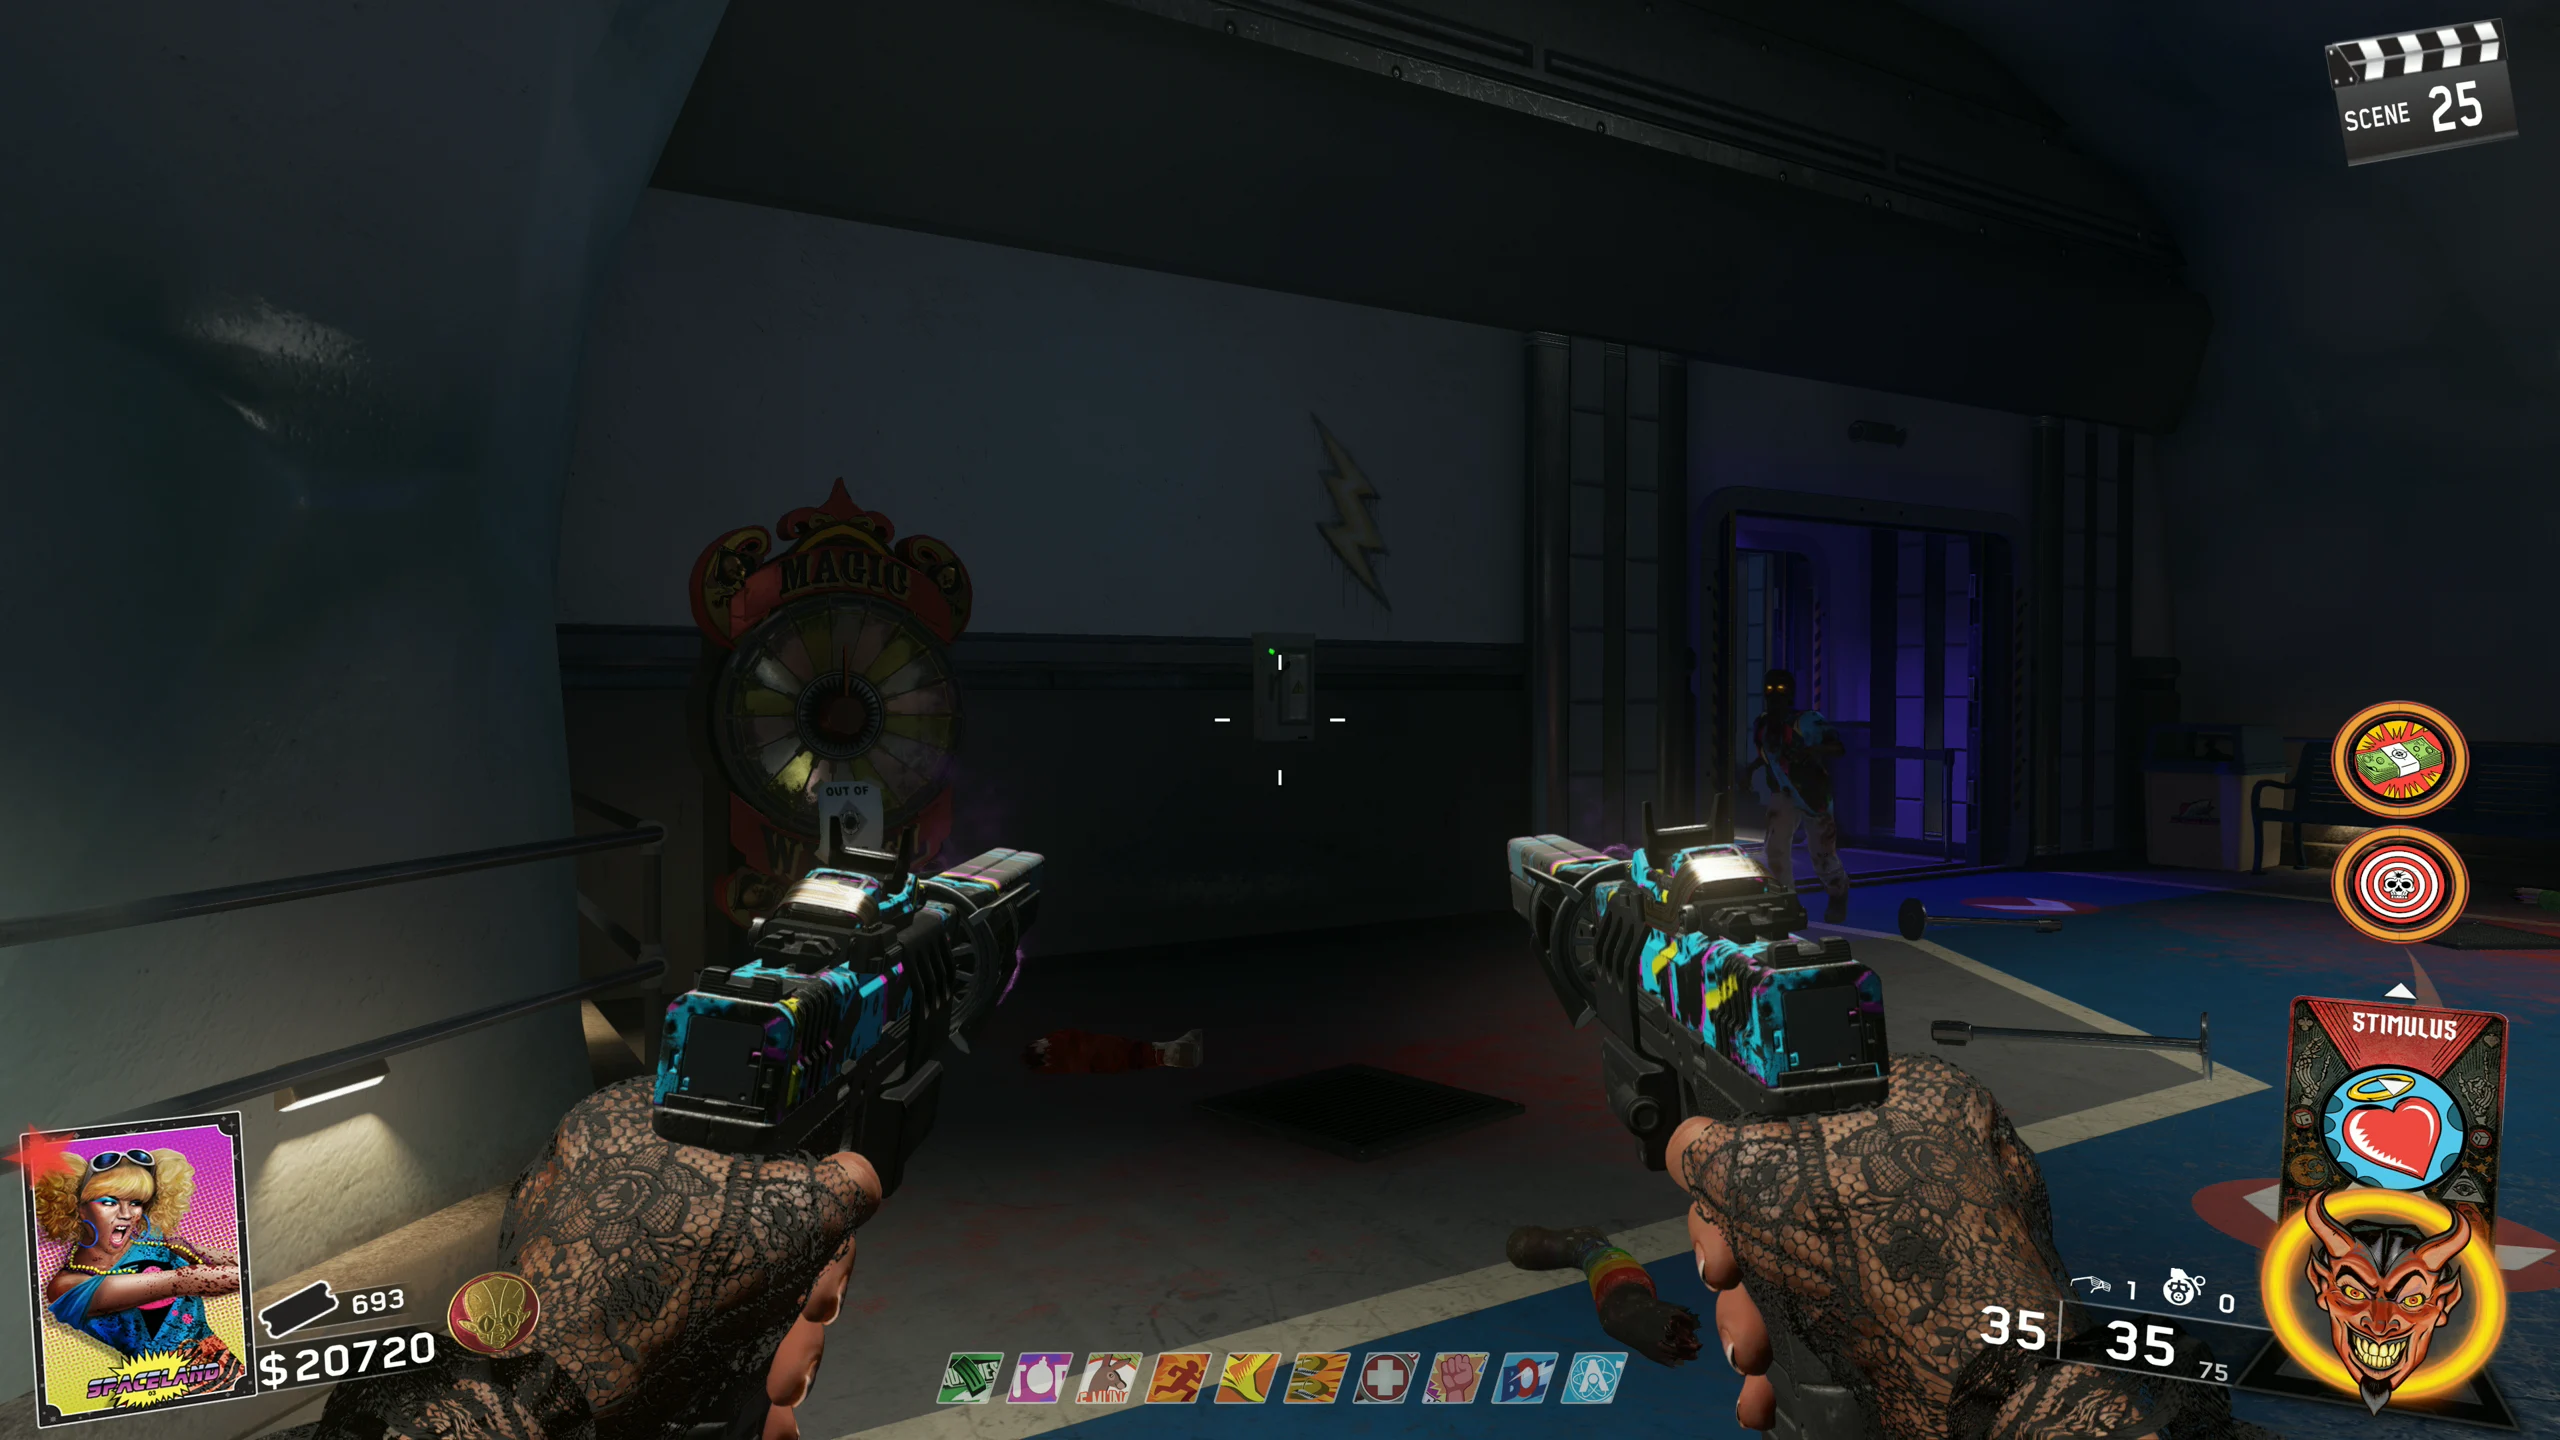
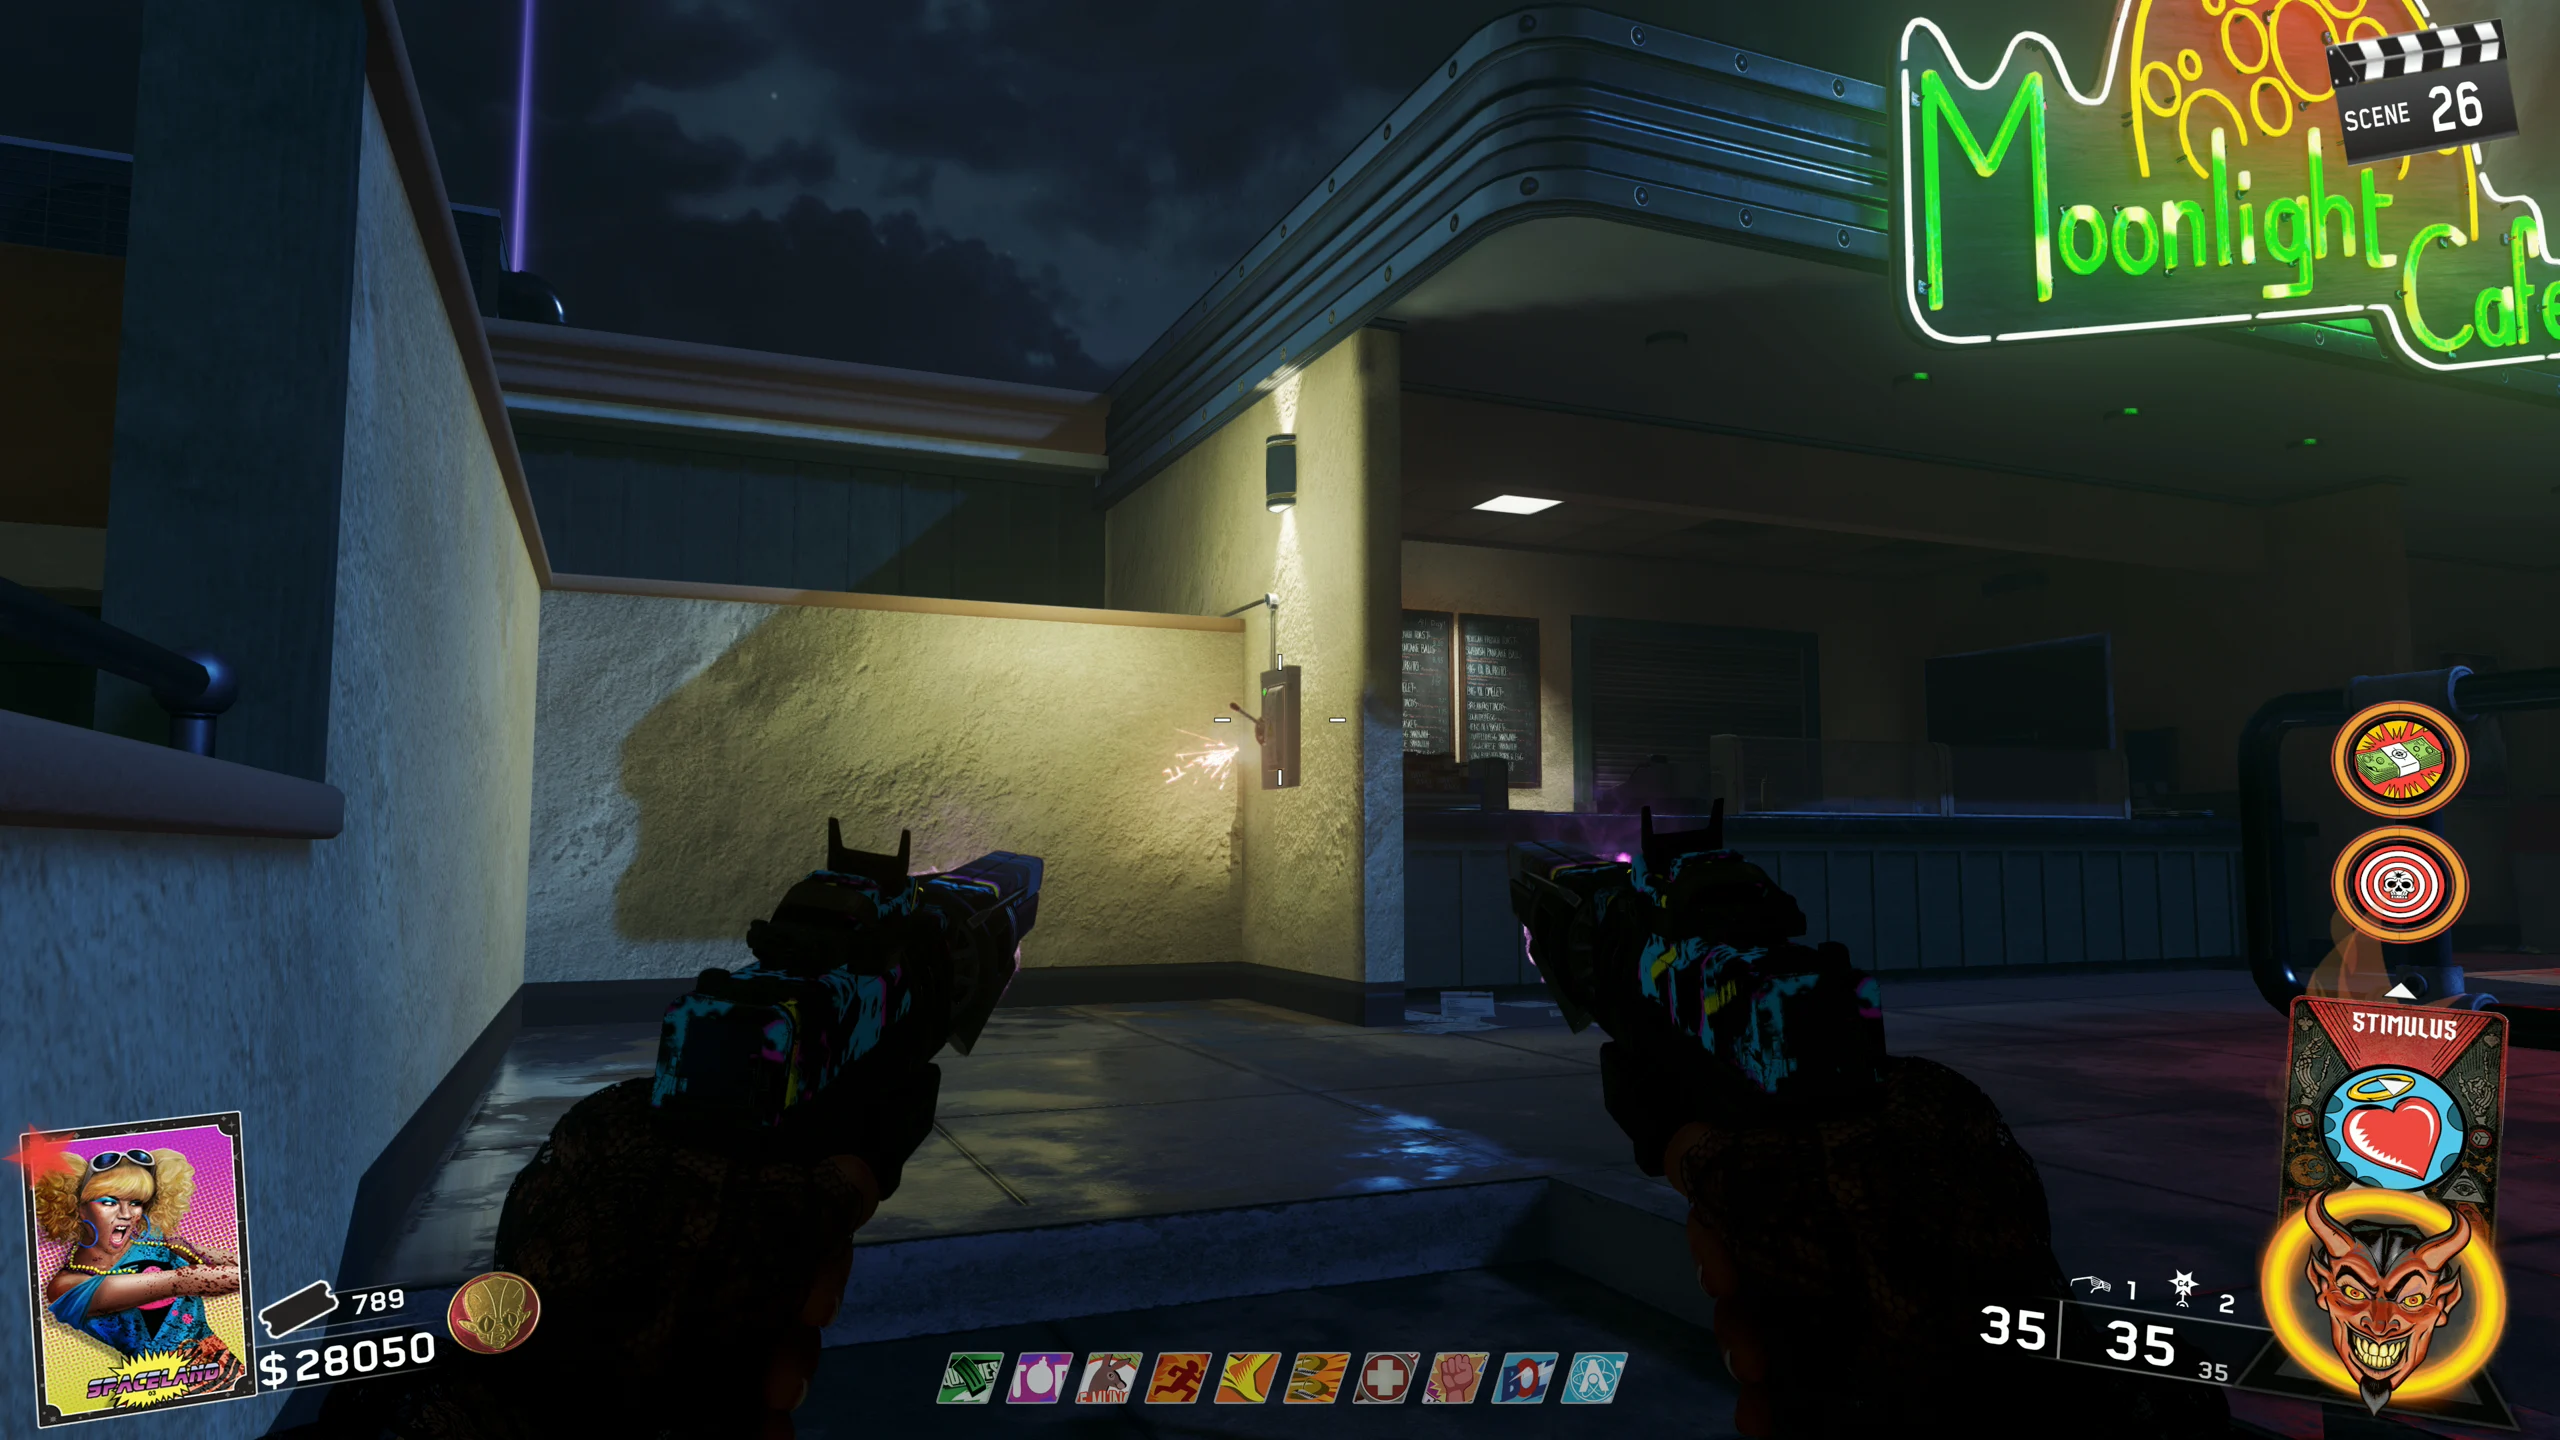
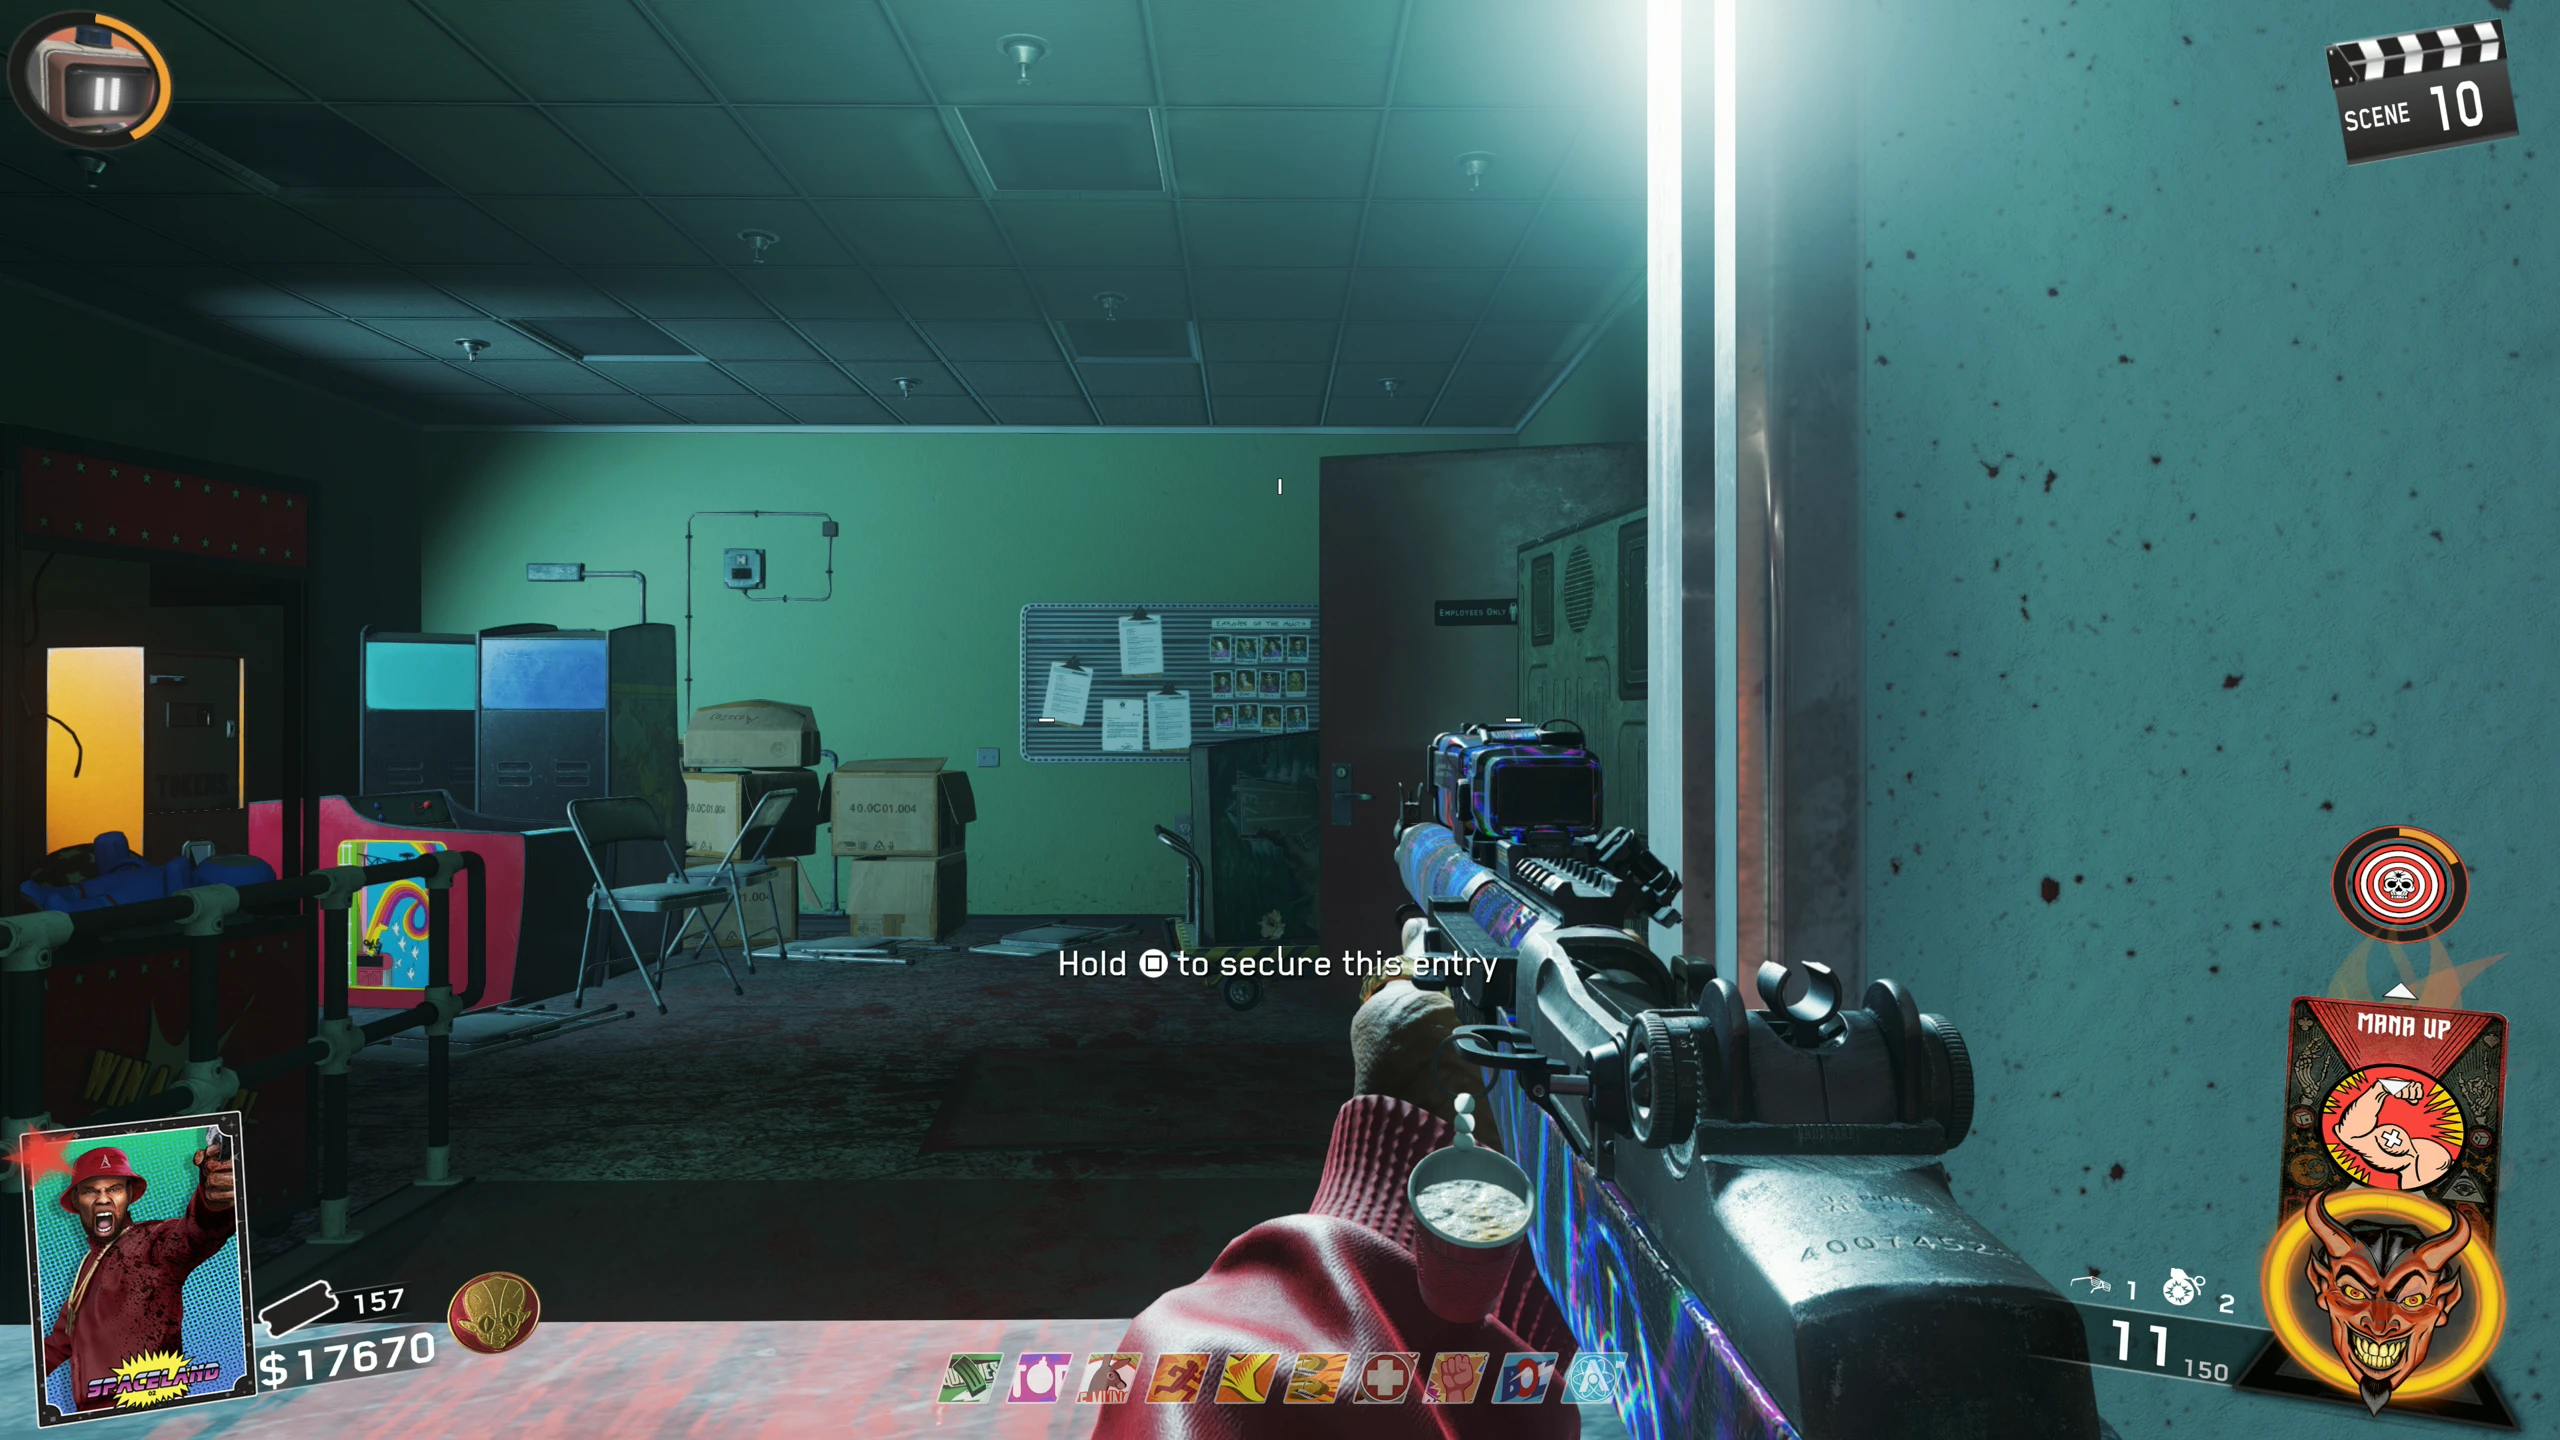
- You must now defend the SETI-COM three times in three of the following locations; one per round. When you find the correct location to place the SETI-COM, your screen will shake, and you will be prompted to place it. Once you place the SETI-COM, Zombies will start infinitely spawning, and you must defend the SETI-COM till the timer runs out.
- The first defence takes 60 Seconds, the second is 90 Seconds, and the third is 120 Seconds.
- If you defend successfully, you will be able to pick the SETI-COM back up, and one of the Zombies will drop a Max Ammo power-up. You will then have to wait till the next round to do the next defence.
- If you fail to defend, you won't receive a Max Ammo, and a Brute will spawn. However, you can immediately return to The 'Hoff to get a new SETI-COM to retry on the same round.
- Defence Locations:
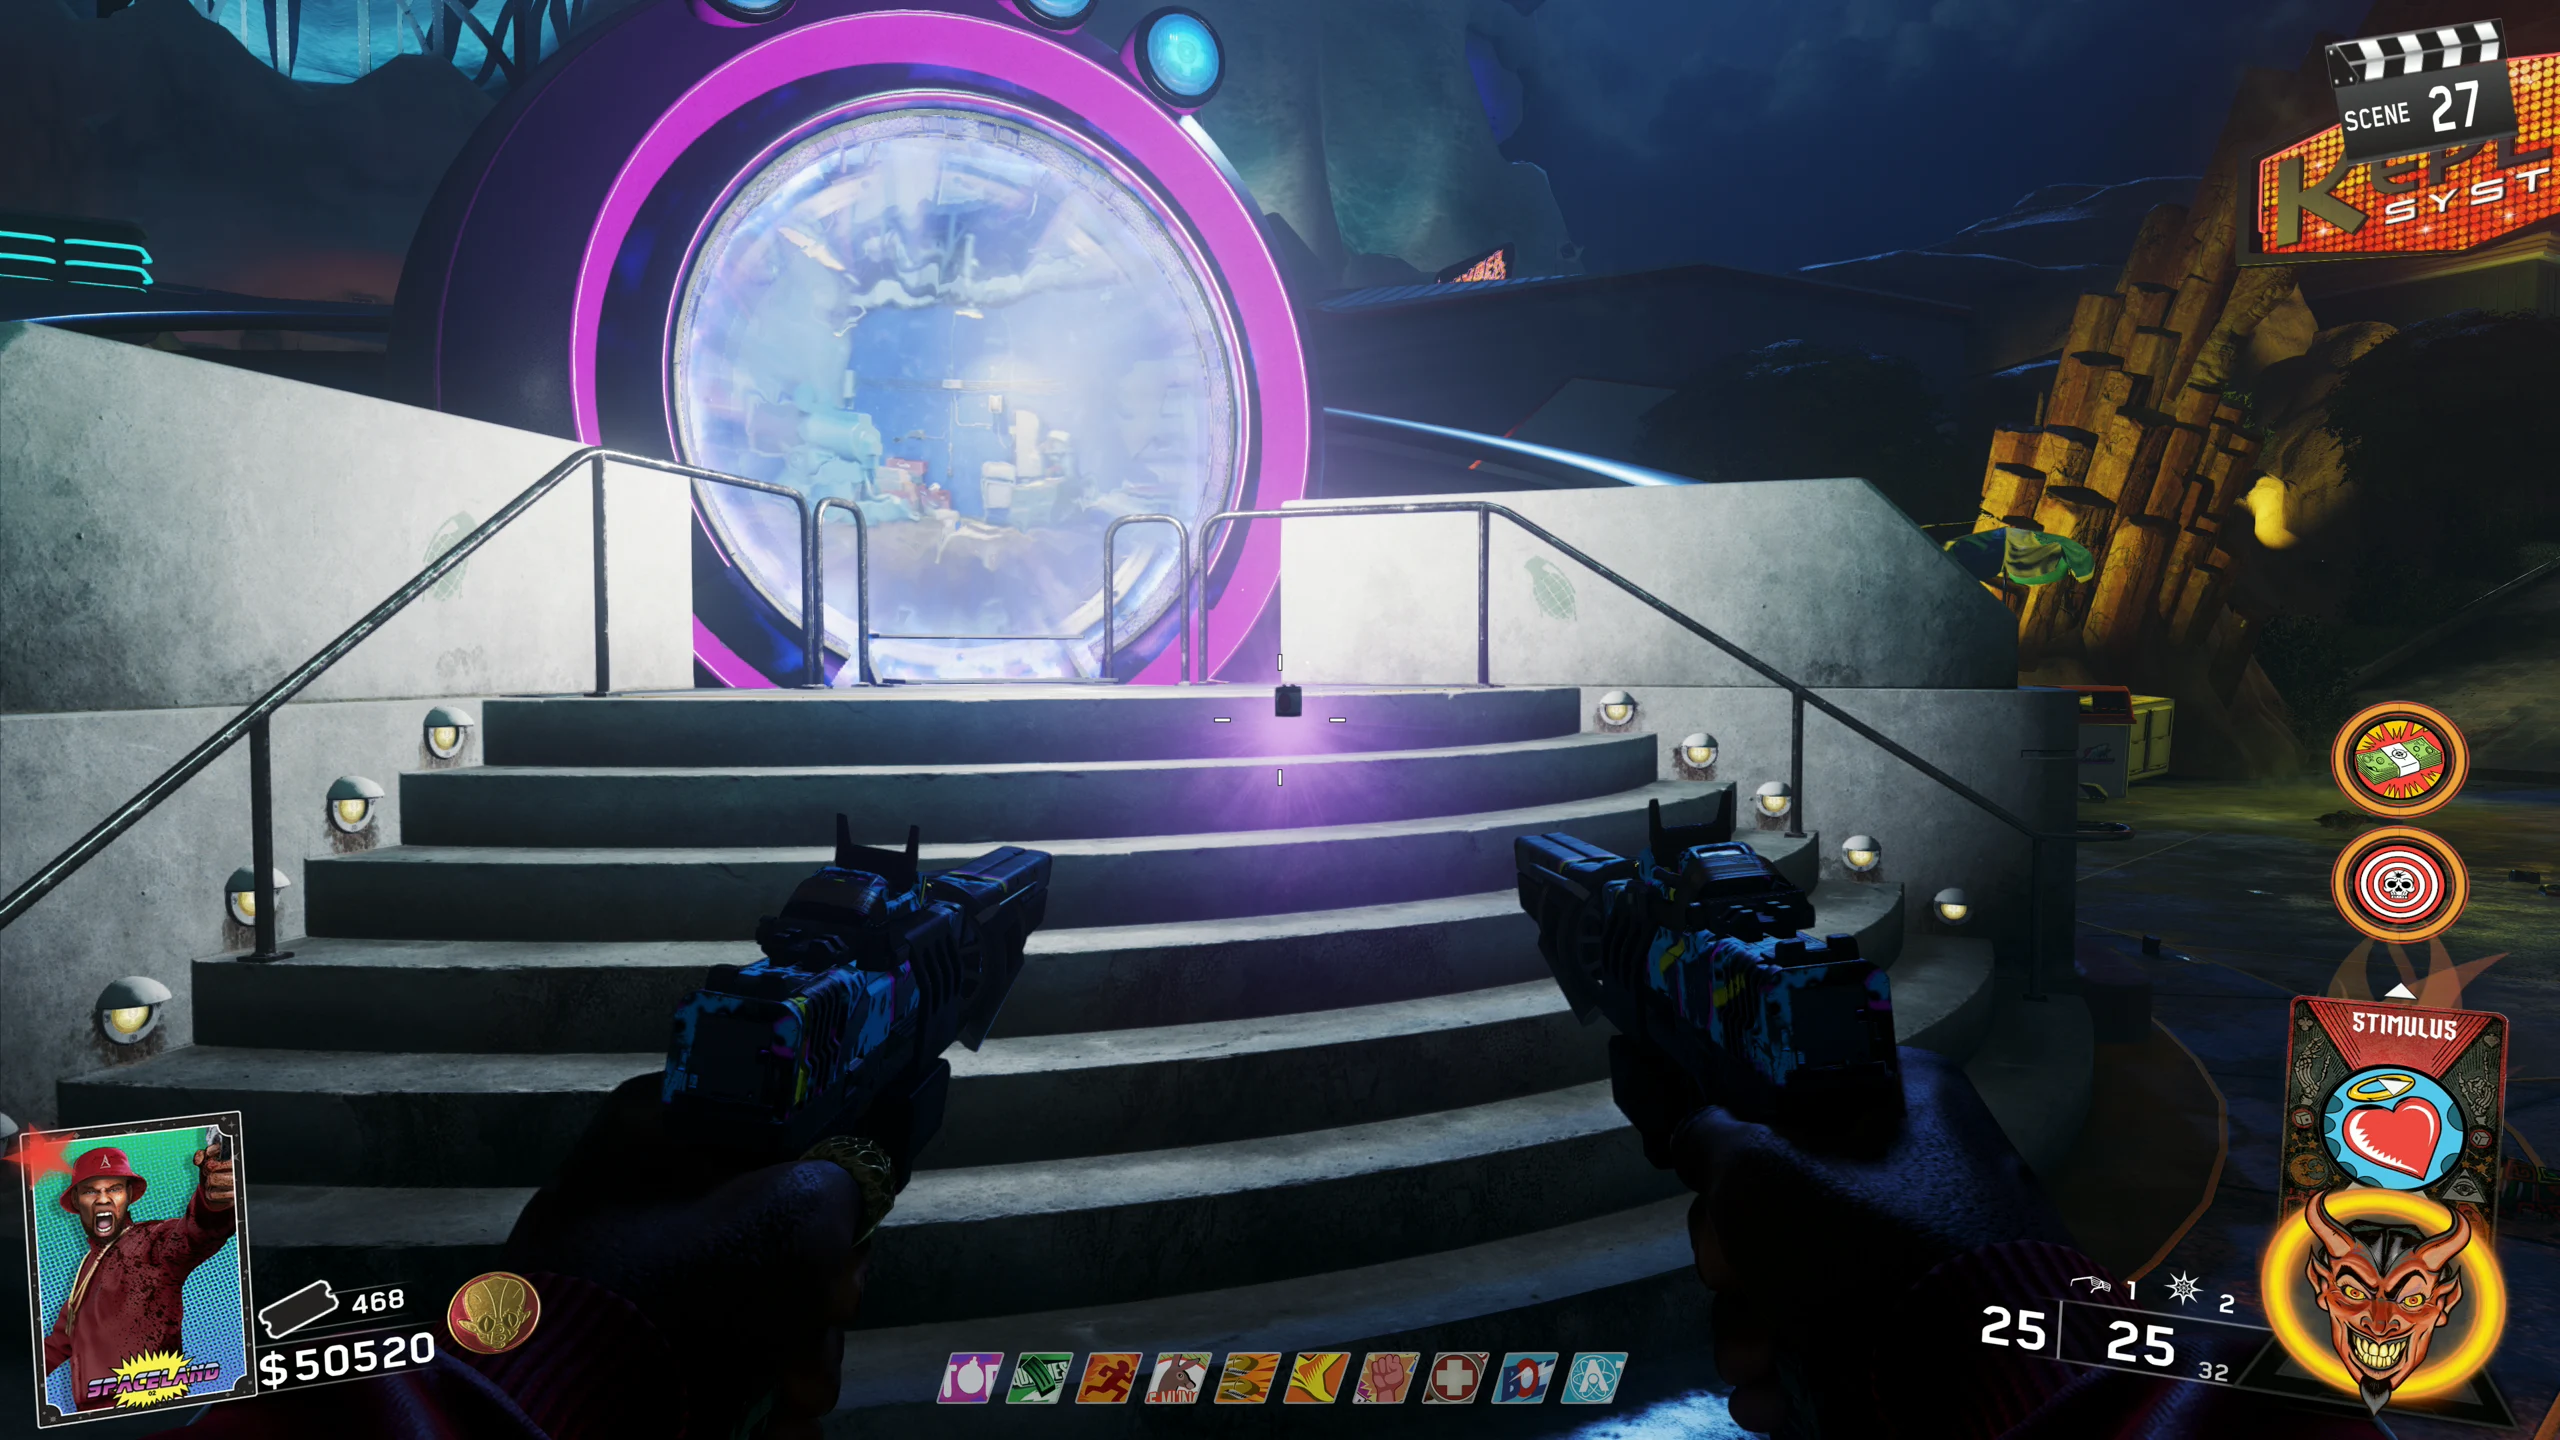
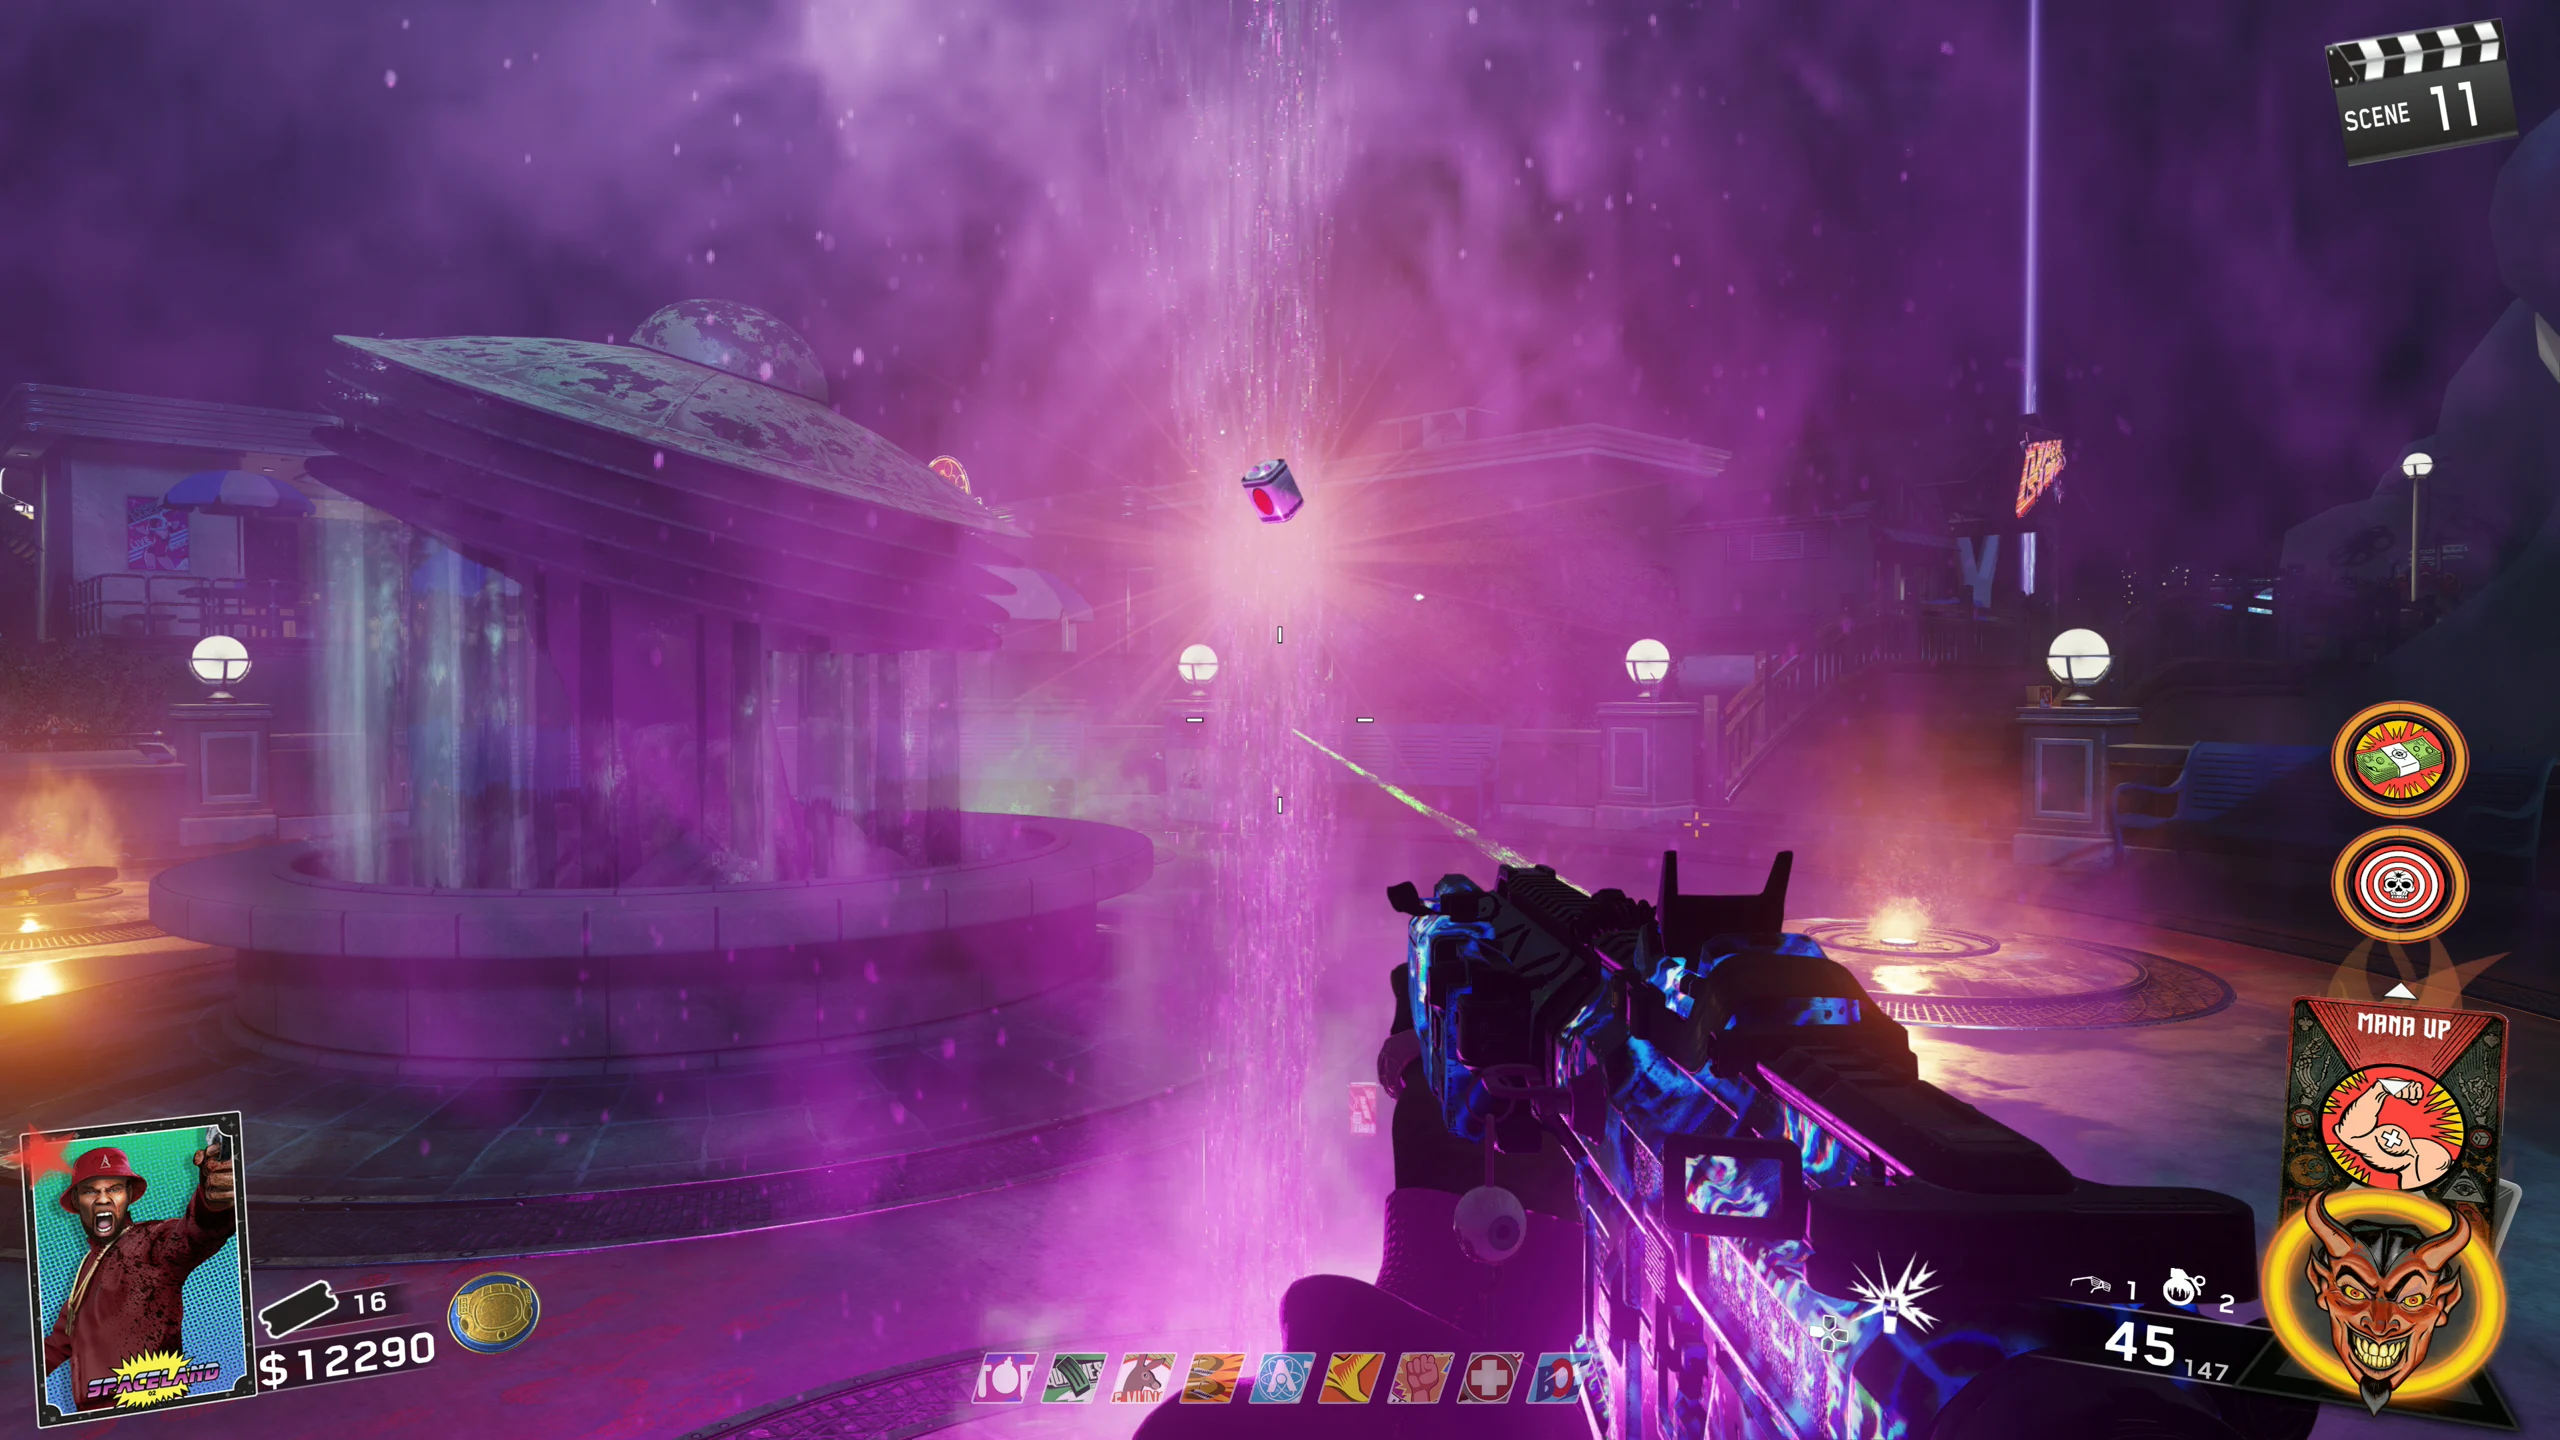
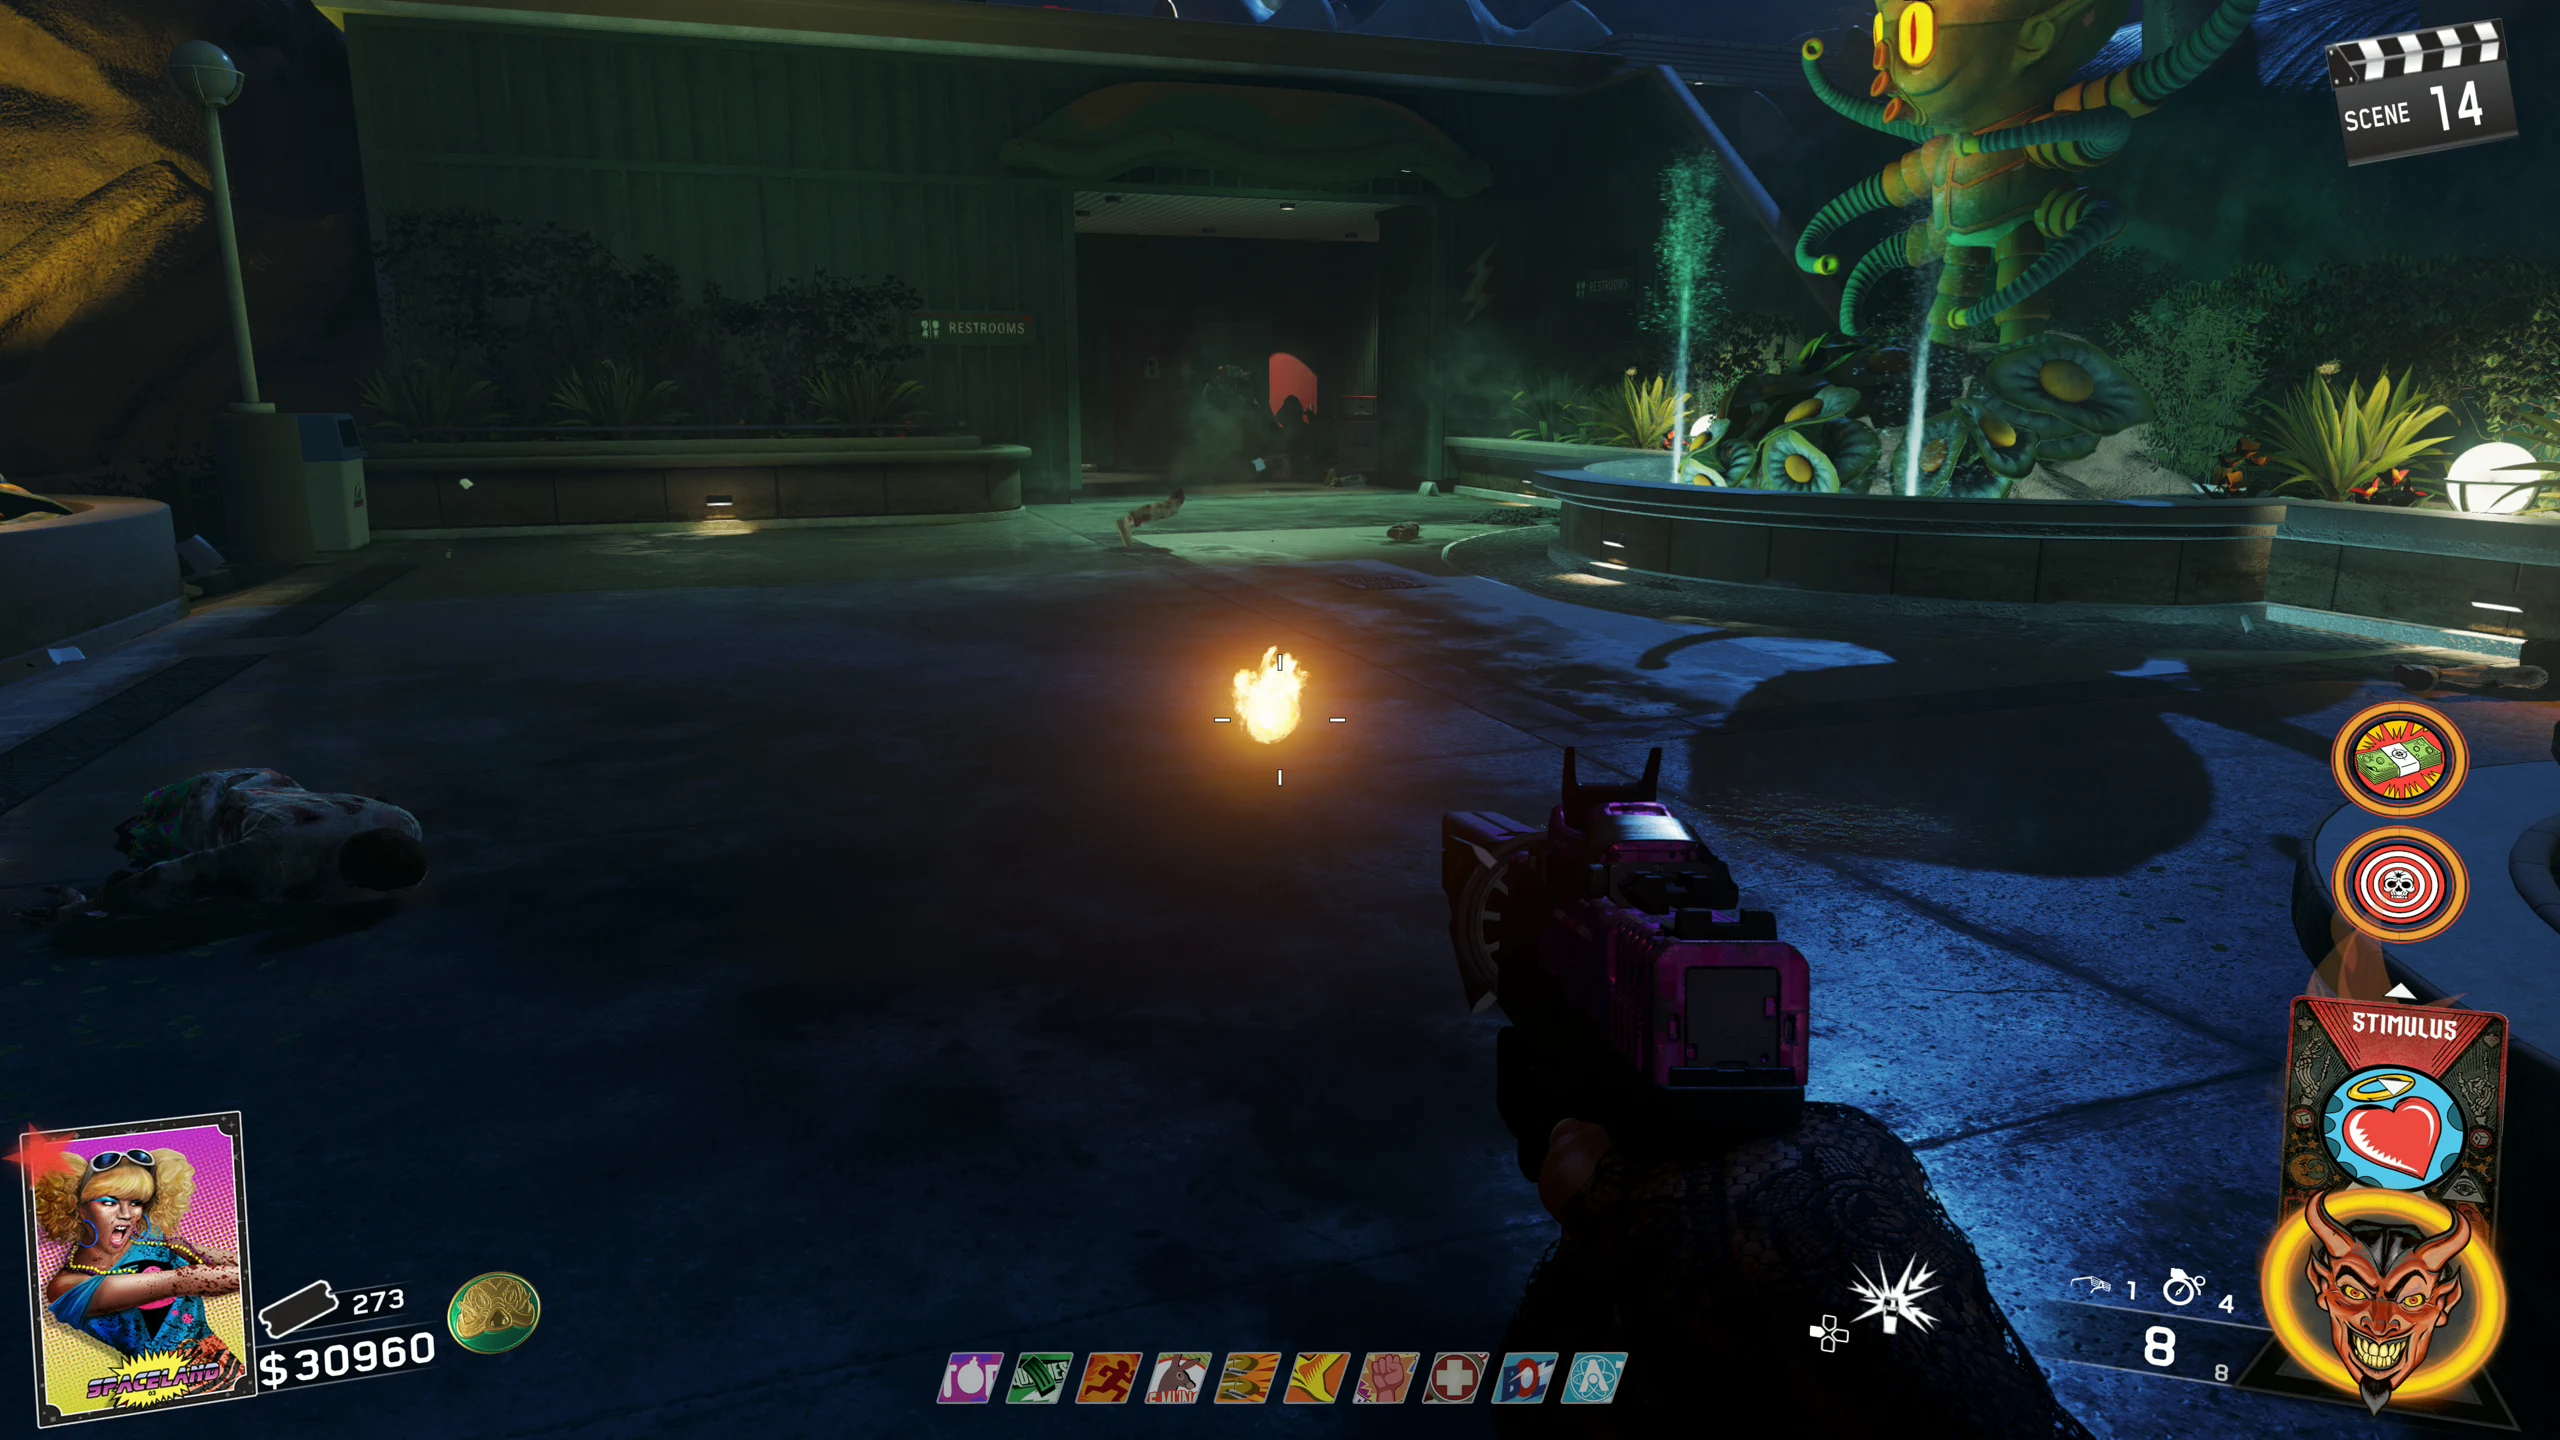
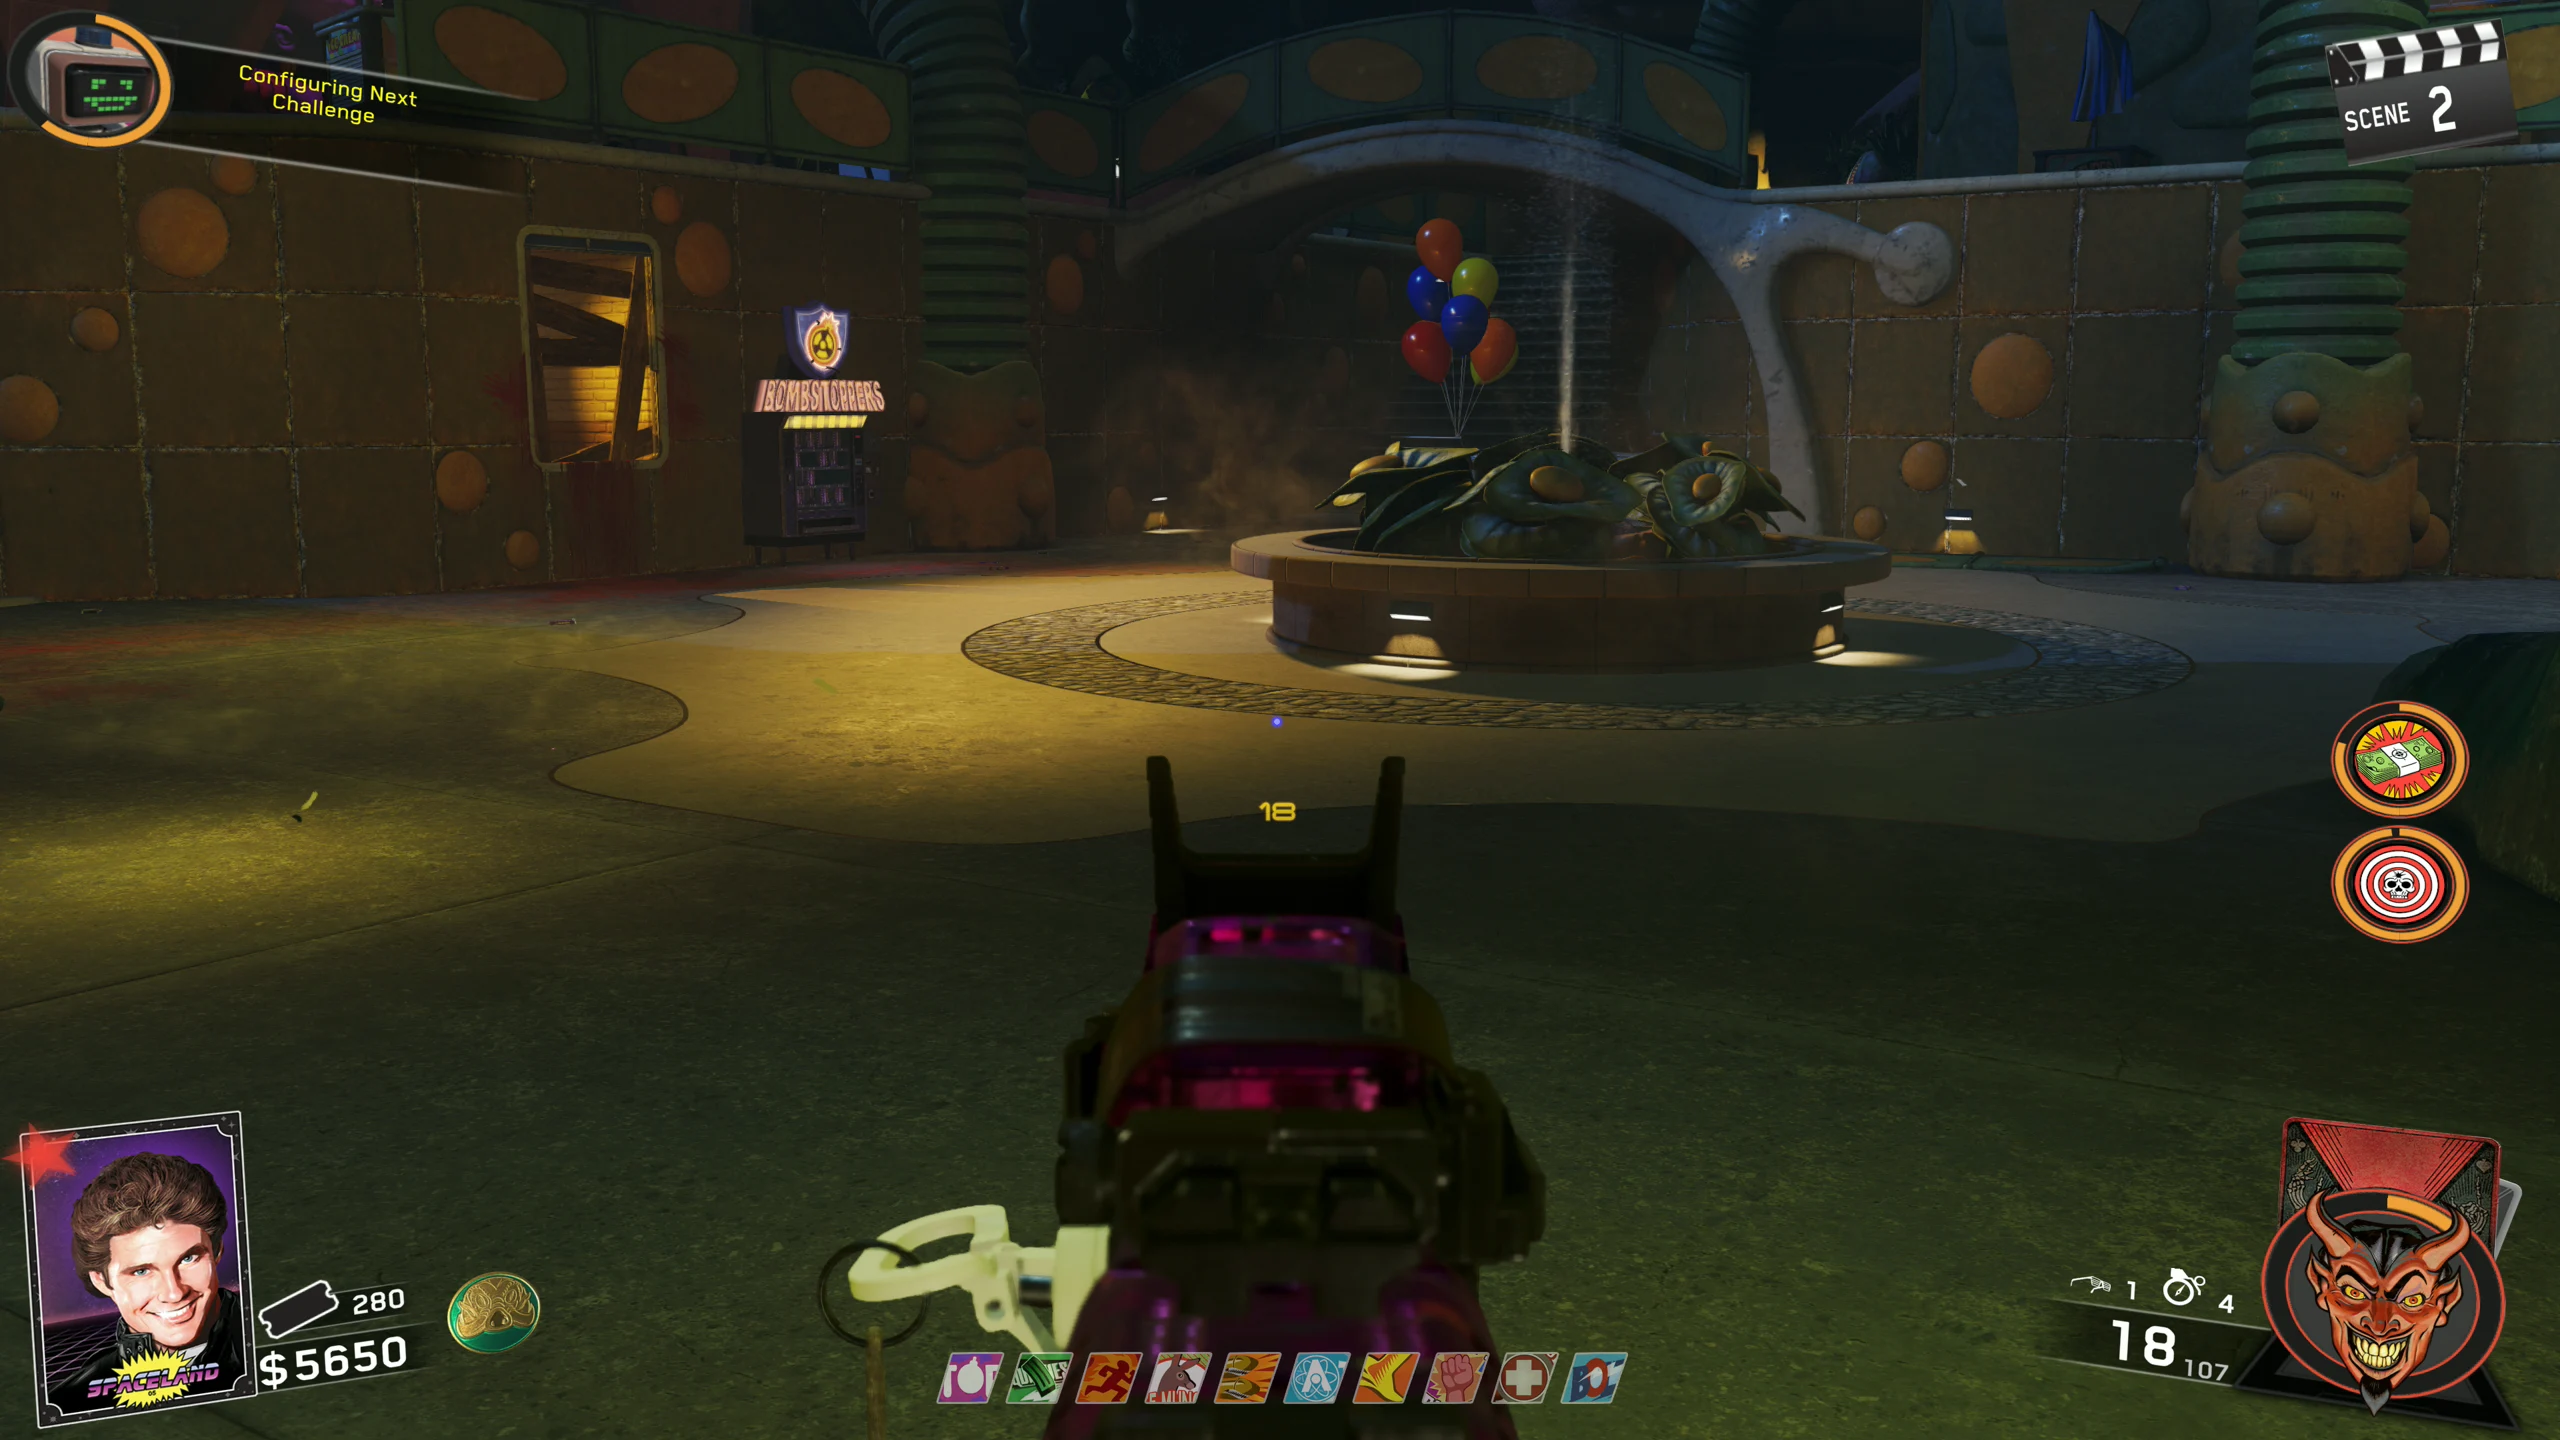
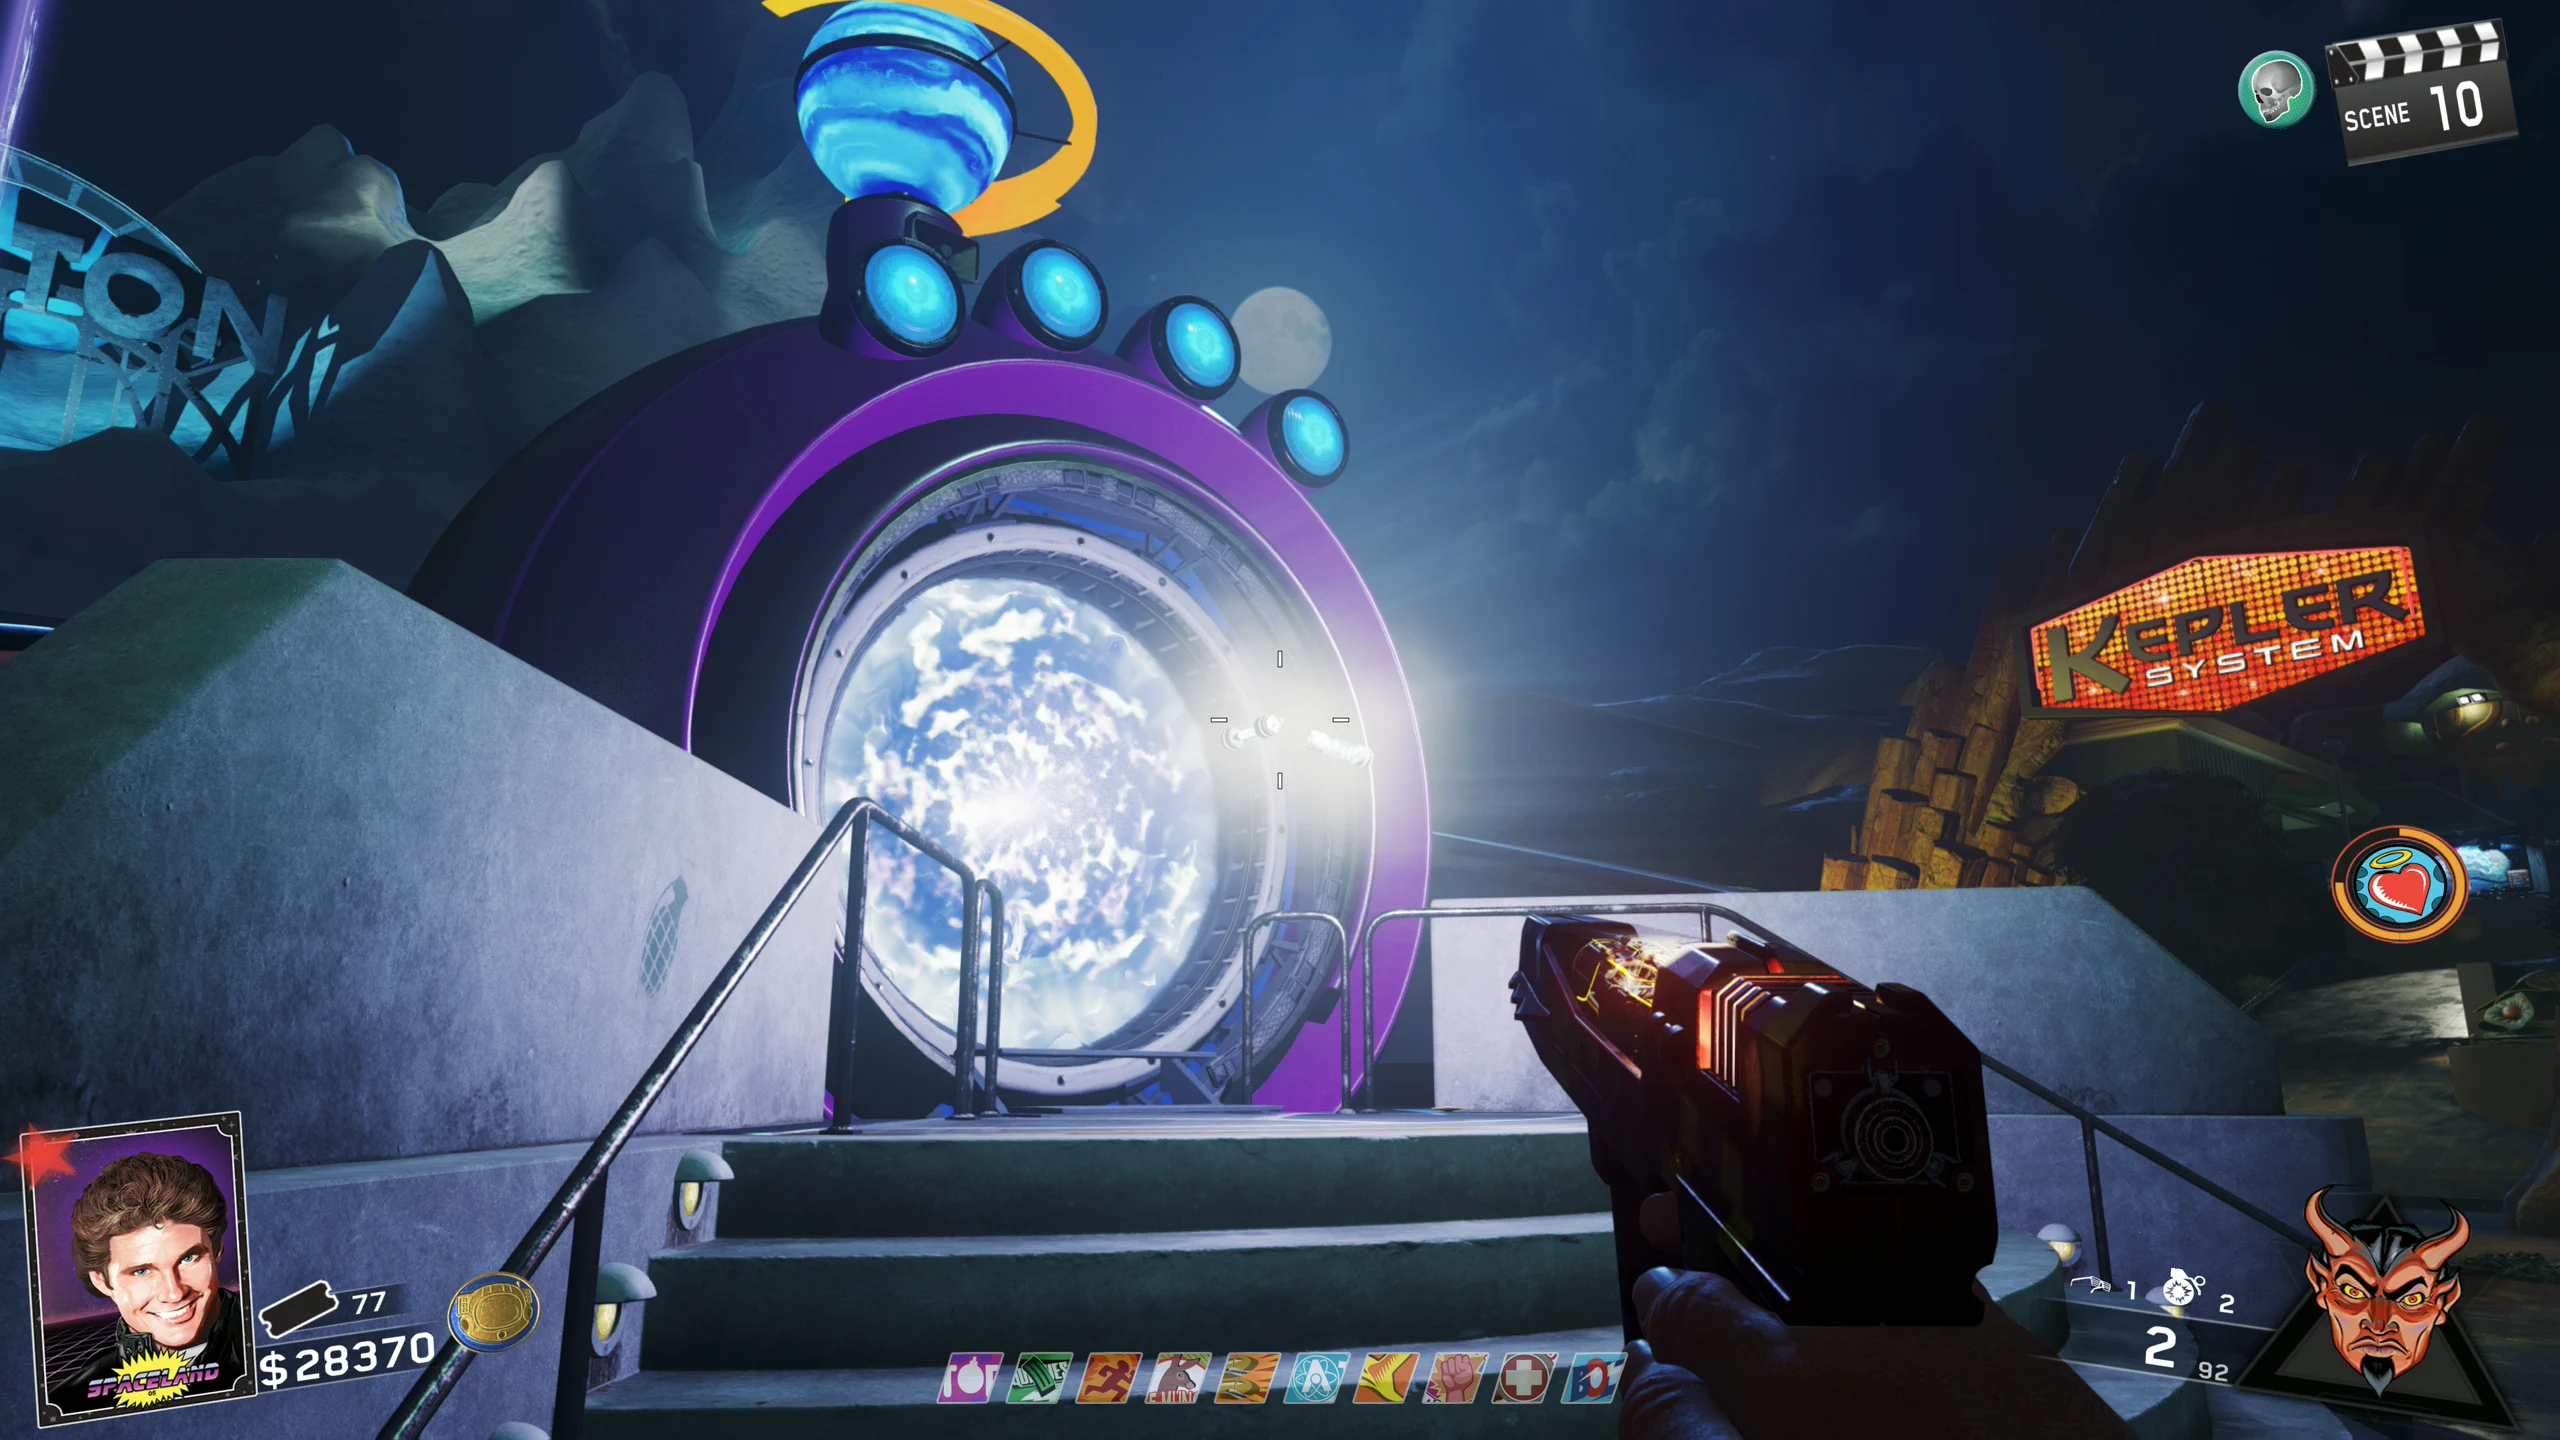
- Kepler System - In front of the fountain, near the Bombstoppers perk machine
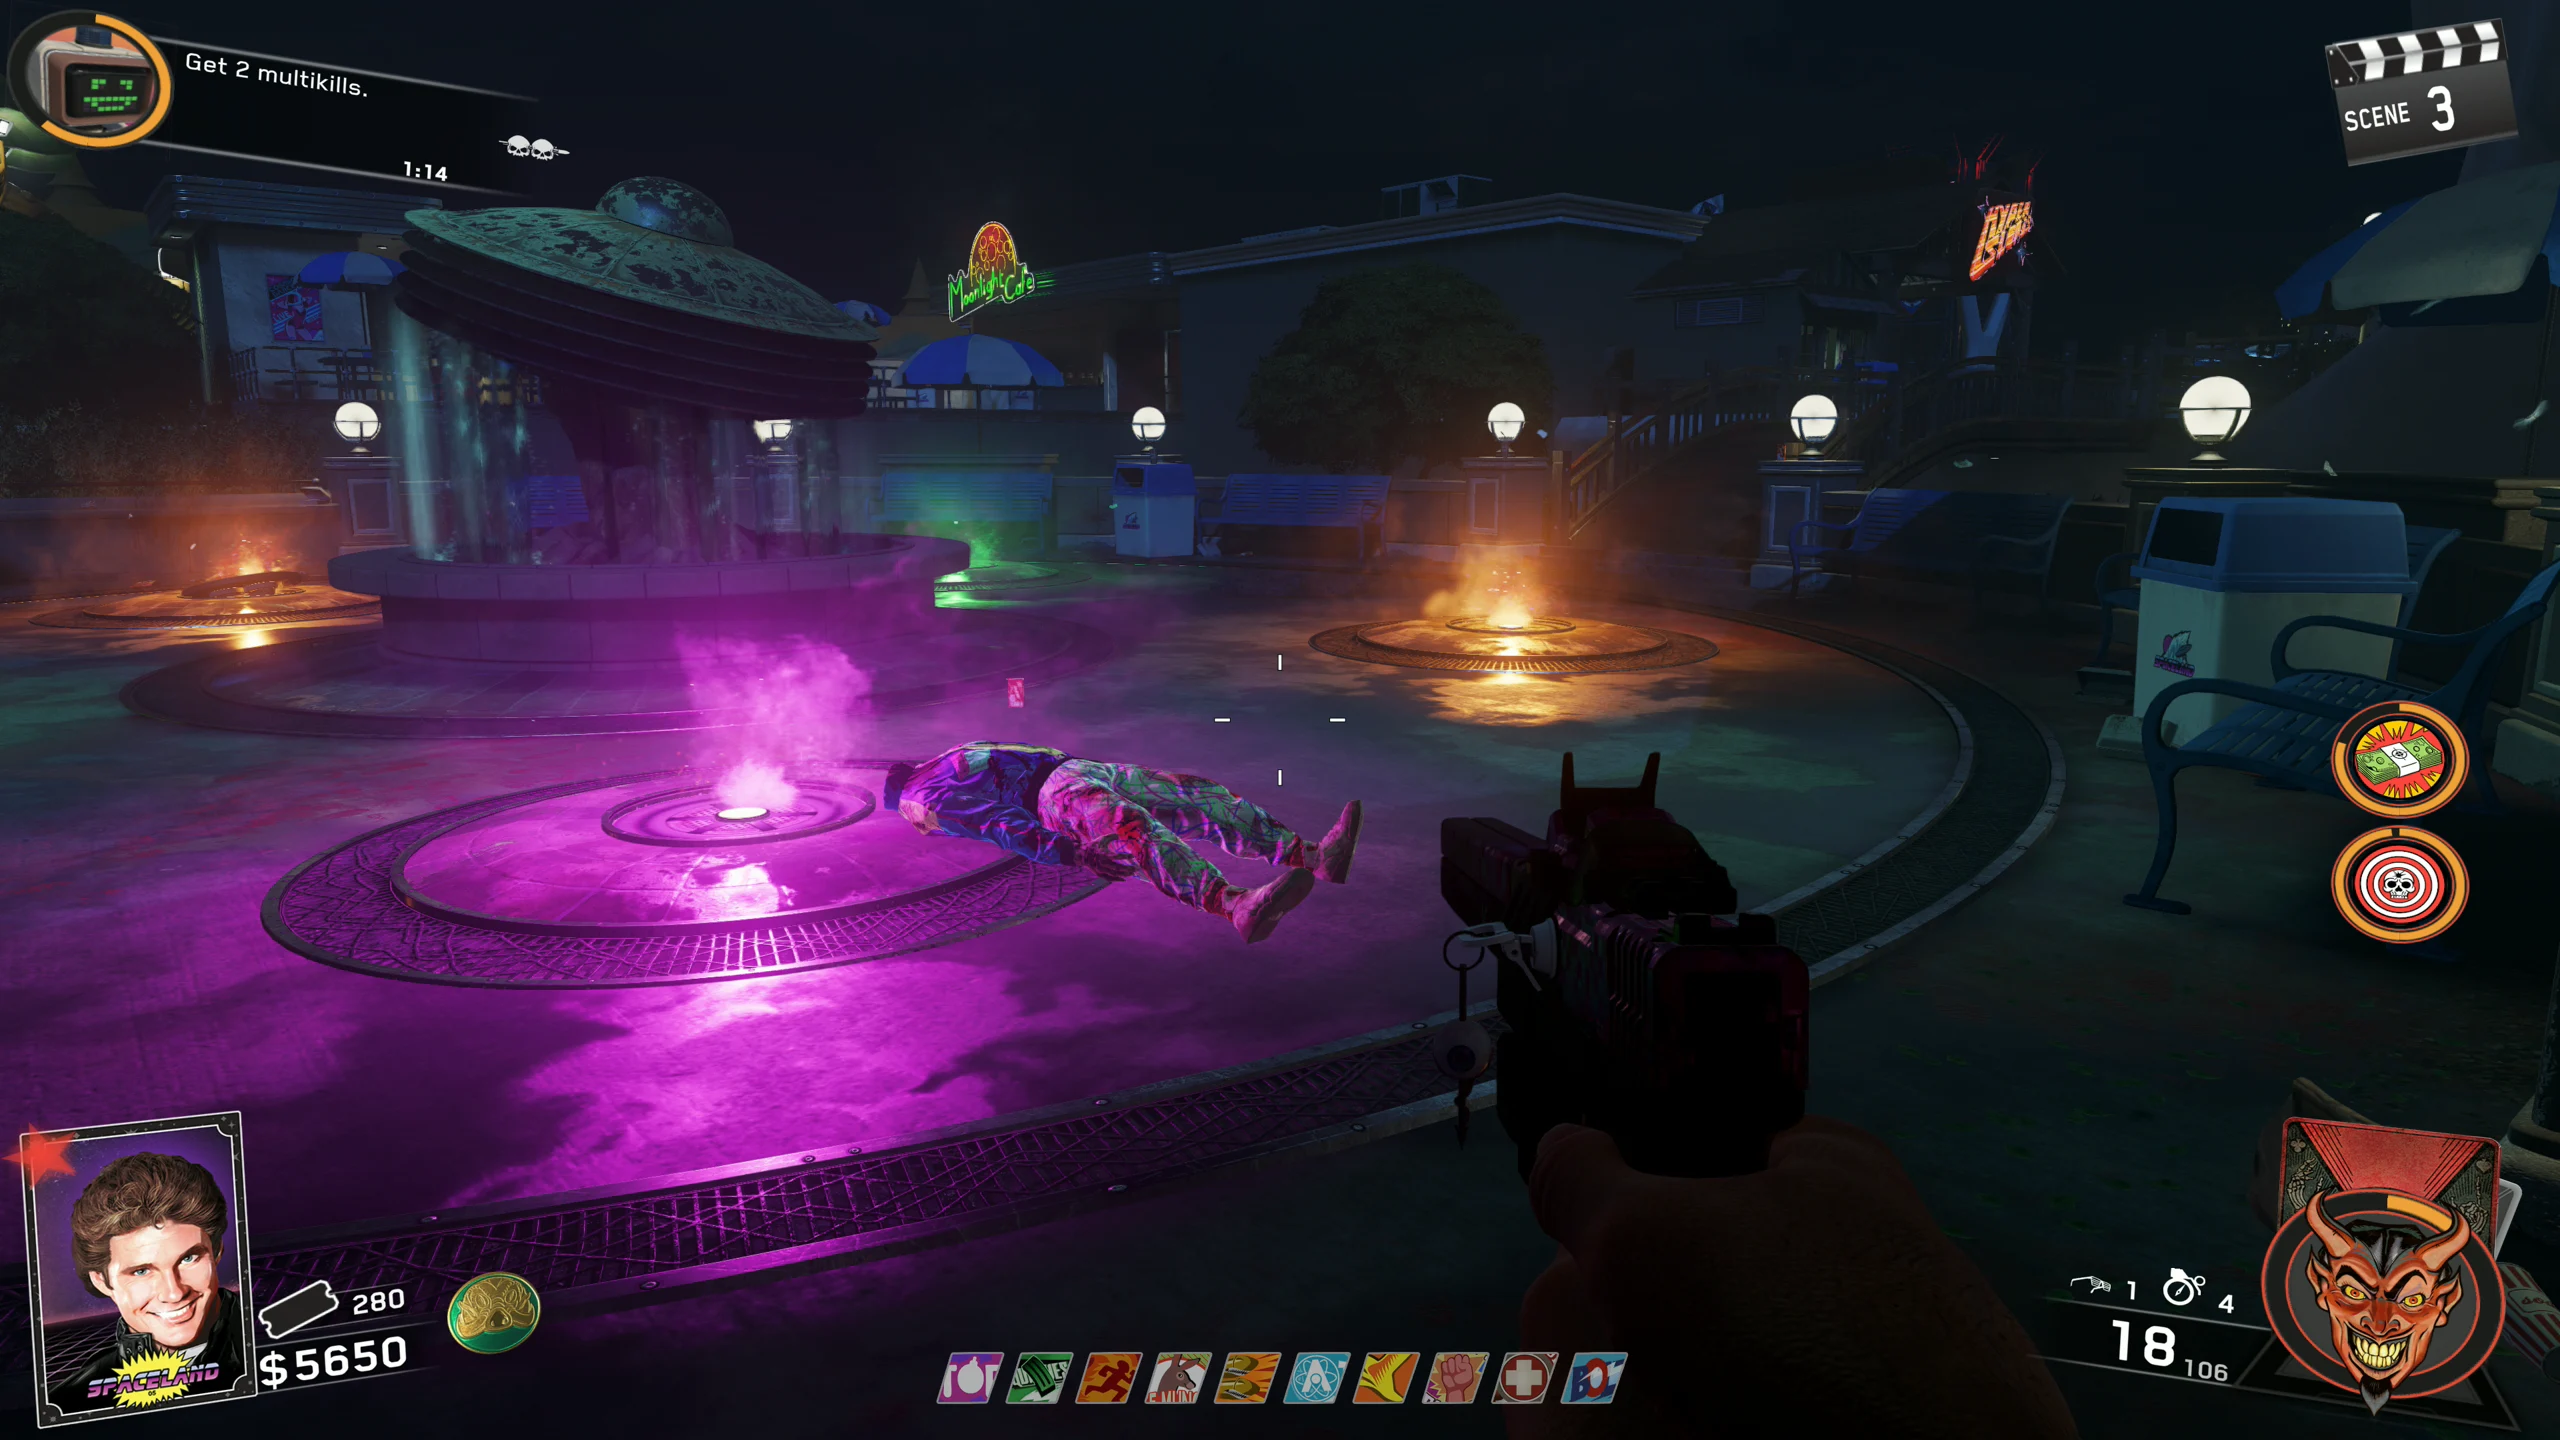
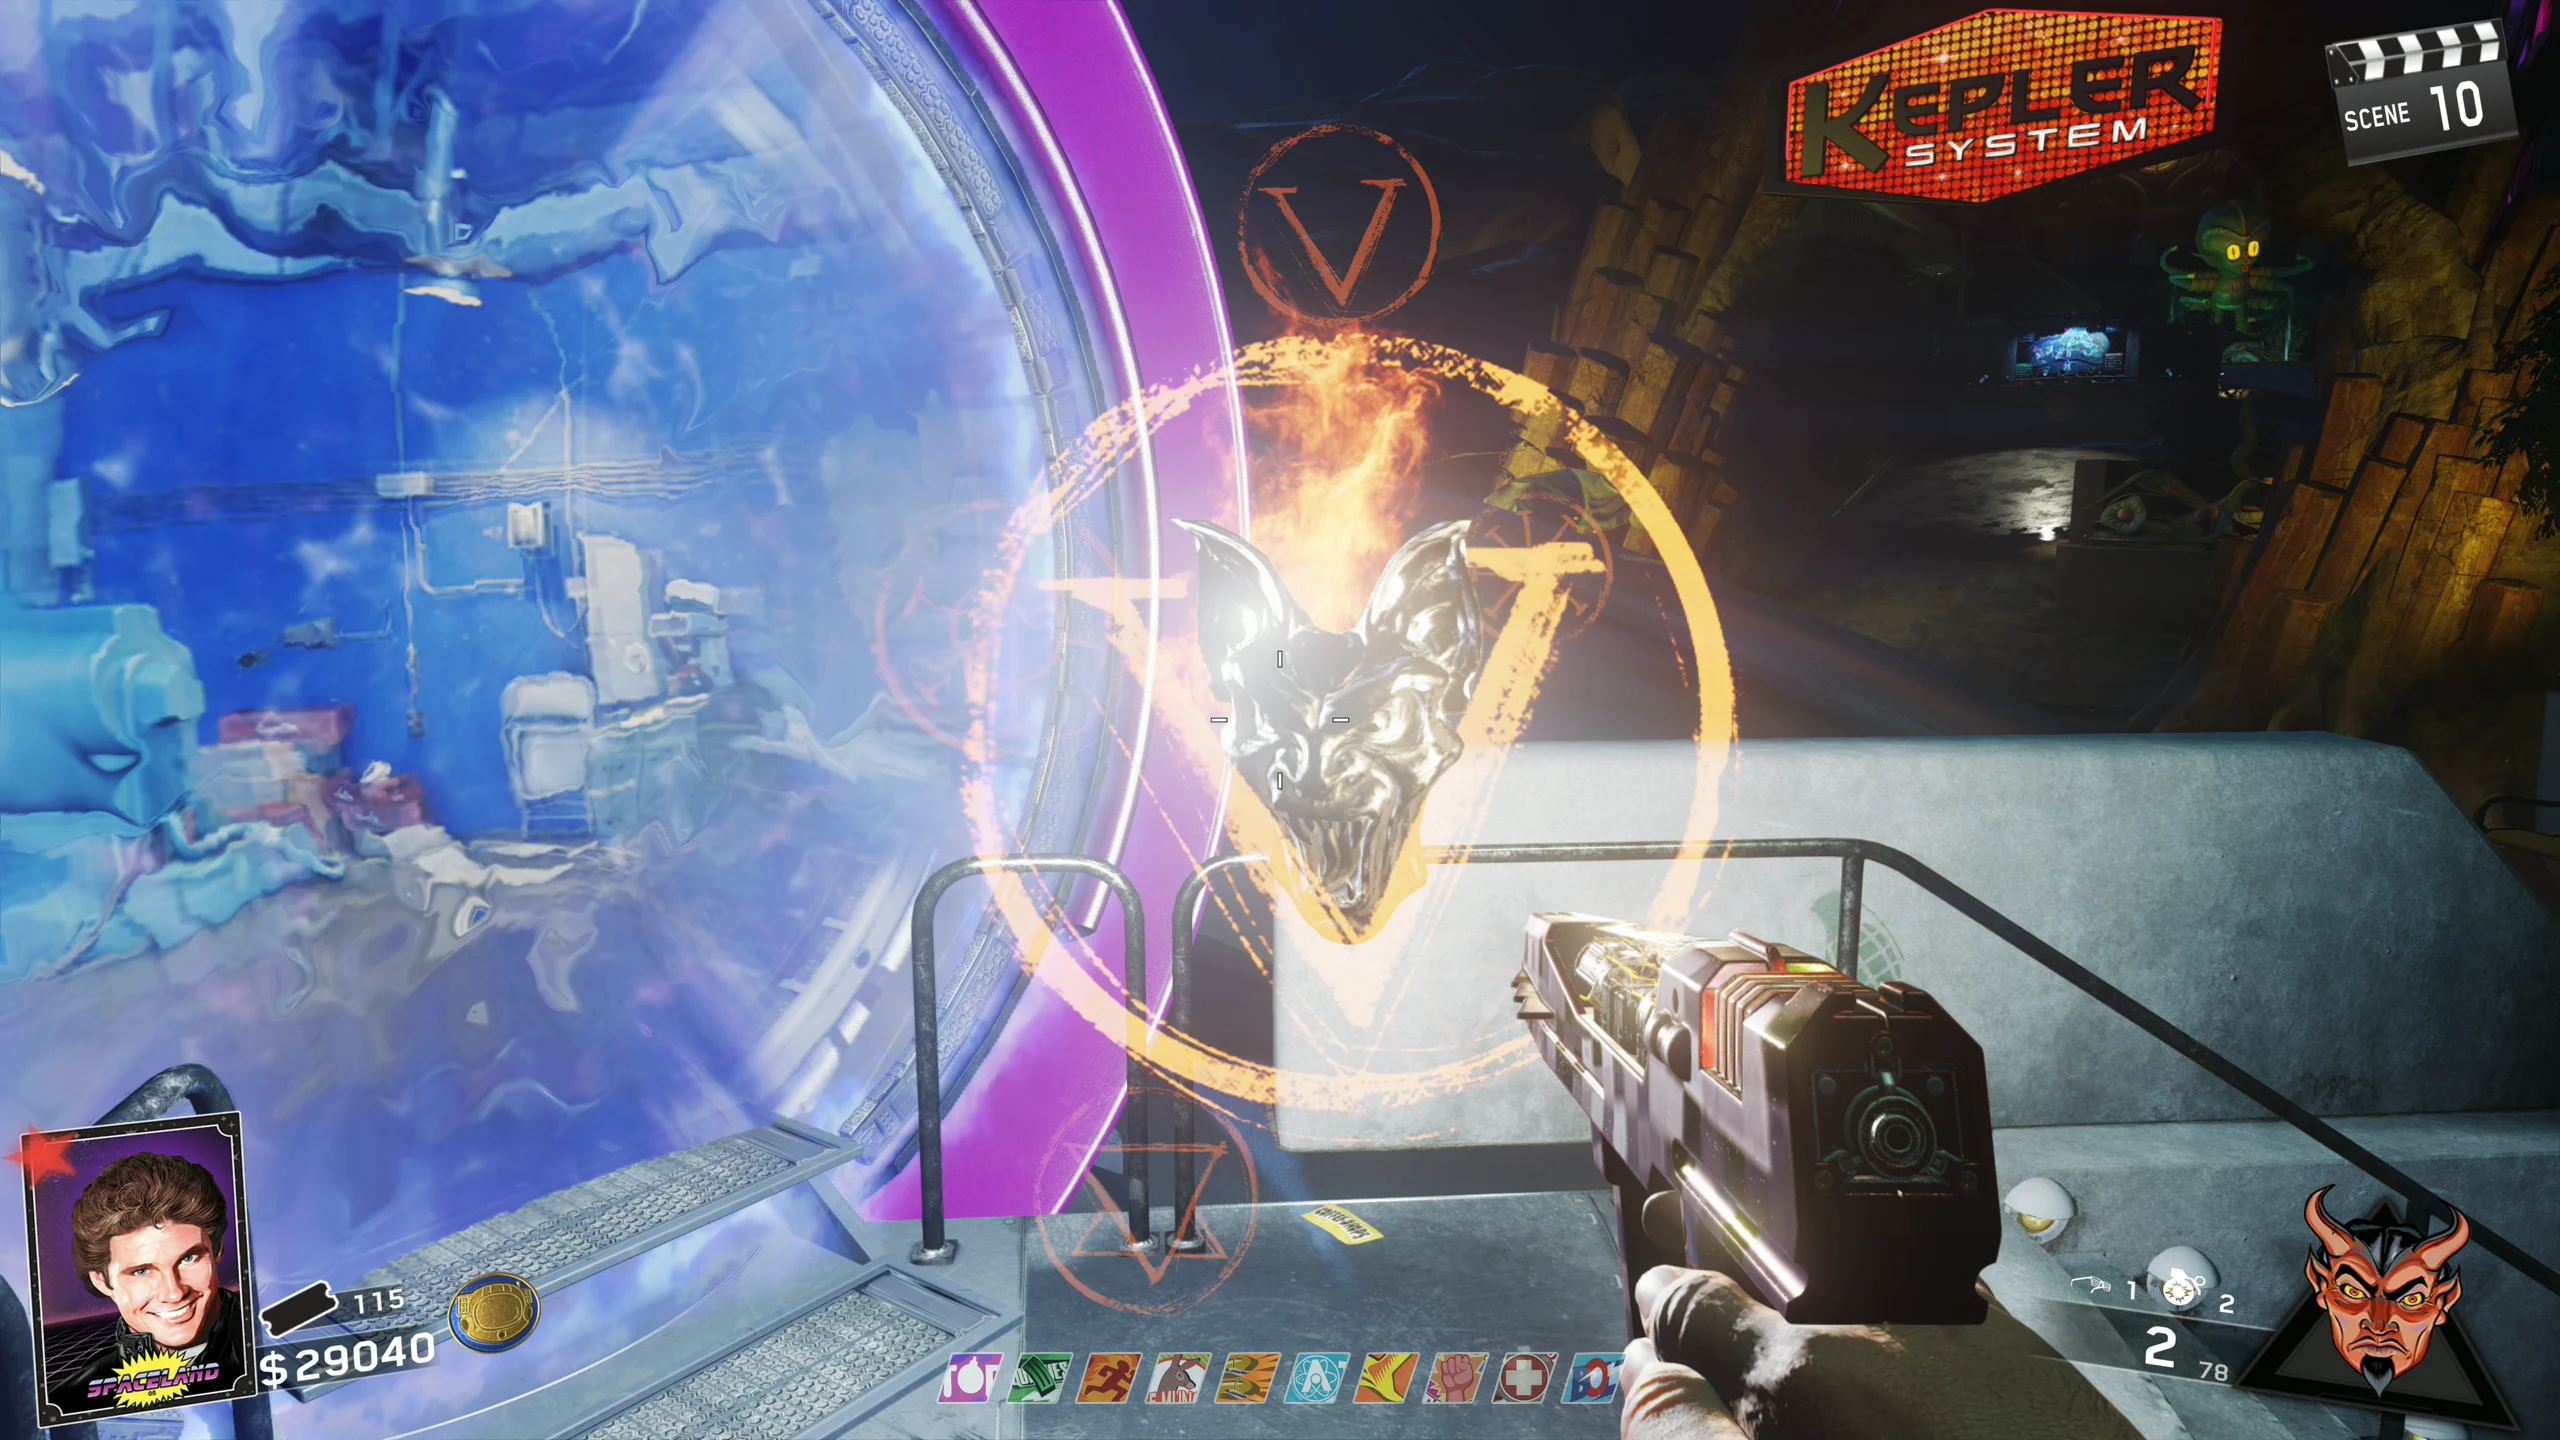
- Kepler System - Between the purple and orange geysers
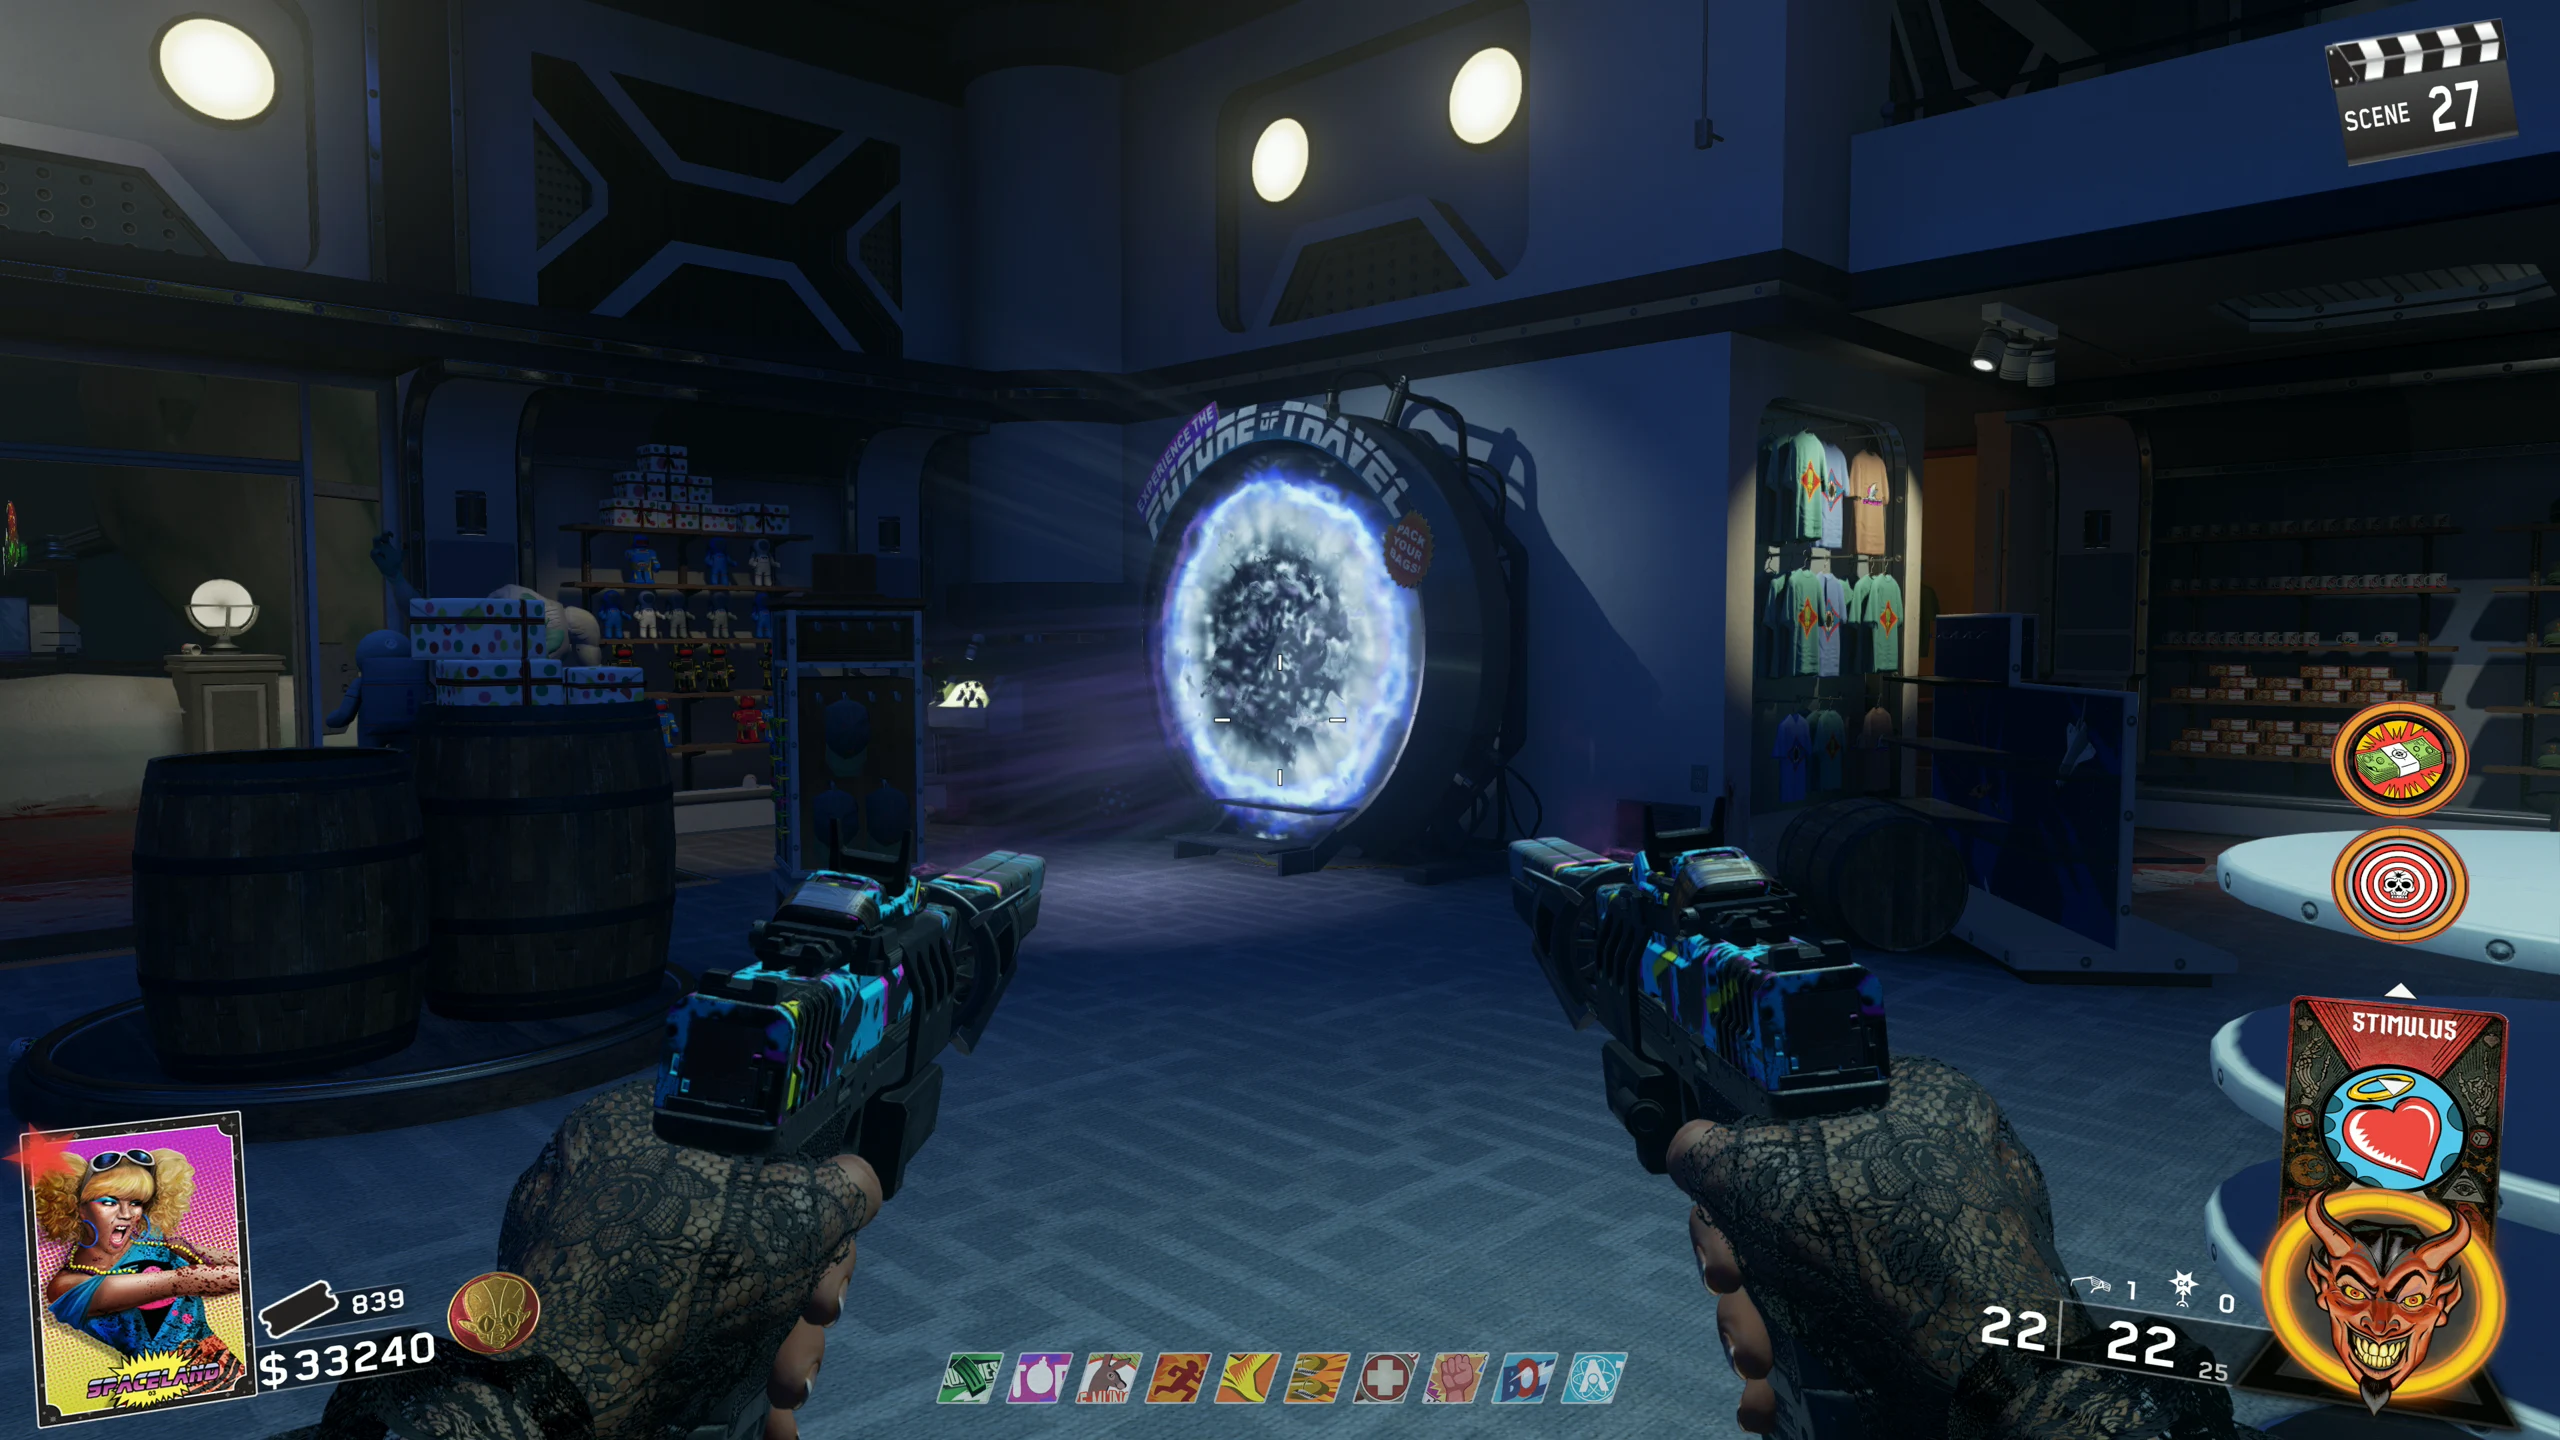
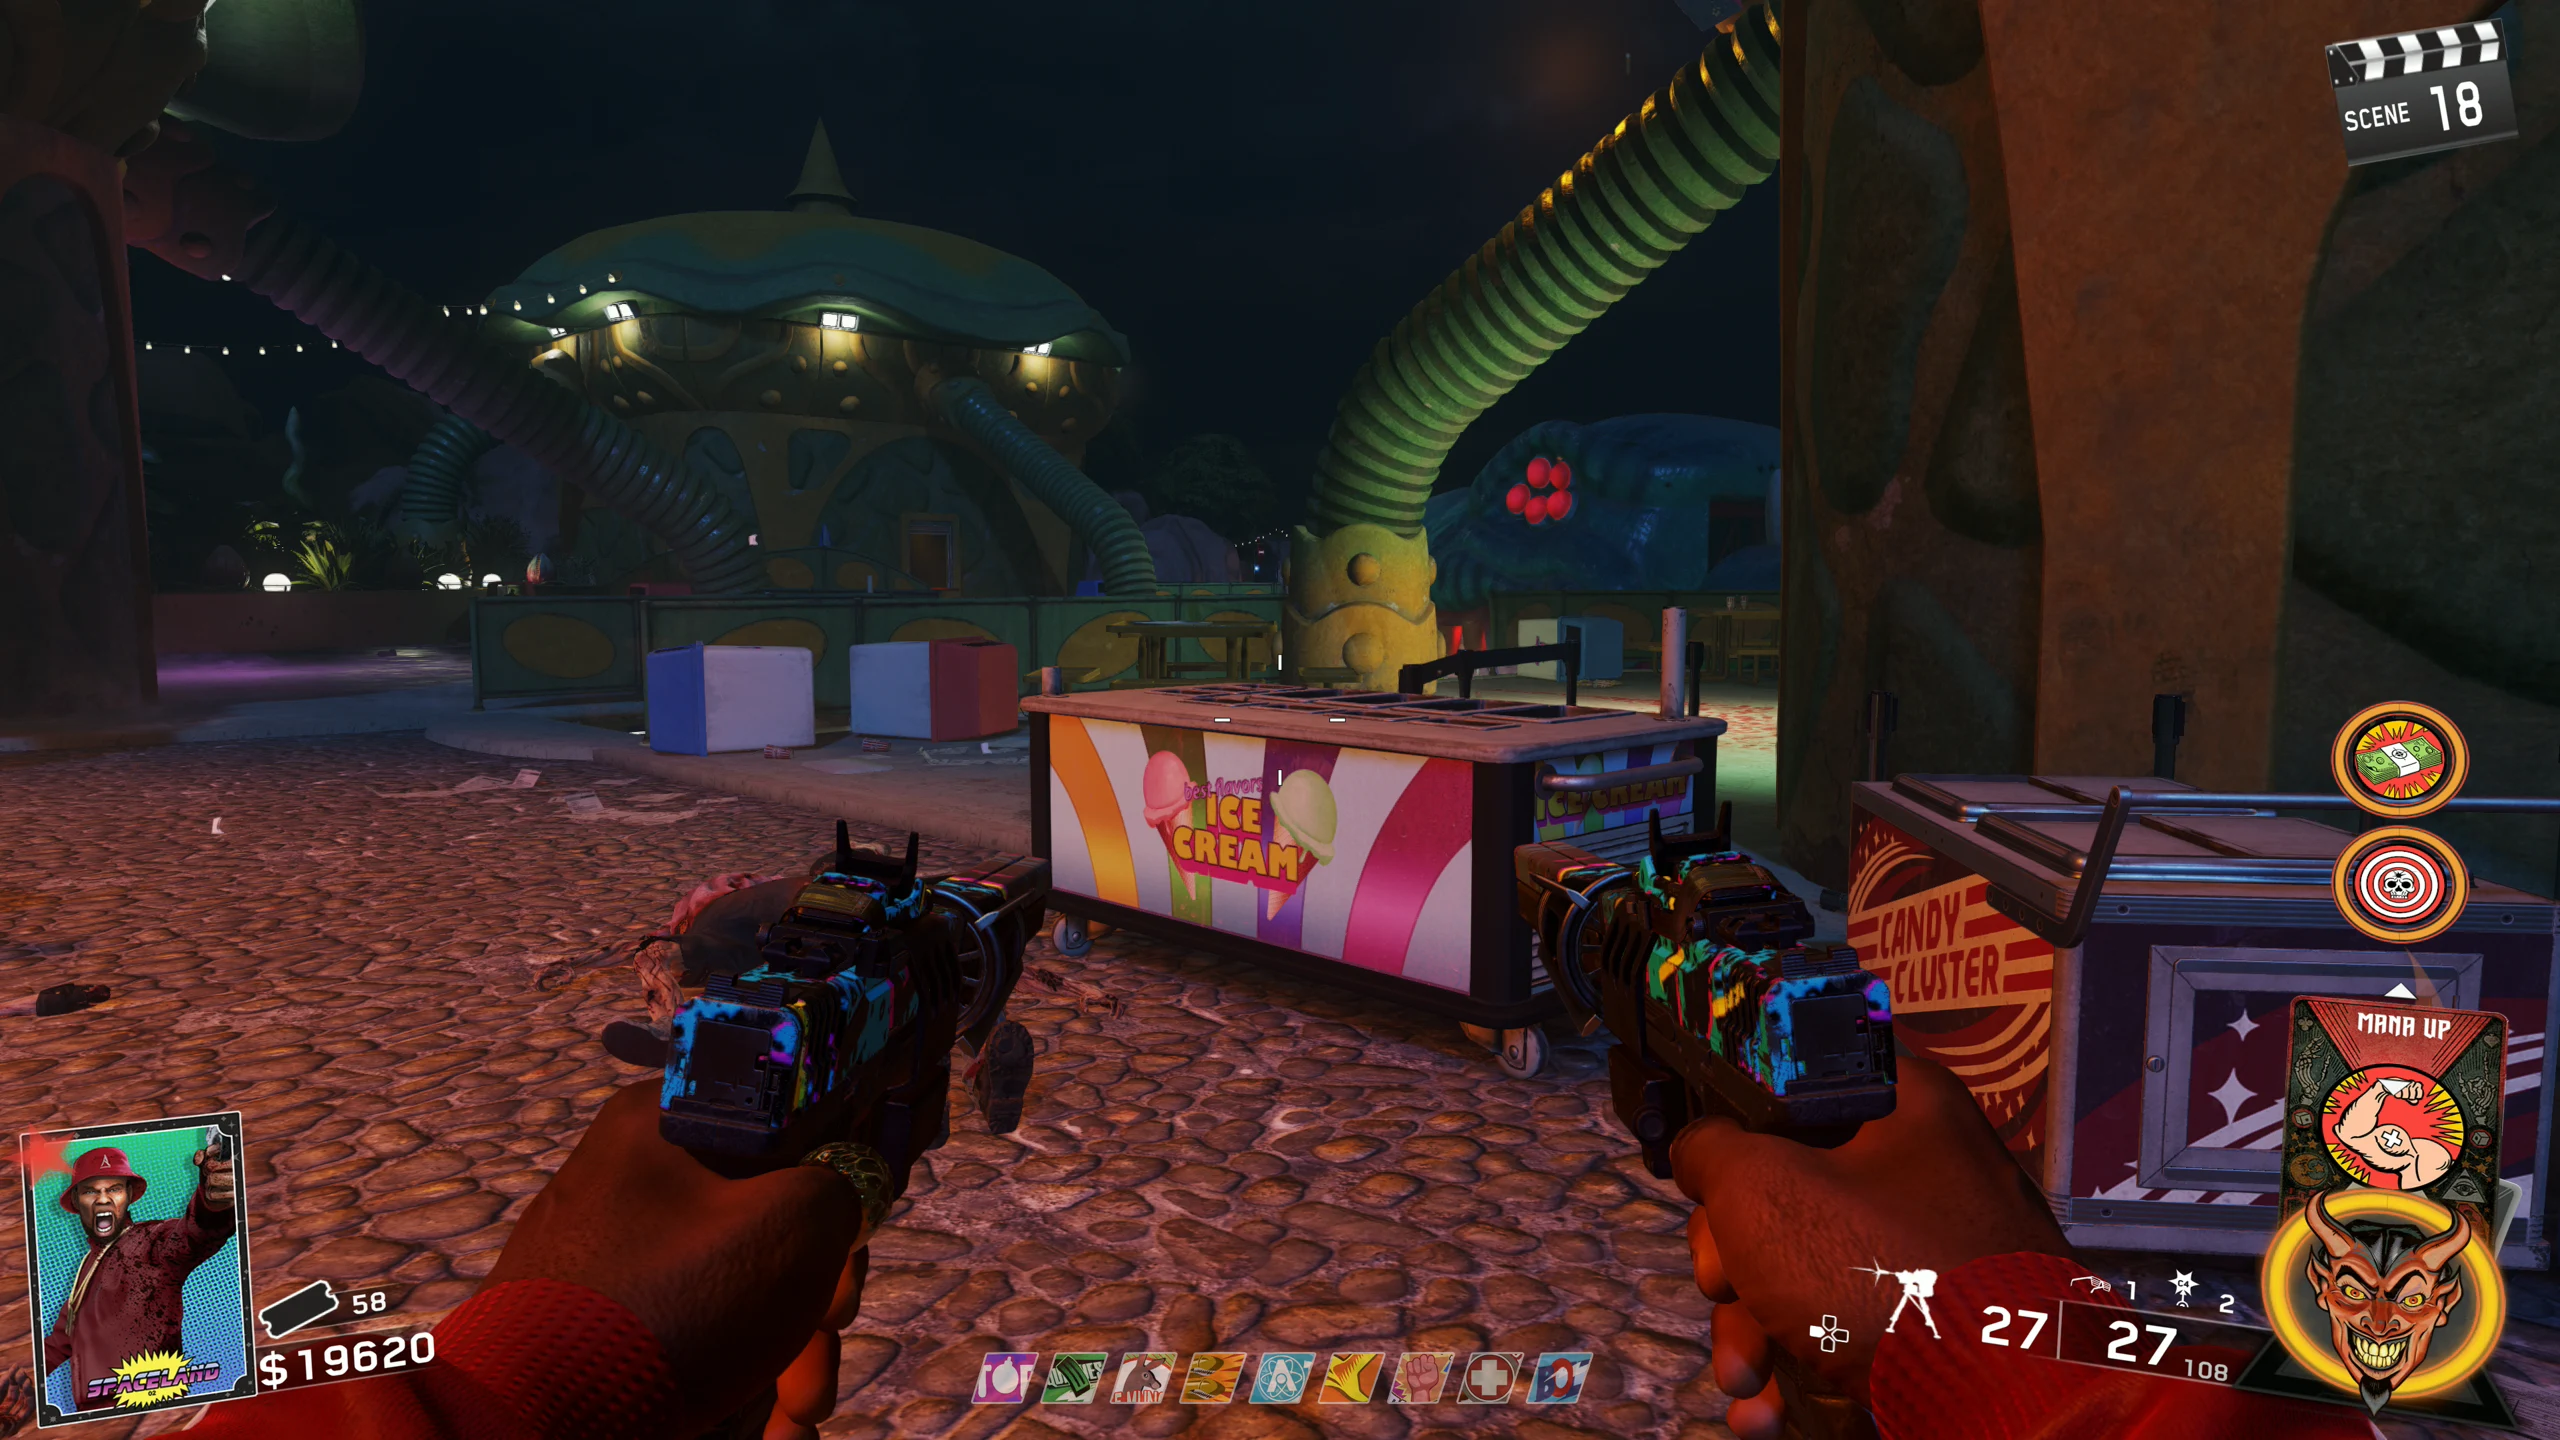
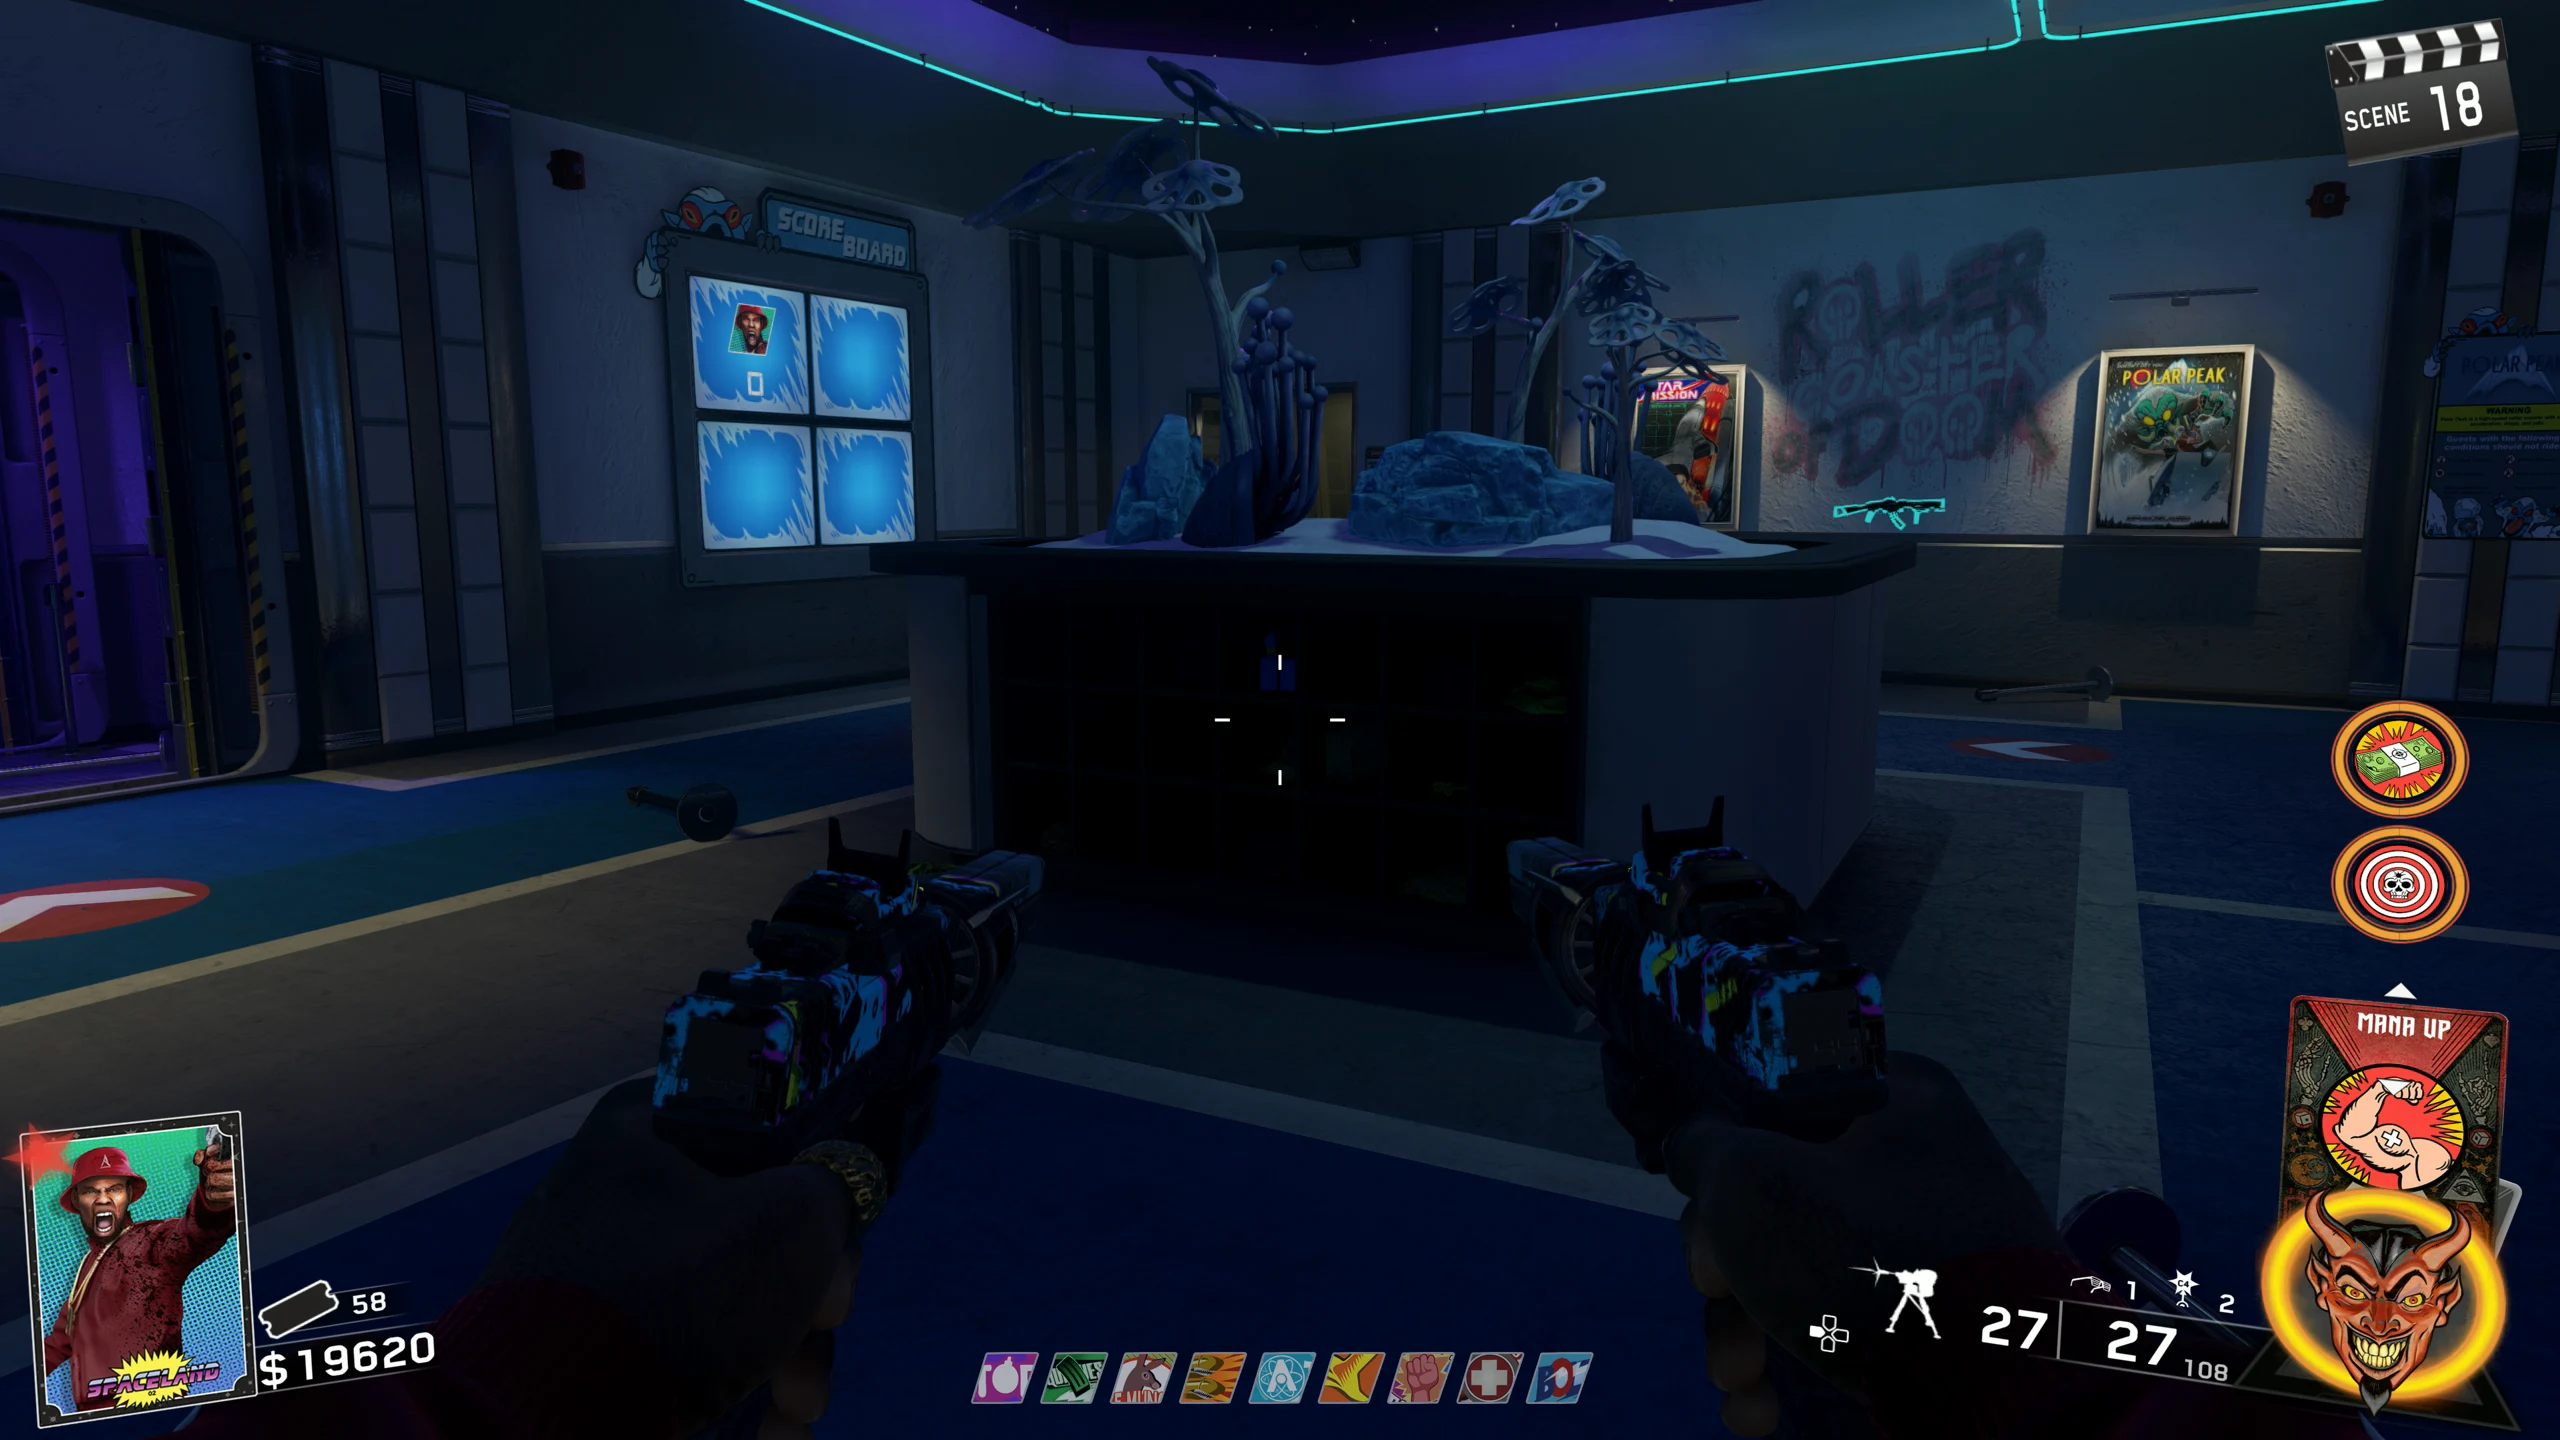
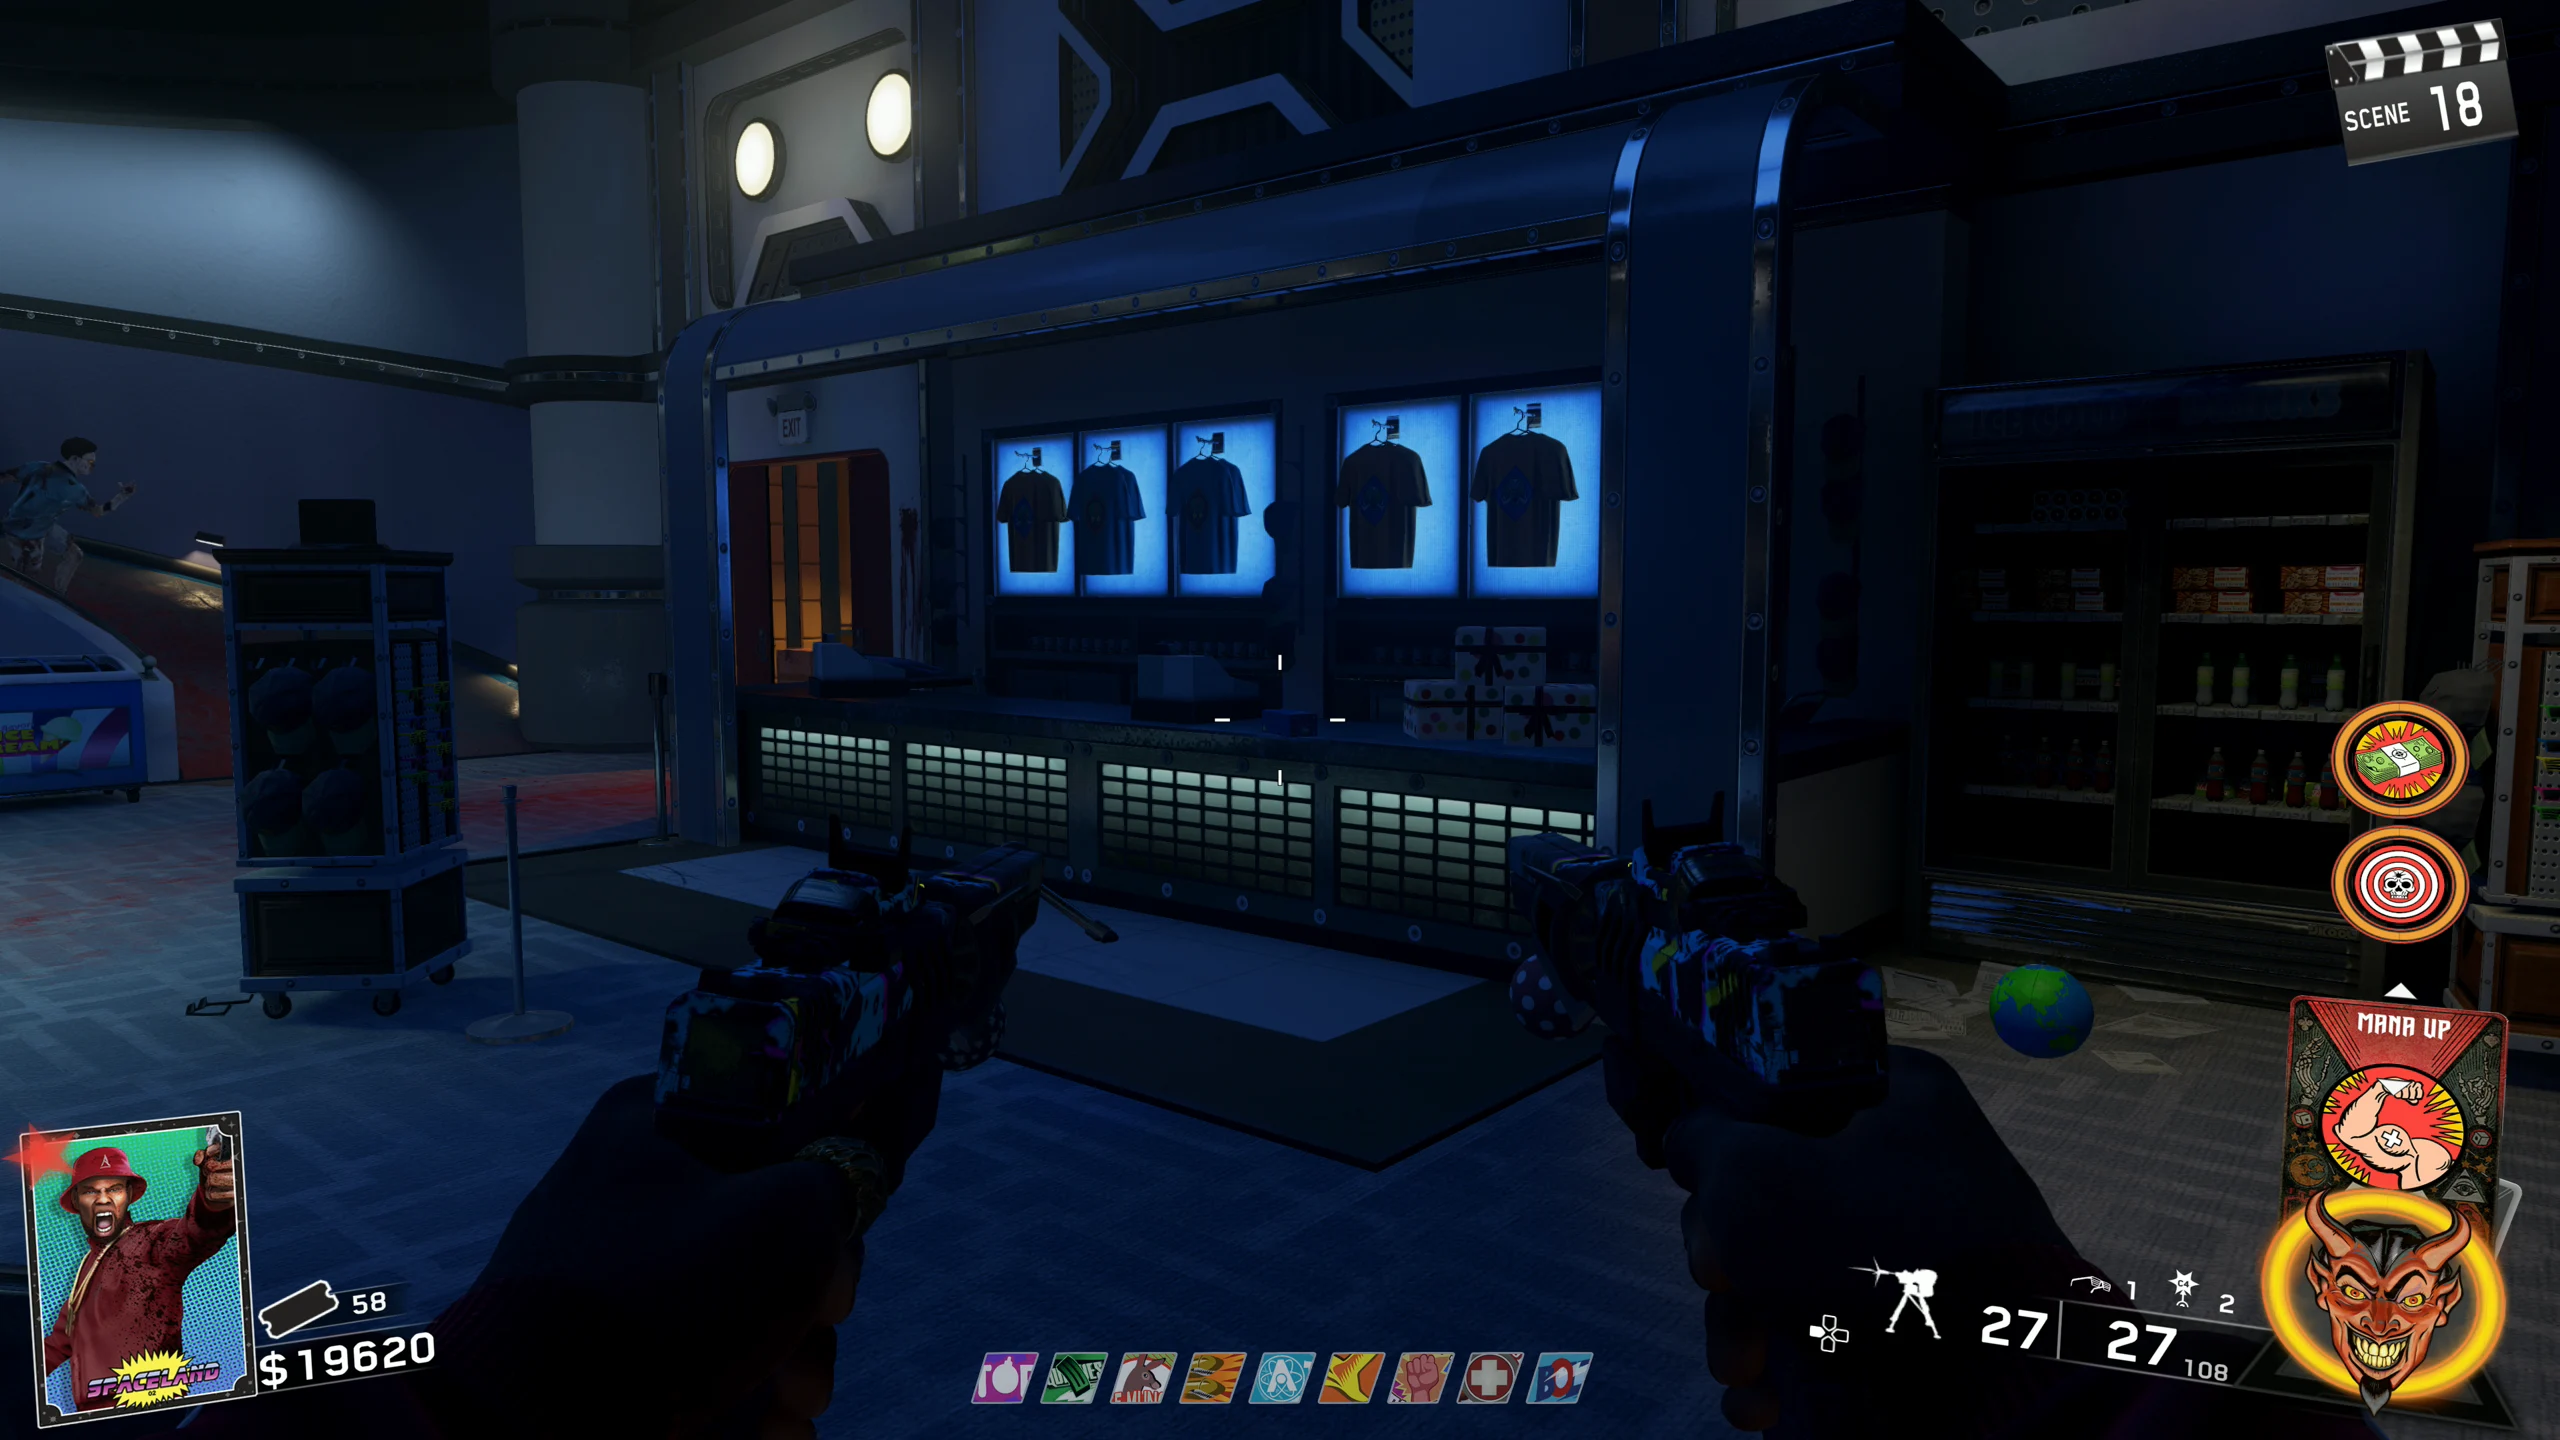
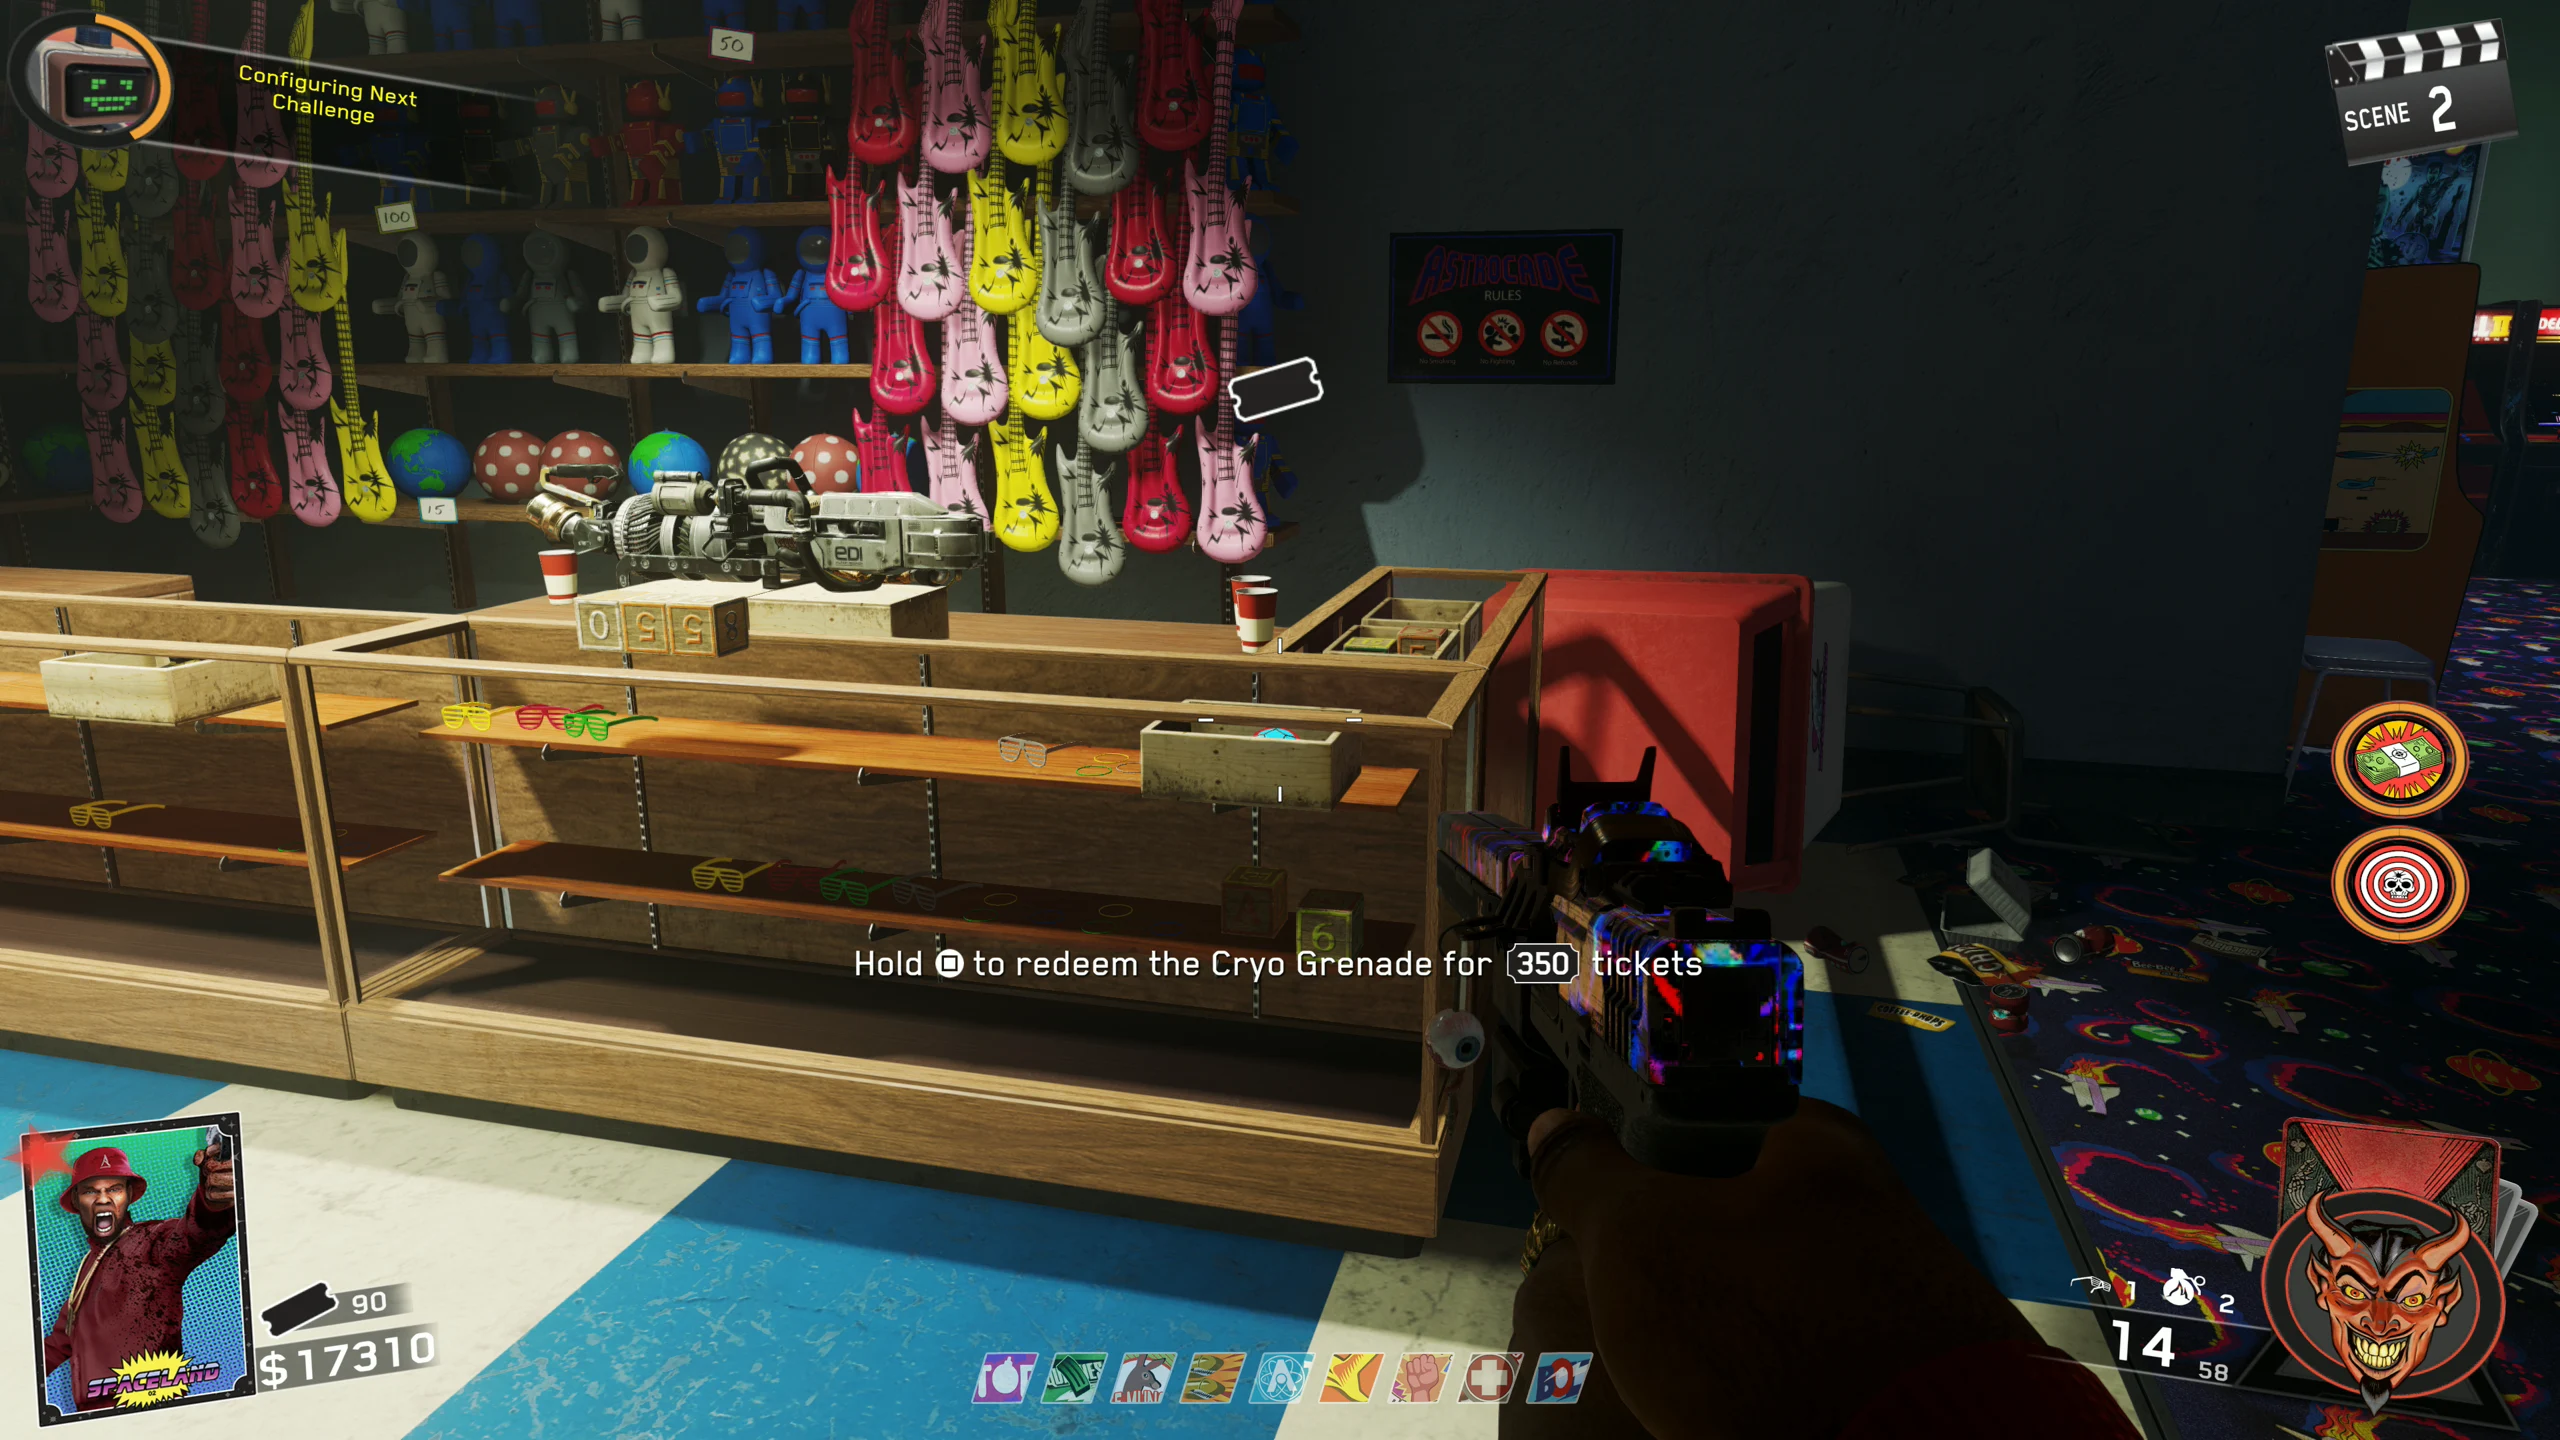
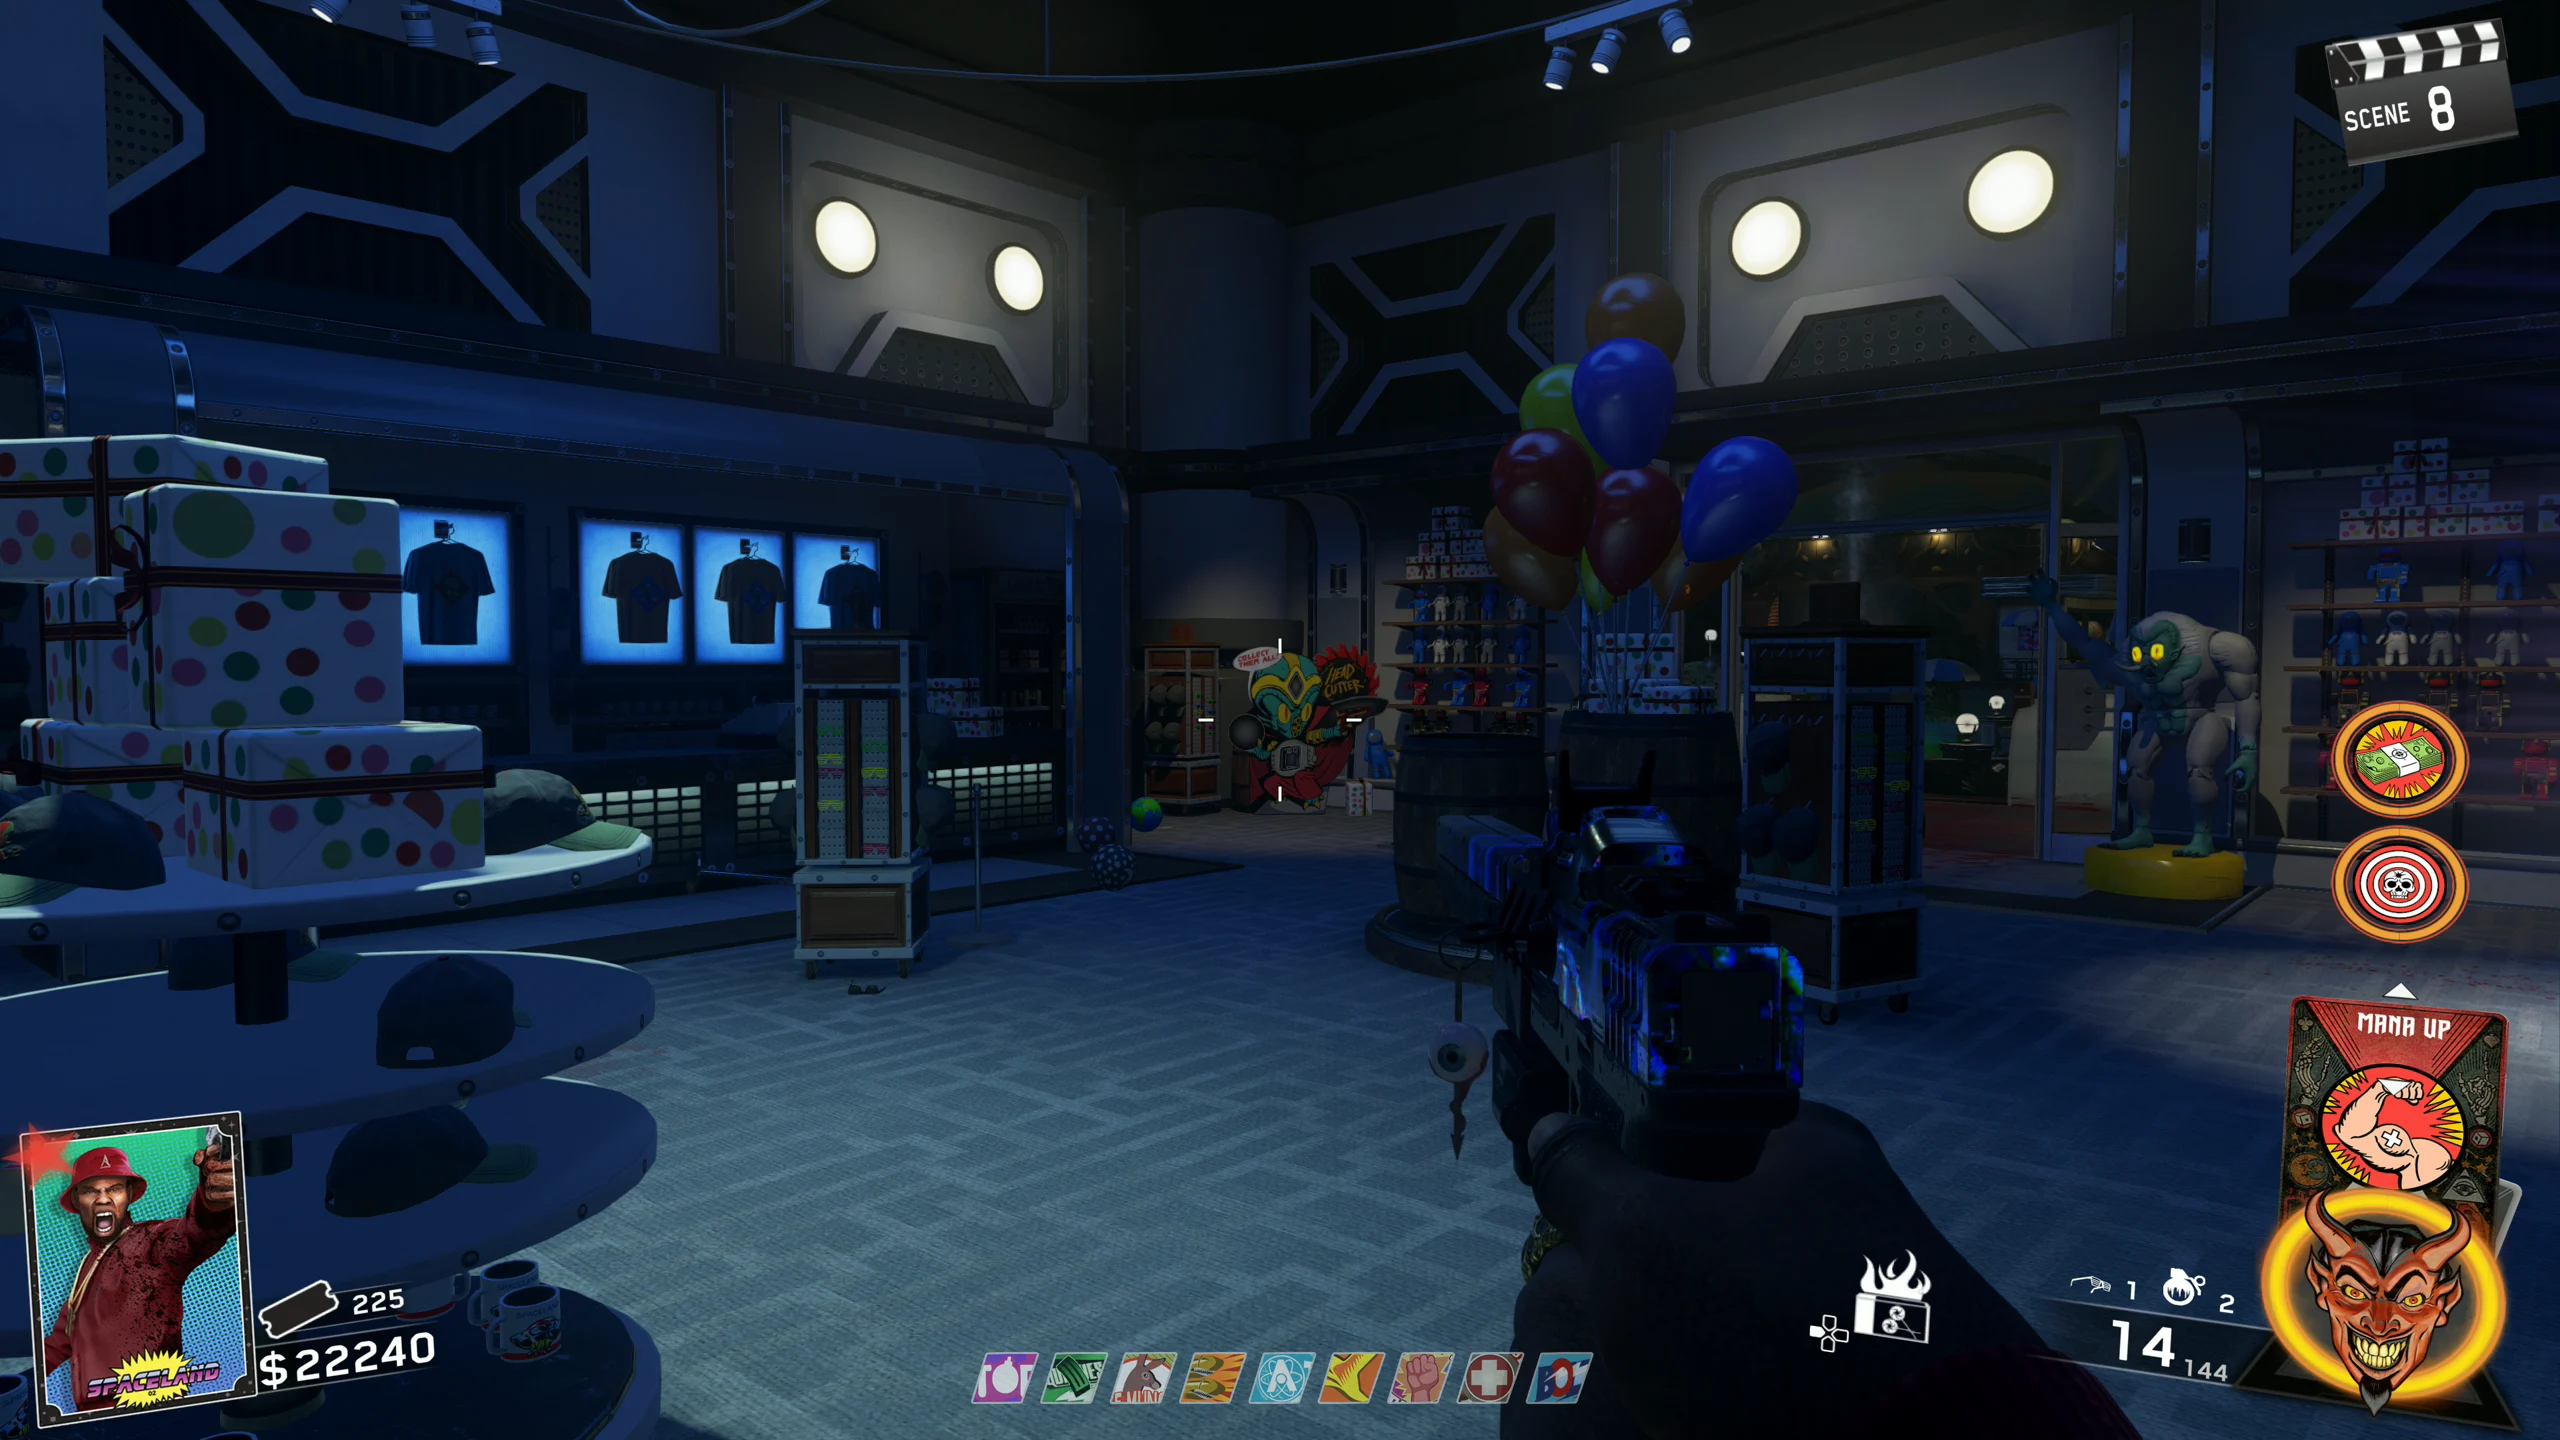
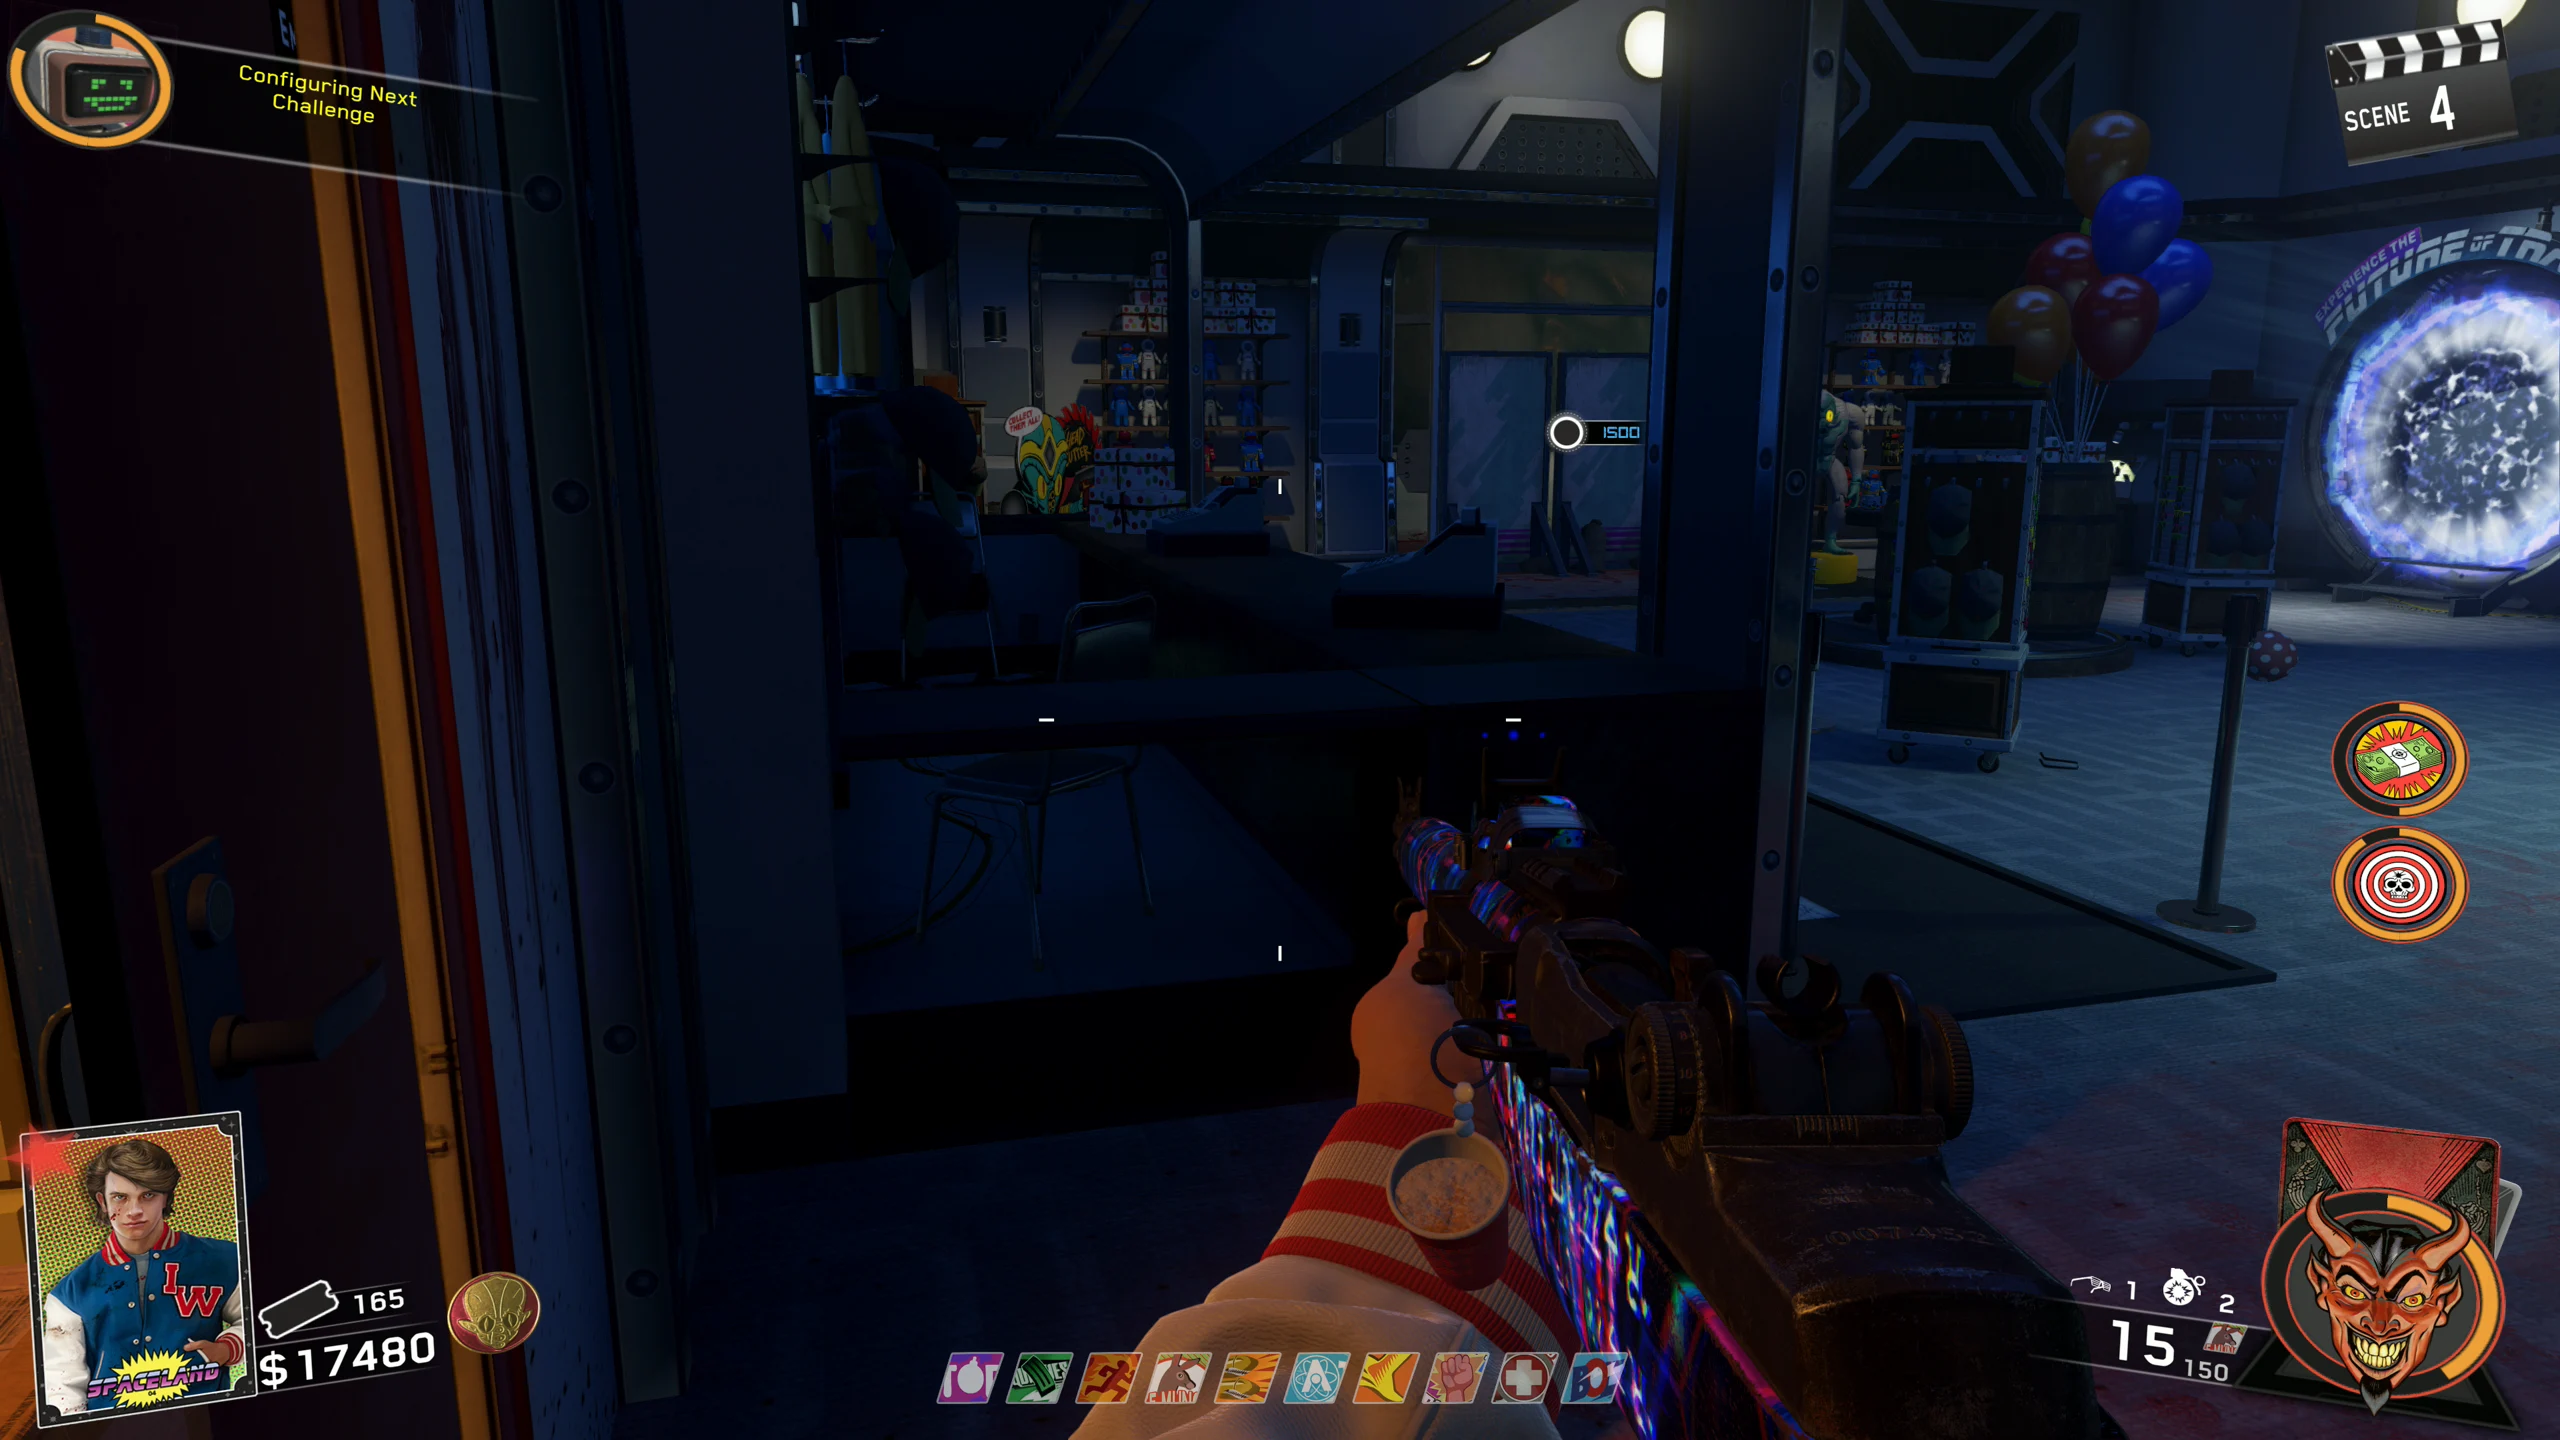
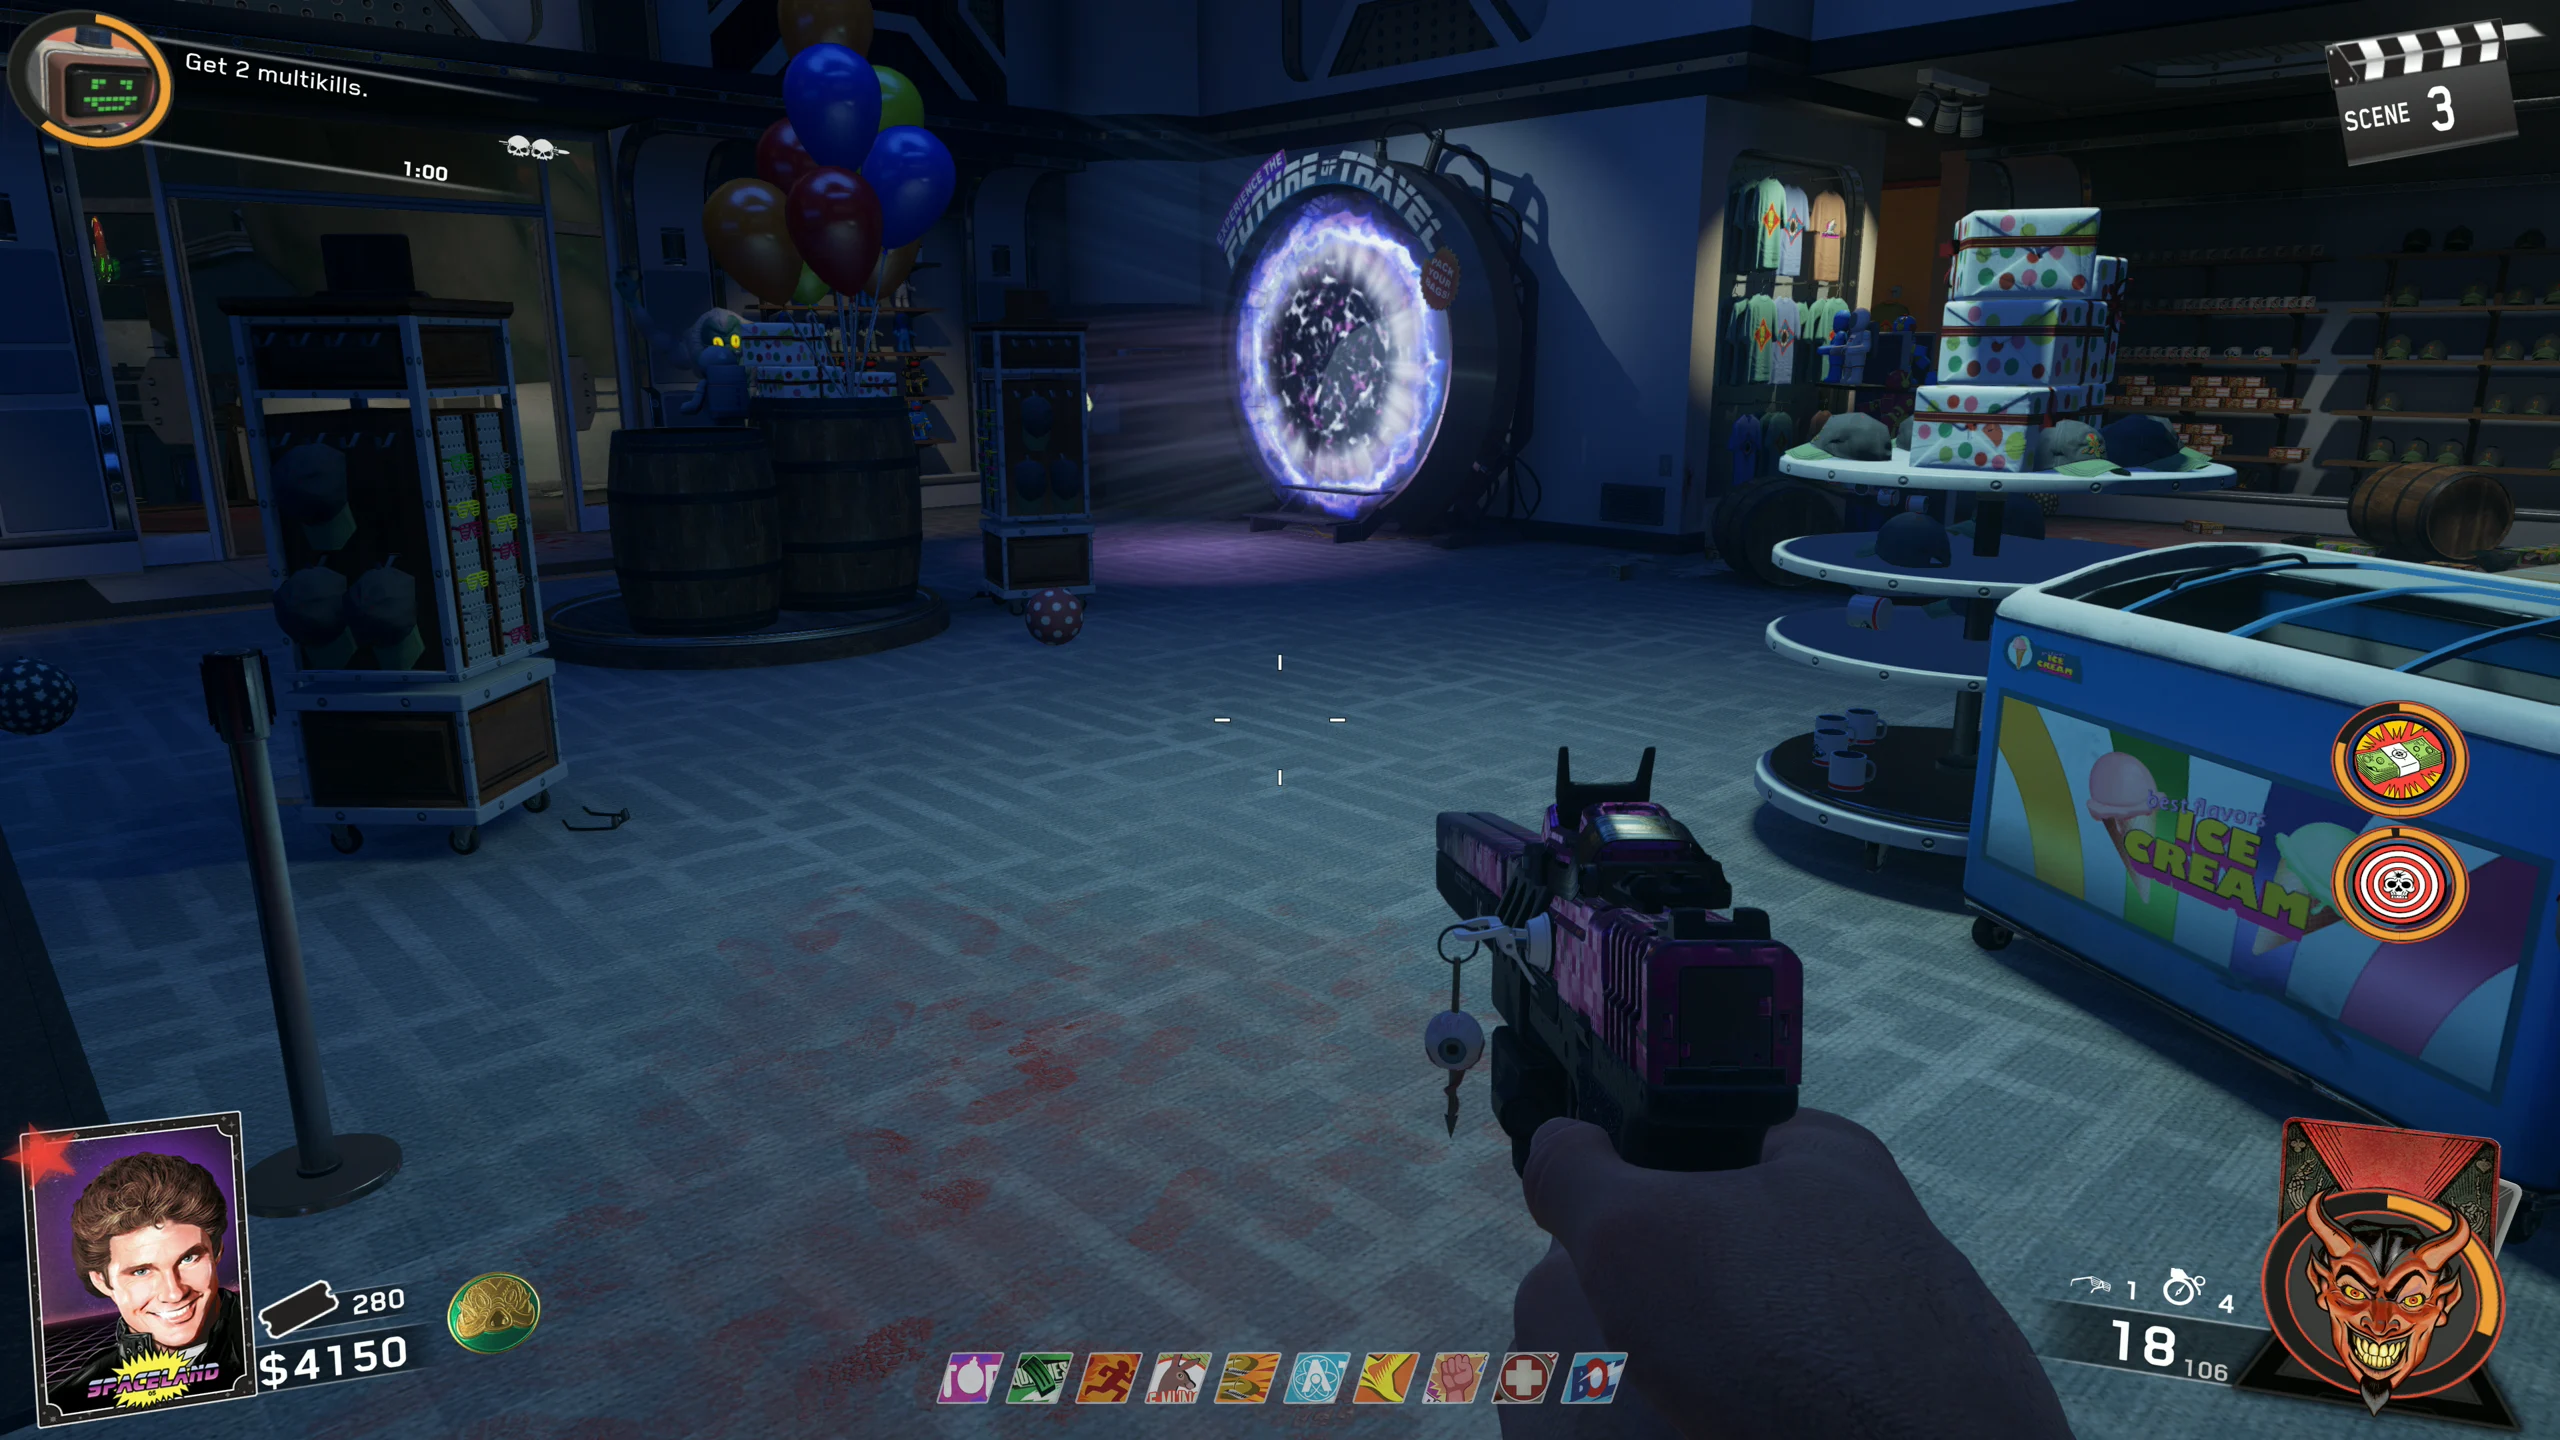
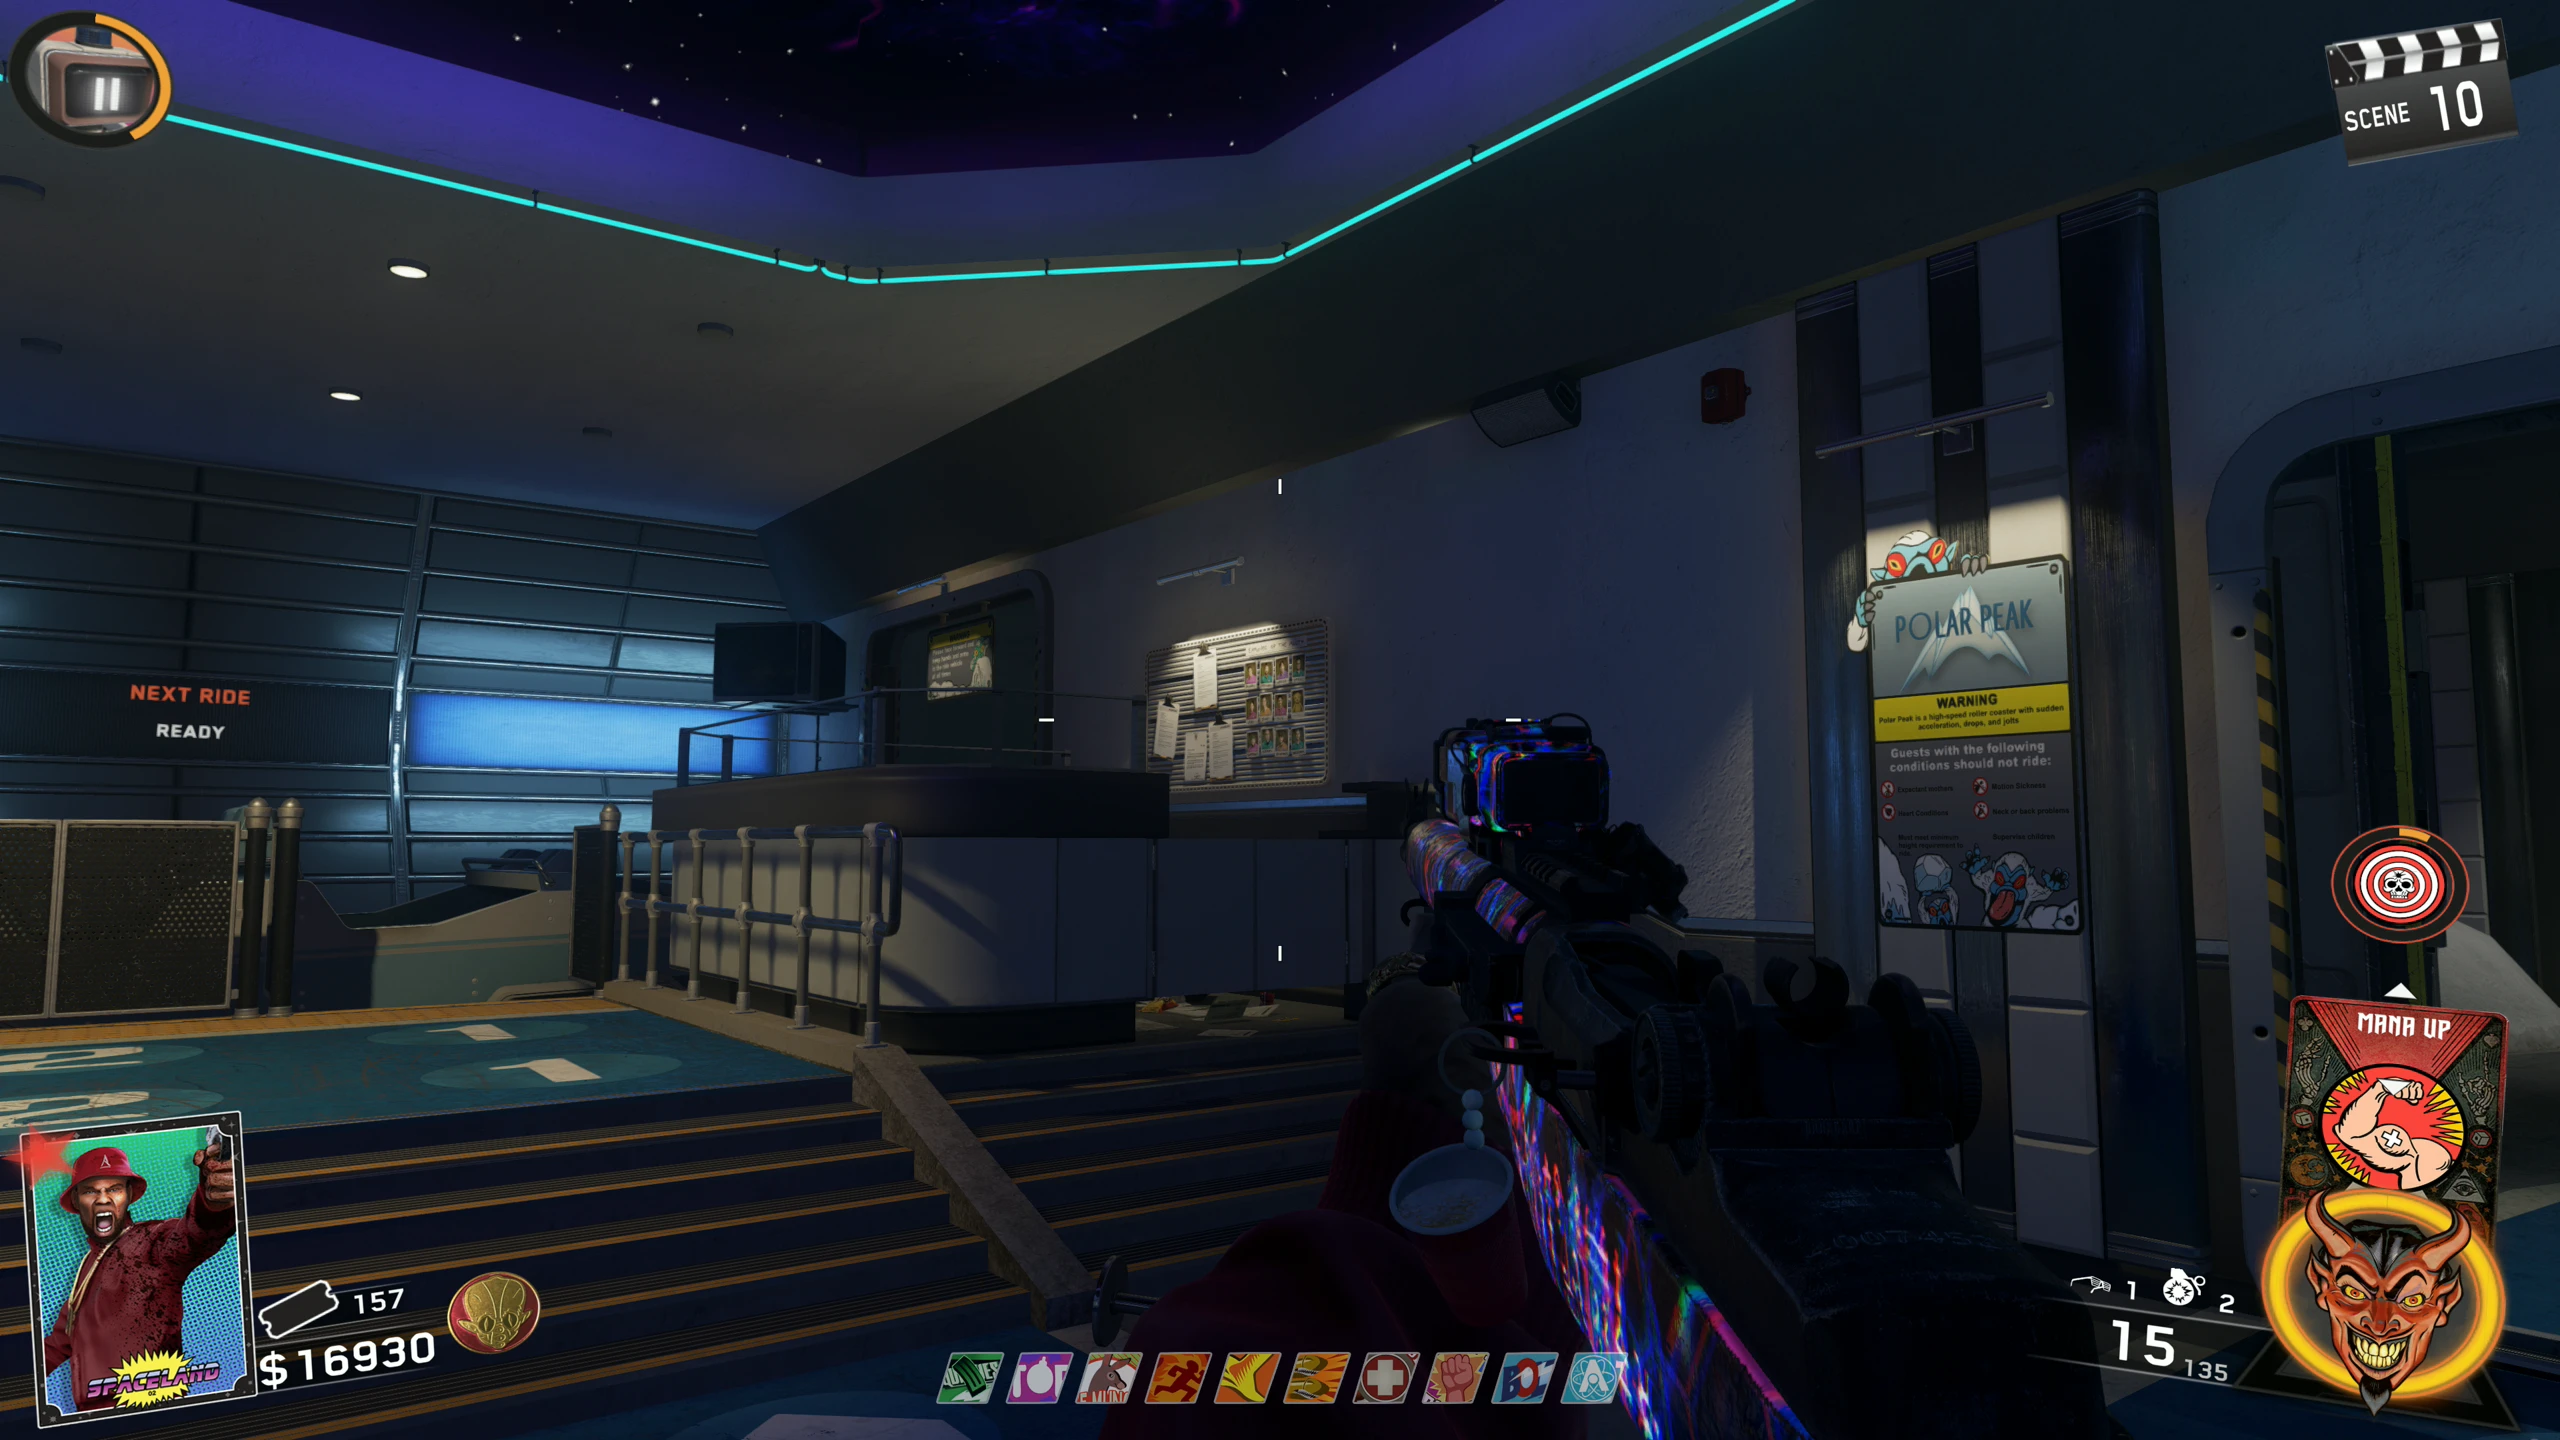
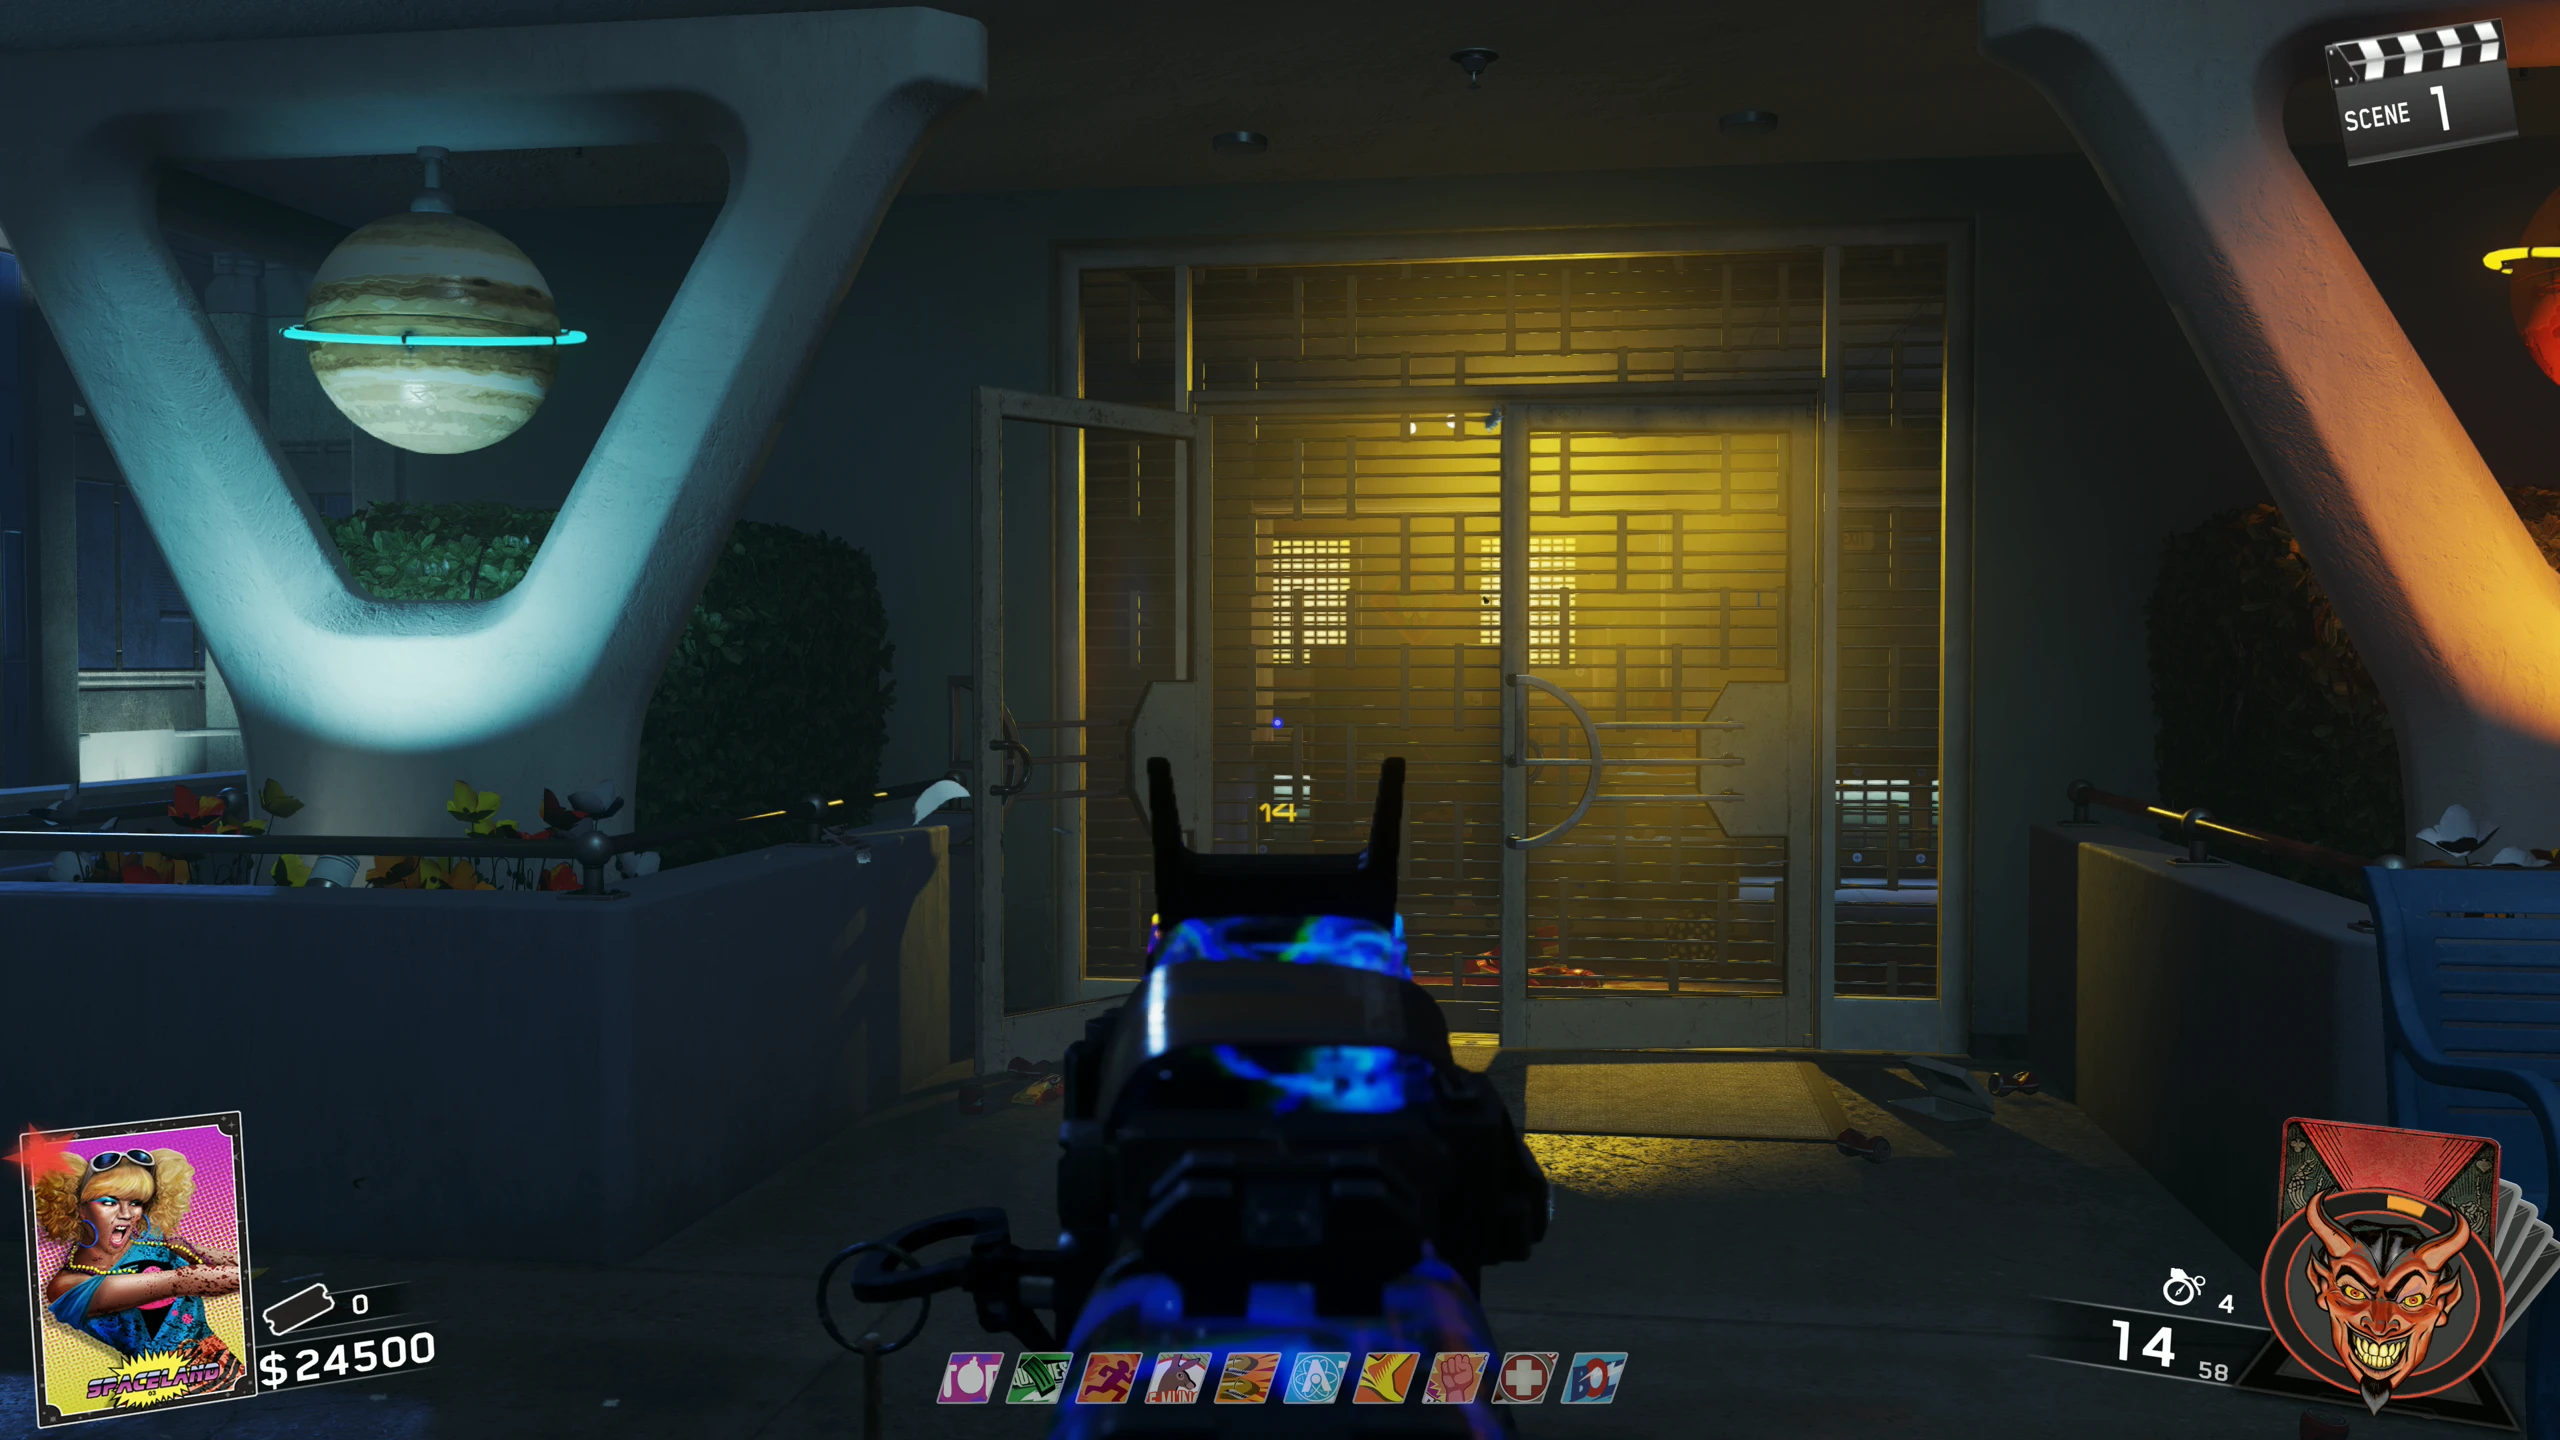
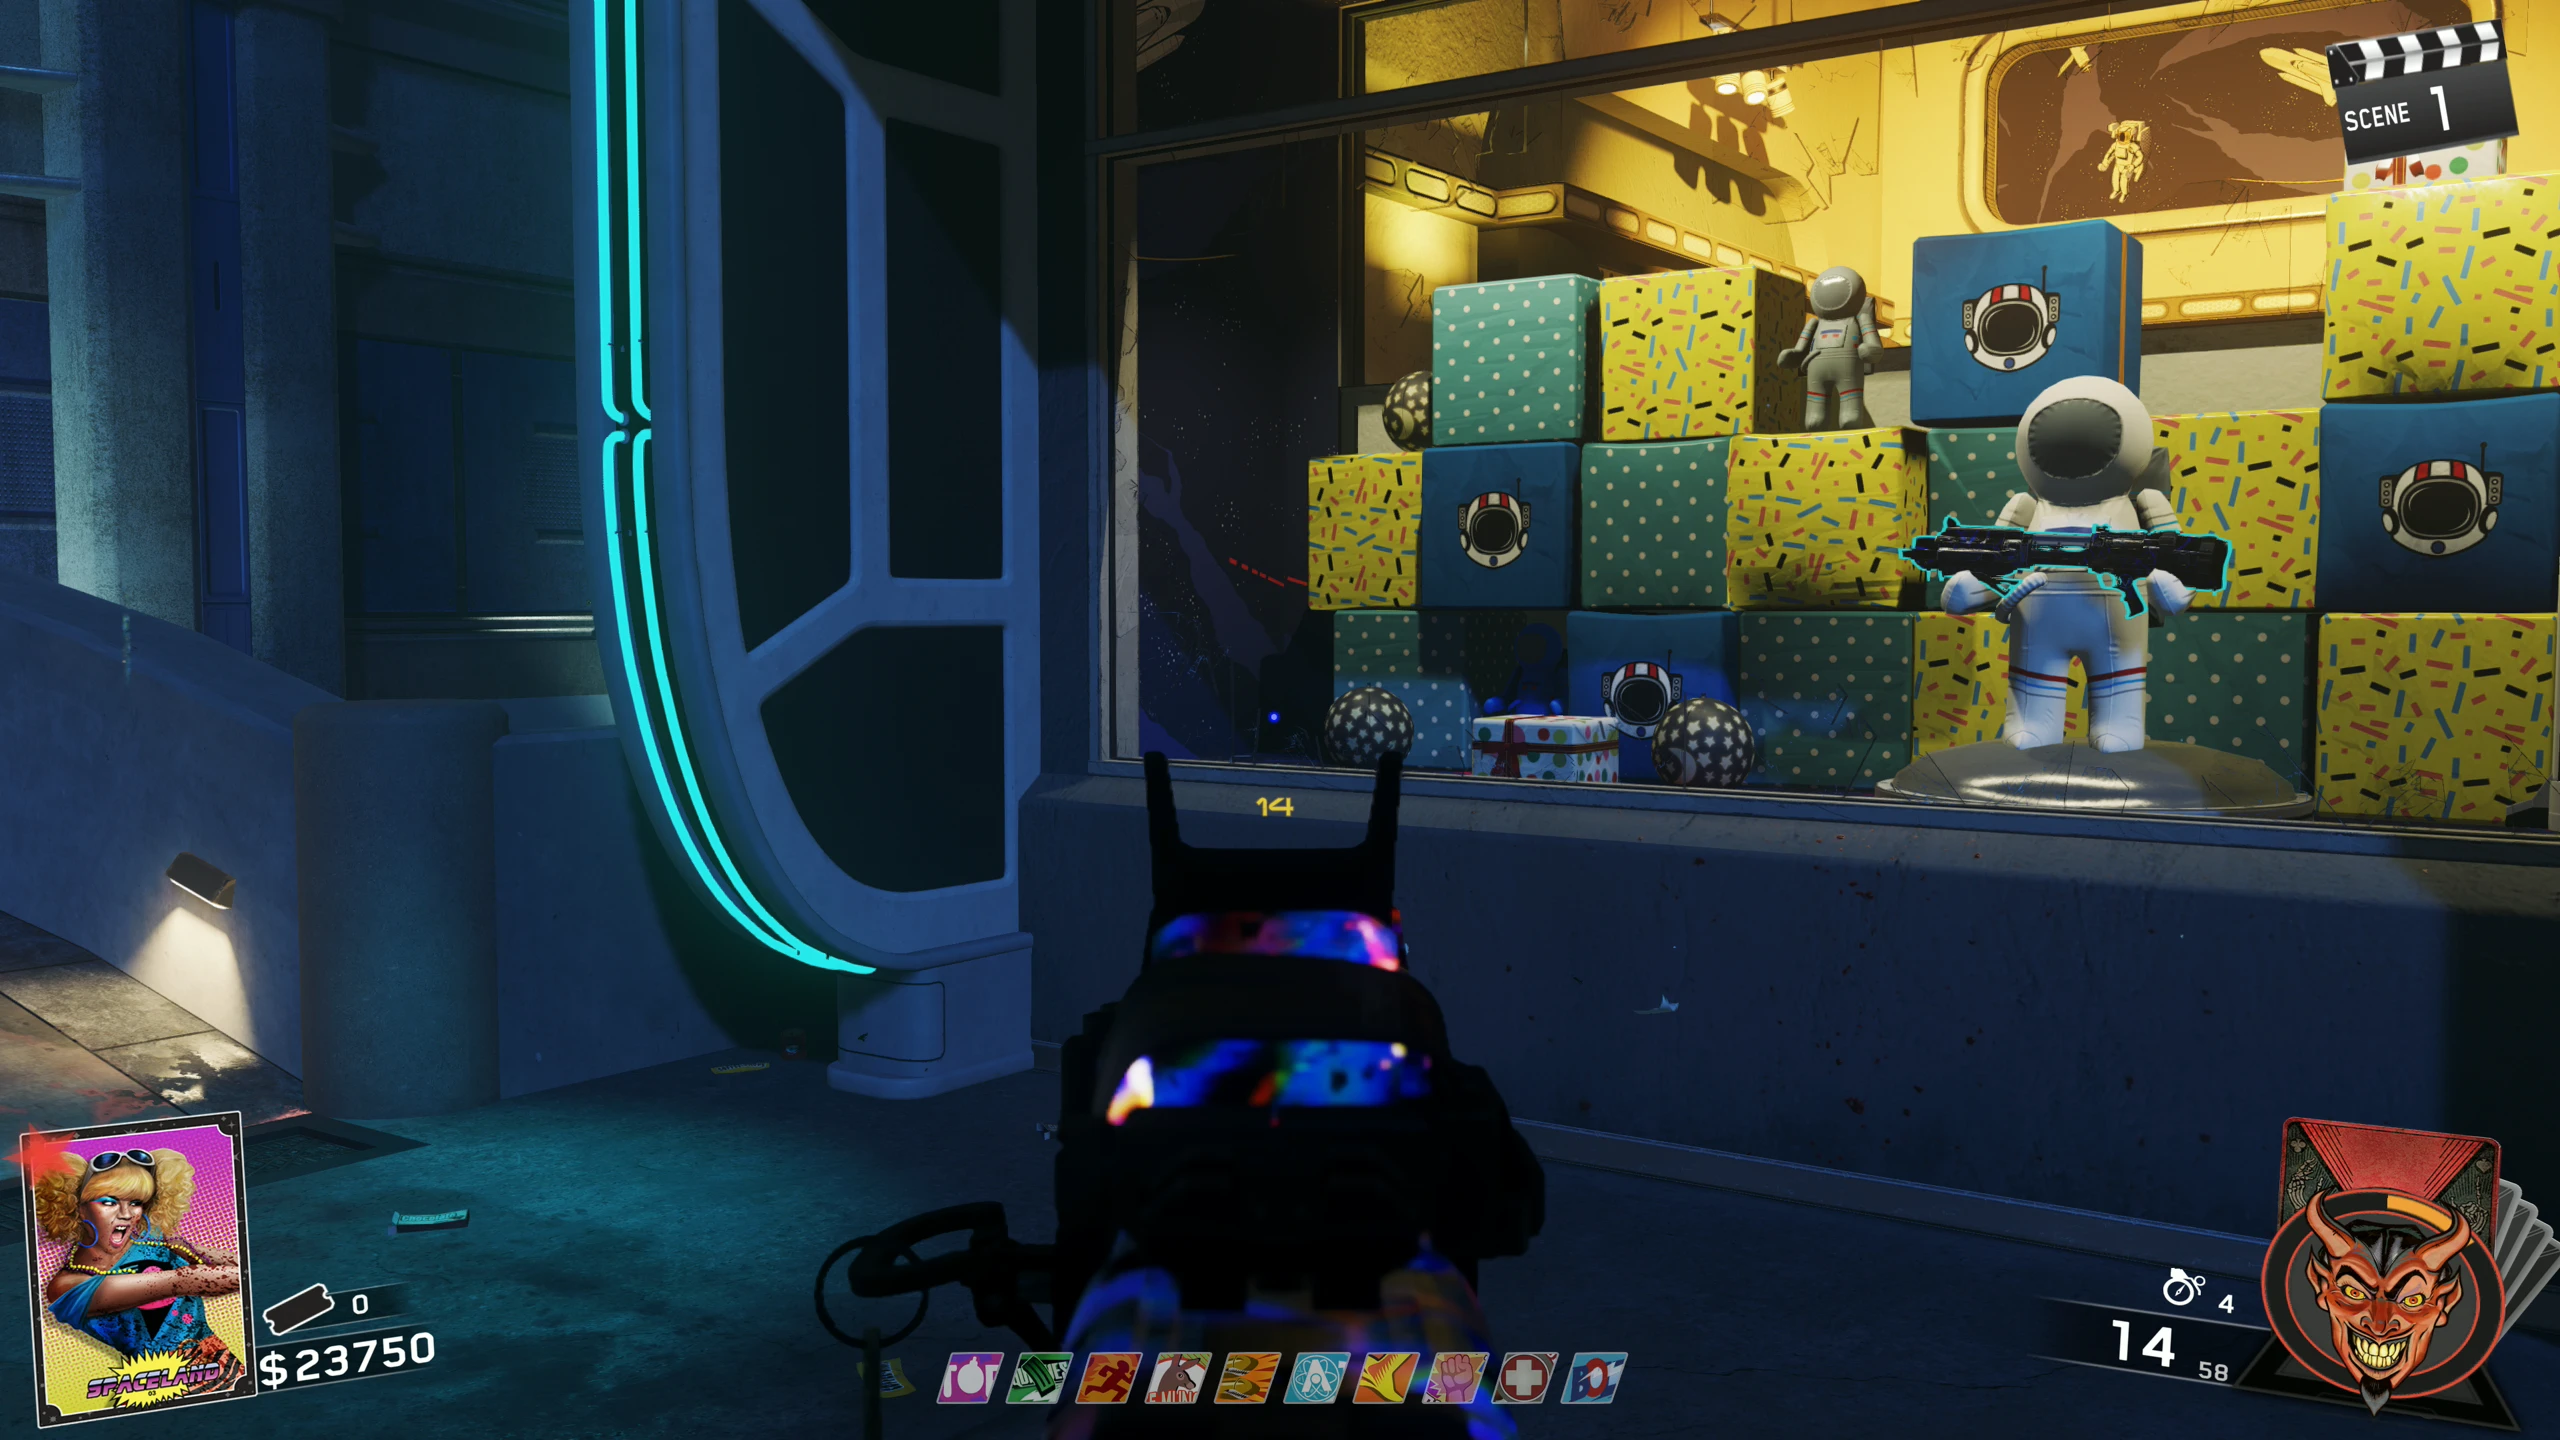
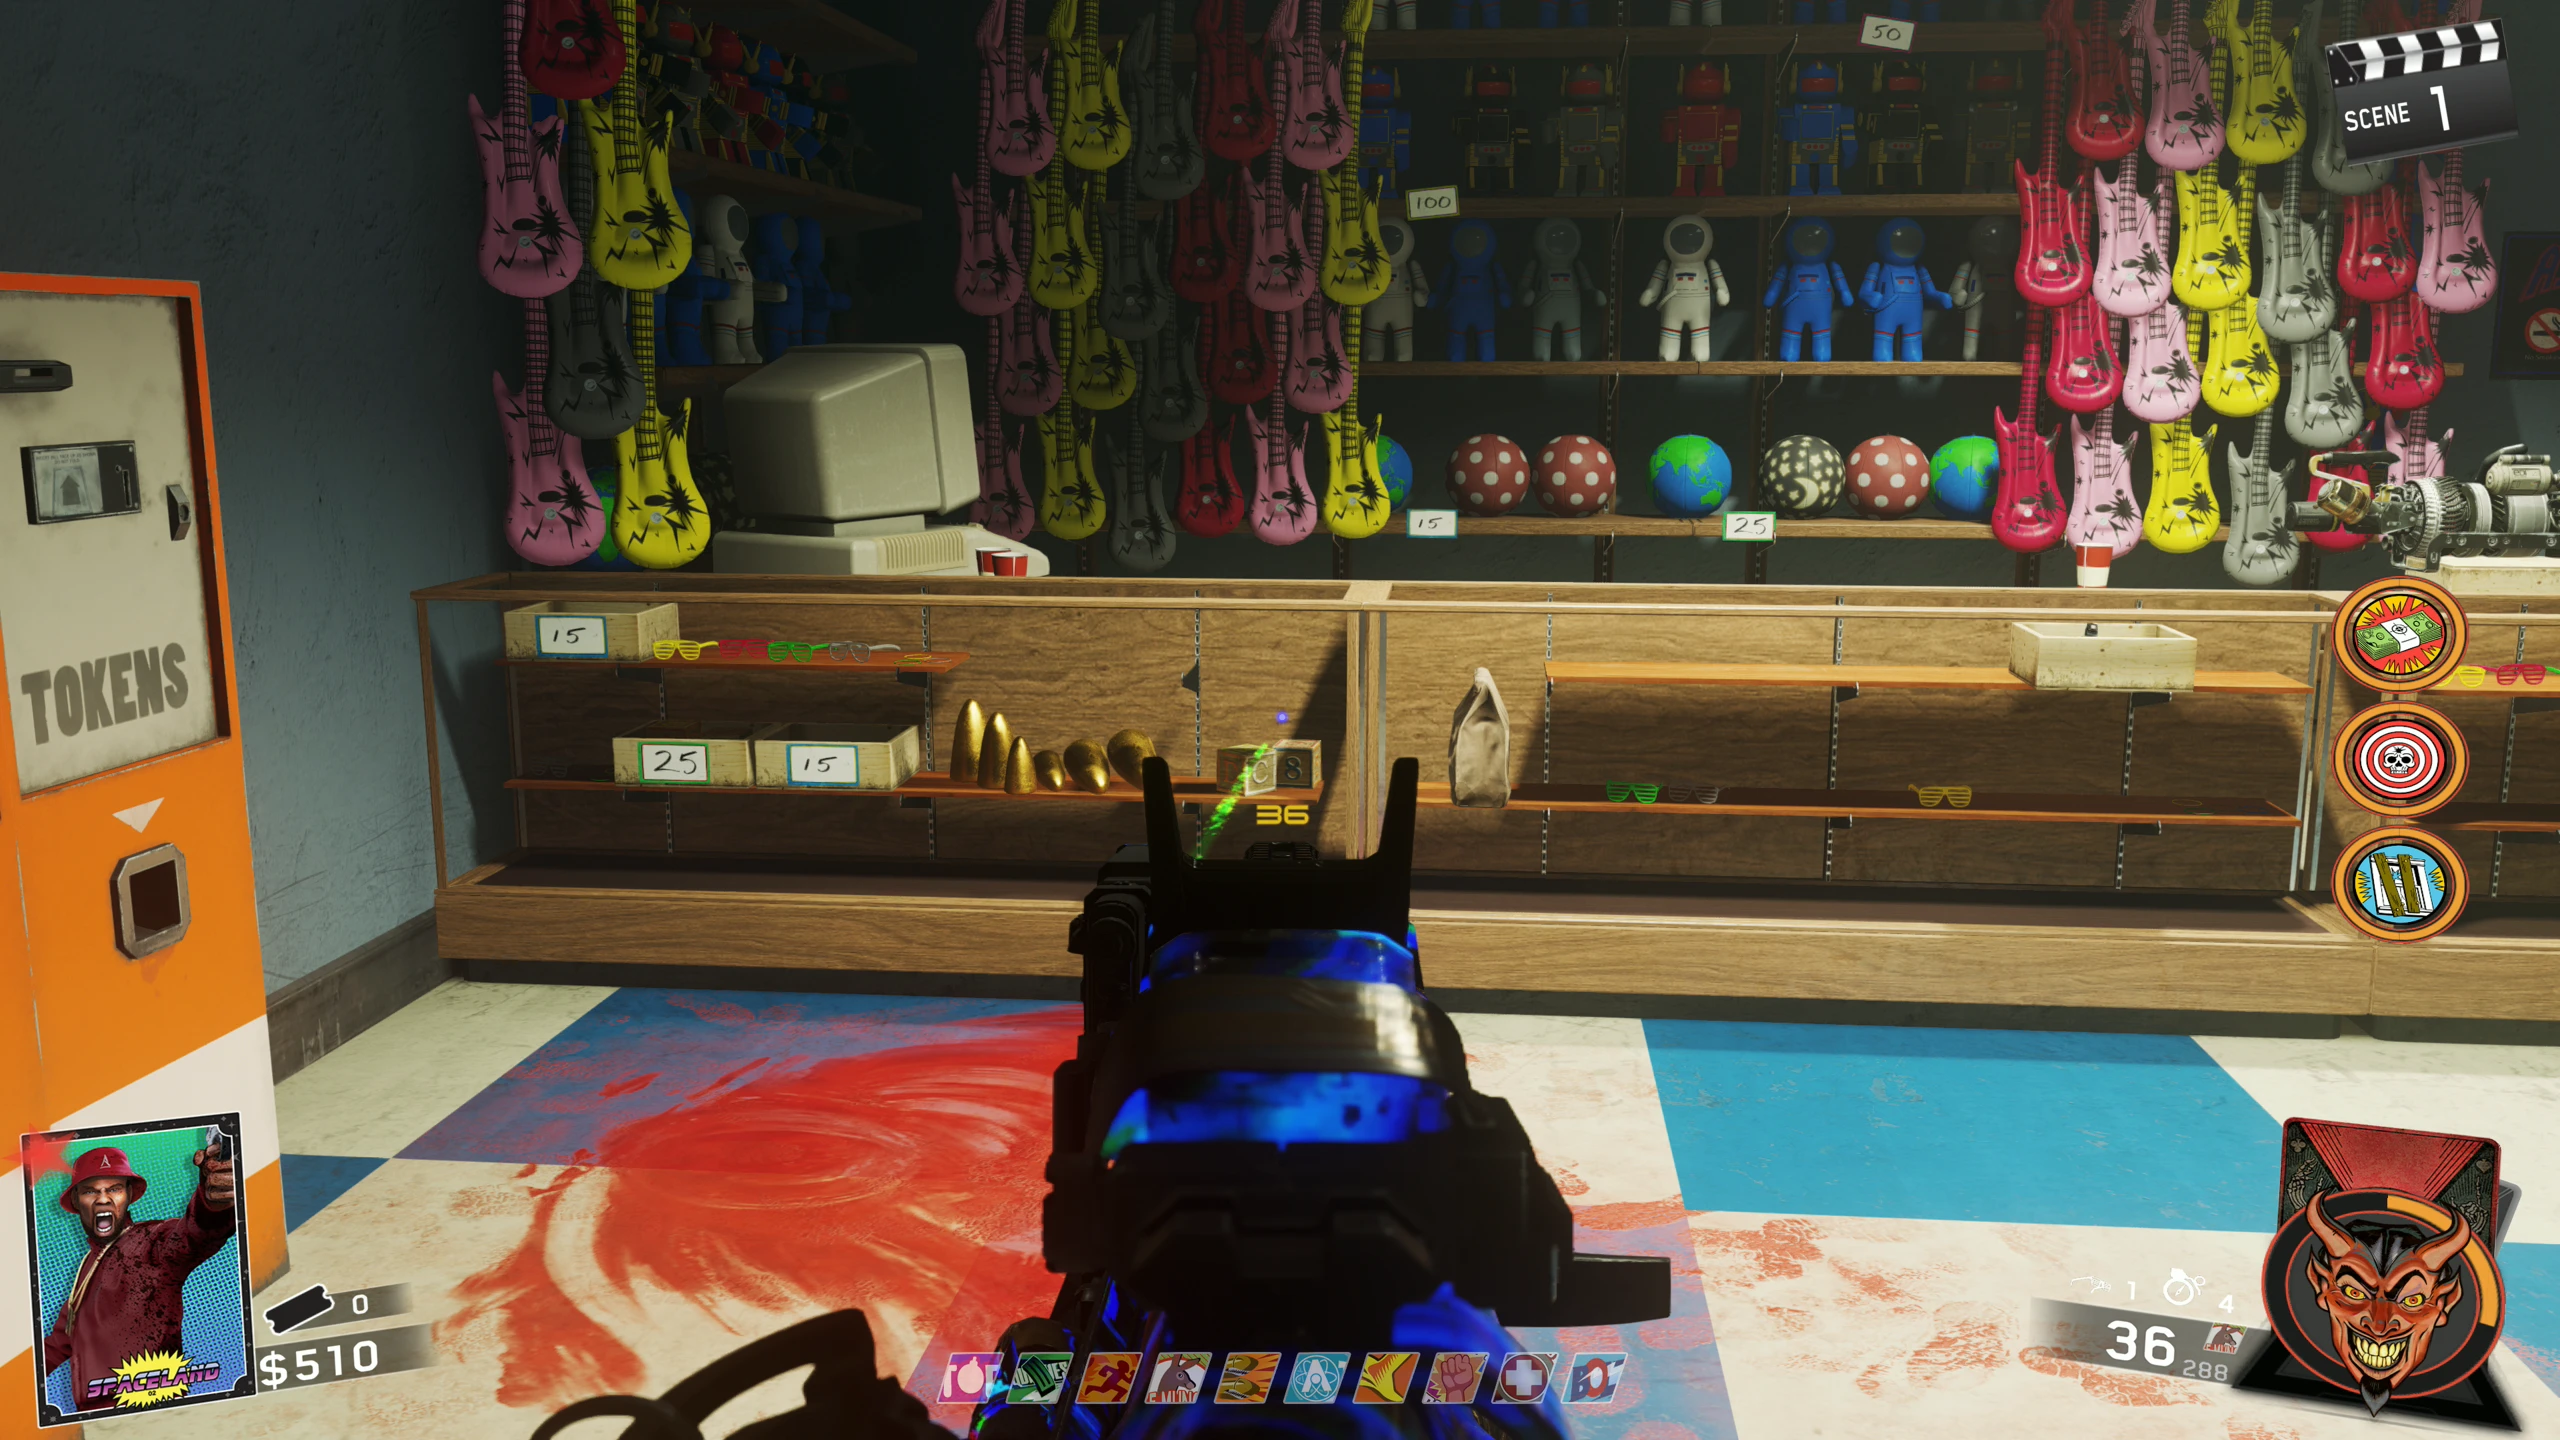
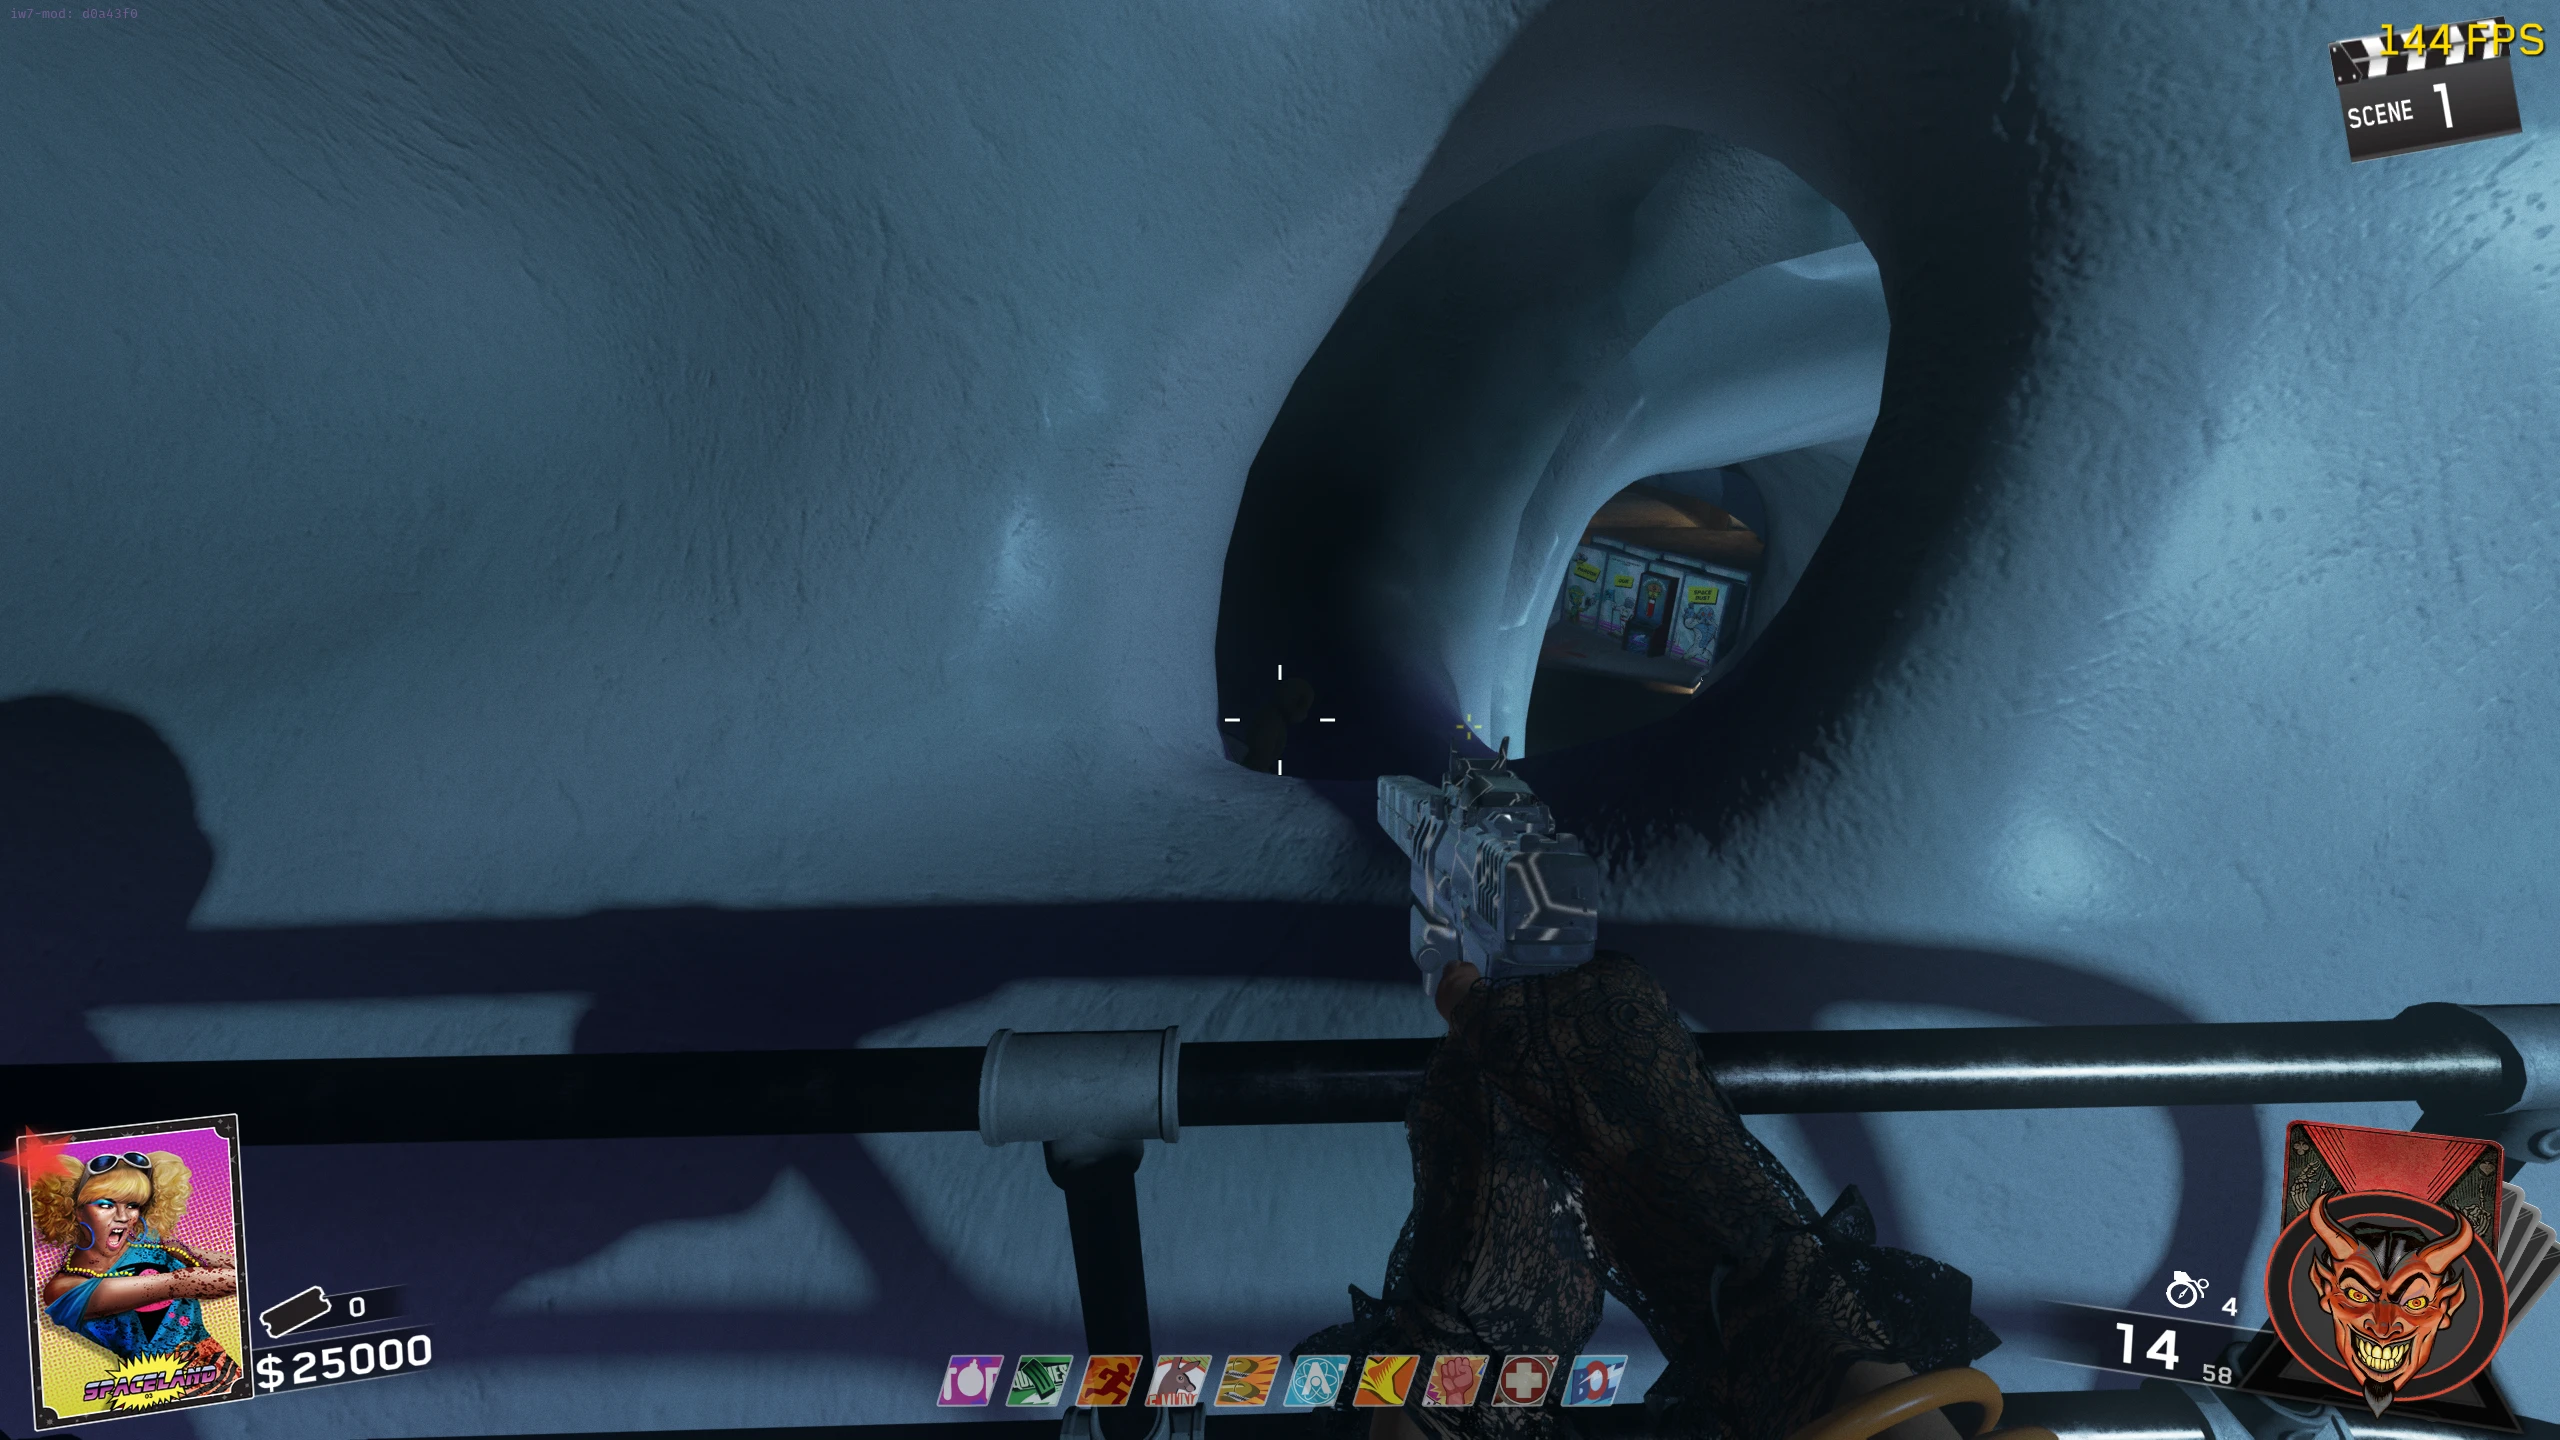
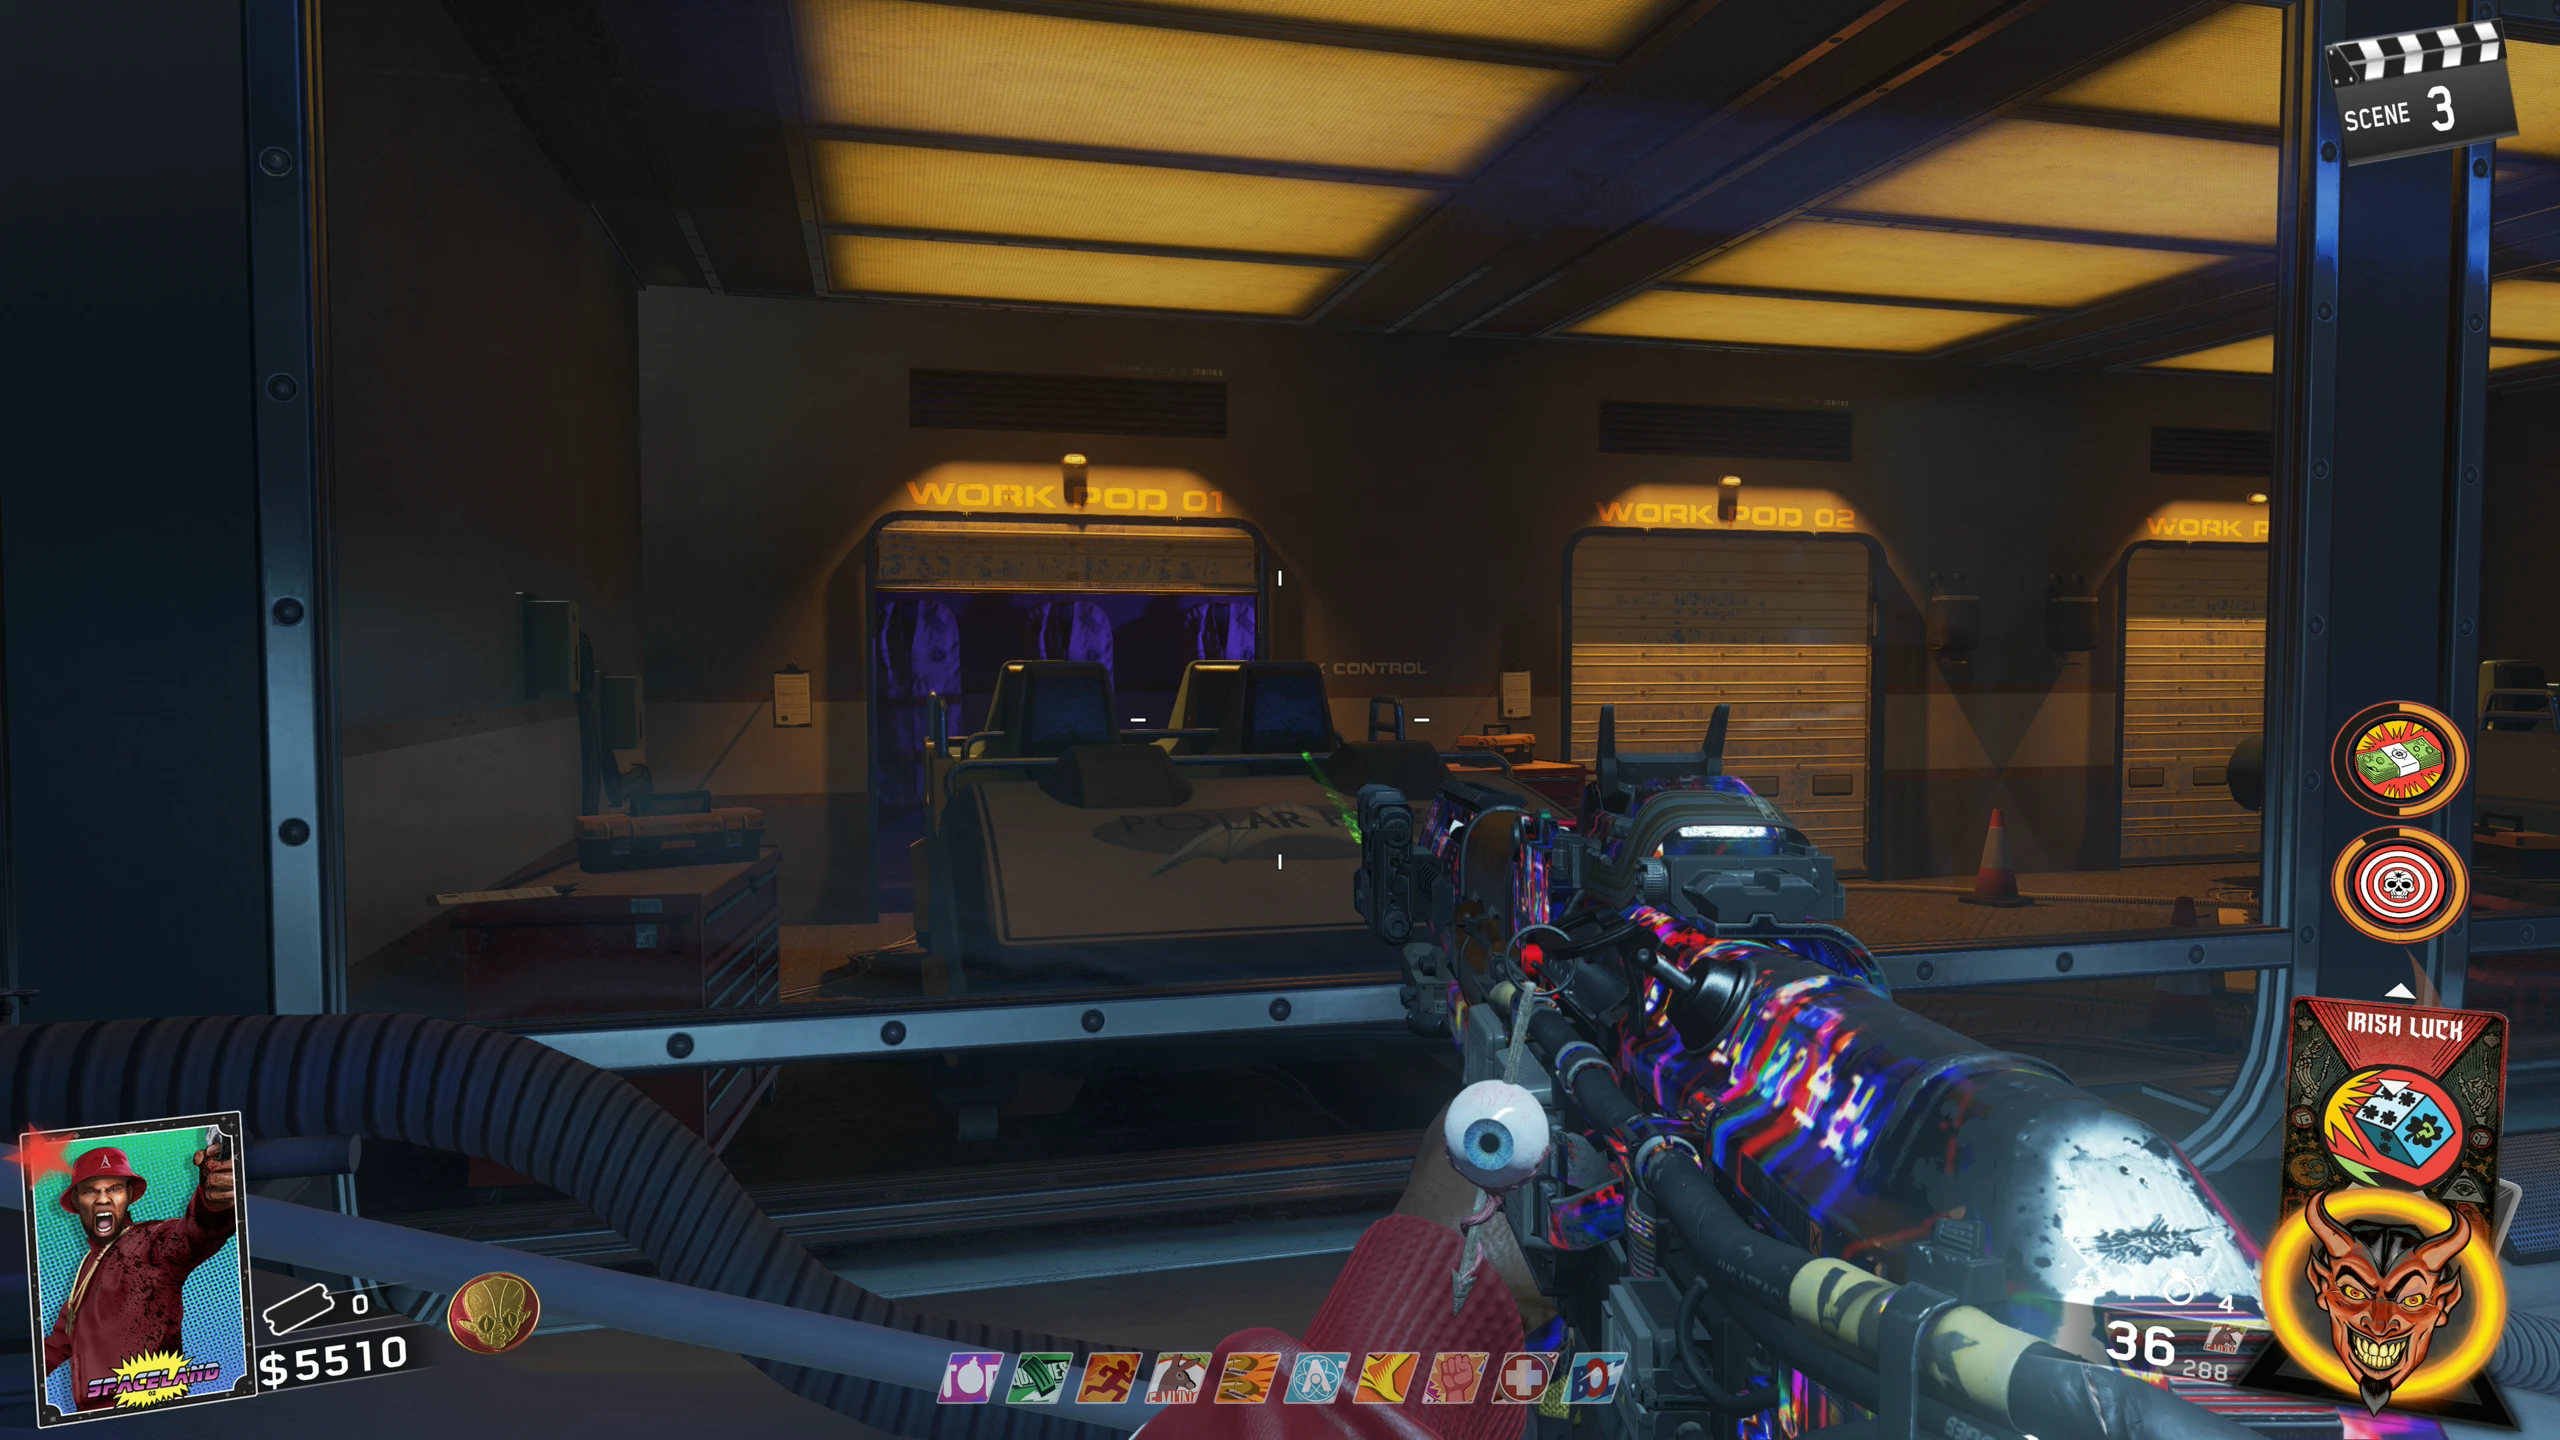
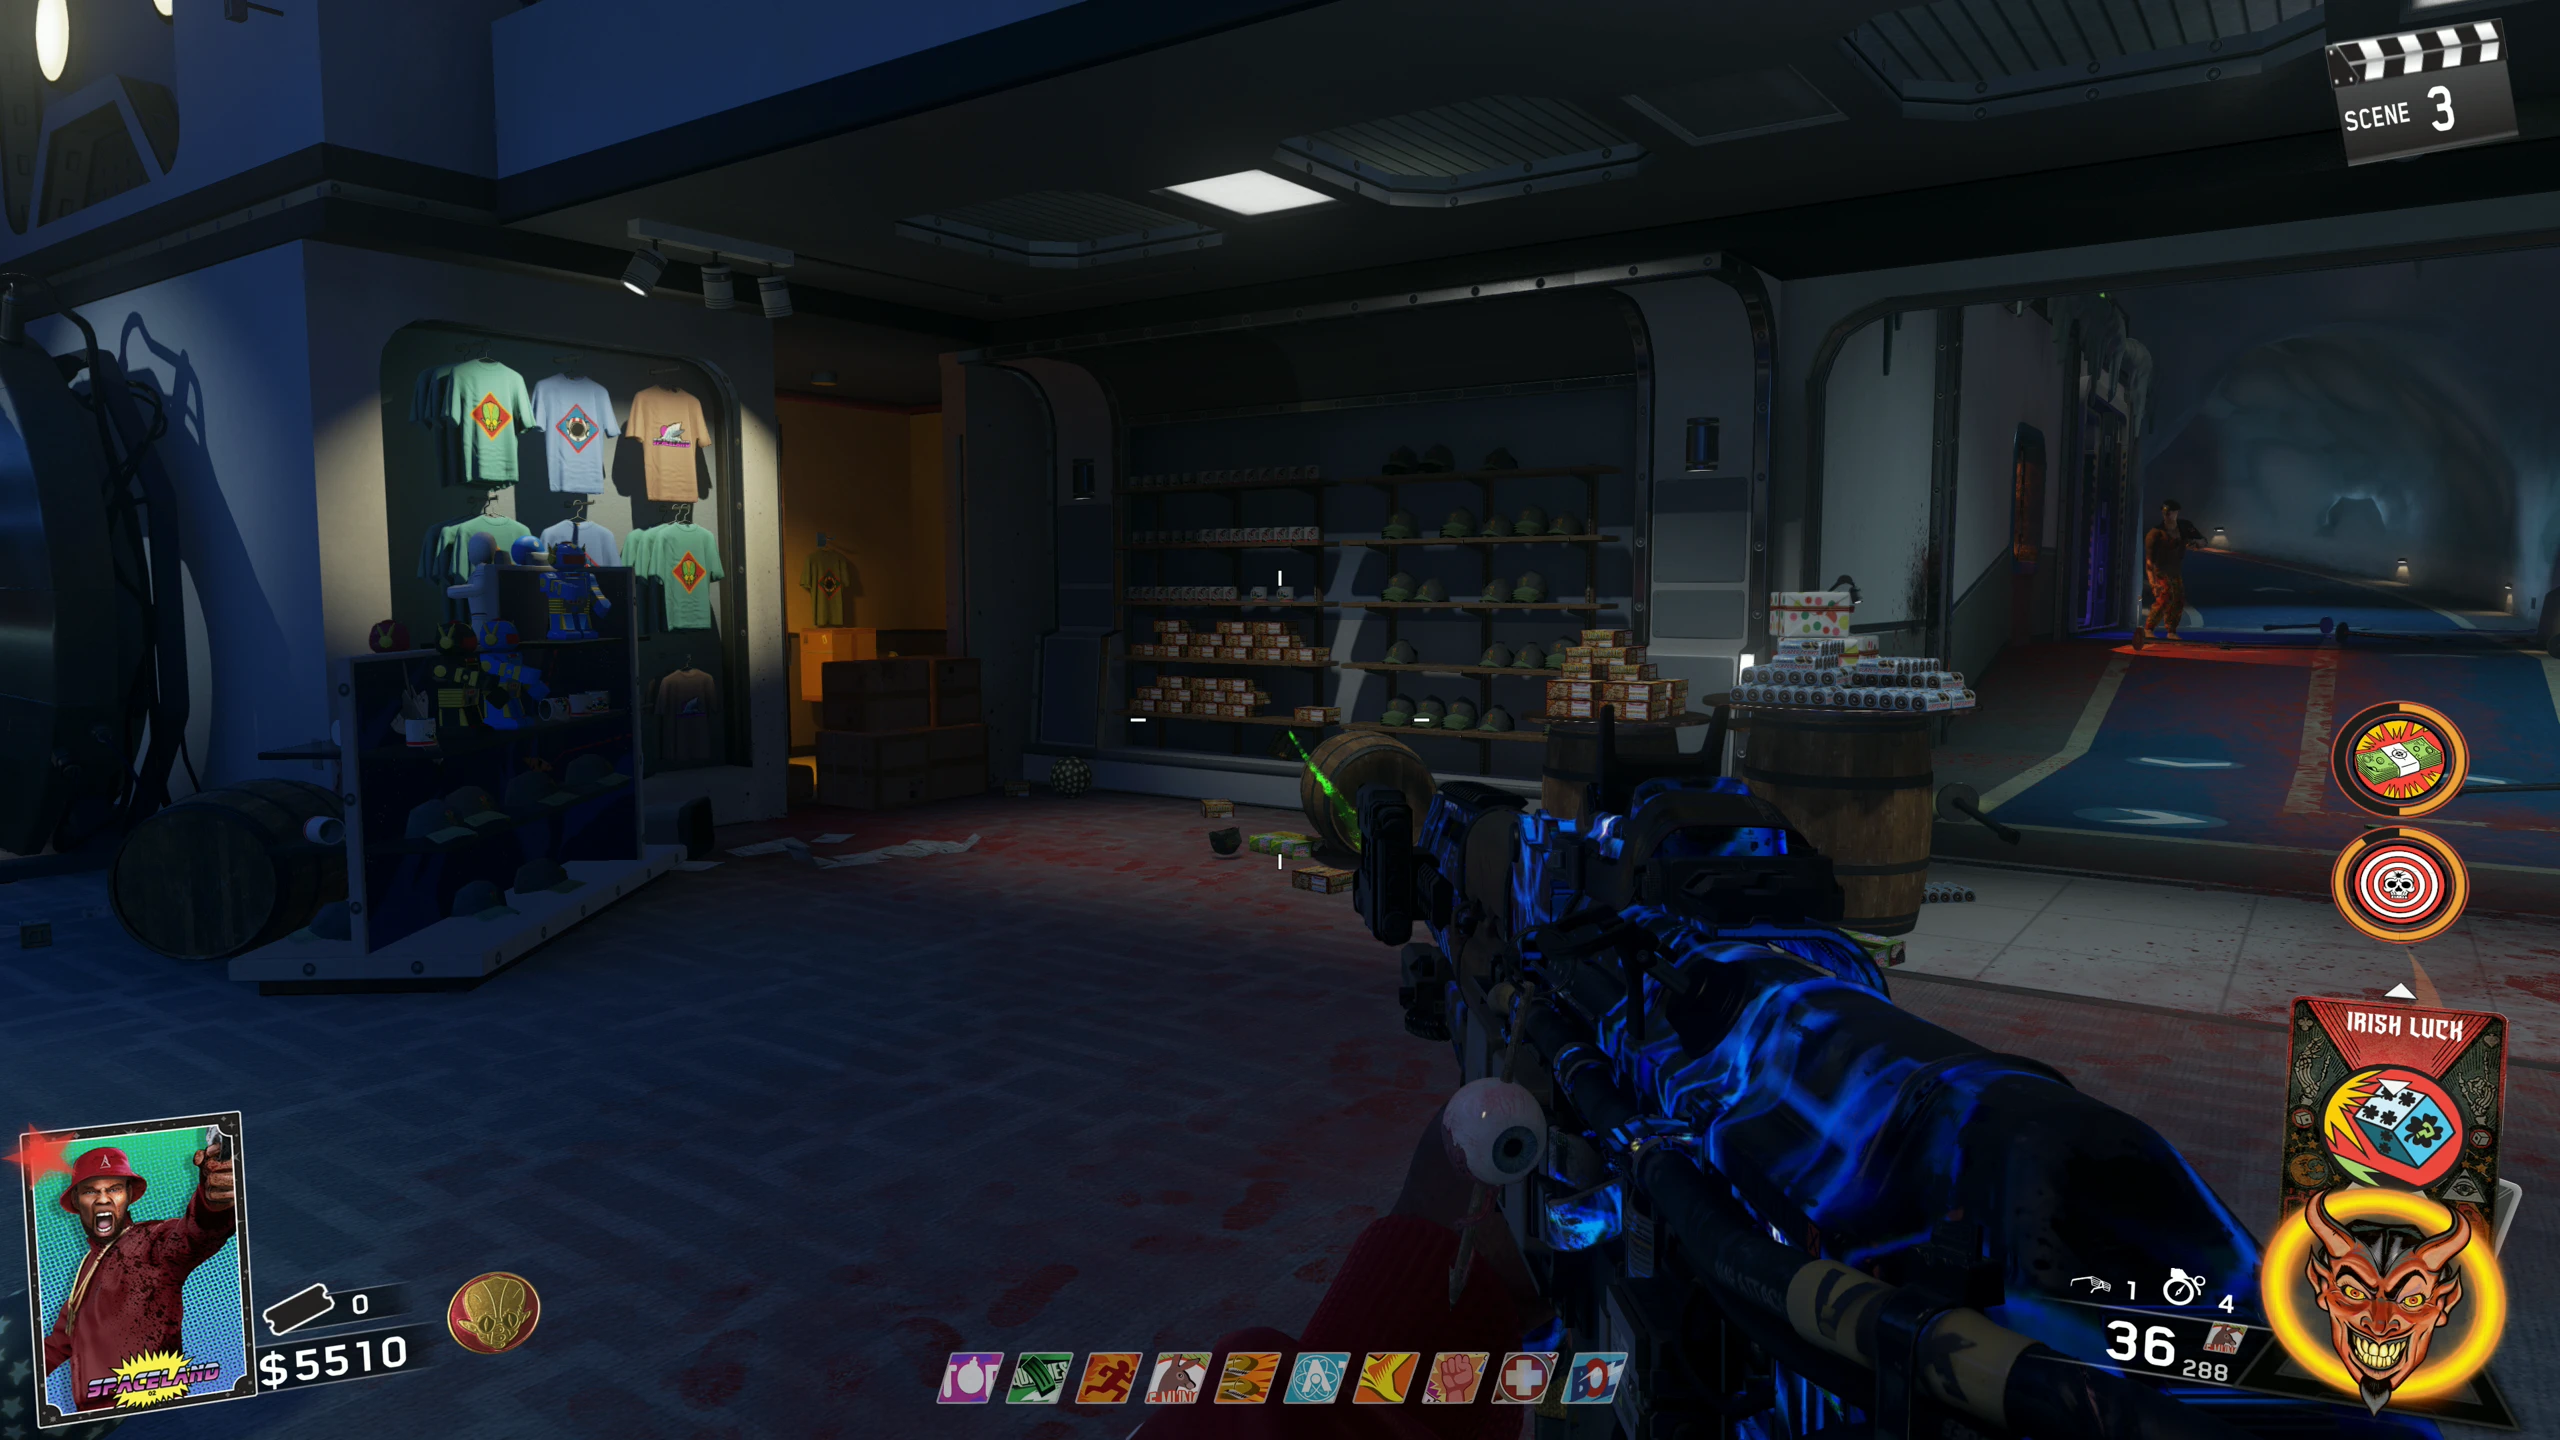
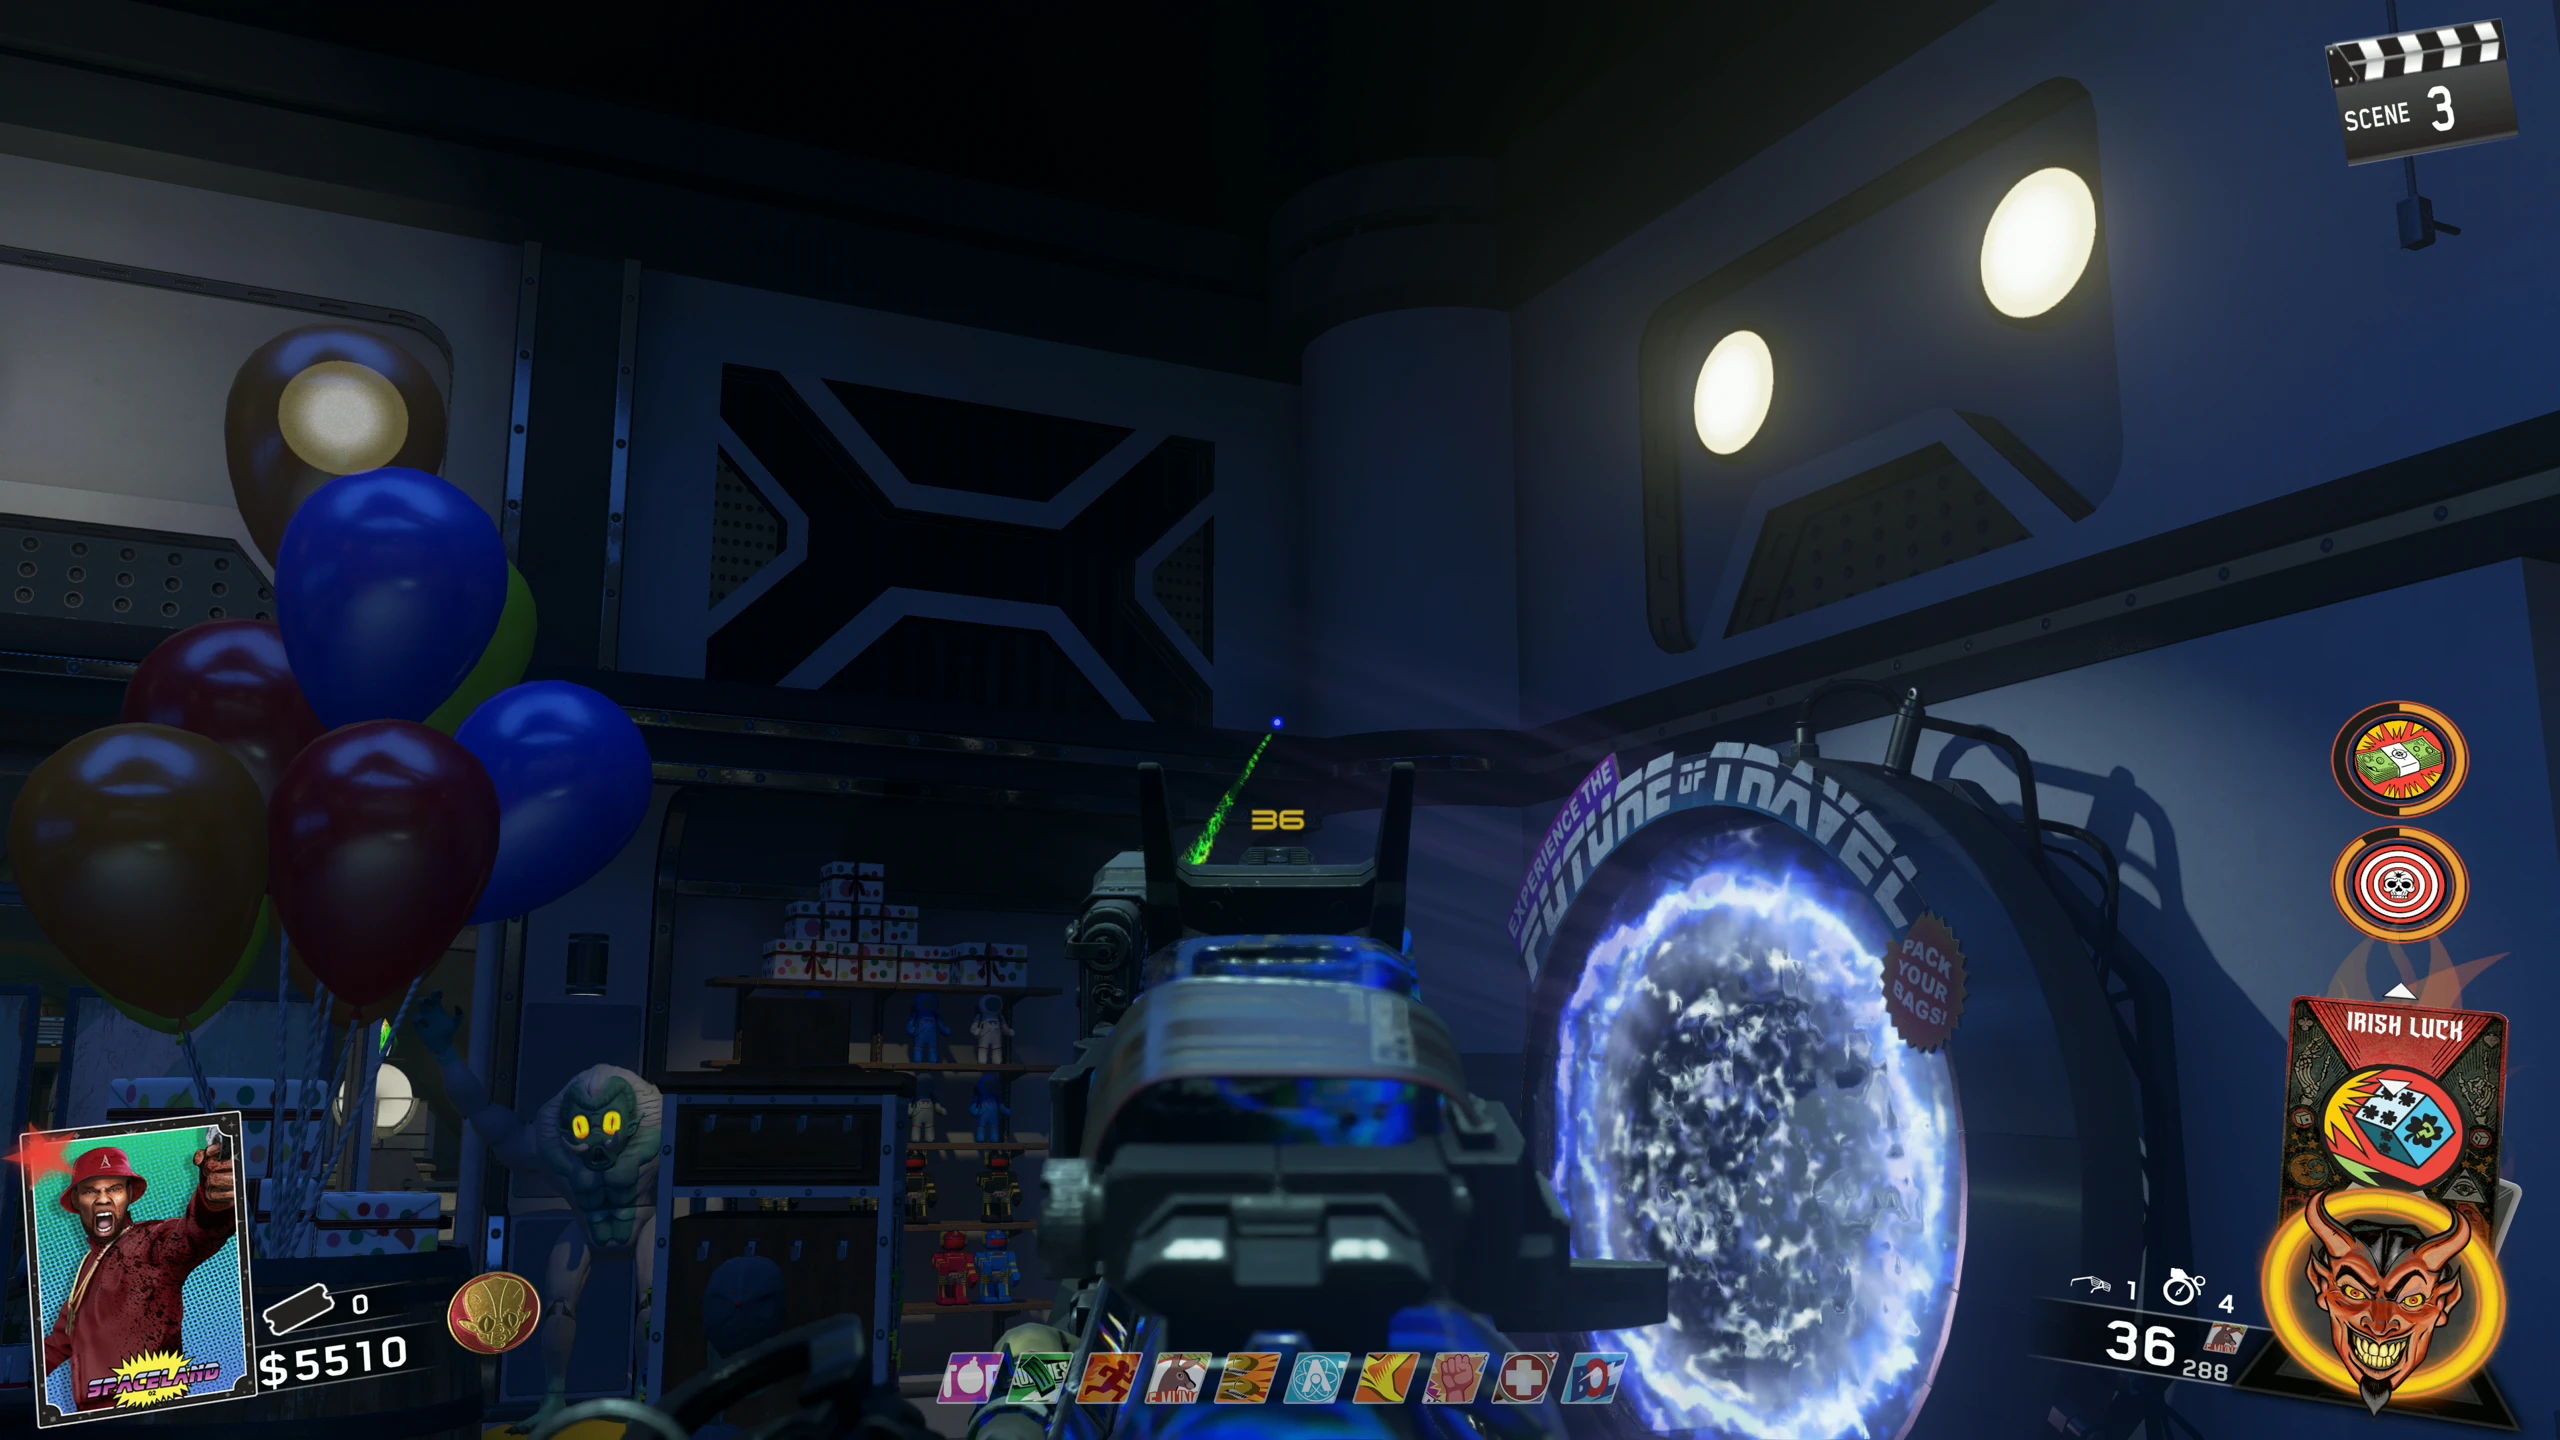
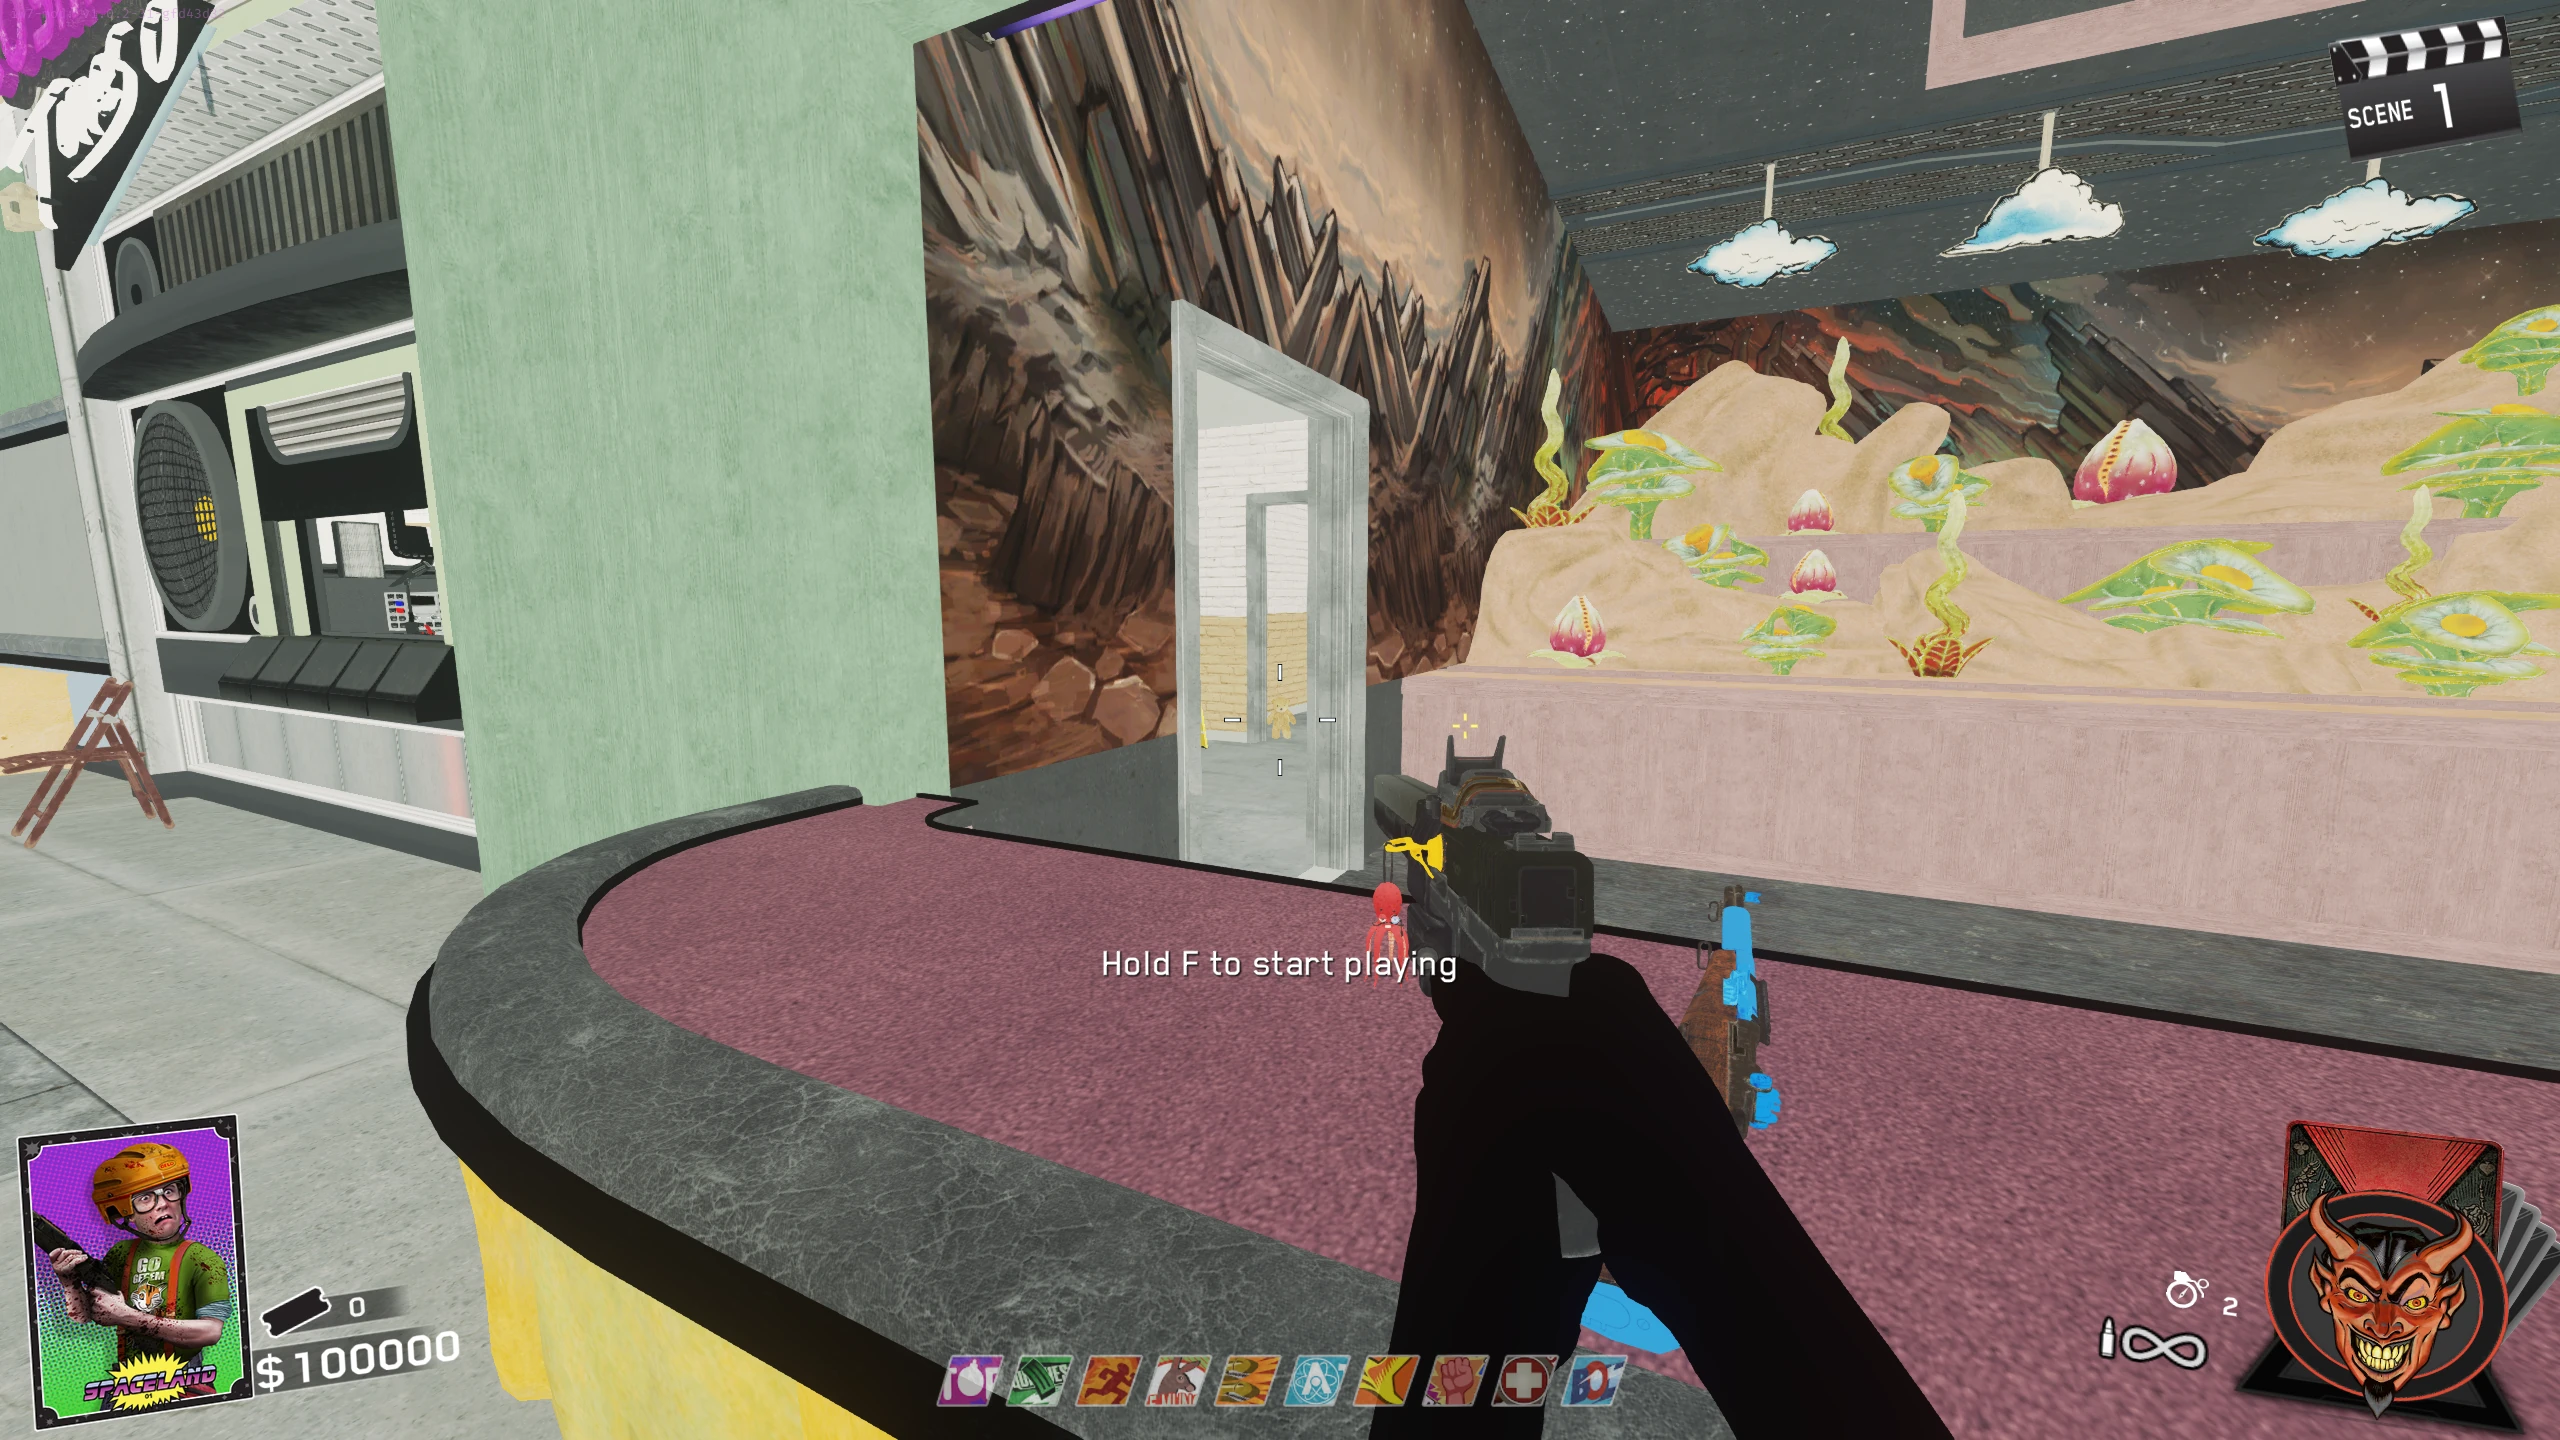
- Polar Peak - In the middle of the Gift Shop
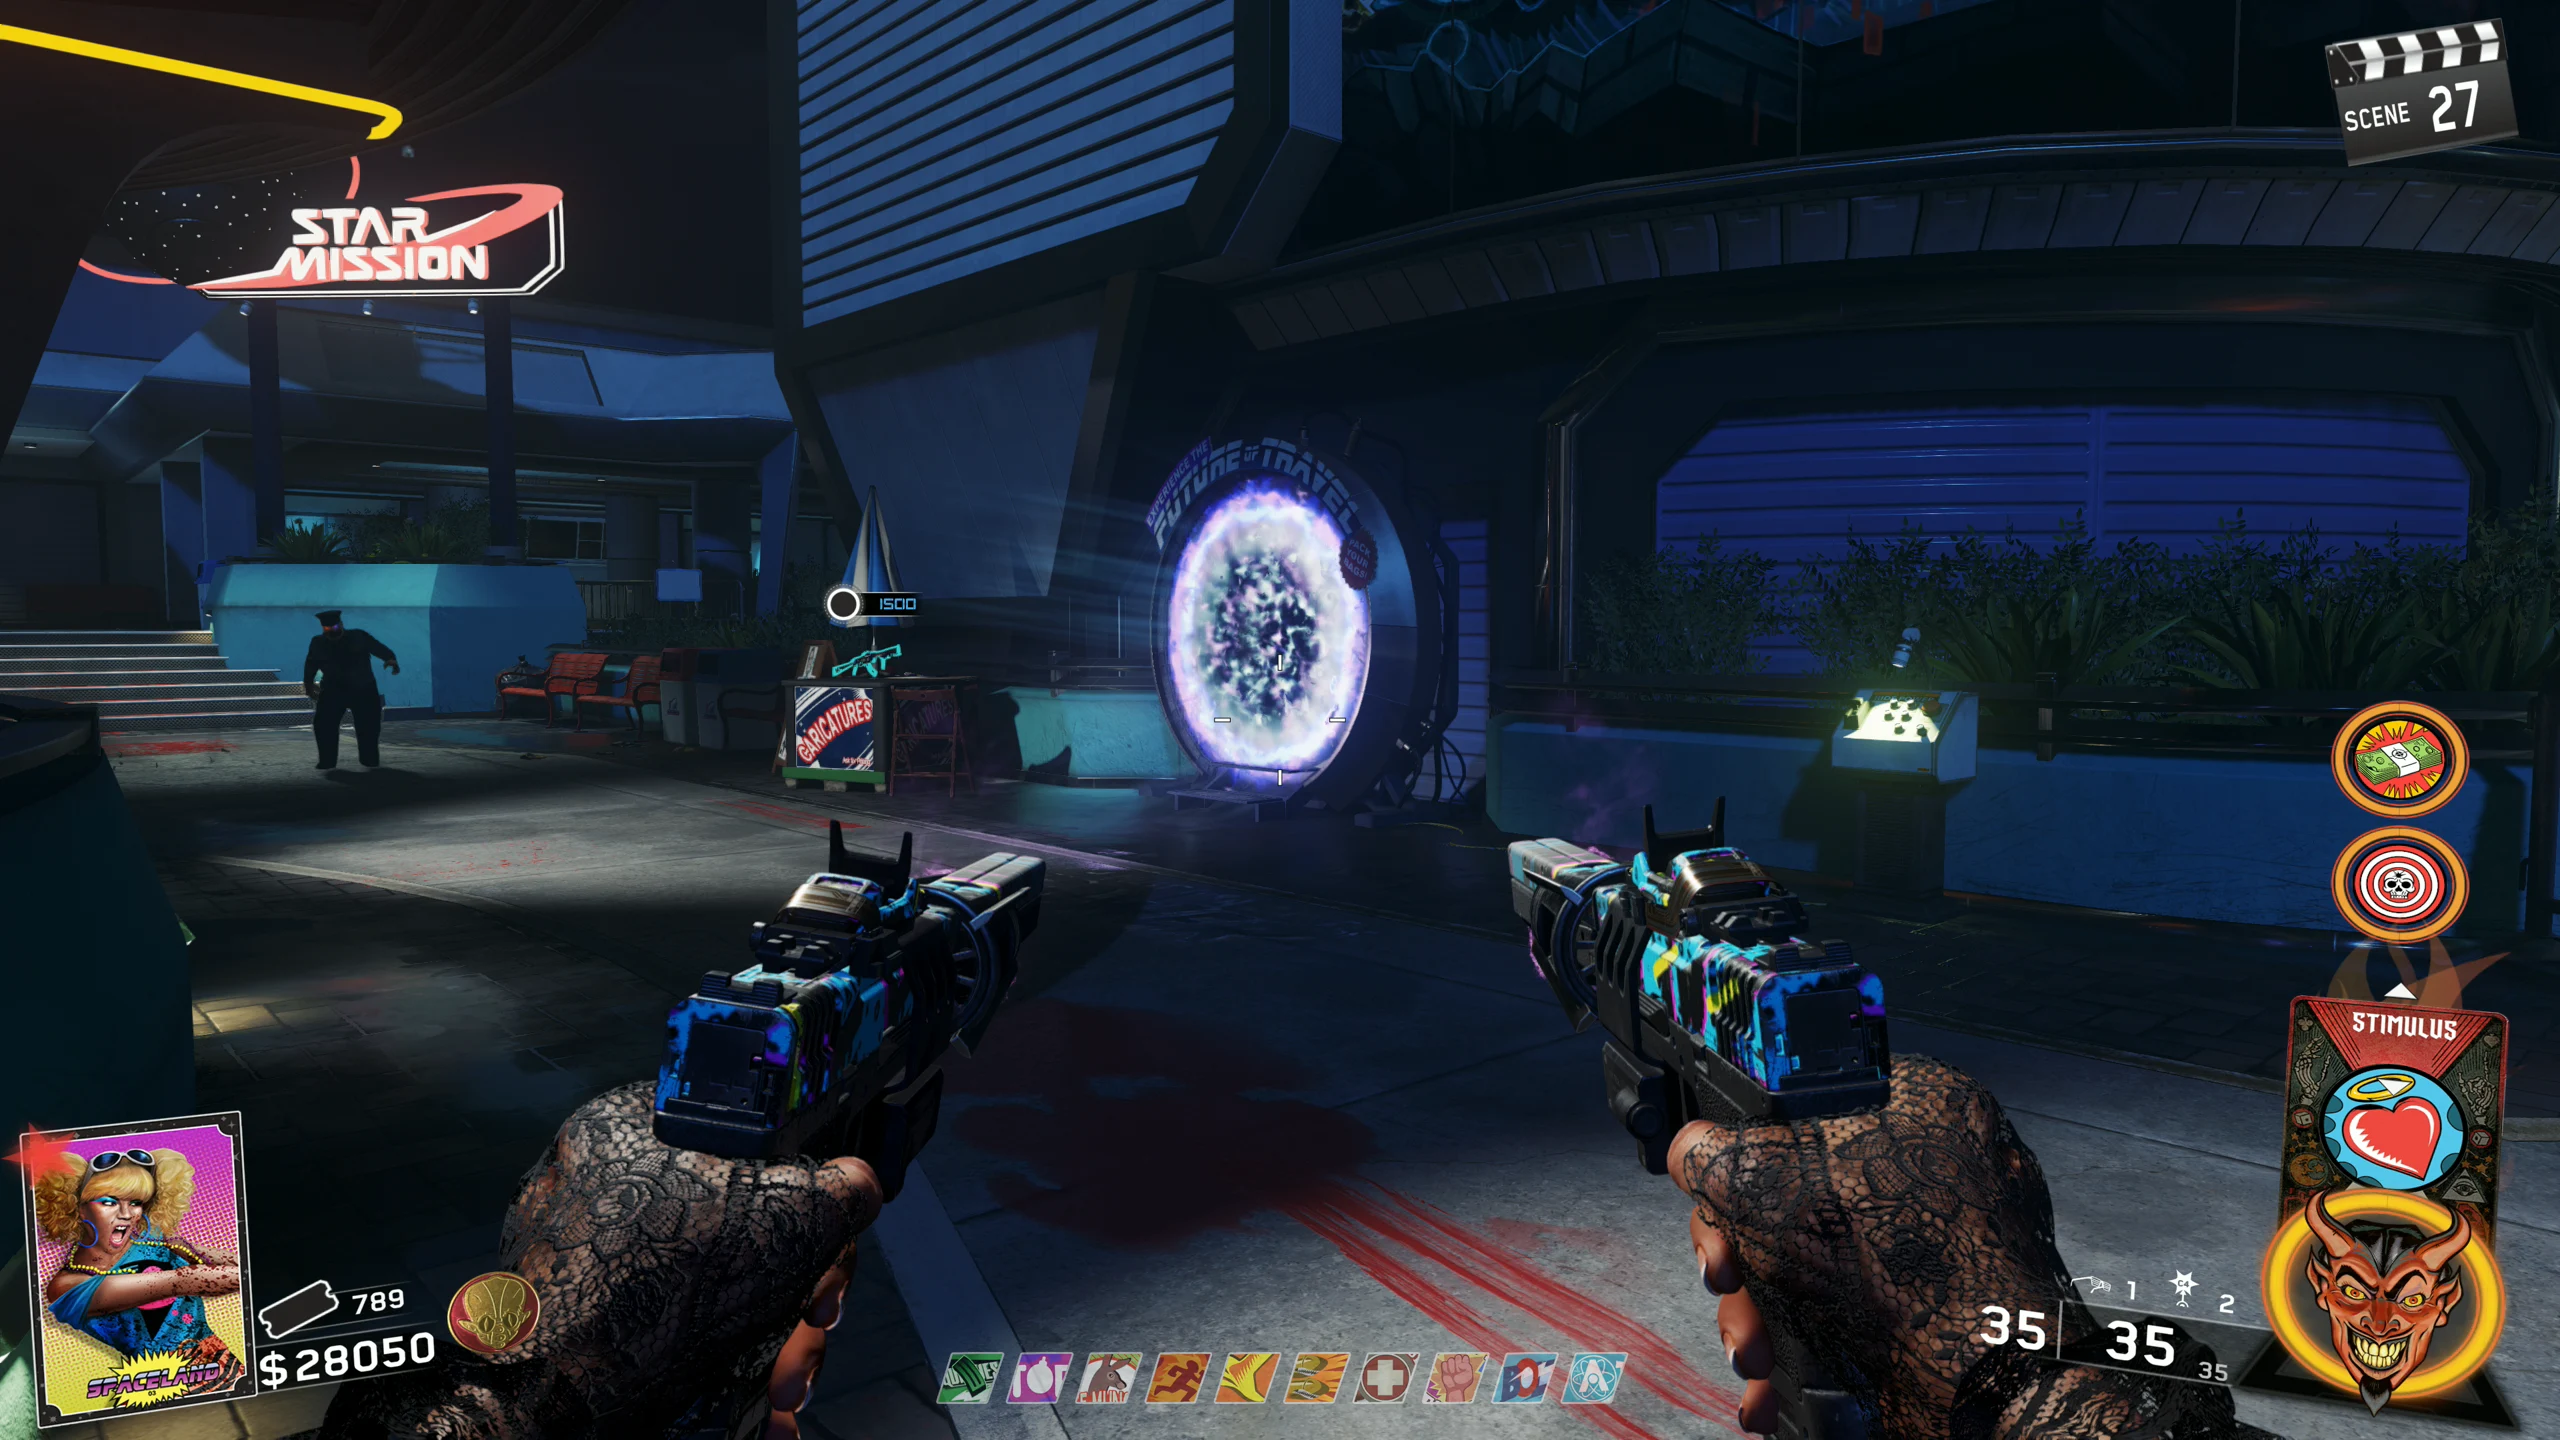
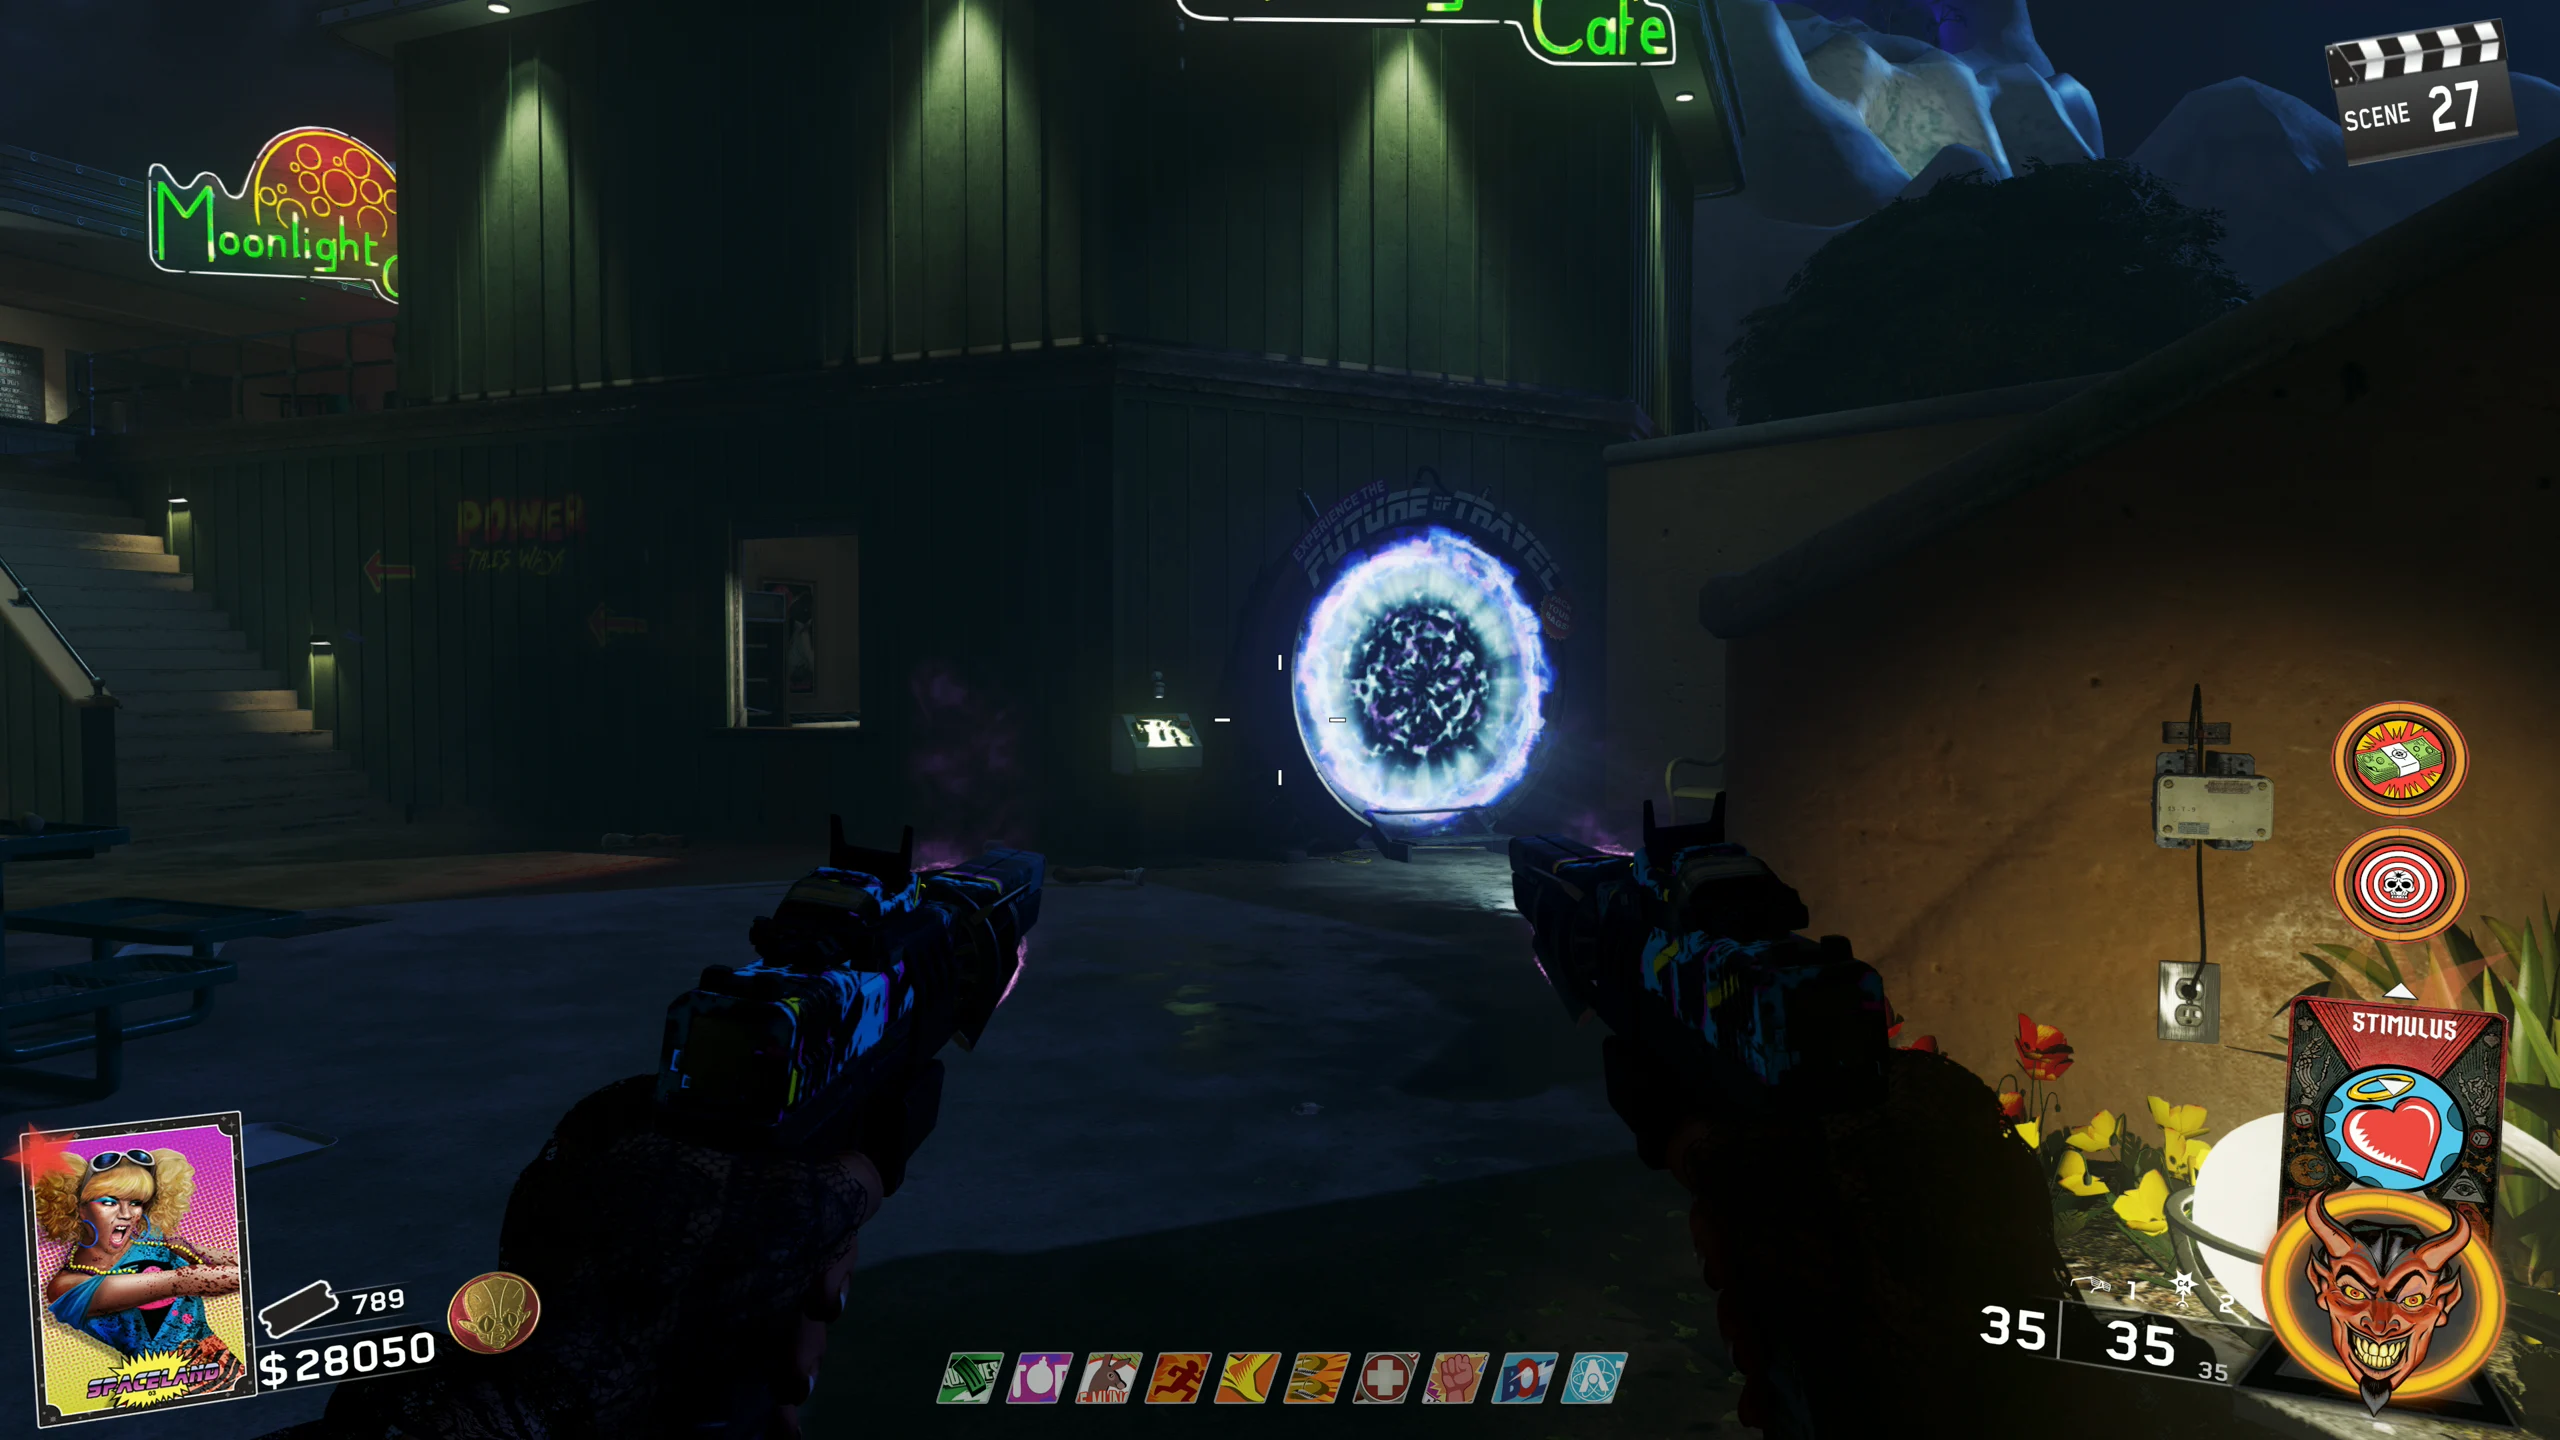
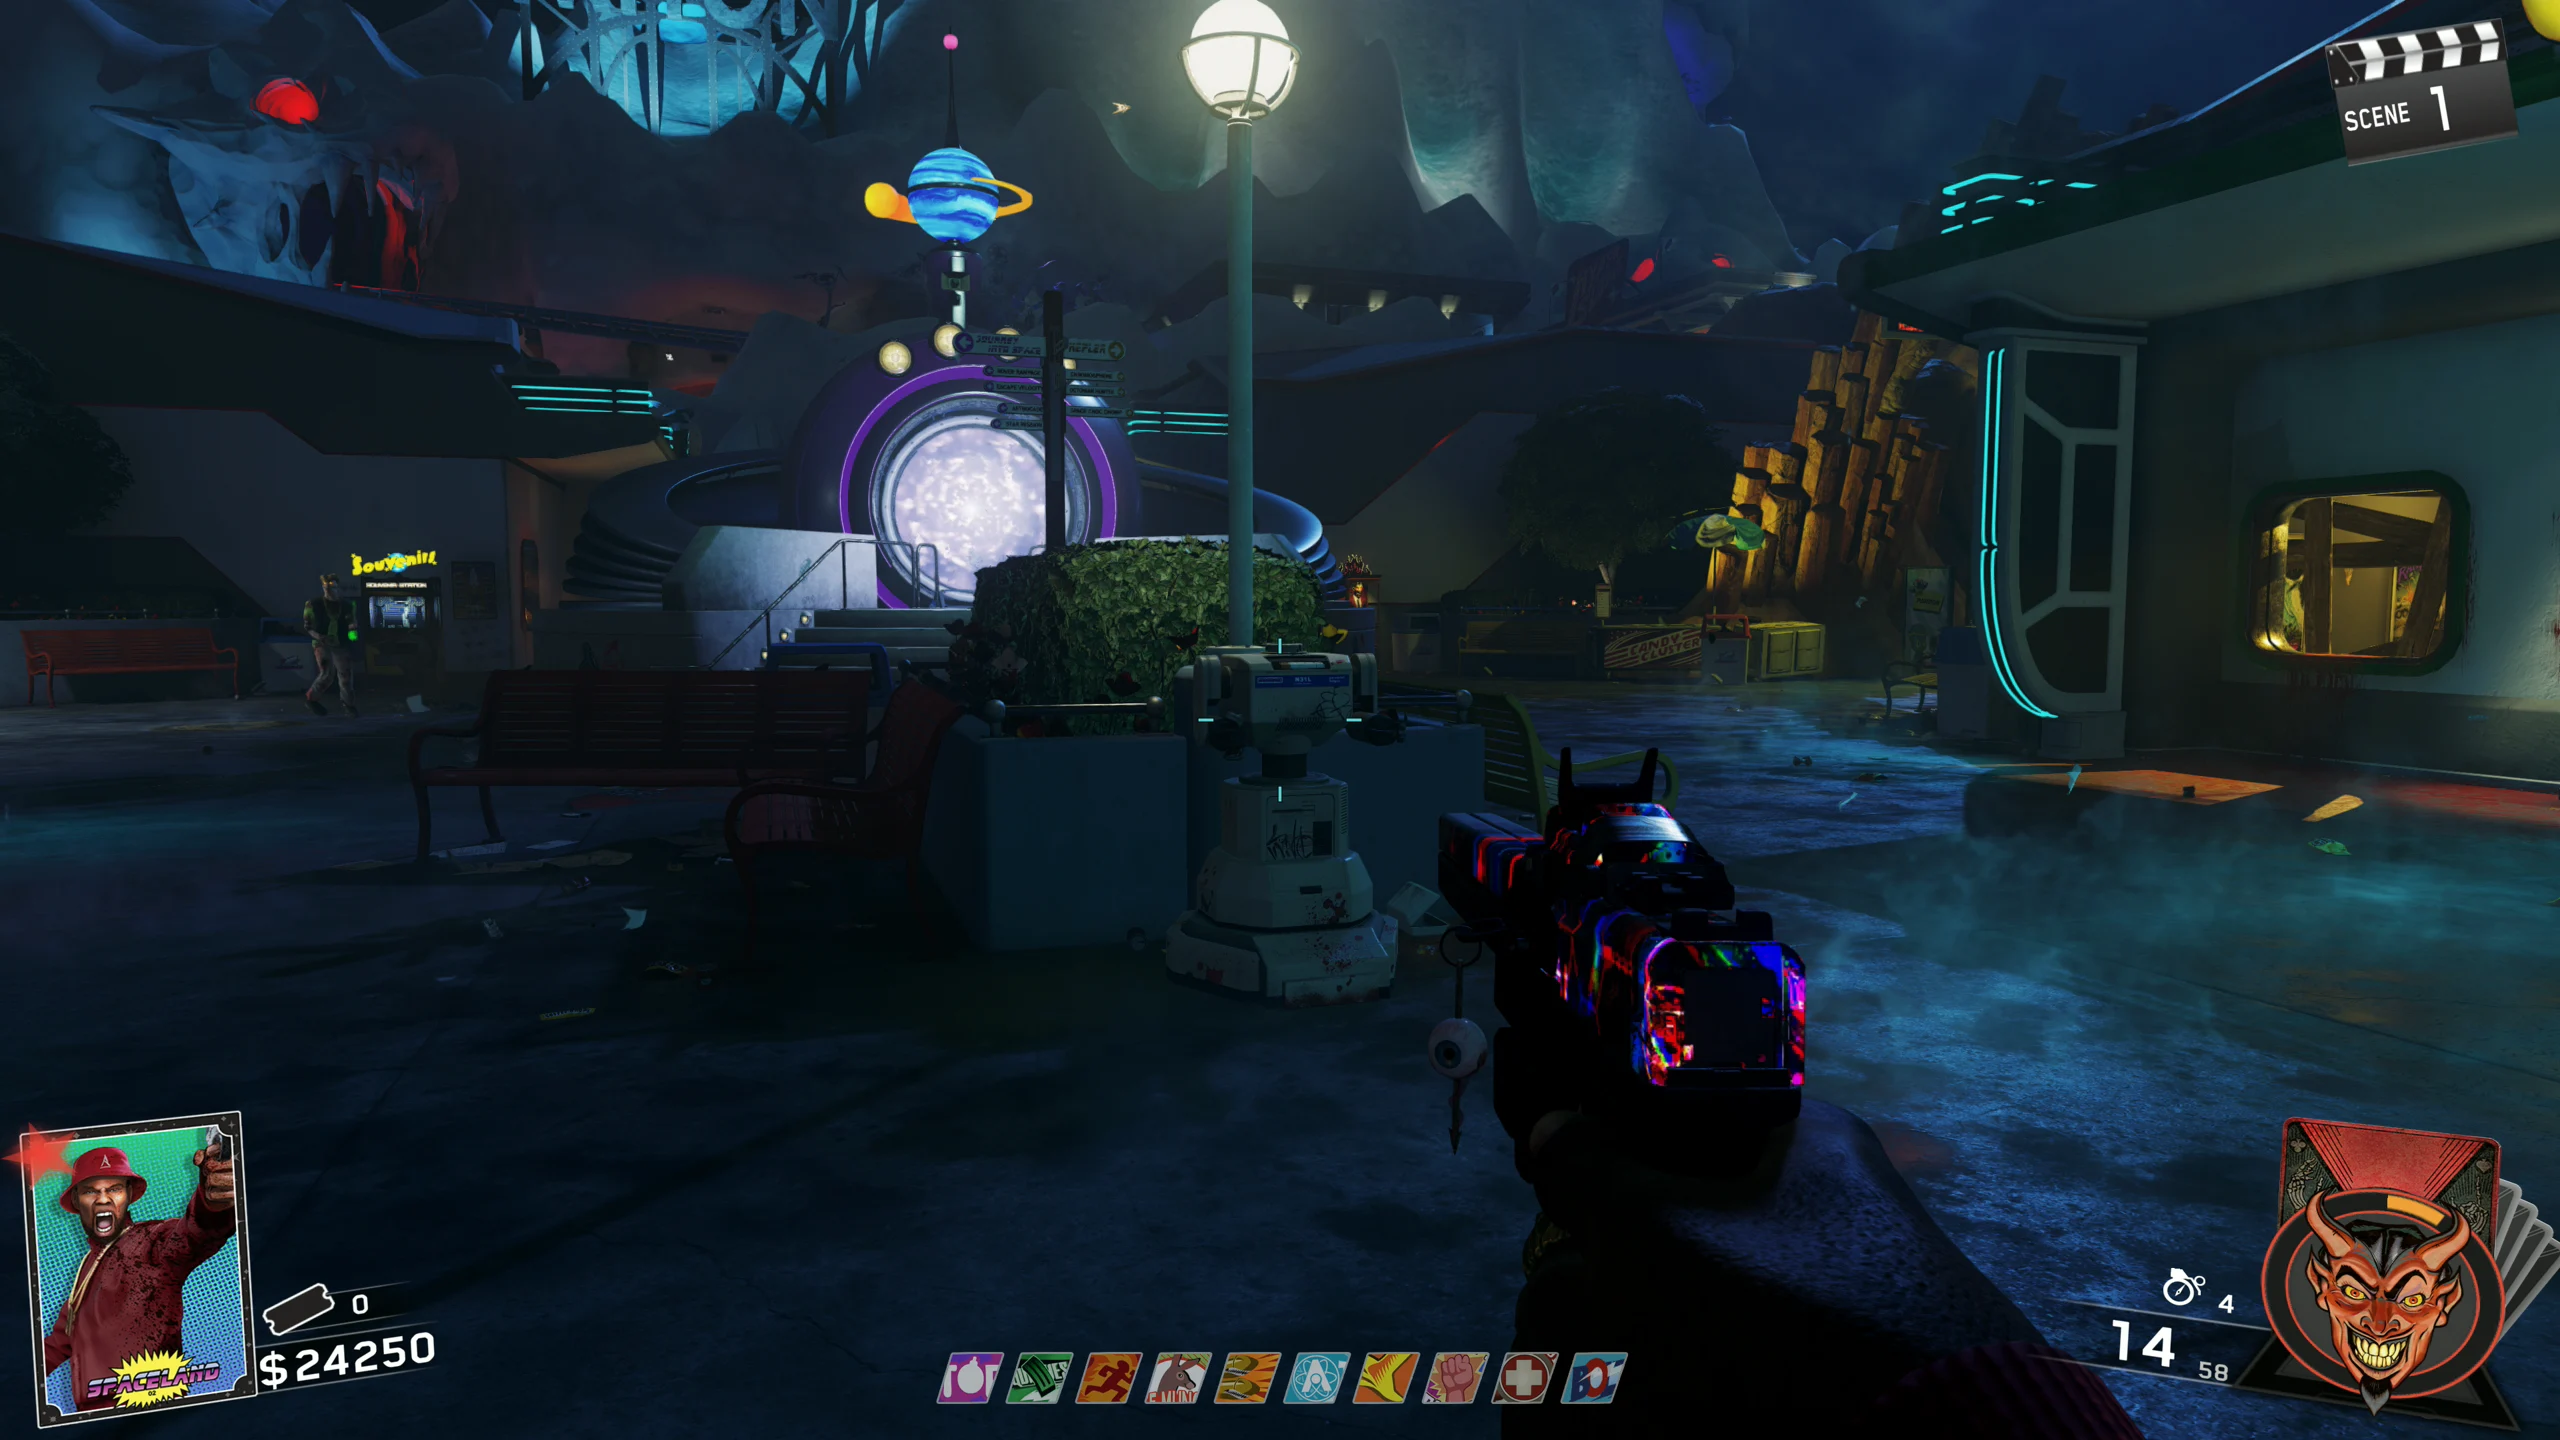
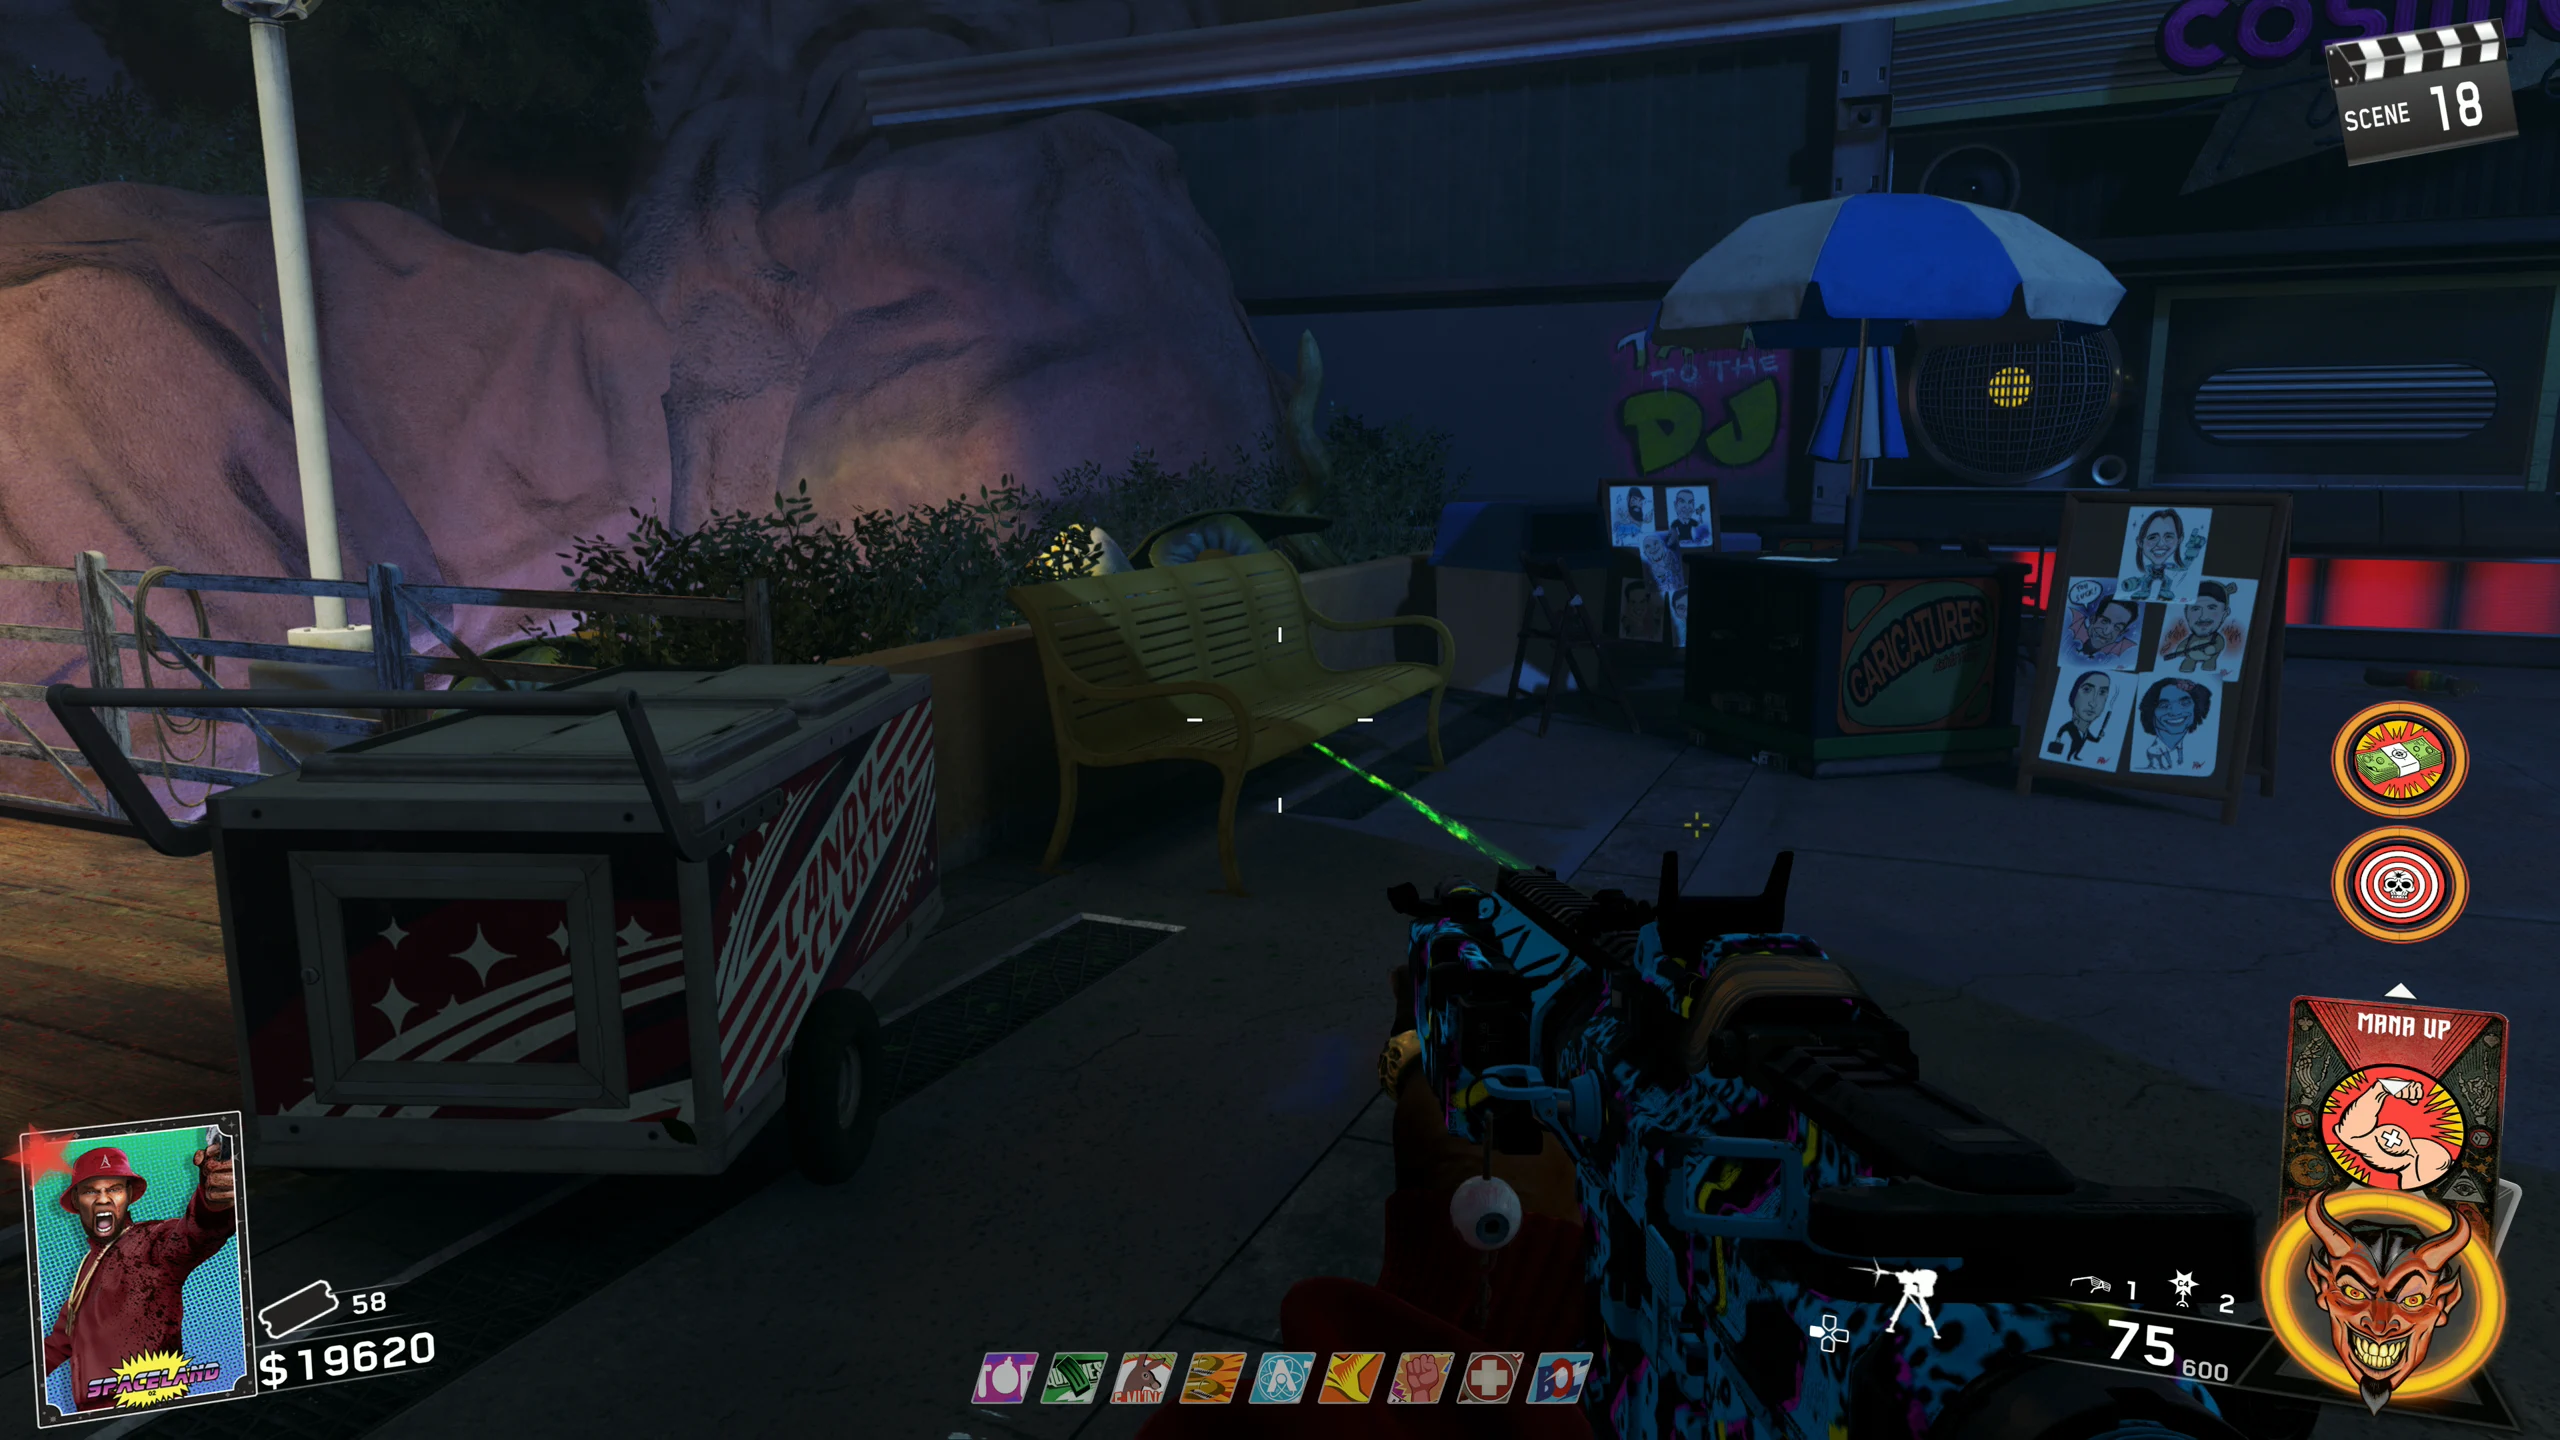
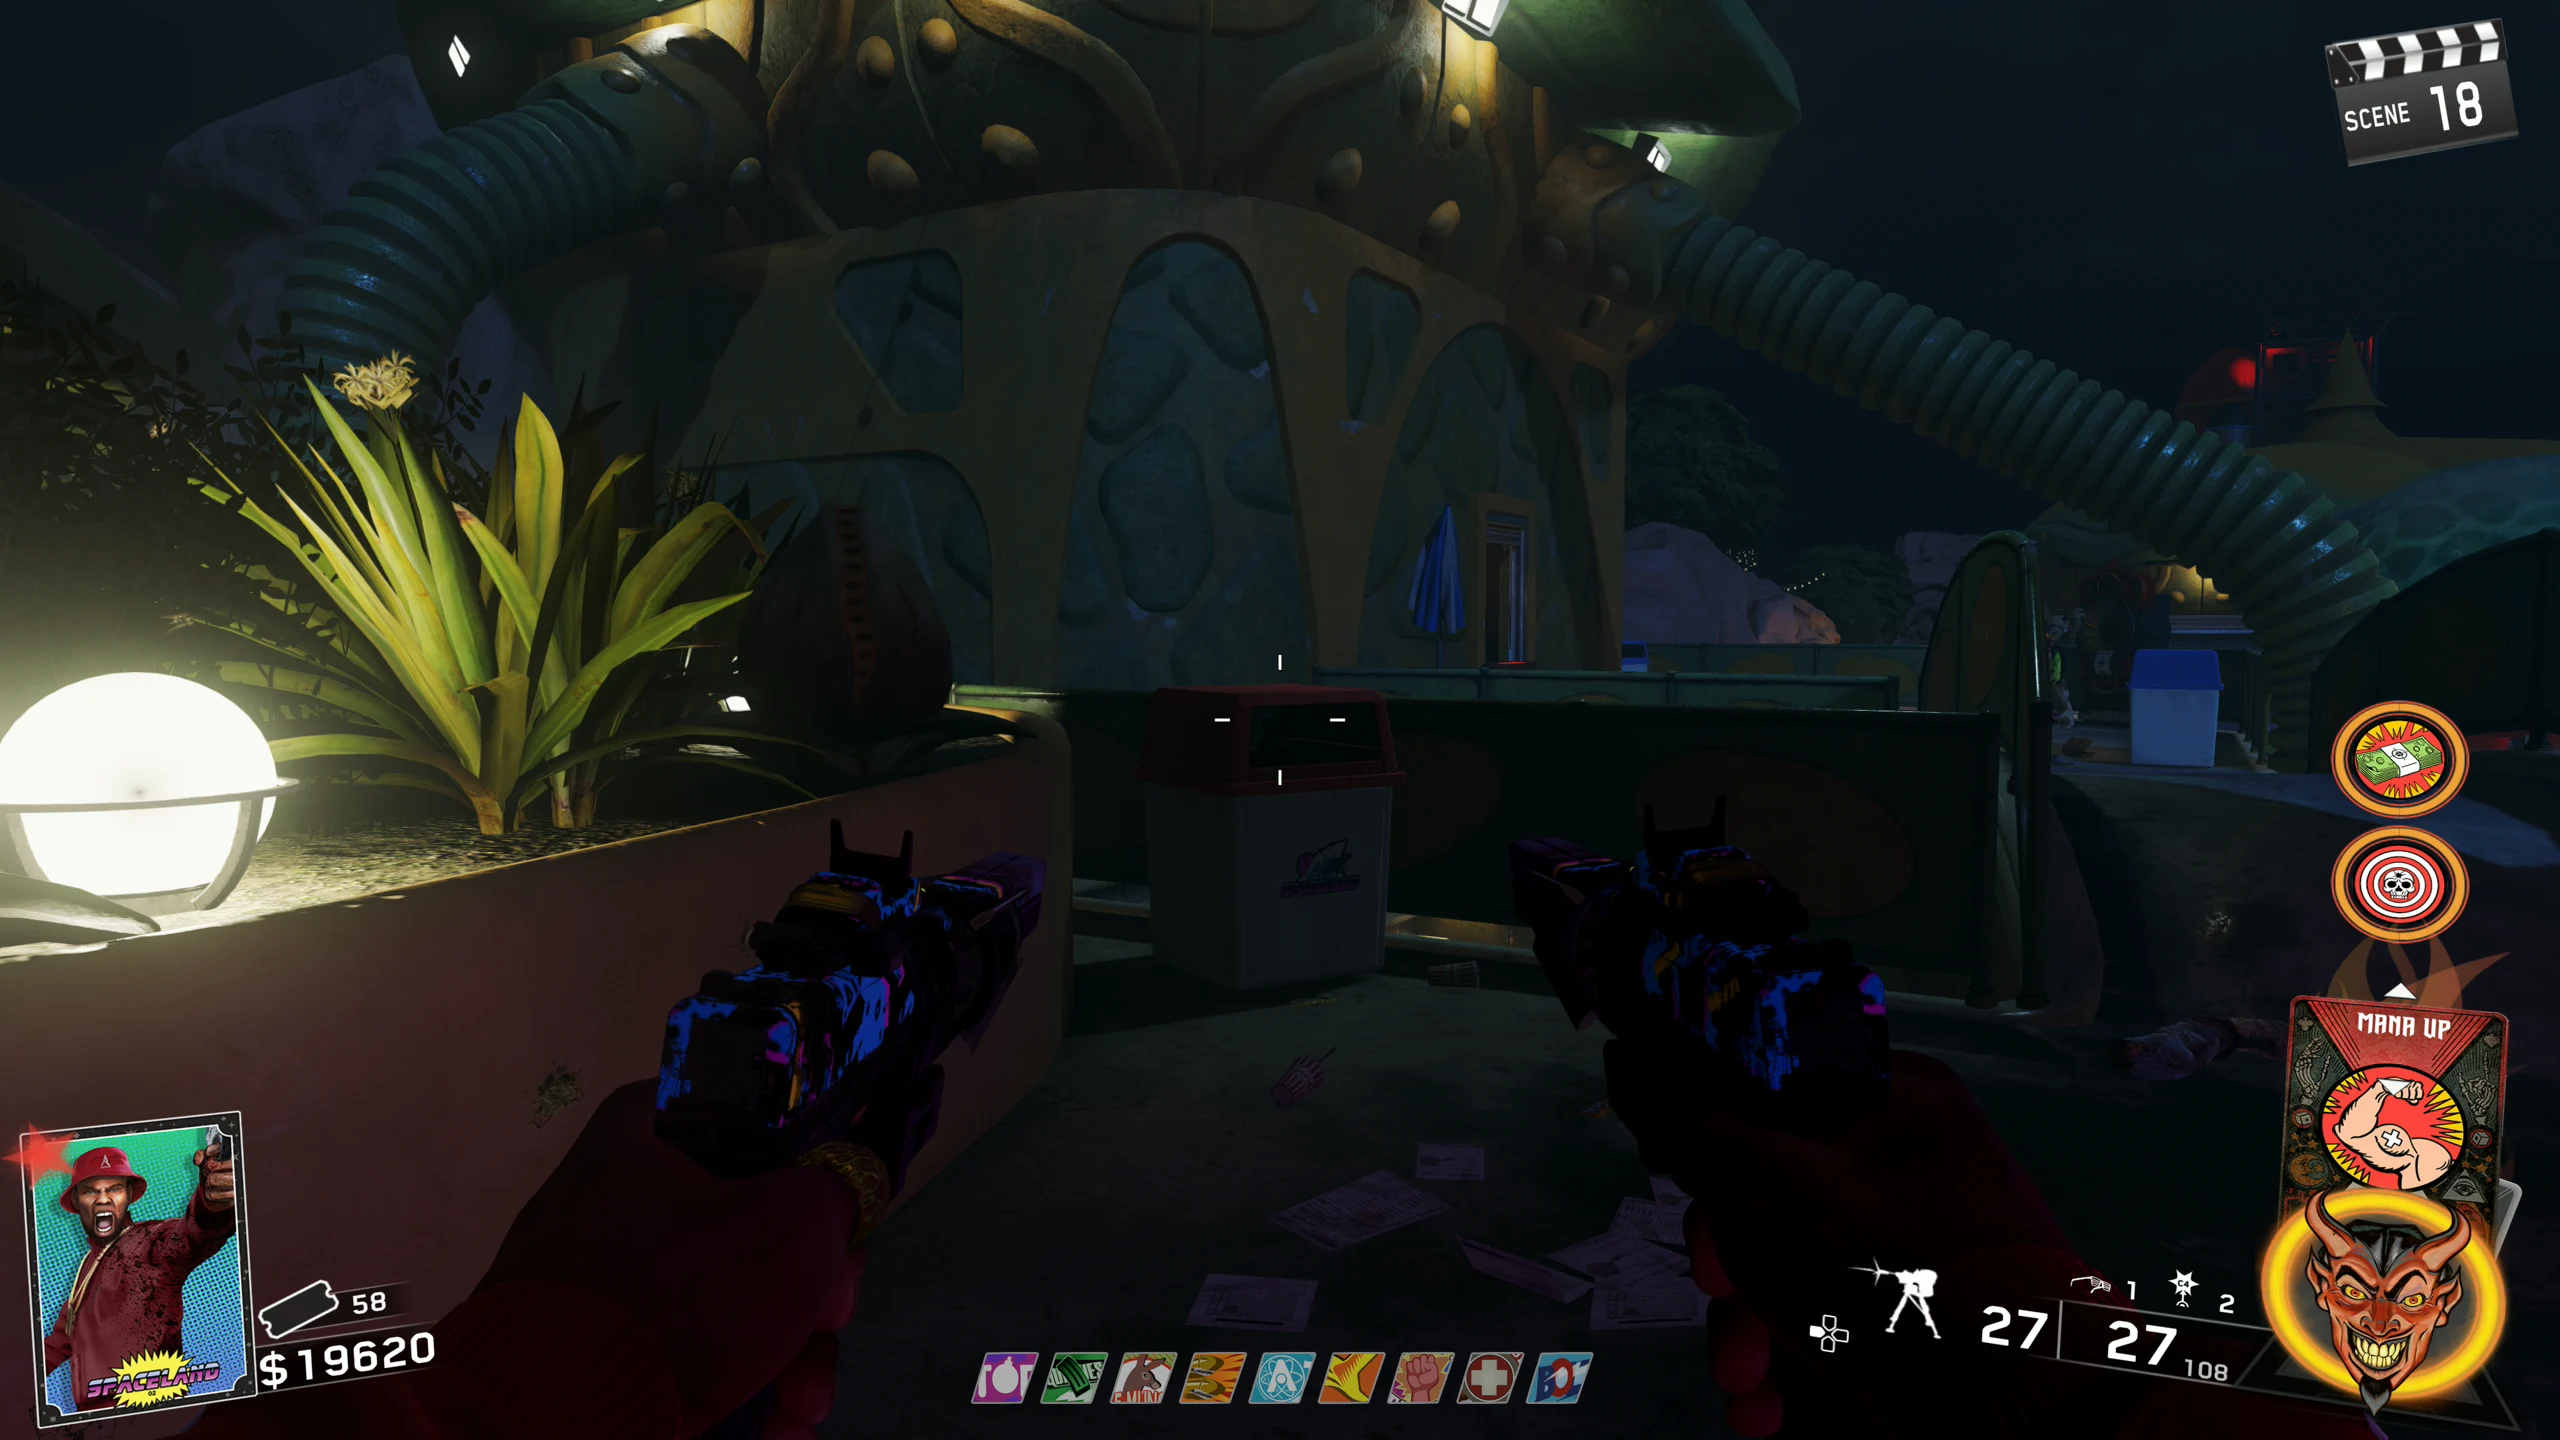
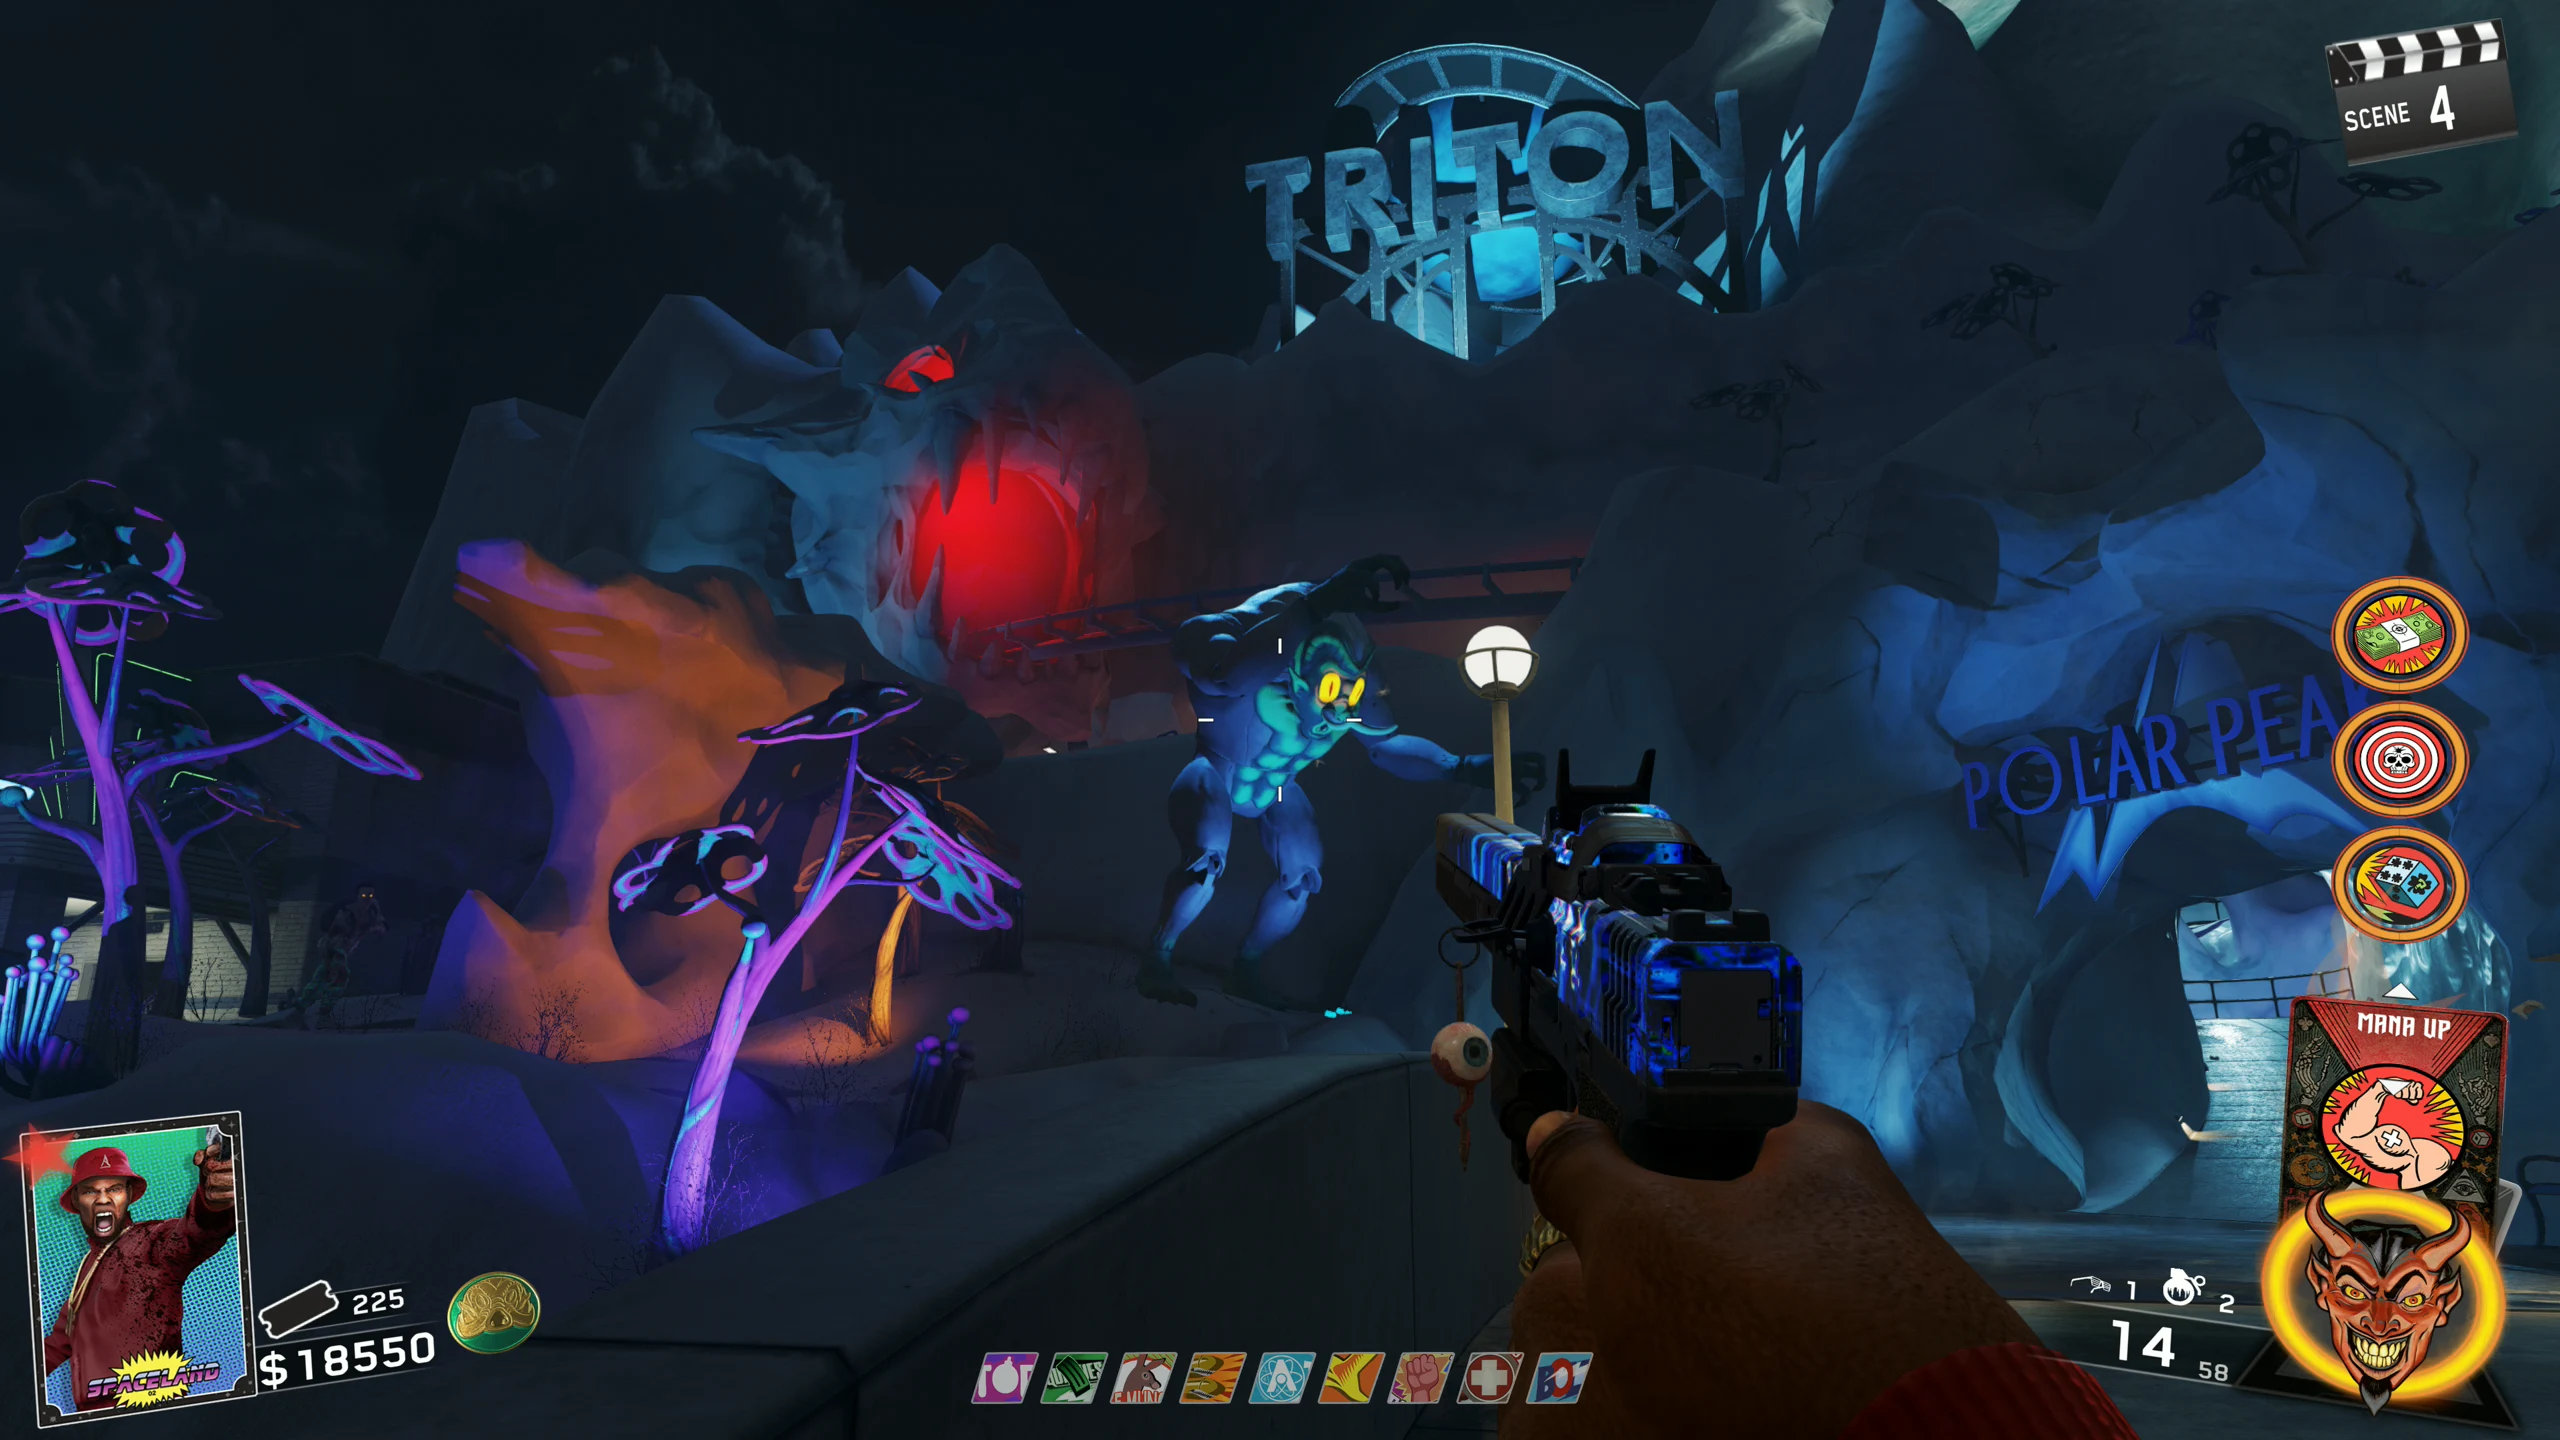
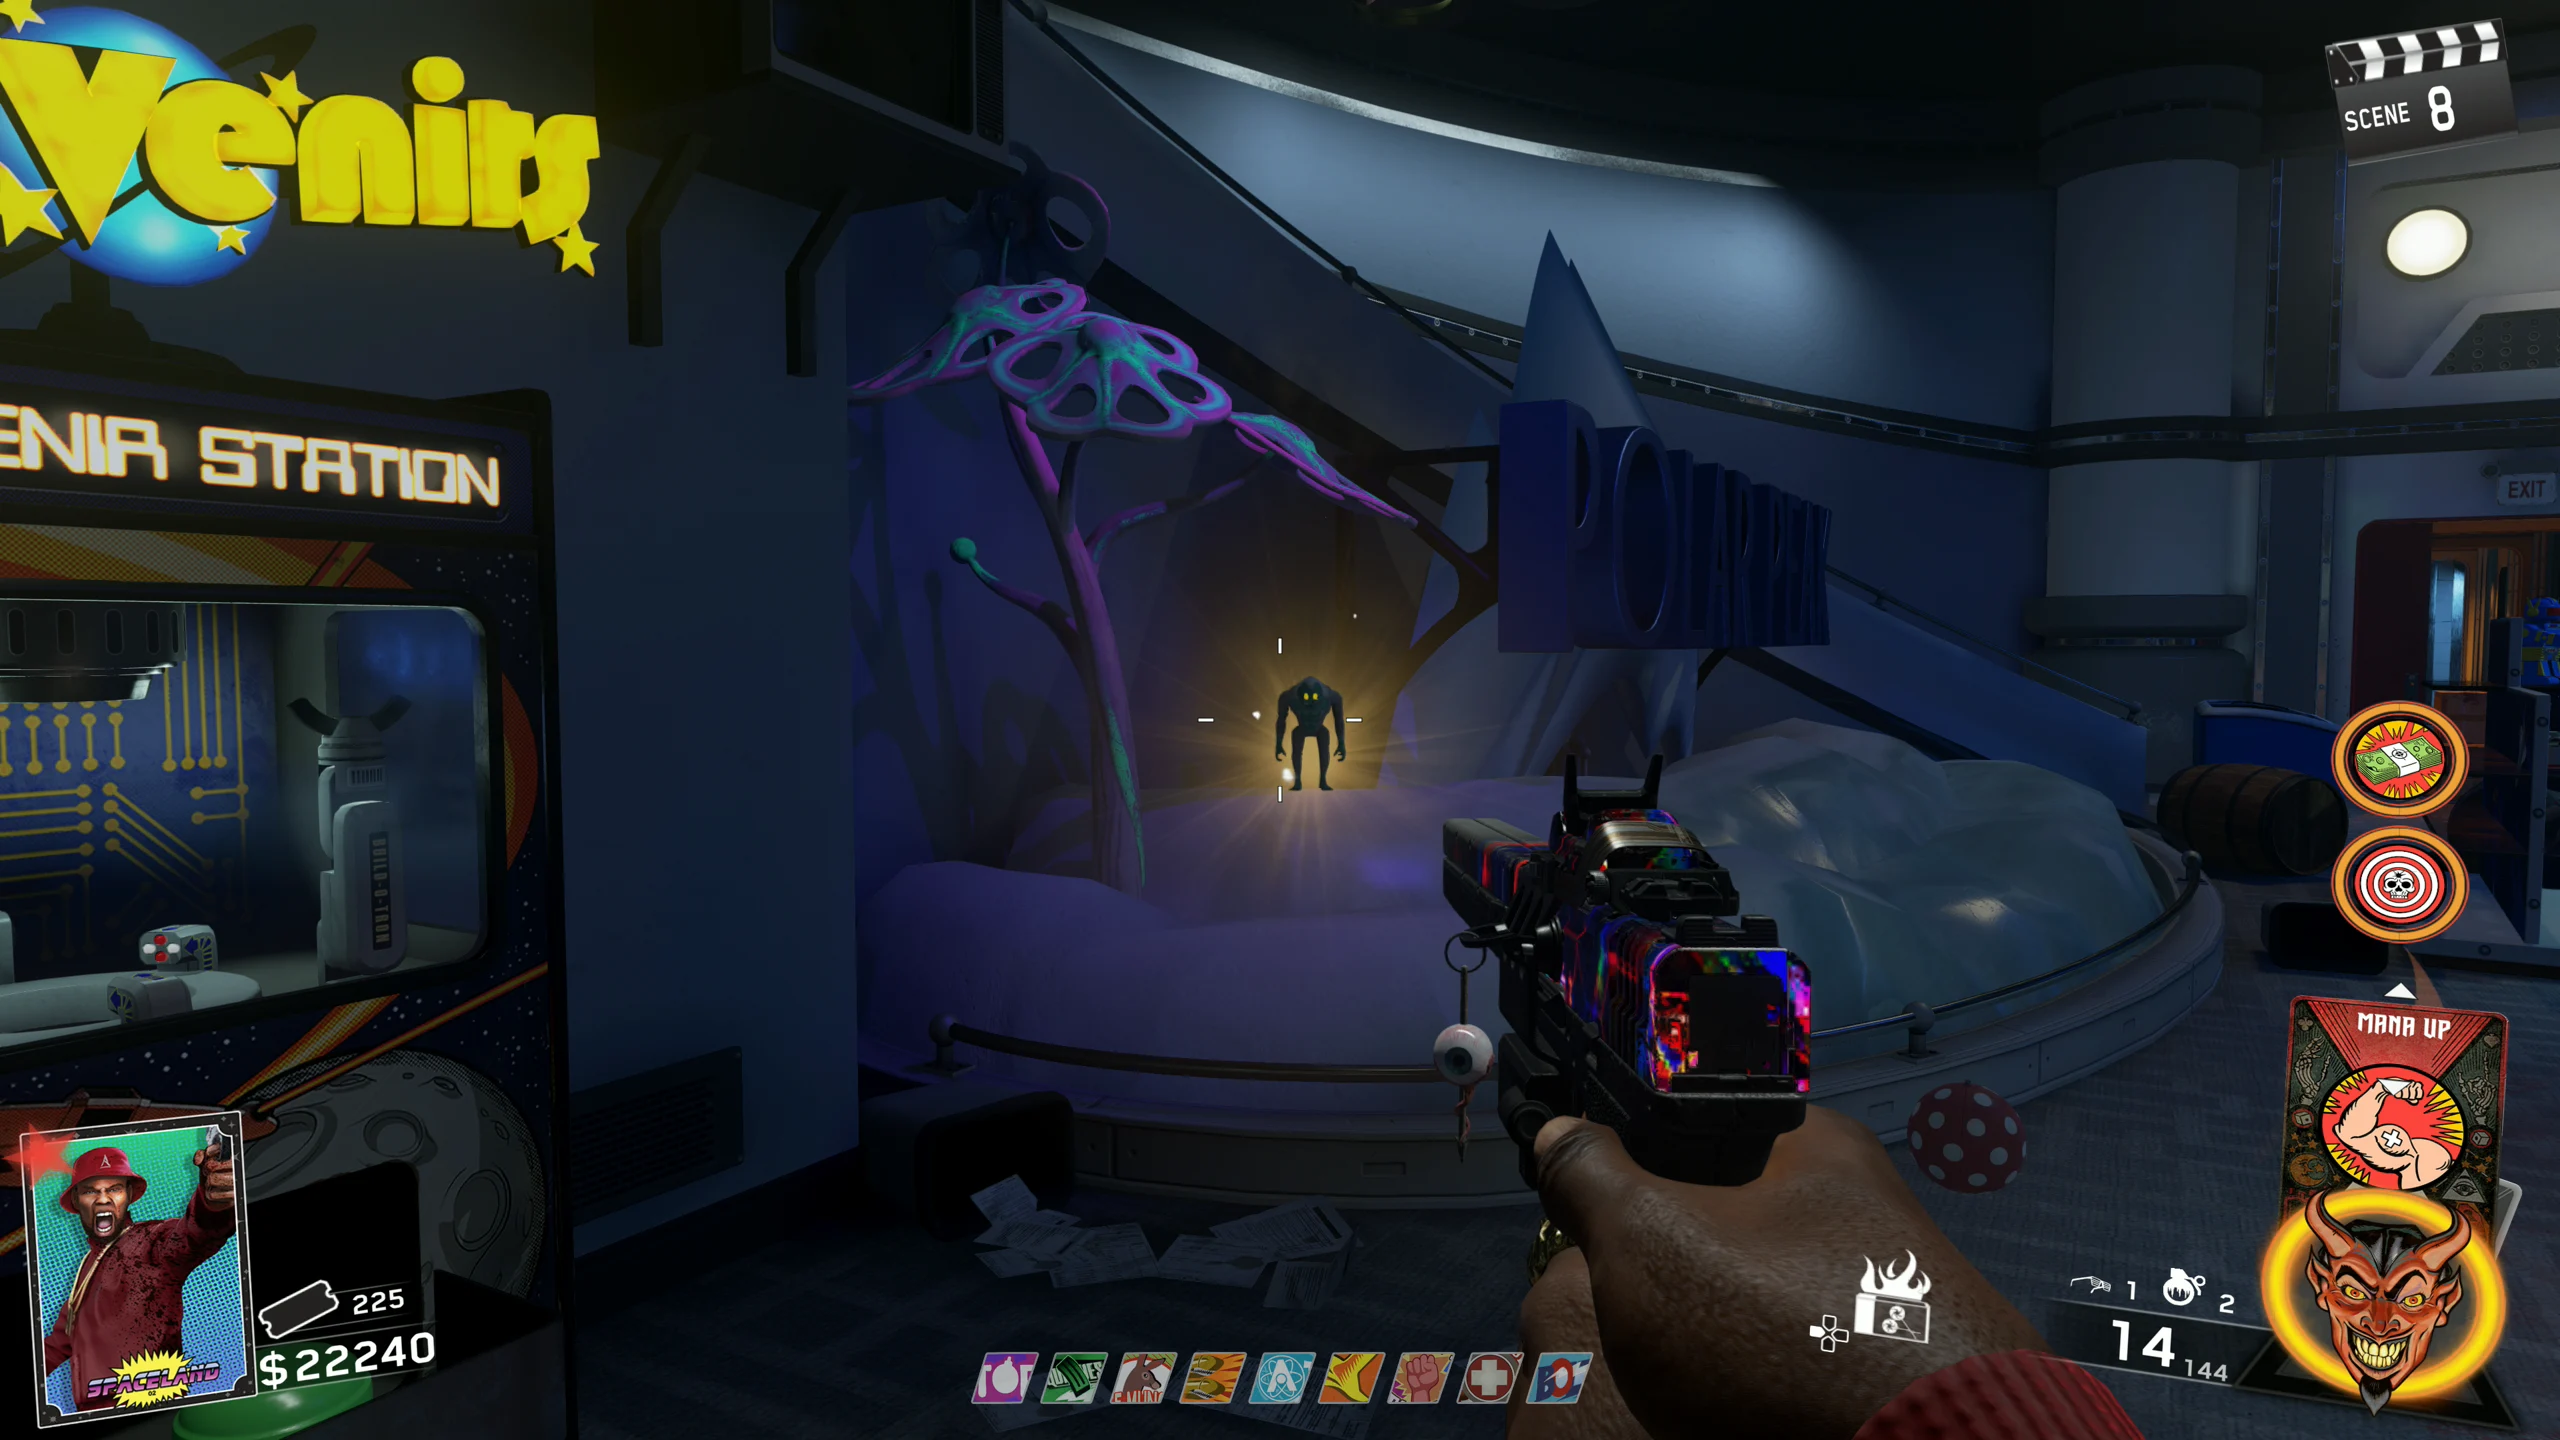
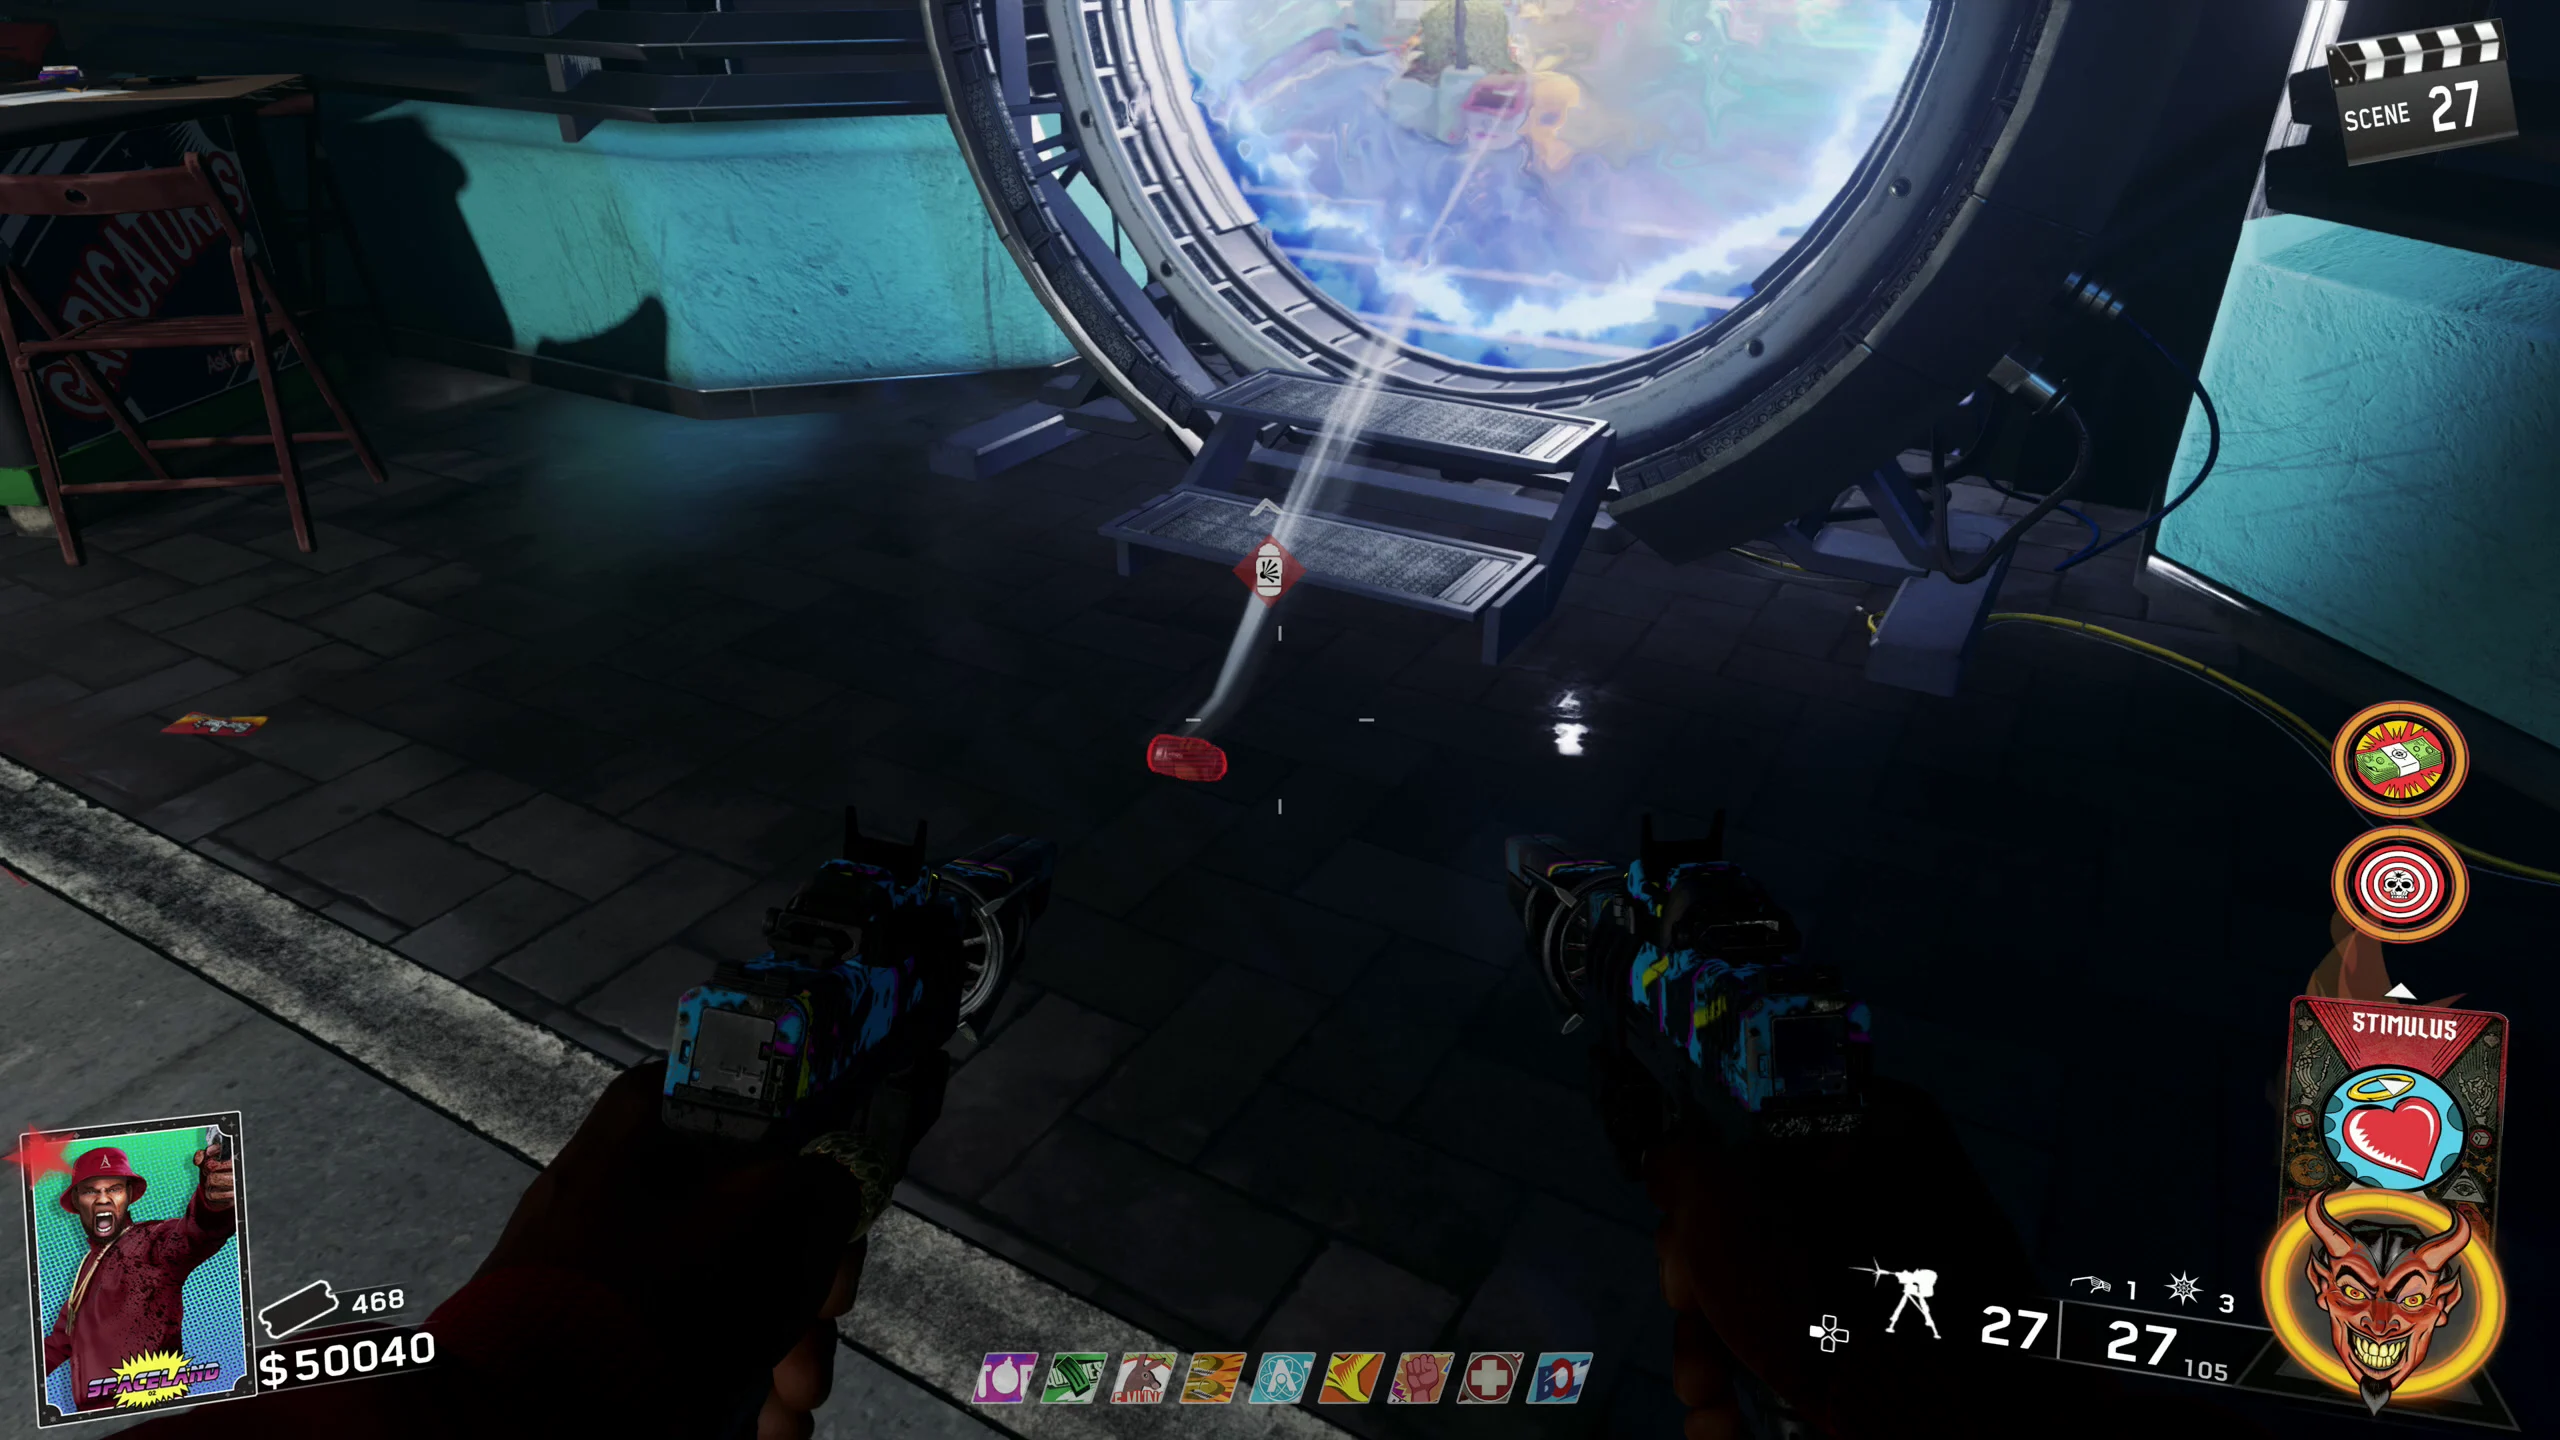
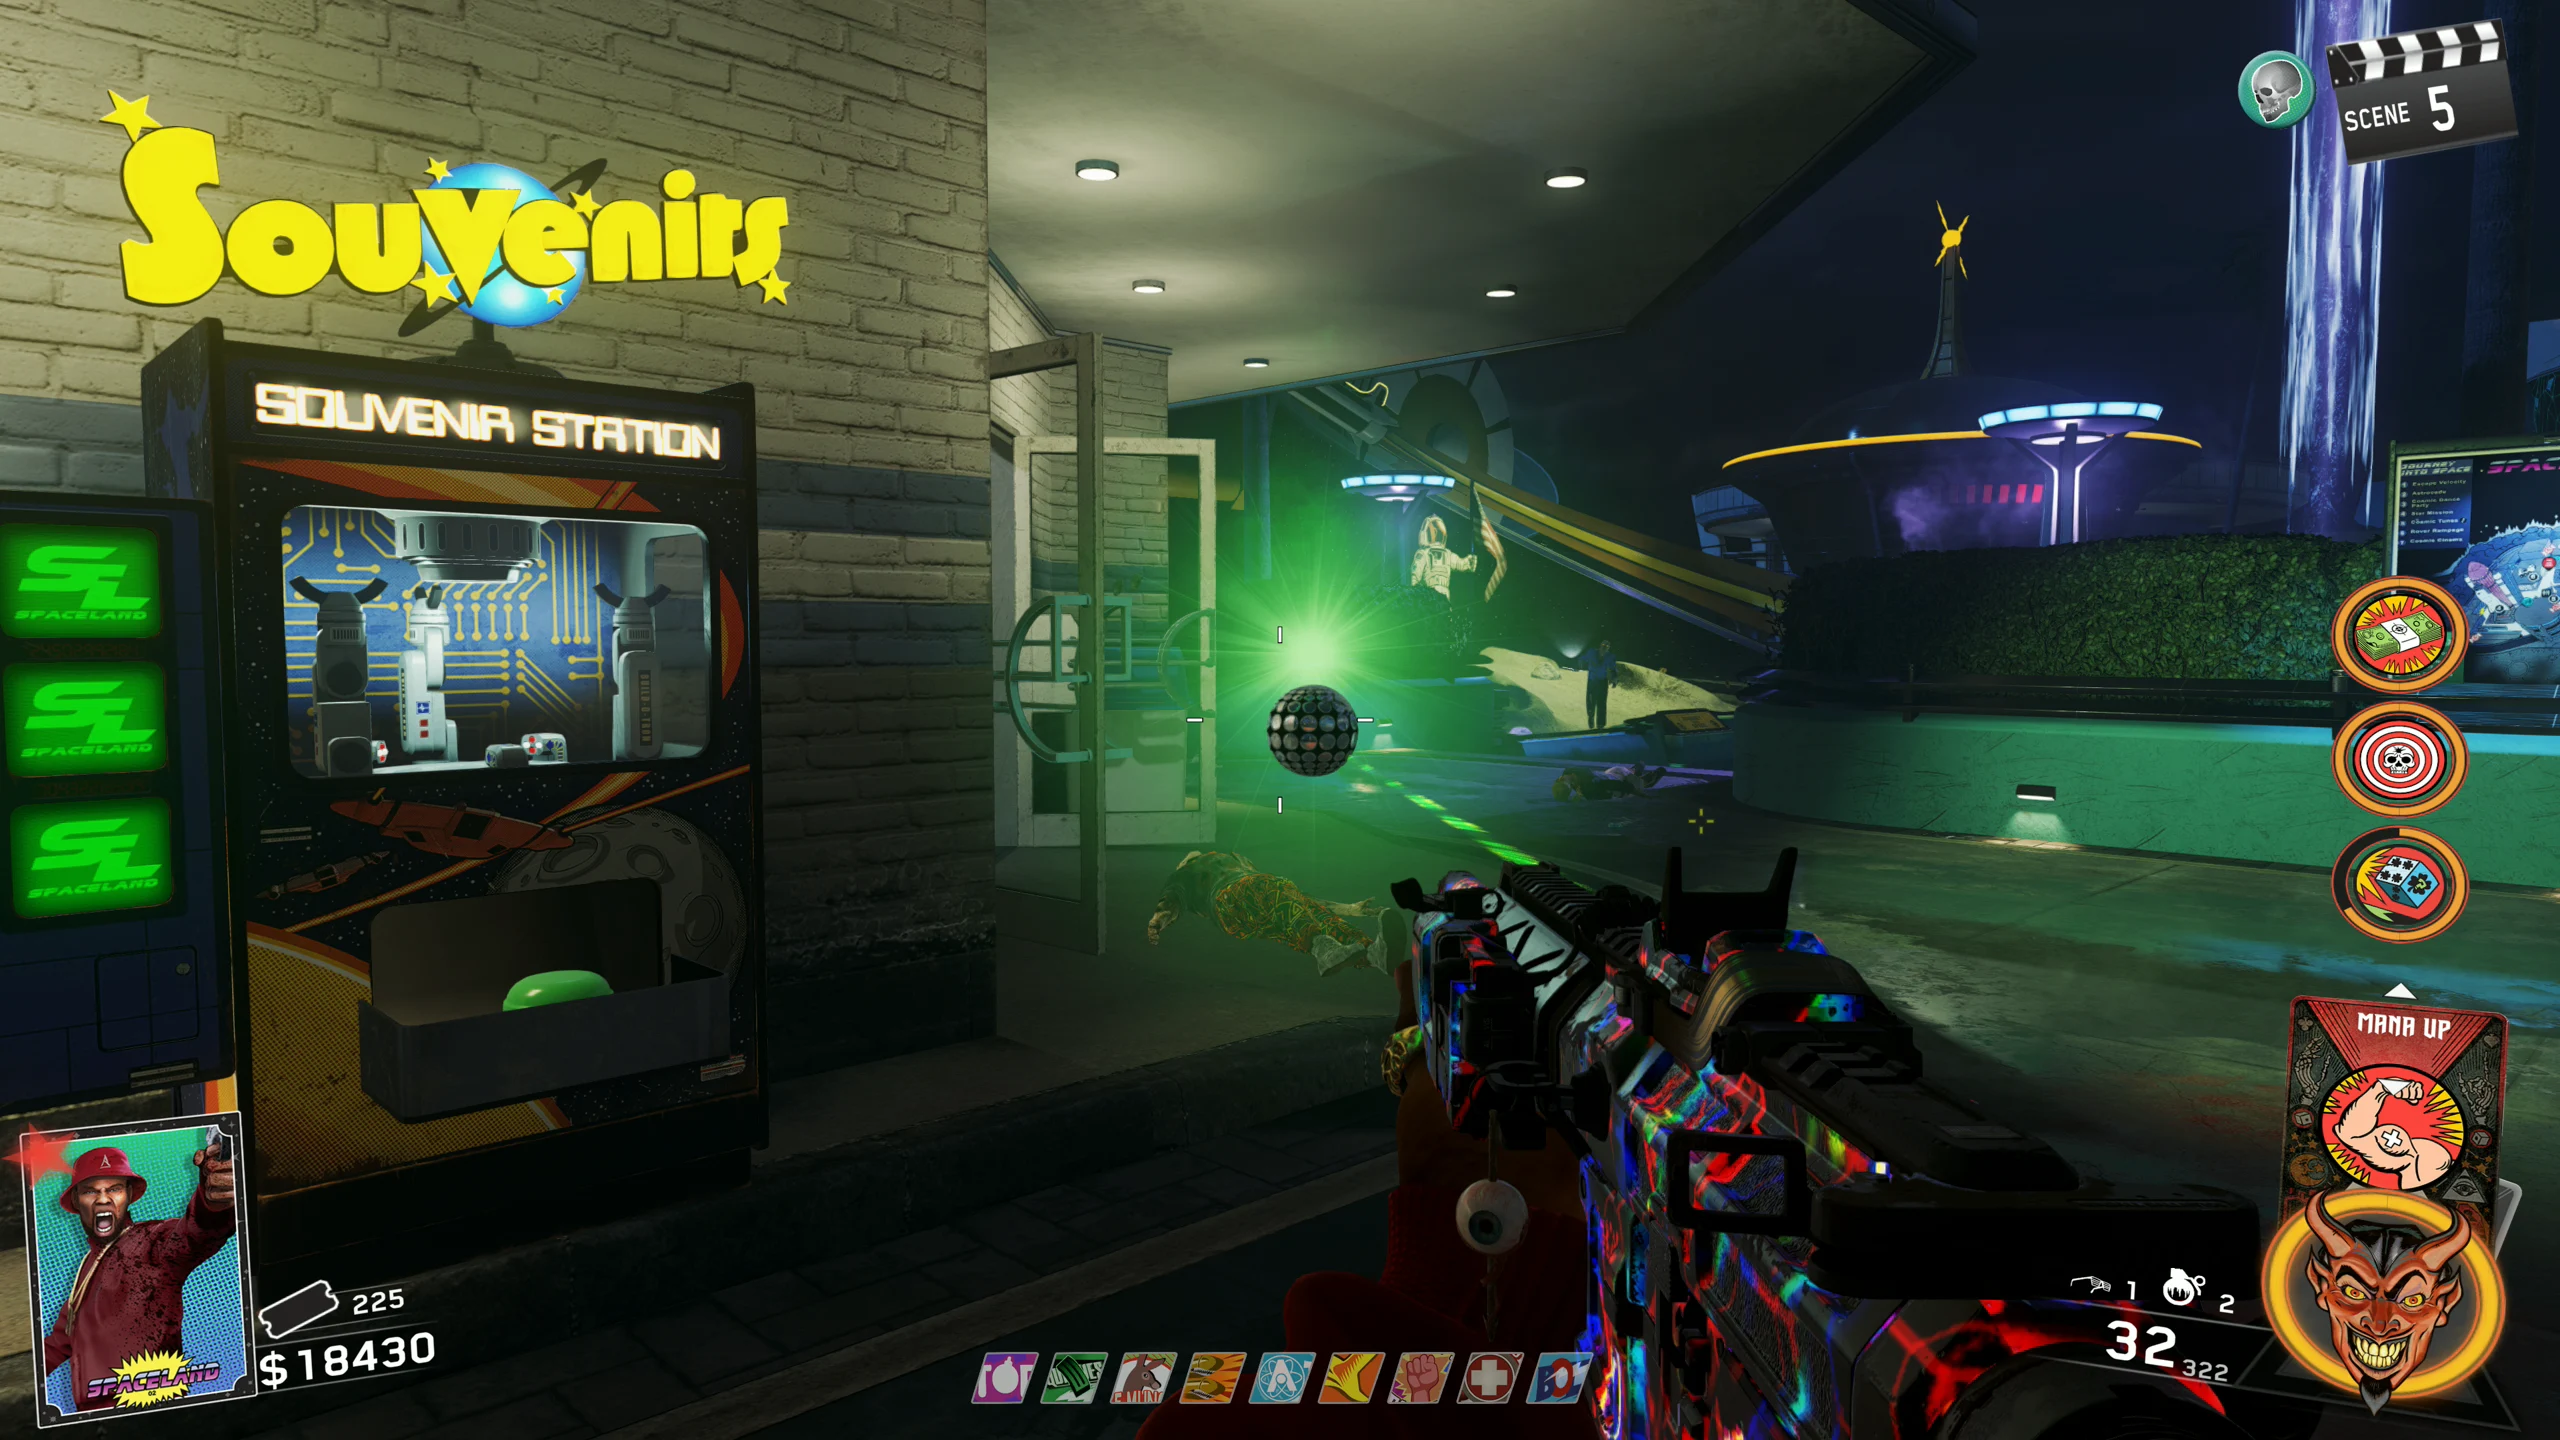
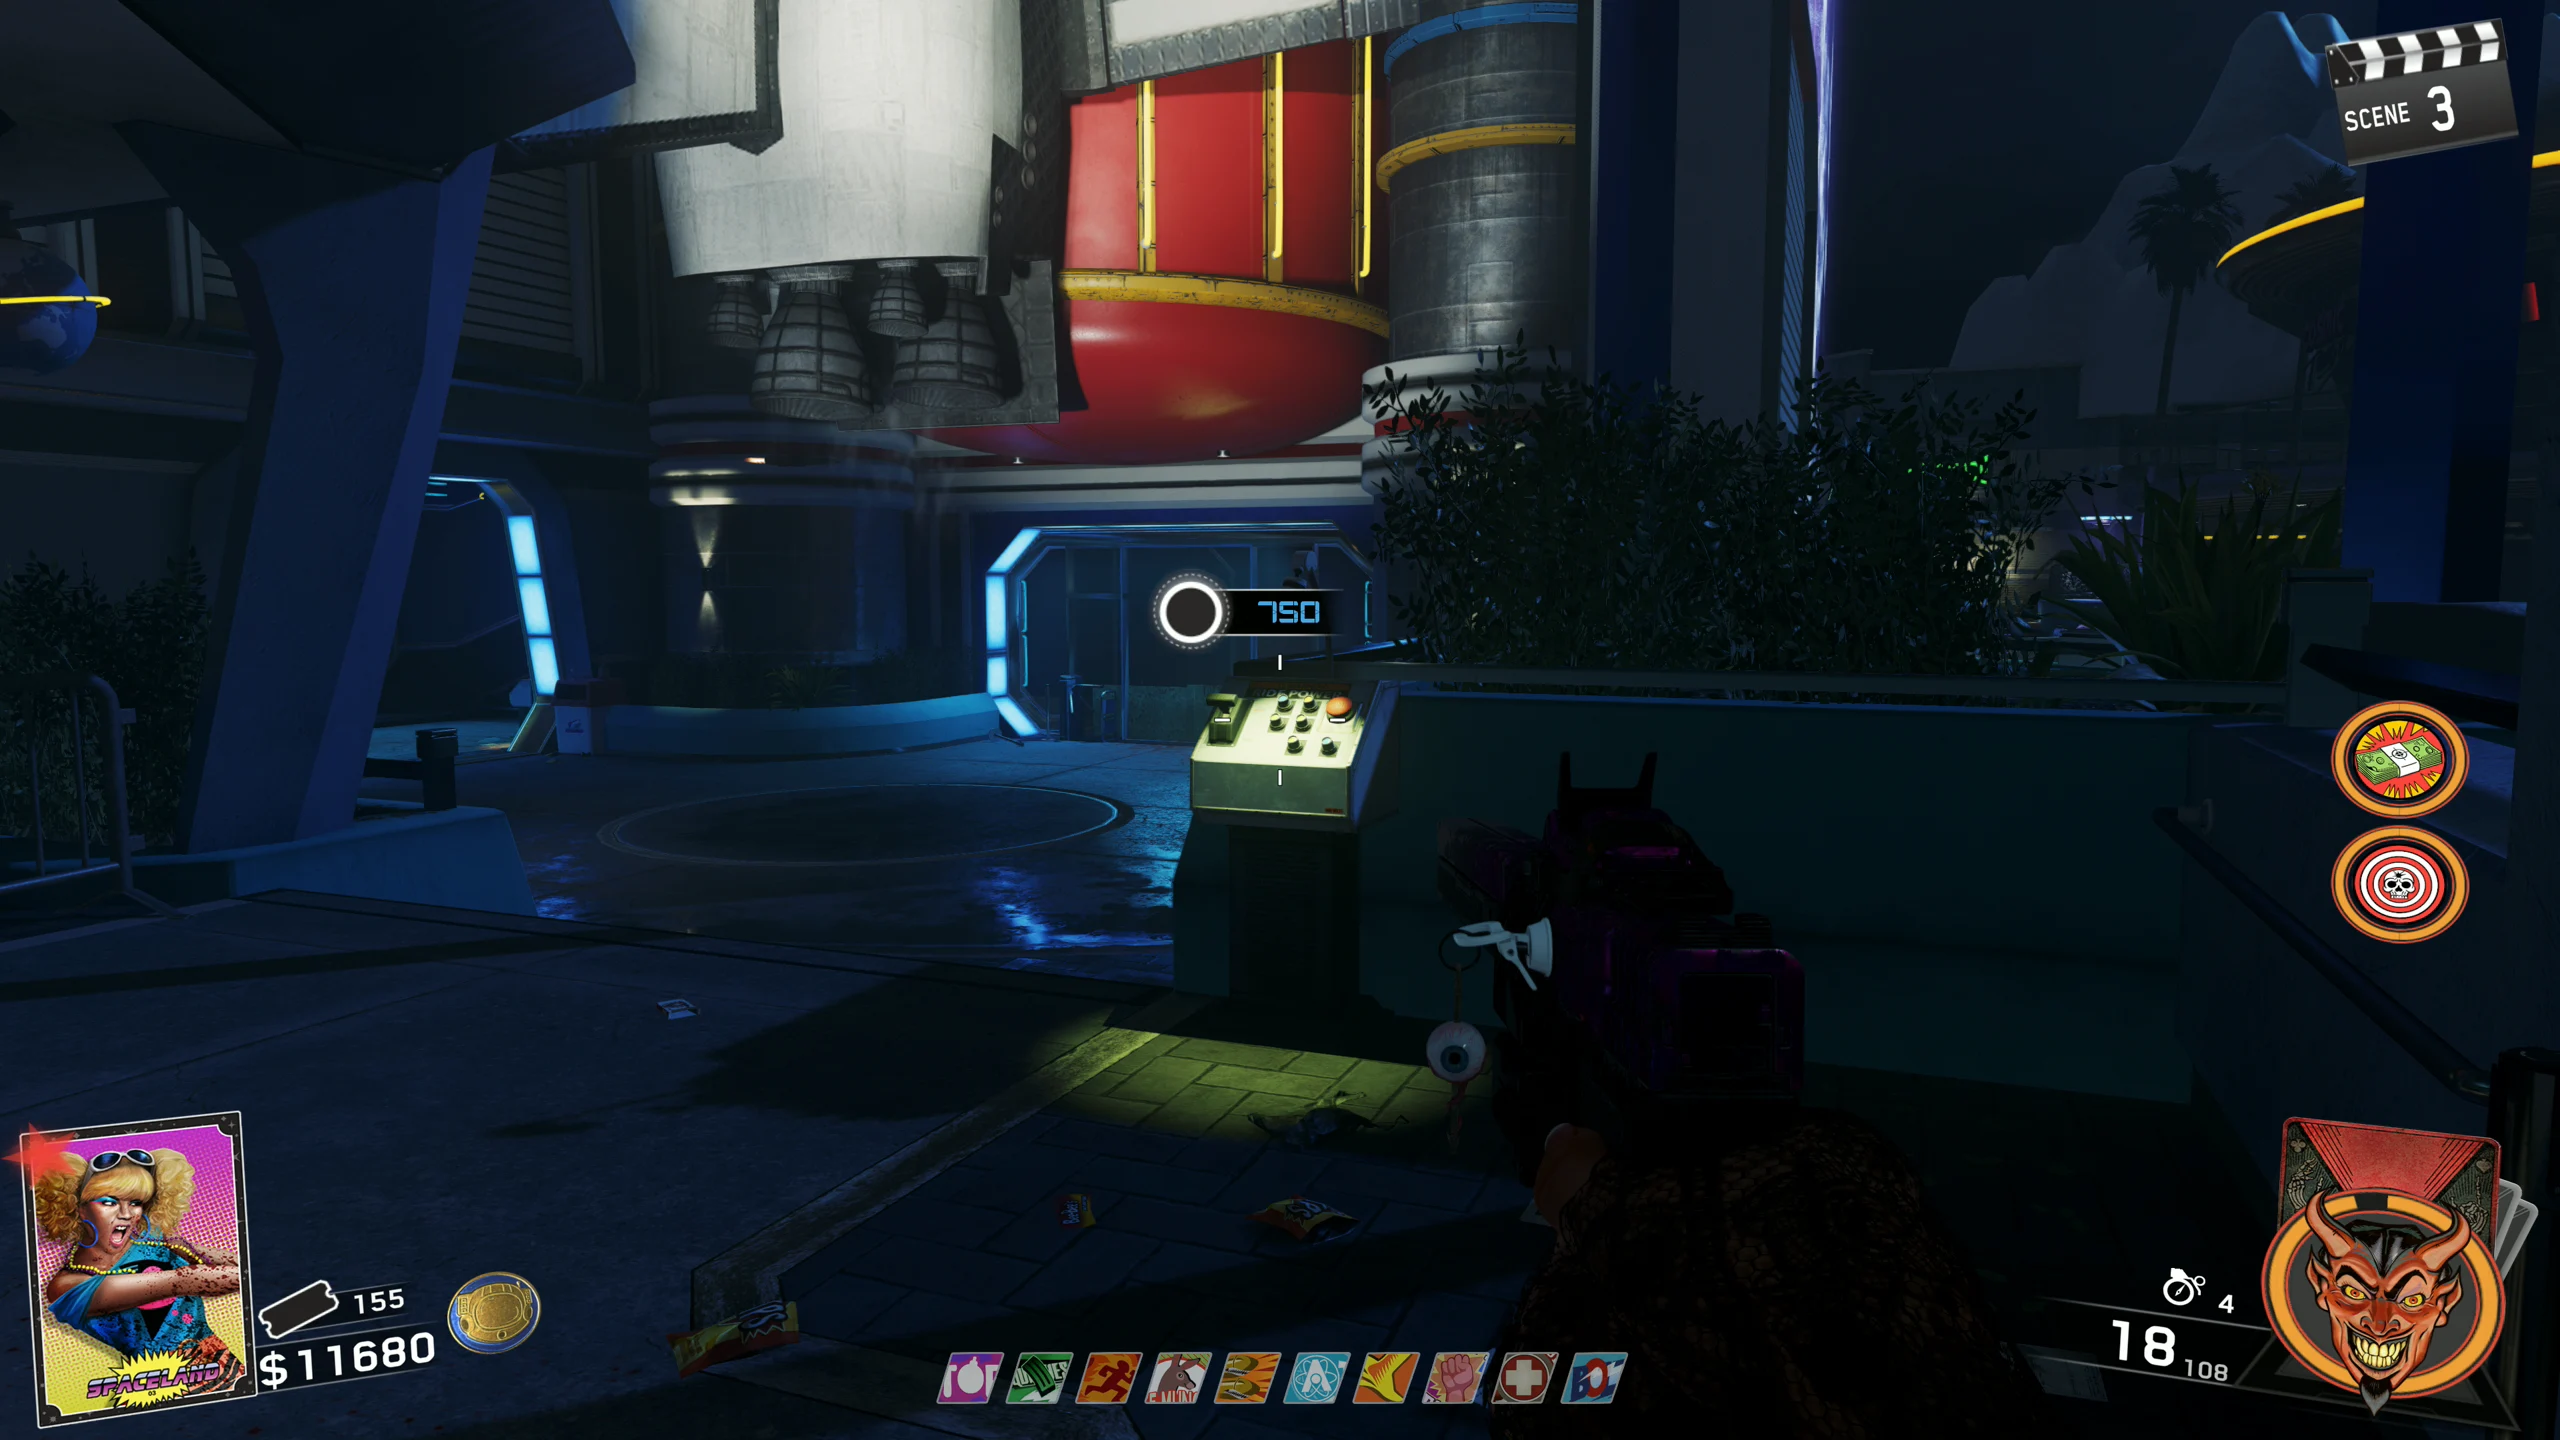
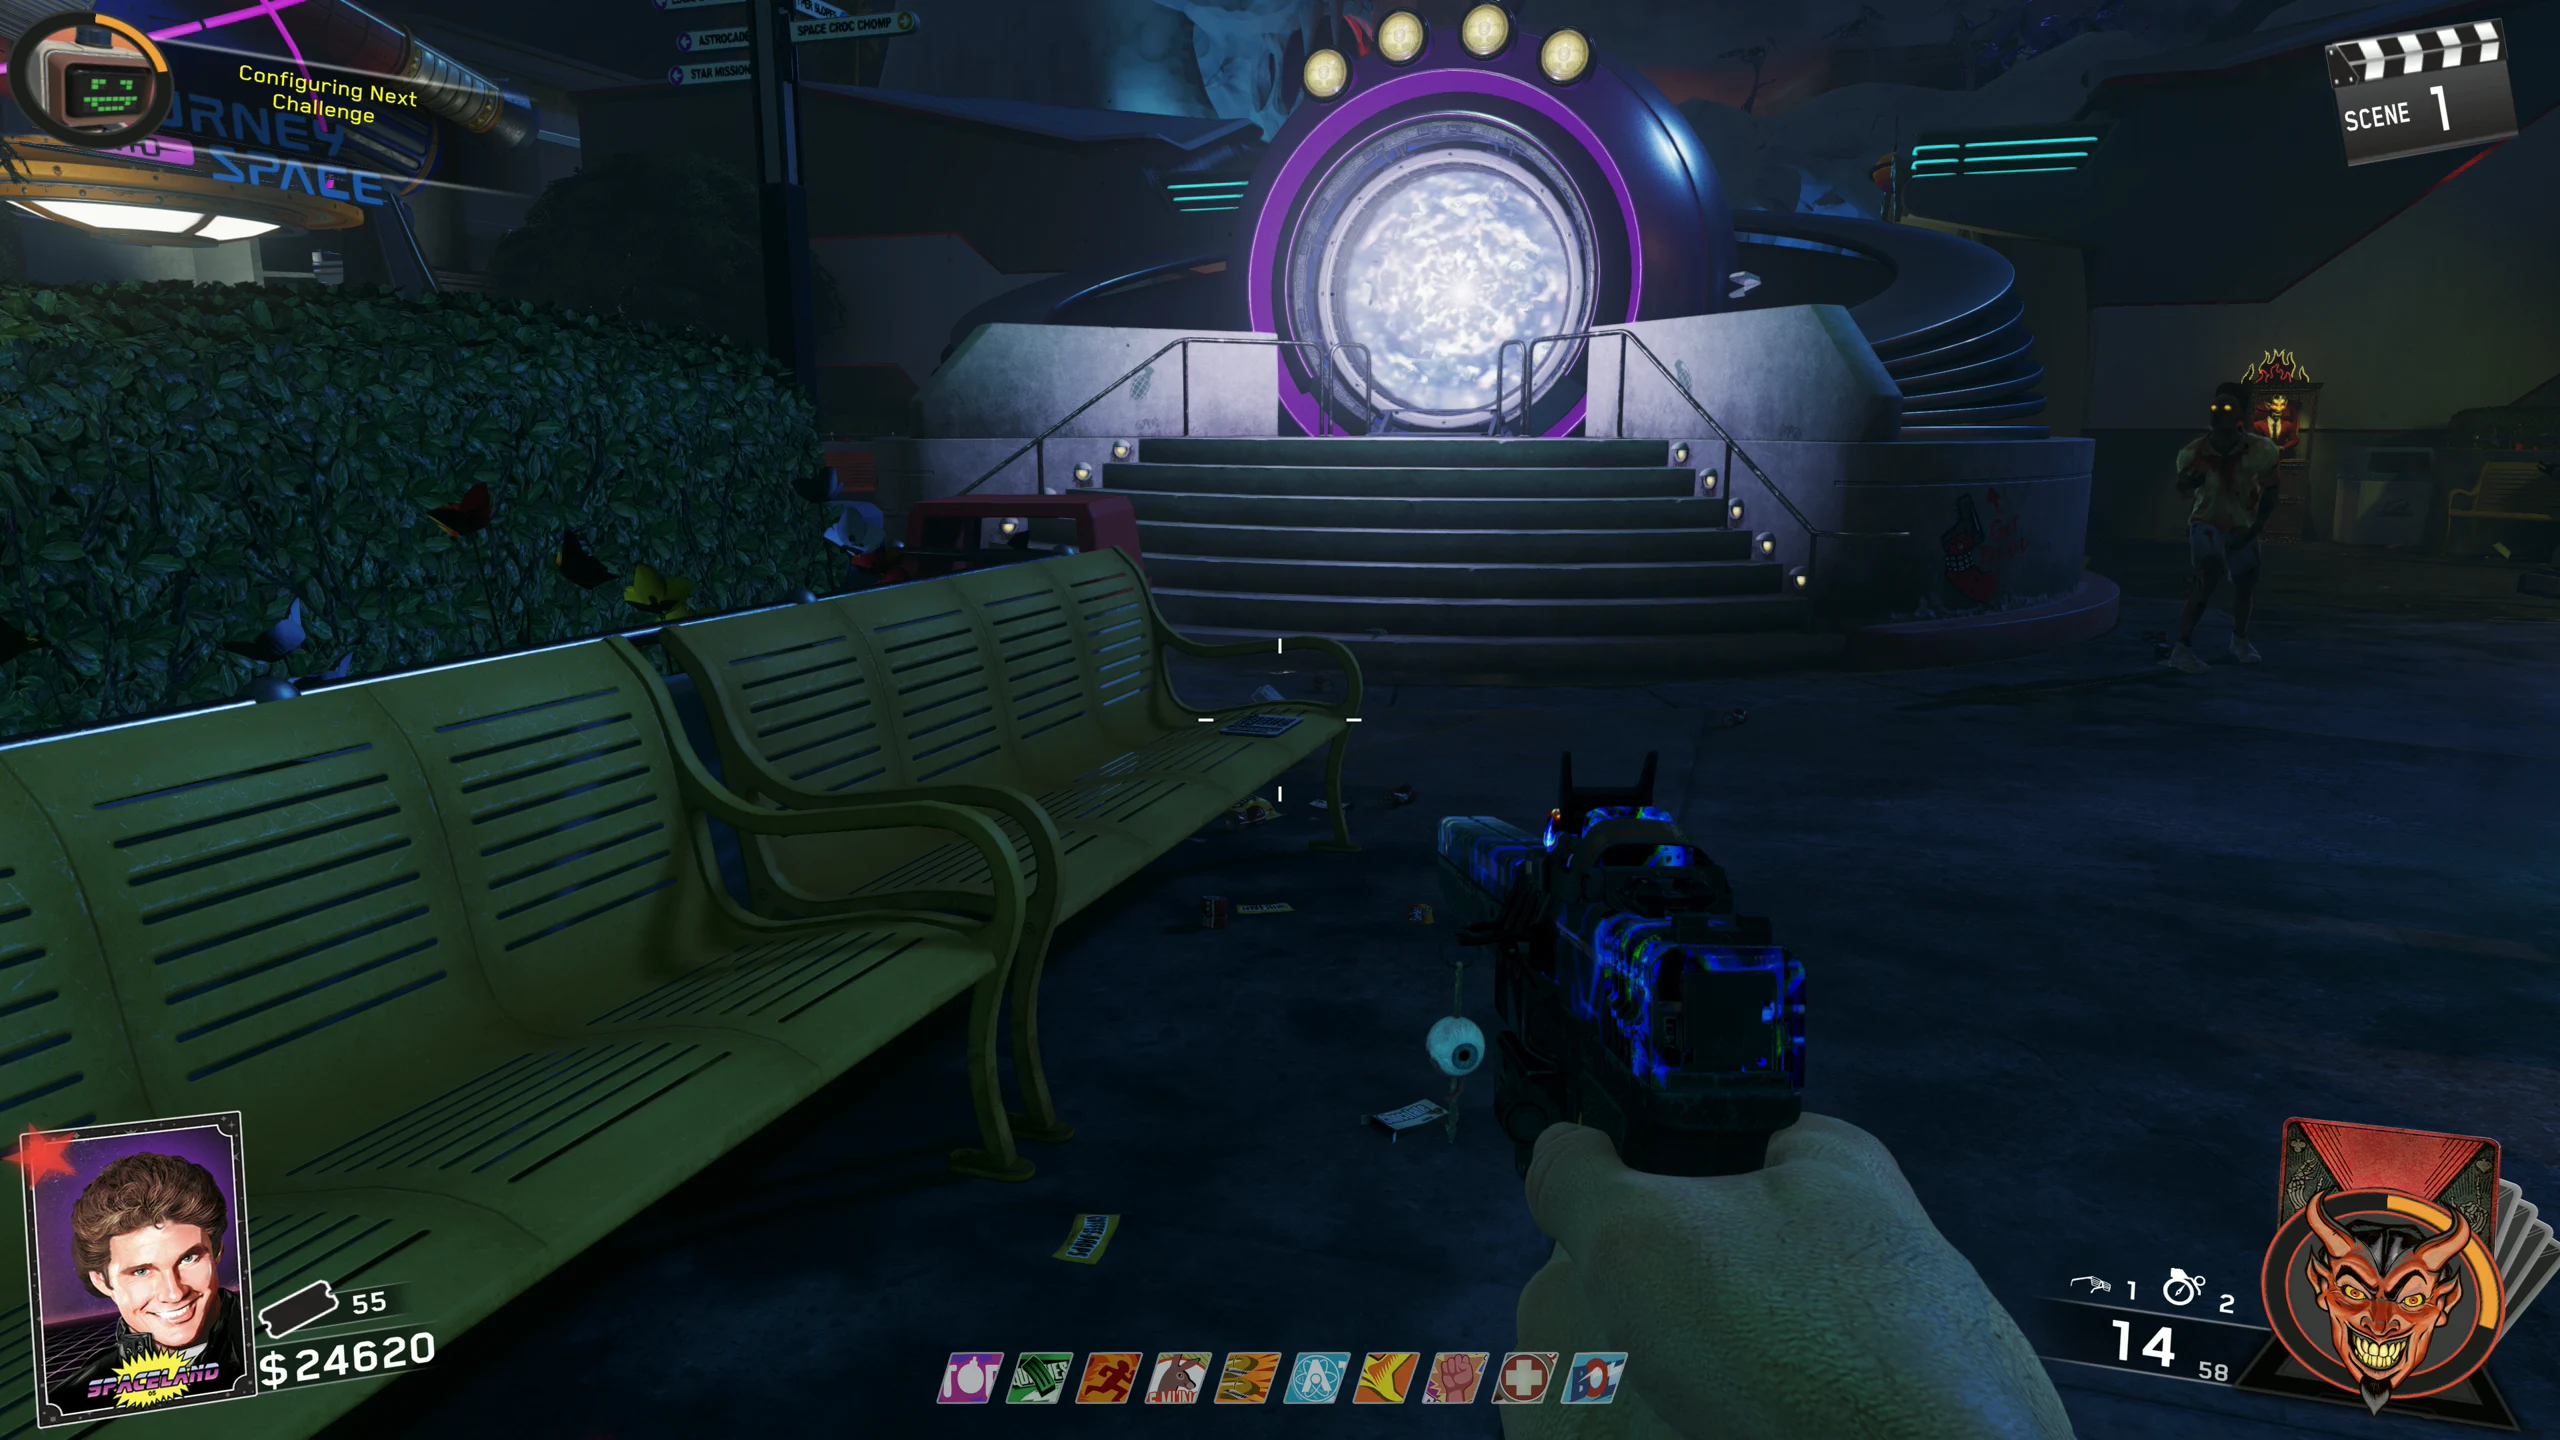
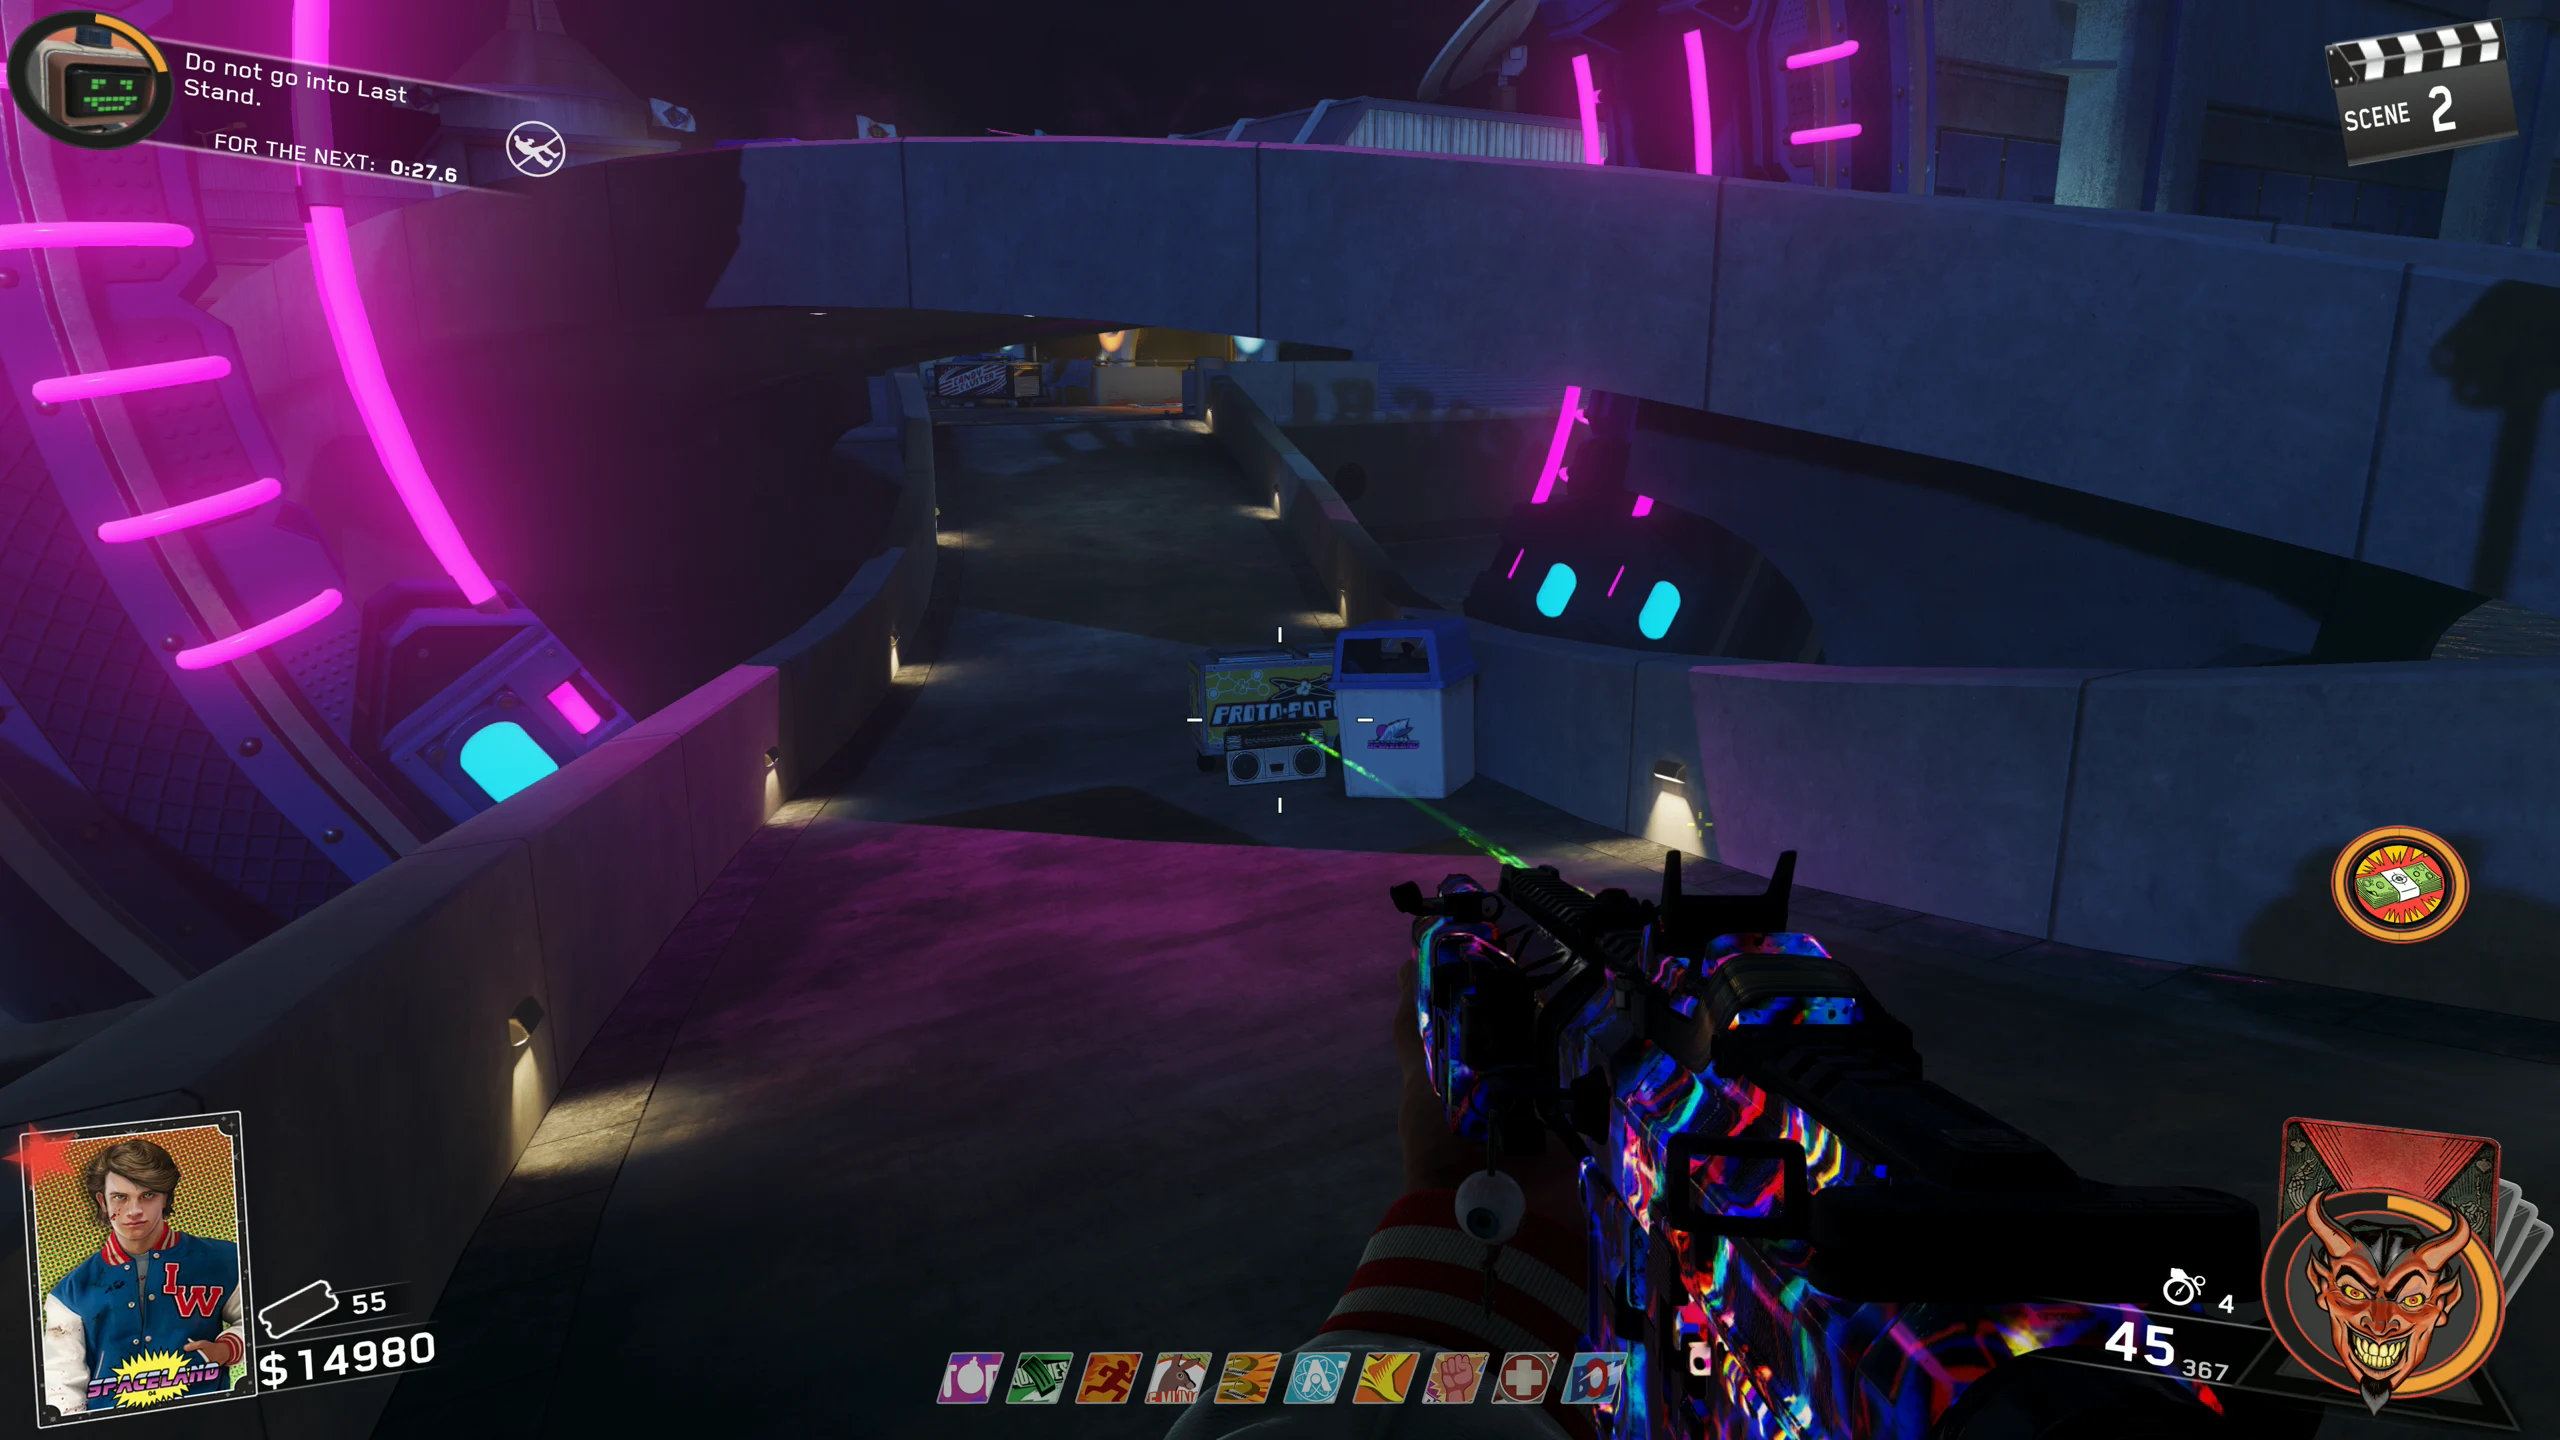
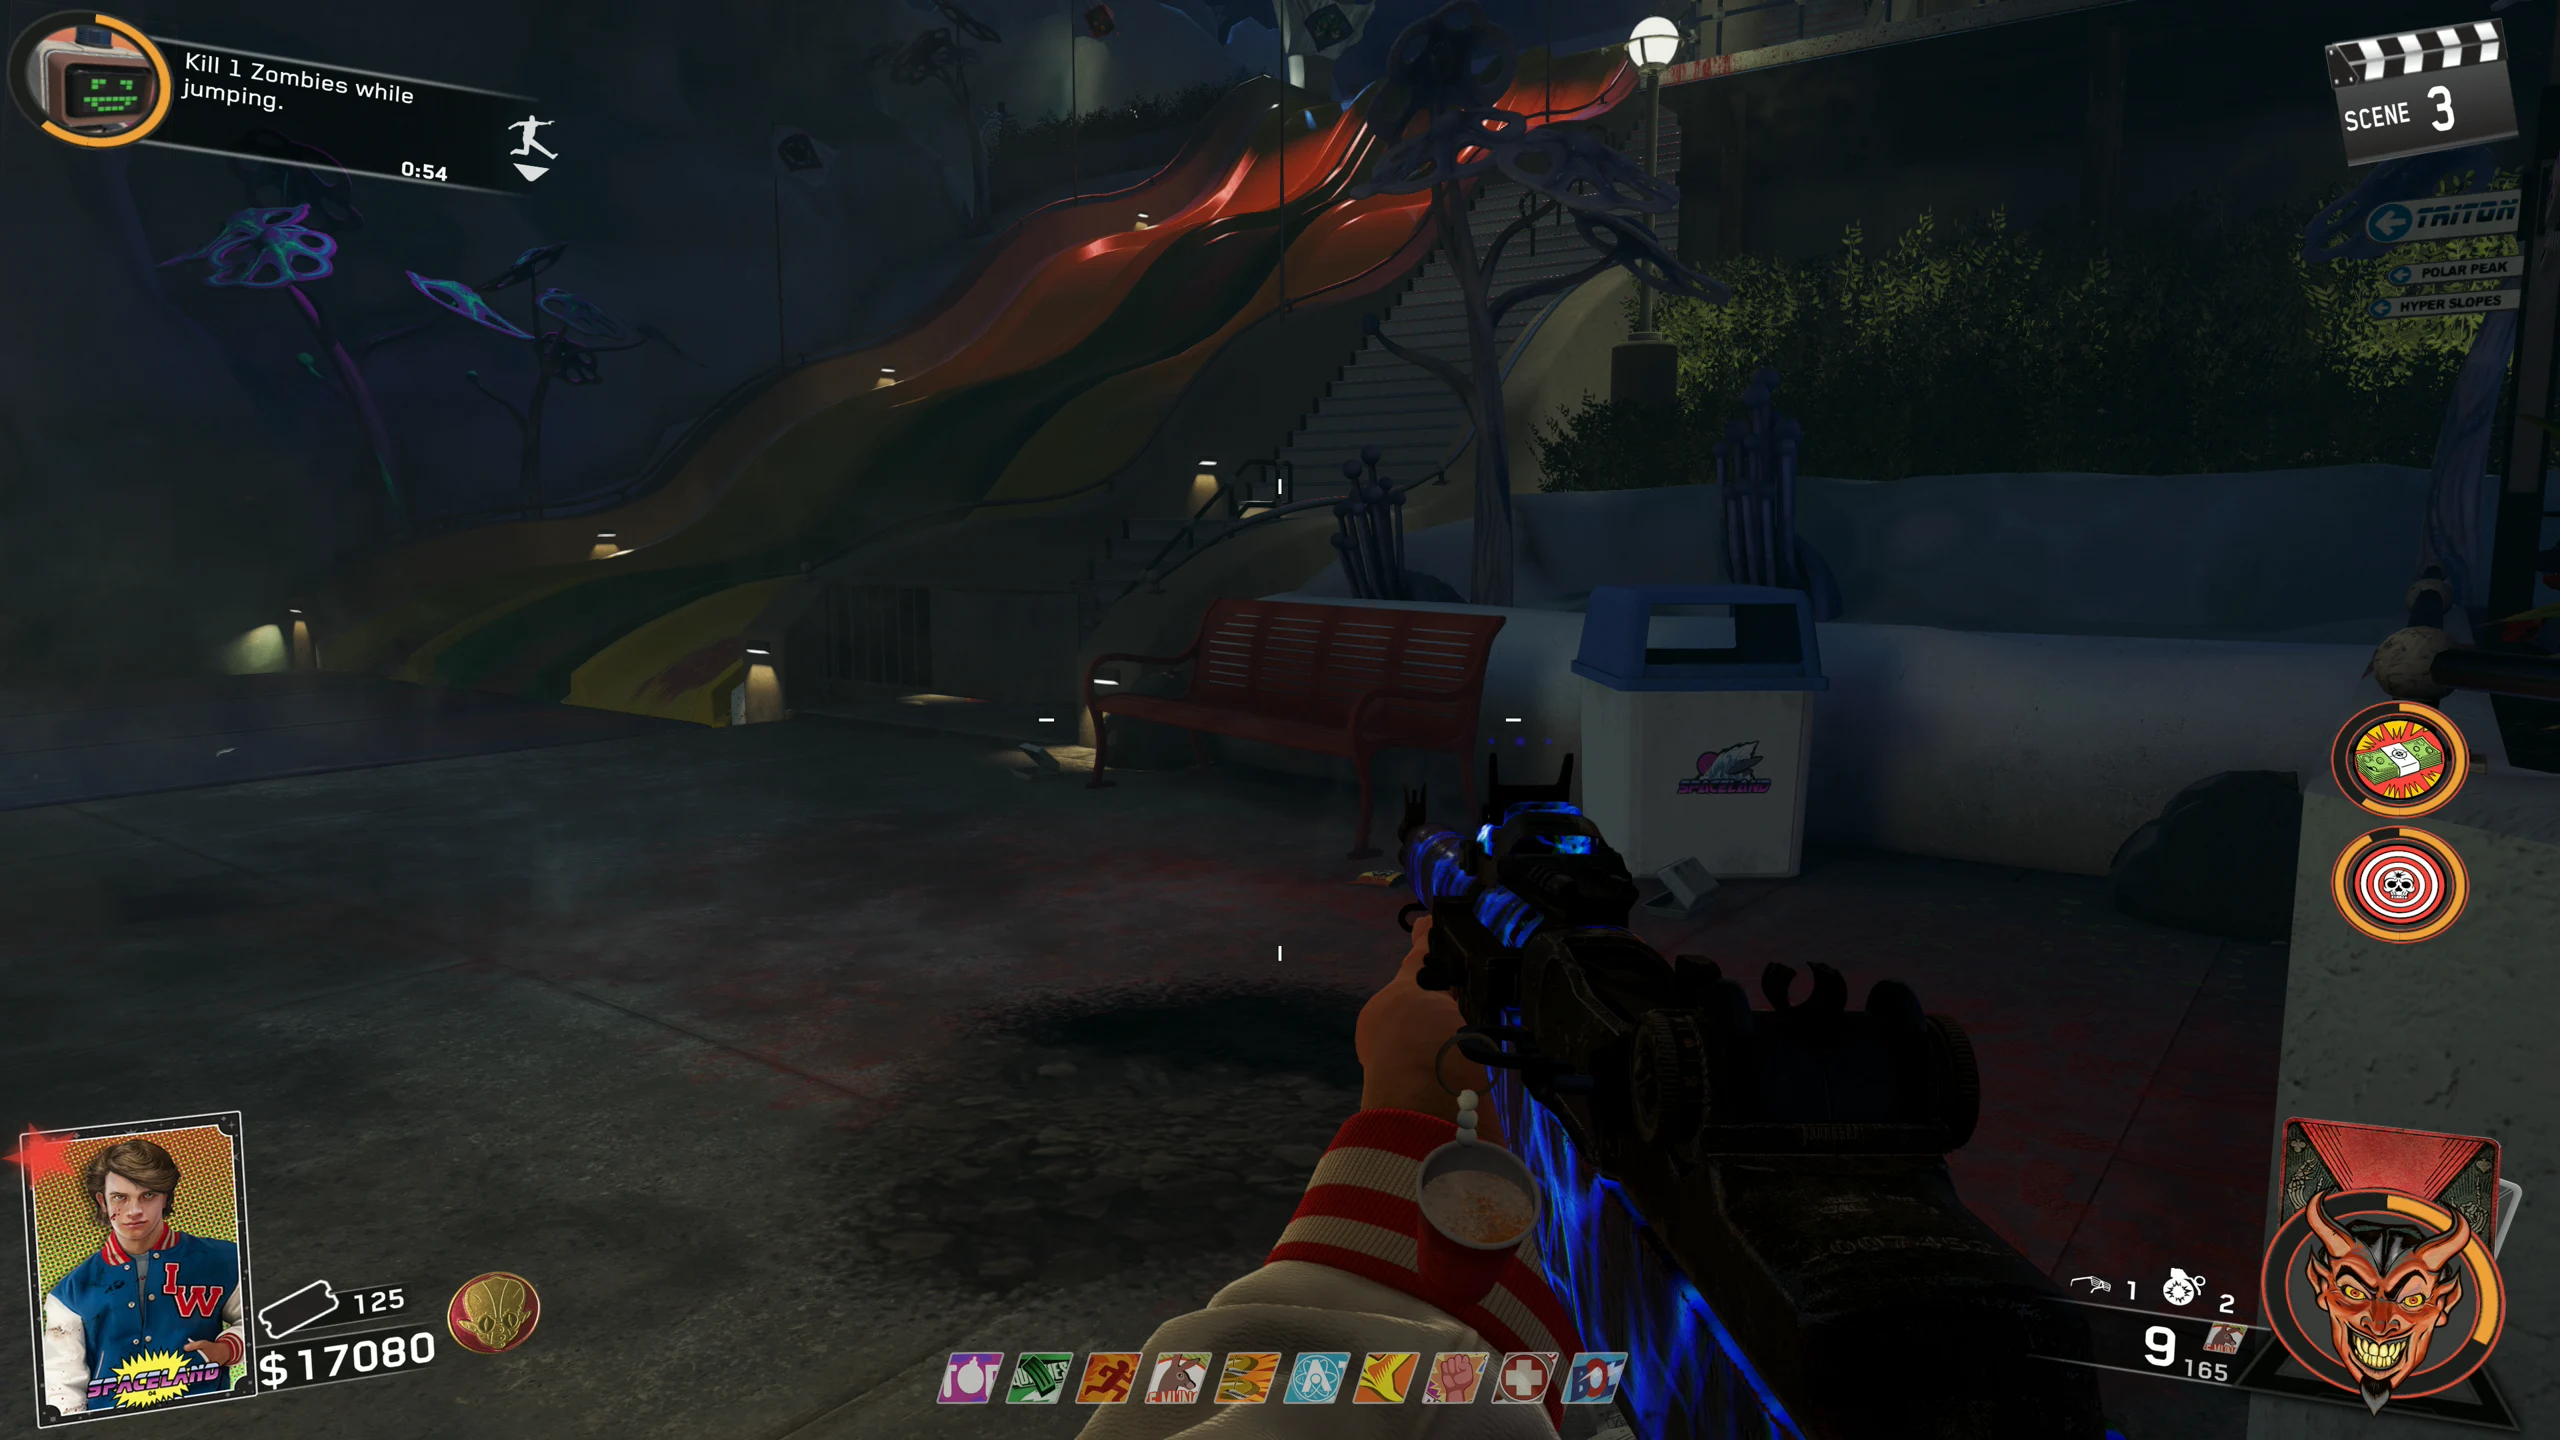
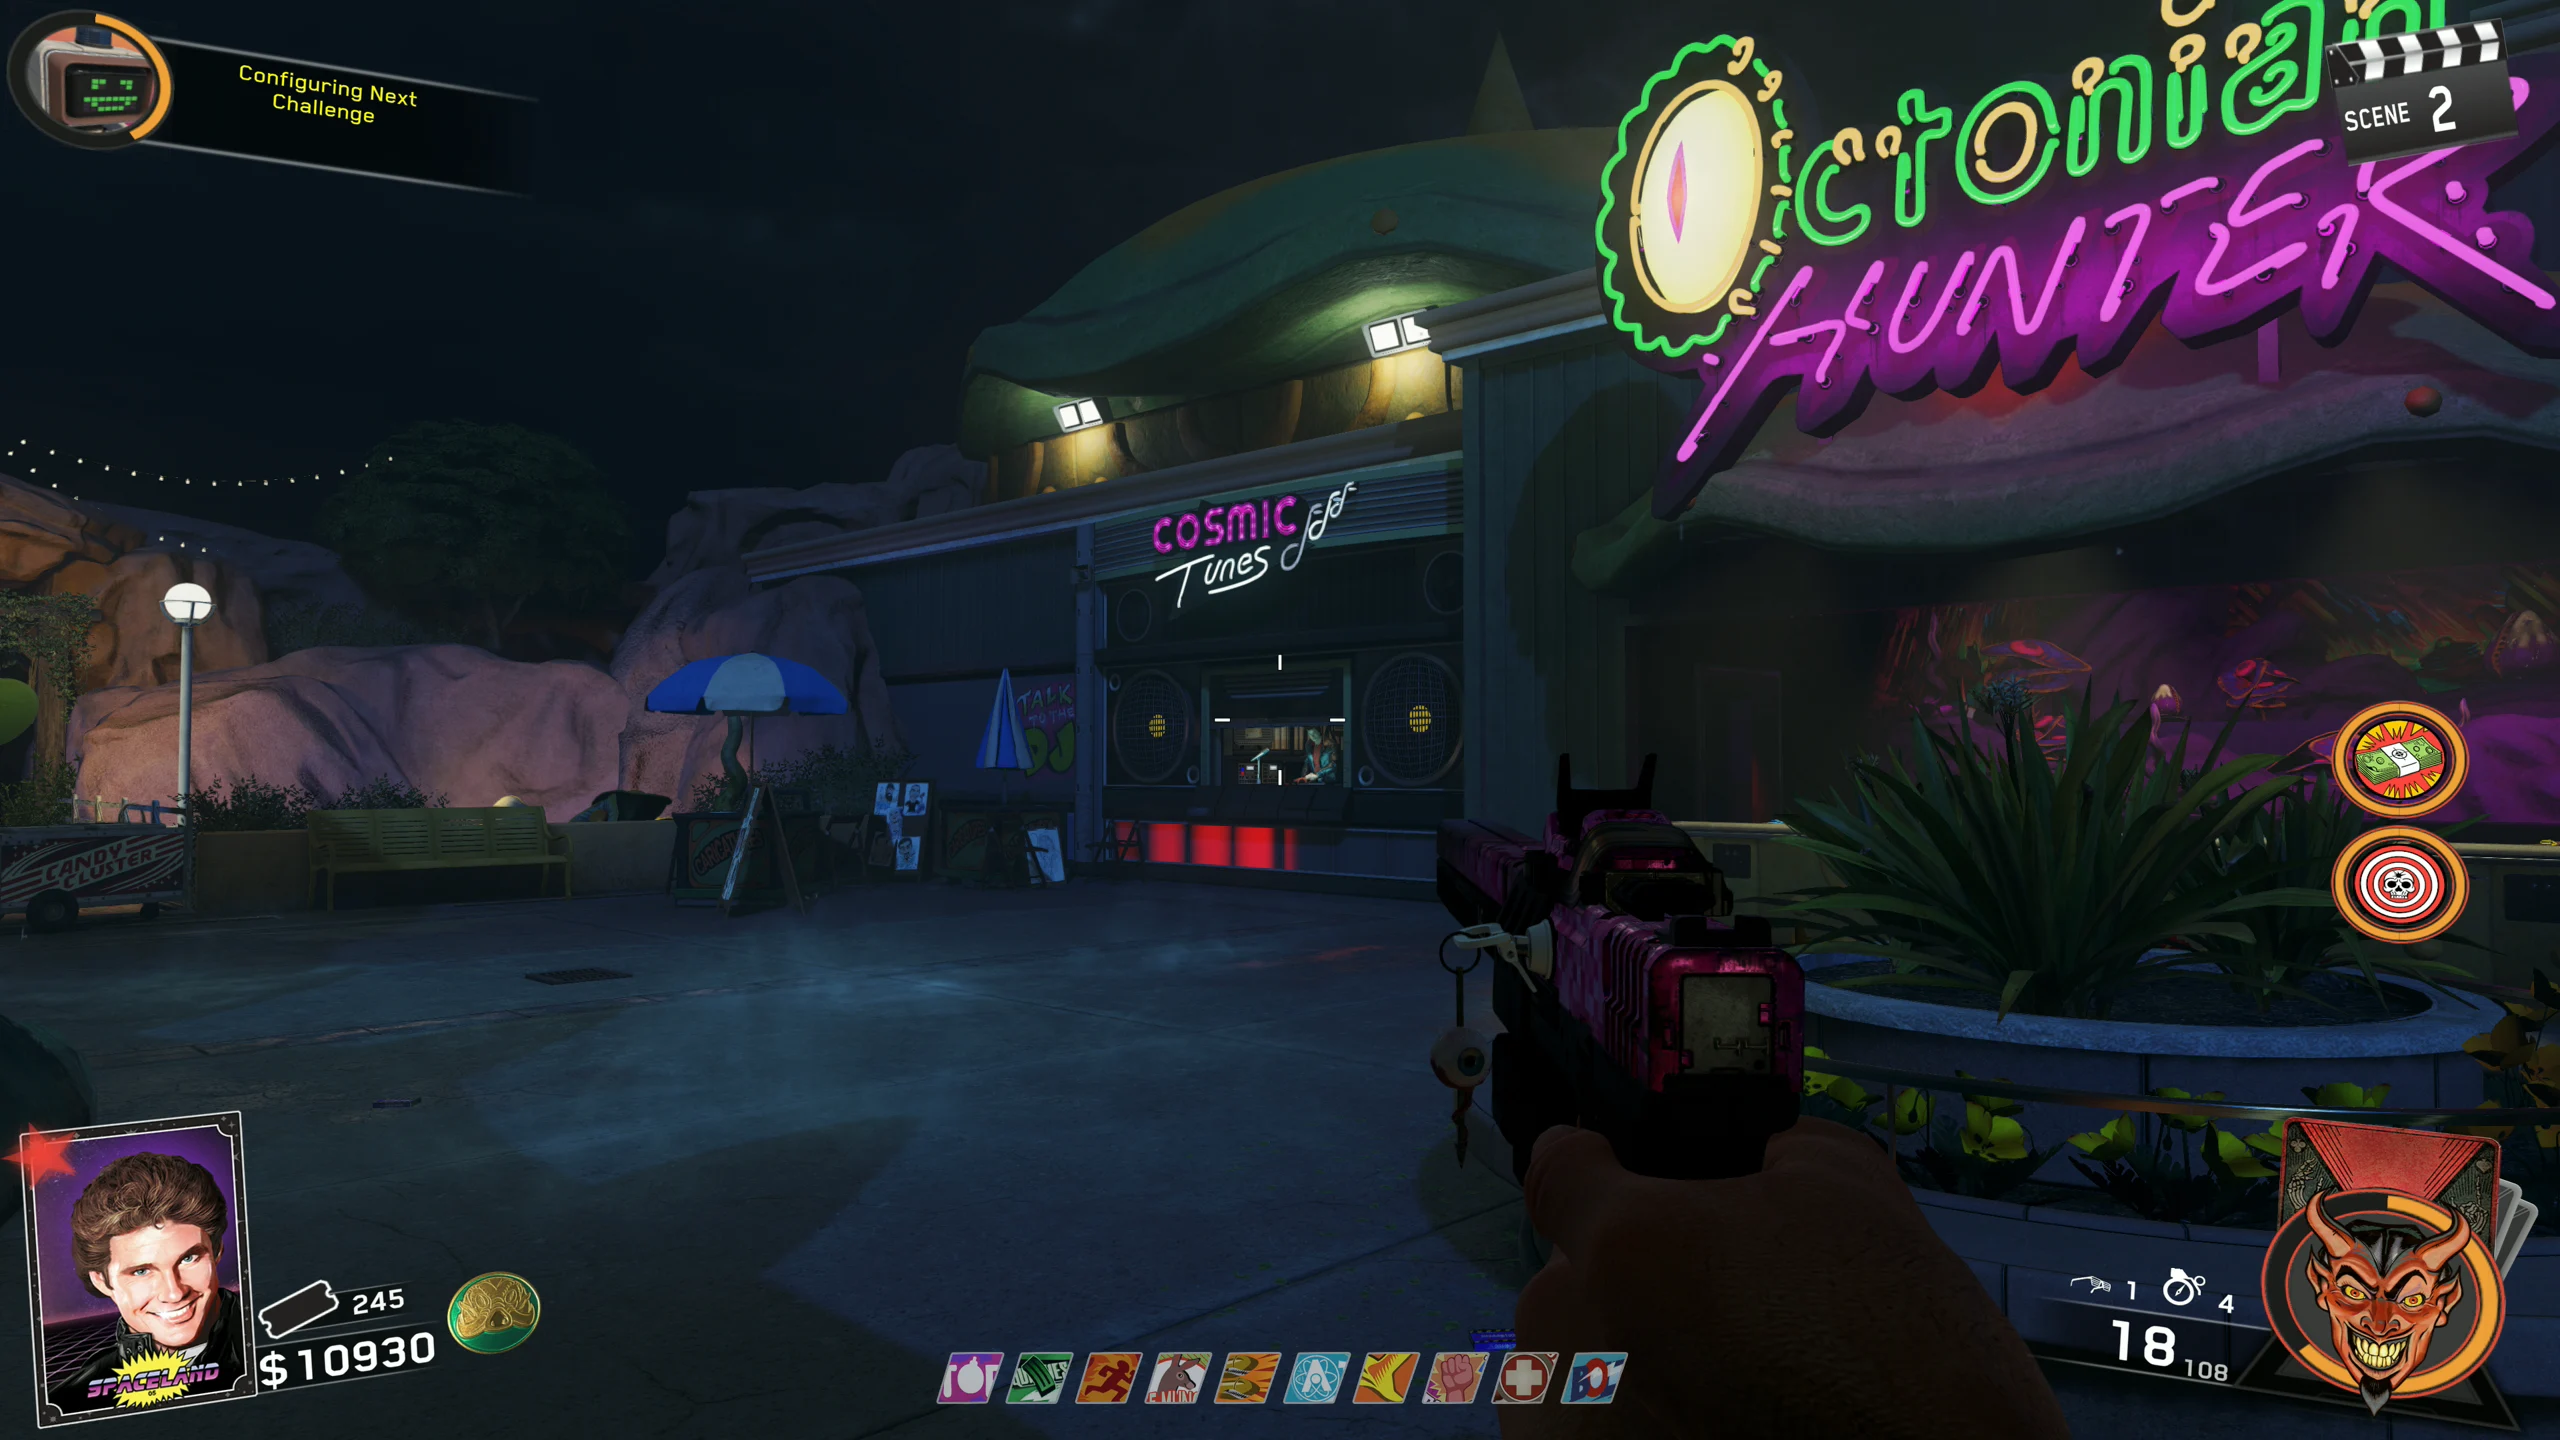
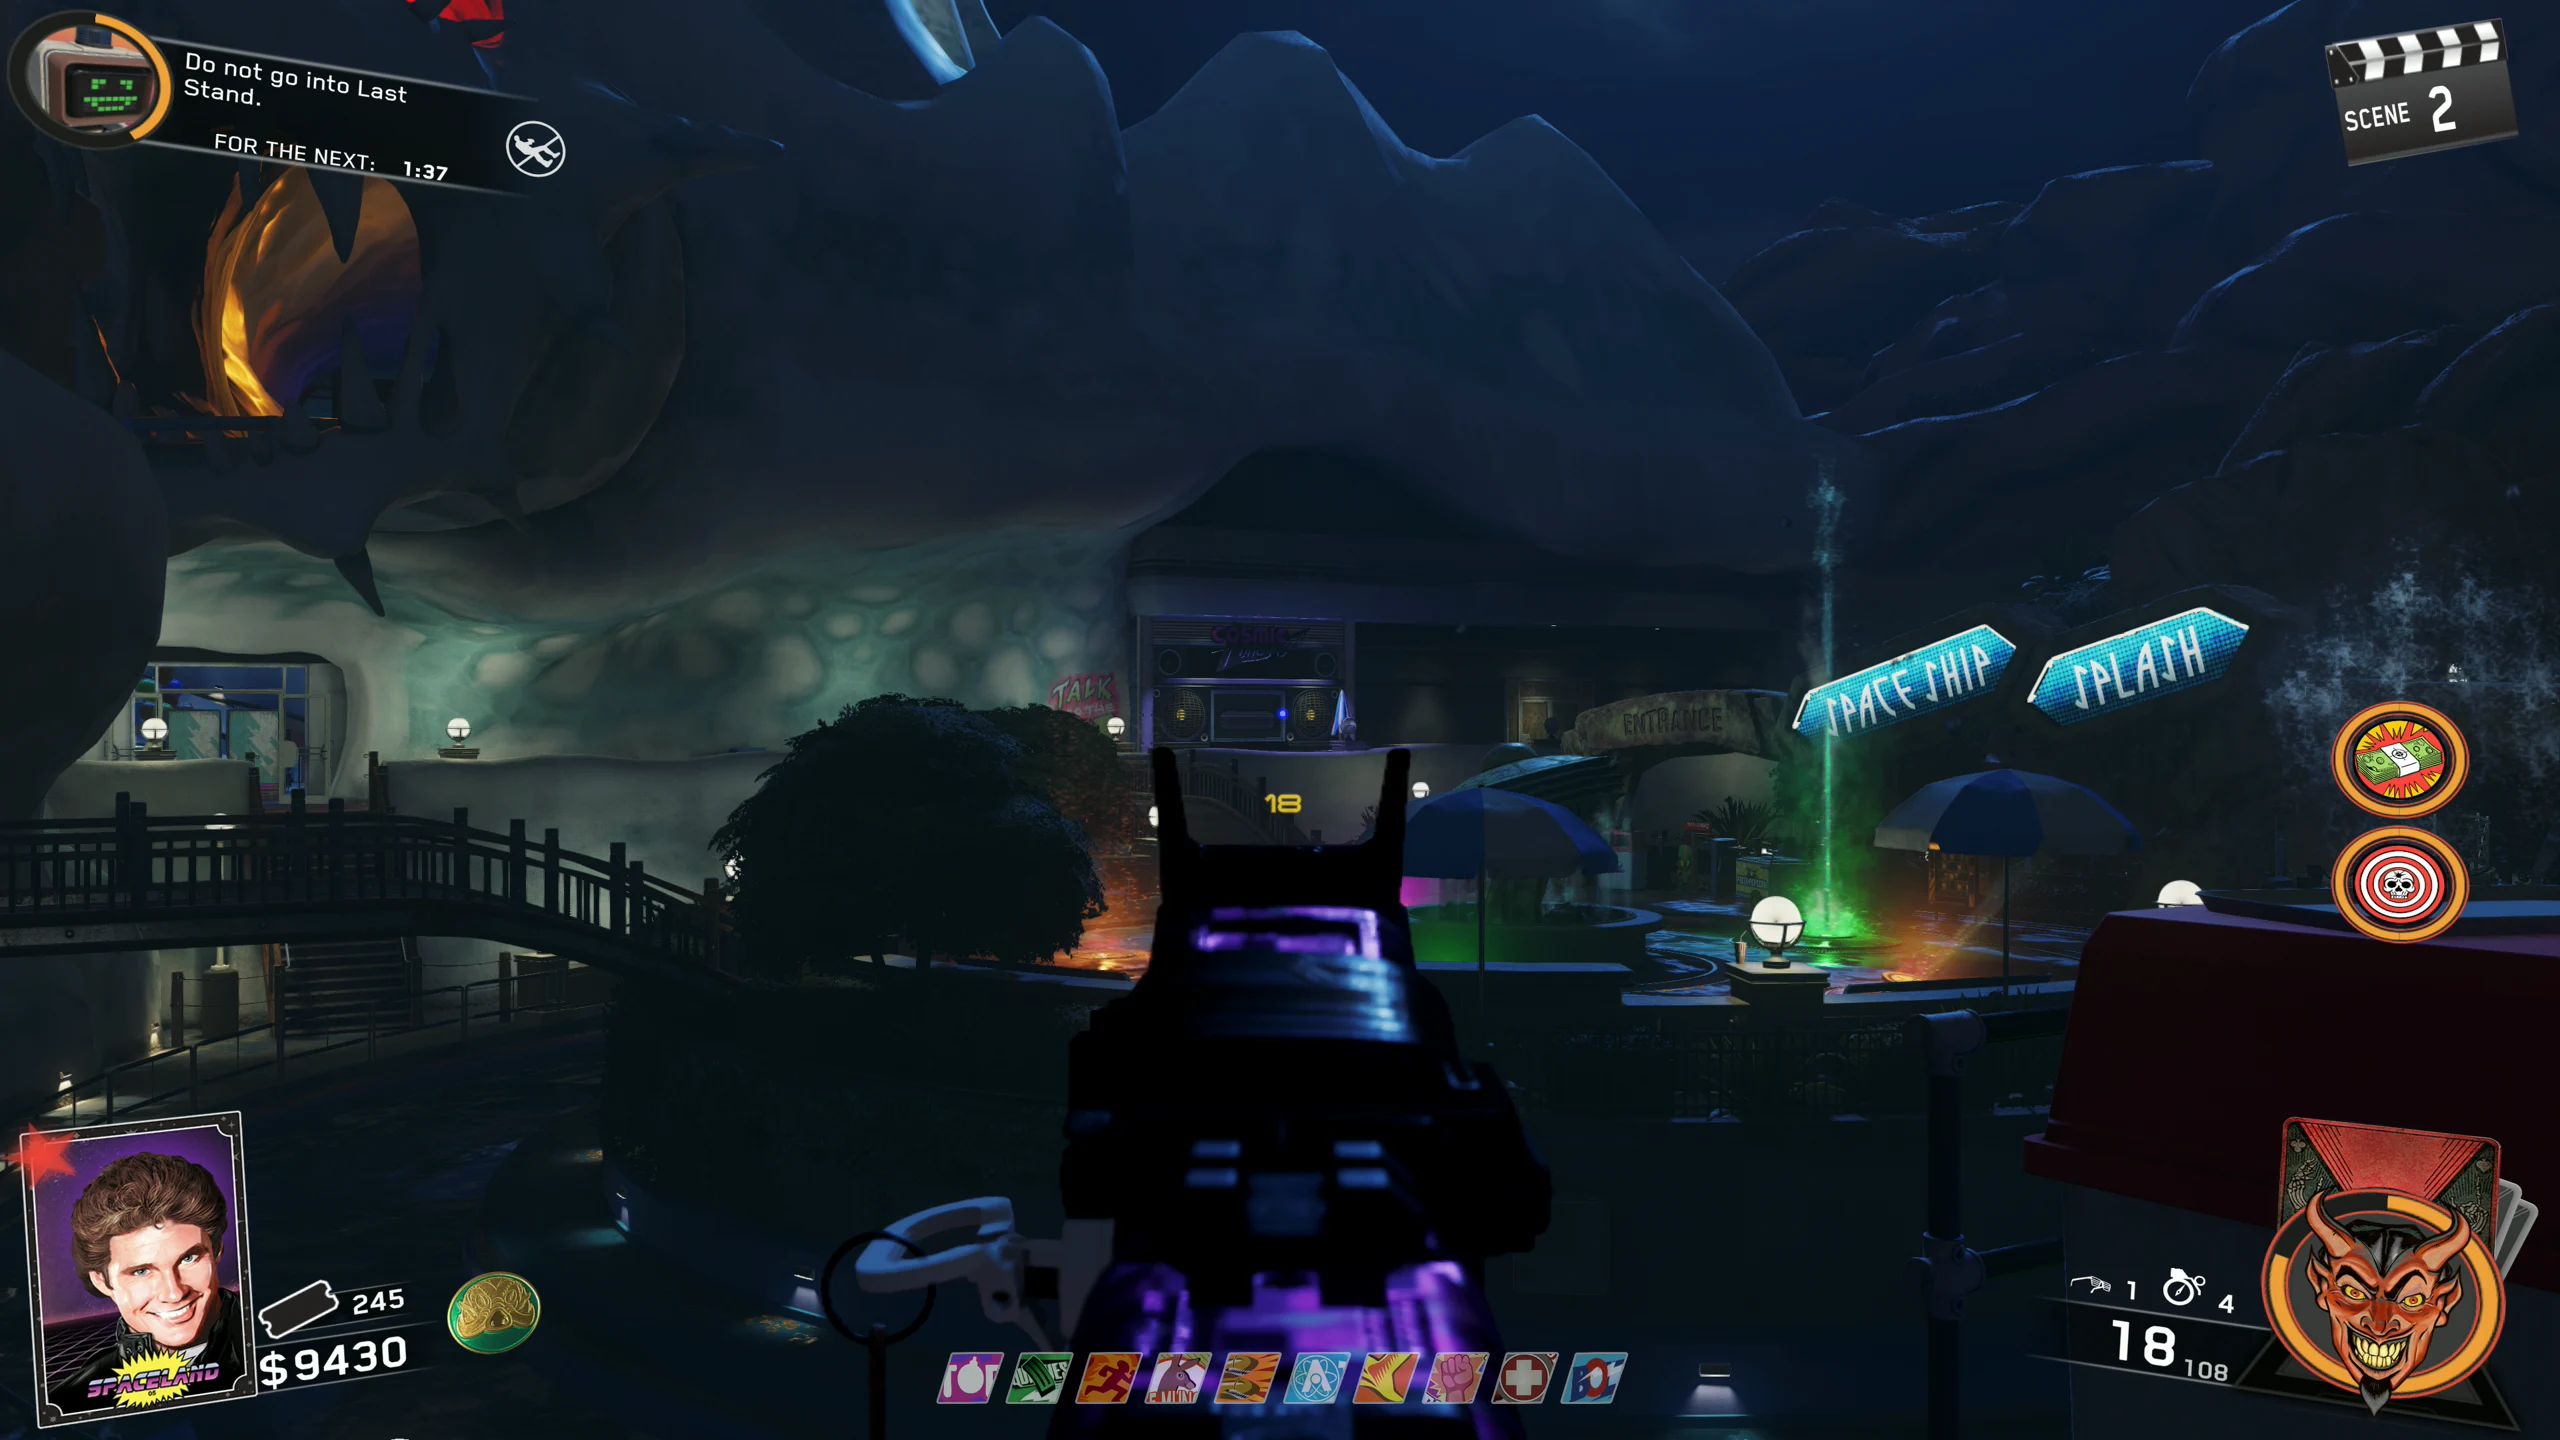
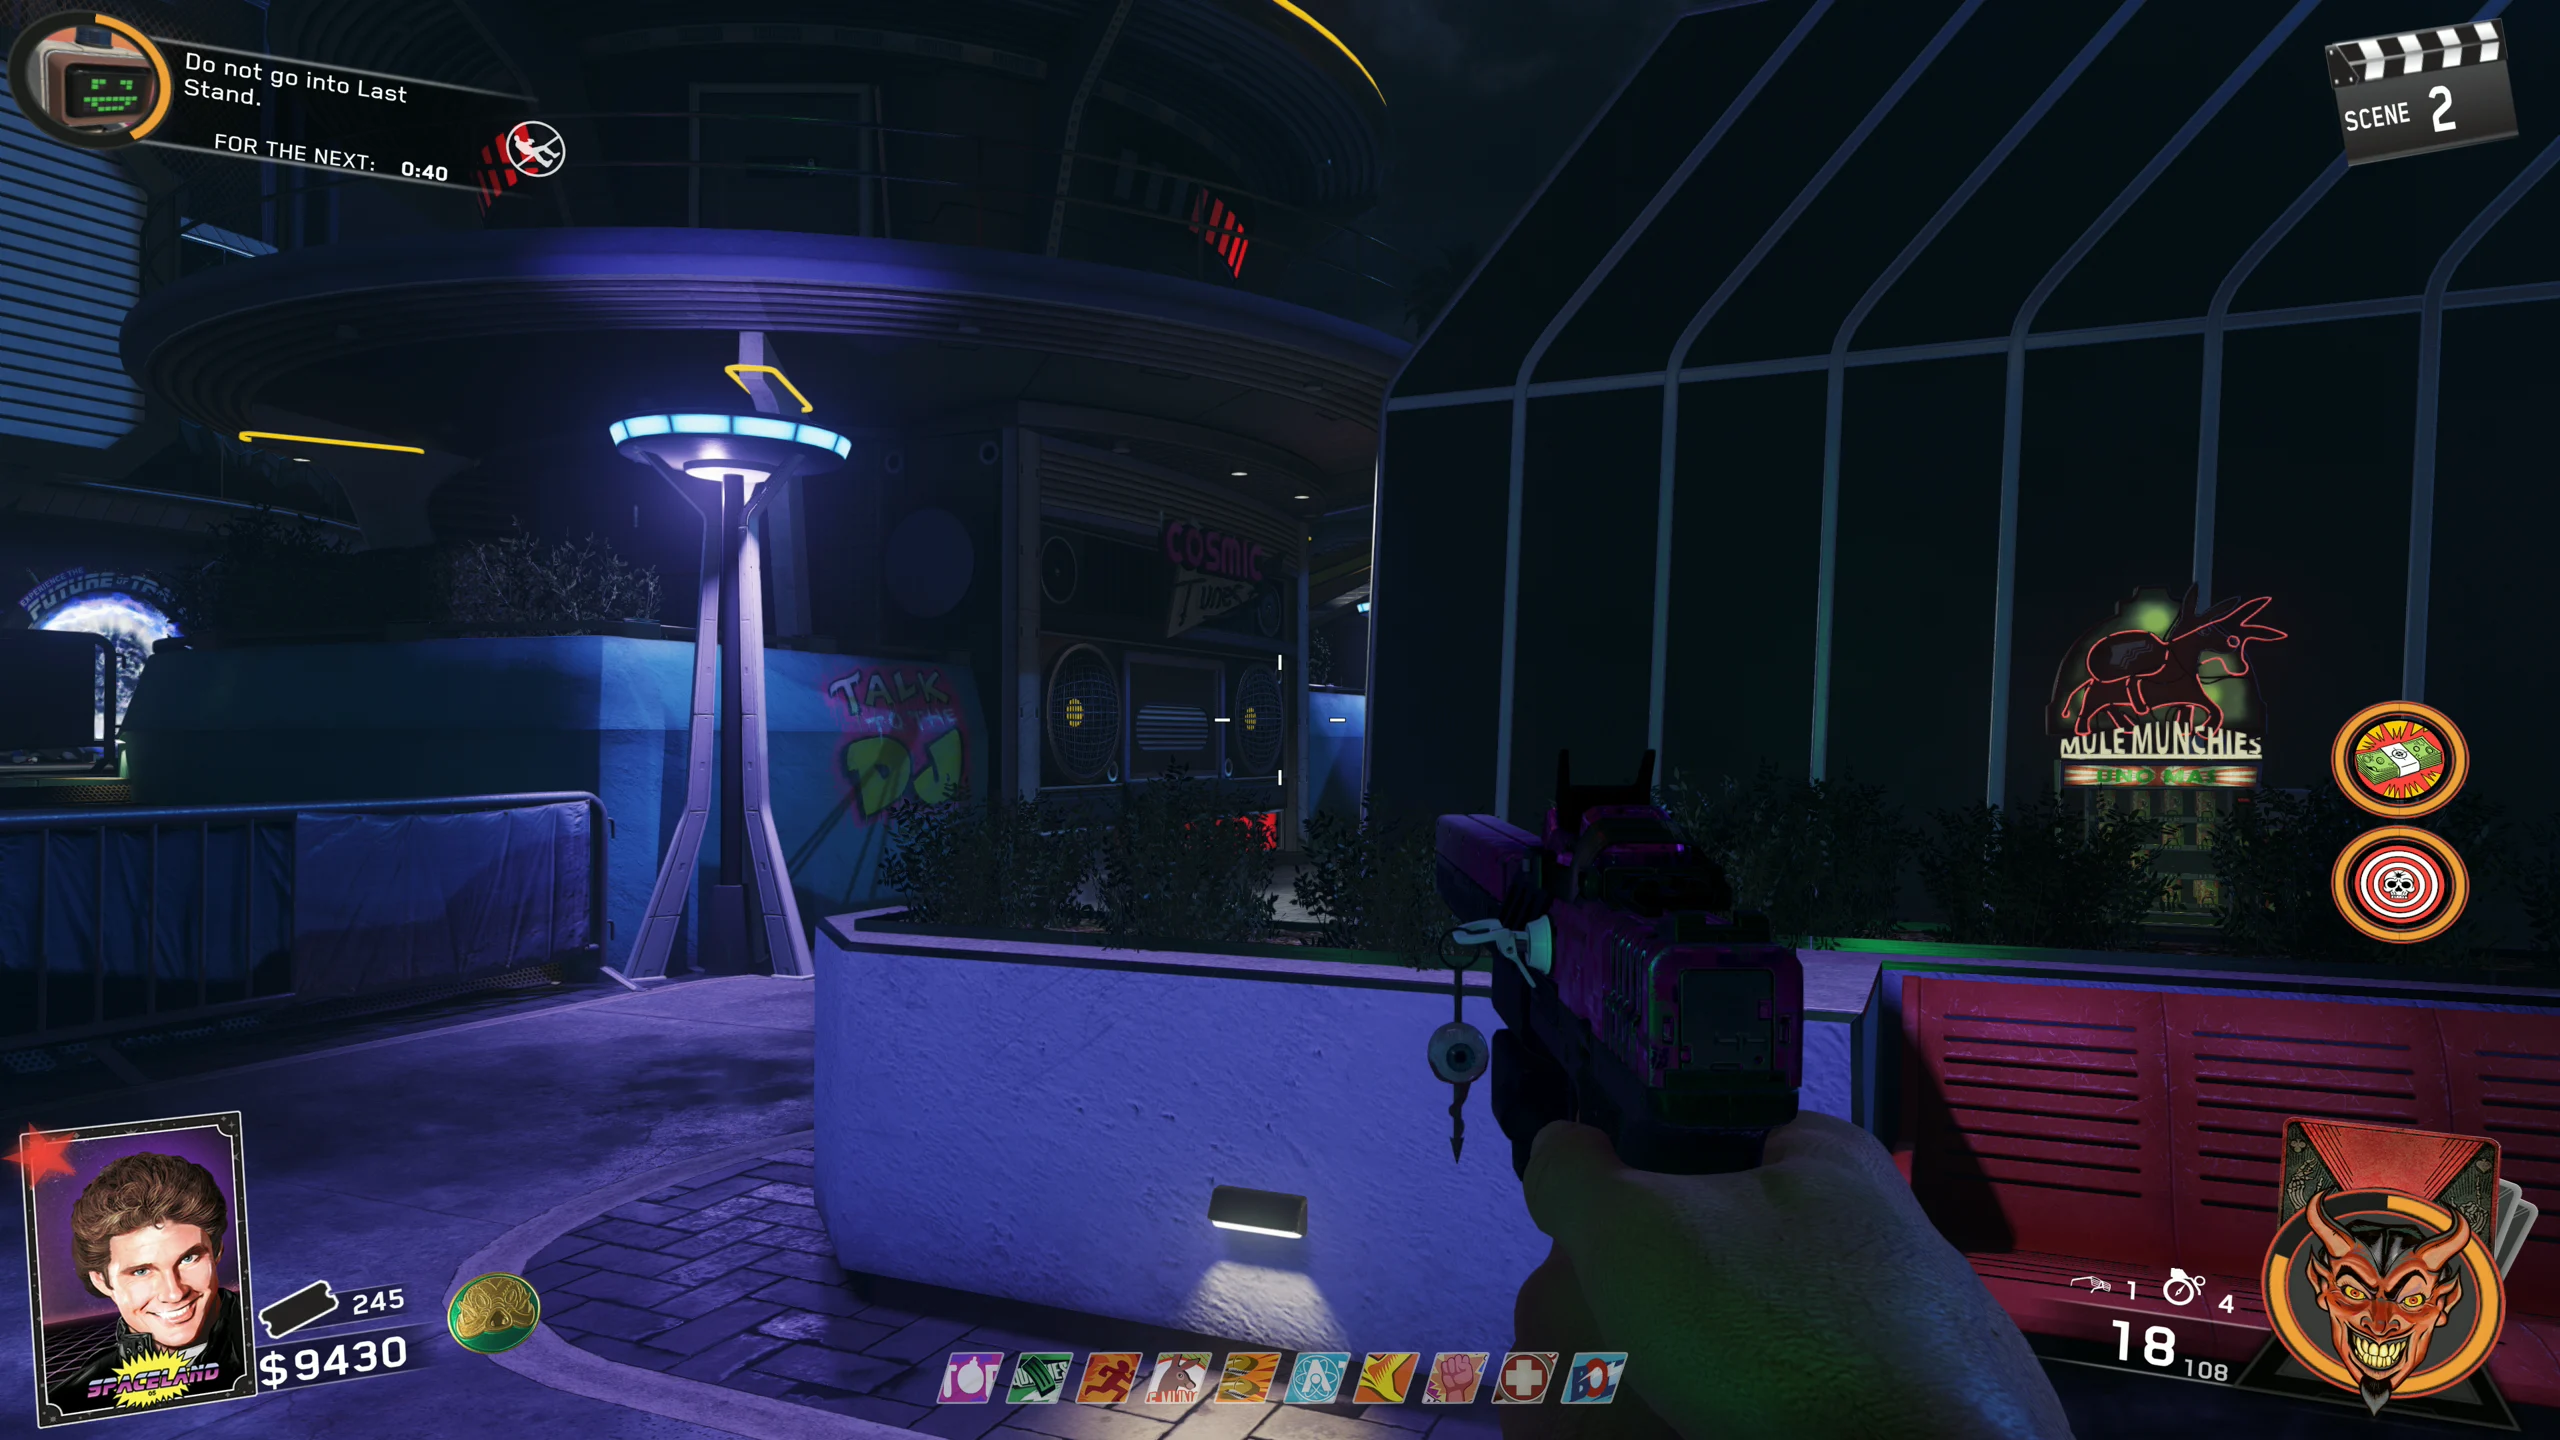
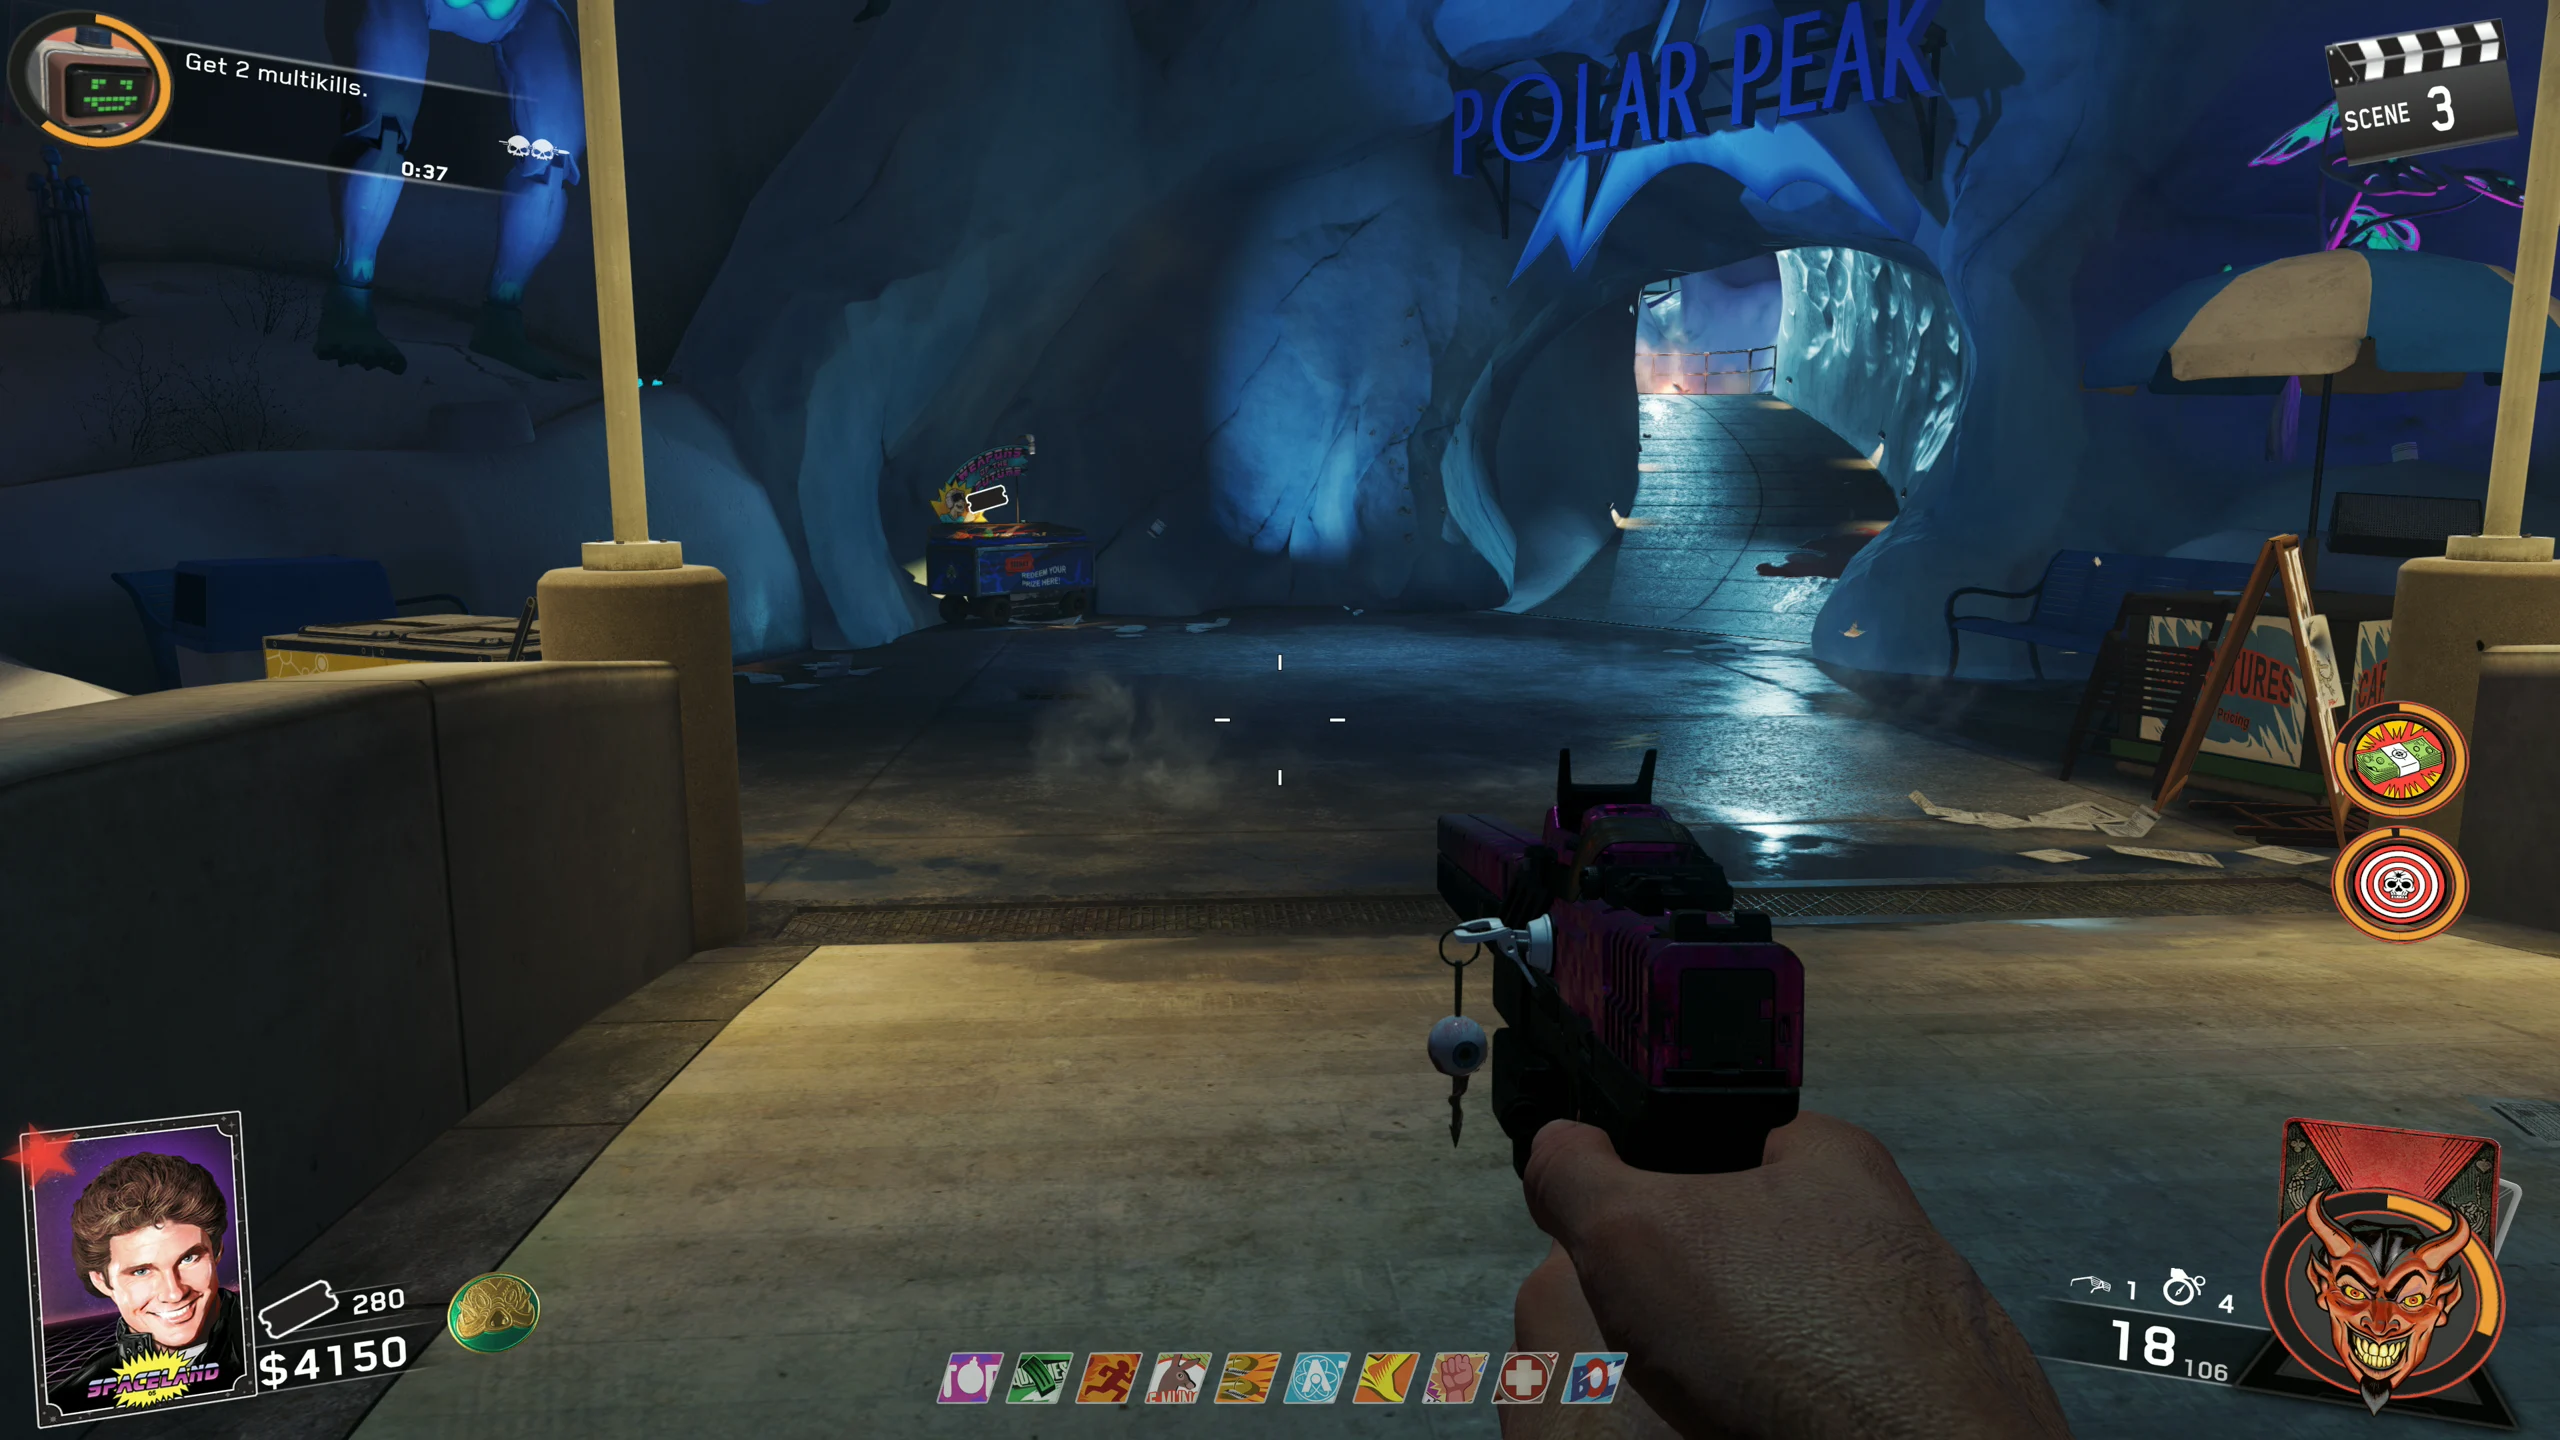
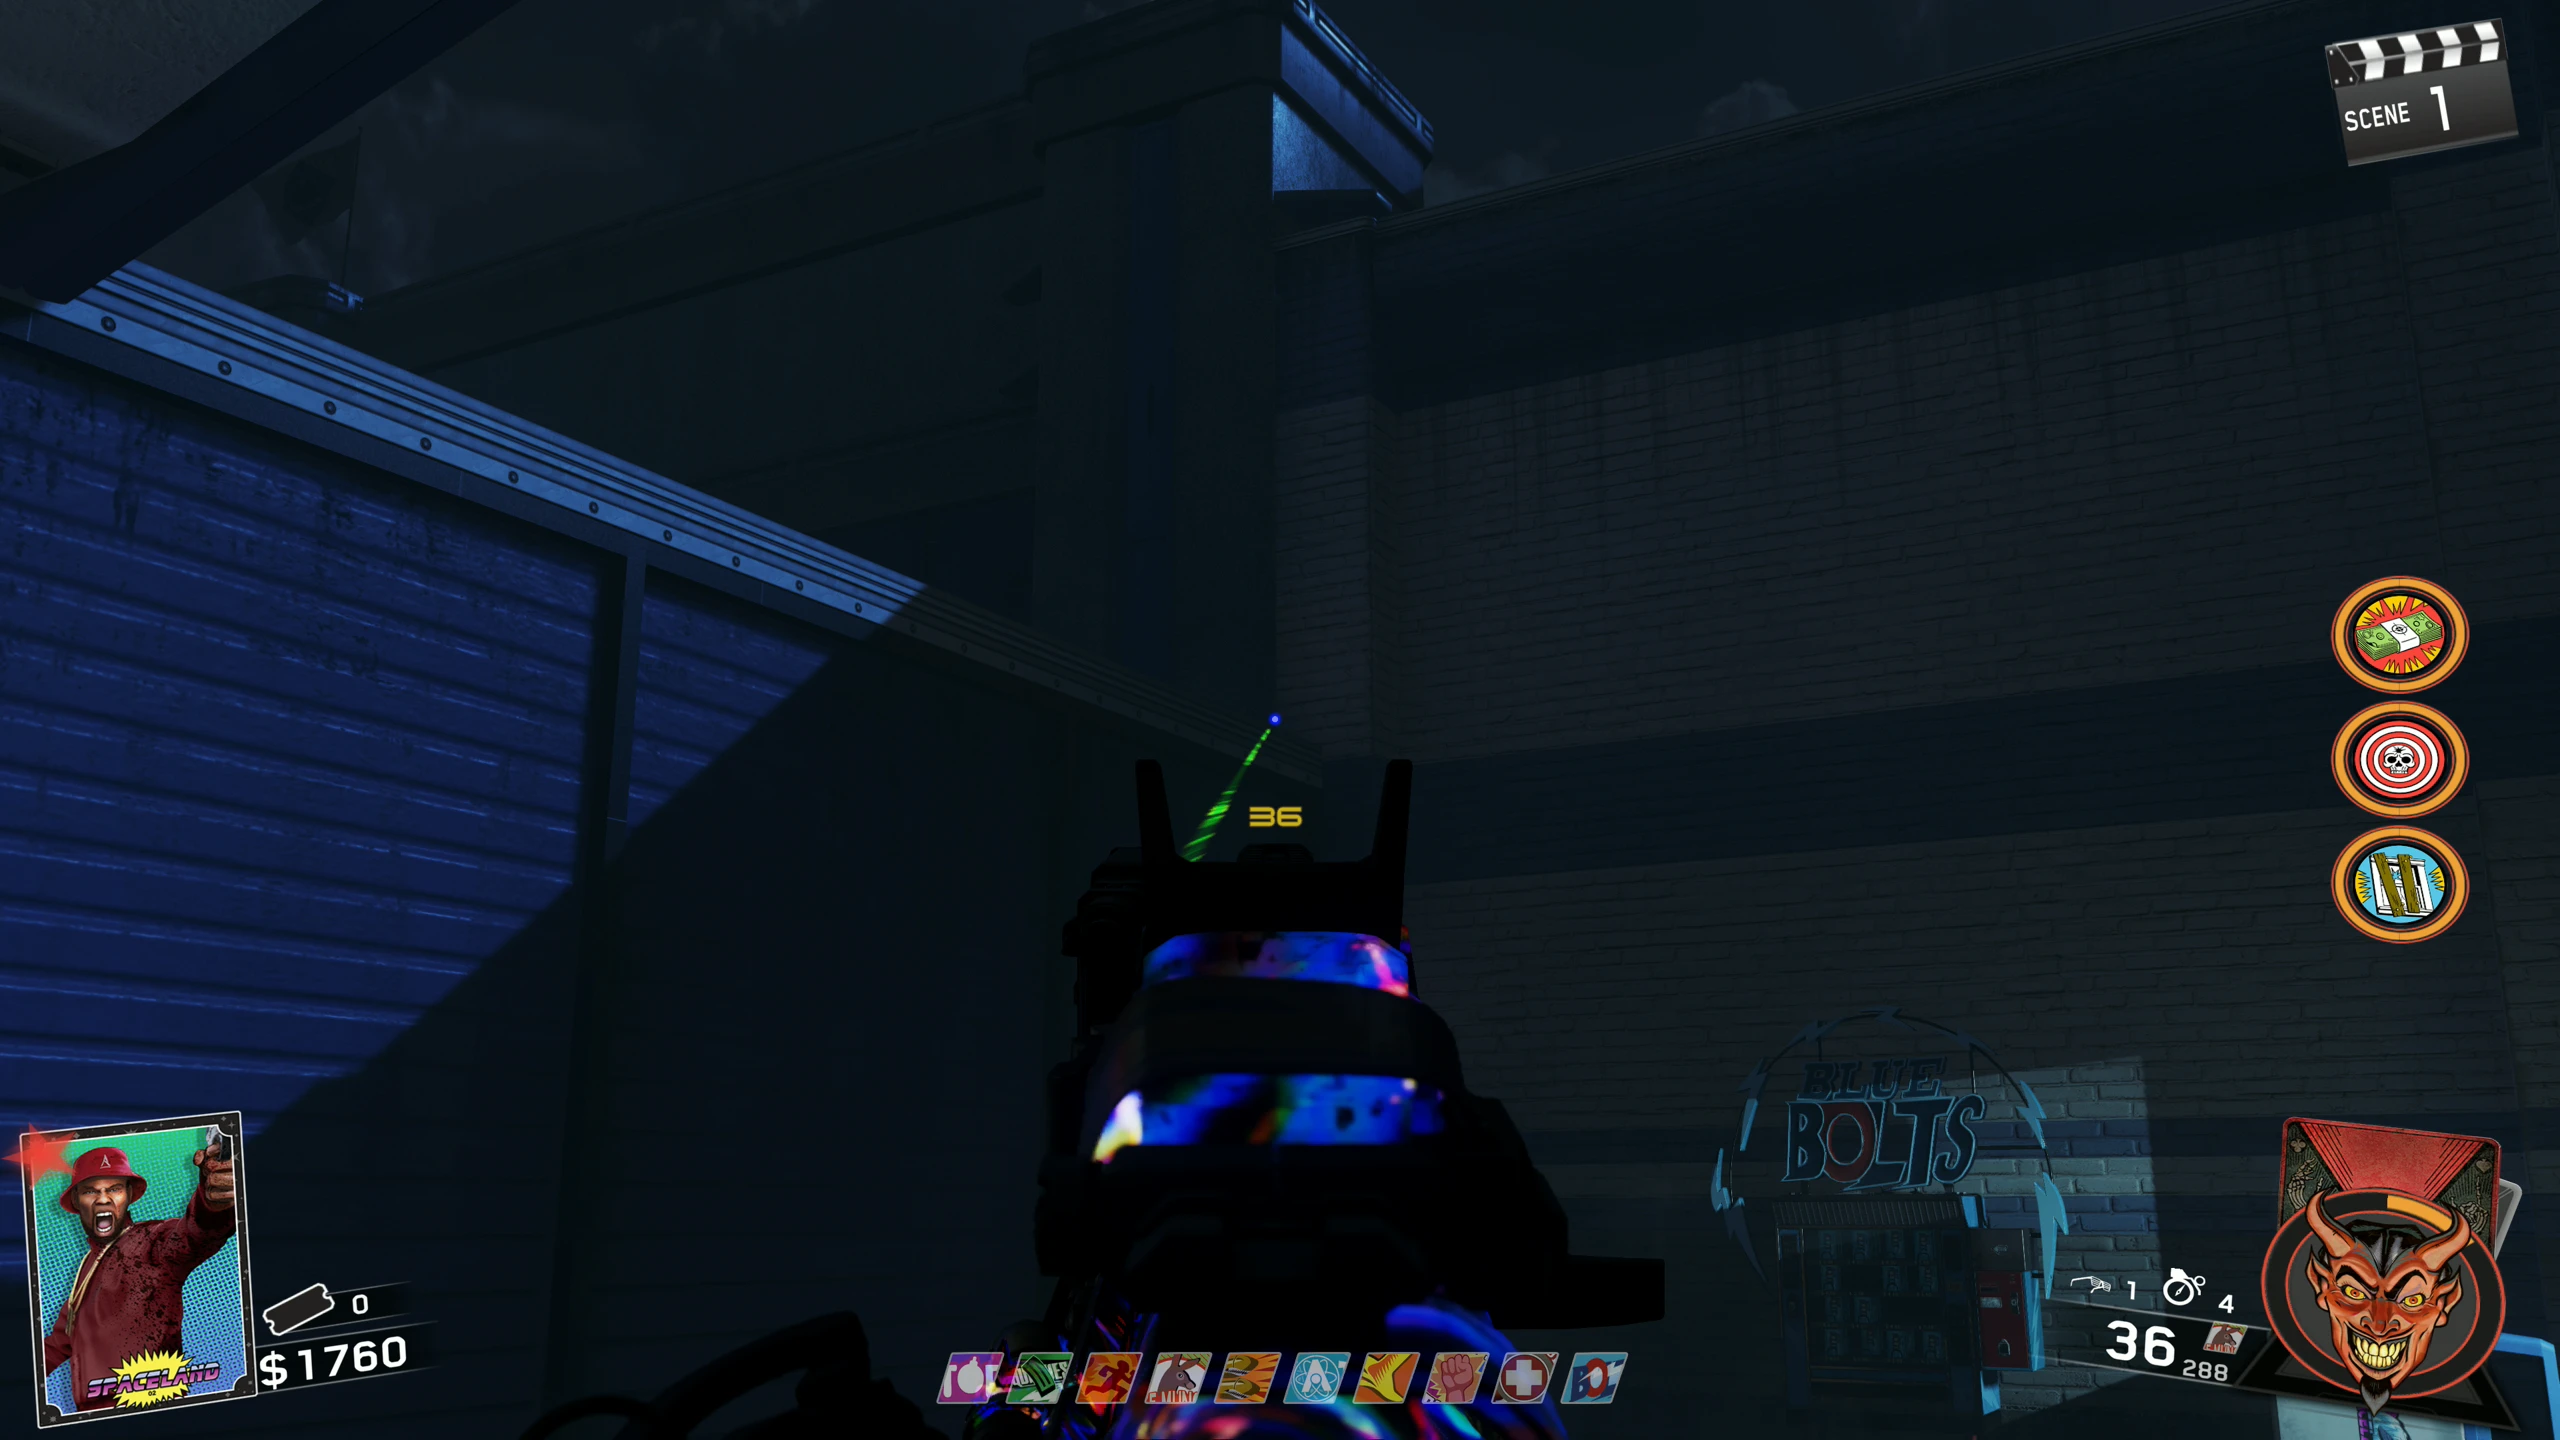
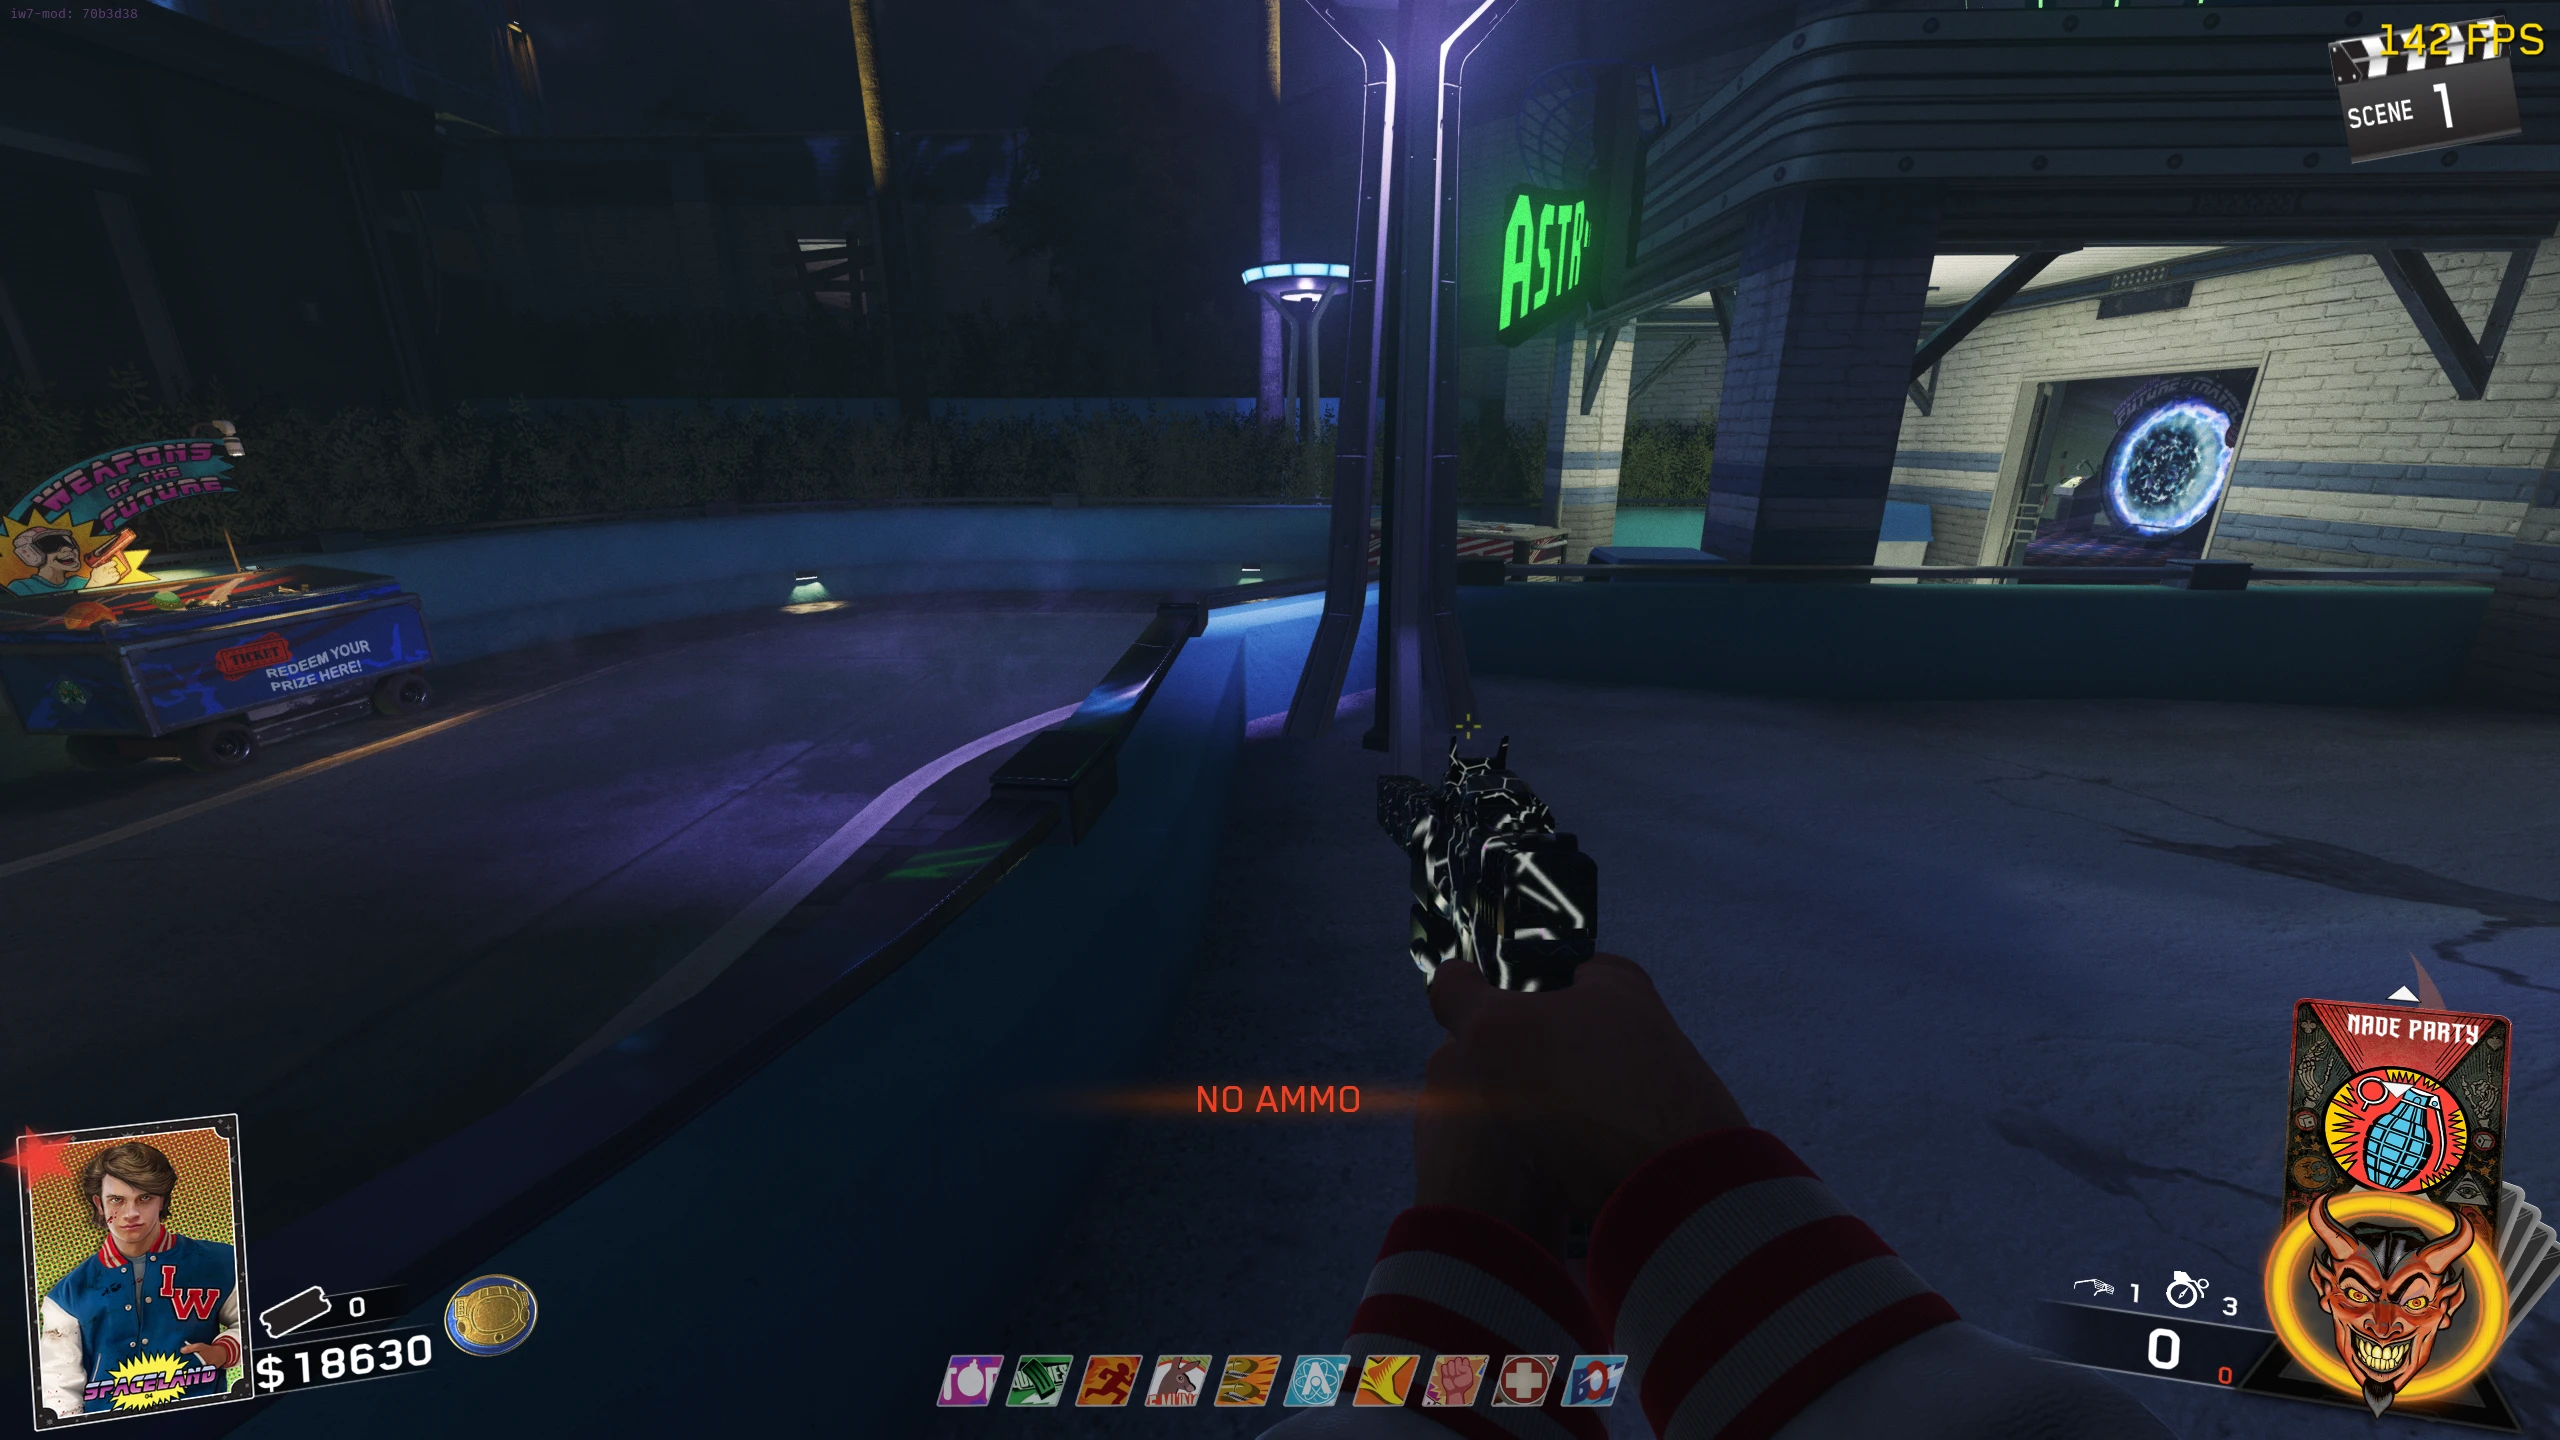
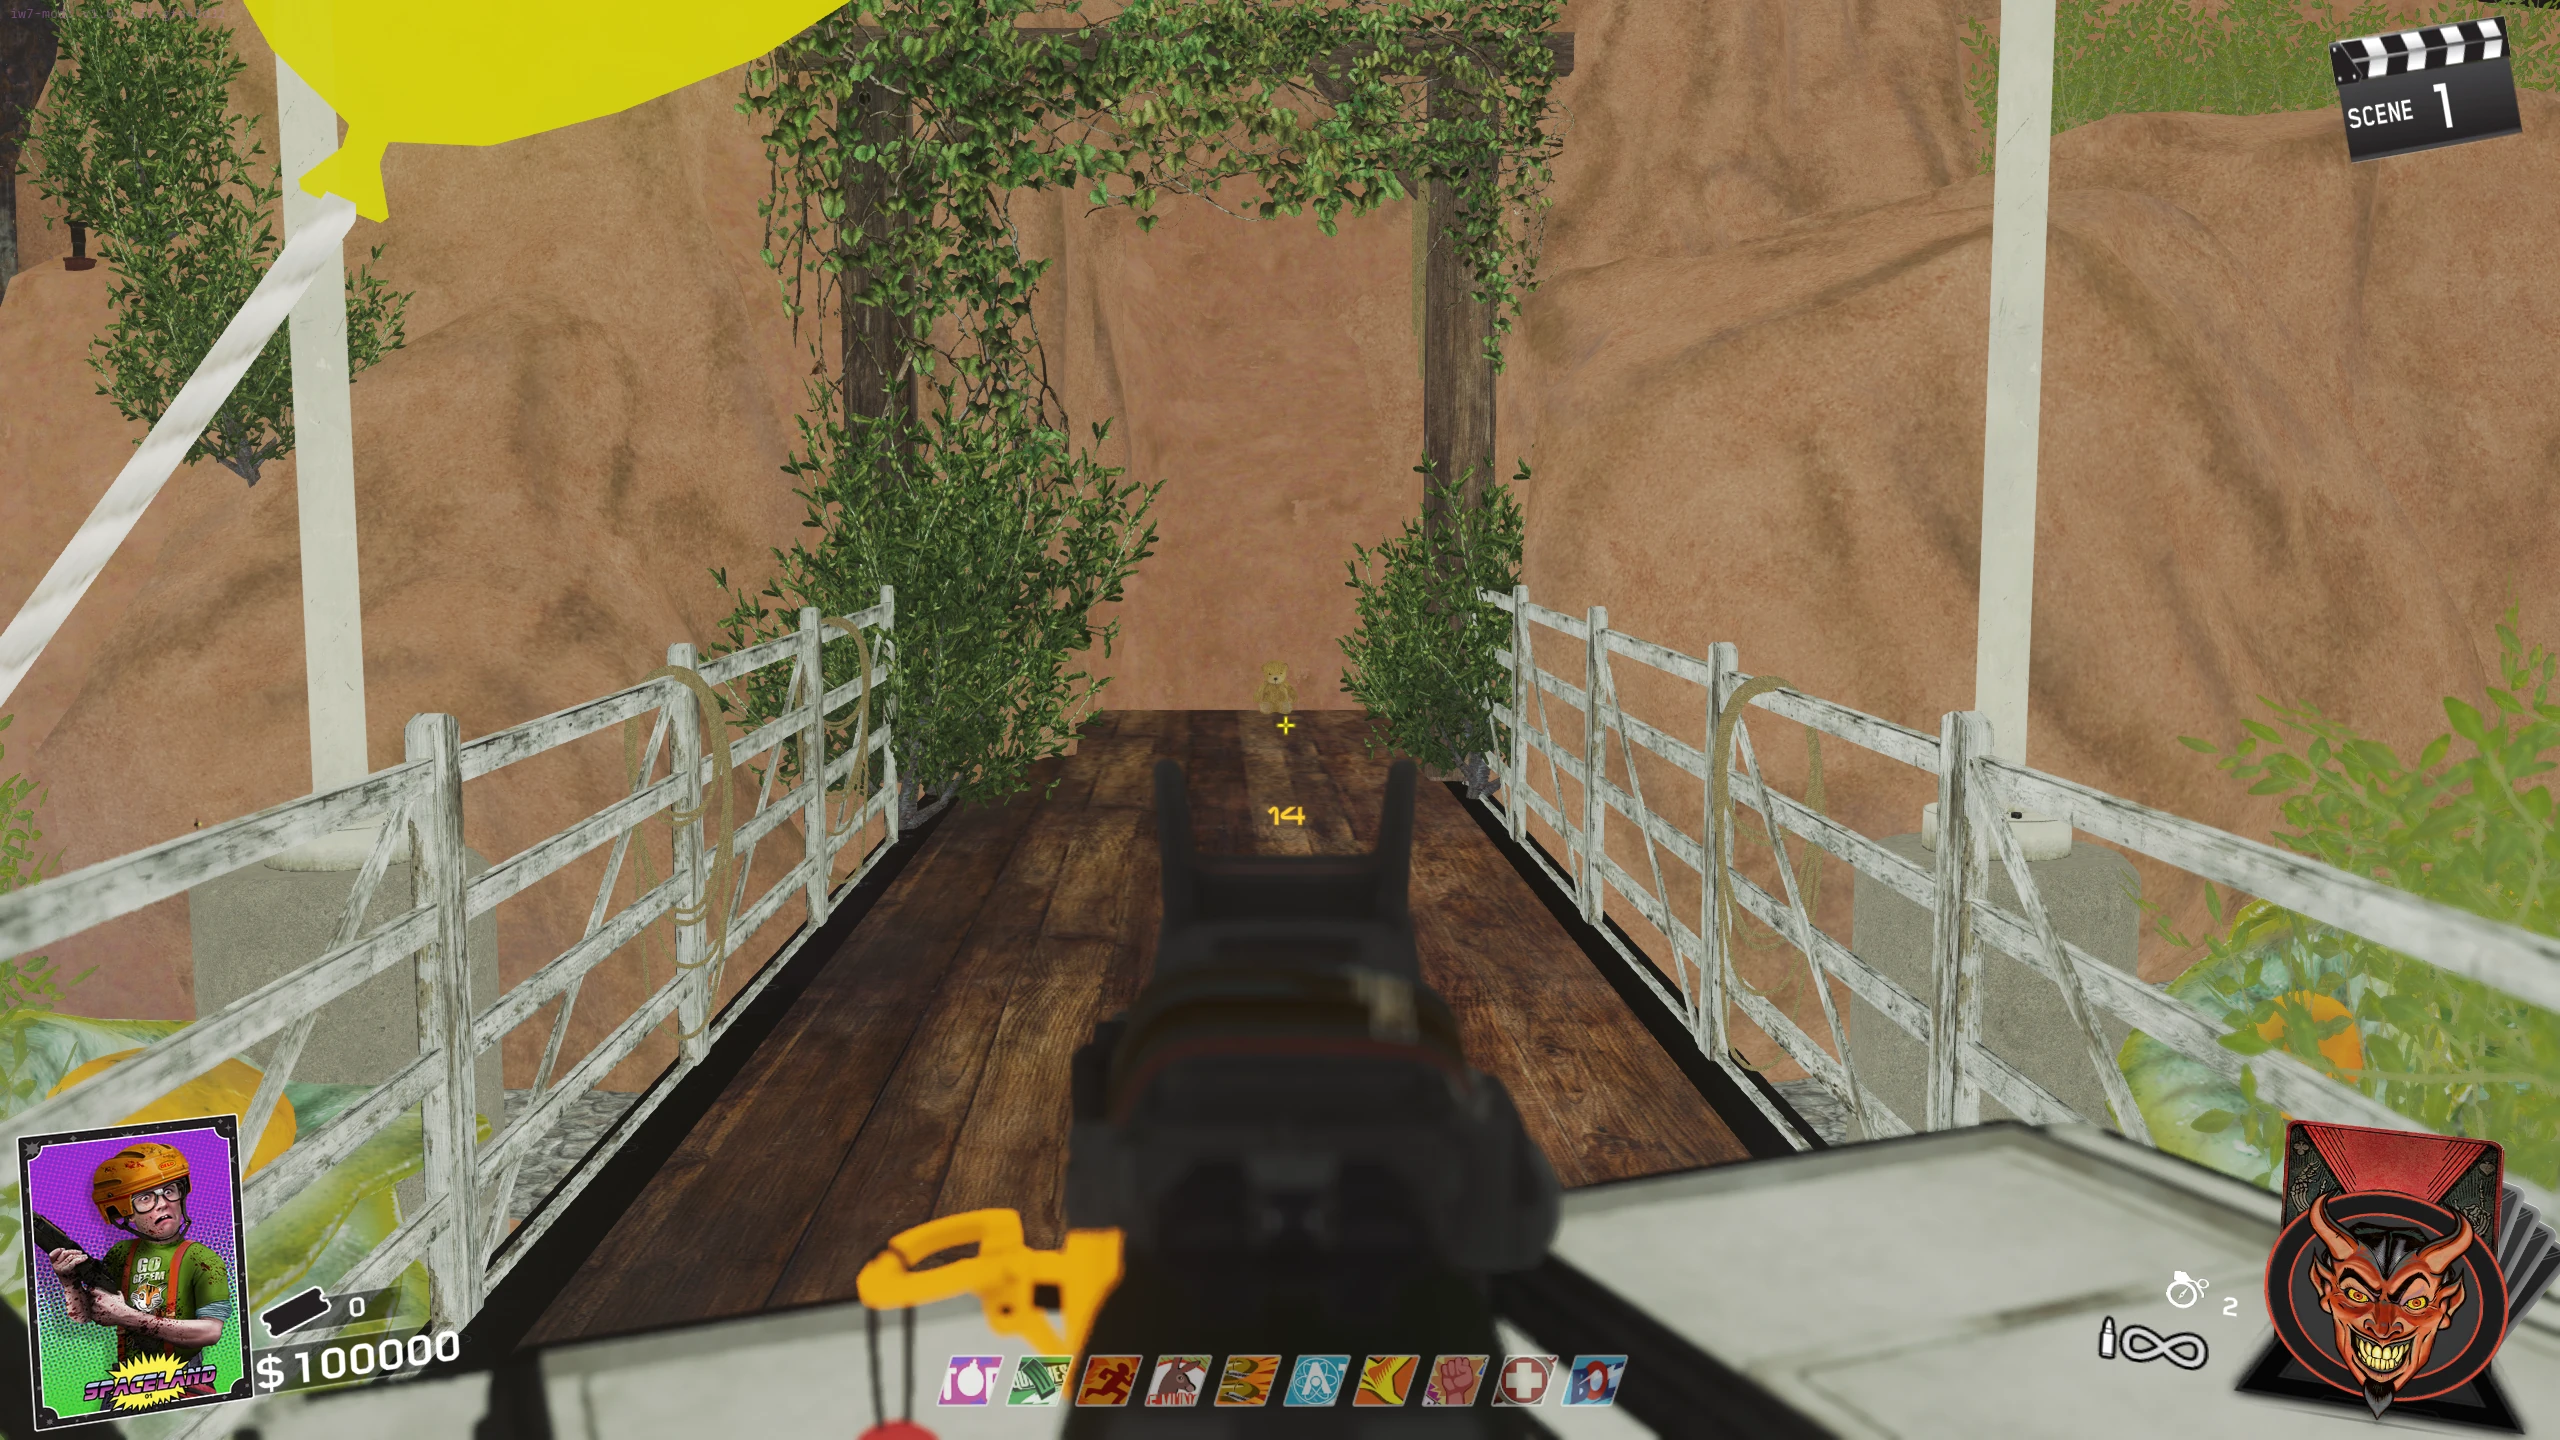
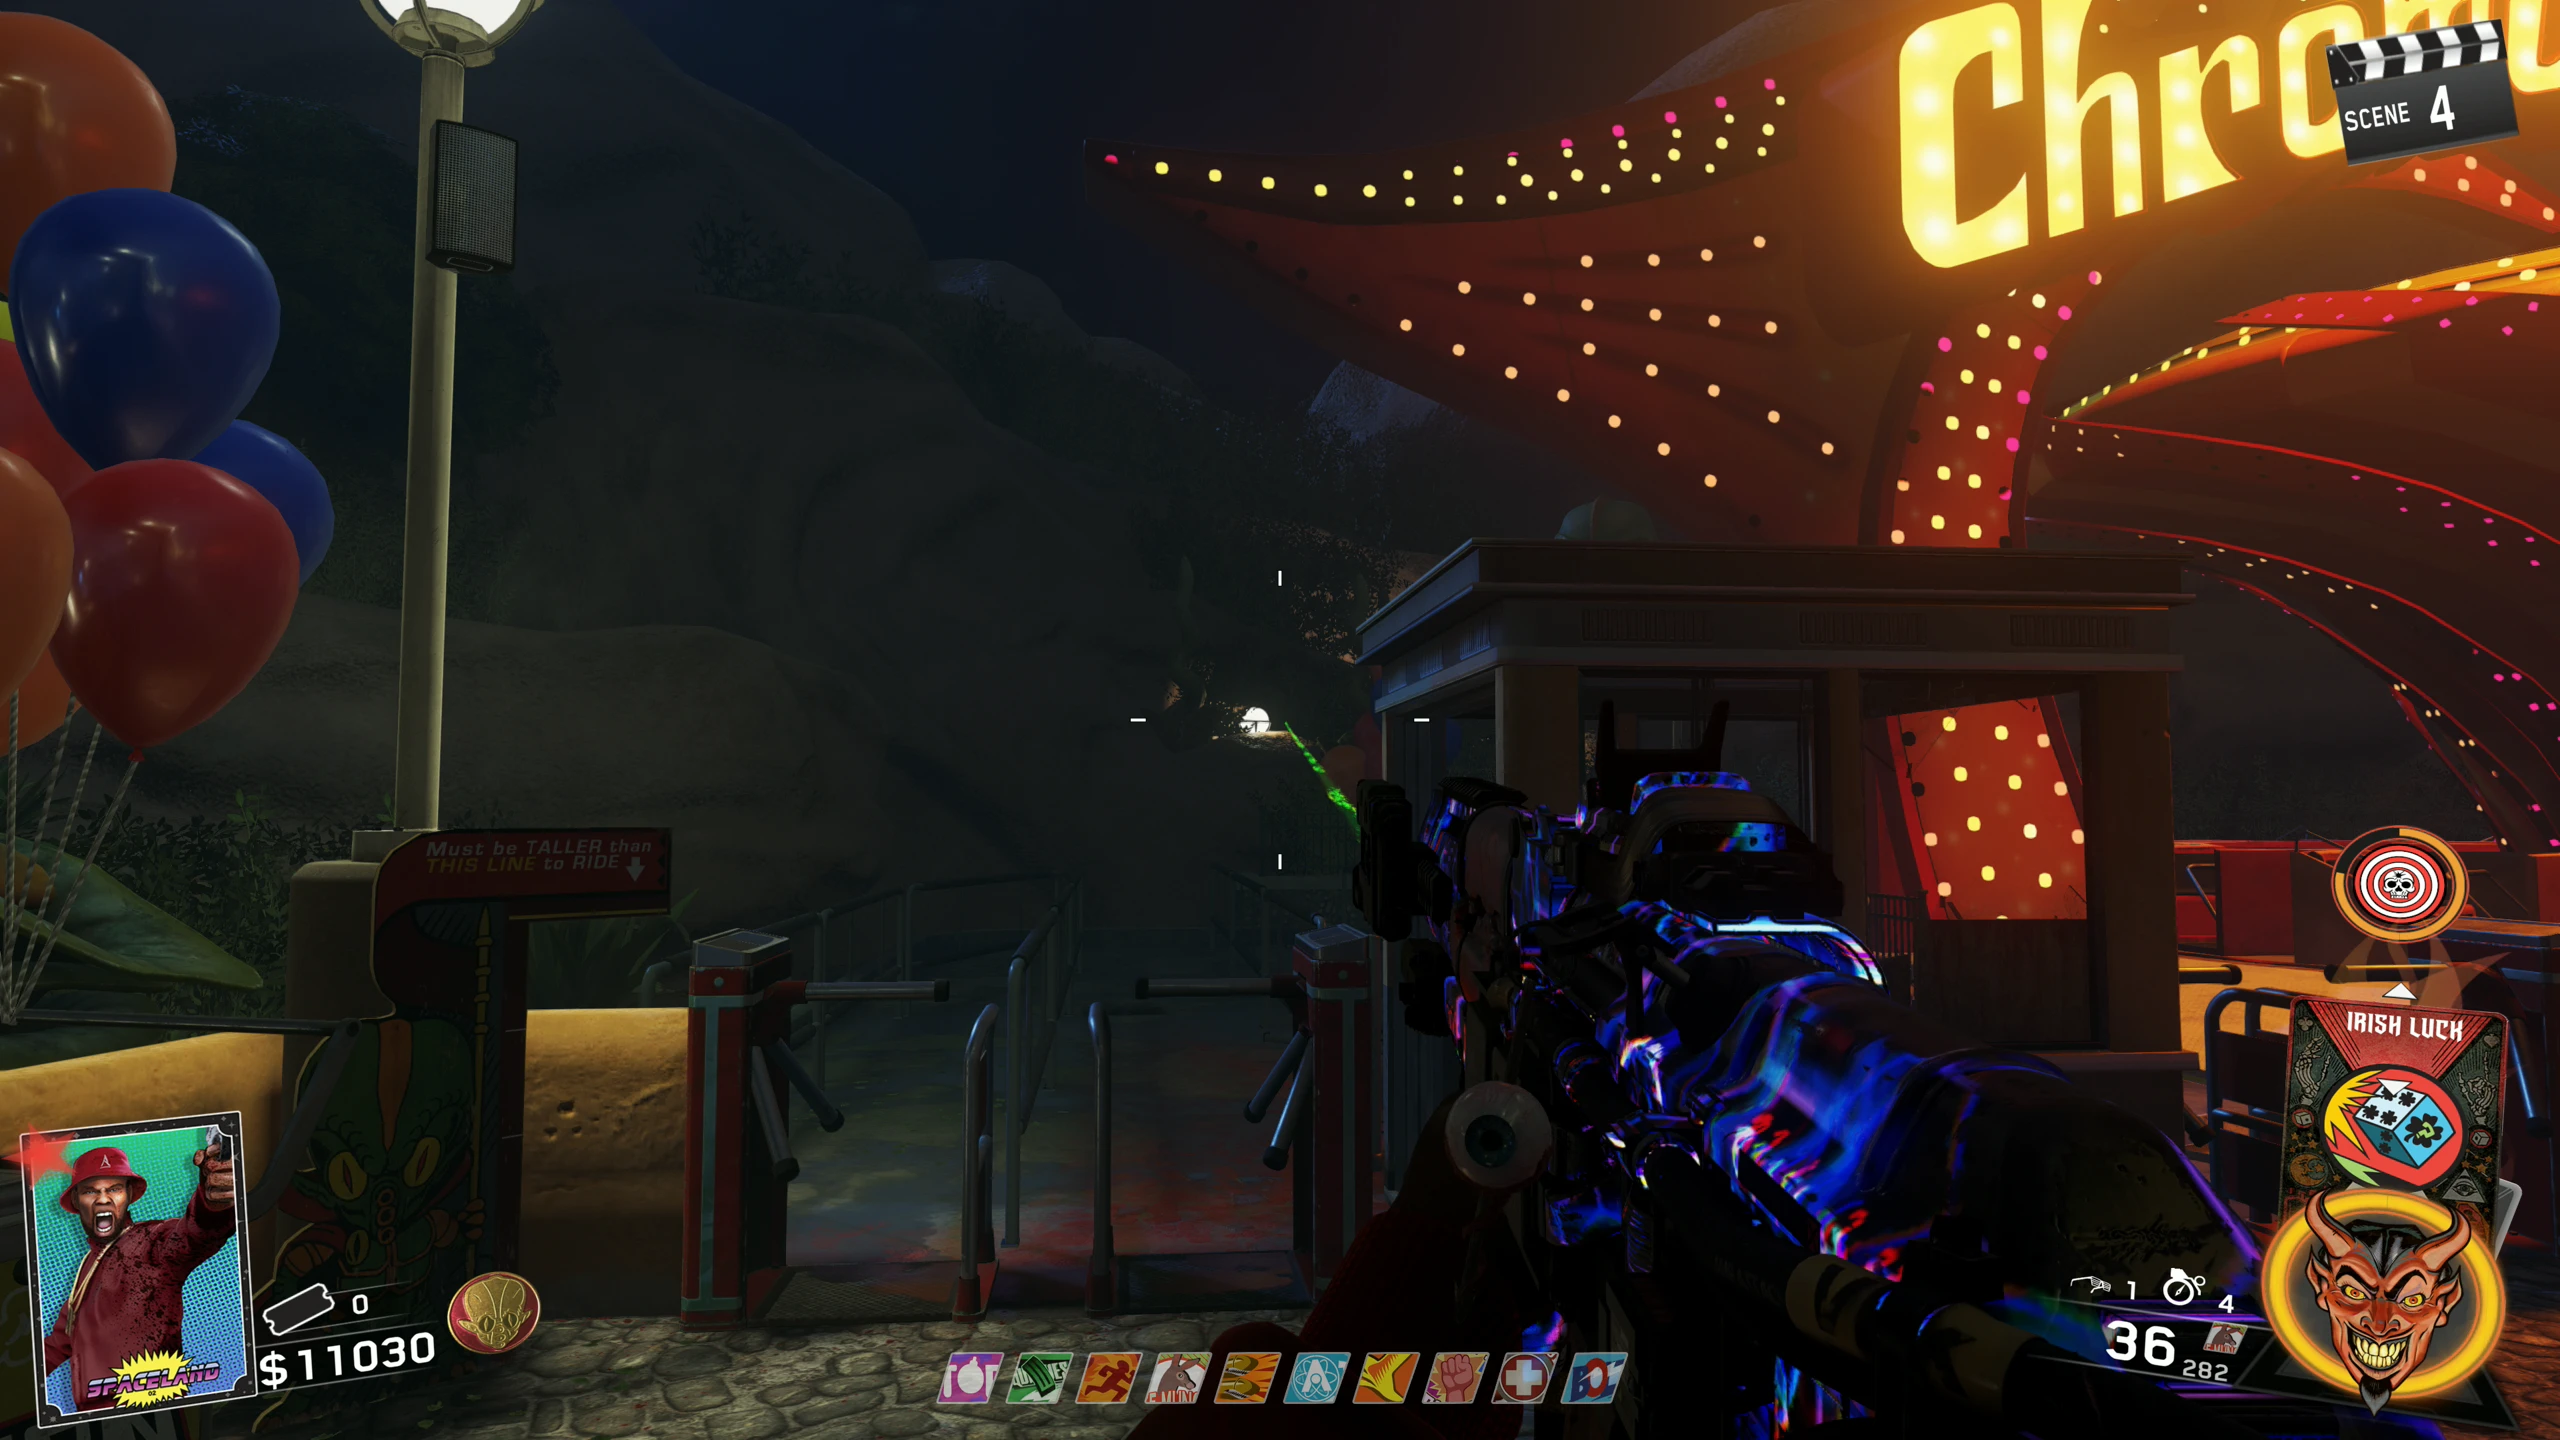
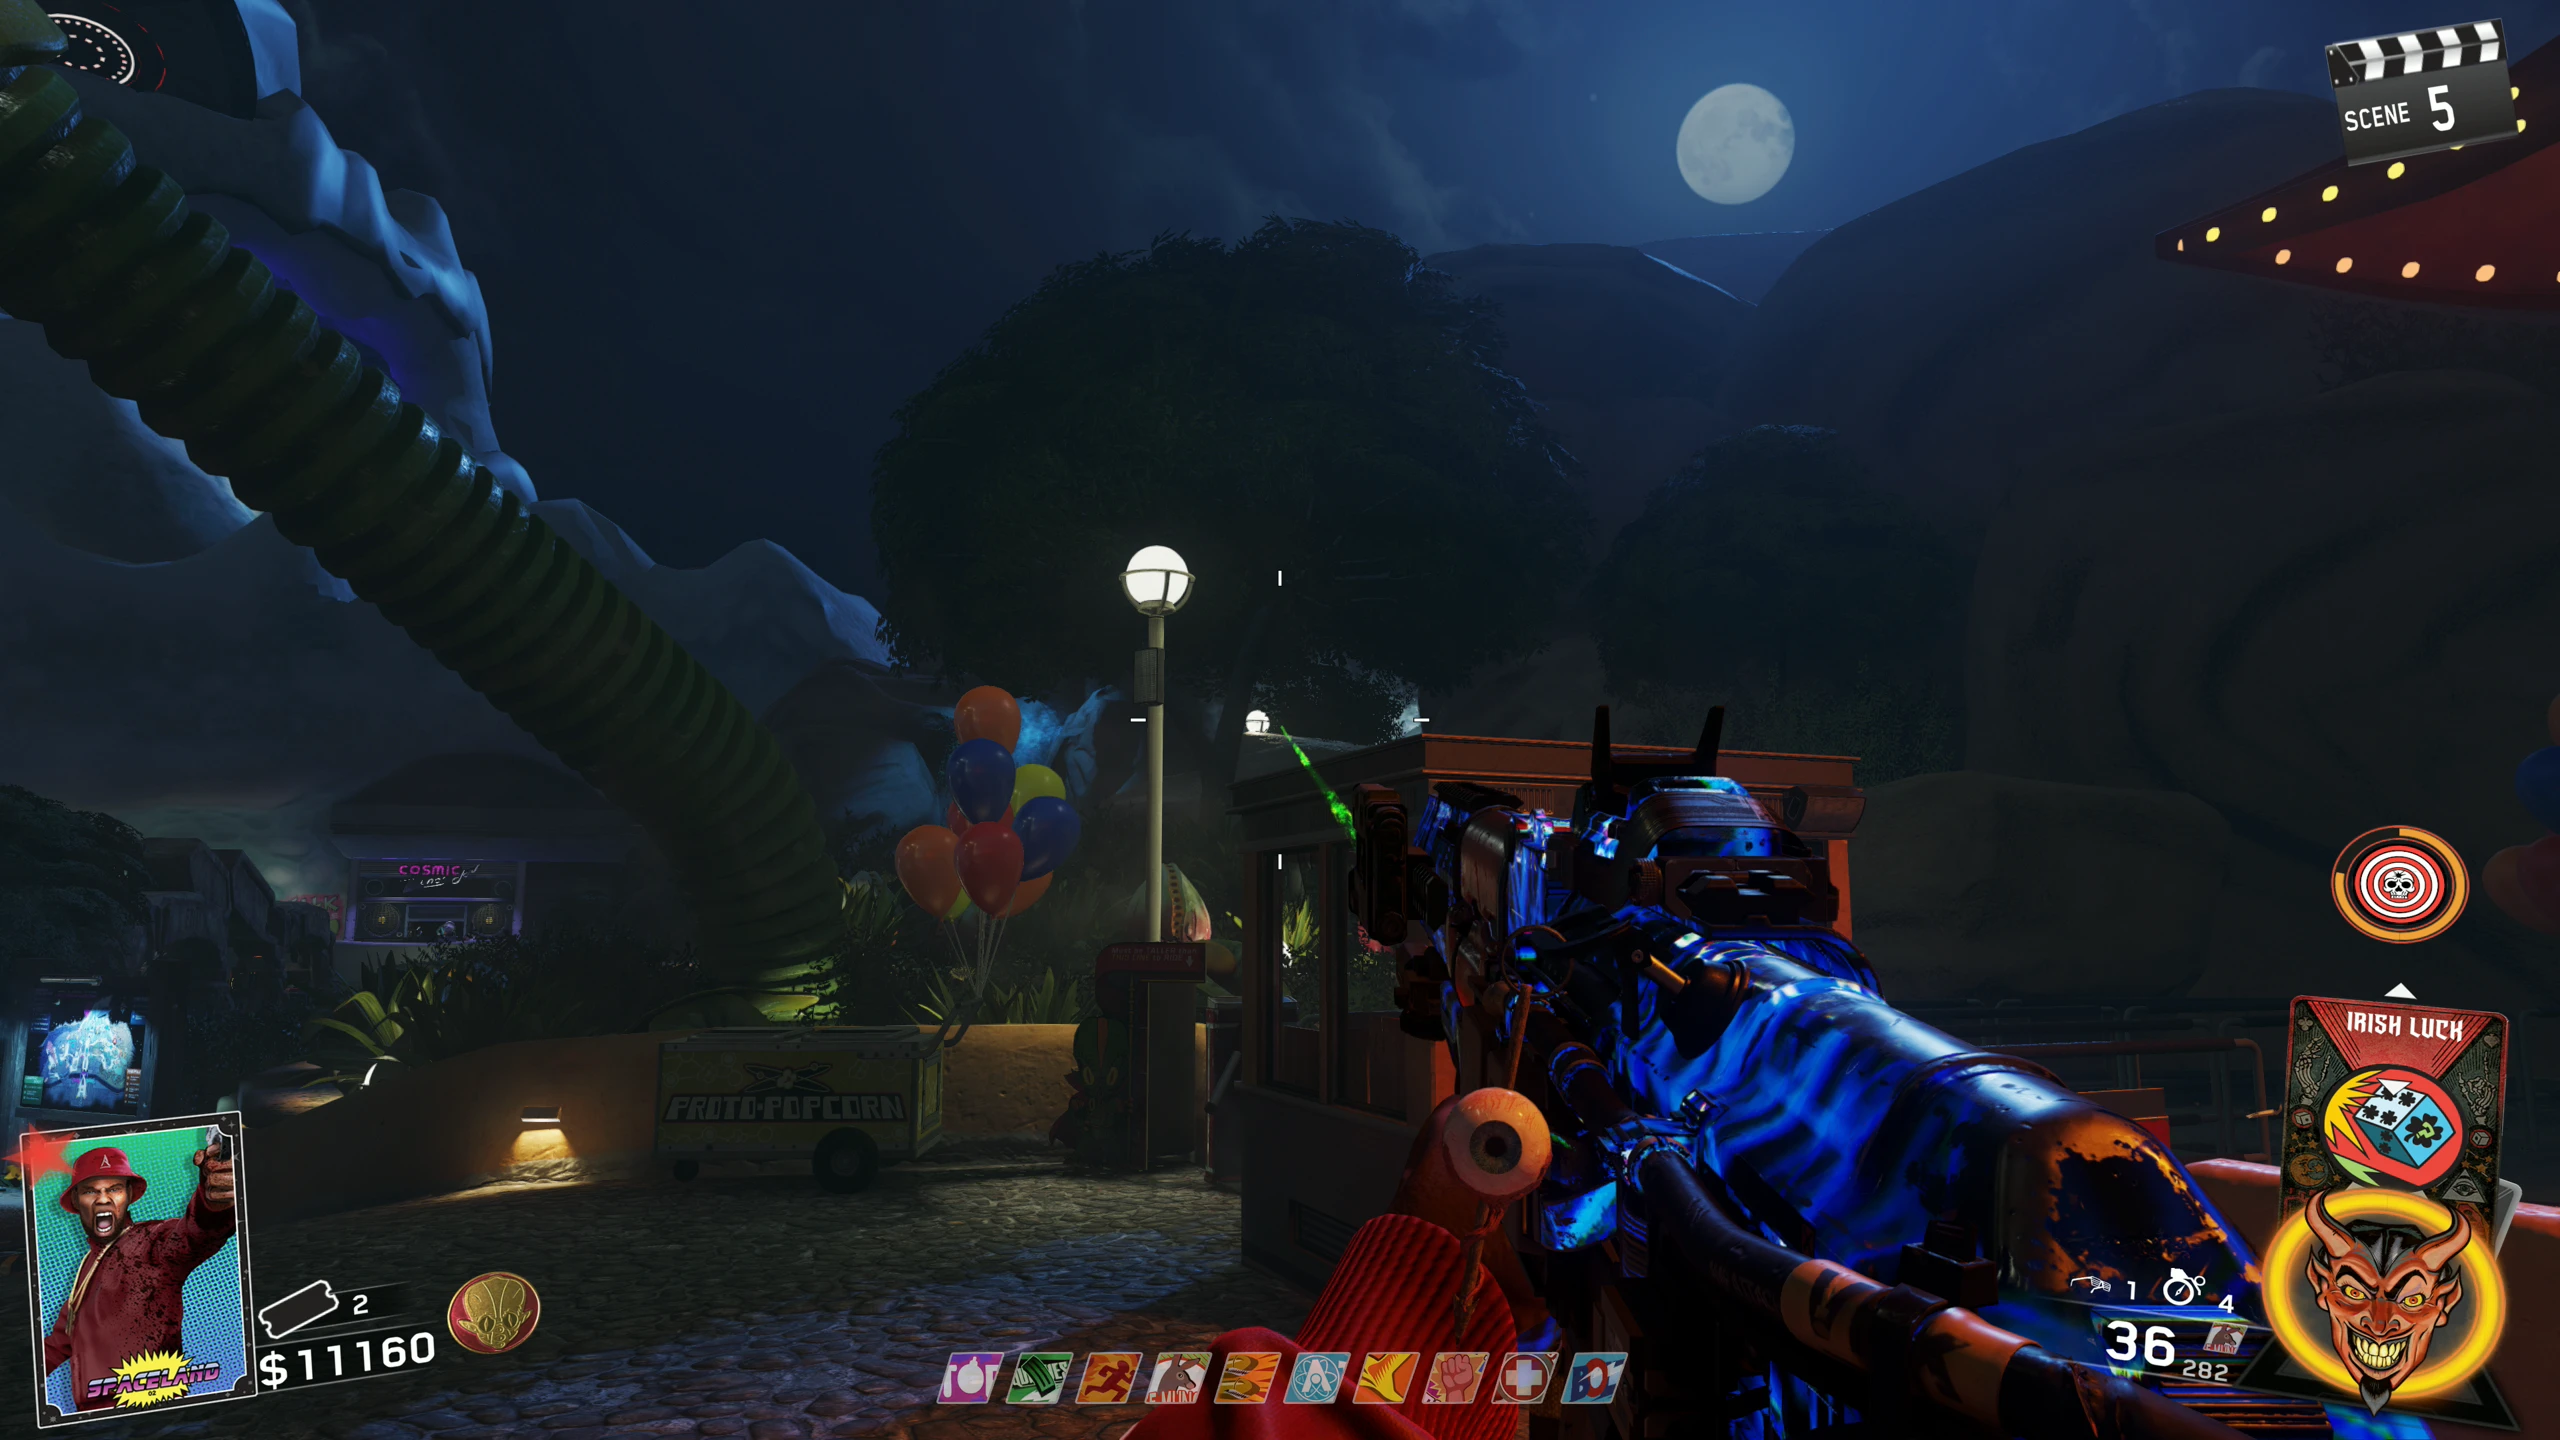
- Cosmic Way - In front of the entrance to Polar Peak
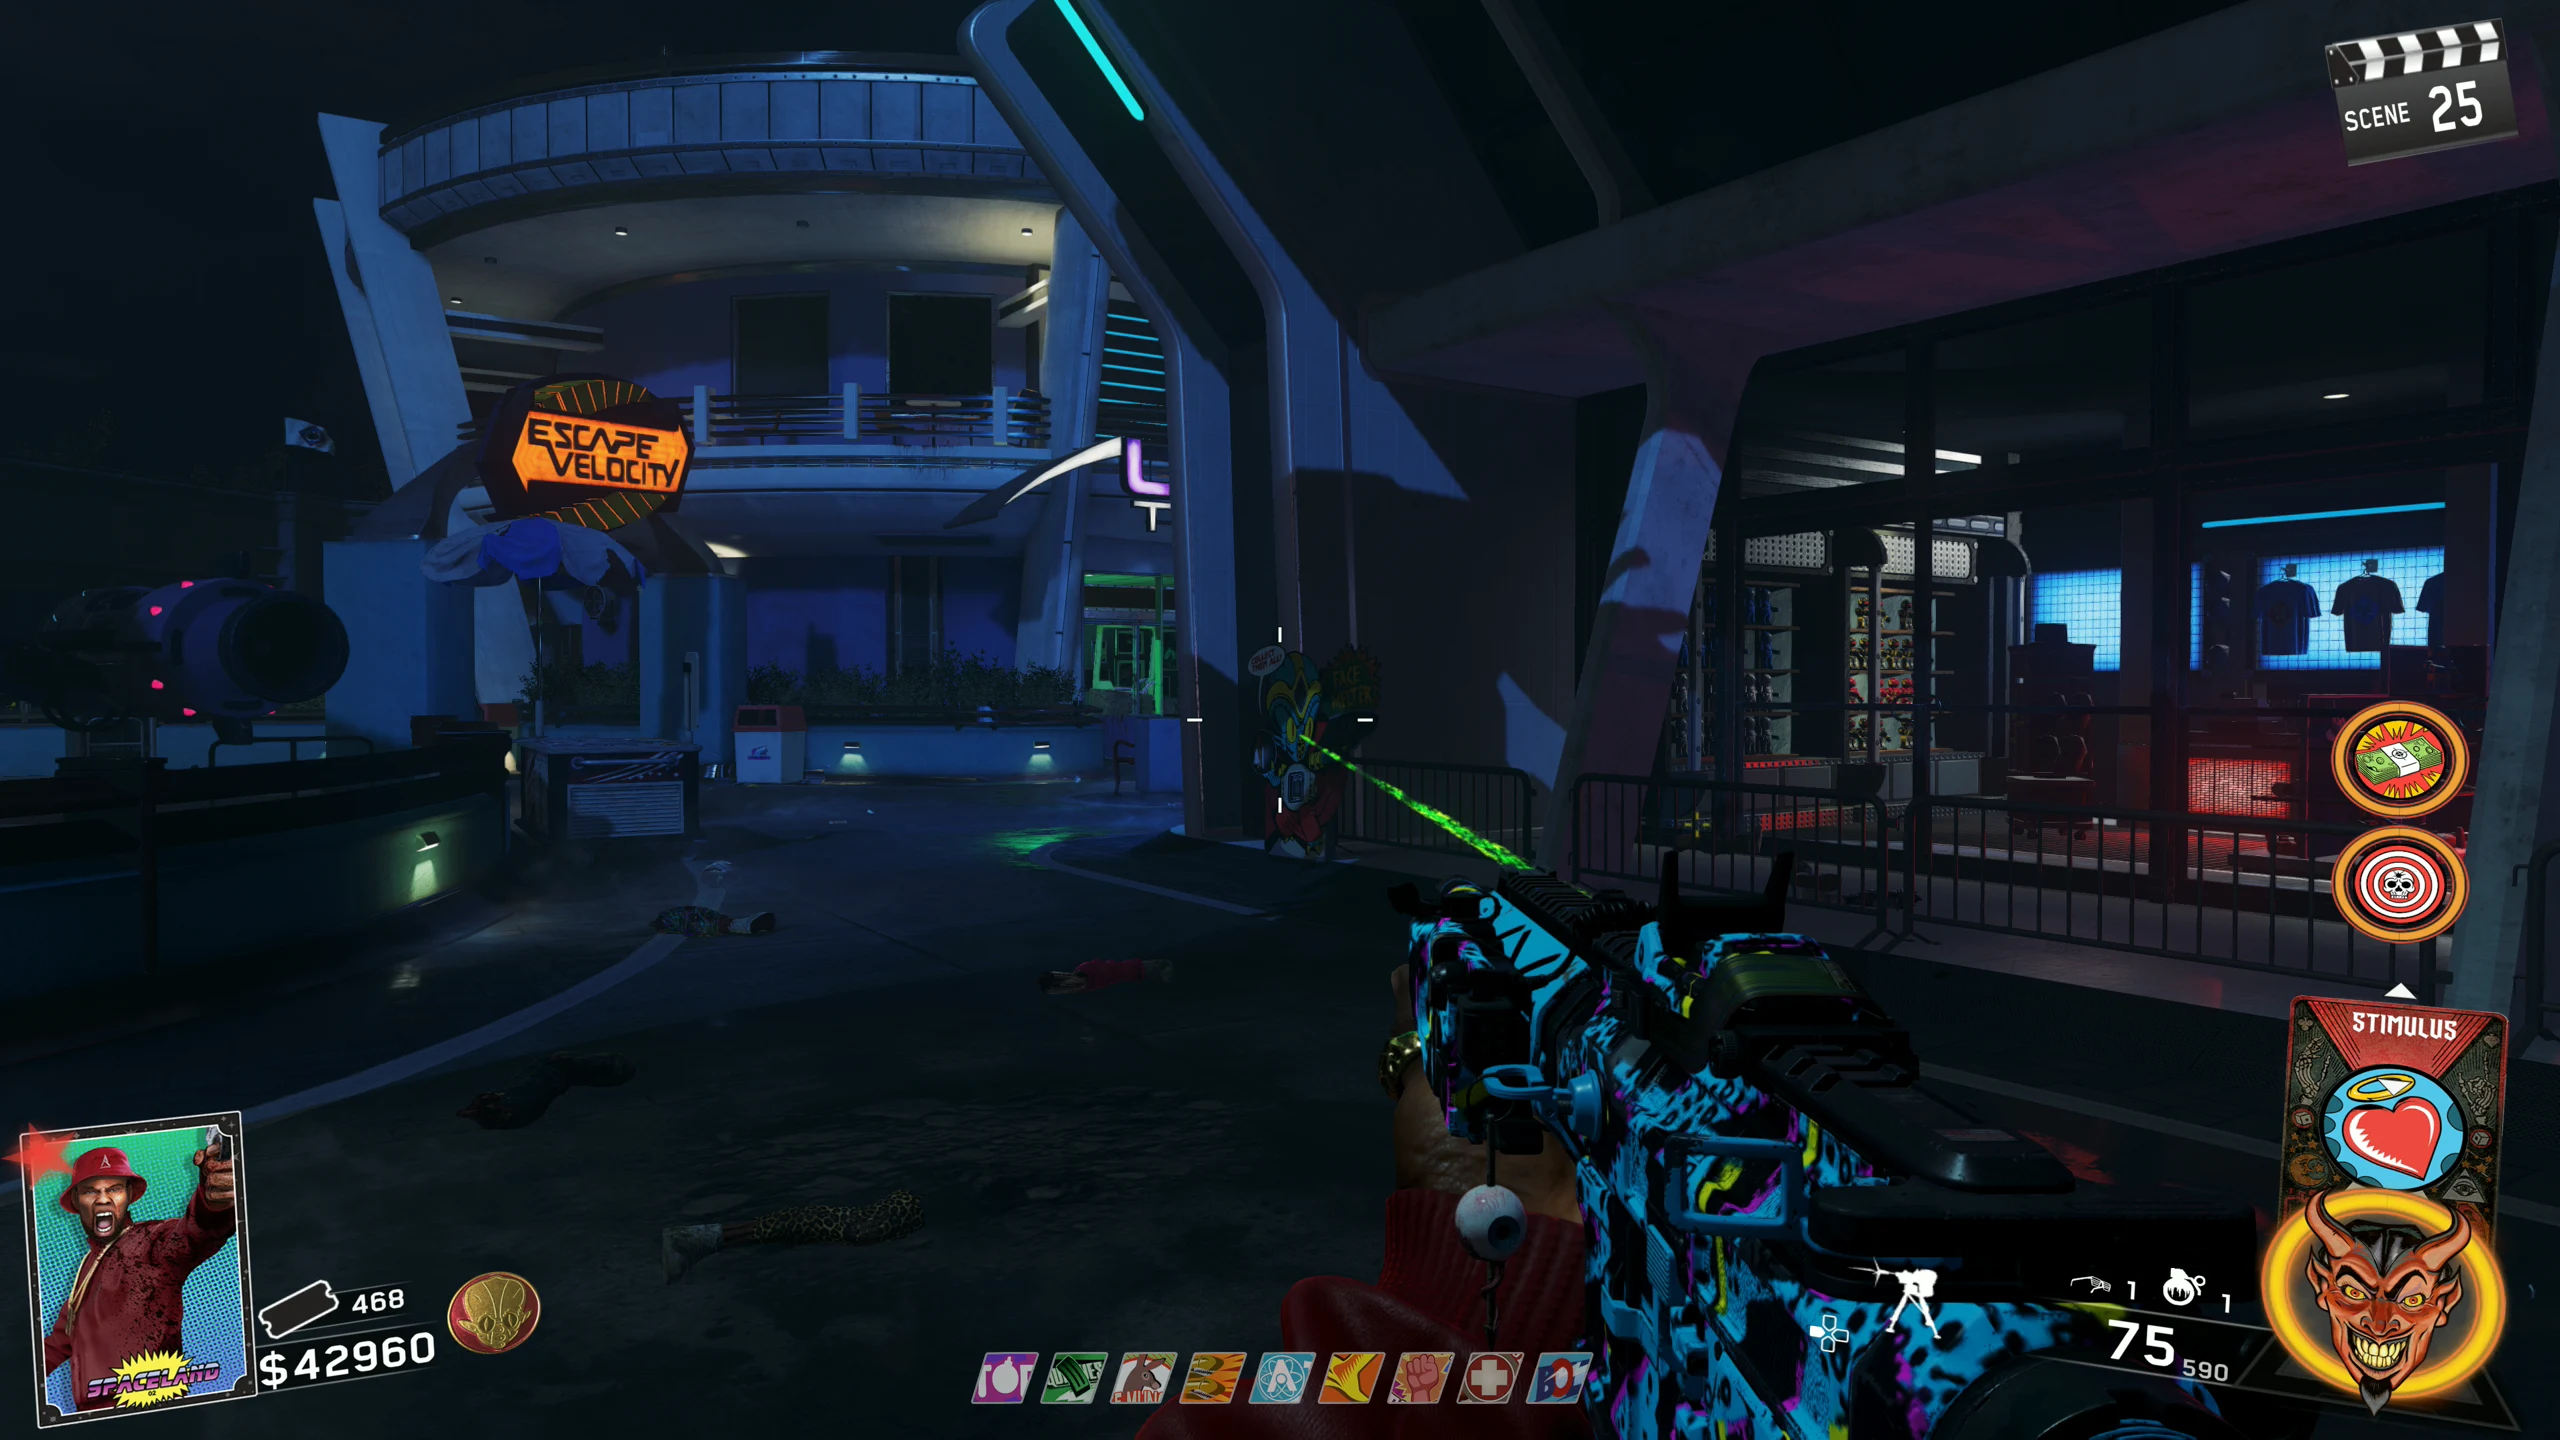
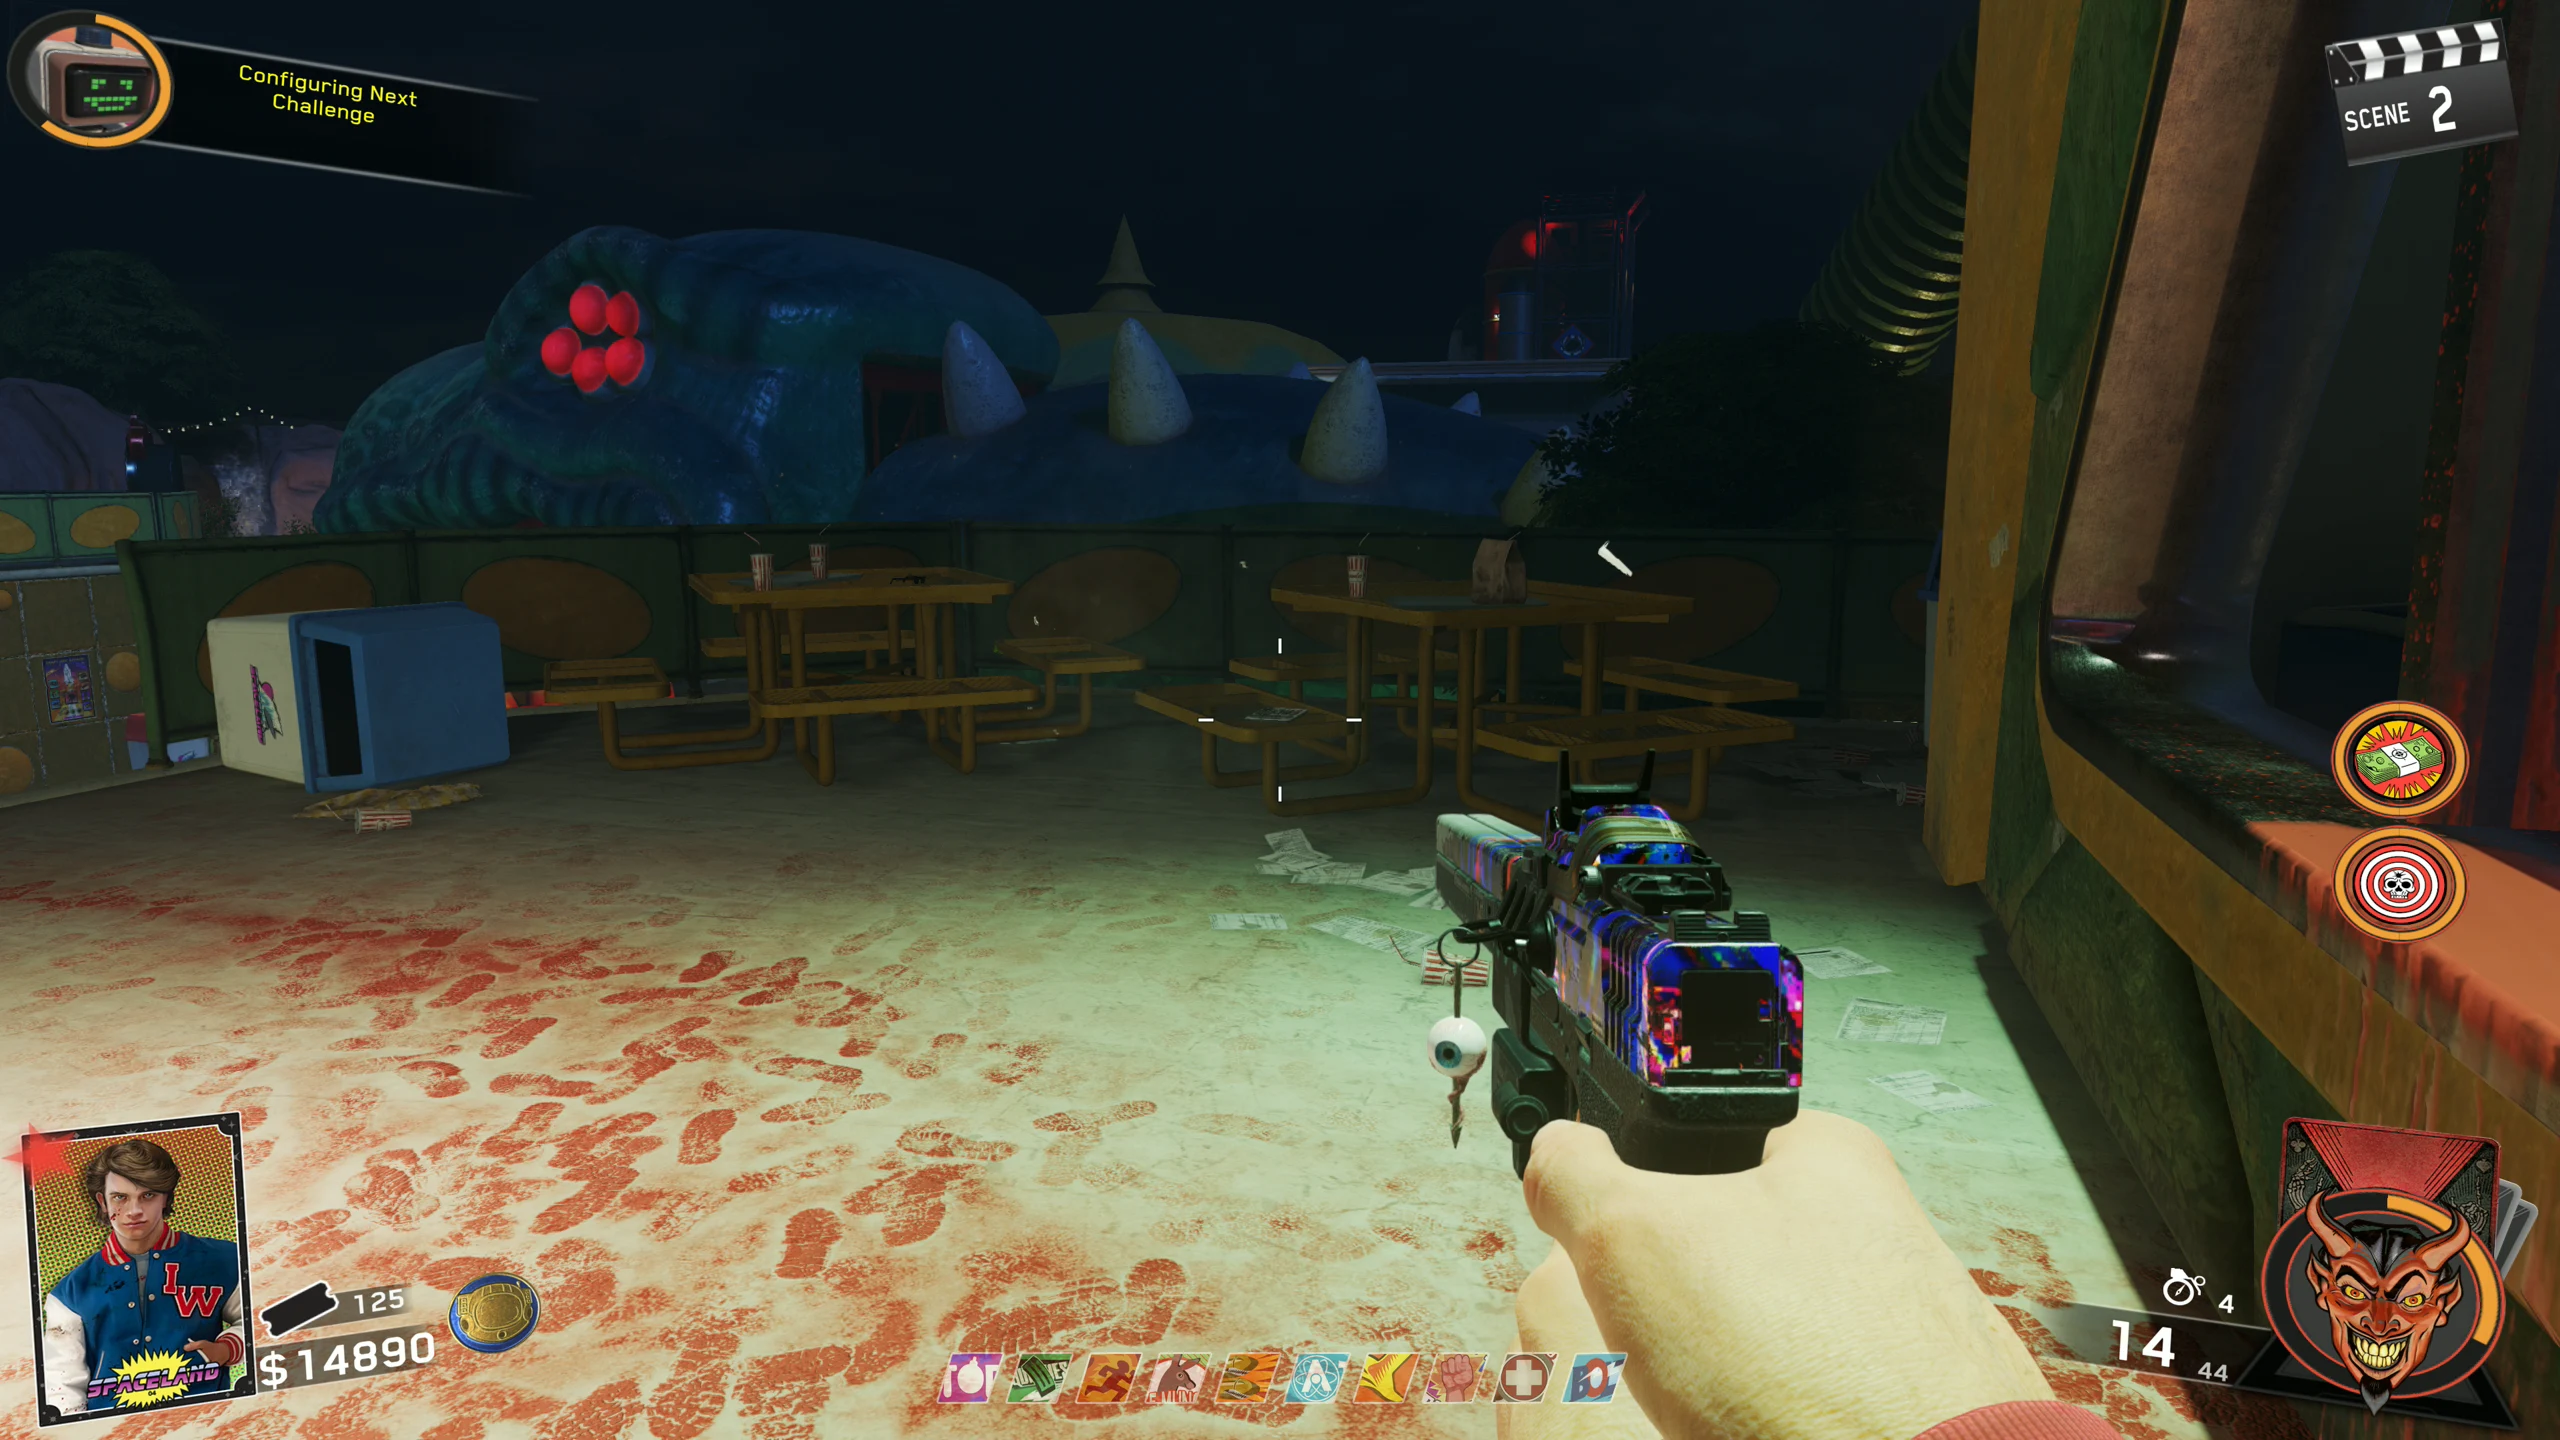
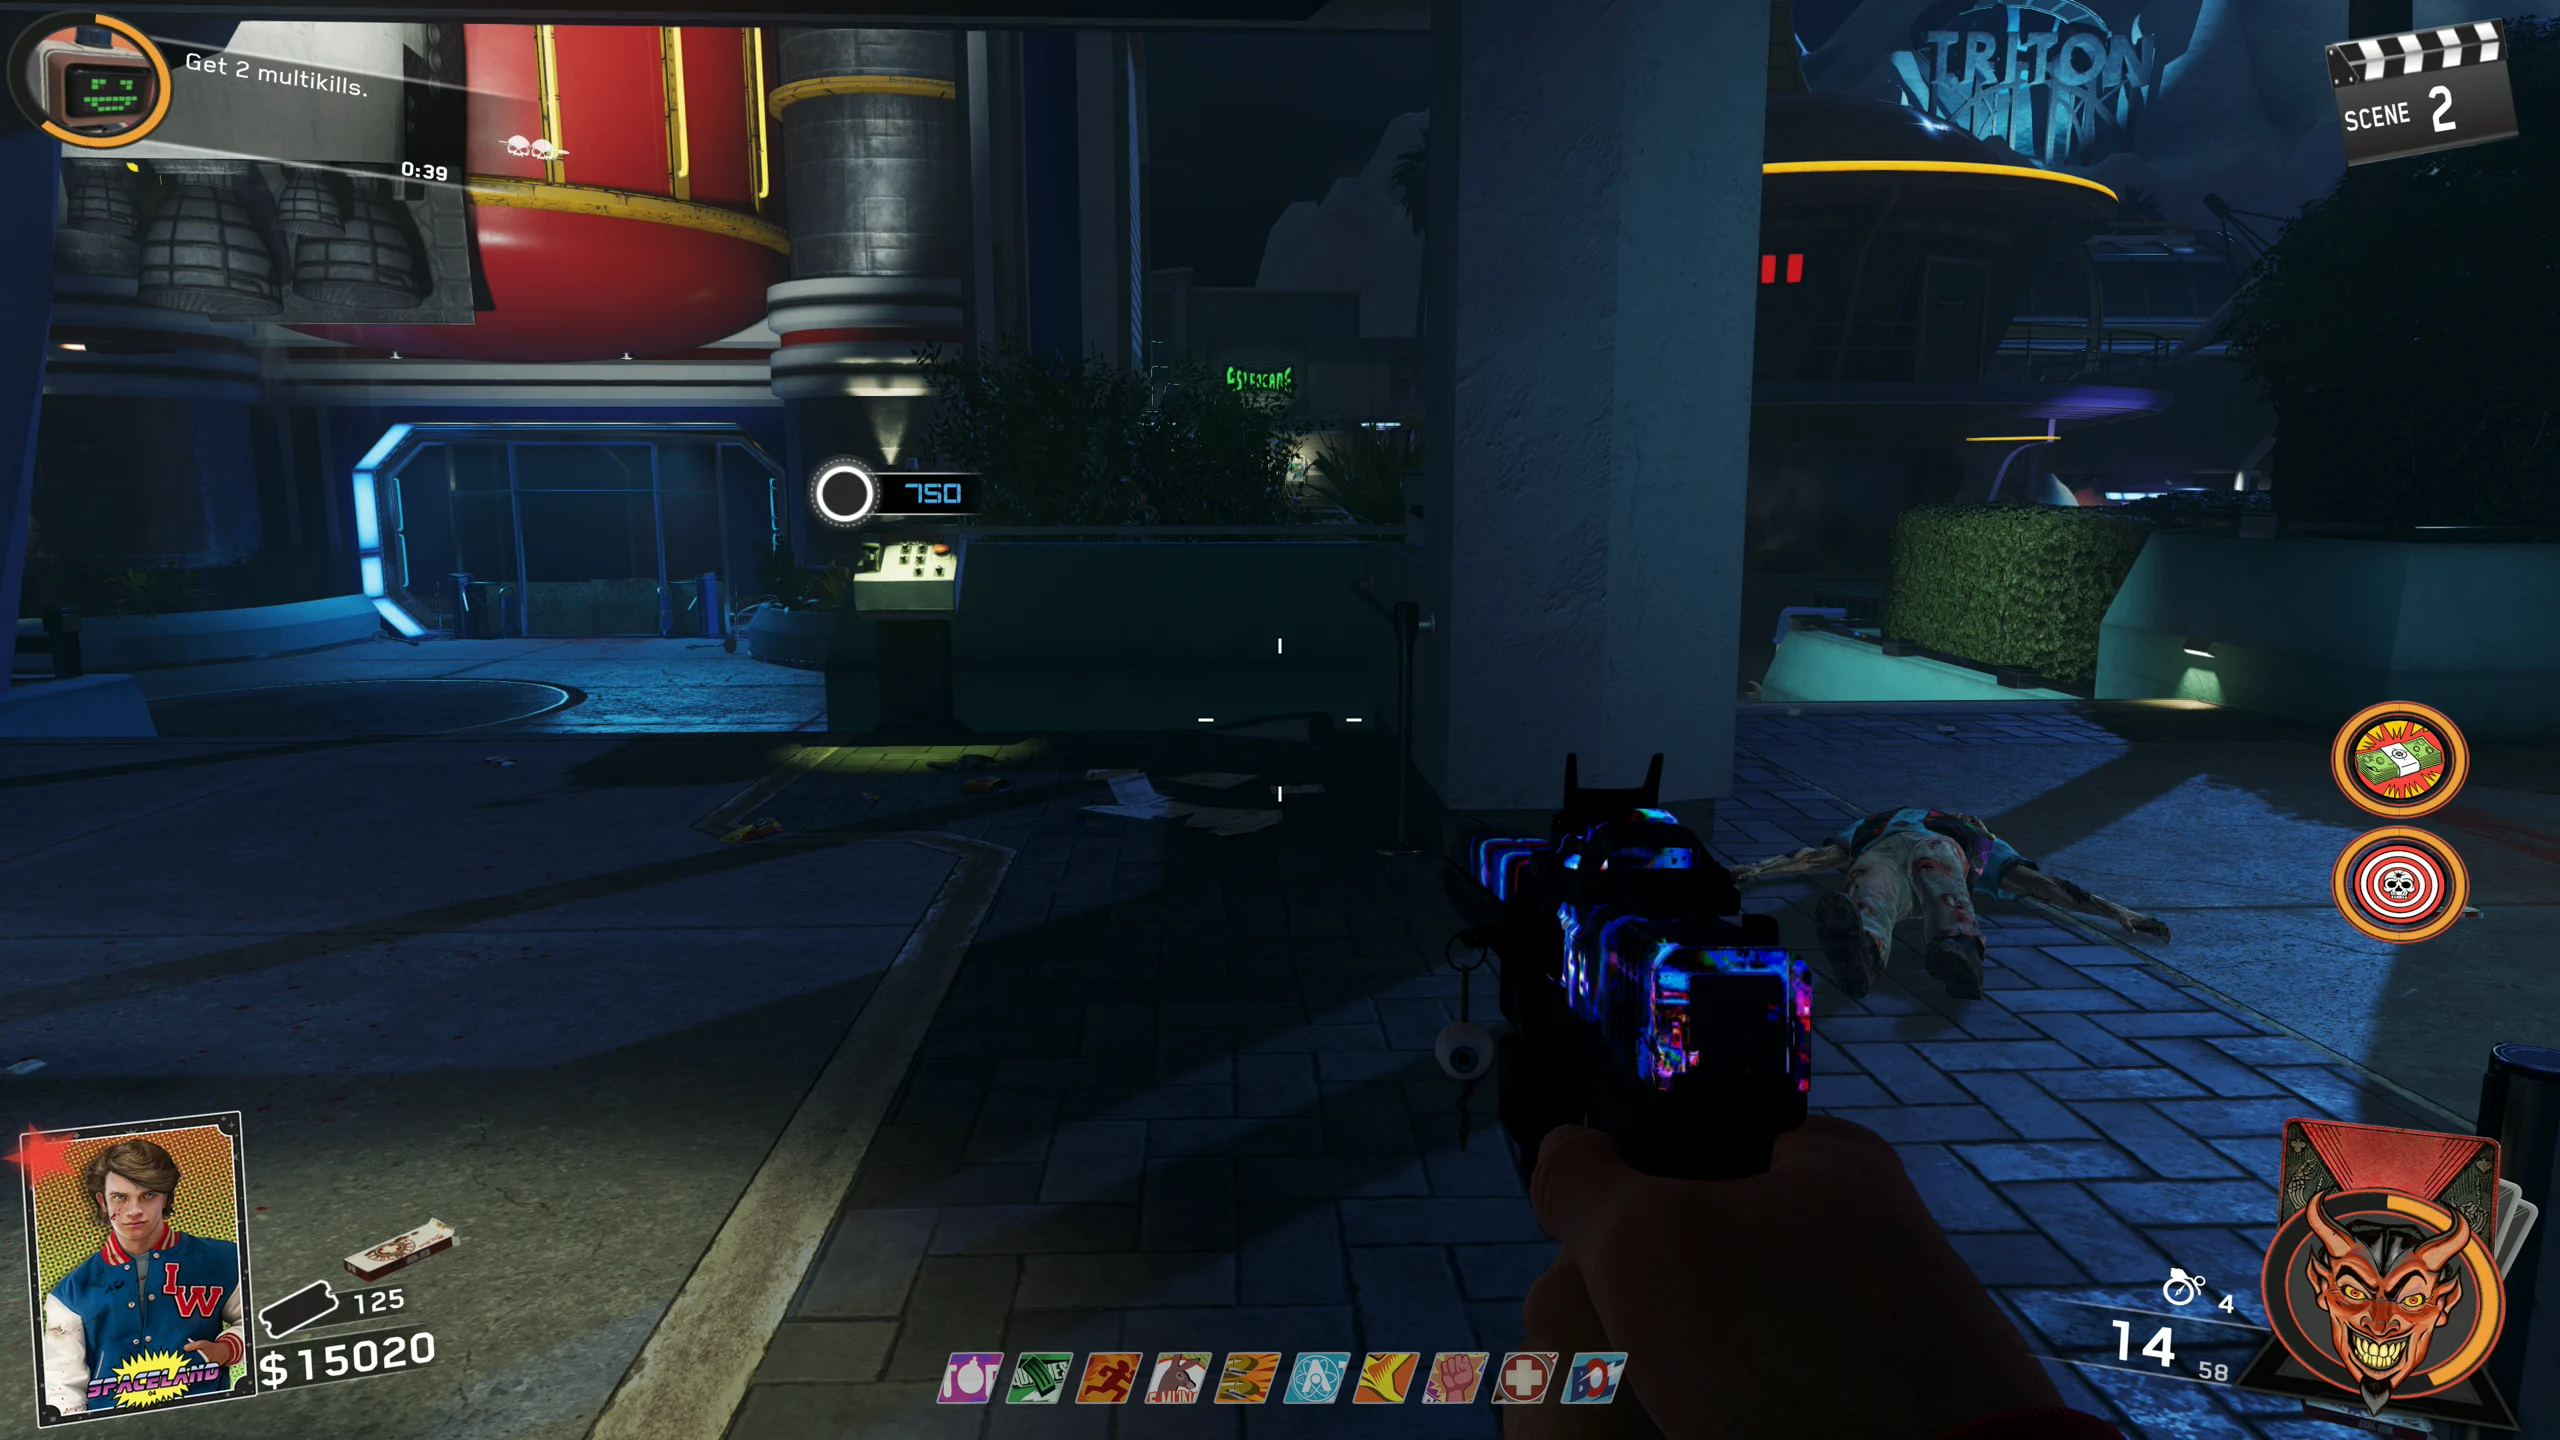
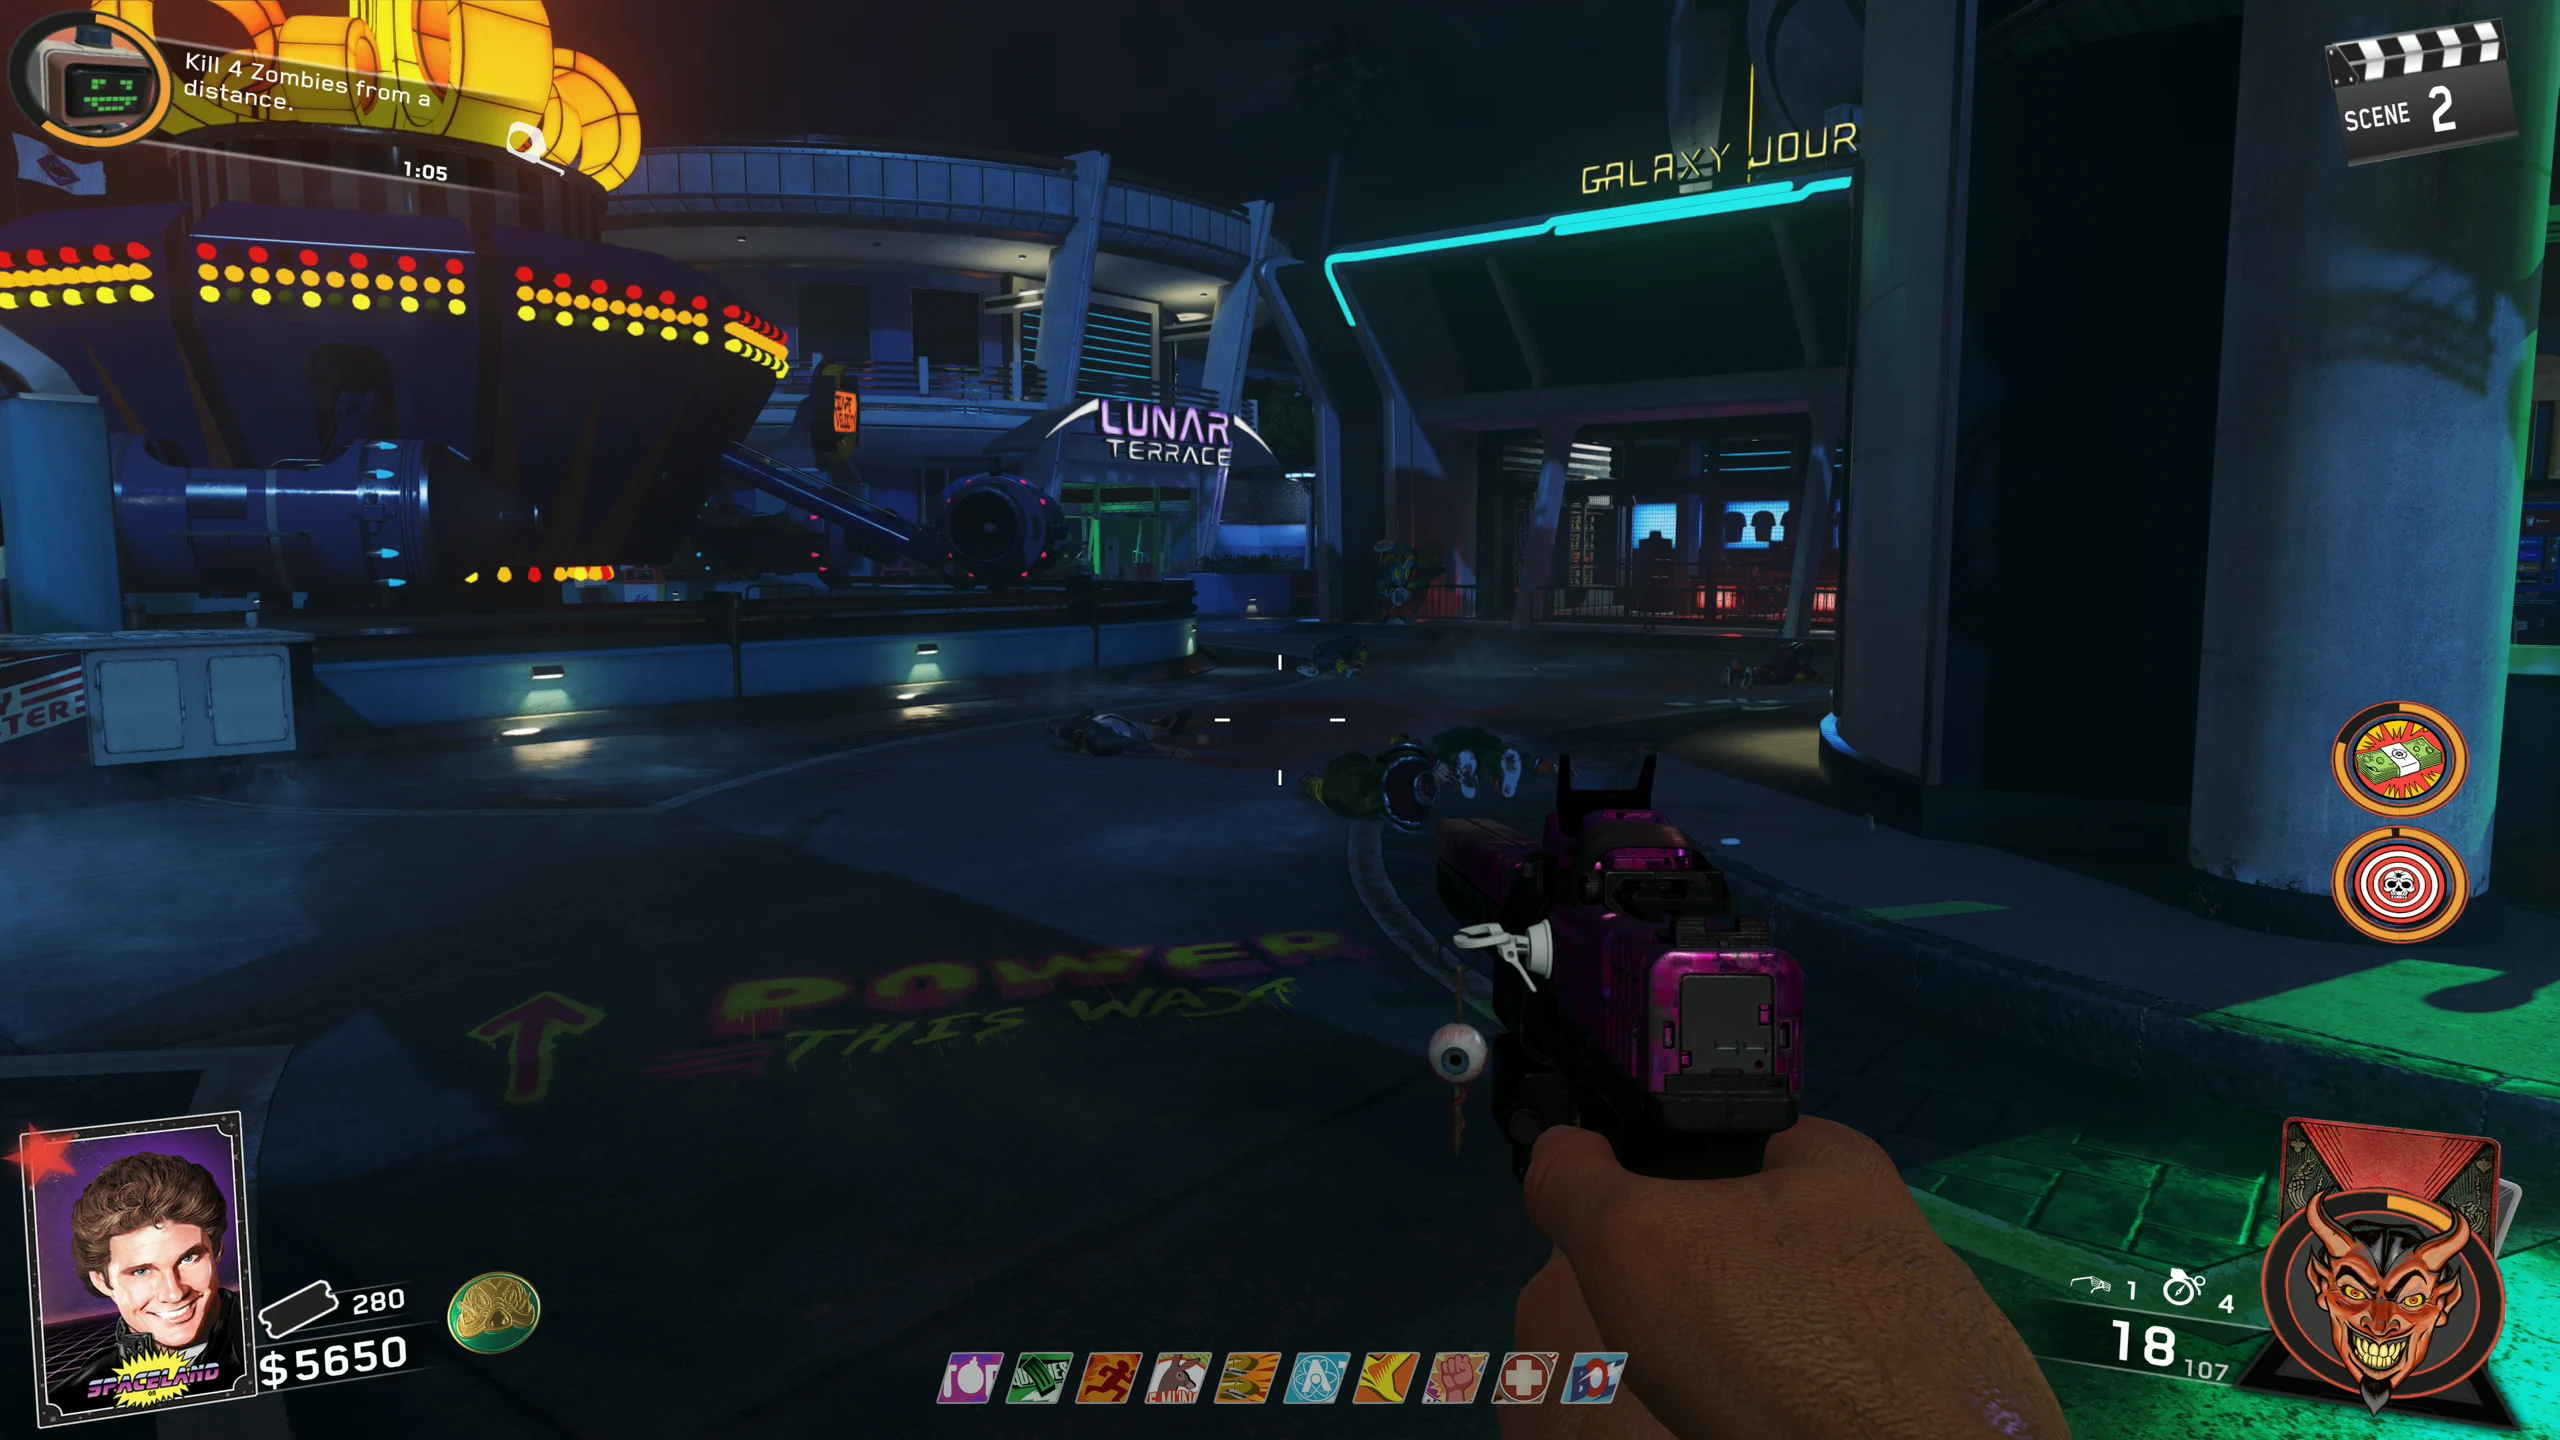
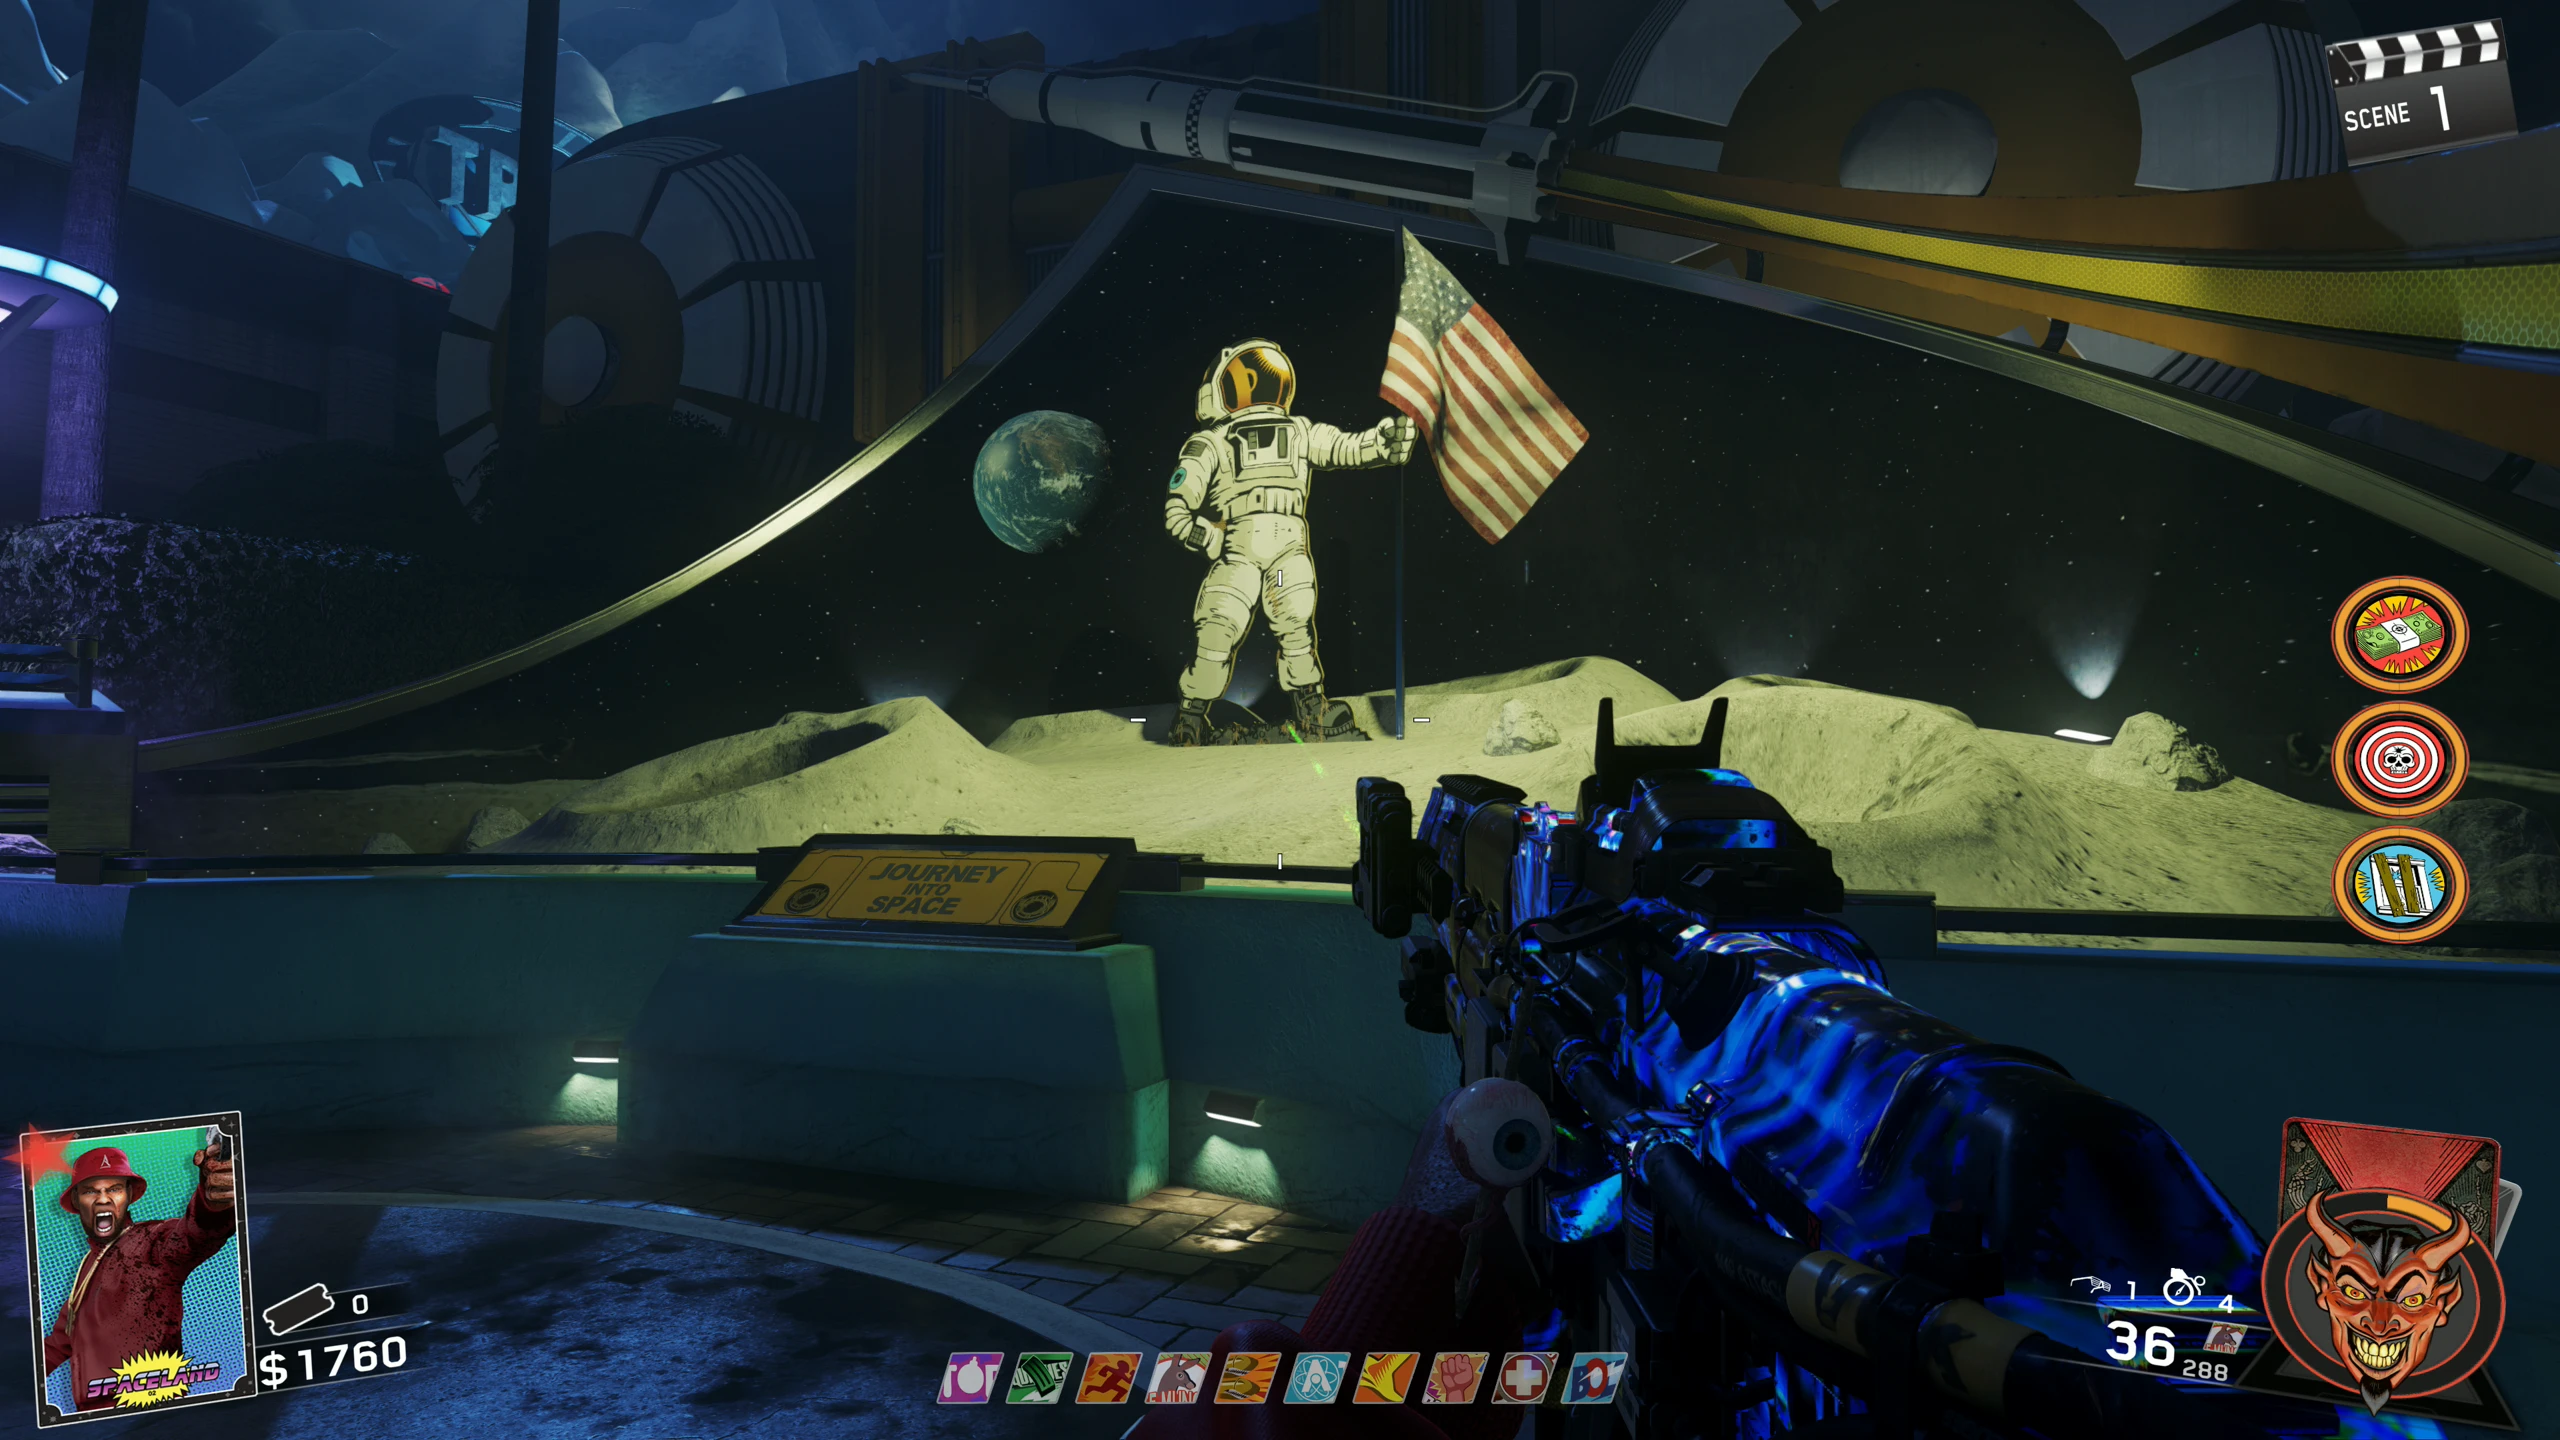
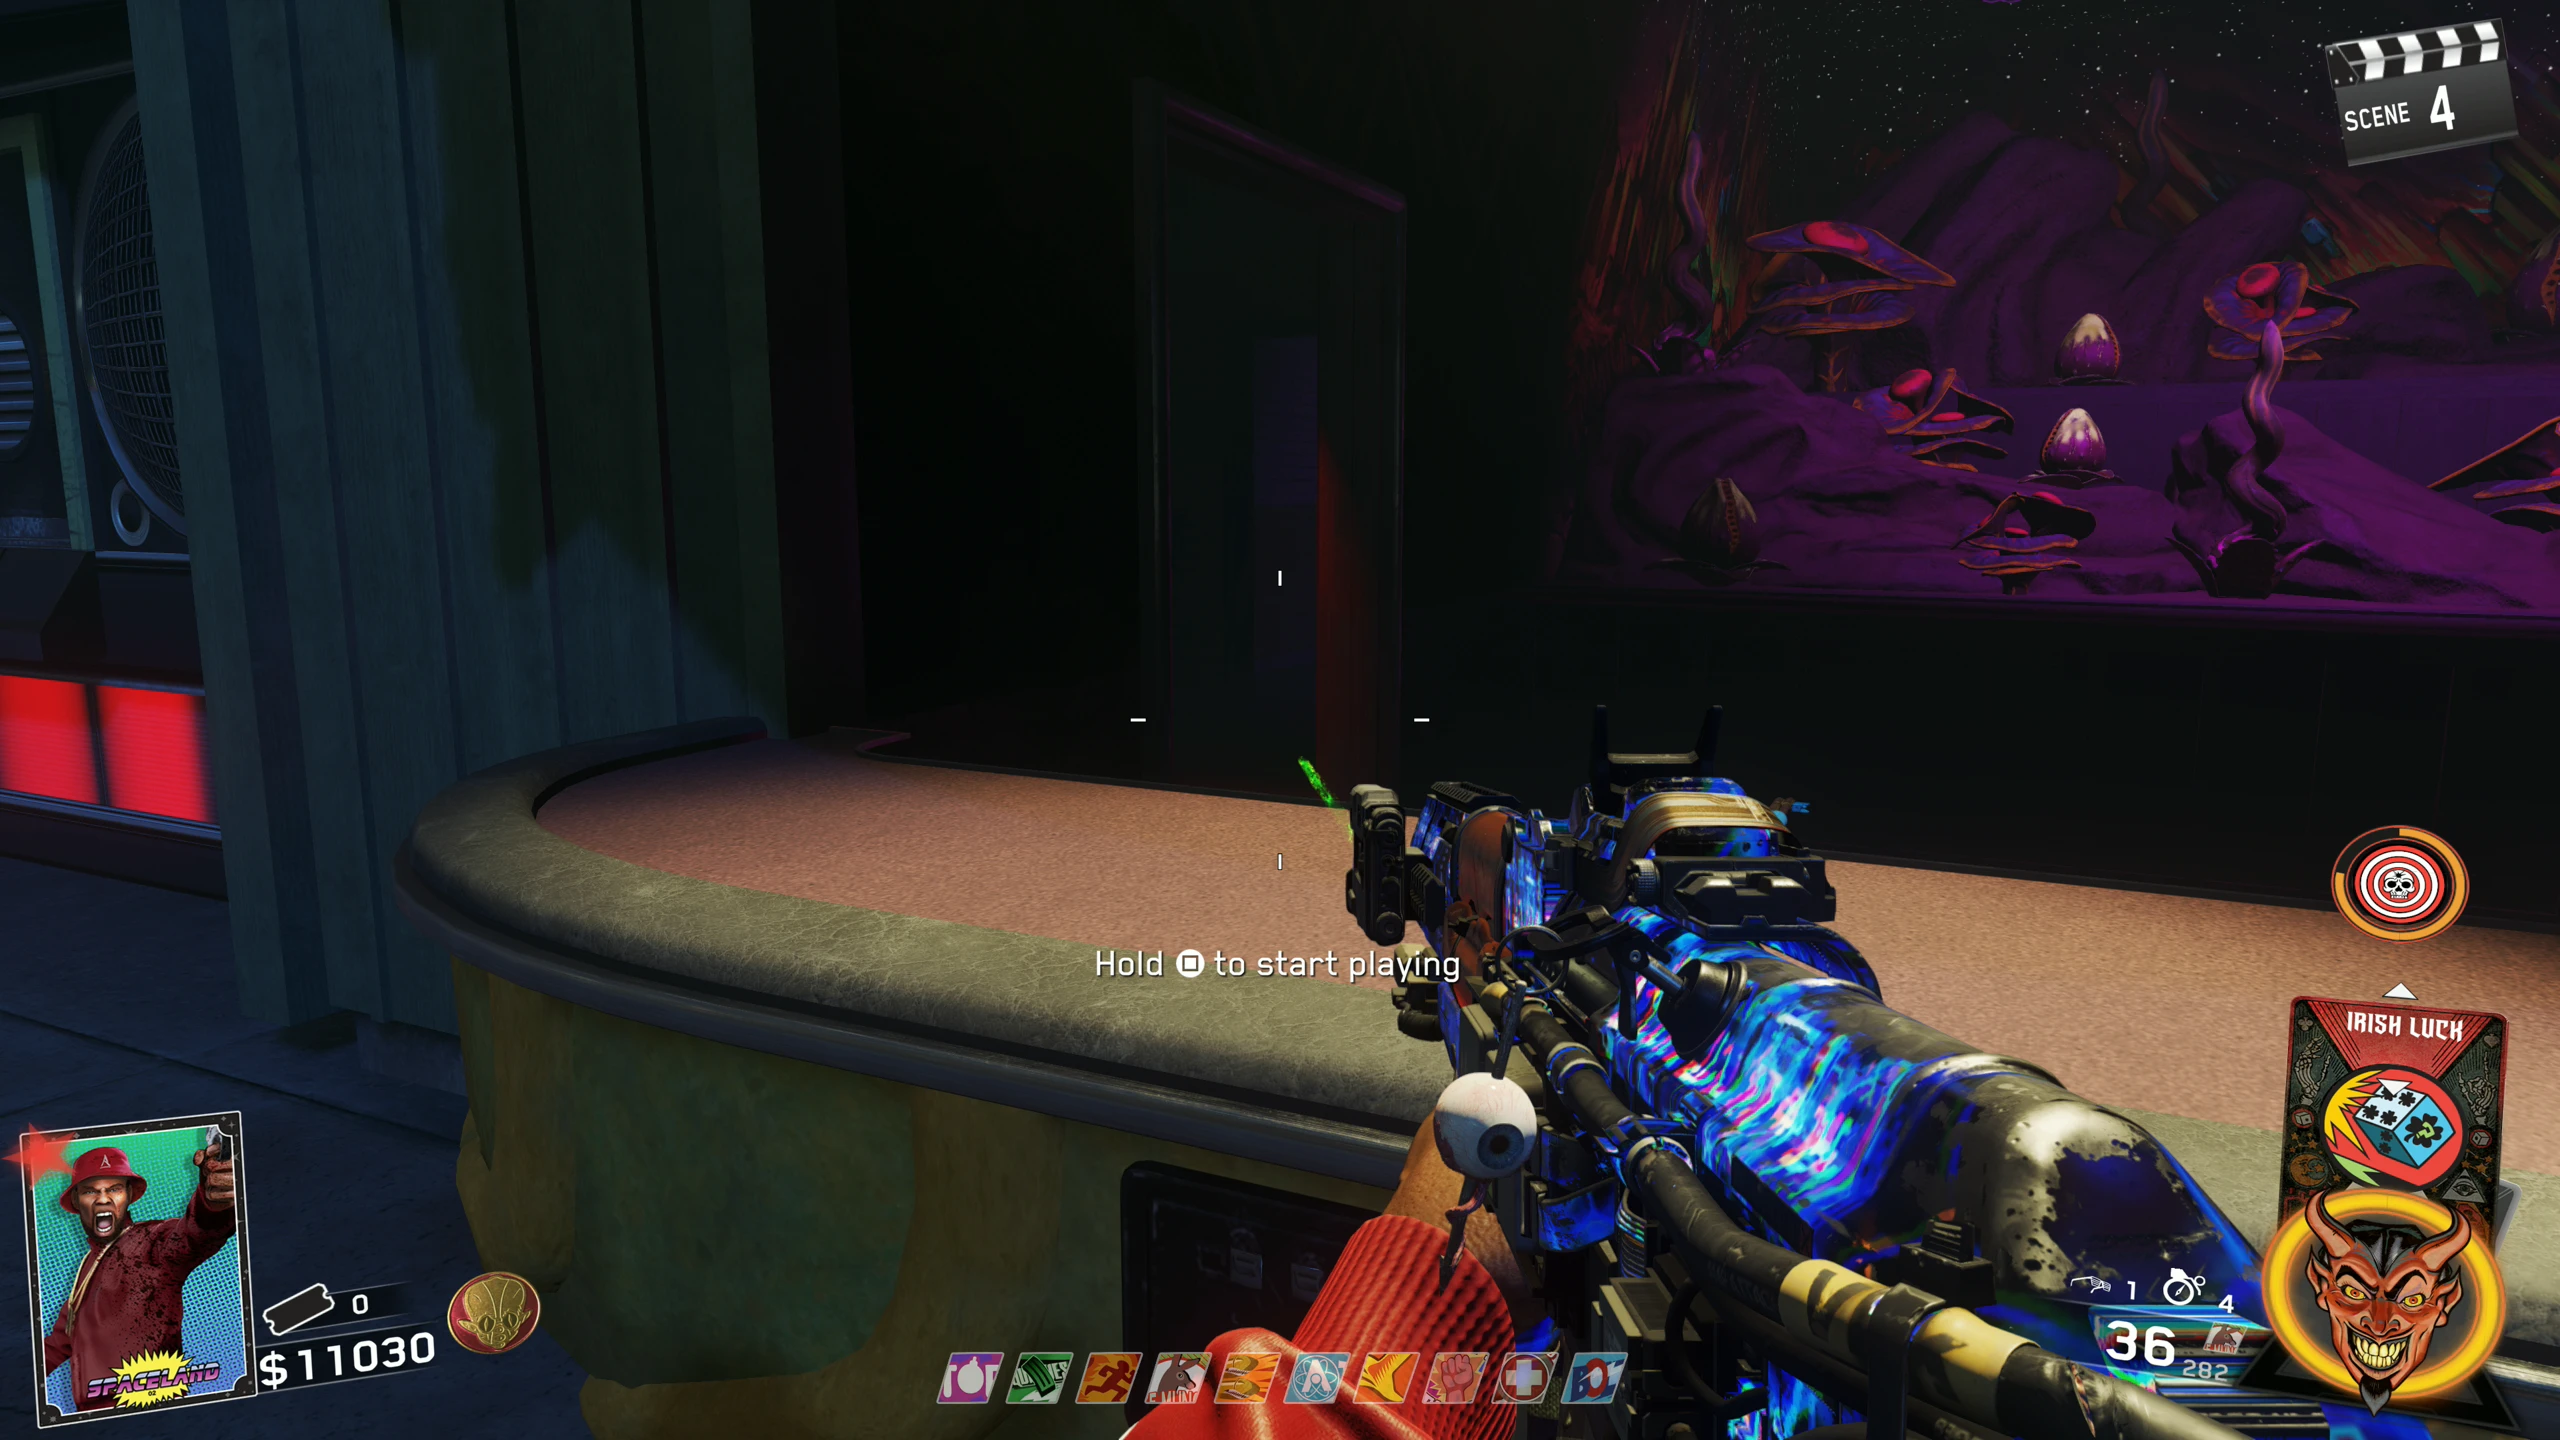
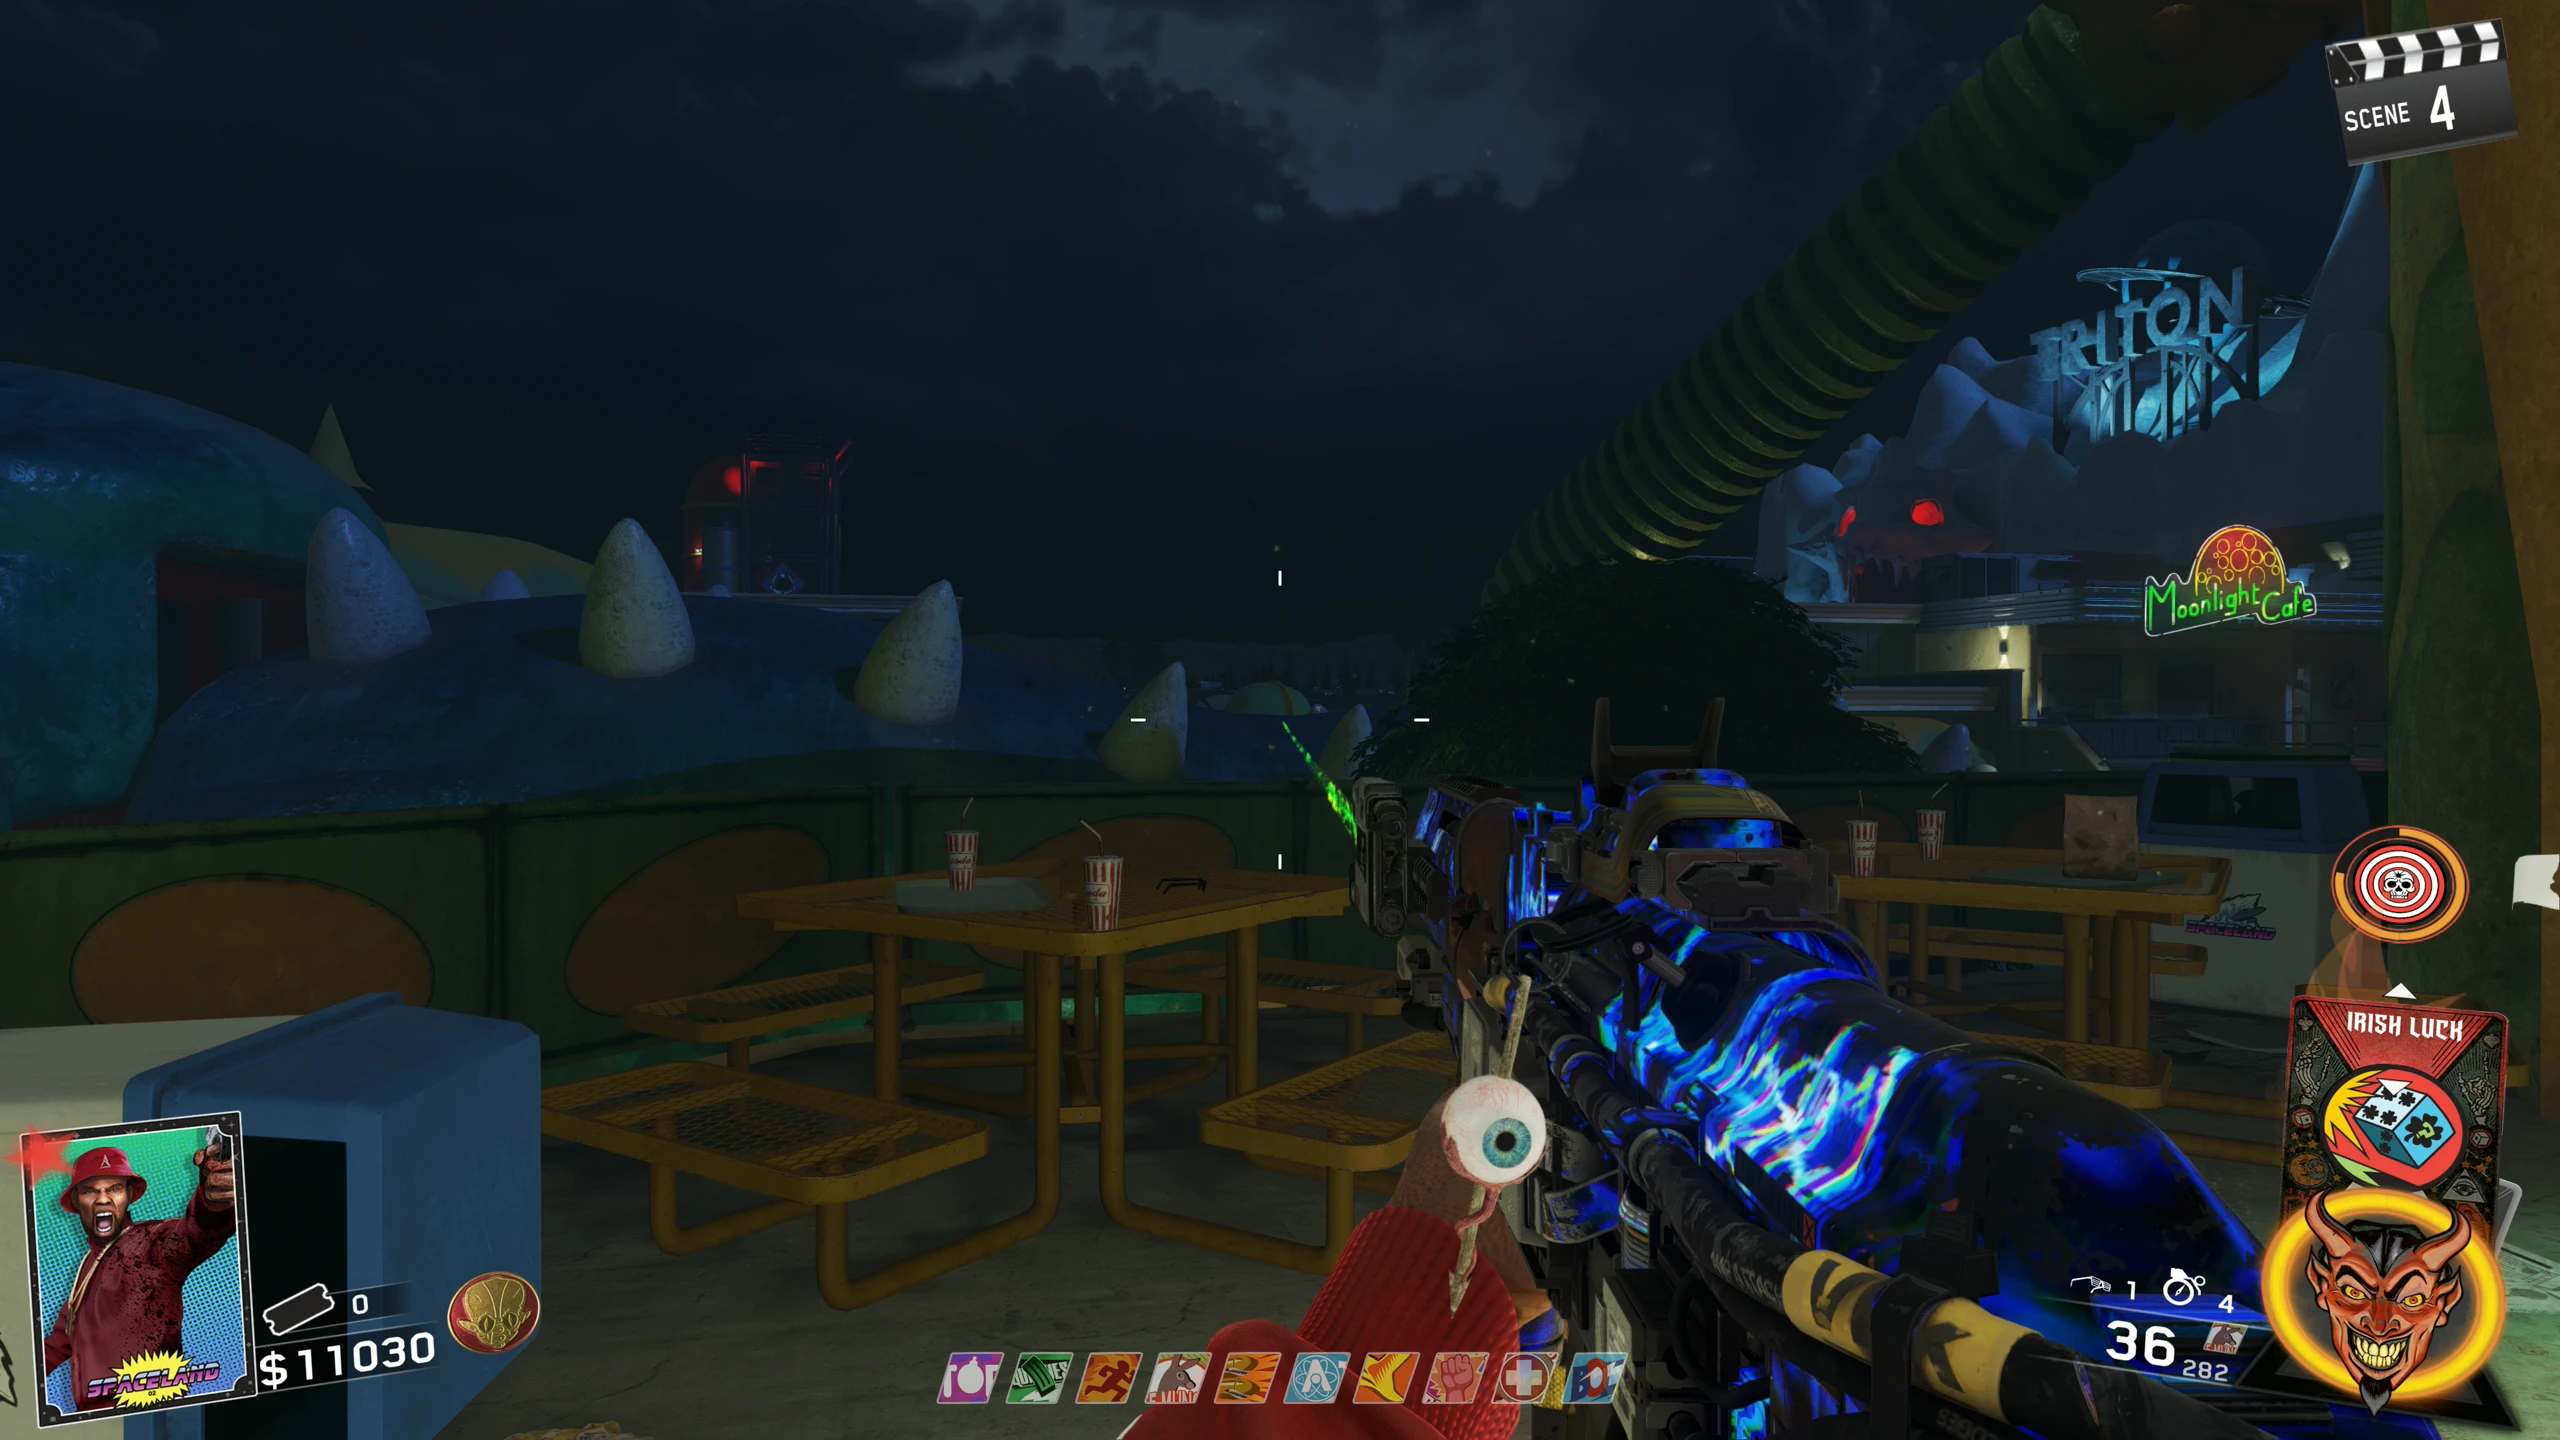
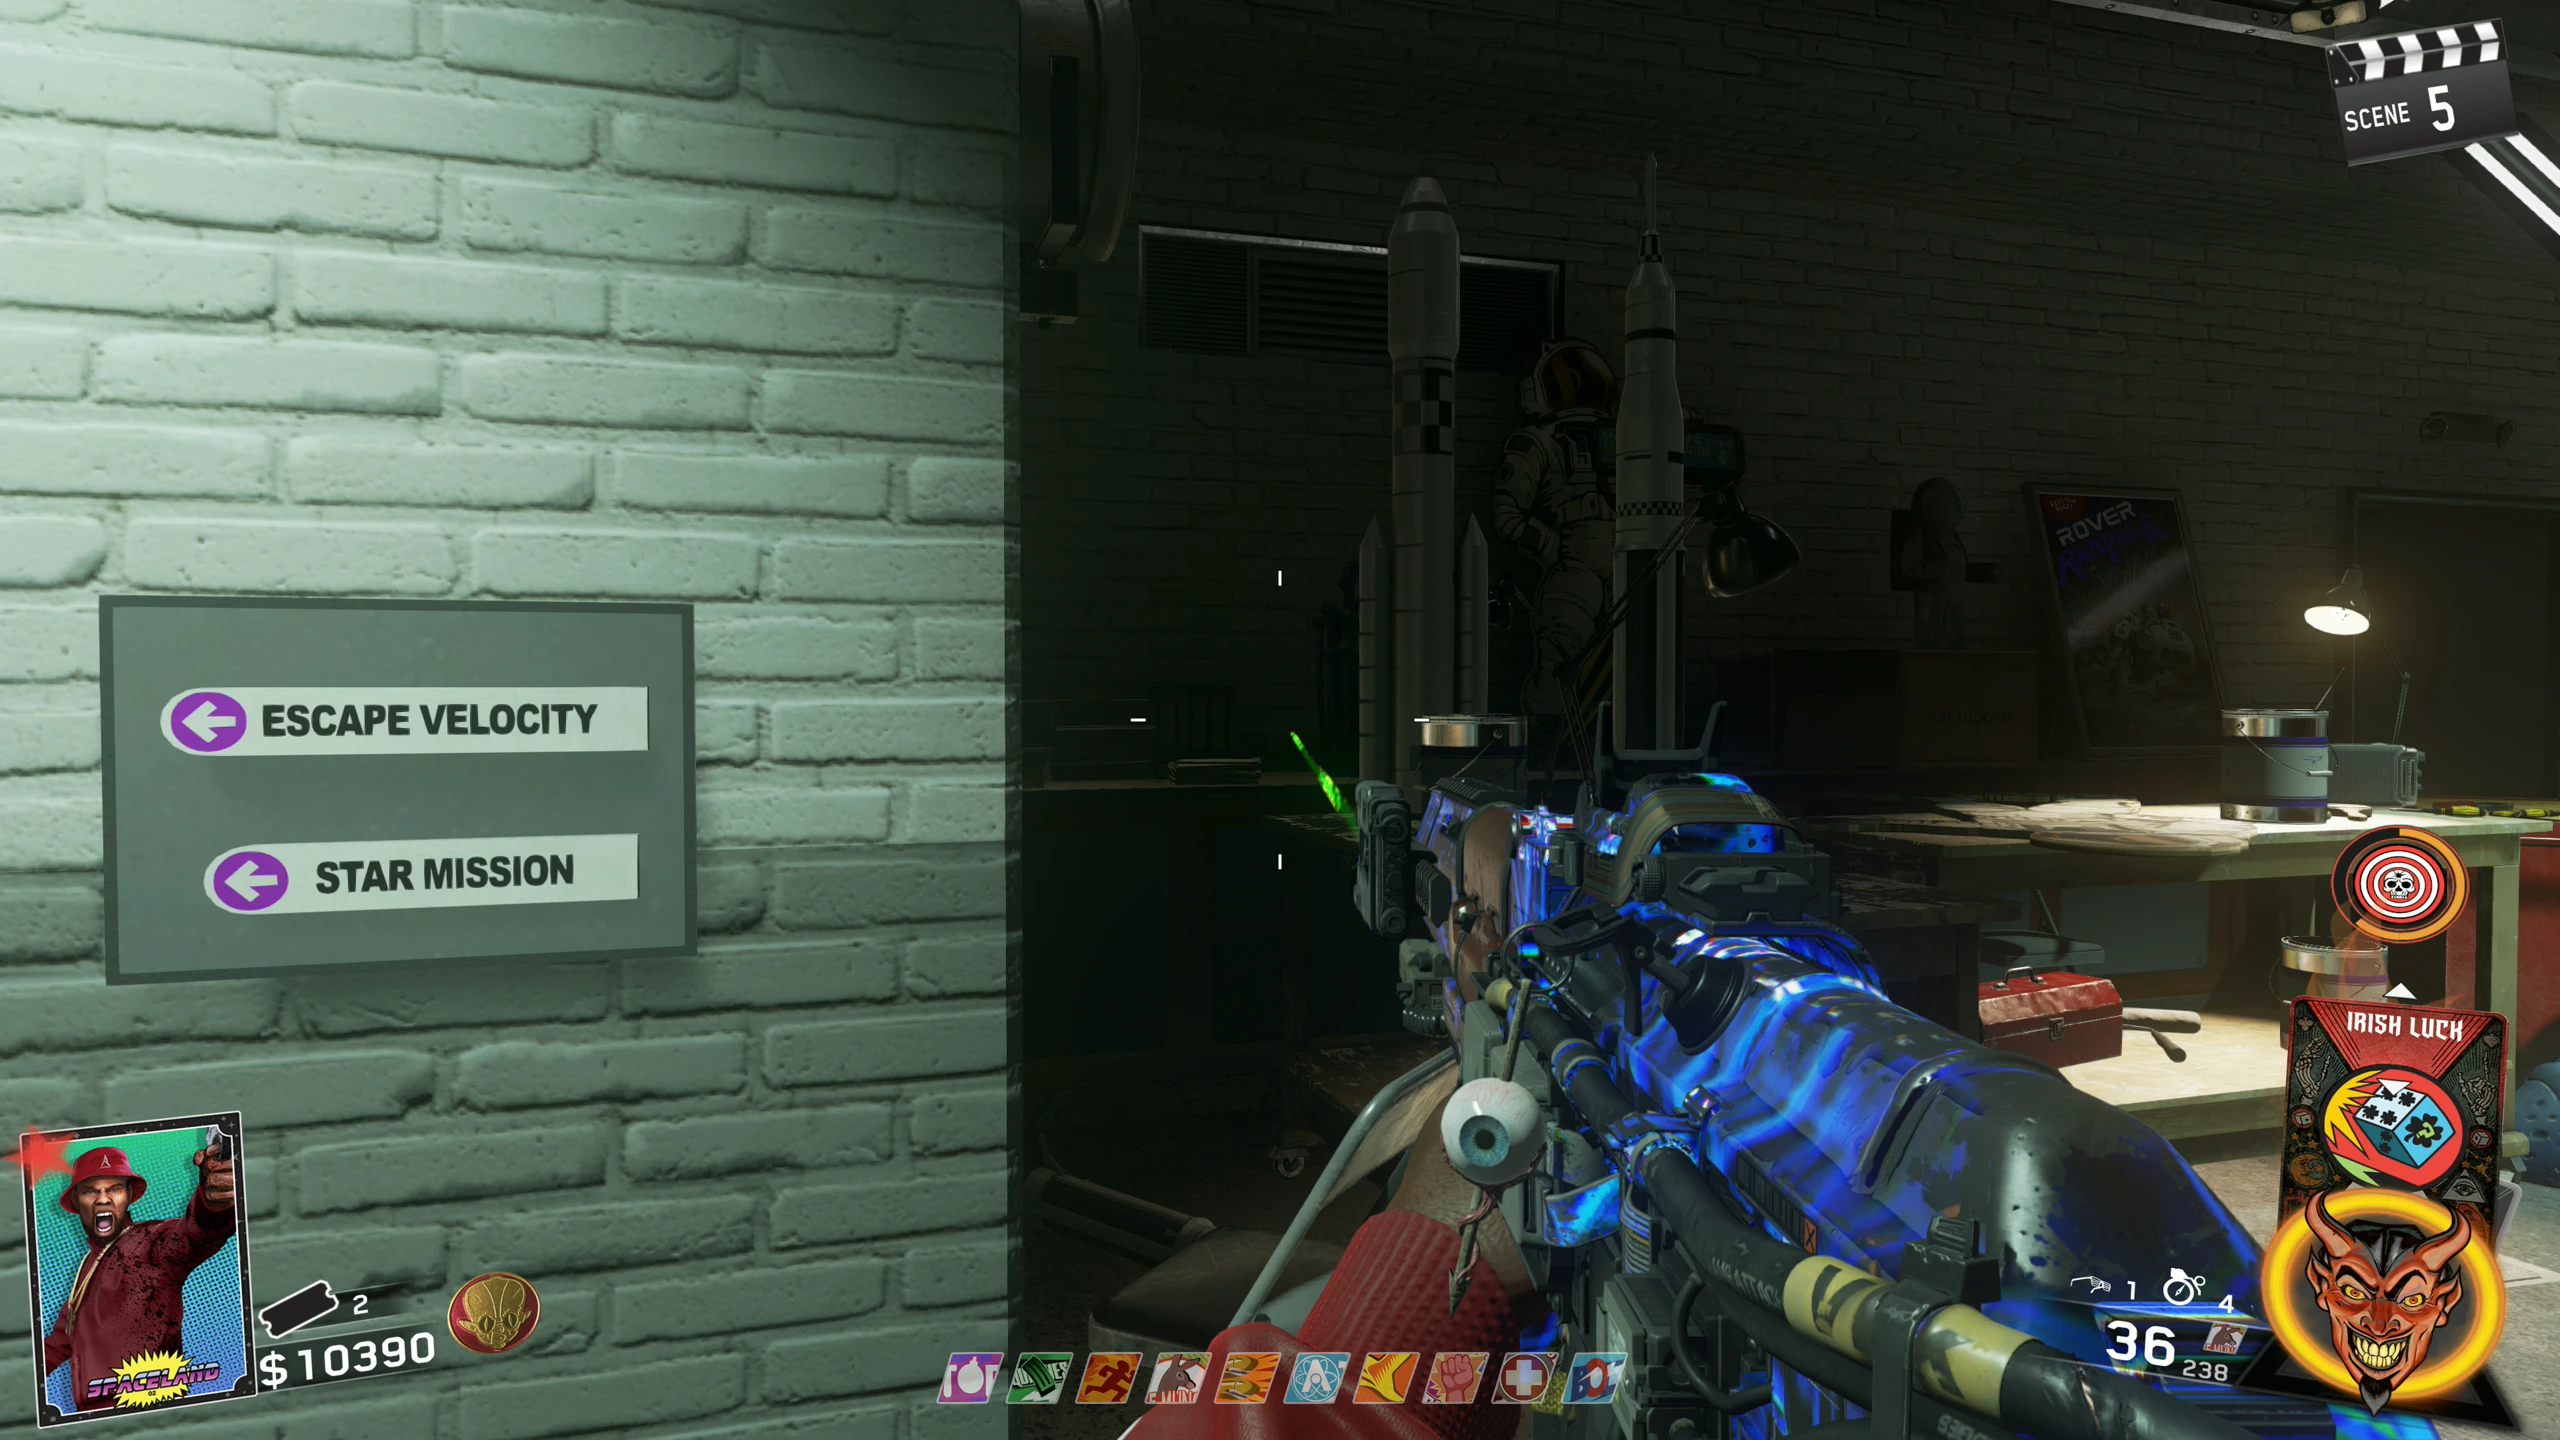
- Journey Into Space - On the Blood Pool in front of the "Escape Velocity" ride
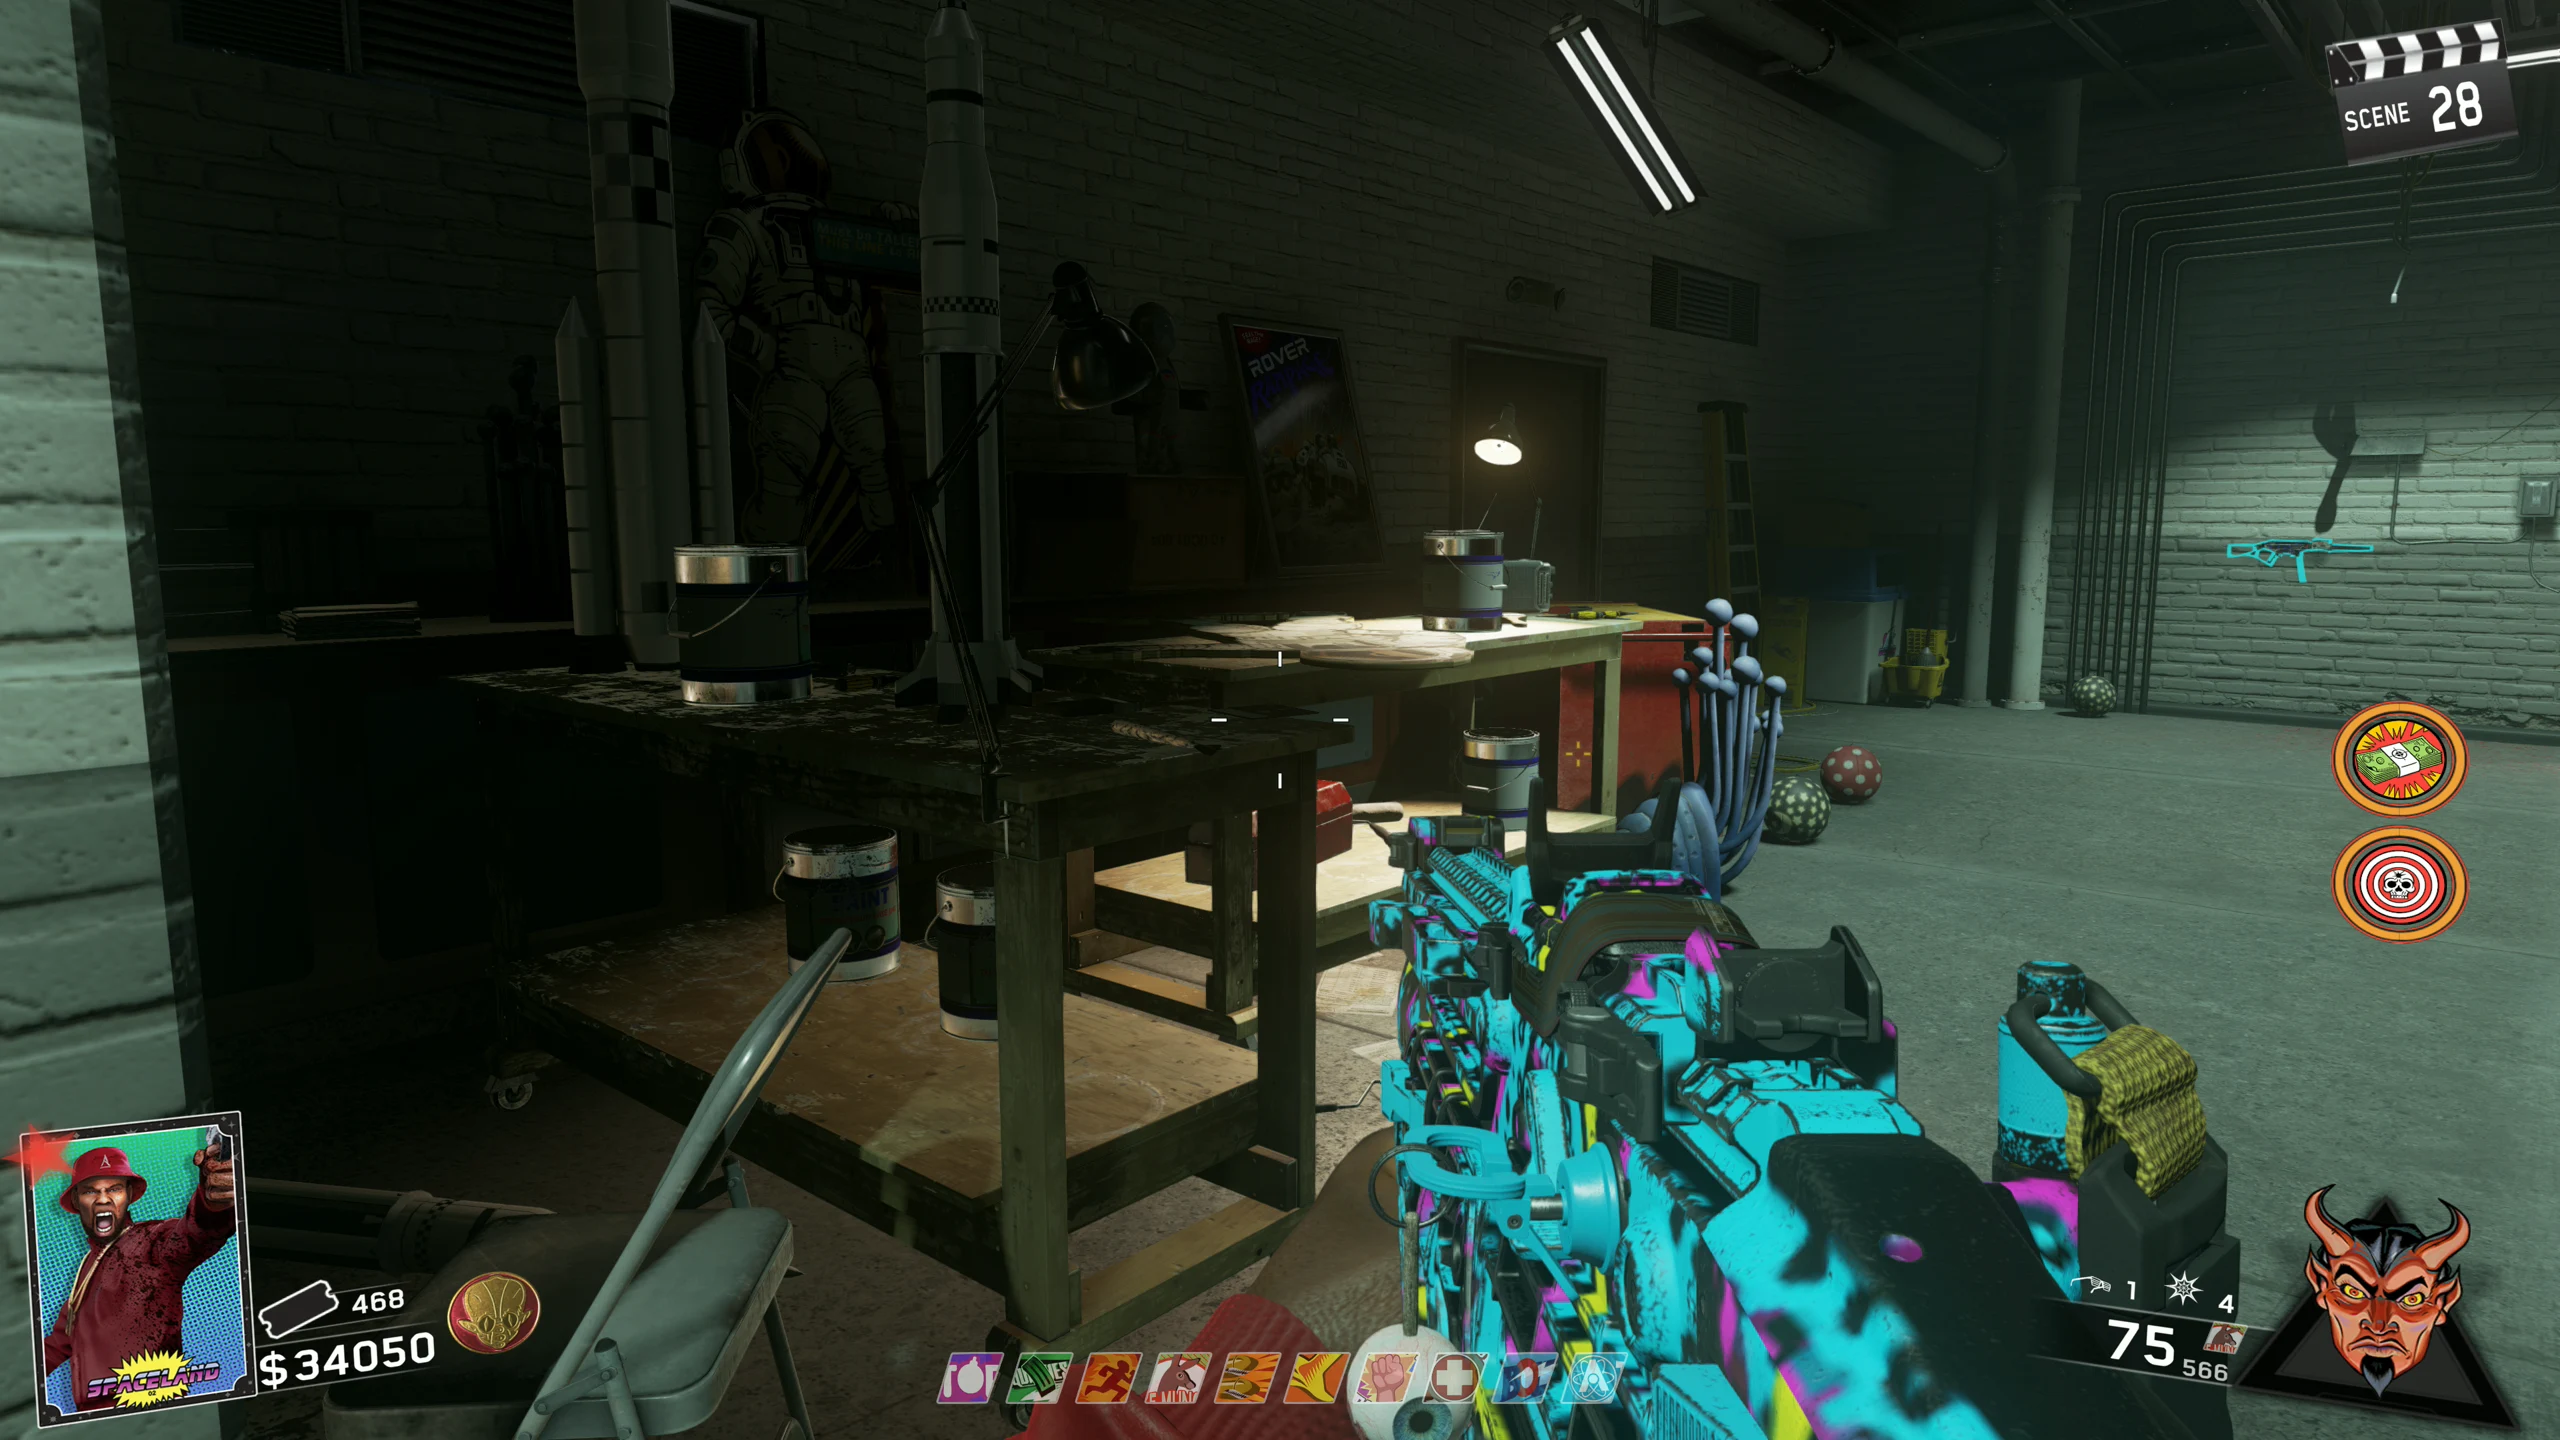
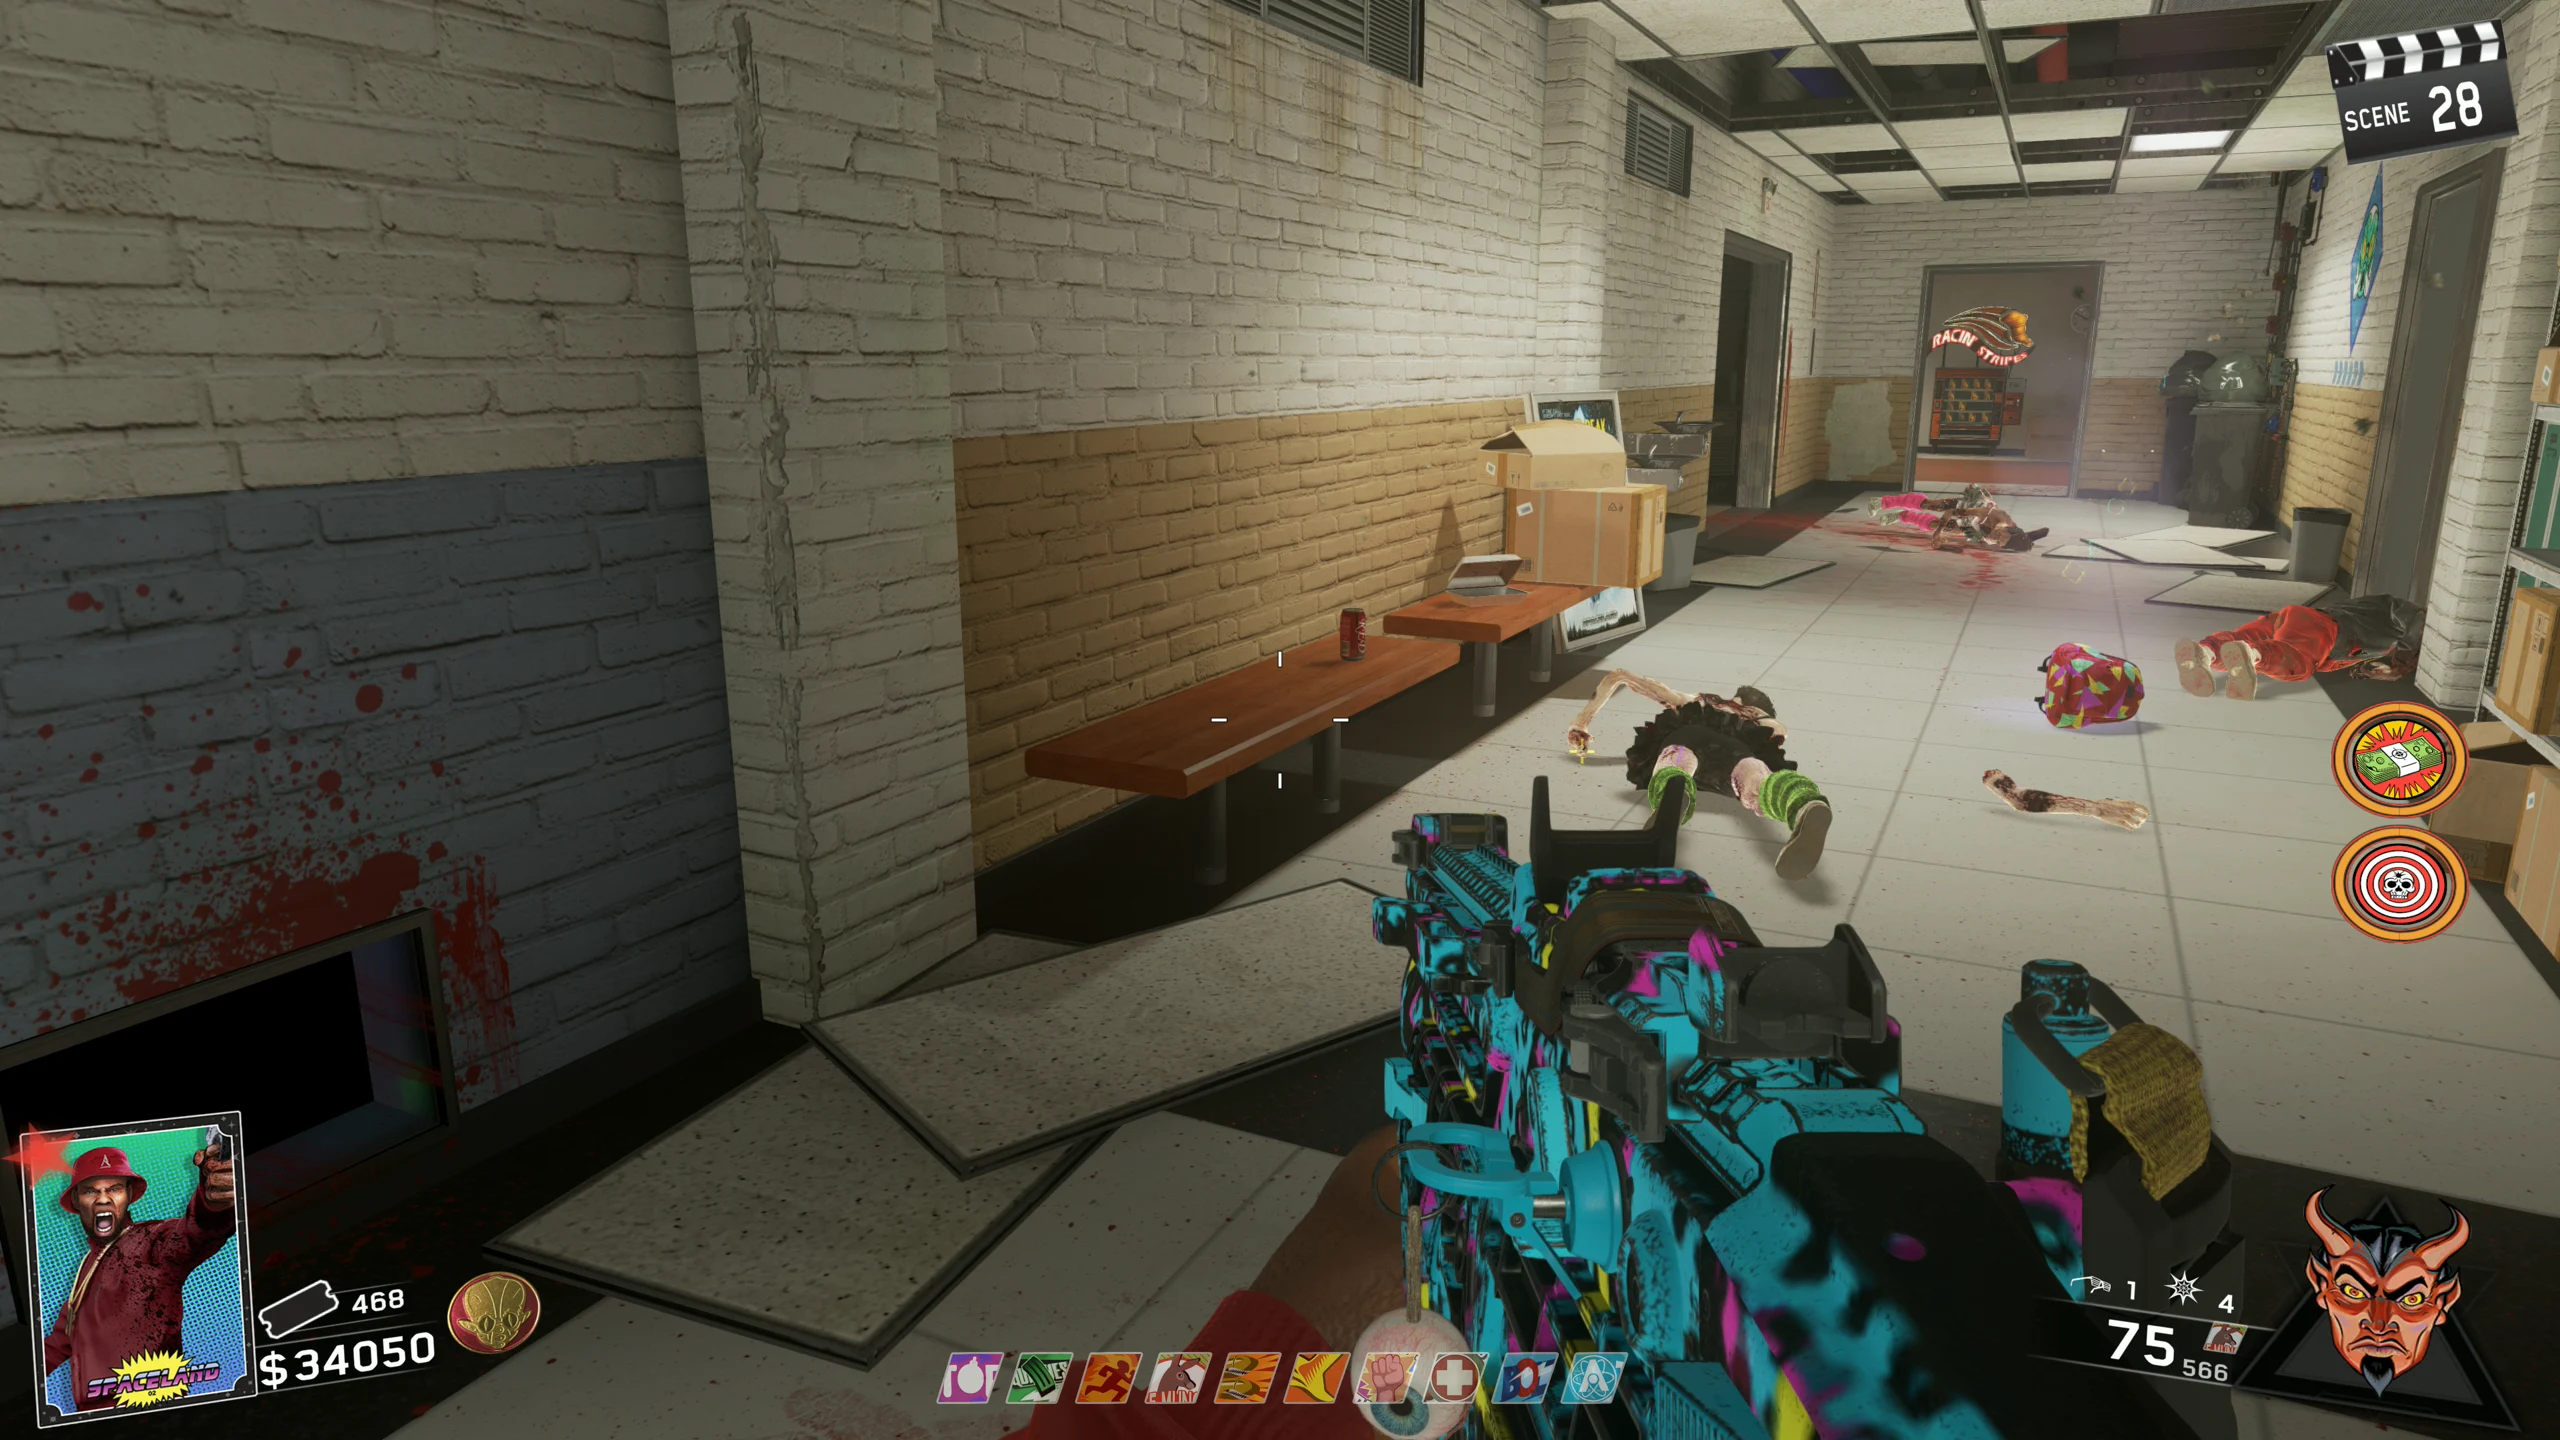
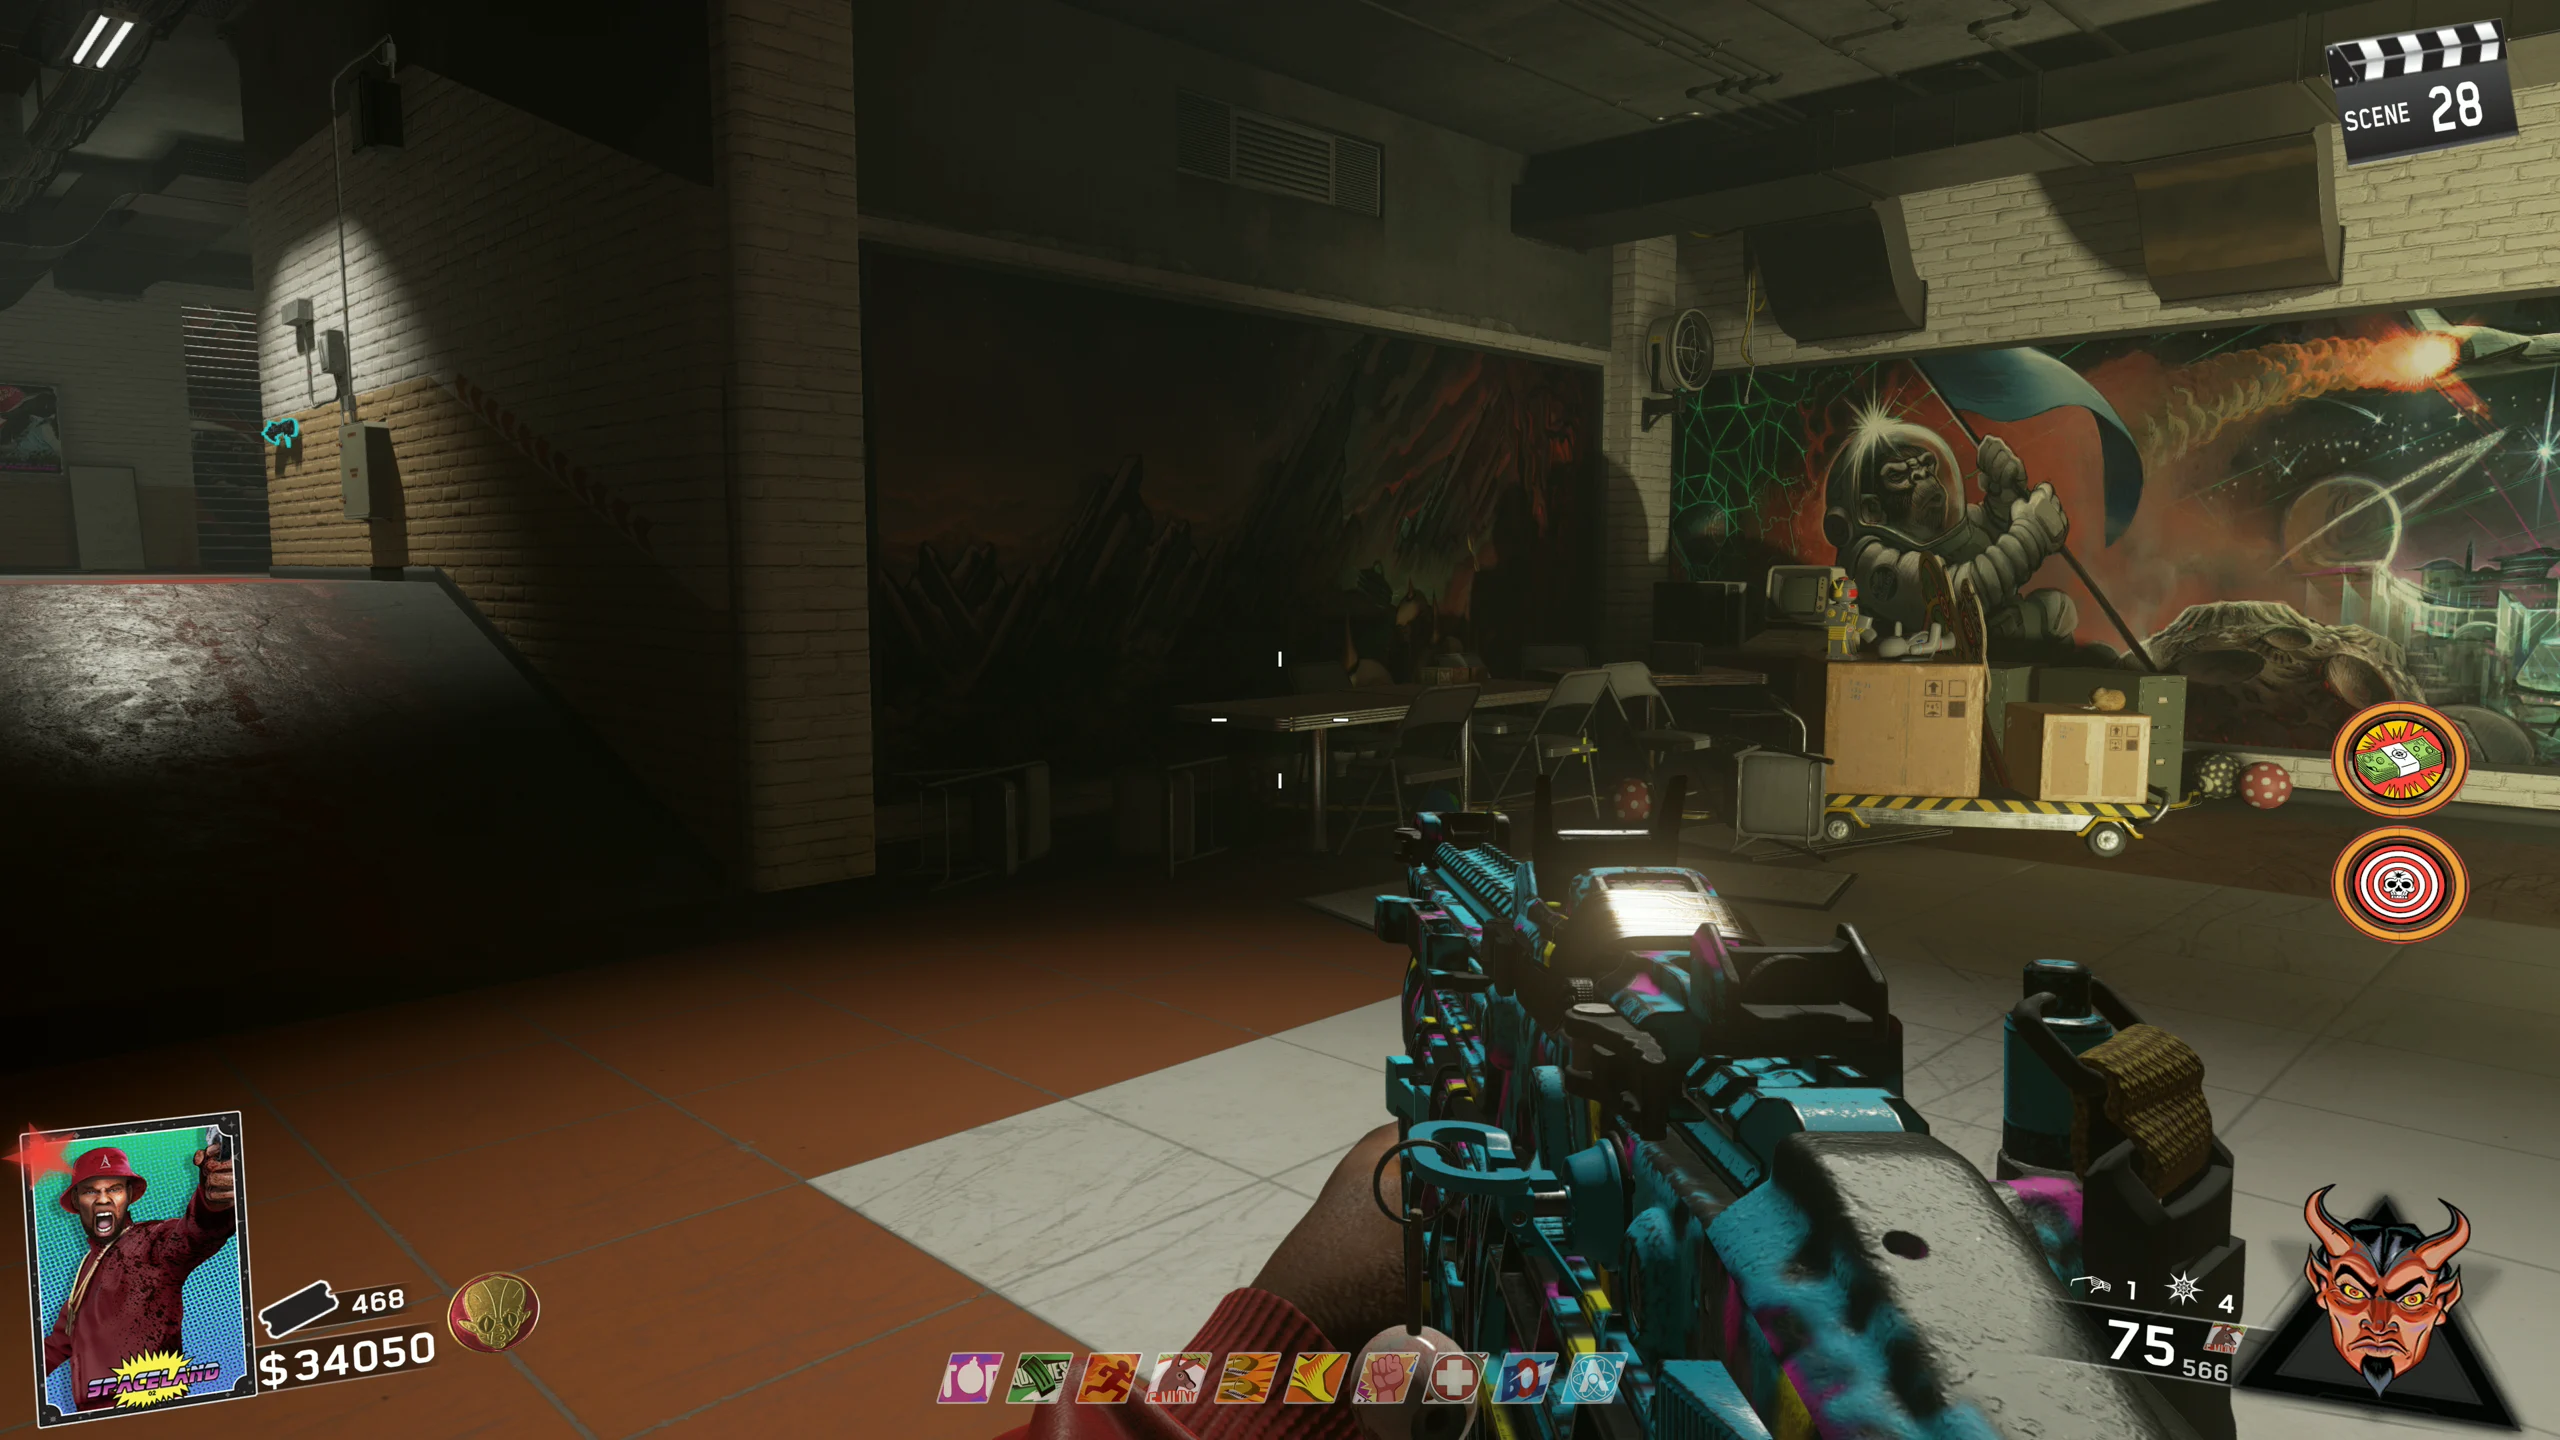
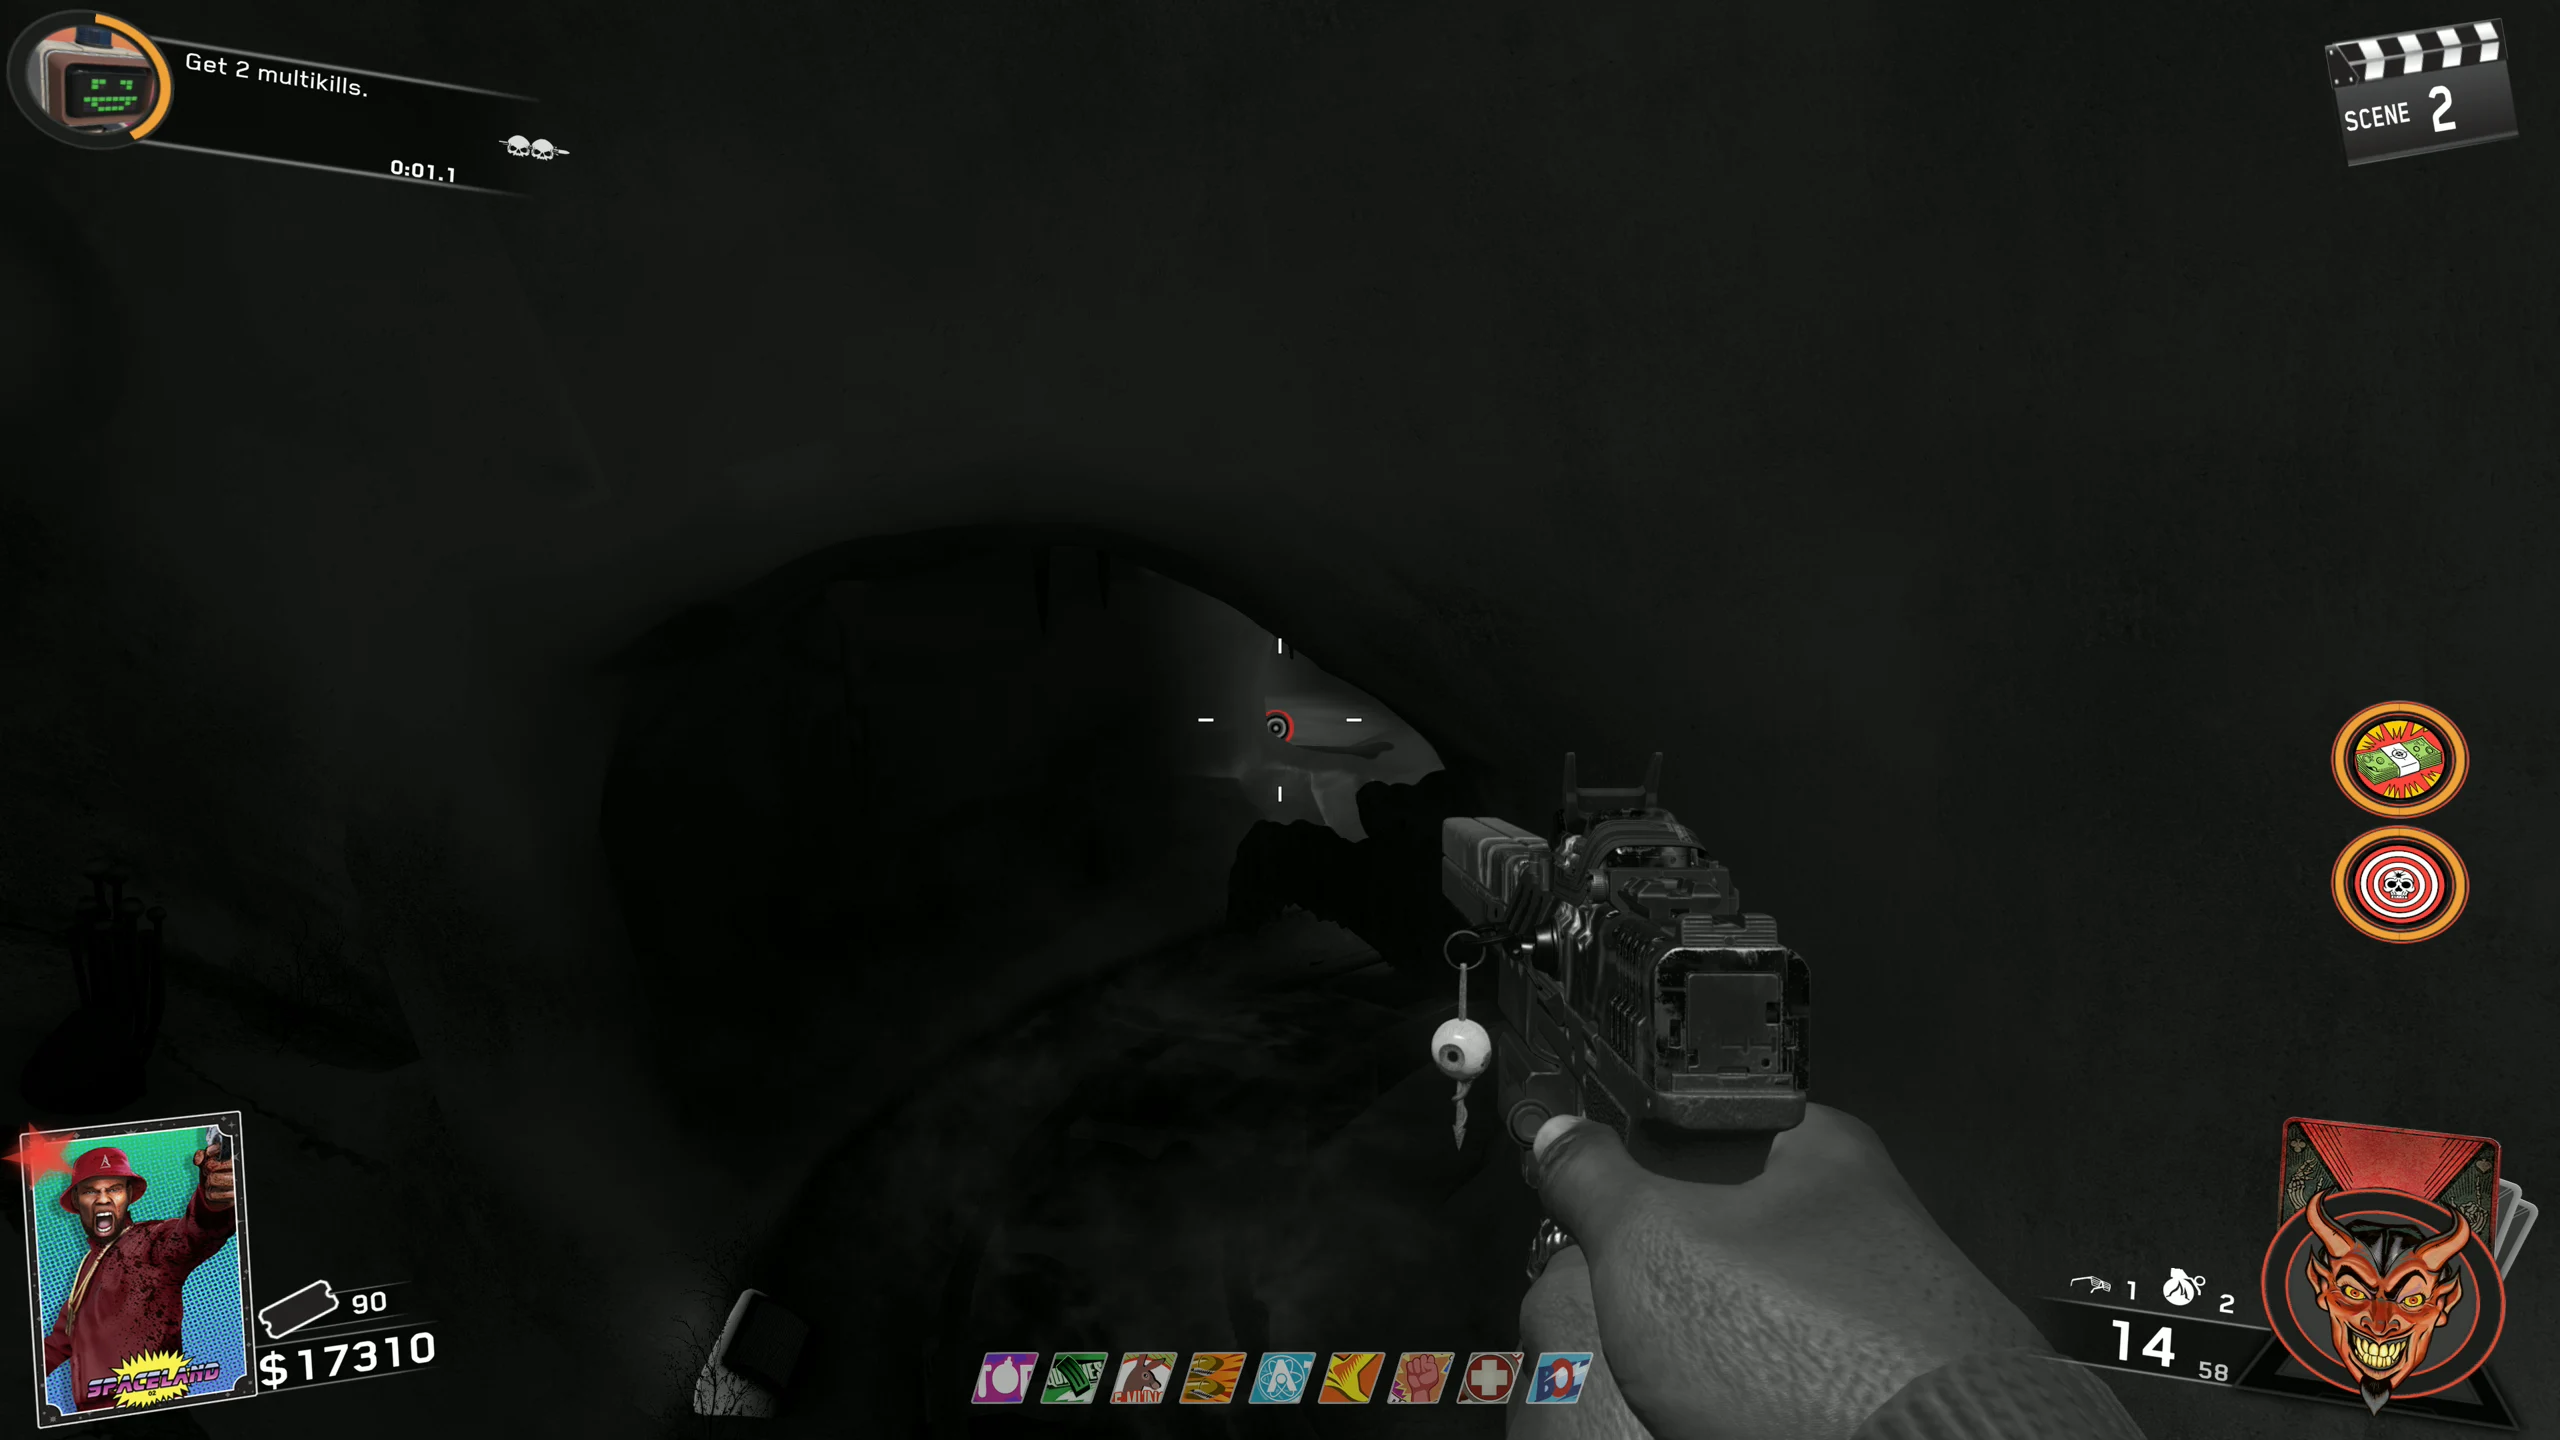
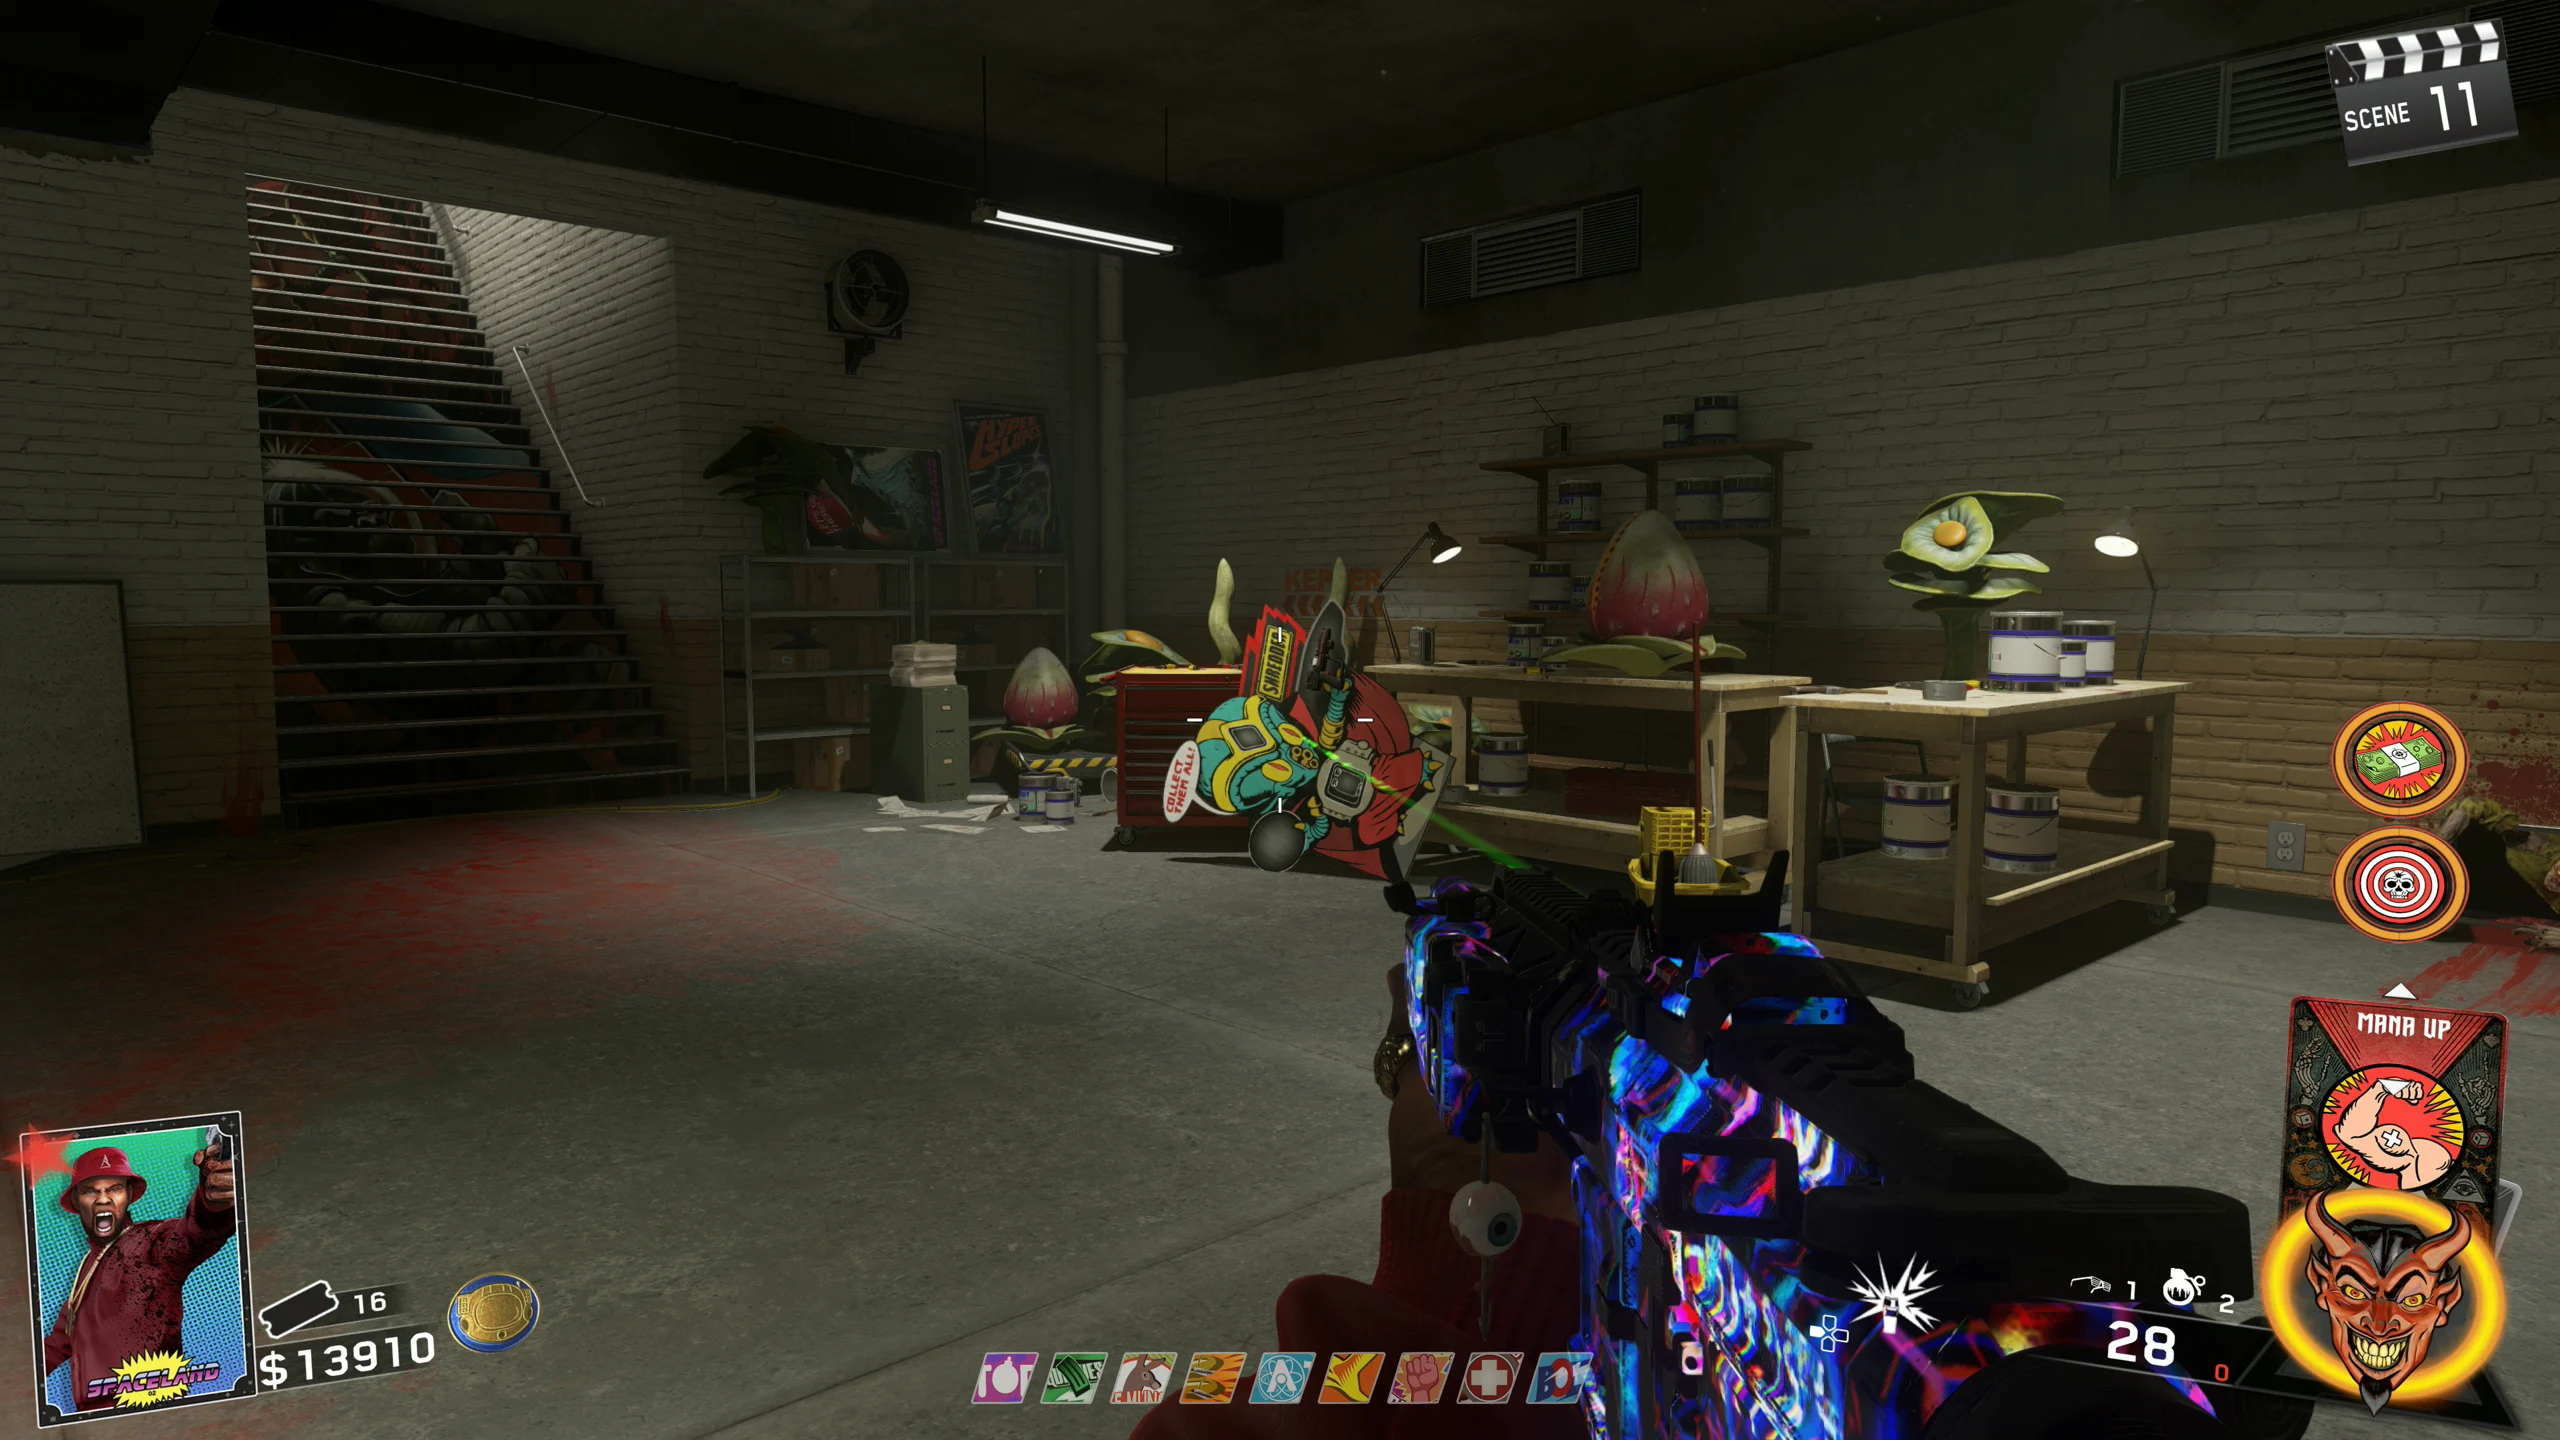
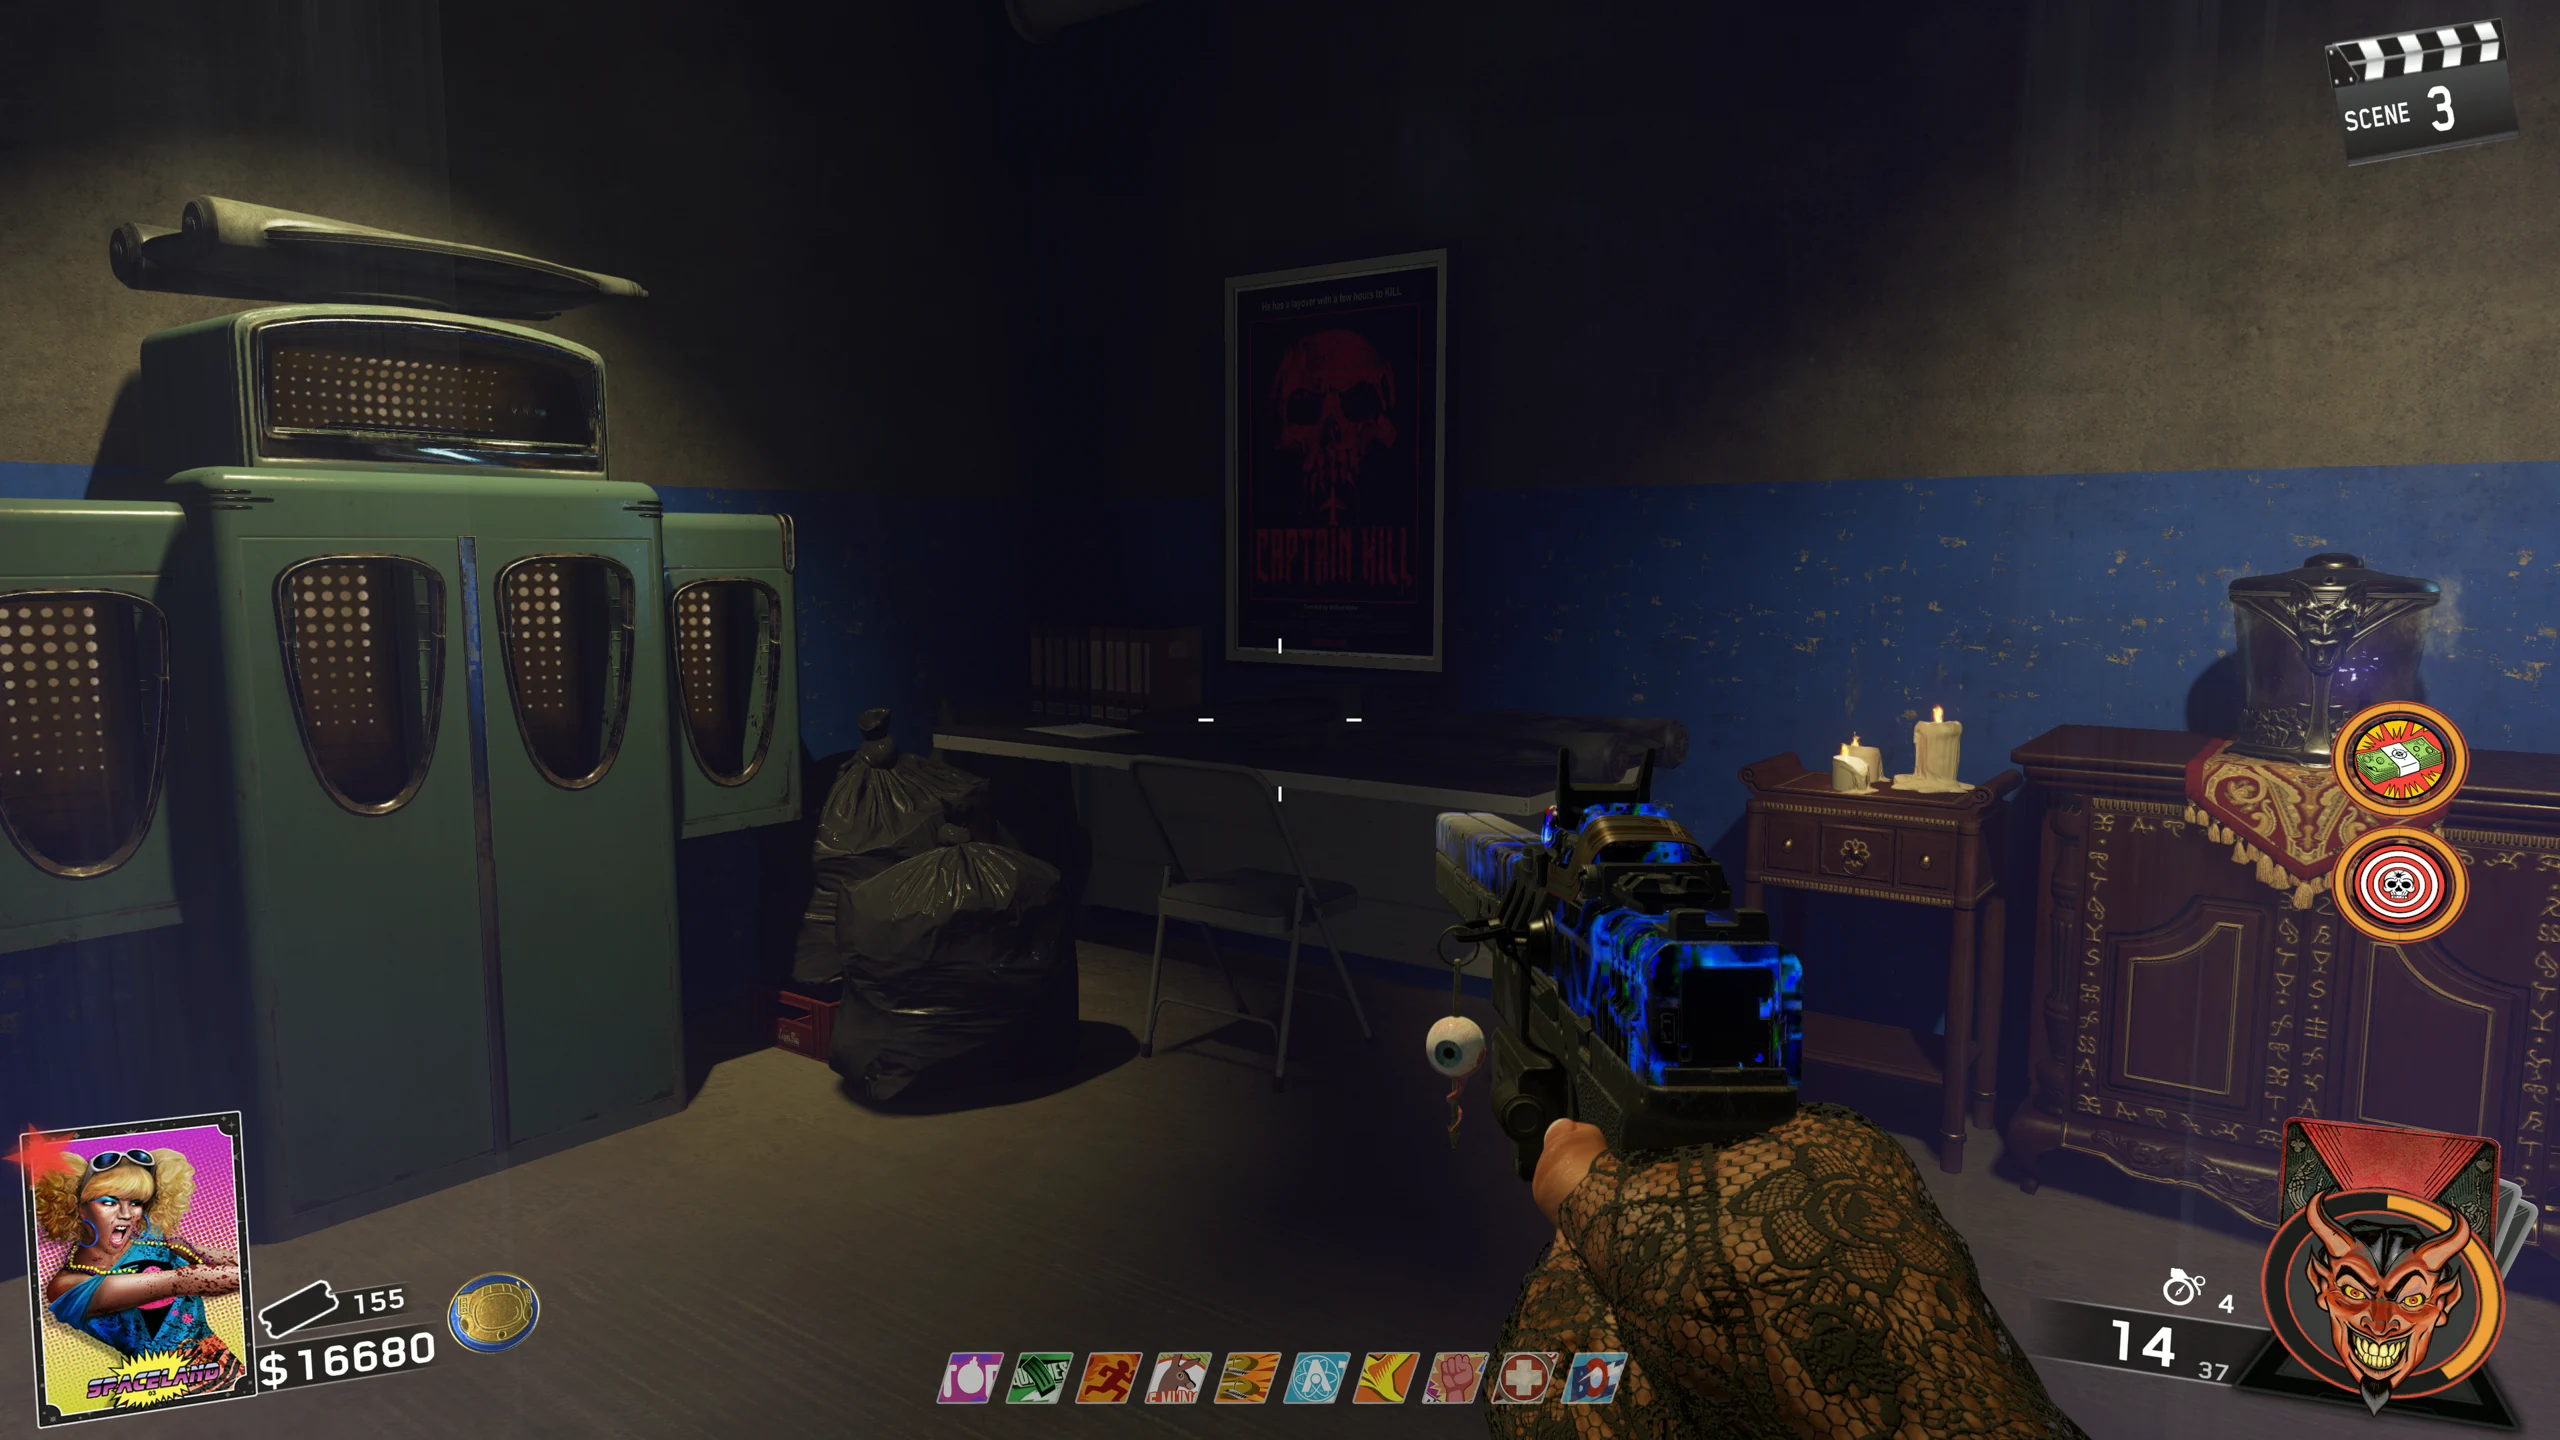
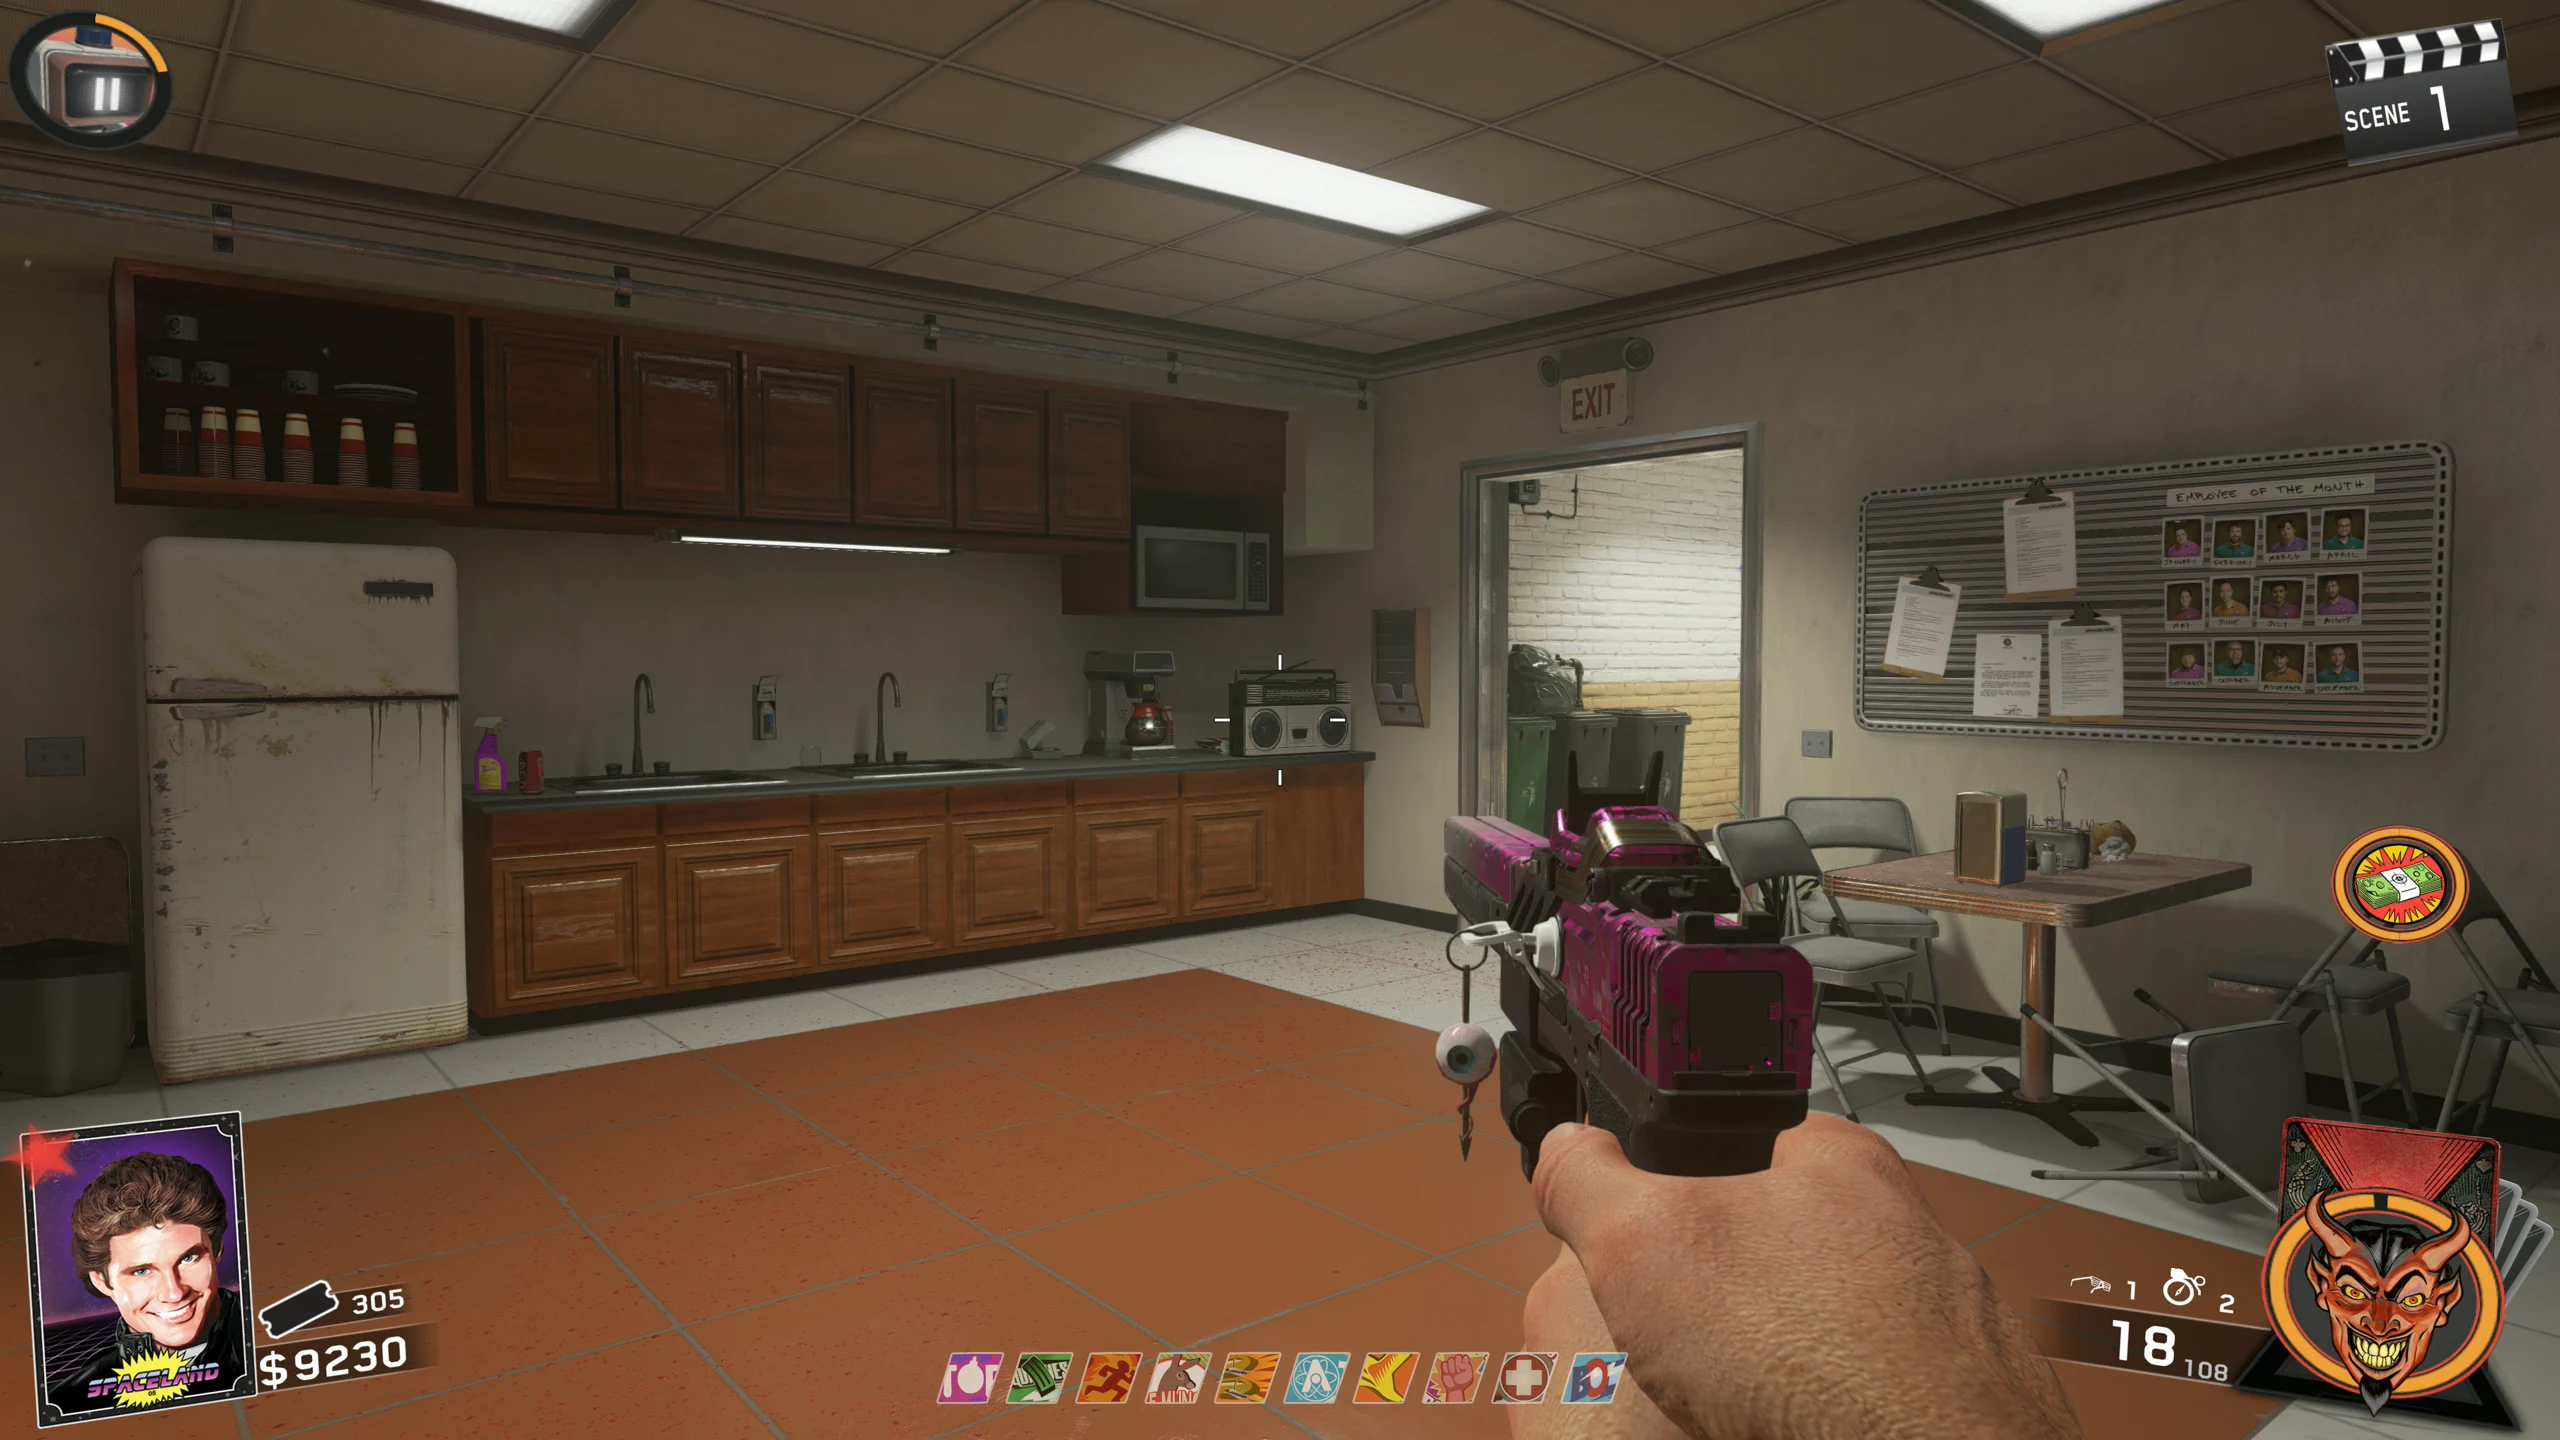
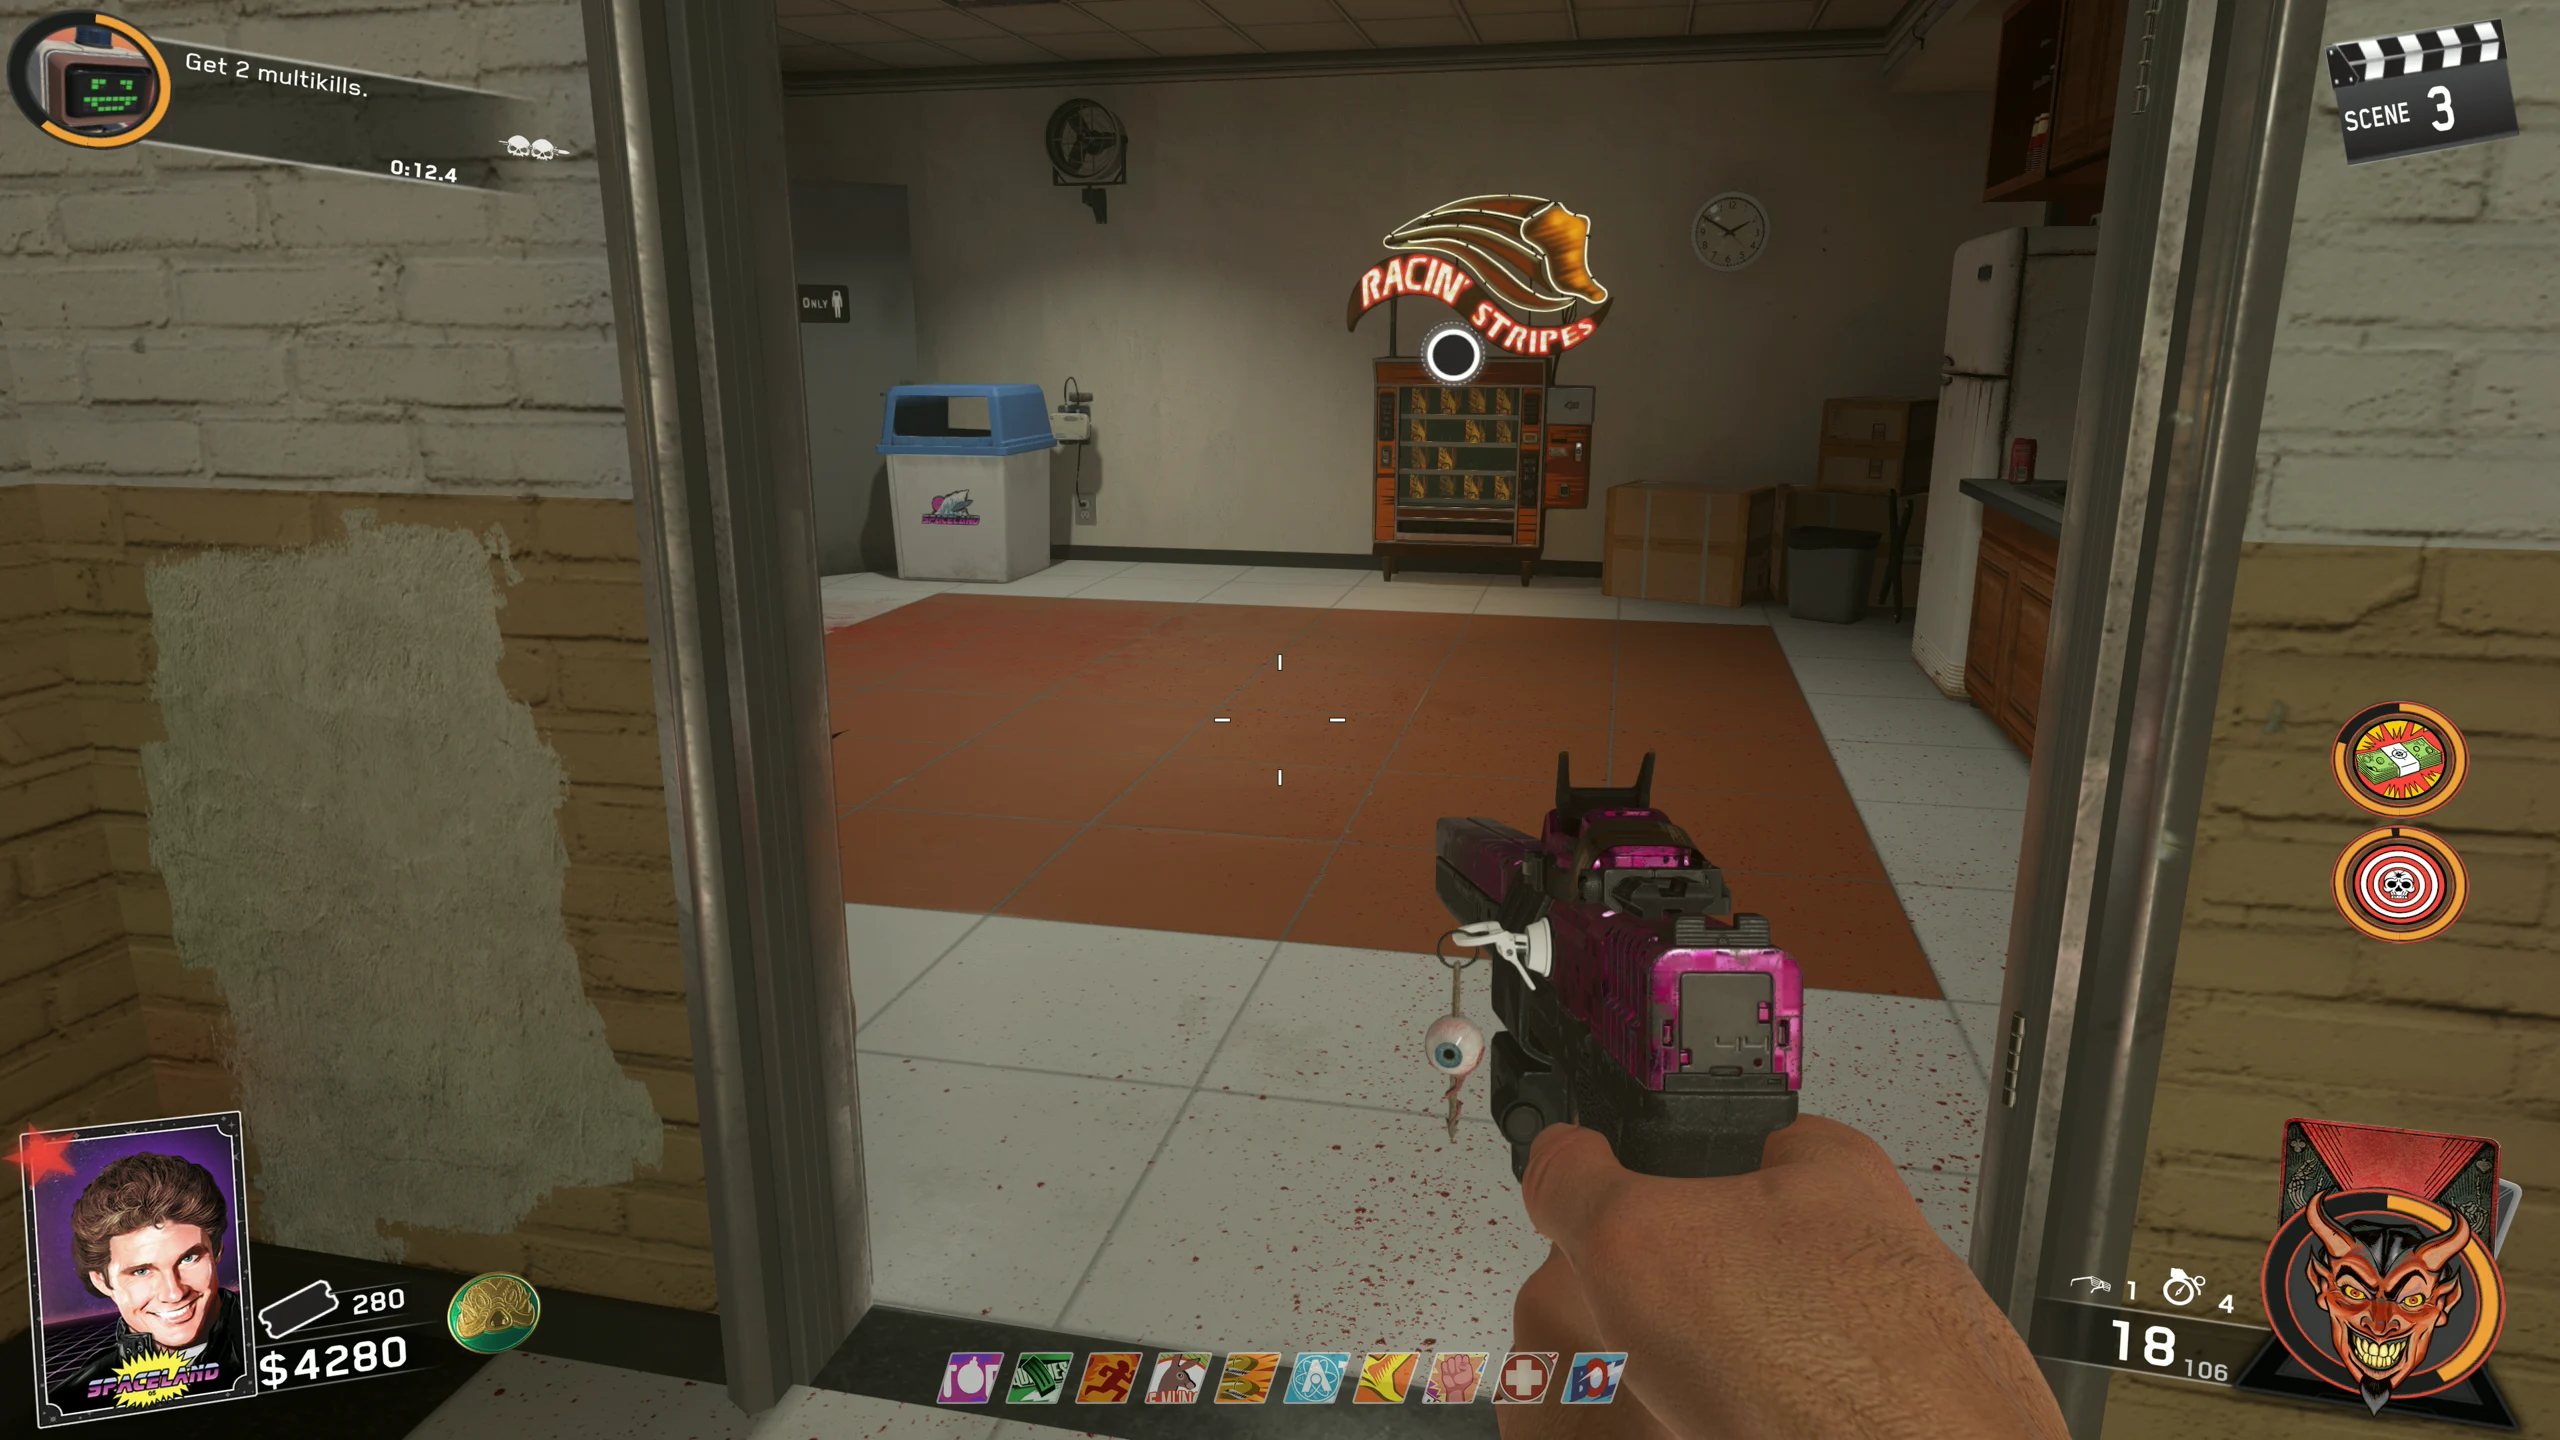
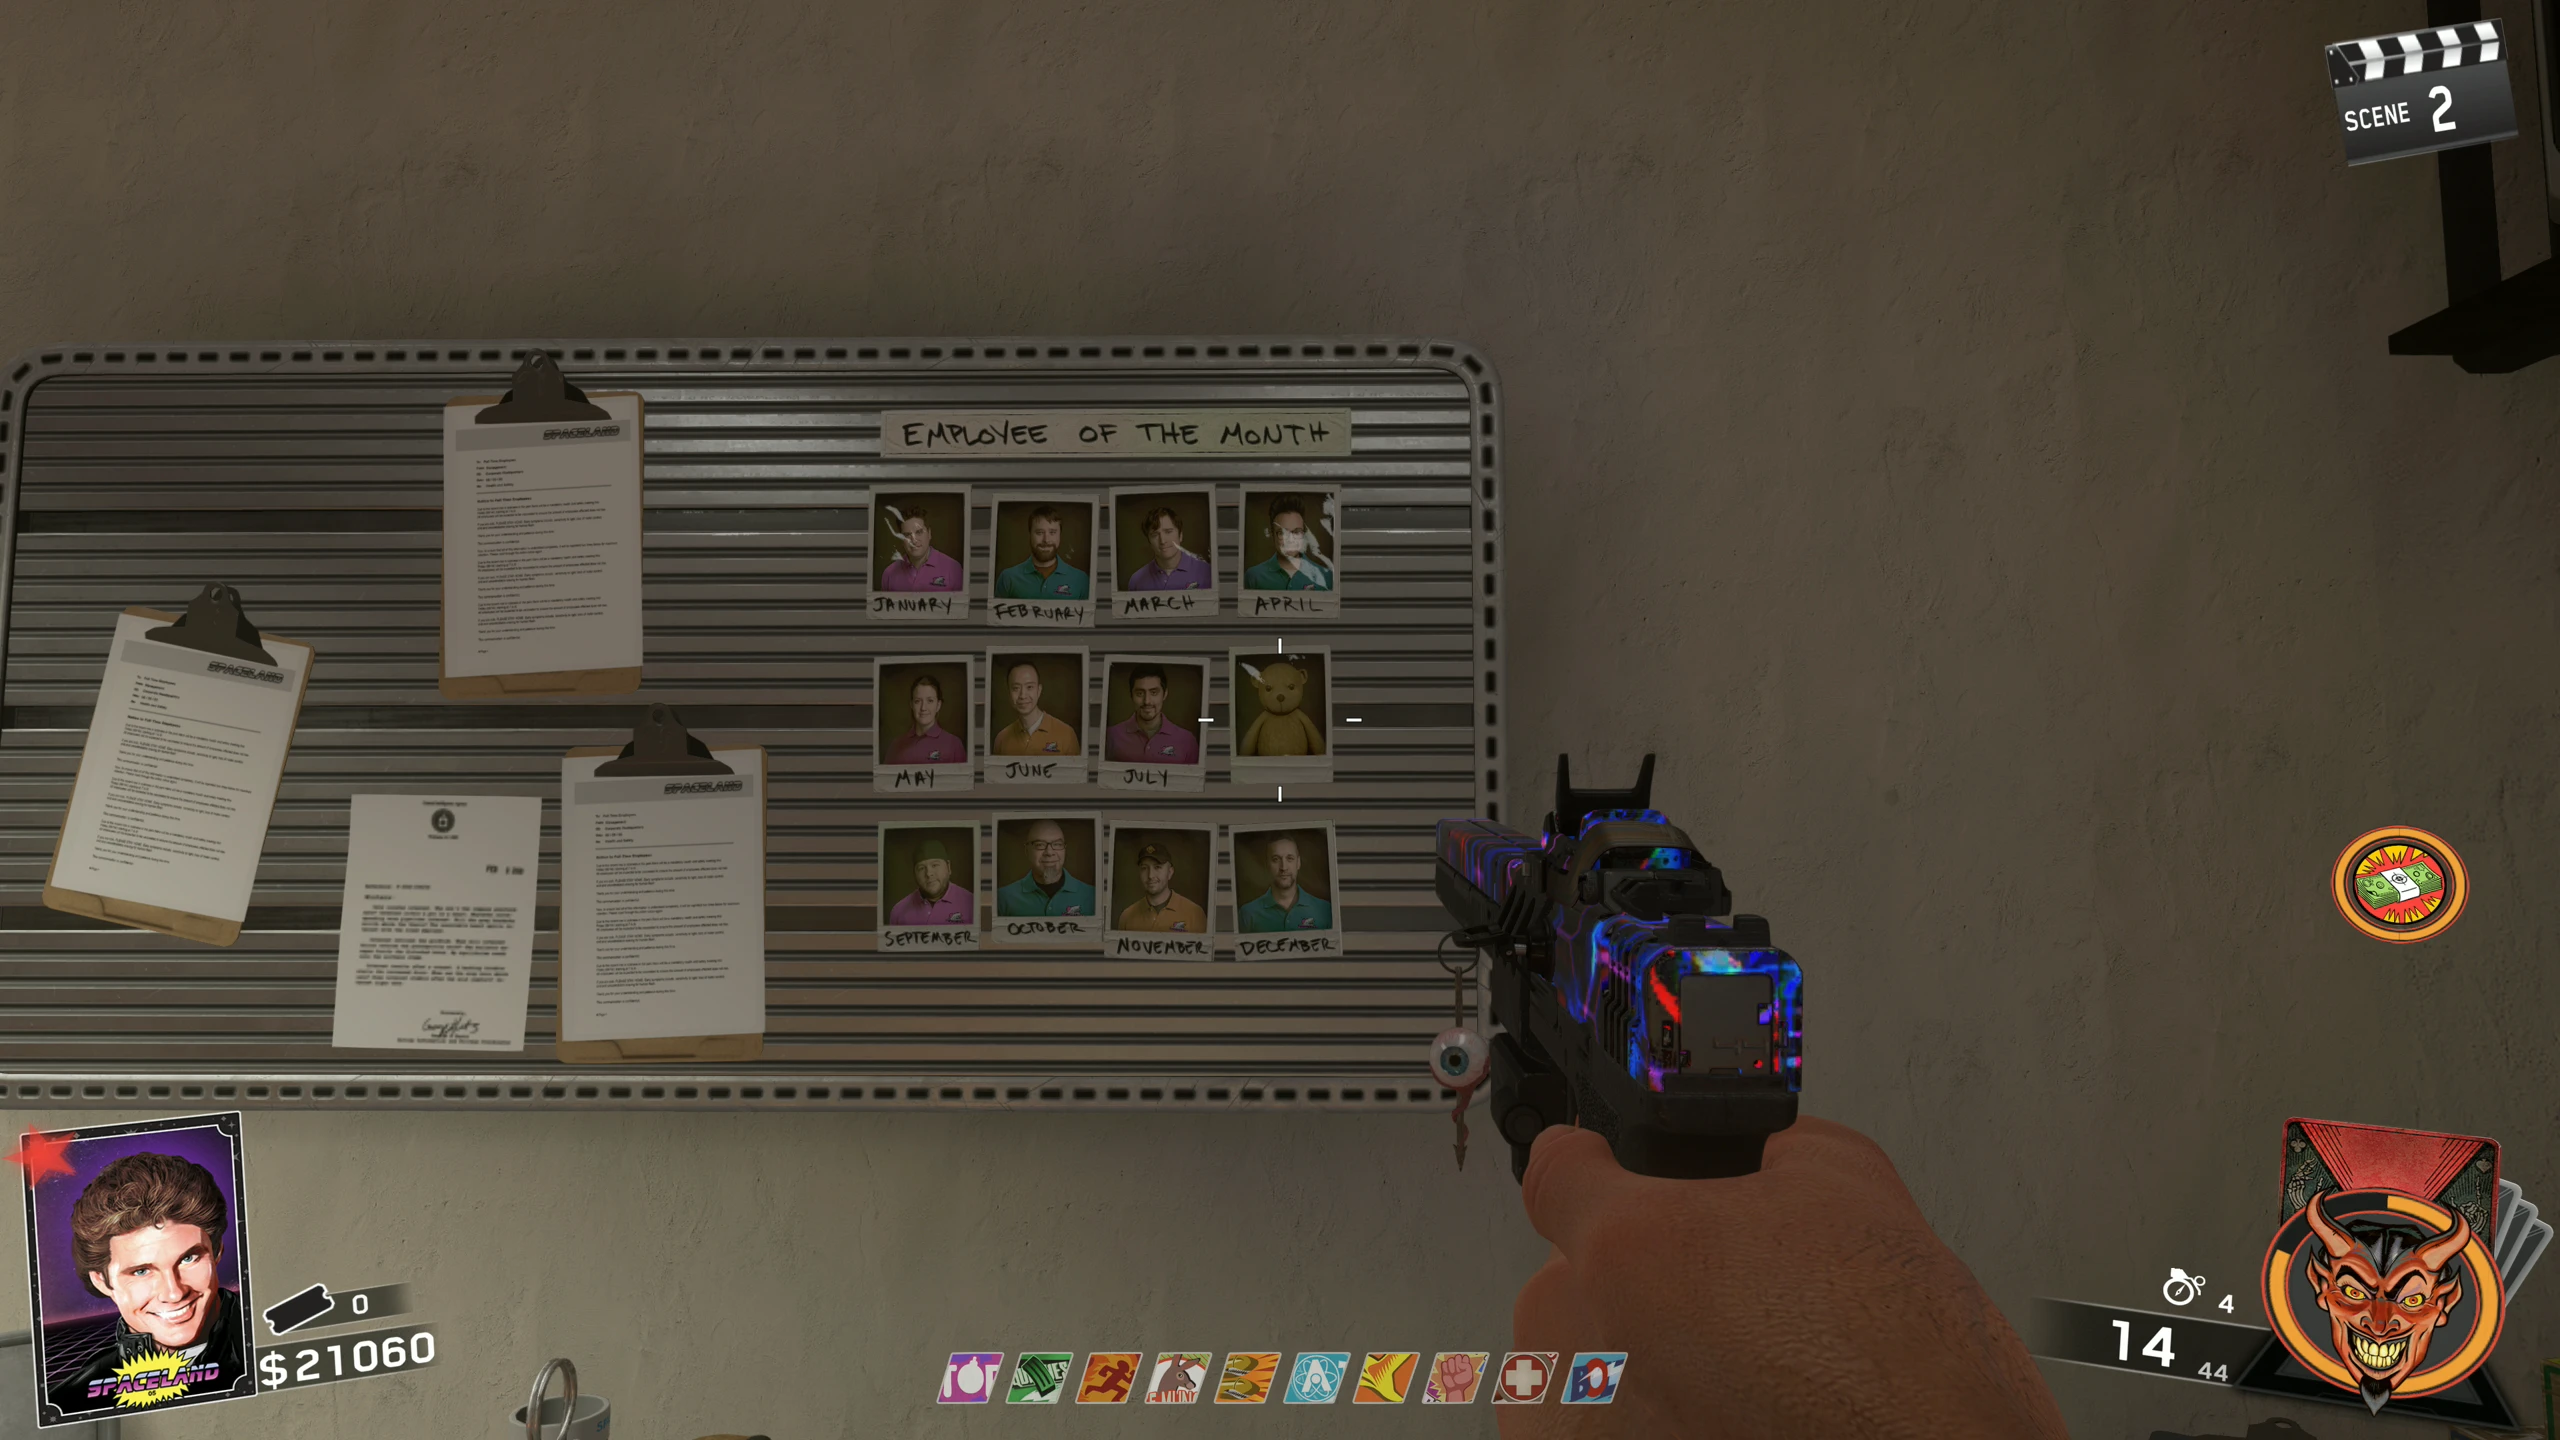
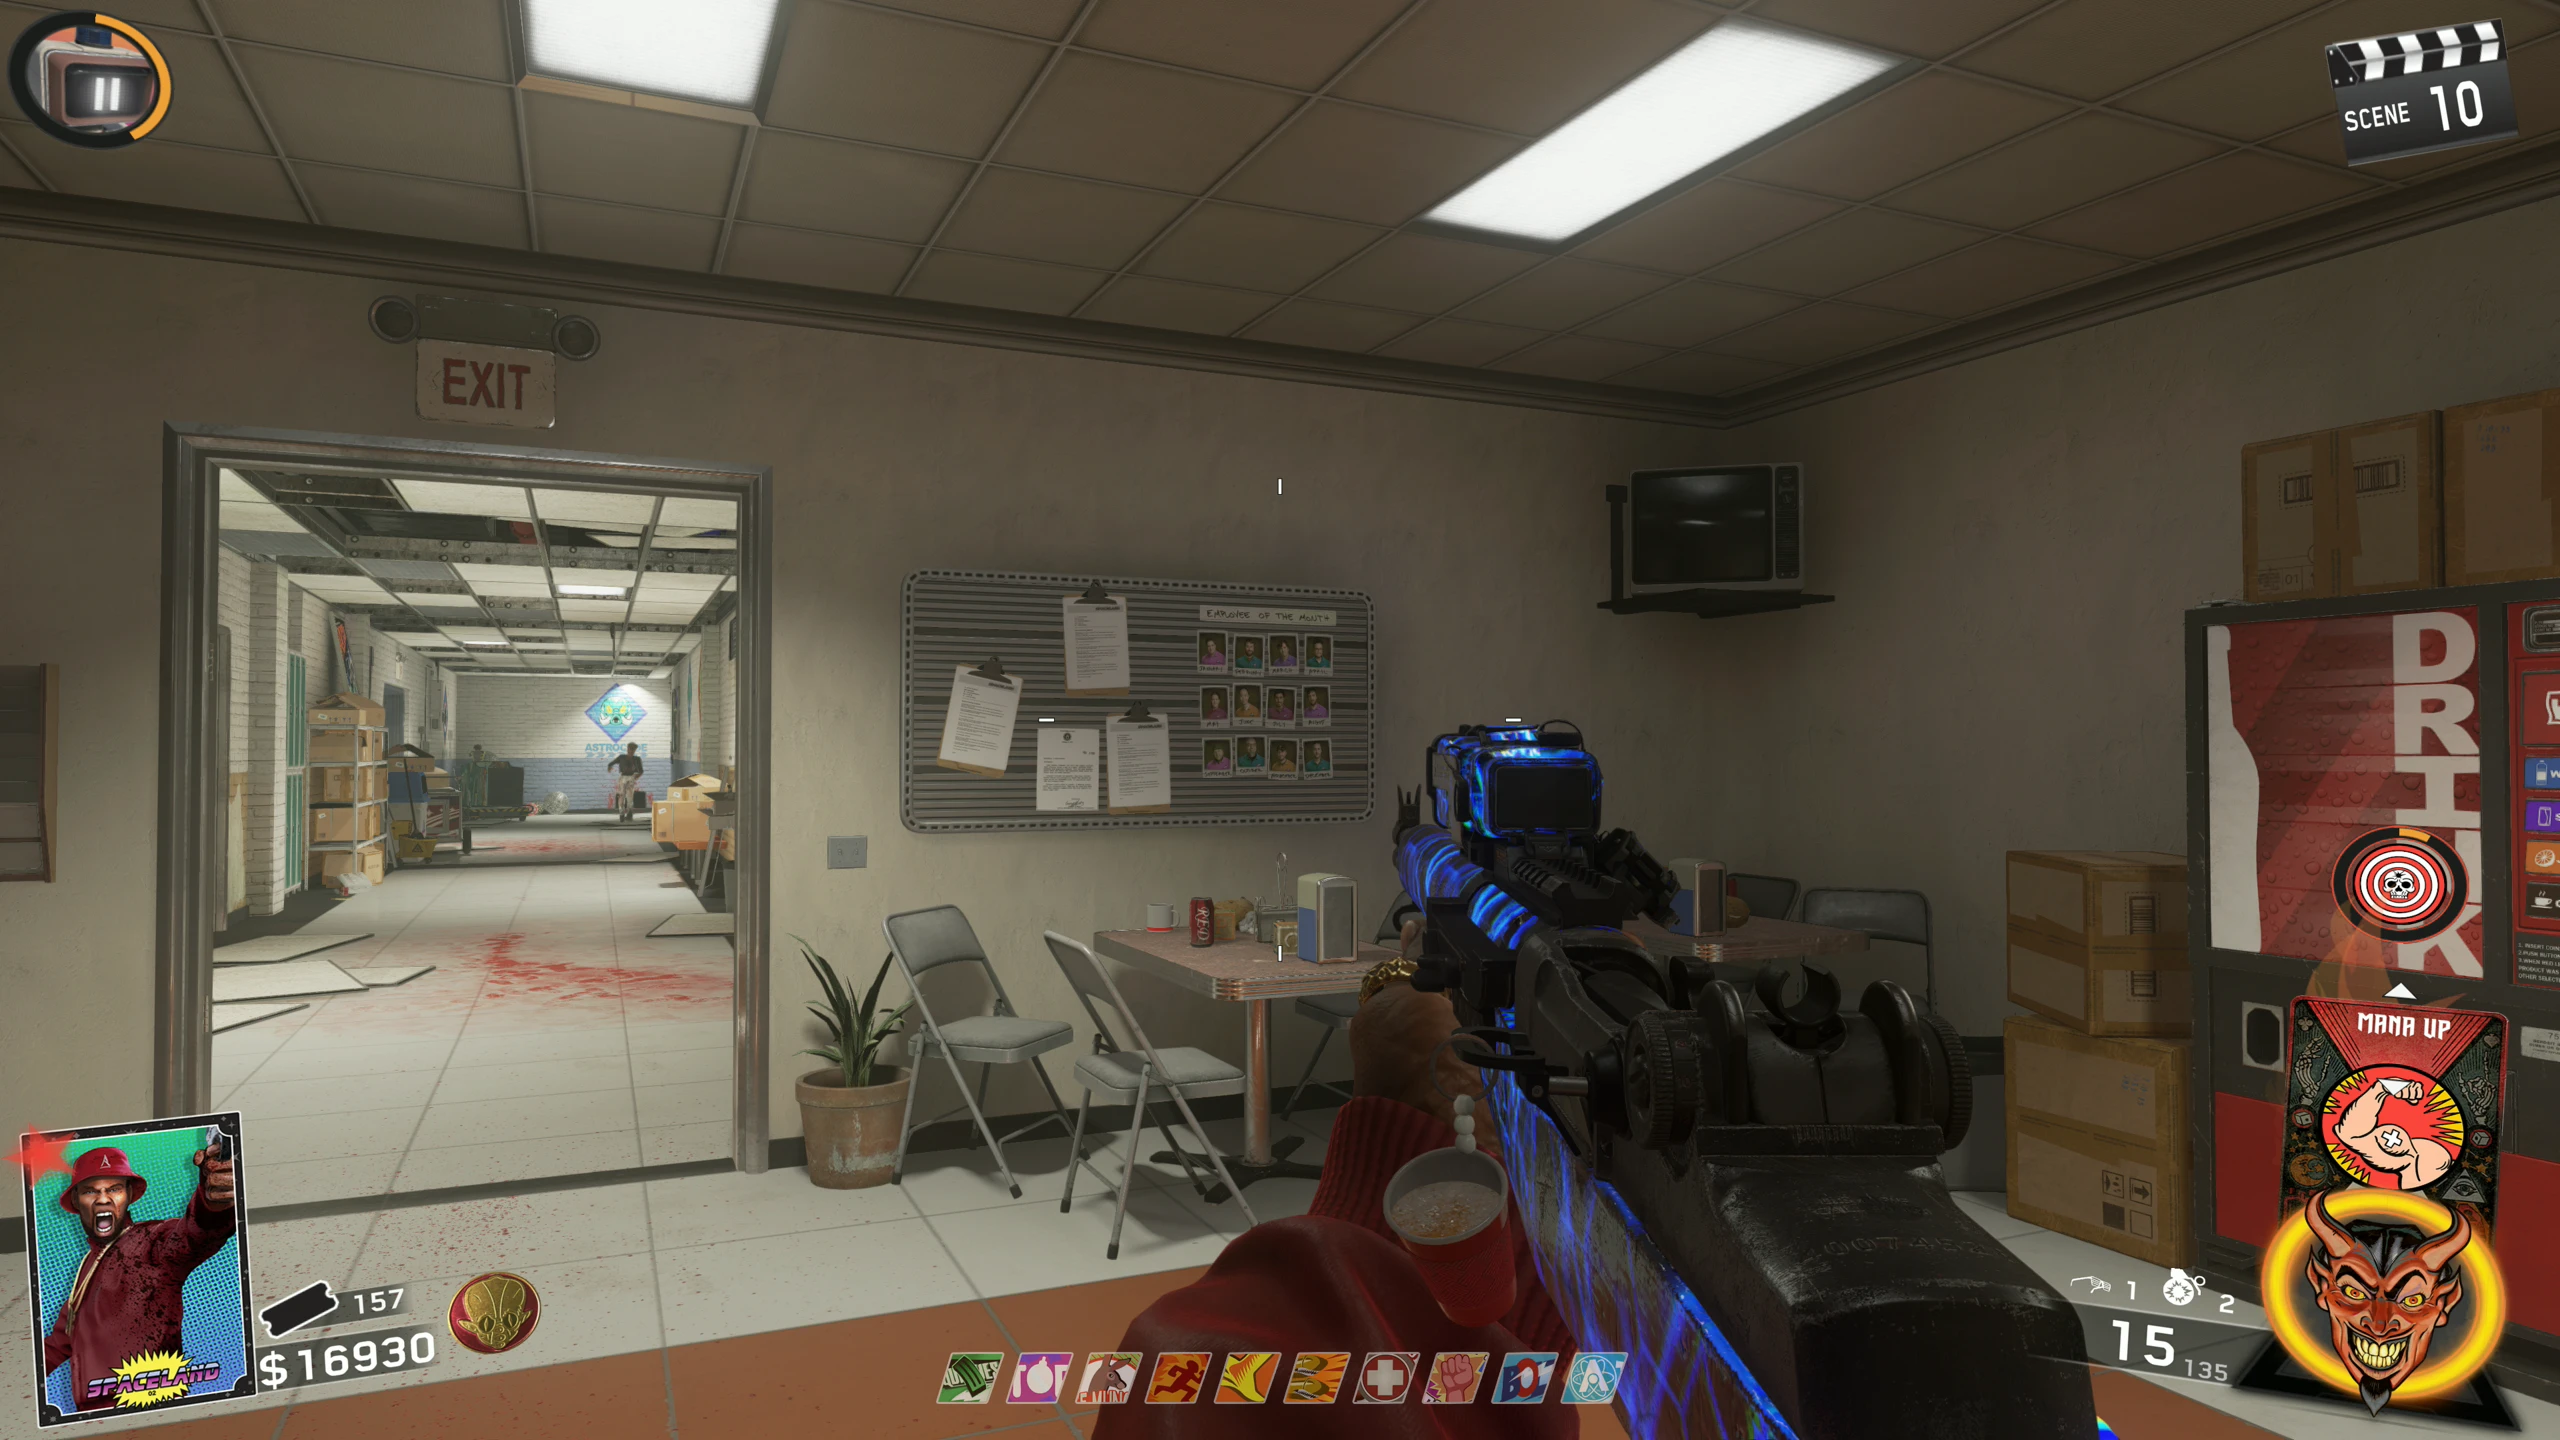
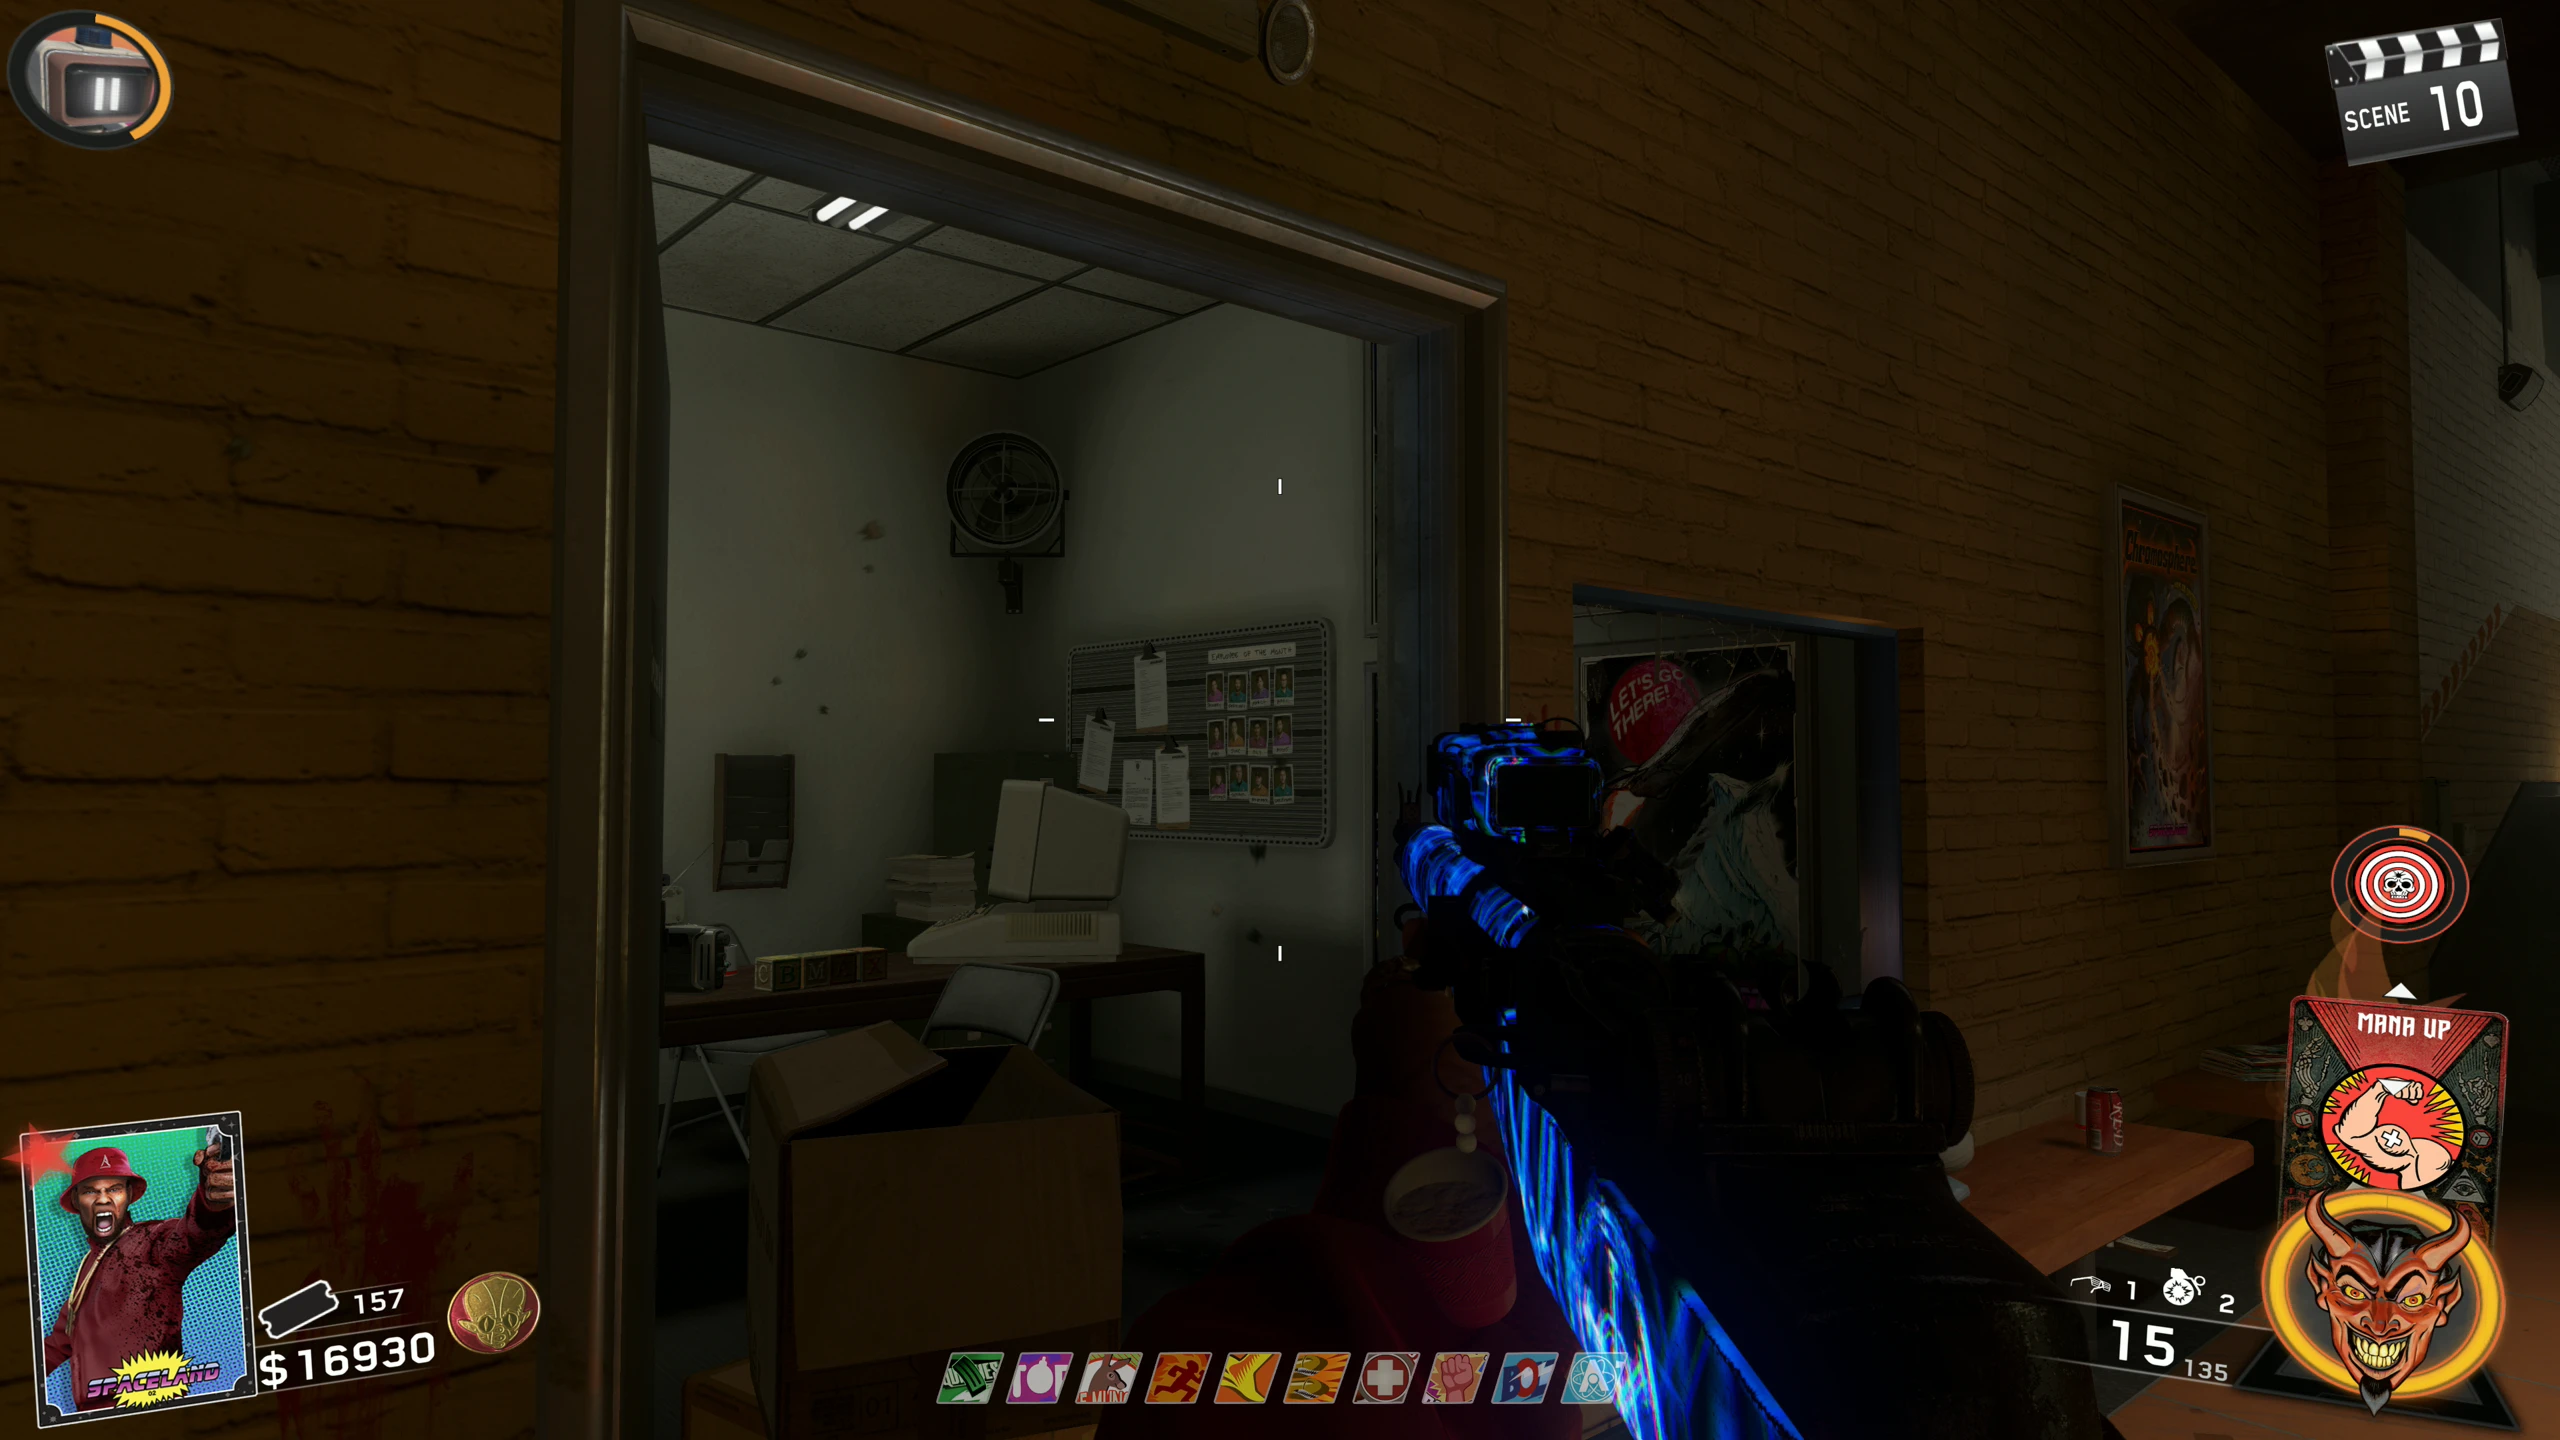
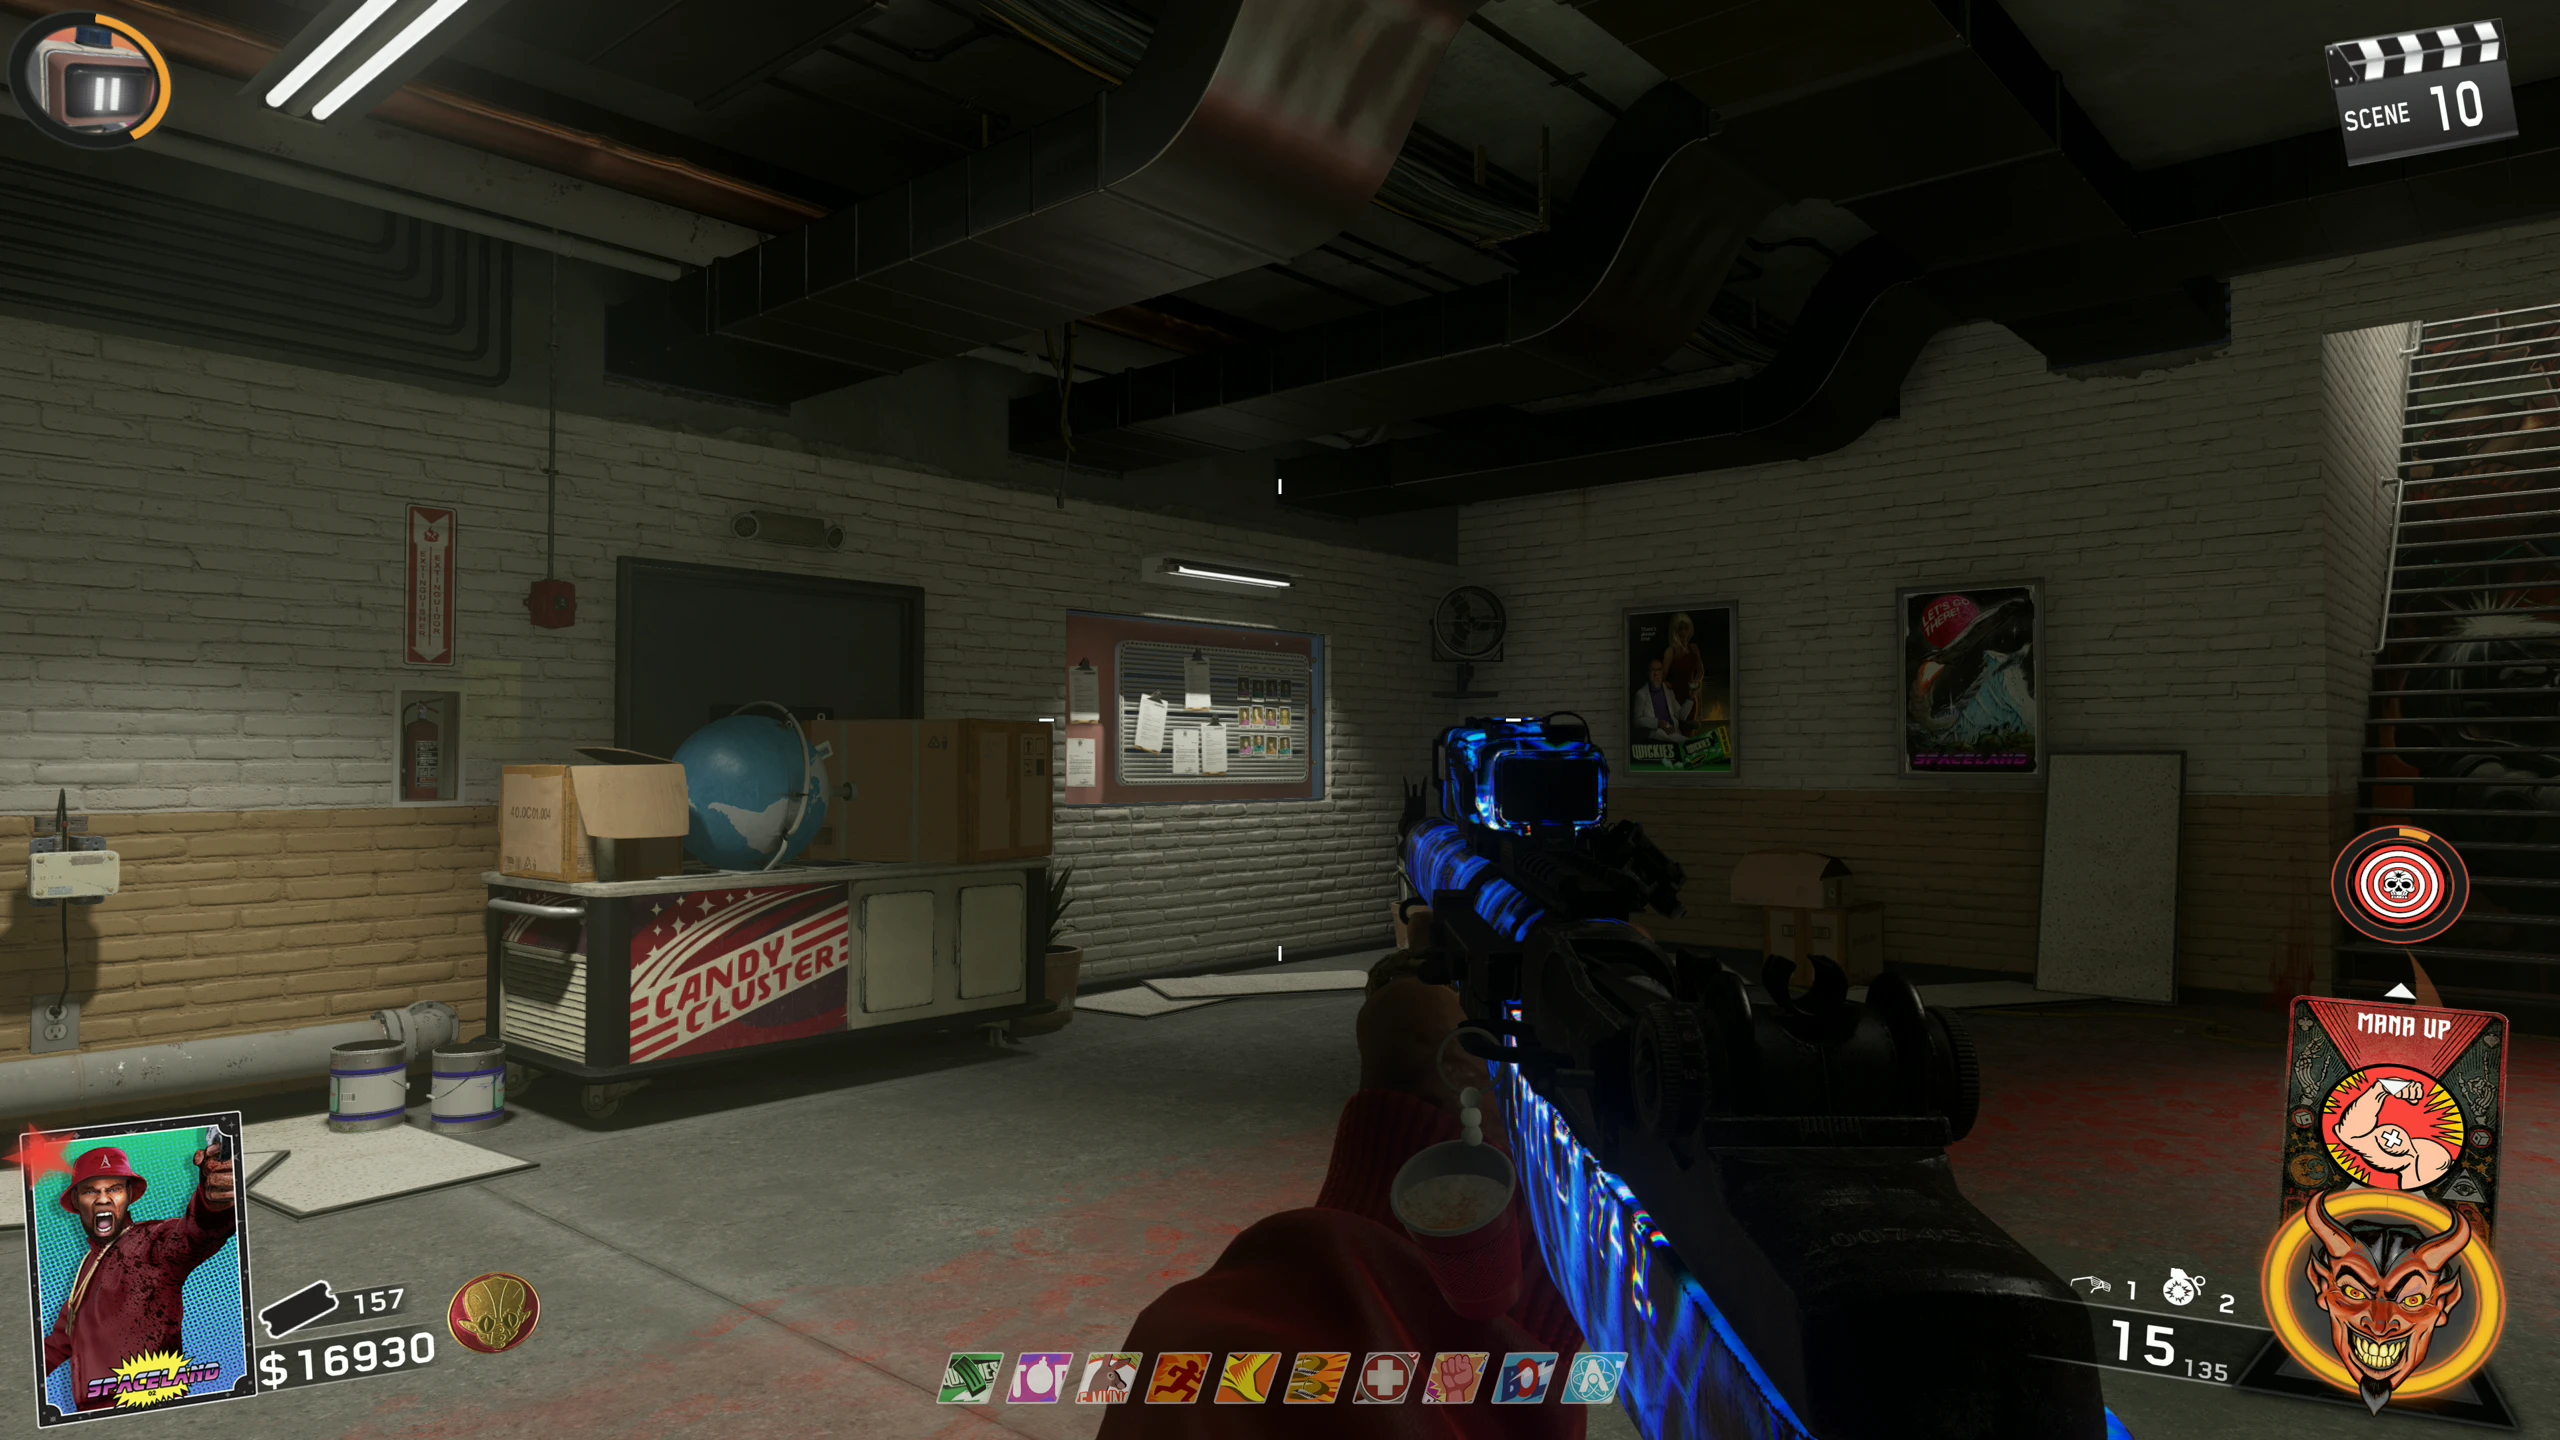
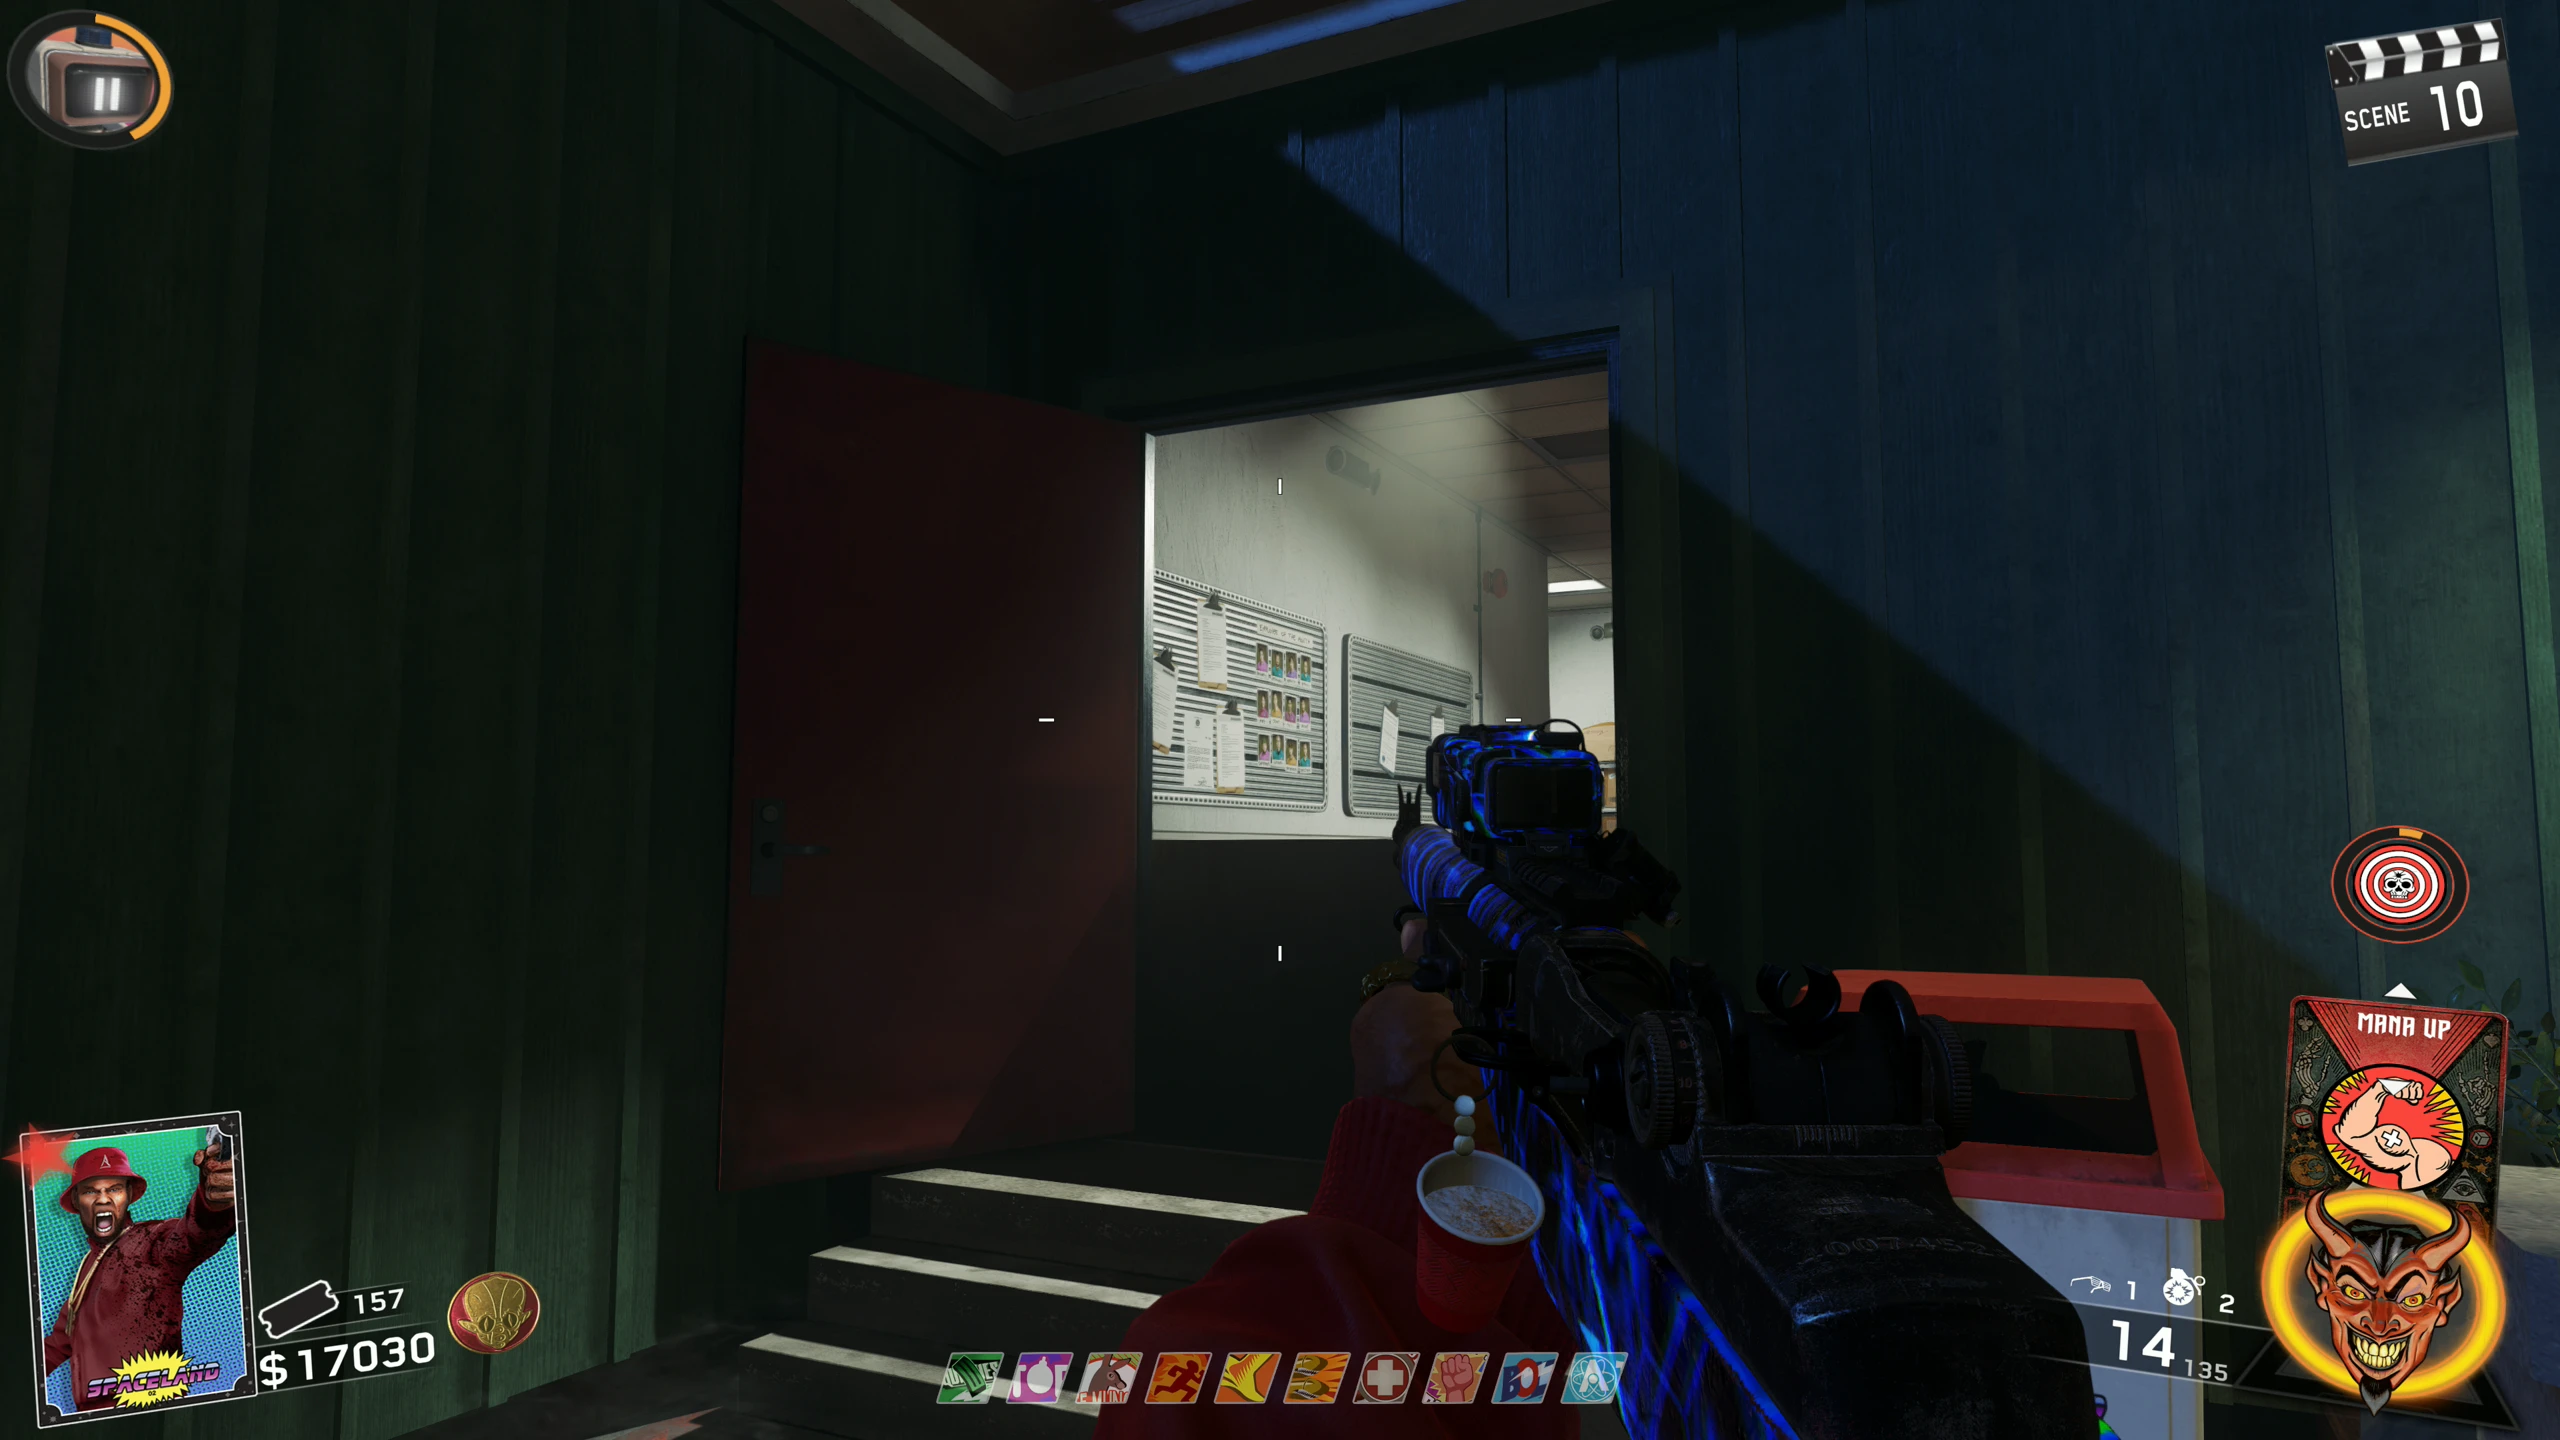
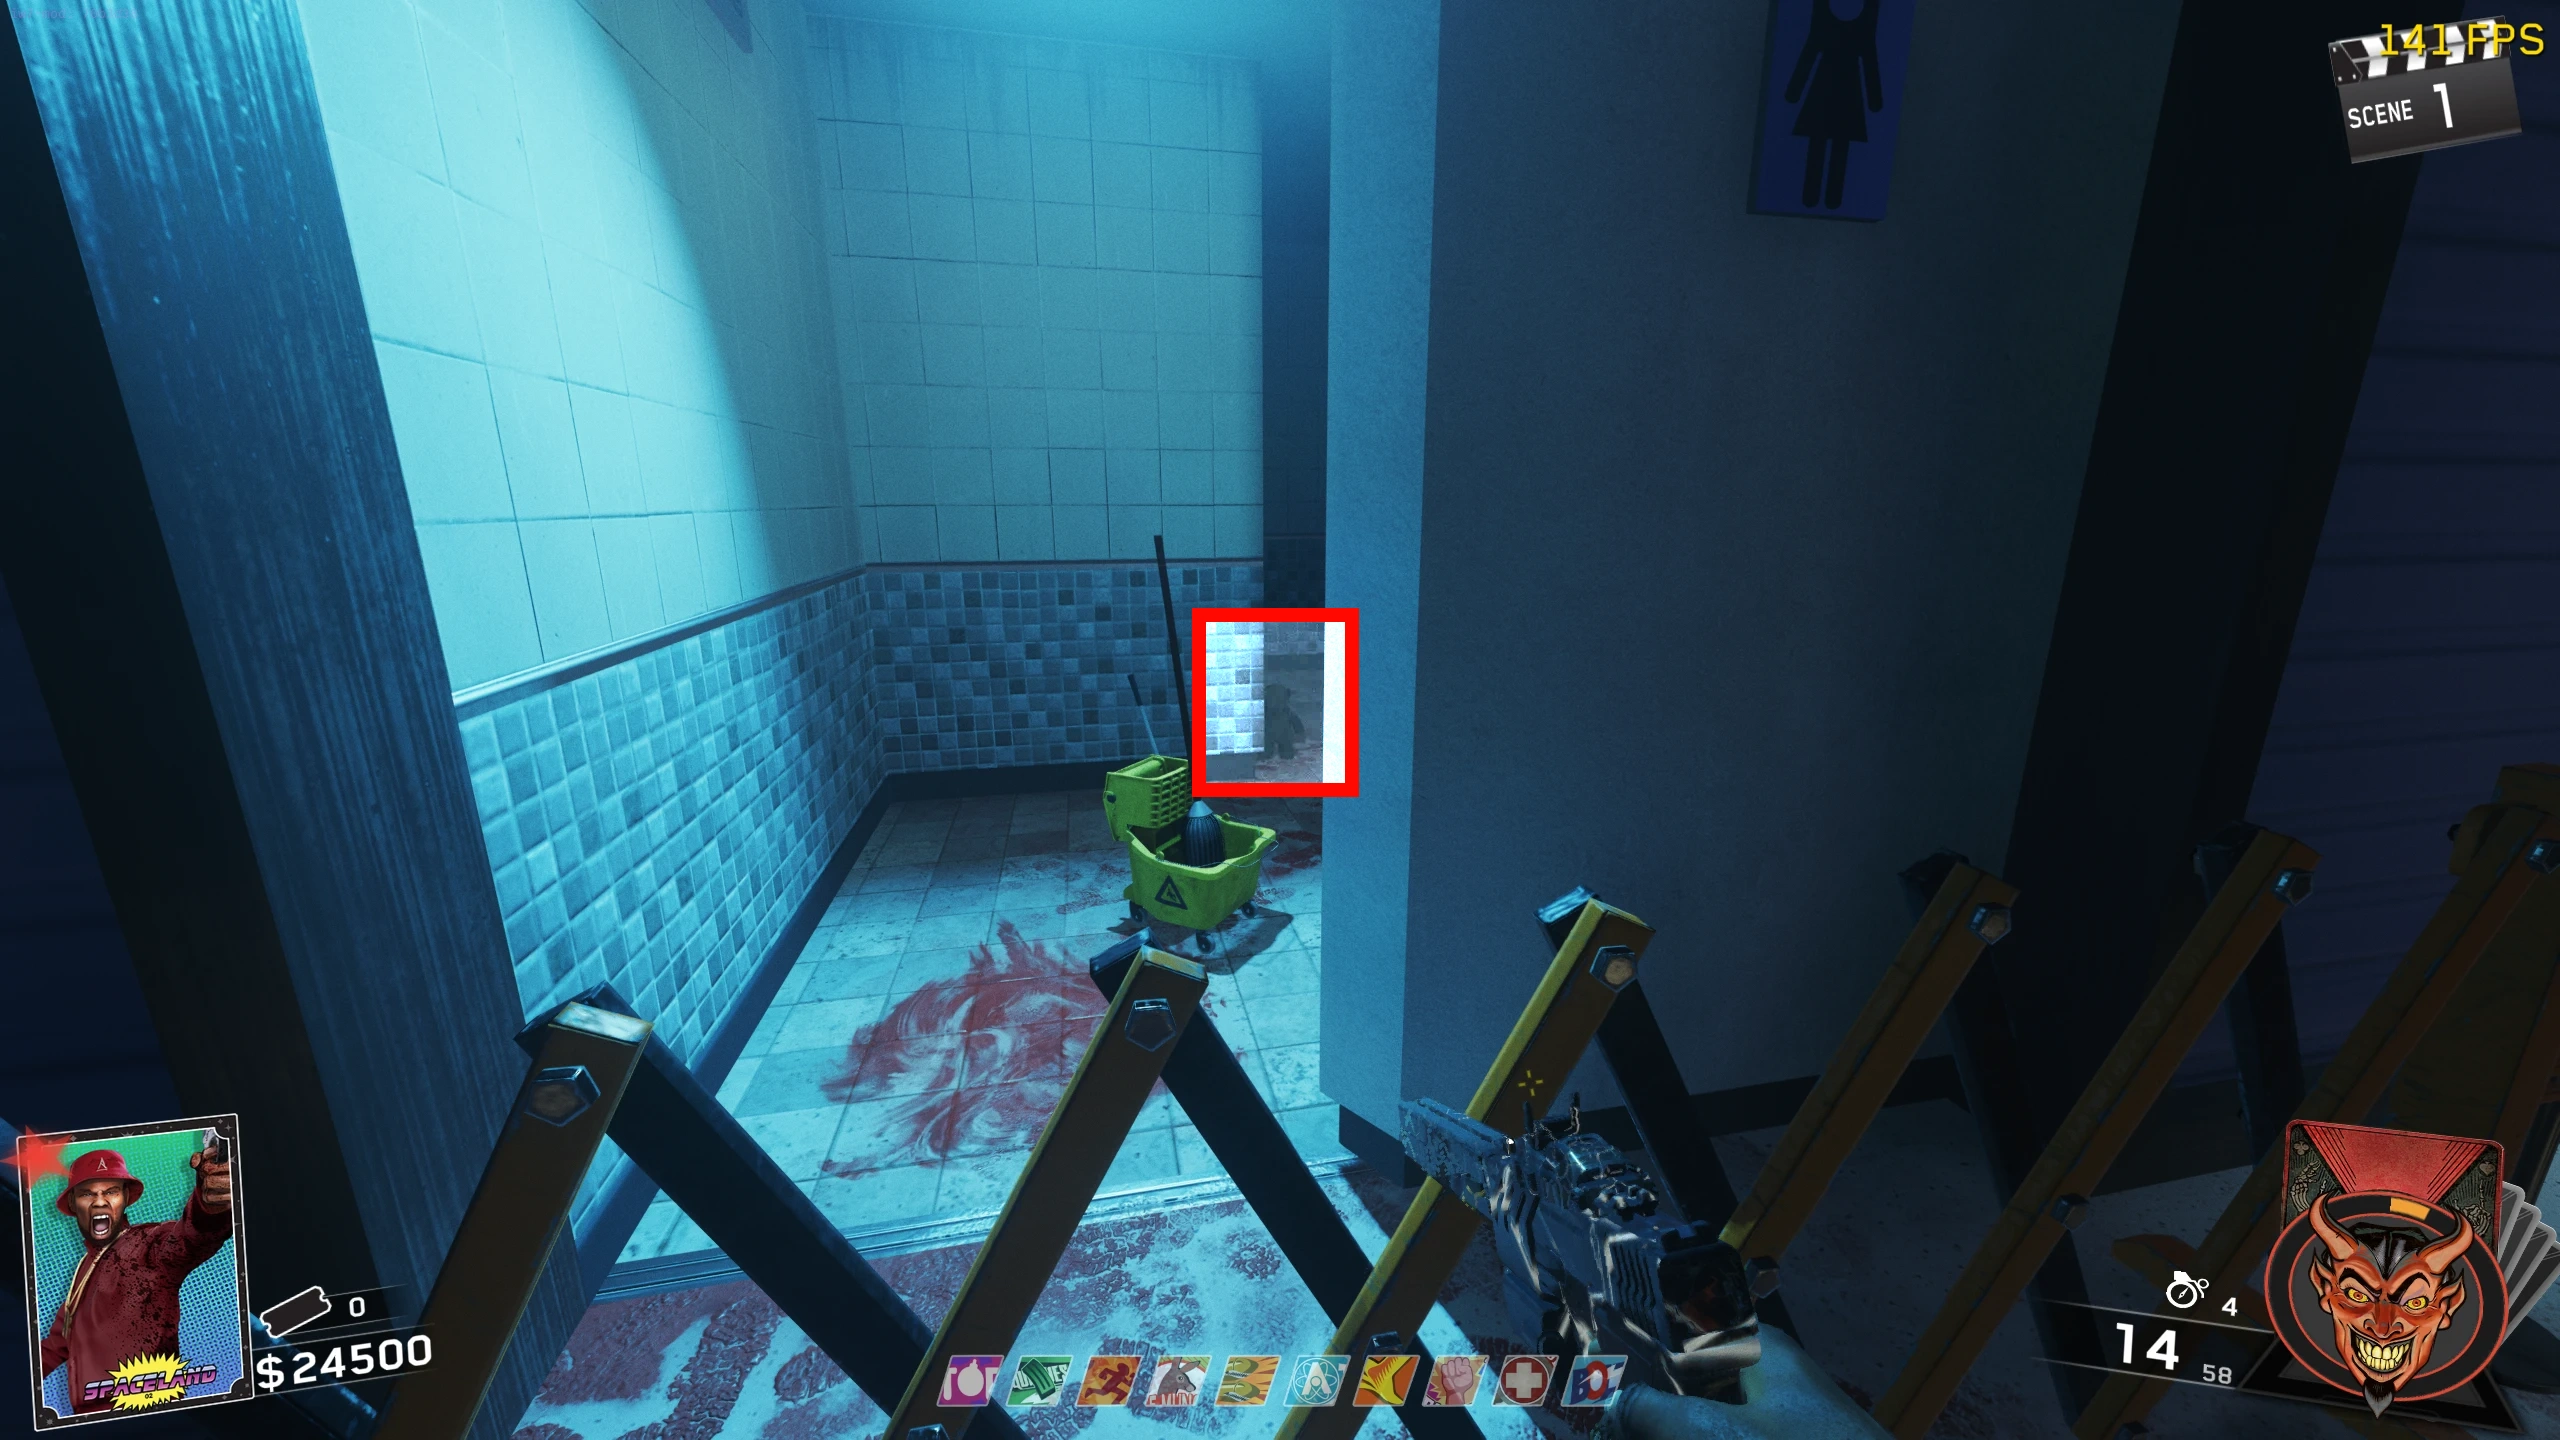
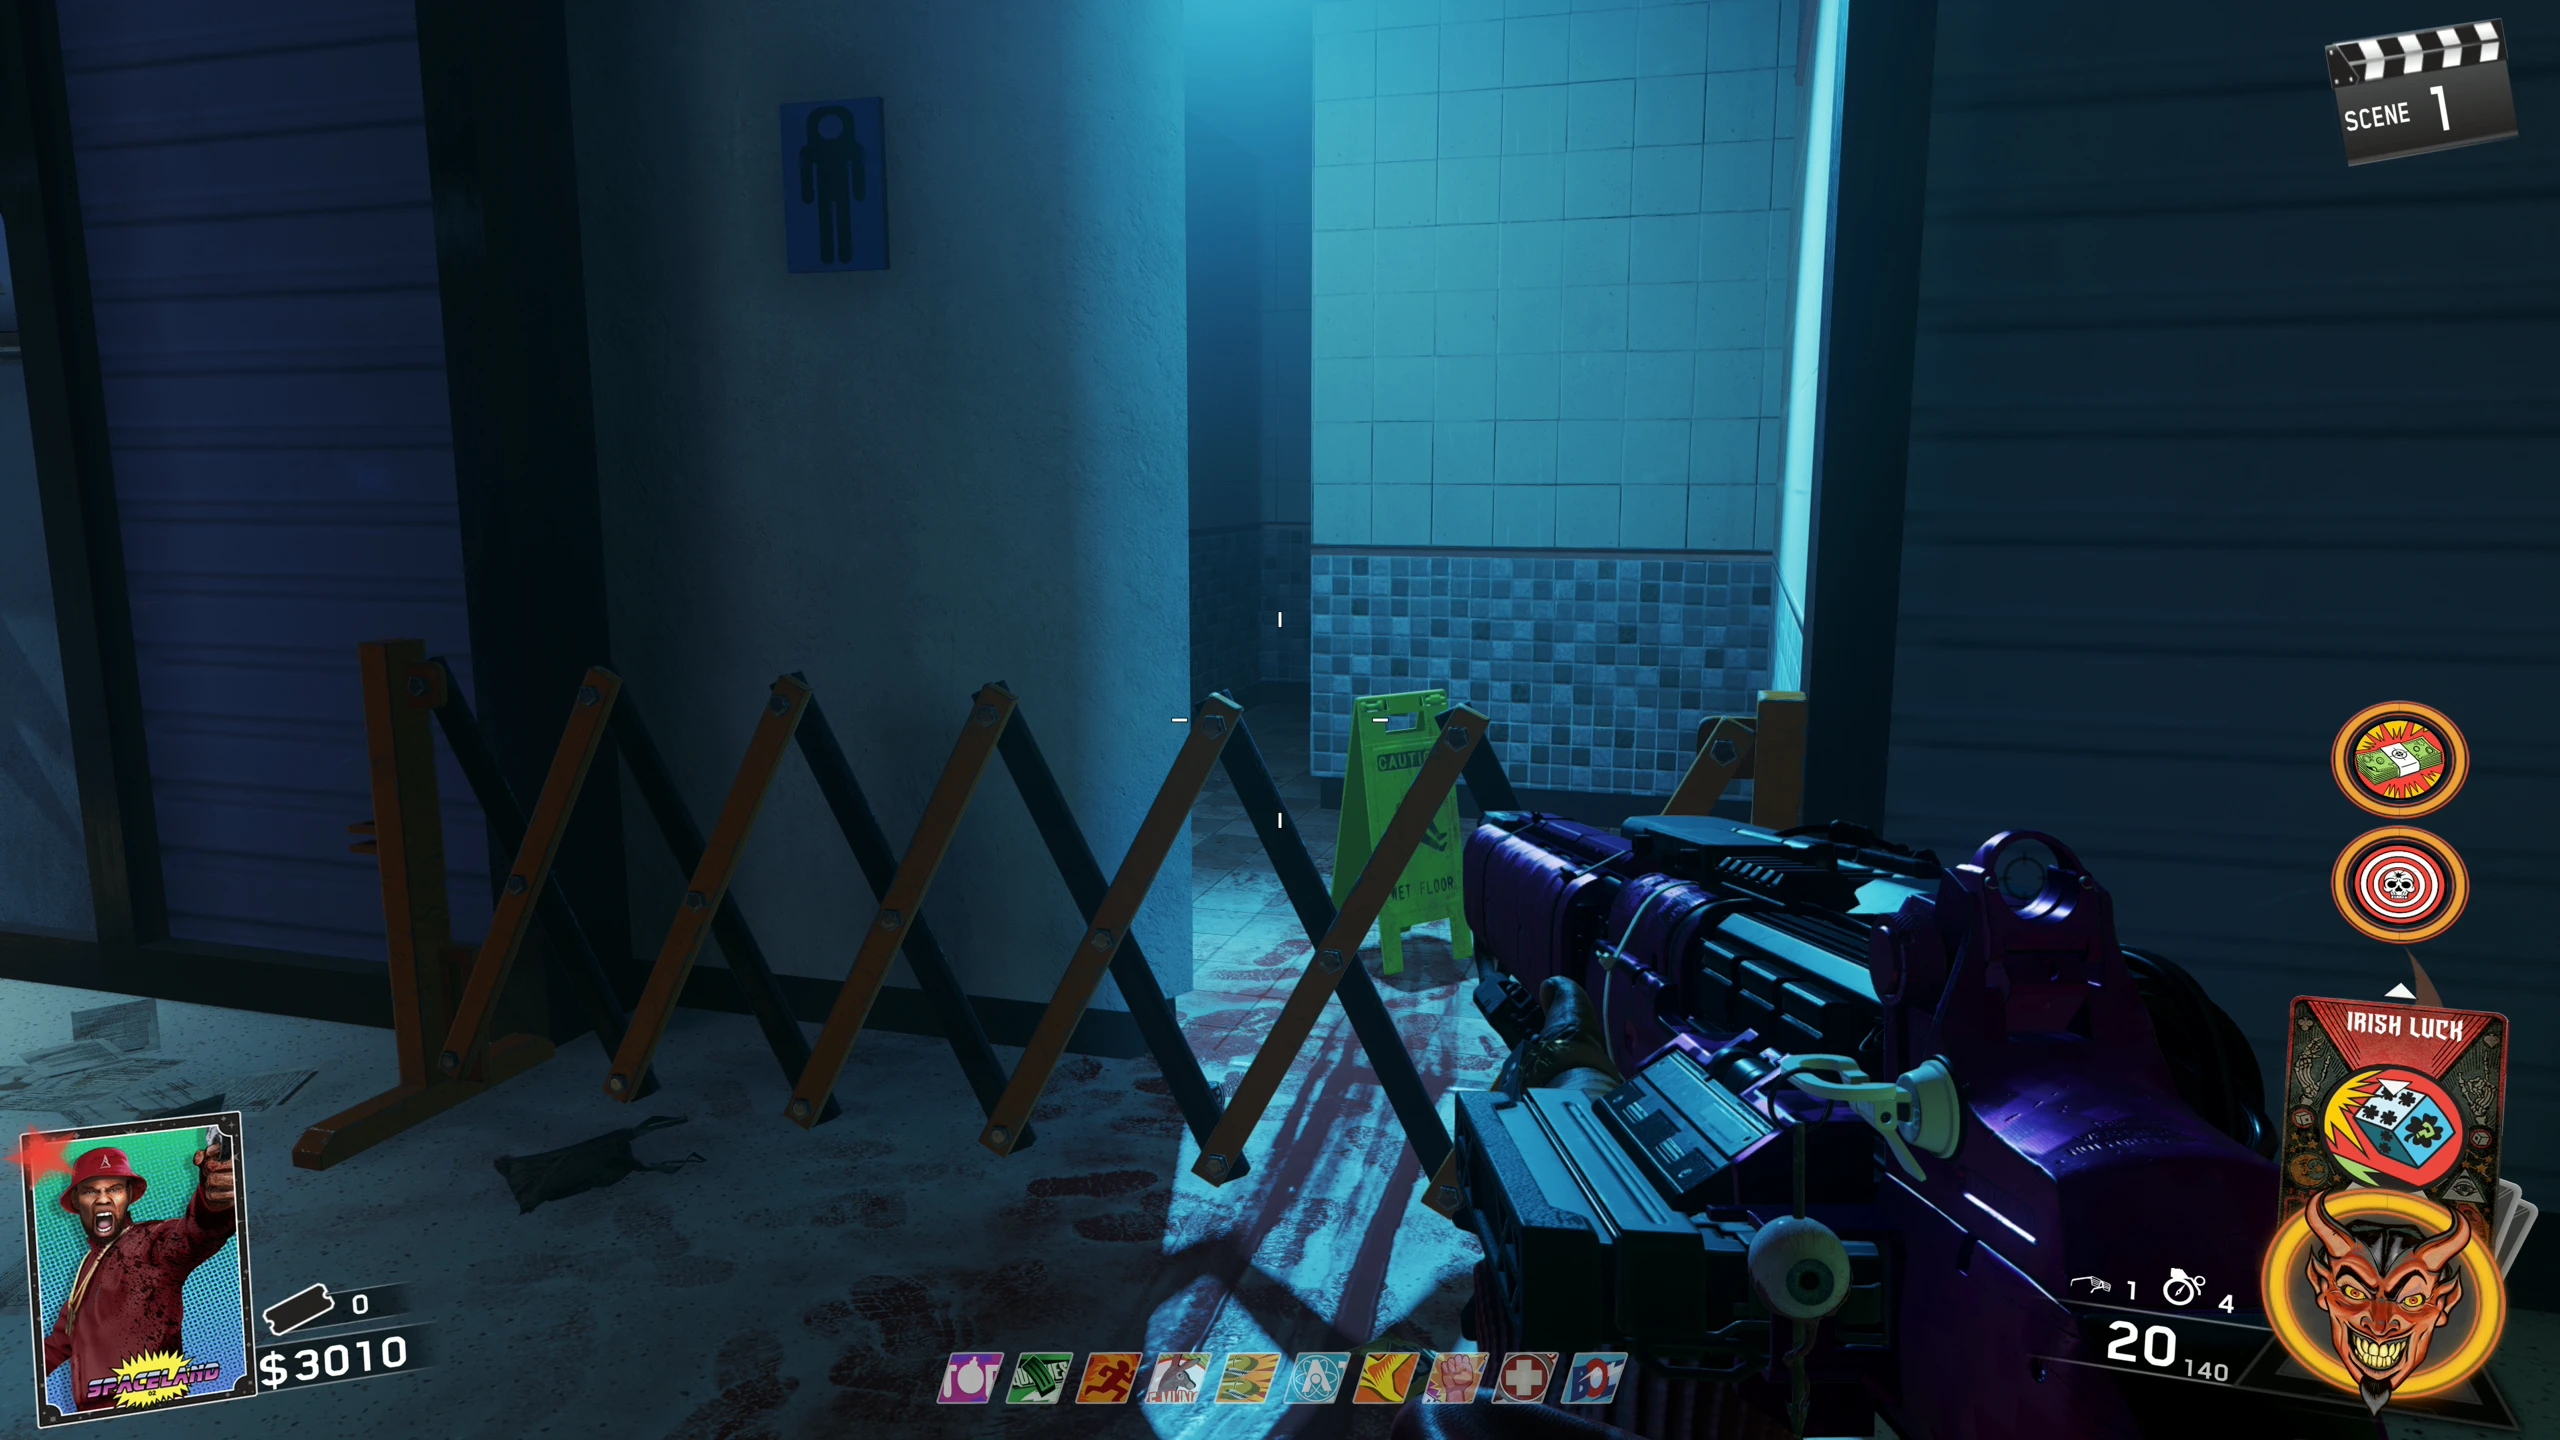
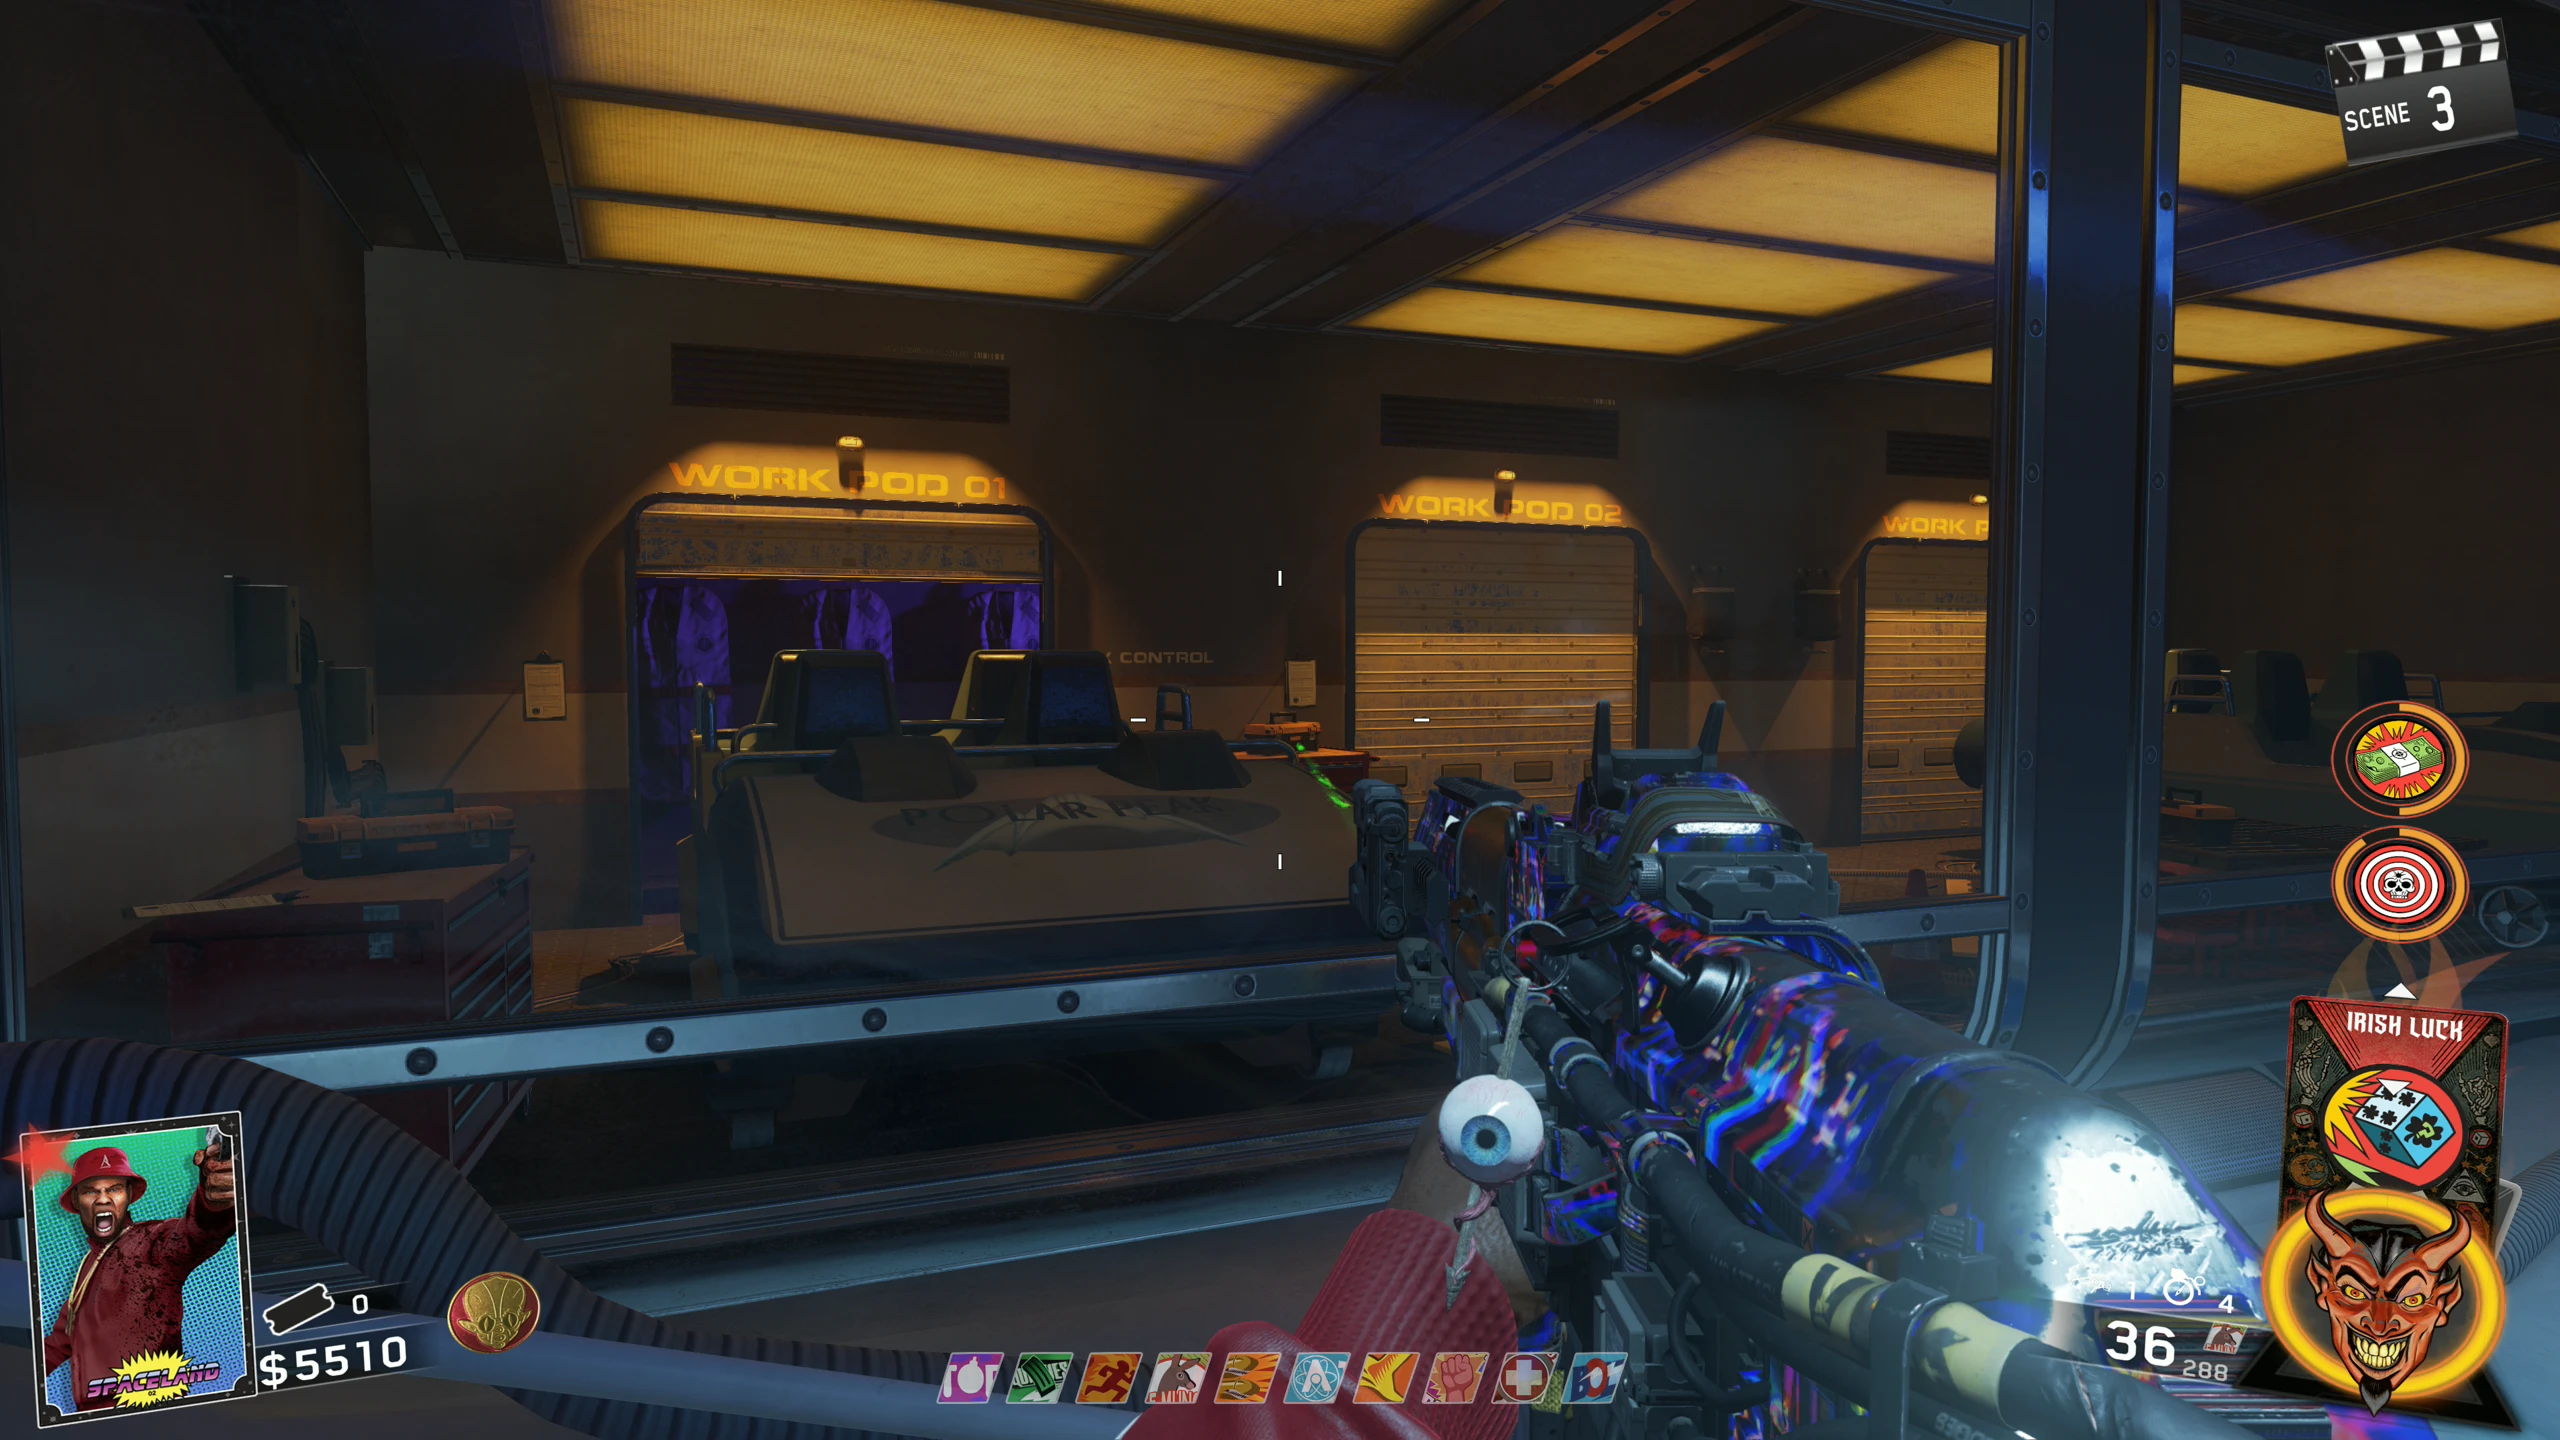
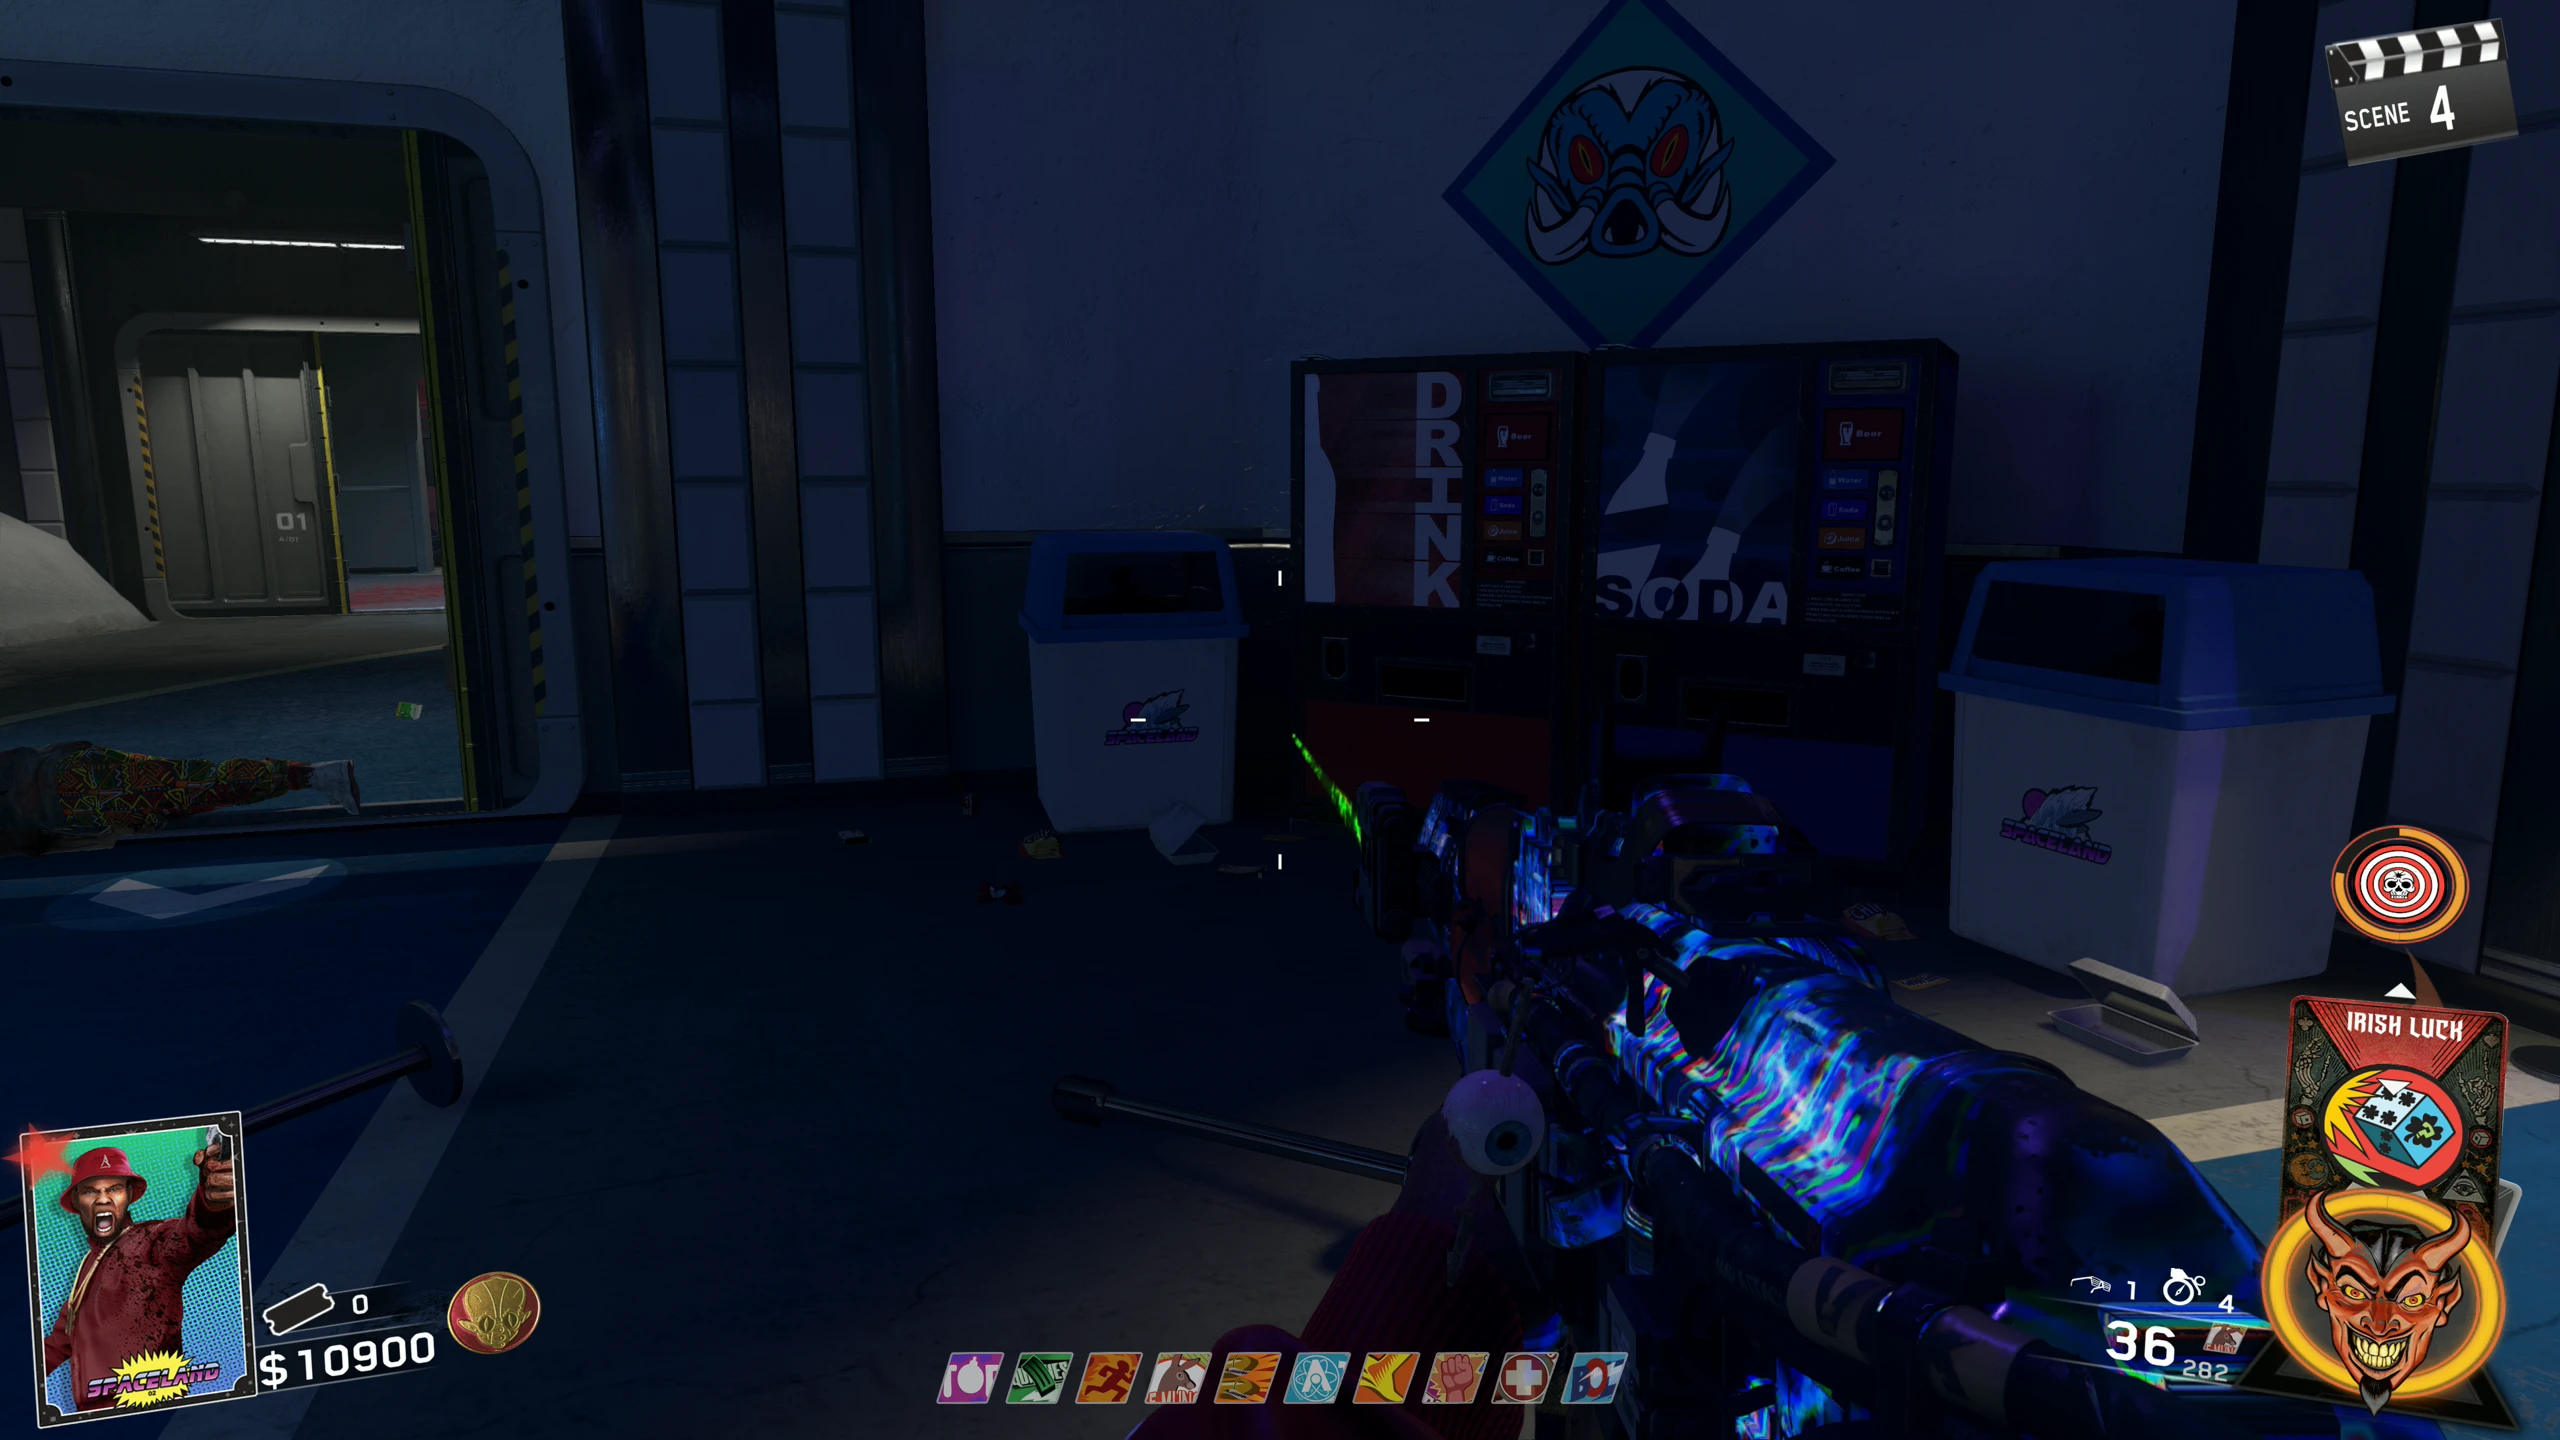
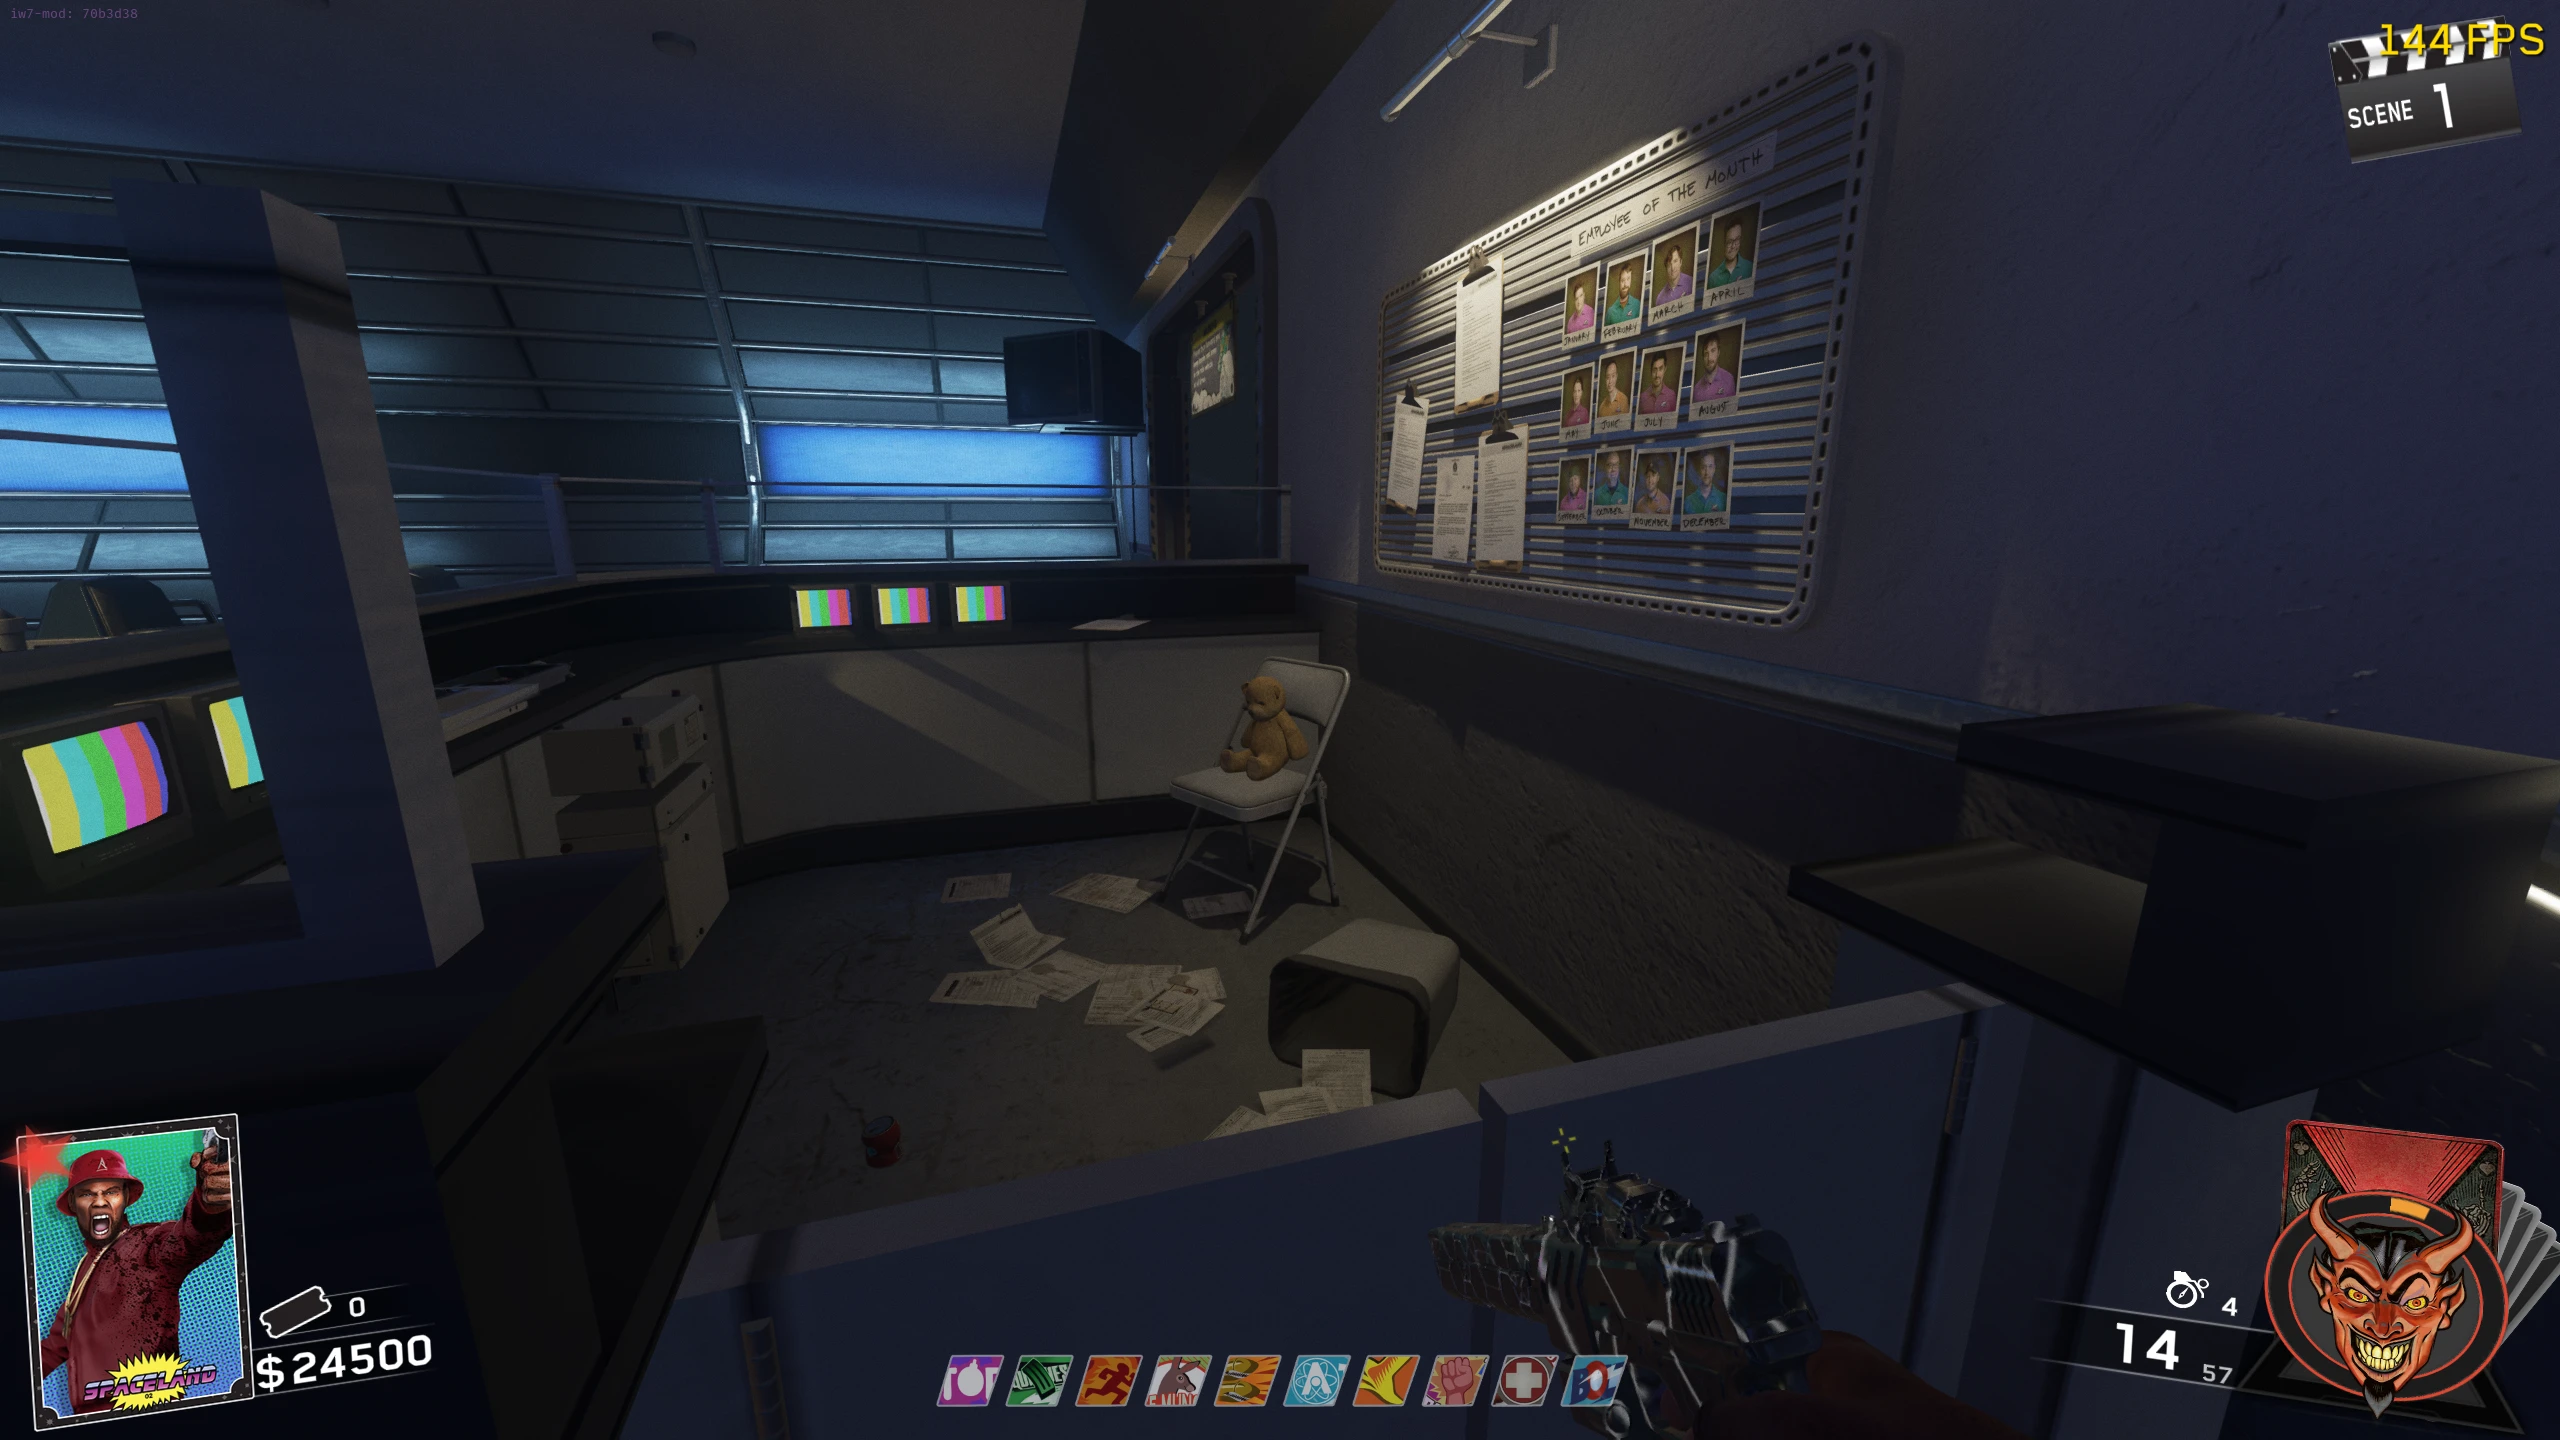
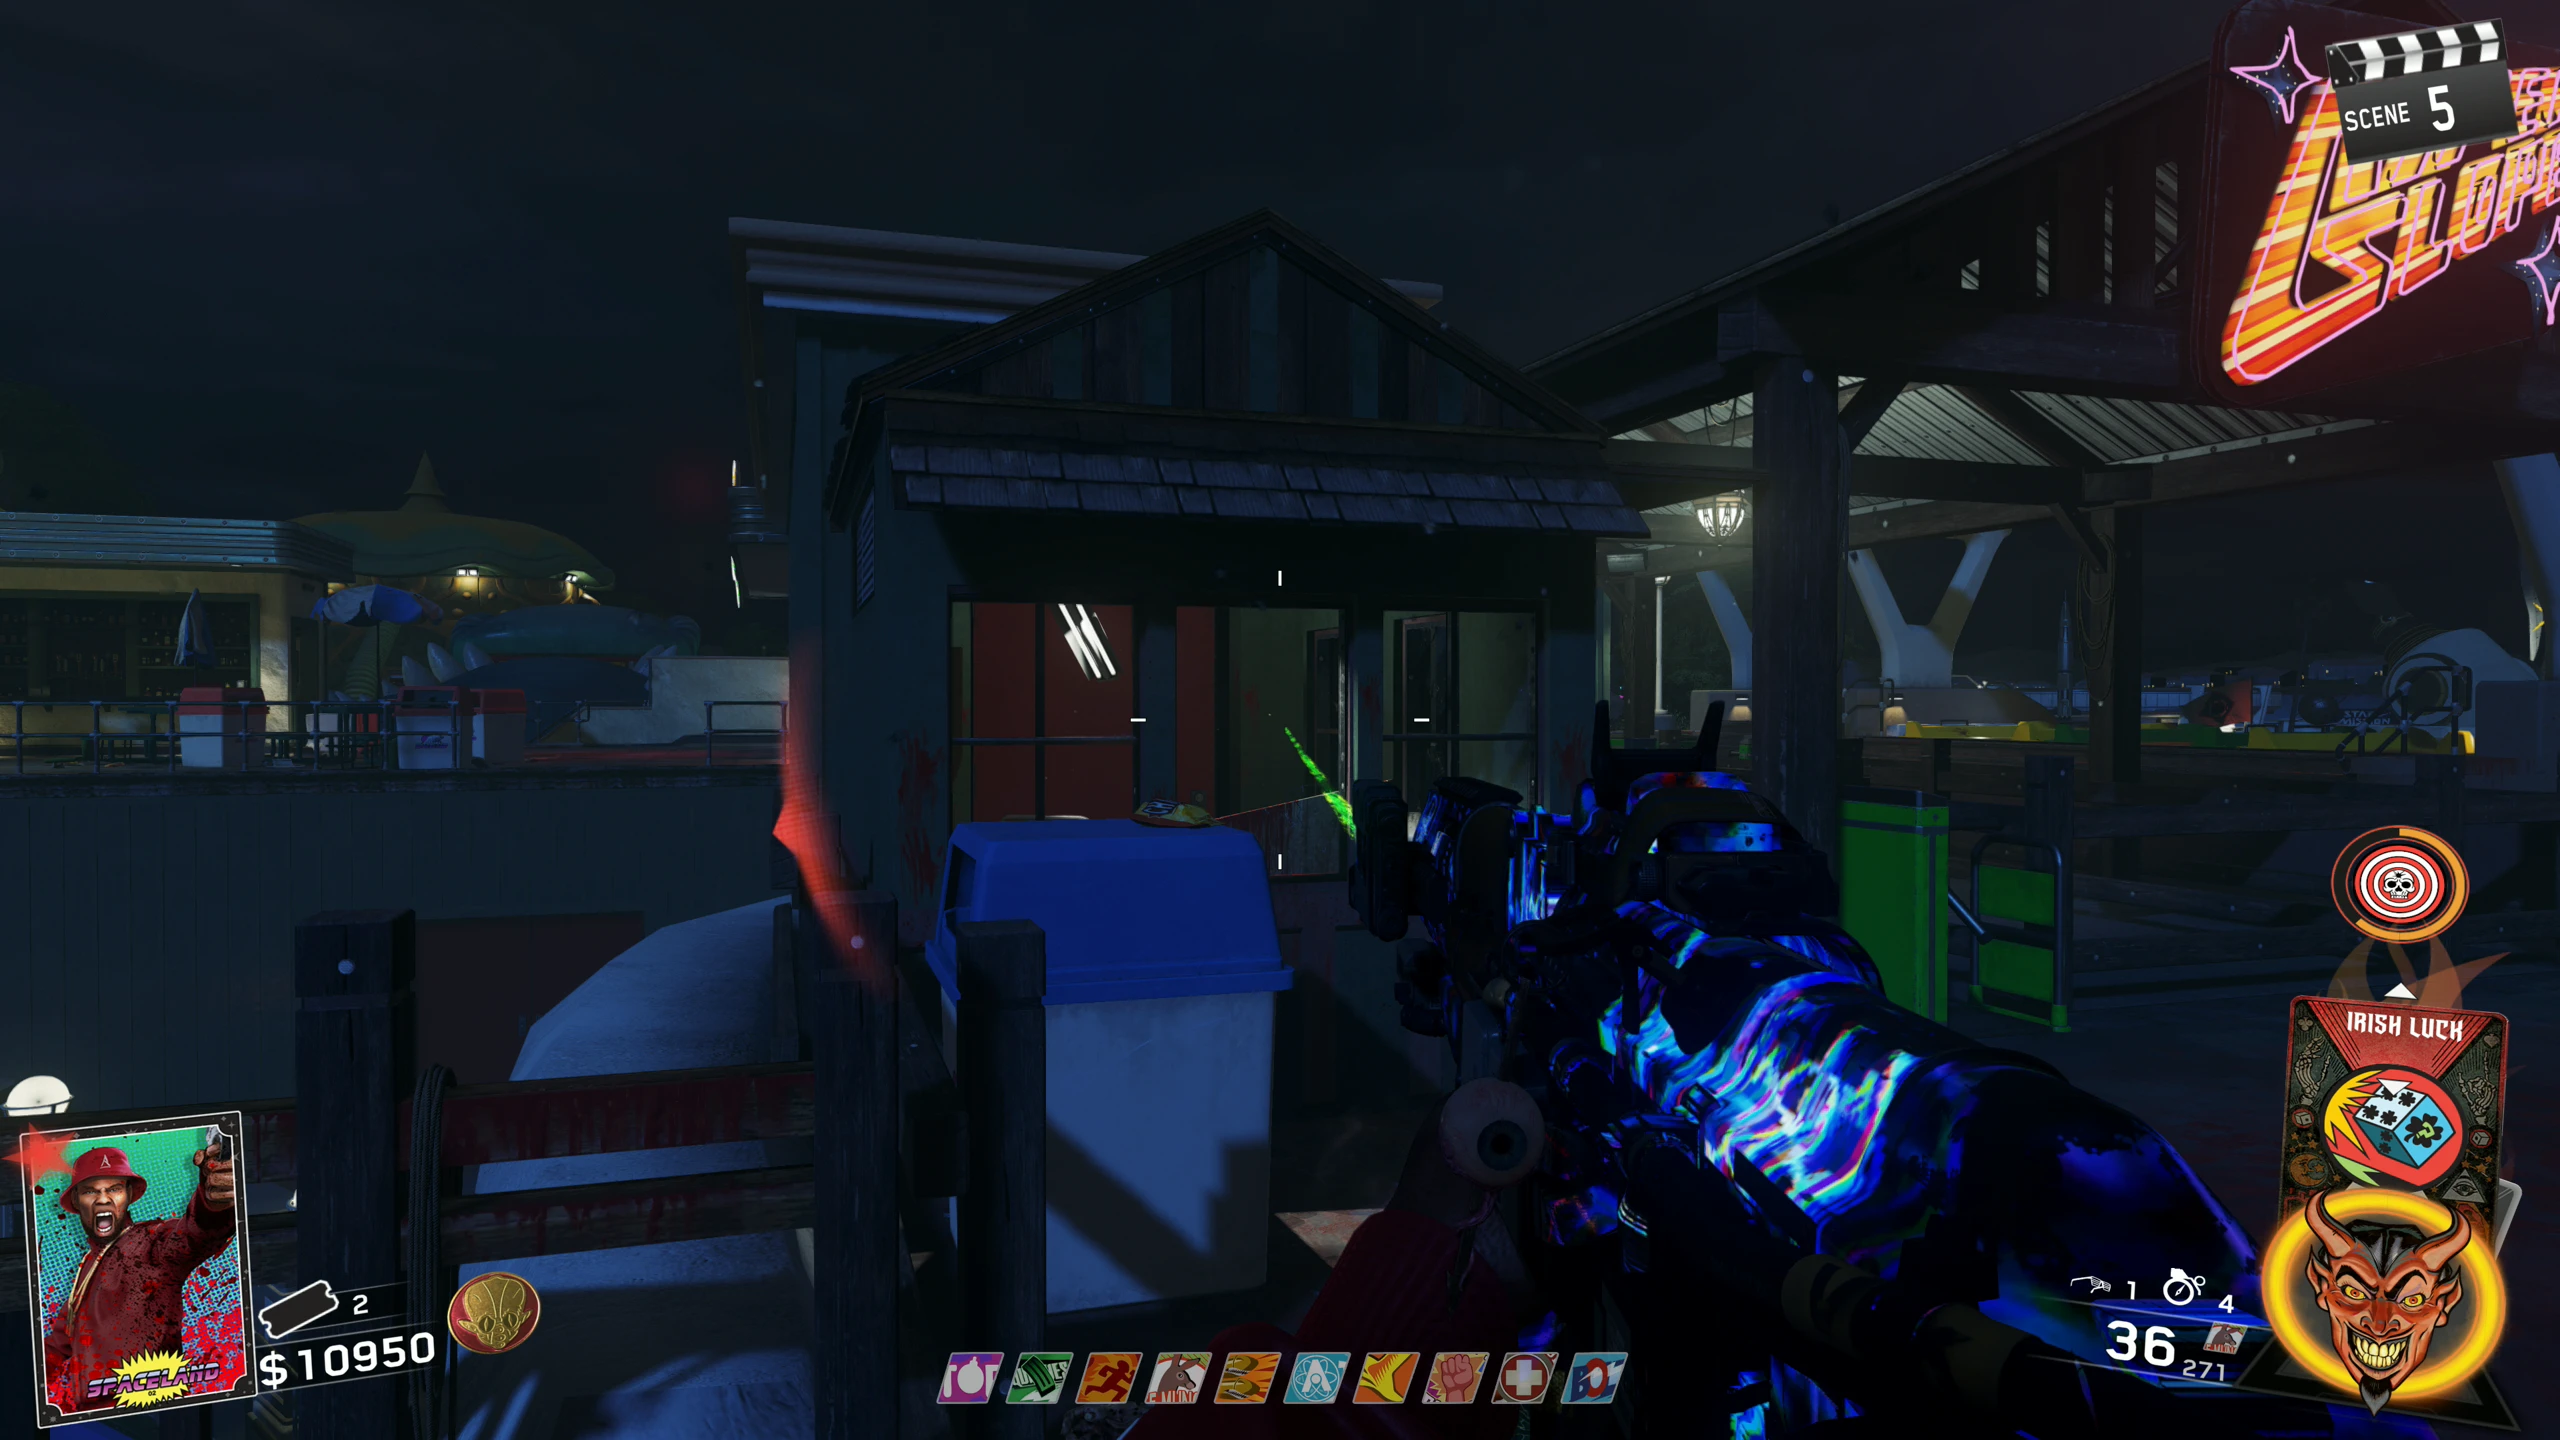
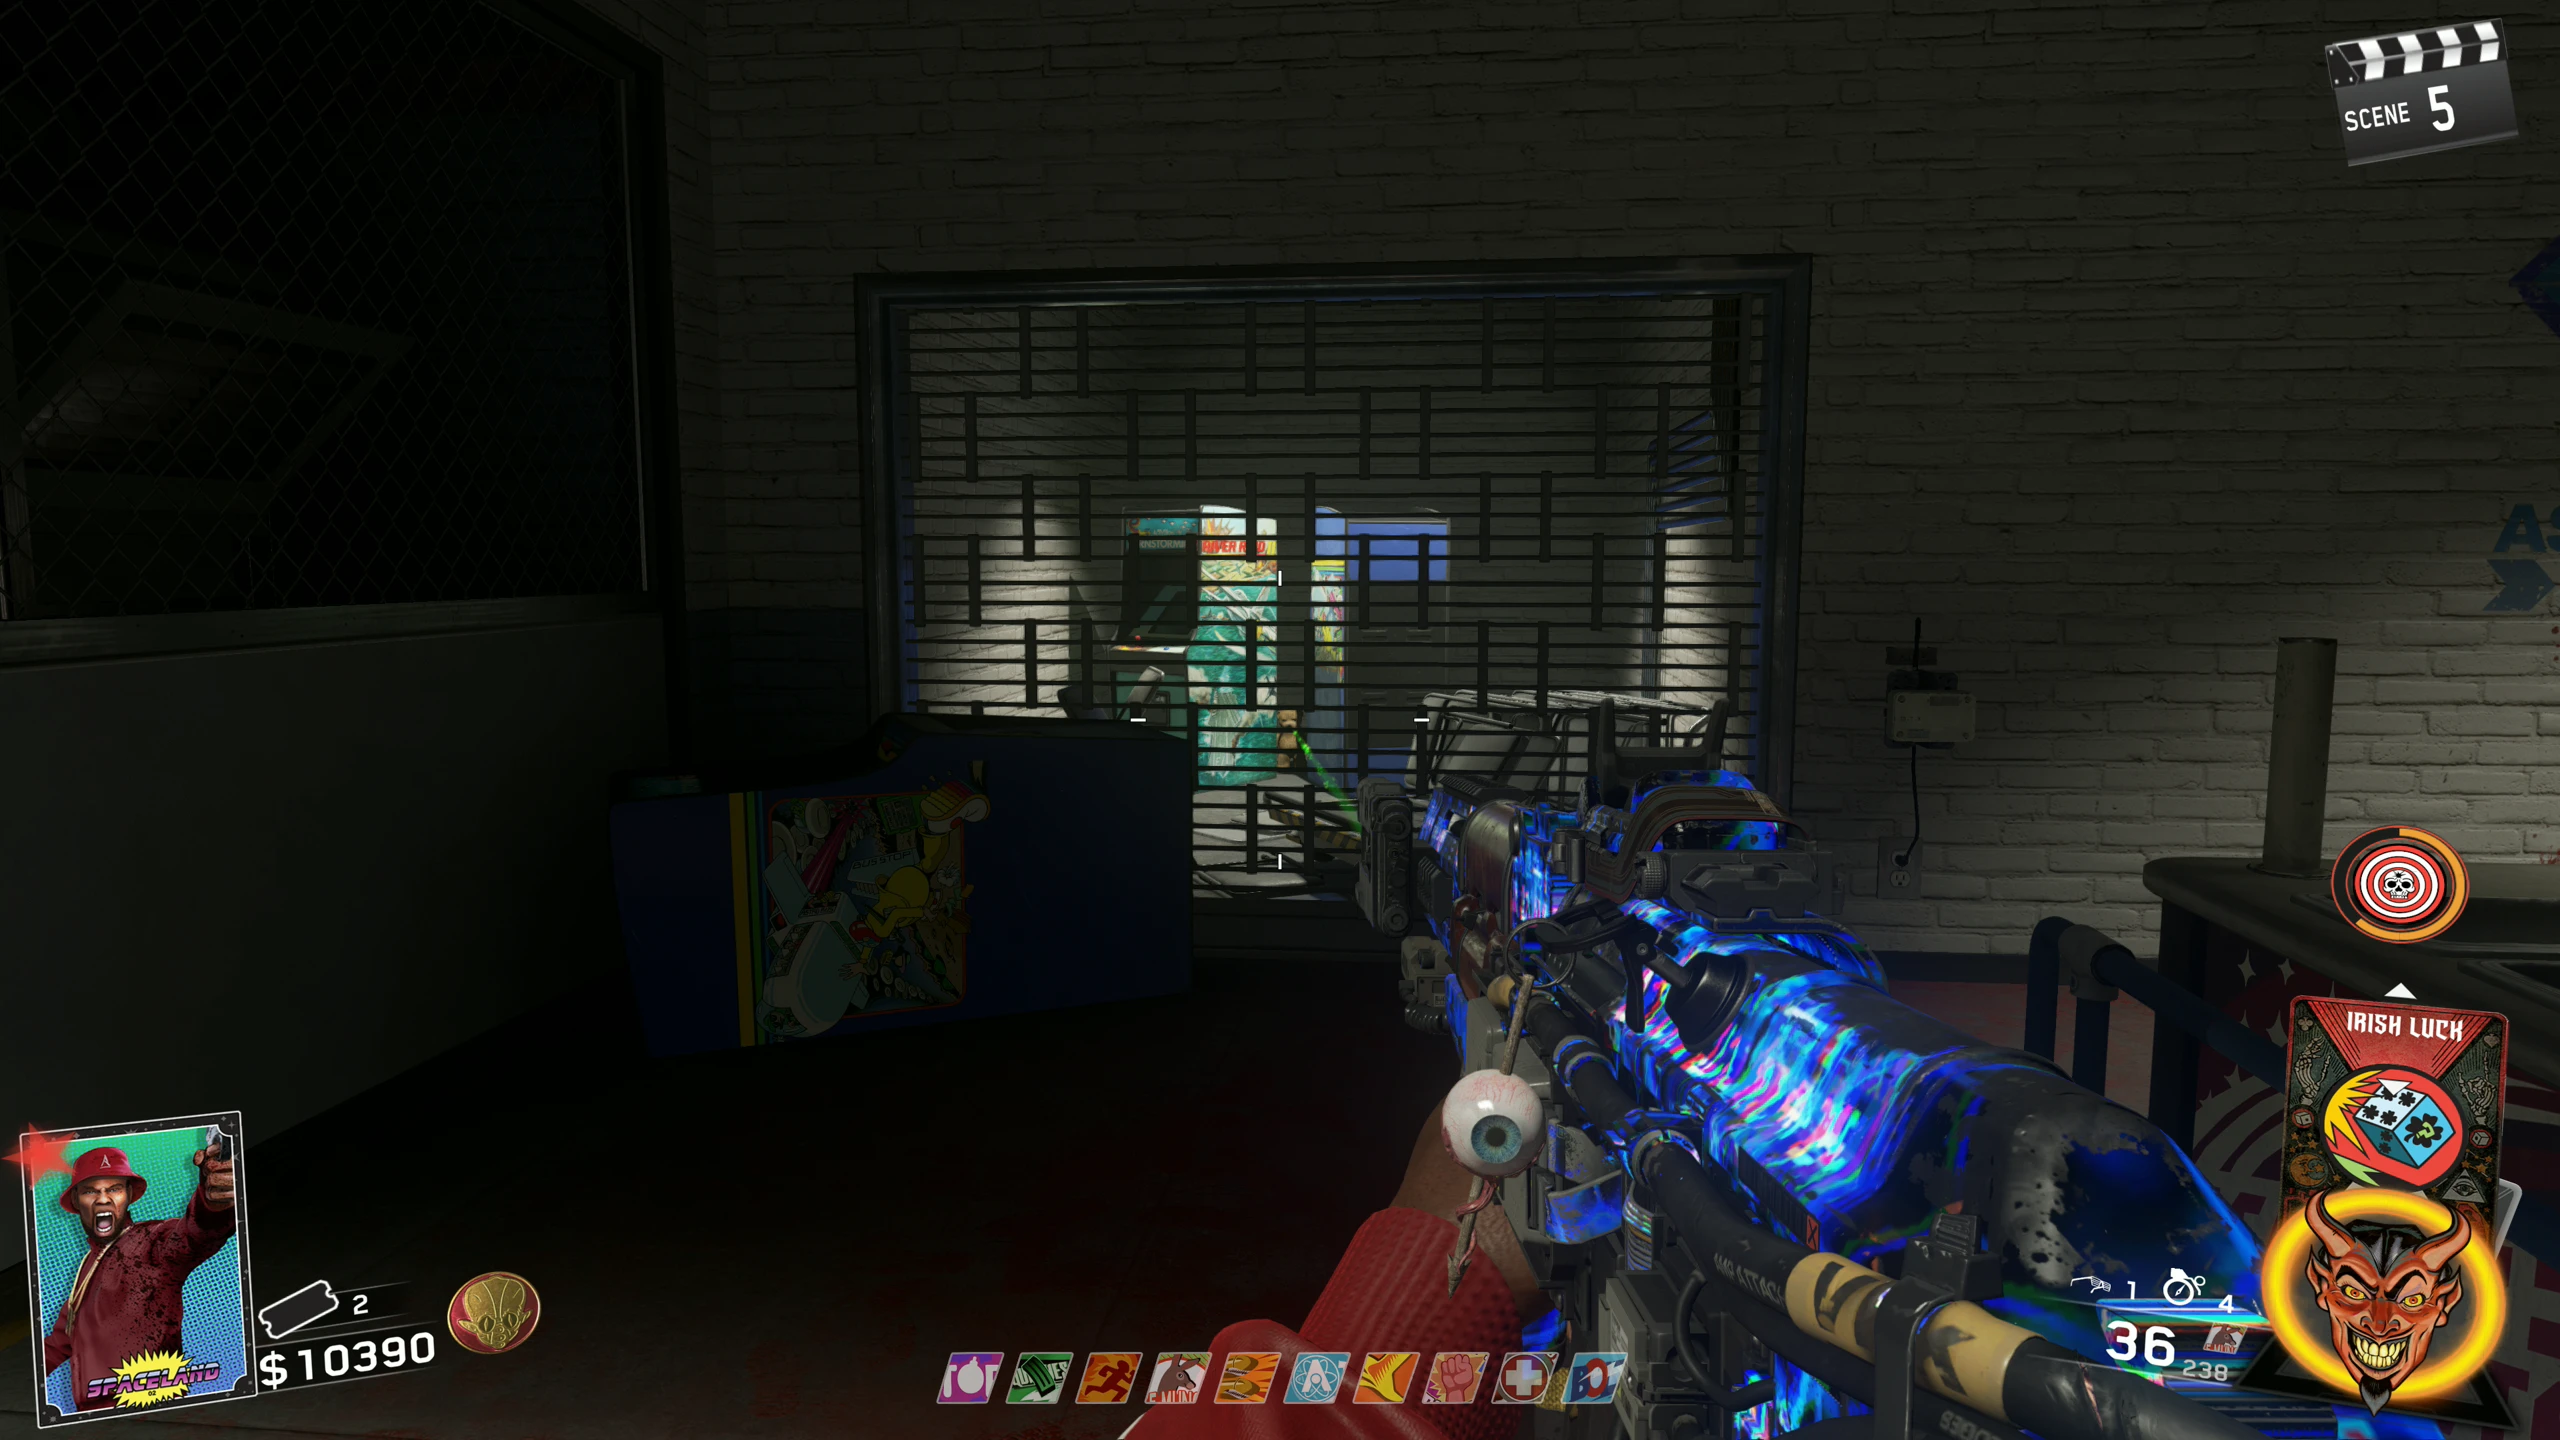
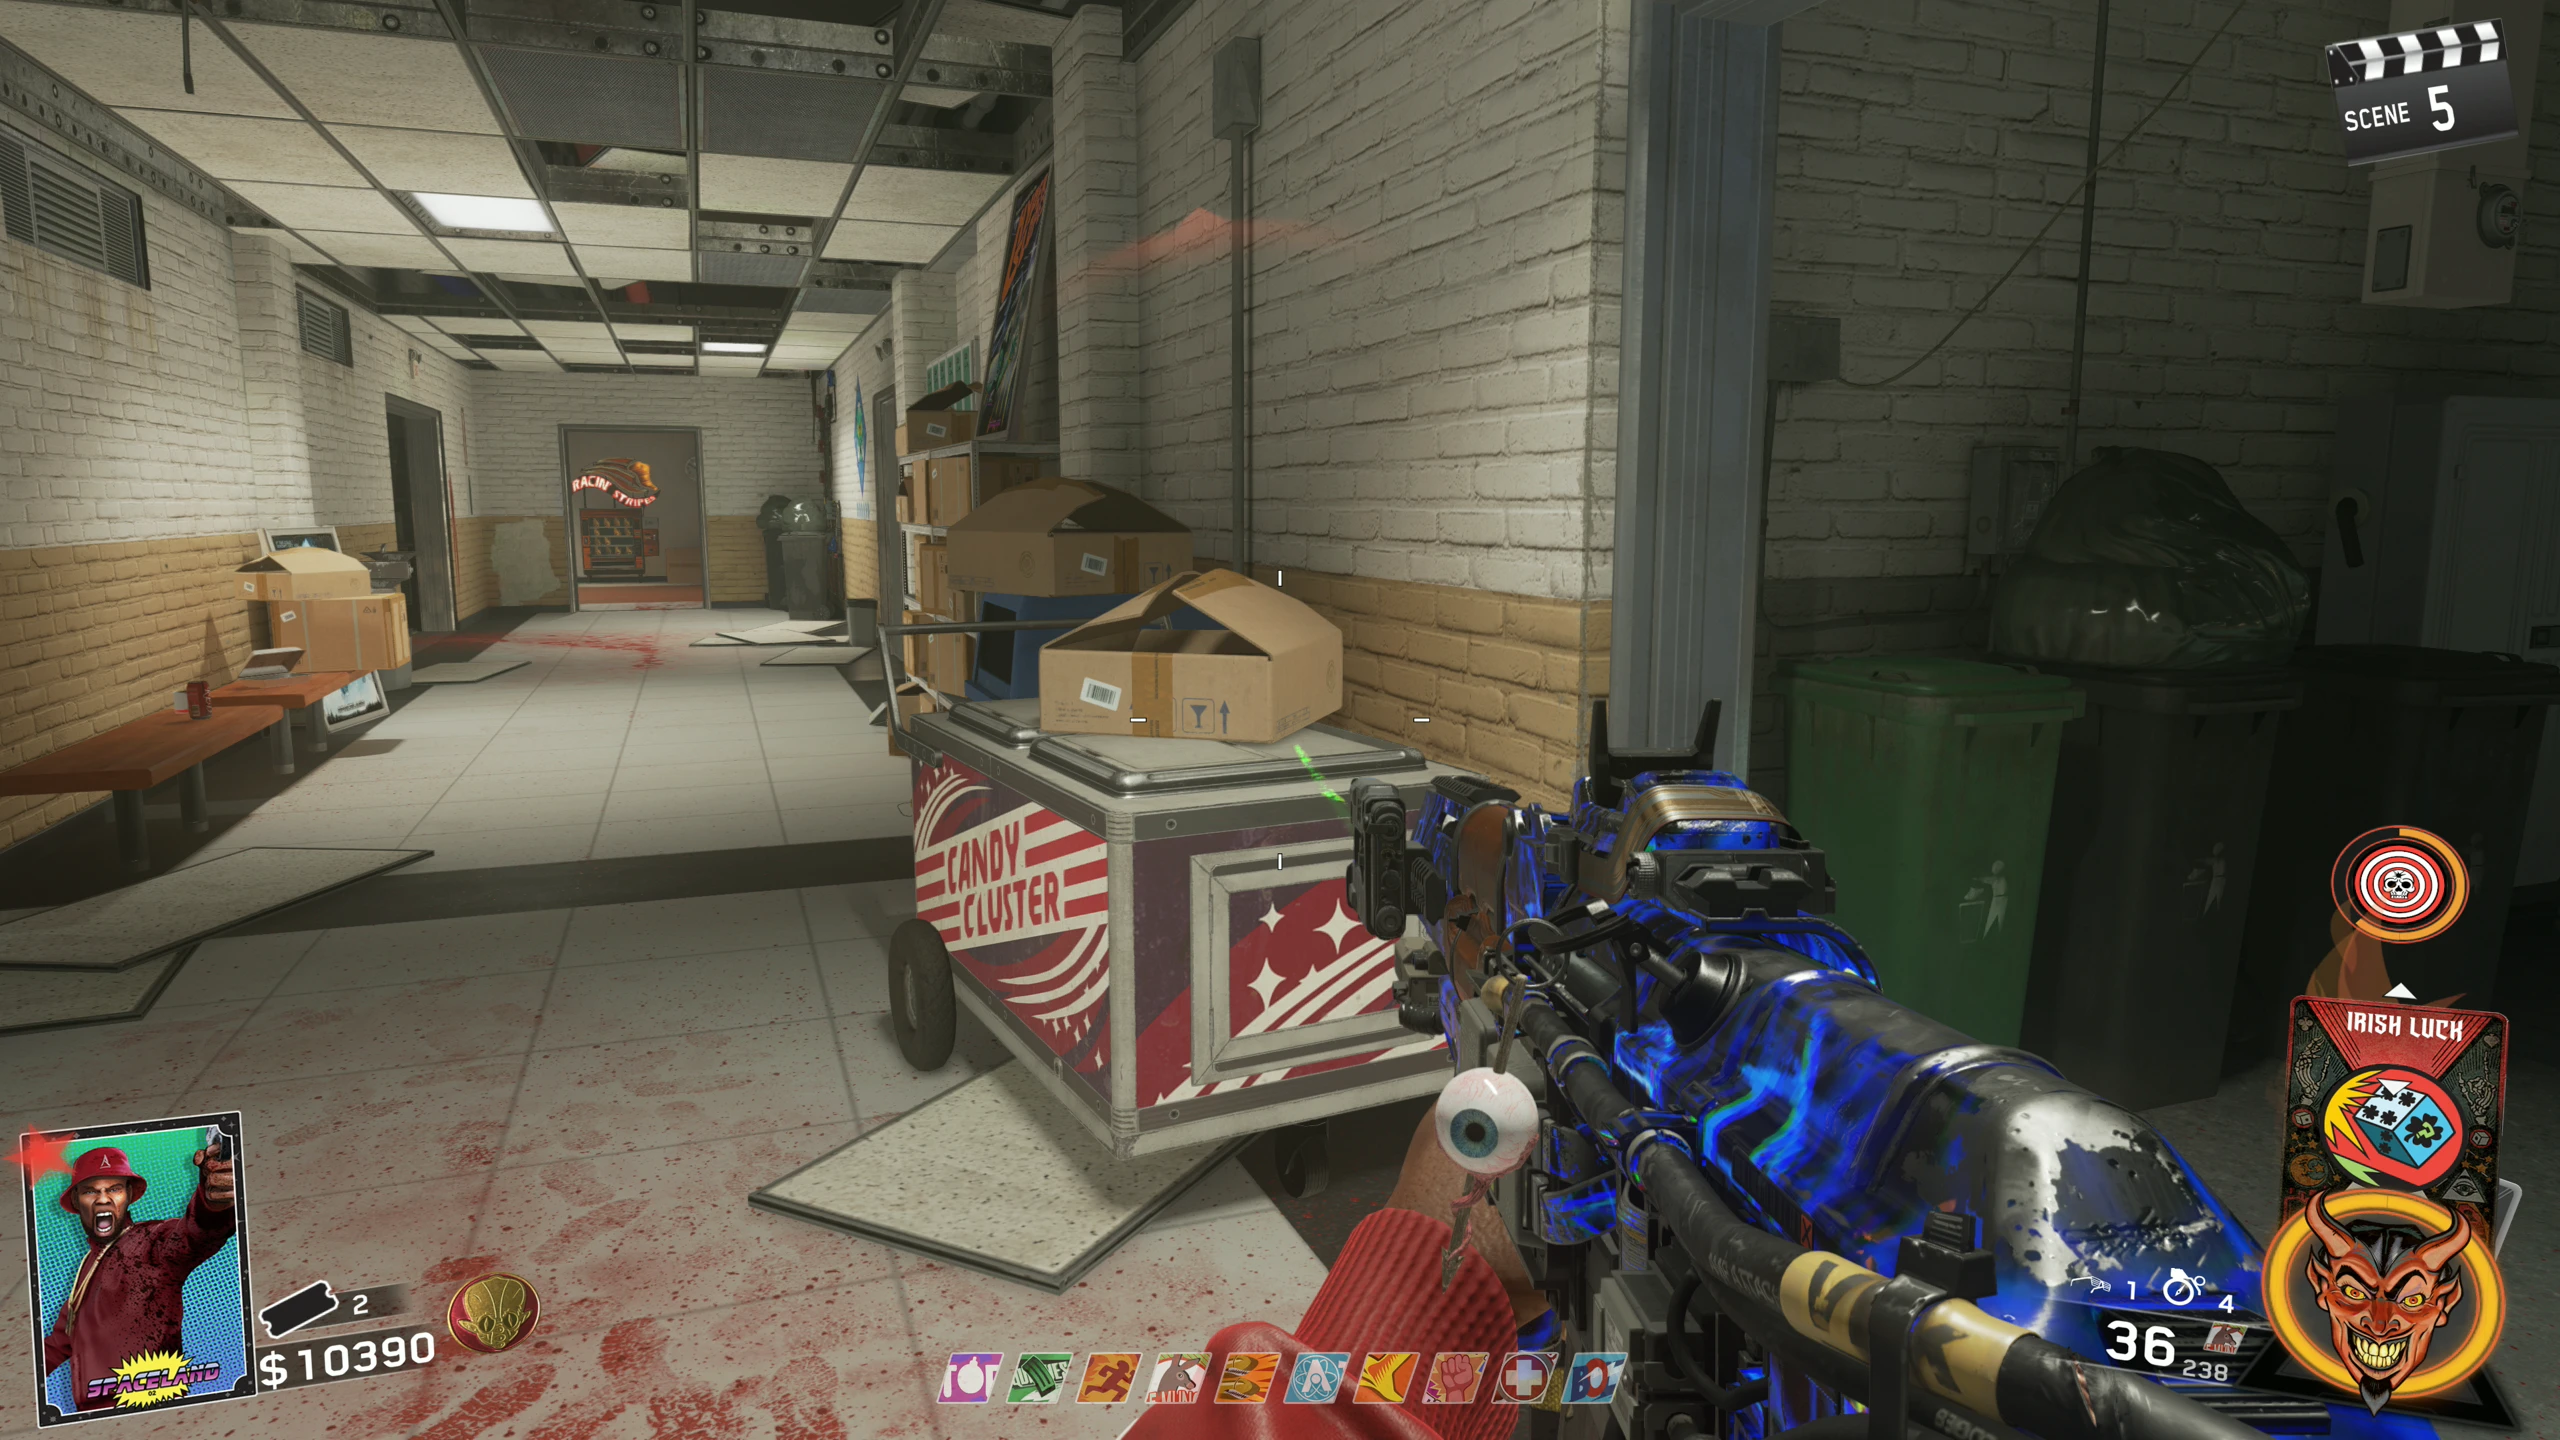
- Underground - In the break room, in front of the Racin' Stripes perk machine
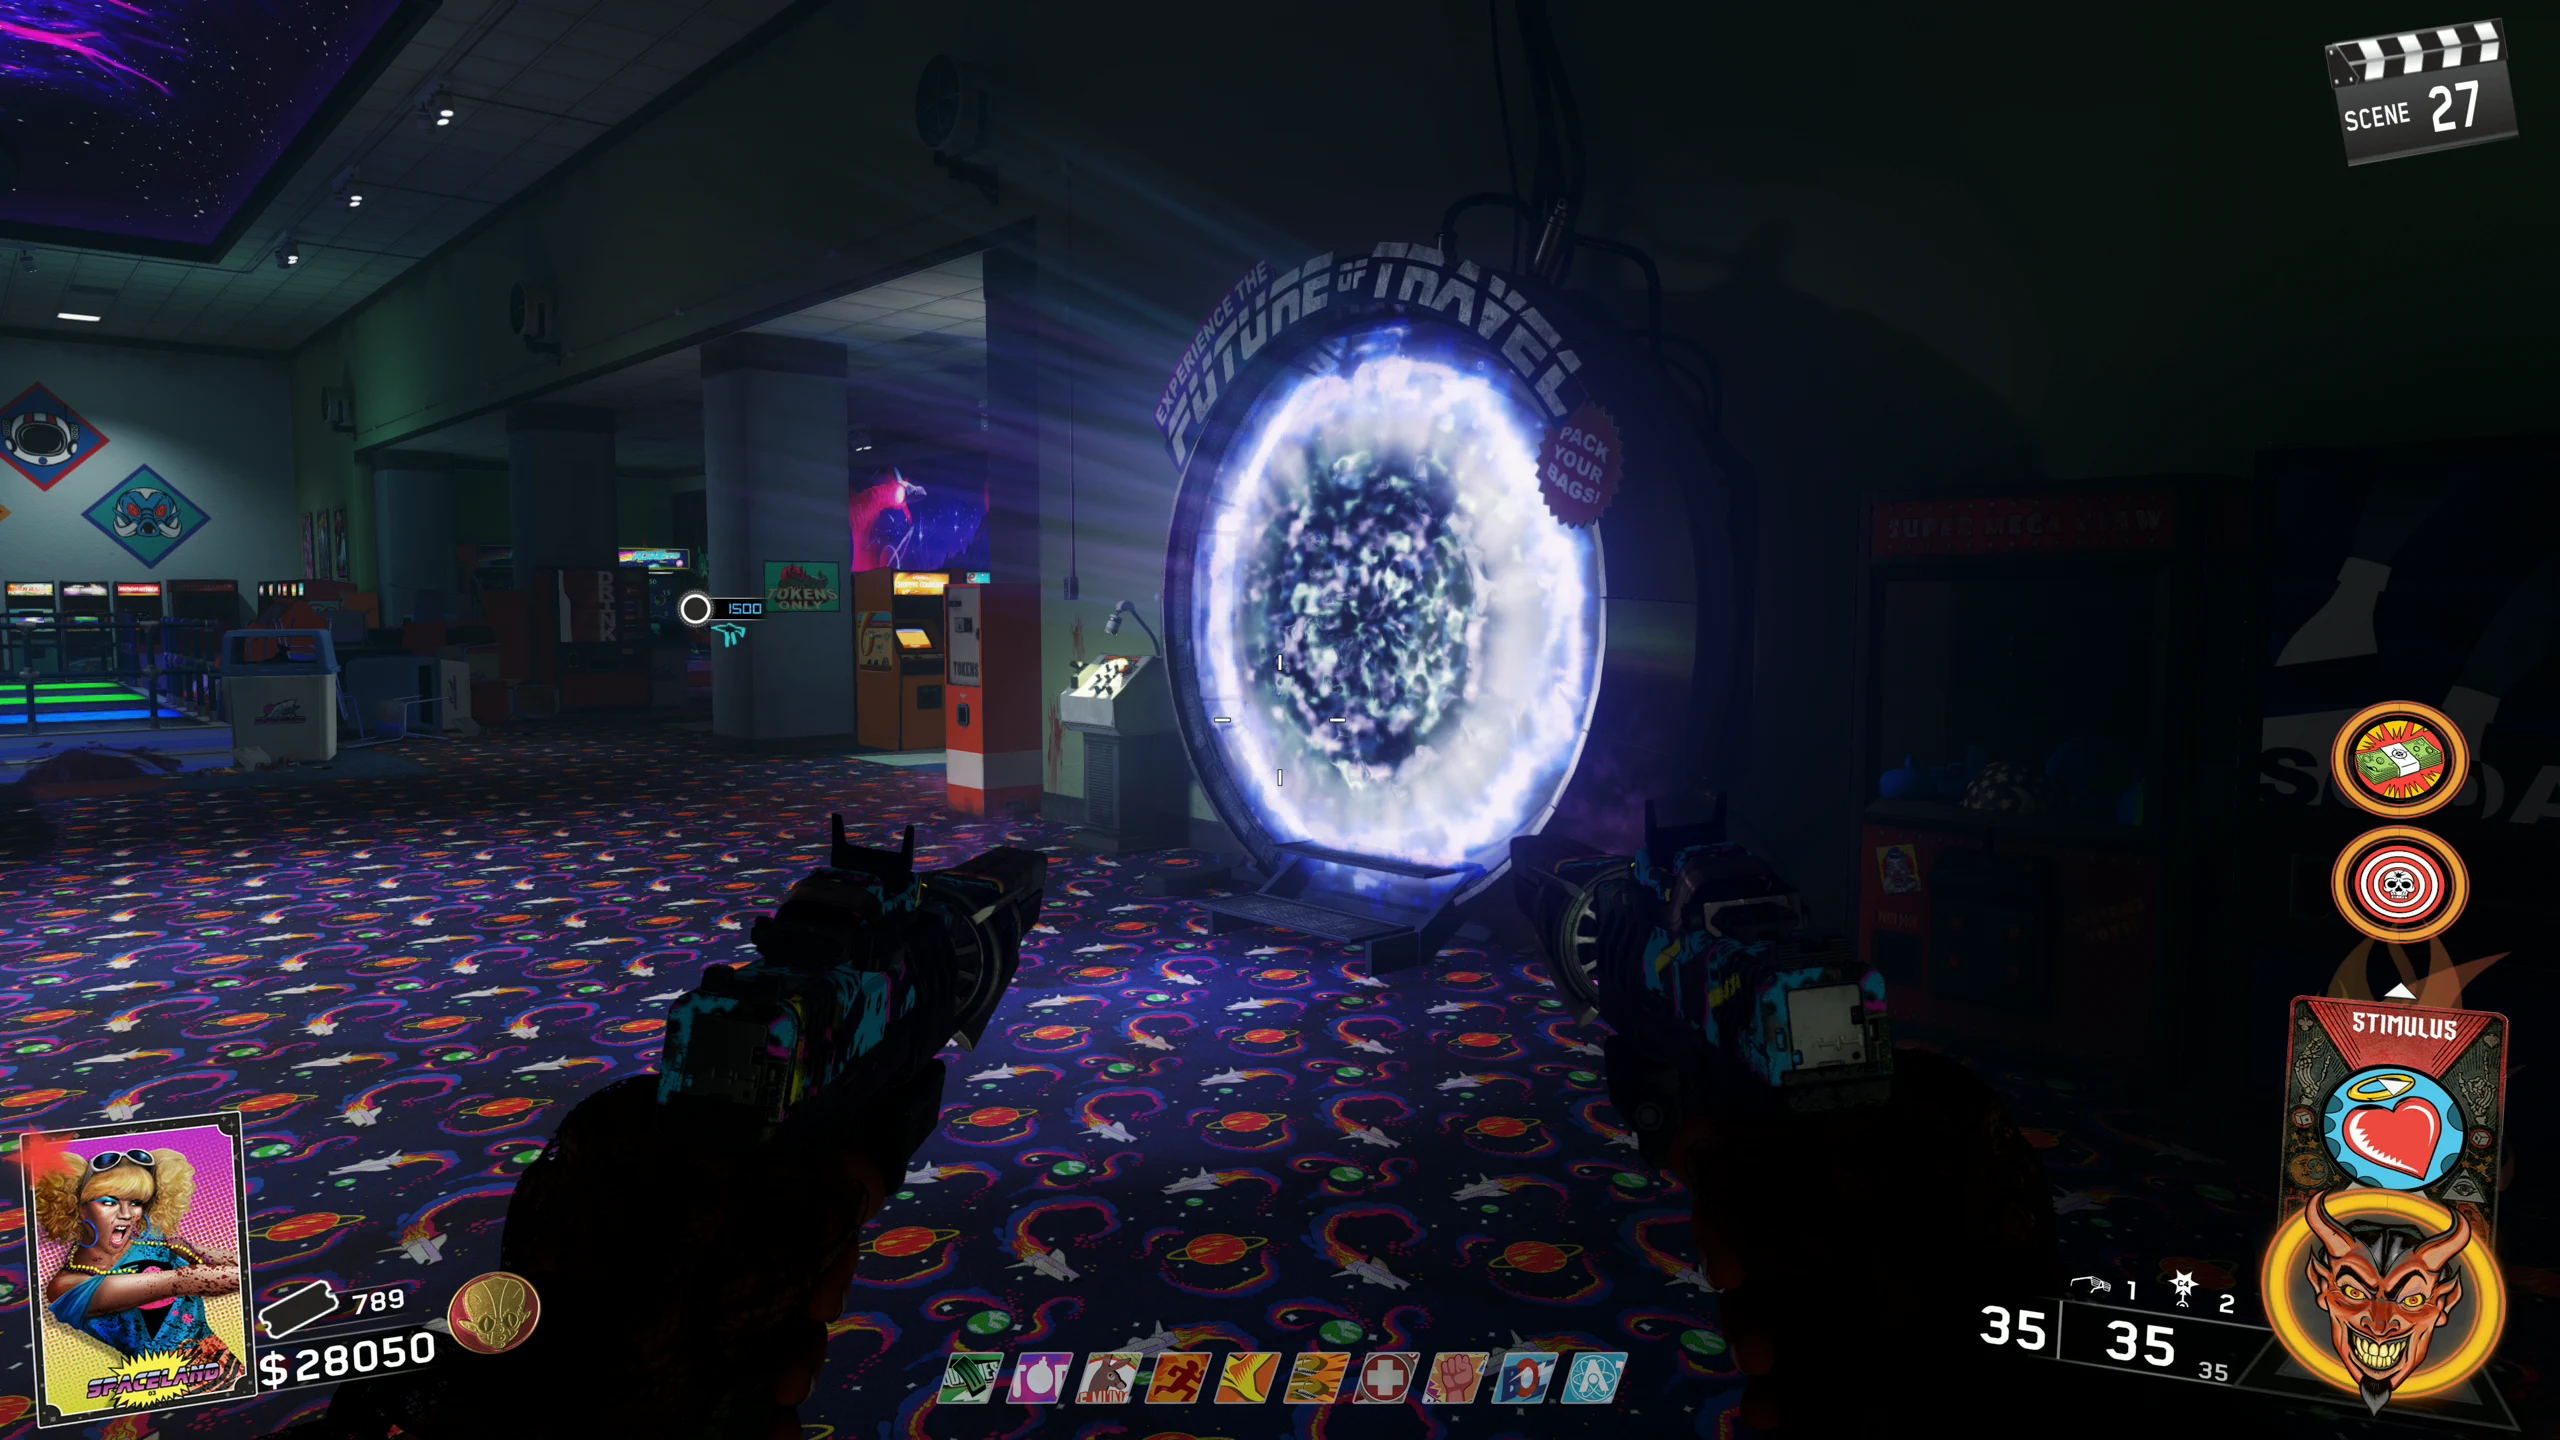
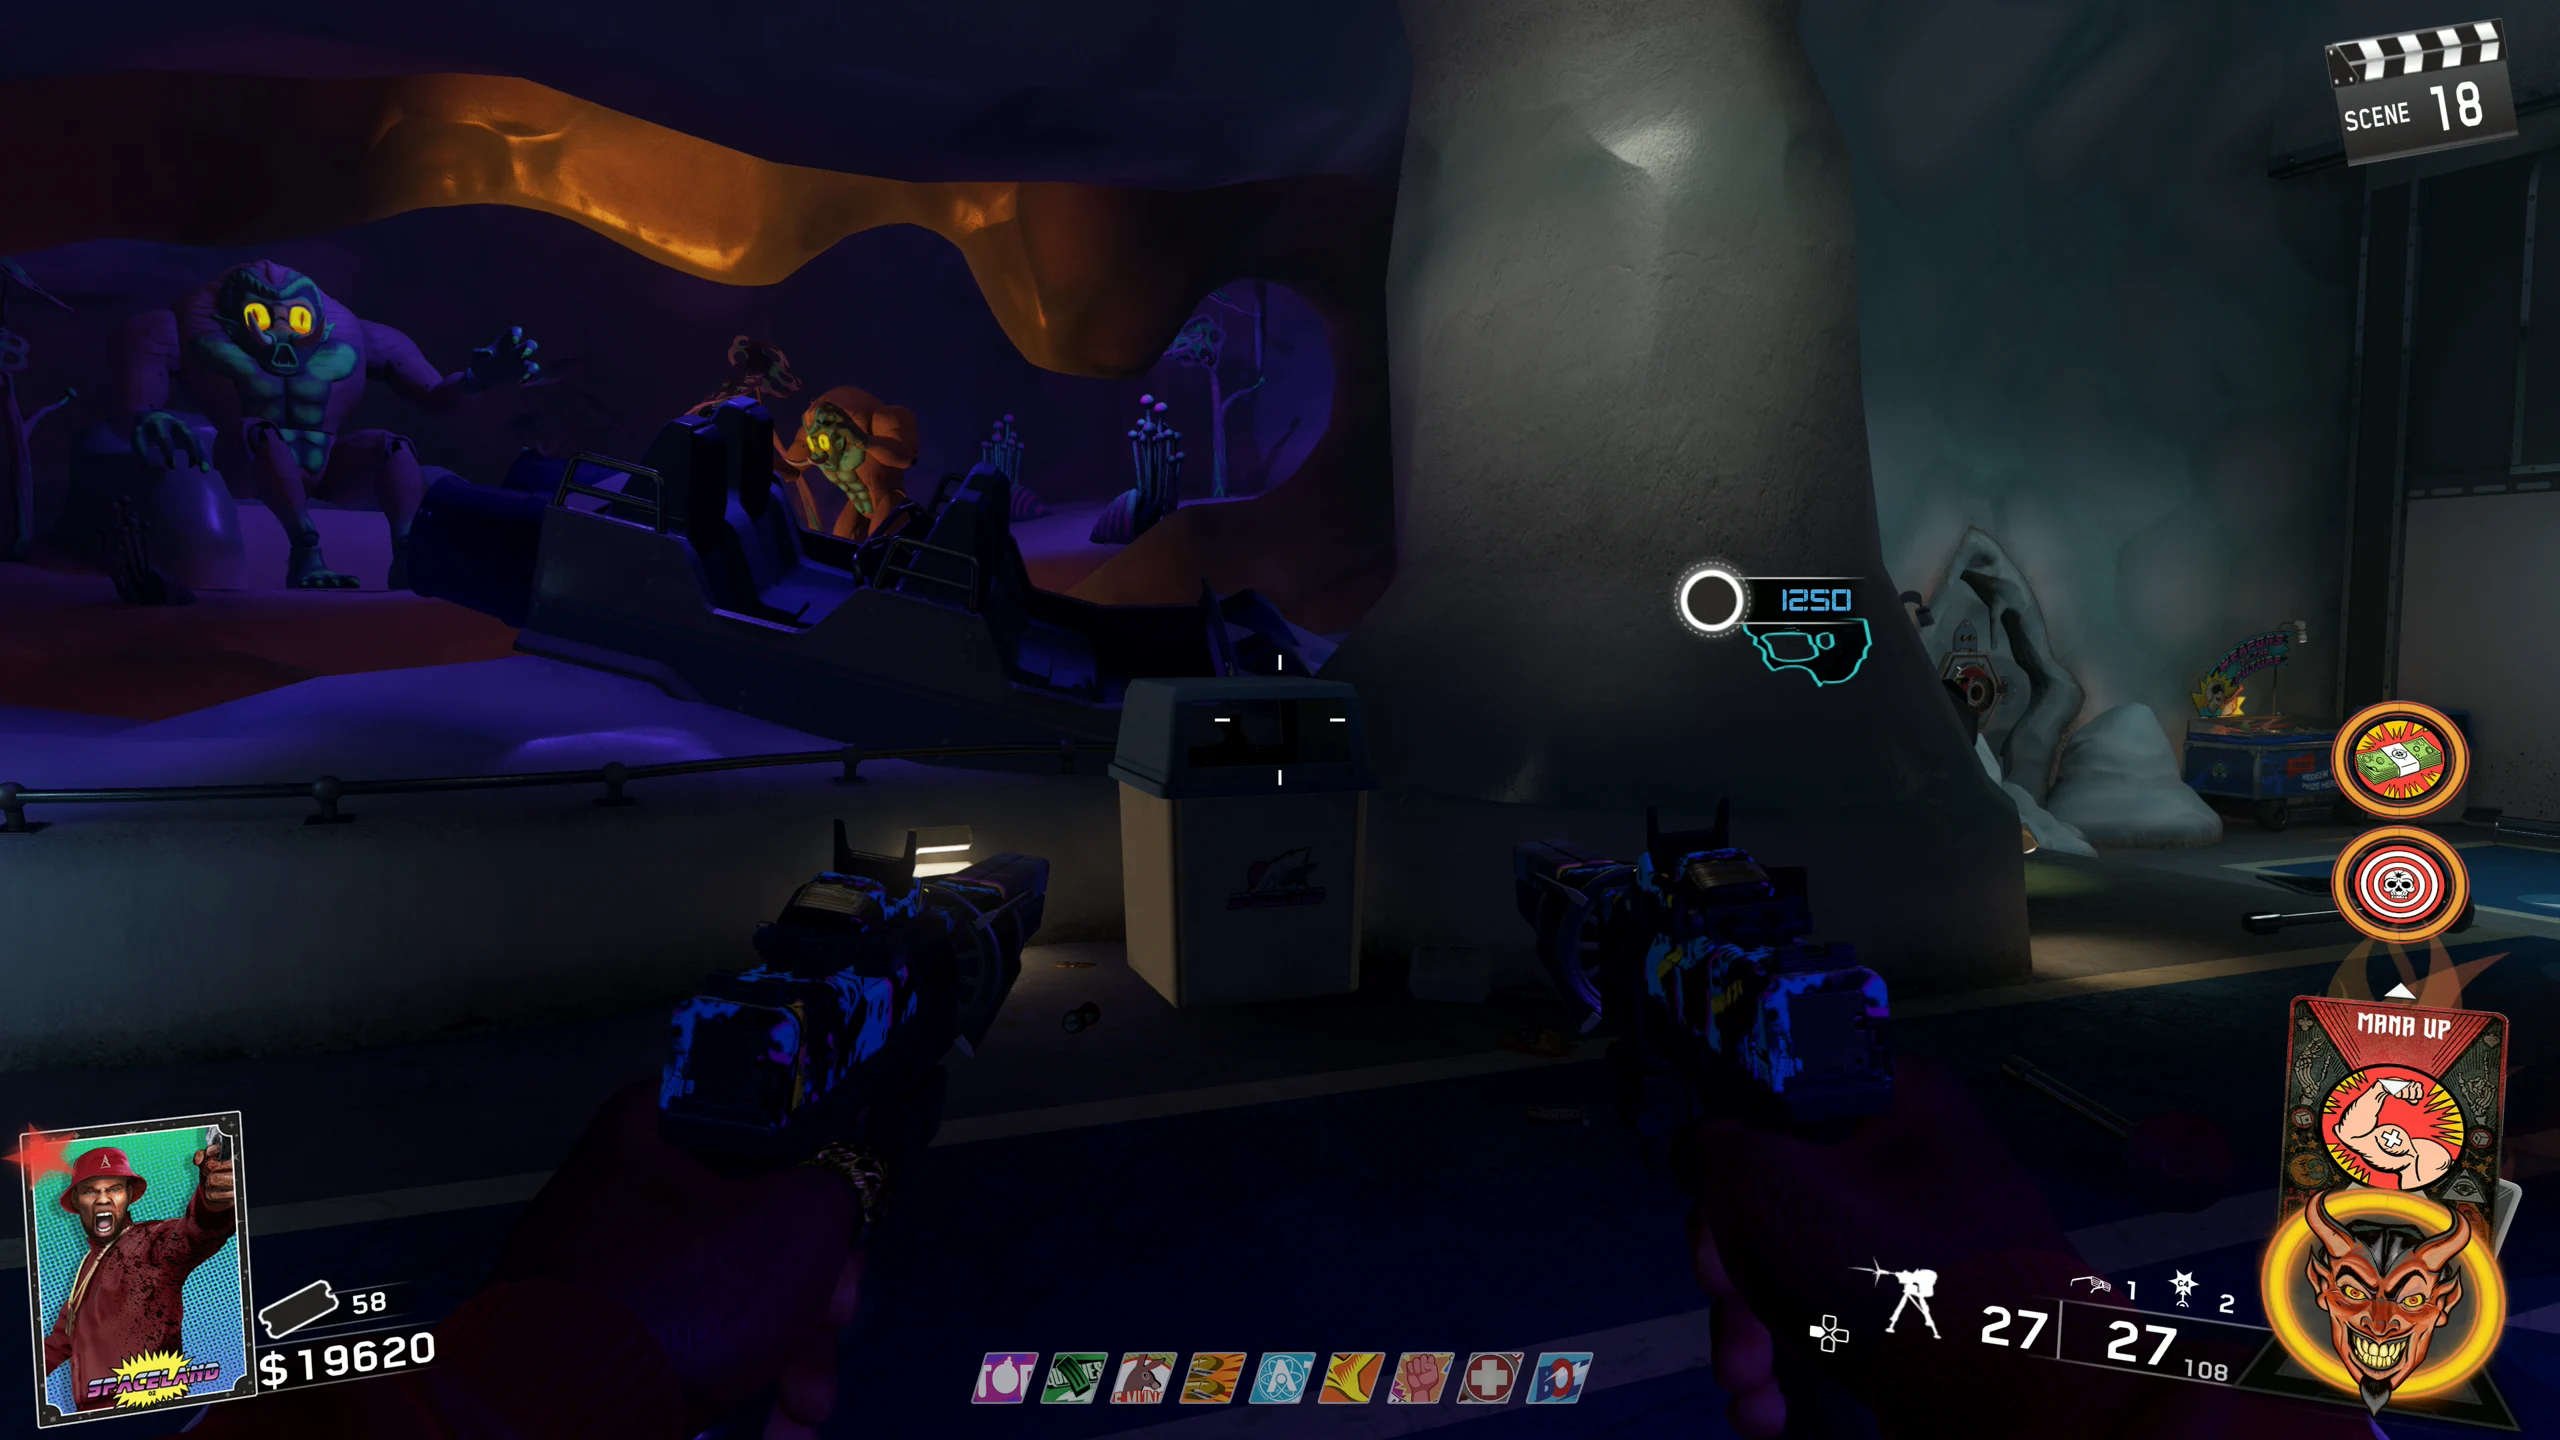
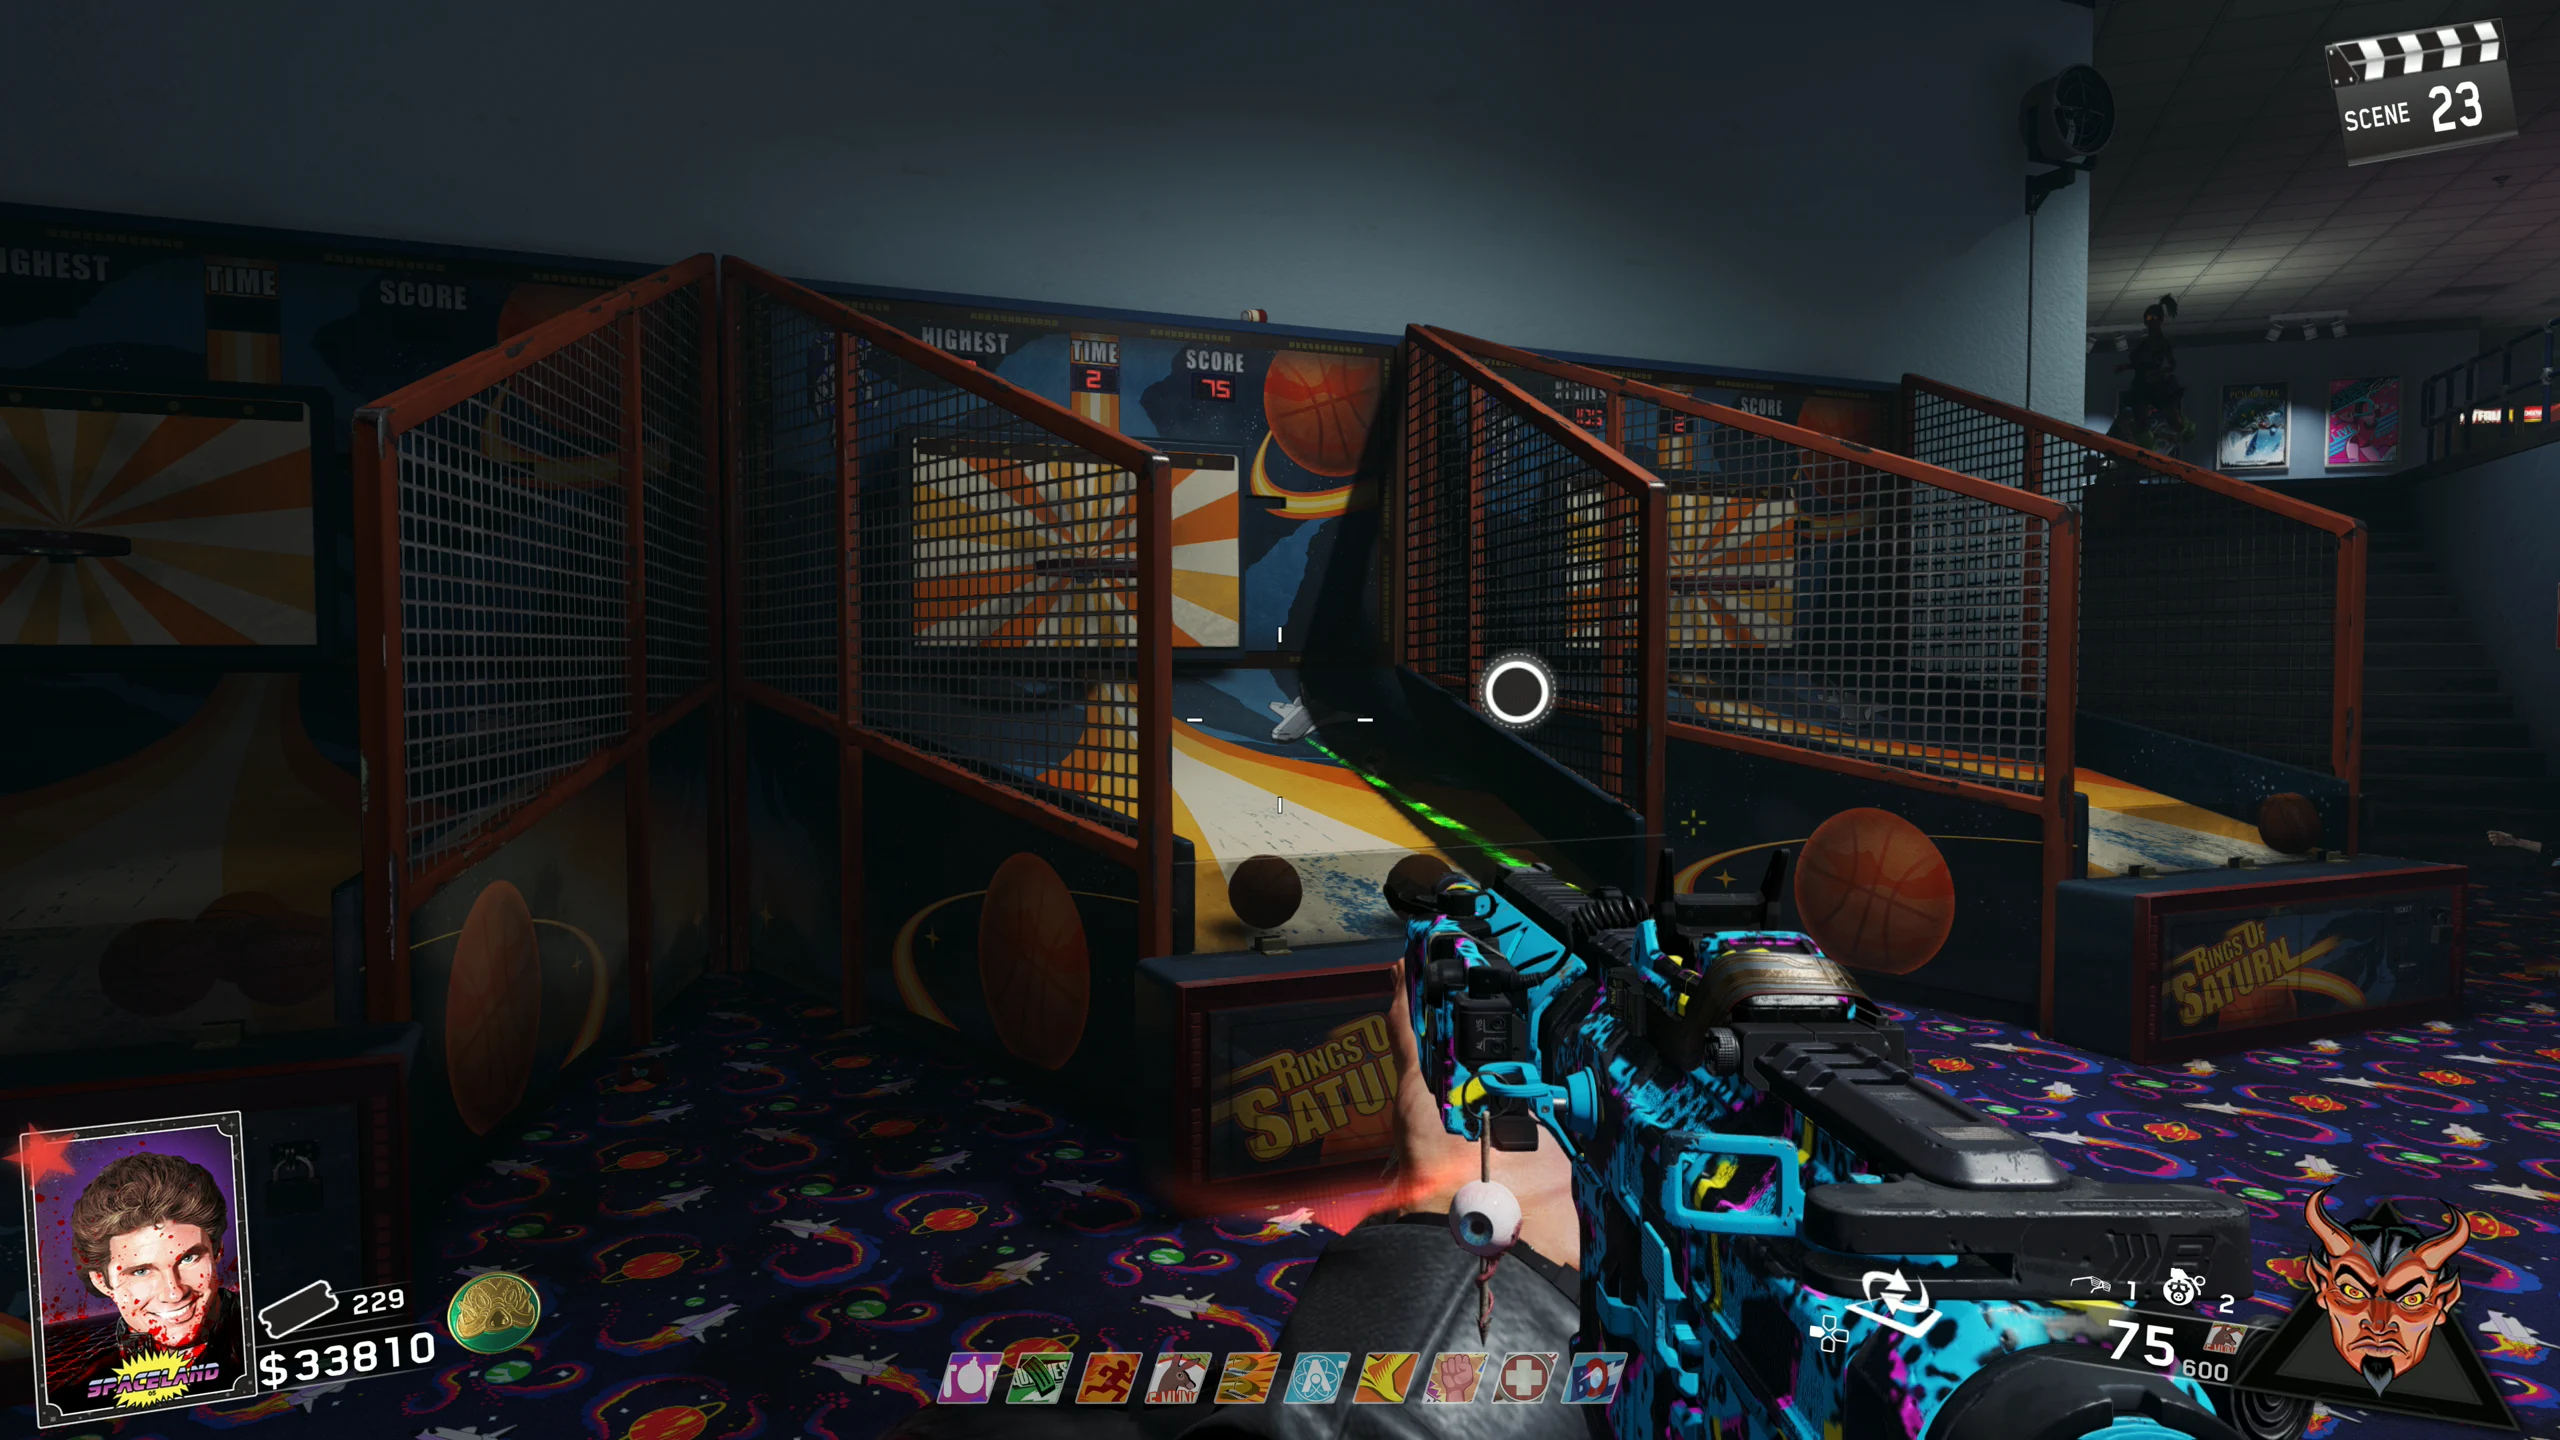
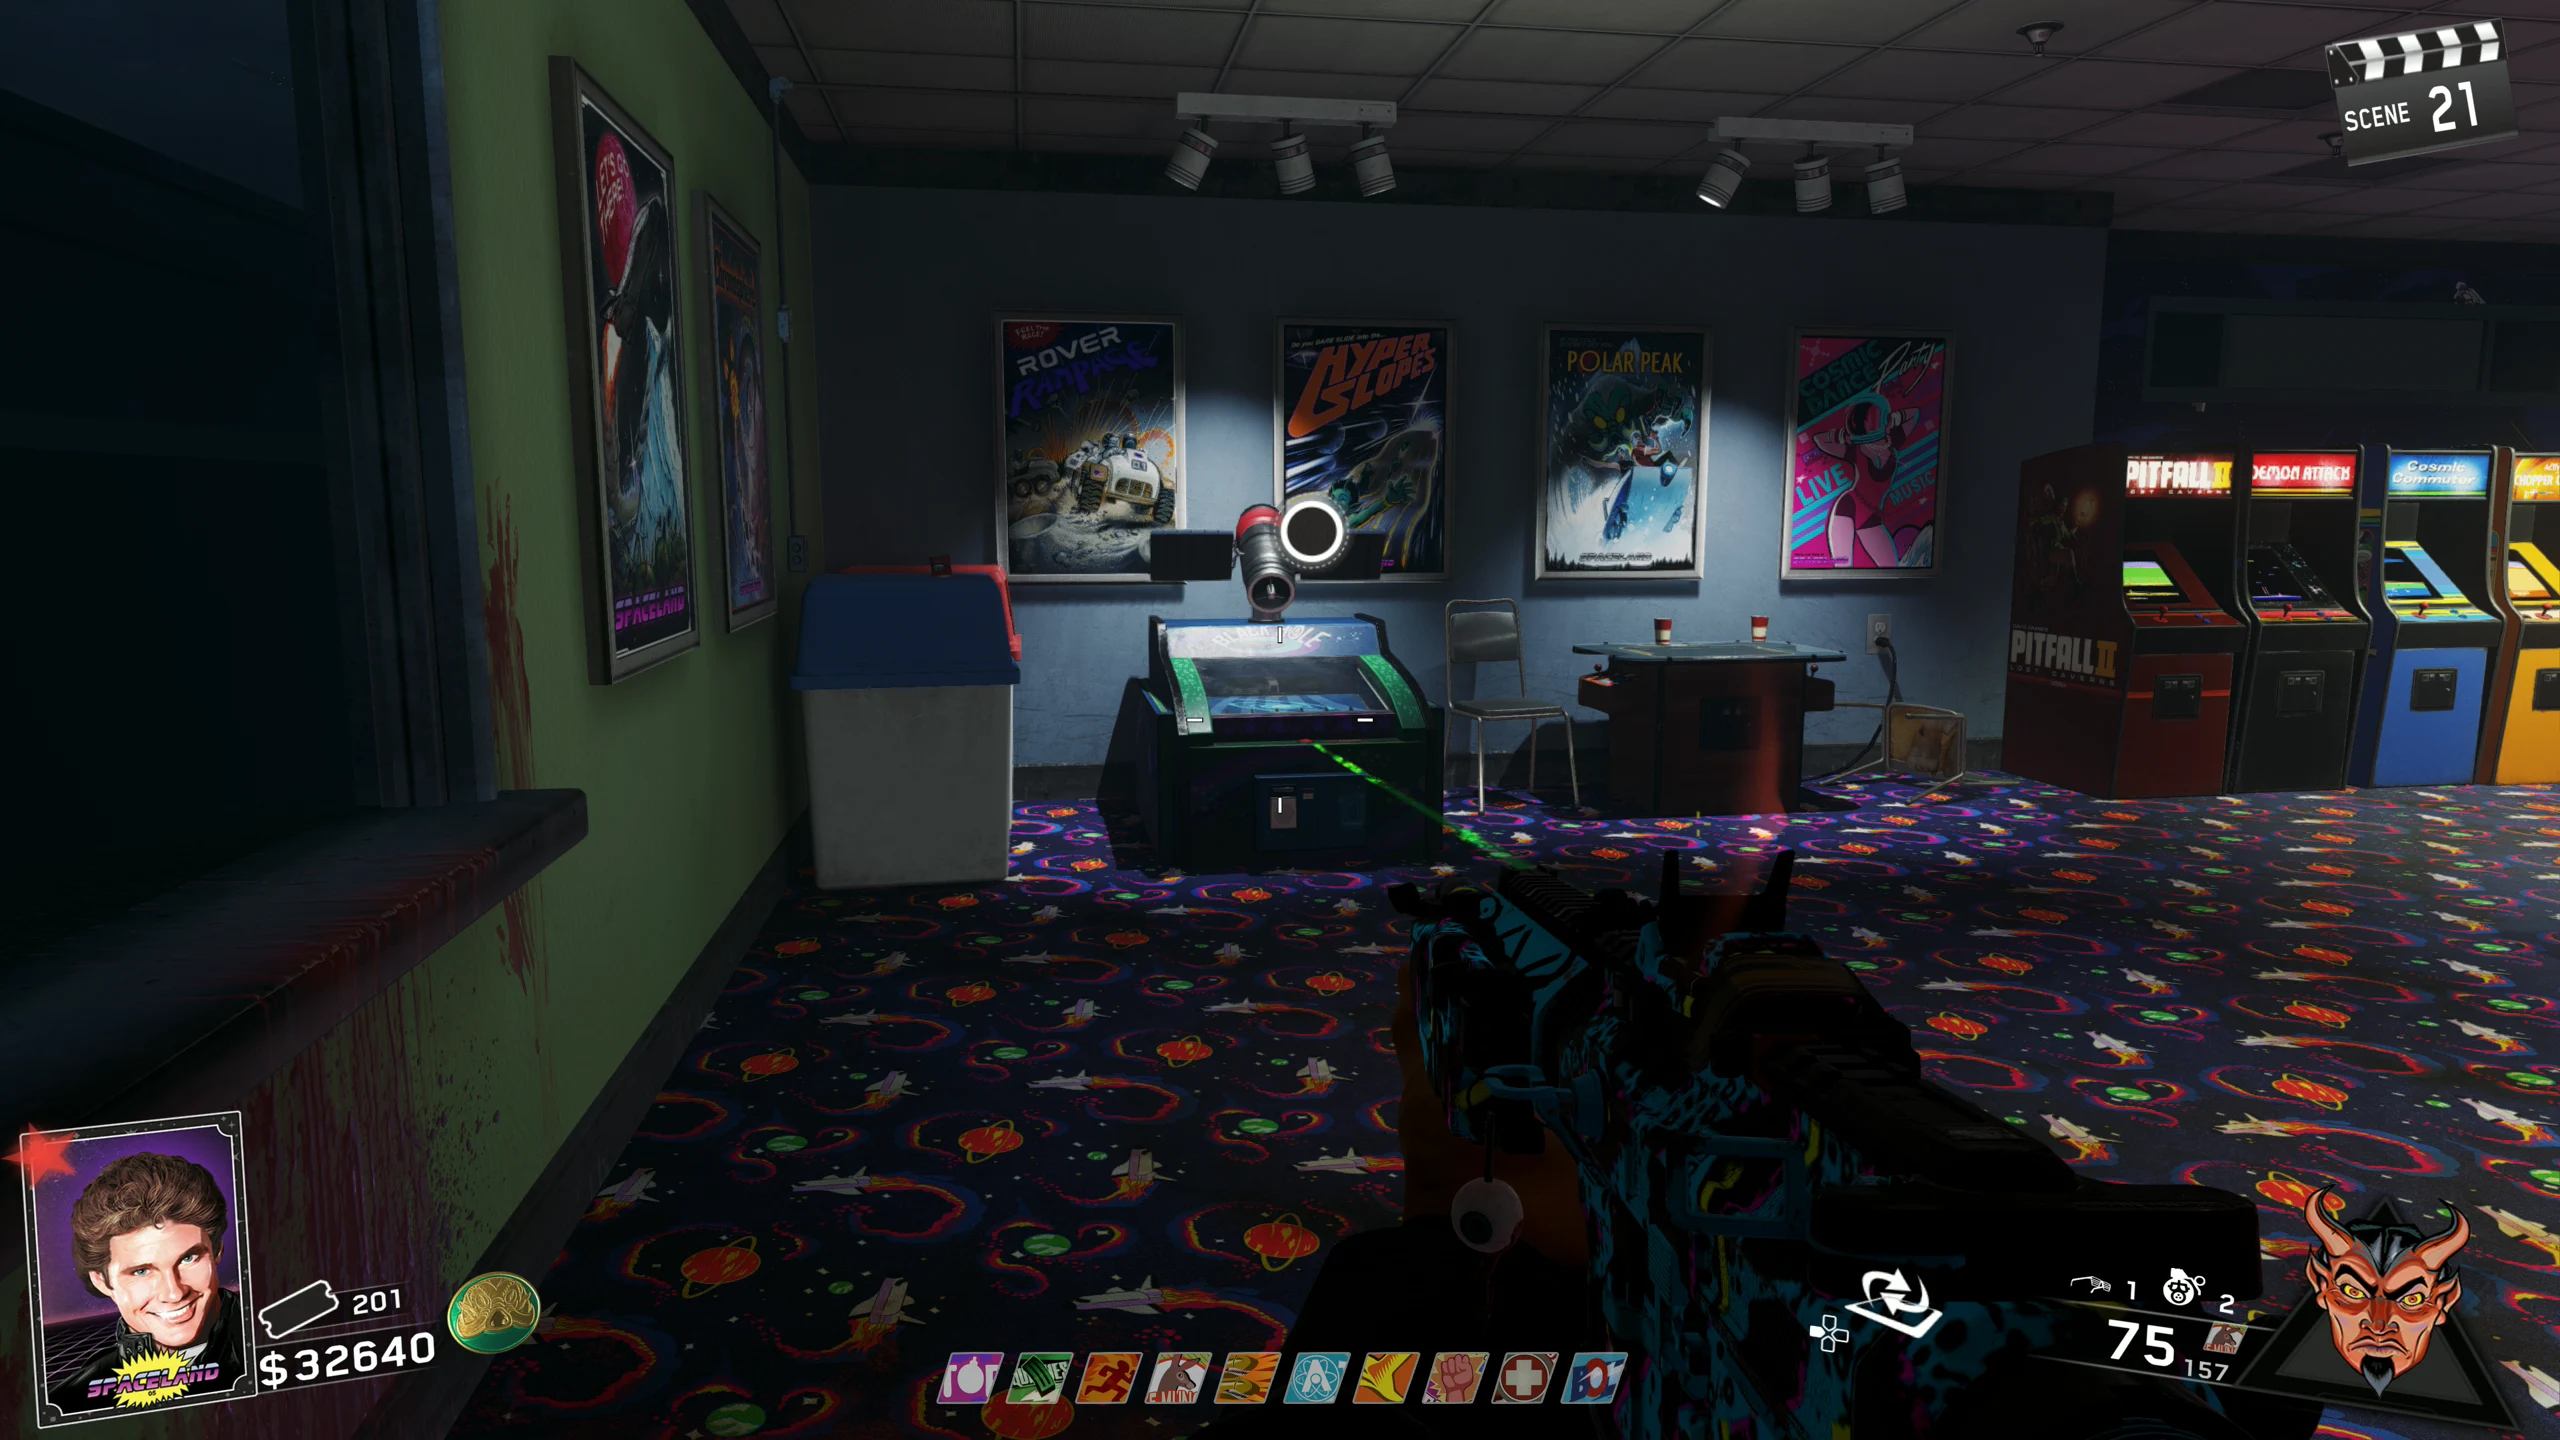
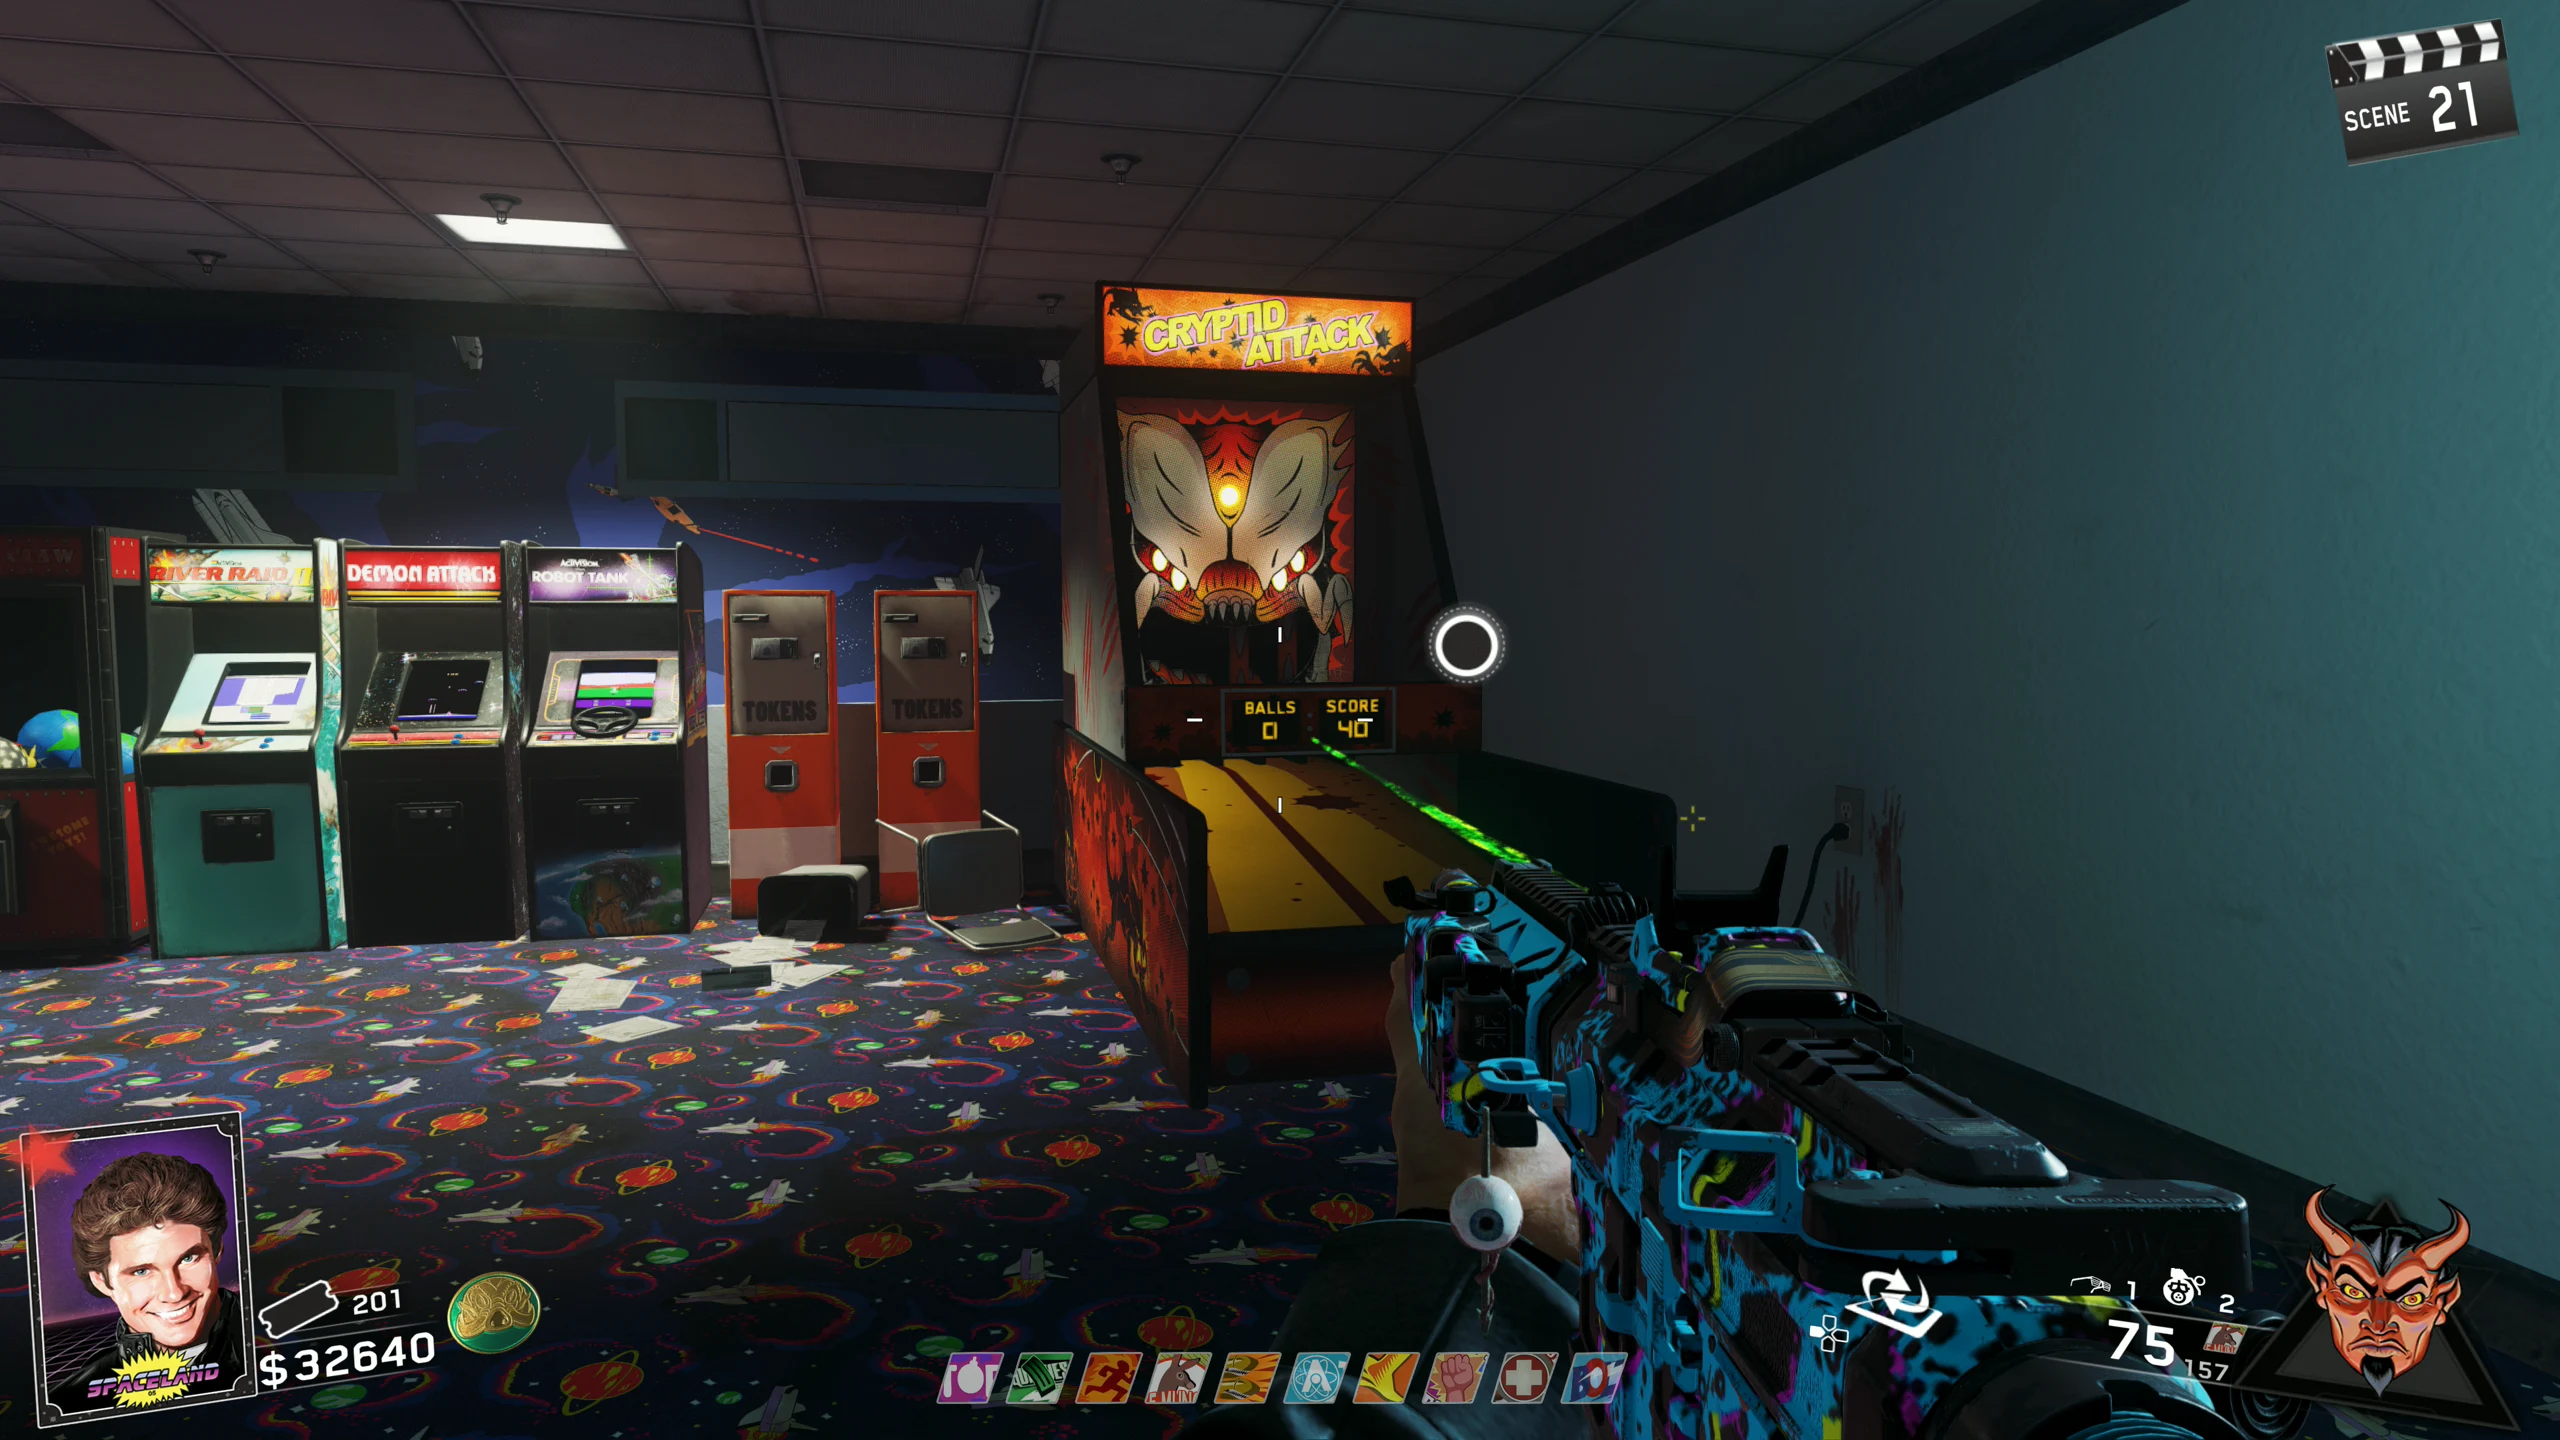
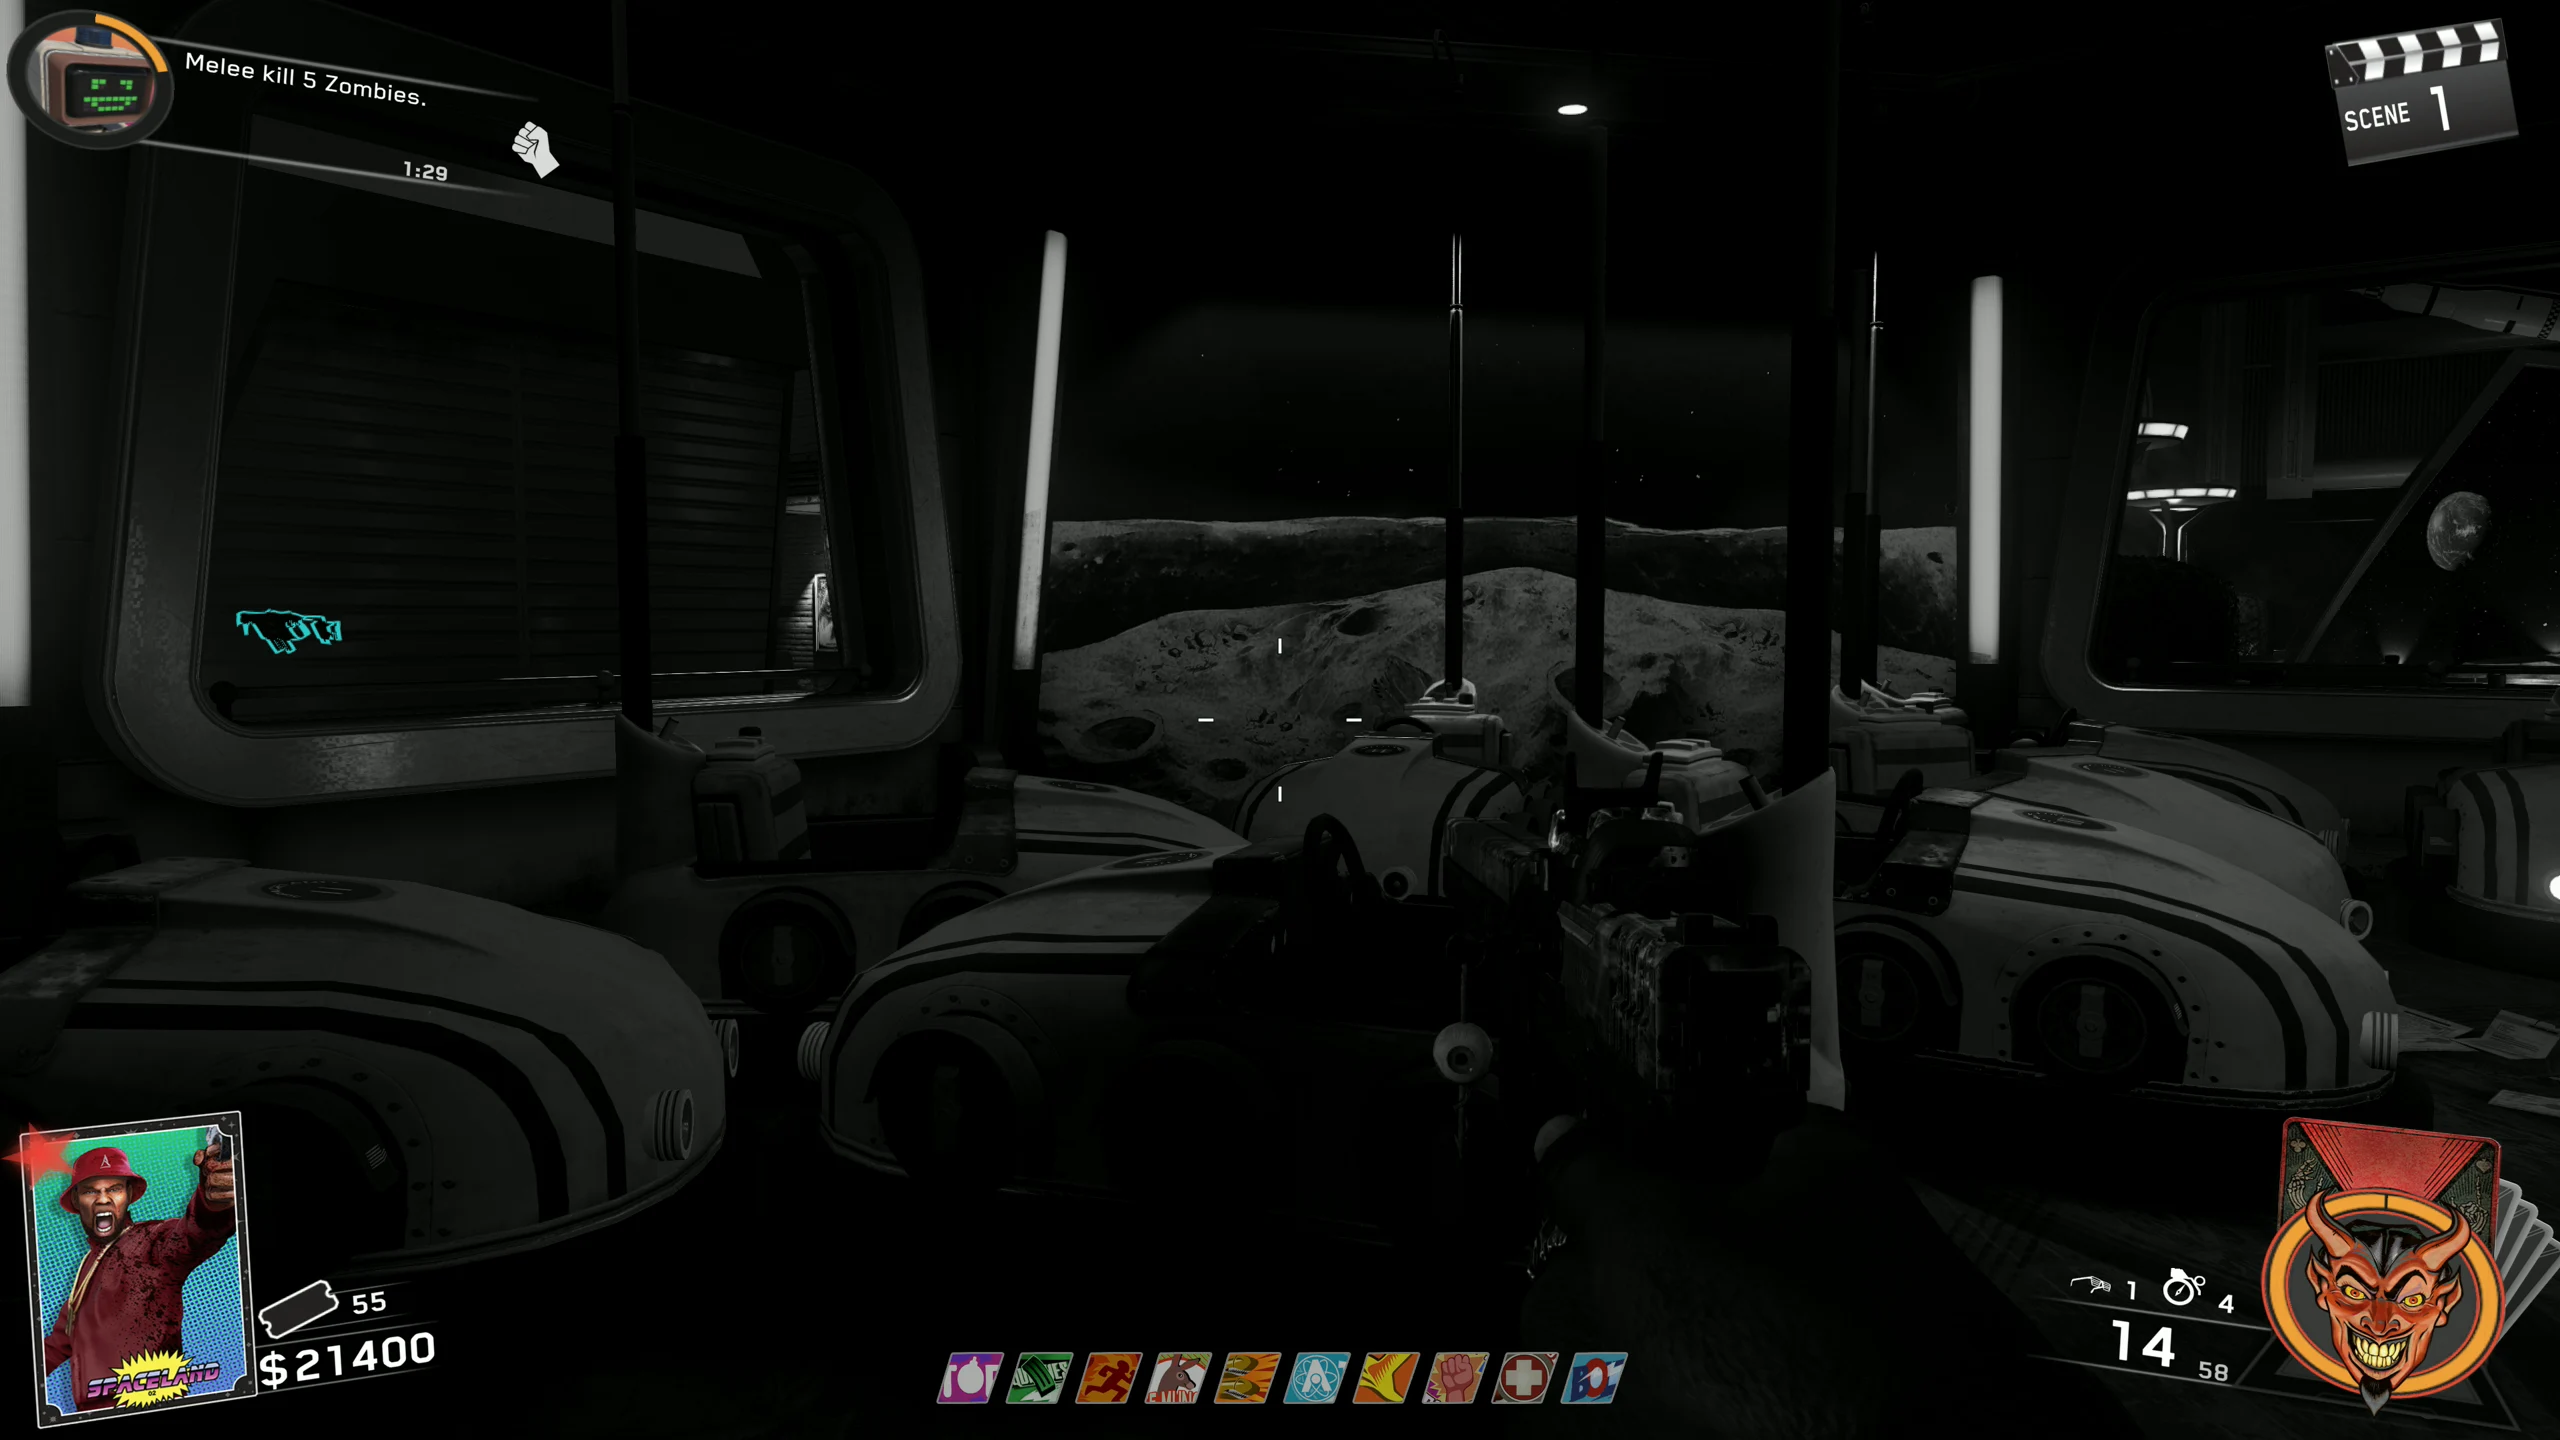
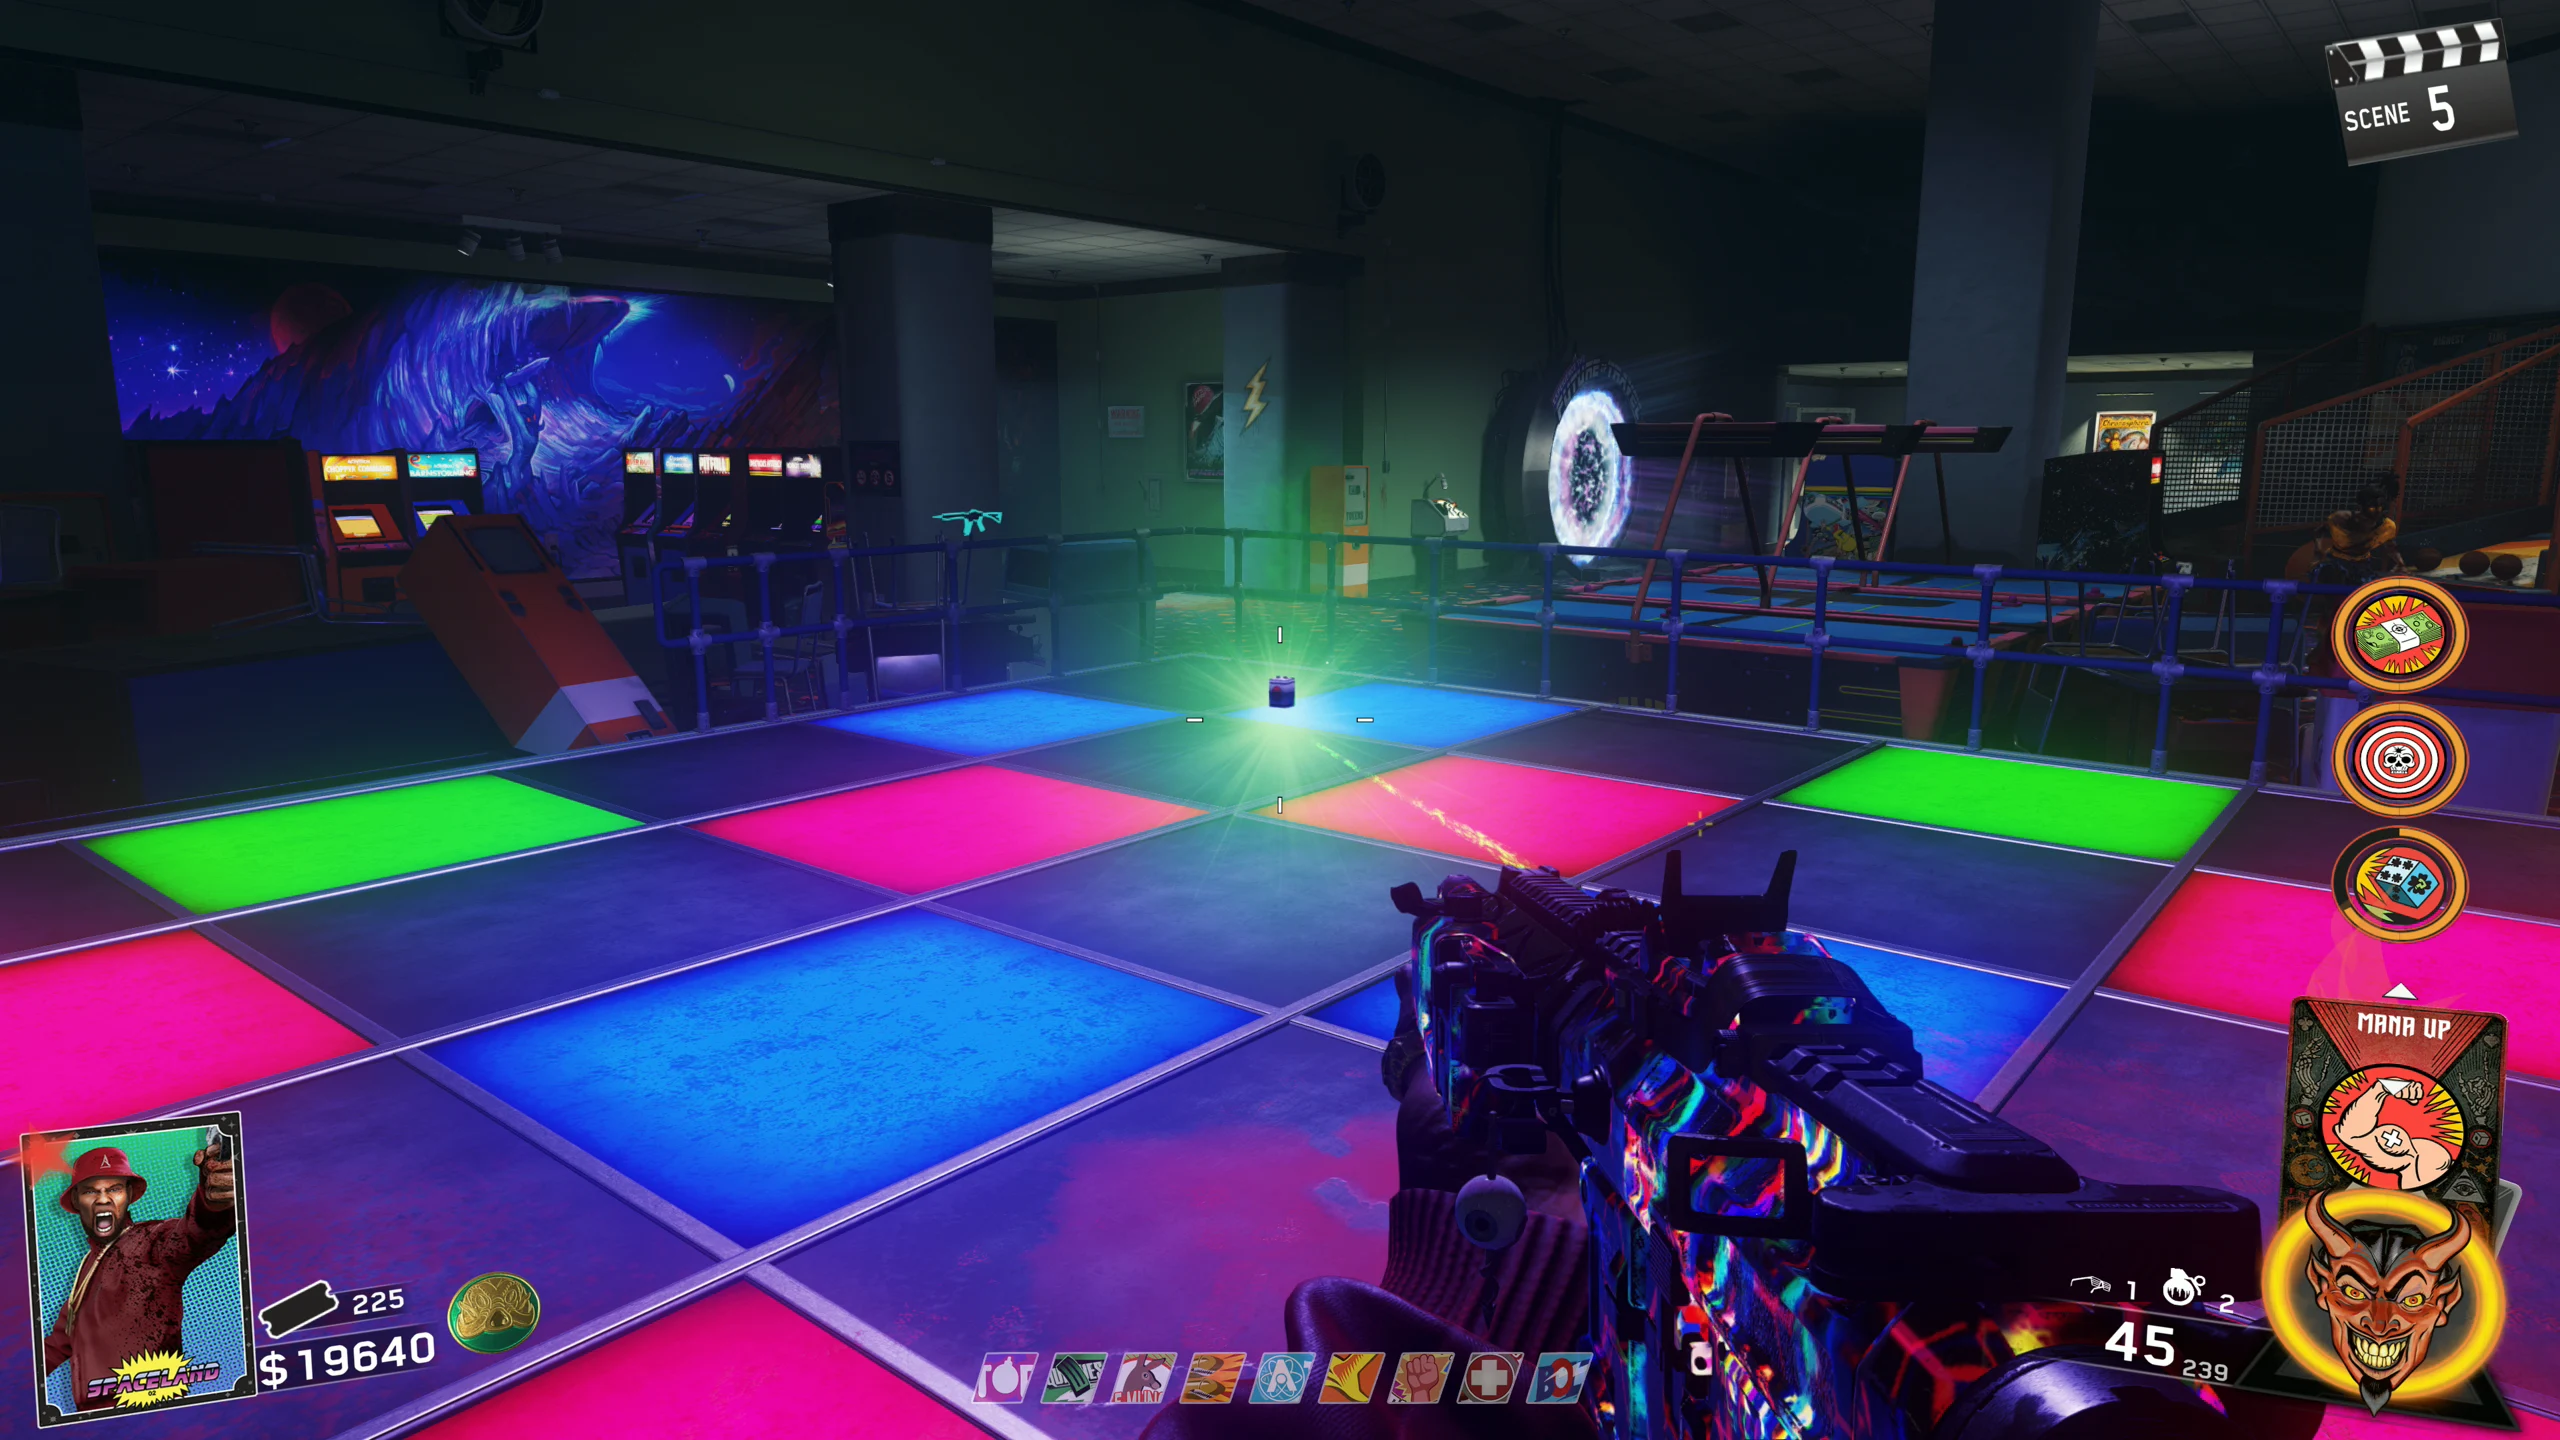
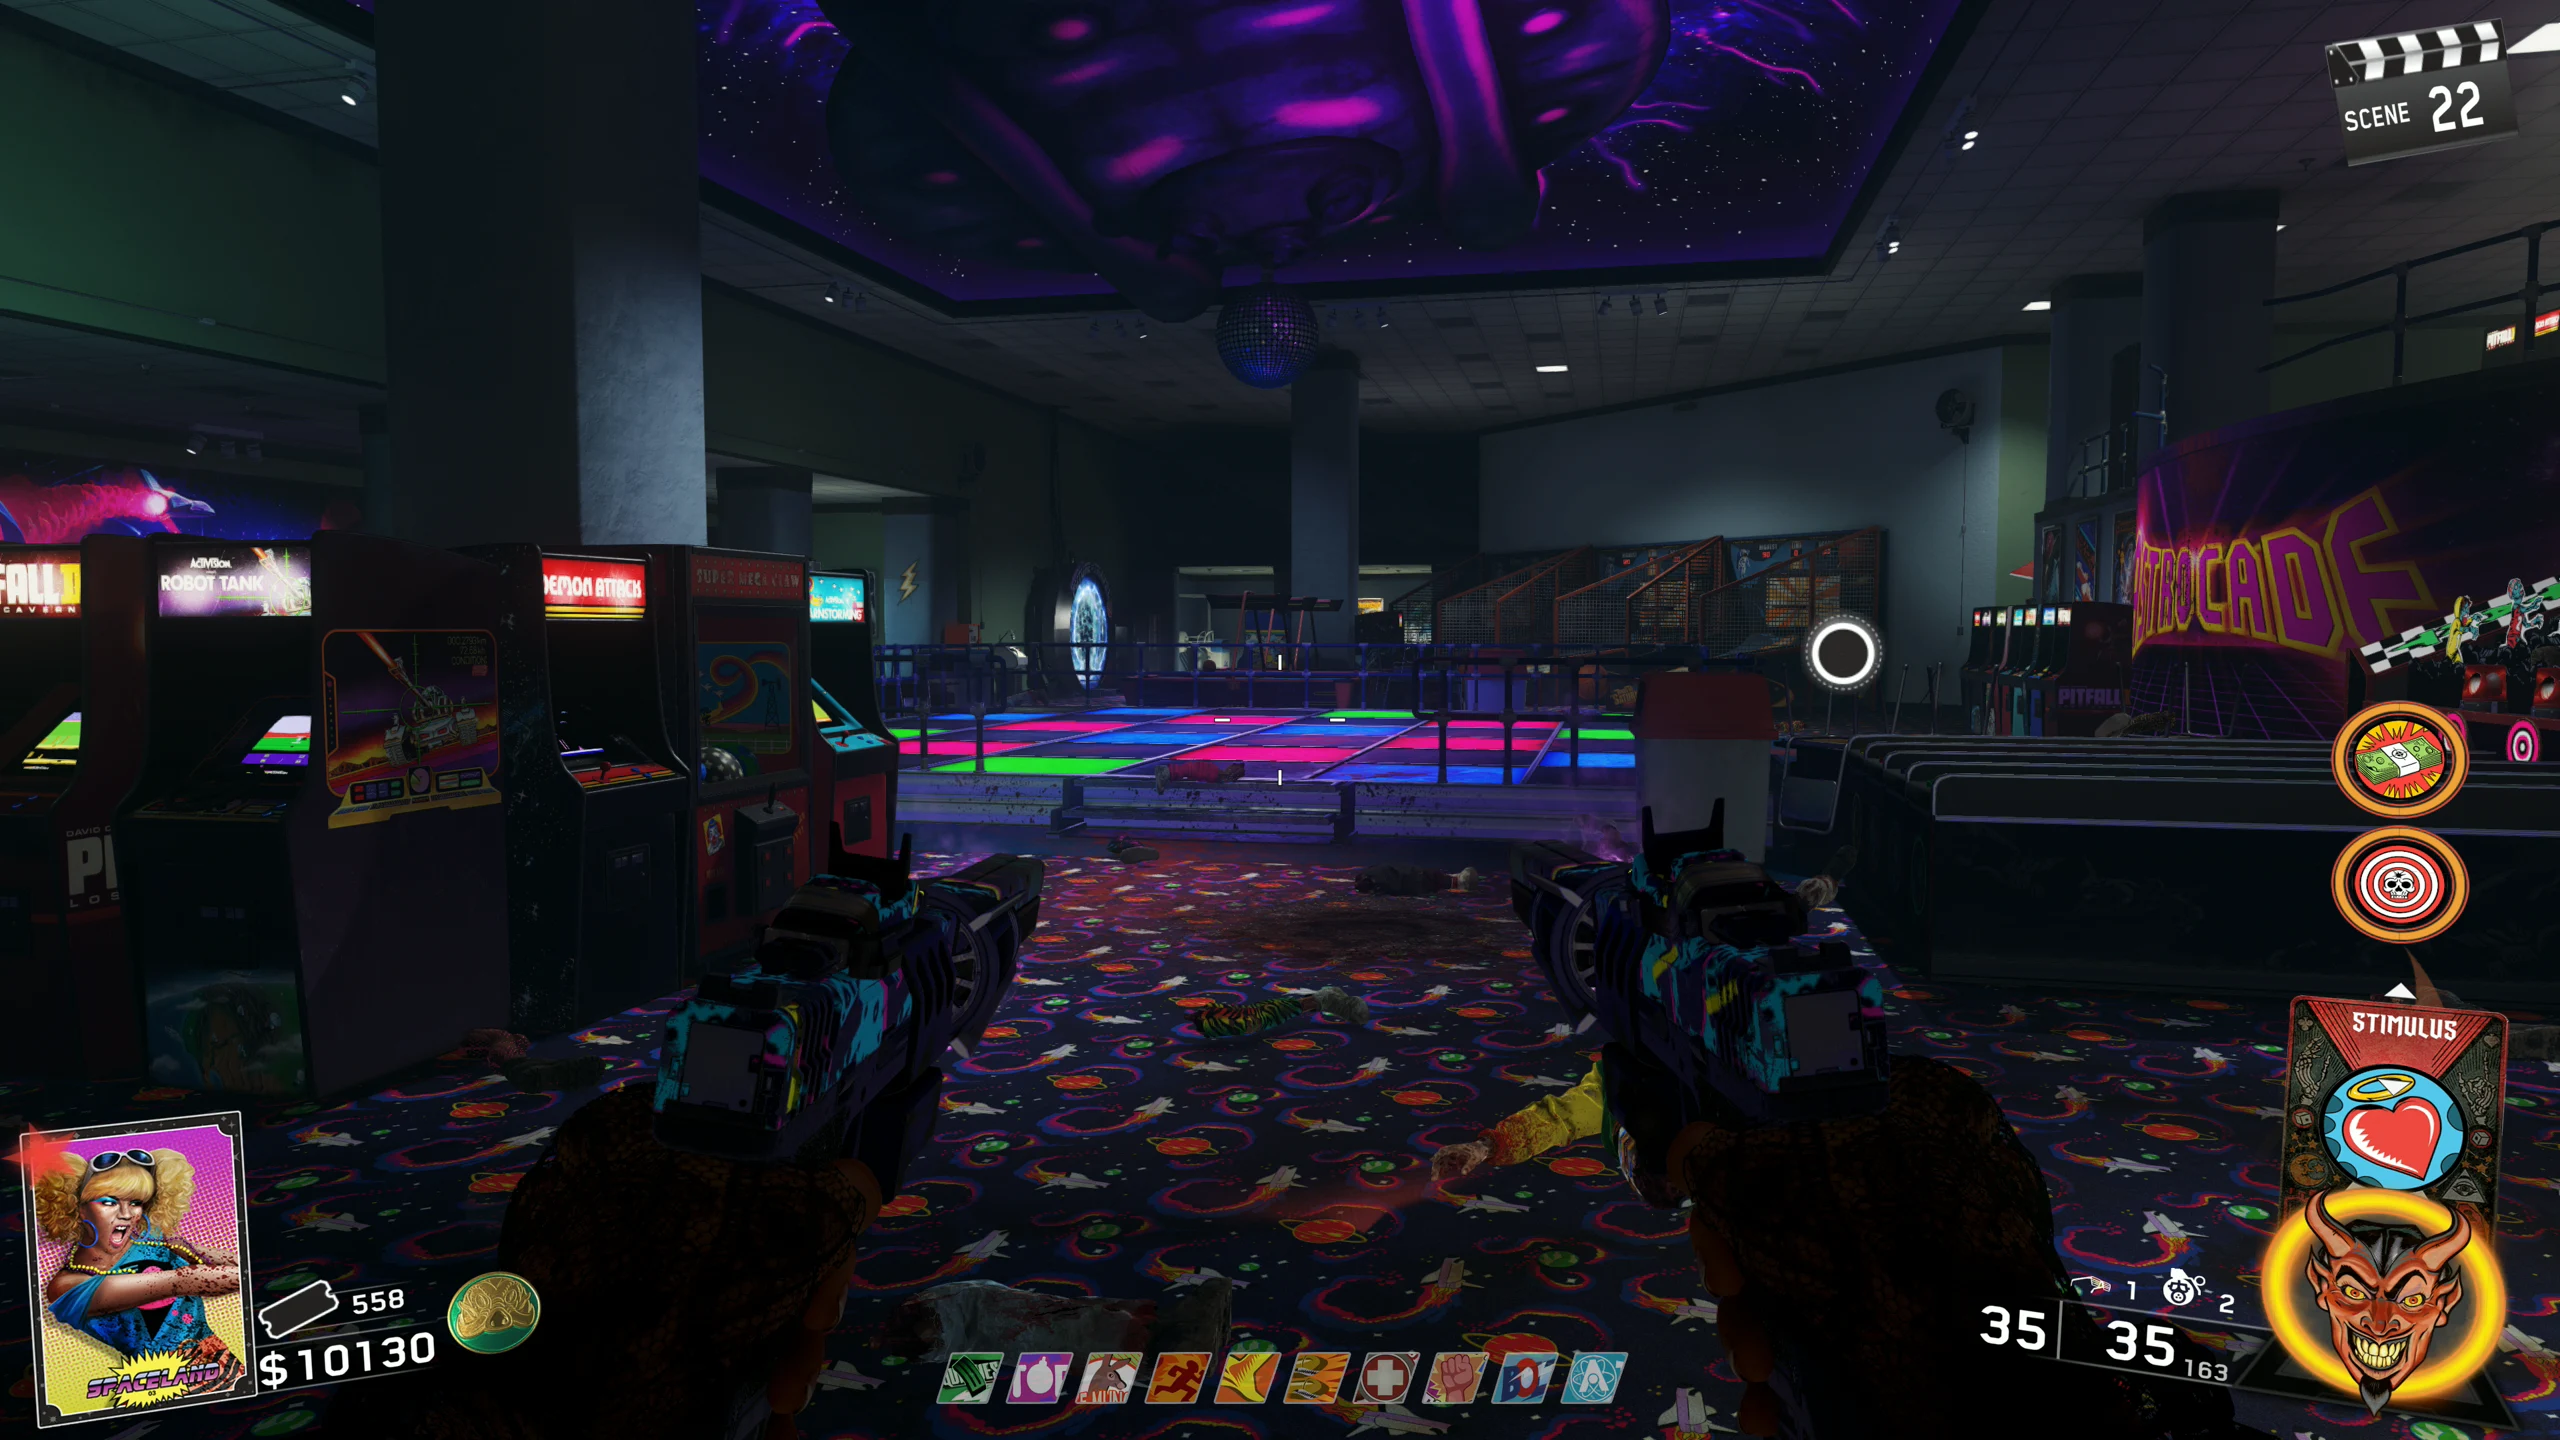
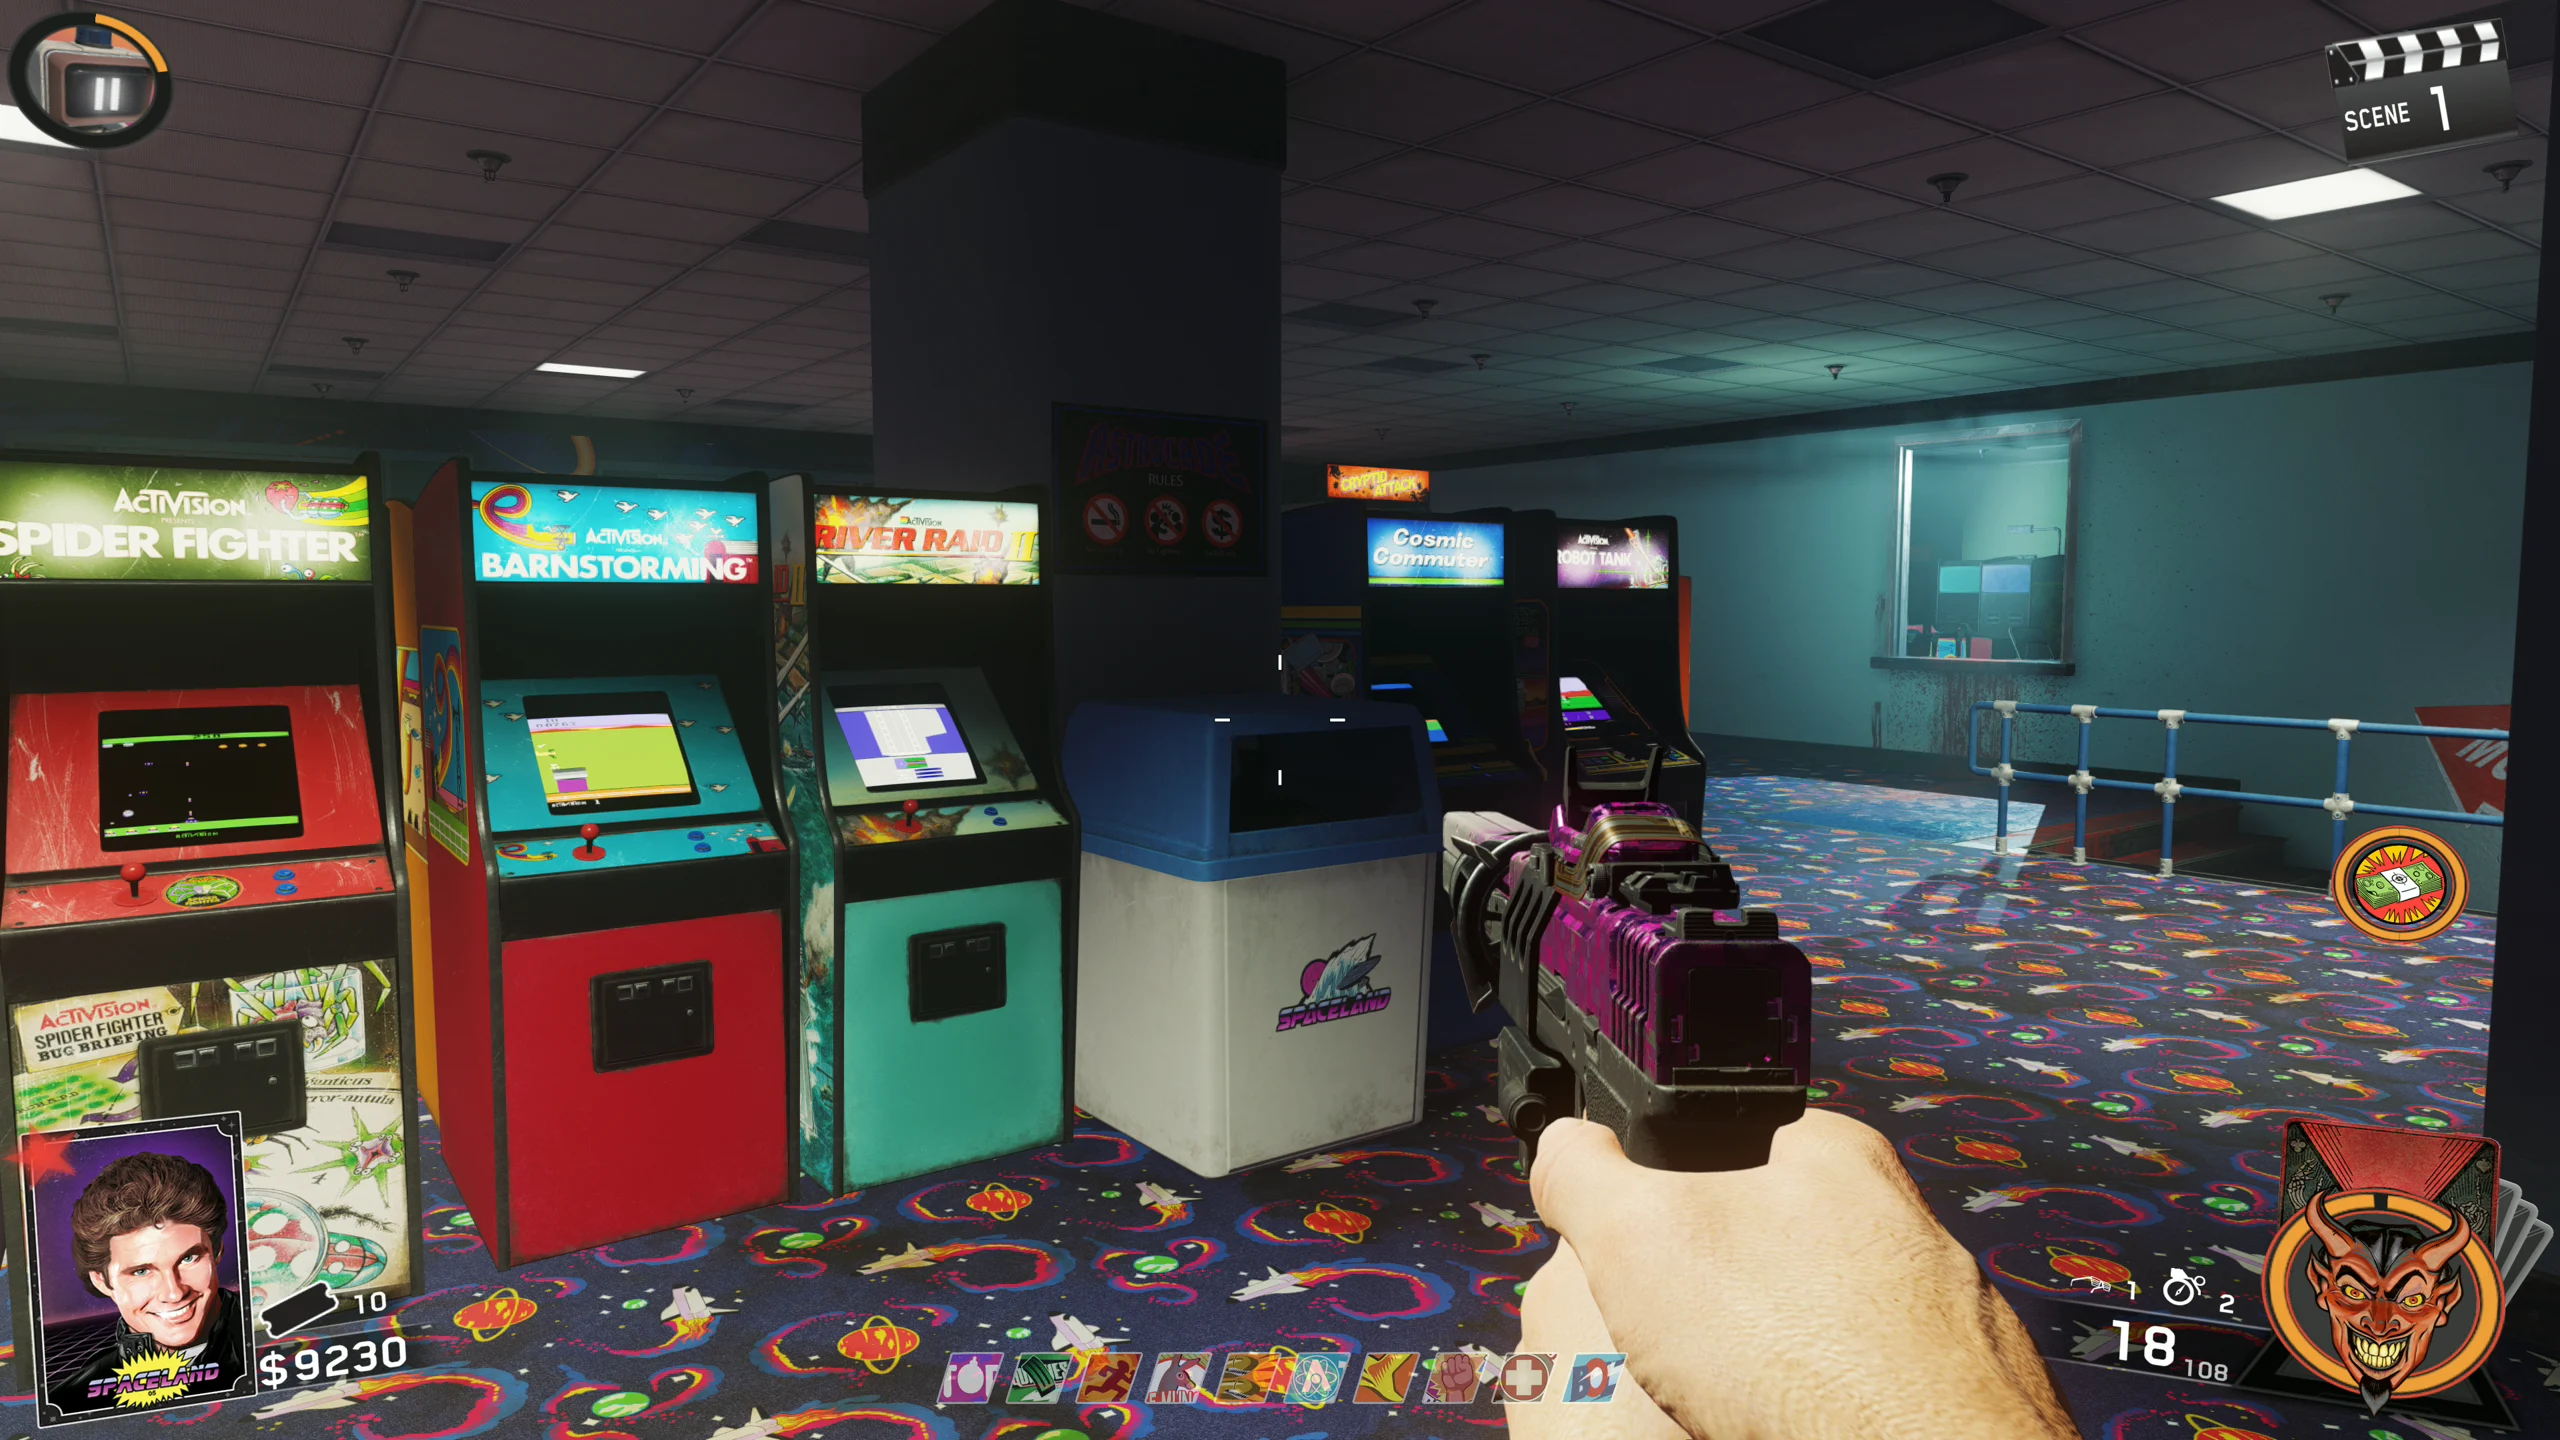
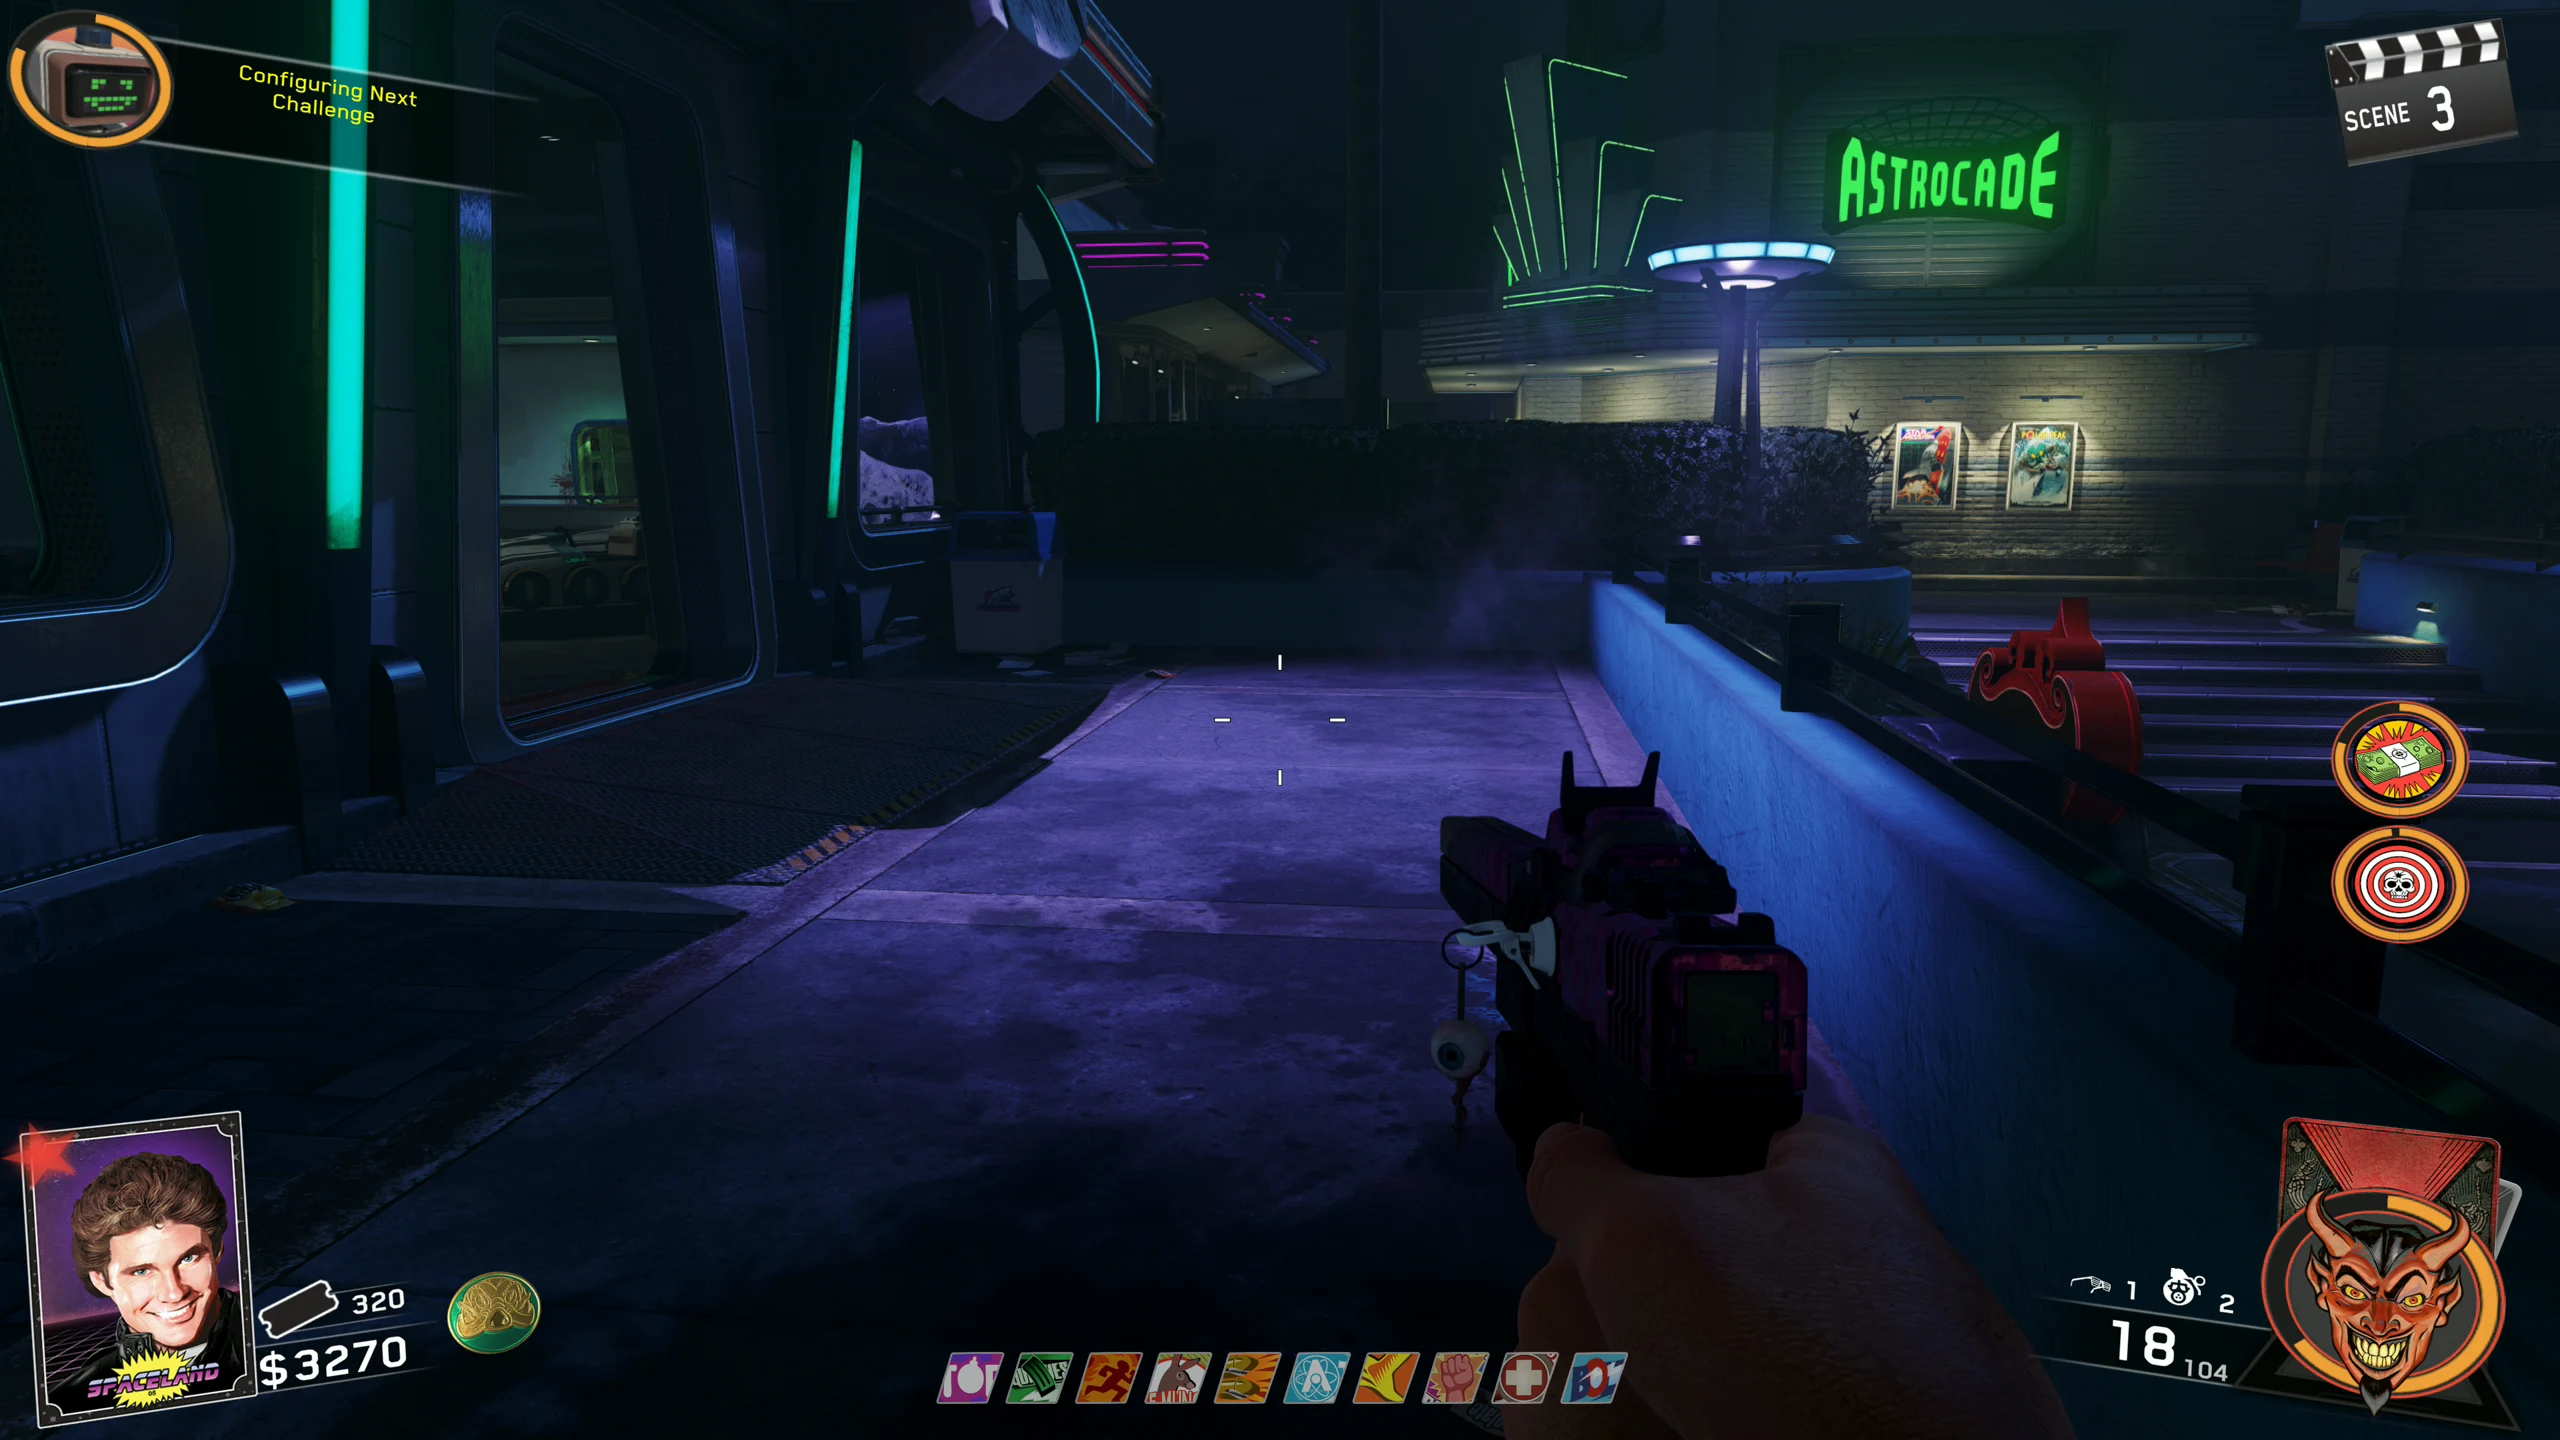
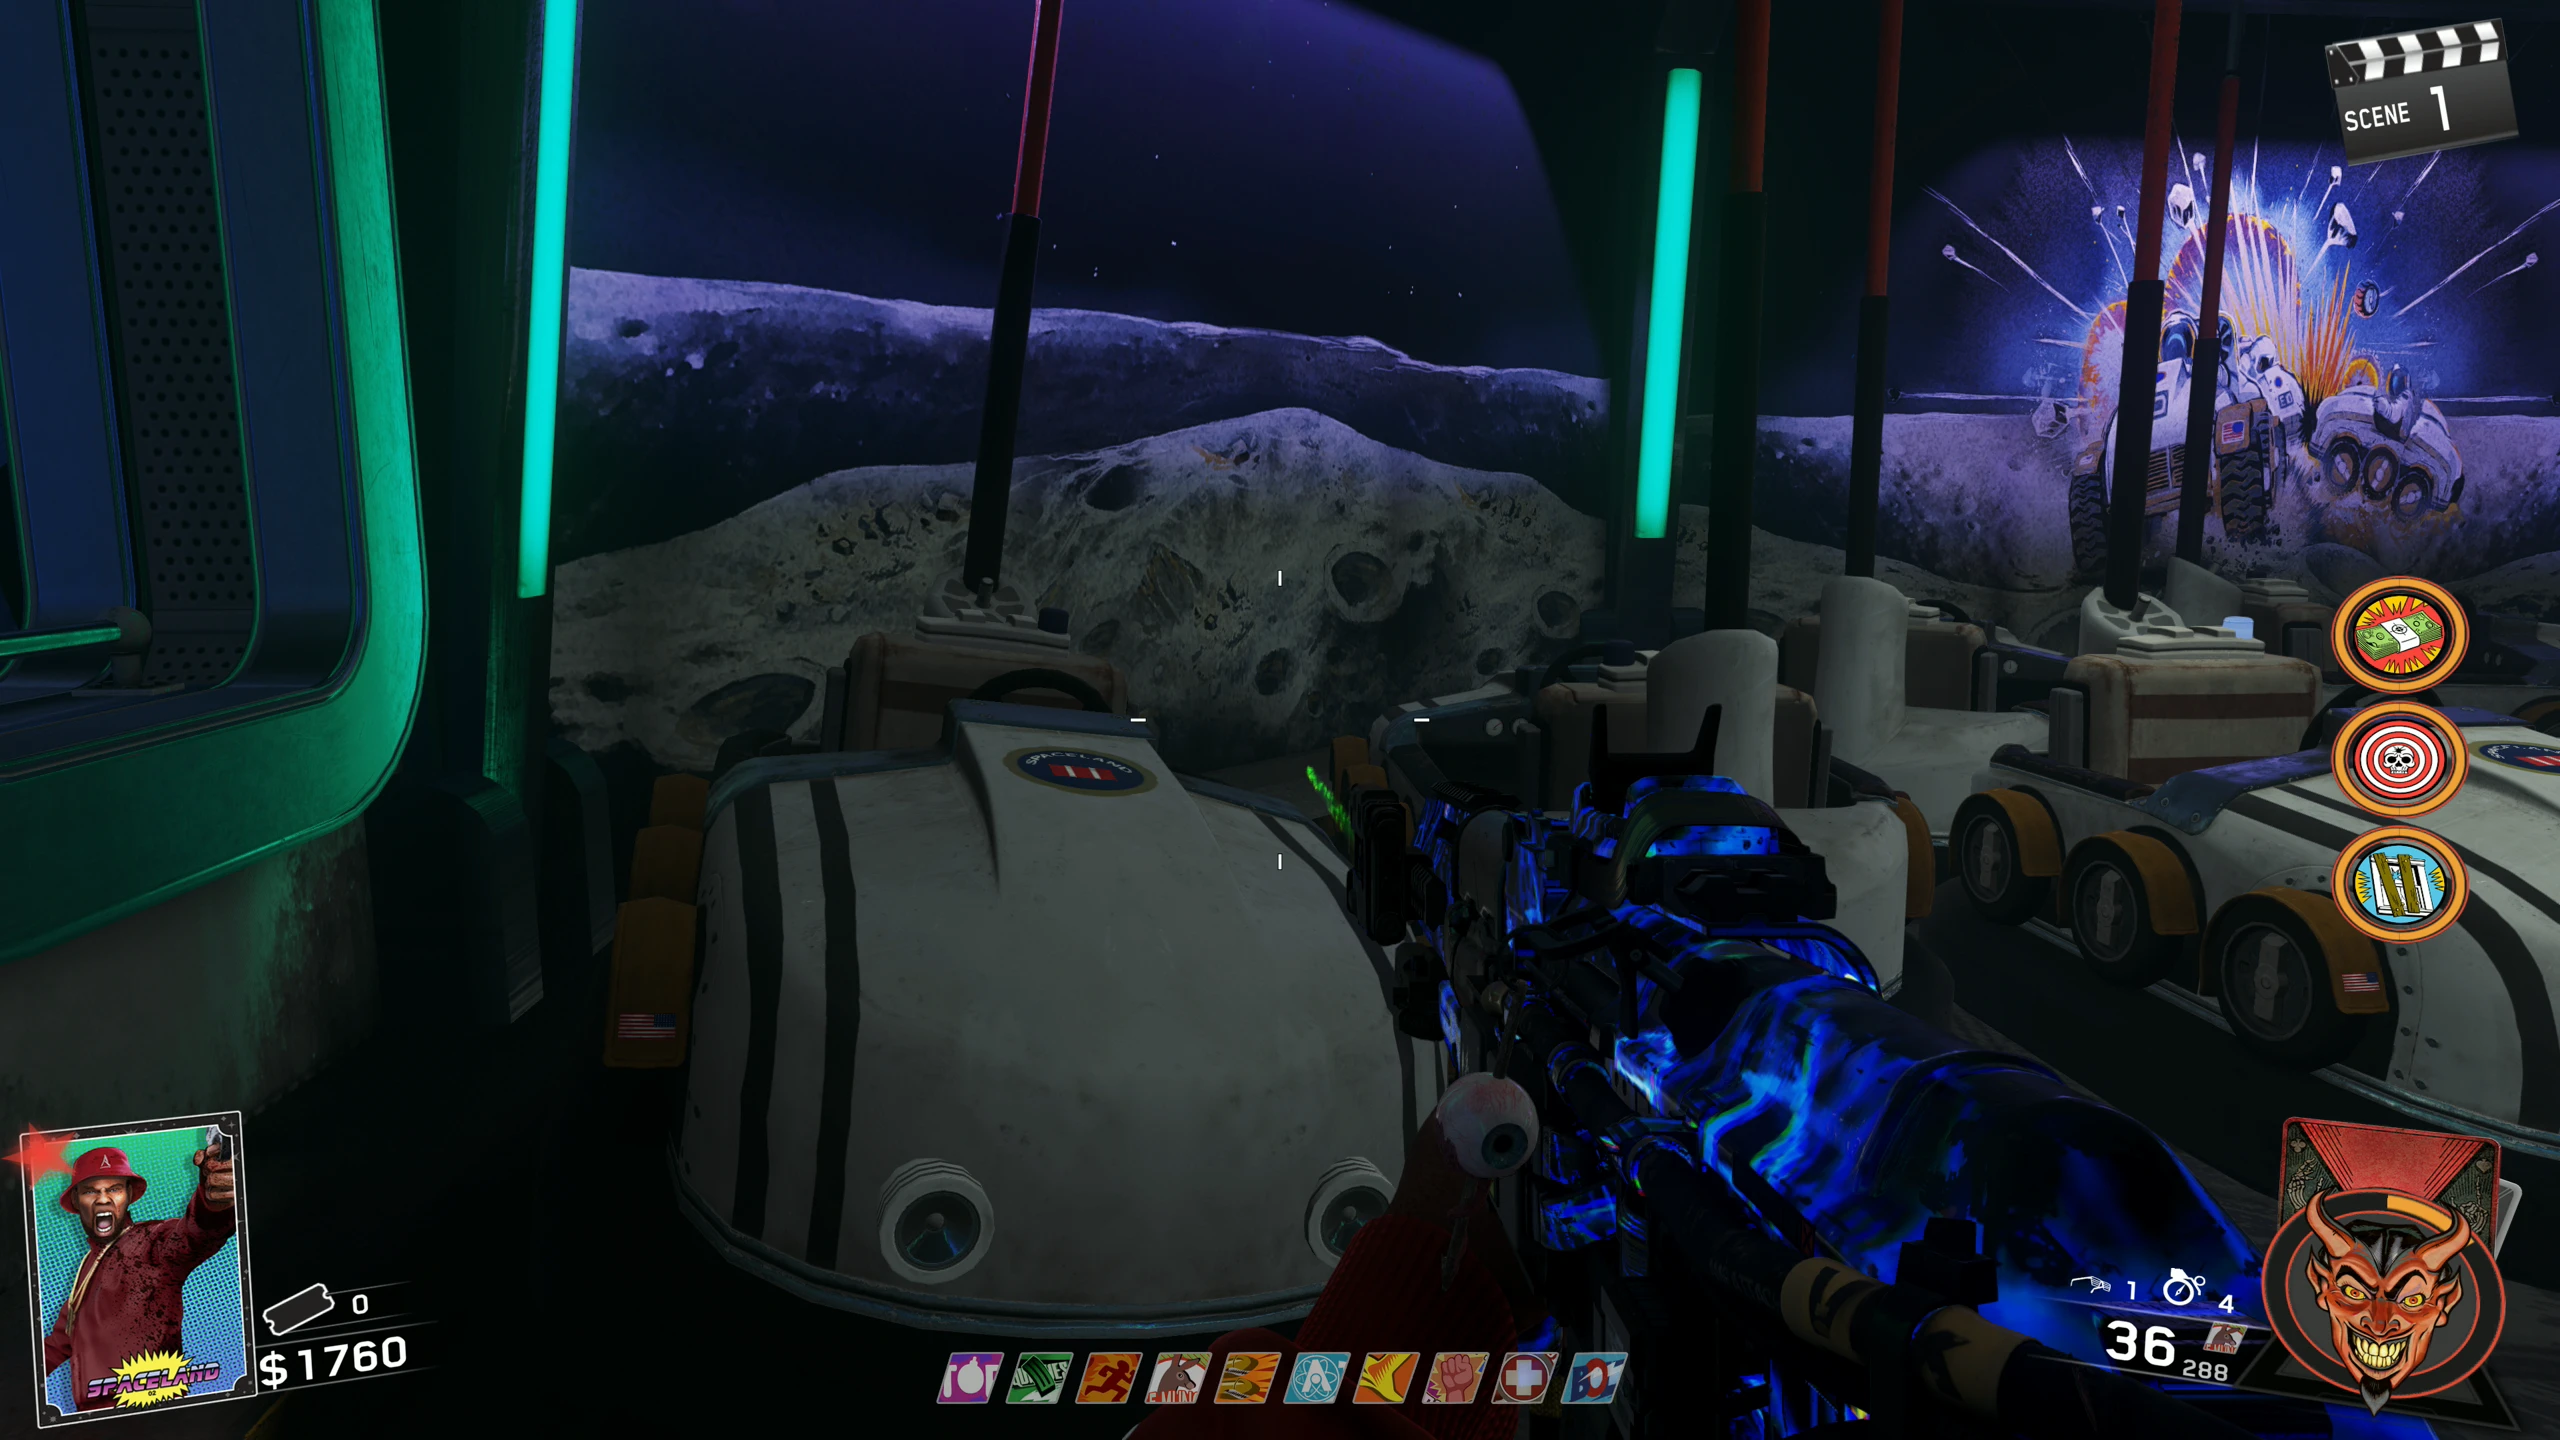
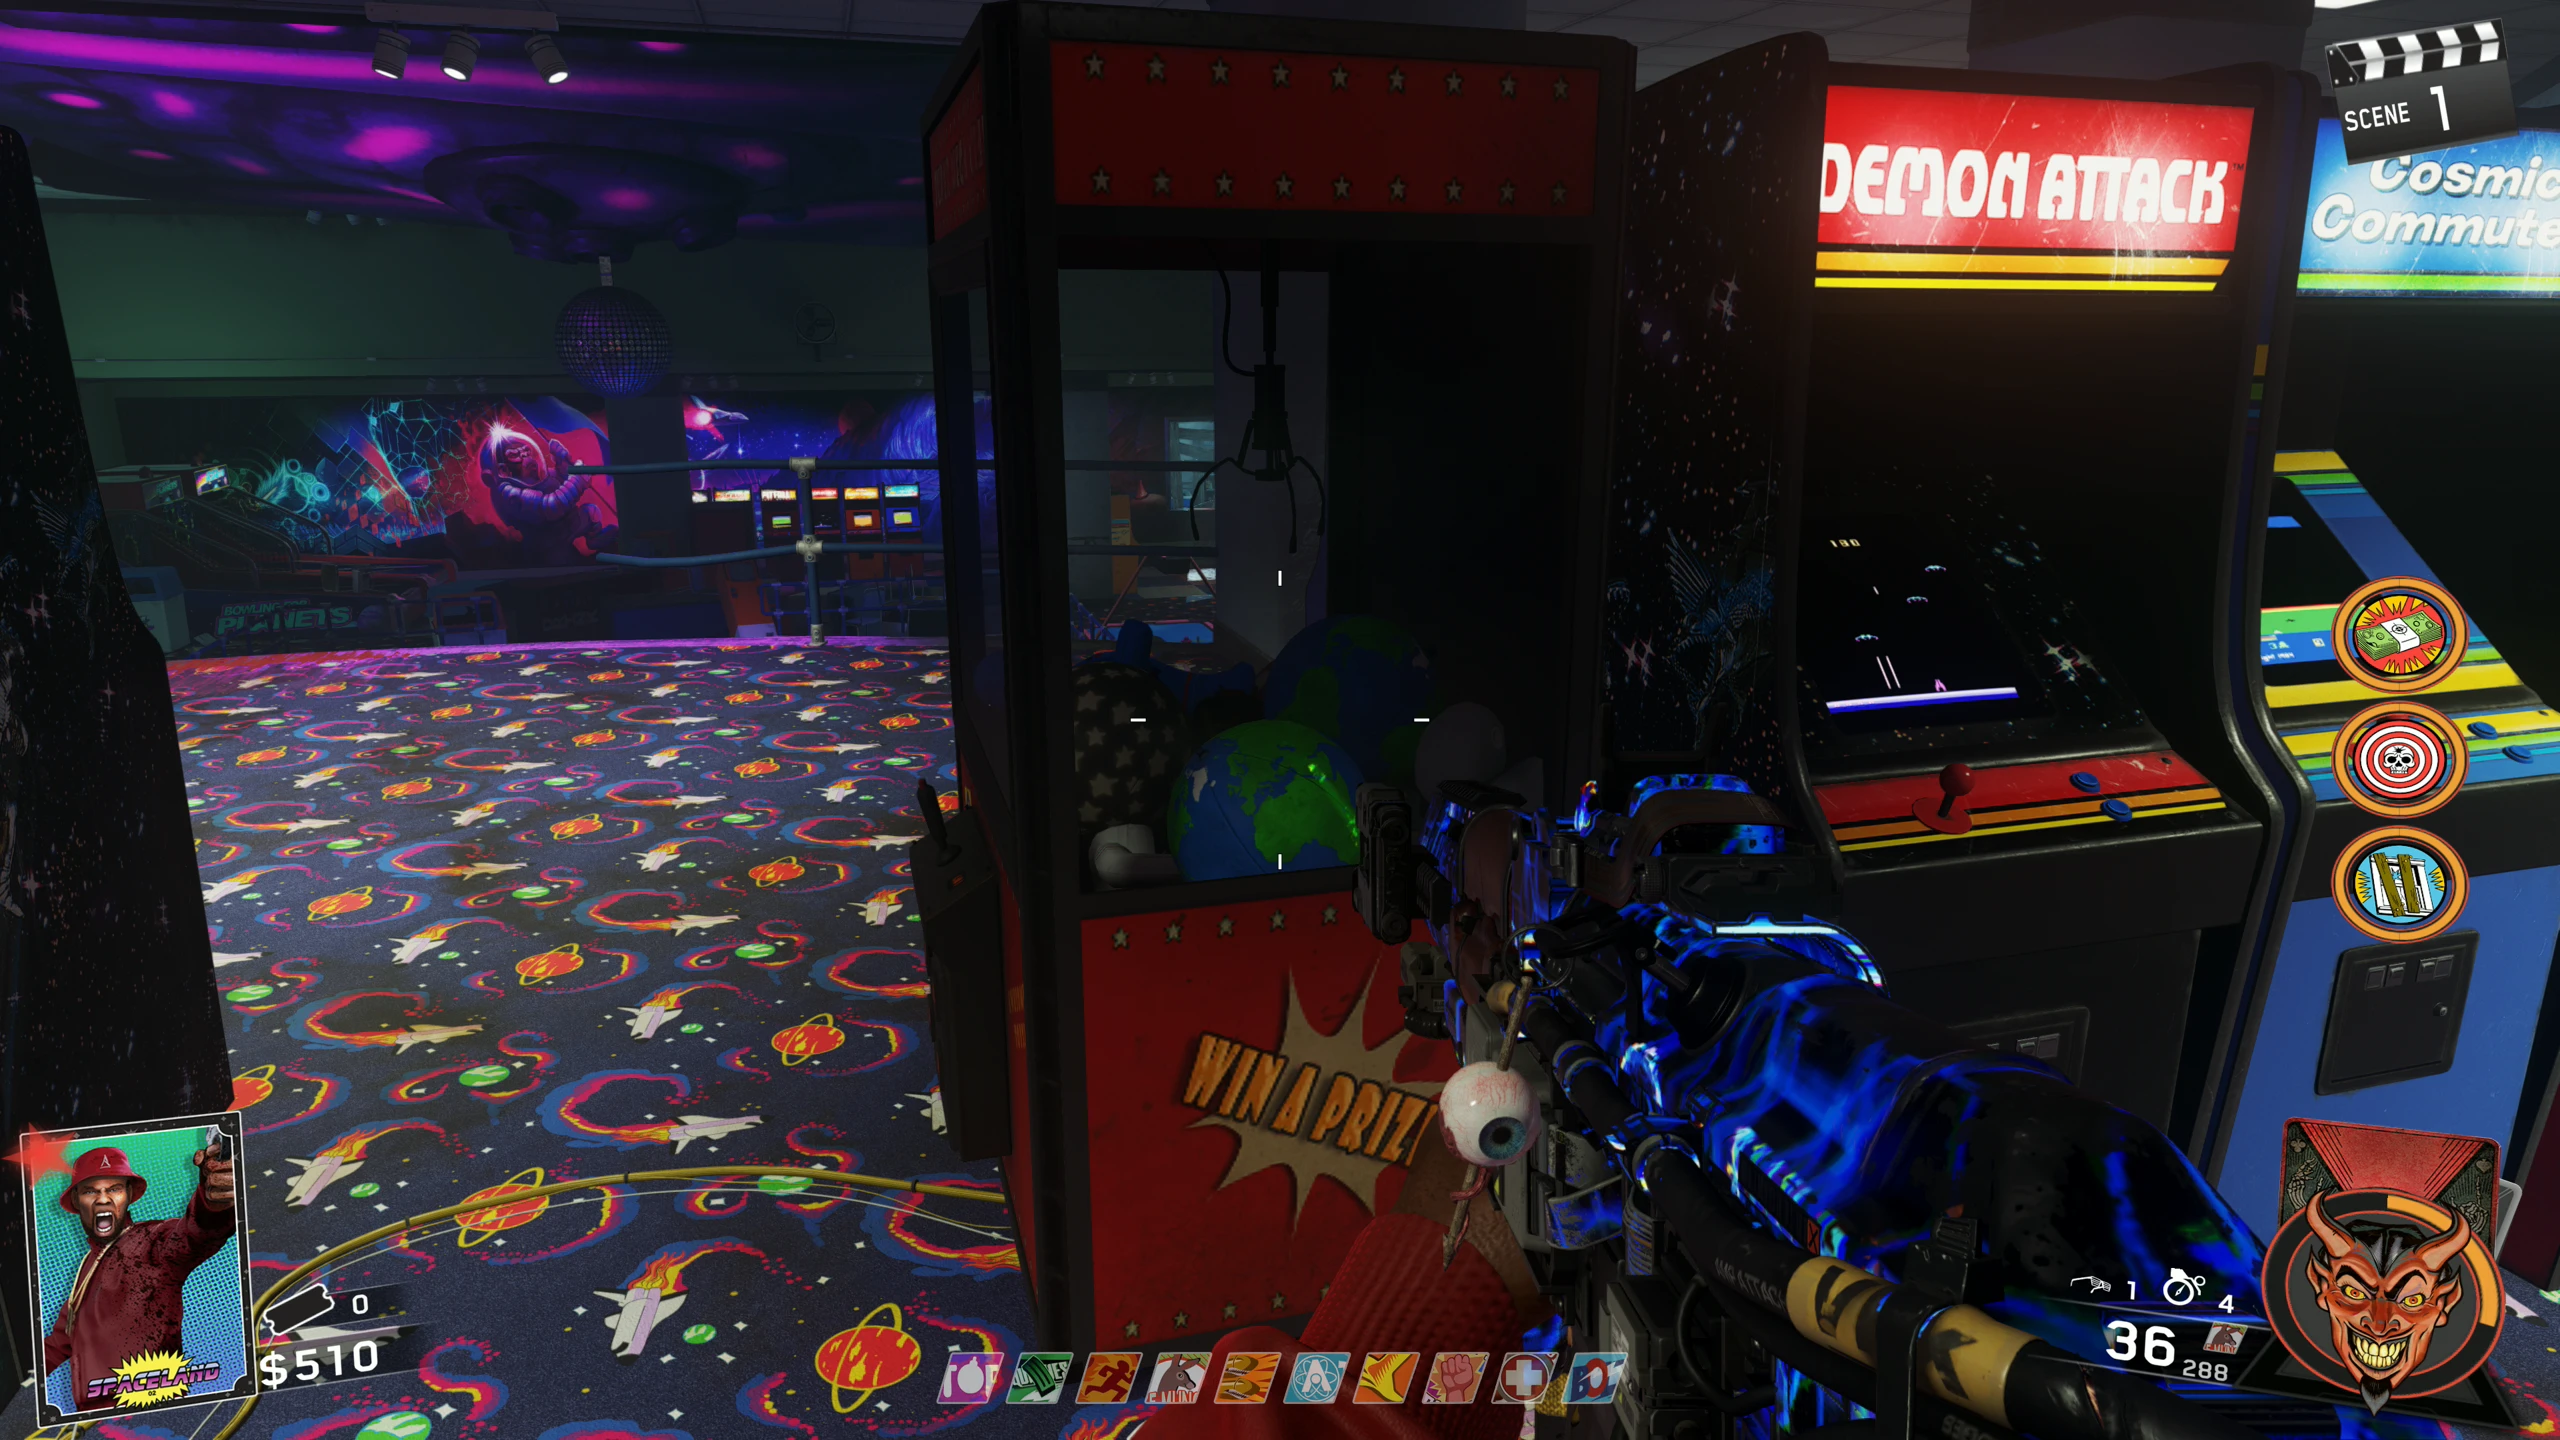
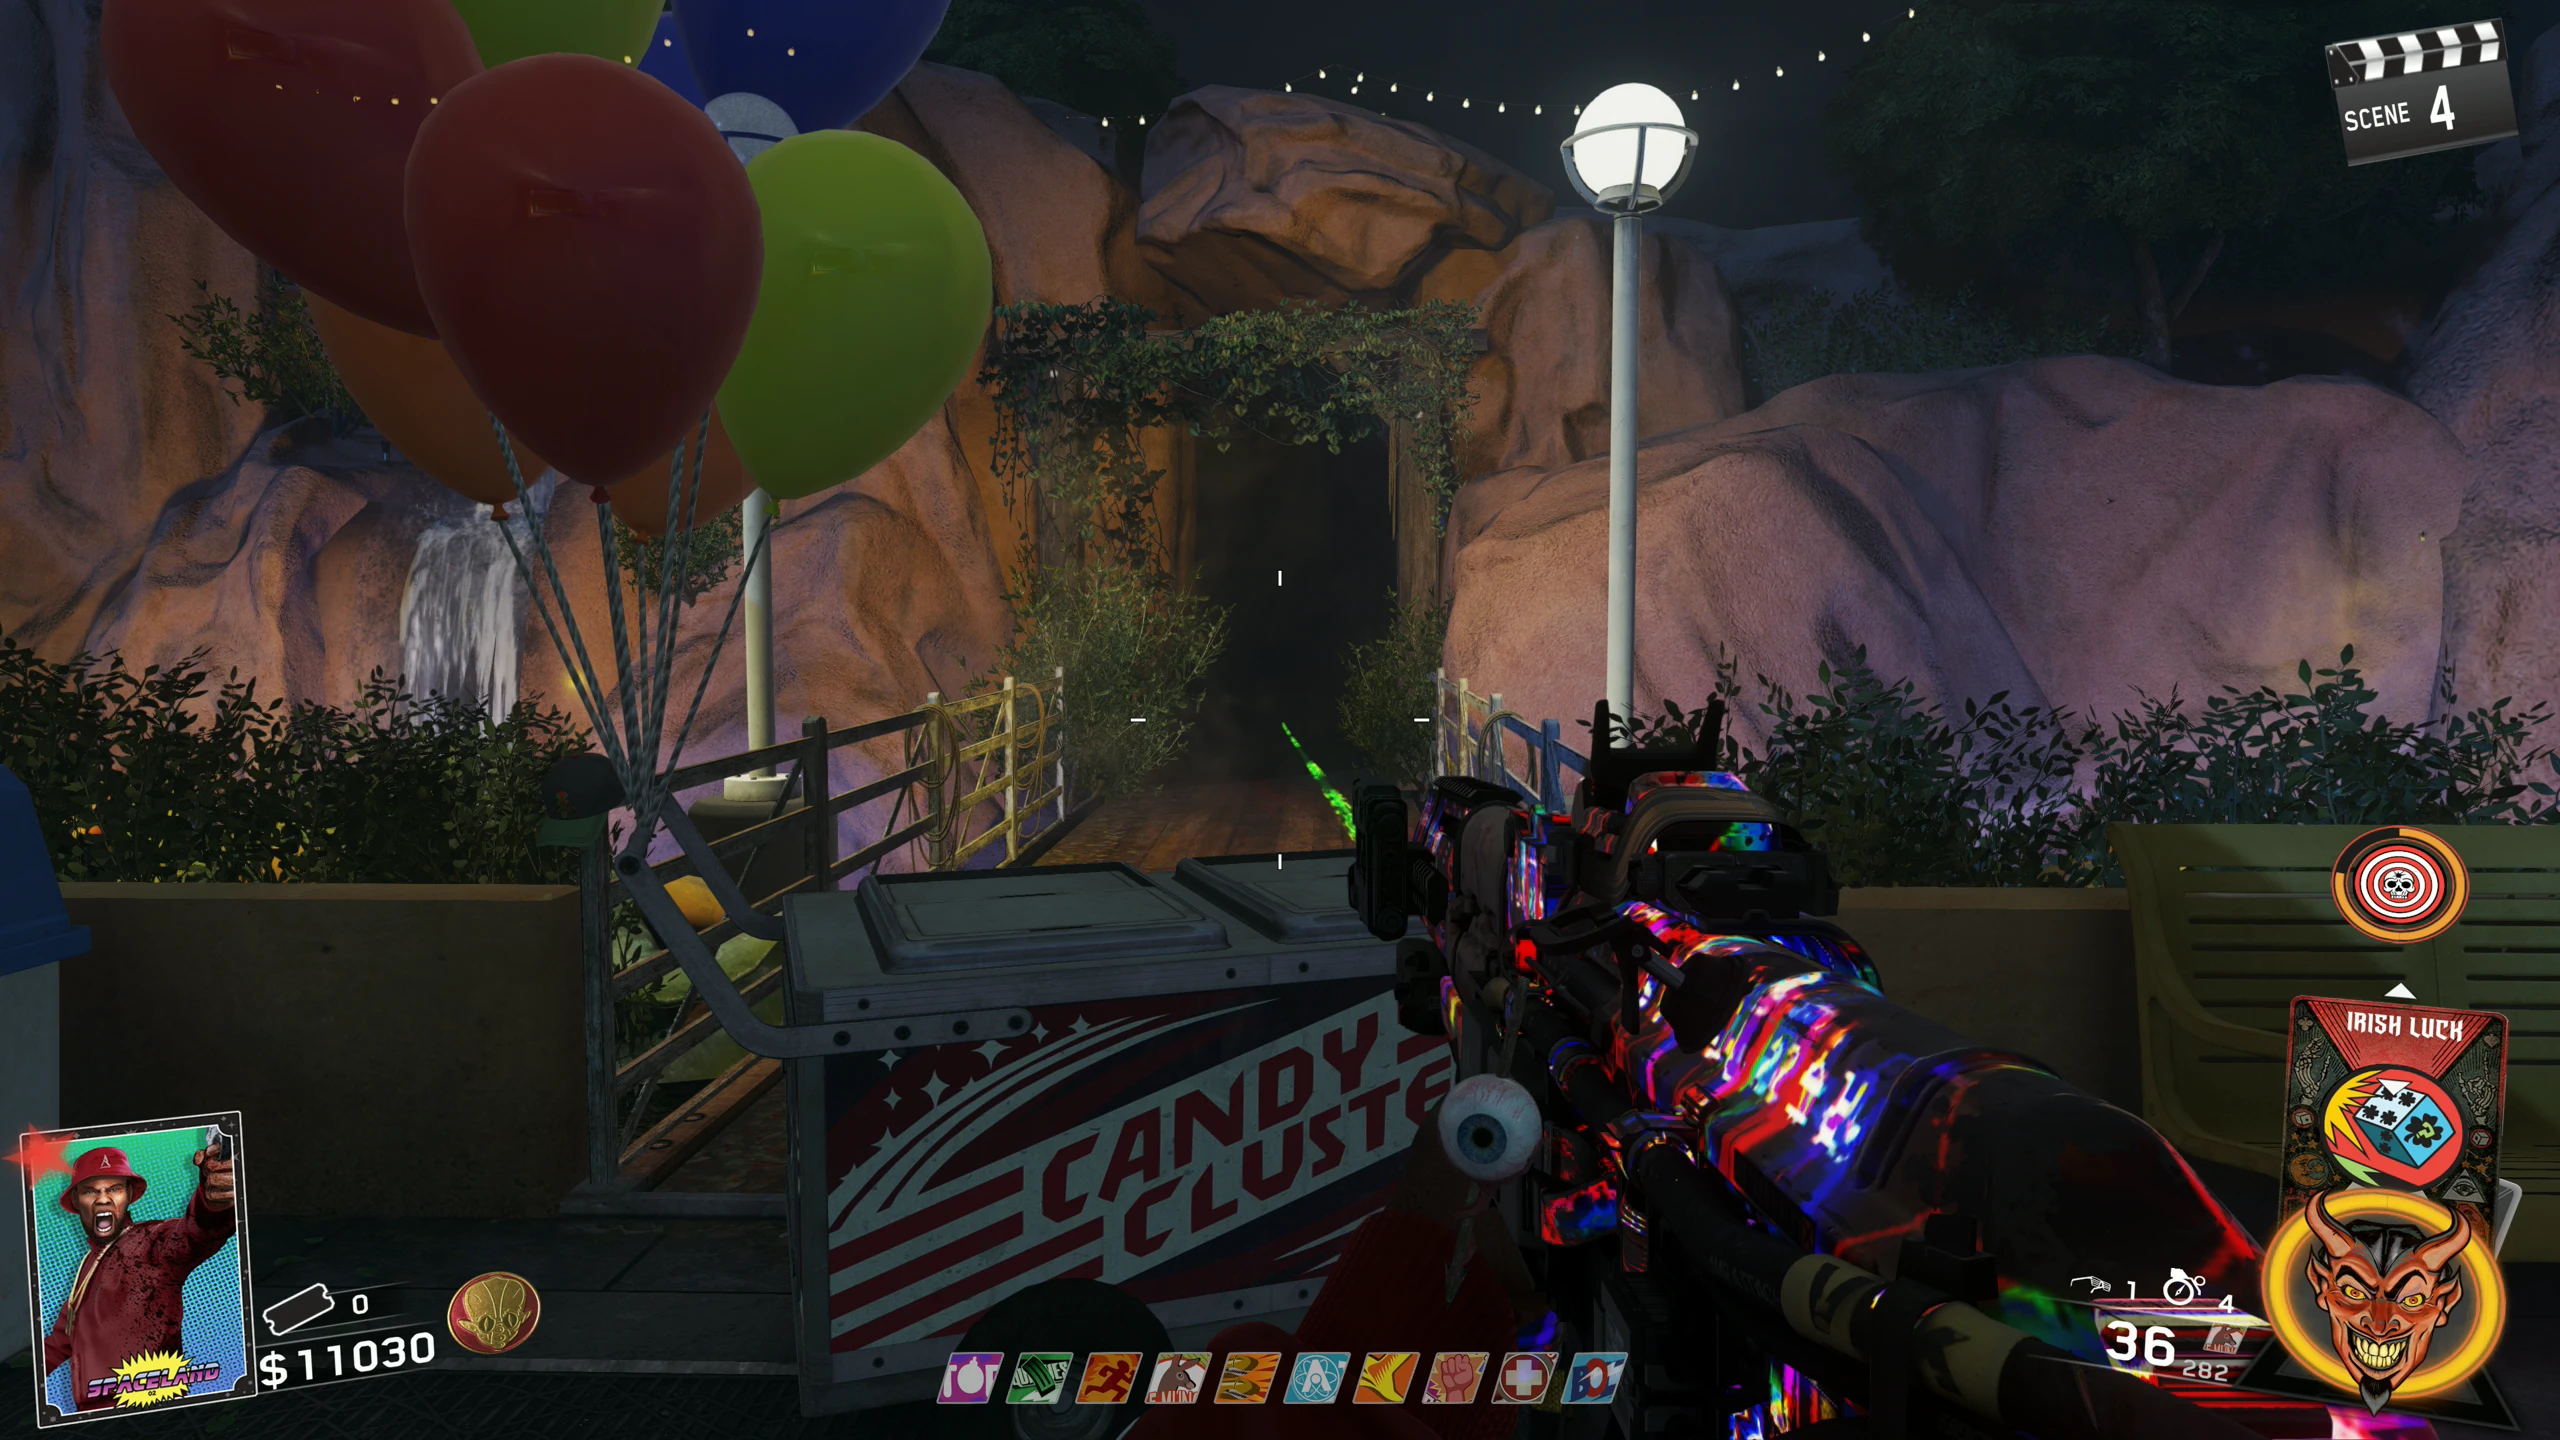
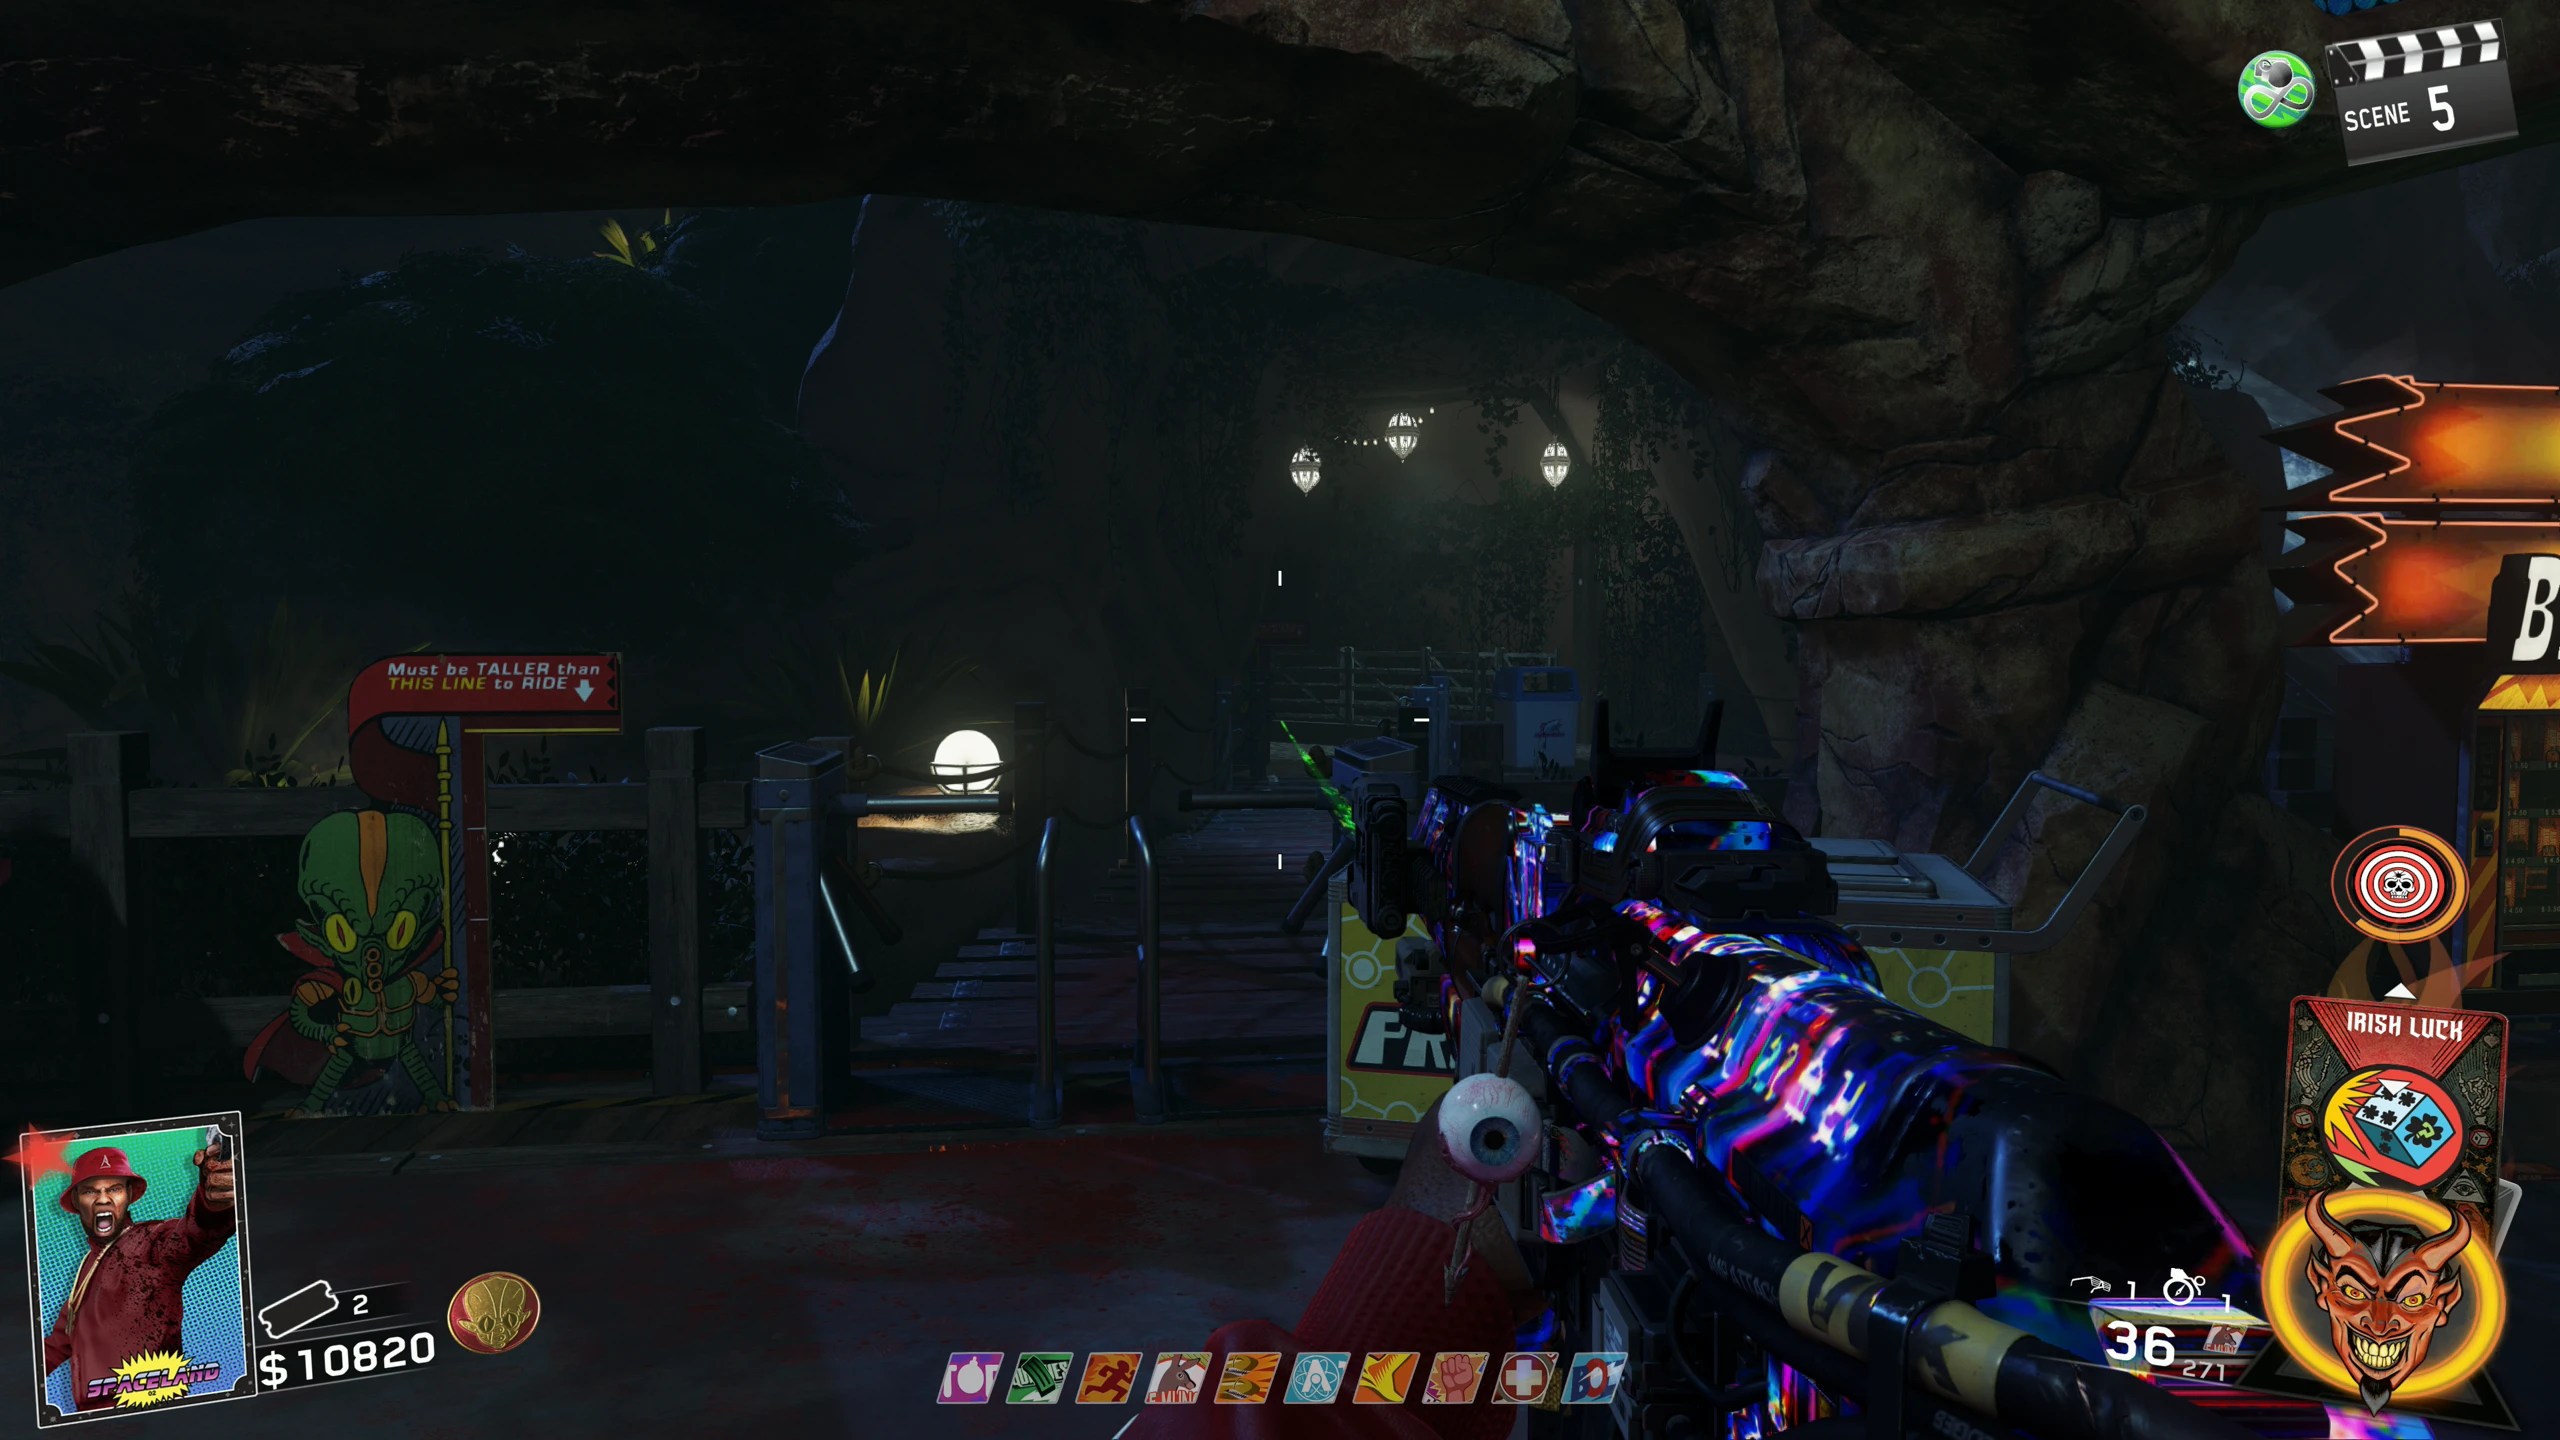
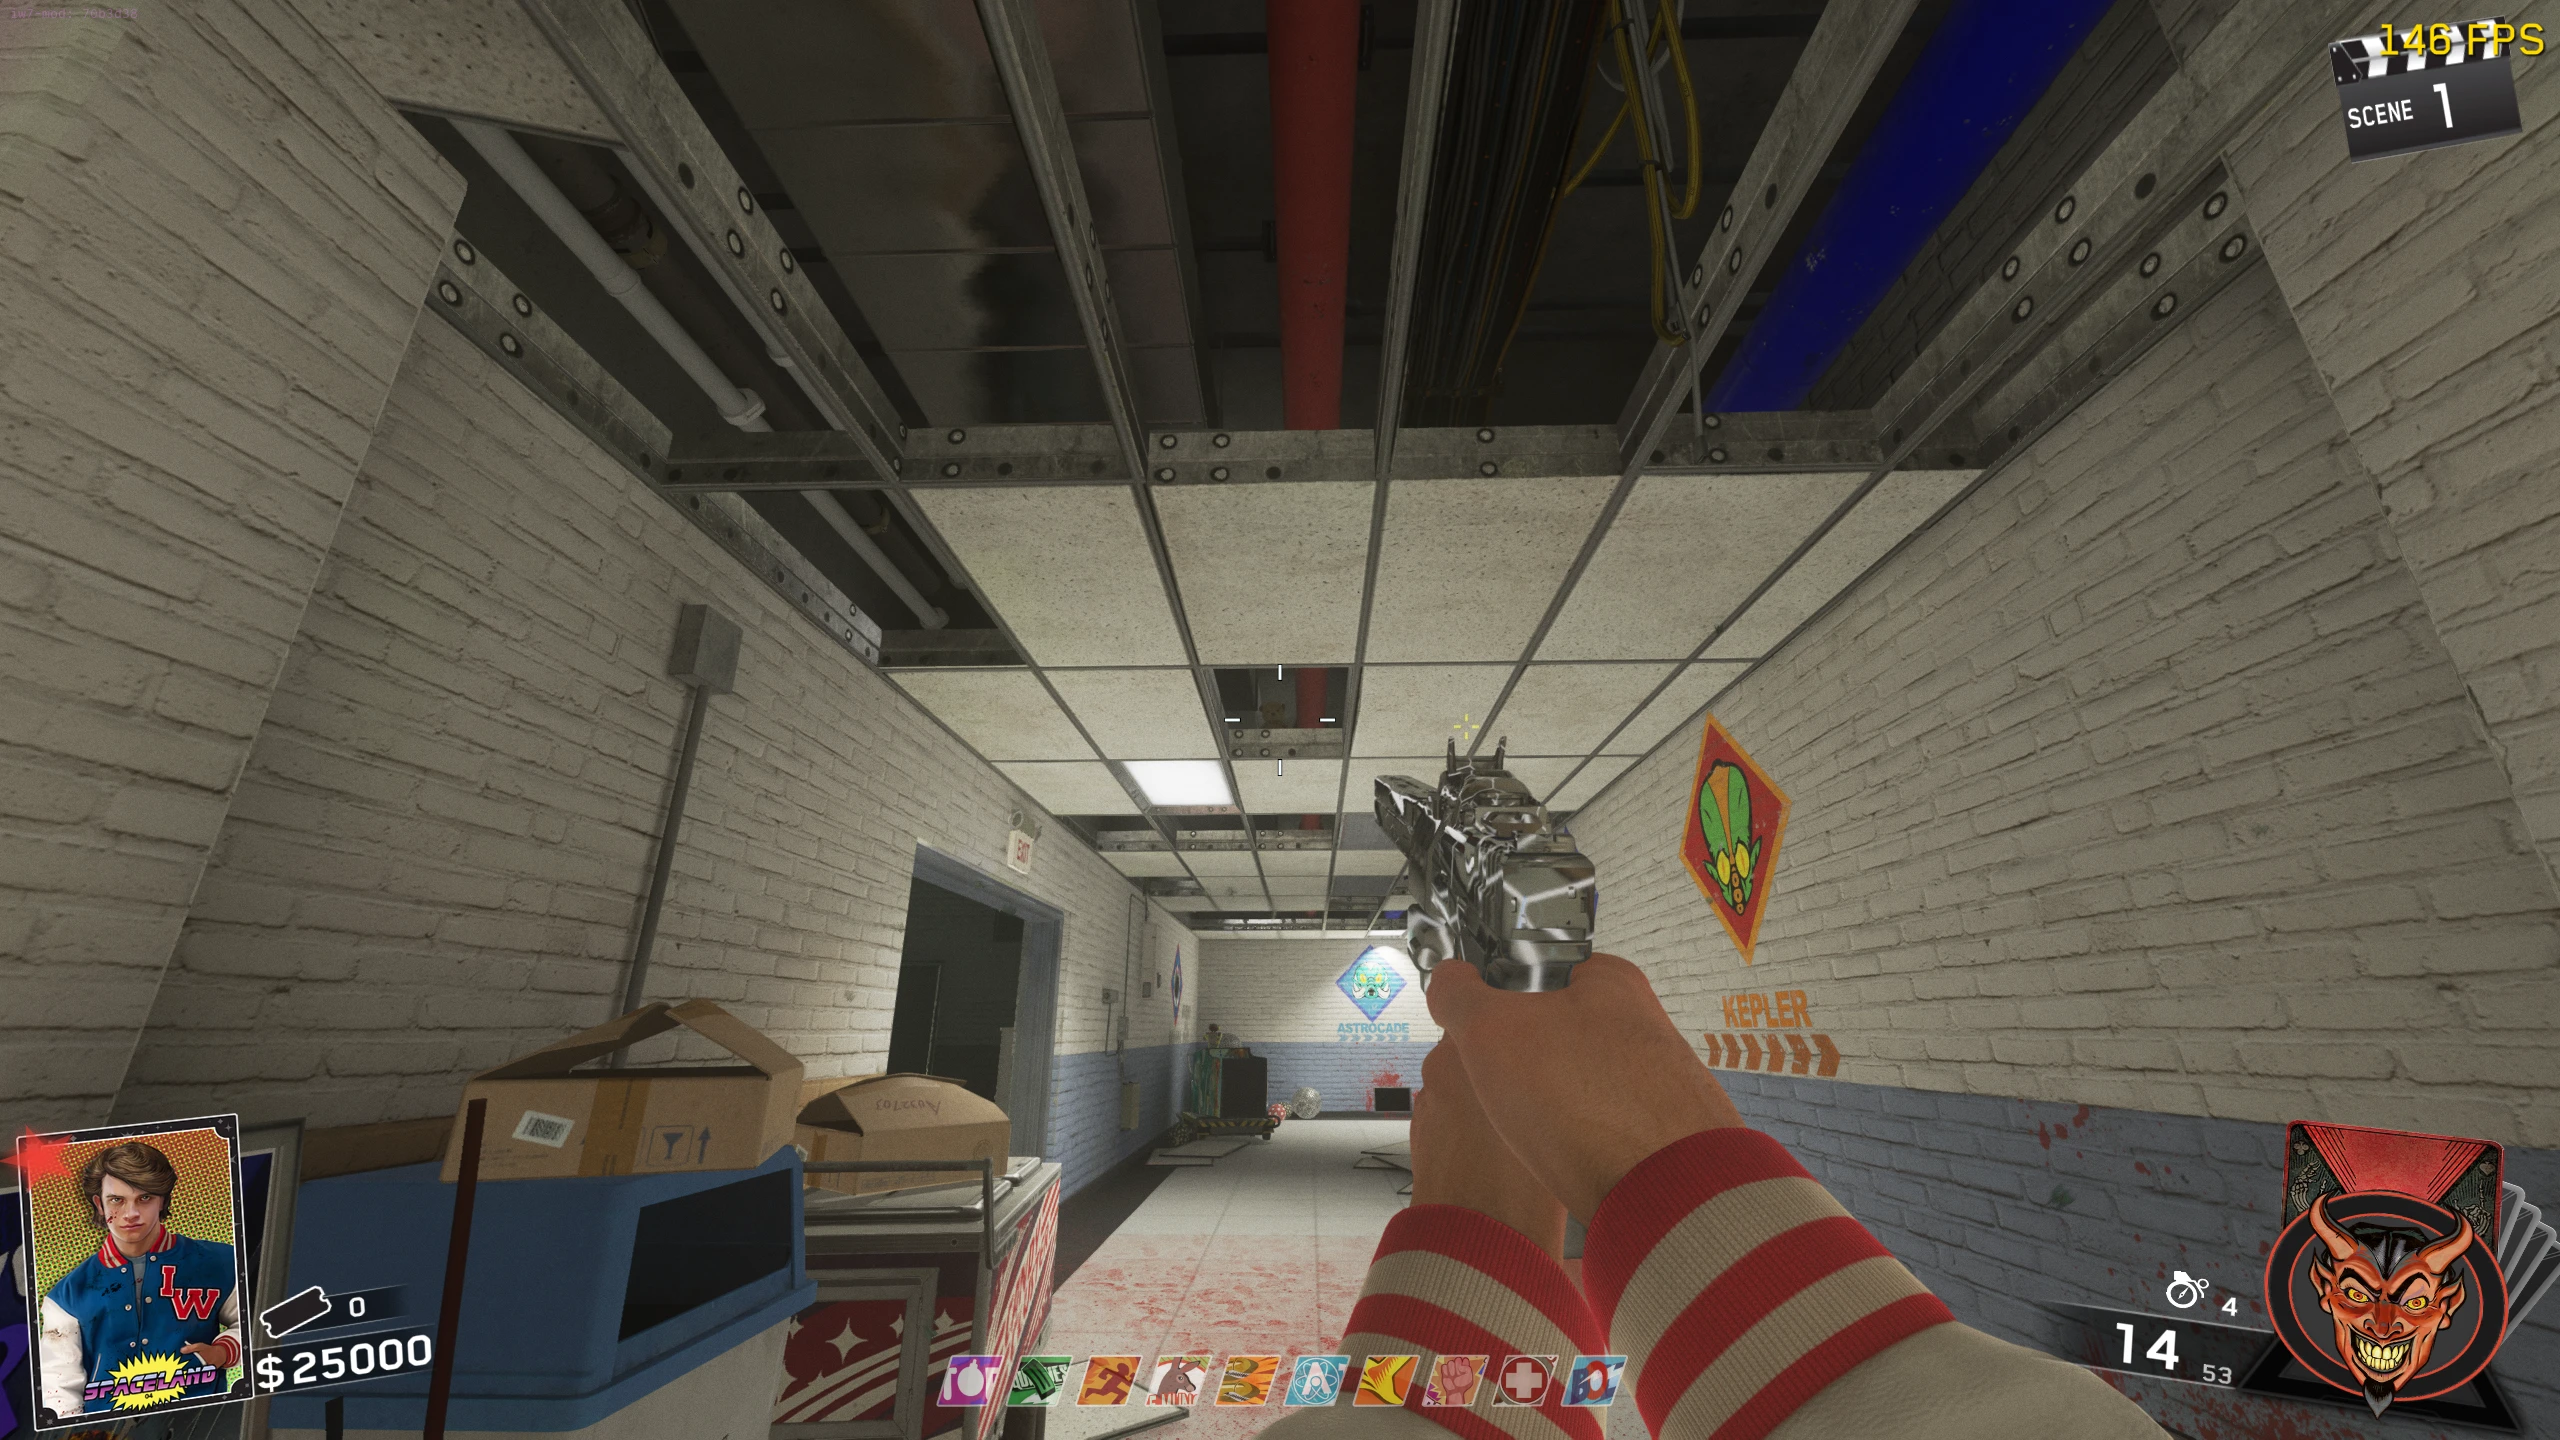
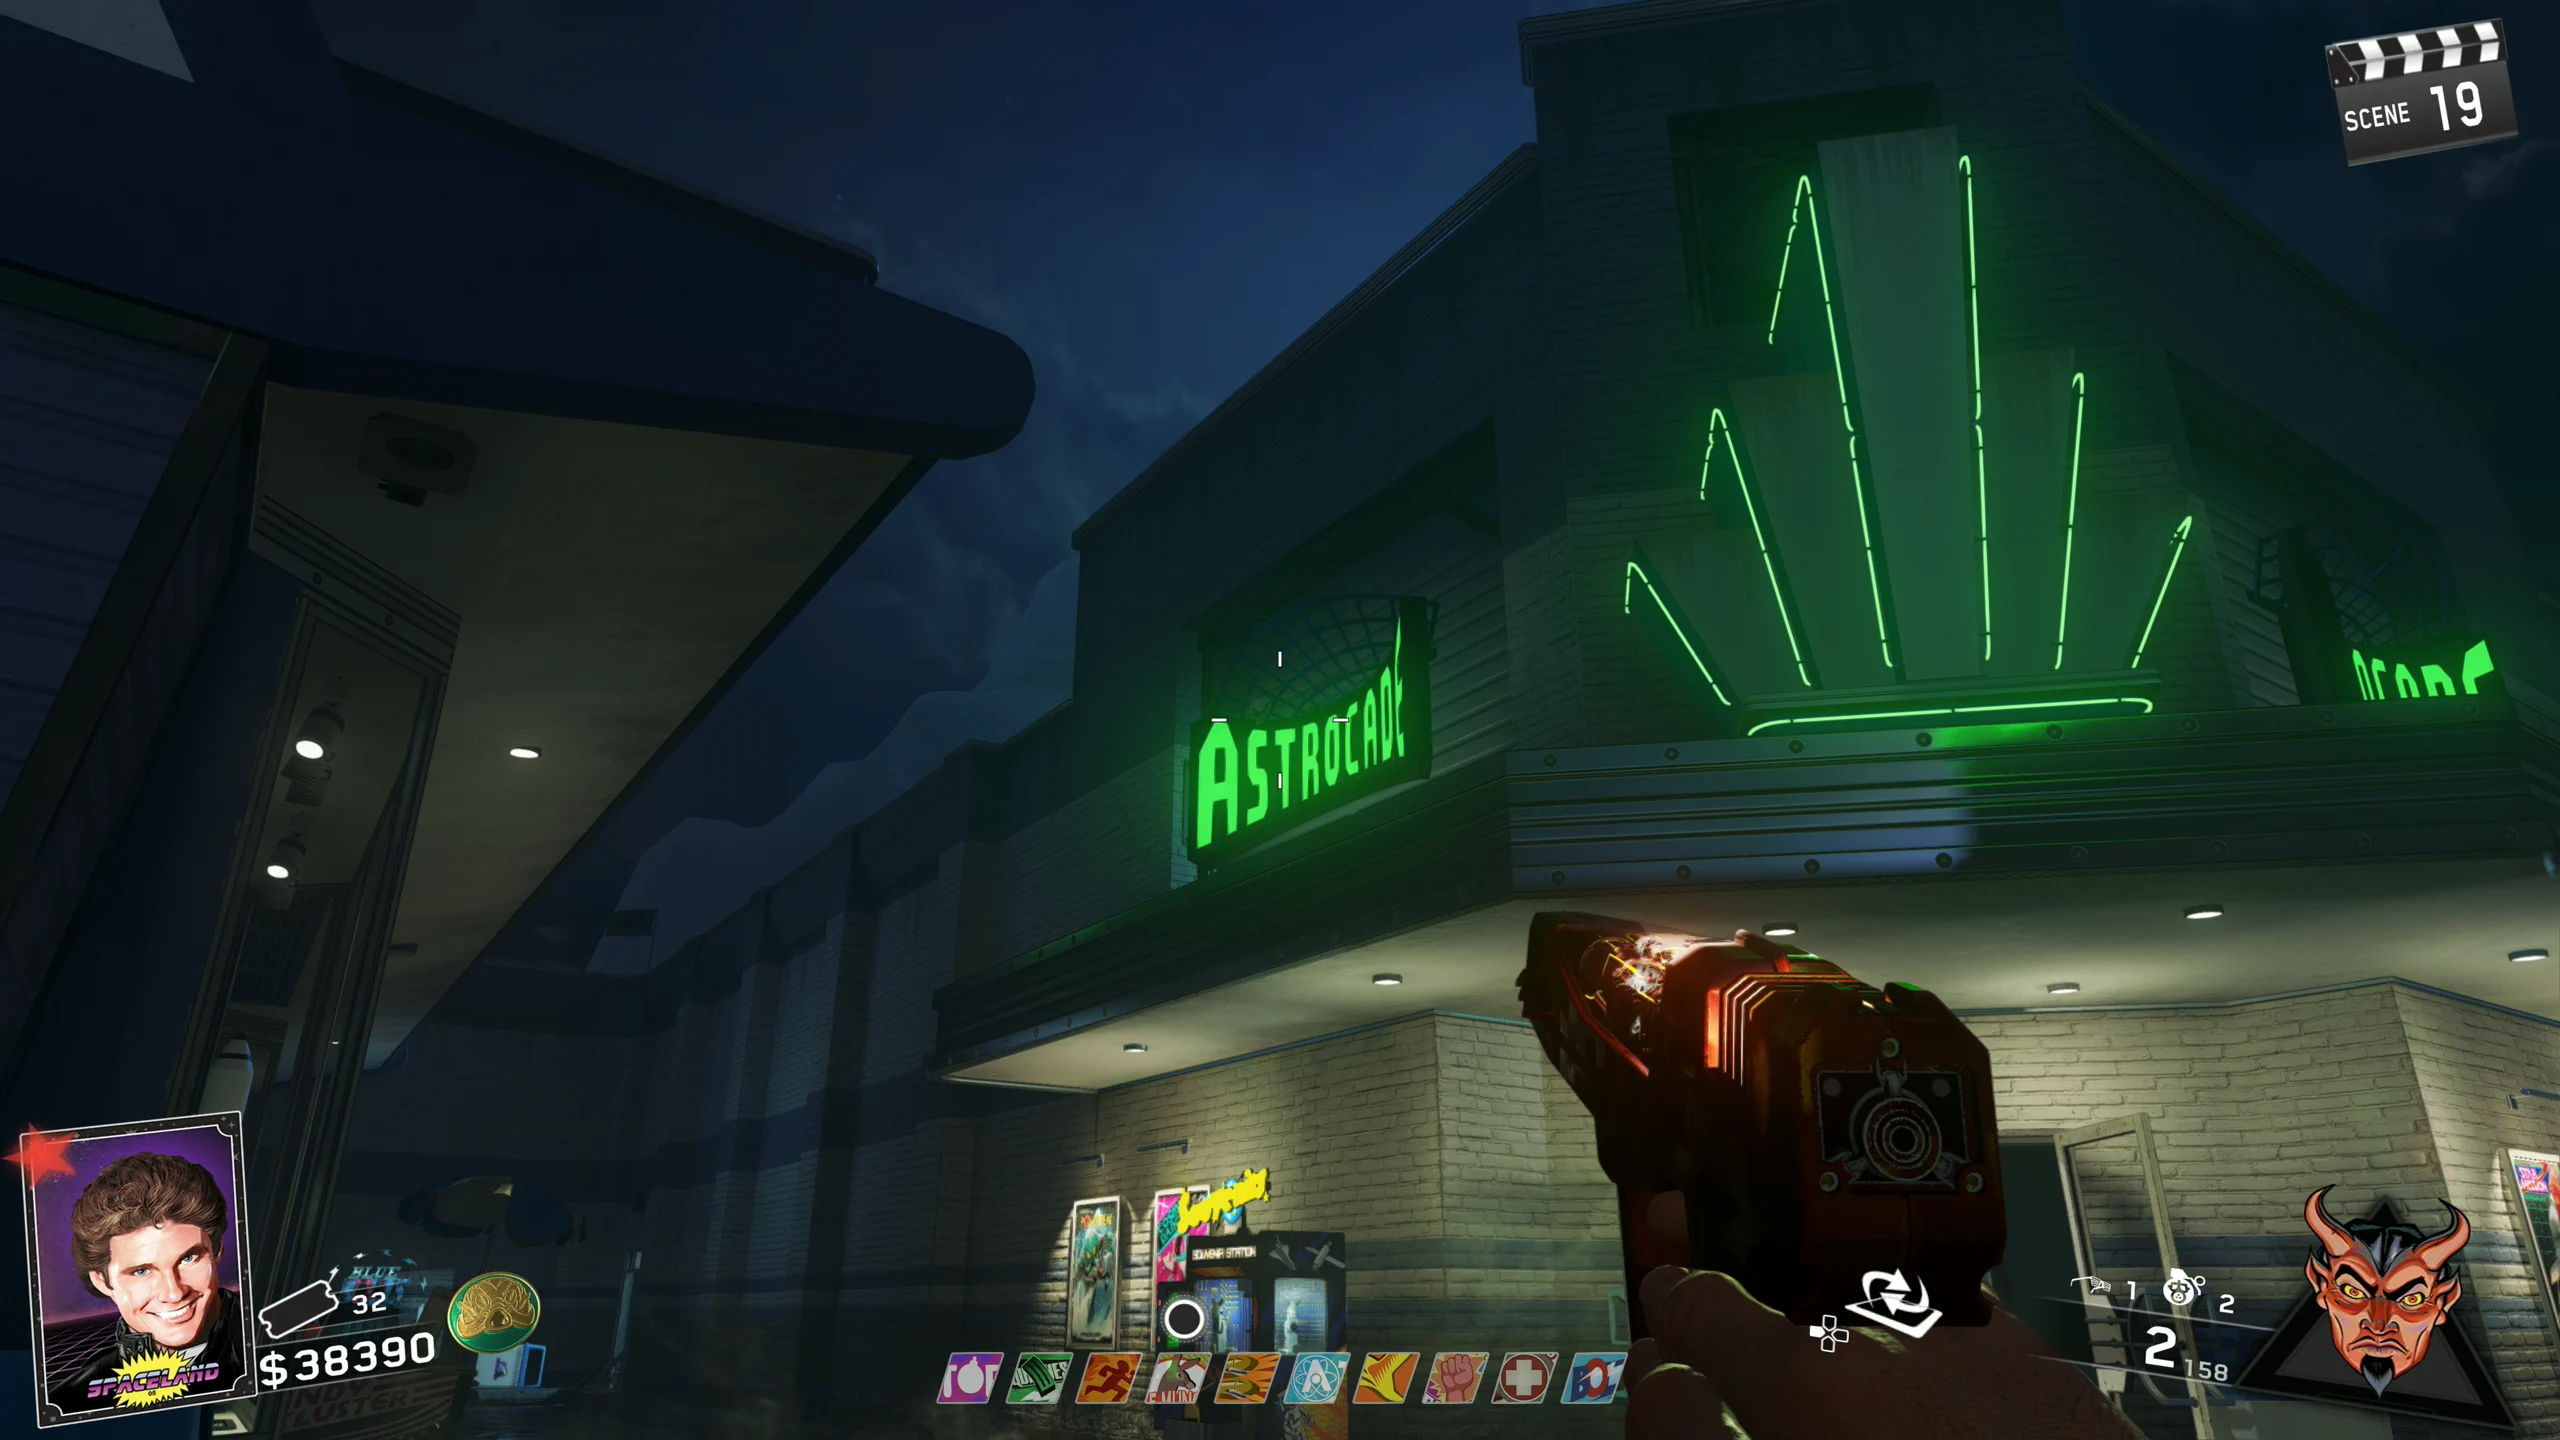
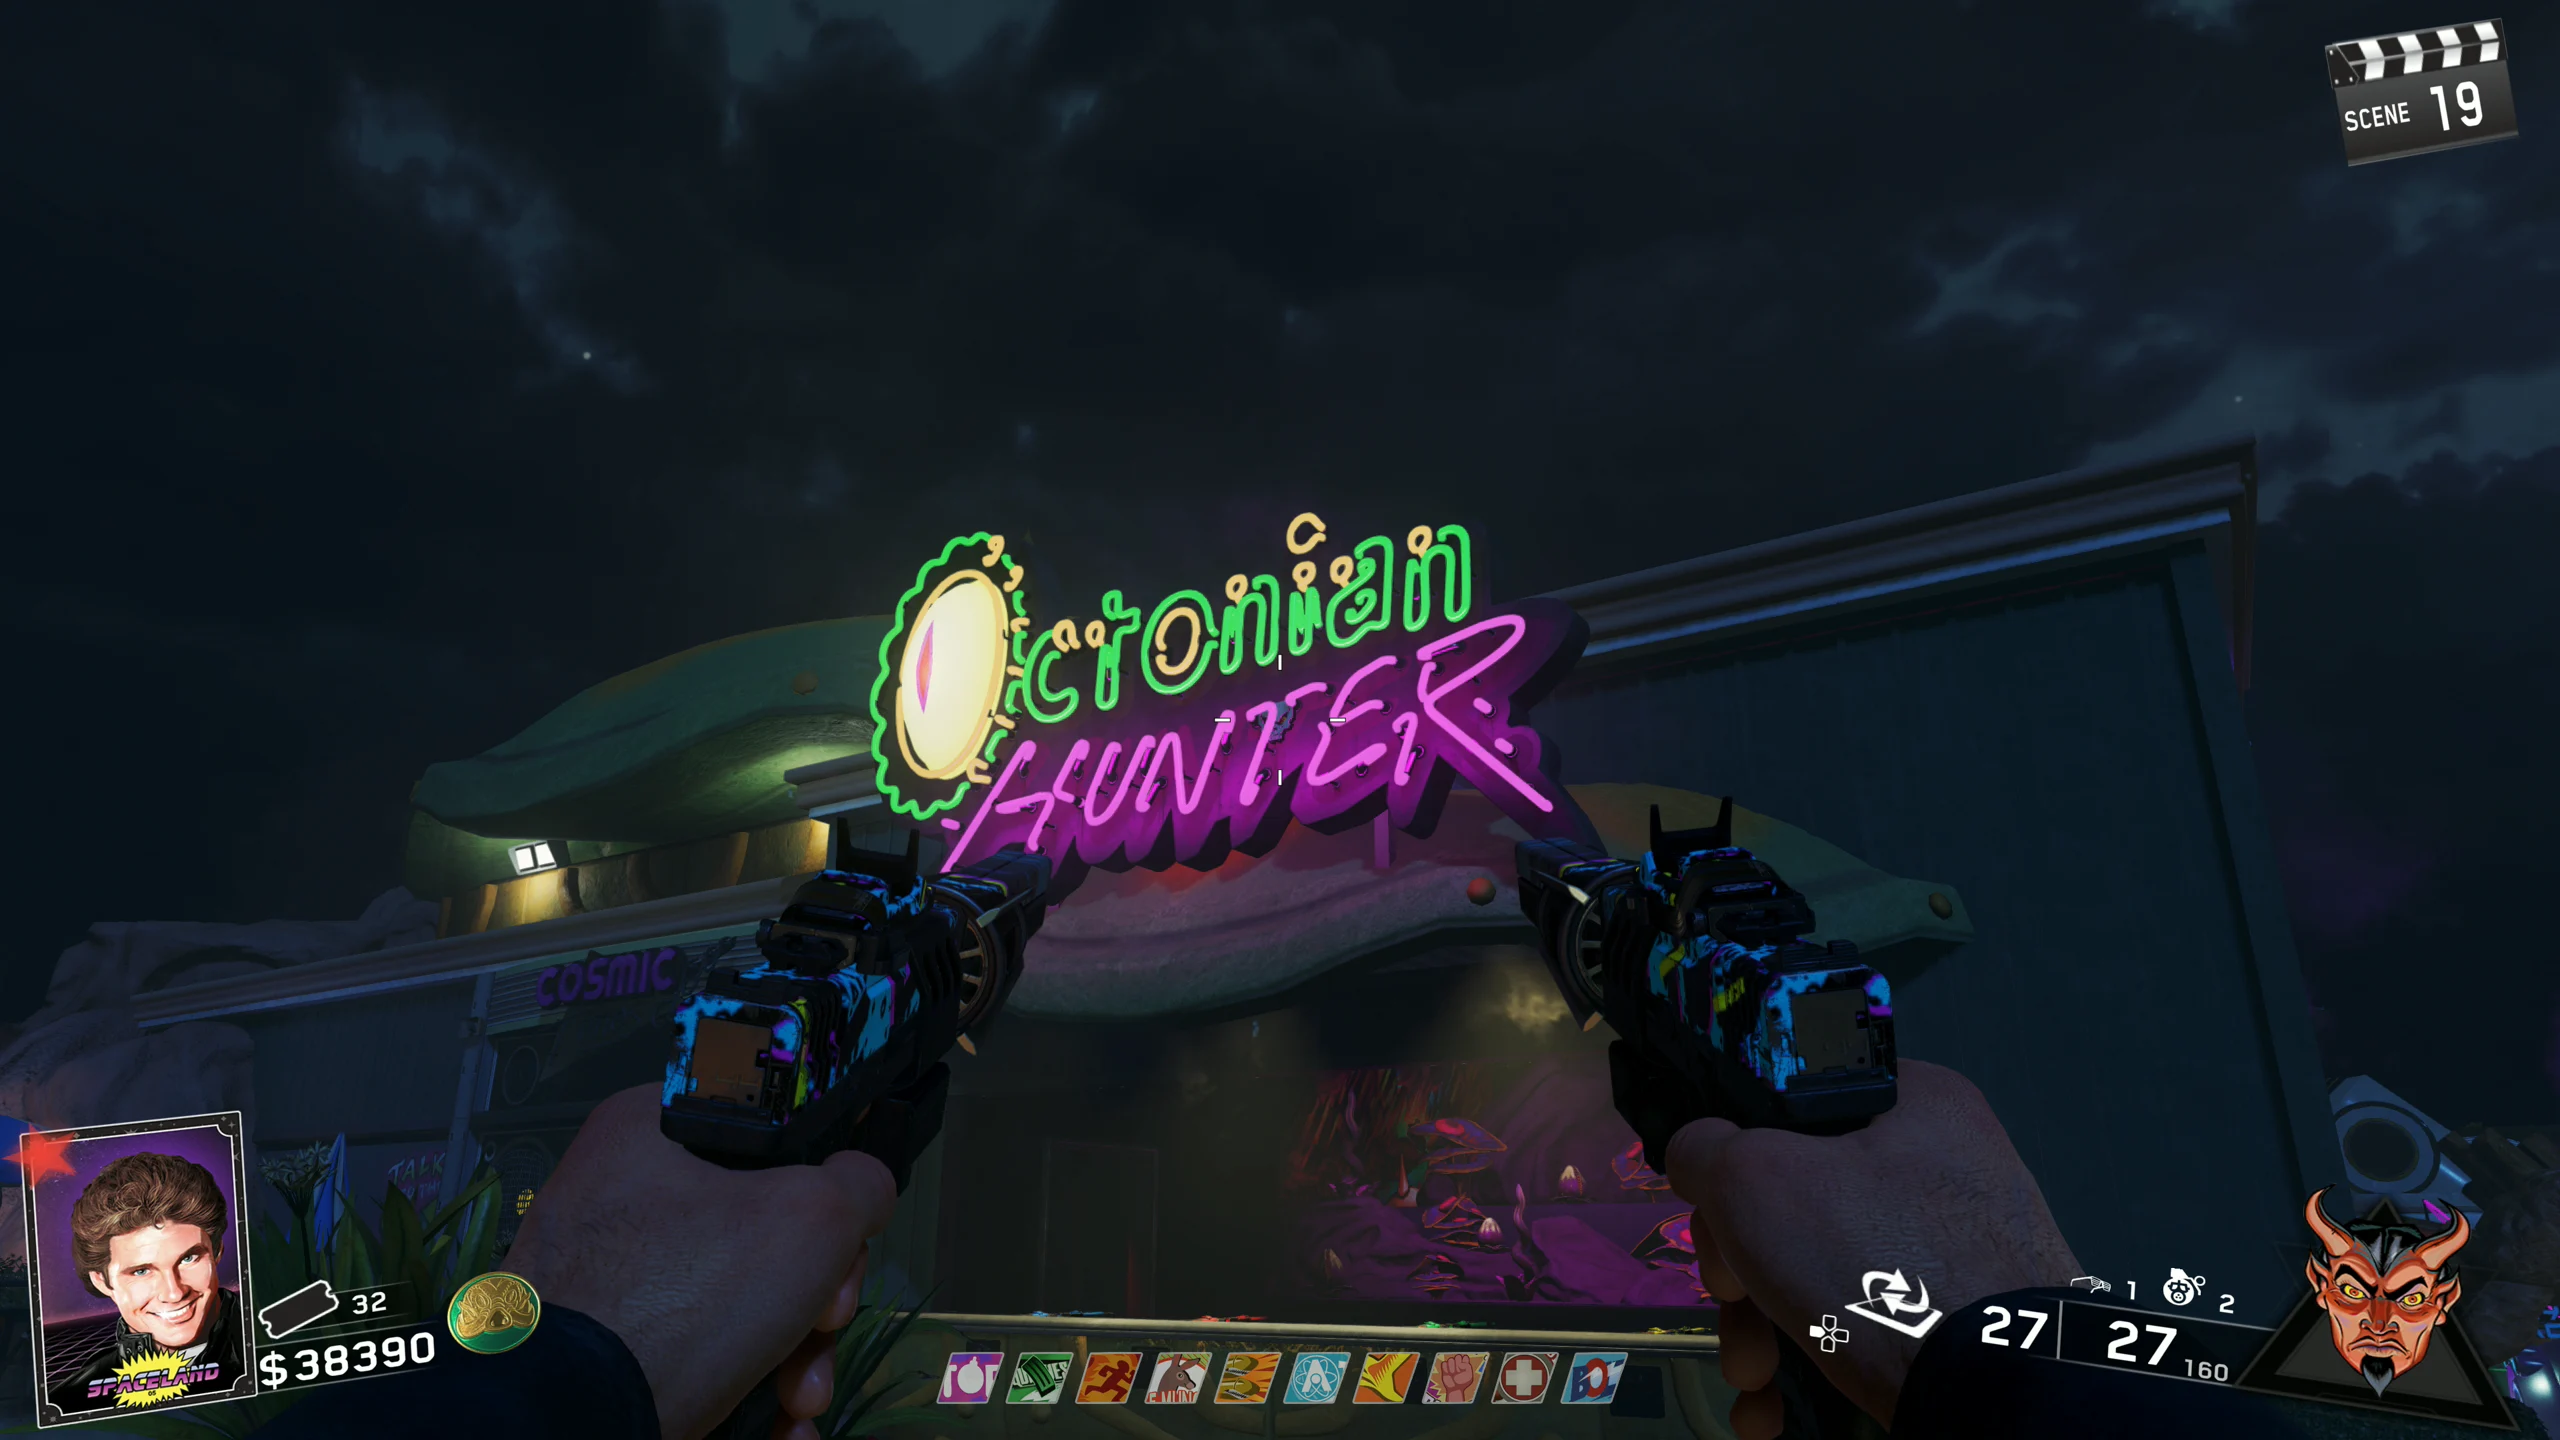
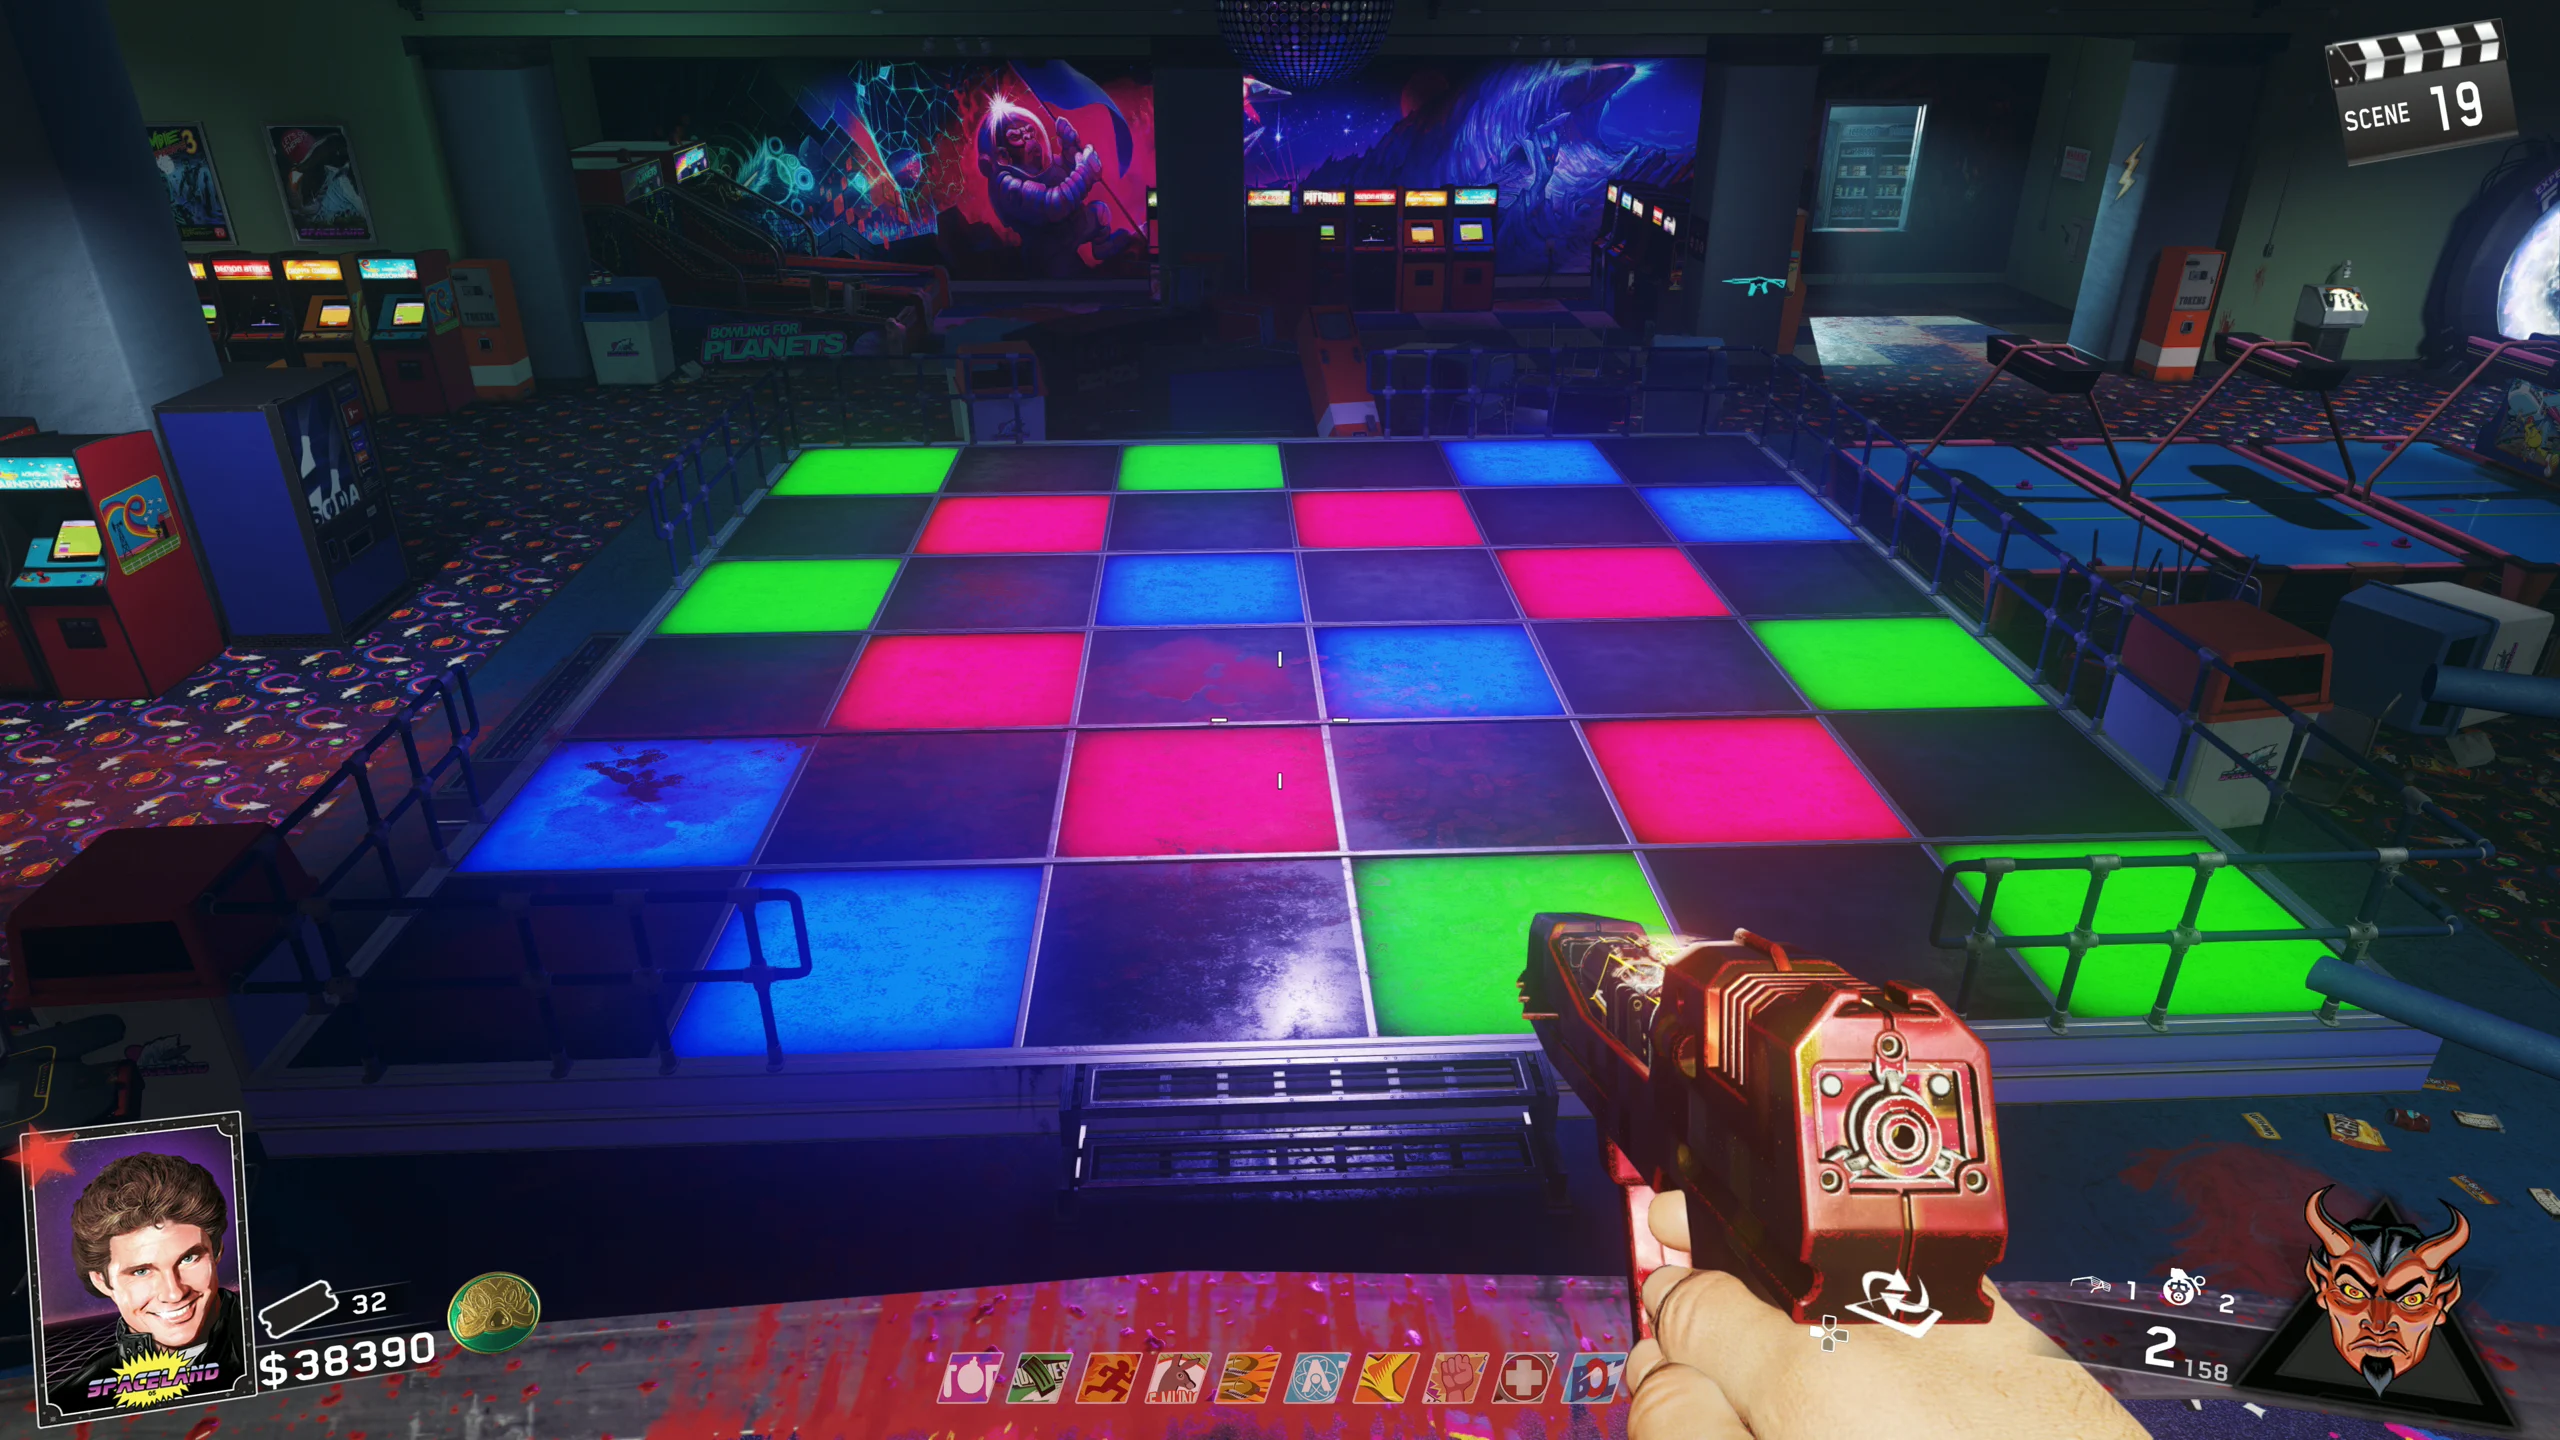
- Journey/Astrocade - Outside an entrance to the Bumper Cars
- One full round after your last defence, return the SETI-COM to The 'Hoff, and he will give you four speakers.
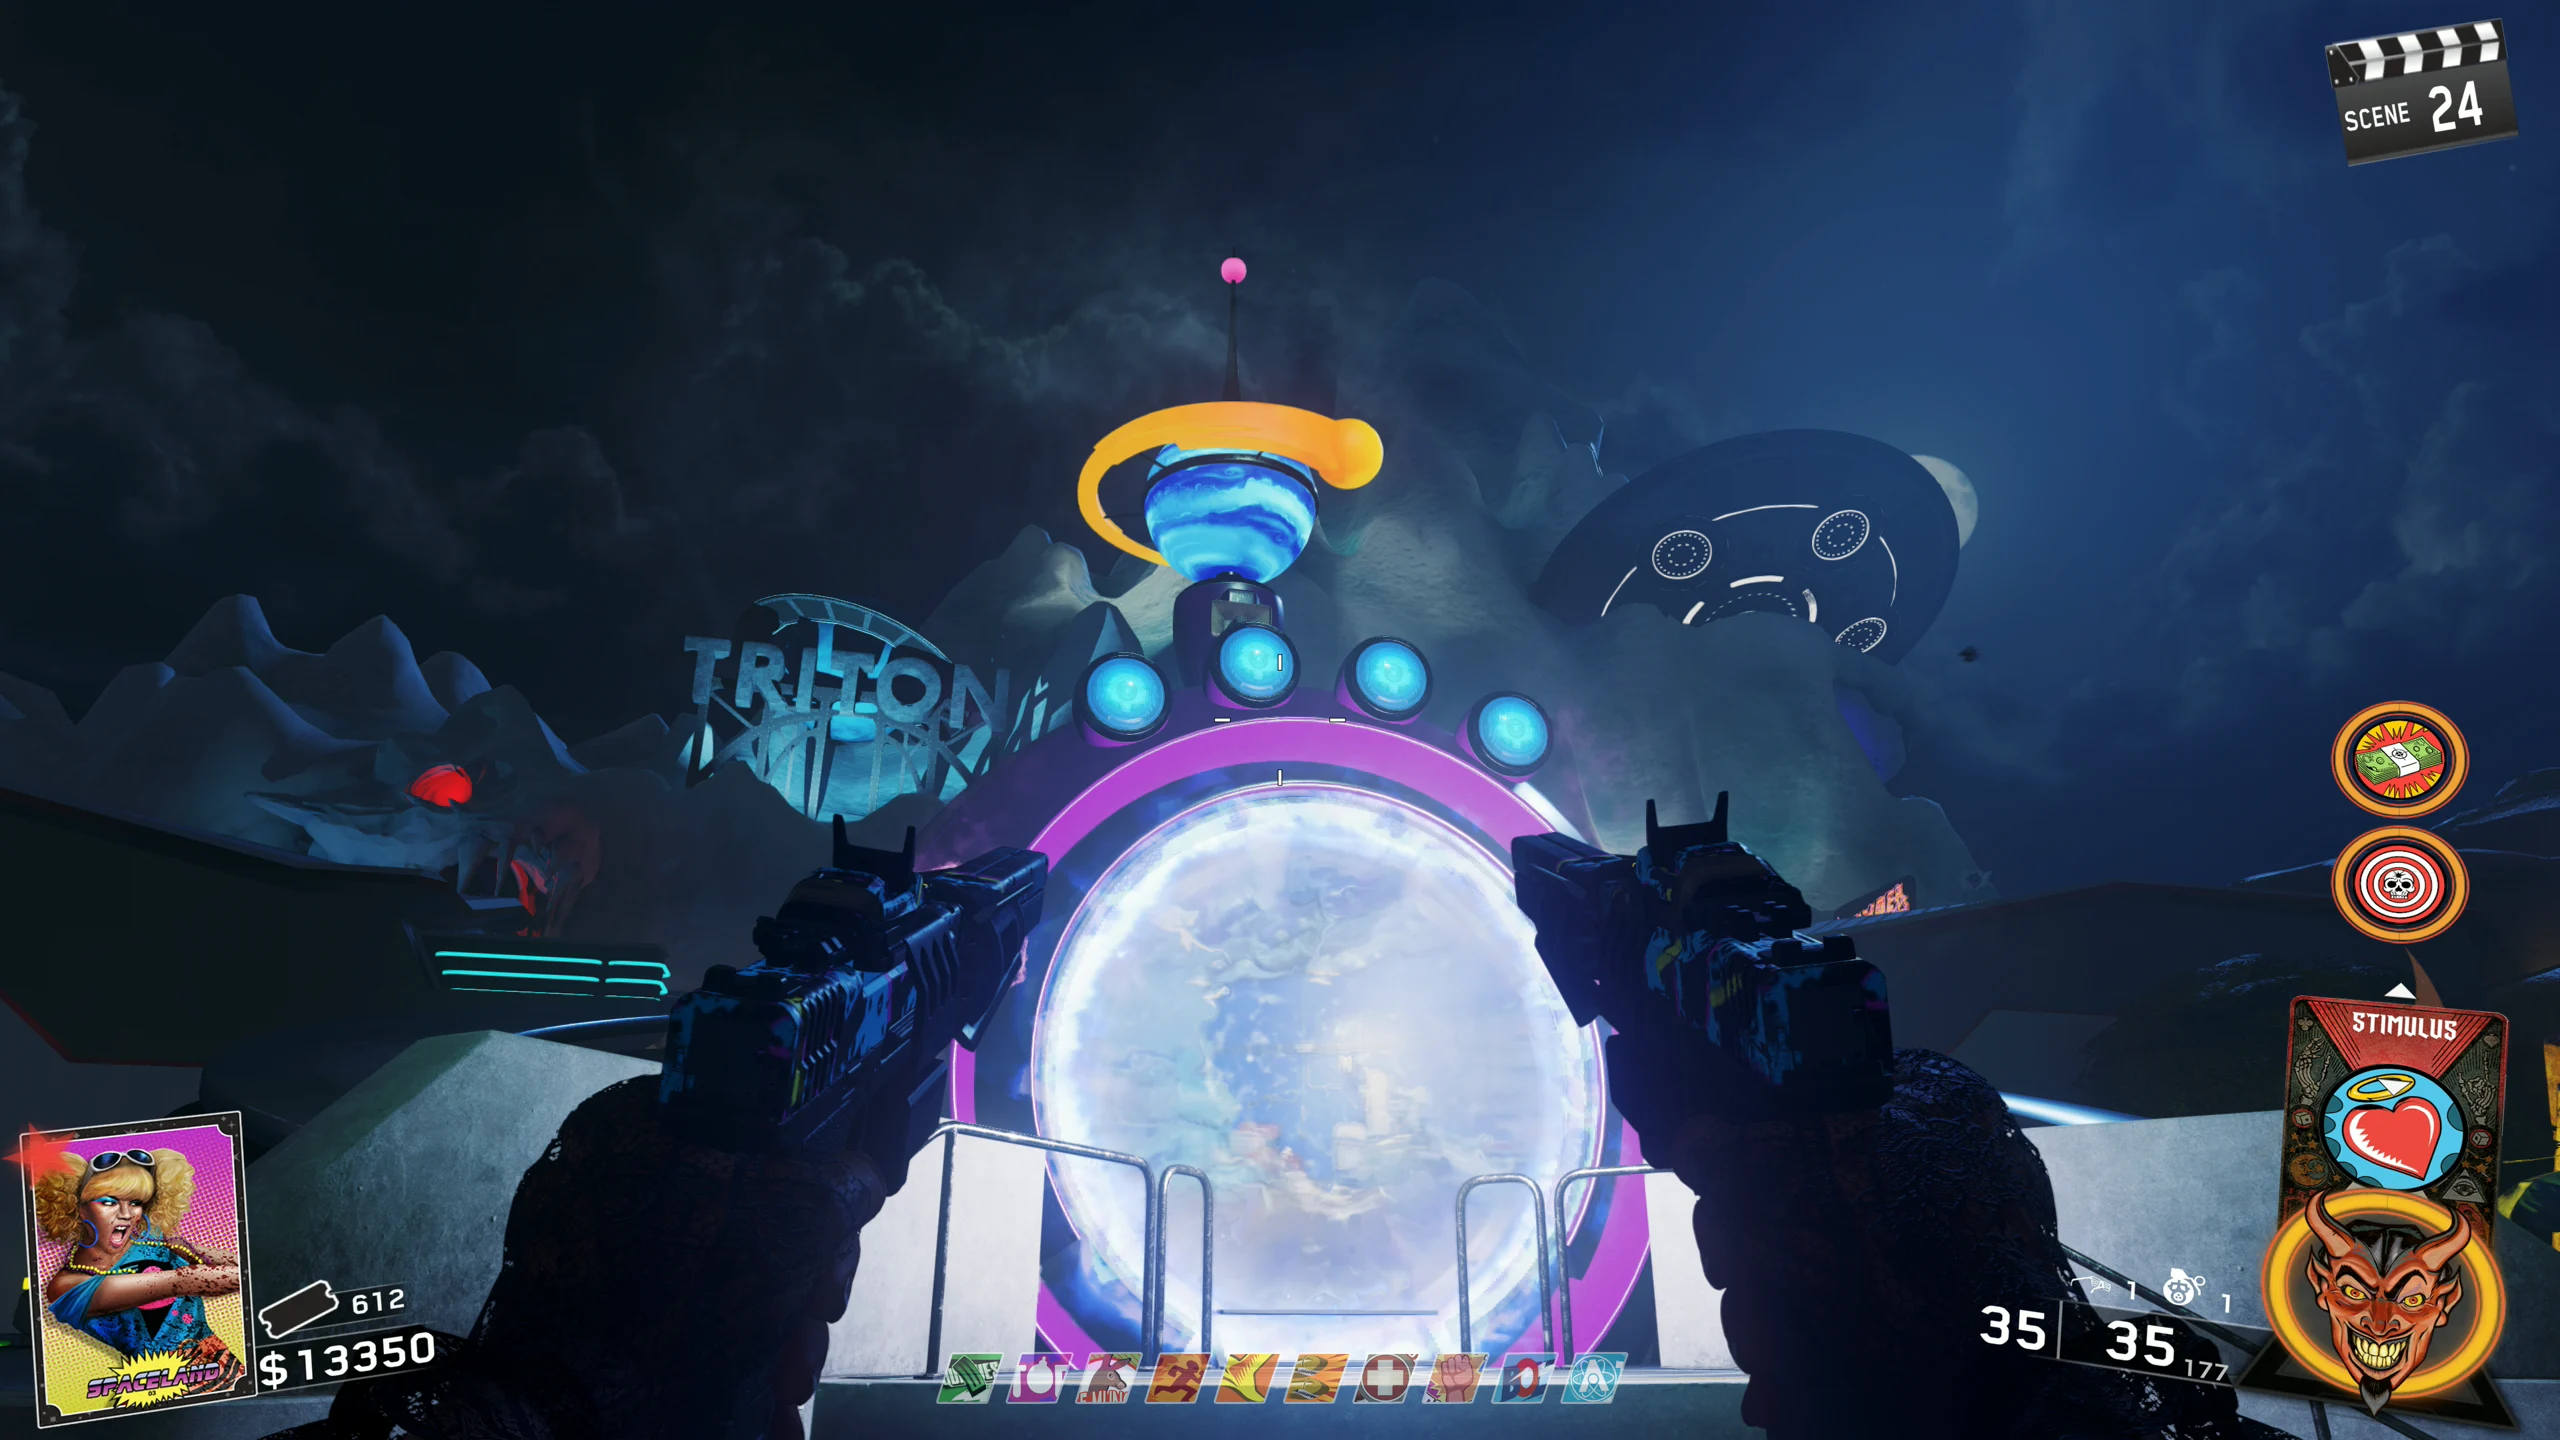
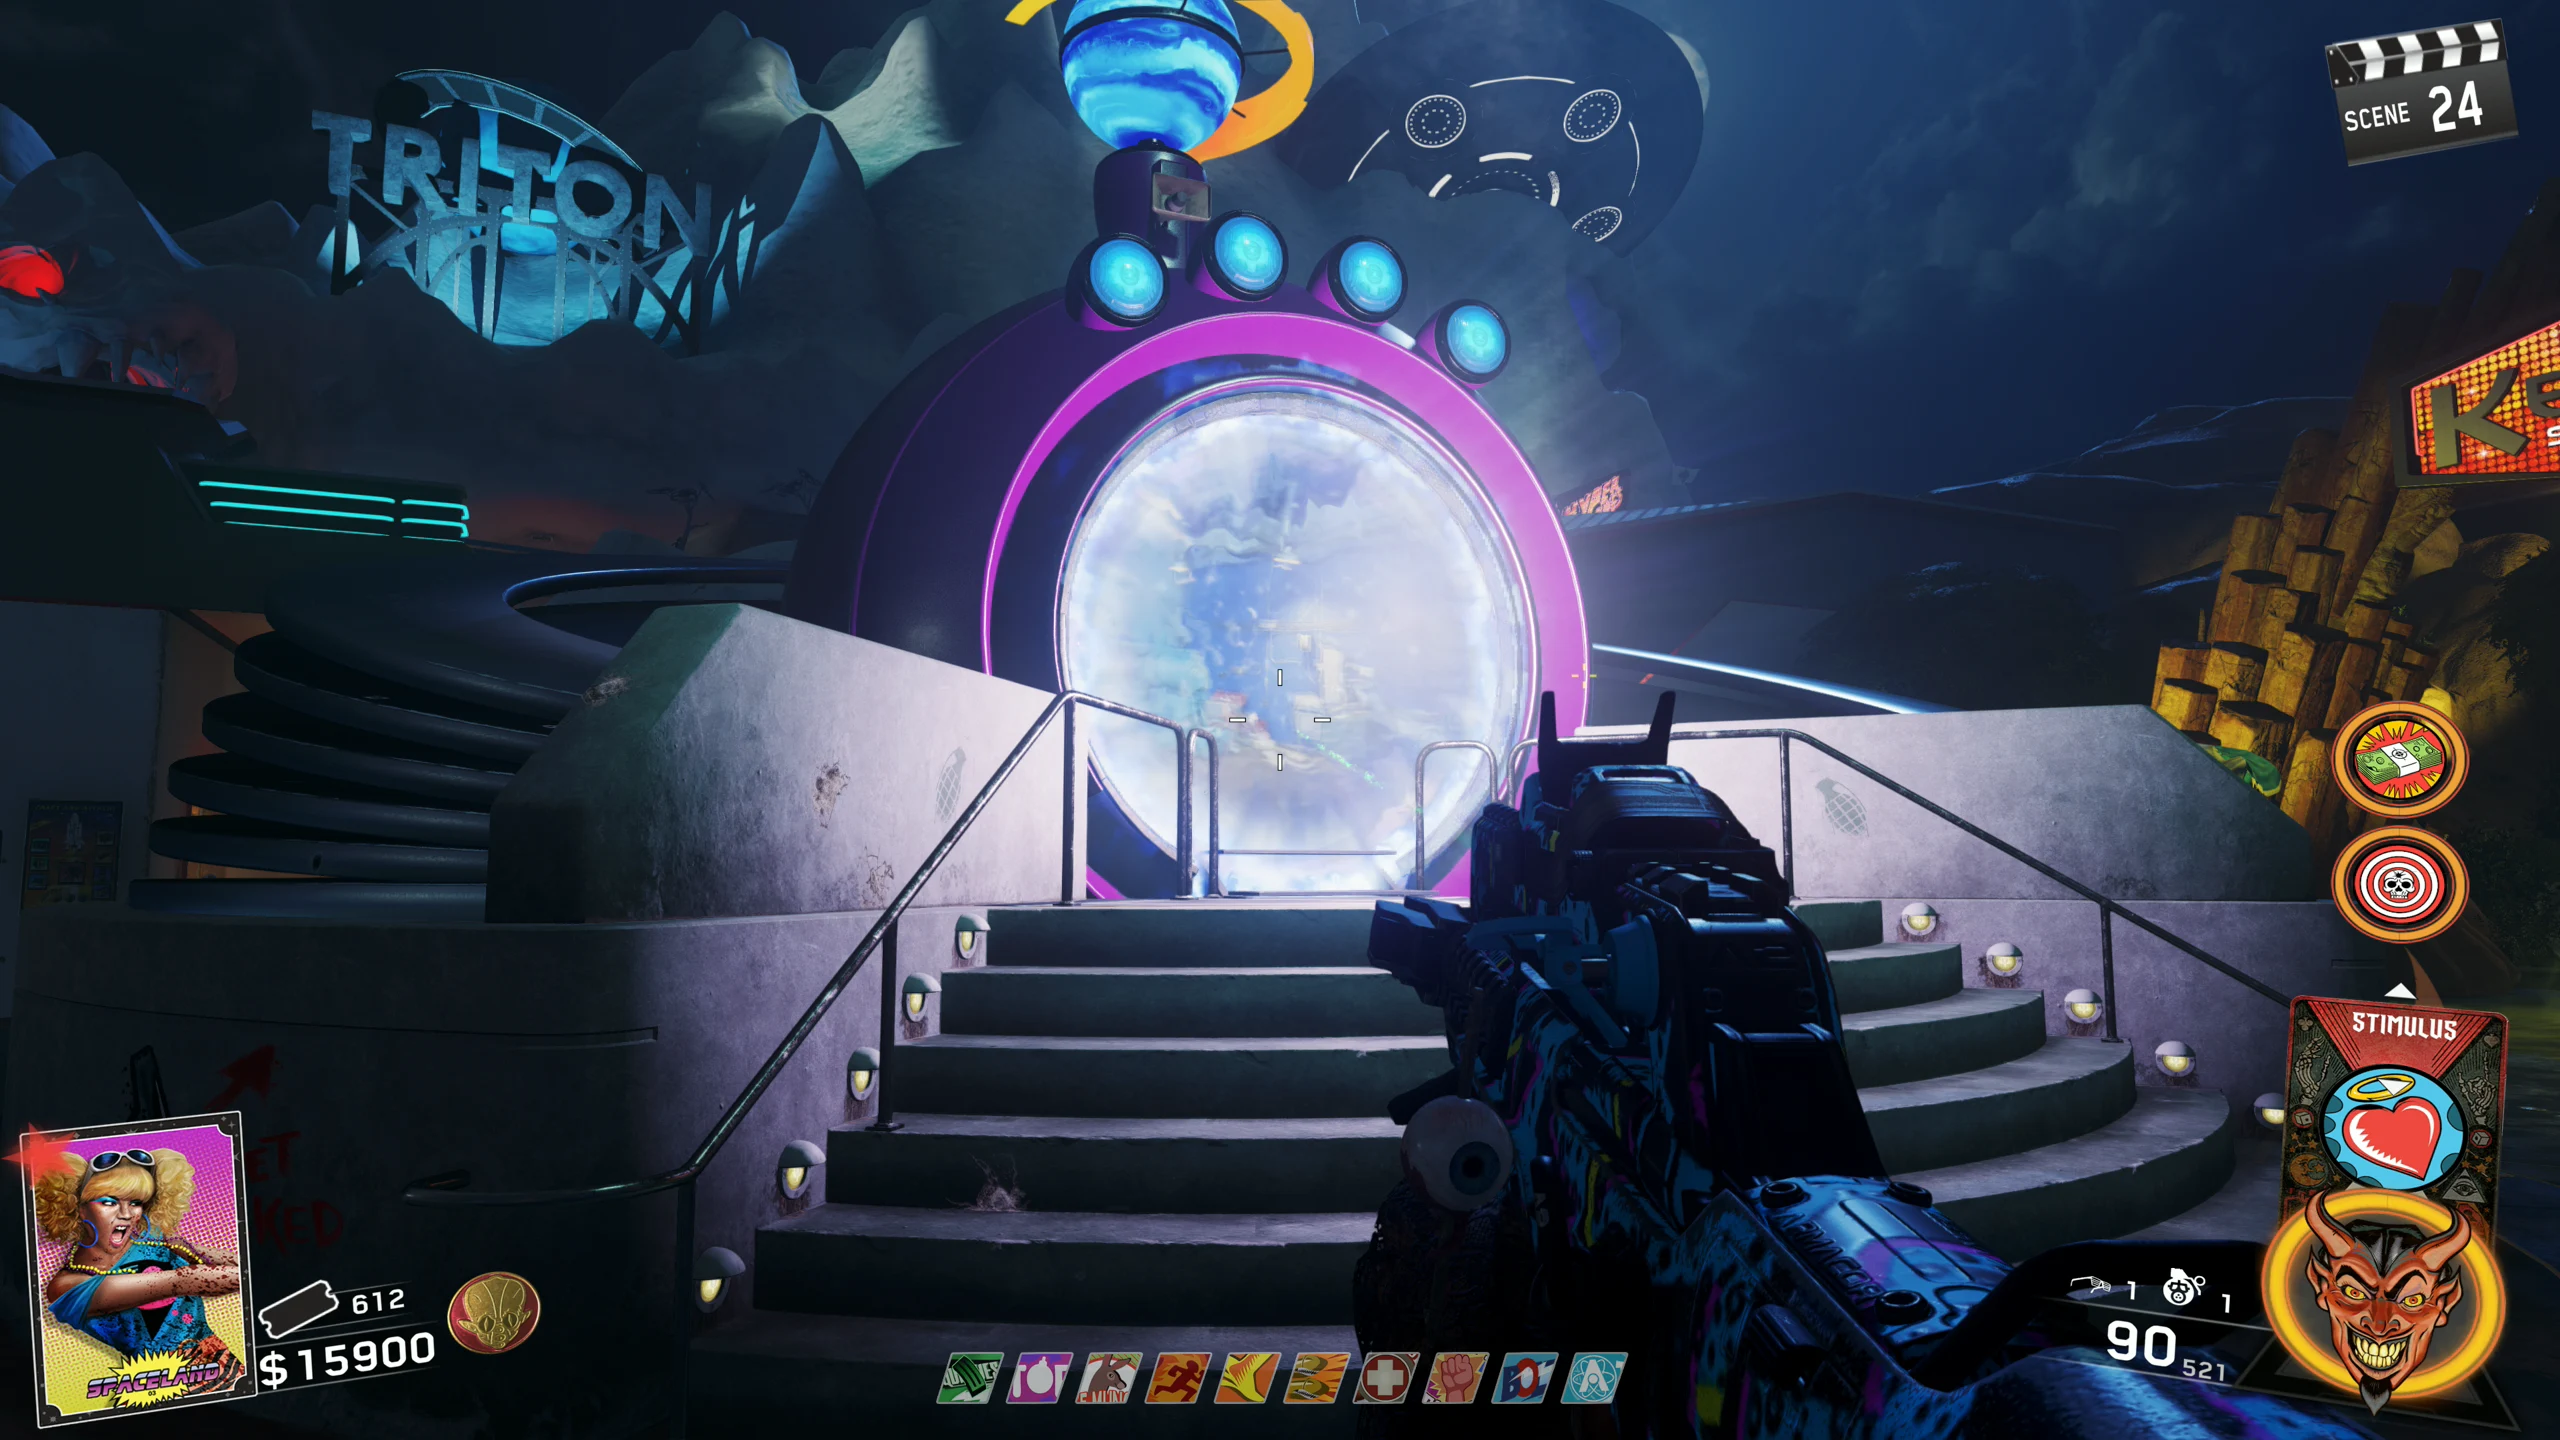
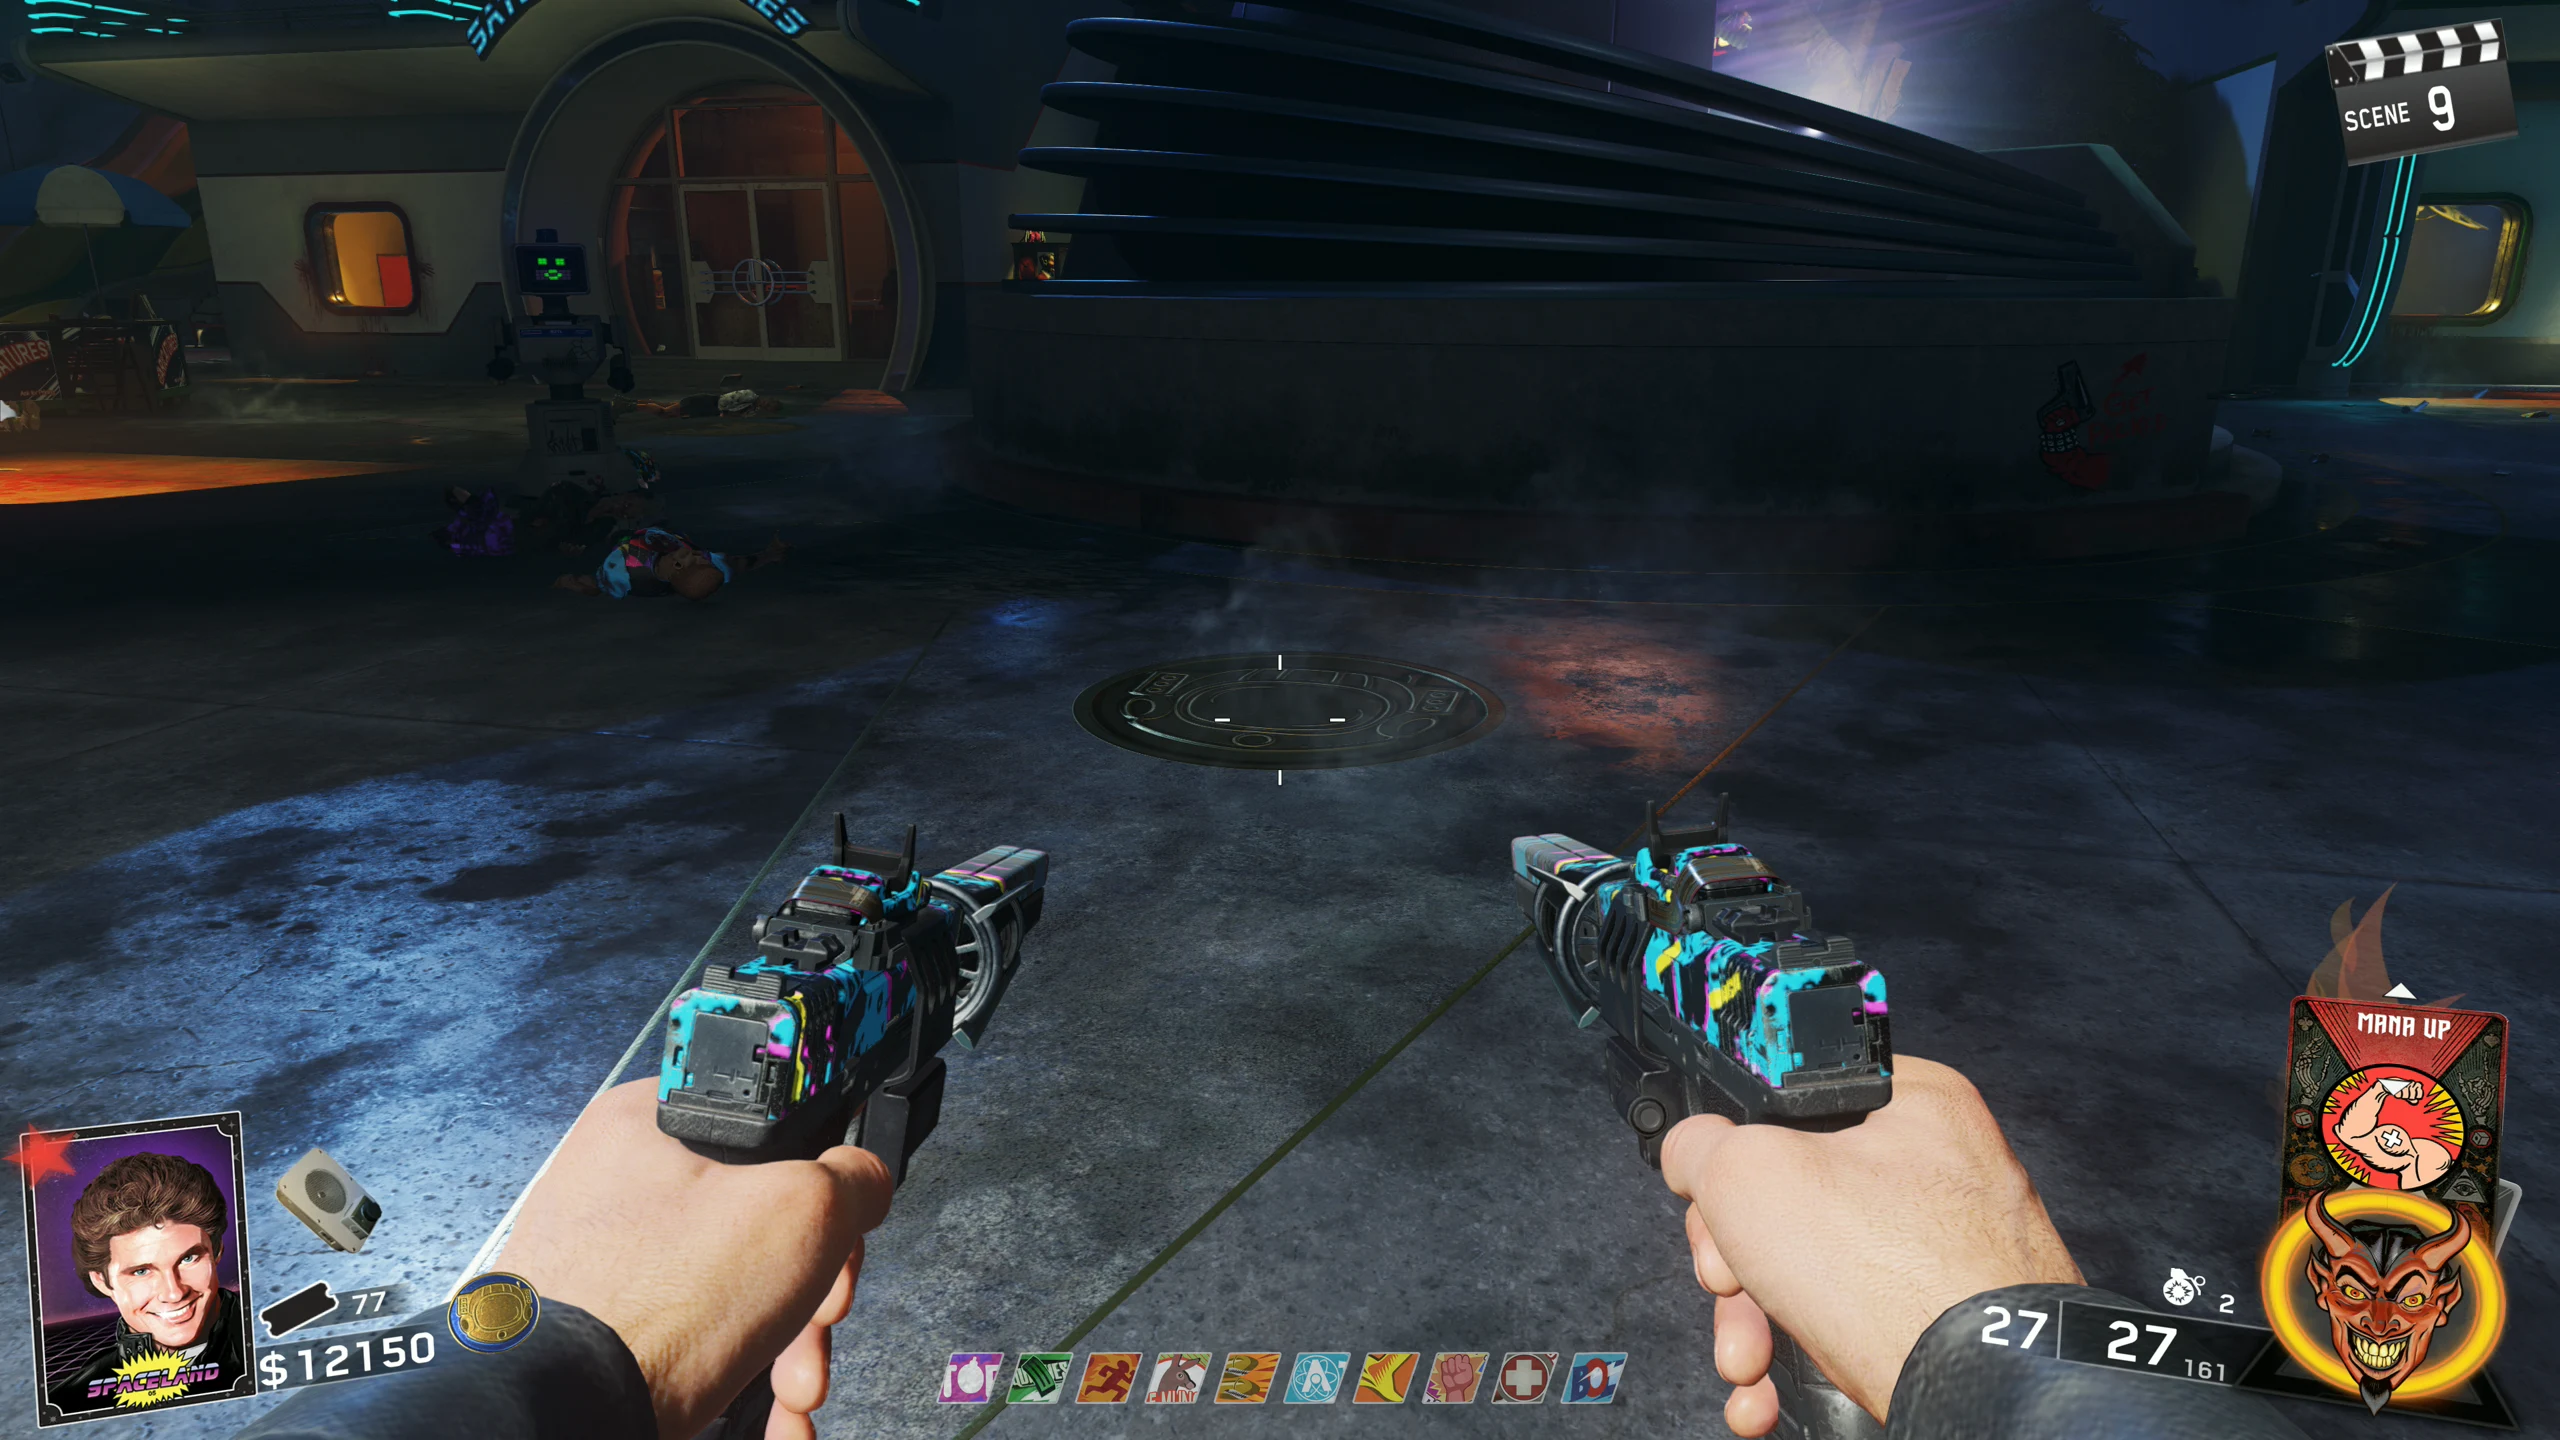
- Around the Pack-a-Punch portal, there are three Golden Symbols on the ground, each representing the three main sections of the park. Place a speaker on each of these symbols, and then place the final speaker just in front of the Pack-a-Punch portal.
Warning: Point of No Return. If you interact with any of the speakers, the Boss Fight will start.
- RECOMMENDED NOT REQUIRED: Acquire any Weapon of Rock Wonder weapon. The Weapons of Rock do heavy damage to the Alien Boss. You'll need one for some steps after the Boss Fight, but it is not required for the fight itself.
UFO and Alien Boss Fight
- This Boss Fight is split into two parts, Simon Says with the UFO and the Boss Fight with the Alien.
Simon Says with the UFO
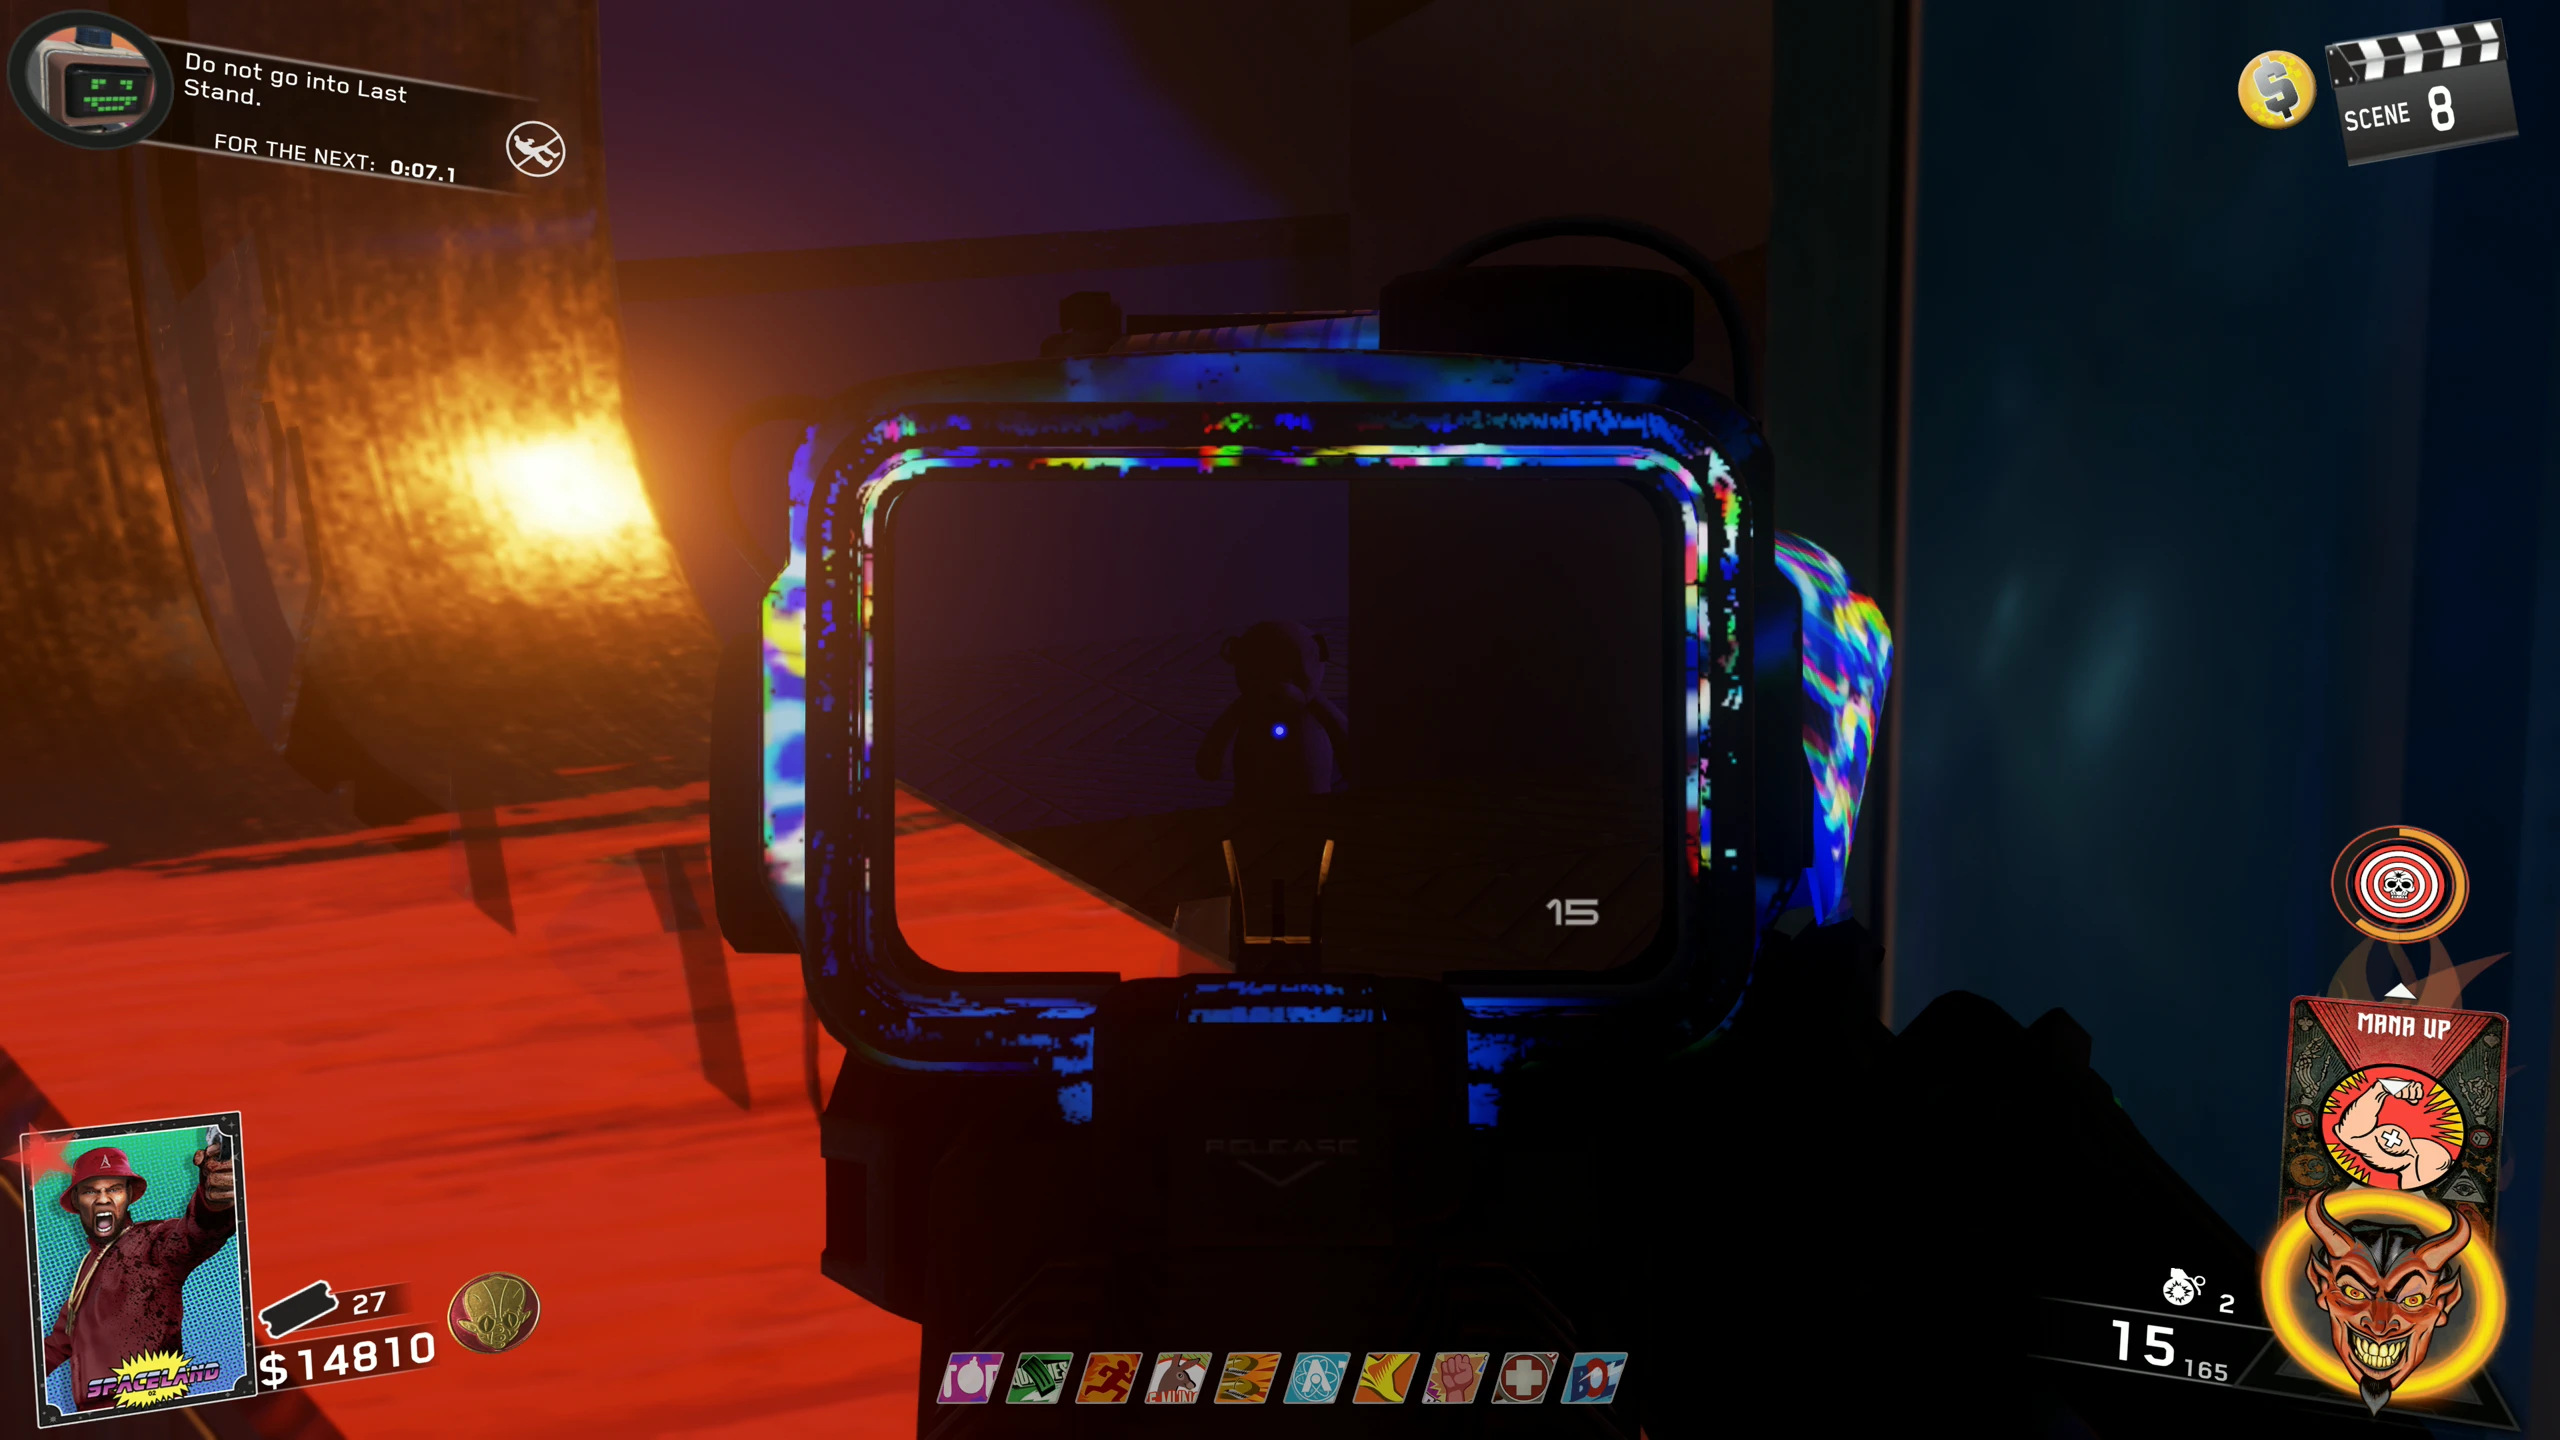
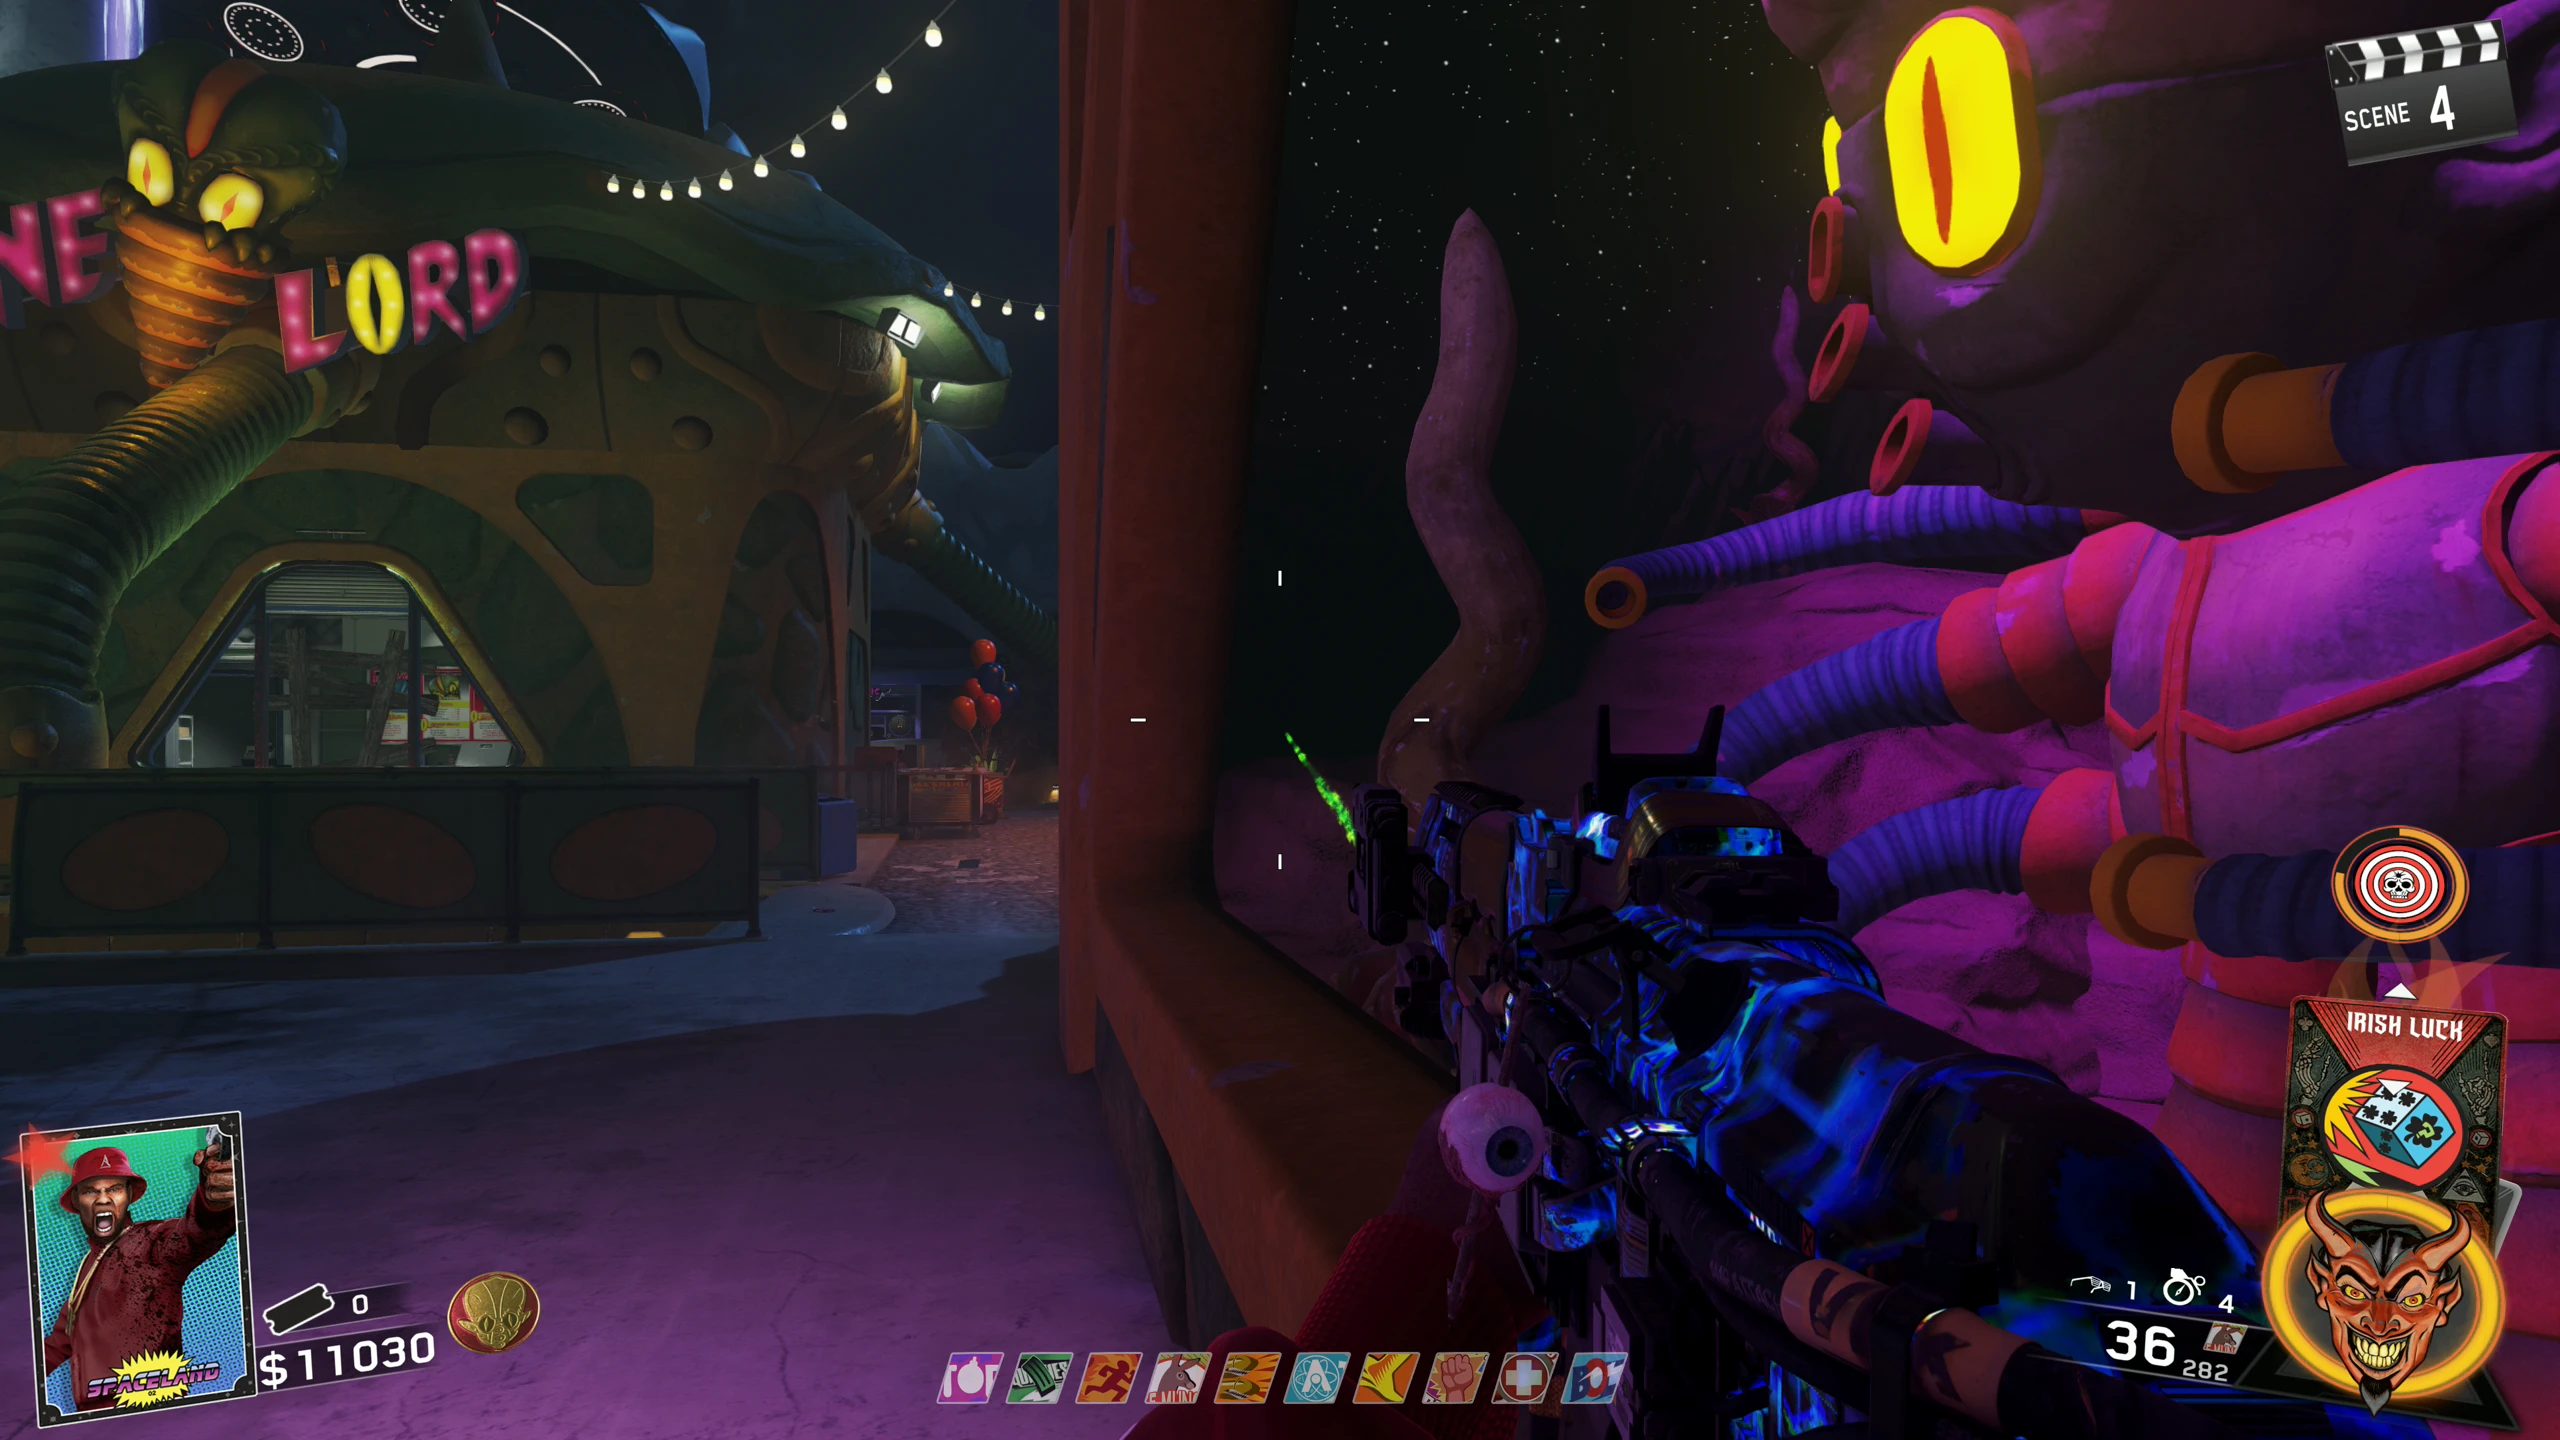
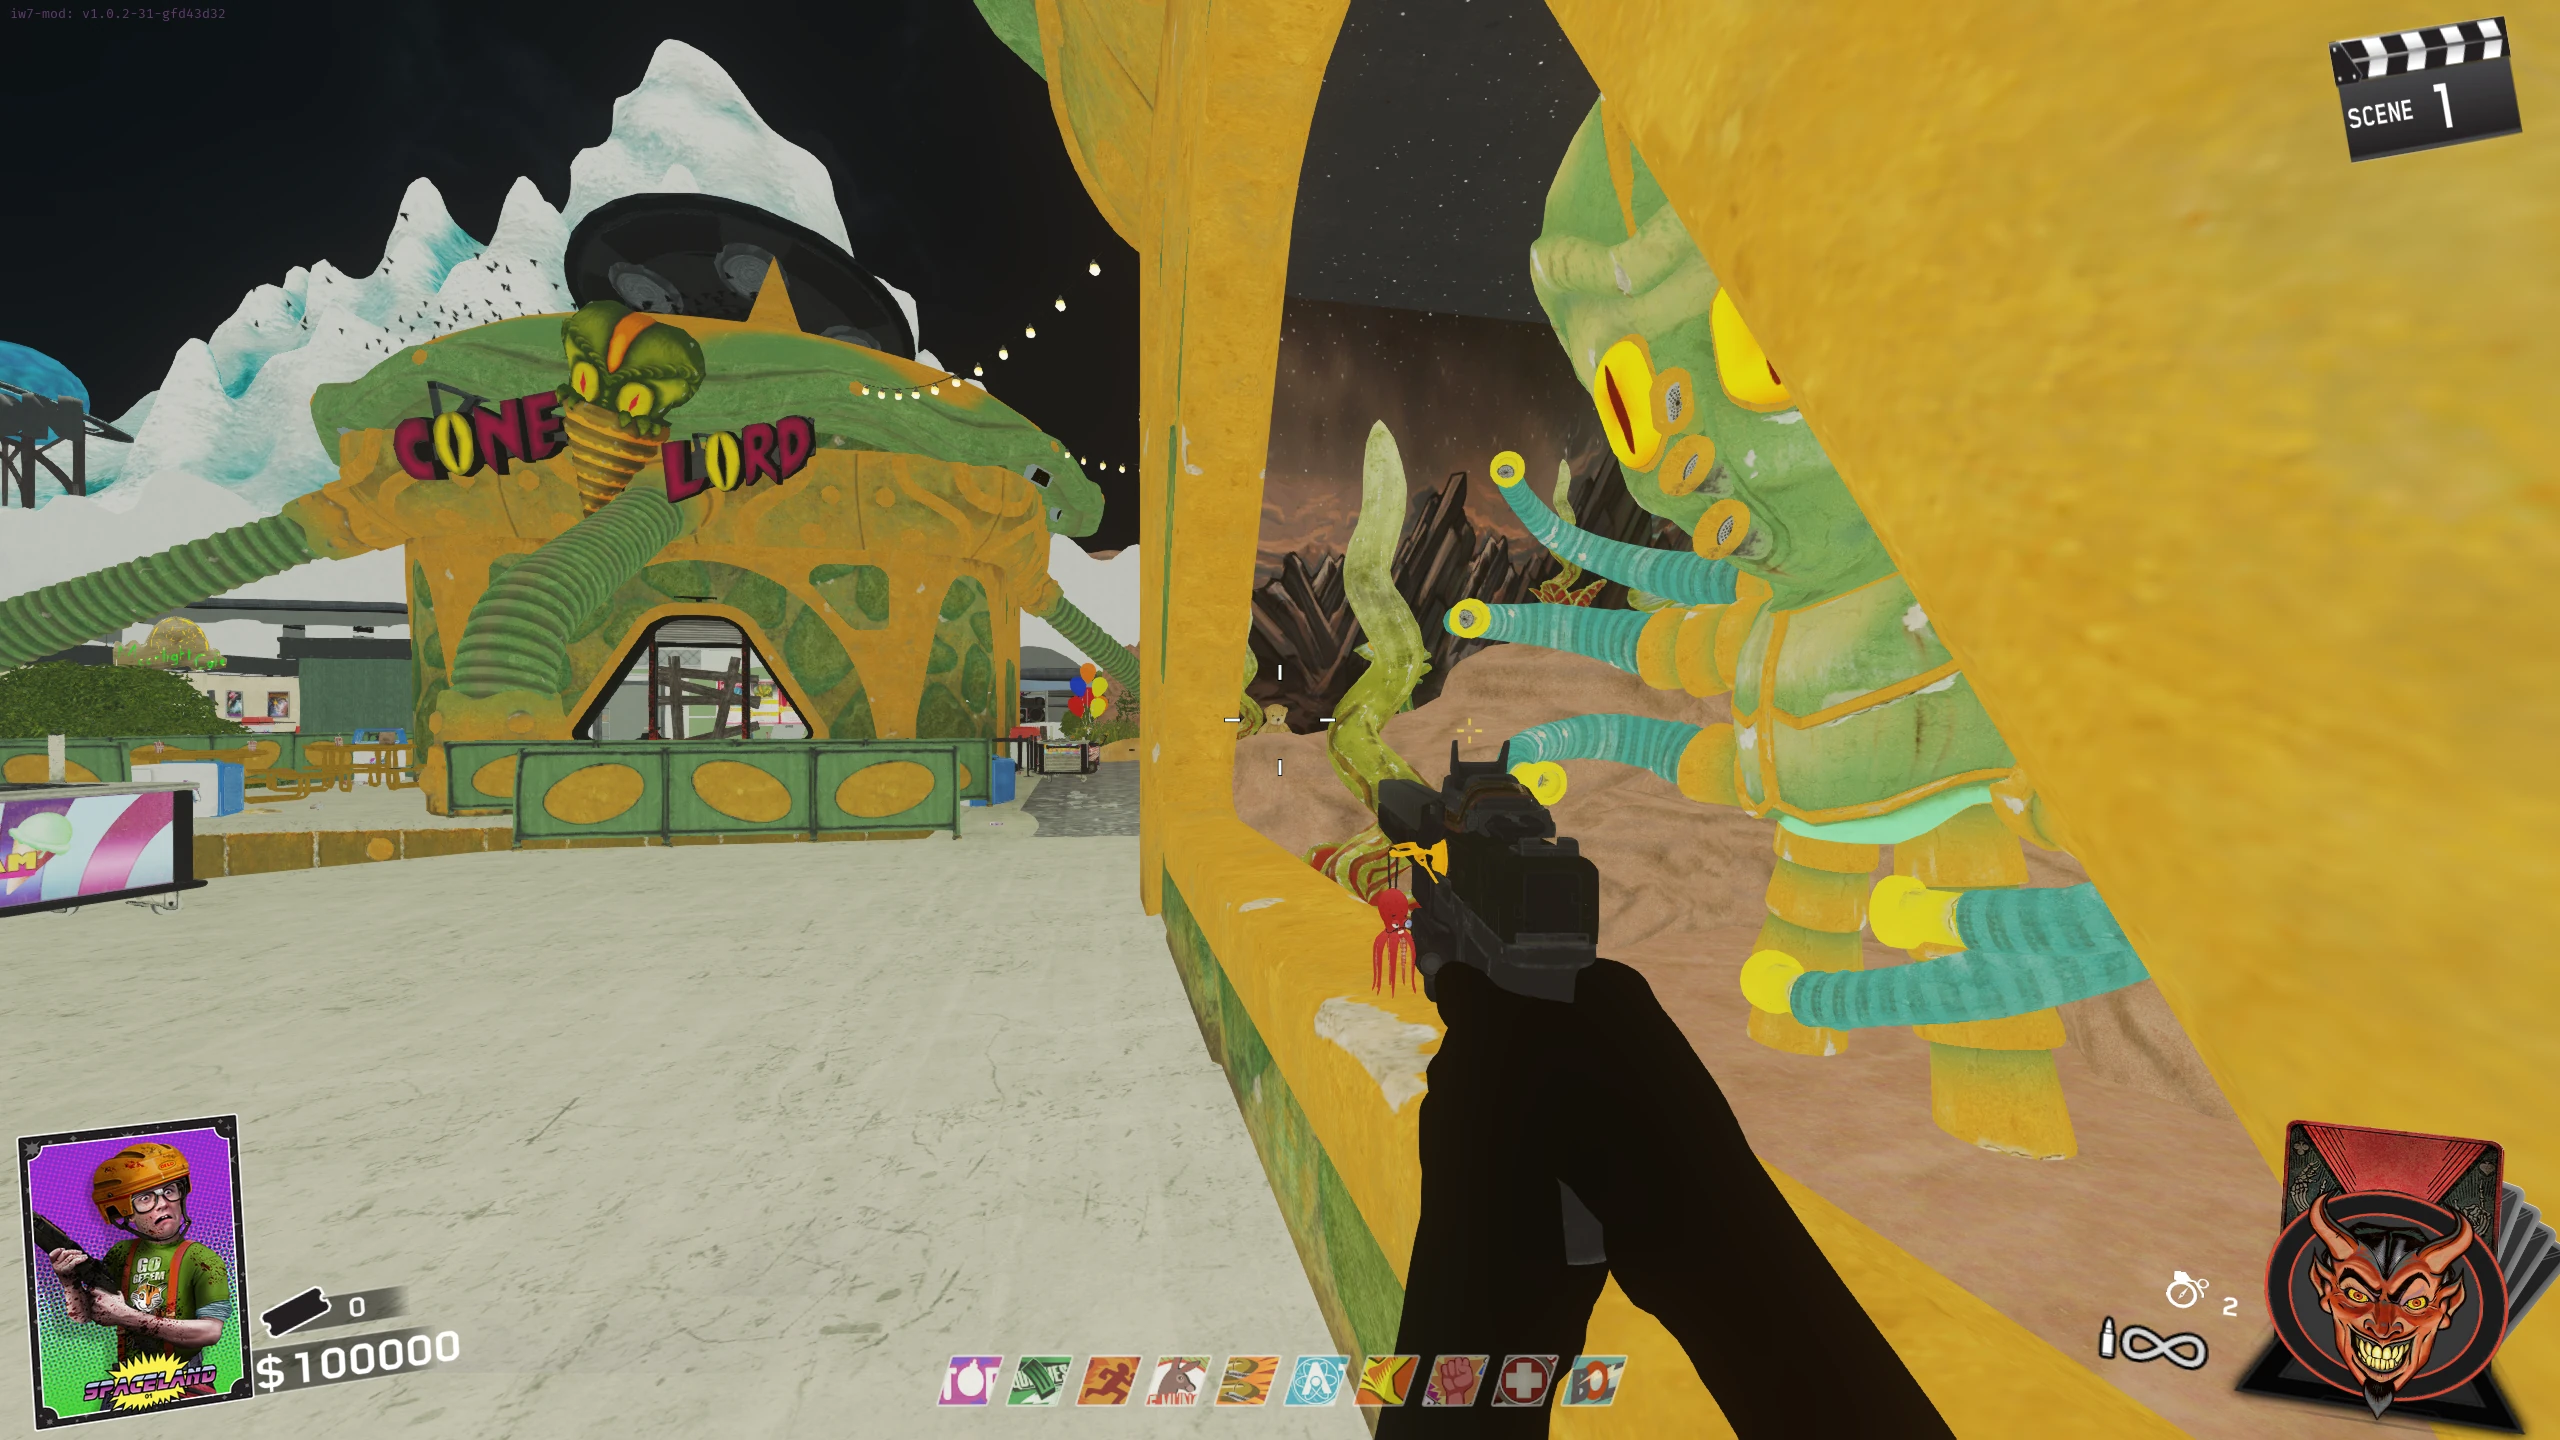
- Once you are ready, interact with any of the speakers in the Cosmic Way. You will be locked in the Cosmic Way/Spawn area, and the four speakers will each shine a different colour light into the sky (Red, Blue, Yellow, or Green). Take note of each speaker's colour.
- Almost immediately after you've interacted with the speaker, Zombies will start infinitely spawning, and the UFO will flash all four colours with a sound going with each; note down the order of the colours. Once the UFO is finished, the UFO and the speakers will glow white, waiting for your input. Interact with the speakers in the same order as the UFO, for example, if the UFO flashes Yellow, Red, Blue, and Green, repeat that back to the UFO.
- You have 15 seconds to input the first colour from the time the UFO turns white, and then 10 seconds after that to input all the colours (on Solo). On Co-op, you are given less time to input the colours, so you must coordinate inputs with the other players.
- If you are unsure of the order of the UFO's colours, or you don't think it would be safe to attempt the input, don't attempt to respond. There is no penalty for not answering, but there is a penalty for inputting colours in the wrong order.
- If you take too long to input the whole sequence (i.e. only input 1-3 colours) or respond incorrectly, a Brute will spawn, and then after about 10-15 seconds, the UFO will flash the same colour order again.
- After a successful response, the UFO will float around the arena for about 40 seconds, before returning to the centre and starting another sequence.
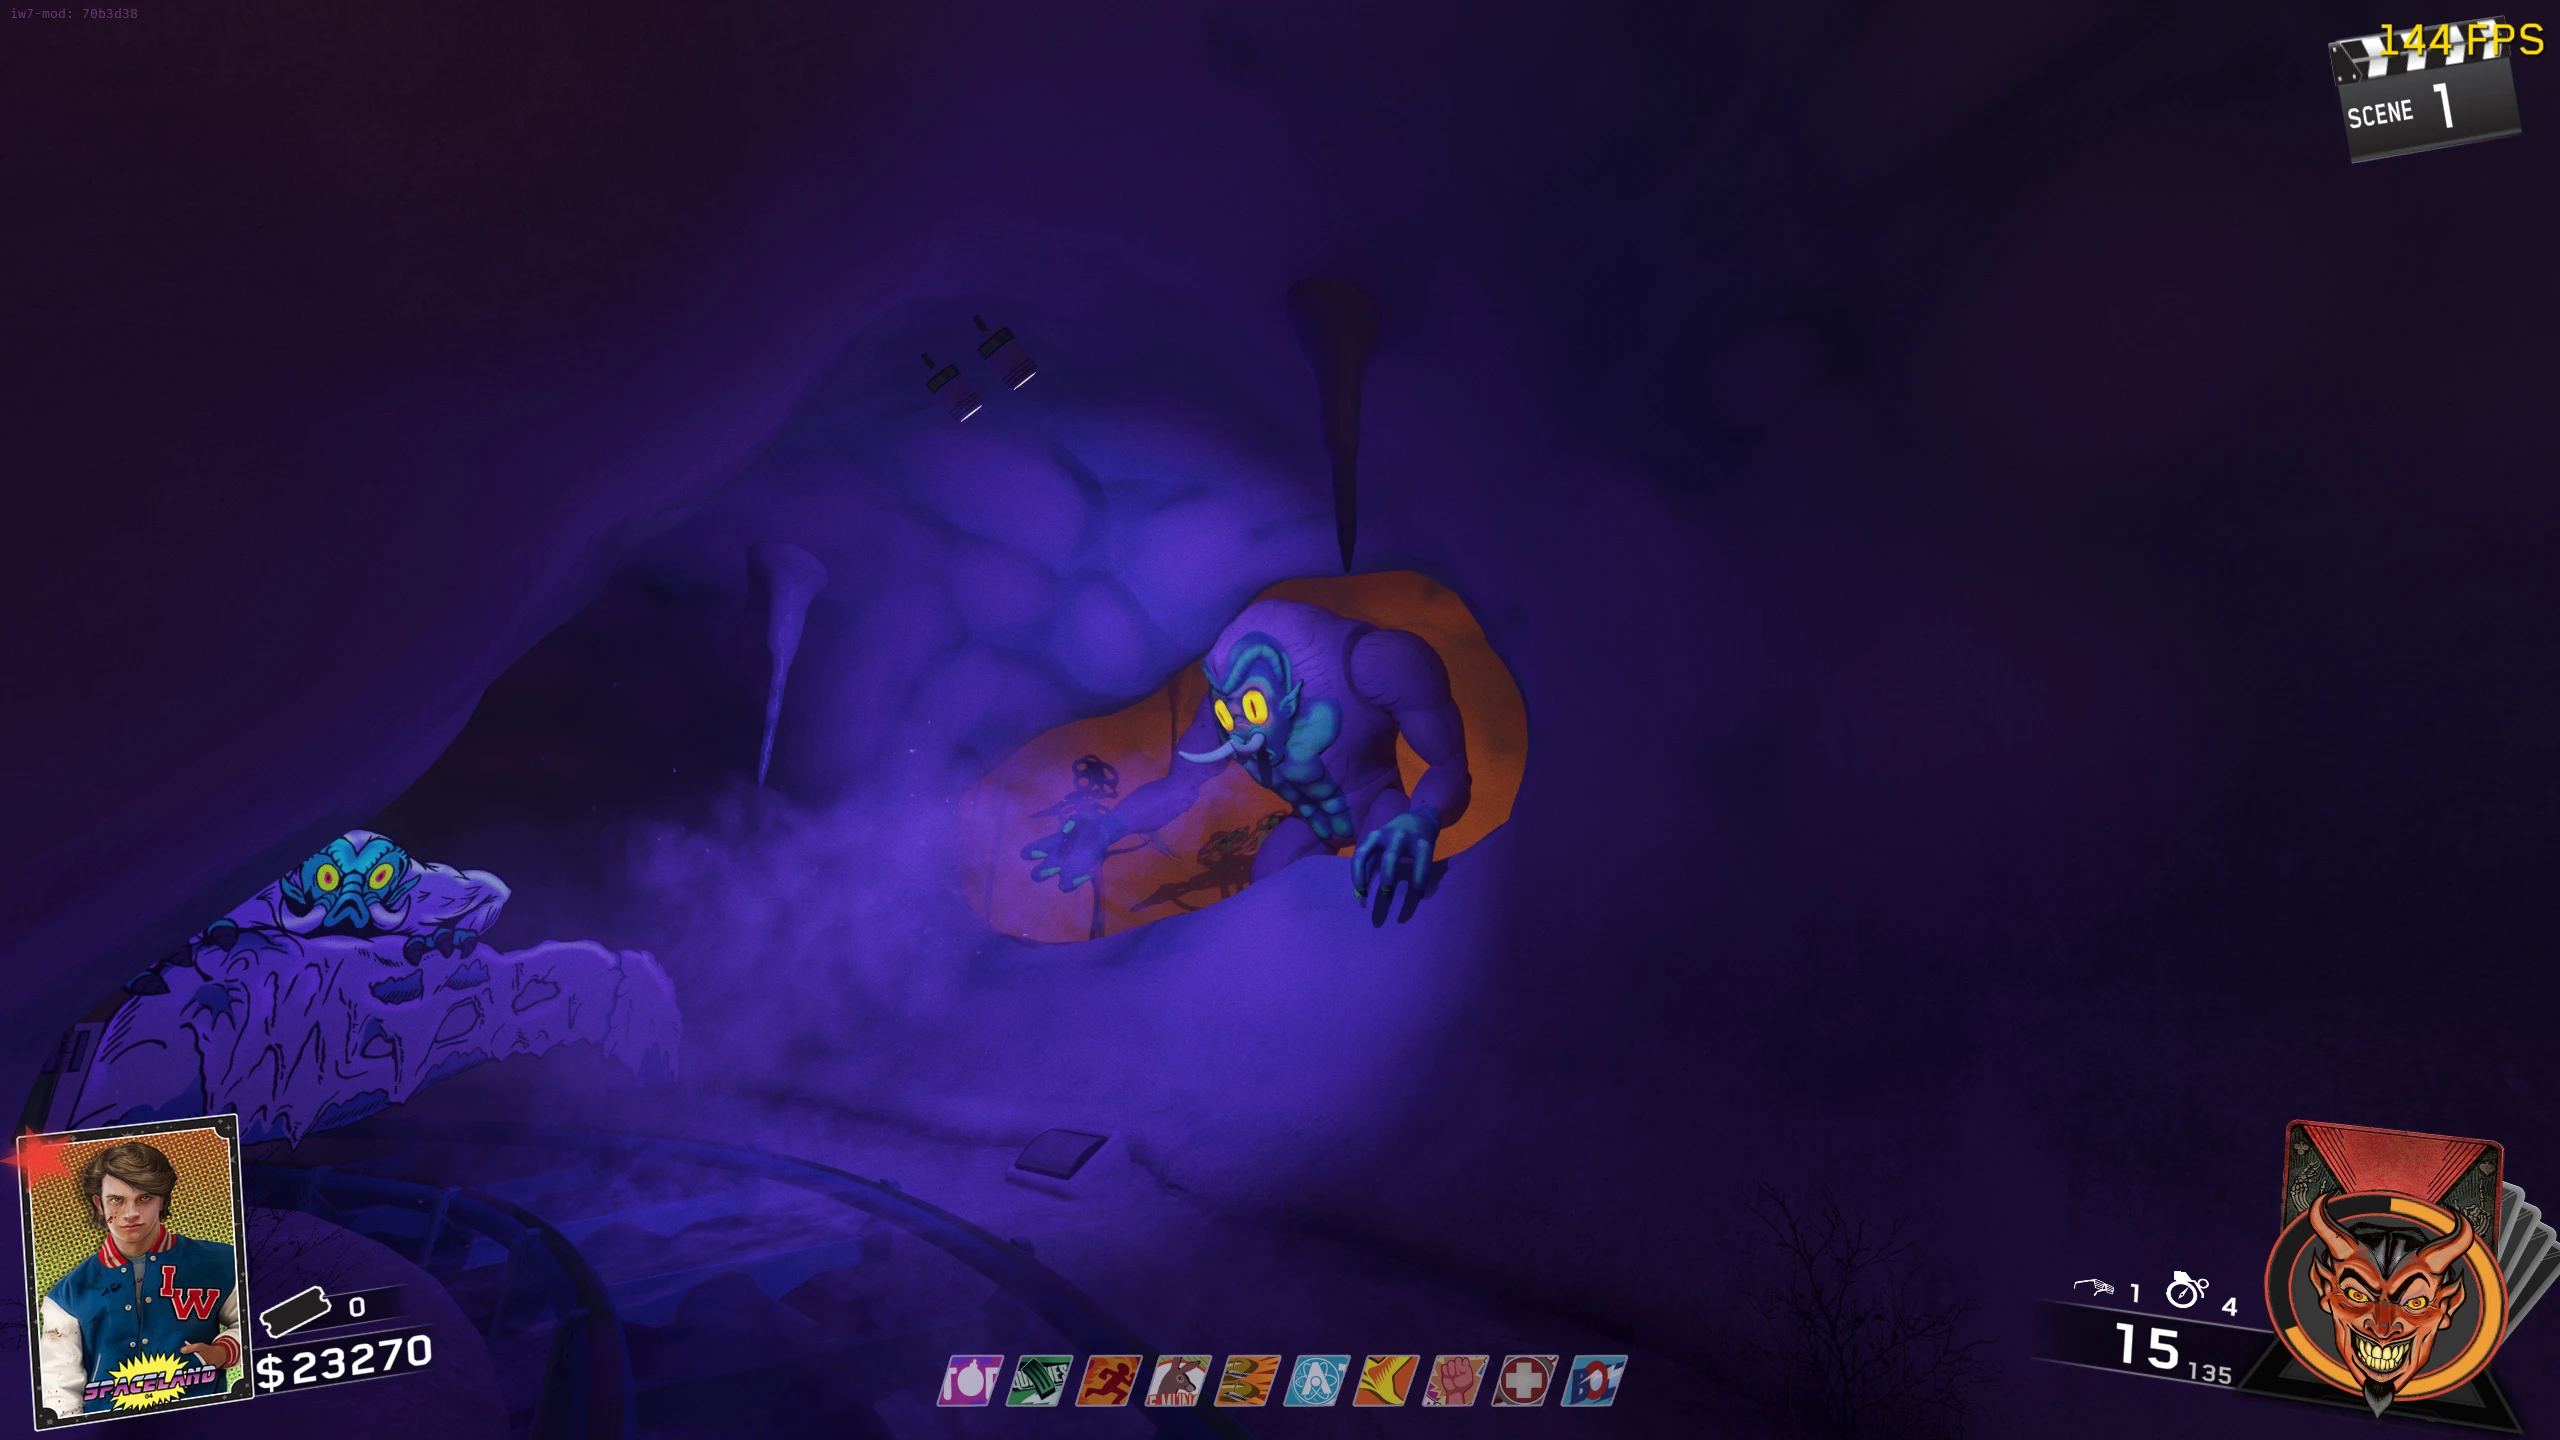
- After you complete three rounds of Simon Says with the UFO, Clown Zombies will start spawning. After about 45-60 seconds of clowns, they will stop spawning, and the Alien(s) will step out of the Pack-a-Punch portal.
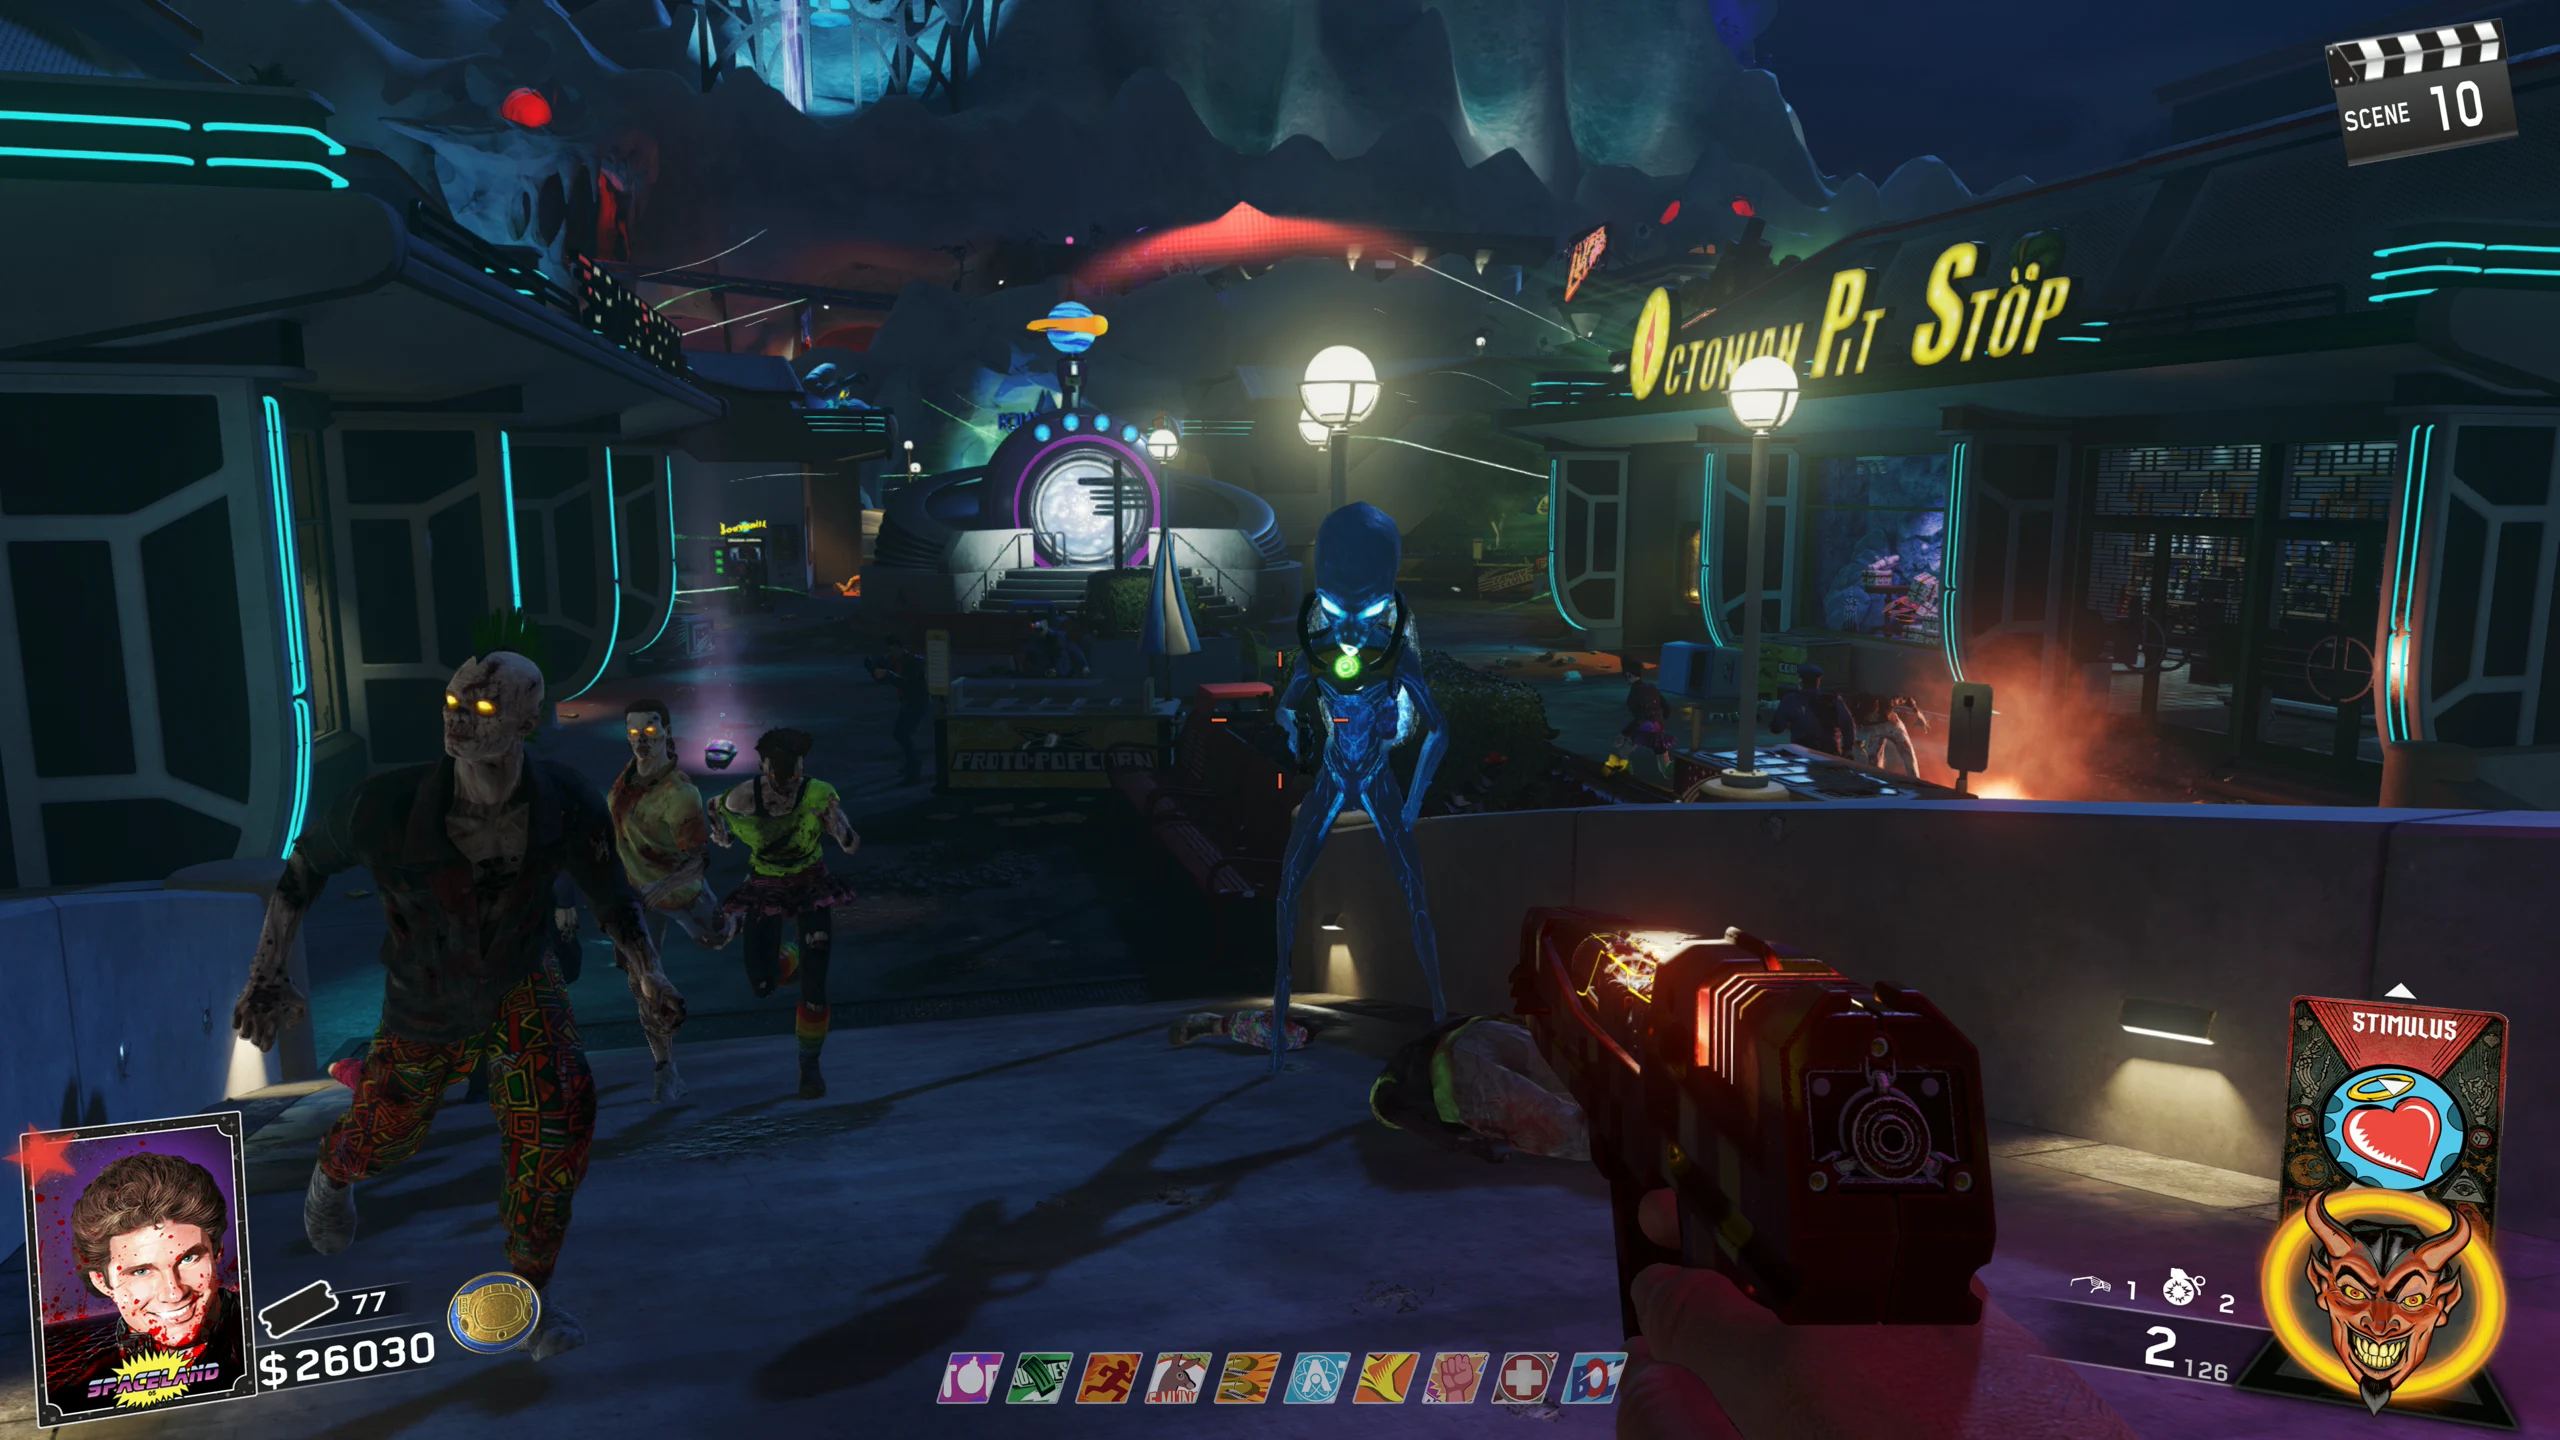
Alien Boss Fight
Note: The number of Aliens matches the number of players. This guide describes the solo experience, but the principles are the same in co-op.
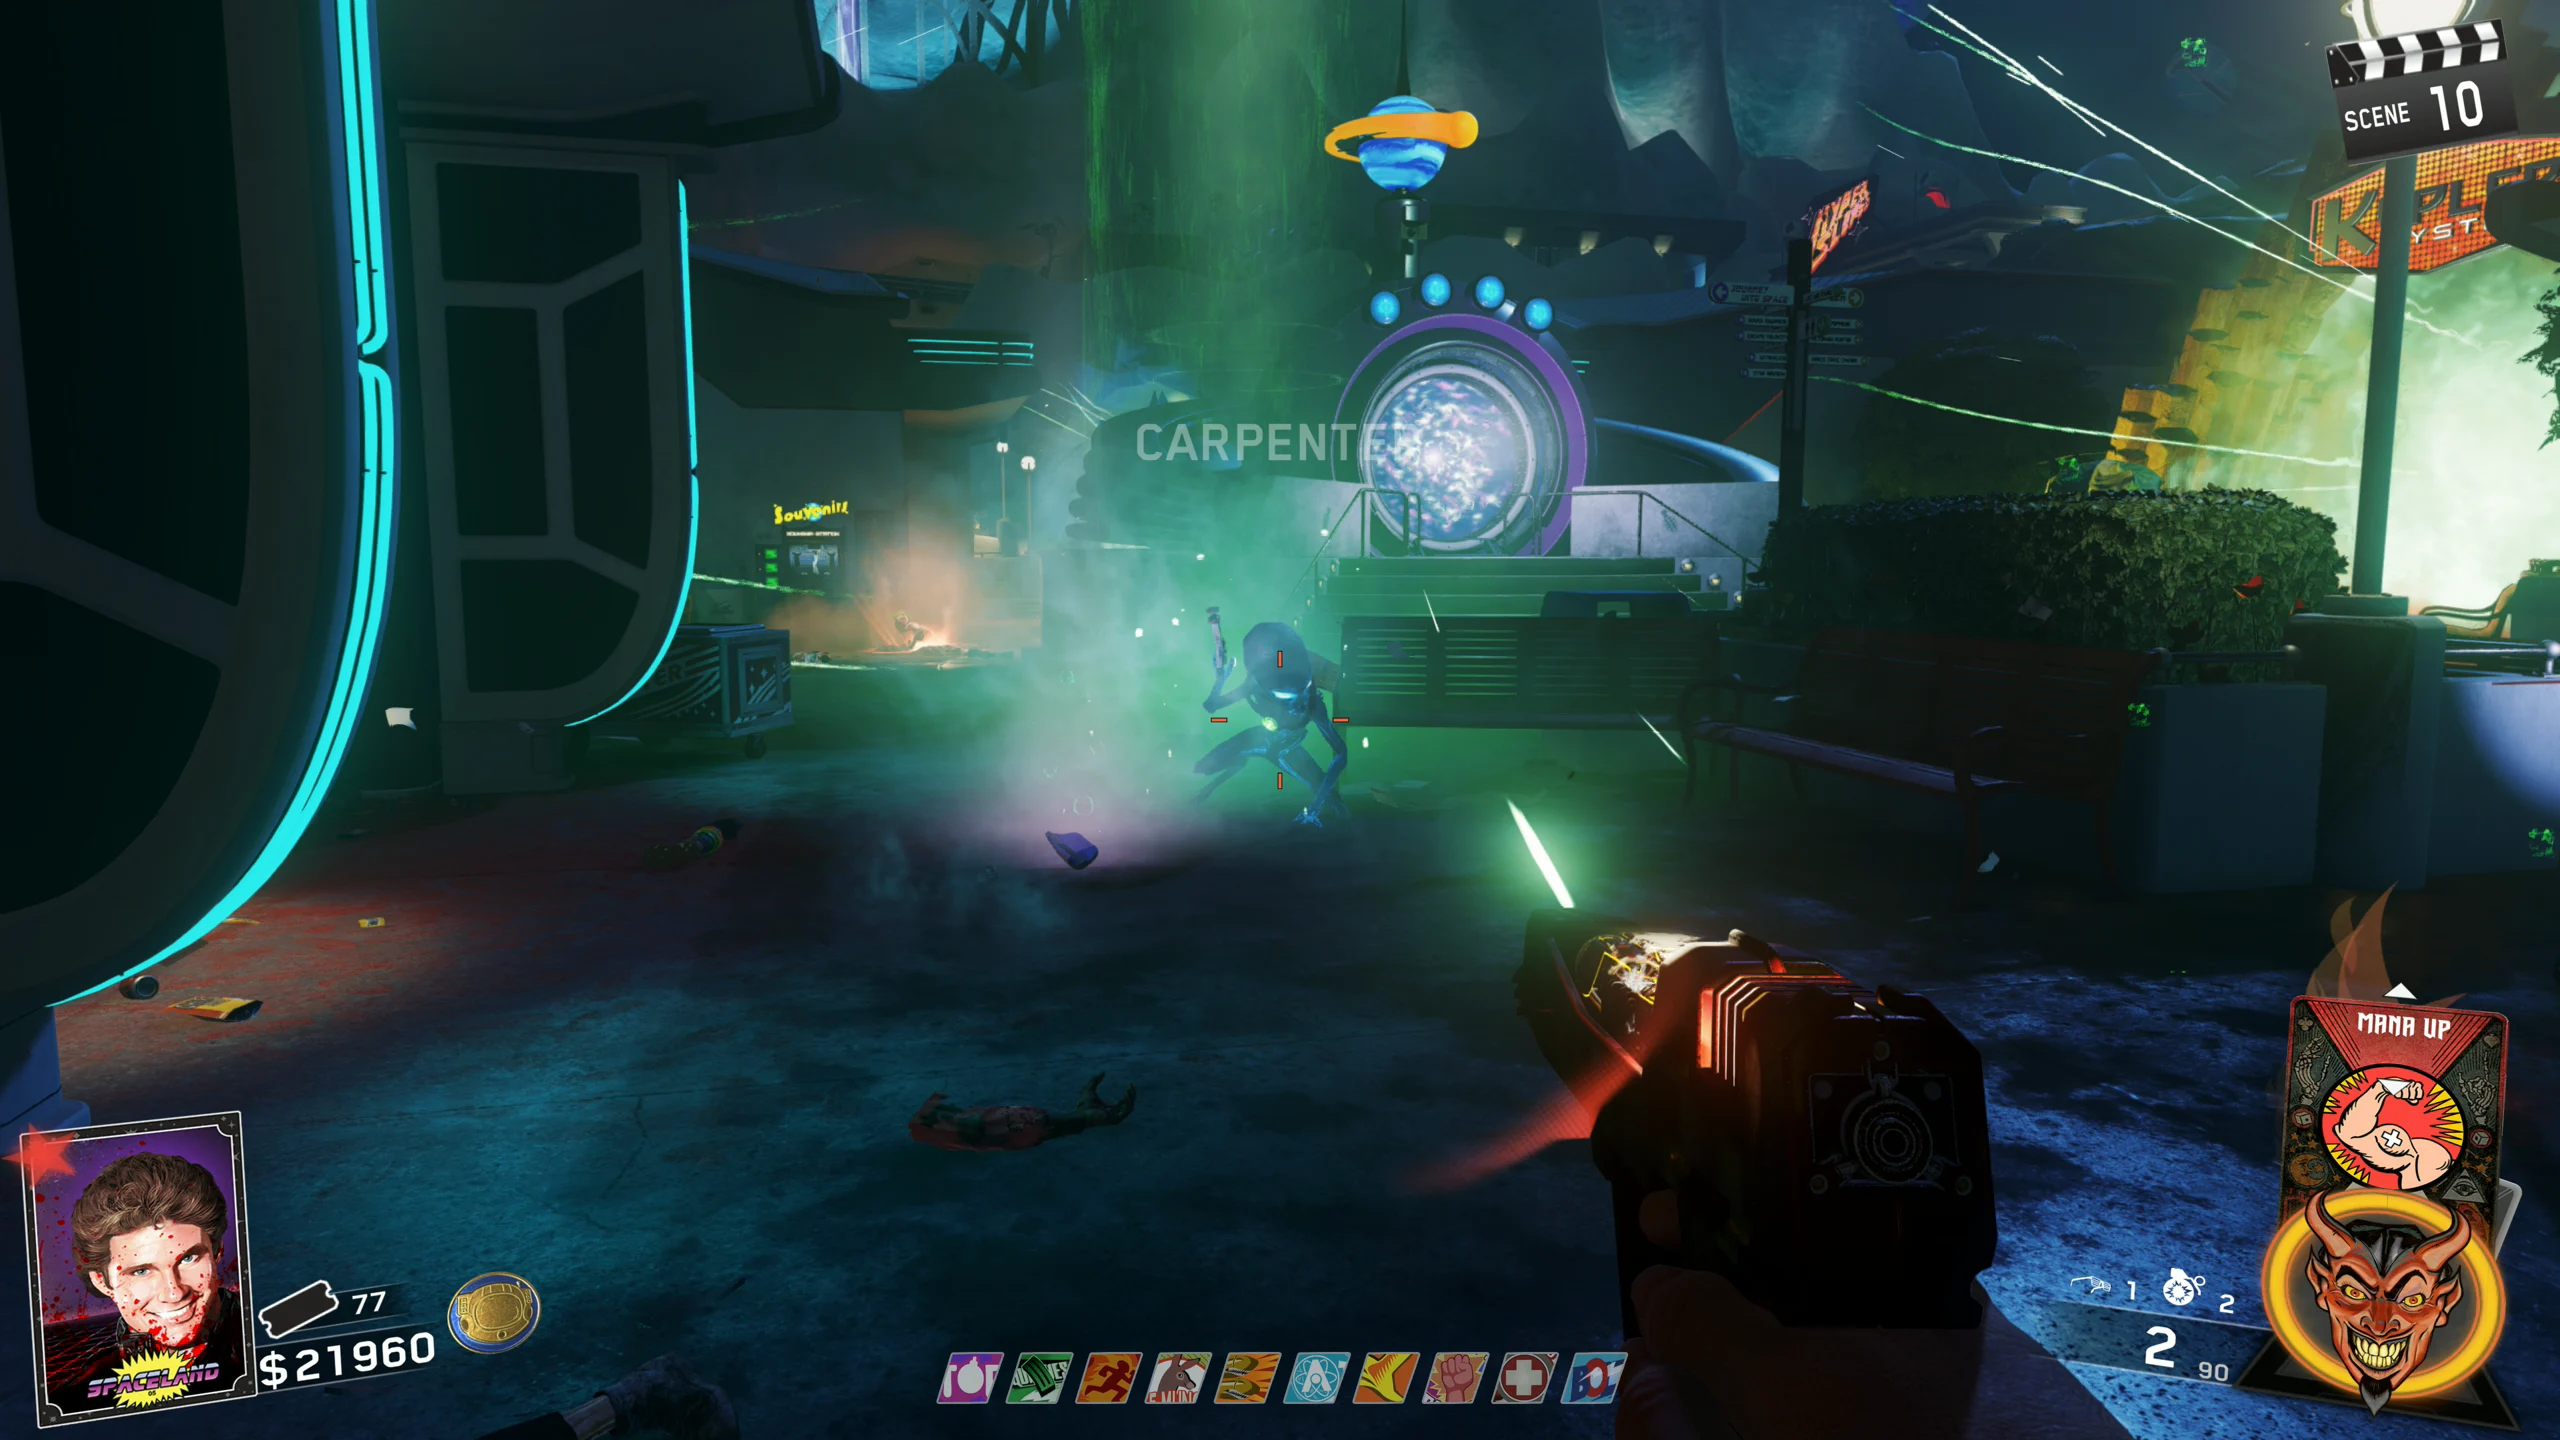
- The Alien will teleport around the arena, mostly on the rooftops but not always. It can shoot at you with its gun, launch an energy blast from its other (gun-less) hand, or spawn Zombies nearby.
- The Alien's gun shoots a small, fast-moving projectile that does about one Zombie's hit worth of damage. The blaster is used when you are far from the Alien.
- The energy blast is a larger, slower-moving projectile that does about half your health (with Jug) worth of damage and slows you for a couple of seconds on hit. It's used when you are close to the Alien.
- When you kill a lot of Zombies, the Alien will spawn more at your feet, to get them quickly back into the fight.
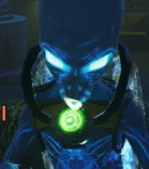
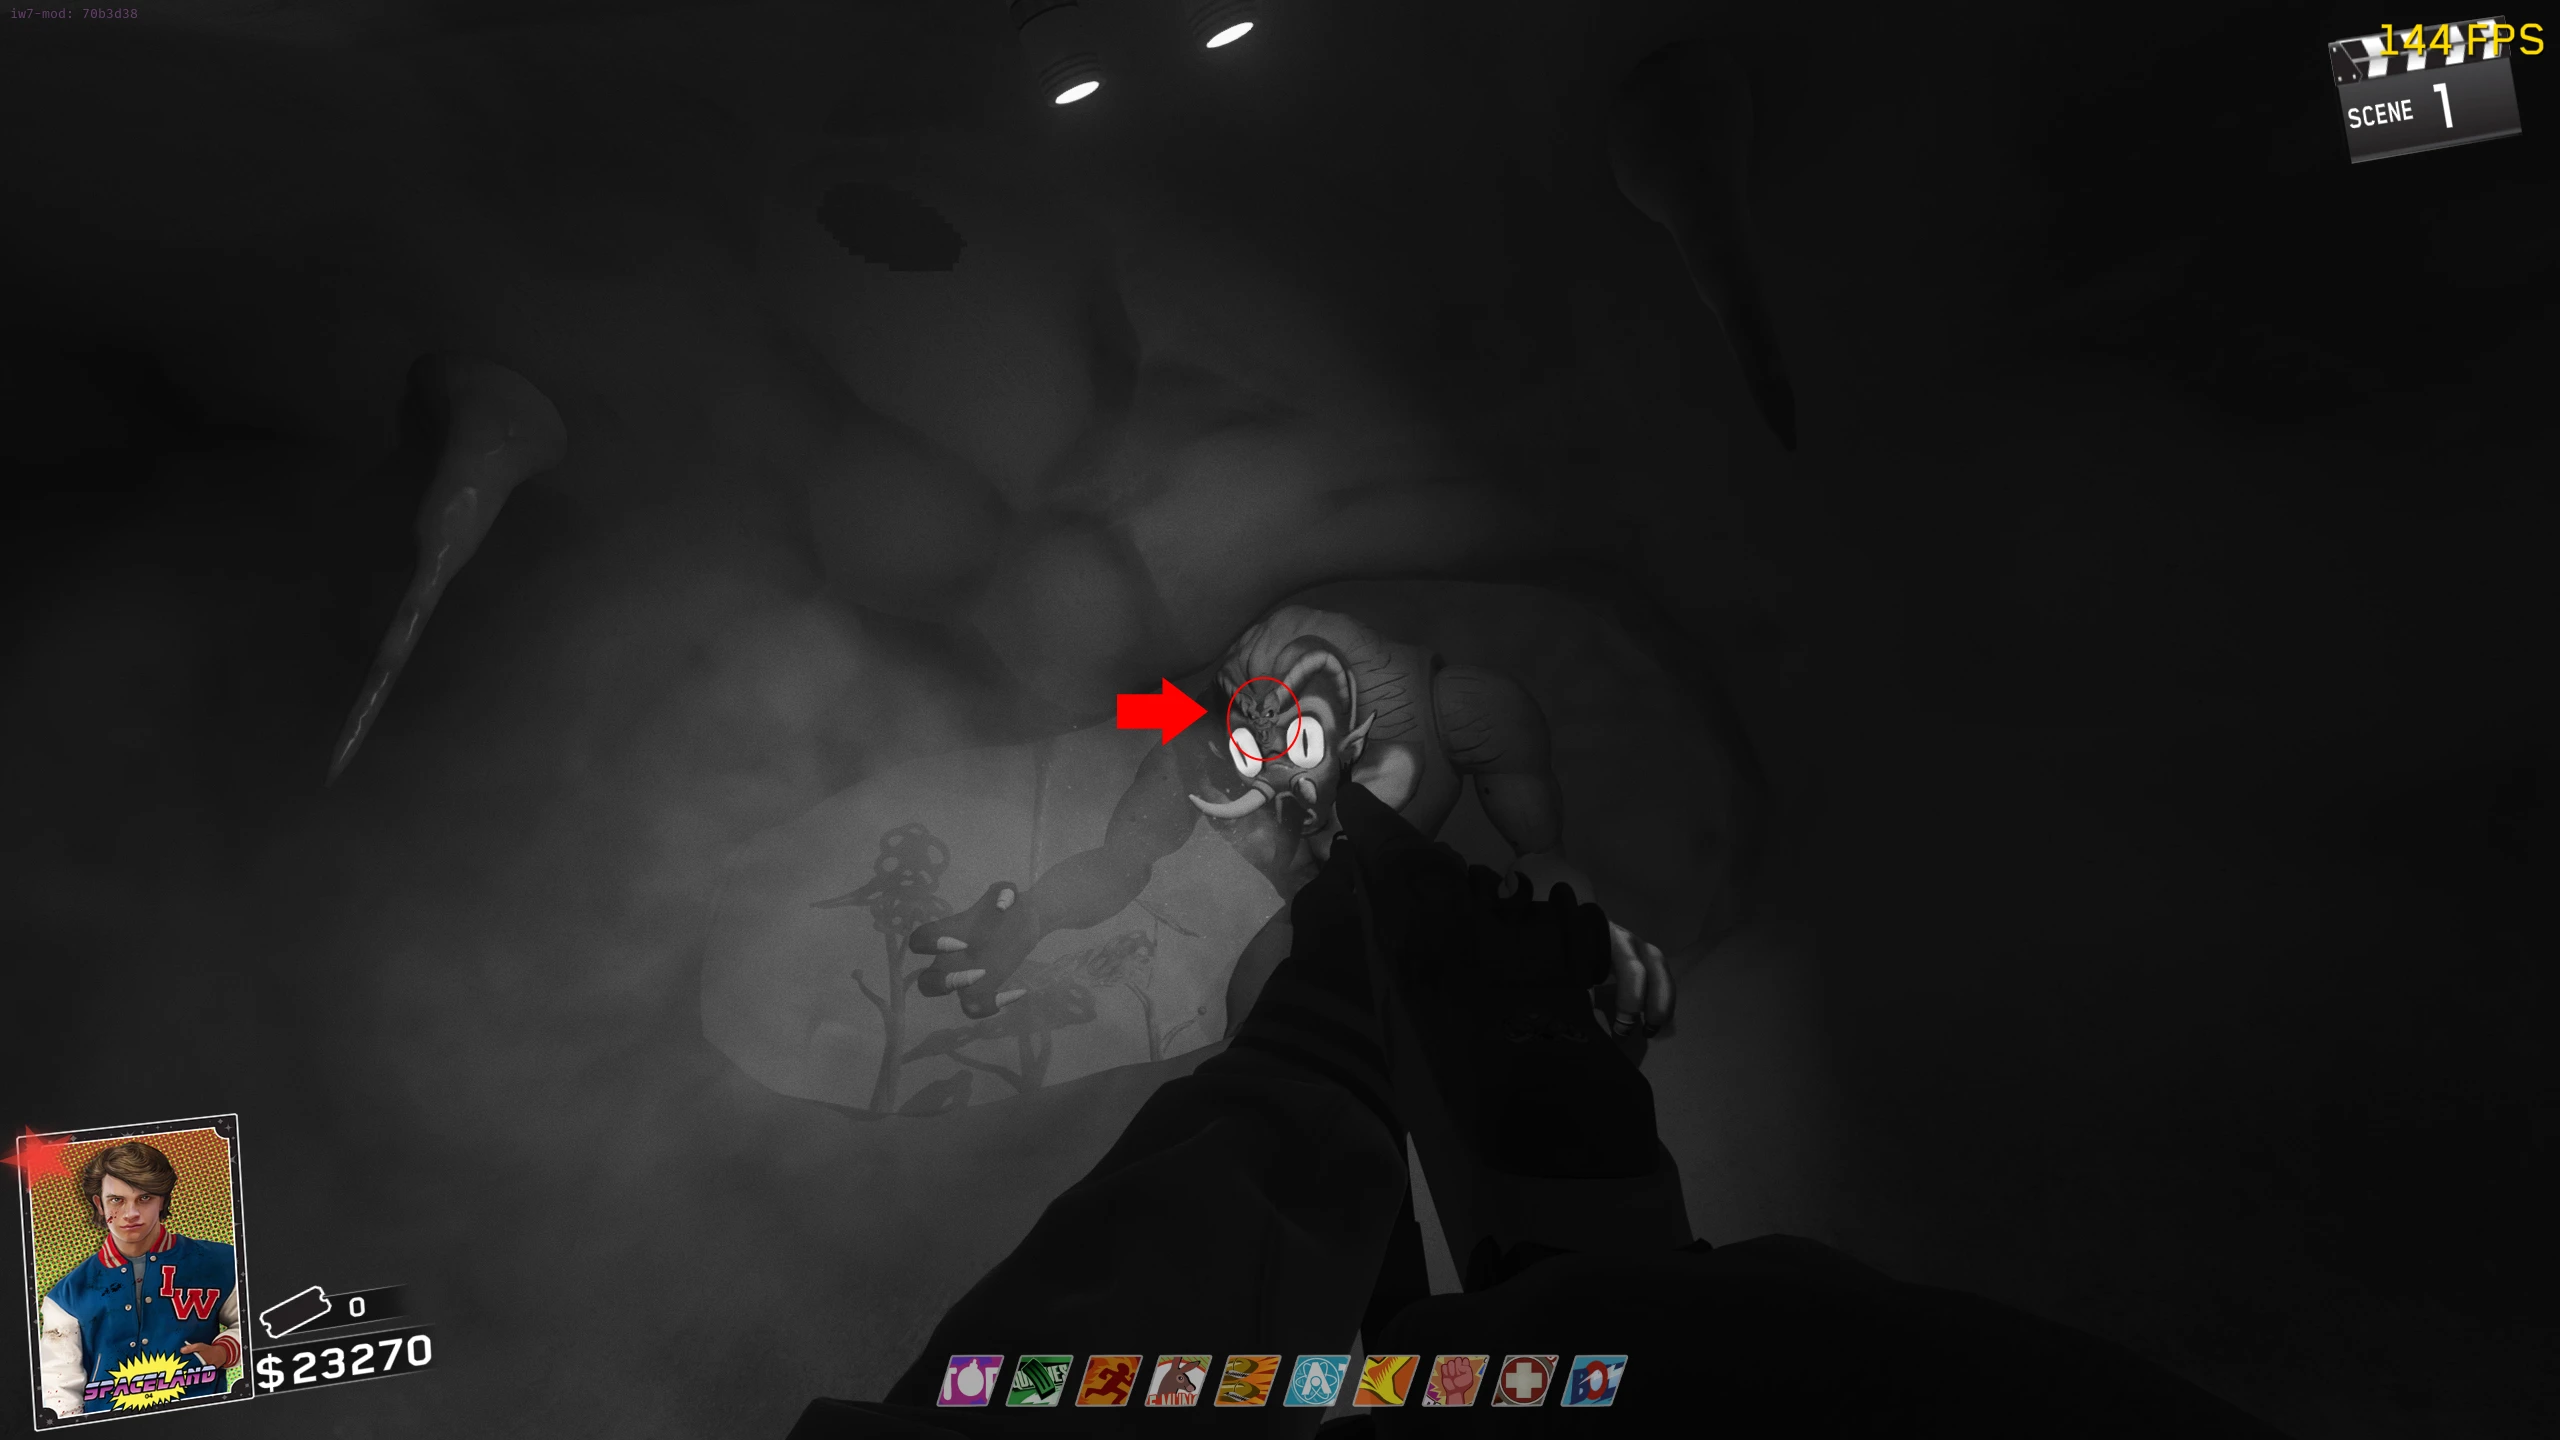
- To do damage to the Alien, you must shoot it in the glowing collar on its neck. The colour of the collar indicates the amount of health the Alien has; green is high, yellow is medium, and red is low.
- Once you do enough damage to the Alien, it will teleport to the playable area (i.e. not on a rooftop), create a bubble shield around itself, spawn Zombies, and then kneel on the floor in a downed state. While the Alien is down, you must quickly melee a fuse in its backpack. If done correctly, you will hear a breaking sound, the Alien will jump up and drop an energy ball at its feet, and the next Zombie you kill will drop a Max Ammo.
Note: Sometimes the Alien will skip the bubble and Zombies spawning, and go straight to the downed state.
- You will need to repeat this two more times. The third time the Alien is "downed", you don't need to melee a fuse, the Alien will just simply die, and the Boss Fight will end.
Destroying the UFO
- Once the Alien is dead, the Alien's Fuses will appear in front of the Pack-a-Punch portal, and you will be able to leave the Cosmic Way. The UFO will still be floating above the Cosmic Way, and will occasionally shoot energy shots at you.
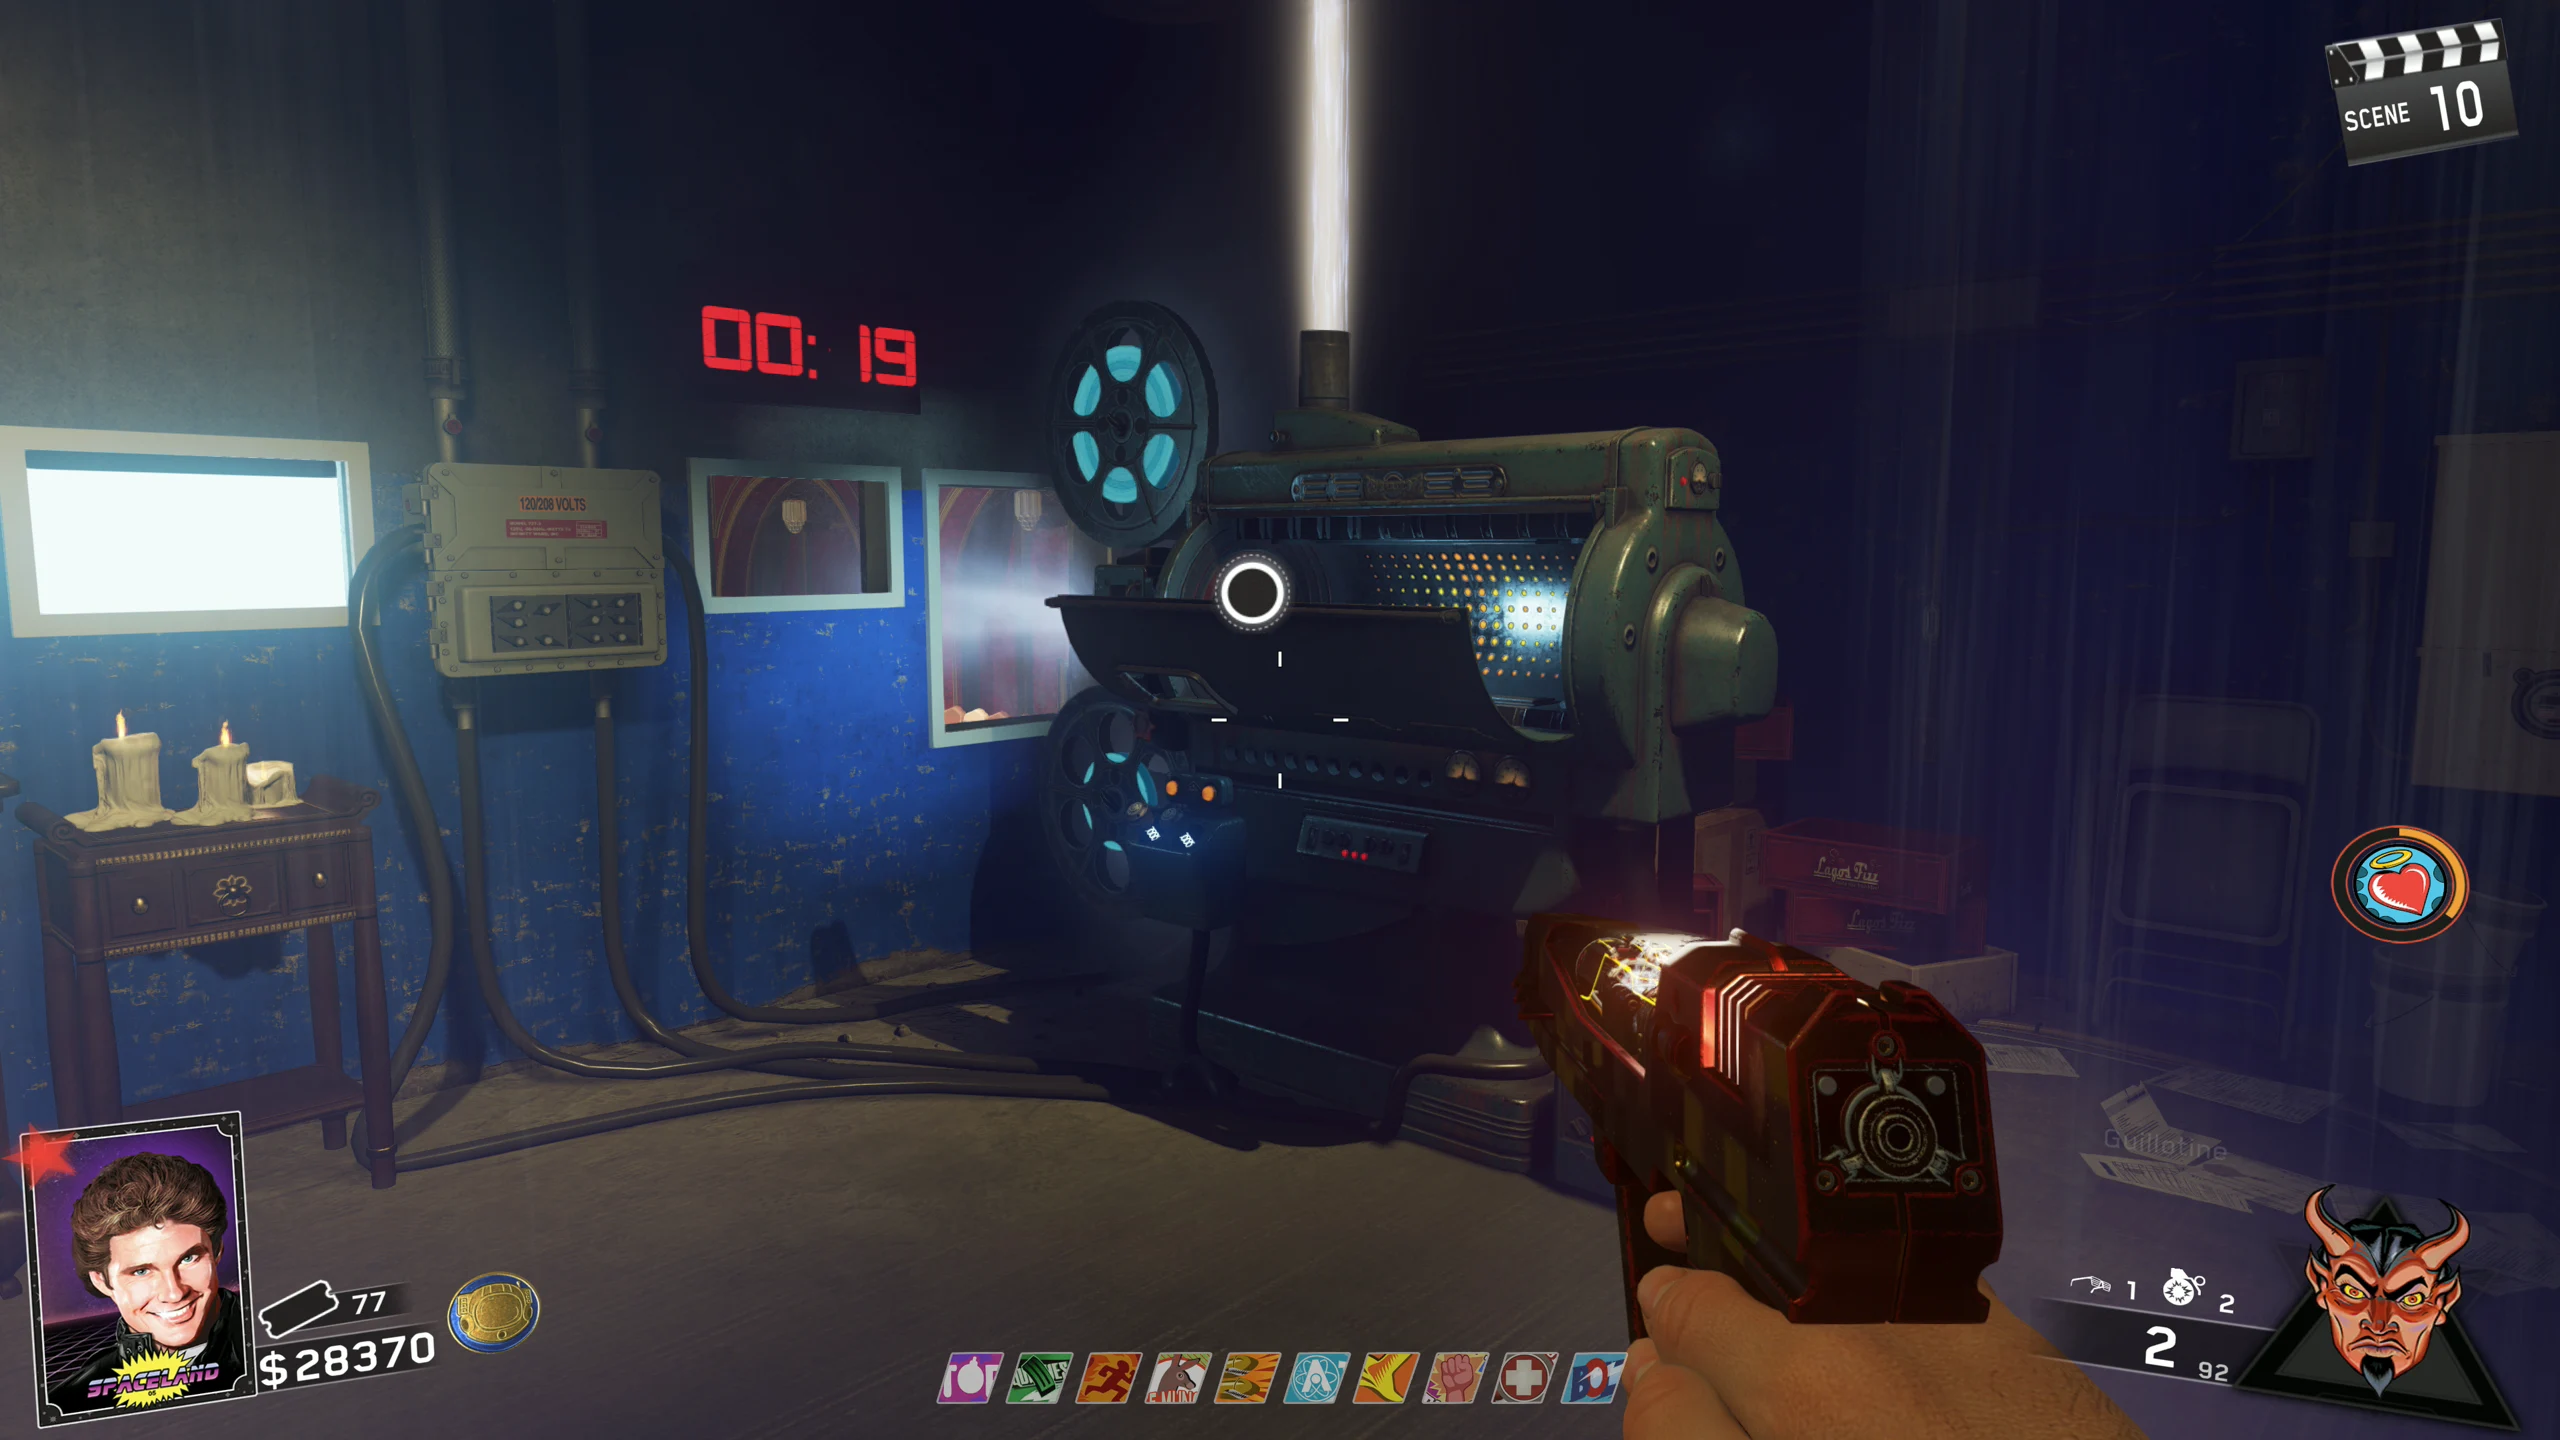
- Enter the projector room and insert the Alien Fuses into the Projector. This will upgrade it for the remainder of the current game, letting you Pack-a-Punch any weapon a second time for 10,000 points and Pack-a-Punch the Weapon of Rock wonder weapons once for 5000 points.
- Craft any Weapon of Rock wonder weapon if you haven't already, and Pack-a-Punch it. When choosing which one to craft, the Souvenir Coins are the biggest bottleneck; once you have them, the rest is straightforward.
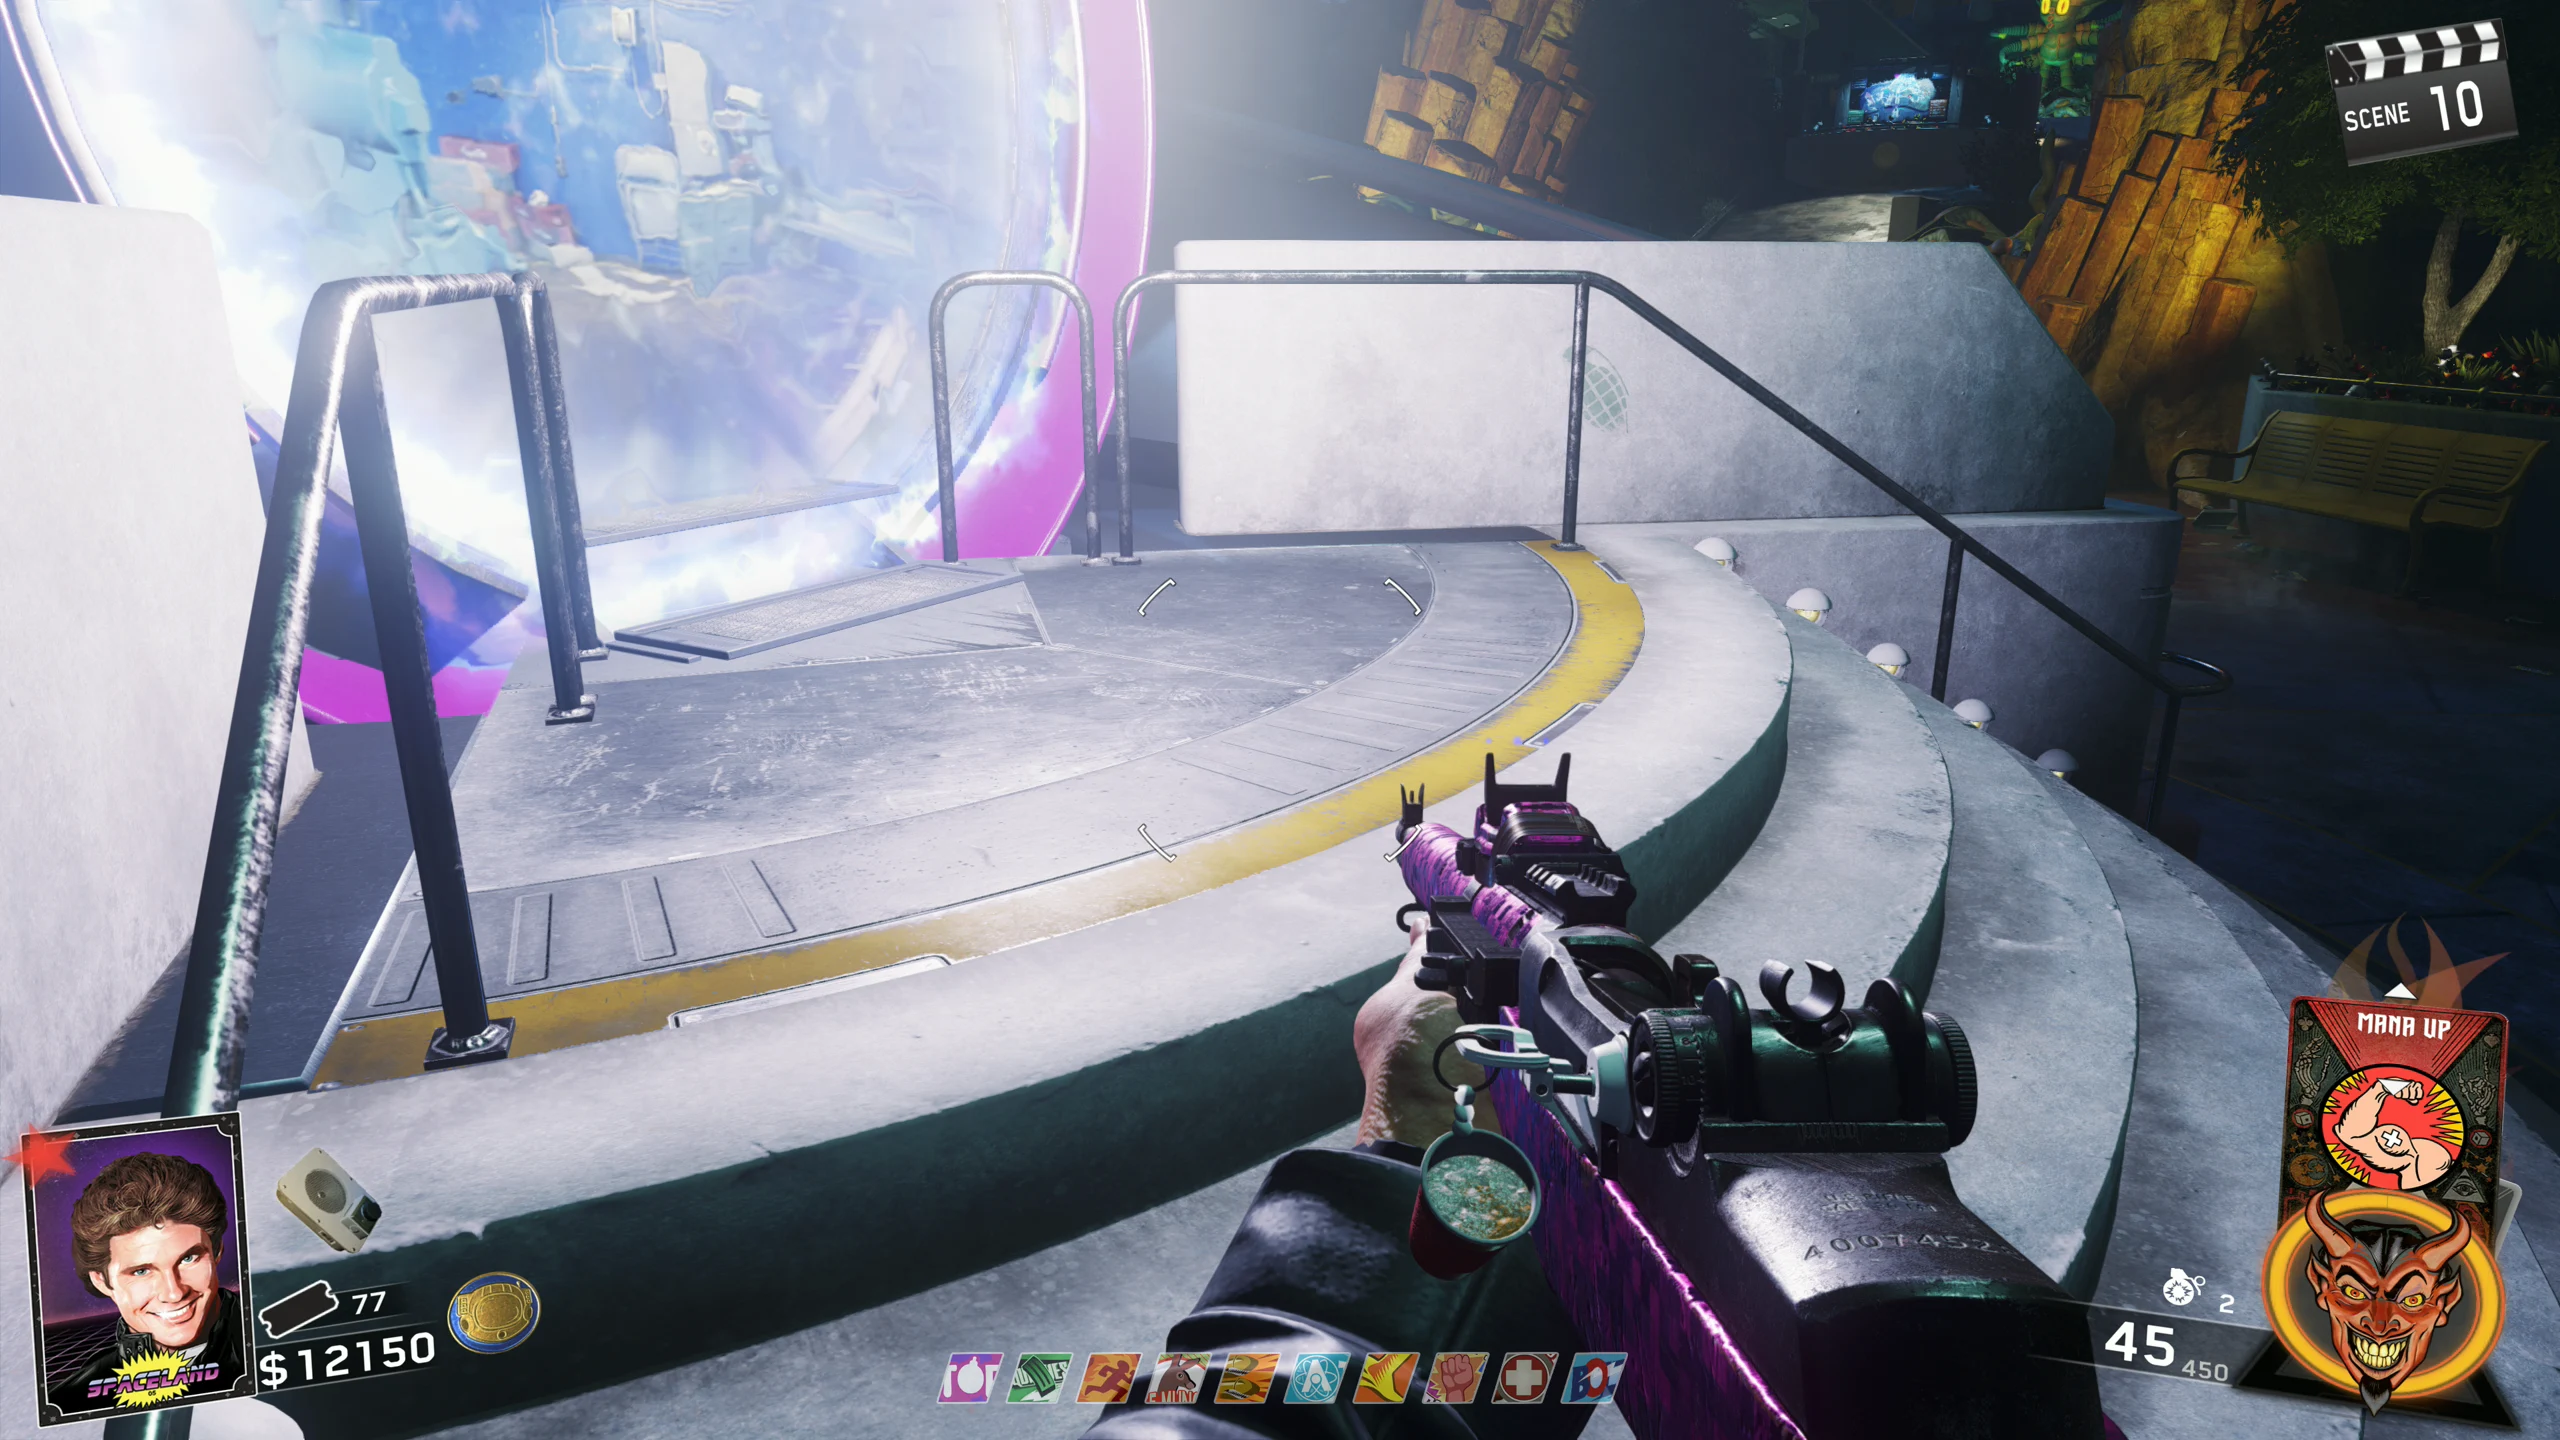
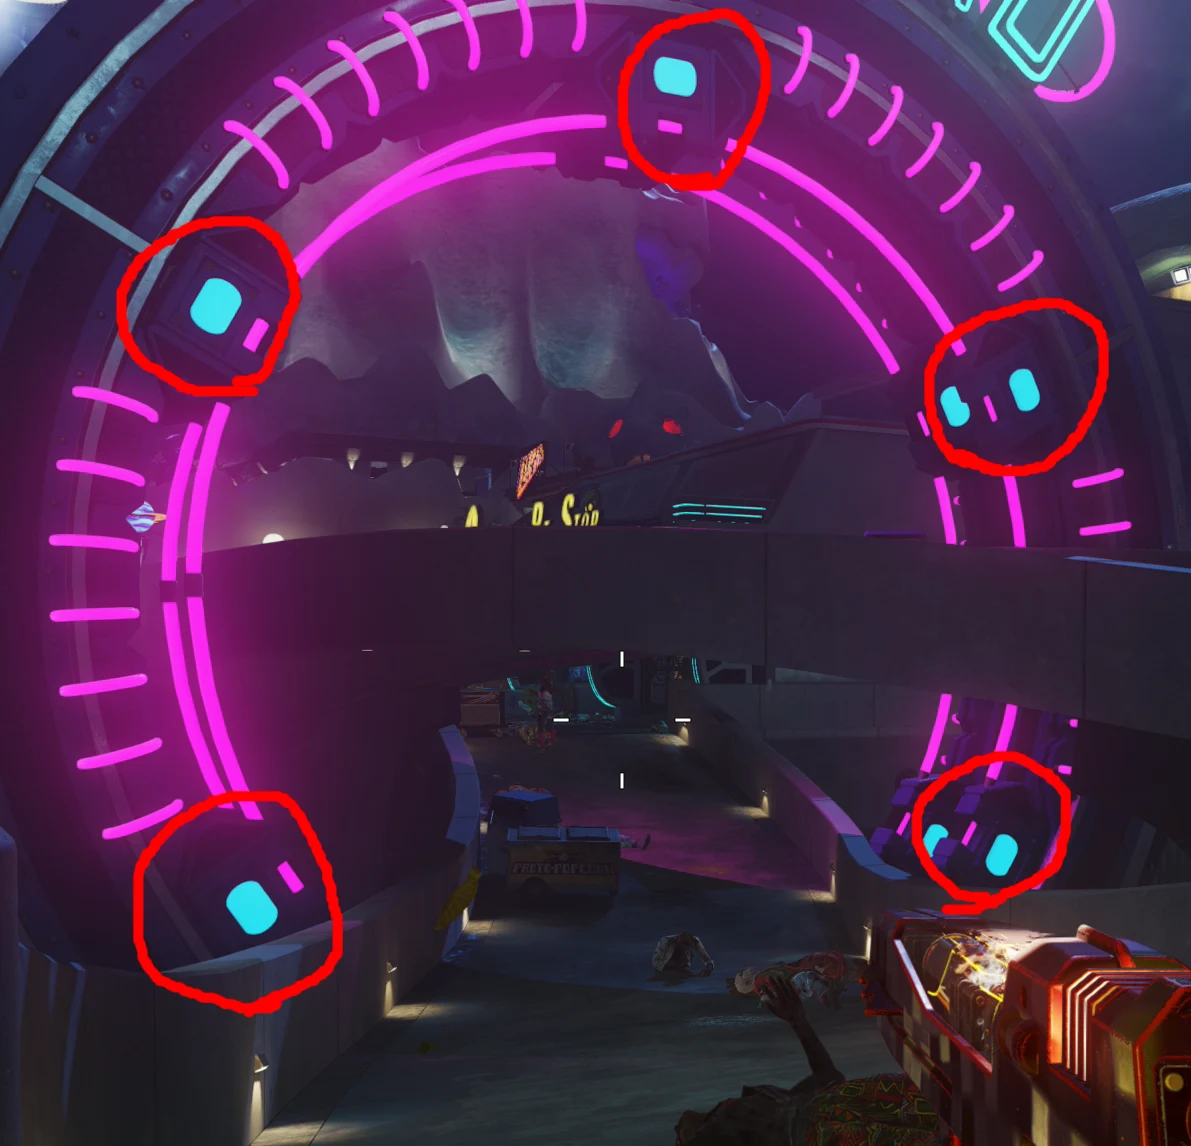
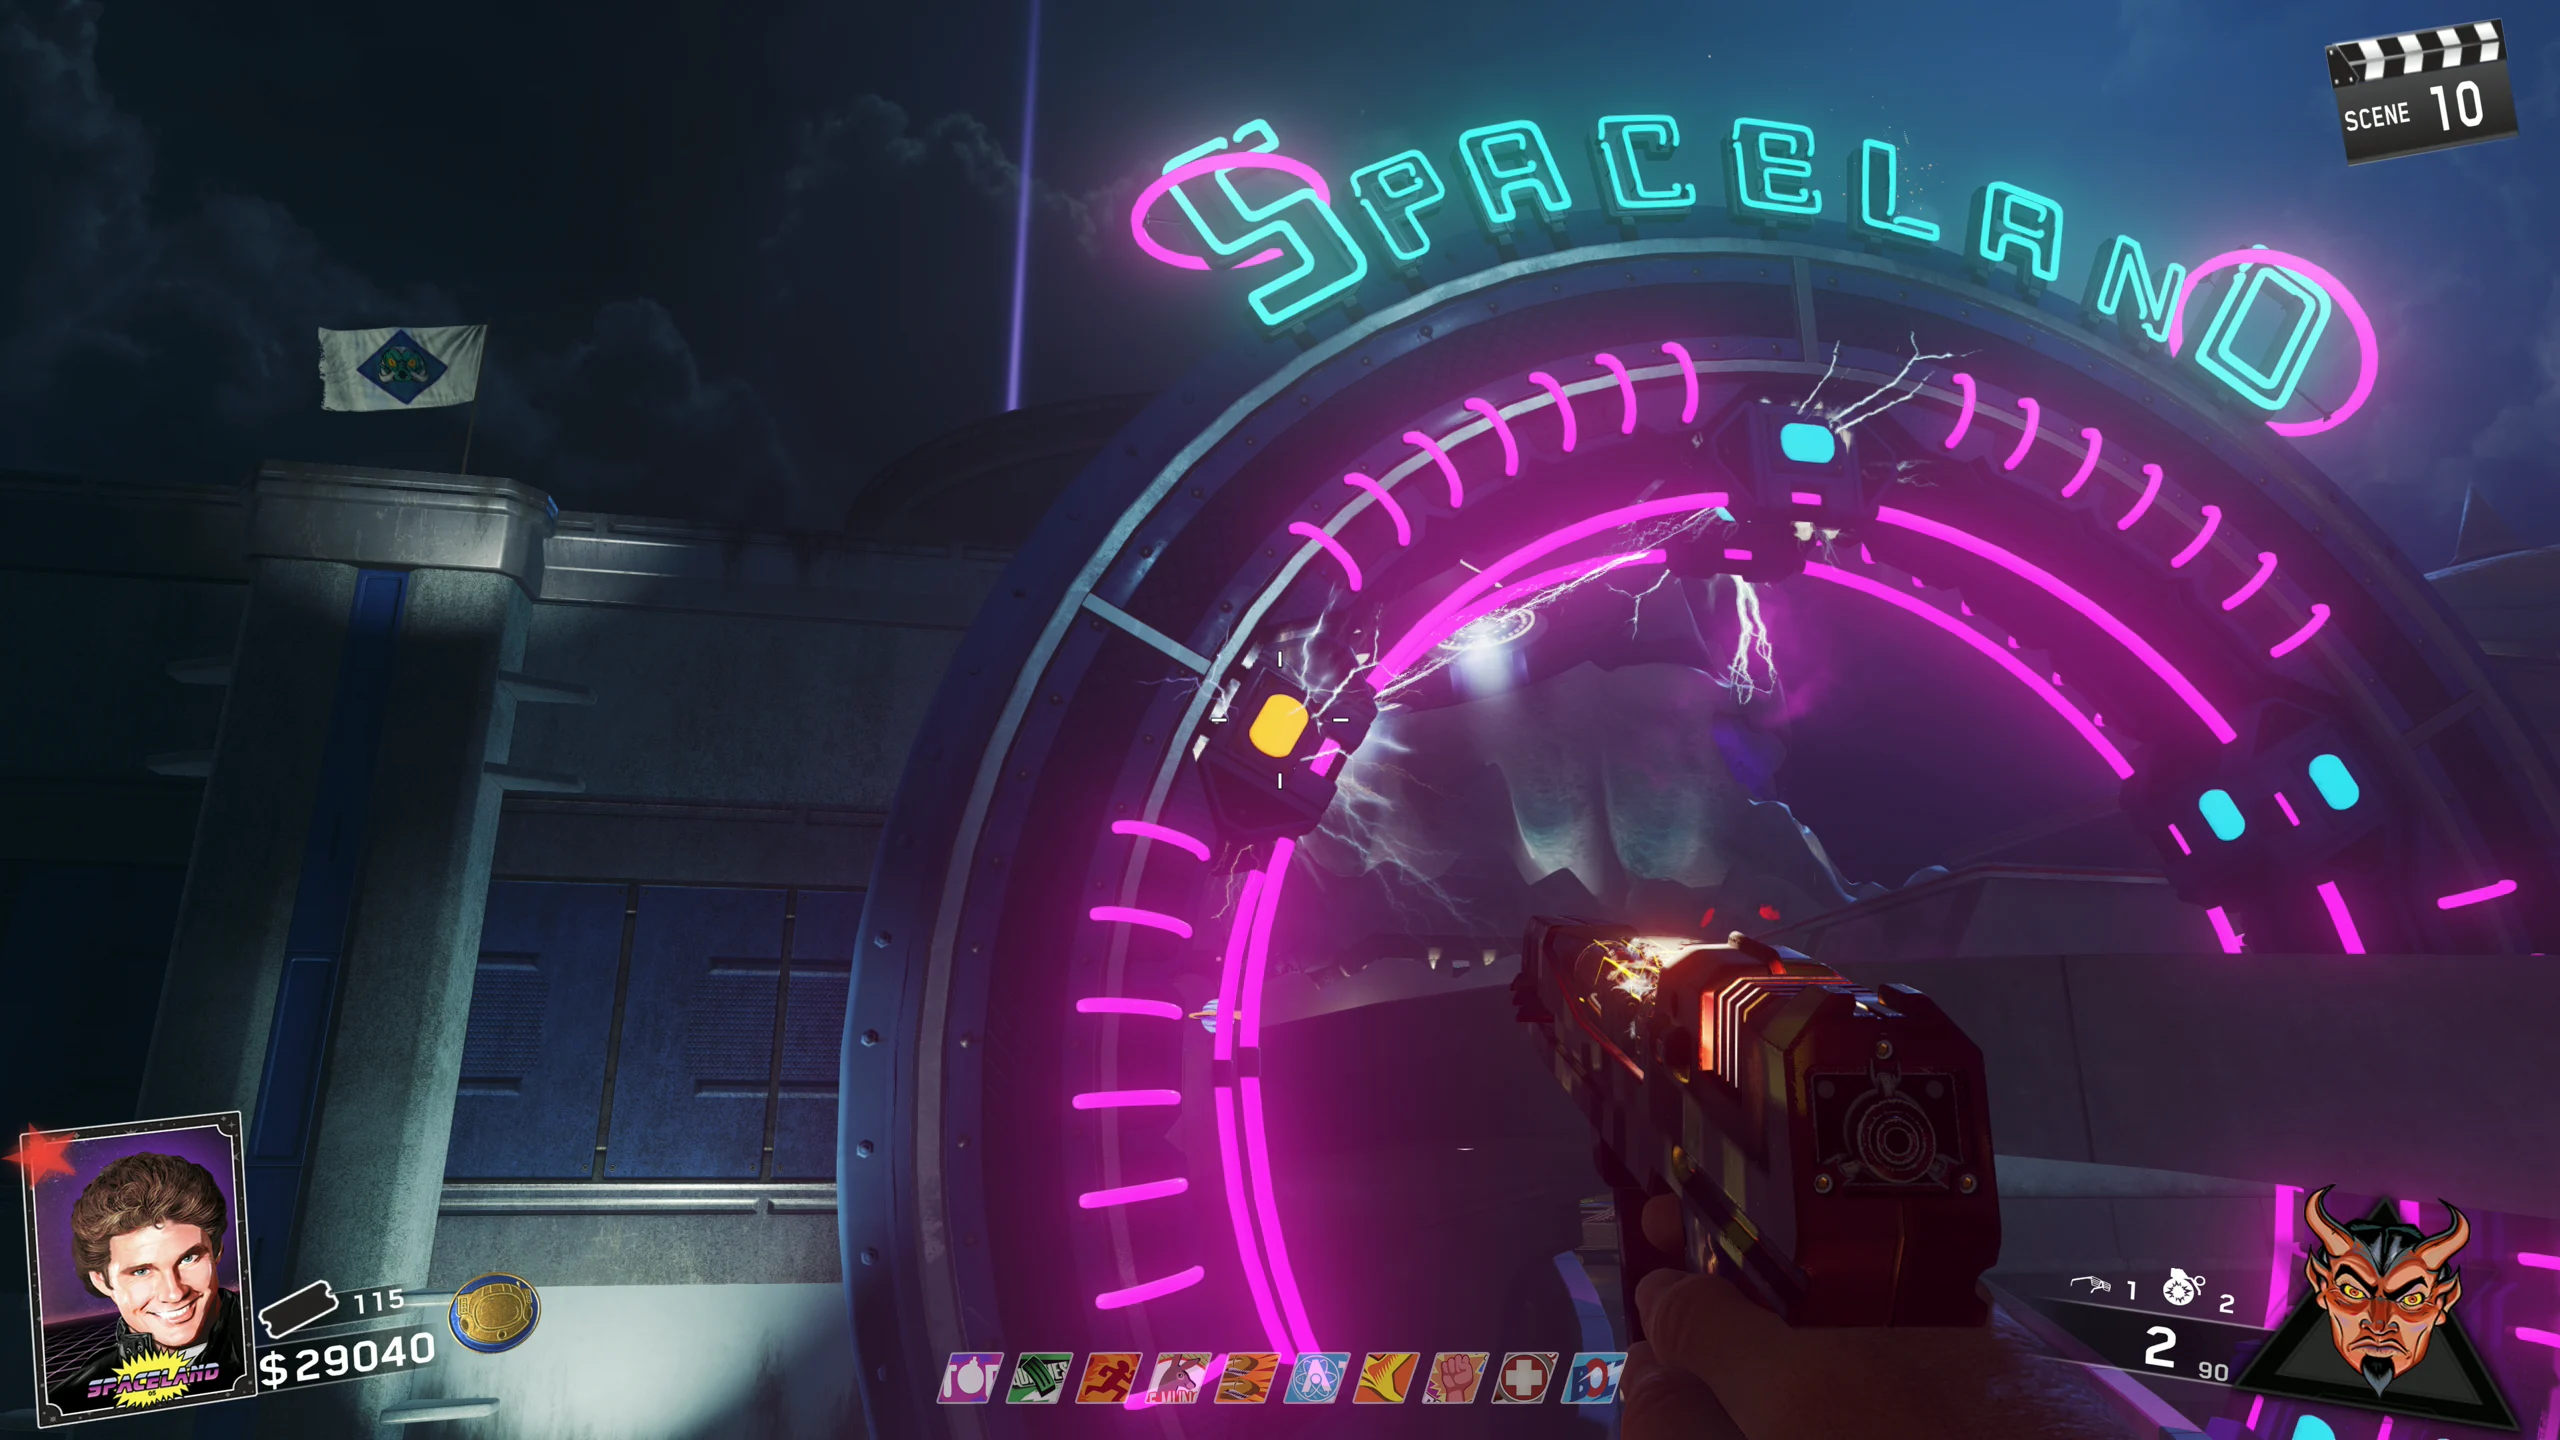
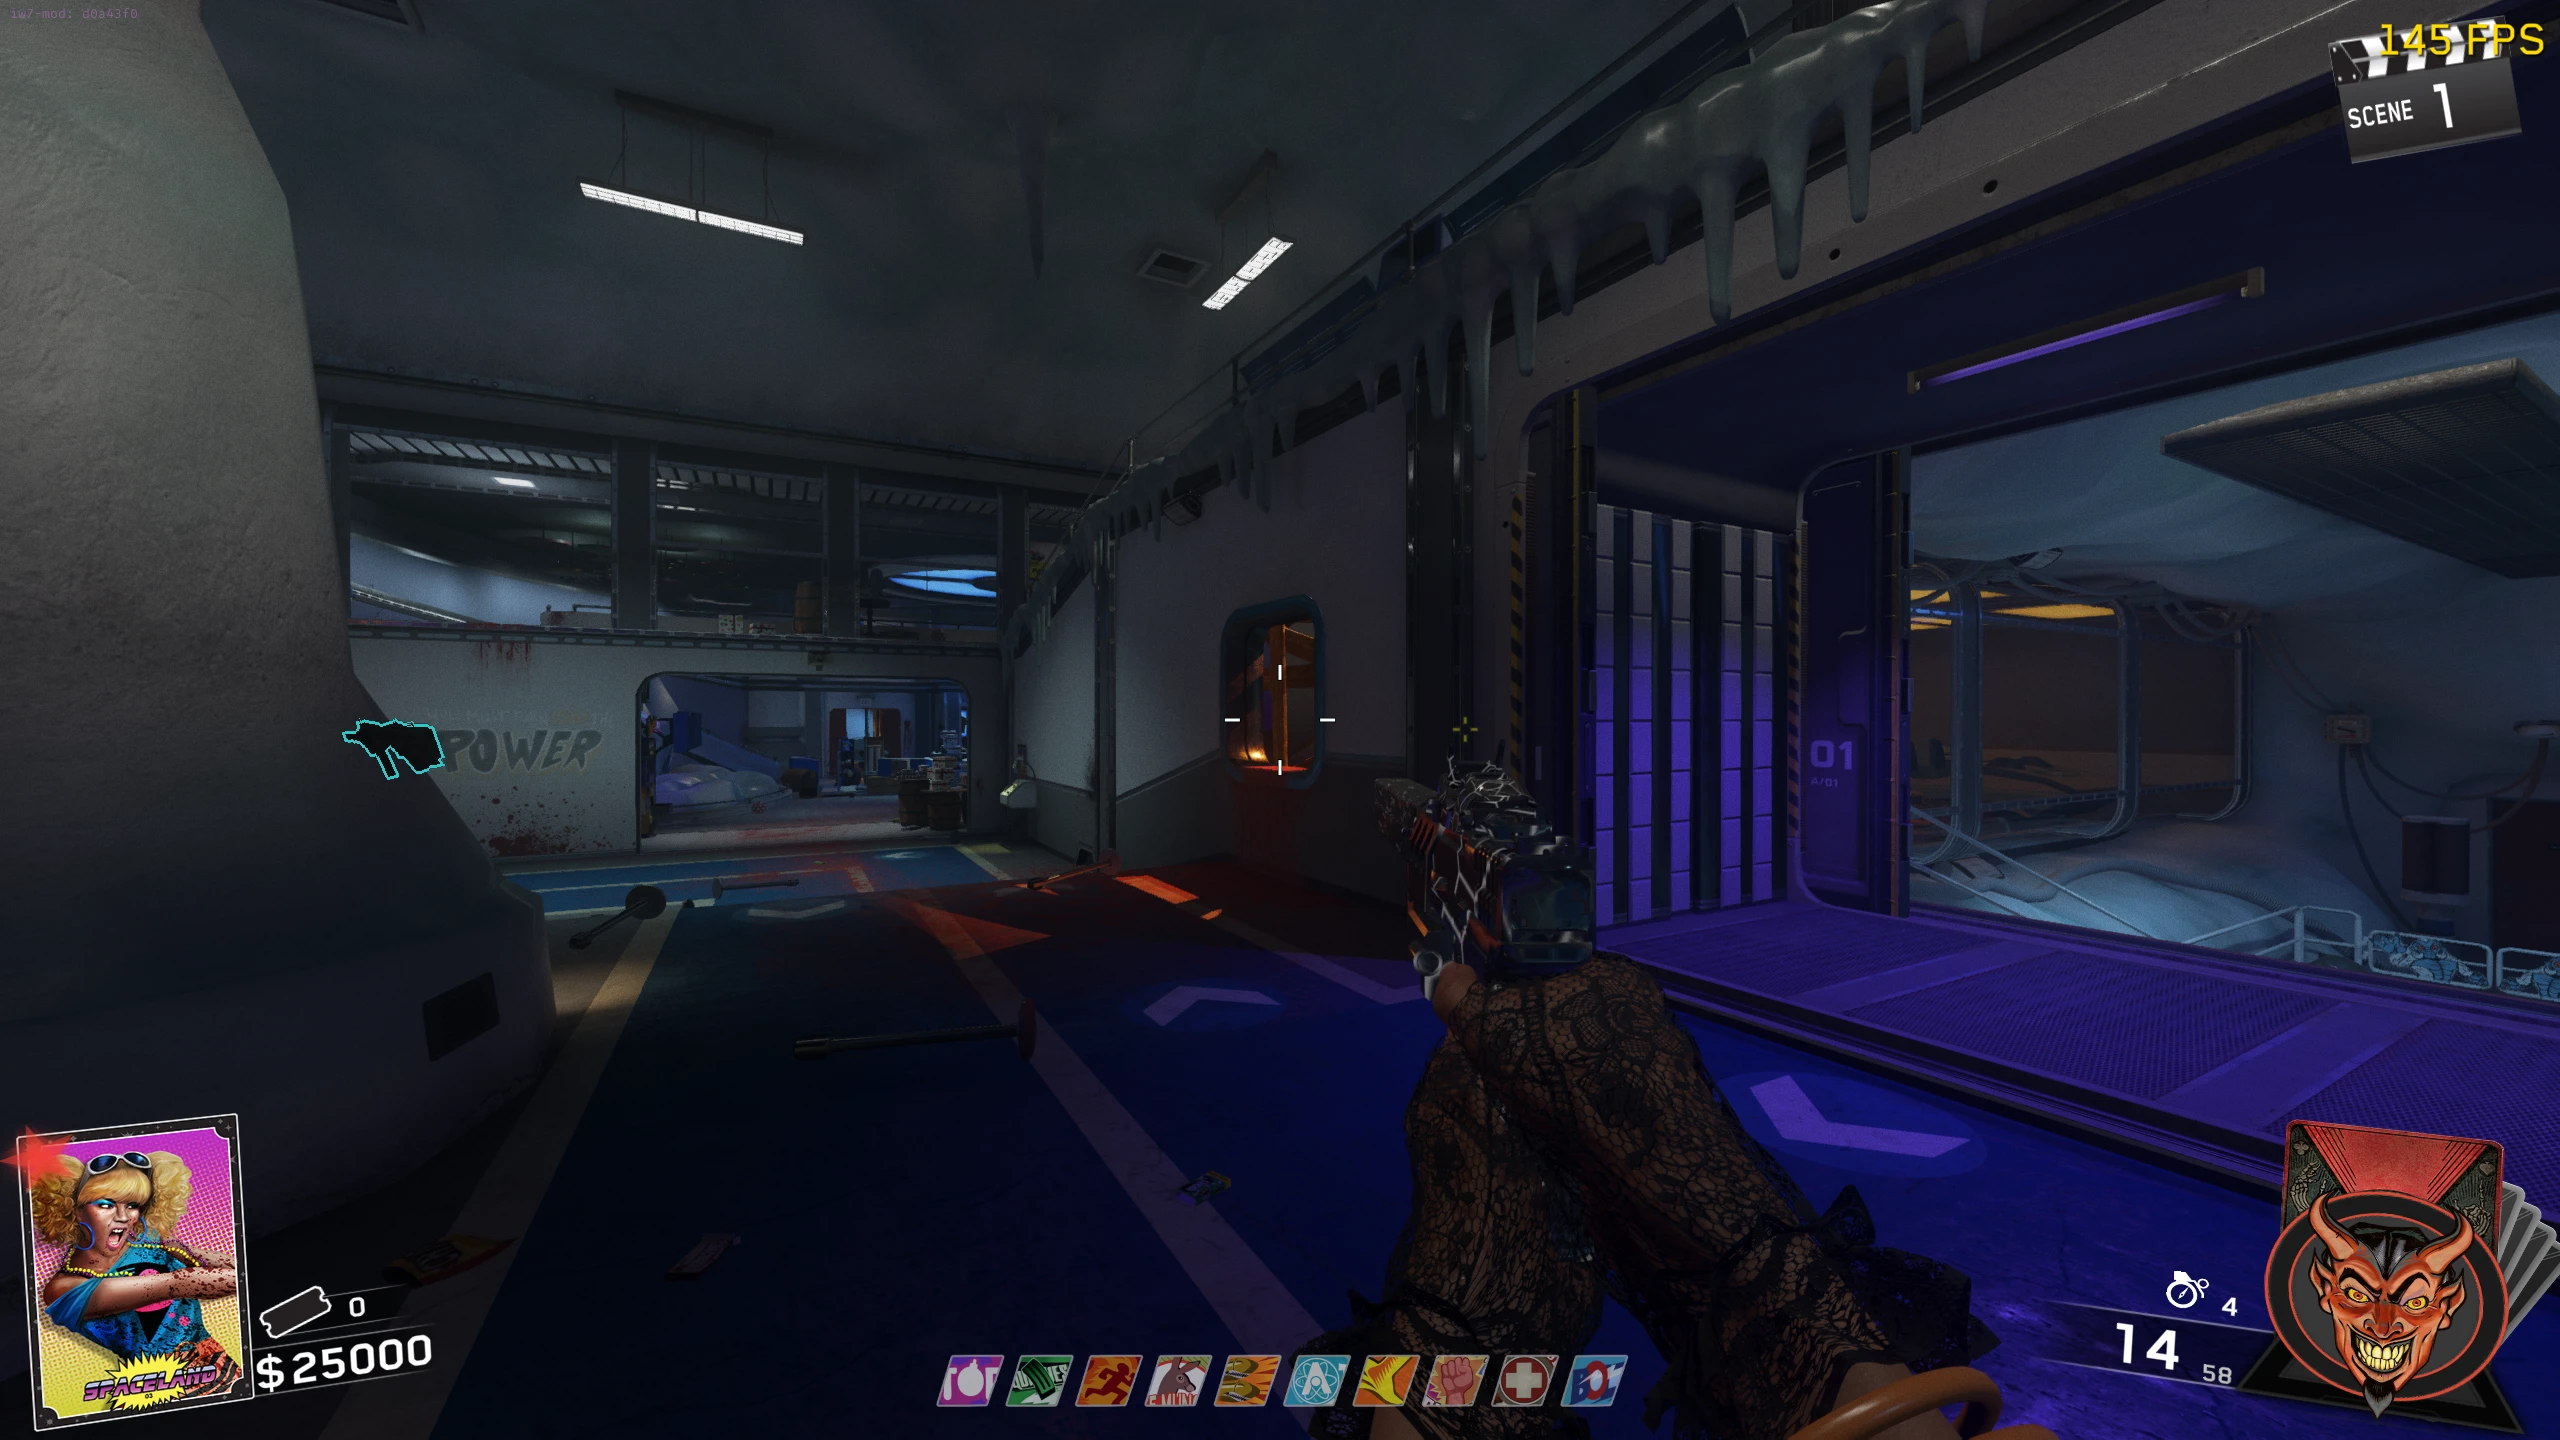
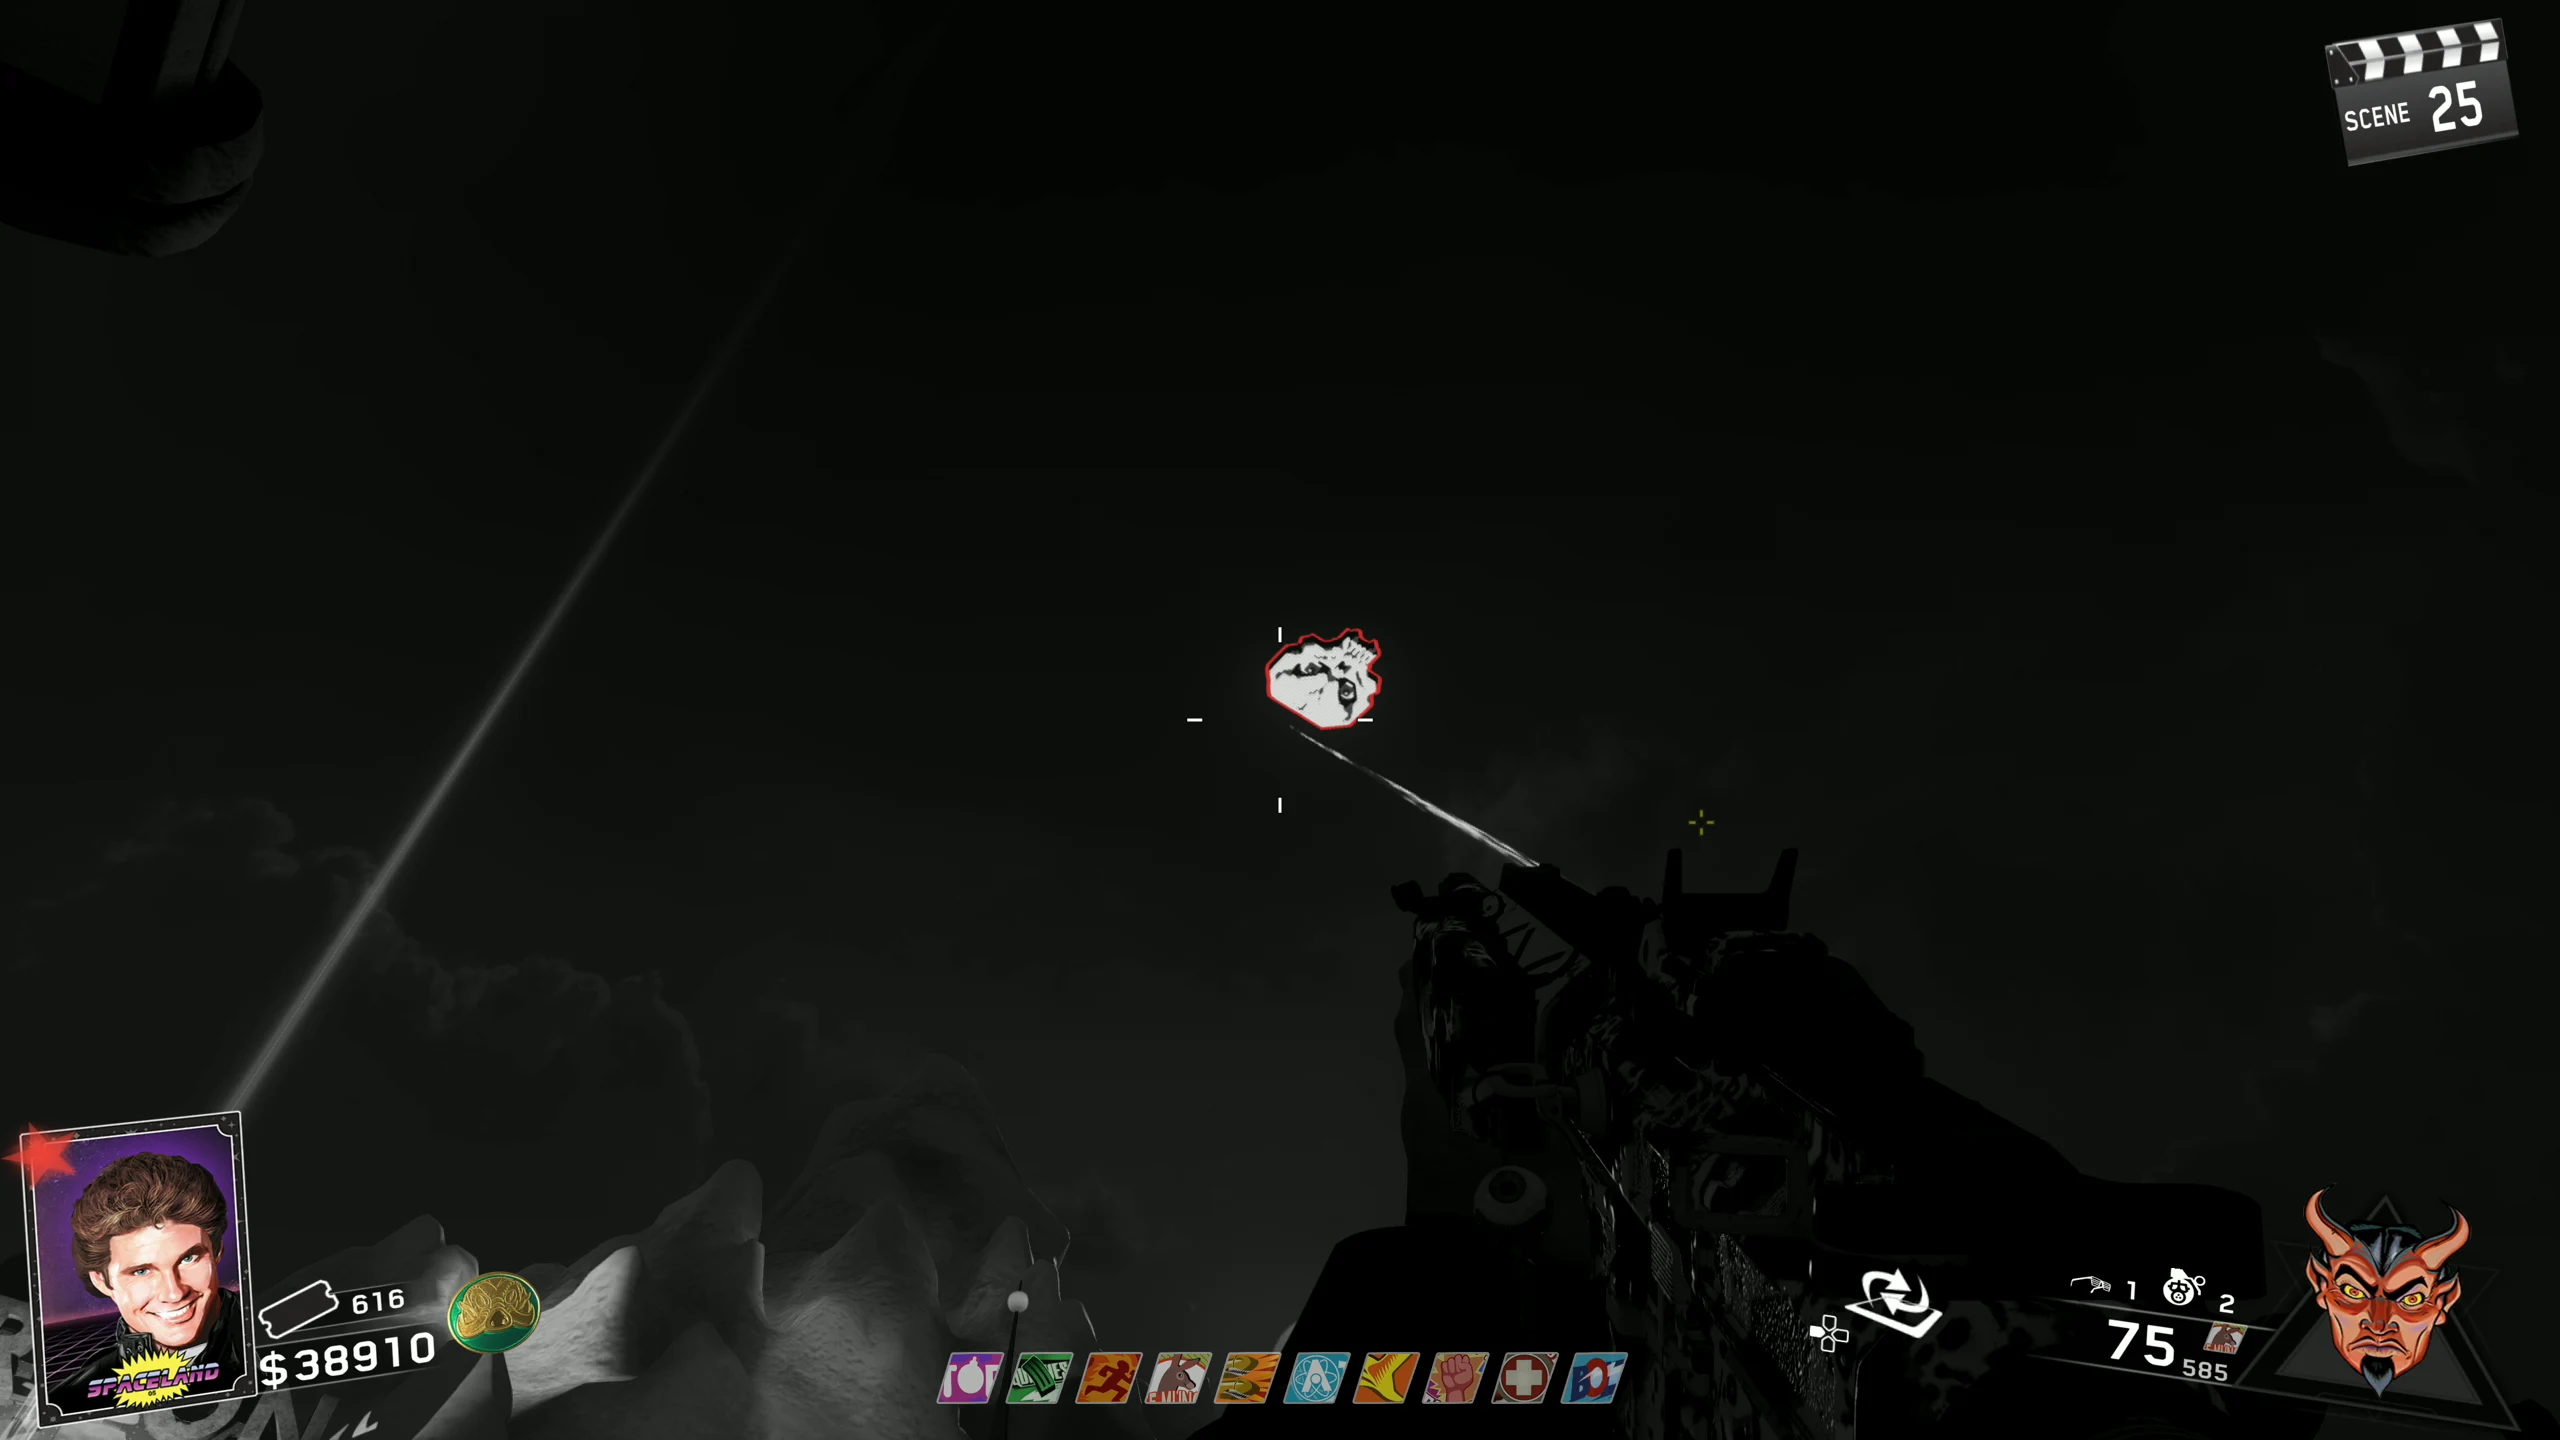
- Using an upgraded Weapon of Rock, shoot four of the five "power nodes" on the Spaceland Ring around the bridge from spawn. When shot, the node will turn orange and arc electricity to surrounding nodes.
- Once you have shot 4 of 5 nodes, time your shot on the last node for when the UFO is above the Pack-a-Punch portal. When you activate all five nodes, the Spaceland Ring will charge for about 3 seconds before shooting a laser at the device above the Pack-a-Punch portal. The device will redirect the laser straight up.
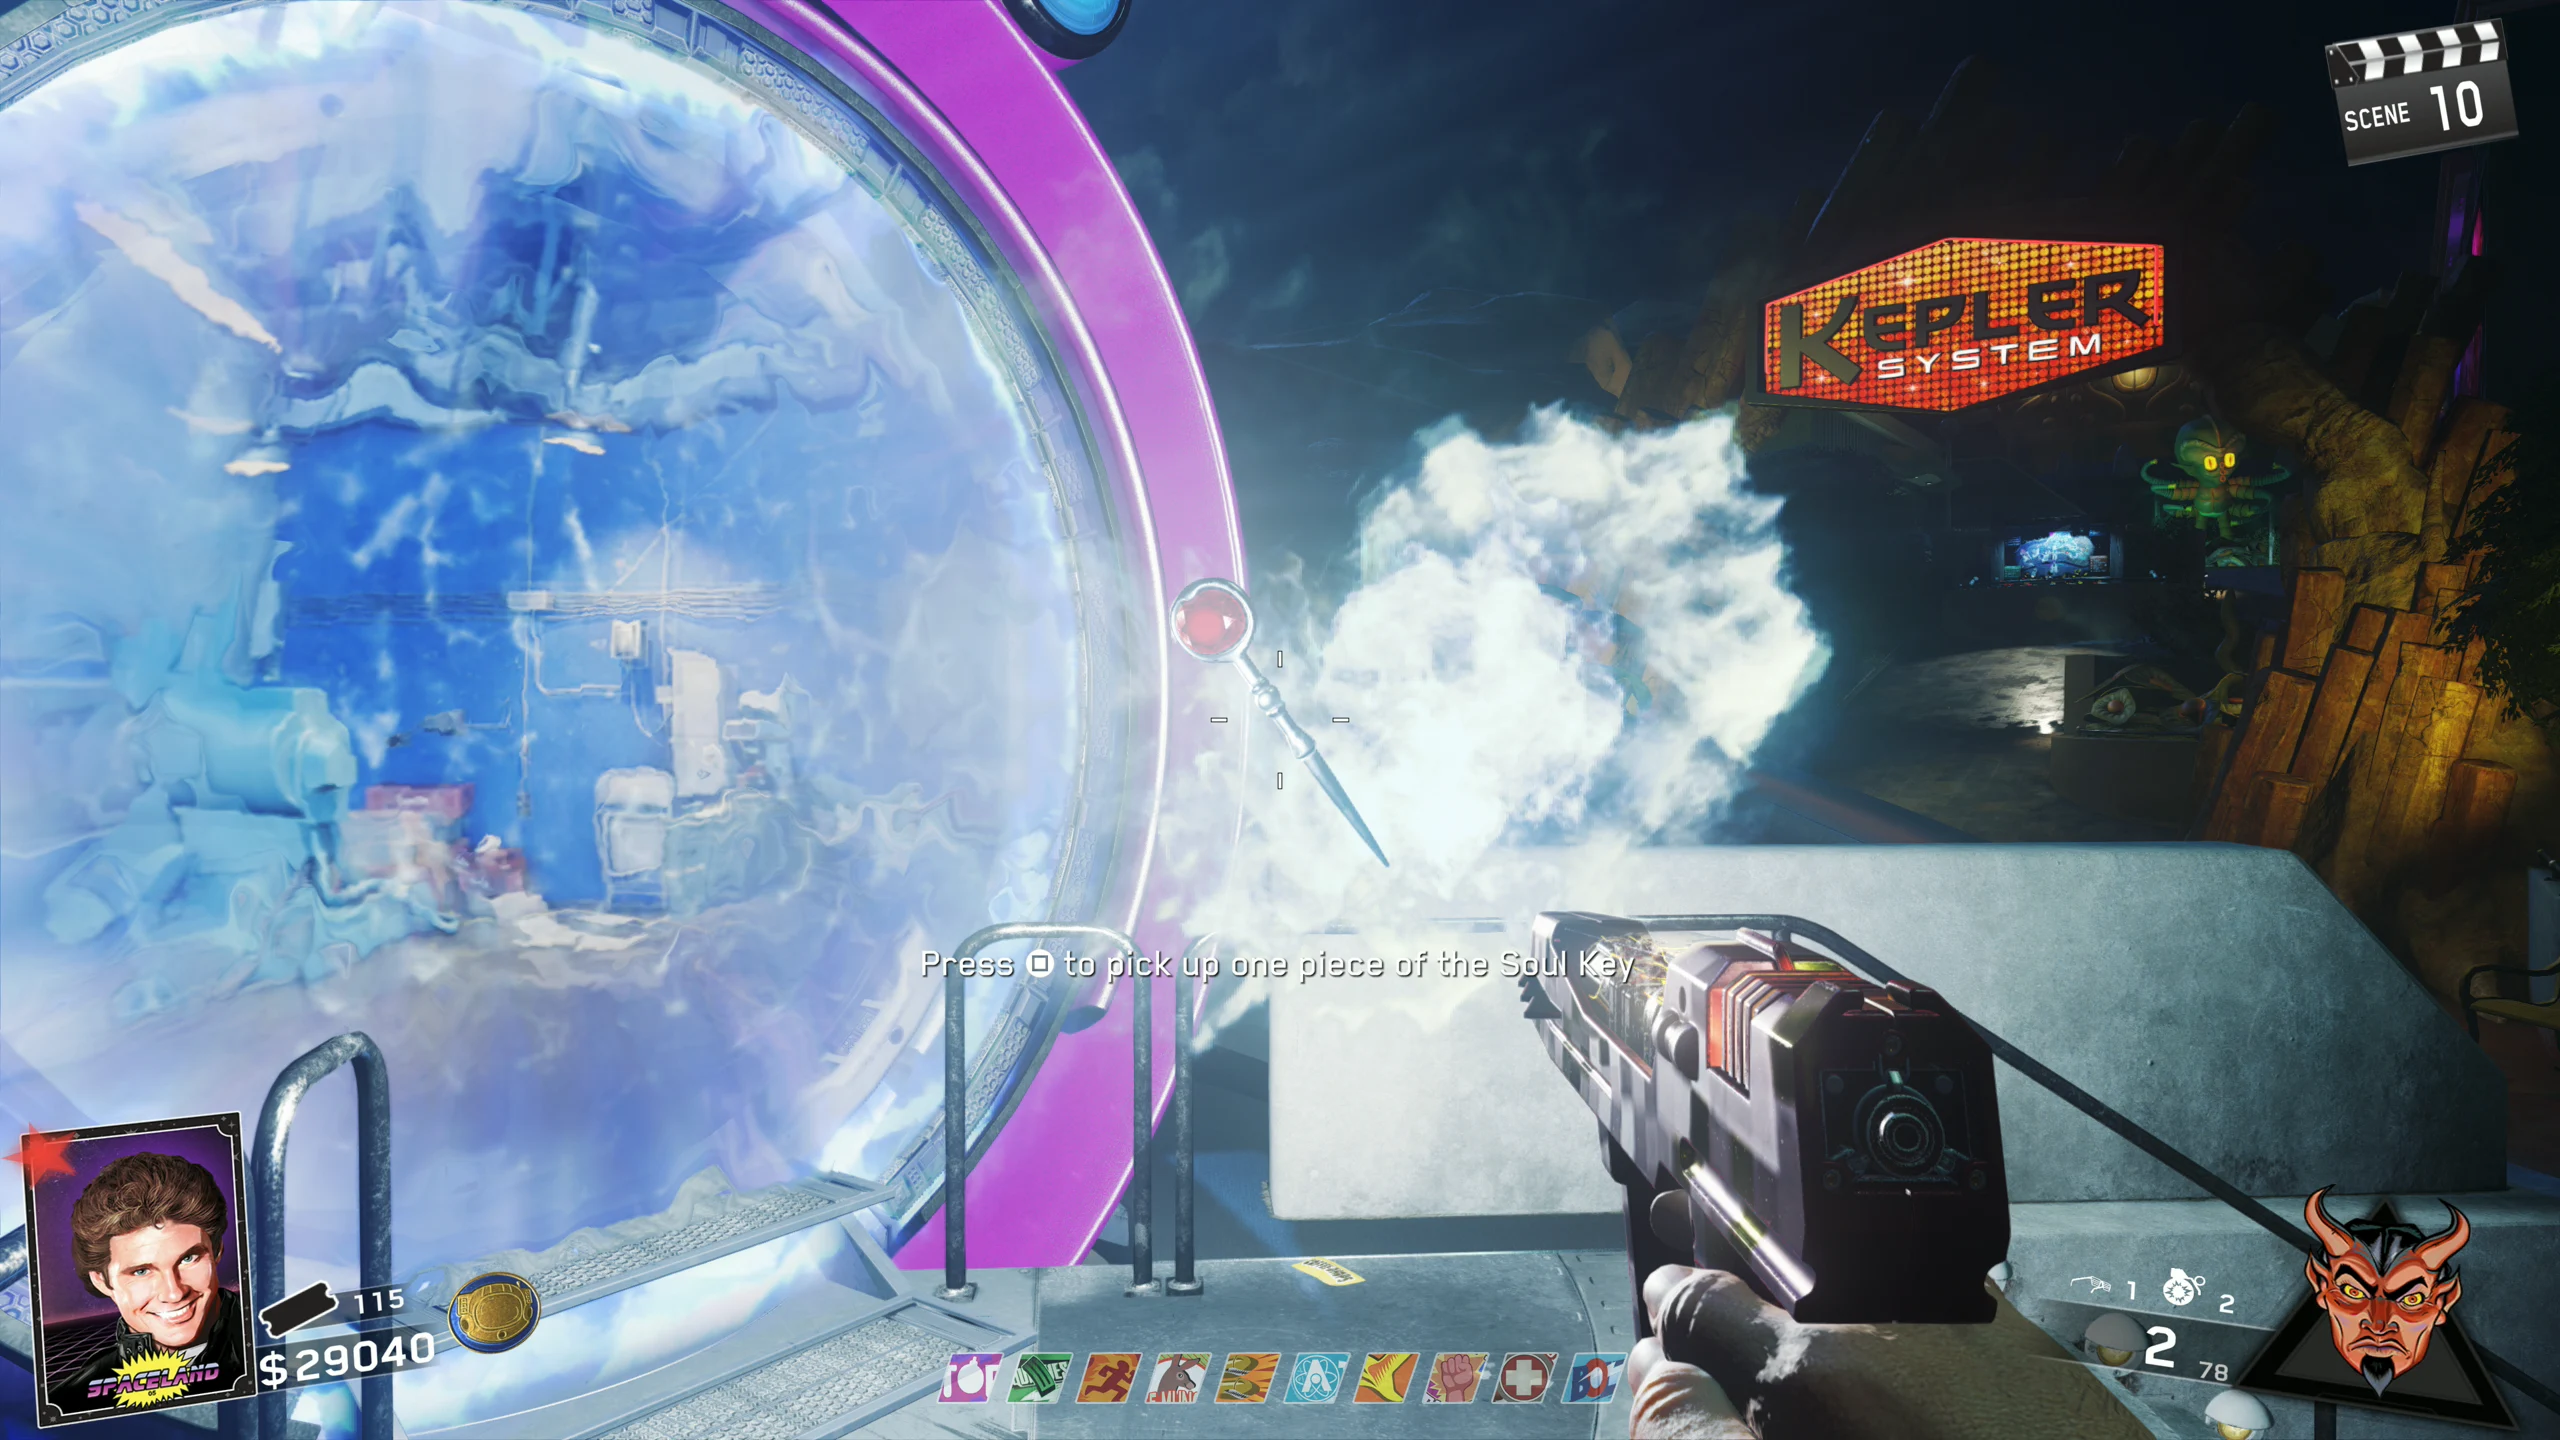
- If the UFO is in the path of the laser, it will light on fire, fly into the air and explode, and the Soul Key will spawn in front of the Pack-a-Punch portal. If you are in Director's Cut mode, the Talisman will spawn after the Soul Key is picked up in the same spot, and you will be given the Director's Cut I animated calling card.
- The final cutscene on this map will only play if you are playing as Willard Wyler; otherwise, there is no ending cutscene.
 Tips
Tips