Map Progression
Weapons and Buildables
Easter Eggs
- "The End?" Main Quest
- "Scattered Lies" Song
- Additional Lobby Music
- Skull Breaker
- Message Sent (Achievement)
Director's Cut/Bonuses
Power/Activate N31L
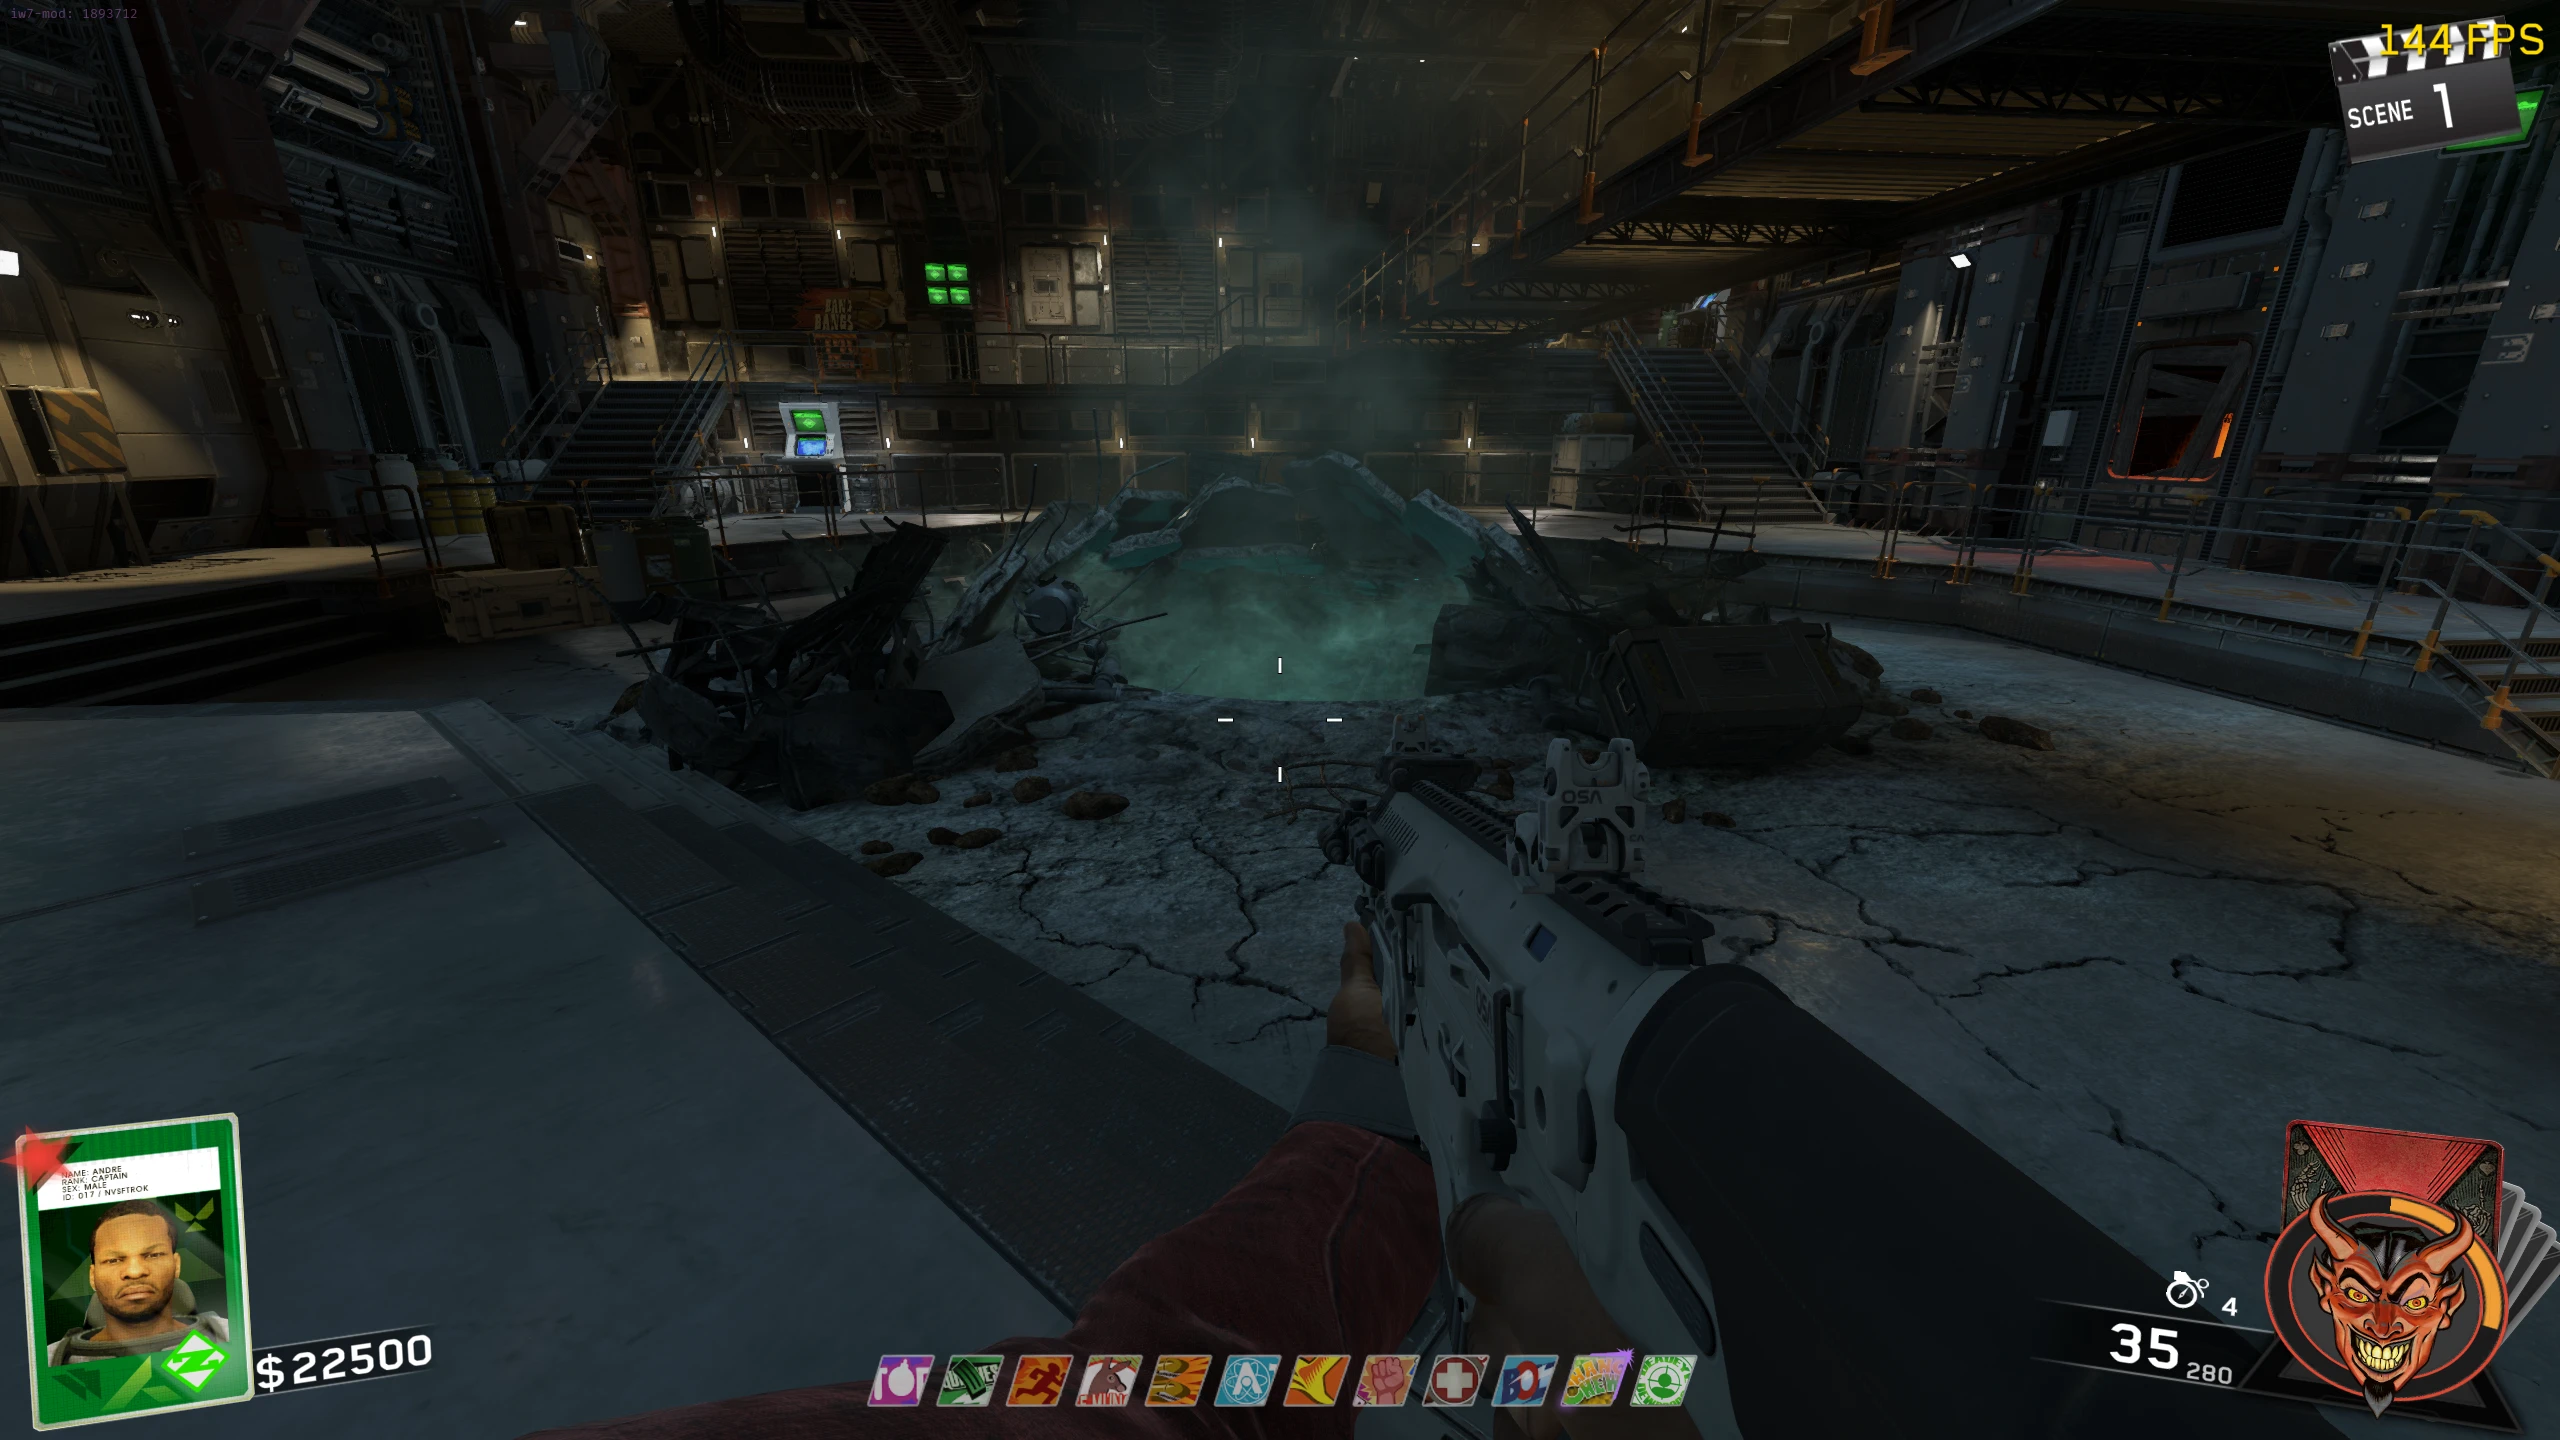
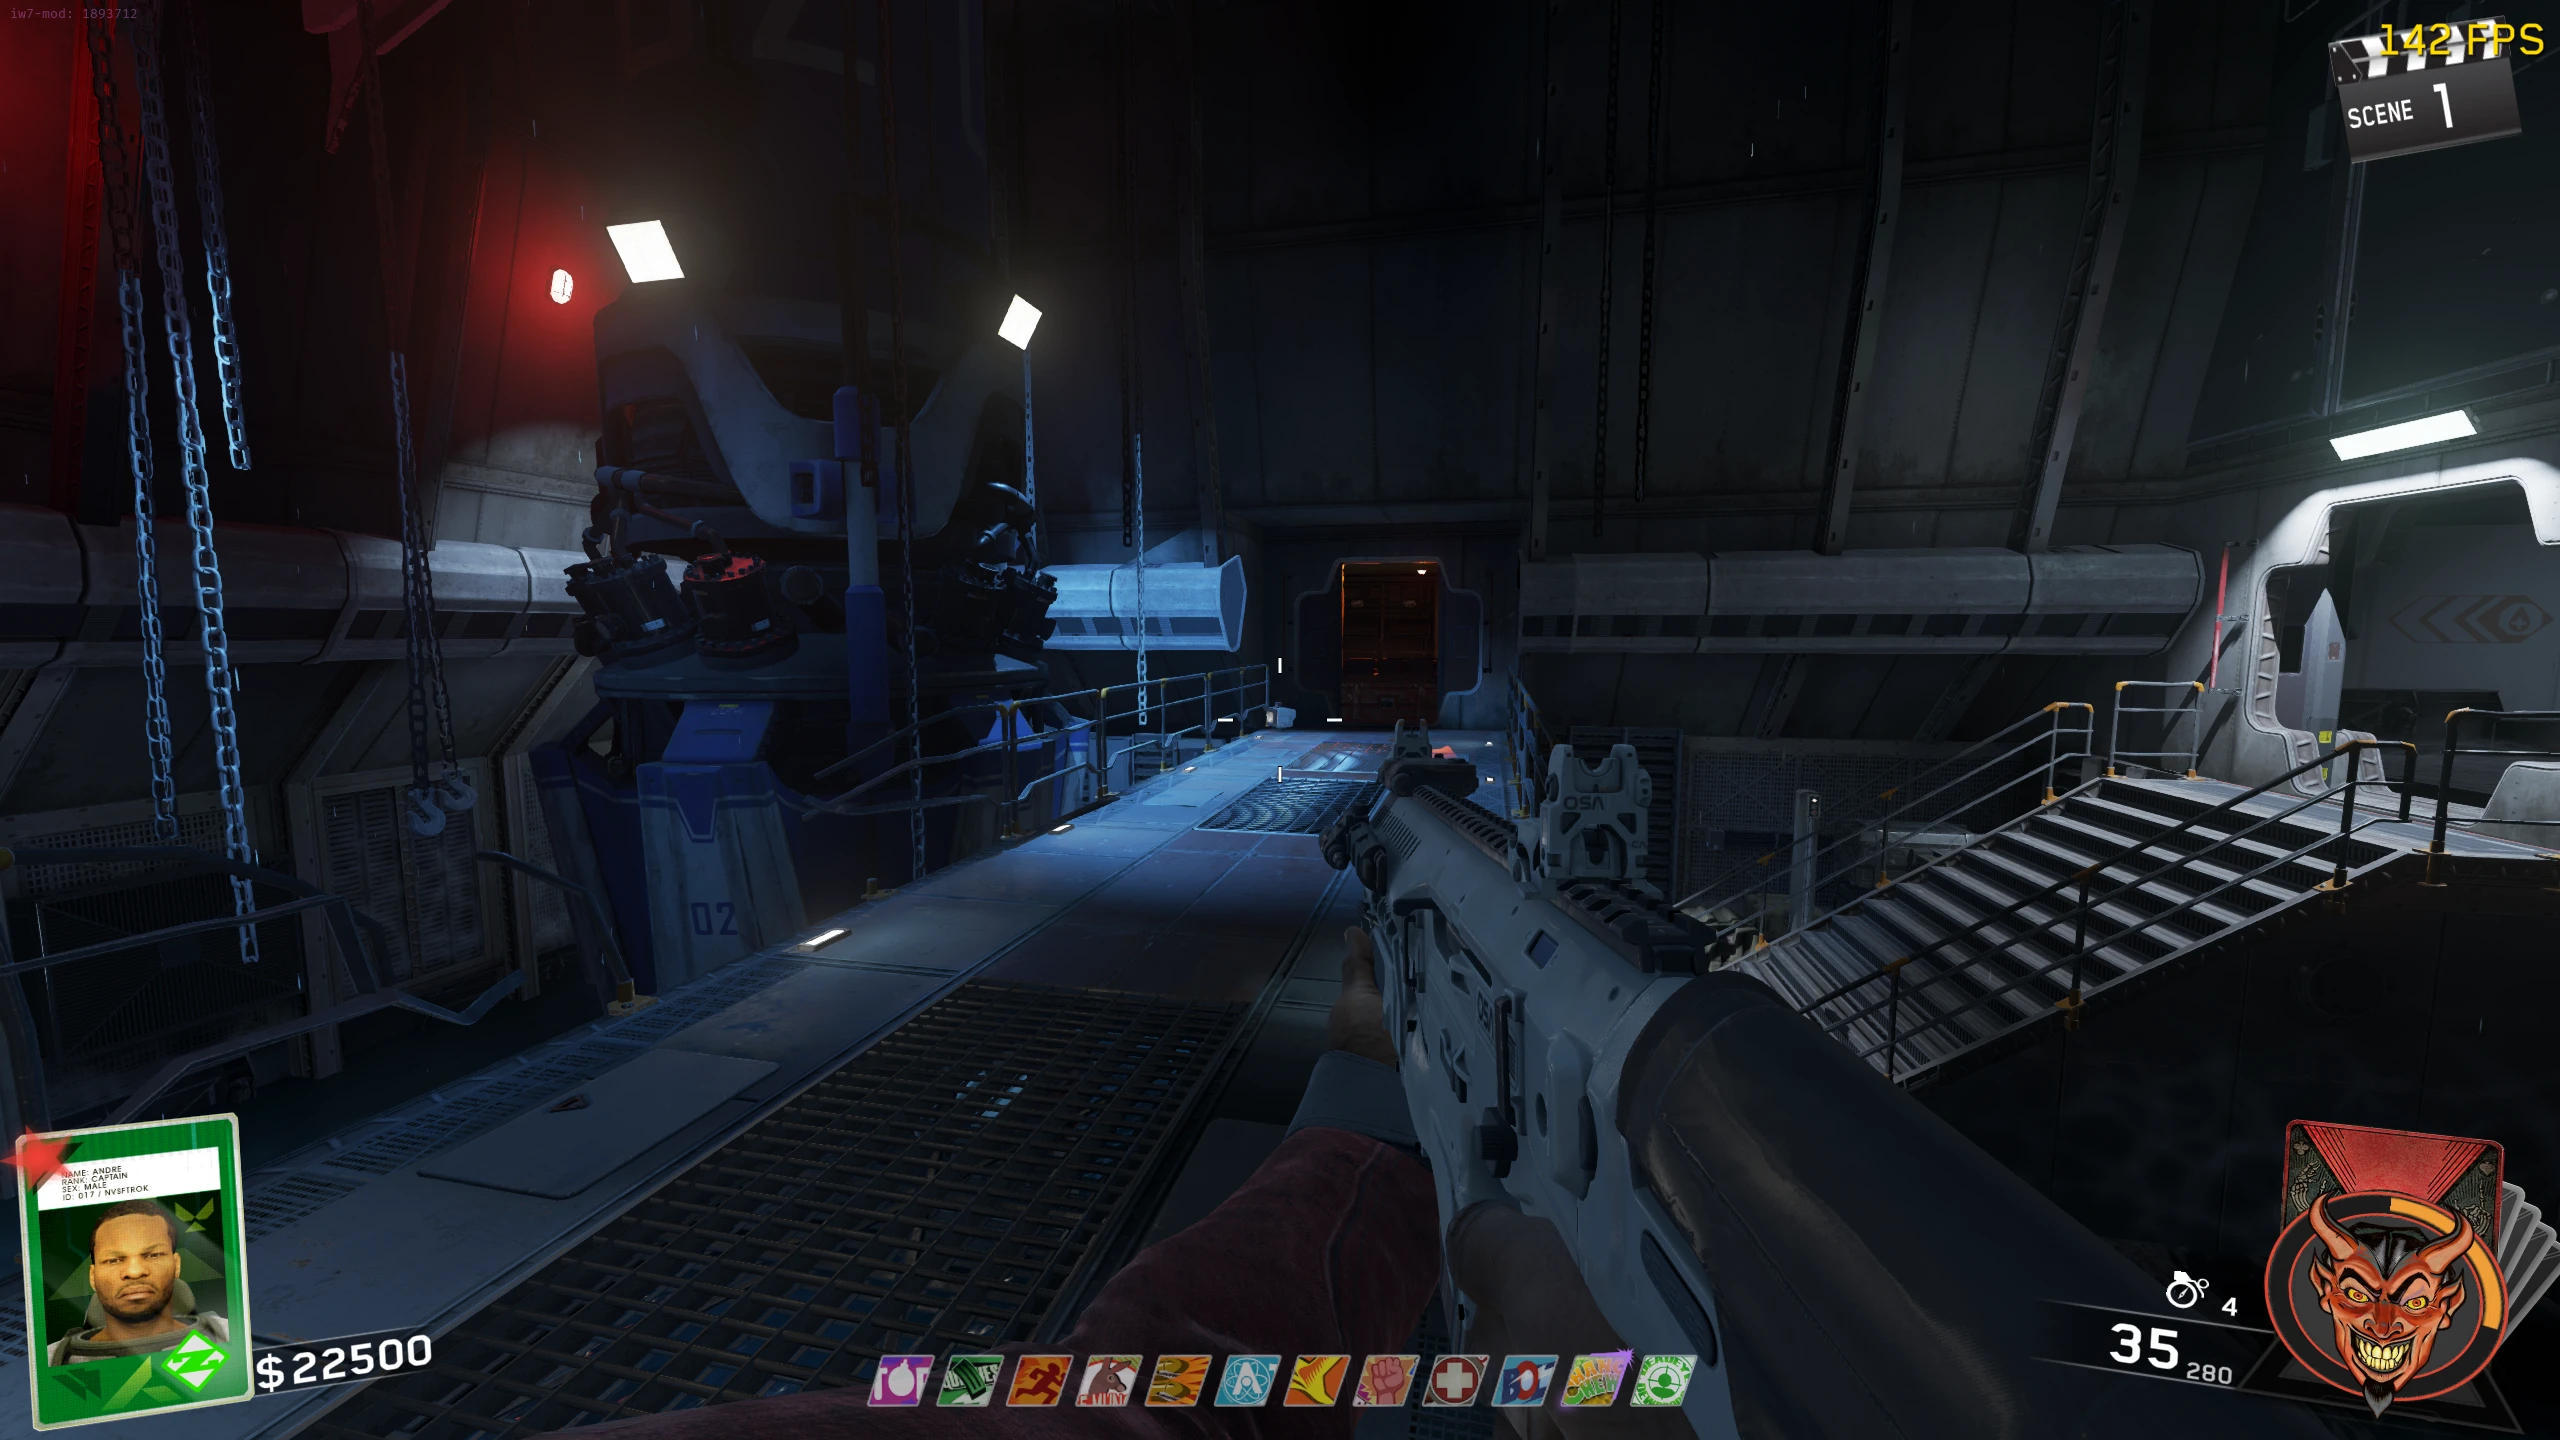
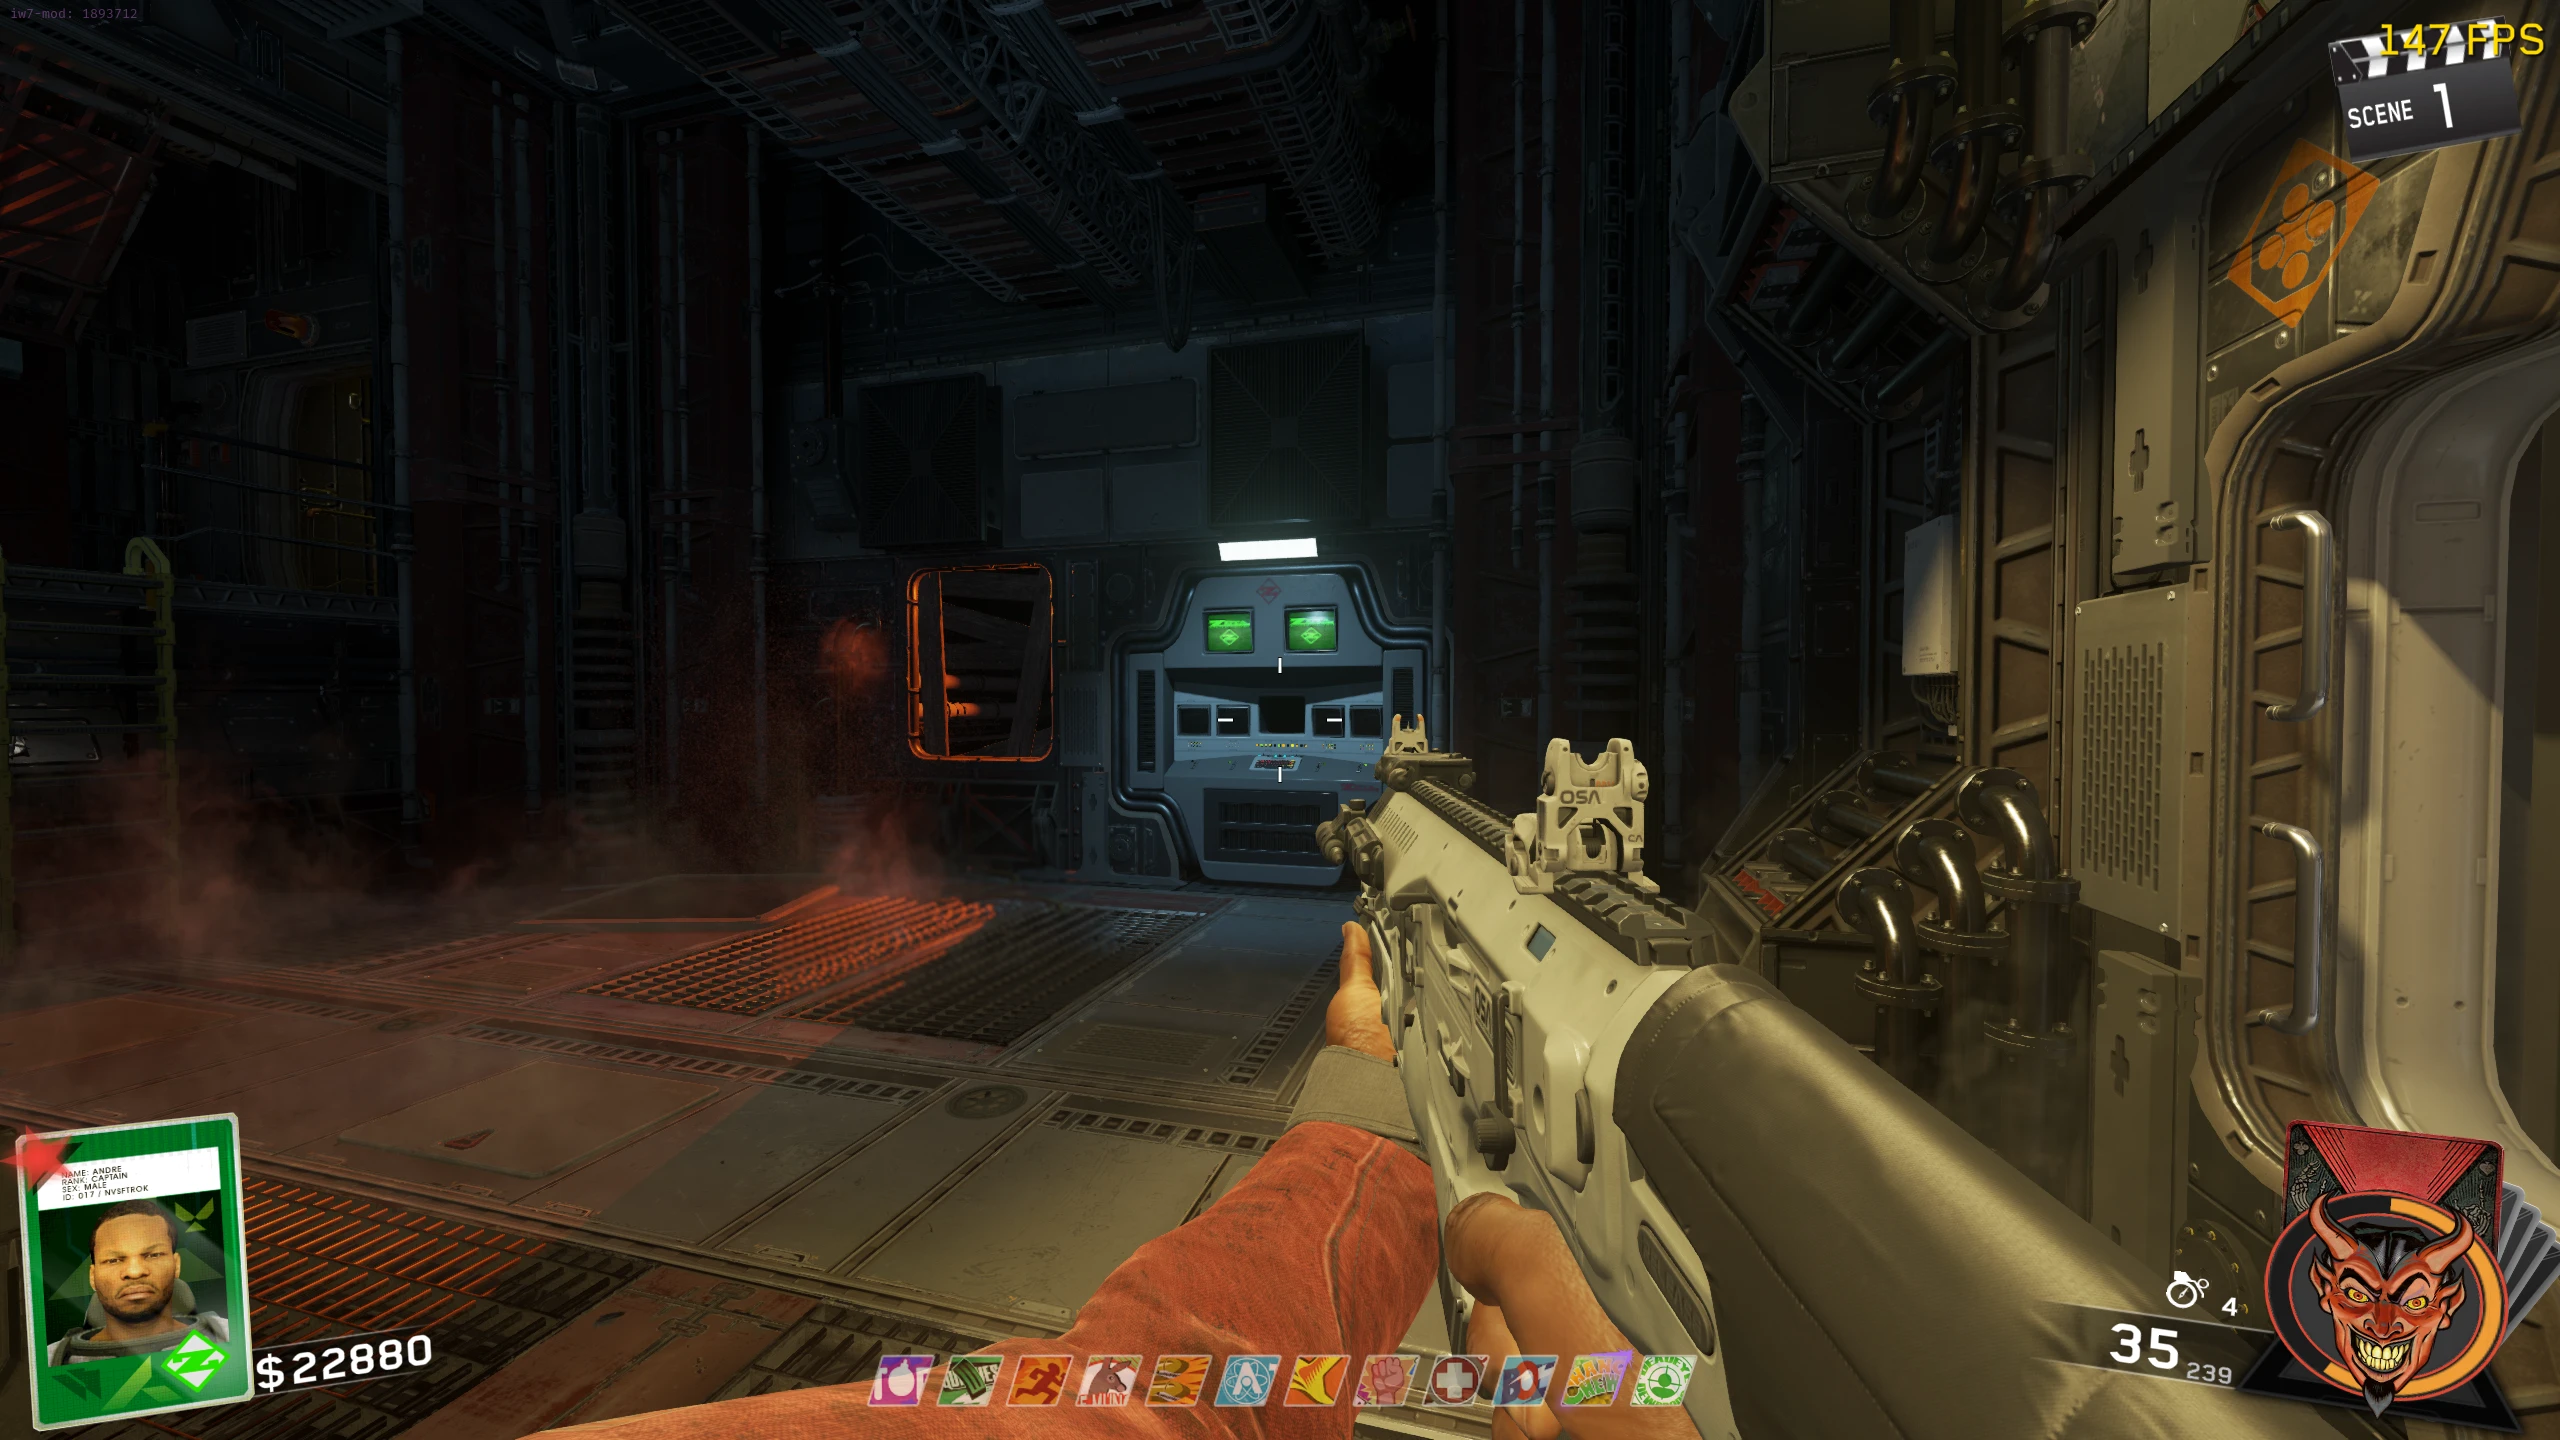
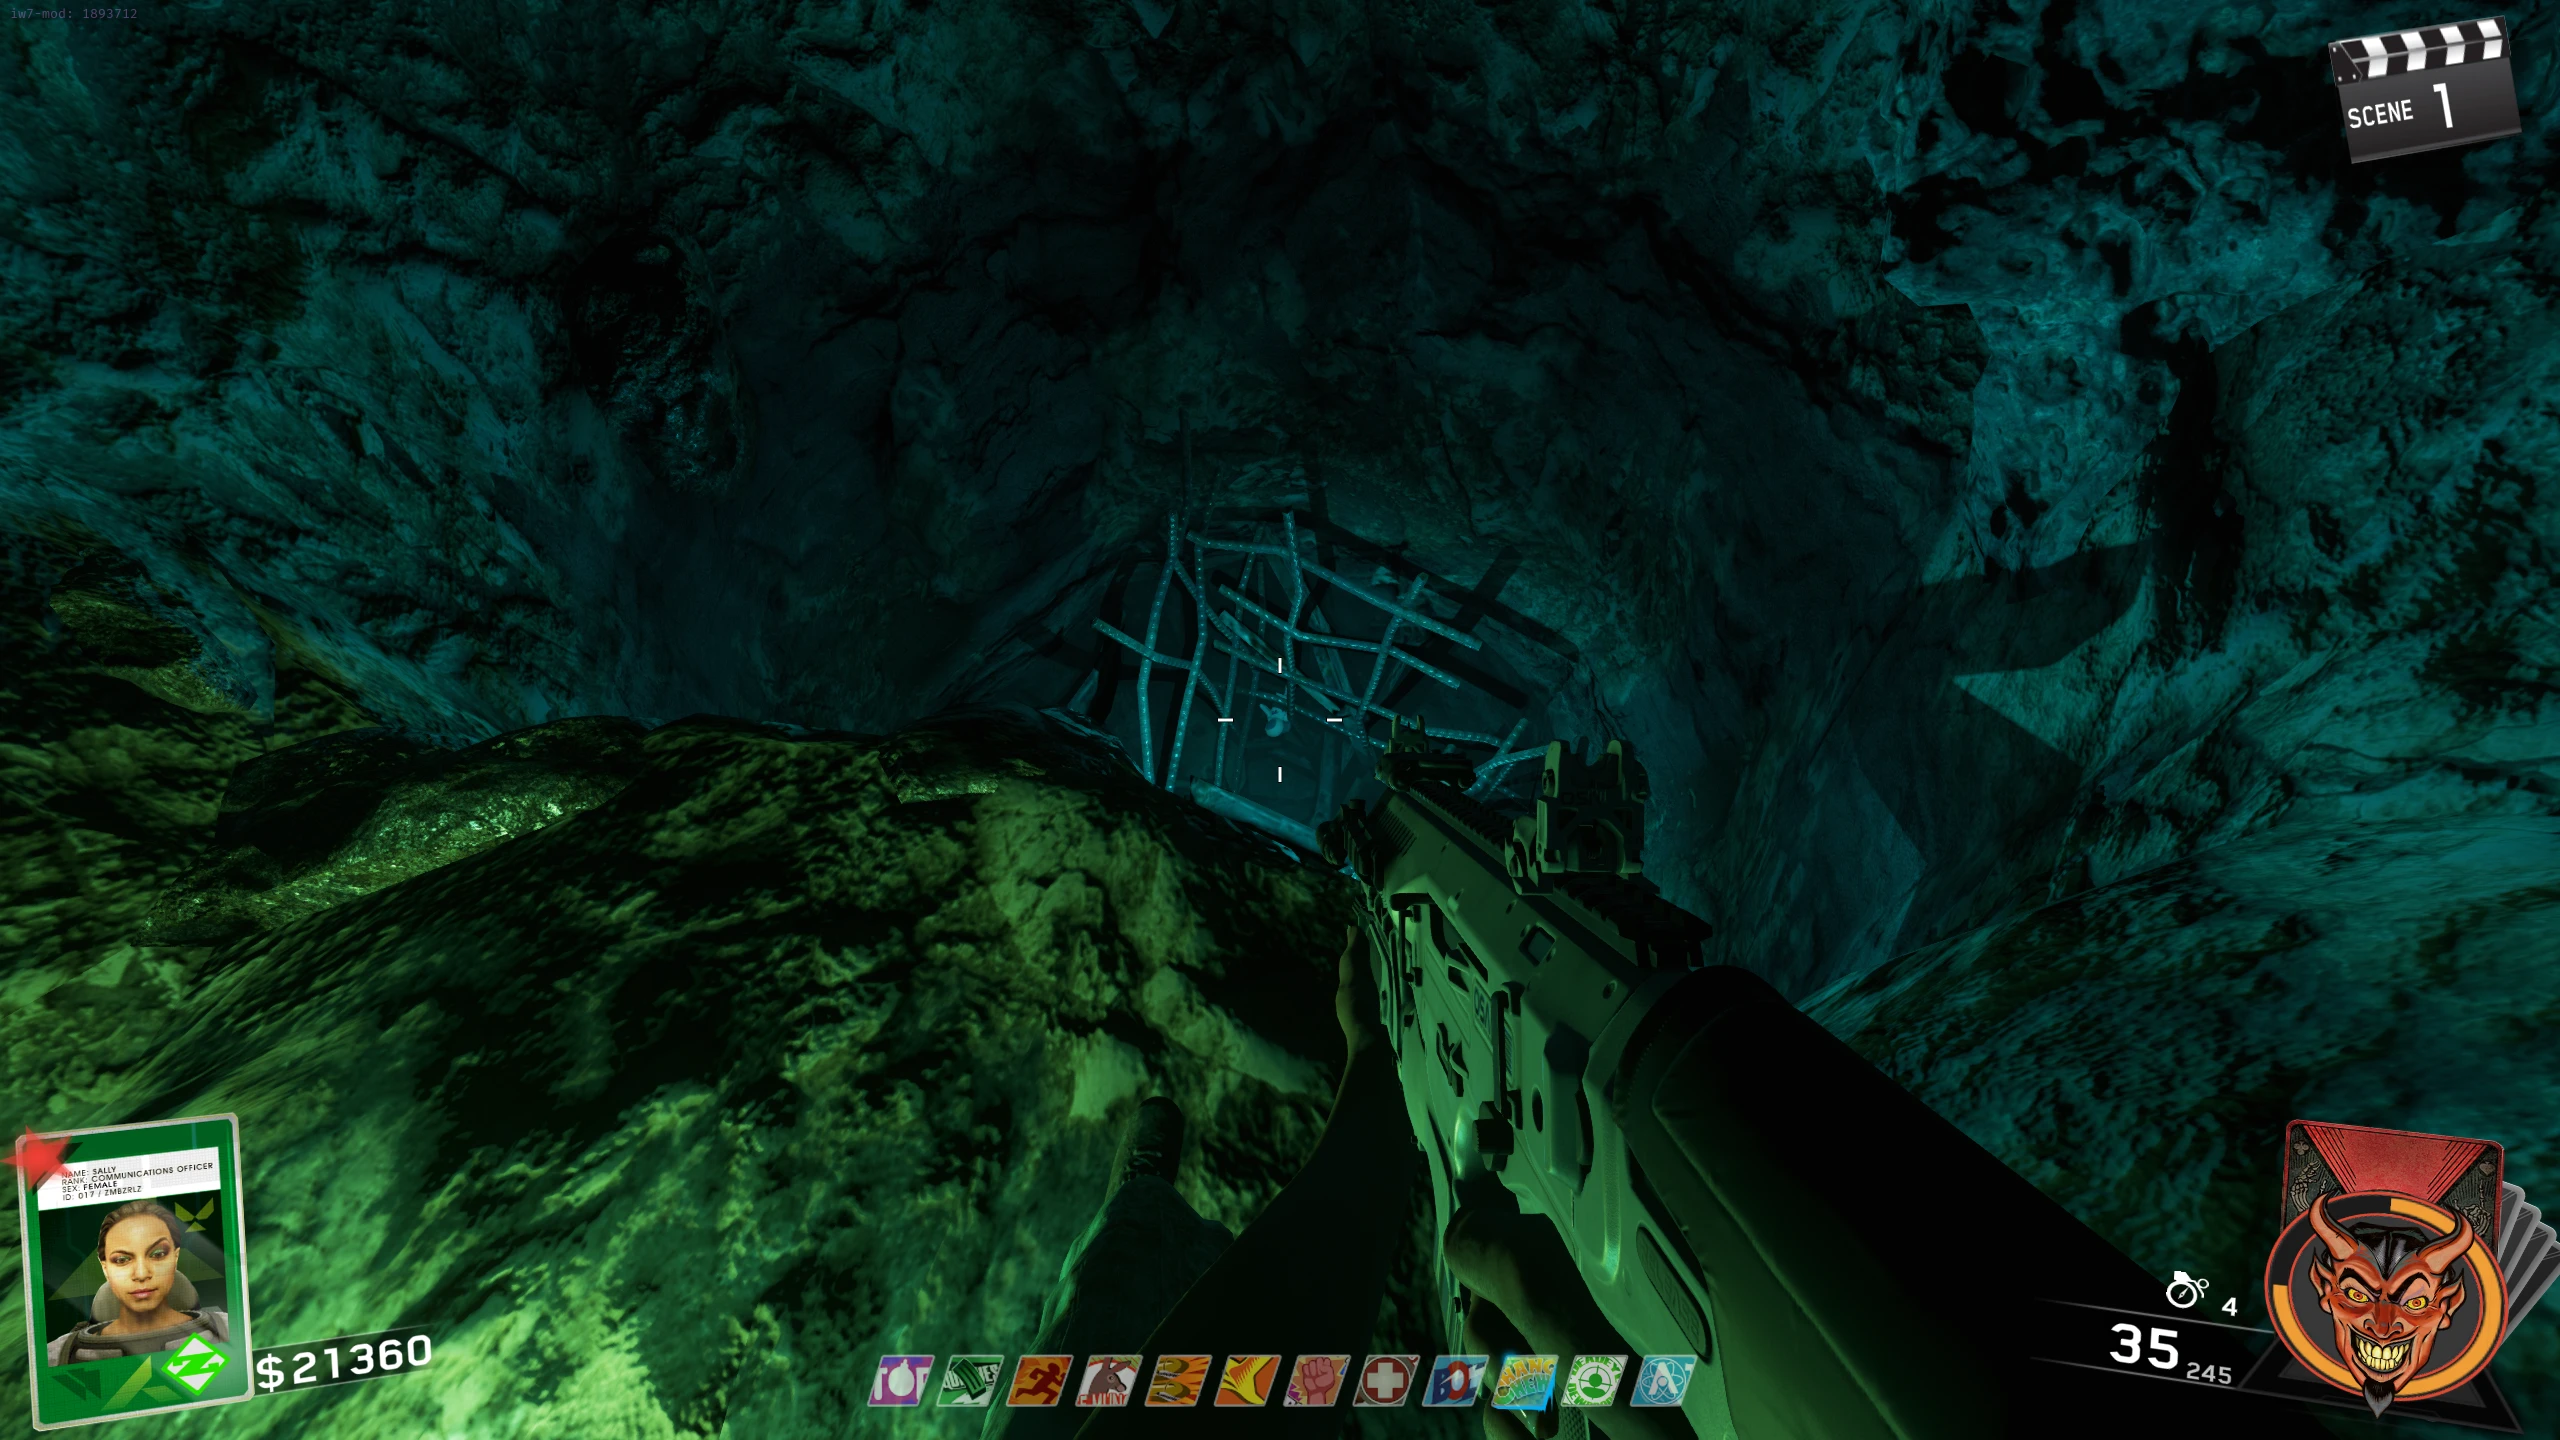
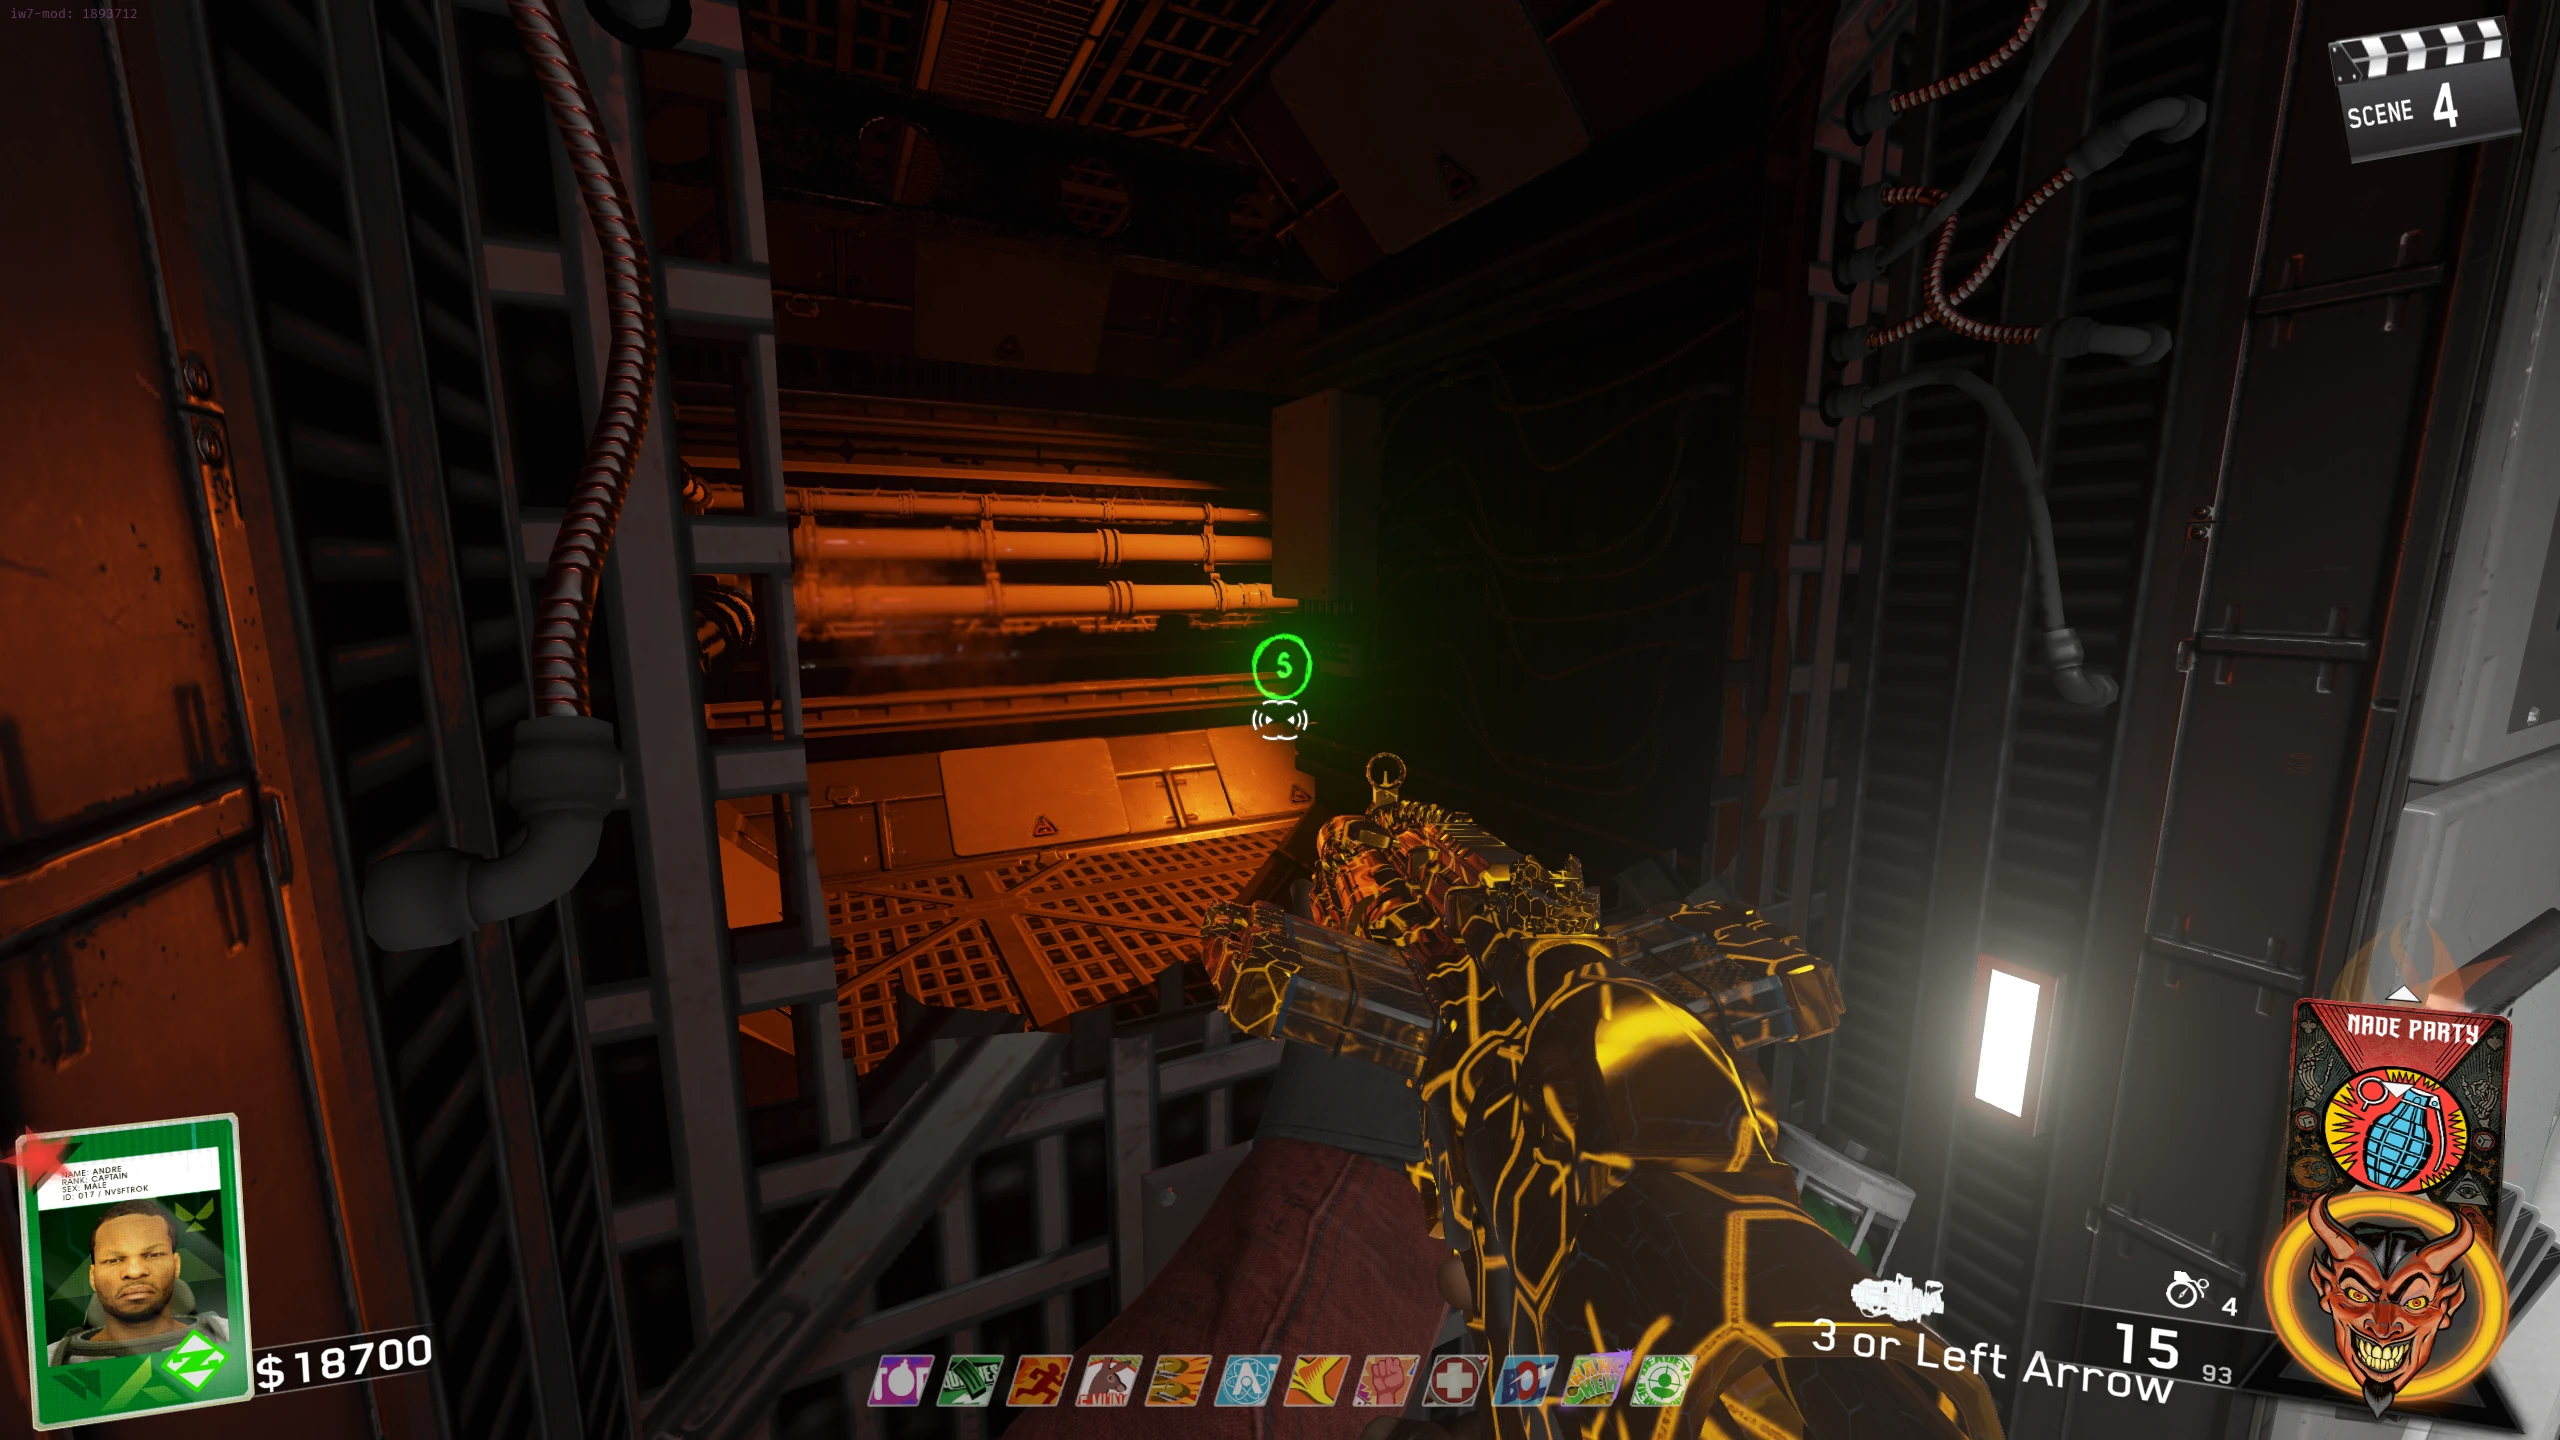
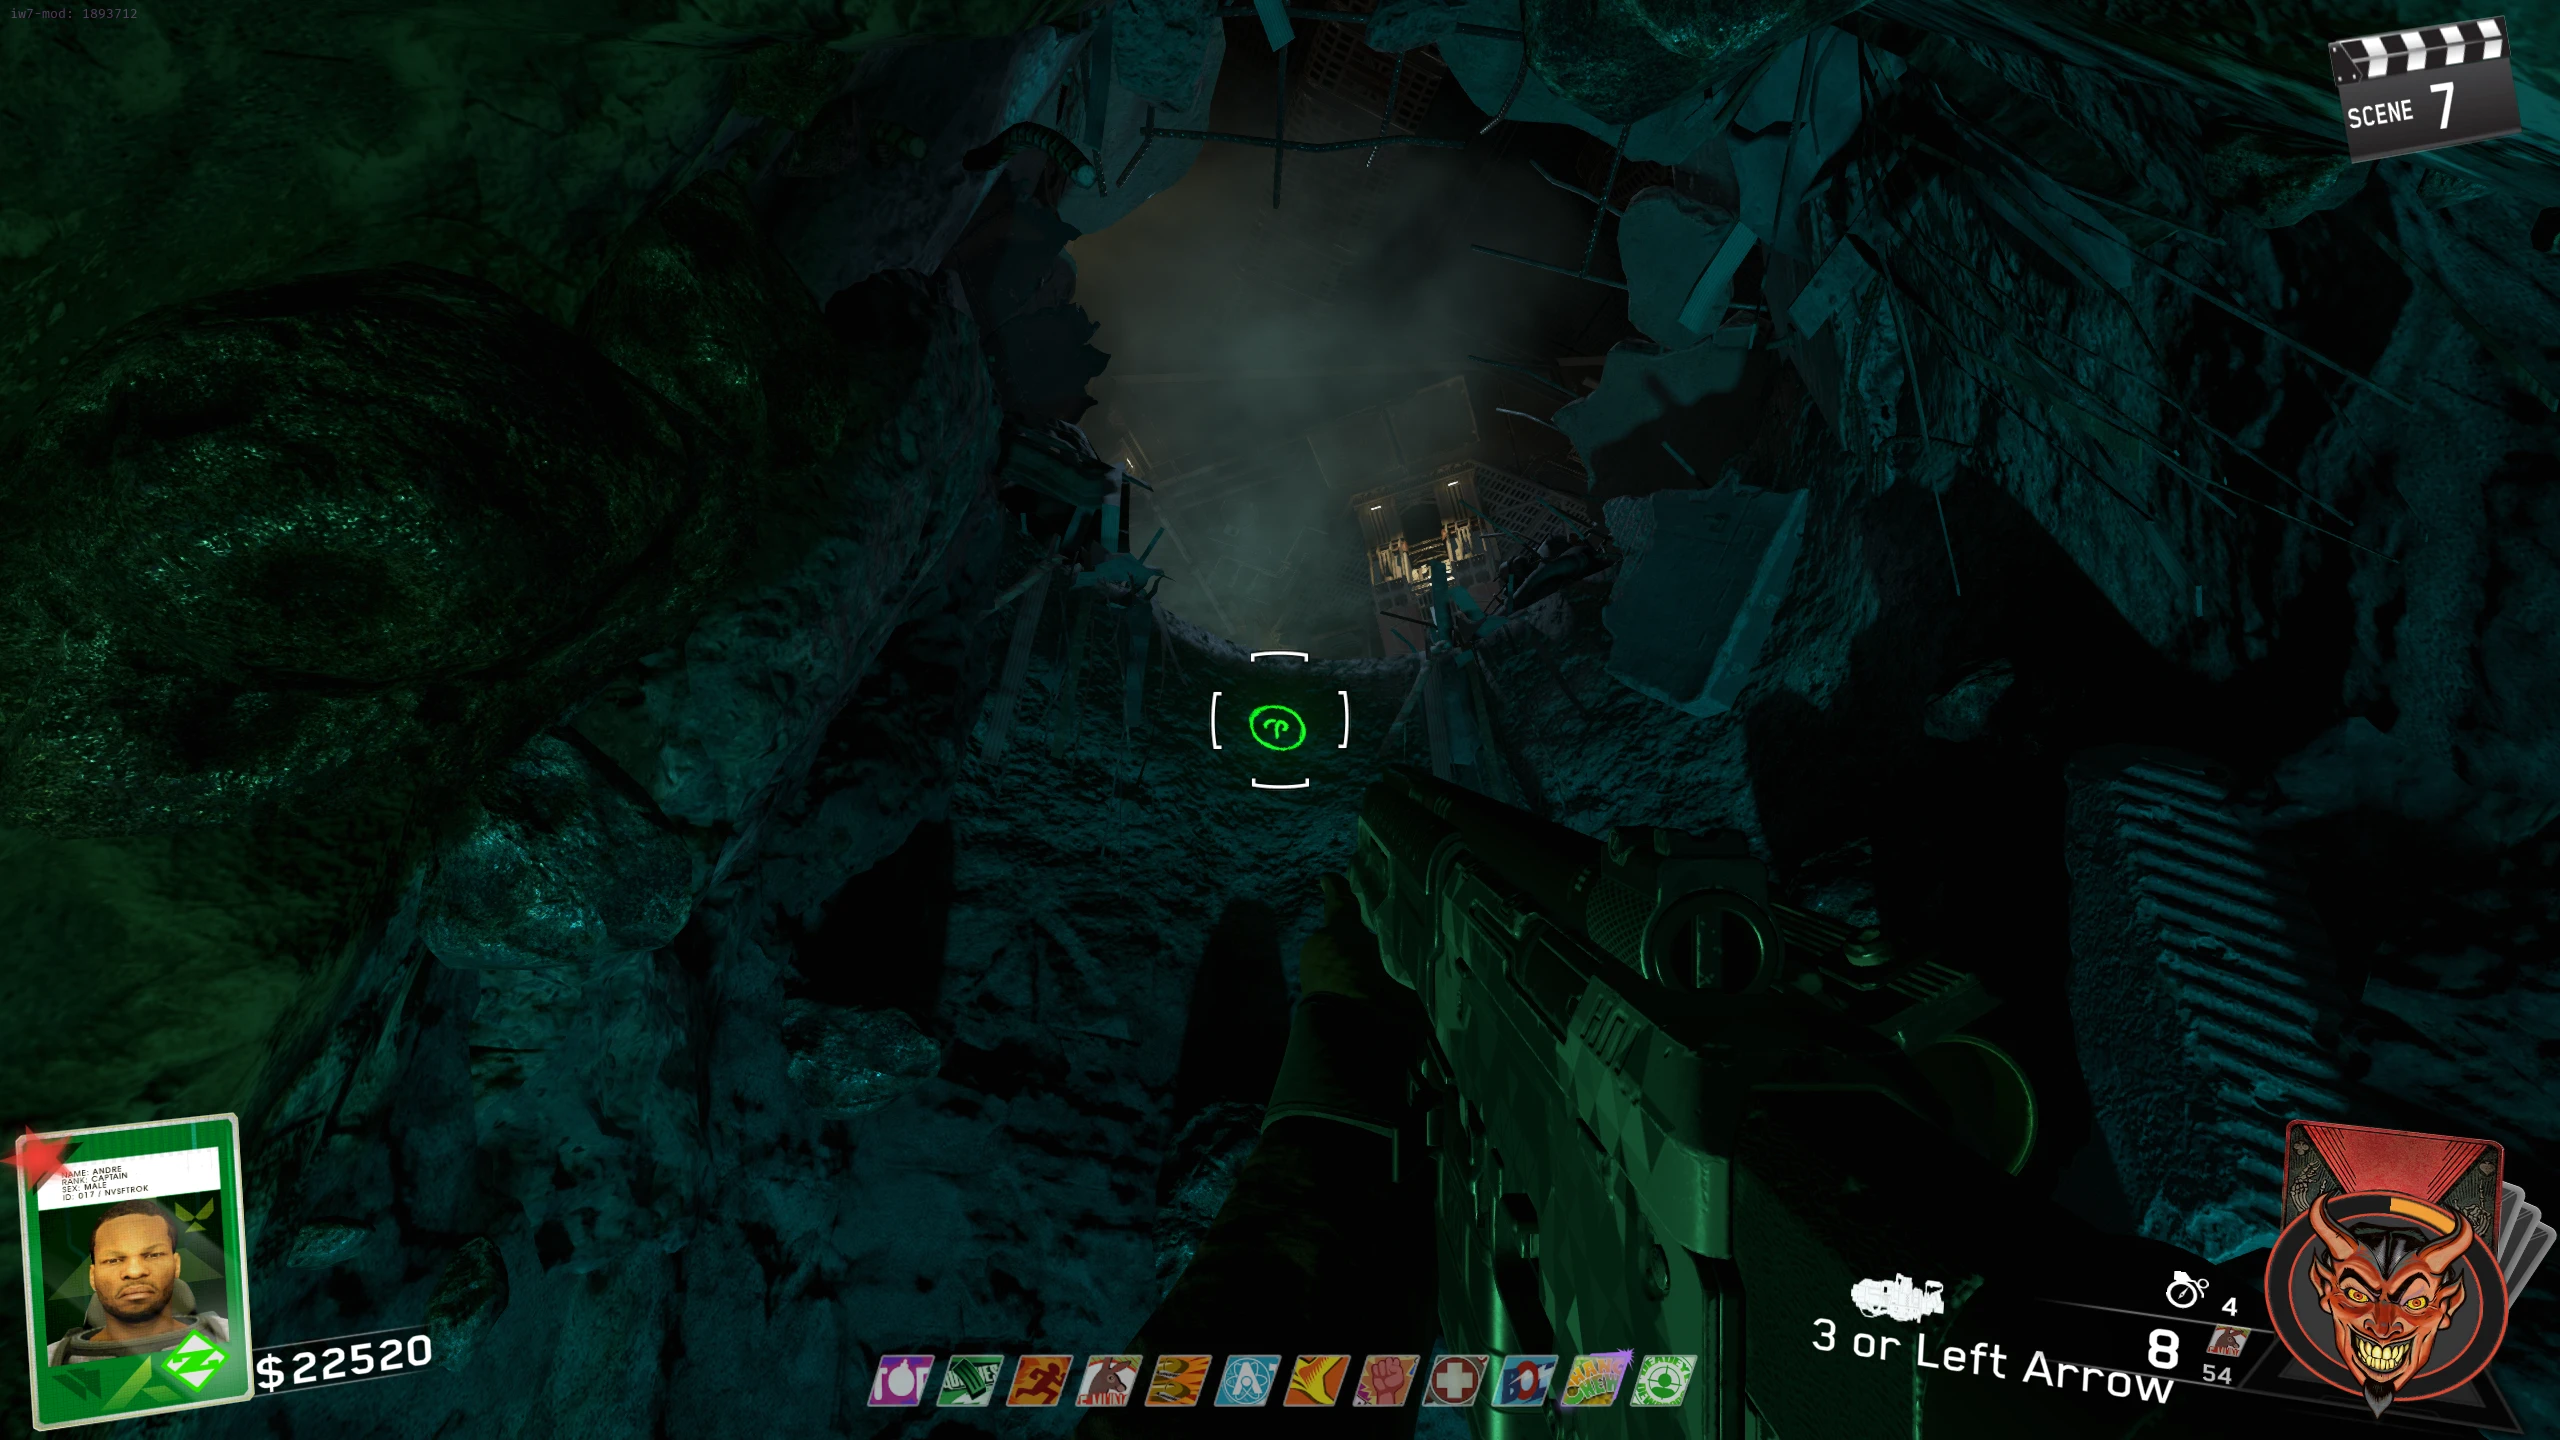
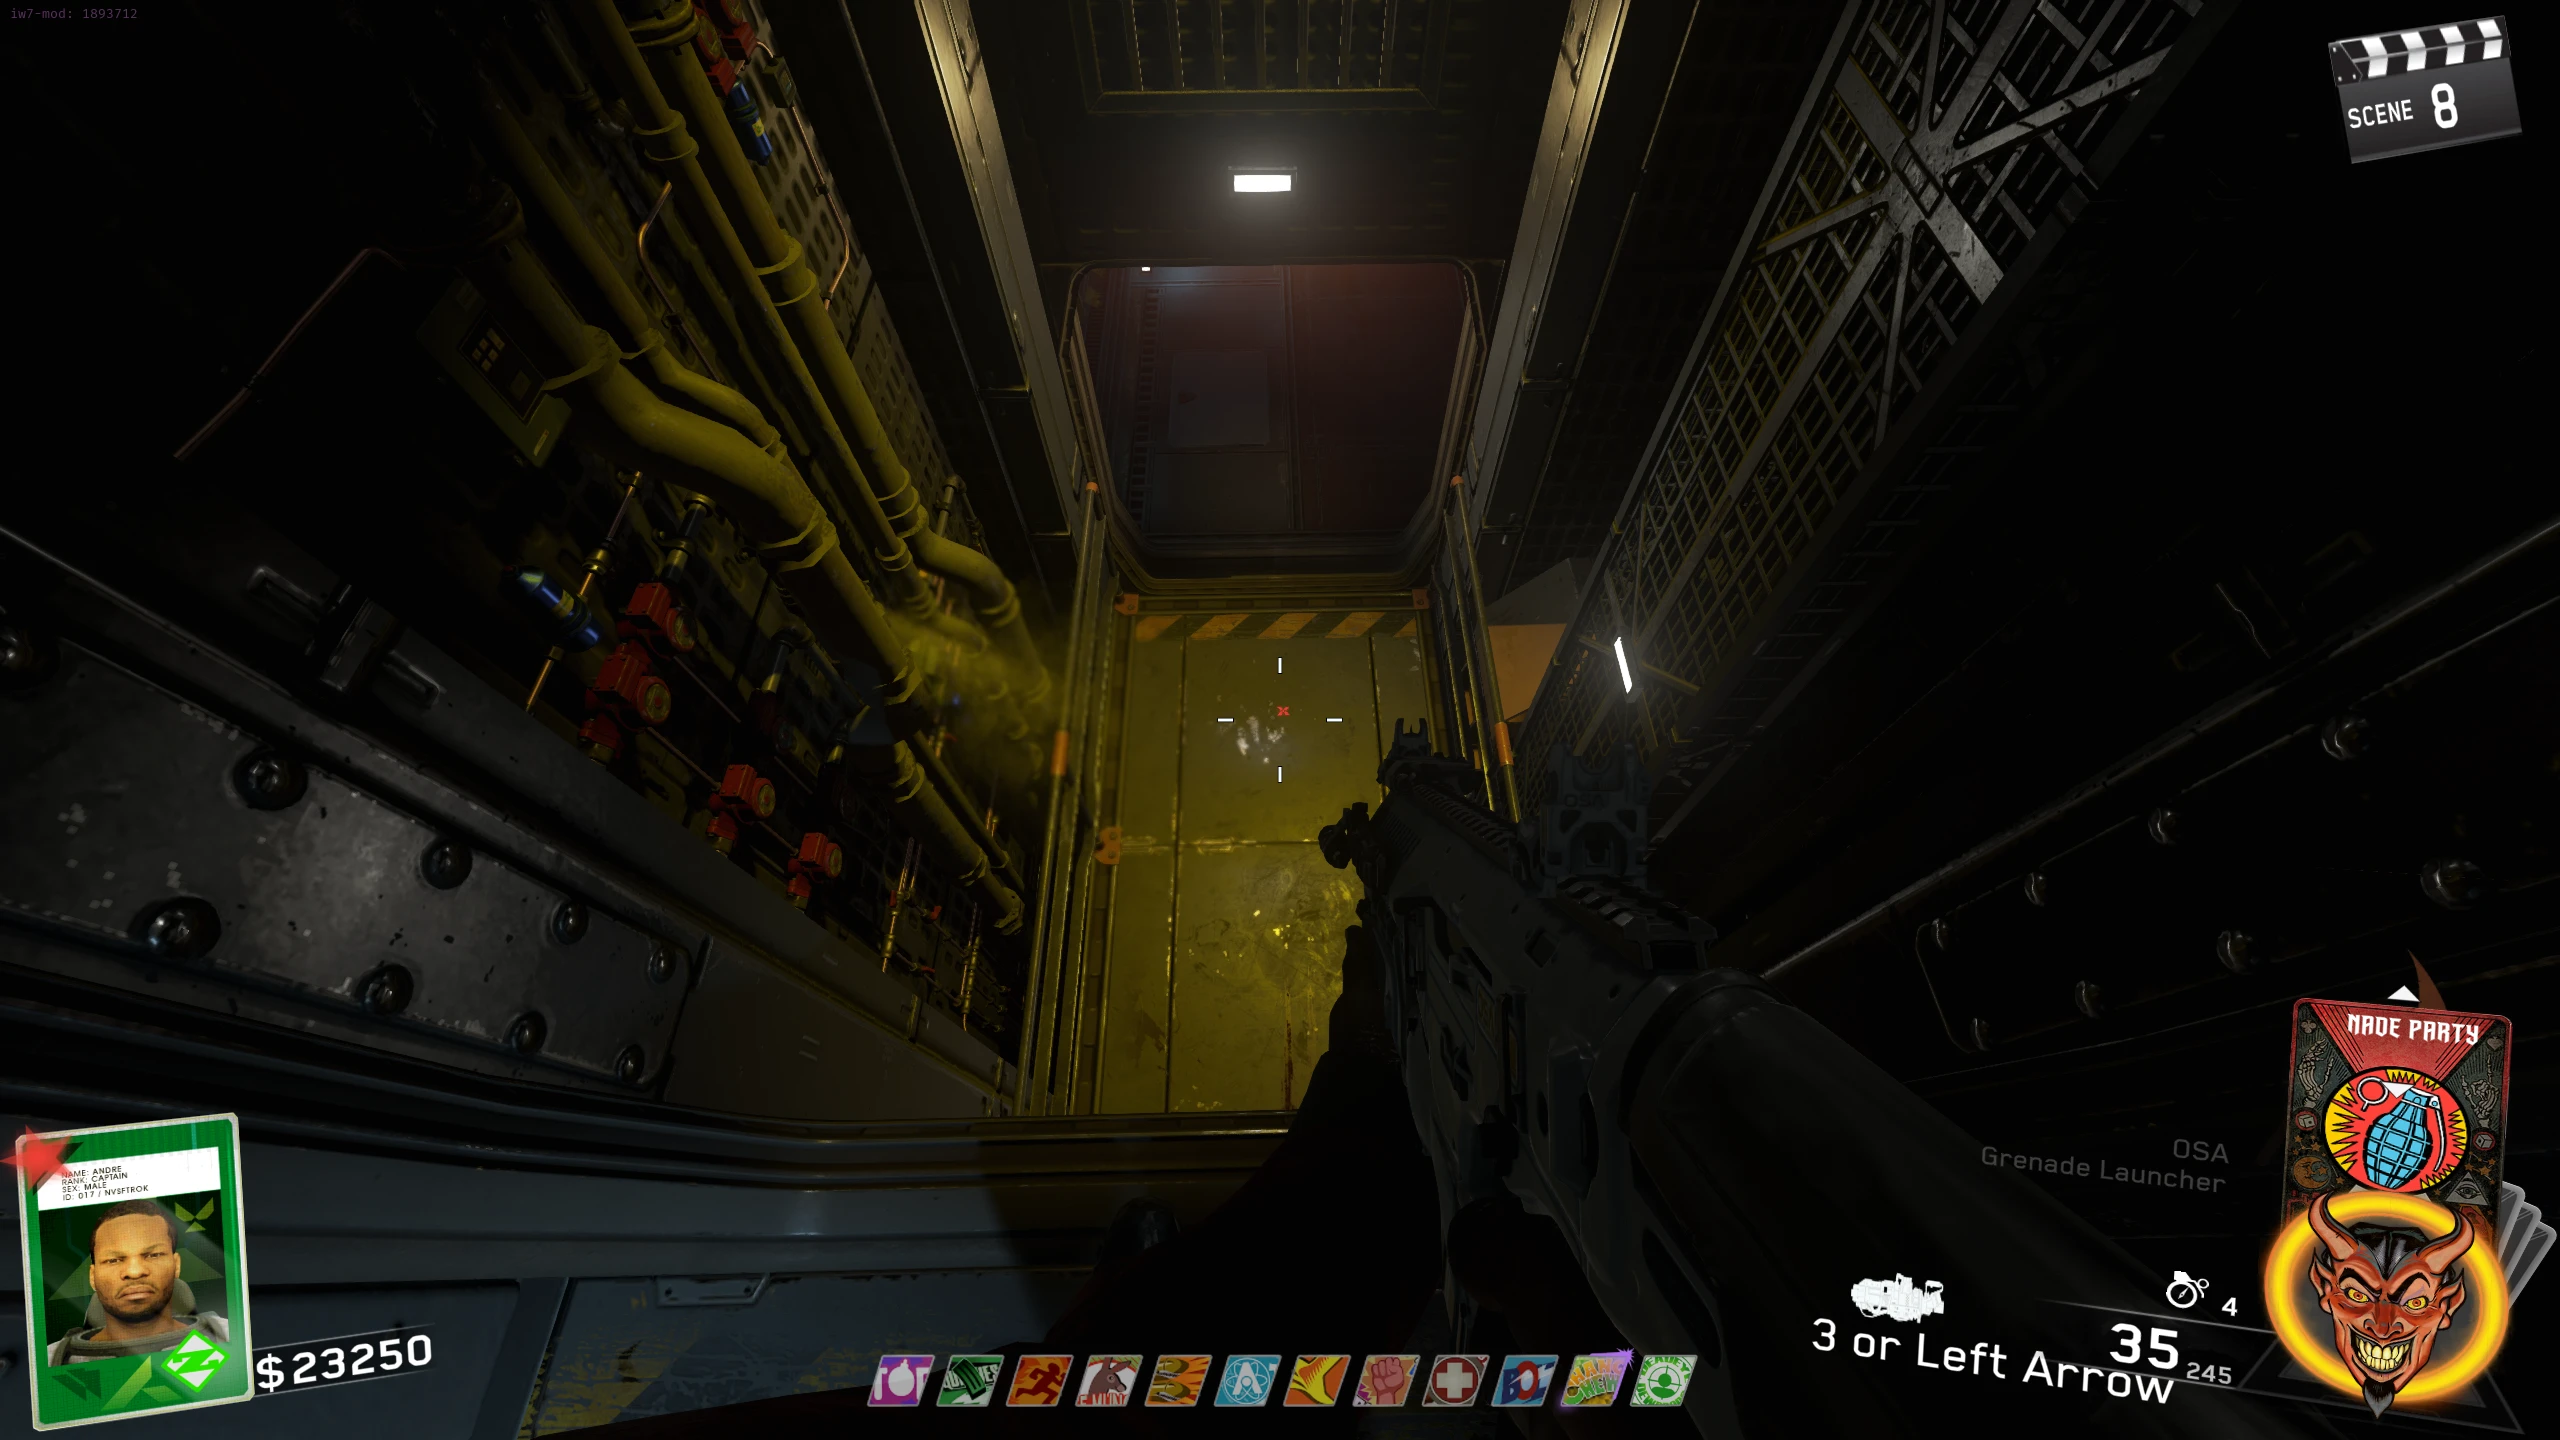
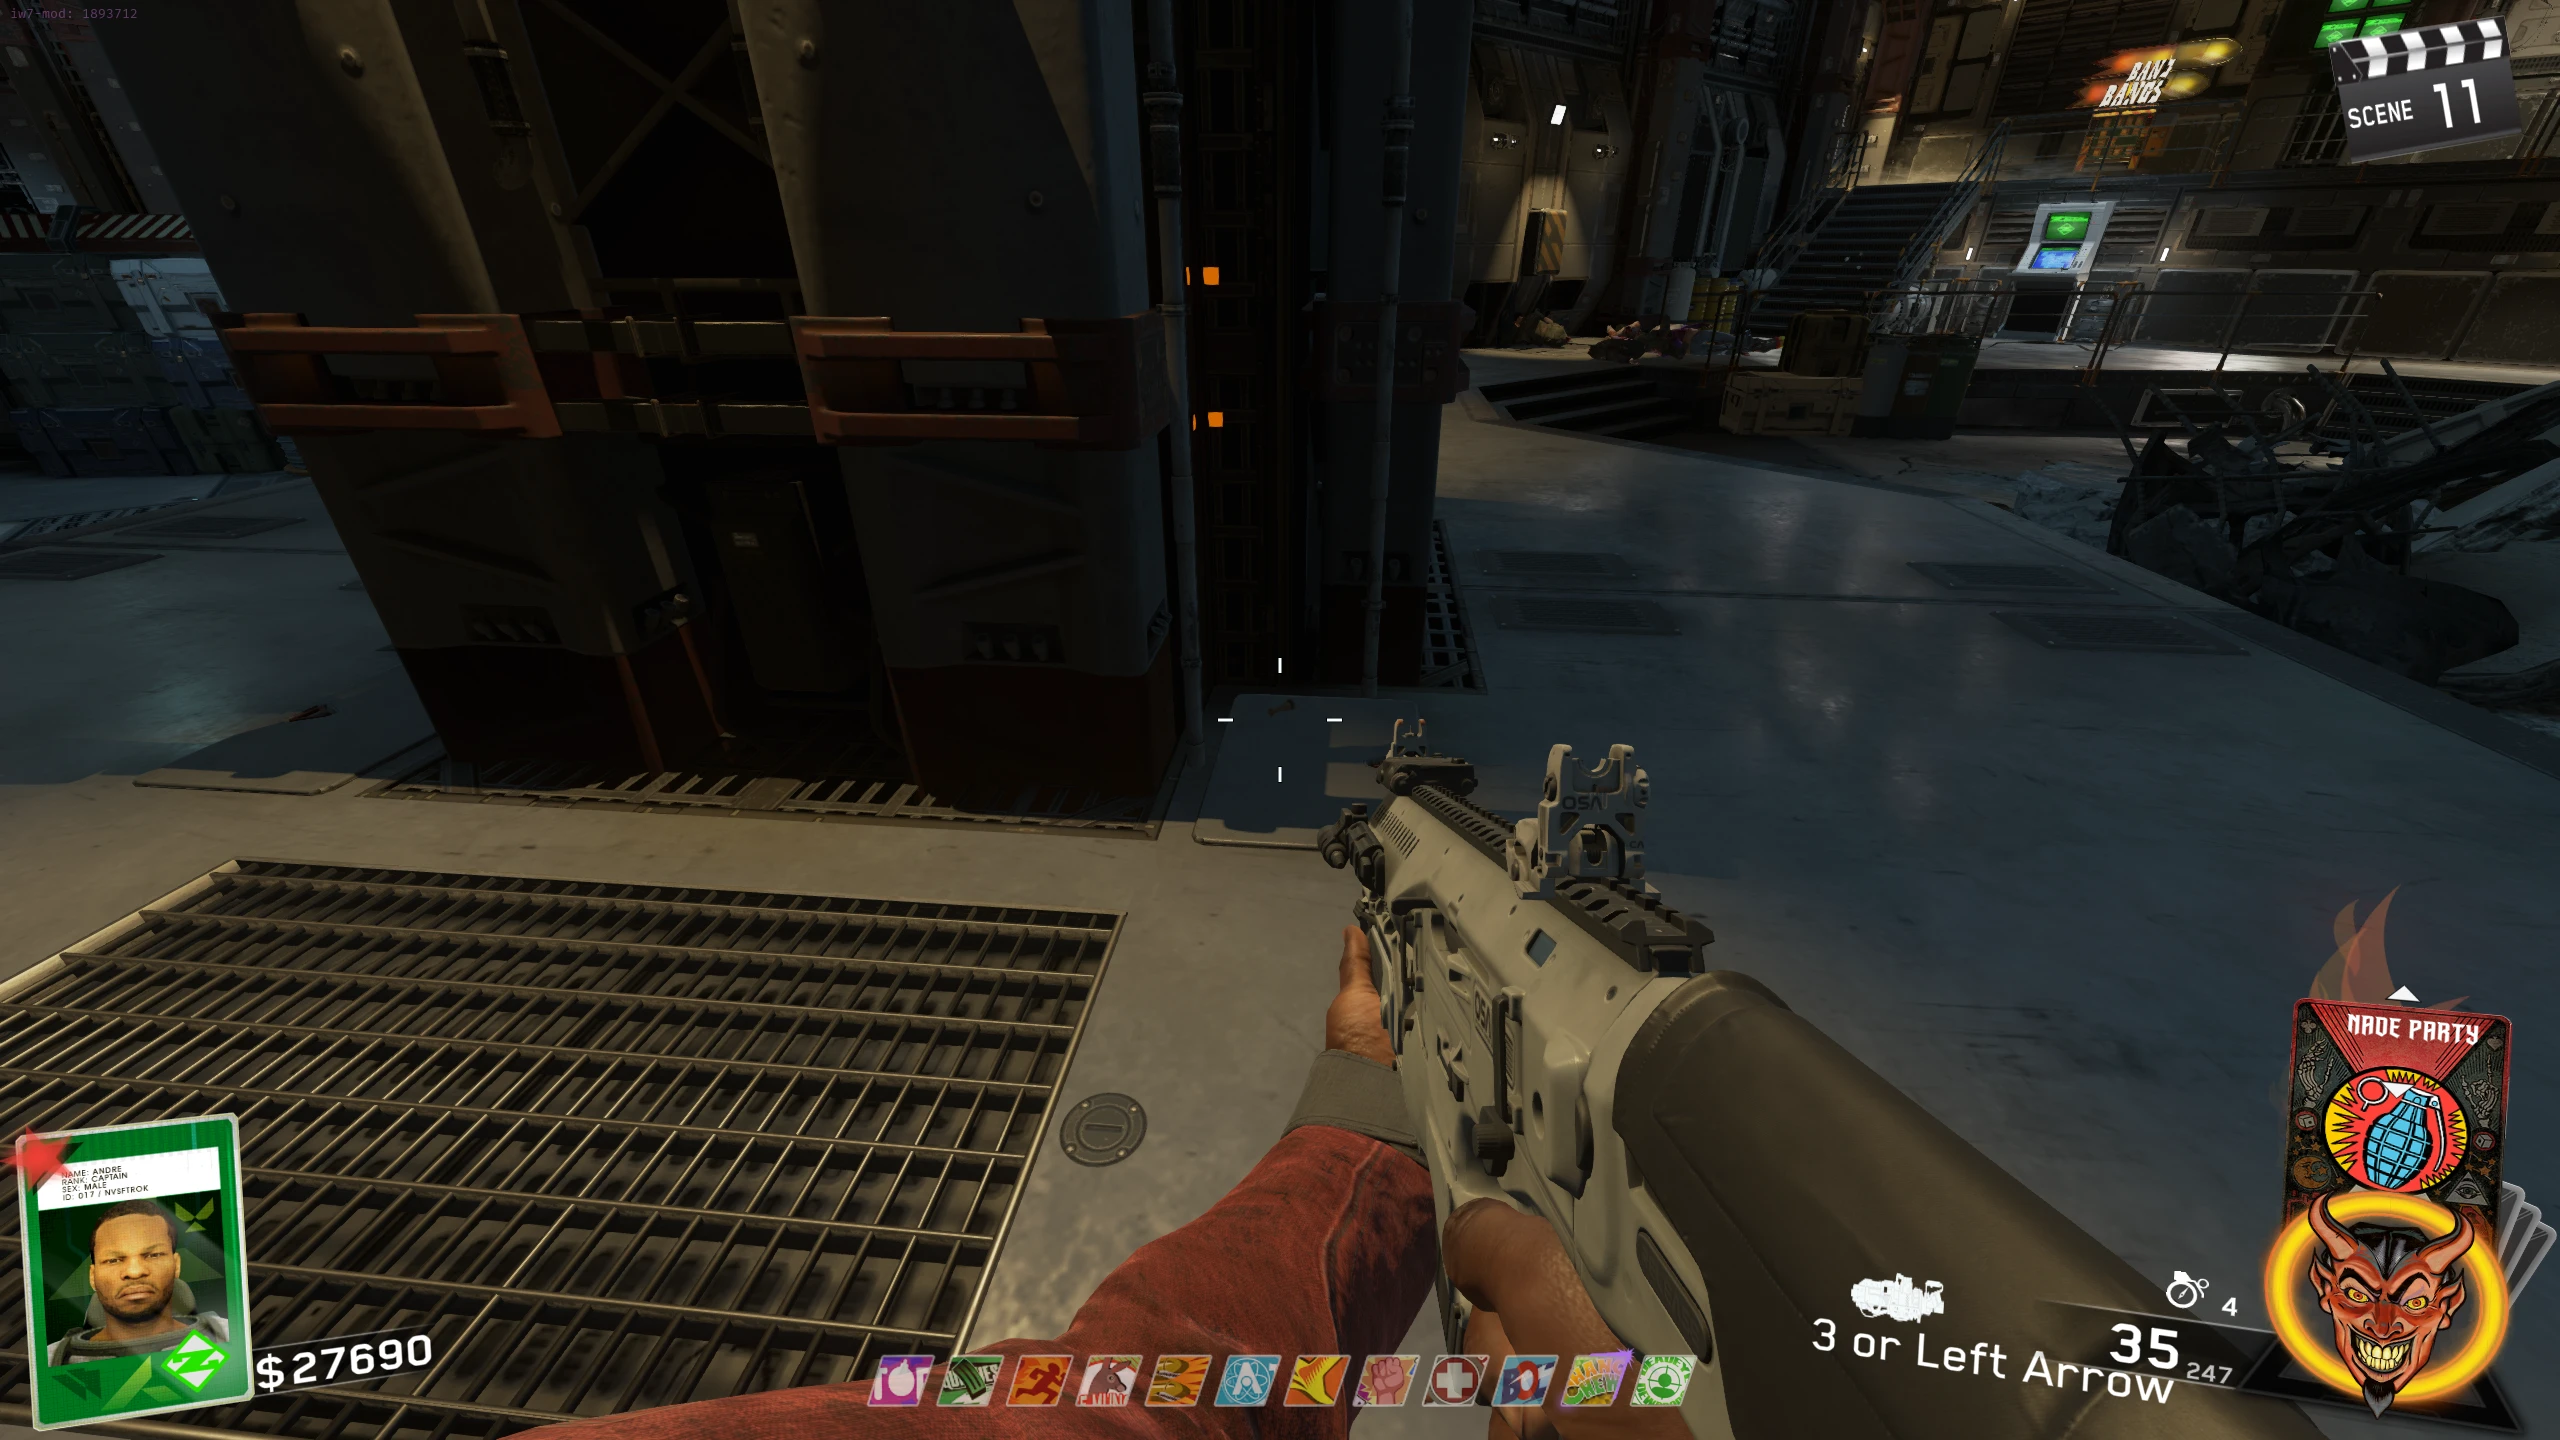
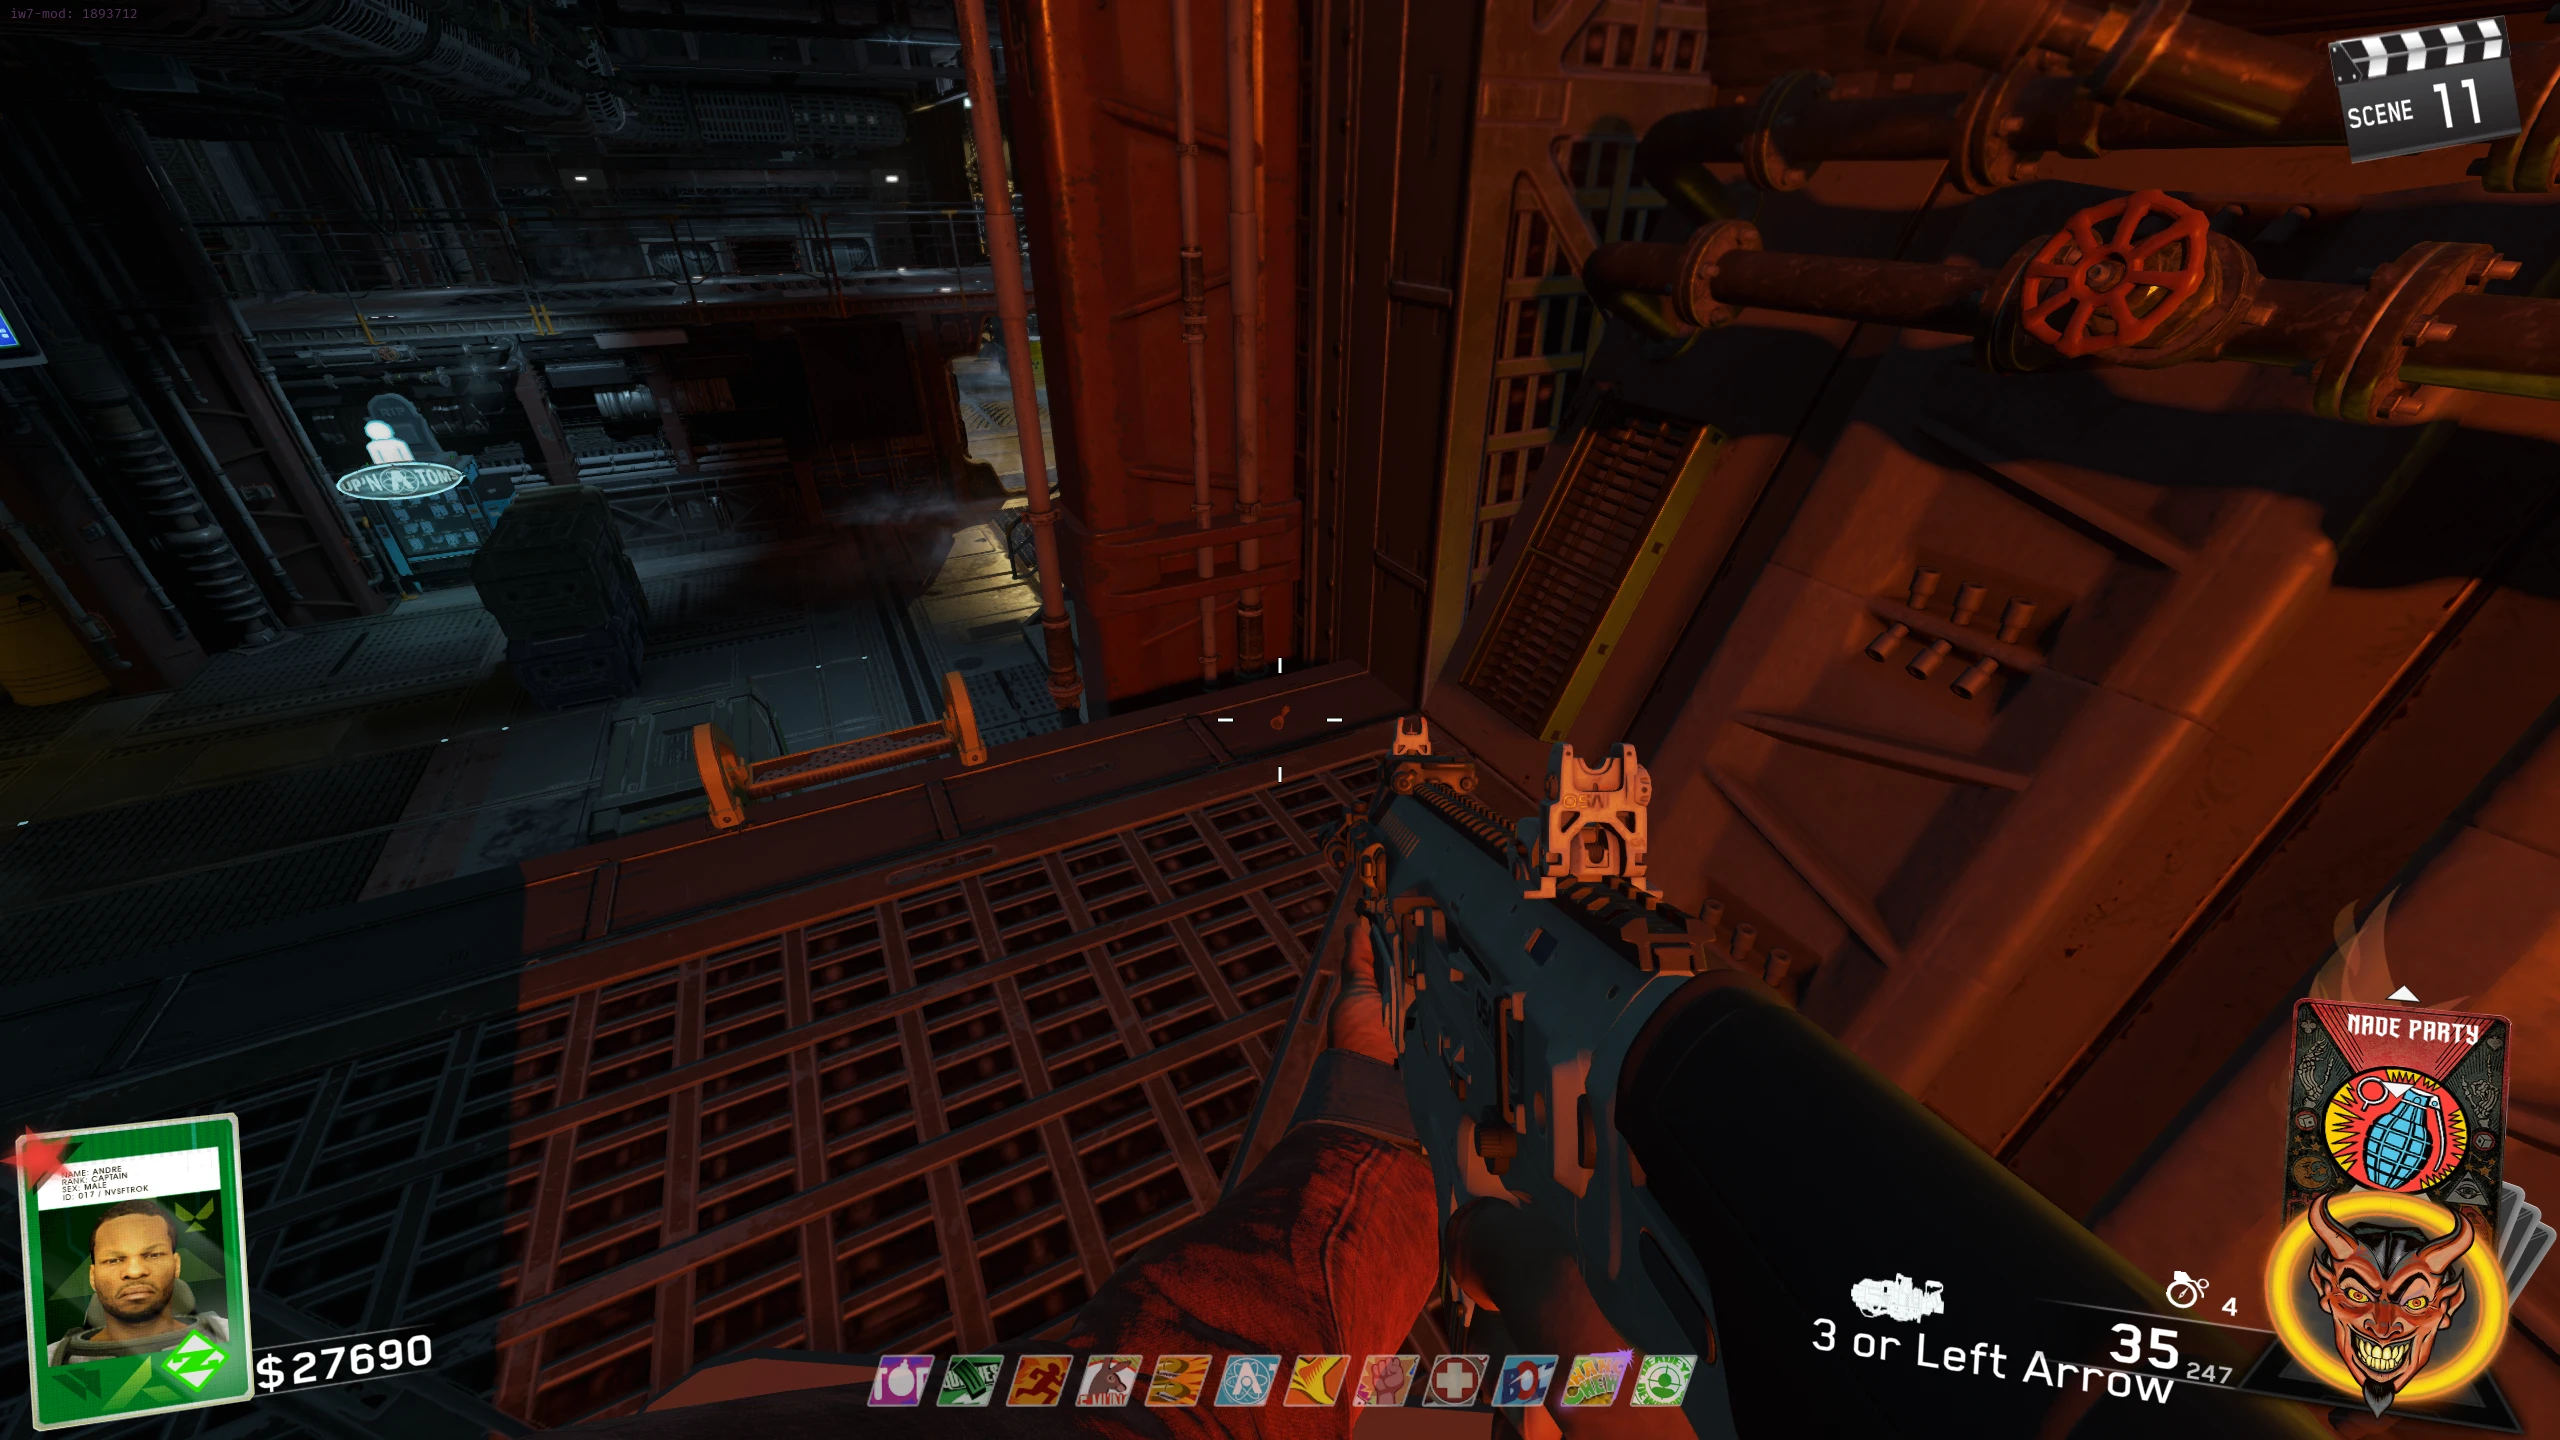
- In the Ops Center (big, main room), drop down the hole in the middle of the room. Make sure you land on the ledge at the bottom, or you'll fall to your death.
- At the end of the hallway, N31L's head will be sitting on the floor. Pick it up.
- Bring the head back to the spawn room, and interact with the slot on the wall near the door. This will turn on the power. At the start of the next round, Zombies will replace the Cryptids as the default enemy, returning the map to normal.
Pack-a-Punch
- Turn on the Power.
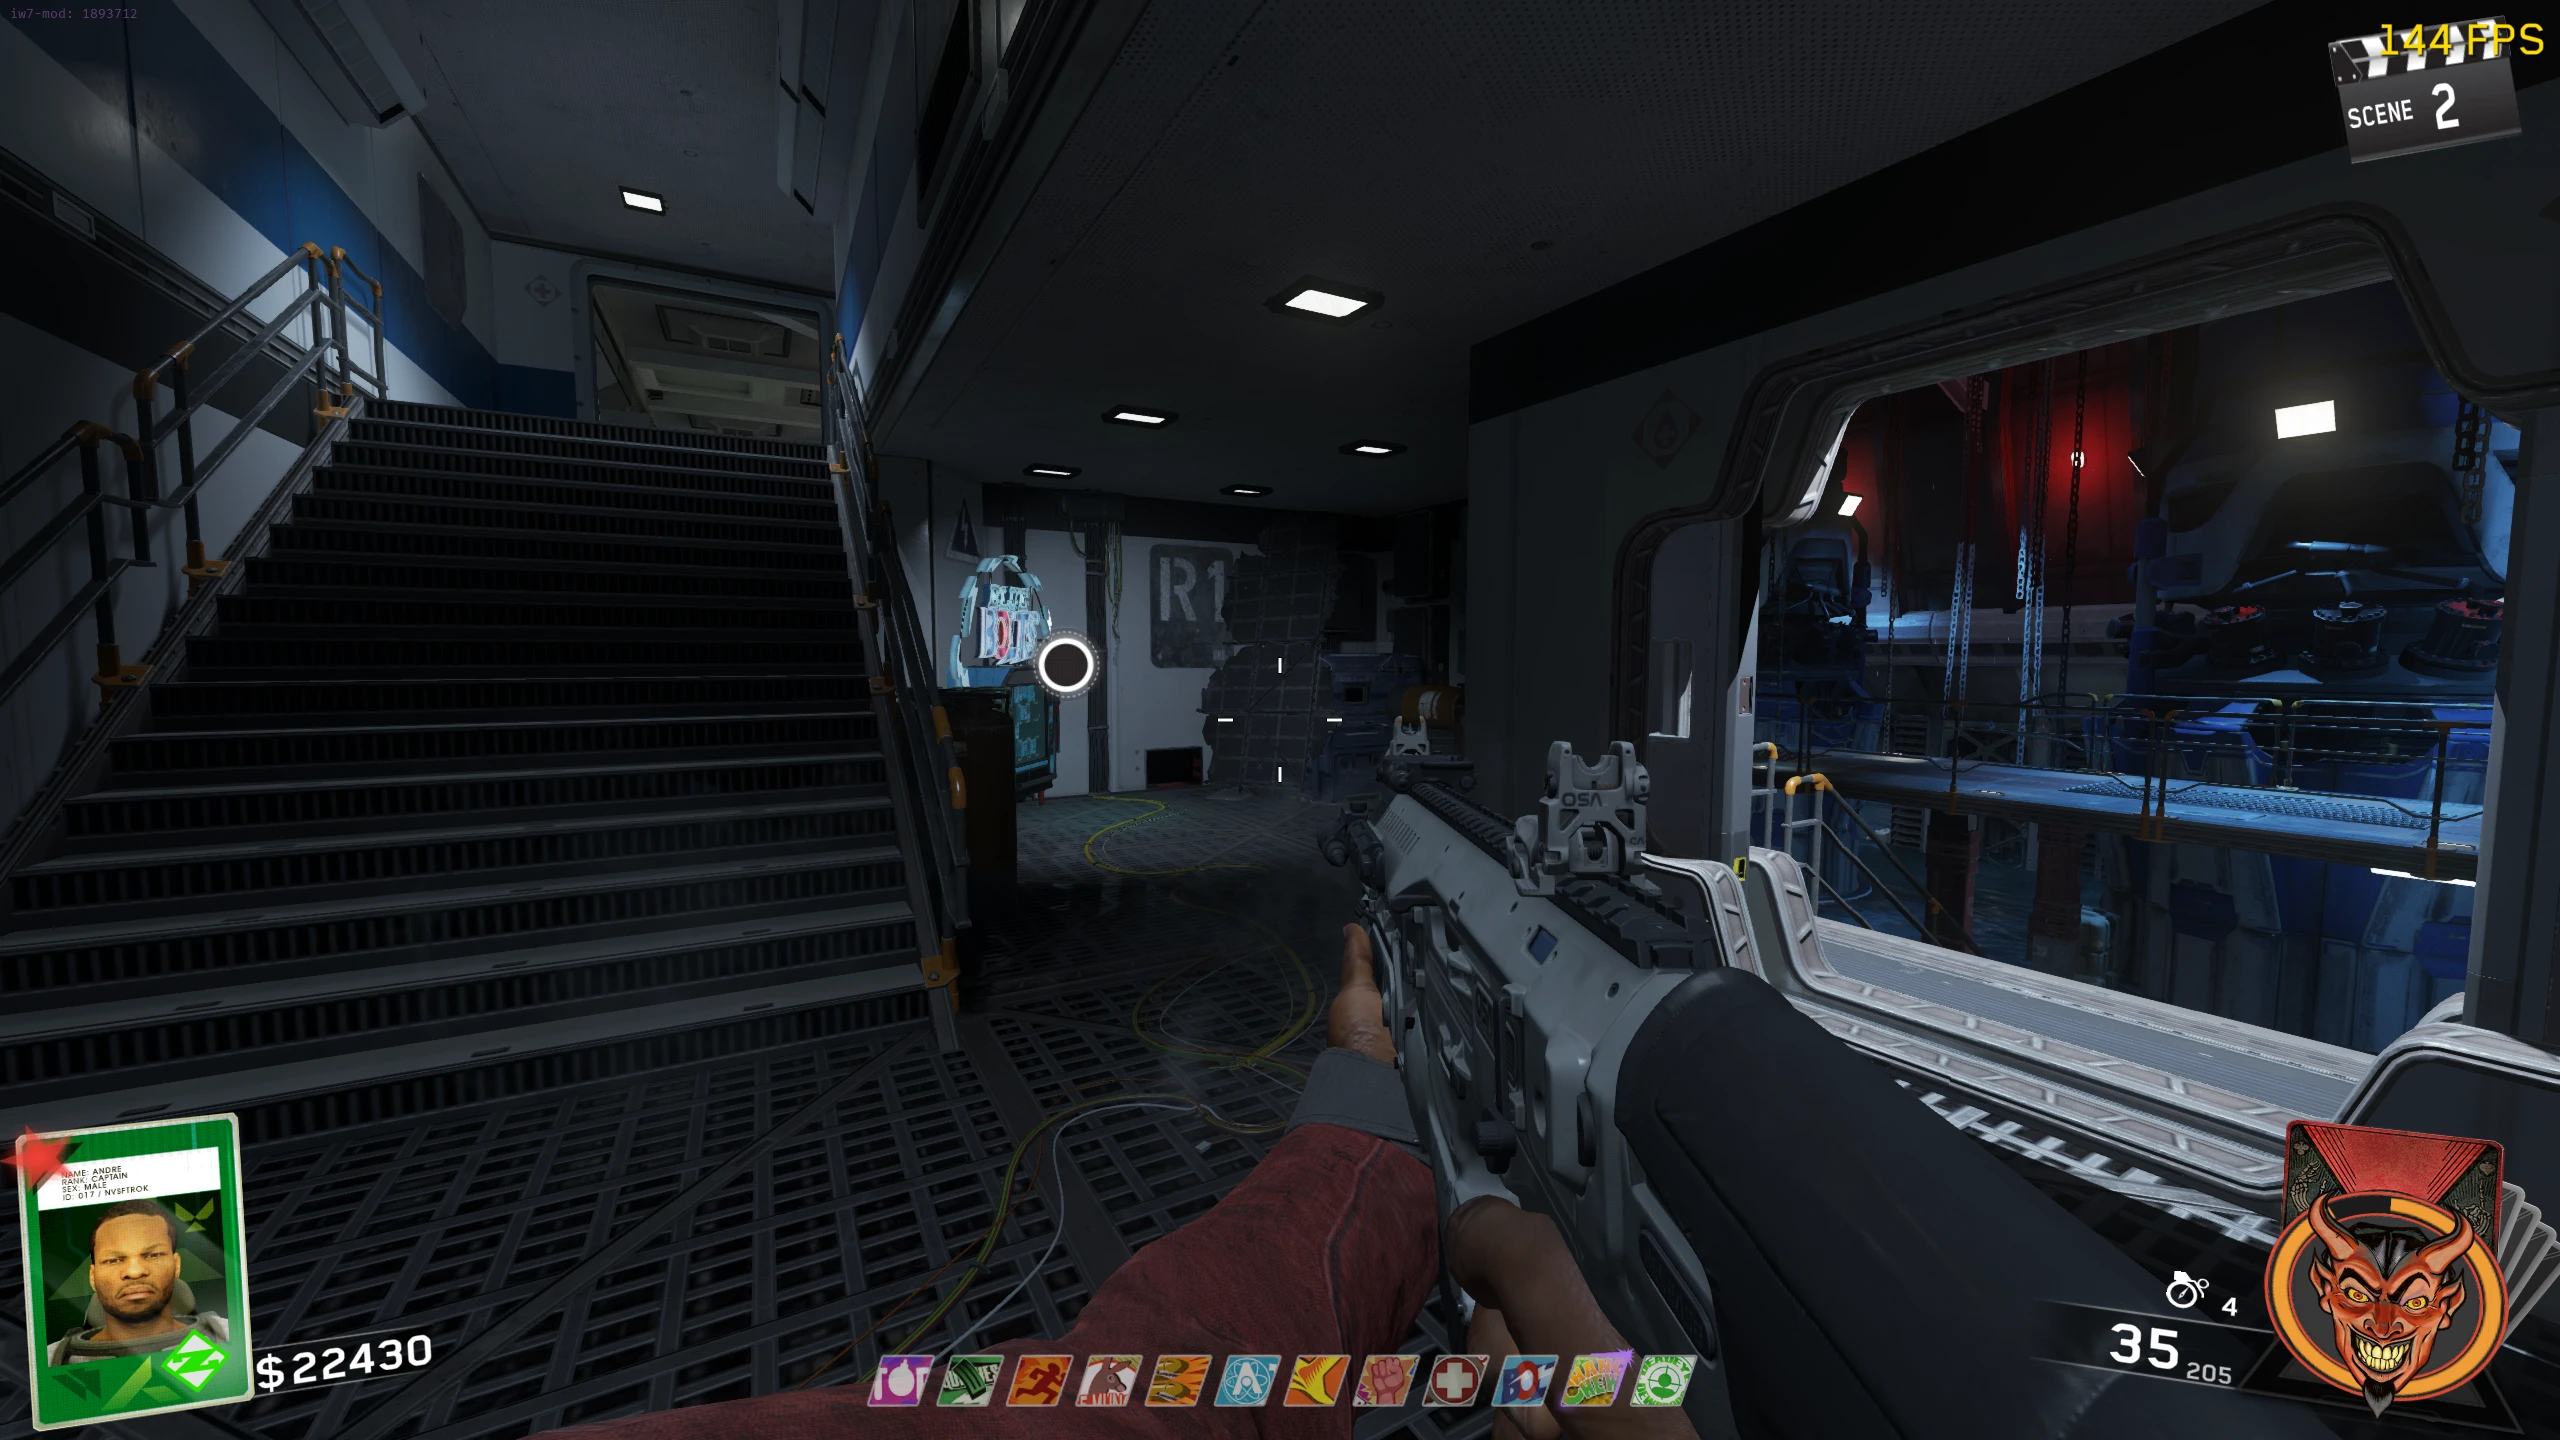
- You need to collect three pieces of scrap metal to build a bridge. Picking up a piece will spawn three Cryptids. Part locations:
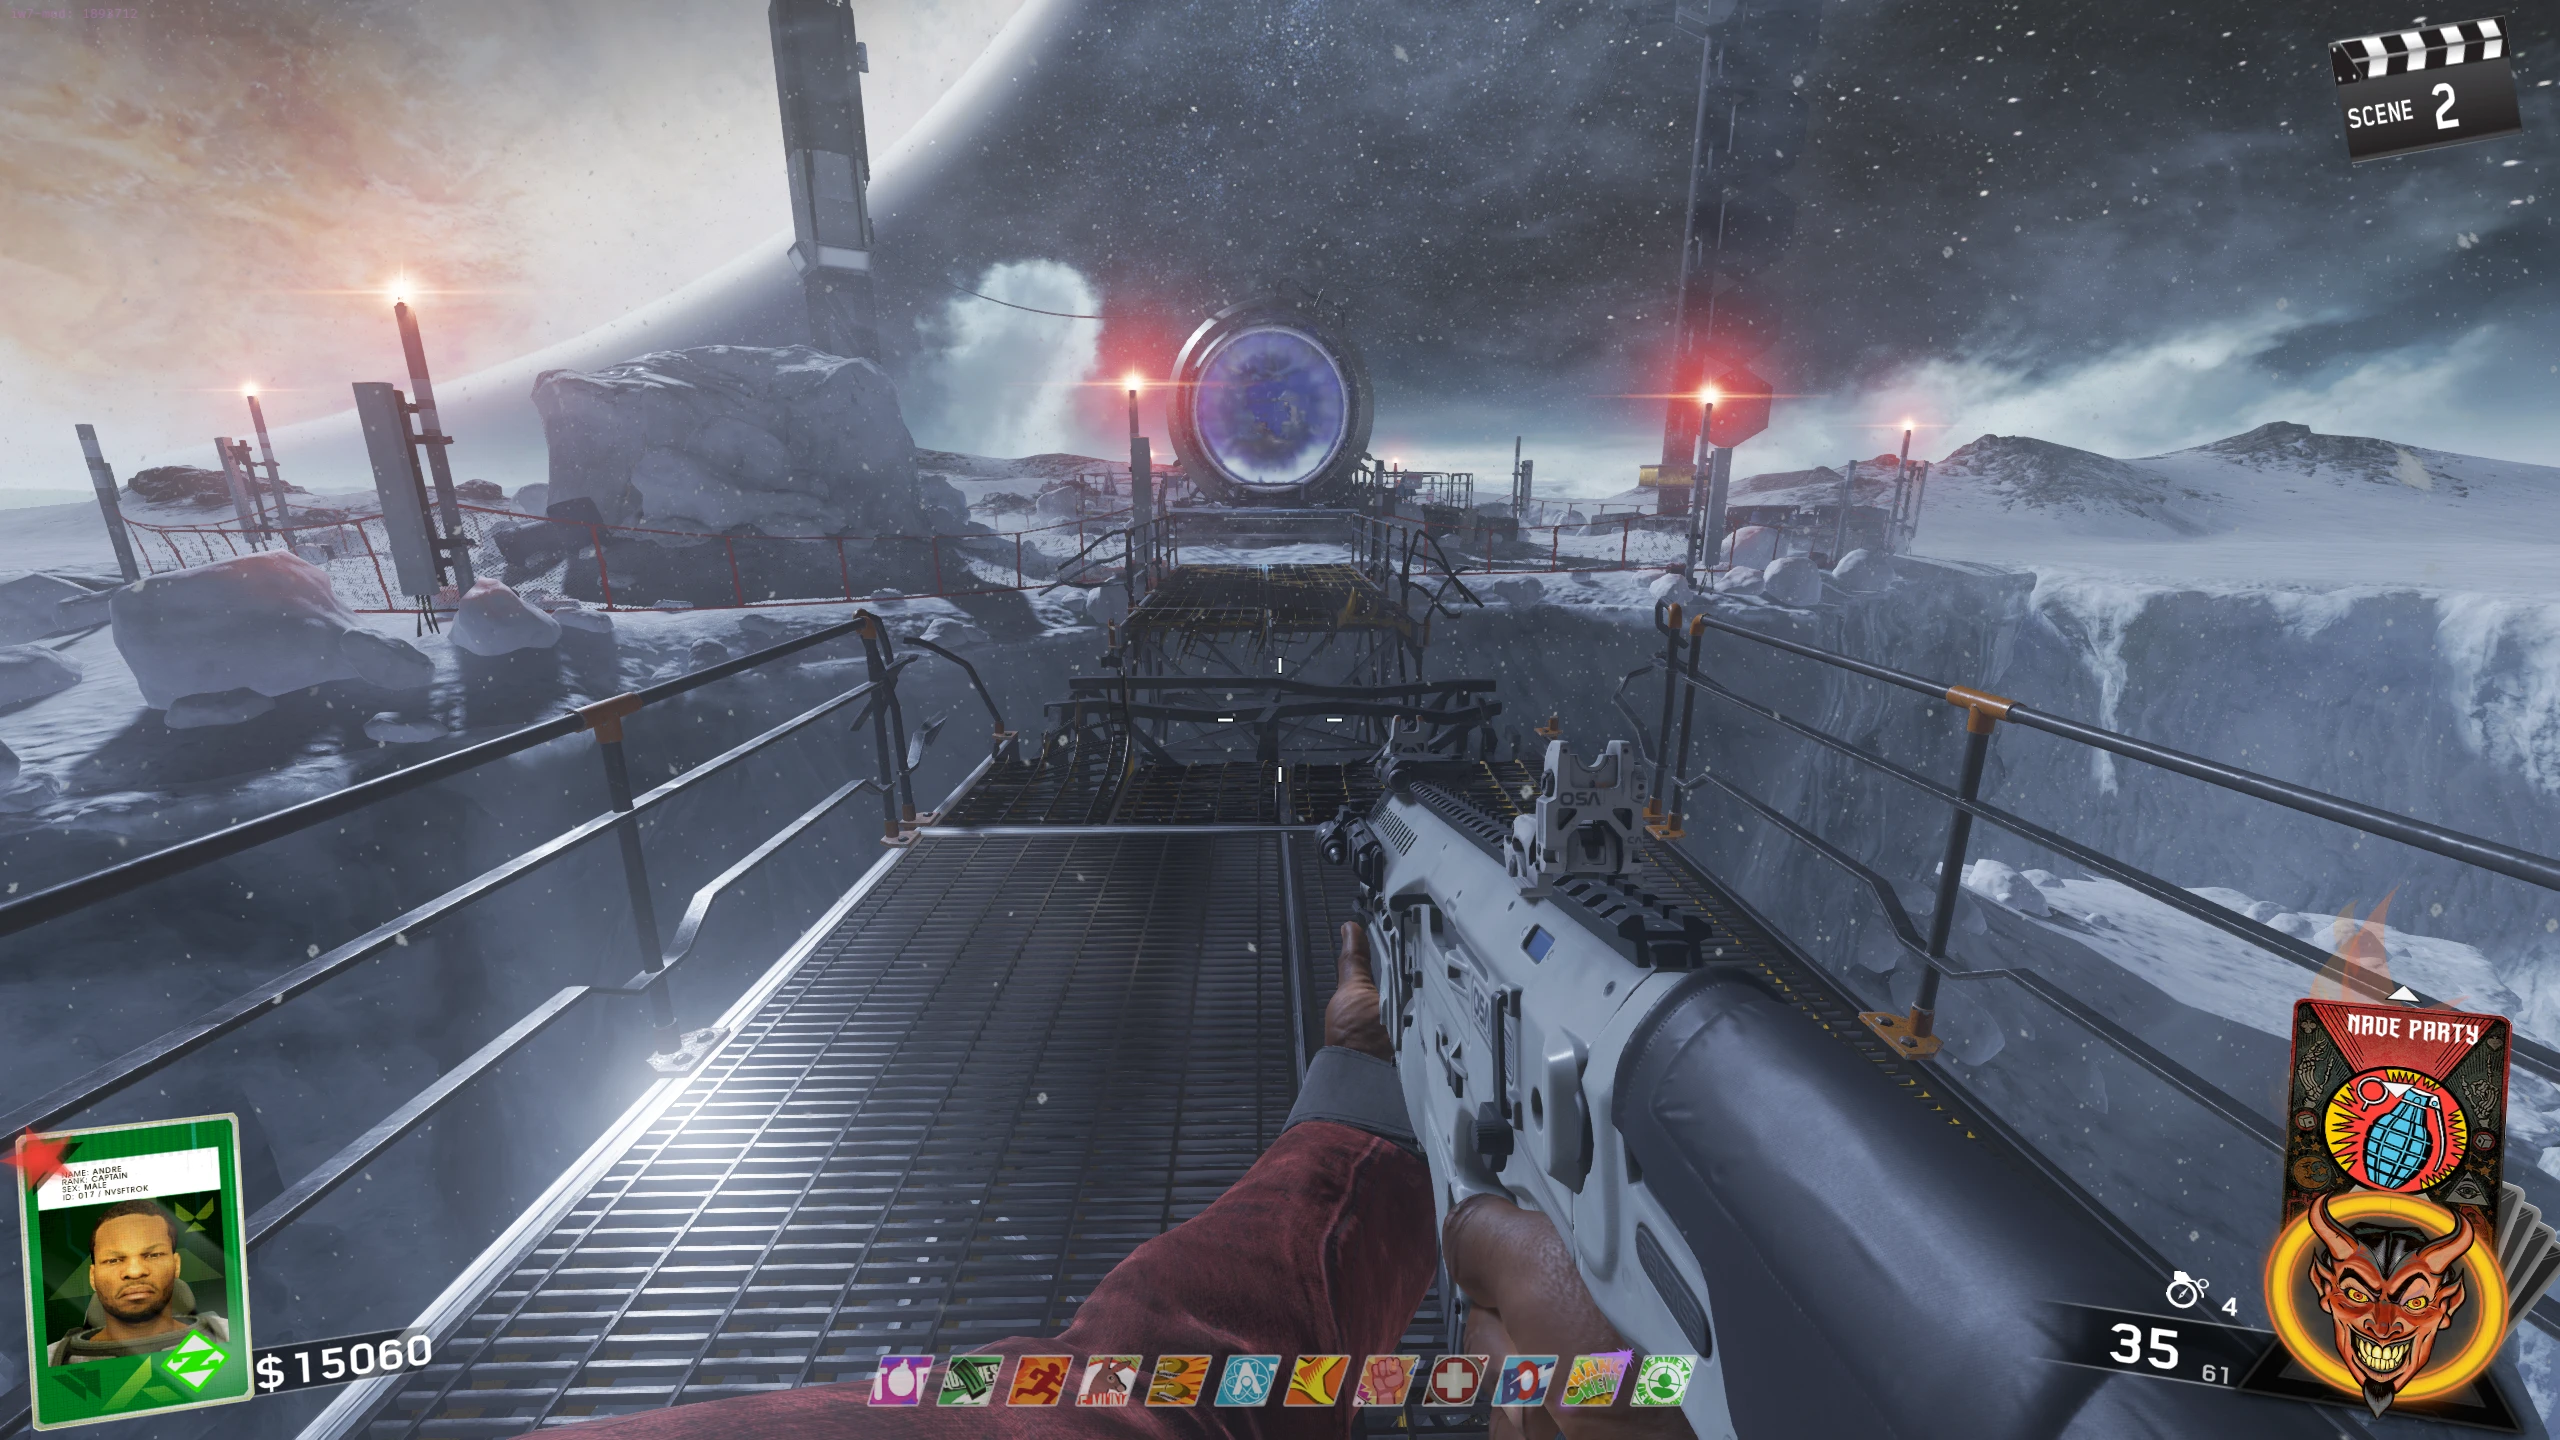
- Once you have all three metal pieces, place them on the broken bridge in the outside area to repair it.
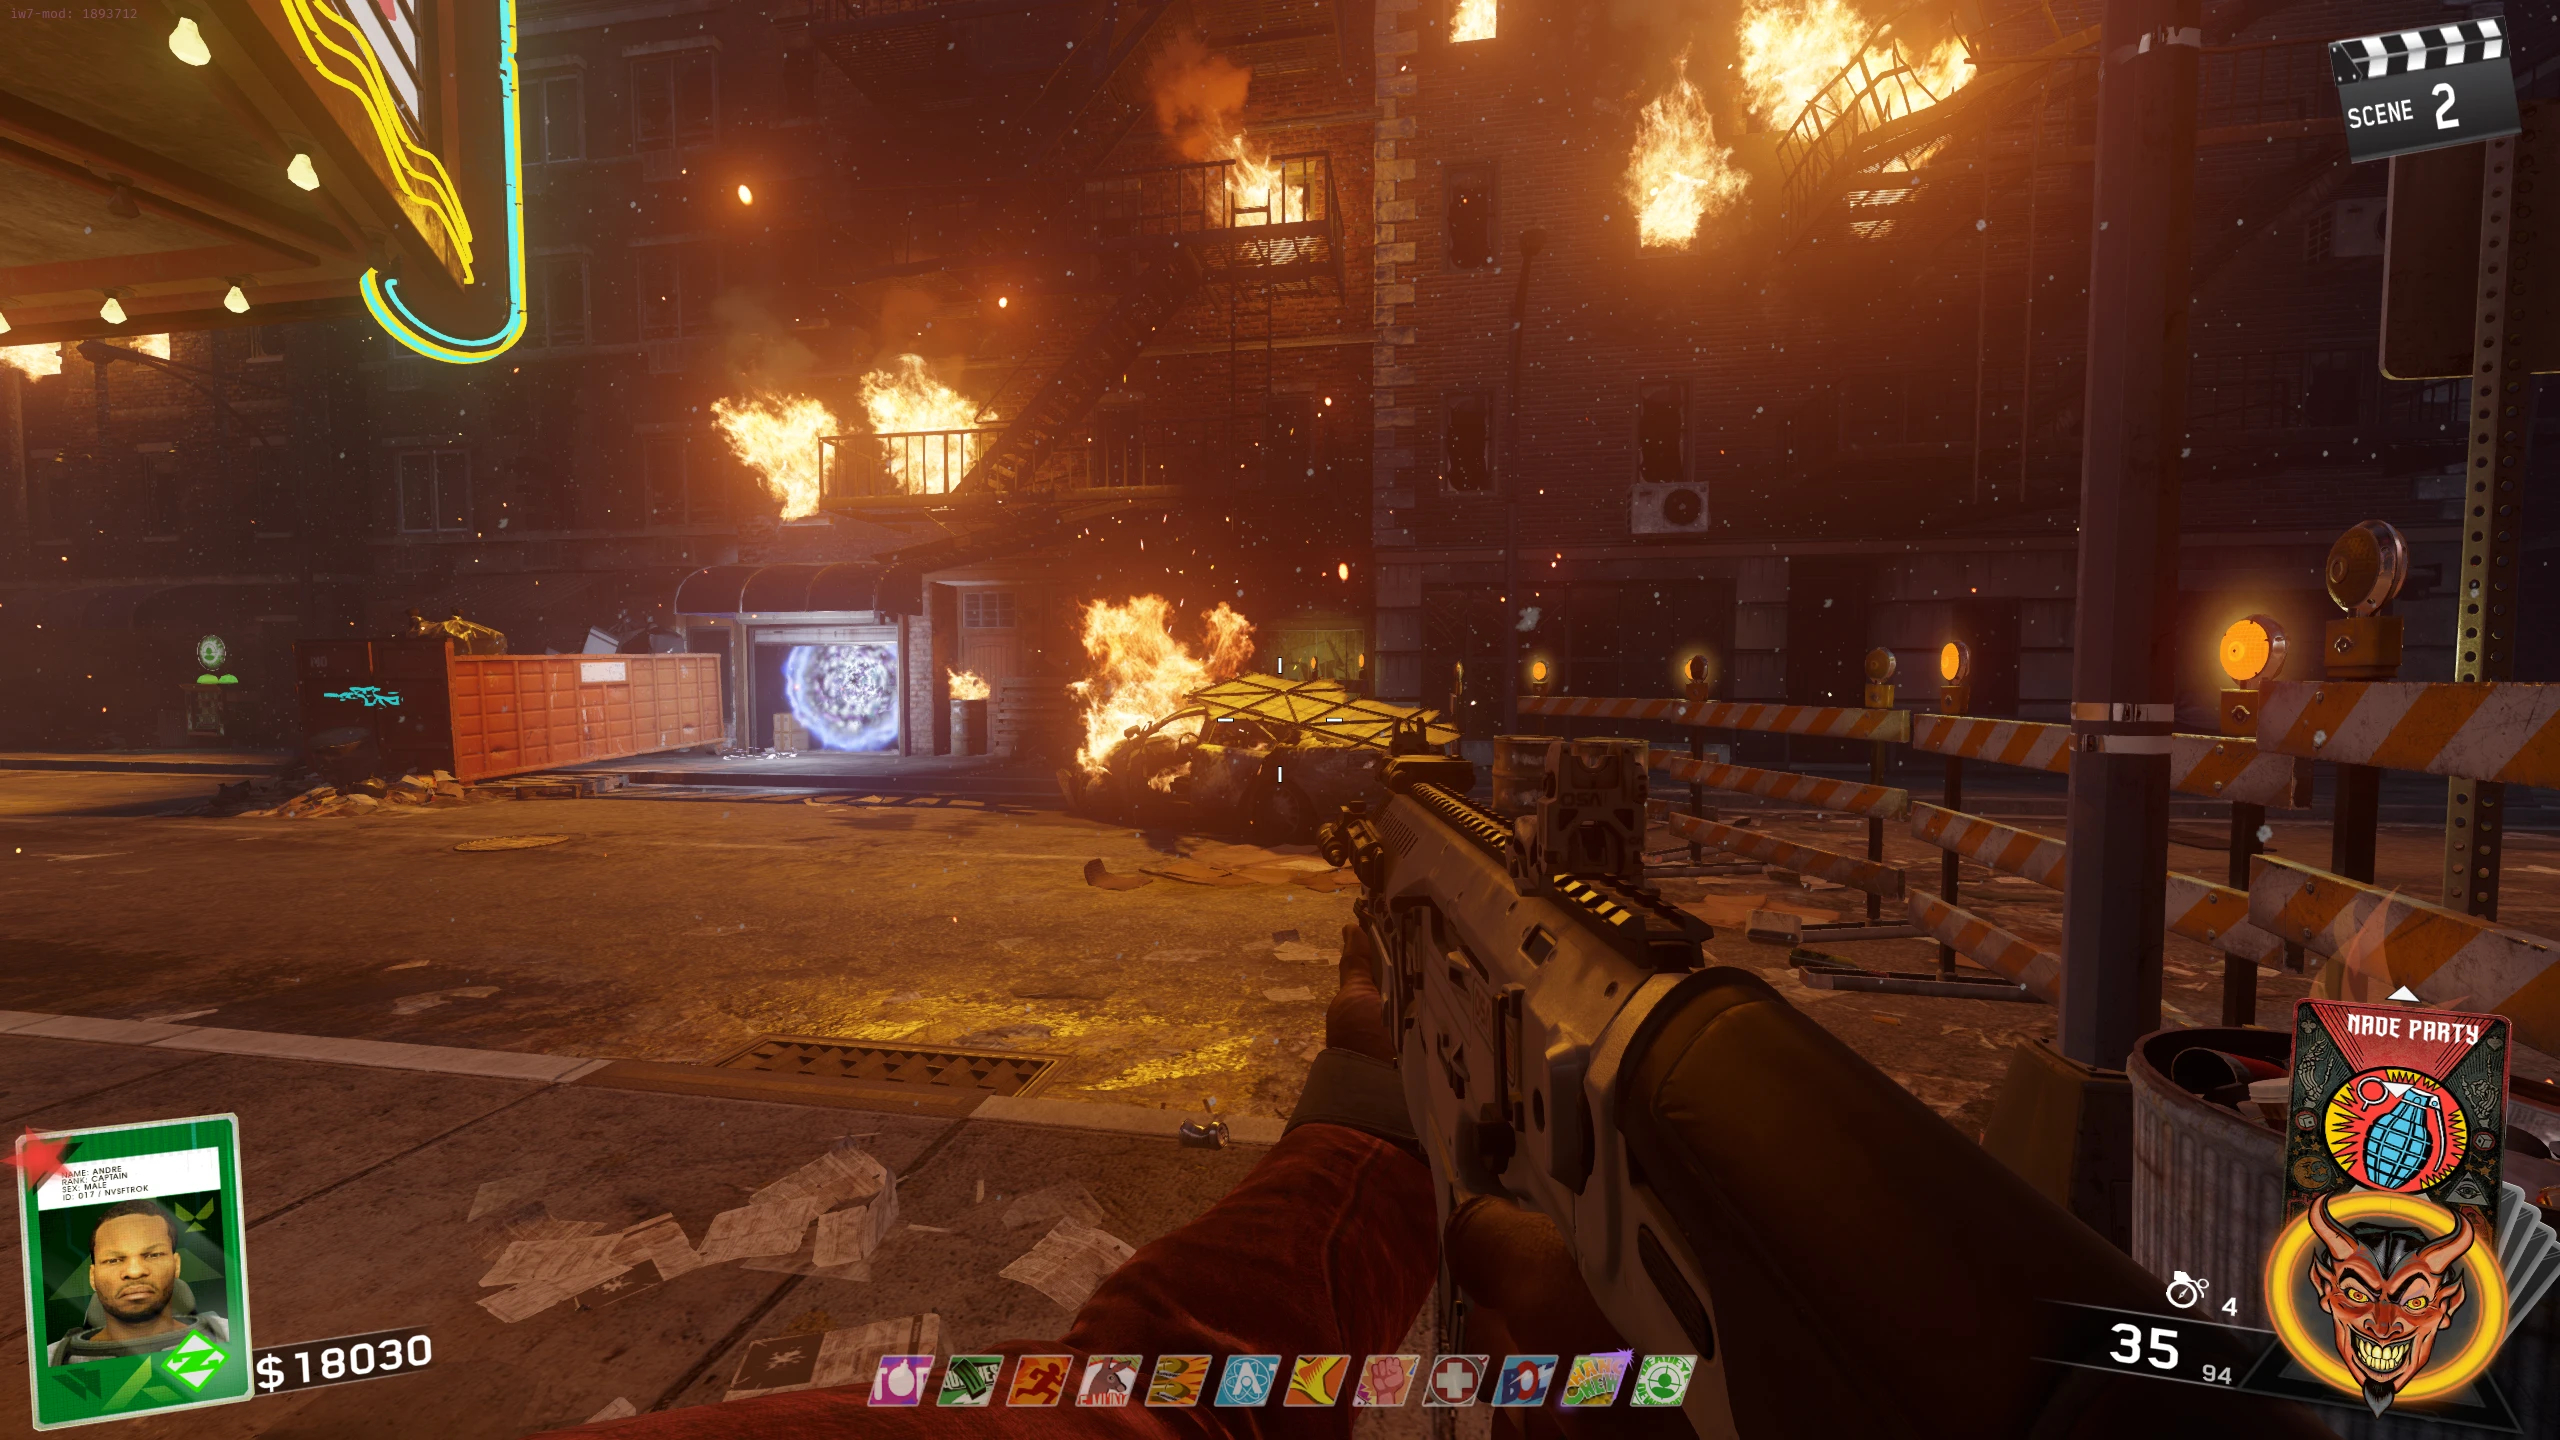
- Interact with the portal across the bridge to teleport to the Pack-a-Punch room.
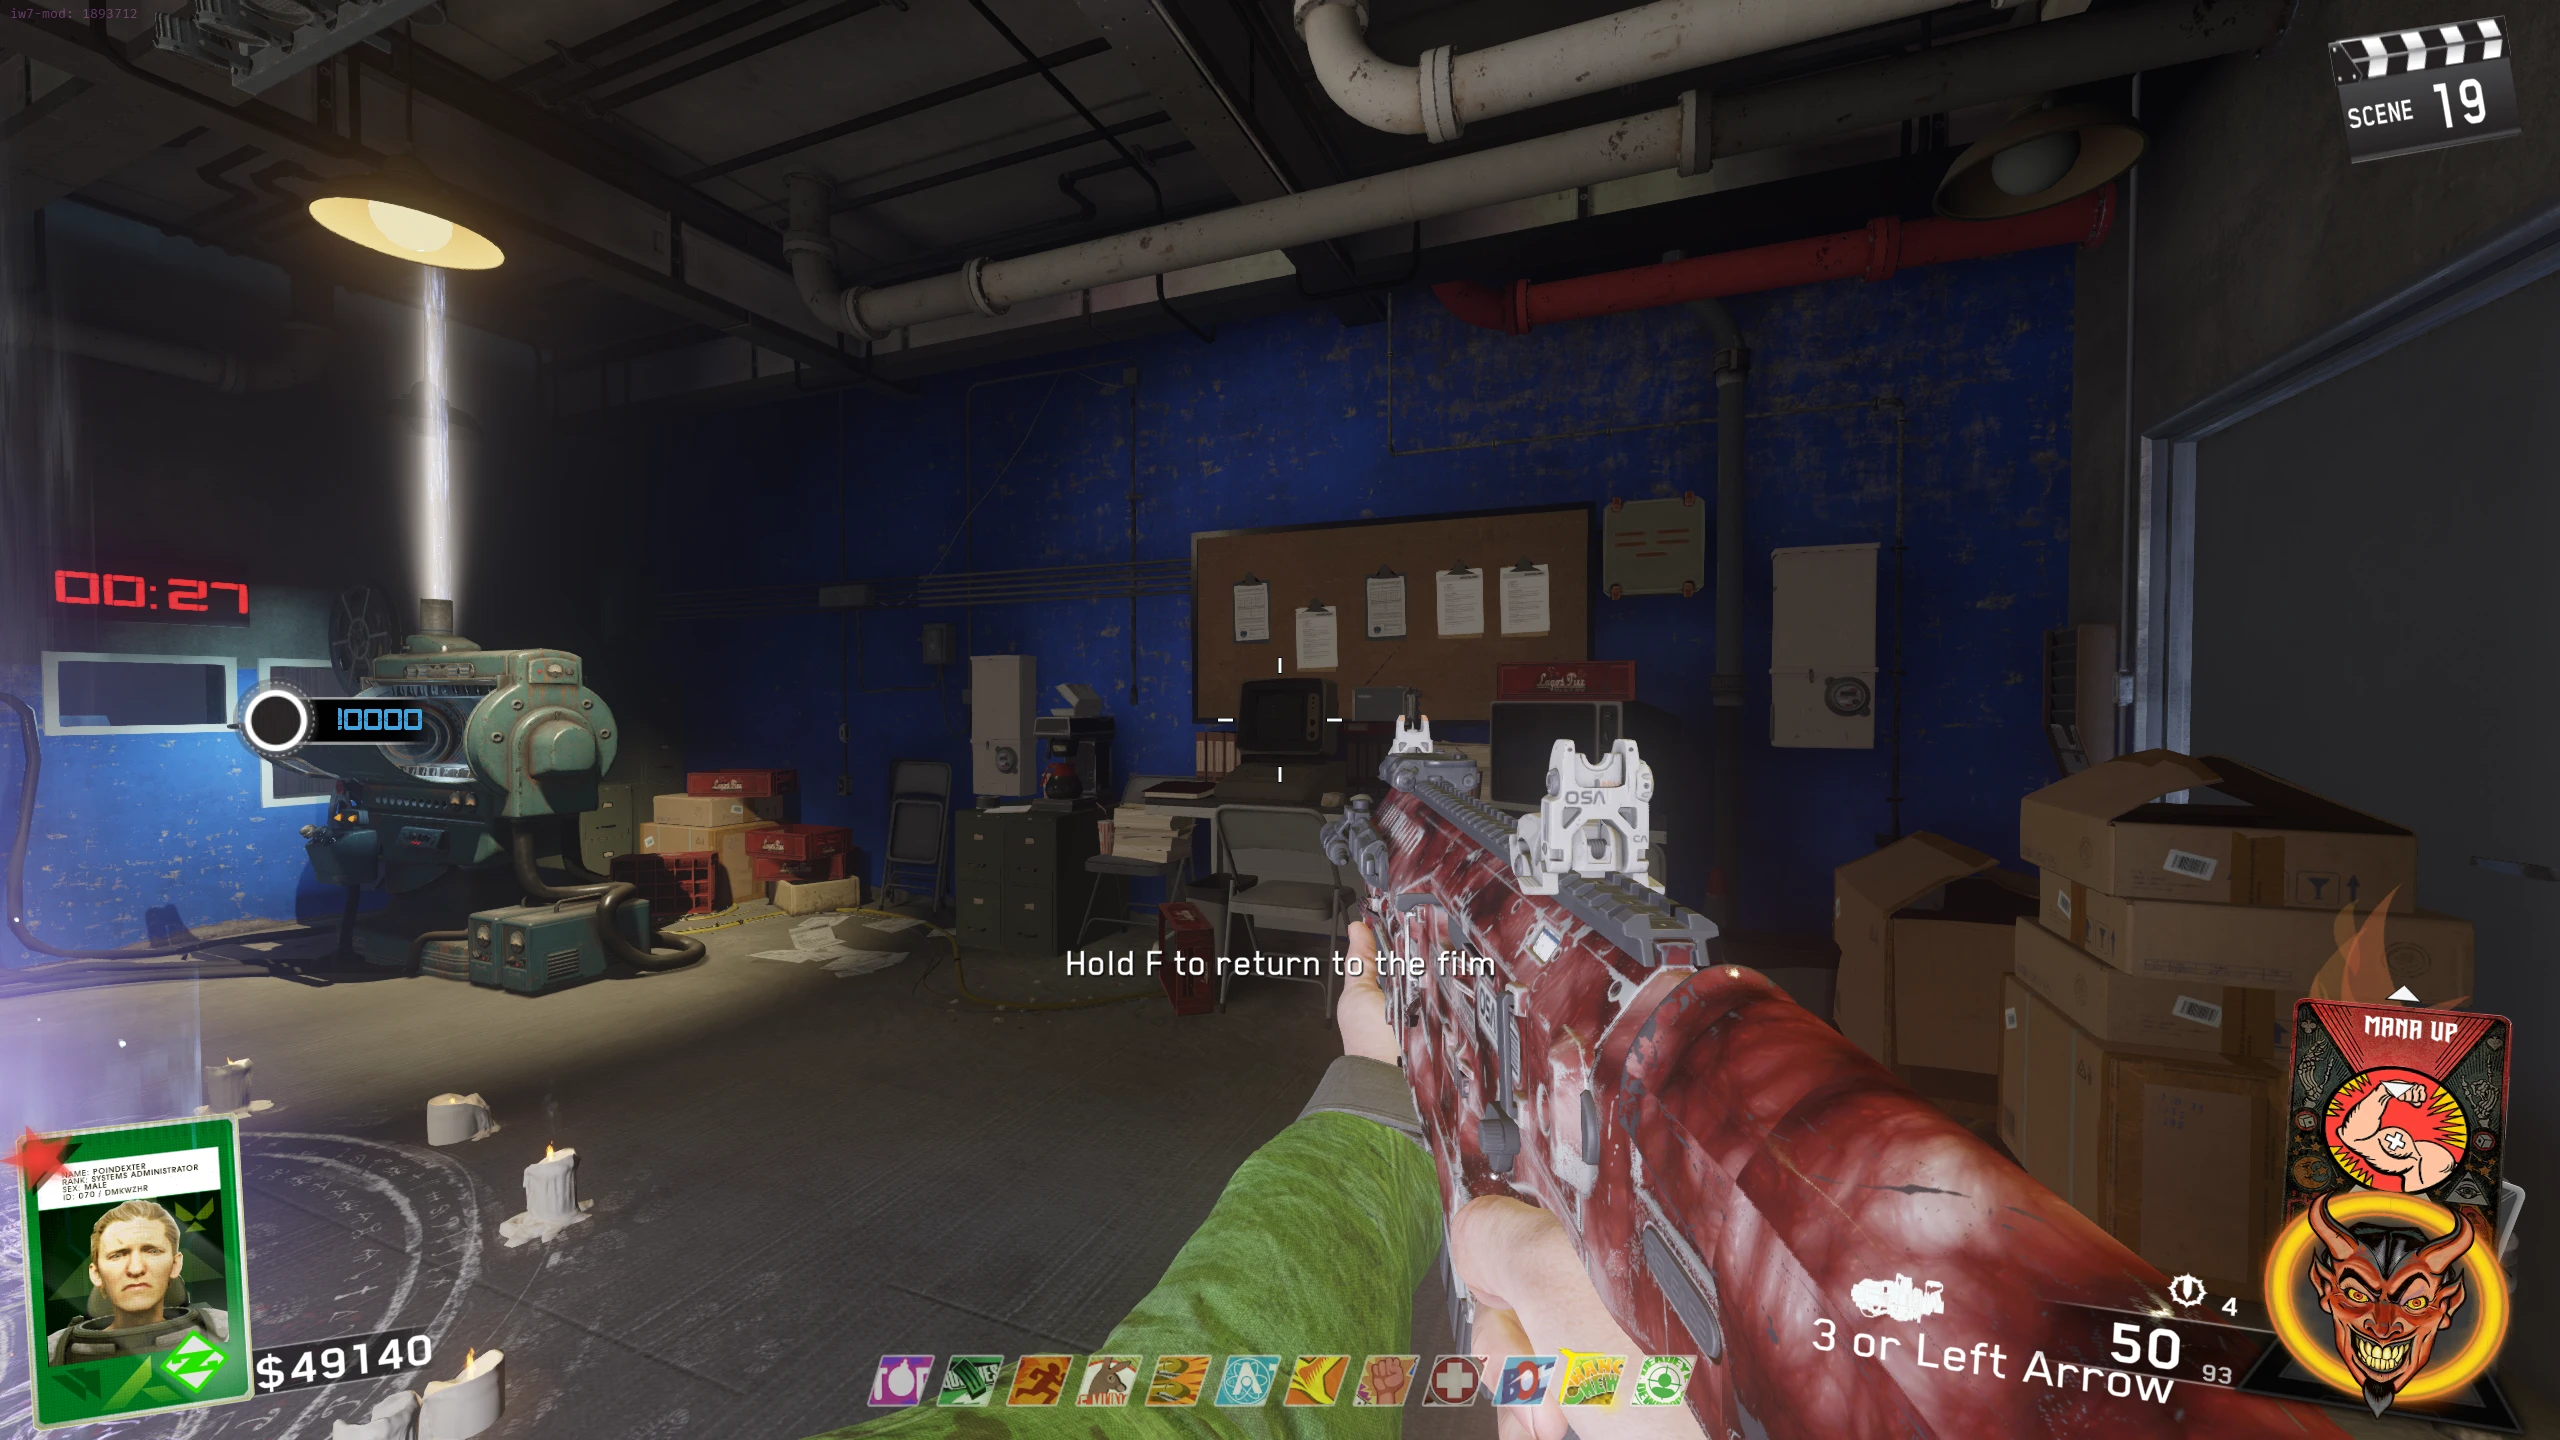
- While in the projector room, you'll have 30 seconds to use the Pack-a-Punch before you're forcefully teleported back to the main map.
- Unlike the other maps, after you're teleported back, a Phantom or three Cryptids will spawn. The first Phantom you kill will drop a part required for the Main Quest, so remember where you kill it. These enemies only spawn on the first teleport of a round.
- After being forcefully teleported back, the teleporter goes on cooldown for about one minute before reactivating.
Double Pack-a-Punch
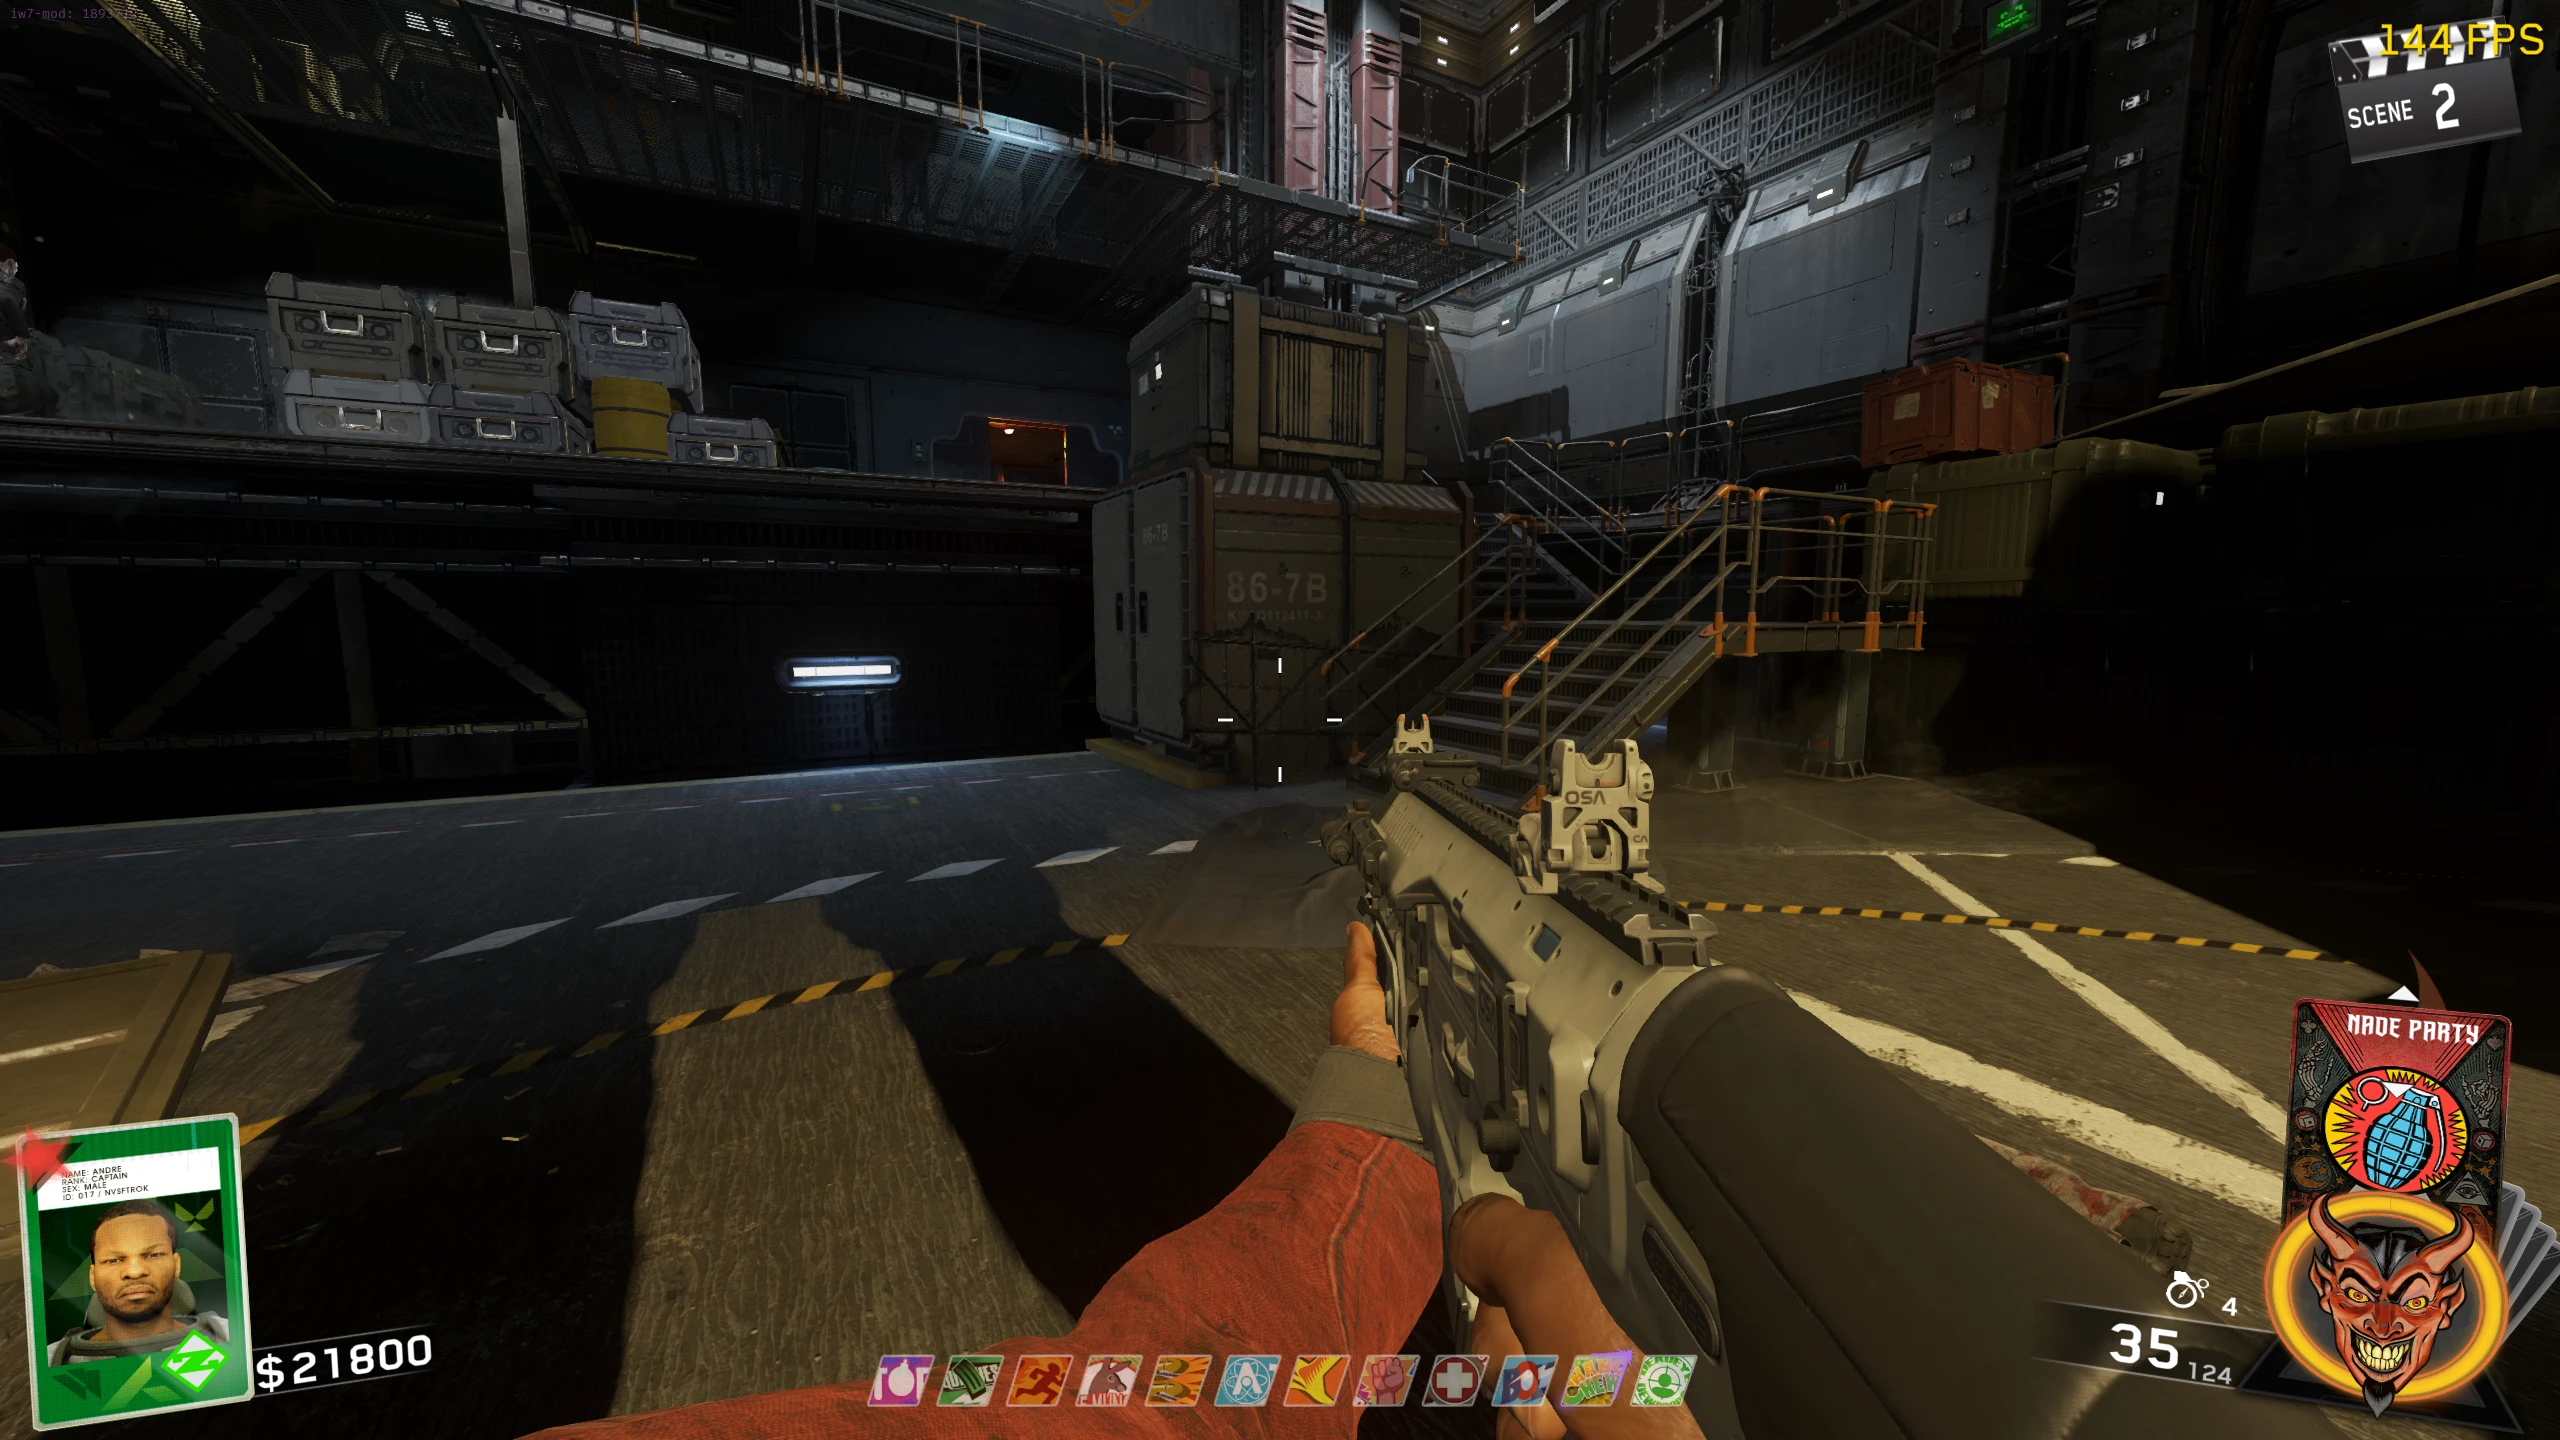
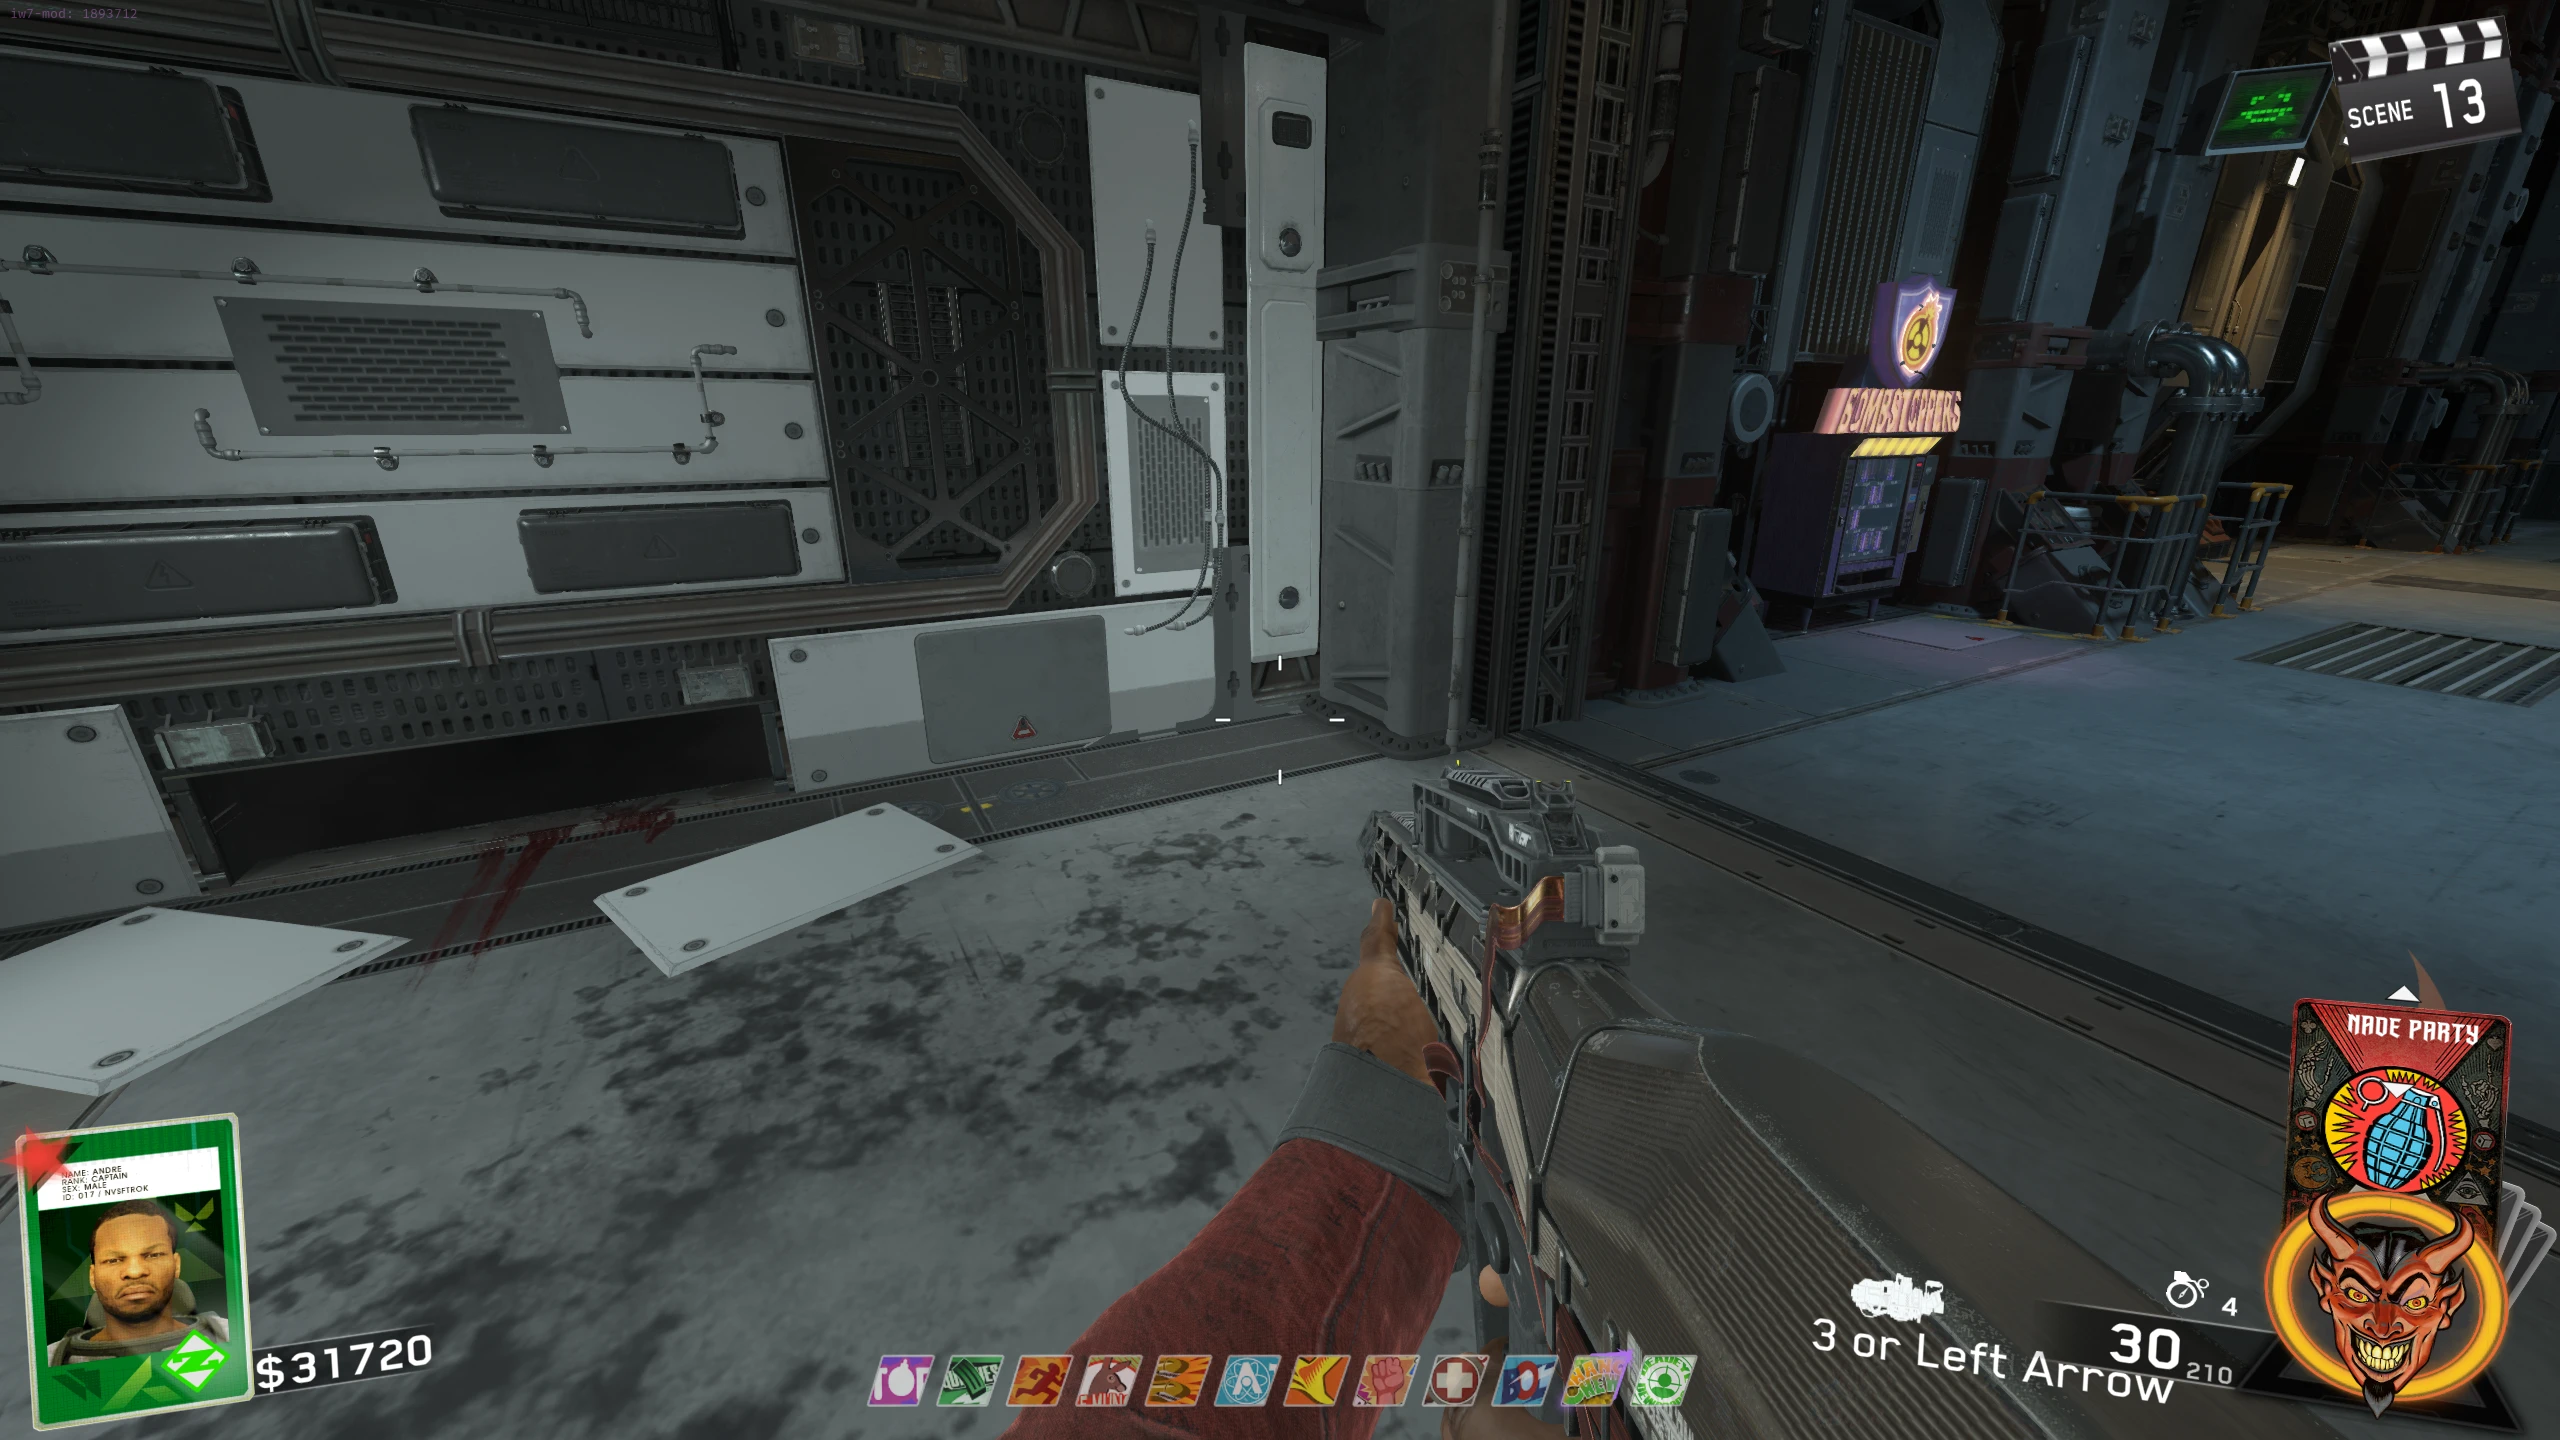
- Shoot open the power box on the wall near the Proteus wallbuy, outside the Cargo Bay. Pick up the fuses inside.
- Travel to the Theatre. Place the fuses on the hand of the Sasquatch cardboard cutout in the hallway, between the main theatre room and the lobby area.
- Go to the concession stand in the Theatre, and pick up the Film Reel on the right side.
- Go to the Projector room and interact with the film reels on the front of the projector to replace the reel. The projector will now start projecting footage of Zombies in Spaceland.
- Obtain the Entangler (complete Skull 1 and 2 of the Skull Breaker Side Quest).
- Activate the Movie Wormhole Trap in the Theatre. While the trap is active, shoot the Entangler at the vortex on the screen to pull out a Brute helmet. Drop the helmet on the ground, then interact with it to pick it up.
- Interact with the Brute cutout near the Sasquatch to place the head on it. If the fuses are already on the Sasquatch, the Brute head will shoot a laser at them, charging them.
- Once the fuses are charged, bring them to the Projector room and insert them into the Pack-a-Punch Projector. Once inserted, you will be able to Pack-a-Punch any Pack-a-Punched weapon again for 10,000 Points.
- The Alien Fuses will only be activated for the remainder of the CURRENT game.
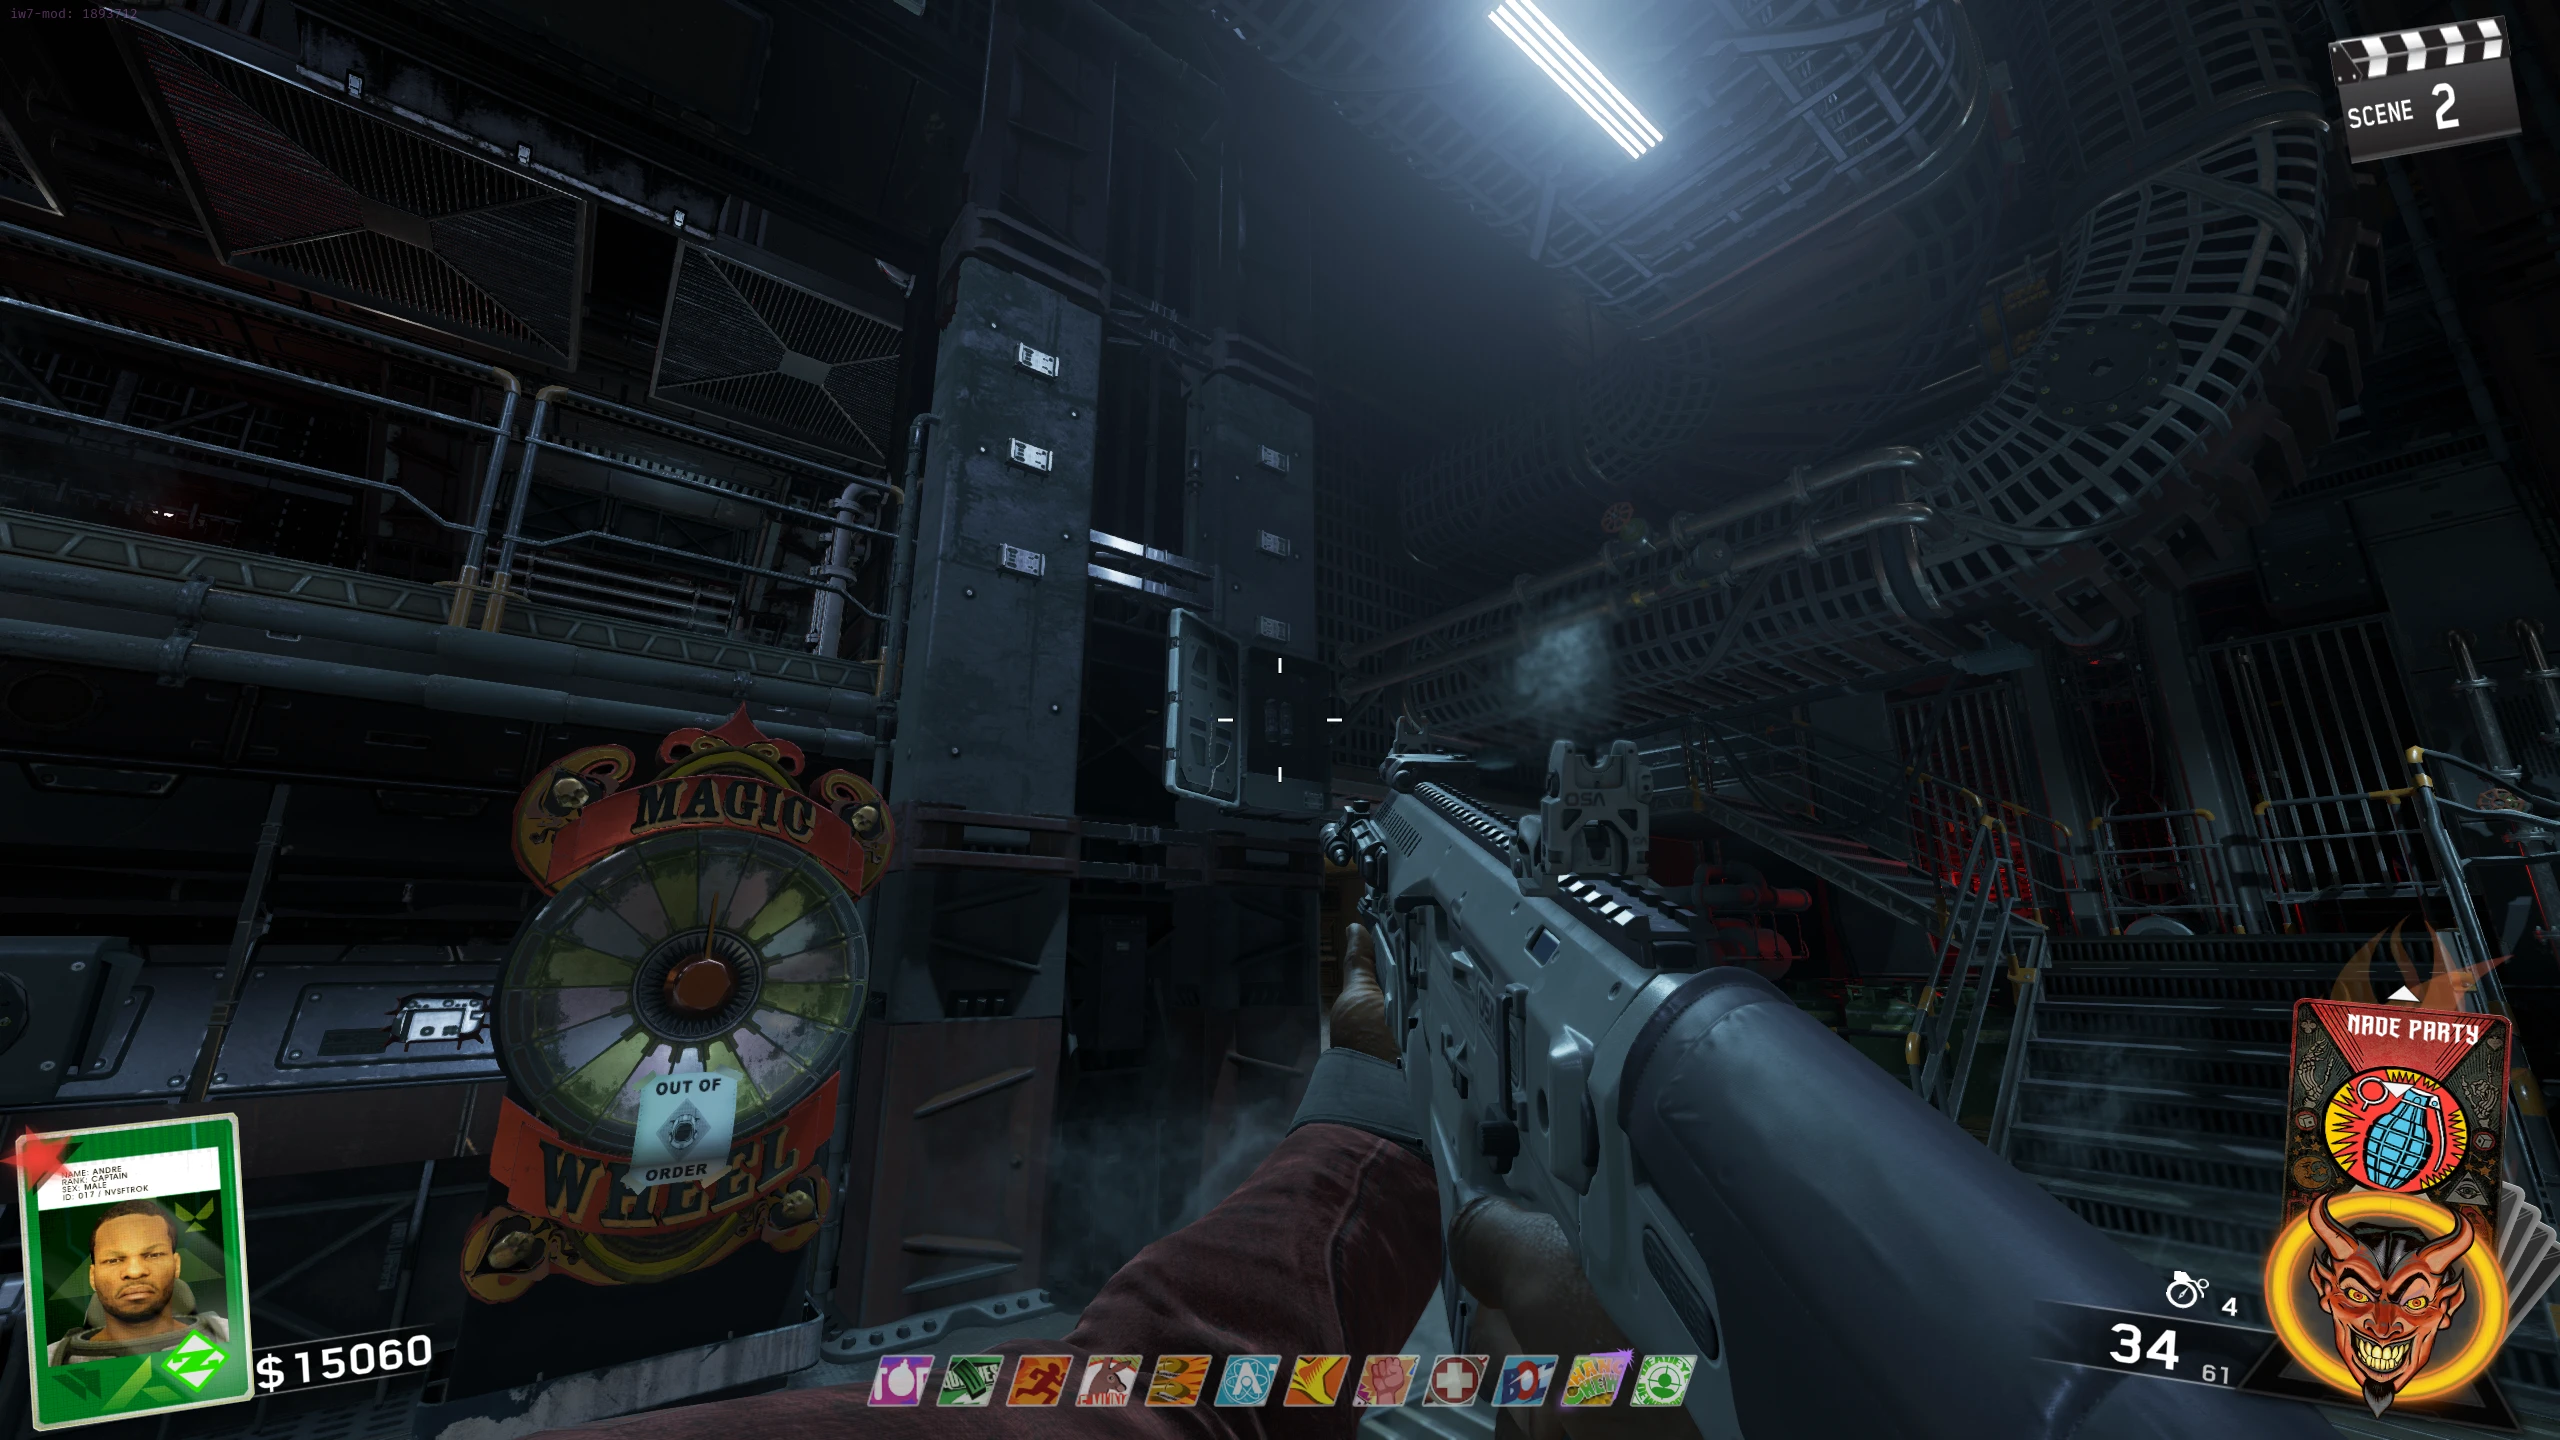
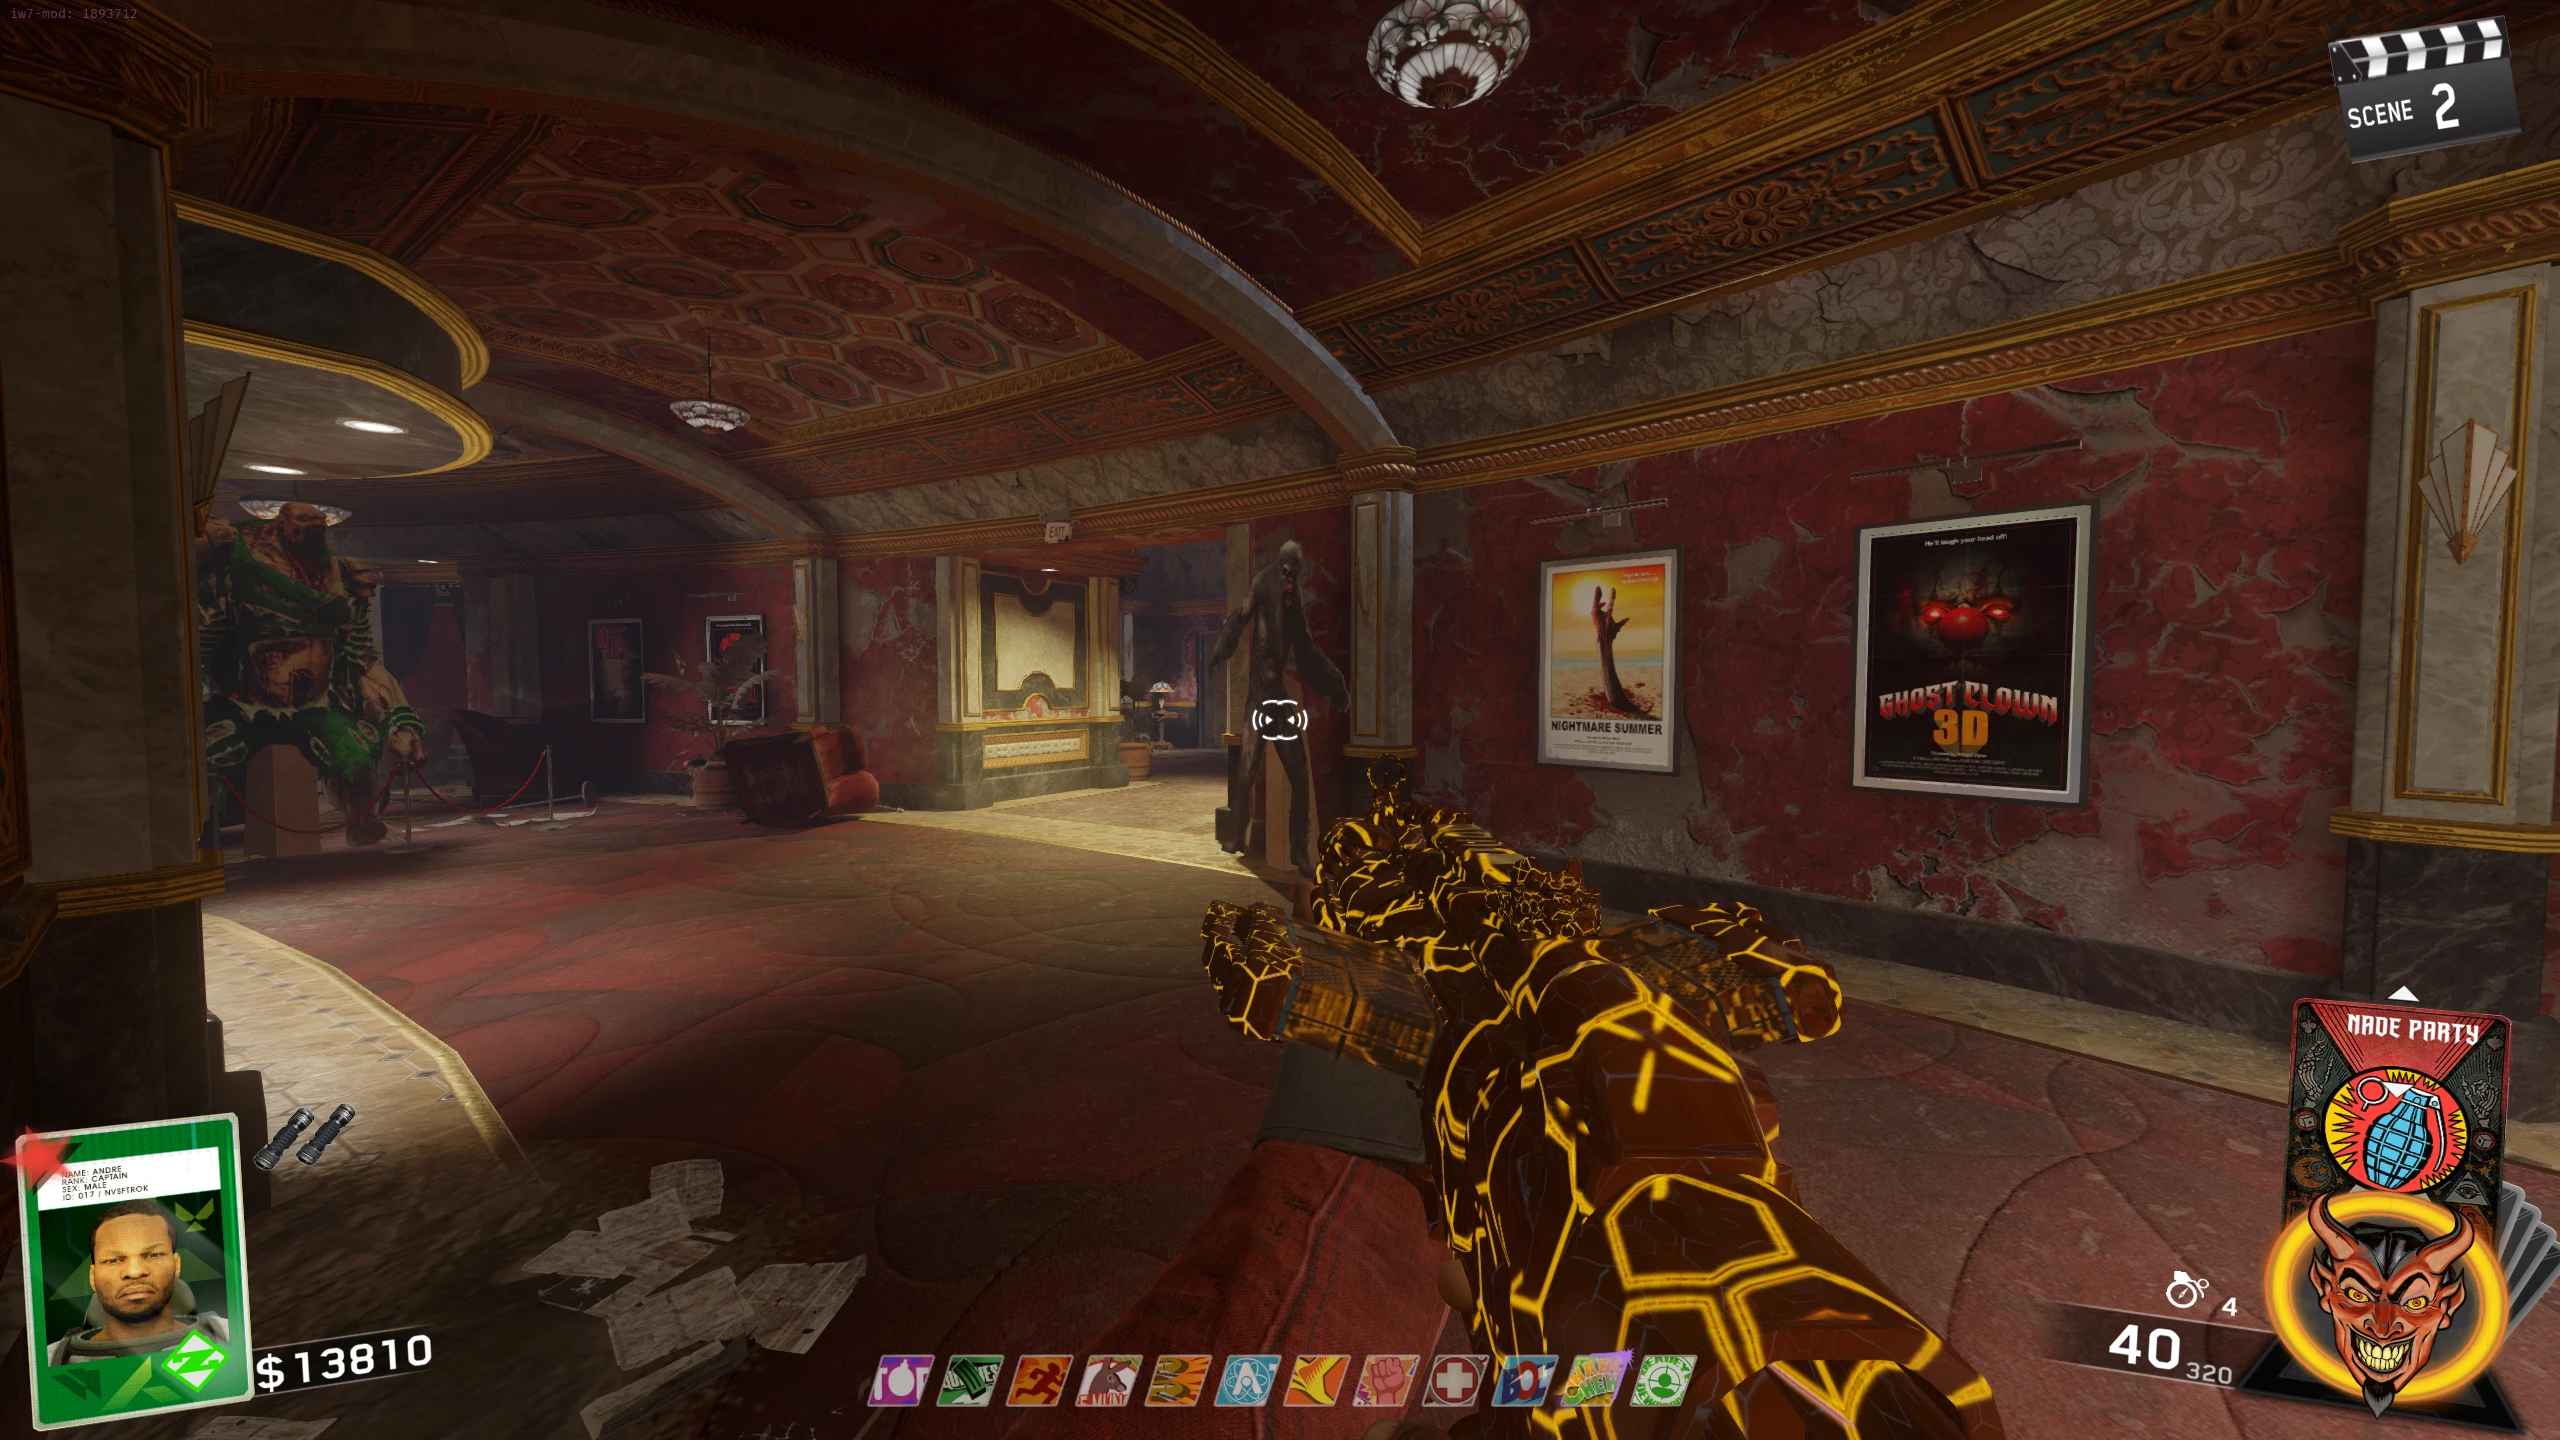
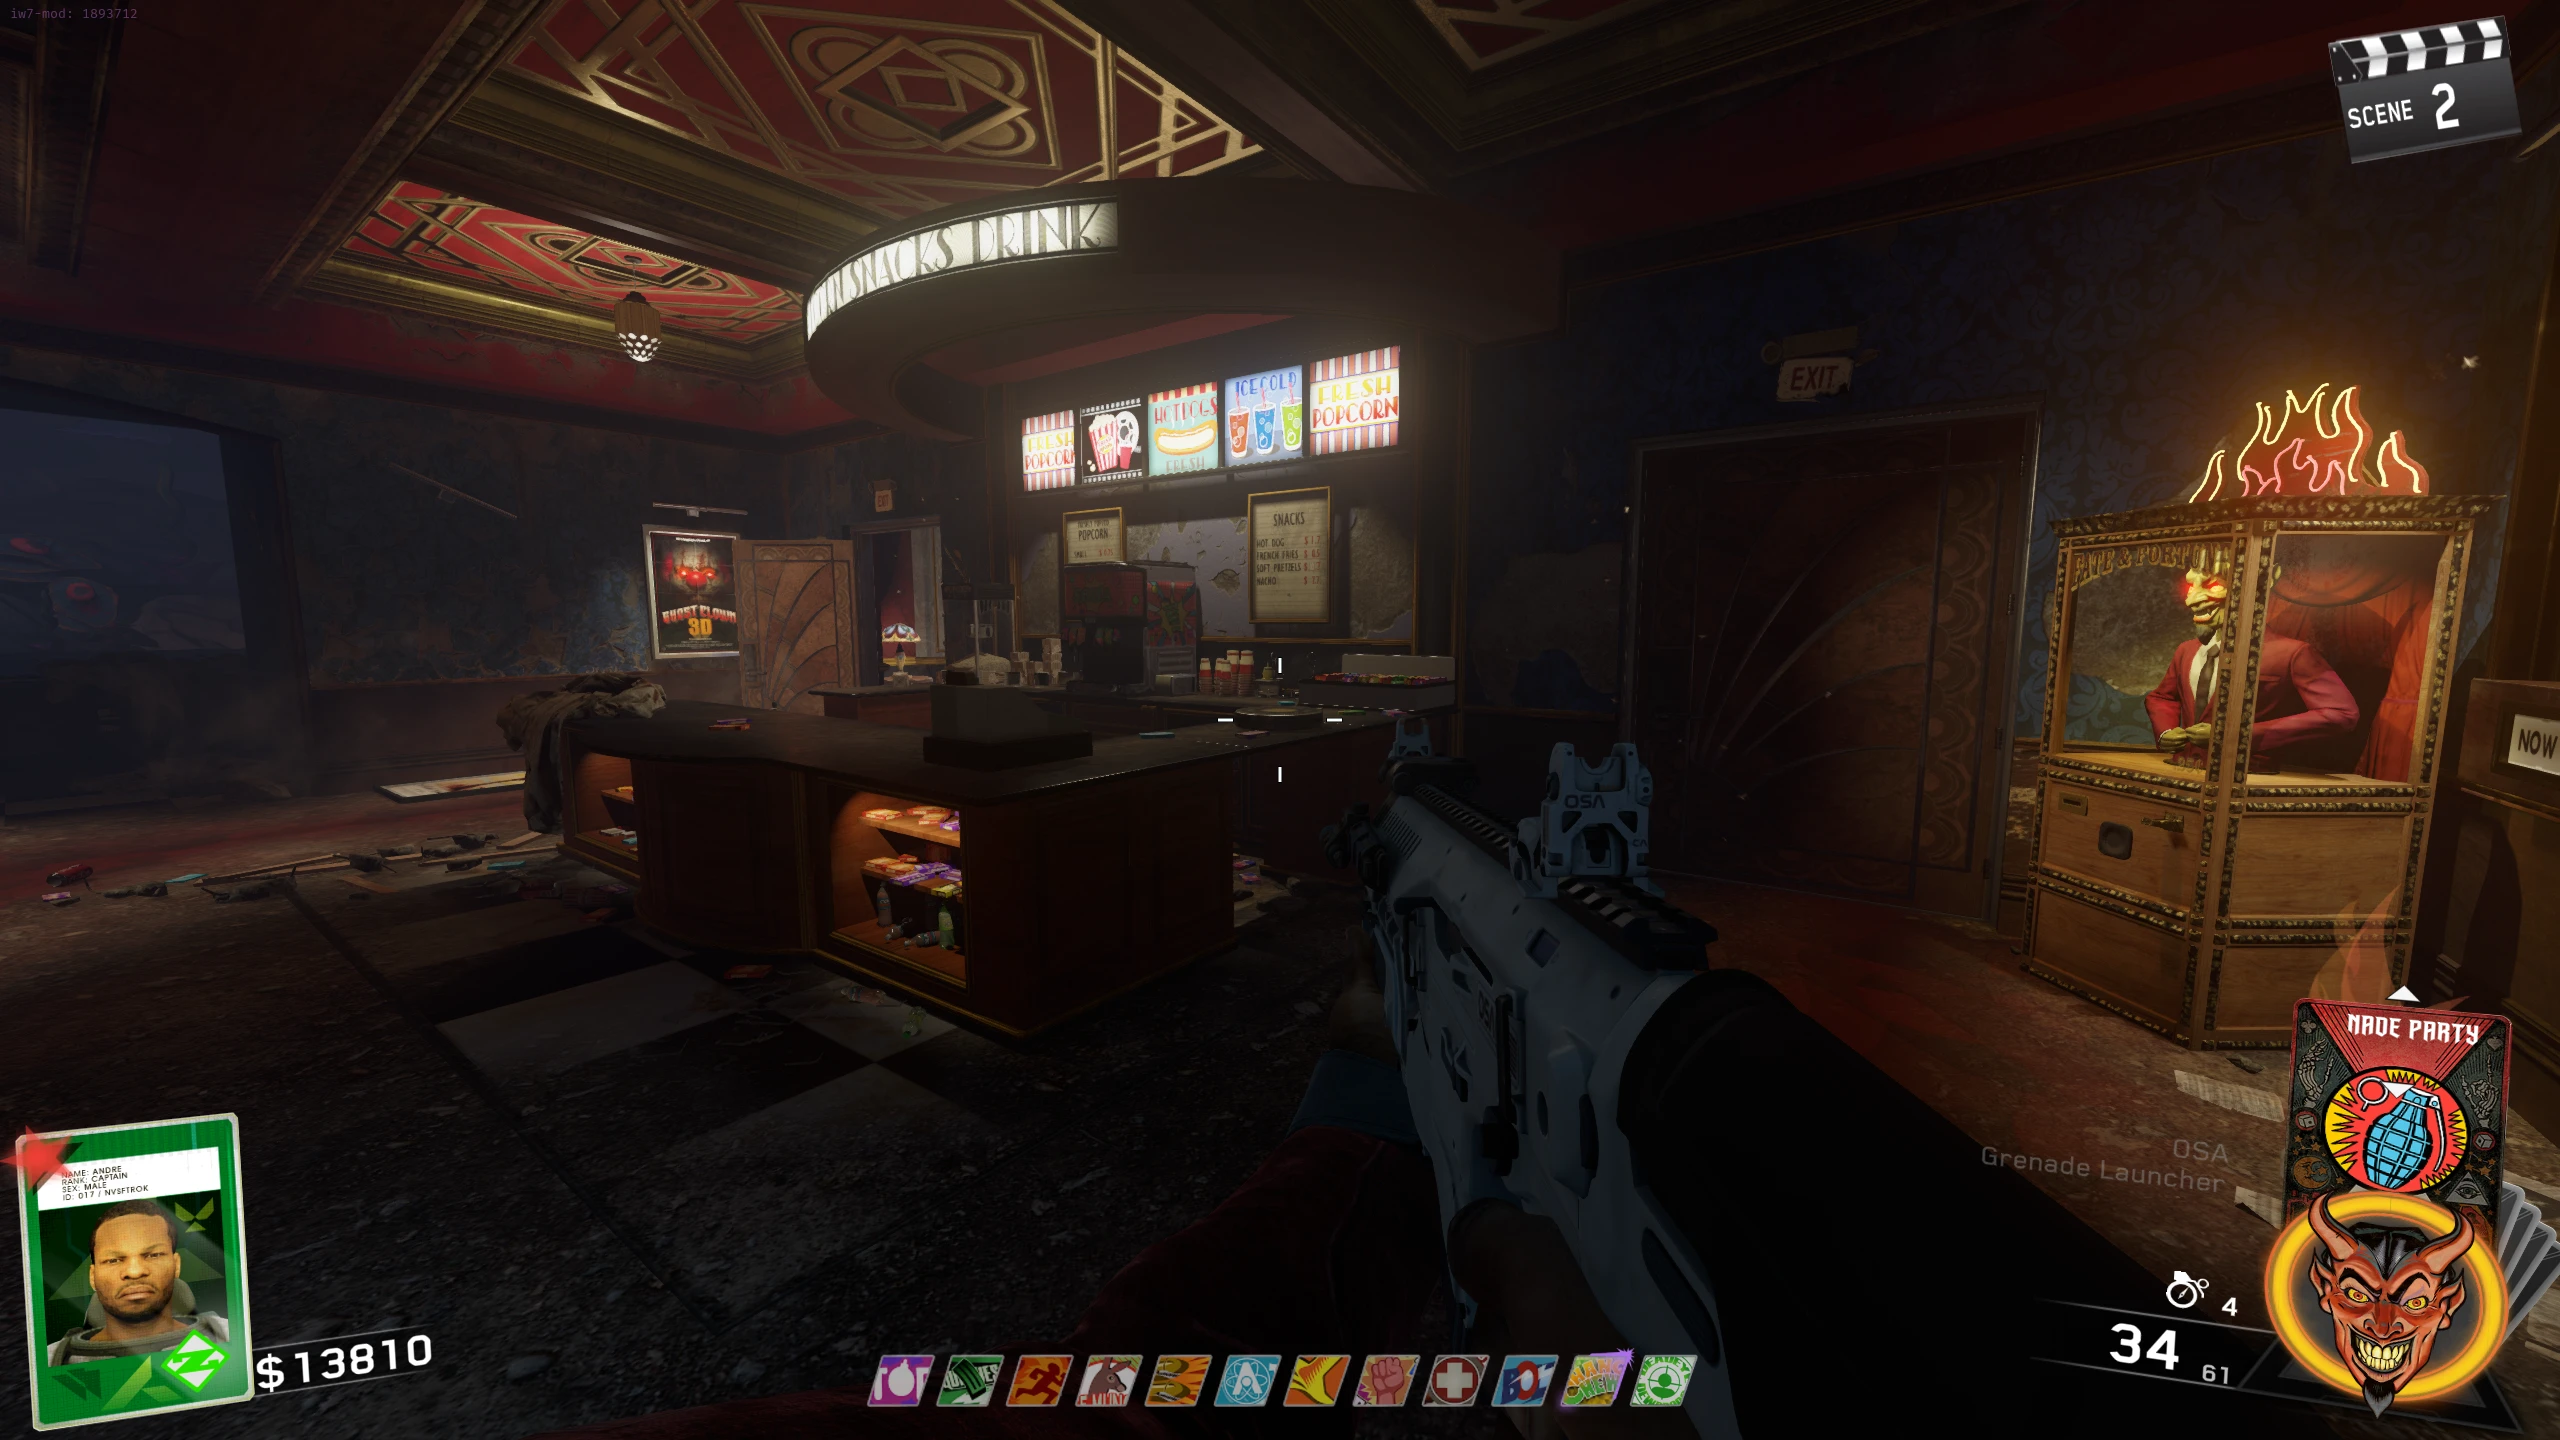
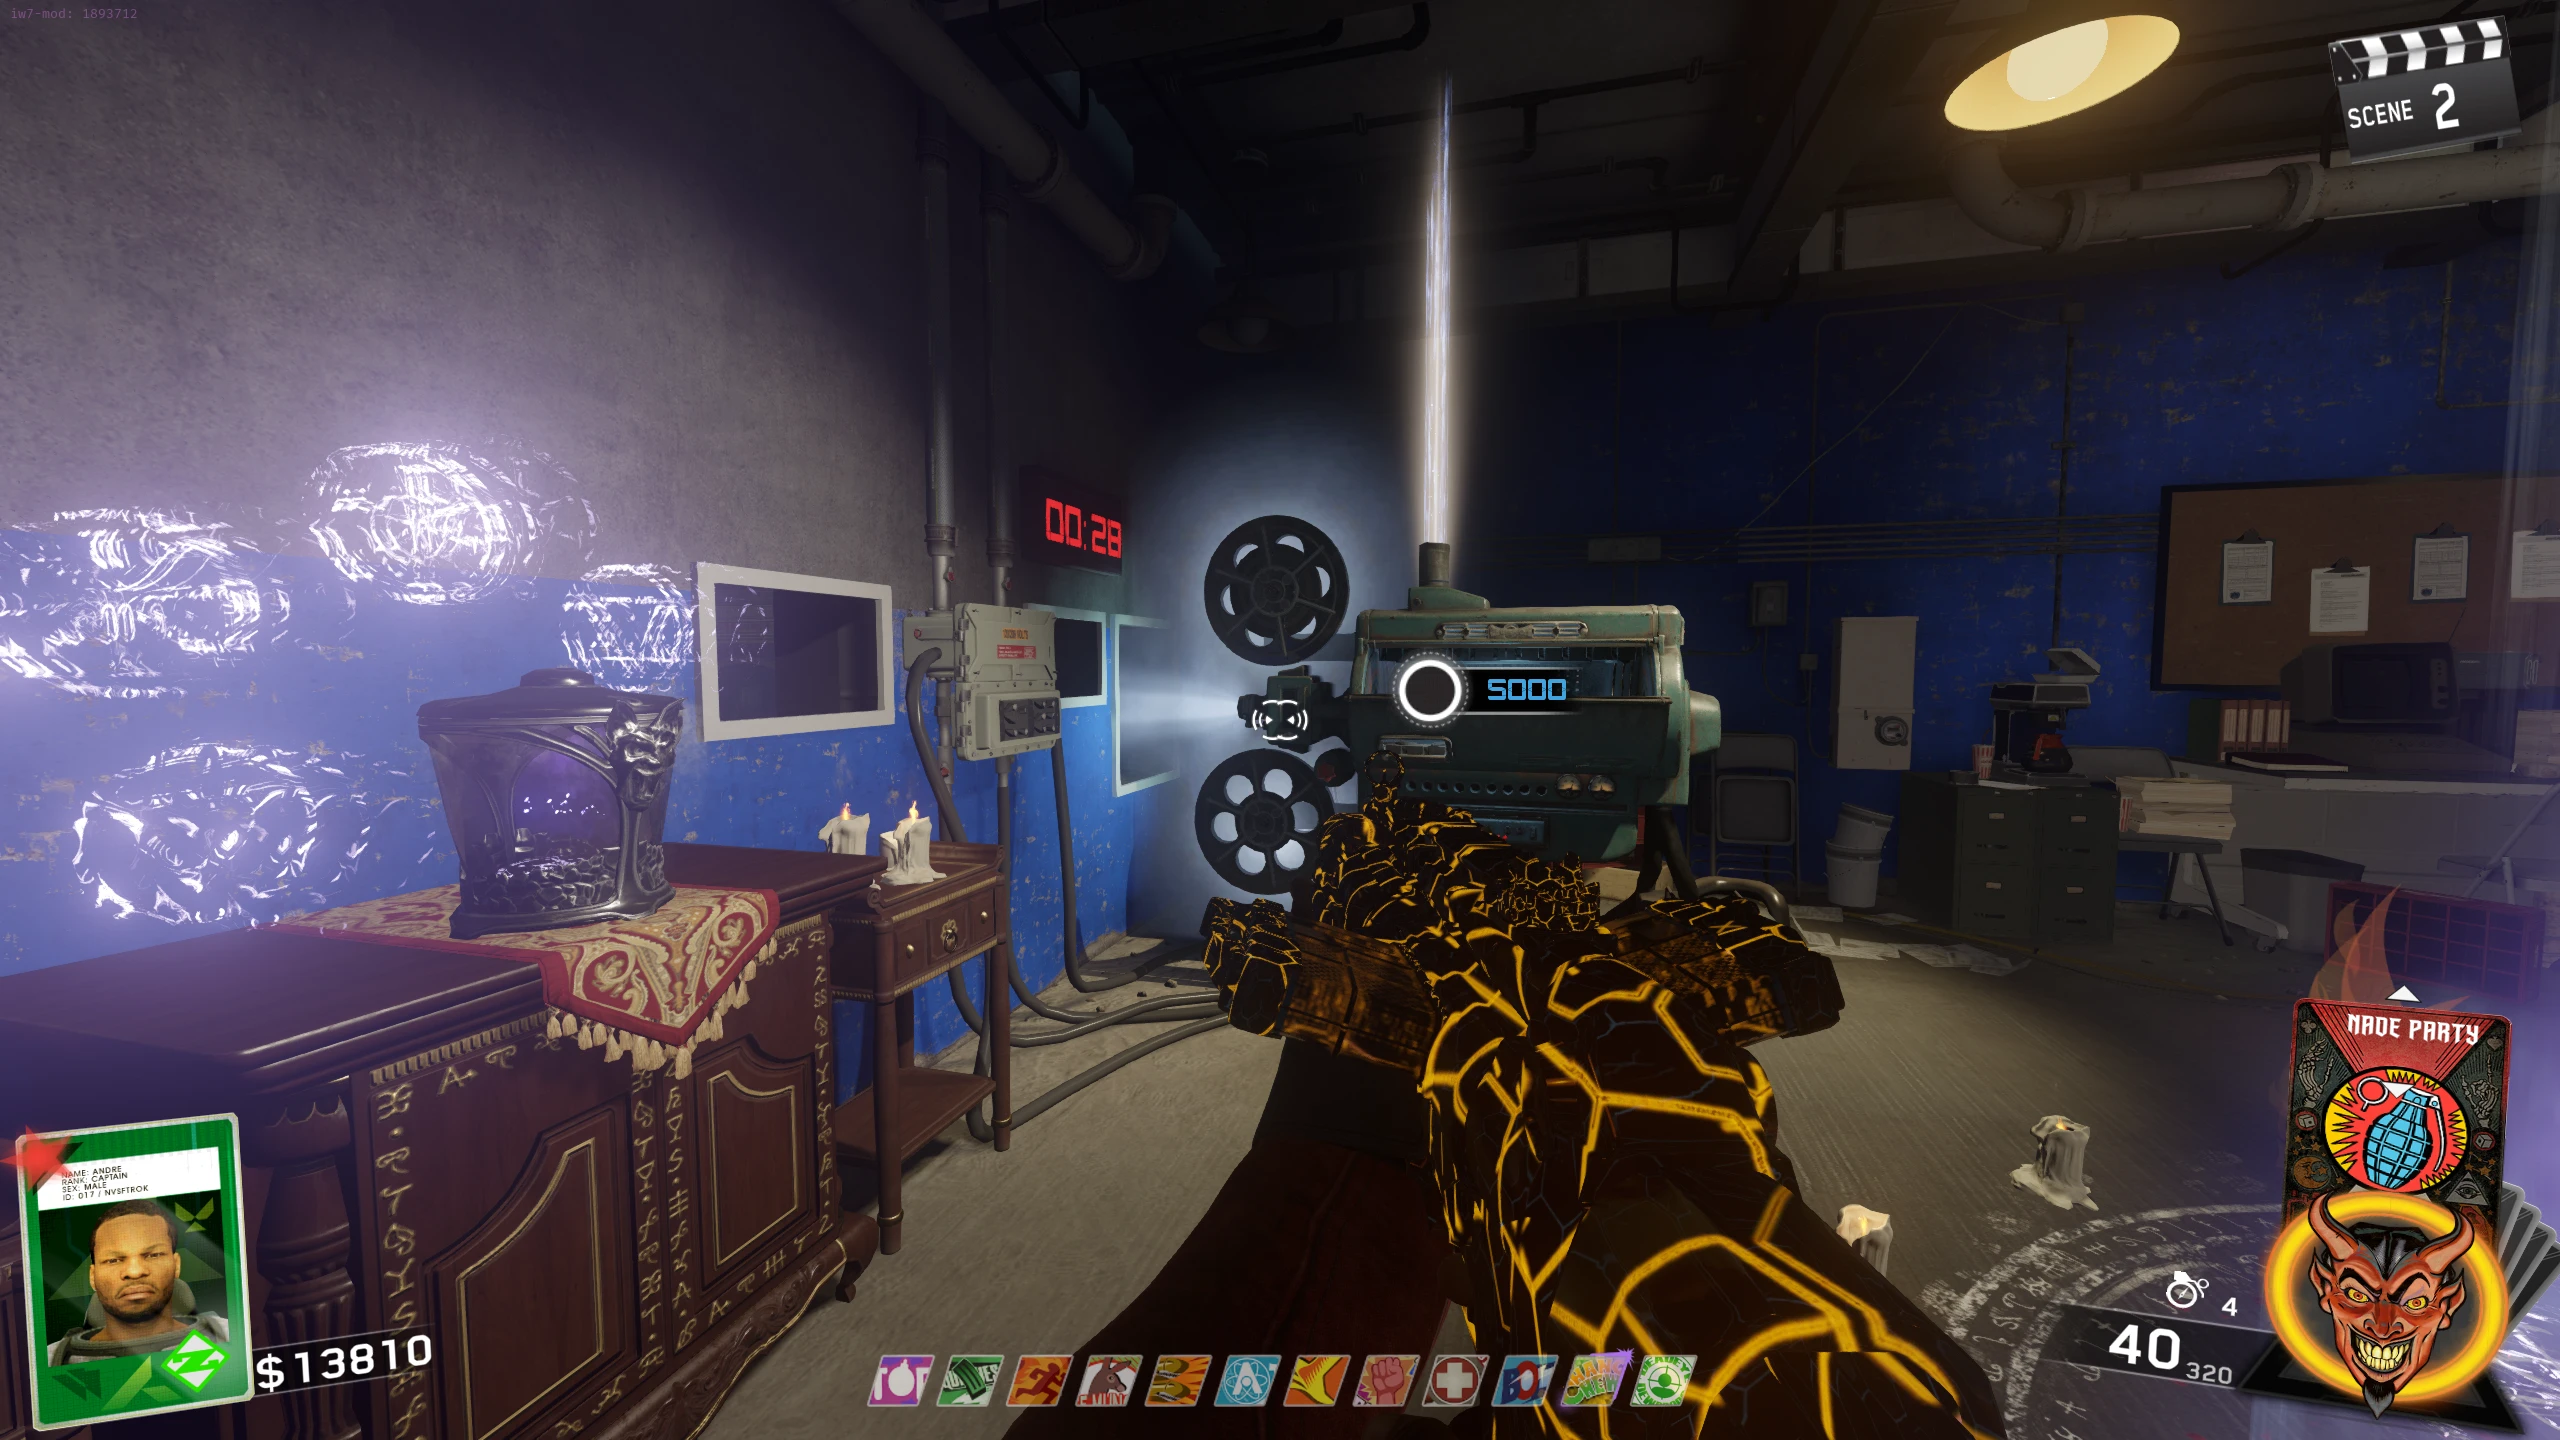
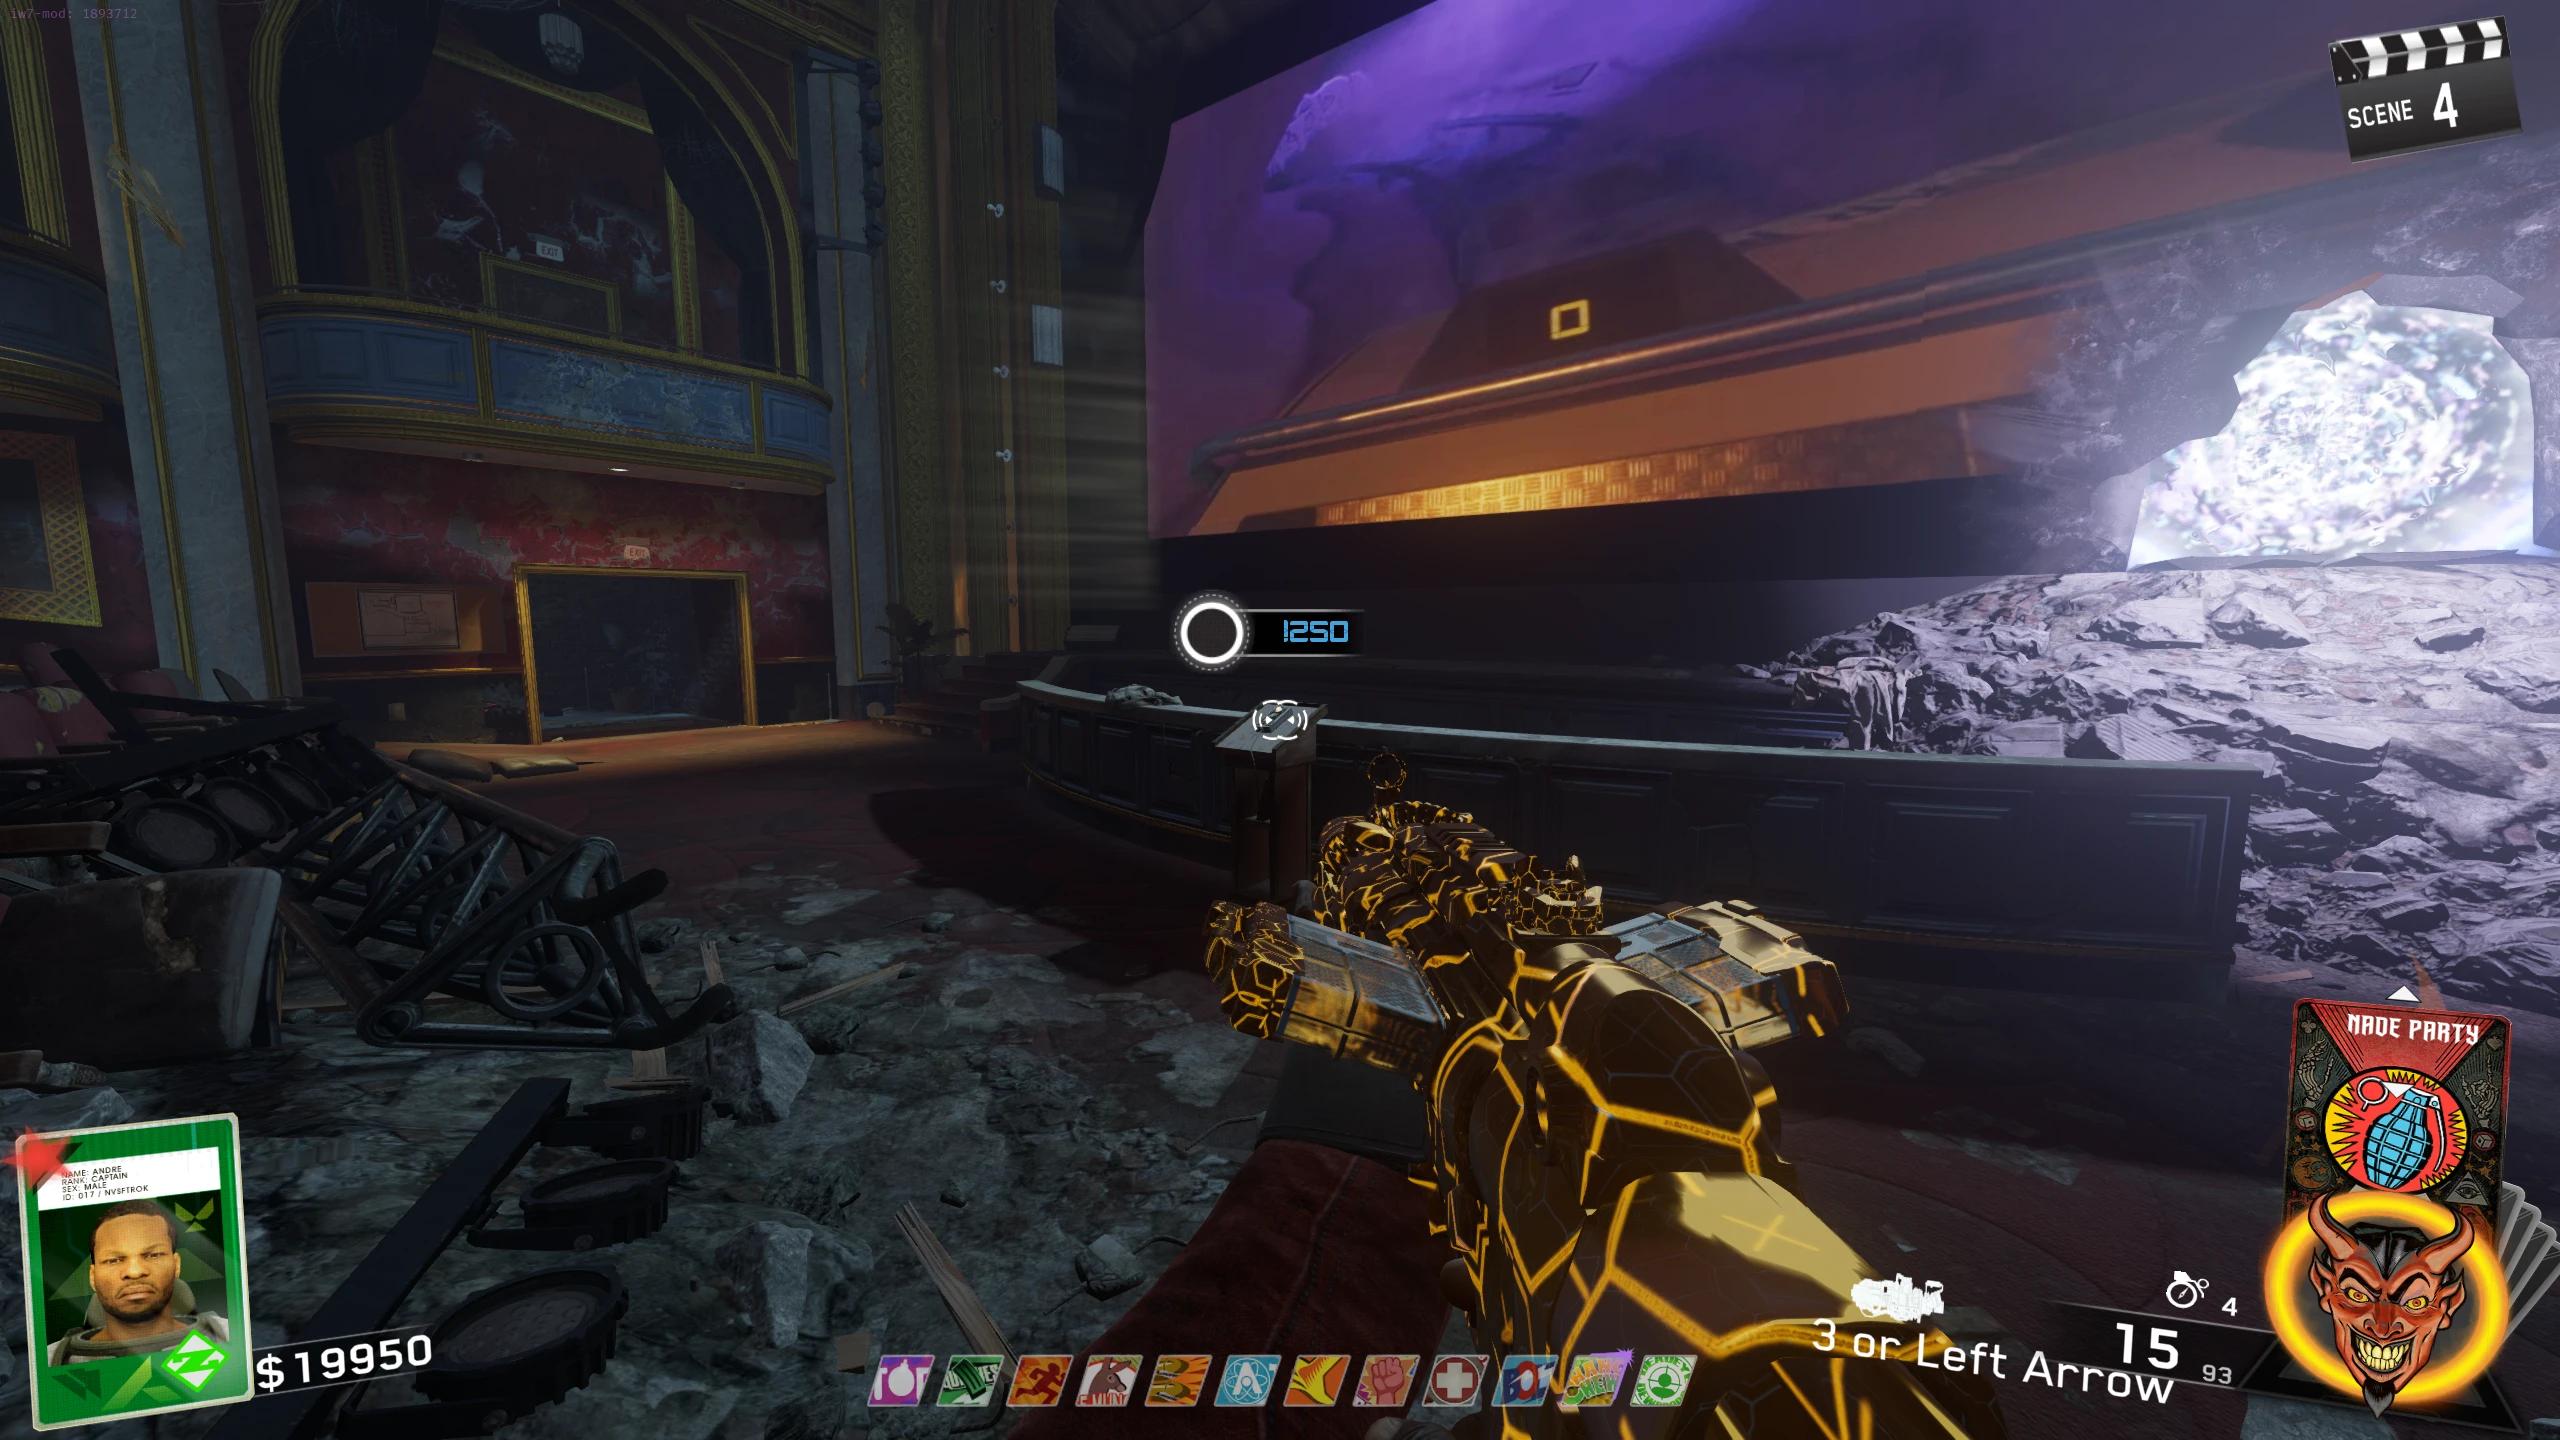
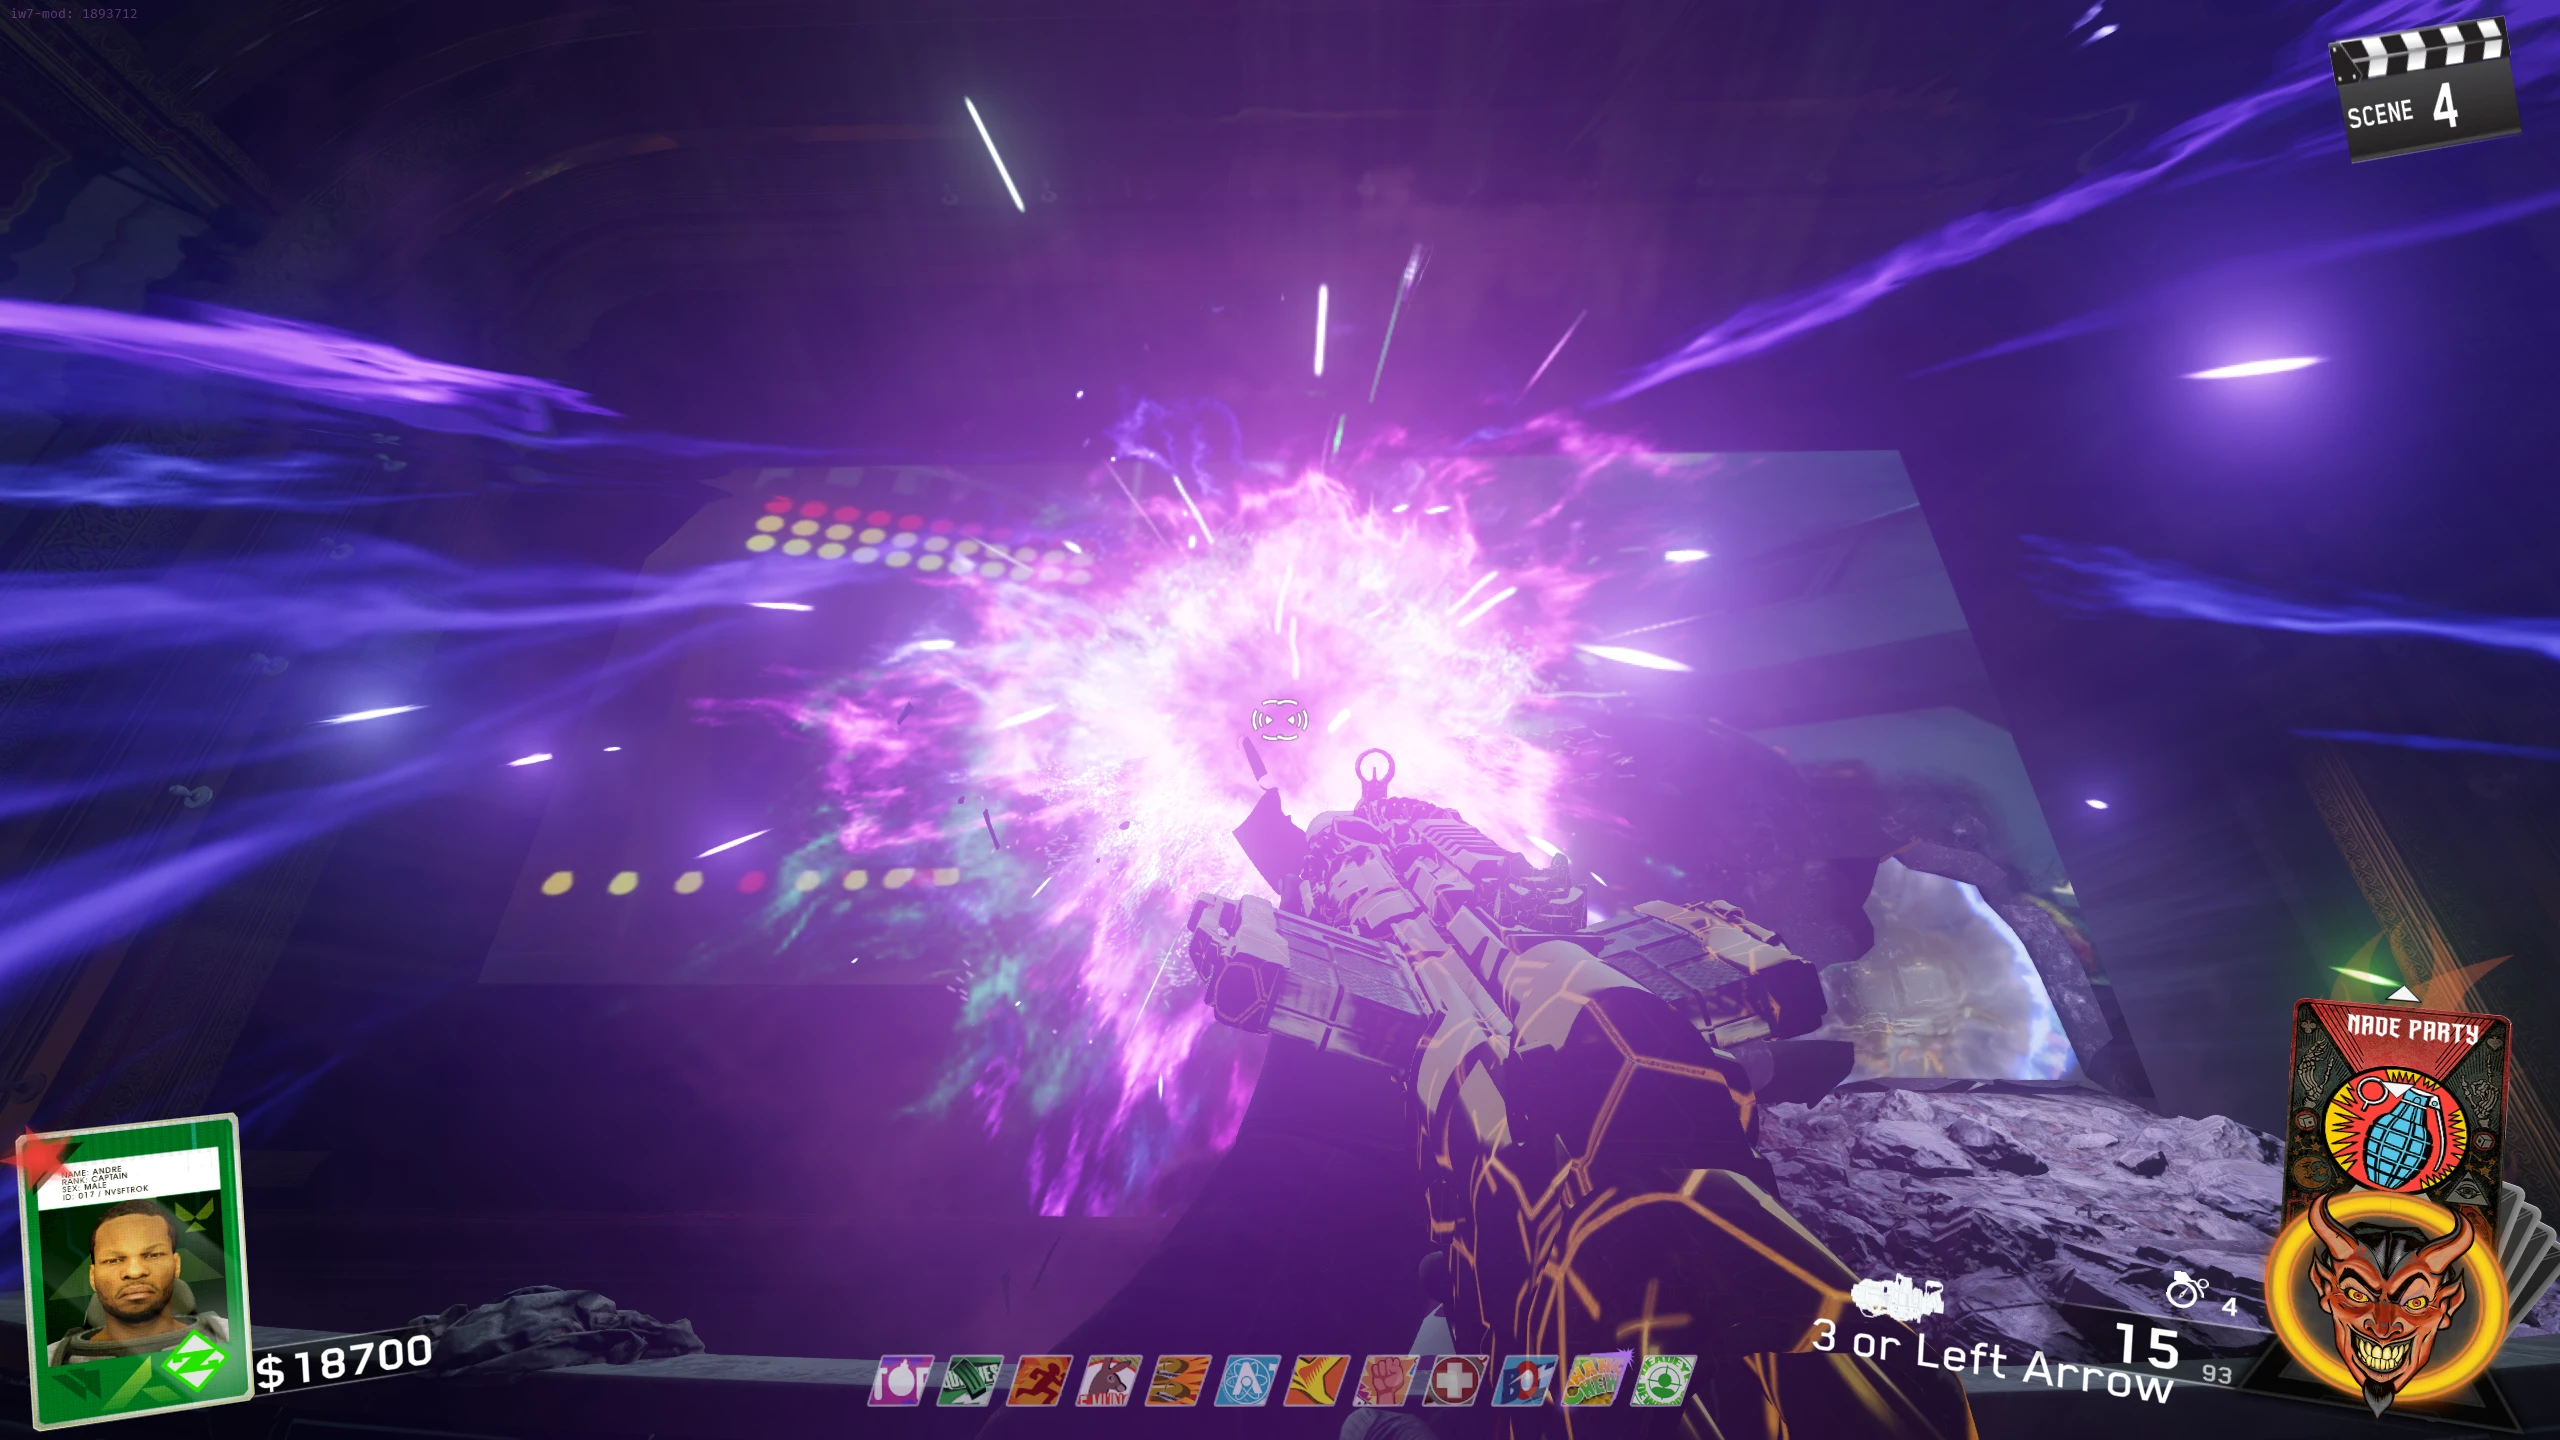
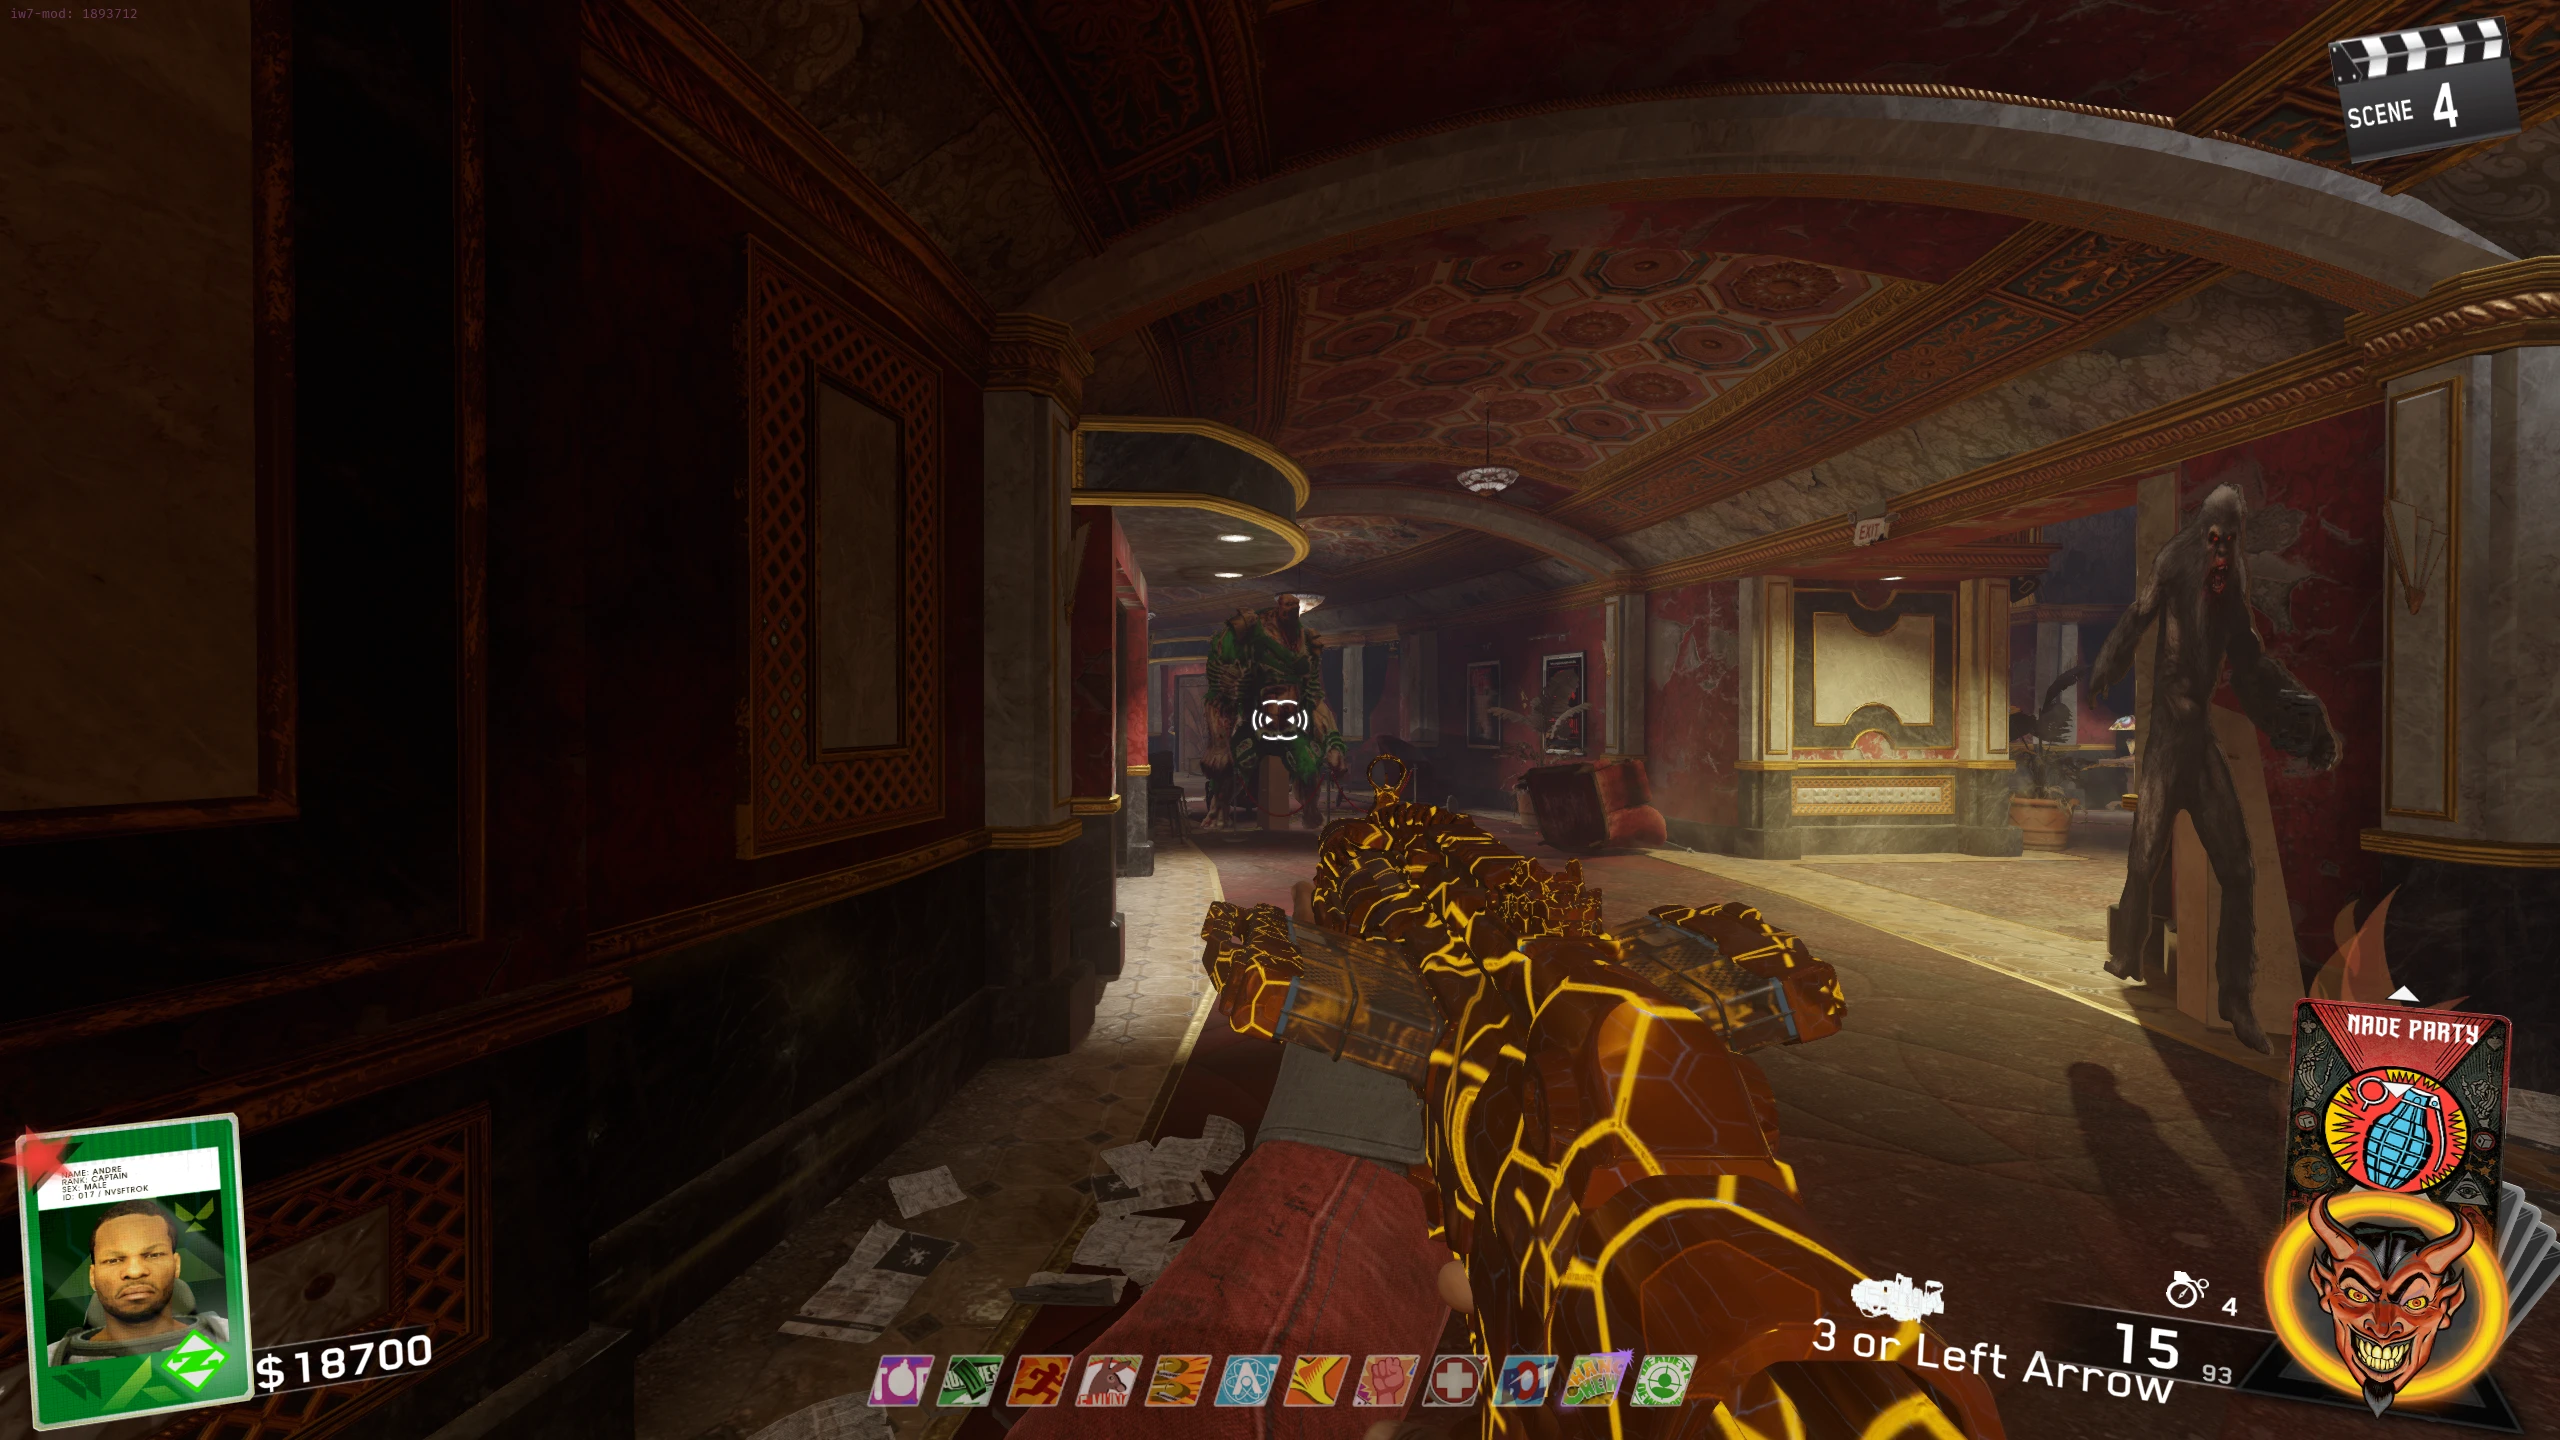
Accessing the Theatre
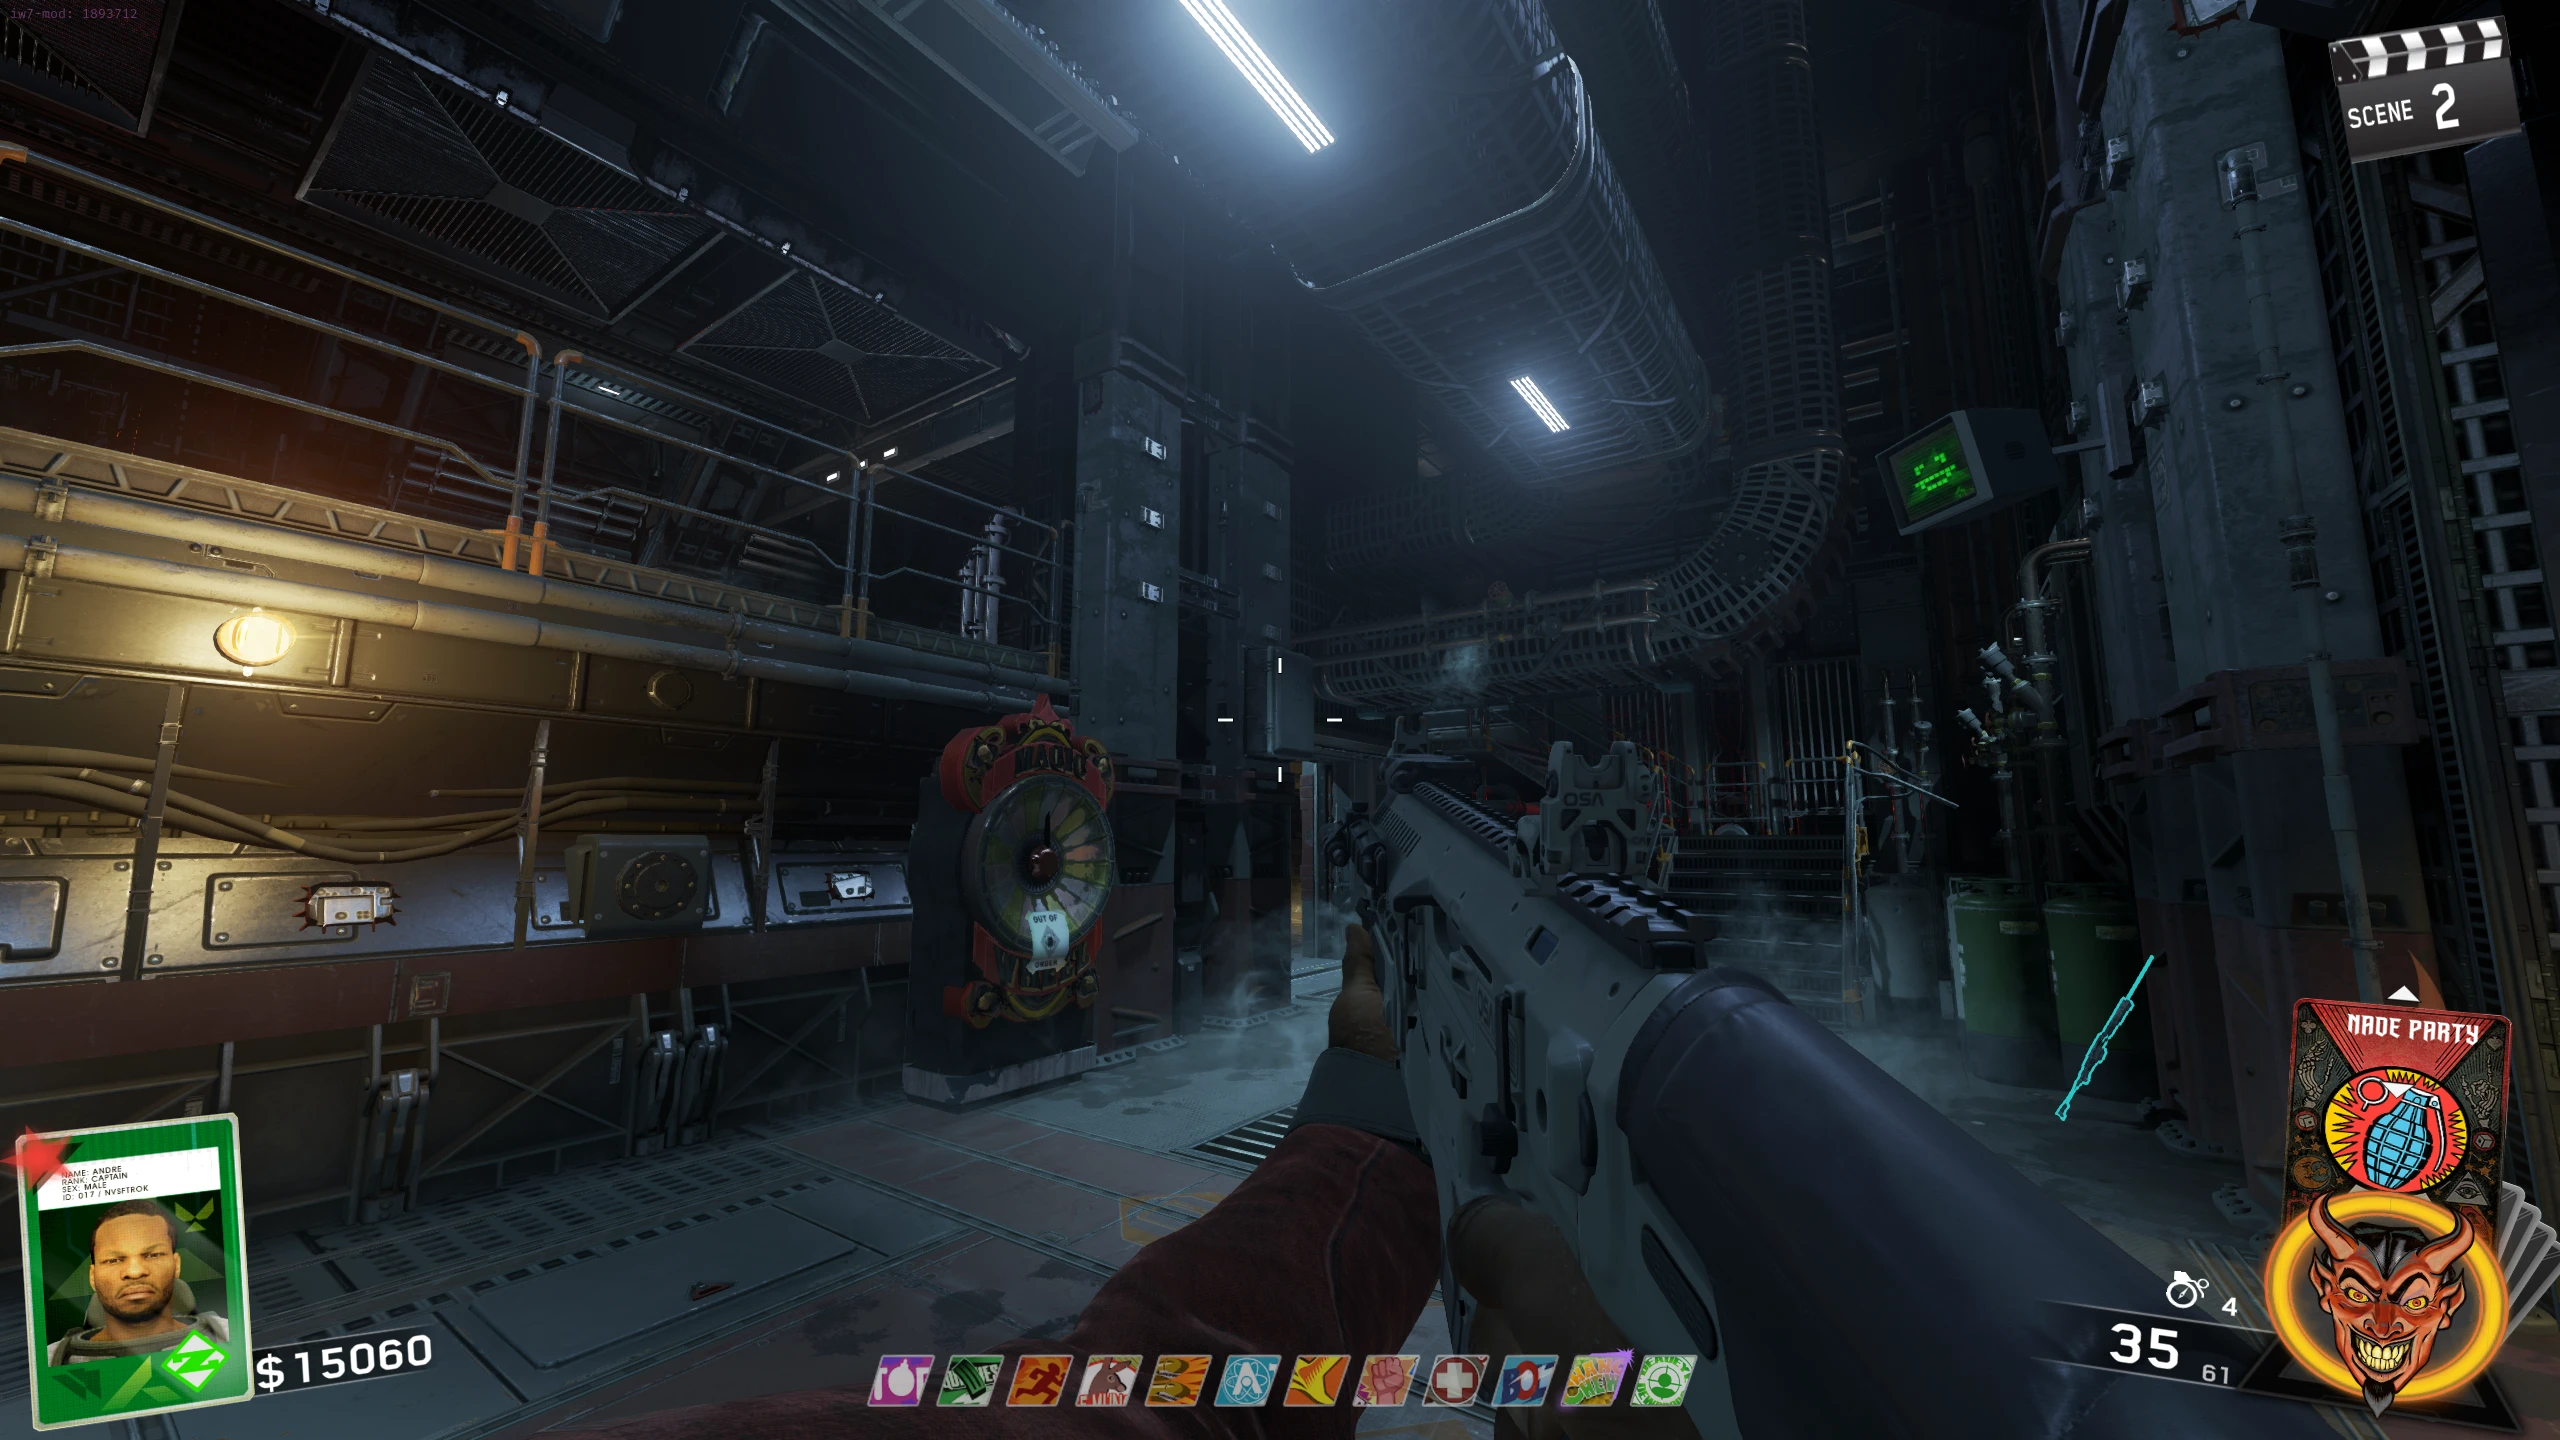
- To access the theatre, you need to go to the Cargo Bay and interact with the button on the wall on the upper catwalk. A turret will come into the room and fire at the wall on the far side of the room.
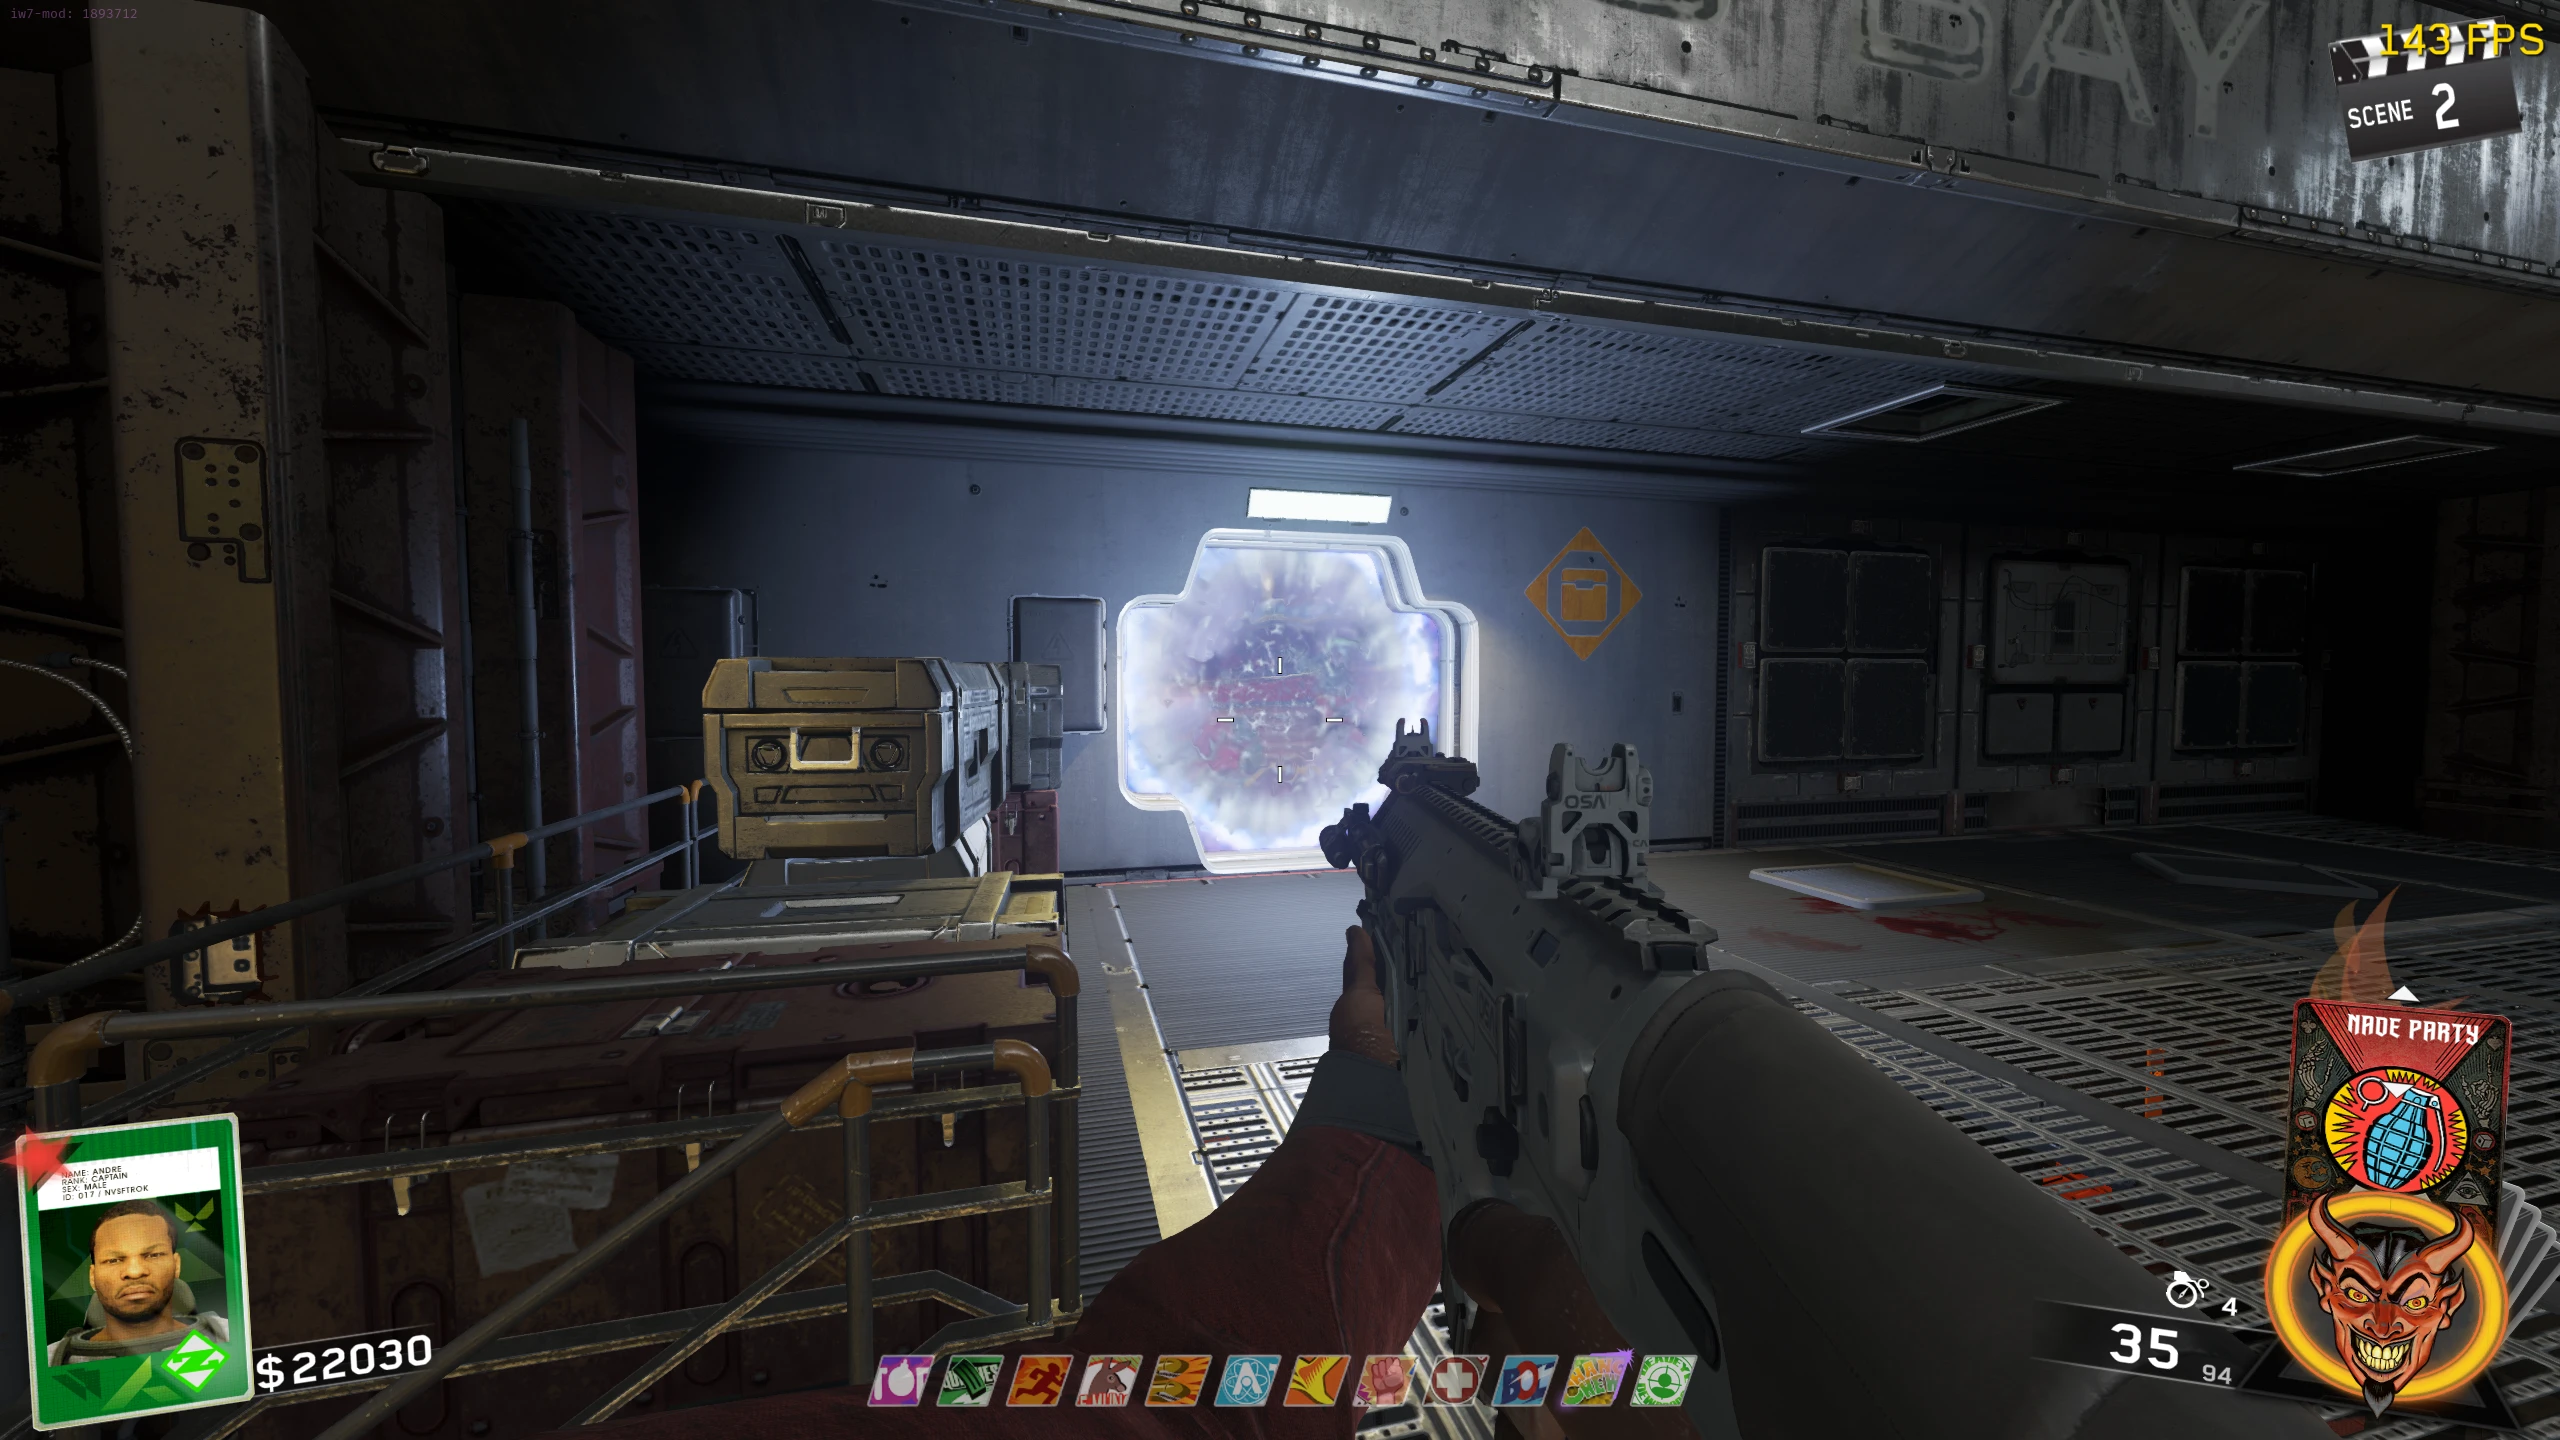
- This will activate a portal to the theatre on the other side of the Cargo Bay.
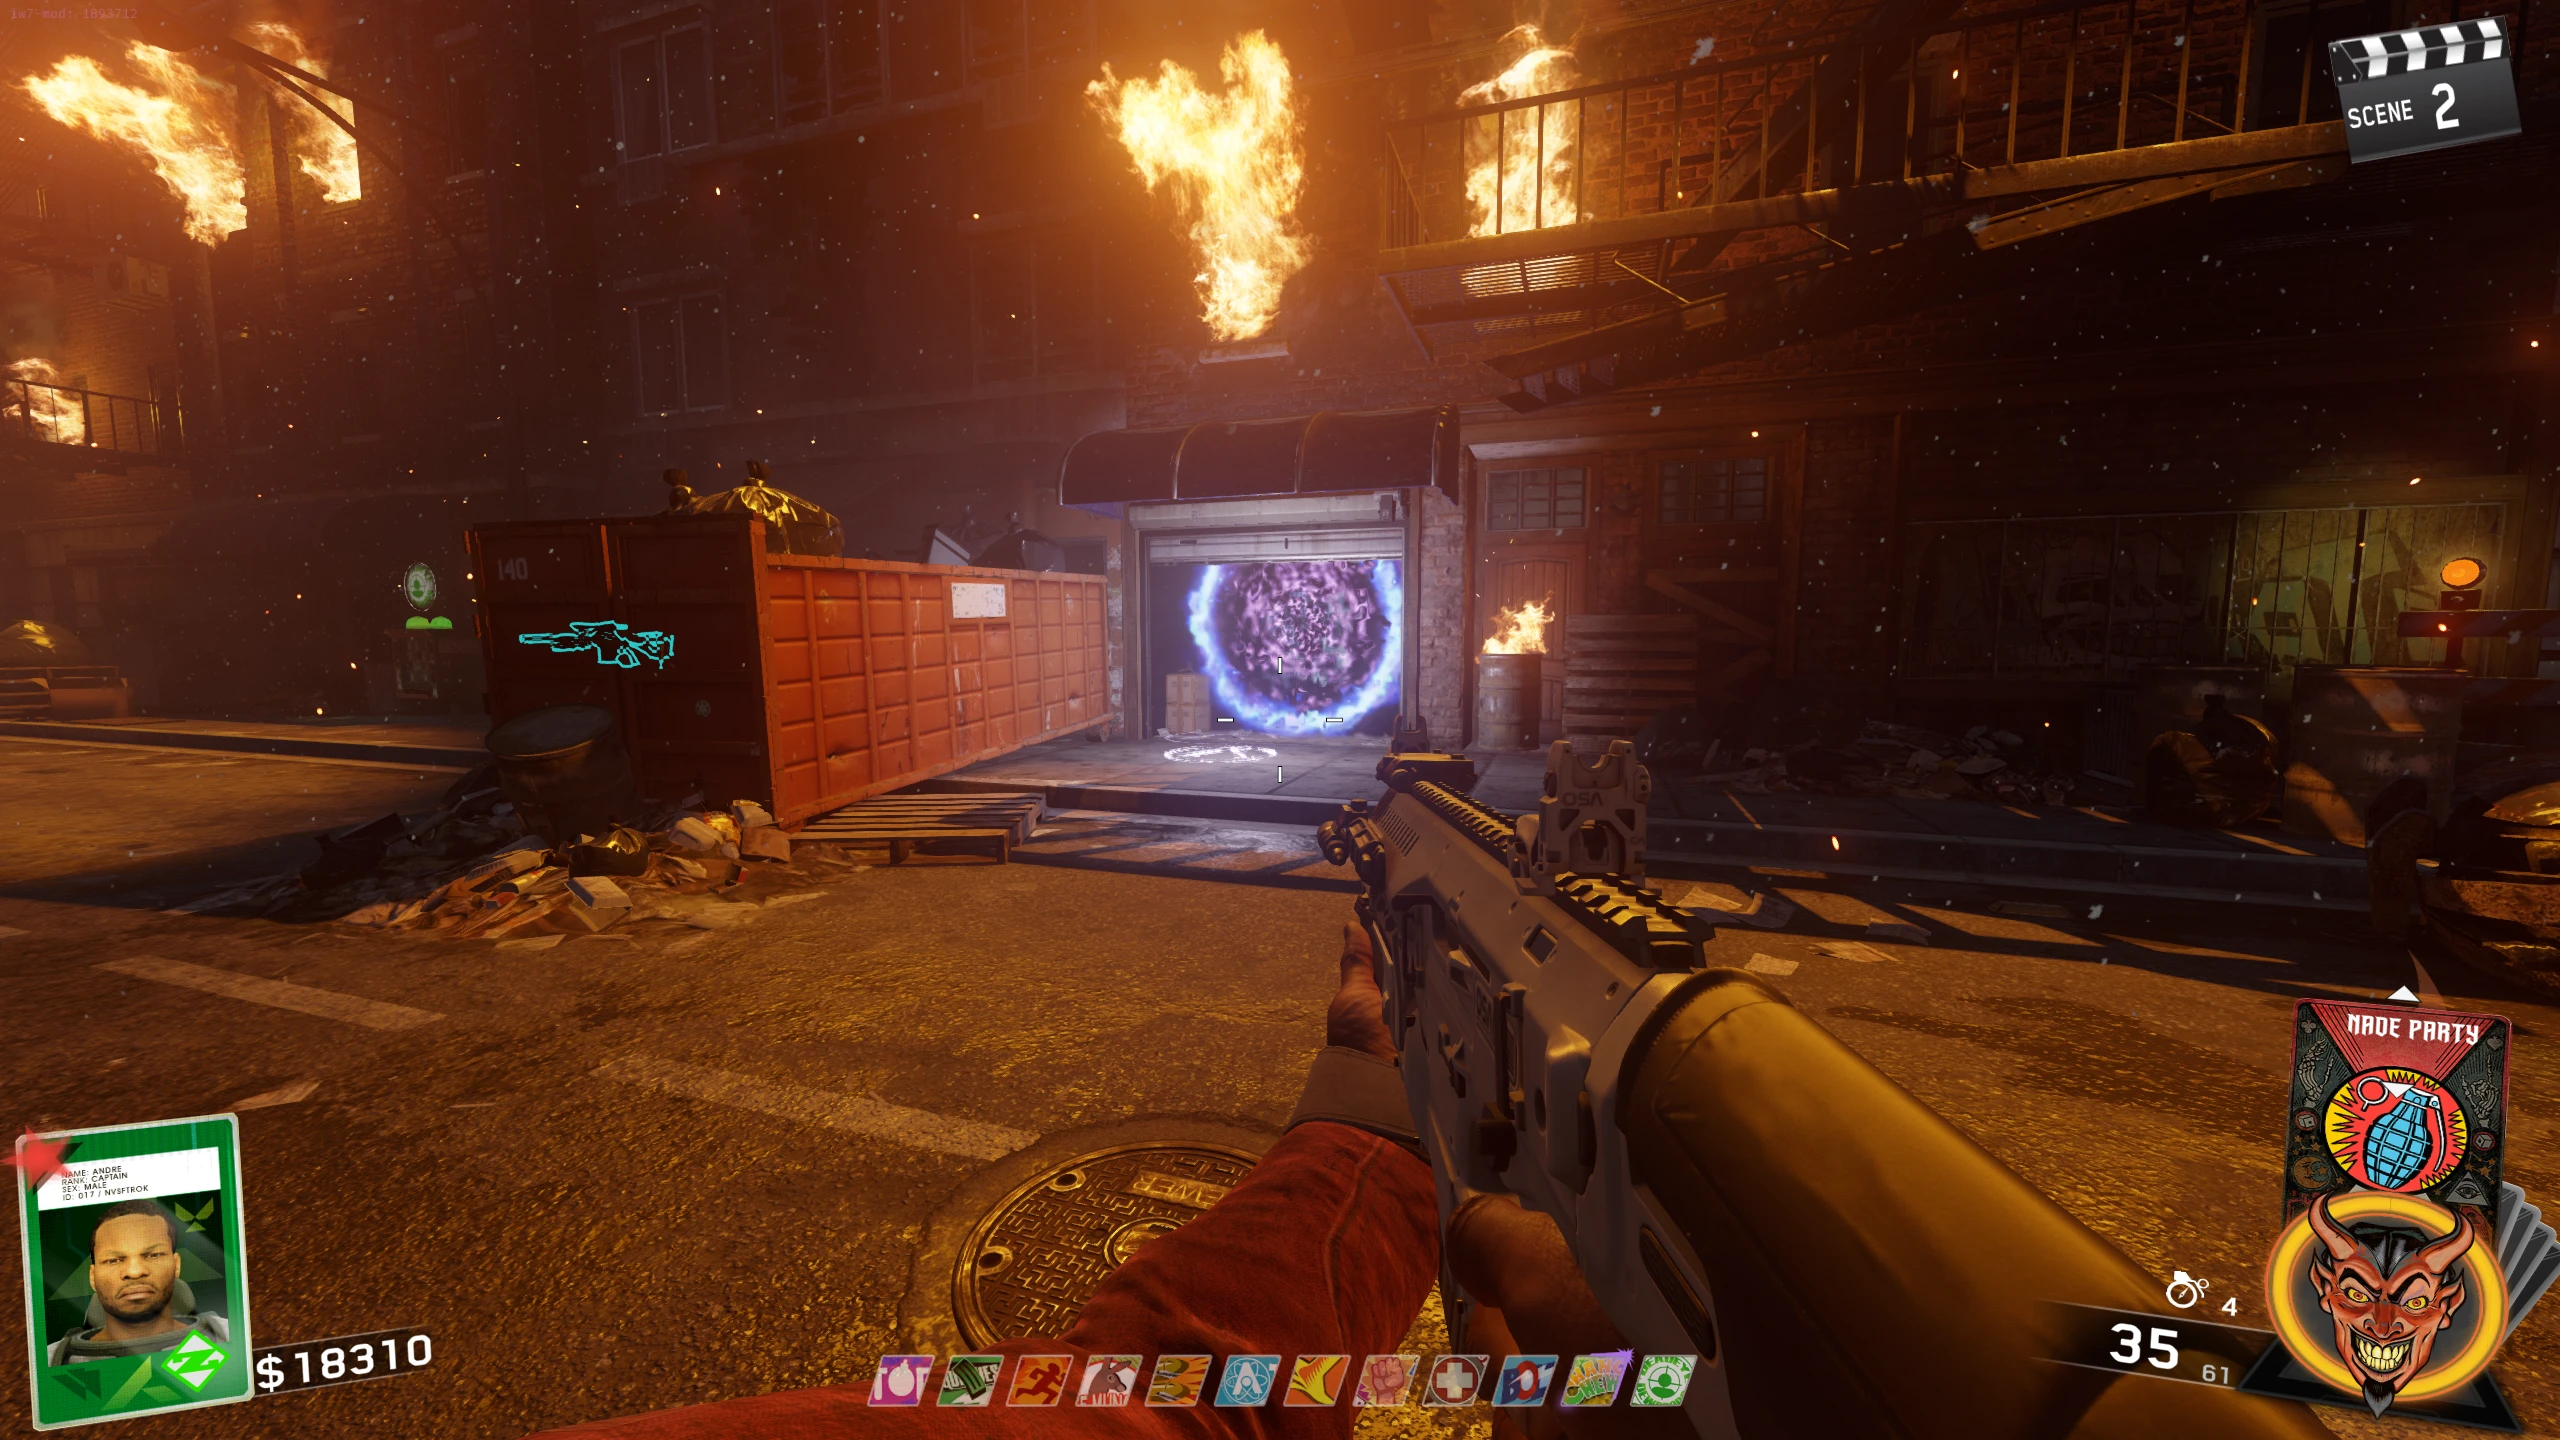
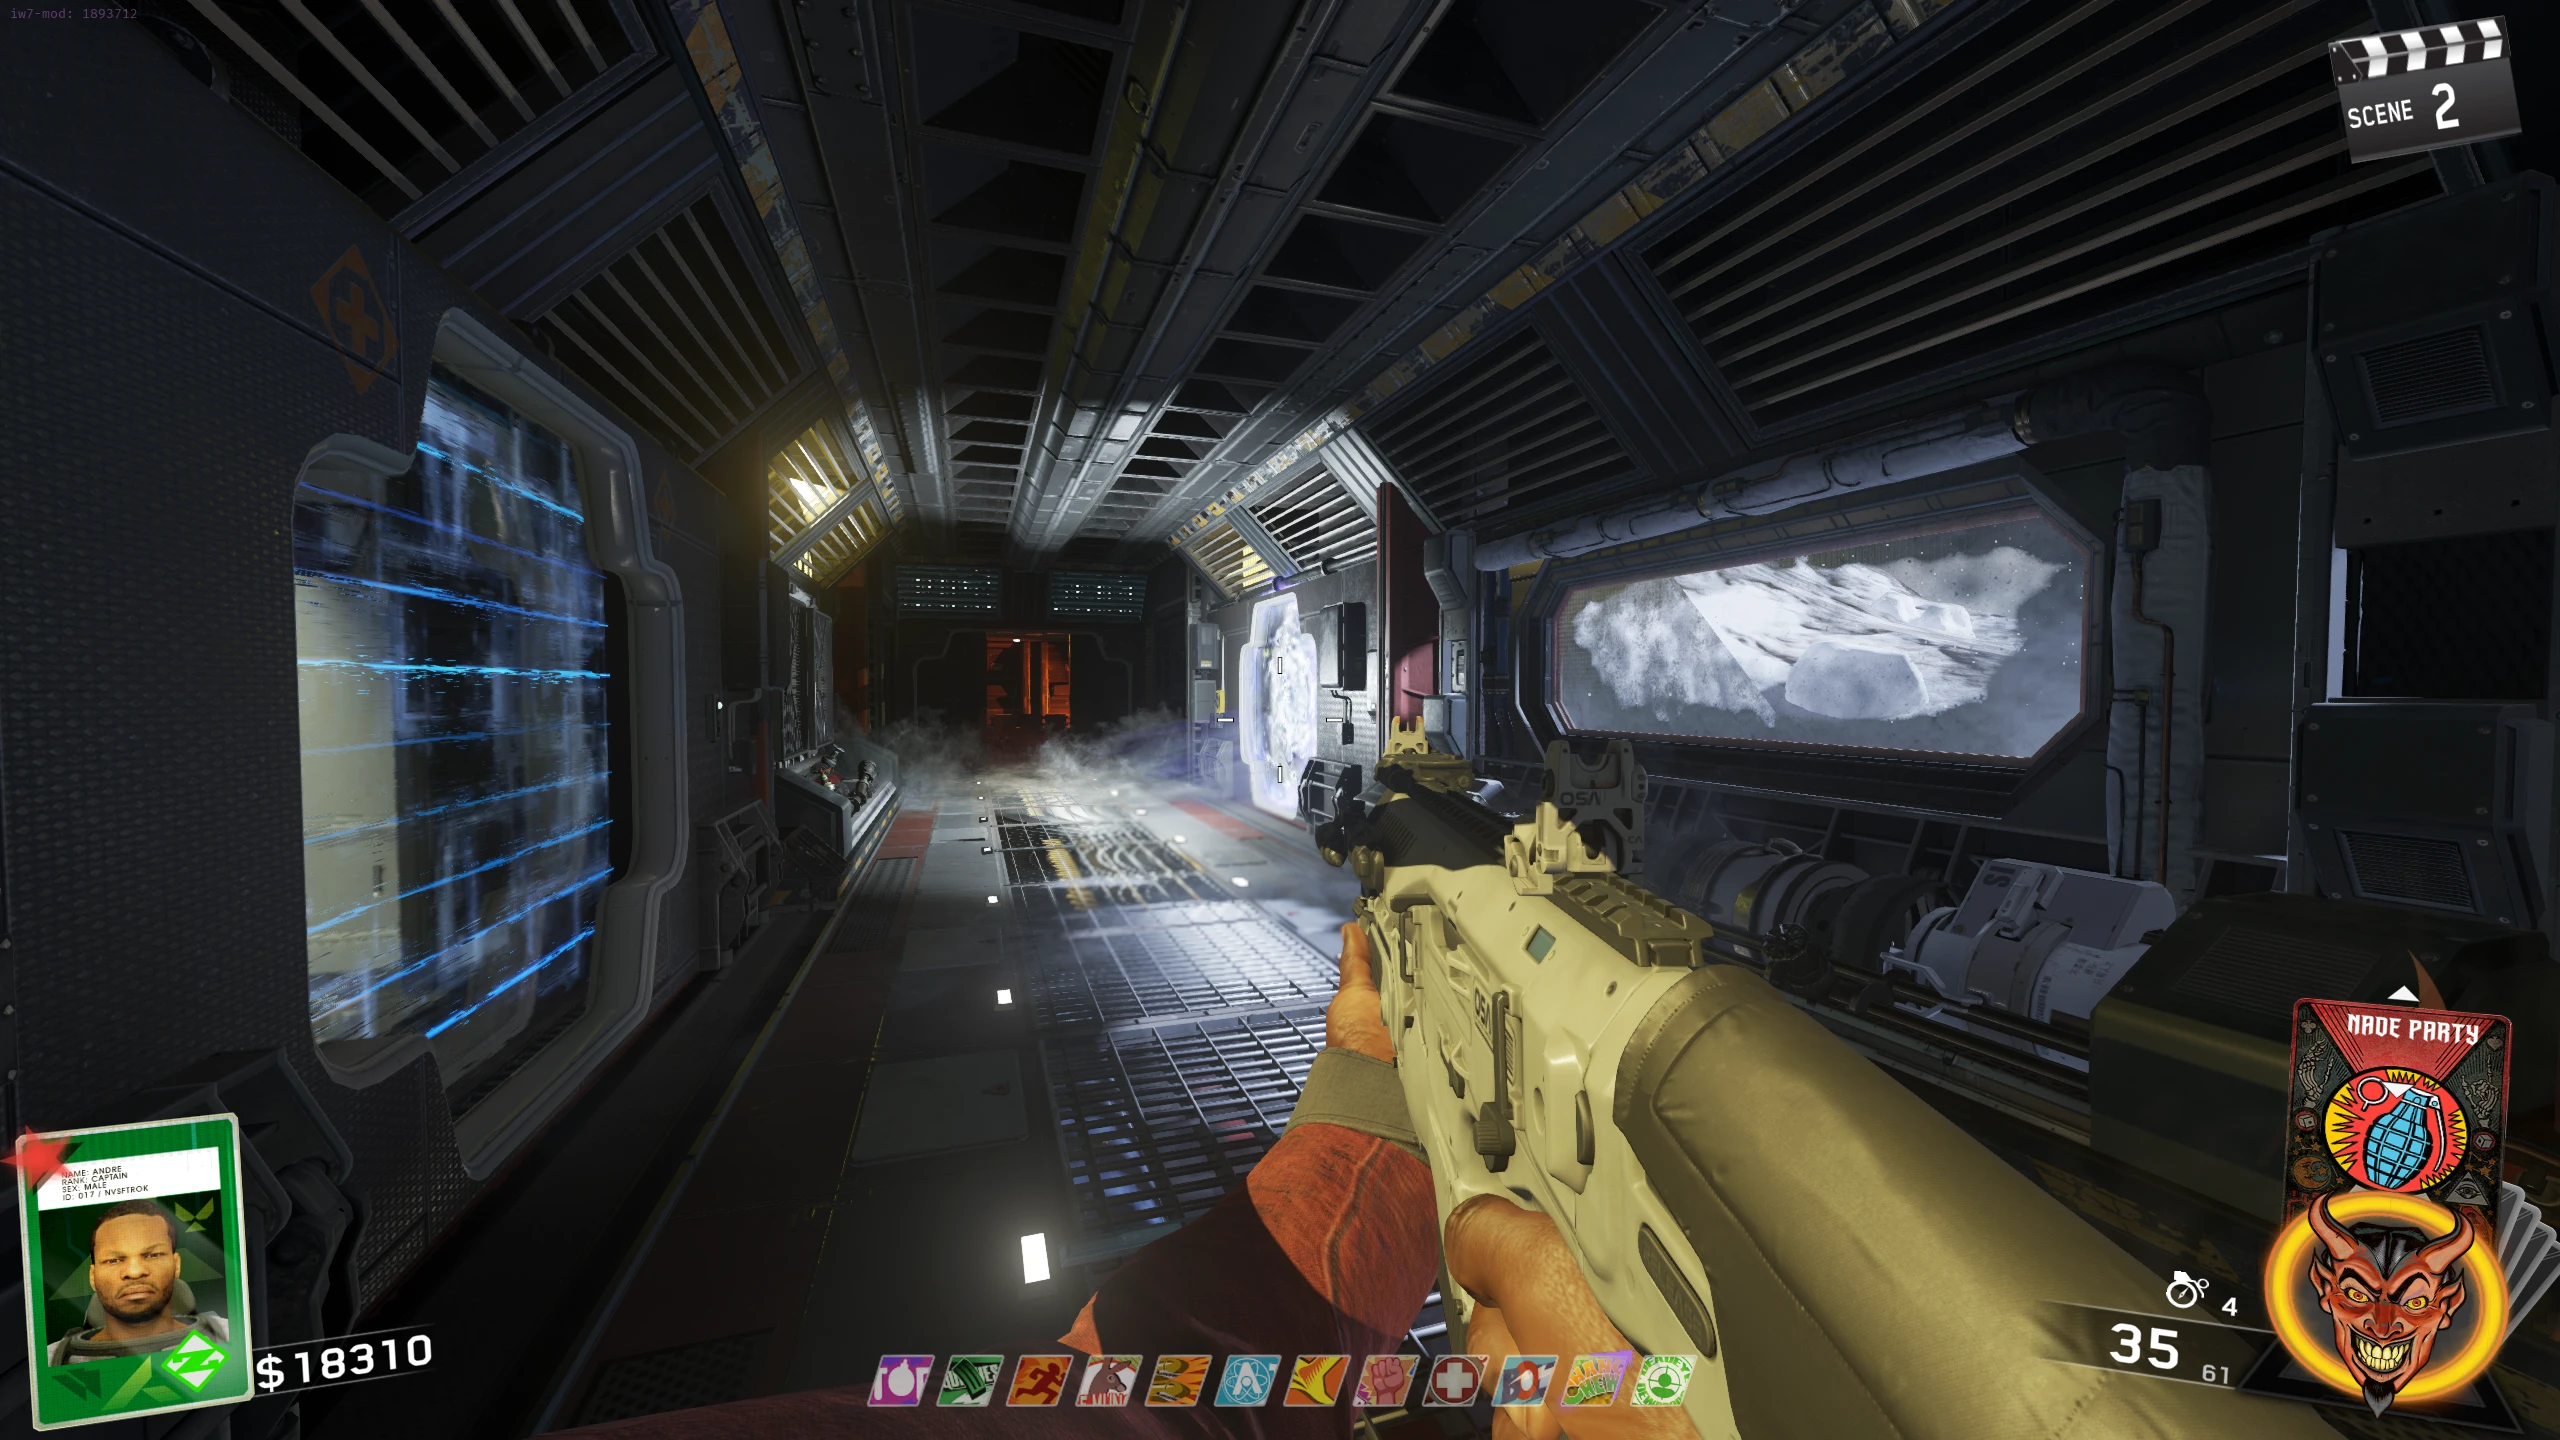
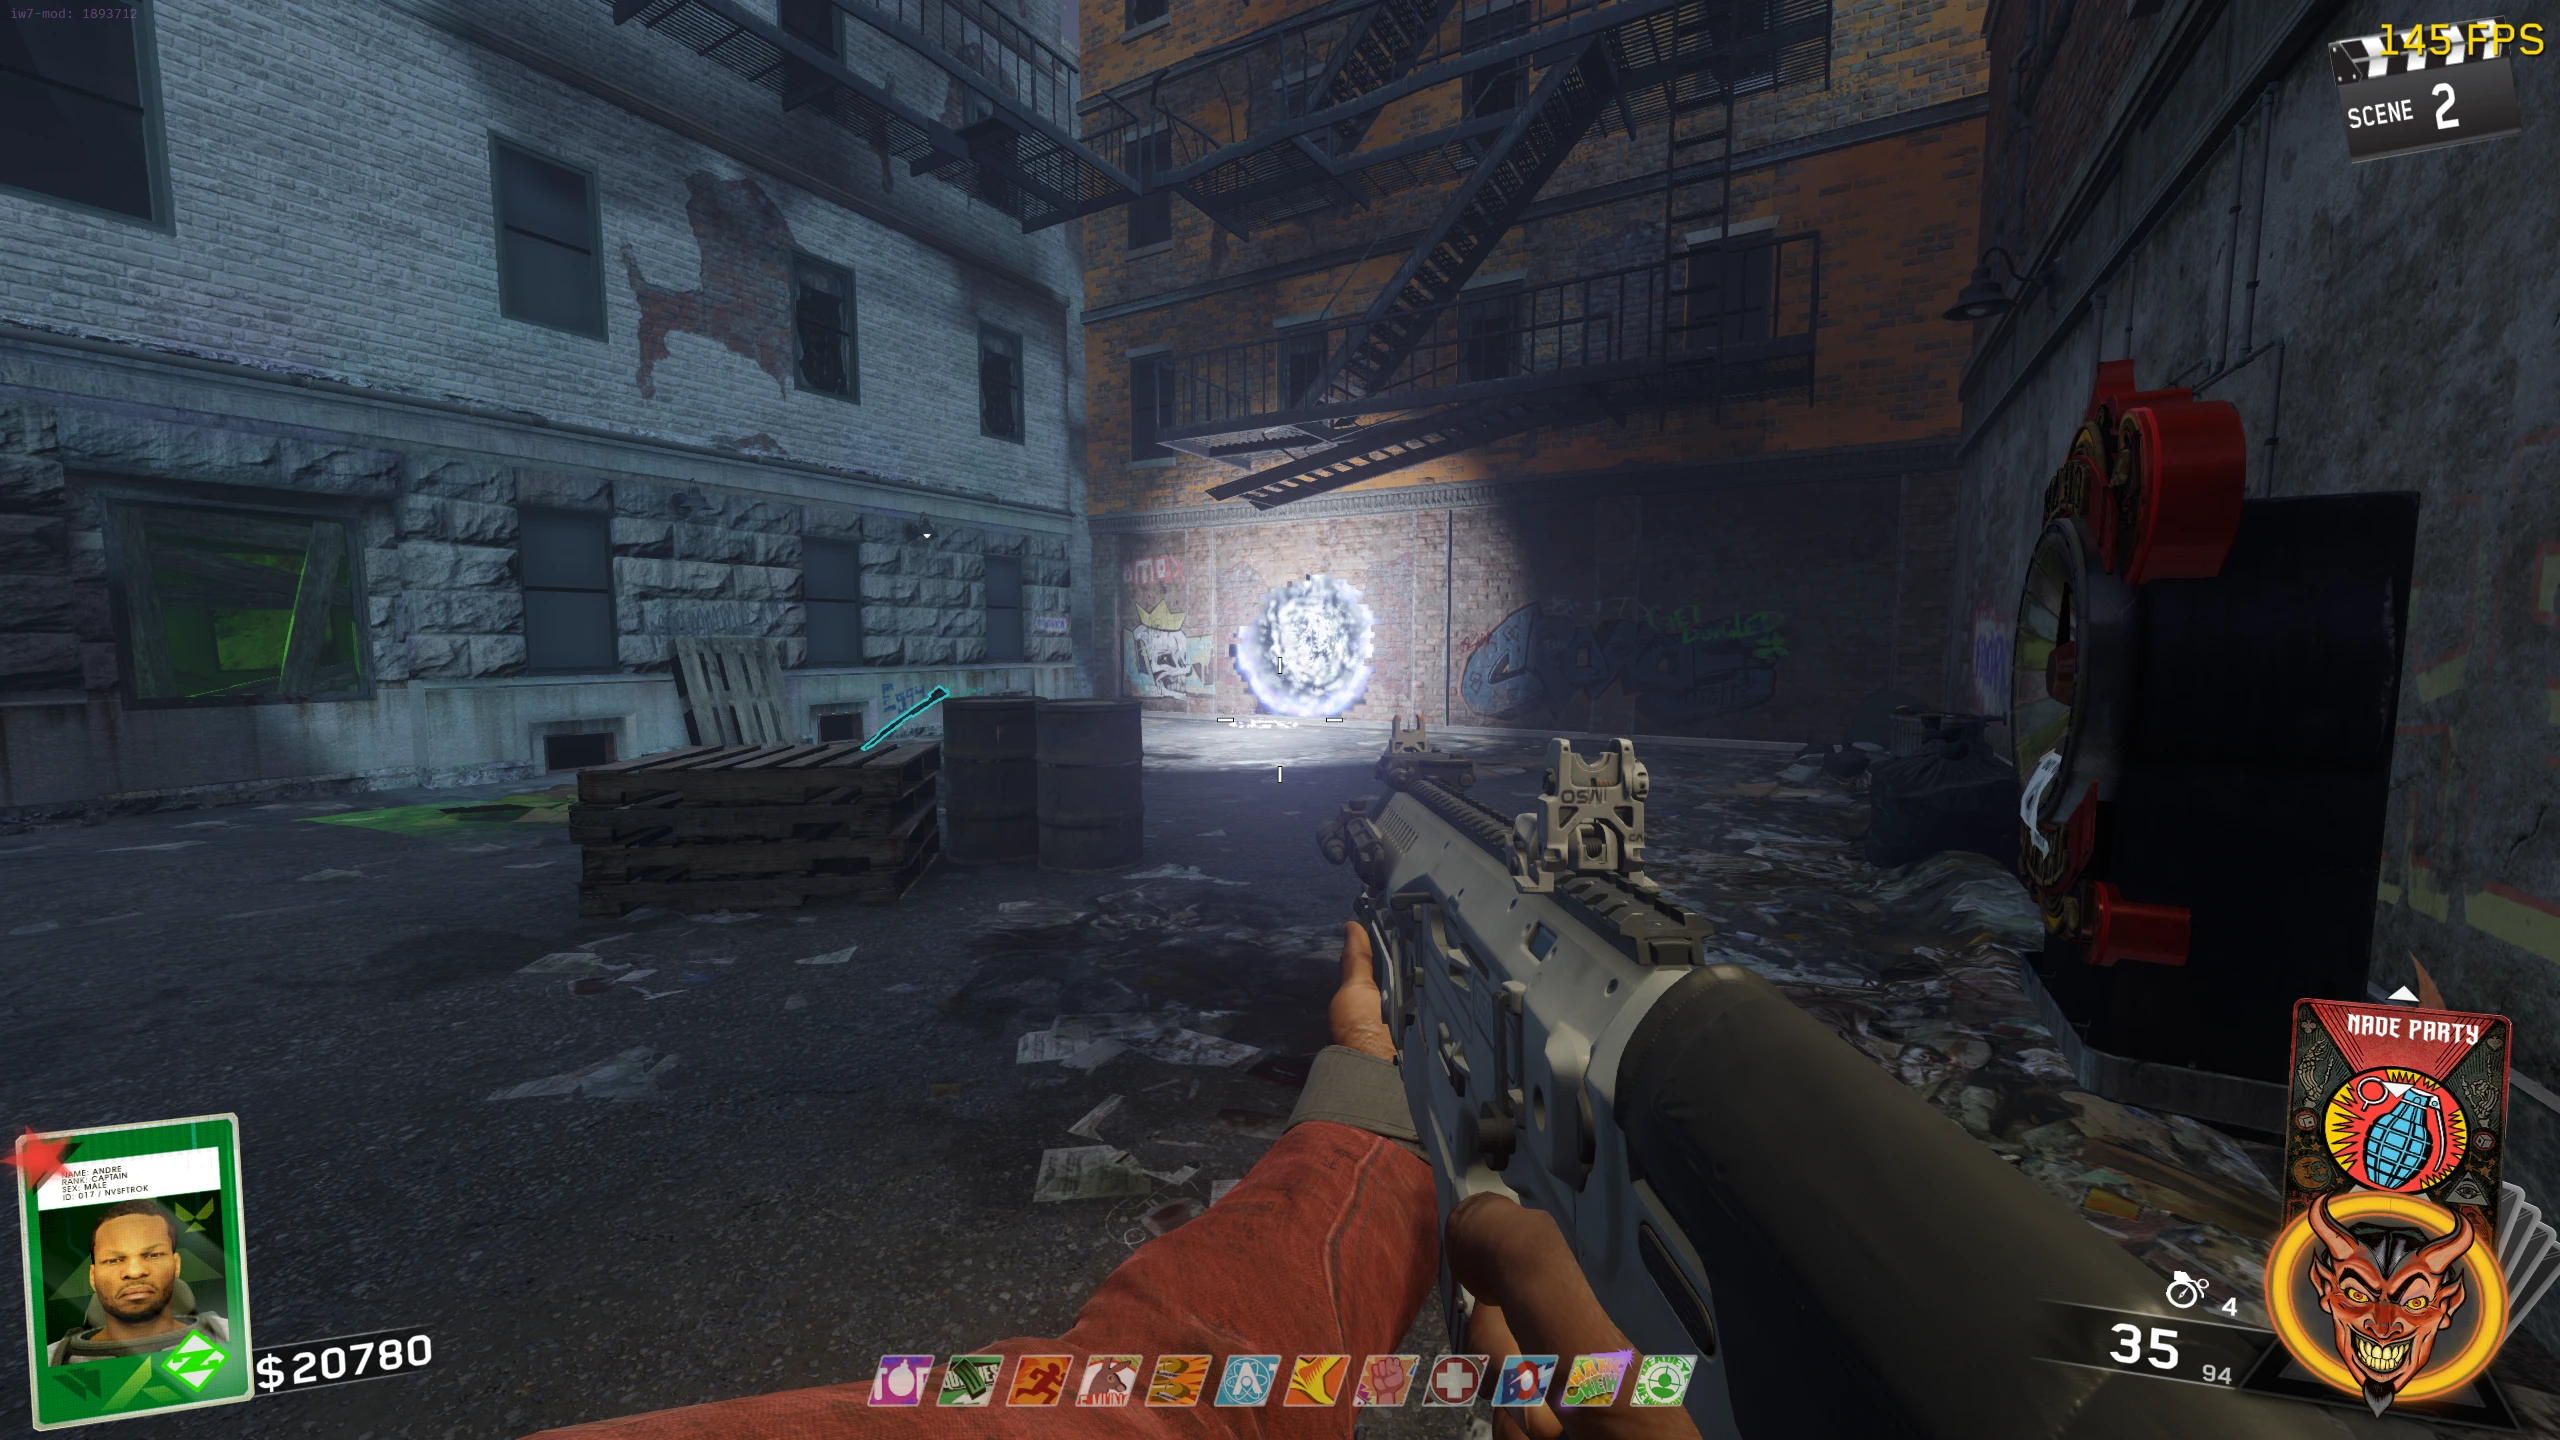
- Once in the Theatre, two other portals can be activated to go between the Theatre and the main map. To activate a portal, interact with the symbol on the ground in front of it. Portal locations:
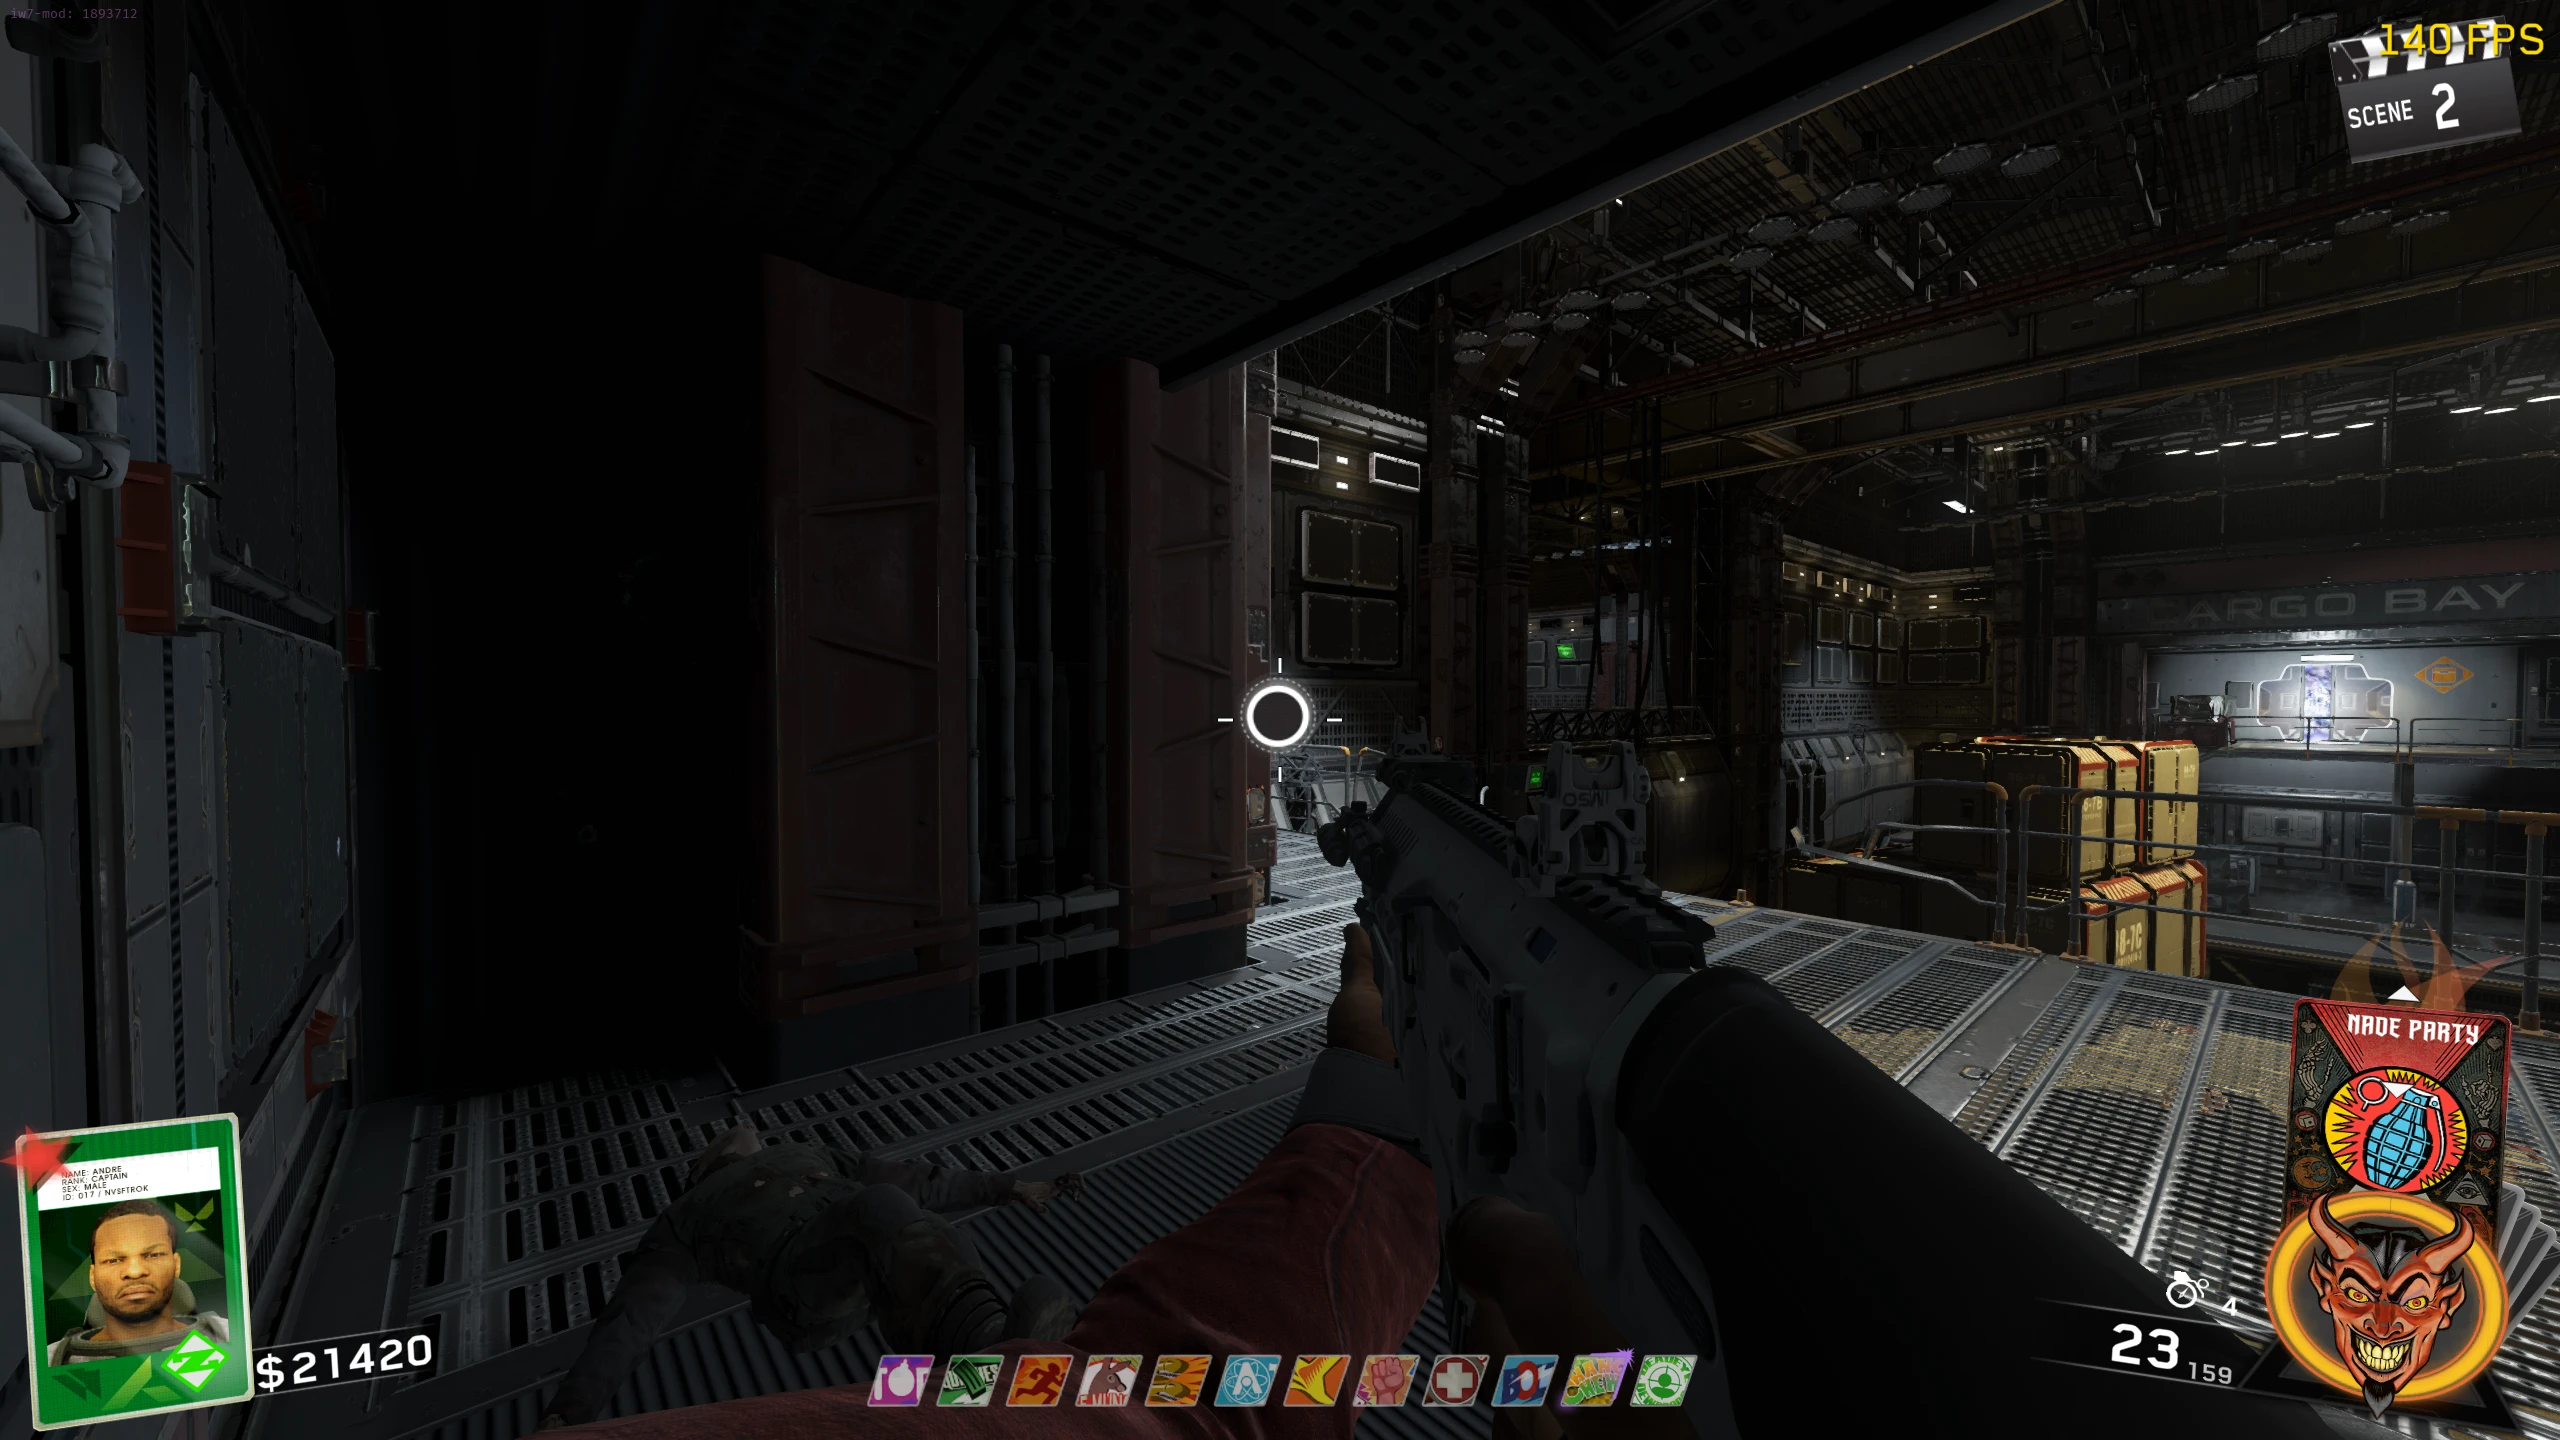
Venom-X
The Venom-X shoots eggs that either explode after a delay or can be detonated manually. The explosion leaves a gas cloud that damages enemies inside. Killing Cryptids has a chance to drop an egg that partially refills ammo.
- Bring a Phantom (big blue Cryptid) to the Electric Water Trap between Spawn and the Medical Bay. Activate the Trap while the Phantom is in the water.
- It doesn't have to die, just be damaged by it.
- The first time you go to Pack-a-Punch every game will spawn a Phantom.
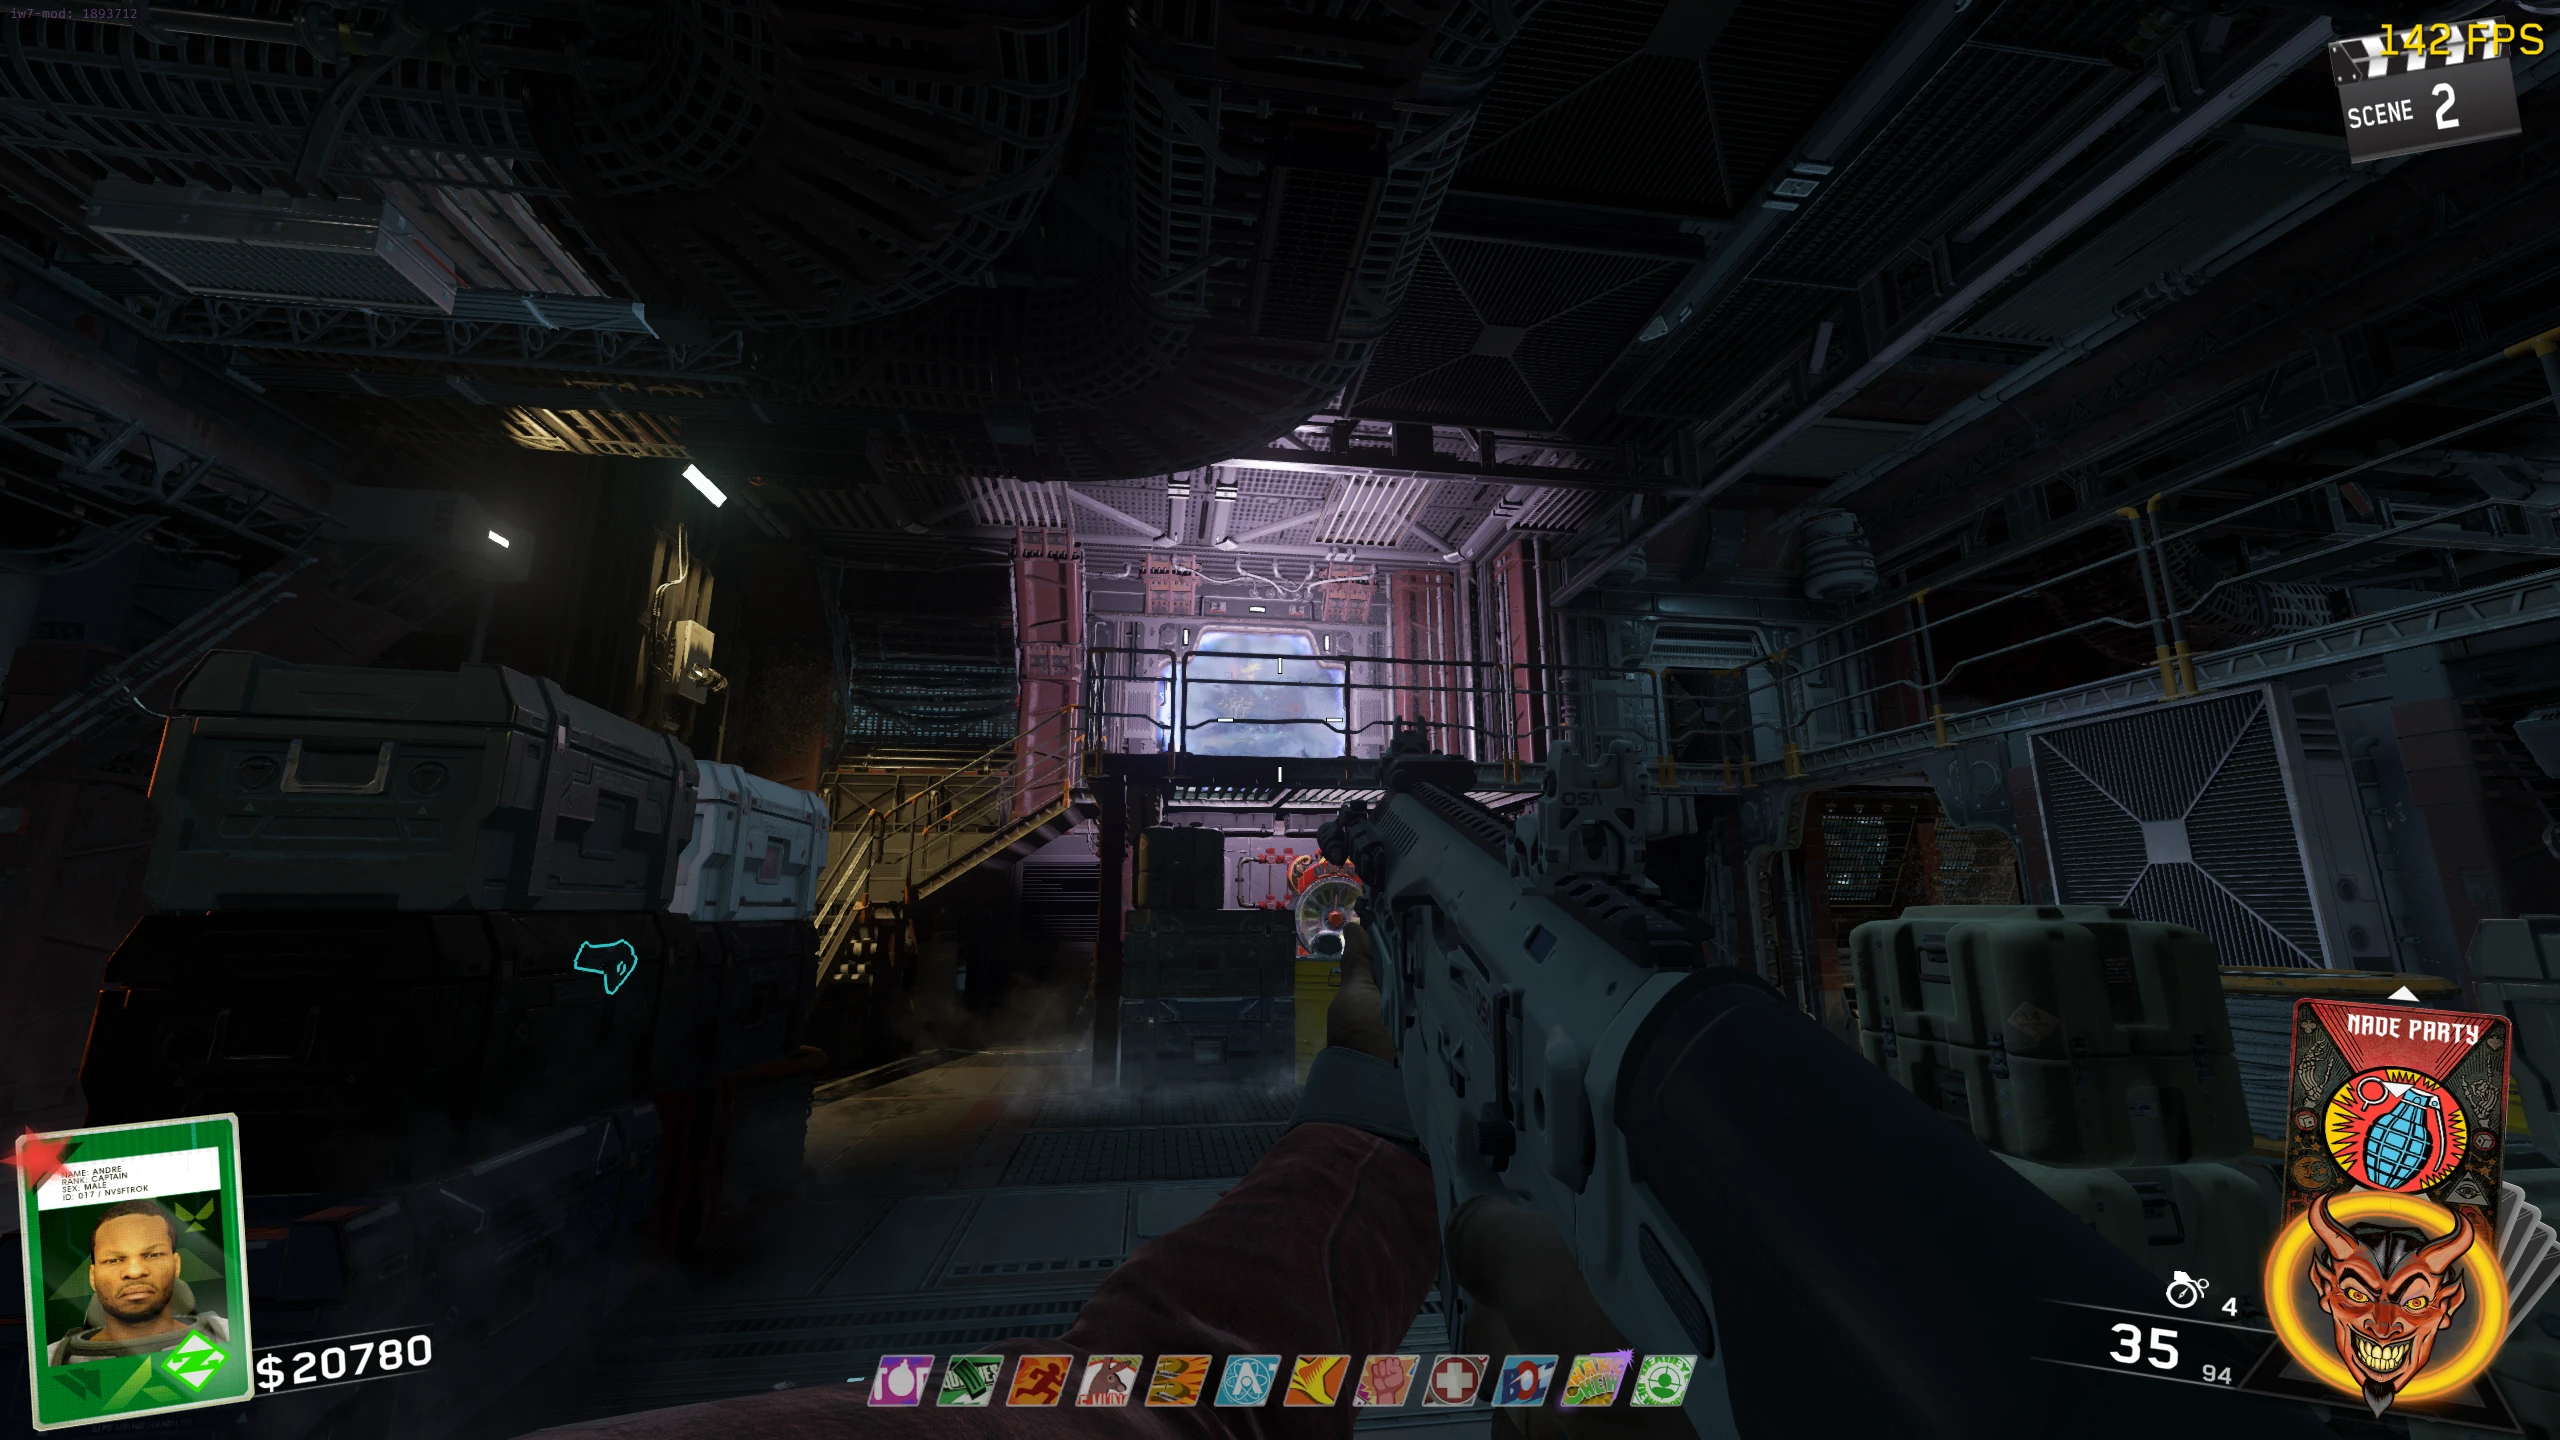
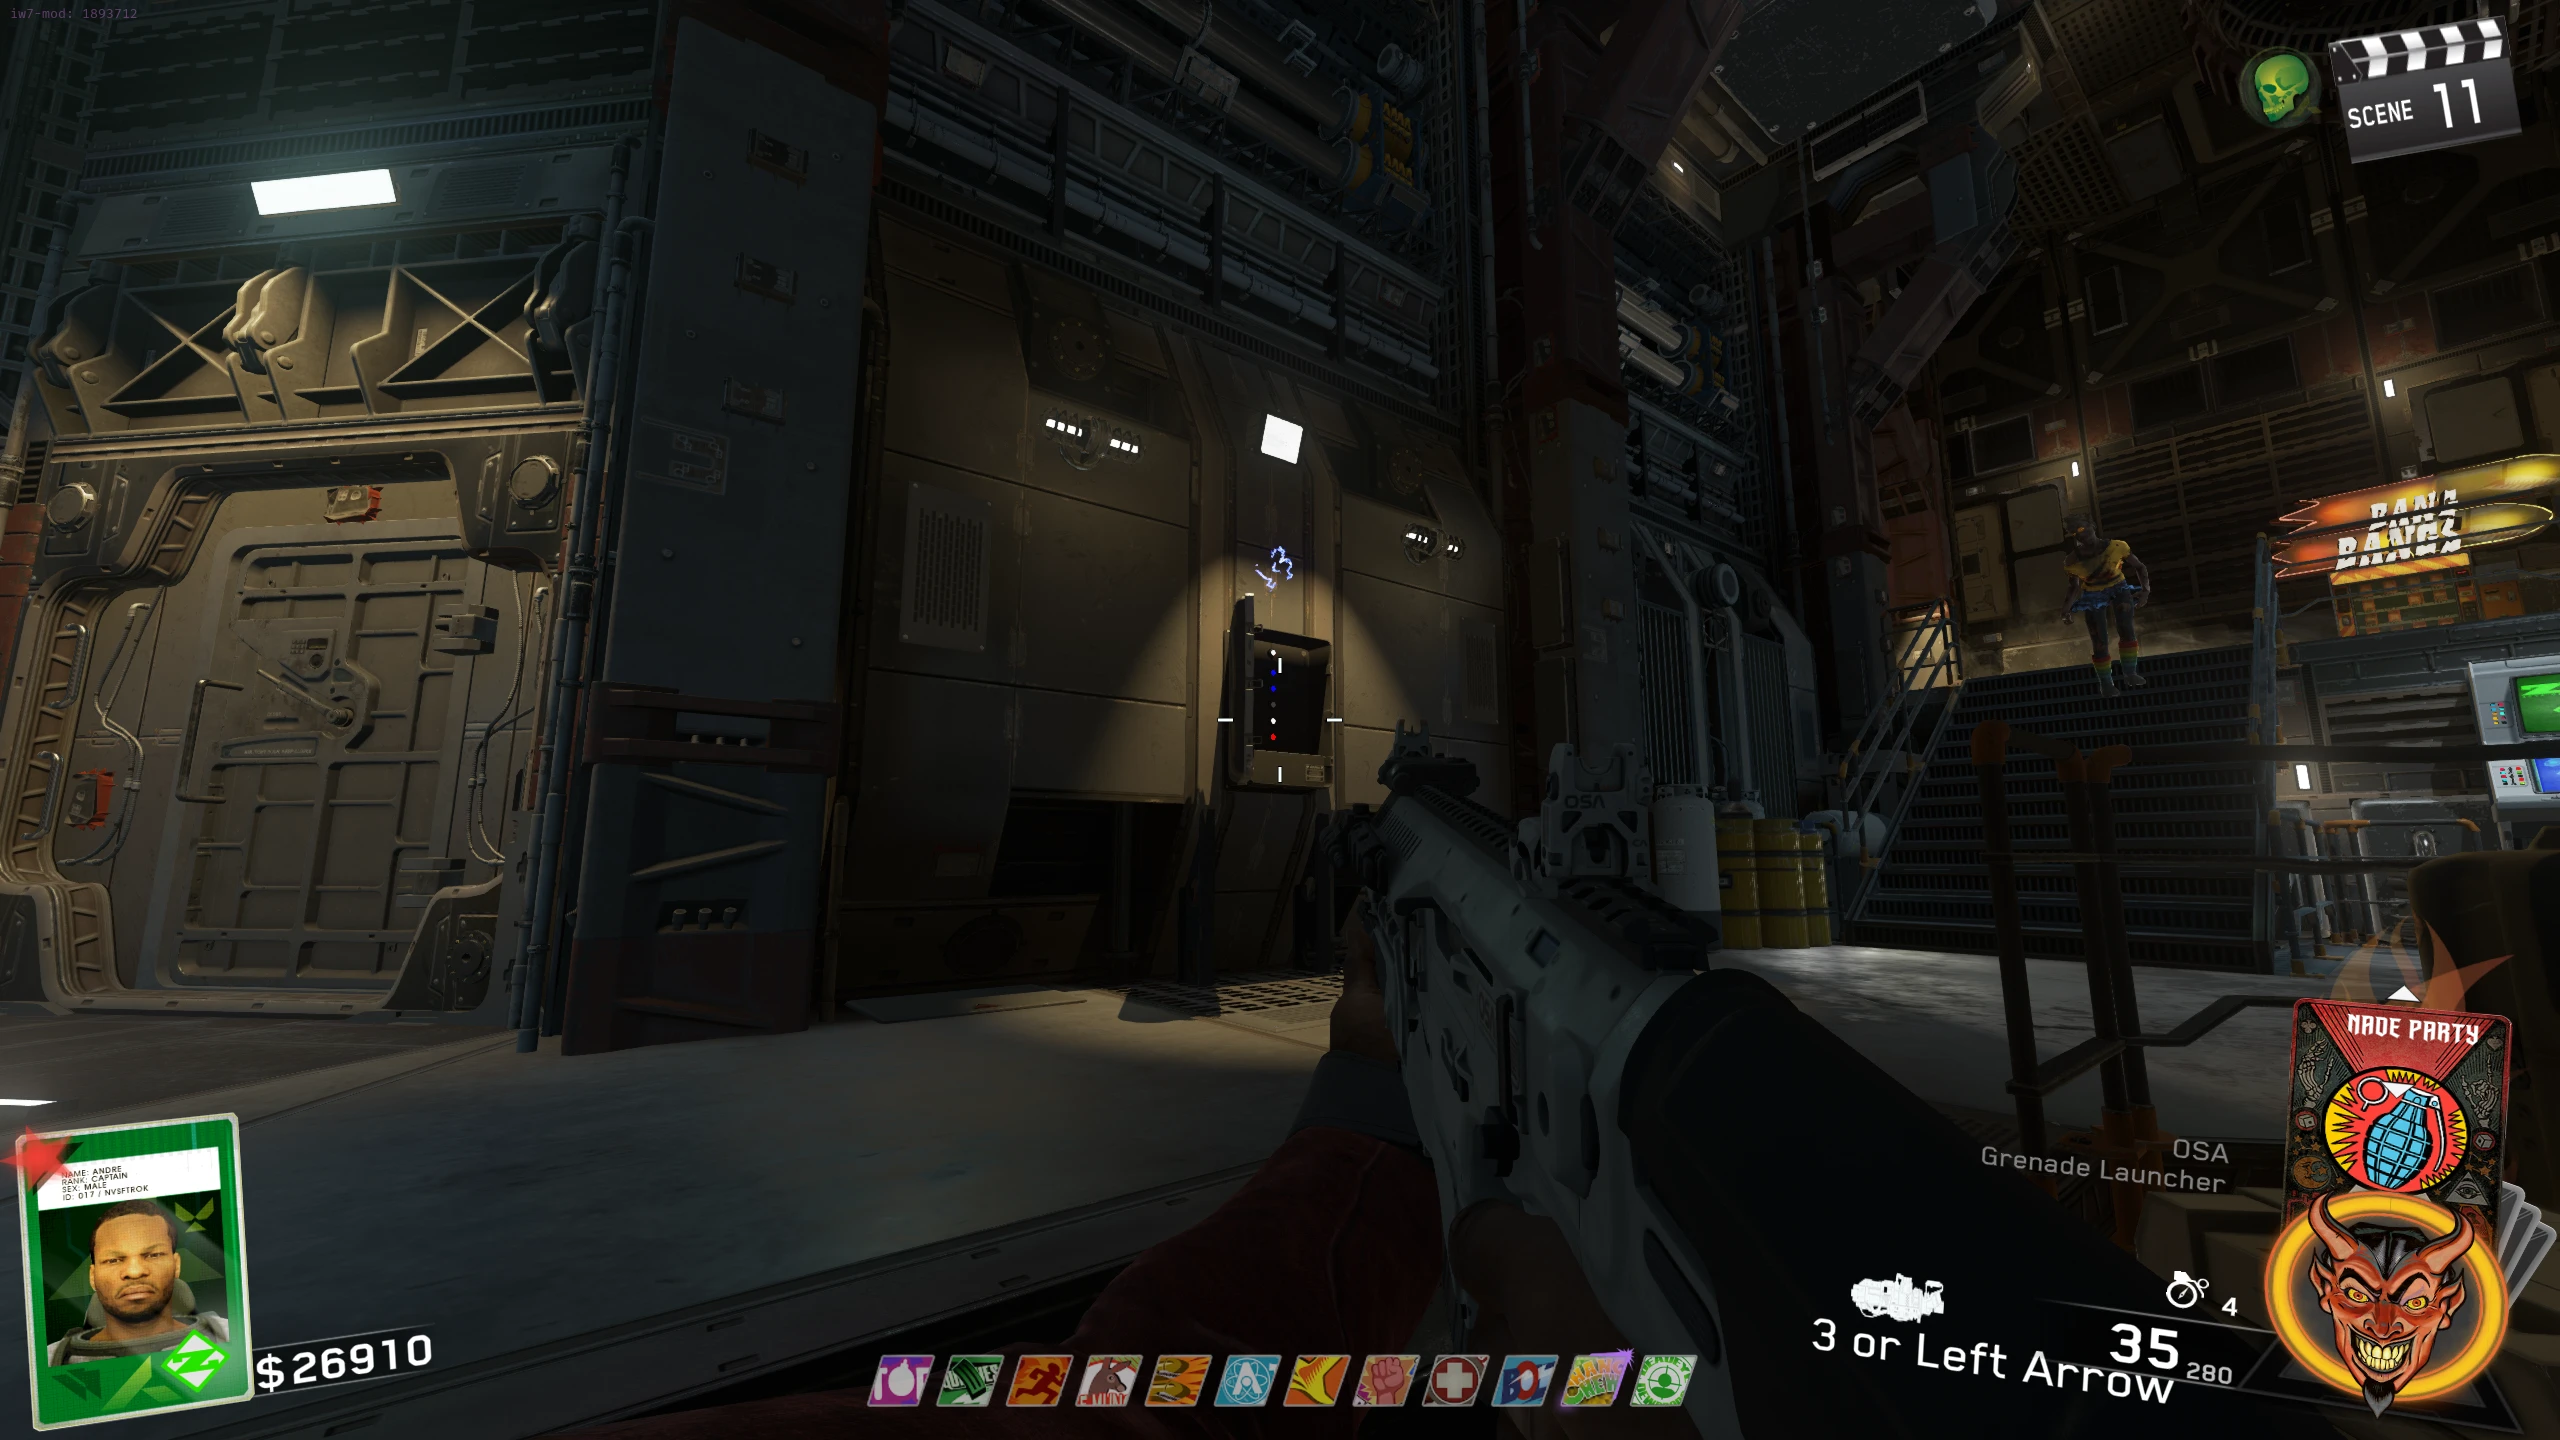
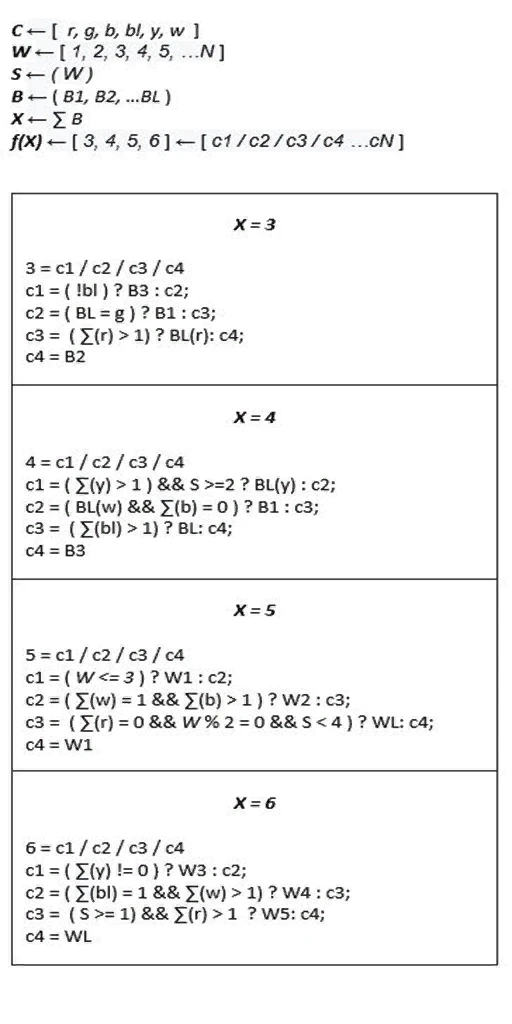
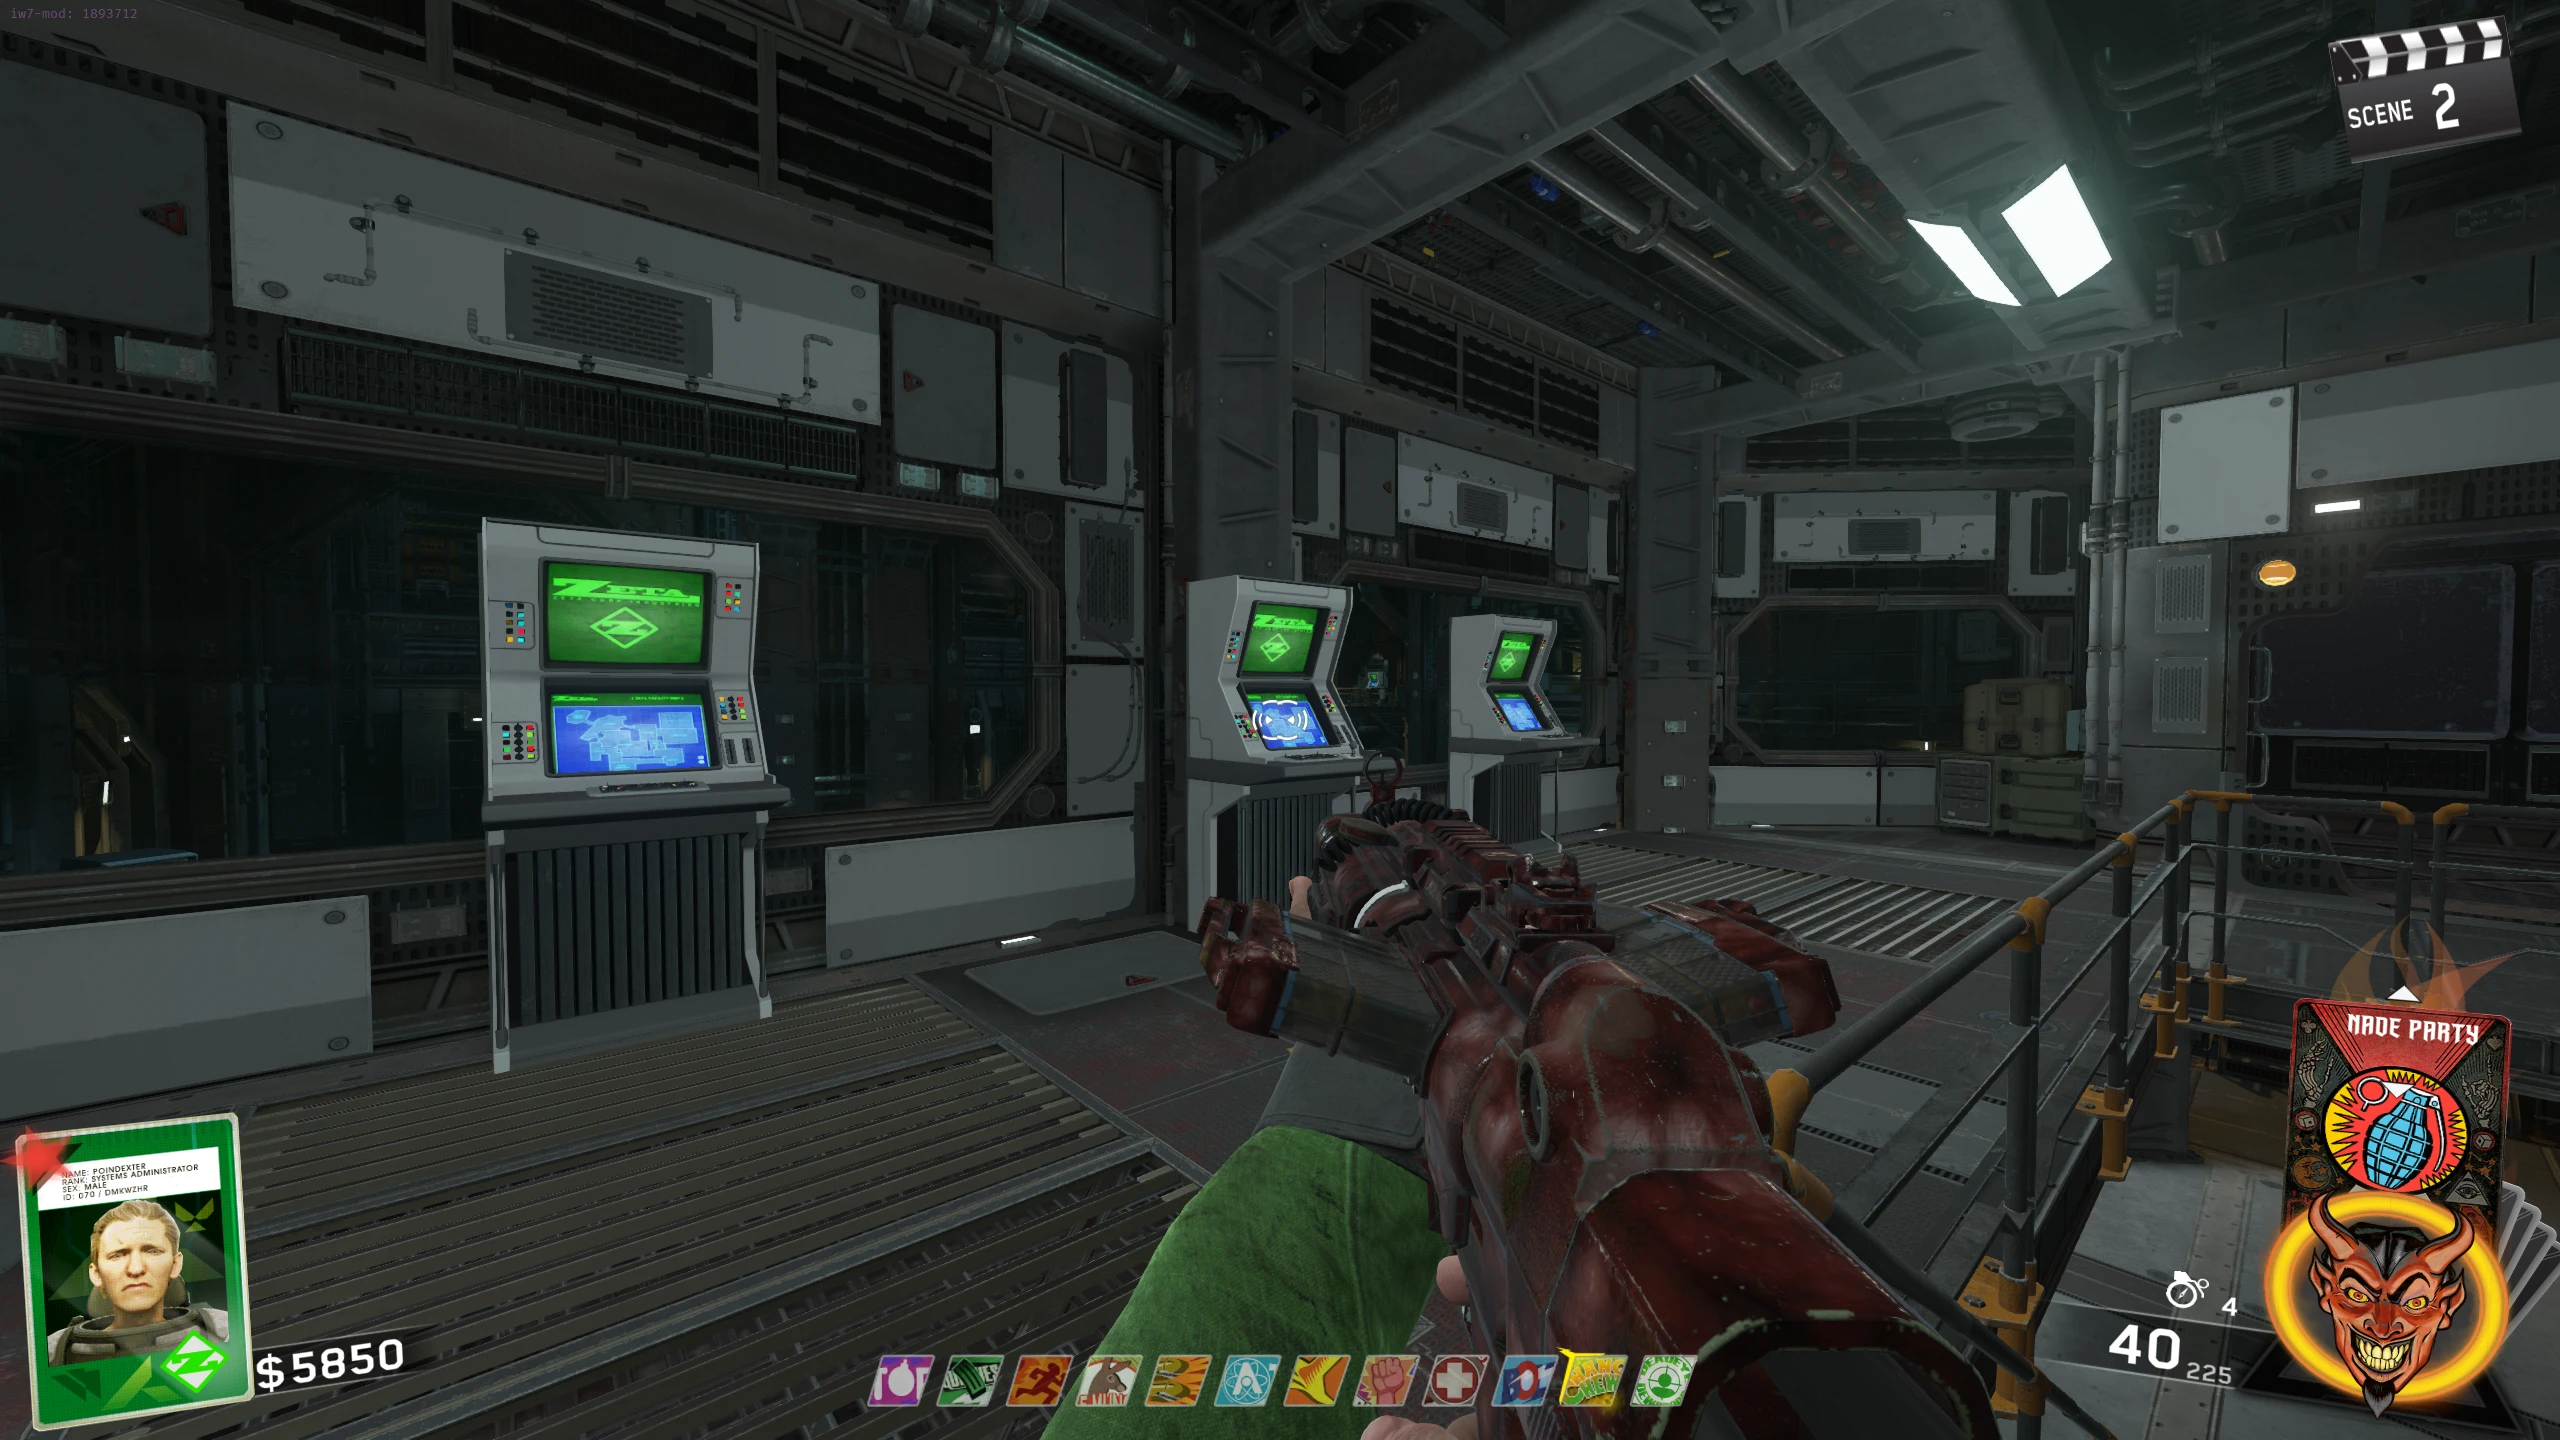
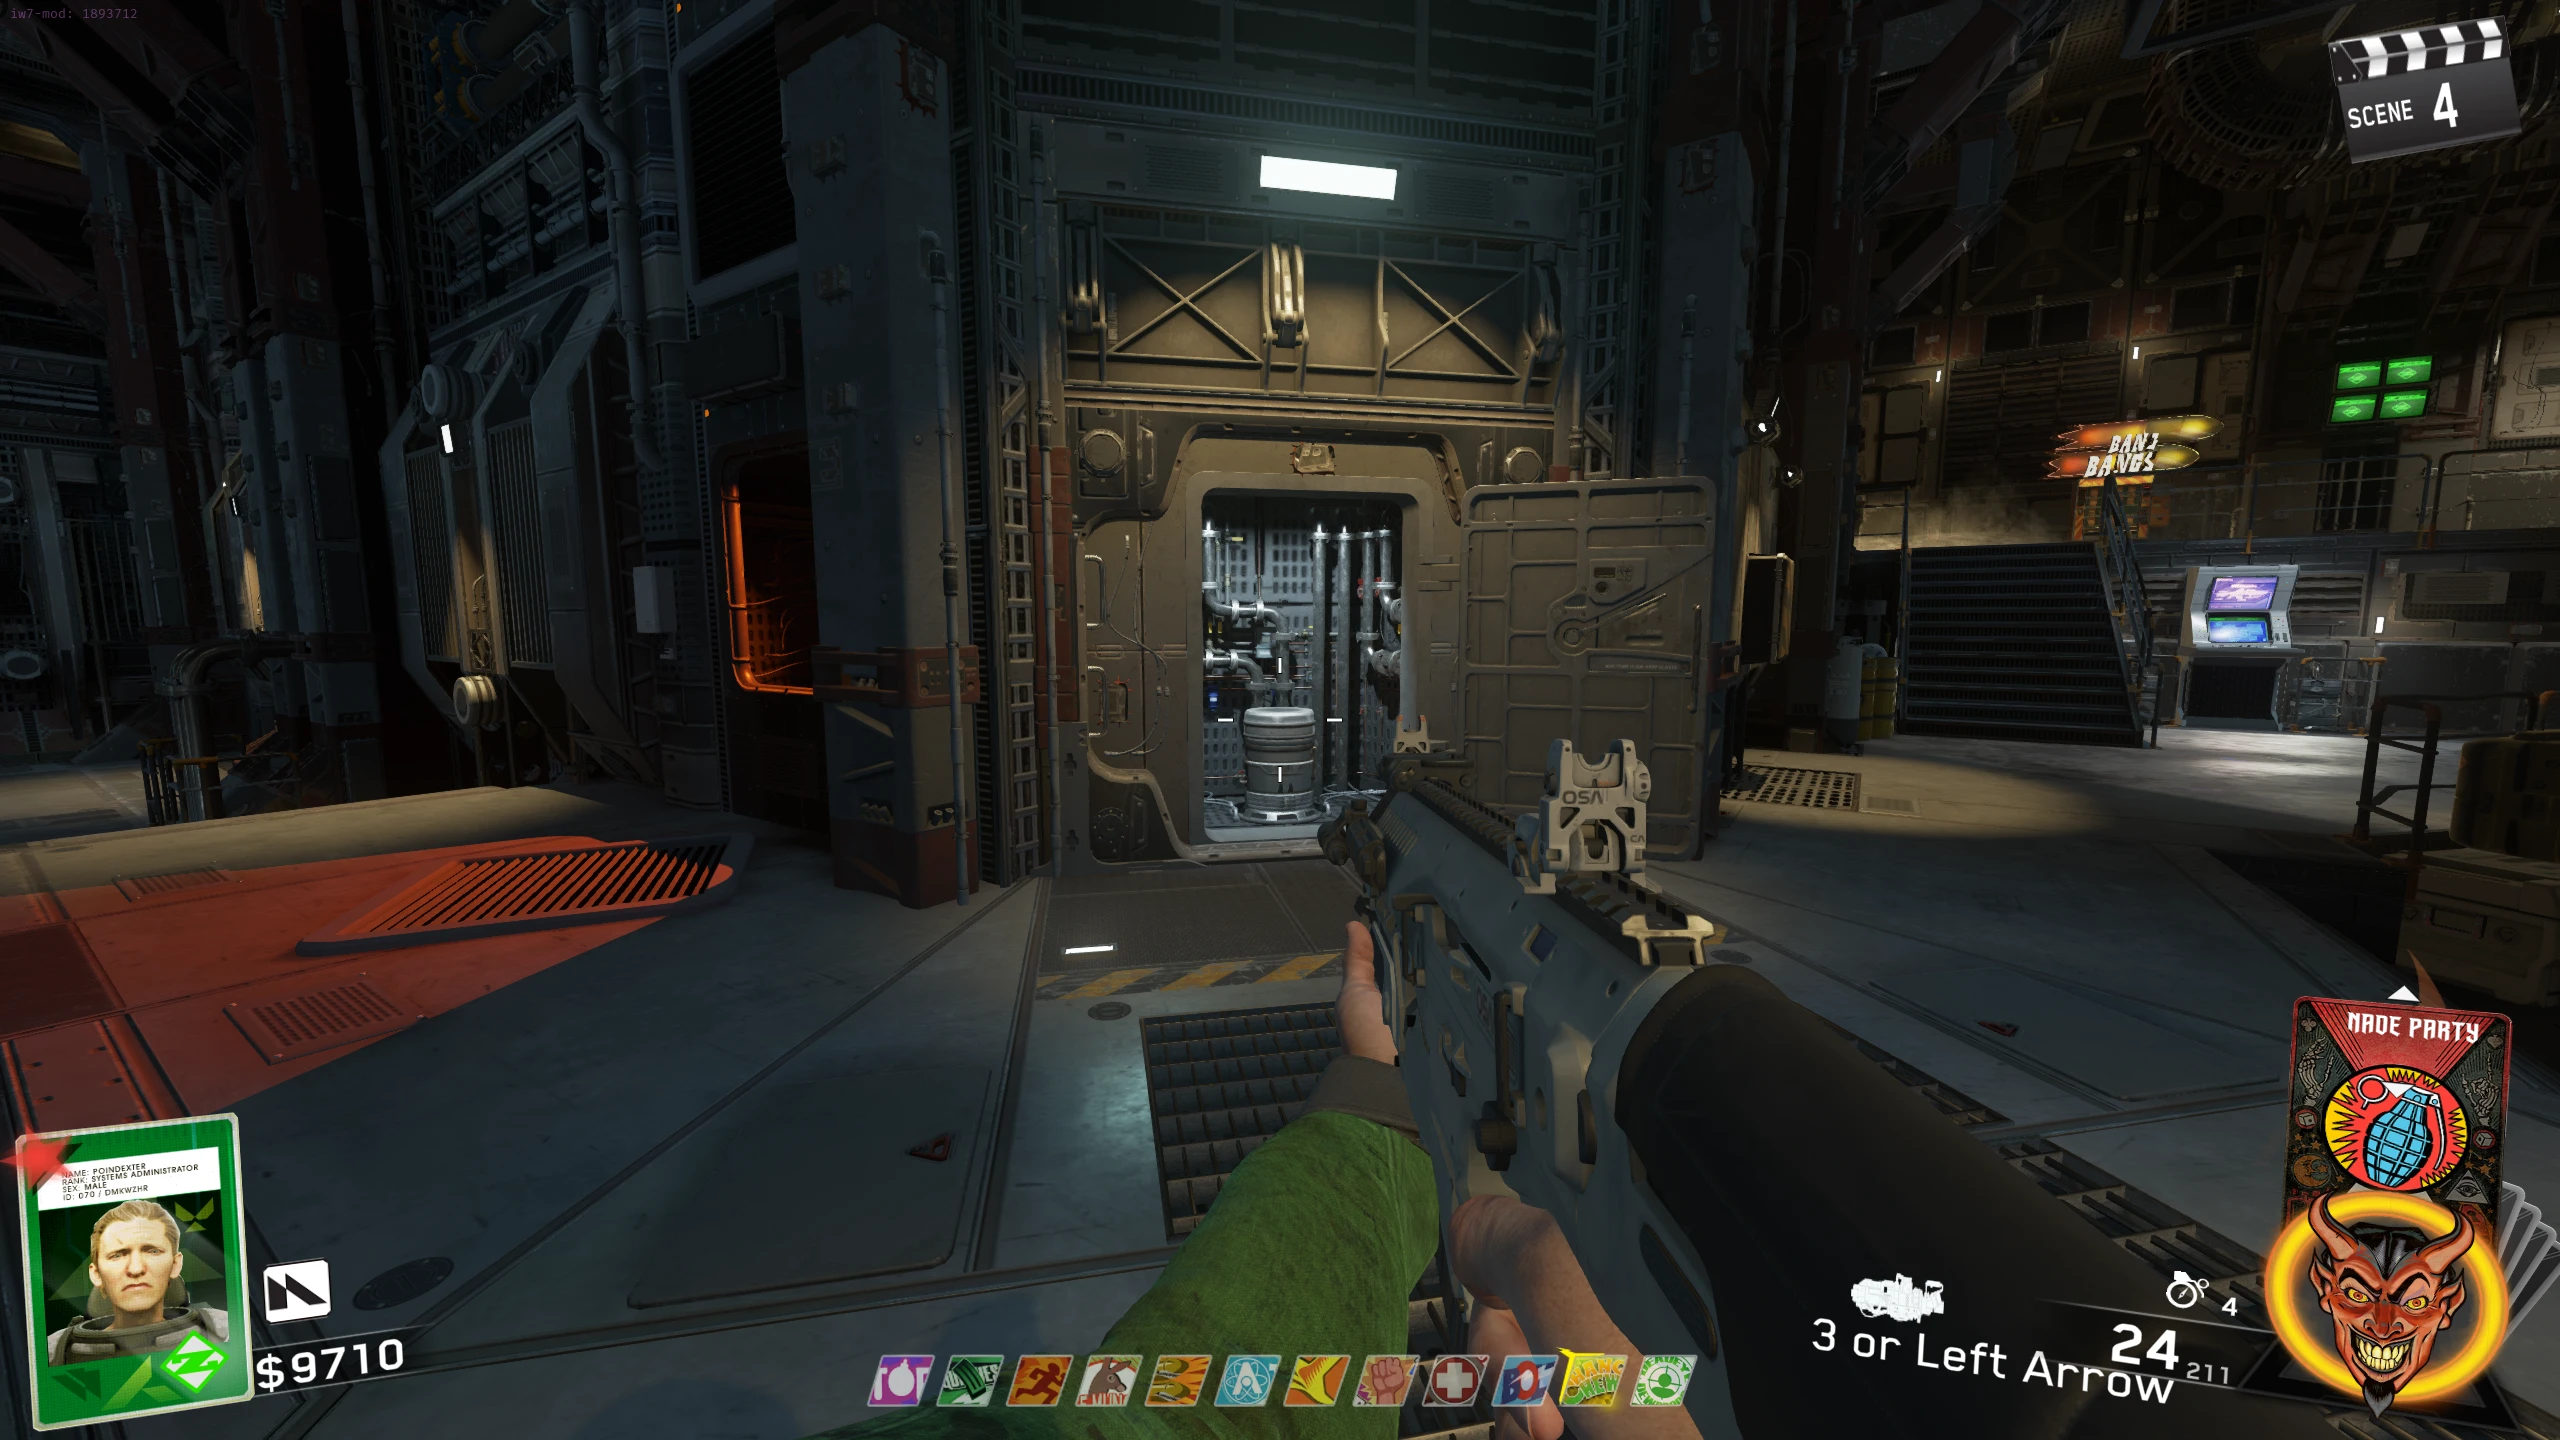
- In the Ops Center (big main room), a box on the wall at the bottom of the stairs near Bang Bangs will be open. There will be between 3-6 coloured buttons inside. Using this image (see explanation below) or the solver below, you will need to interact with the correct button.
Select the number of buttons and your current round, then tap the color matching each button in-game (top to bottom). Every box except the 3-button one changes with the round, so it has to be right.
The game tracks one of its own variables incorrectly (found after looking at the code), so the solver can occasionally tell you the wrong button. That's just a bug in the game, and not something I can build around. Sorry.
Button 1Button 2Button 3Press Button #3
- If you press the right button, you will hear a success sound, and the box will close.
- If you press the wrong button, you will hear an error sound, the box will close, and a Phantom will spawn. End the current round and the box will reopen with a new set of buttons.
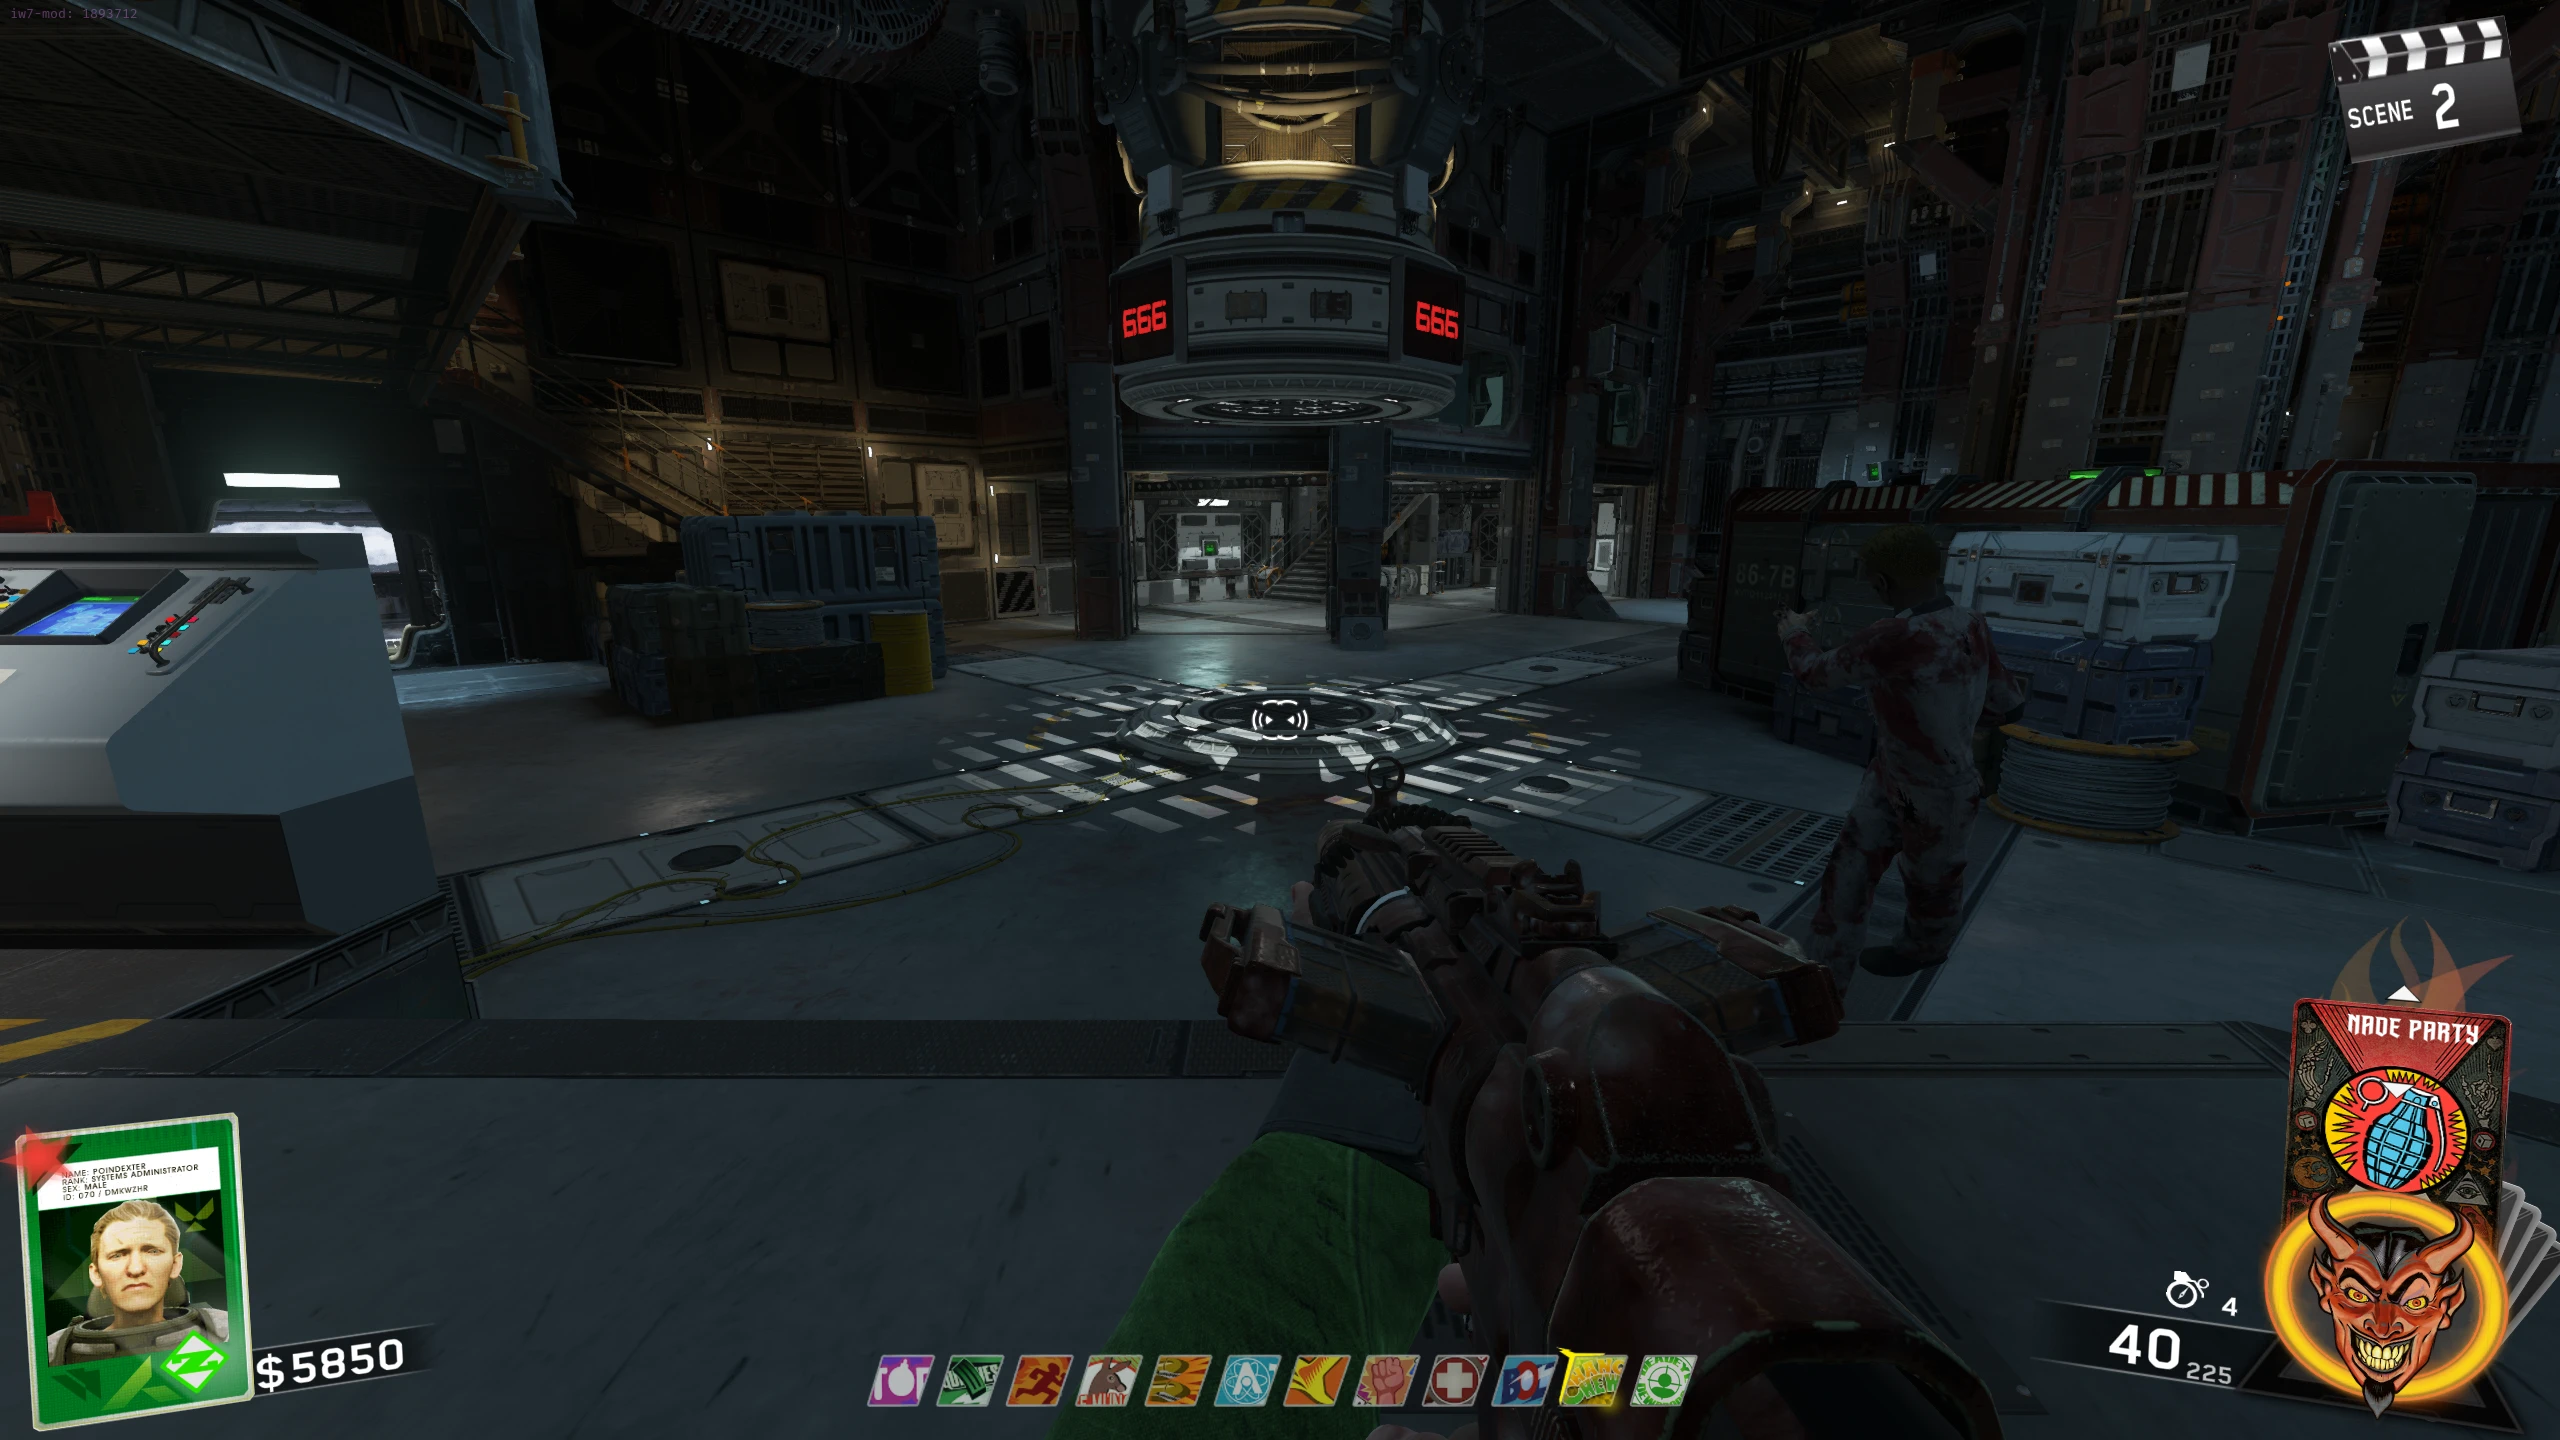
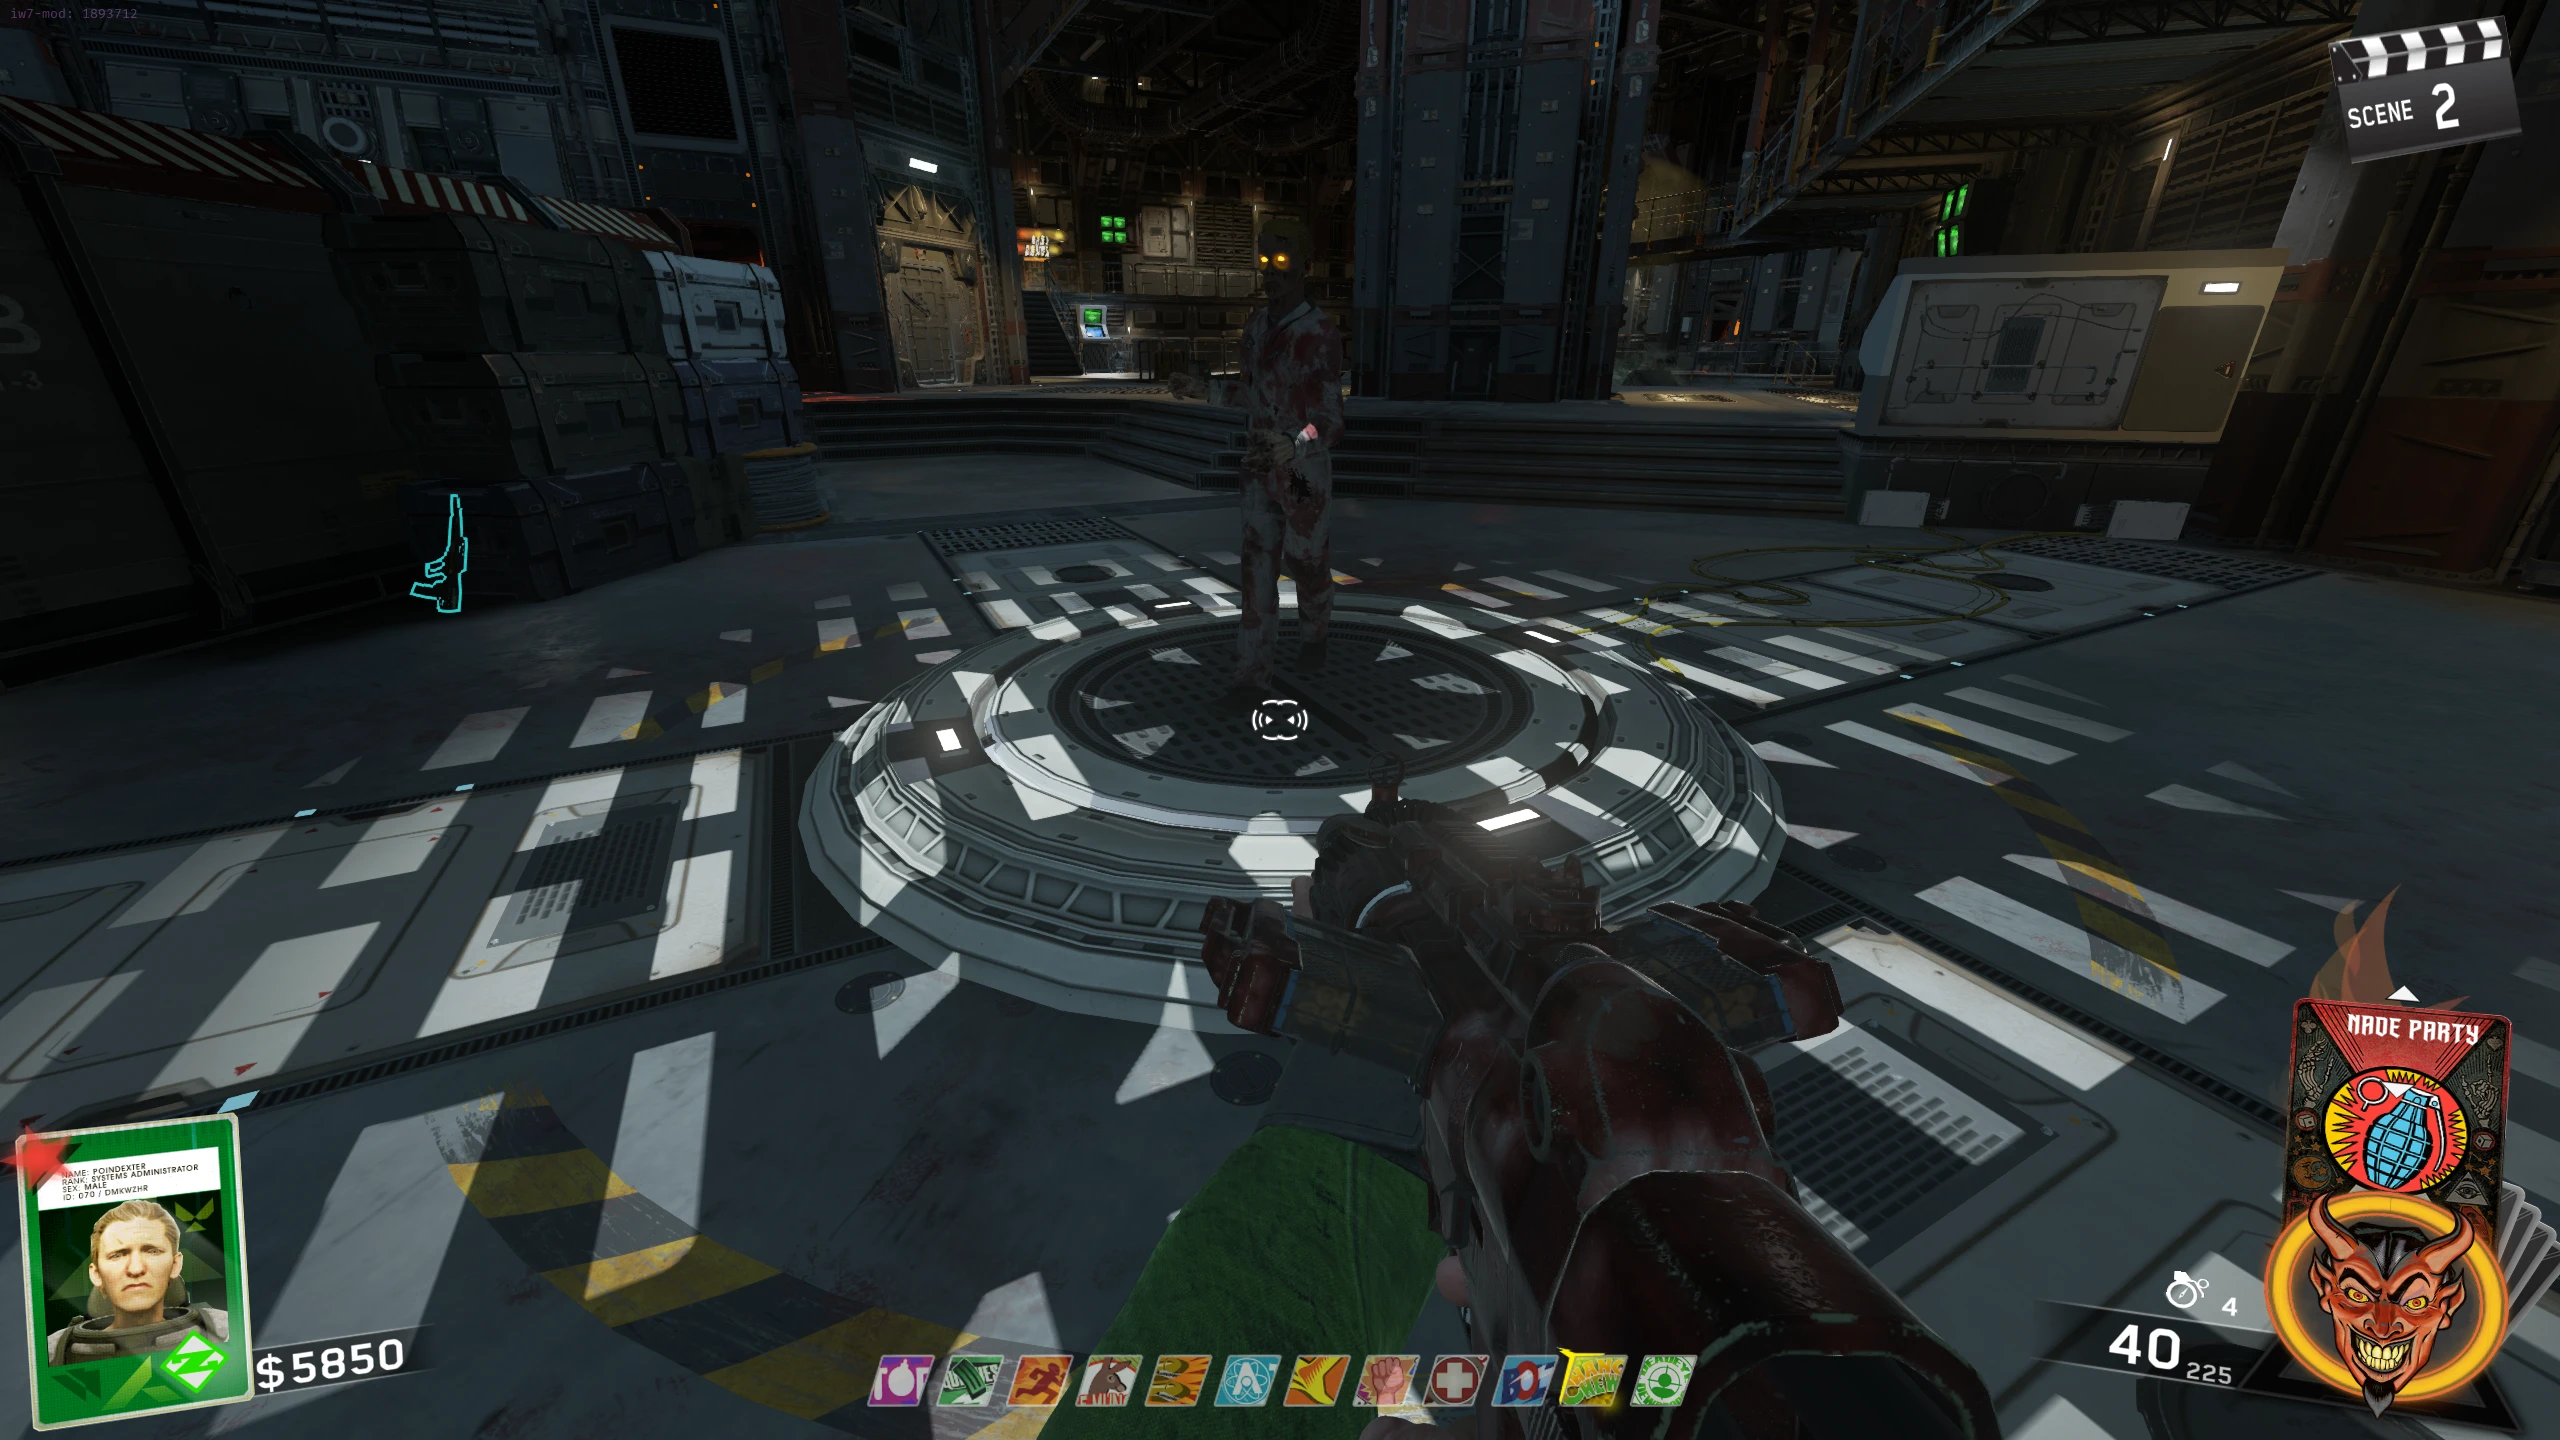
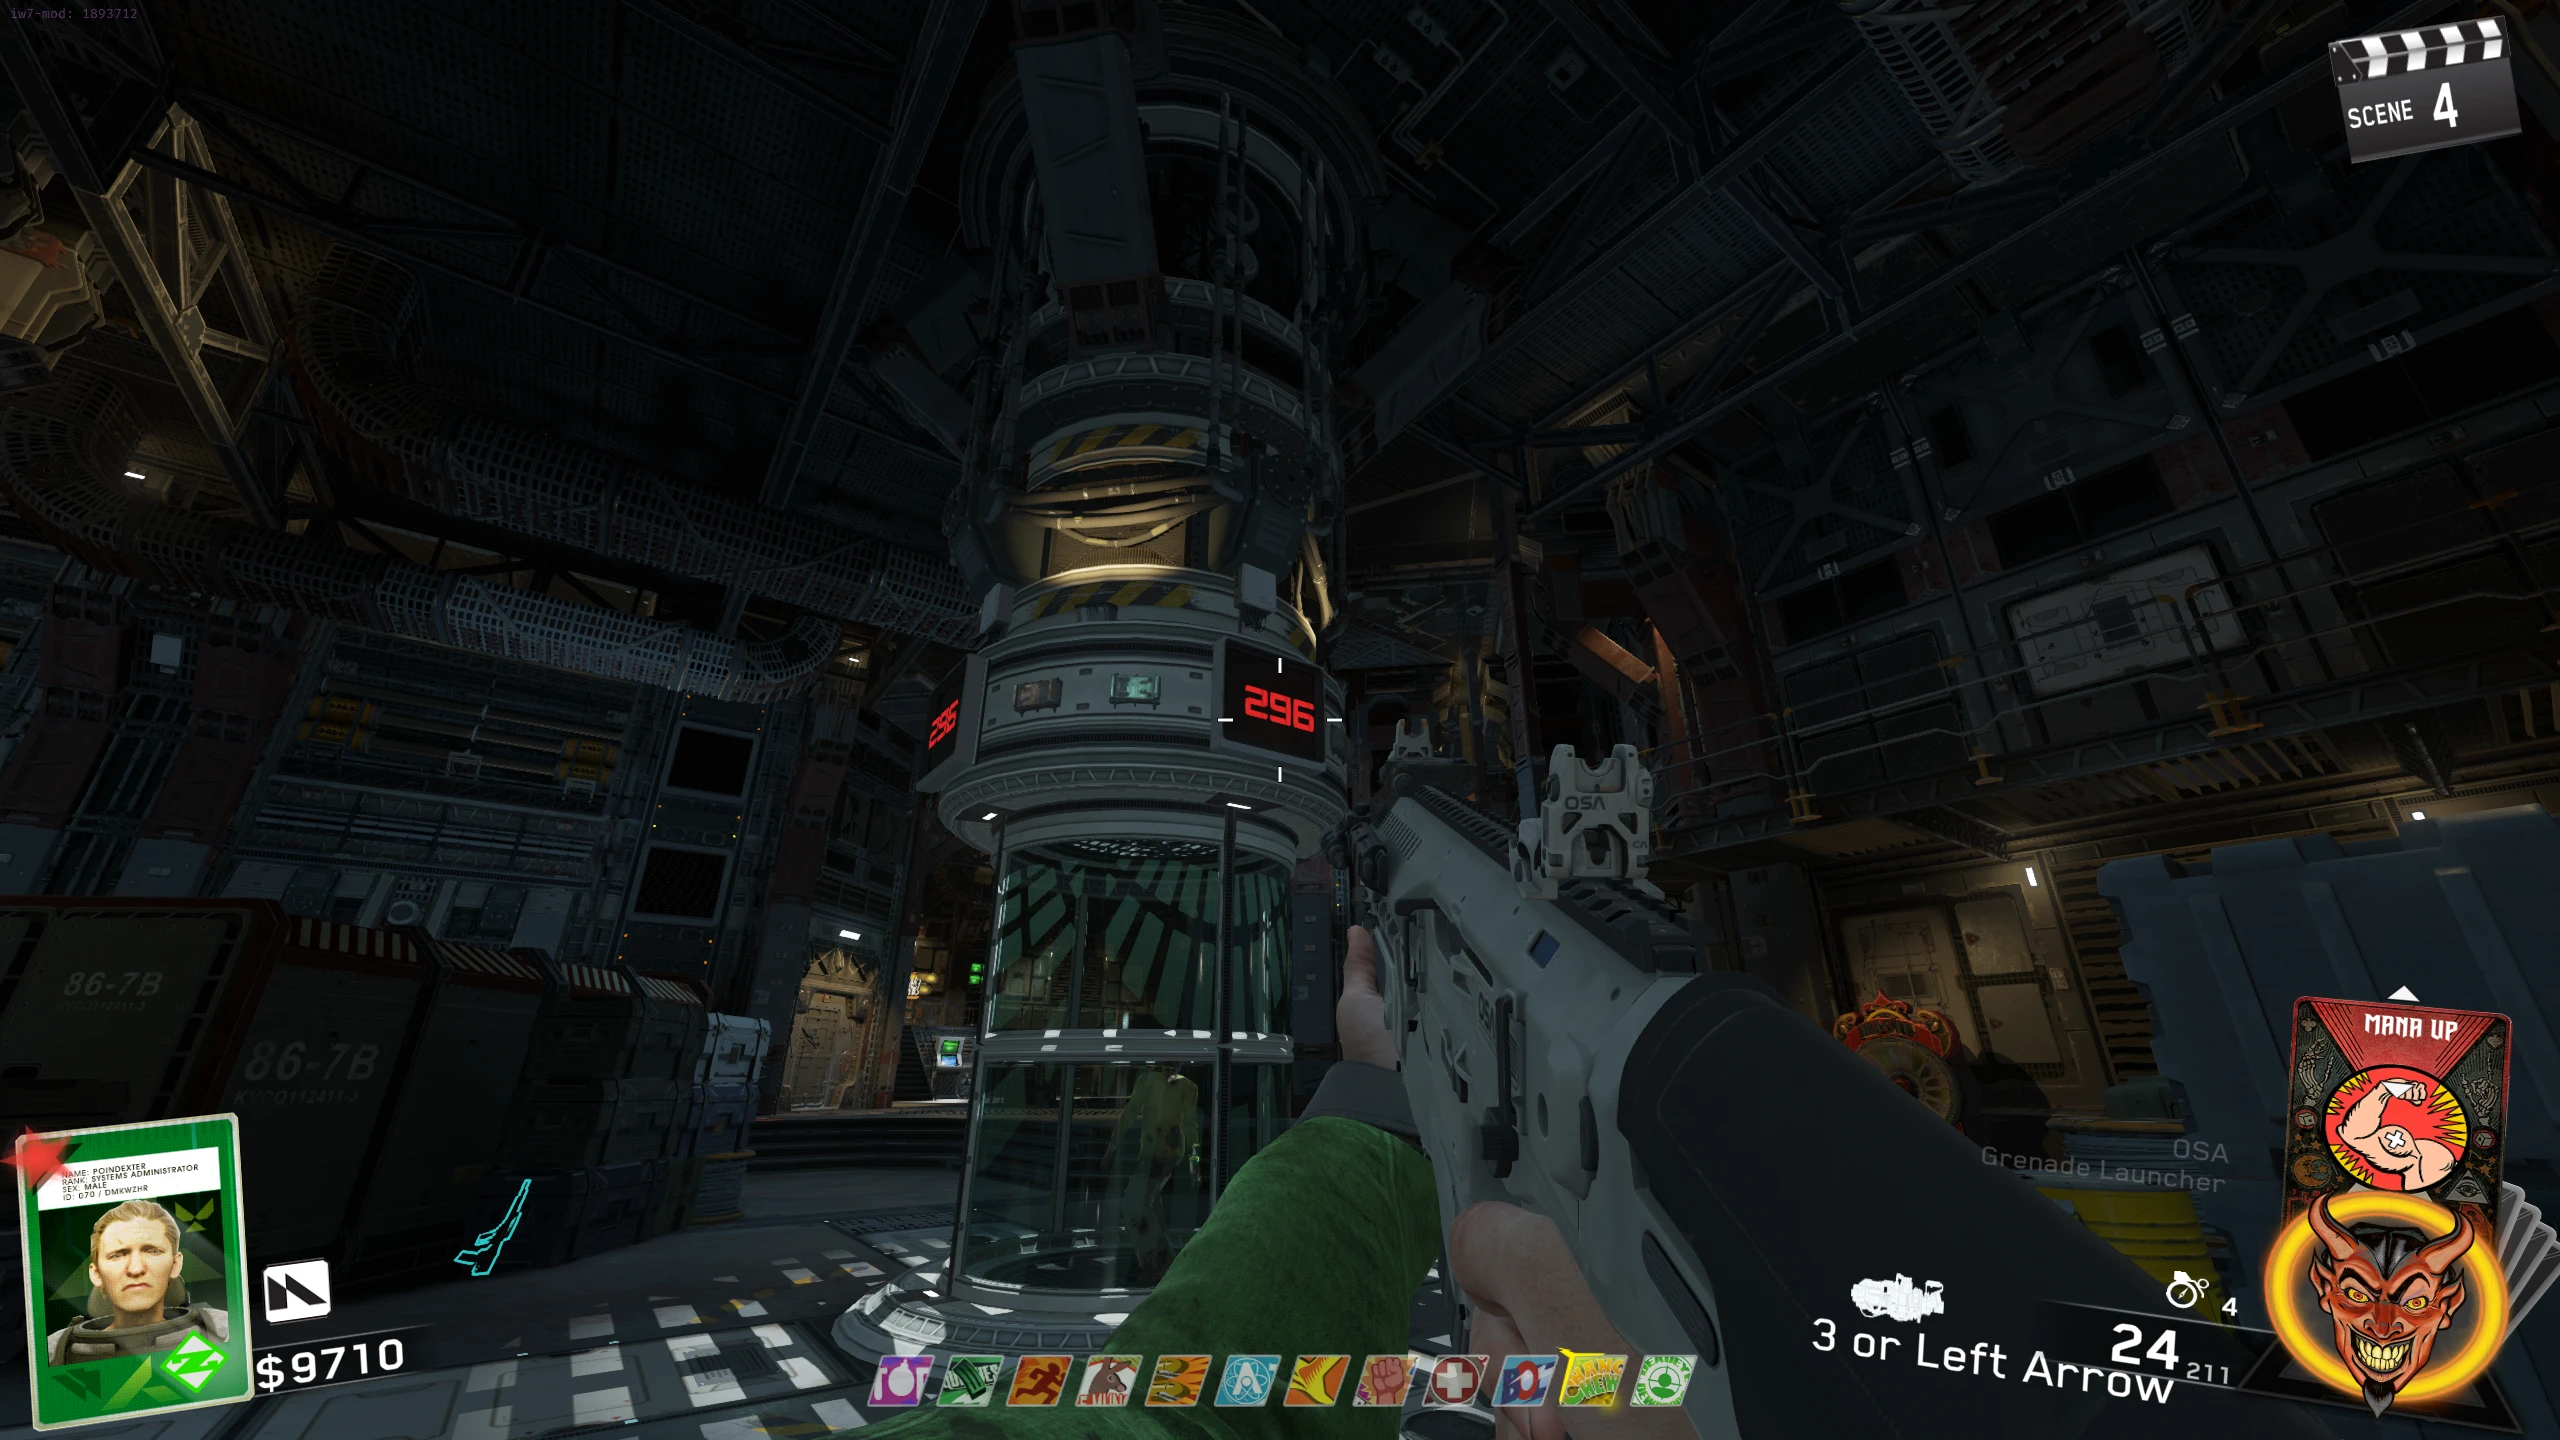
- In the same room, there is a "Containment Chamber" where you must trap a Zombie. Interact with the panel left of the Magic Wheel while the Zombie is in the circle on the floor. If done correctly, the Zombie will be trapped and a 300-second (5 minutes) timer will start, visible on the top of the chamber.
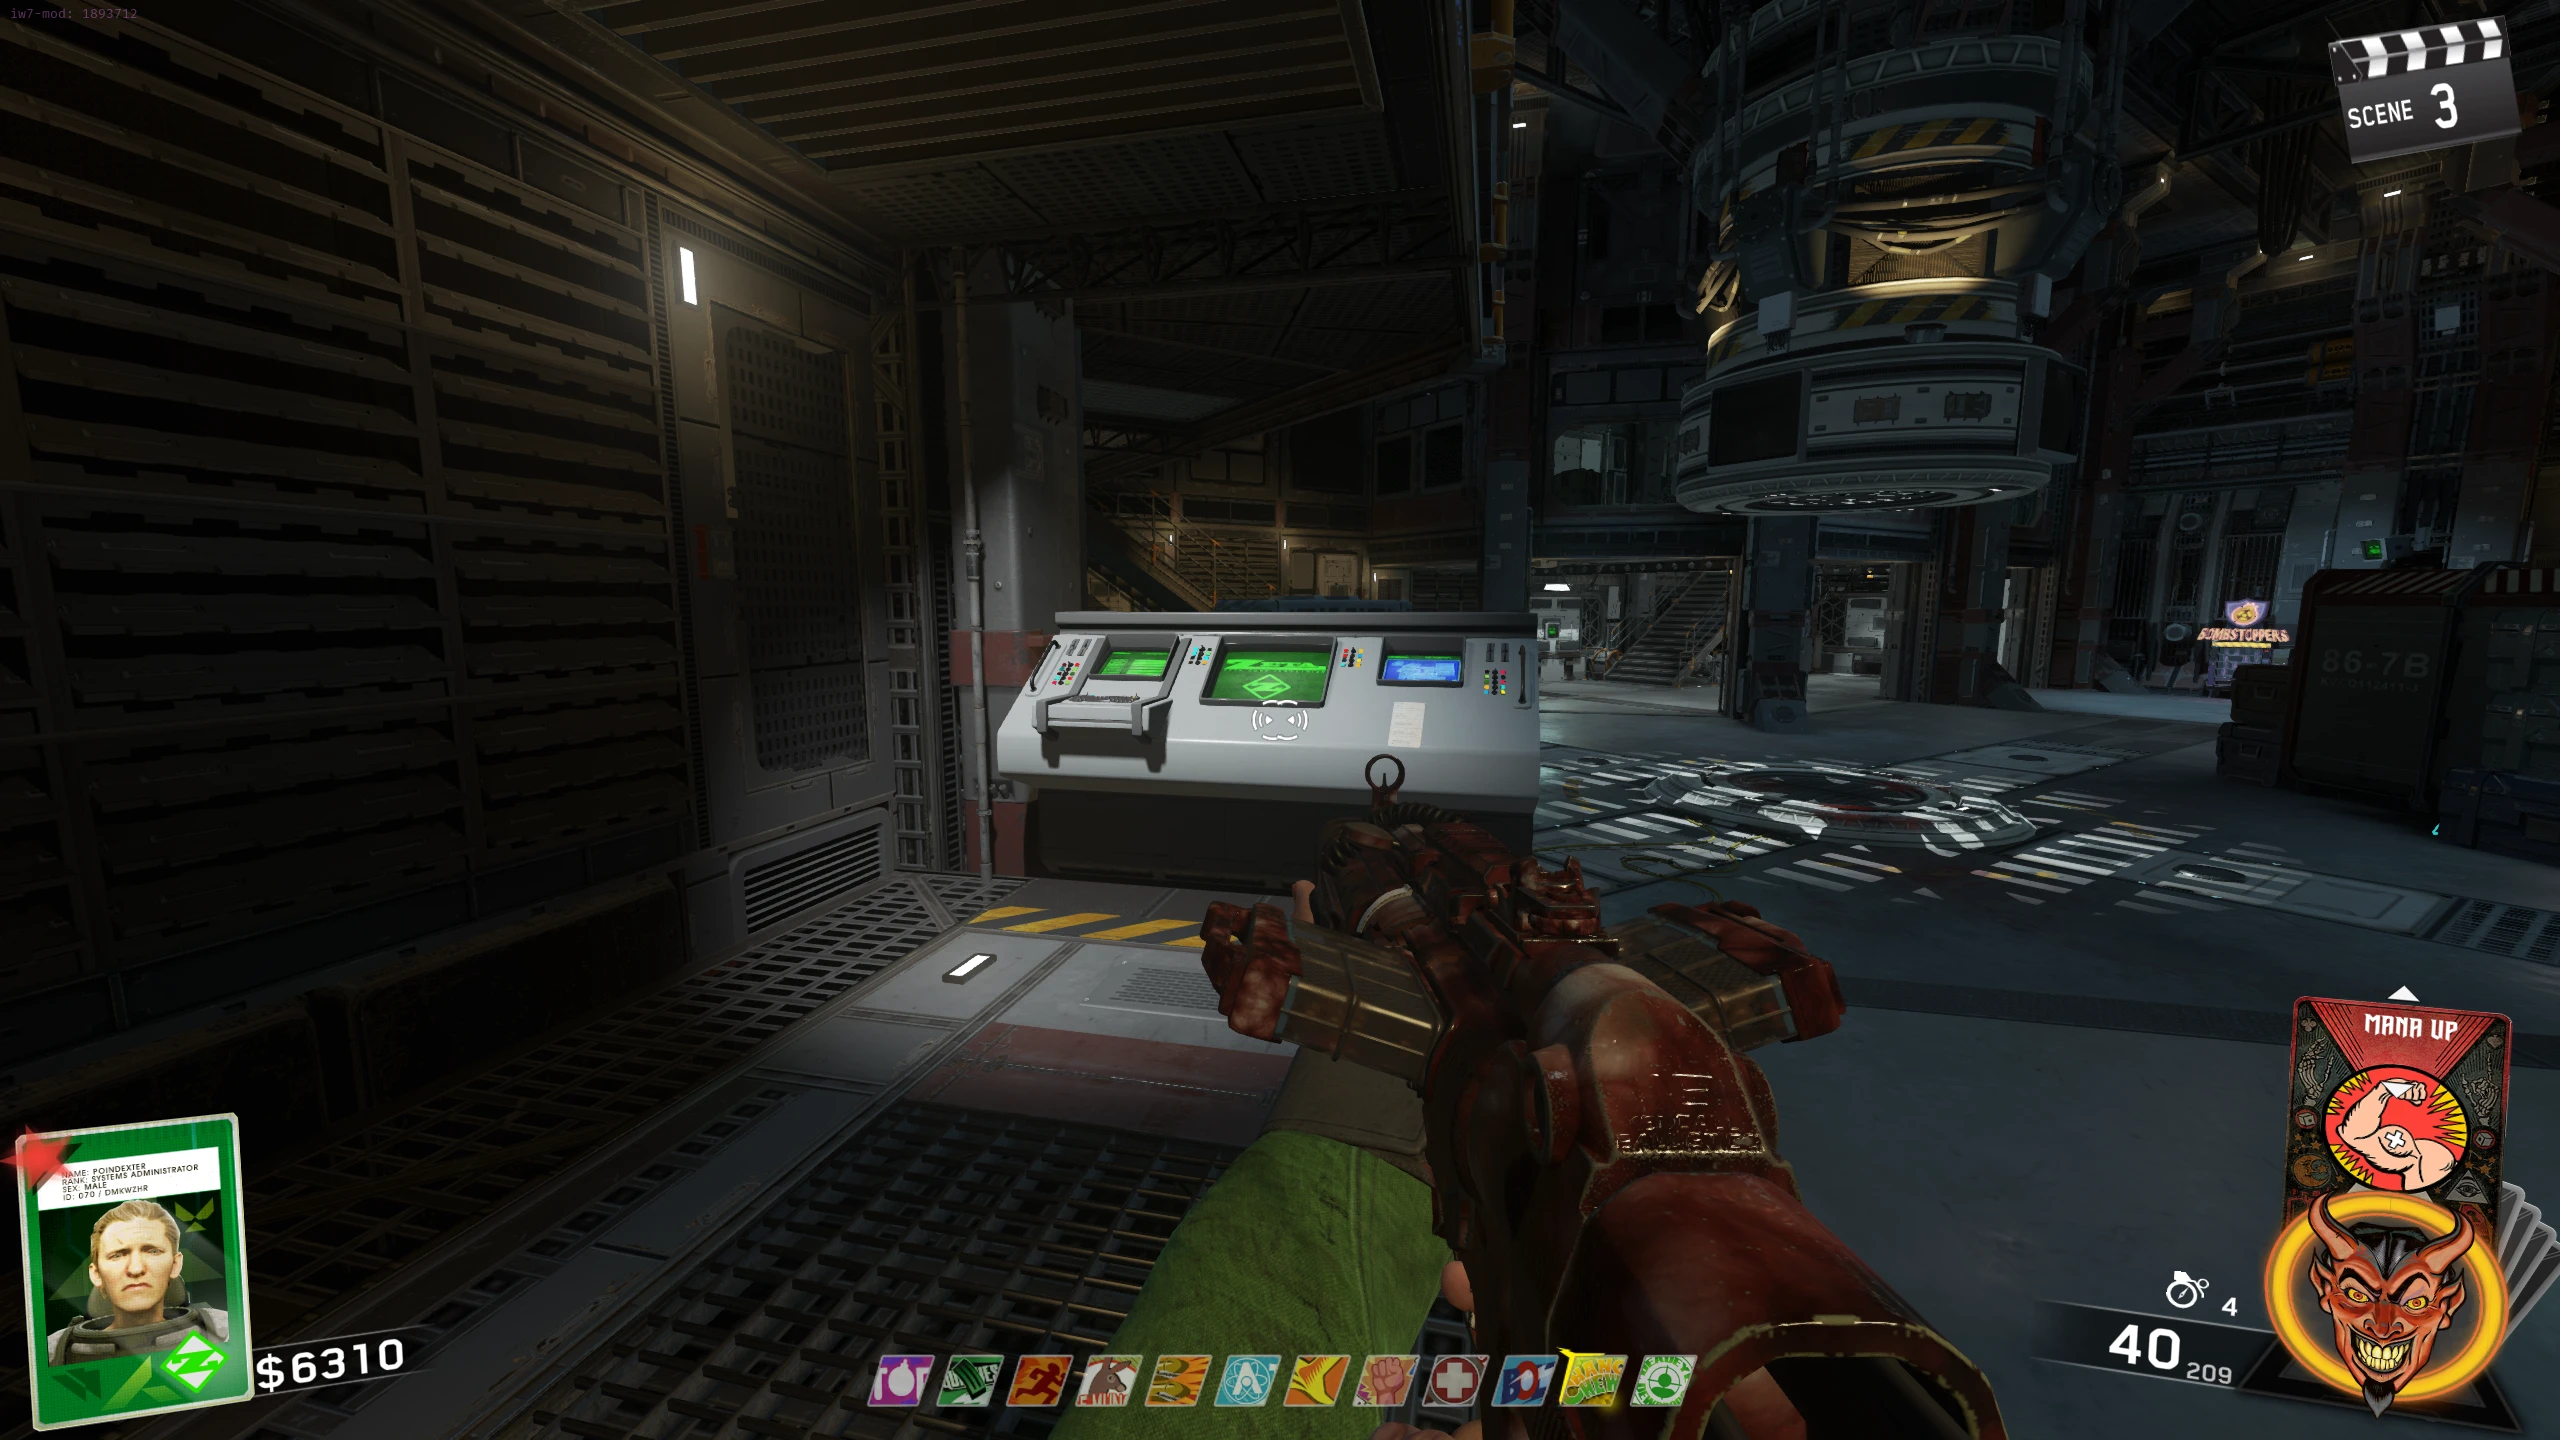
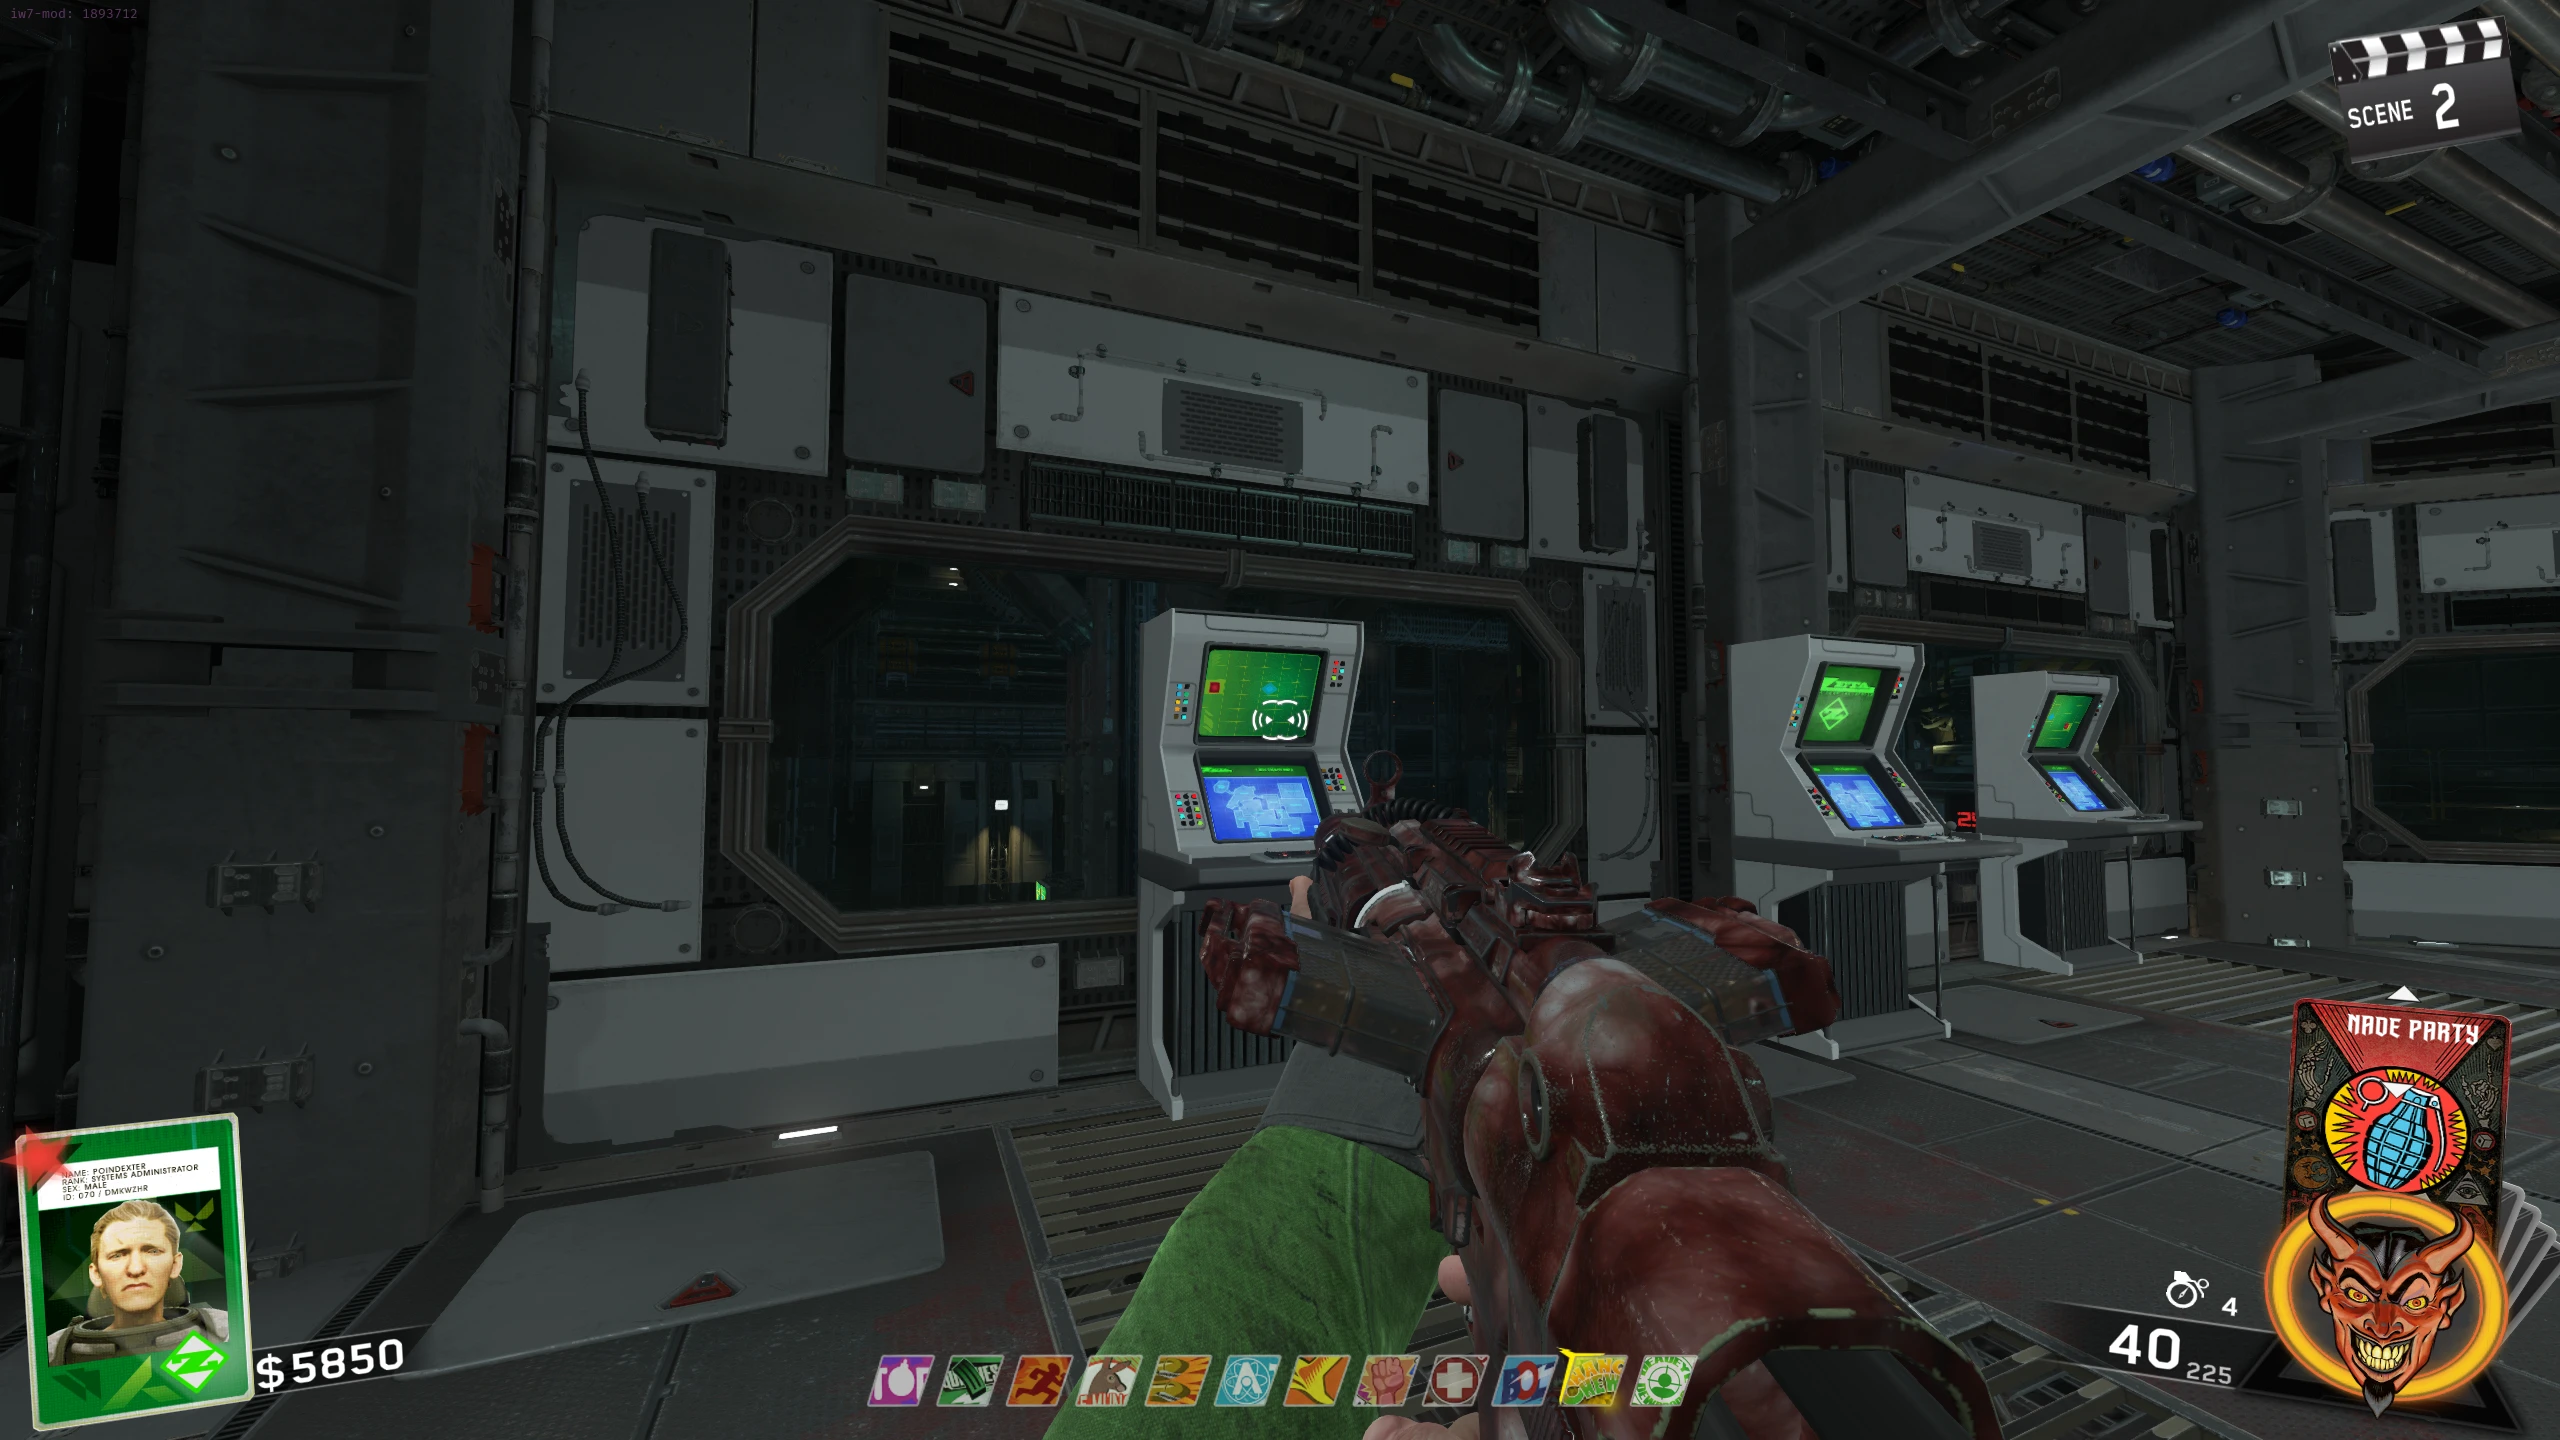
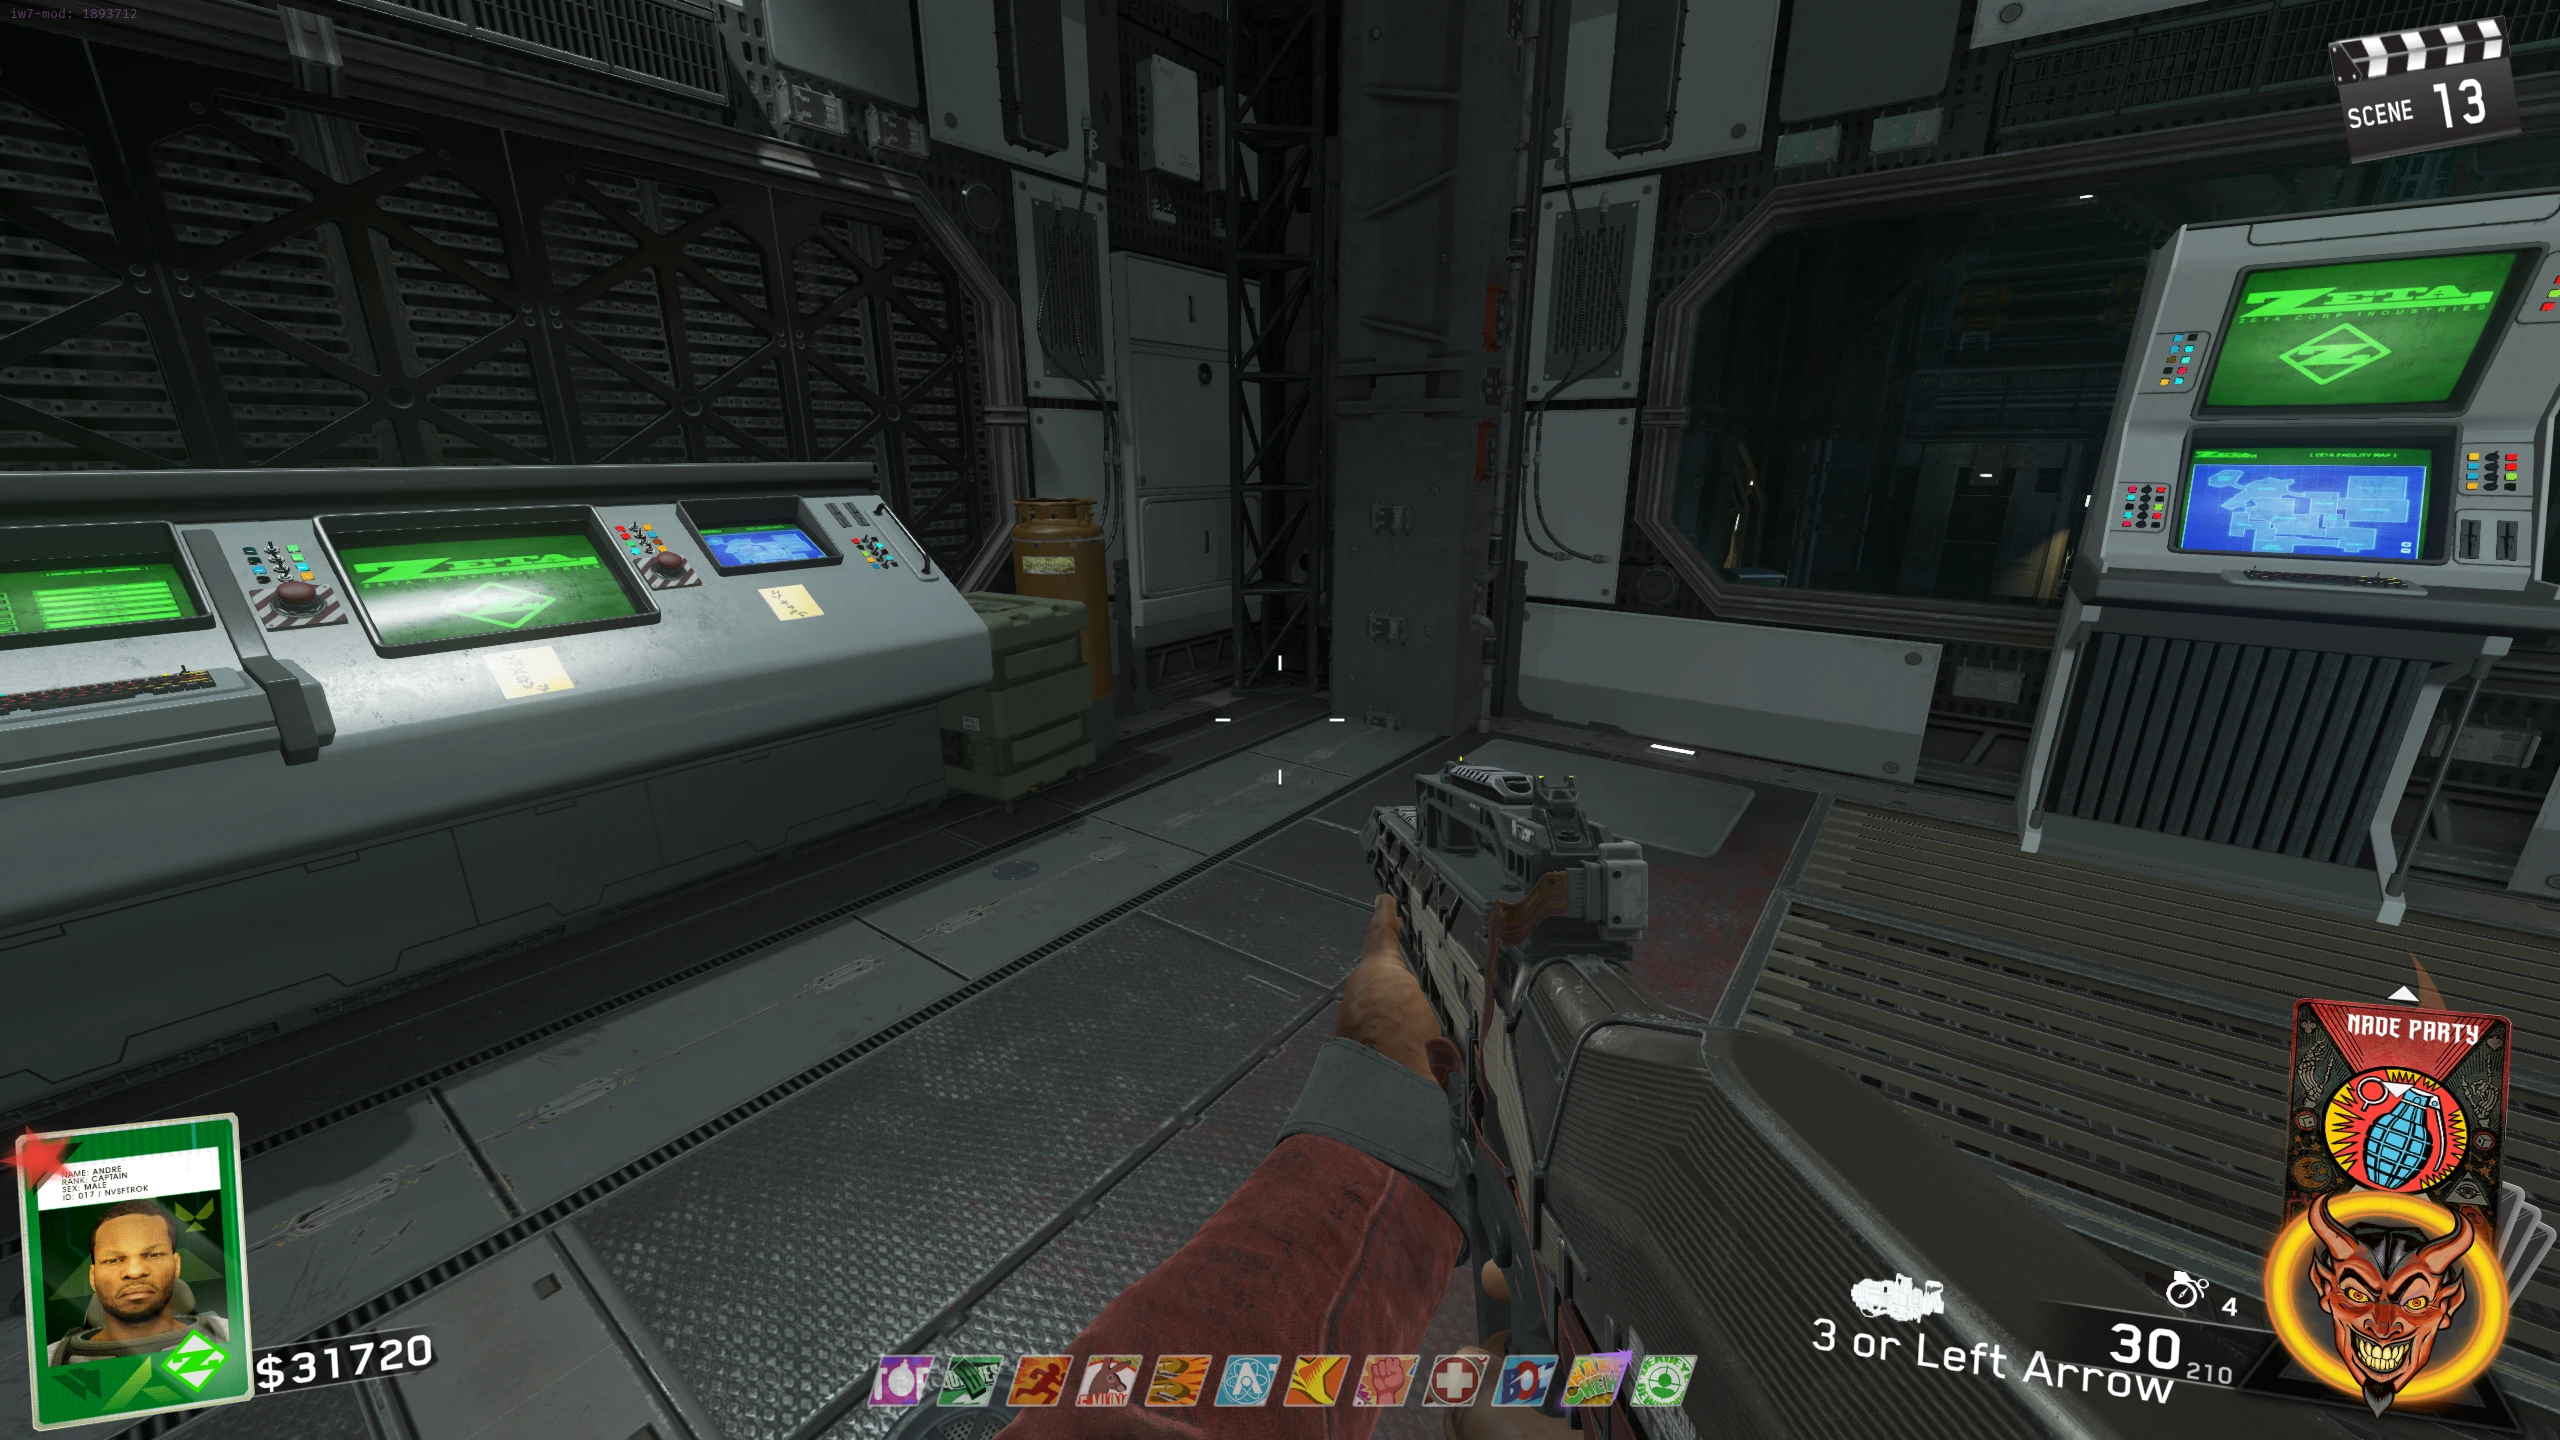
- While a Zombie is in the chamber, go to the room above Bombstoppers and interact with the middle console to "bypass SuperUser privileges." This will activate the consoles on either side of the middle one.
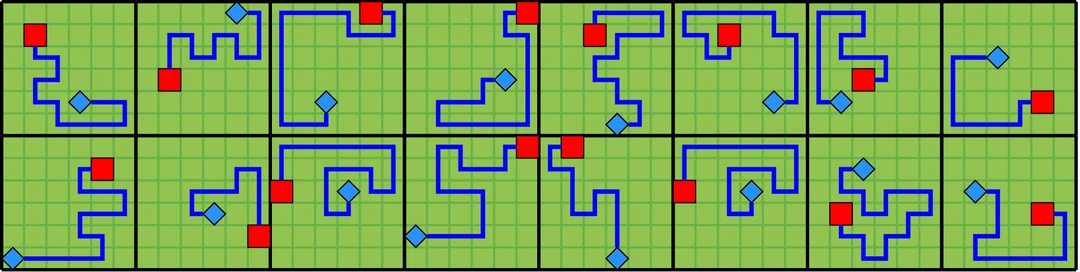
- The two consoles will now show a yellow square, red square, and blue diamond on the top screen. Your goal is to move the red square to the blue diamond while avoiding the invisible walls. Use this image or the interactive solver below to know the path to take.
- Failing any of the mazes will kill the Zombie in the chamber, and spawn a Phantom. You can retry on the next round with a new Zombie in the chamber.
- To move the red square, place your crosshair in the middle of the top screen, and use the D-Pad (PC players see below for how to set your keybinds to work) to move the red square. The square can only be moved about once per second, so wait between "movement inputs".
- PC Players: In Controls Options -> Actions, set "Use Souvenir" to Left Arrow, "Toggle Kung-Fu Mode" to Right Arrow, "Next Card" to Up Arrow, and "Previous Card" to Down Arrow. With these binds, you can move the square with the arrow keys like you would with a D-Pad.
Click the Yellow Square or Blue Diamond to select it, then click a grid cell to place it. Once placed, valid positions for the other piece will be shown. If there is only one solution, it'll be drawn automatically. Click a placed piece to pick it back up.
- Once you've completed four mazes total (three on one and one on the other), a door left of the Box from before will open, and you can pick up the Venom-X.
- You can now kill the Zombie in the containment chamber (but, if you plan to upgrade the Venom-X, keep it alive while you do the first few steps of the Venom-Y).
- To use the Venom-X, shoot a Cryptid "egg" onto the floor or a wall with the normal shoot button (R2 or Left Click). This egg will detonate after a couple of seconds, or it can be manually detonated with the aim button (L2 or Right Click).
Venom-Y
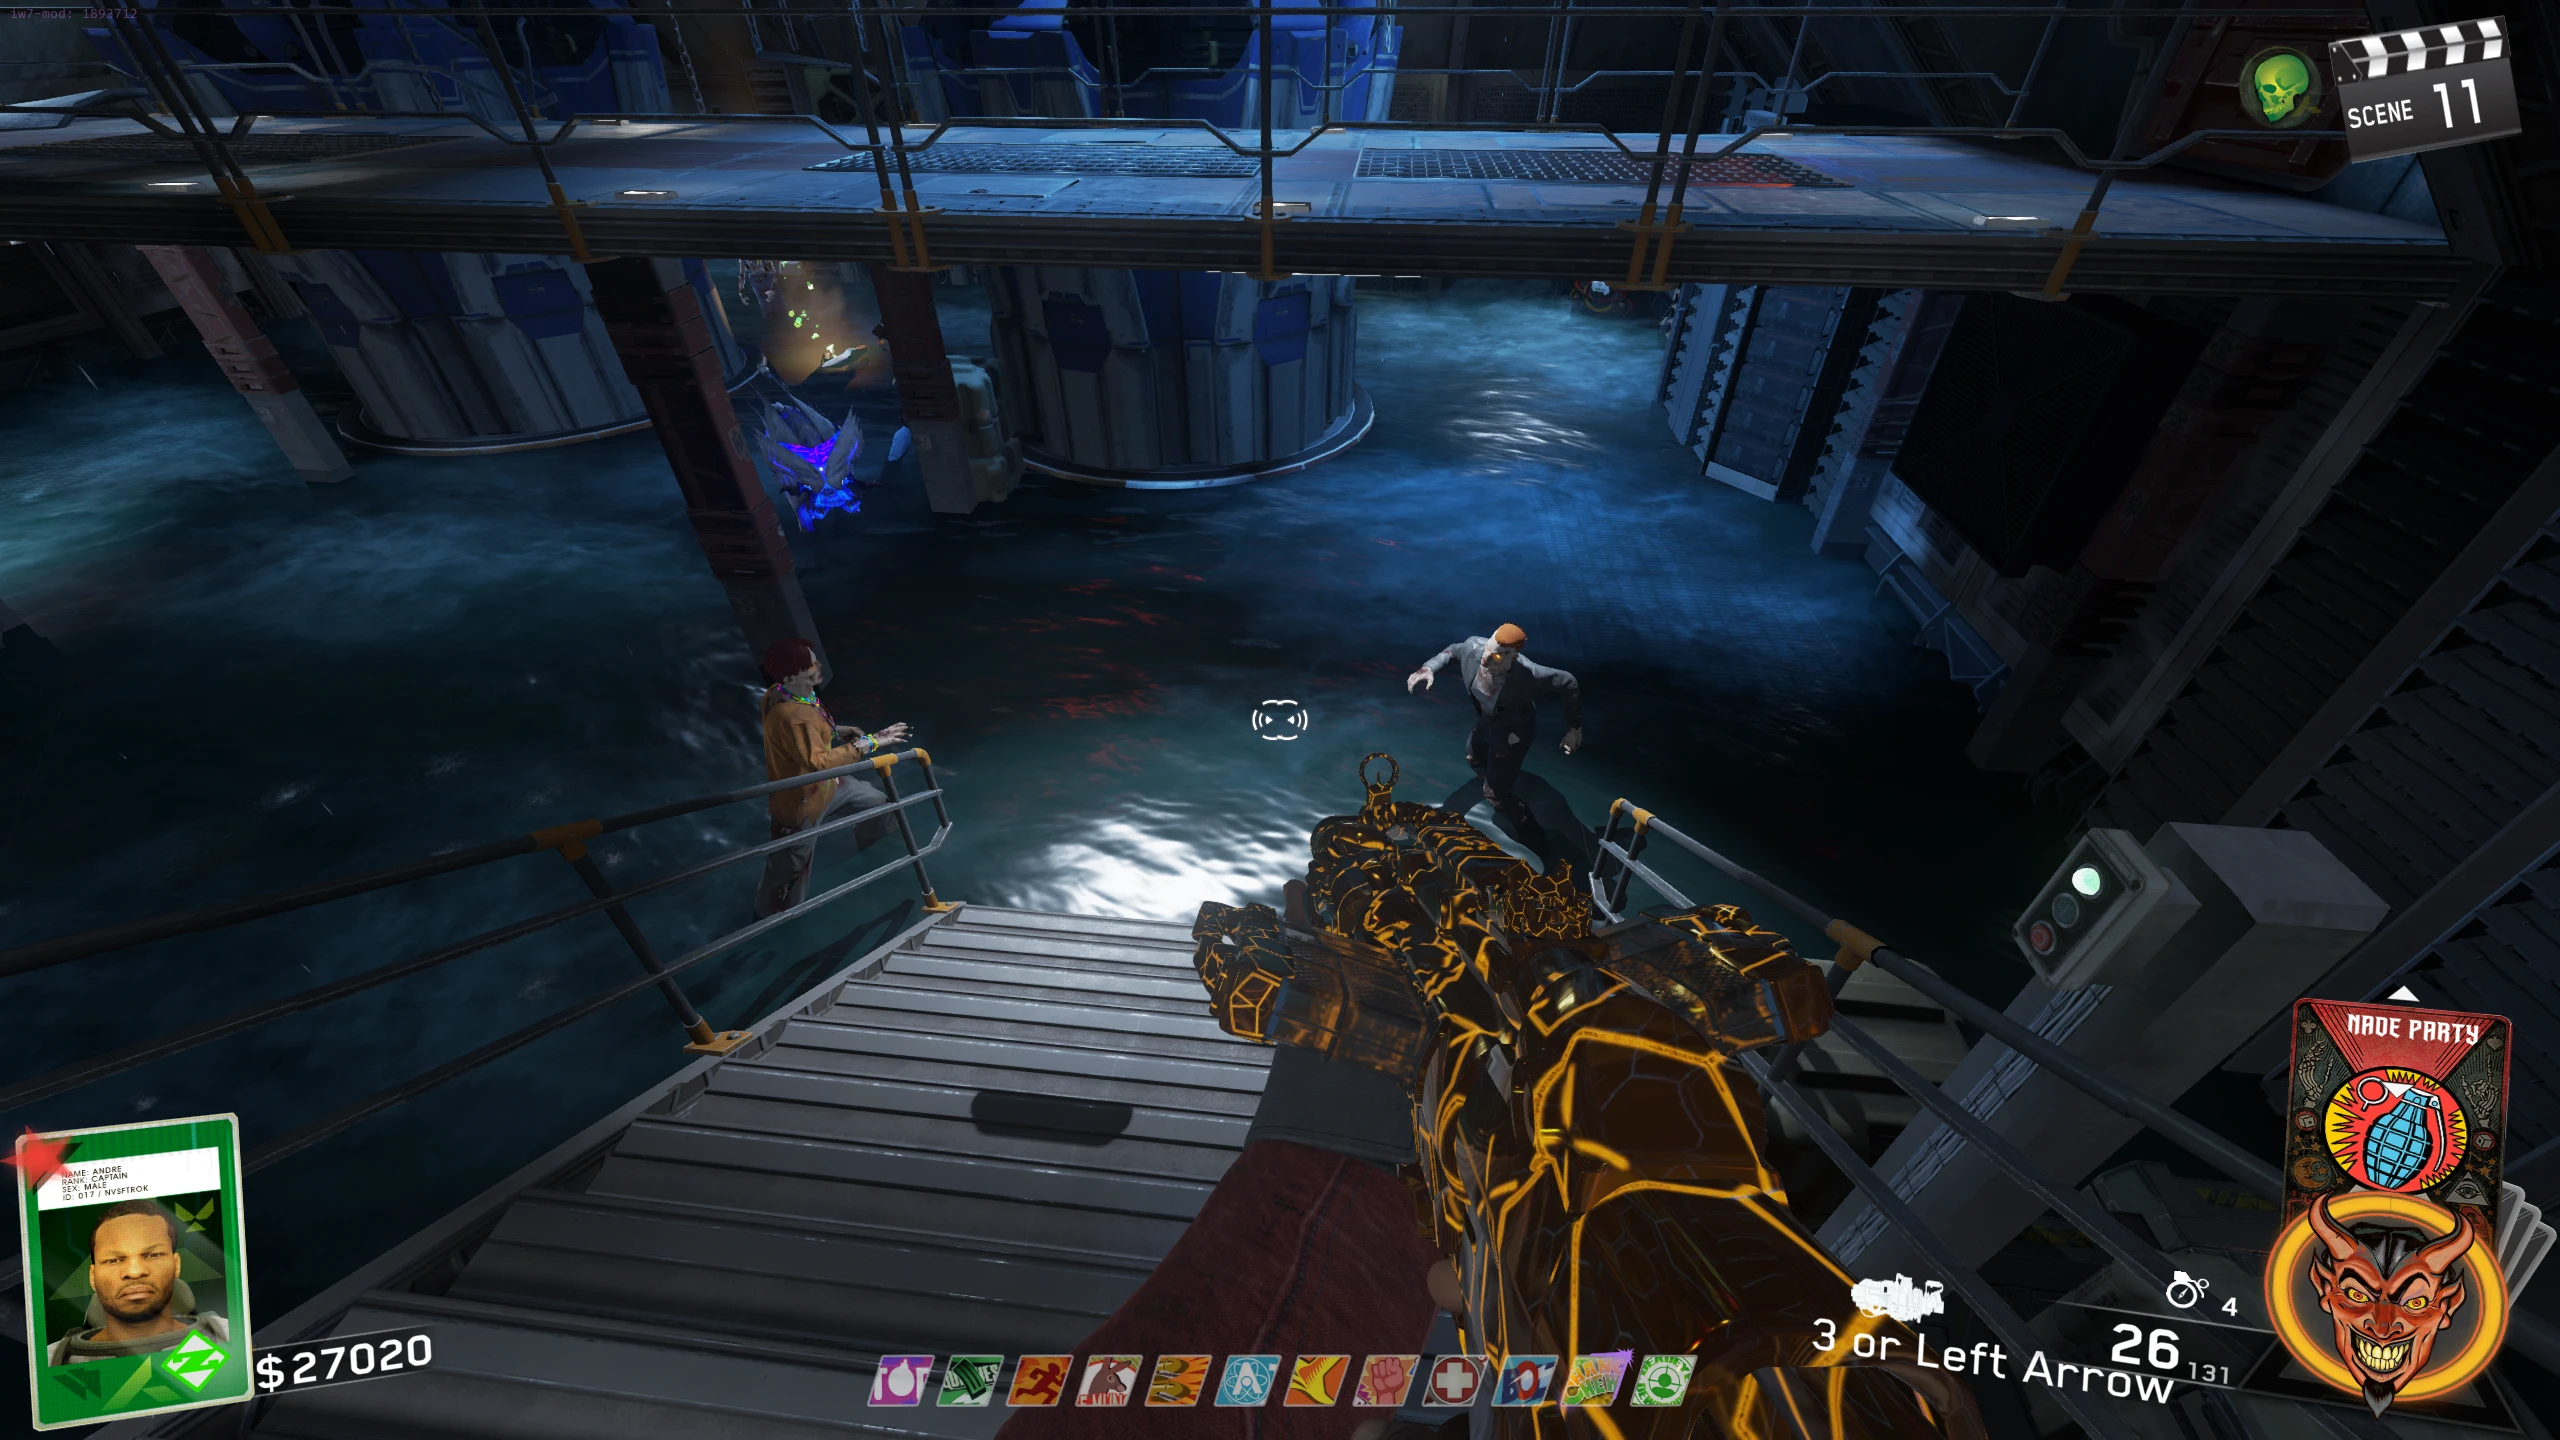
The Venom-Y works the same as the Venom-X, but the egg will explode into gas that freezes and kills Zombies. The gas lasts about 5 seconds. The gas doesn’t affect larger cryptids (Phantoms, Rhinos, etc.), but the initial explosion does.
- Obtain the Venom-X.
Set "Voice Volume" to 0 in the settings. This will help you hear the following morse code messages without your character spewing some garbage voice lines over it.
- Interact with the terminal right of Bang Bangs. It will play one of the two Morse code messages (morse code is a series of long - (dash) and short . (period) beeps which, when combined, equal letters; see this image or this website for Morse code letter translations). Possible Morse code sequences:
- Archer: .- .-. -.-. .... . .-.
- Cross: -.-. .-. --- ... ...
- Once you have your key, select it below to continue.
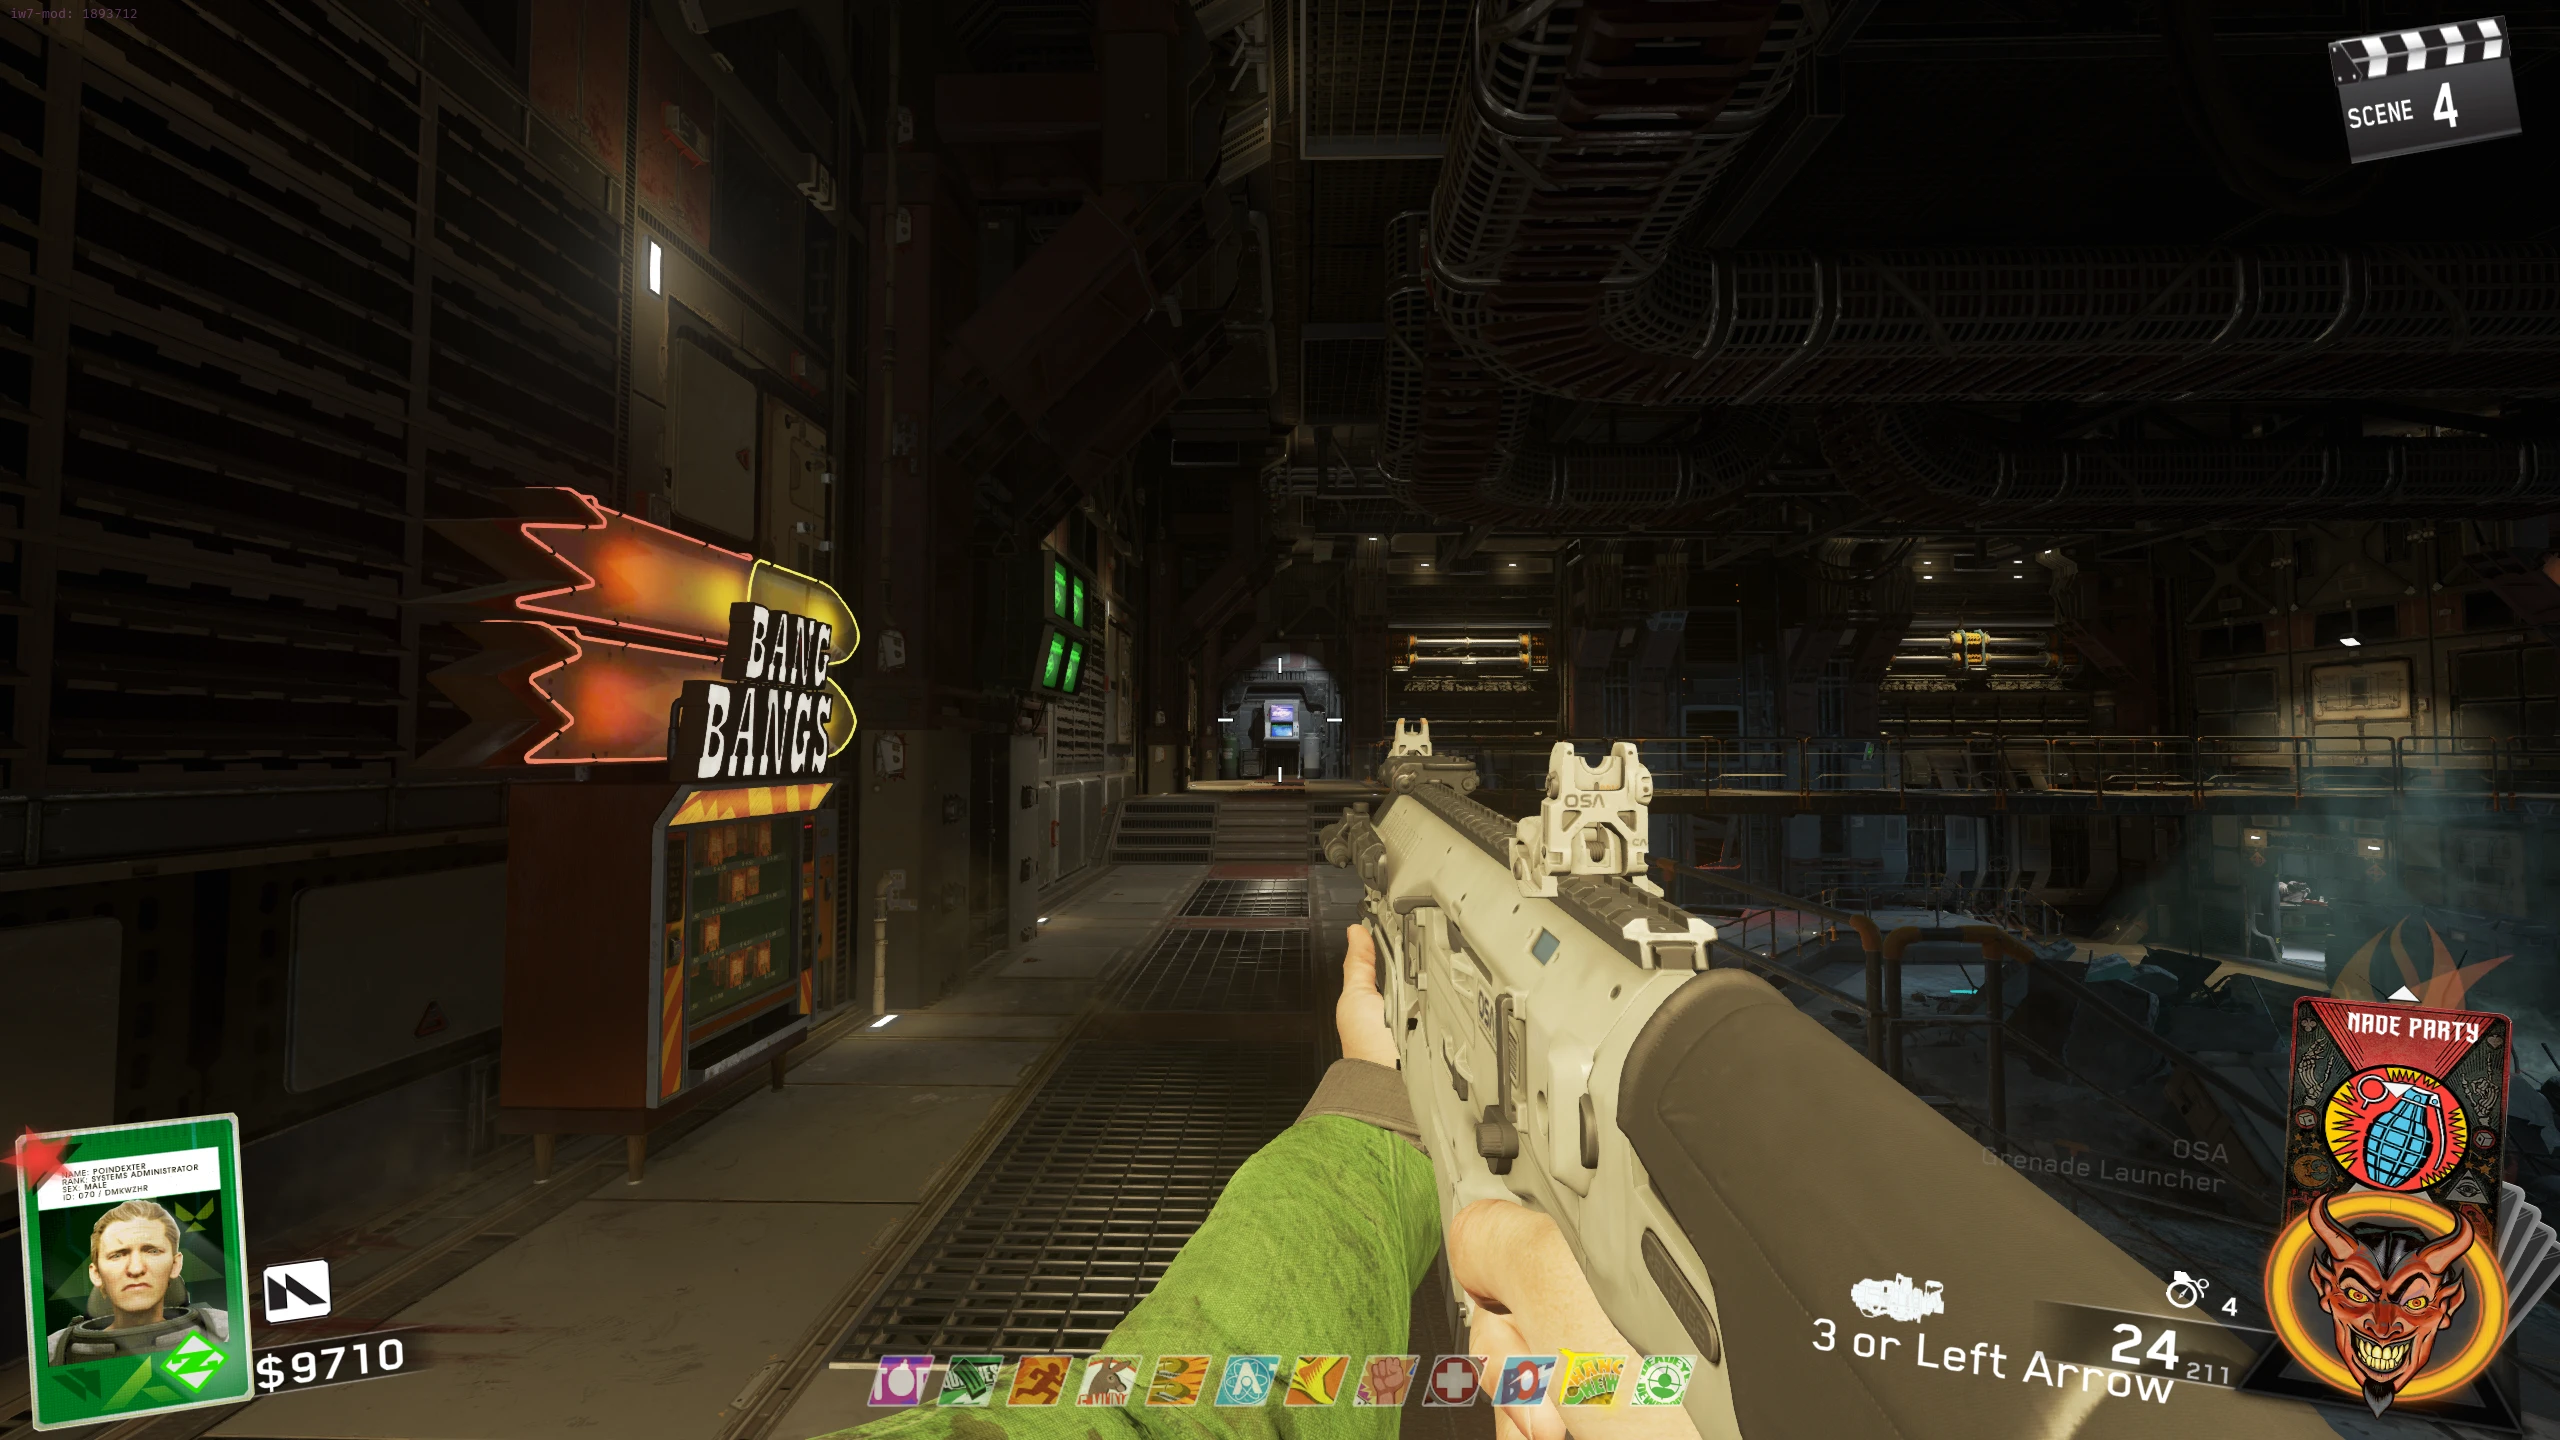
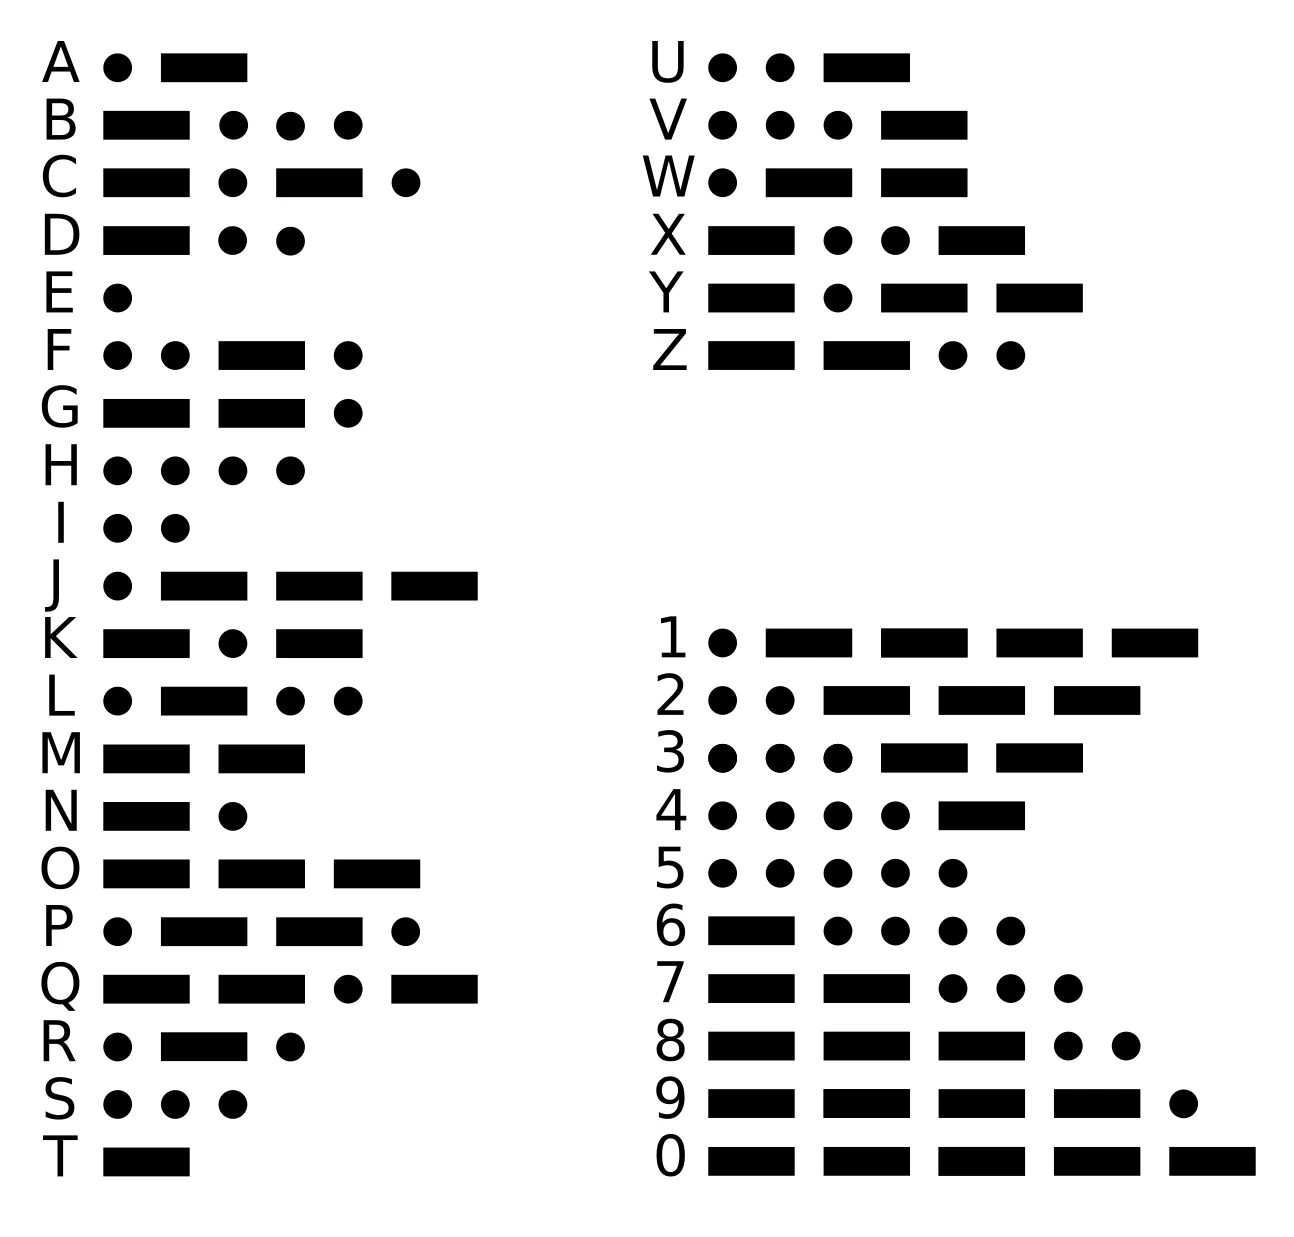
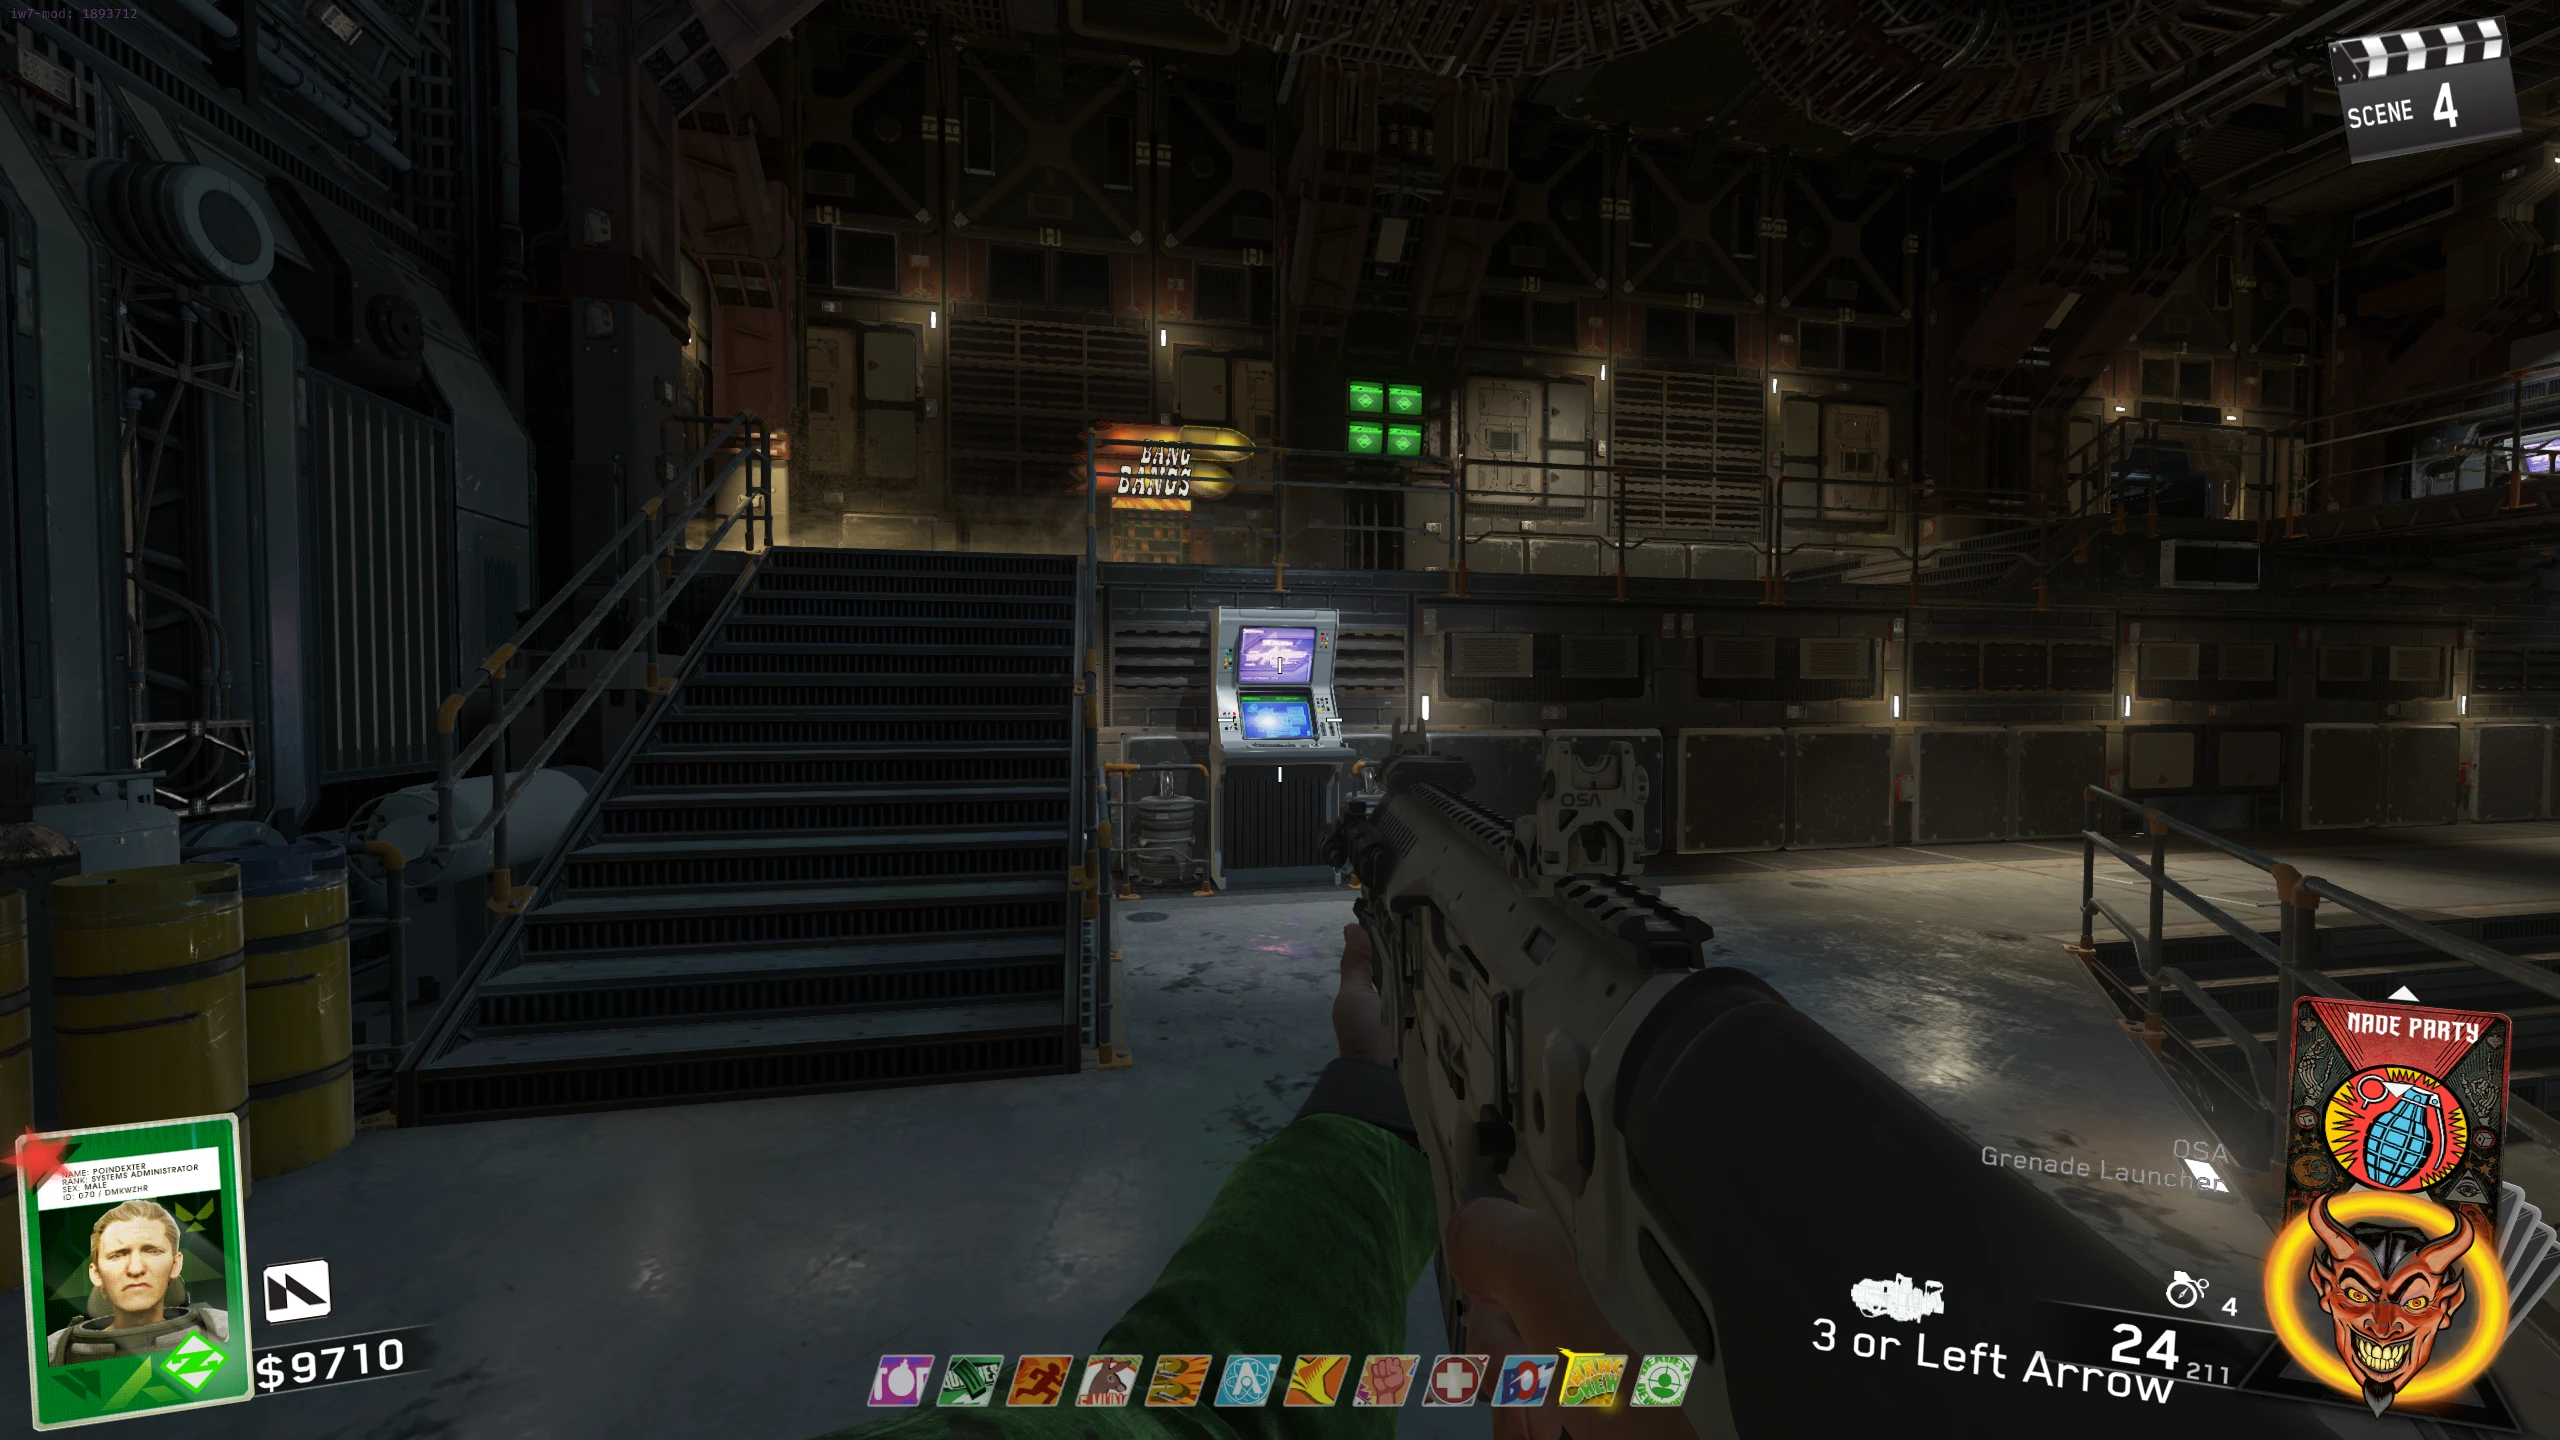
- Interact with the terminal at the bottom of the stairs near Bang Bangs. This will play a long morse code message. The message will start with the following code (based on the key from the previous step). After this opening code, you will need to listen to one of the options below. This will tell you a number you'll need later.
- The message this terminal produces is encrypted with a Vigenere Cypher using the key obtained from the first terminal. You can use this website to decrypt the code.
- Easiest way is the solver below. Tap along with the beeps and it will name your number, then walk you through the code to input in the next step. No Morse code knowledge needed.
- By ear: follow along with the "KEY - Message Start" below while the Morse code plays, then listen for the number after it.
- Numbers in Morse code. The first two letters name the number on their own, except for Twenty and Twenty-Five, which open the same way: if you hear that pair, keep listening for the full word.
Archer - Message start: -.- --.. -. ... ... -- . .. Number Morse code Fifteen .... .--. Eighteen --. .--. Twenty or Twenty-Five ...- -.. Twenty (full word) ...- -.. .. . - .--. Twenty-Five (full word) ...- -.. .. . - .--. .... .--. --.. ...- Thirty ...- --- Cross - Message start: -- --.. --.. -.. --. -..- ...- ..-. Number Morse code Fifteen -..- .- Eighteen .-- .- Twenty or Twenty-Five .-.. --- Twenty (full word) .-.. --- --. . .... --.- Twenty-Five (full word) .-.. --- --. . .... --.- -..- -.- -- ... Thirty .-.. --..
Step 1 of 3 - Your key
Enter the first element from the morse sequence from the terminal right of Bang Bangs. This will show you your key.
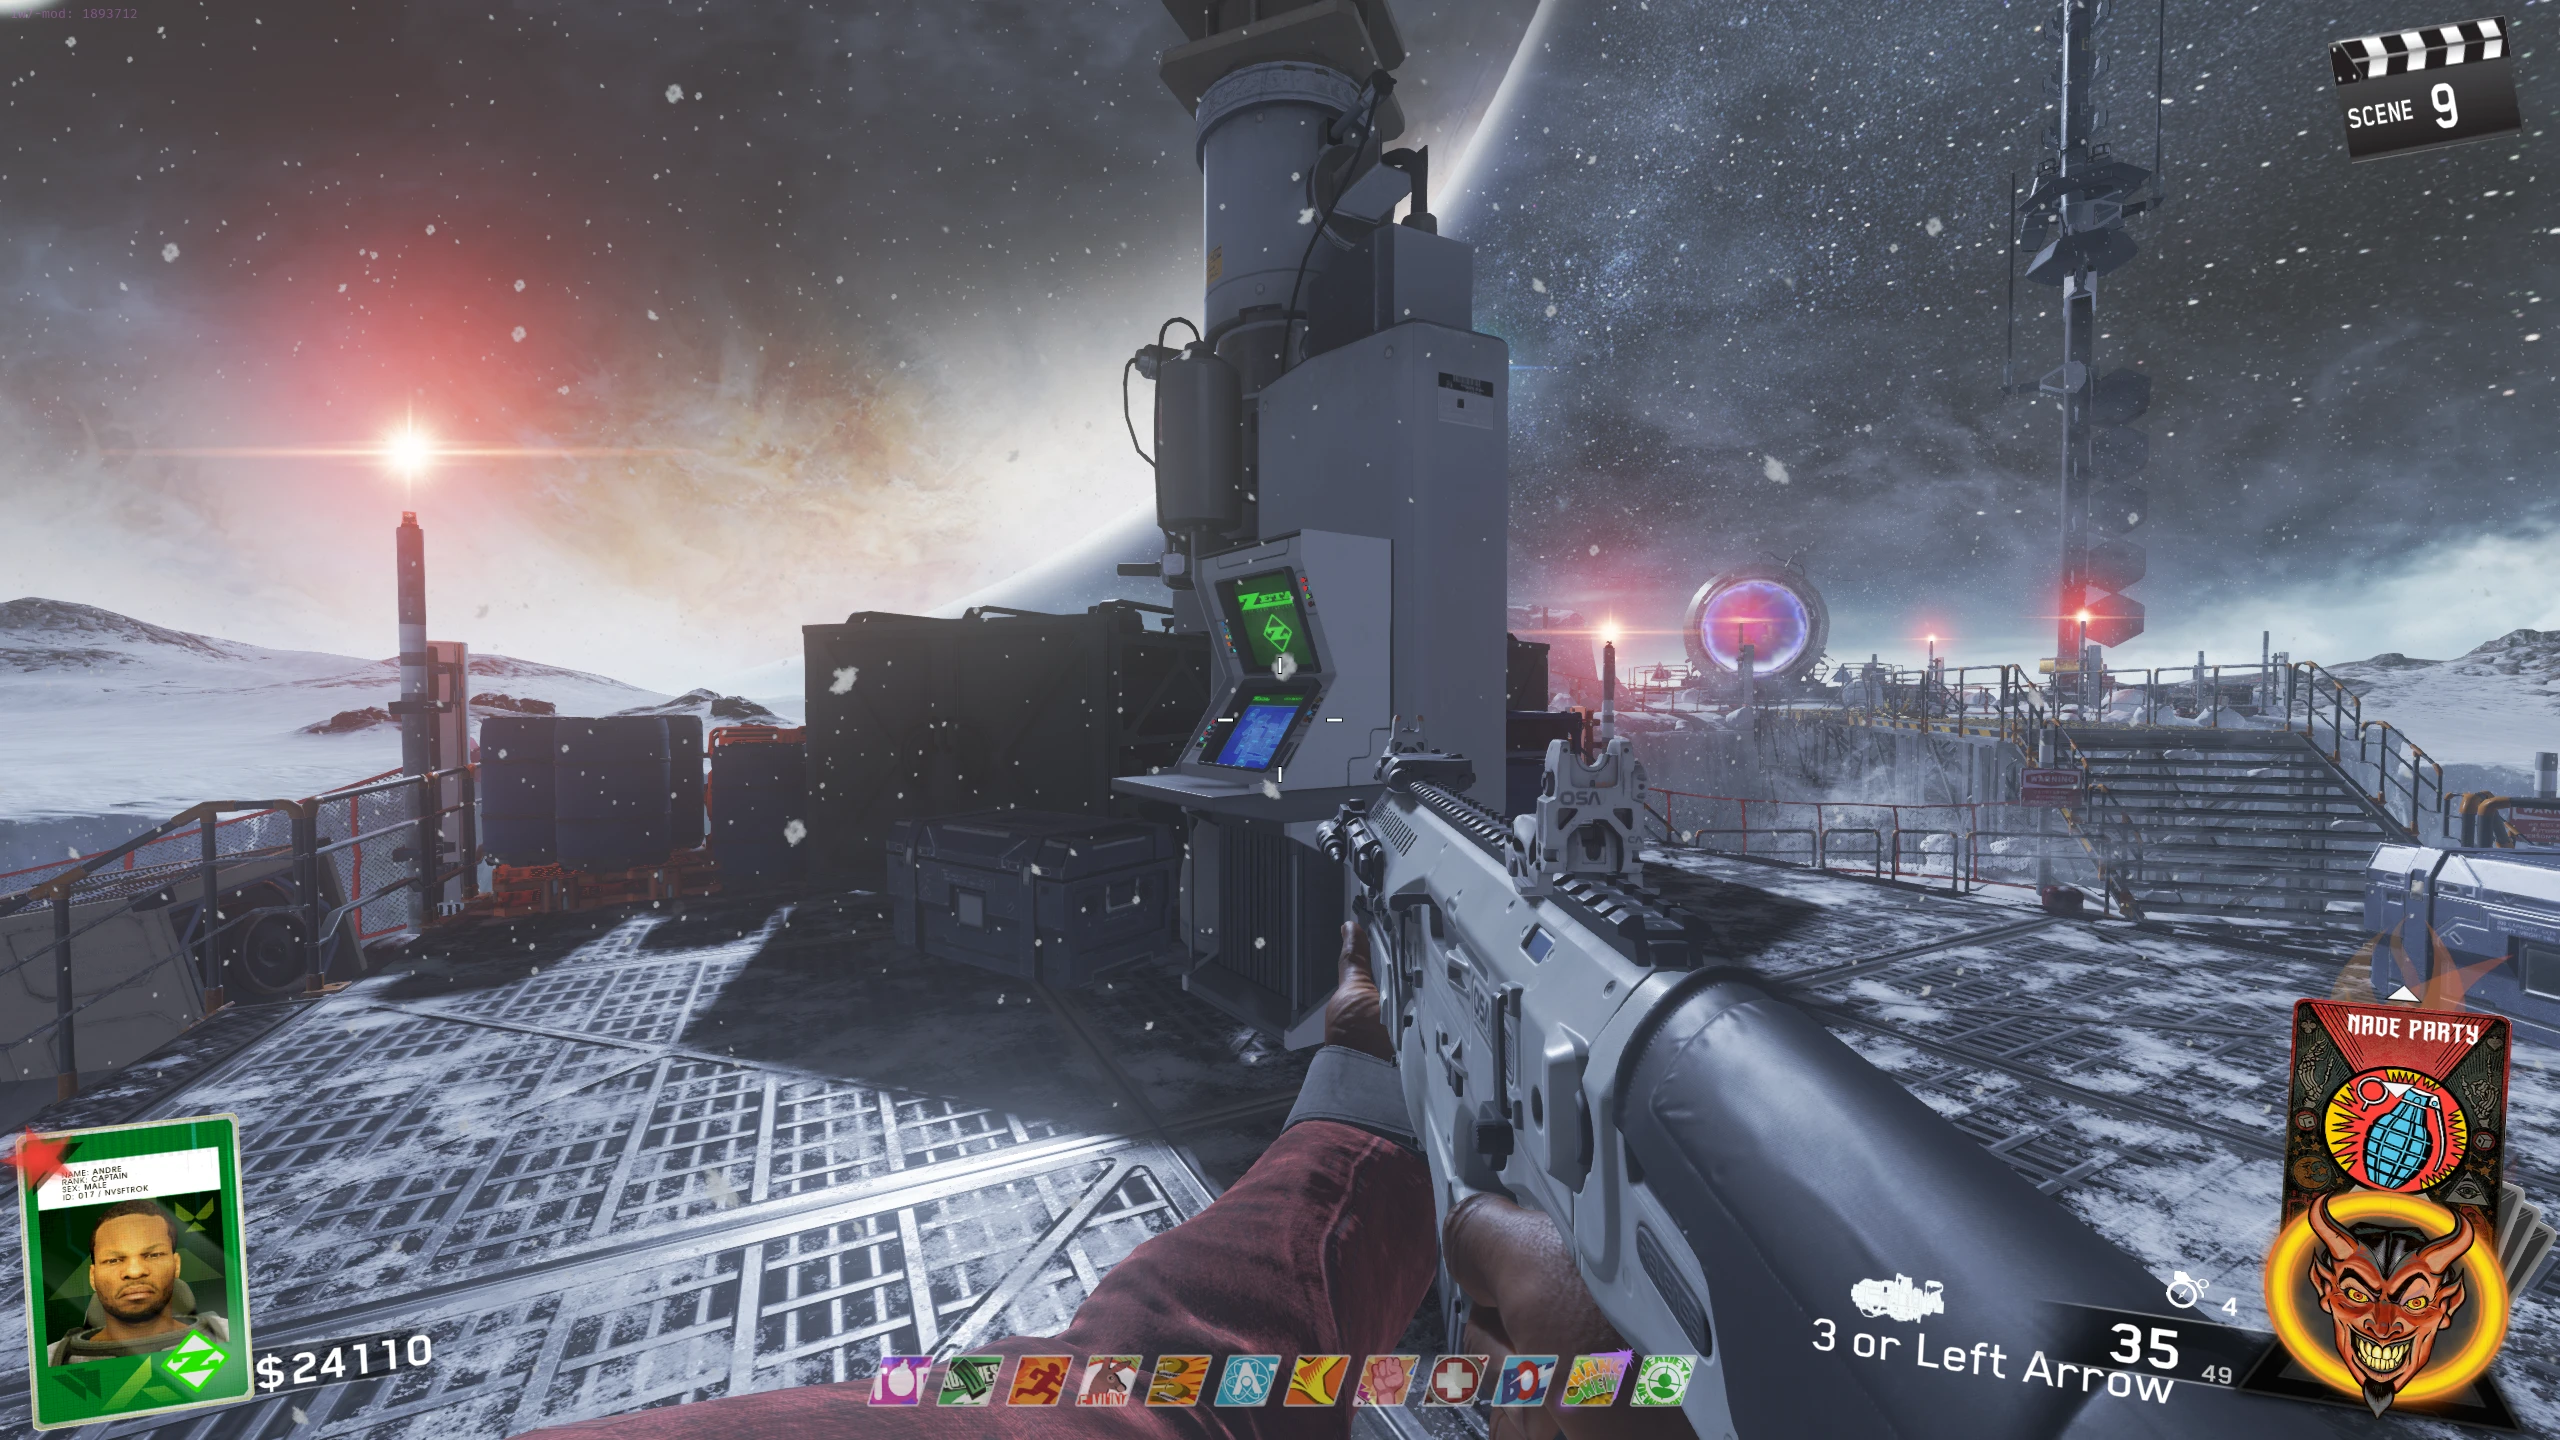
Waiting for the first beep…Know your key already? Select it:- Once you have your number, go to the control room above Bombstoppers, and input a Morse code sequence on the panel at the top of the stairs, based on your number from the previous step. The button on the left will input a short beep (.), and the right will input a long beep (-).
- If you inputted the code correctly, a pickup sound will play.
- Otherwise, you'll hear an error sound at the end of the current round, and you'll have to try again.
- Morse code based on number:
- Fifteen: ..-. .. ..-. - . . -. .- .-. (Morse code translates to FIFTEENAR)
- Eighteen: . .. --. .... - . . -.
- Twenty or Twenty-Five: Enter twenty (- .-- . -. - -.--) and if you don't hear a completion sound, enter five (..-. .. ...- .)
- Thirty: - .... .. .-. - -.--
- Once you input the correct number, you will need to kill that number of Cryptids with the Venom-X. Your progress can be checked on the bottom right of the scoreboard menu. Every time the PAP portal "times-out" after you leave it, three cryptids or a Phantom will spawn. You can do this as many times as needed in a round every 1:30 minutes when the PAP portal reactivates.
- Once you get the required number of kills, the Venom-X can be pack-a-punched for $5000 into the Venom-Y.

Venom-Z
The Venom-Z is the same as the Venom-Y, but the gas cloud lasts longer, and it has more ammo.
- Unlock Double Pack-a-Punch and obtain the Venom-Y.
- You must now "flip" the key you had in the Venom-Y quest. So if you had "ARCHER," your new key is "CROSS" and vice versa.
- You can interact with the console that gave you the key in the Venom-Y quest to check your new one.
- With your new Key, repeat Steps 3-6 from the Venom-Y quest. These steps are the exact same except the key and the number from the Morse code gives you will change.
- The Venom-Y solver works here too. Just set the key dropdown to your flipped key.
- Once you input the correct number into the Morse code panel, you will need to kill that number of non-standard Zombies (Any Cryptid type, Ninjas, and Clowns) with the Venom-Y. Your progress can be checked on the scoreboard menu. This time, however, your progress on the scoreboard will stop at 50%.
- Once you get to 50%, interact with this machine near the Magic Wheel in the outside area, until "195#" is shown on screen. This will spawn "Ghosts" around you that will float around you.
- You must run to the Pack-a-Punch portal, and while standing near it, shoot the number of ghosts (with any weapon) that the Morse code told you to. All the ghosts need to be shot in one round.
- Once you get 100% on the scoreboard, the Venom-Y can be pack-a-punched for $10000 into the Venom-Z.
"The End?" Main Quest
Stats (Solo): Difficulty - 7/10 (4/10 Dir. Cut), Est. Completion Time - 45 Mins to 1 Hr (20 Mins to 35 Mins Dir. Cut)
Collect 4 Floppy Disks
- Activate Power.
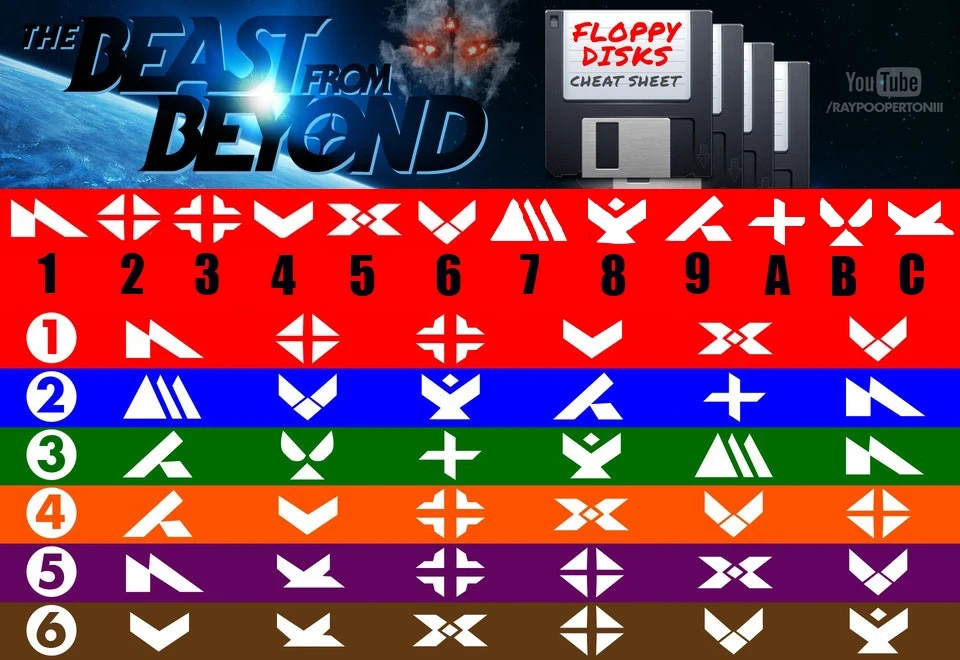
- There are four Floppy Disks you need to collect around the map. These Floppy Disks can be collected in any order, each has a different symbol on it, and only one can be held at a time. When held, the symbol will appear on the bottom left of the screen, above your points. Locations/collection methods:
Floppy Disk How to Obtain Floppy Disk 1 - Unlock Pack-a-Punch.
- This floppy disk is dropped by the first Phantom (big blue Cryptid) you kill. One will always spawn the first time you leave the PAP Projector room.
- Make sure to kill the Phantom near N31L. The part it drops stays on the ground, so killing it close to N31L saves you from backtracking.
Floppy Disk 2 - Unlock Pack-a-Punch.
- This floppy disk is always sitting in the snow at the base of a pillar, left of the PAP Portal.
Floppy Disk 3 - Obtain the Entangler weapon from Skull 2 of the Skull Breaker side quest.
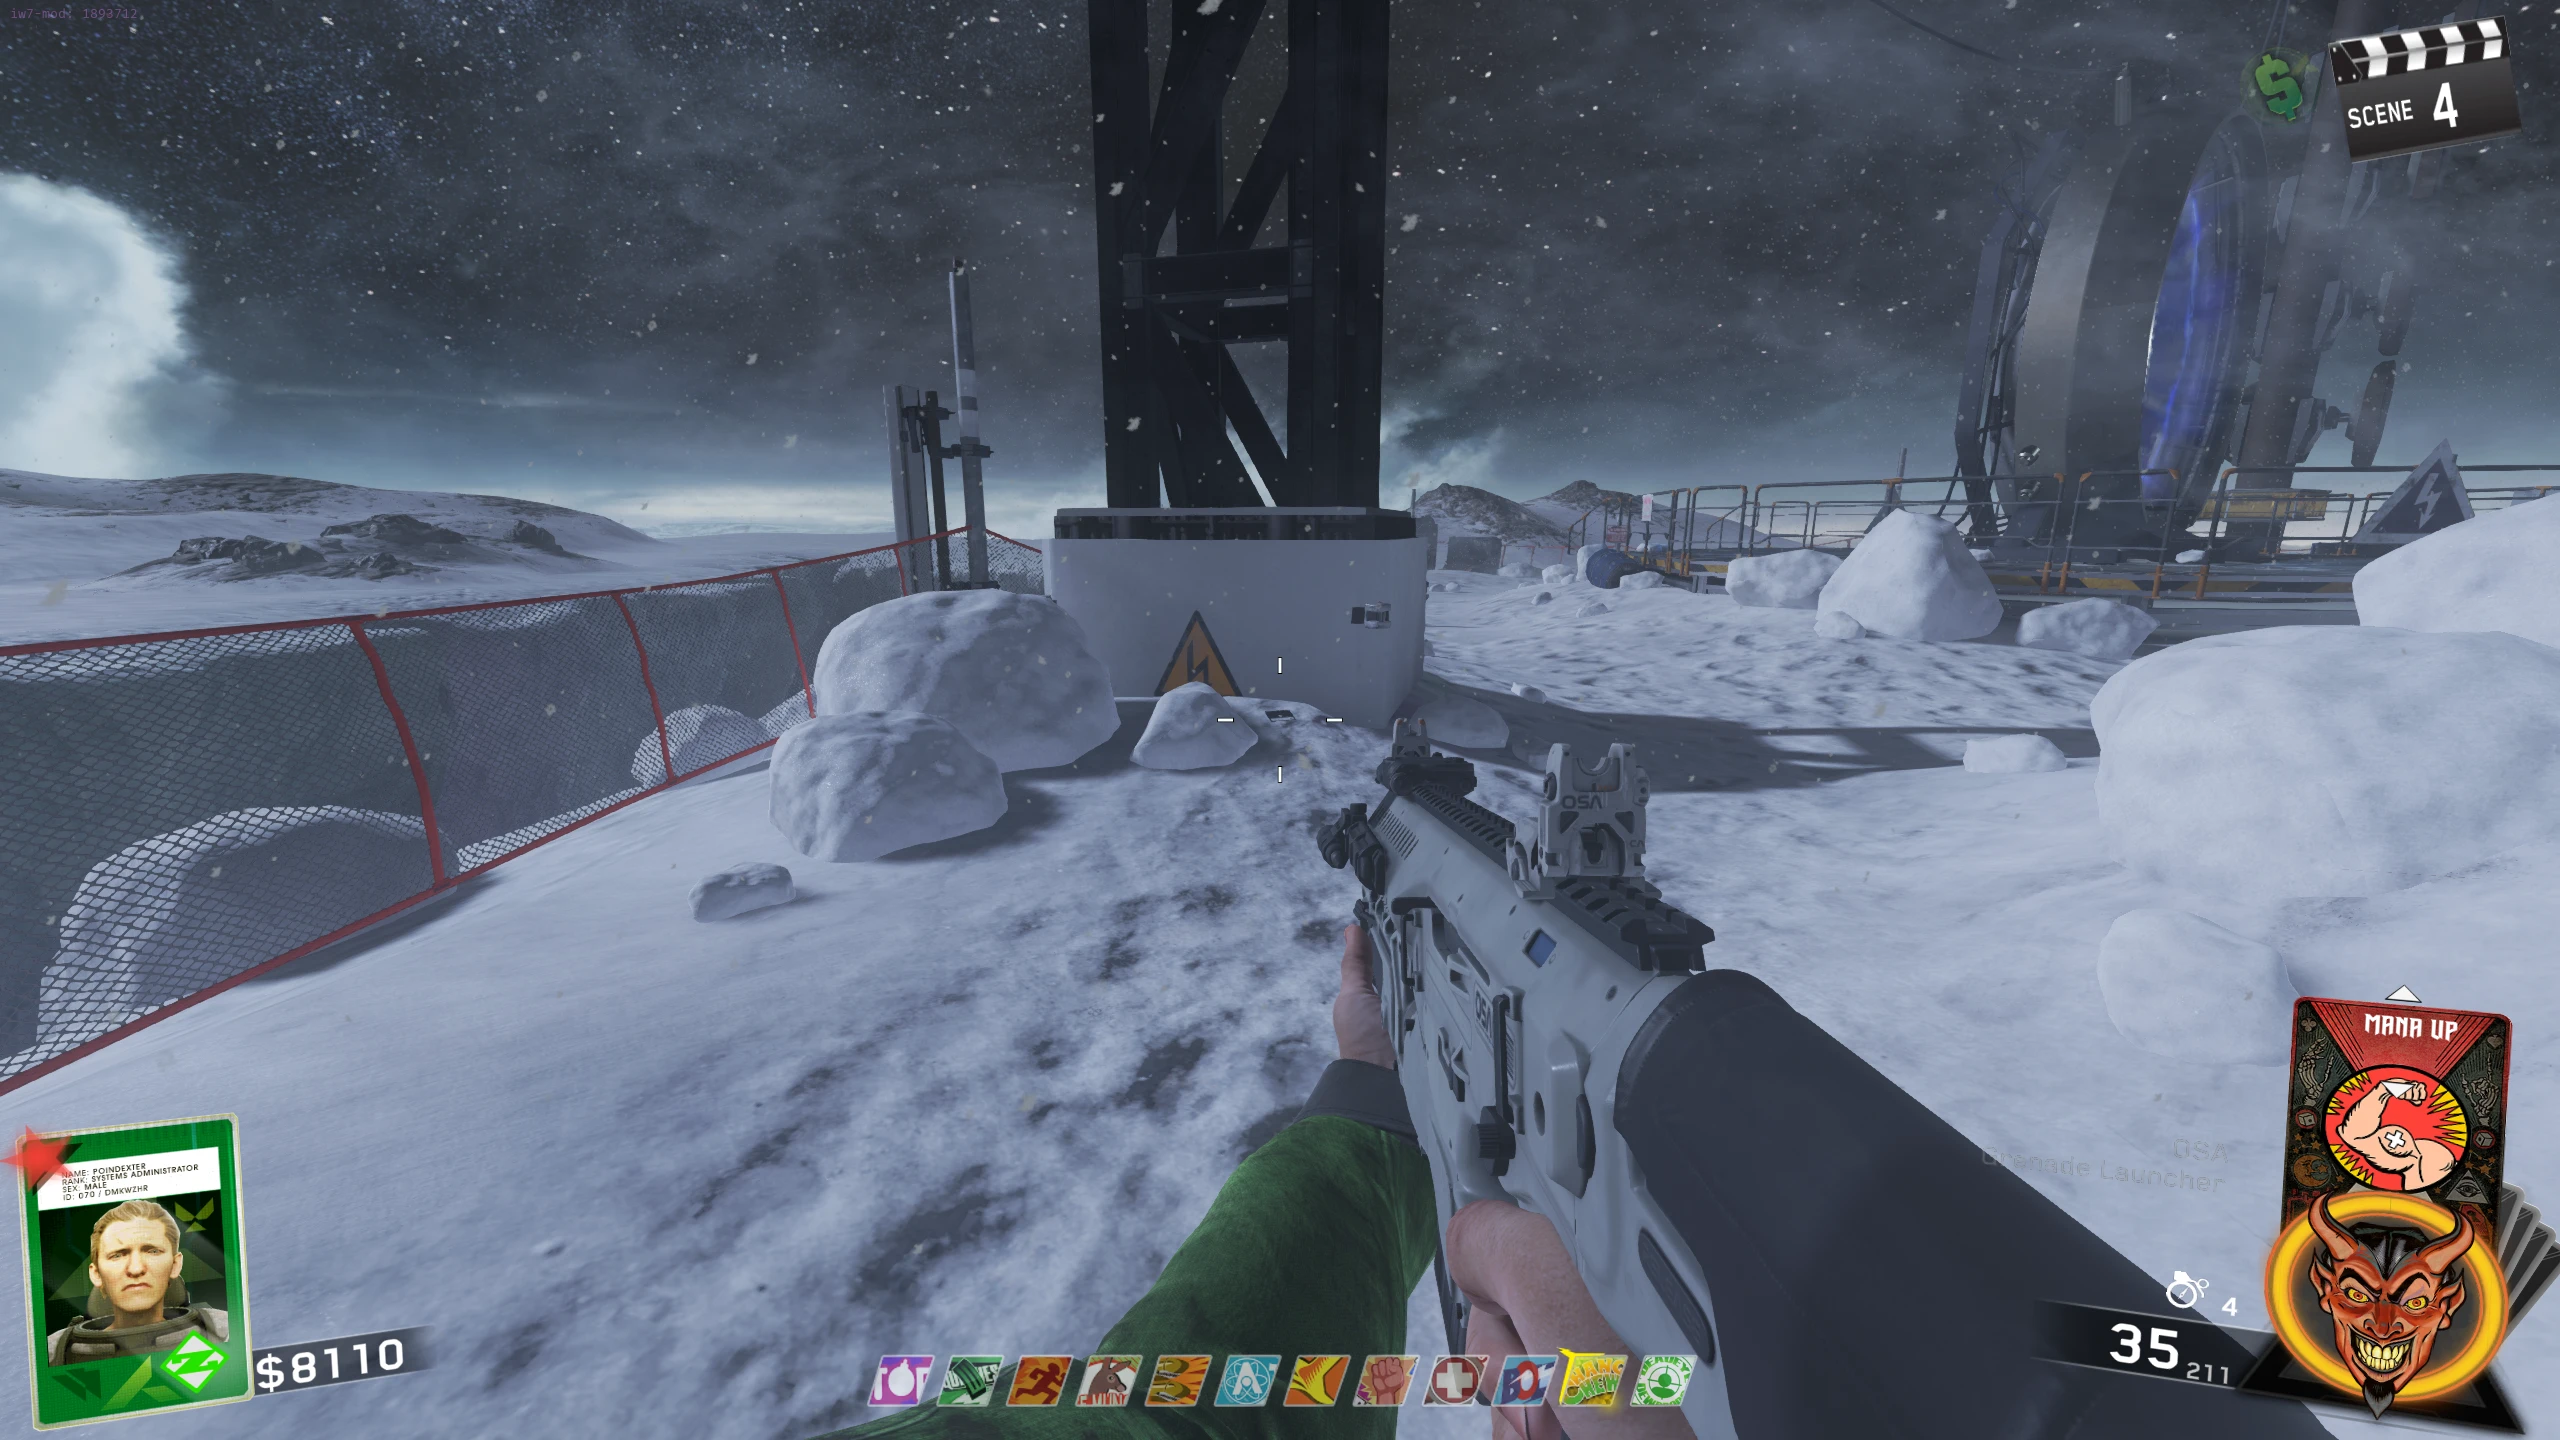
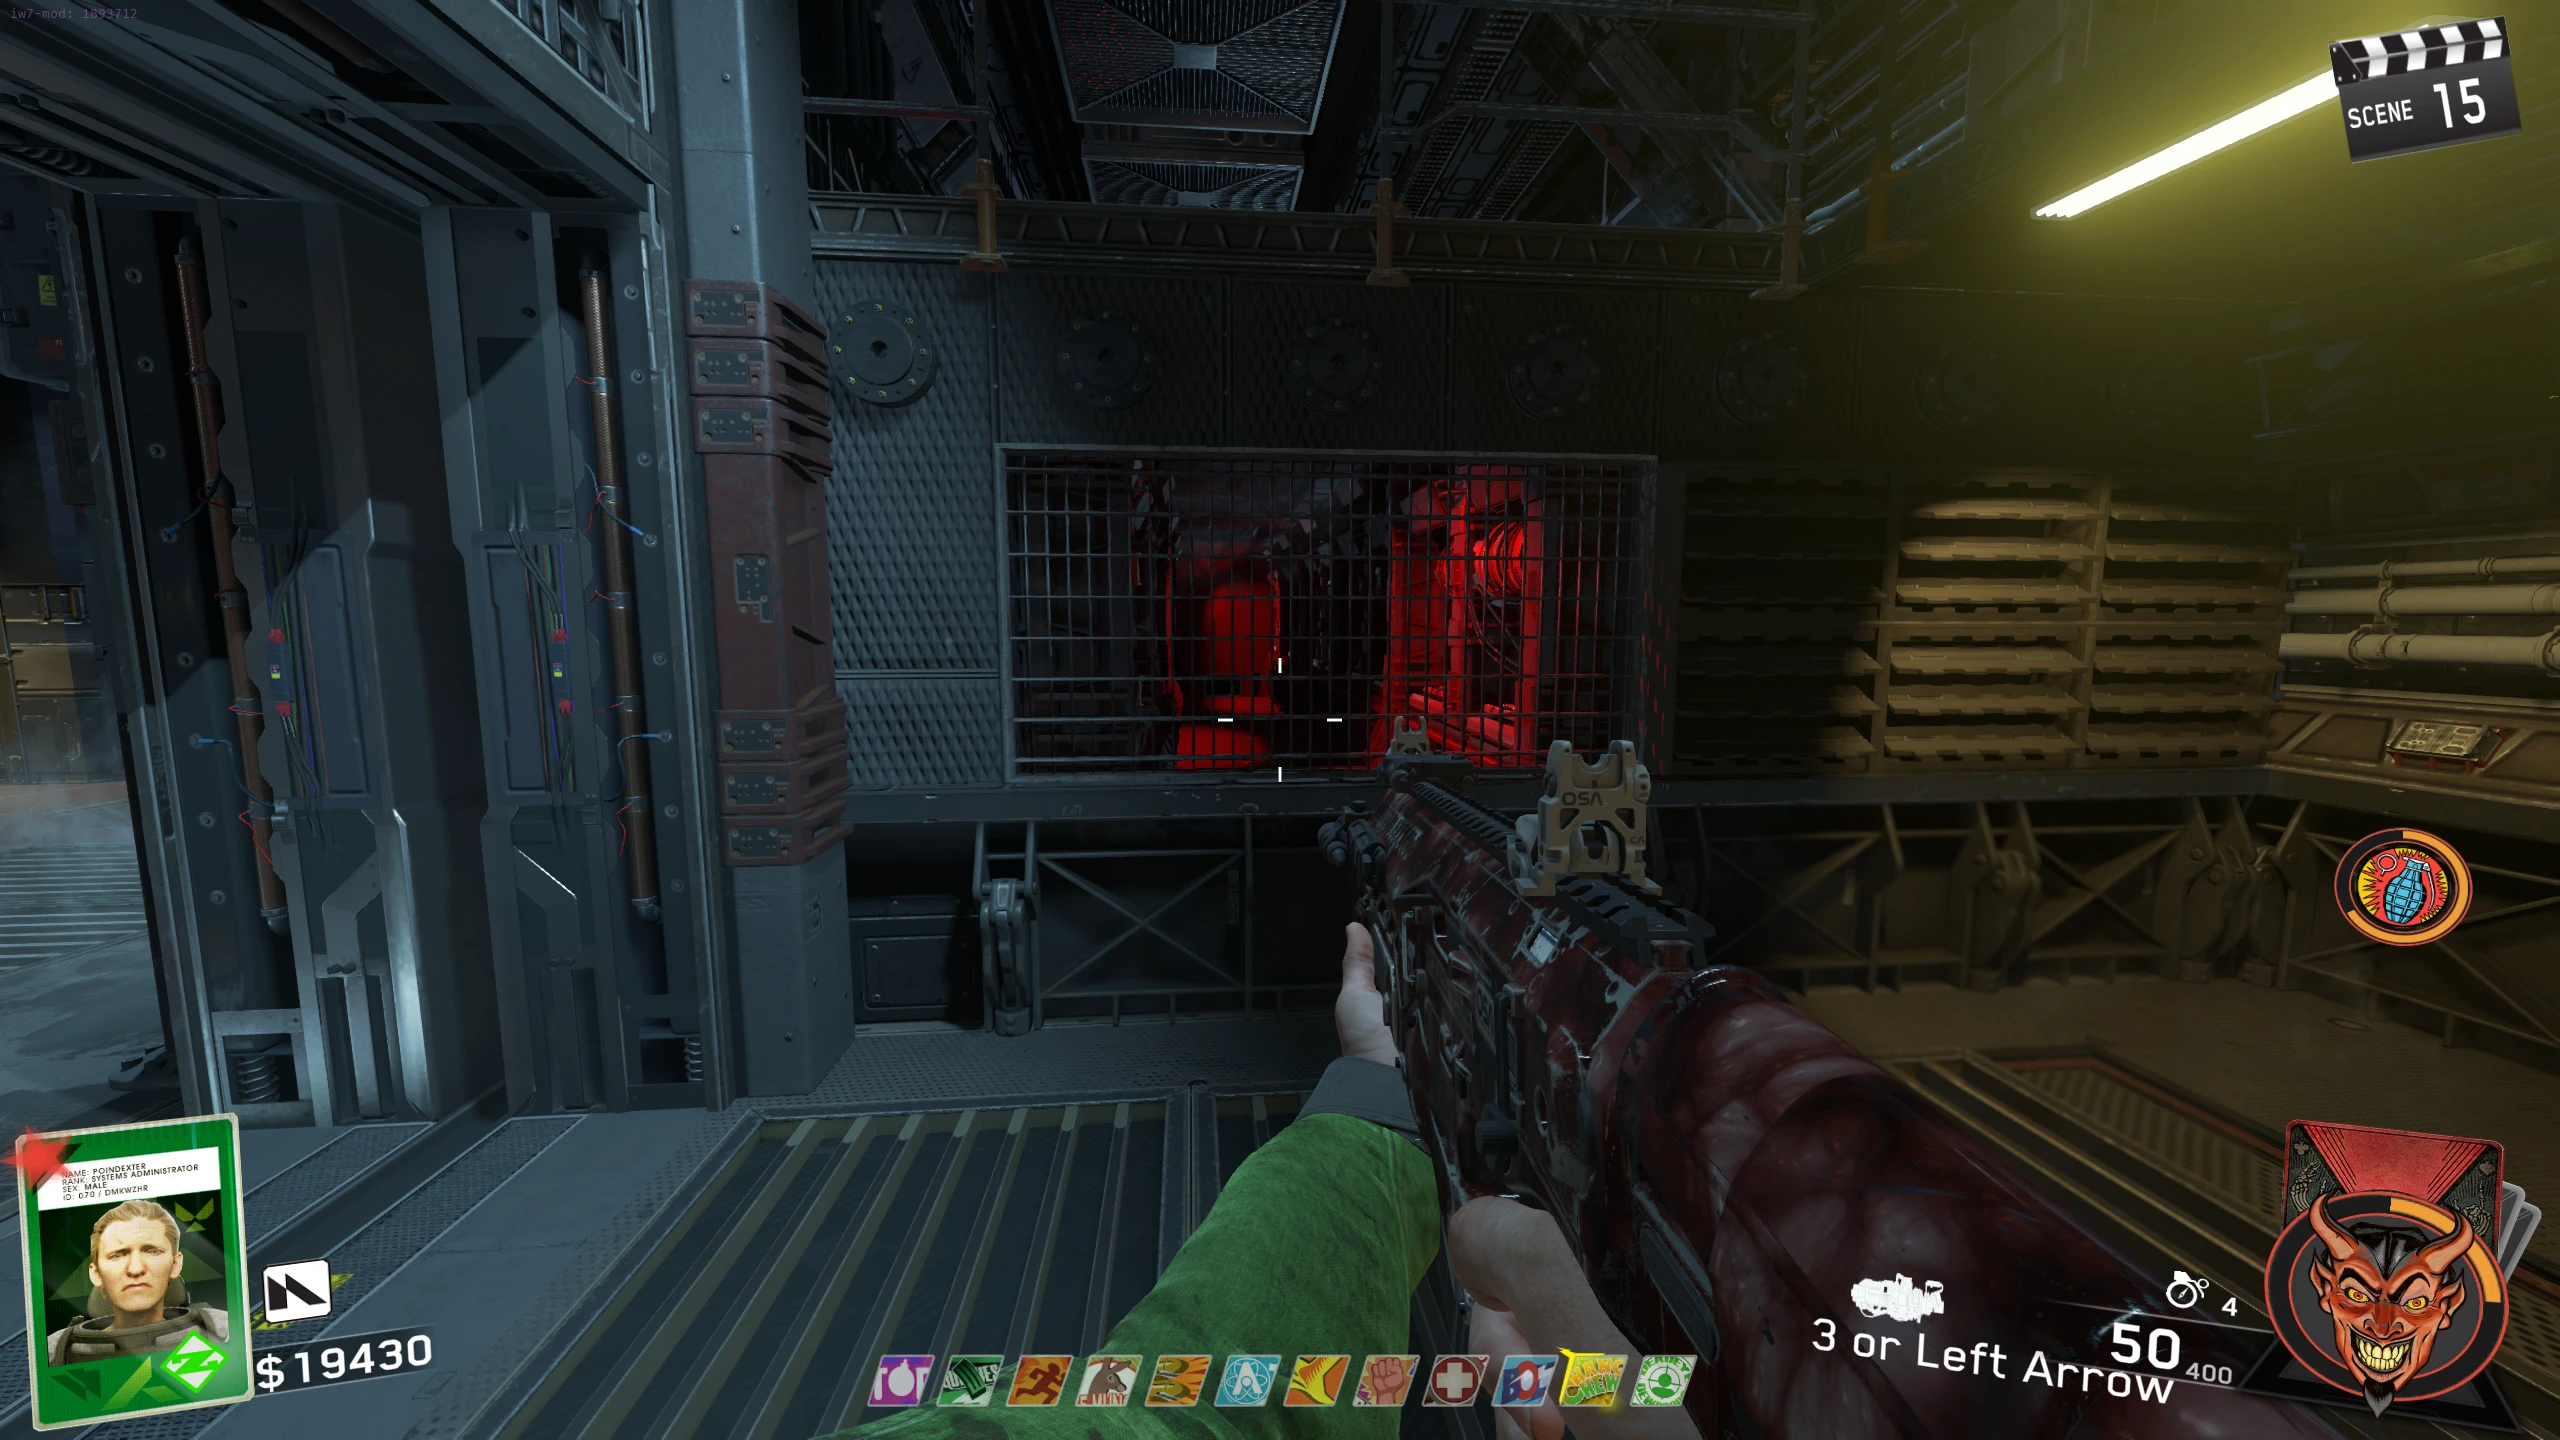
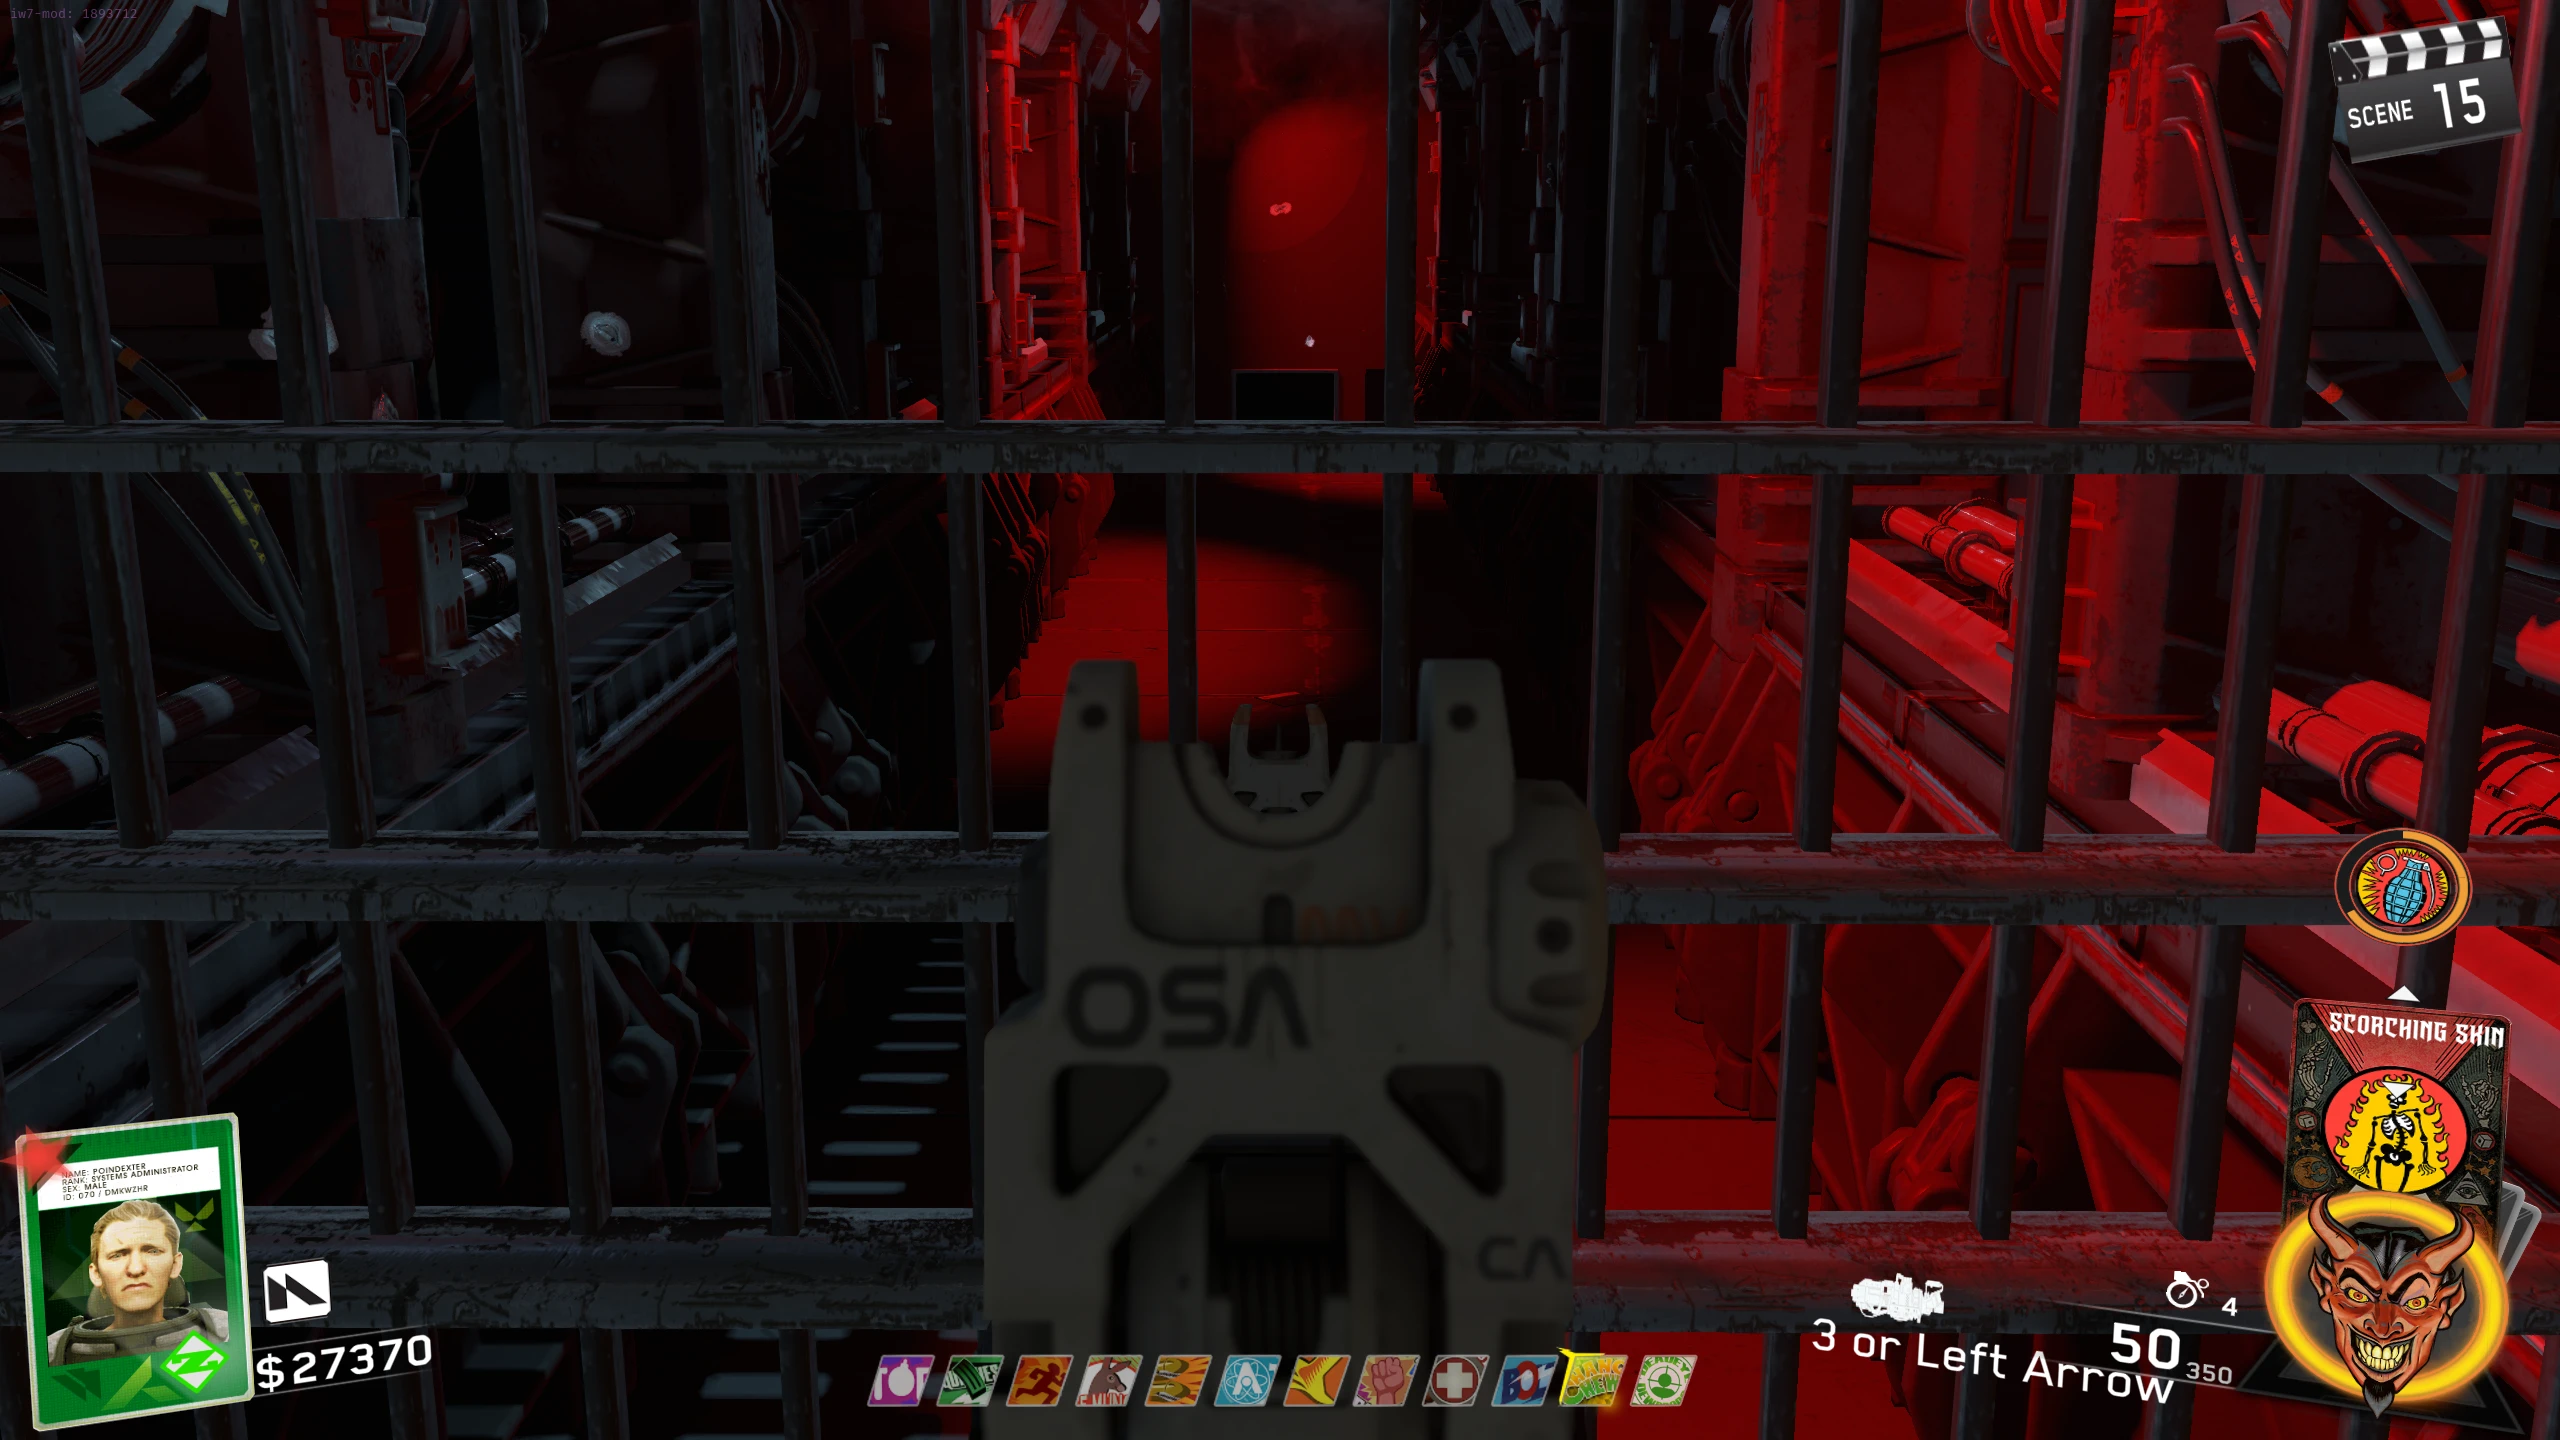
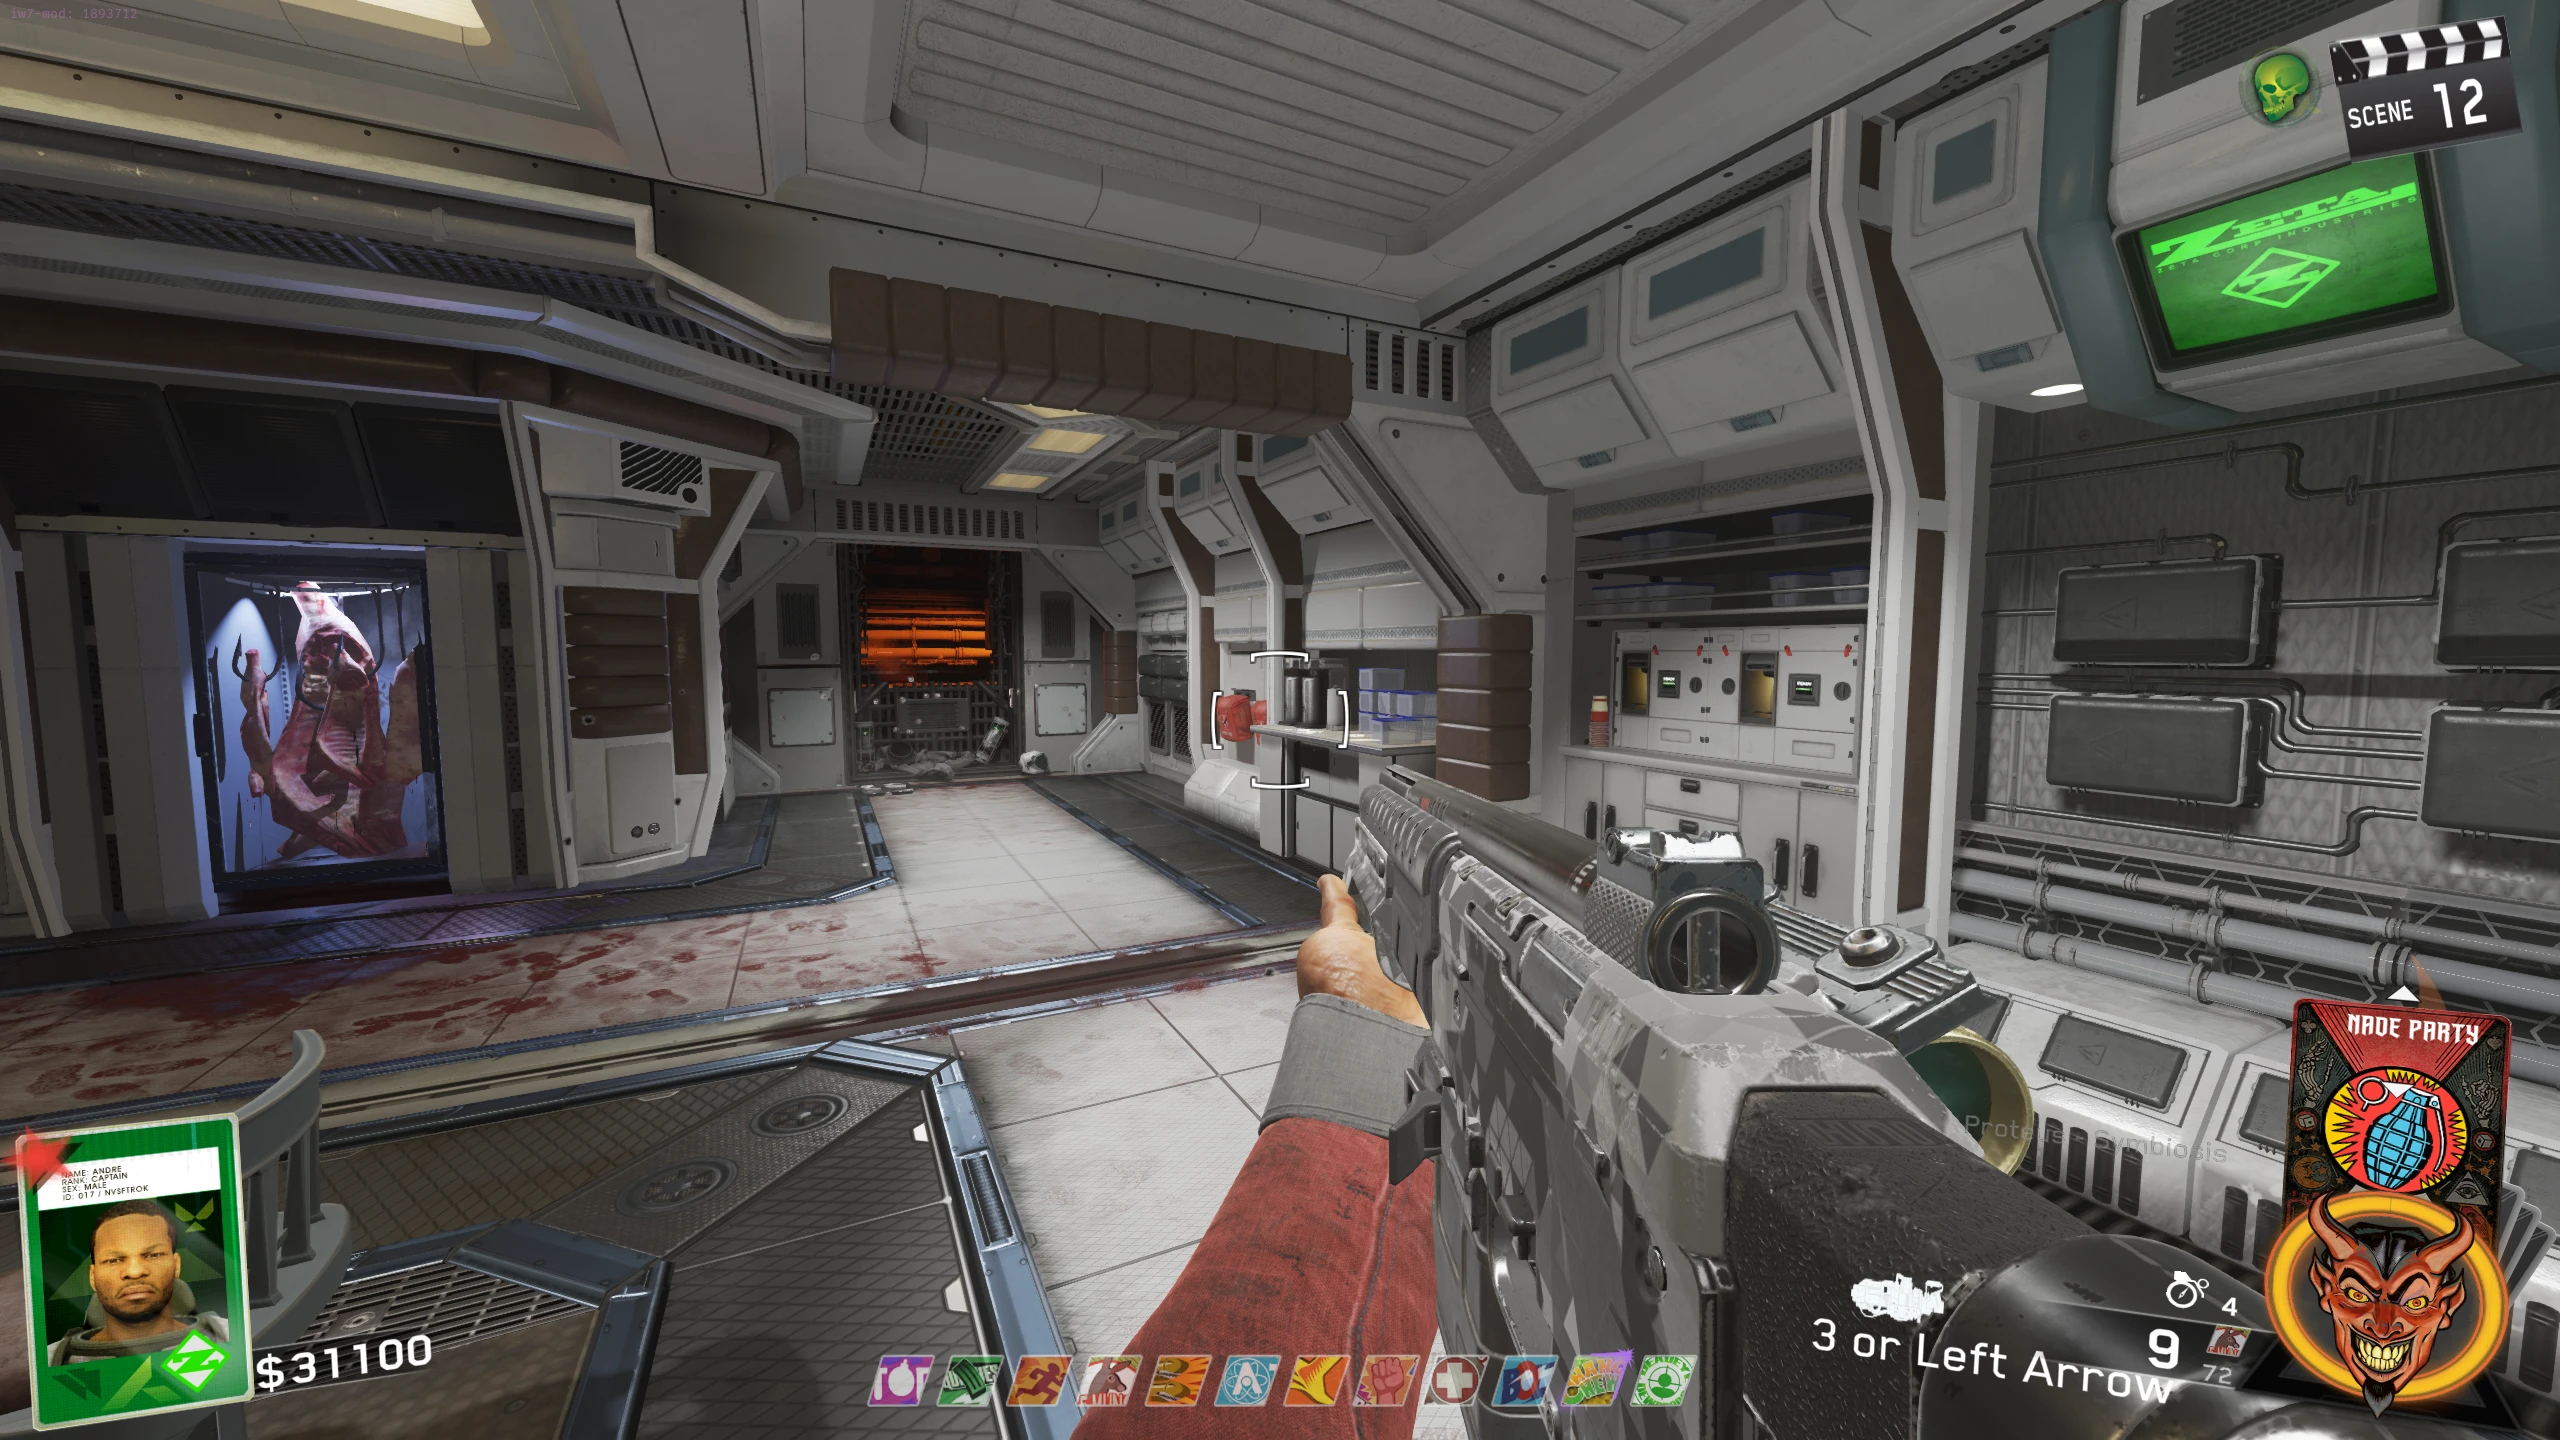
- In the hallway with the Proteus wallbuy, there will be a fence blocking a red room, under/near some stairs.
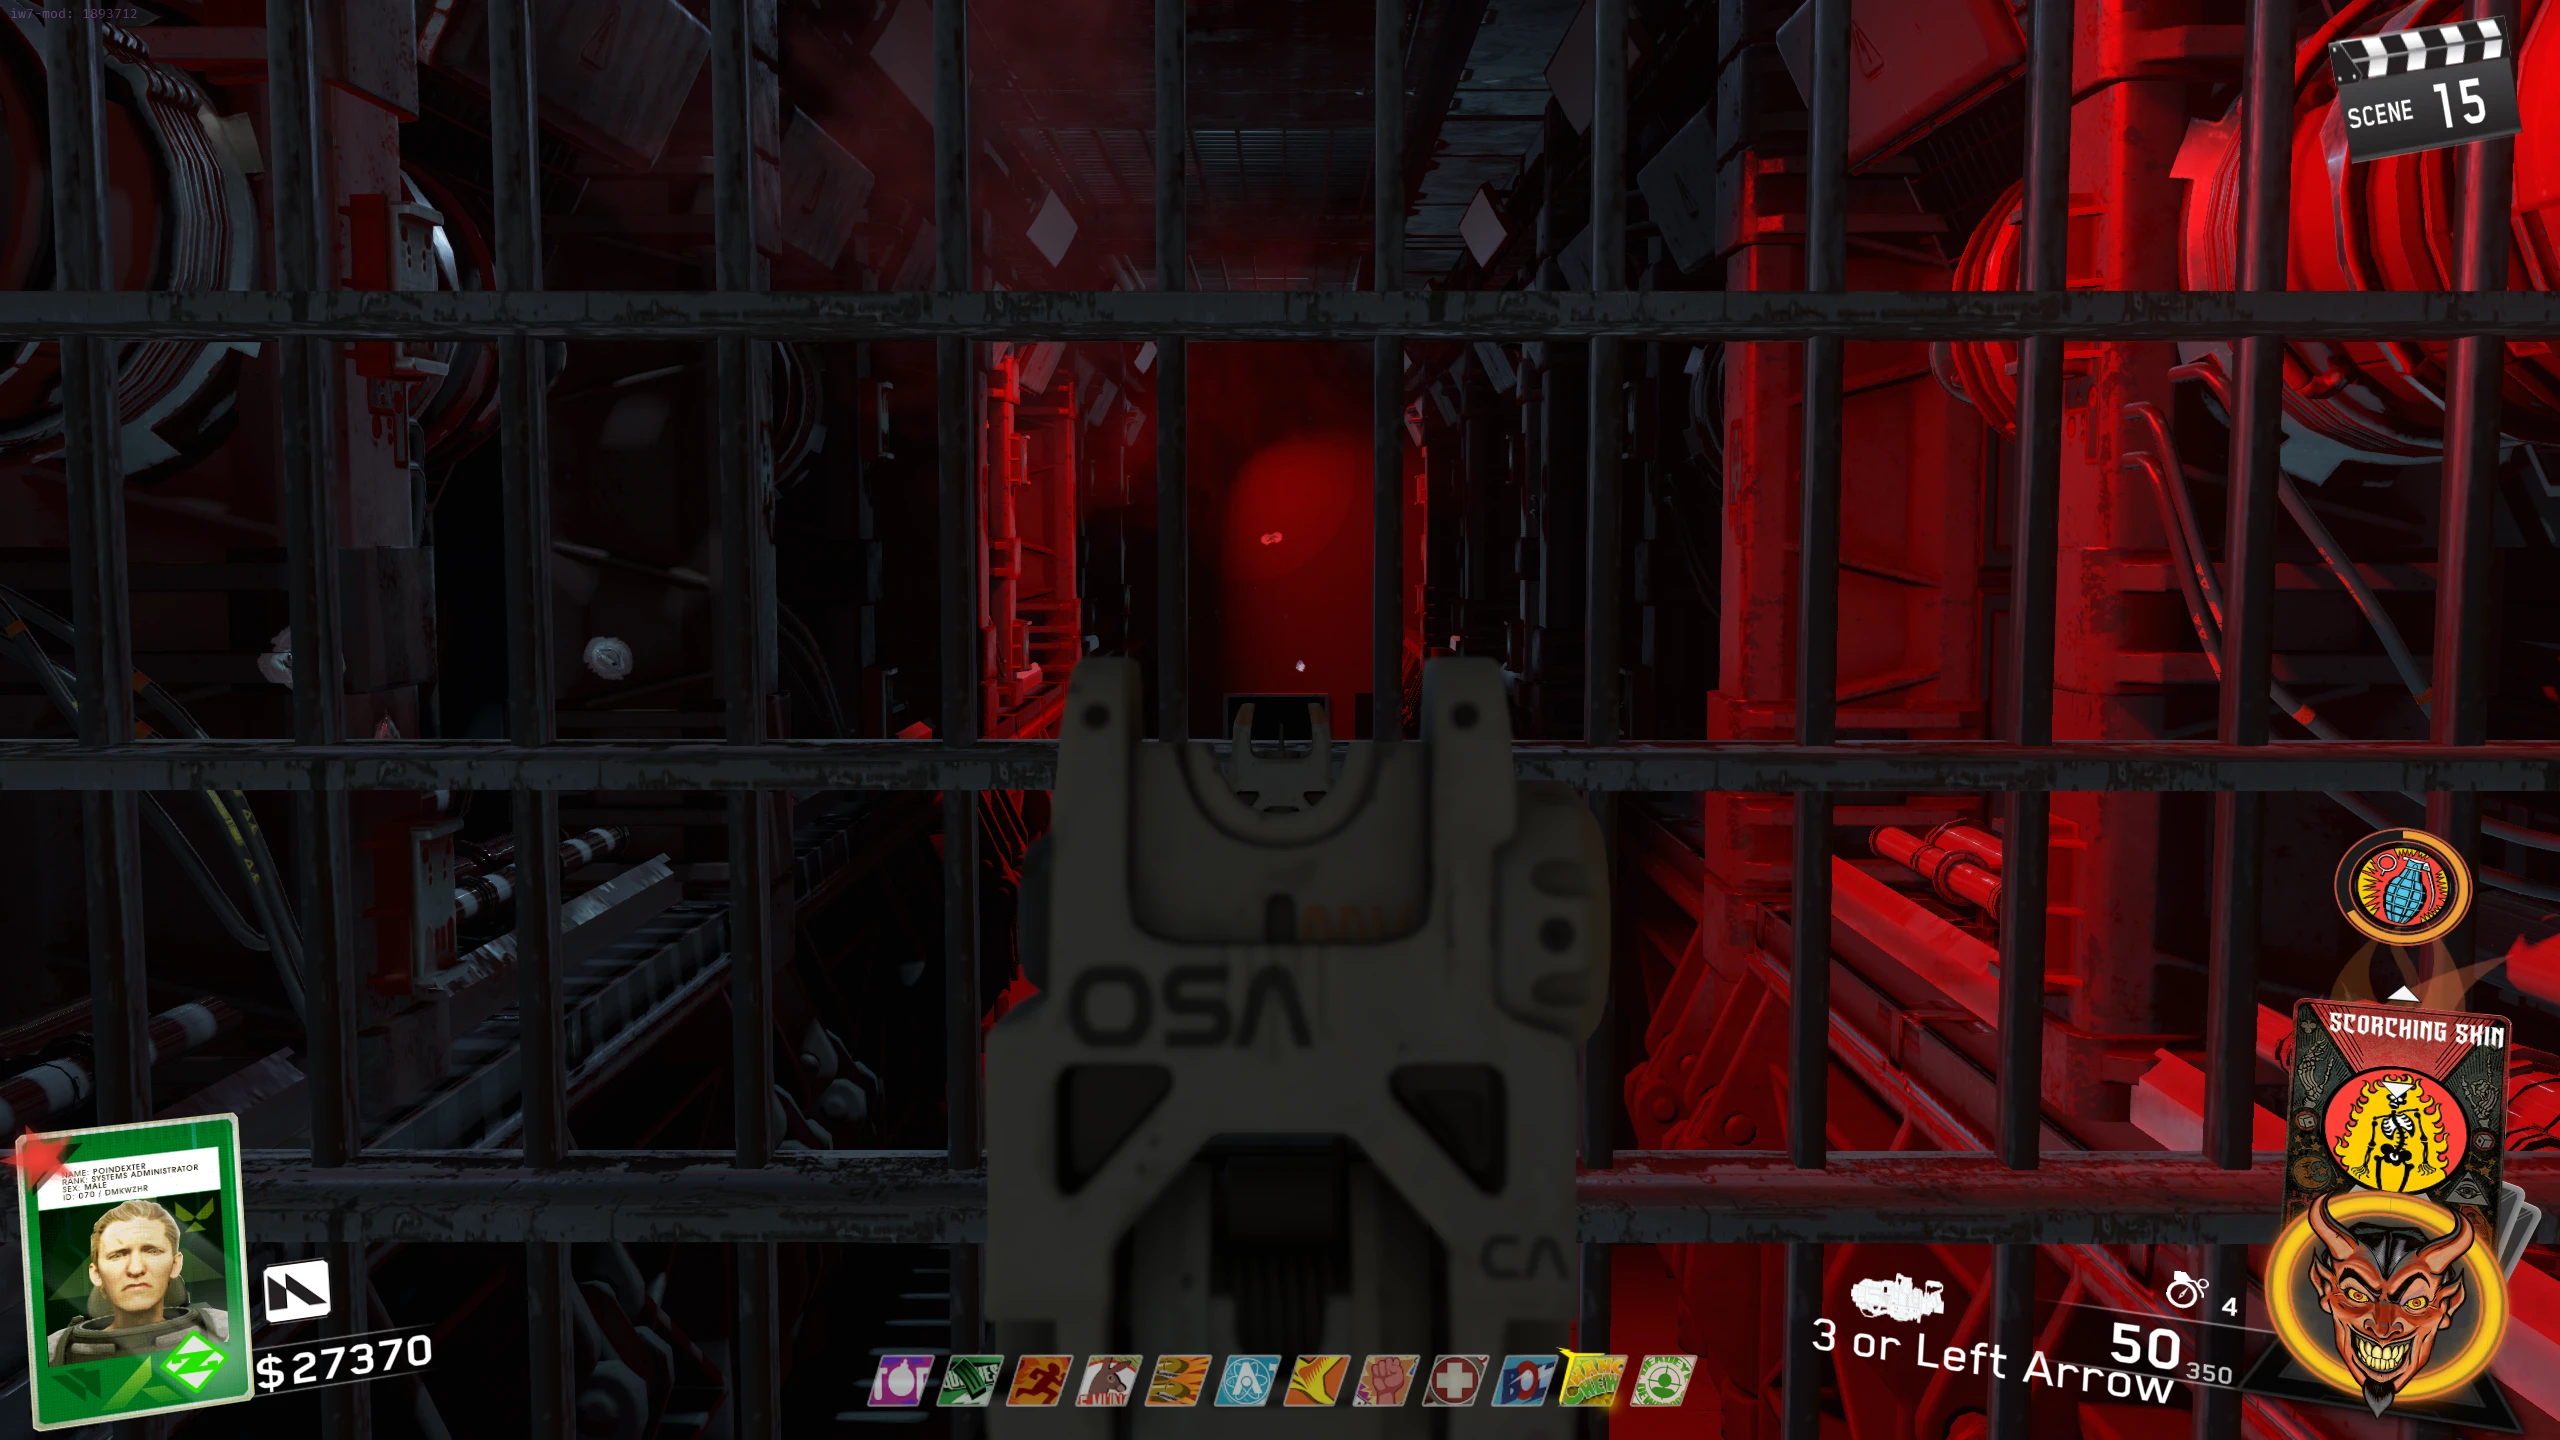
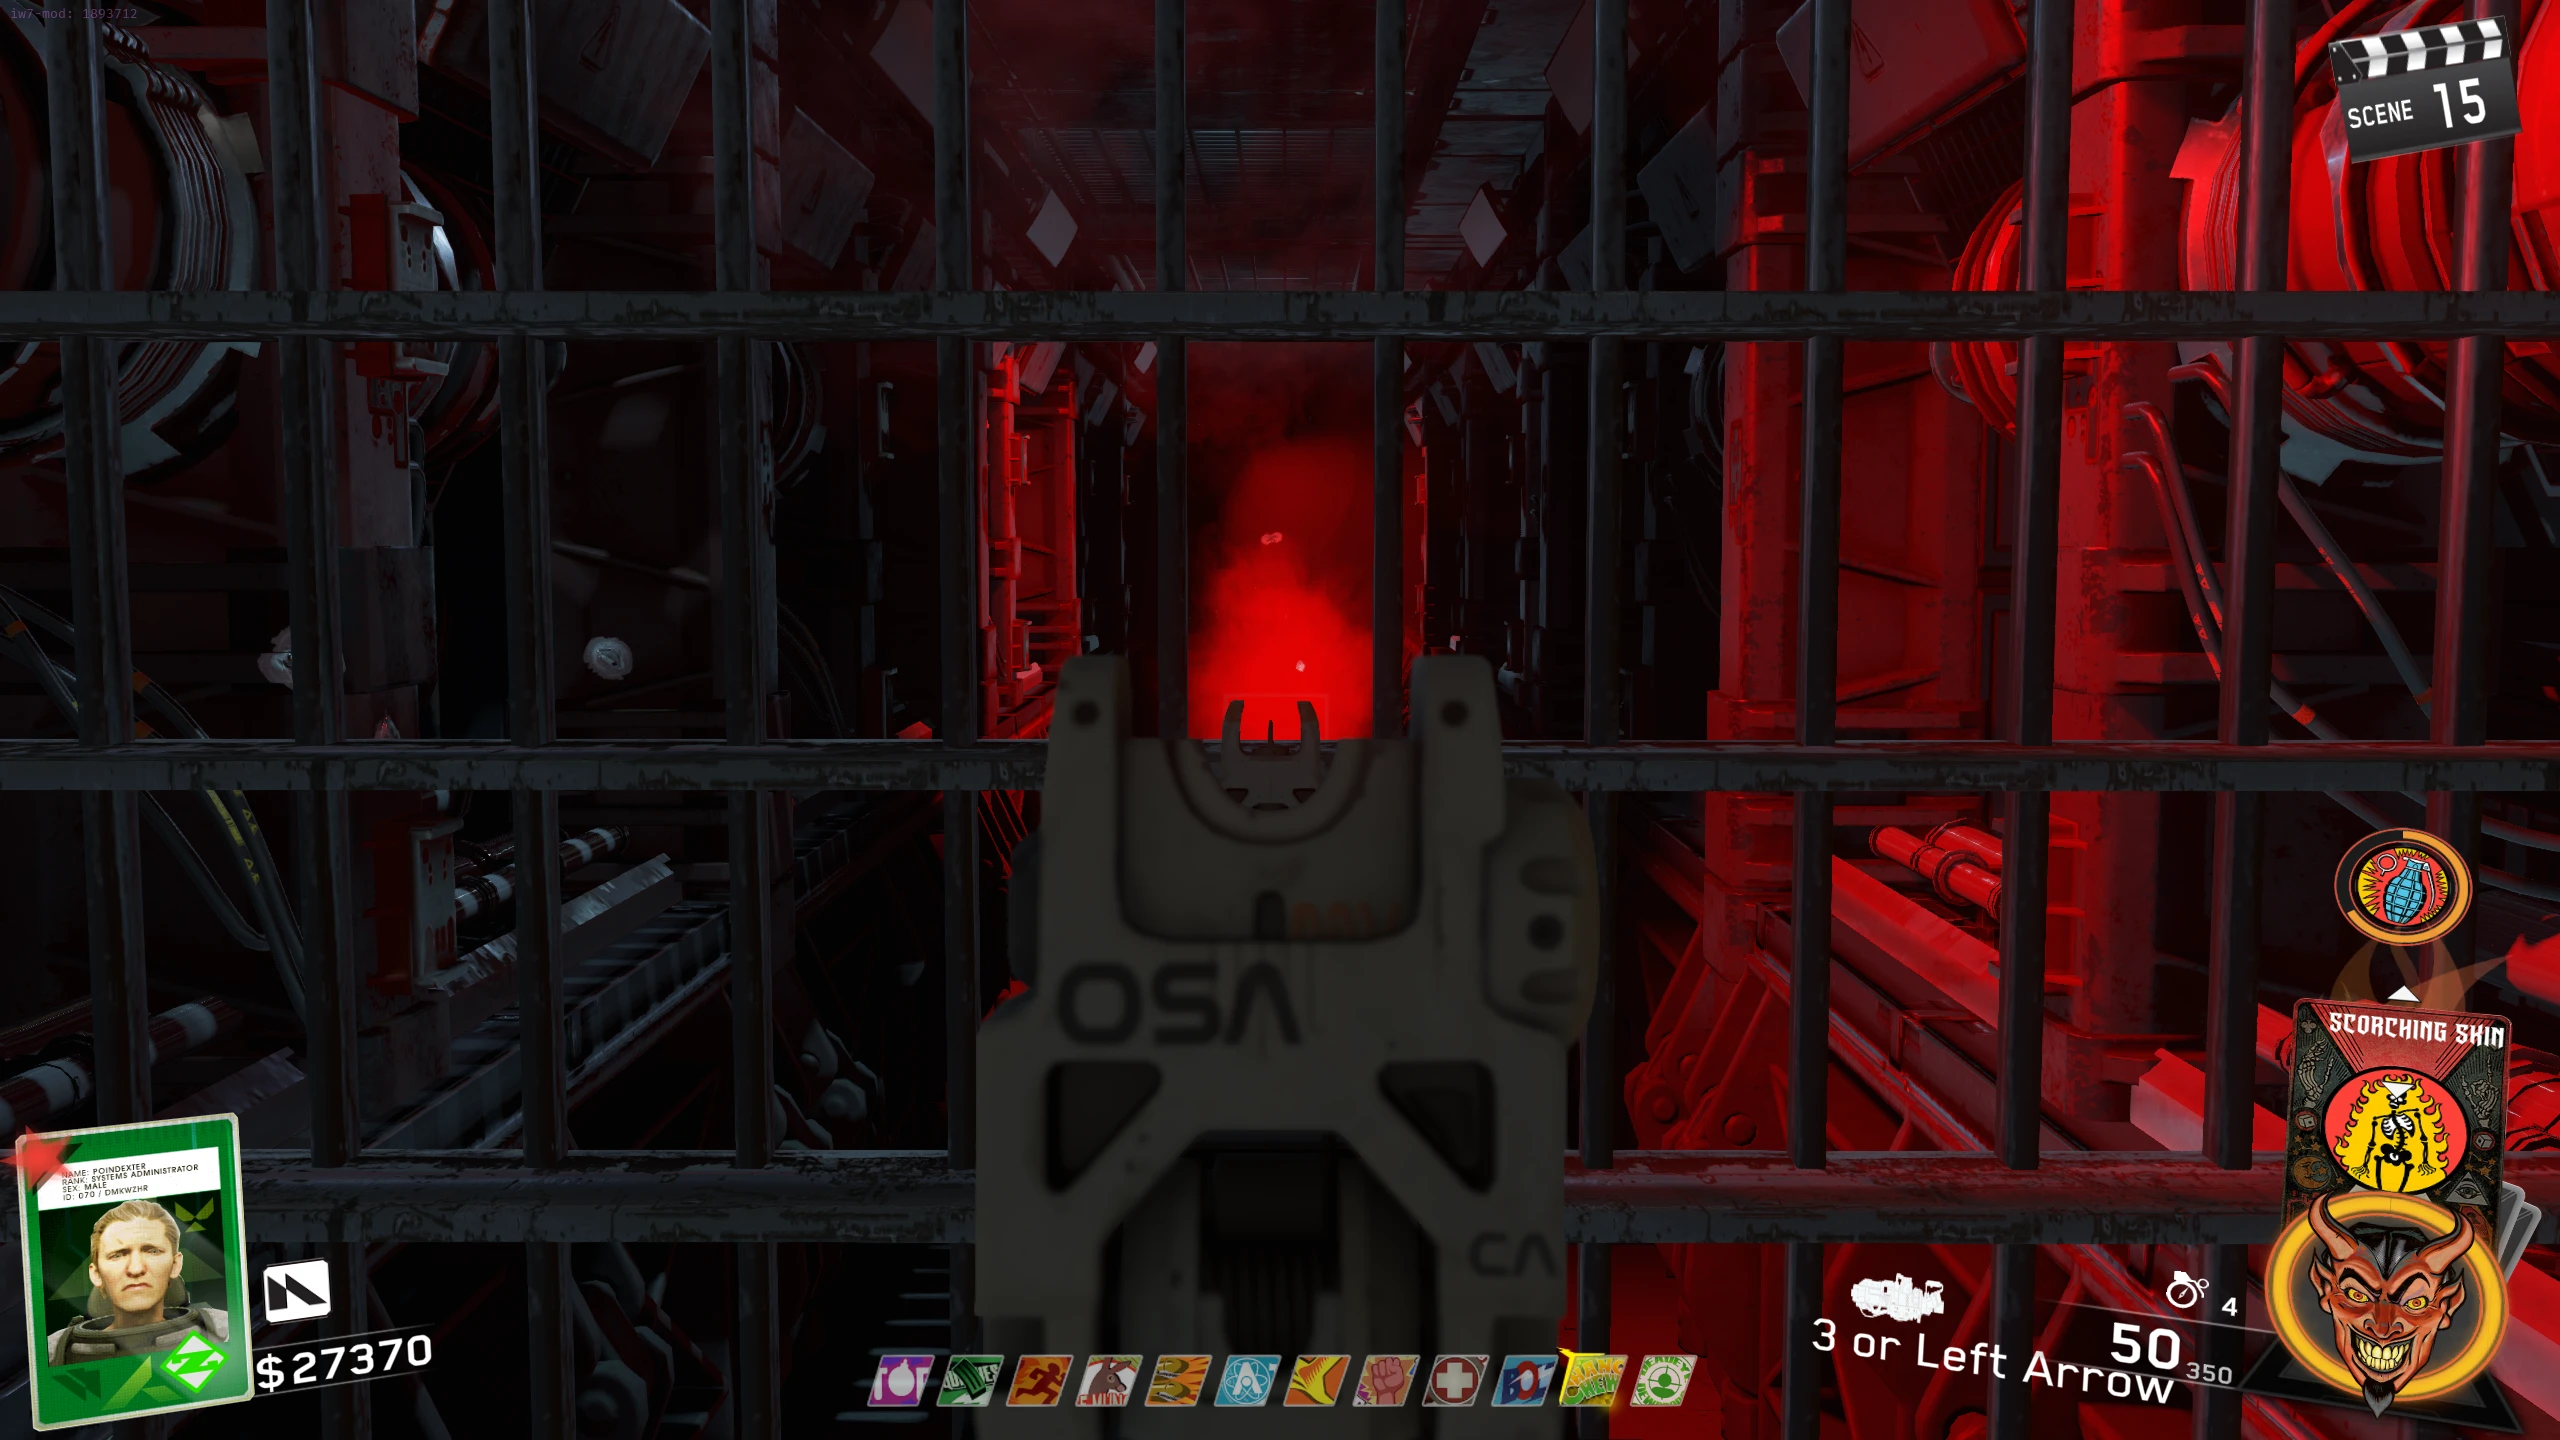
- The vent on the floor at the end of the room will occasionally emit smoke, and the Floppy Disk will be sitting on the floor in front of the vent. Using the Entangler, grab the Floppy Disk, and shoot it at the vent while the smoke is visible.
- If you miss or shoot at the wrong time, the Disk will respawn on the floor, and you can retry.
- If done correctly, the Floppy Disk will be sucked up and not respawn on the floor. It will be spit out of one of the vents near the floor around the hallway or Spawn.
- Spawn - Left of the Magic Wheel
- Cafeteria - Left of the Freezer, around the corner
- Hallway - Right of the Cargo Bay door
- Hallway - Across the hall from the previous location
- Hallway - Right of the Fence where the Floppy Disk was
- Hallway - At the top of the stairs
- Hallway - Close to the door to the Ops Center
- The Floppy Disk will stay in this location for the remainder of the game.
Floppy Disk 4 - Obtain the Entangler weapon from Skull 2 of the Skull Breaker side quest.
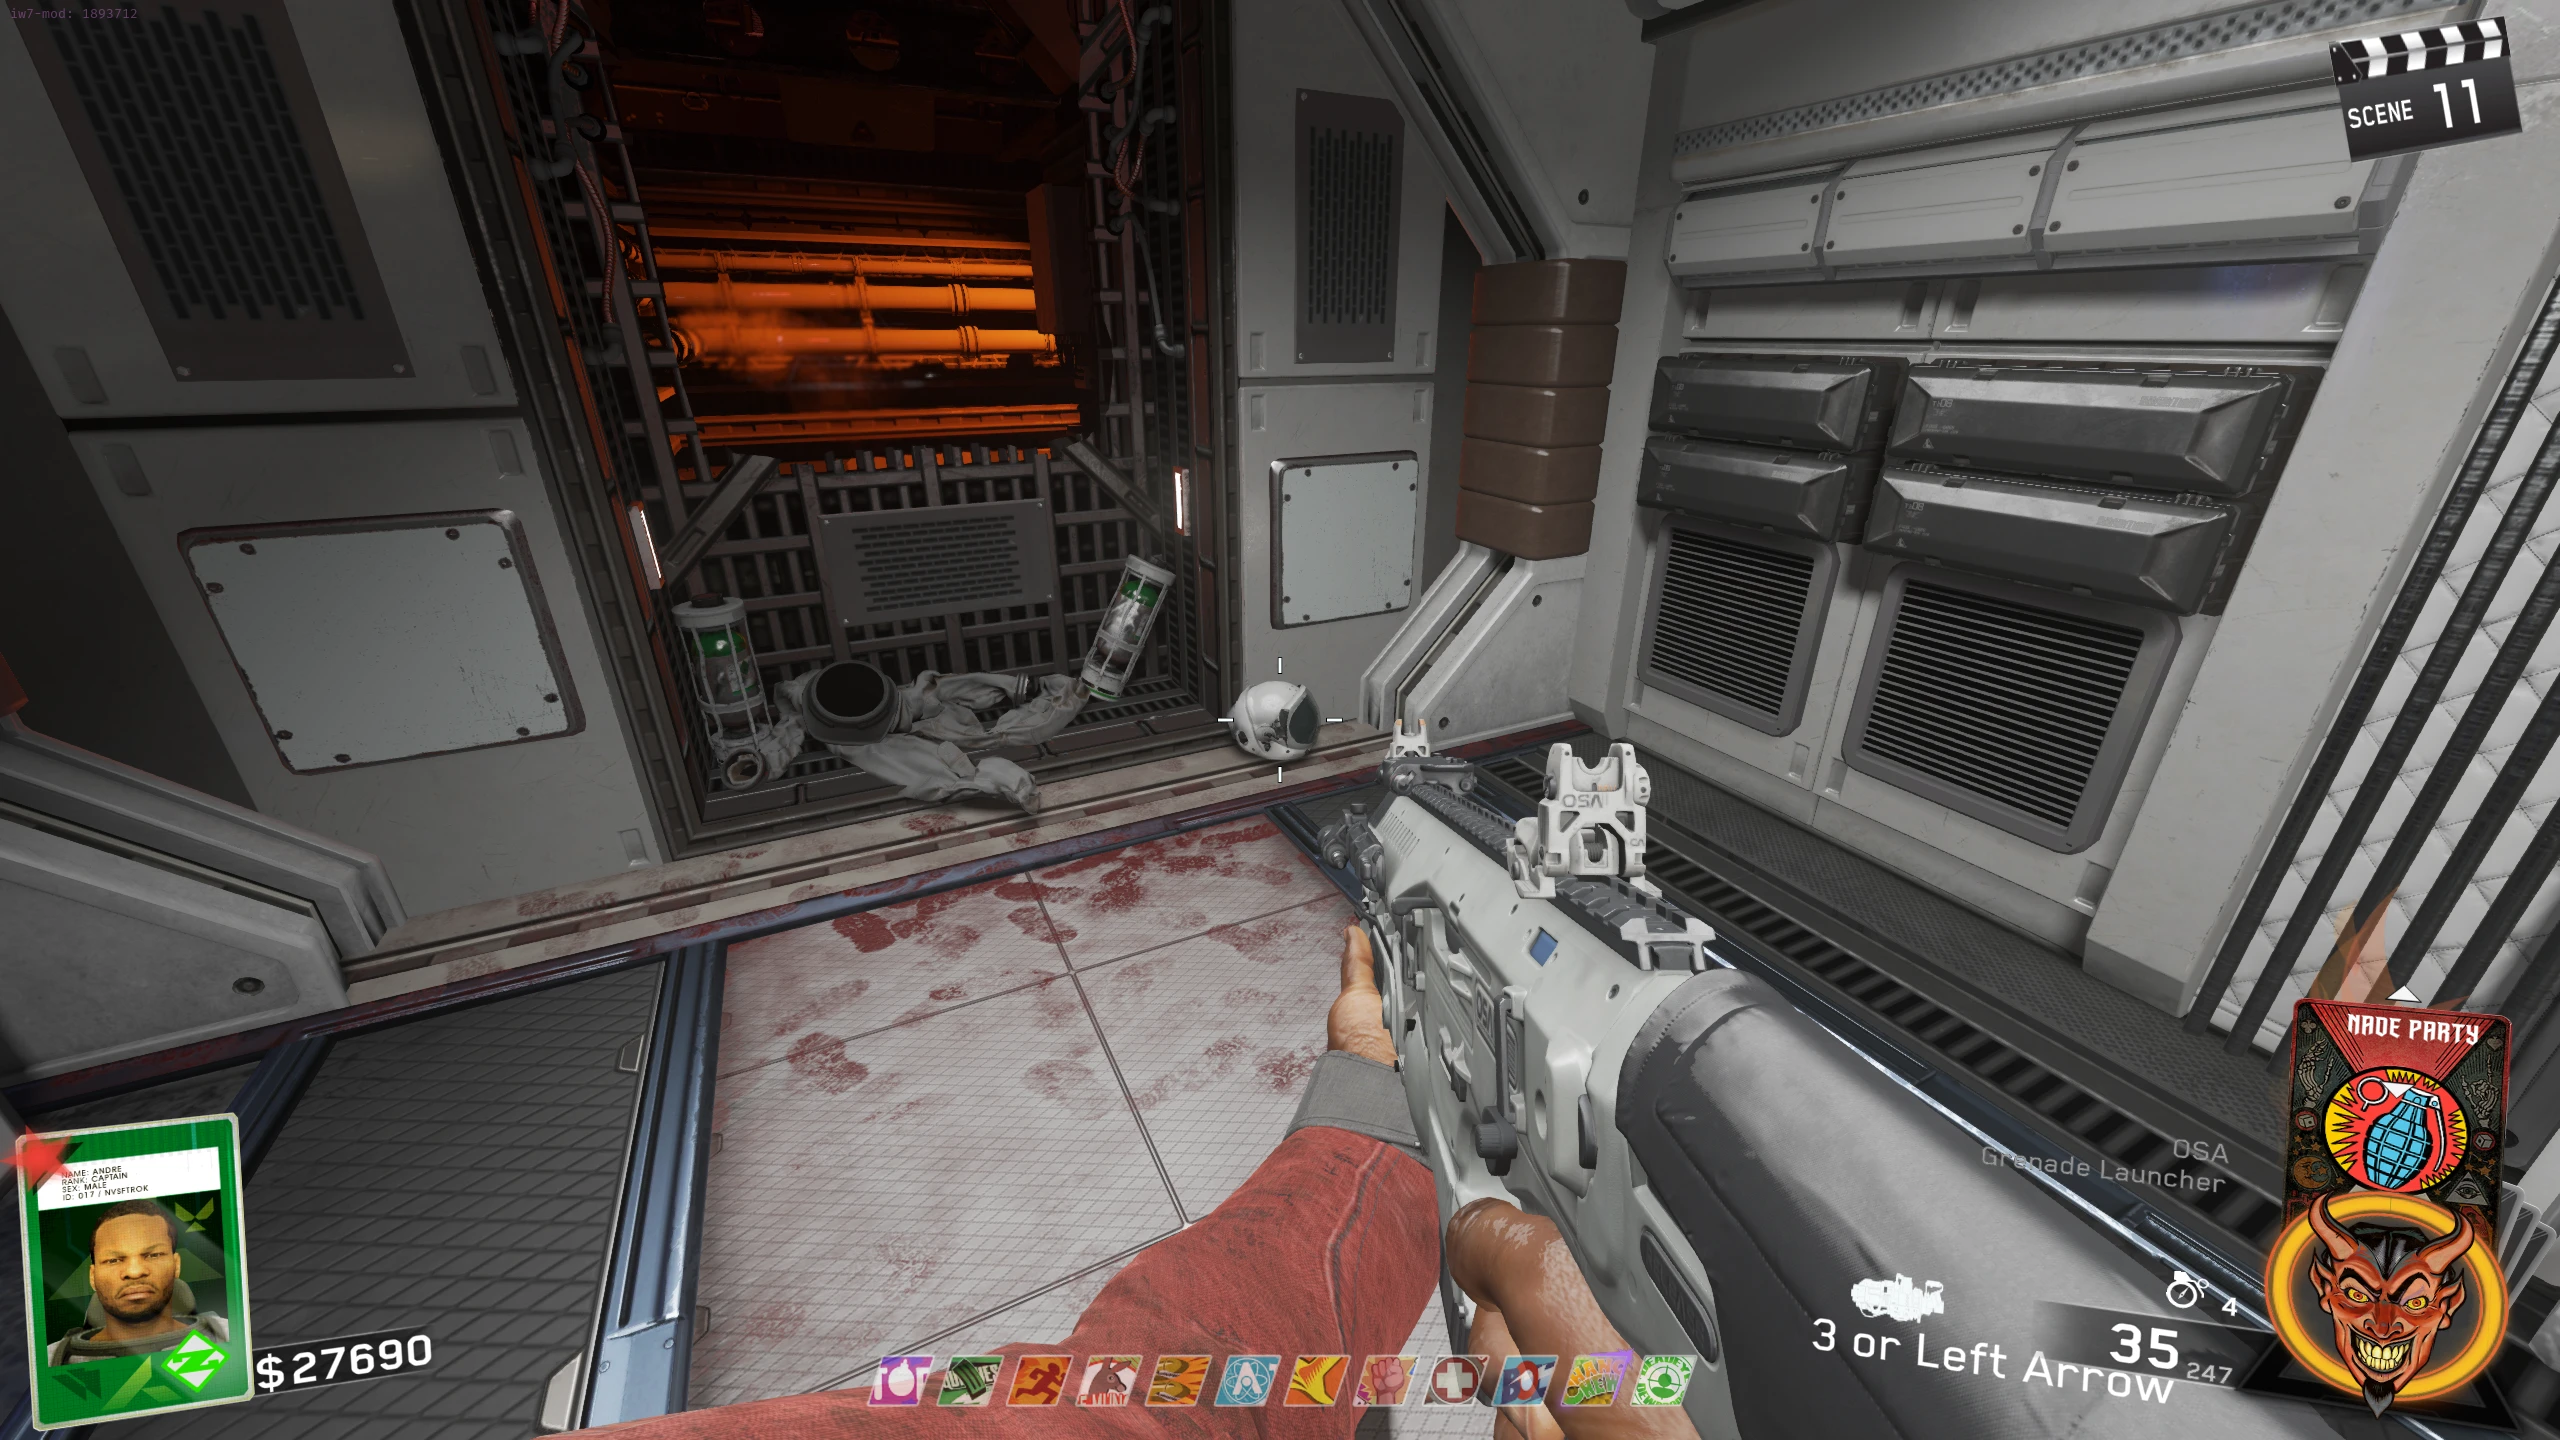
- Using the Entangler, grab a Space Helmet in the Hallway between the outside and the Cargo Bay.
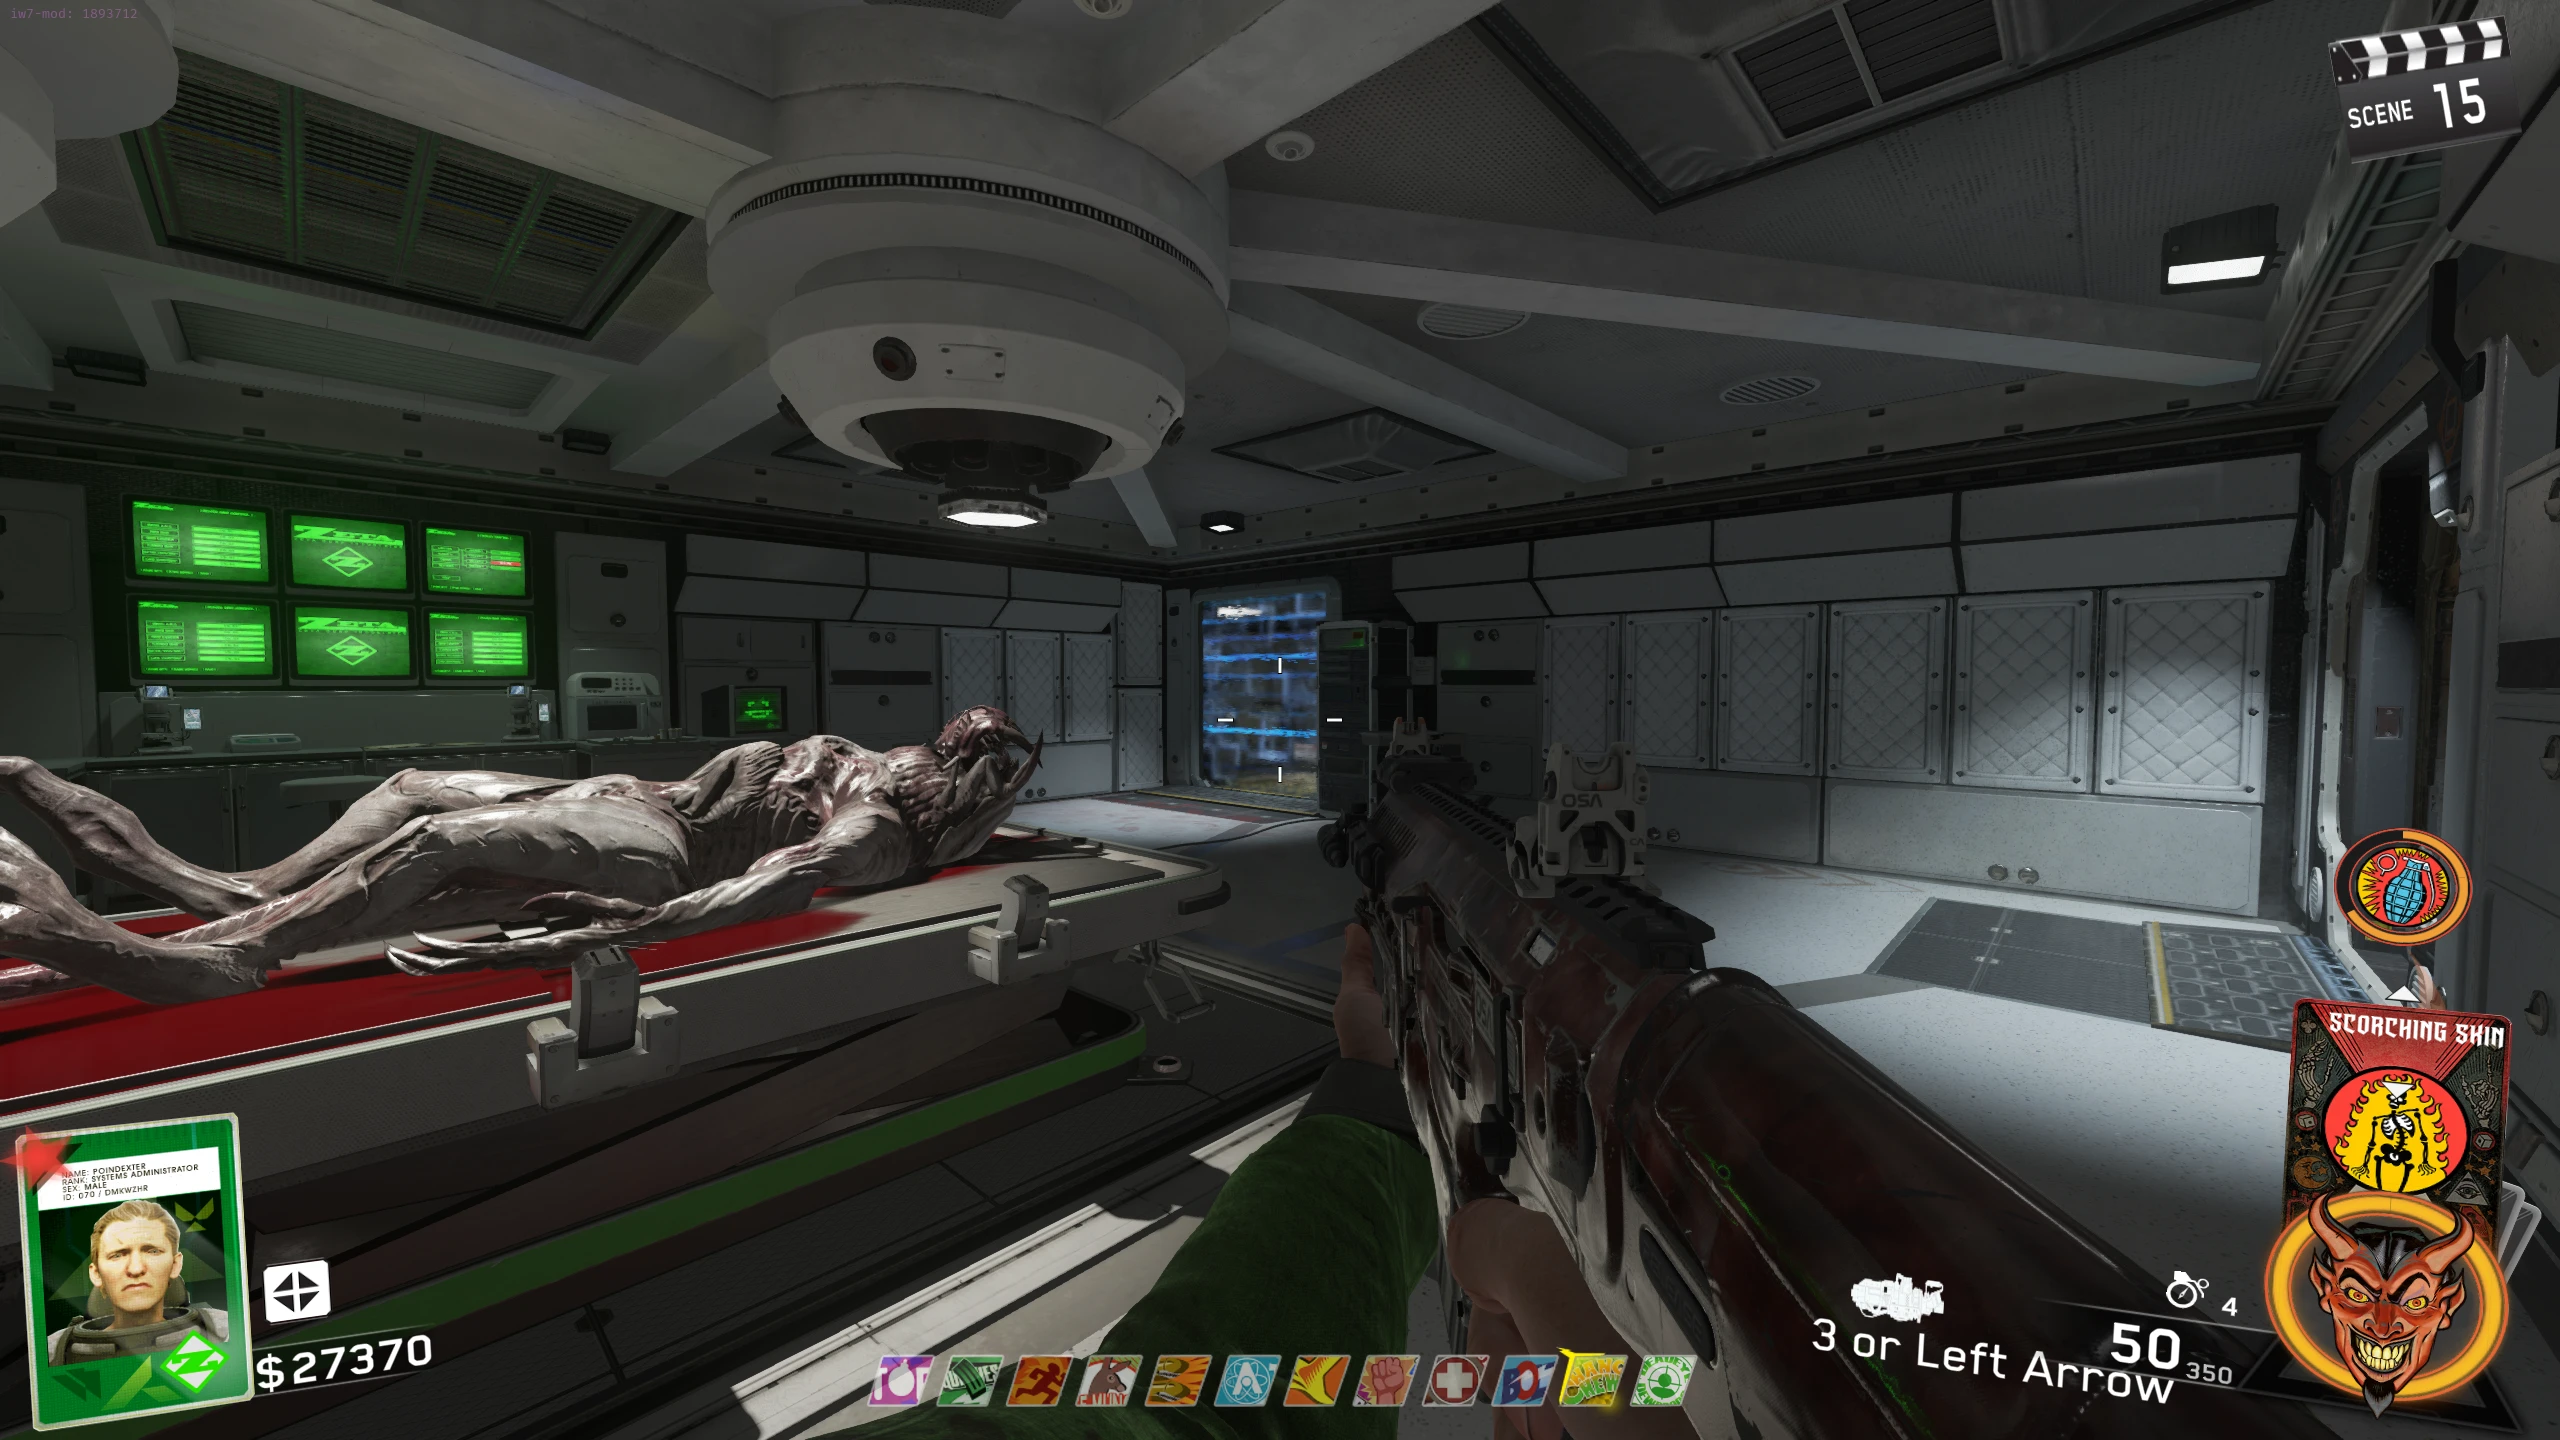
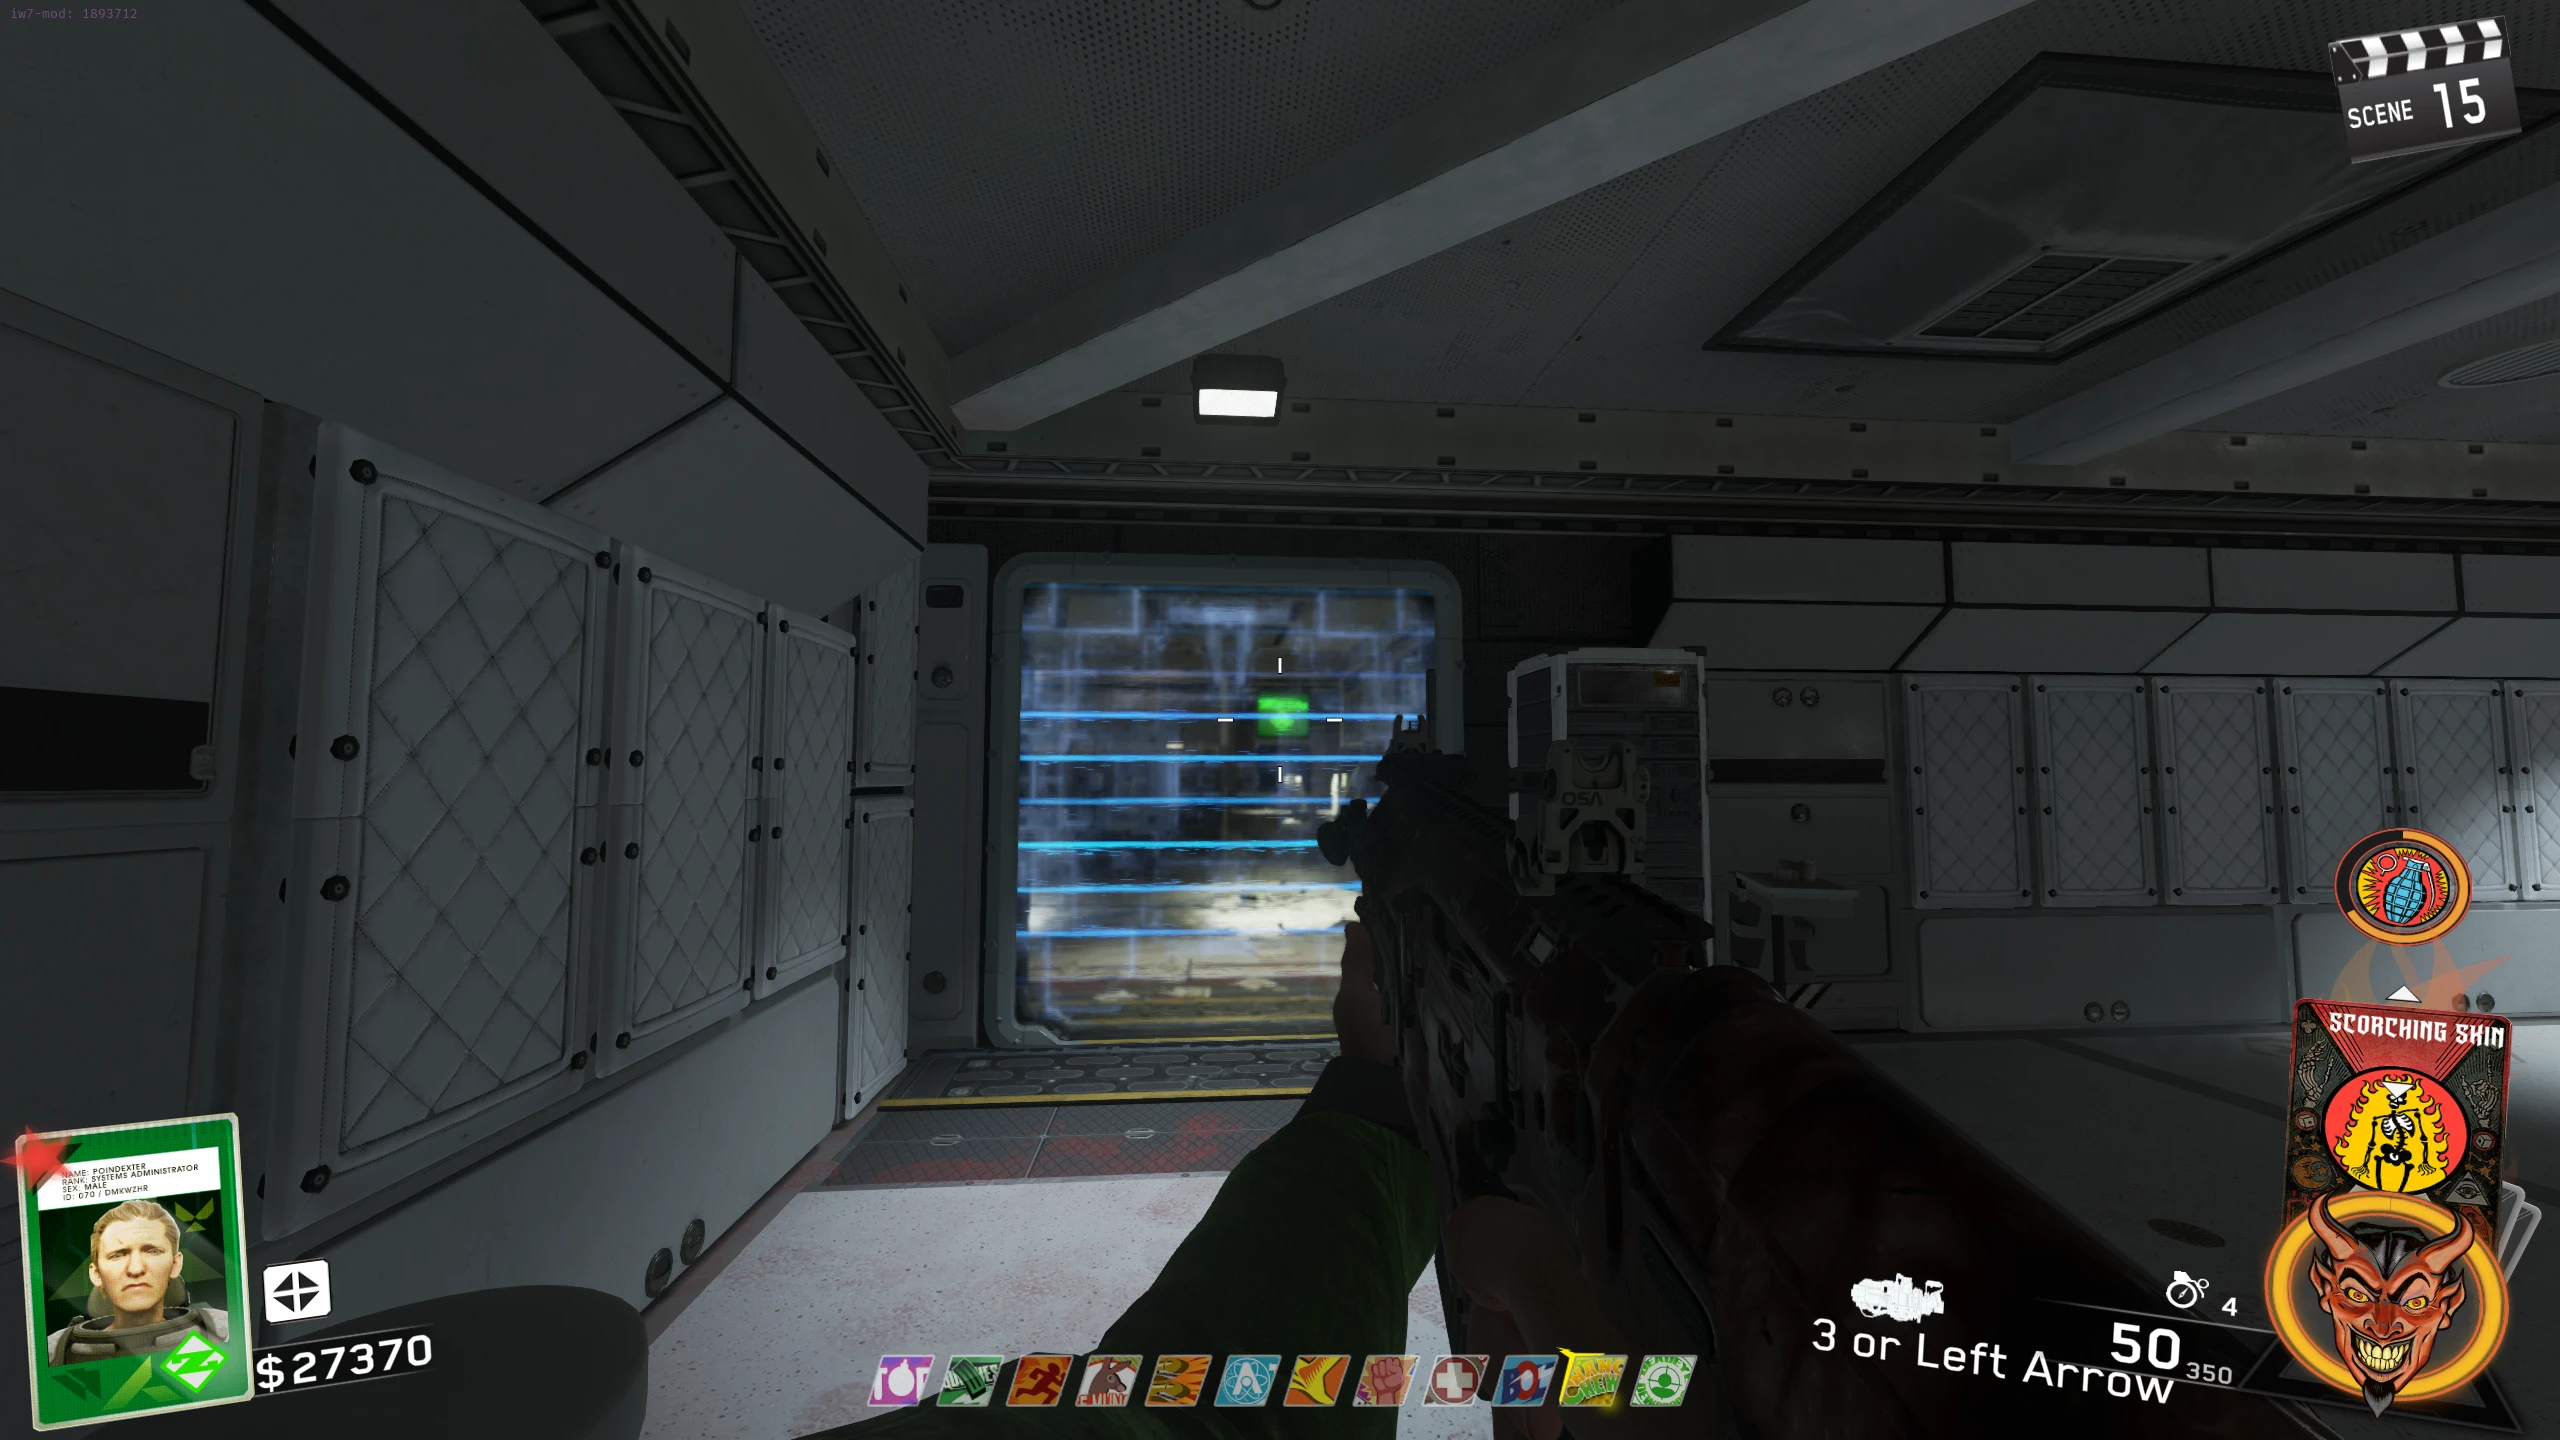
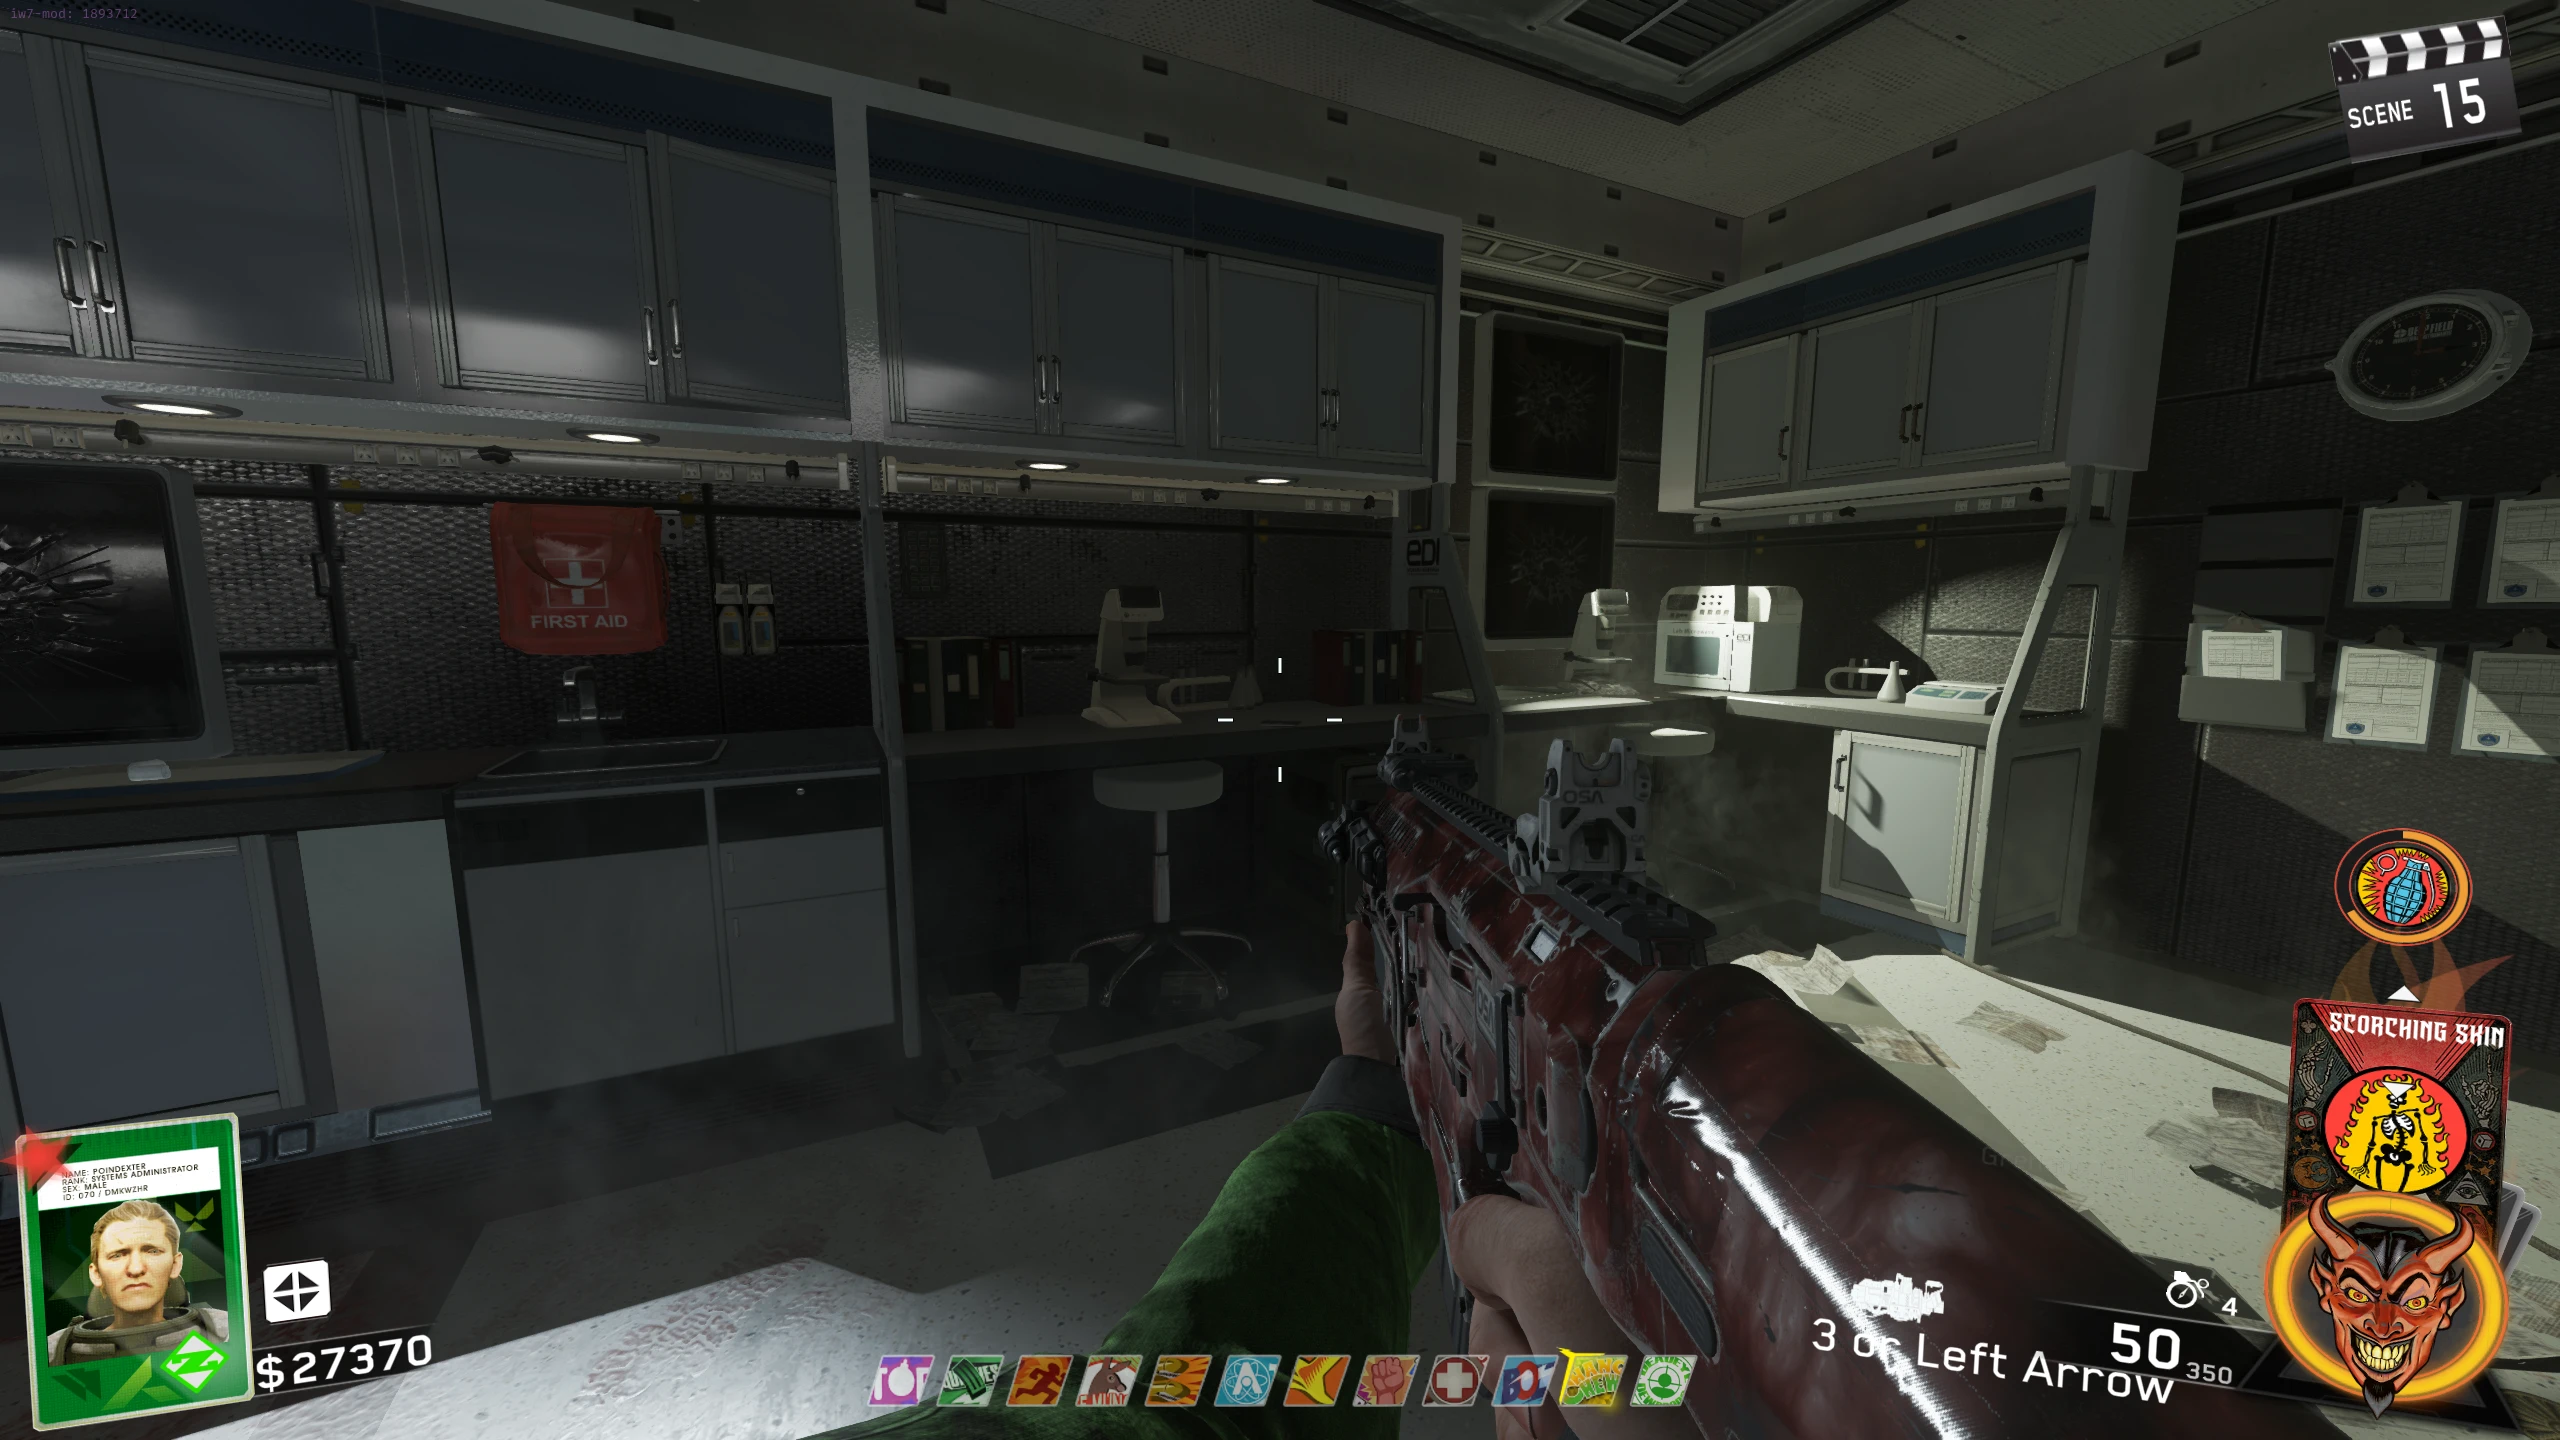
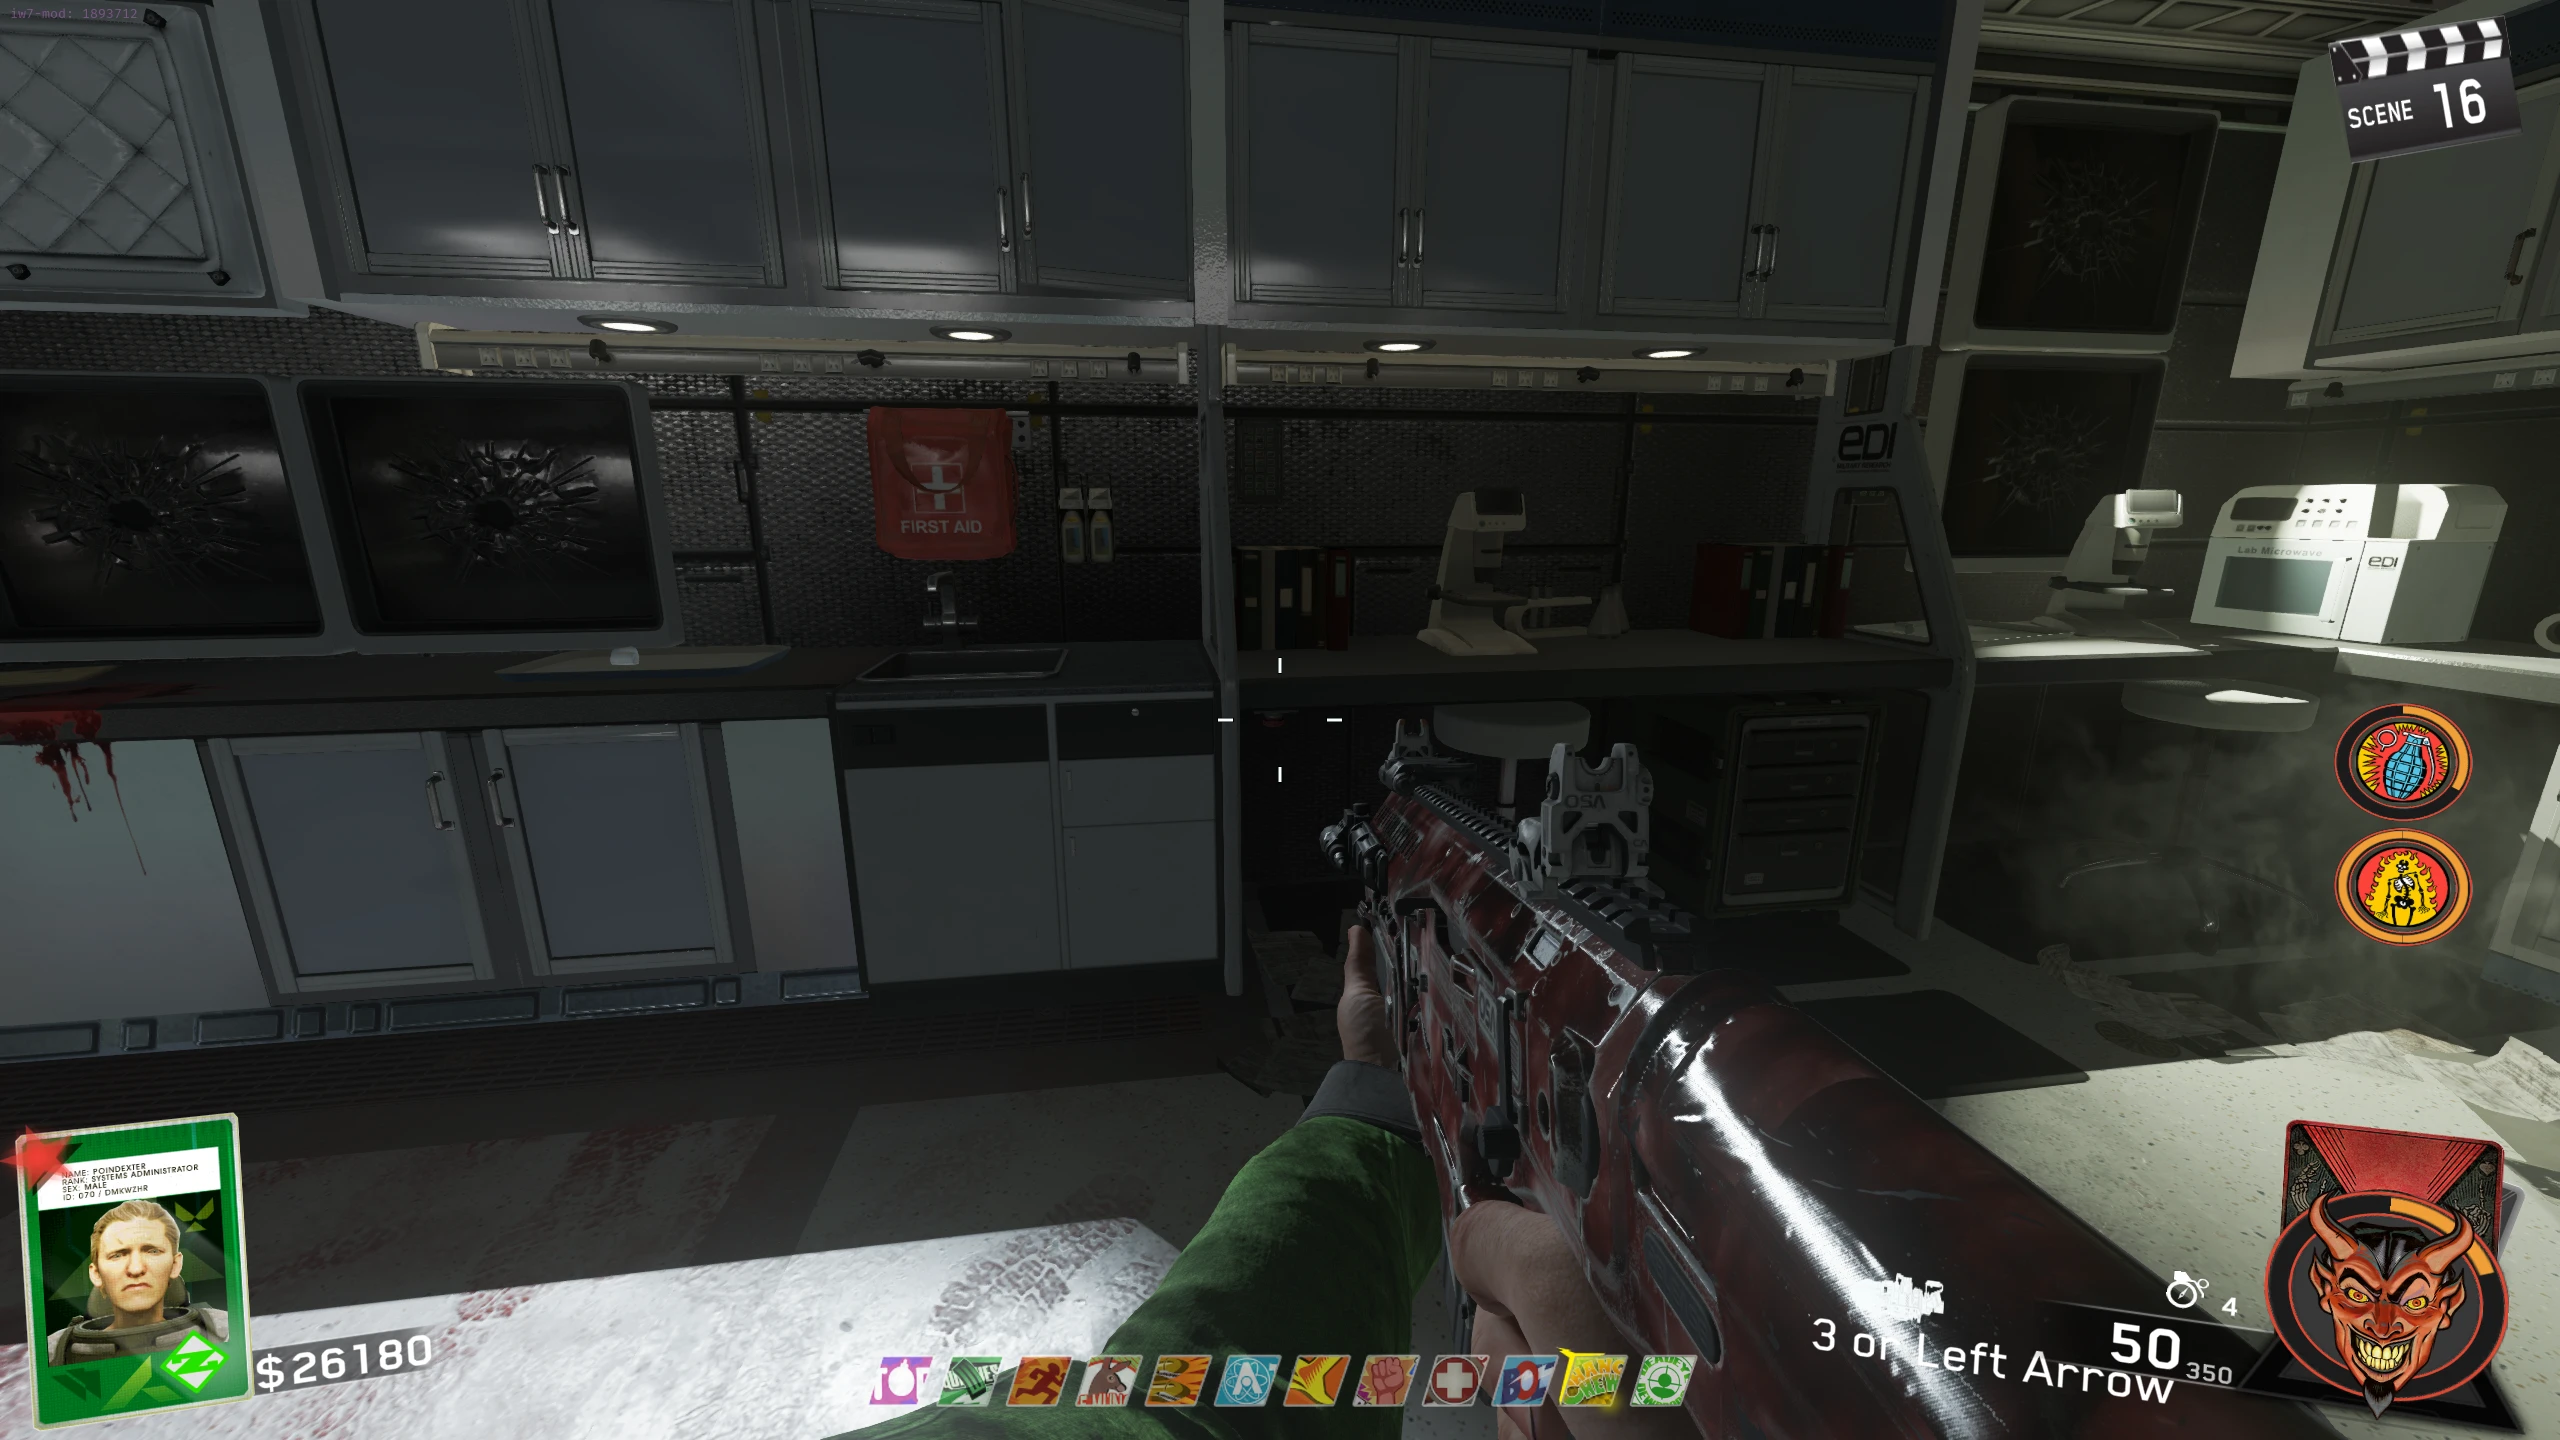
- Carry it over to the Medical Bay, where there is a door blocked by a force field. You need to shoot the helmet through the force field at the active monitor, above the microscope, to break it and disable the force field.
- If you miss, grab another helmet from the hallway or spawn area, and try again.
- The Floppy Disk can be picked up from the table left of the broken monitor.
Corrupt/Hack N31L (Floppy Solver)
- Once you have access to all four Floppy Disks, you must insert them into slots in front of N31L in the correct order based on the symbols on them. Use this image or the solver below to find the correct order. There are four slots in front of N31L that the disks can be placed in. To use the image, find the row with all your disk symbols, then order your disks in that row's order from left to right.
Click the 4 symbols that appear in your game in any order. The solver will show the correct order if avaliable. Click a selected symbol to deselect it.
Select 4 more symbols.
- If done correctly, your scoreboard HUD will flash yellow, then red, and N31L will turn "evil." While evil, N31L will randomly close doors (this can kill you but will most of the time just close in front of you), which you can open for free by interacting with them. He will also randomly activate traps around the map.
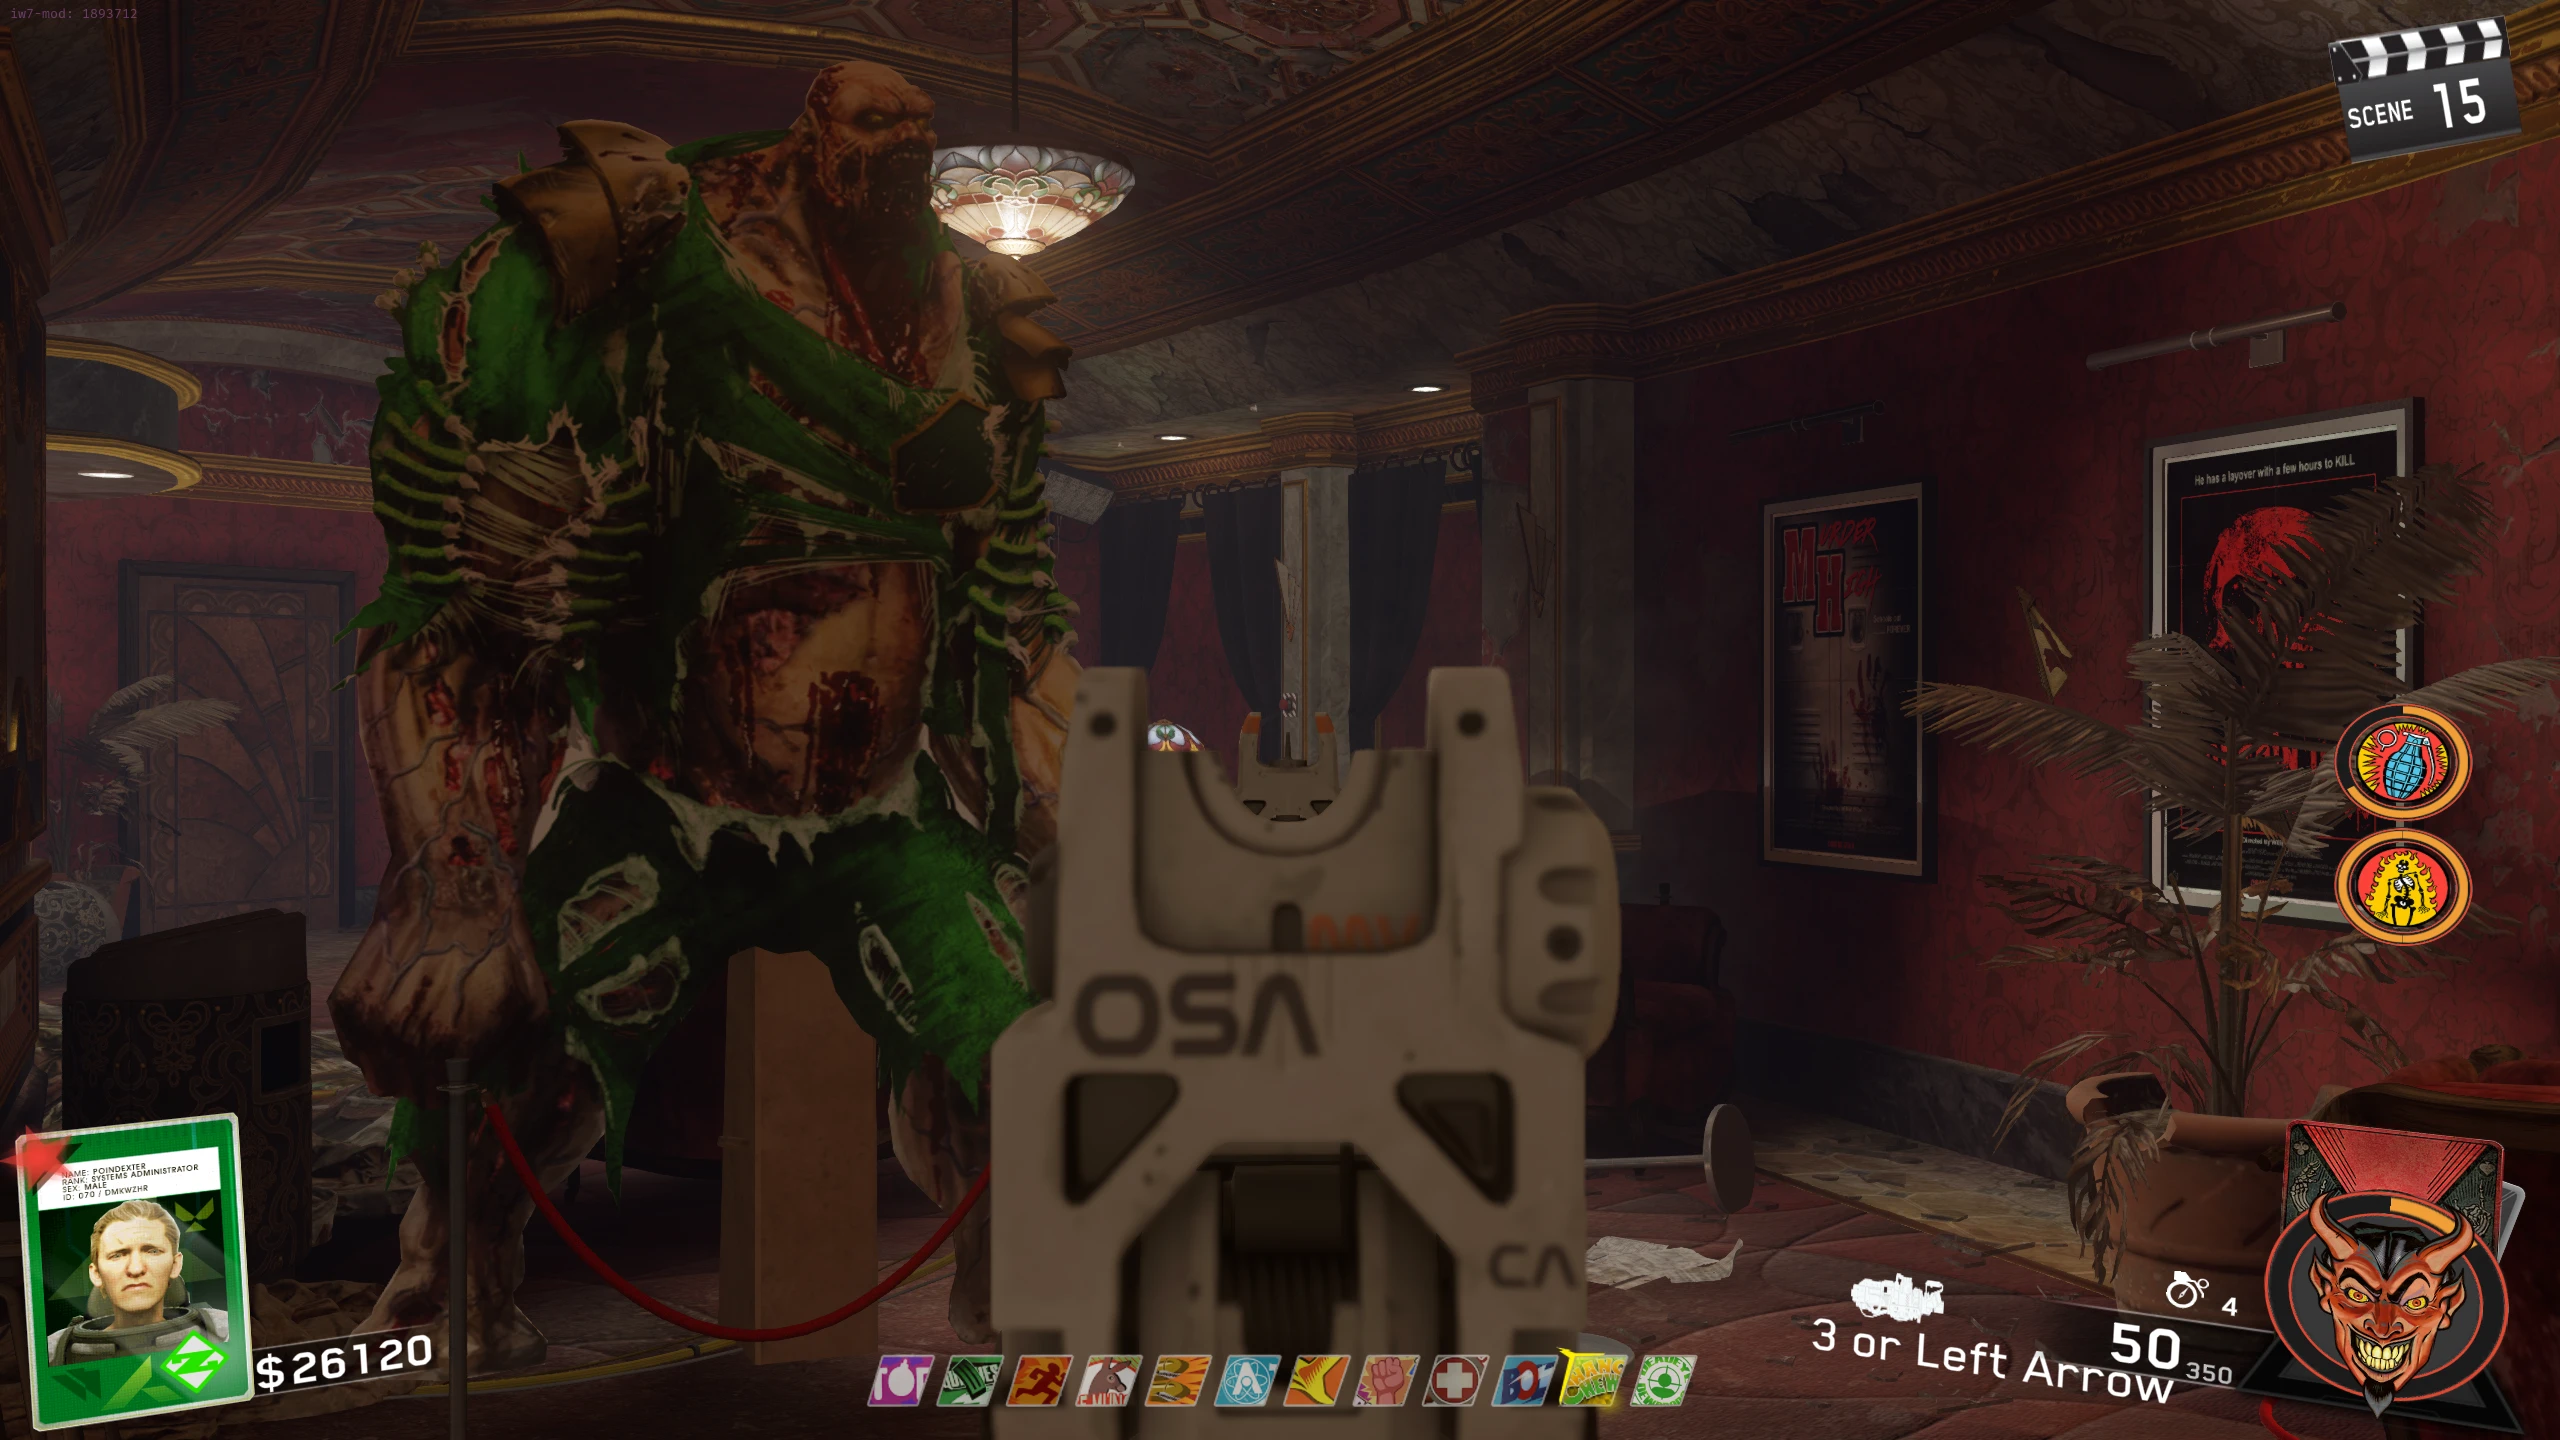
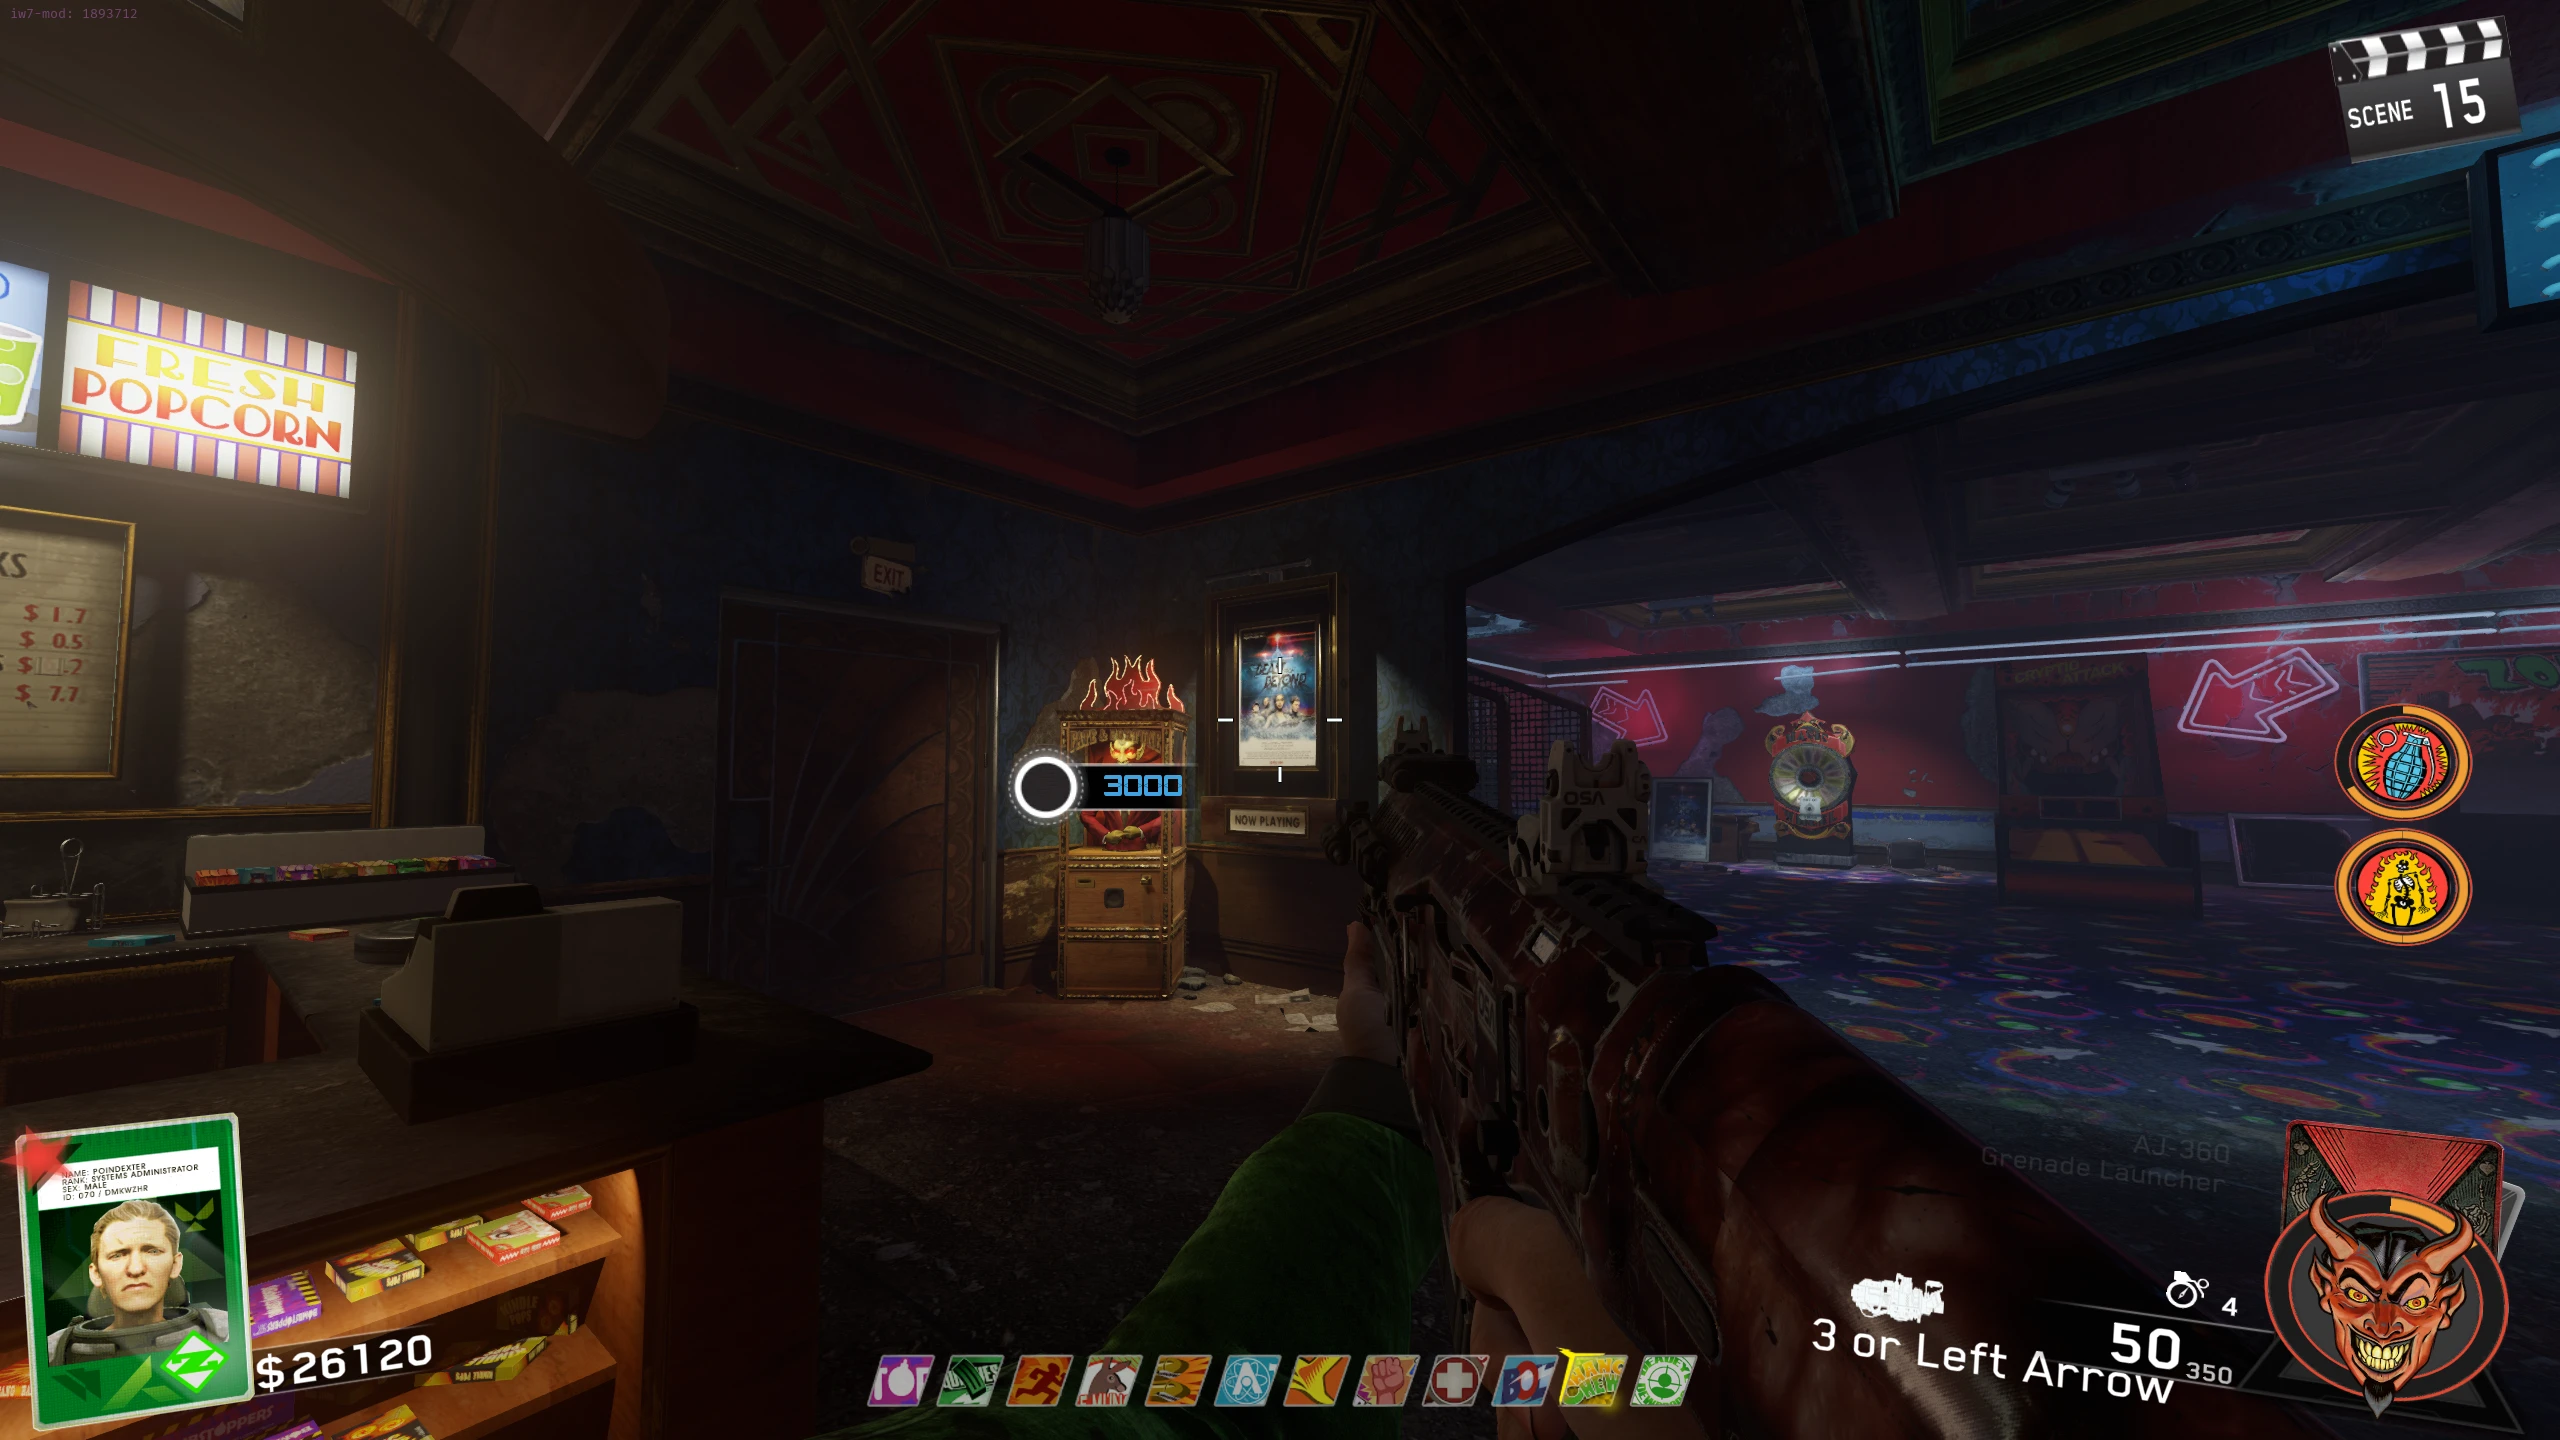
- In the Theatre, use the Entangler to grab the button on the wall behind the Brute cardboard cutout. Take it to the Concession area, and shoot it into one of the Beast From Beyond posters.
- If you drop the button or otherwise fail, the button will respawn on the wall immediately.
- Go to the force field room in the Medical Bay. Prone in front of the desk with the Floppy Disk on it, and interact with the button under the desk.
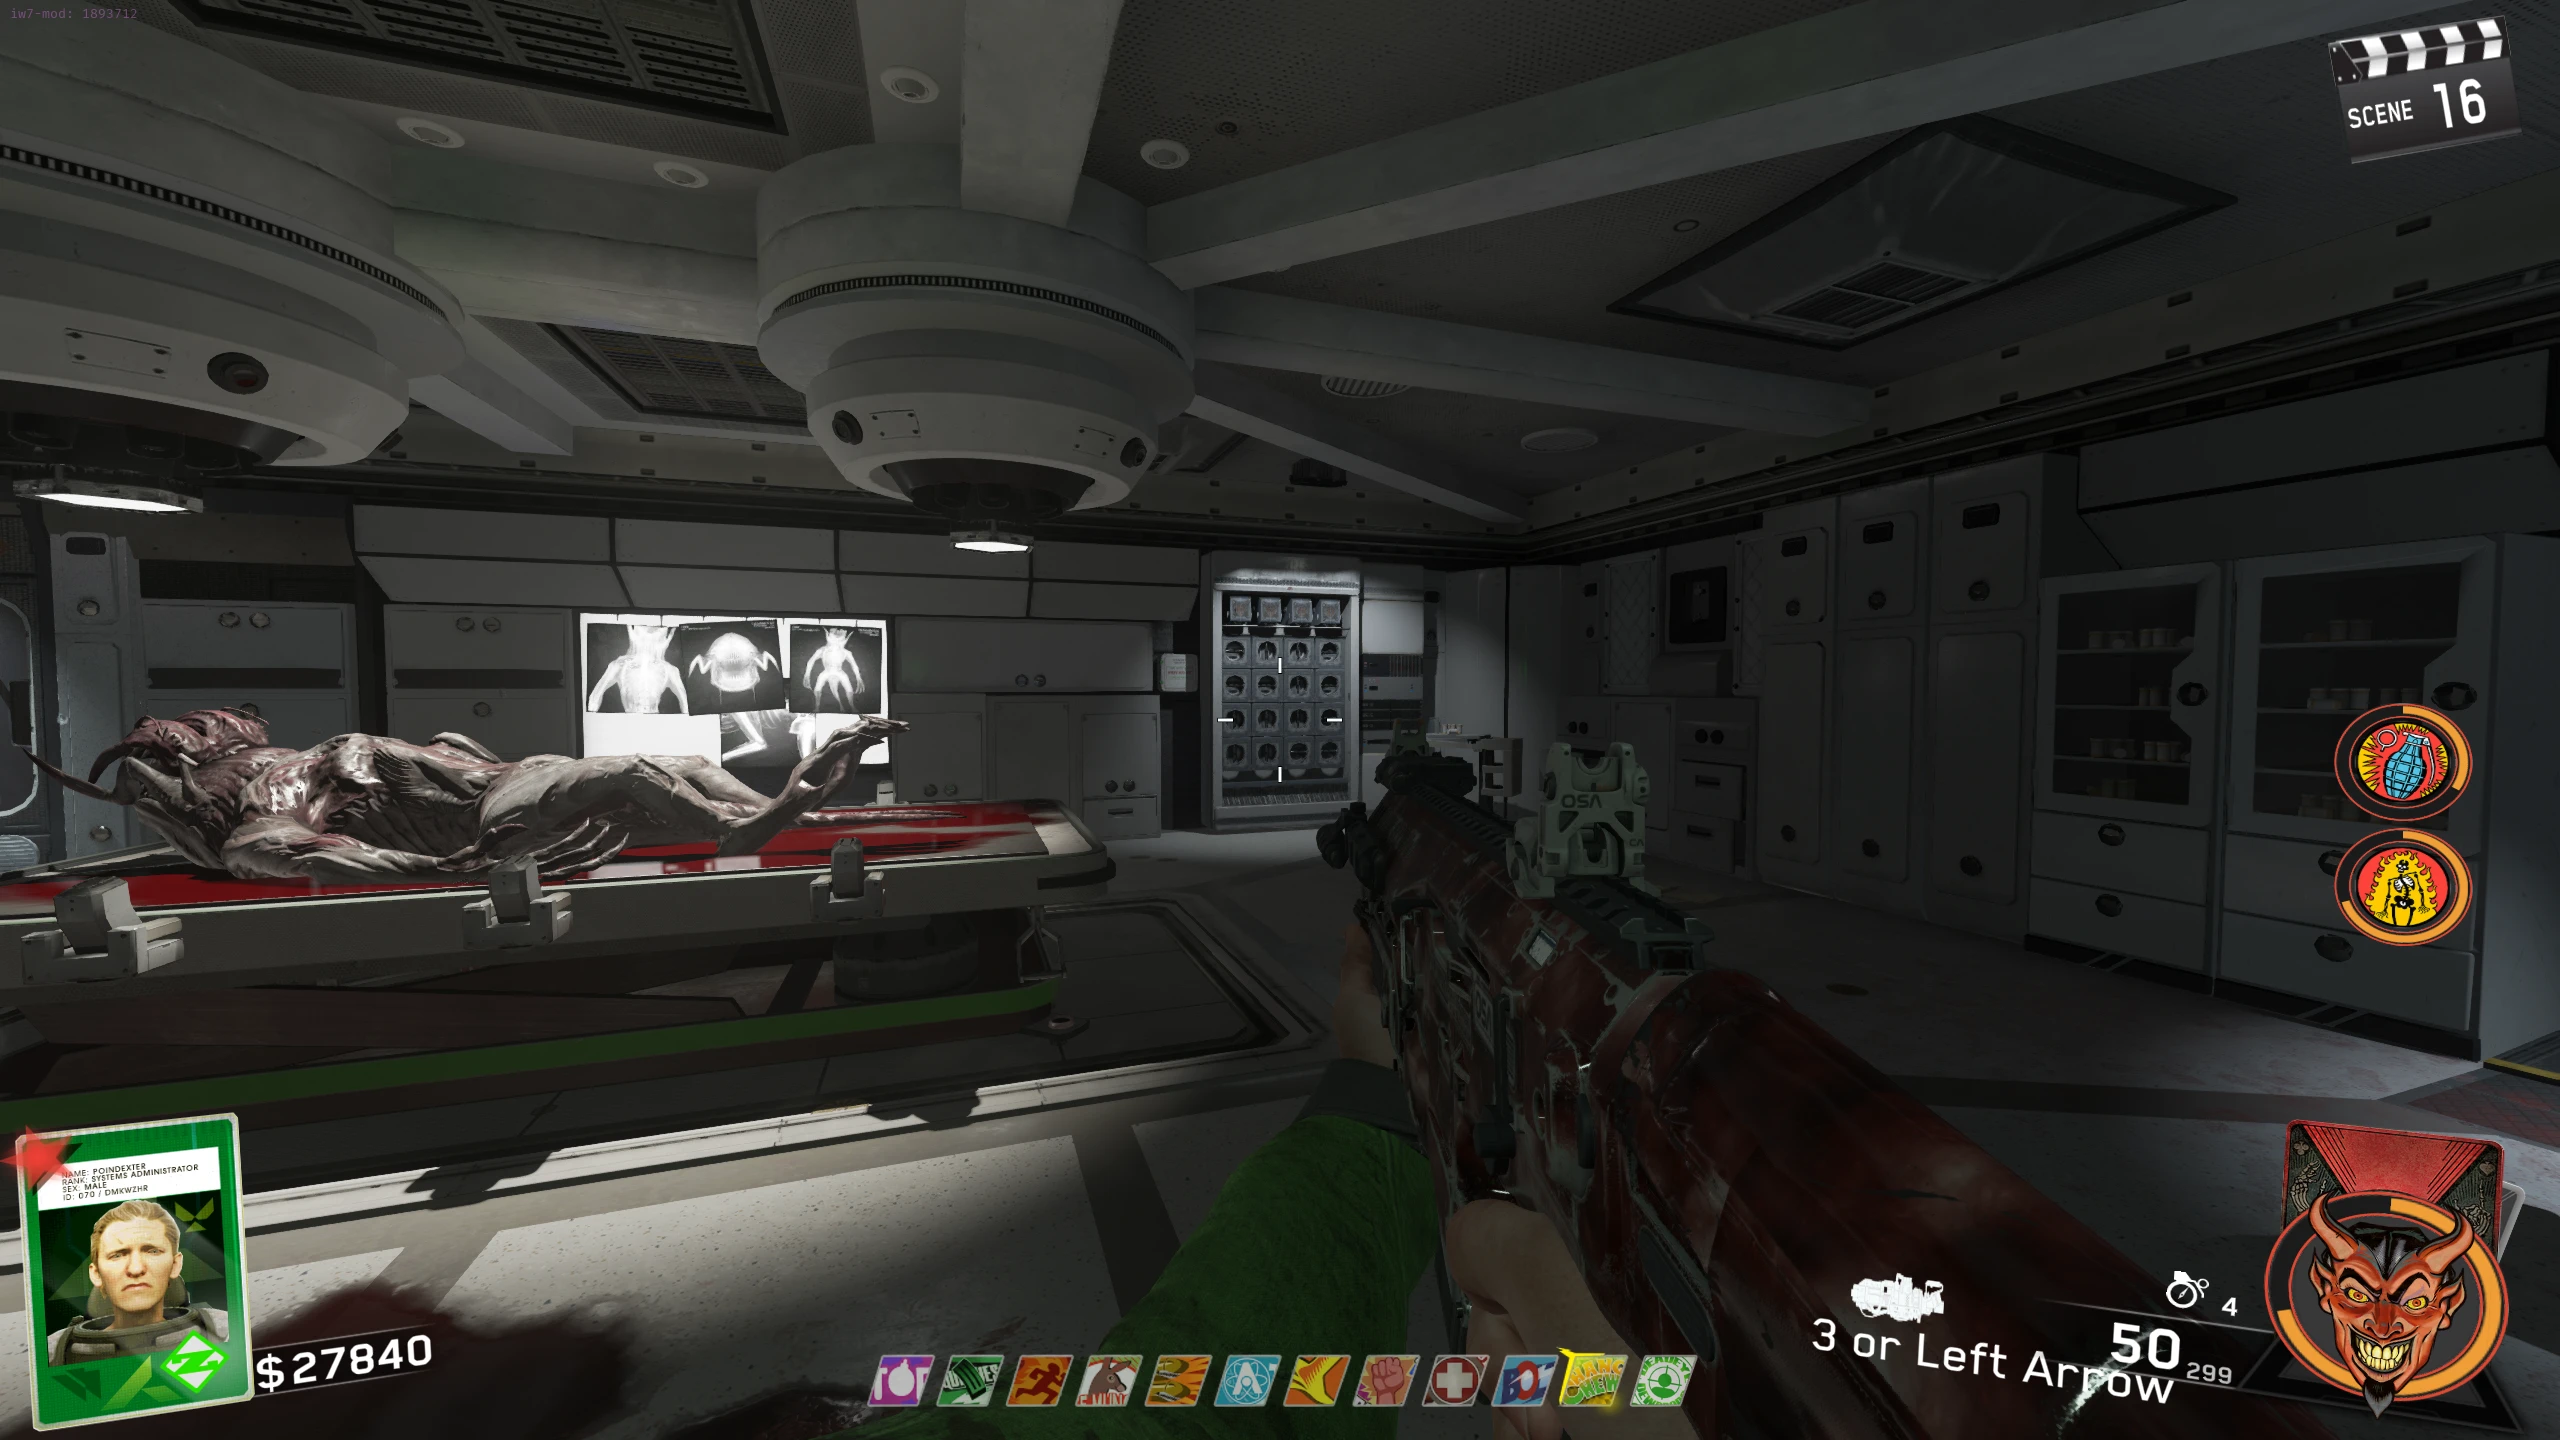
- In the room with the dead cryptid, a panel with 16 handles inside will open. Note down all the handles that are currently horizontal.
- Now interact with all the handles you noted down. As you interact with the handles, some will spin, make sure you only interact with the ones that were initially horizontal, even if they’re now vertical.
- If you get to the end and some are still horizontal, flip the horizontal ones. Repeat until they are all vertical.
- Once all the handles are vertical, N31L will be hacked (not evil anymore).
- N31L will only be hacked for about 5 minutes before returning to evil. When he becomes evil again, you can hack him with the handles in the medical bay immediately.
- You need to grab N31L with the Entangler, bring him to the Projector Room, and shoot him at the computer right of the projector to "install" him. The problem is that once you pick up N31L, all the doors around the map will close and you can't open them, and Zombies will start spawning. The only way to open doors is to go where N31L is looking as you carry him, which takes you on a long tour of the map.
- This can and should be skipped one of two ways:
- Option 1 (Recommended): Before you pick up N31L, shoot the Entangler at a N31L TV, switch weapons (while shooting), and then switch back to the Entangler. This allows you to open doors while carrying N31L. Video Example (YouTube).
- Option 2: Carry N31L normally, but when you get to a locked door, spin around in front of it to (maybe) make it open. This works because N31L is coded to open the doors he is looking at. So when you spin, he doesn't spin as fast as you, so you can force him to look at a door.
- This can and should be skipped one of two ways:
Once you interact with N31L, you will be put into the Boss Fight.
- Once N31L is installed, and you're ready for the boss fight, you can interact with it to start the Boss Fight.
Cryptid Boss Fight
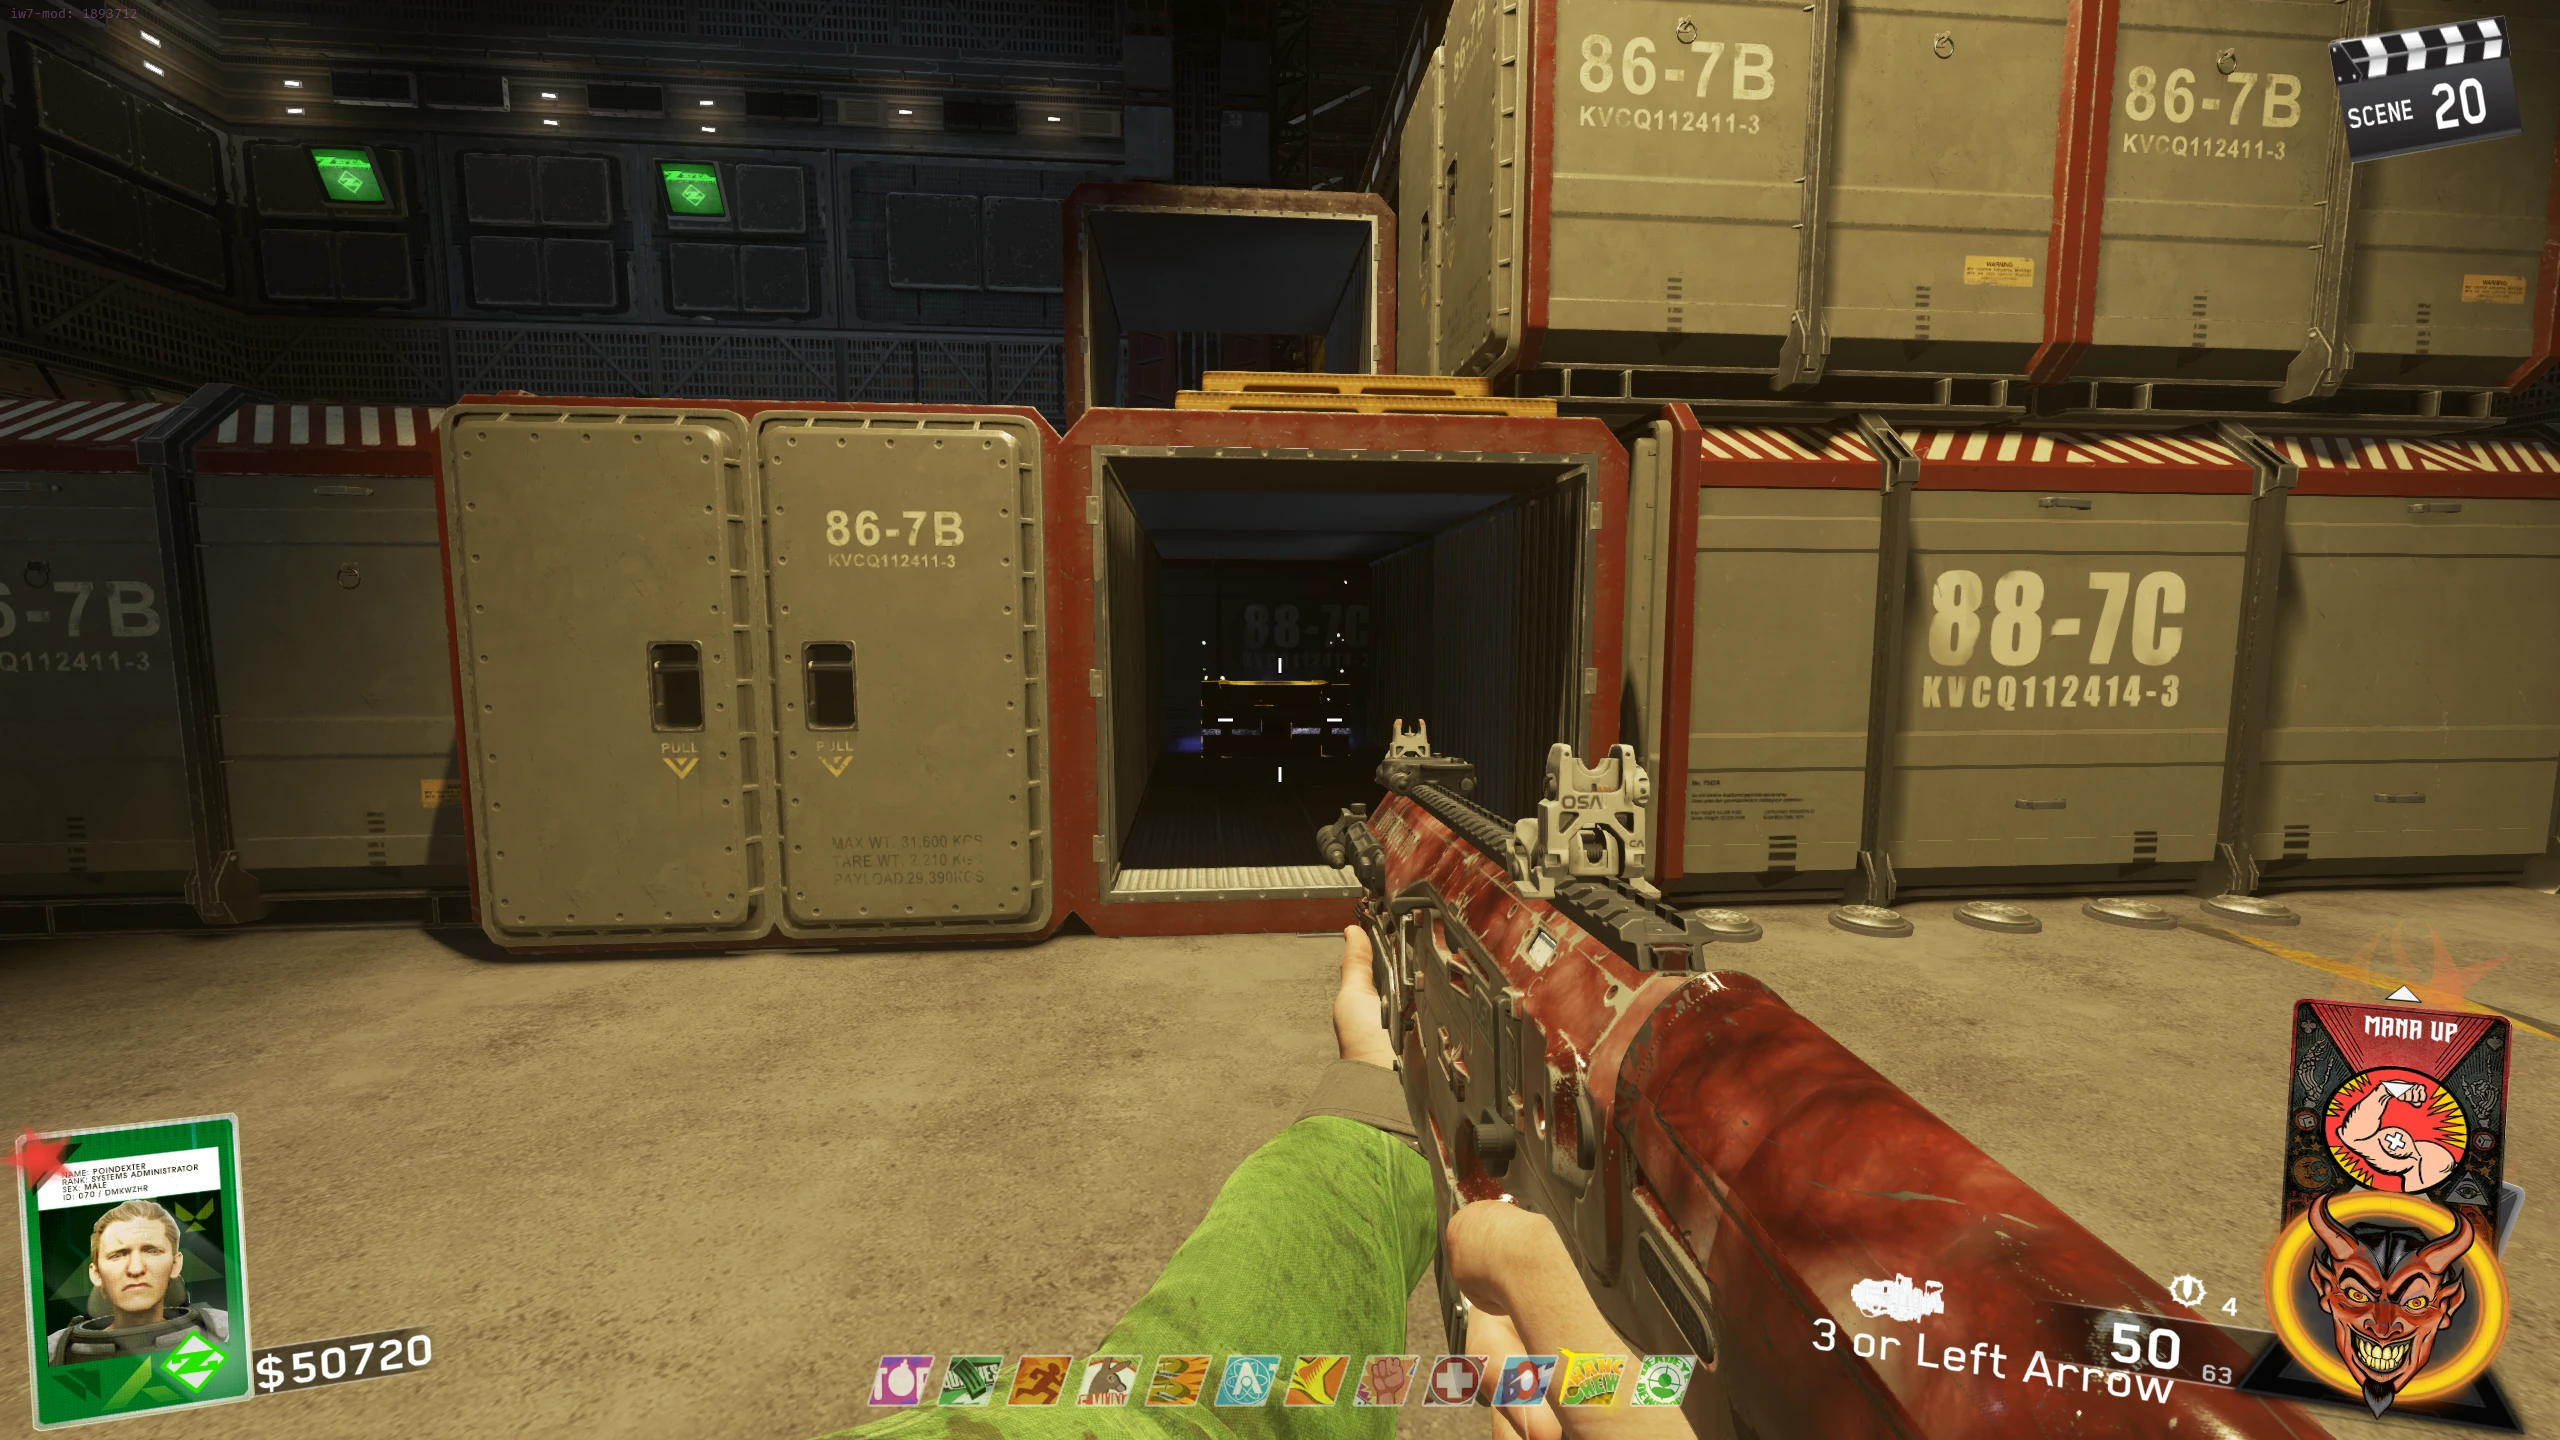
- After interacting with N31L, you will be teleported to a different Cargo Bay. A Laser Cannon will come into the room, and start targeting one of the crates.
- In one of the open crates, there is a yellow, glowing box. Interacting with this box will refill your currently held weapon's ammo for free. Refilling ammo can be done unlimitedly, so make sure to use it when you need it.
- The cannon will shoot the crate open, spawning a Rhino Cryptid. After a couple of seconds (whether you kill the Rhino or not), the cannon will shoot open another crate, spawning another Rhino. This will repeat for four total Rhinos.
- After a couple of seconds, the portals on one side of the room will activate, spawning normal Cryptids and Phantoms.
- After about a minute, the Cryptids will stop spawning, the portals will deactivate and barriers blocking the other parts of the arena will lower, unlocking the entire arena.
- The portals on the other side of the room will activate, spawning normal Cryptids and Phantoms.
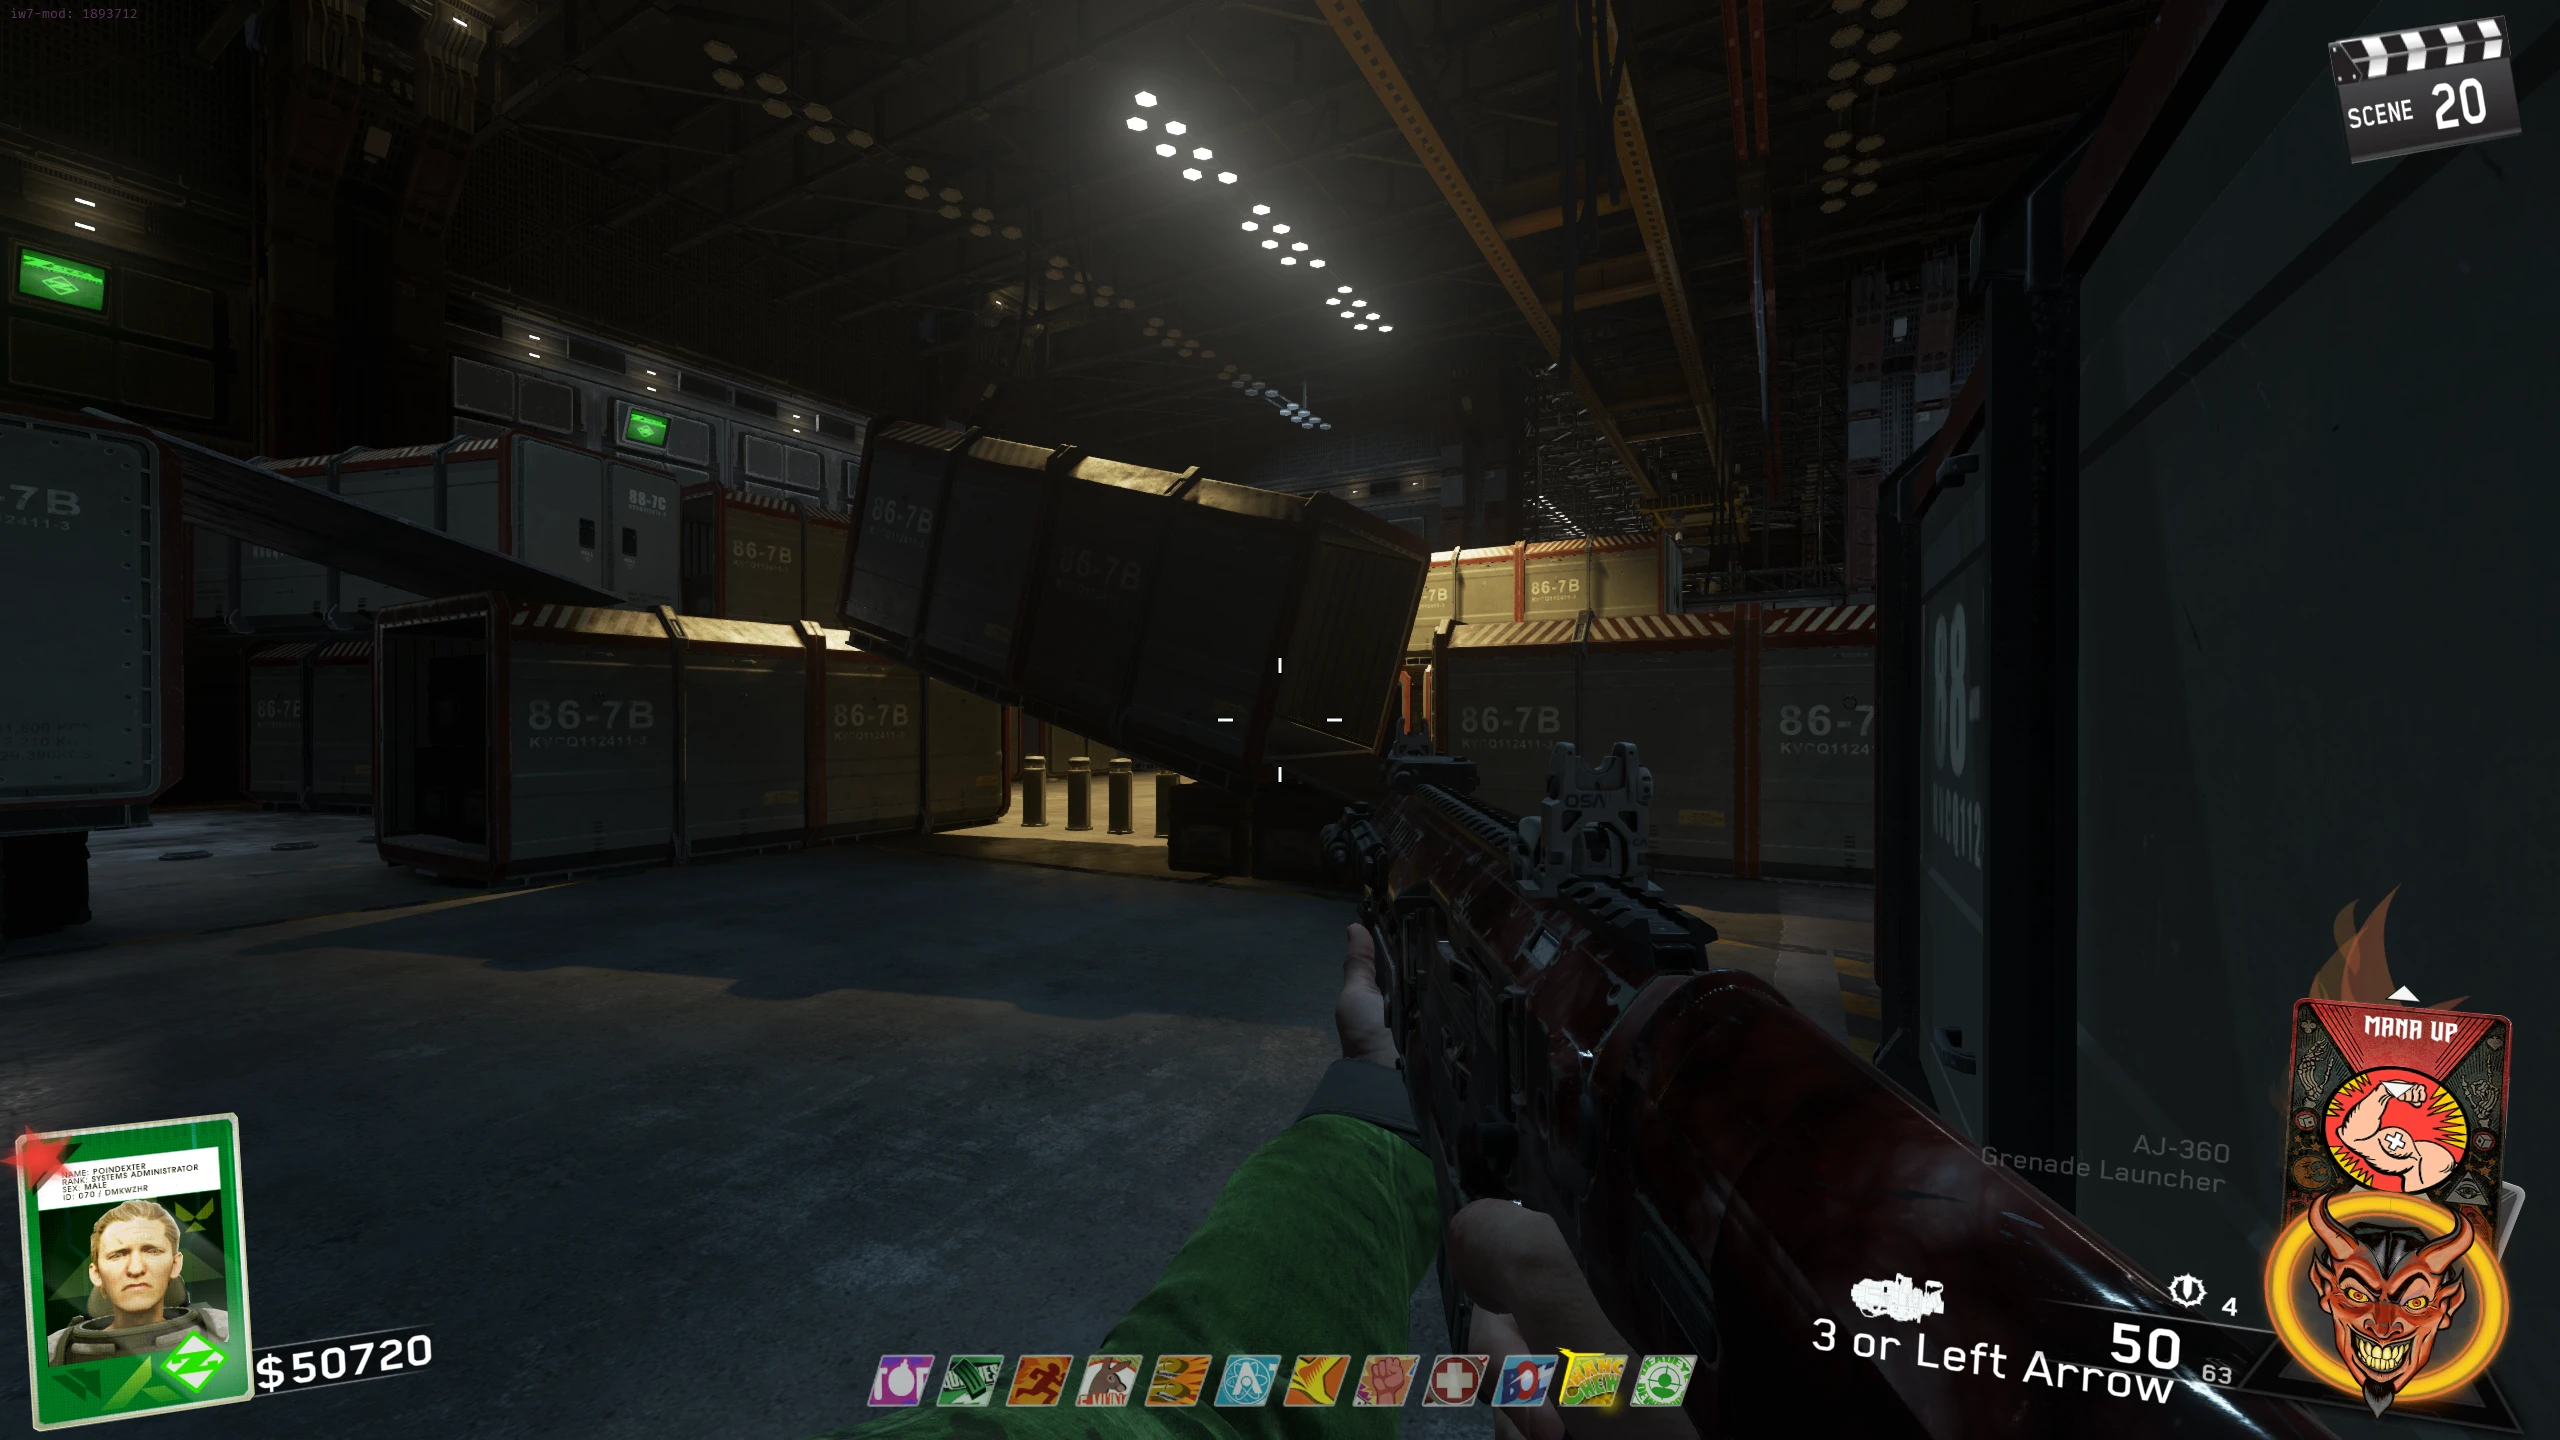
- I recommend (for most of the remainder of the boss fight) to camp inside the sloped crate with a roof. The Cryptids won't be able to get behind you, so you only need to worry about them coming from the bottom.
- After about a minute, all the portals will activate, and Cryptids, Phantoms, and an occasional Rhino will start spawning from them. The laser cannon will also start targeting you. The cannon can't shoot through things, so stand inside the sloped container mentioned earlier.
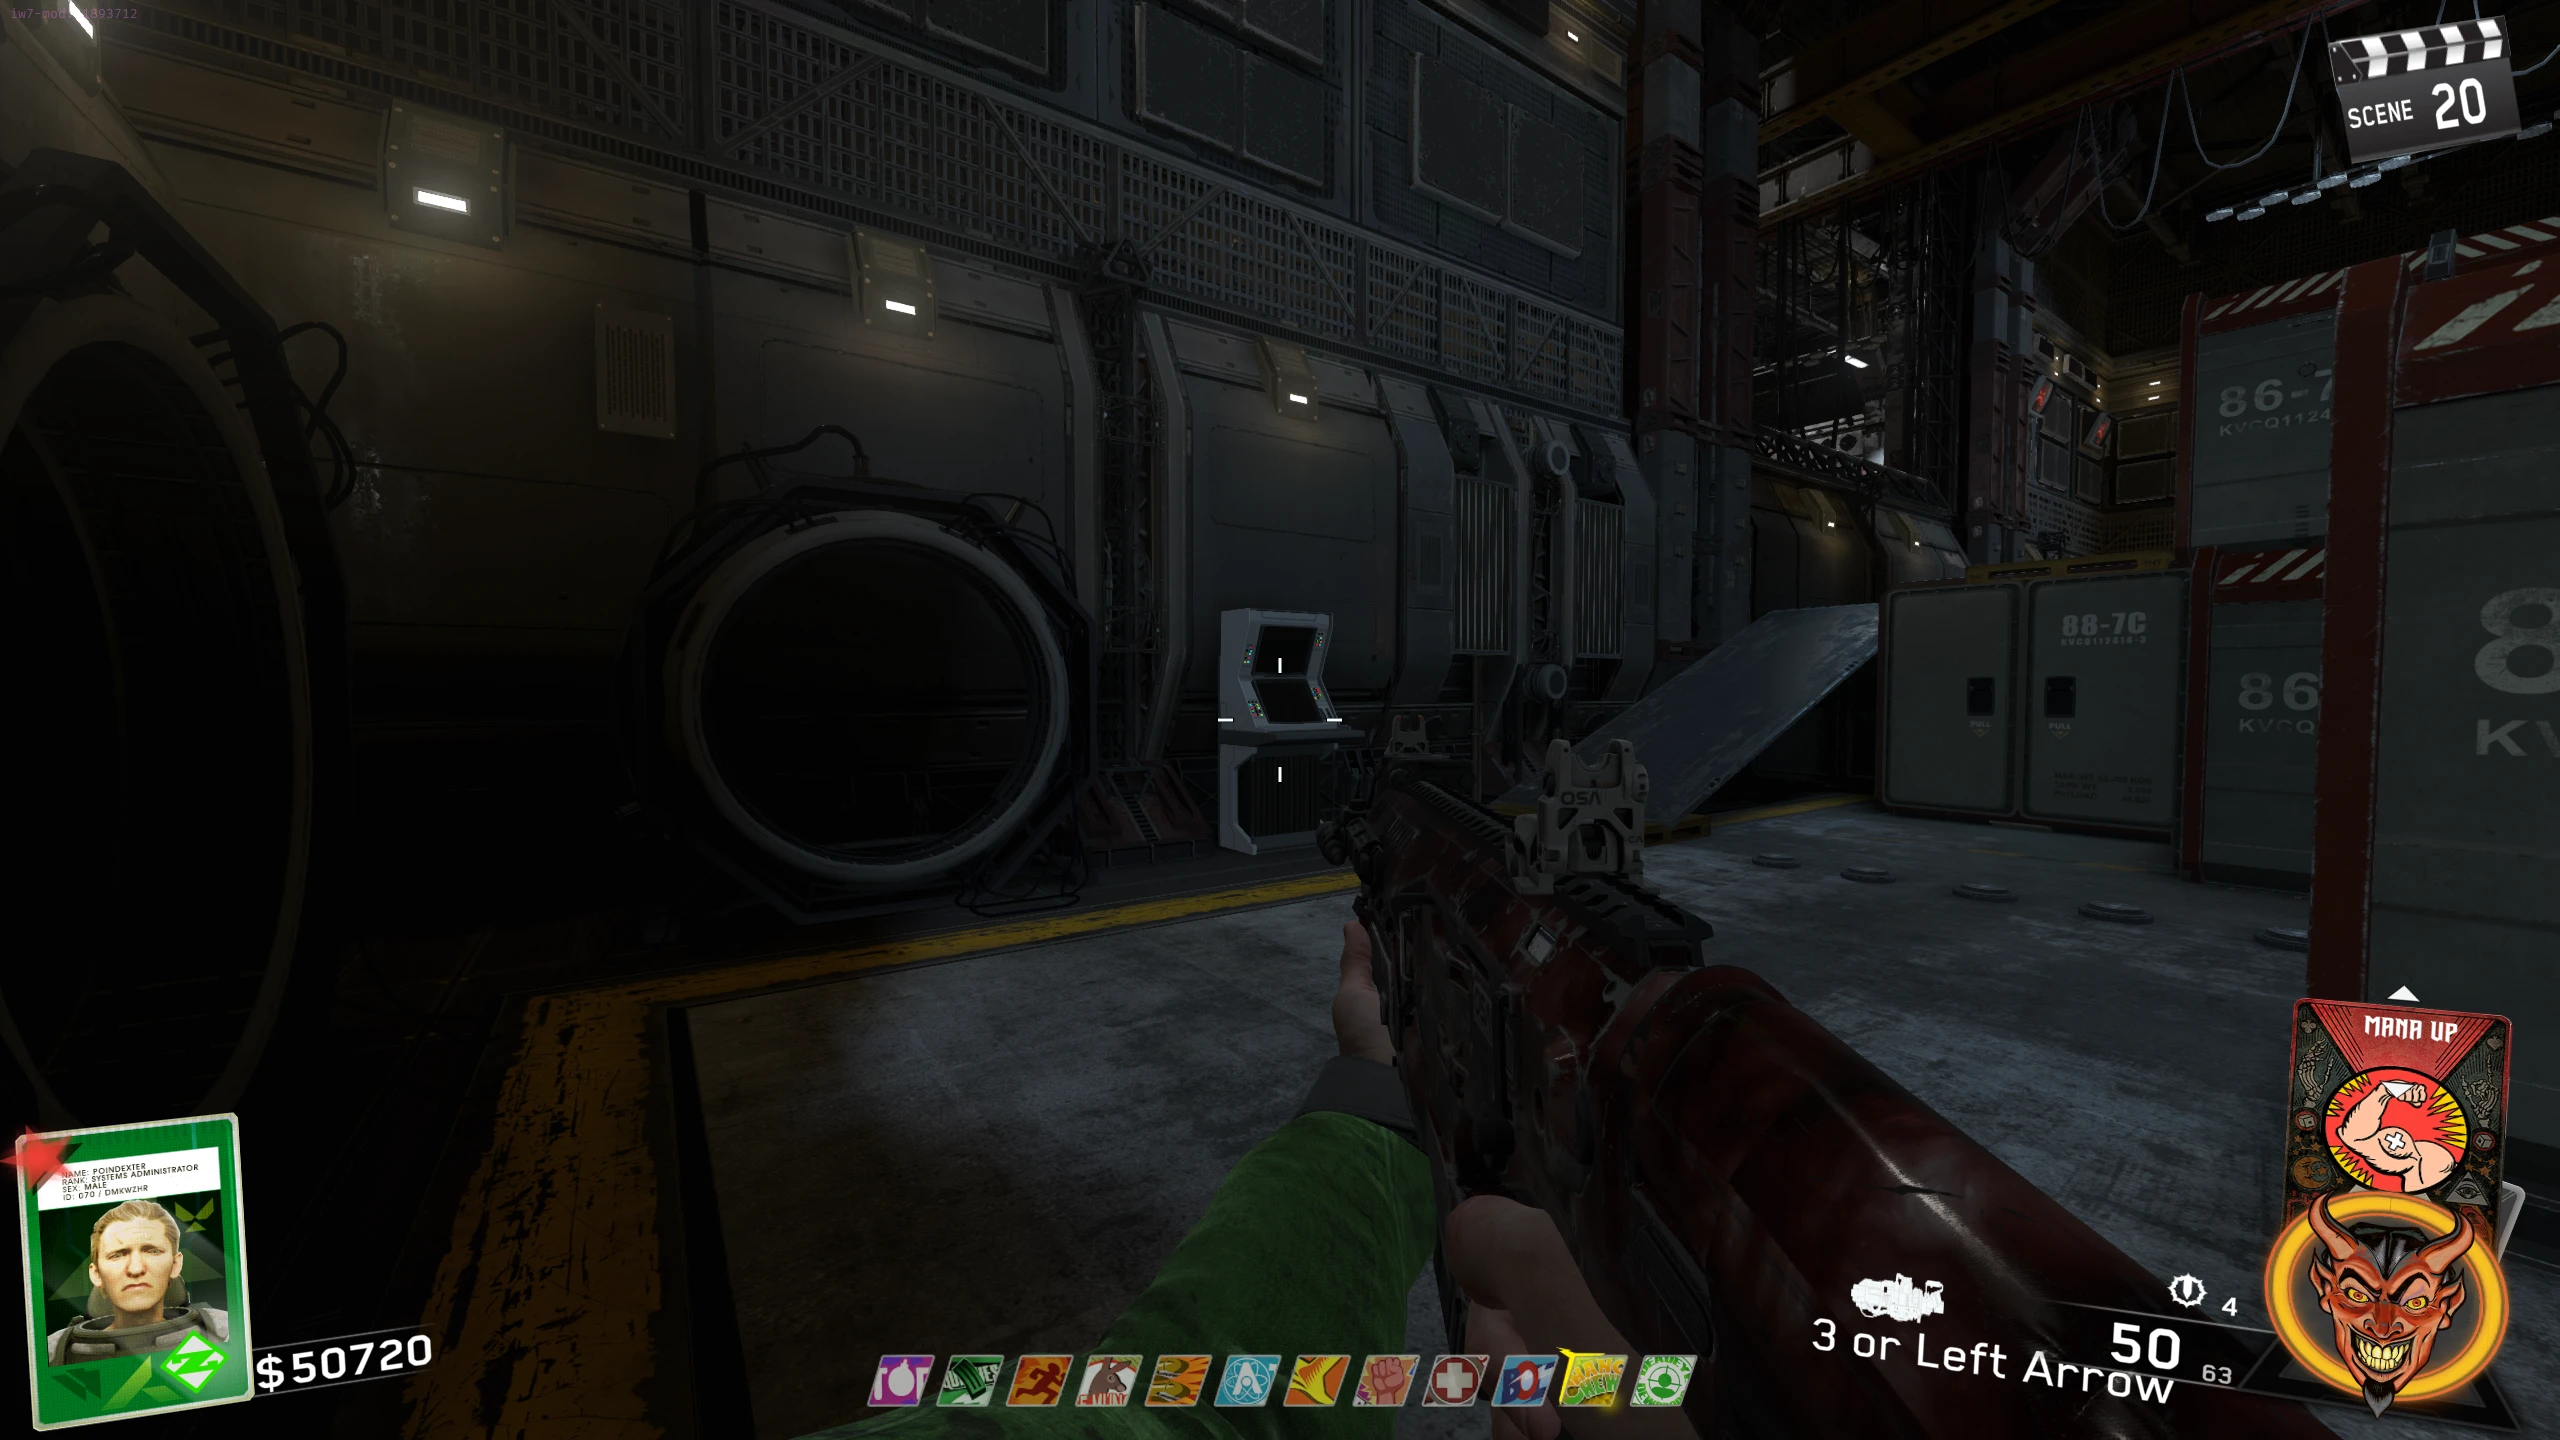
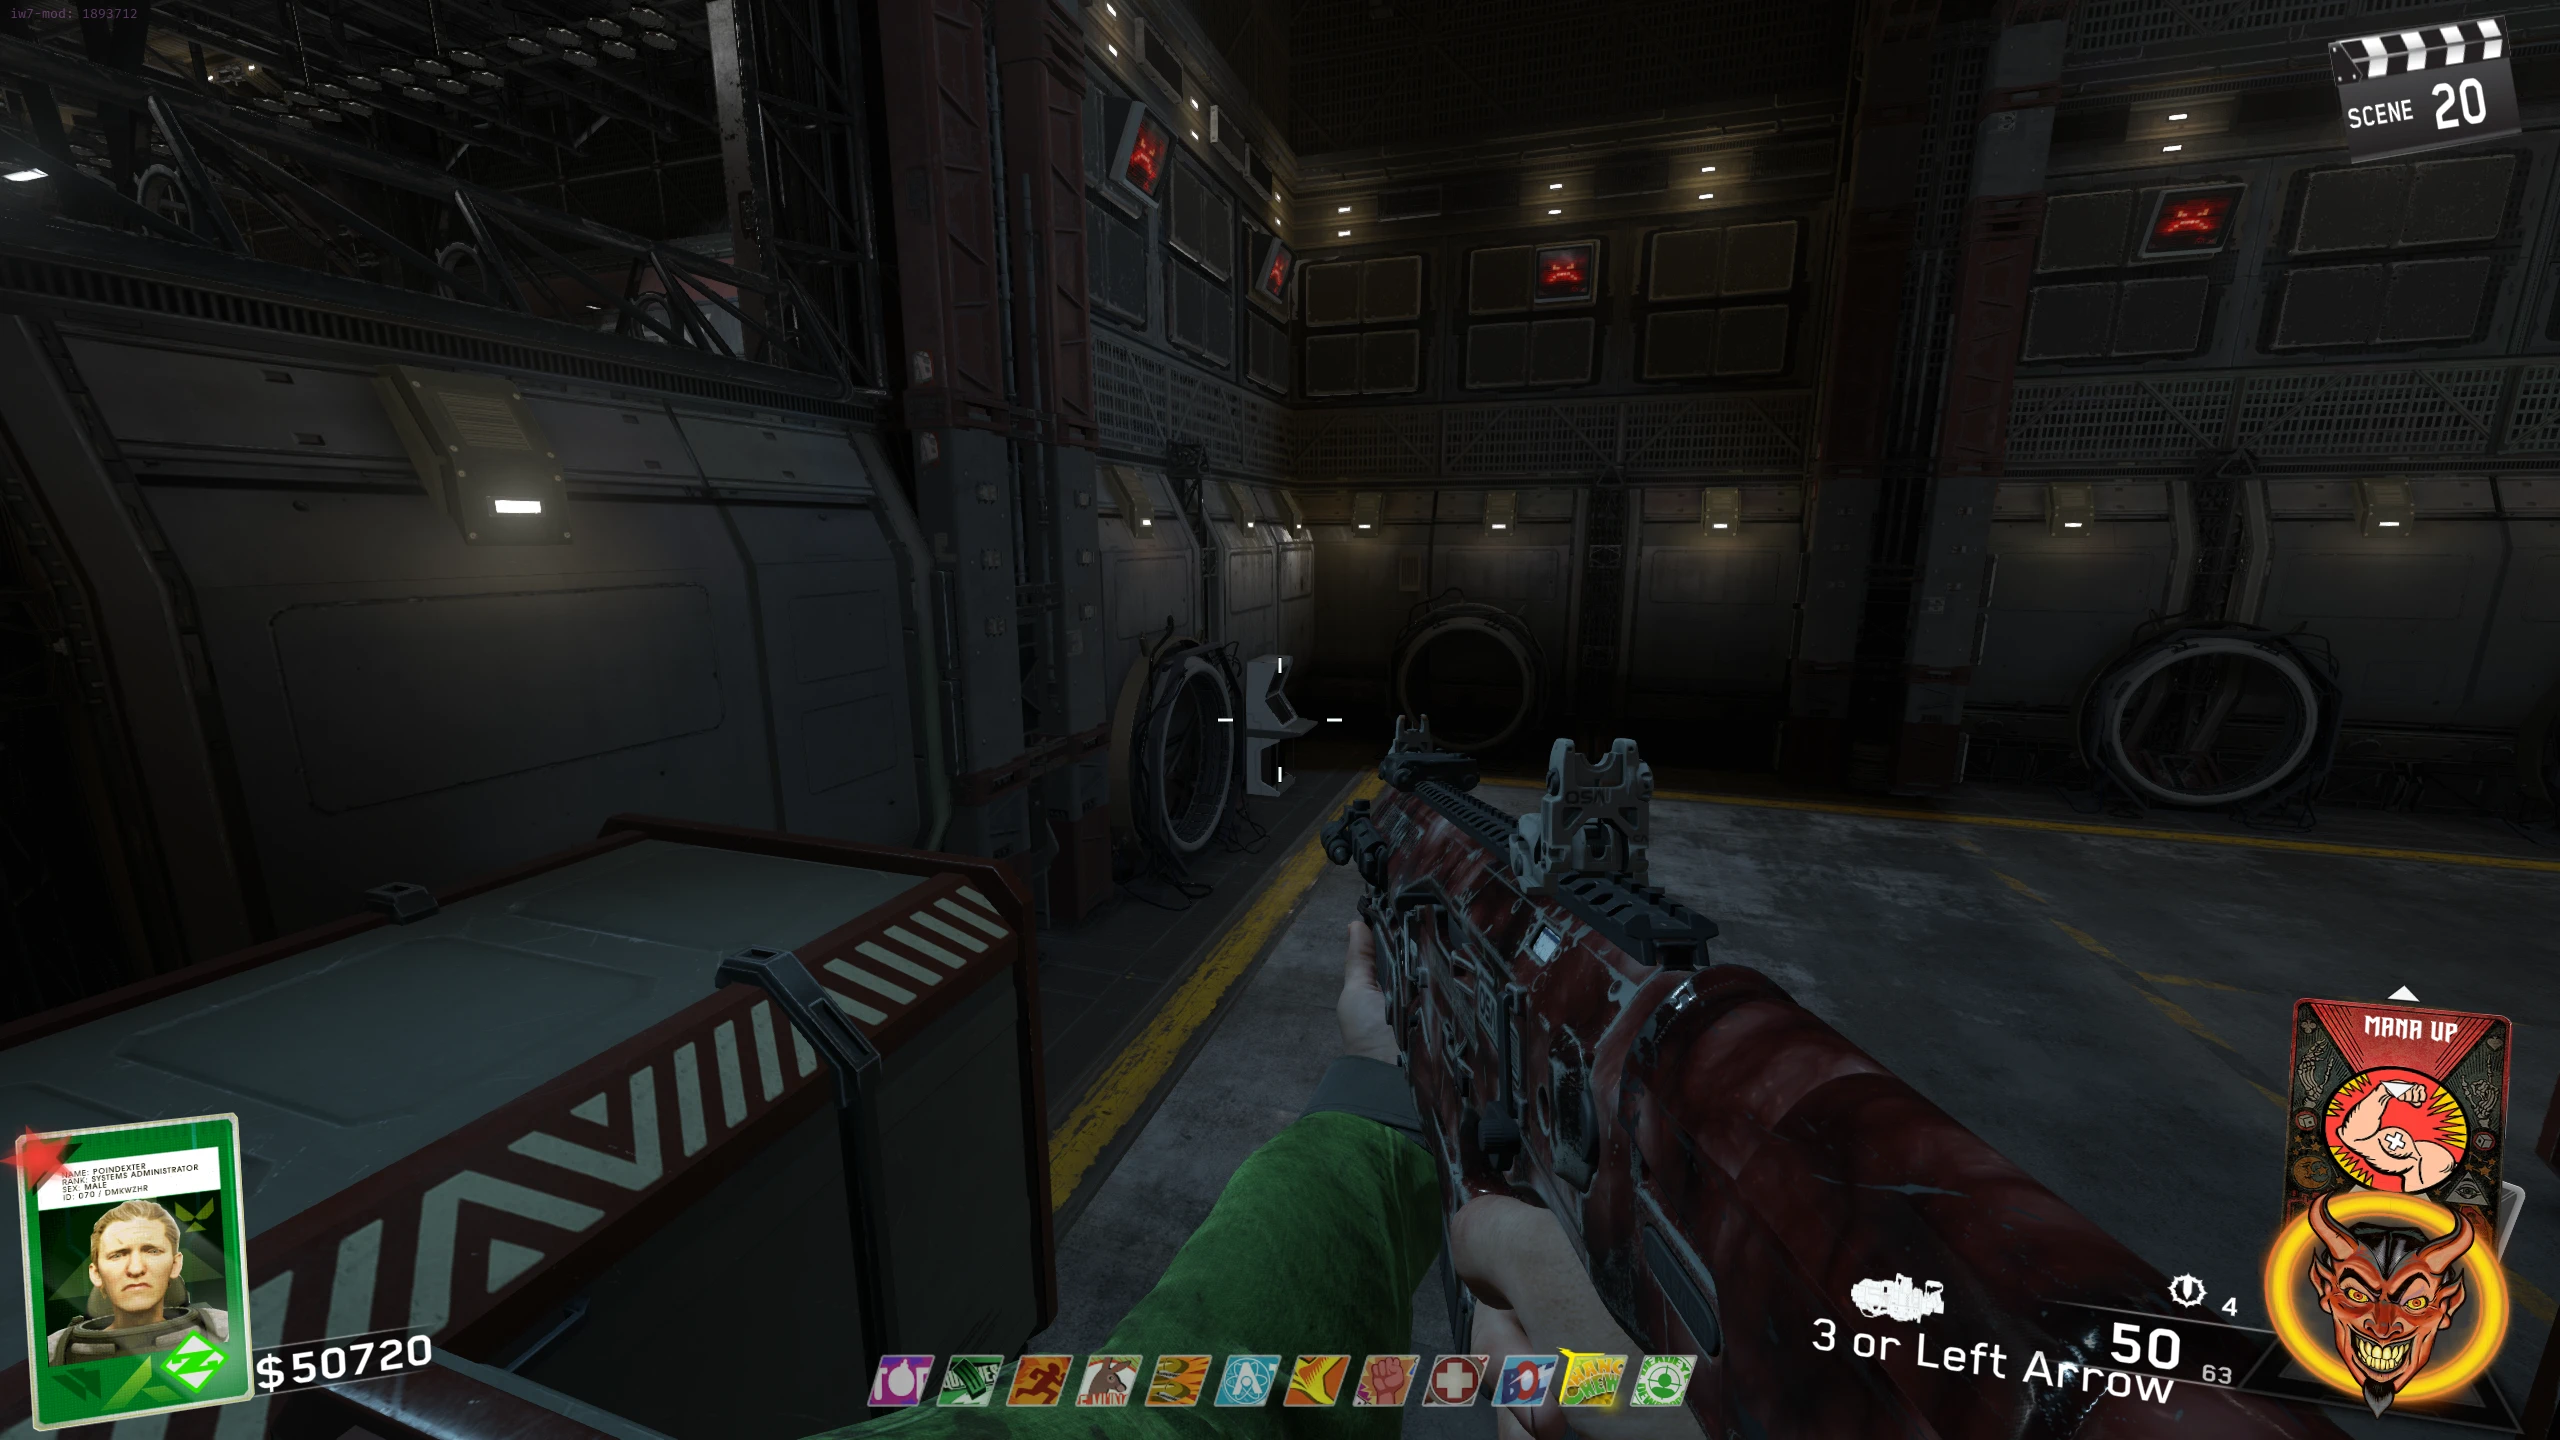
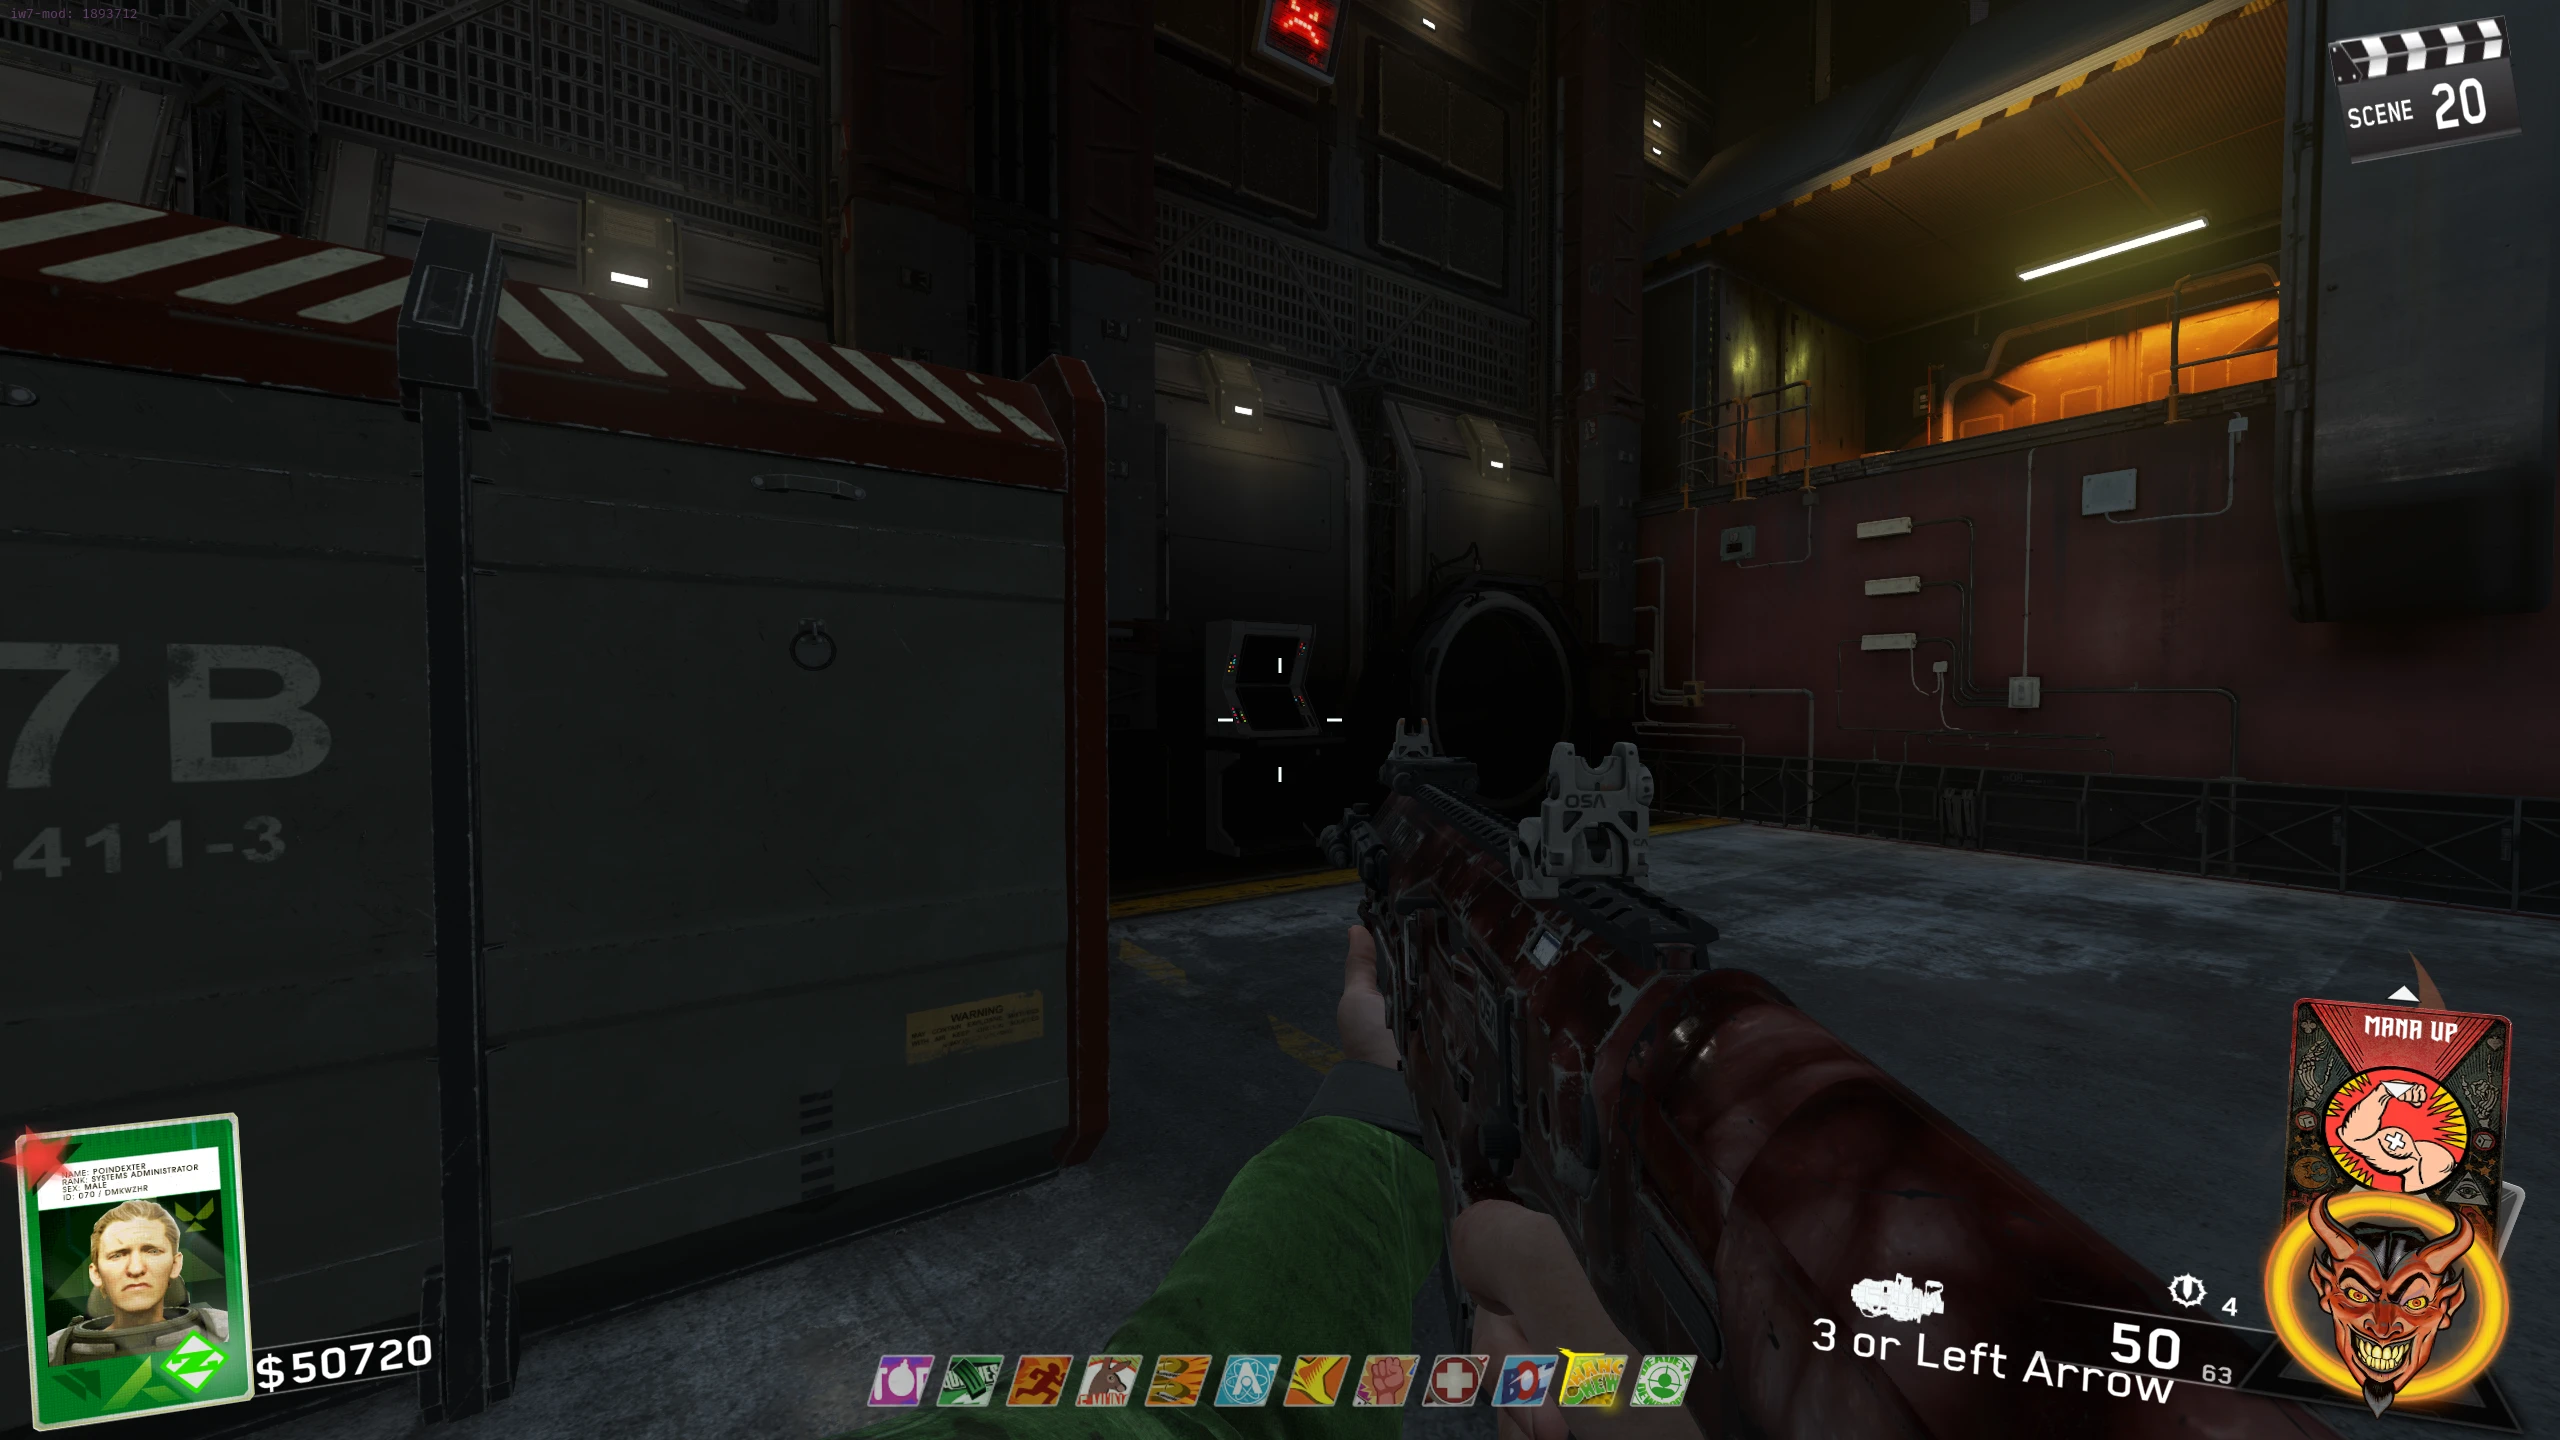
- After about 45 seconds, three monitors around the arena will turn on. You will need to quickly interact with all three monitors to turn off the portals. If you take too long, a monitor (and the portals near it) will reactivate.
- I recommend (if you're camping in the crate) that you deactivate the monitors in the following order:
- Once you deactivate all portals, Cryptids will stop spawning, and the laser will start firing erratically. It will eventually blow open a crate across from the ammo crate, revealing a computer with 99 on the front.
- It will begin counting down from 99 (it takes about 2:30 mins to count down, not 99 seconds). During this time, Cryptids, Phantoms and Rhinos will begin spawning from the portals.
- After the countdown reaches 0, the screen will display a string of jumbled characters and the computer will start sparking. Interact with it to despawn all Cryptids.
- The lights will go dim, and the laser will target a crate above the Ammo Crate. After a couple of seconds, it will shoot it open, revealing two Mammoths (Blue Rhinos).
- These Mammoths can be insta-killed, using the Ego Trip F&F card, and either the Mauler LMG with the Sentinal variant or the EBR-800 Sniper with the Bomber variant. See this video by Decezy for an example of this being done. If you don't kill them instantly (like in the video), keep shooting them in the mouth, they should die before the card runs out.
- These Mammoths are absolute bullet sponges and will occasionally leave blue fire on the ground when damaged. This fire does a lot of damage and doesn't despawn, so be mindful of where you shoot the Mammoths so it doesn't block a doorway or choke point.
- The Mammoths will occasionally charge at you, which will always red-screen you even with Tuff 'Nuff.
- About every 30-60 seconds, the portals will activate, and about 3-5 Cryptids will spawn.
- Once both Mammoths are dead, the final cutscene will play. After the cutscene, you will be teleported back to the main map. There is no Soul Key or Talisman for you to pick up. If you complete the quest in Director's Cut mode, you will be given the Director's Cut V animated calling card.
- If you completed the Quest without Director's Cut, I recommend you don't continue playing this match. The map breaks after Quest completion: rounds end early, Cryptid spawn effects appear but the Cryptid itself doesn't spawn, Pack-a-Punch becomes inaccessible, etc.



"Scattered Lies" Song
Link to song on YouTube.
- Unlock Pack-a-Punch and Access the Theatre.
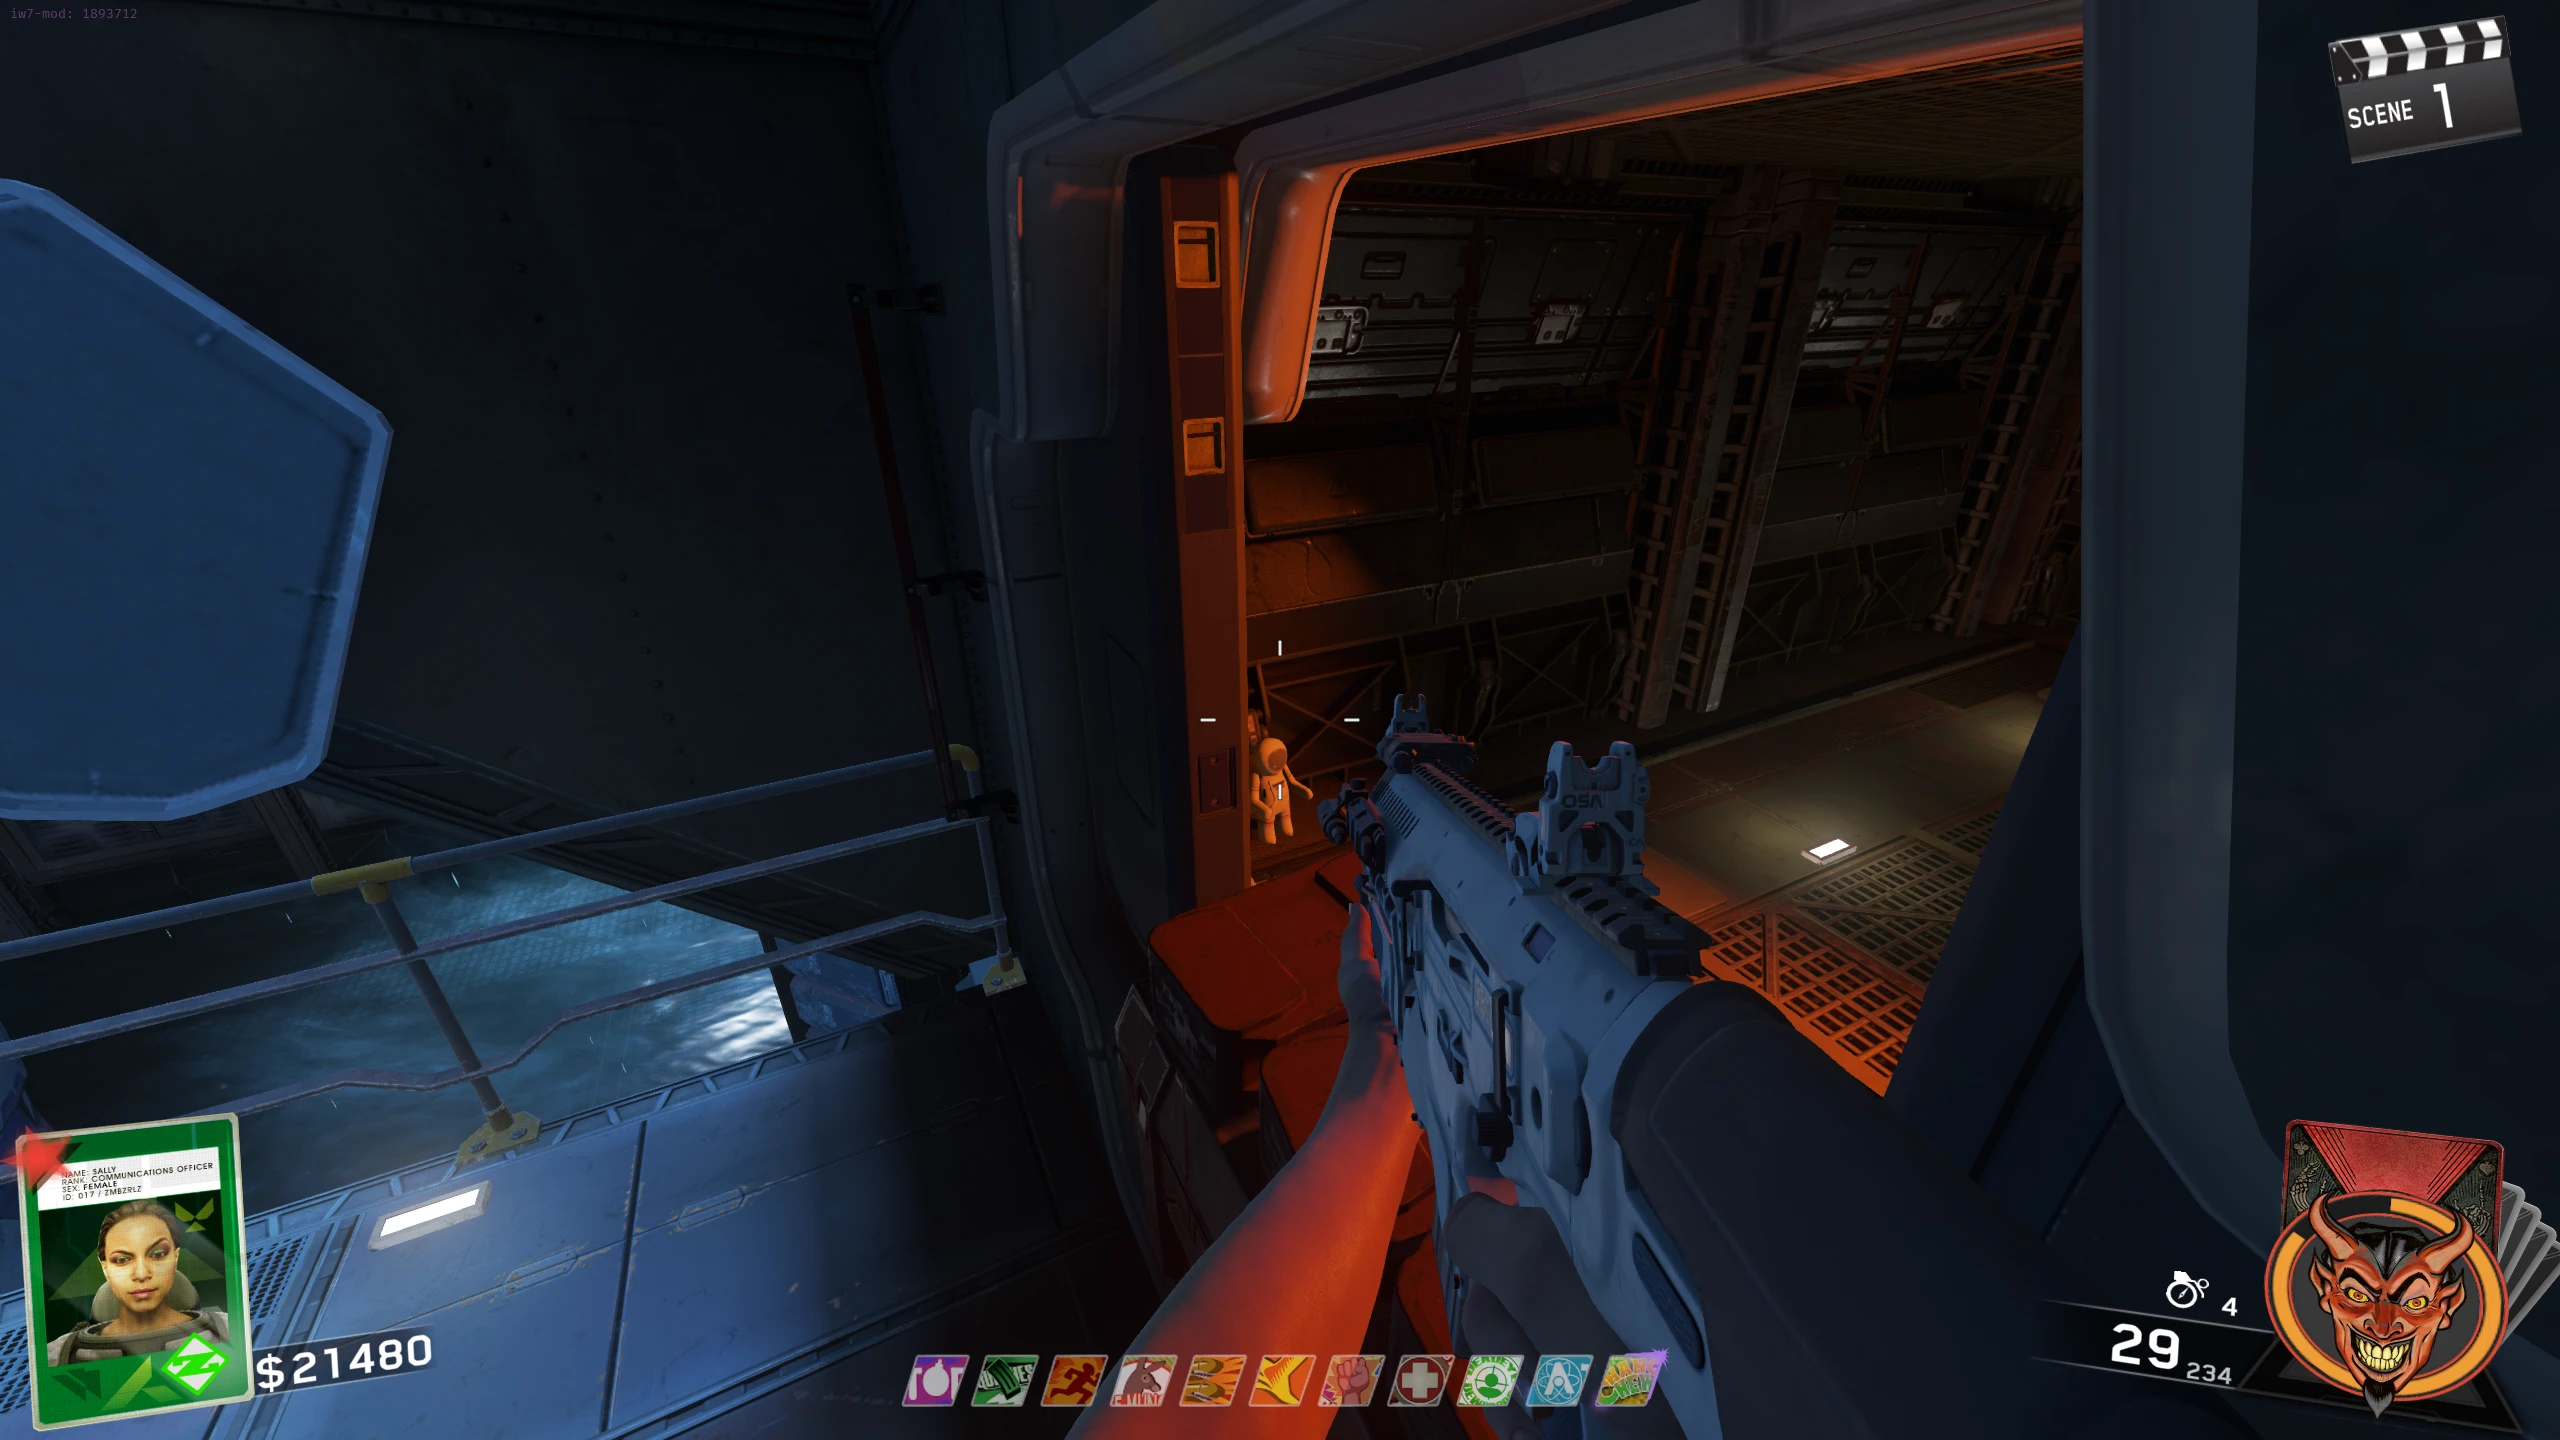
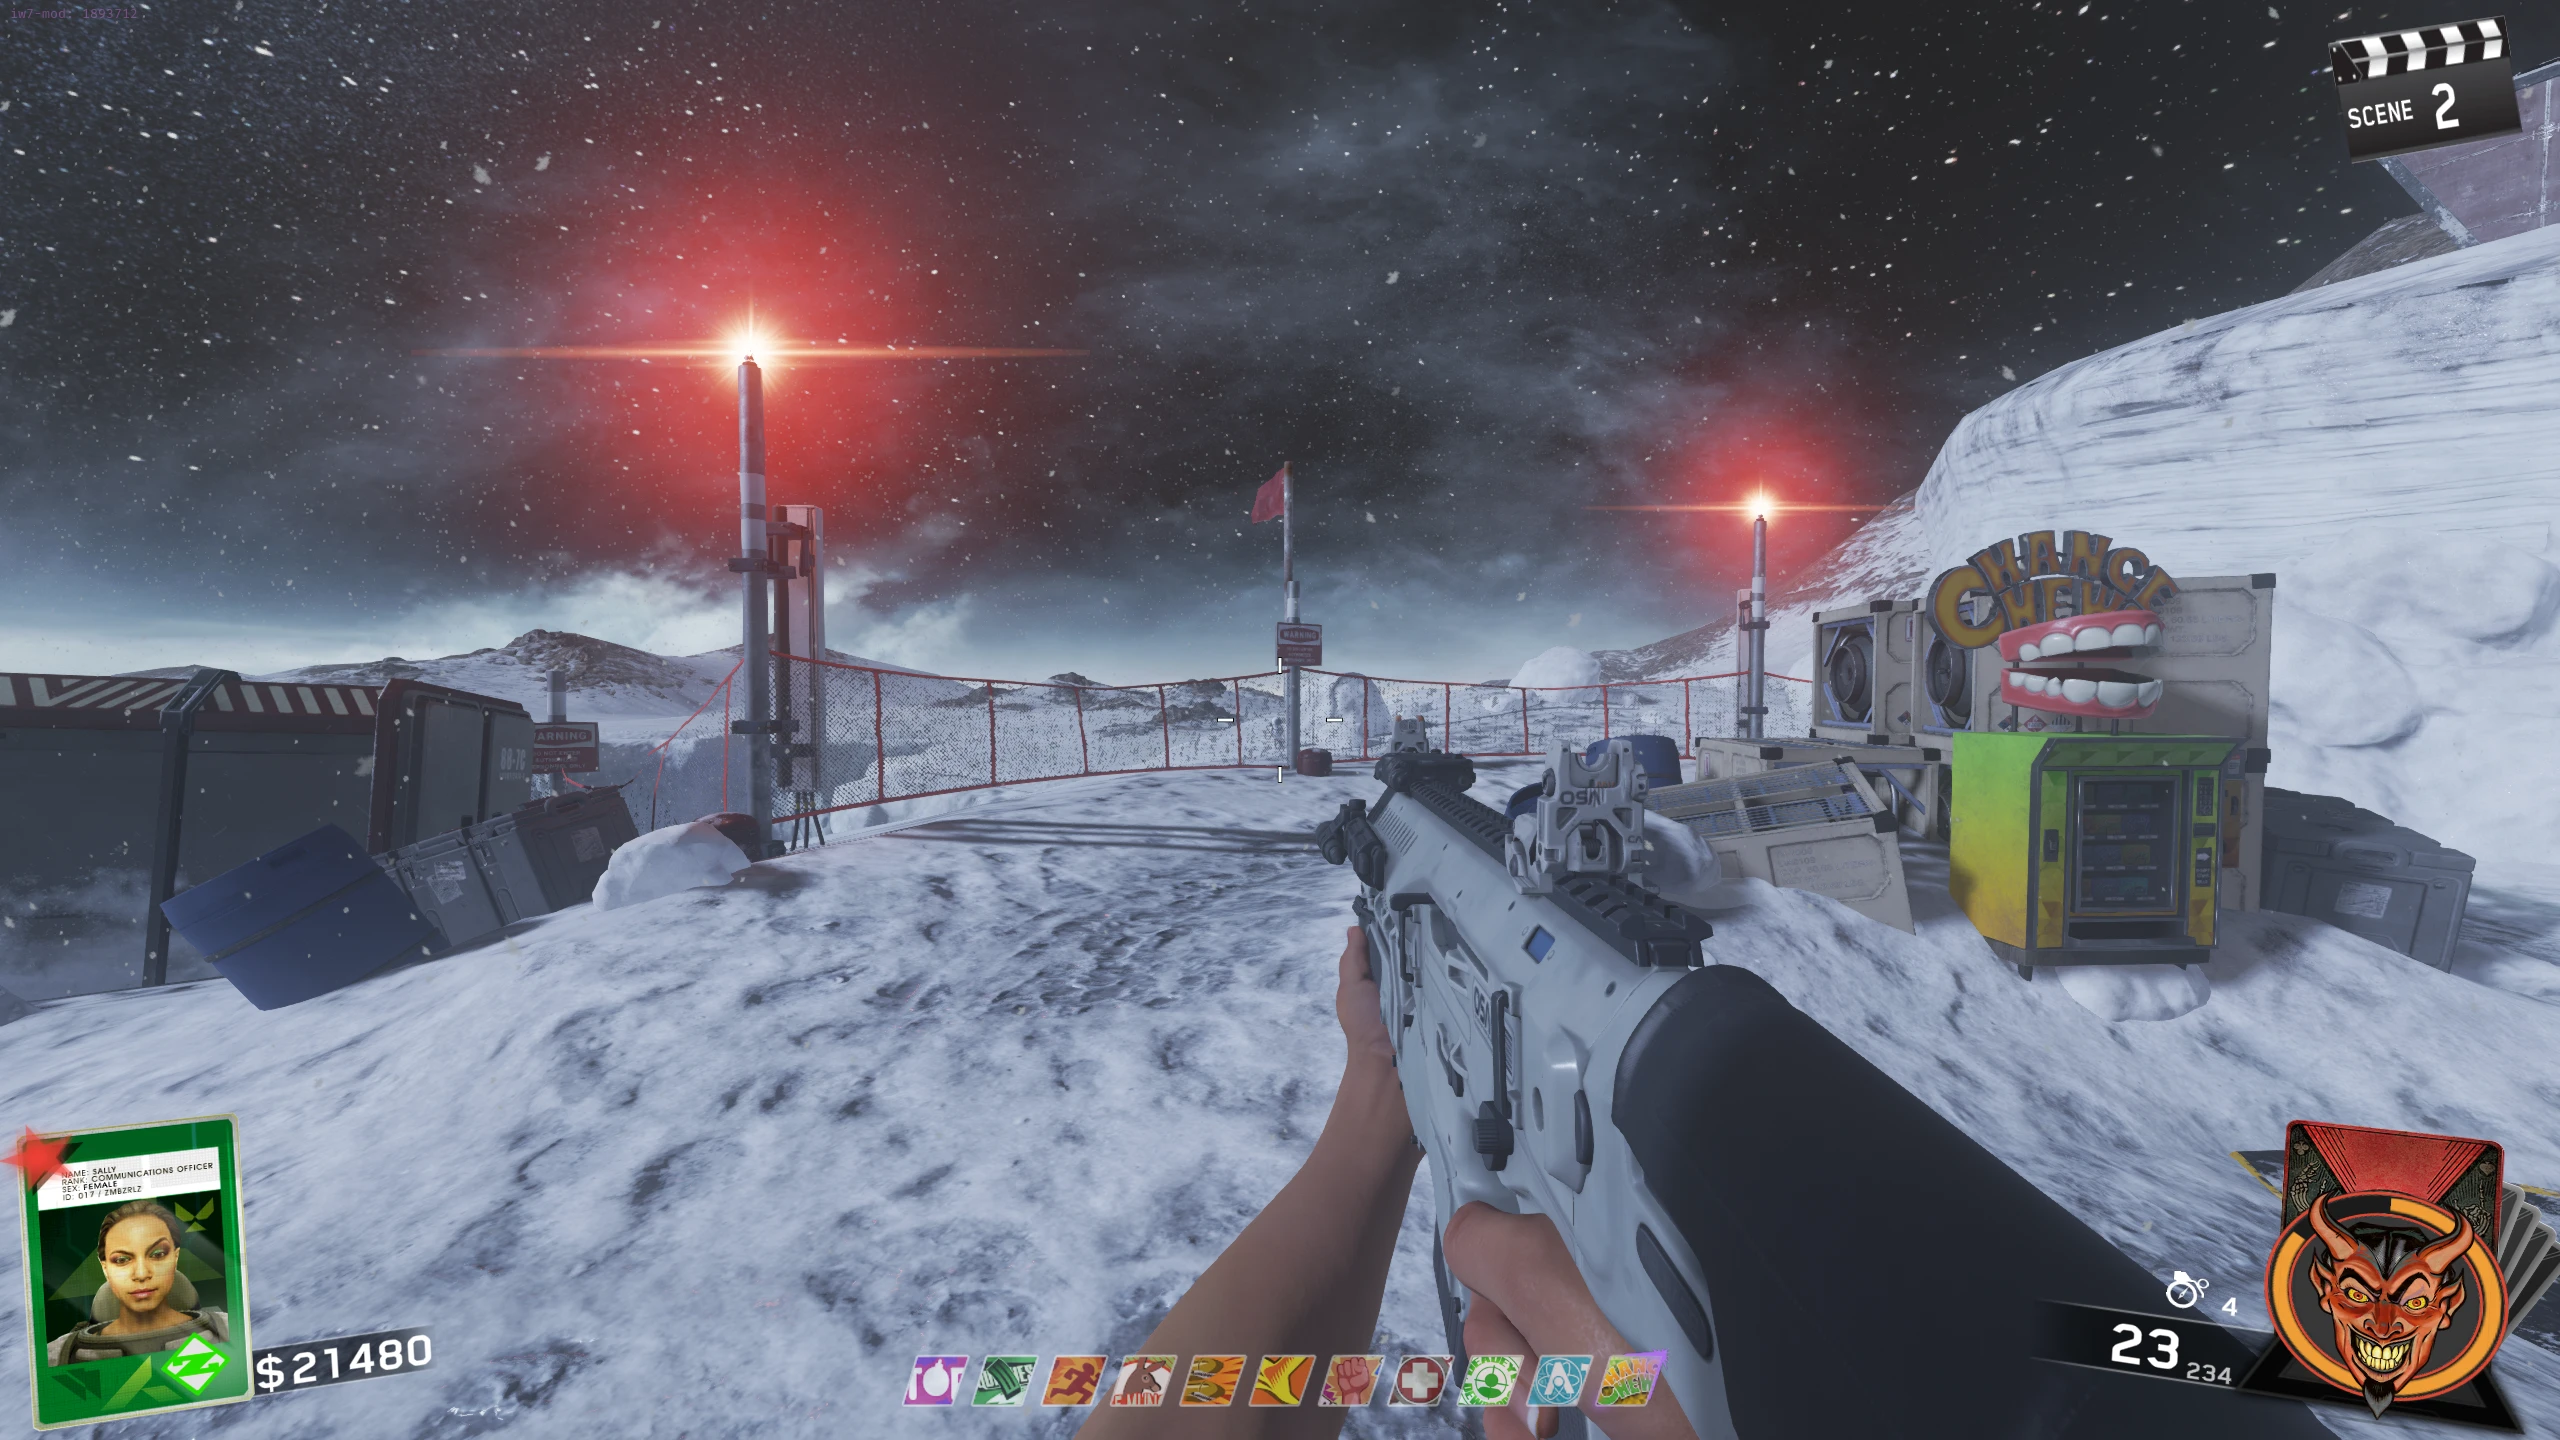
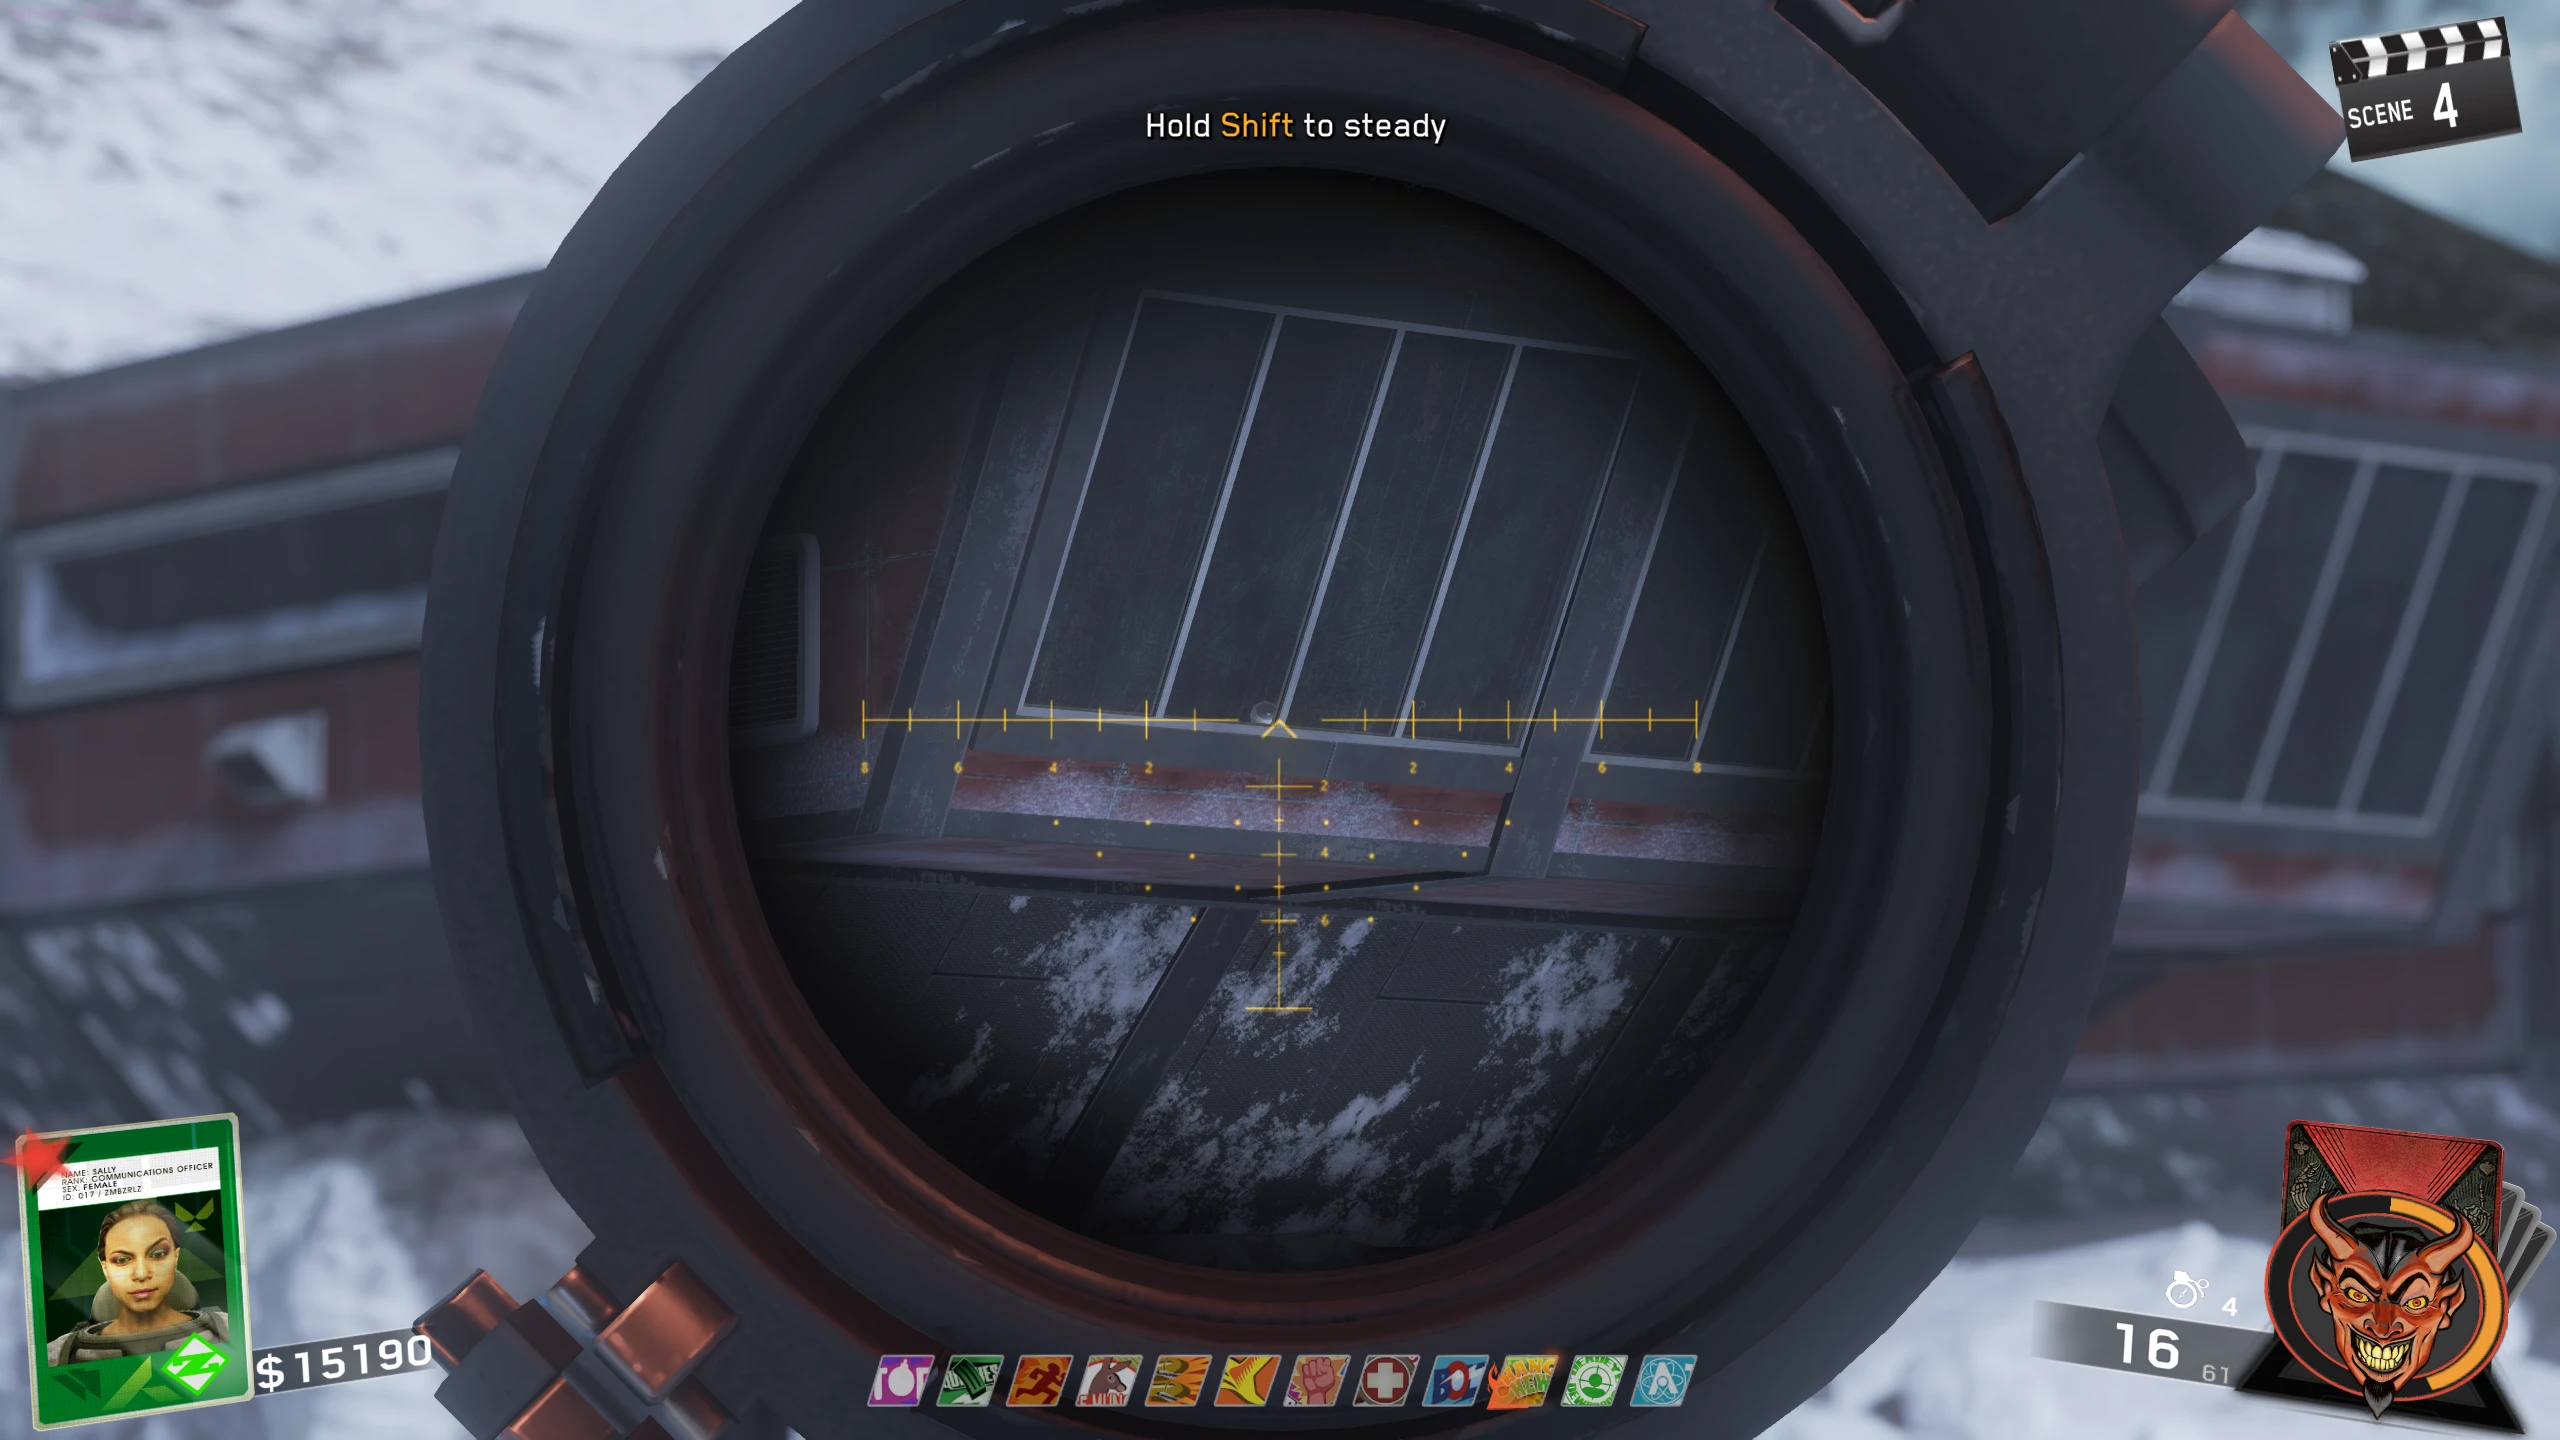
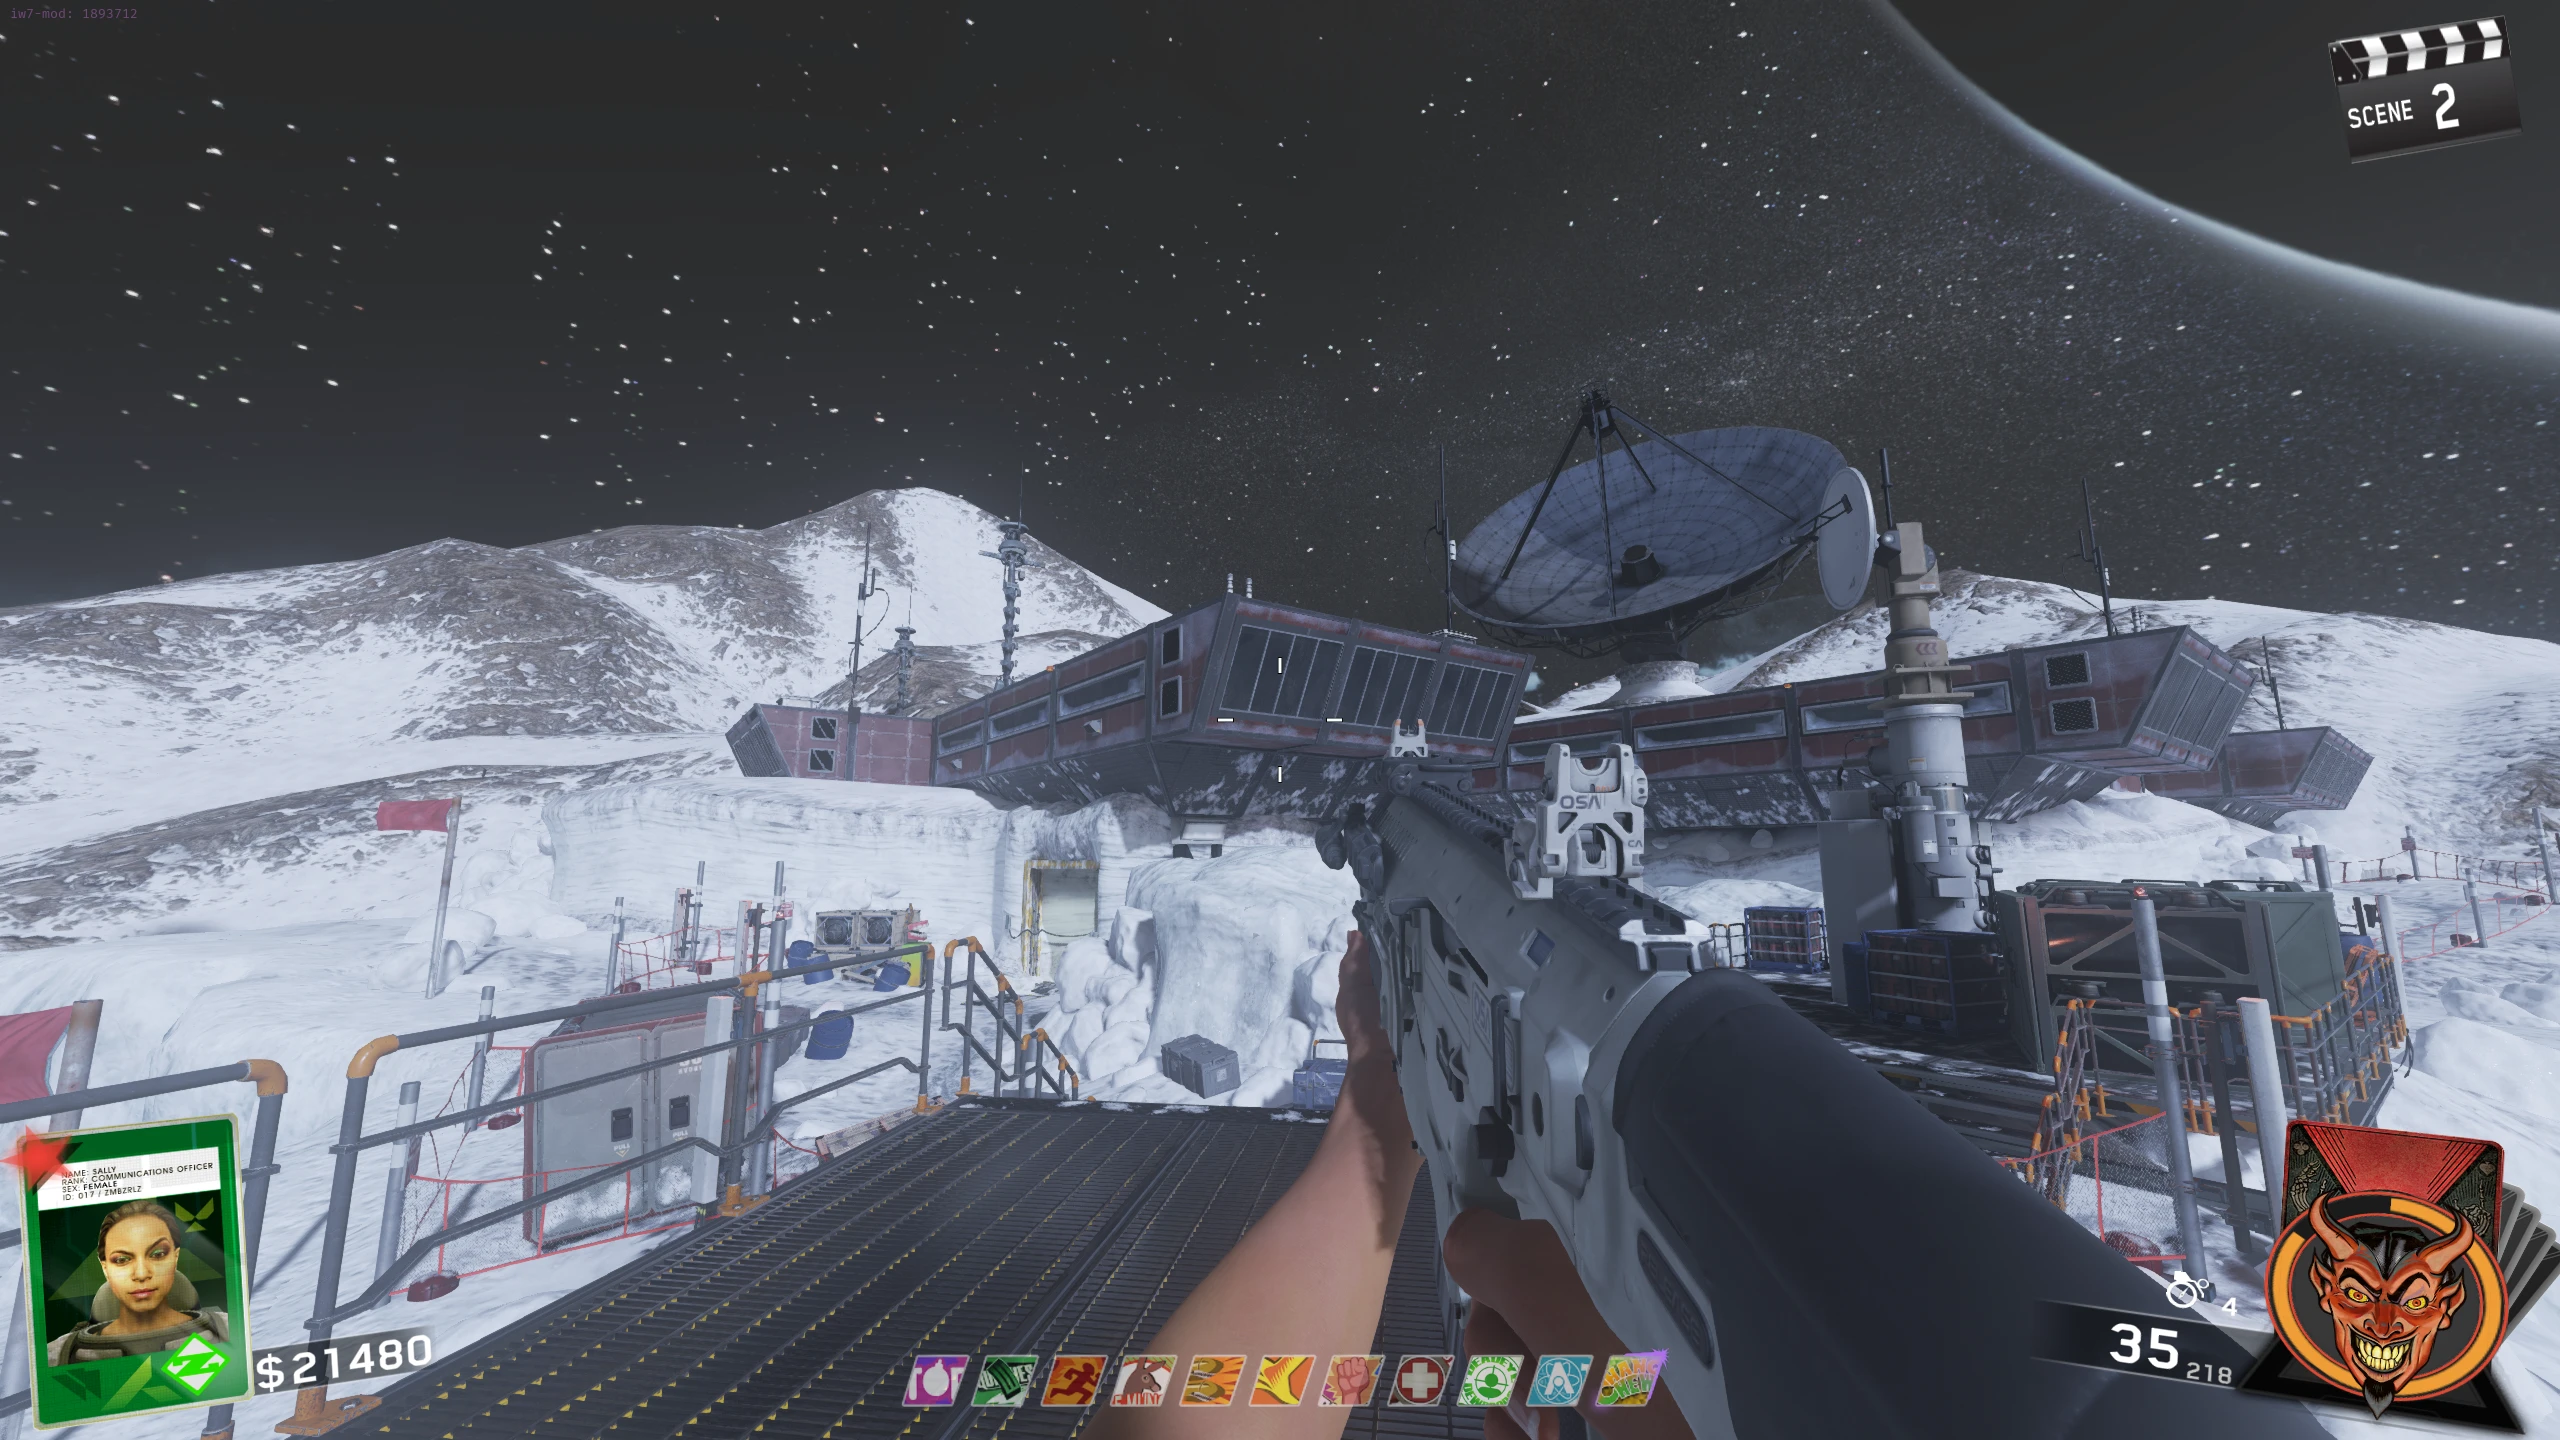
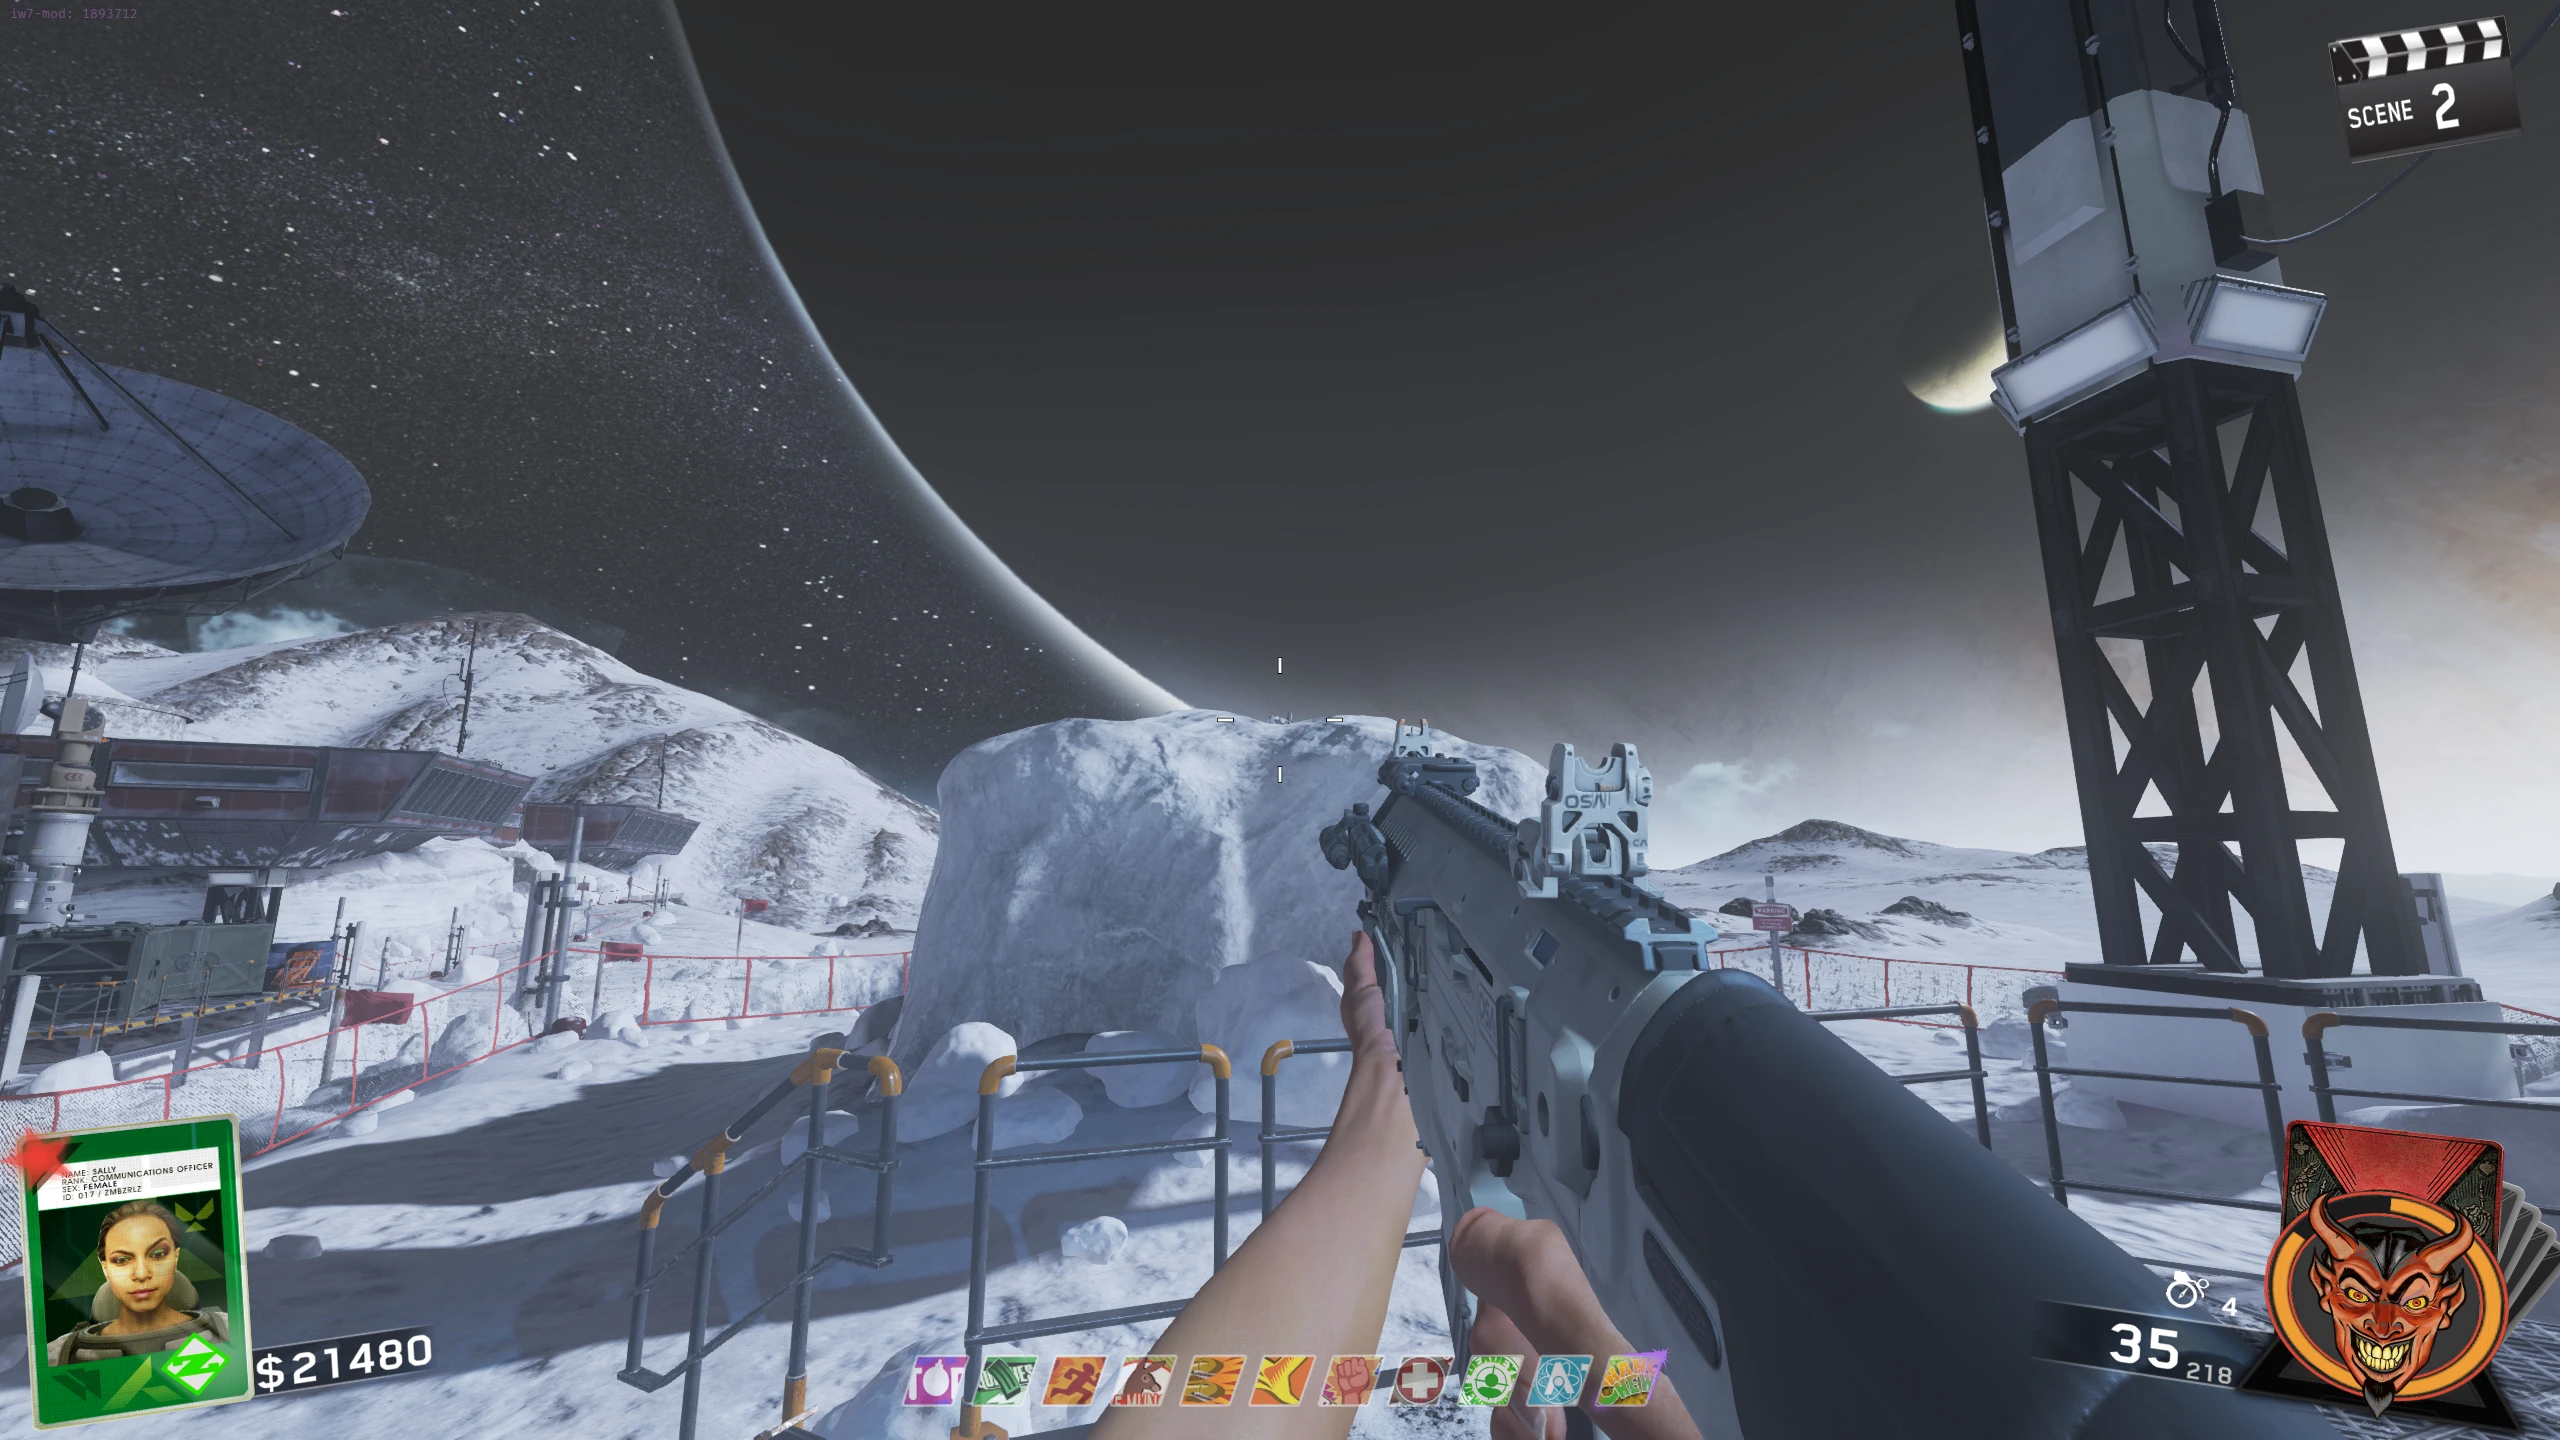
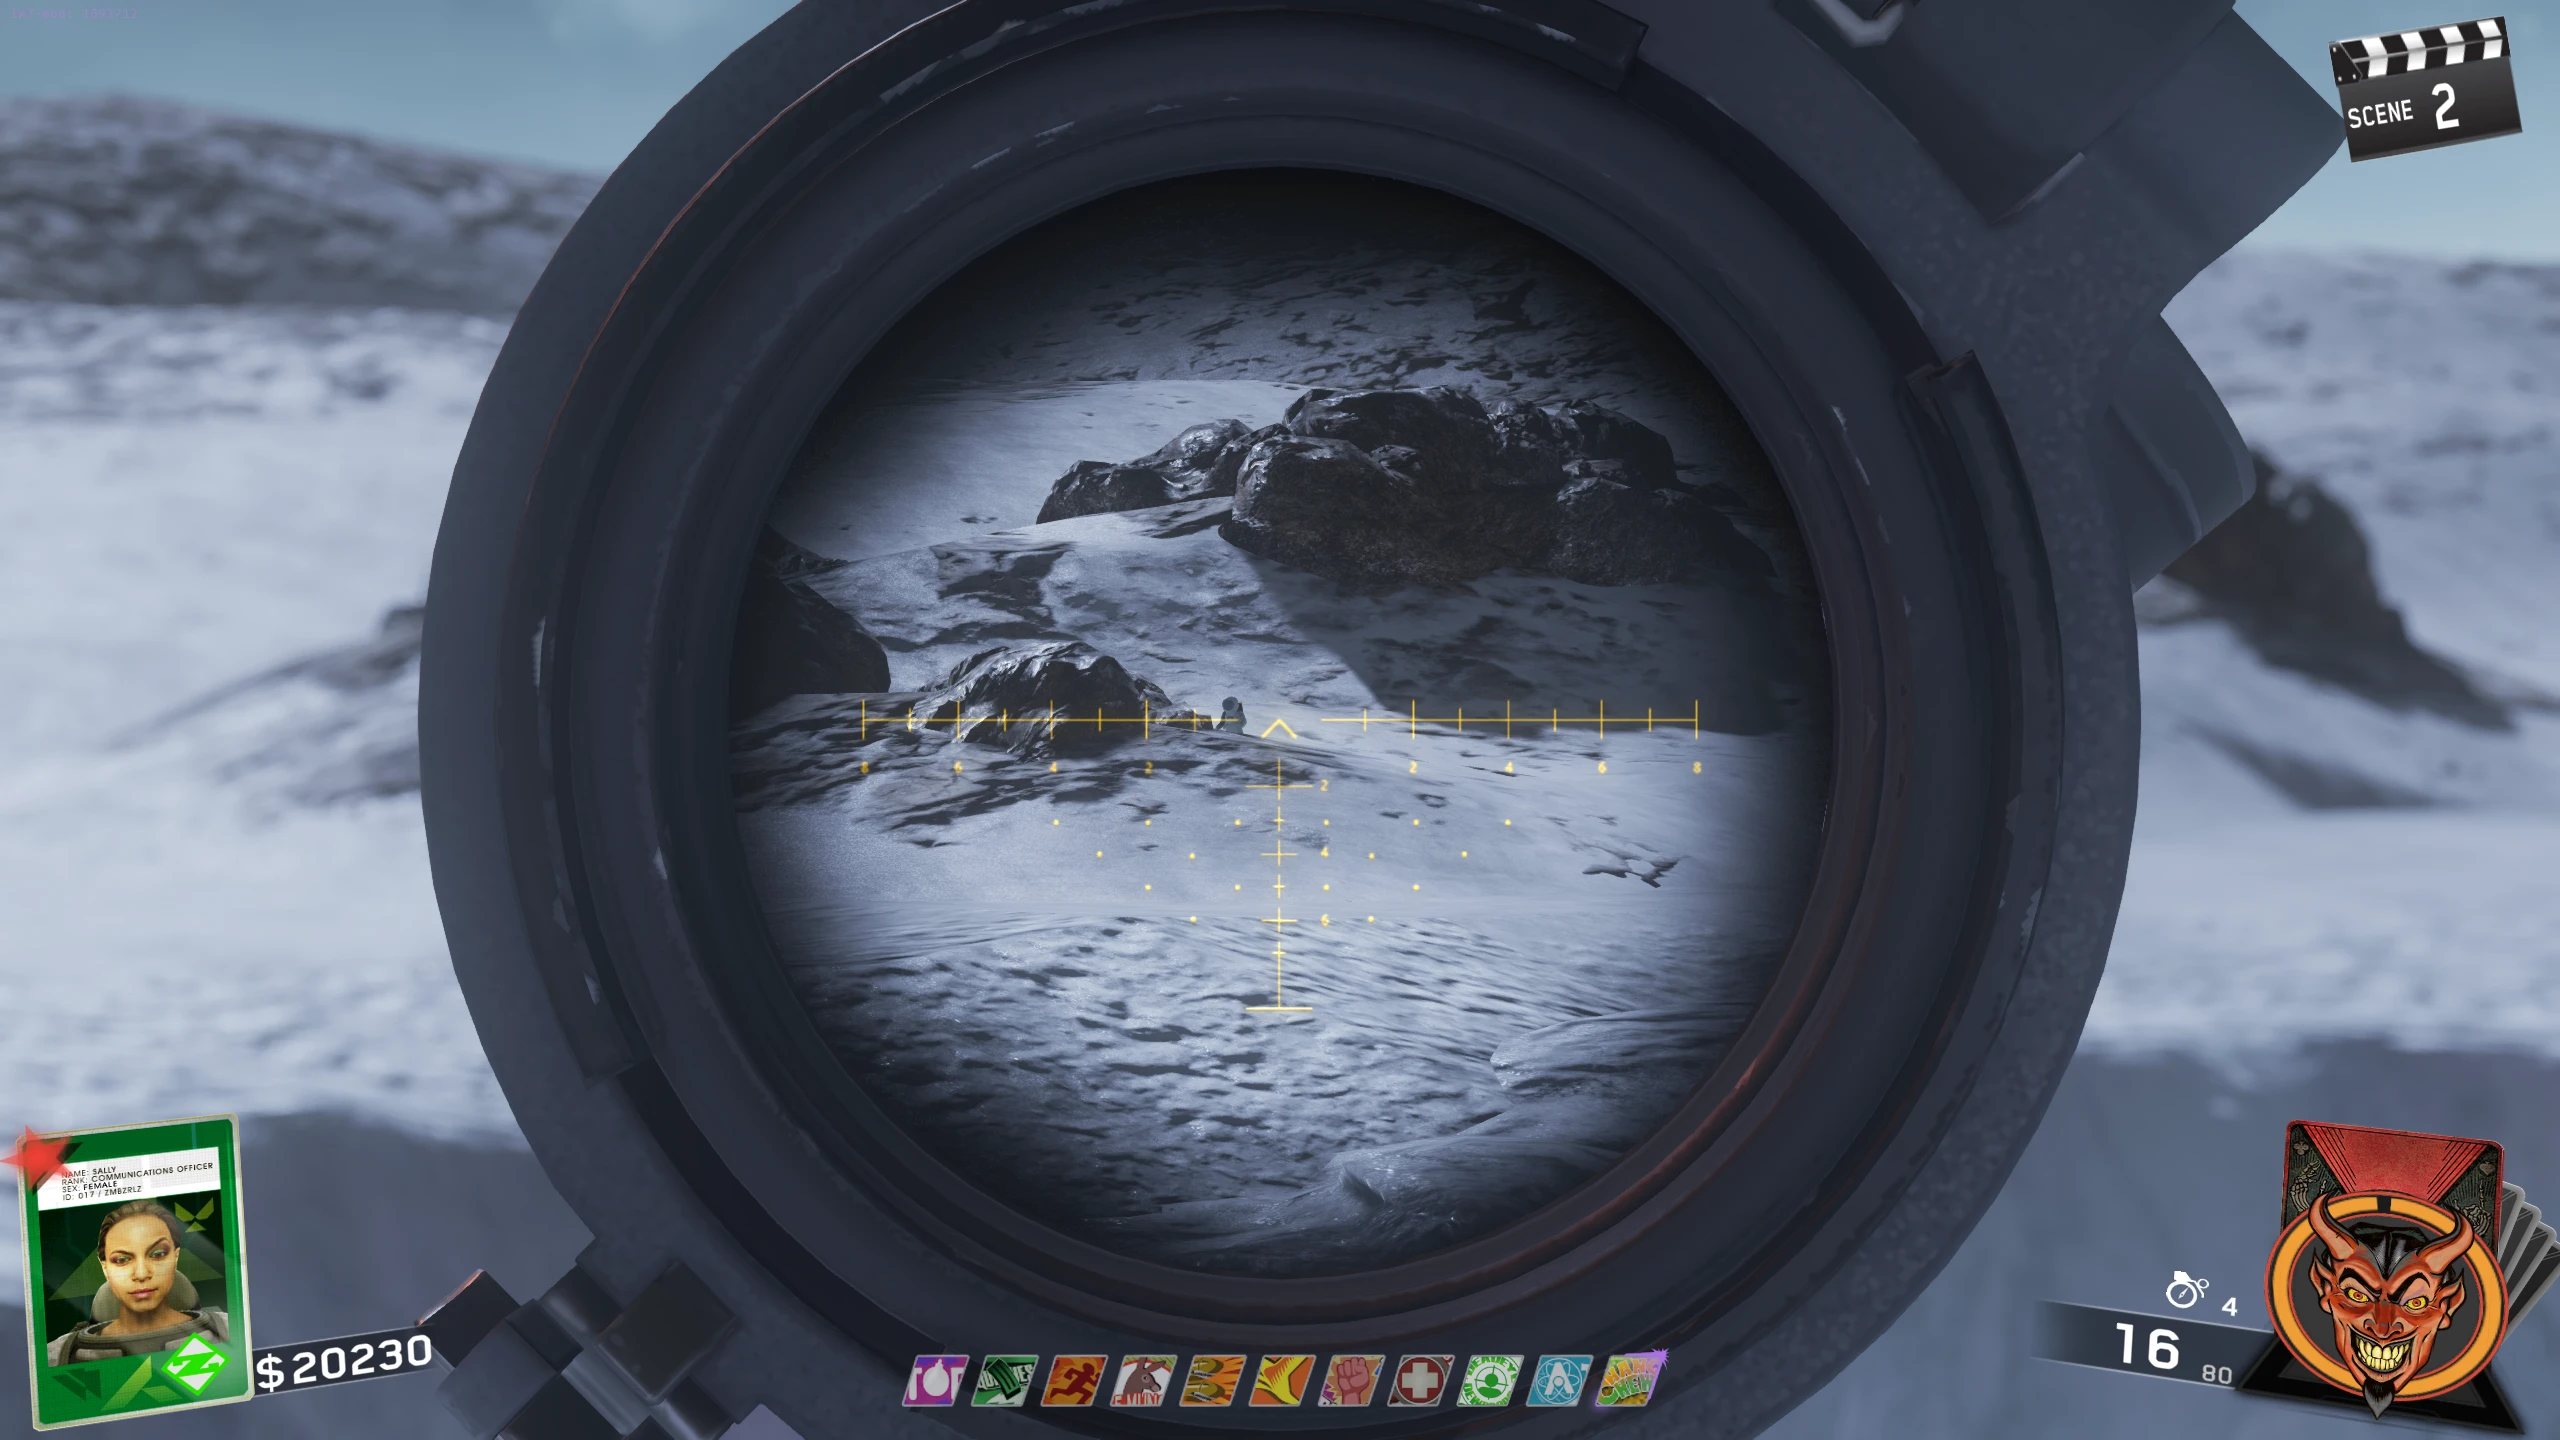
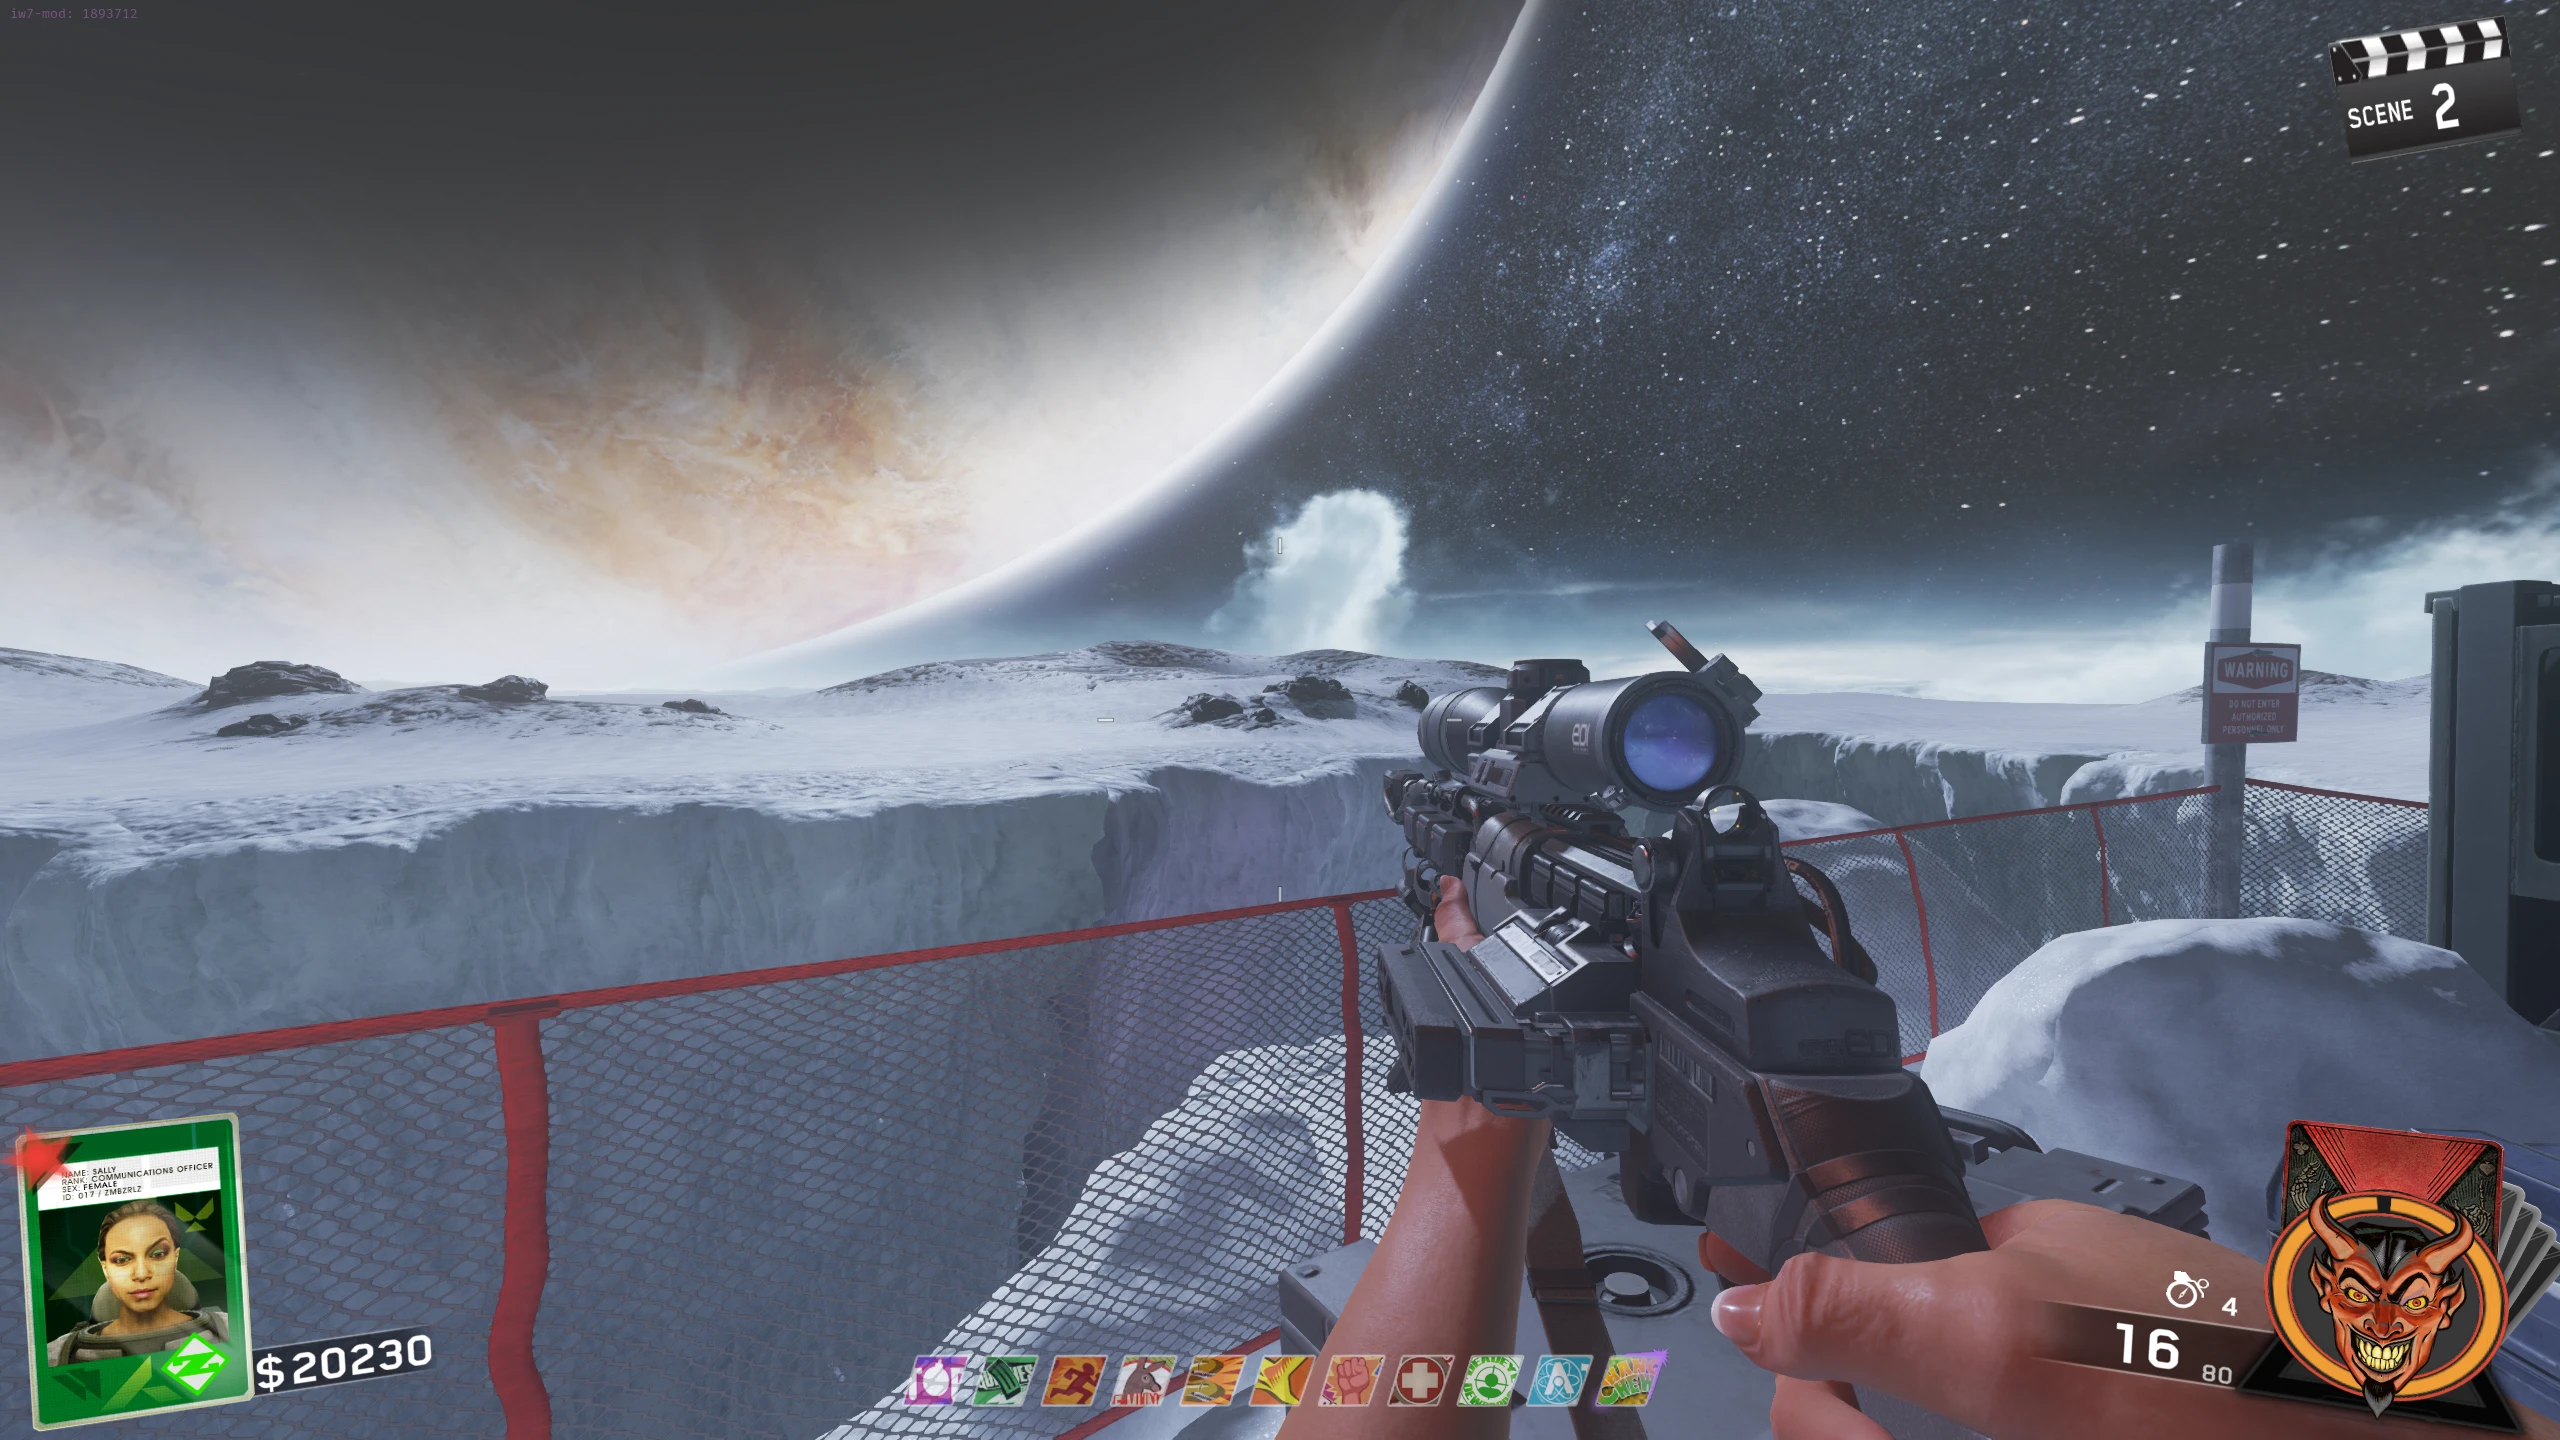
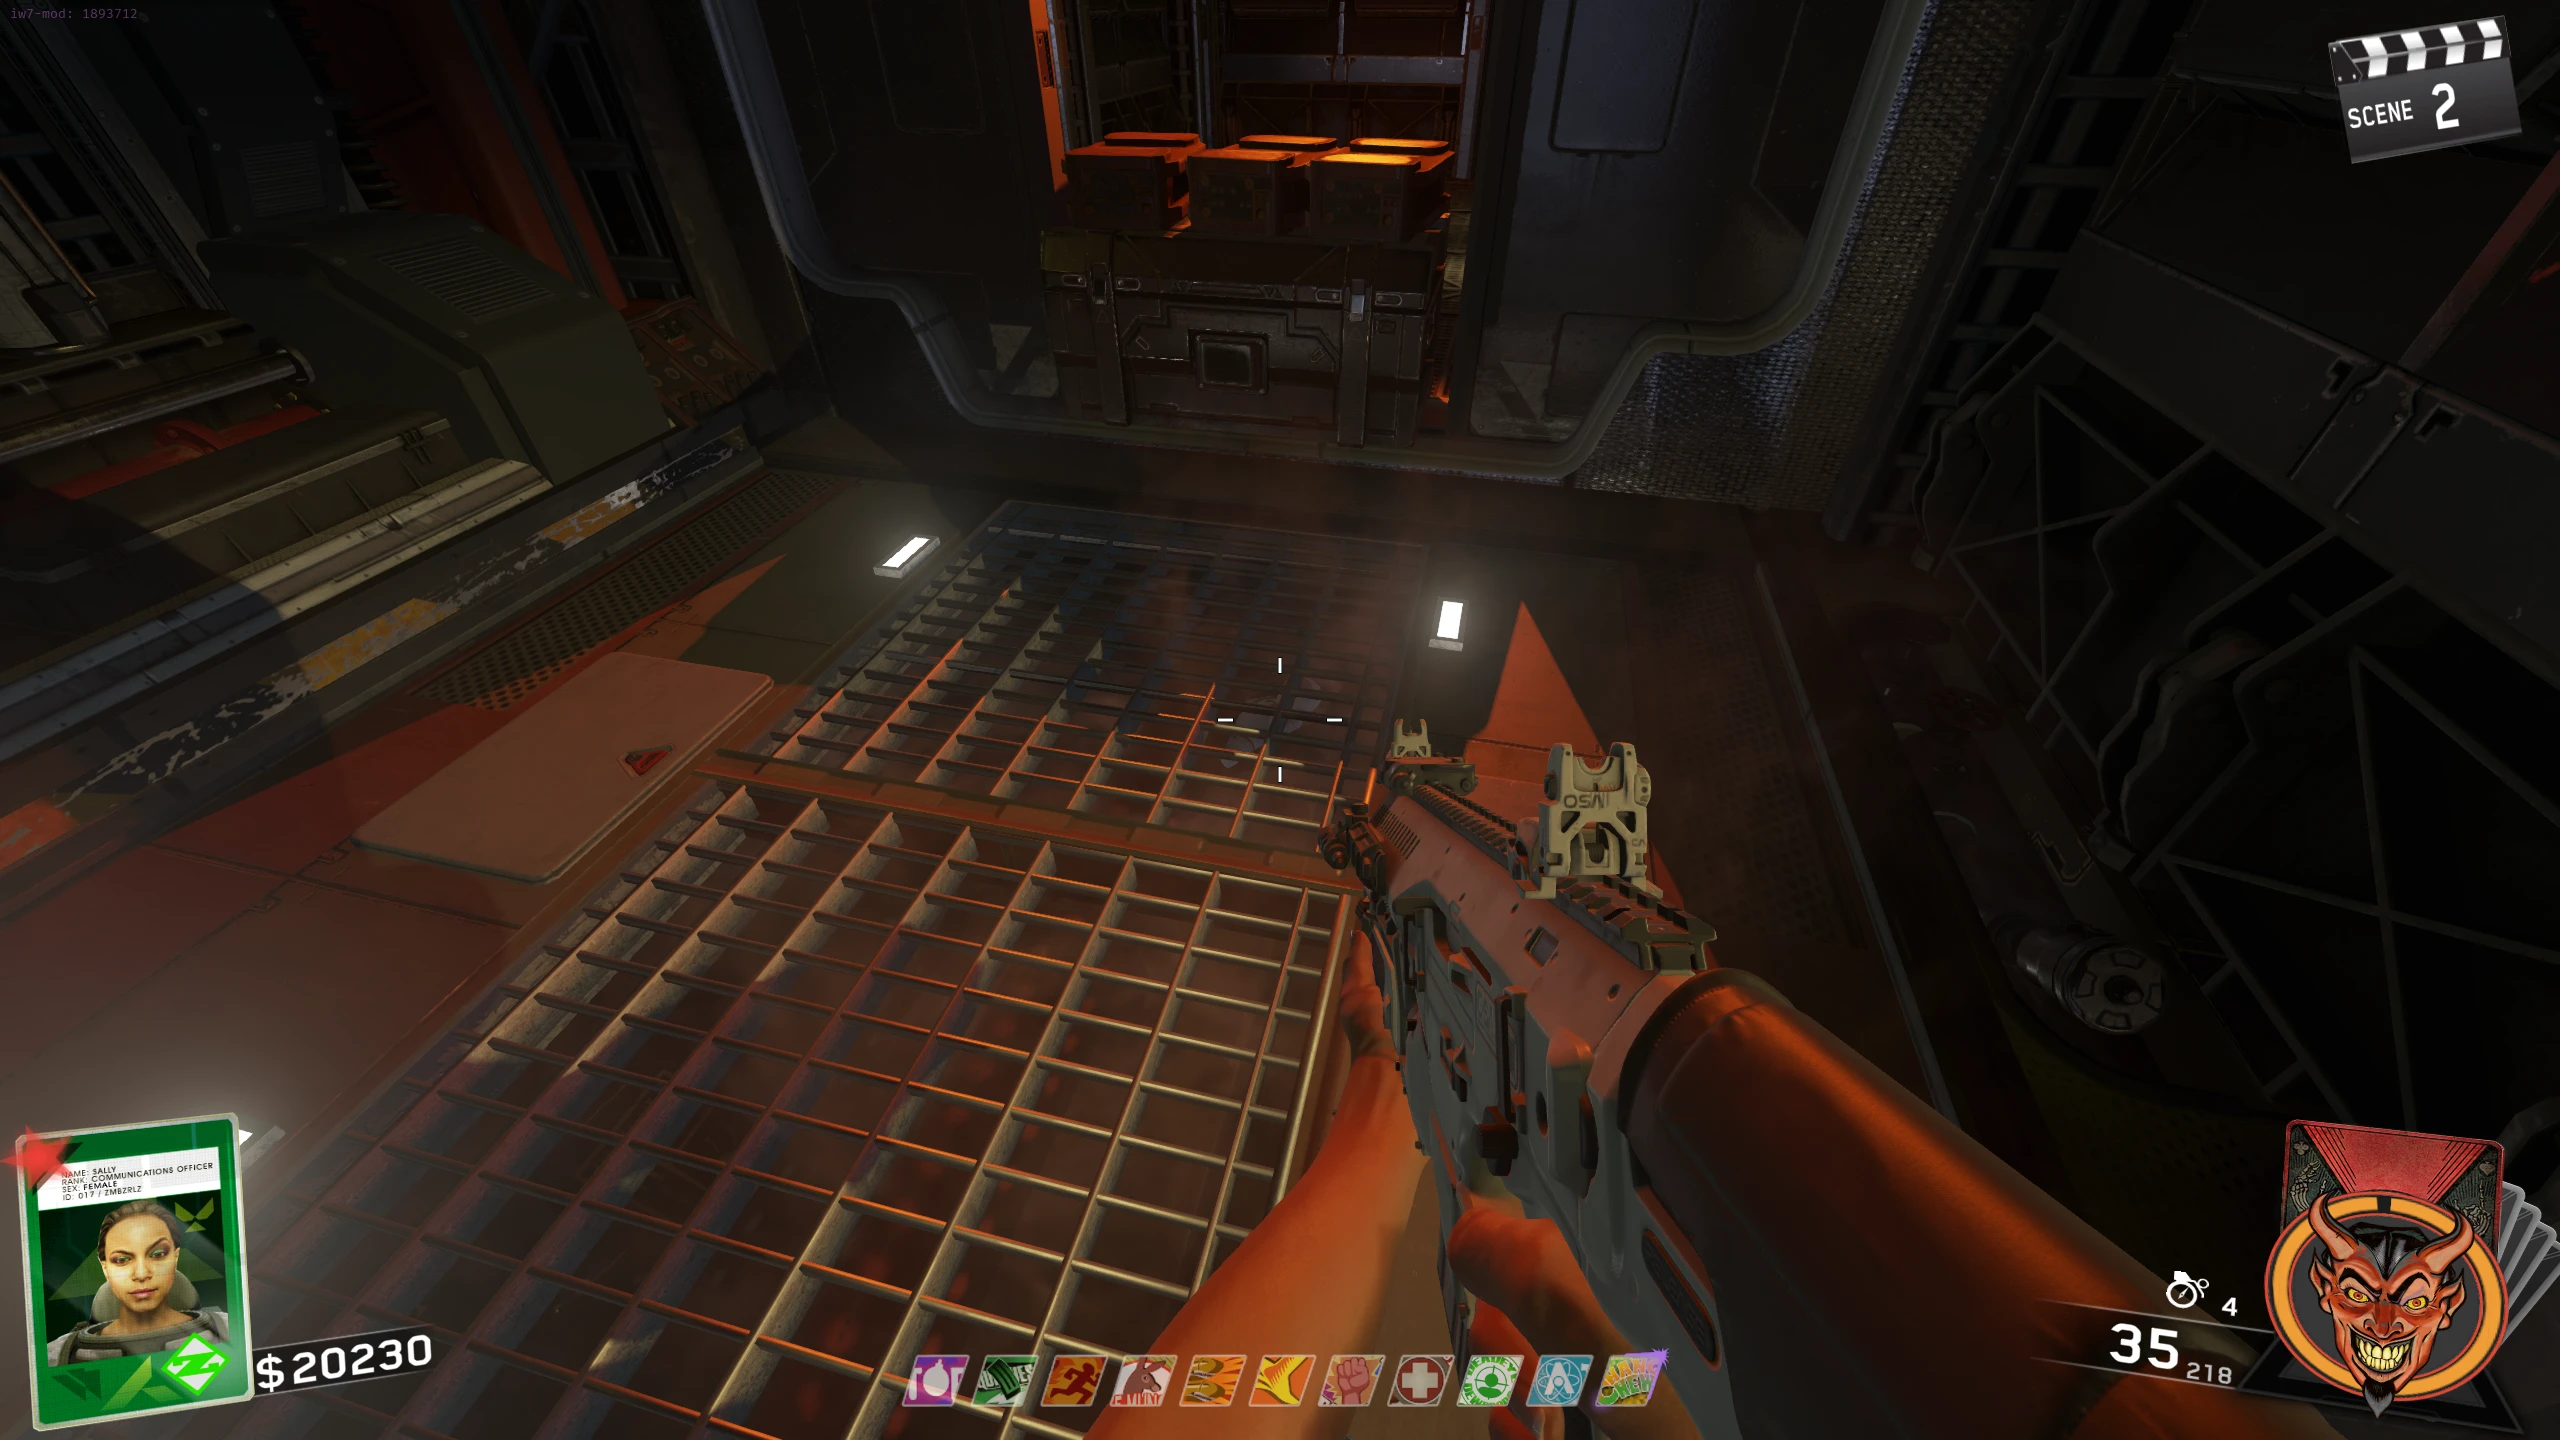
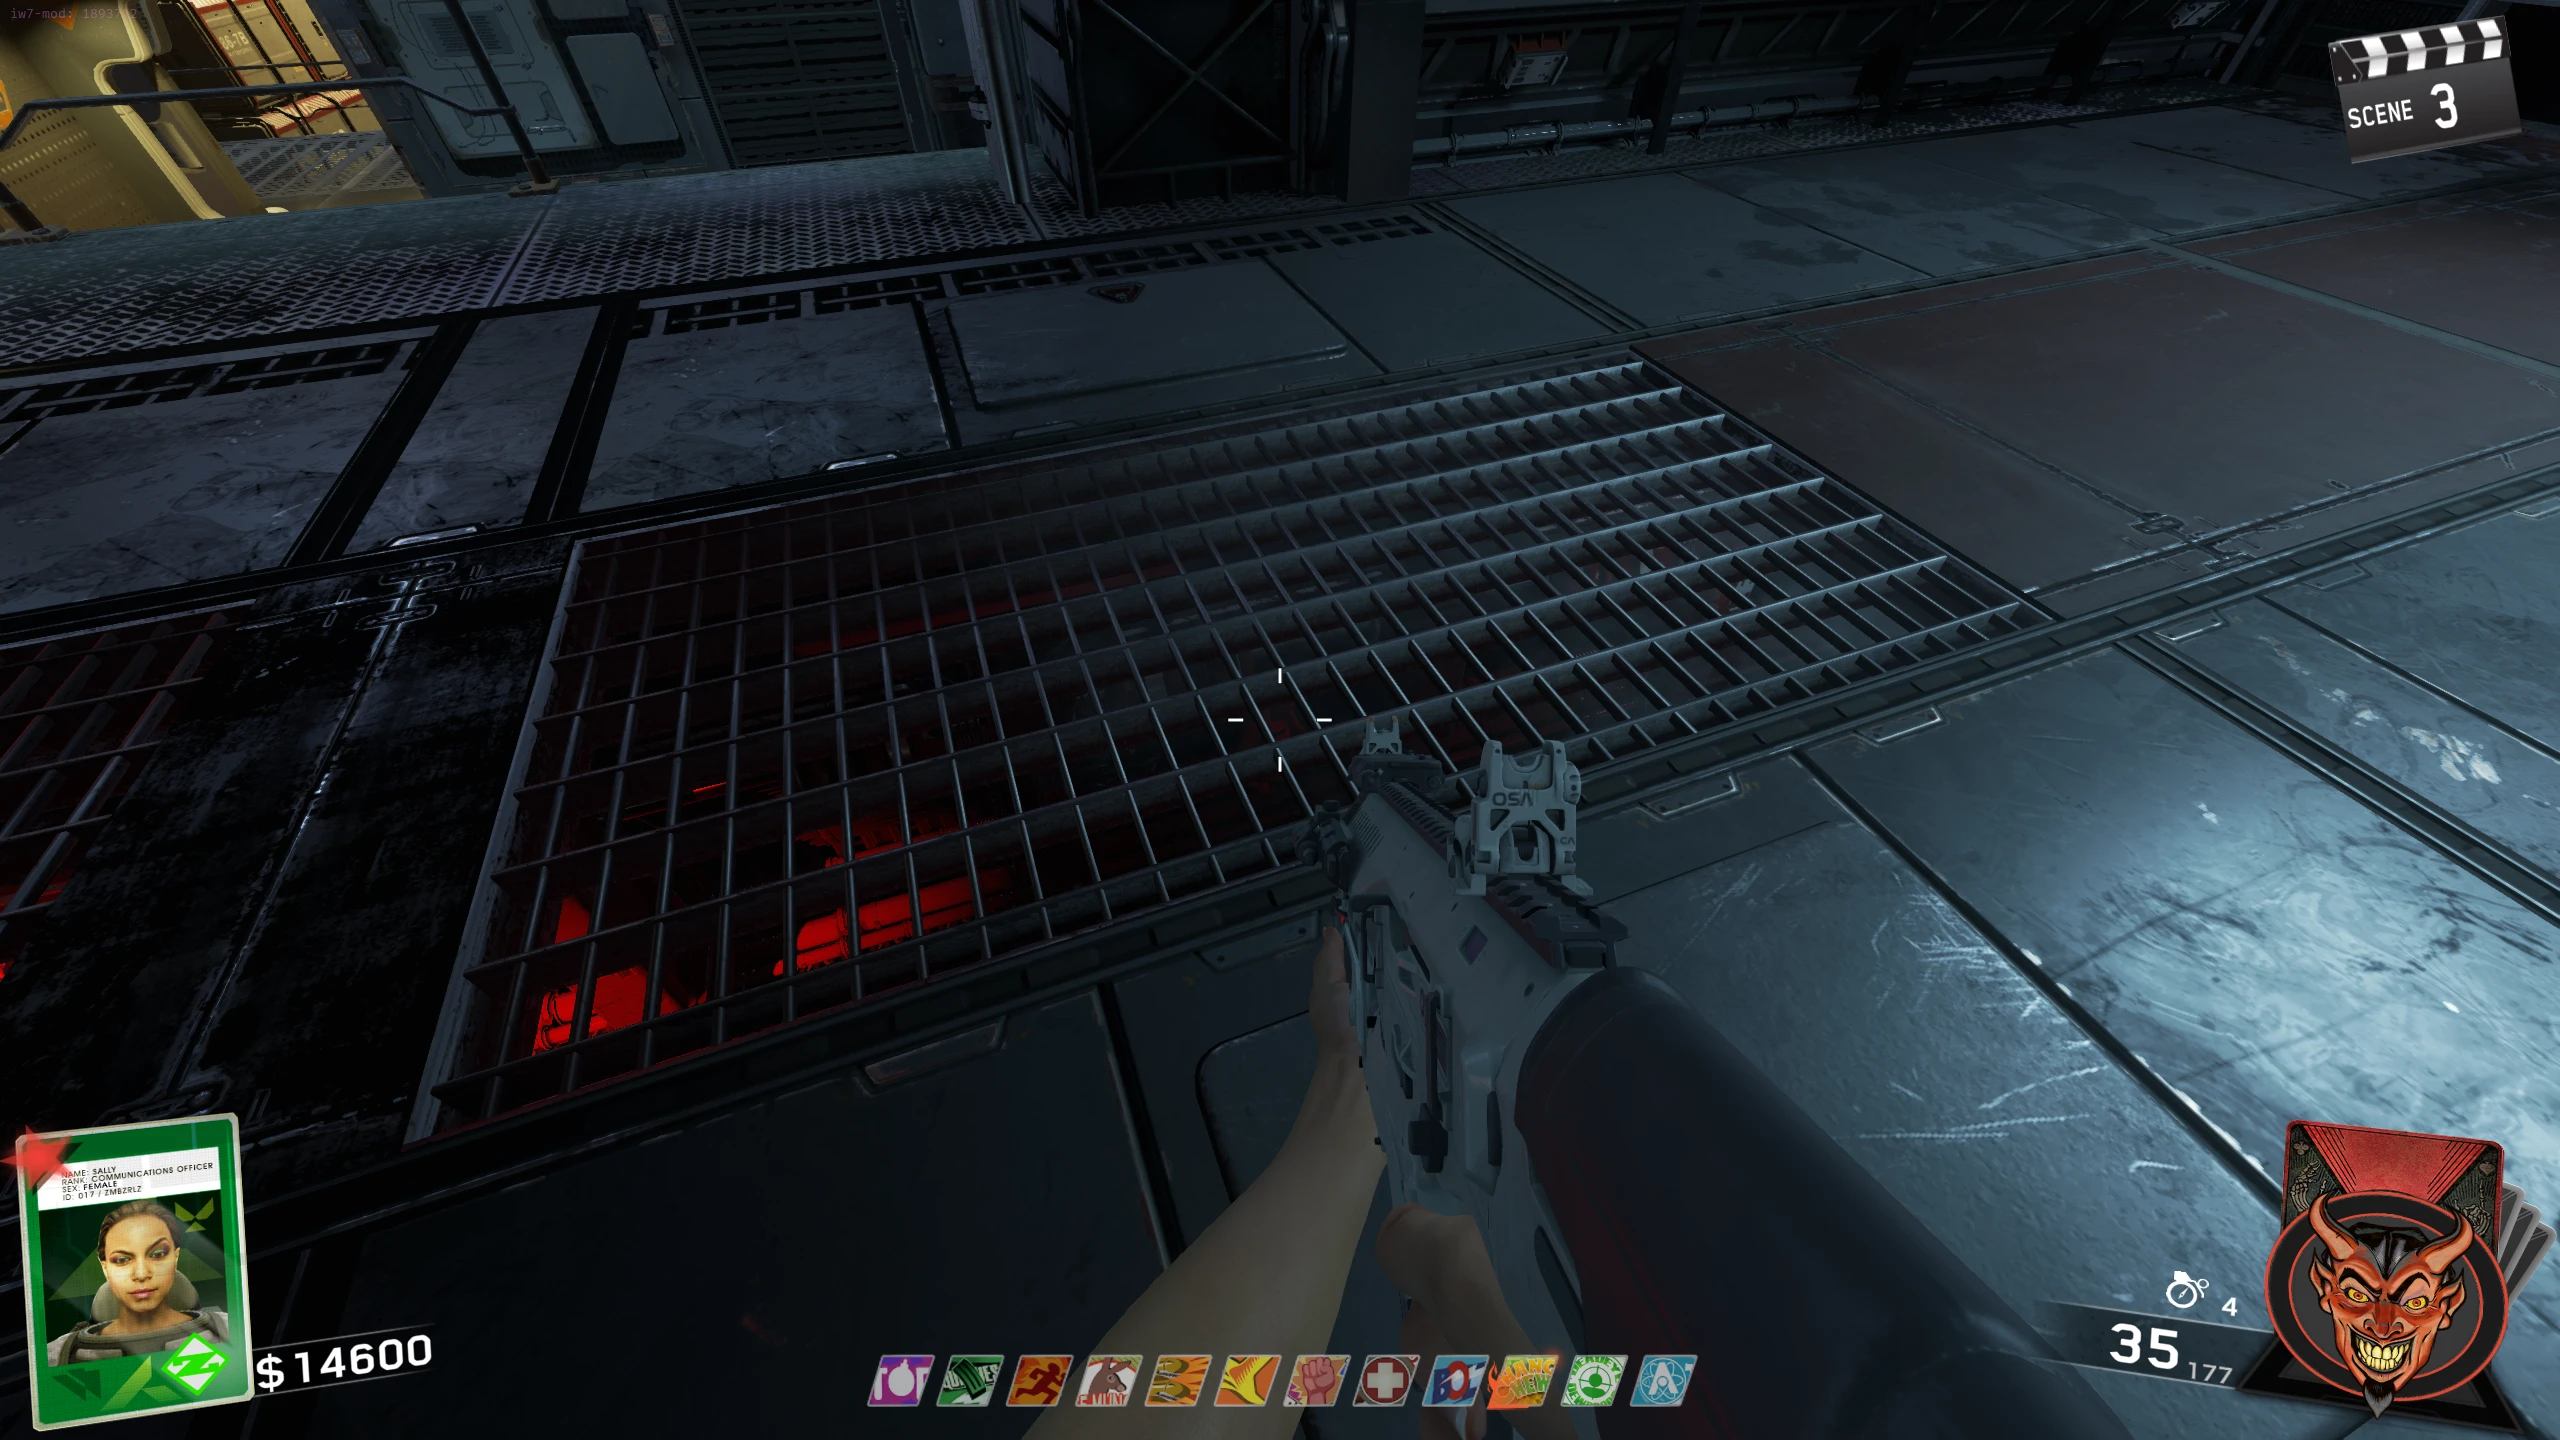
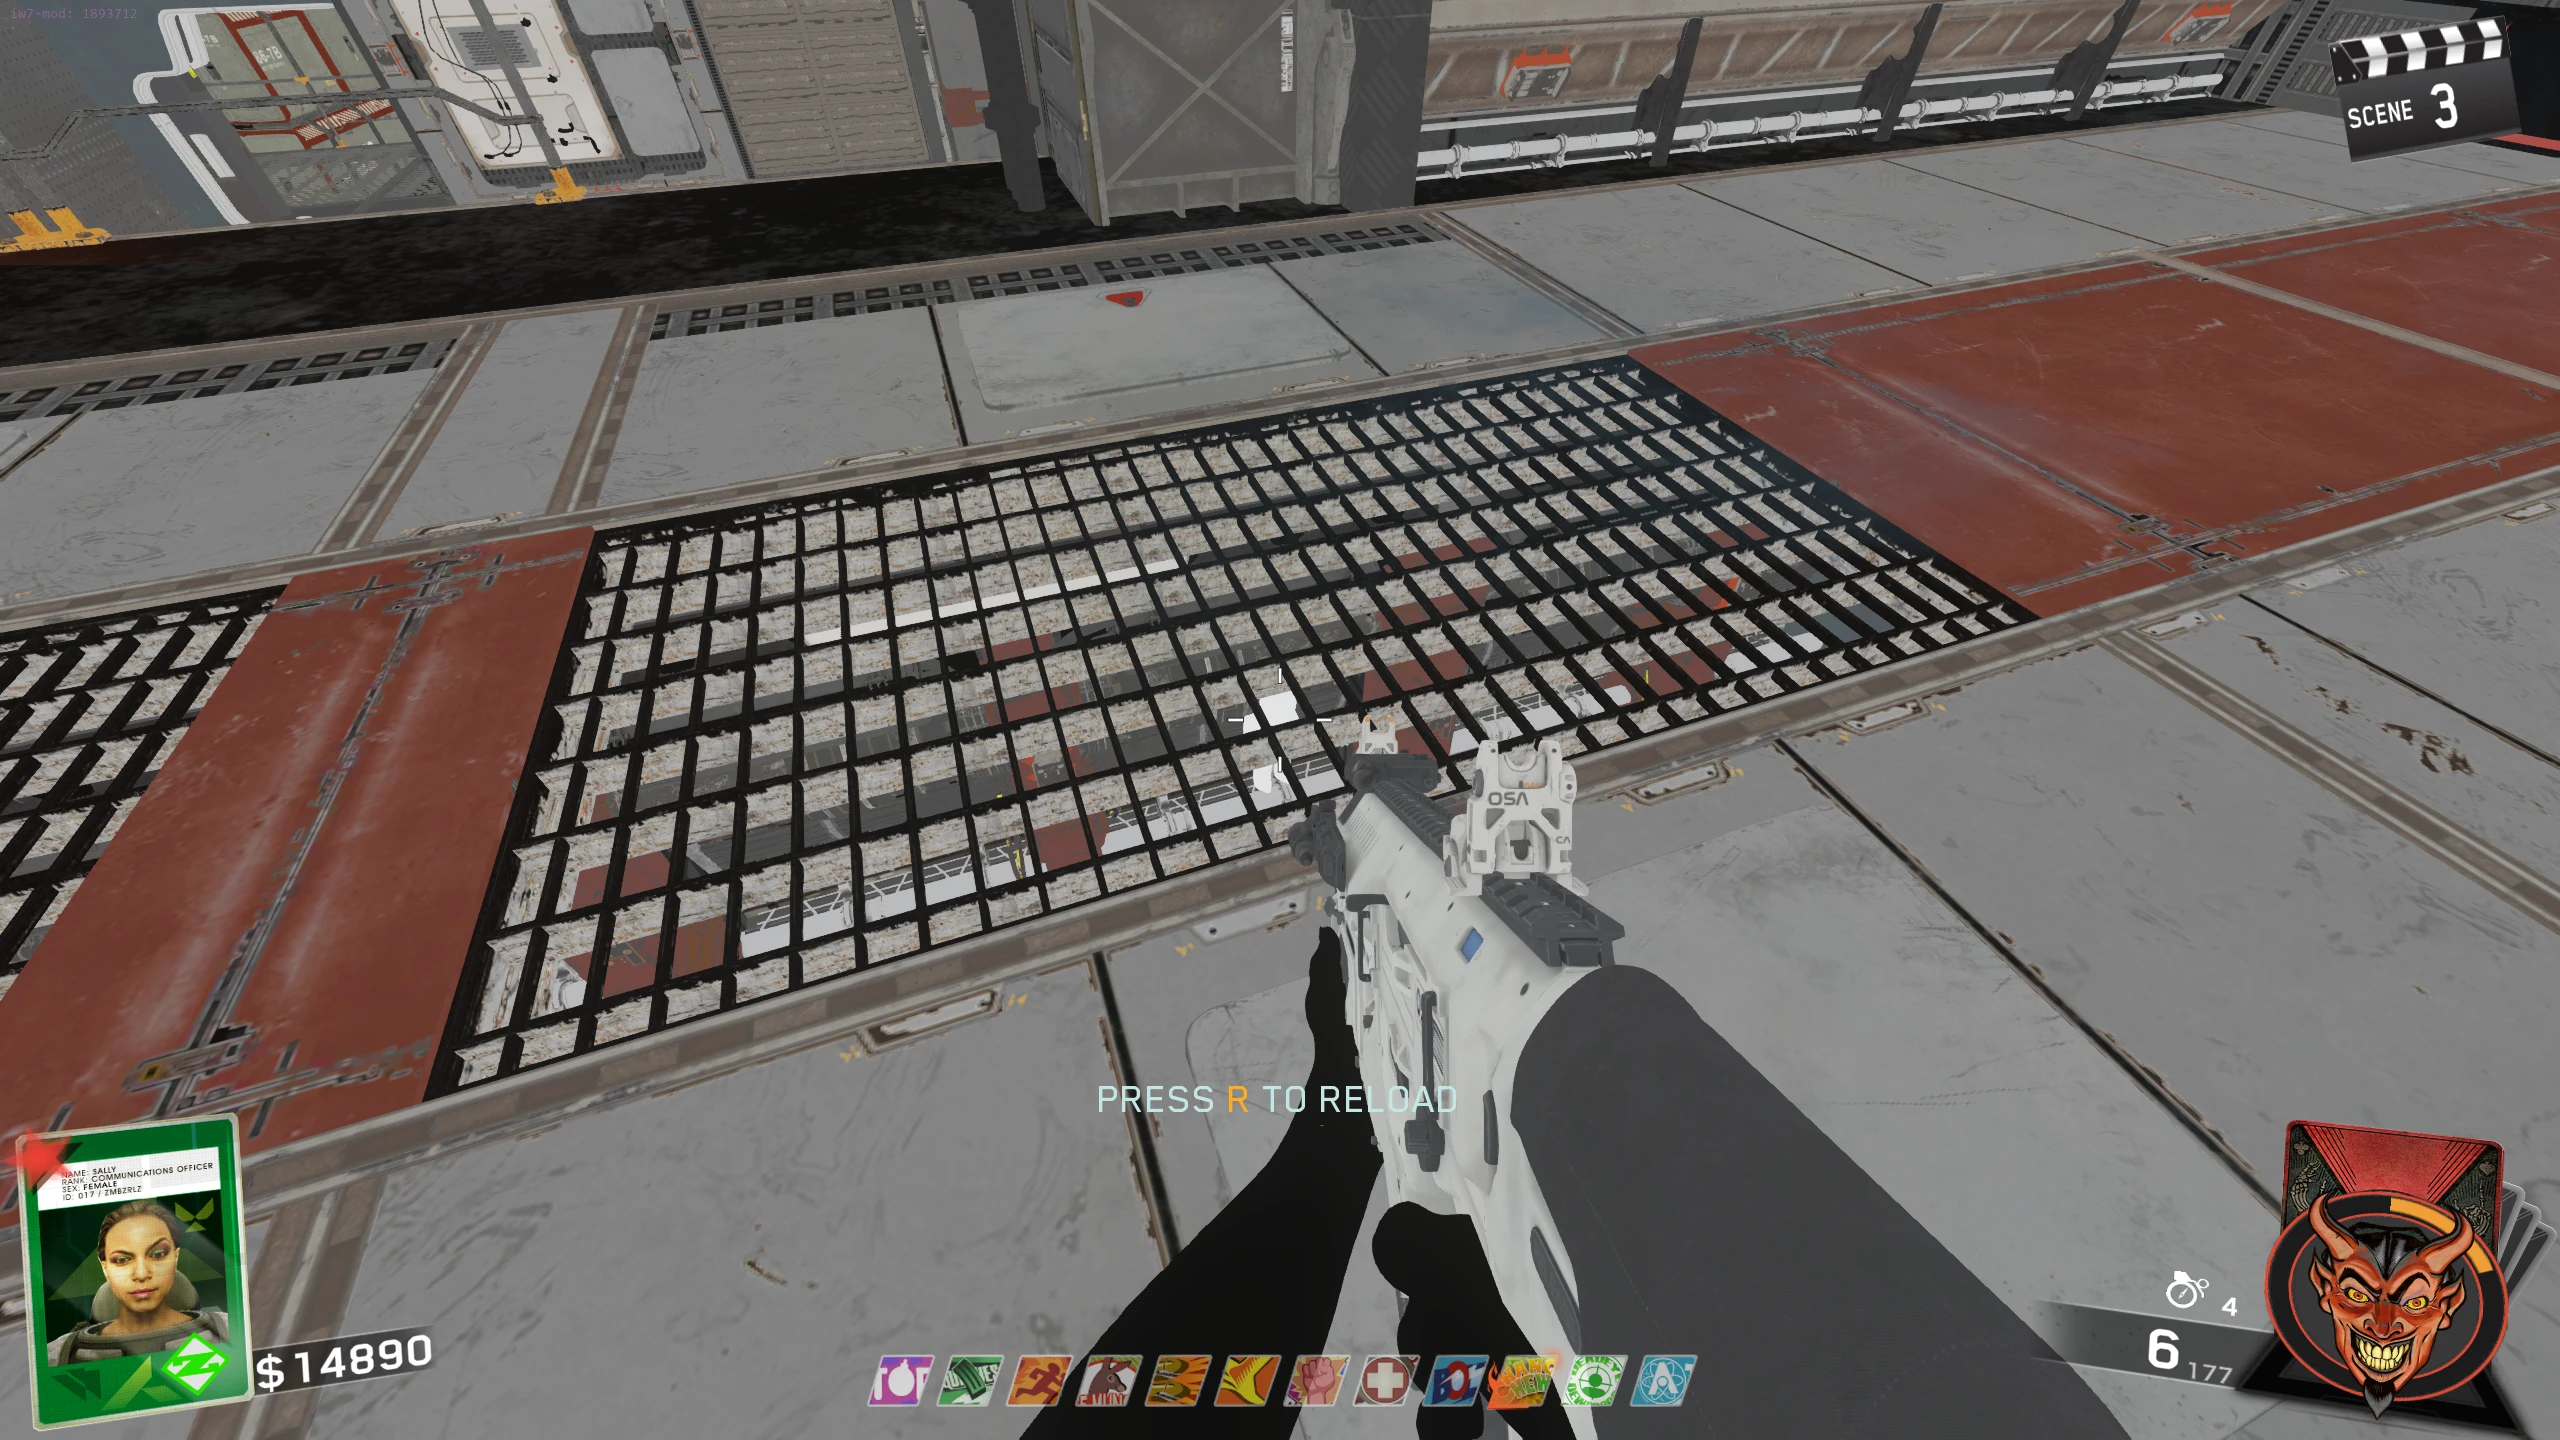
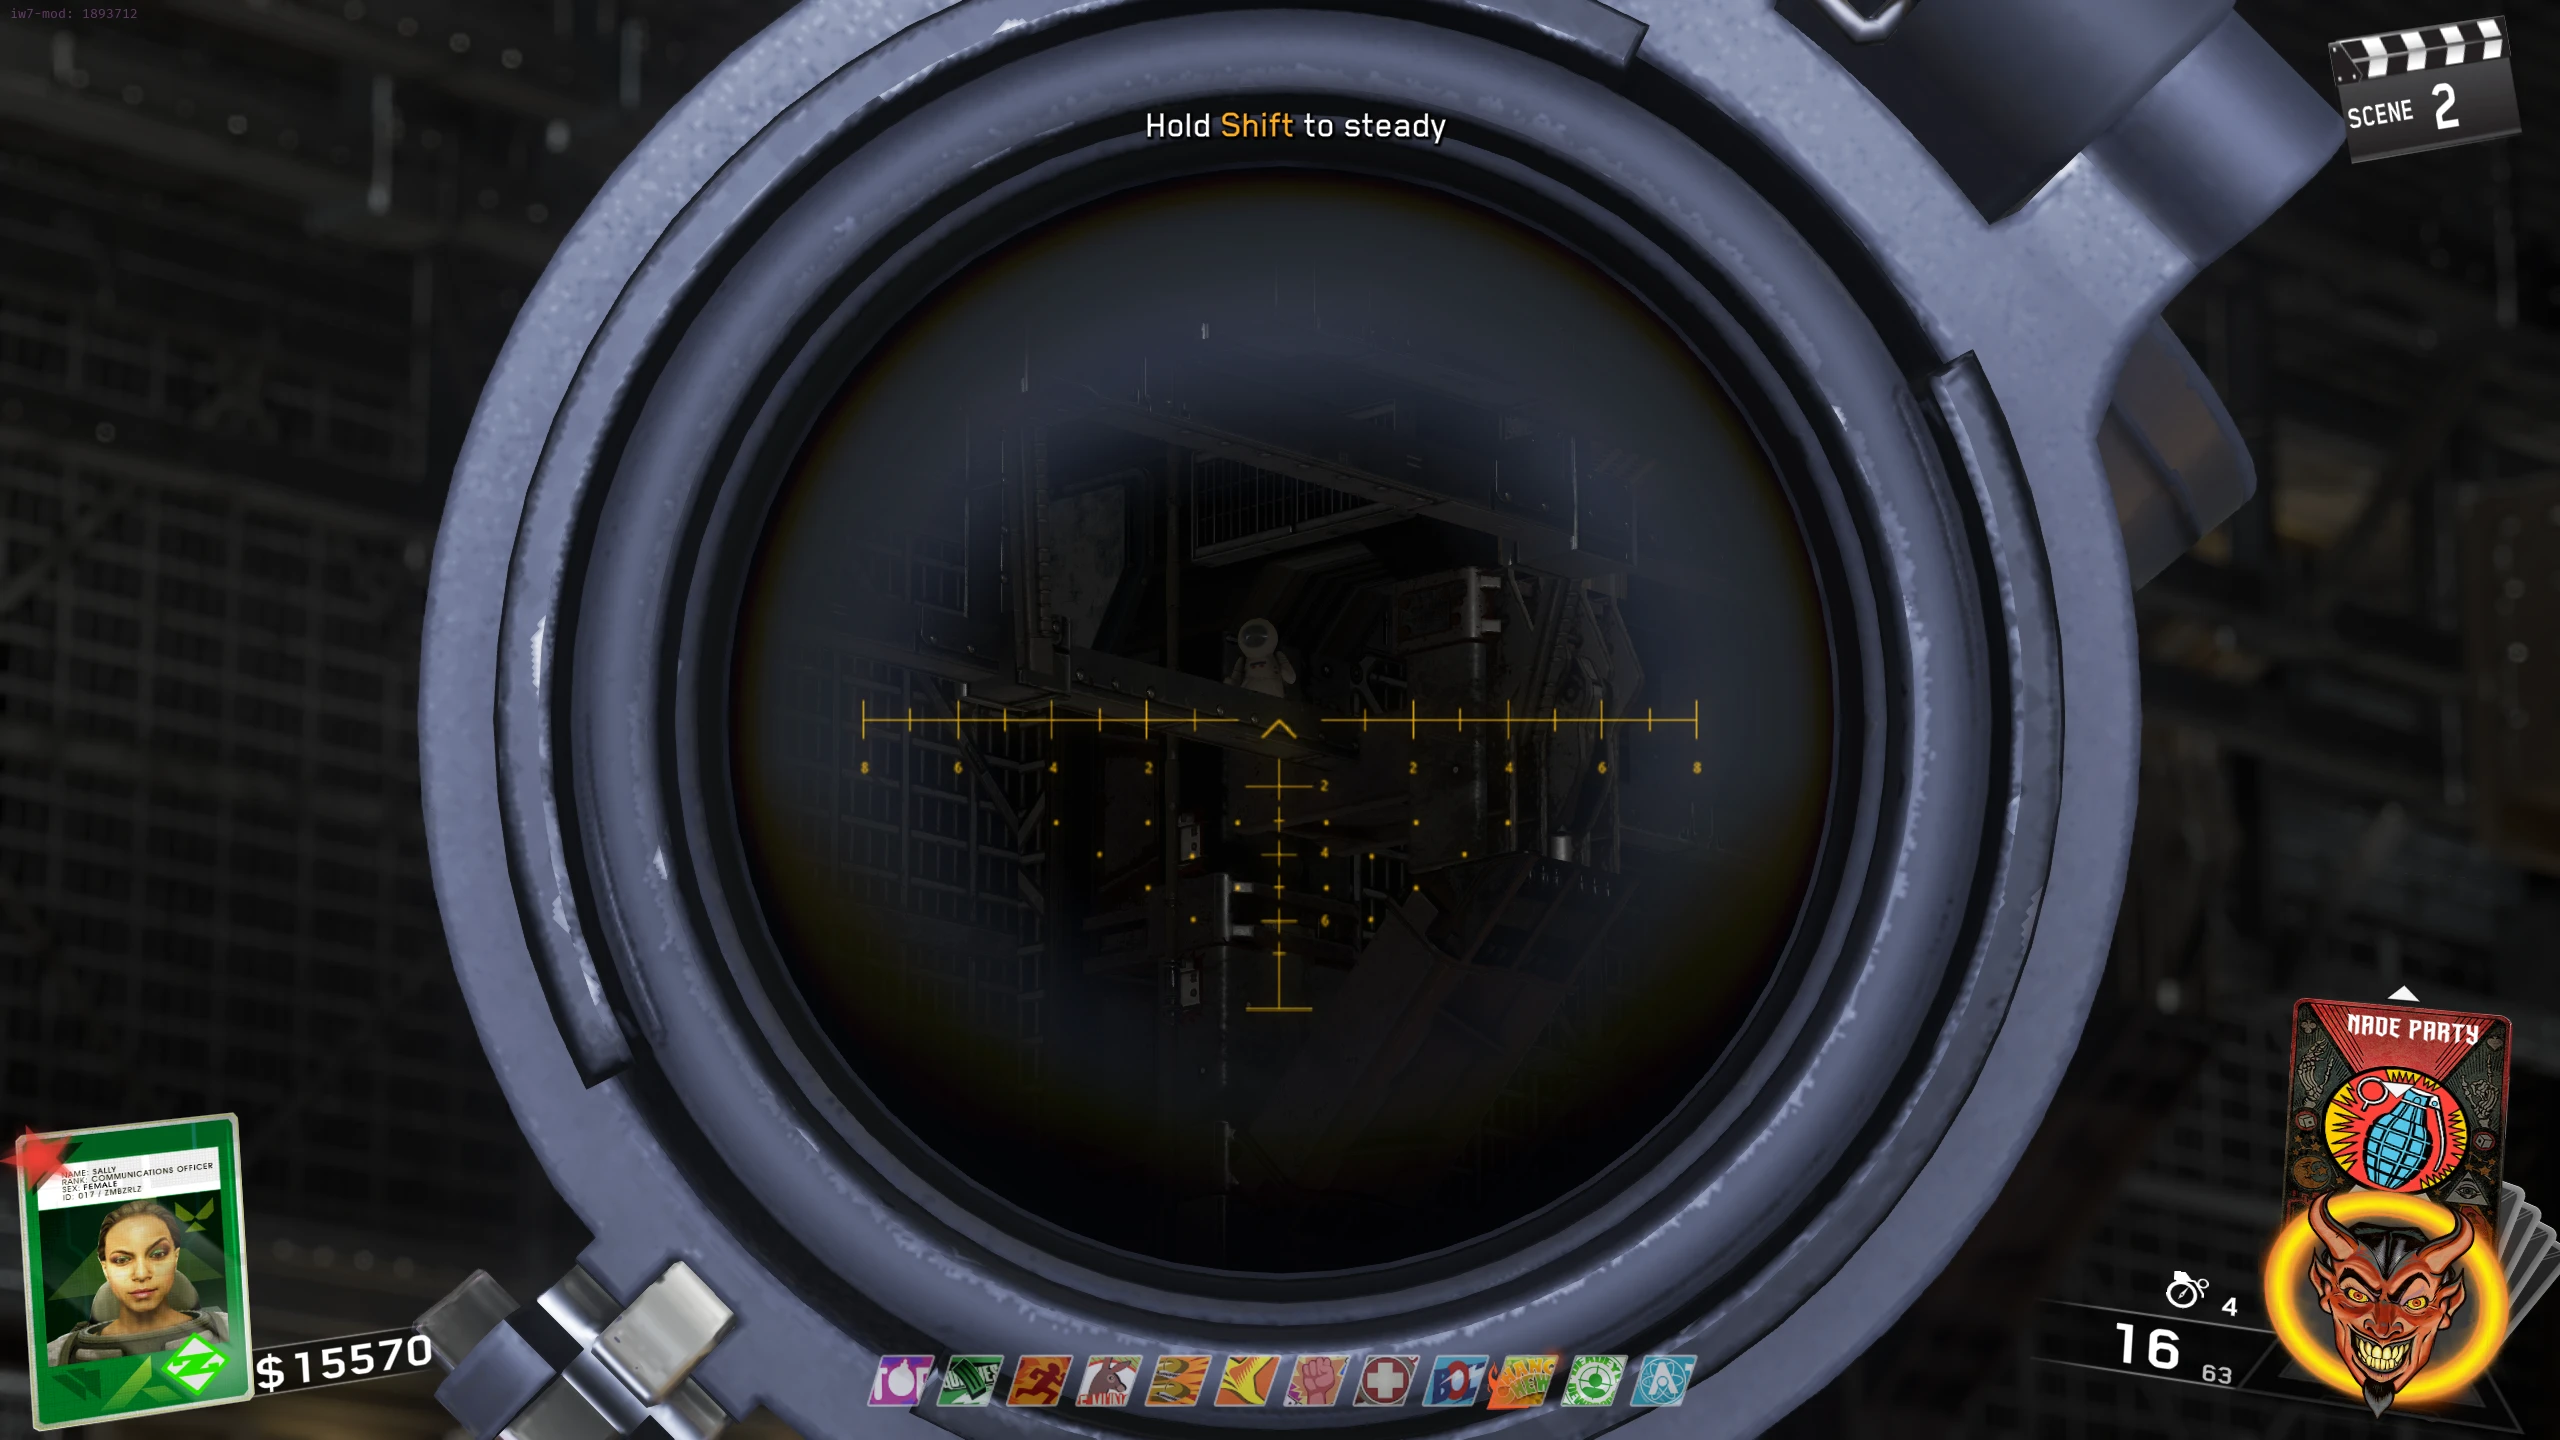
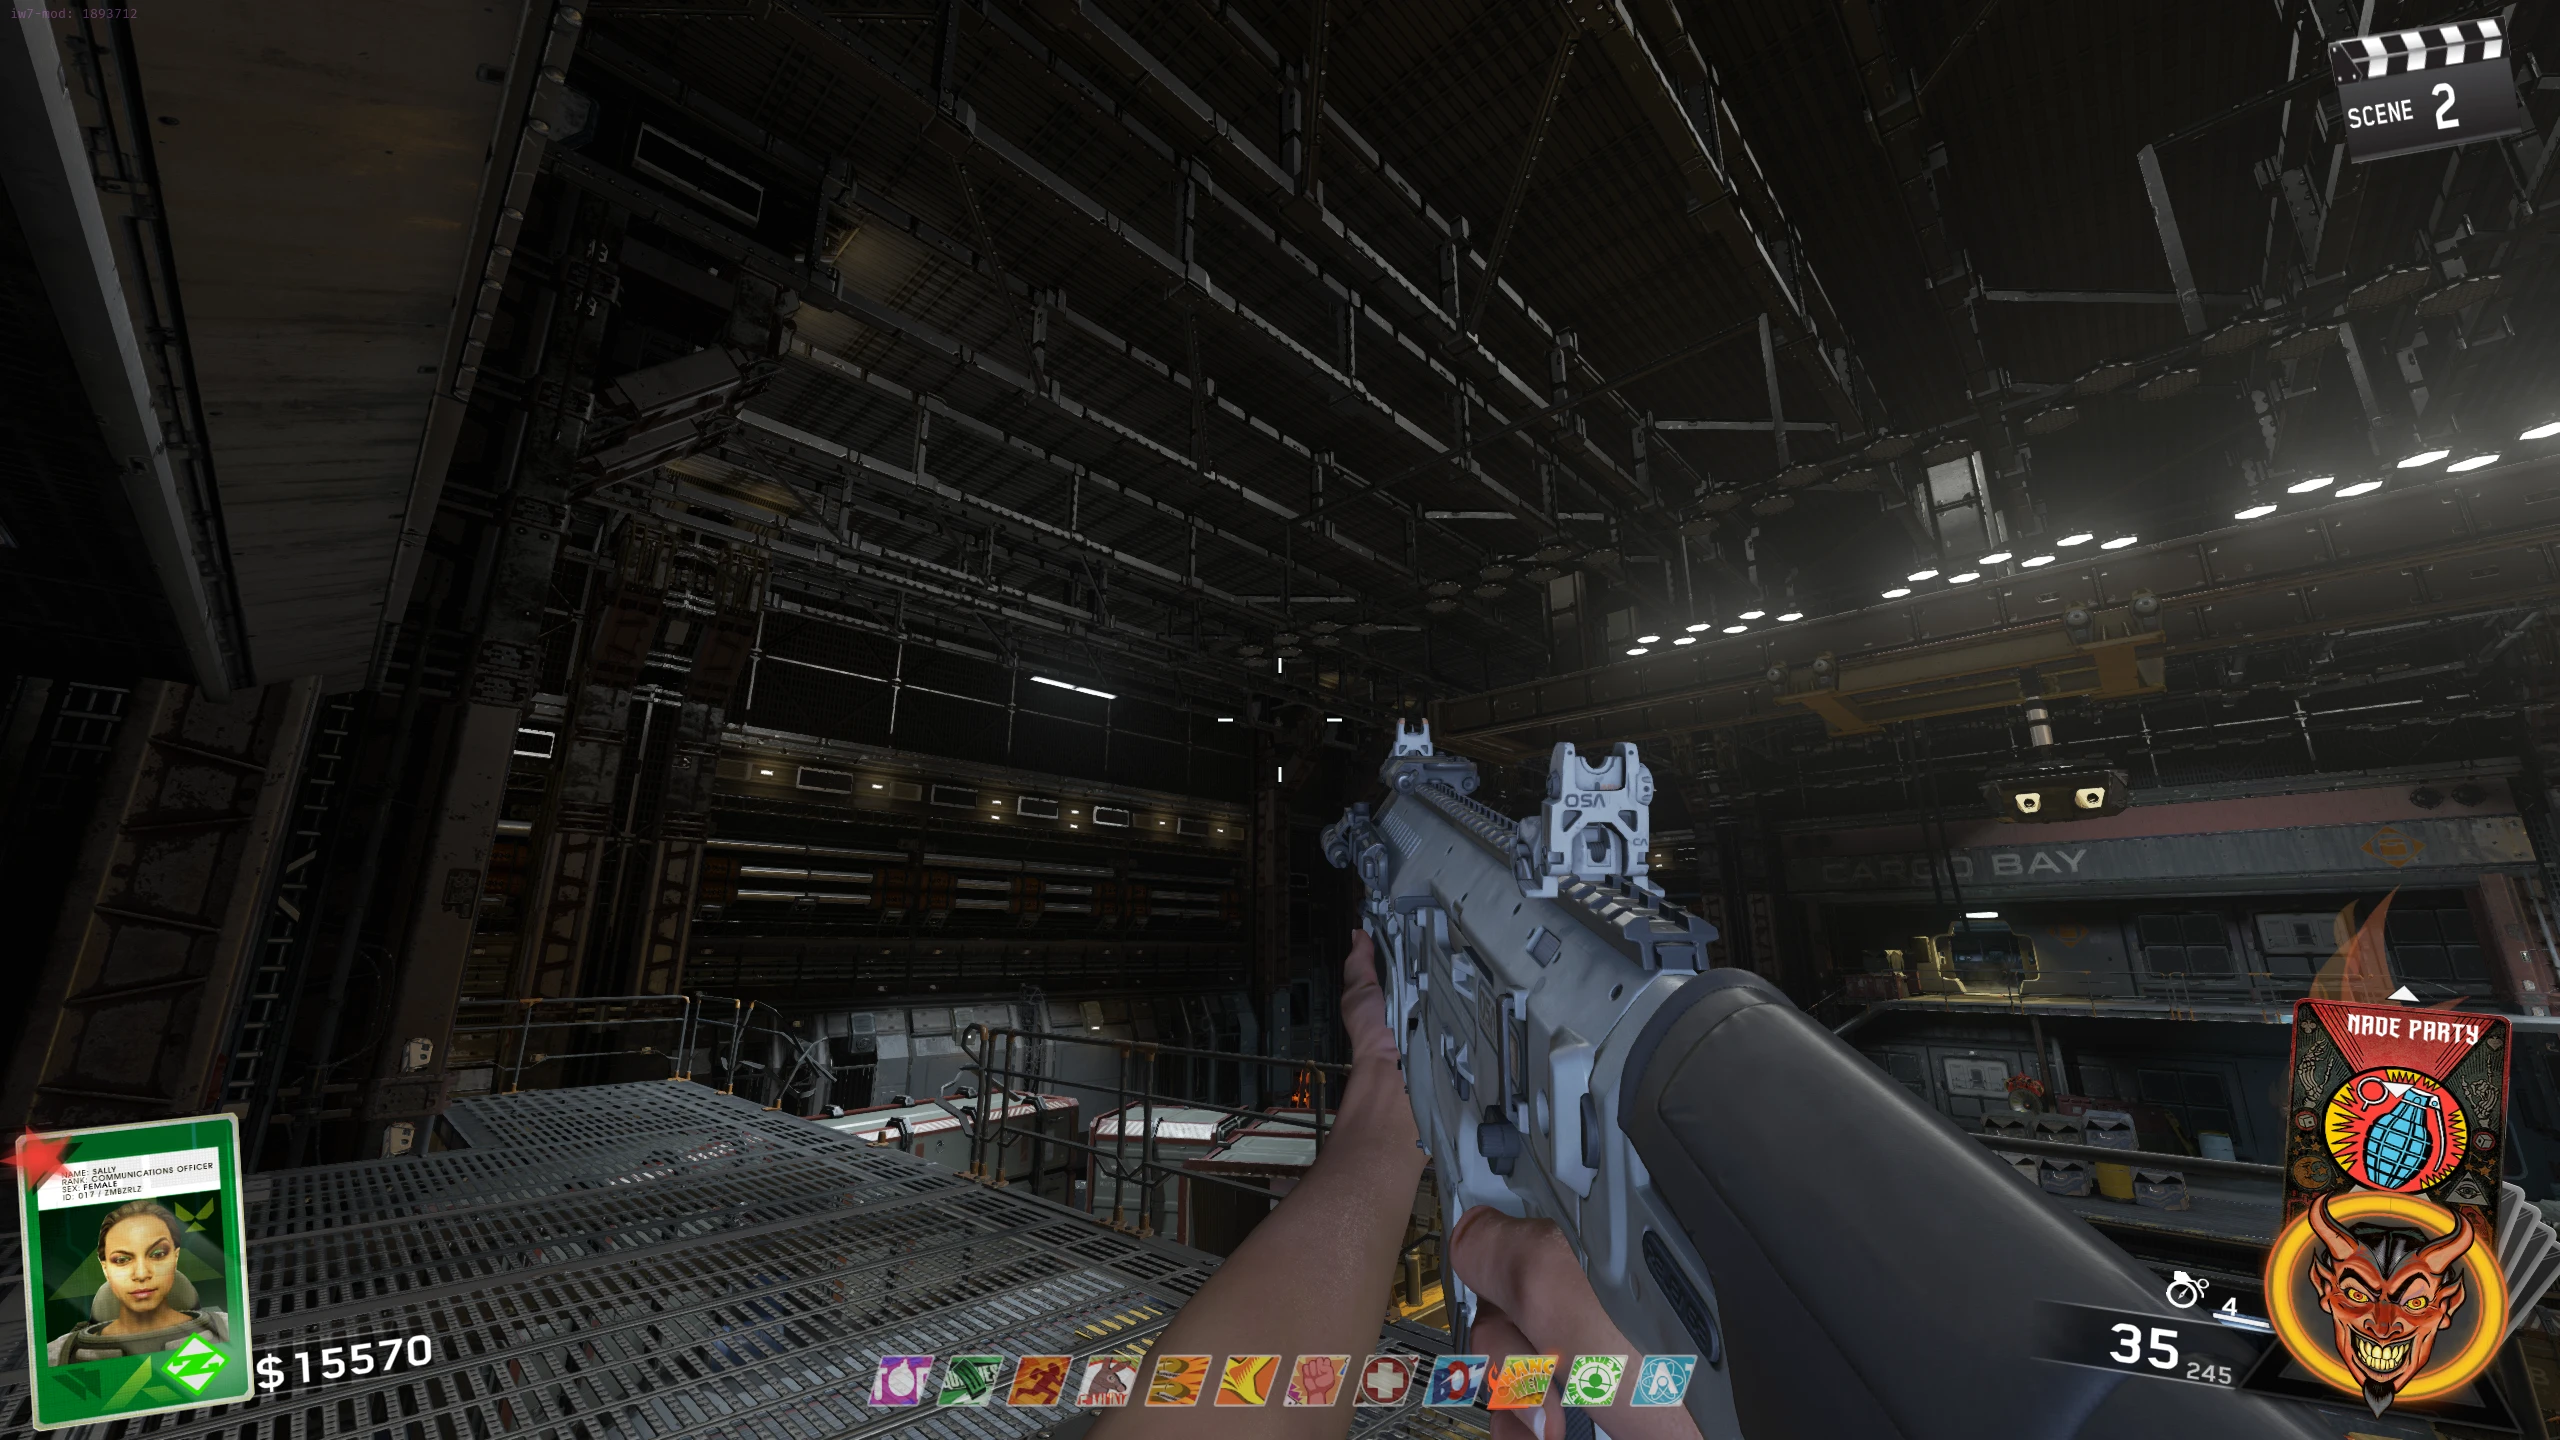
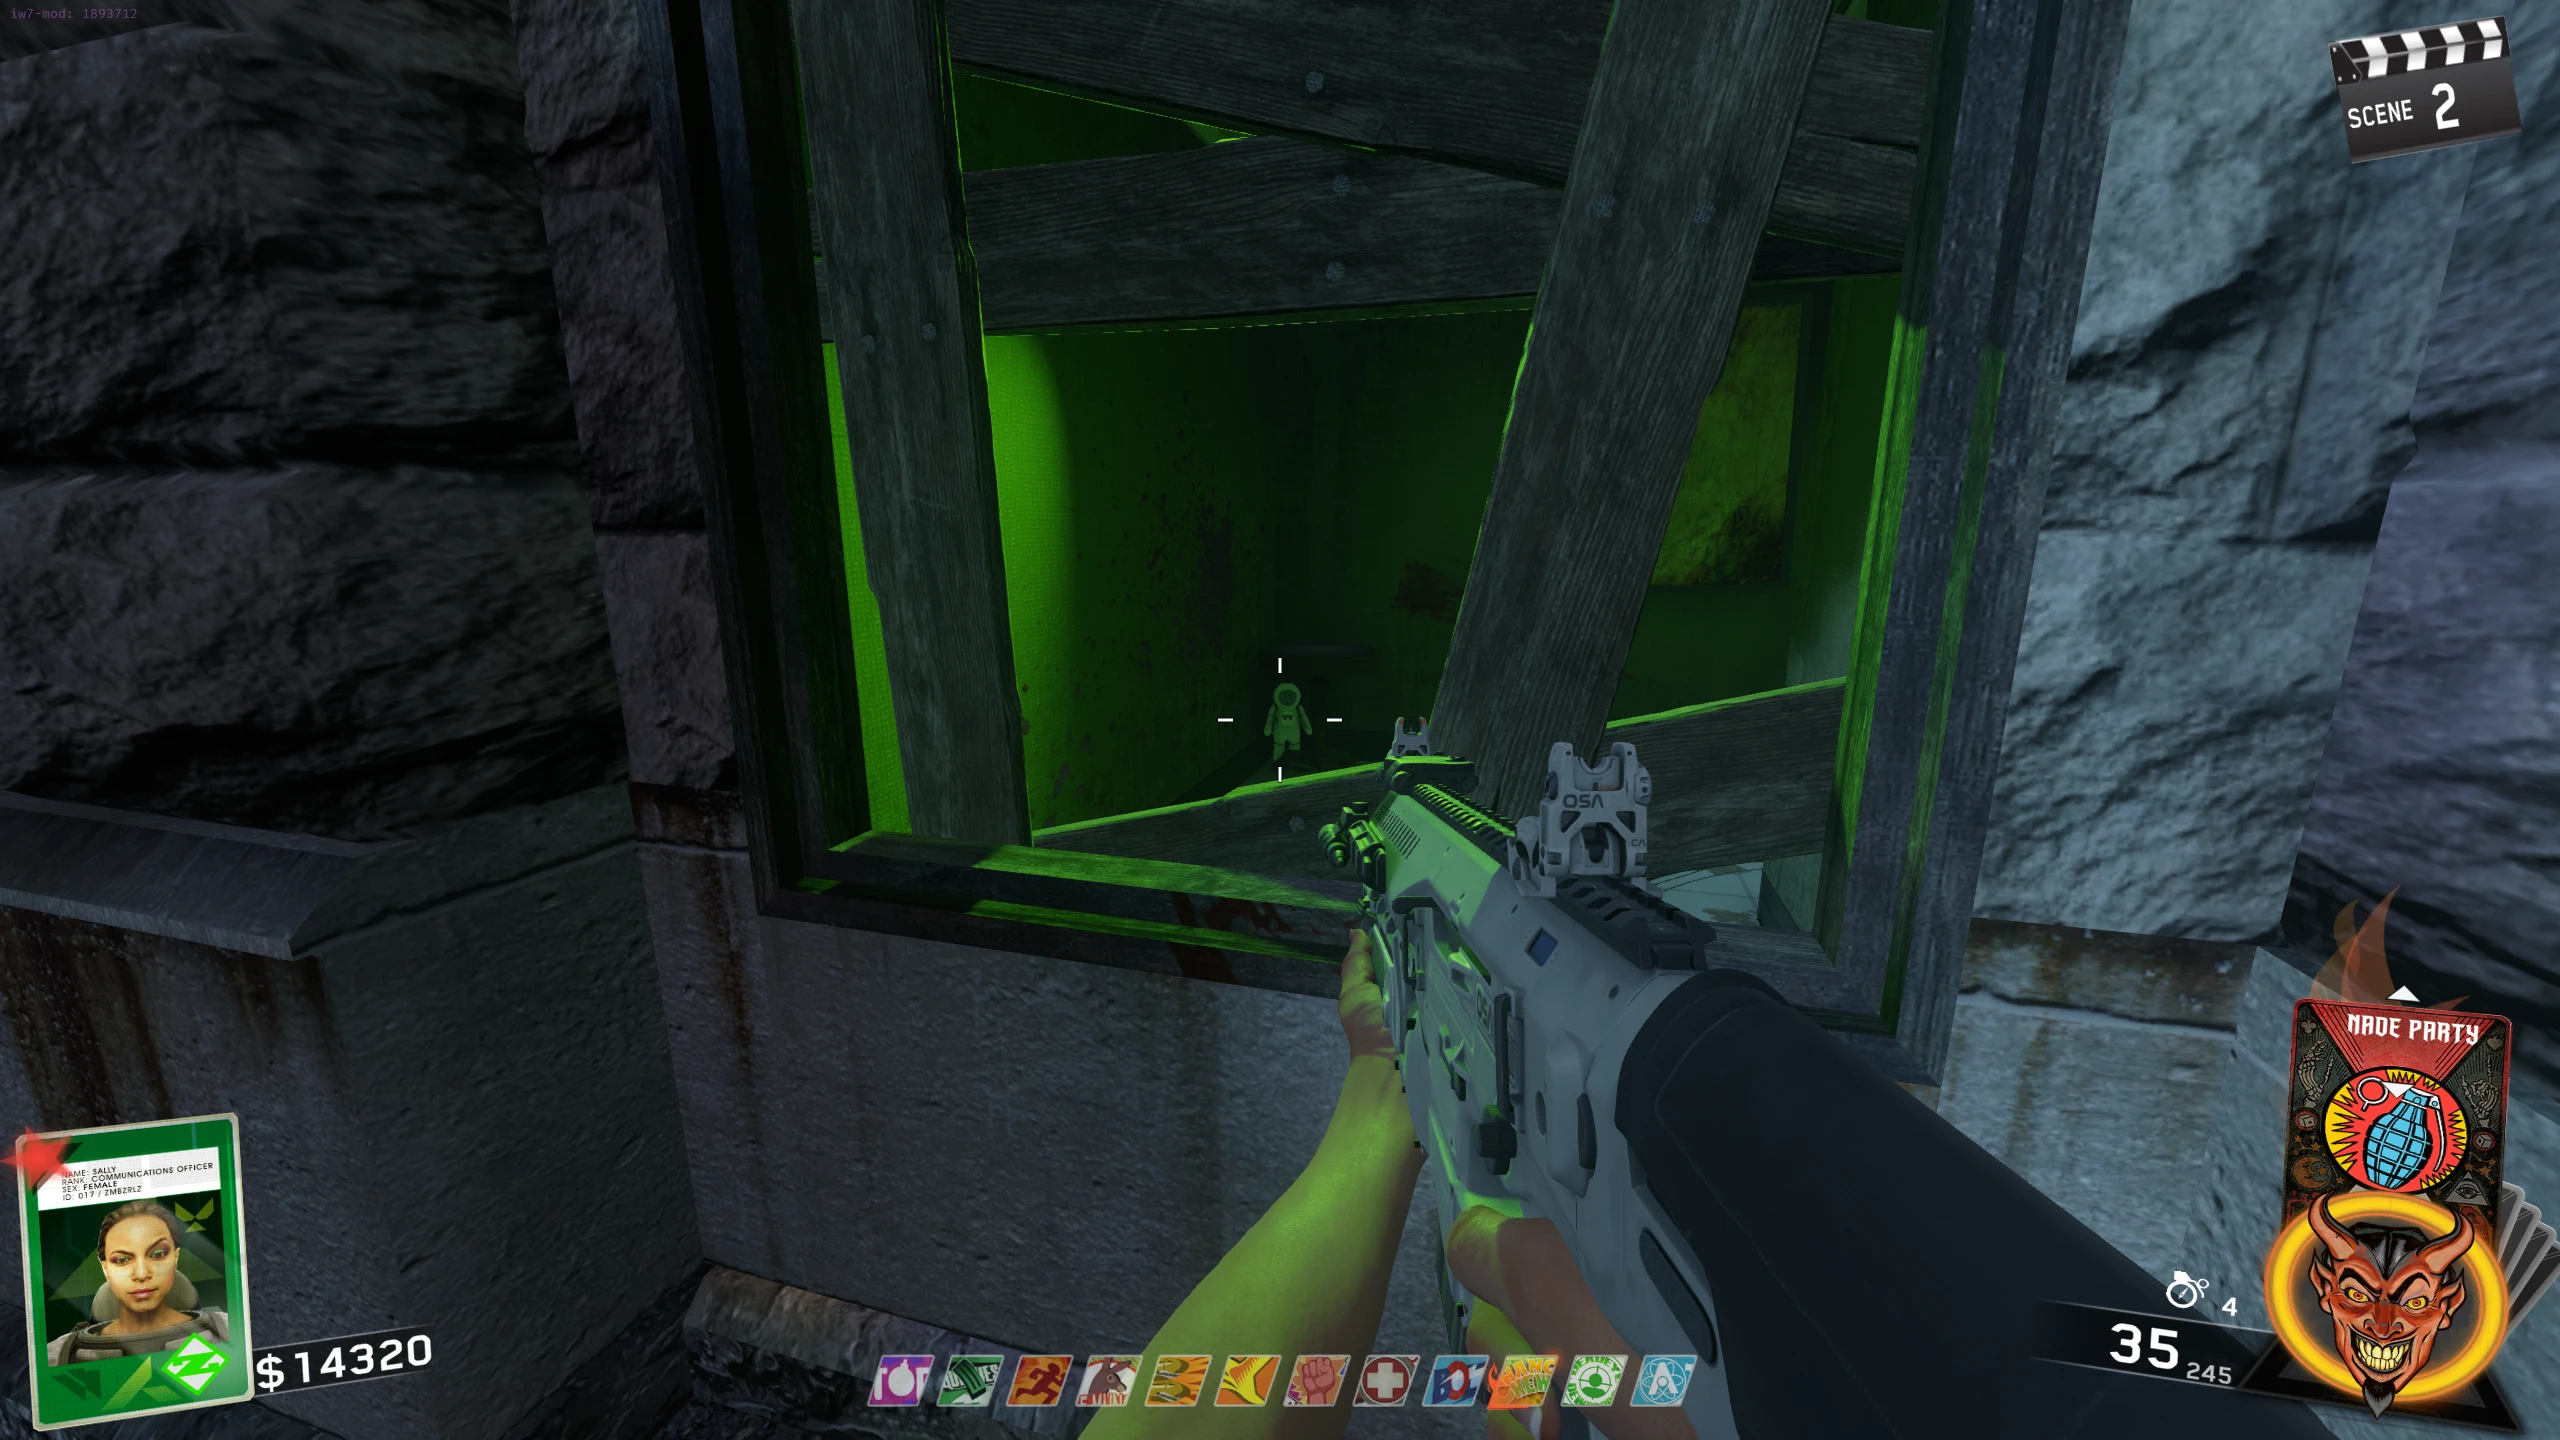
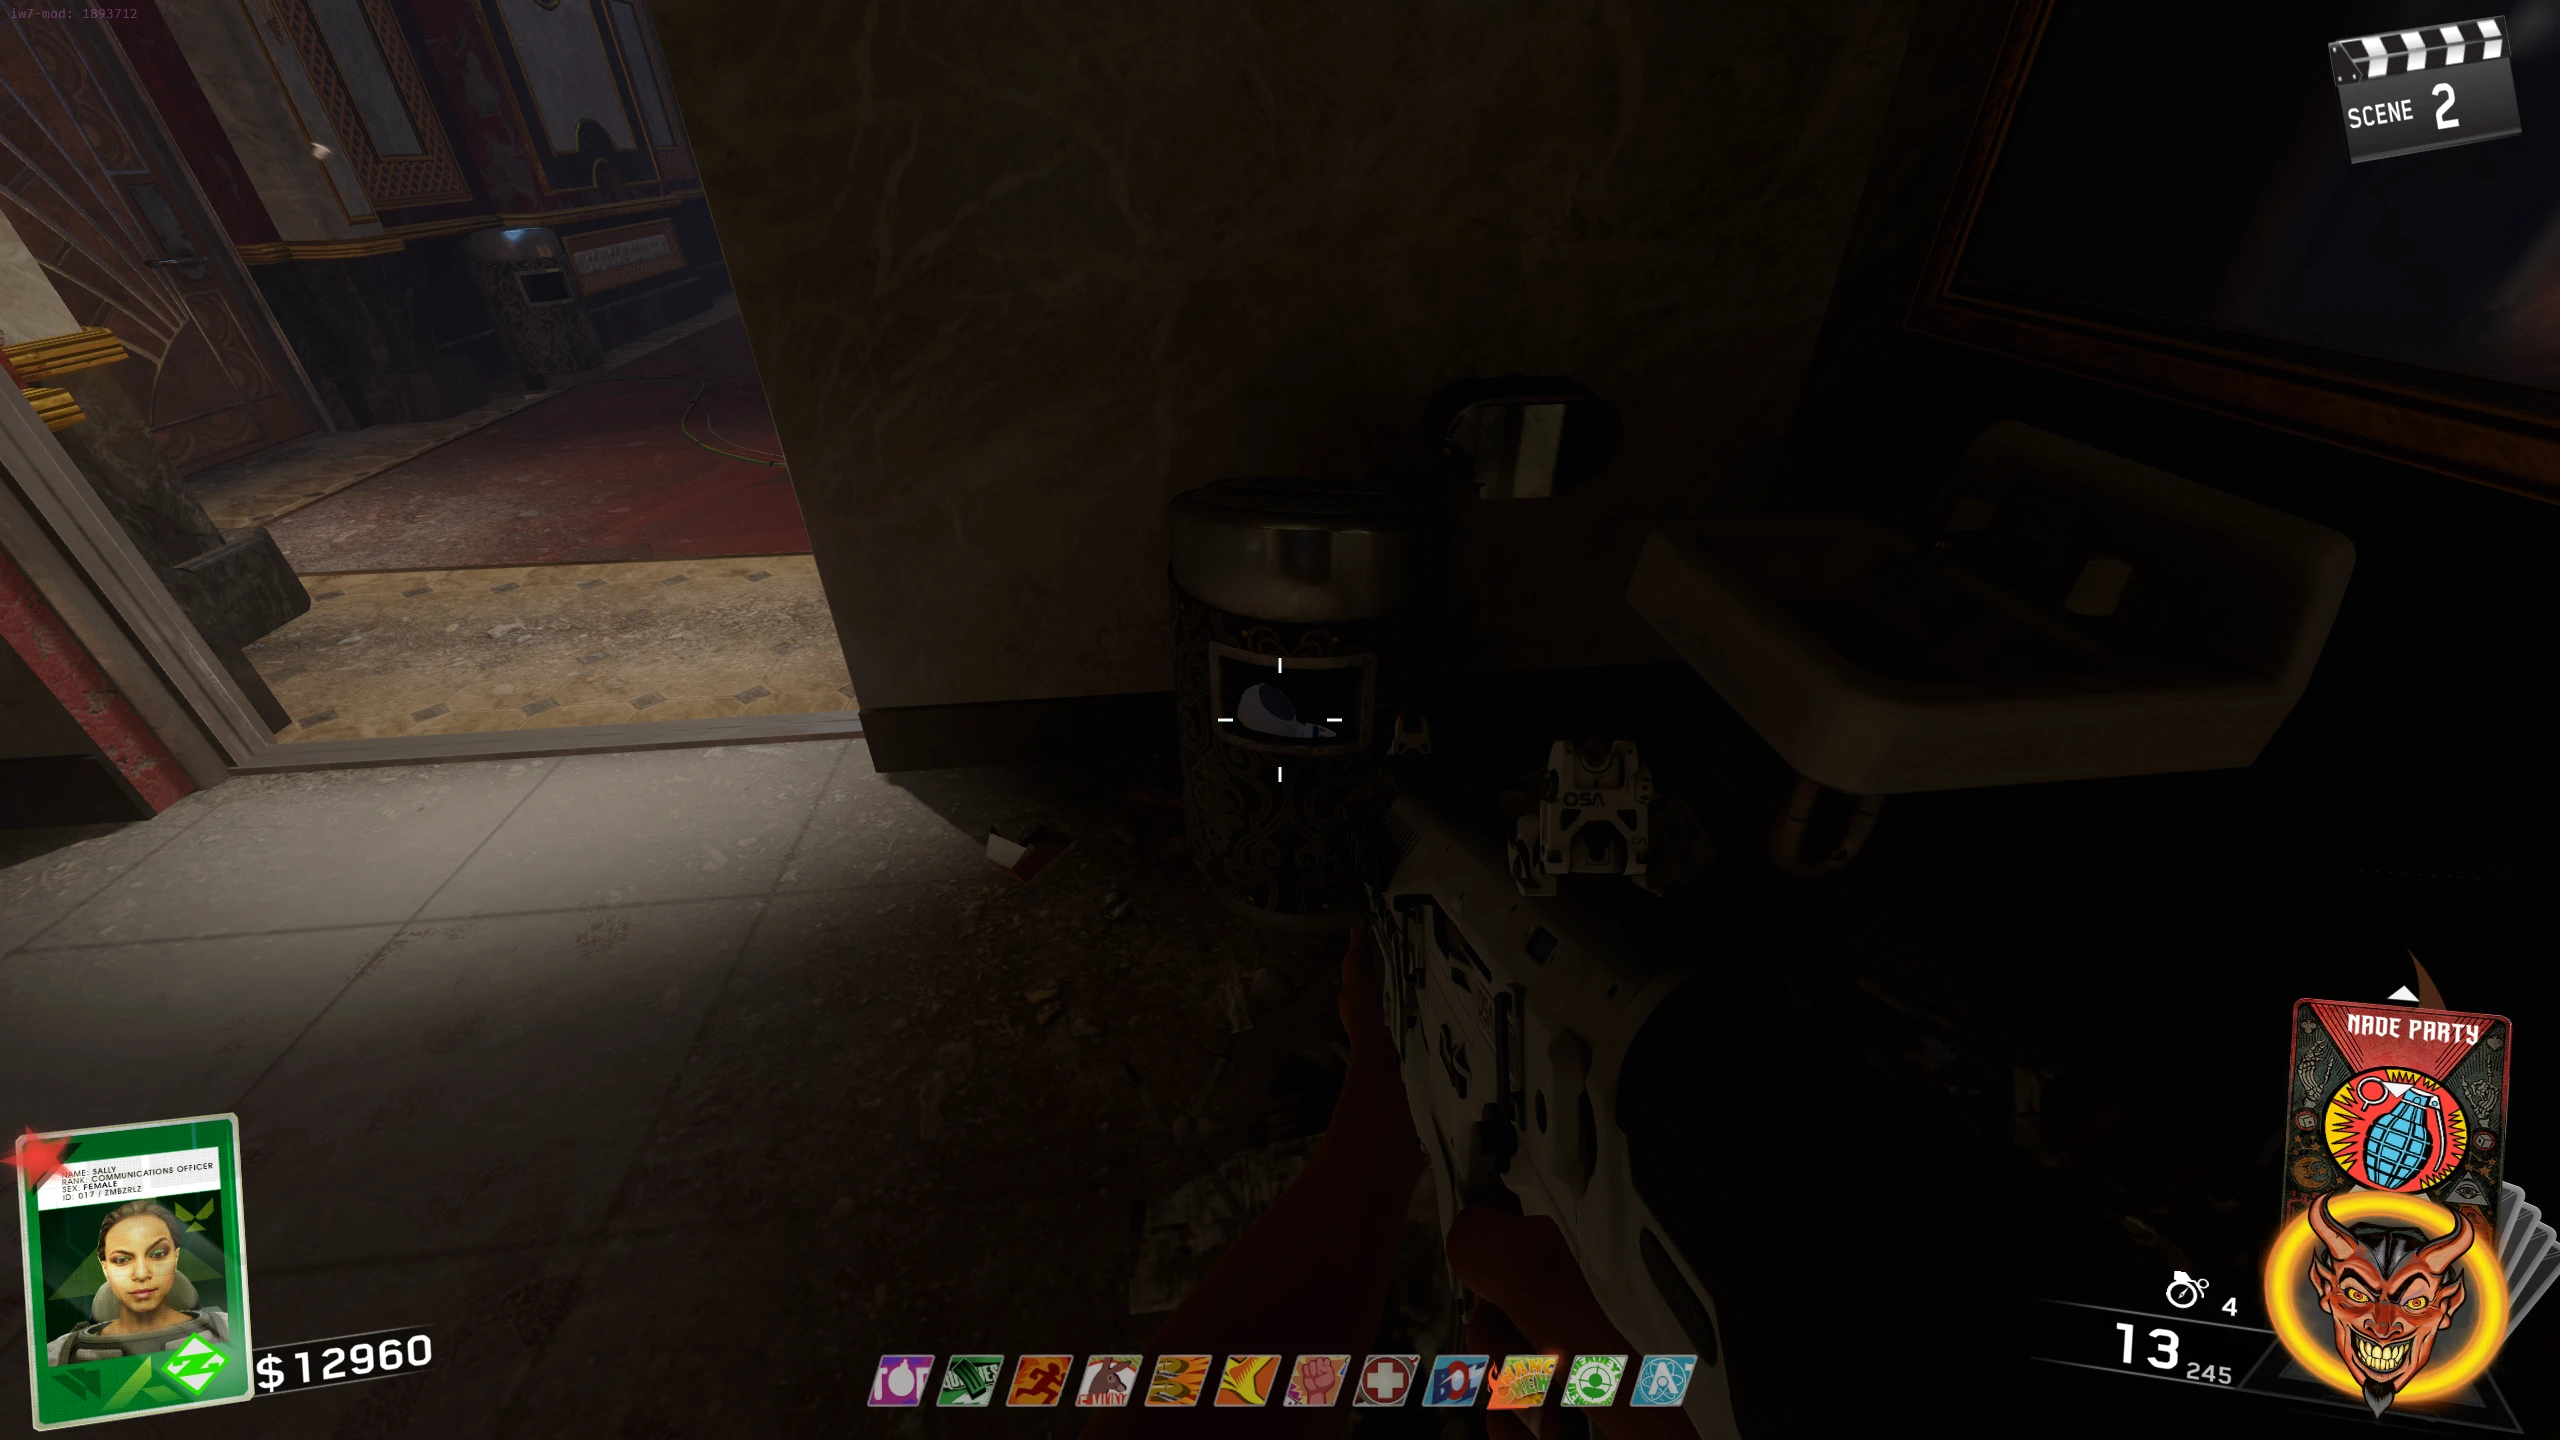
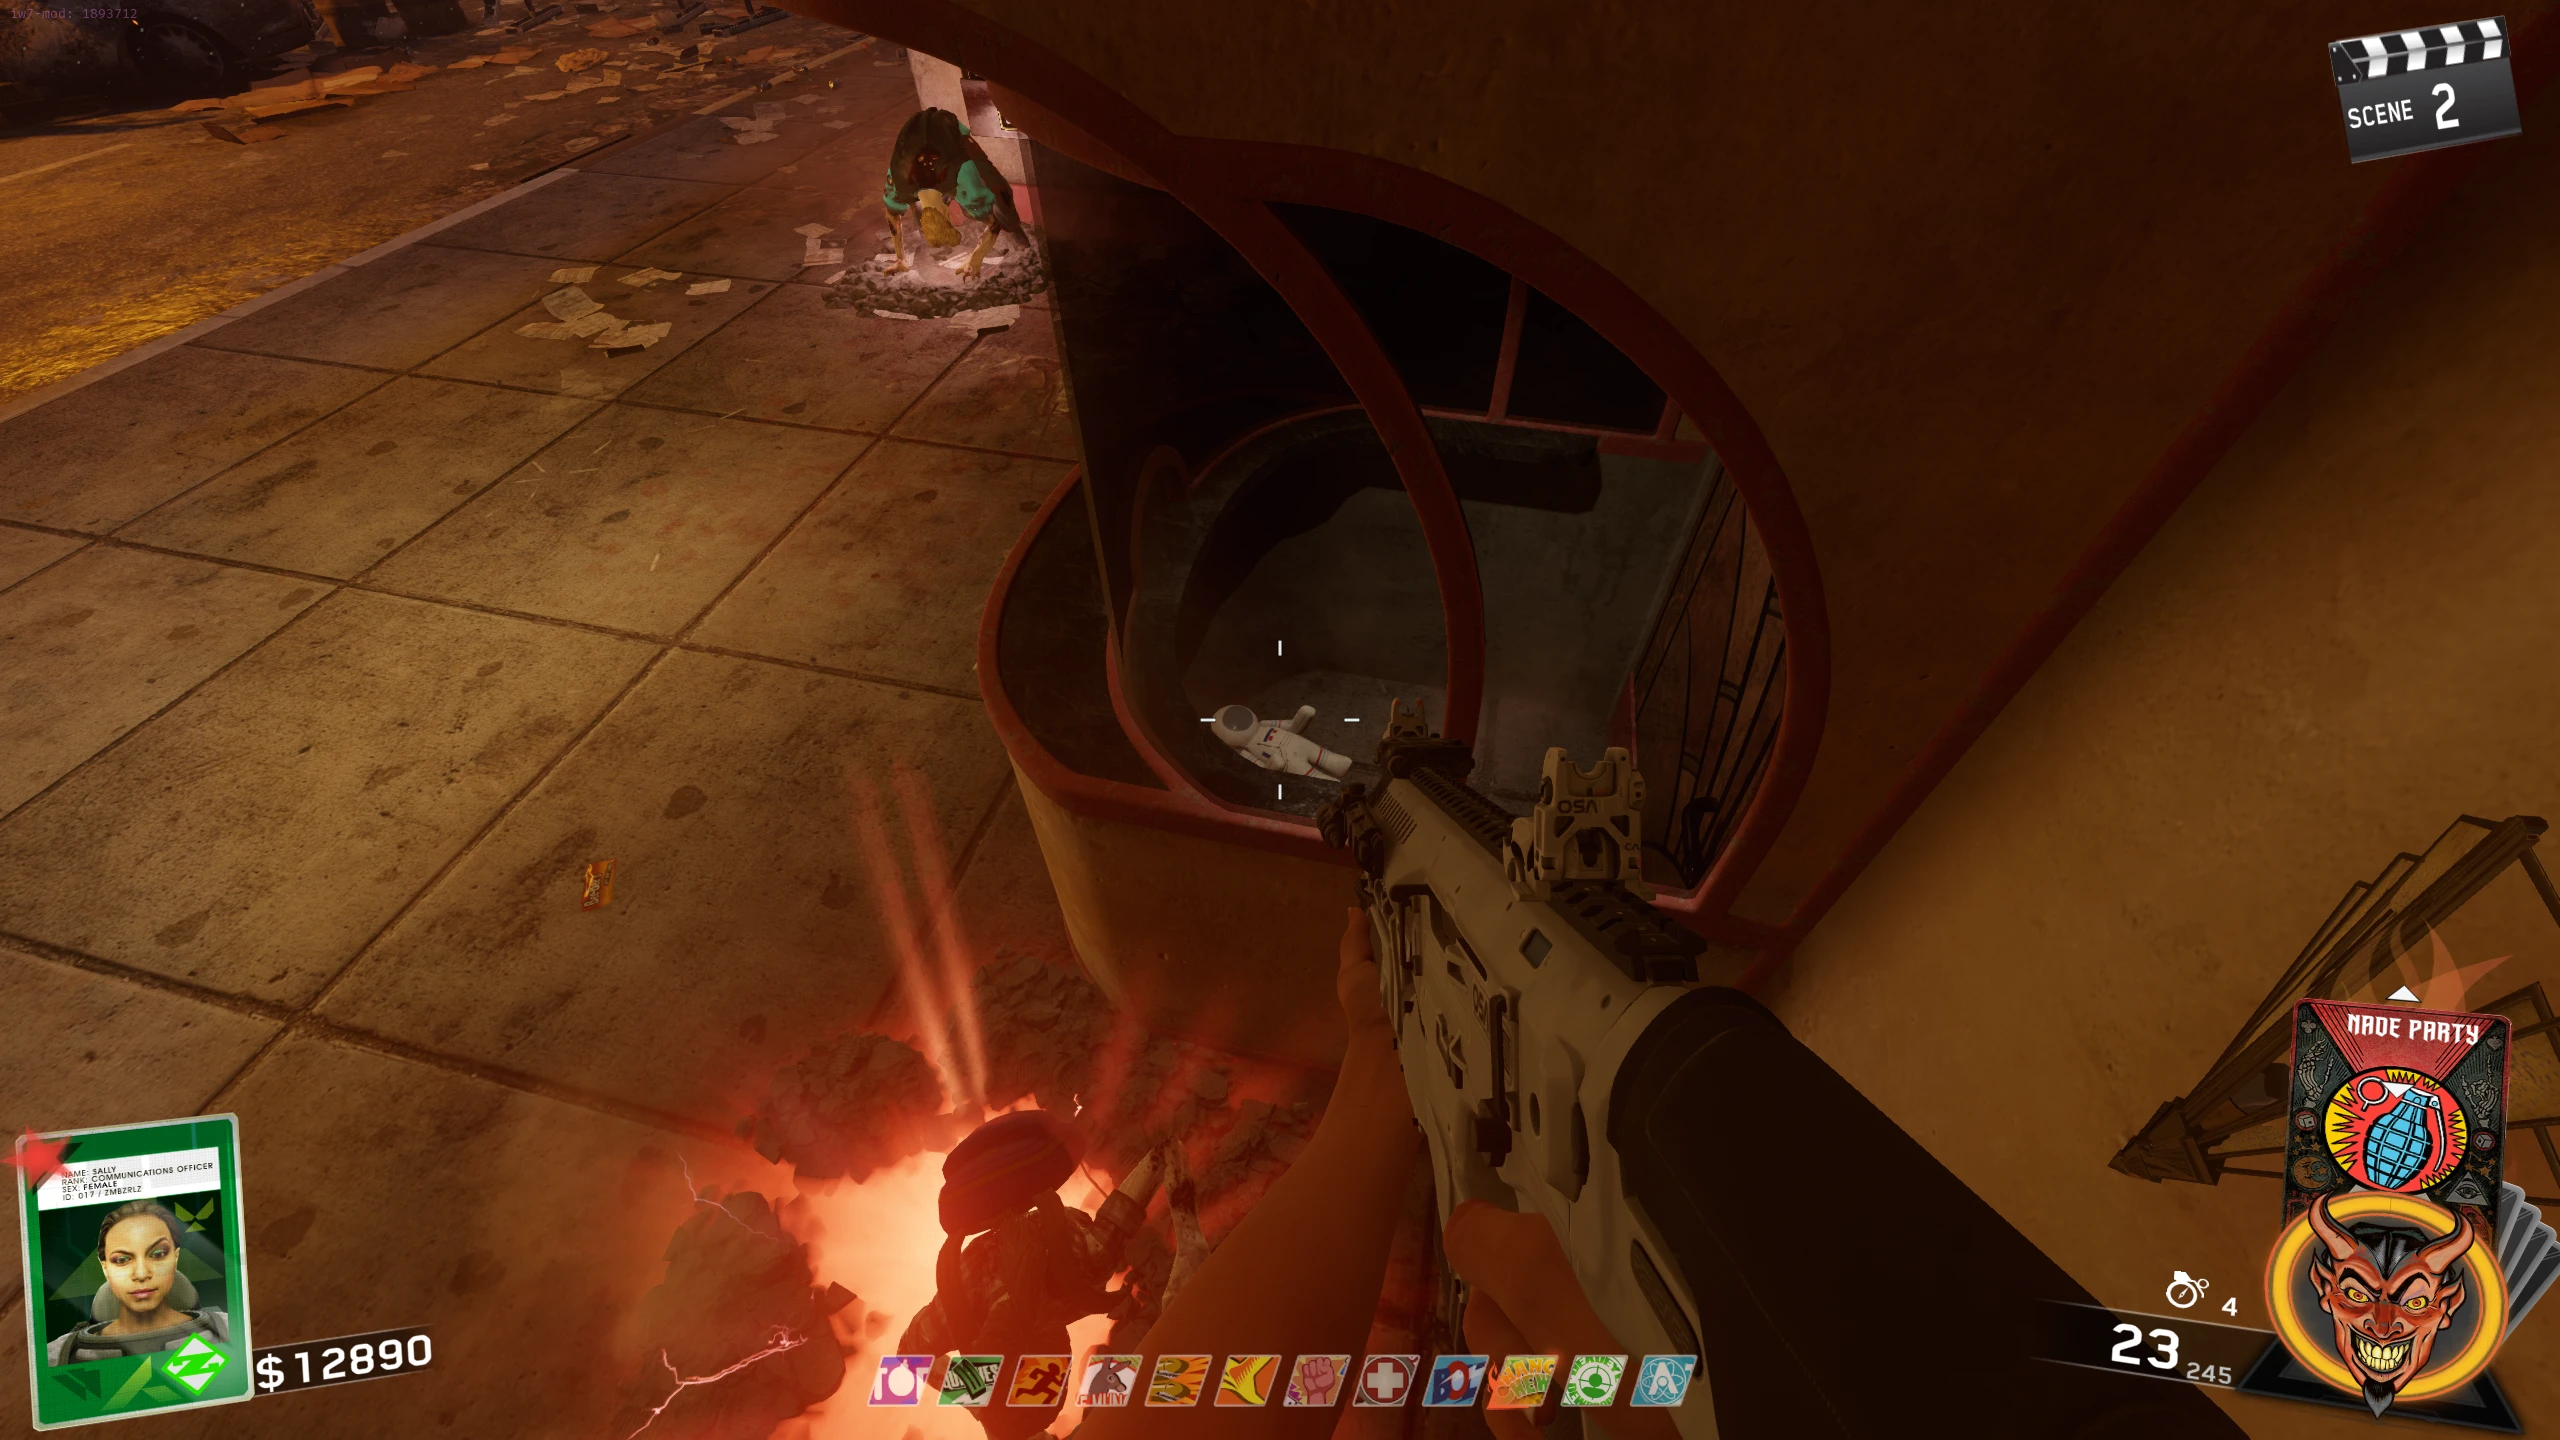
- Find and shoot fifteen astronaut plush toys around the map. Locations:
Main Map
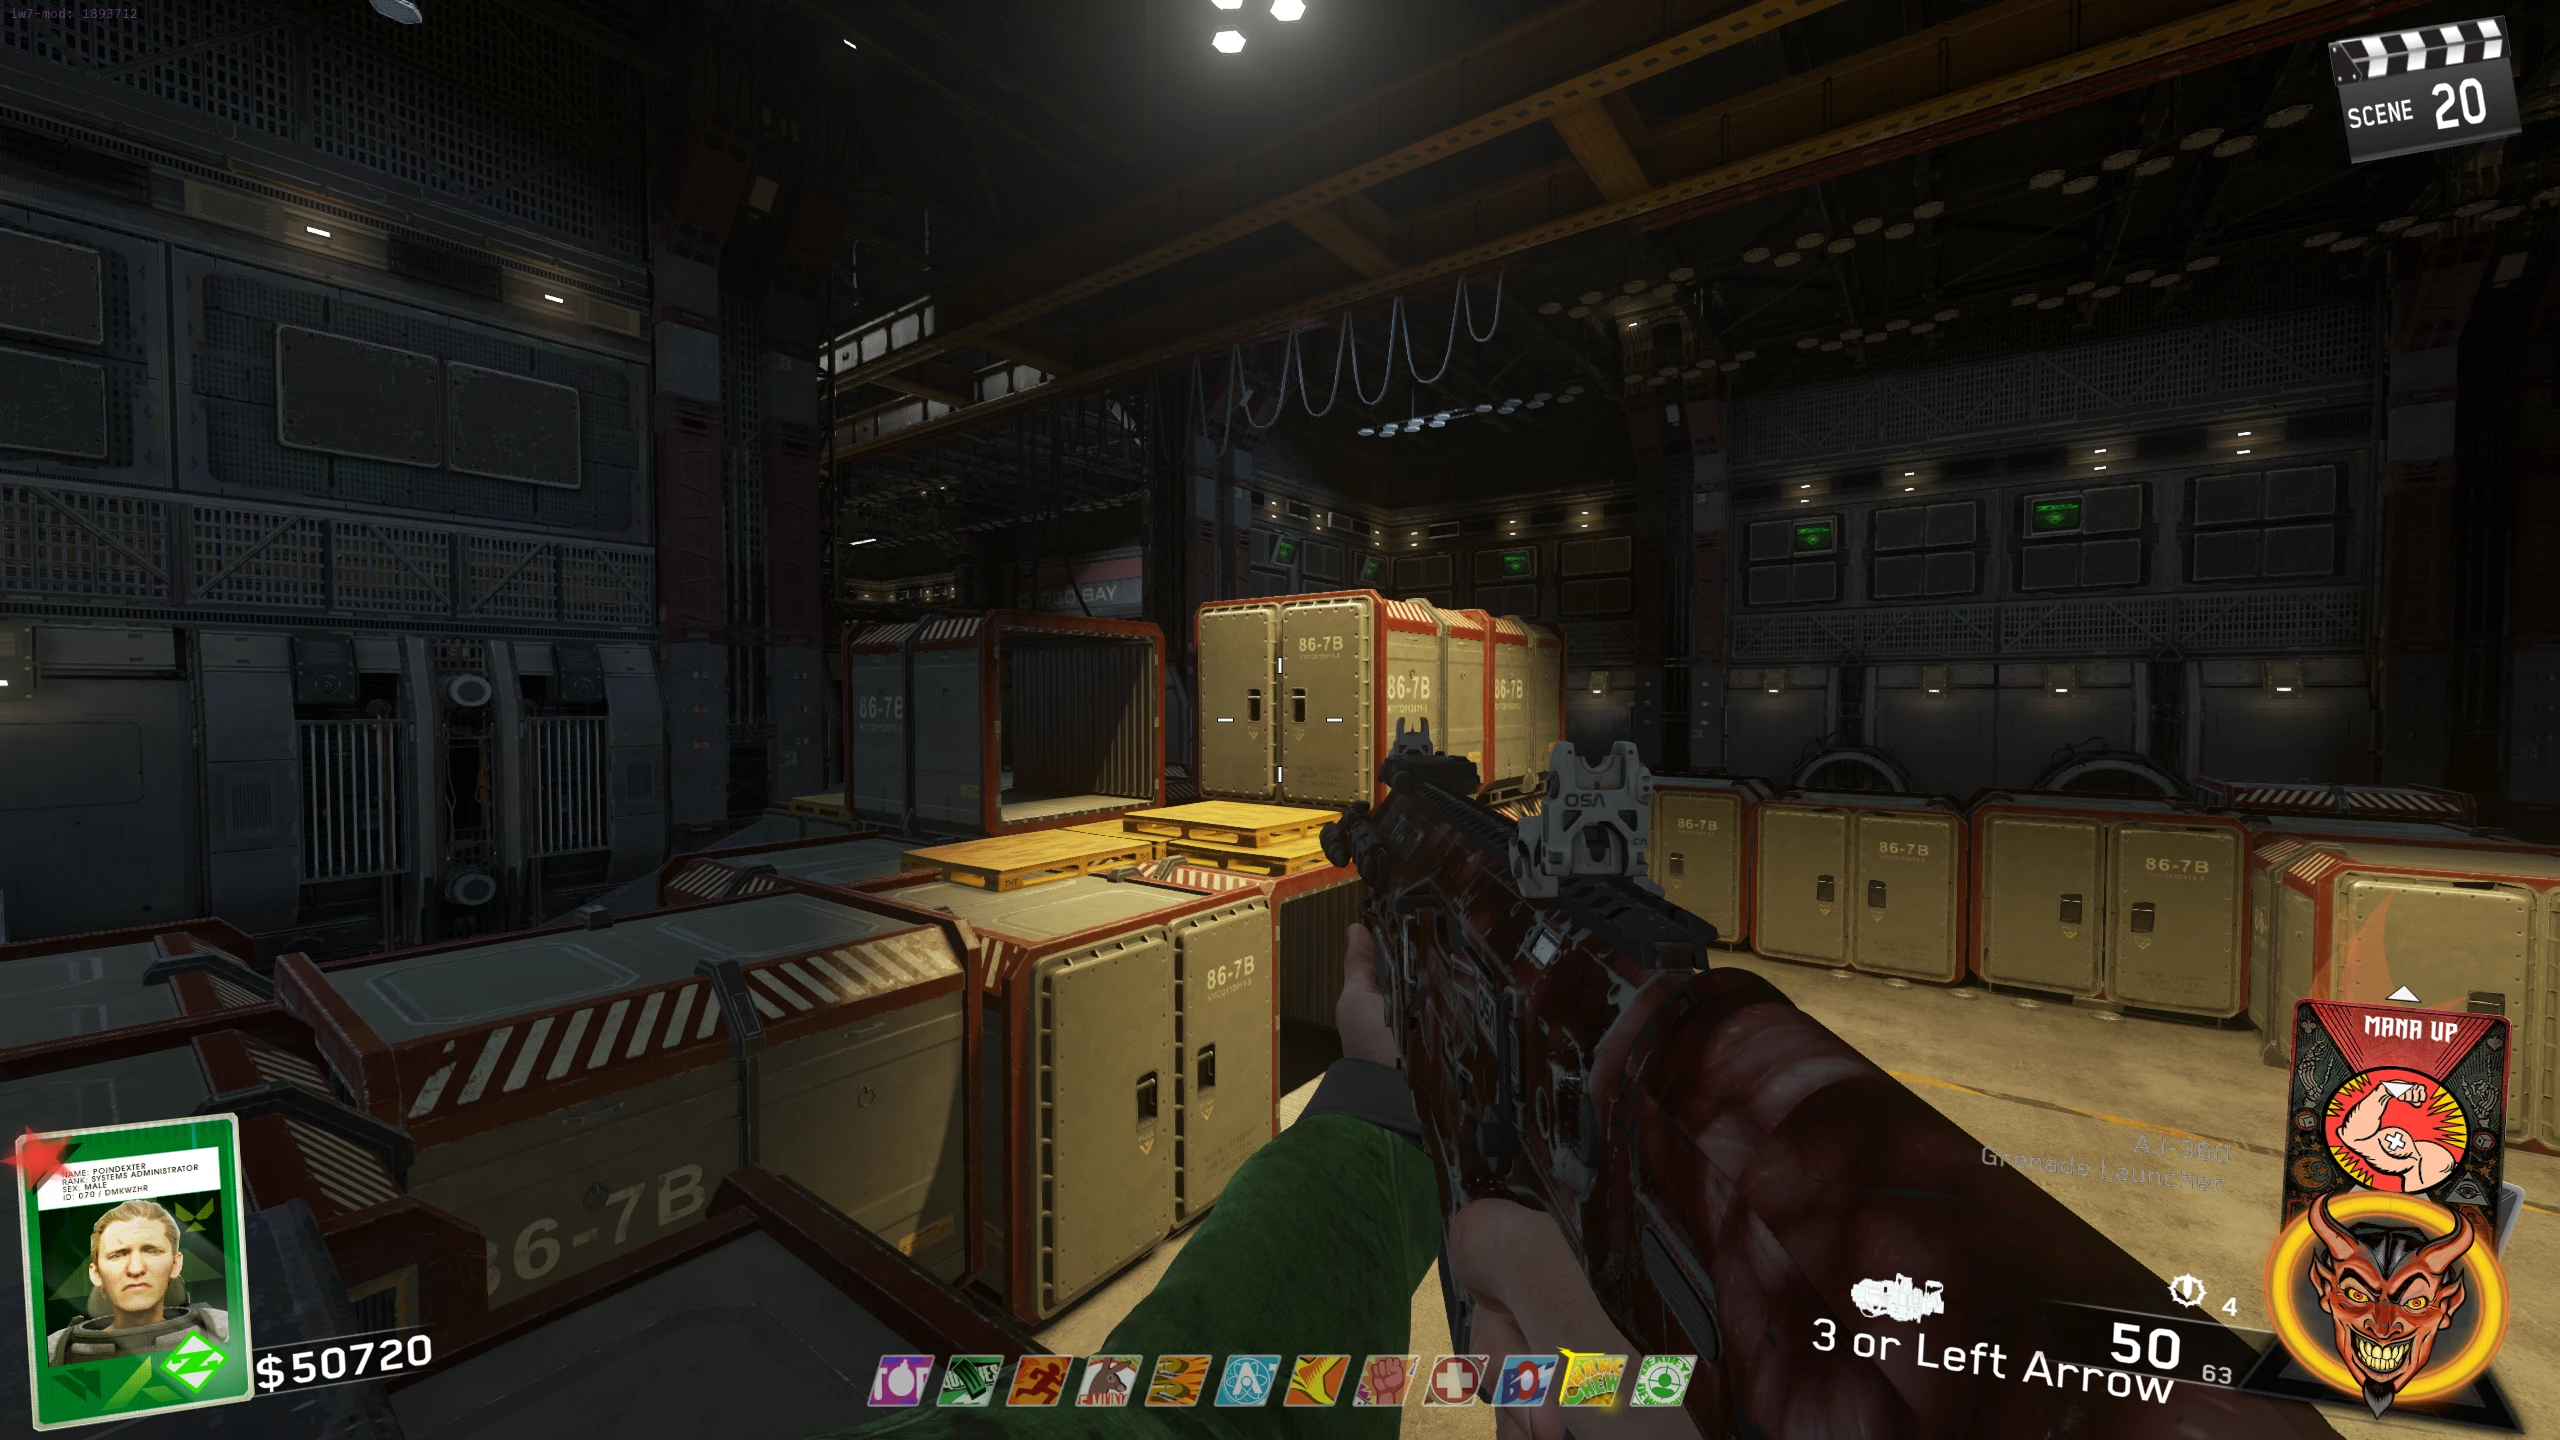
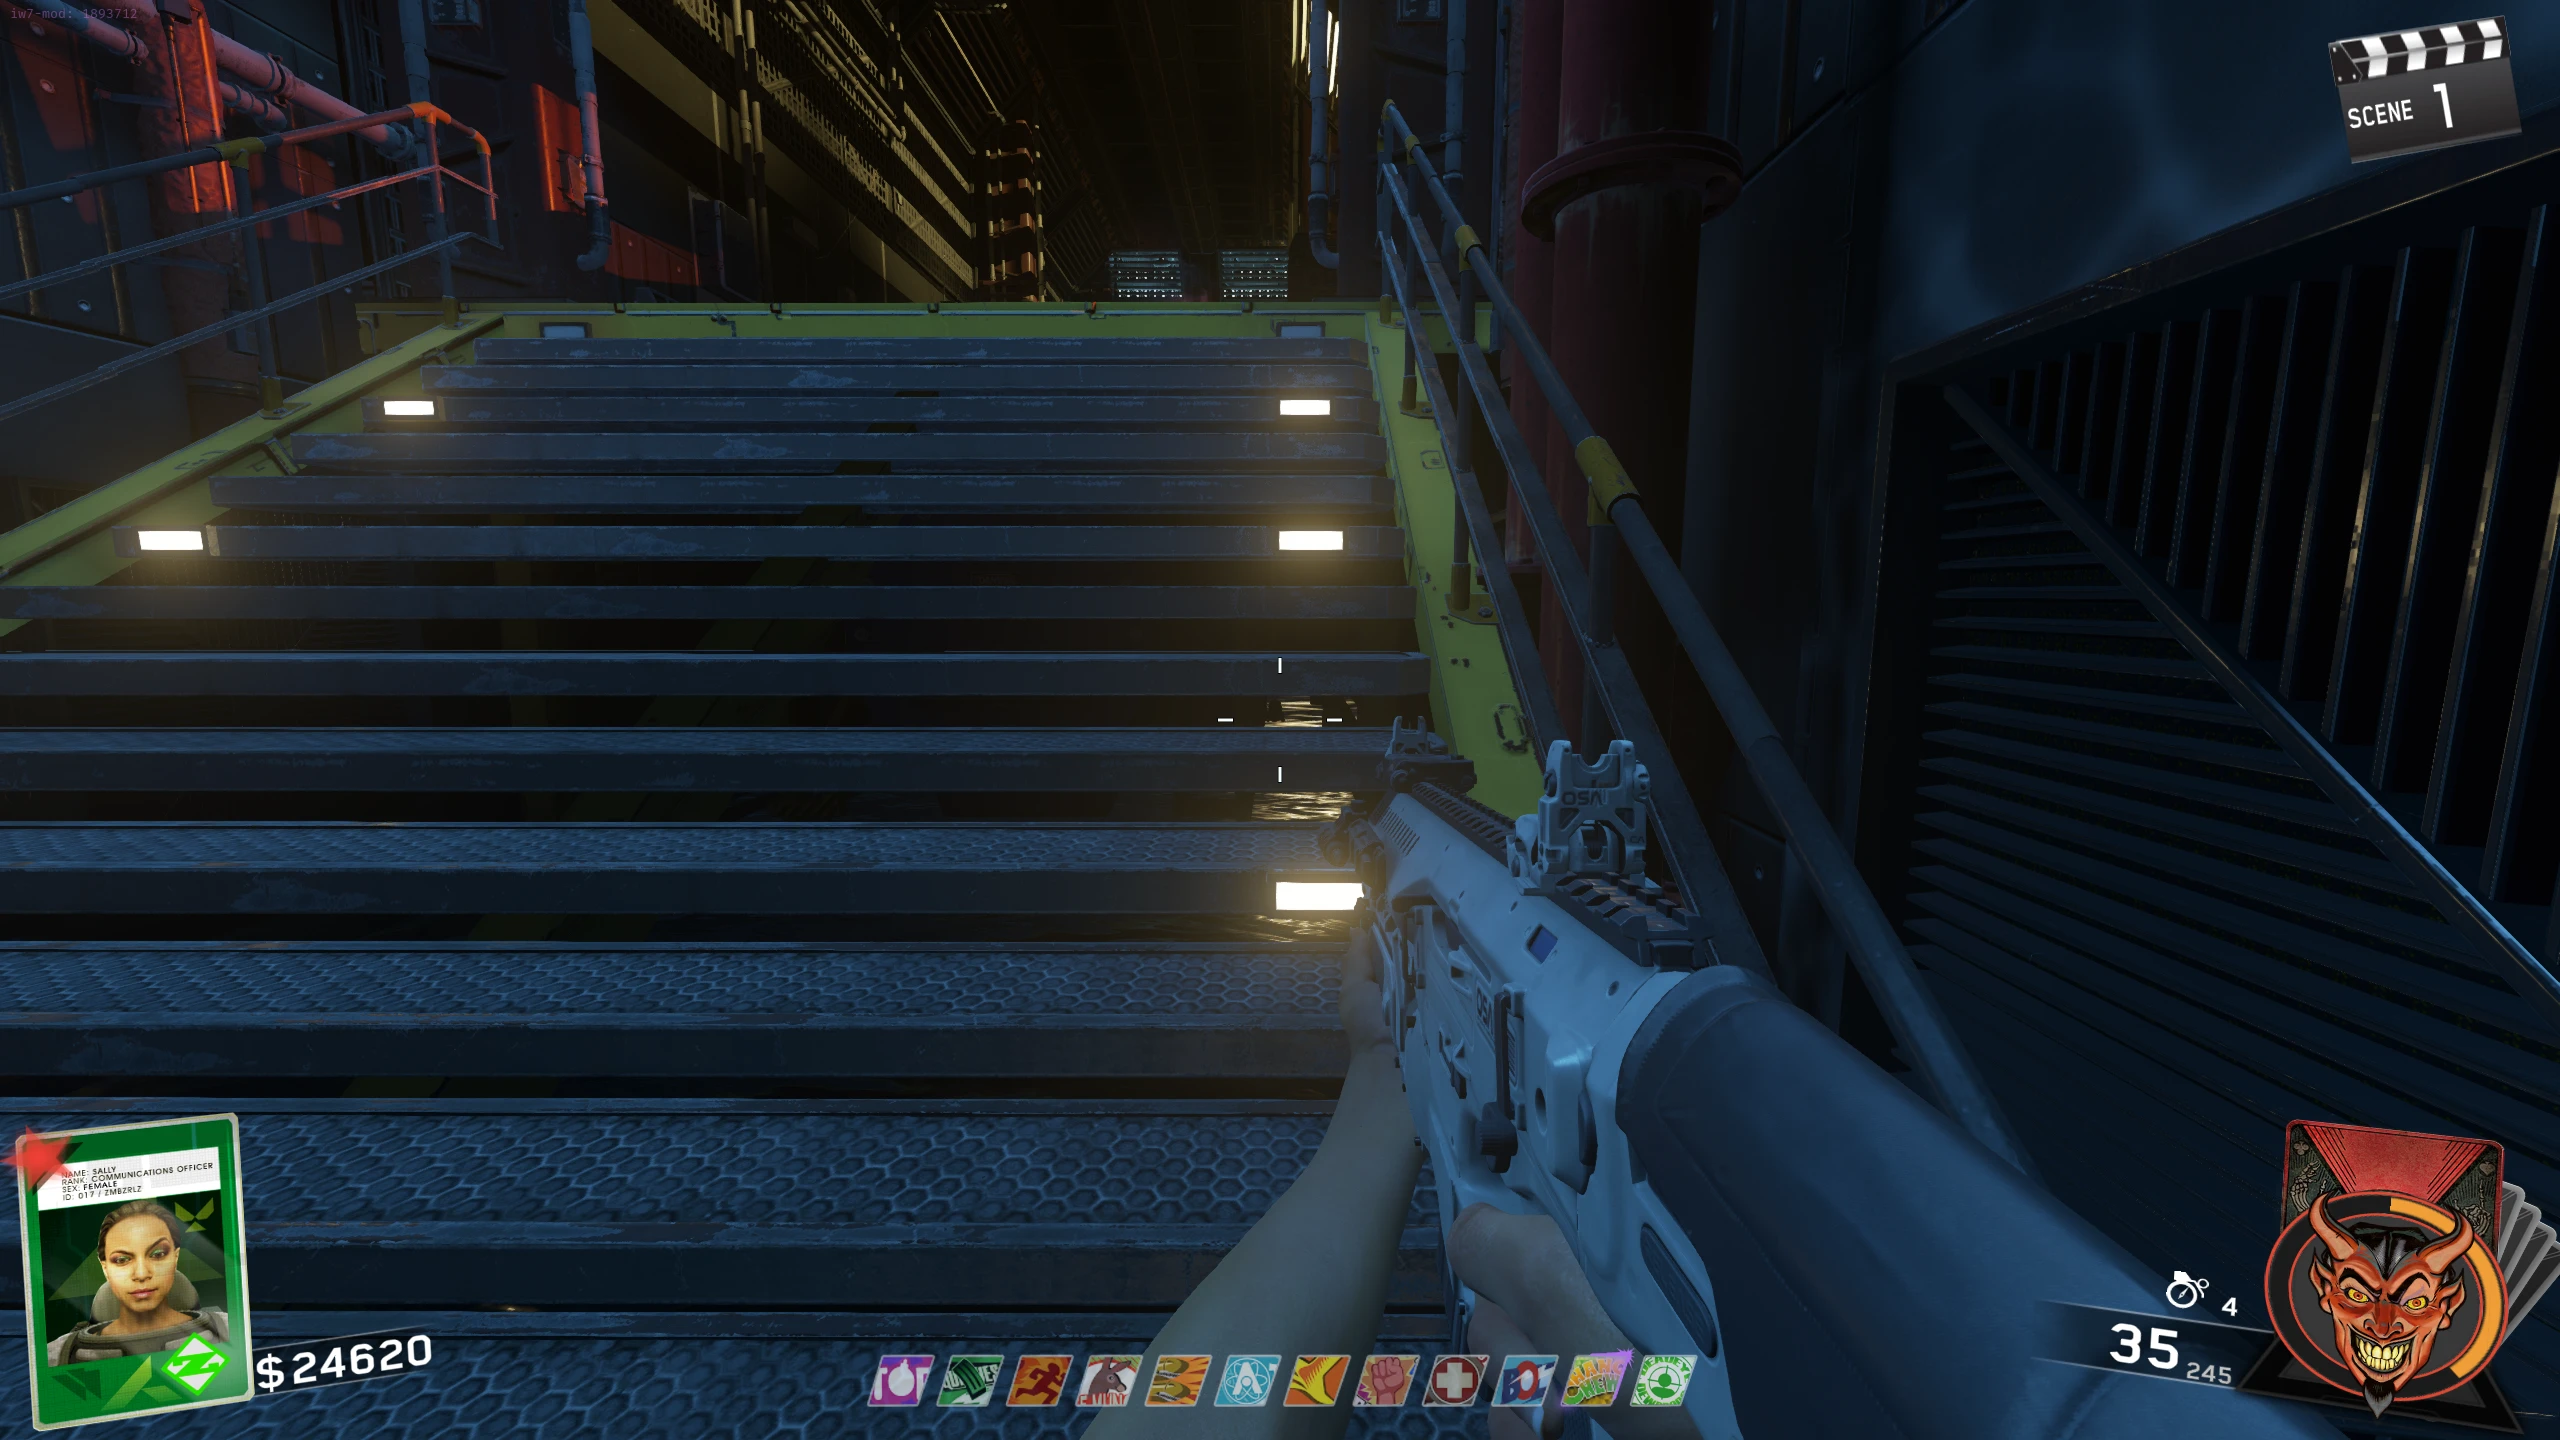
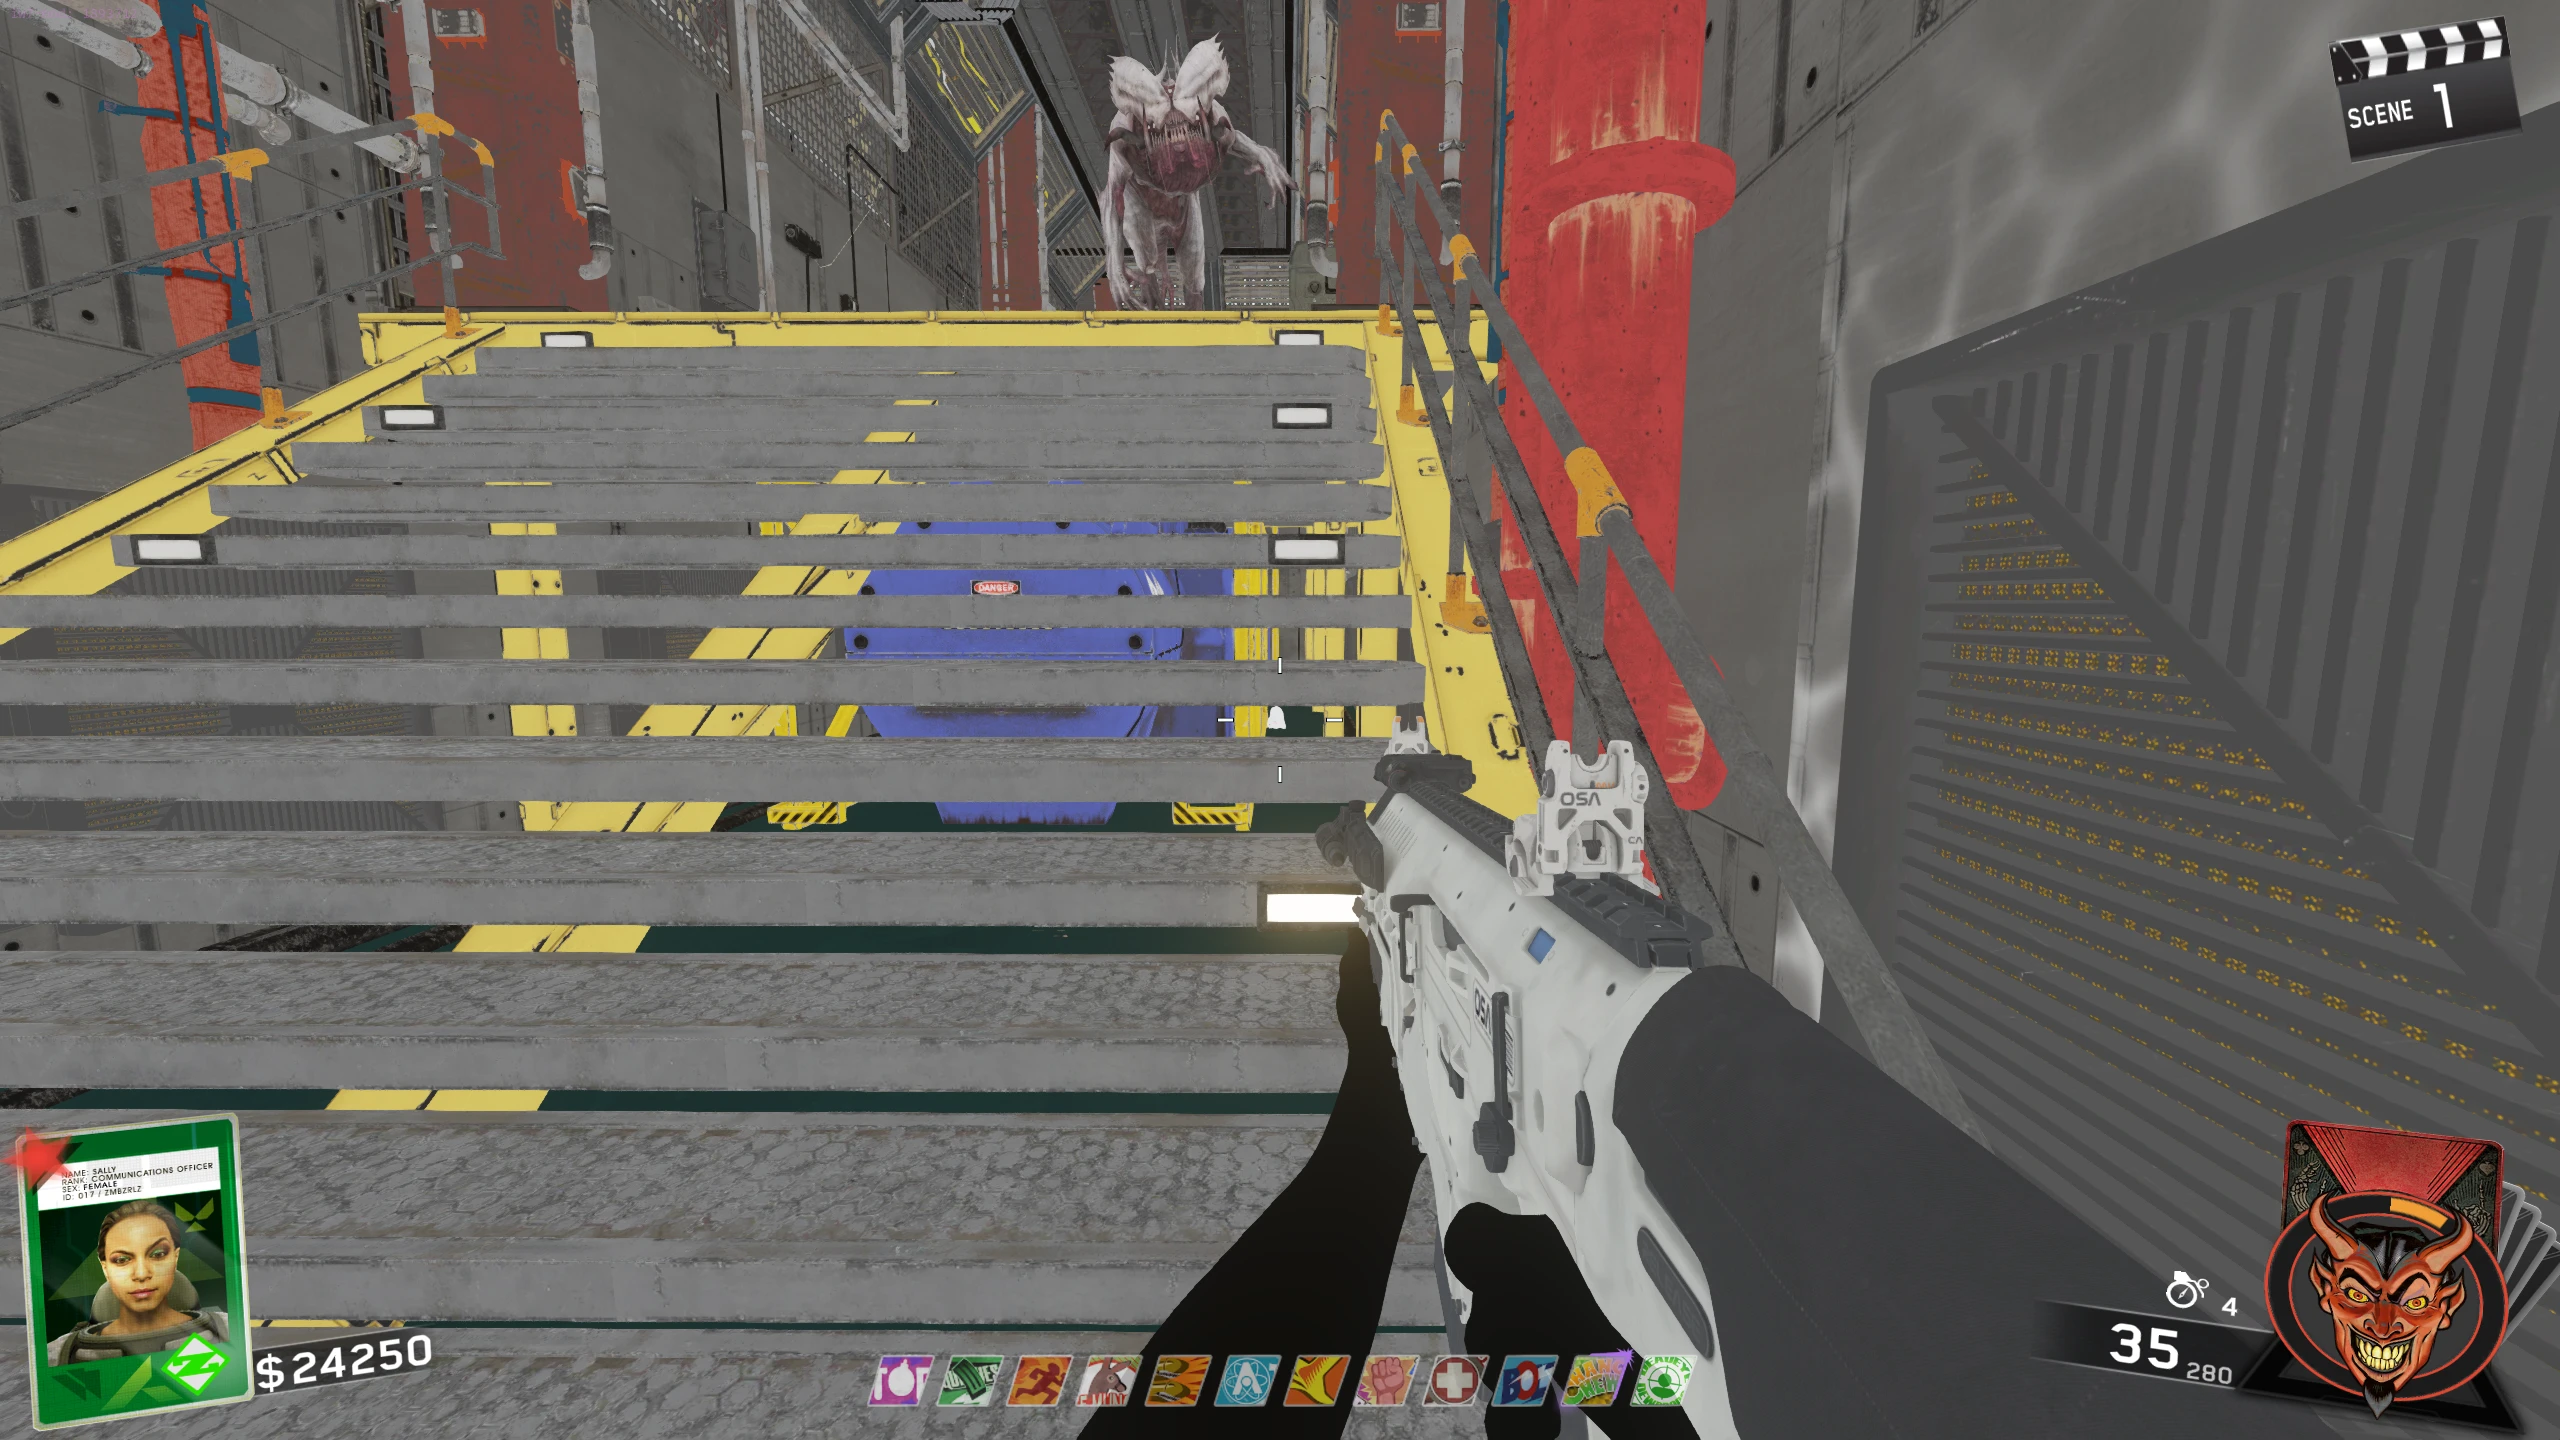
- Flooded Room - Under the stairs to the spawn room --- In full bright lighting
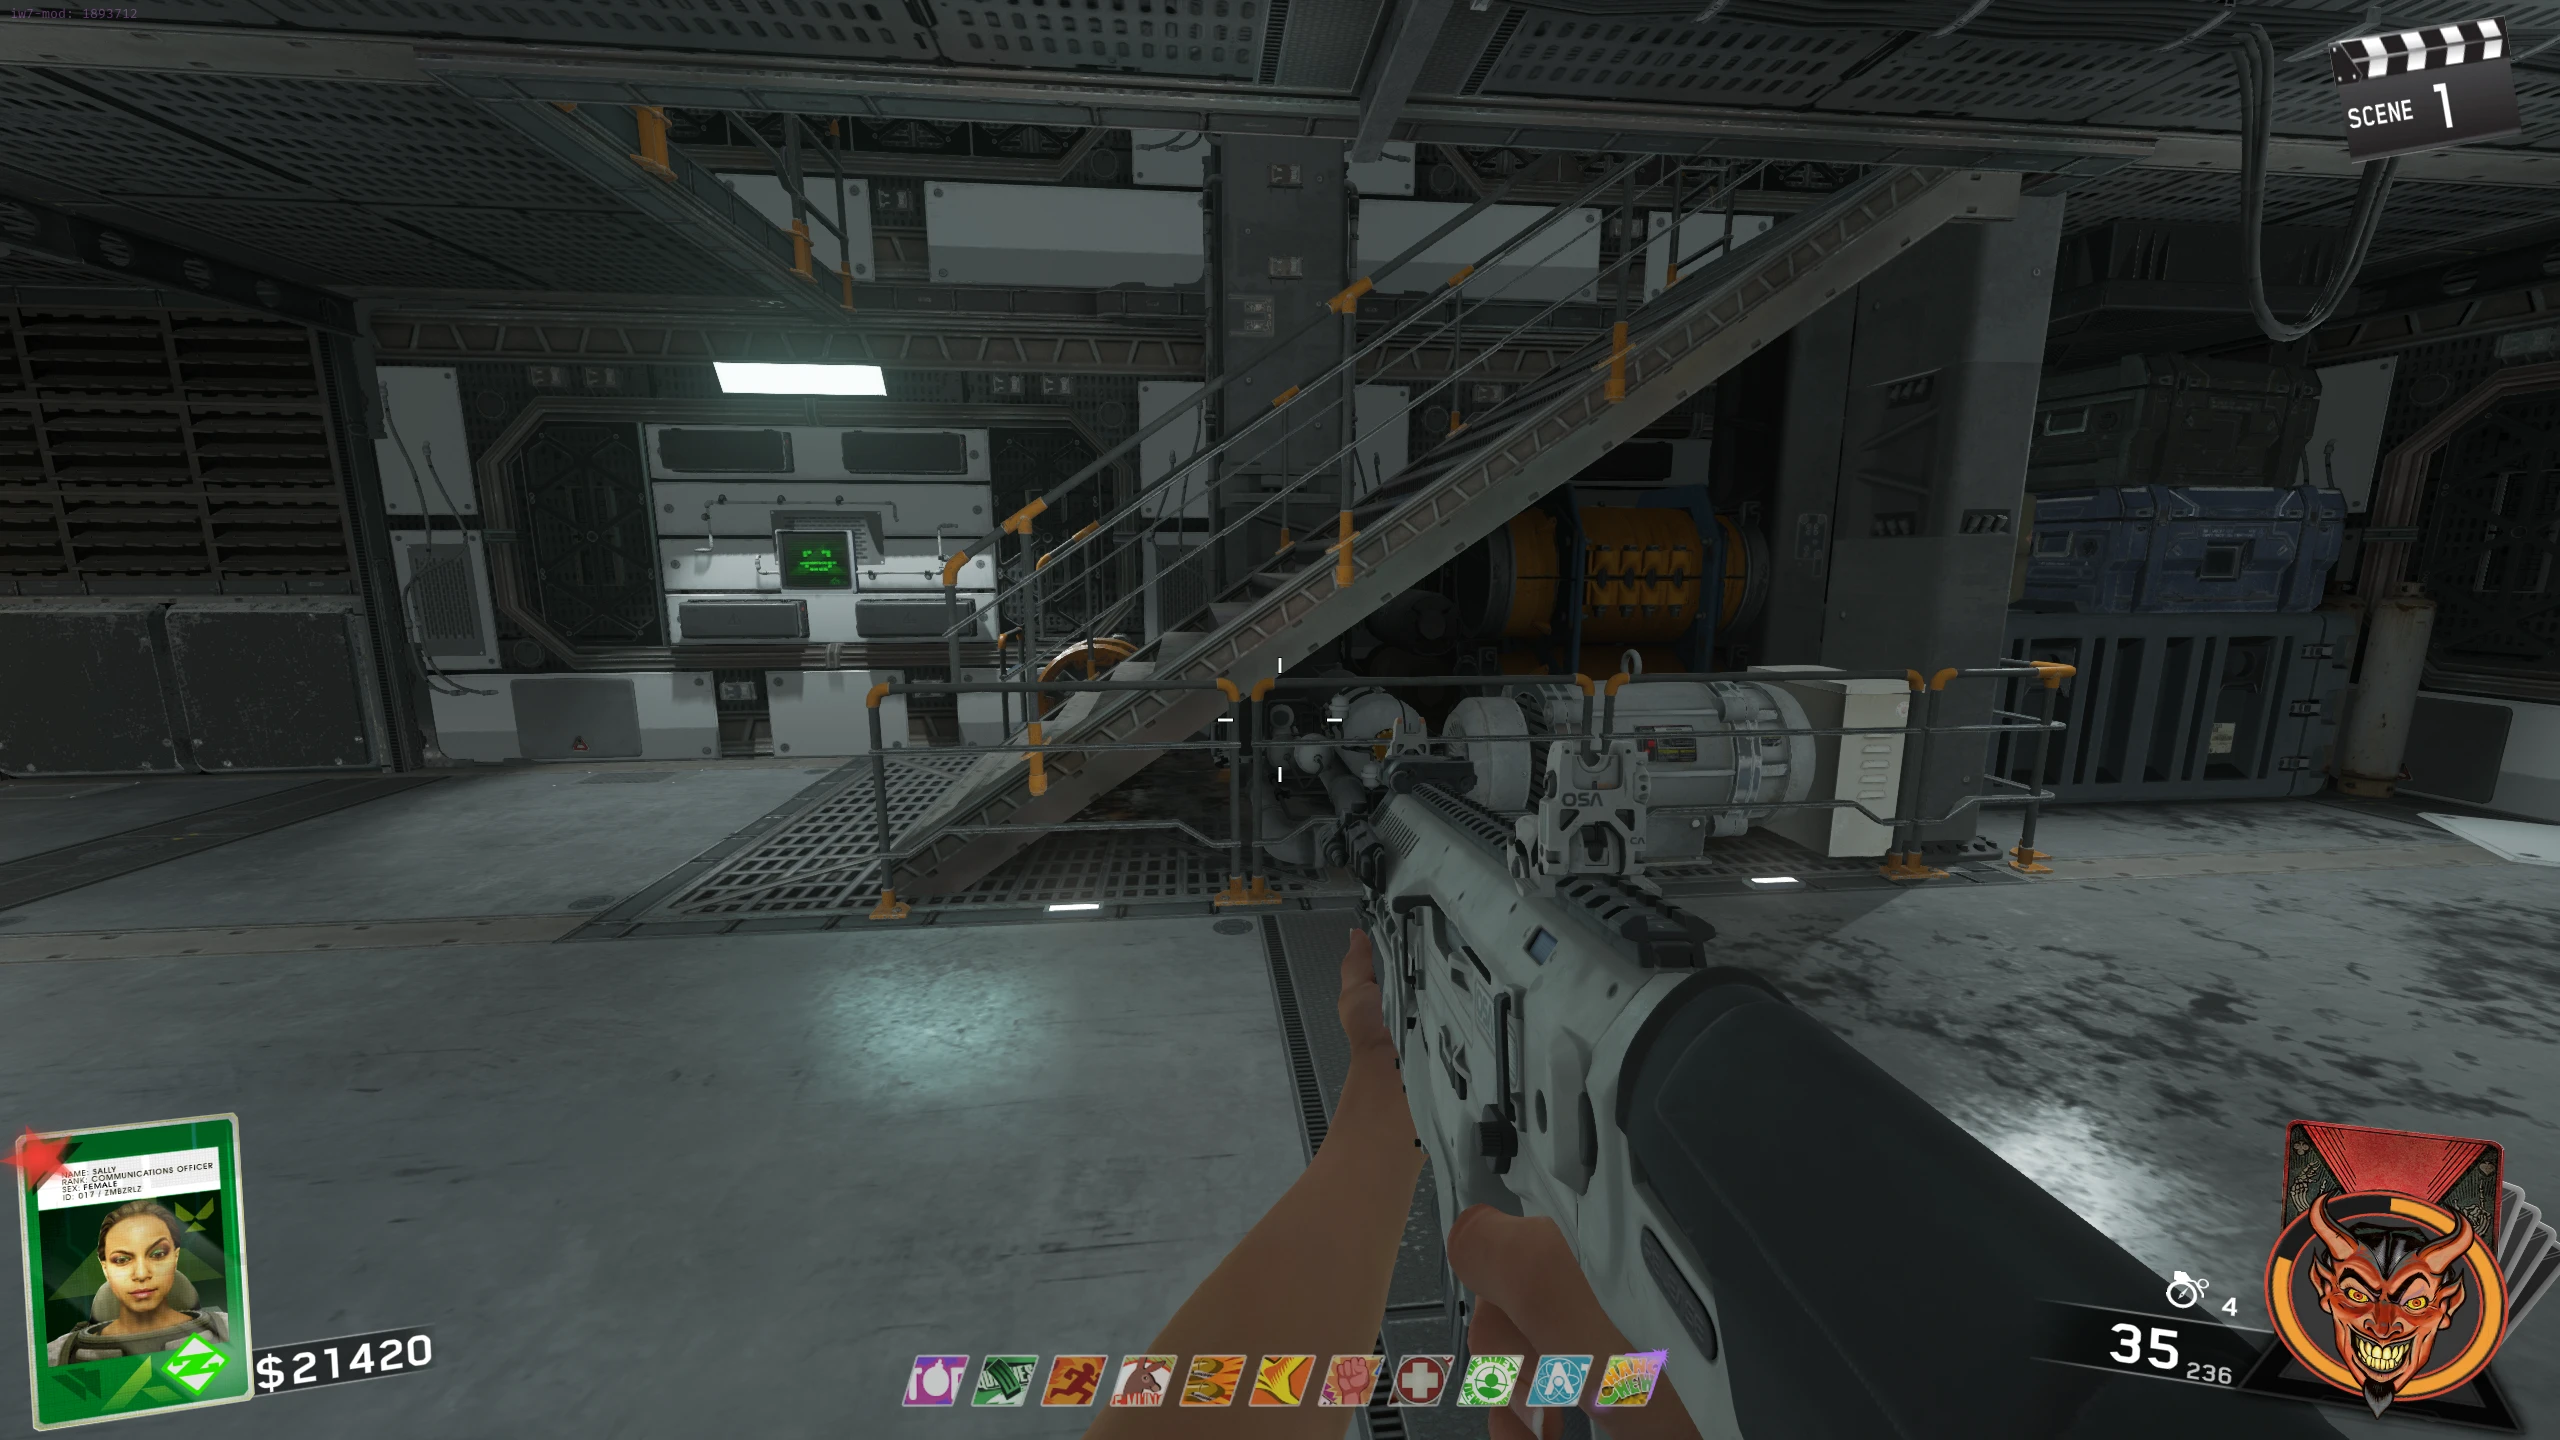
- Ops Center - Under the staircase left of Bombstoppers
- Ops Center - At the bottom of the Pit, near Tuff 'Nuff
- Flooded Room - Inside the left of the barrier near N31L's head (jump to see)
- Outside Area - Behind the Change Chews perk machine
- Outside Area - Window above the Acid Trap (stand on bridge near PAP portal) --- Zoomed-Out
- Outside Area - On top of the Glacier left of the PAP Portal
- Outside Area - Behind the PAP Portal across the chasm, beside a rock --- Zoomed-Out
- Proteus Hallway - Below a floor grate in the hallway to the outside, in front of the zombie spawn farthest from outside
- Proteus Hallway - In the red room, shoot from grate above --- In full bright lighting
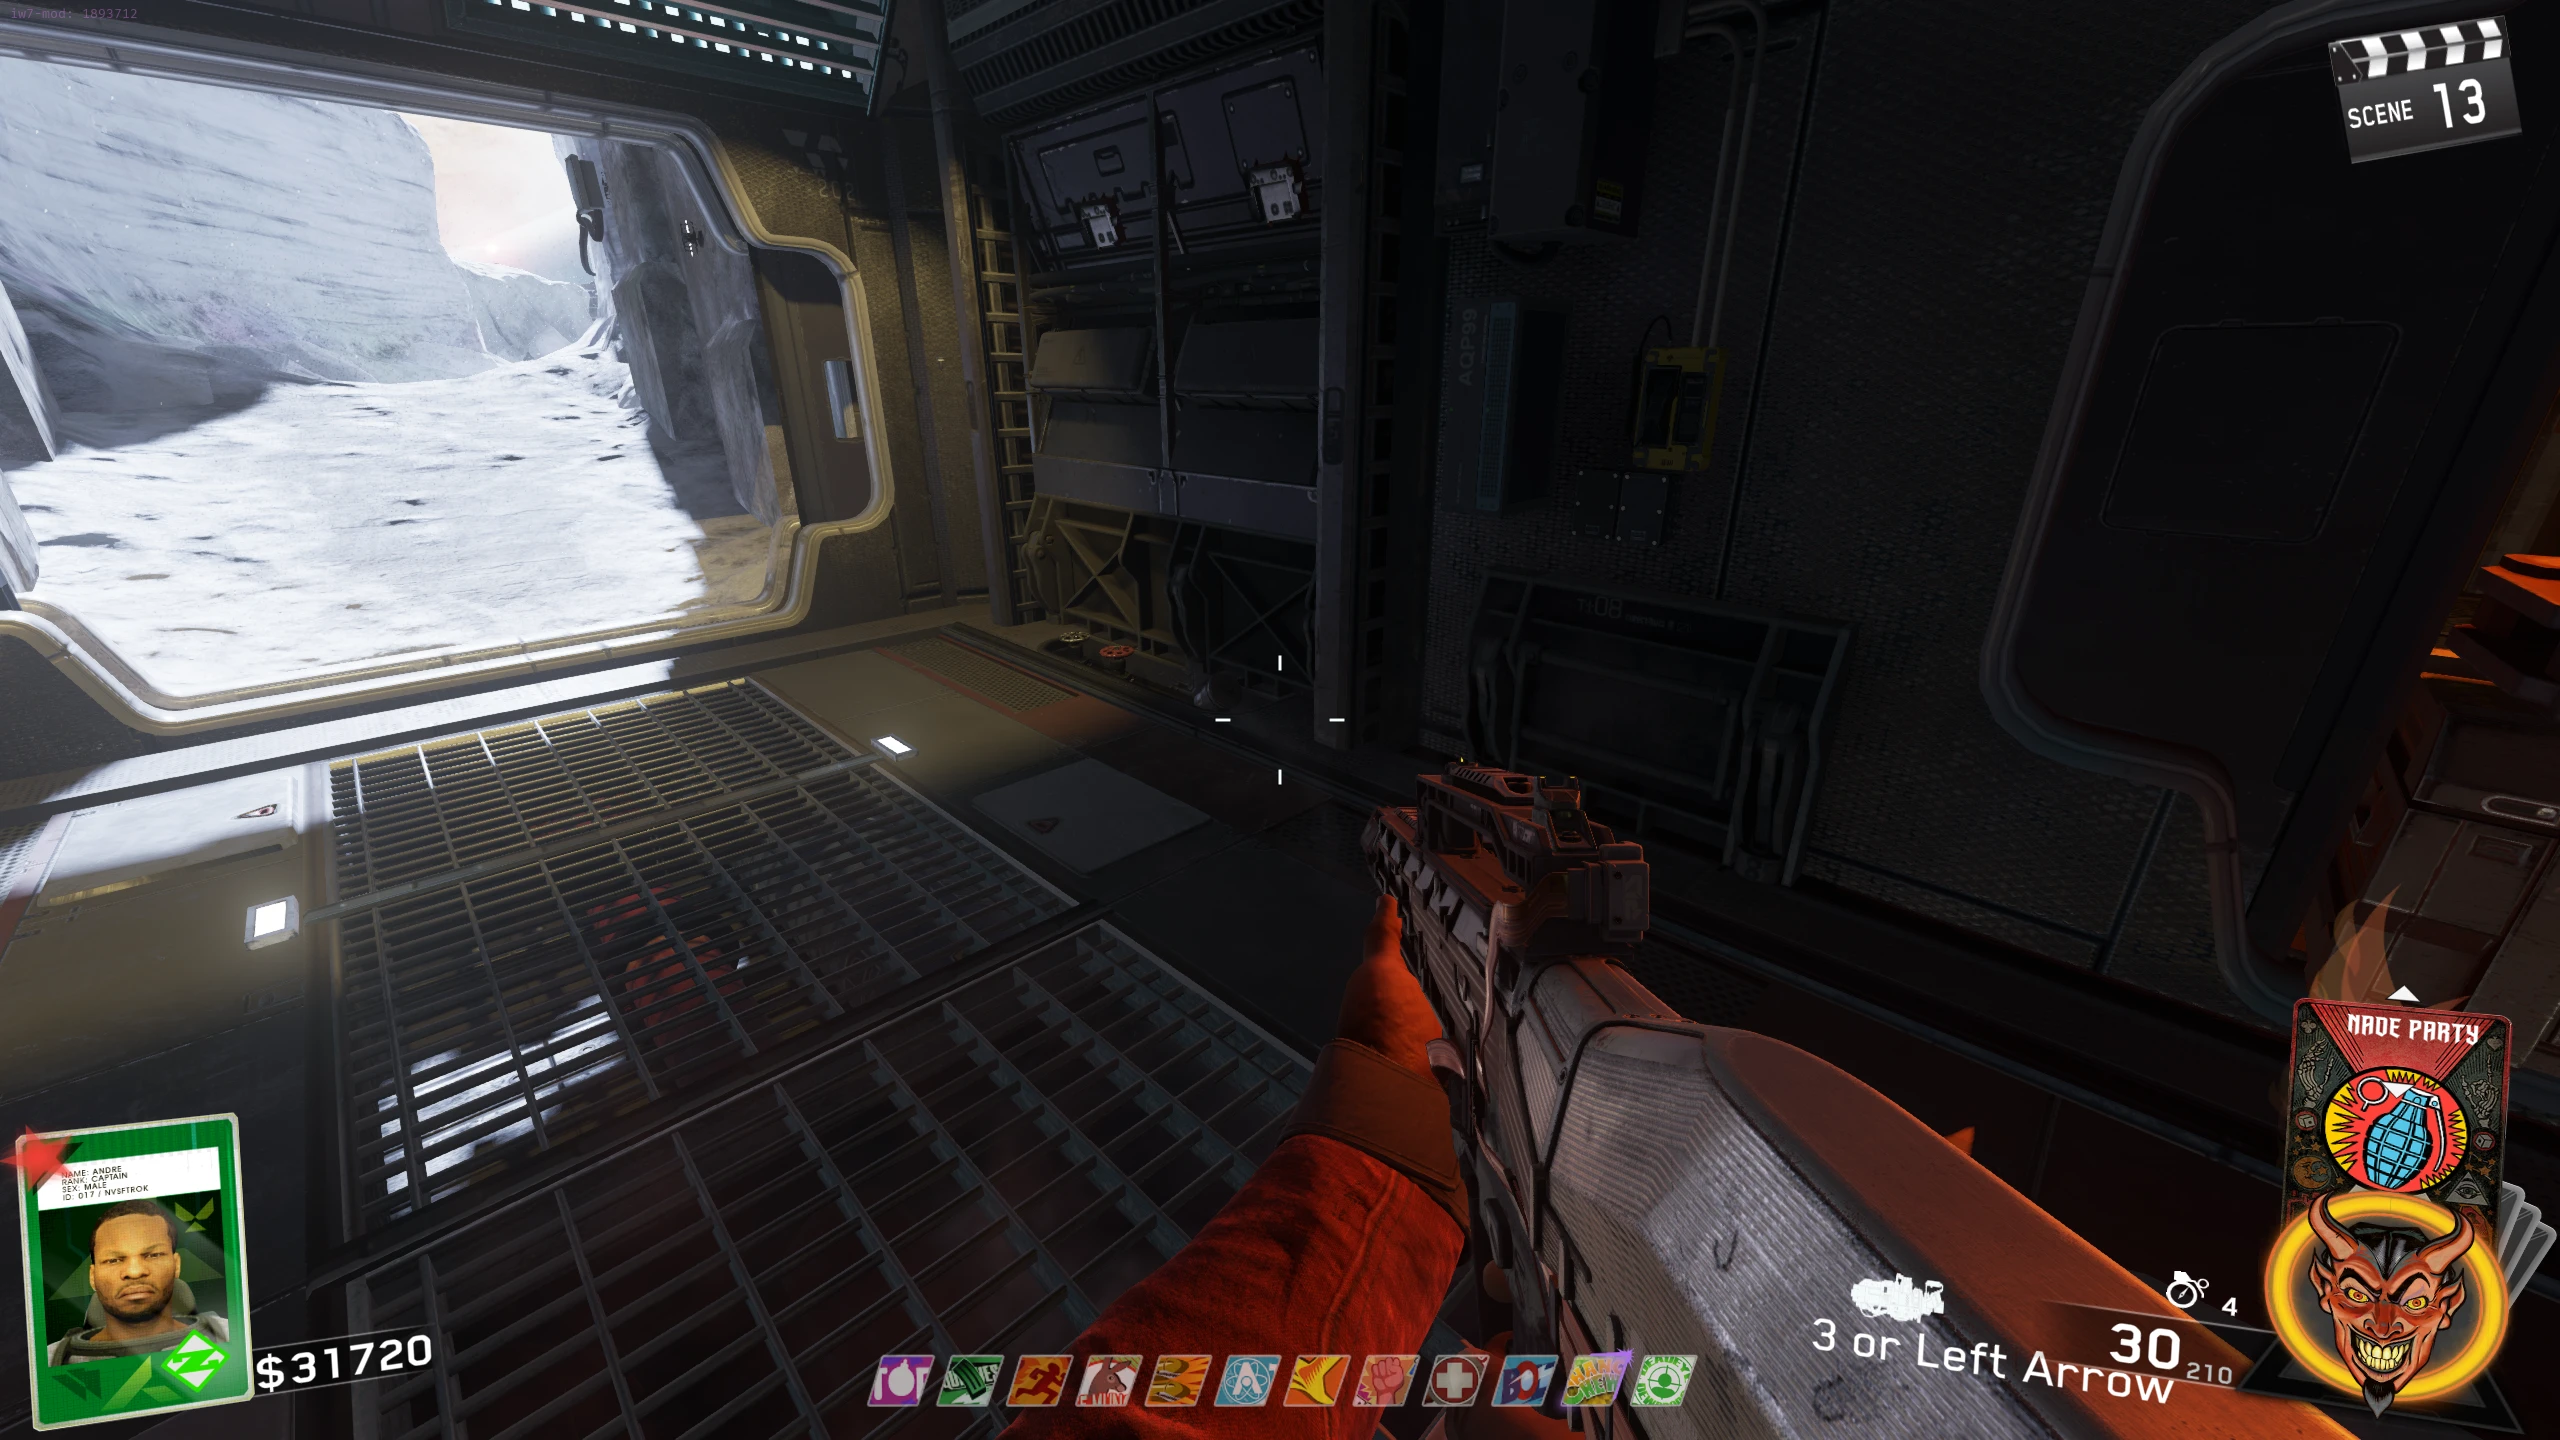
- Cargo Bay - When standing by the portal, top-left of Cargo Room Ceiling --- Zoomed-Out
Theatre
- Once you shoot all fifteen astronauts, your character will do a fist pump, you will be given 2000 xp, and the song will start playing INSIDE the Theatre and Facility (not outside).
Additional Lobby Music
- Unlock Director's Cut mode (See the Director's Cut section for more information).
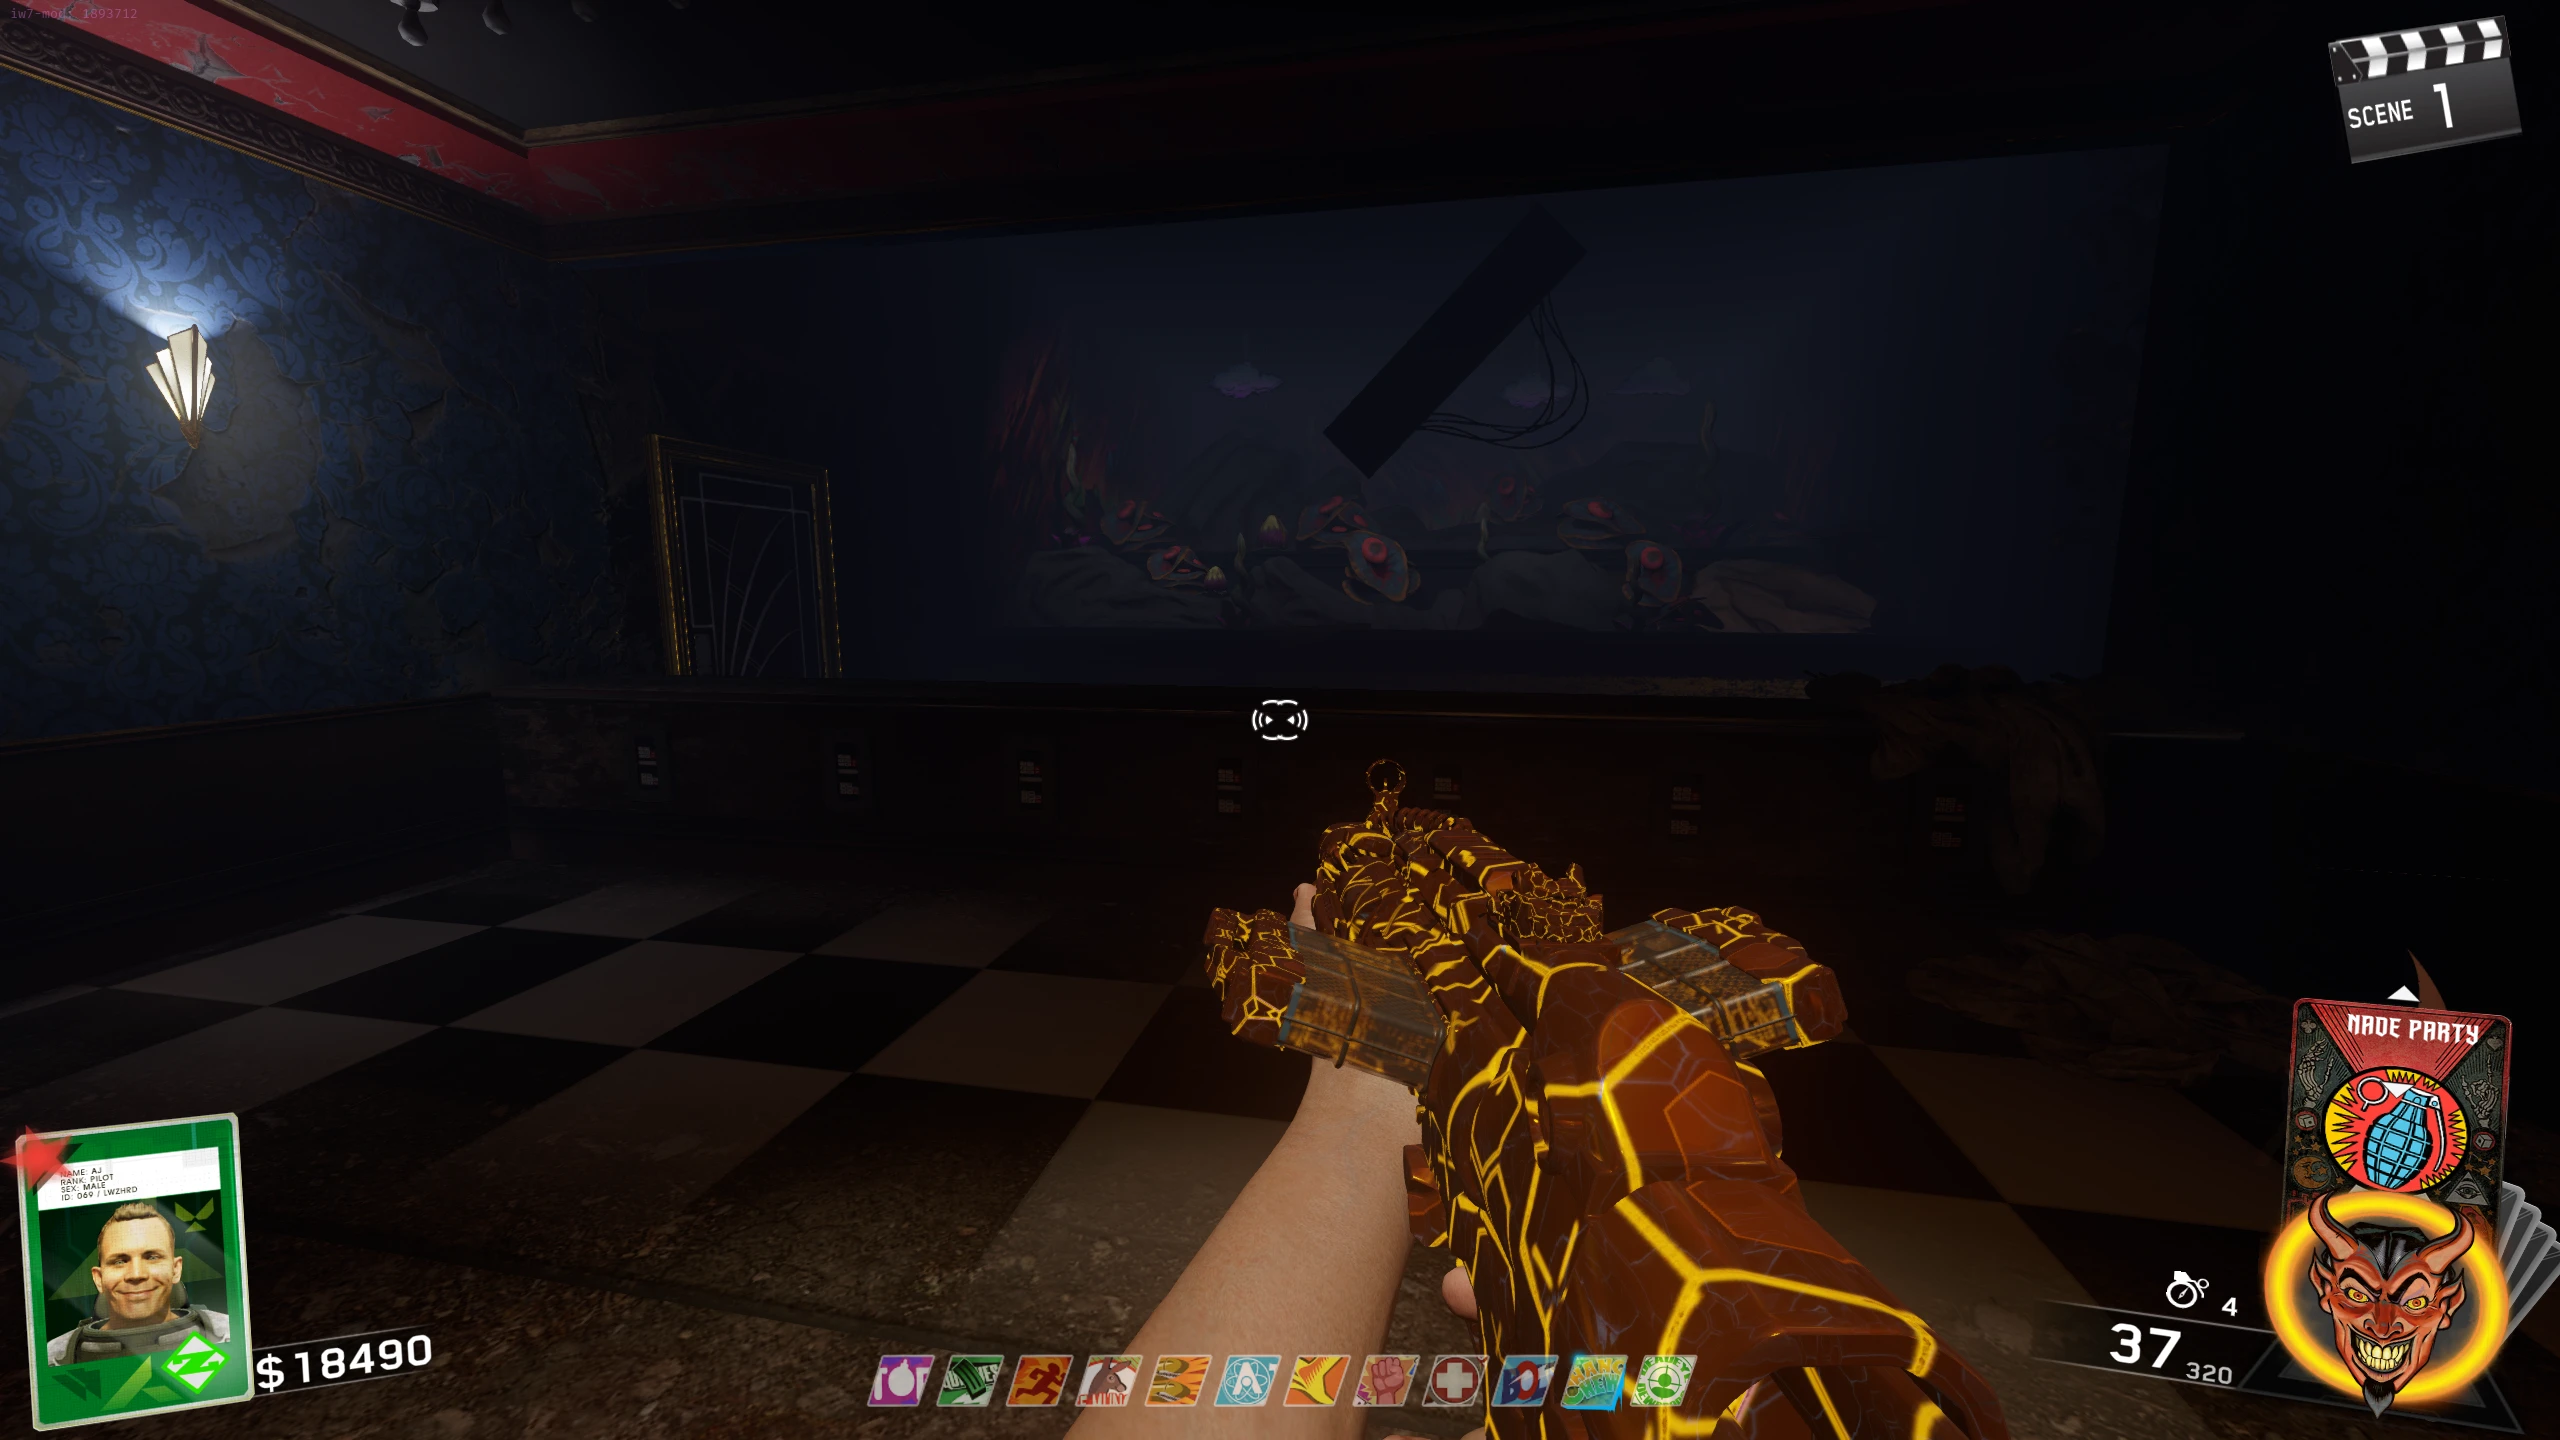
- While in Director's Cut mode, and on Scene 1, activate N31L and make your way to the Arcade in the Theatre. Interact with the Octonian Hunter shooting gallery. The White Talisman mask will drop down from the ceiling (like the UFO in the actual game) and move across the top of the shooting gallery. Shoot the Mask to unlock the lobby music.
- This can only be attempted once per game, and you will need to restart if you don't shoot the mask.
Skull Breaker
Skull Breaker is an arcade game where players must make groups of skulls by firing cubes at them, then blowing them up by firing nukes at them. To unlock the machine, you need to complete a specific set of side tasks to get six skulls. Completing the game unlocks all perks permanently (except Up & Atoms in Solo), and your Fate & Fortune cards will charge faster for the remainder of the game.
- You can check your current progress by looking at the Skull Breaker Arcade Cabinet in the Arcade in the Theatre.
Skull 1/6 - Skull in a Power Box
- A power box will spawn in one of the following locations. Using a grenade (or the OSA's under-barrel grenade launcher), blow up the power box to open it, revealing a Skull. Shoot the skull once it appears to play the completion sound. Power Box locations:
Skull 2/6 - Entangler Defence
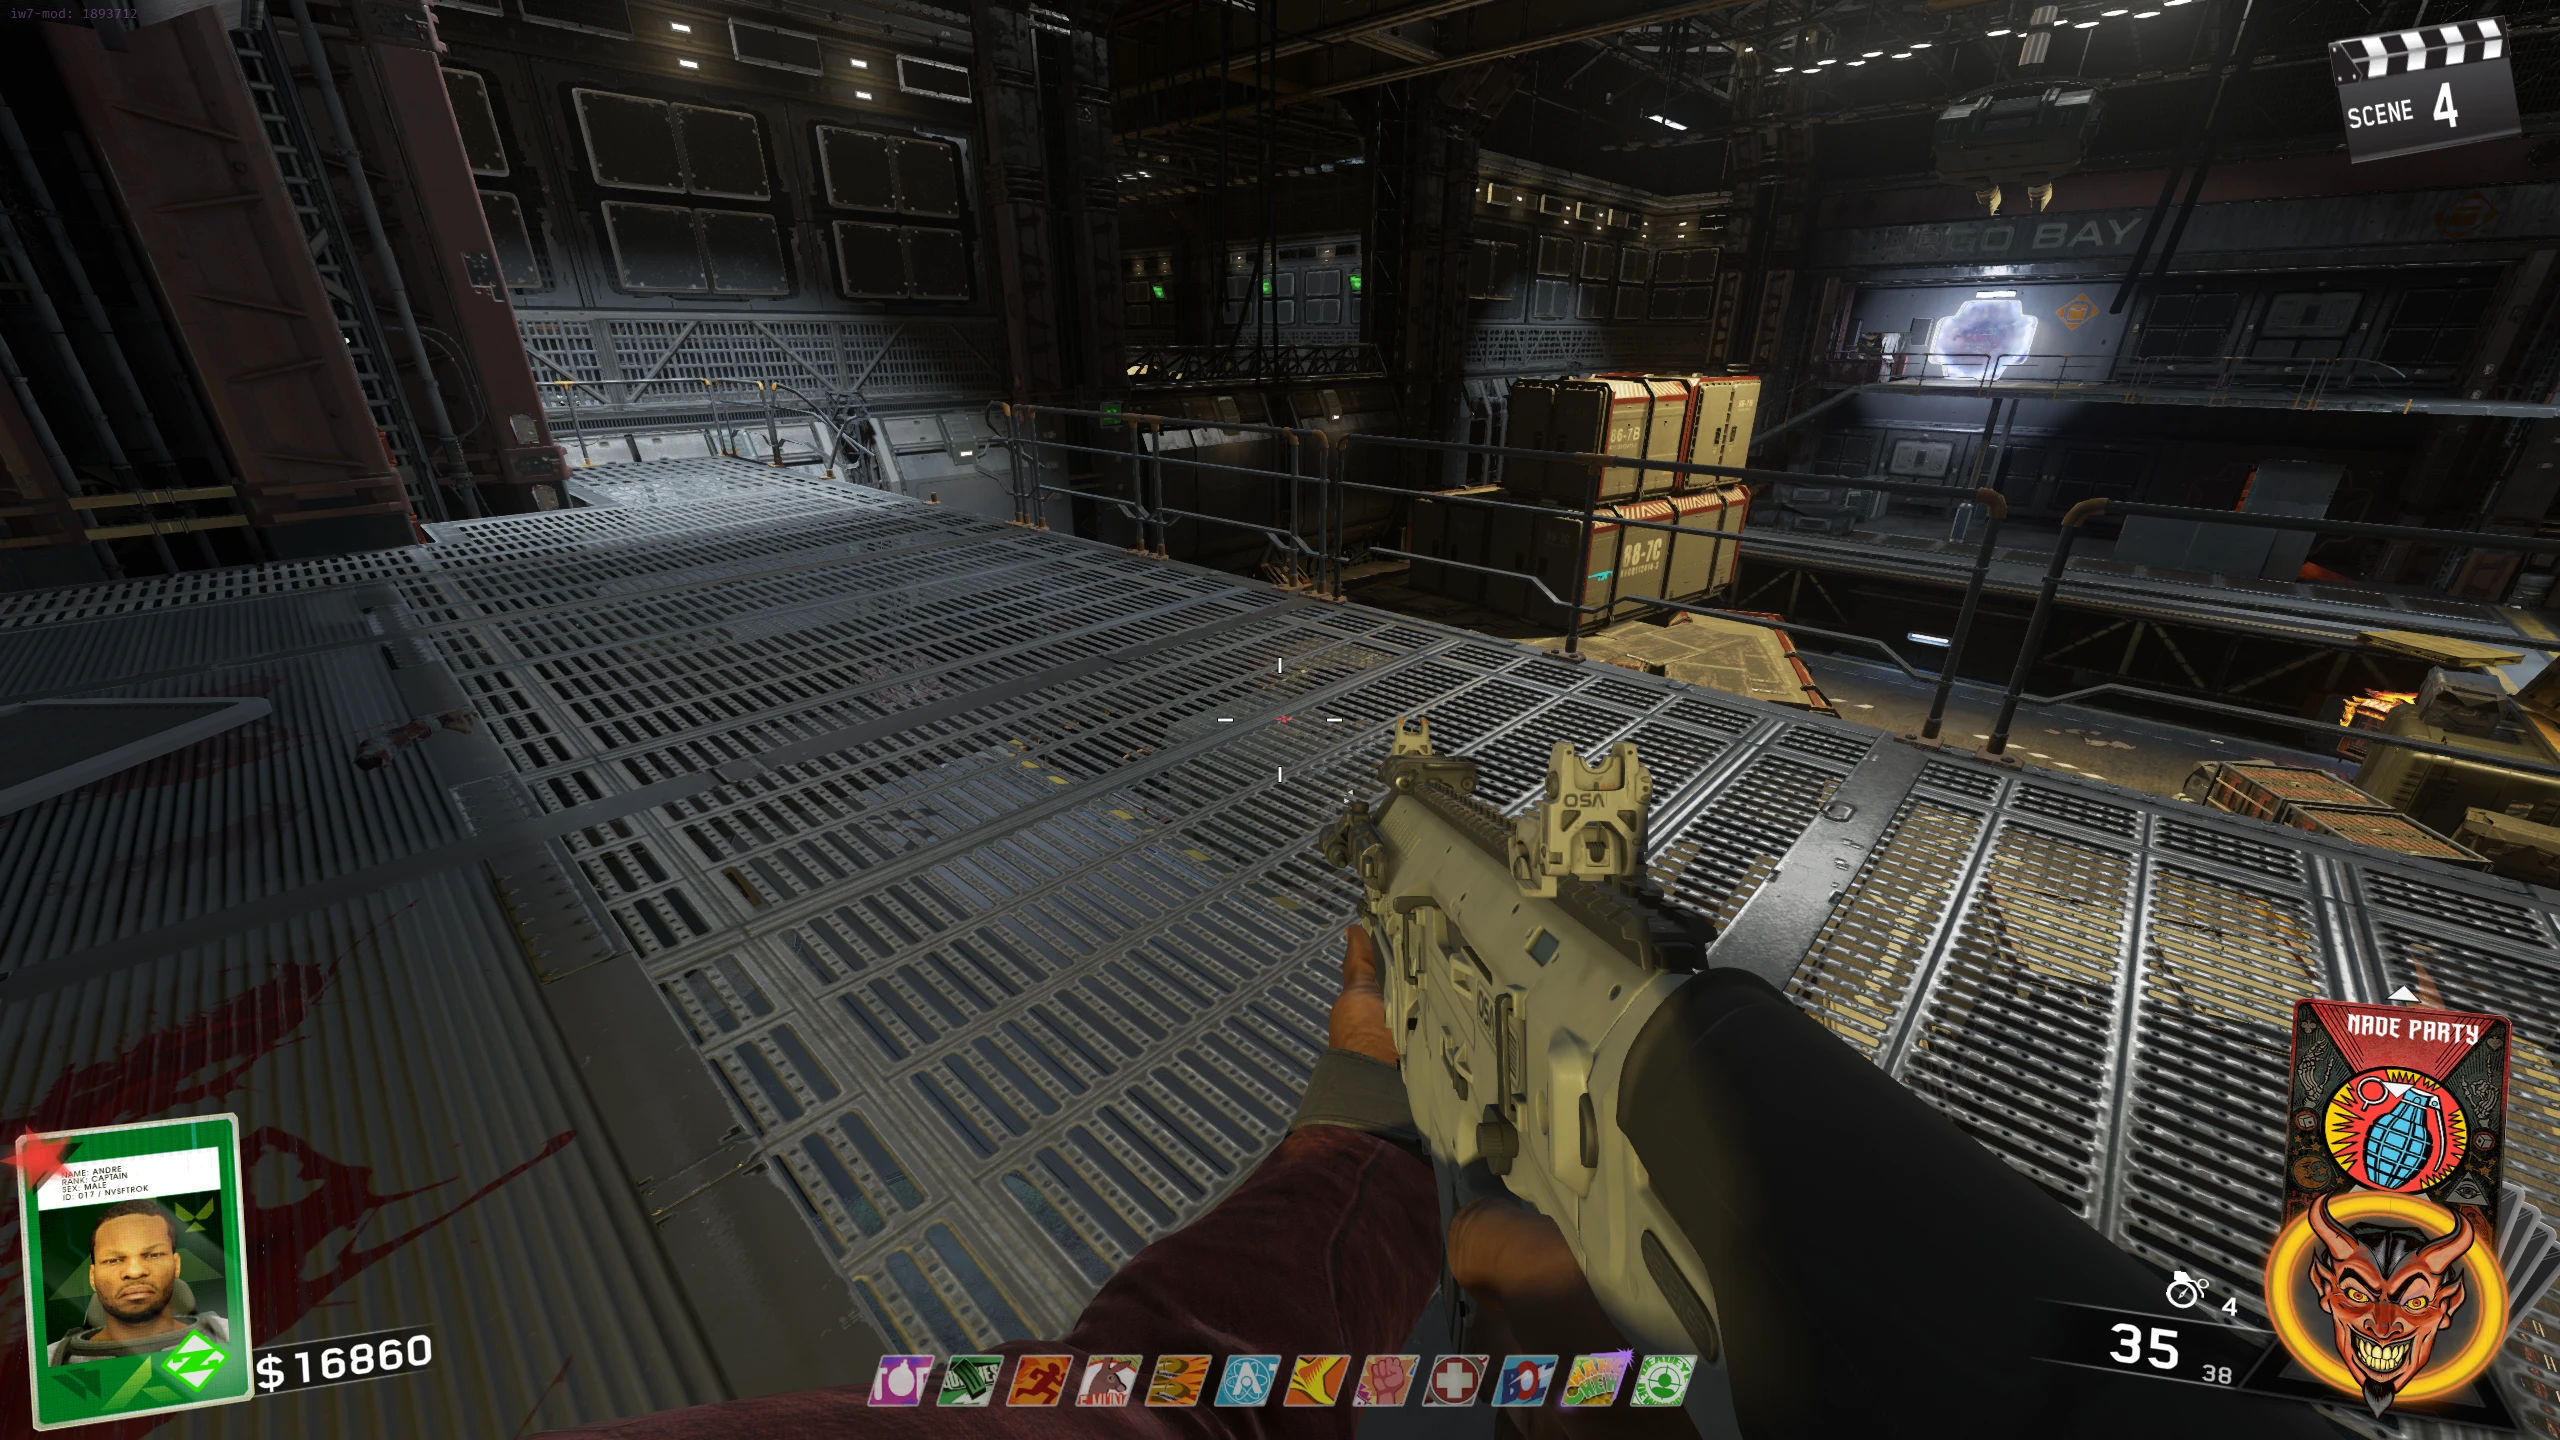
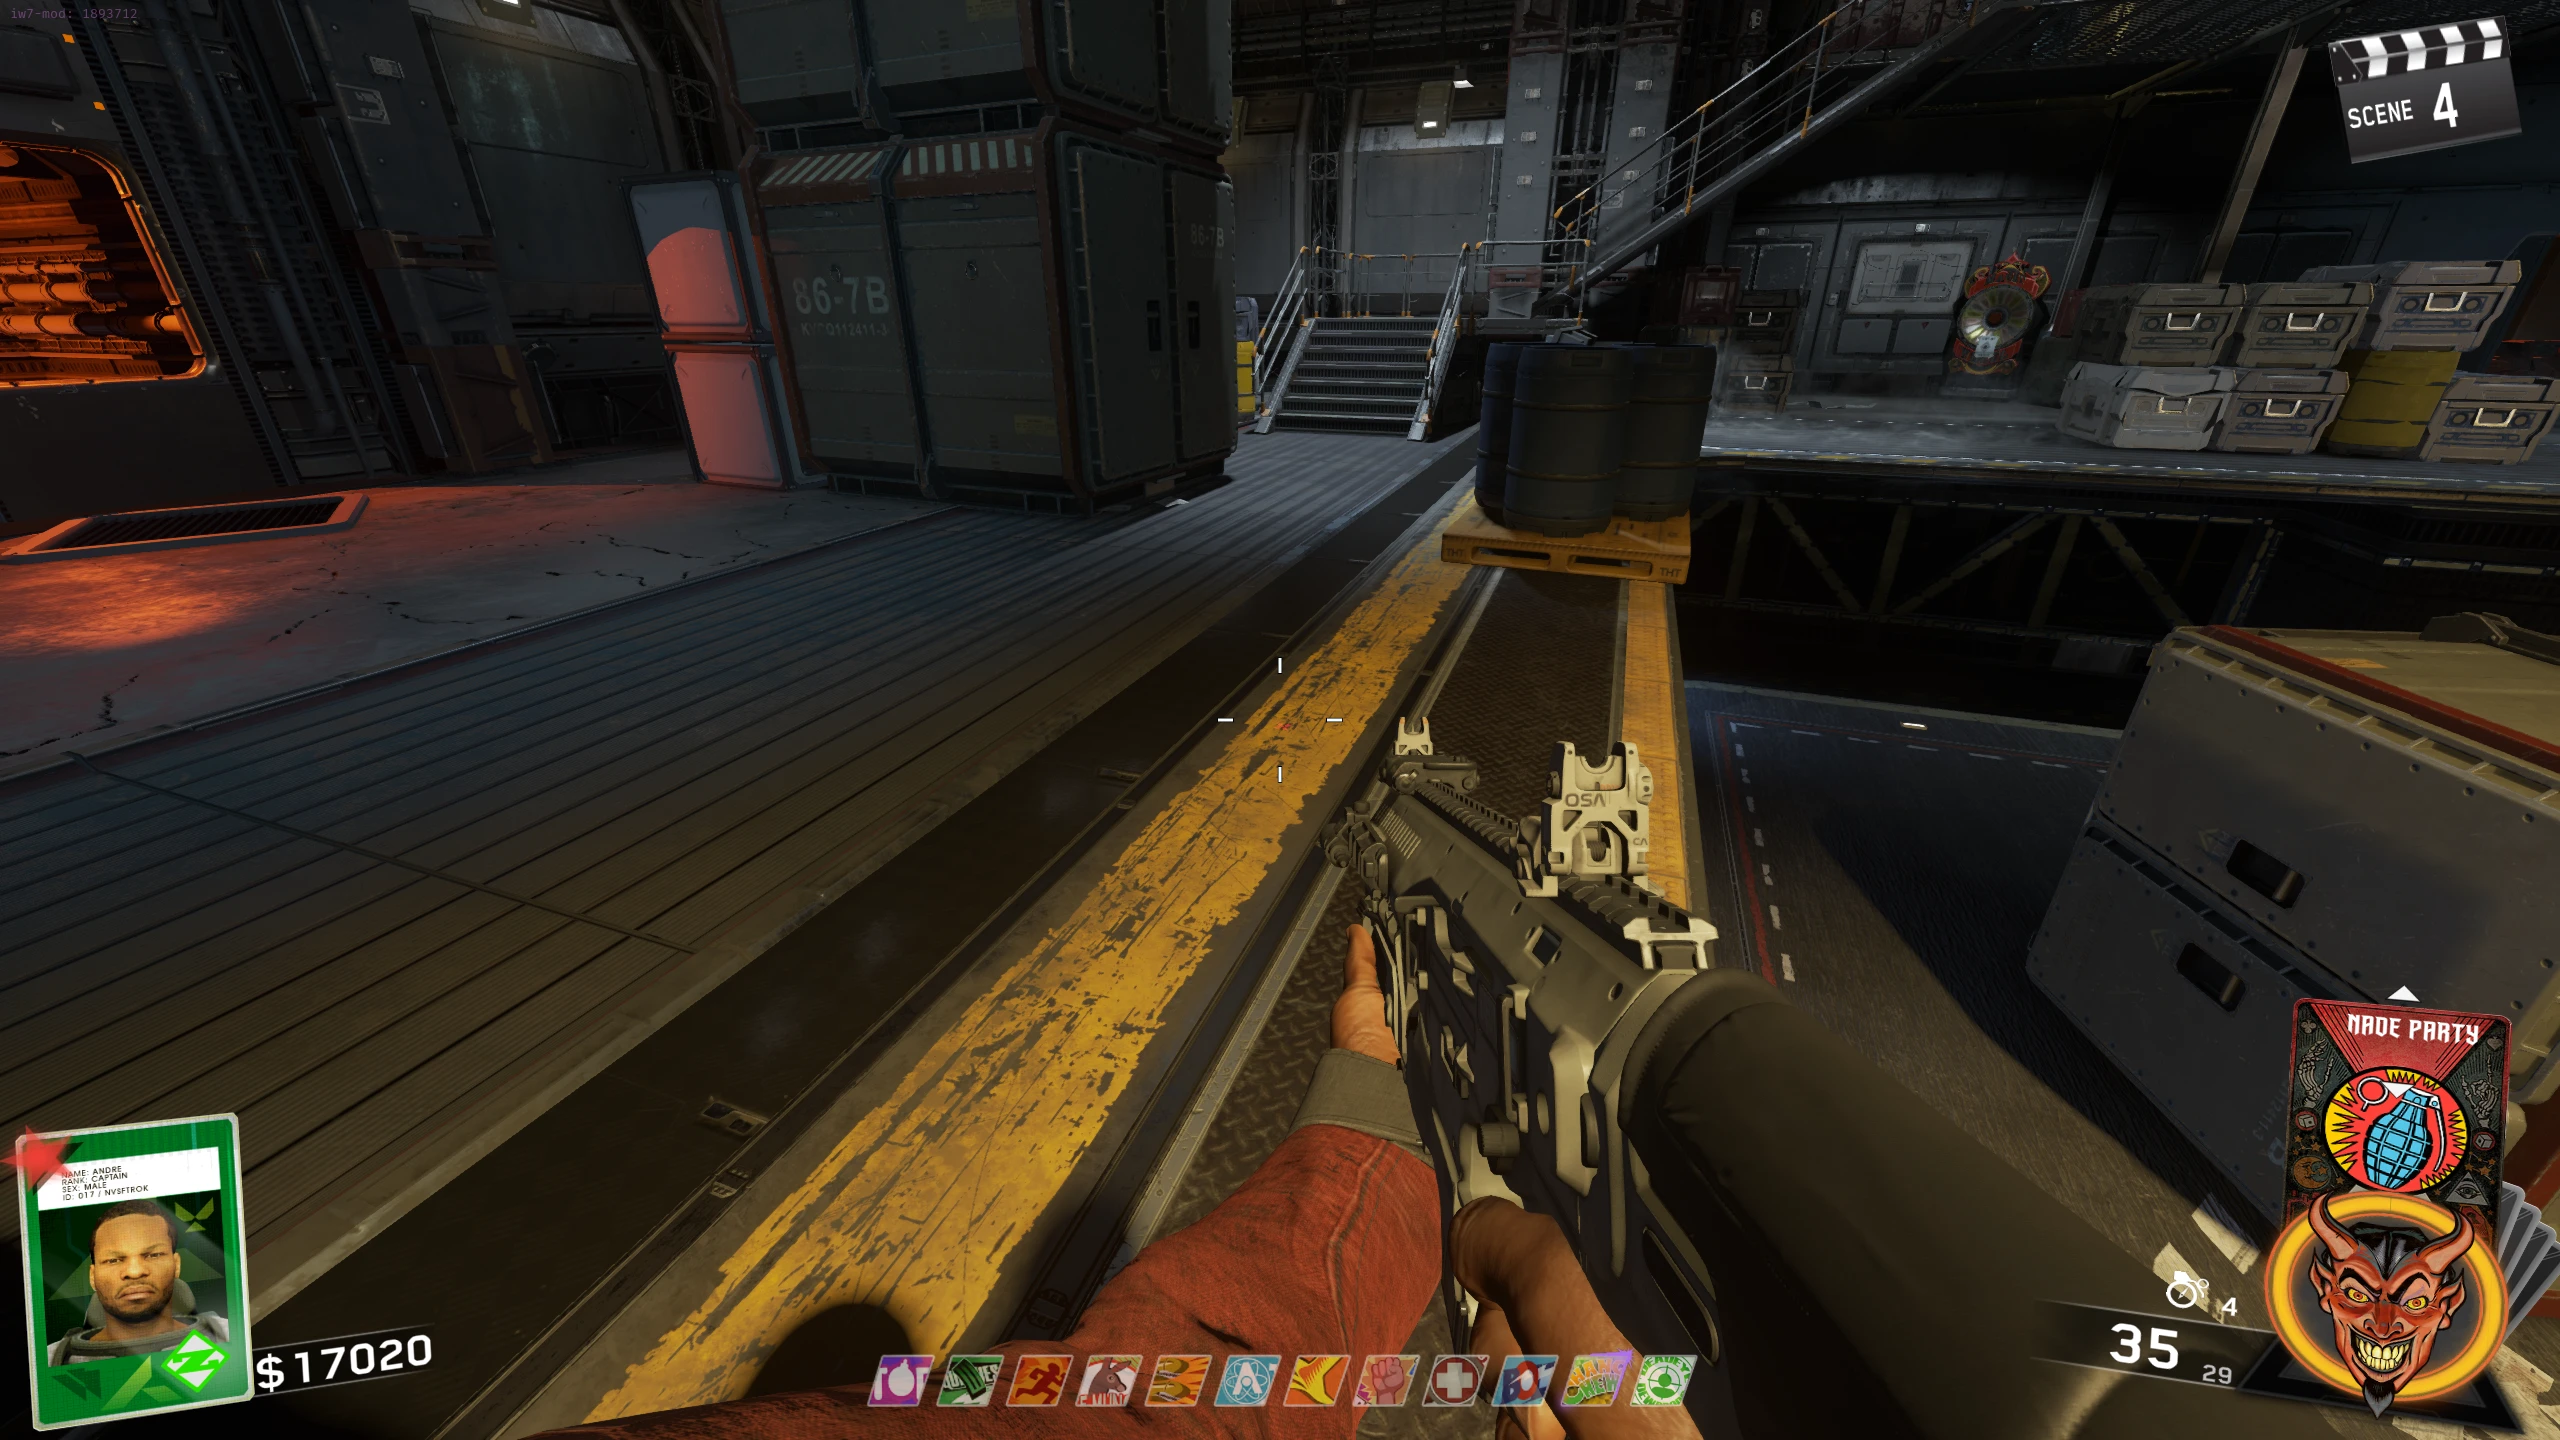
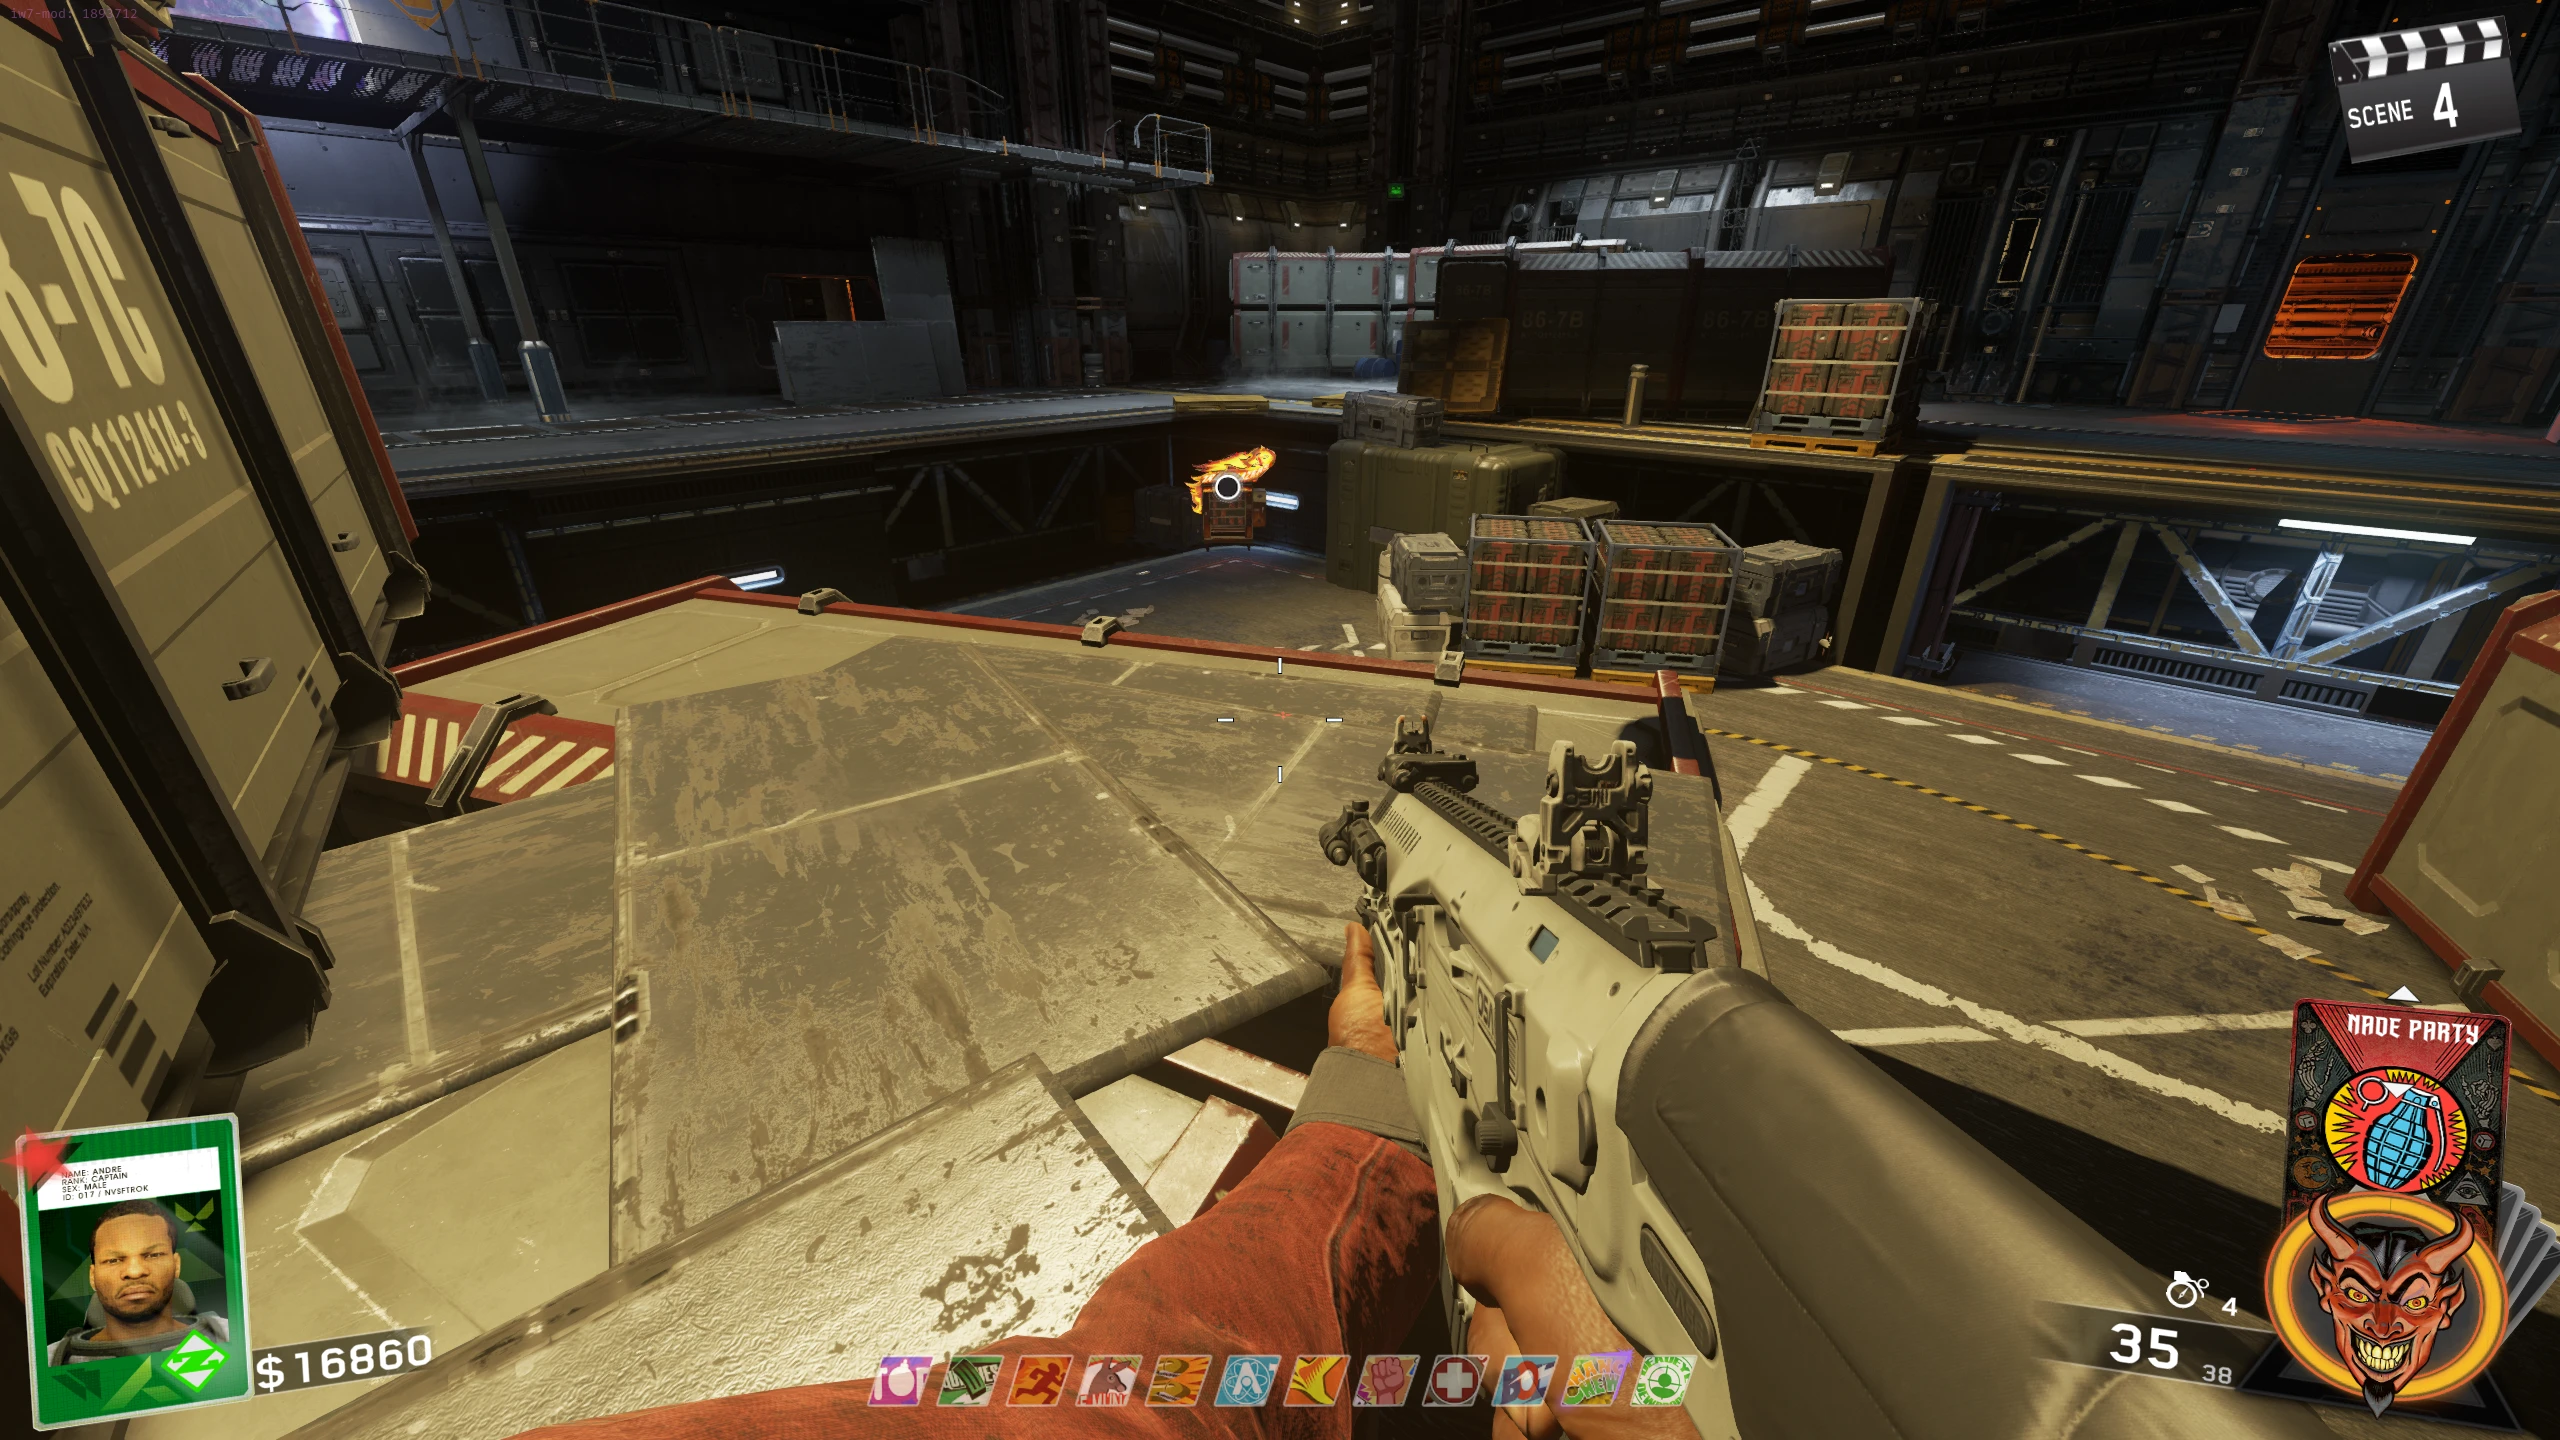
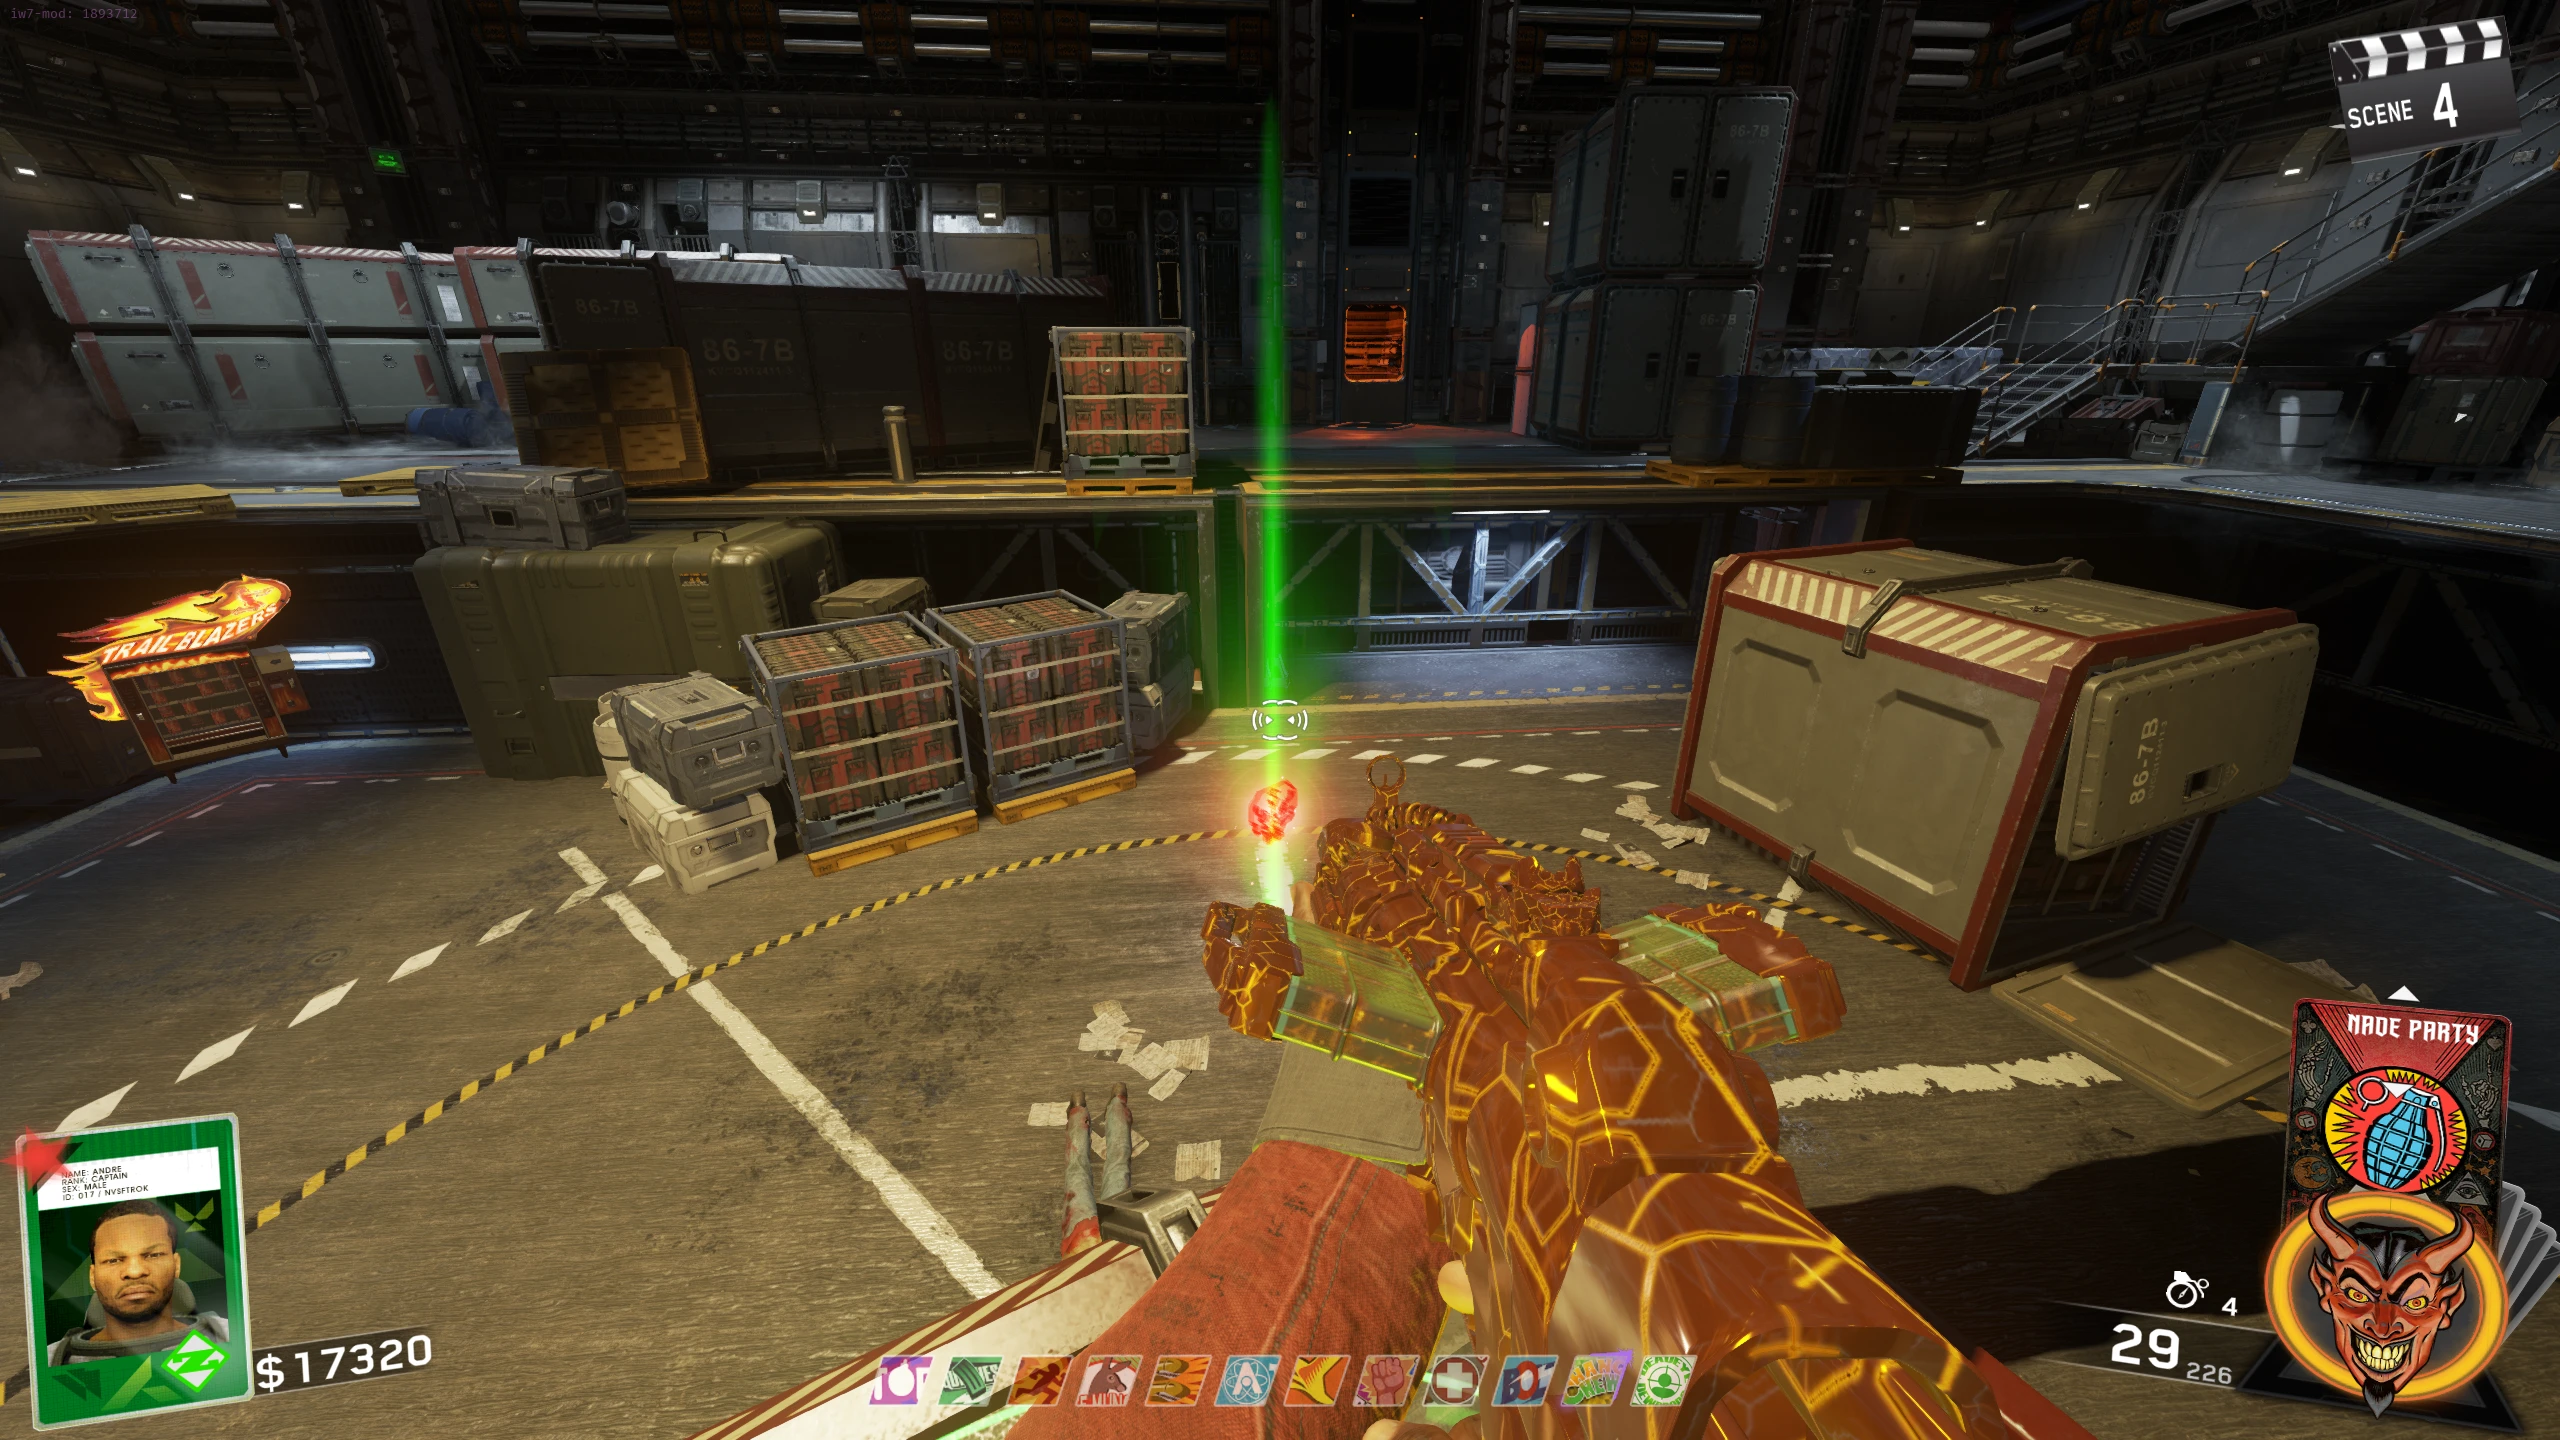
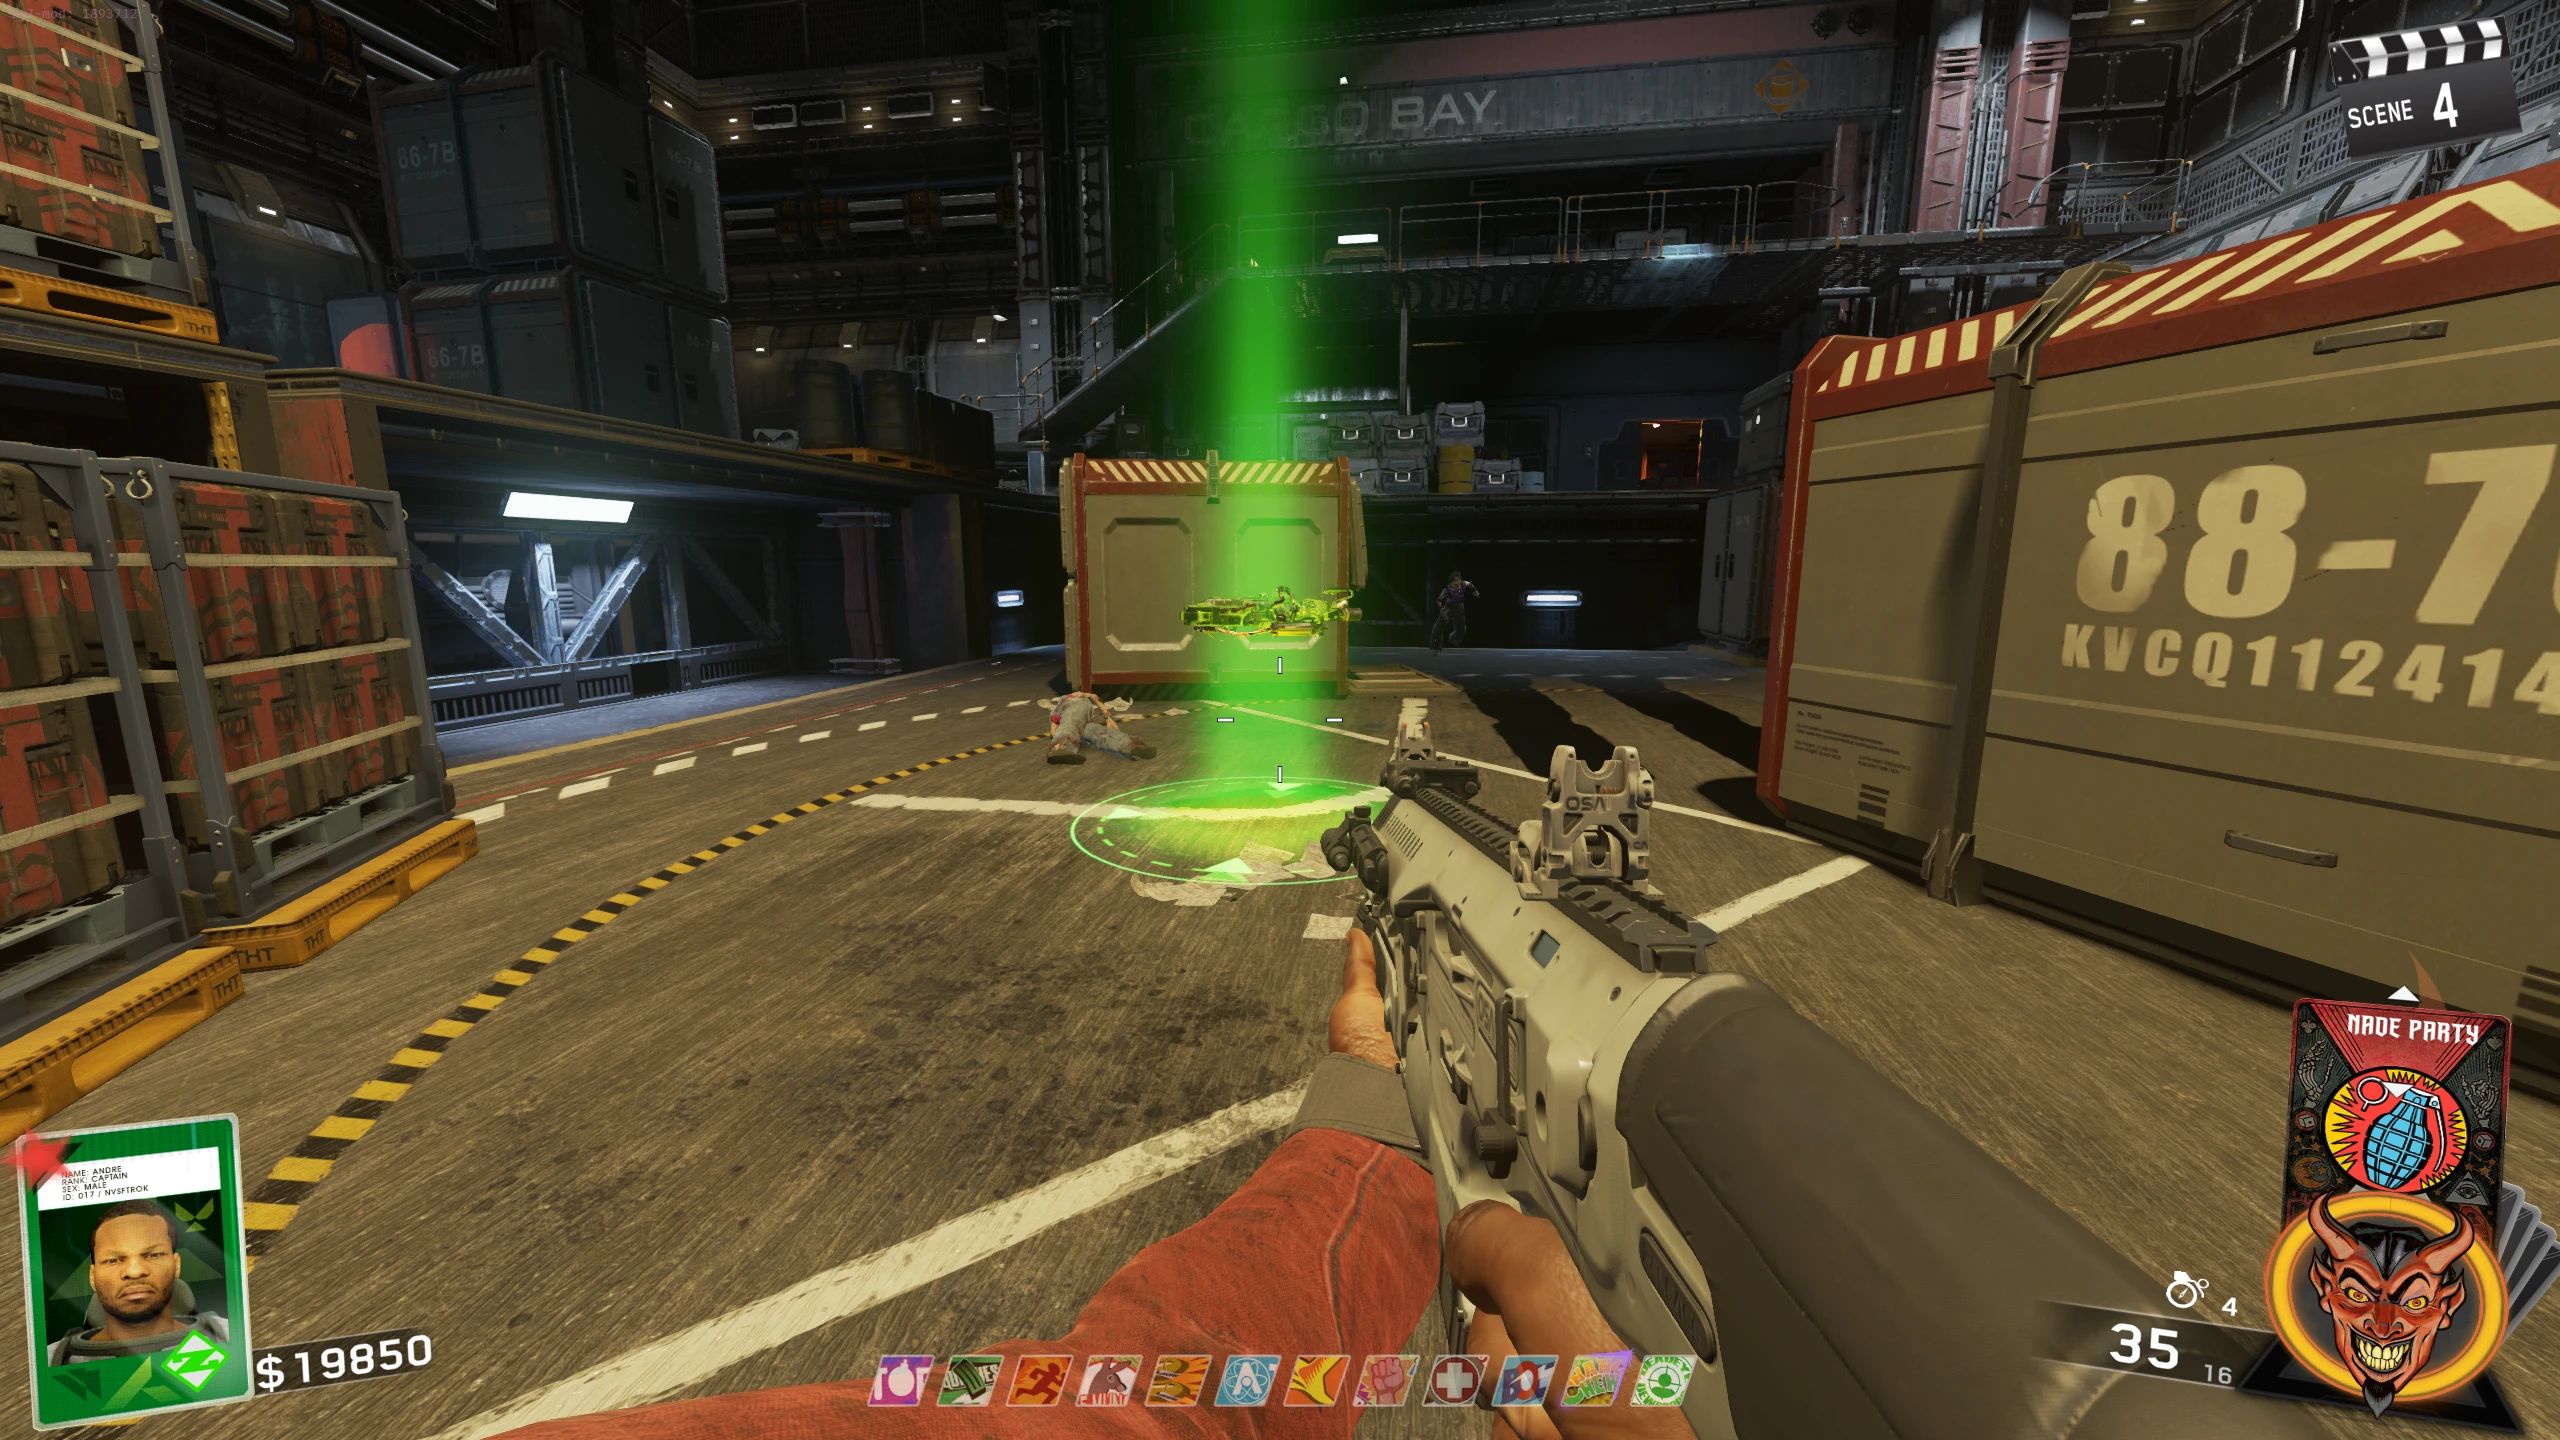
- Around the Cargo Bay, there are four red Xs on the floor. All players need to stand on a different X to start a lockdown event. X Locations:
- Once all players are on different Xs, a lockdown activates. All players must stay on their X (now a green circle) until the skull in the middle of the Cargo Bay reaches the top of the beam. Zombies will infinitely spawn.
- These spawning Zombies will only spawn in the Cargo Bay, so the player on the top level doesn't need to check "behind" them for spawns from the hallway.
- If a player leaves their circle, the skull will disappear, and you can retry the next round.
- Once the Skull reaches the top, it will move somewhere in the Cargo Bay. You must quickly run and jump into it to collect it.
- It will despawn after a few seconds so be quick. If you don't collect the Skull, you can retry the lockdown next round.
- Collecting the Skull will play the completion sound and spawn the Entangler in the middle of the Cargo Bay. The Entangler is the weapon used in the Ghost and Skulls mini-games and has a dedicated weapon slot.
Skull 3/6 - Odd-symbol Out
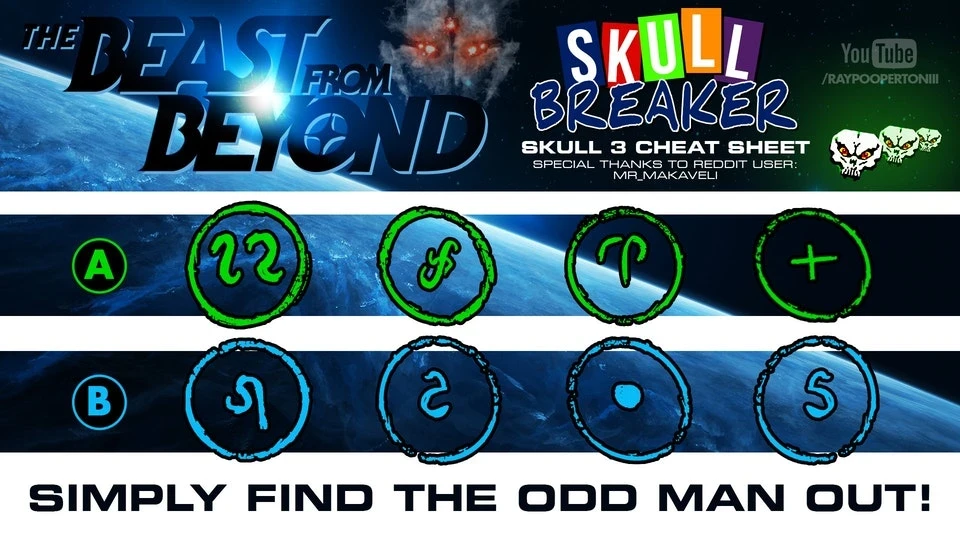
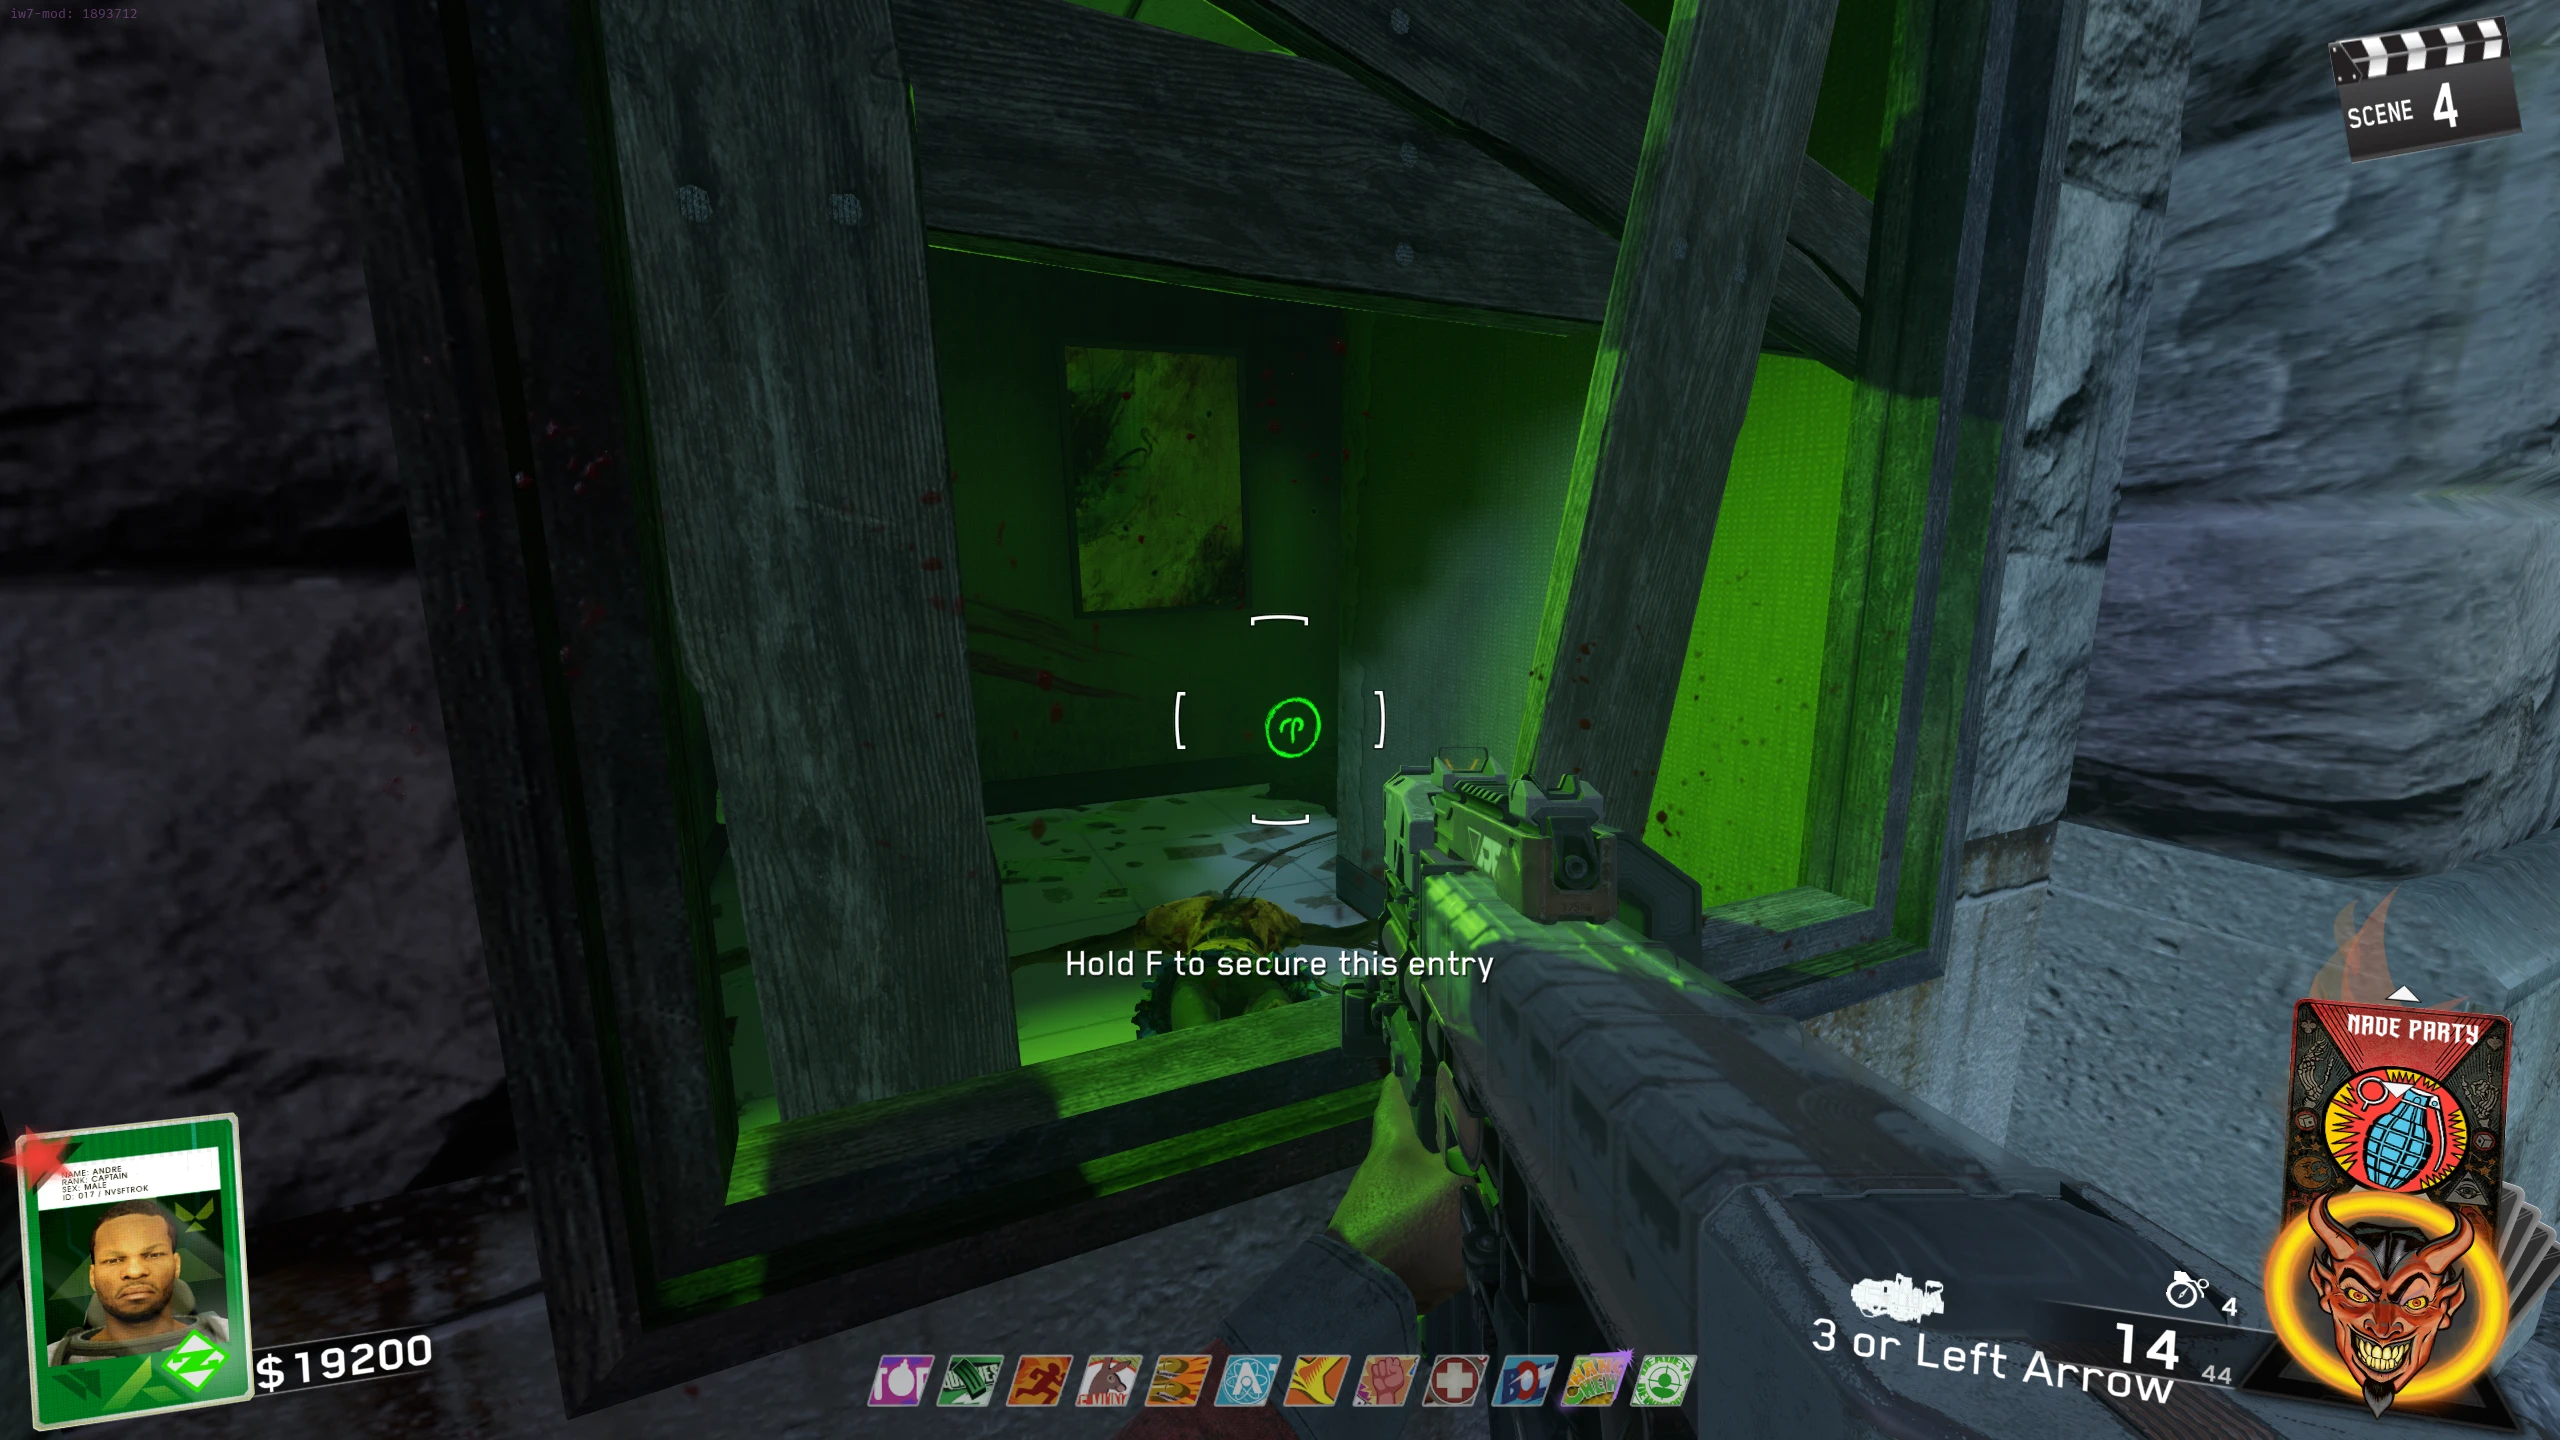
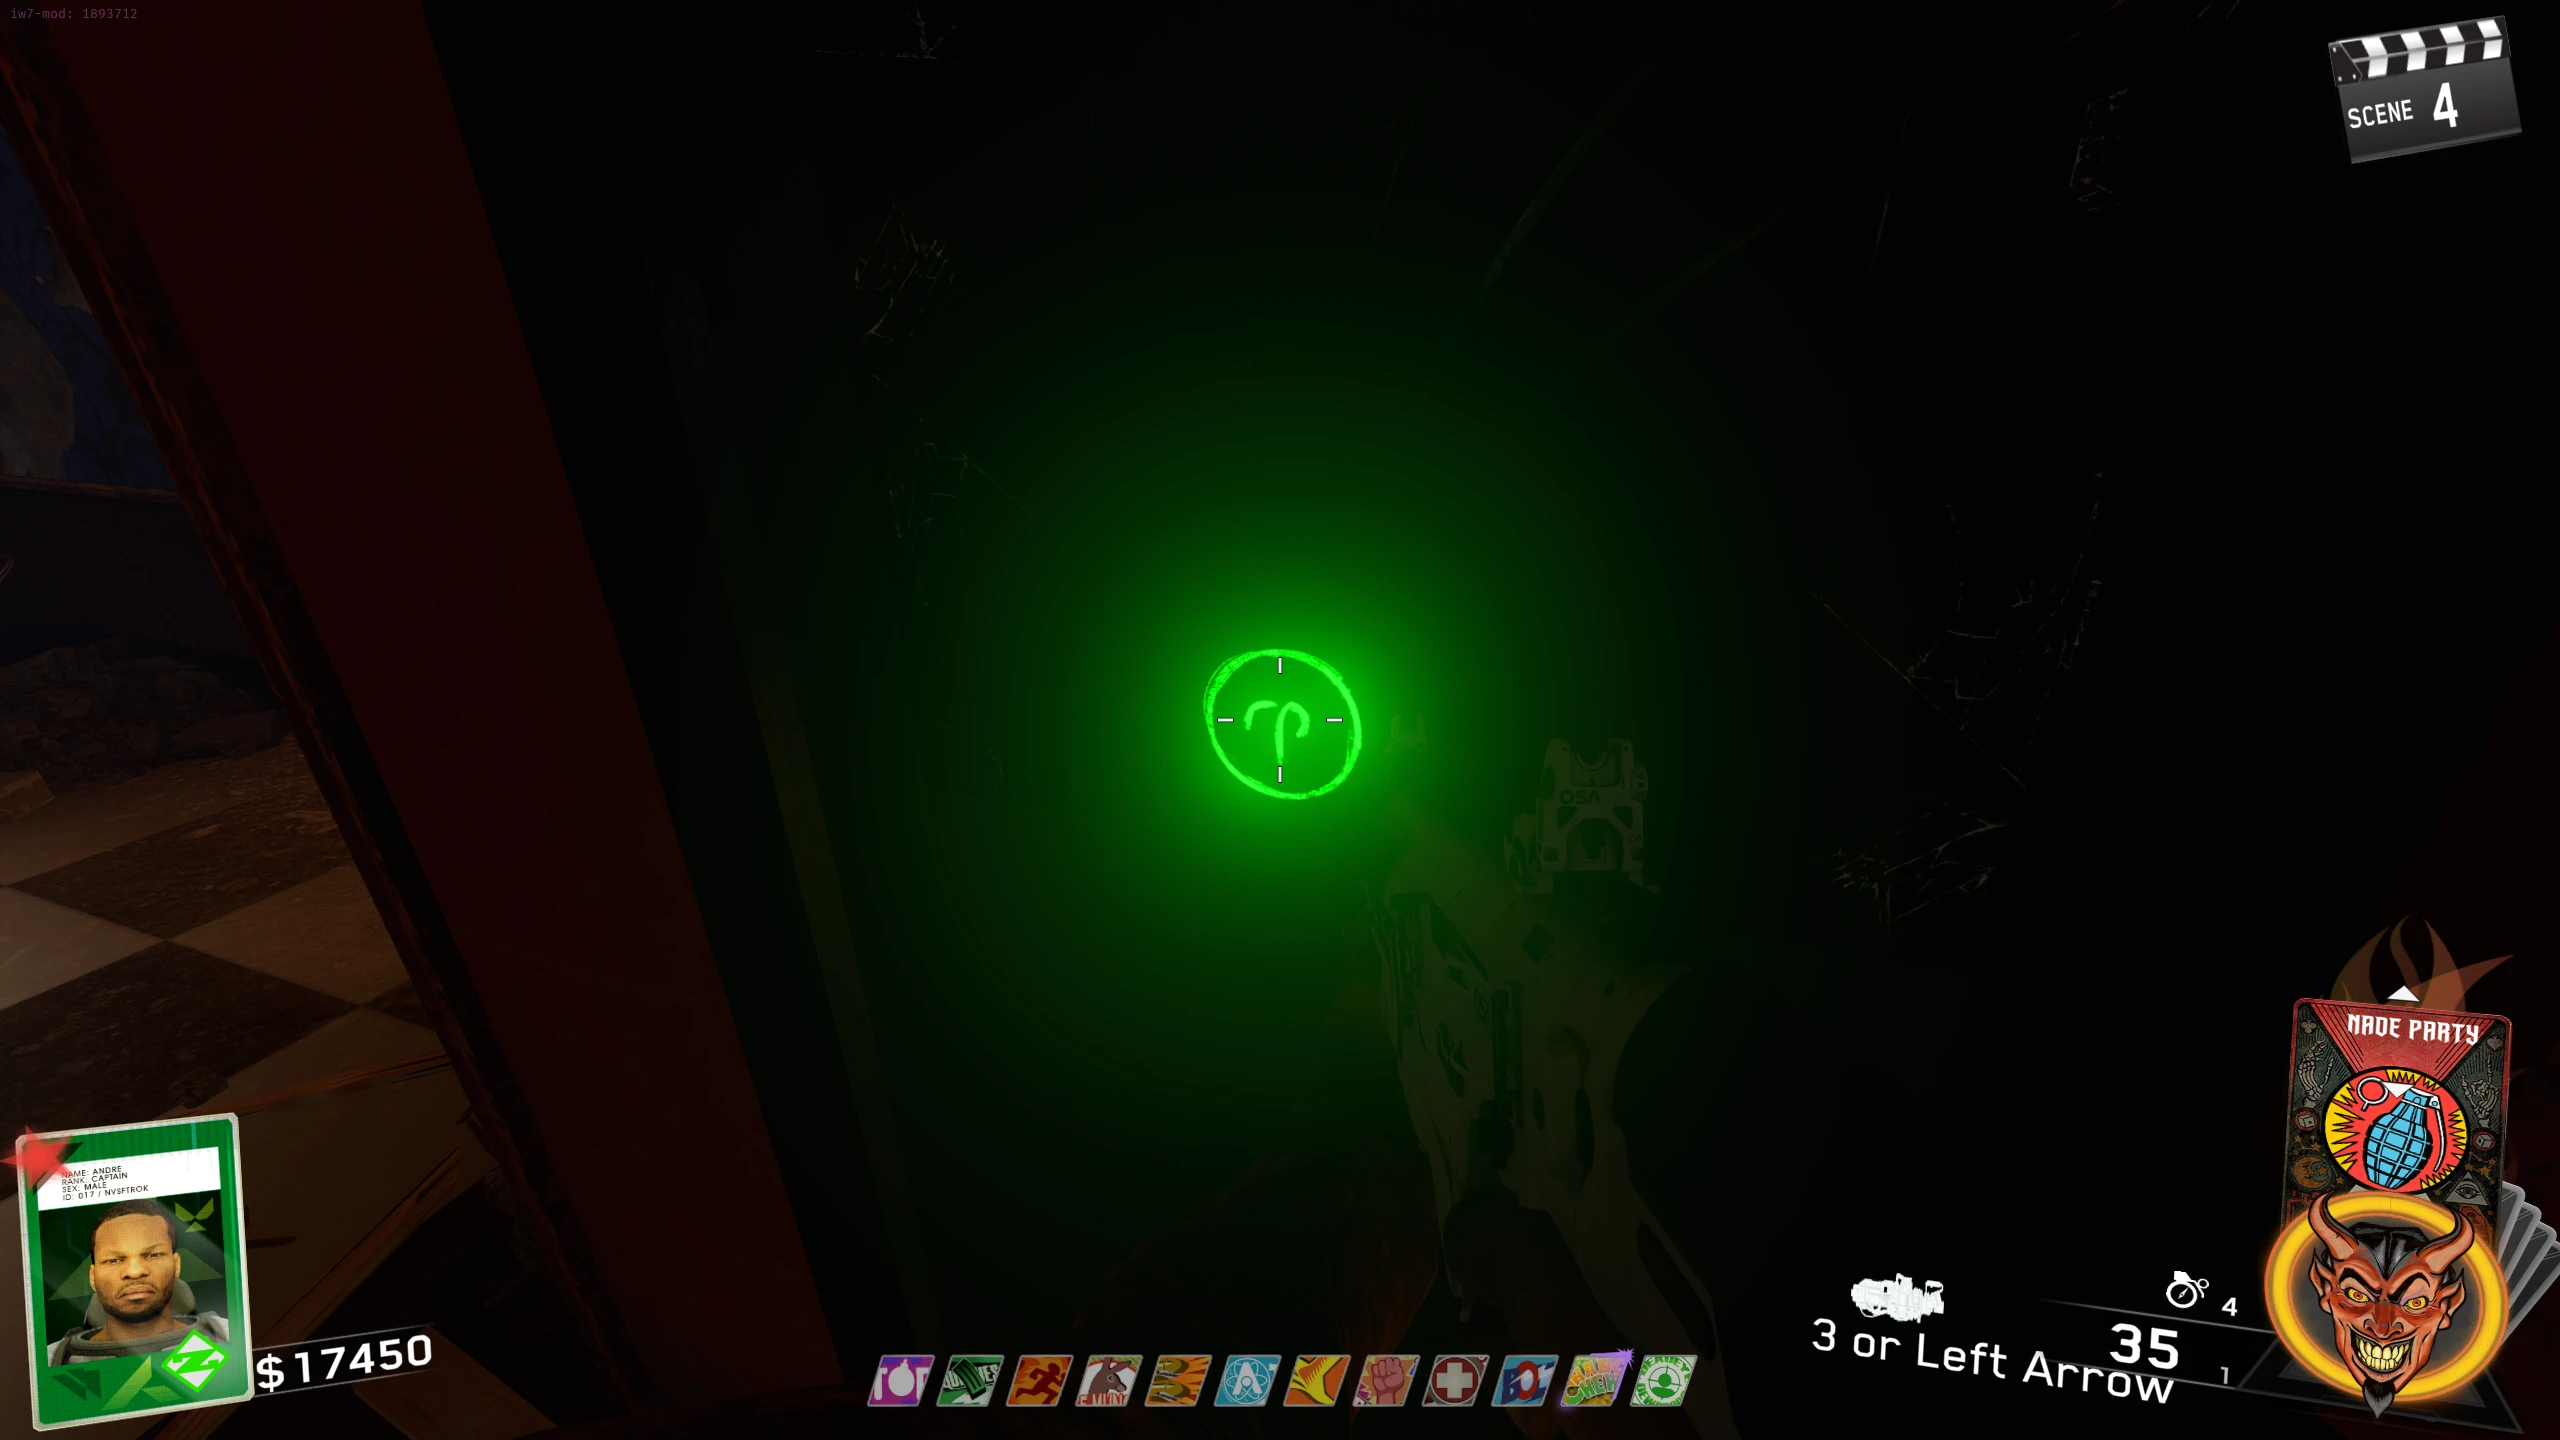
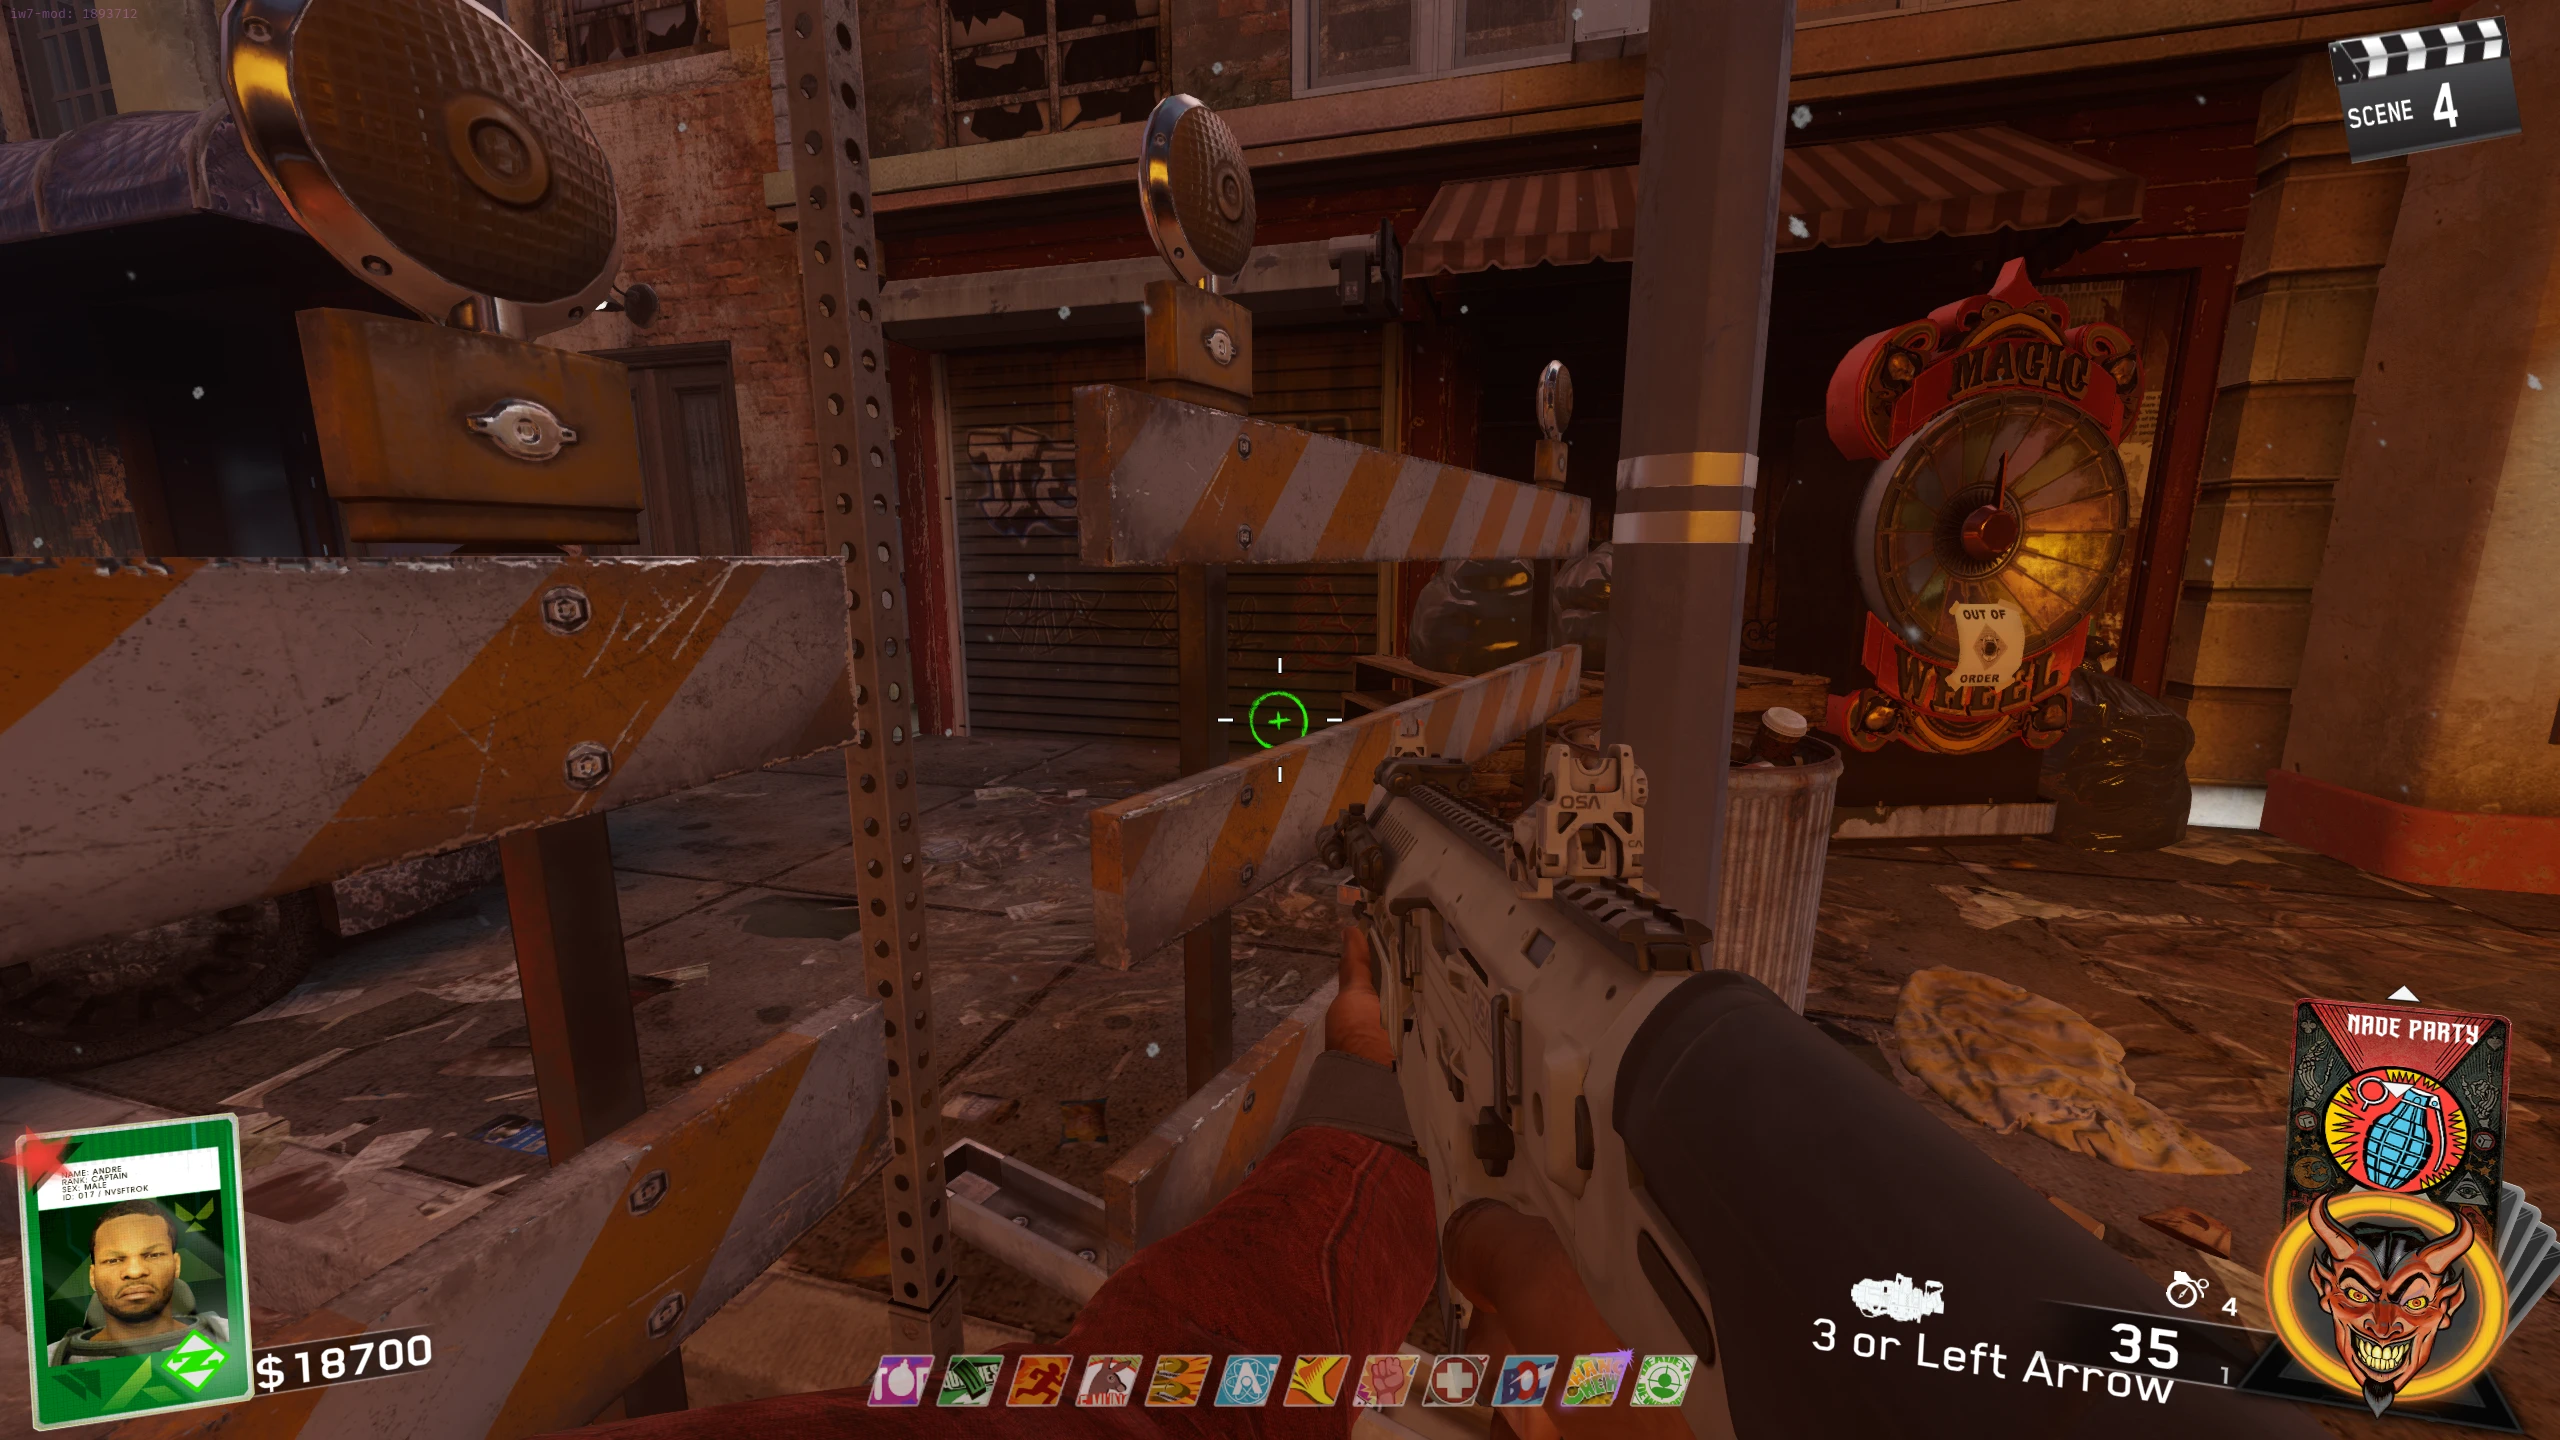
- Four symbols will spawn around the map. Using this cheat sheet, ADS at the symbol that is in a different row from the other three. Symbol locations:
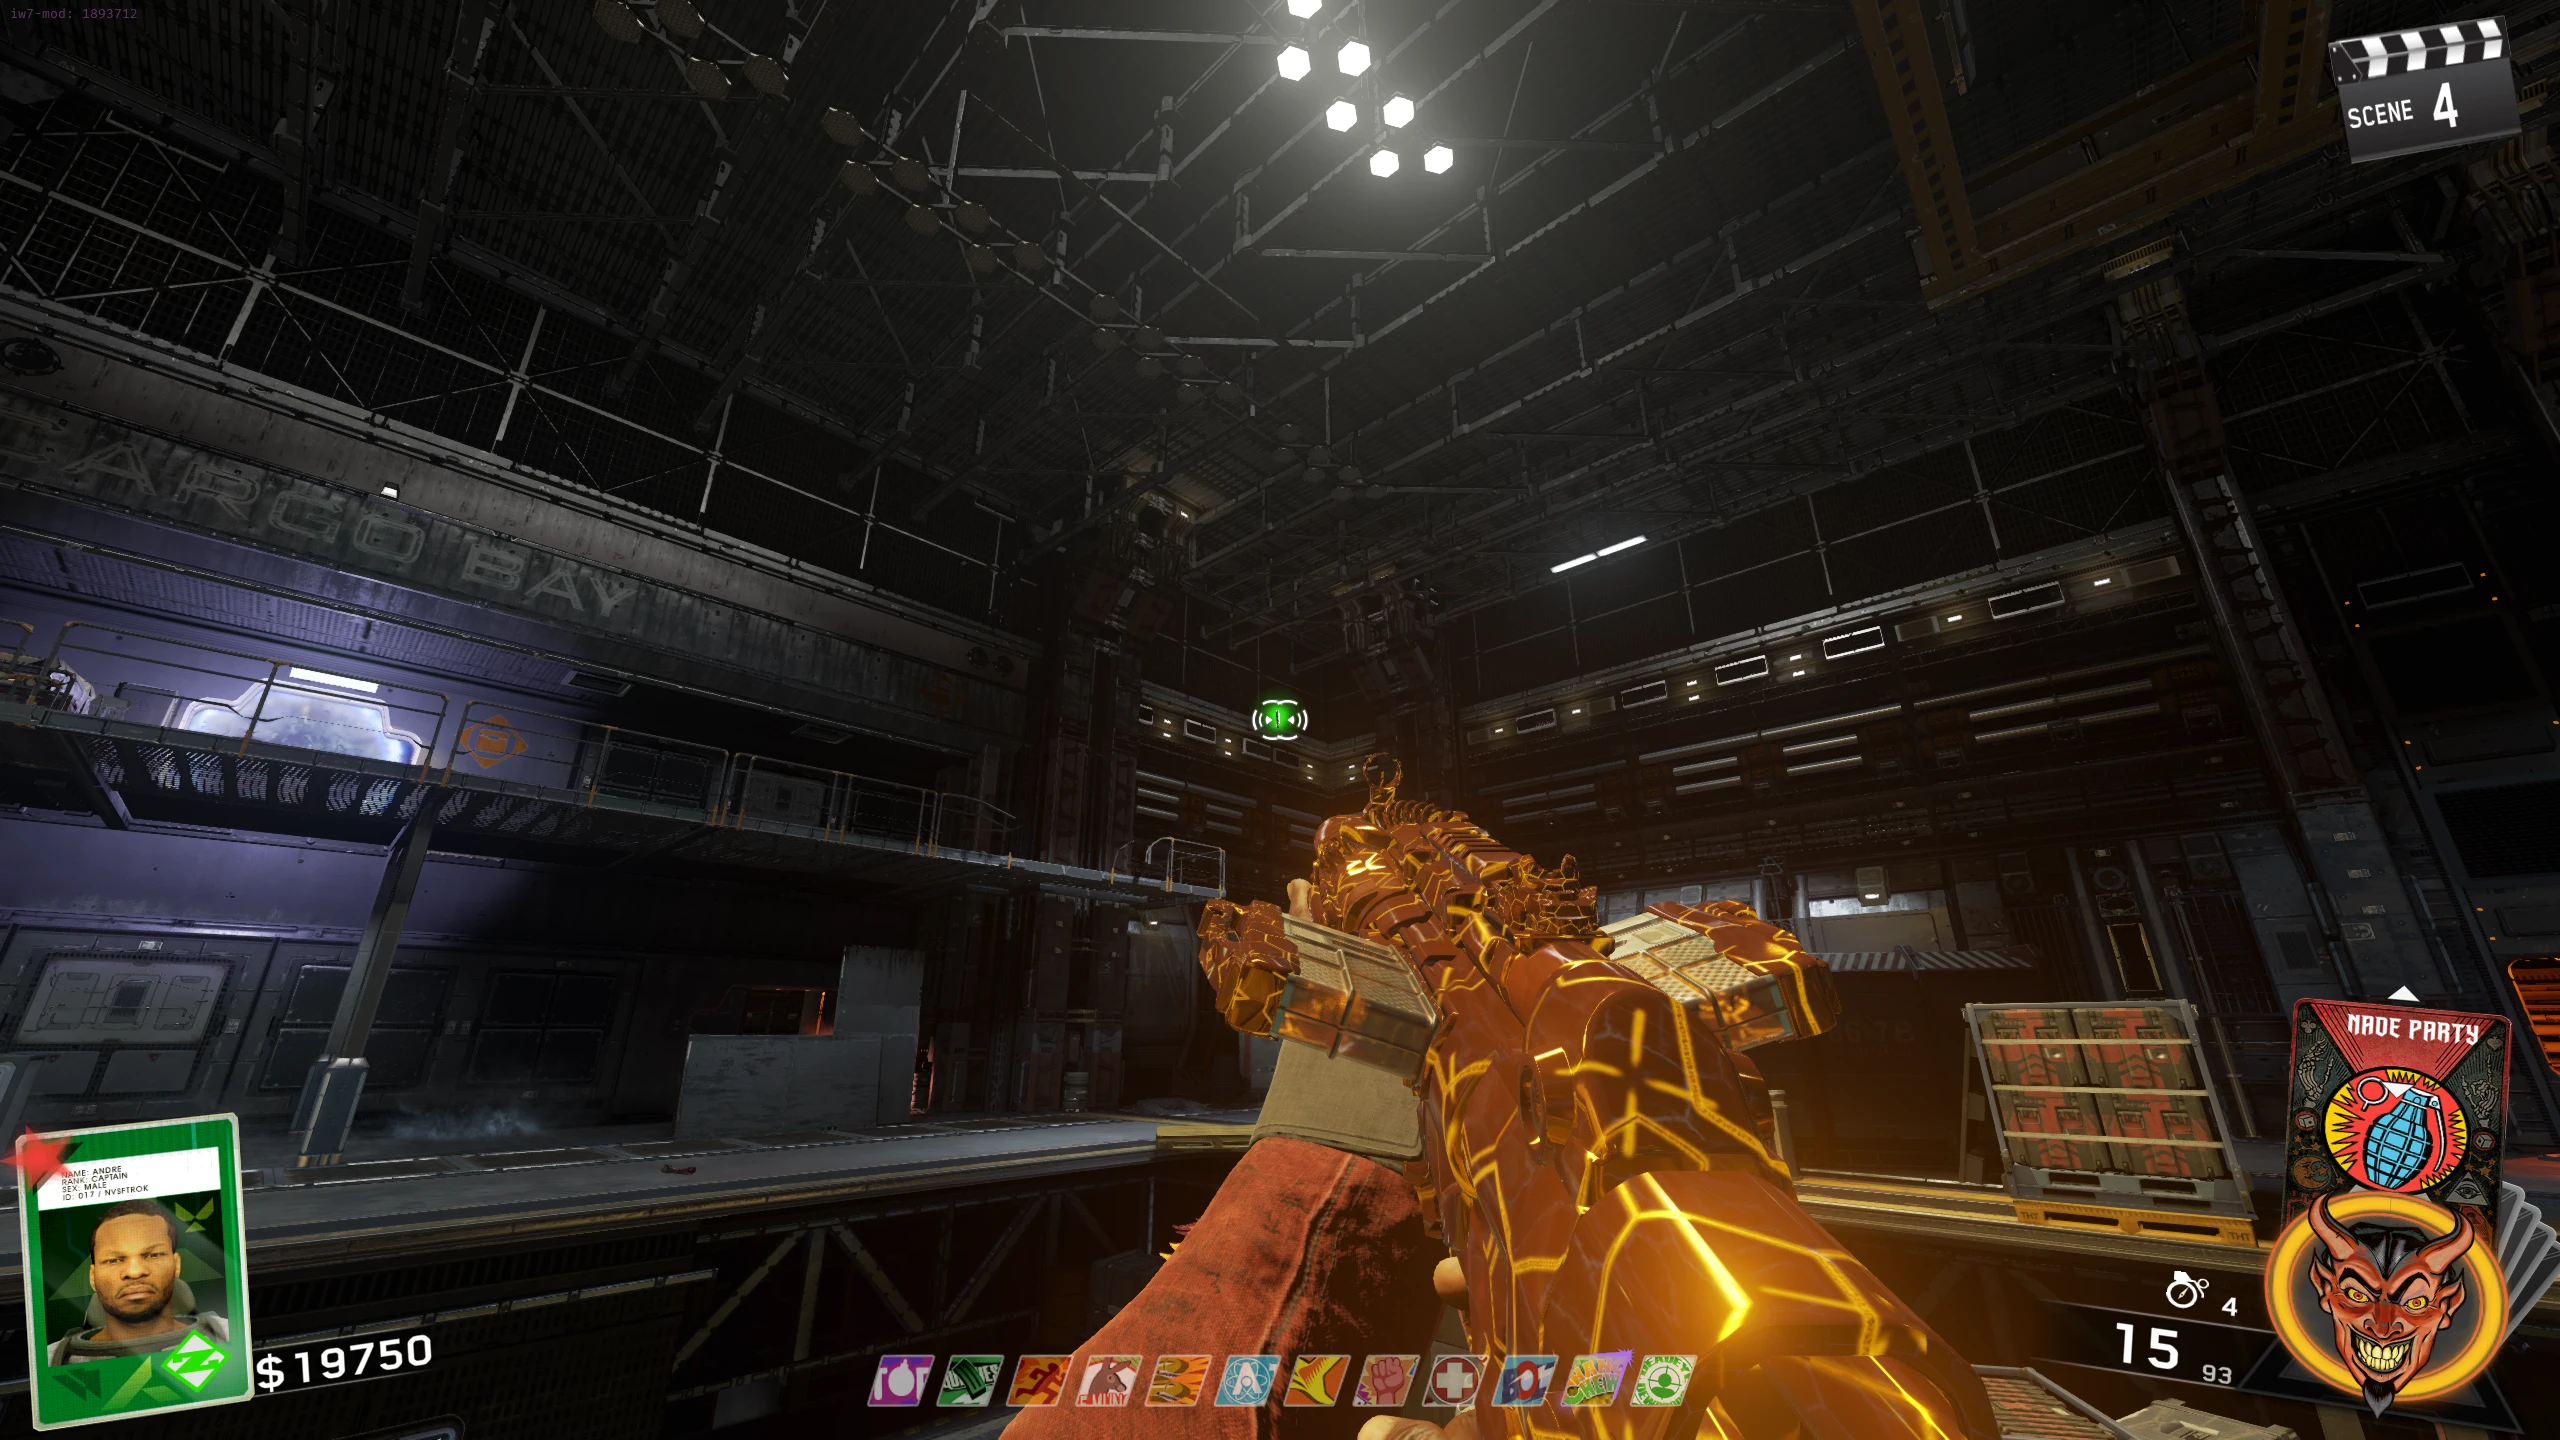
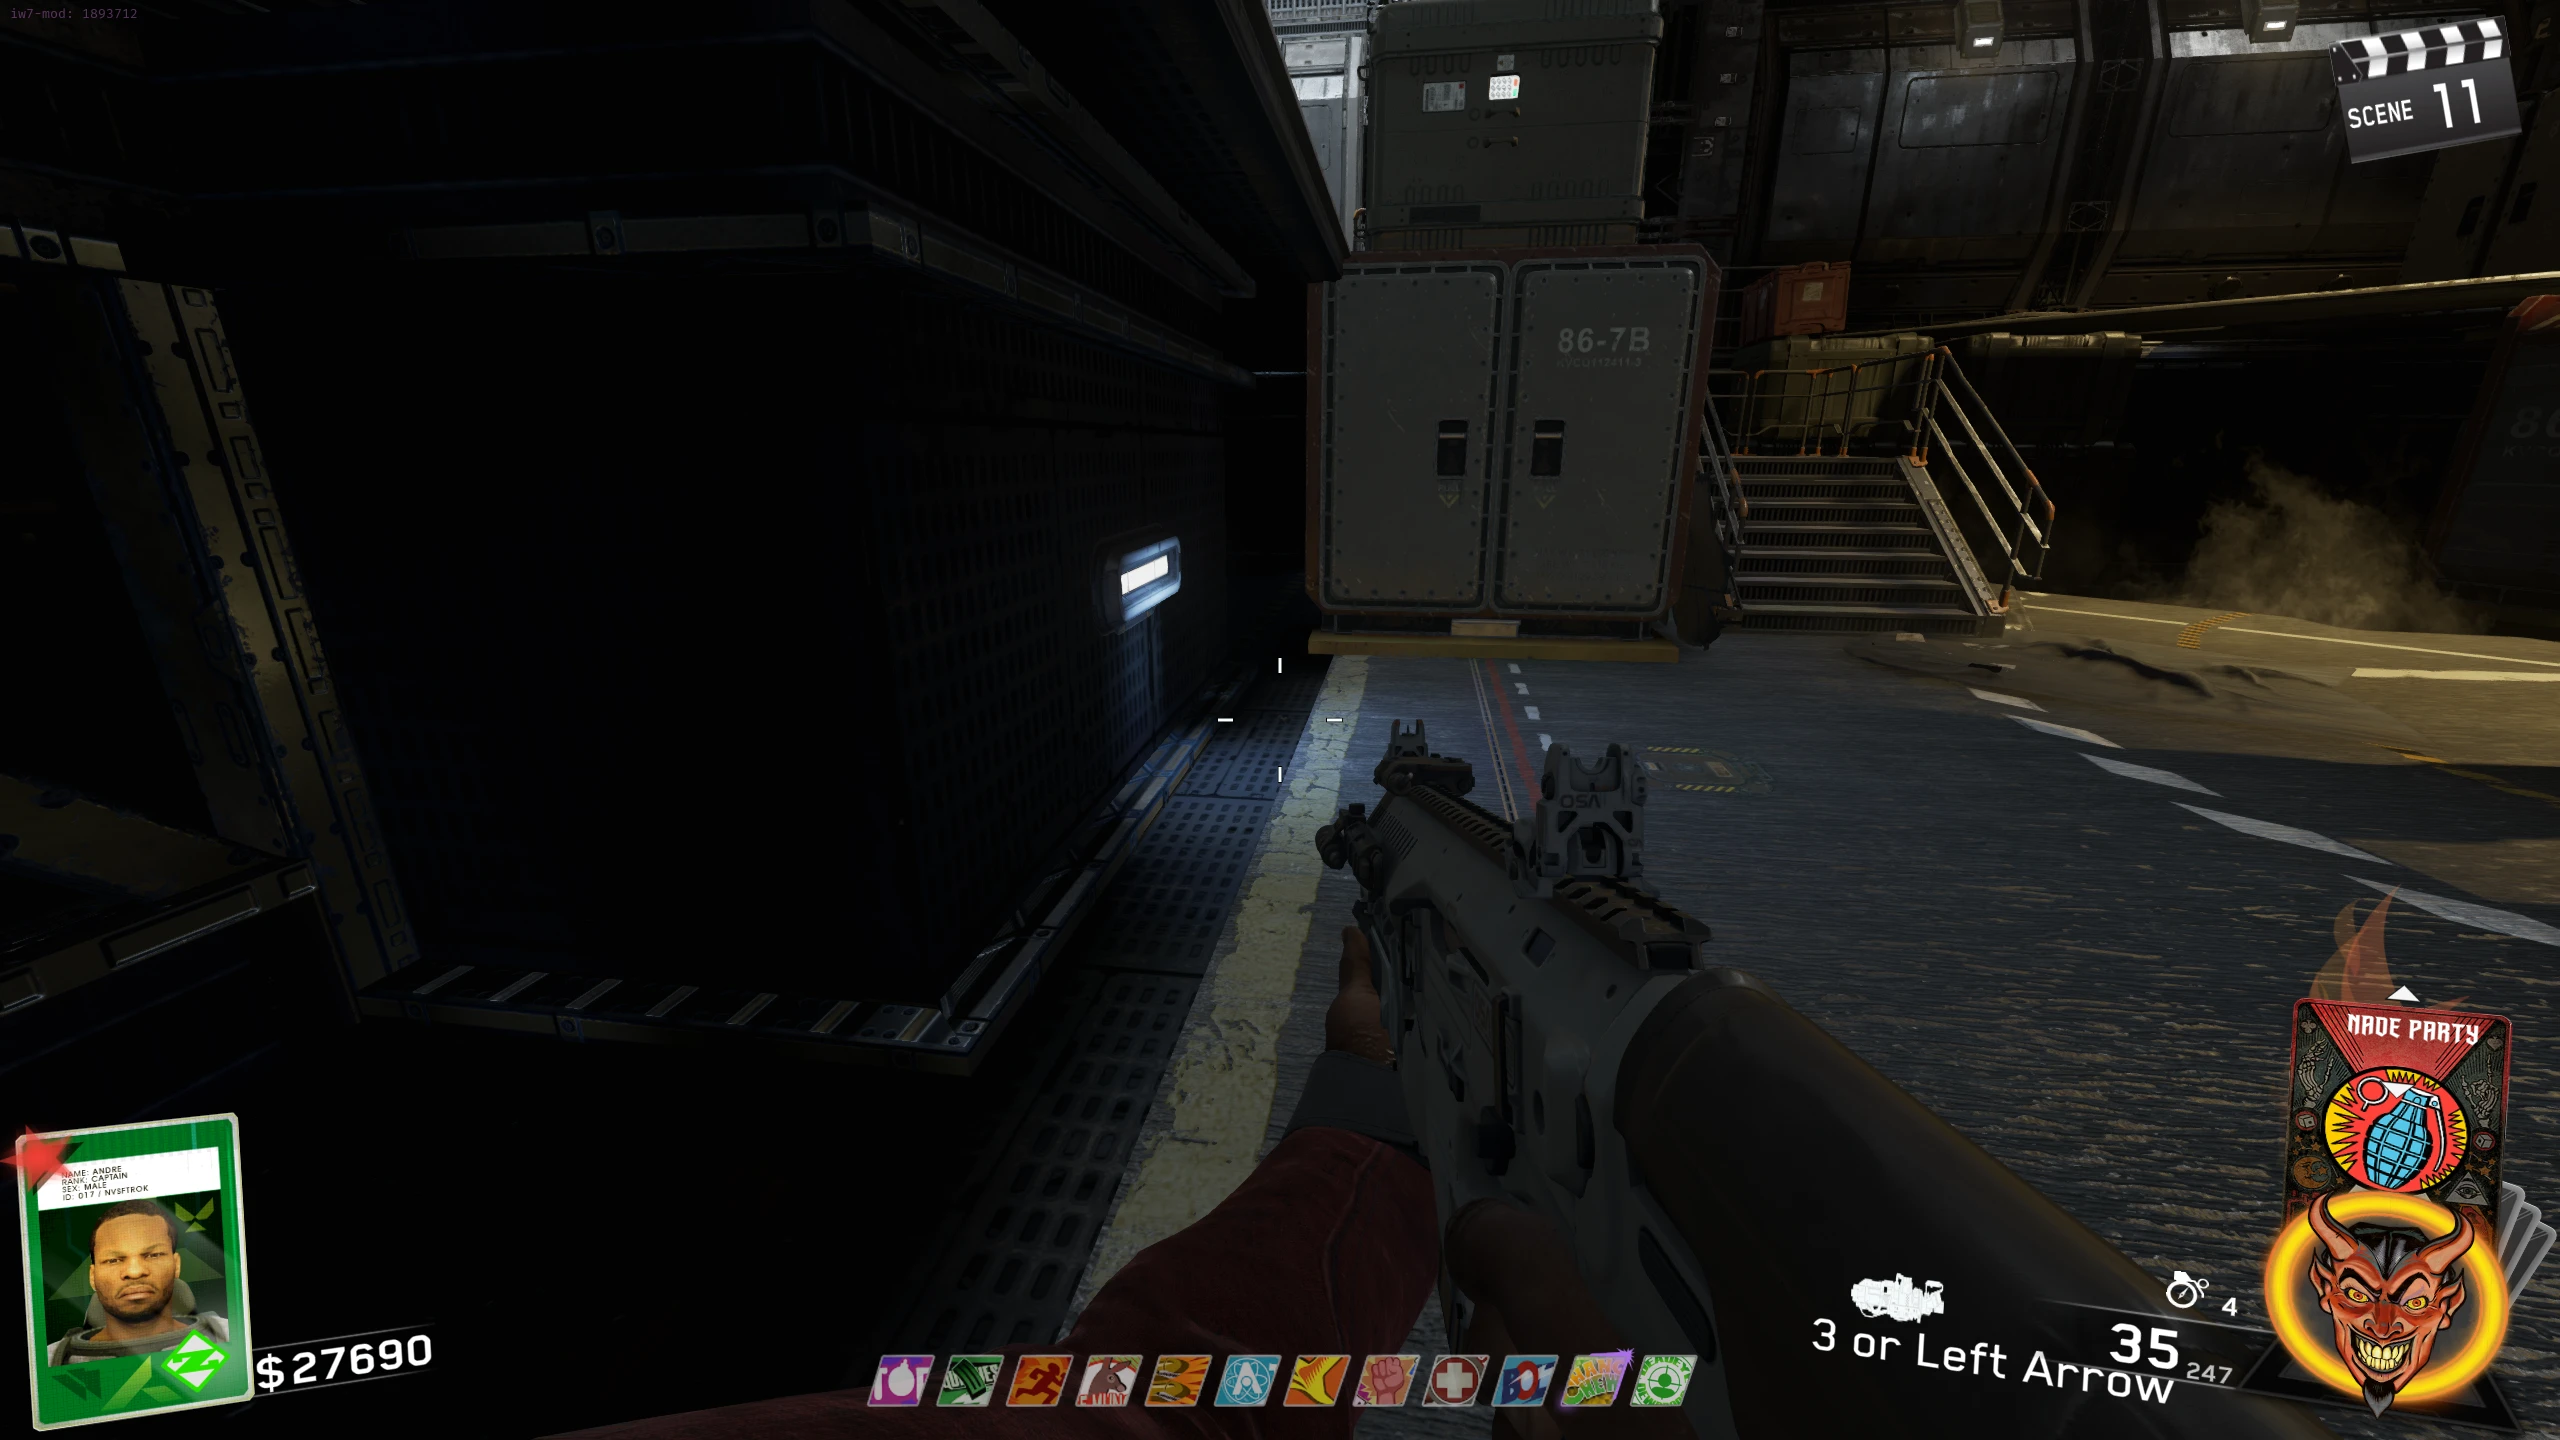
- Cargo Bay - Behind a container on the lowest level (kind of below the X-Eon wallbuy)
- Cafeteria - In the barrier right of the Freezer
- Spawn - In the barrier left of N31L
- Medical Bay - Under Cryptid on table
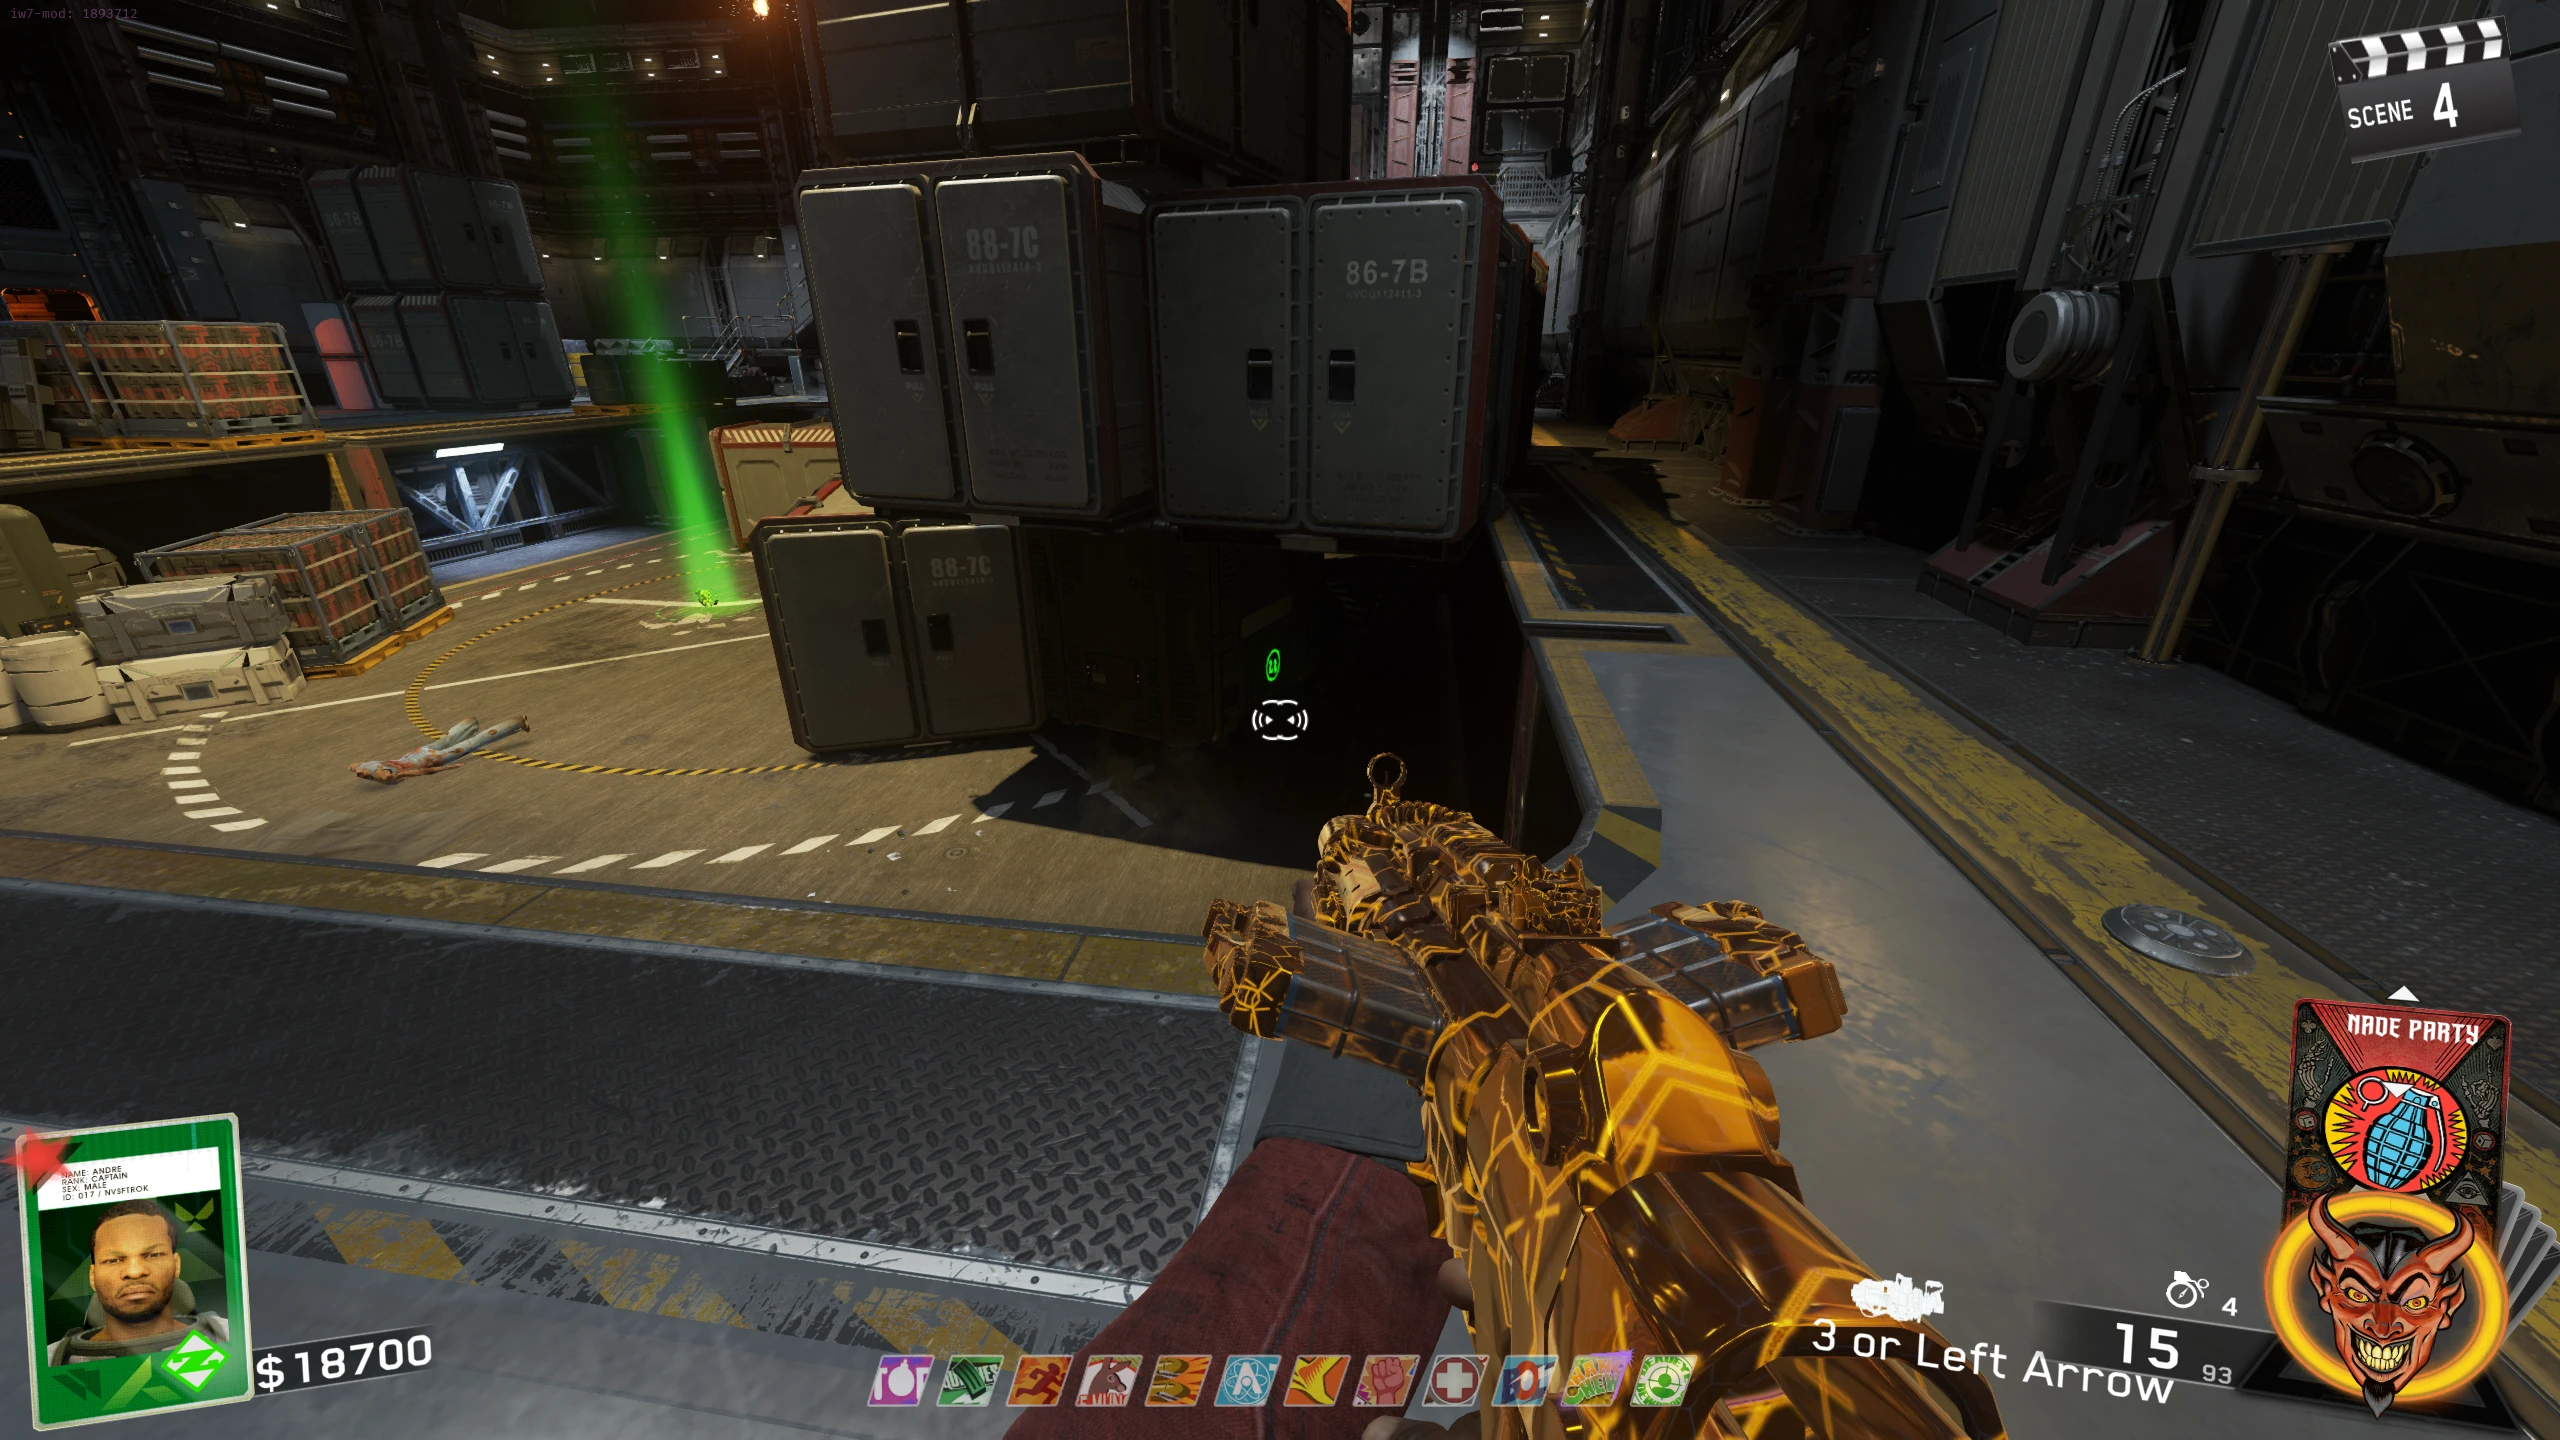
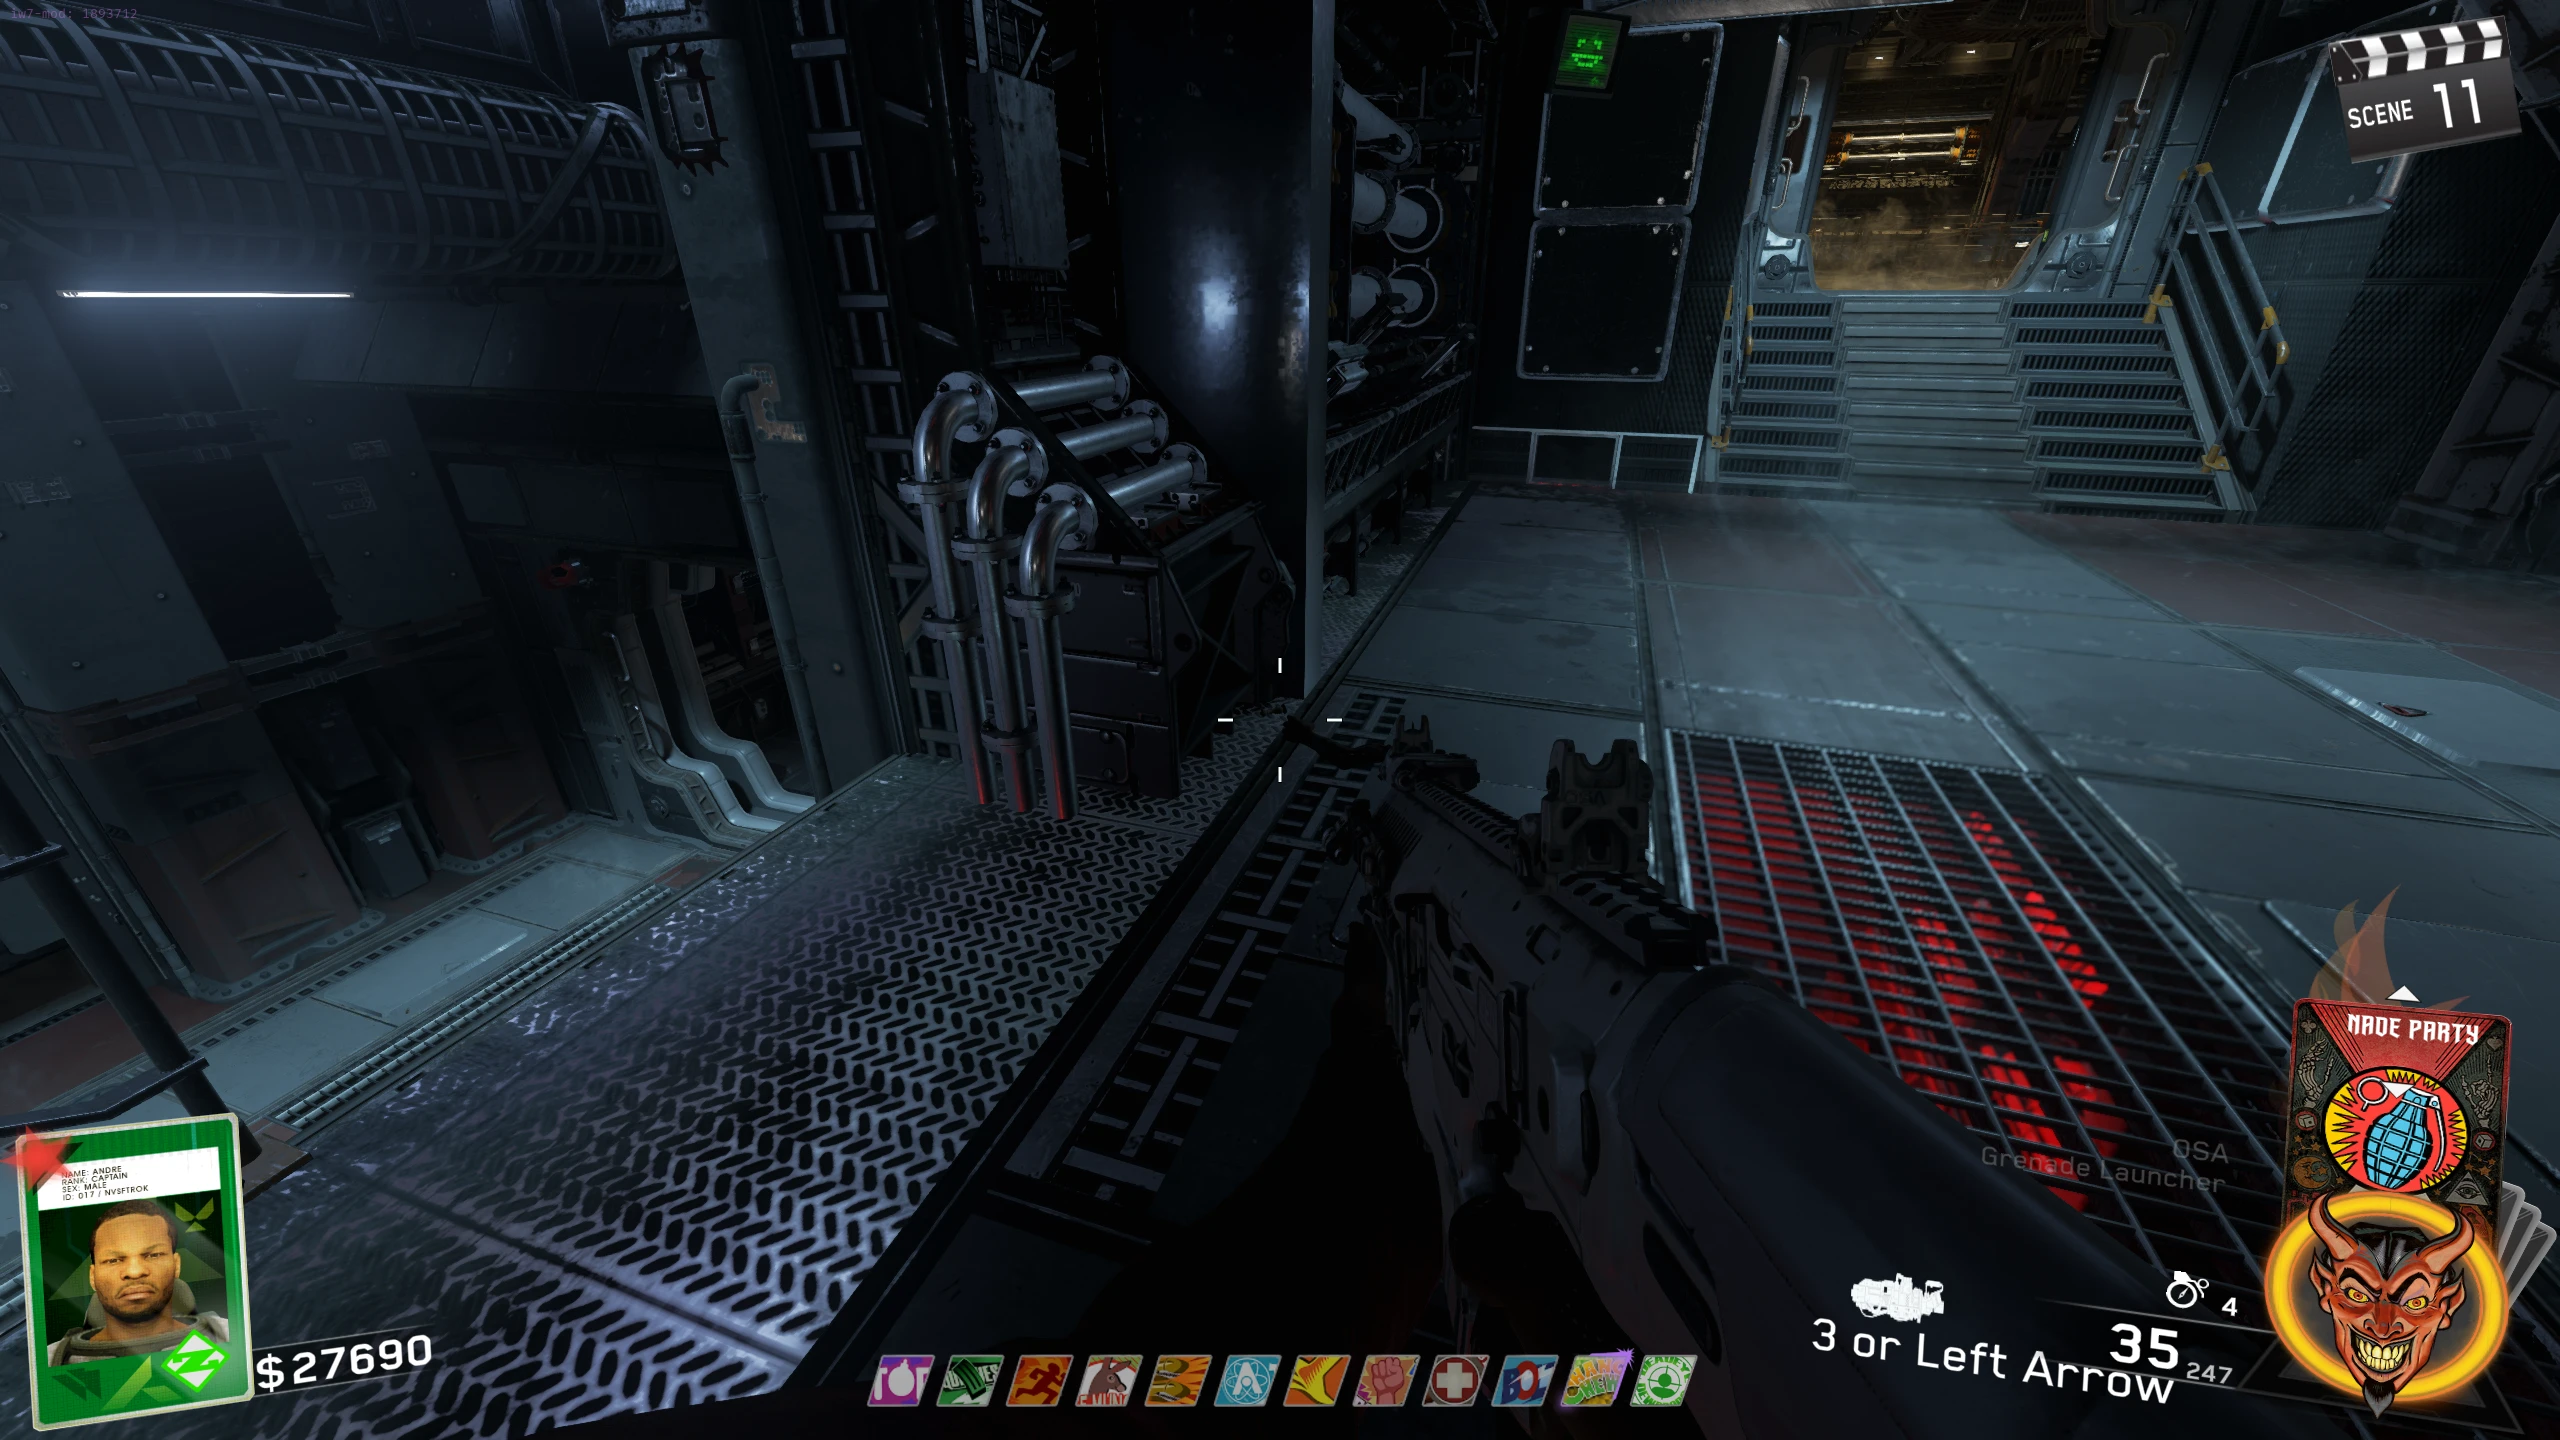
- Ops Center - At the top of the hole in the floor (drop-down, then look up to see)
- Theatre - In the barrier near the M.2187 wallbuy in the Racin' Stripes alley
- Theatre - In the ticket booth in the Arcade --- Zoomed out view
- Theatre - Left of the Magic Wheel
- Aiming at the correct symbol will play the completion sound.
- If you look at the wrong symbol, an error sound will play, and you can retry on the next round with a new set of symbols in different locations.
Skull 4/6 - Follow the Skull's Path
- Go to the walkway with Bang Bangs in the Ops Center, then drop down to the Spawn. There will be a red X where you drop, and stand on it to make a skull spawn in front of you. This Skull will either be pink or green, which indicates the colour of the path you must follow.
- Walk to the skull to collect it. This will spawn coloured symbols on the floor in front of you. Walk (don't sprint) from one coloured symbol to the next, and follow the path till you reach the Skull.
- The game will often try to trick you and swap the colours of the next set of symbols, so be careful.
- Taking too long (indicated by the blue bar on the screen) or walking on the wrong symbol will fail the step, and you can retry the next round.
Skull 5/6 - 8-Queens Puzzle
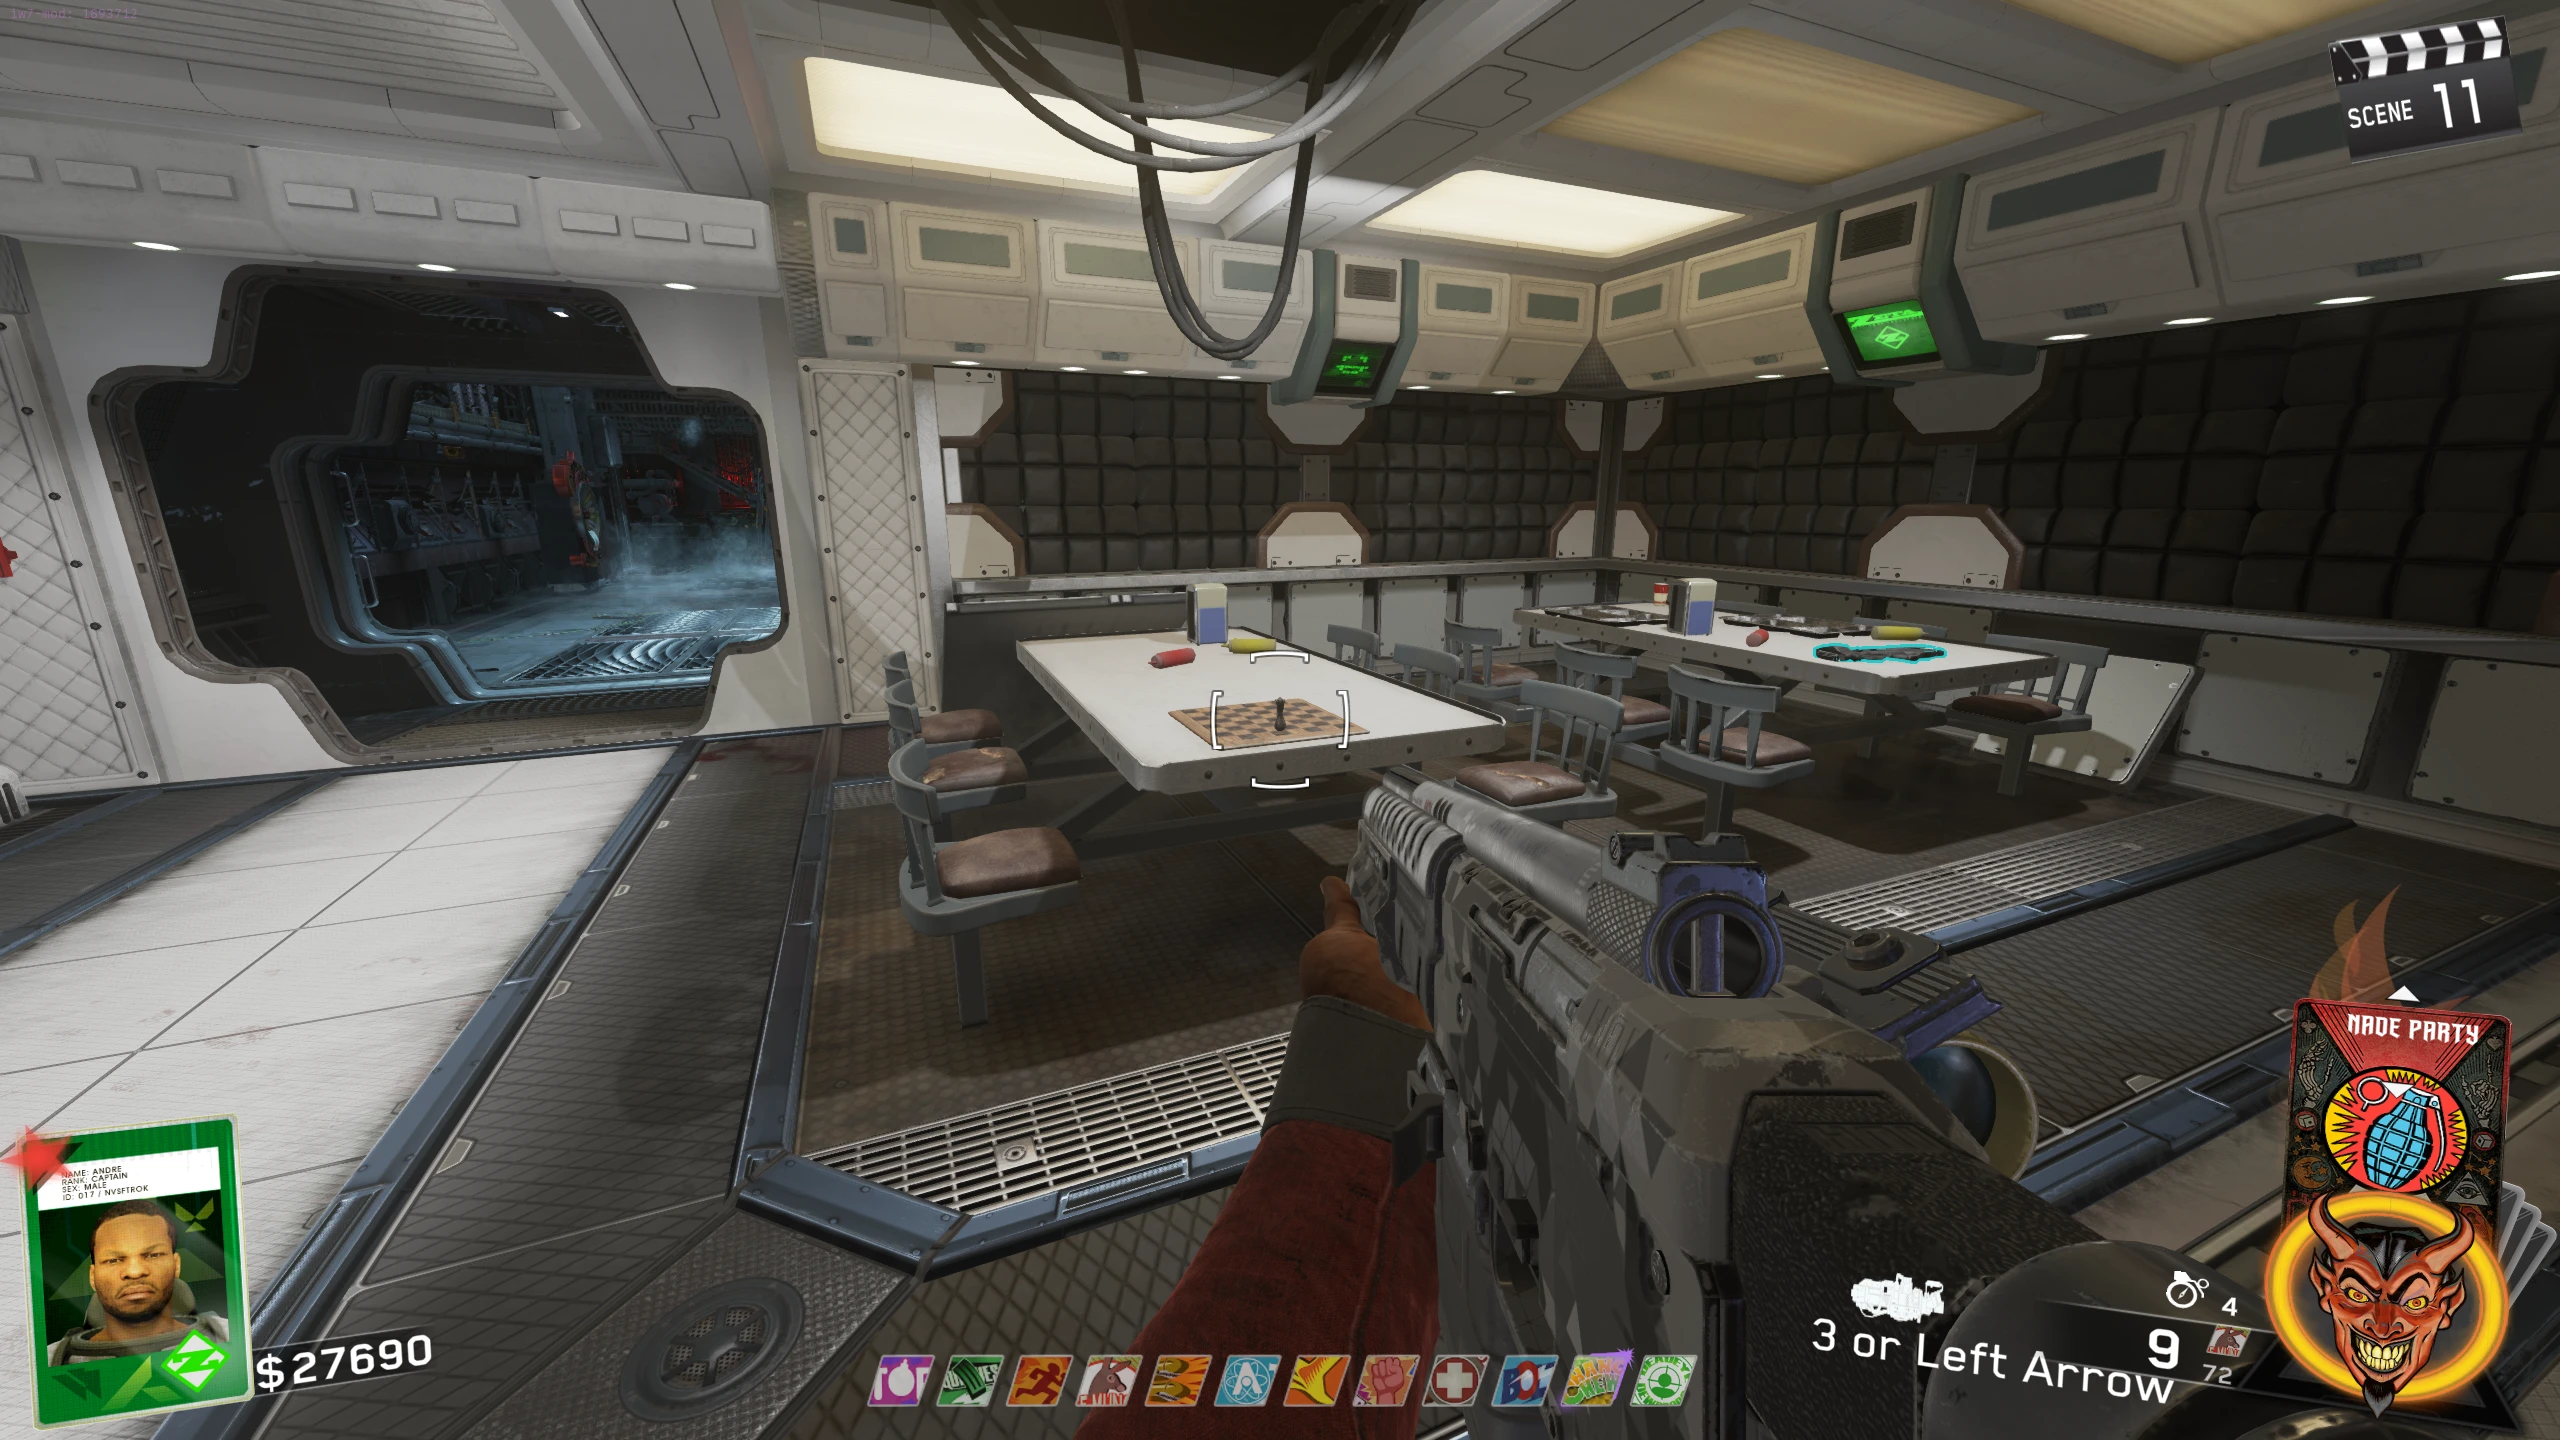
- On a table in the Cafeteria, there is a chessboard with one Queen on it. You must find and place 7 other Queens on the board so that none of them are attacking another (called the 8-Queens Puzzle). Use the solver below to solve this puzzle for you. You can hold multiple Queens at a time; you don't need to go one-by-one. Queen locations:
- Cafeteria - Right of a couch
- Cafeteria - On a counter right of the Freezer Trap
- Cargo Bay - On the right when going down the stairs to the lowest level
- Proteus Wallbuy Hallway - On the path to the outside, left of the Zombie spawn
- Proteus Wallbuy Hallway - On the upper level, near the open railing closest to the Ops Center
- Ops Center - On the floor at the base of the large pillar, in the direction of the EBR-800 wallbuy
- Ops Center - In a corner left of Bombstoppers
- Ops Center - In the room above Bombstopper, in the corner closest to Bombstoppers
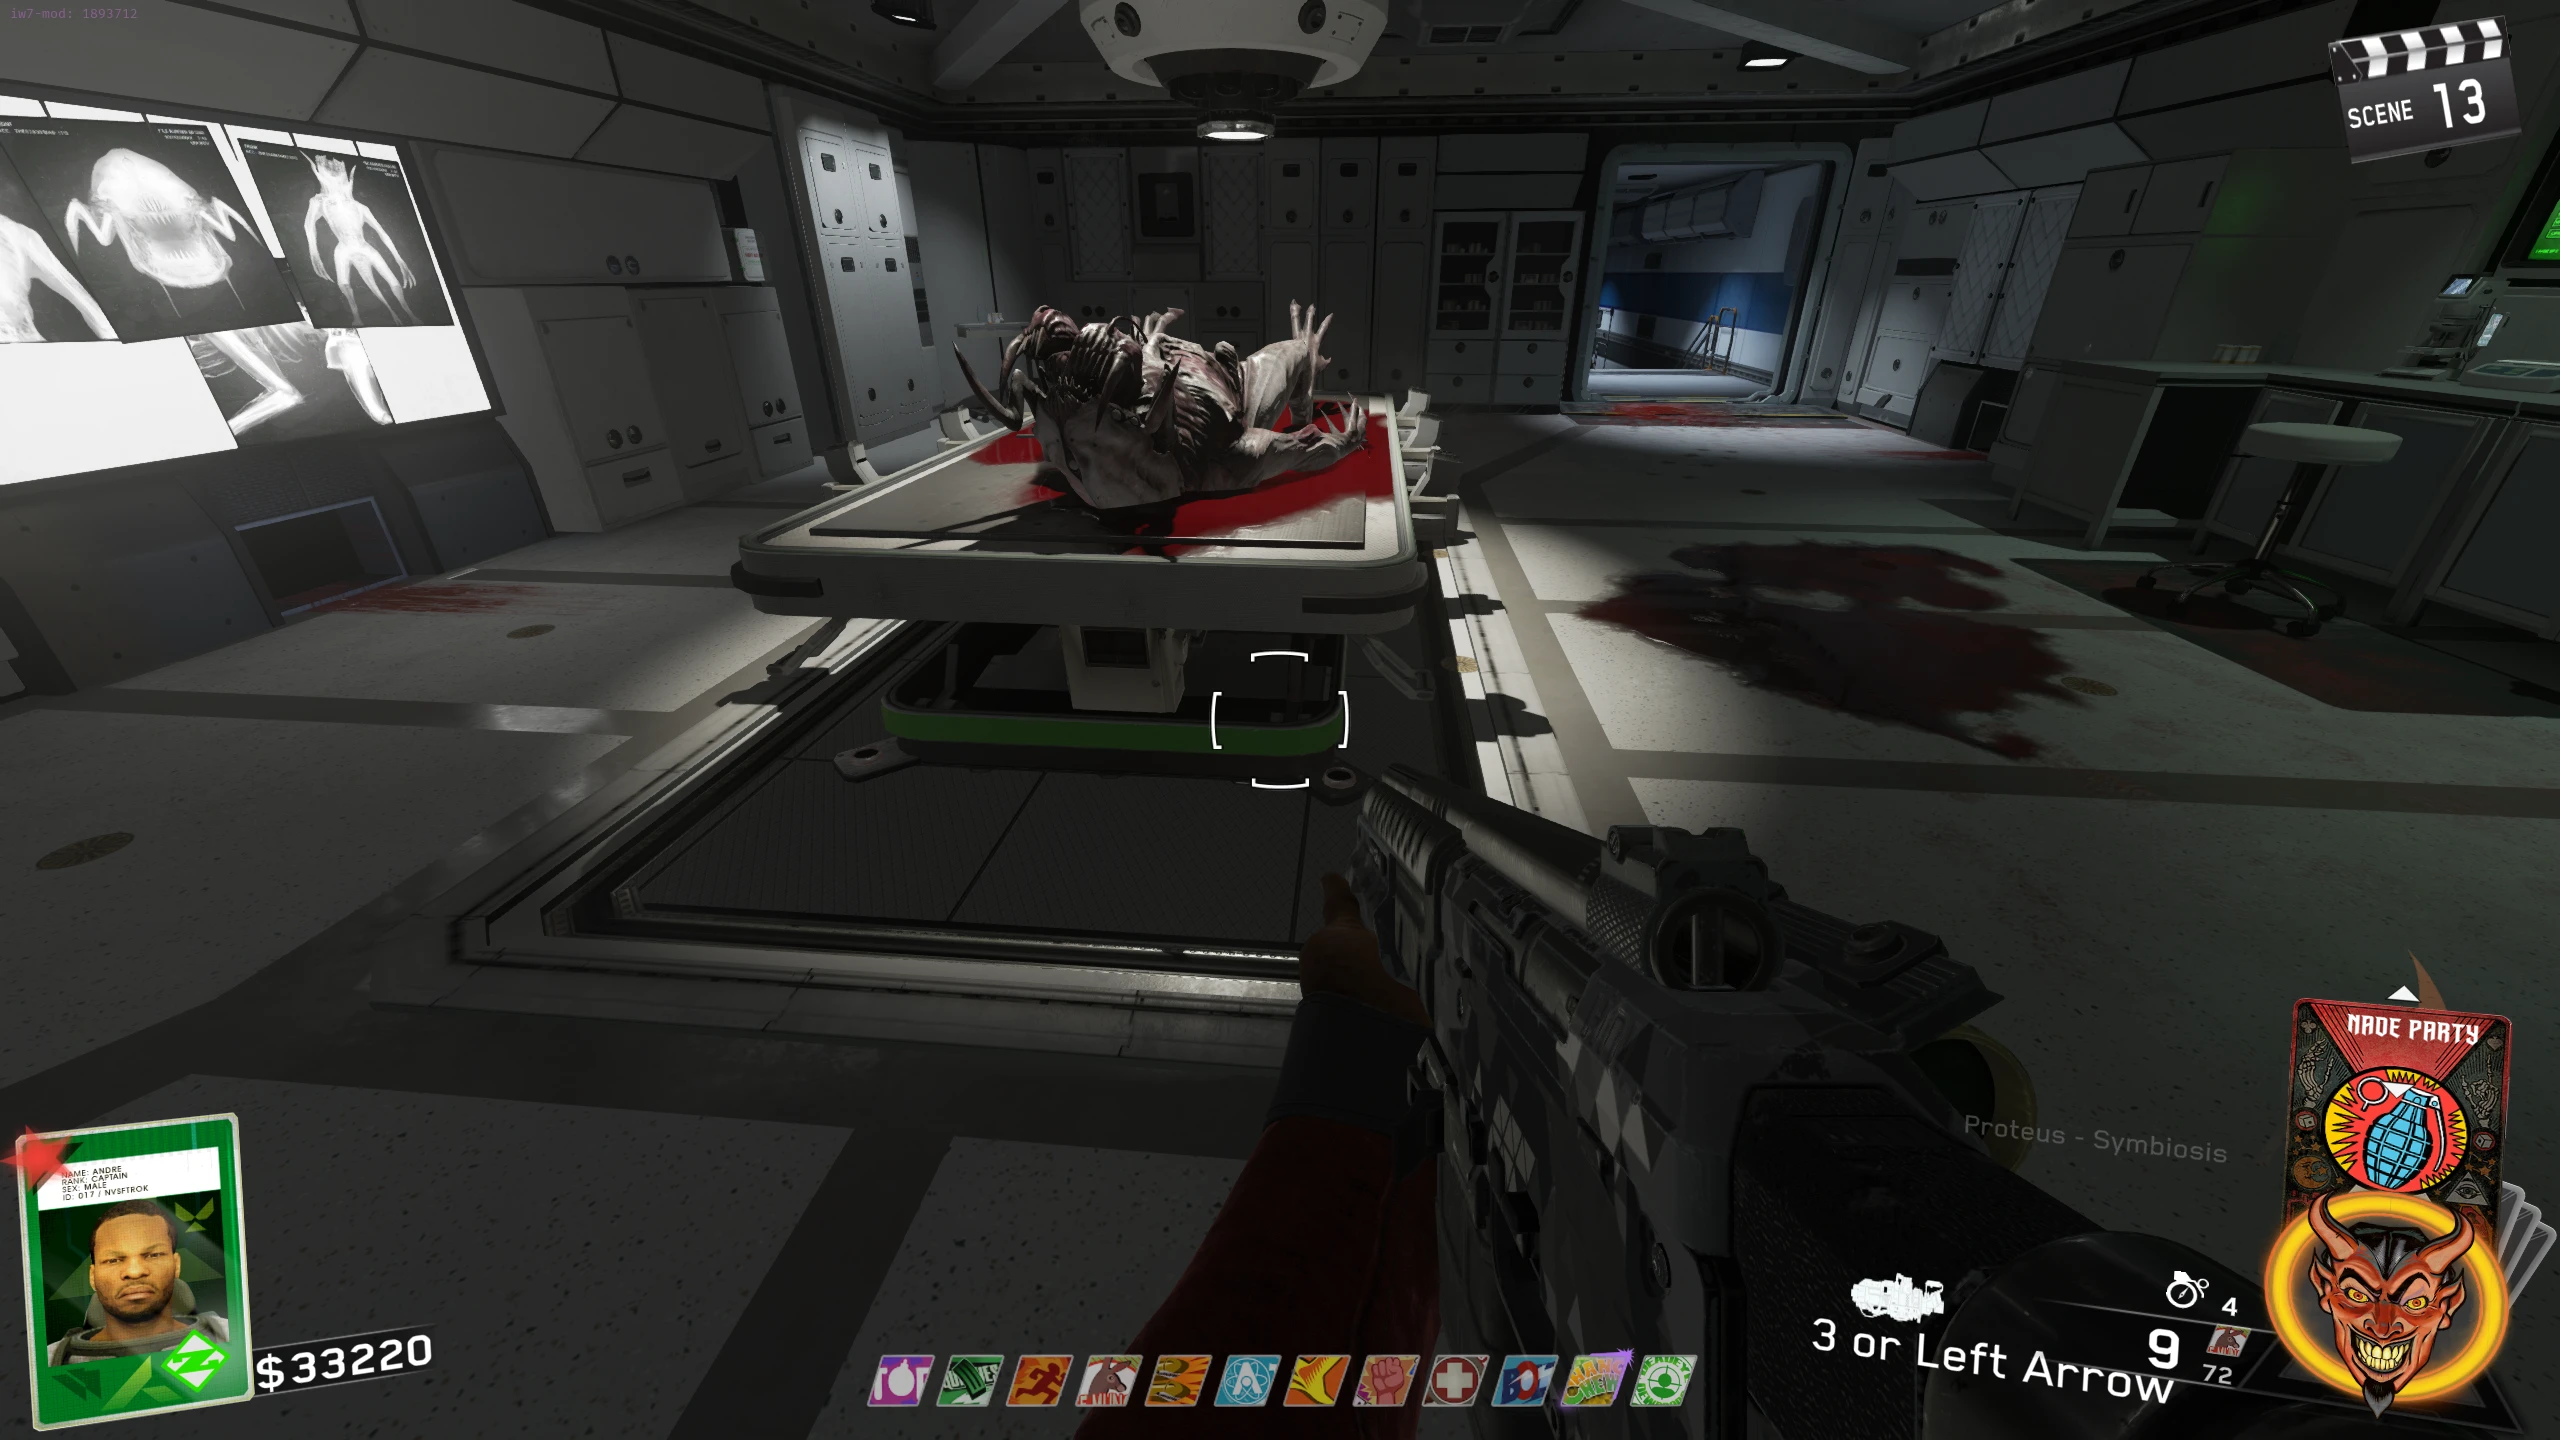
- Medical Bay - On the floor under the dead Cryptid table, on the head side of the table
- Medical Bay - On a scale on a counter below the broken monitor in the forcefield room
- To unlock this room, use the Entangler to grab a Space Helmet in the Proteus Hallway or spawn area. You need to shoot the helmet through the force field at the active monitor above the microscope to break it and disable the force field.
- If you miss, grab another helmet from the hallway or spawn area, and try again.
- Spawn/Flooded Room - Below the Zombie spawn on the stairs
- Spawn - Up the ladder across from Up & Atoms
Click the square where the starting Queen sits in your game, then press Solve.
- Once all Queens are placed correctly, confetti will fly from the board and the completion sound will play.
Skull 6/6 - Arcade Cheat Code
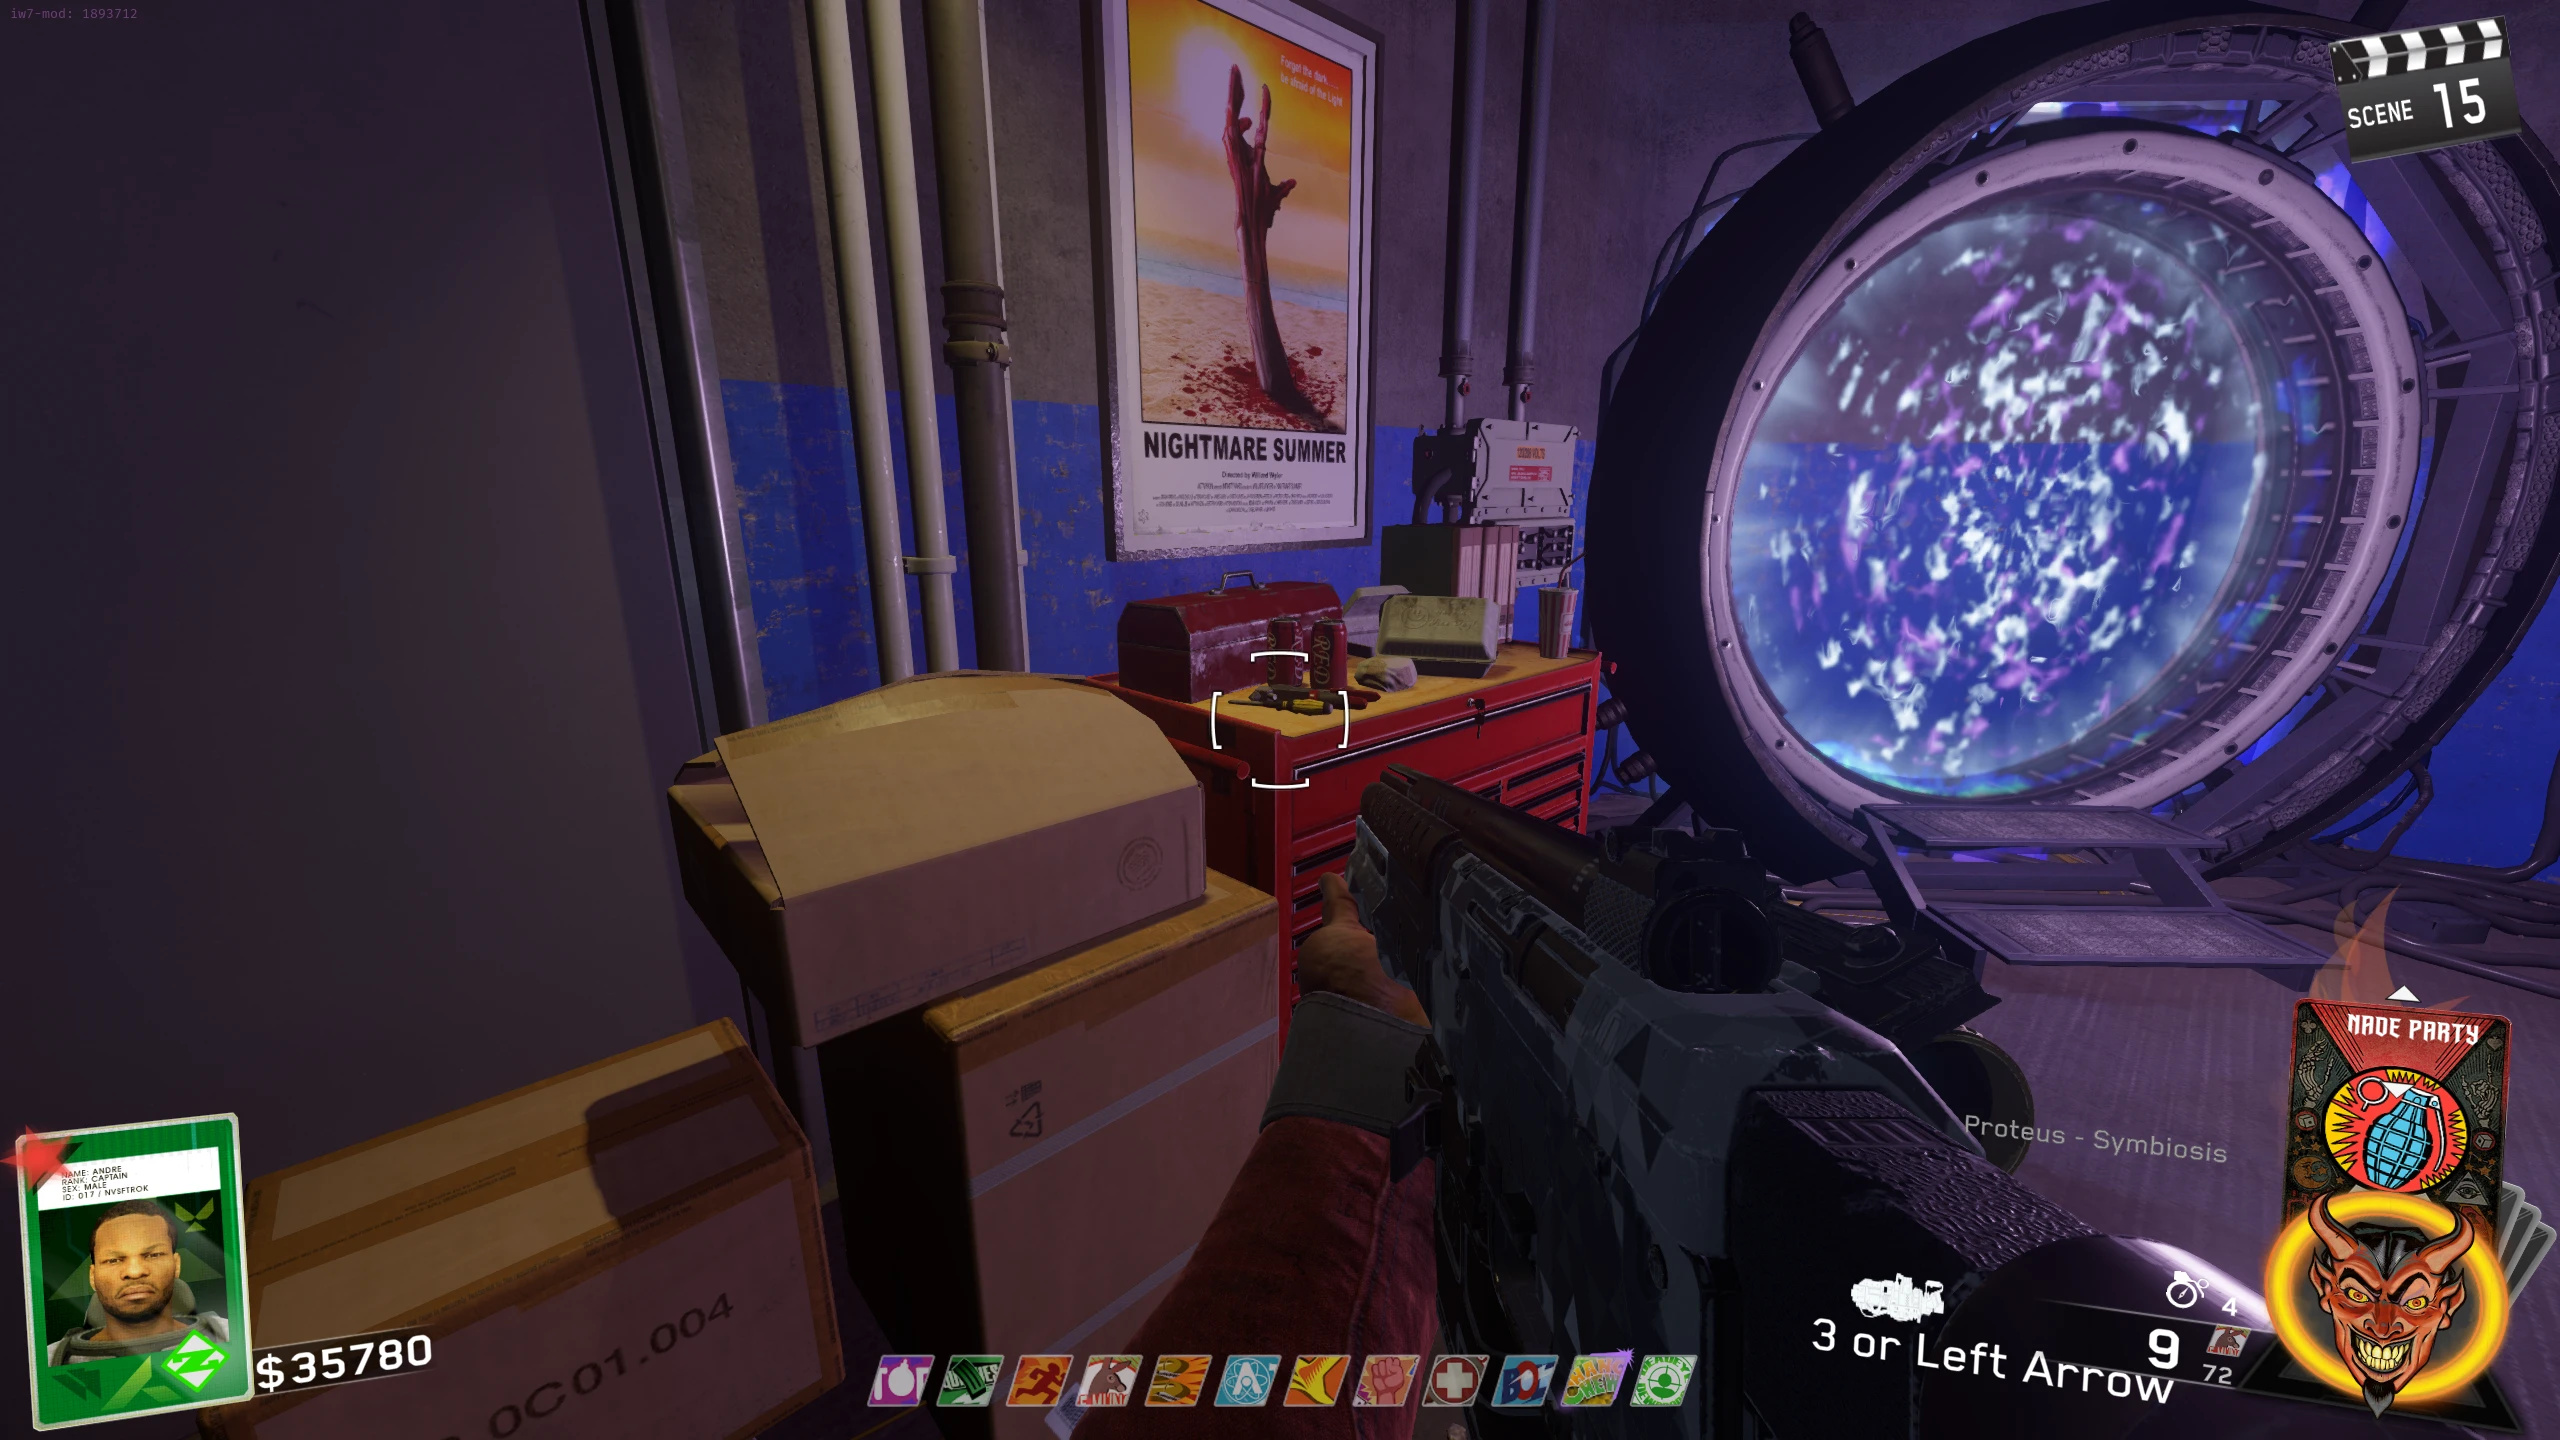
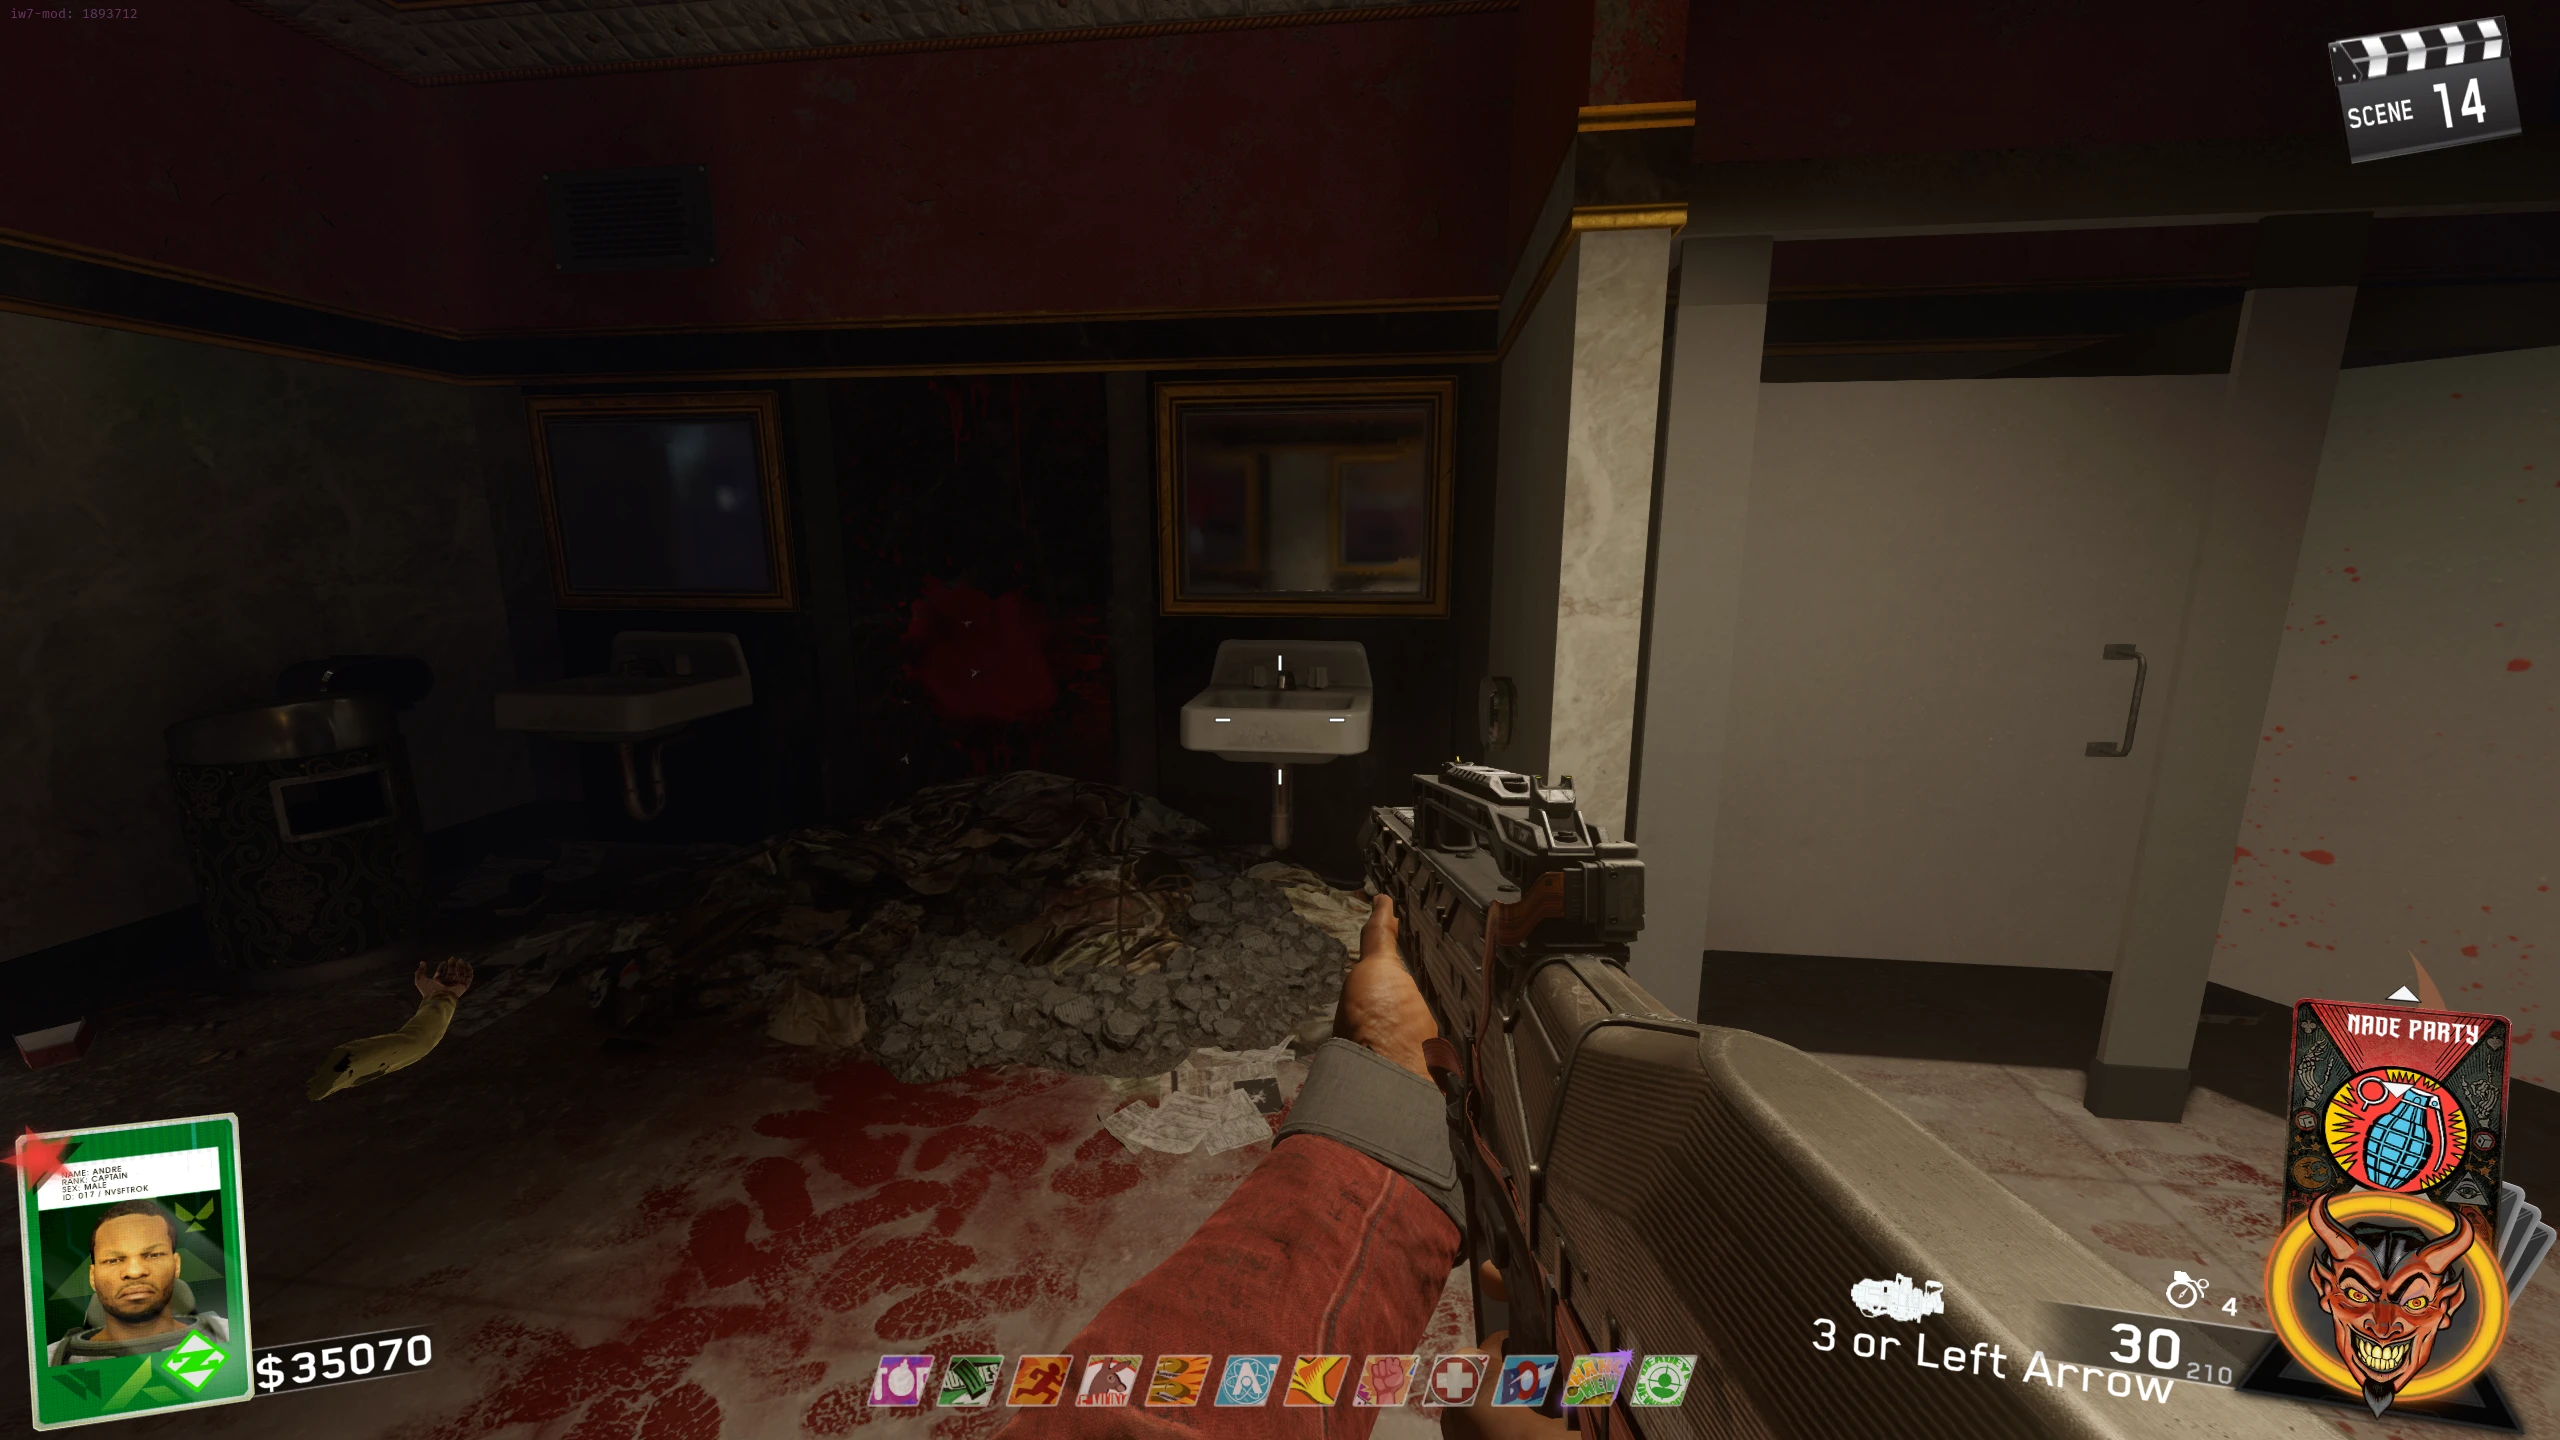
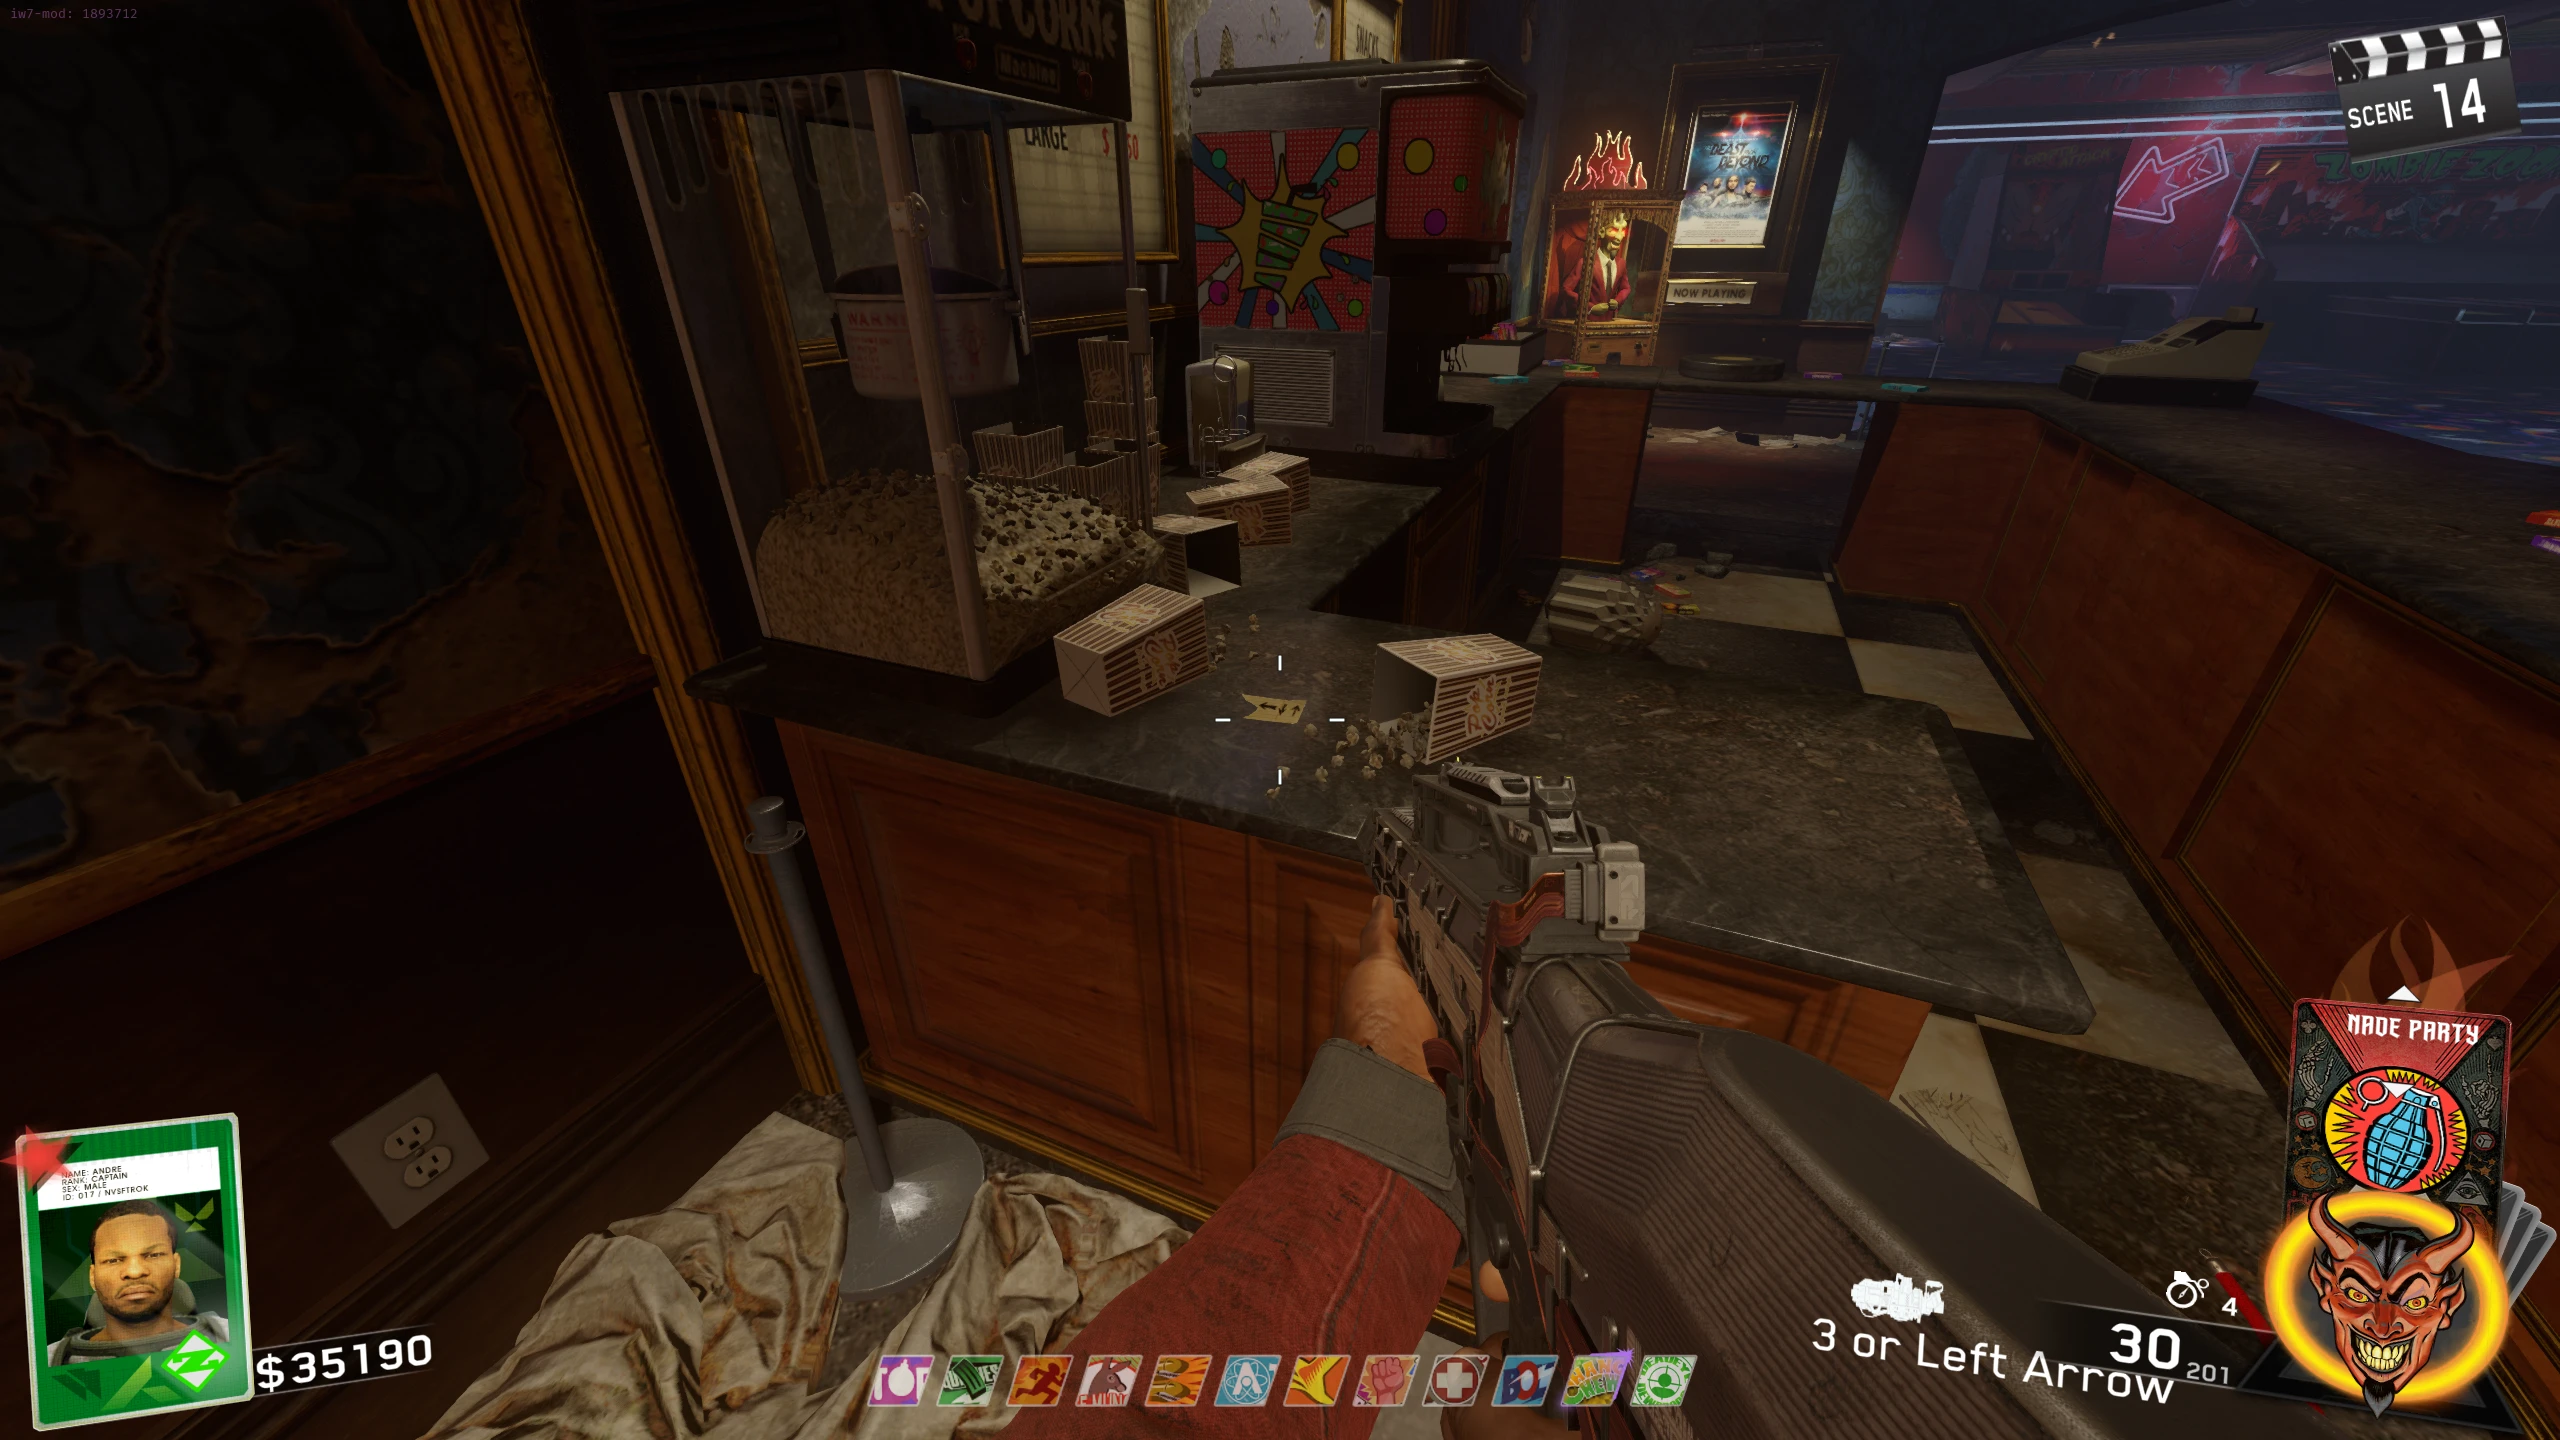
- There are three pieces of paper around the map, each with a couple of arrows. Find all three, then match each one to this image of all nine possible pieces to get the order. The piece from Group 1 is the start of the code, Group 2 is the middle, and Group 3 is the end. Paper locations:
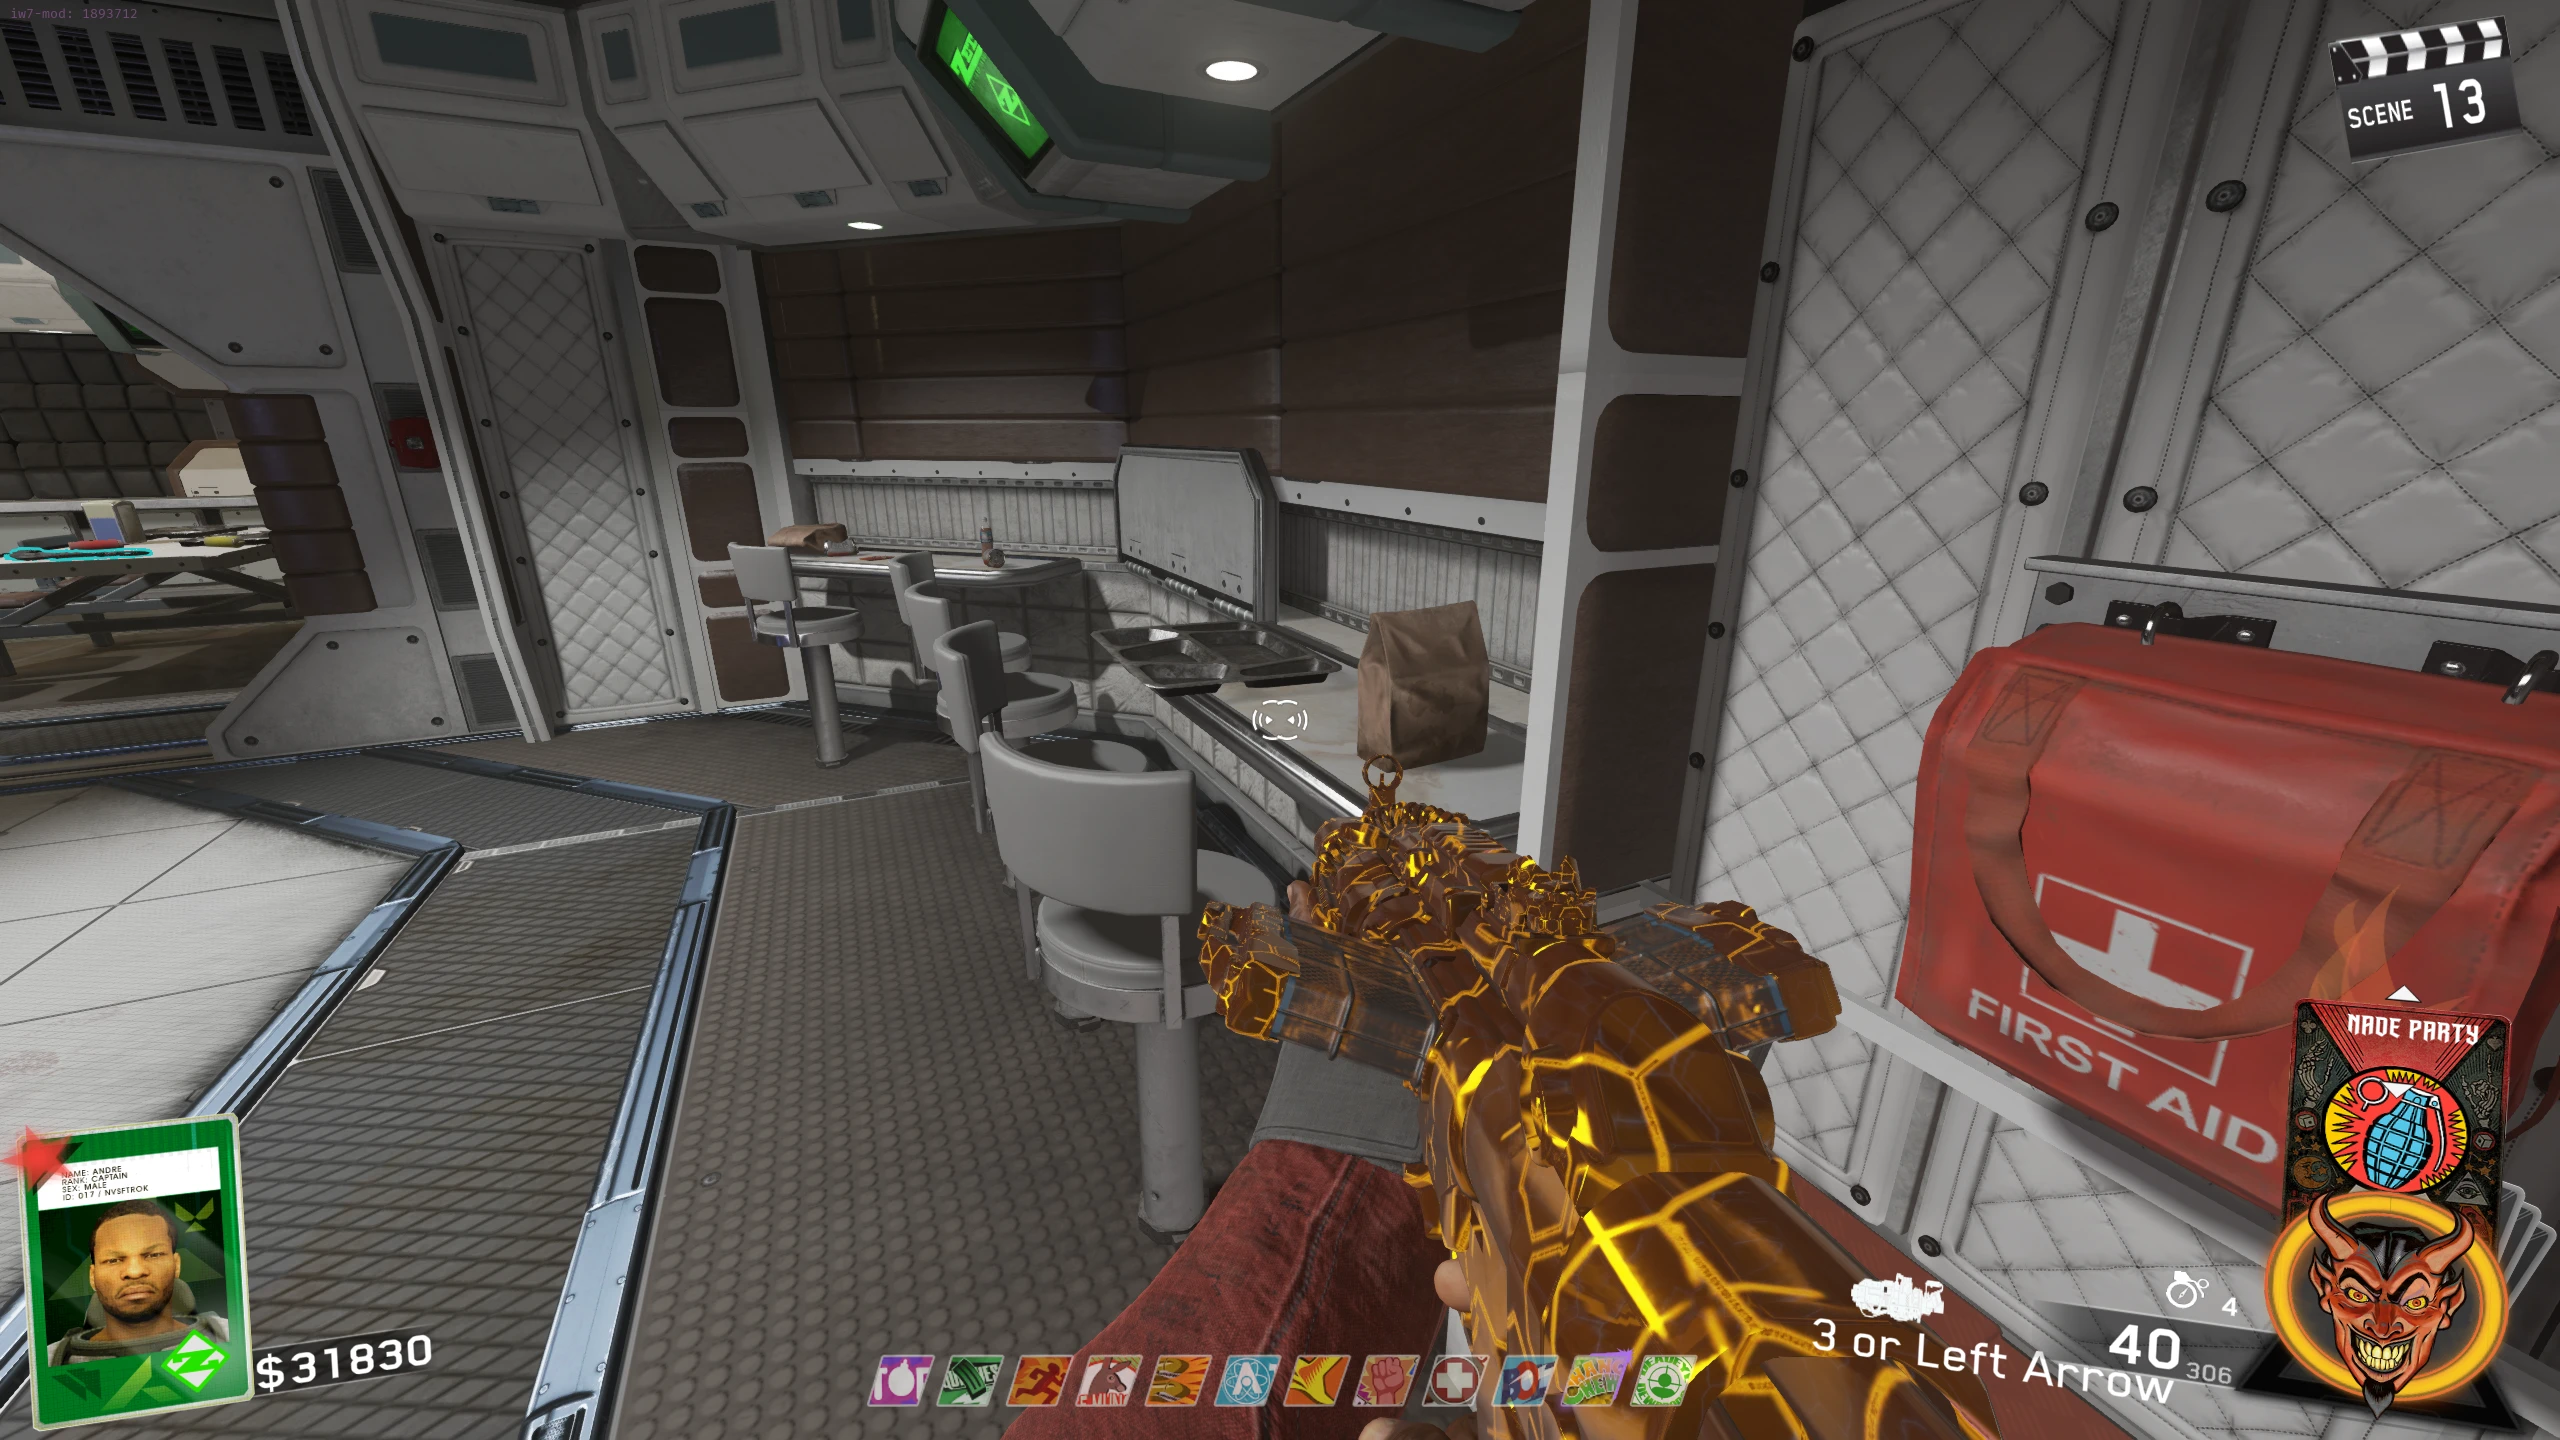
- Cafeteria - Left of the Freezer Trap on a counter beside a tray
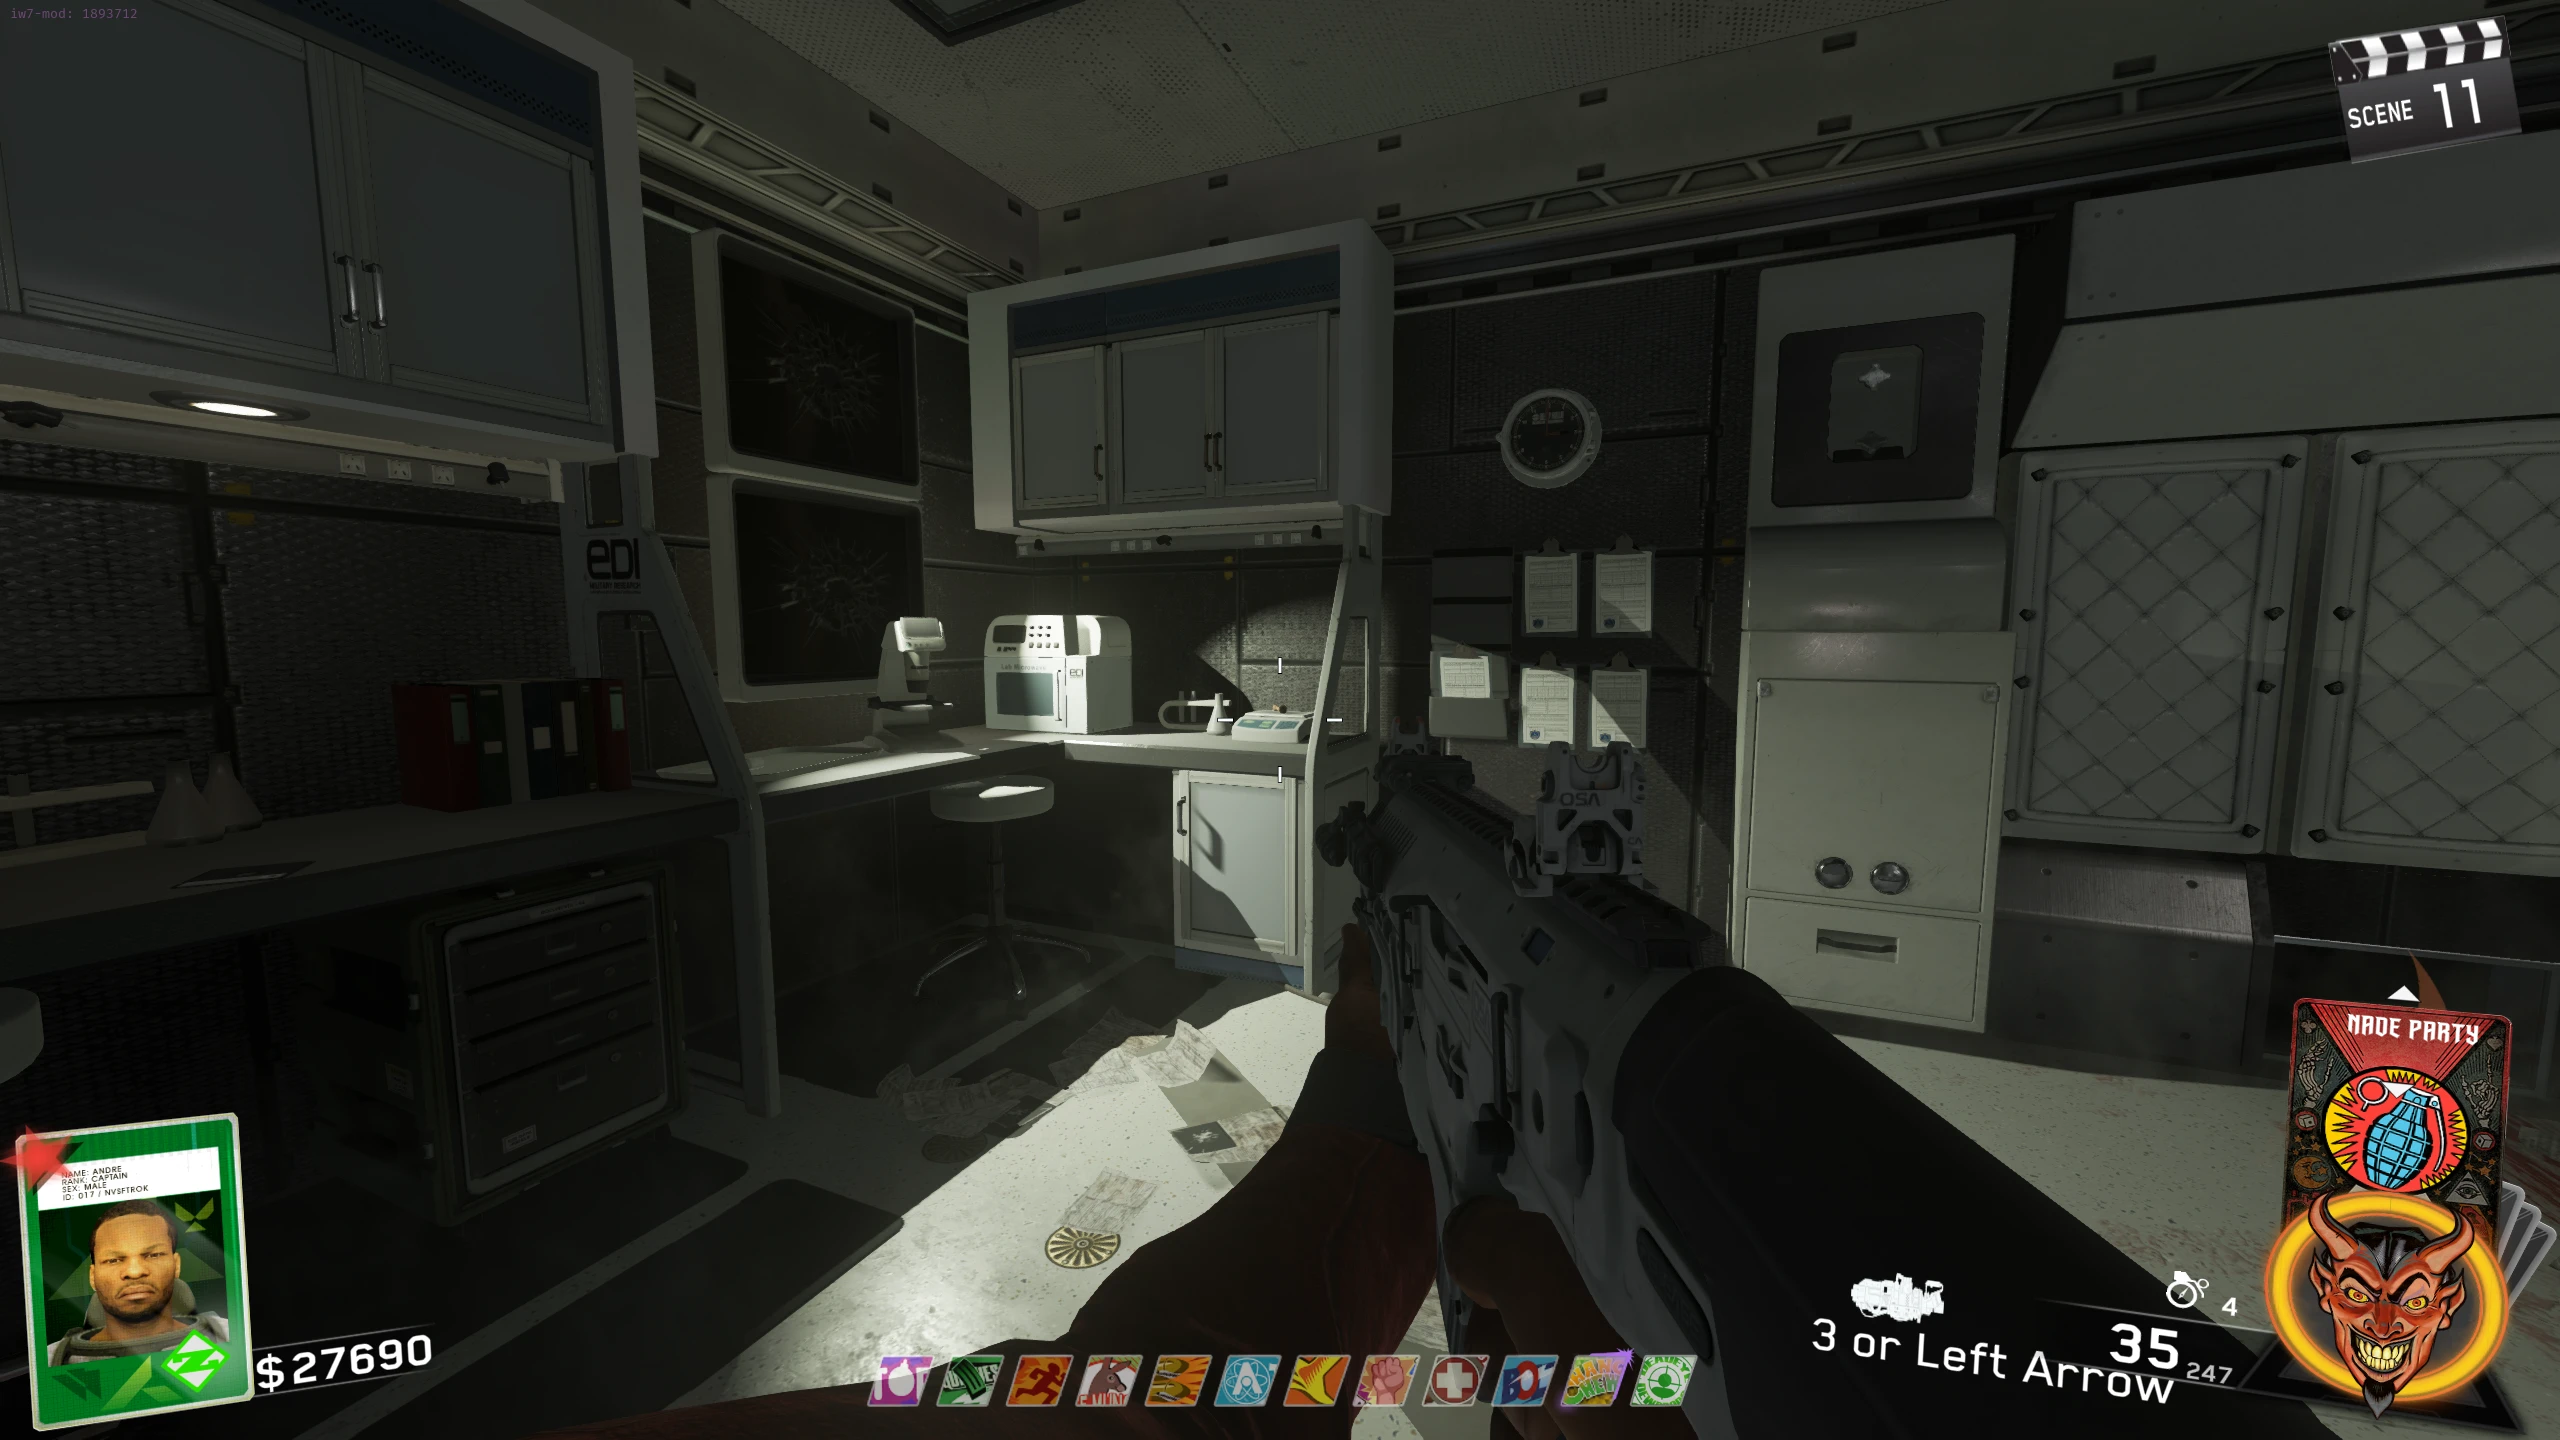
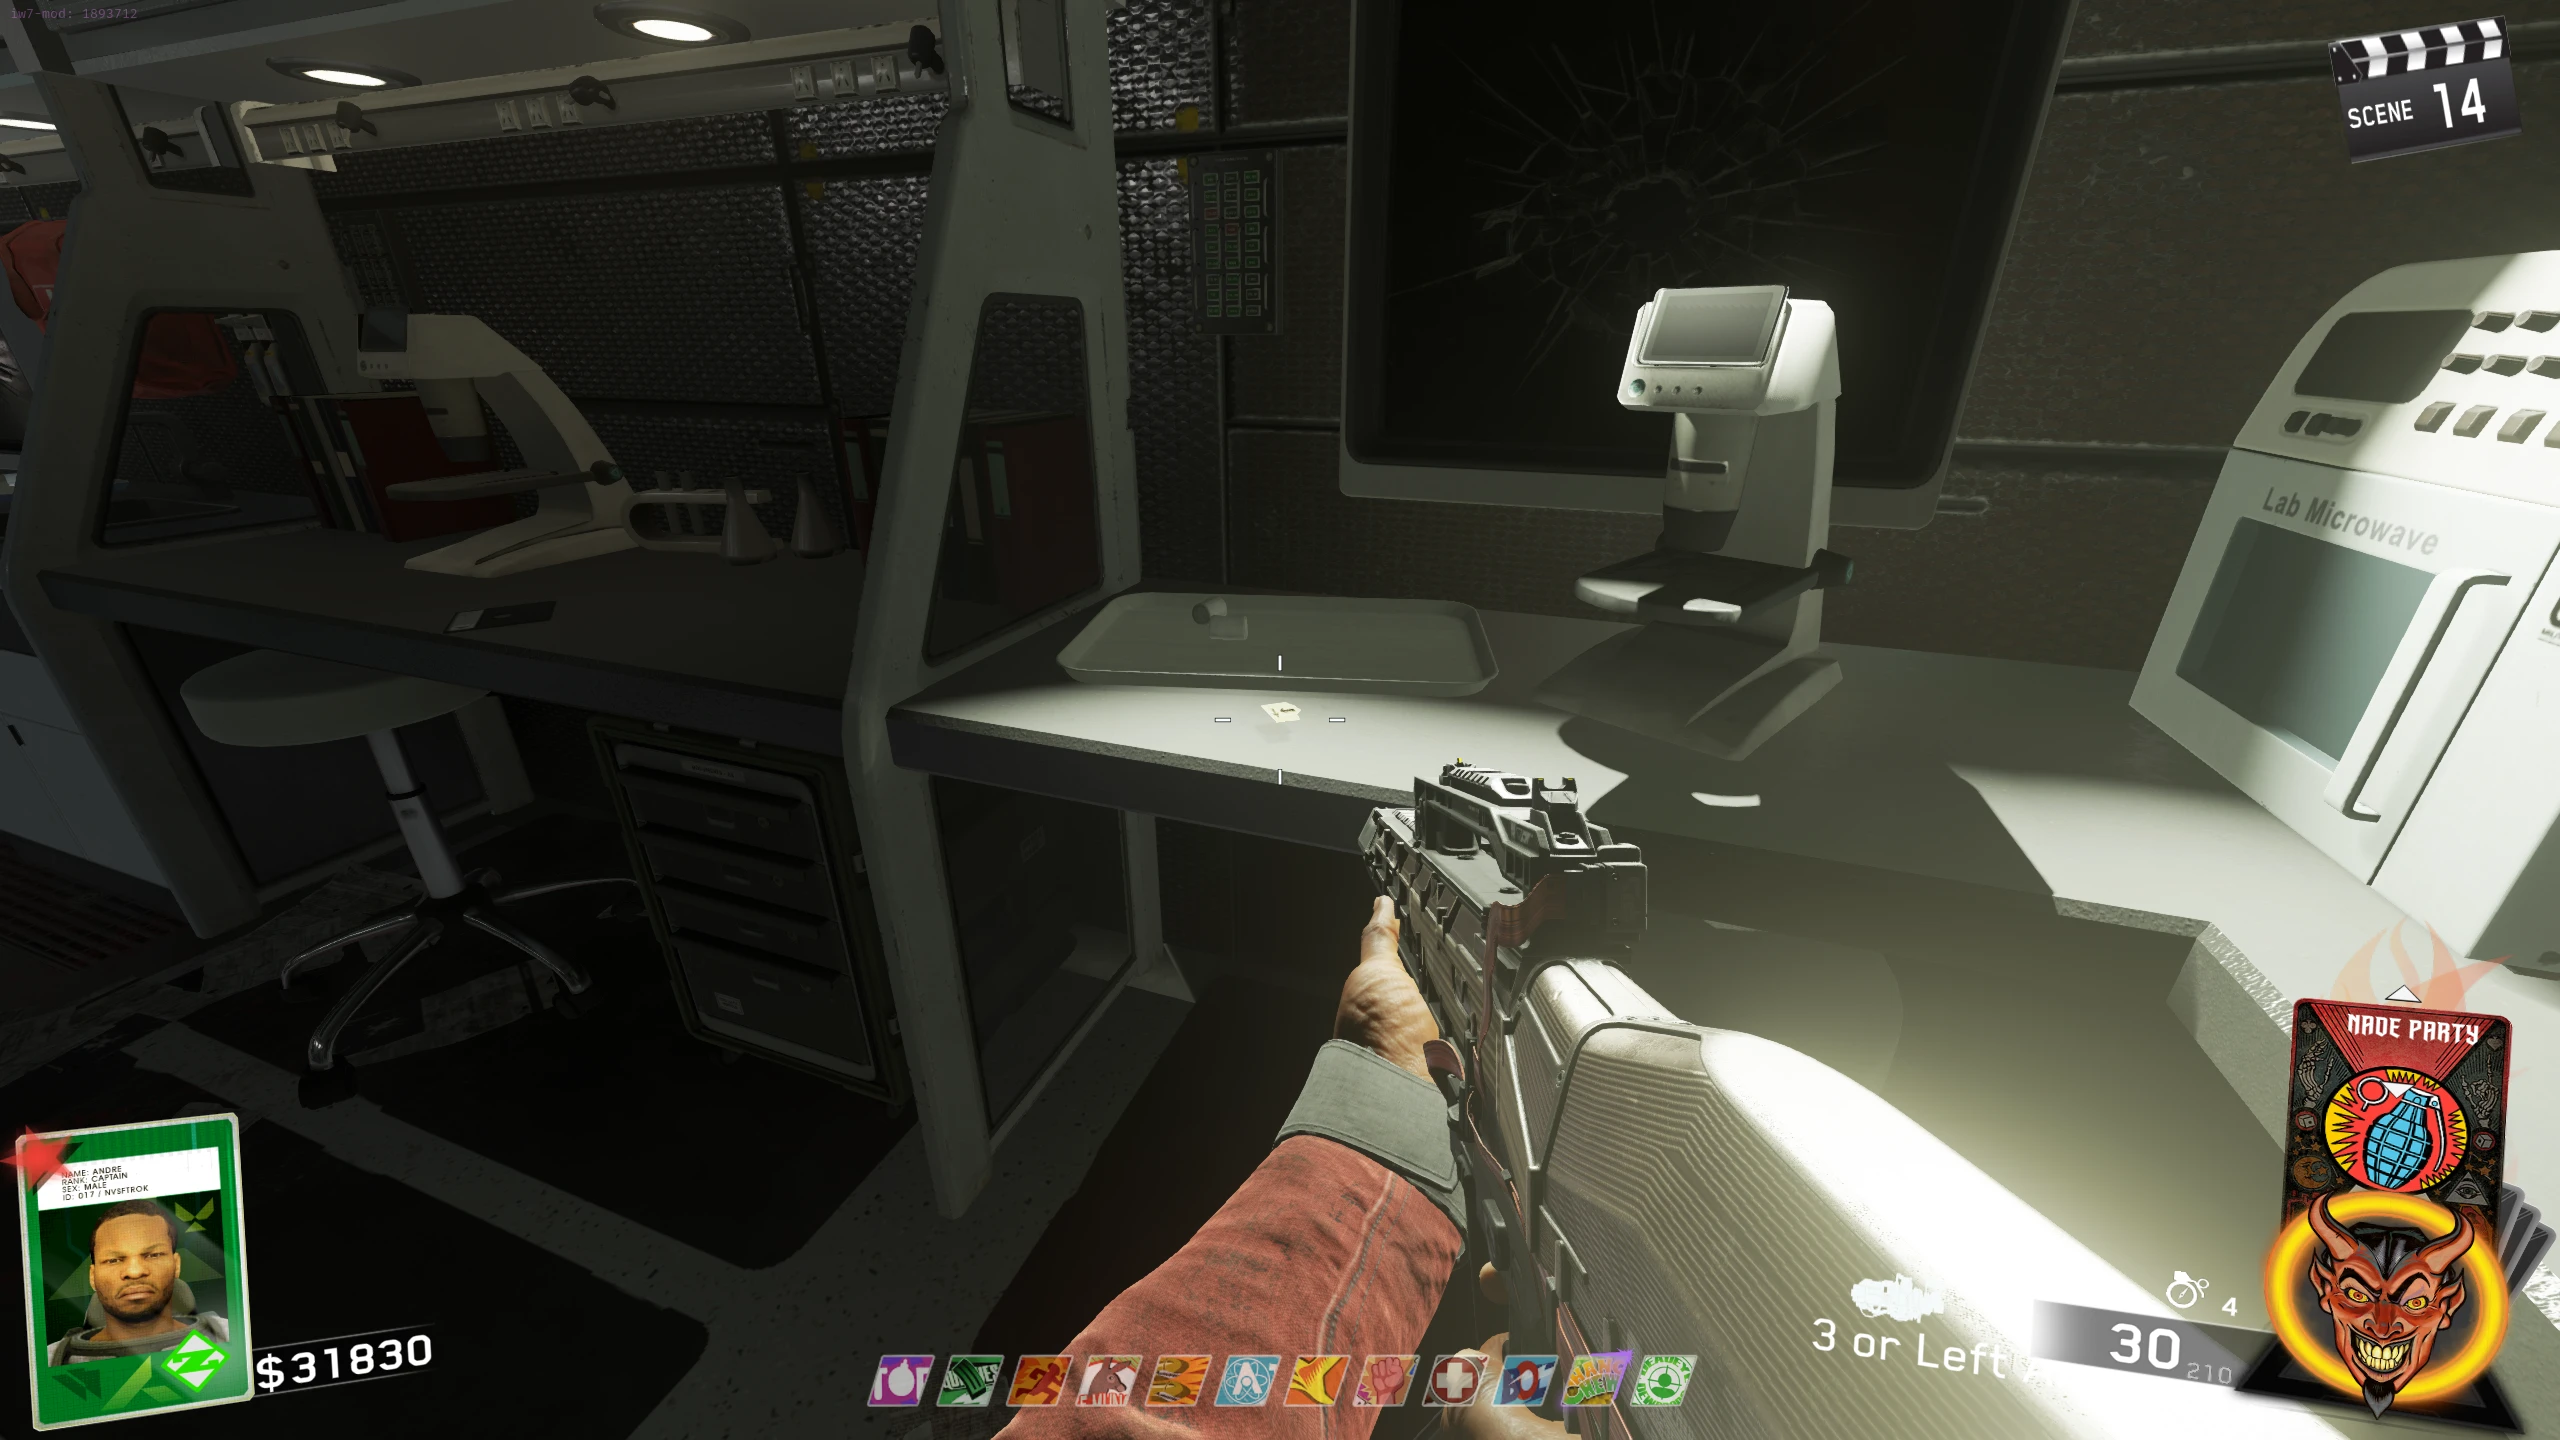
- Medical Bay - On the counter, under the six green monitors on the wall --- Zoomed-out view
- Medical Bay - In the forcefield room, right of the Floppy Disk
- Projector Room - On the red toolbox, left of the portal
- Theatre Bathroom - In the sink right of a blood stain on the wall
- Theatre Lobby - On the concession stand, in front of the popcorn machine
- Go to the Skull Breaker arcade machine in the Arcade of the Theatre. Stand right next to it and input the code quickly with the D-Pad or arrow keys, with less than a second between each press (PC players see below for how to set your keybinds). A sound will play and your character will comment once it's entered correctly.
- PC Players: In Controls Options -> Actions, set "Use Souvenir" to Left Arrow, "Toggle Kung-Fu Mode" to Right Arrow, "Next Card" to Up Arrow, and "Previous Card" to Down Arrow. With these binds, you can use the arrow keys like you would a D-Pad.
The Skull Breaker Mini-Game
- The game consists of three rounds, with each round requiring you to destroy all the skulls before they make it to the end. In this version, you have to form groups of the same colour skulls, then destroy all connected skulls with the same colour nuke.
- Using the Entangler (your gun), grab a coloured cube floating around and shoot it at a skull to change its colour. If two skulls are the same colour, and beside/diagonal to each other, they will connect and form a group.
- Once you make a group of any size, you can then grab one of the nukes floating around, and fire it at the group of the same colour to destroy the group.
- Destroying a group of 10 will get you the "Super Duper Combo" achievement.
- If you hit a group with the wrong colour nuke, all the skulls in the group will turn red and escape. Hitting any of the escaping skulls with a red nuke will destroy them all.
- If you fail, you can retry immediately with the same code.
- Once all three rounds are completed, you will be teleported back to the Arcade, with all perks permanently (except Up & Atoms in Solo), and your Fate & Fortune cards will charge faster for the remainder of the game.





Message Sent (Achievement)
- Obtain the Entangler weapon from Skull 2 of the Skull Breaker side quest.
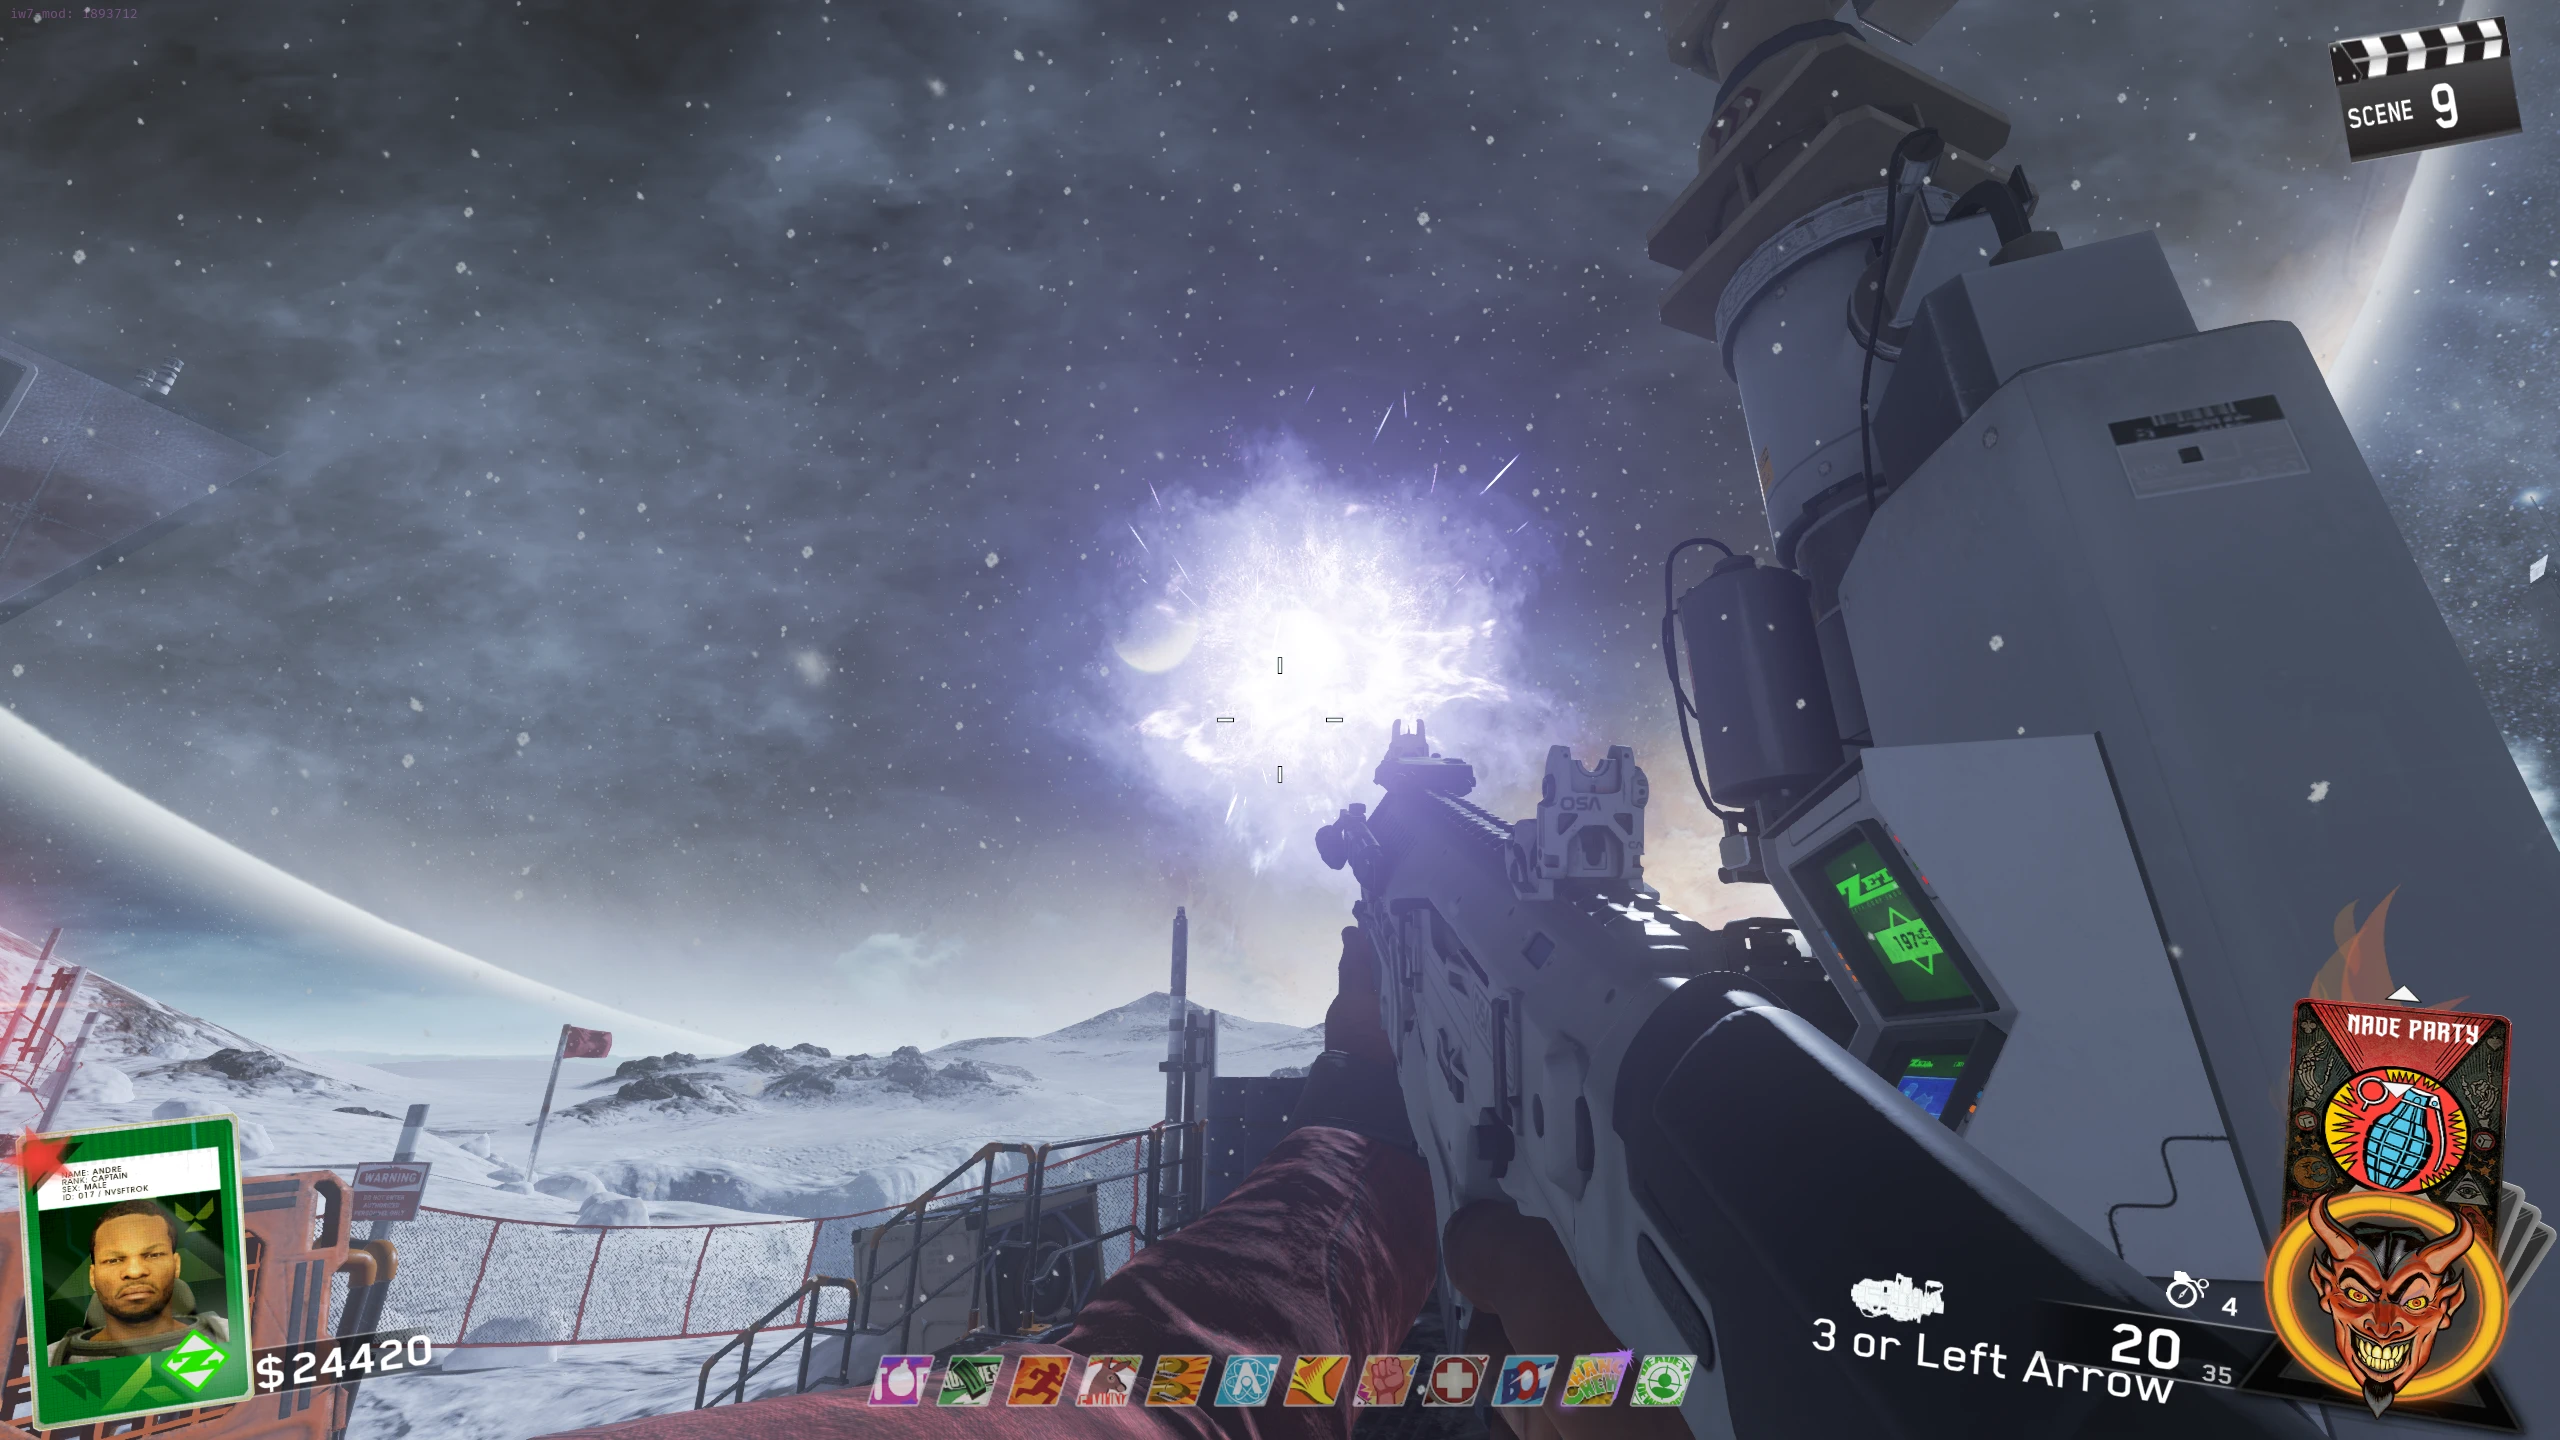
- Interact with the console in the snowy outside area, near the Magic Wheel location, until it shows "197#." This will spawn a vortex left of the console.
- Go to the street in front of the Theatre. Grab the Turnstile with the Entangler from the back left side of the dumpster with the KBS Longbow wallbuy on the front.
- Walk the Turnstile back to the vortex in the outside area, then shoot it into the vortex.
- If the vortex is gone by the time you get back, interact with the console until the 197# text and vortex appear again.
- After a couple of seconds, the vortex will disappear and you will be rewarded with the "Message Sent" Trophy/Achievement.
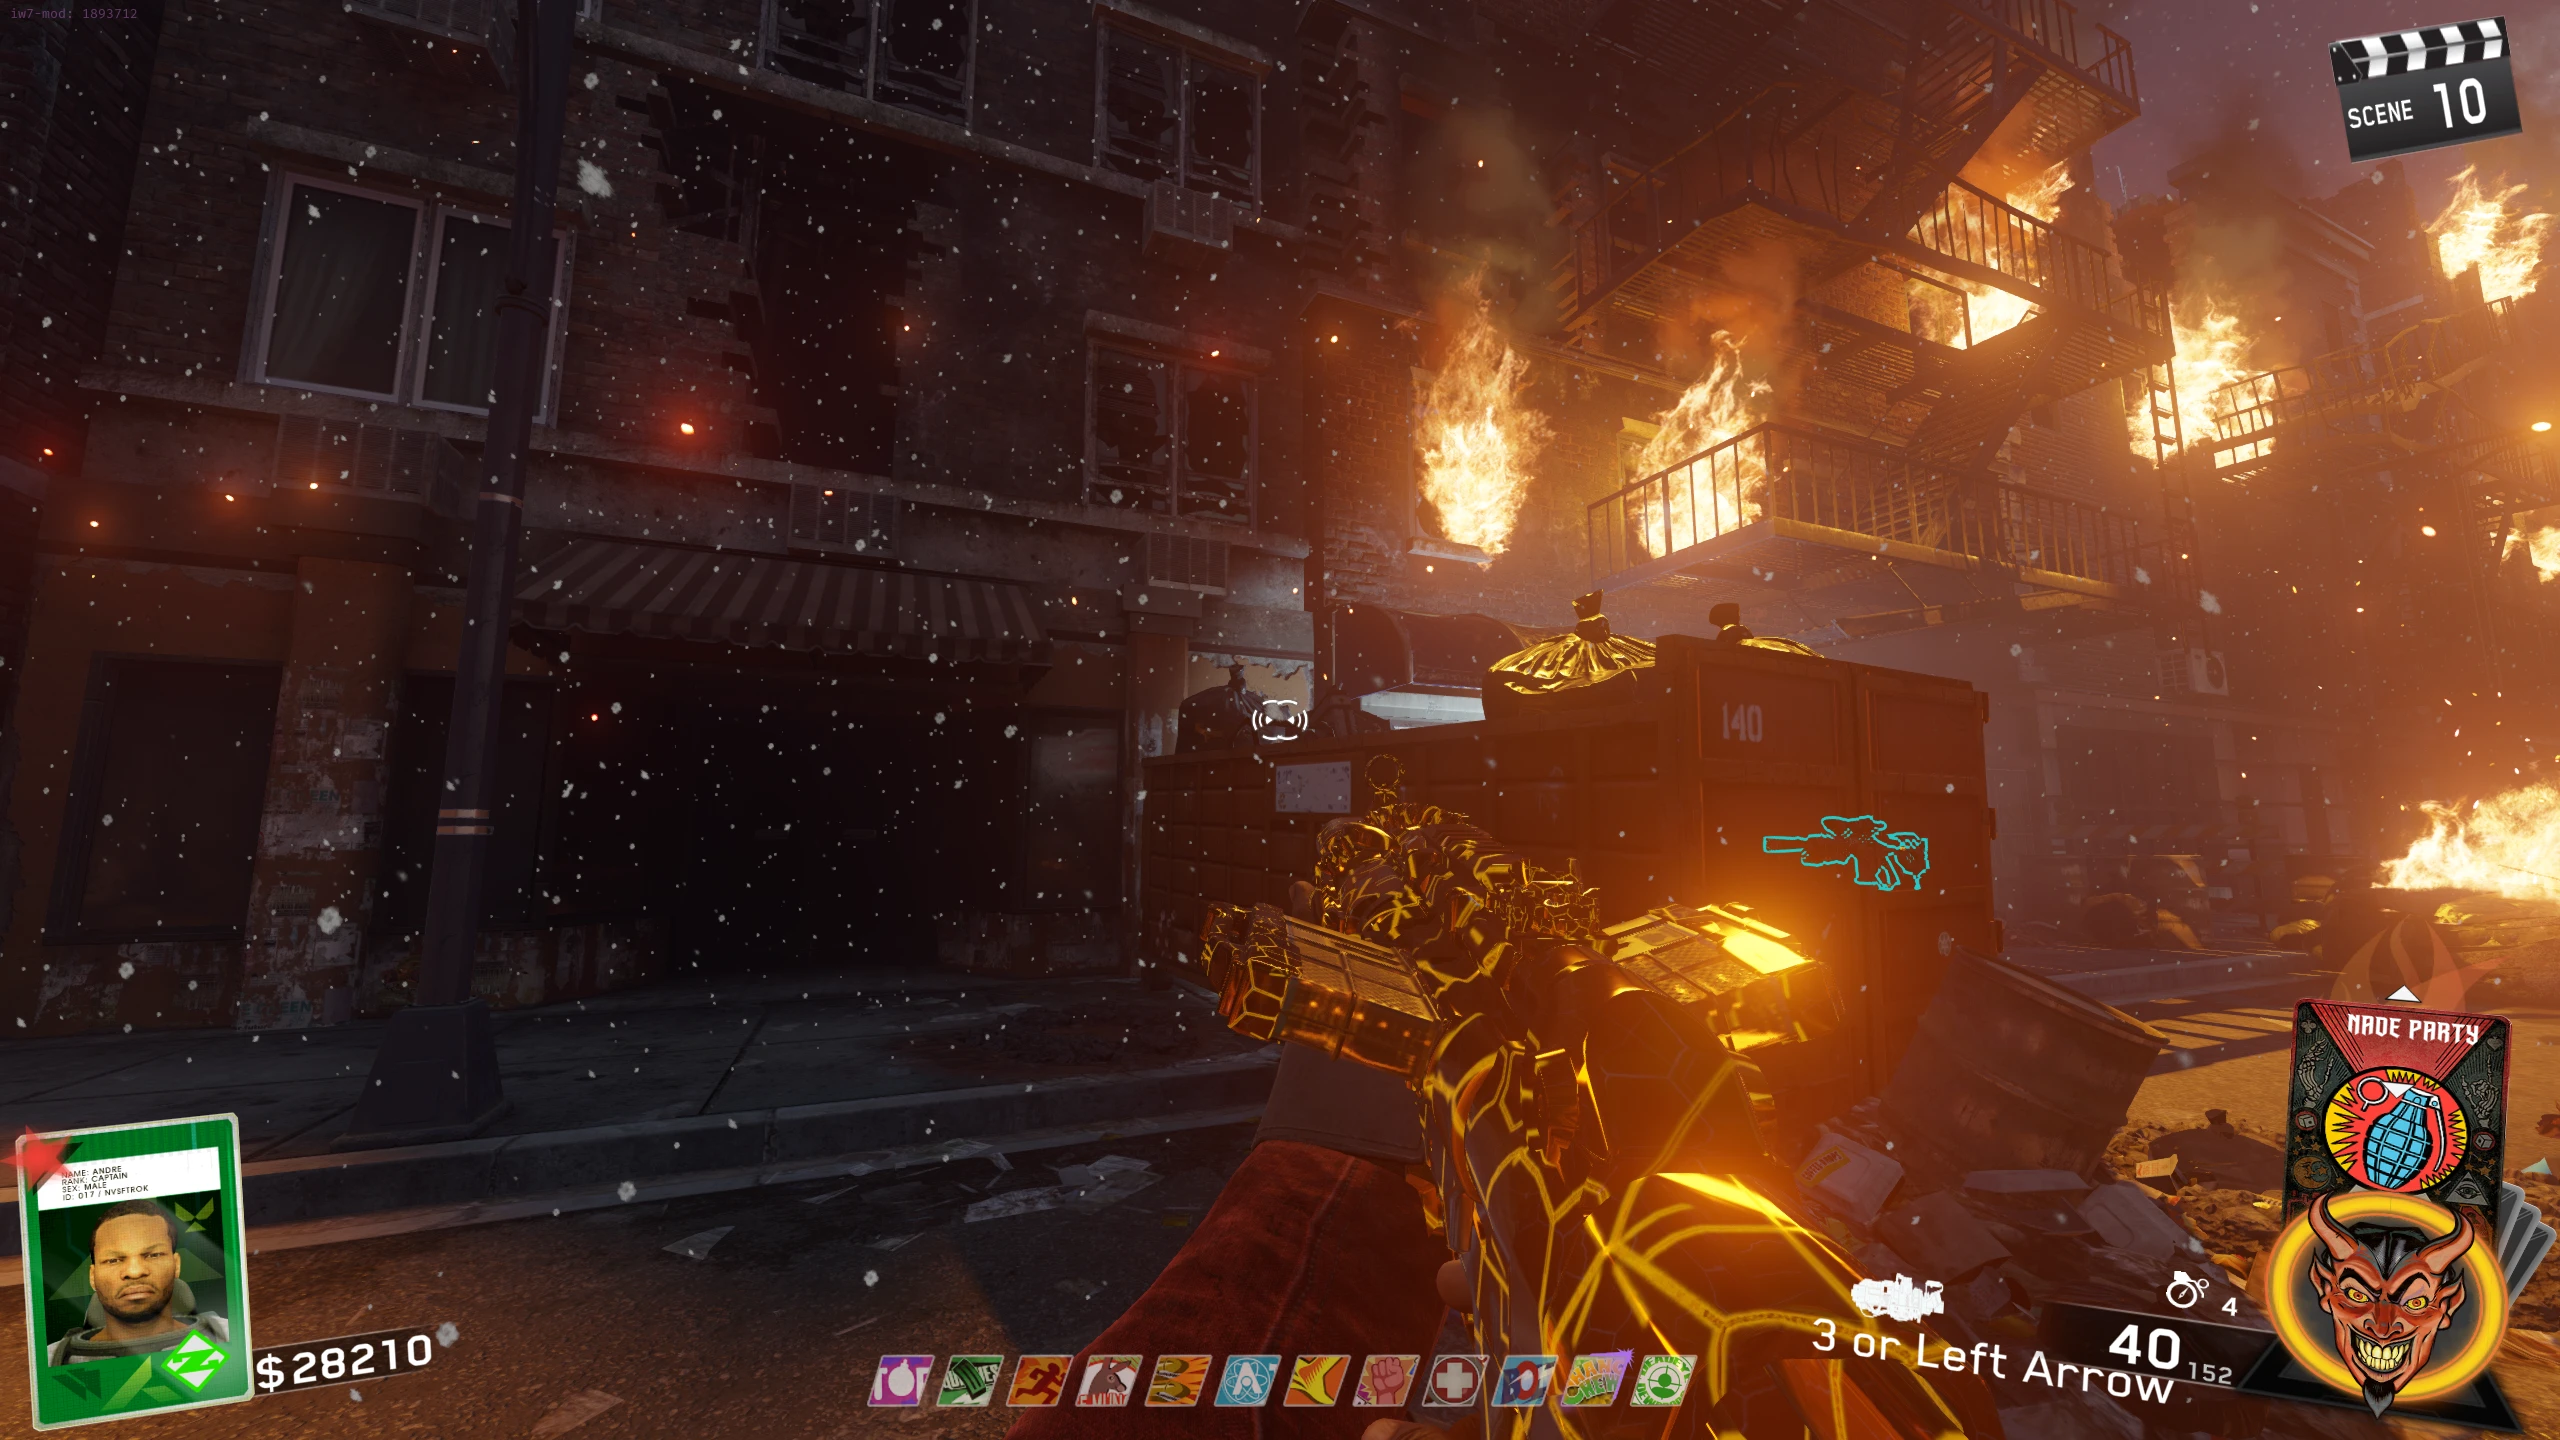
Director's Cut
What is Director's Cut
- While in Director's Cut mode, you will spawn with:
- 25,000 Points
- All available perks on the map permanently (you keep them when you down; except Up & Atoms on solo)
- Six Up & Atom uses on Solo or instantly return from the Afterlife Arcade in Co-op
- All weapons in the Magic Wheel are pack-a-punched once
- All wonder weapons are also in the Magic Wheel, Paped where applicable
- The Double PAP fuses are automatically in the Projector
- Unlimited F&F Card Refills
- F&F Cards charge faster
- The Smiley on Rave and the Katana on Shaolin can be purchased by all players in the match, regardless of quest completion
How to Unlock Director's Cut
- Director's Cut (DC) is an unlockable mode that requires you to complete all five Main Quest (ZiS - Sooooul Key, RitR - Locksmith, SS - Pest Control, AotRT - Soul-Less, and TBFB - The End?).
- Once you've completed every Main Quest, start a new match (this is required), and interact with the Soul Jar in the Projector room of any map.
- This will allow you to toggle Director's Cut mode on the pre-game lobby screen.
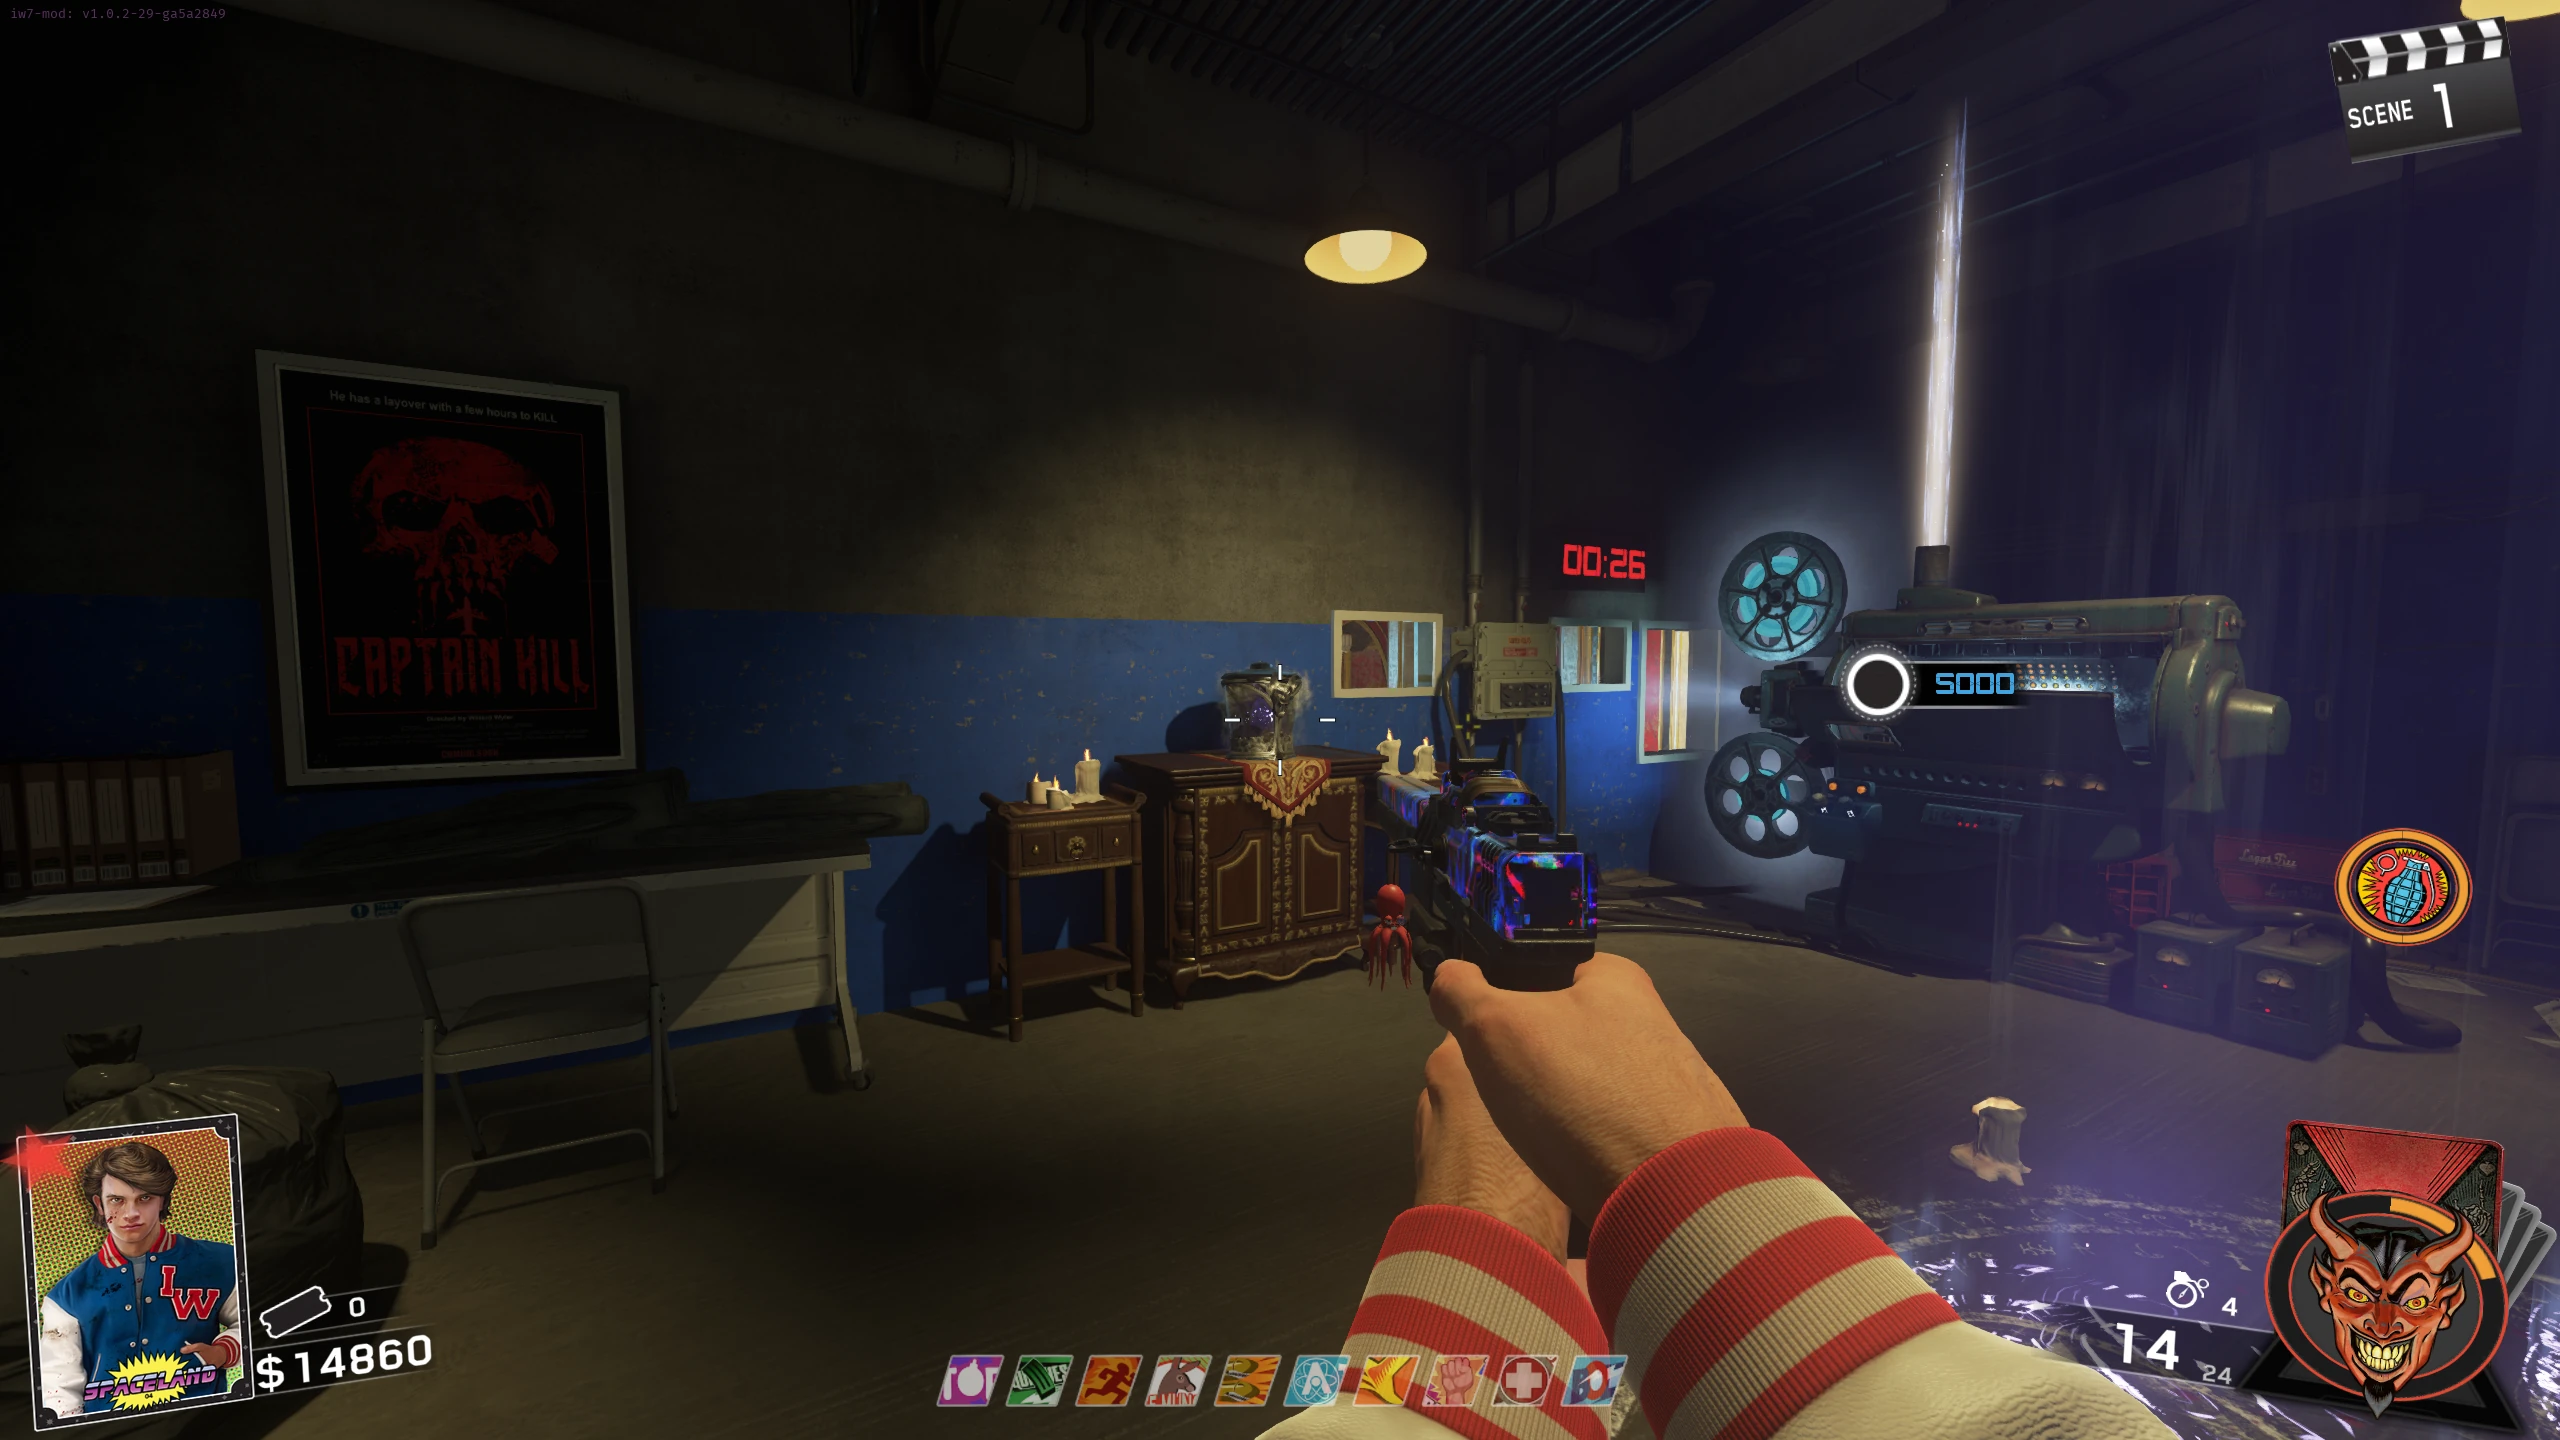
What you can do with Director's Cut
- While in Director's Cut (DC for short), there are Talisman Masks you can shoot to unlock additional lobby music. See the Additional Lobby Music sections for each of the maps for more info.
- Upon completing all the Quests again in DC, you will be given a Talisman to pick up. Collecting it rewards you with a special animated calling card based on the map.
- Once you collect four (not including Beast) Talismans, the next time you complete the Beast Main Quest, you will be put into the Mephistopheles Boss Fight. This is the final, and most challenging boss in this game (see the Mephistopheles Boss Fight section for how to beat him).
- Once you beat Mephistopheles, you will be rewarded with the animated calling card "Demon Slayer" and an animated camouflage titled "Director's Cut Camouflage", as well as the ability to play as Willard Wyler on Spaceland (see the Play as Willard Wyler section of the Spaceland guide for more information).
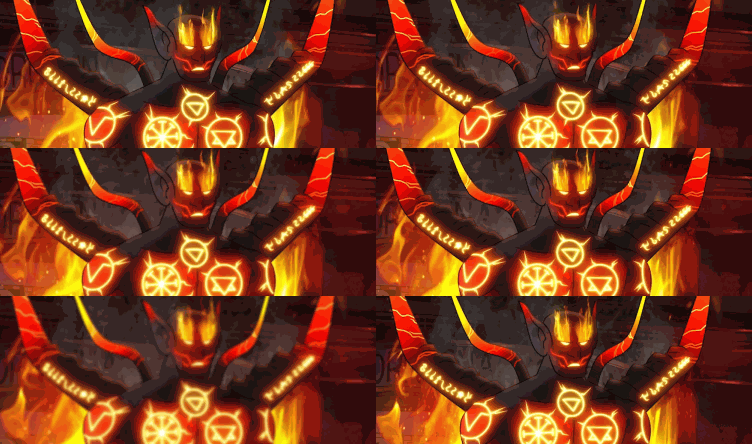
Mephistopheles Boss Fight
- The Mephistopheles (Meph for short) boss fight is very complicated, and I can't effectively explain it within the website's format. See this video (skip to 4:31 to skip loadout tips) by Steviewacky for how to beat the fight (he kinda yaps a bit, so I recommend you play the video at least 1.25x or 1.5x speed).
- Tips for completion:
- ALWAYS, ALWAYS, ALWAYS pay attention to Meph. All the attacks have specific animations that indicate the coming attack. The only exception is the Wall spawning/Zombie spawning animation; both share the "raises both arms" animation. I always assume it's the wall attack and get out of the way.
- Prioritize safety over completion. There is no downside to taking your time and being safe. It will probably save you time when you consider the reset time (redoing the Beast Quest). Don't try to be the hero, and die standing on the talisman circle; just run, be safe, and try again.
- Practice in the Boss Battles mode. The worst part of the Meph fight is the long reset time when you die. This can be mitigated by playing in the Boss Battles mode in the lobby menu. You won't get the rewards, but you will be able to quickly retry the fight after dying.
- Link to the song (YouTube) that plays during the fight.
About This Map
The Beast From Beyond (TBFB or just "Beast") is the fifth and final Infinite Warfare Zombies map, set in a derelict military base on a distant planet. This guide covers 'The End?' main quest (main Easter Egg), the Venom-X upgrades, the Skull Breaker quest, and all side quests. Also known as TBFB, Beast.