Map Progression
Weapons and Buildables
Easter Eggs
- "Making History" Main Quest
- The Classic (Special PPSh-41)
- "HI" Beam / Free Single Jolt
- Dr. Straub Locations ("Still Lurking" Trophy/Achievement)
- Single Use Upgraded Jack-in-the-Box in the Boss Fight
Unlockable Characters
- Unlockable Characters
- Bloodraven Hunter
- Deathraven Hunter (Living the Dream)
- The Hunter from Seville (Stock Broker)
- Deathraven Mountaineer (Keep Moving)
- The Mountaineer from Ruskeala (Barbarossa)
- Bloodraven Survivalist (In Charge)
- Deathraven Survivalist (Sol Ace)
- The Survivalist from Hanoi (The Hunter)
- Bloodraven Slayer (V.I.B.)
- Deathraven Slayer (Tools of the Trade)
- The Slayer from Casablanca (Banker)
- Wicht Warden (Cold Blooded)
- Rookbane
Power
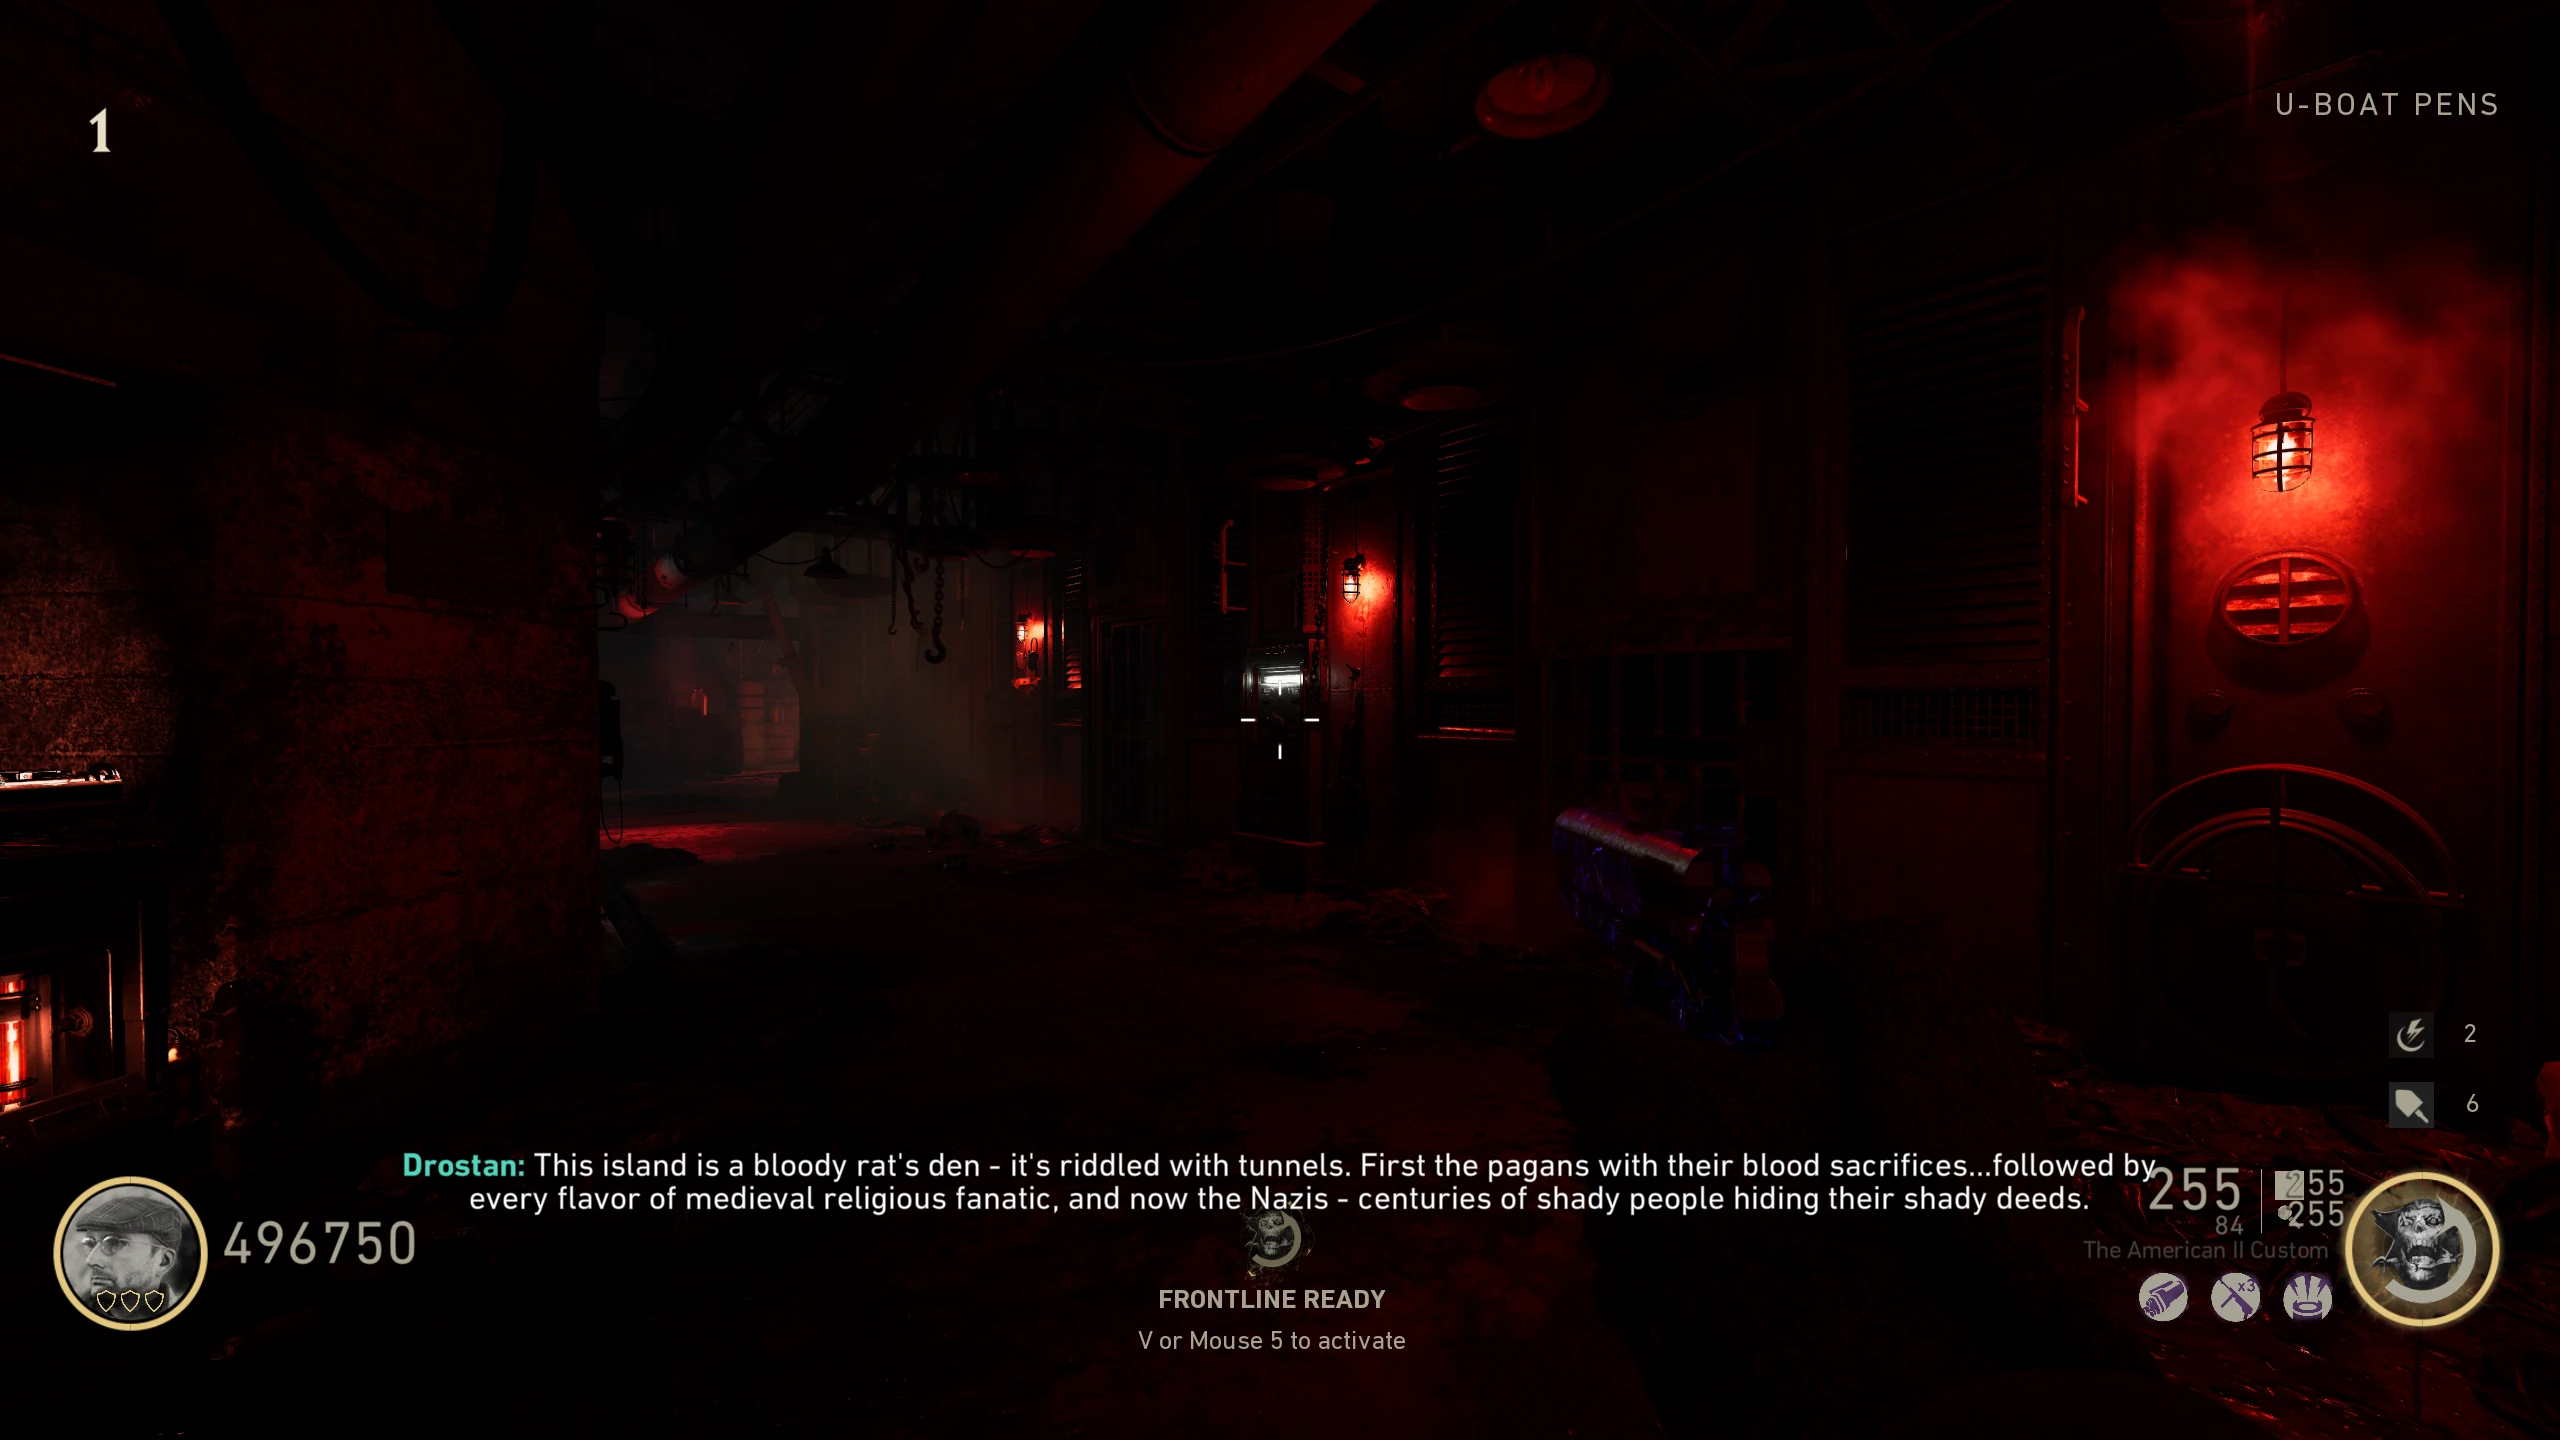
- There is one power switch, and it is located in the 'U-Boat Pens.'
Pack-a-Punch (Ubersprengen)
- Turn on Power.
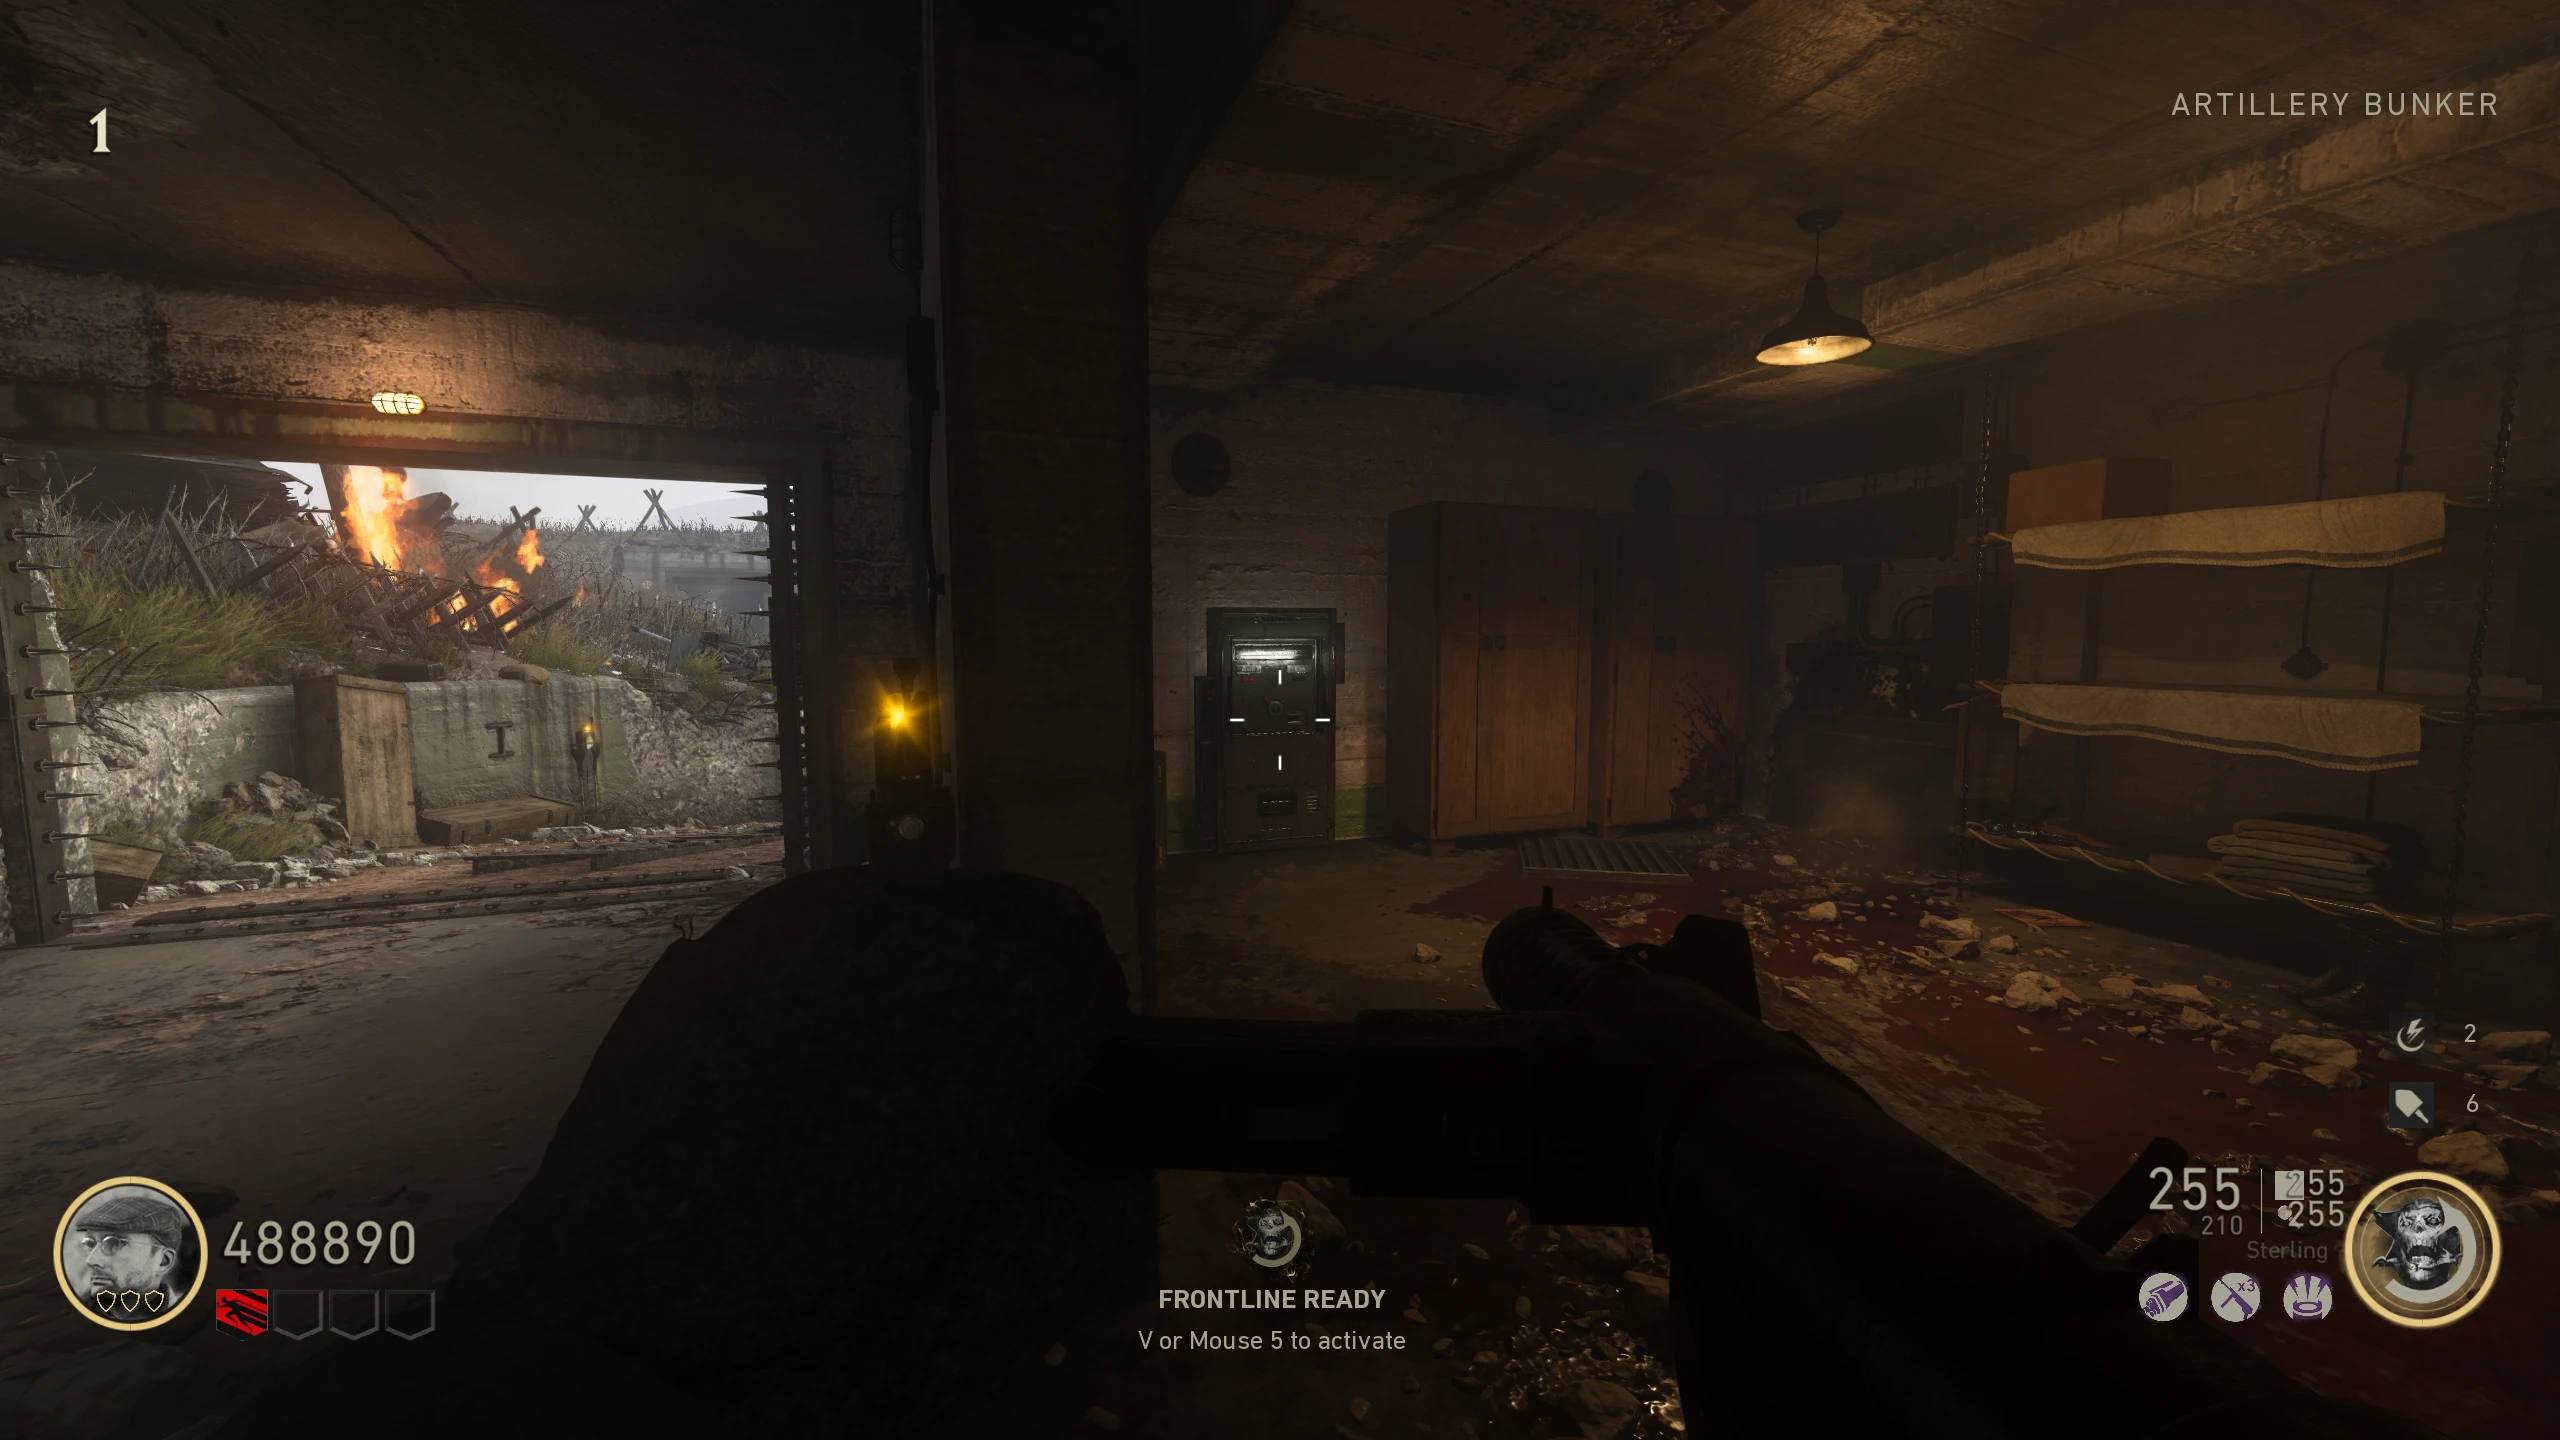
- Activate the Minecart system by activating the Power Switch in the 'Artillery Bunker.'
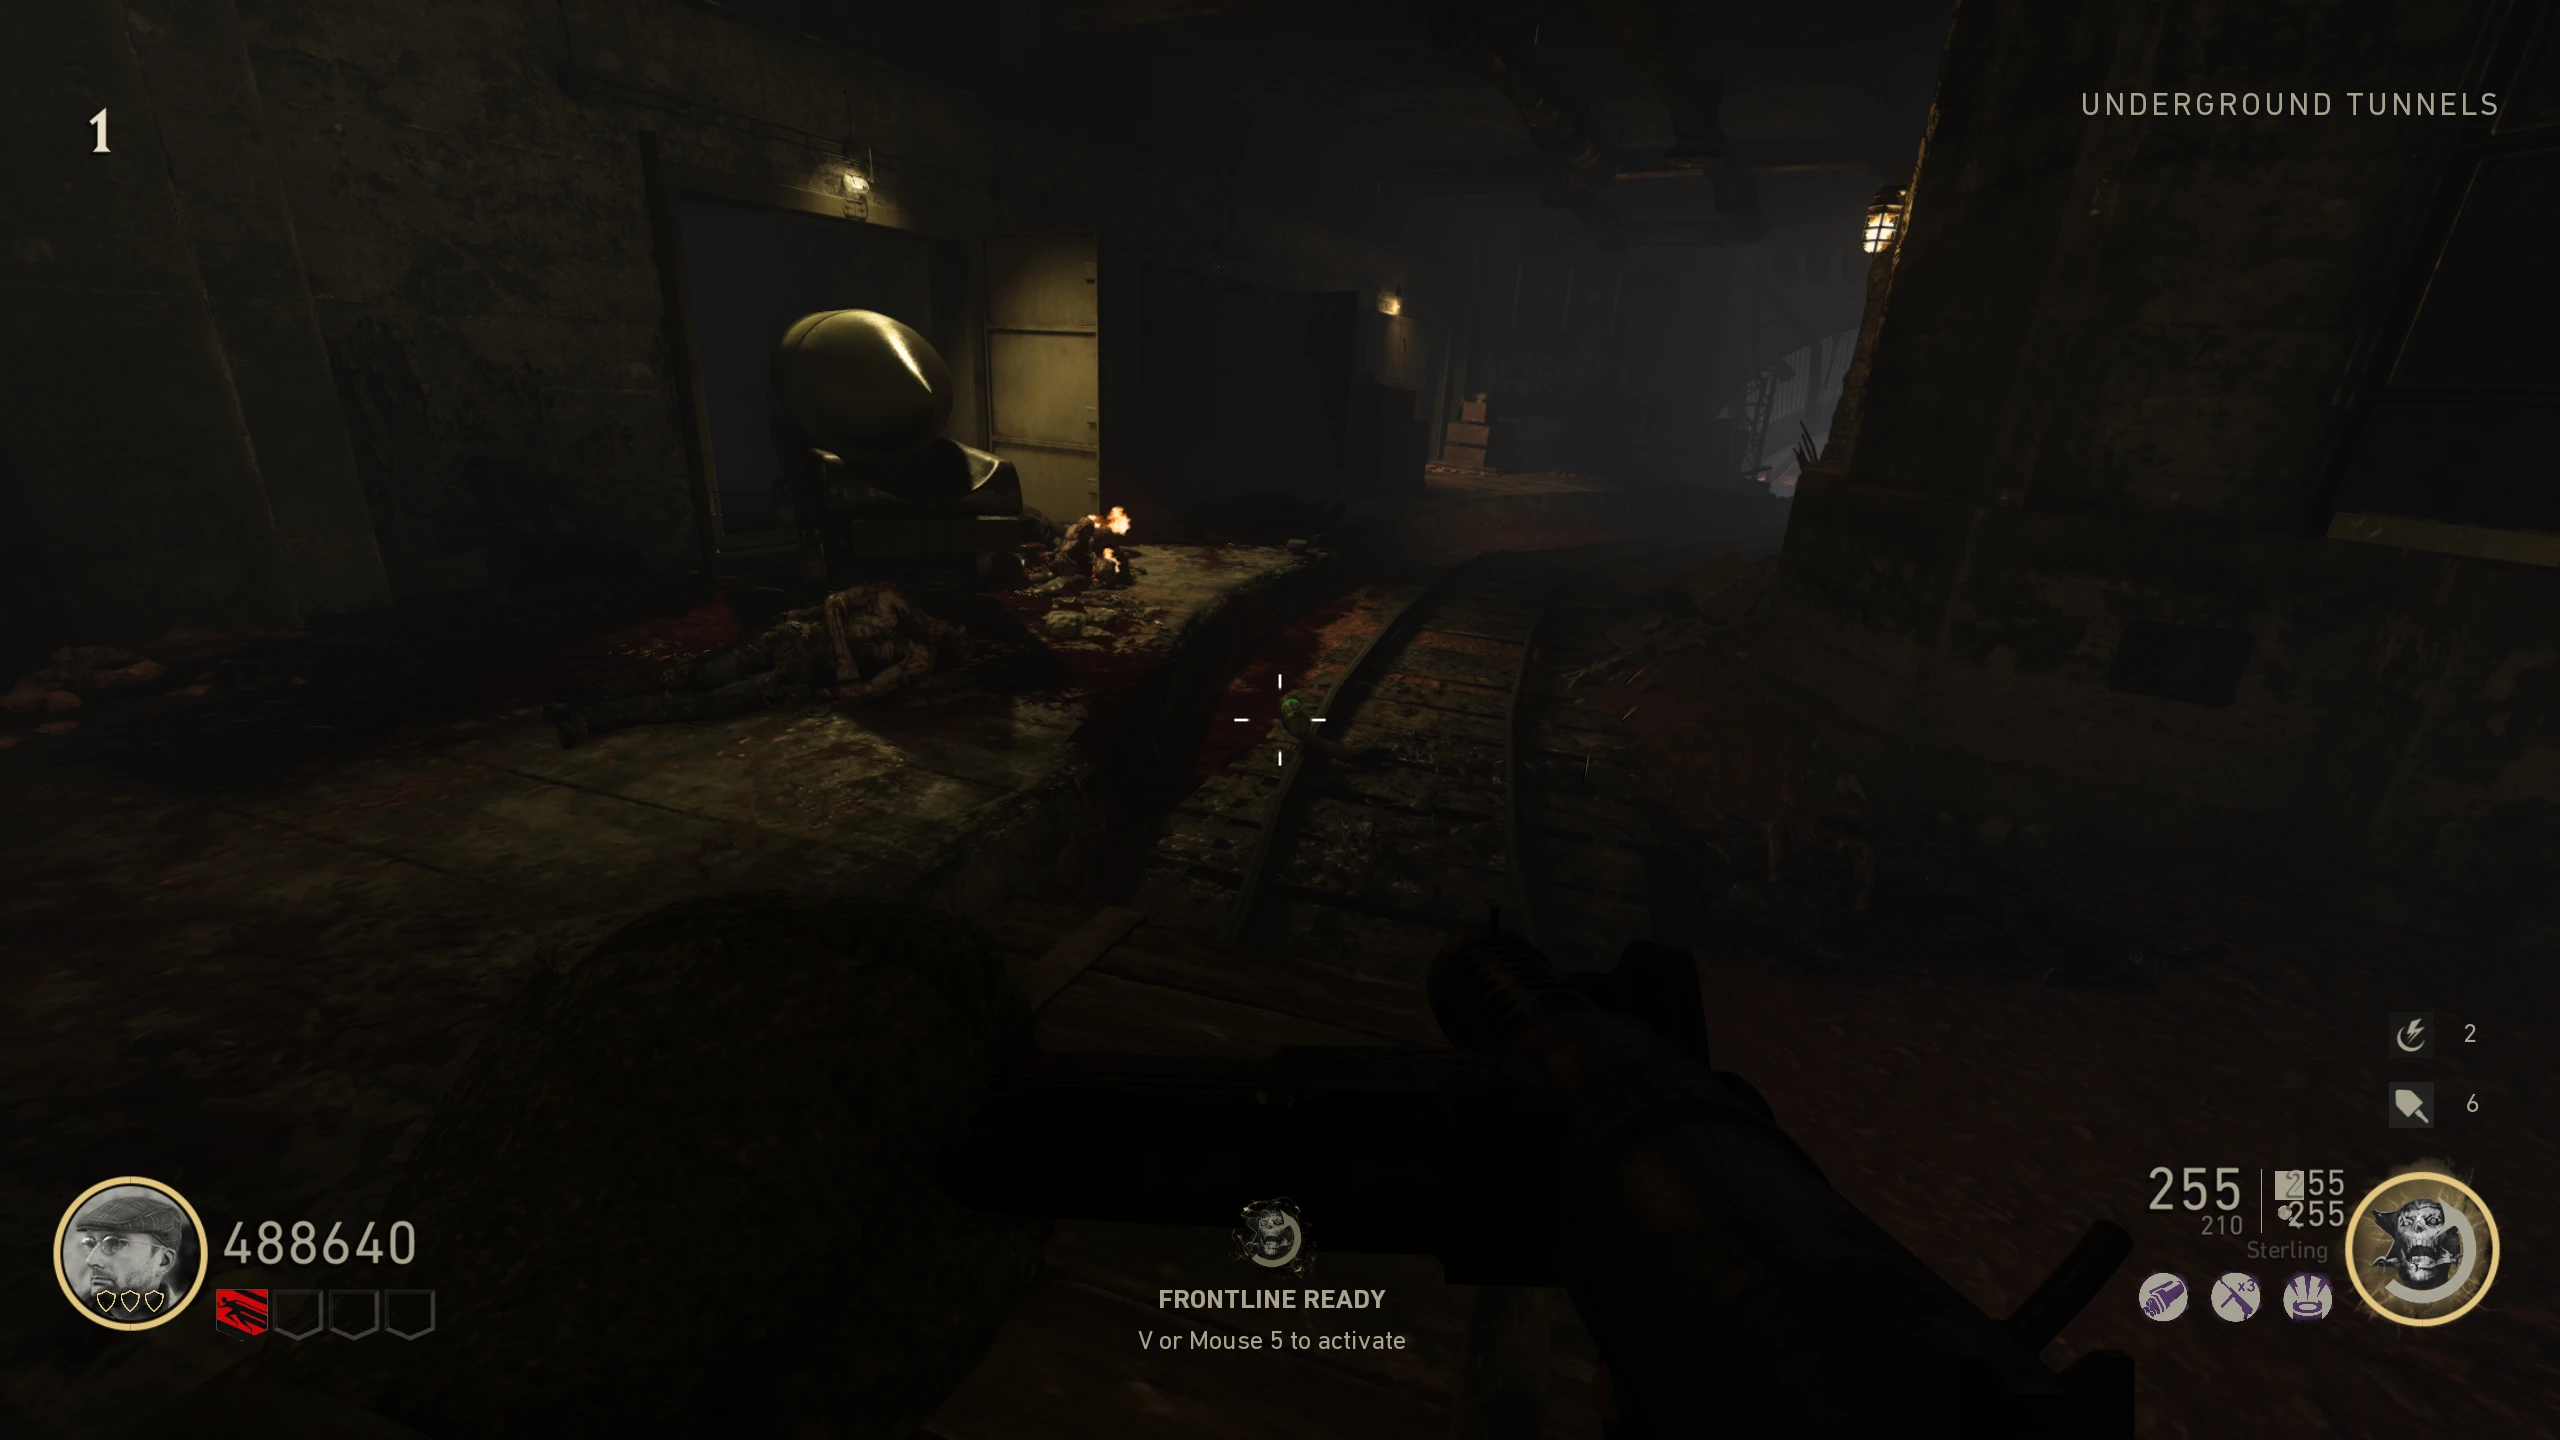
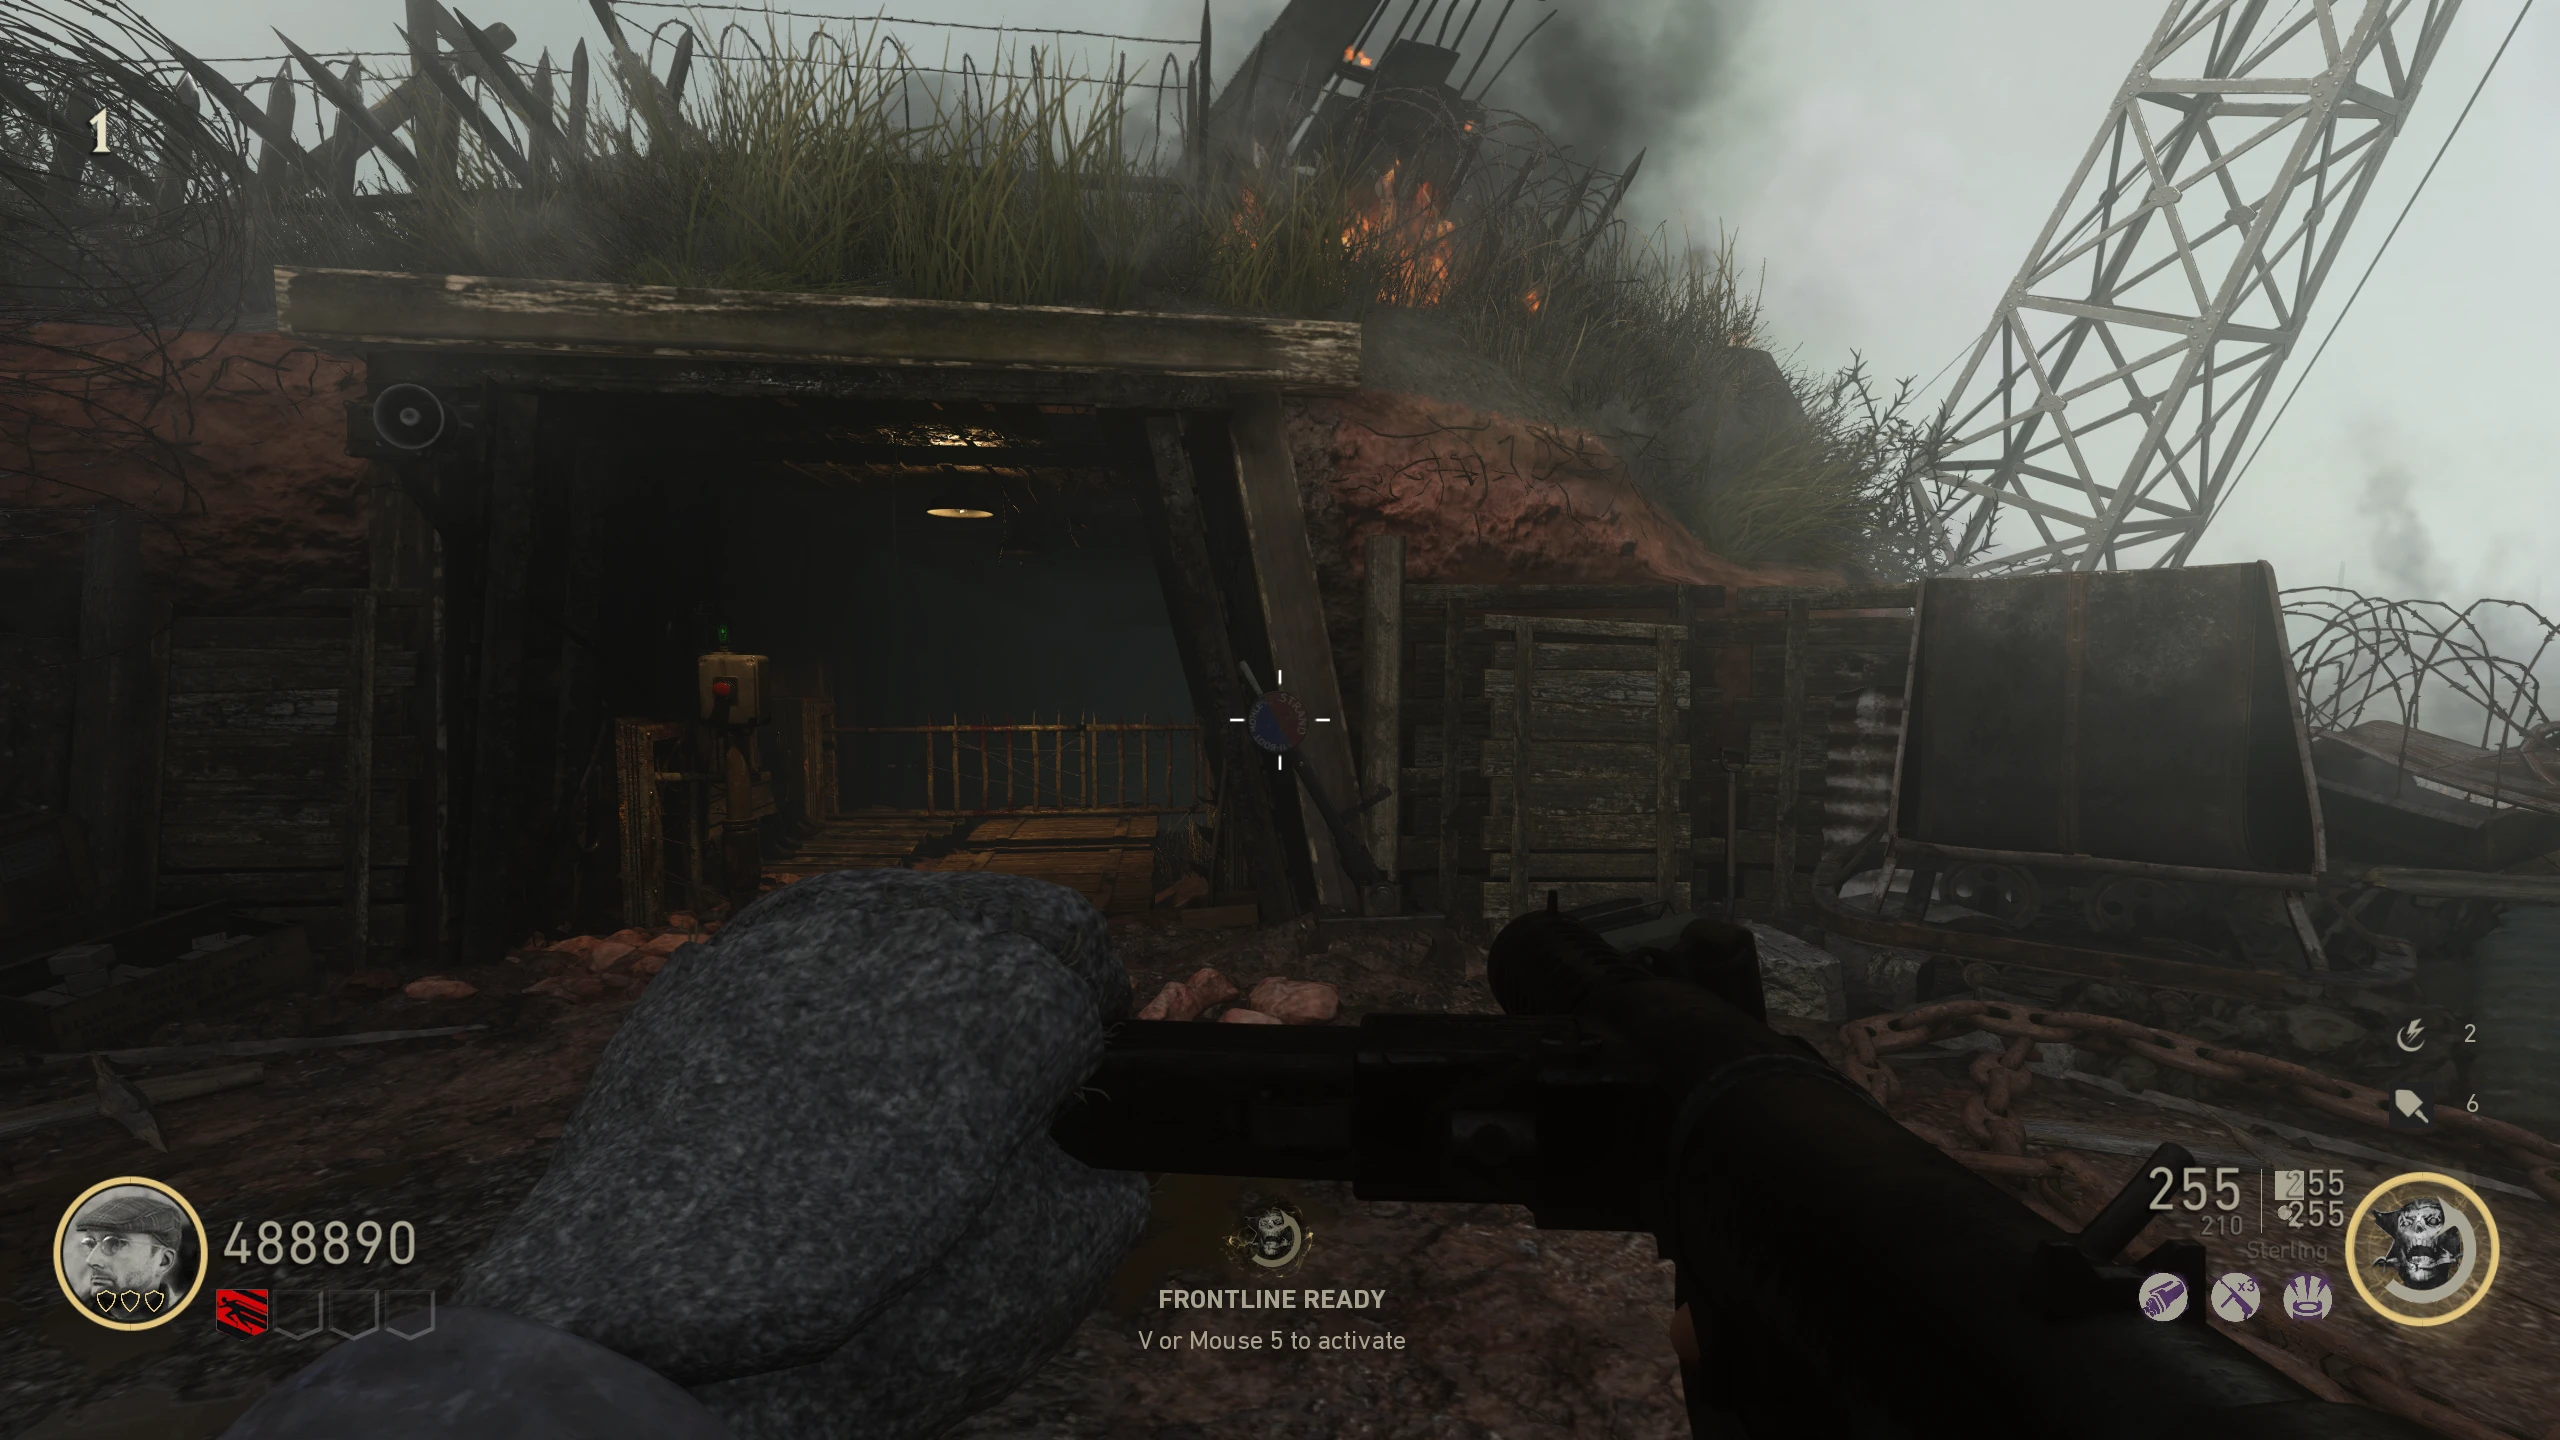
- You must take three different minecart trips (in either direction). Halfway through each trip, there will be a green battery (Elektroschnalle) that you need to pick up. Changing the switch at each of the minecart stations will change where it takes you. On your first trip of each round, there will be four bombers standing on the tracks. Trips to take:
- In the 'Bunker 3' area, place all the Elektroschnalles into the machine down a slope from Double Tap. Once all three are placed, the elevator will rise, and the Pack-a-Punch will become available.
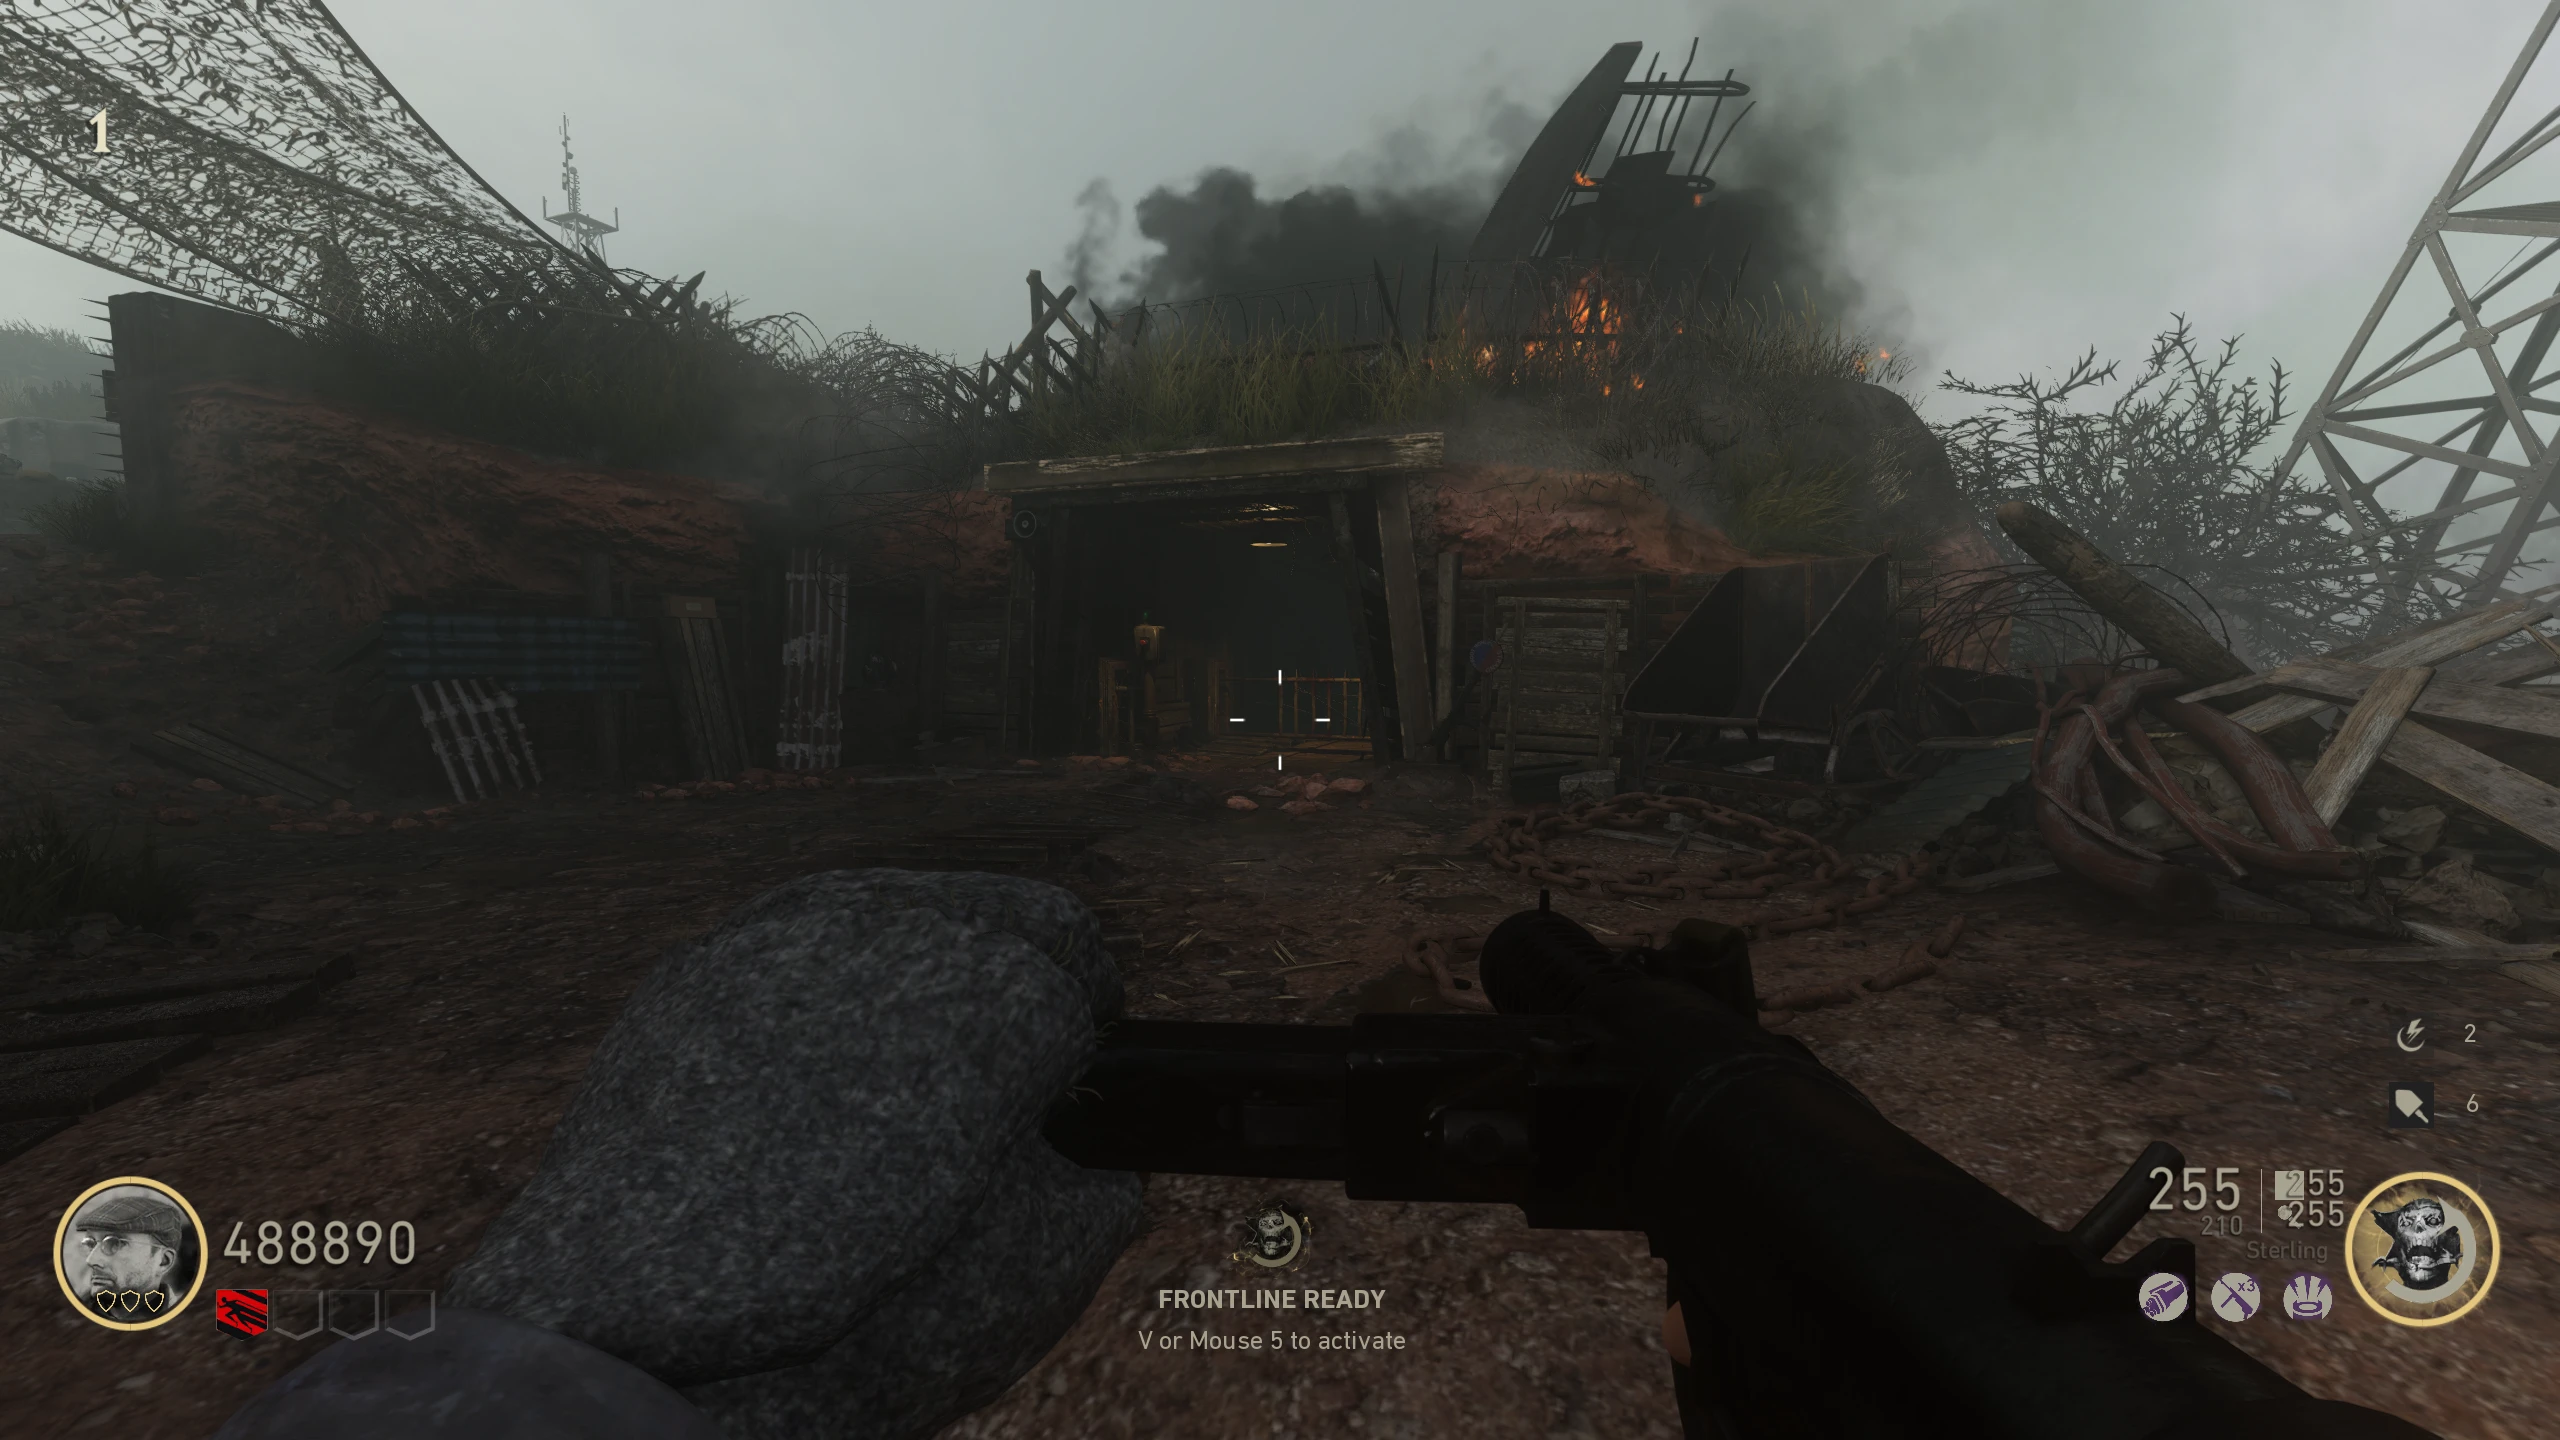
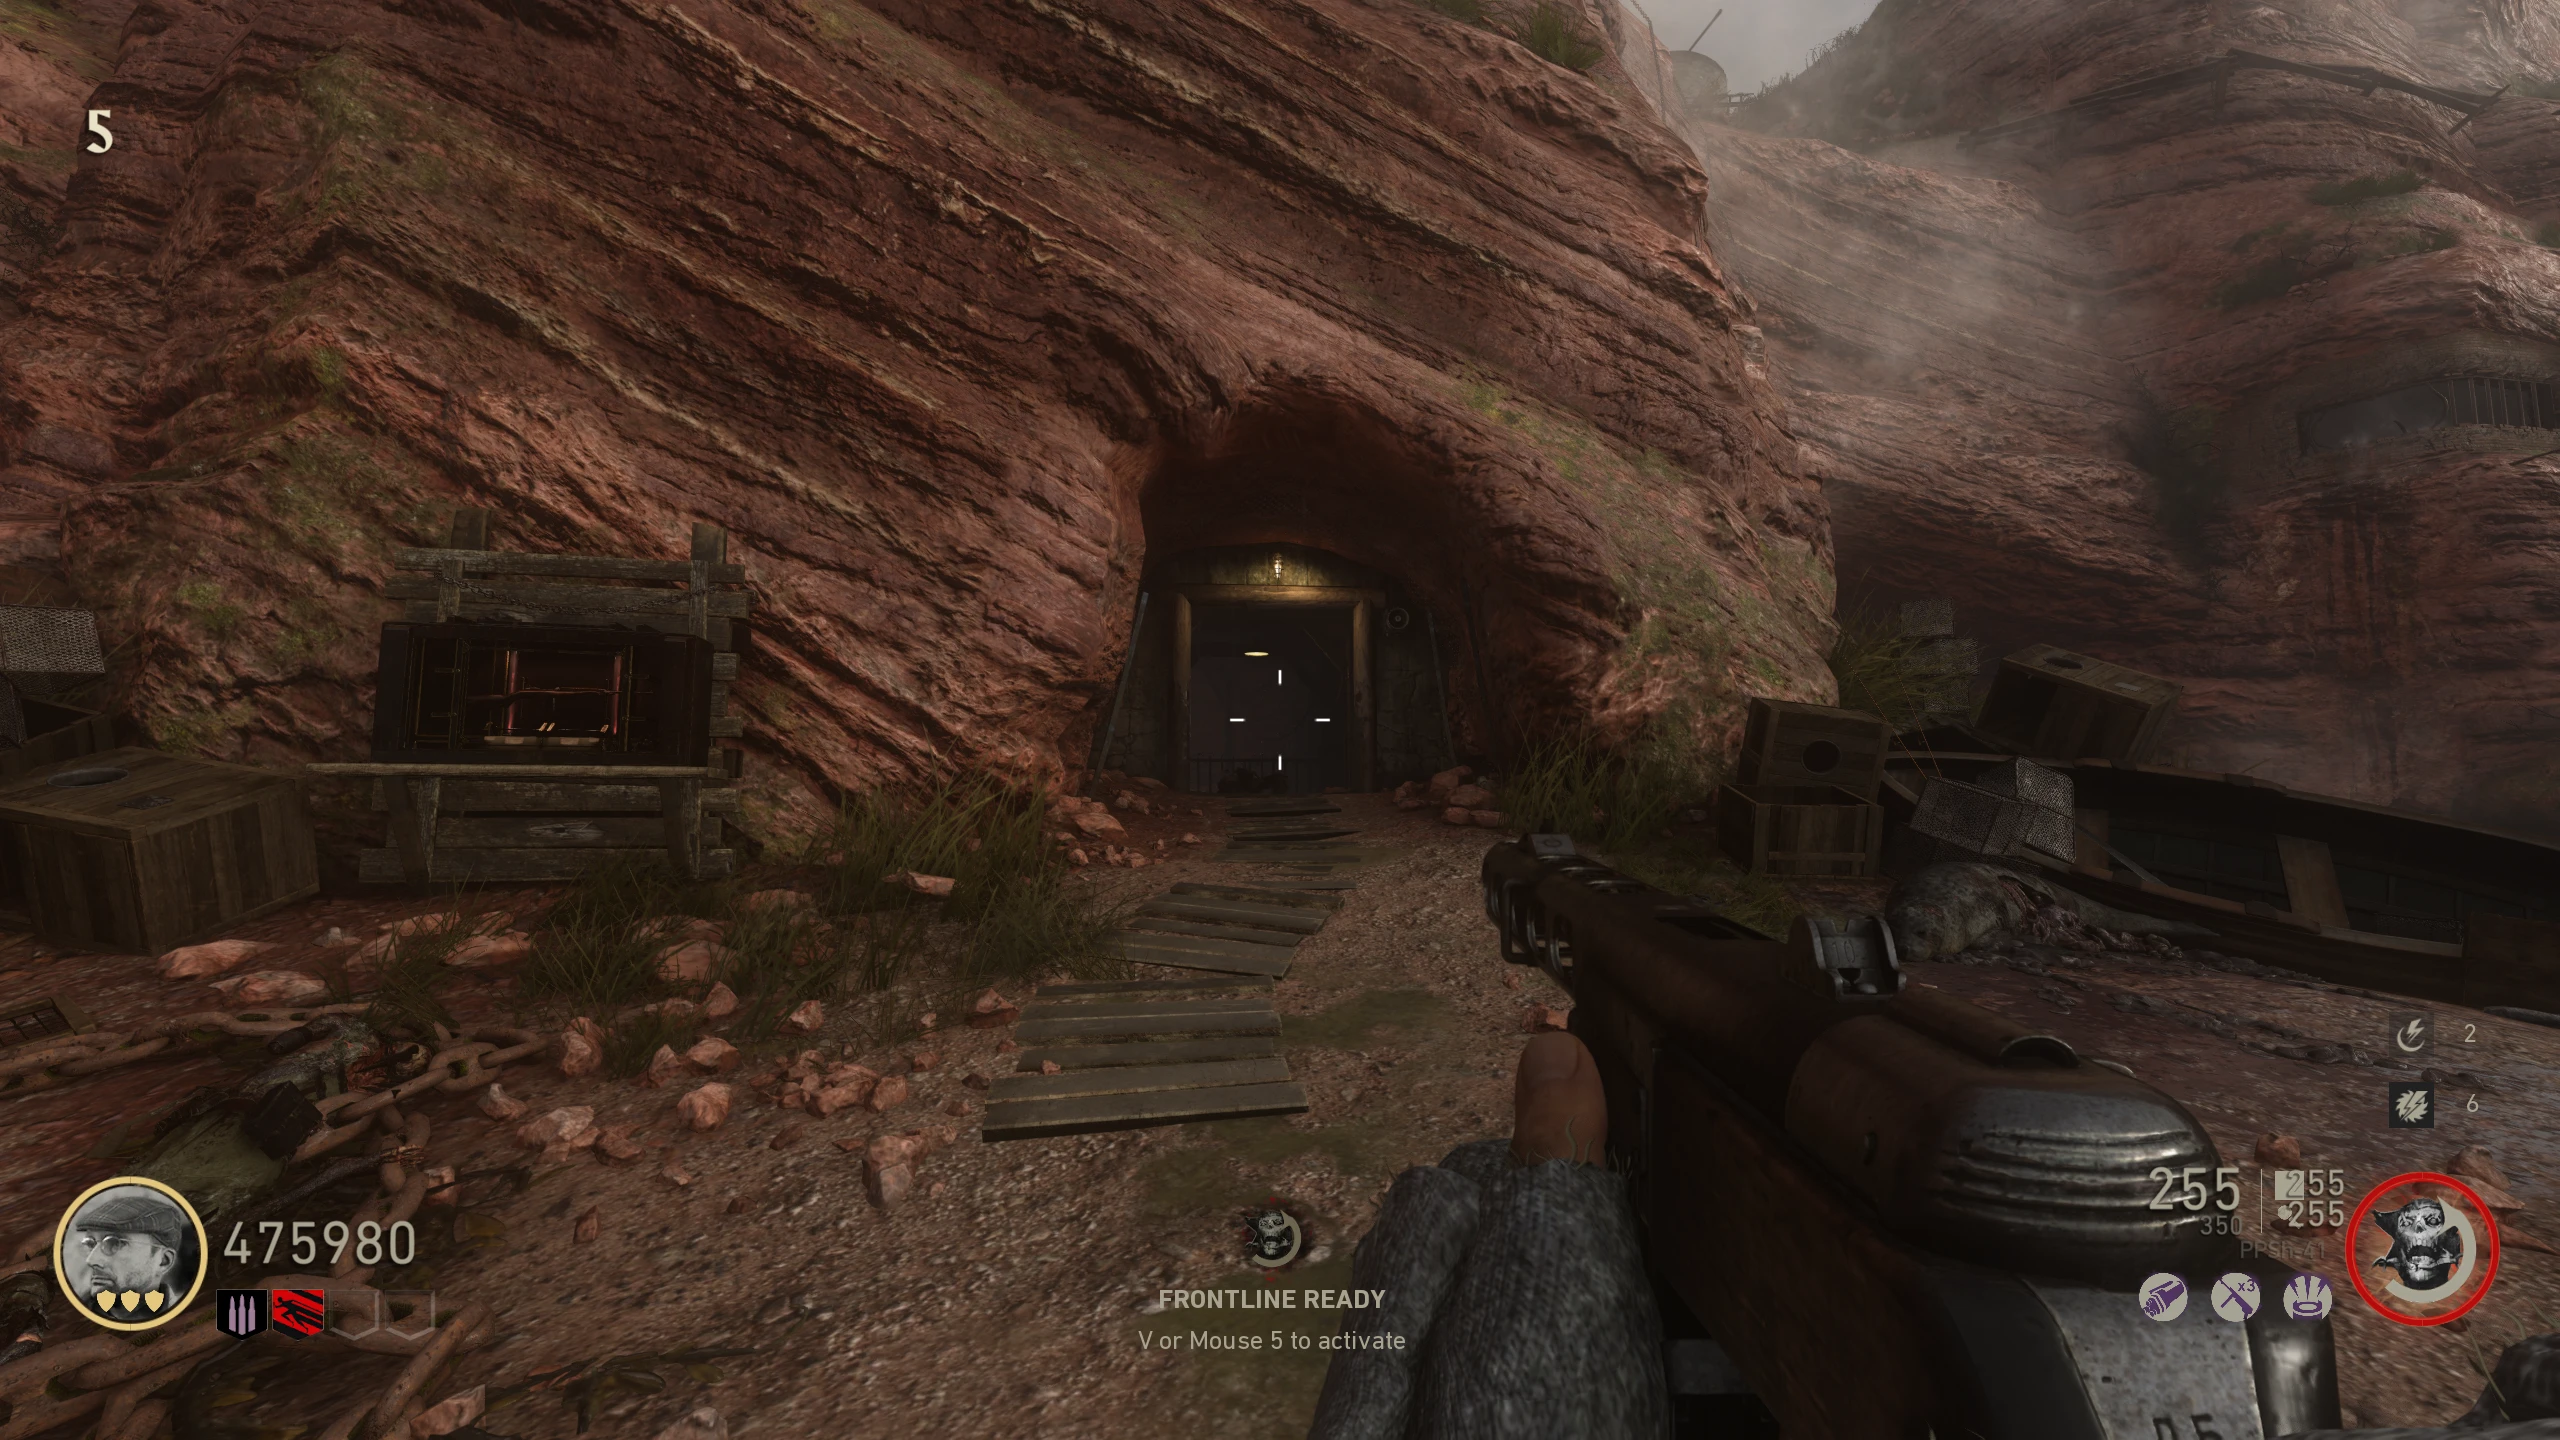
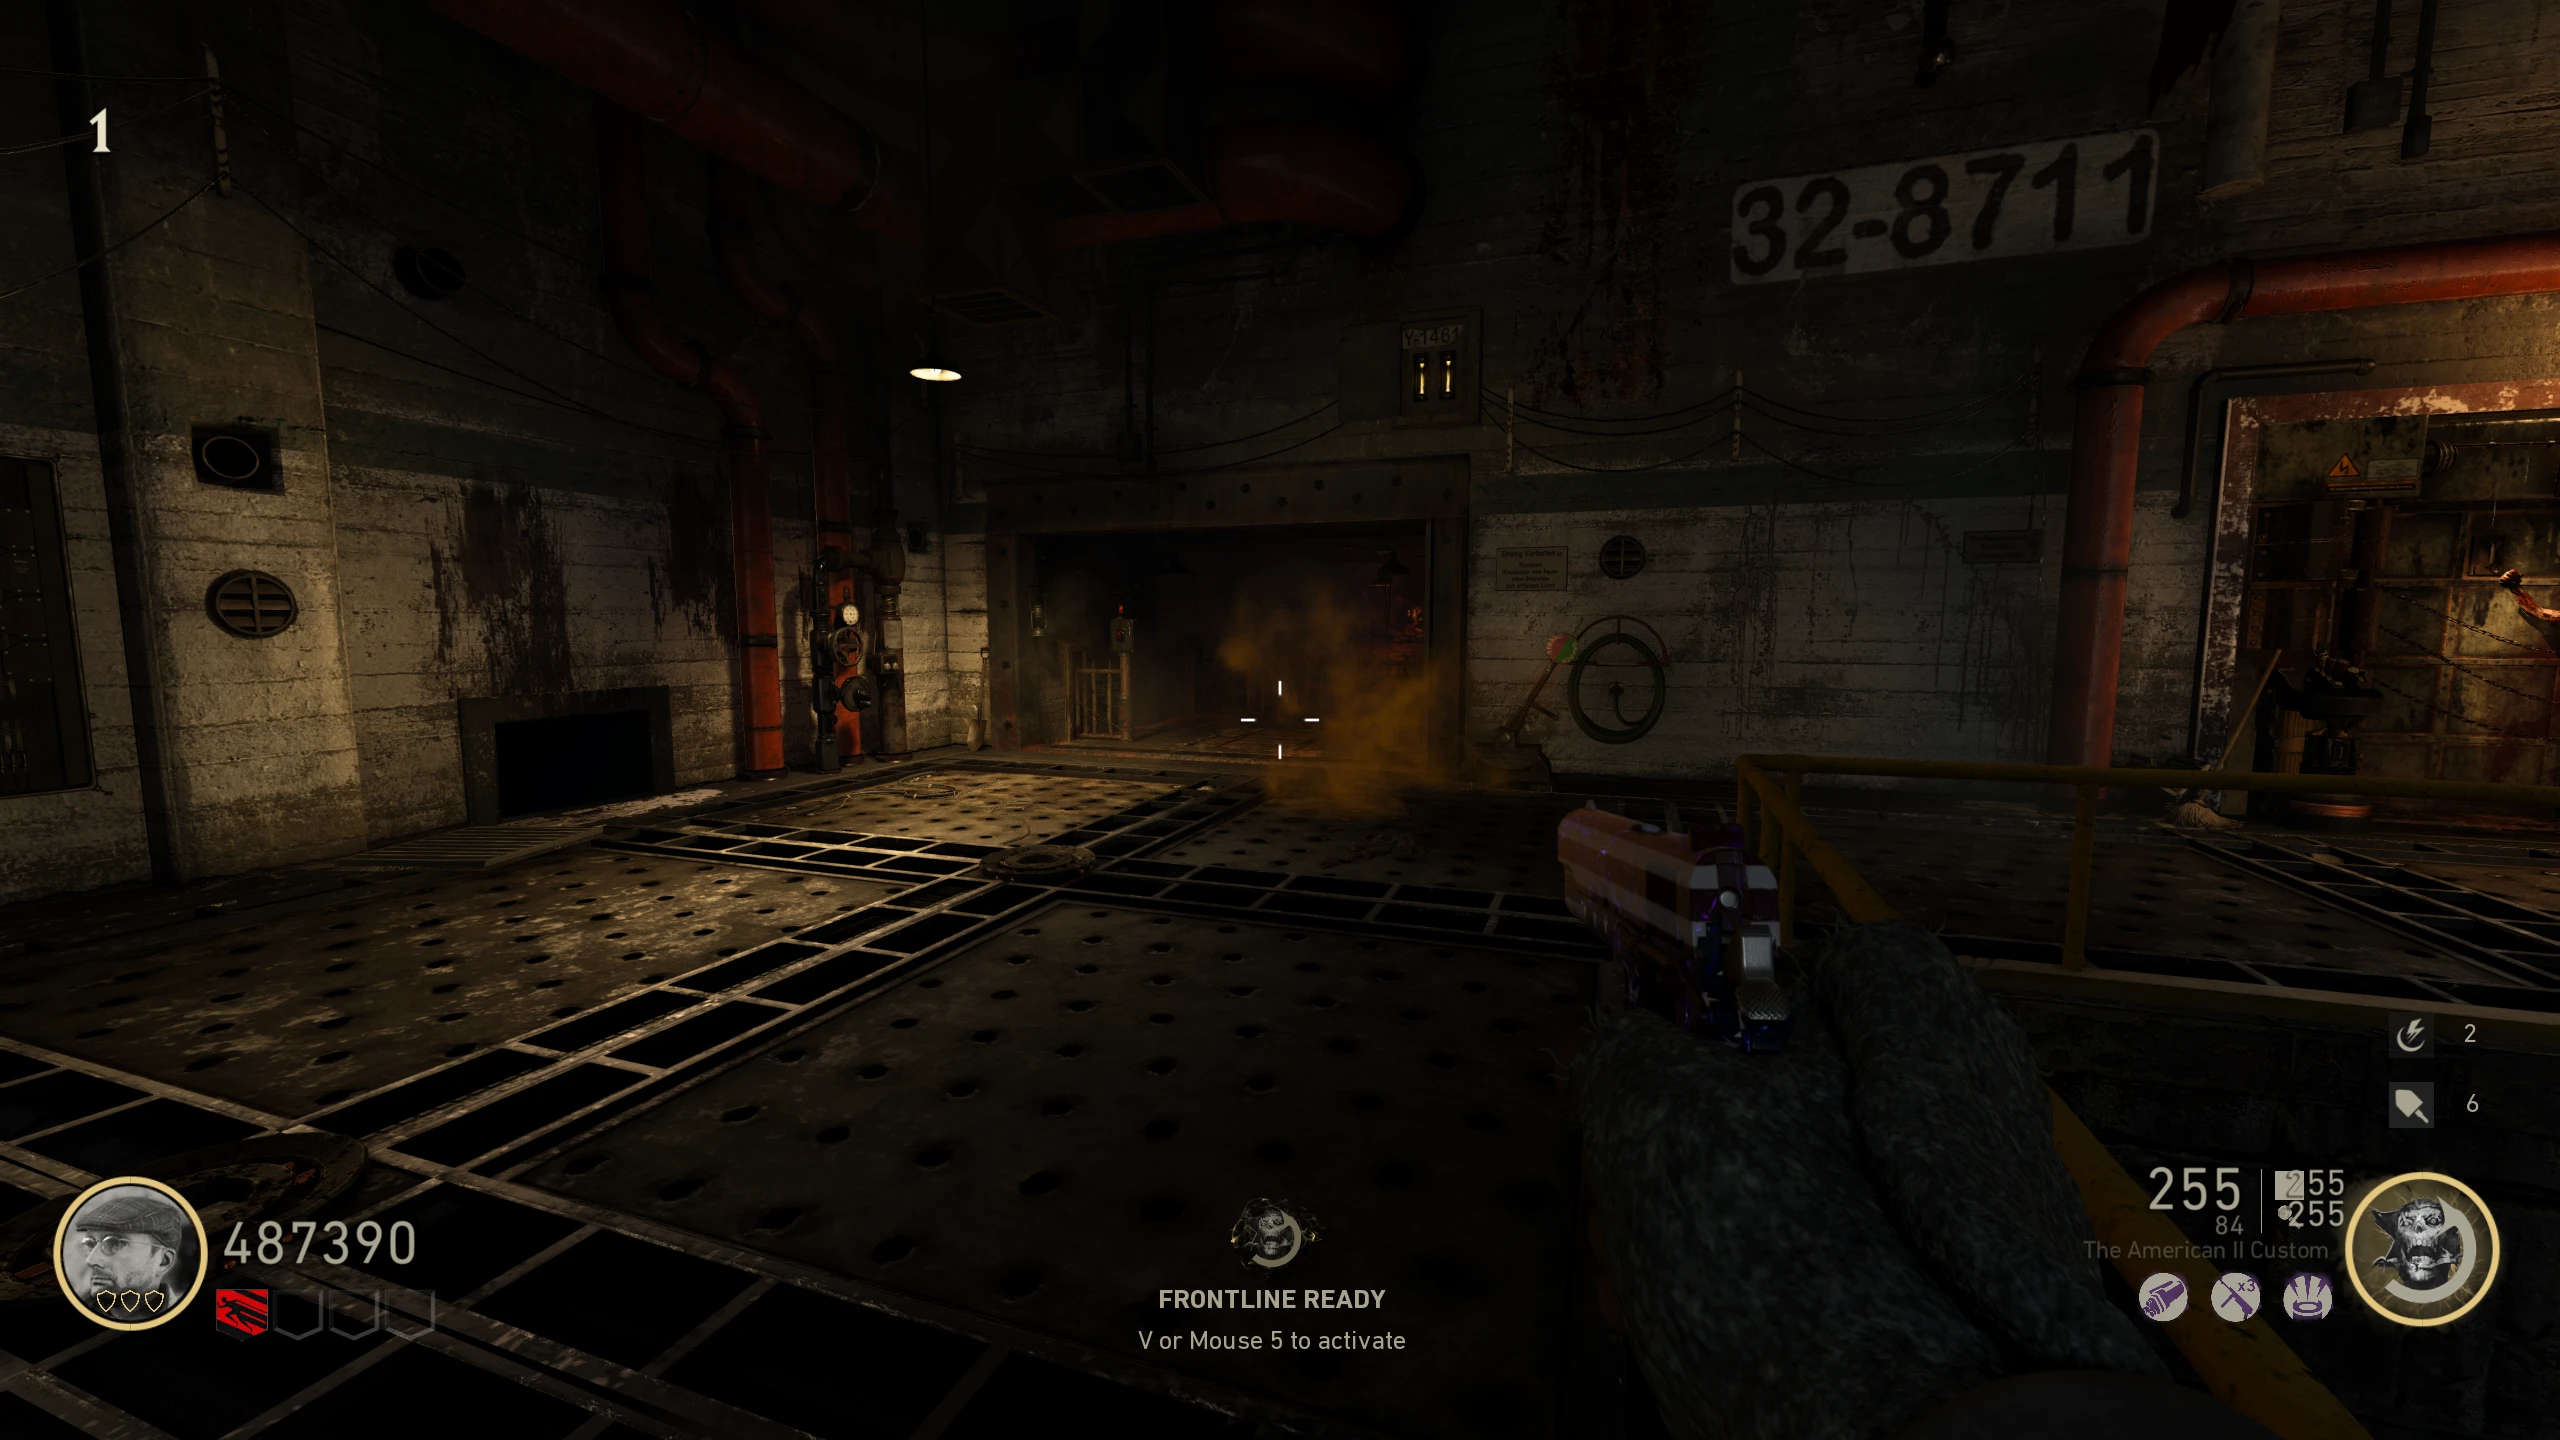
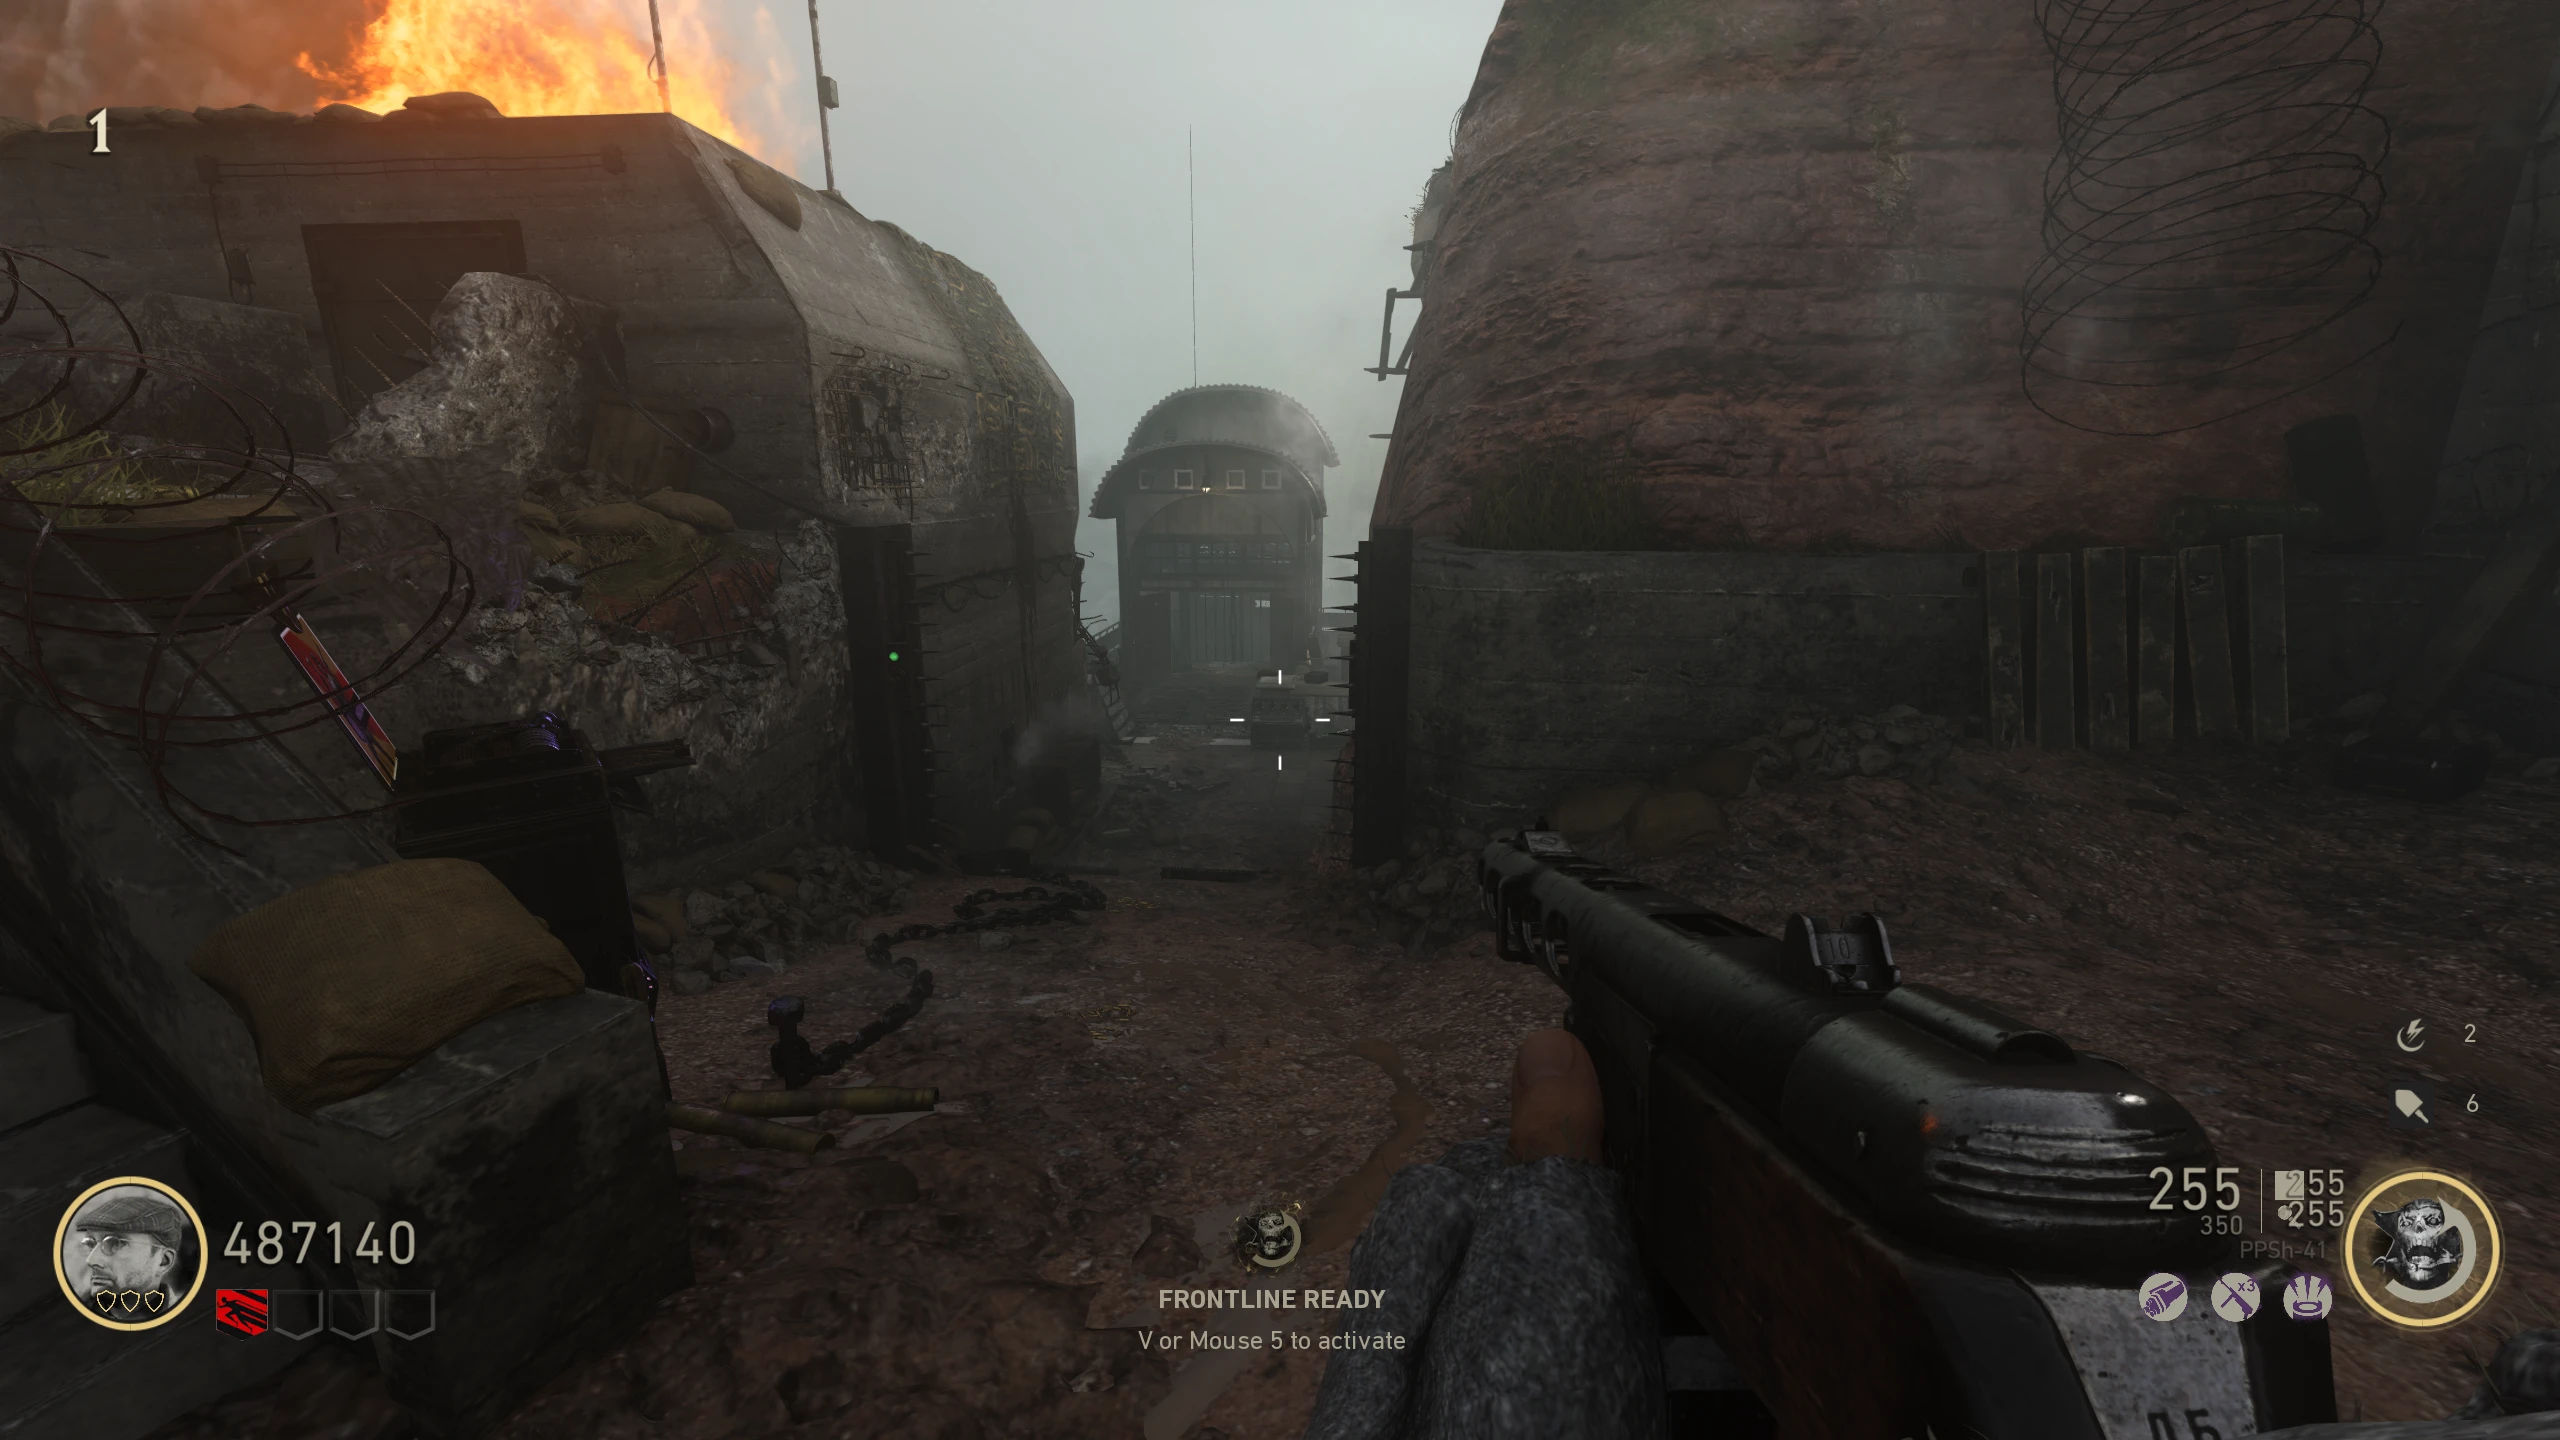
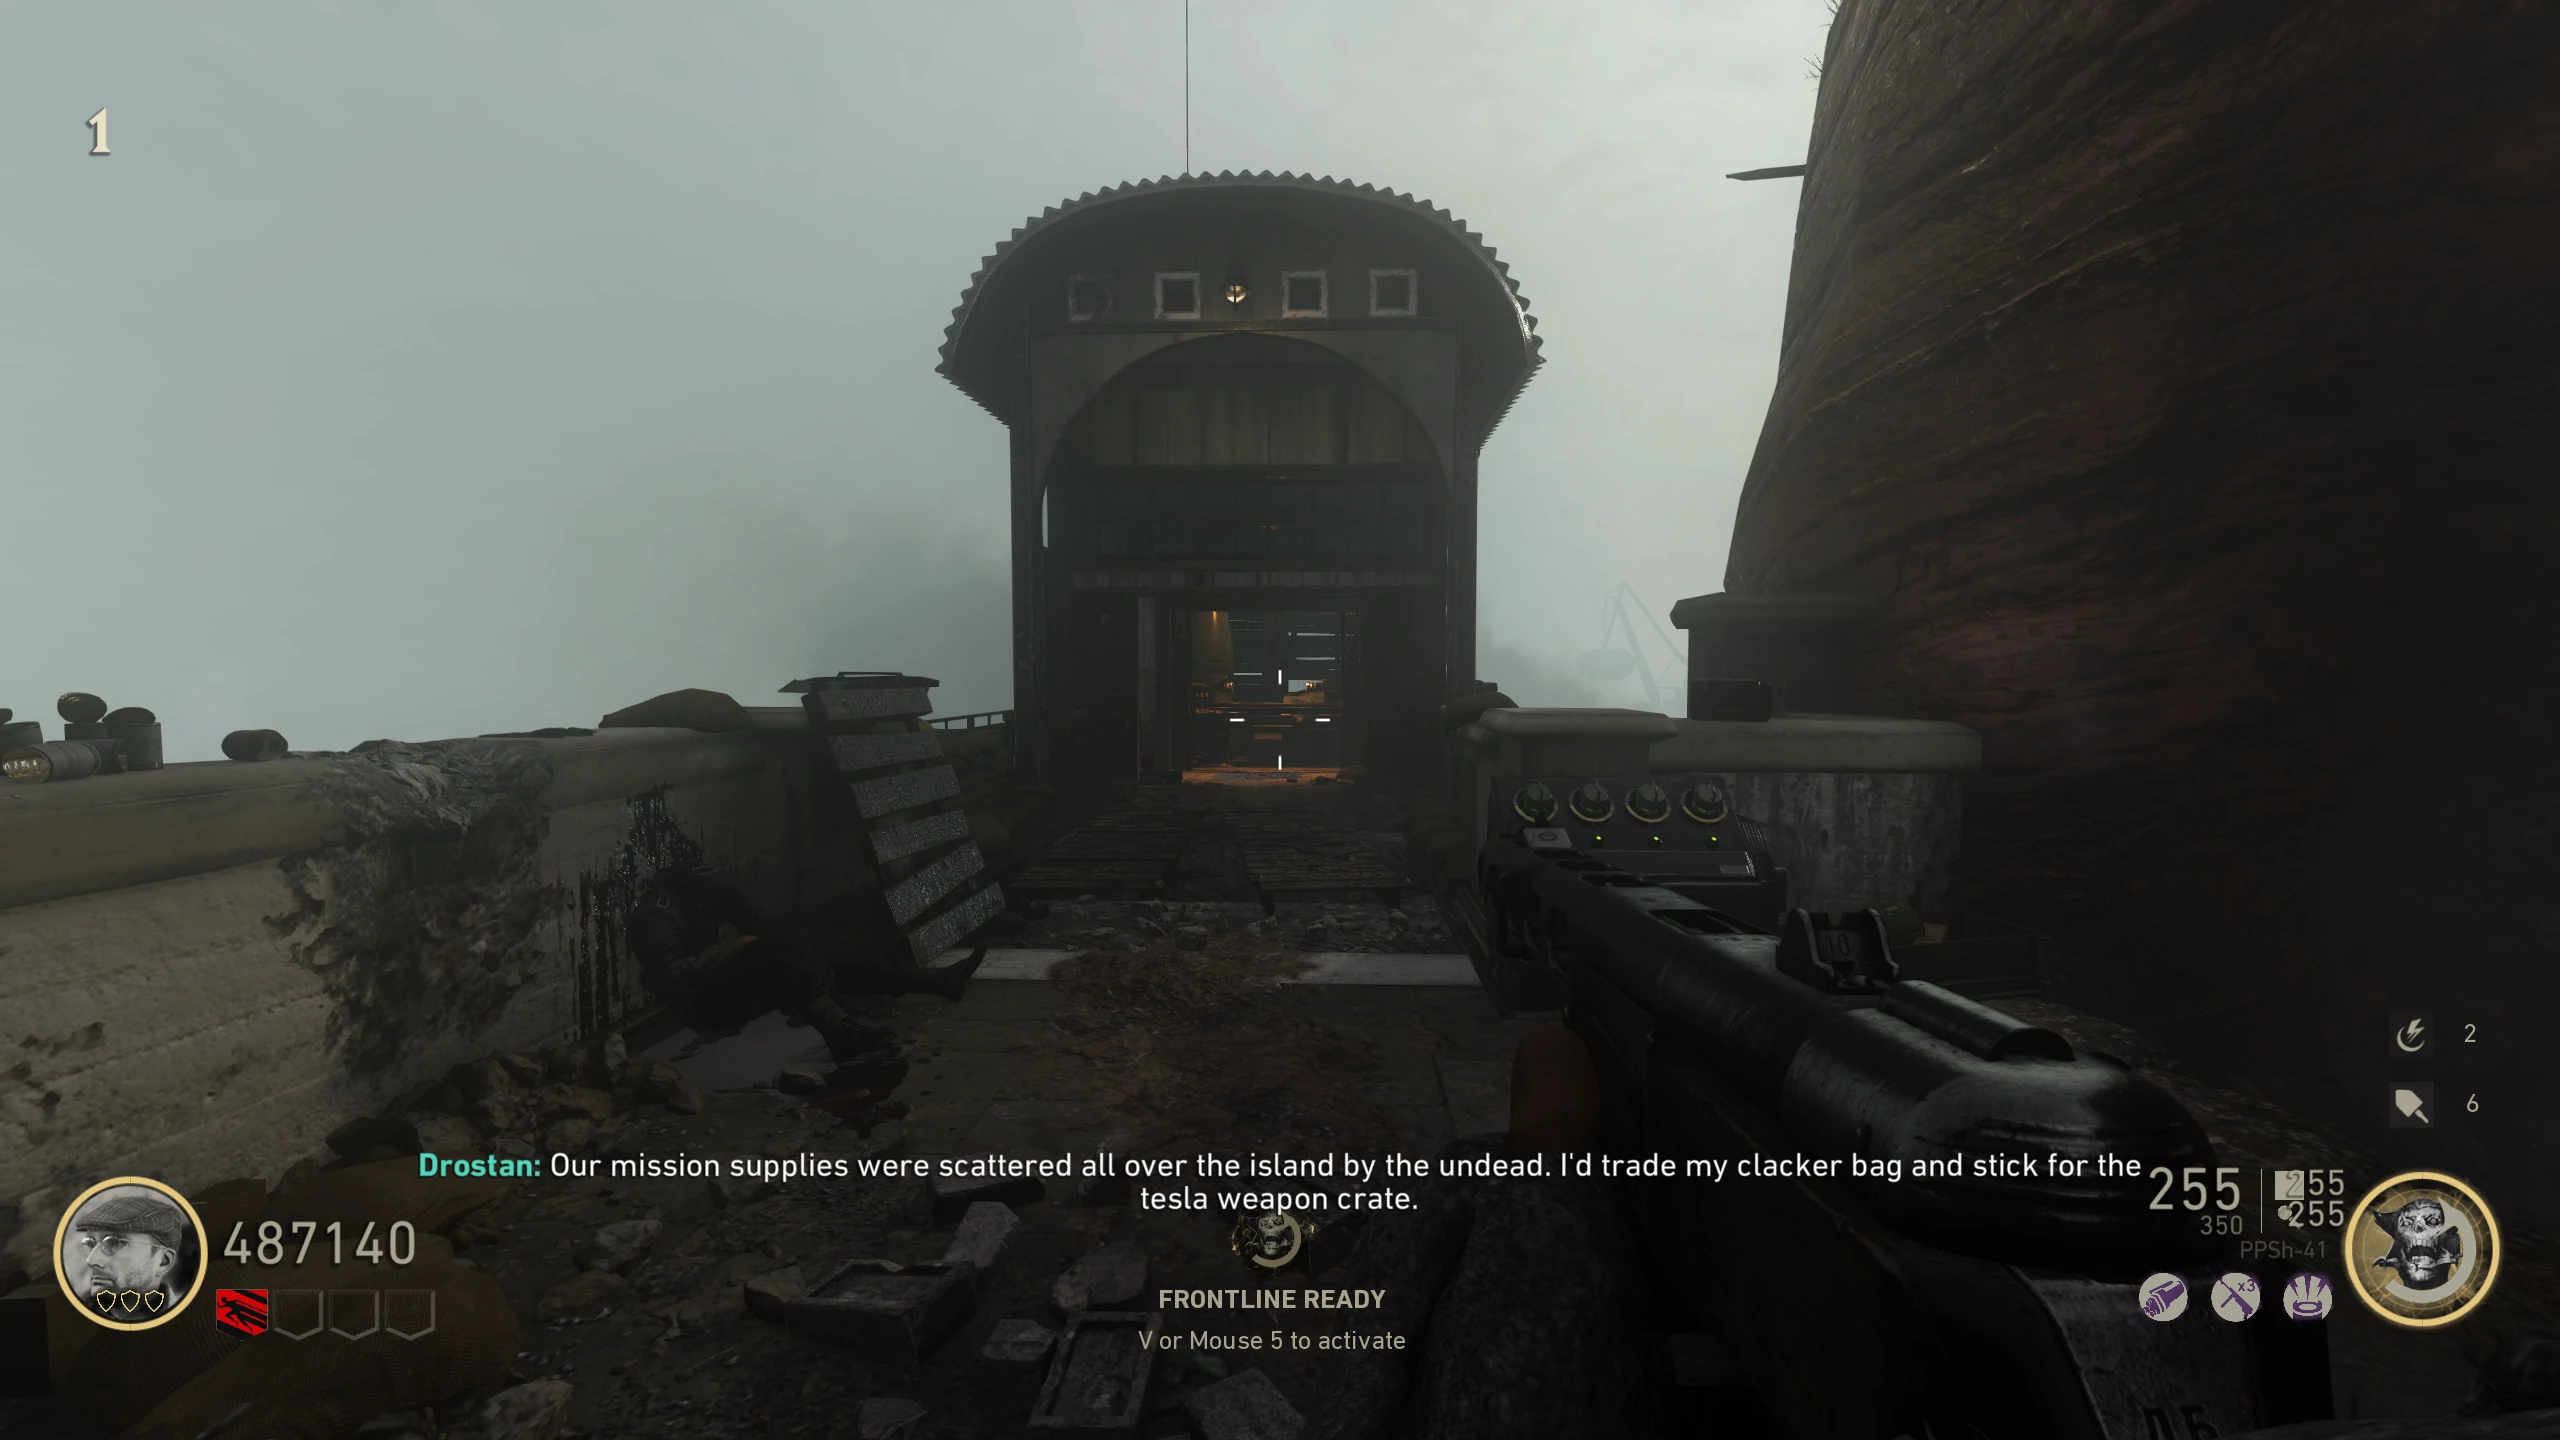
Fog on the Island / Meuchler Info
- Once you open the first door and enter the 'Bluffs' or 'U-Boat Pens,' Fog can start rolling in.
- In the Fog, a few extra Zombies will start spawning. By default they won't chase you; they'll just wander around. They can be alerted if you get too close or fire your weapon.
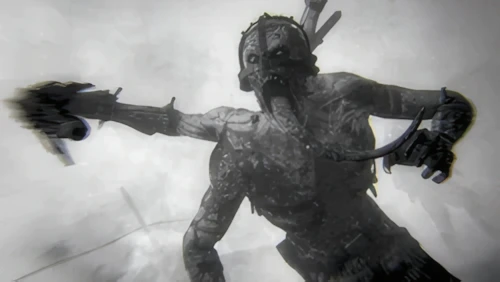
- In every Fog except the first one, a Meuchler will spawn. The Meuchler is a large "boss" Zombie that can (and will) chase you in and out of the Fog. The Meuchler does heavy damage (75-85% of max health) when it swings at you. It's also "smart": it will try to flank you, avoid traps if possible, and "respawn" itself by climbing into a hole and popping out somewhere else. Meuchlers make a pretty loud clicking noise, which can help you spot one if you're inside and can't see the Fog.
- If you don't kill the Meuchler by the time the Fog lifts, the Meuchler will run away and despawn (until the next Fog).
- There is no special bonus for killing a Meuchler, so due to the way it works, you can keep running from it until the Fog lifts to avoid fighting it.
Ripsaw
The Ripsaw is a melee Wonder Weapon that kills Zombies with powerful melee swings at close range.
- Turn on the Power.
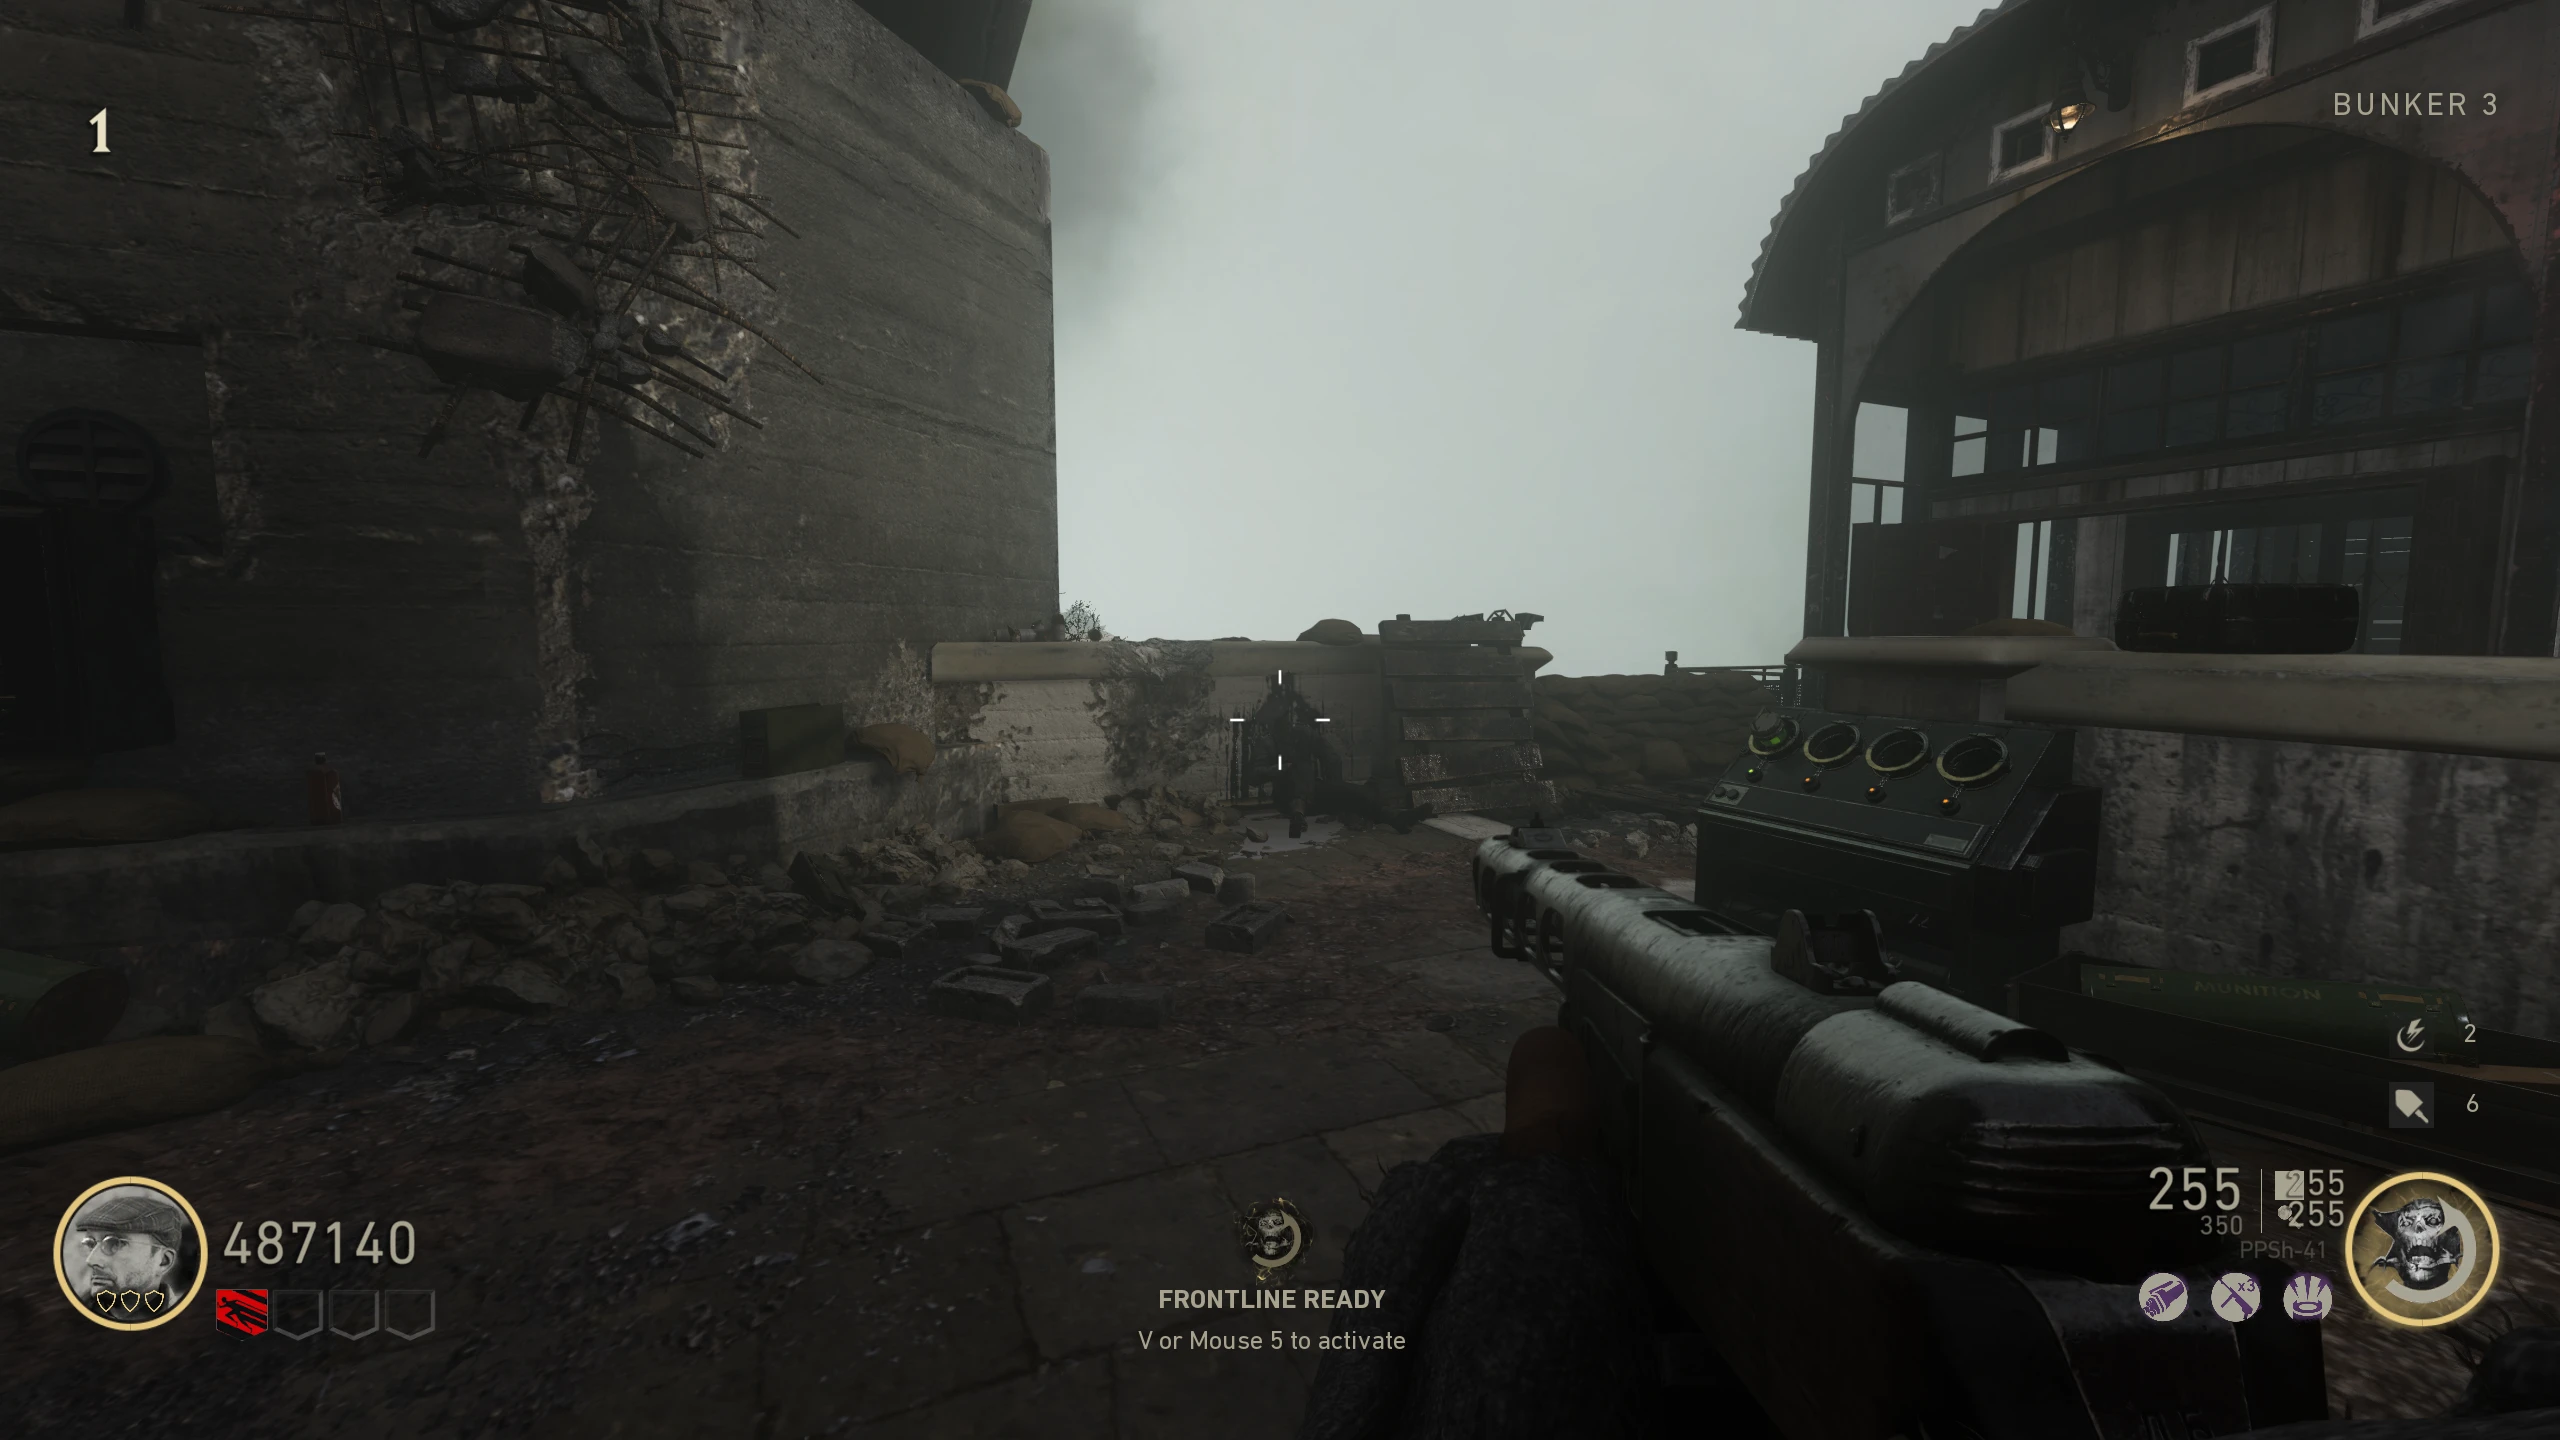
- Pick up the Saw Blade in 'Bunker 3' to the right of the MP-40 wallbuy.
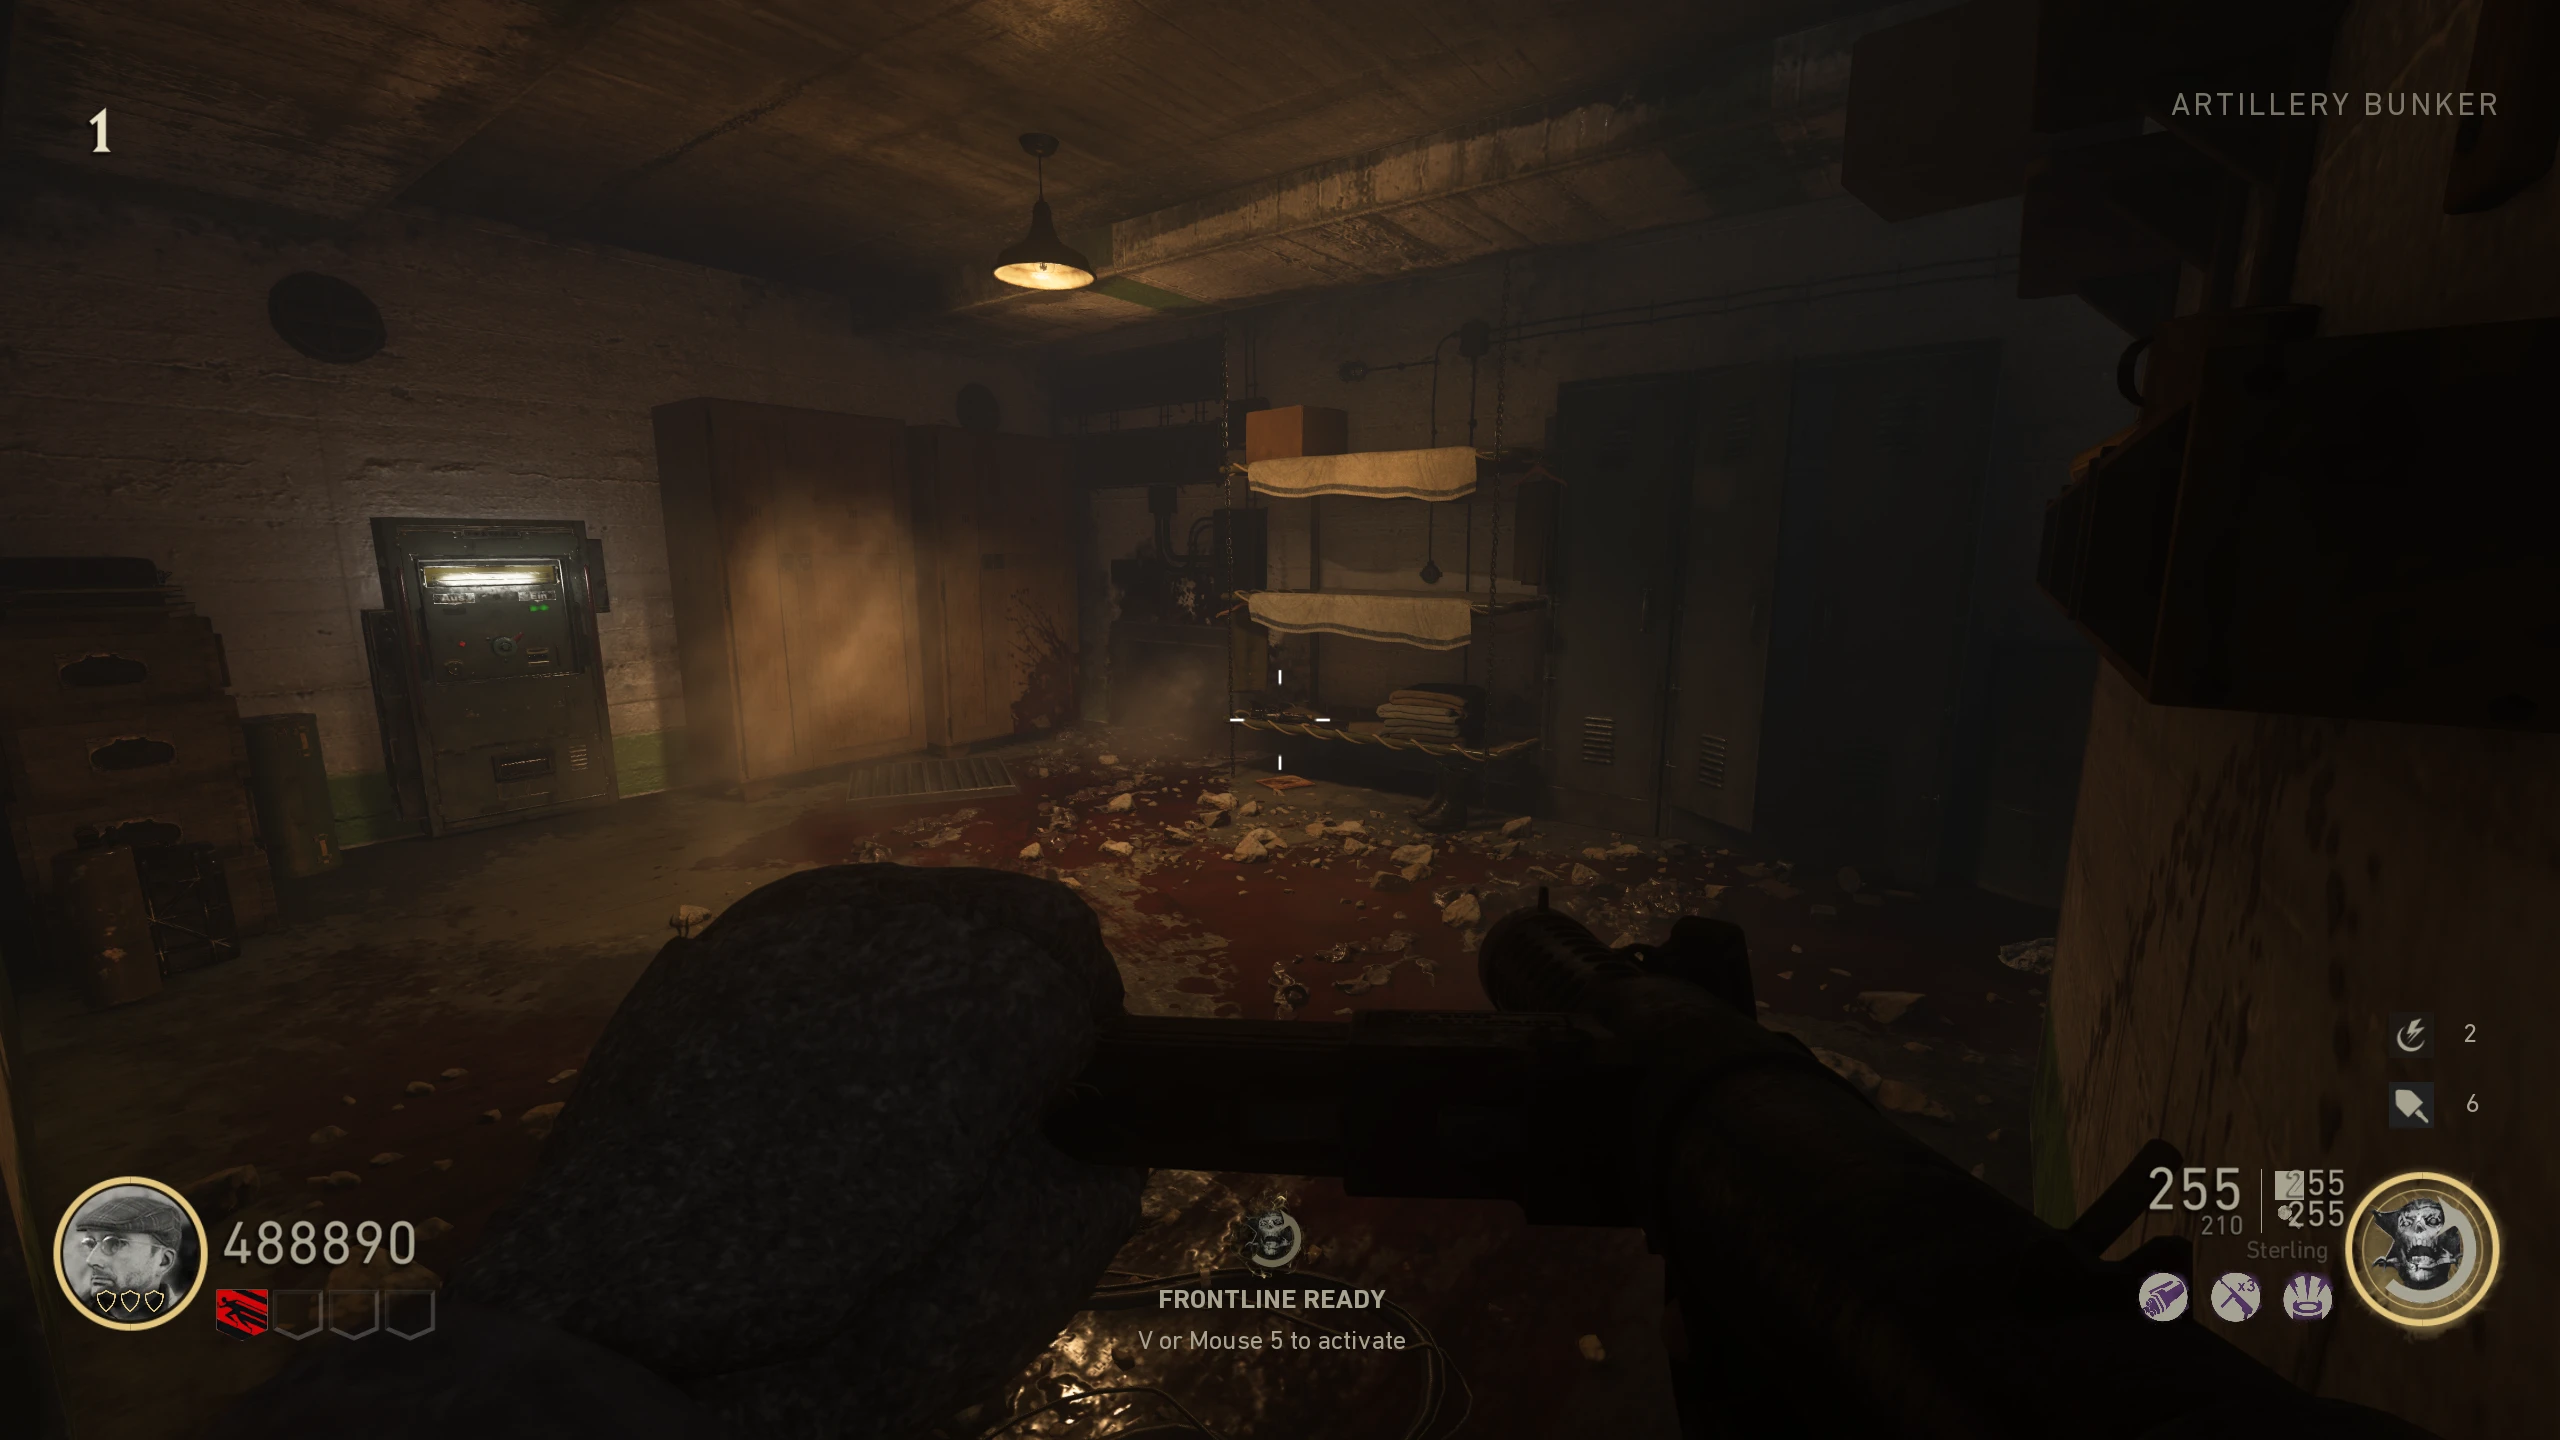
- Pick up the Saw Handle in the 'Artillery Bunker' in one of the following locations:
- Place all the parts on the workbench right of the stairs in the 'U-Boat Pens' and purchase the Ripsaw for 2500 jolts.
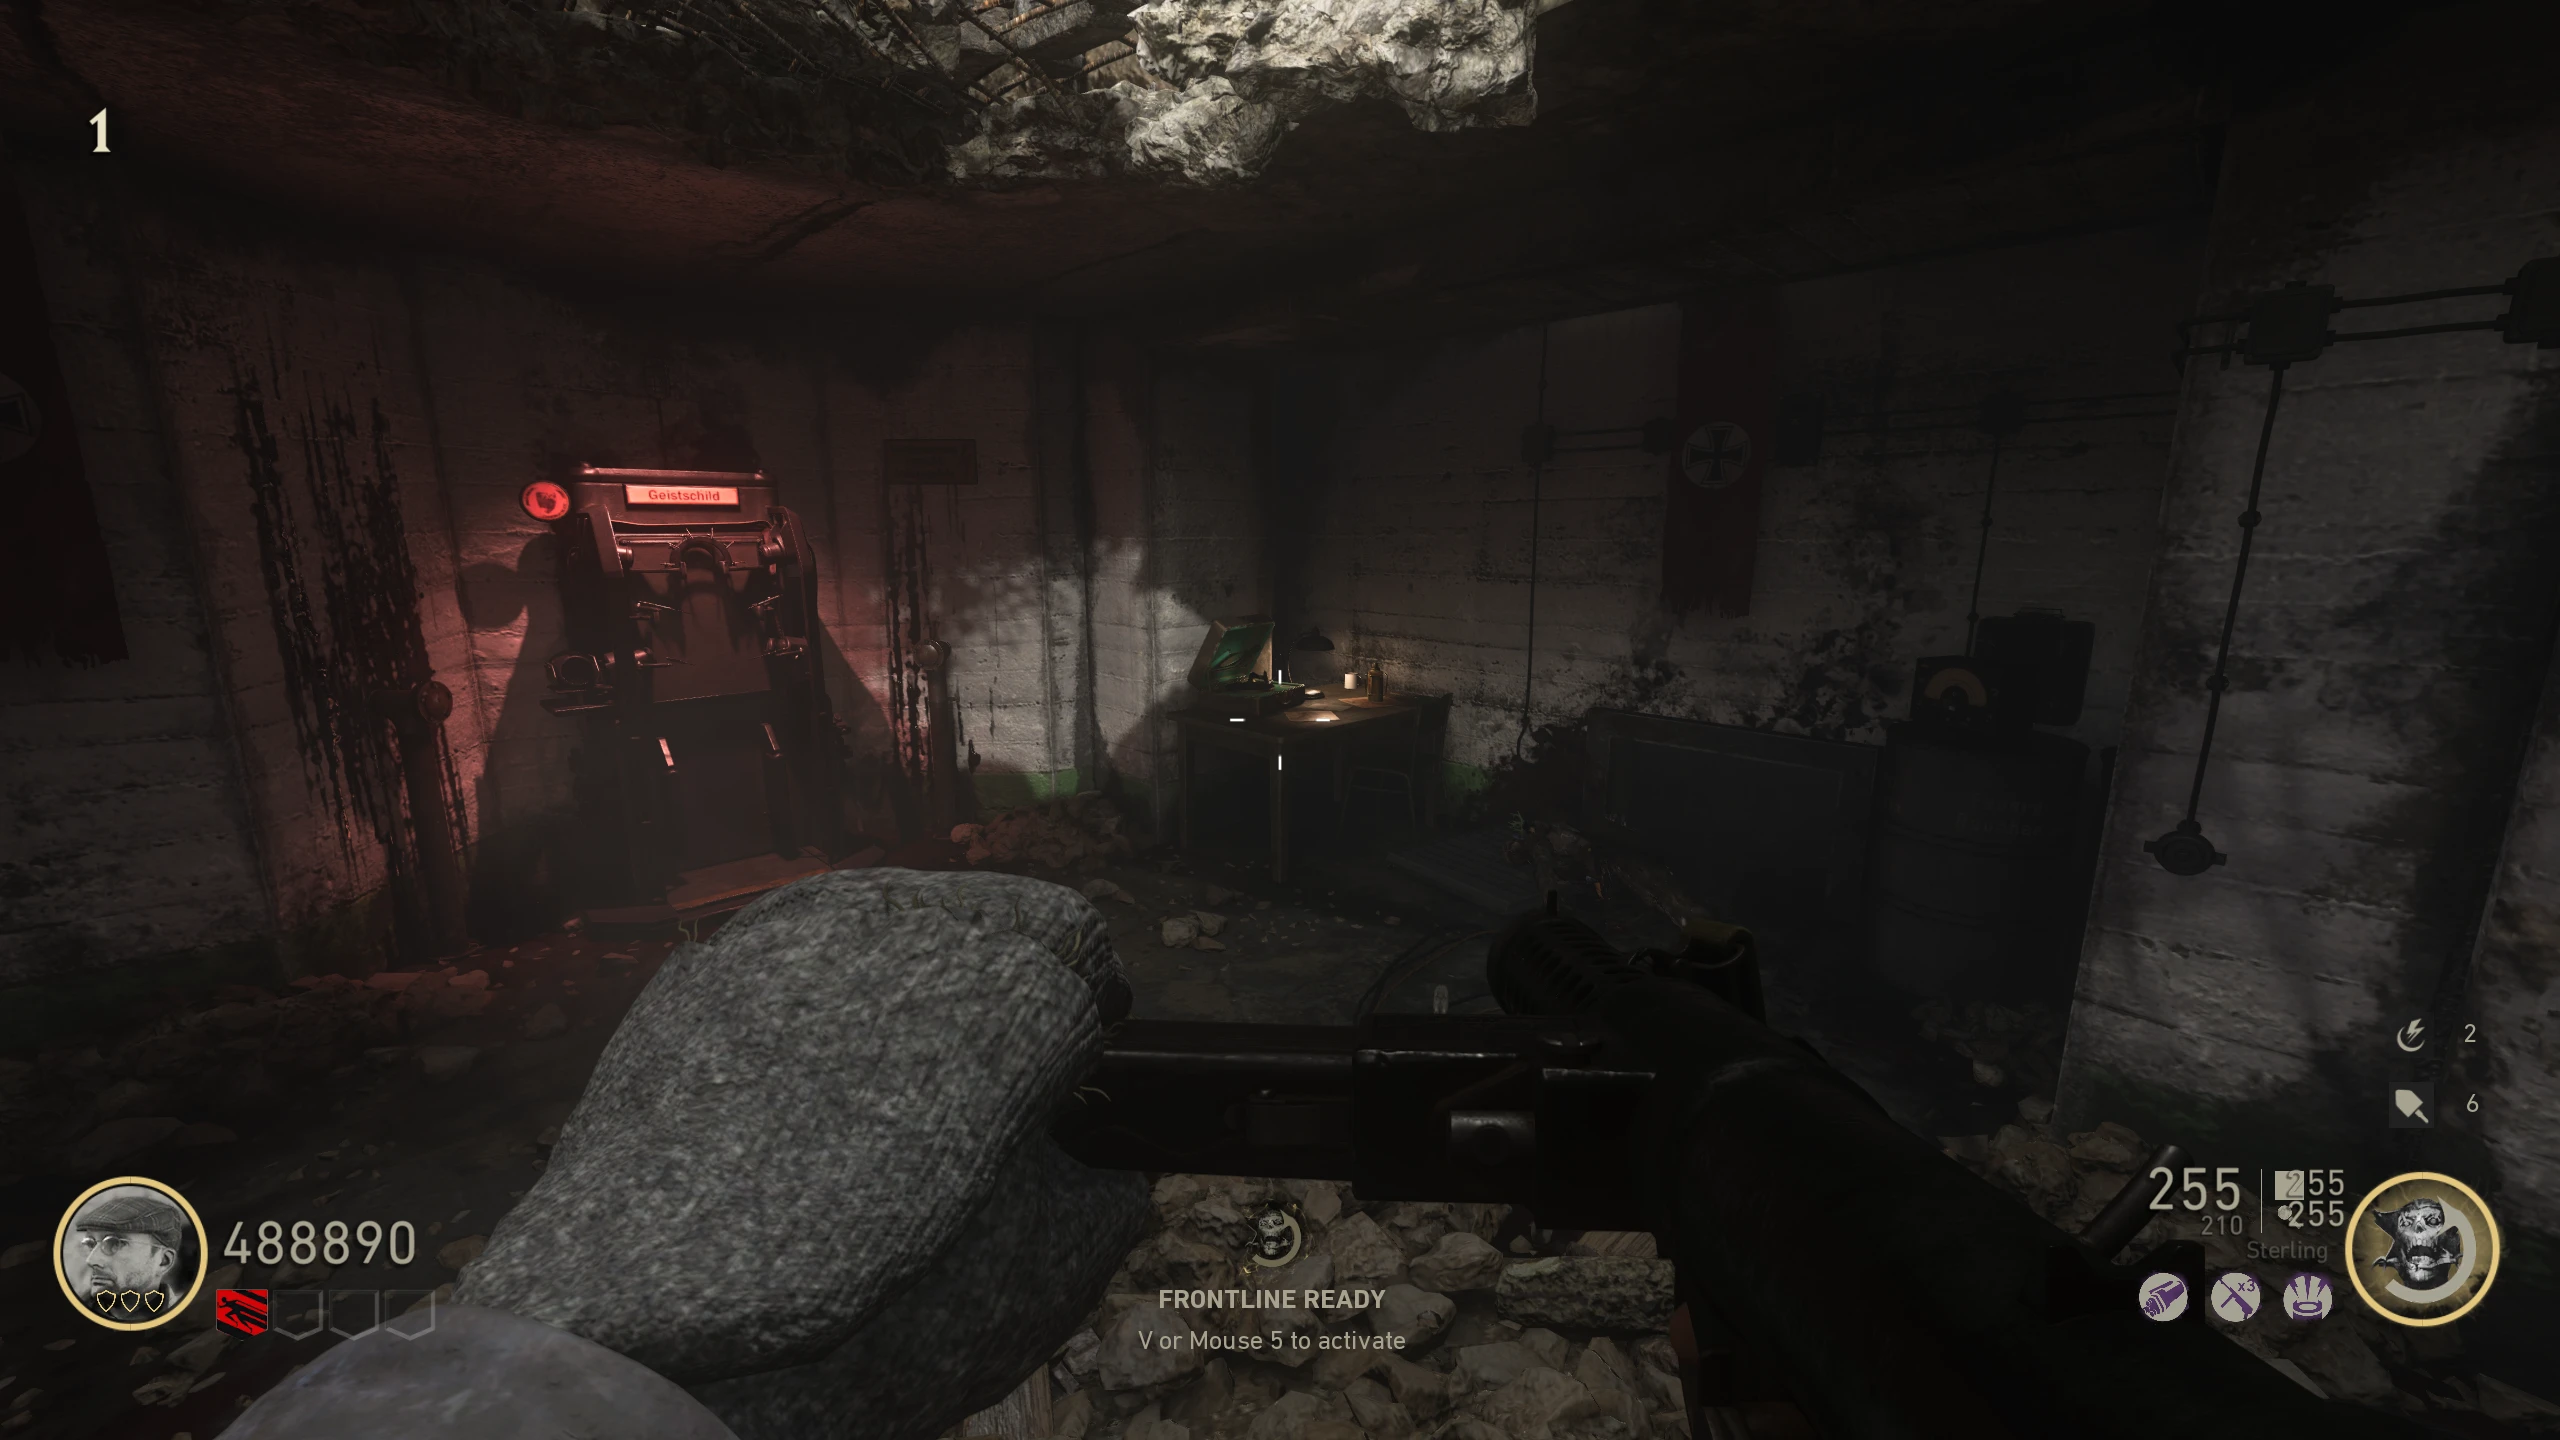
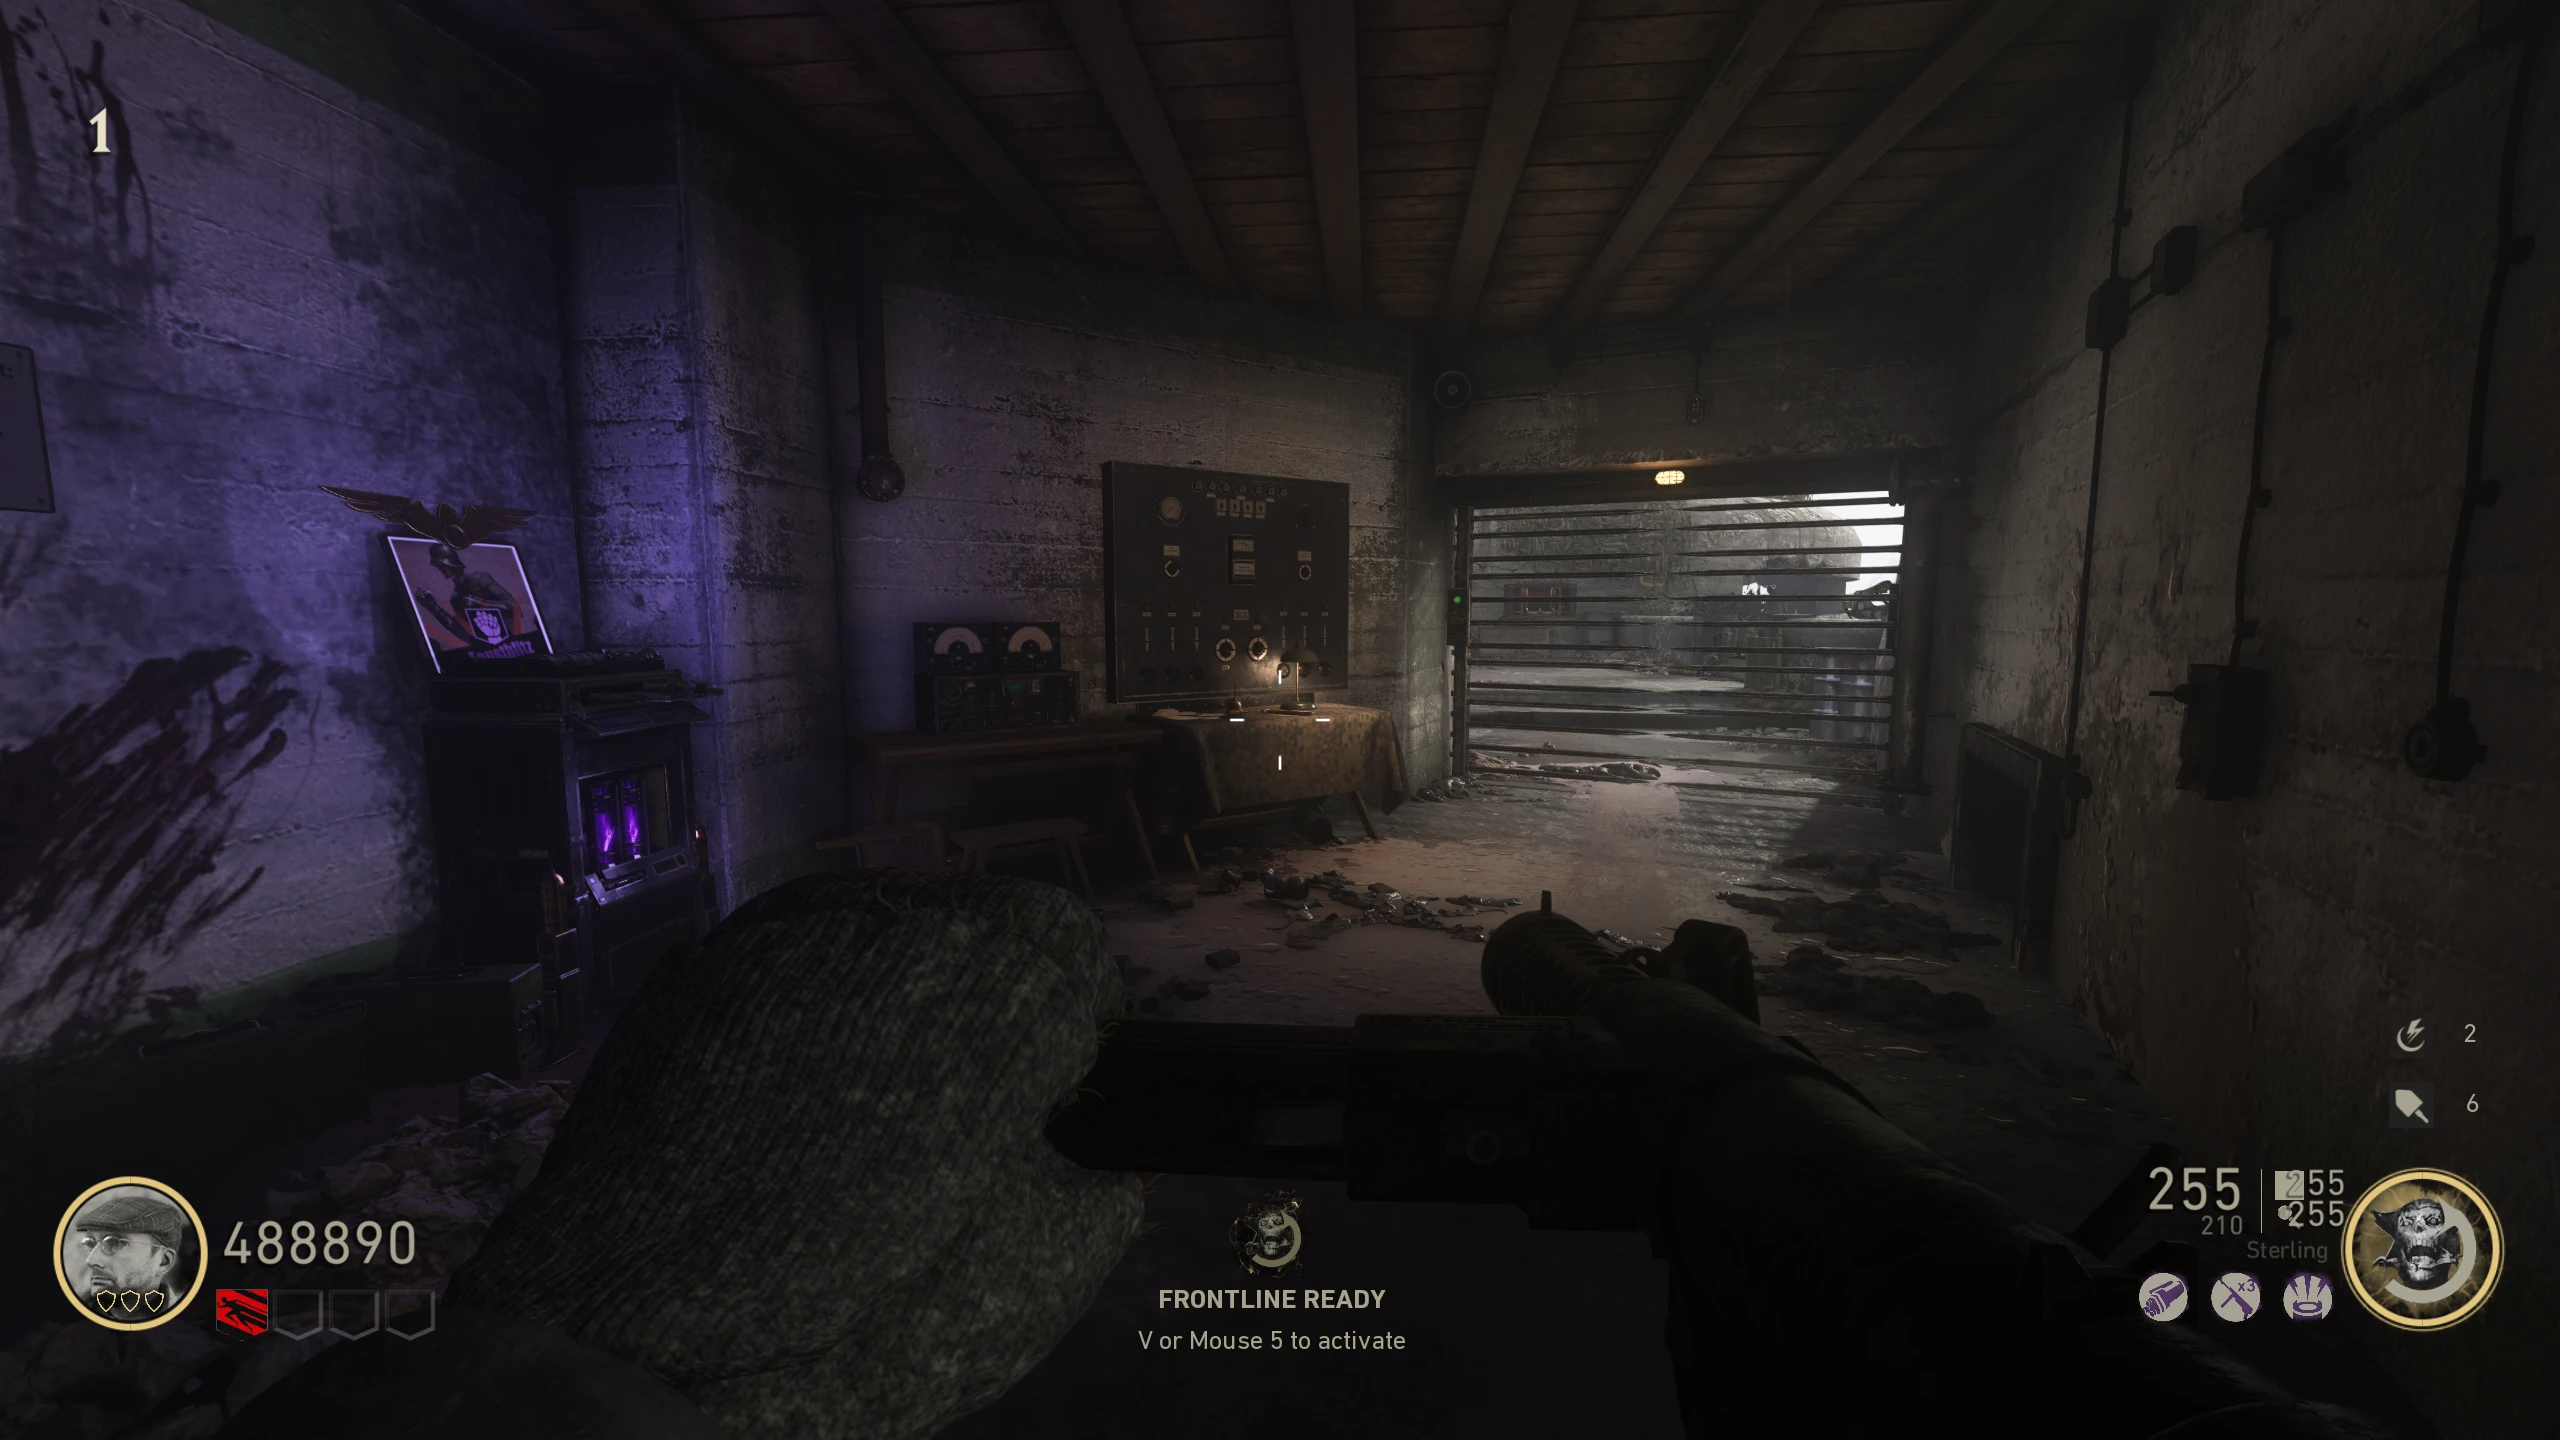
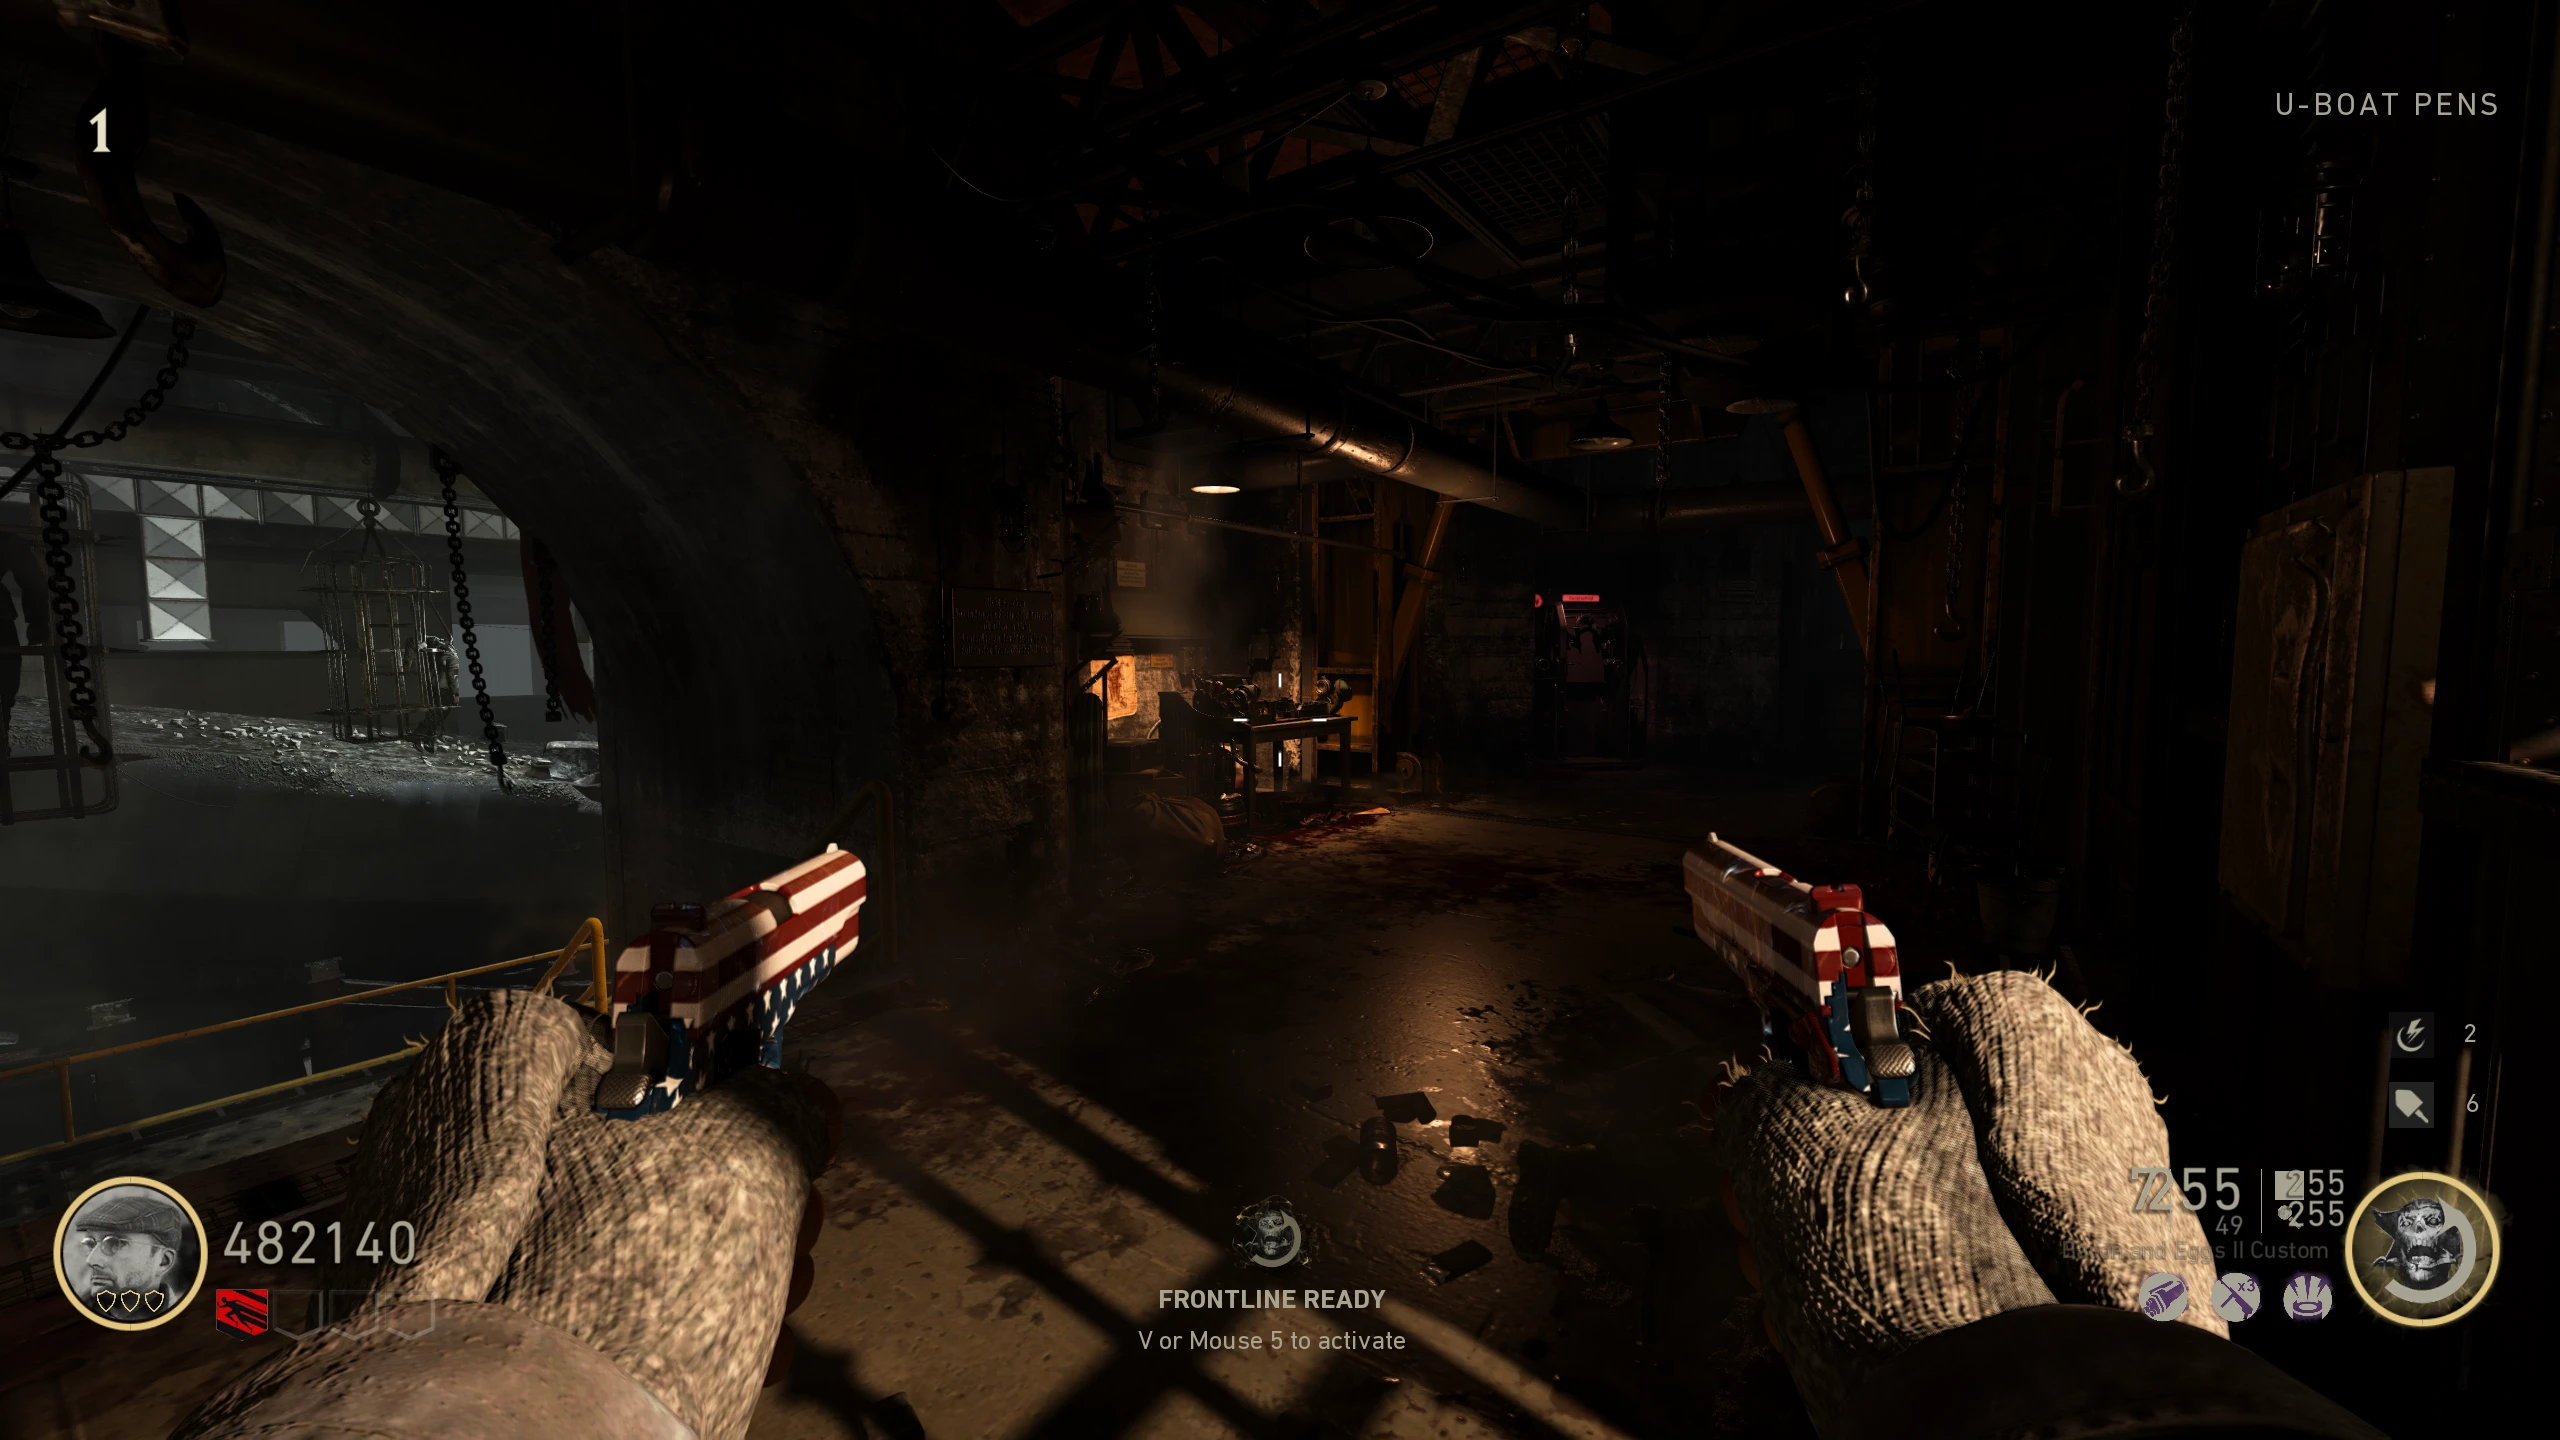
Ranged Ripsaw Upgrade
The upgraded Ripsaw is a Wonder Weapon that fires sawblades which ricochet and pierce through multiple Zombies, while still retaining its melee ability.
- Build the Ripsaw.
- Obtain any charged enemy spine (doesn't matter which). The Ripsaw can remove spines through the method below.
- Activate a heavy melee attack by either sprinting and meleeing, or aiming and meleeing. This will lock you in a short attack animation; if you press interact while in this animation, you will pull out the enemy's spine.
- Not all regular Zombie spines will be charged, but special enemy spines (Pest, Wustling, and Meuchler) almost always will be.
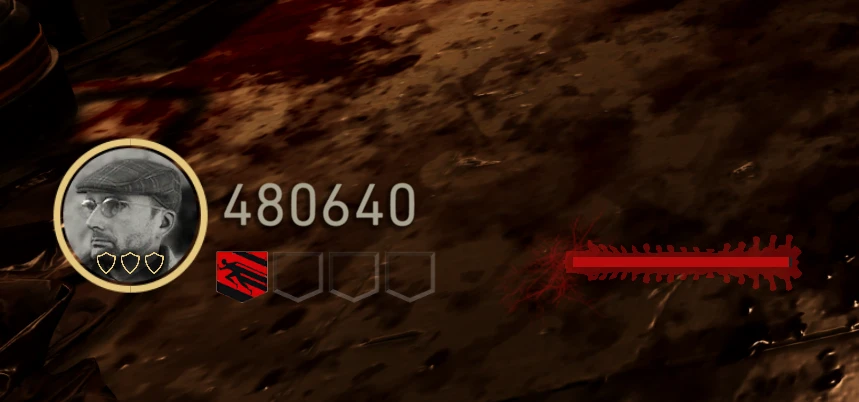
- A charged spine will be indicated by the glowing battery on the spine during the pullout animation. A spine will not stay charged forever; the current charge level is indicated by the bar on the HUD, right of the perk slots.
- Place the charged spine in the Ripsaw on the workbench where you built it.
- Get 25 kills near the workbench to charge the battery.
- Once charged, you can purchase the Ranged Ripsaw Upgrade for 500 jolts. You can now shoot saw blades, but the Ripsaw will do less melee damage.
R.I.P. Saw Upgrade (Pack-a-Punch Ripsaw)
The R.I.P. Saw is a Pack-a-Punched version of the Ranged Ripsaw that fires stronger sawblades with increased ammo and damage, and still retains its melee attack.
- Unlock Pack-a-Punch and build the Ranged Ripsaw.
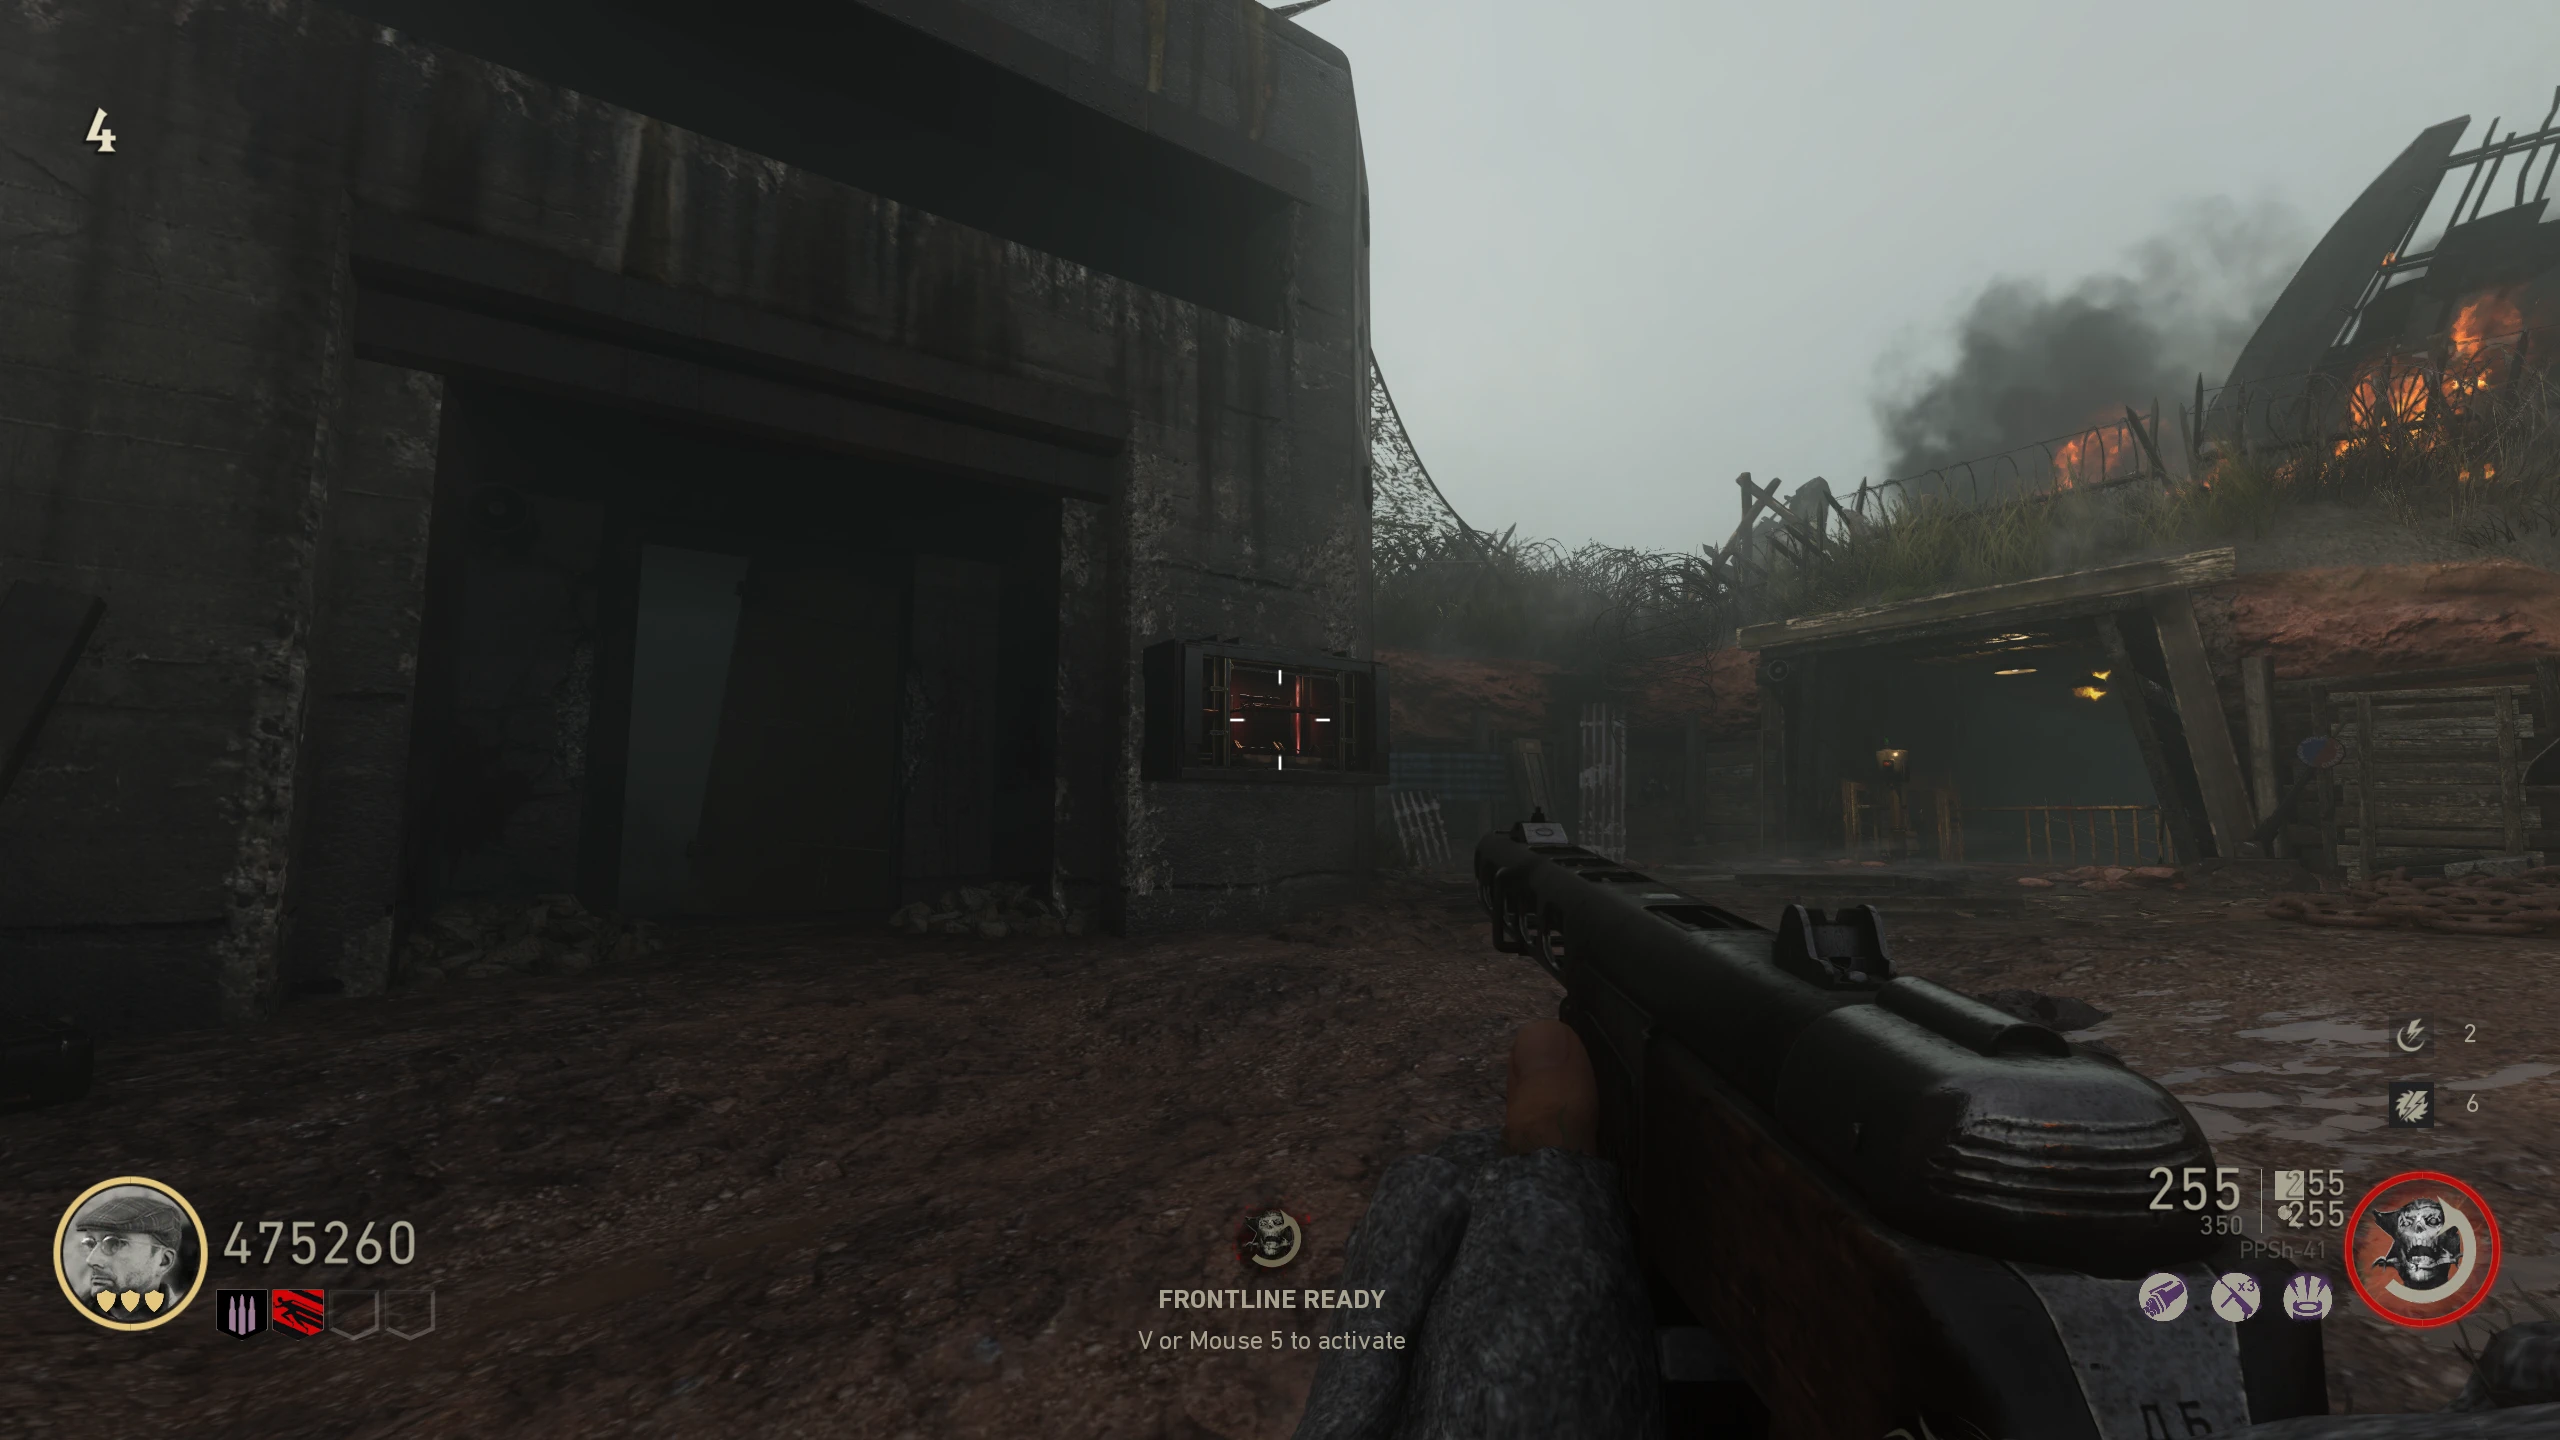
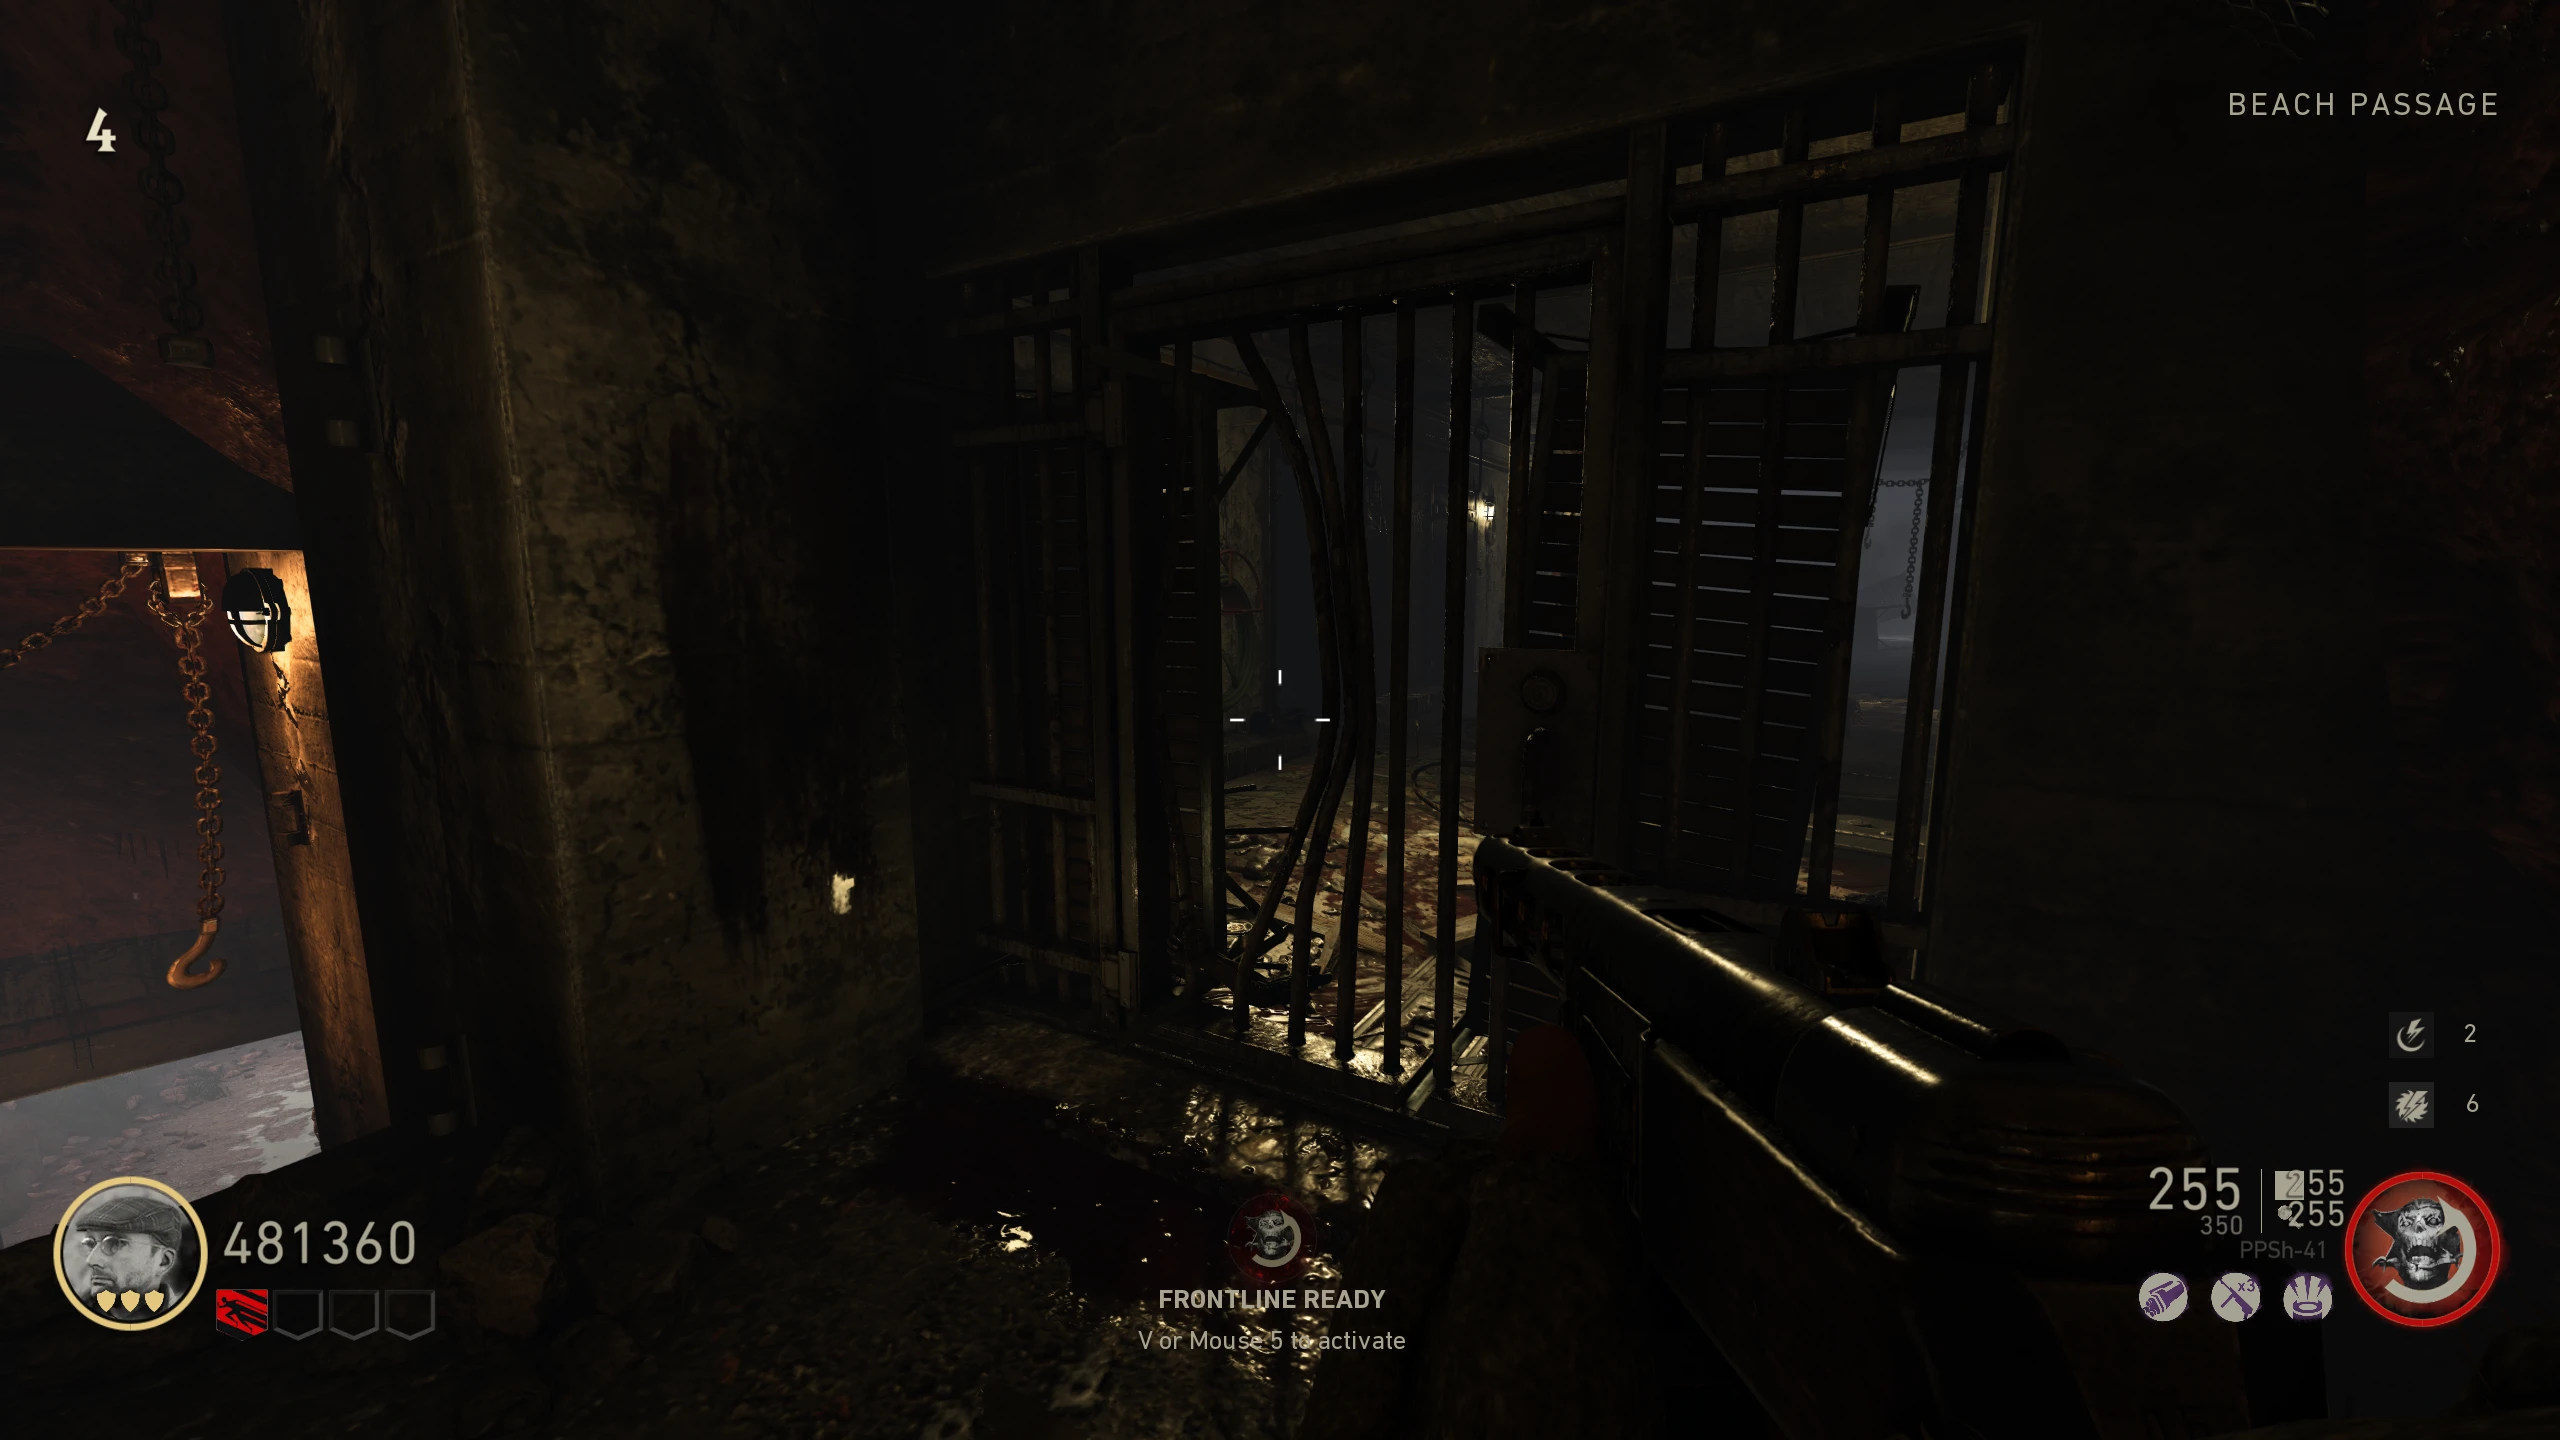
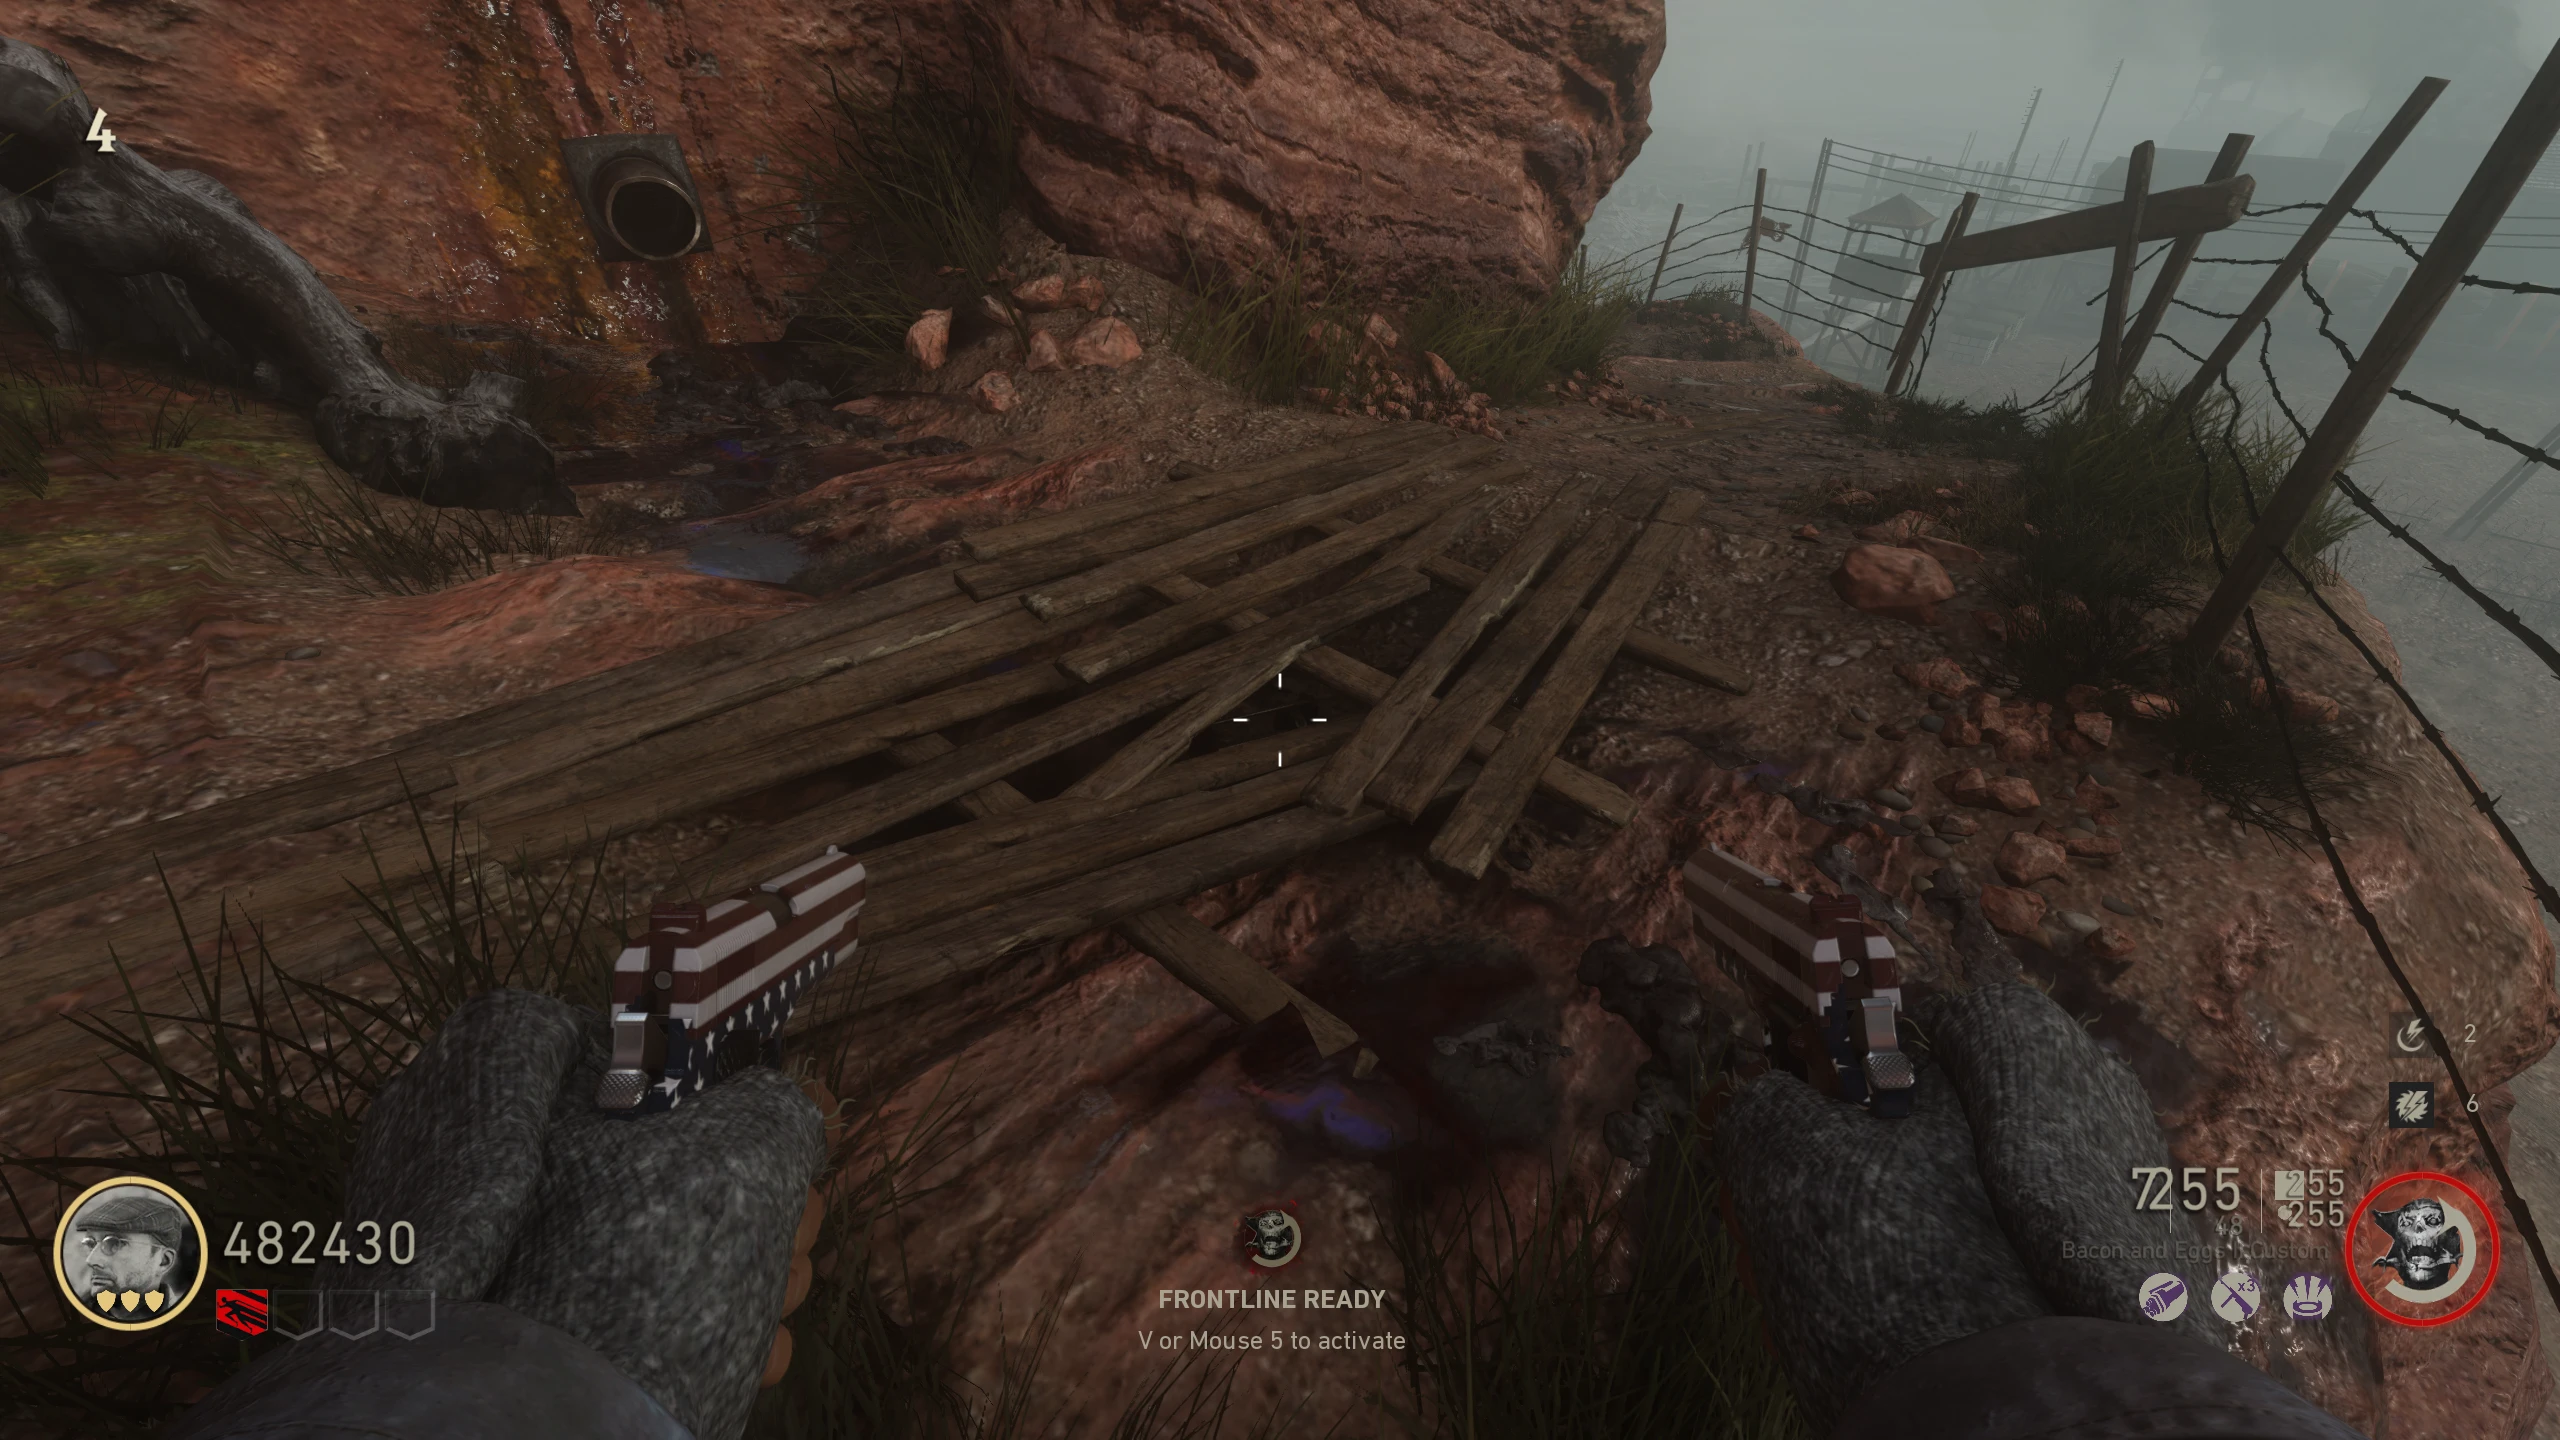
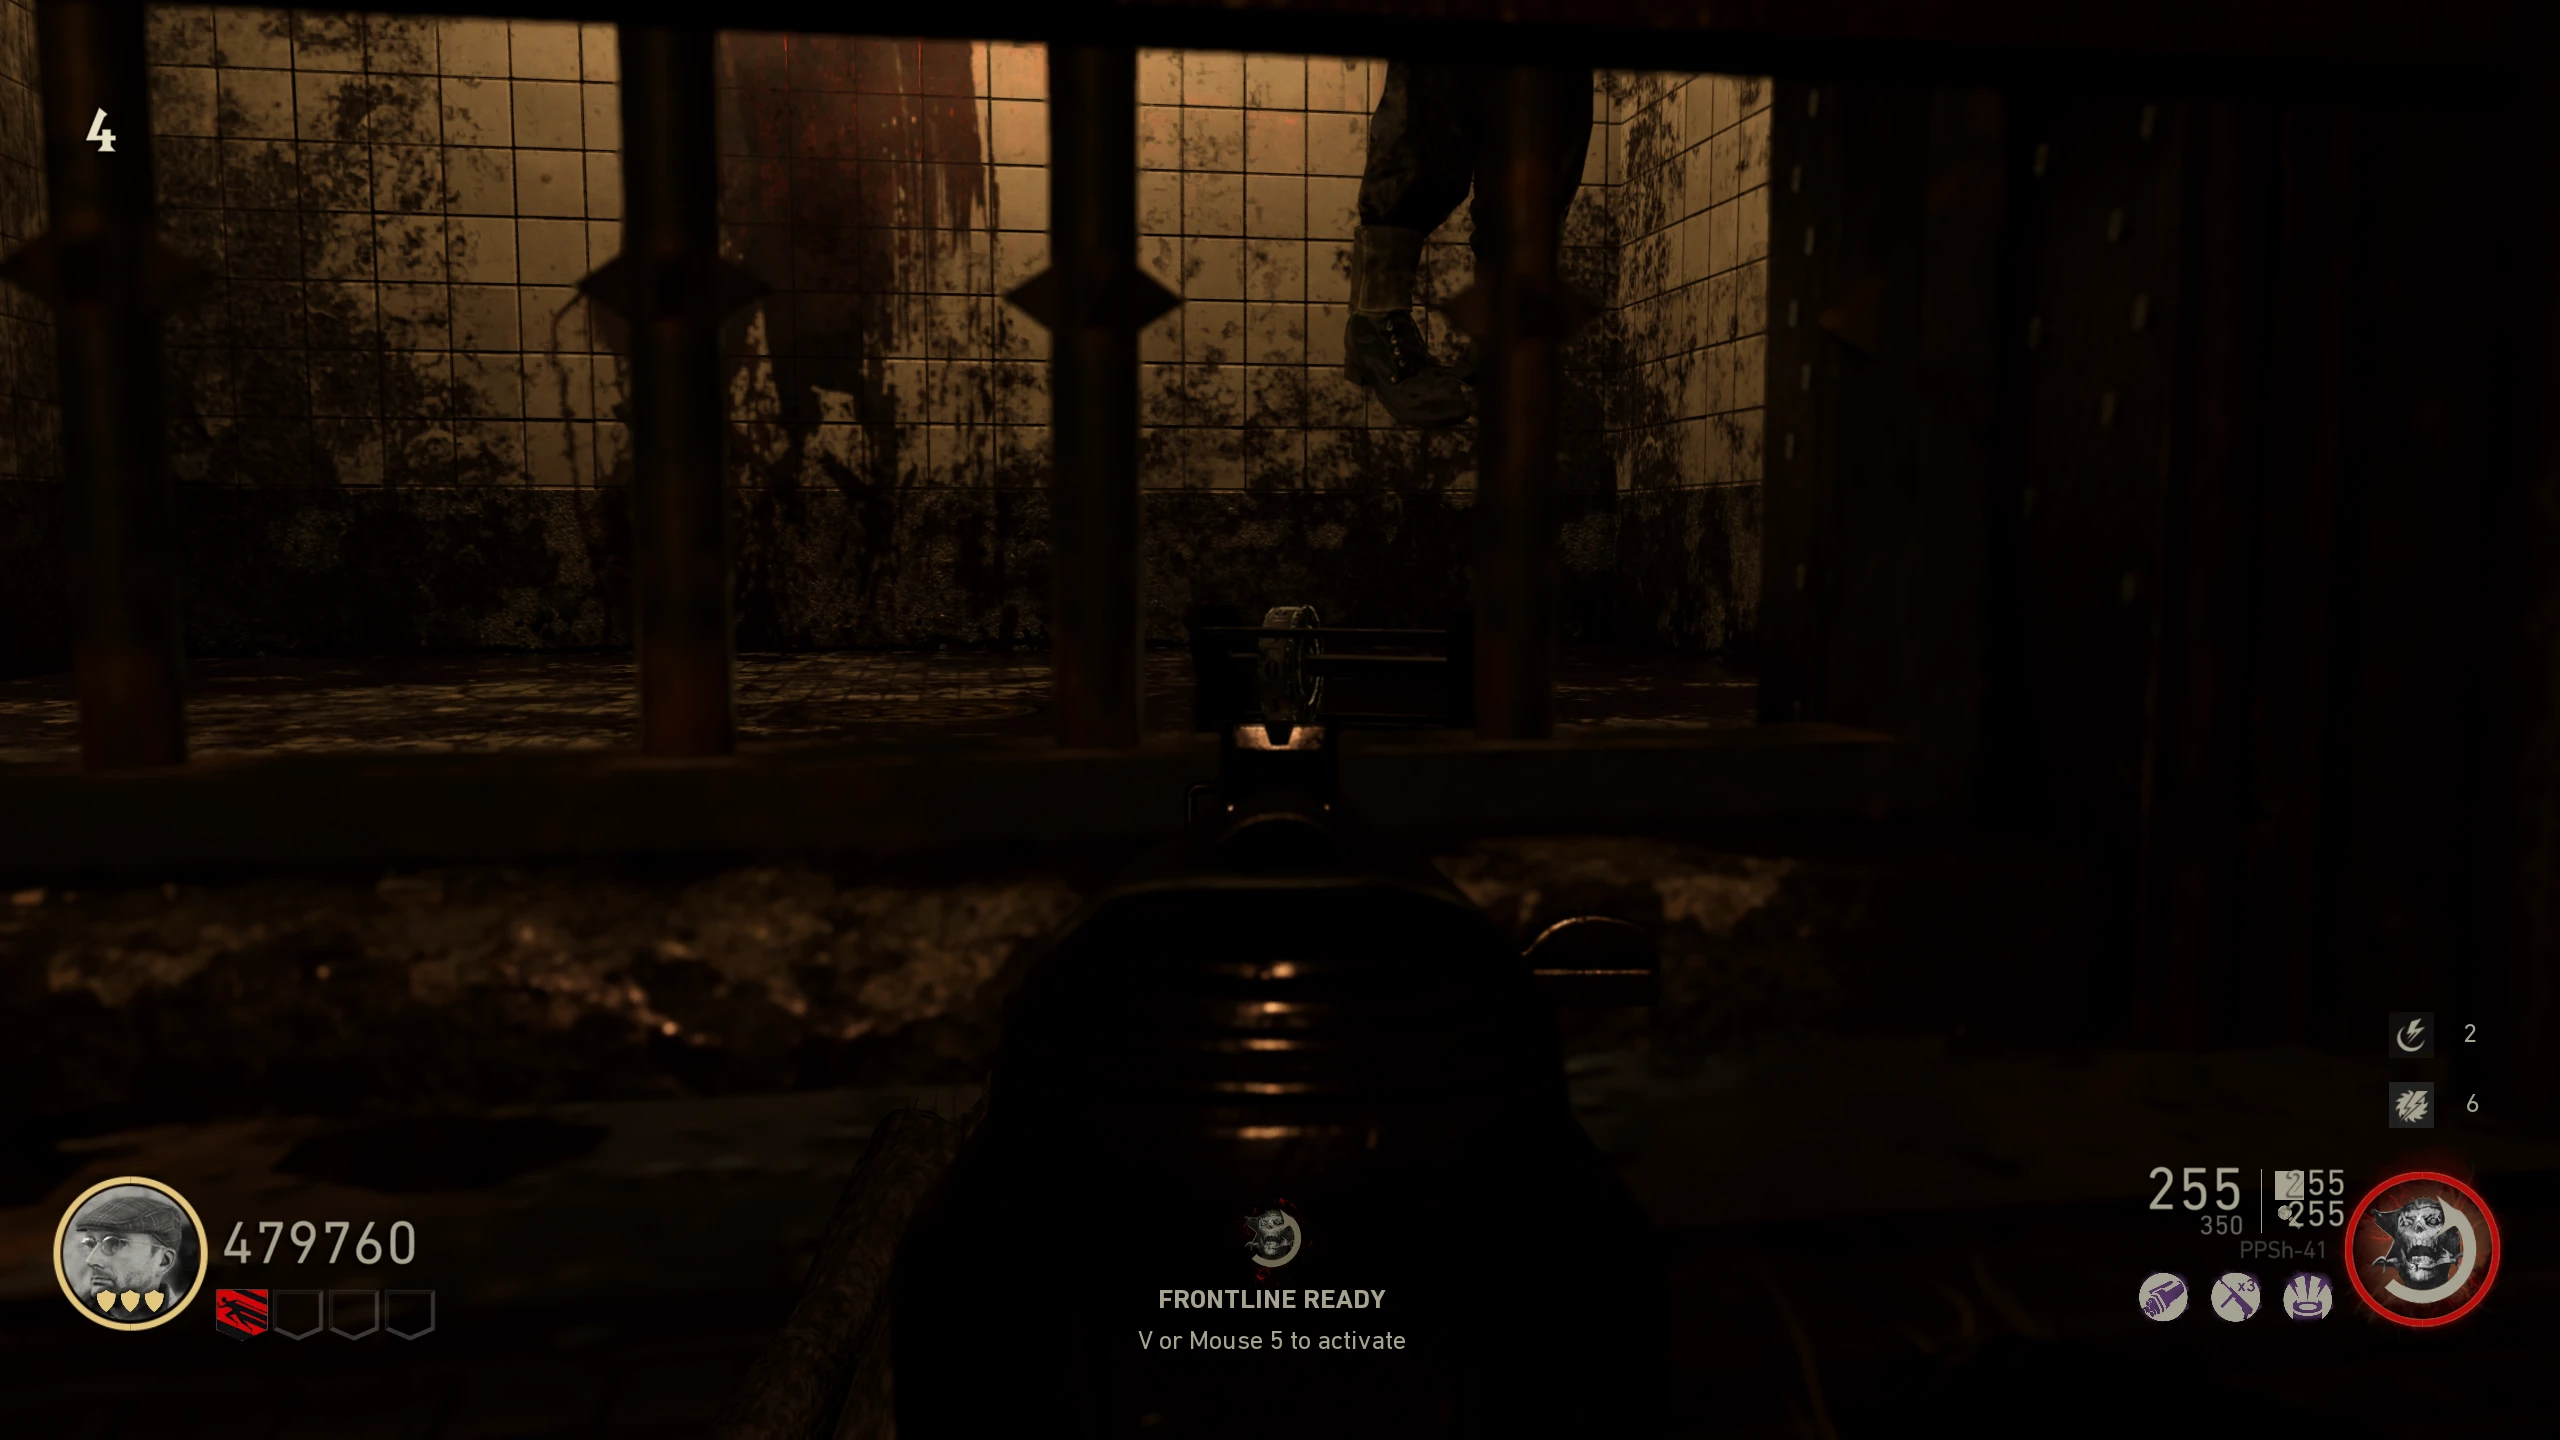
- Find six broken dial machines around the map. Each dial machine will only have one dial on it, despite being able to fit six. The location of the dial on the machine indicates the order of the number/symbol shown on it. The first and fourth dials will show either a "+" or "-", and all the others will show a number. These are "firing coordinates" for the Artillery Cannon. Buying the Lee Enfield from the wallbuy in 'Bunker 1' will help you see the symbols on the dials better.
- Example: a dial all the way to the left of its machine indicates the first symbol.
- Dial Machine Locations:
- Beach Passage - On the left of a Zombie spawn window halfway up the stairs
- Bluffs - Under a pile of wood on the floor
- U-Boat Pens - In a cell to the left of the power switch --- Zoomed-Out View
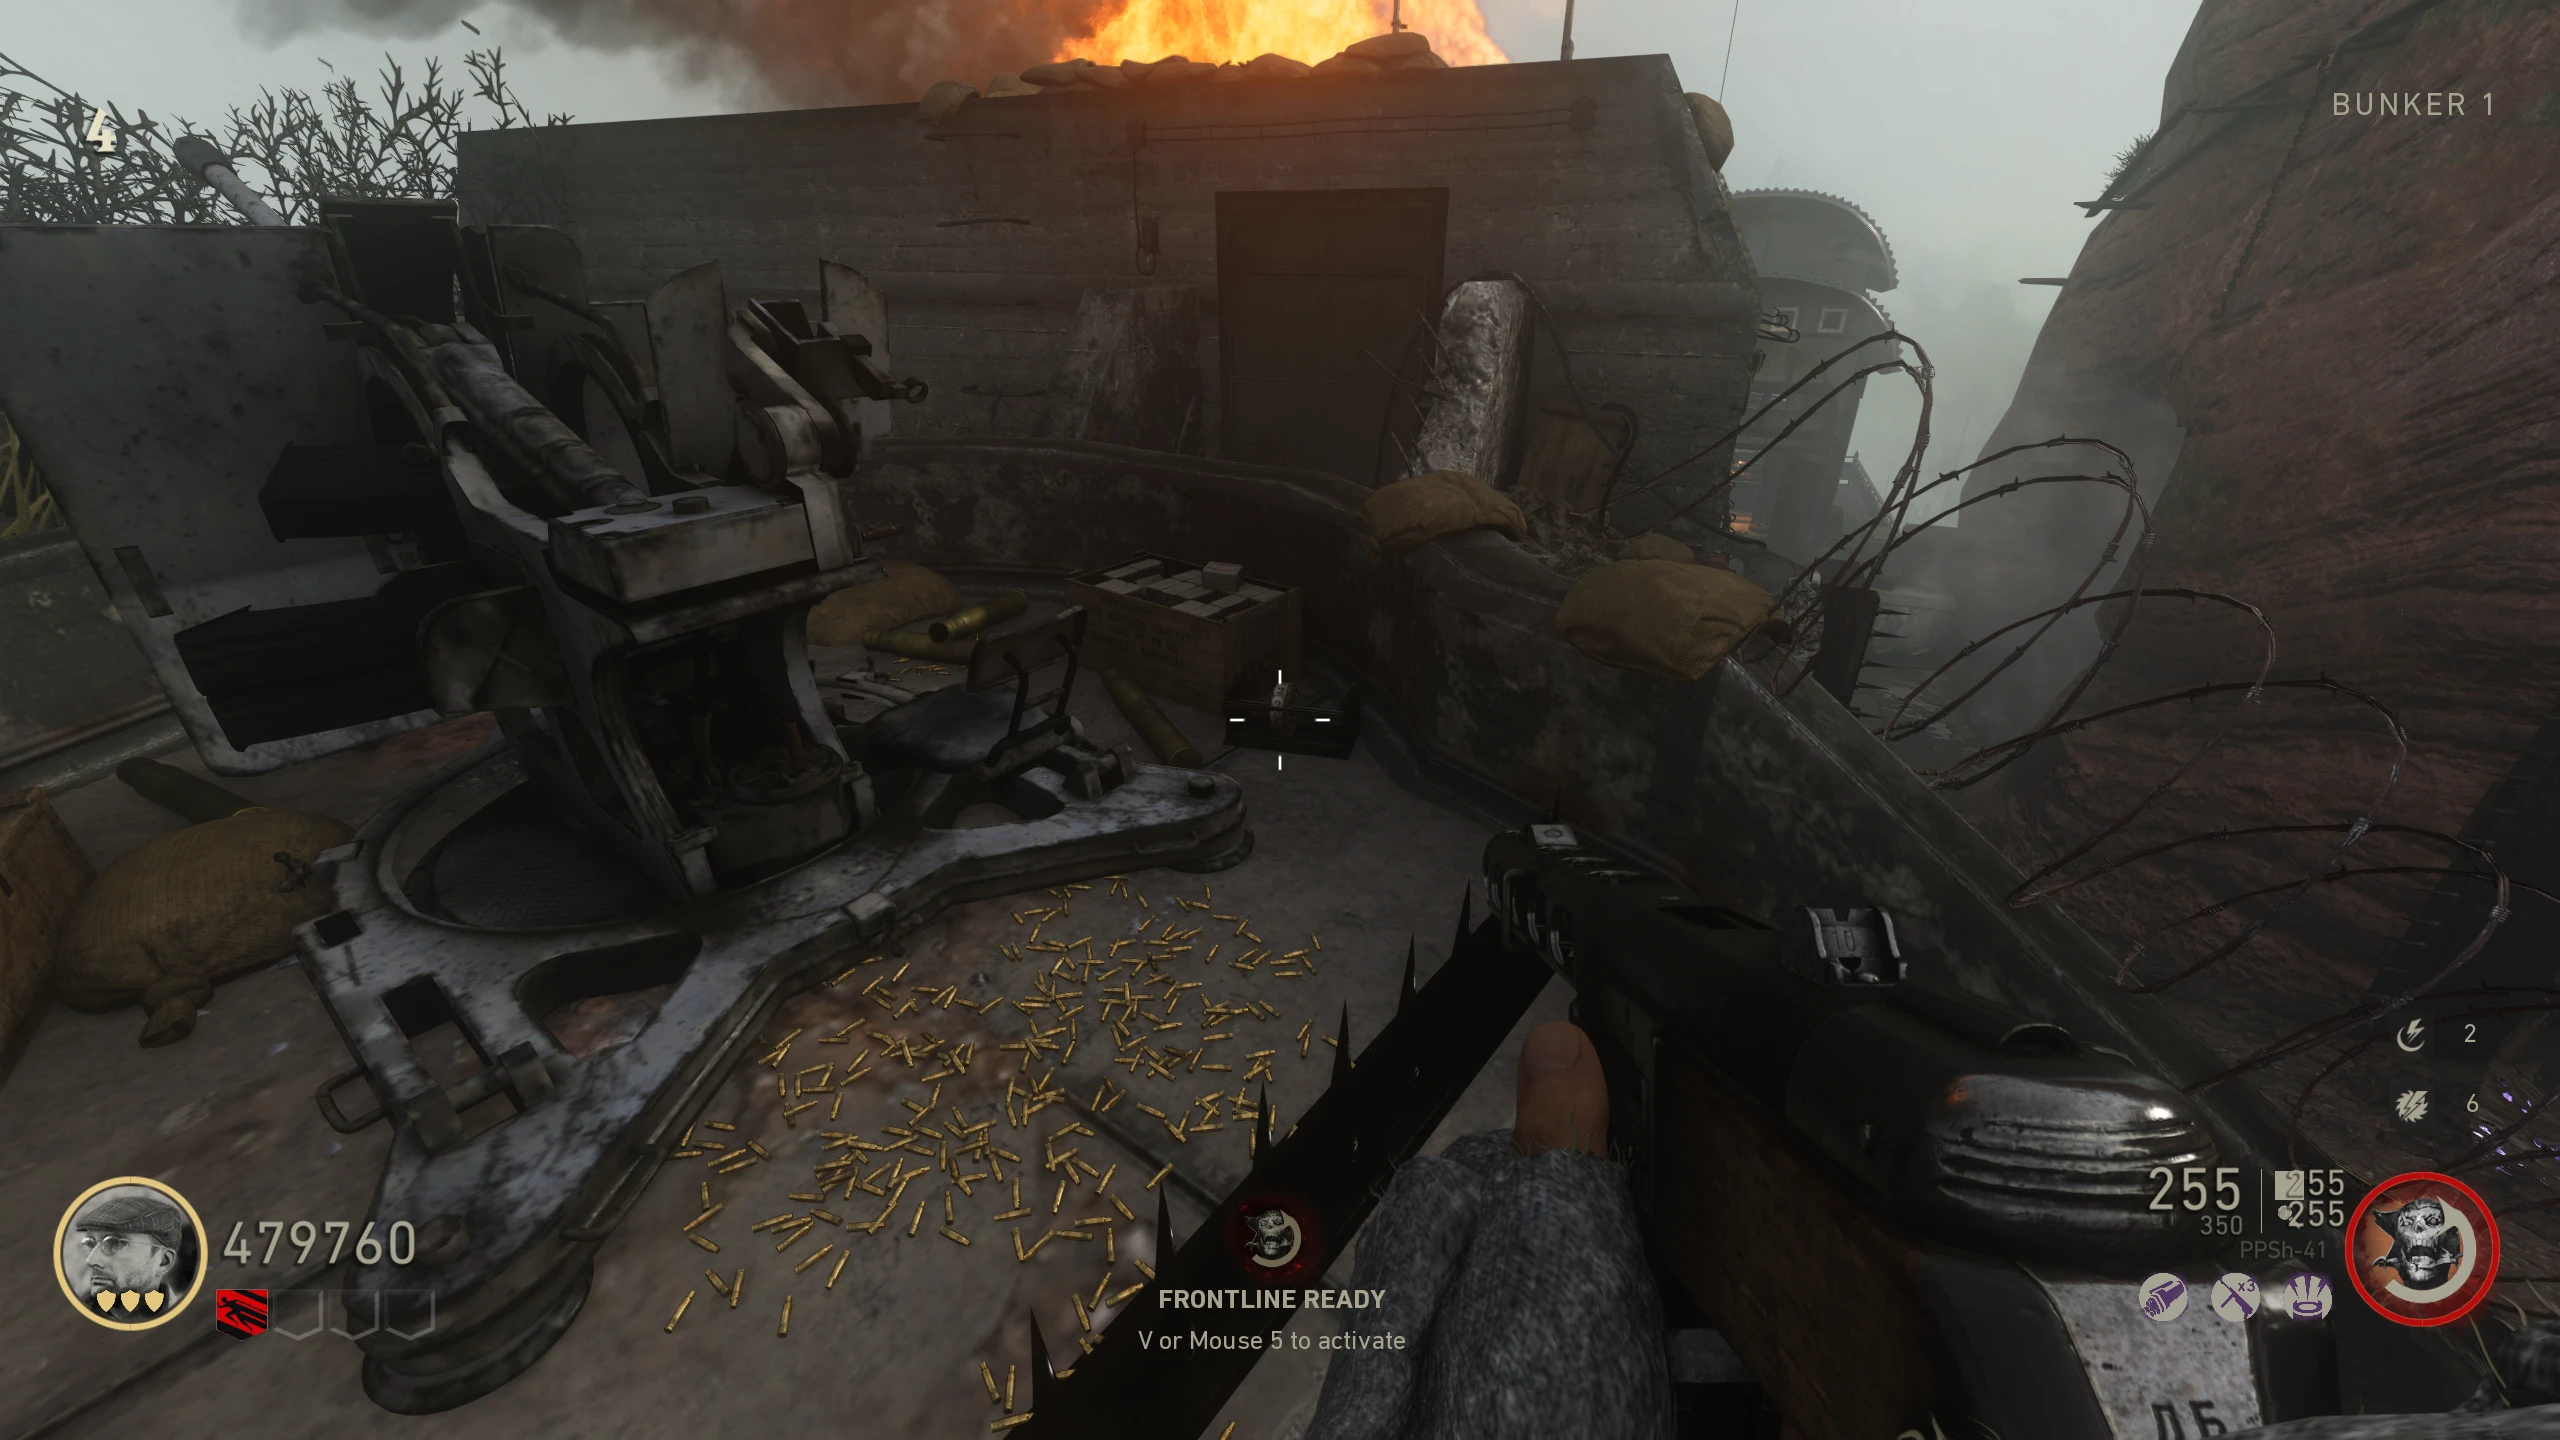
- Bunker 1 - On the floor to the right of the Anti-Air gun beside Double Tap
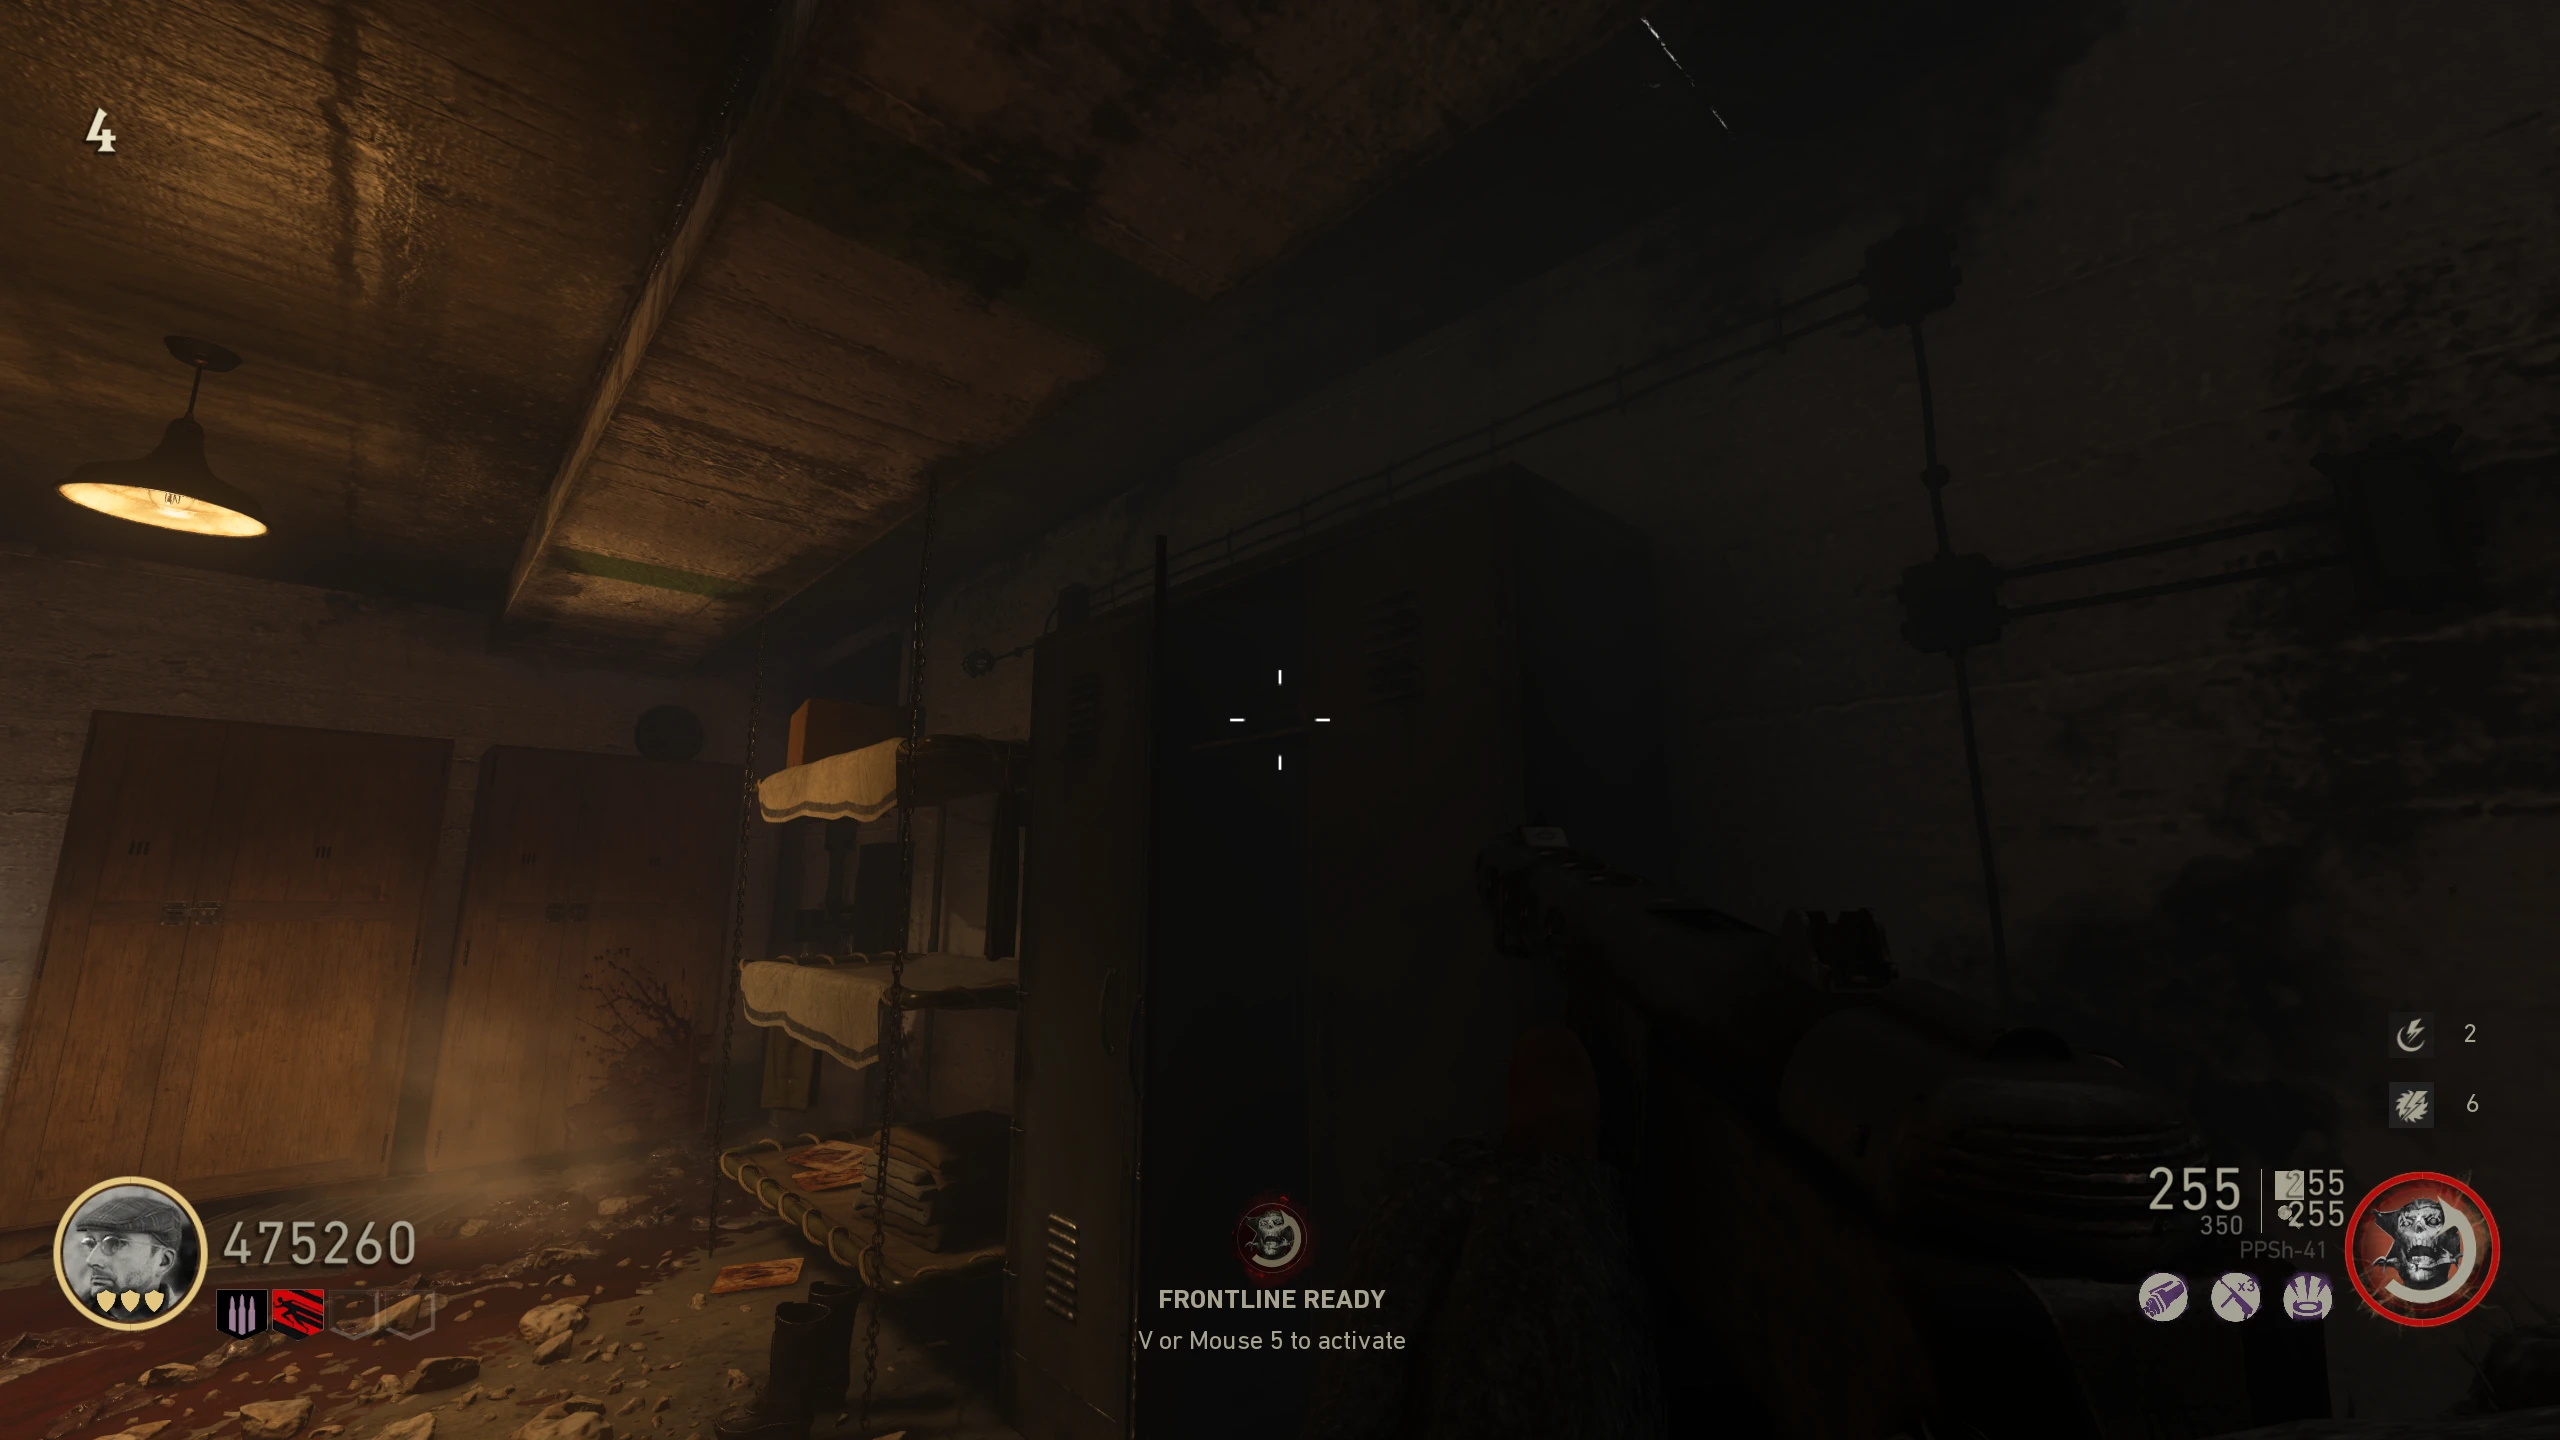
- Artillery Bunker - In a locker to the right of the bunks
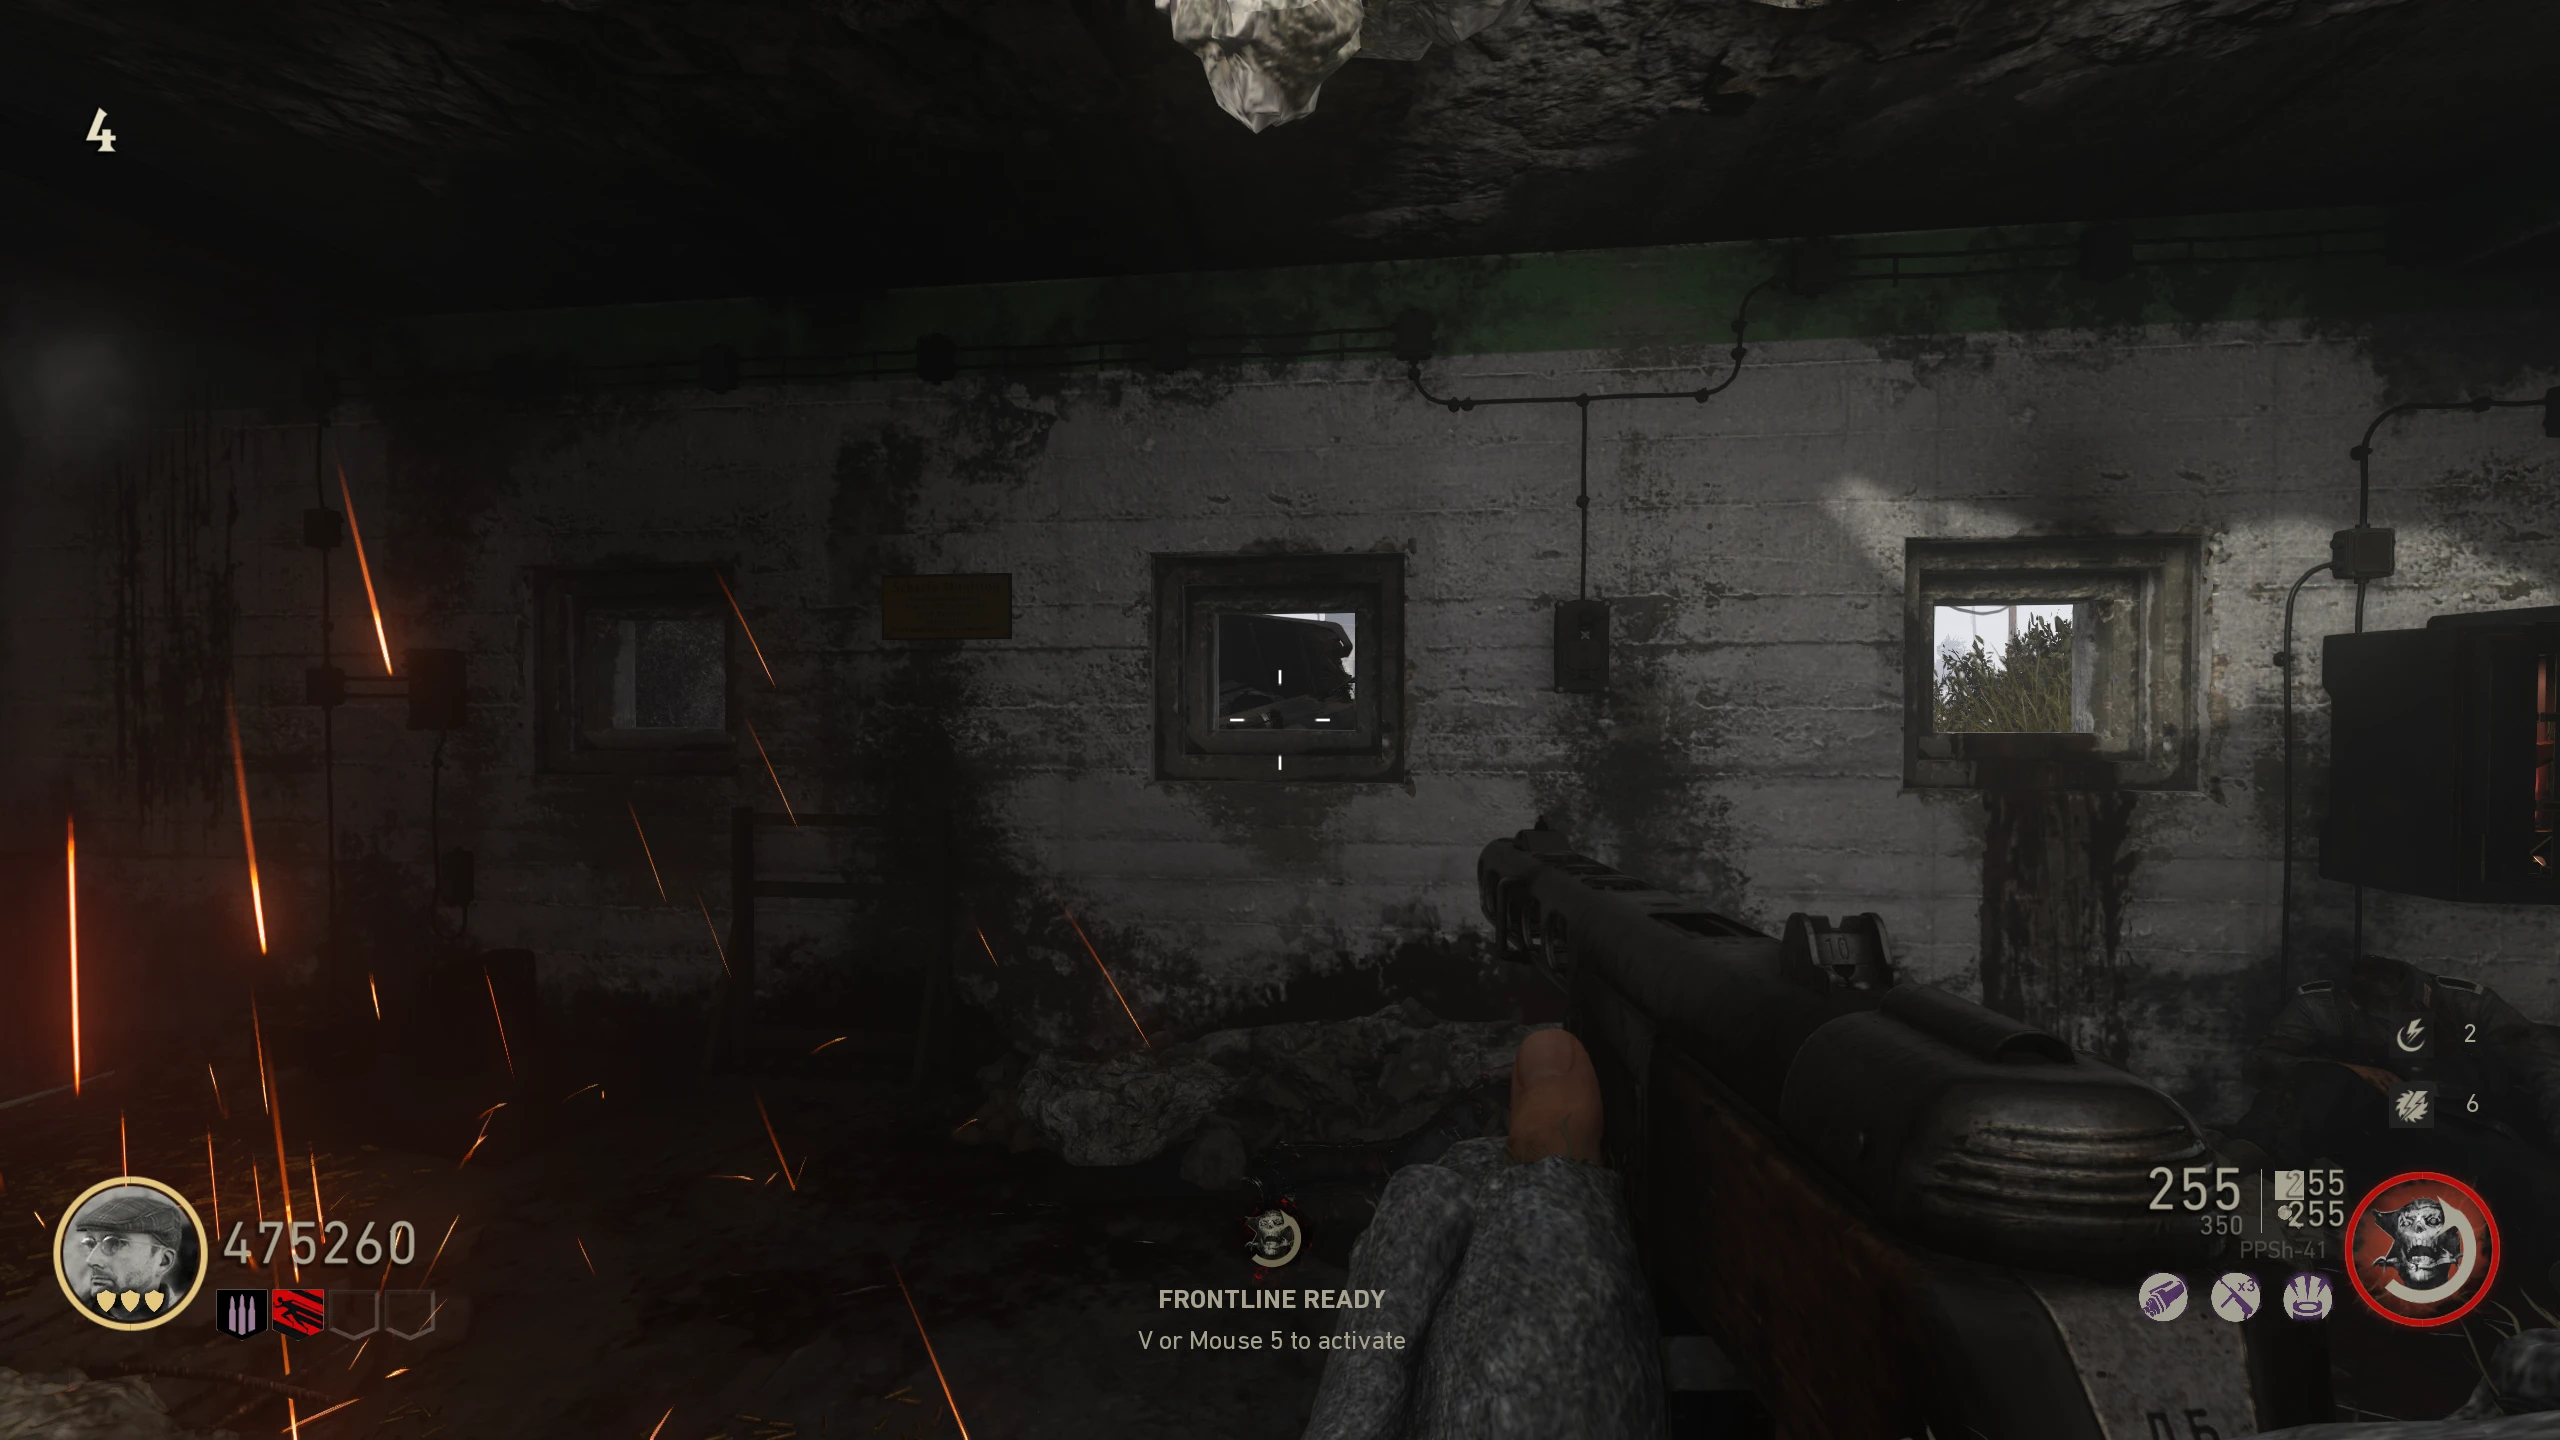
- Artillery Bunker - Out a window to the left of the BAR wallbuy on a cart
- Complete the friendly Bomber escort step of the Main Quest (detailed on Step 17 but can be started after completing Step 7). Charge the Artillery Cannon by killing Zombies near the battery the bomber brought.
- Once you charge the battery enough, the cannon will make a loading sound, and become ready to fire.
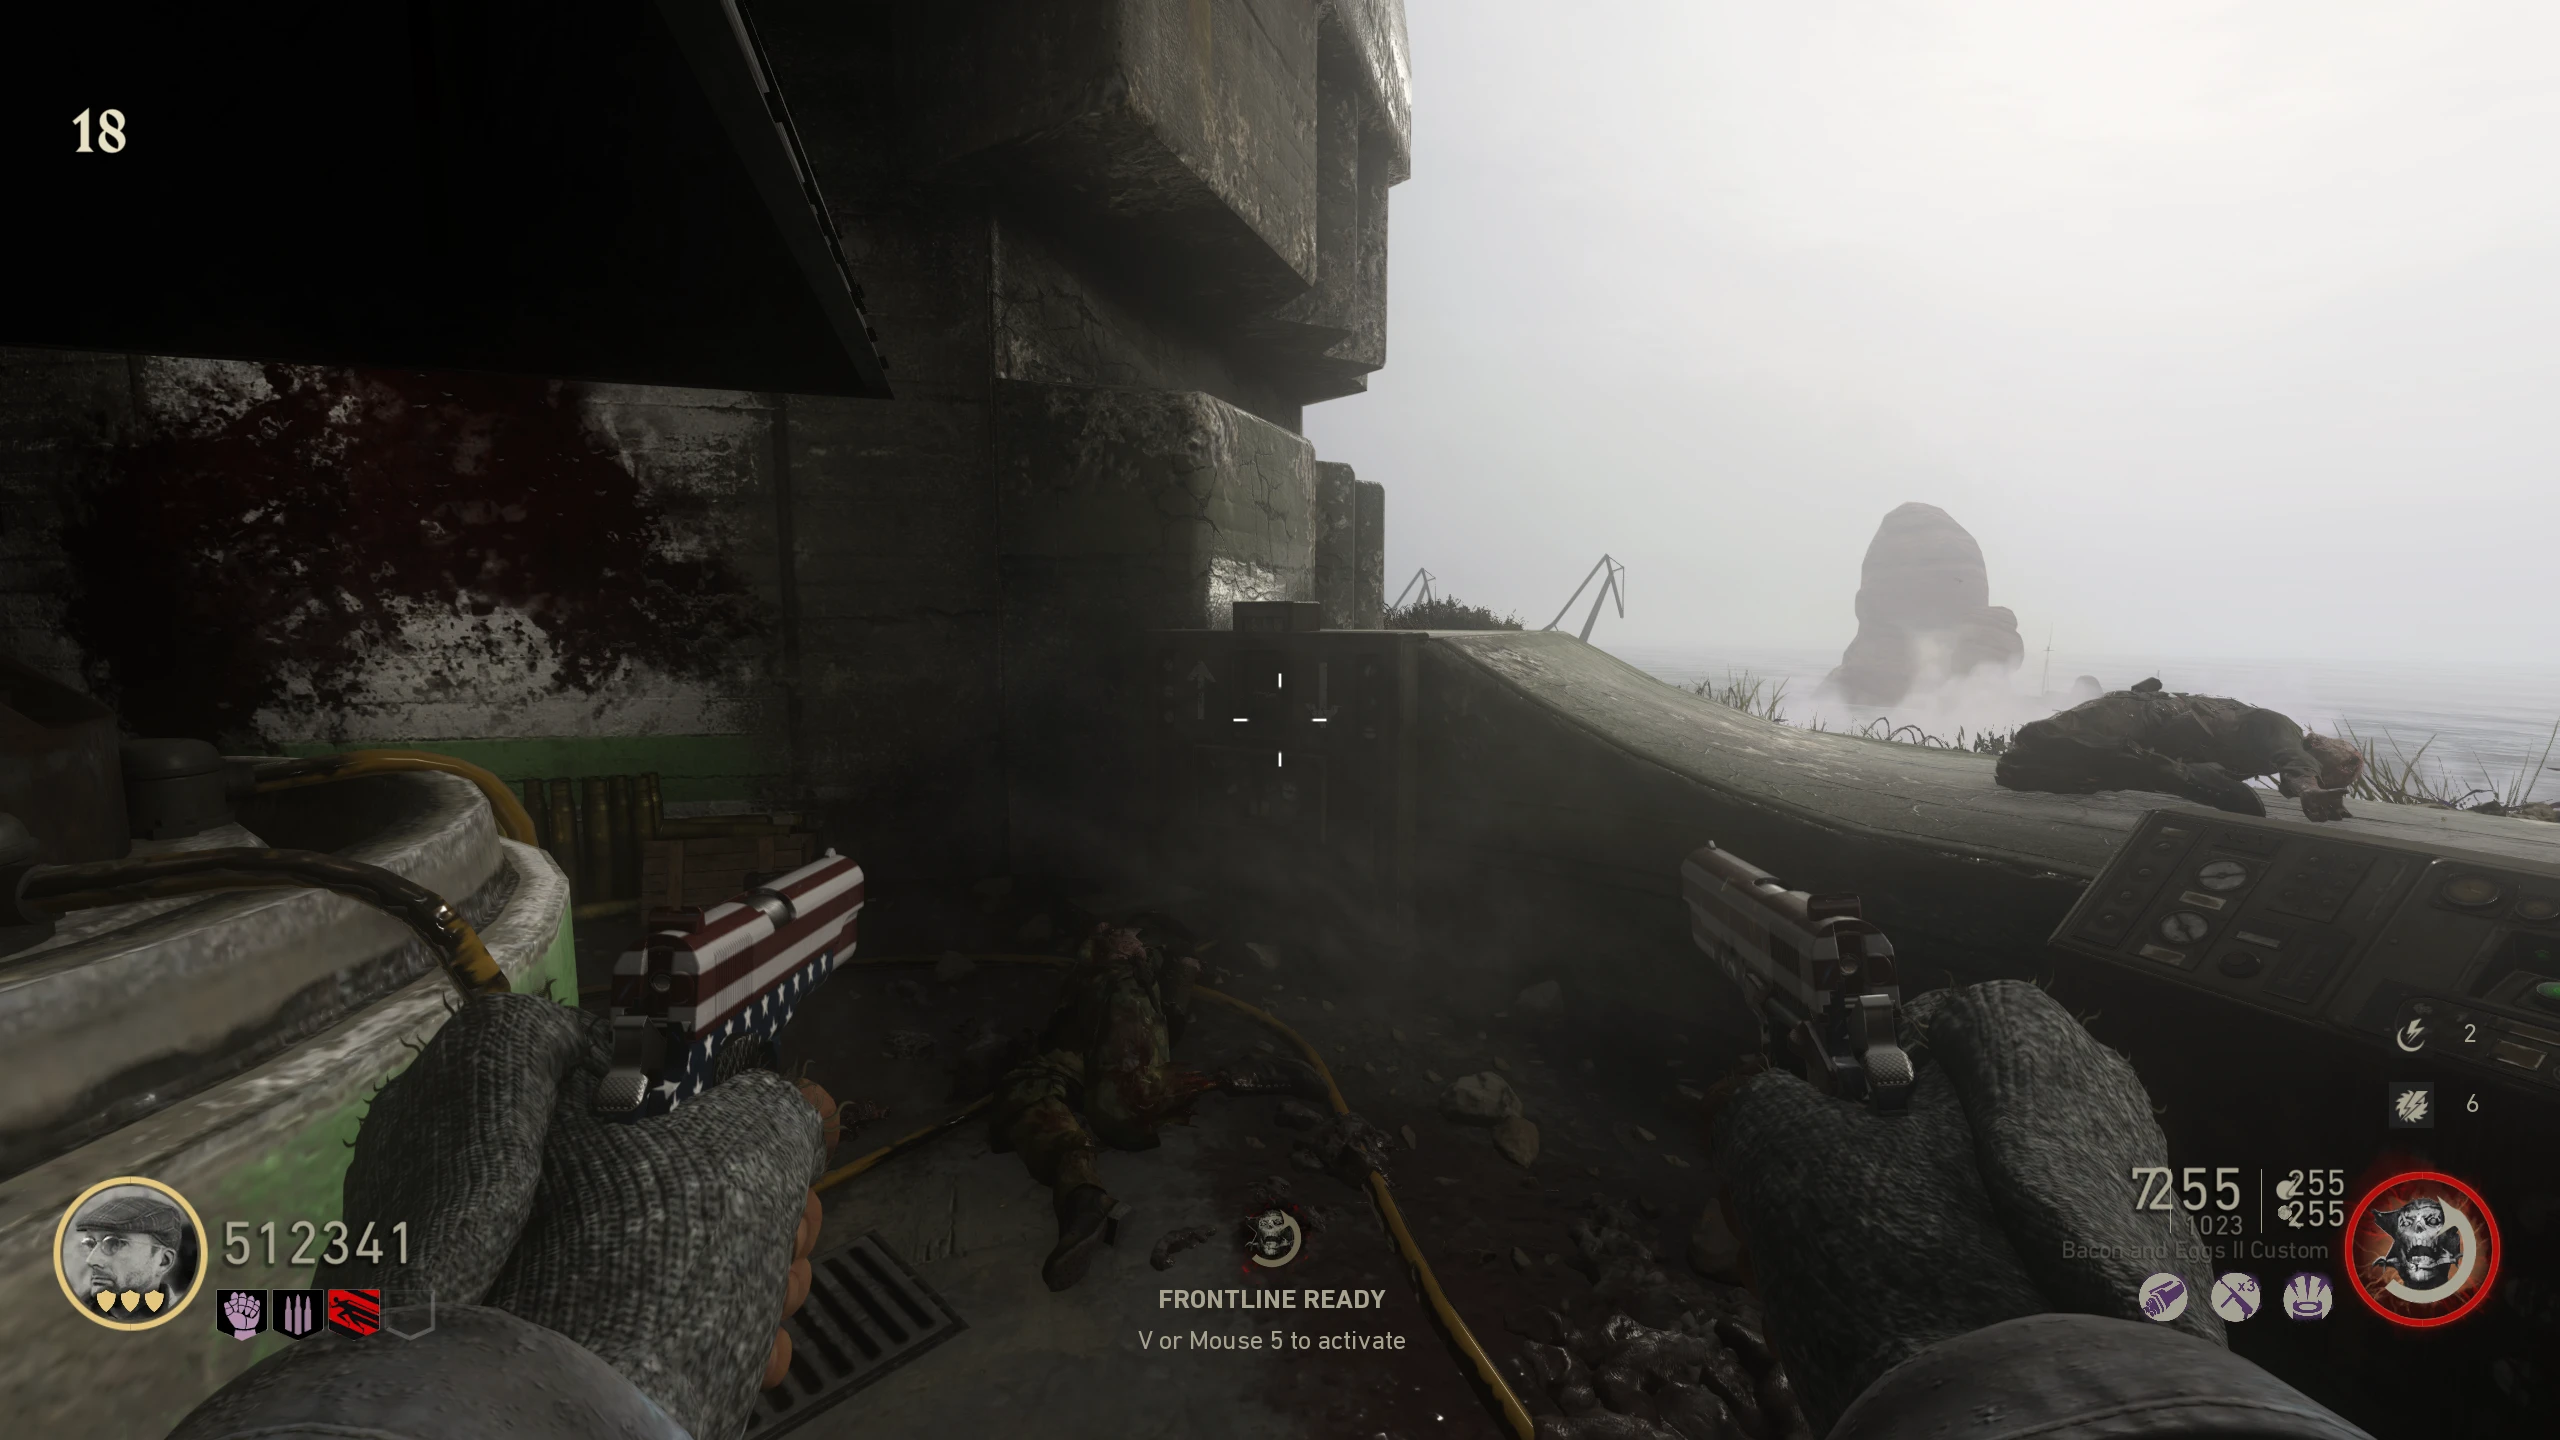
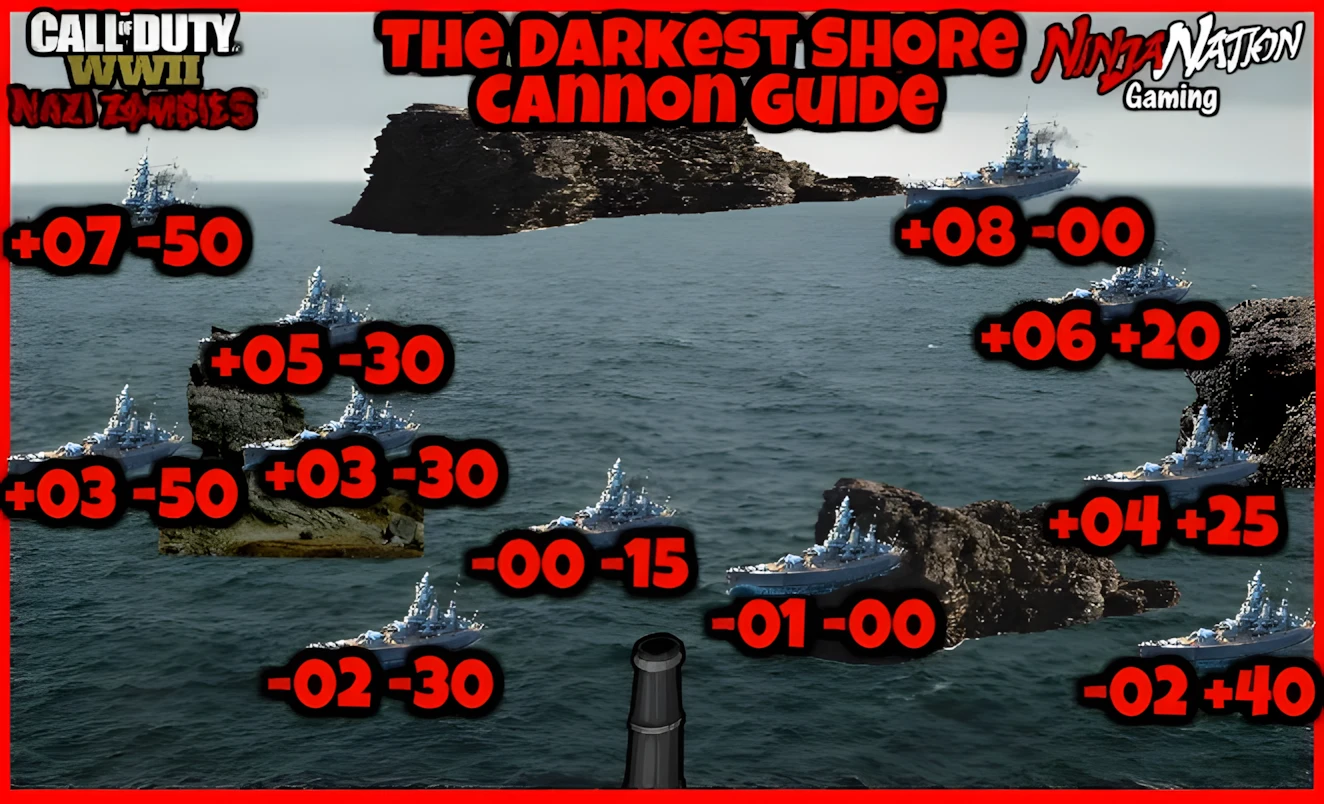
- Enter the coordinates from the dials into the cannon. To aim the cannon, interact with the left panel to change the elevation, and the right panel to change the angle. Interact with the button in the middle of the panels to fire.
- If done correctly, a fuse will drop from the barrel of the cannon onto the concrete pillar holding the cannon for you to pick up.
- The Ripsaw can now be Pack-a-Punched, and ammo can be purchased from PAP once it's upgraded.

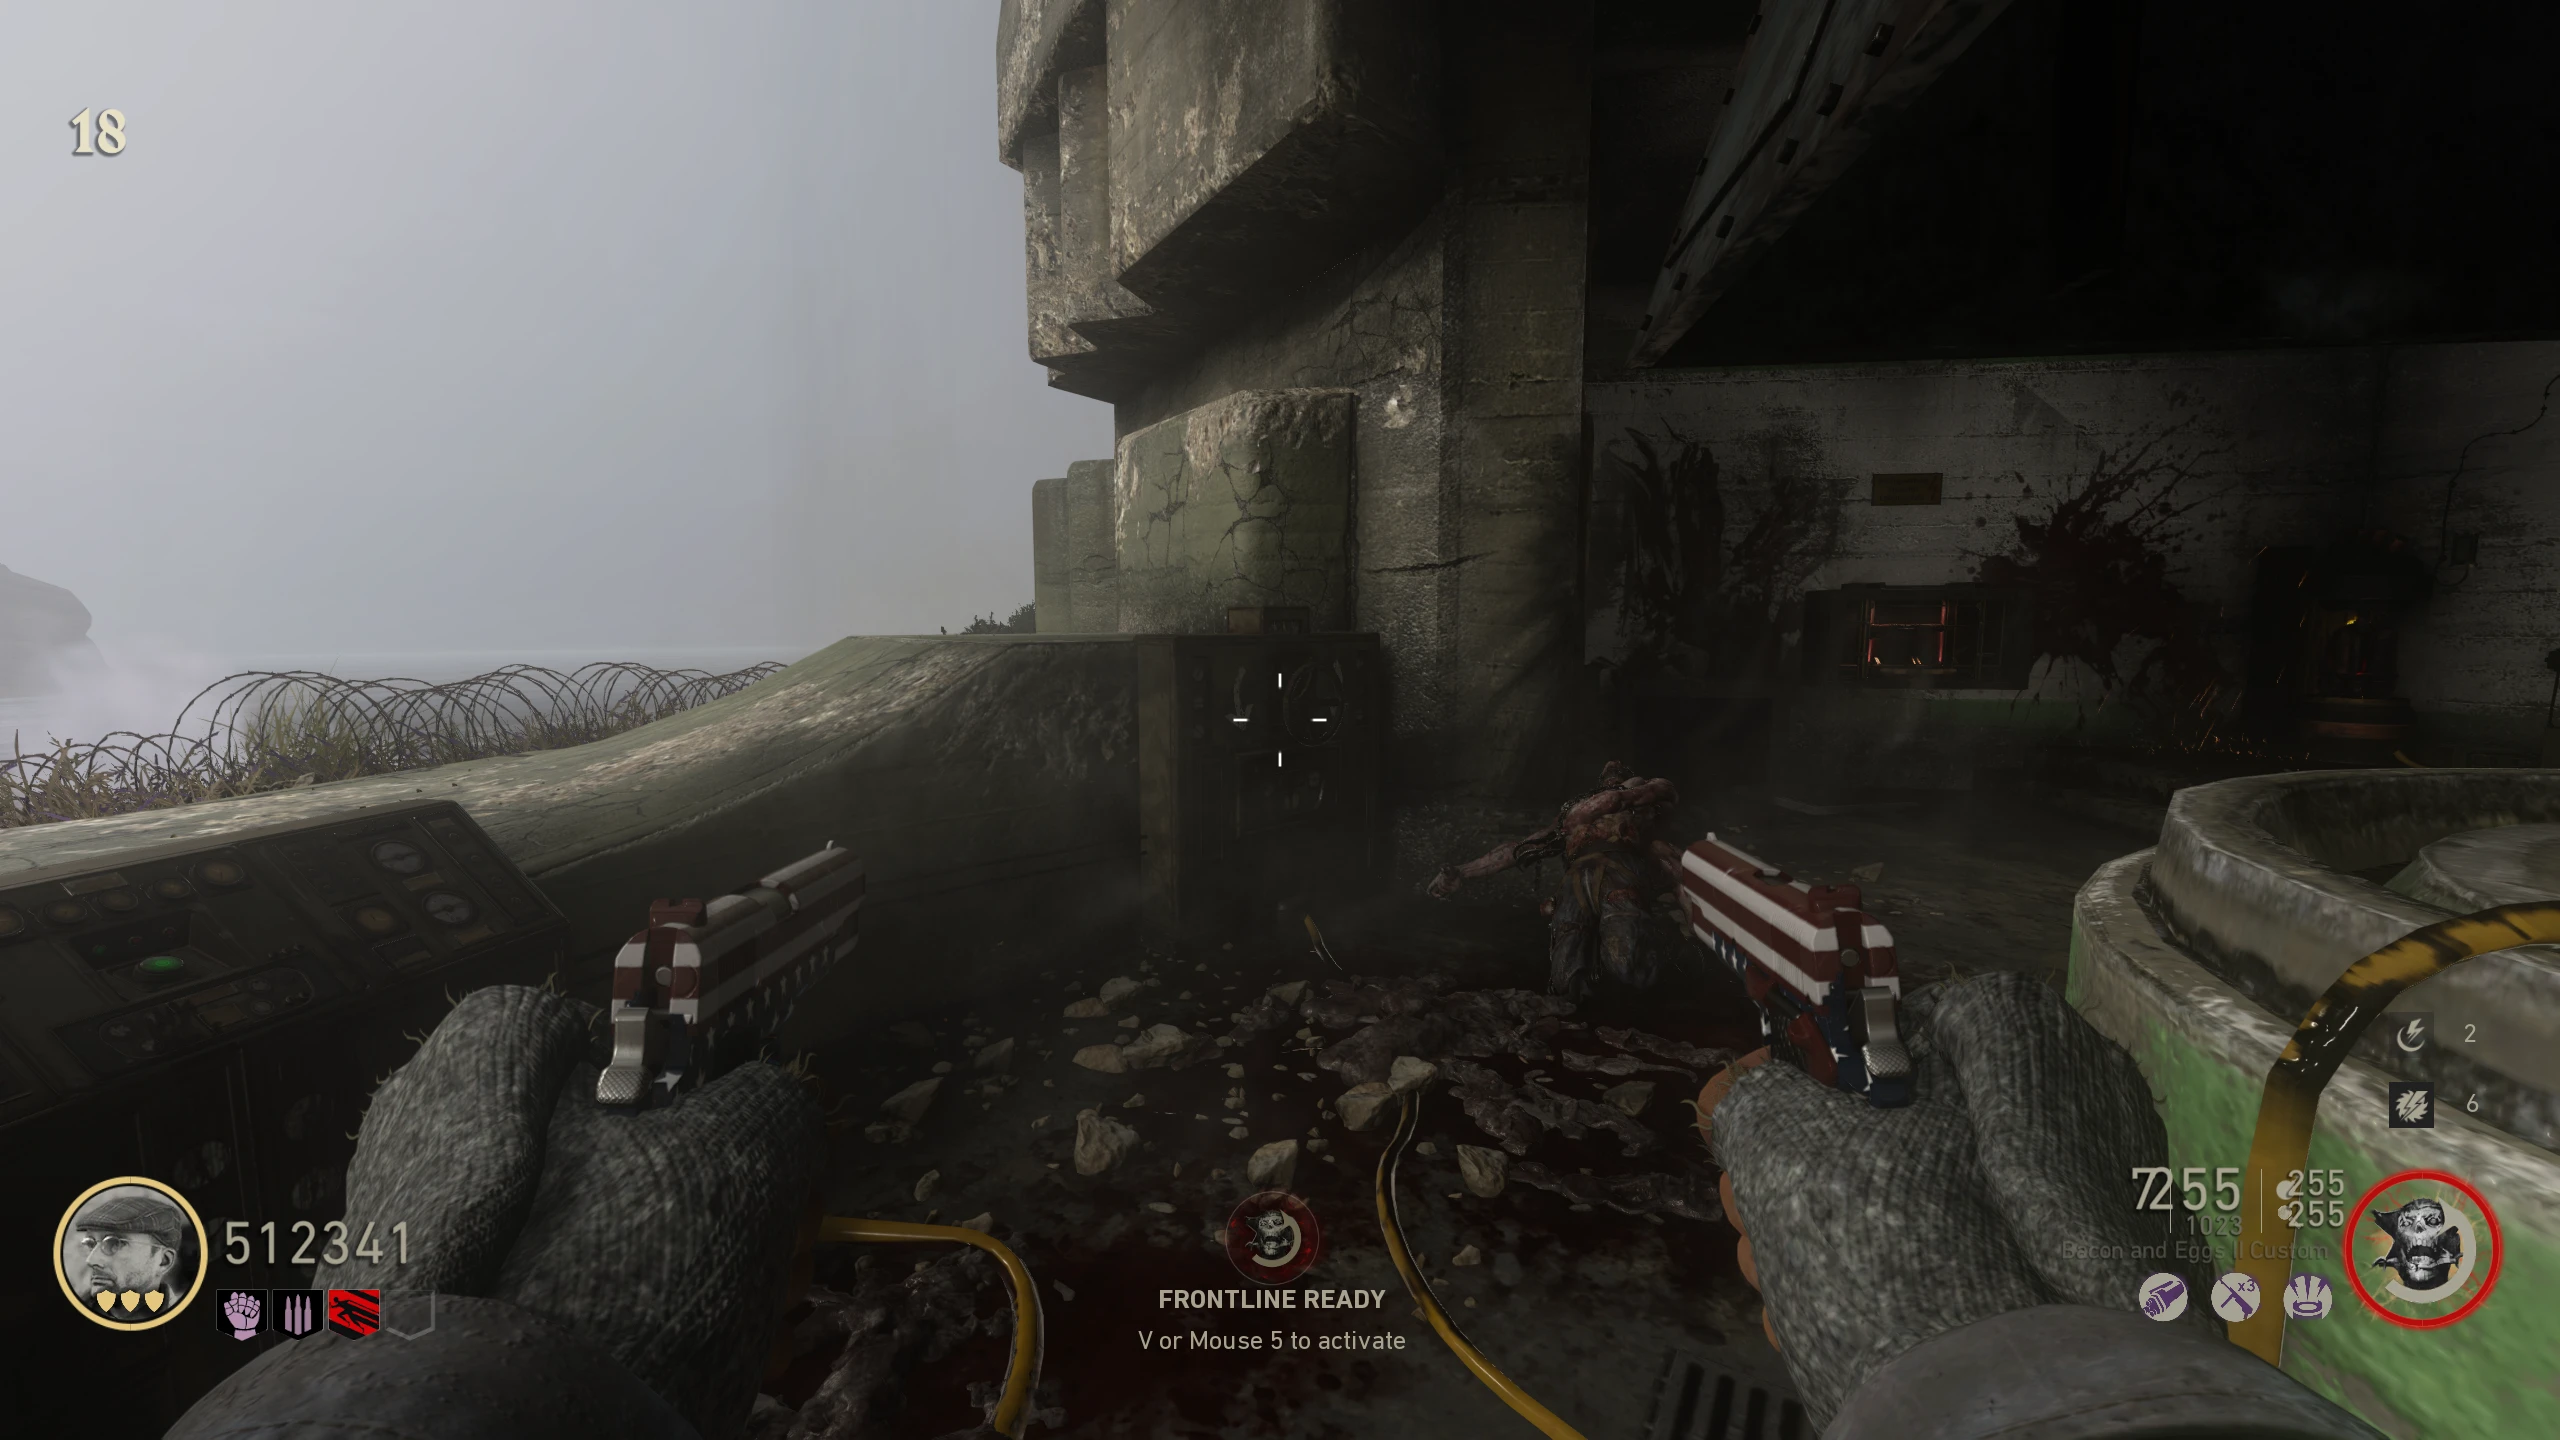
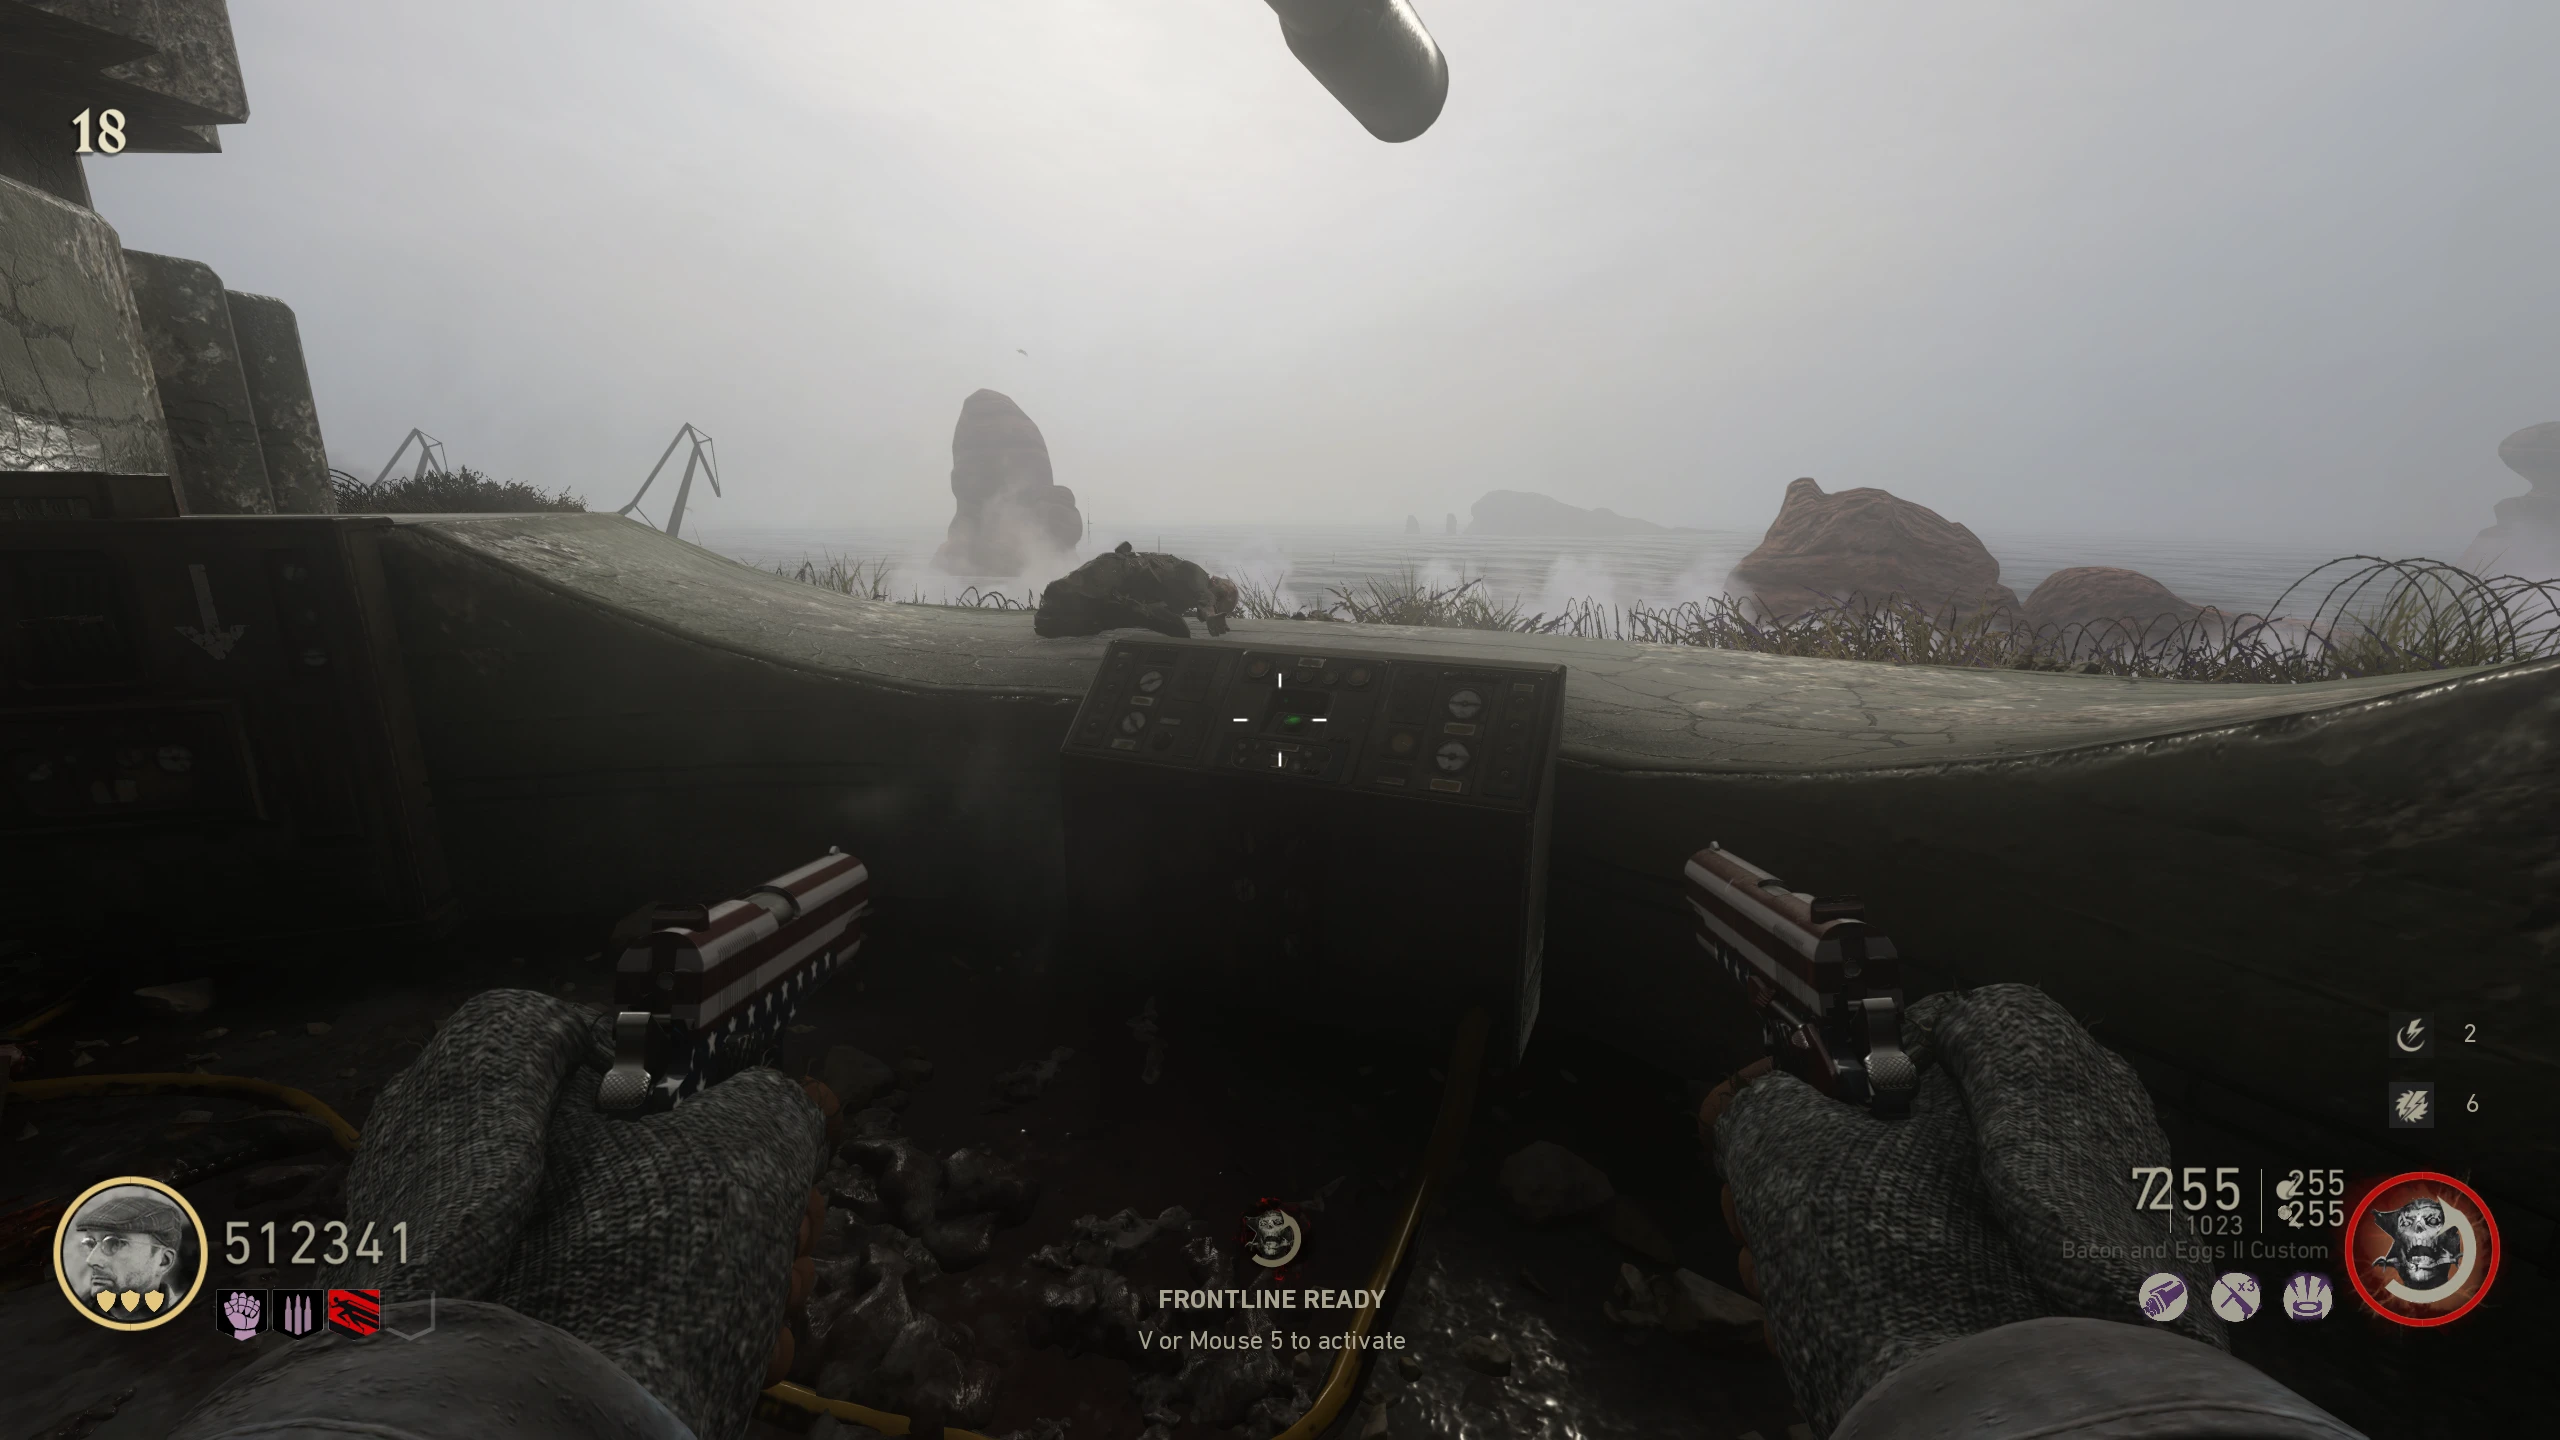
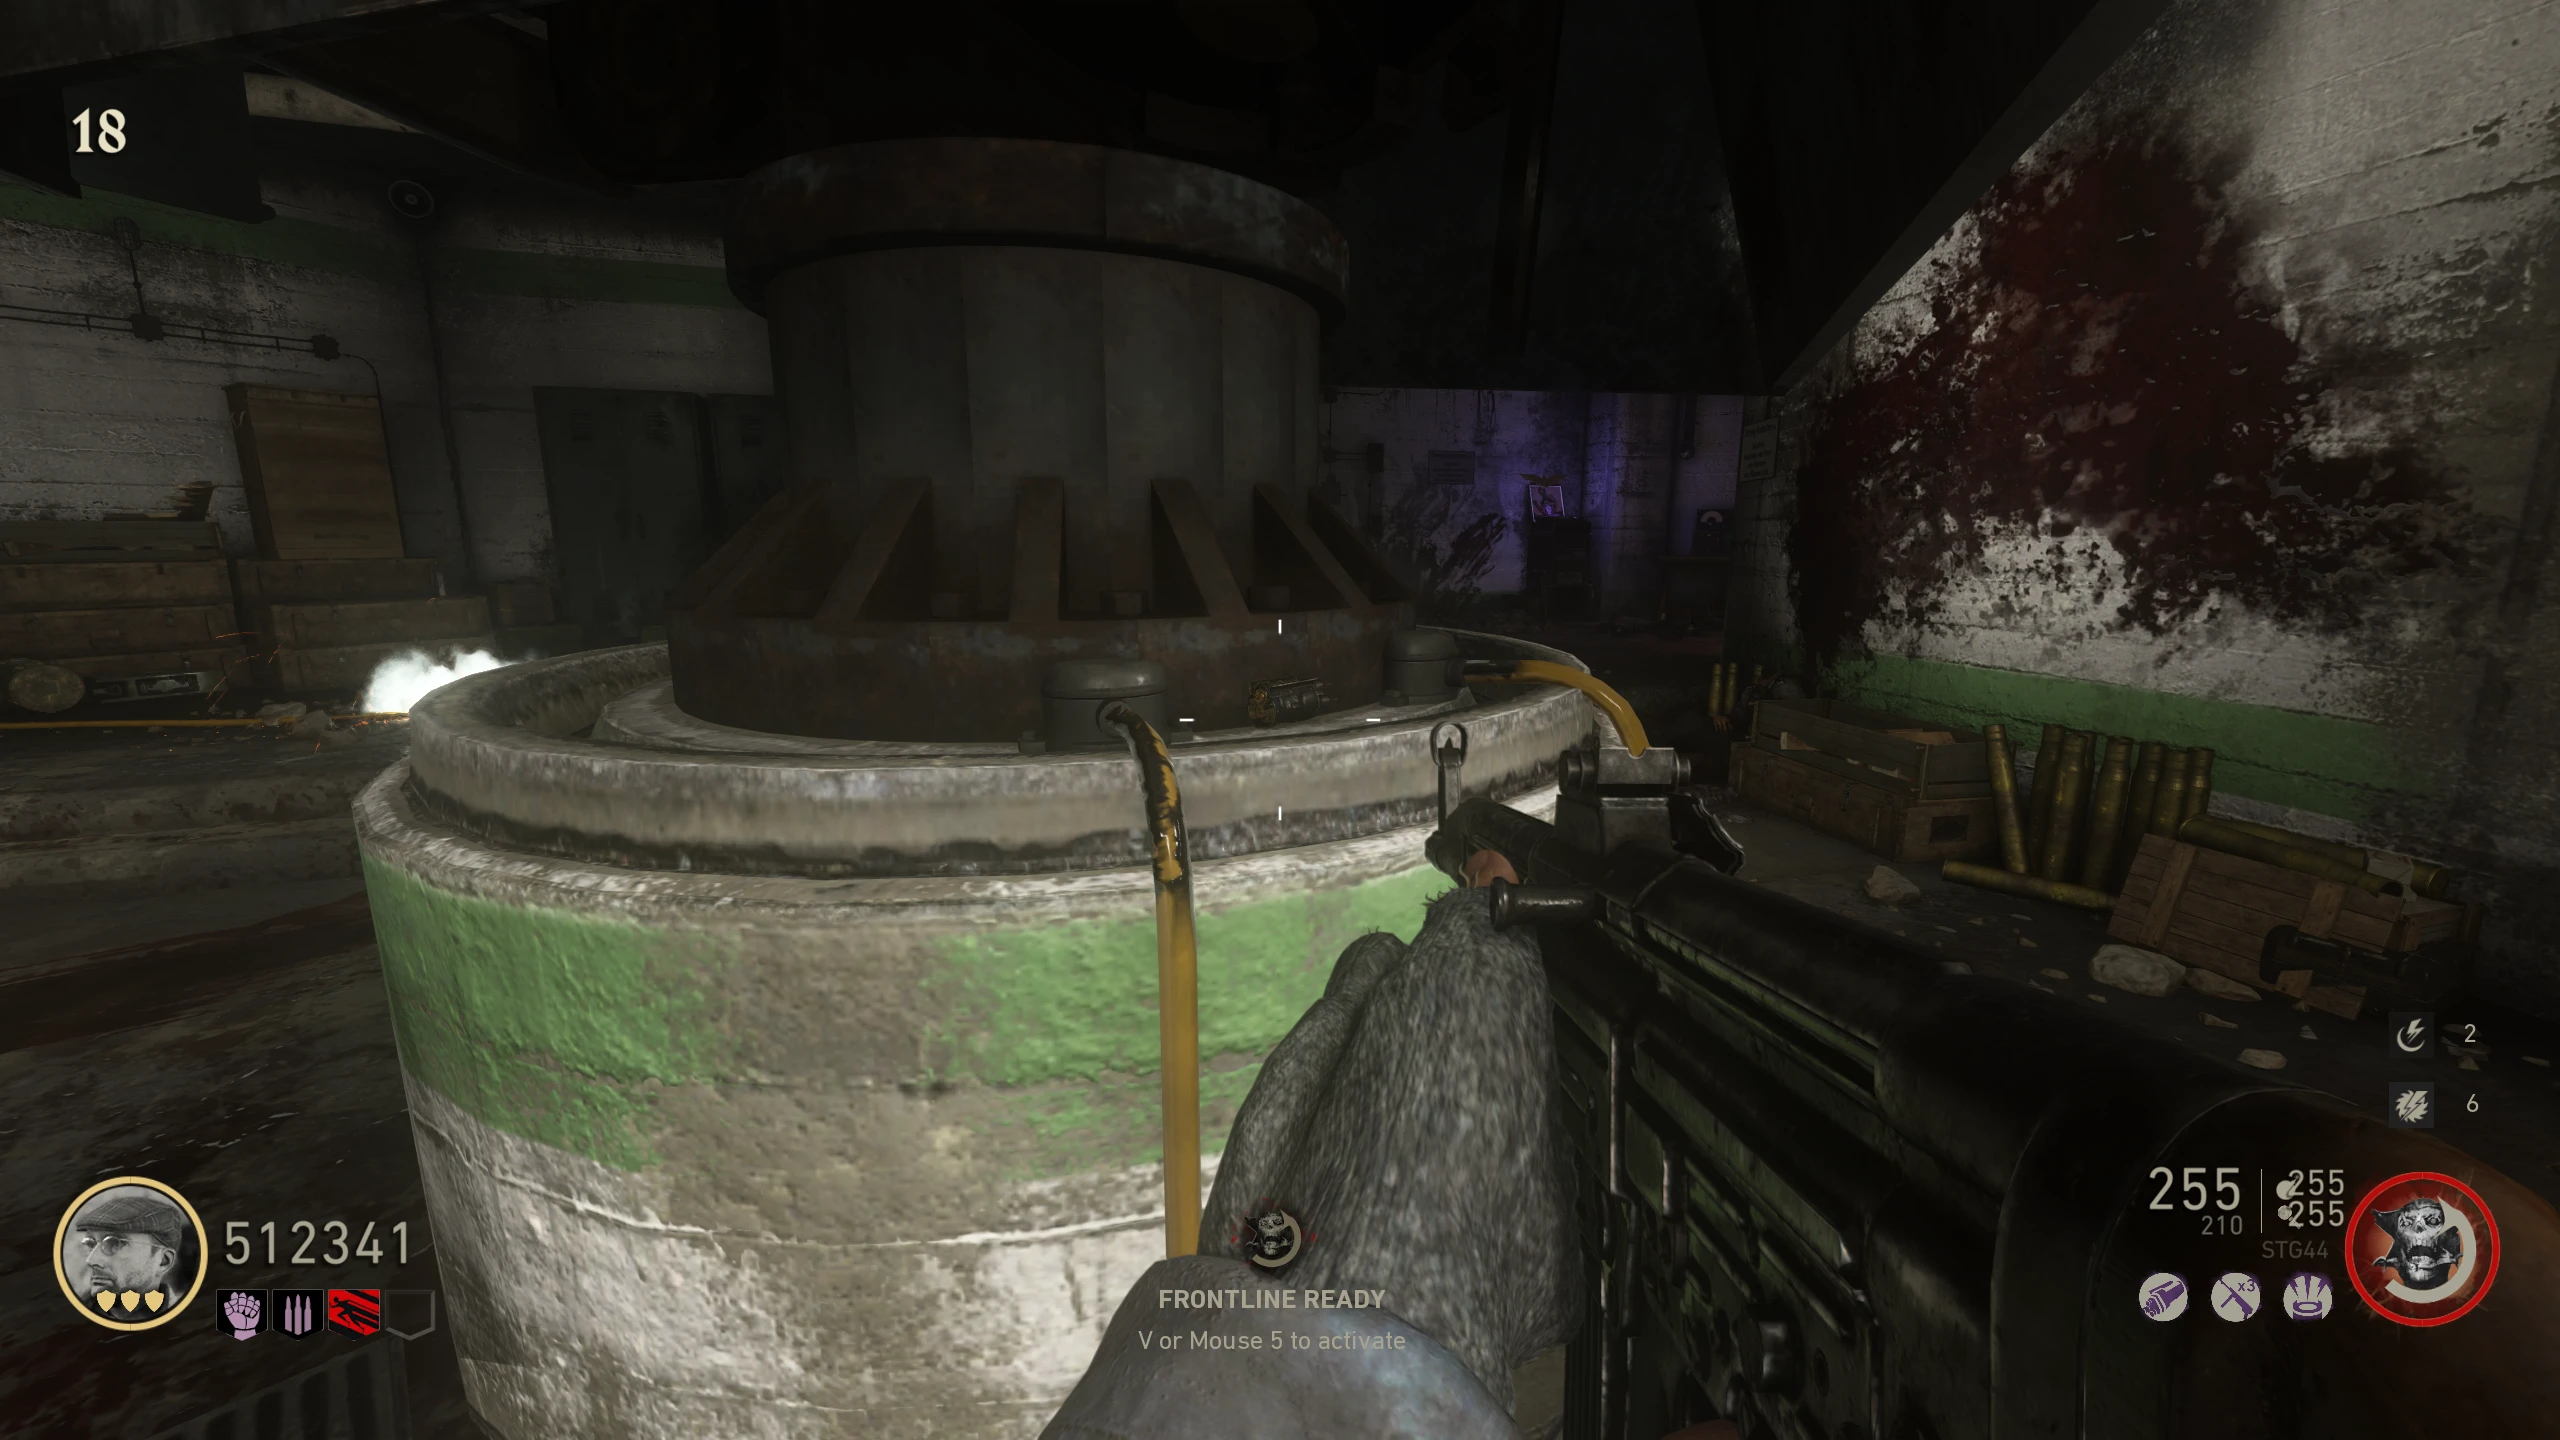
"Making History" Main Quest
Stats (Solo): Difficulty - 9/10, Est. Completion Time - 1:10 to 1:30 Hrs
Prerequisites
- Make sure you have either the Frag Grenades or the N° 74 ST (recommended) in your loadout.
- Turn on the power and acquire the Ranged Ripsaw.
Corpse Gate
- Shoot the head off the hanging corpse in 'Bunker 3.' It will drop for you to pick it up.
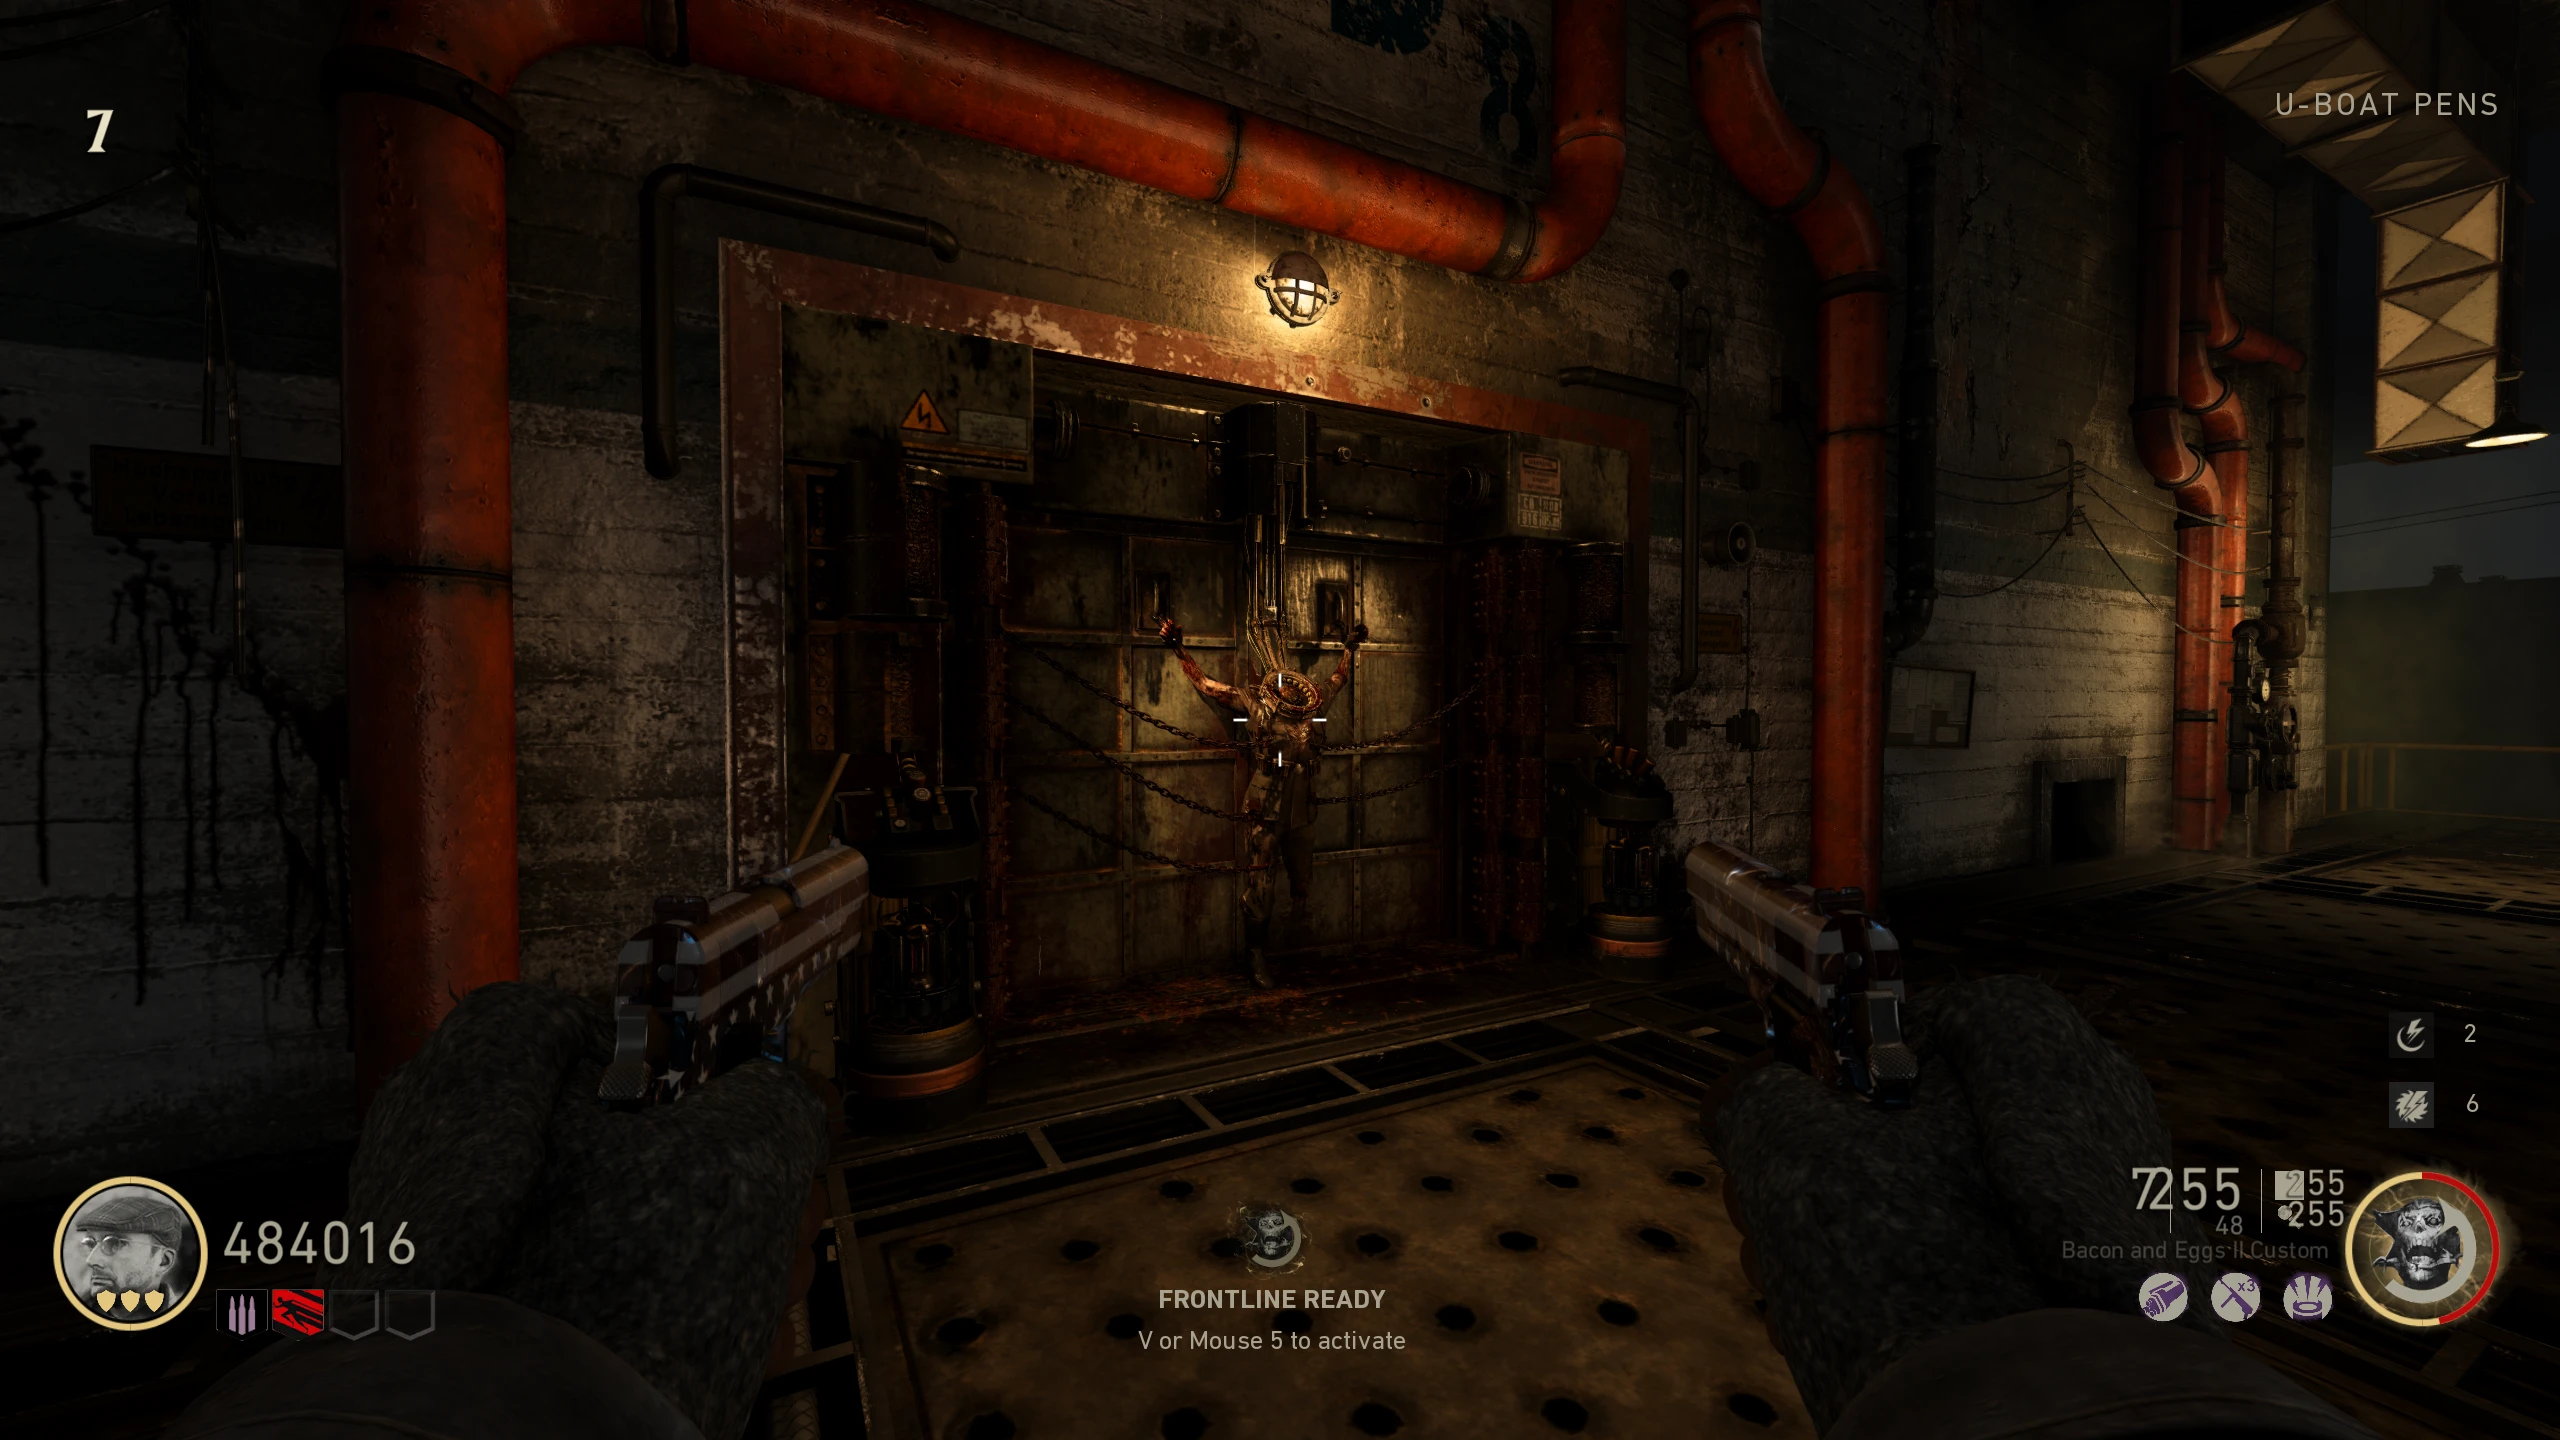
- Place the head on the headless corpse (Corpse Gate) in the 'U-Boat Pens.'
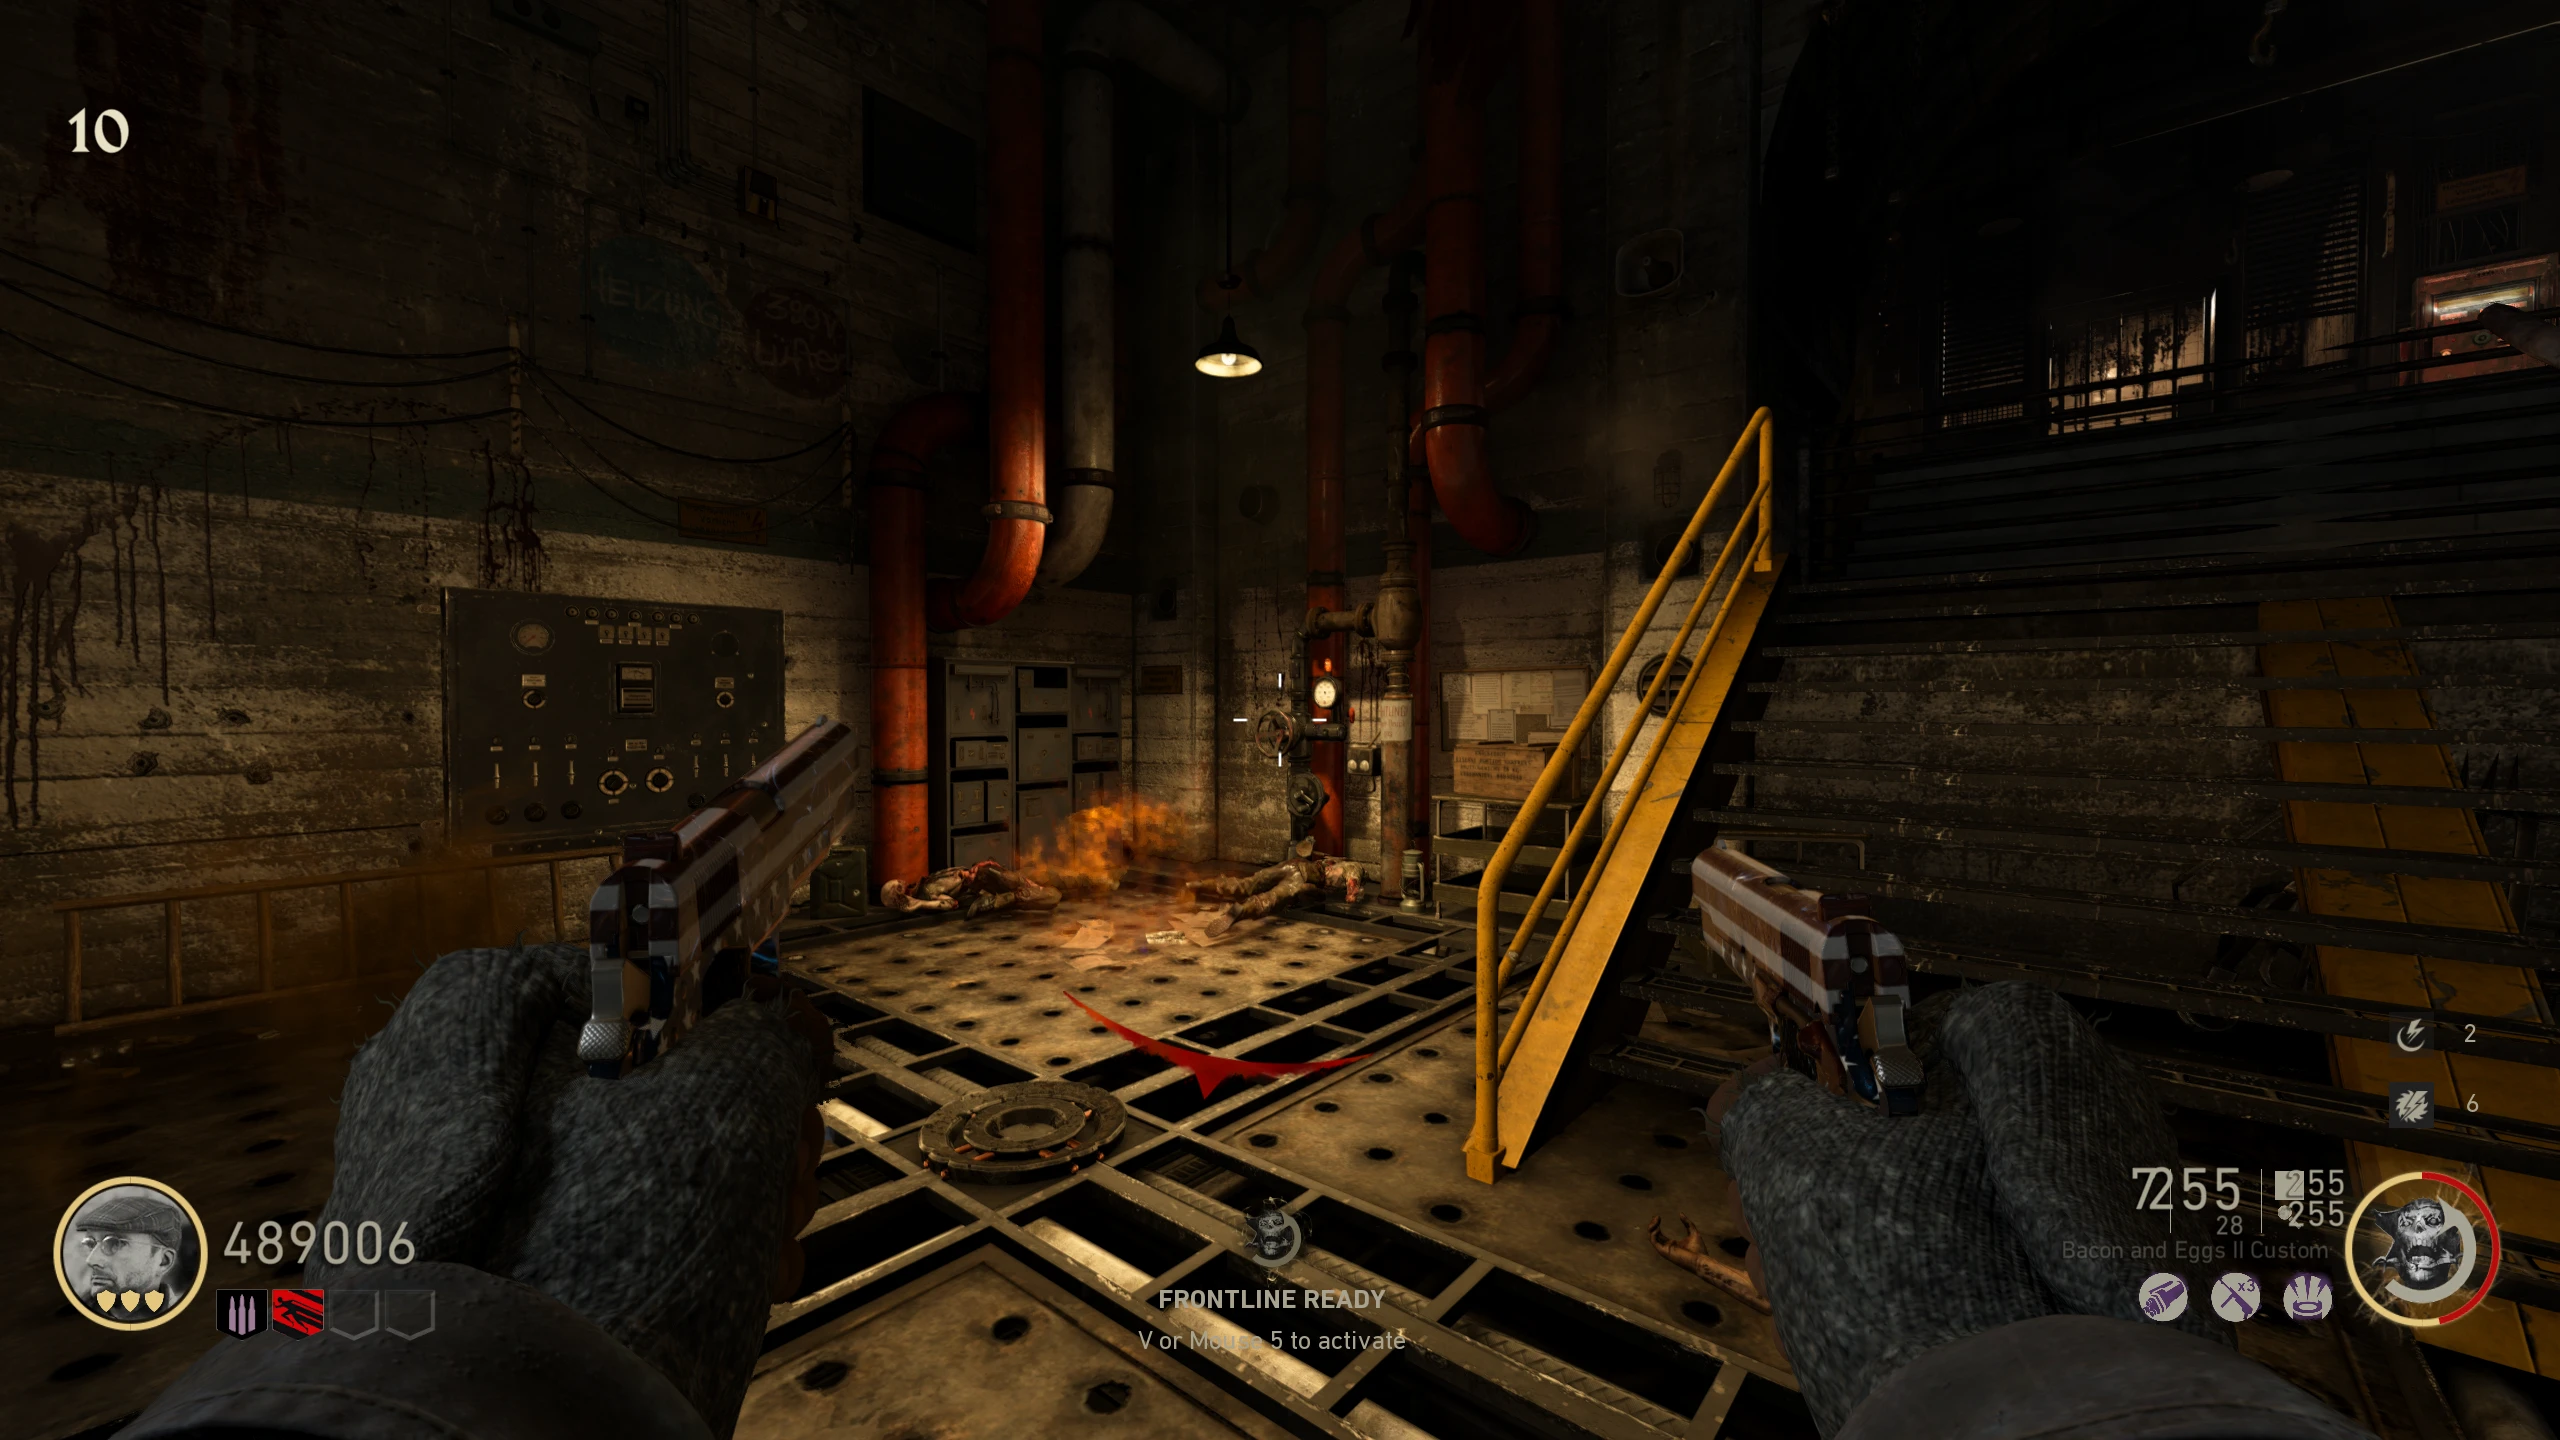
- Get about 10 kills next to the Corpse Gate. When you've gotten enough kills, some dialogue will play, and you will be locked in the 'U-Boat Pens' with some of the floor tiles randomly shooting fire.
- In three corners of the 'U-Boat Pens,' there are three gas valves (on either side of the Corpse Gate, and left of the stairs) that need to be deactivated. The tiles below the valves will always be on fire, unlike the other tiles. Randomly, one of the valve's tiles will go out, indicated by a gas turning off sound. You can then turn off that valve.
- If you're too slow, the fire will reappear under the valve, and you must wait until it has gone again.
- Once you've turned off all the valves, the fire will go away and you can interact with the Corpse Gate. The man will be ripped in half, and the door behind will open to reveal the Freezer area. Once the door has fully opened, a Brenner Zombie will spawn. Killing it drops a Max Ammo power-up that doesn't despawn, so you can leave it until you need it (save it for the Boss Fight).
- Make your way to an outside area of the map. Planes will start flying around, shooting at you. Using any of the Anti-Air guns around the Bunker area, shoot down about three waves of planes (until "Shot down the German Fighter Planes" appears on screen).
- The AA guns have health and can be attacked by Zombies, but you can shoot the Zombies with the AA gun.
The rest of the Quest is split into two parts (Unlocking Nerthus' Secret Room / Ritual Sacrifices and Destroying The Ships). These parts can be done independently of each other, and in any order.
Unlocking Nerthus' Secret Room
- On the first minecart trip of a round, go between Bunker 1 (Graben) and the Beach (Strand). Halfway through the trip, there will be a semi-broken wall that can be blown open with one of the Bombers on the tracks.
- Interact with the blown open wall to enter the Secret Room. Pick up the Monk Head right of the Ancient Door and then exit the room through the crack in the wall across from the door.
- Place the Monk Head on the machine on the left in the Freezer in the 'U-Boat Pens.'
- To open the door, you'll need to place three "Sons of Nerthus" (small stone statues) in the Ancient Door. The sons can be obtained in any order. How to get each of the sons:
Son How to Obtain 1st Son - Enter the AA gun on the 'Overlook' and shoot this rock on the side of the cliff. It will explode and the Son statue will drop onto the beach.
2nd Son - Obtain a normal Zombie's spine.
- Give it to the Monk in the Freezer. After a couple of seconds, a friendly Zombie will spawn, and start running to the Beach. He can be attacked, so make sure to defend him.
- Once he reaches the Beach, he will run into the water. After a few seconds, he'll come back carrying a Son statue. He'll walk onto the beach and die, dropping the Son for you to pick up.
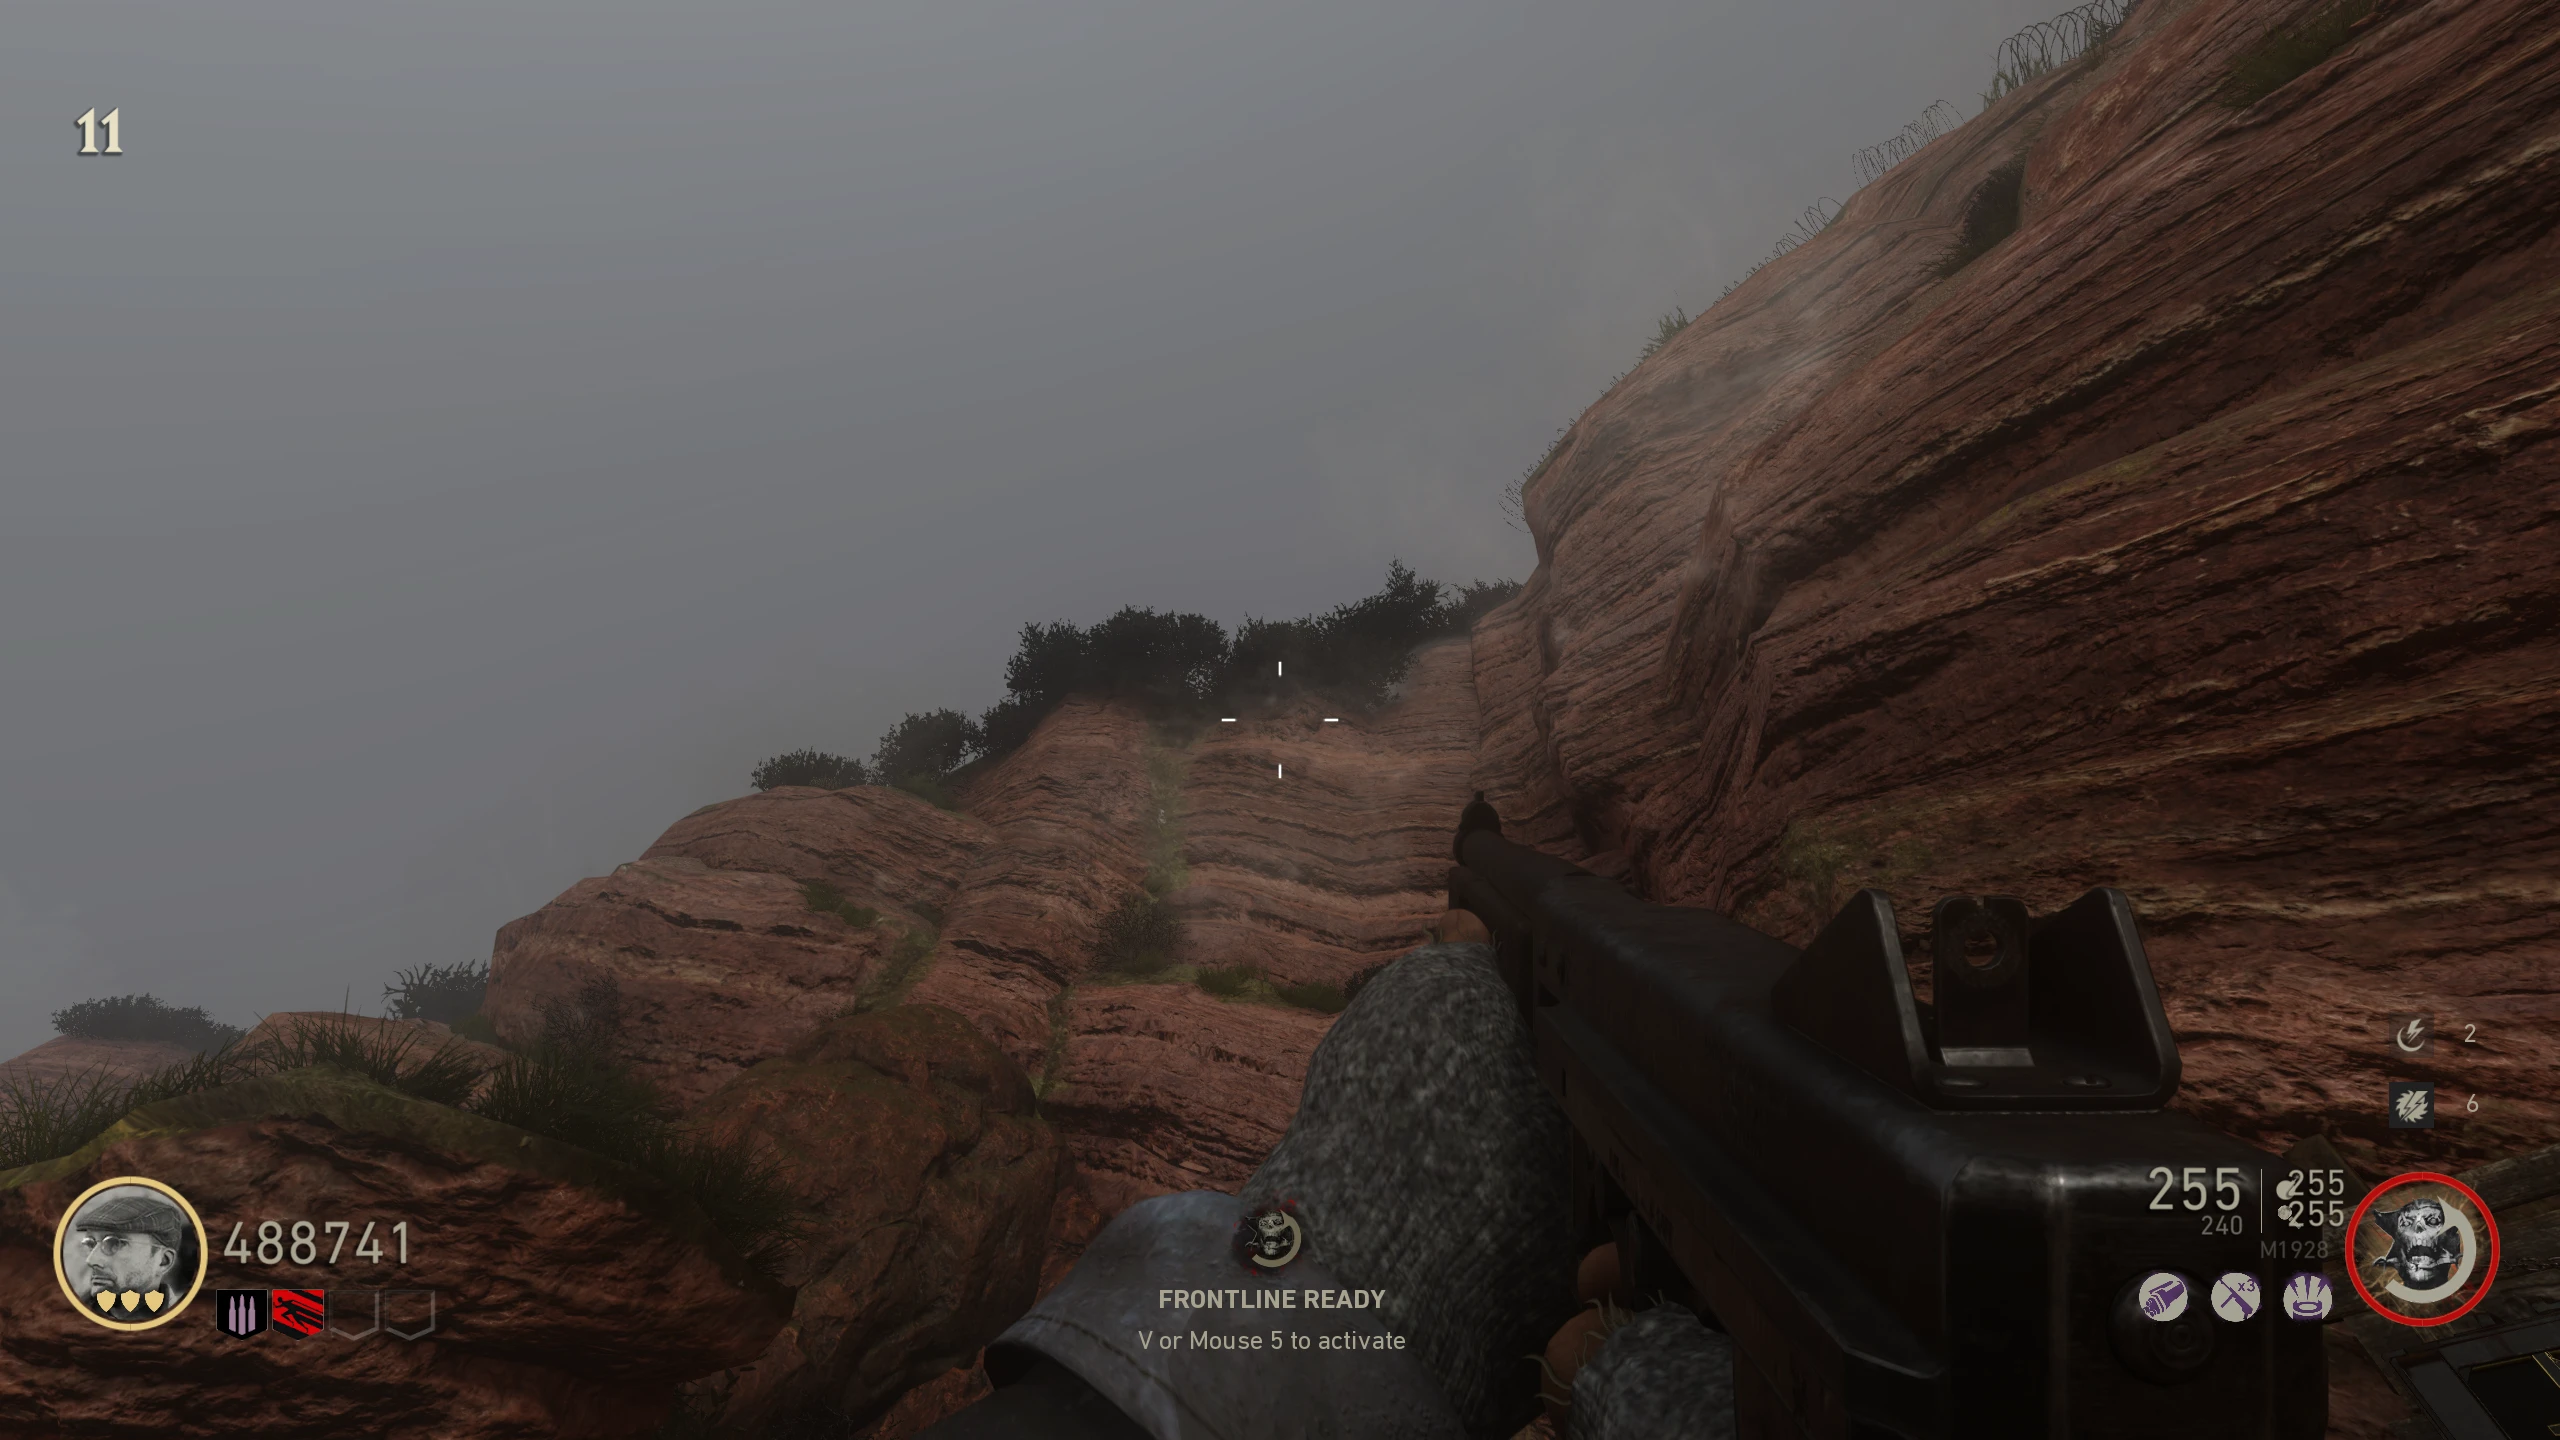
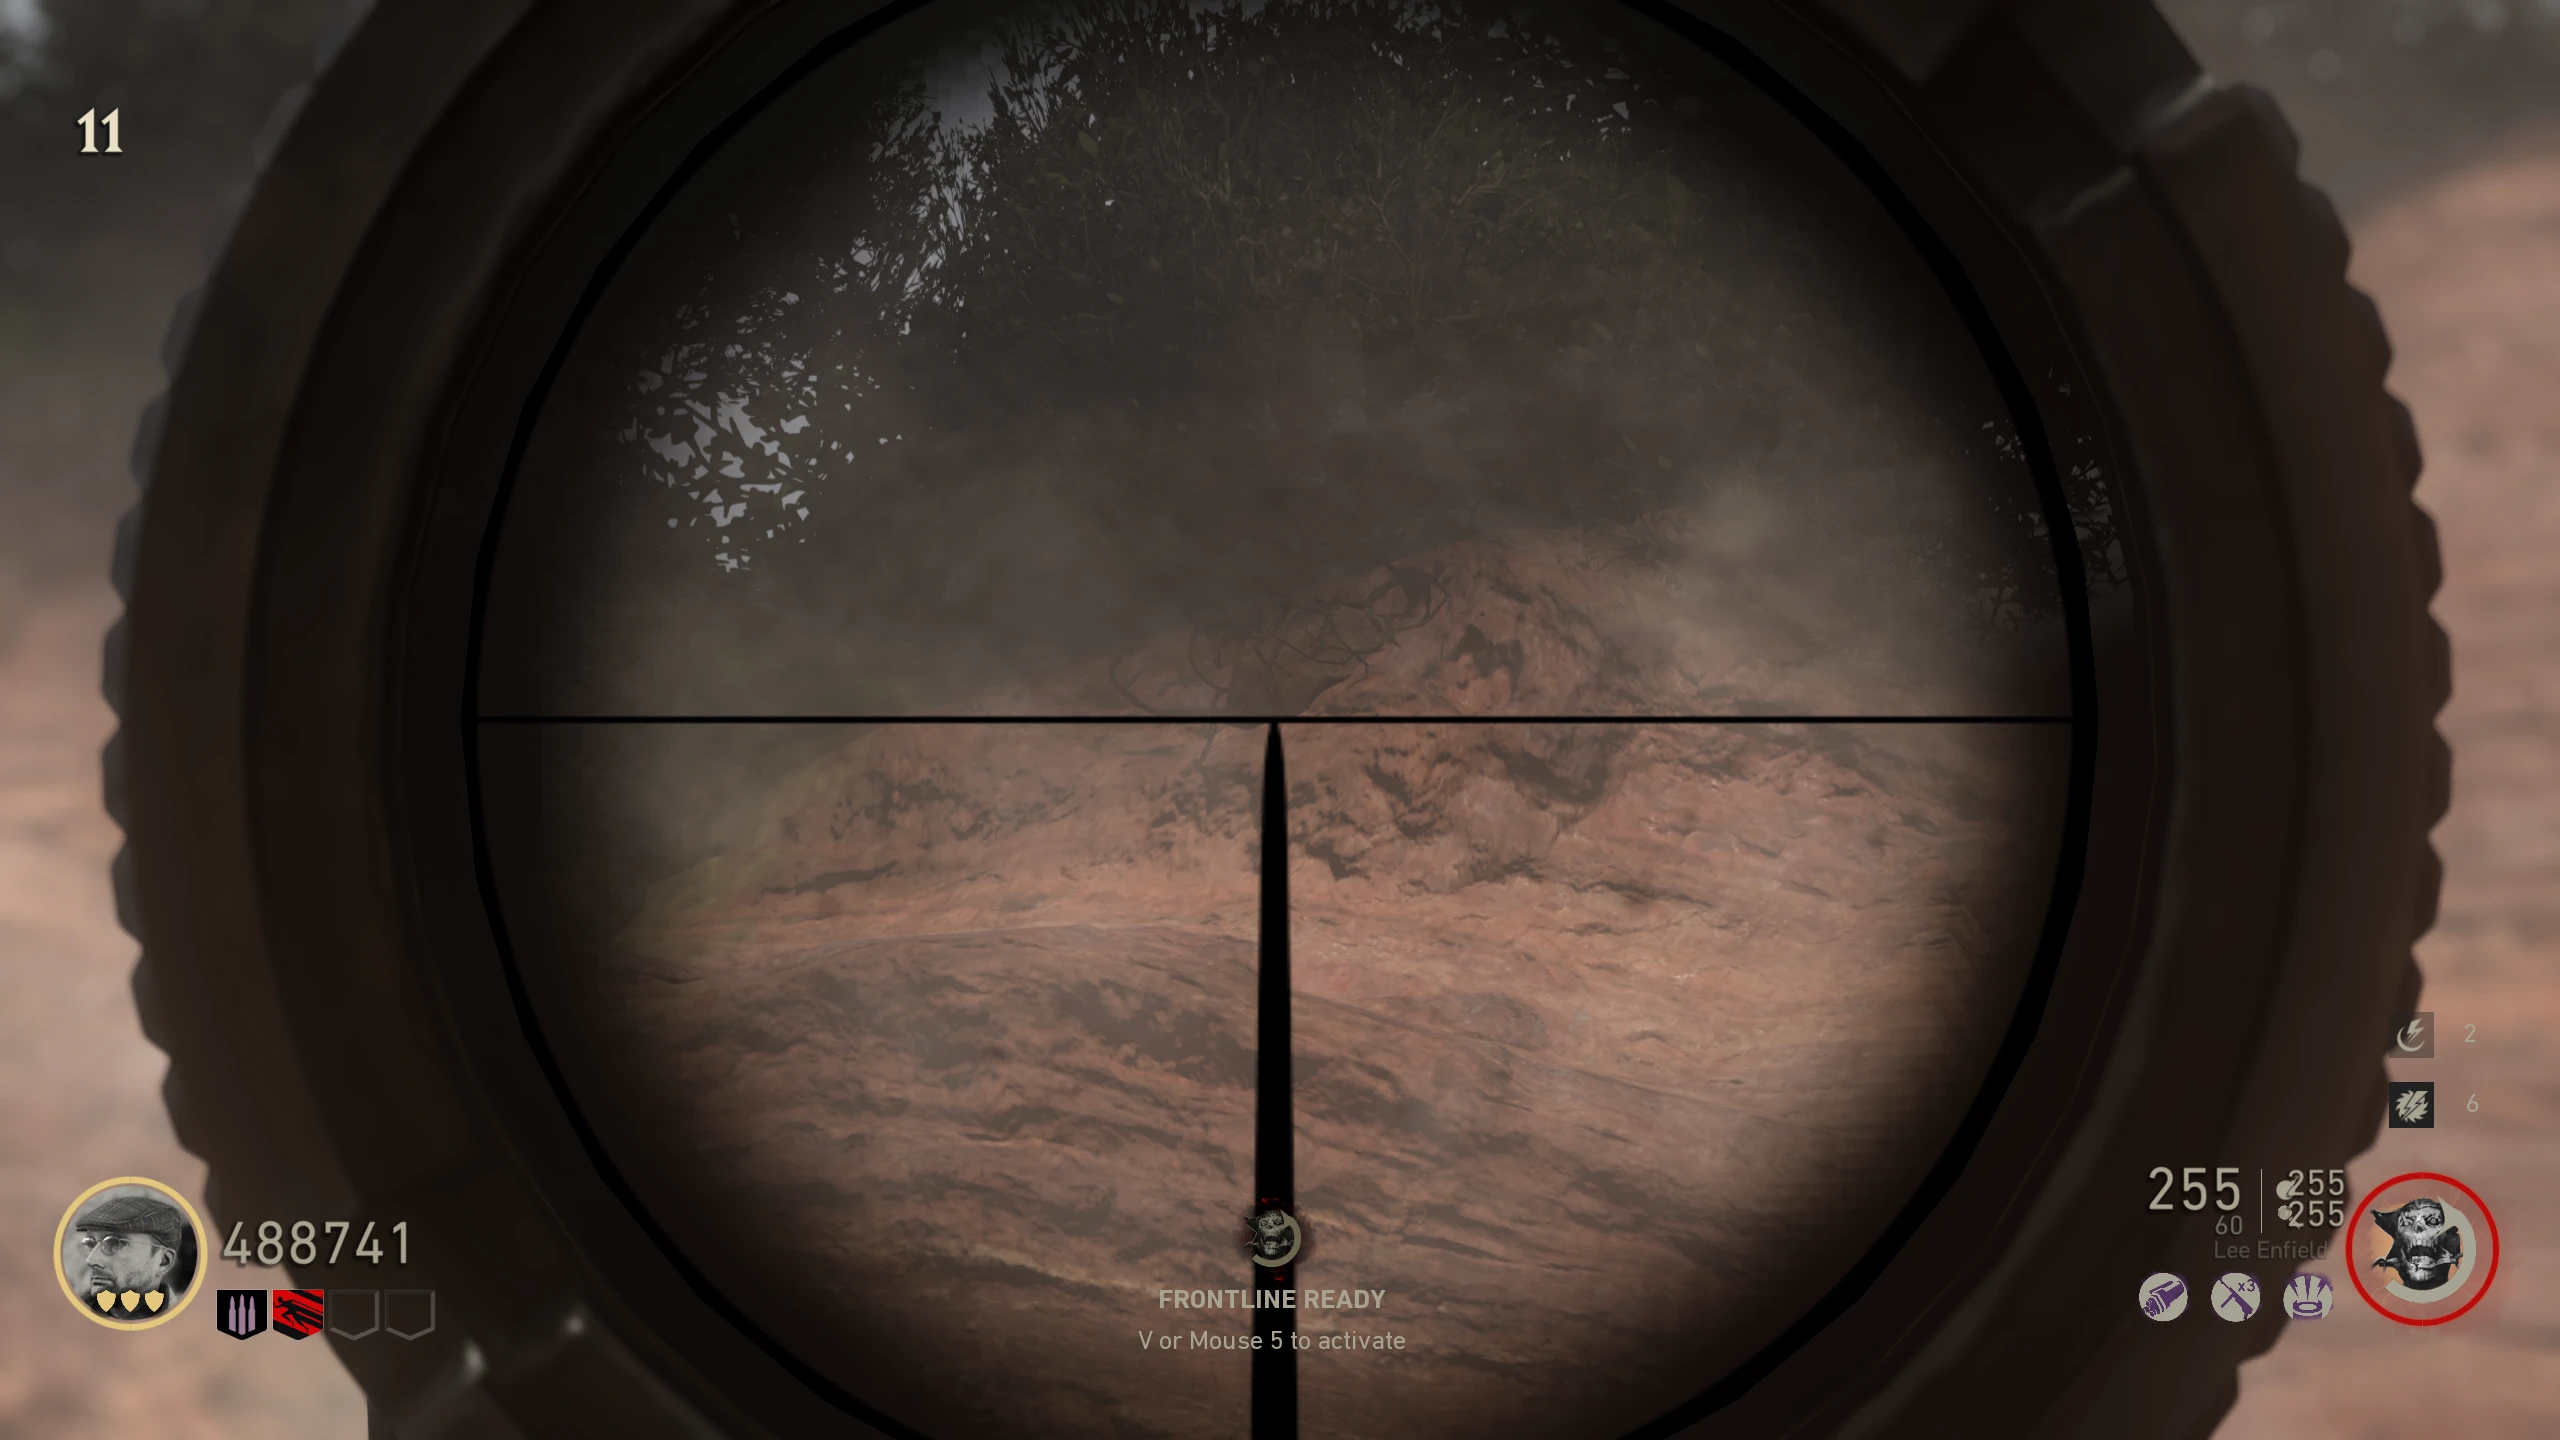
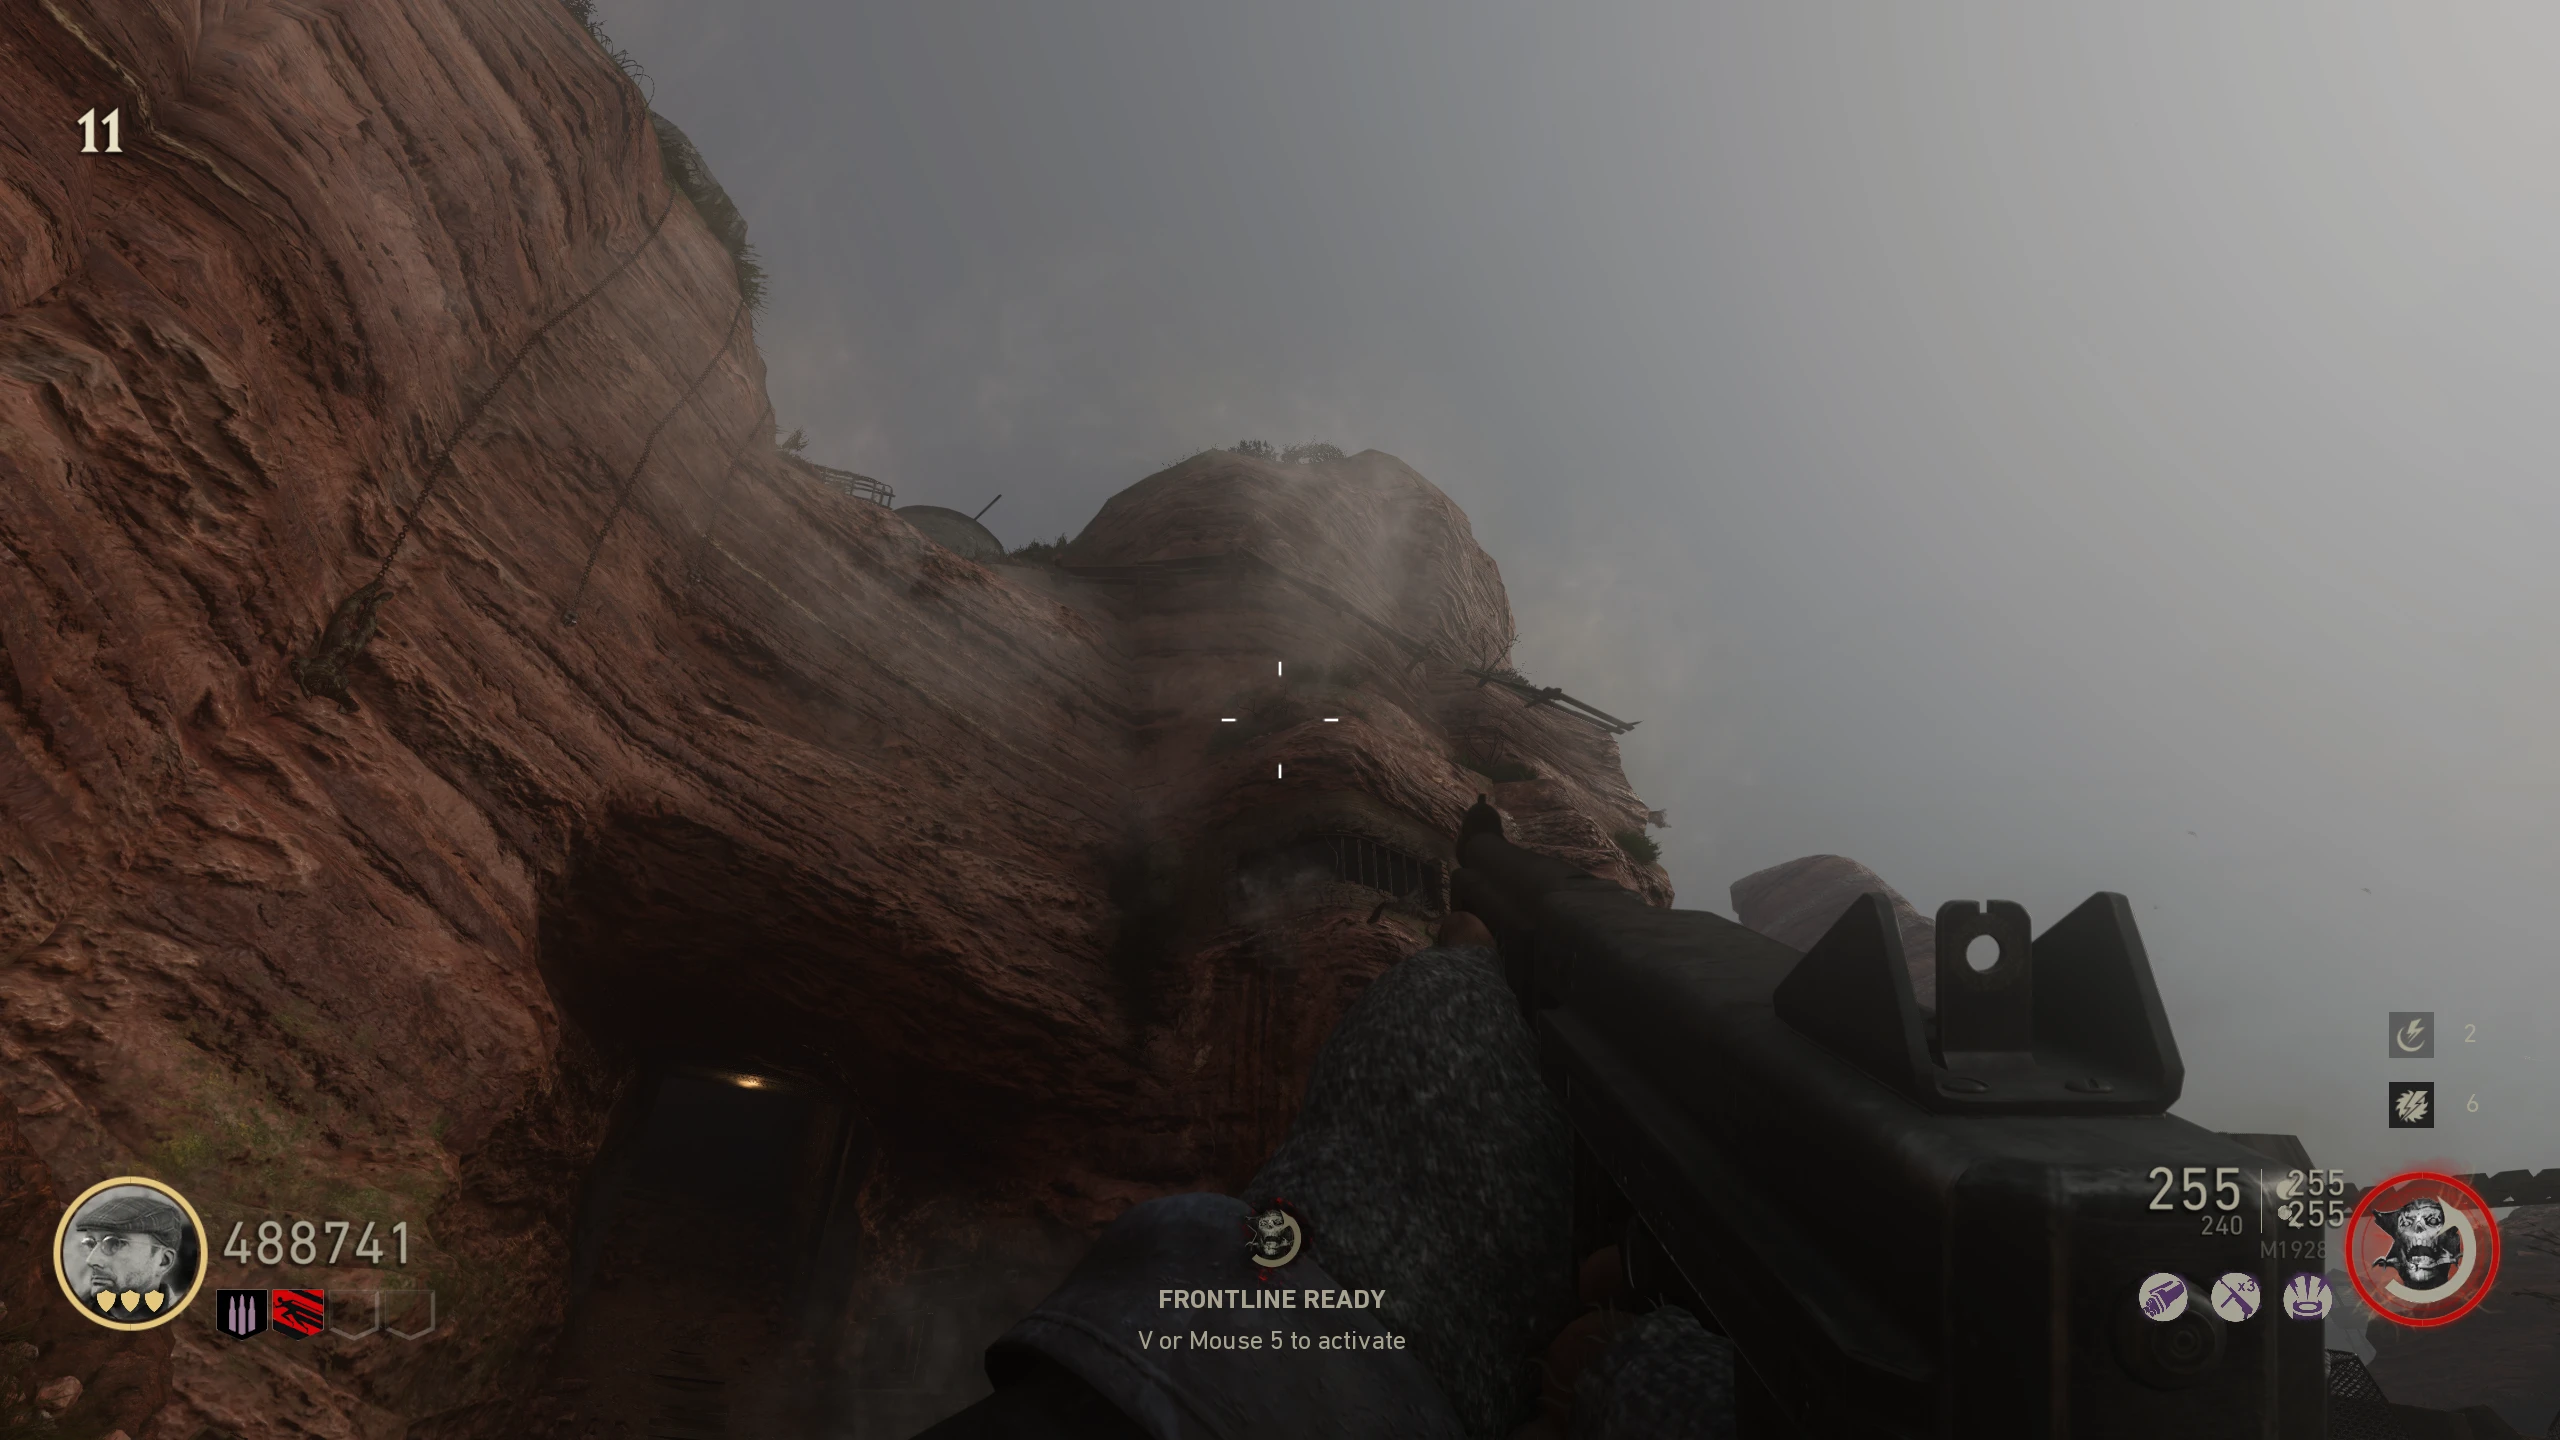
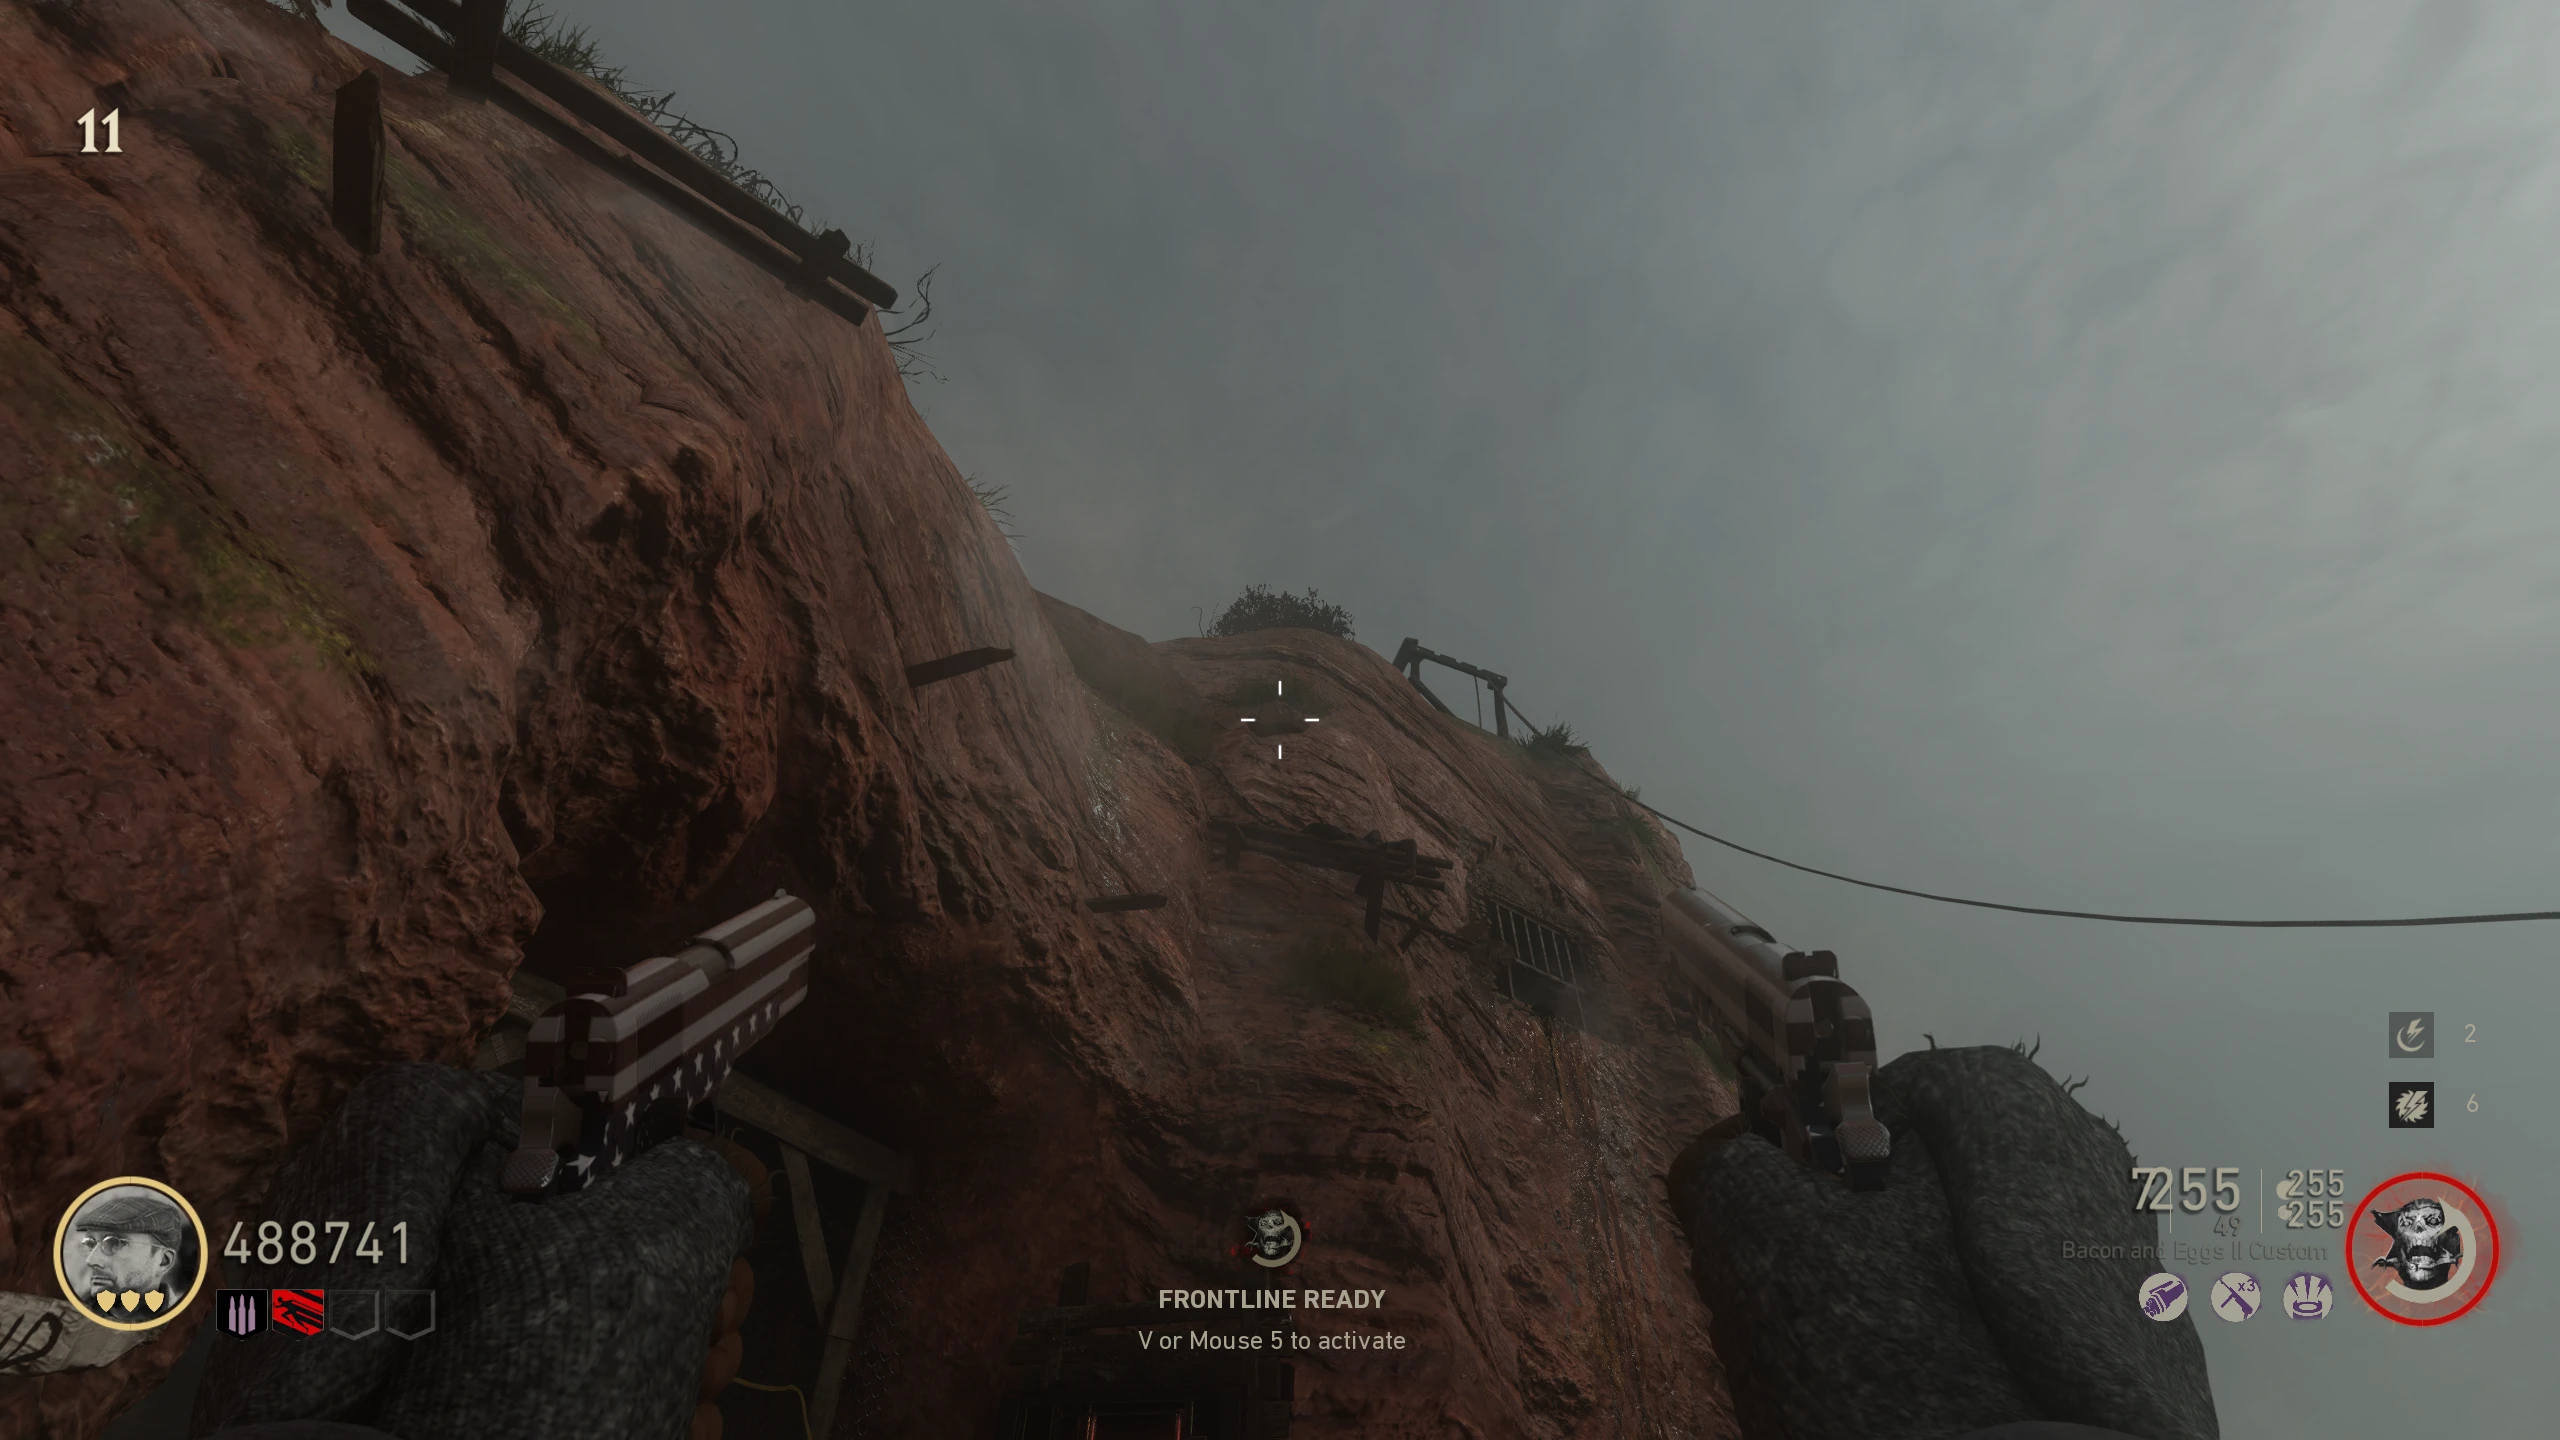
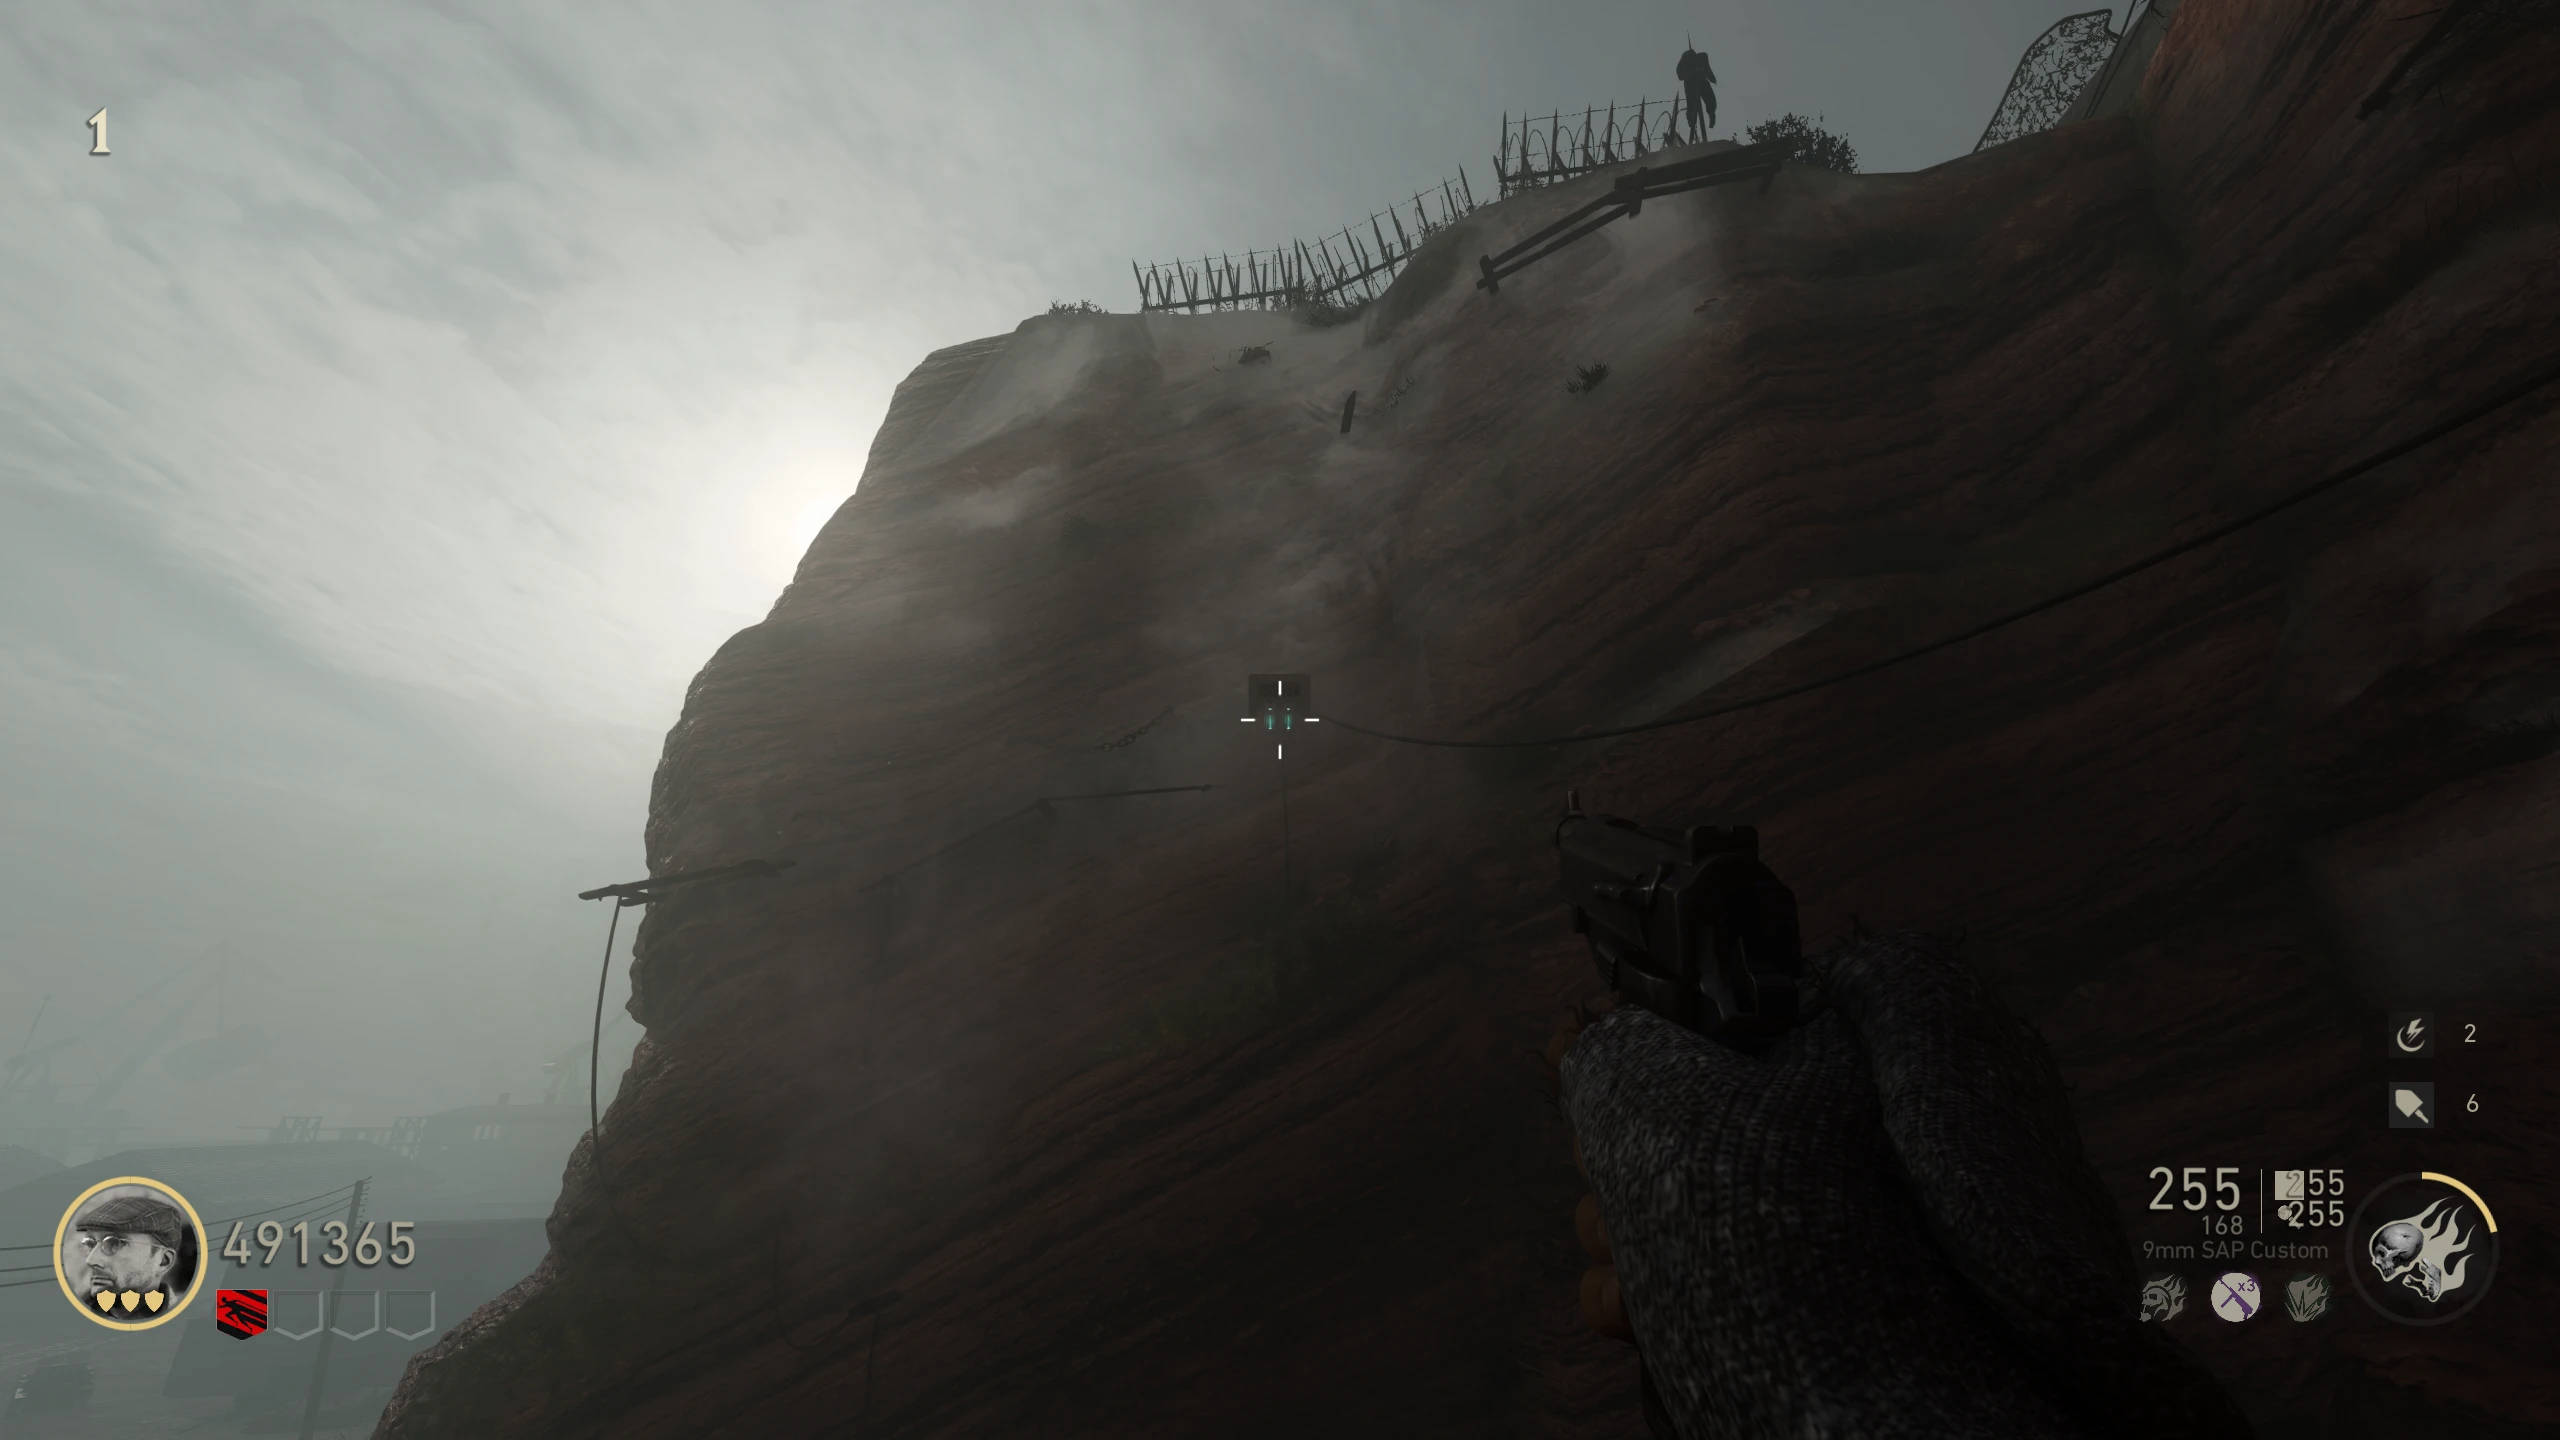
3rd Son - Around the outside areas, there will be rocks covered in moss high up on walls/cliffs. Shoot these rocks with the Ripsaw until one of them drops a Son. Rock Locations:
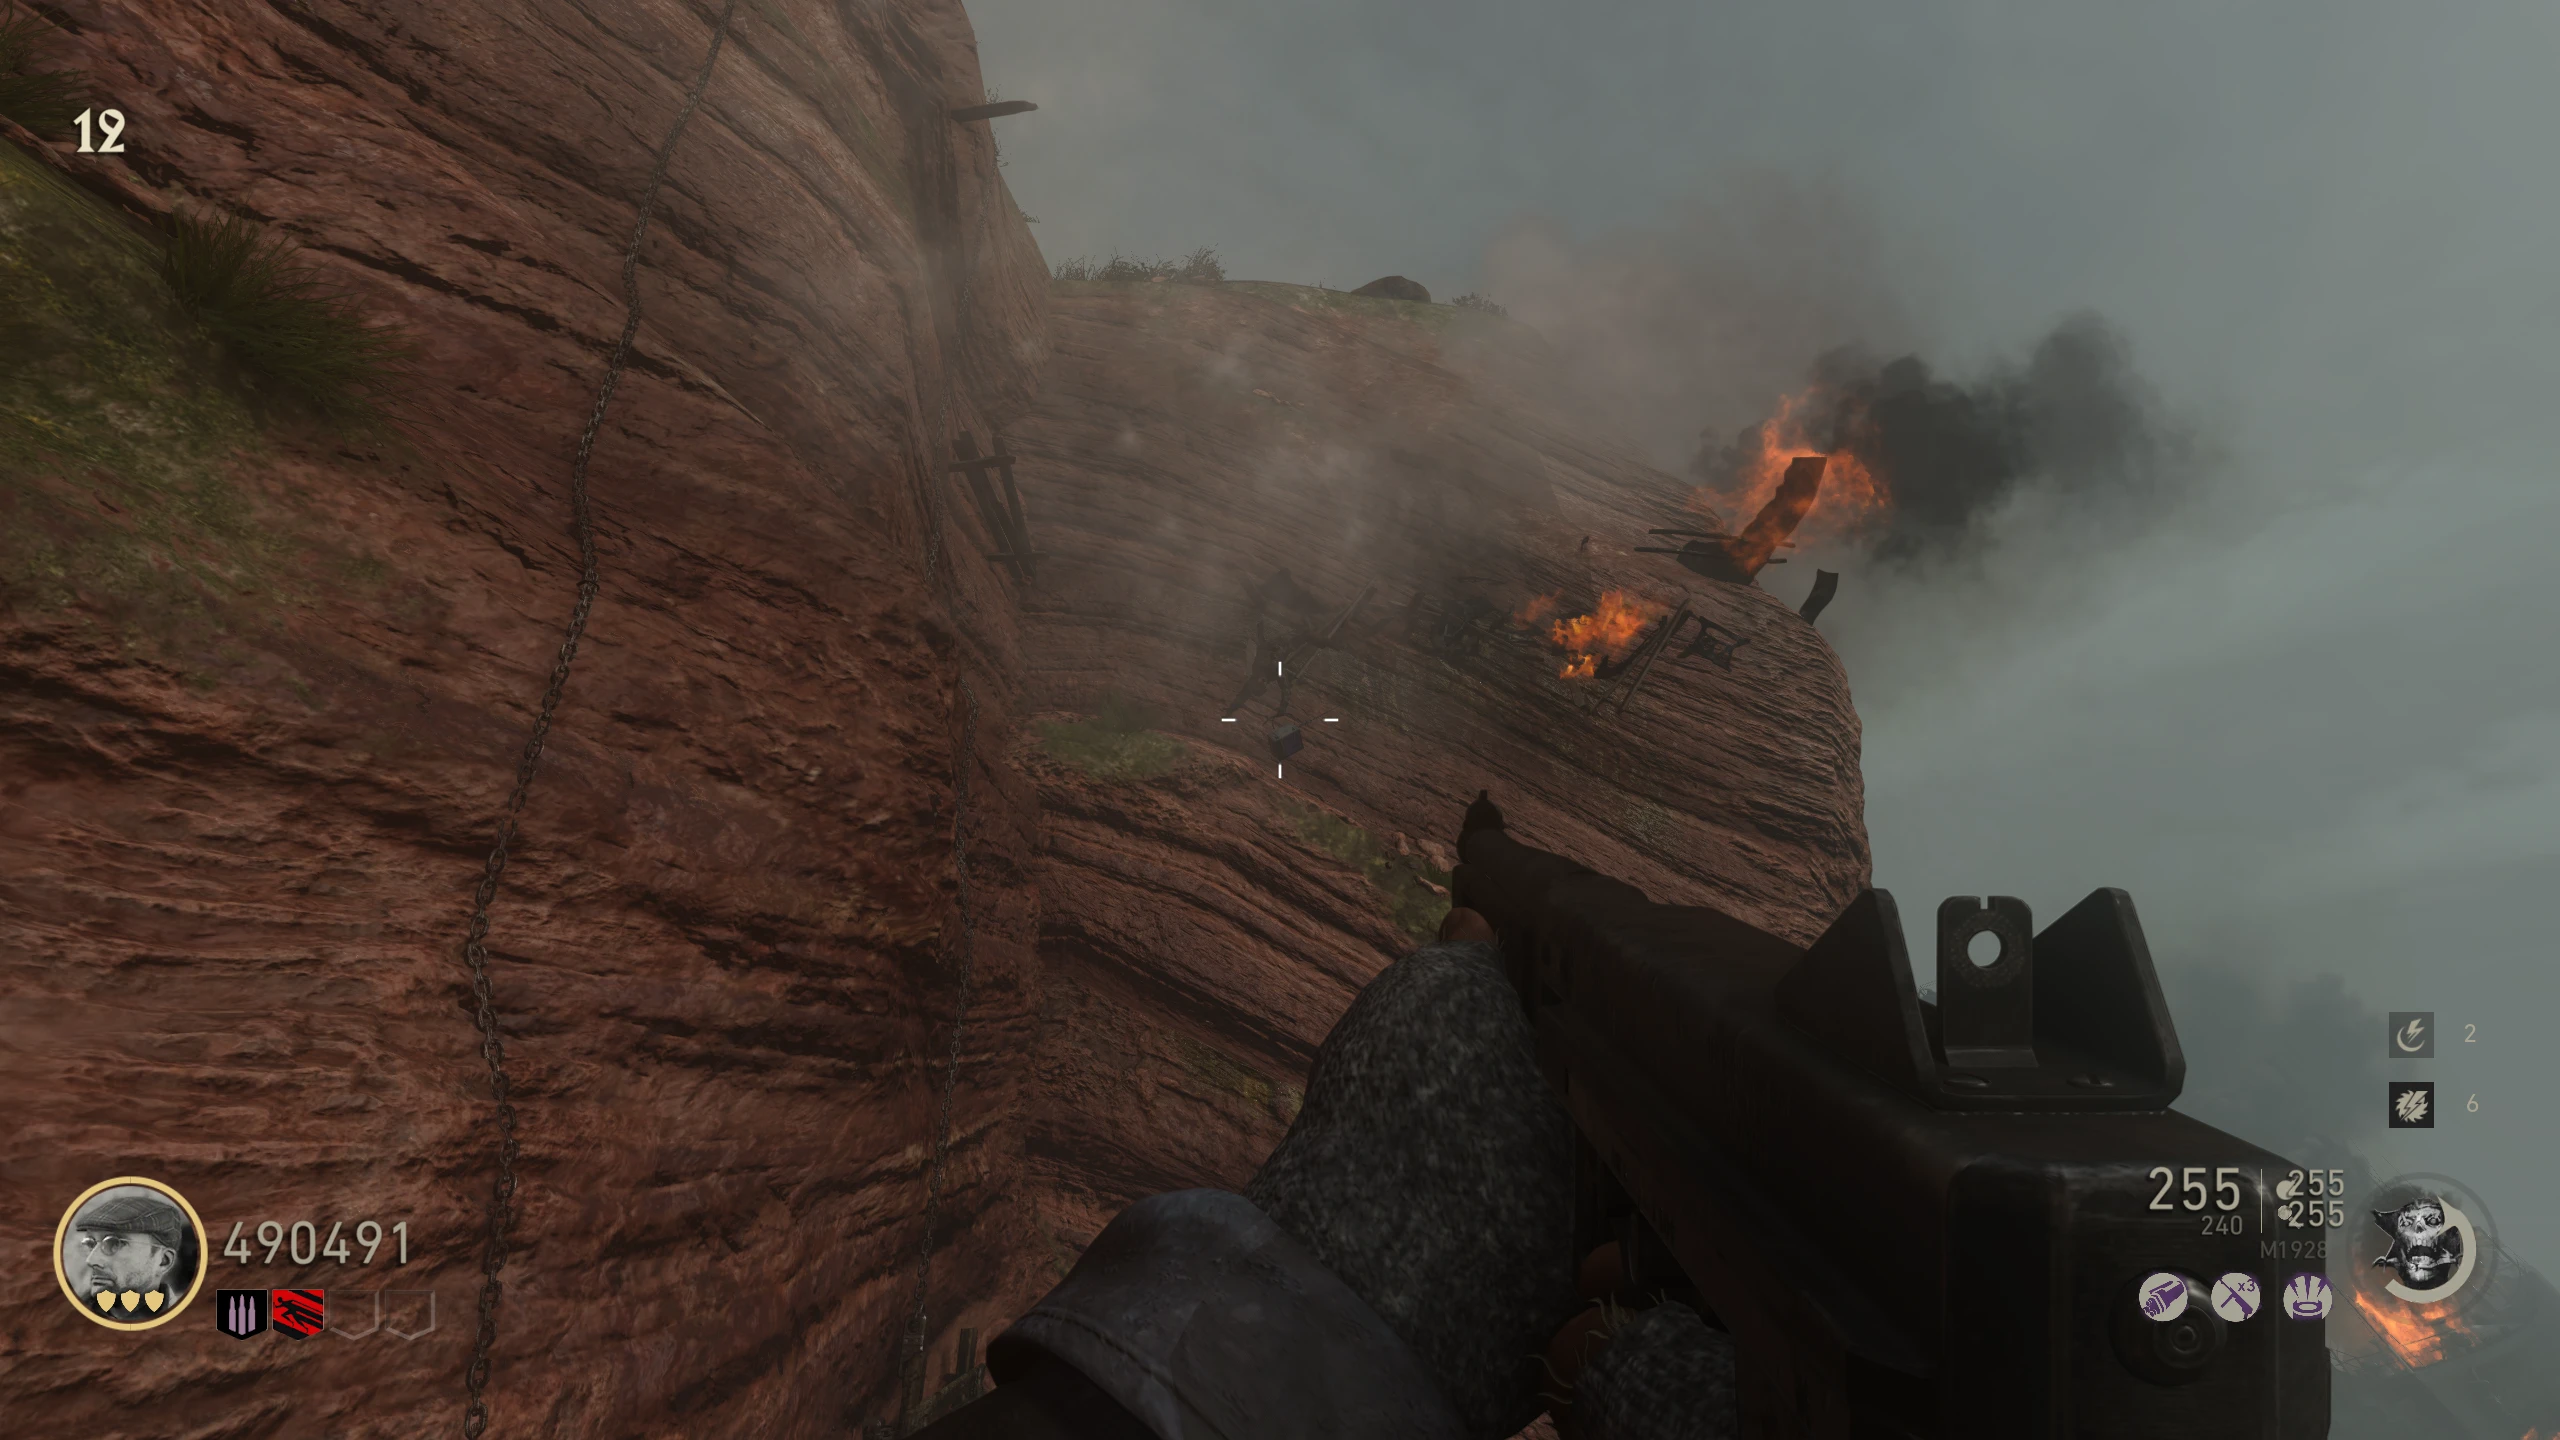
- Beach - Above Quick Revive --- Zoomed-In View
- Beach - Above the Machine Pistol wallbuy --- Zoomed-In View
- Bluffs - Above the door to the 'Beach Passage'
- Bluffs - Above the SVT-40 wallbuy
- Bluffs - Above the Waffe 28 wallbuy, near Electric Cherry --- Zoomed-In View
- Bunker 3 - Above the doorway to the 'Bluffs'
- Bunker 3 - Above the first set of stairs to Pack-a-Punch
- Bunker 3 - Above the stairs down beside Pack-a-Punch
- Bunkers - Above doorway to the 'Bluffs'
- Once all three sons are in the door, it will open, revealing three Meuchlers "praying" in front of a statue of Nerthus. You can either kill them or leave (which will completely despawn them if the map isn't foggy at the time).
Ritual Sacrifices
- You will need to complete three different ritual sacrifices (Meuchler Sacrifice Ritual, Wustling Sacrifice Ritual, and Pest Sacrifice Ritual) which can be done in any order.
Meuchler Sacrifice Ritual
- Obtain a charged Meuchler spine (Meuchlers will spawn every couple of minutes in the secret room, making it a good way to get that spine).
- Bring the charged Meuchler spine to the Monk Head. This will bring a friendly Meuchler out of the freezer. It will run off, and the map will become foggy.
- The Meuchler will spawn, run to somewhere around the outside areas of the map, curl up in a ball, and start "screaming." You must find and shoot it before the Zombies "kill" it. To help find it, listen for the screams; once you get close, follow the Zombies since they should be going after it.
- A normal Meuchler might spawn in this fog, so be wary.
- If the Zombies kill the Meuchler or you take too long to find it, you need to get another Meuchler spine and try again.
- Meuchler Spawn Locations (may not be all of them):
- Once you shoot the Meuchler, it will run off again and spawn somewhere else. You will need to repeat finding the Meuchler two more times.
- After the third time, the Meuchler won't respawn and the fog will lift. All players must go to the secret room.
- Once all players are in the room, the door will close, and a Meuchler will climb down from the ceiling and curl into a ball. Kill the Meuchler and pick up its head. This Meuchler will have more health than a normal one.
Wustling Sacrifice Ritual
- Obtain a charged Wustling spine.
- Bring the charged Wustling spine to the Monk Head. This will bring a friendly Wustling out of the freezer. It will follow the nearest player unless a perk machine is closer. You can shoot the Wustling (it doesn't charge) to make it temporarily follow only you. You will need to guide the Wustling to perk machines in a specific order.
- The only path to Faustblitz (melee perk) will take you very close to Laufenblitz (Stamin-Up), so make sure you keep the Wustling locked to following you so it doesn't accidentally use the wrong/out-of-order perk.
- If the Wustling does grab the wrong/out-of-order perk, you will need to let the Zombies kill him, and get a new spine and try again.
- Perk Order:
- Once the Wustling grabs Lebenblitz (Quick Revive) and all the other perks are correct, it will jump through the hole in the wall beside Quick Revive and disappear.
- All players must go to the secret room. Once all players are inside, the door will close and three Wustlings will fall from the ceiling. Kill them and pick up the head one of them drops. One of the Wustlings will have more health than a normal one.
Pest Sacrifice Ritual
- Blow open all the following fuse boxes around the map with grenades to reveal coloured coils:
- Obtain a charged Pest spine. Bring the charged Pest spine to the Monk Head. This will bring a friendly Pest out of the freezer.
- You will need to charge the Pest five times. To charge it, shoot a Ripsaw blade at specific coils while you and the Pest are in specific locations. The blade bounces off the coils and hits the Pest, charging it. The Pest will follow a set path for each charge location. You have to wait till it's in position, then fire the blade, and hope it doesn't move before the blade reaches it. Charge setup/locations:
If the Pest dies, or you charge it wrong, you will need to get another Pest spine and try again.
- Once the Pest has been charged five times, it will drop dead.
- All players must go to the secret room. Once all players are inside, the door will close and about 5-10 Pests will fall from the ceiling. Kill them and pick up the head one of them drops.
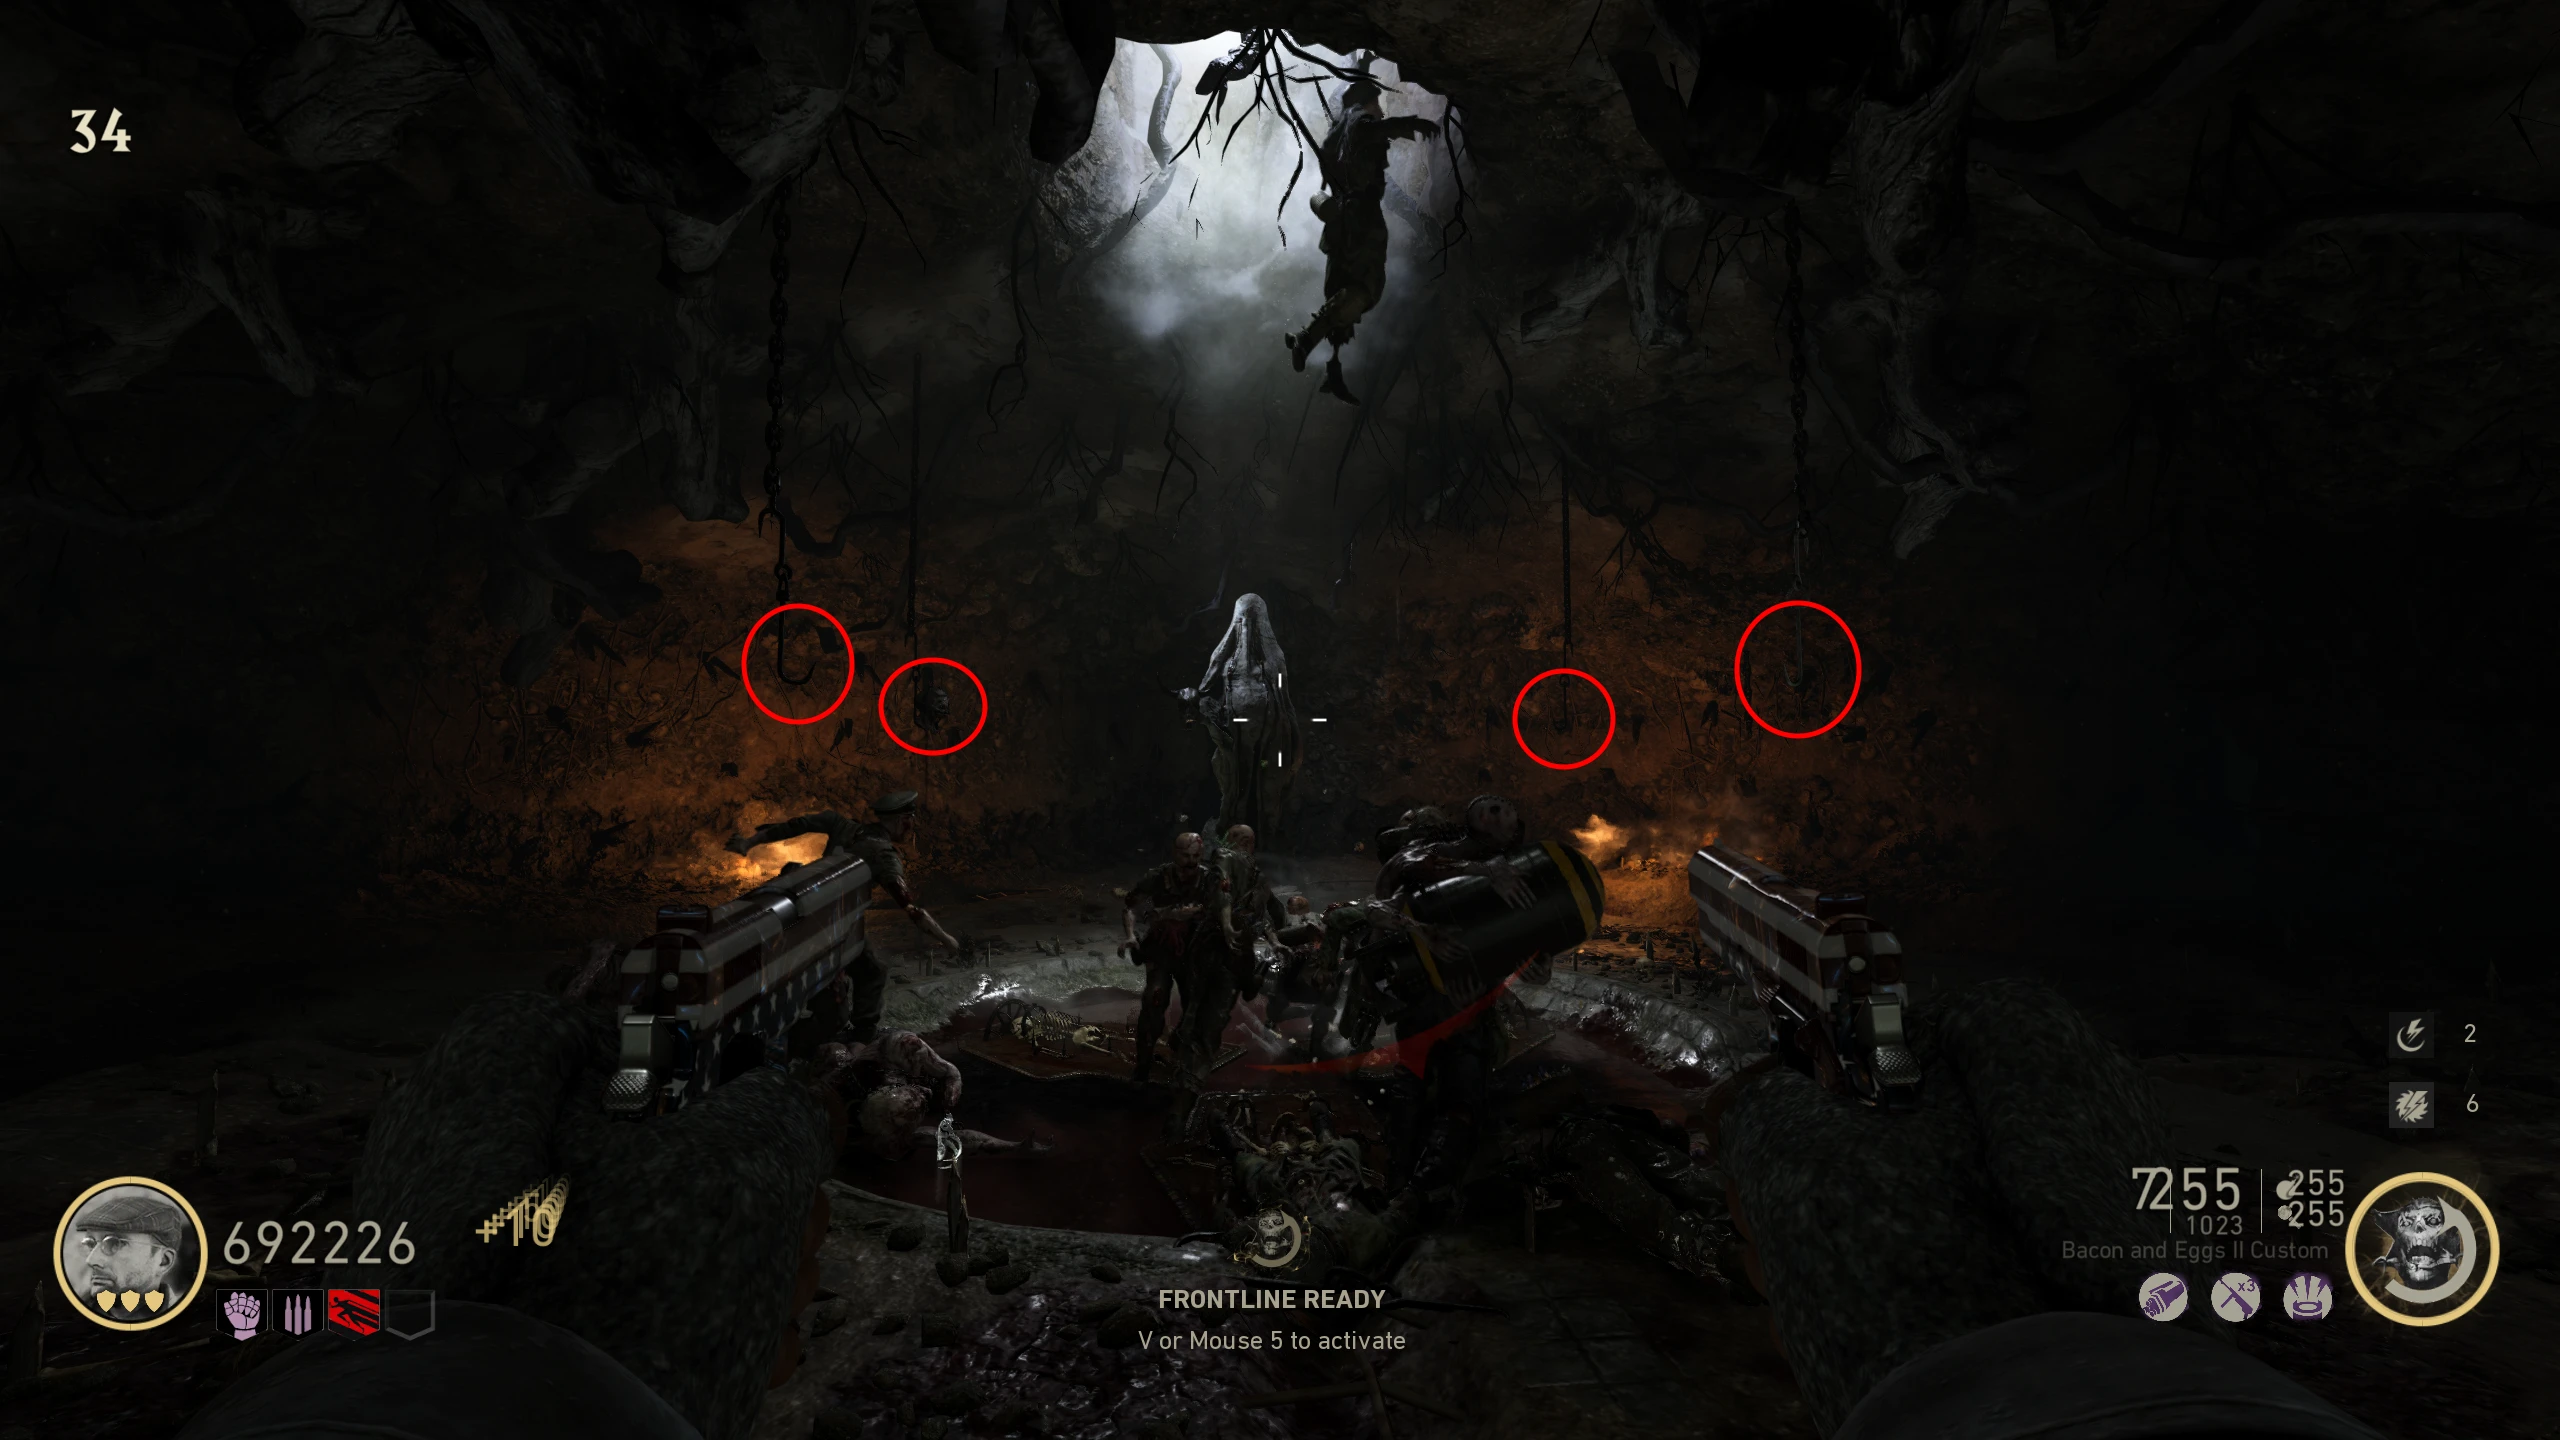
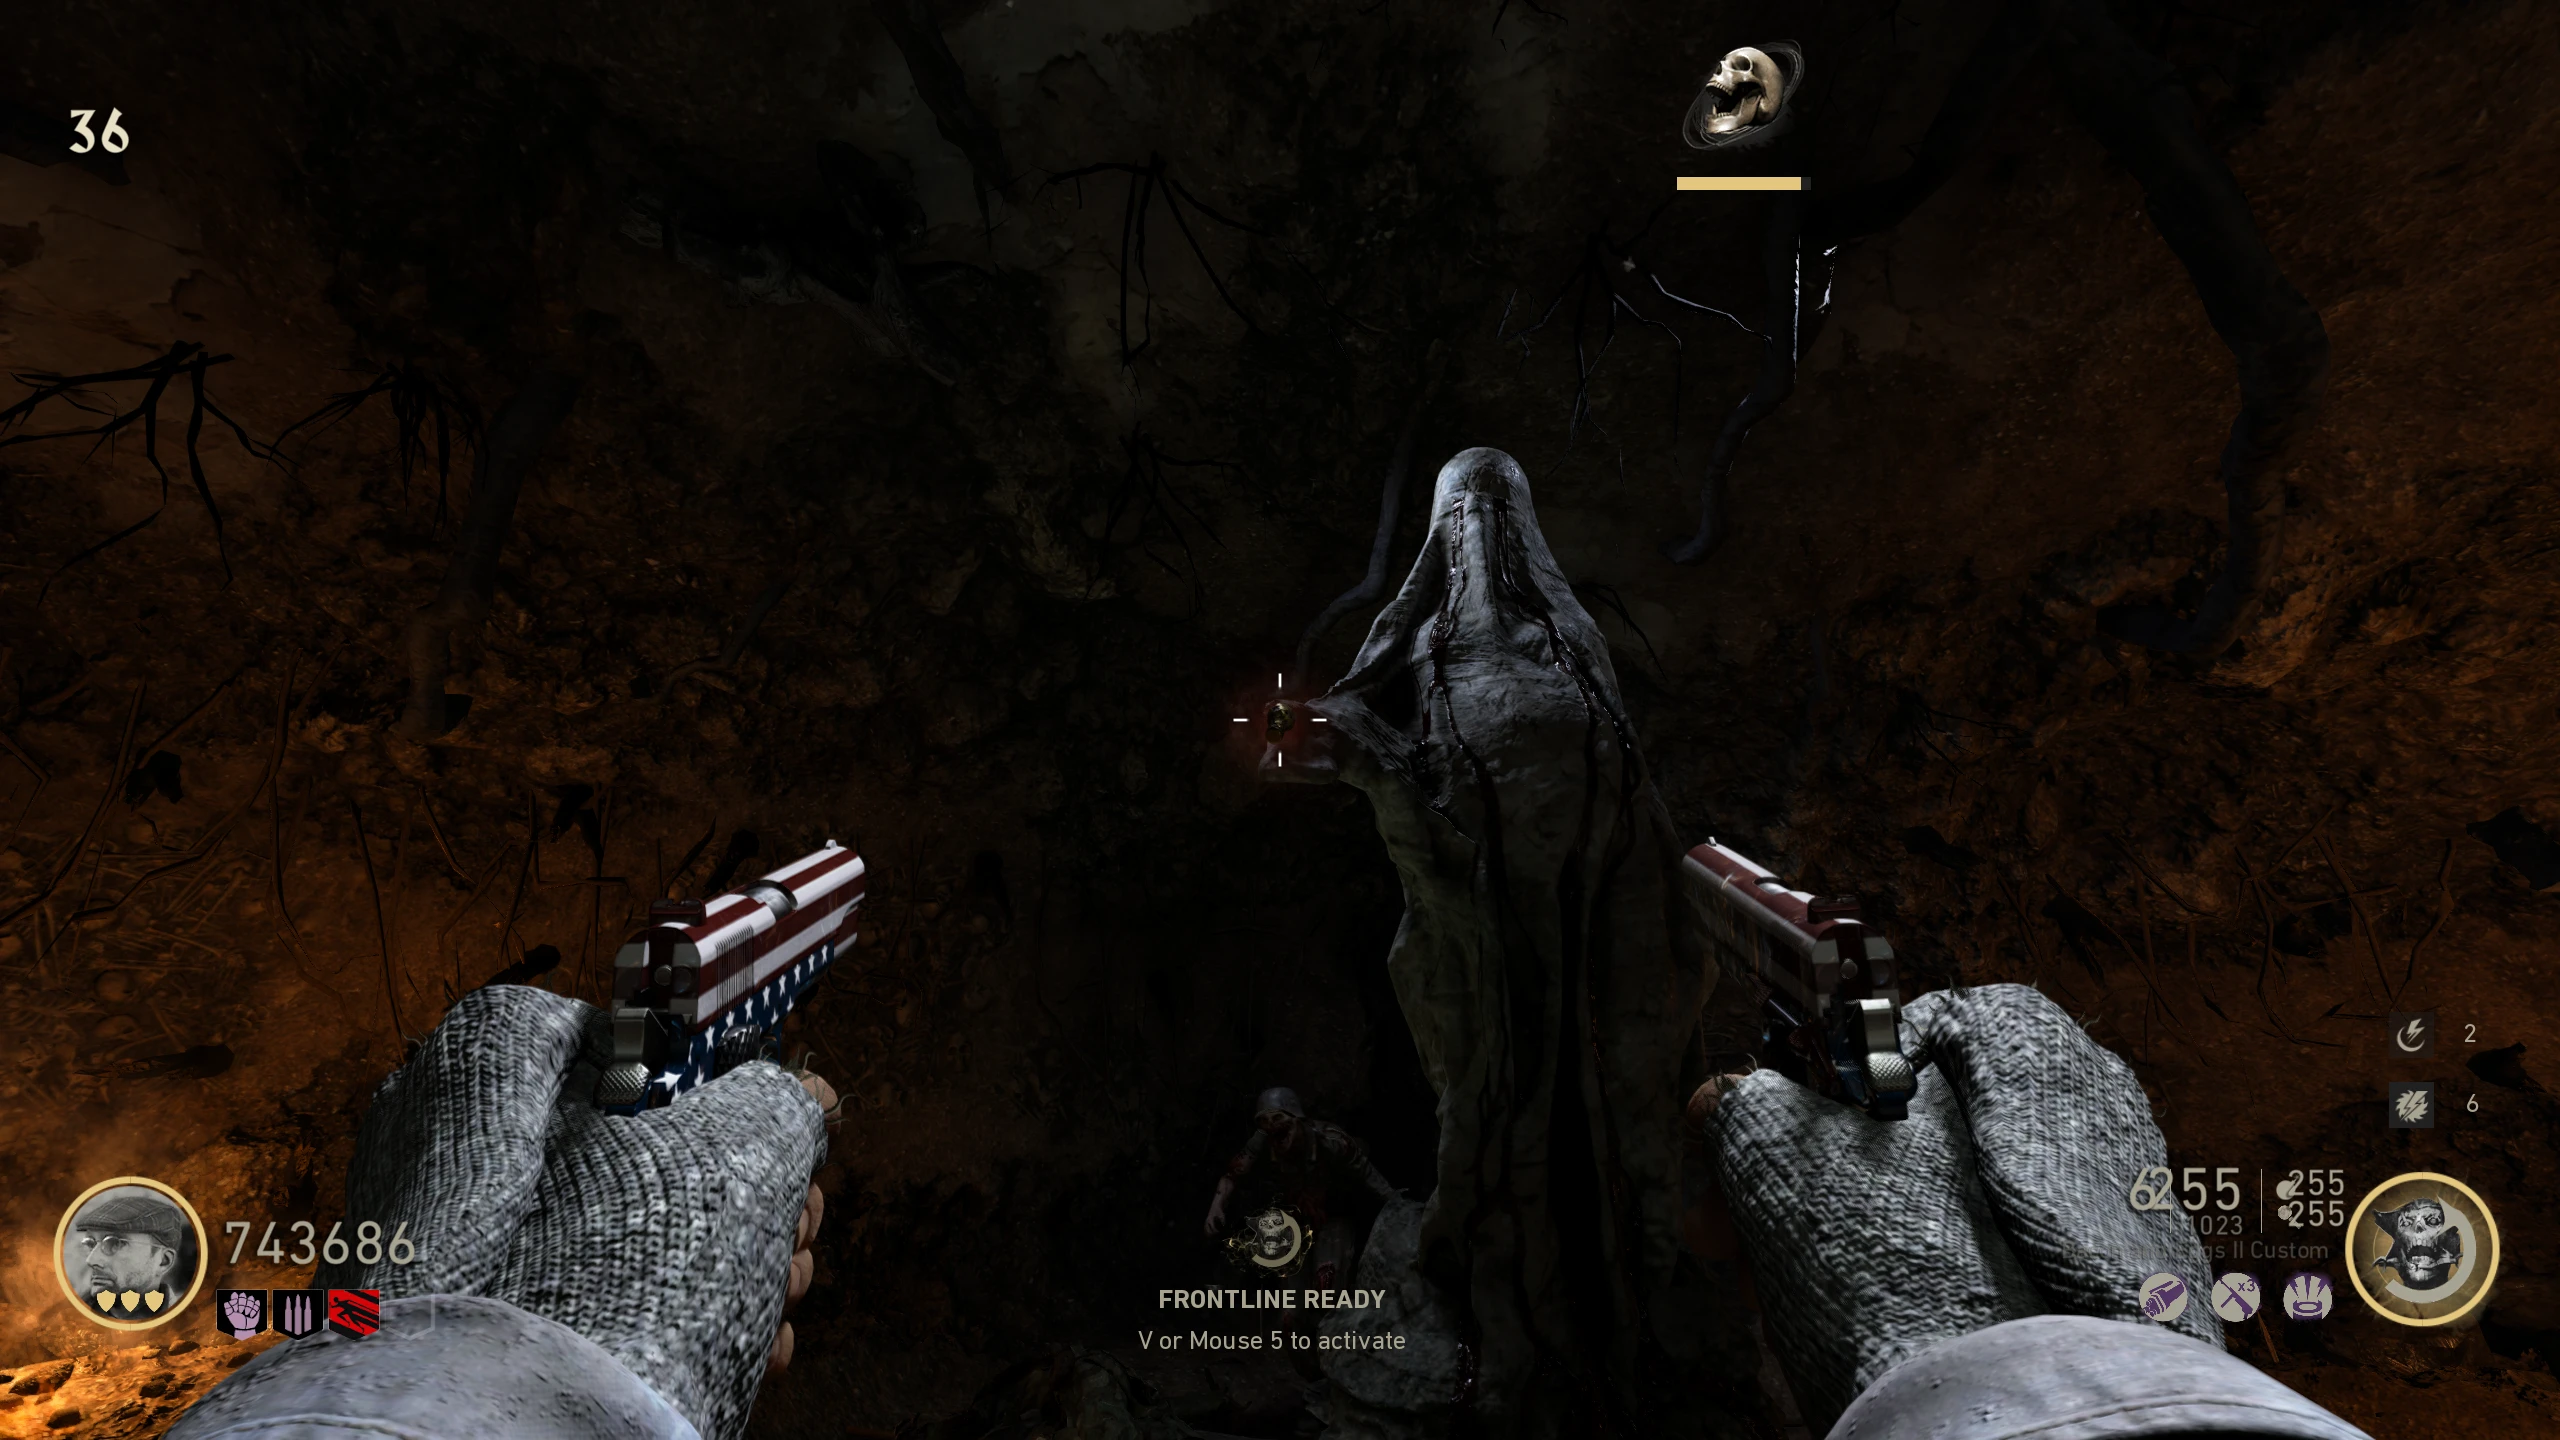
- Once you have three heads from the rituals, pick up the Monk Head from the machine in the Freezer. Place the heads on the four hooks hanging from the ceiling in the secret room. The door will close, and you will need to fill the sunken middle area of the floor with blood by killing Zombies anywhere in the room (~50-75 Zombie kills needed). The Zombies should start infinitely spawning.
- Once you get enough kills, the animal skull the statue is holding will explode, revealing the Pommel of Barbarossa.
- The Pommel is a tactical grenade that, when thrown, creates an initial explosion that instantly kills Zombies, followed by an energy bubble, then another explosion that will damage any Zombies in the bubble. The Pommel regenerates infinitly every 10–15 seconds.
- If you want to have the Jack-in-the-Boxes for the Boss Fight, you'll need to get them from the box, but don't get them yet. The Pommel is needed for the last step before the boss fight. Once you do that step (activating the radio), you're safe to get the Jack-in-the-boxes.
Bomber Escort and Destroying Ships
- Interact with the machine on the right in the Freezer. This will spawn a friendly Bomber that you need to escort to the 'Artillery Bunker.' The Bomber doesn't have alot of health, so you need to defend it from the Zombies; you can't damage the Bomber yourself.
- Once the Bomber makes it to the 'Artillery Bunker,' it will deposit the battery into a receptacle, and die.
- You now need to charge the battery by getting kills near it. You need about 5 kills for one cannon shot; you will need at least two. The cannon can hold six shots at once.
- Once the cannon is sufficiently charged, go the 'Bunkers' and pick up the Radio Part on the floor next to the corpse right of the Combat Shotgun wallbuy.
- Go to the 'Bluffs.' Above the doorway to 'Bunker 3' (above Electric Cherry), there will be a man dangling holding a radio. Shoot the arm of the man with the Ripsaw to make it fall to the floor for you to pick up.
- Go to the 'Overlook' and interact with the Radio on the table, right of the Mystery Box.
- This will play a long bit of dialogue, followed by Destroyer boats firing on the island from the water in front of the cannon. You need to use the cannon to destroy the ships (two total, one at a time). To aim the cannon, interact with the left panel to change the elevation, and the right panel to change the angle. Use this aiming guide image to help you aim the cannon. Interact with the button in the middle of the panels to fire.
- To aim without the helper image, you will need to use the charts on the wall, right of the cannon. The top image will tell you the angle and distance in meters. The bottom image will help you convert the distance to the measurement the panel uses (+05, -10, etc.)
Once the radio is interacted with, the Boss Fight will start.
- Throw the Pommel at the radio you used to call in the British Air Force earlier in the Easter Egg. There will now be a prompt to interact with the radio; don't interact unless you're ready.
- If you wish to get Jack-in-the-Boxes for the Boss Fight, it is now safe to do so.
- Once you're ready, all players must interact with the radio at the same time.
Meistermeuchler Boss Fight
- A short cutscene will play showing the four Meistermeuchlers, each with an ability mimicking the player's special abilities (except Freefire). The purple one (Frontline) will buff nearby Zombies. Green (Camouflage) will temporarily blind players caught in its attack. Red (Shellshock) will send out a shellshock stun attack. Yellow (Freefire) will shoot a saw blade that will bounce off walls.
Phase 1
- While on the Beach, the fog will be present, and you will need to fight each of the Meistermeuchlers one at a time.
- Shoot the Meistermeuchler until you stop getting hitmarkers, and it runs away (called a "KO" or knock-out). If you take too long to KO the Meistermeuchler, it will run away on its own and another will take its place. The Meistermeuchler you didn't KO will come back after each of the others had their turn.
- After KO-ing each of the four Meistermeuchlers, the fog will lift and the phase will be over. Ride the minecart to the next arena; you will be given a Max Ammo on the minecart ride.
Phase 2
- You will be brought to the 'U-Boat Pens,' and a Brenner Zombie will spawn. Also, the "door" out of the Pens will be closed and some of the floor tiles will start shooting fire like the gas valve step earlier in the Quest.
- The phase is the same as the first one except you will need to fight two of the Meistermeuchlers at a time.
- After KO-ing all the Meistermeuchlers, the door out of the arena will open, the fire will stop, and the phase will be over. There will be a Full Meter power-up at the top of the stairs, and you will be able to refill armour at the stand by the Ripsaw table. Ride the minecart to the next arena; you will be given a Max Ammo on the minecart ride.
Phase 3
- You will be brought to the 'Bunker 1' area with access to the entire bunker area on the top of the map (from PAP to the Artillery Bunker). Also, the fog will be present.
- The phase is the same as the second one except you will need to fight three of the Meistermeuchlers at a time. You can use the armour stand in the 'Artillery Bunker' as much as you want, so make sure you do.
- After KO-ing all the Meistermeuchlers, the fog will lift and the phase will be over. Make sure to buy armour before you ride the minecart, this will be your last chance to do so. Ride the minecart to the next (and final) arena; you will be given a Max Ammo on the minecart ride.
Phase 4
- You will be brought back to the Beach, but the fog won't be present. You will need to fight all four Meistermeuchlers at the same time.
- During this phase, they will actually die instead of being KO-ed and running away, so try to focus one if possible.
- Once the fourth one dies, the boss fight will end and the cutscene will start after a few seconds.
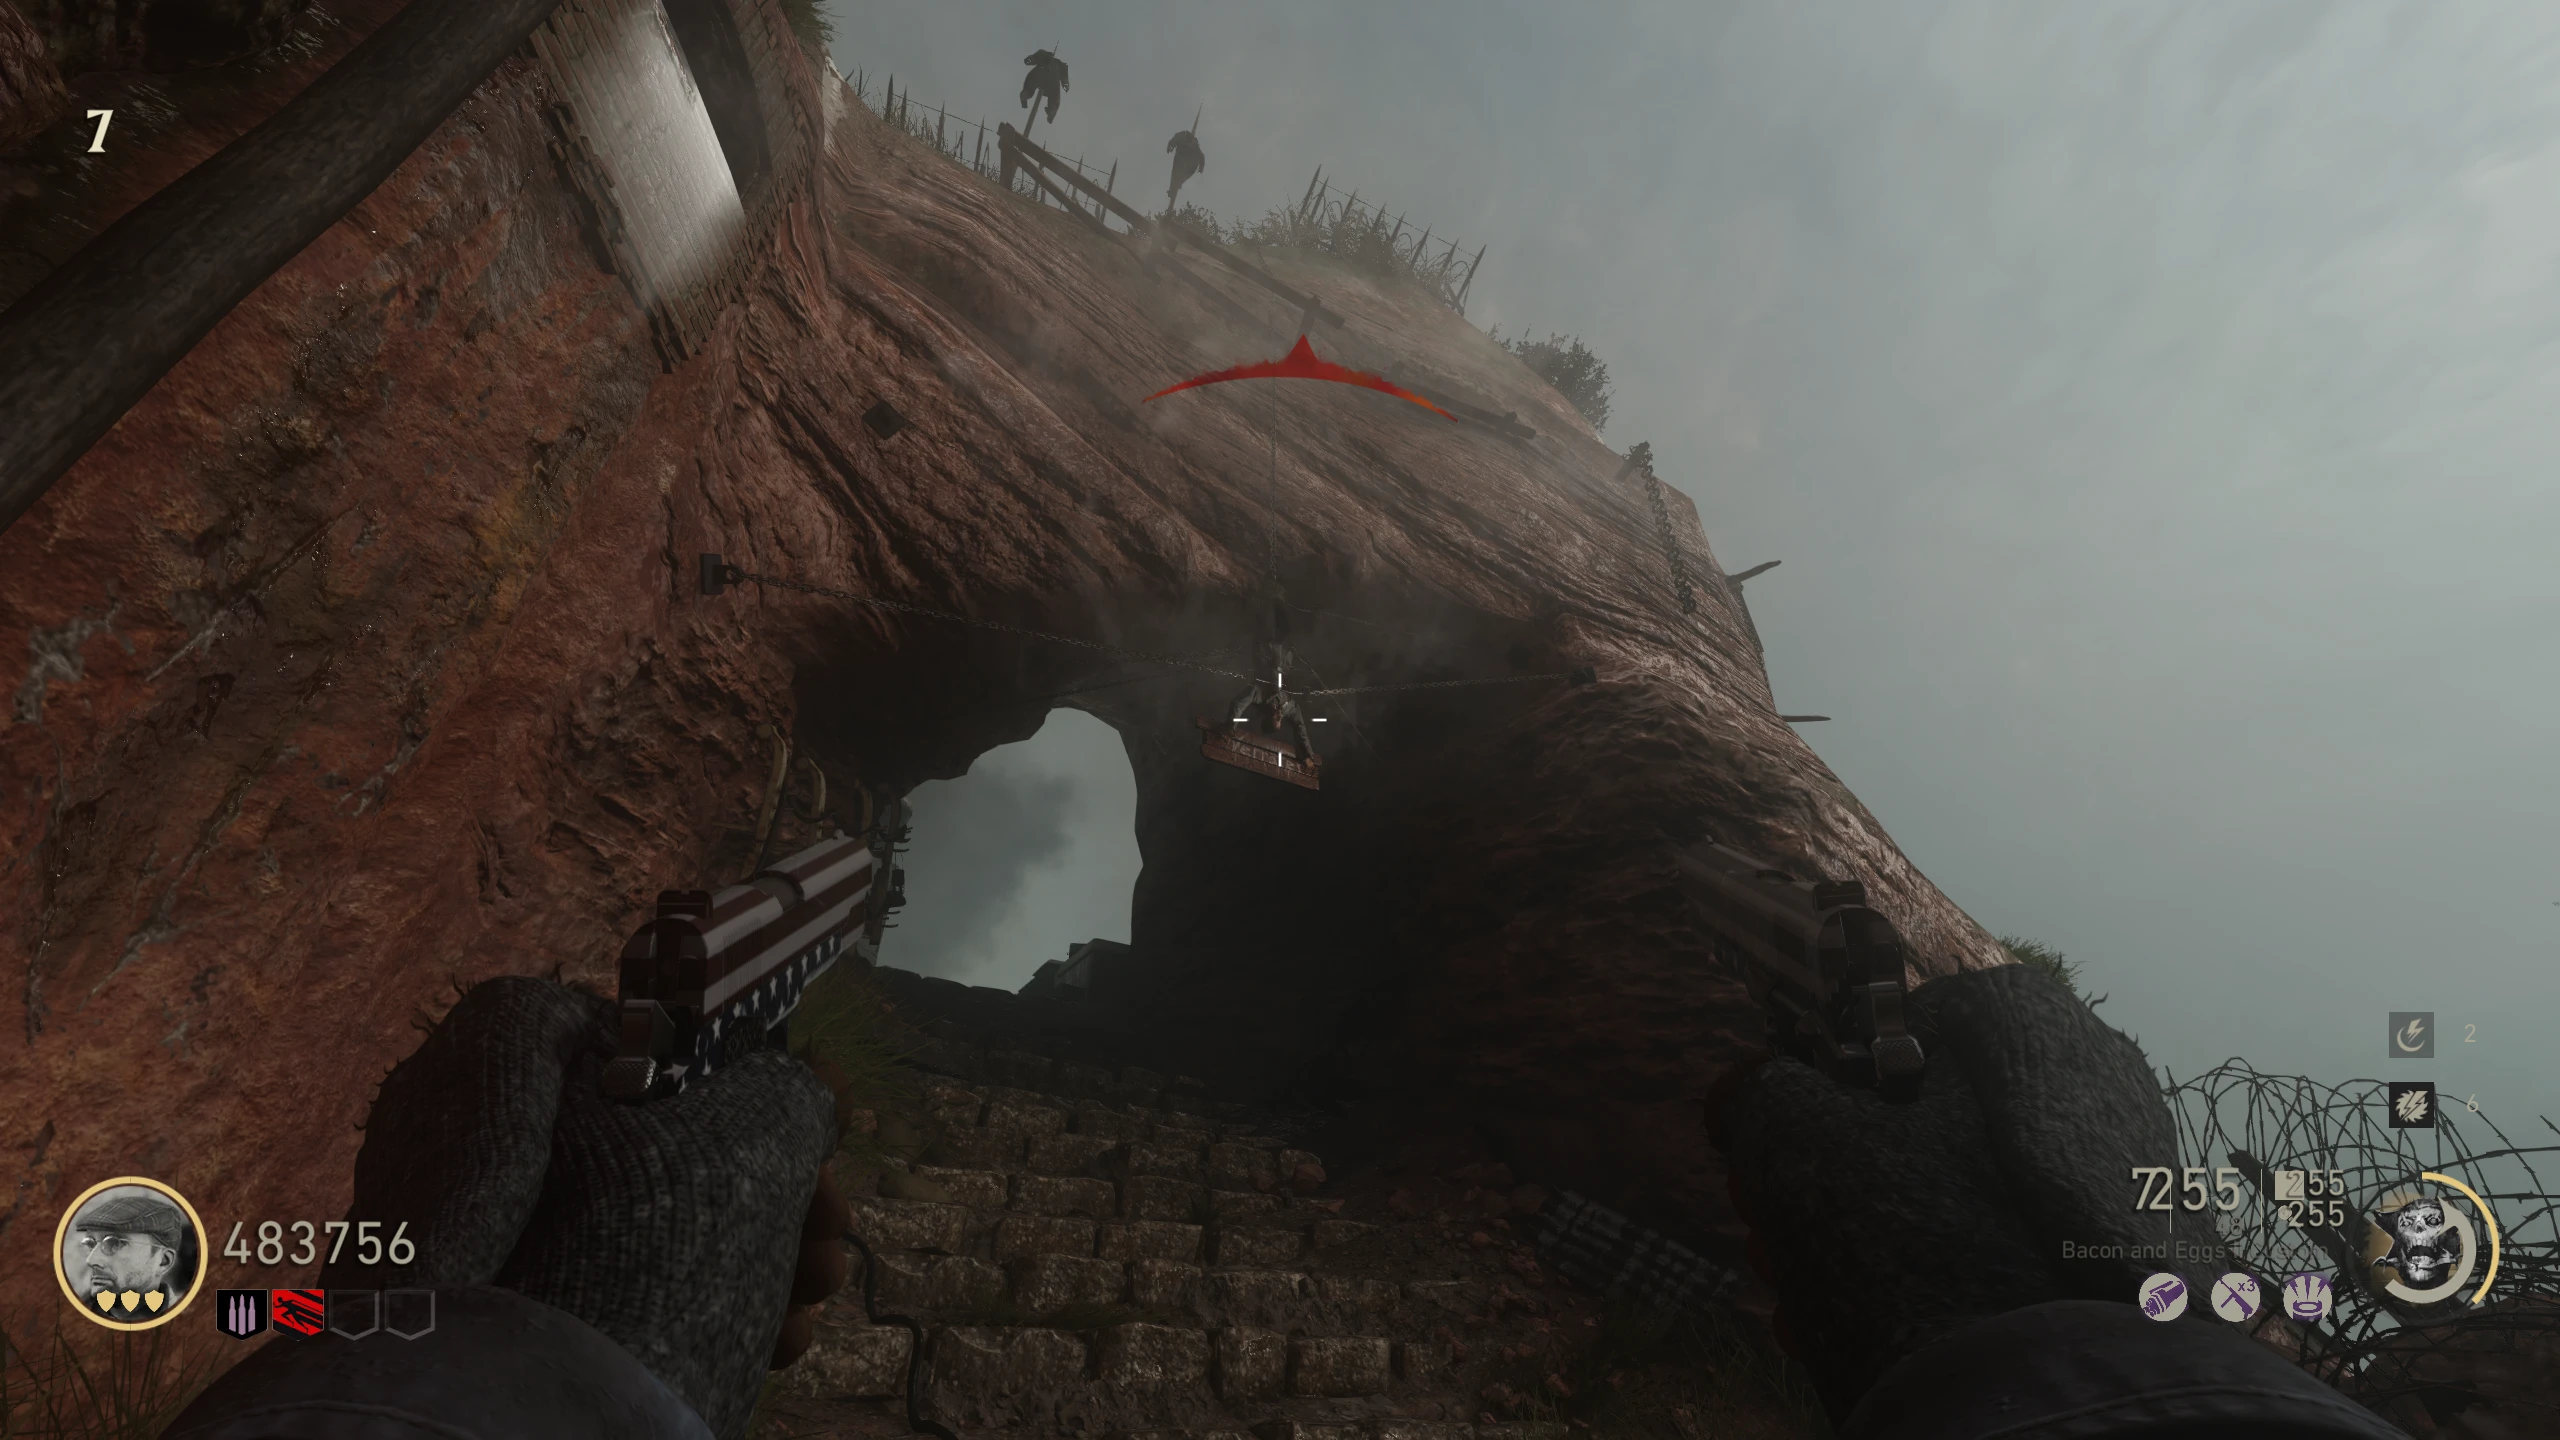







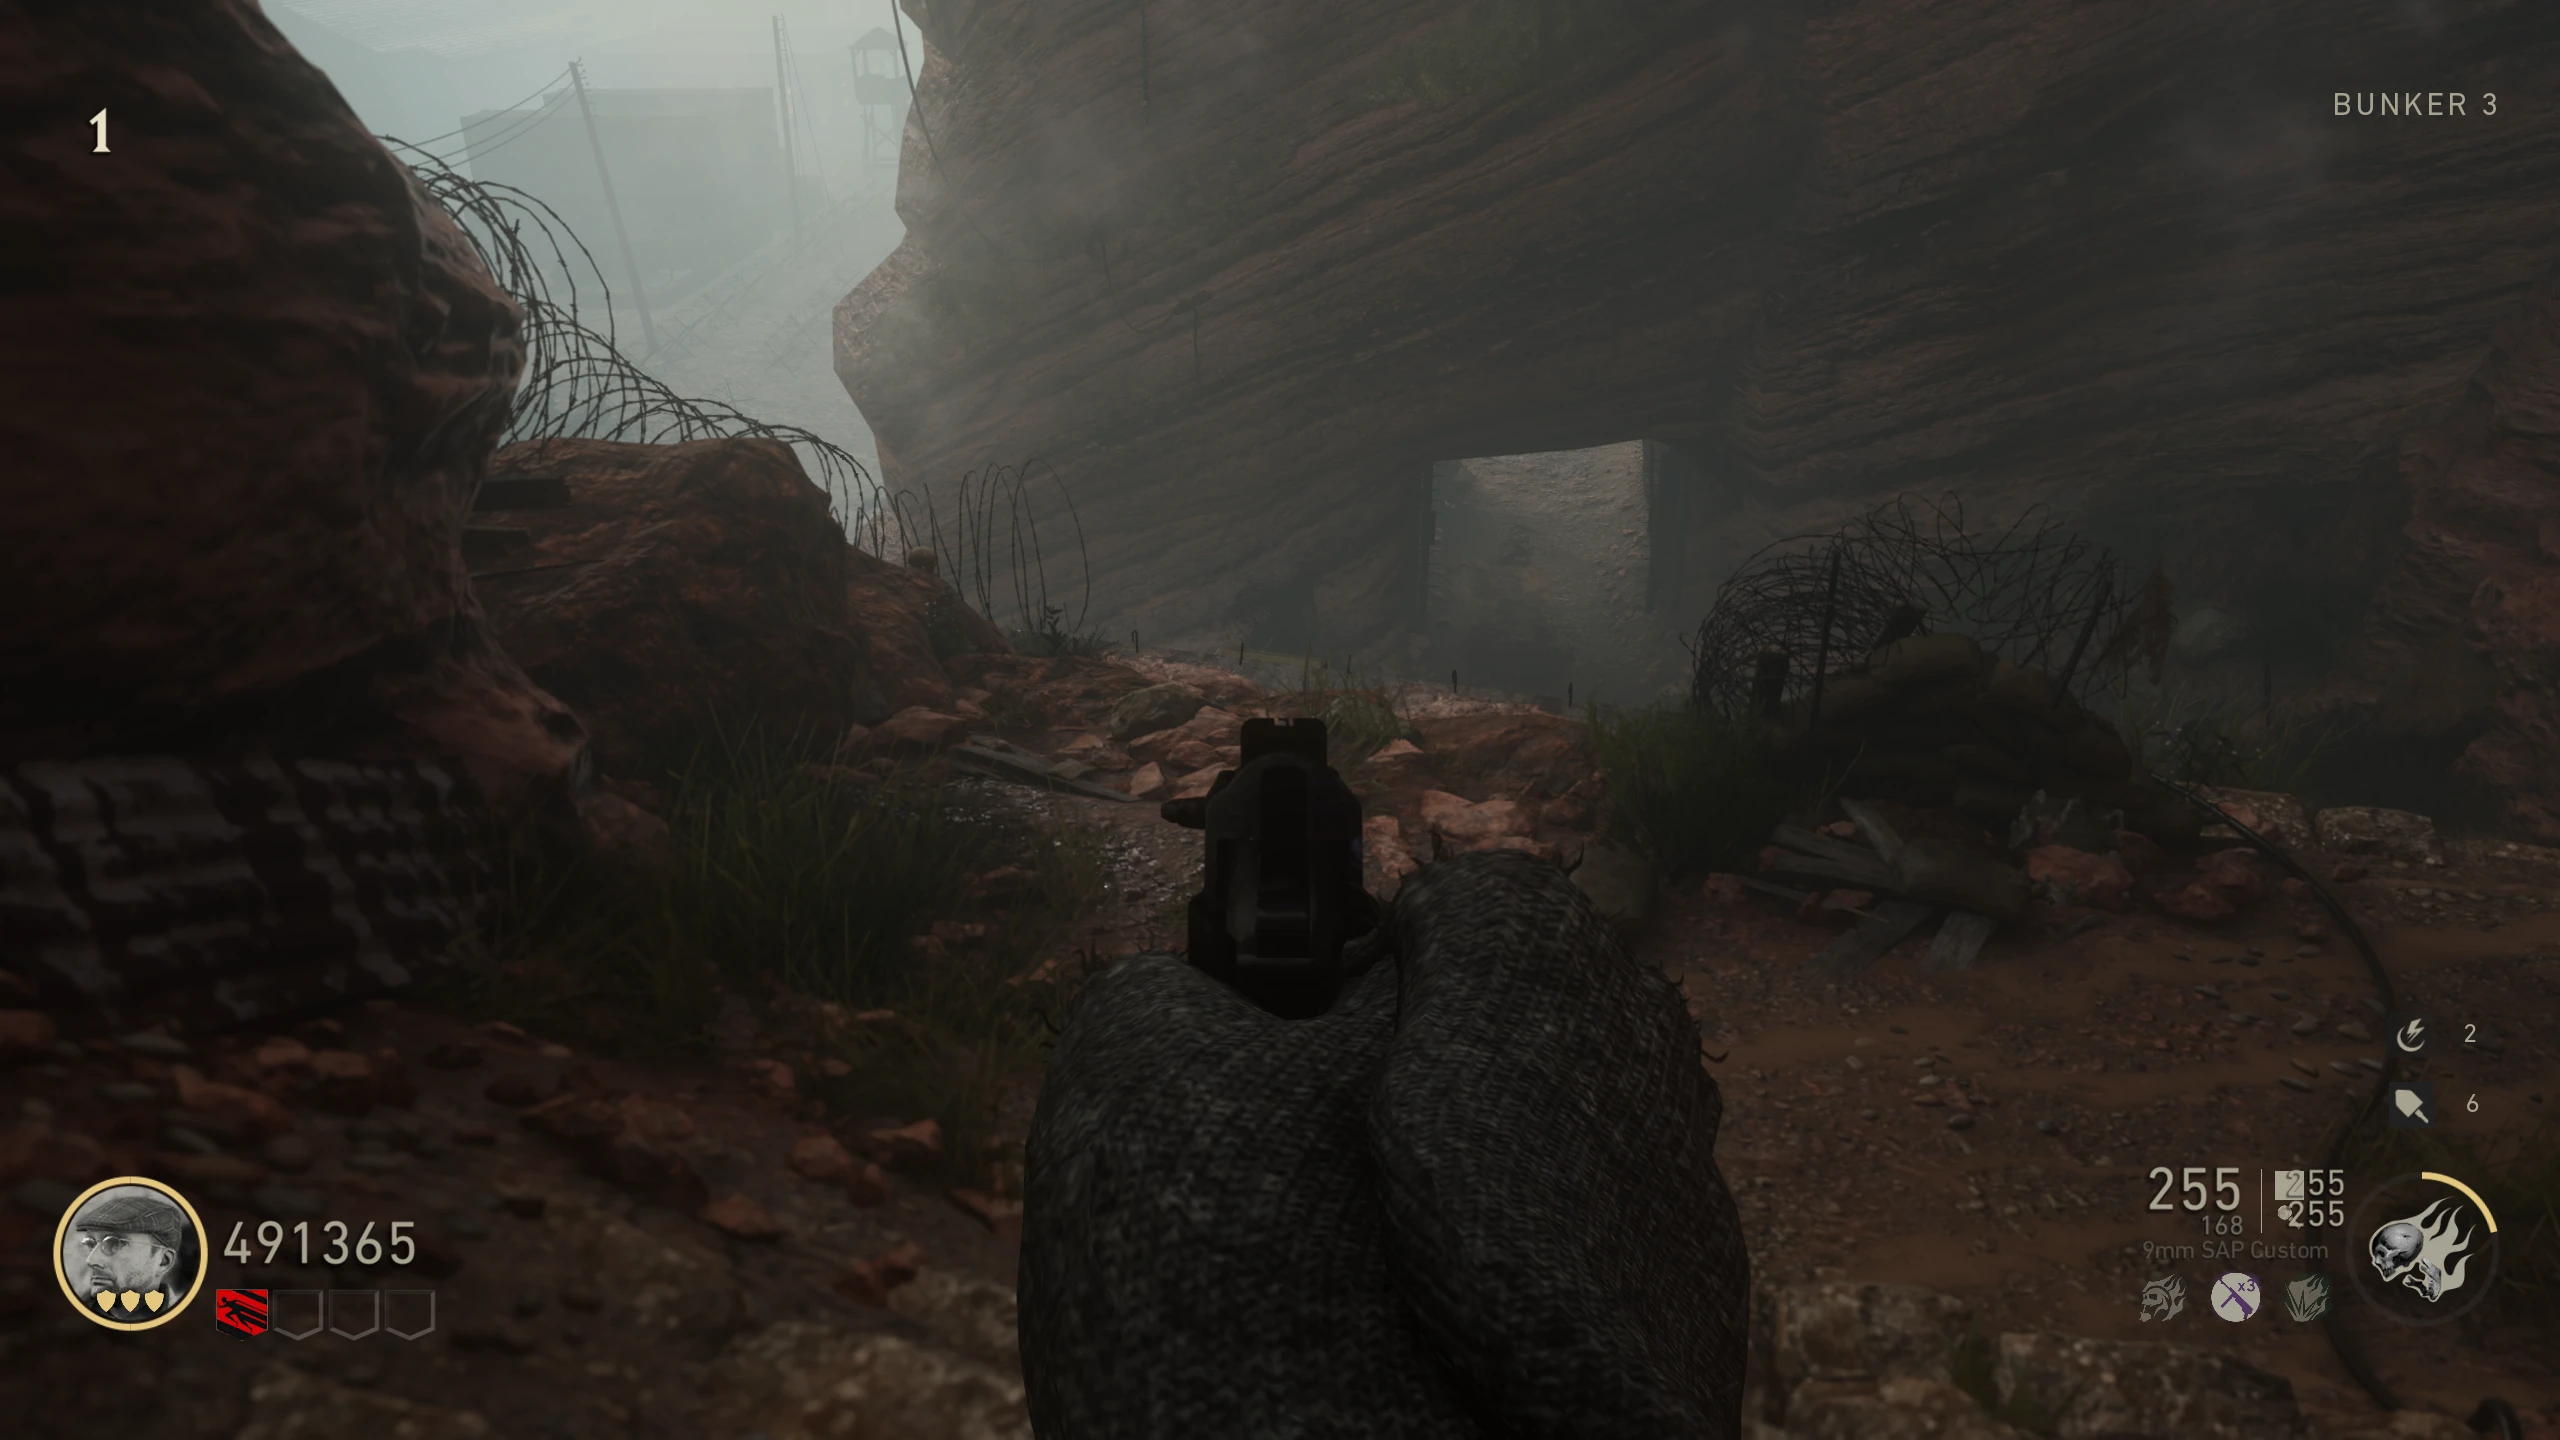
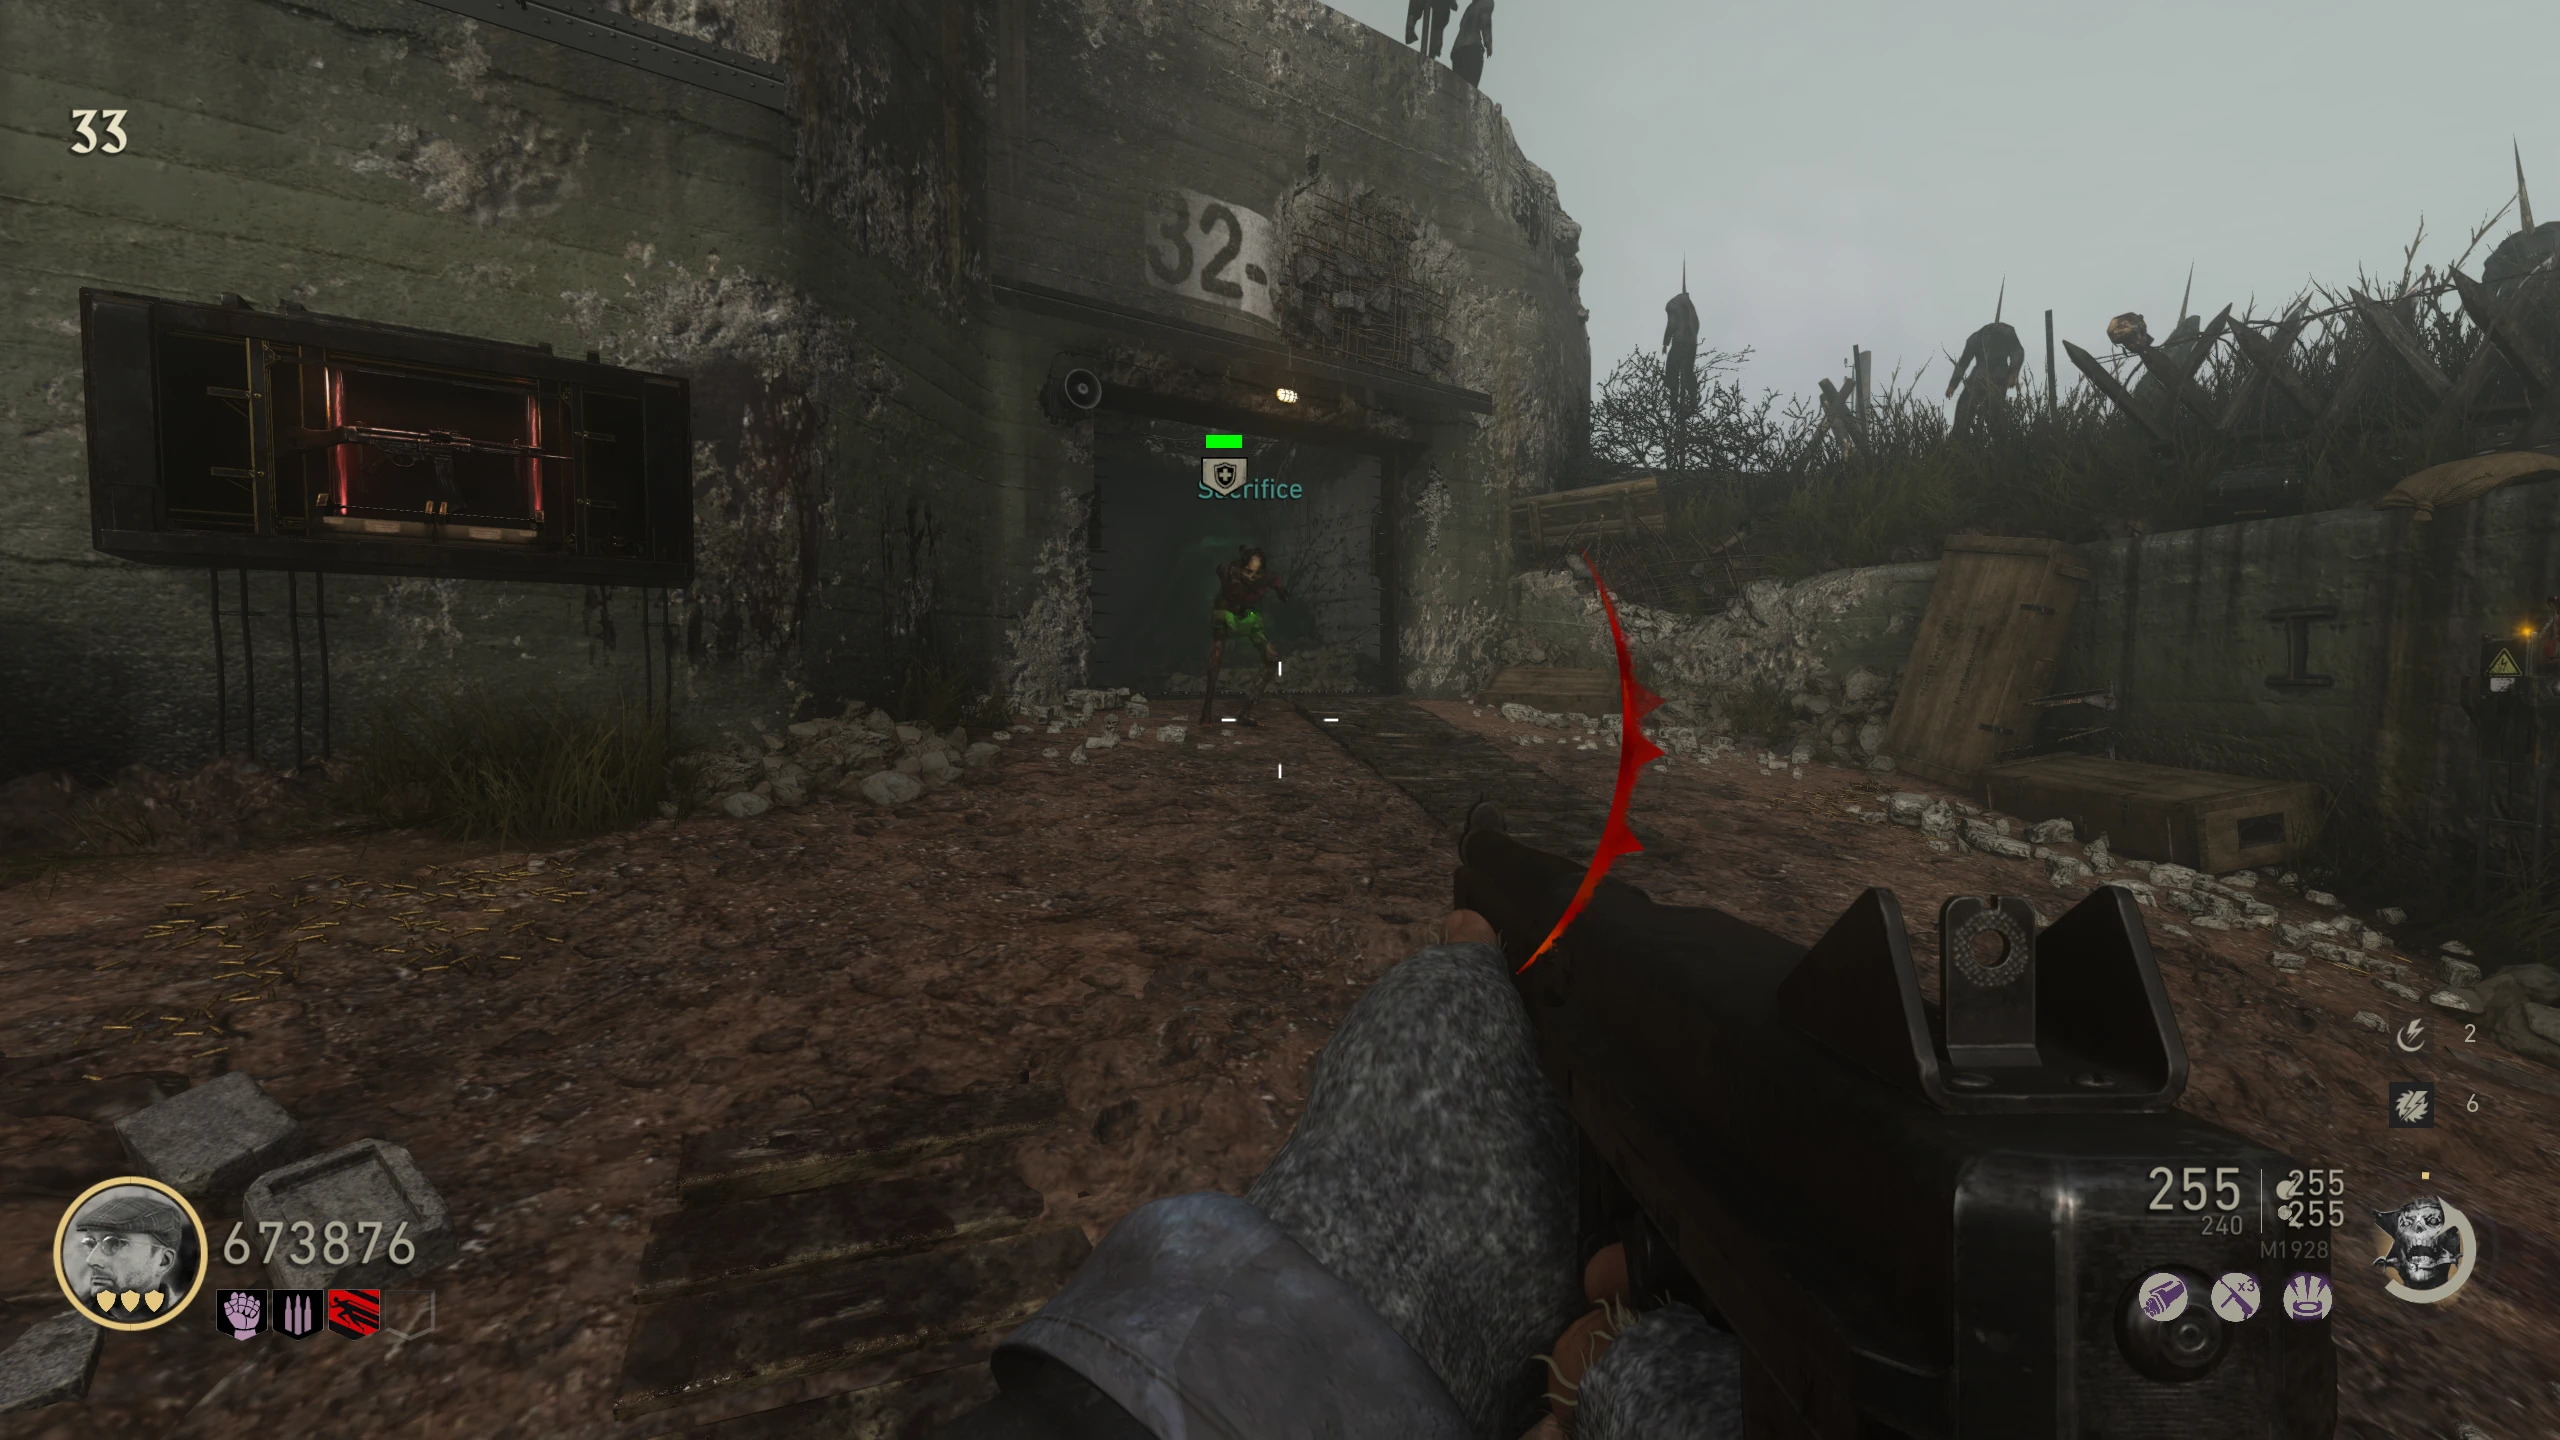
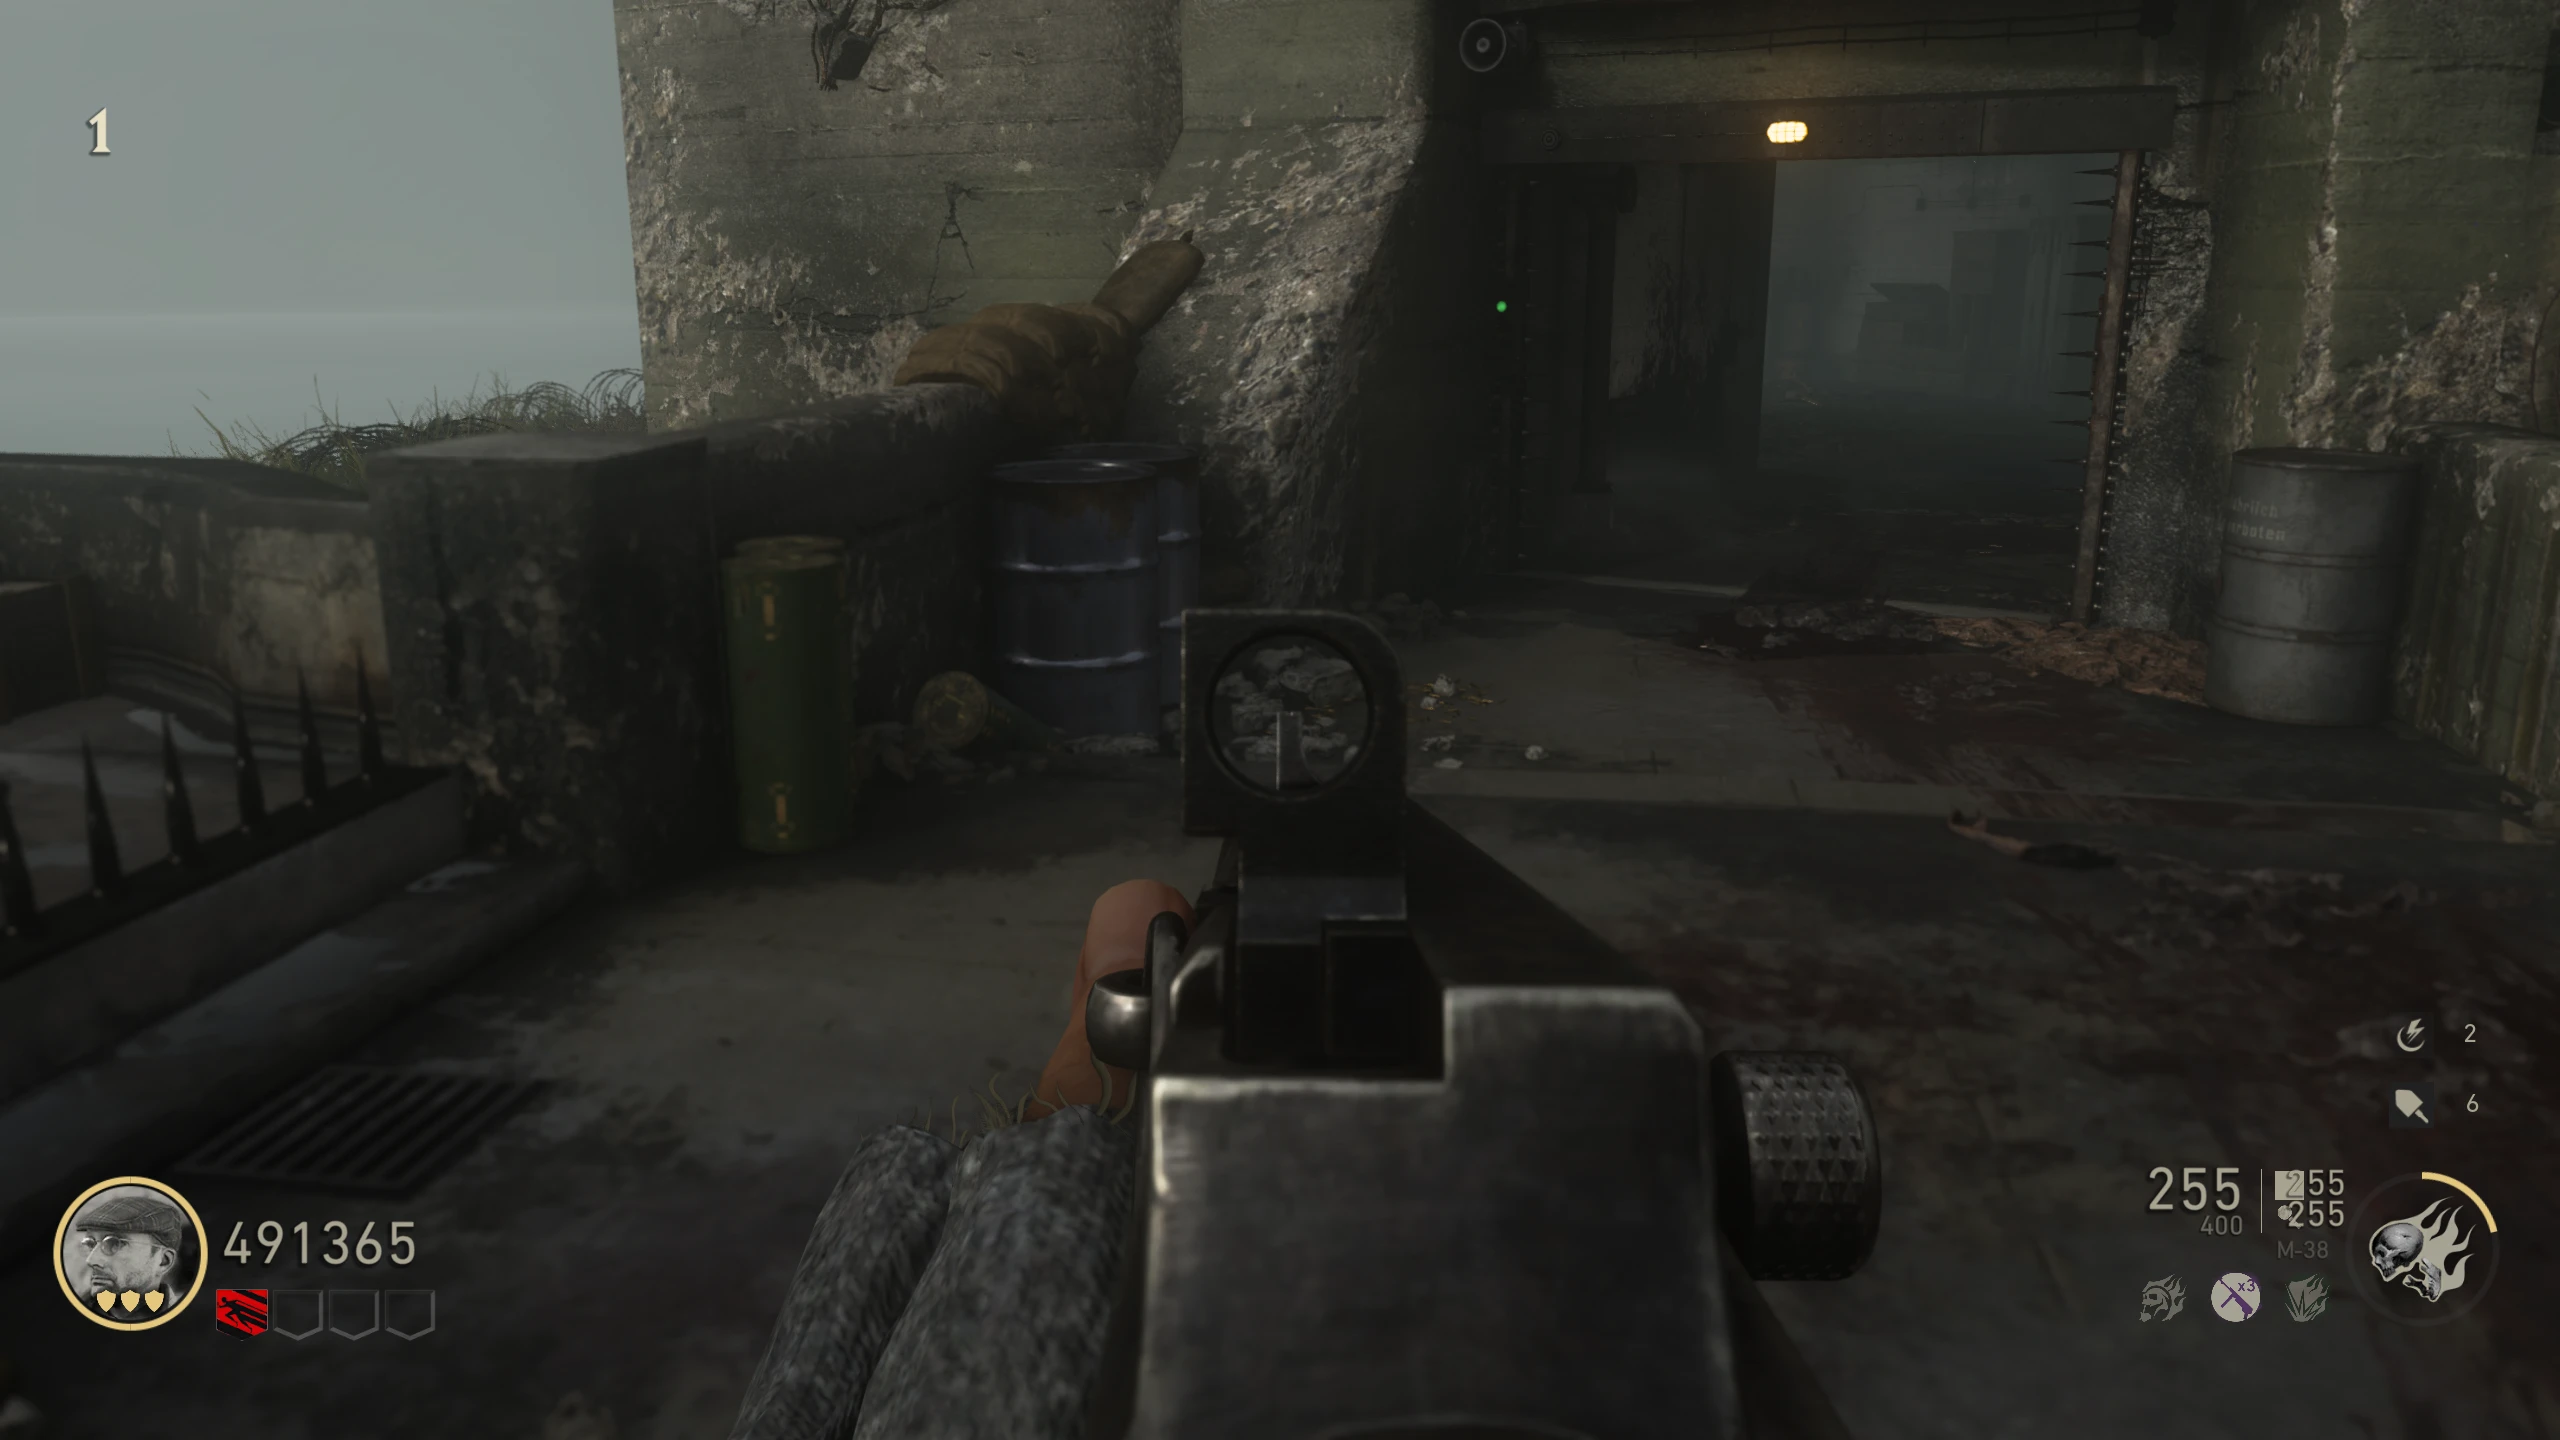
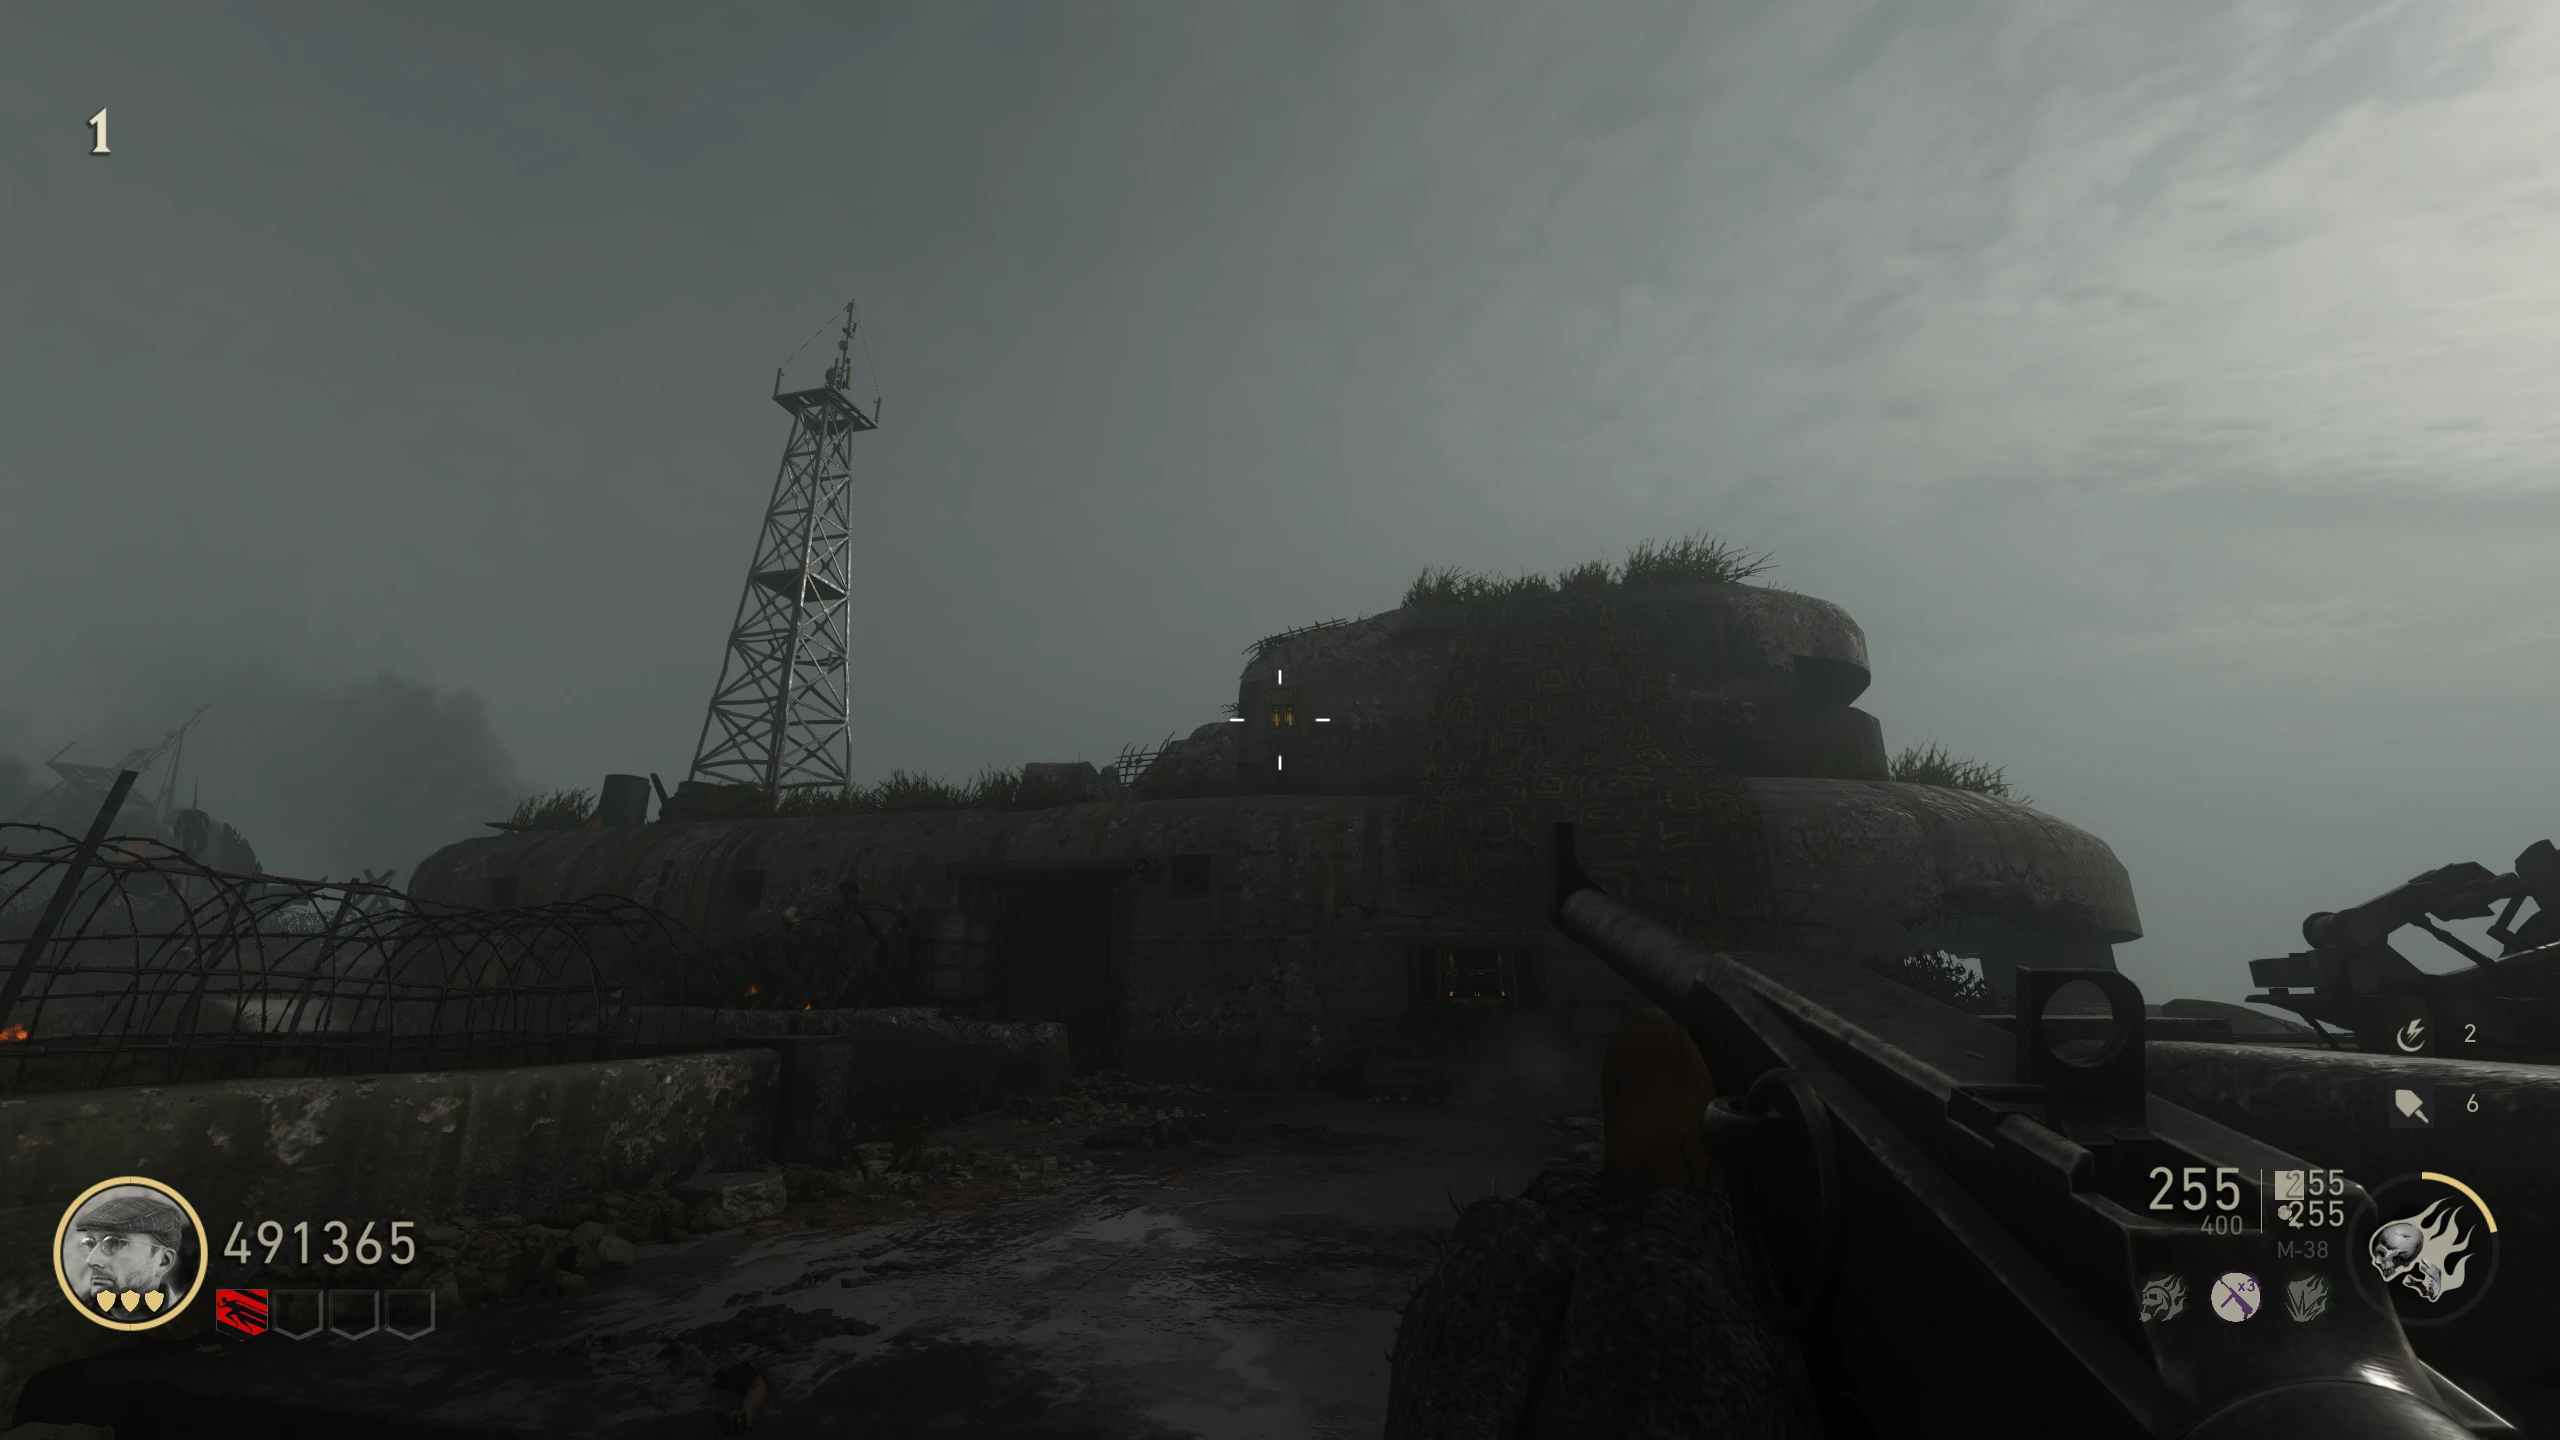
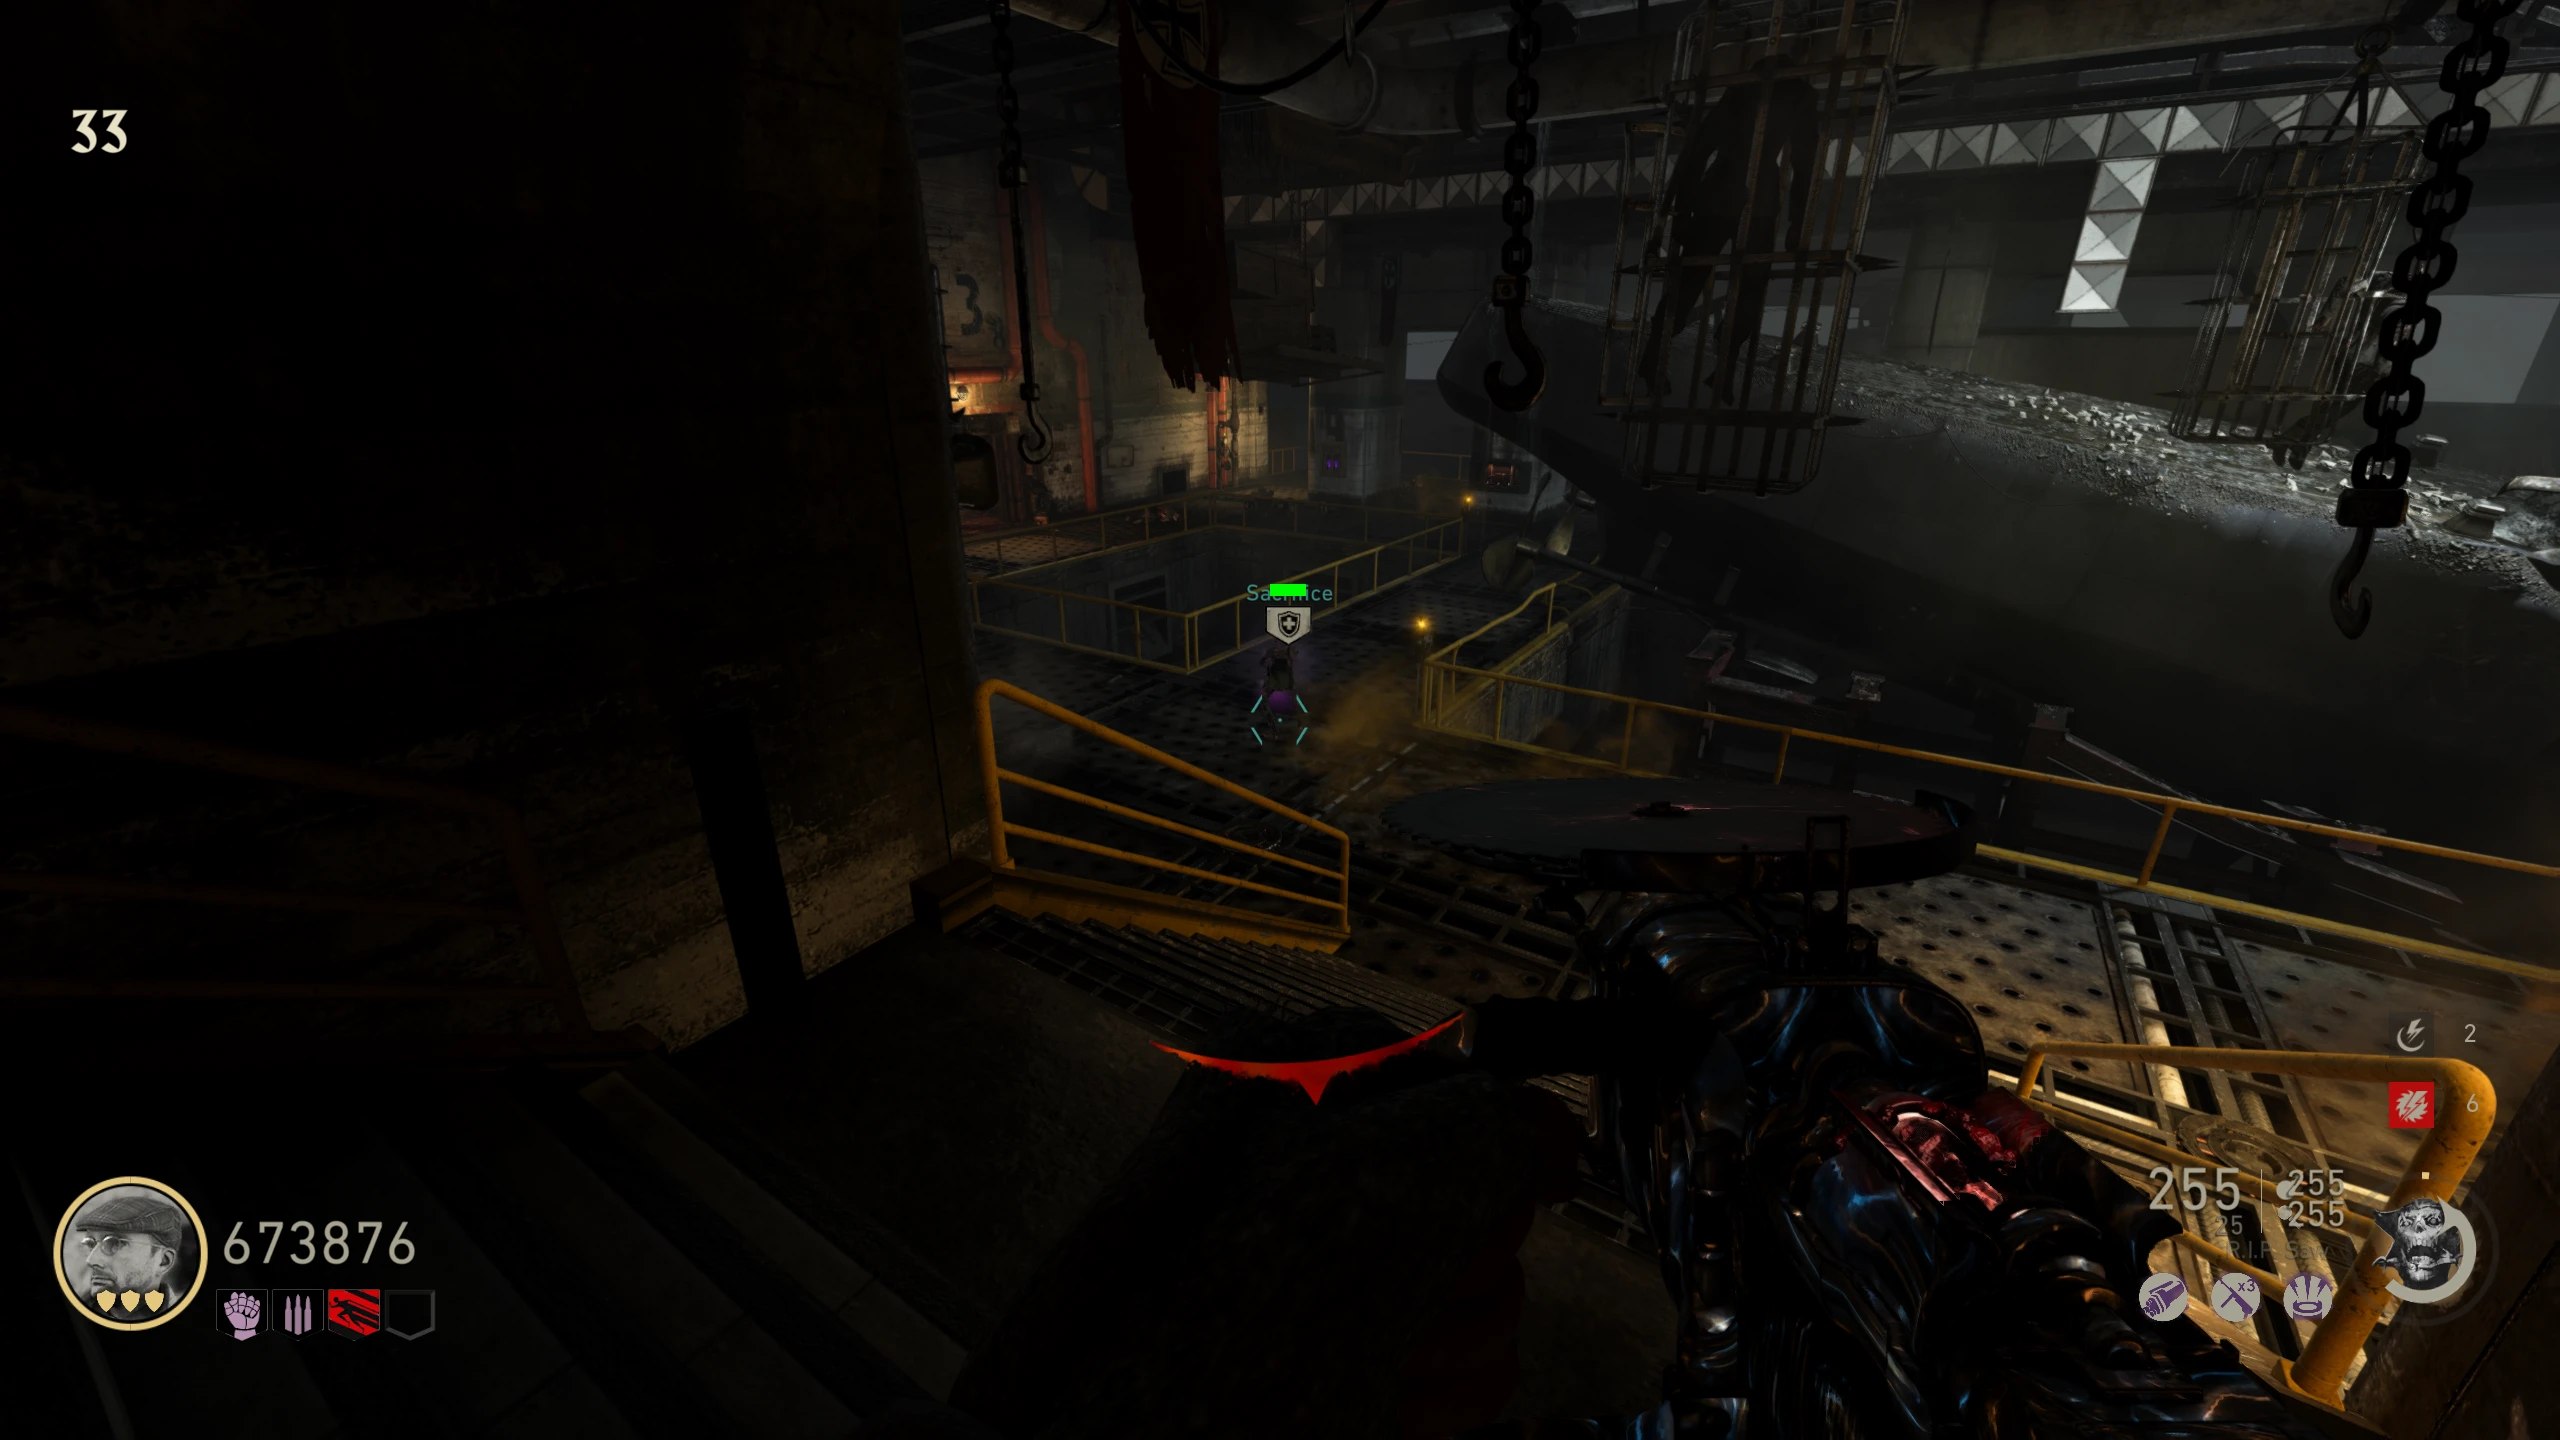
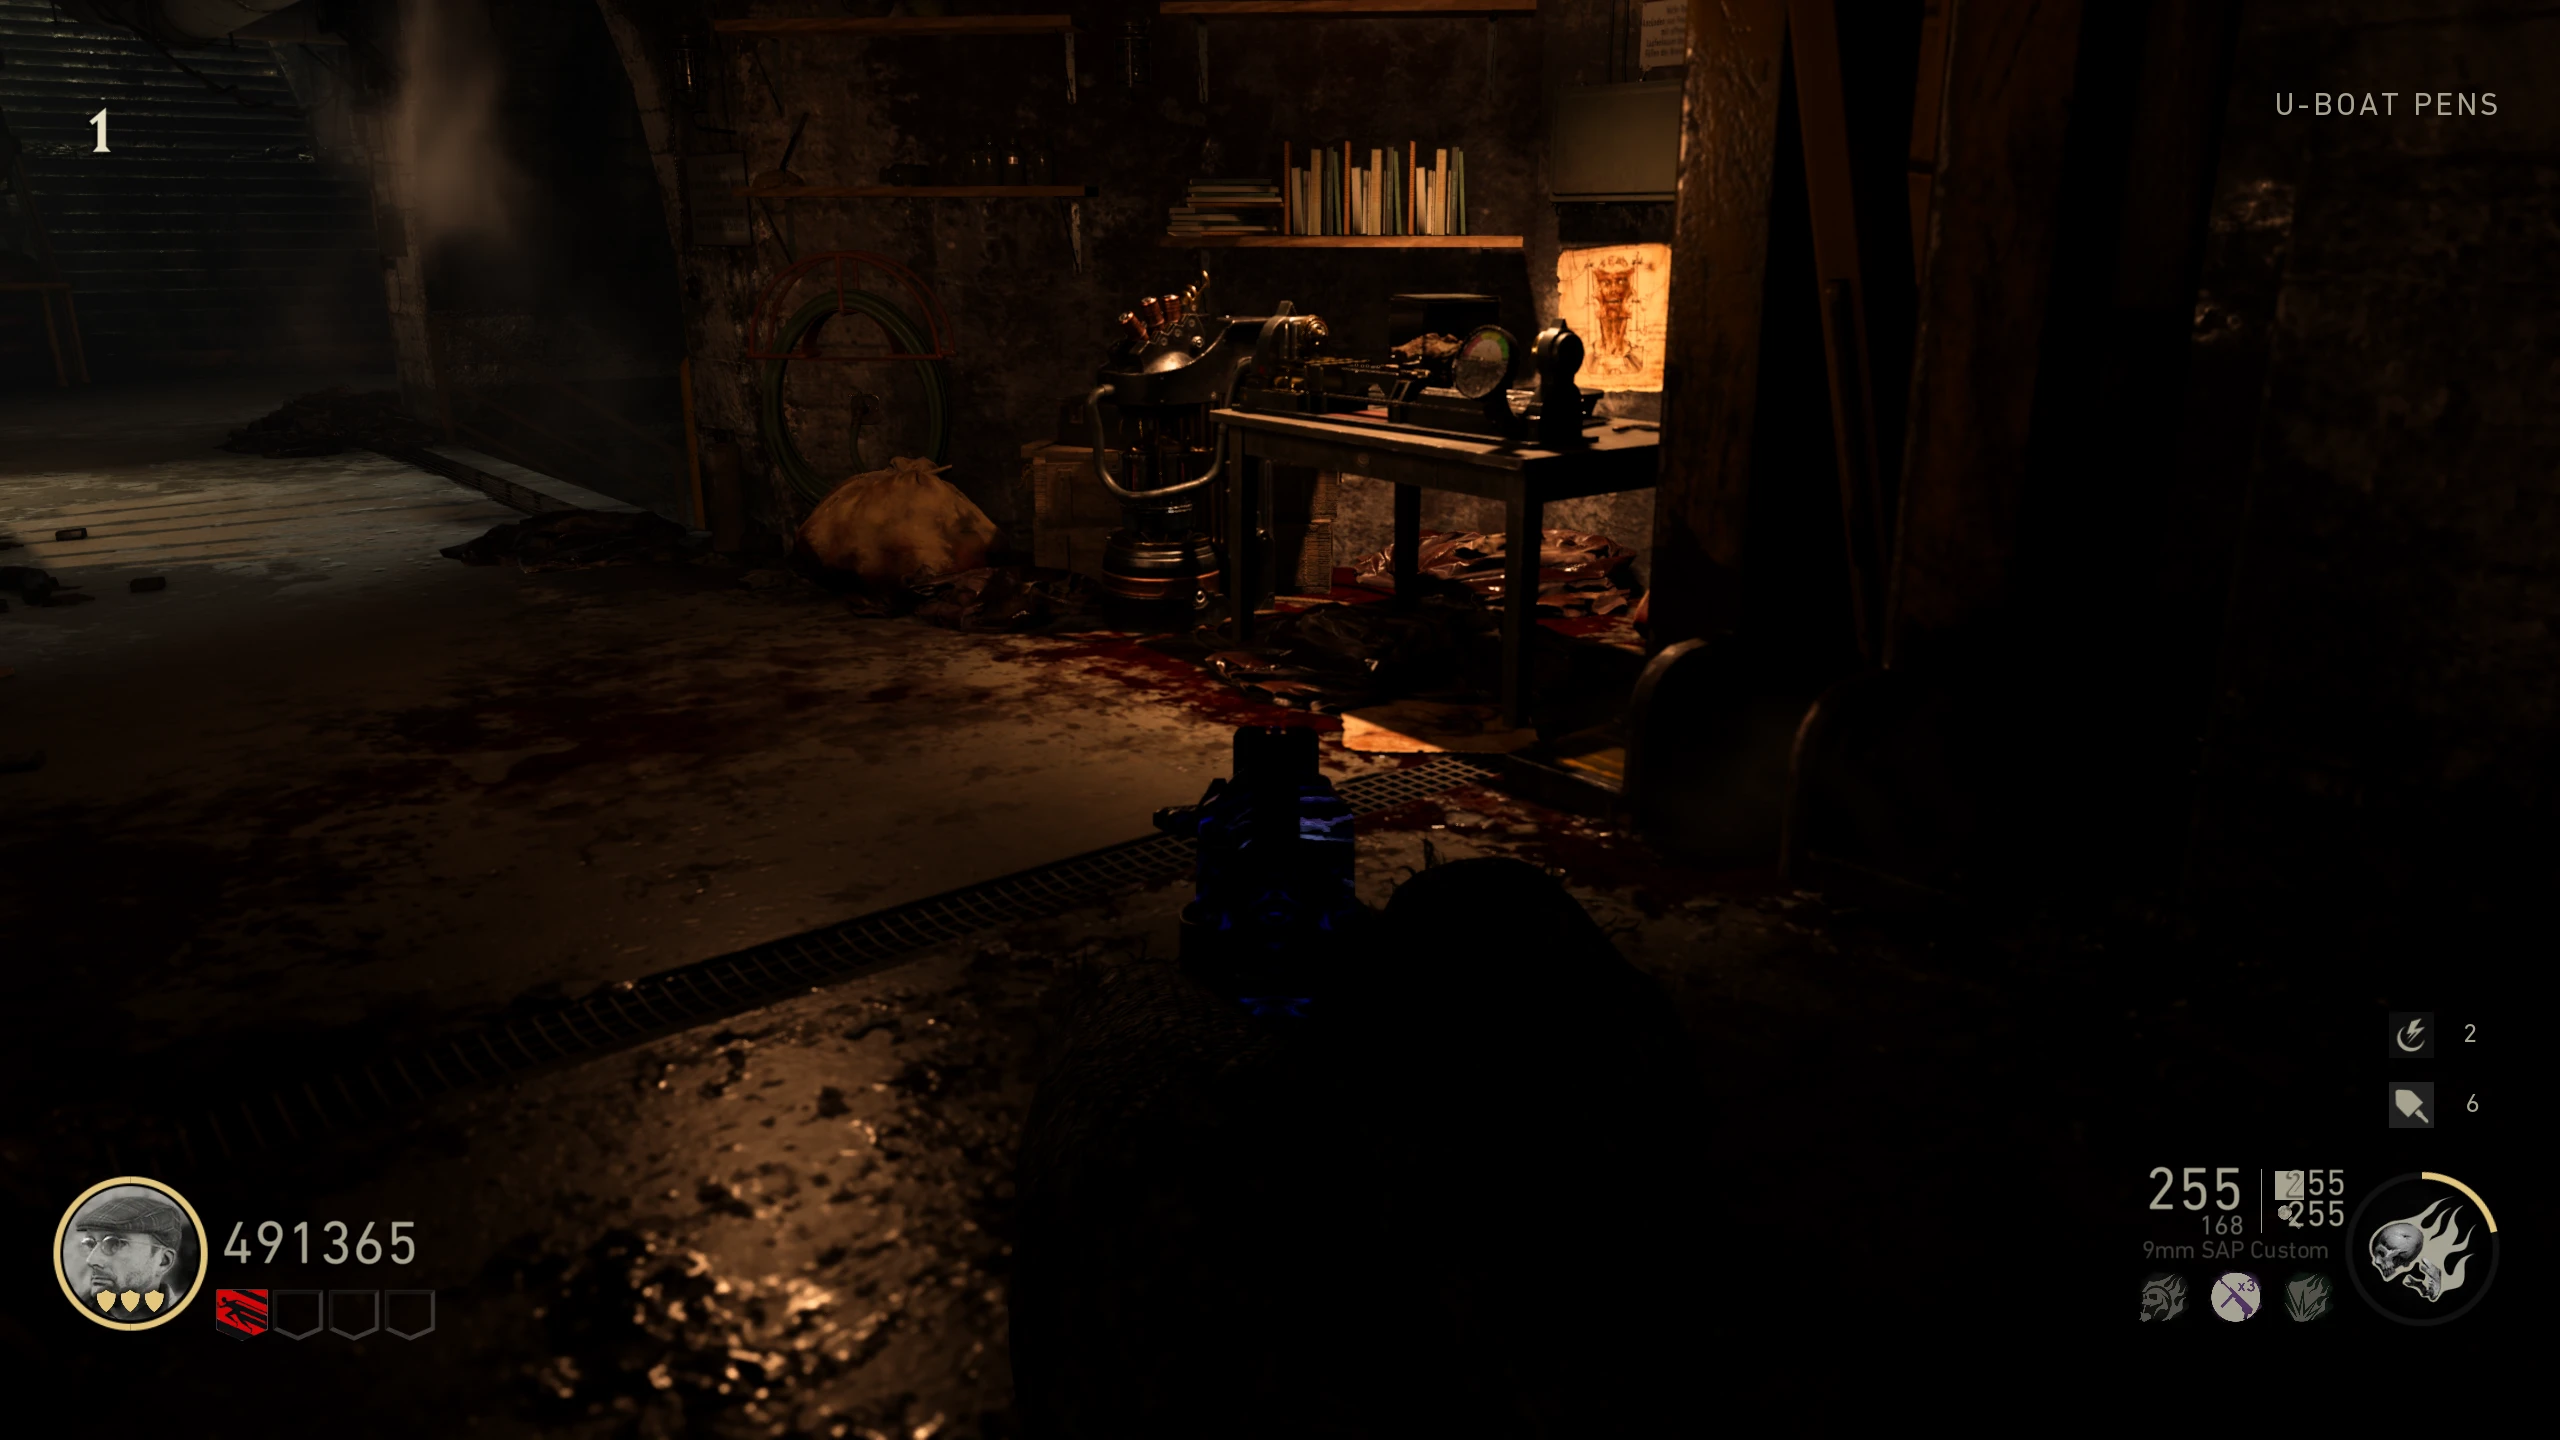
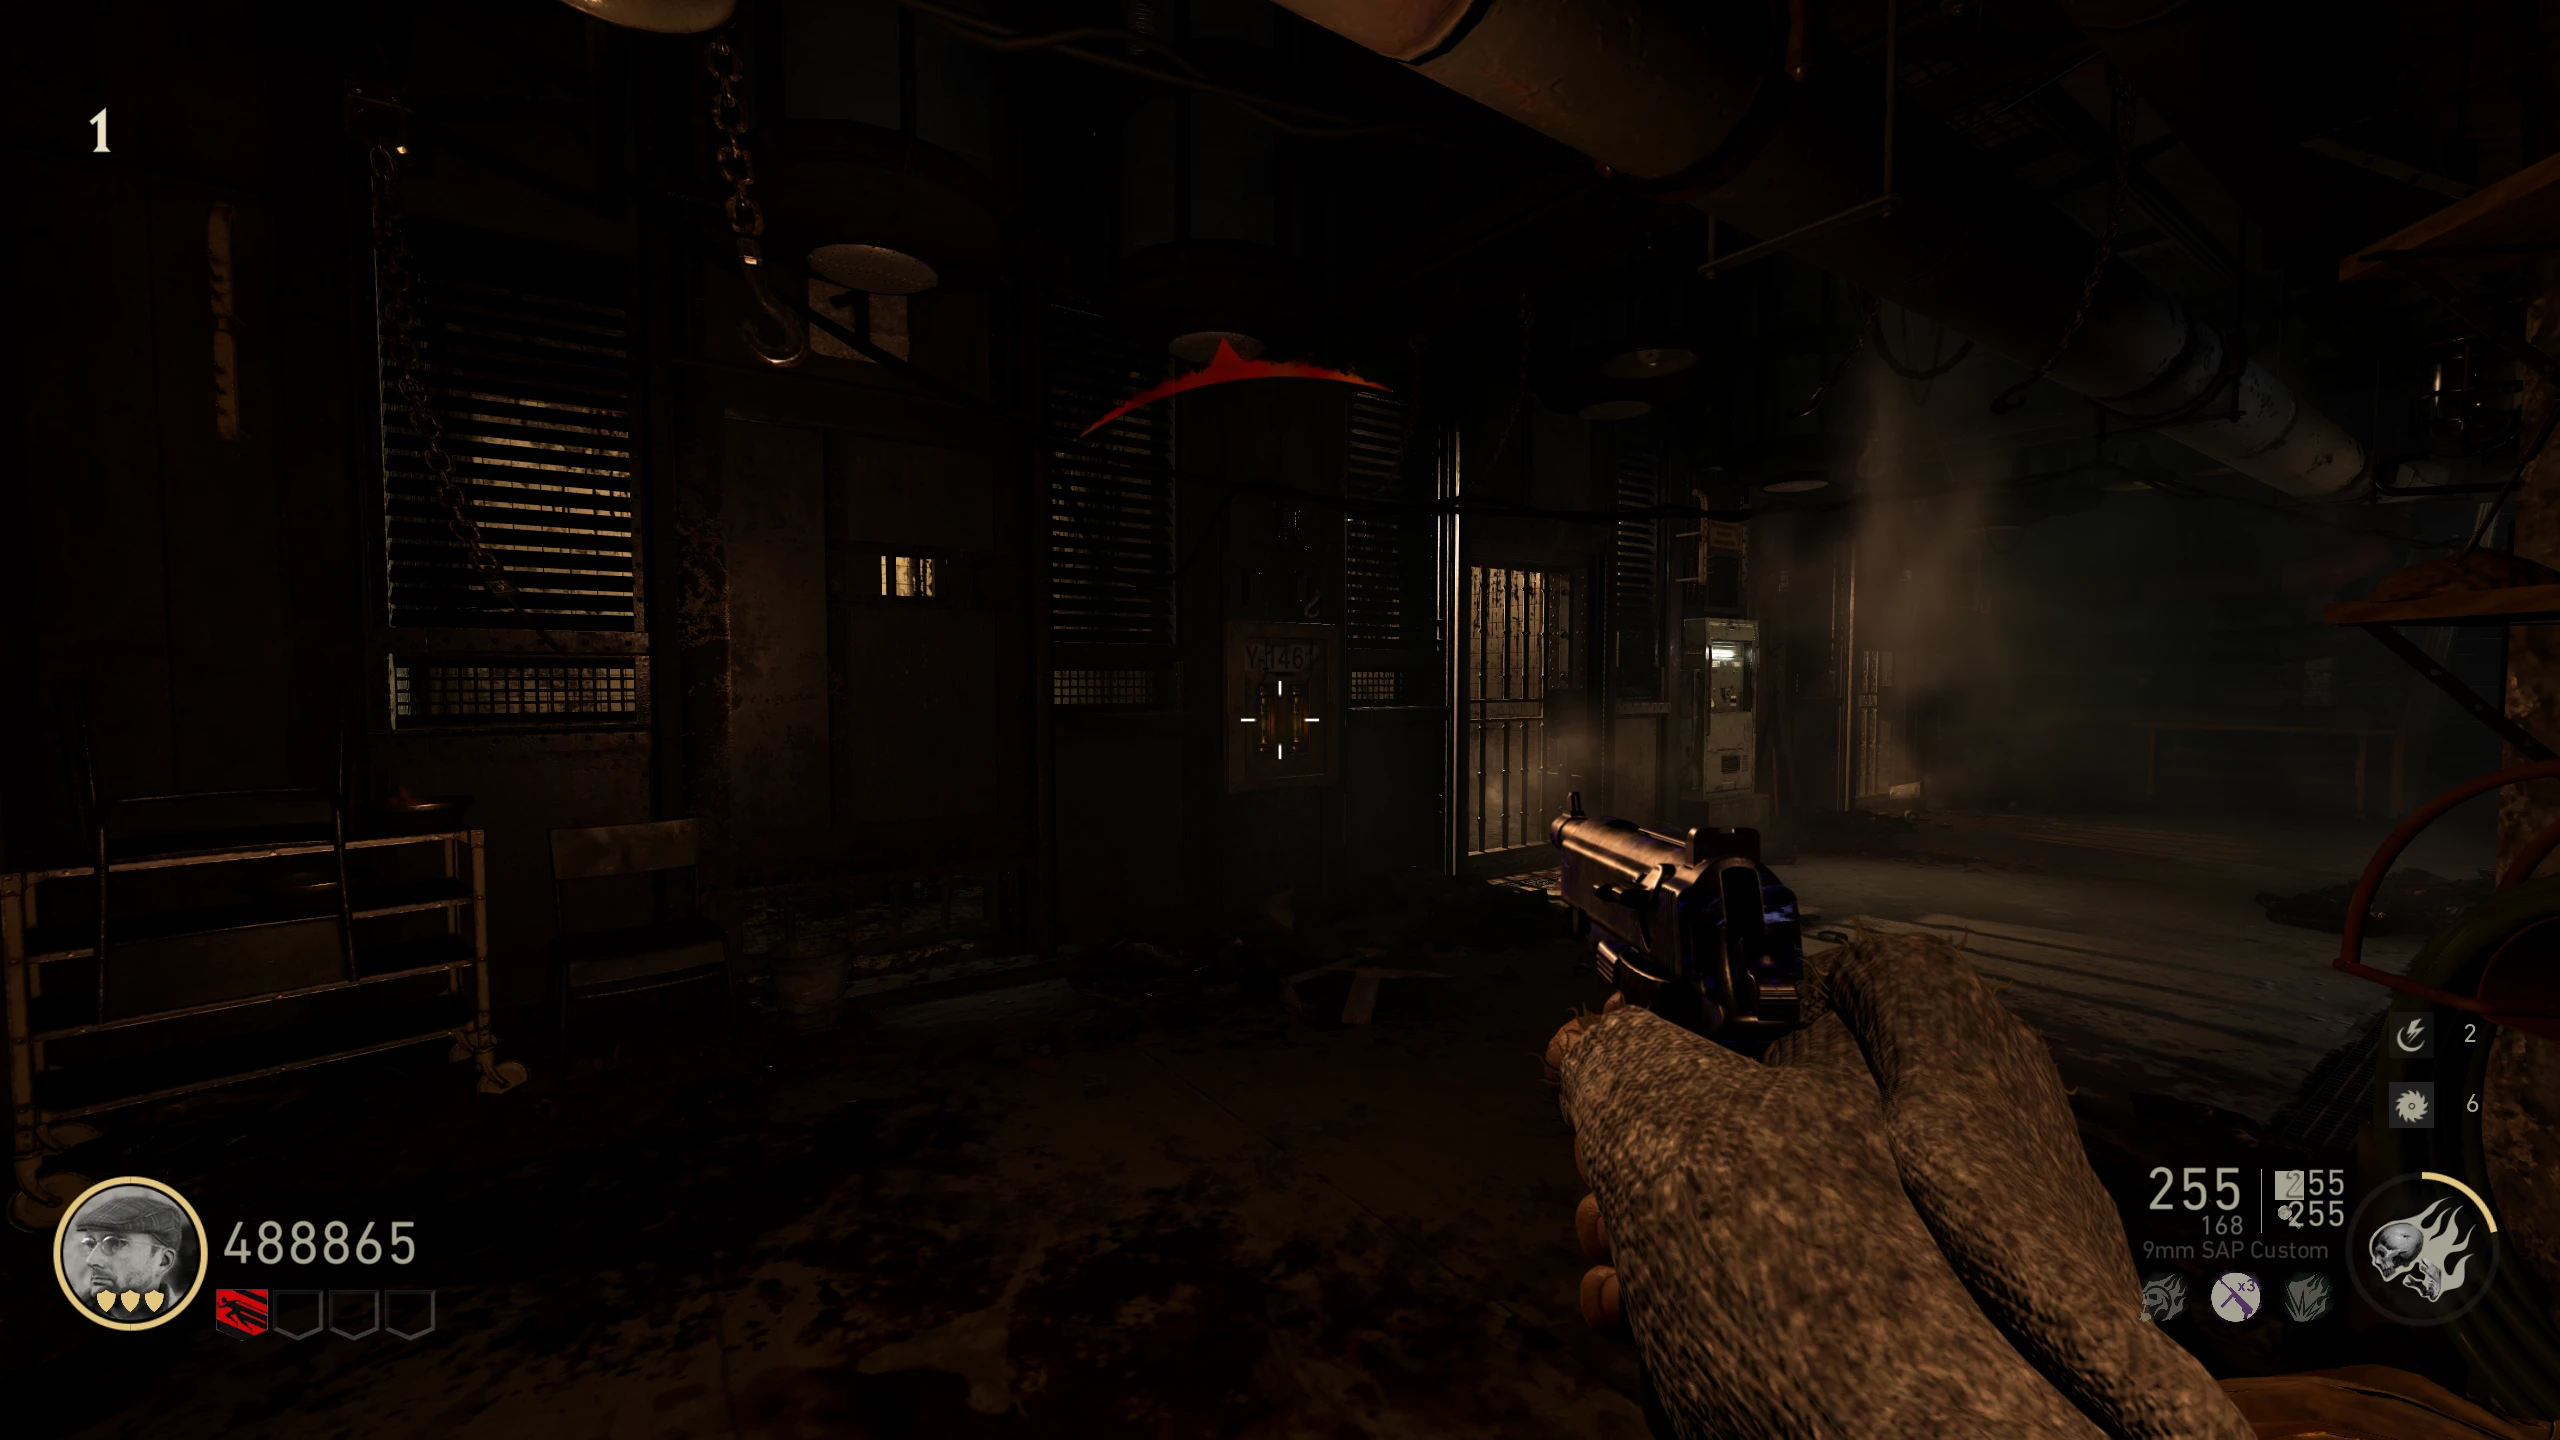
The Classic (Special PPSh-41)
The Classic is a special PPSh-41 variant with a bigger 70-round mag, more reserve ammo, and a faster fire rate.
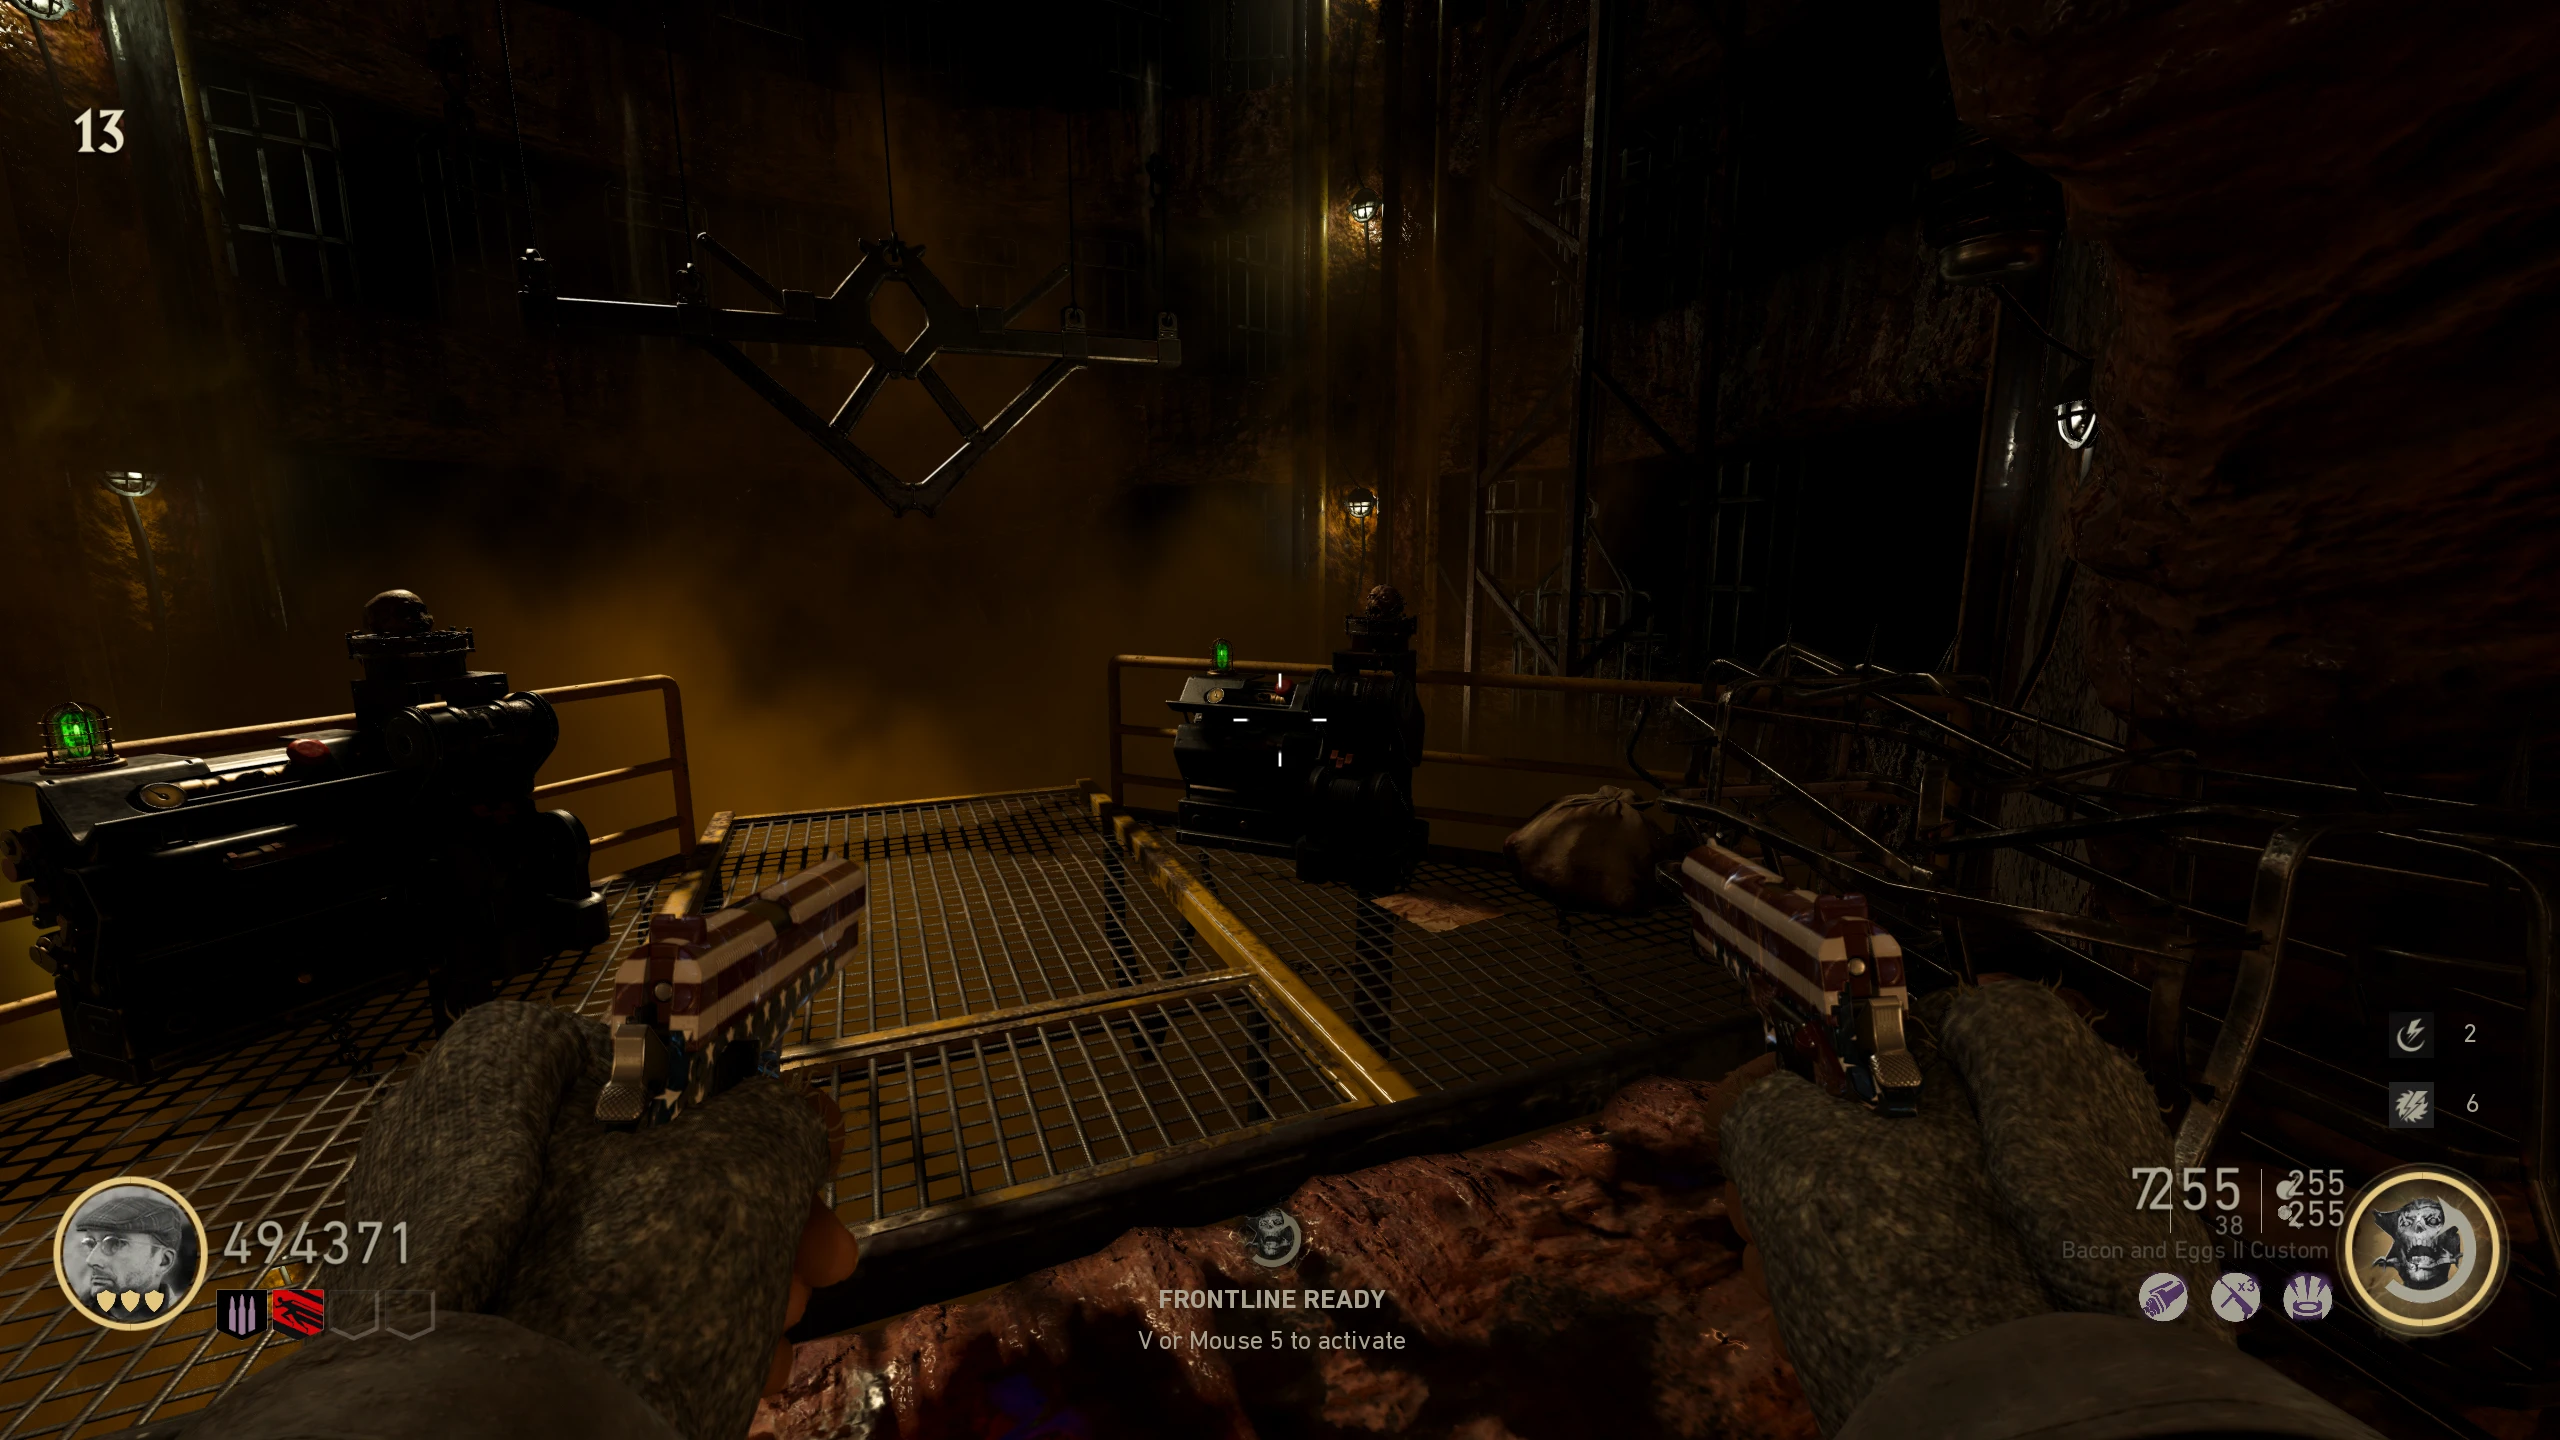
- Progress the Main Quest until you can summon a friendly Bomber Zombie (after you open the Corpse Gate in the 'U-Boat Pens'). Once the Corpse Gate is open, the Bomber can be summoned from the machine on the right.
- During the friendly Bomber escort step, drop 1000 total jolts in the path of the Bomber, so it picks them up. After 1000 jolts, it won't pick up any more drops.
- If done correctly, The Classic will enter the Mystery Box's weapon pool (you aren't guaranteed to get it).
"HI" Beam / Free Single Jolt
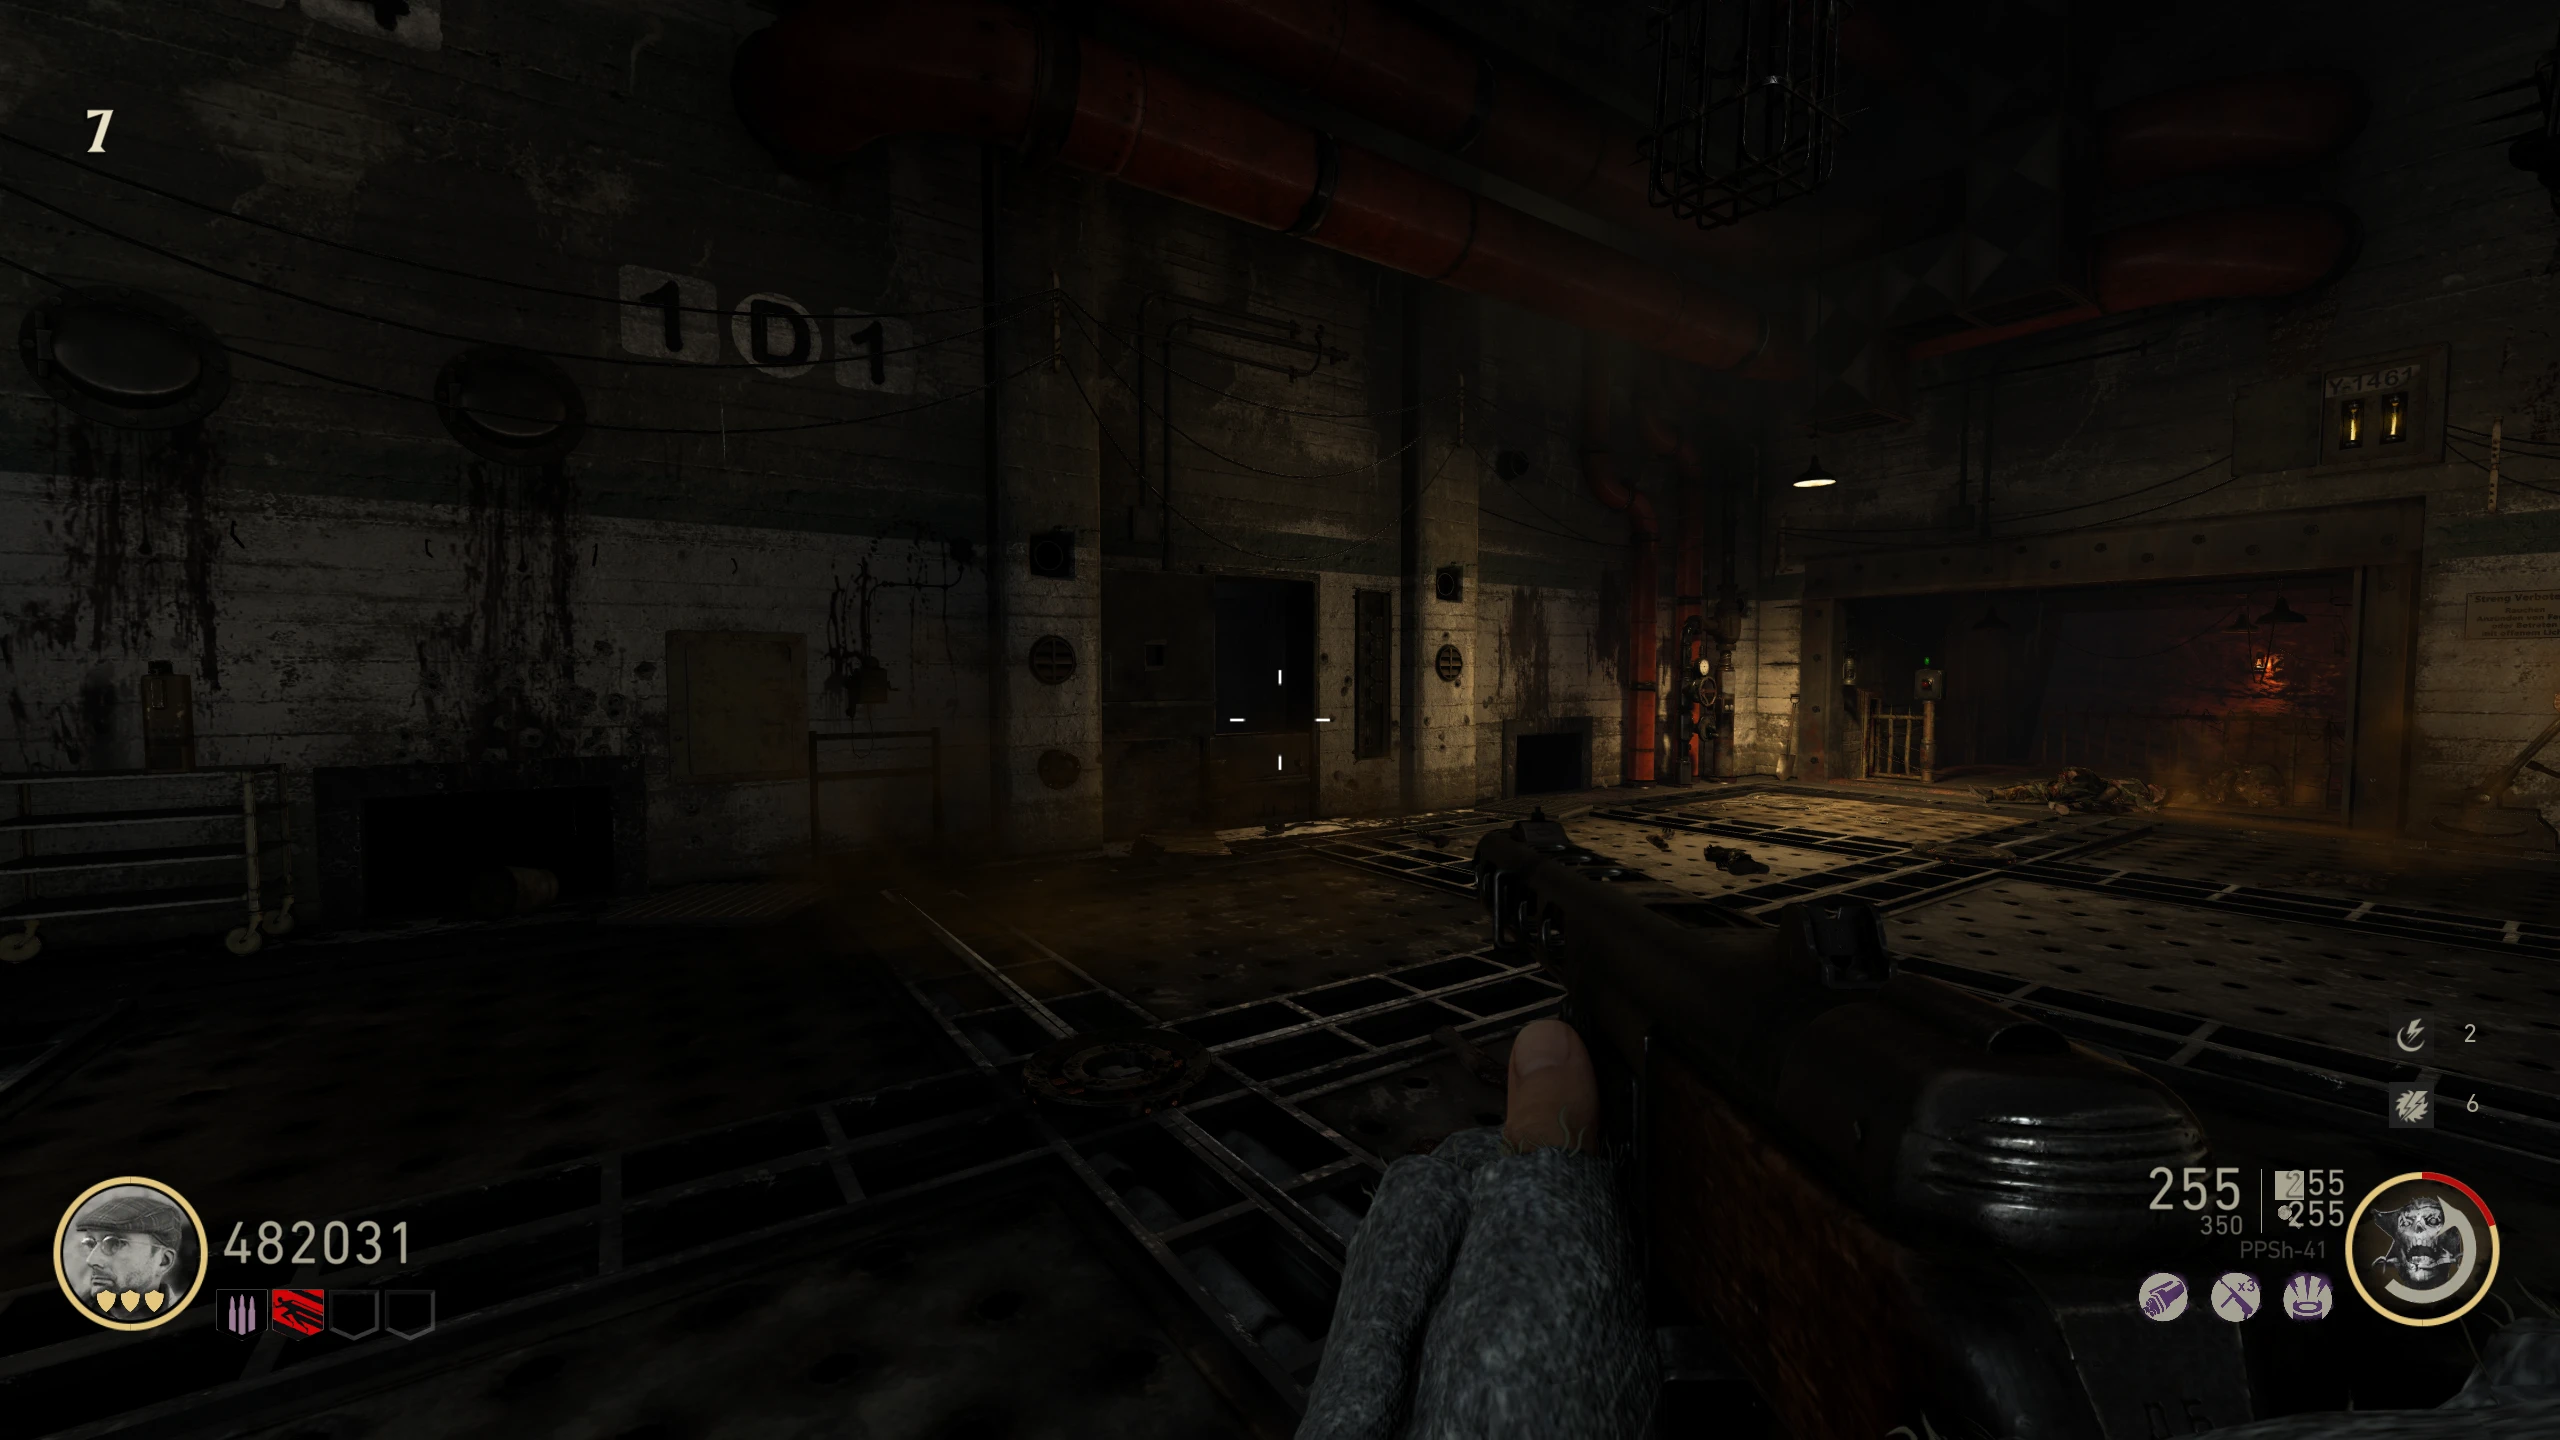
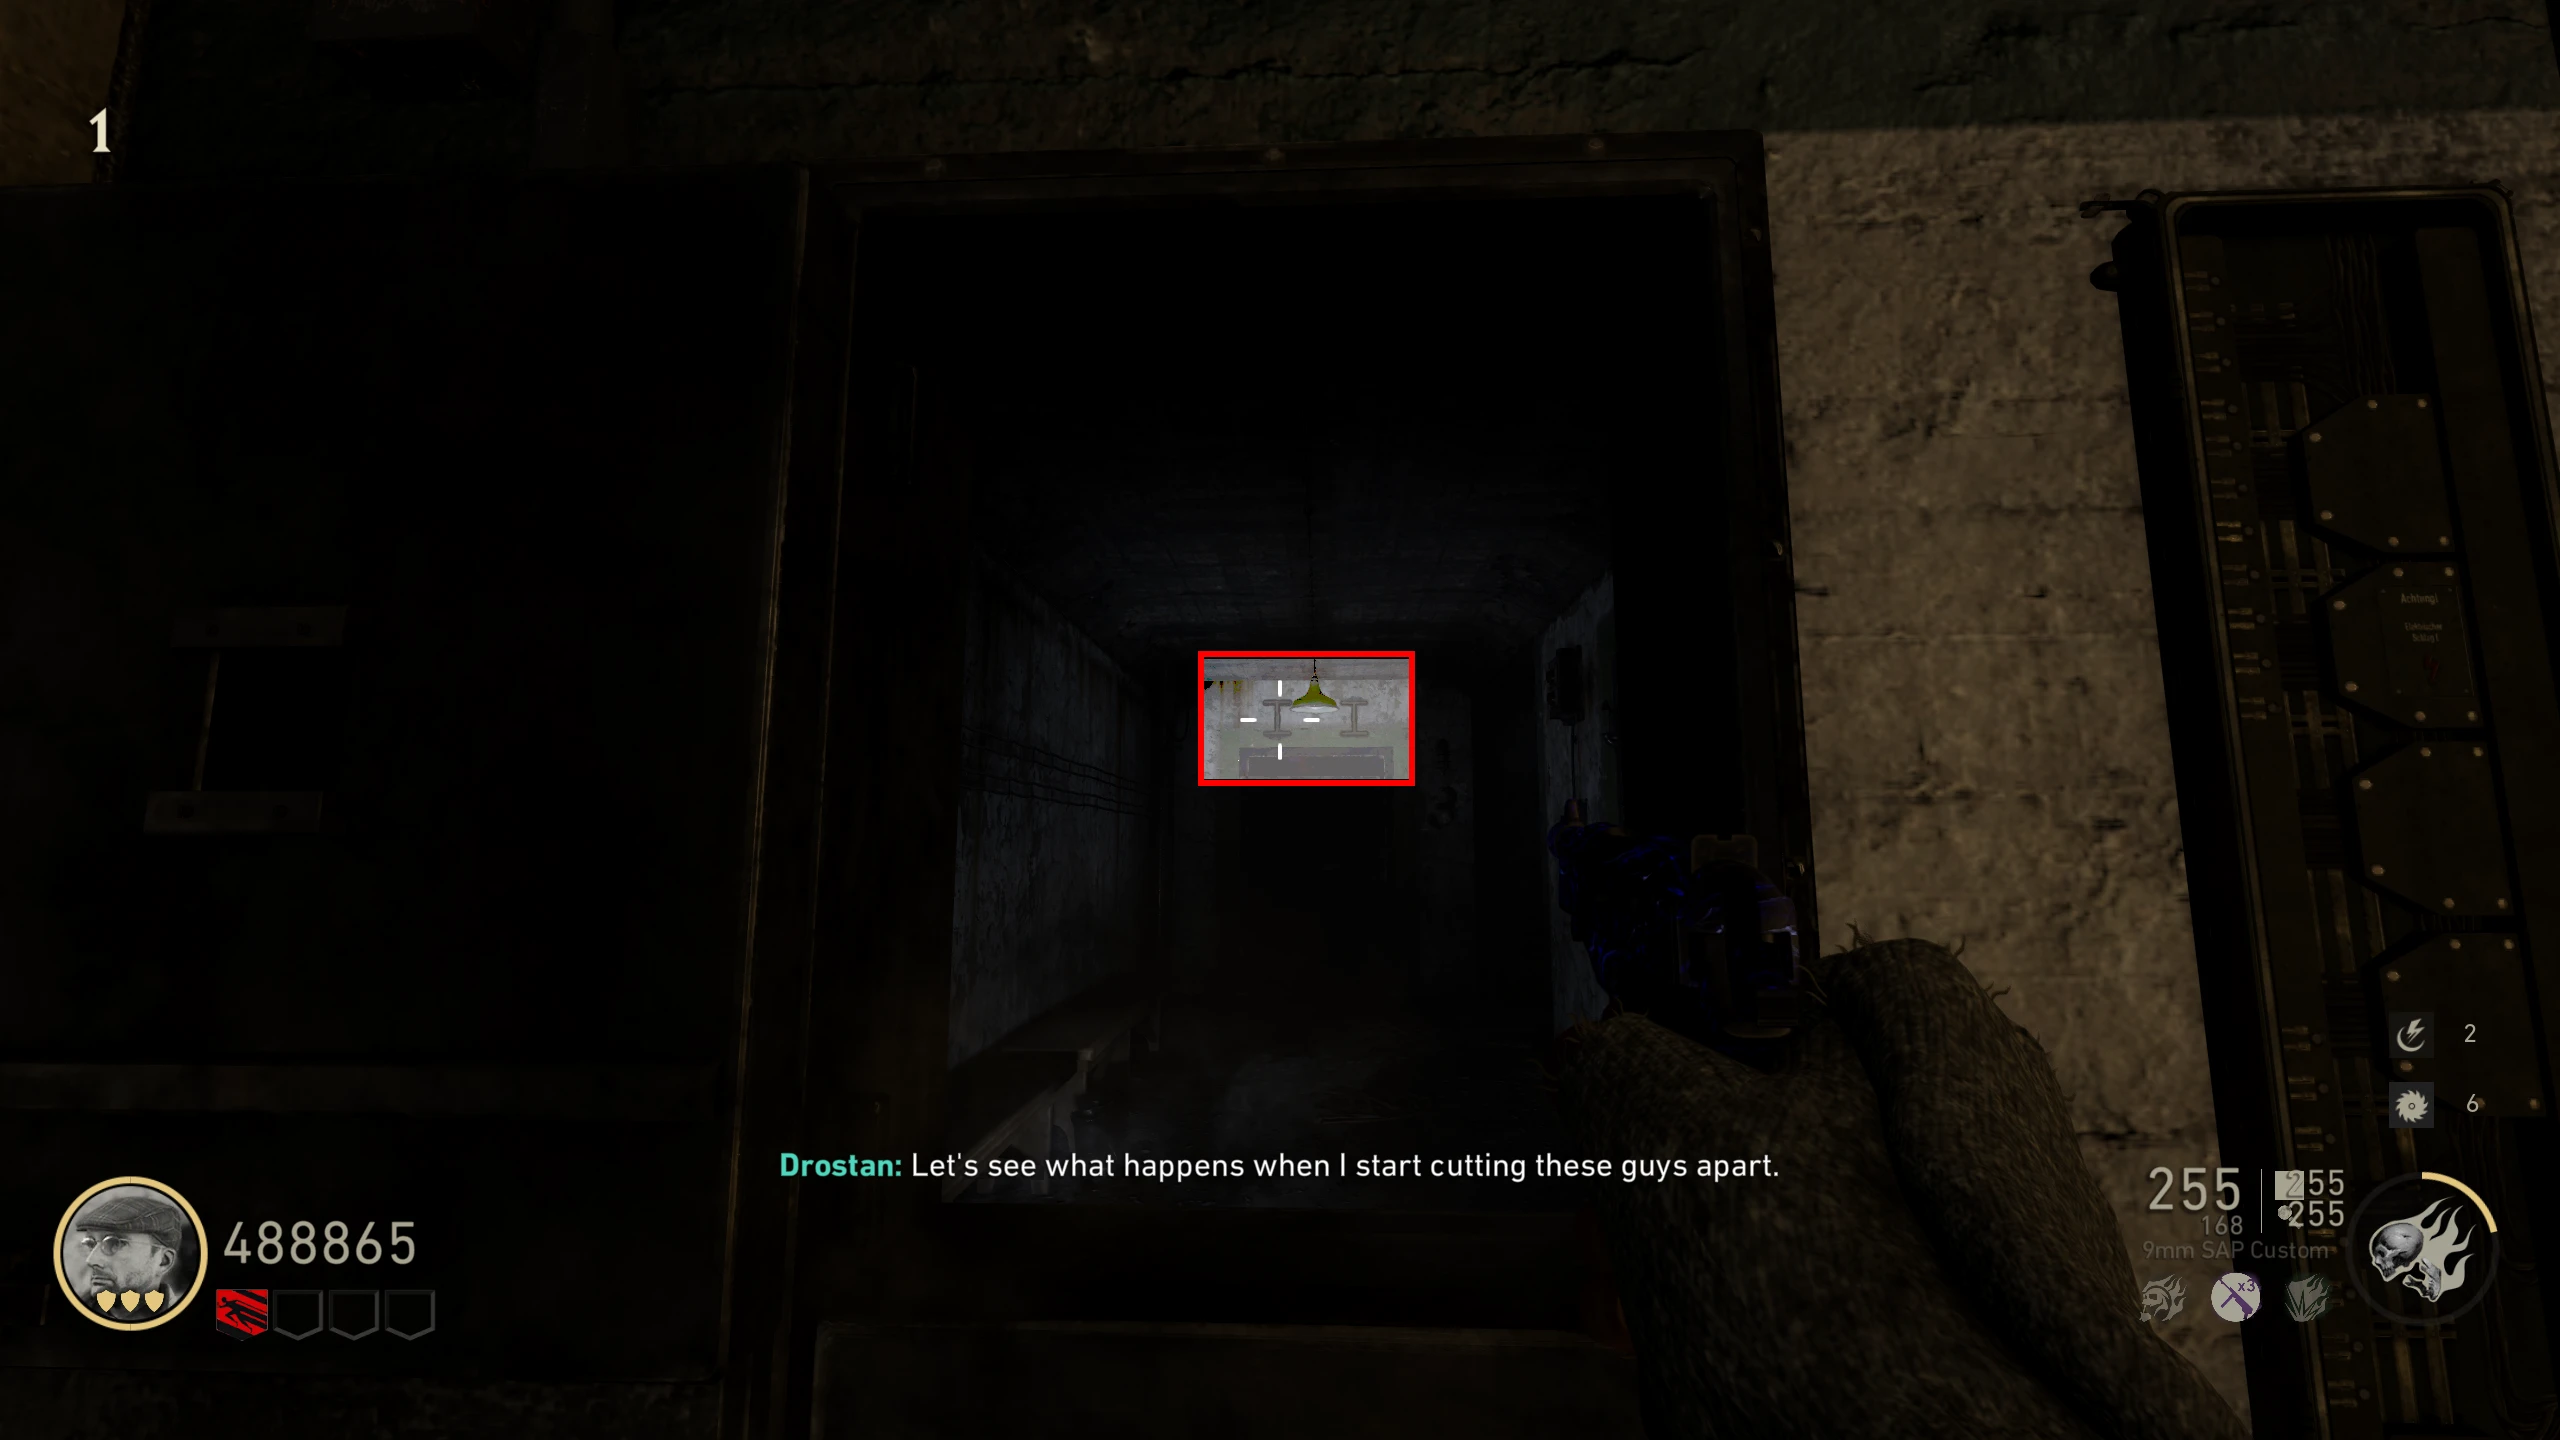
- In the large U-Boat Pens room, look inside the Zombie spawn window in front of the minecart.
- In the Zombie spawn, there's a door with two I-beams above it. Shoot the left one about eight times, until it is sideways, and you receive 1 jolt. The two beams will now look like the word "HI."
Dr. Straub Locations ("Still Lurking" Trophy/Achievement)
All the spawn locations, and how he spawns has been confirmed with a combination of modding, and reading the game's code.
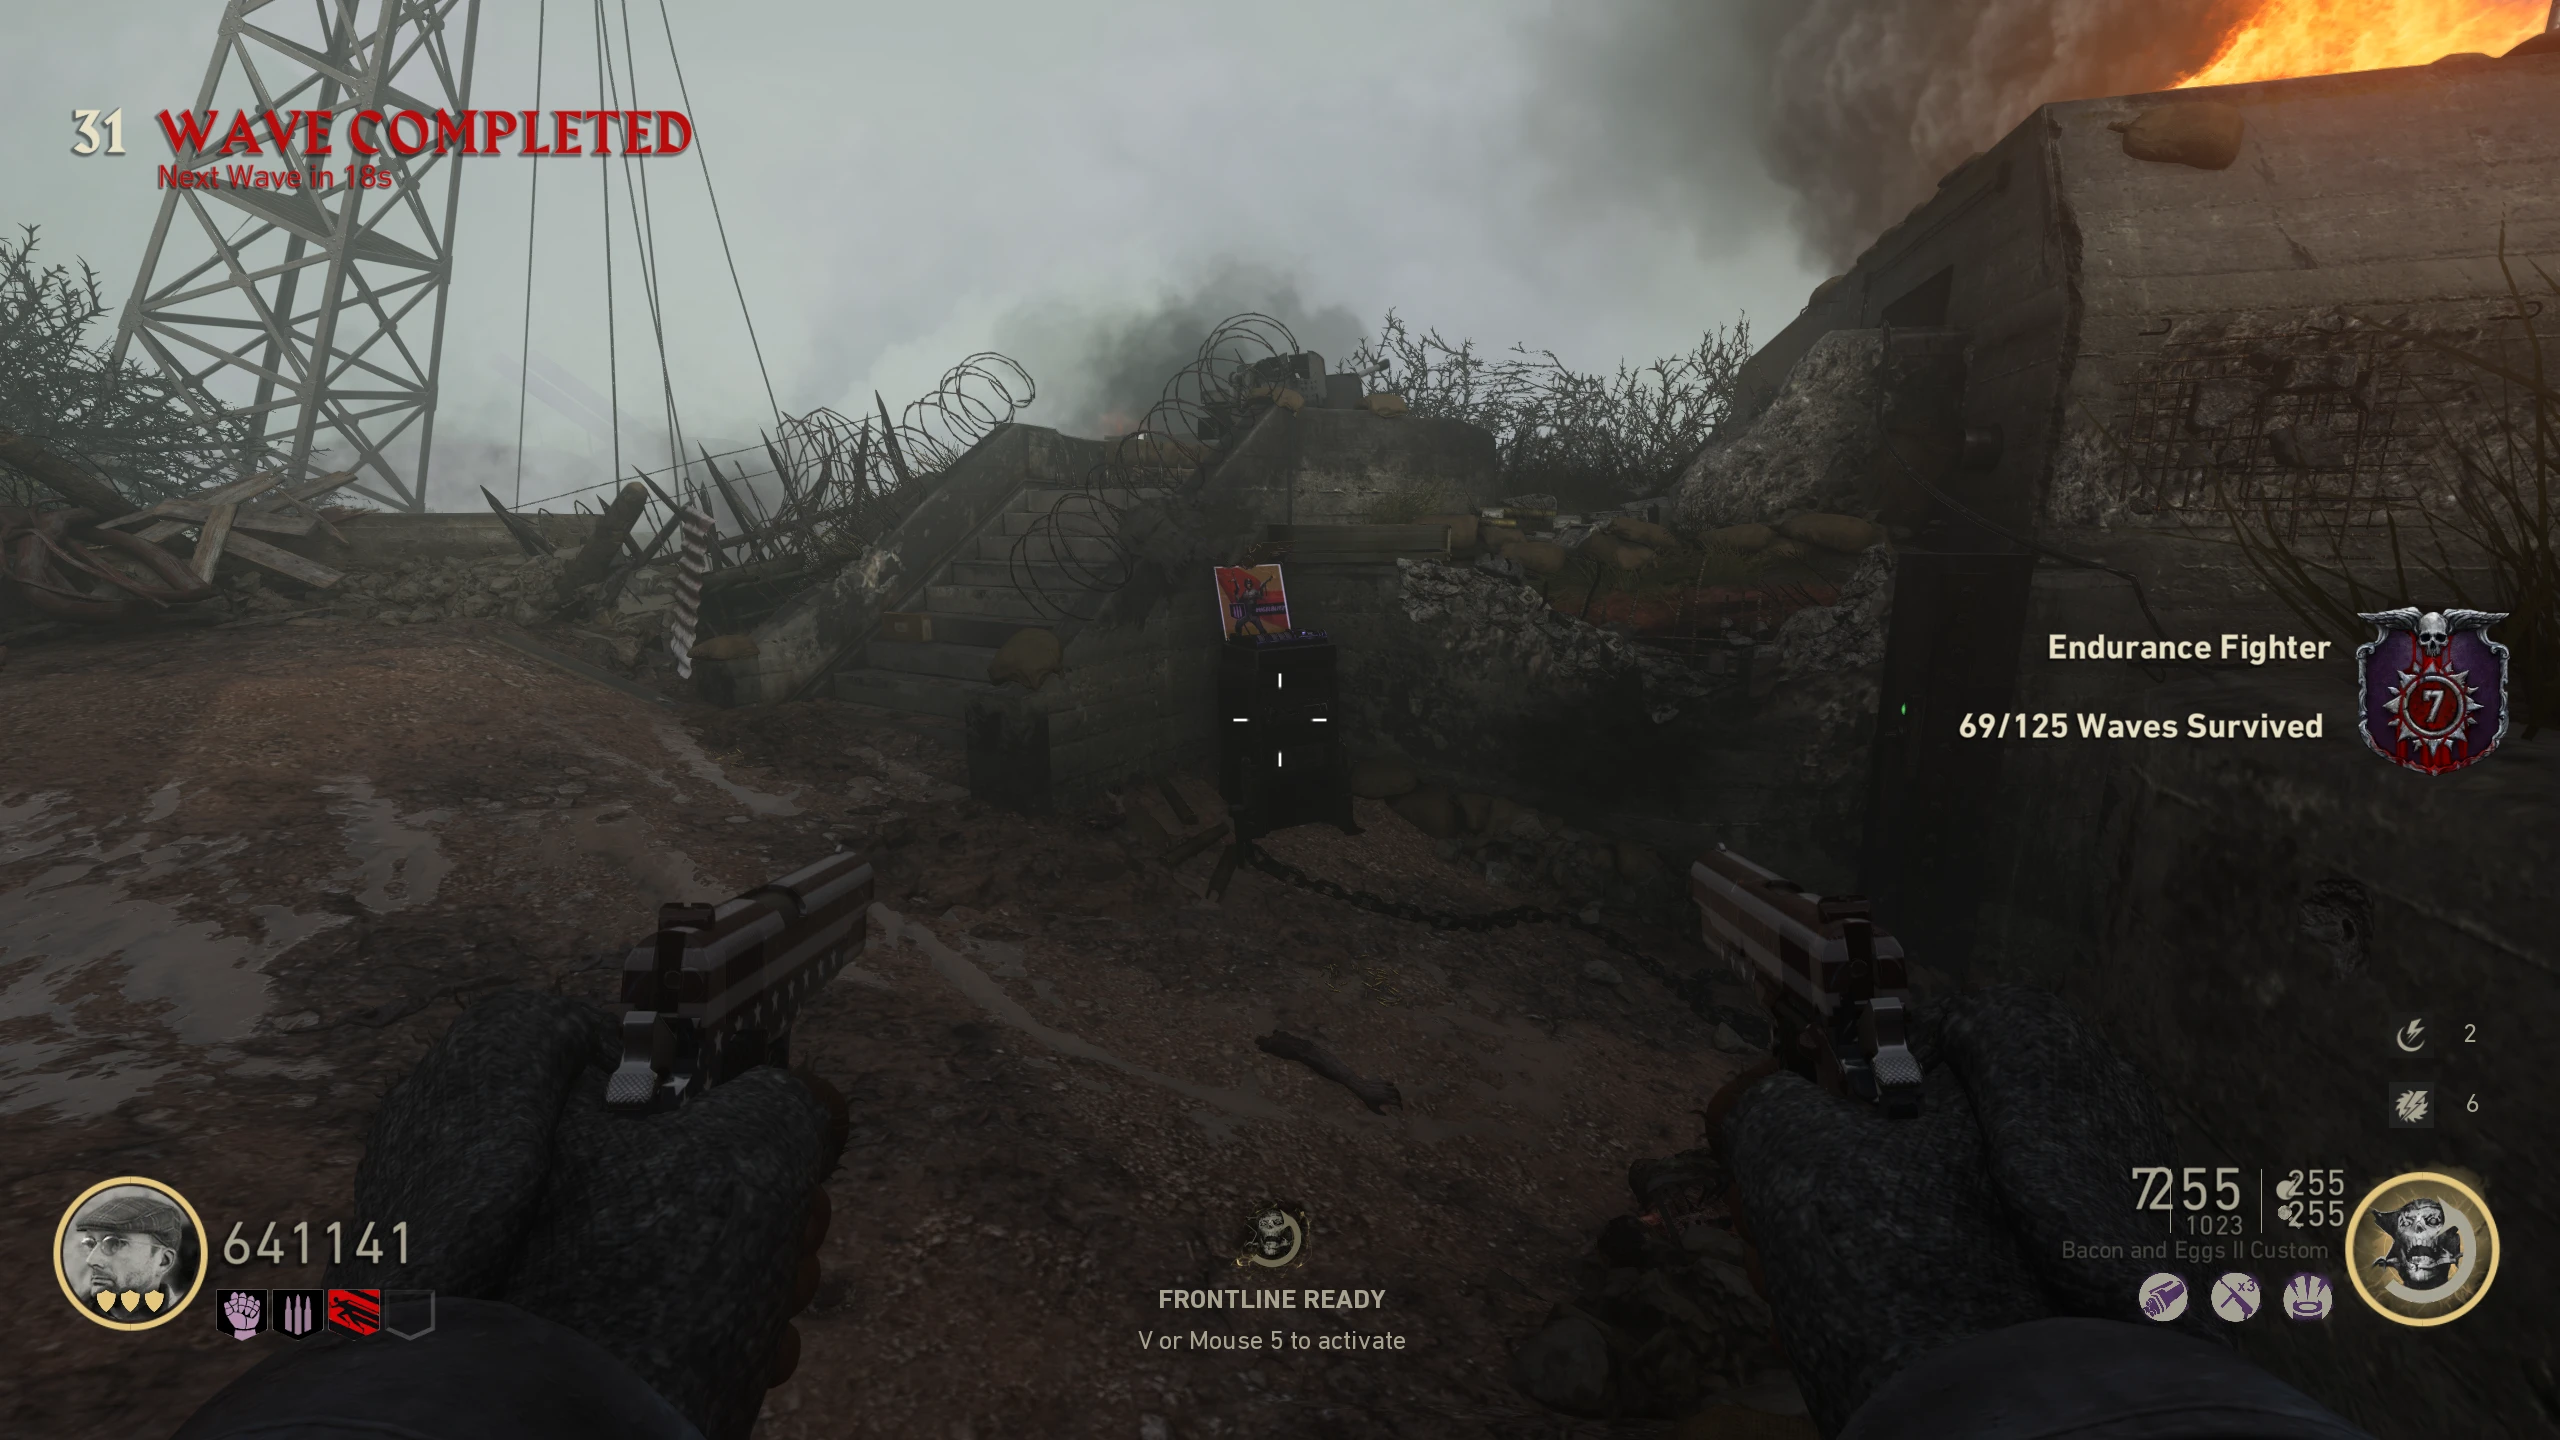
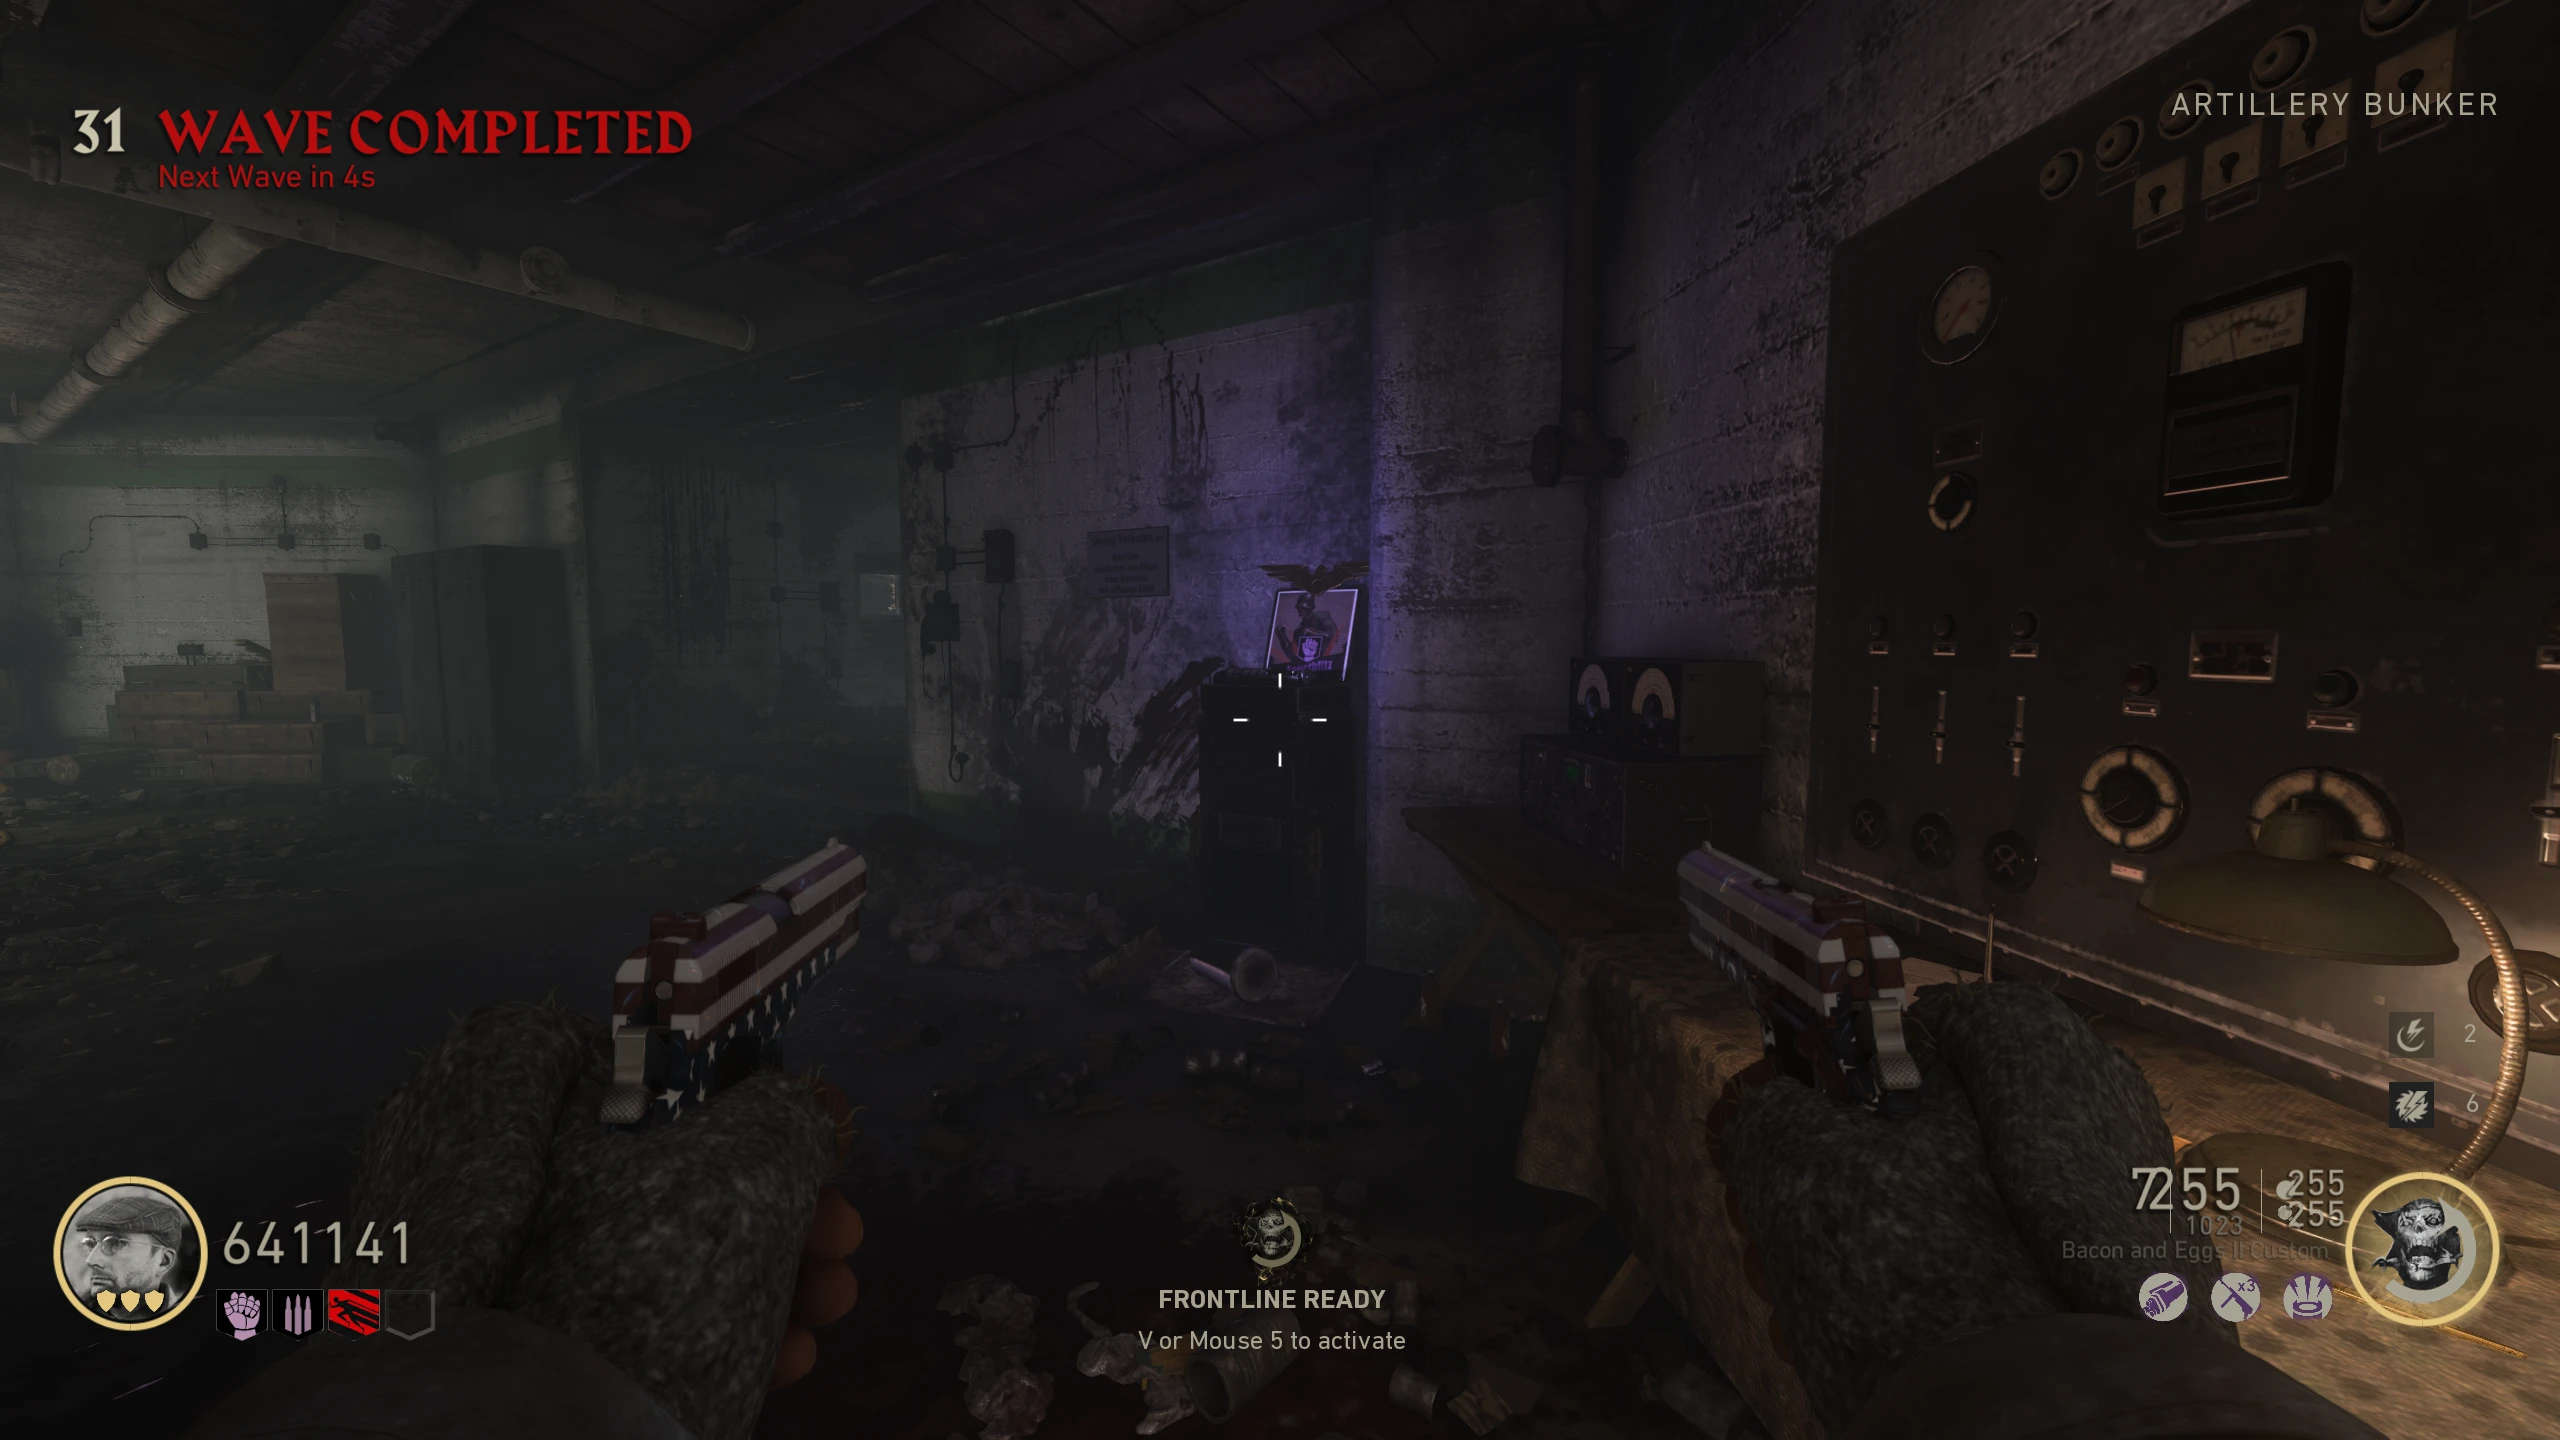
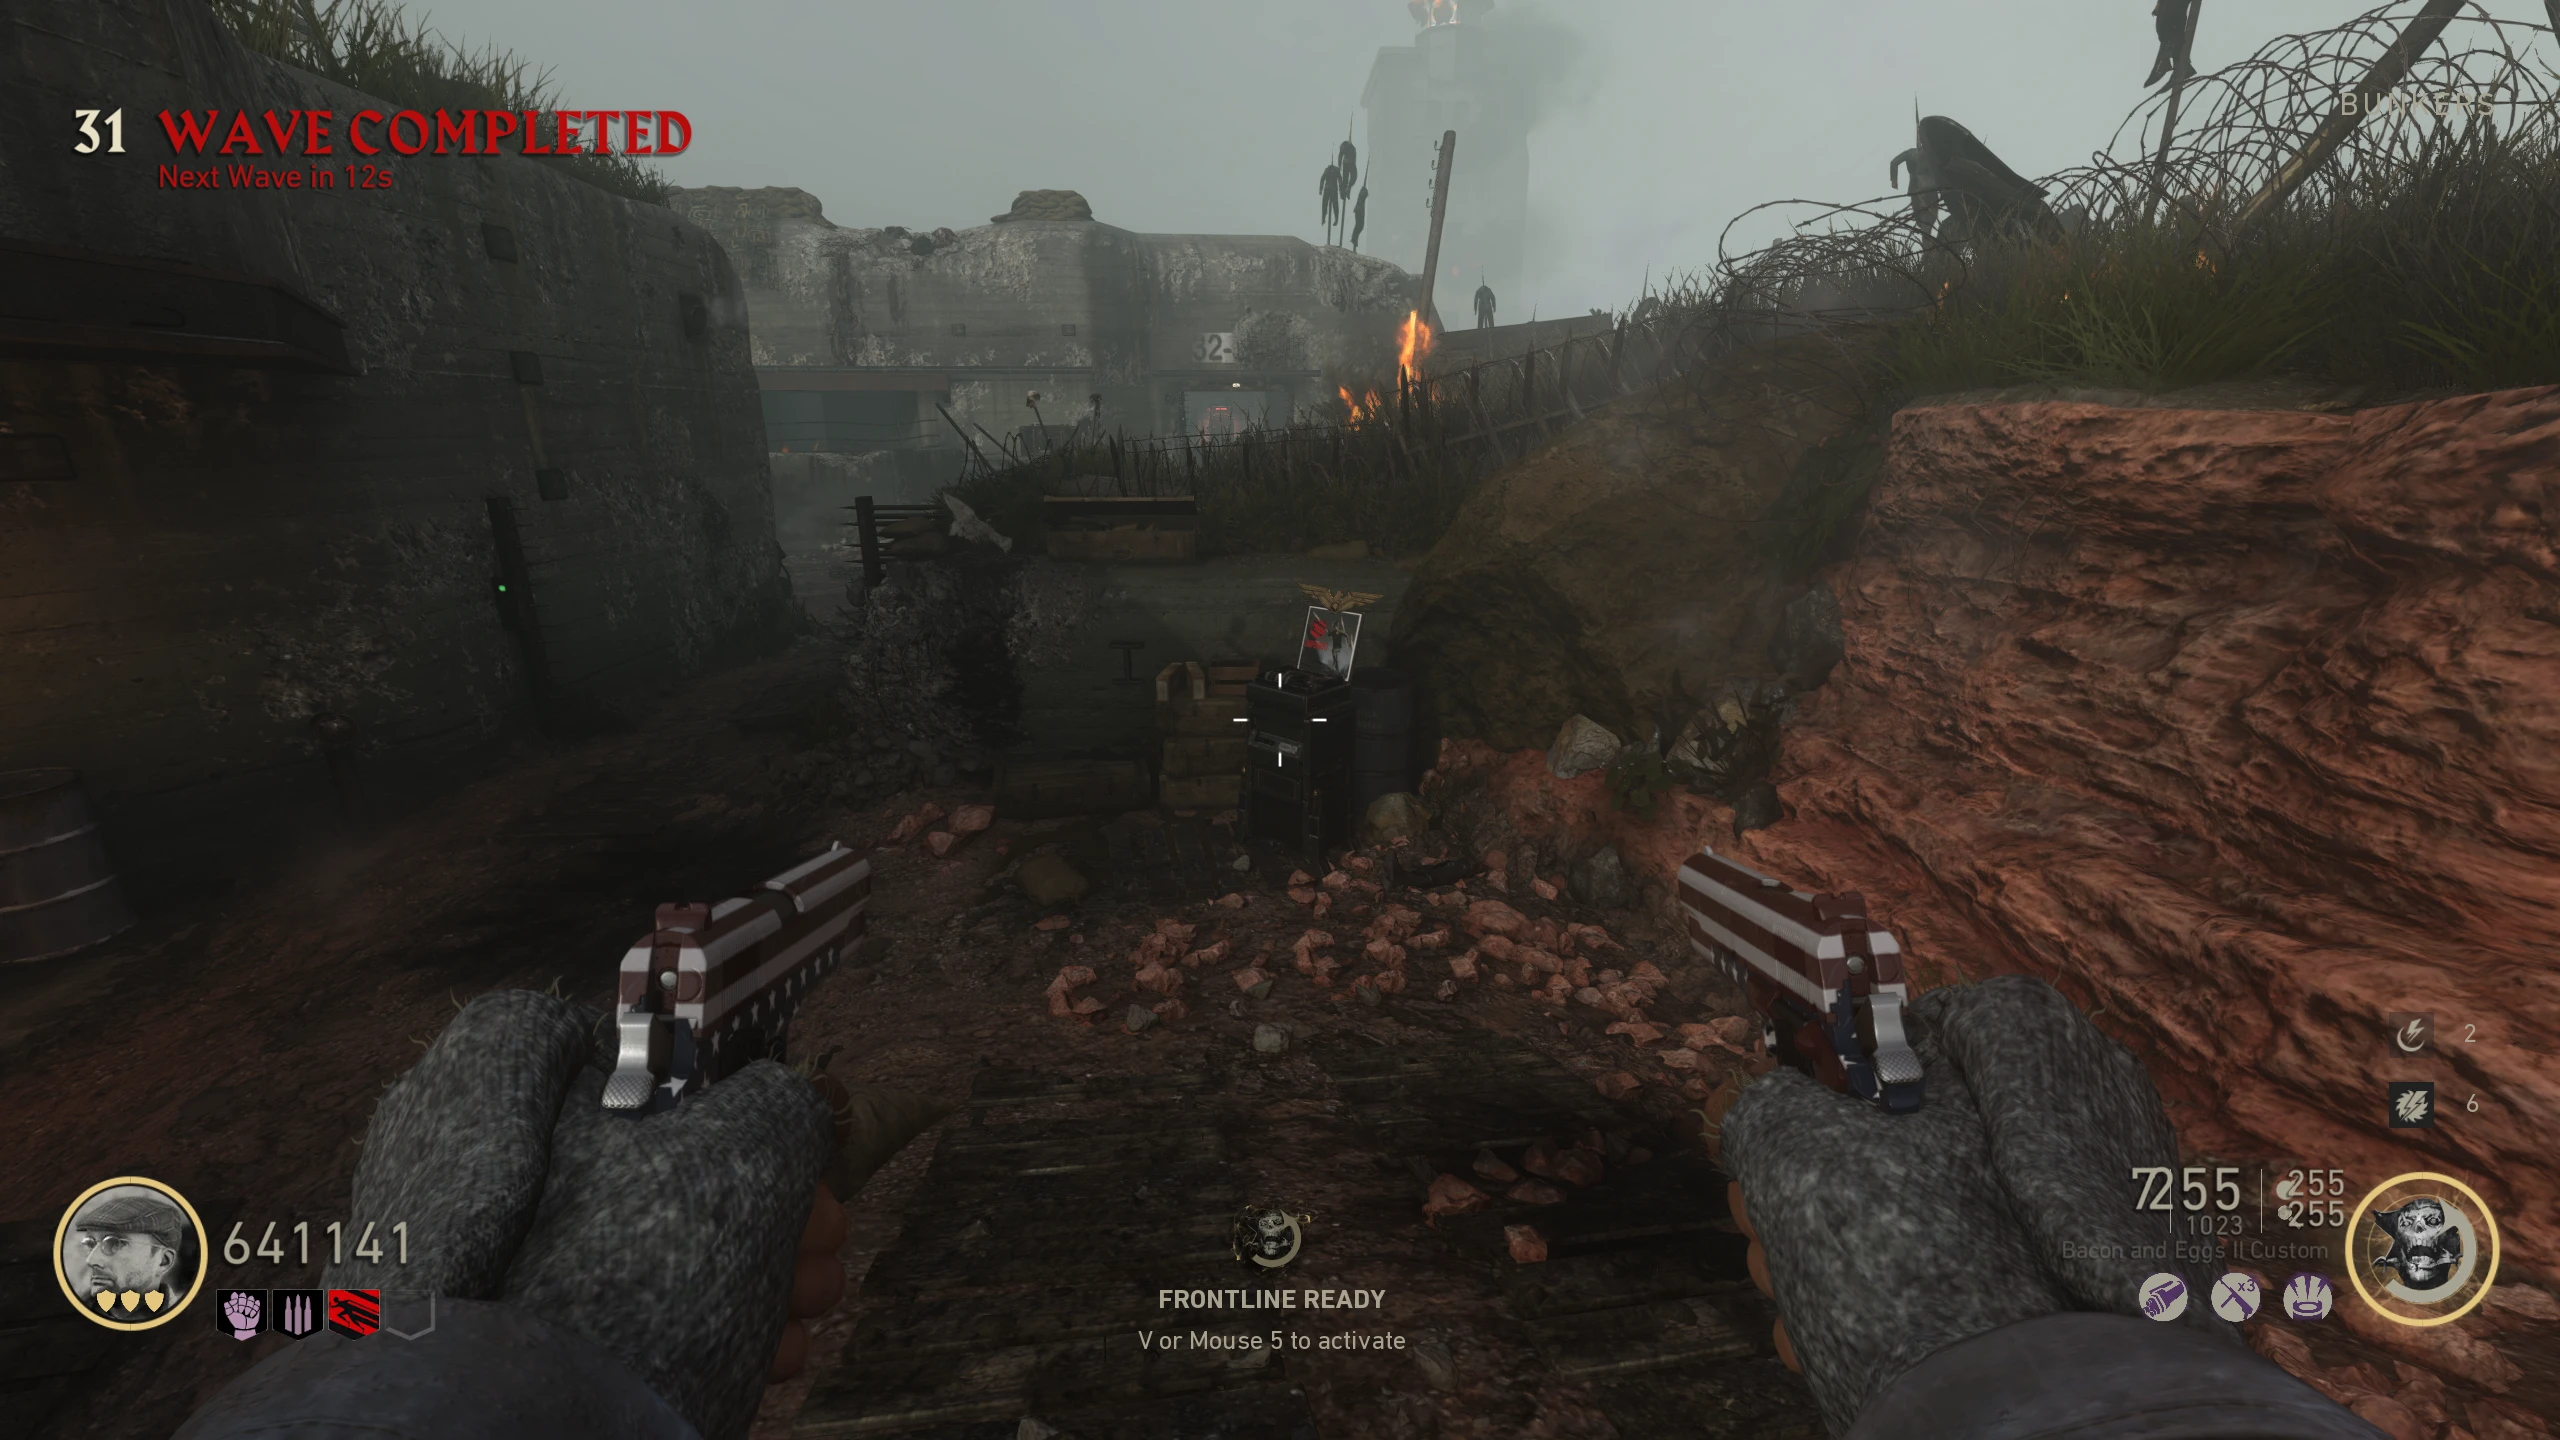
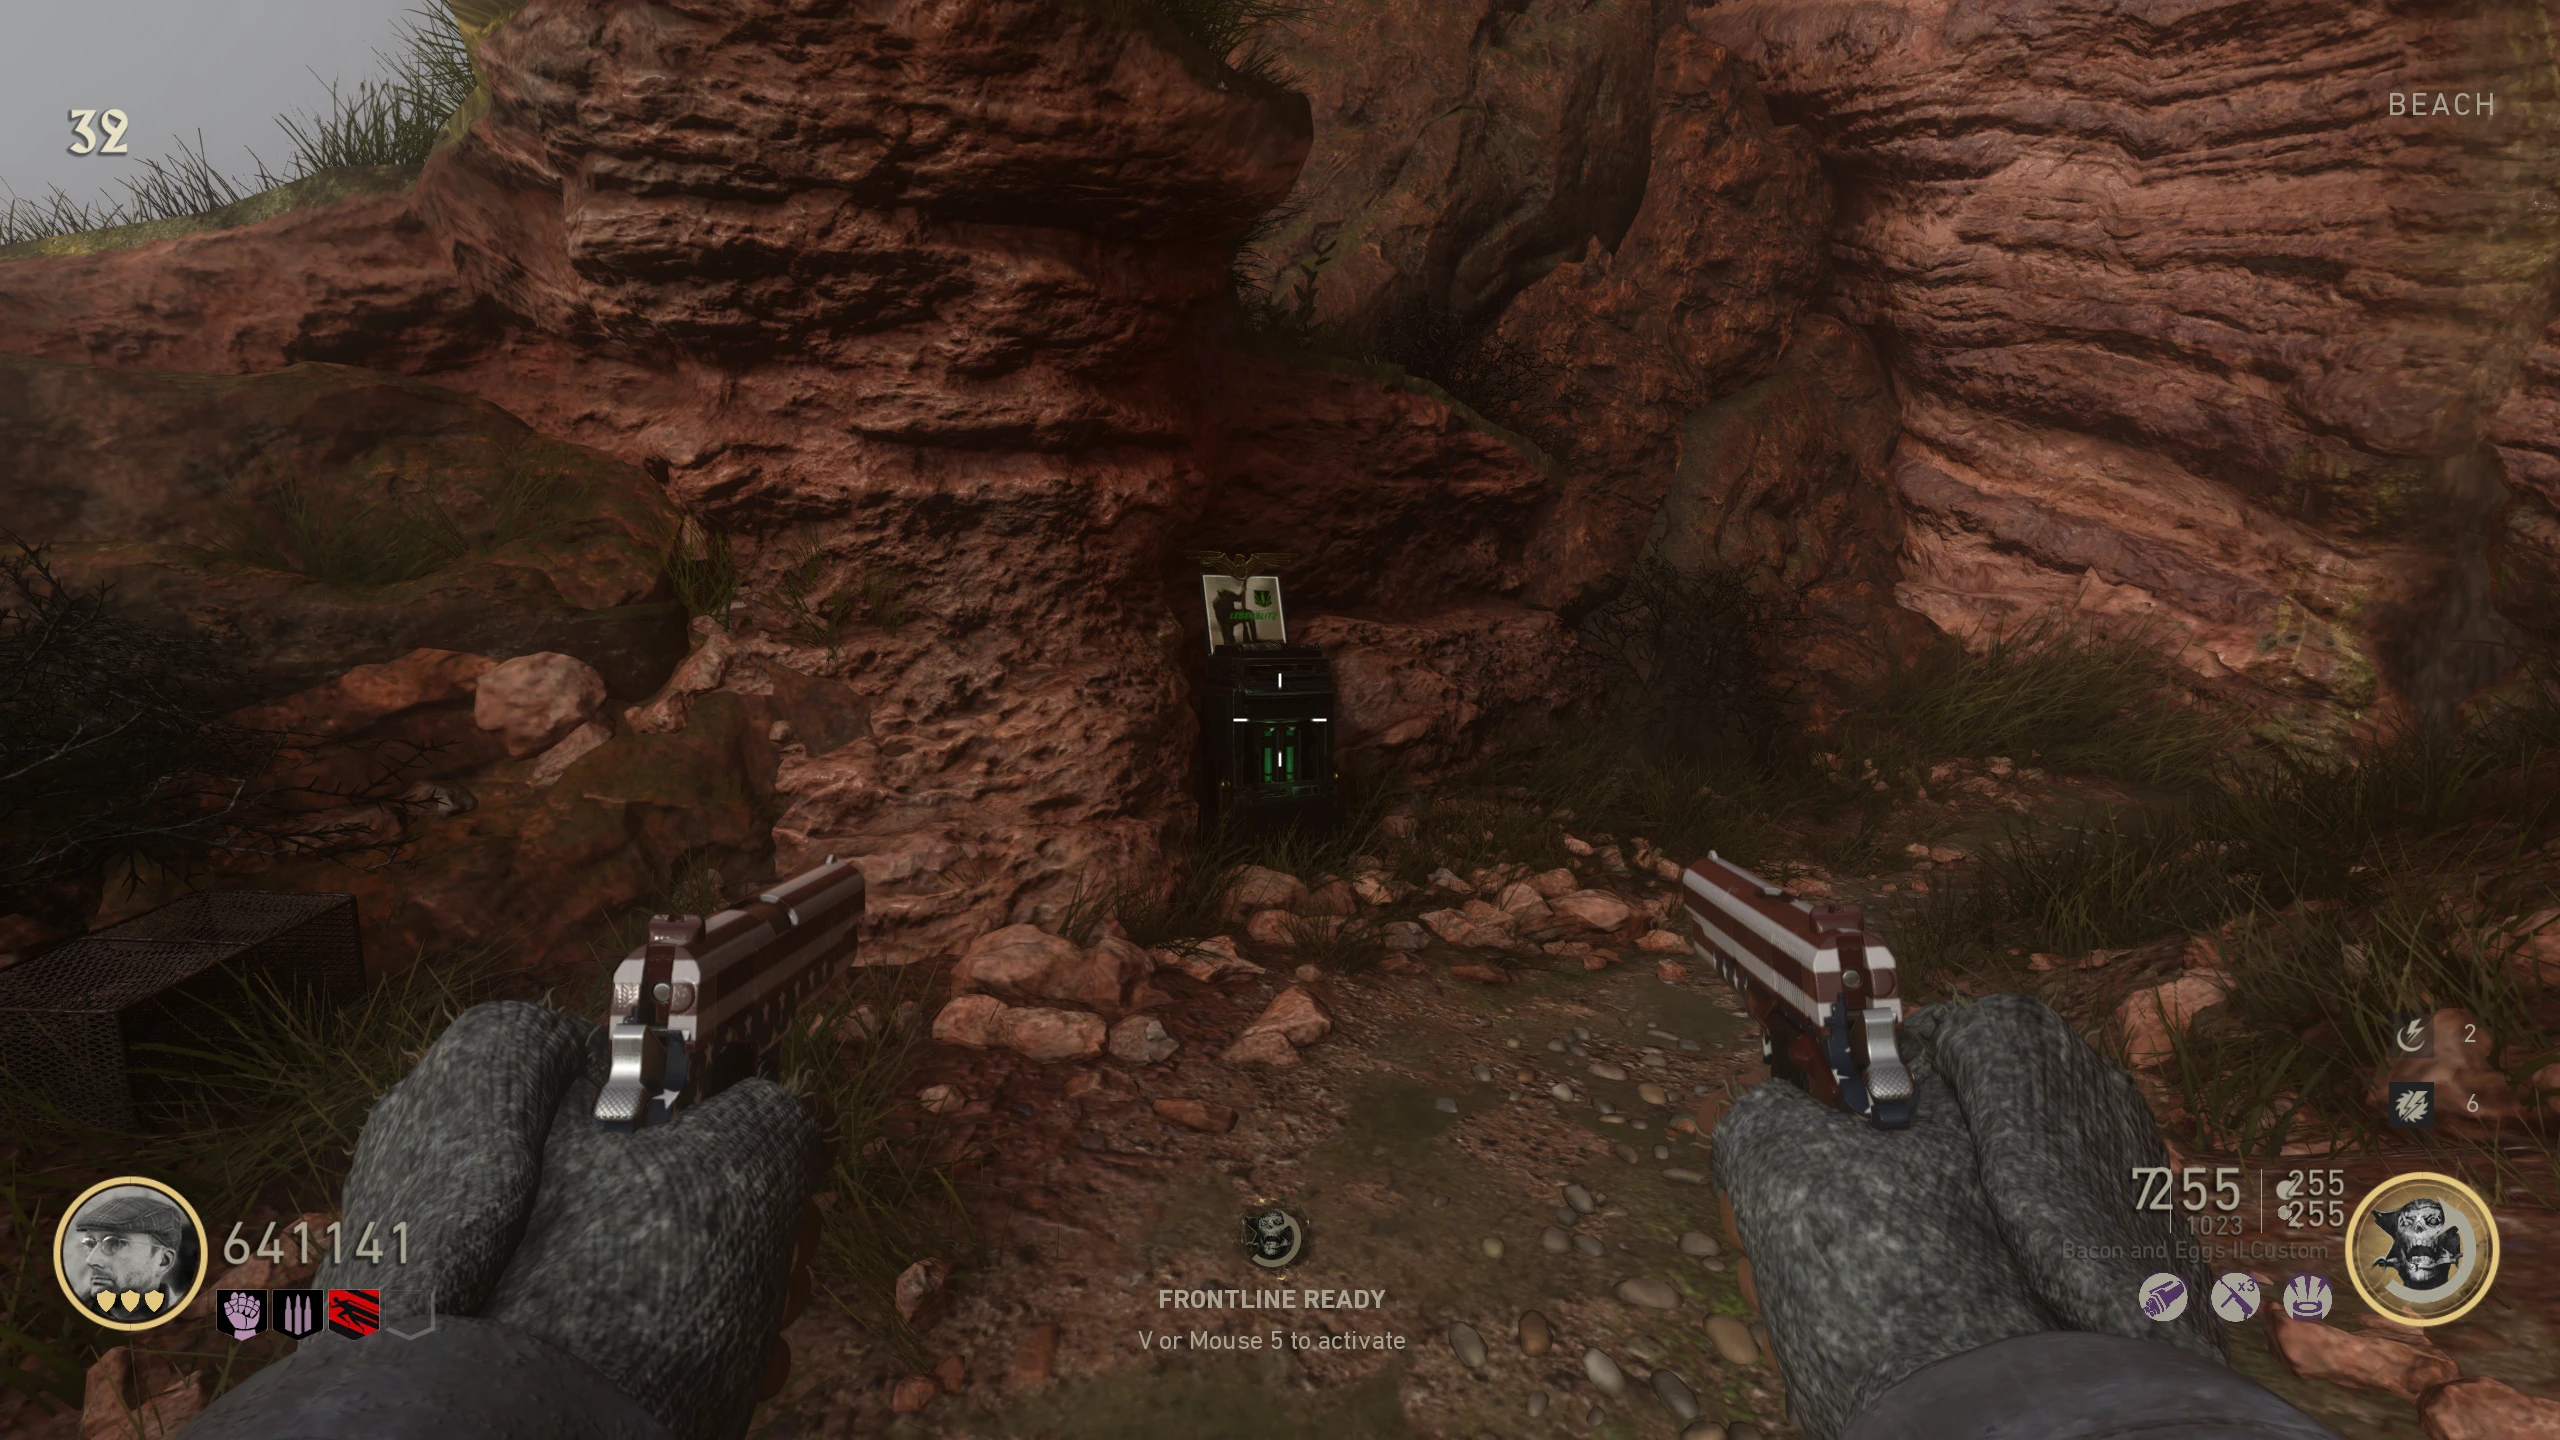
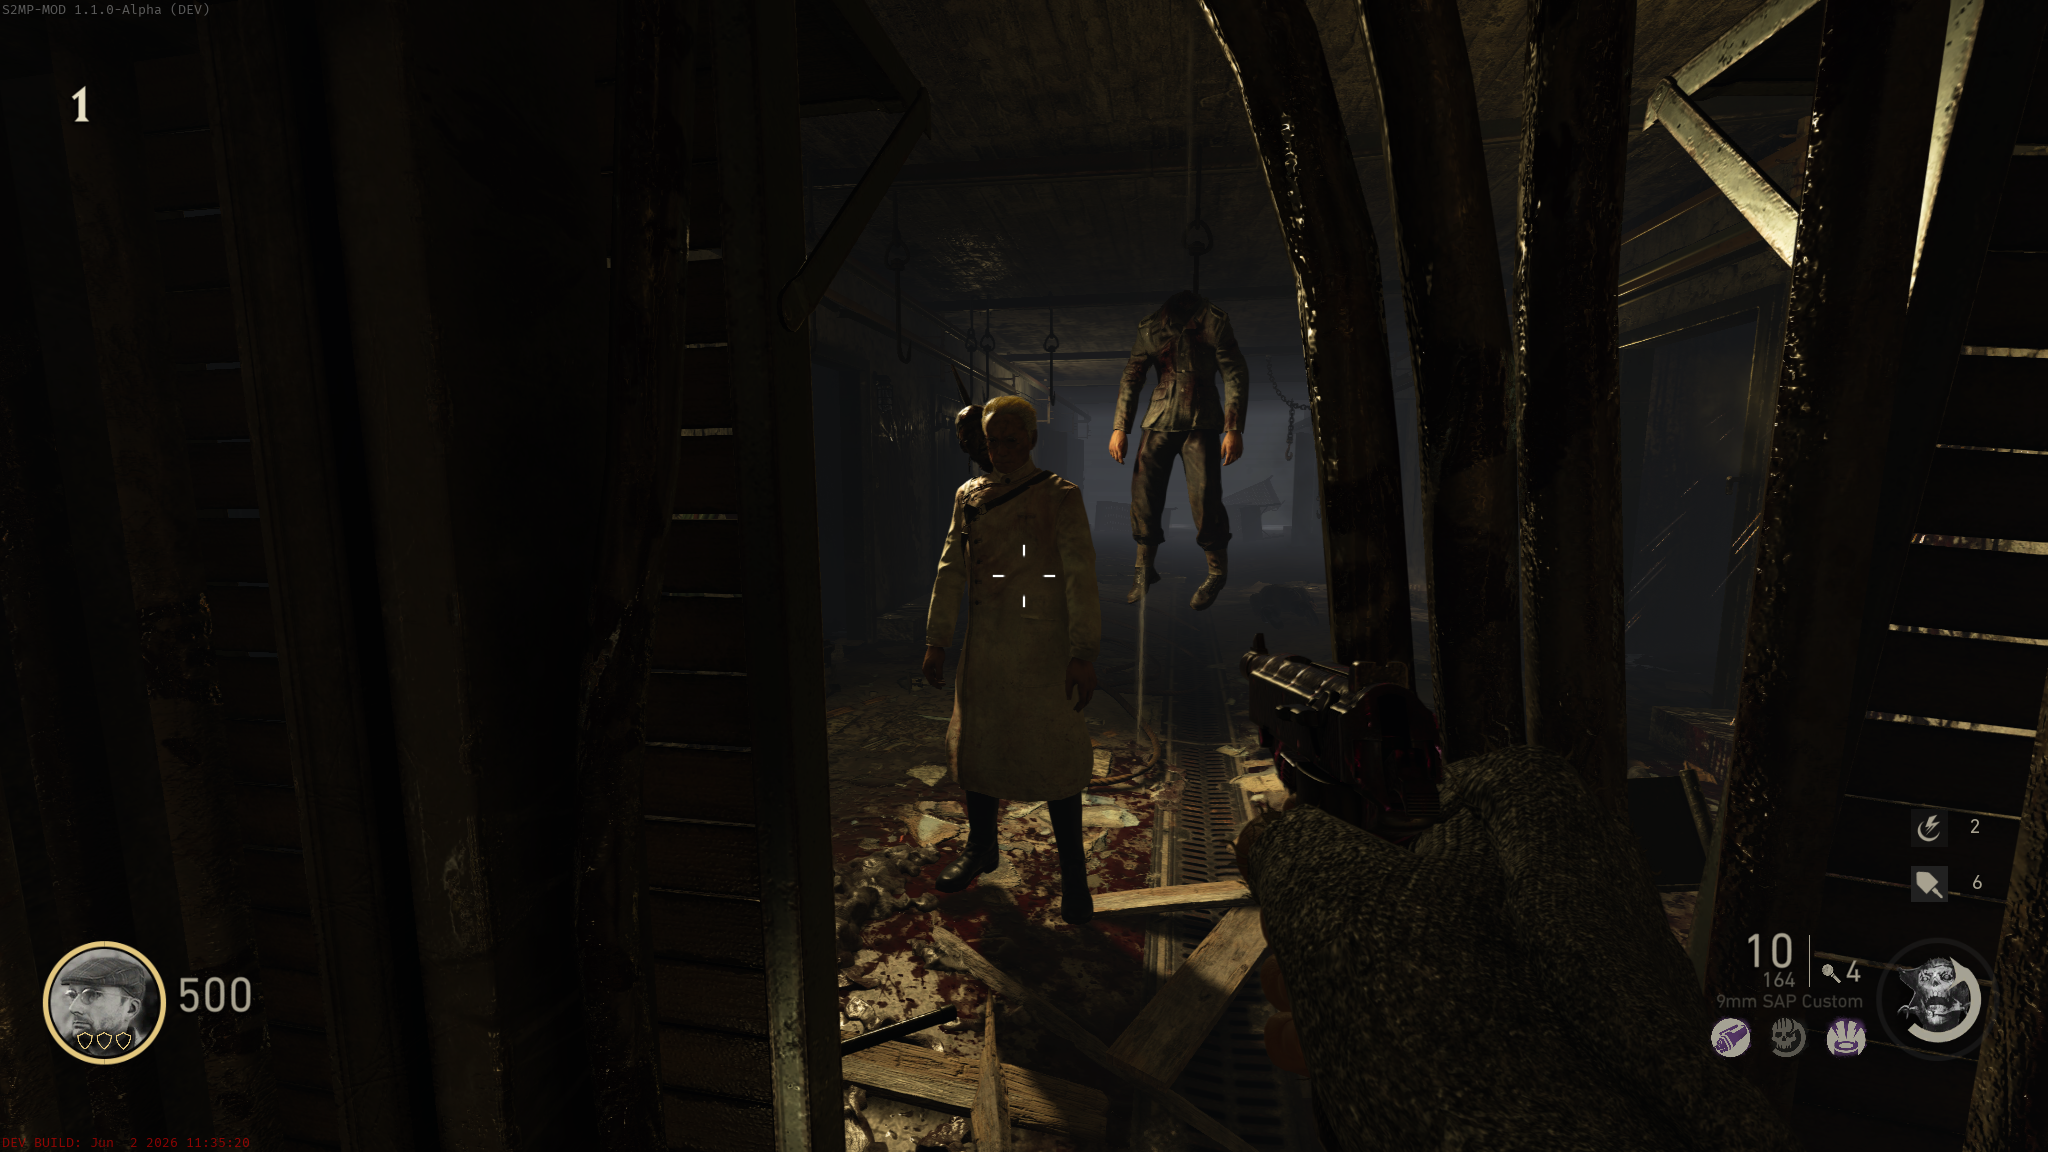
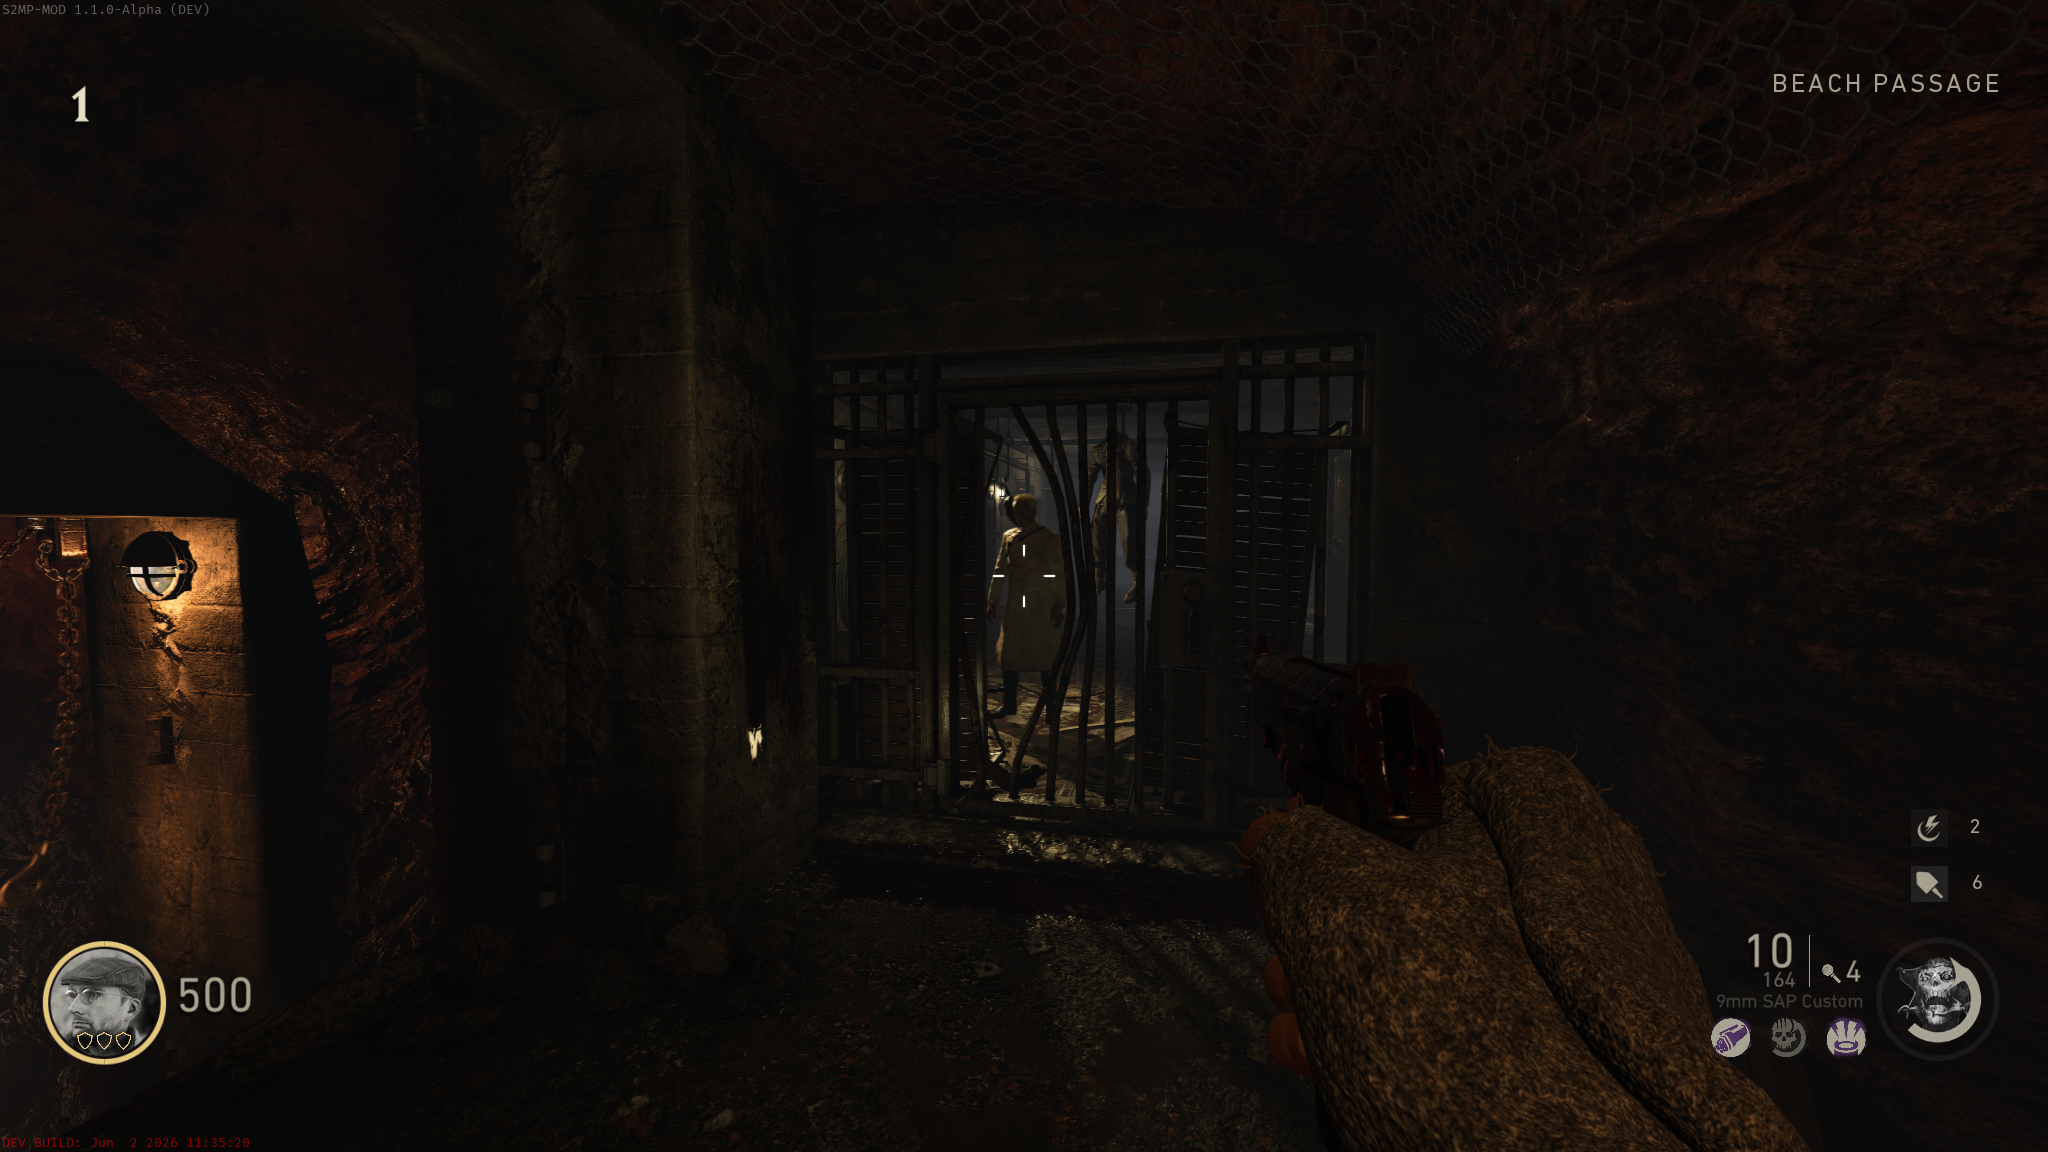
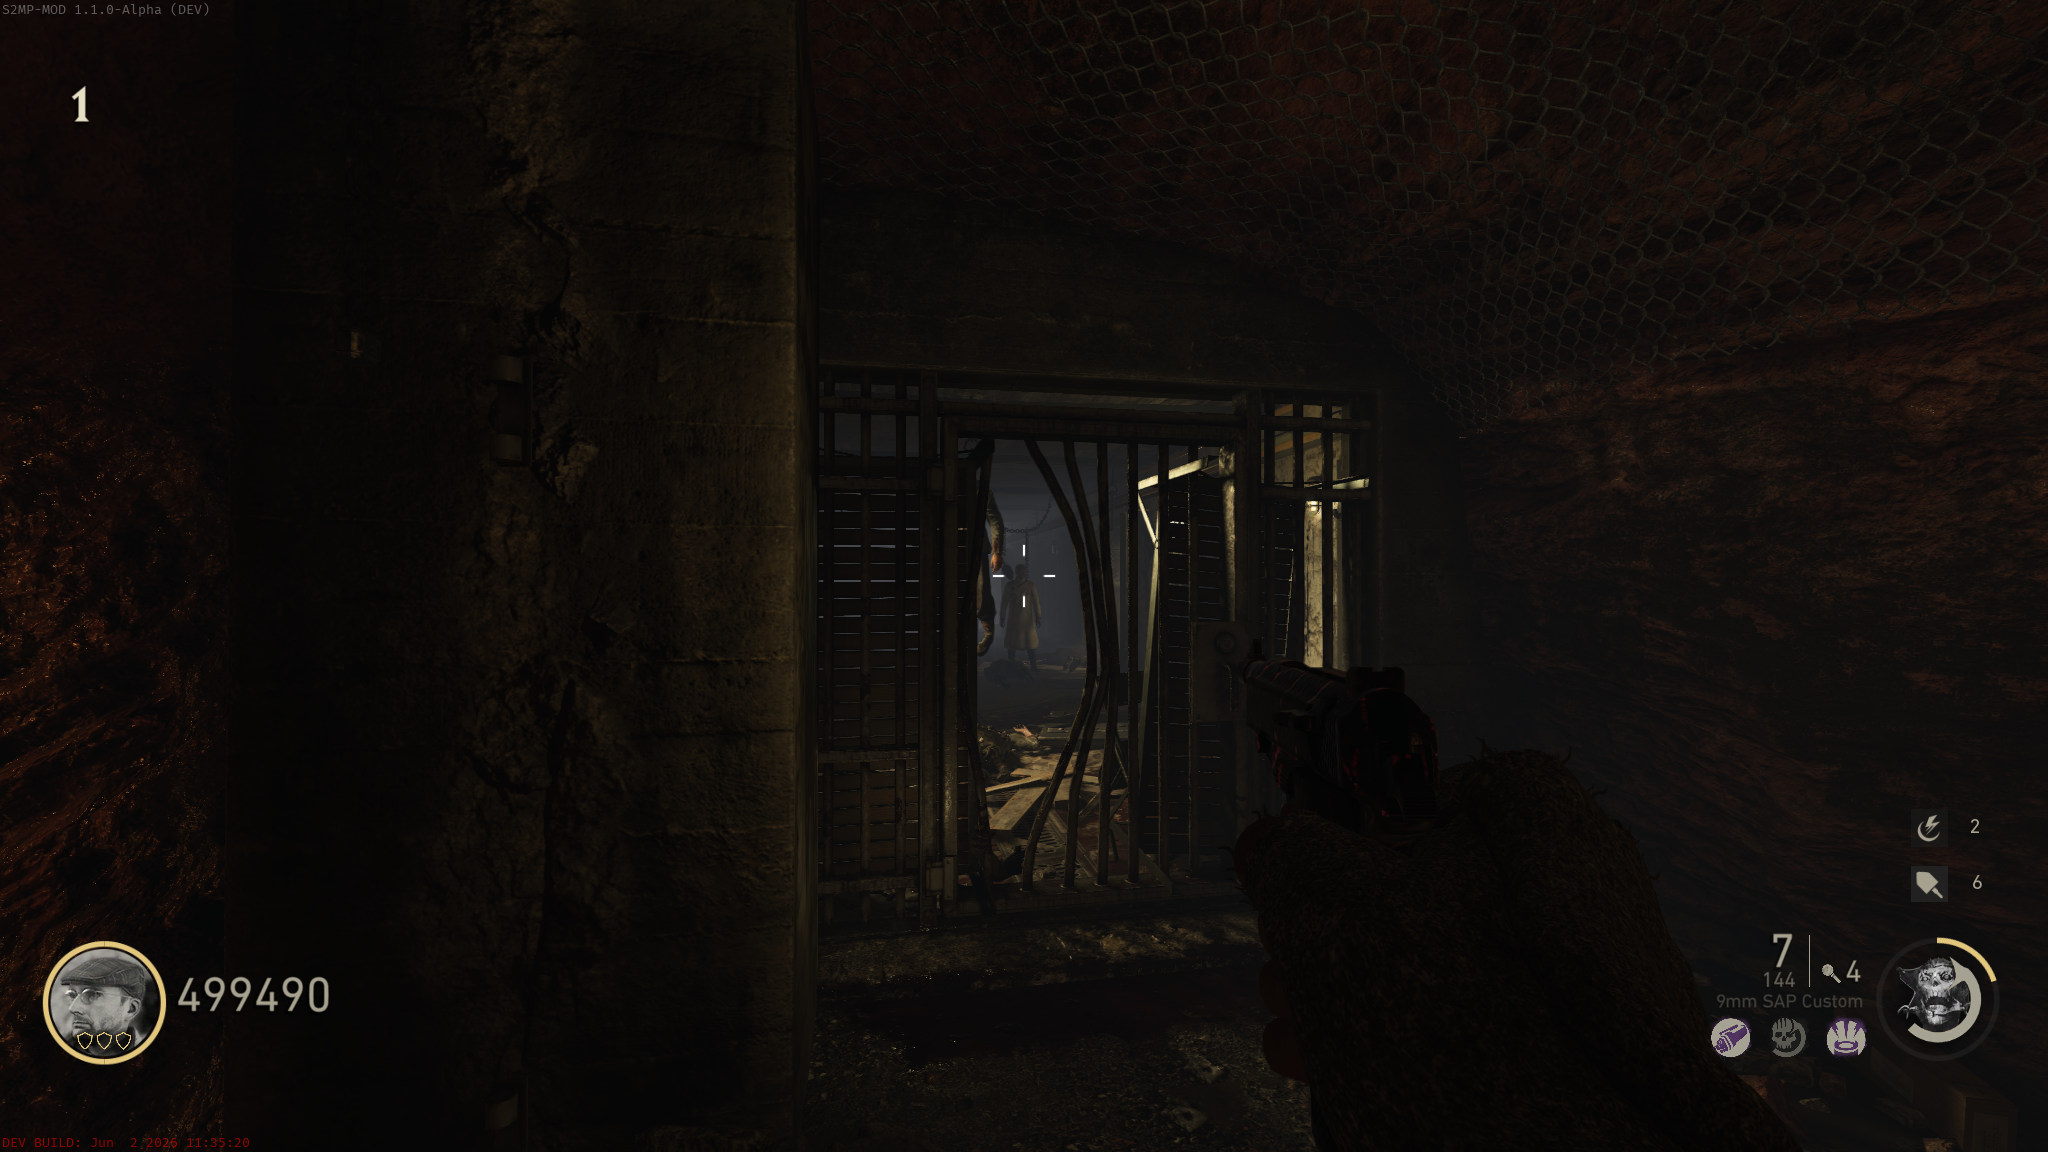
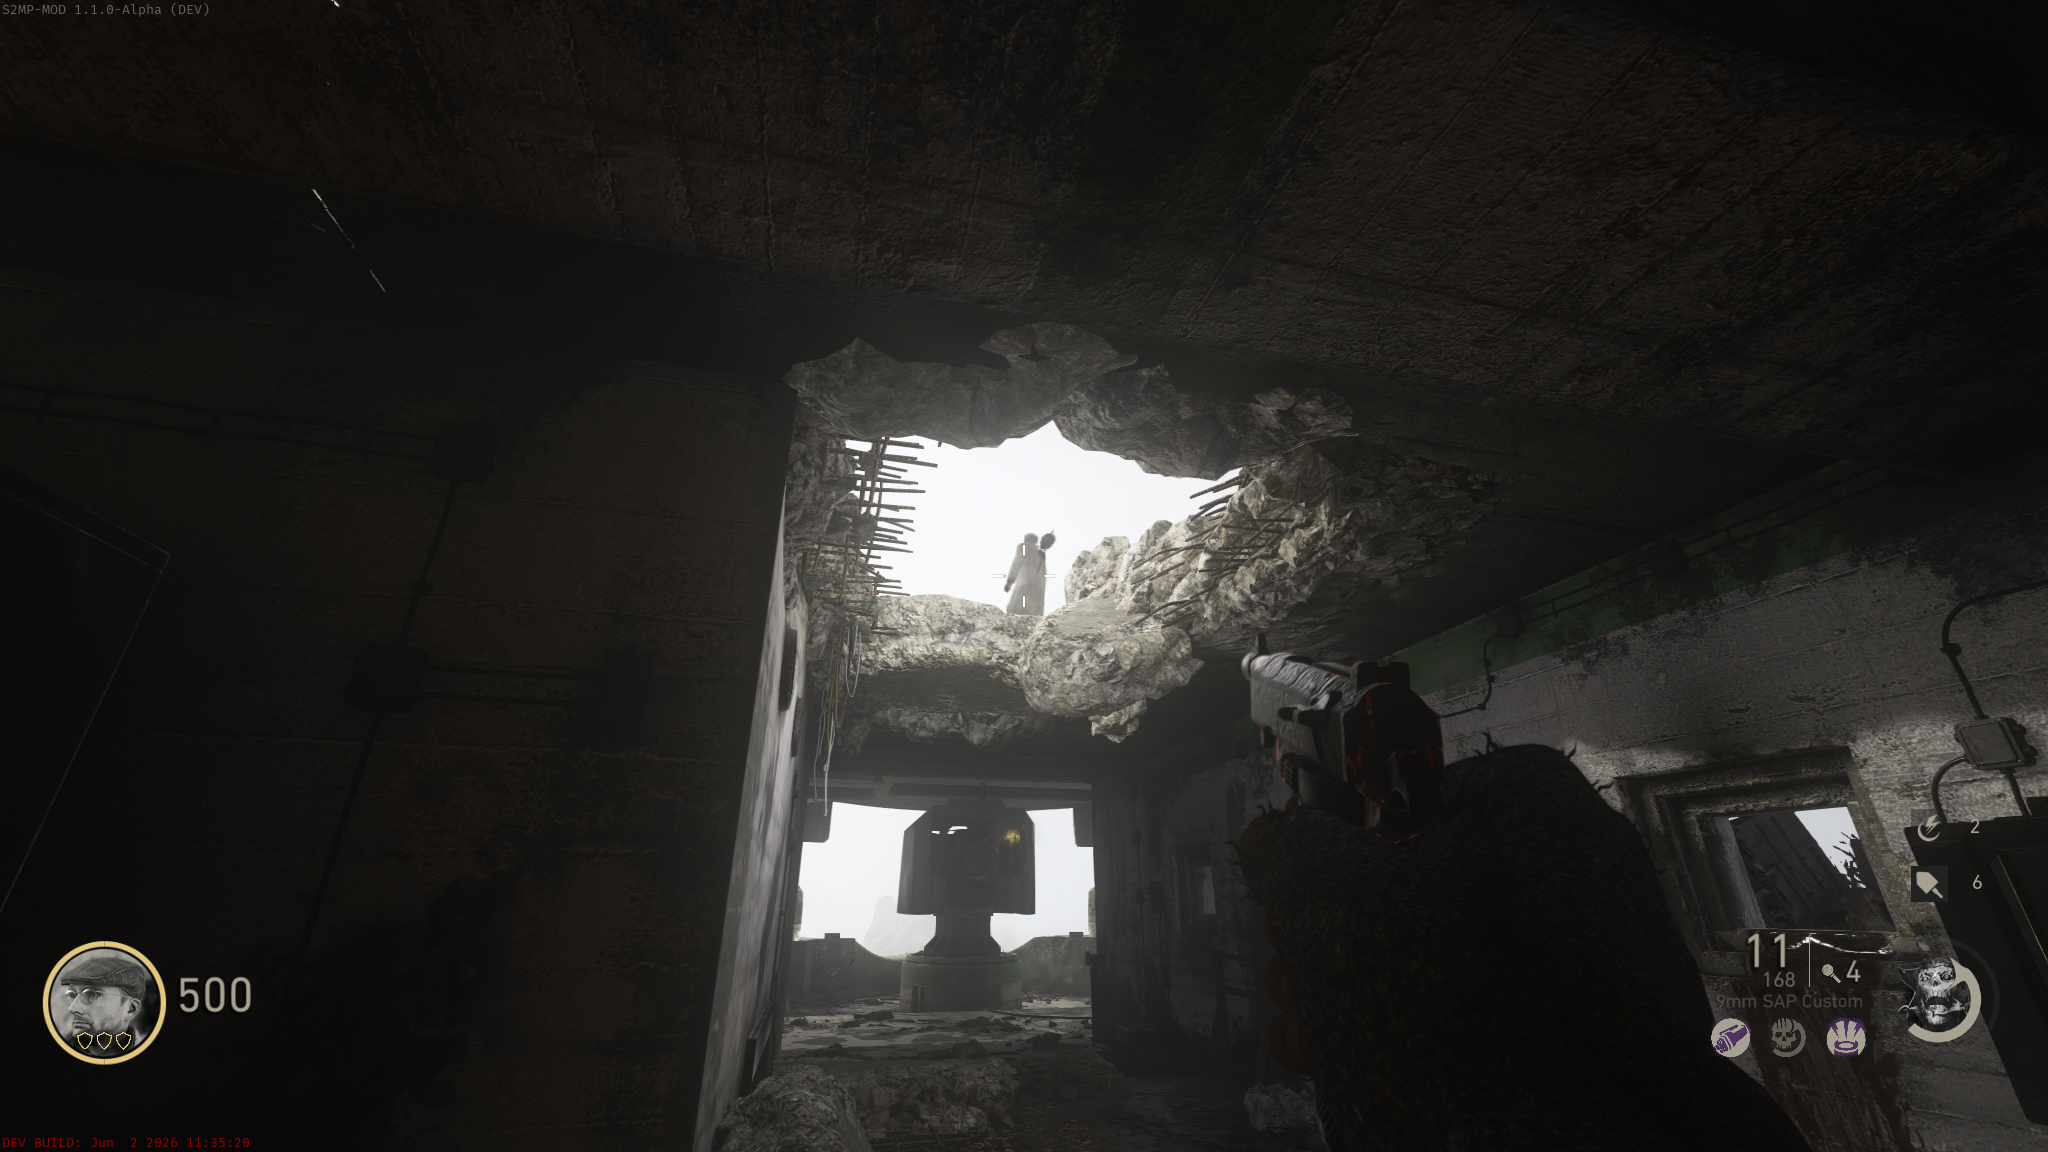
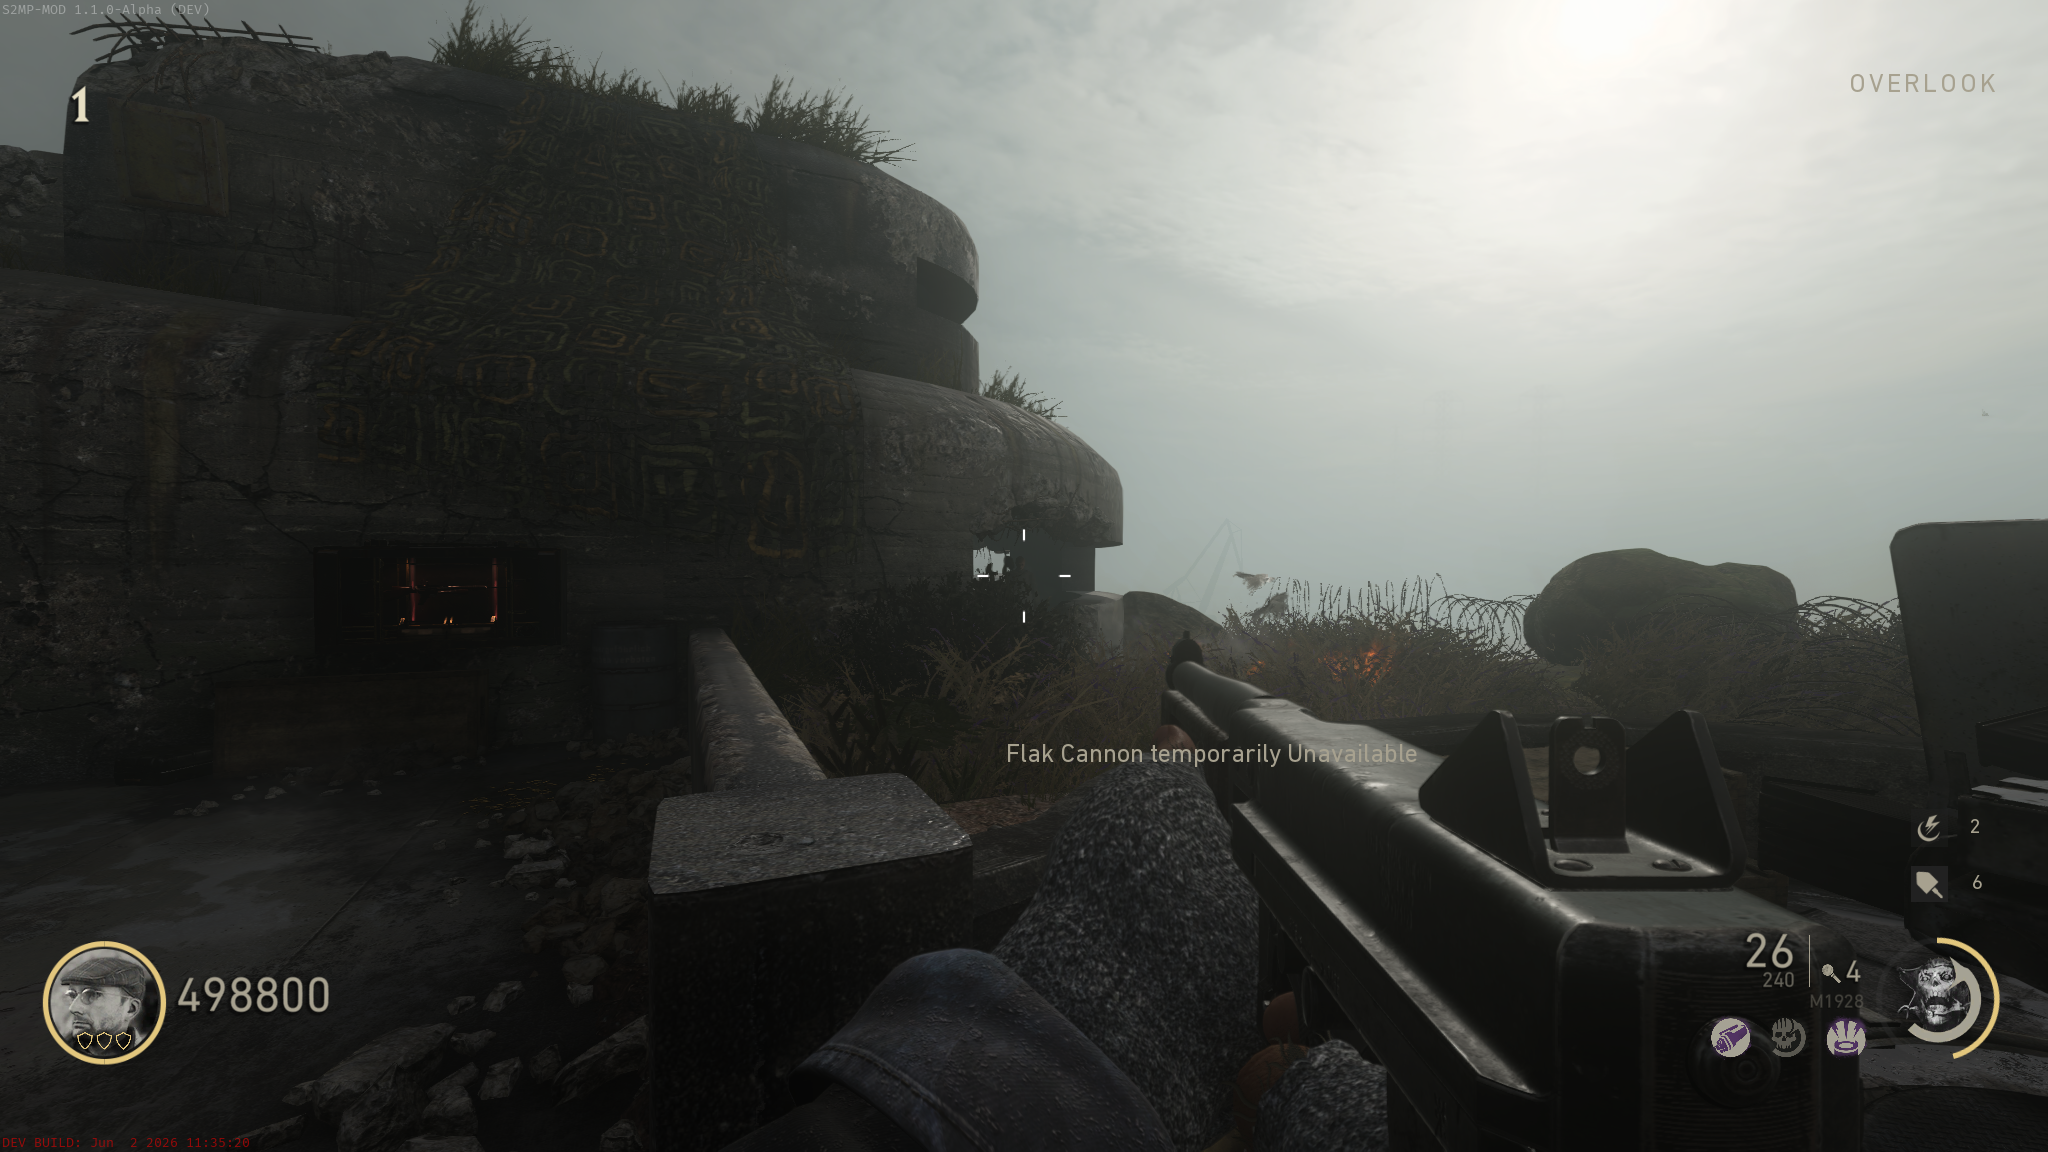
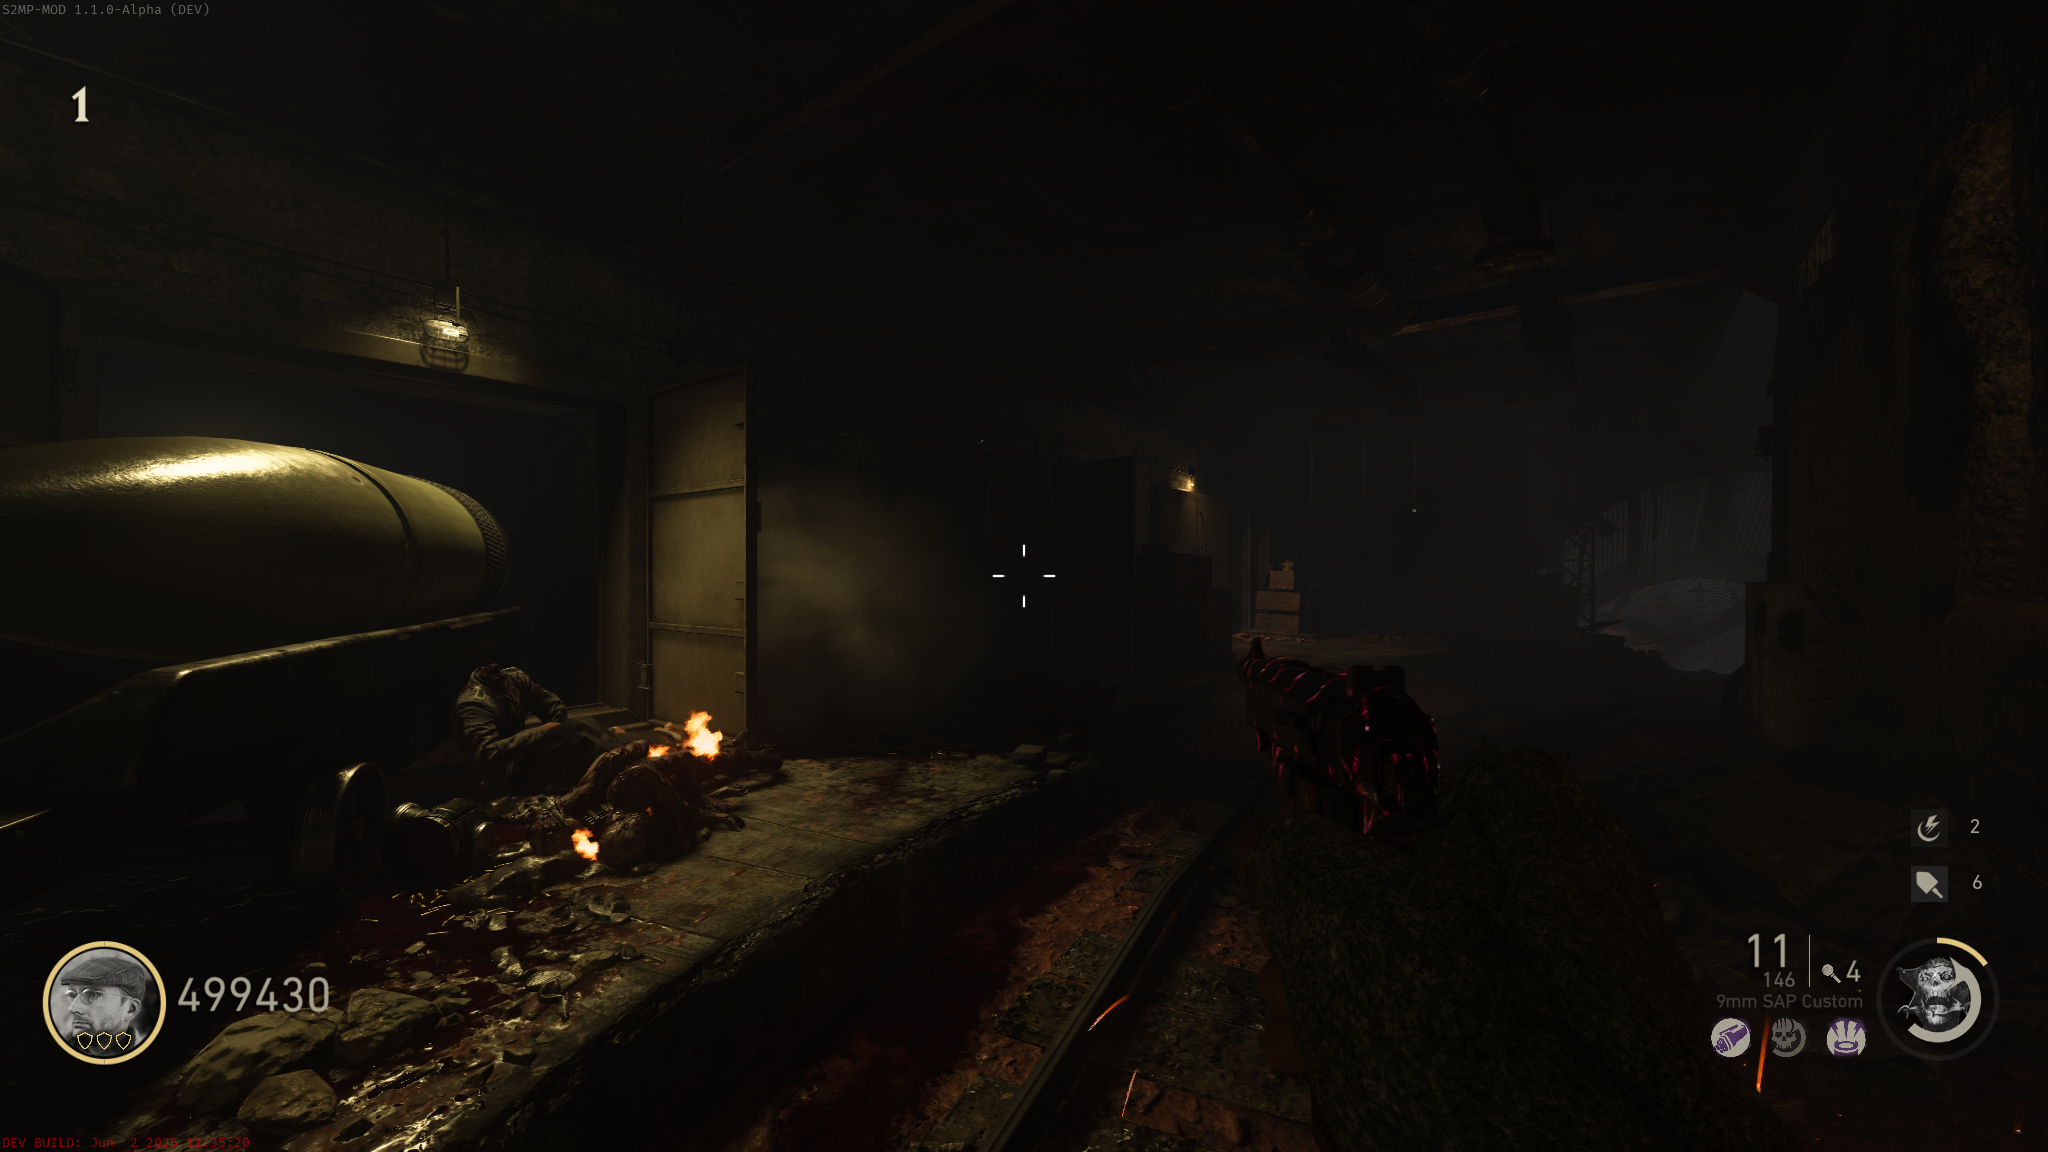
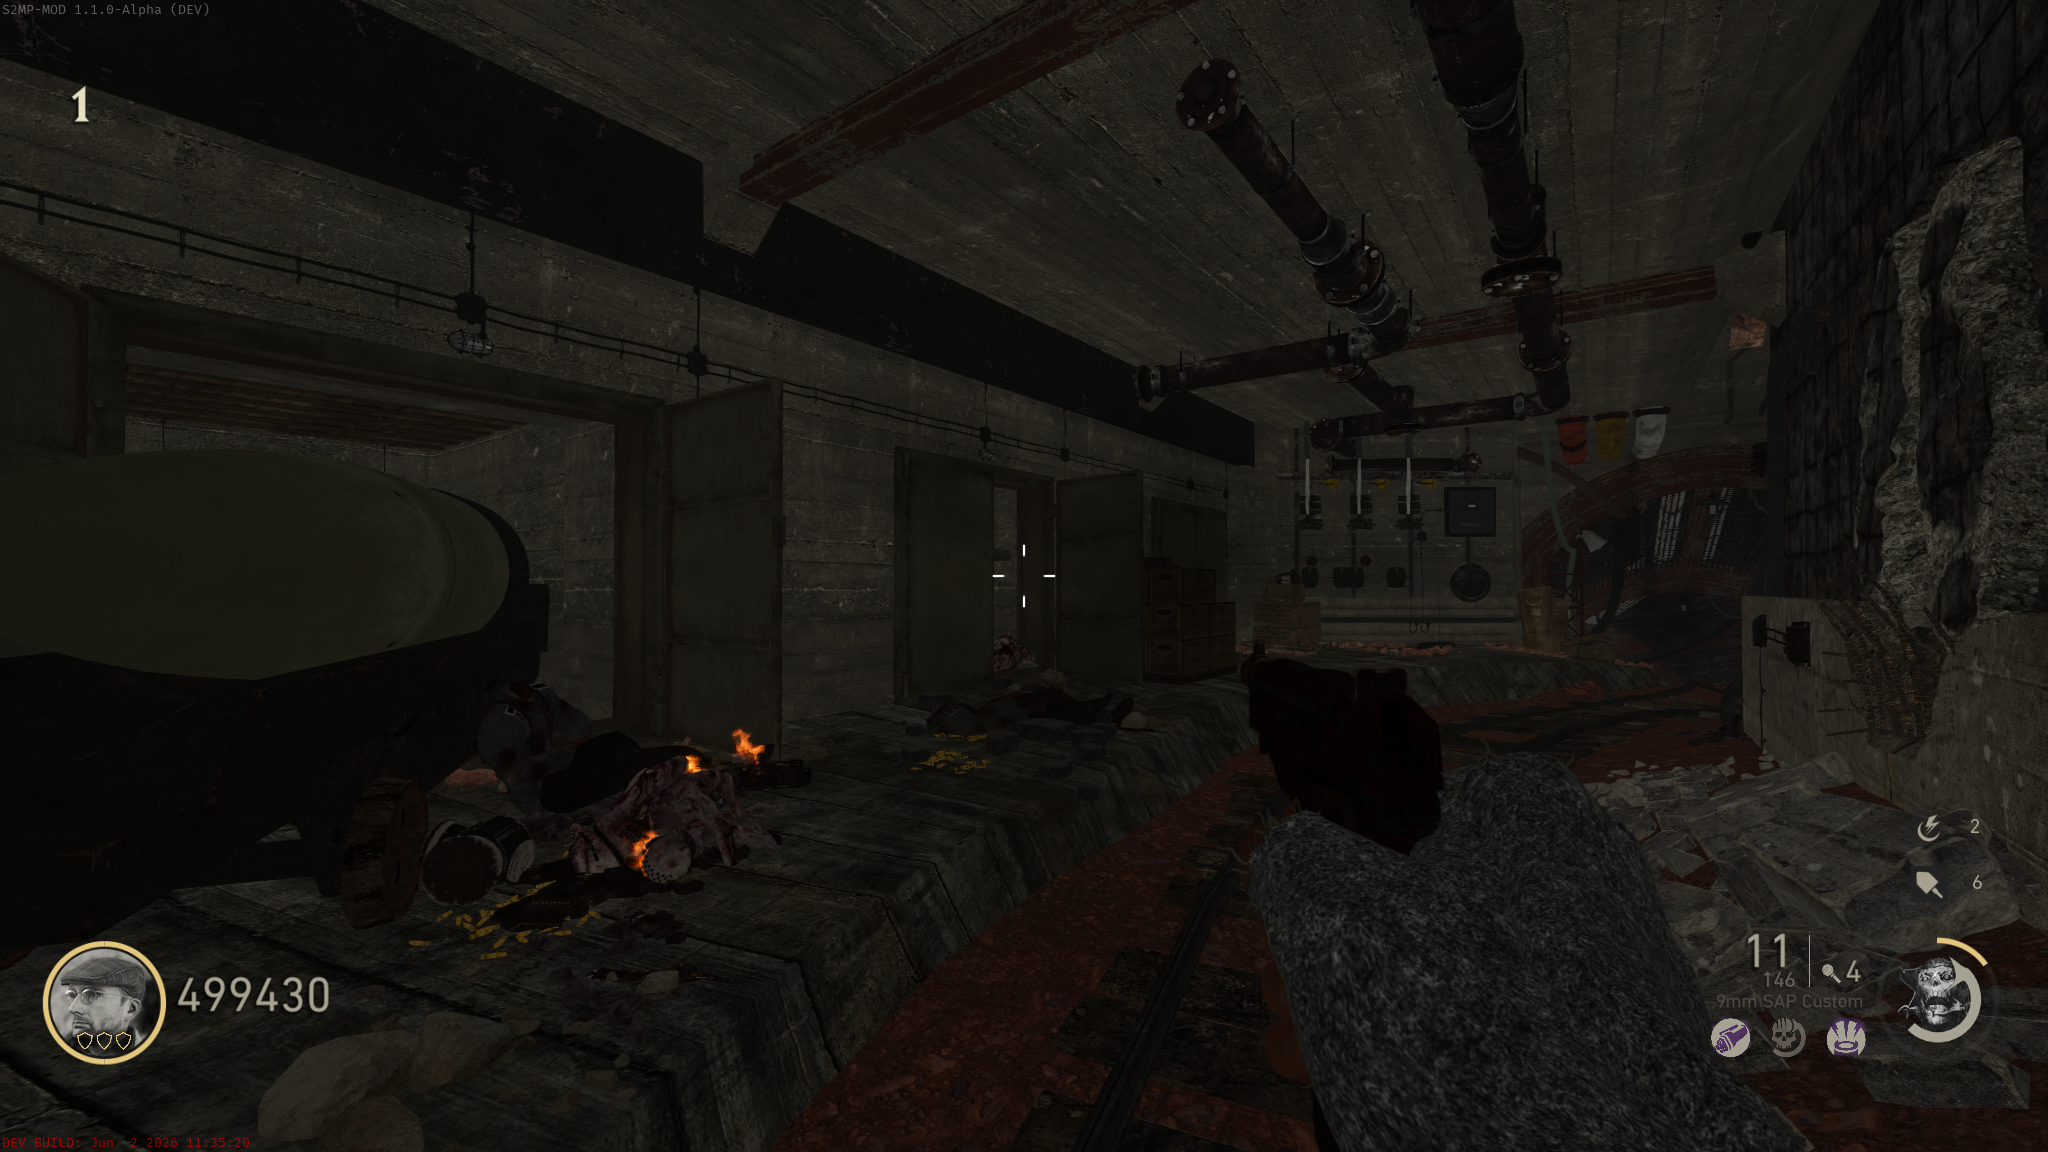
- Randomly around the map, Dr. Straub (a man in a lab coat) will spawn in one of the locations. Dr. Straub will spawn as soon as the match starts. Shooting him will get you the "Still Lurking" Trophy/Achievement. Potential spawn locations:
- Beach Passage - In the Zombie spawn halfway up the stairs
- Beach Passage - In the same Zombie spawn as the previous locations, farther back
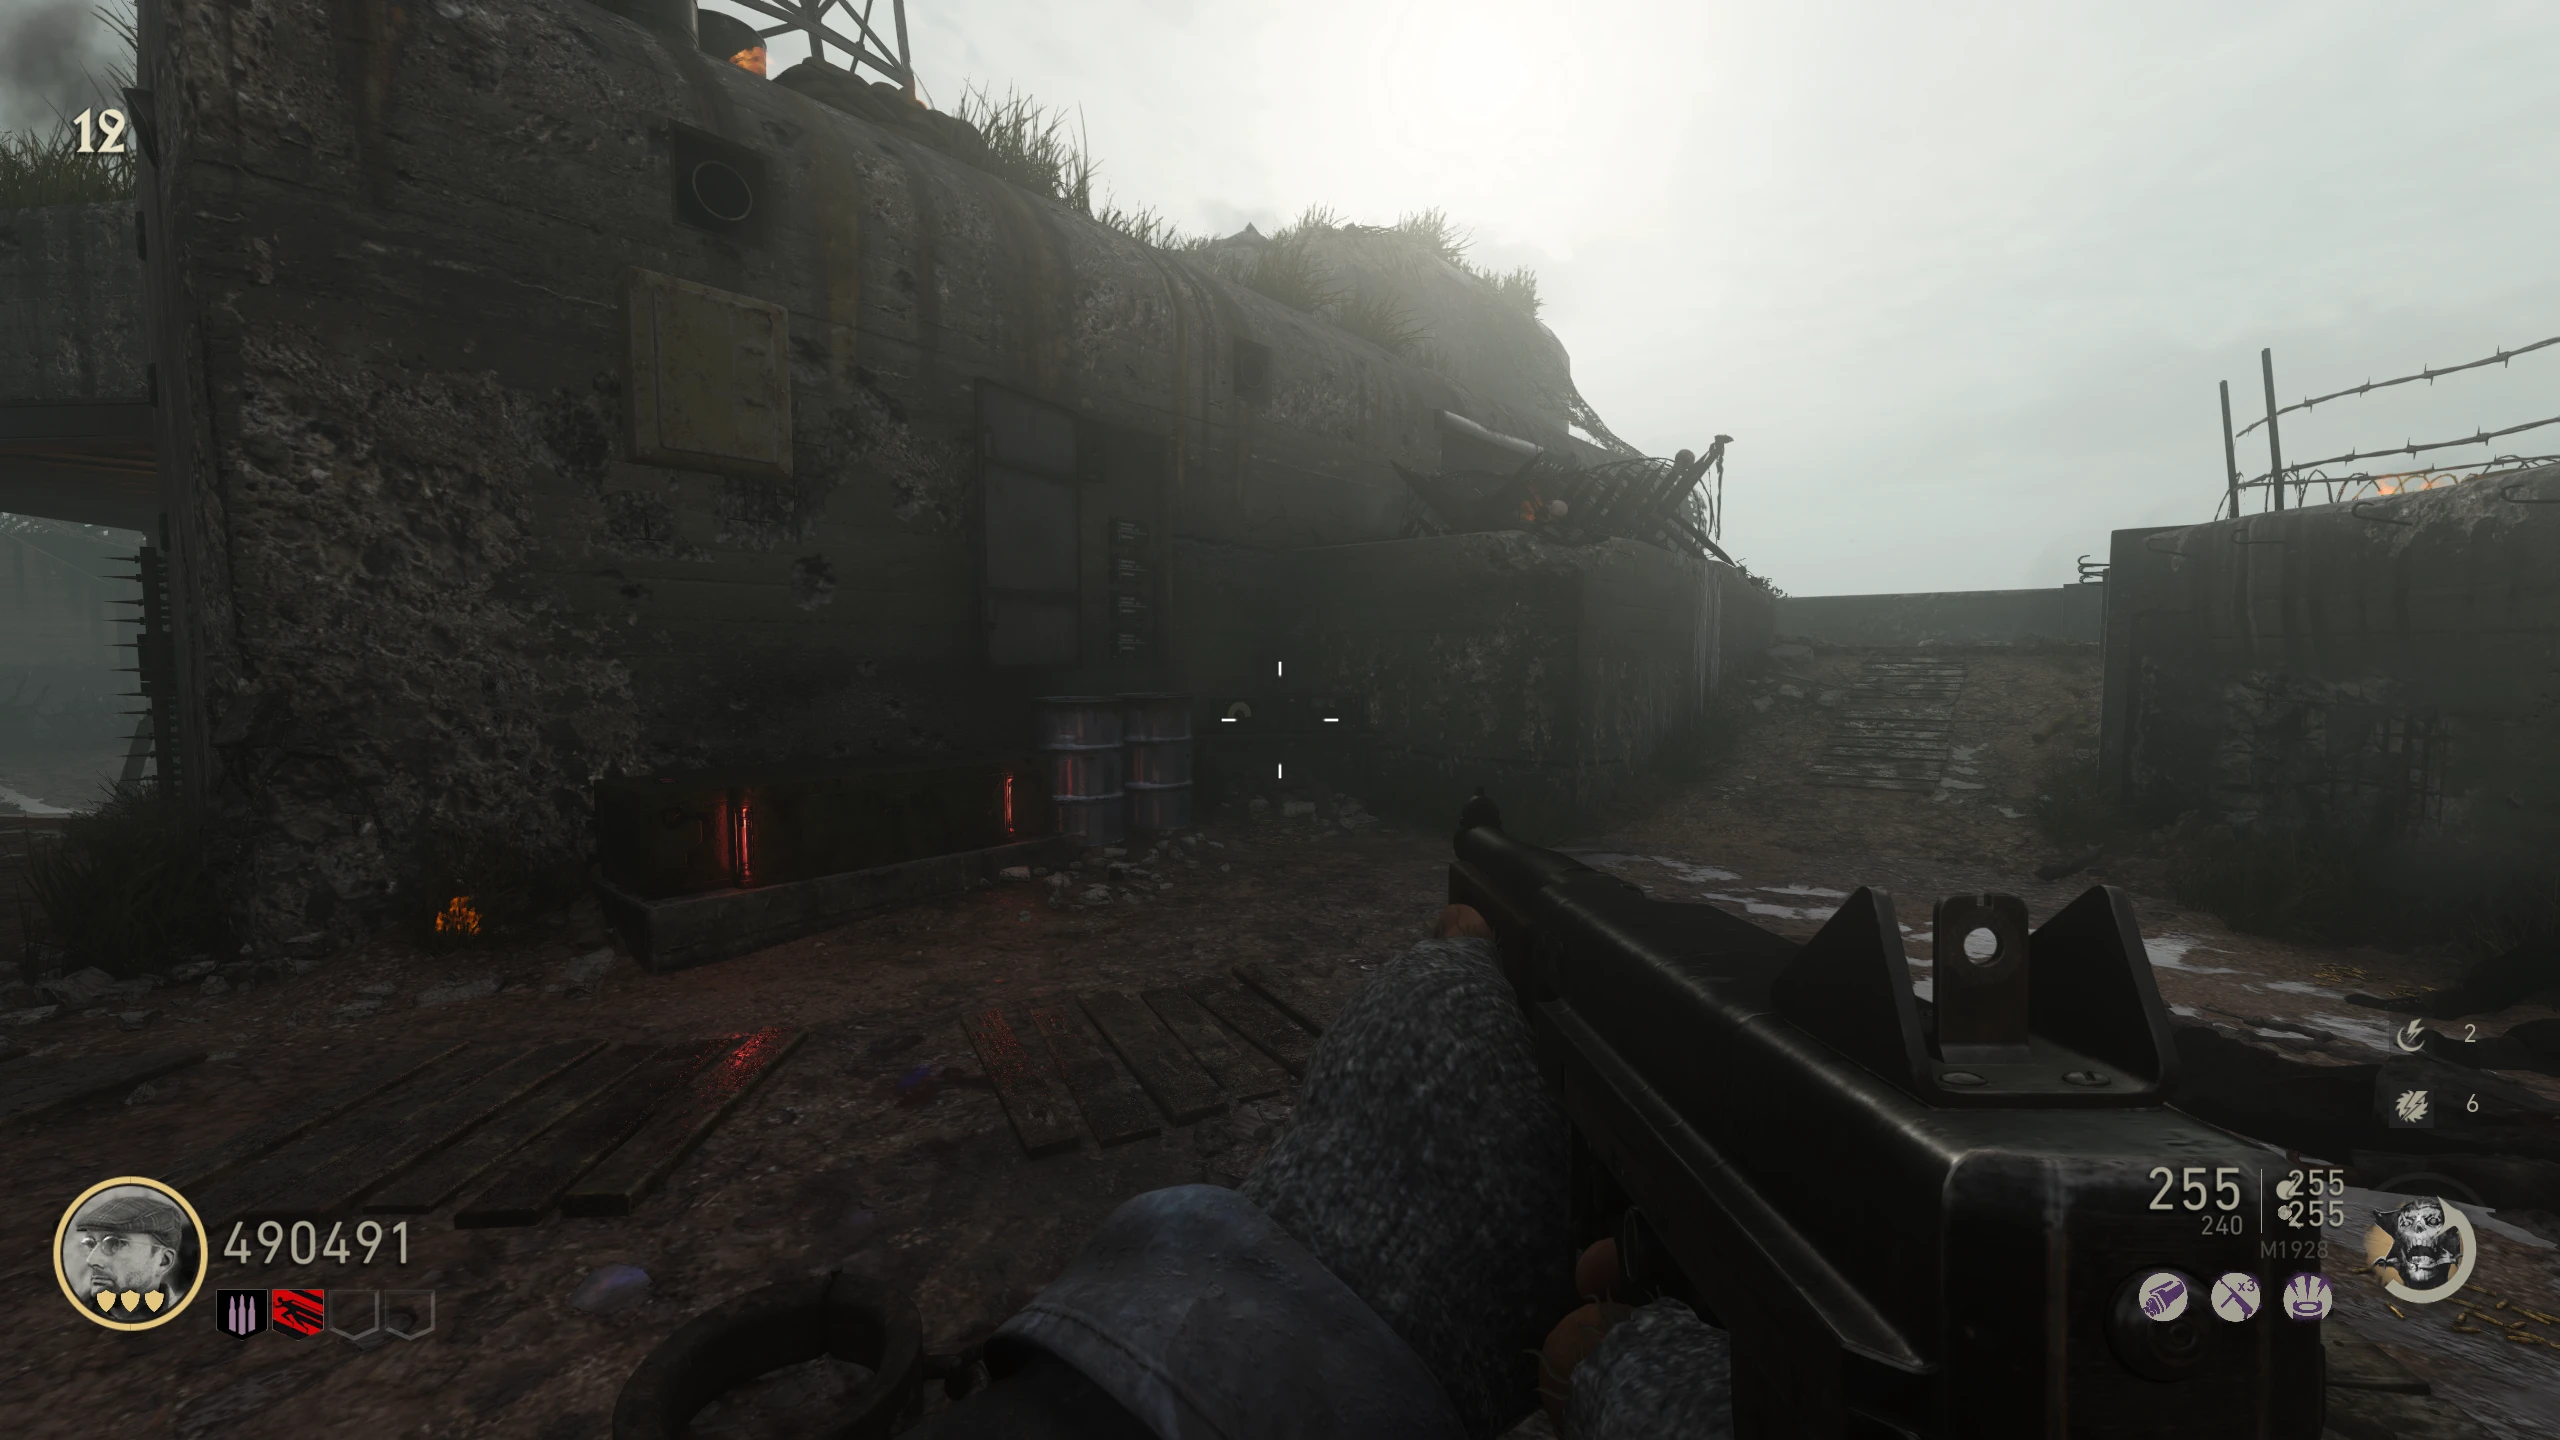
- U-Boat Pens - On the Submarine behind the M1927 wallbuy
- U-Boat Pens - Right of the M1927 wallbuy
- Bunker 3 - Off the right side of the "bridge" to the Pack-a-Punch
- Artillery Bunker - In the window, left of the Bar wallbuy
- Artillery Bunker - On the roof, near the Bar wallbuy
- Overlook - In the broken bunker, right of the M1941 wallbuy
- Minecart Tunnel - In the doorway, across from the Secret Room (Fullbright lighting)
- Spawn behaviour:
- He spawns at one spot at a time, picked at random, and only somewhere no one is looking.
- Dr. Straub will wait at a location indefinitely. Looking straight at him makes him leave.
- Once Straub leaves a location, he'll spawn somewhere else after 3-5 seconds.
- Each spawn is only used once per match. Once he's appeared somewhere, that spot is disabled for the rest of the game.
- He stops spawning once the final boss fight starts.
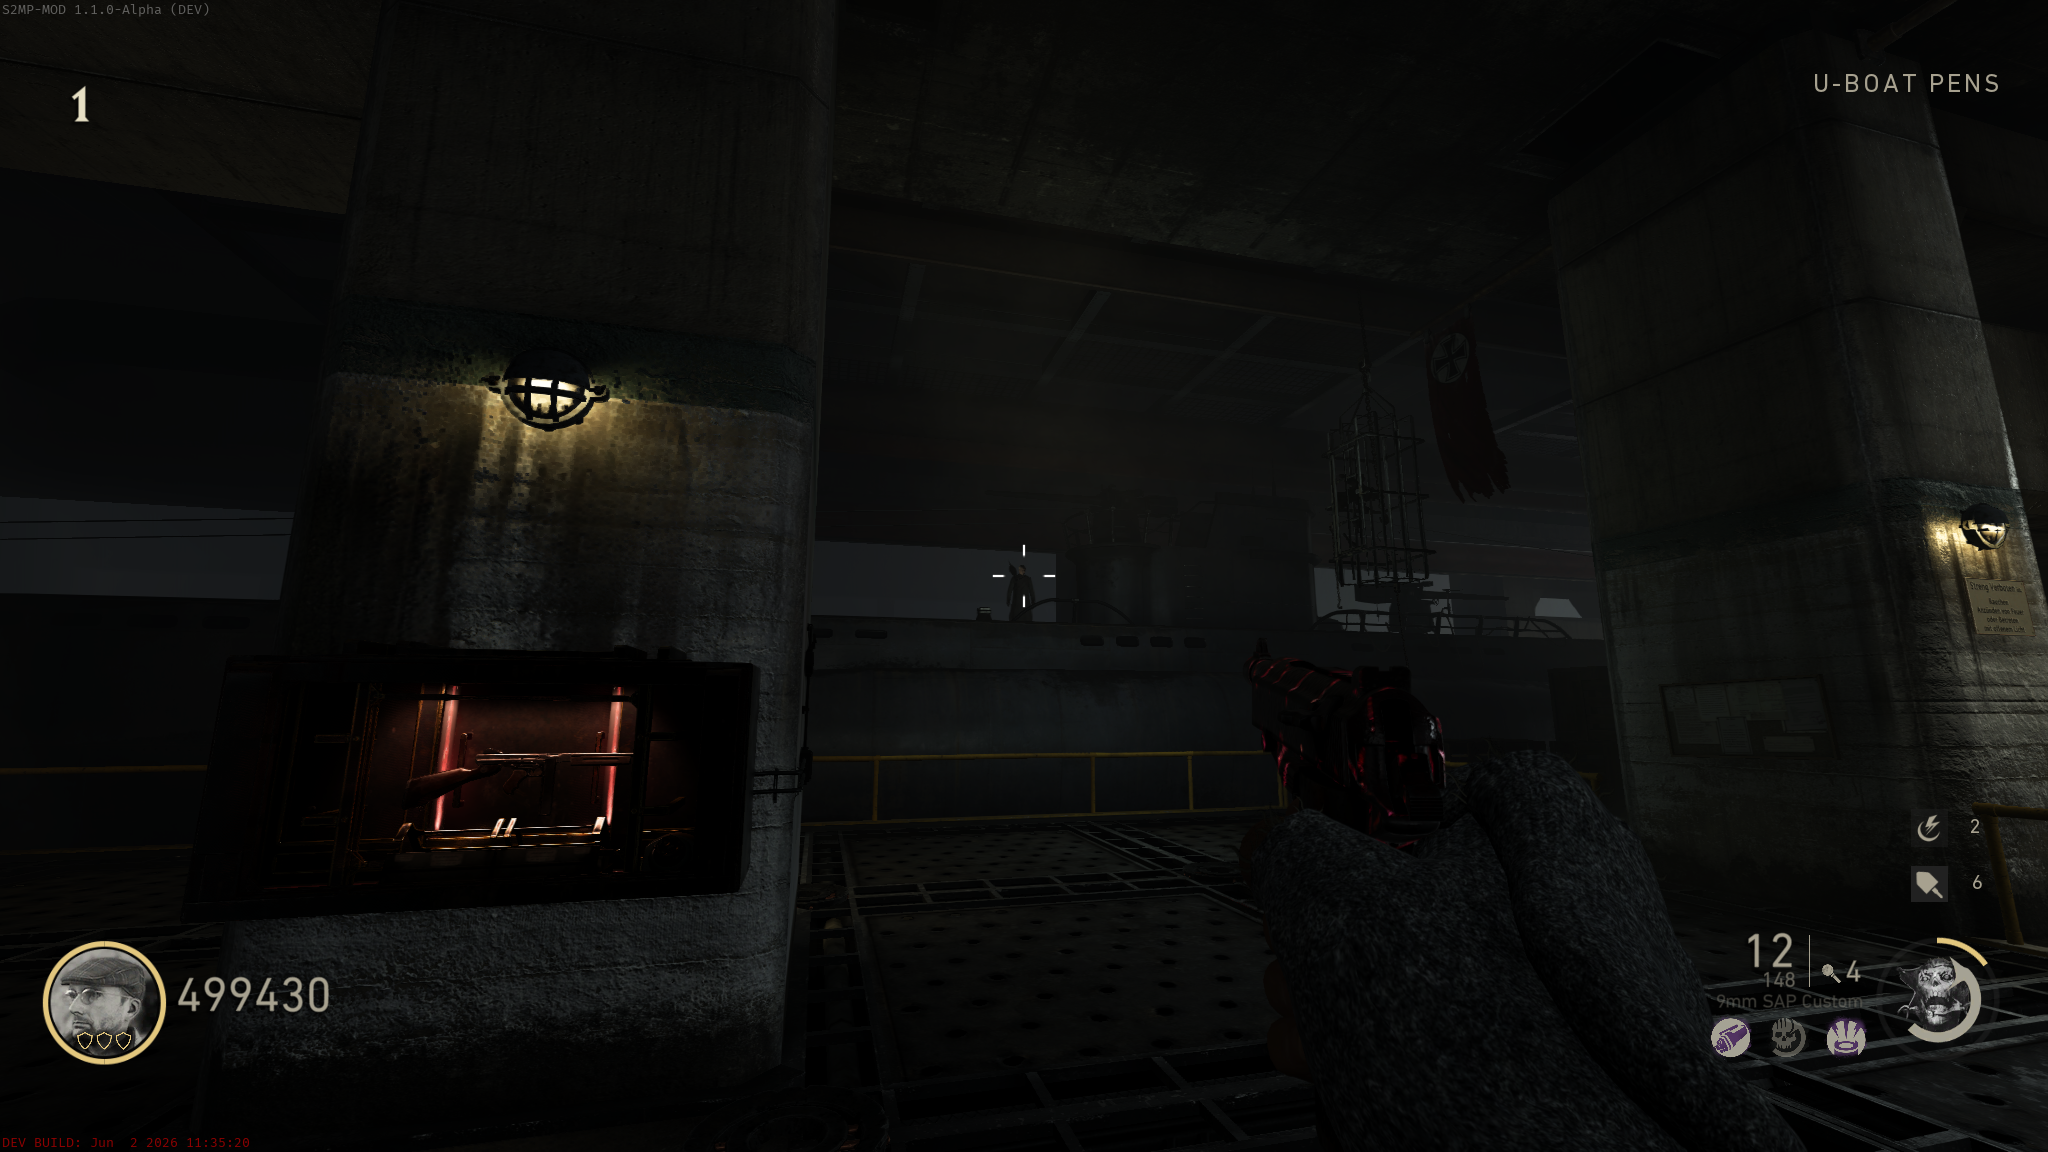
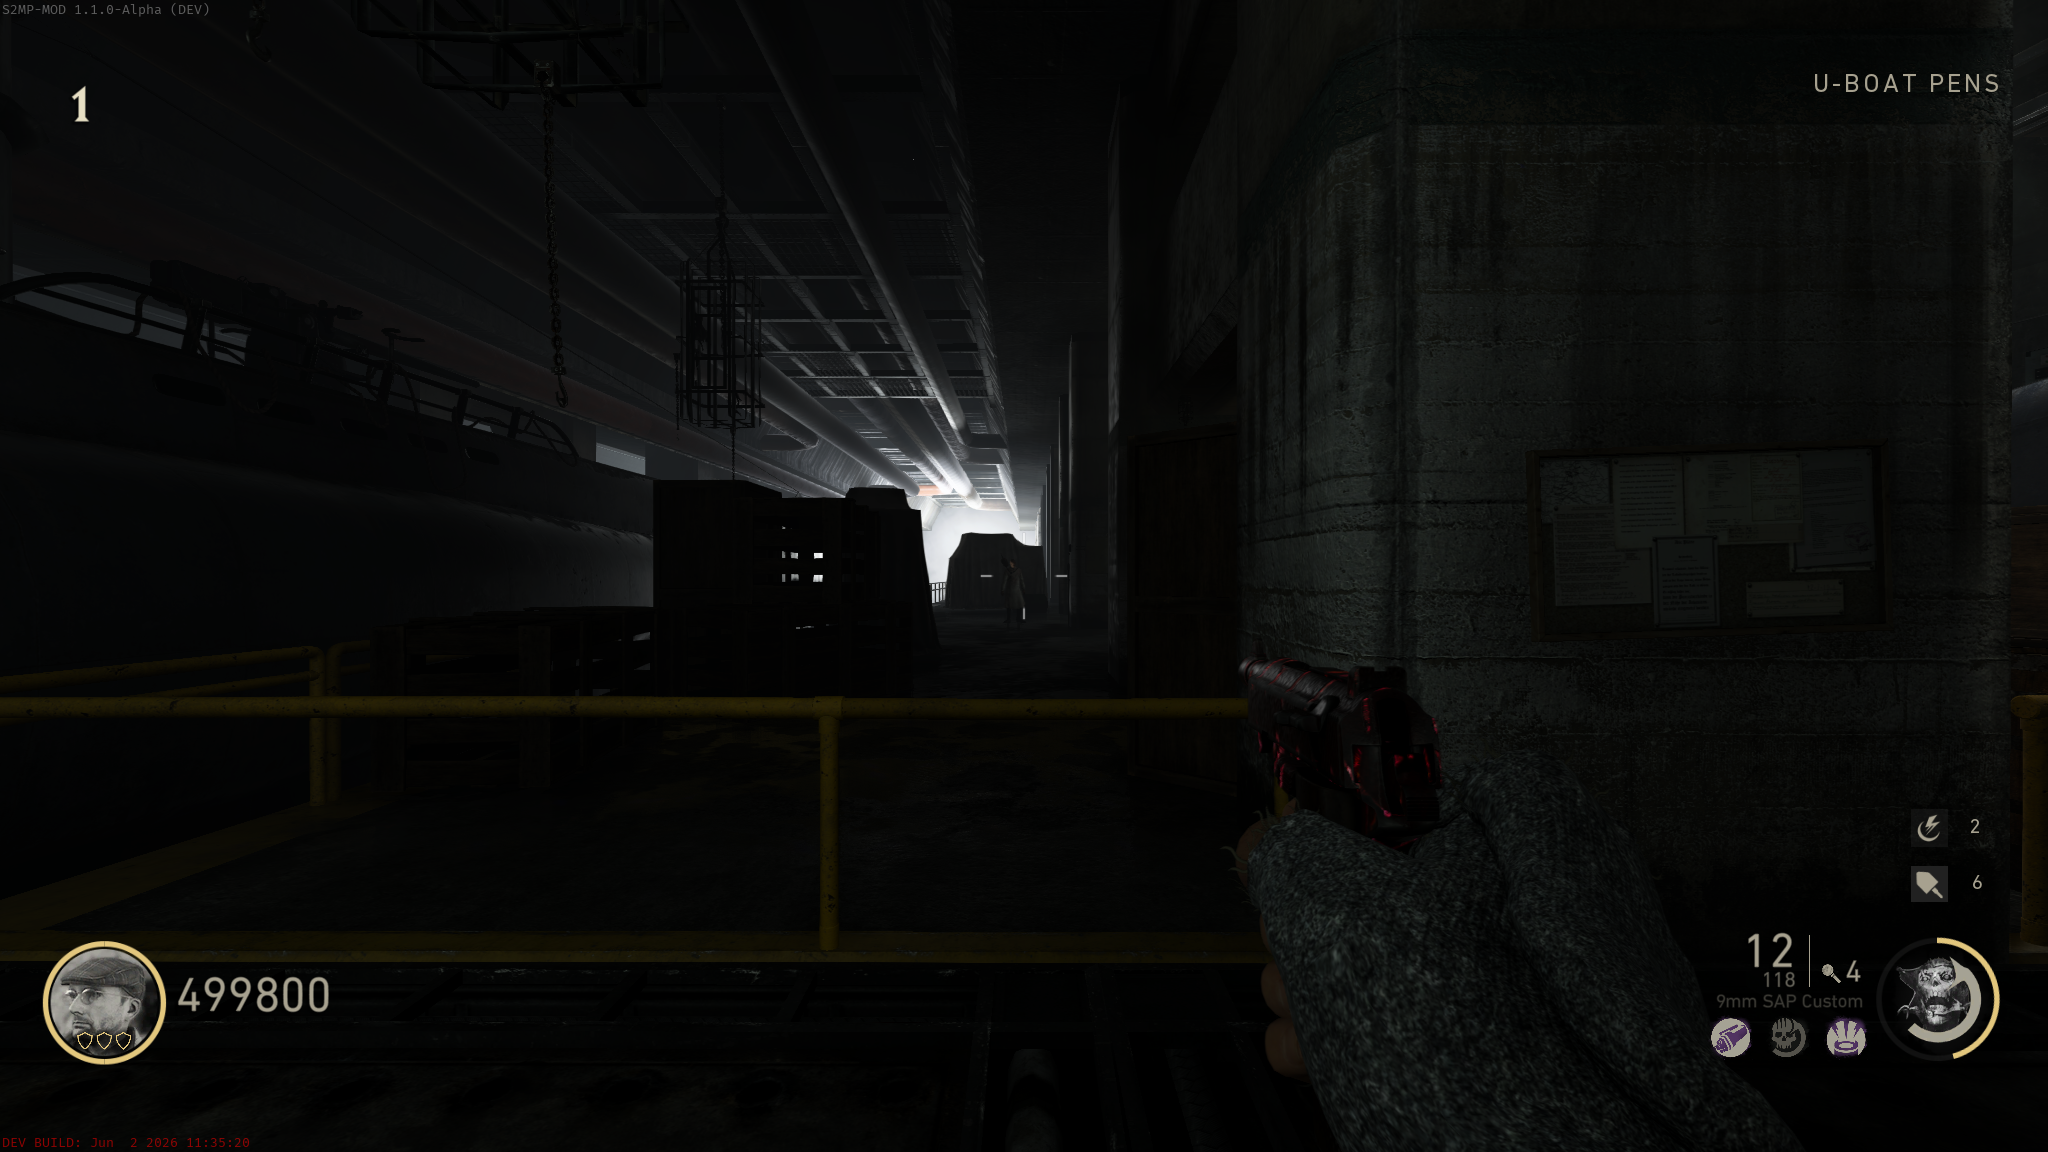
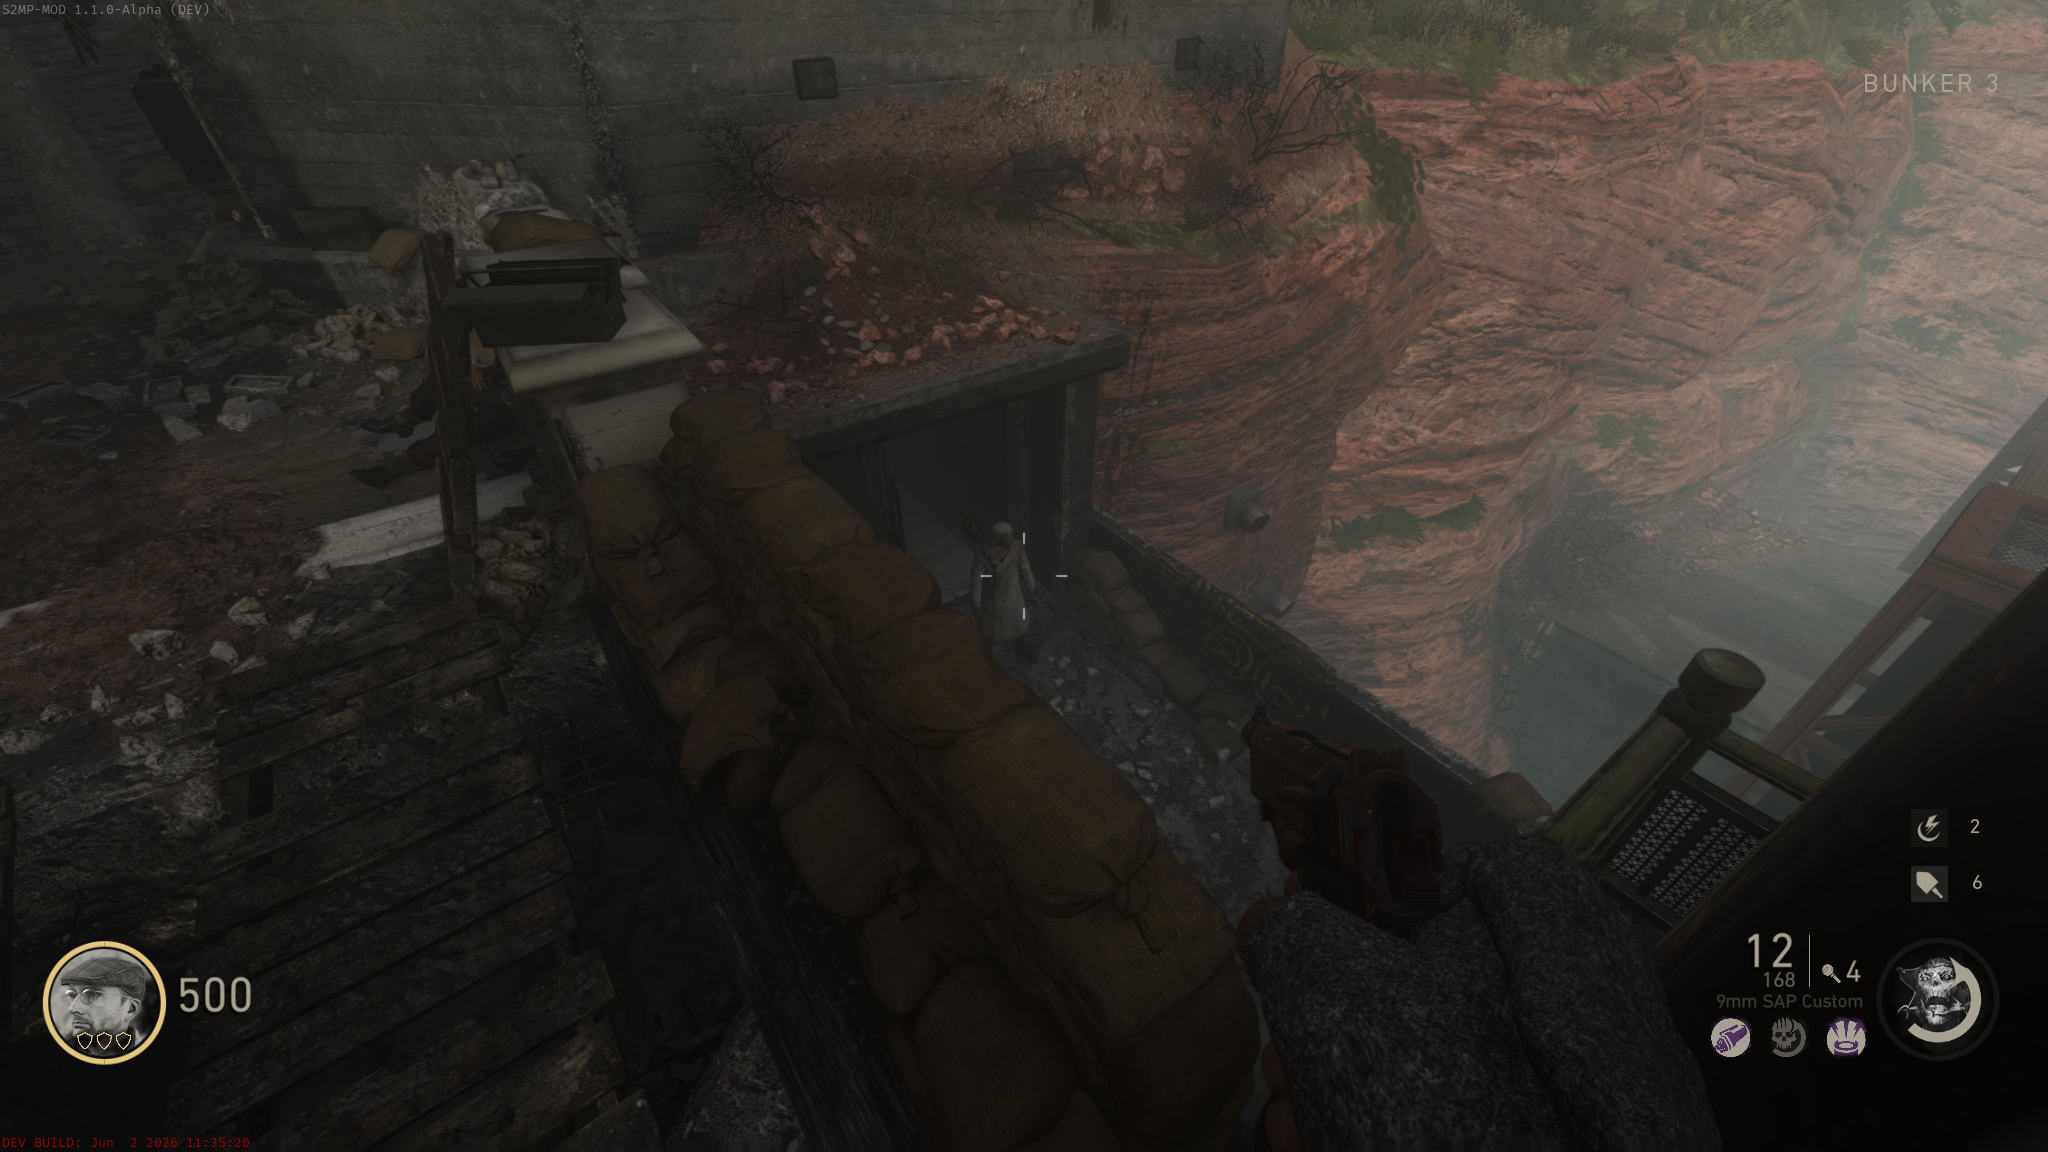
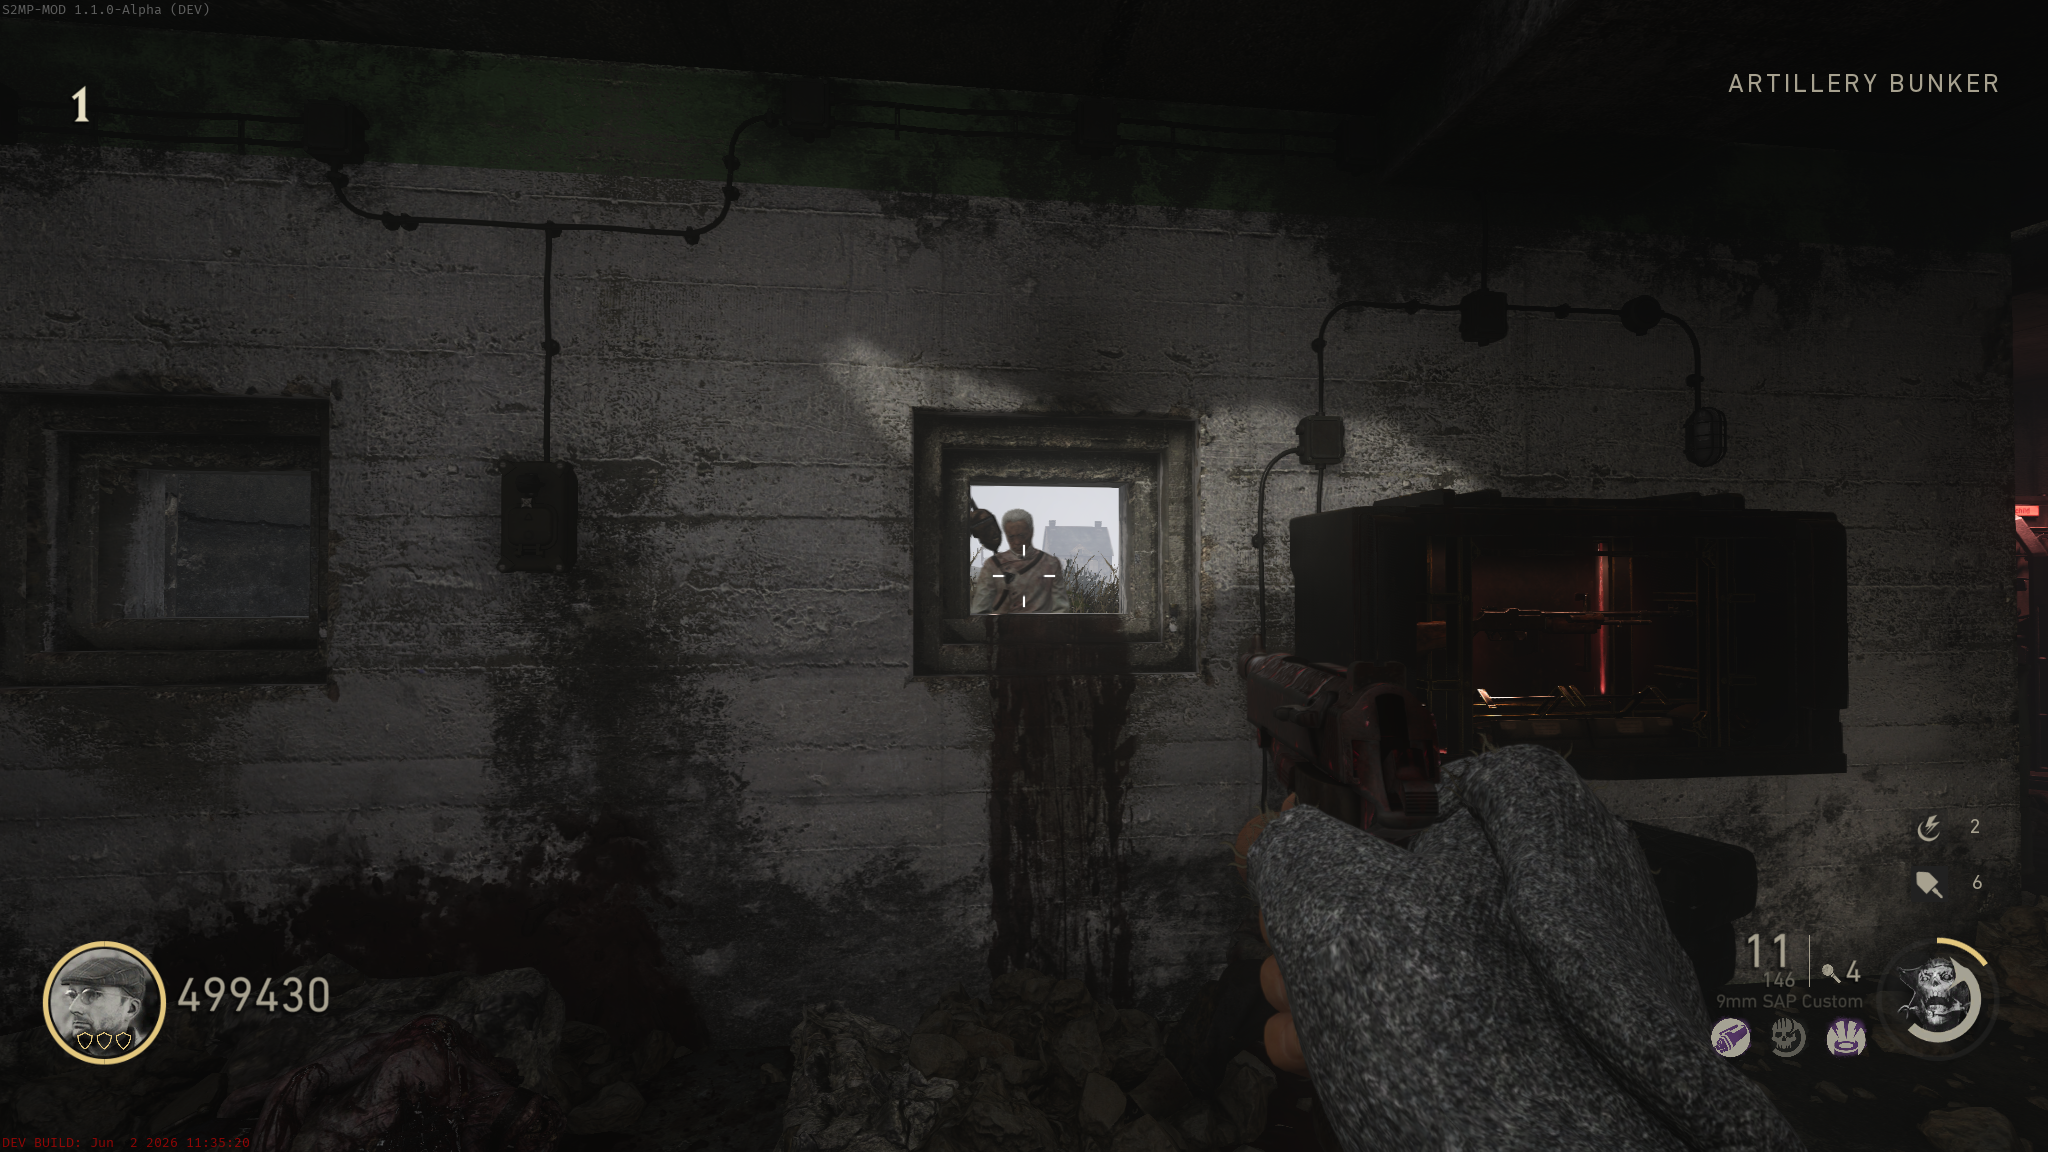
Single Use Upgraded Jack-in-the-Box in the Boss Fight
- Obtain the Jack-in-the-Box from the Mystery Box.
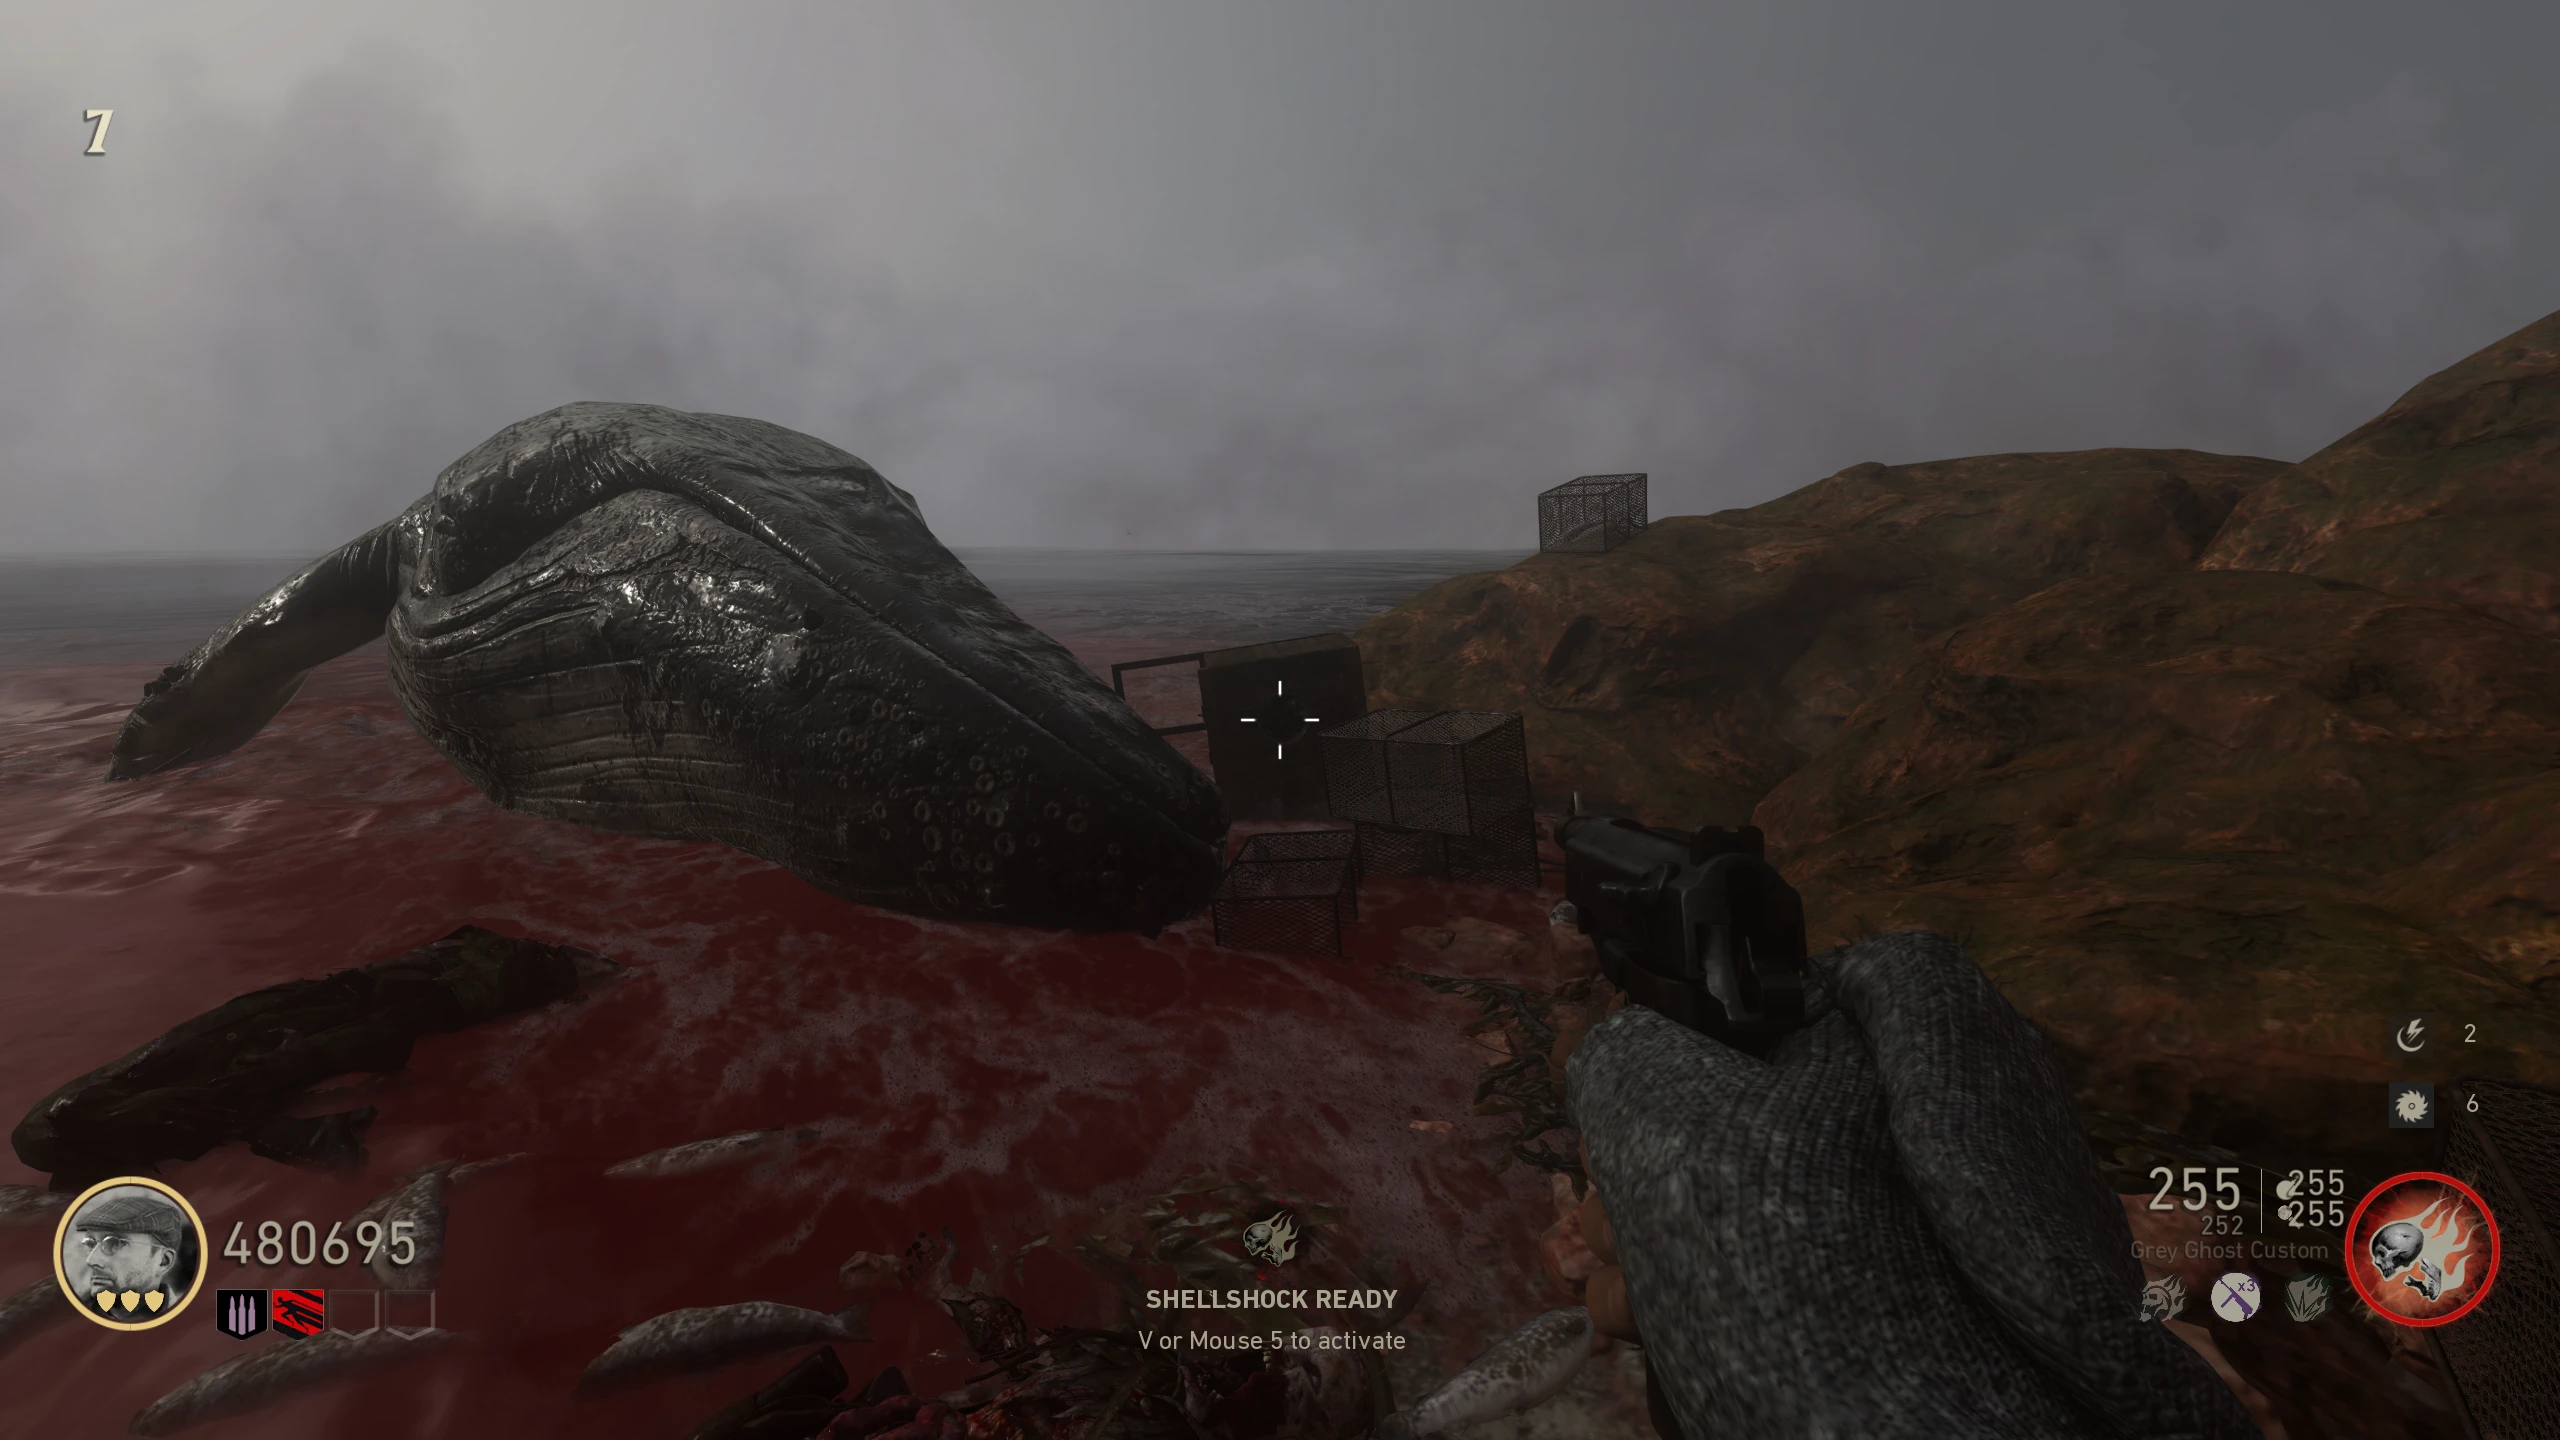
- Throw a Jack into the hole of the wooden box behind the Whale on the 'Beach.' If done correctly, a sound will play.
- Get to the Boss Fight at the end of the Main Quest.
- During the "intro" cutscene of the first phase on the 'Beach,' the Red Meistermeuchler will spawn a Jack-in-the-Box when it shows off its special attack.
- Any Zombies that get near the Box will charge it. After about 30 seconds or once its charged, it will explode, dealing massive damage to any Zombies (including the Meistermeuchlers) that are close by.
Unlockable Characters
New playable characters can be unlocked through the completion of various challenges. Your progress can be checked on the Lobby Menu → Soldier → Dossier → Challenges. All the challenge requirements have been confirmed via modding, and reading the game's code. The challenges listed here will/may differ from those found else where online.
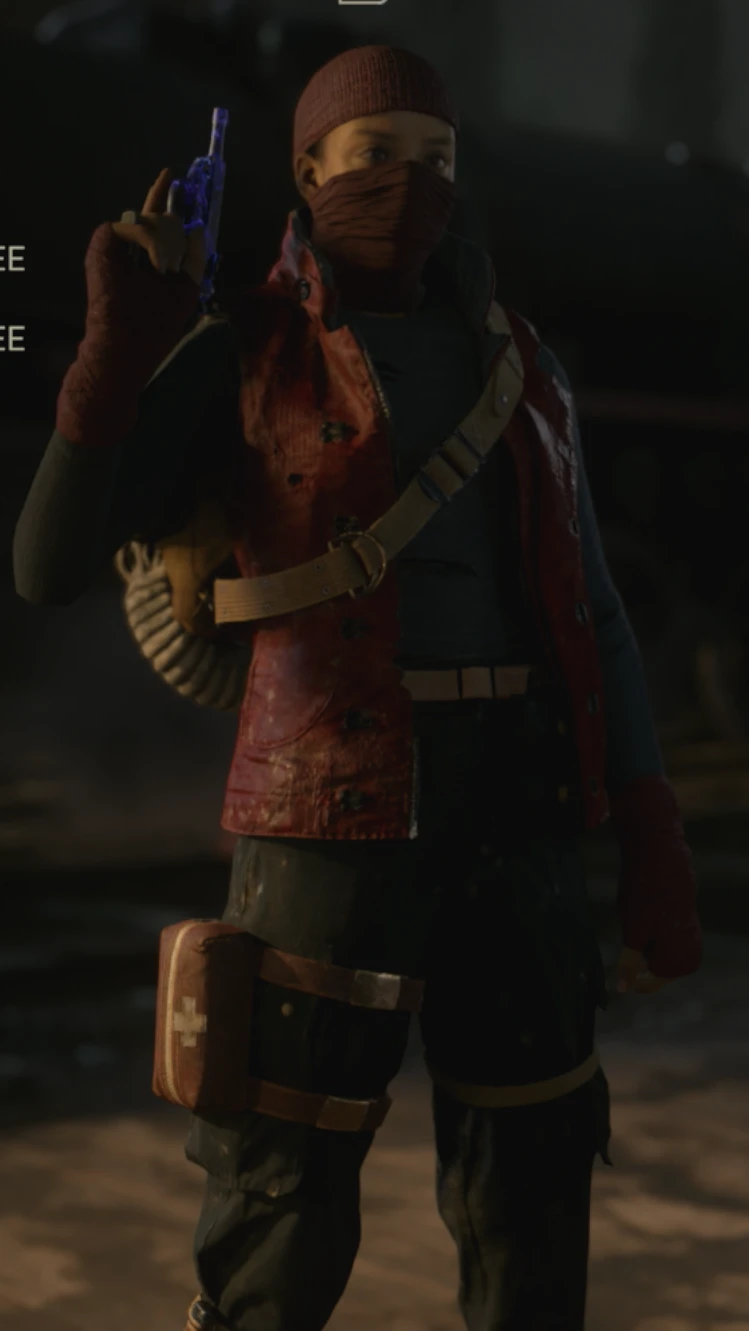
Bloodraven Hunter (Antique Collector) --- Character Model
| Challenge Hint Text / Riddle | Challenge | Strategy / Notes |
|---|---|---|
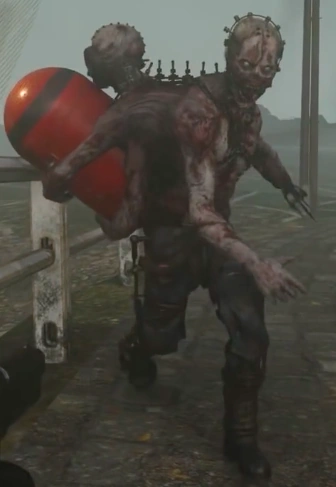
| You dropped more than your wallet... | Obtain Zombie Hunter Part A from a Treasure Zombie. | Treasure Zombies are non-hostile Bomber Zombies that carry red bombs and drop Jolts. They can only start spawning once you open all doors on the map, then again every 1 hr and 15 mins. You'll know when a Treasure Zombie spawns when you see random jolts drops across the map. Each part has roughly a 1-in-12 chance to drop per Treasure Zombie kill, and duplicates aren't filtered out. This means you can get a part you already have, which essentially wastes the kill. |
| Twice stolen, once shy. | Obtain Zombie Hunter Part B from a Treasure Zombie. | Treasure Zombies are non-hostile Bomber Zombies that carry red bombs and drop Jolts. They can only start spawning once you open all doors on the map, then again every 1 hr and 15 mins. You'll know when a Treasure Zombie spawns when you see random jolts drops across the map. Each part has roughly a 1-in-12 chance to drop per Treasure Zombie kill, and duplicates aren't filtered out. This means you can get a part you already have, which essentially wastes the kill. |
| Why steal this? | Obtain Zombie Hunter Part C from a Treasure Zombie. | Treasure Zombies are non-hostile Bomber Zombies that carry red bombs and drop Jolts. They can only start spawning once you open all doors on the map, then again every 1 hr and 15 mins. You'll know when a Treasure Zombie spawns when you see random jolts drops across the map. Each part has roughly a 1-in-12 chance to drop per Treasure Zombie kill, and duplicates aren't filtered out. This means you can get a part you already have, which essentially wastes the kill. |
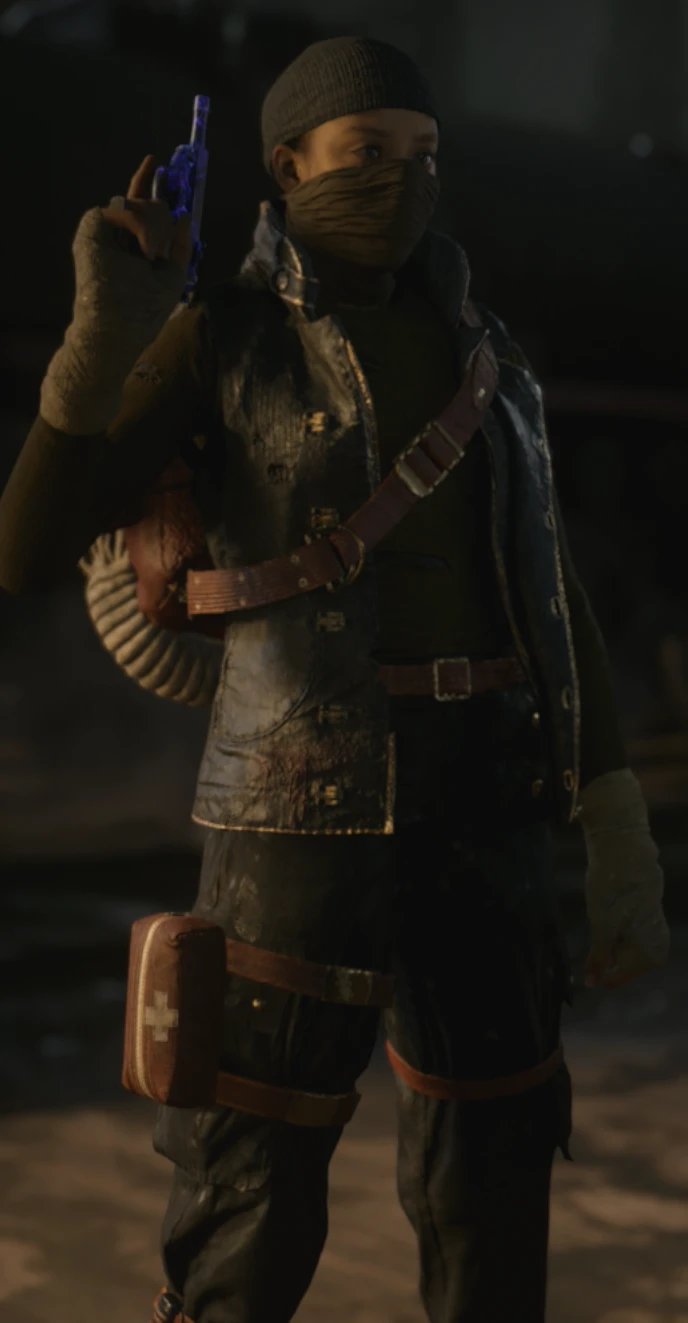
Deathraven Hunter (Living the Dream) --- Character Model
| Challenge Hint Text / Riddle | Challenge | Strategy / Notes |
|---|---|---|
| You should put on sunscreen. | Survive Wave 25 without opening any doors. | Use Freefire with the MK.II Mod to get temporary paped weapons. |
| Are you afraid of the dark? | Survive Wave 20 without opening the doors to the 'U-Boat Pens'. | Use Freefire with the MK.II Mod to get temporary paped weapons. The doors you must keep closed are at the Bluffs, and Bunker 3. You can buy blitz, wall weapons, armour, etc. as long as you don't open the doors. |
| No rush. | Survive Wave 20 without sprinting. | Camp in front of the Pack-a-Punch. |
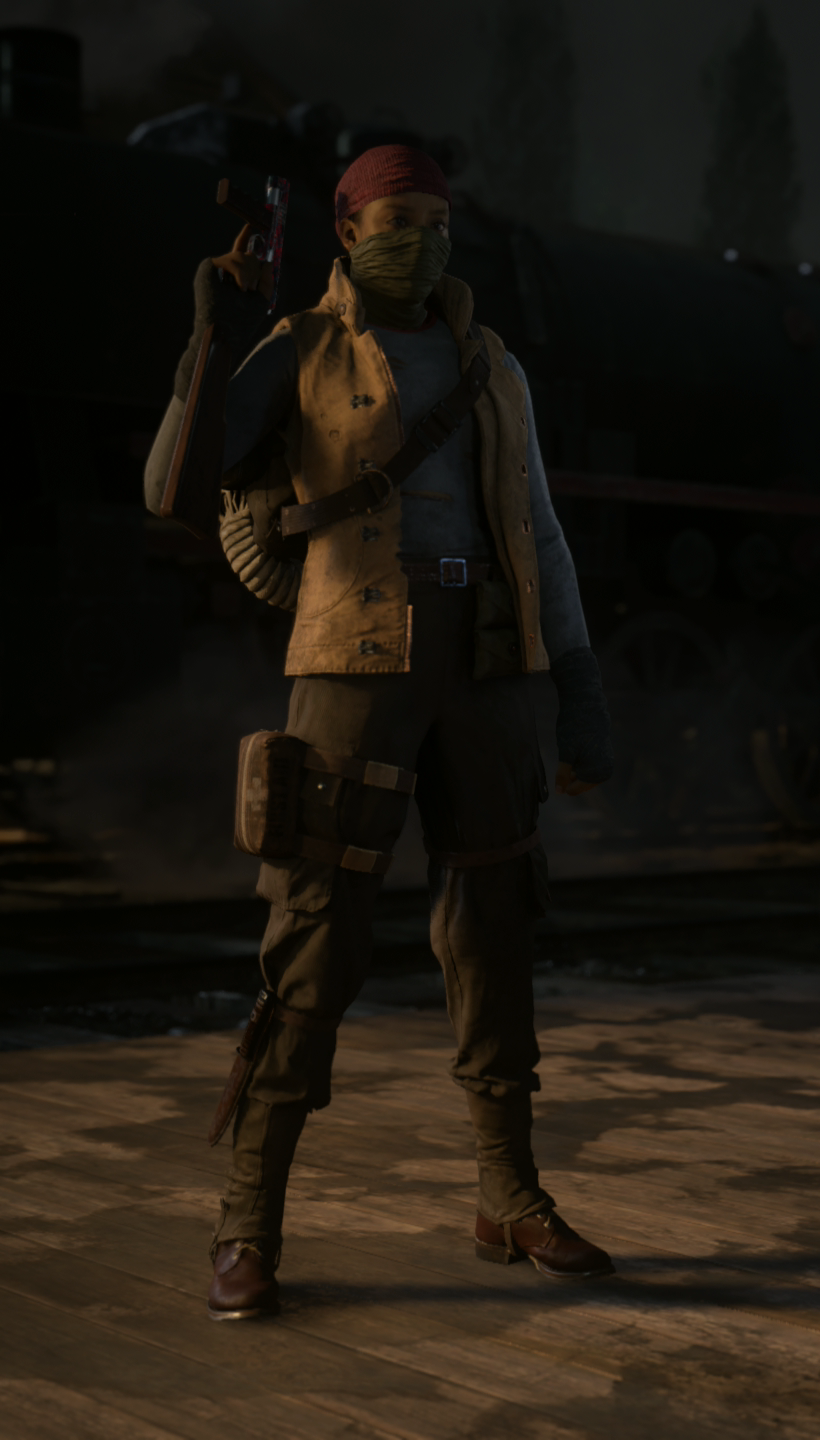
The Hunter from Seville (Stock Broker) --- Character Model
| Challenge Hint Text / Riddle | Challenge | Strategy / Notes |
|---|---|---|
| Scrounge and scheme. | Get 25,000 points within 30 Mins of the start of the match. | Use the Round 0 Beach Rush Despawn Trick (See this video (YouTube) by Glitching Queen). |
| Add more zeros. | Get 30,000 points before round 15. | Use the Round 0 Beach Rush Despawn Trick (See this video (YouTube) by Glitching Queen). |
| Take it with you. | Beat the Main Quest with any player having more than 15,000 points. | See the Main Quest section for how to beat it. |
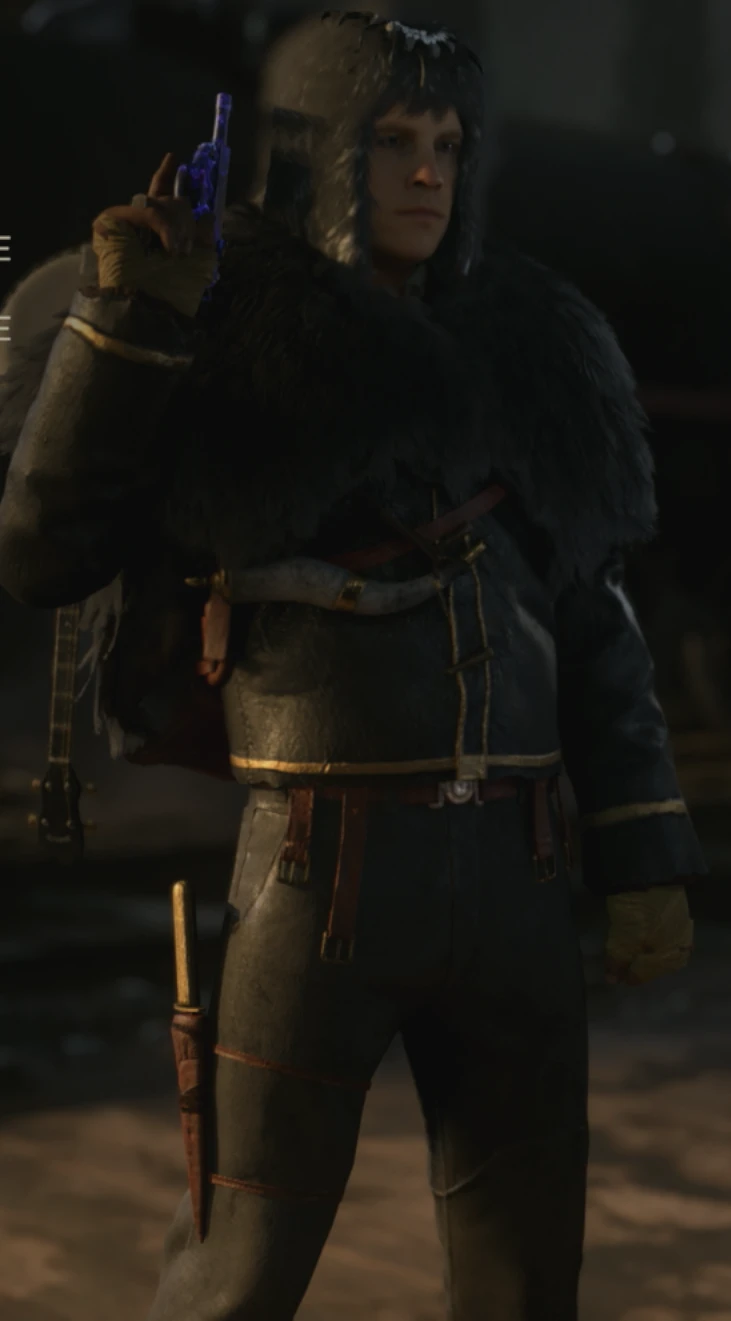
Deathraven Mountaineer (Keep Moving) --- Character Model
| Challenge Hint Text / Riddle | Challenge | Strategy / Notes |
|---|---|---|
| Frog in water. | Survive 5 Waves during the 'U-Boat Pens' lockdown fire step. | See the Main Quest section for how to get to the 'U-Boat Pens' lockdown step. |
| Kitchen appliances. | Get 100 kills with the Propeller trap during 'U-Boat Pens' lockdown fire step. | See the Main Quest section for how to get to the 'U-Boat Pens' lockdown step. |
| Take a deep breath. | Get 10 headshots with any standard bullet weapon (no pistols, no explosives) during the 'U-Boat Pens' lockdown fire step. | See the Main Quest section for how to get to the 'U-Boat Pens' lockdown step. The headshots don't have to be uninterrupted. Just get 10 headshots at anytime during the lockdown. |
The Mountaineer from Ruskeala (Barbarossa) --- Character Model
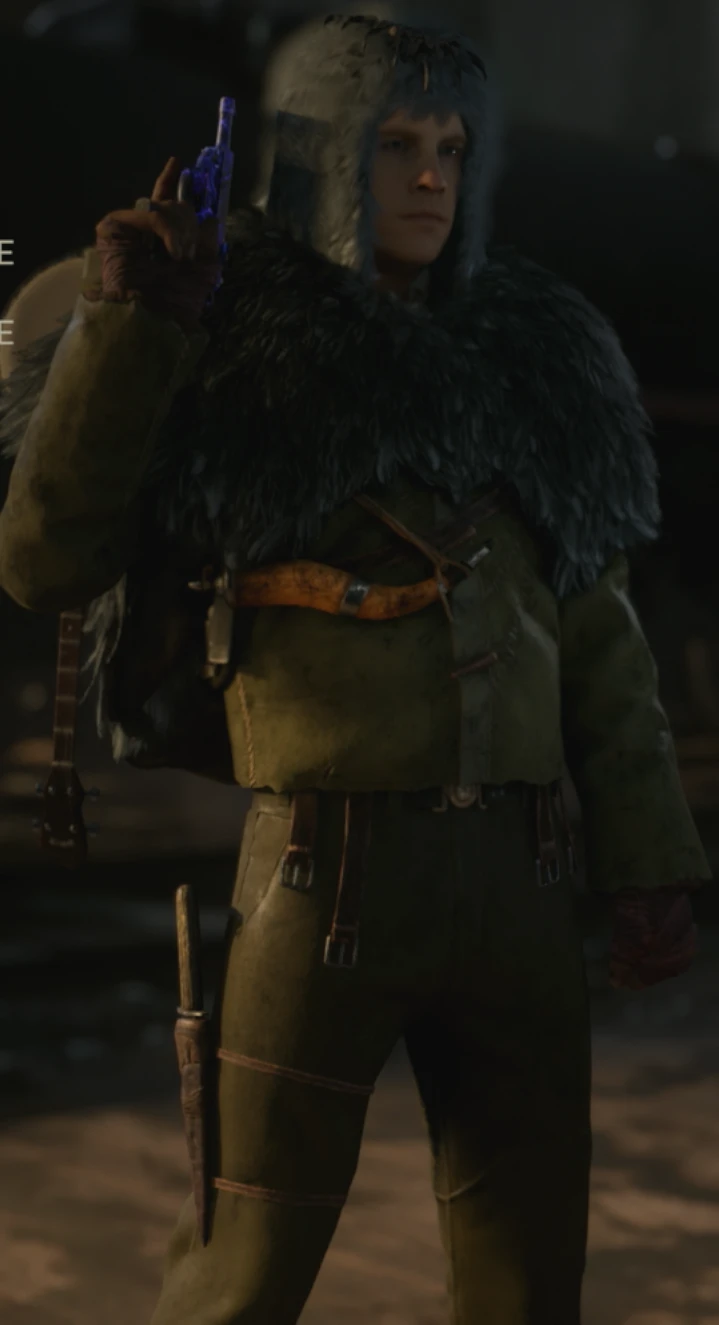
| Challenge Hint Text / Riddle | Challenge | Strategy / Notes |
|---|---|---|
| Don't touch the merchandise! | Obtain the Pommel without taking any damage from an Anointed enemy. | See the Main Quest section for how to get the Pommel. The Anointed enemies are the glowing enemies (Pest, Wustling, and Meuchler) that spawn during the Sacrifice Rituals in the Main Quest (the ones that drop the head you need to pick up). |
| Streaking around the island. | Obtain the Pommel without any player using Special Abilities. | You can use Mods, and Consumables, only Special Ability usage (Freefire, Shellshock, etc.) is checked. |
| No dirty kills | Obtain the Pommel without doing damage with the ranged attack of the Ripsaw weapon. | See the Main Quest section for how to get the Pommel. You are allowed to use the melee attack, you just can't shoot the Ripsaw. |
Bloodraven Survivalist (In Charge) --- Character Model
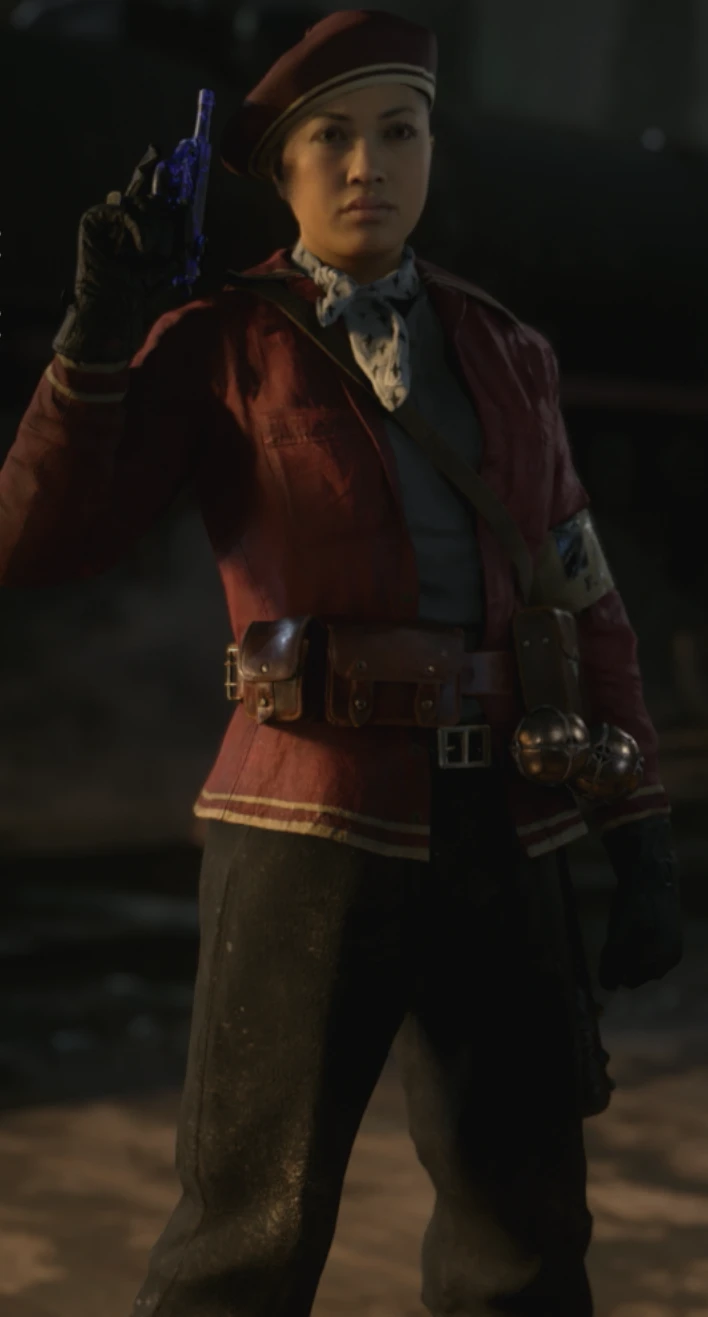
| Challenge Hint Text / Riddle | Challenge | Strategy / Notes |
|---|---|---|
| Survive on your feet. | Beat the final boss fight with no downs during the boss fight. | See the Main Quest section for info about the Boss Fight. The downs are only tracked during the boss fight. Downs are tracked for the whole team, so one player downing will void the whole team's completion. |
| There is no point. | Beat the final boss fight having let frontline (purple) Meistermeuchler buff fewer than 10 Zombies total. | See the Main Quest section for info about the Boss Fight. The Purple Meistermeuchler buffs nearby Zombies (not other Meistermeuchlers). The number of Zombies buffs increments across the whole boss fight, and does not reset. Focus your damage on the boss as soon as it spawns. If you KO it fast enough you can stop the next buff, but once a buff is going off you can't cancel it with damage. Kill any Zombies you see to limit what the boss can buff. |
| Bright lights and pain. | Beat the final boss fight without any players being stunned by the Red Meistermeuchler. | See the Main Quest section for info about the Boss Fight. Focus damage on the Red Meistermeuchler when it spawns to KO it quickly as possible. |
Deathraven Survivalist (Sol Ace) --- Character Model
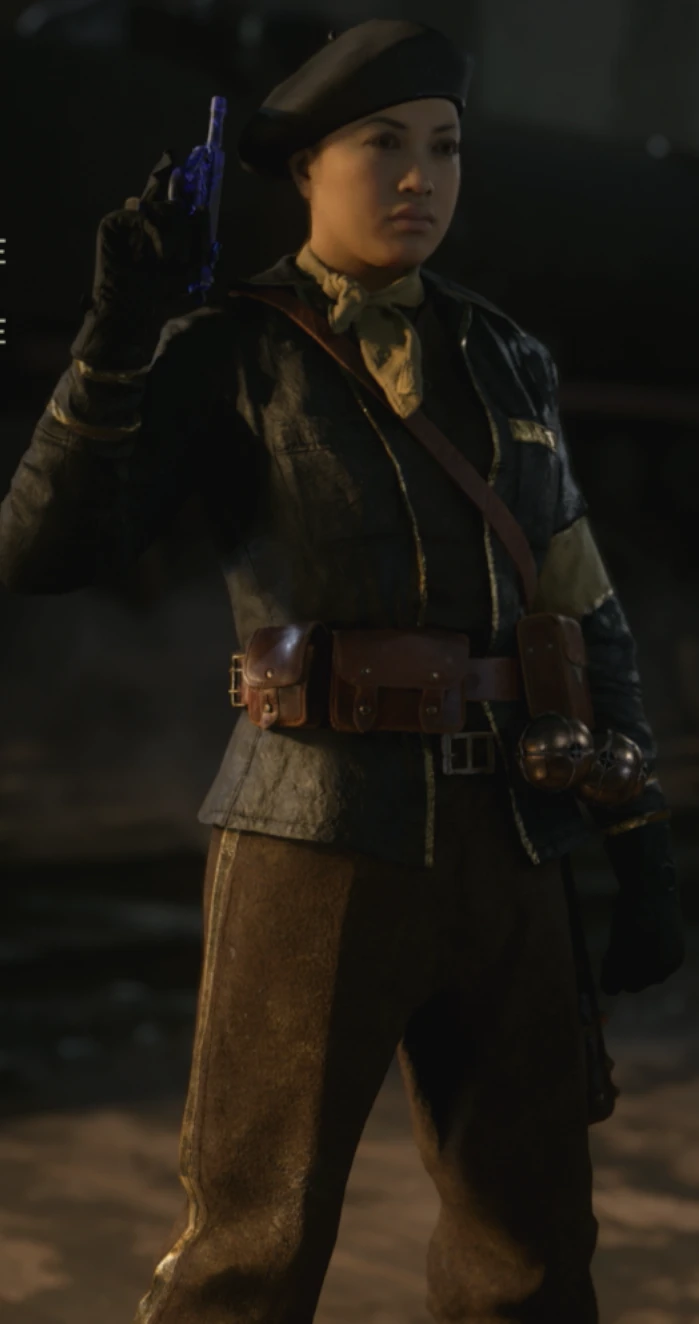
| Challenge Hint Text / Riddle | Challenge | Strategy / Notes |
|---|---|---|
| Lose a head or two. | Complete the Wave 0 Beach Rush only getting headshots. | Can only be done on Solo. |
| Entrenched on the Beach. | Complete the Wave 0 Beach Rush only using the Shovel. | Can only be done on Solo. |
| Sweeping for gold. | Complete the Wave 0 Beach Rush while crouched. | Can only be done on Solo. You have ~5 seconds from the start of the game to crouch before you fail. |
The Survivalist from Hanoi (The Hunter) --- Character Model
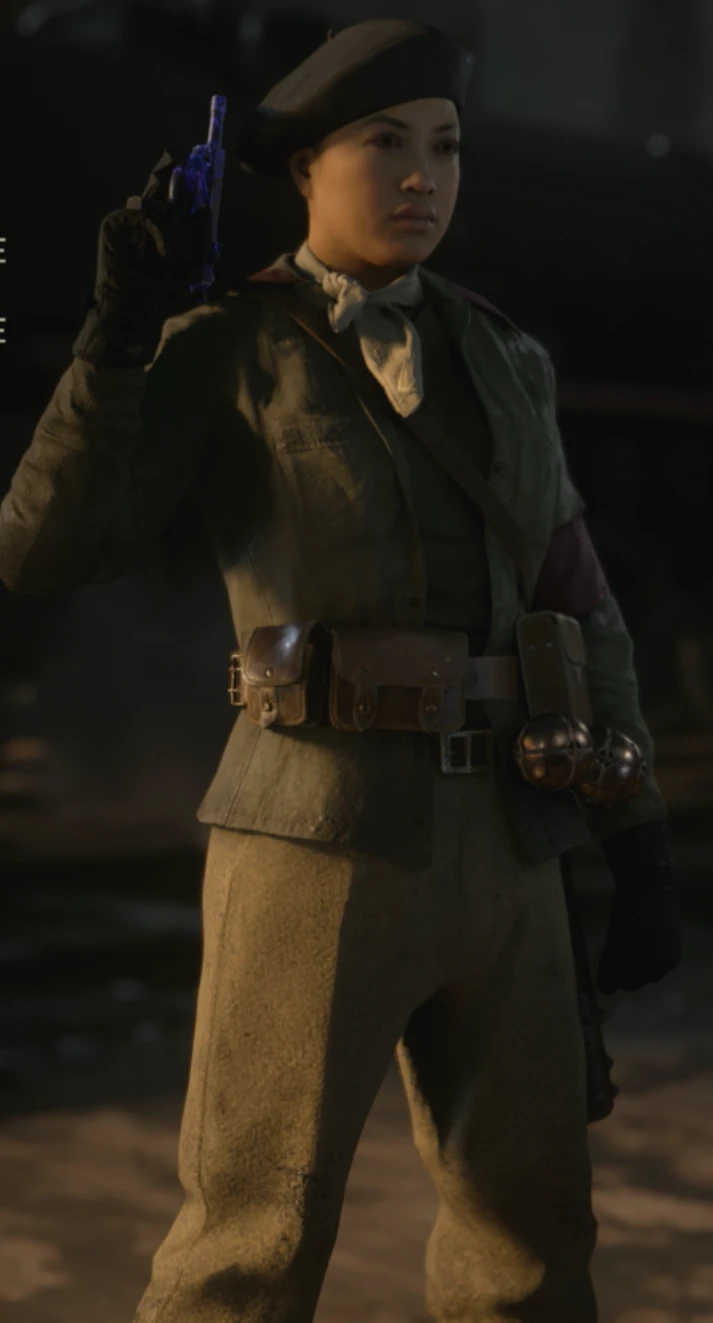
| Challenge Hint Text / Riddle | Challenge | Strategy / Notes |
|---|---|---|
| I shall bring the death. | Beat the Main Quest without using traps. | See the Main Quest section. |
| Nothing is too fast to die. | Kill 3 Meuchlers with traps in a single game. | Meuchlers are "smart" and will avoid running through a trap if they can, so you will need to either activate it while they are in it, or stun them in the trap's damage area. Use the propeller trap because it's the highest damage trap, and run Shellshock to stun them in the trap's area. |
| The pain train keeps coming. | Survive 5 consecutive waves using only traps. | The trap you can get to the fastest is the Propeller trap in the 'U-Boat Pens.' You can build points quickly by grouping the Zombies up then using Shellshock and the Fiery Burst mod. |
Bloodraven Slayer (V.I.B.) --- Character Model
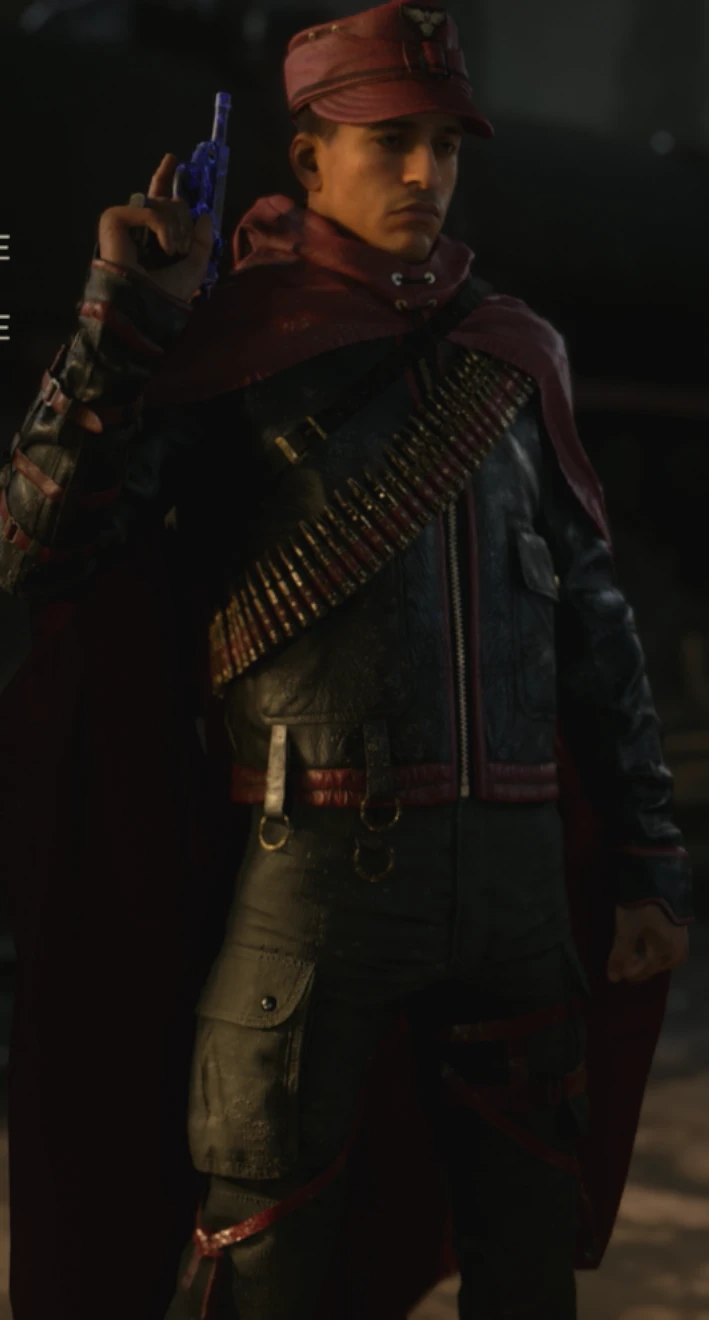
| Challenge Hint Text / Riddle | Challenge | Strategy / Notes |
|---|---|---|
| Untouched mayhem. | Escort the Artillery Loader Bomber to the artillery cannon bunker without it taking any damage. | See the Main Quest section for how to escort the Bomber. If it takes damage, let it die and try again. You can't summon another Bomber if one delivered the payload. |
| Mathematician. | Sink every ship during the Main Quest Artillery Cannon step without missing a shot. | See the Main Quest section for how to aim the Artillery; there is a helper image that will tell you exactly where to fire. |
| I live underground. | Get 10 Bomber Zombie headshots kills in a row while riding the minecart. | You can kill other Zombies in between, it just that if you kill a Minecart Bomber, it needs to be with a headshot. If the Bomber explodes on it's own, it doesn't reset the streak. |
Deathraven Slayer (Tools of the Trade) --- Character Model
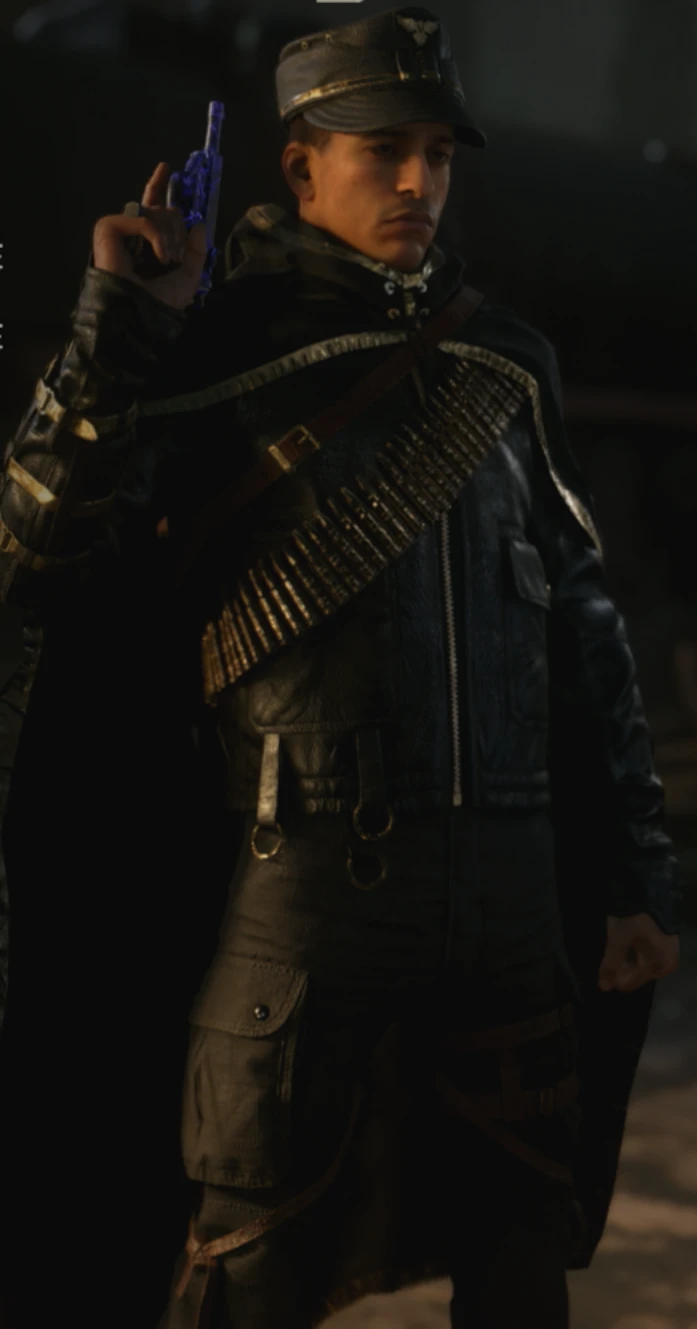
| Challenge Hint Text / Riddle | Challenge | Strategy / Notes |
|---|---|---|
| Natural 20. | Survive 25 Waves with the first Mystery Box weapon you receive. | If you have a weapon variant equipped, the Wave counter might only starts after you Pack-a-Punch (depends on the variant). It's unknown which variant (if any) requires a Pack-a-Punch. |
| Something New. | Survive 25 Waves using either the Gewher 43, Sten, or GMPG without switching weapons. | If you have a weapon variant equipped, or you spawn with one of the weapons, the Waves might not start counting until you Pack-a-Punch it (depends on the variant). It's unknown which variant (if any) requires a Pack-a-Punch. |
| To death you say? | Survive five waves only using the Pommel. | See the Main Quest section for how to get the Pommel. |
The Slayer from Casablanca (Banker) --- Character Model
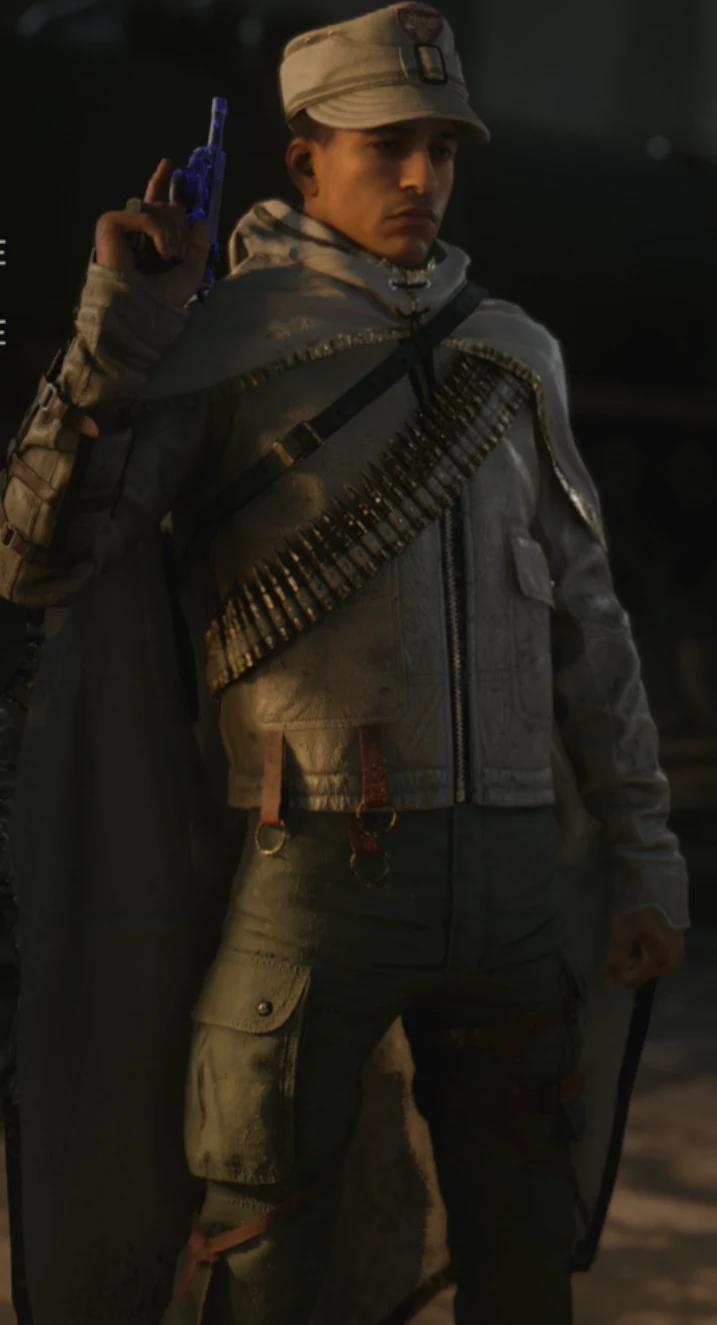
| Challenge Hint Text / Riddle | Challenge | Strategy / Notes |
|---|---|---|
| Travel light, carry a big stick. | Complete the Easter Egg with no player spending over 9,000 points. | See the Main Quest section. You can use discount consumables. |
| Sticks and stones. | Obtain the Pommel of Barbarossa with no player spending over 7,500 points. | See the Main Quest section for how to get the Pommel. You can use discount consumables. |
| Waste not want not. | Complete Wave 40 with no player spending over 10,000 points. | Train in the 'U-Boat Pens' getting kills with the un-upgraded Ripsaw. |
Wicht Warden (Cold Blooded) --- Character Model
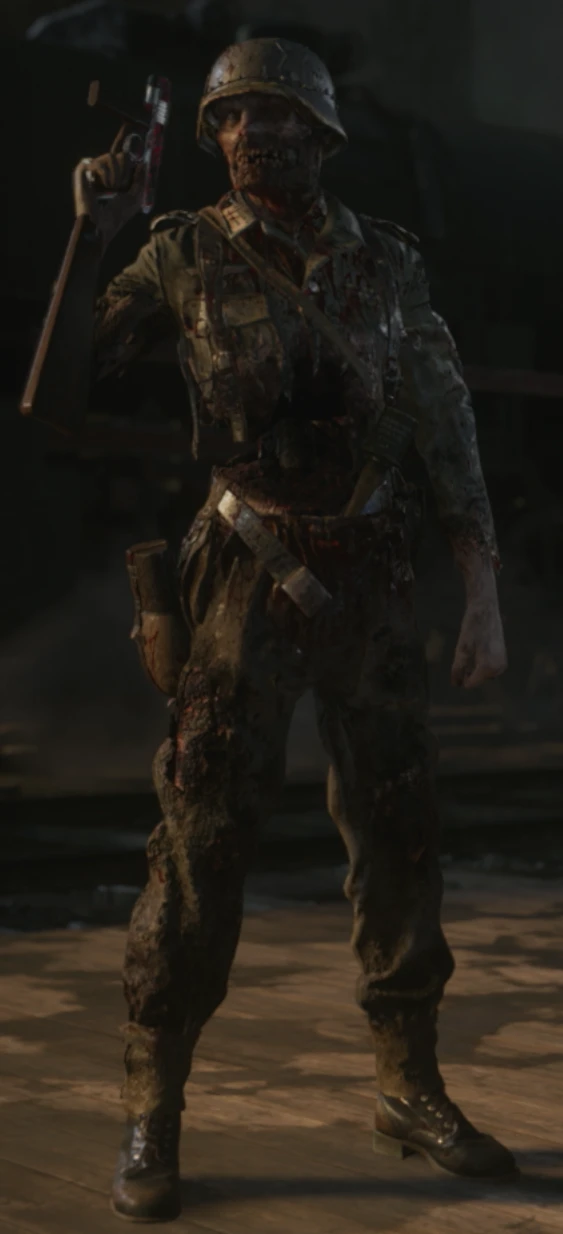
| Challenge Hint Text / Riddle | Challenge | Strategy / Notes |
|---|---|---|
| Search and rescue | Complete the Hardcore Main Quest on The Final Reich. | See the Hardcore Main Quest section of The Final Reich Guide for how to complete it. |
| They can swim now? | Complete the Main Quest on The Darkest Shore. | See the Main Quest section for how to complete it. |
| Mechanized abomination | Complete the Main Quest on The Shadowed Throne. | See the Main Quest section of The Shadowed Throne Guide for how to complete it. |
| The road ahead | Complete the Main Quest on The Tortured Path. | See the Main Quest section of The Tortured Path Guide for how to complete it. |
| Descend... | Complete the Main Quest on The Frozen Dawn. | See the Main Quest section of The Frozen Dawn Guide for how to complete it. |
Rookbane (Level 1000 Reward) --- Character Model
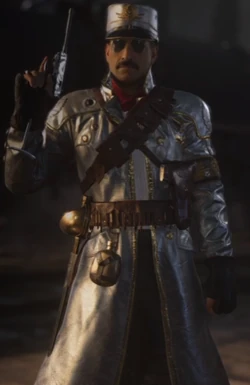
| Challenge | Strategy / Notes |
|---|---|
| Reach Level 1000 in the Zombies Mode. | See this post (reddit) for some XP farming strategies. |
About This Map
The Darkest Shore is the second WW2 Zombies map, set on a fog-covered island off the German coast. This guide covers the 'Making History' main quest (main Easter Egg), the Ripsaw upgrades, the Classic PPSh-41, and all side quests. Also known as TDS.