Pack-a-Punch (Ubersprengen)
You will not be able to access Pack-a-Punch if you have the S-Mines or Throwing Knife as your equipment. You need a throwable explosive (Frag, Sticky, Satchel). You can use the Fliegerfaust launcher, but it is VERY rare from the Mystery Box.
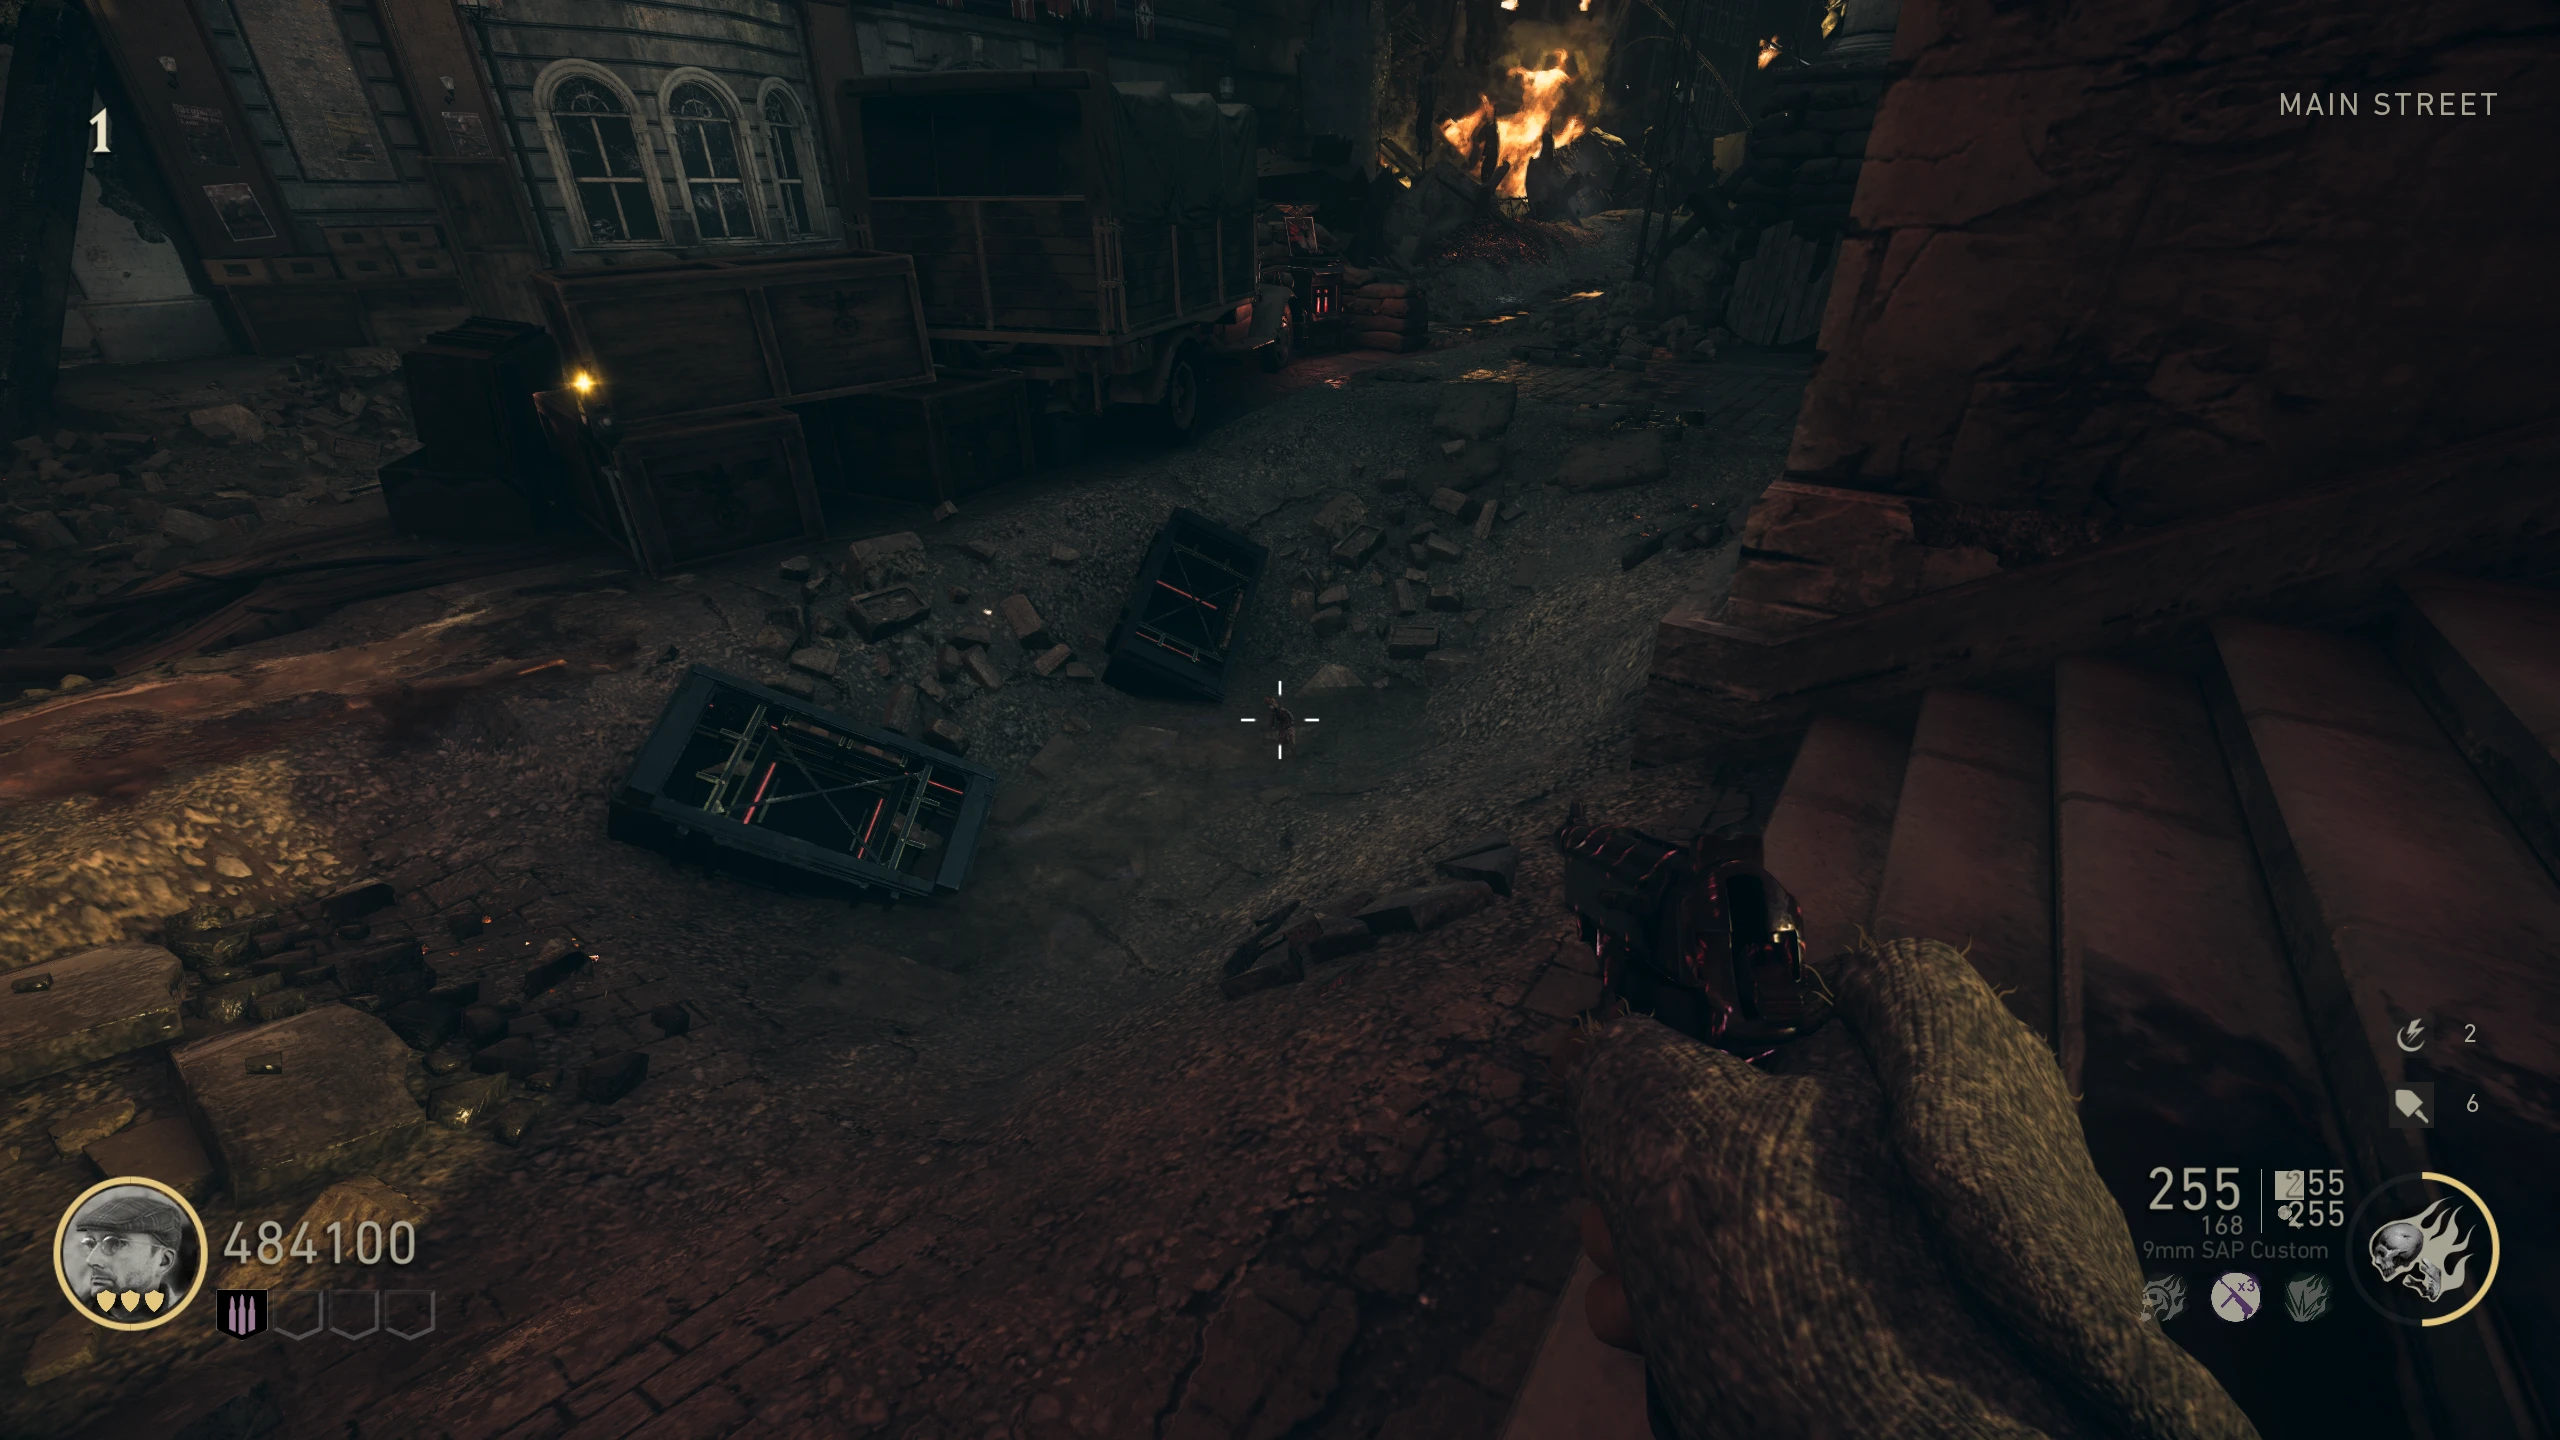
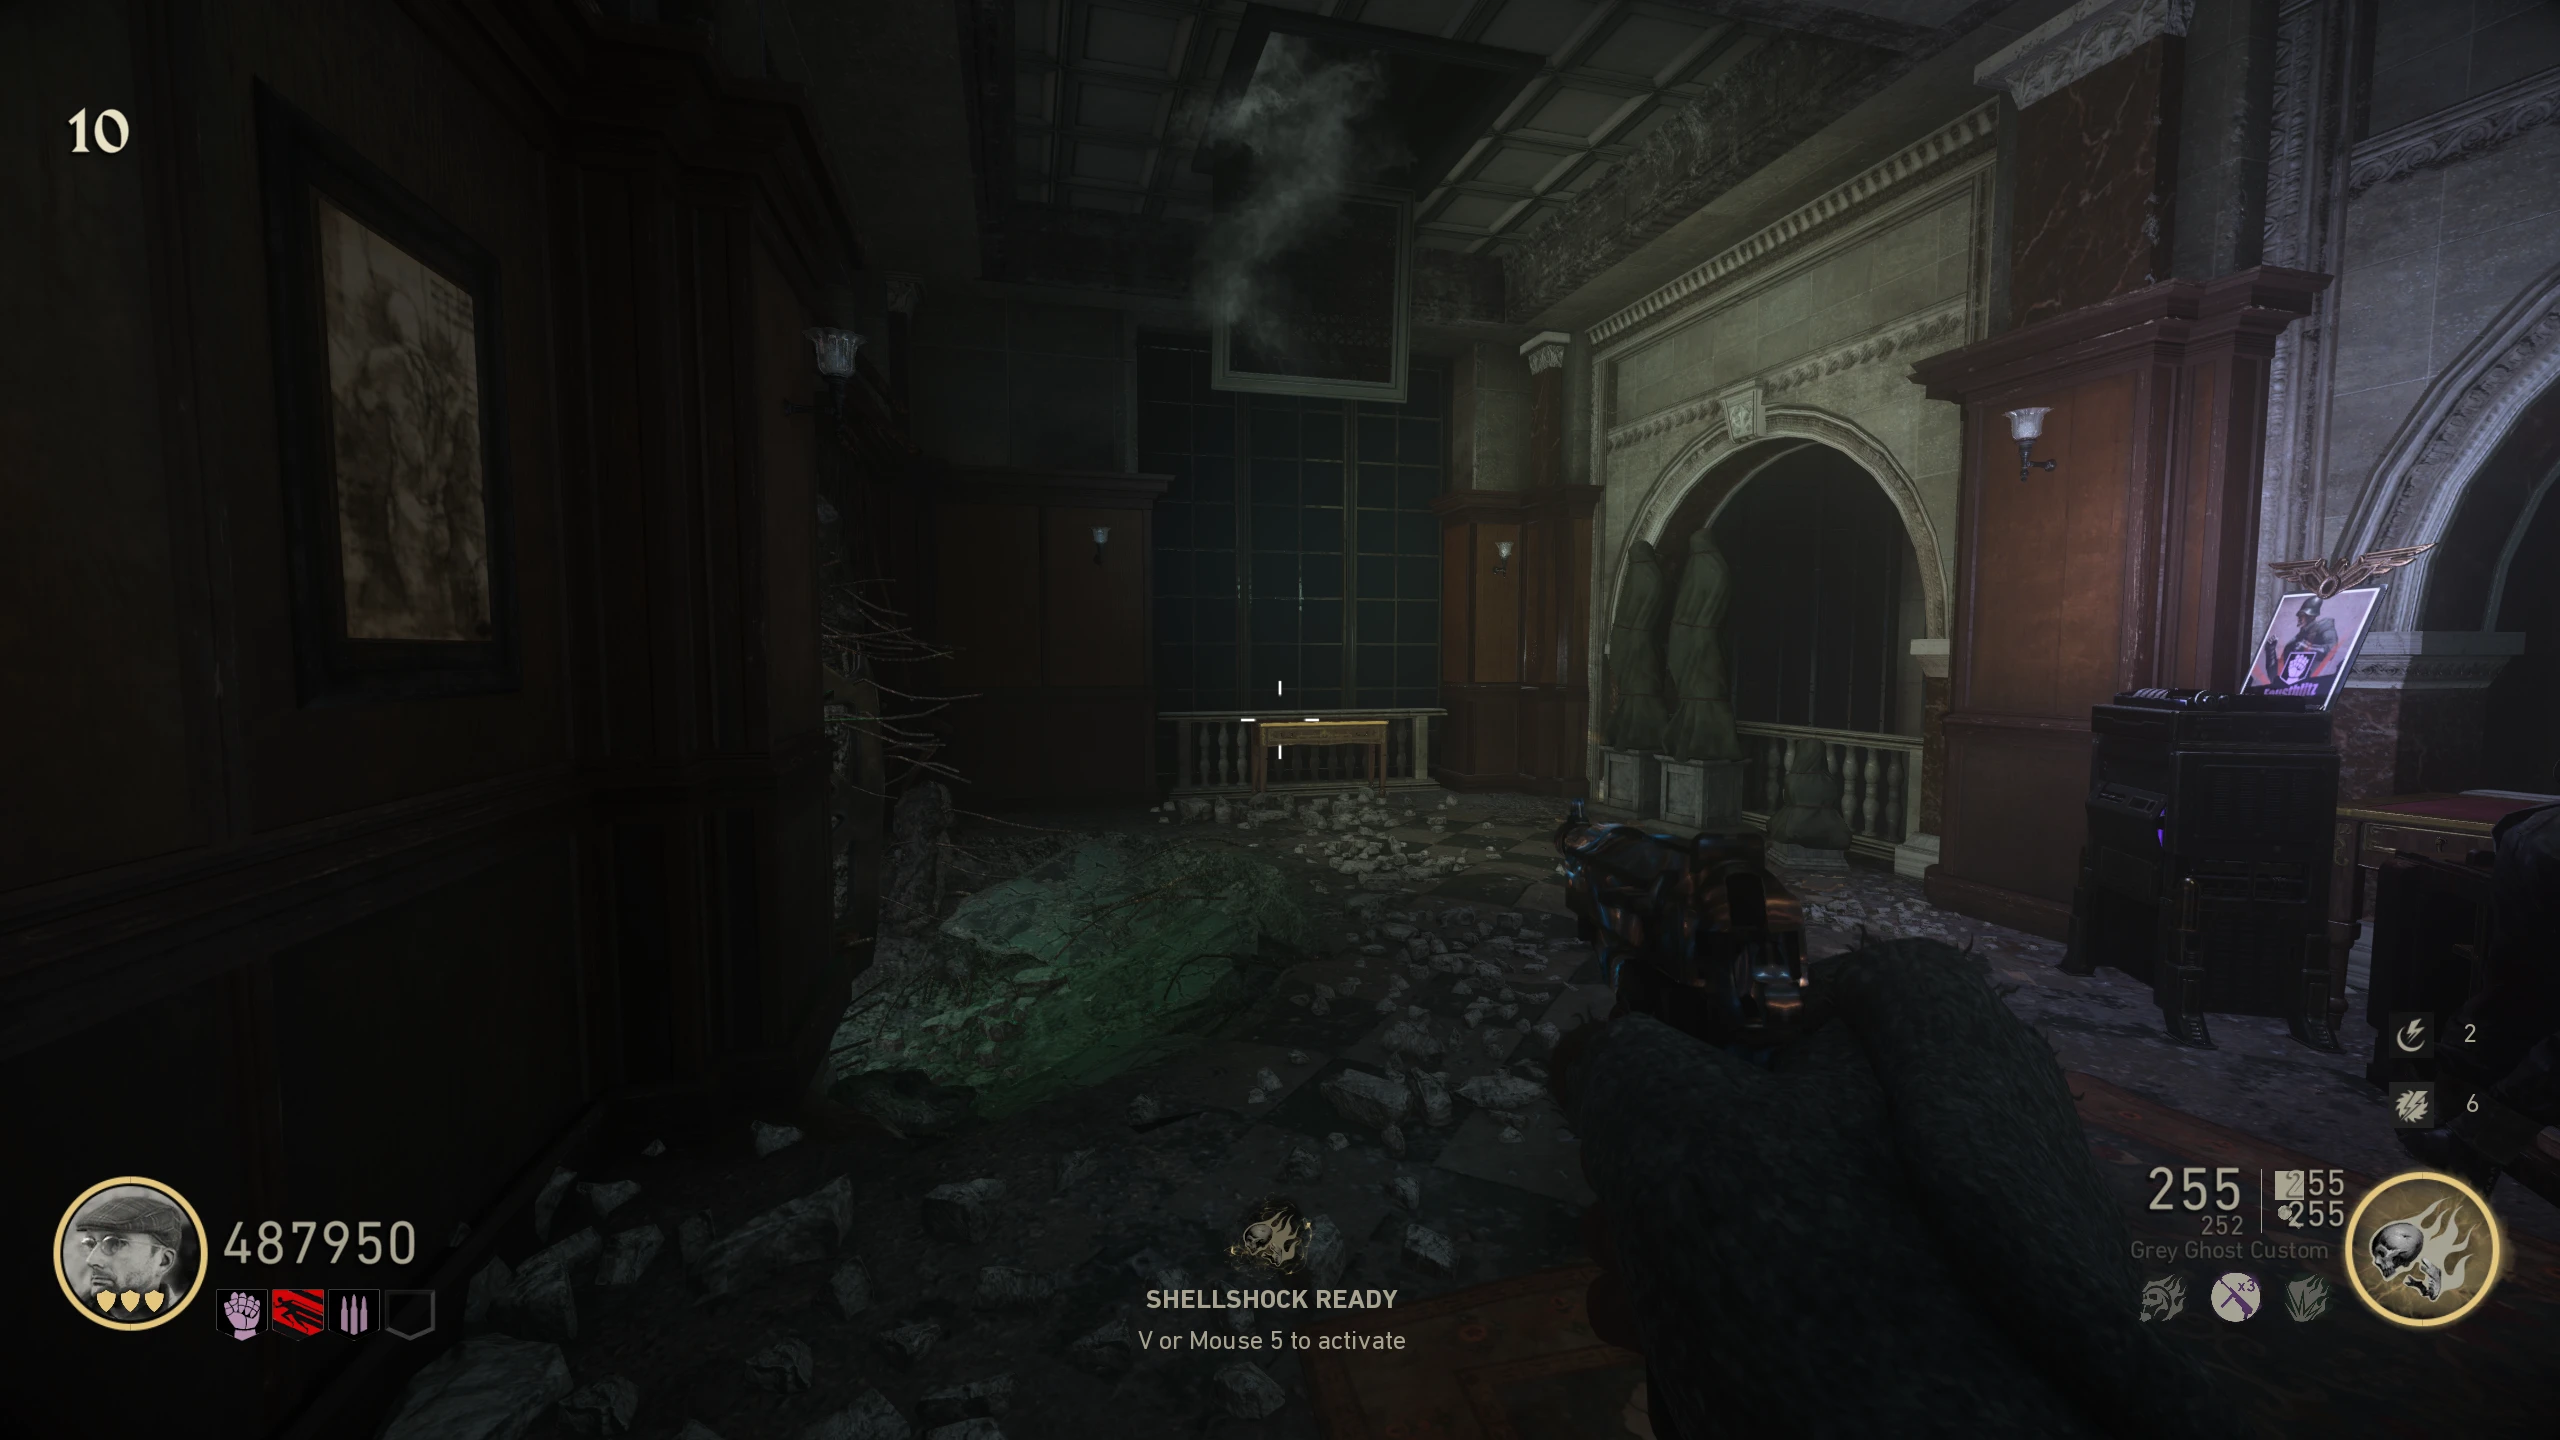
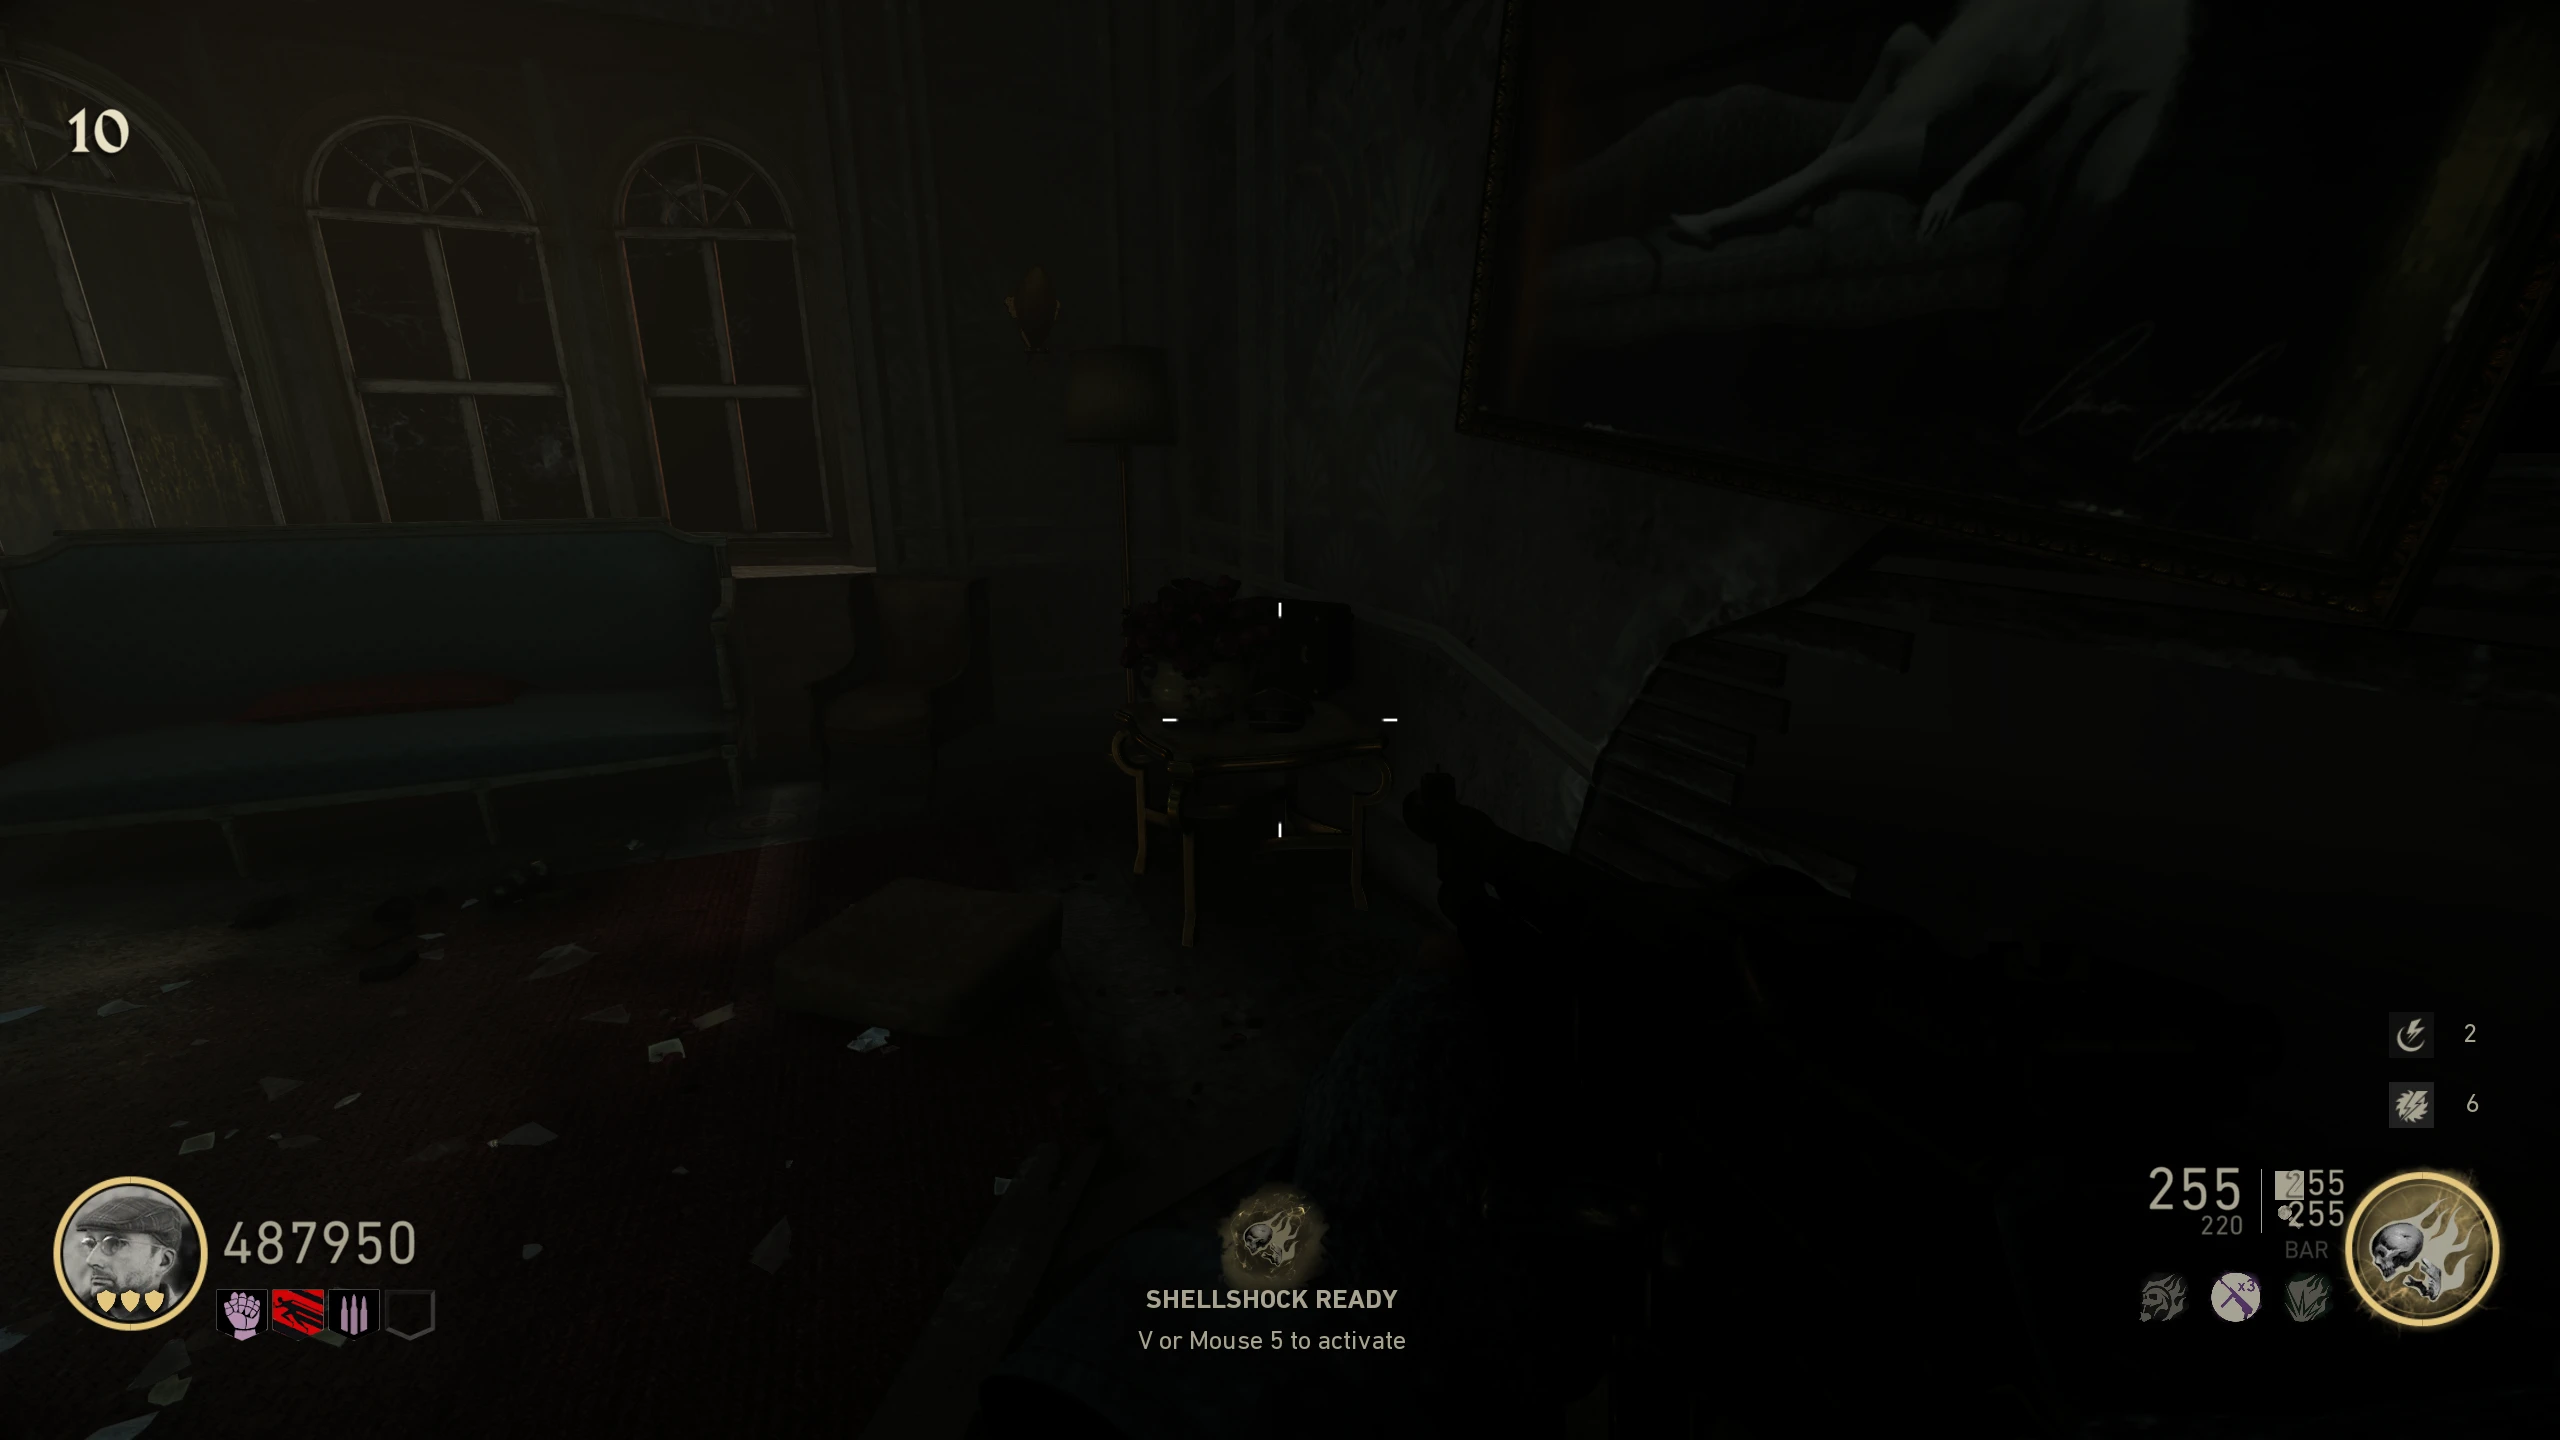
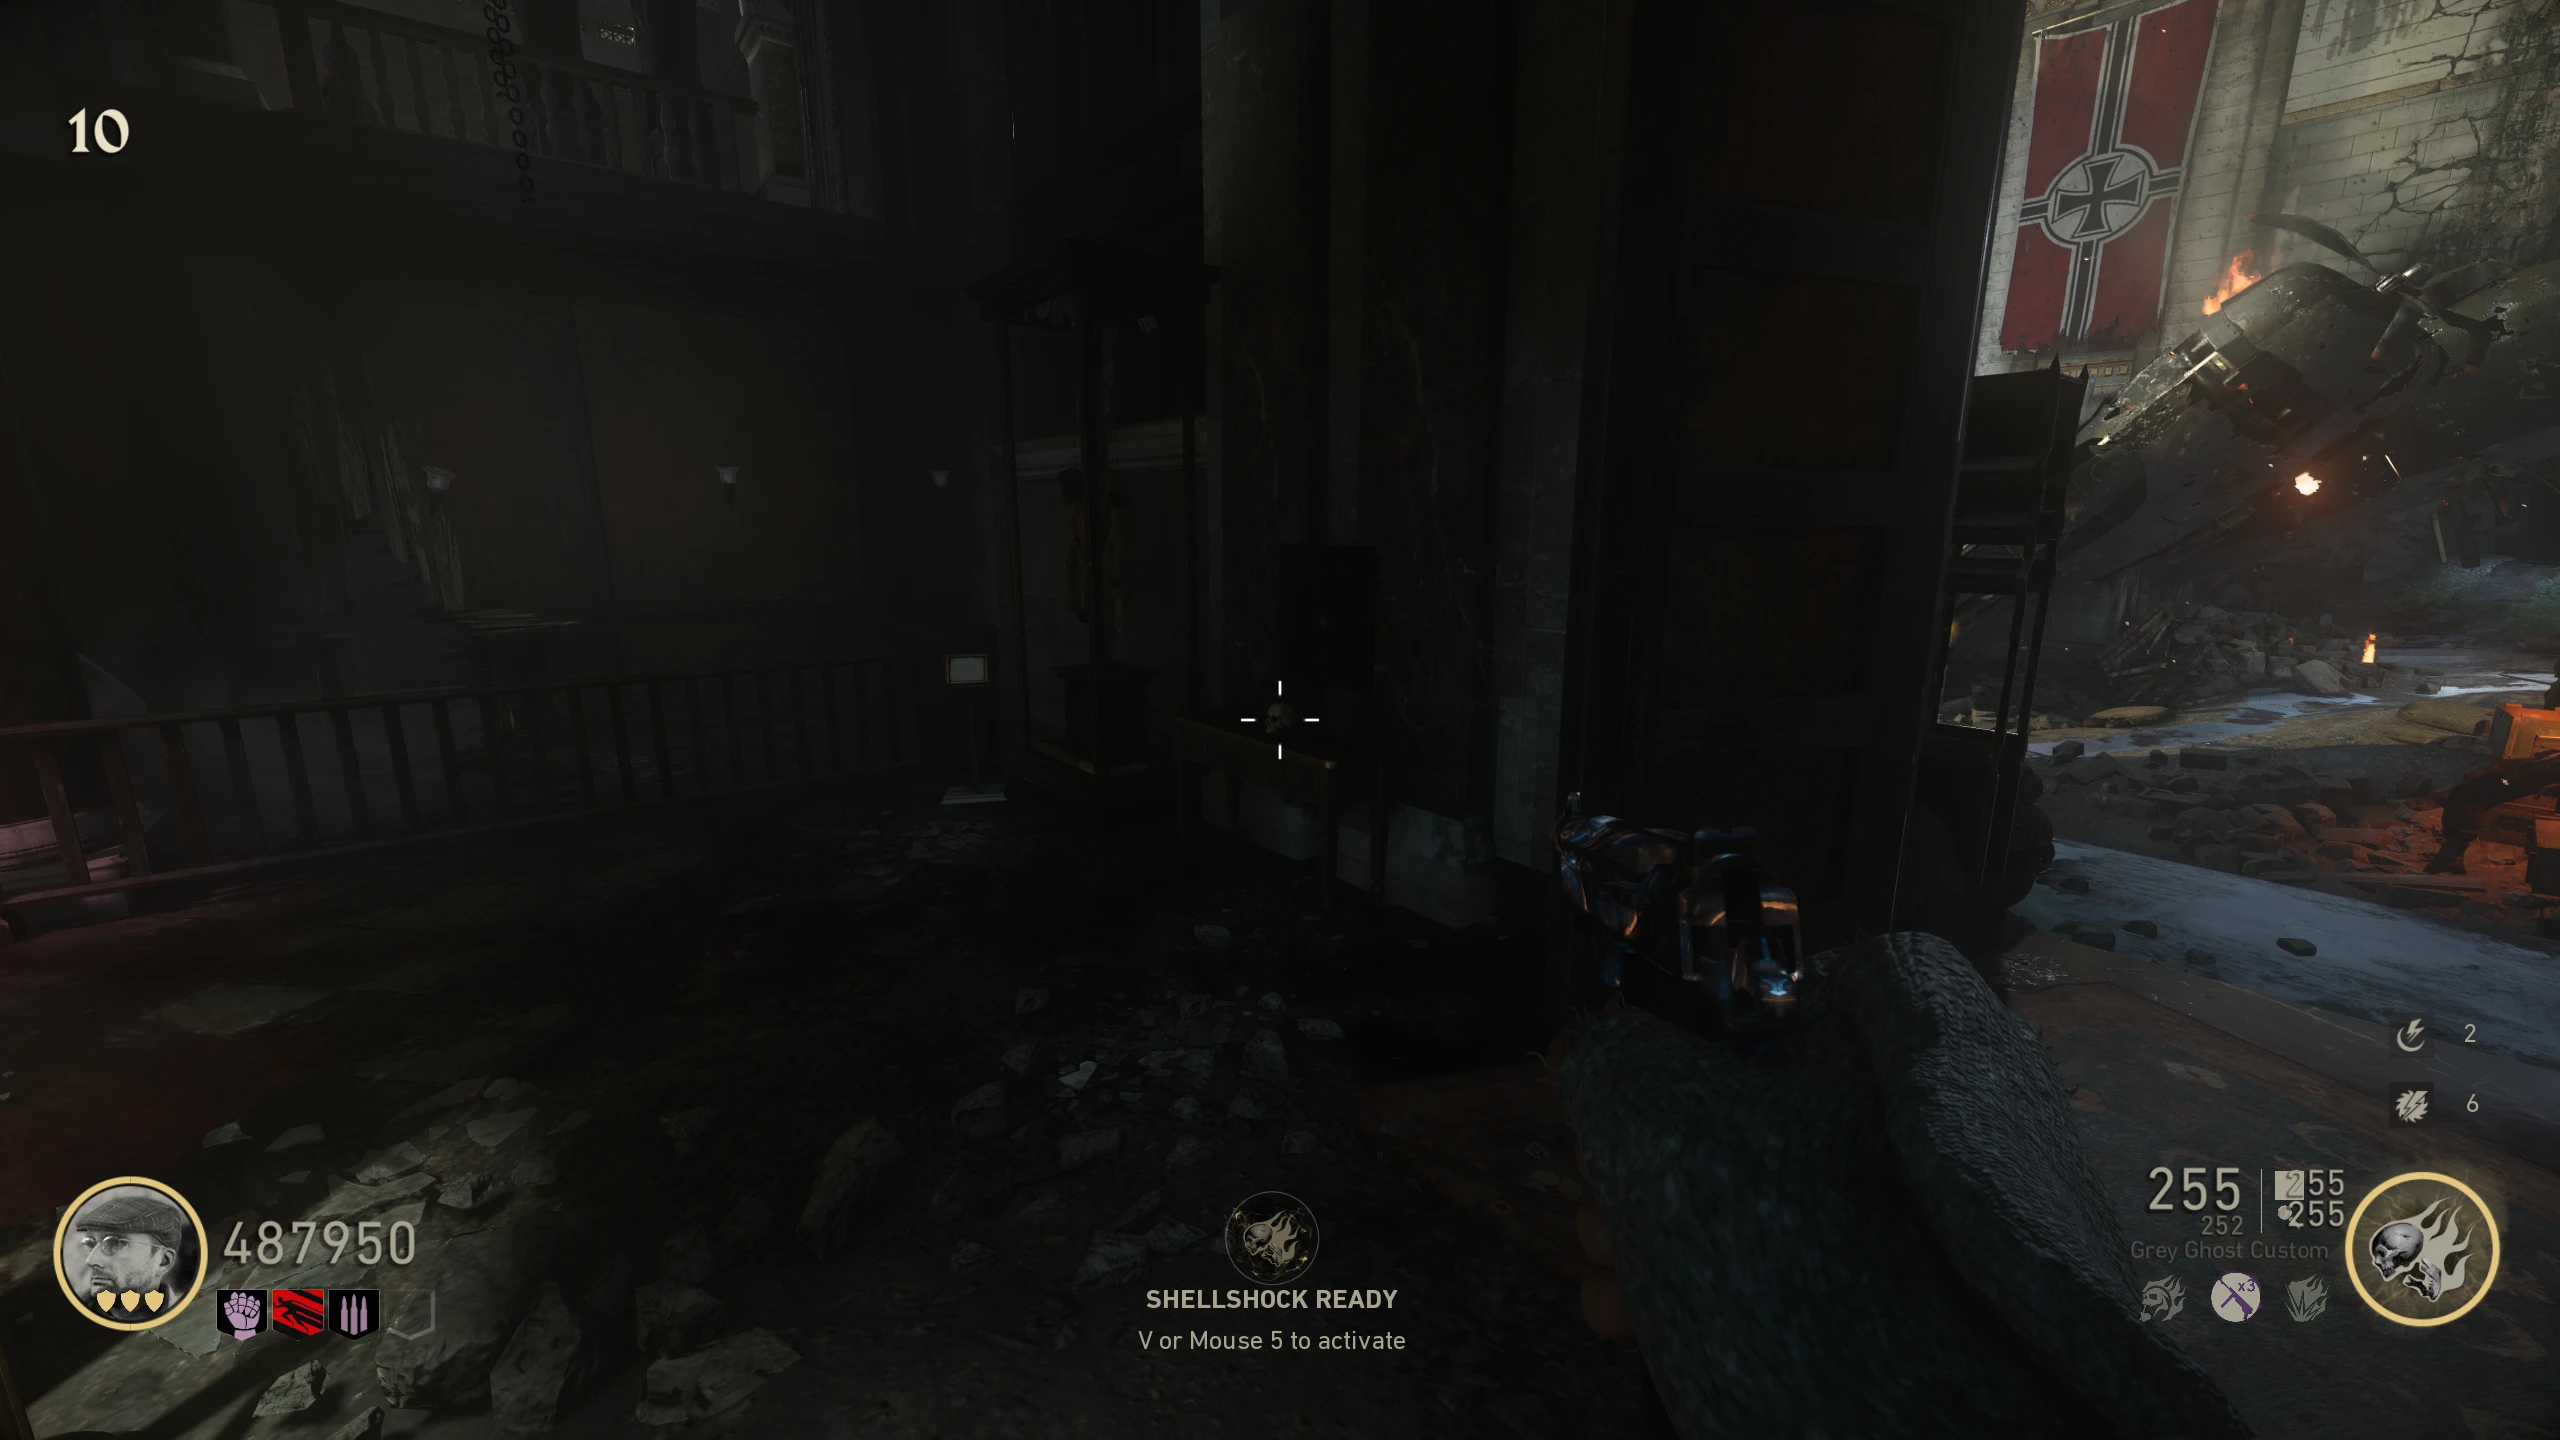
- In the spawn building, there are two panels that need to be exploded open with grenades:
- Build the Wunderbuss.
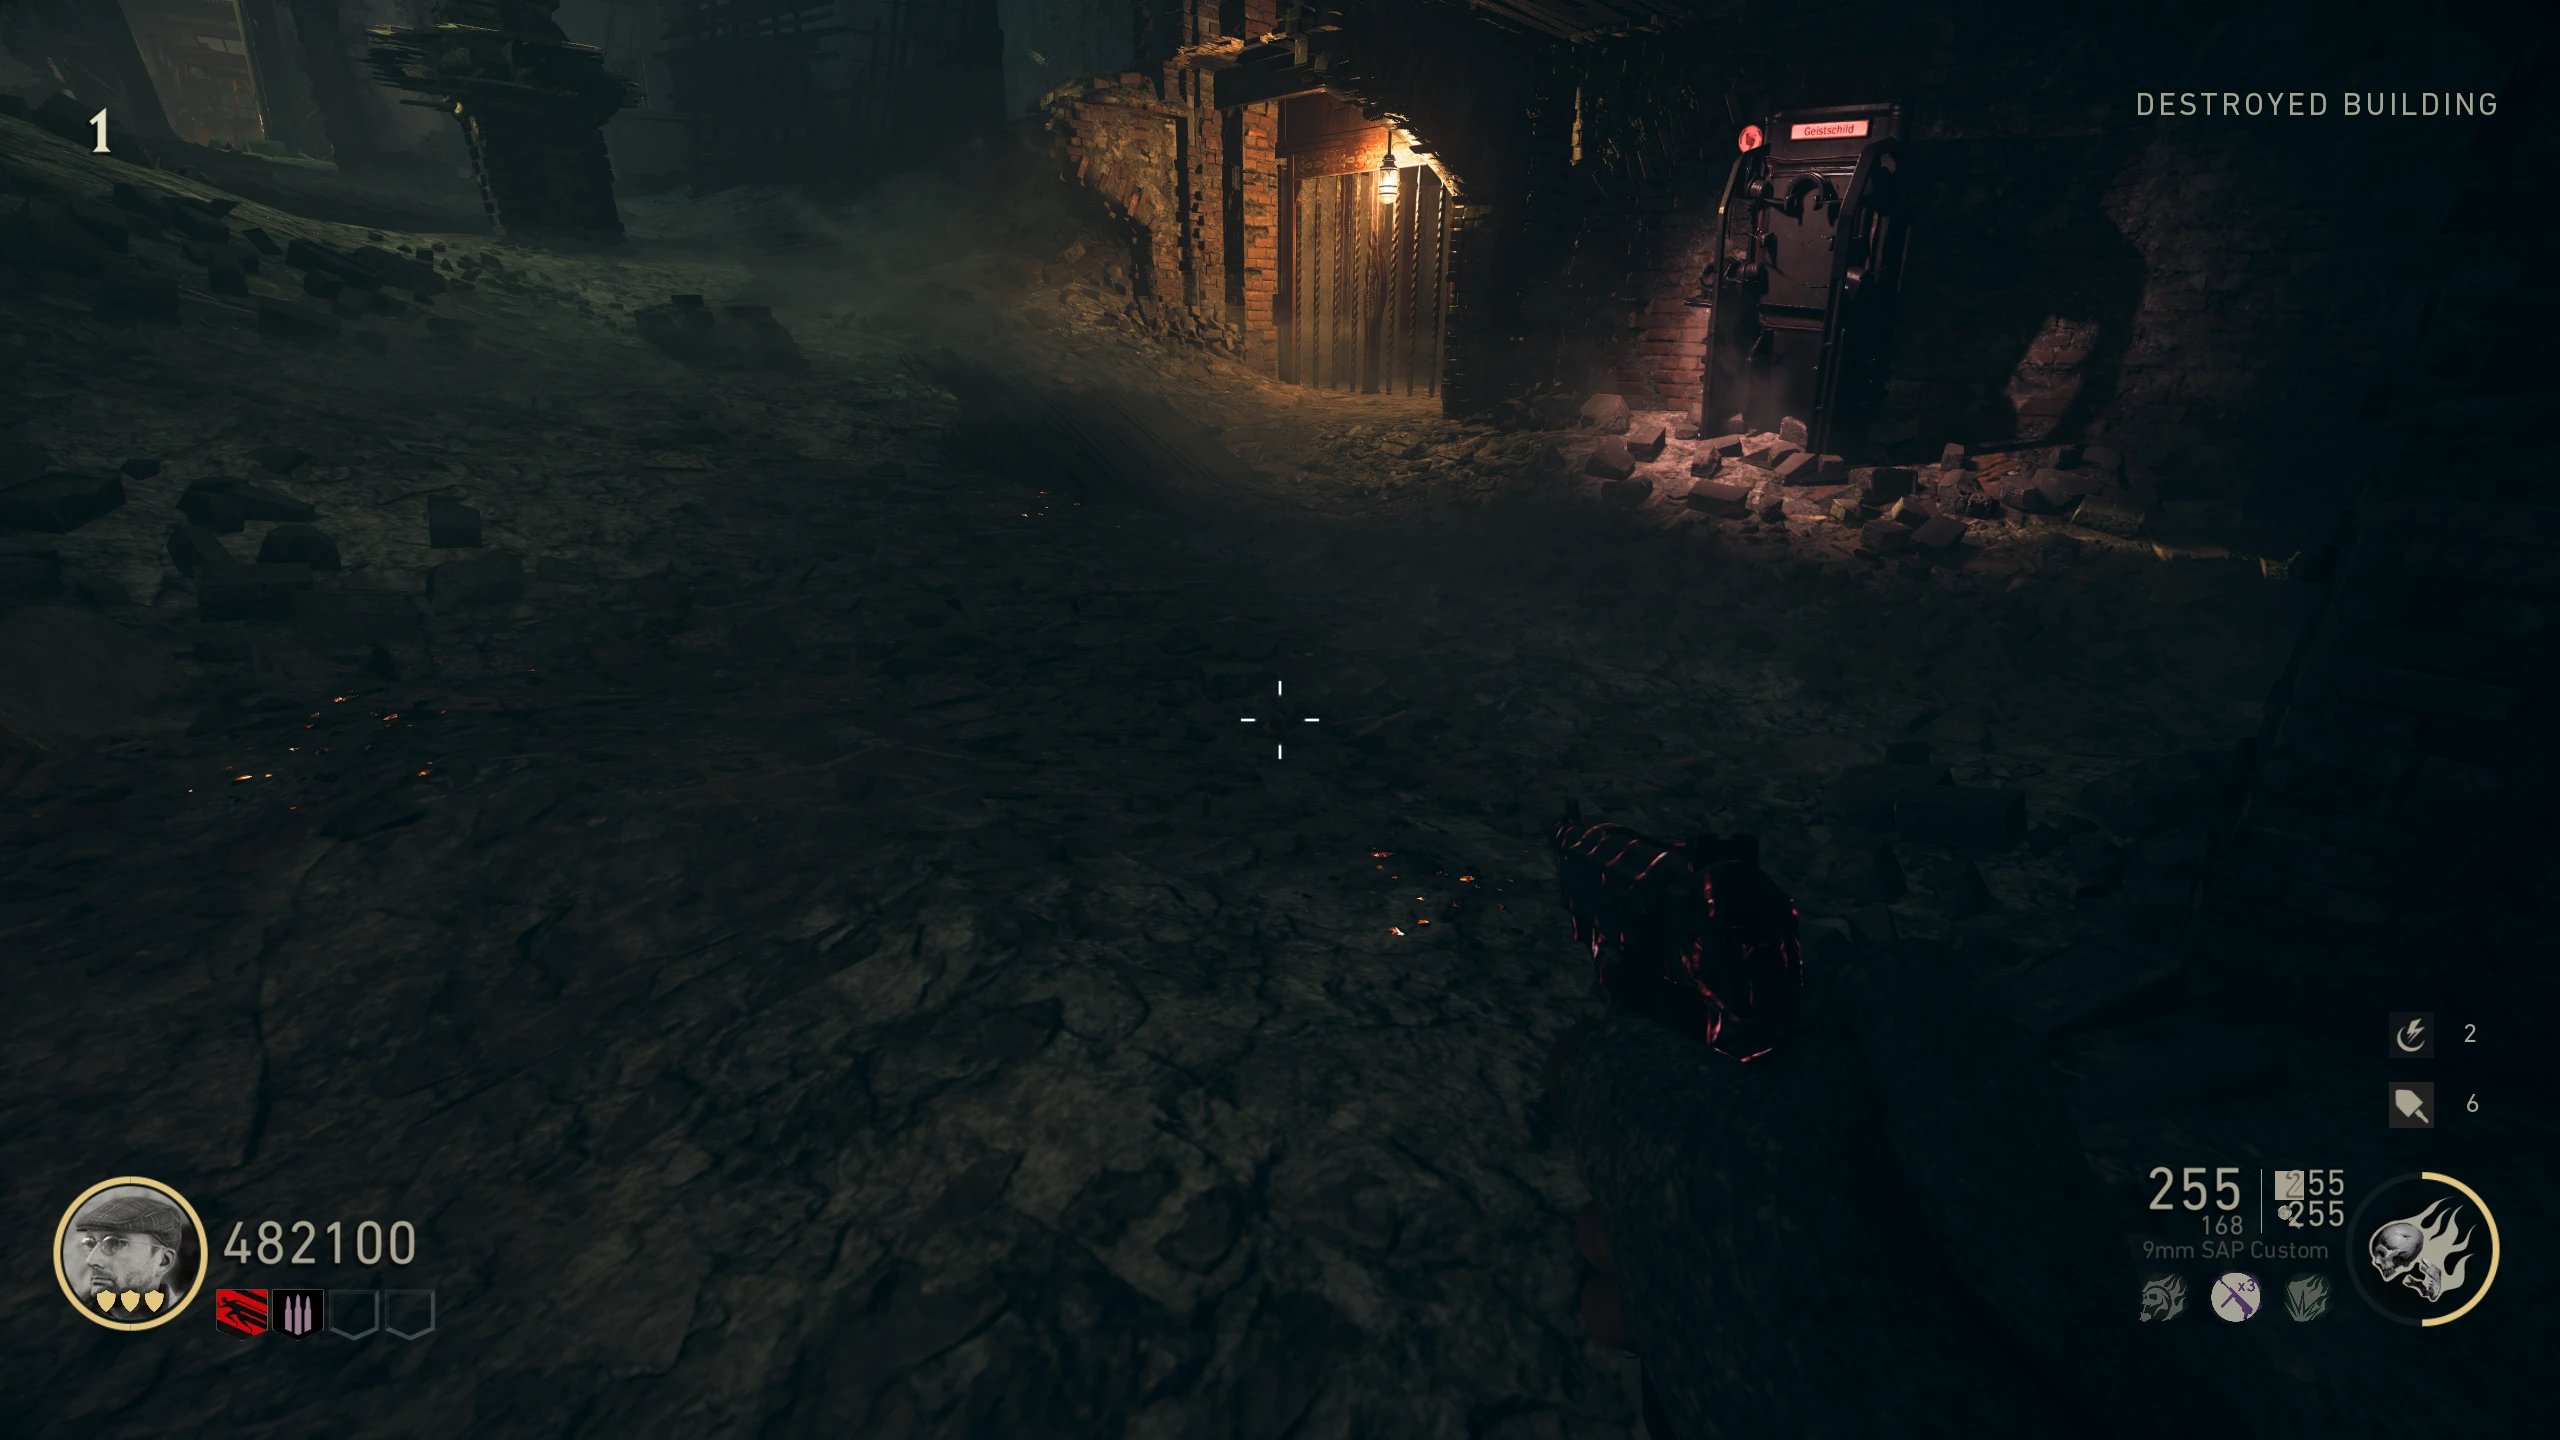
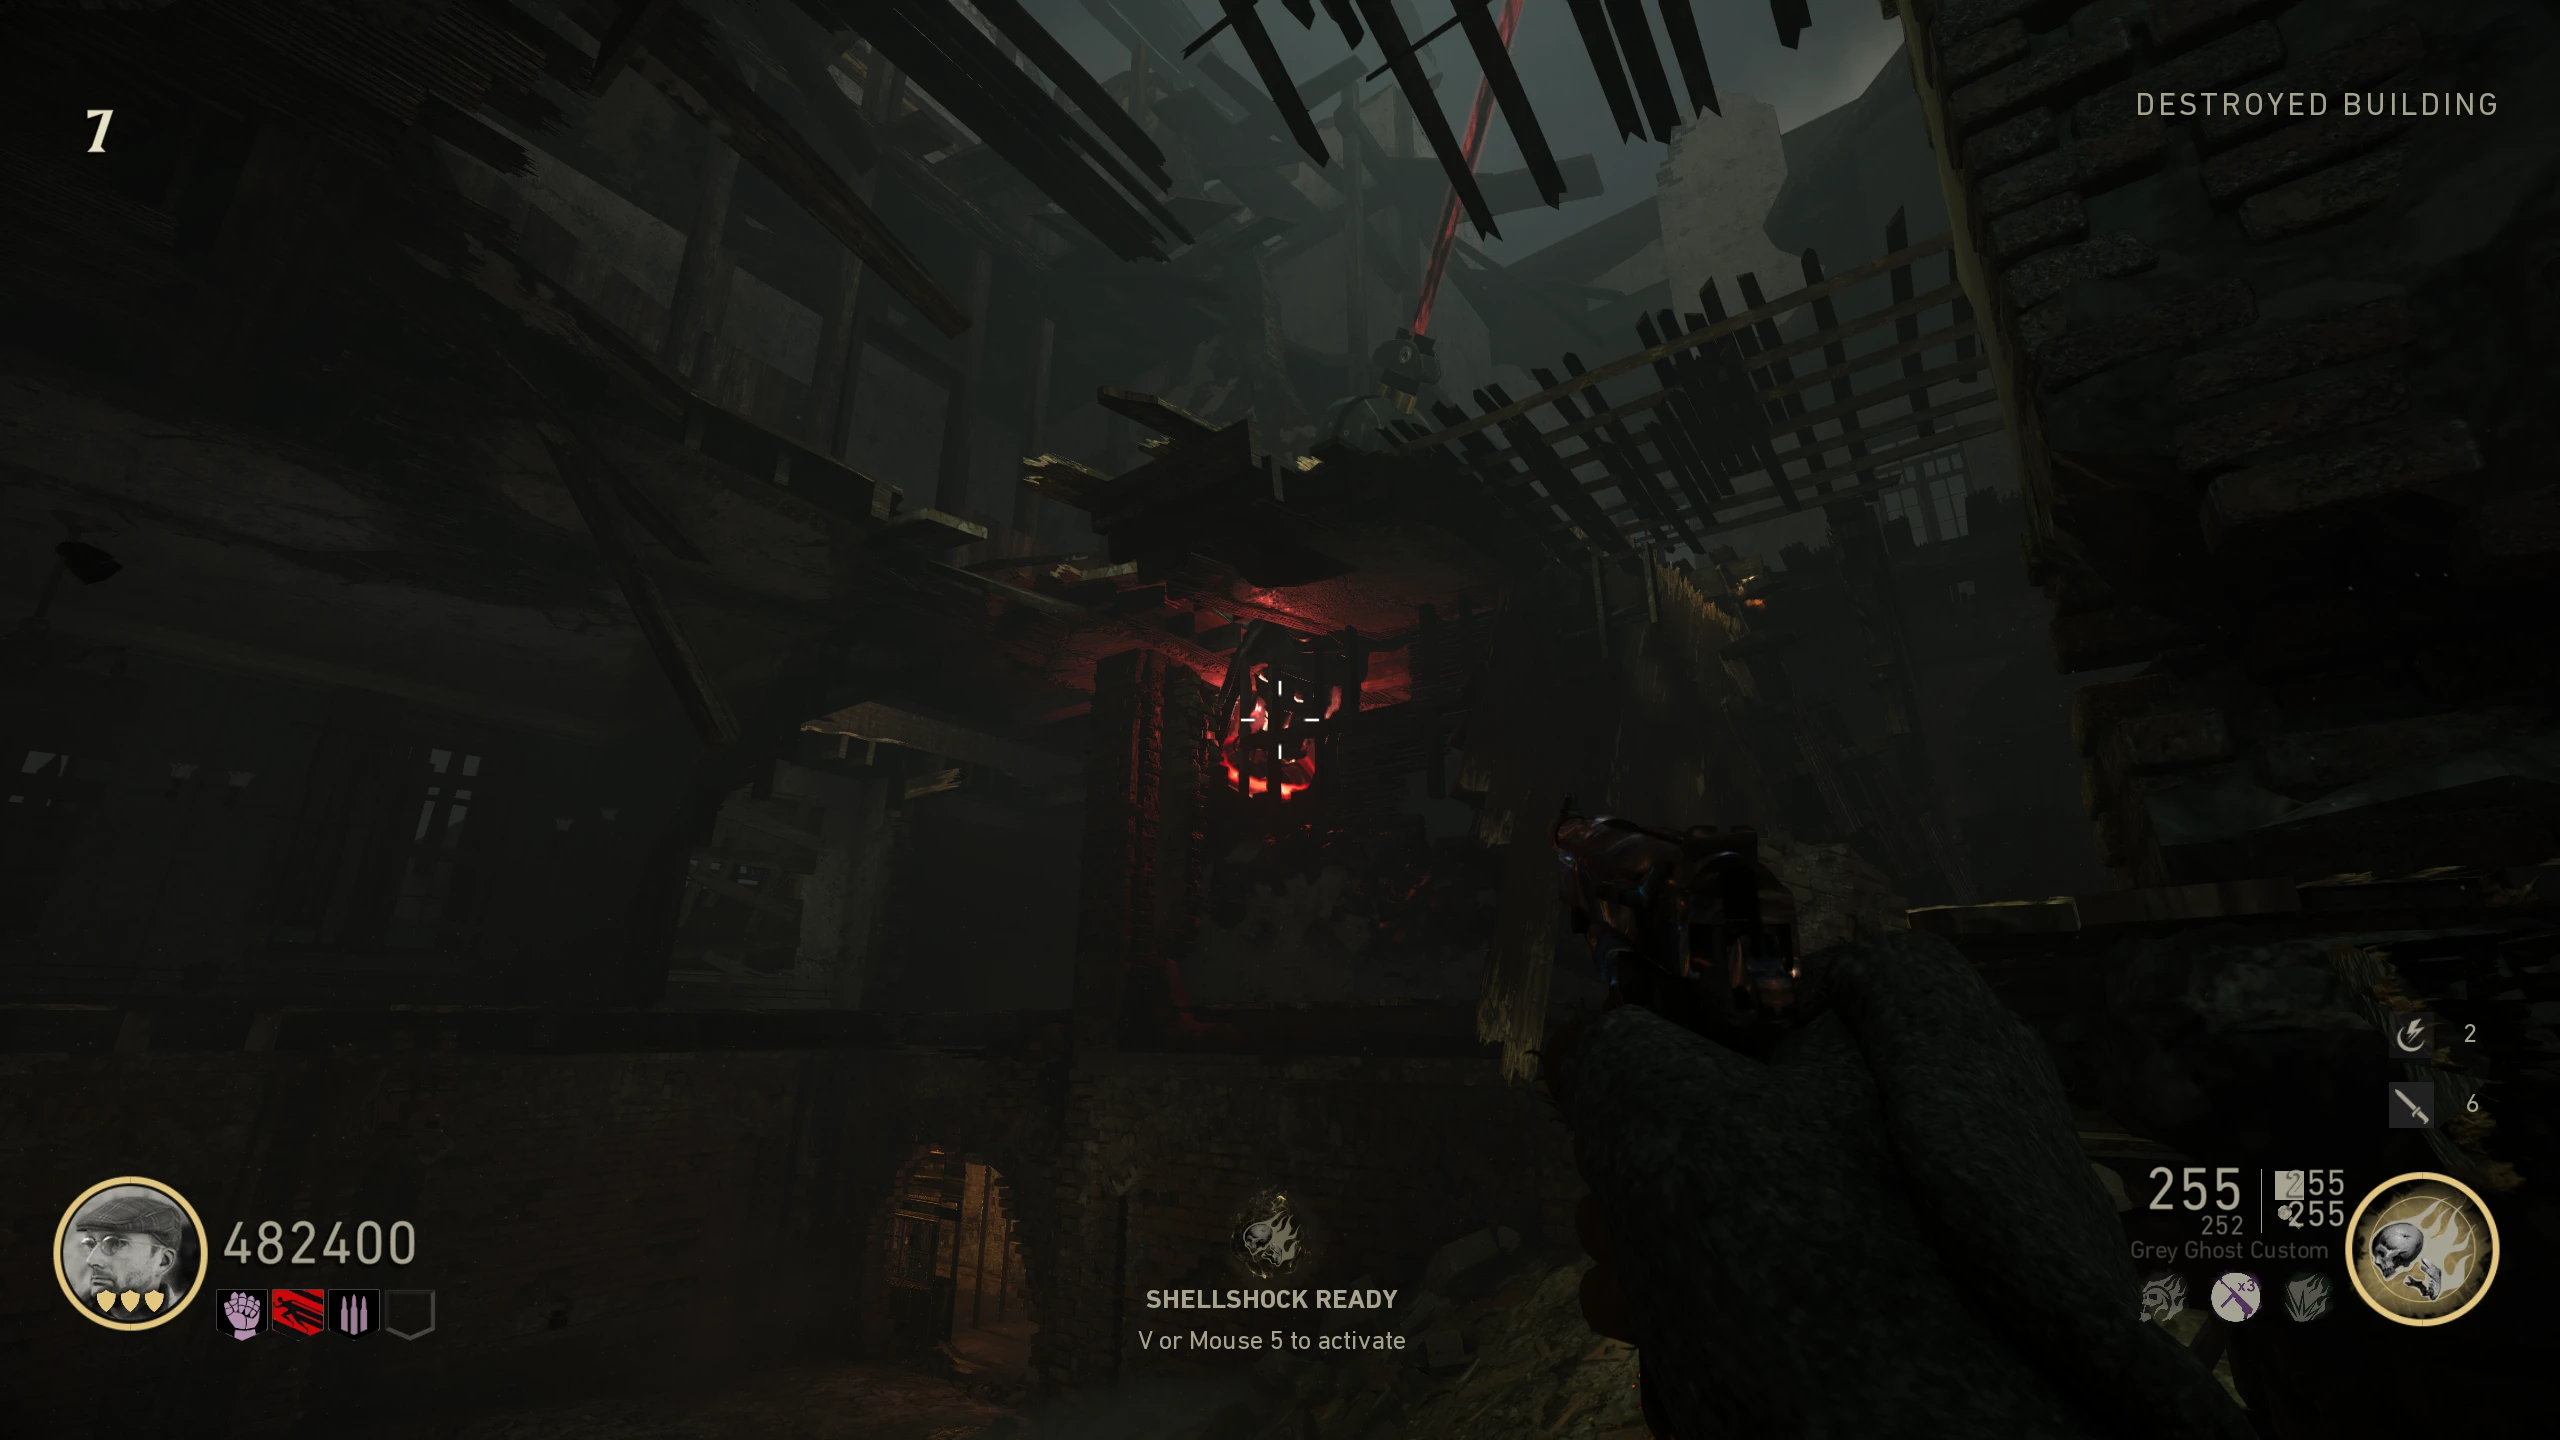
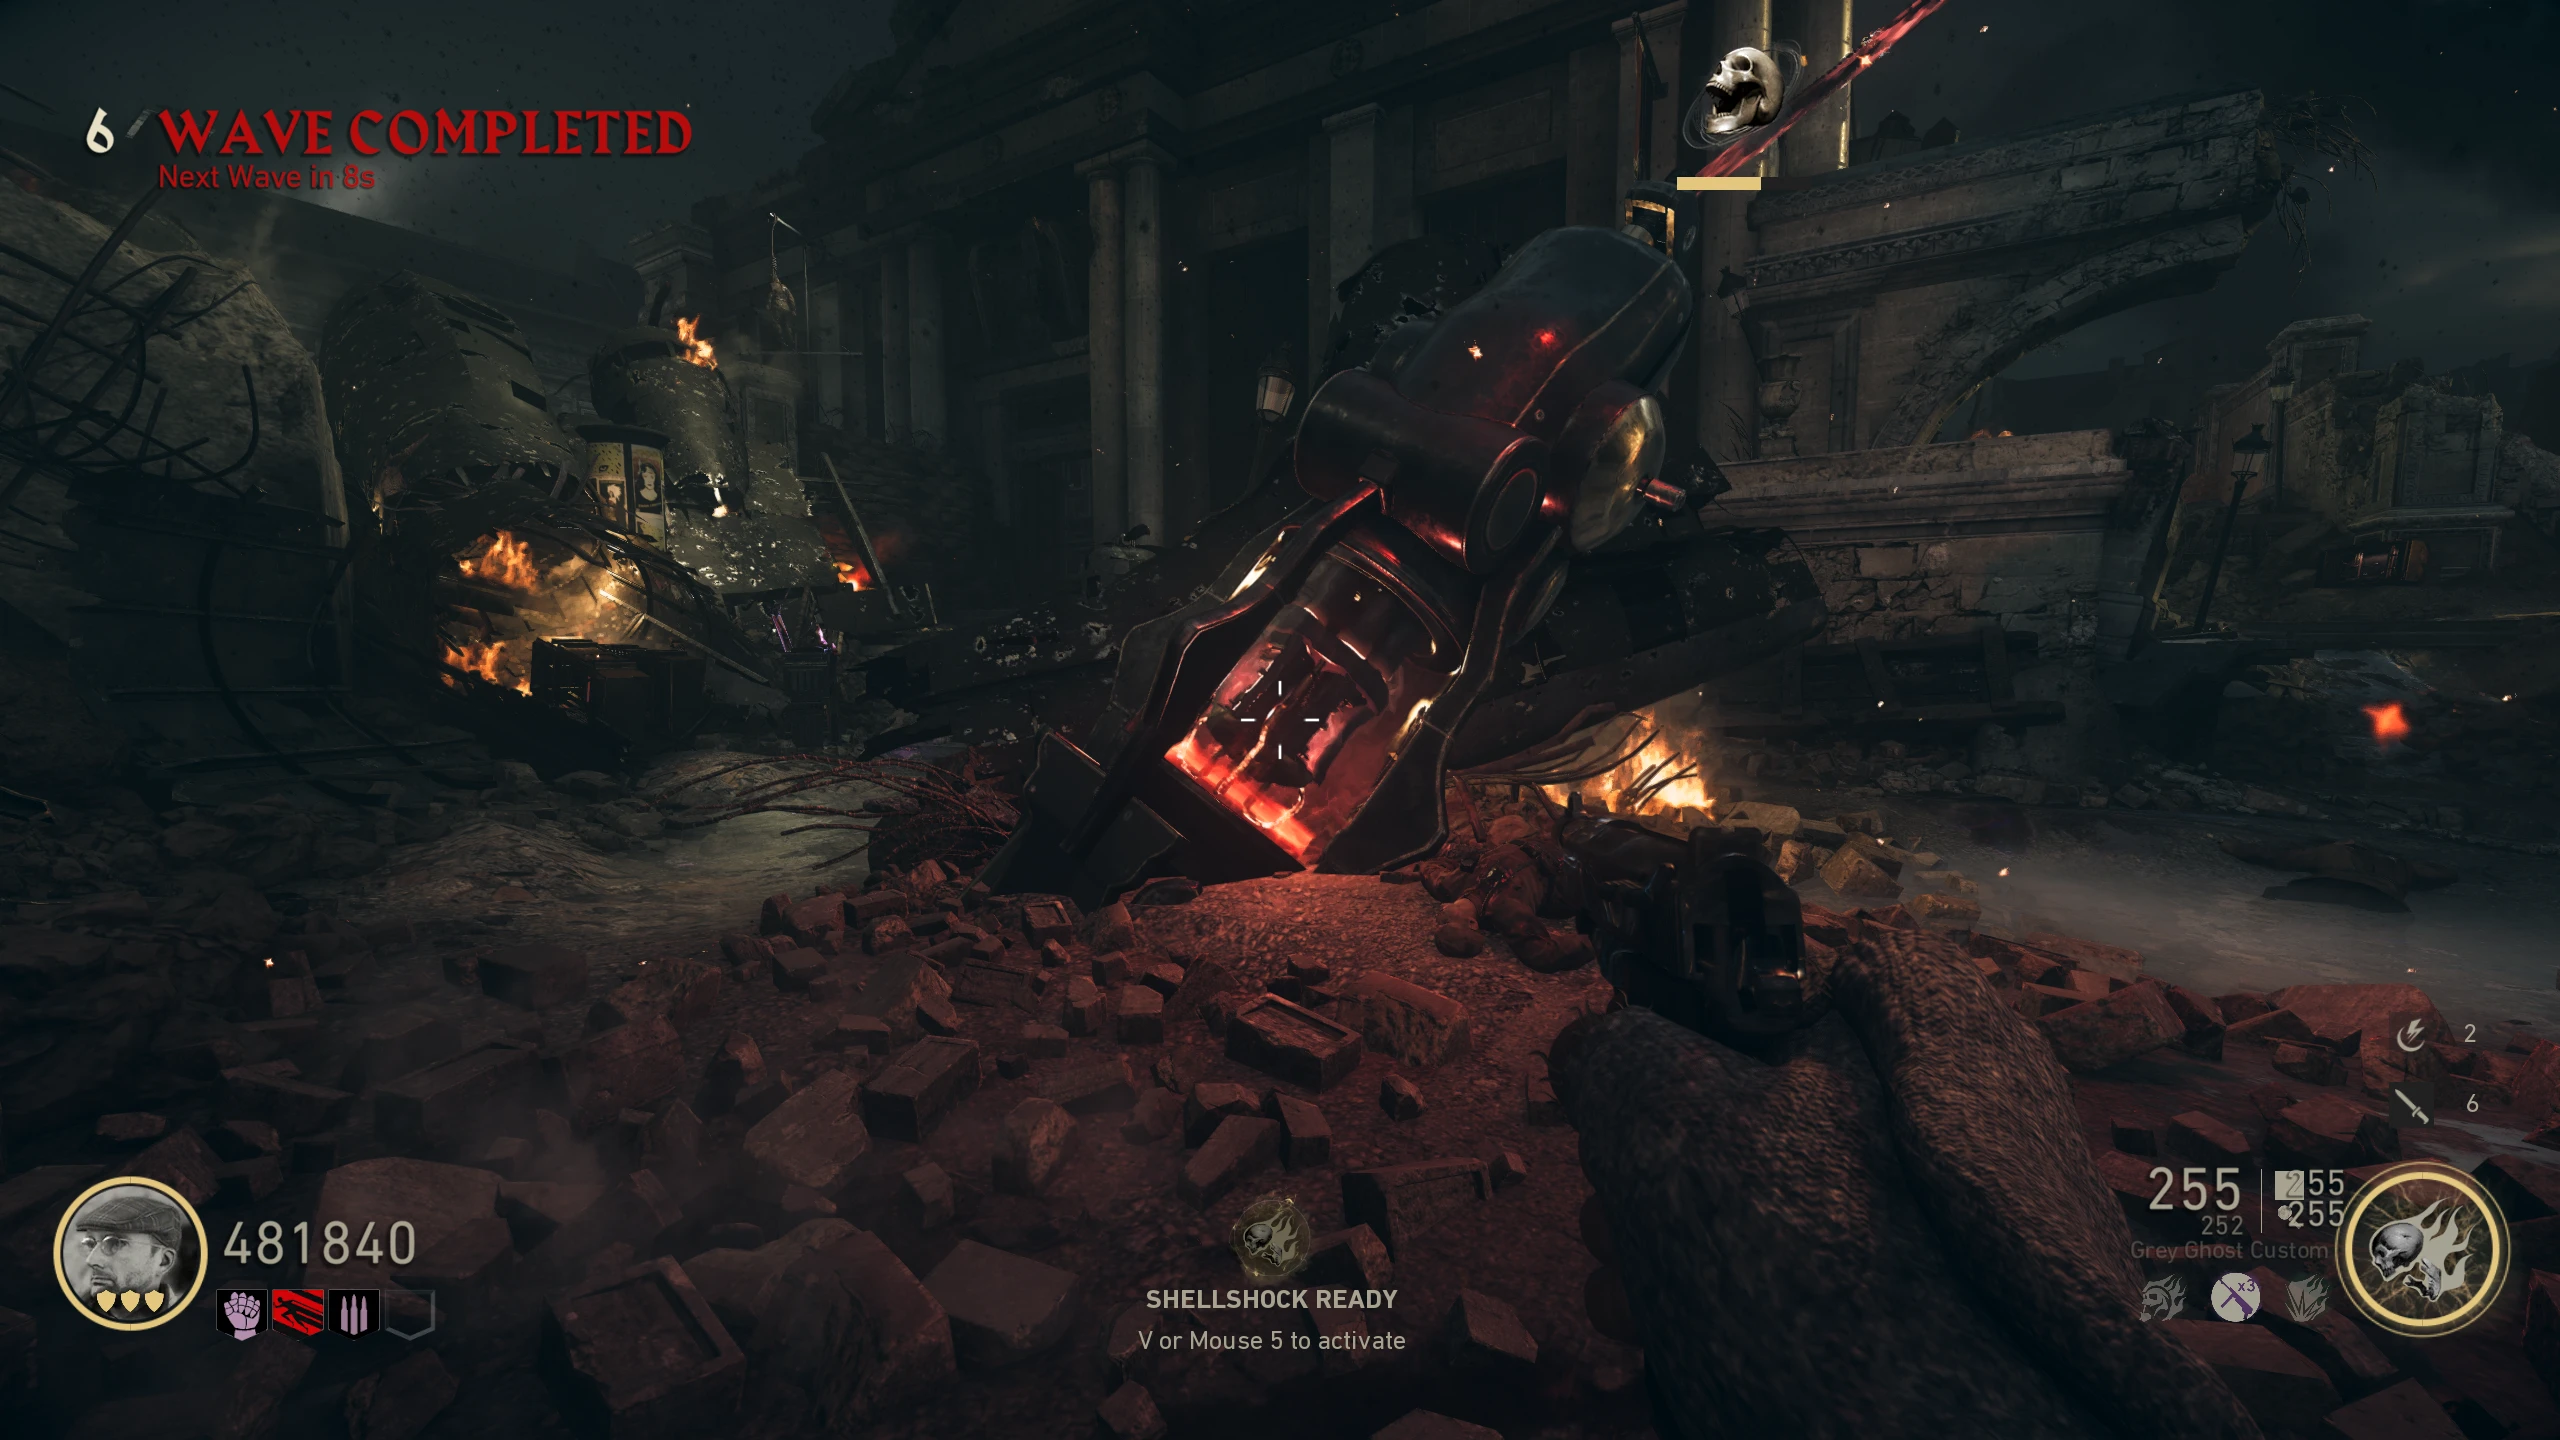
- Shoot each of the panels with 10 ammo from the Wunderbuss. Once both panels are charged, the elevator in the 'Destroyed Building' will fall, revealing the Pack-a-Punch.
Wunderbuss
The Wunderbuss is a Wonder Weapon that fires a "beam" of electricity. Refill ammo by firing the energy siphon (ADS button) at a Zombie and letting it drain their energy.
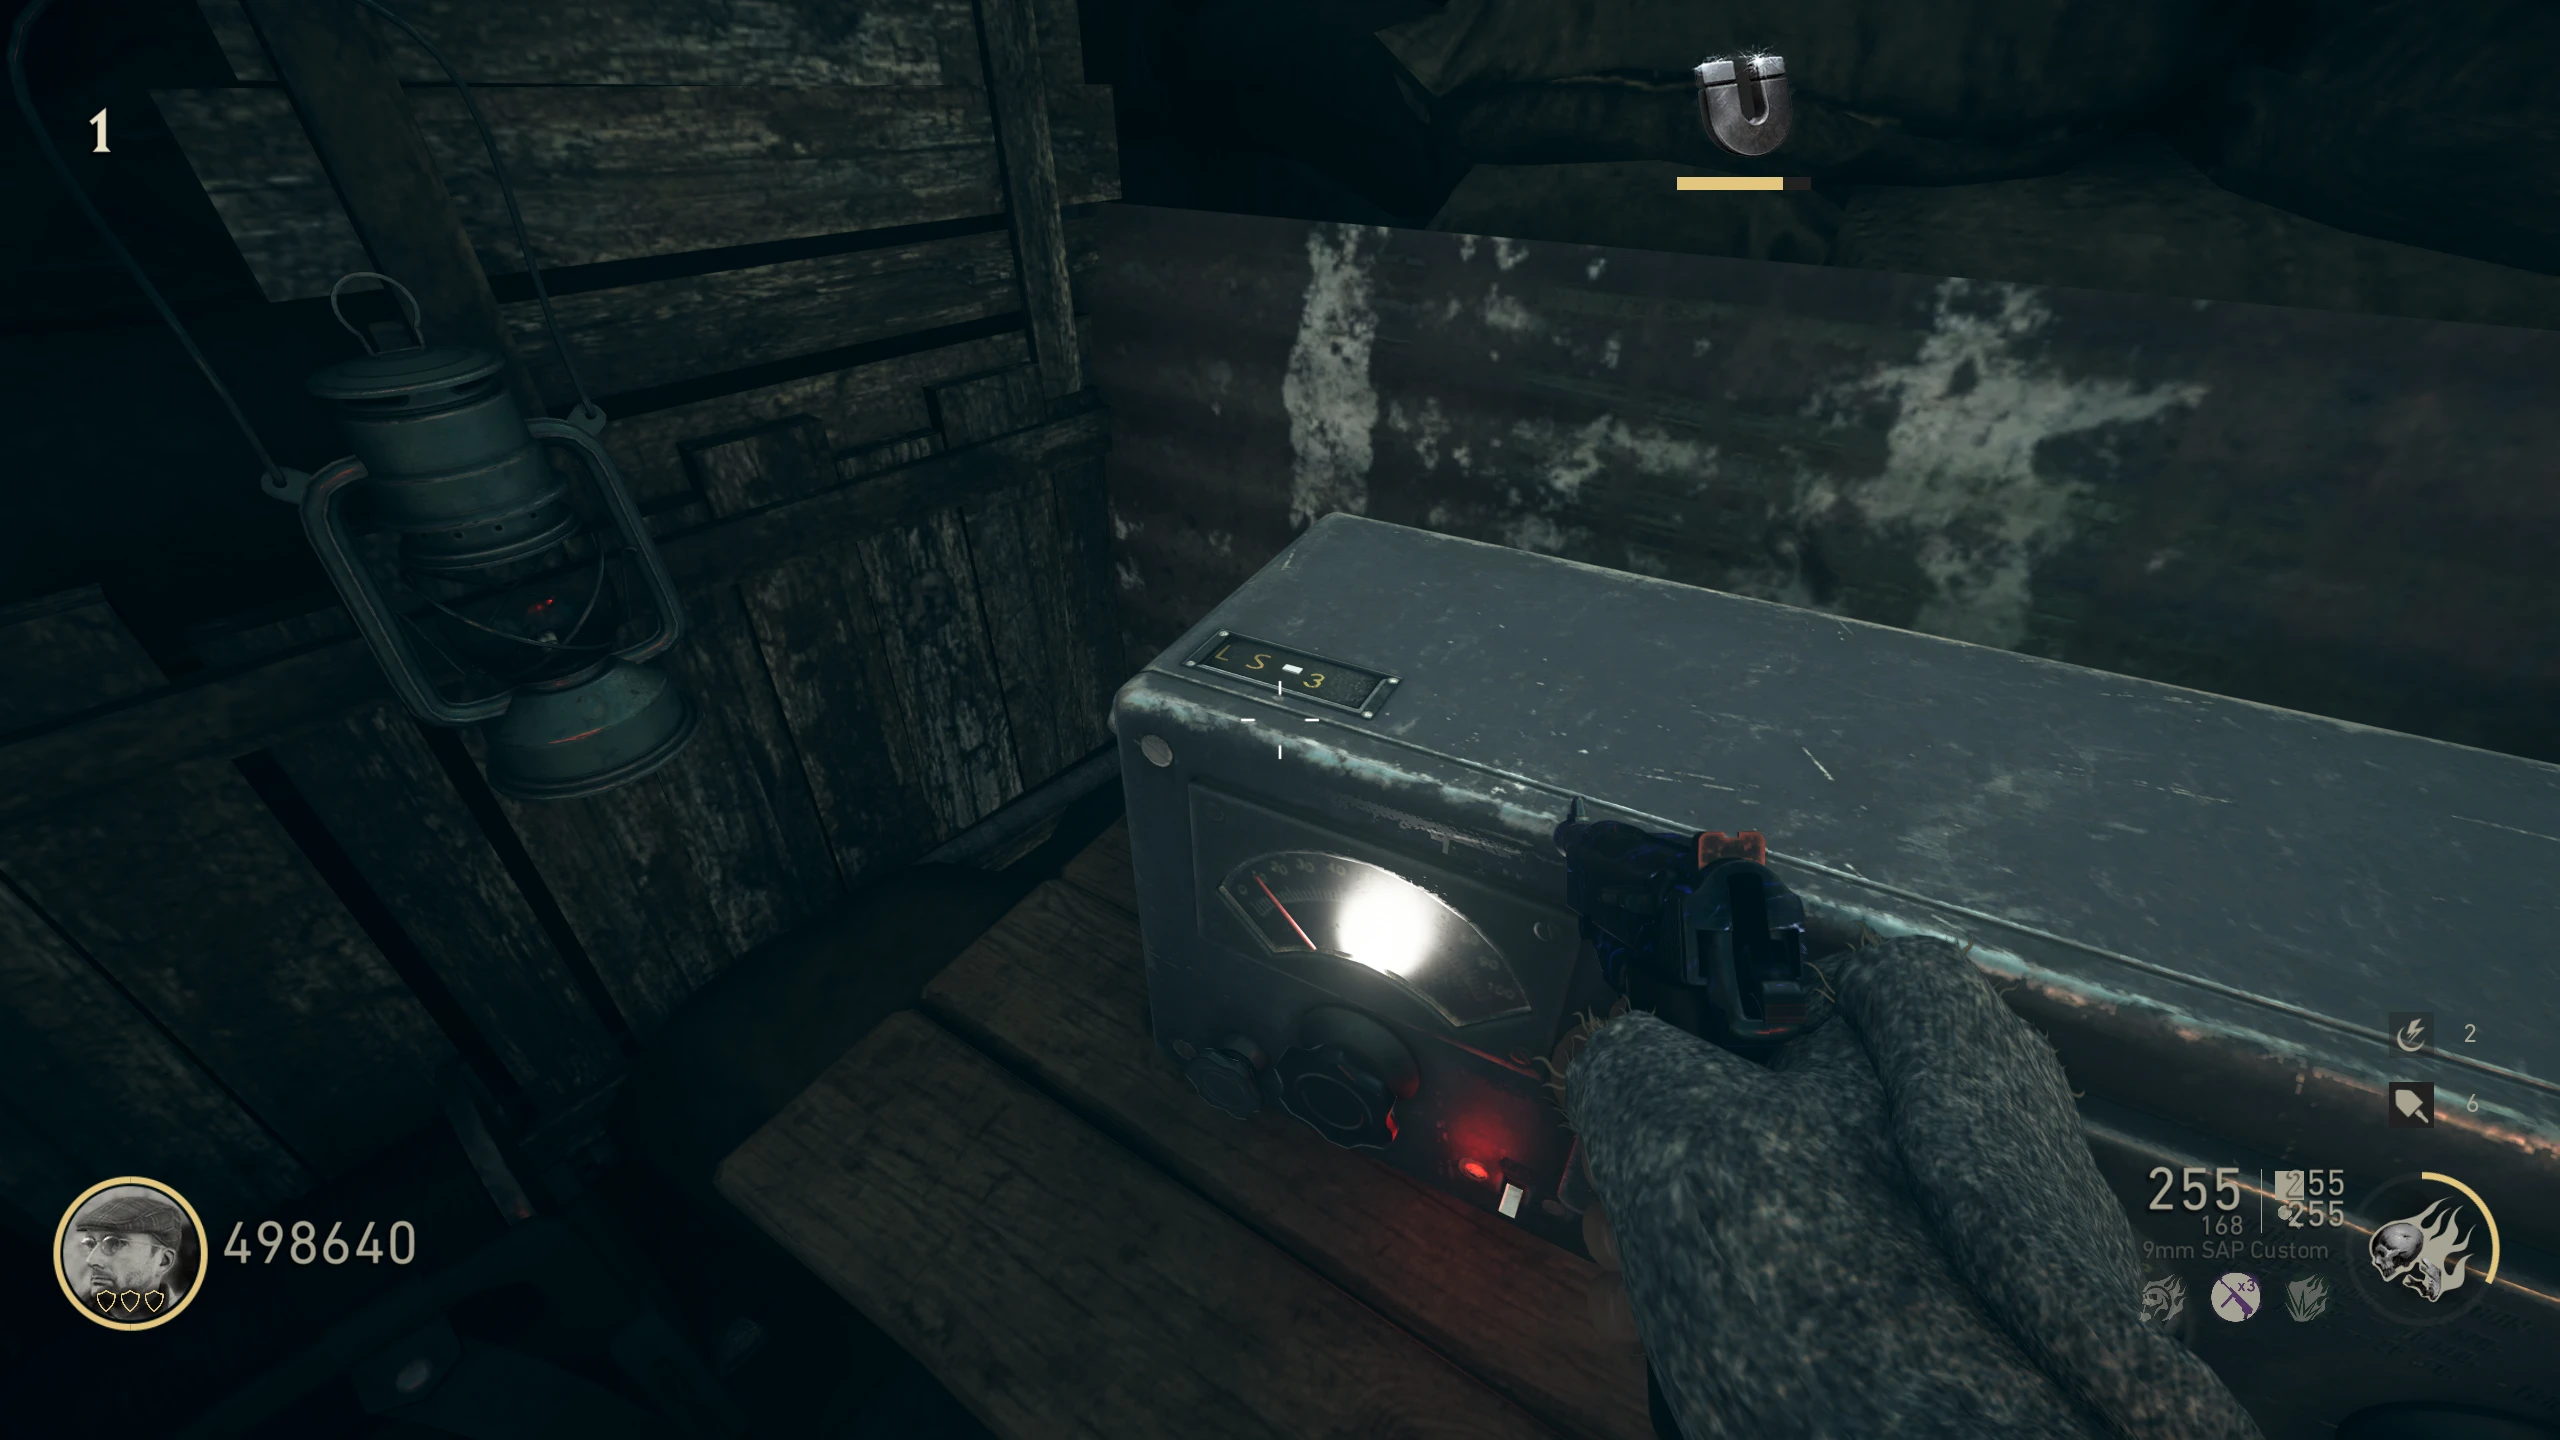
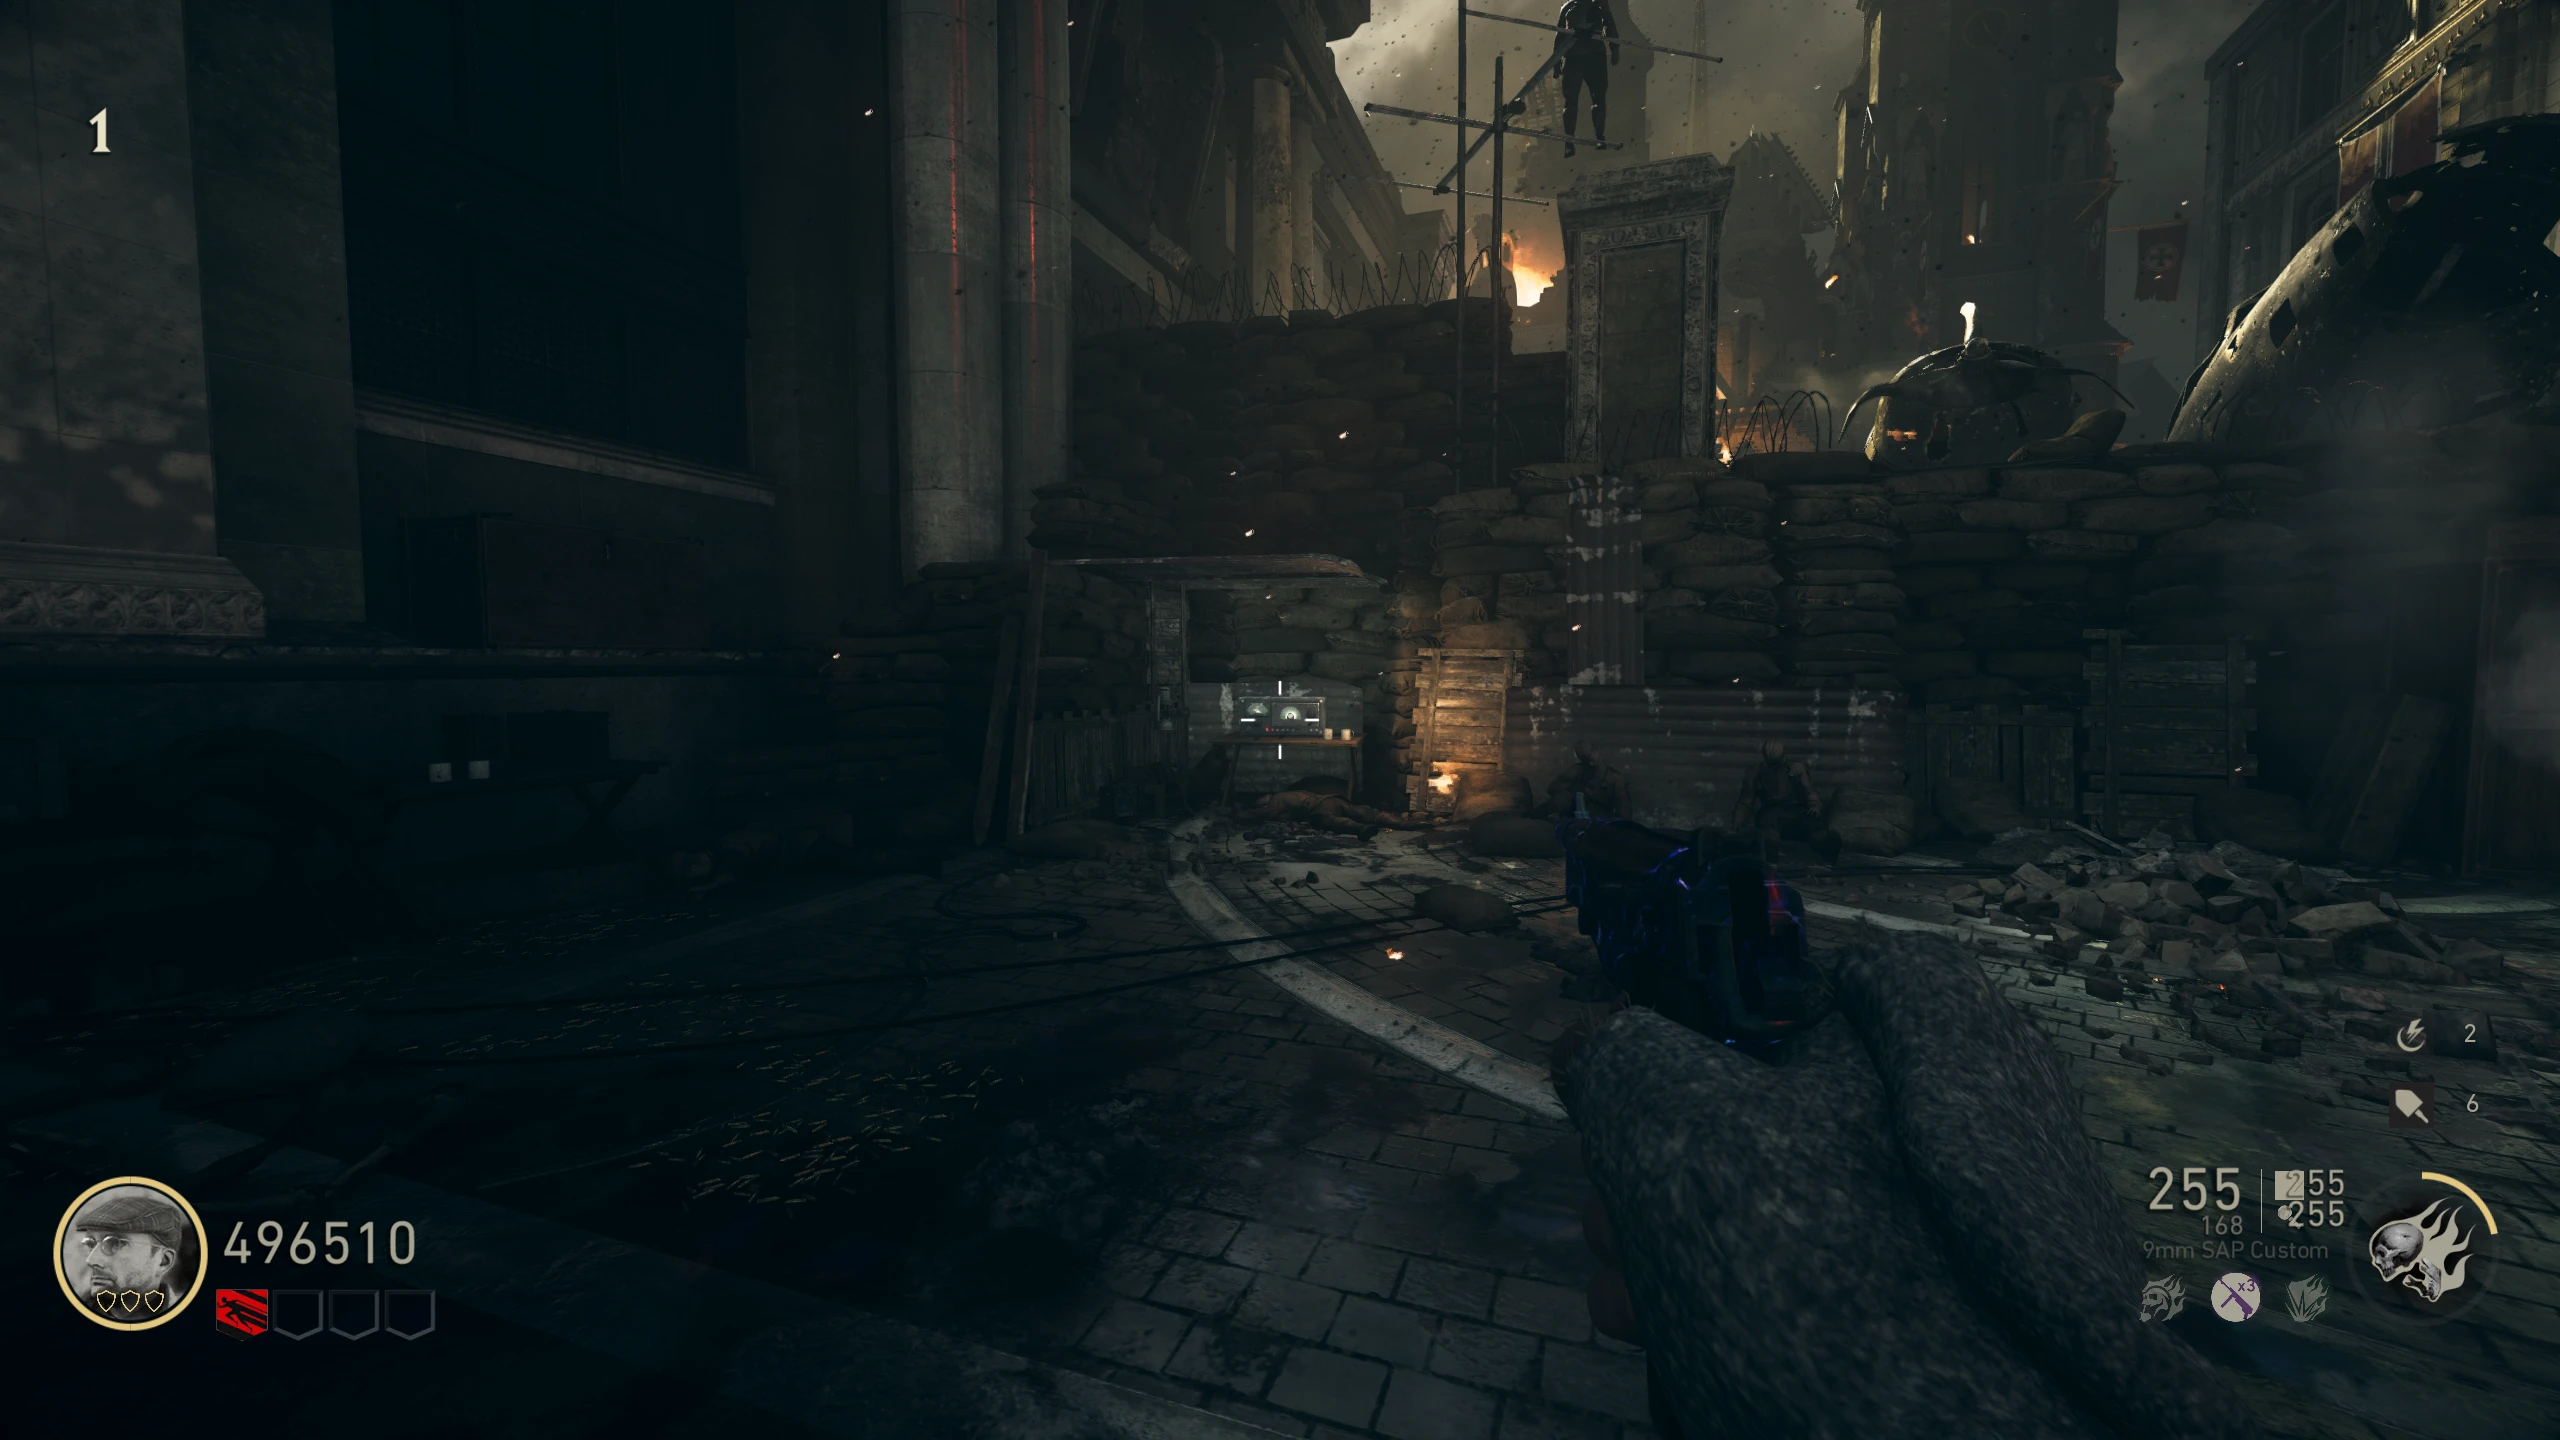
- Go to 'Main Street,' and look at the code on the top of the Radio. The code will be two letters, a dash, then a number.
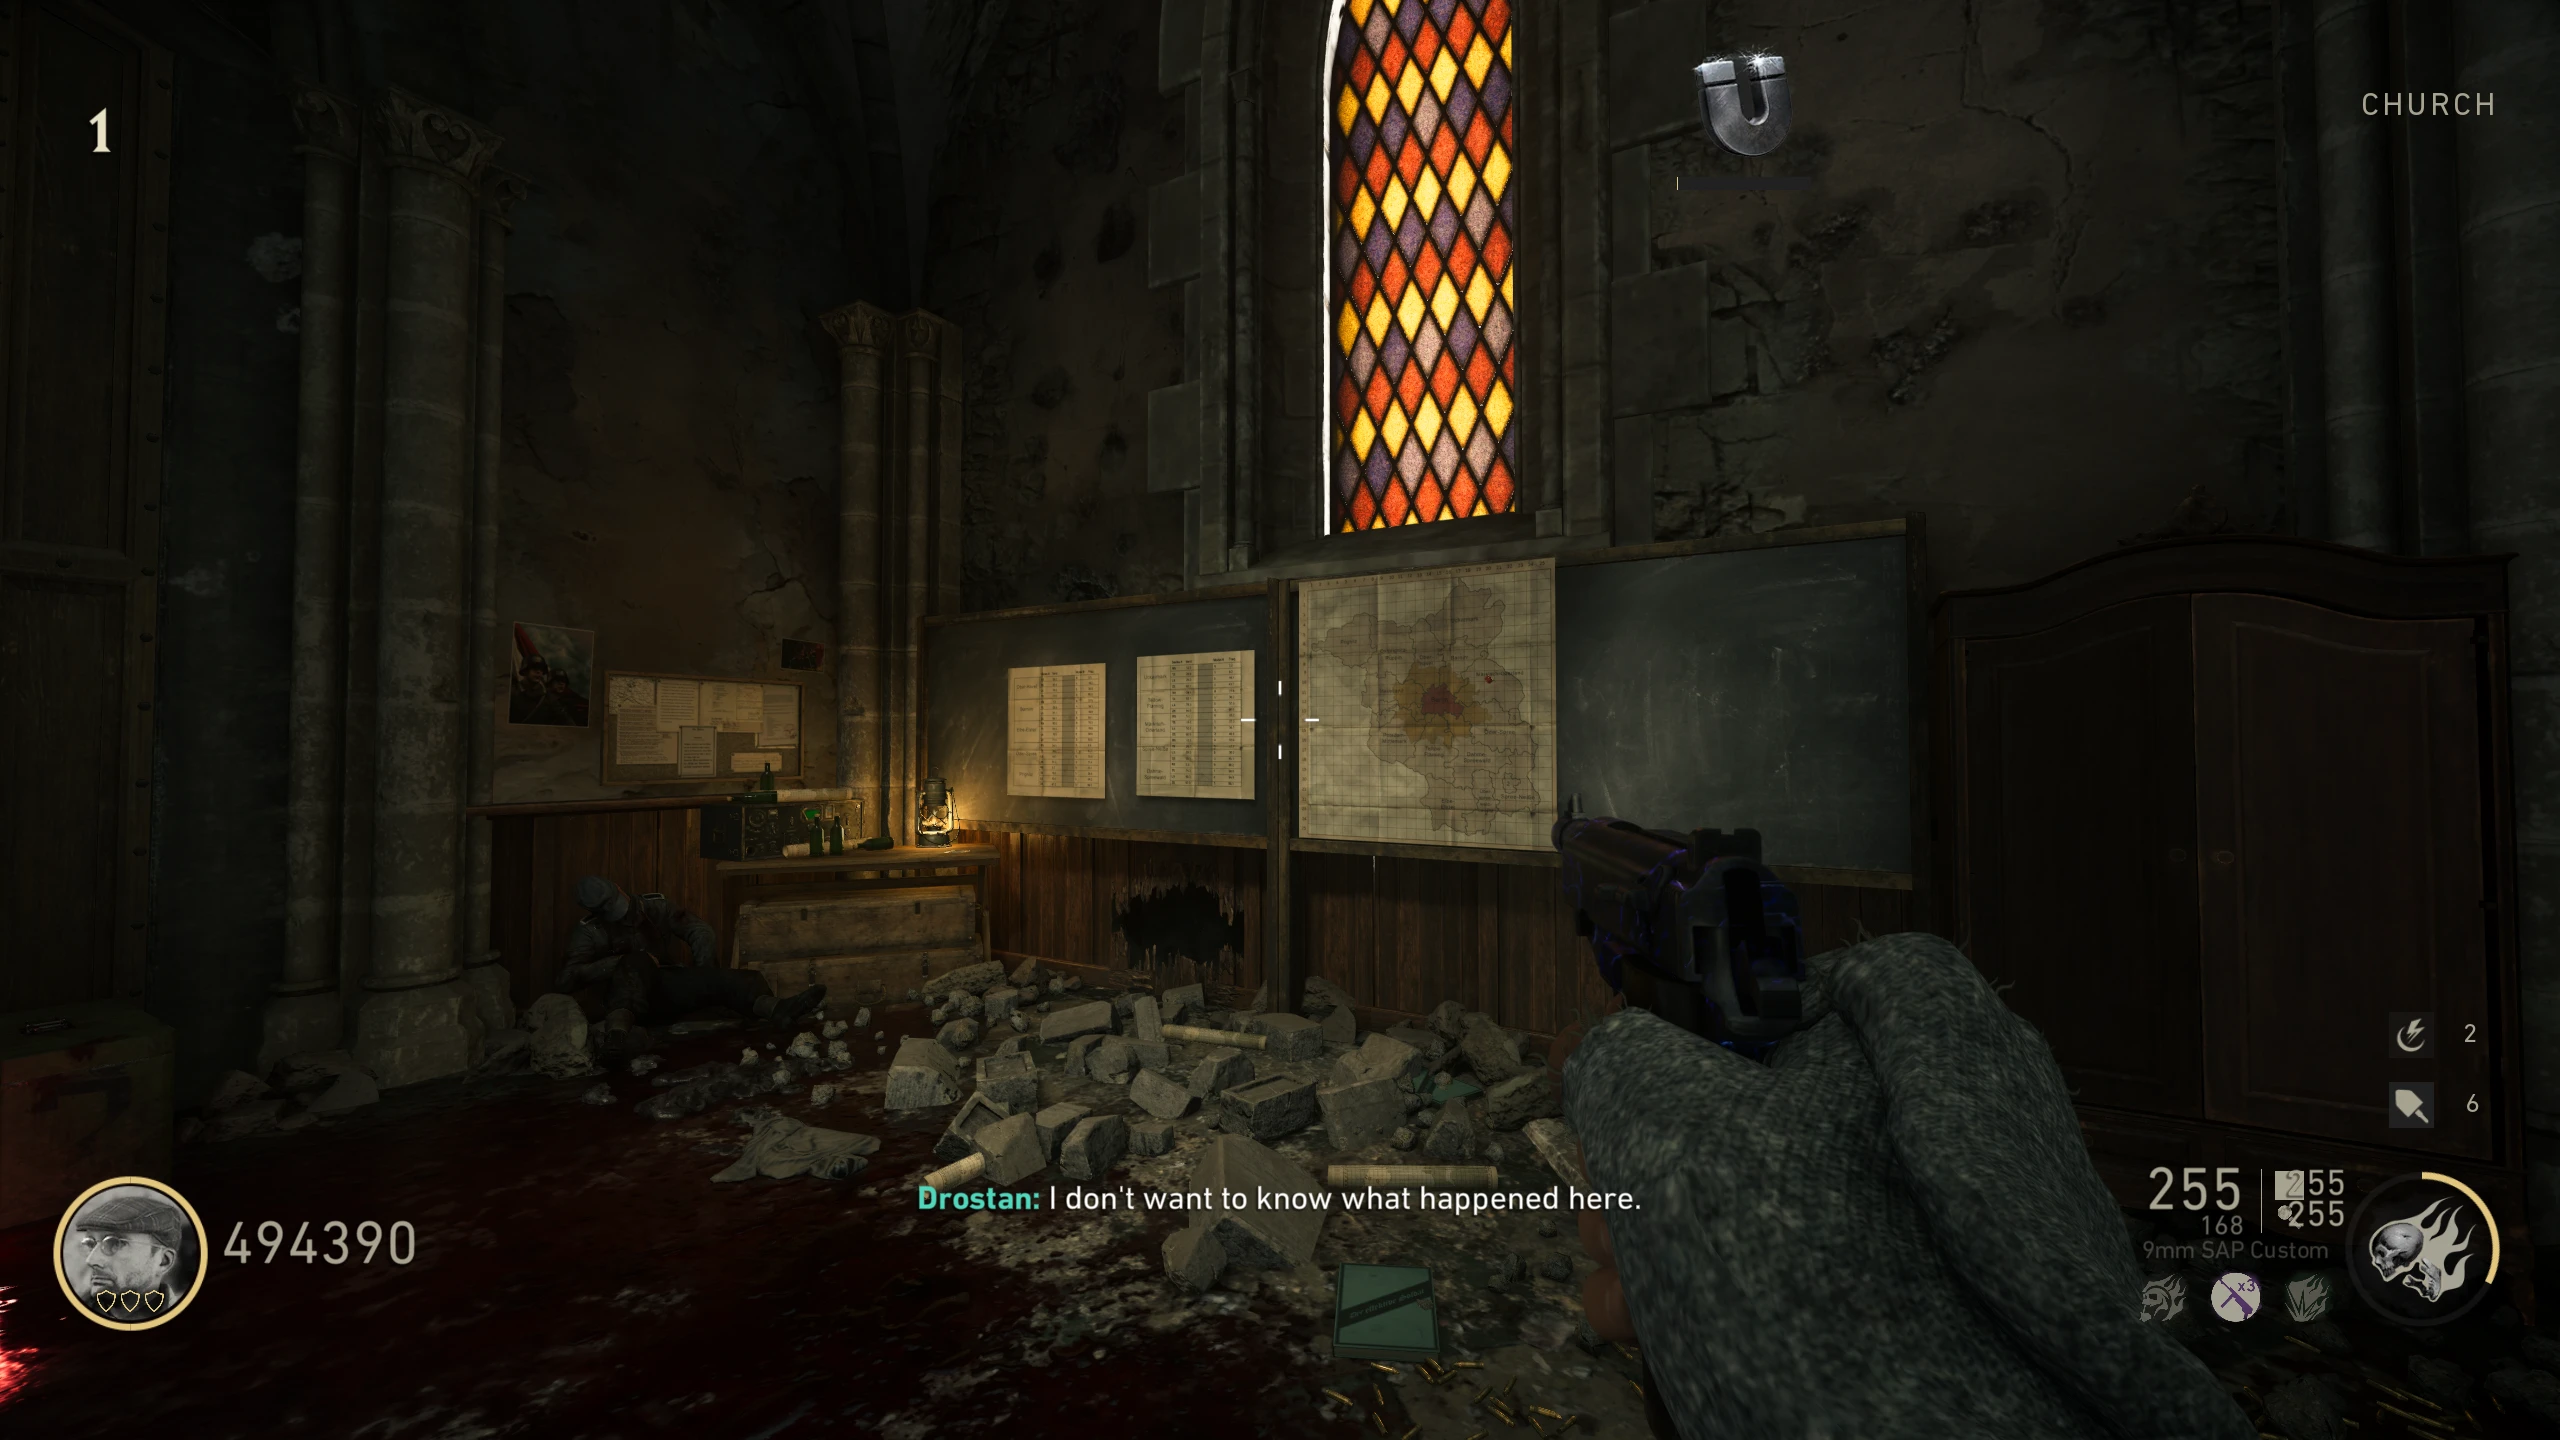
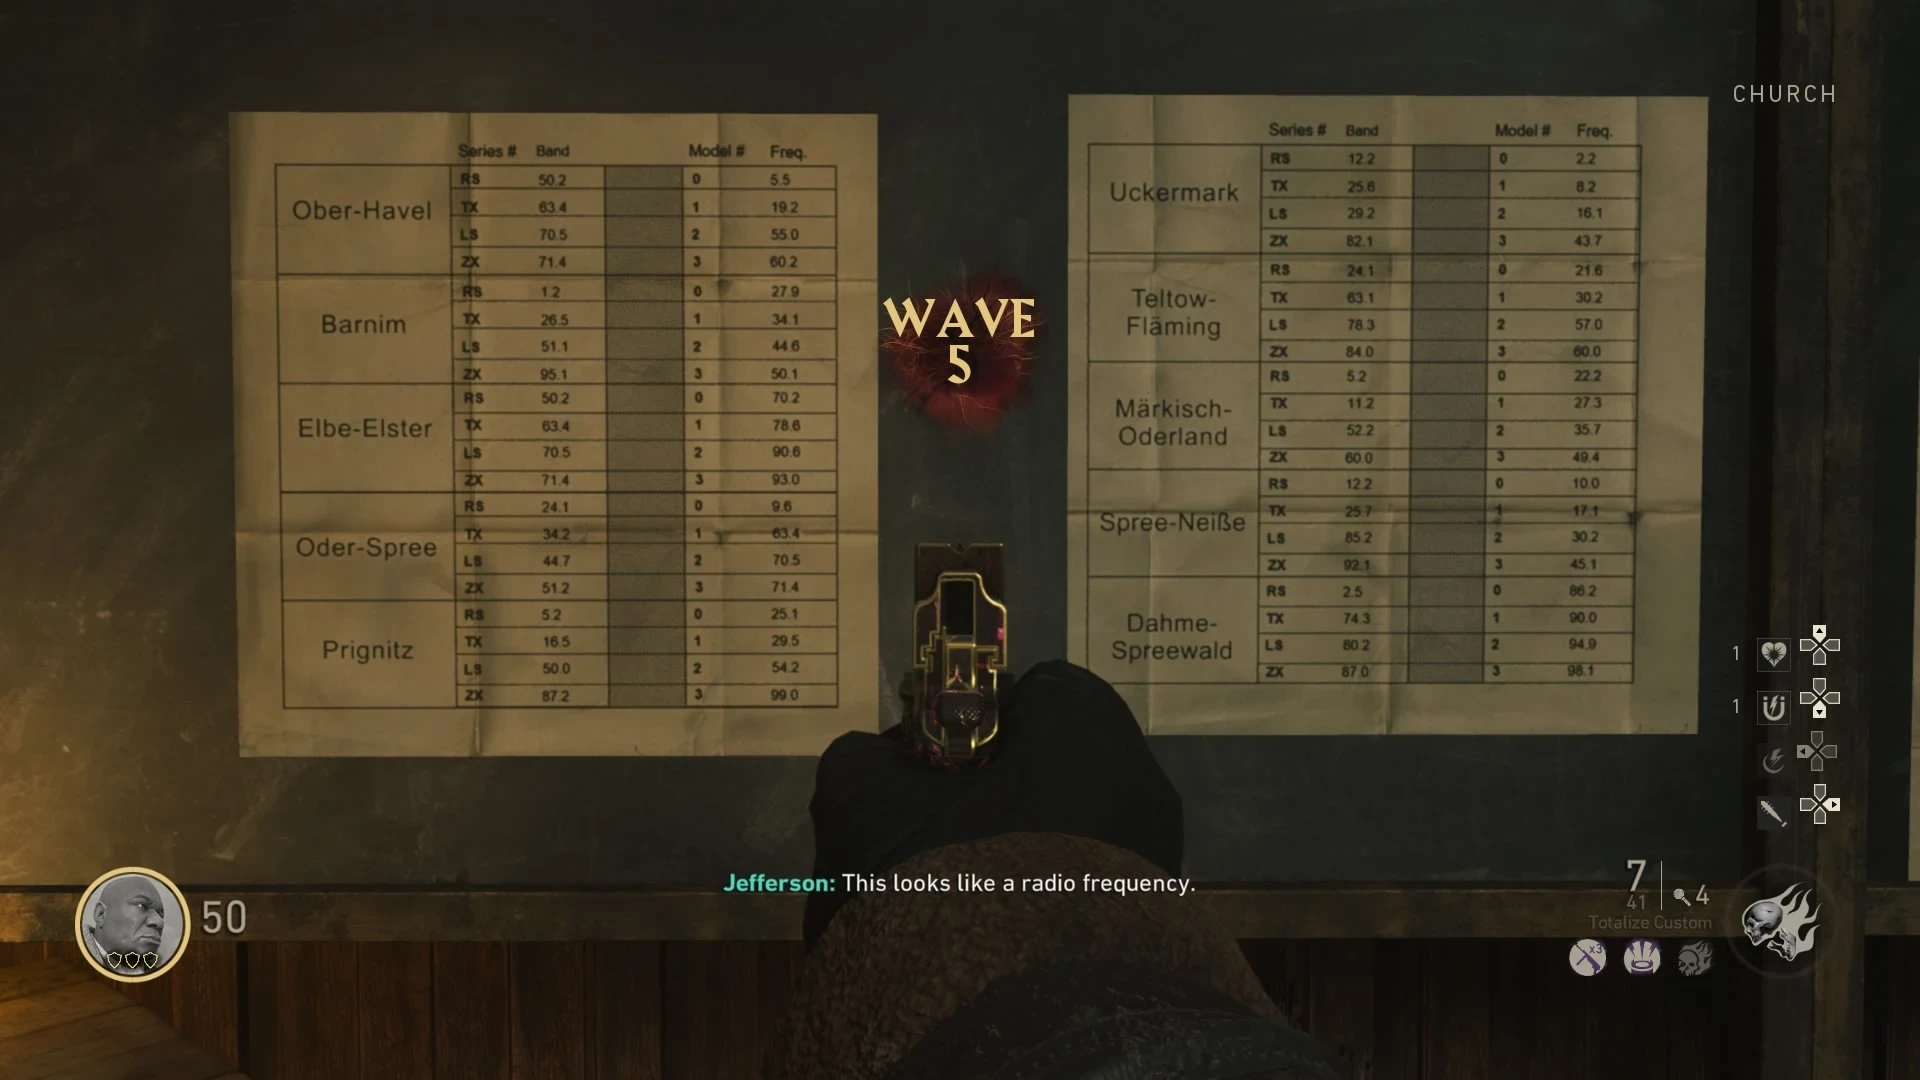
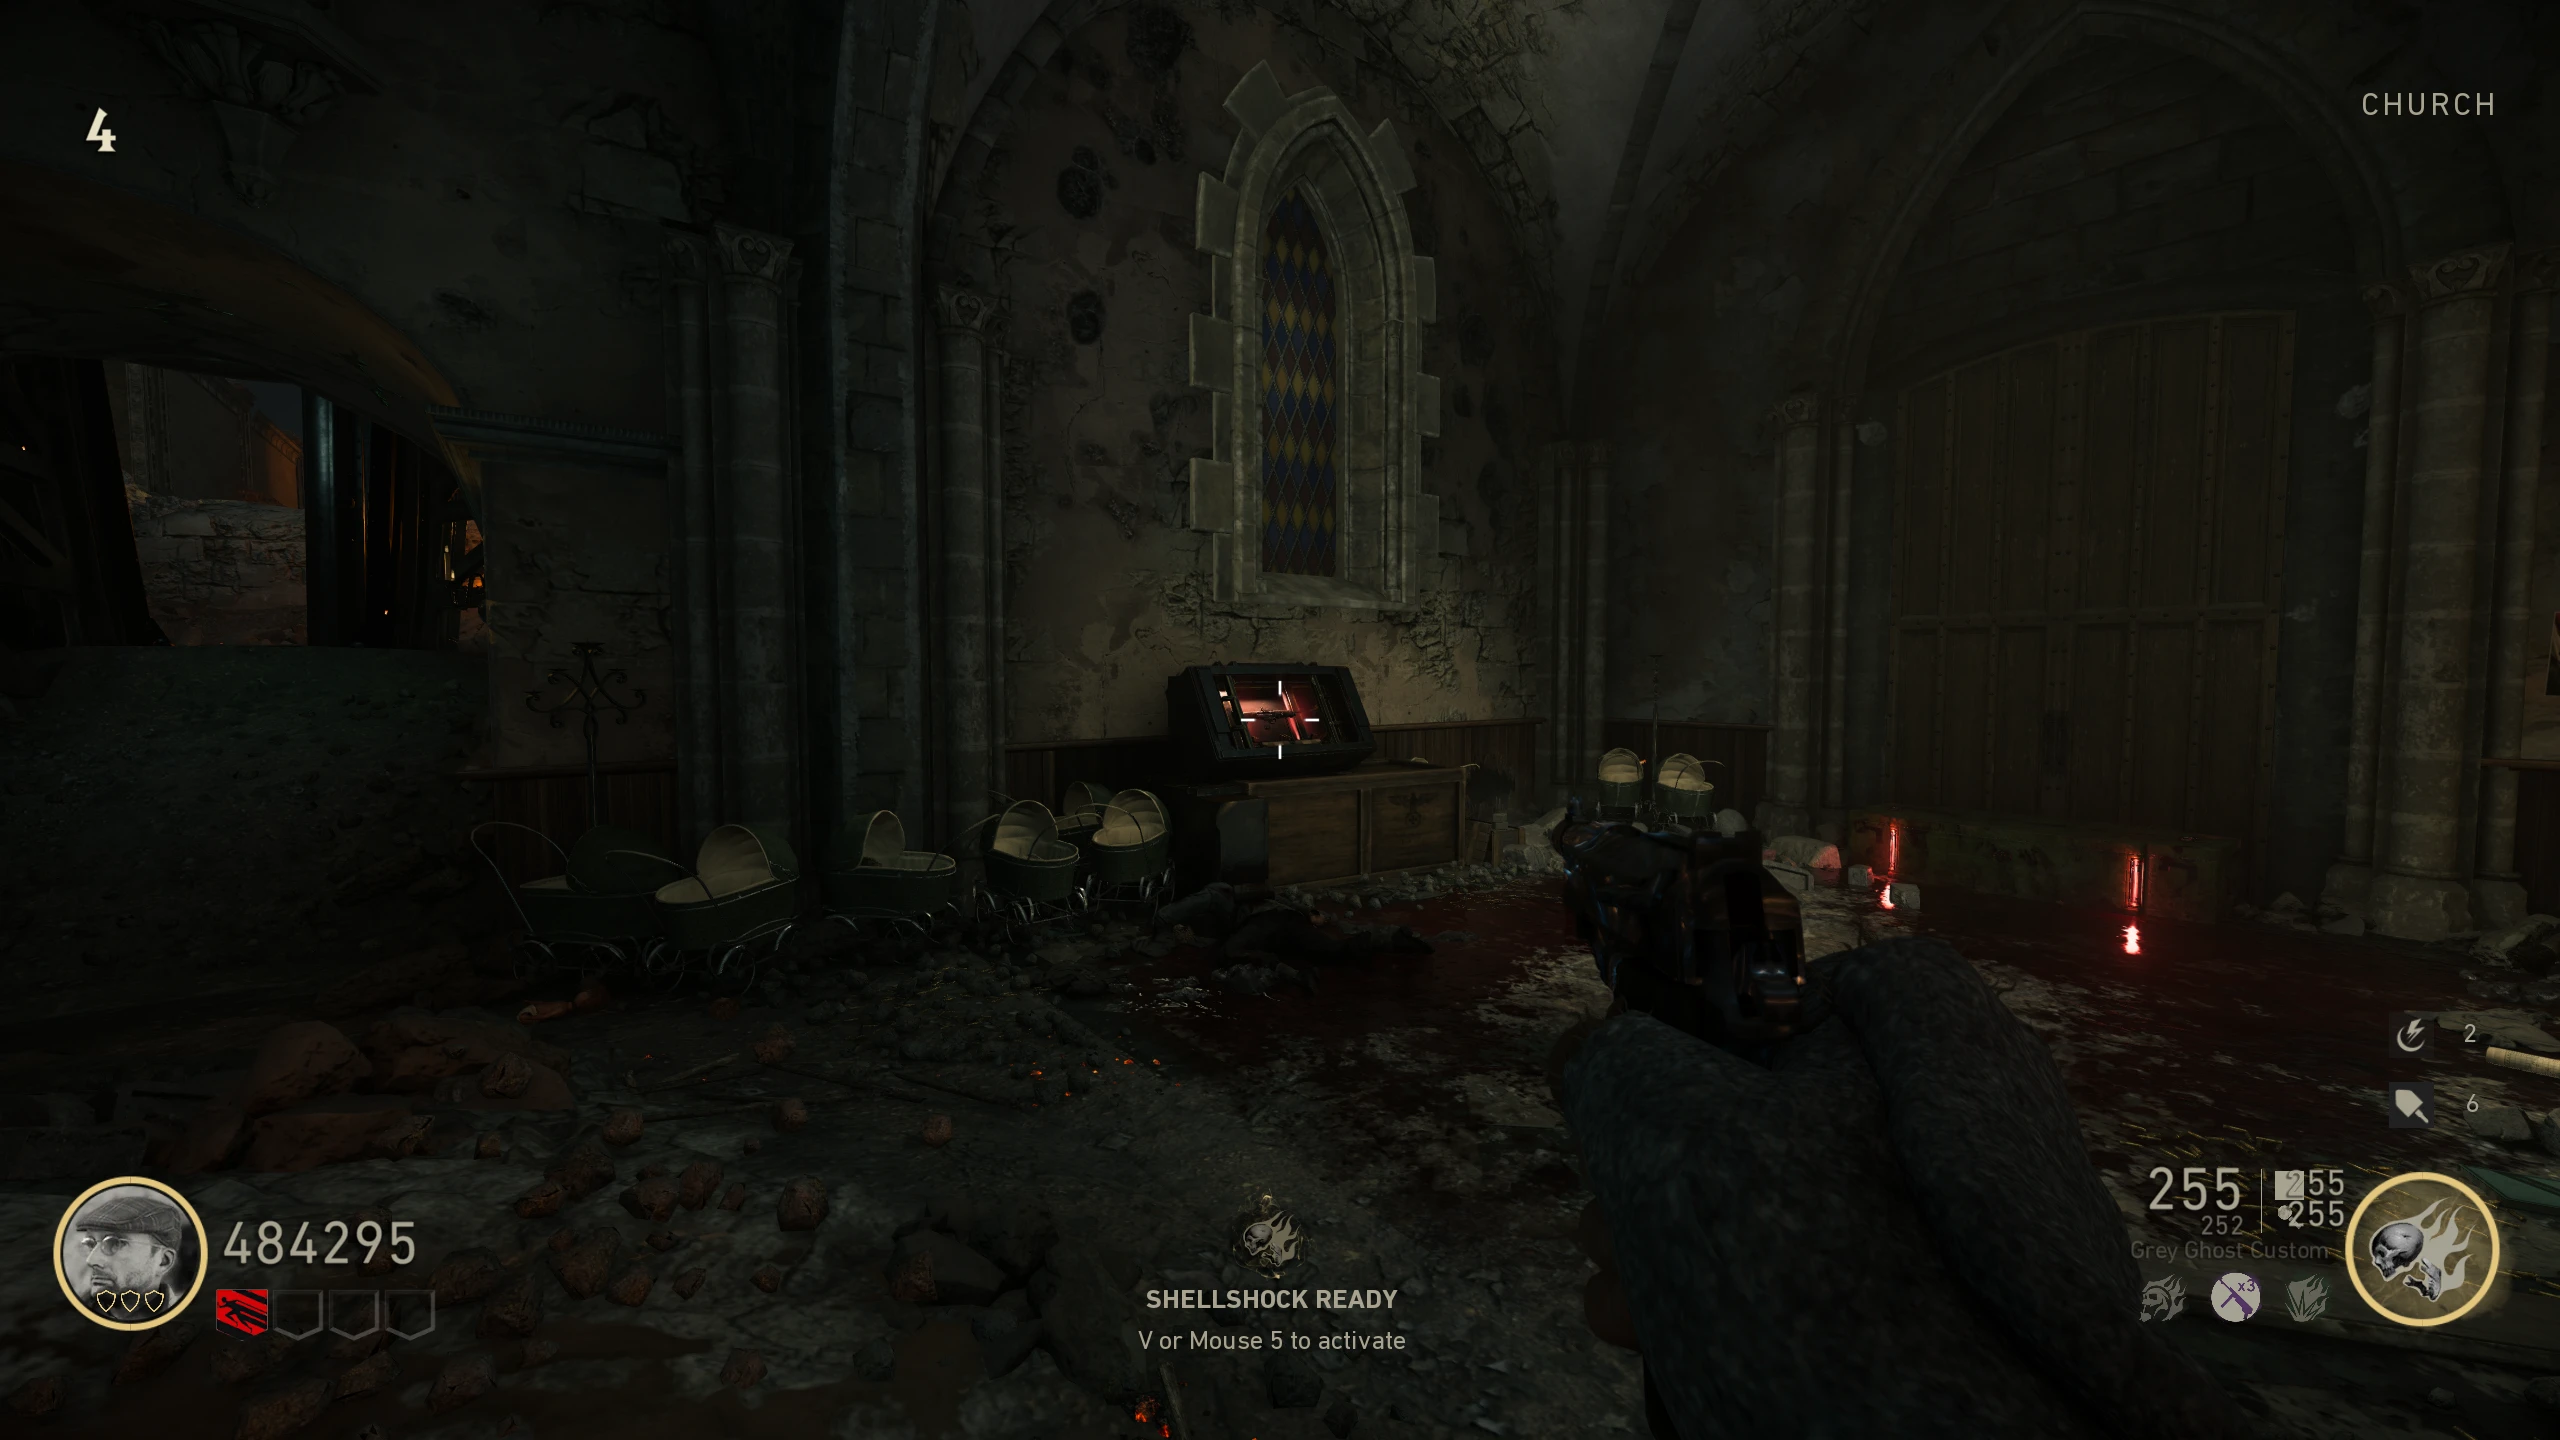
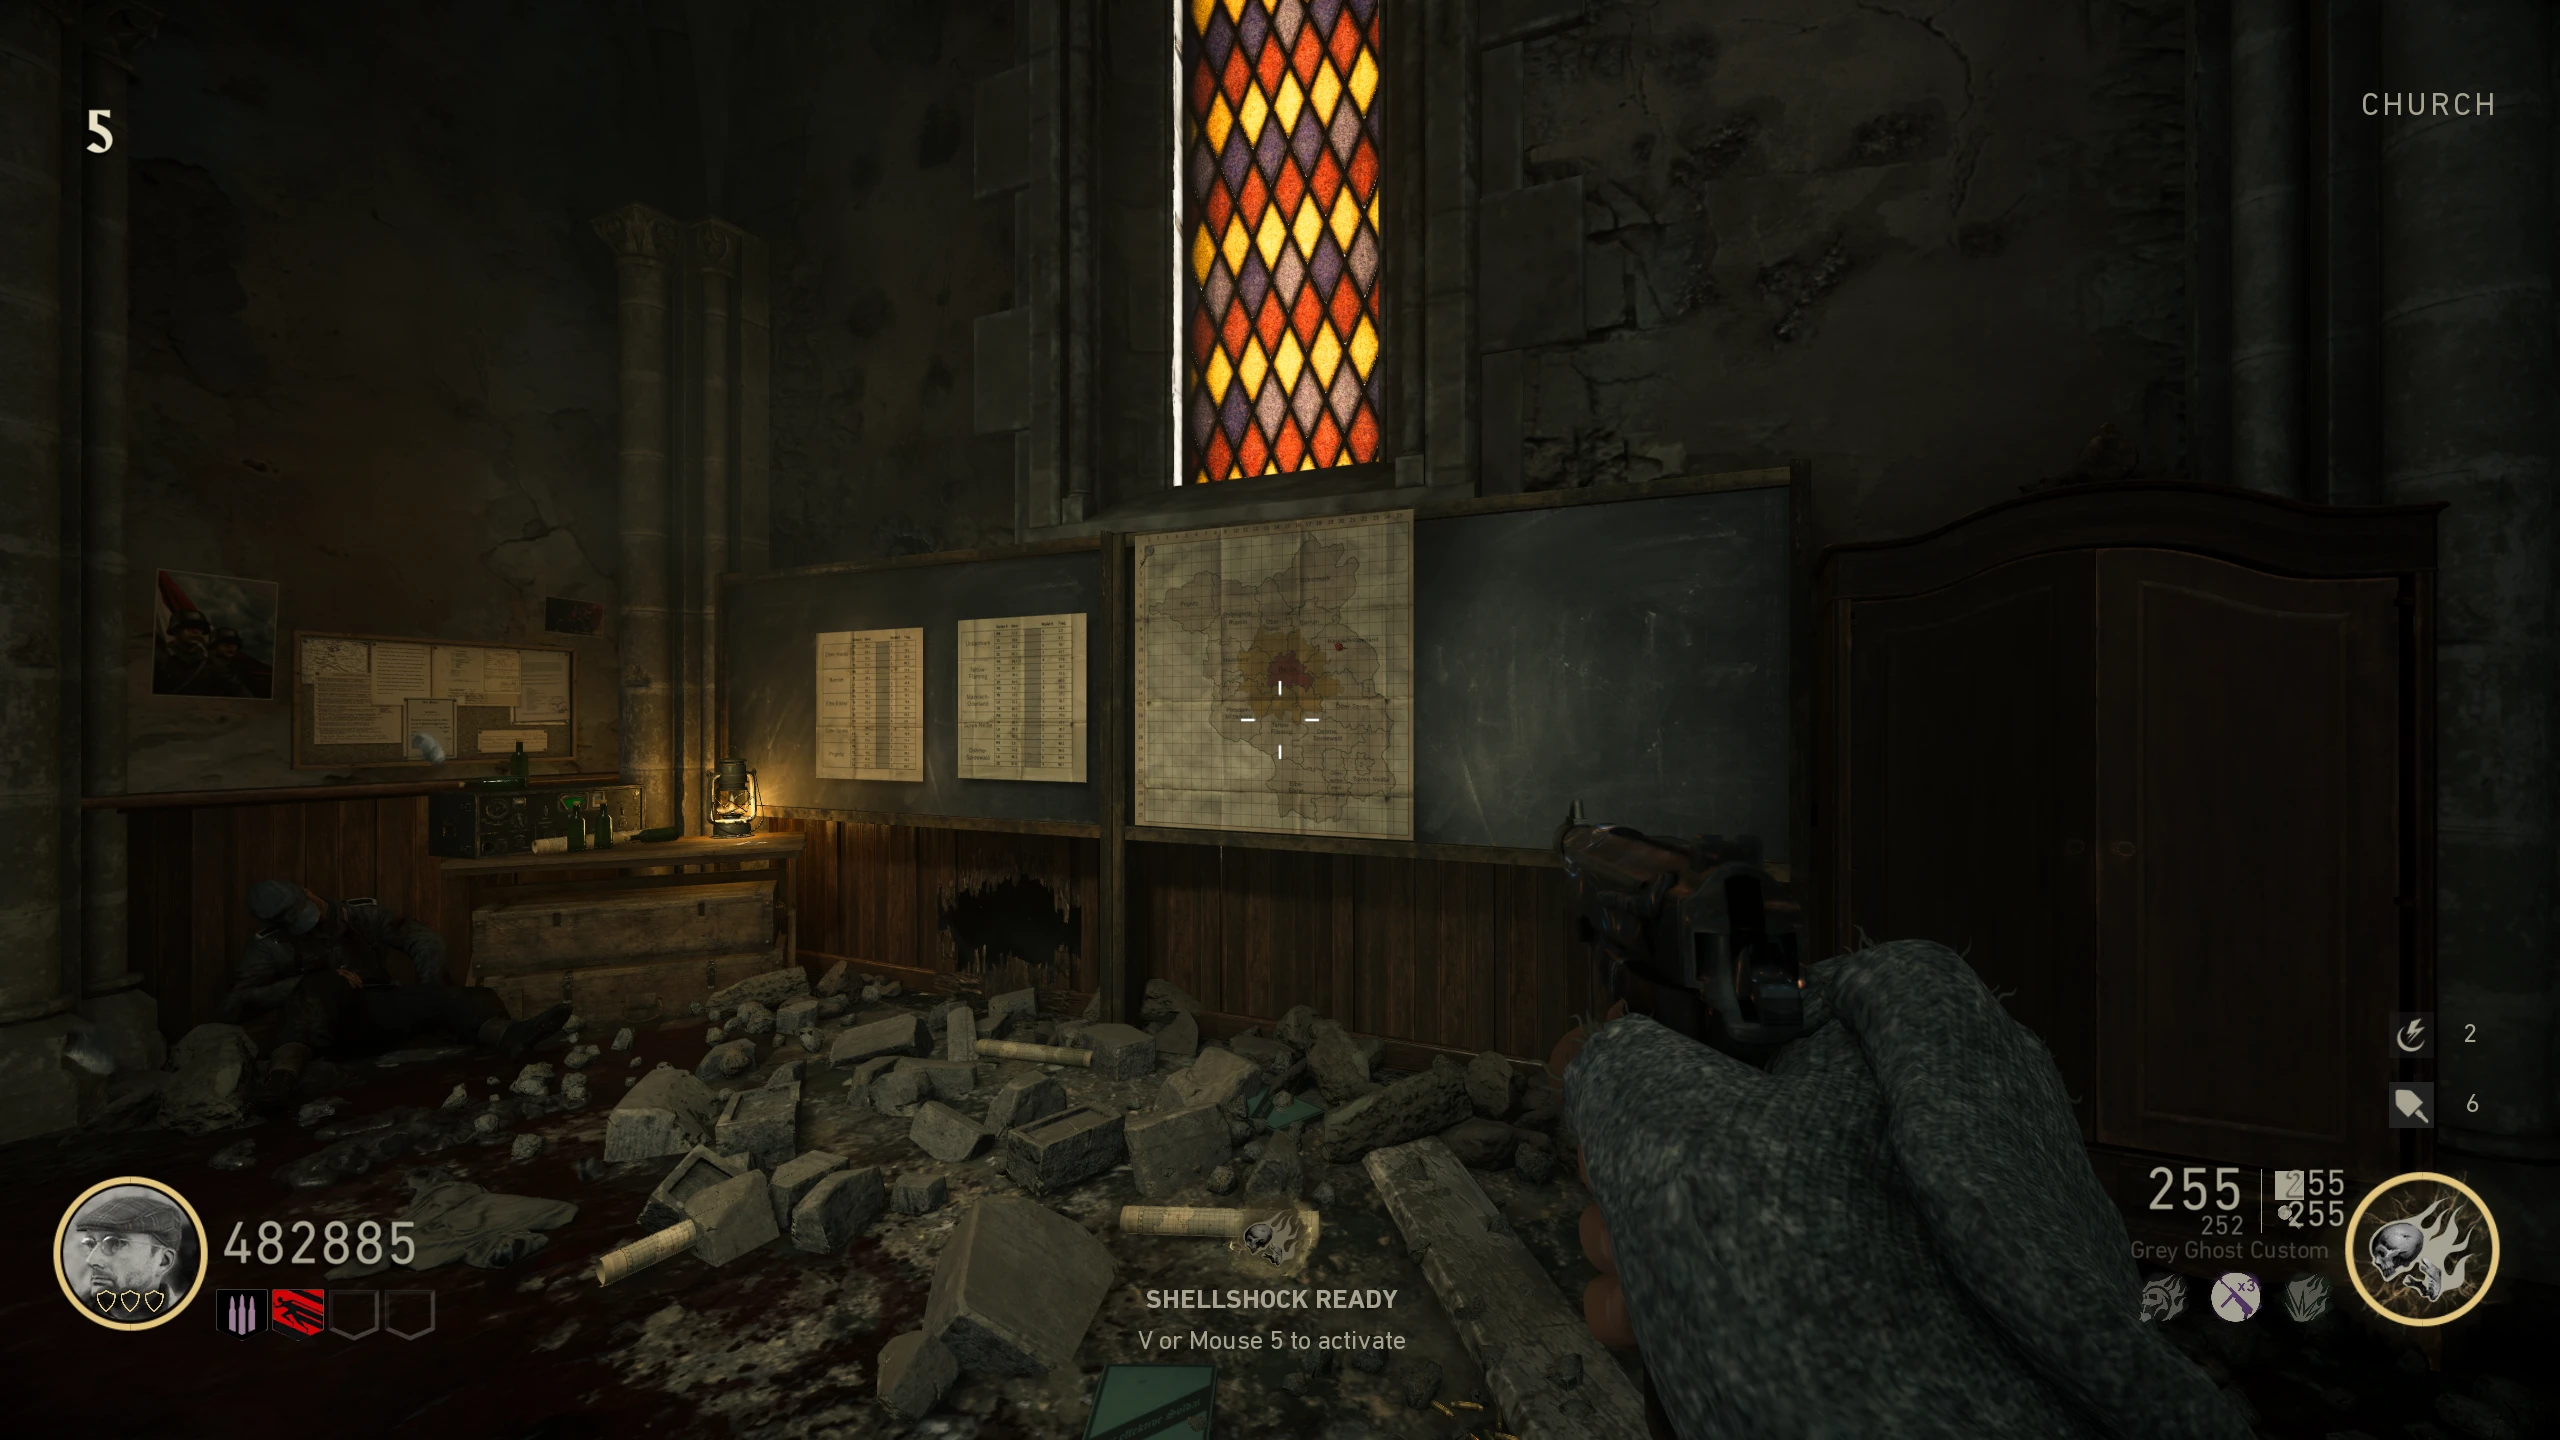
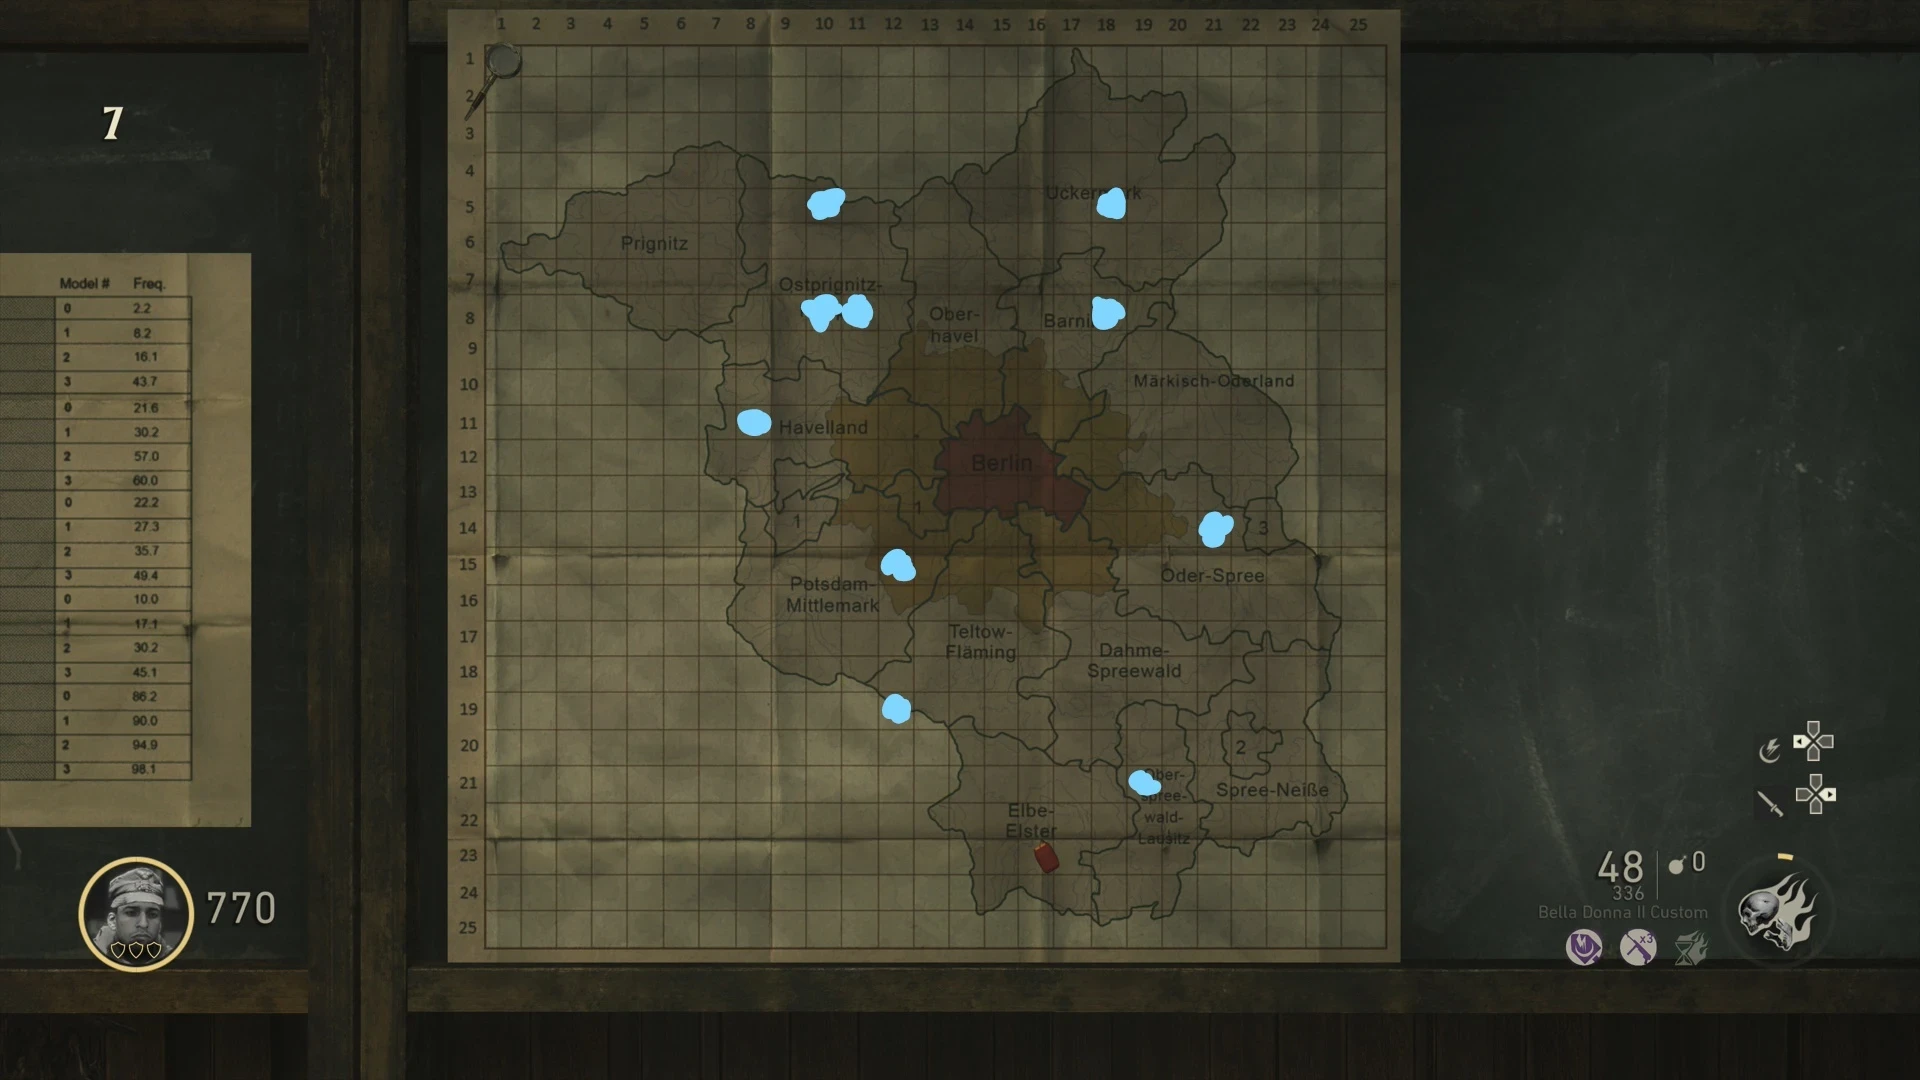
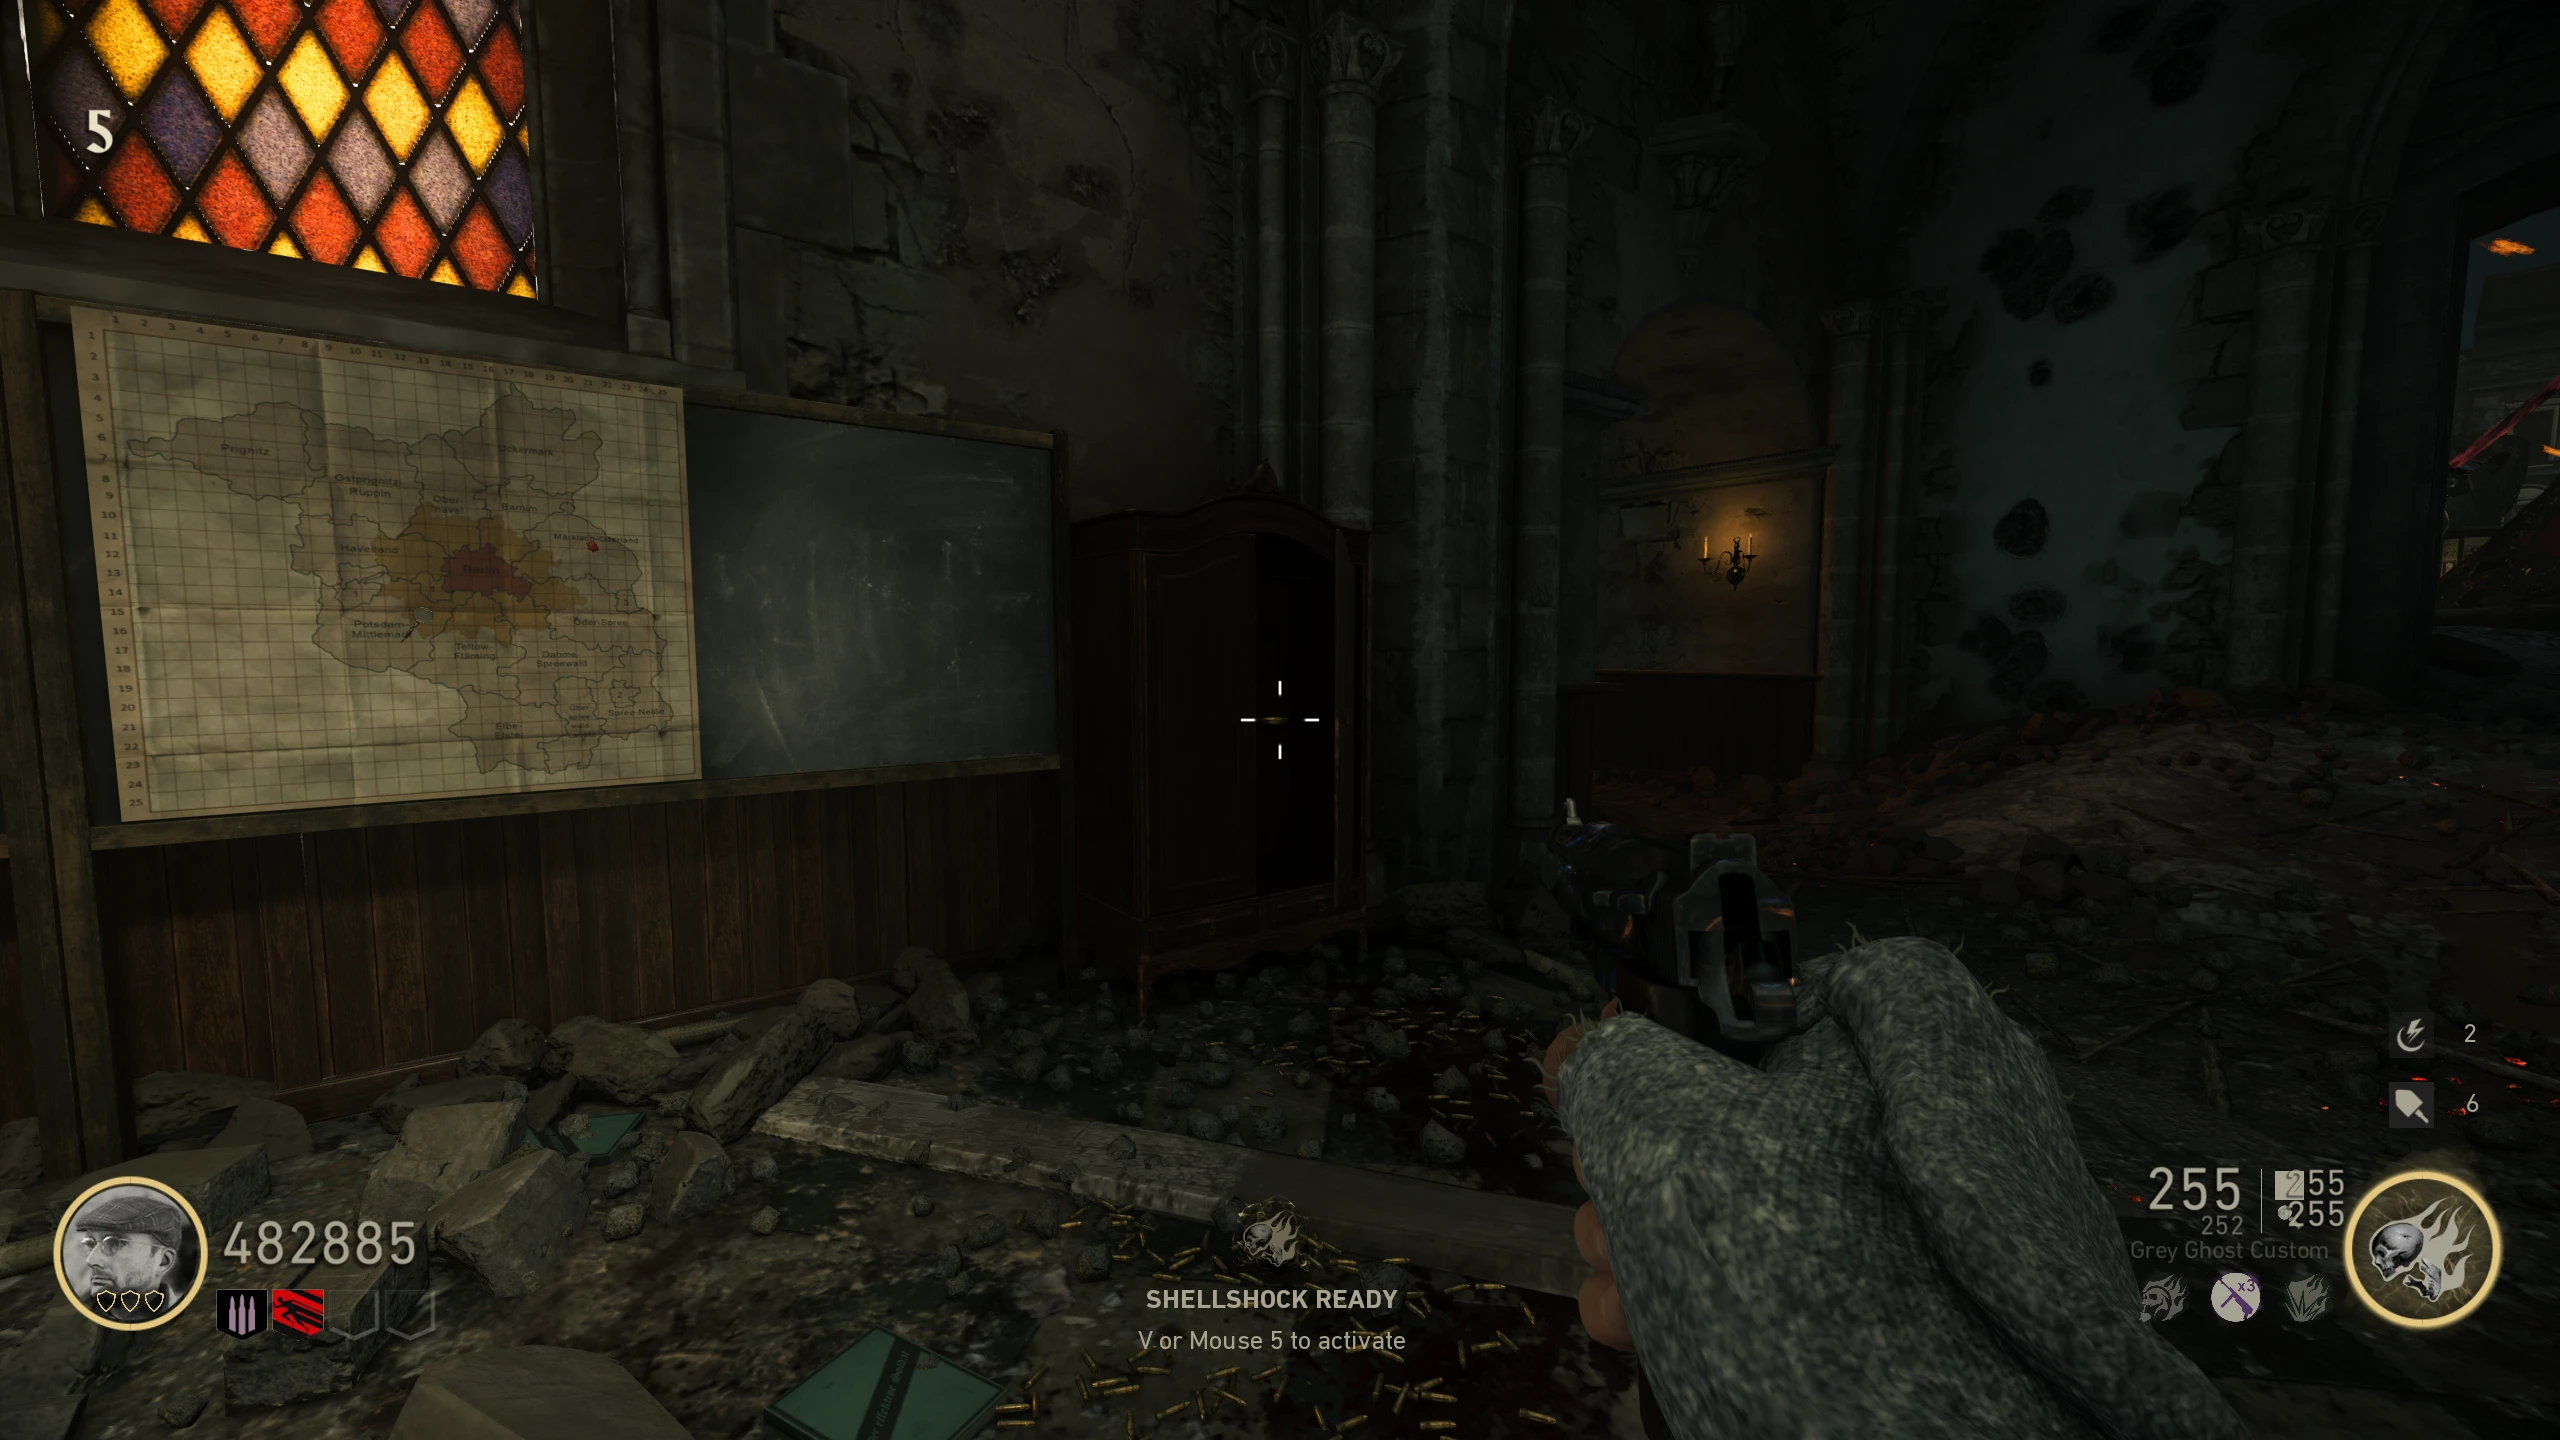
- In the 'Church,' there are two pieces of paper on the wall right of the Mystery Box. These are a list of radio frequencies and a map. Look at the map and find the location the pin is on. Then, using this location and the code from the Radio, find the band and frequency in the list of frequencies.
- The list of frequencies doesn't change, so you can use this image for quick reference or to guess.
- Example: Your Radio code is "TX-3". The map says "Barnim", so find Barnim in the list. In the Barnim section, find the number for "TX" (26.5), then the number for "3" (50.1).
- Once you have the two numbers, go back to the Radio on 'Main Street' and interact with it. Enter the numbers by spinning the thumbsticks on controller, or Strafe (A, D) and Fire/ADS (Mouse 1, 2) on PC to move the needle. Enter the first number into the left dial and the second into the right.
- The Radio is pretty forgiving on how accurate you have to be. The dials can be slightly off (~1-2 numbers of margin) and still count.
- If done correctly, a light on the Radio will turn green, a man will speak to you, and "Contacted the Russians" will appear on your screen.
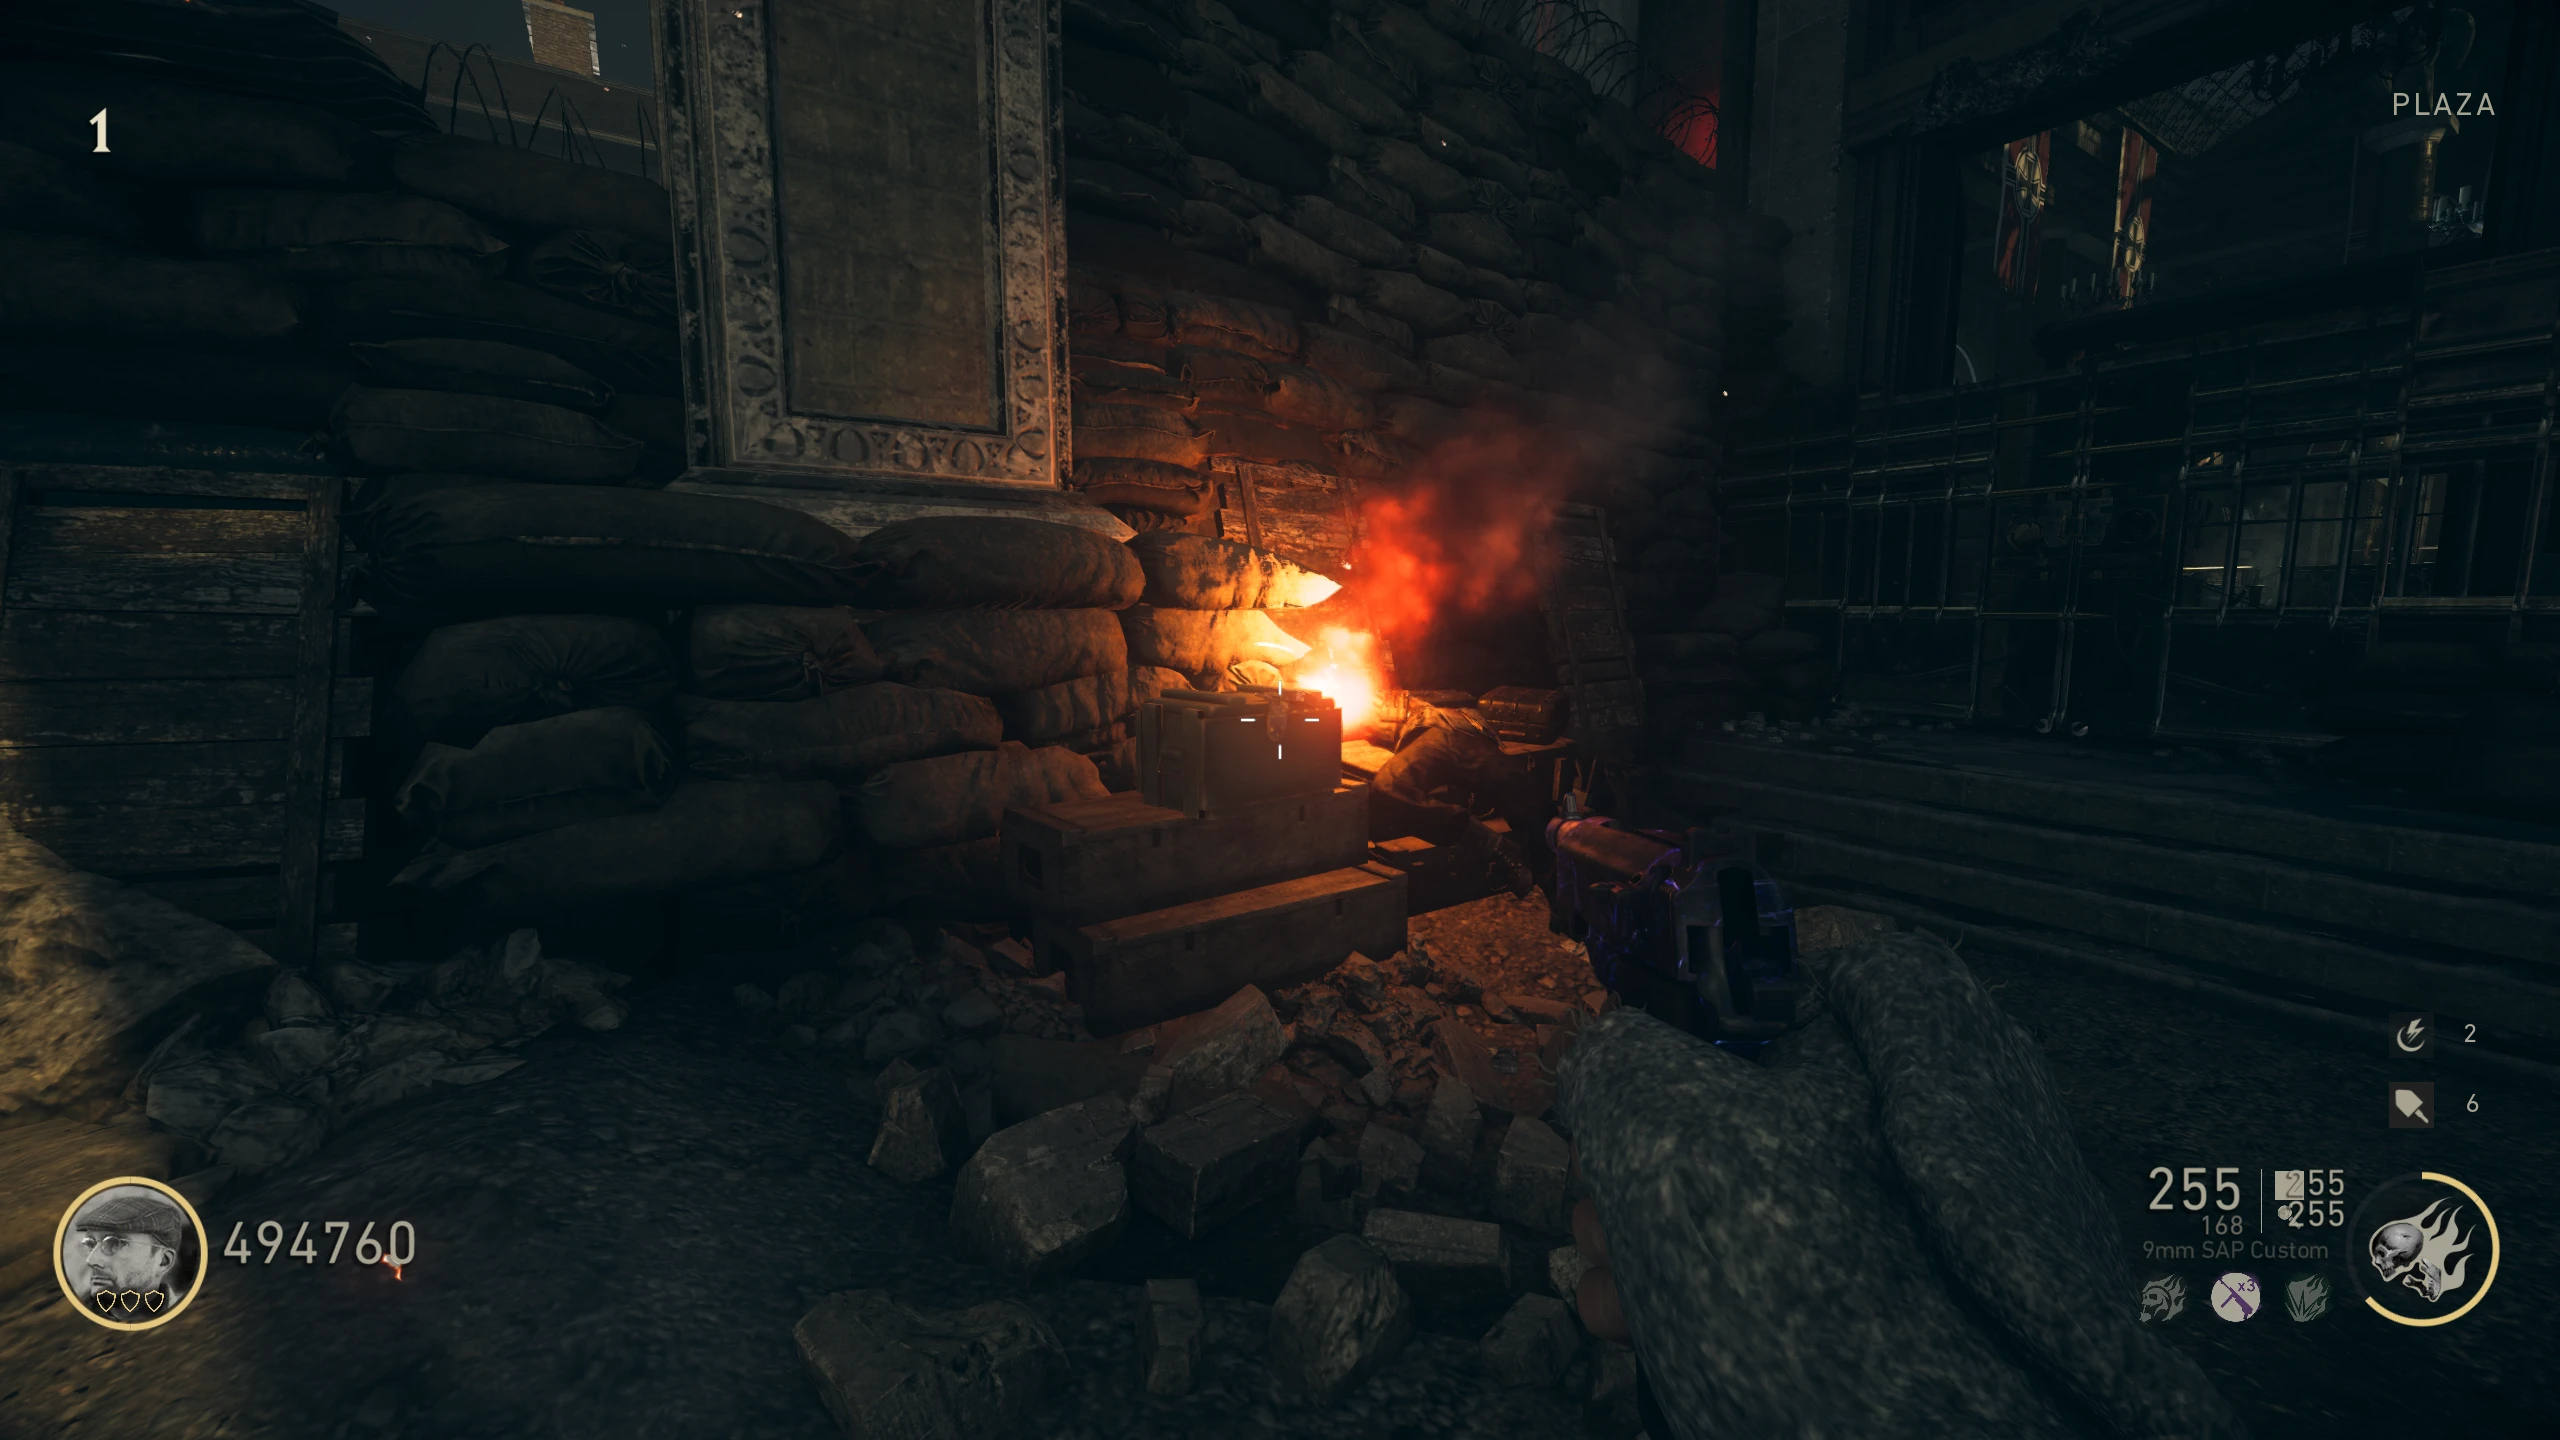
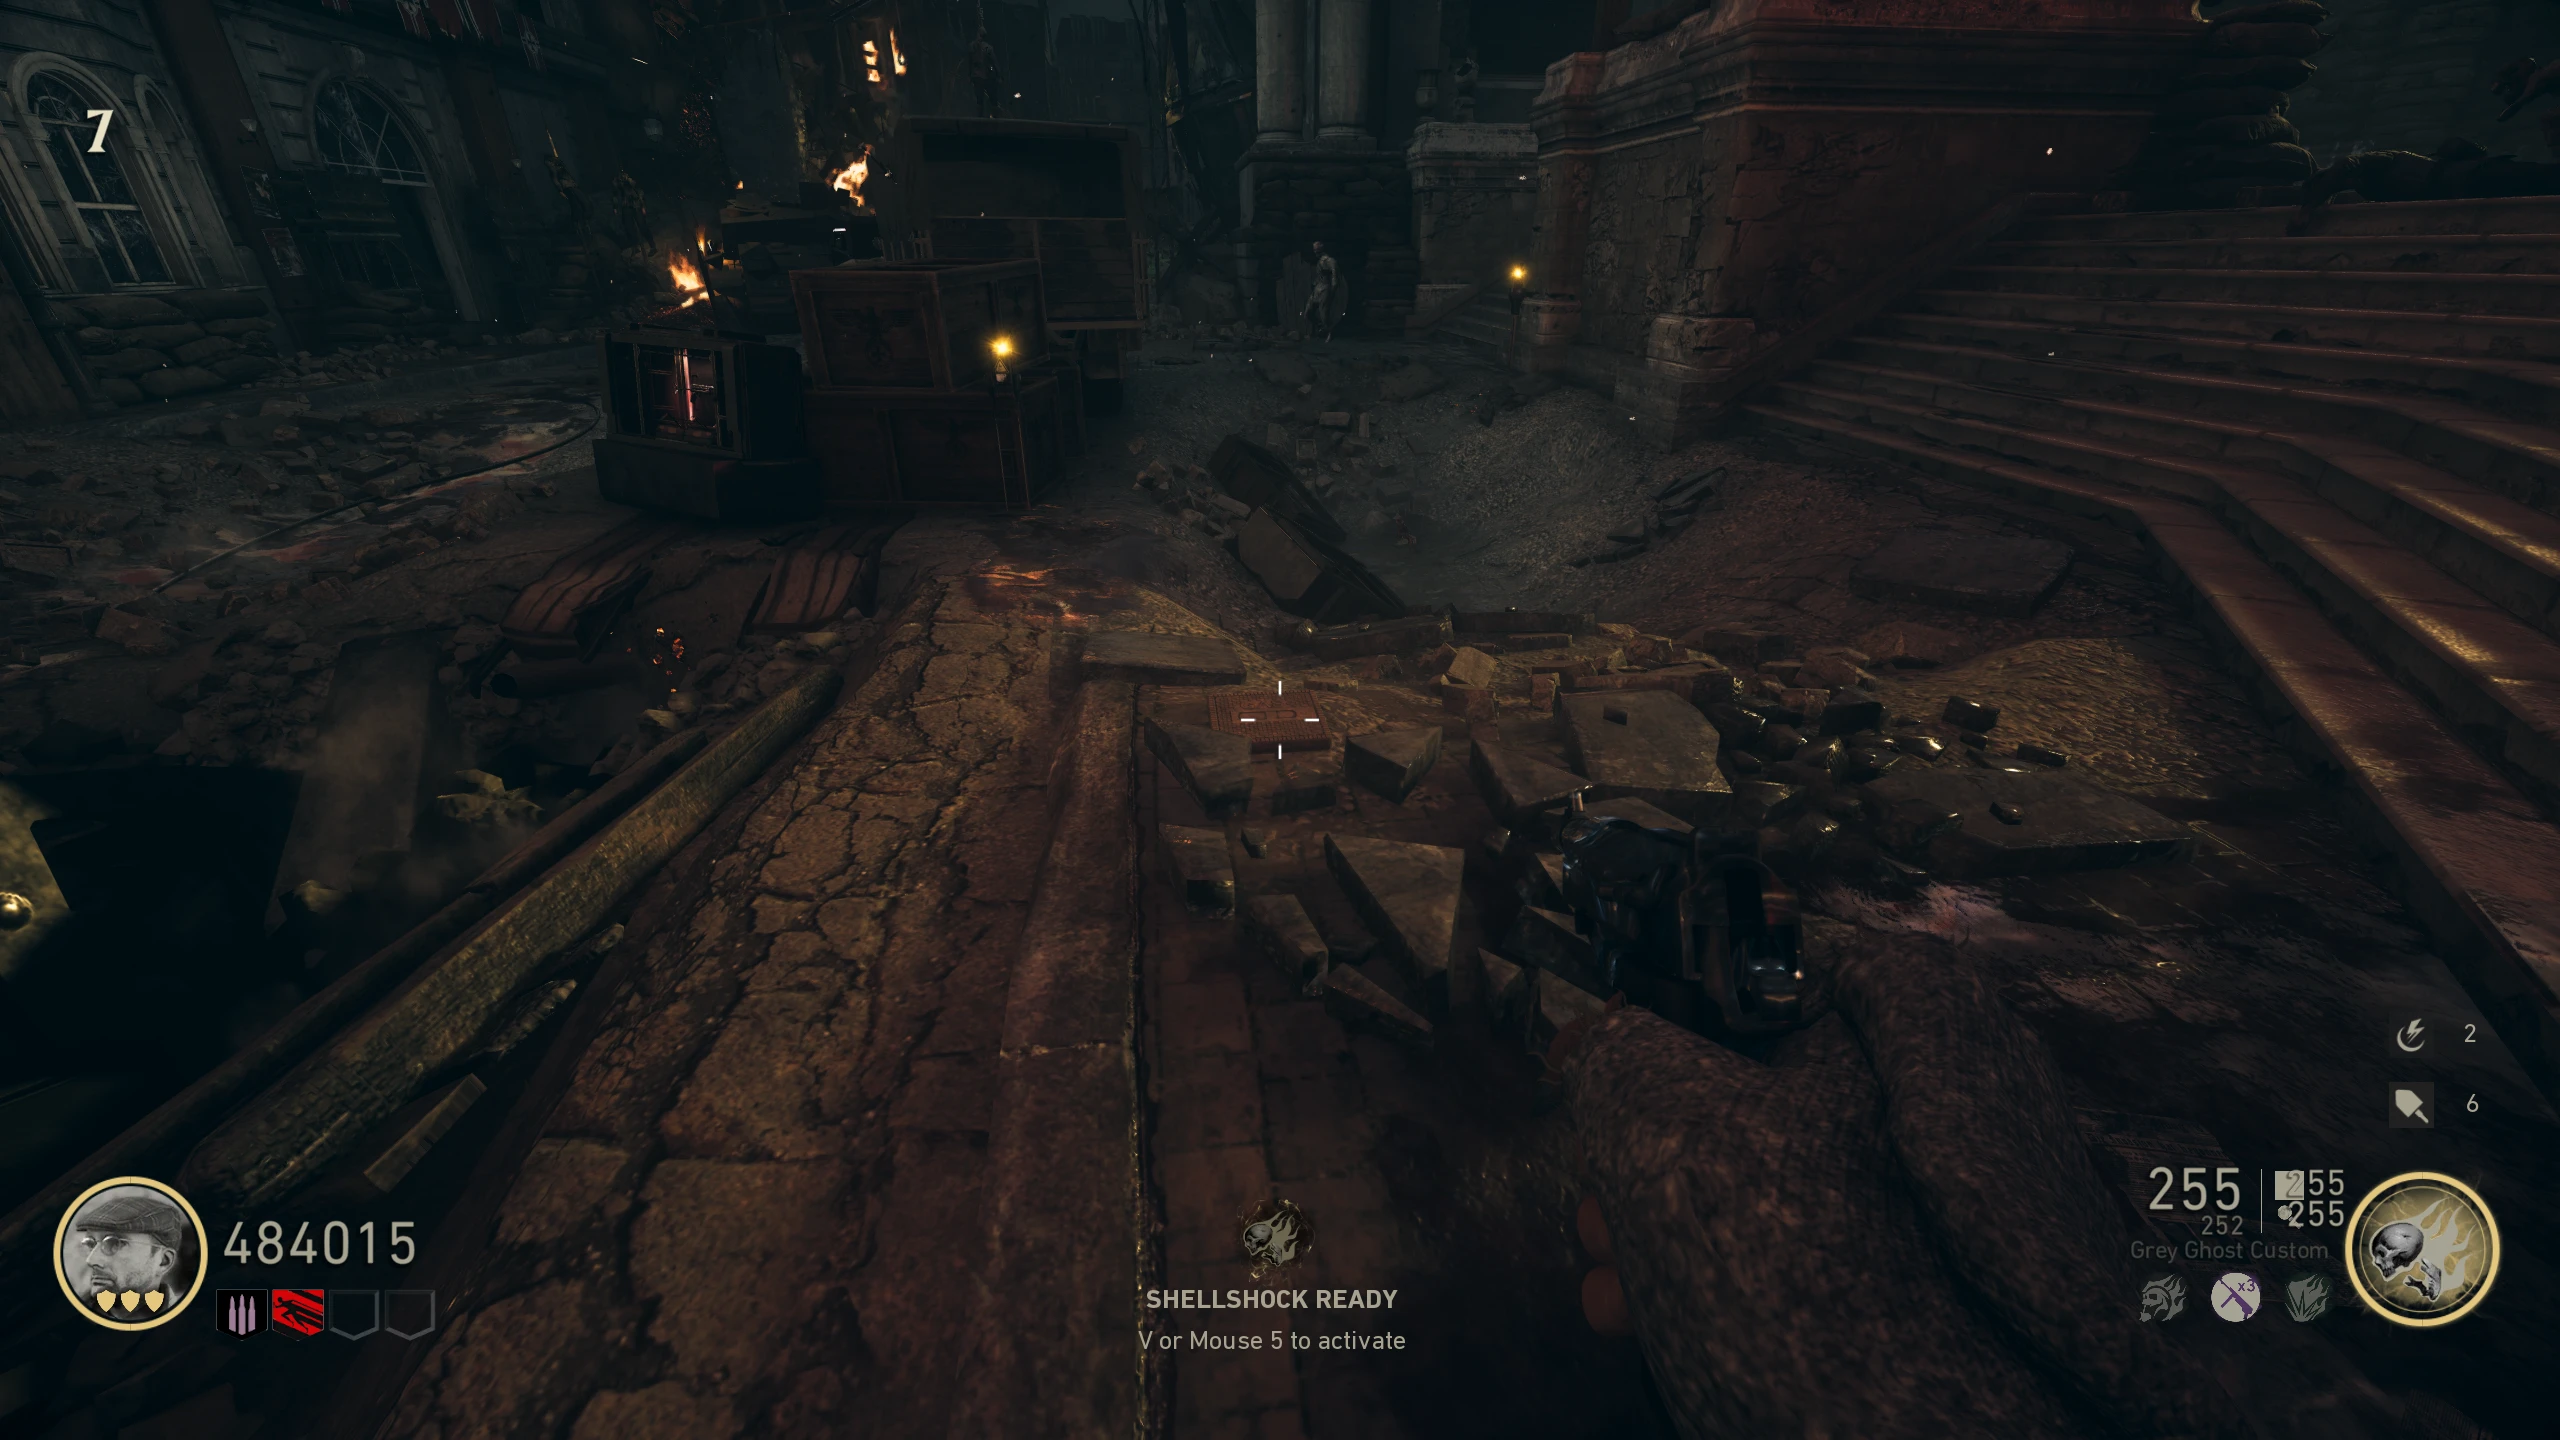
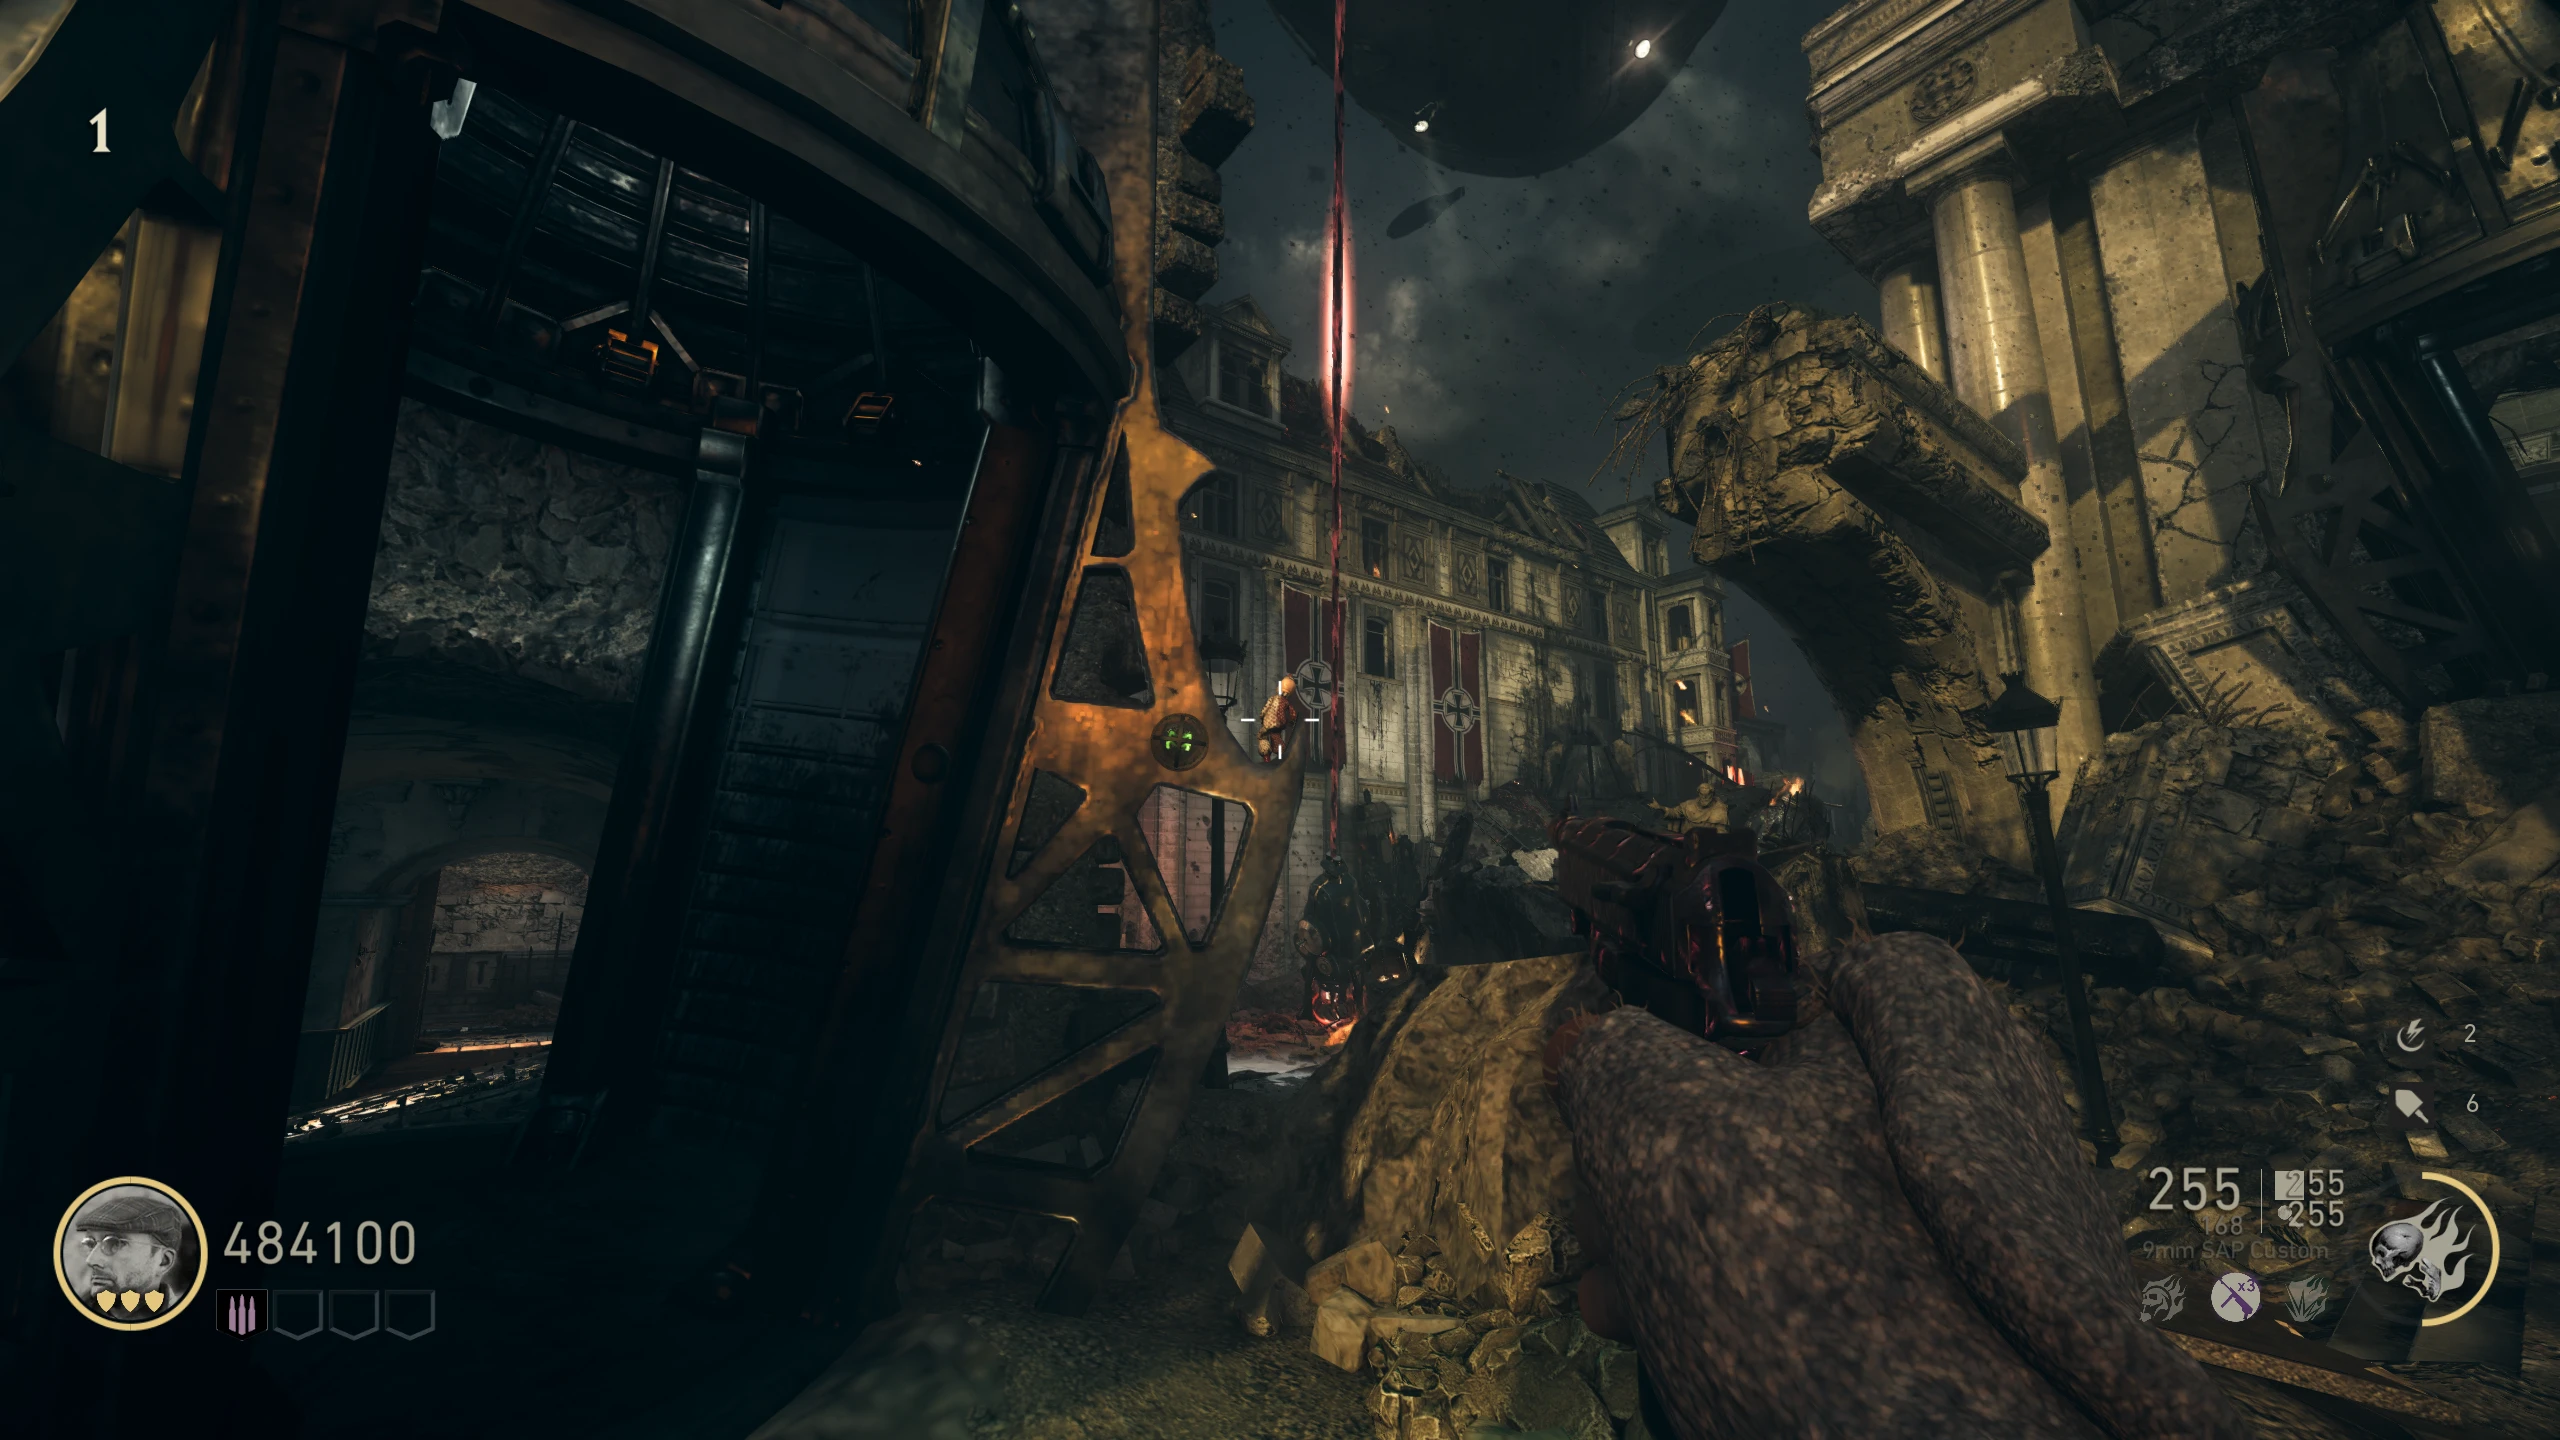
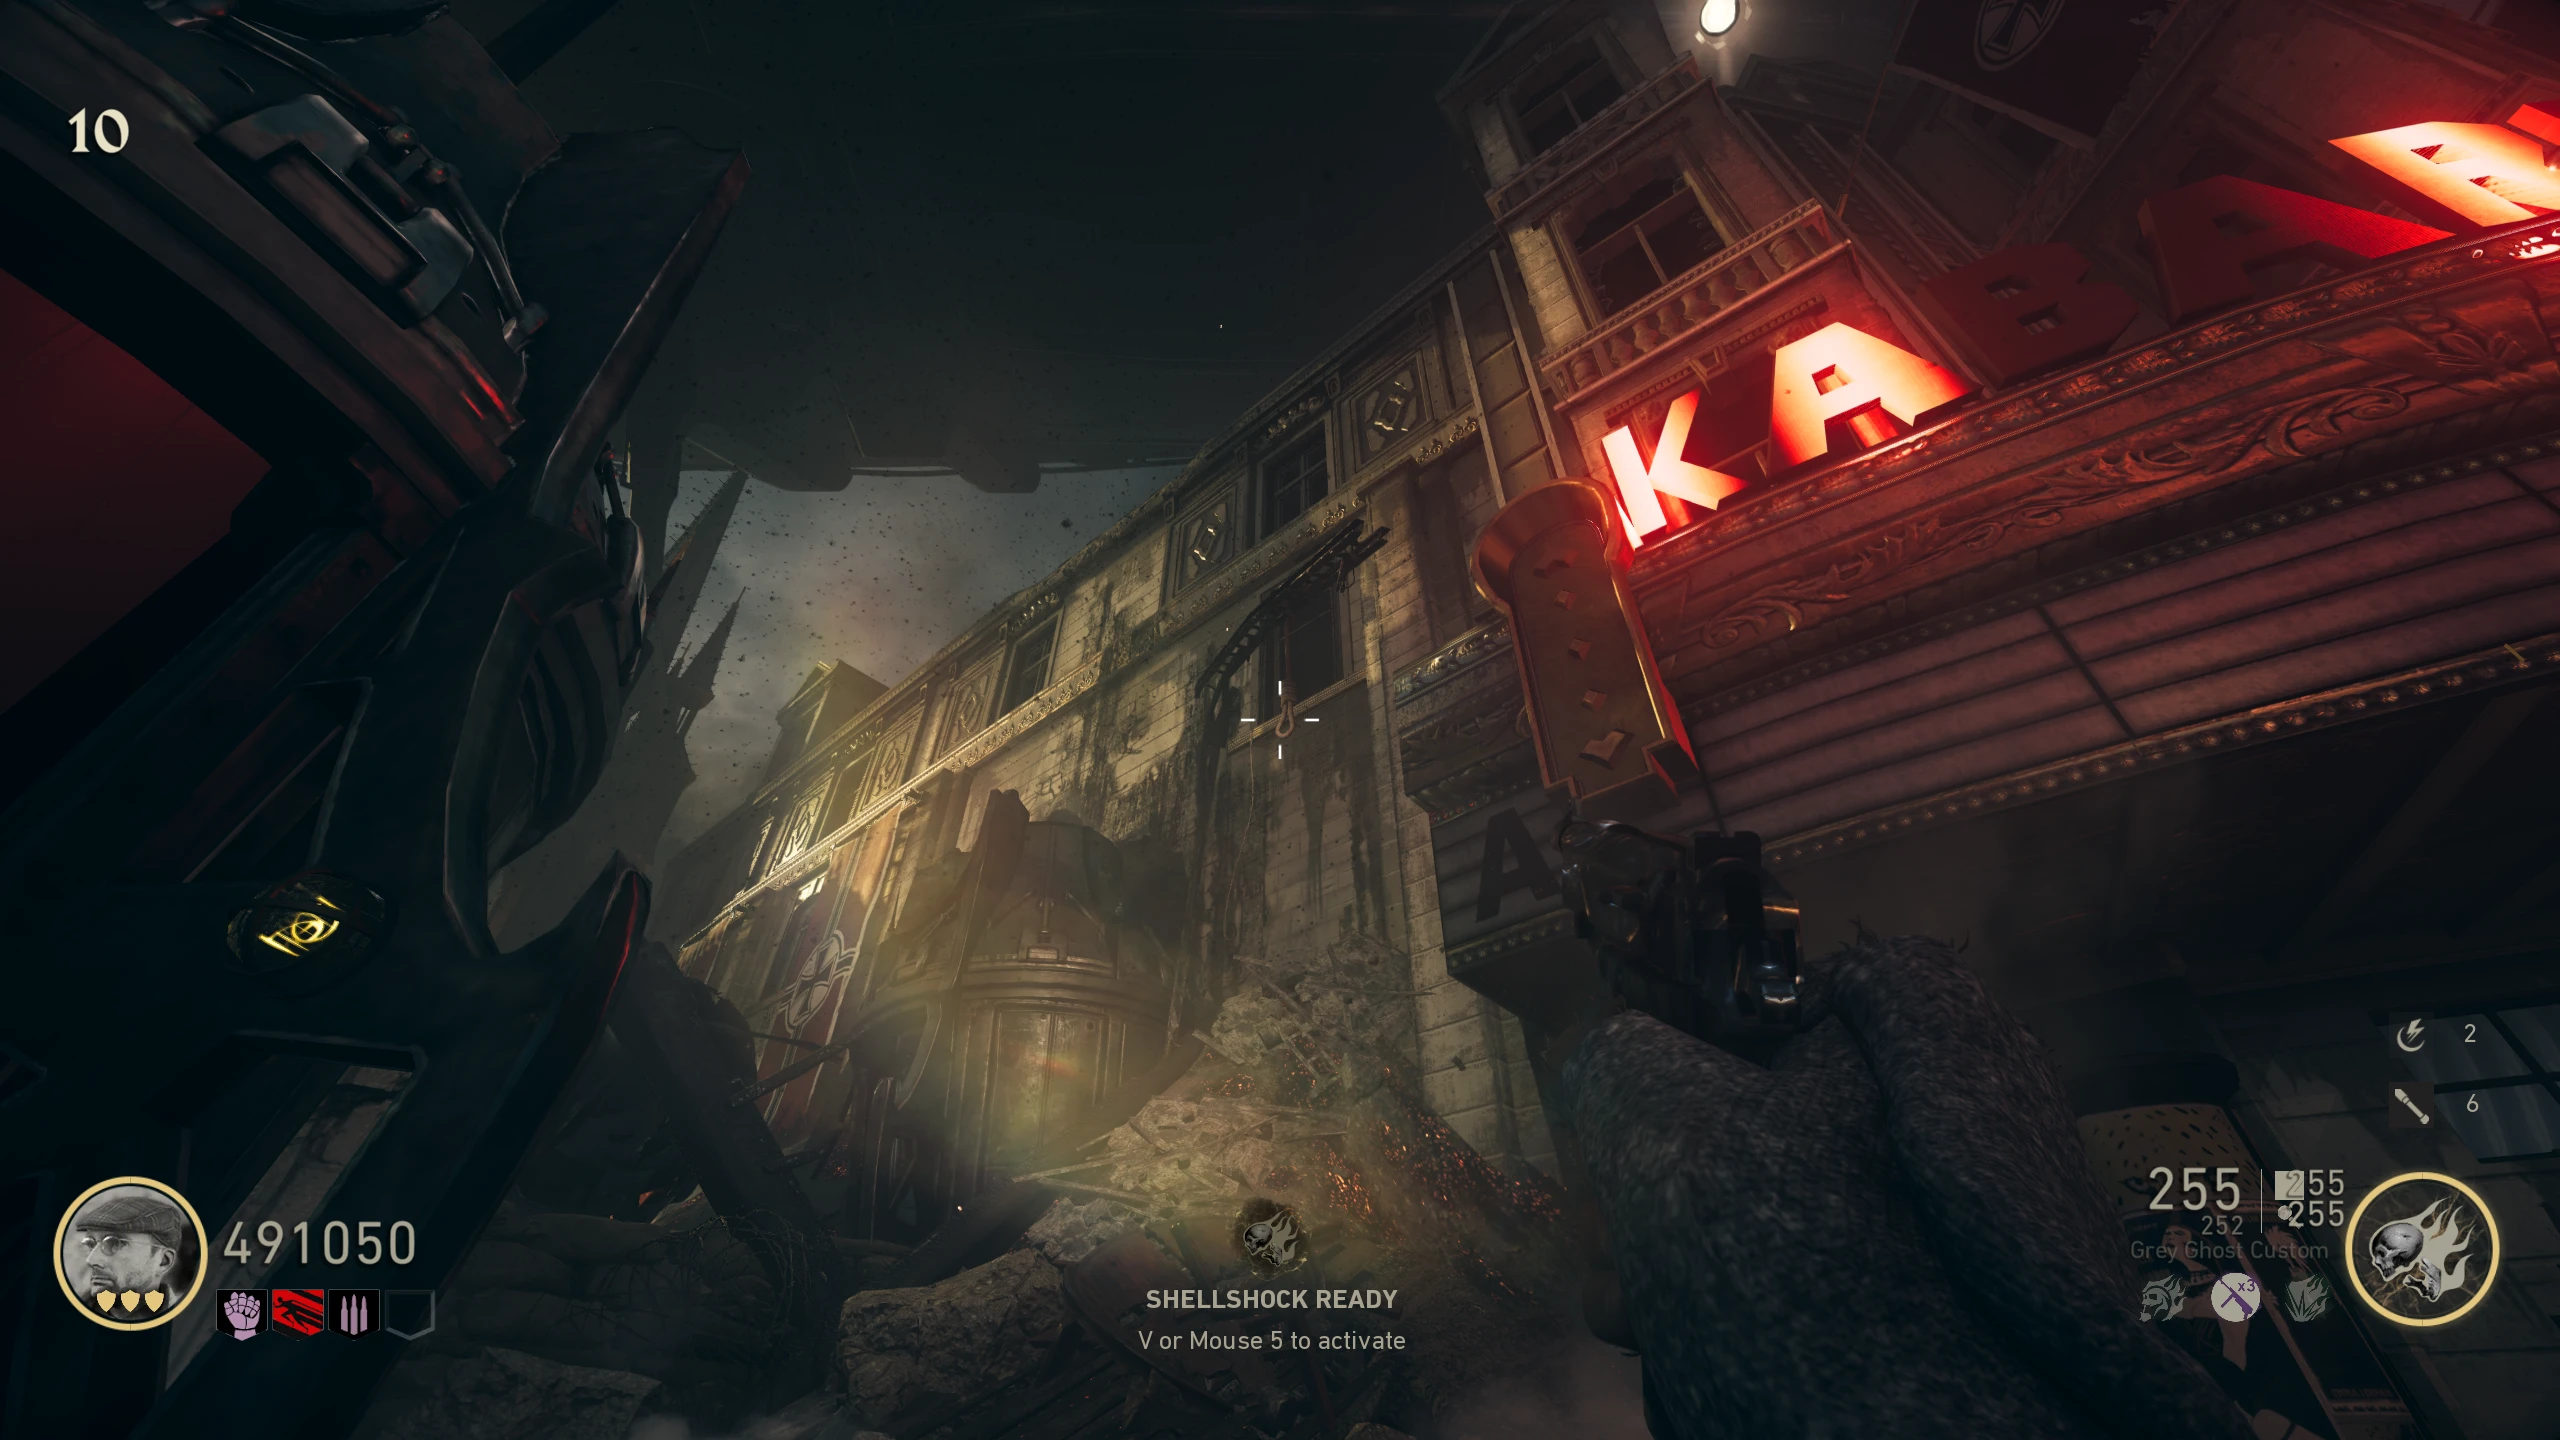
- Head to the 'Plaza,' and shoot the lock on the wooden box left of the door to the 'Museum.' The box will open; shoot it again to launch a flare. This will get the attention of Straub's Zeppelin.
- Once the Zeppelin tethers itself, it will fire a "Geistbolt" at any undamaged Zombie. This will turn the Zombie into a Gekocht (commonly called Sizzlers).
- Sizzlers are extremely fast Zombies that do normal damage; they will catch you while sprinting, but they don't gain more health, so they're pretty easy to kill.
- The Zeppelin will create a Sizzler every couple of minutes. You can avoid Sizzler spawns (if you want to leave last, for example) by damaging the Zombie; damaged Zombies can't become Sizzlers.
- Melee kill a Sizzler to get a Geistbolt.
- You will now need to find a battery in one of the following locations:
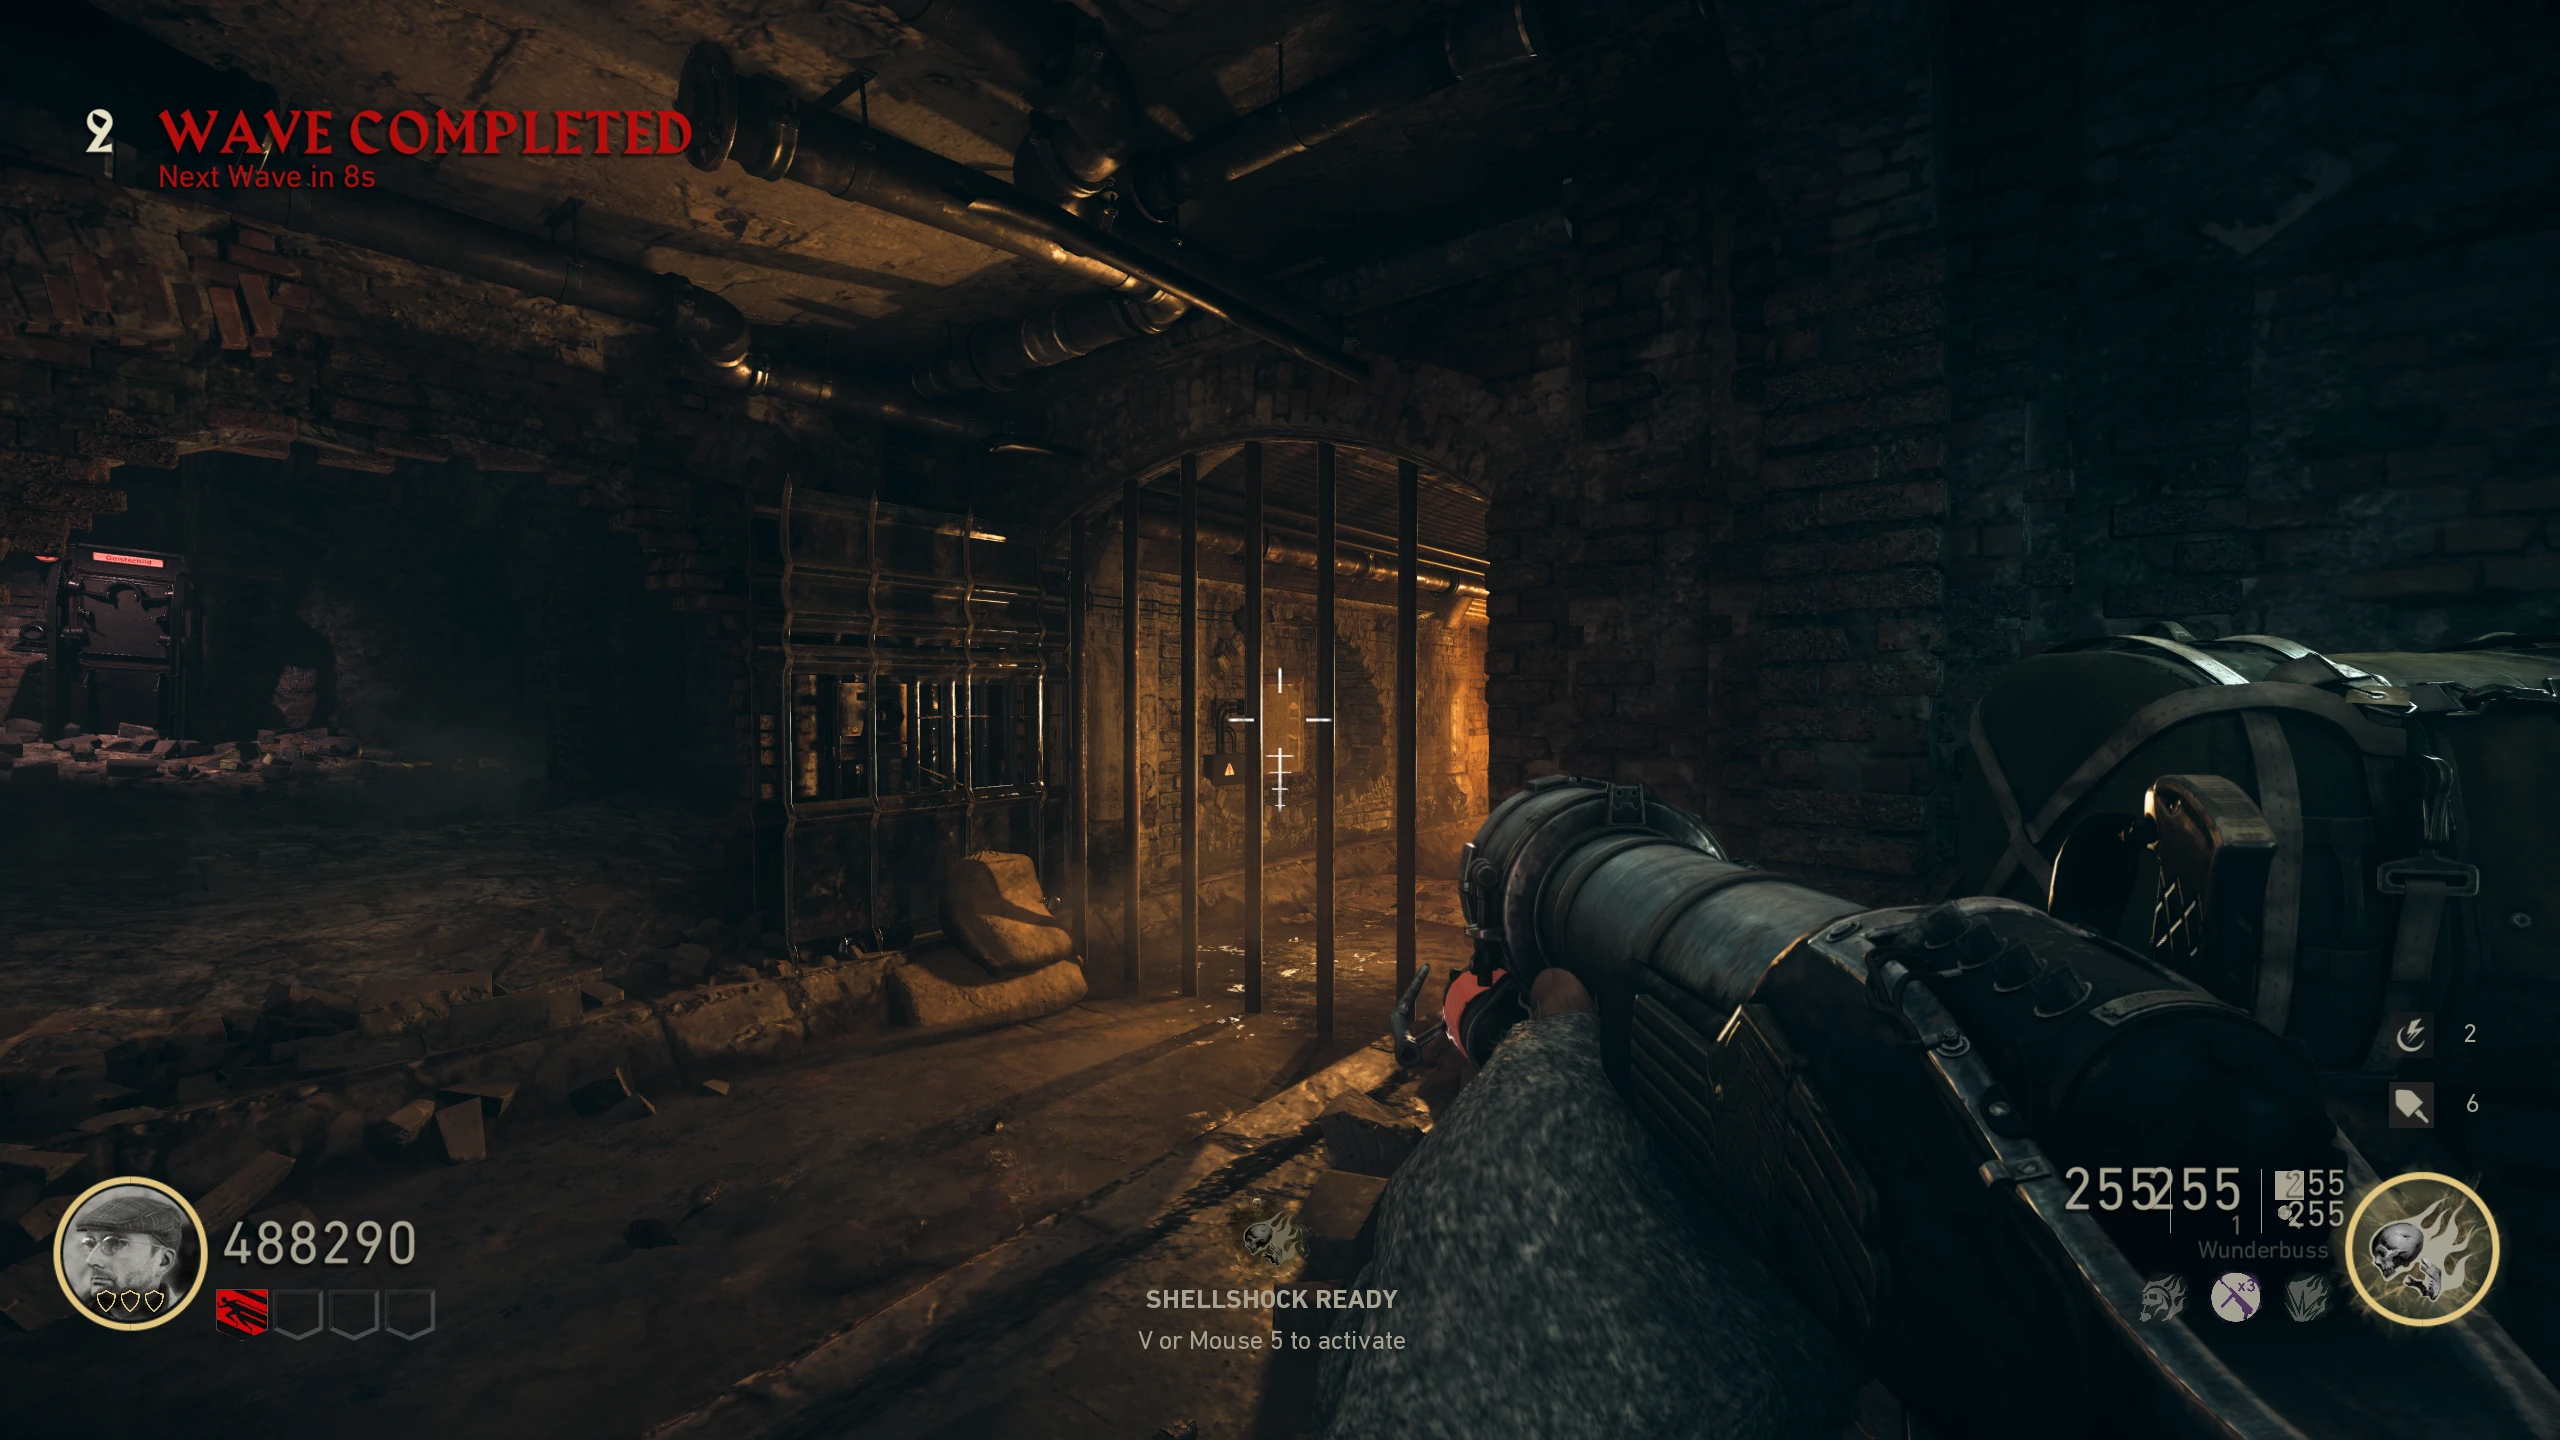
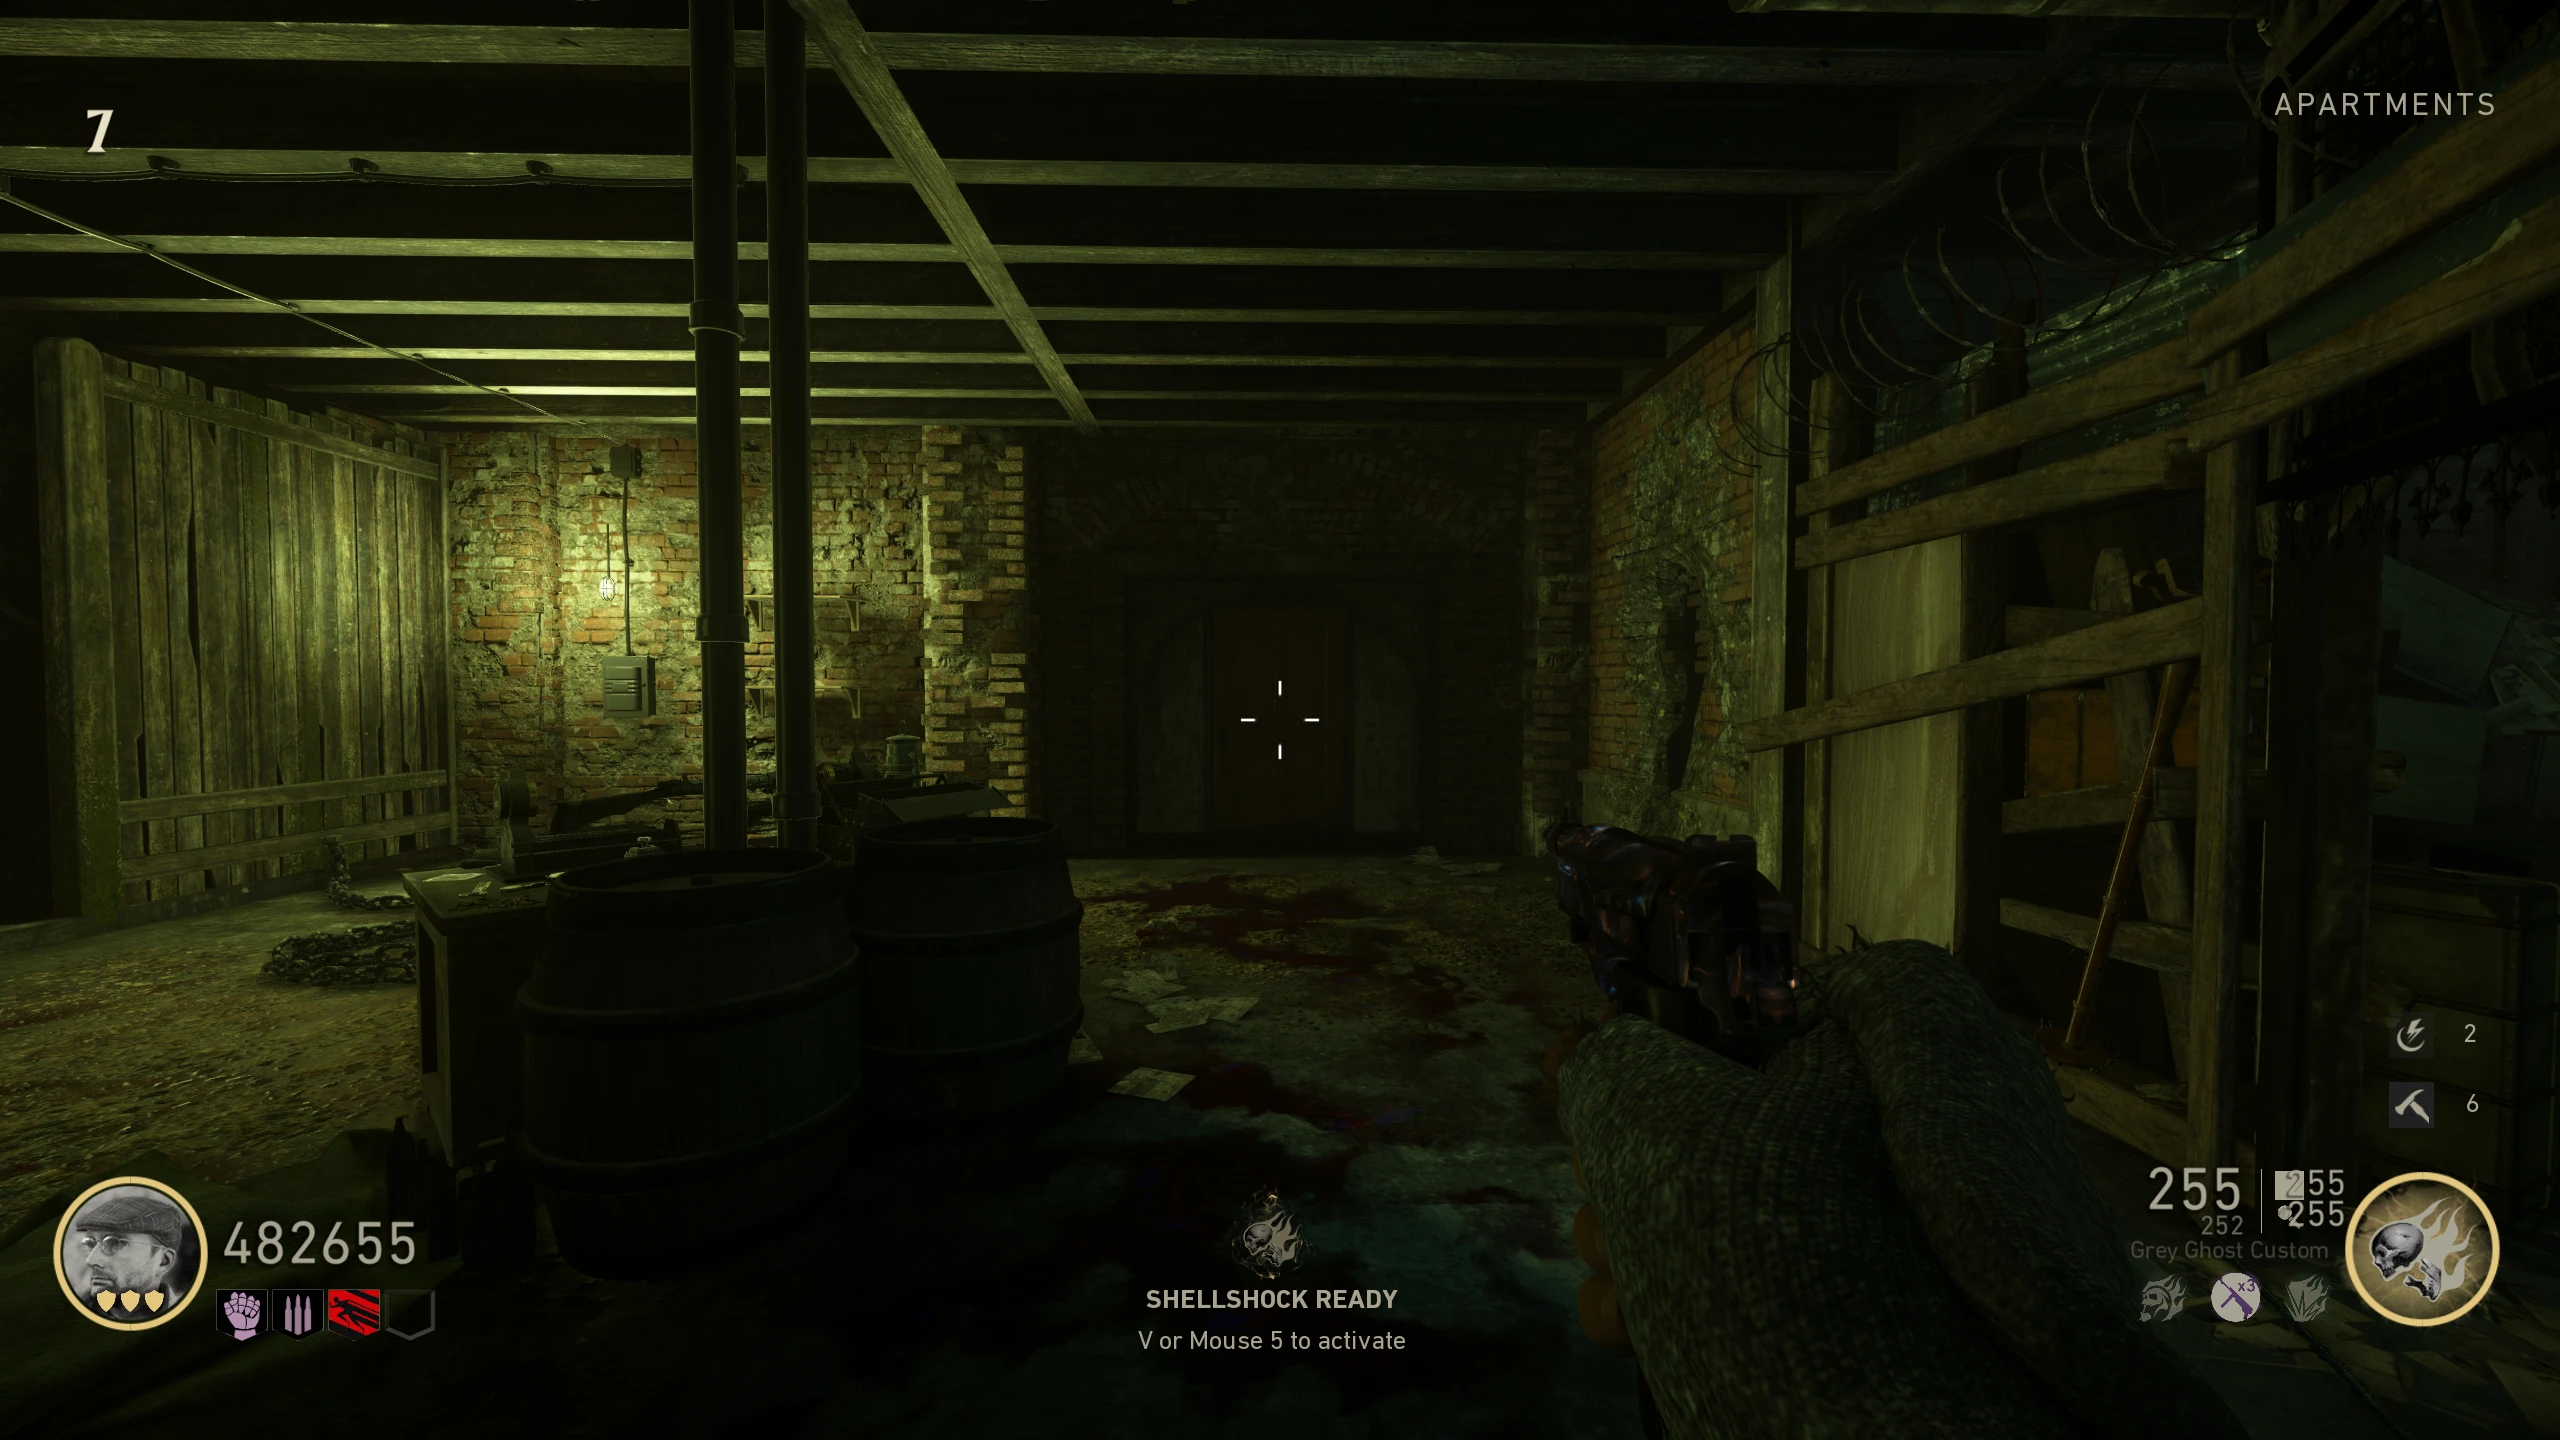
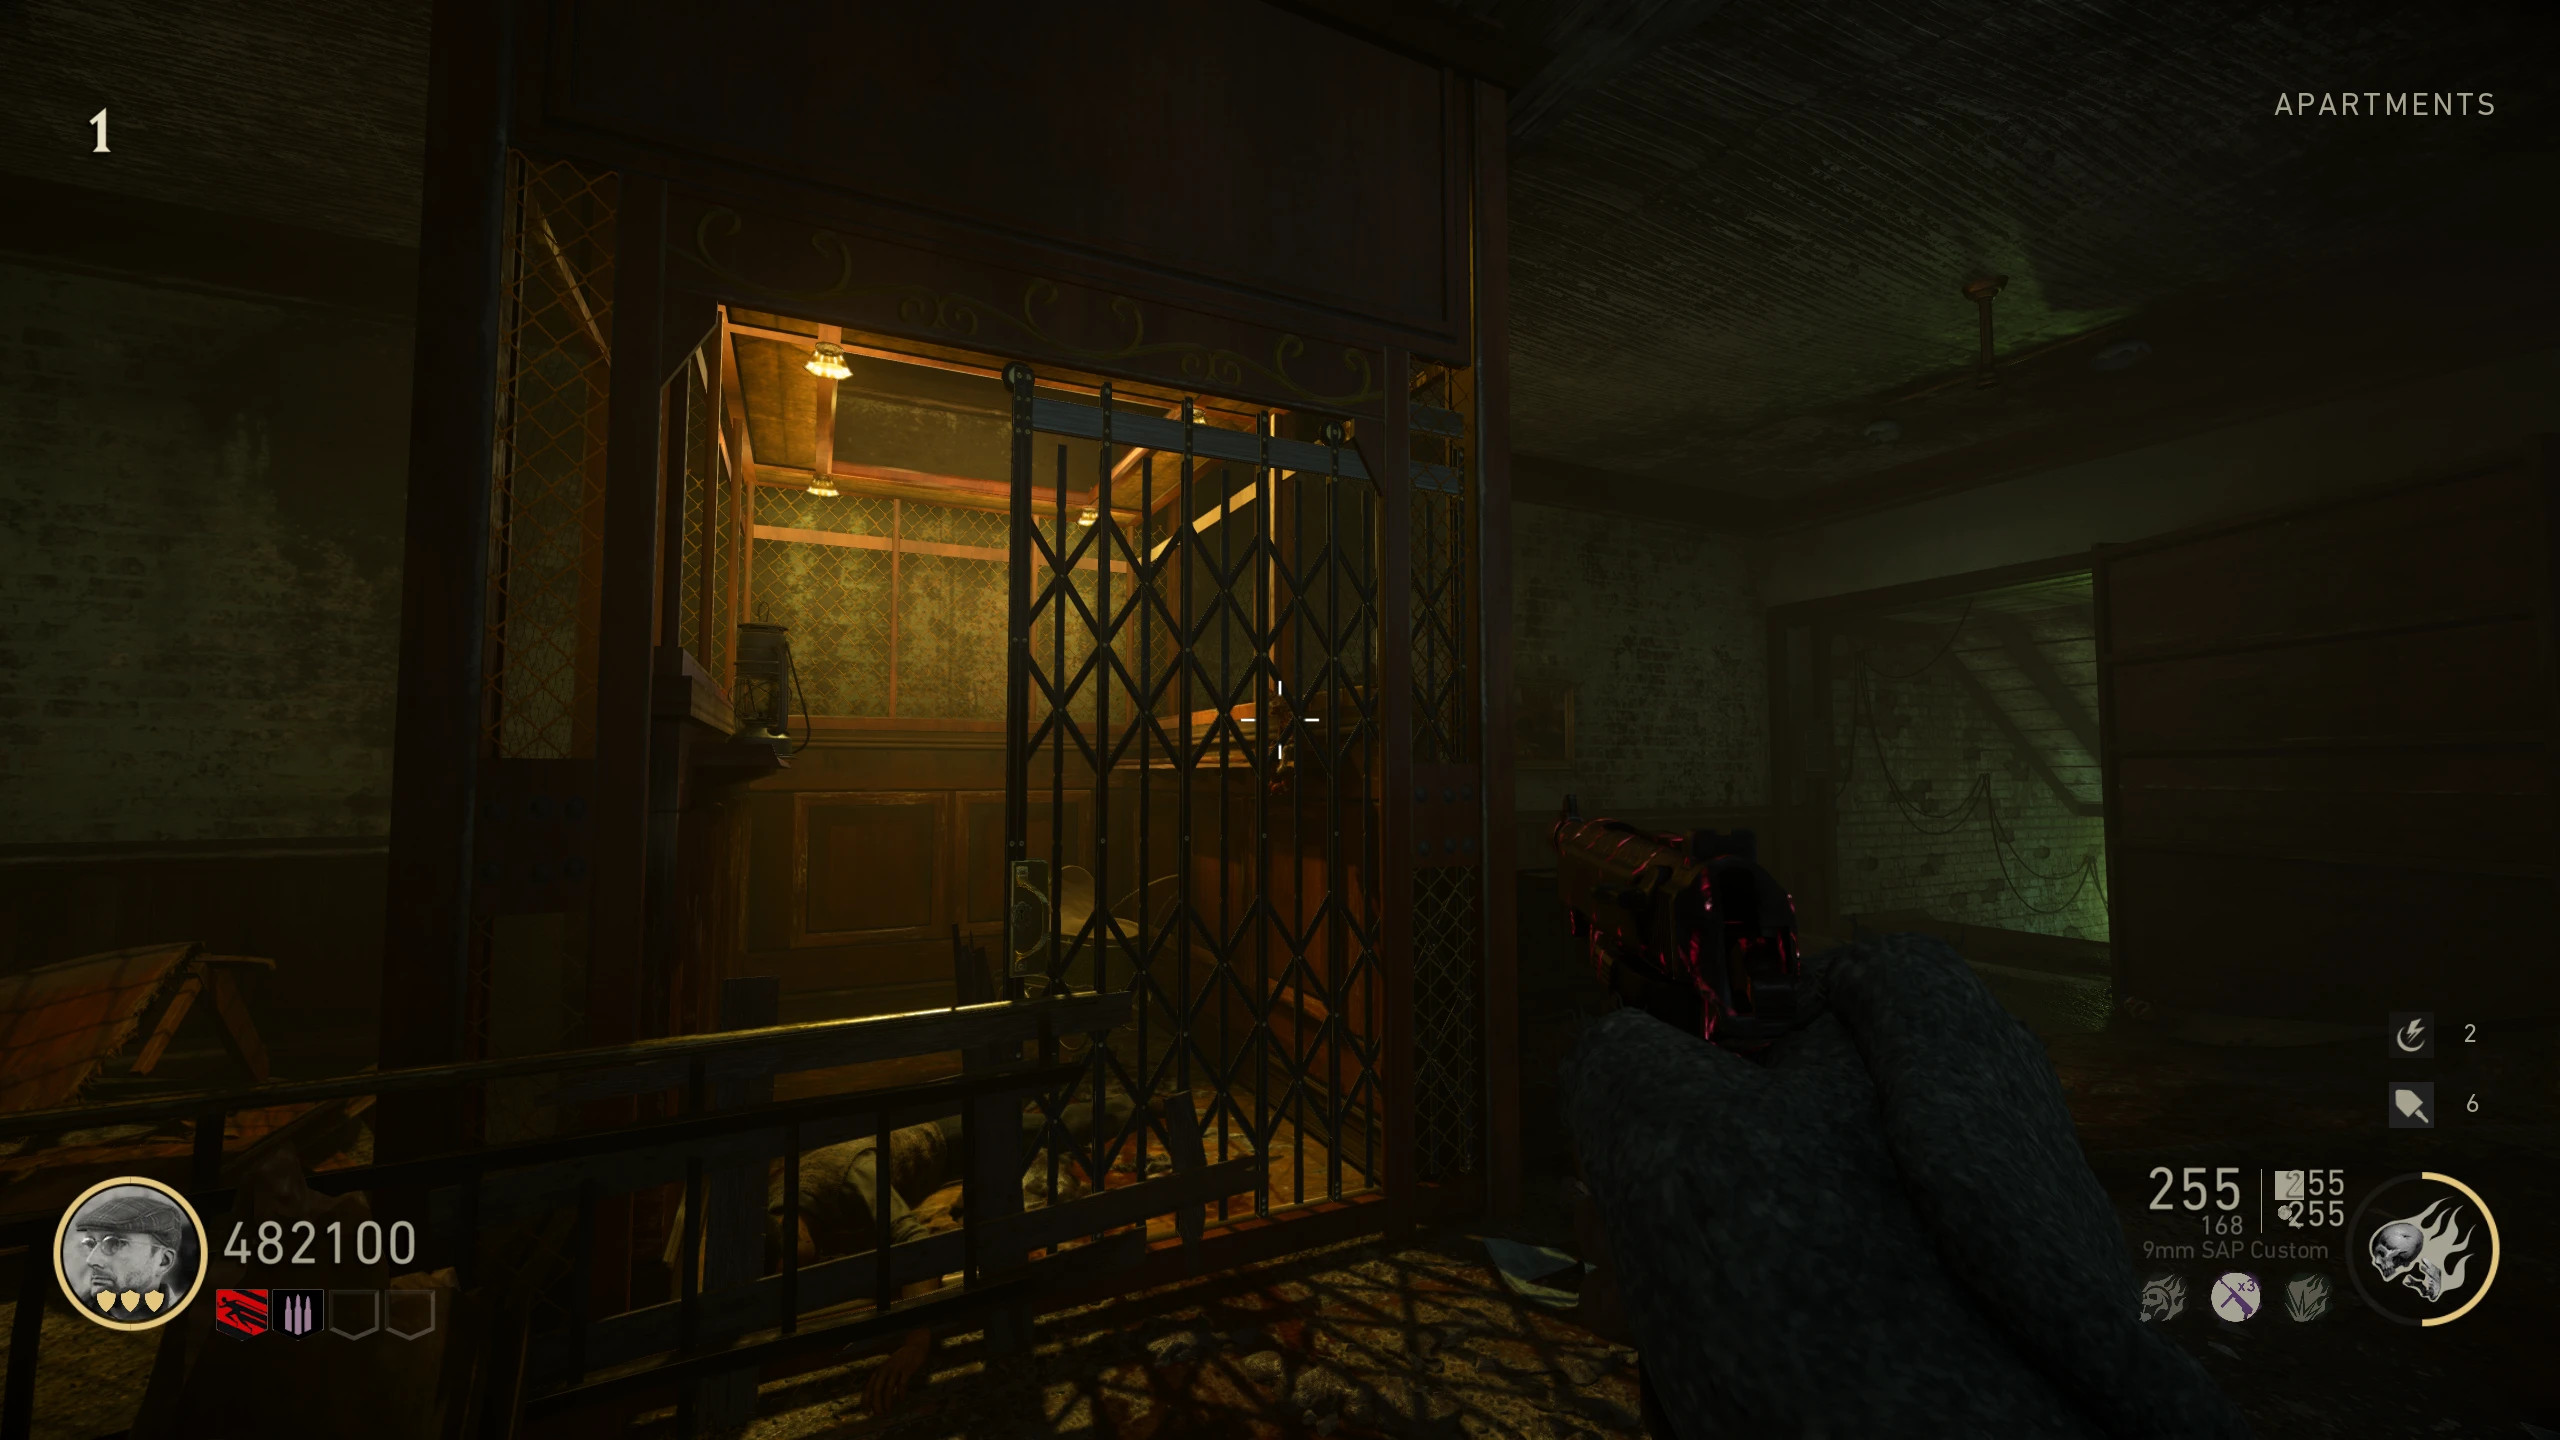
- Once you have the battery and the Geistbolt, head to the basement of the 'Apartments' and place the battery in the generator in the fence to open the gates. Enter the now-open room and grab the battery inside; this will close the gate, locking you in.
- Interact with the Wunderbuss on the table to place the parts, then interact again to pick it up. Shoot the generator with the Wunderbuss until it opens.
Smuggler's Bat
The Smuggler's Bat (officially called the Nachtmahr) is a stronger version of the Baseball Bat. The Bat has an alternate attack that fires a bolt of Geistkraft in front of you a short distance.
- Obtain the Wunderbuss.
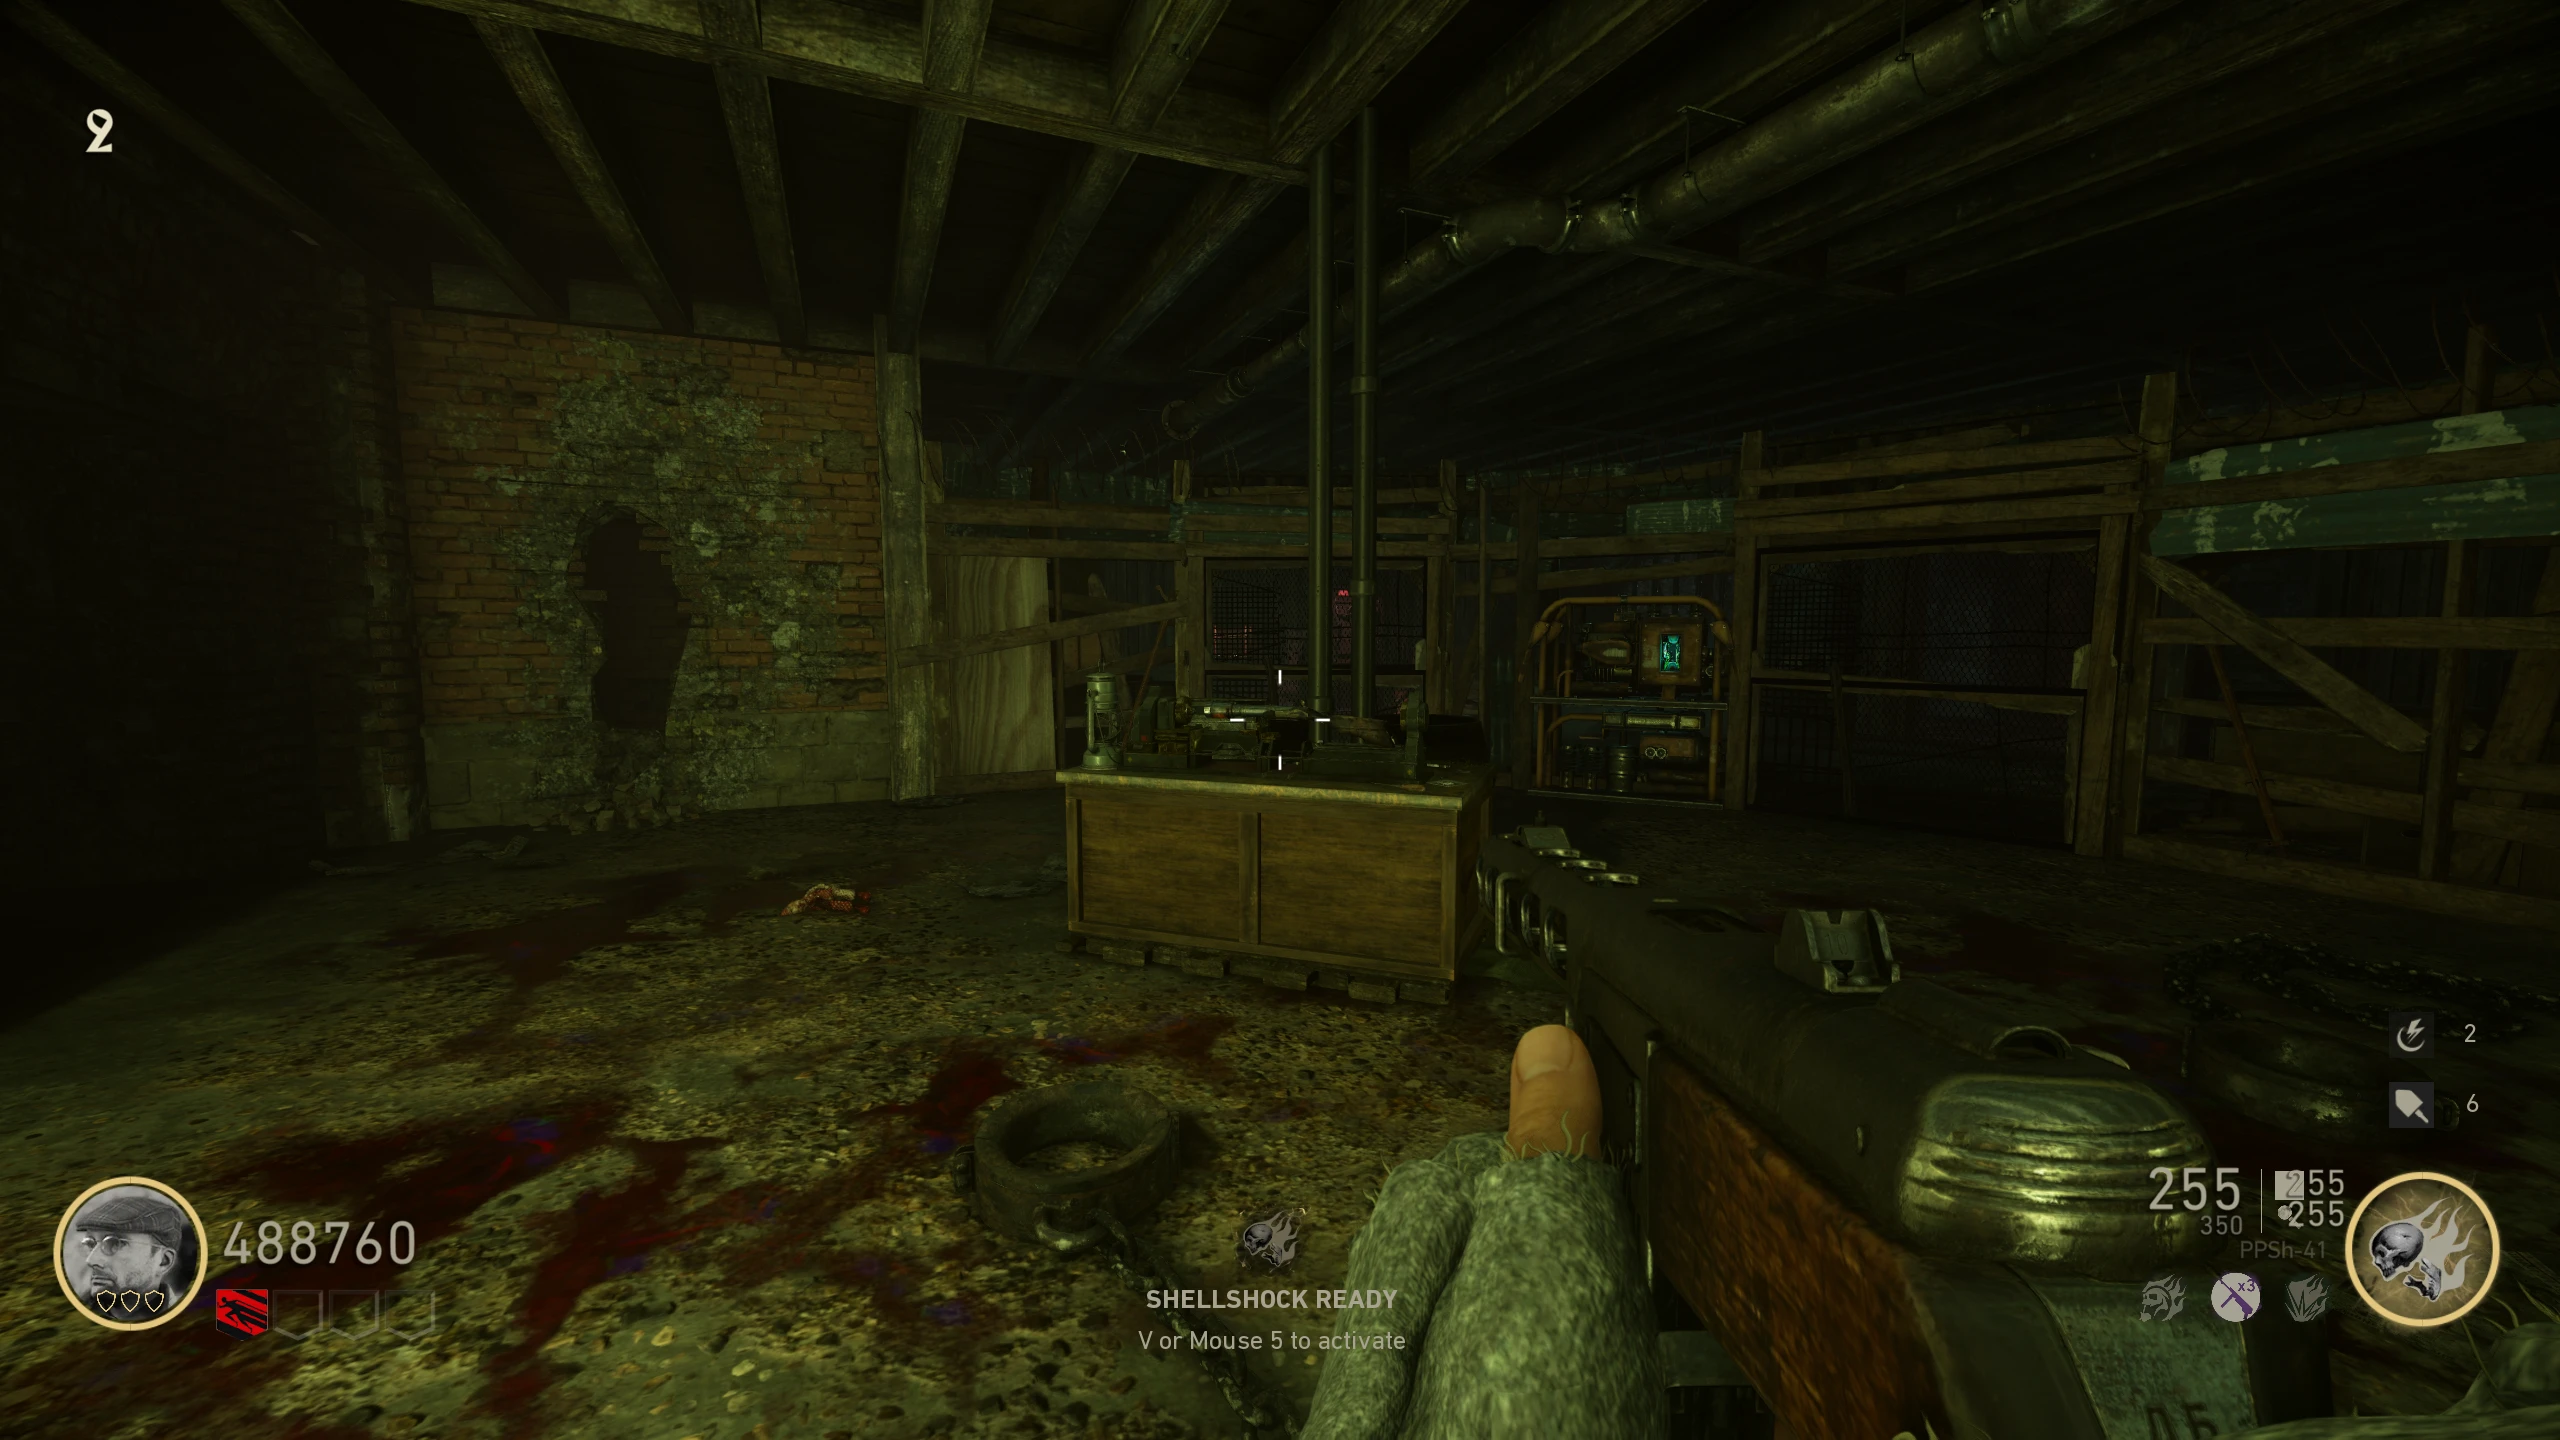
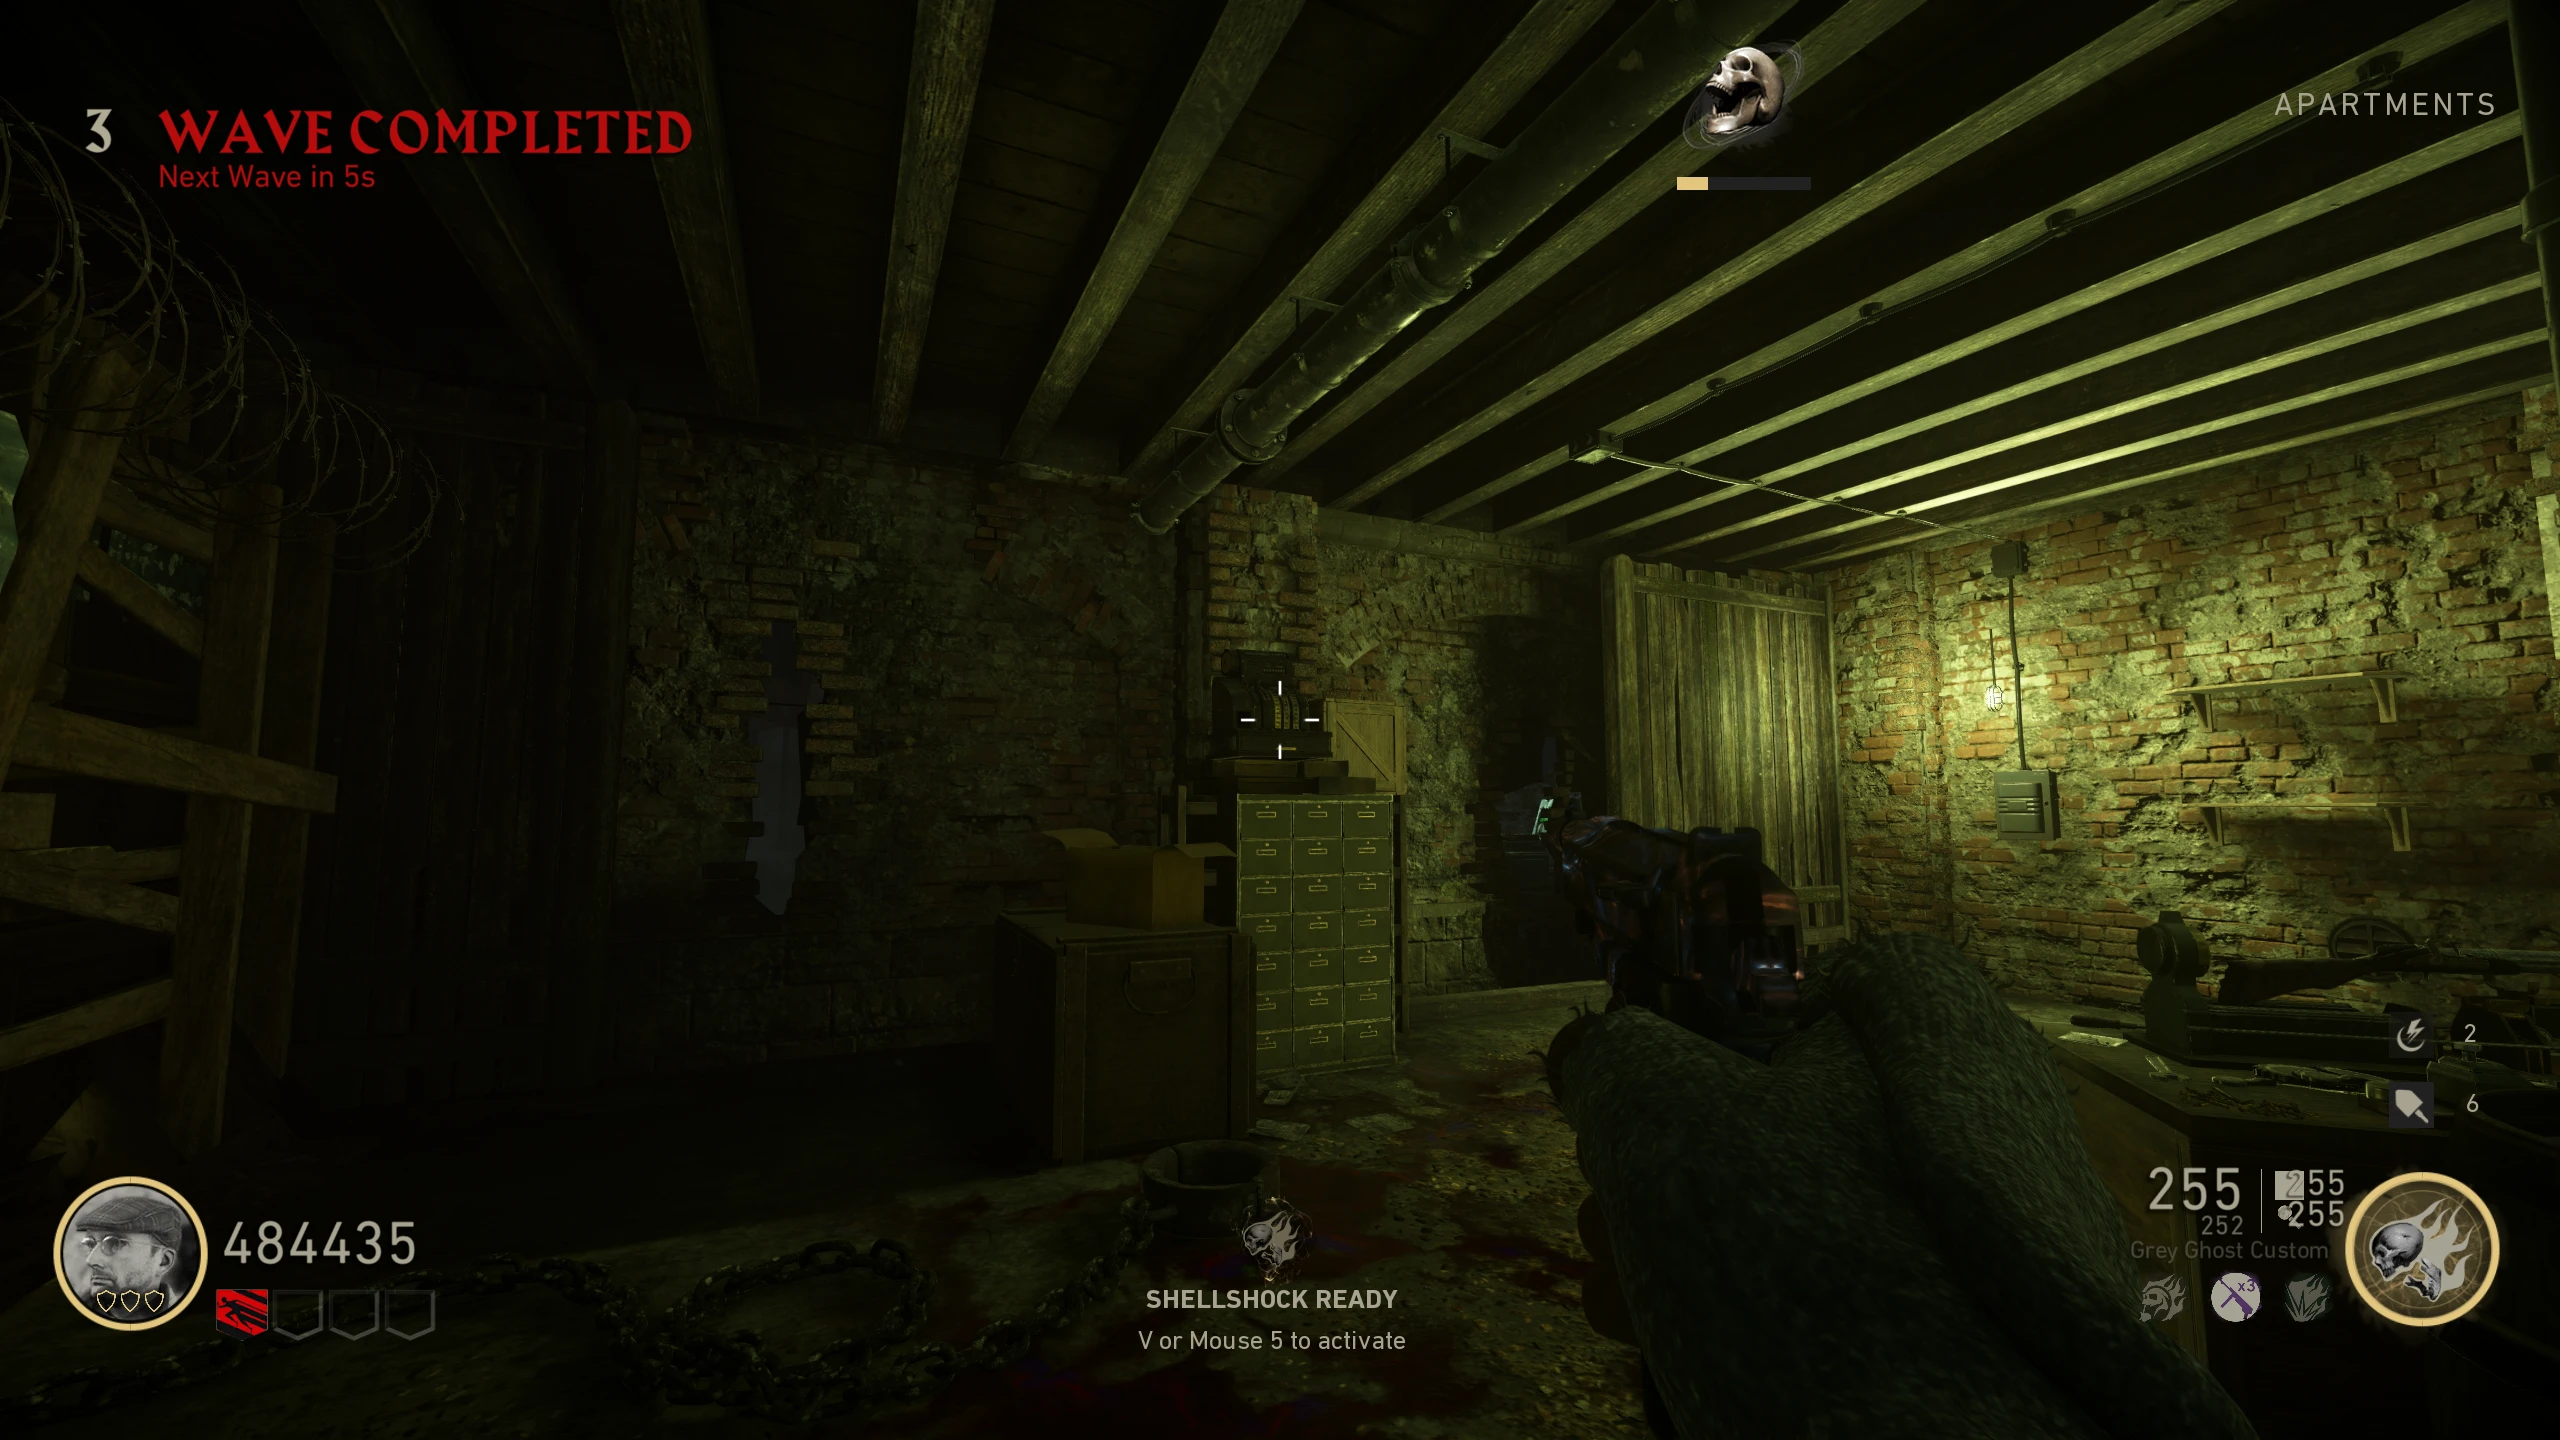
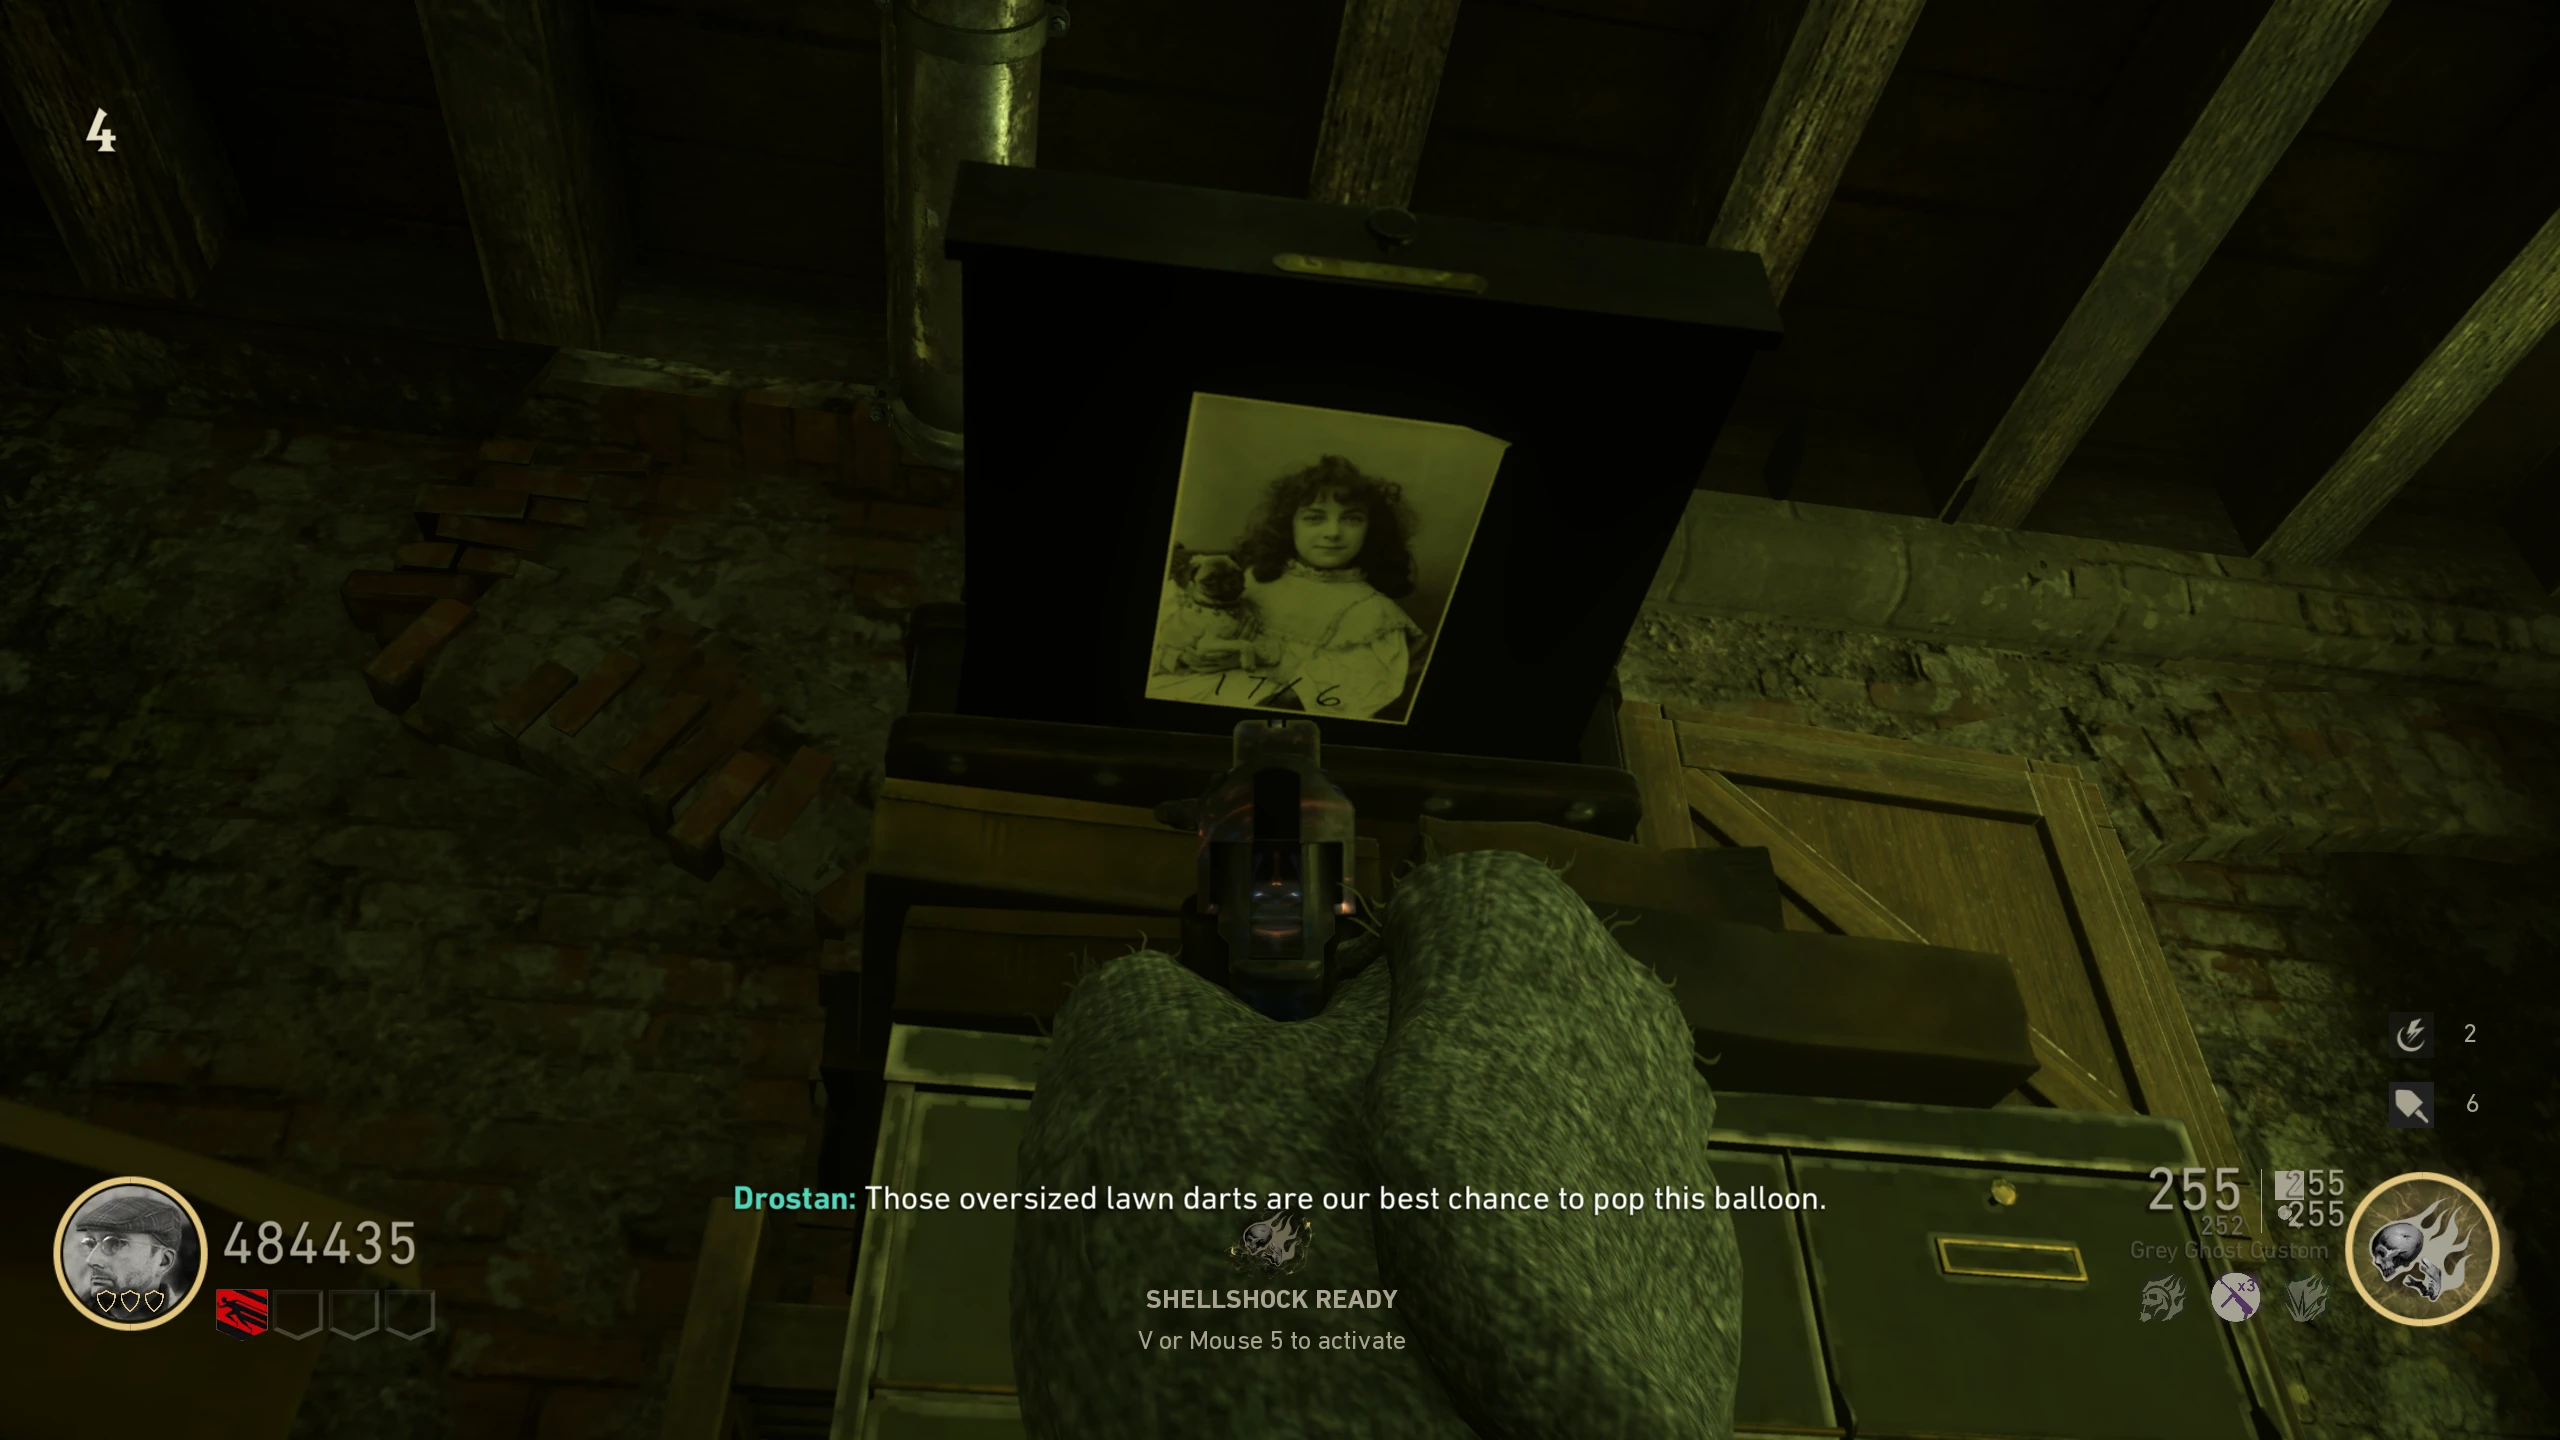
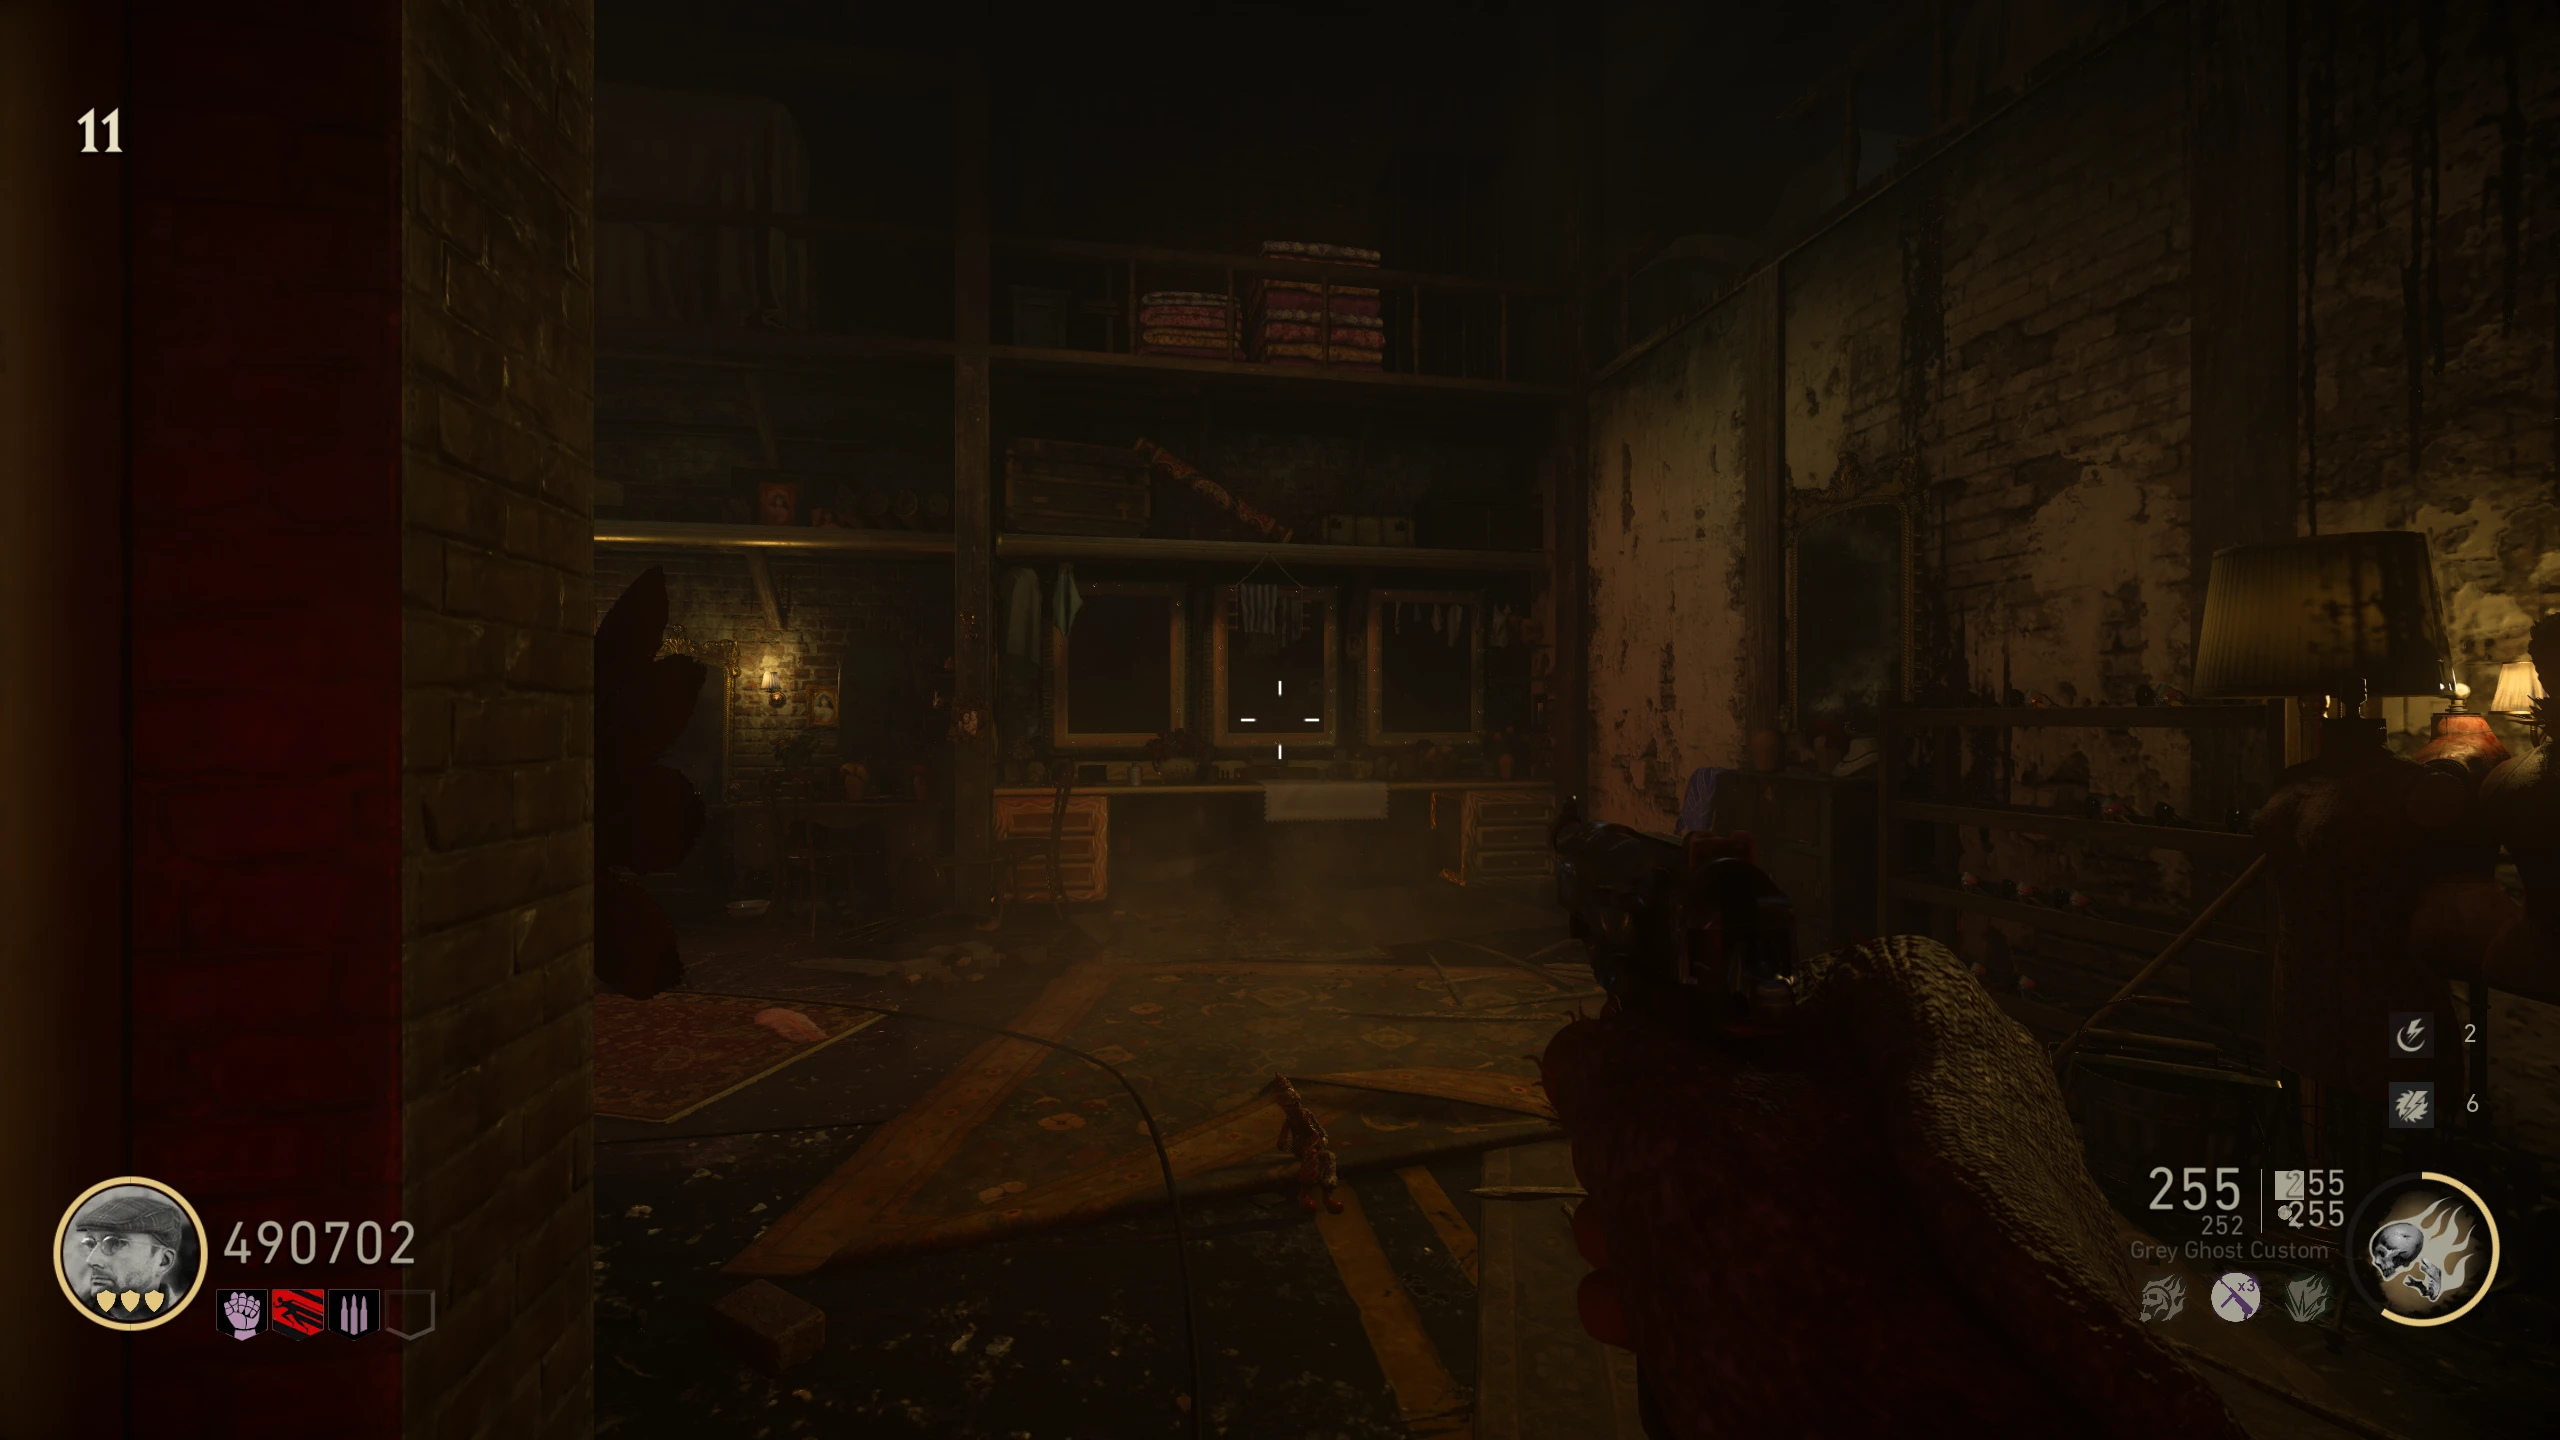
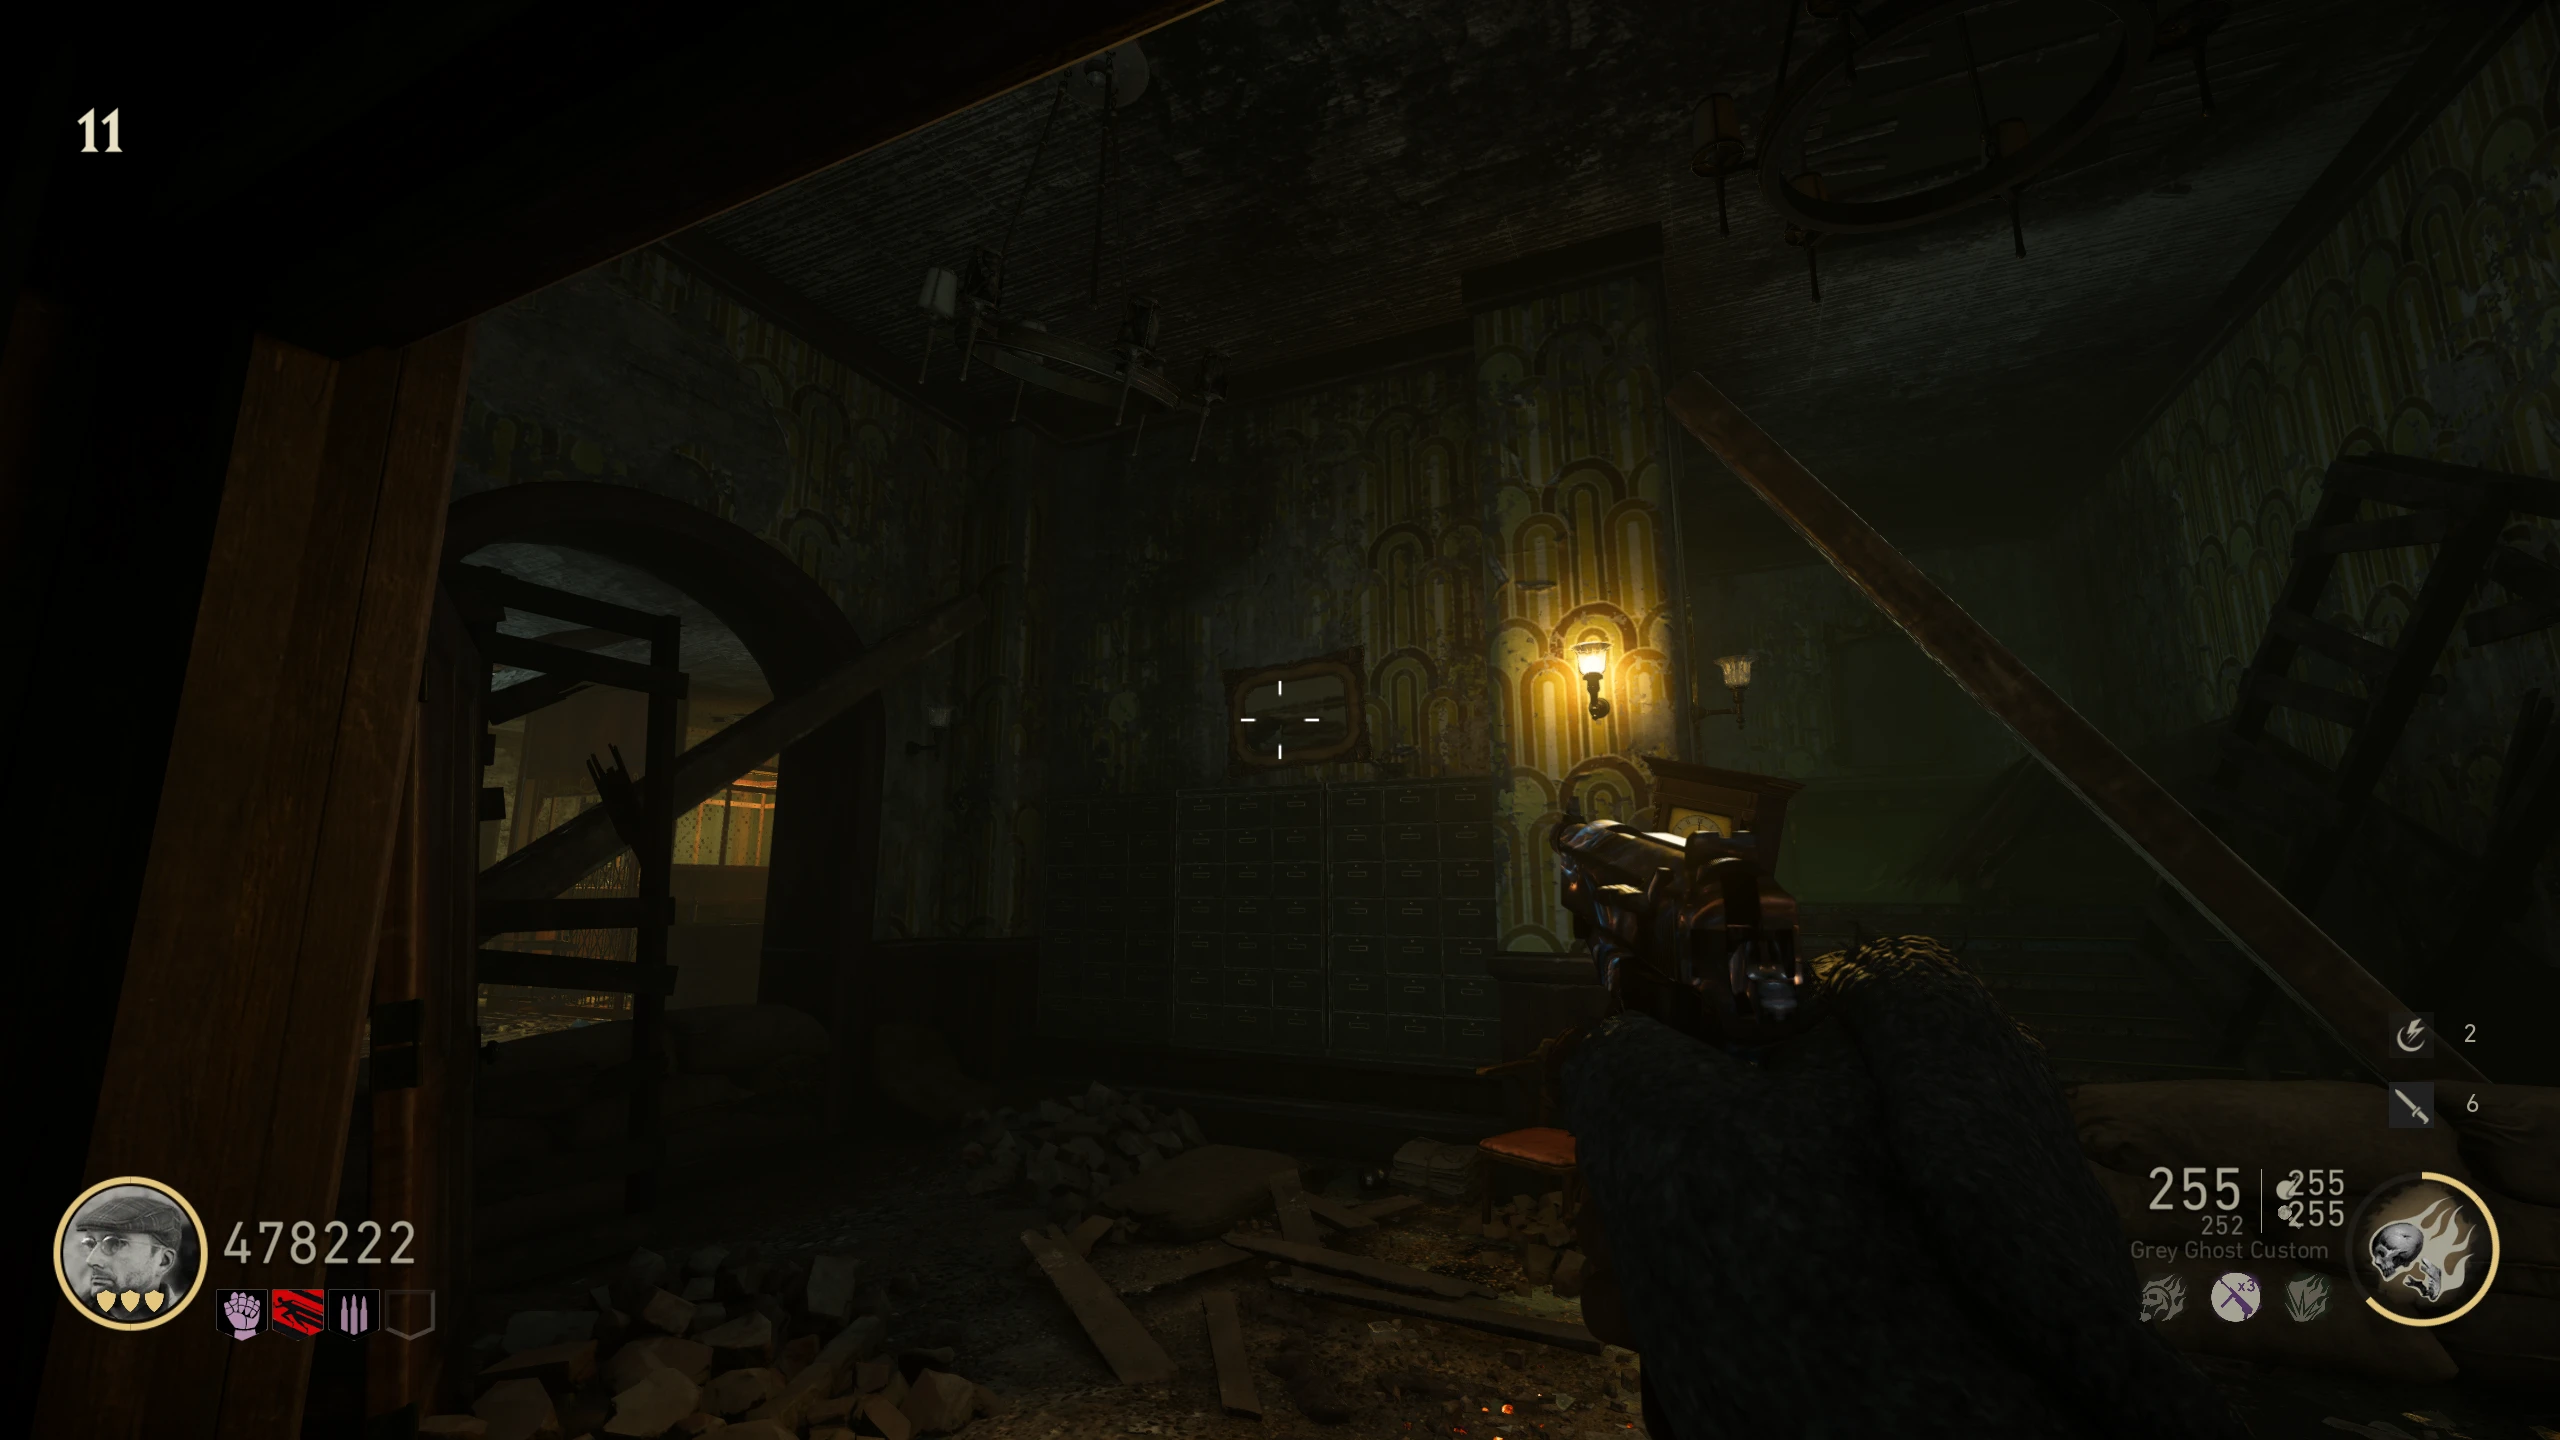
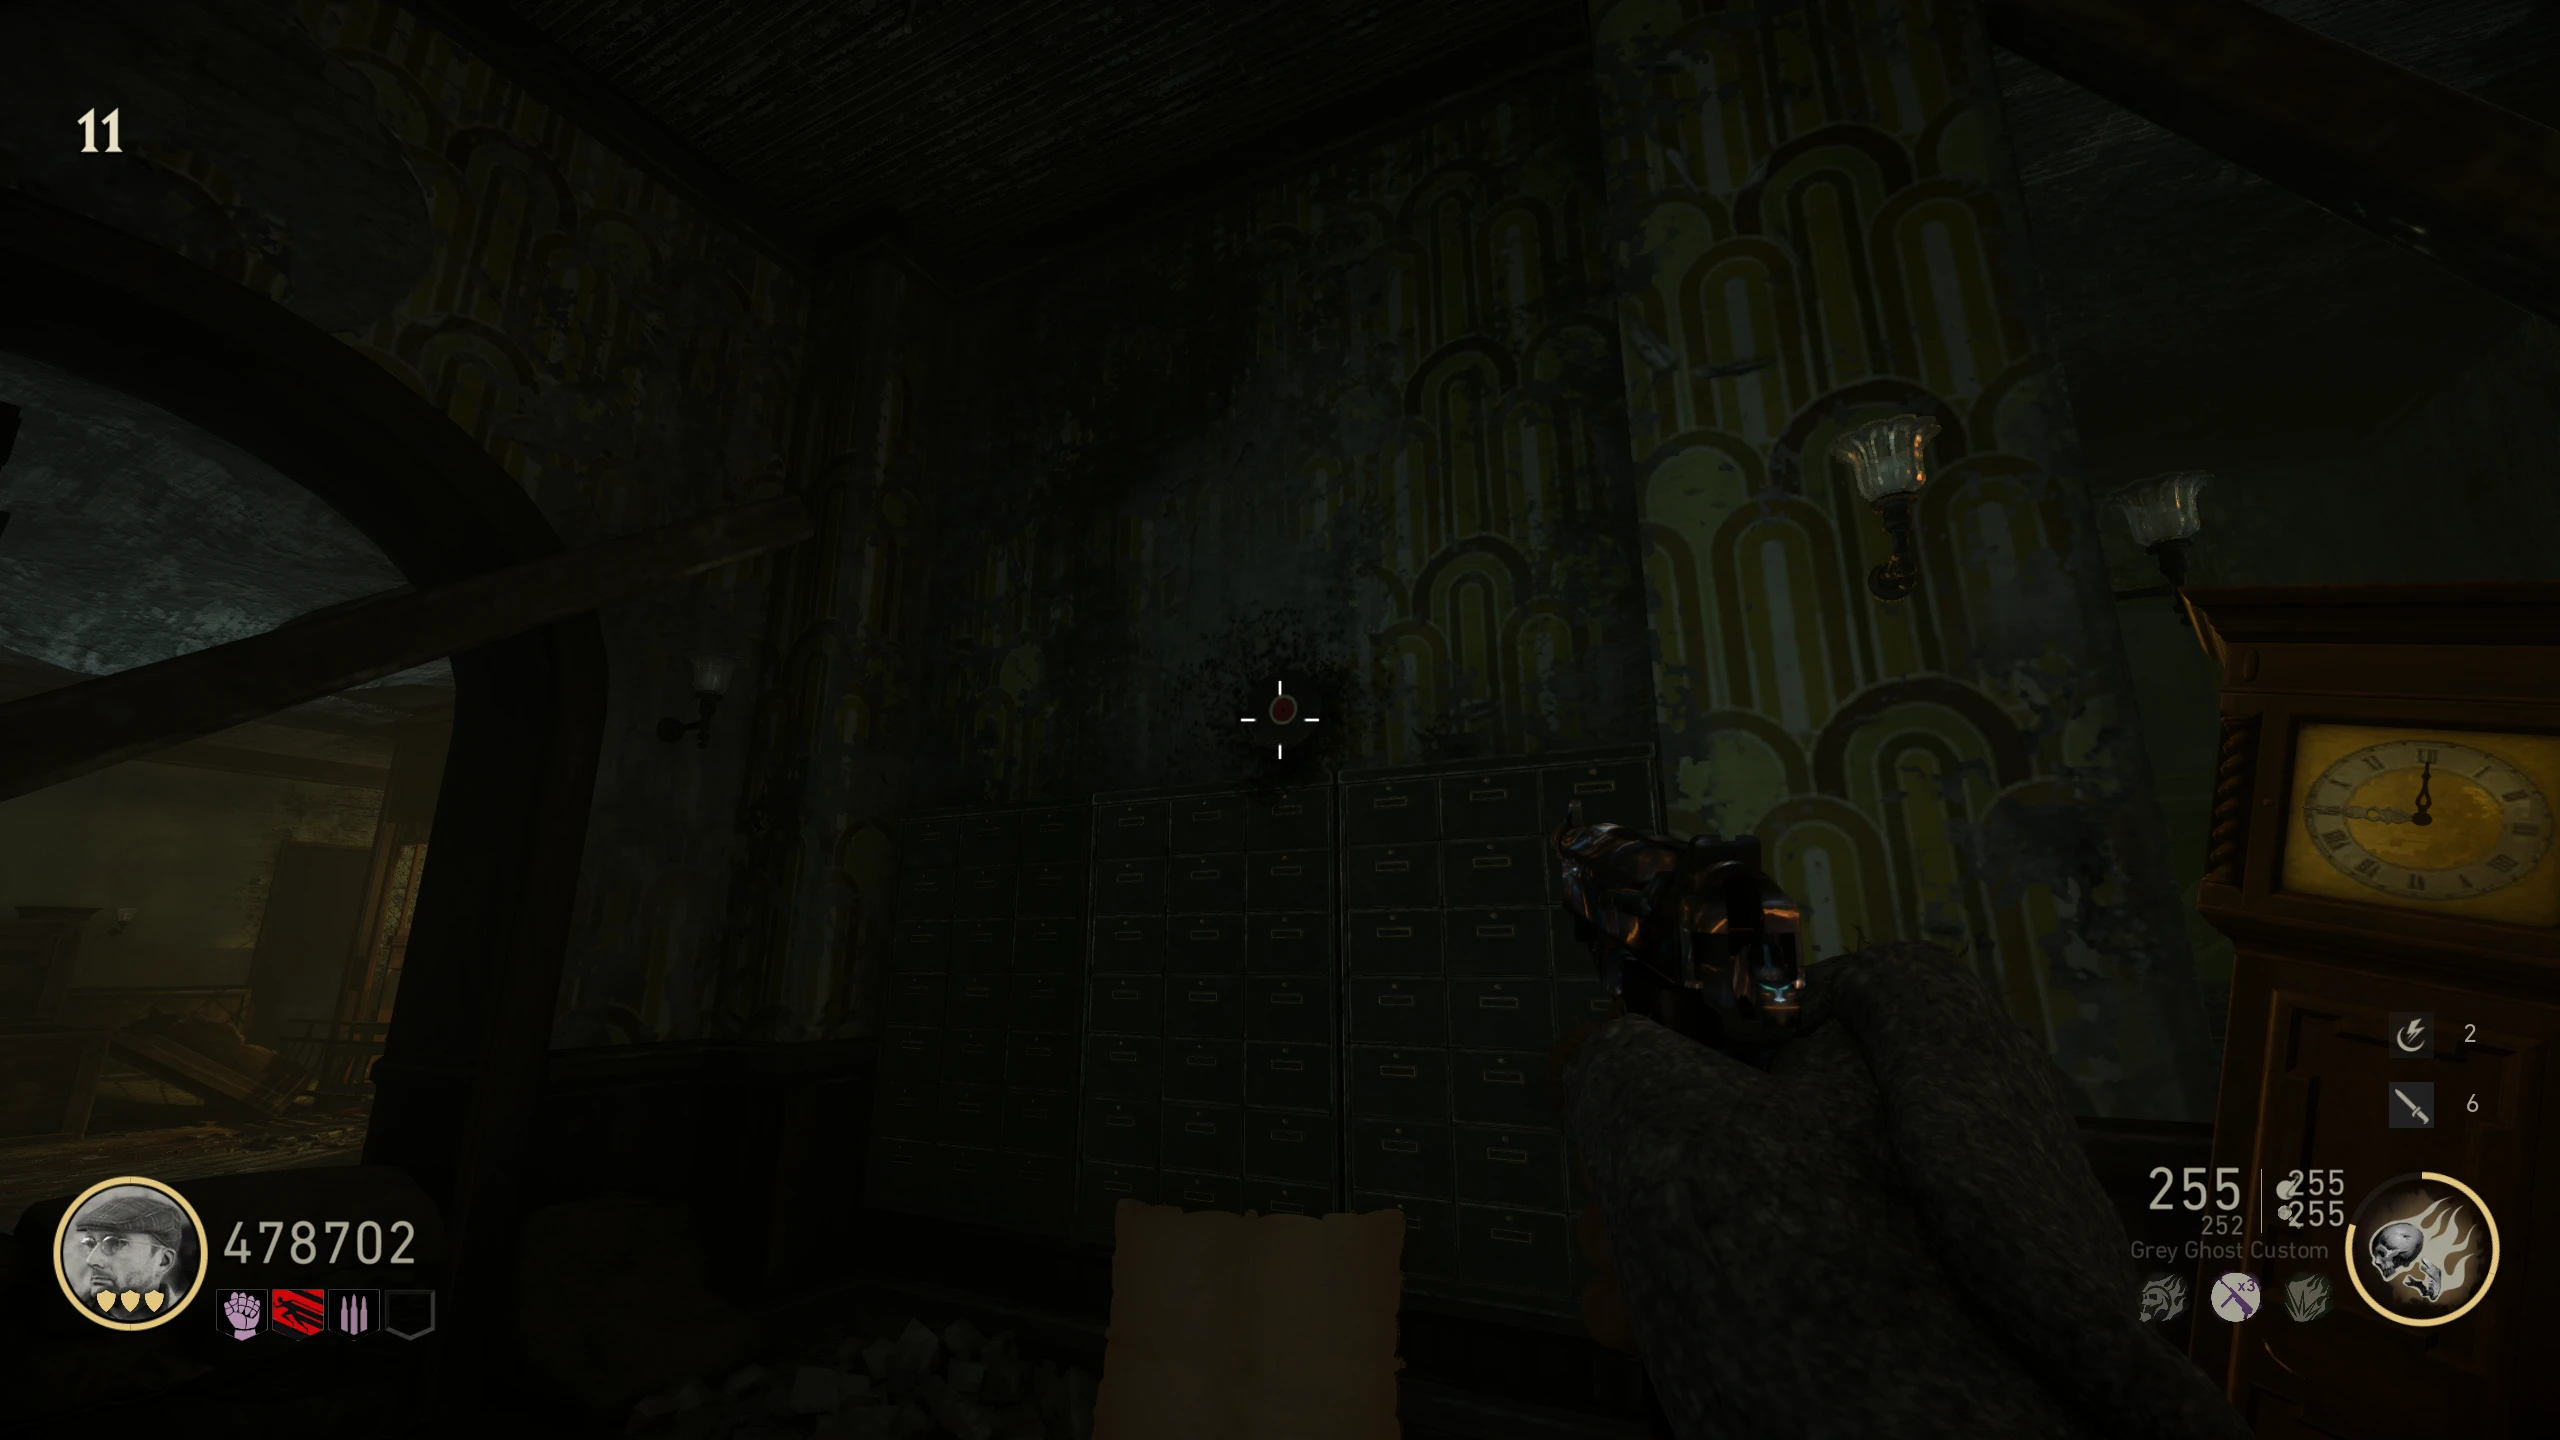
- In the basement of the 'Apartments' (same room as the Wunderbuss), shoot the Cash Register on a cabinet with the Wunderbuss. It should fly open, revealing a picture with numbers on the underside of the cash drawer.
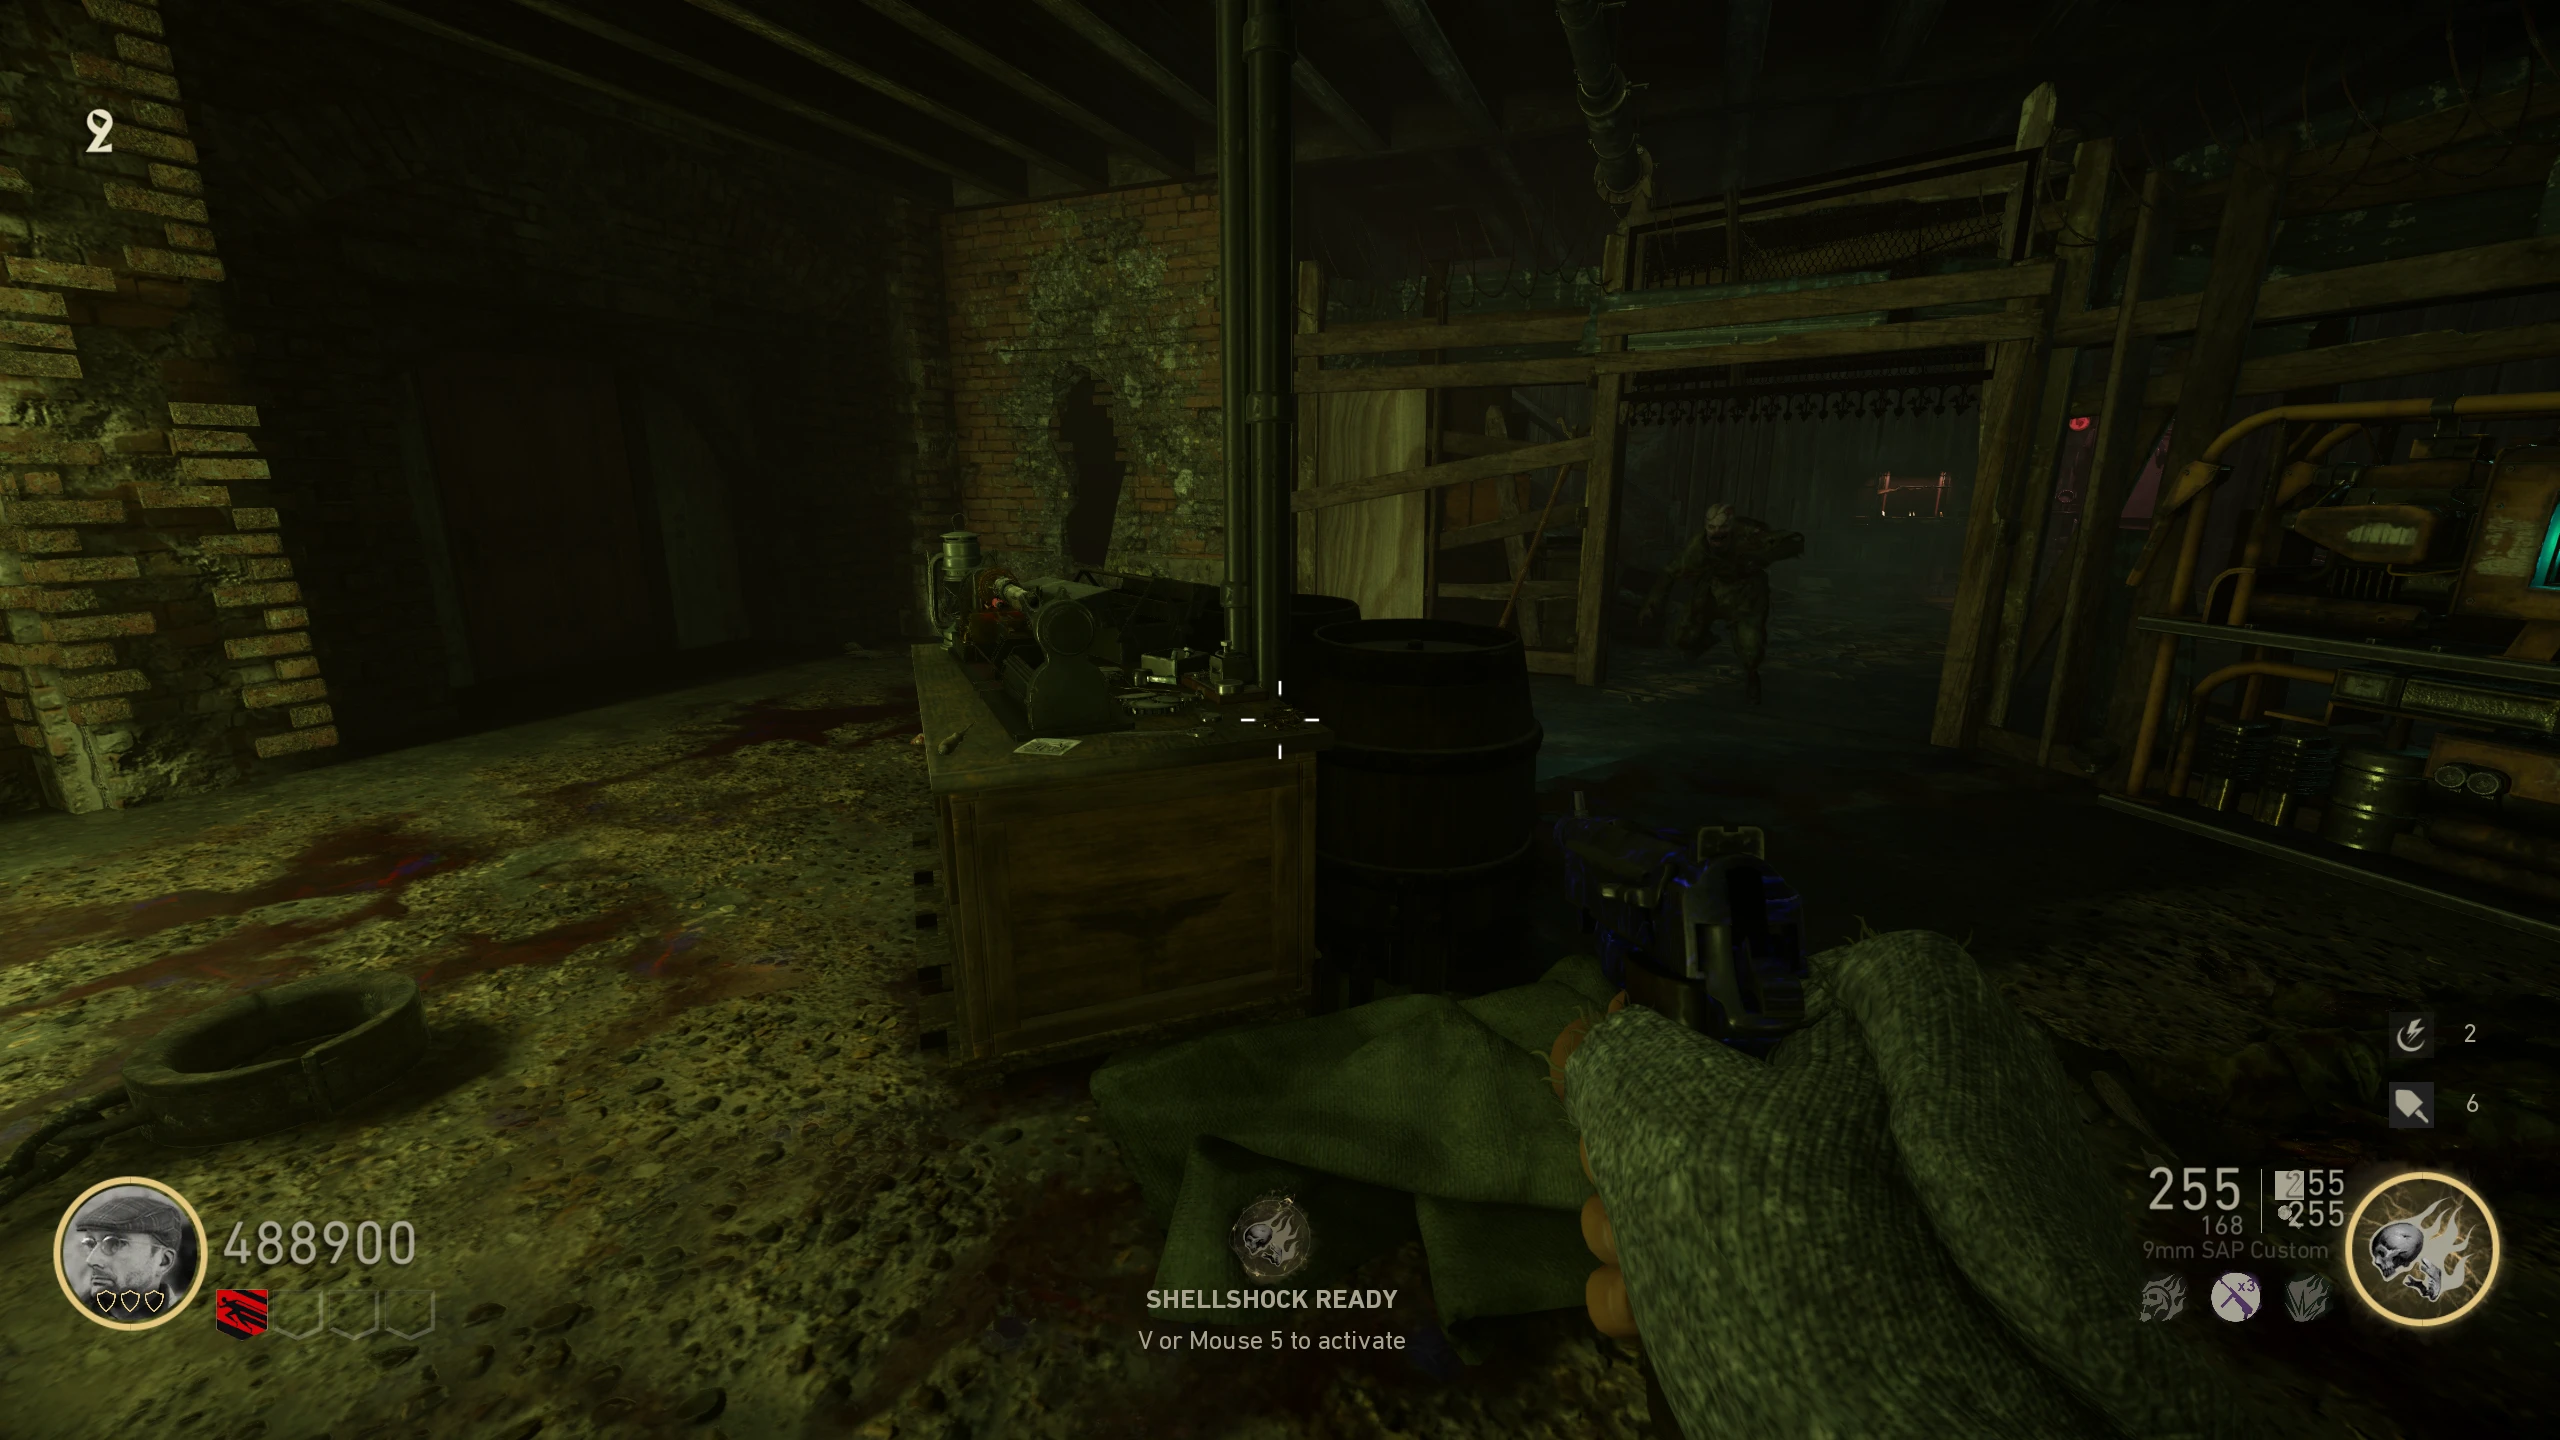
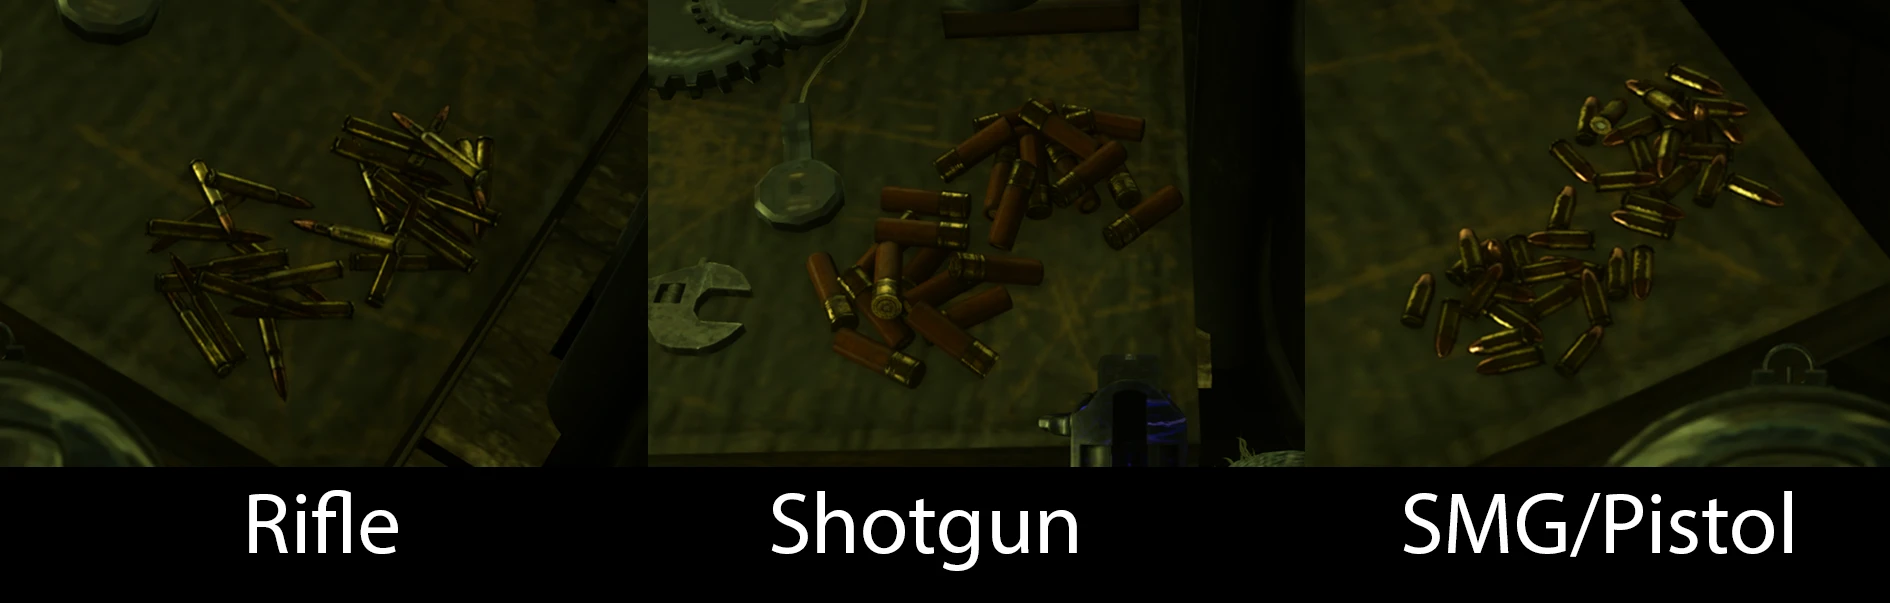
- In the same room, note the ammo type on the table (all types). You'll need this for the next step.
- Enter these numbers into the Radio on 'Main Street.' You should hear back from the Smuggler.
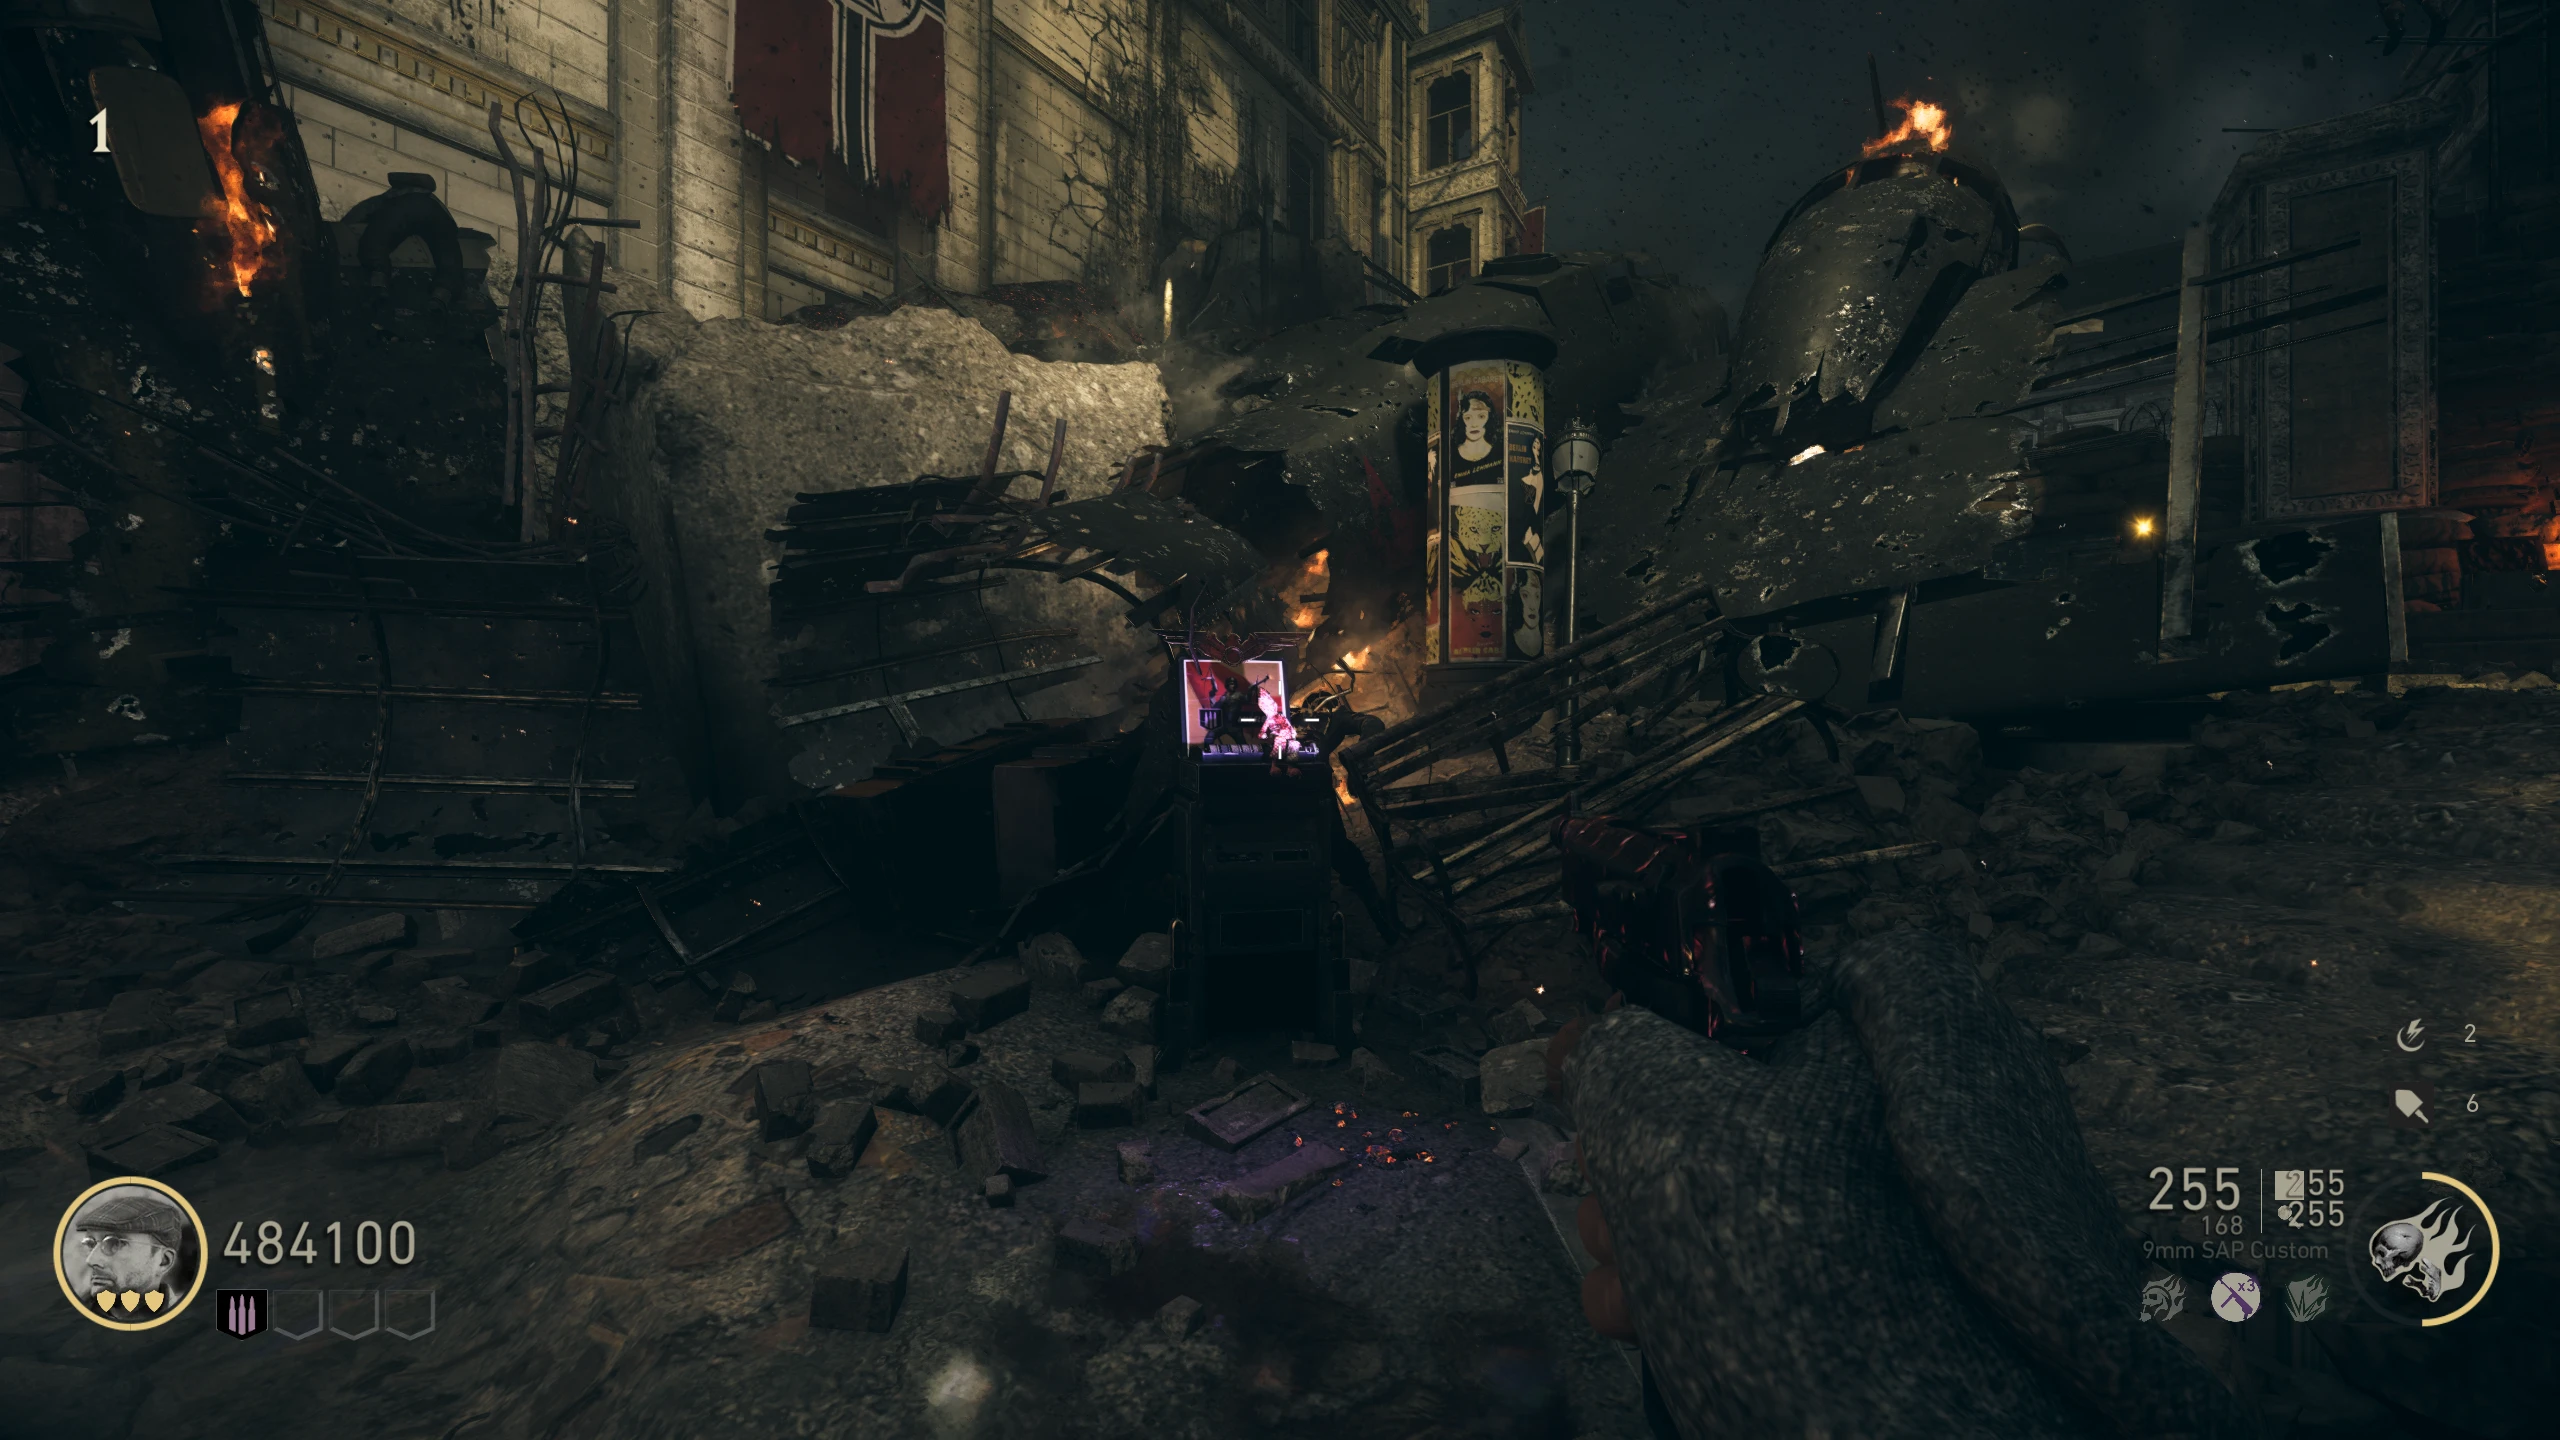
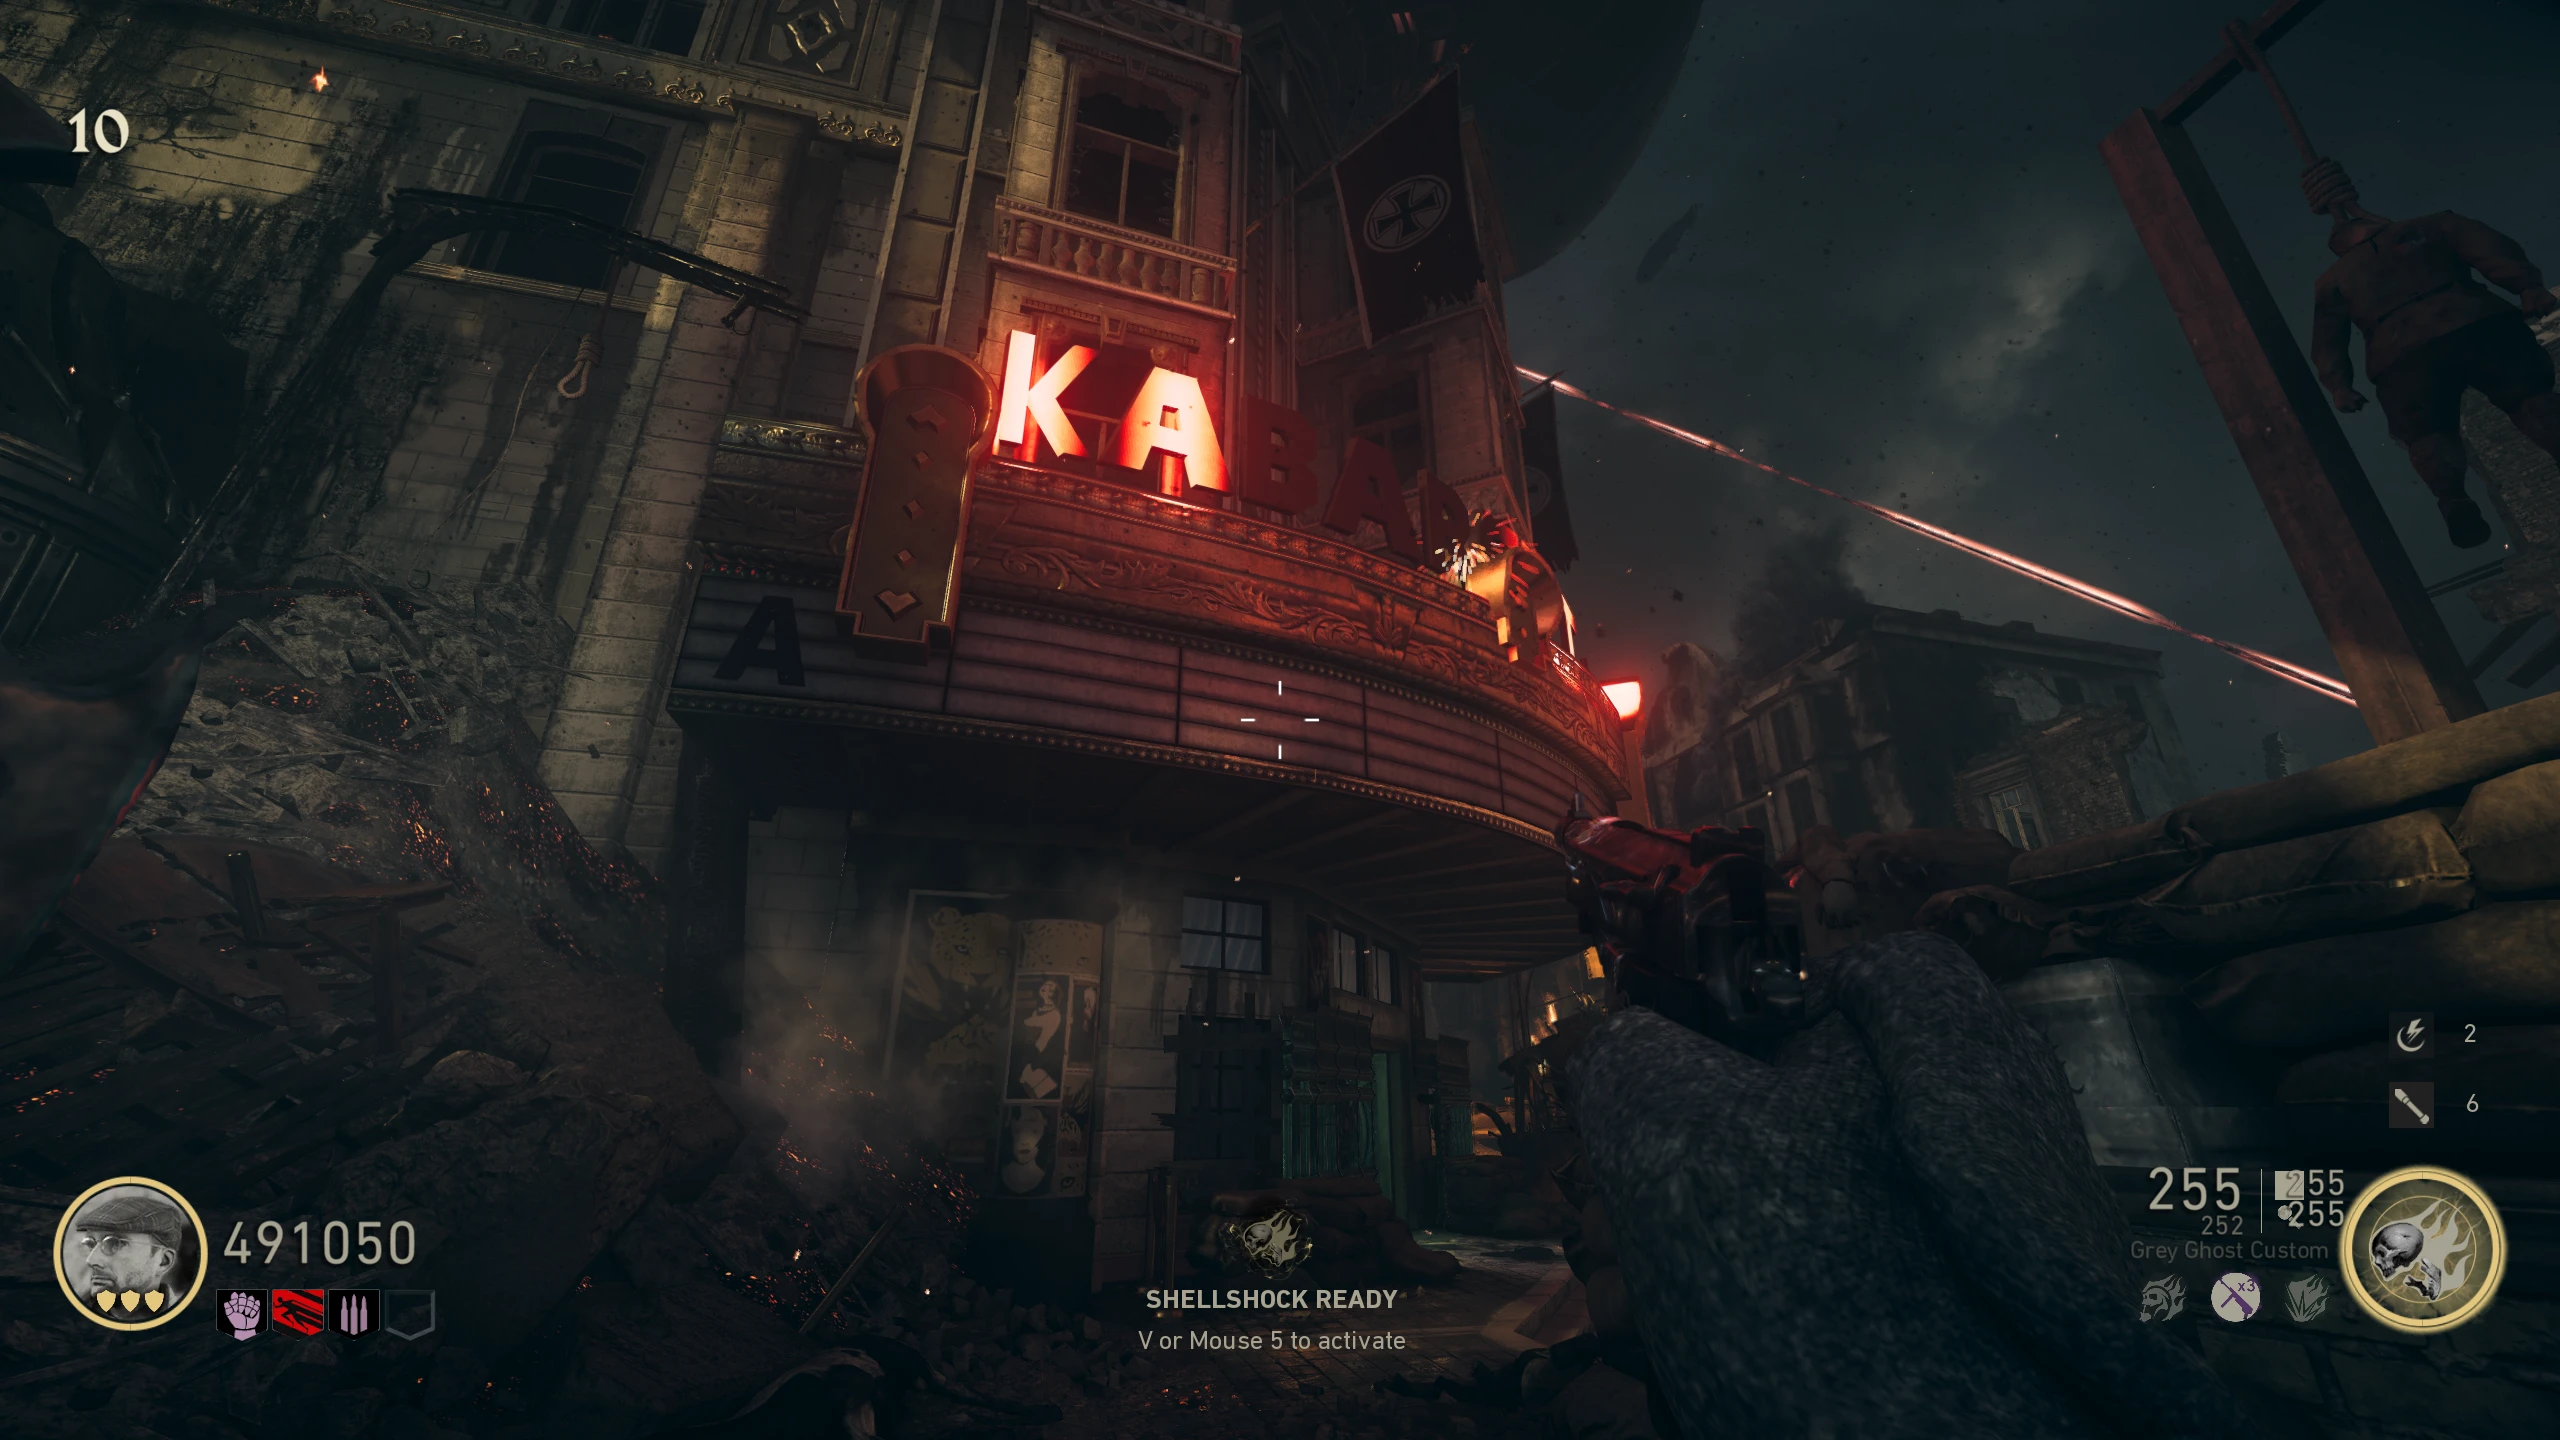
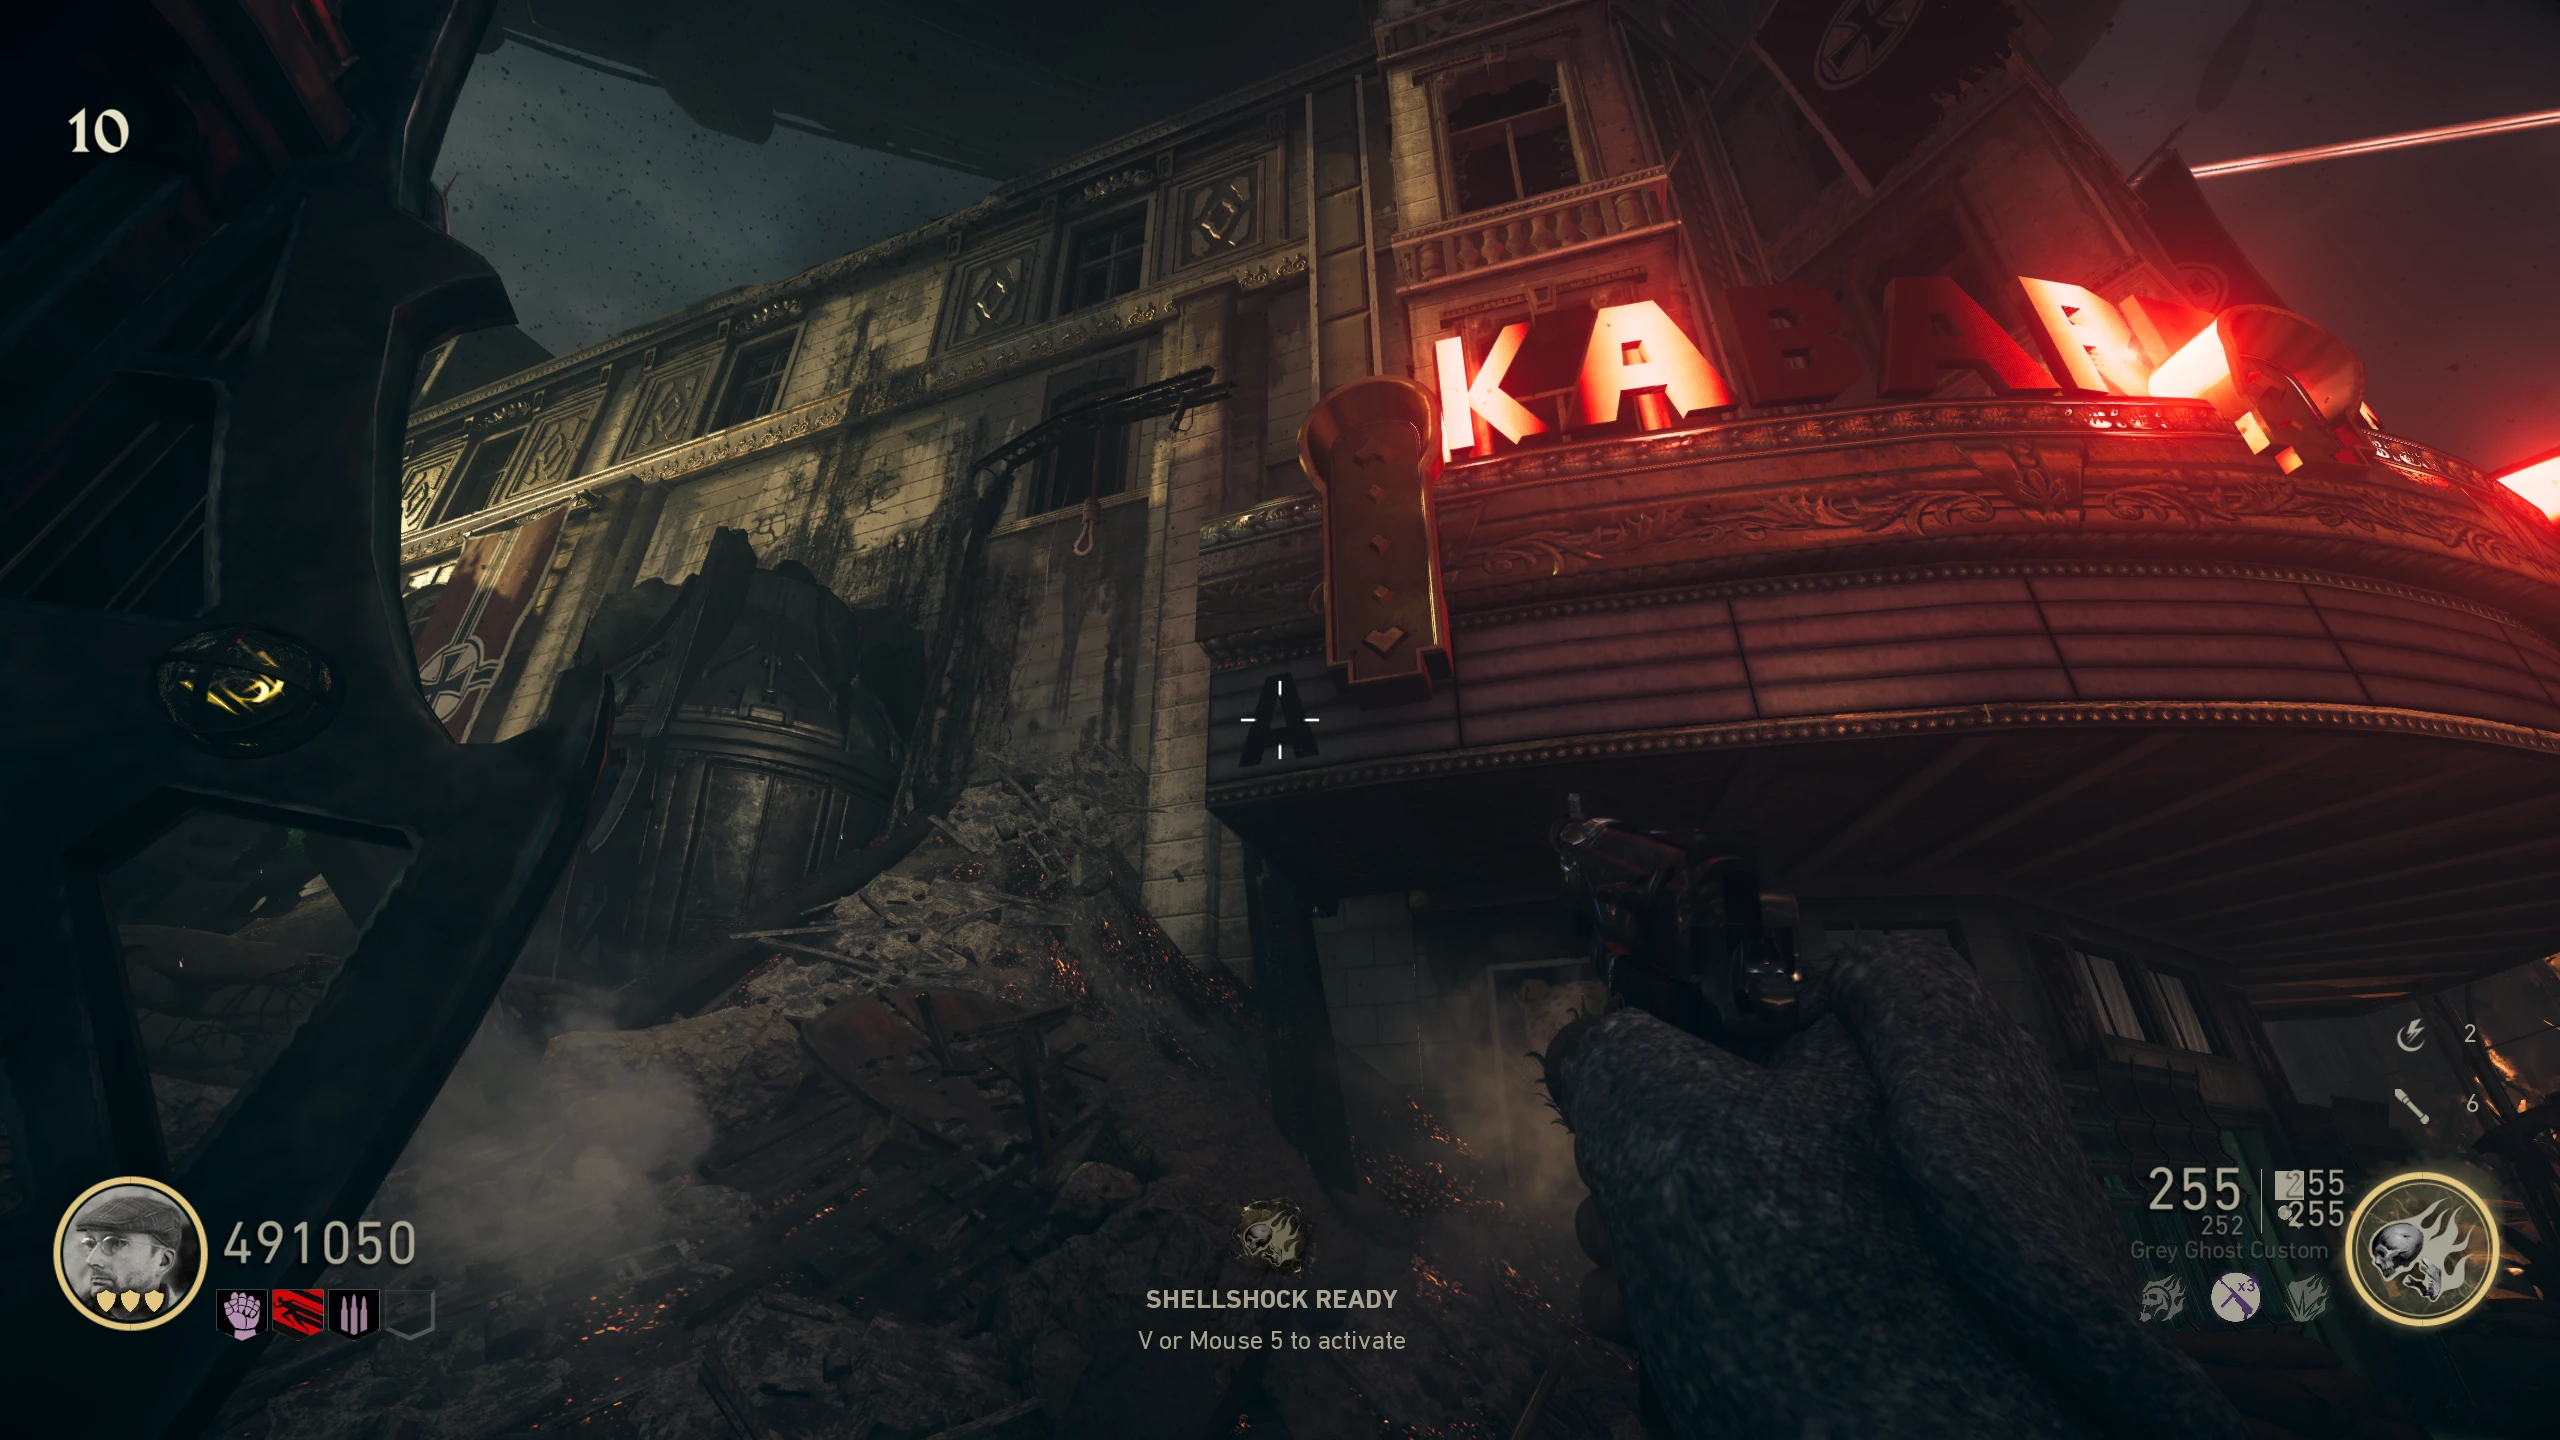
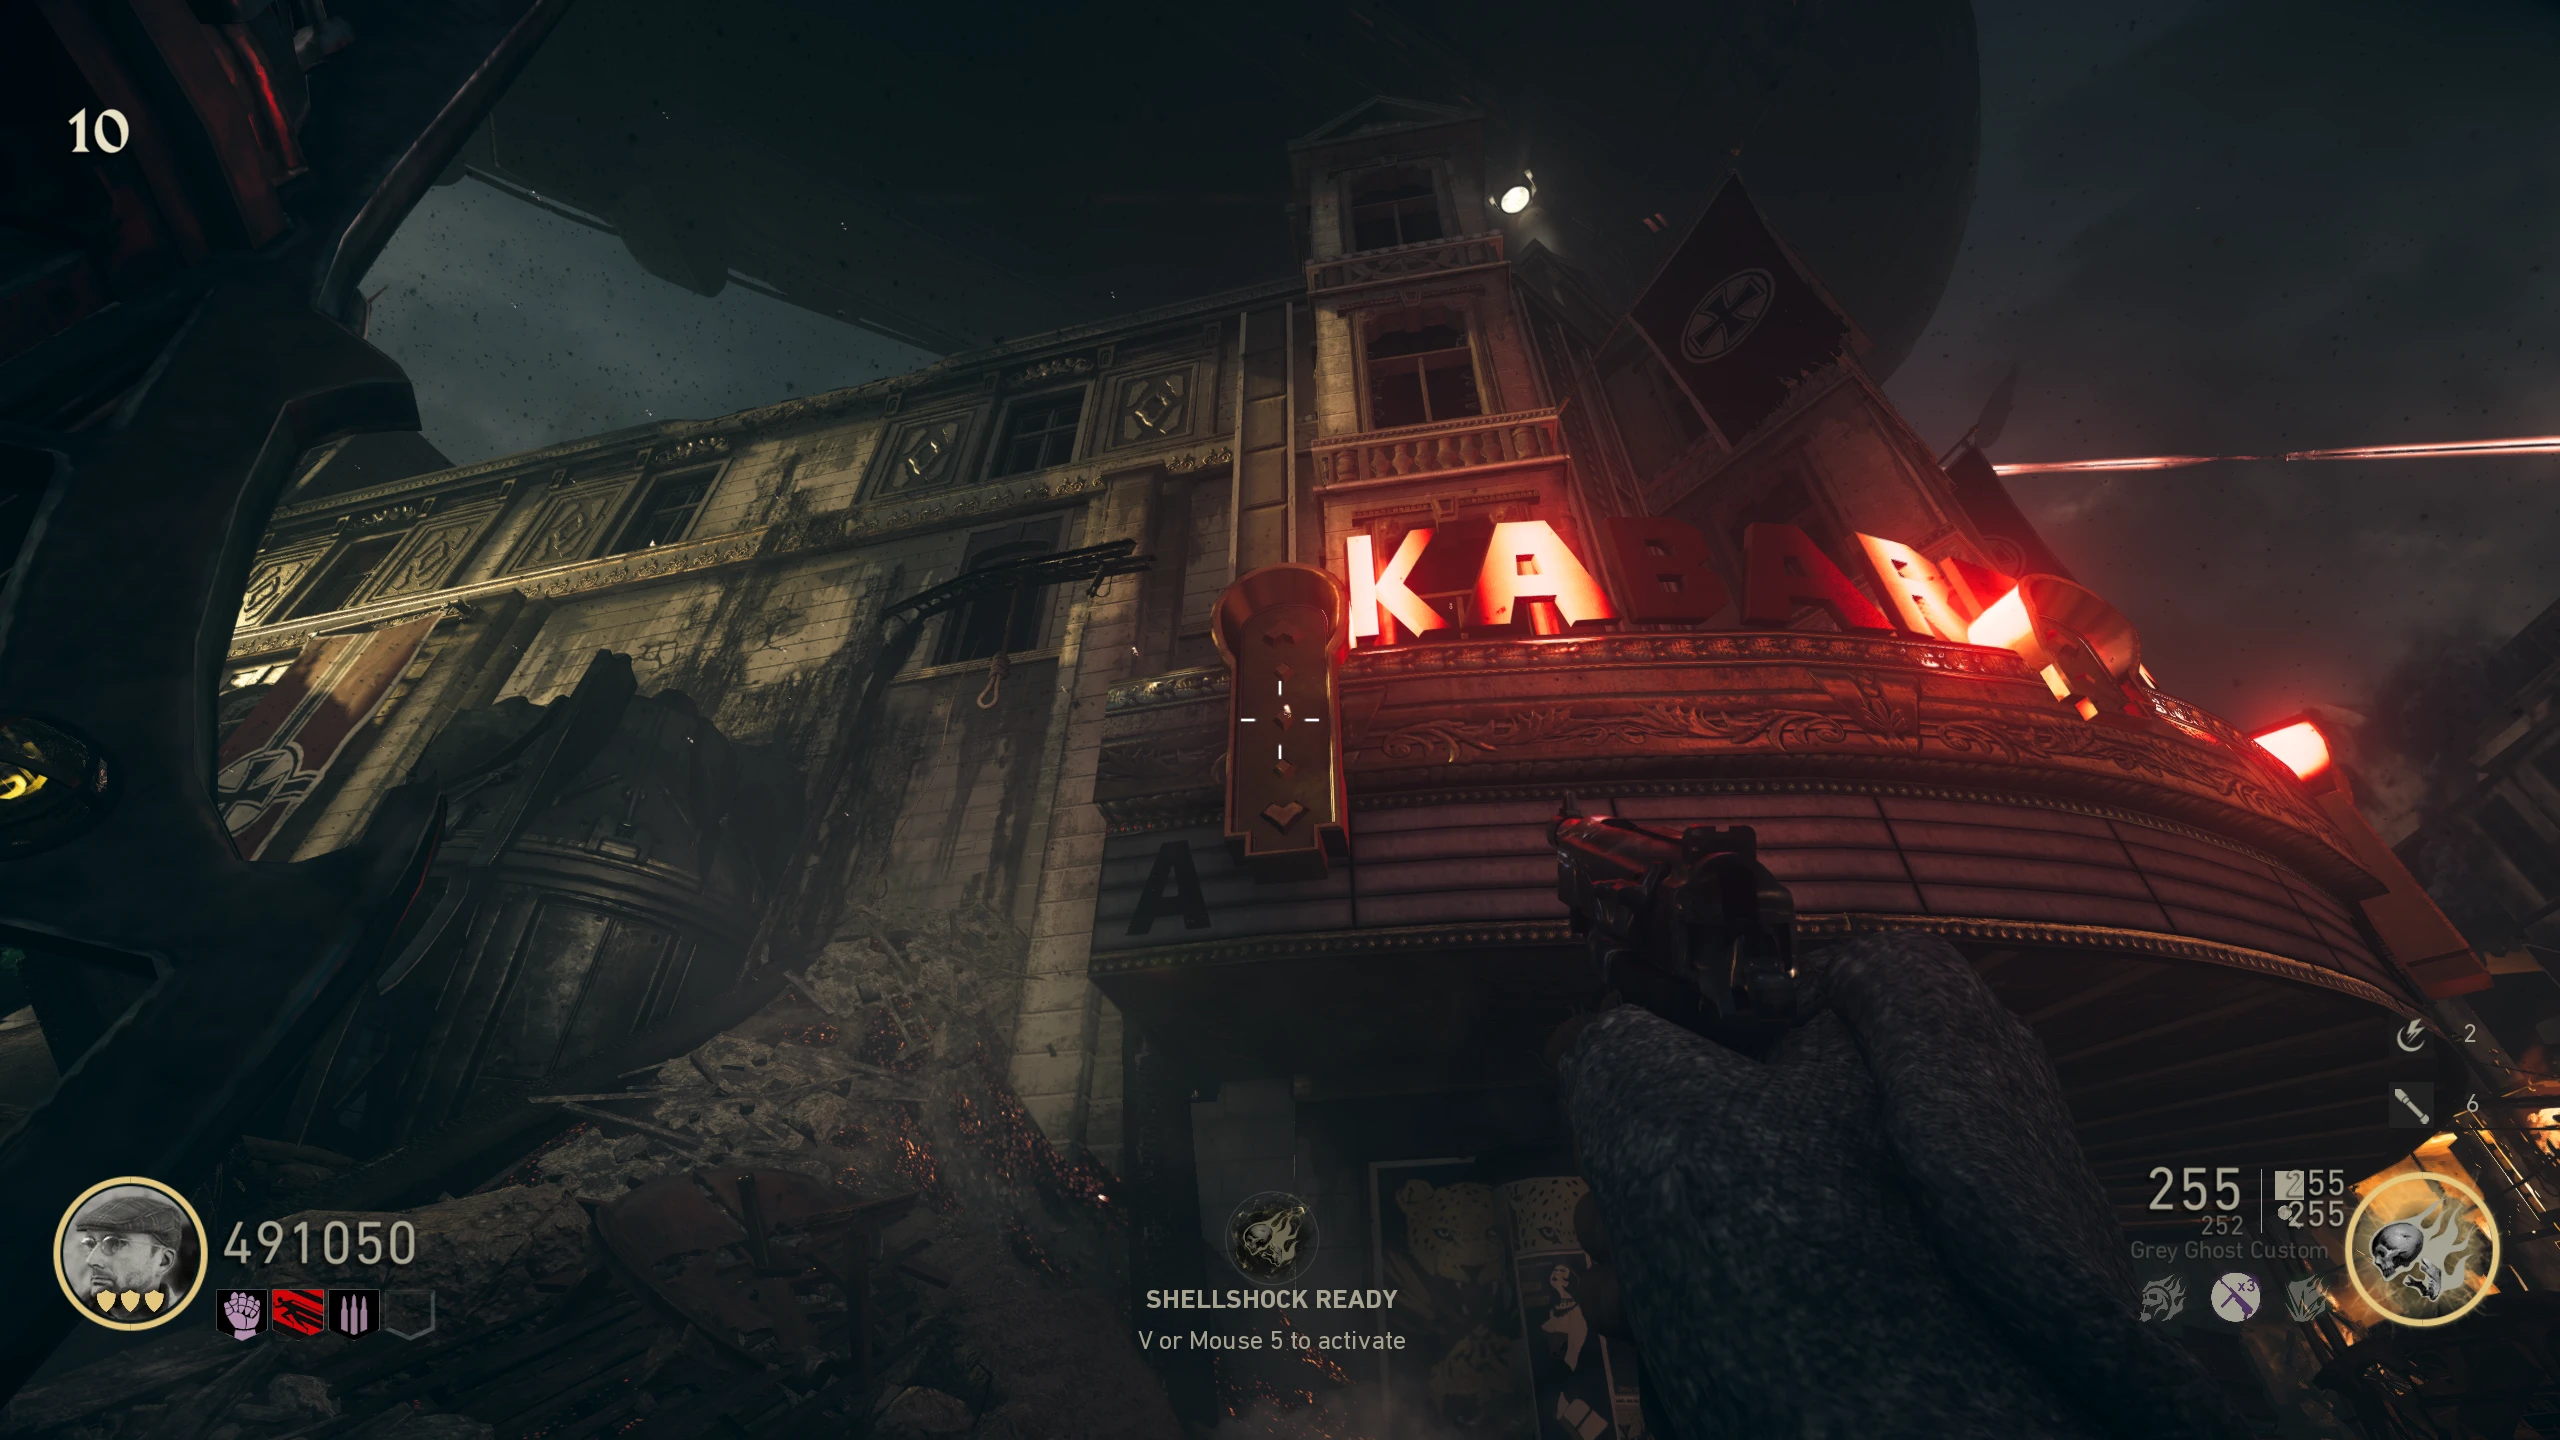
- In the 'Plaza,' shoot open the sewer panel near the backdoor of the 'Cabaret.' You must now give the Smuggler one of the following weapons, depending on the ammo on the table.
- If you give him a Pack-a-Punched version of the weapon he wants, it will slightly change the ending of this quest (in a story way, not gameplay).
- Weapons (others may work, but these are the easiest to obtain):
- If done correctly, you will see "Armed the Smuggler" on screen.
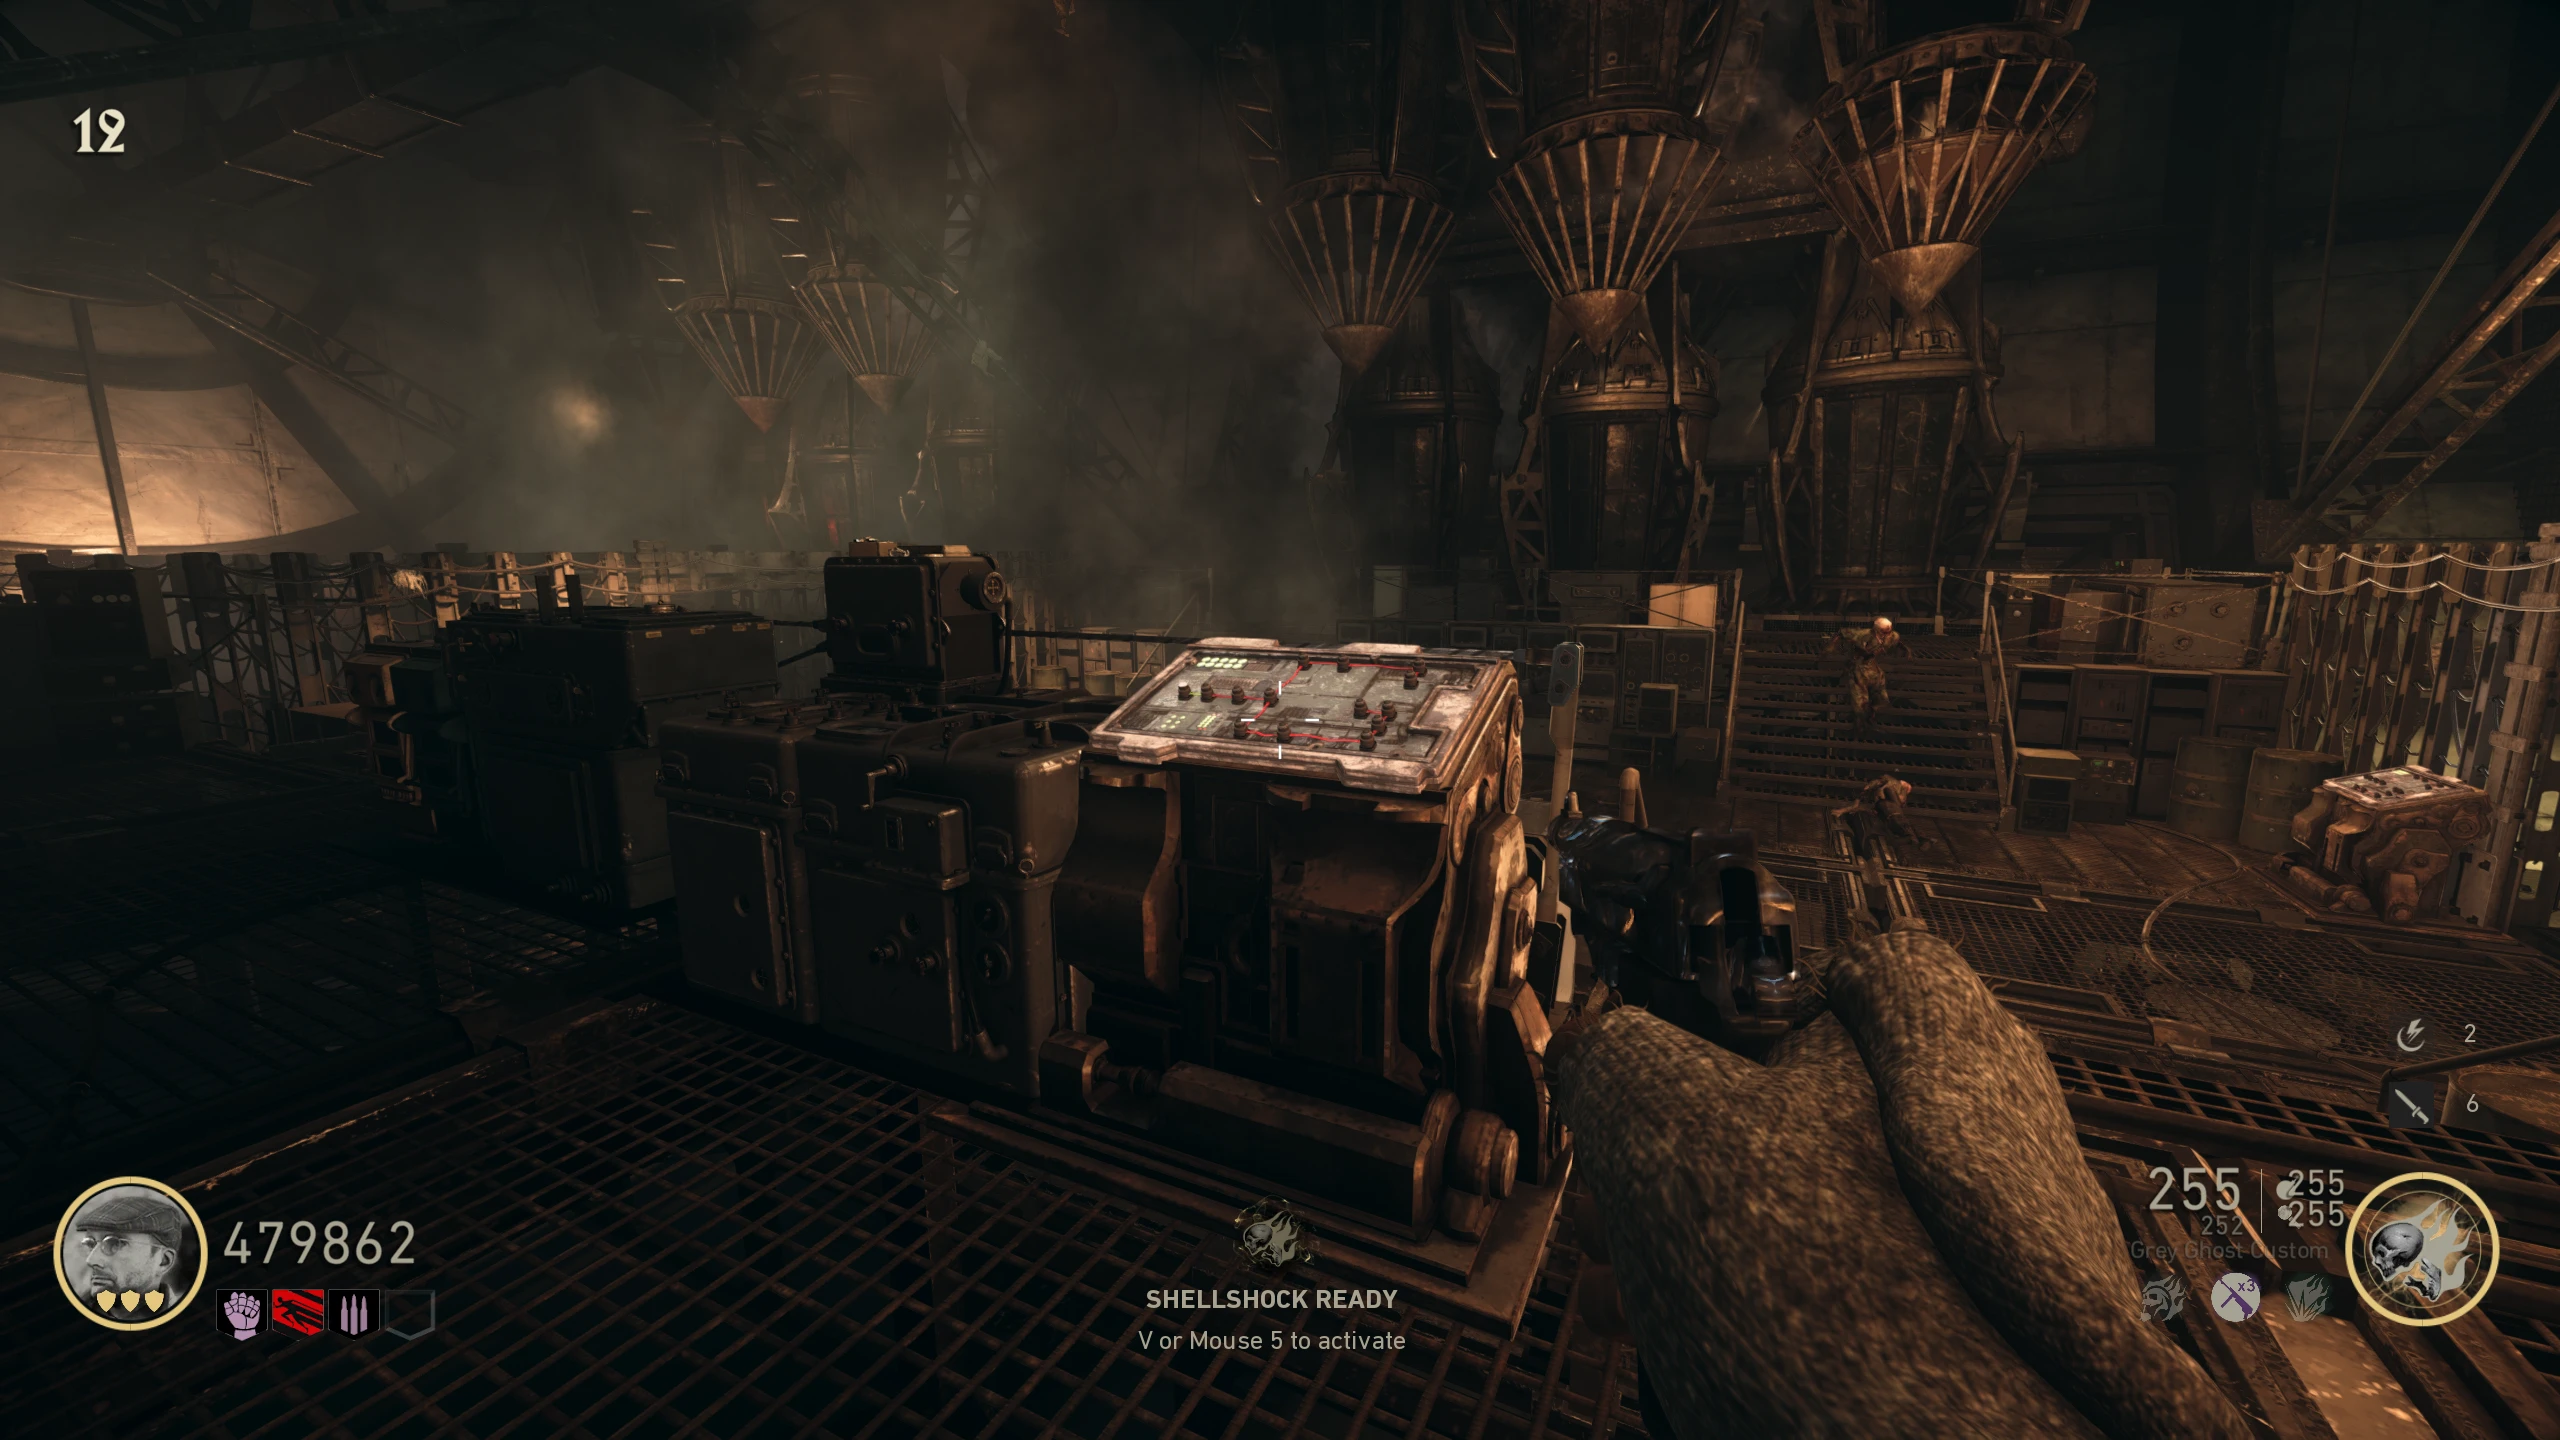
- Wait two full rounds. Head to 'Main Street,' and shoot open the sewer panel in front of the 'Cabaret' (if you can't open it, wait another round).
- You will need to drop him 1500 Jolts. "Paid the Smuggler" should appear on-screen, and he won't take any more money.
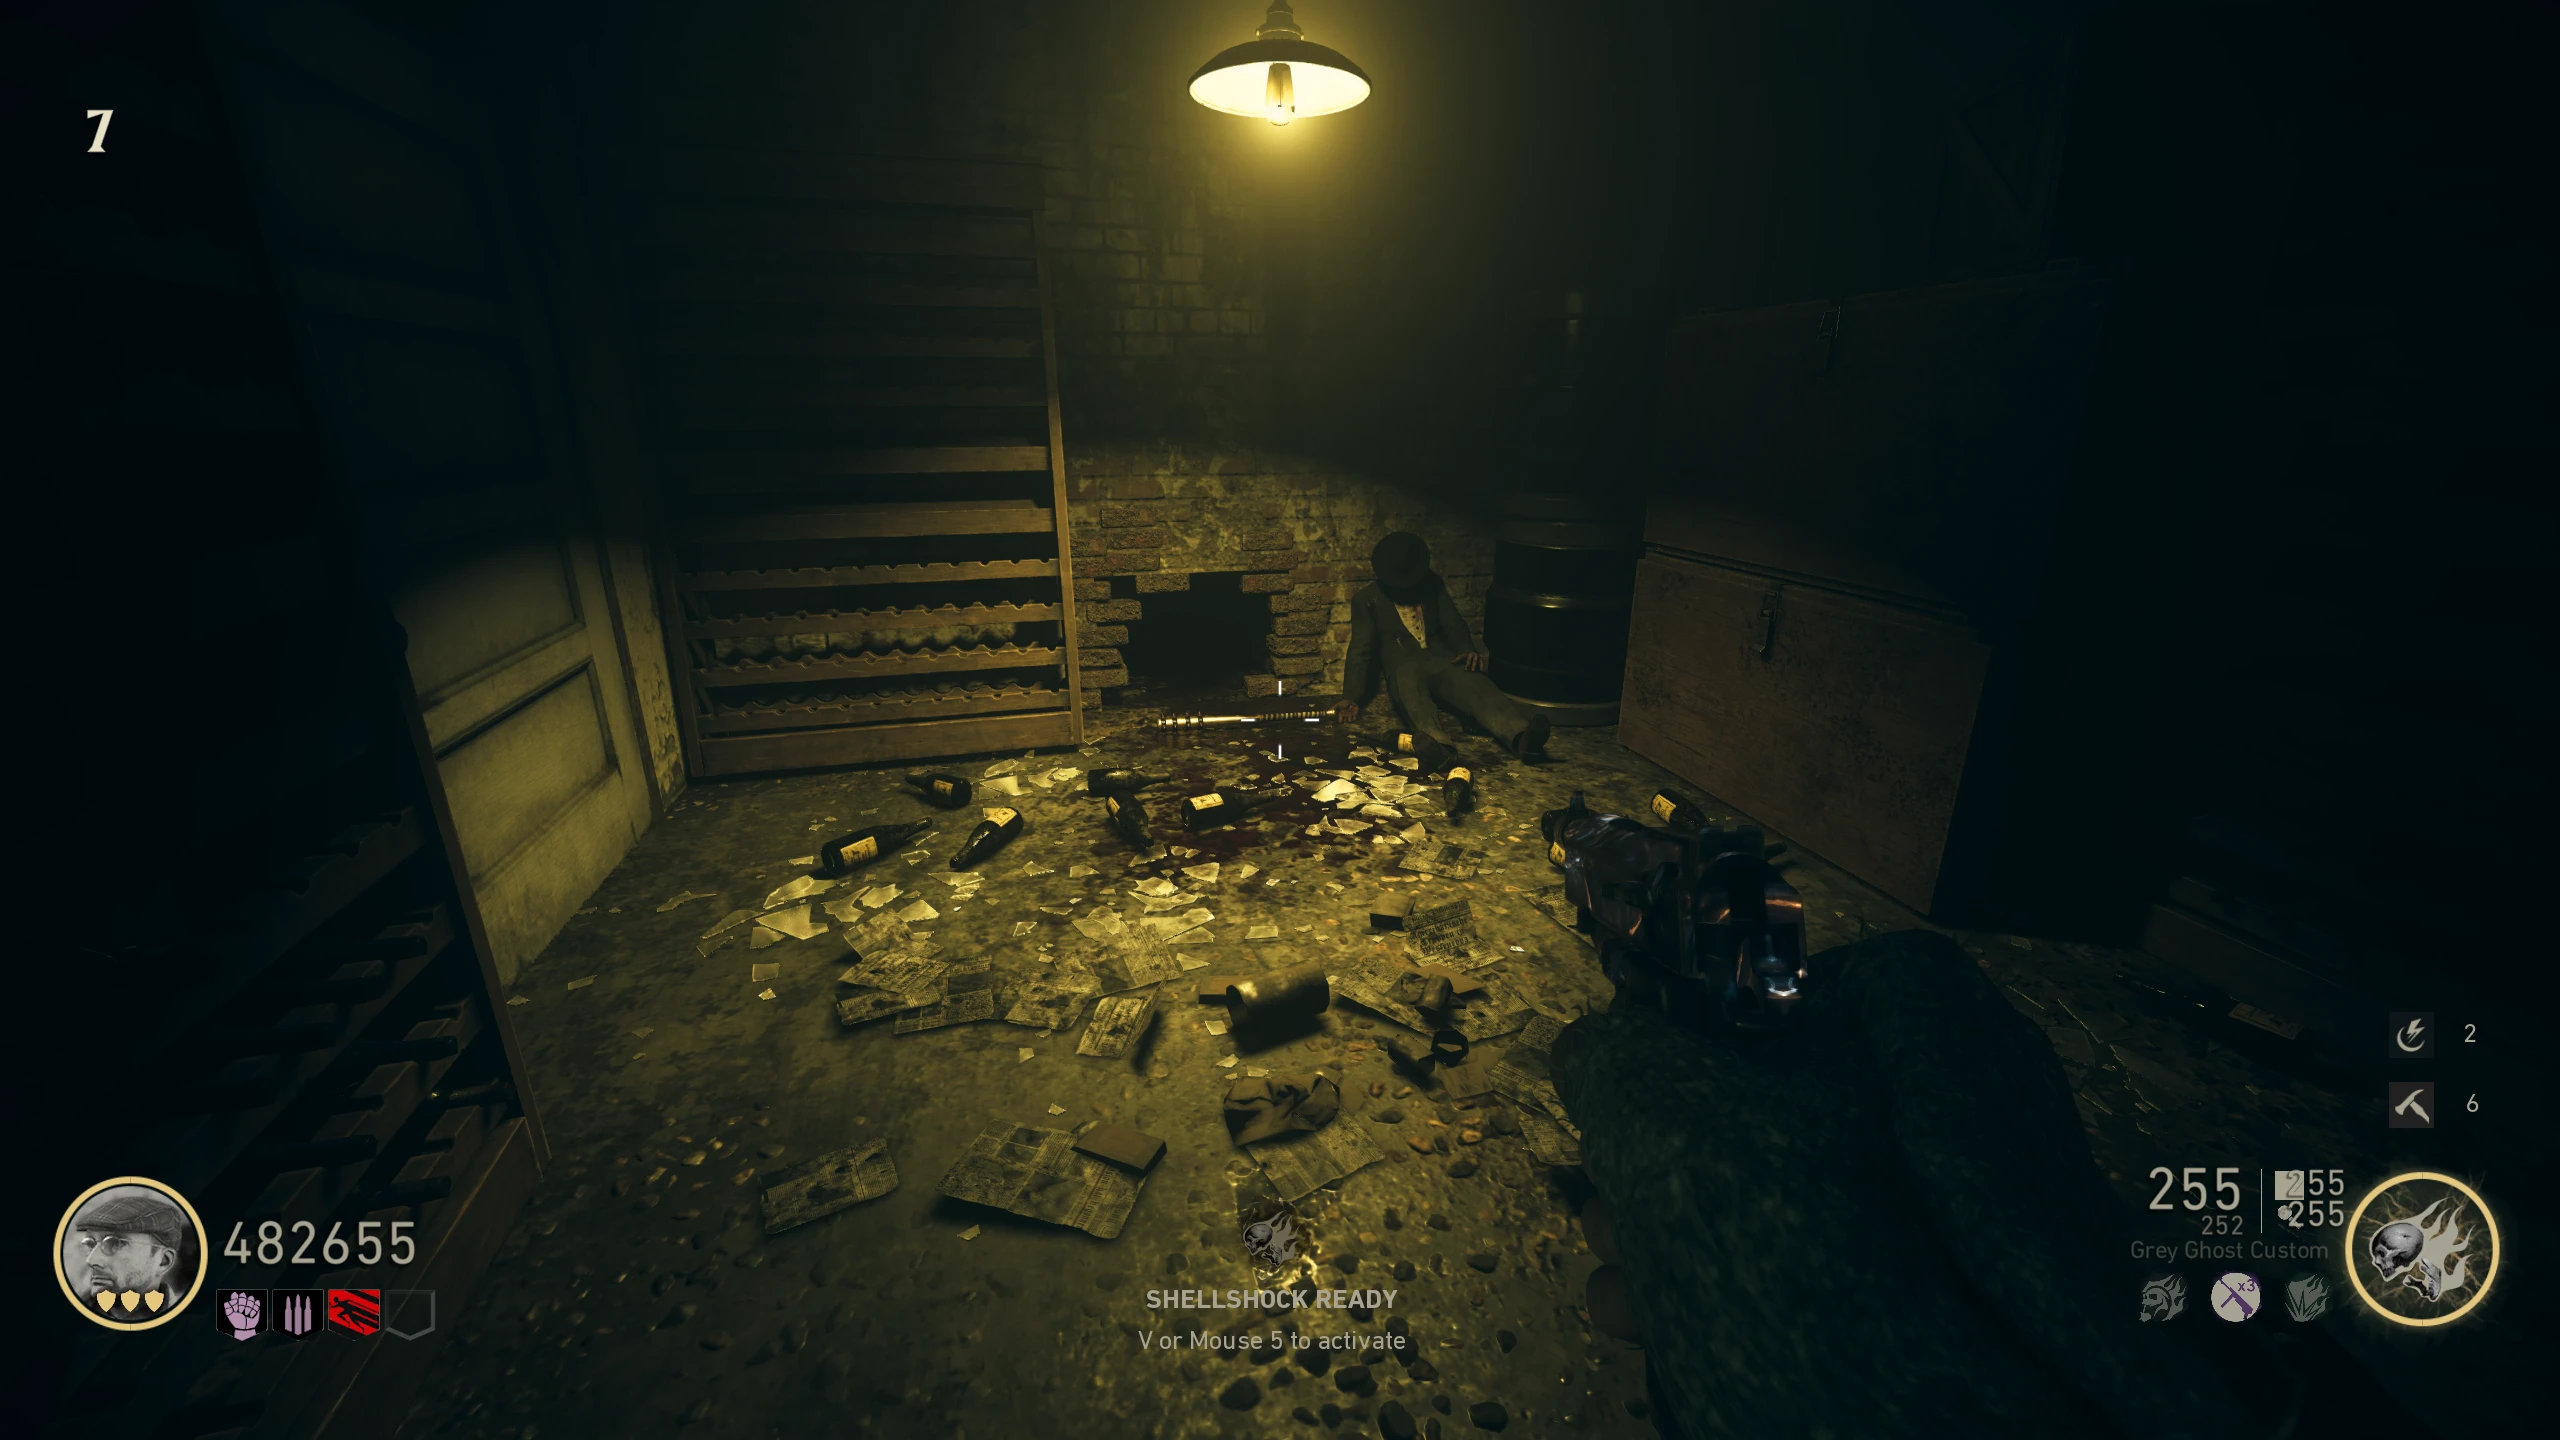
- Wait about 45 seconds, then go to the Wunderbuss room and melee the wooden door three times. A Wustling will break it down; the Smuggler will be dead inside. (If you gave him a Pack-a-Punched weapon, the Wustling will be dead instead.)
- The Smuggler's Bat will be on the floor in the room for you to pick up.
Dancer's Dagger
The Dancer's Dagger (officially called the Perchta) is a stronger version of the Trench Knife. A heavy attack returns some health if you're not full, or a full armour piece if you are.
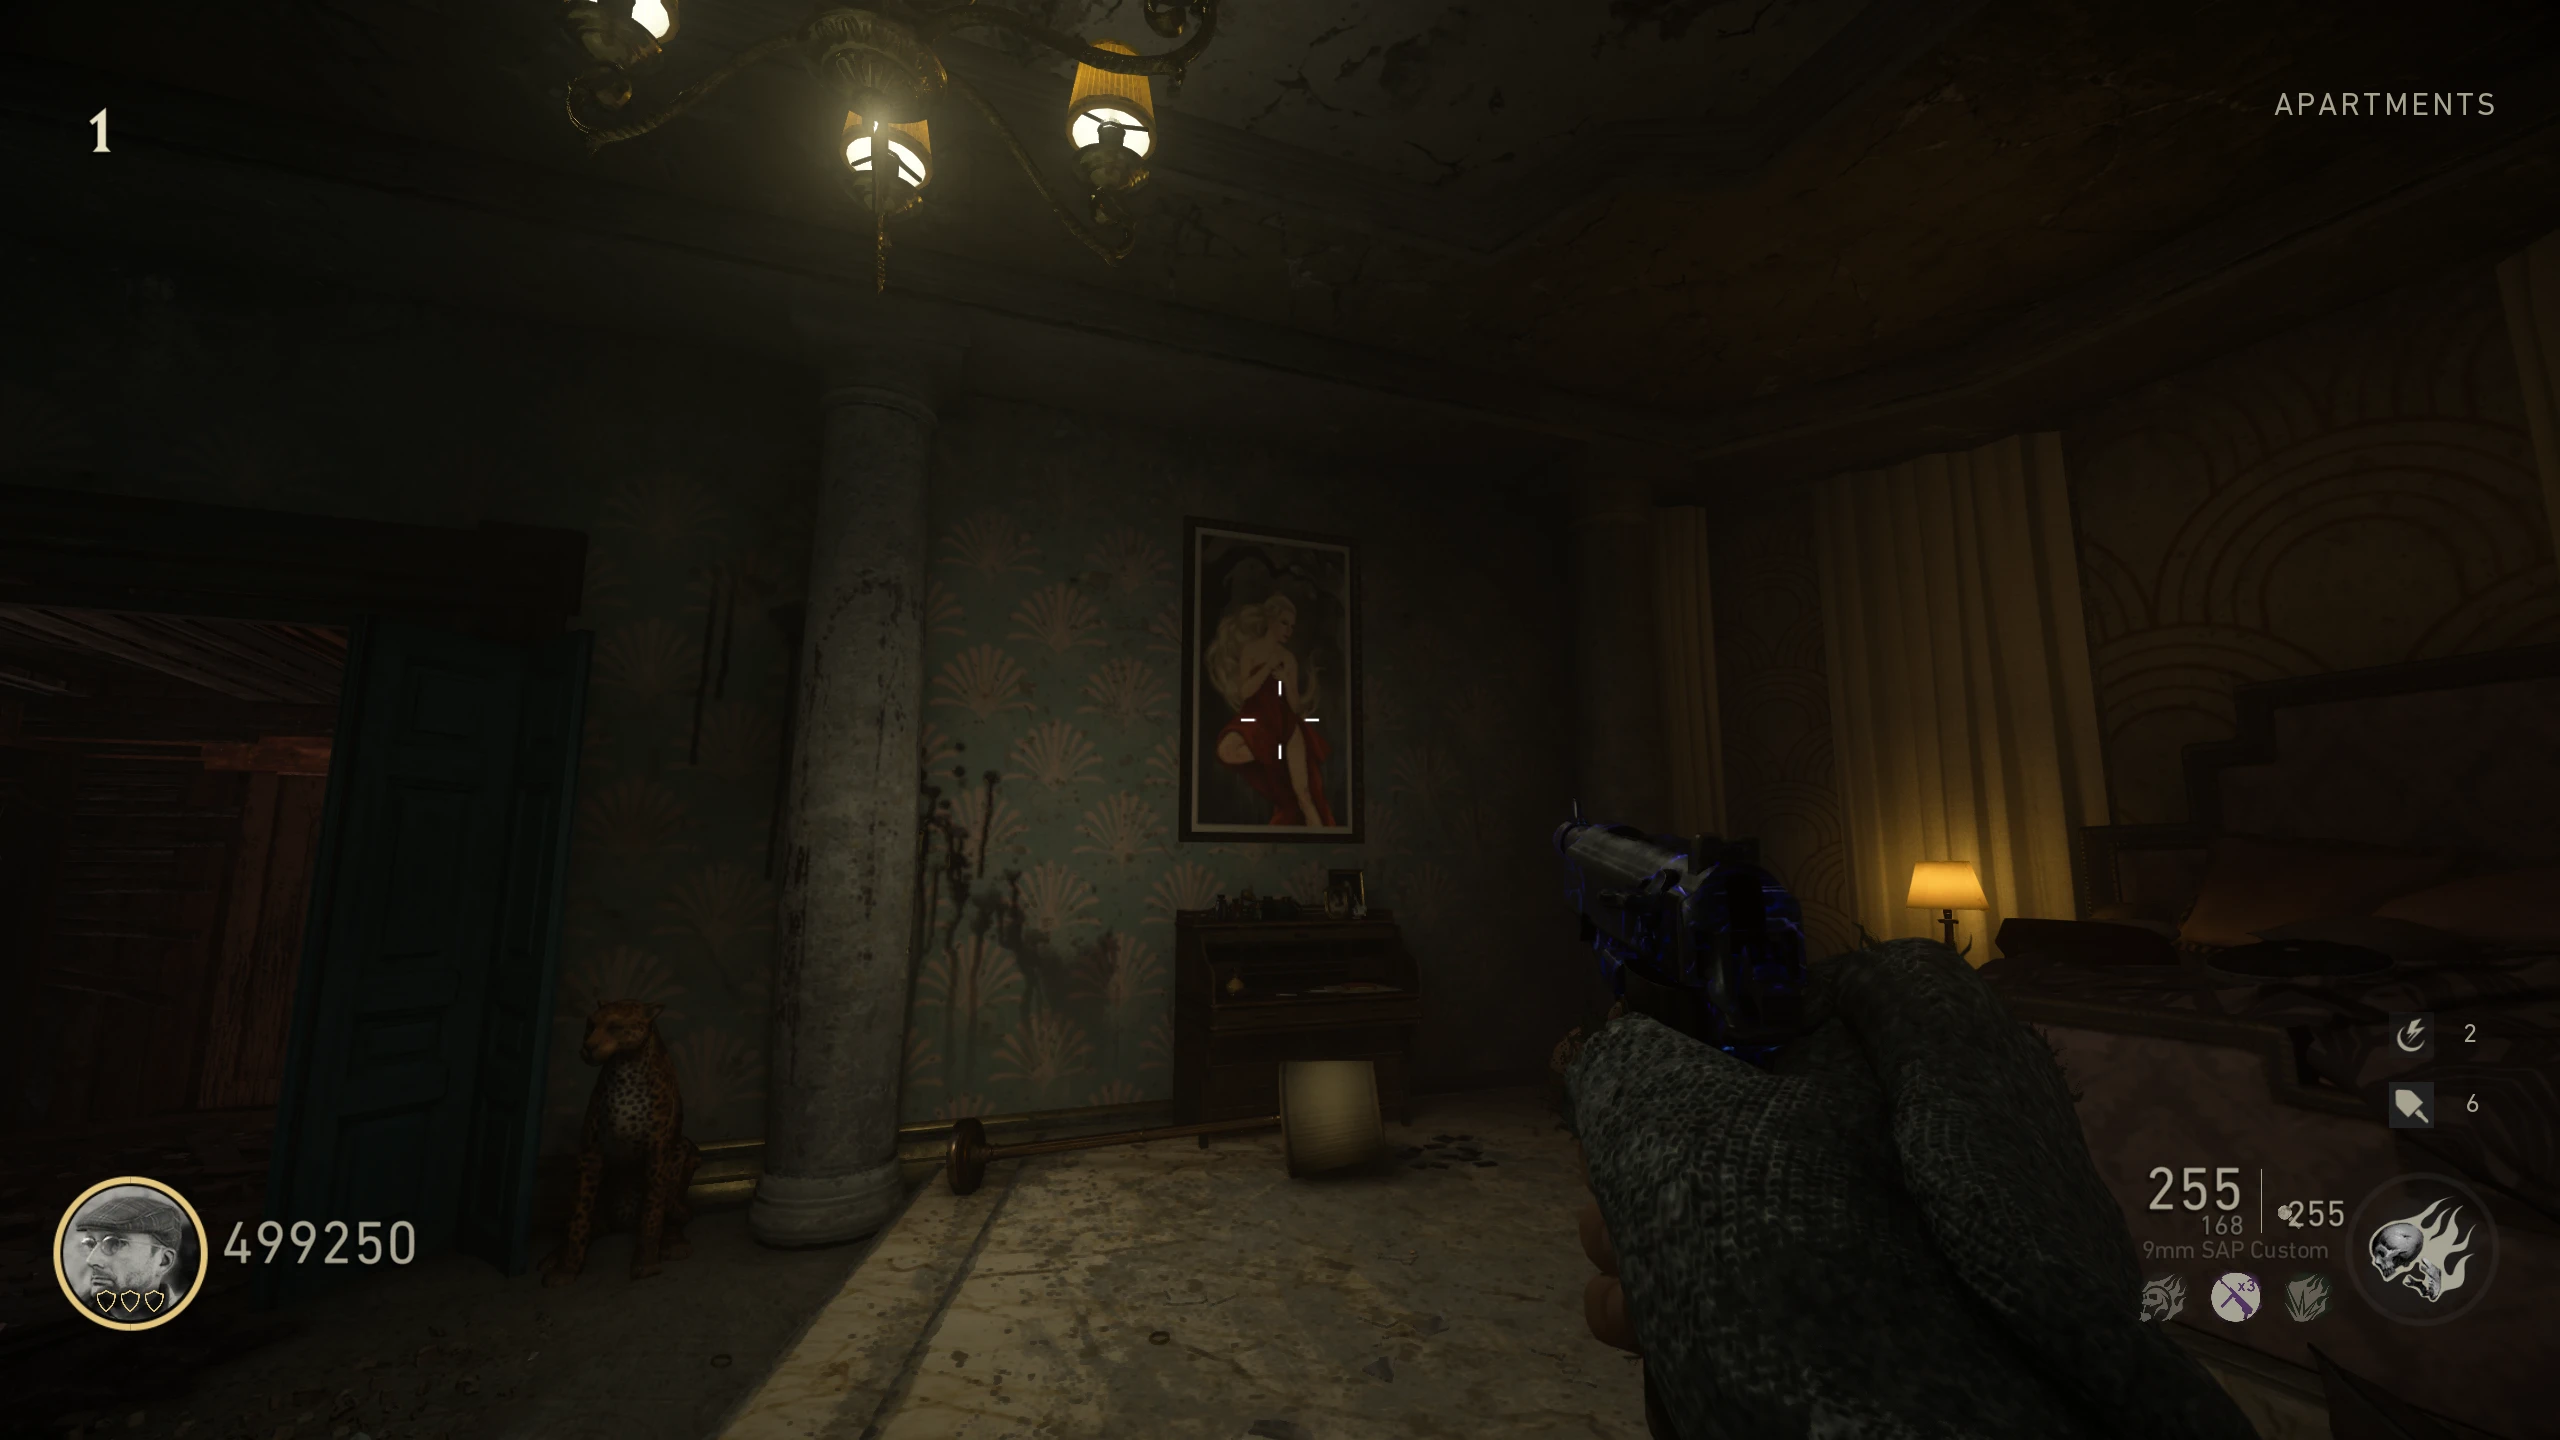
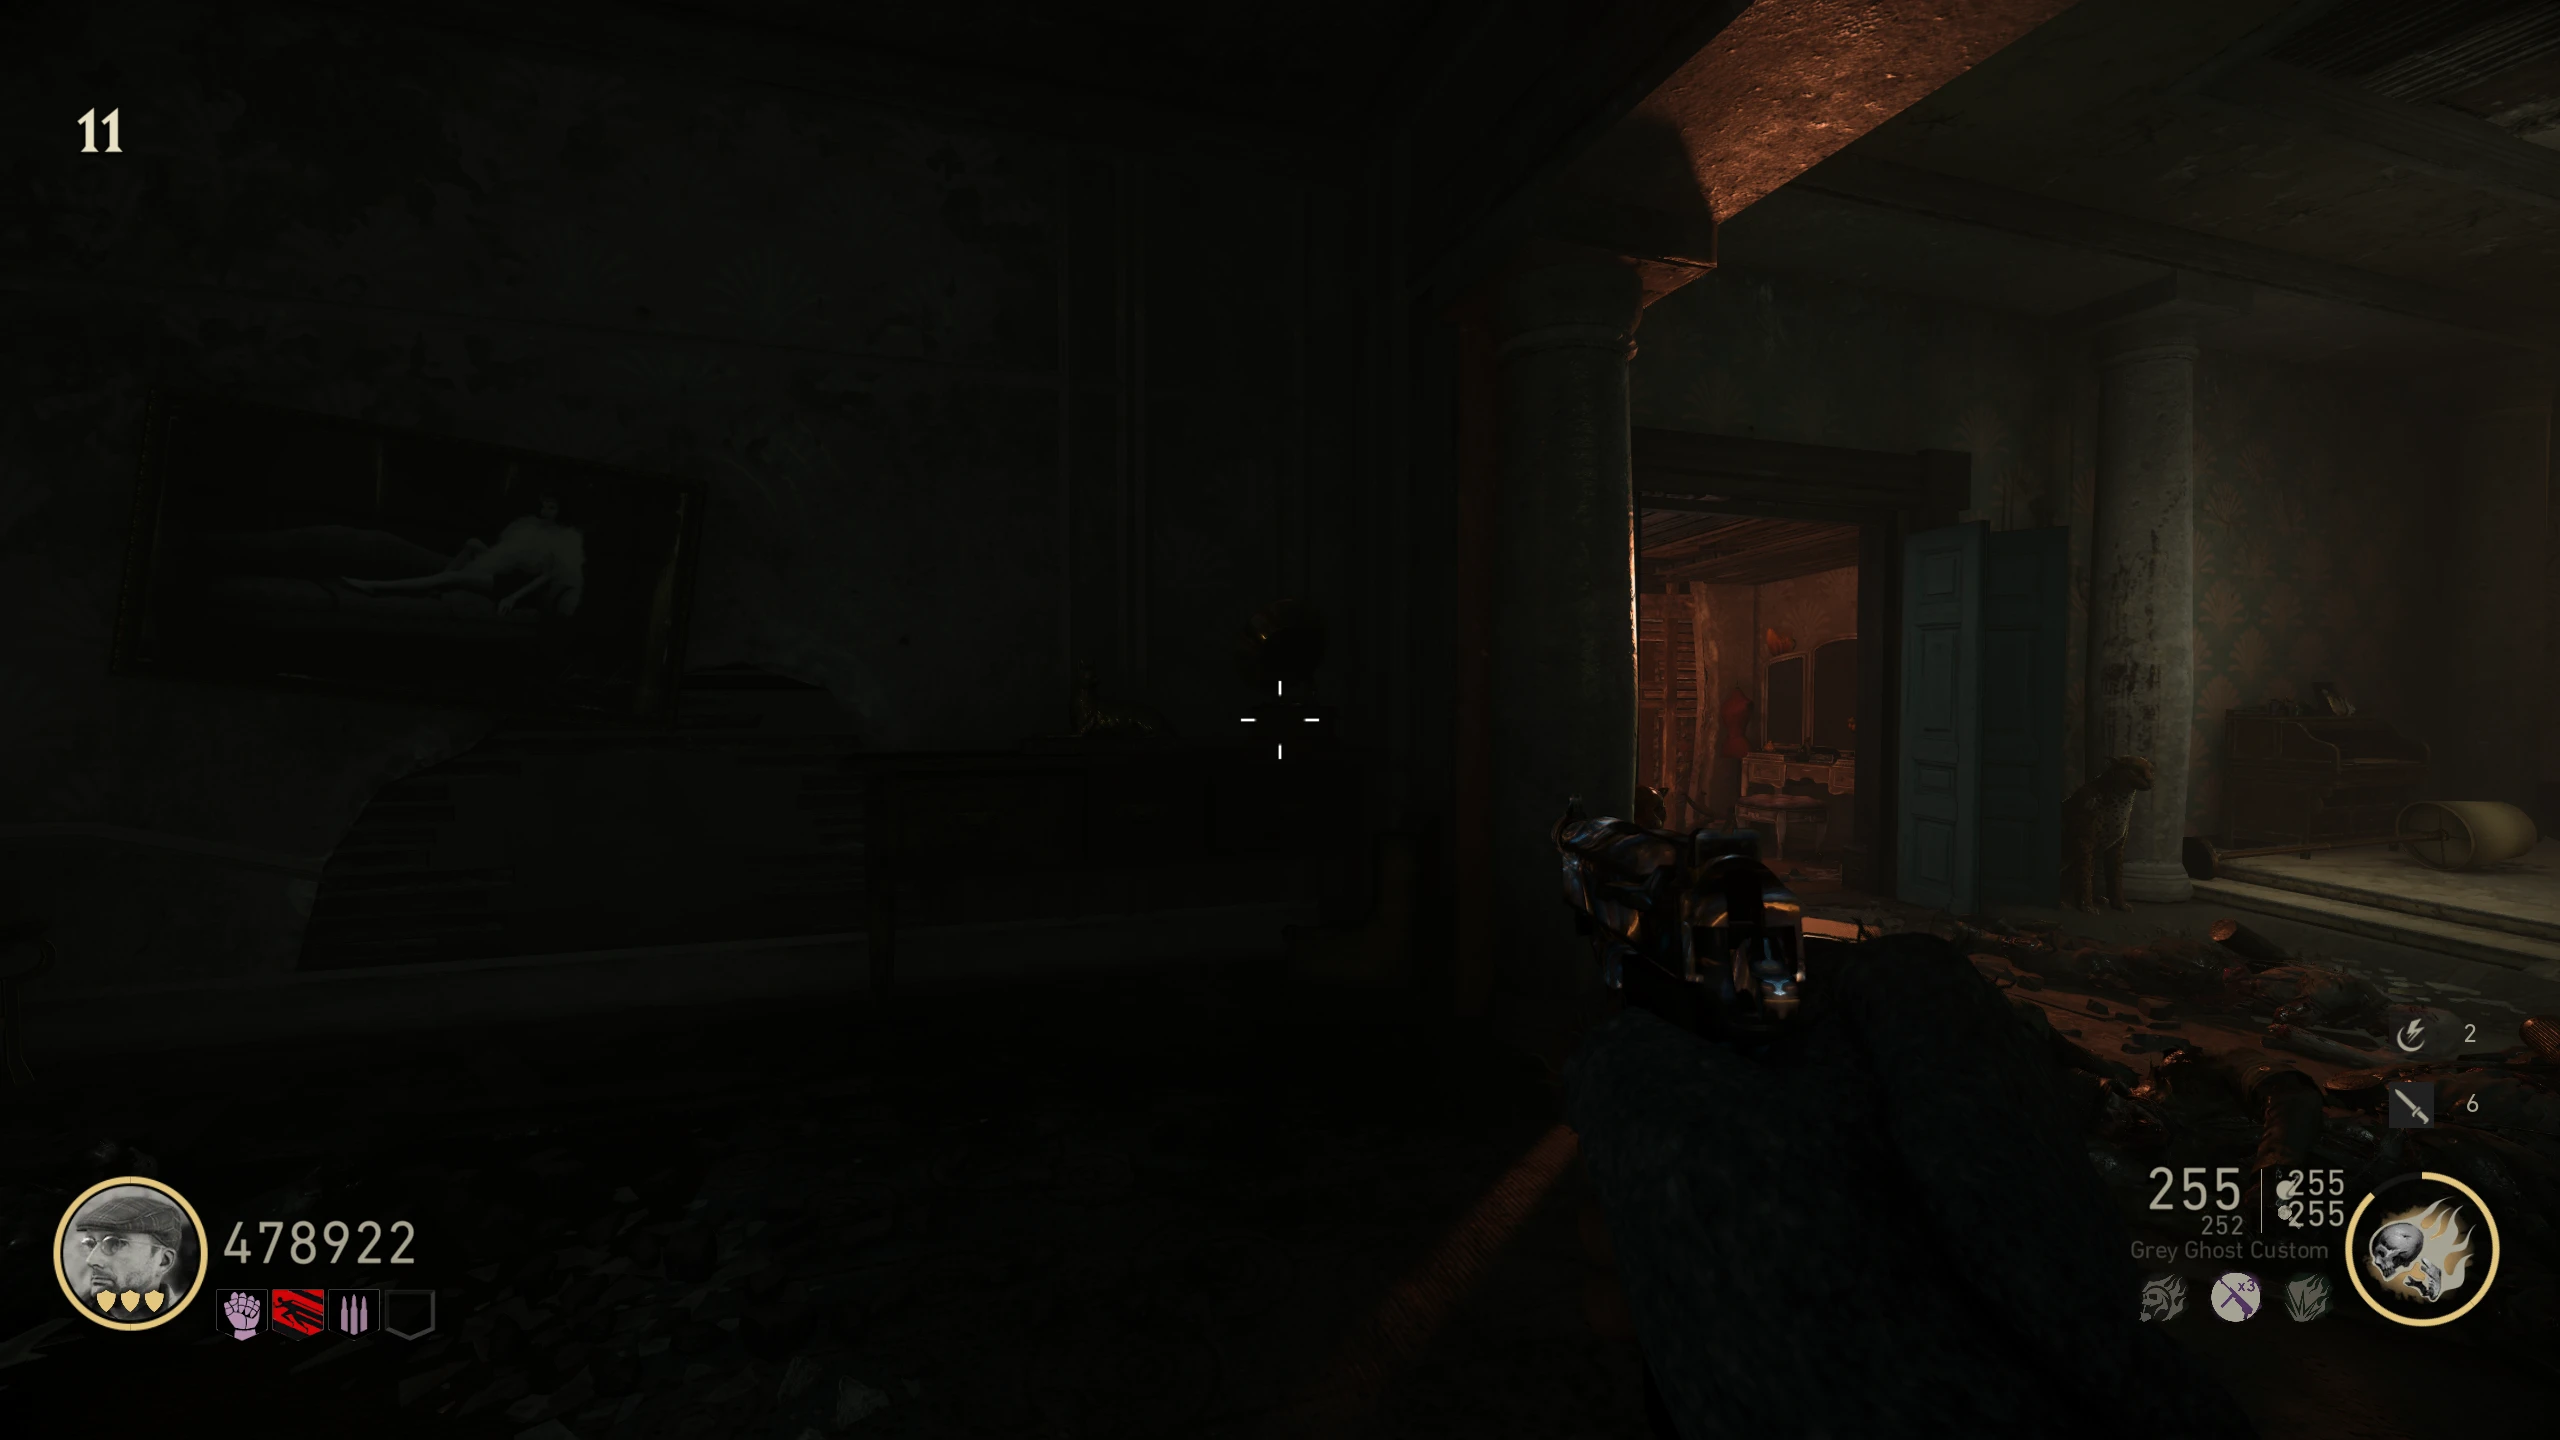
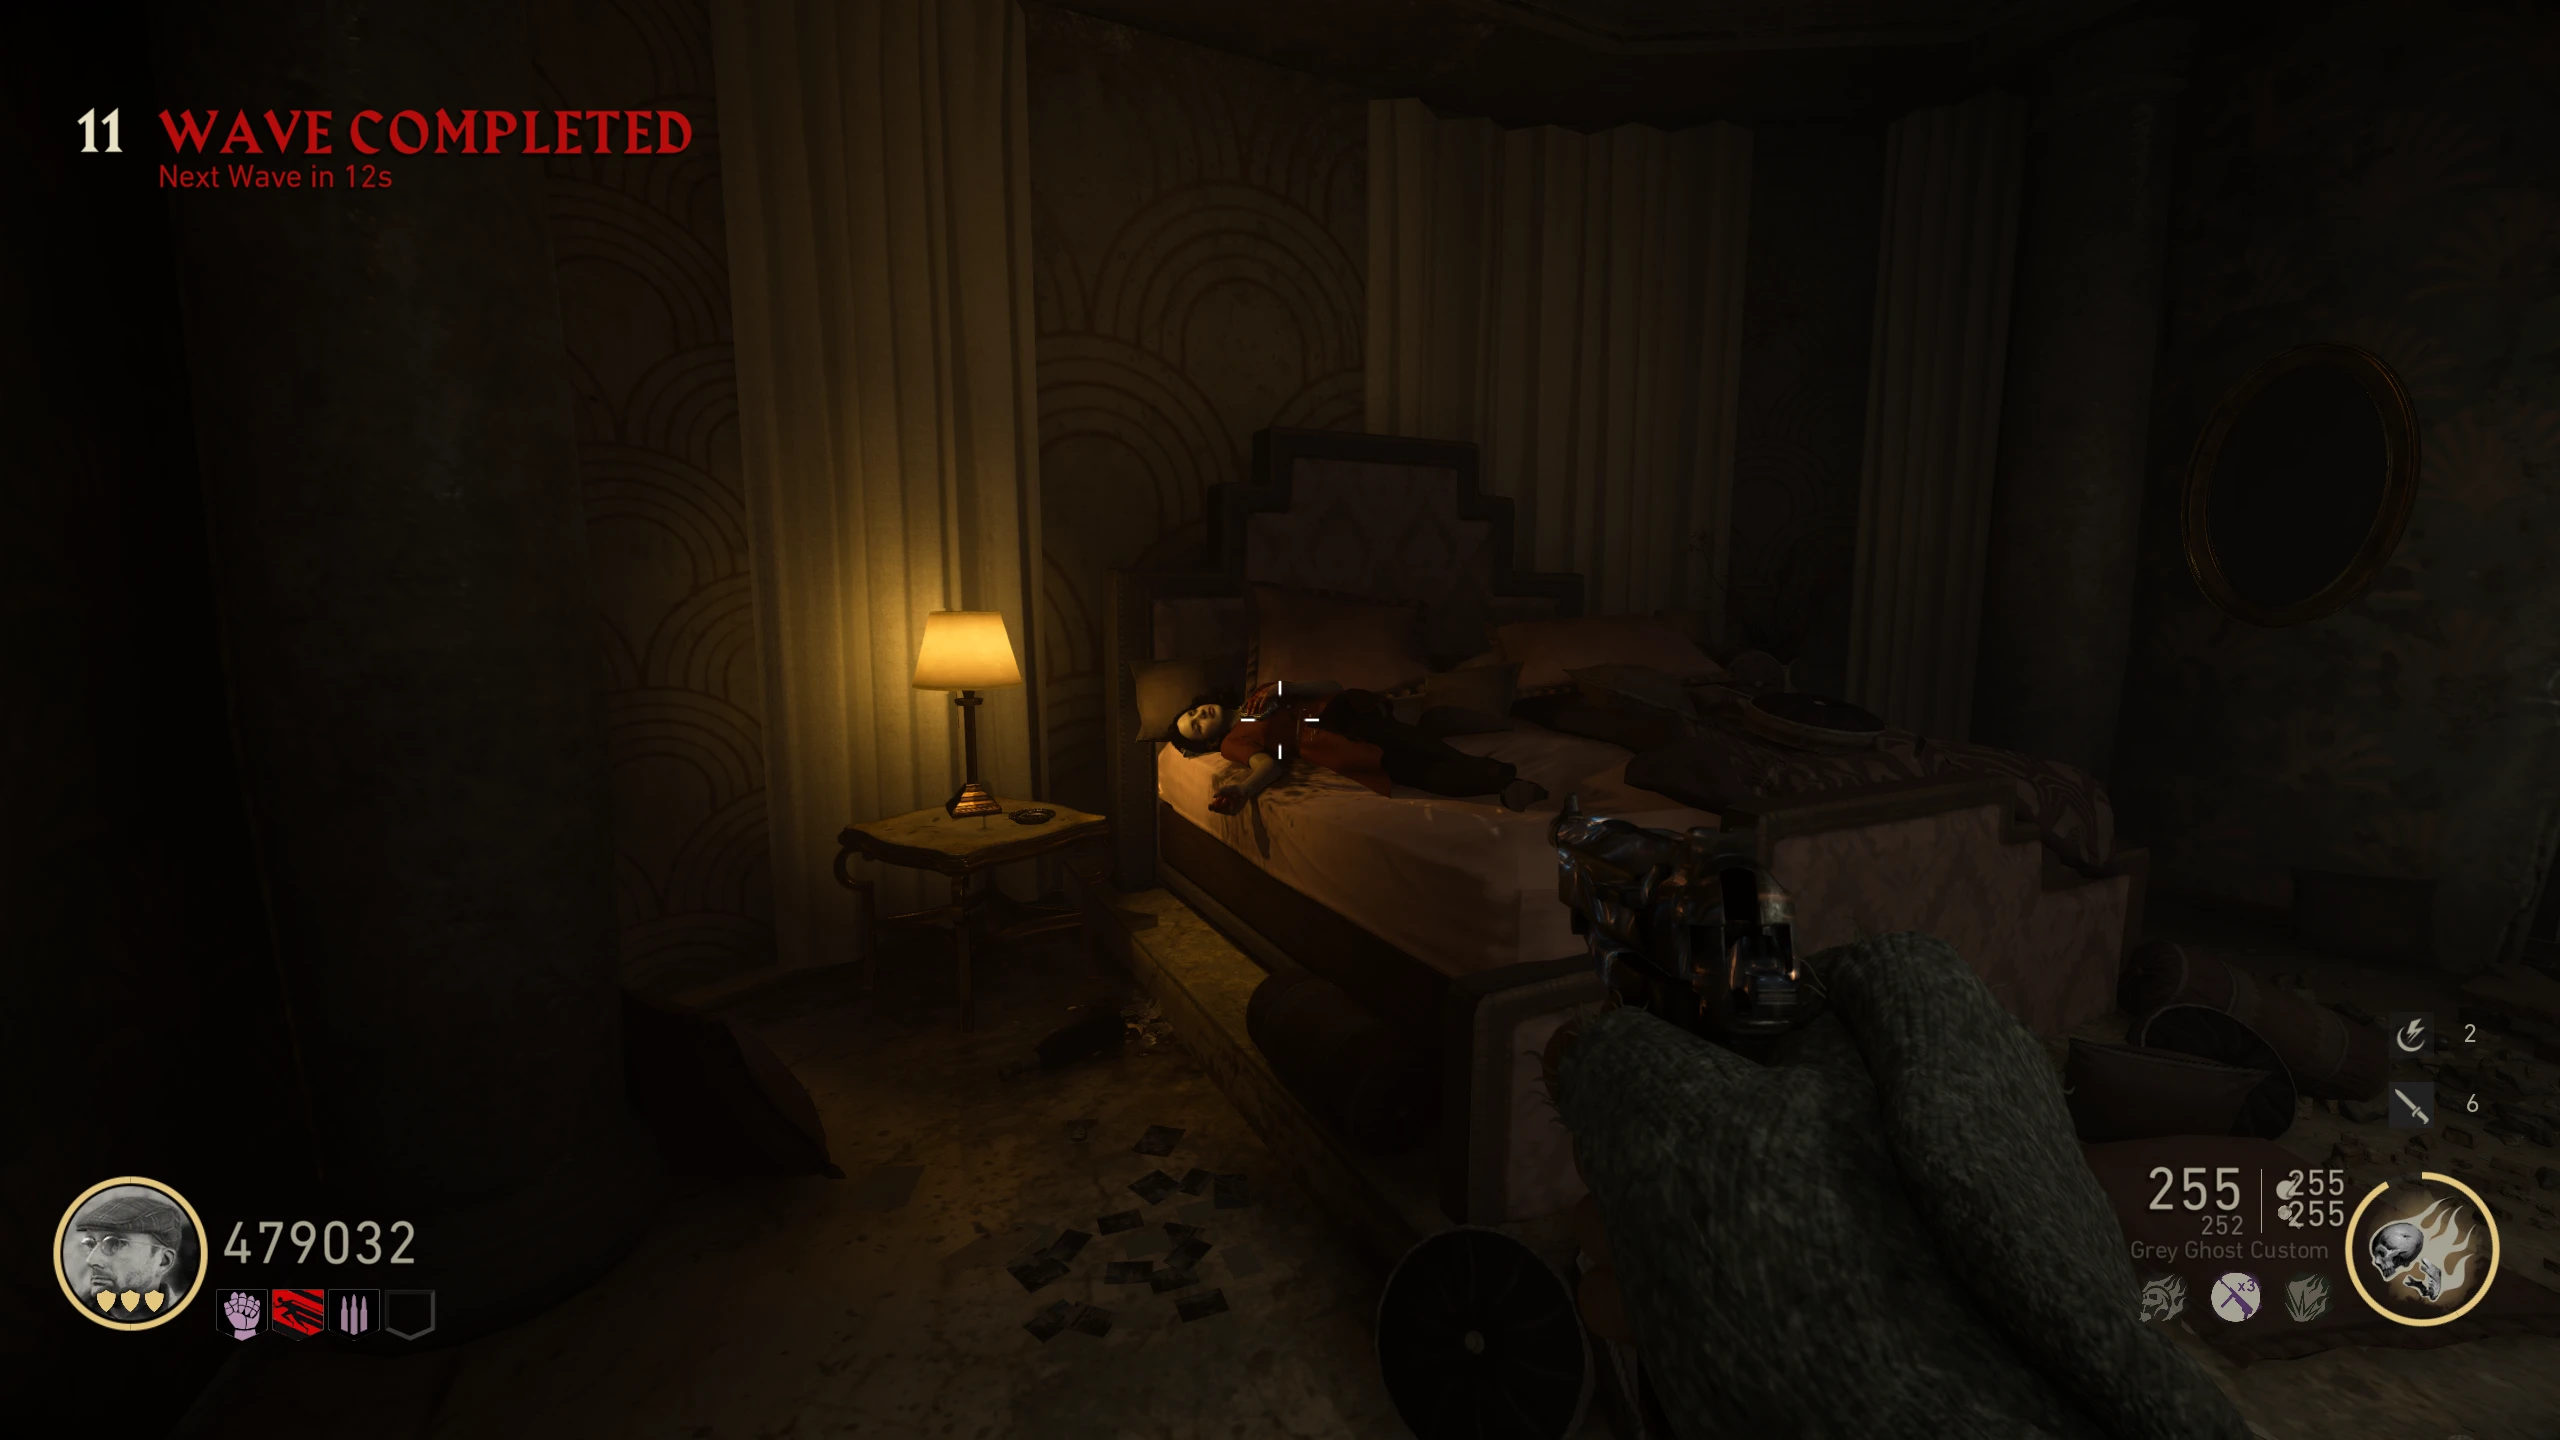
- In the 'Apartments,' interact with the large painting of a woman to pick it up.
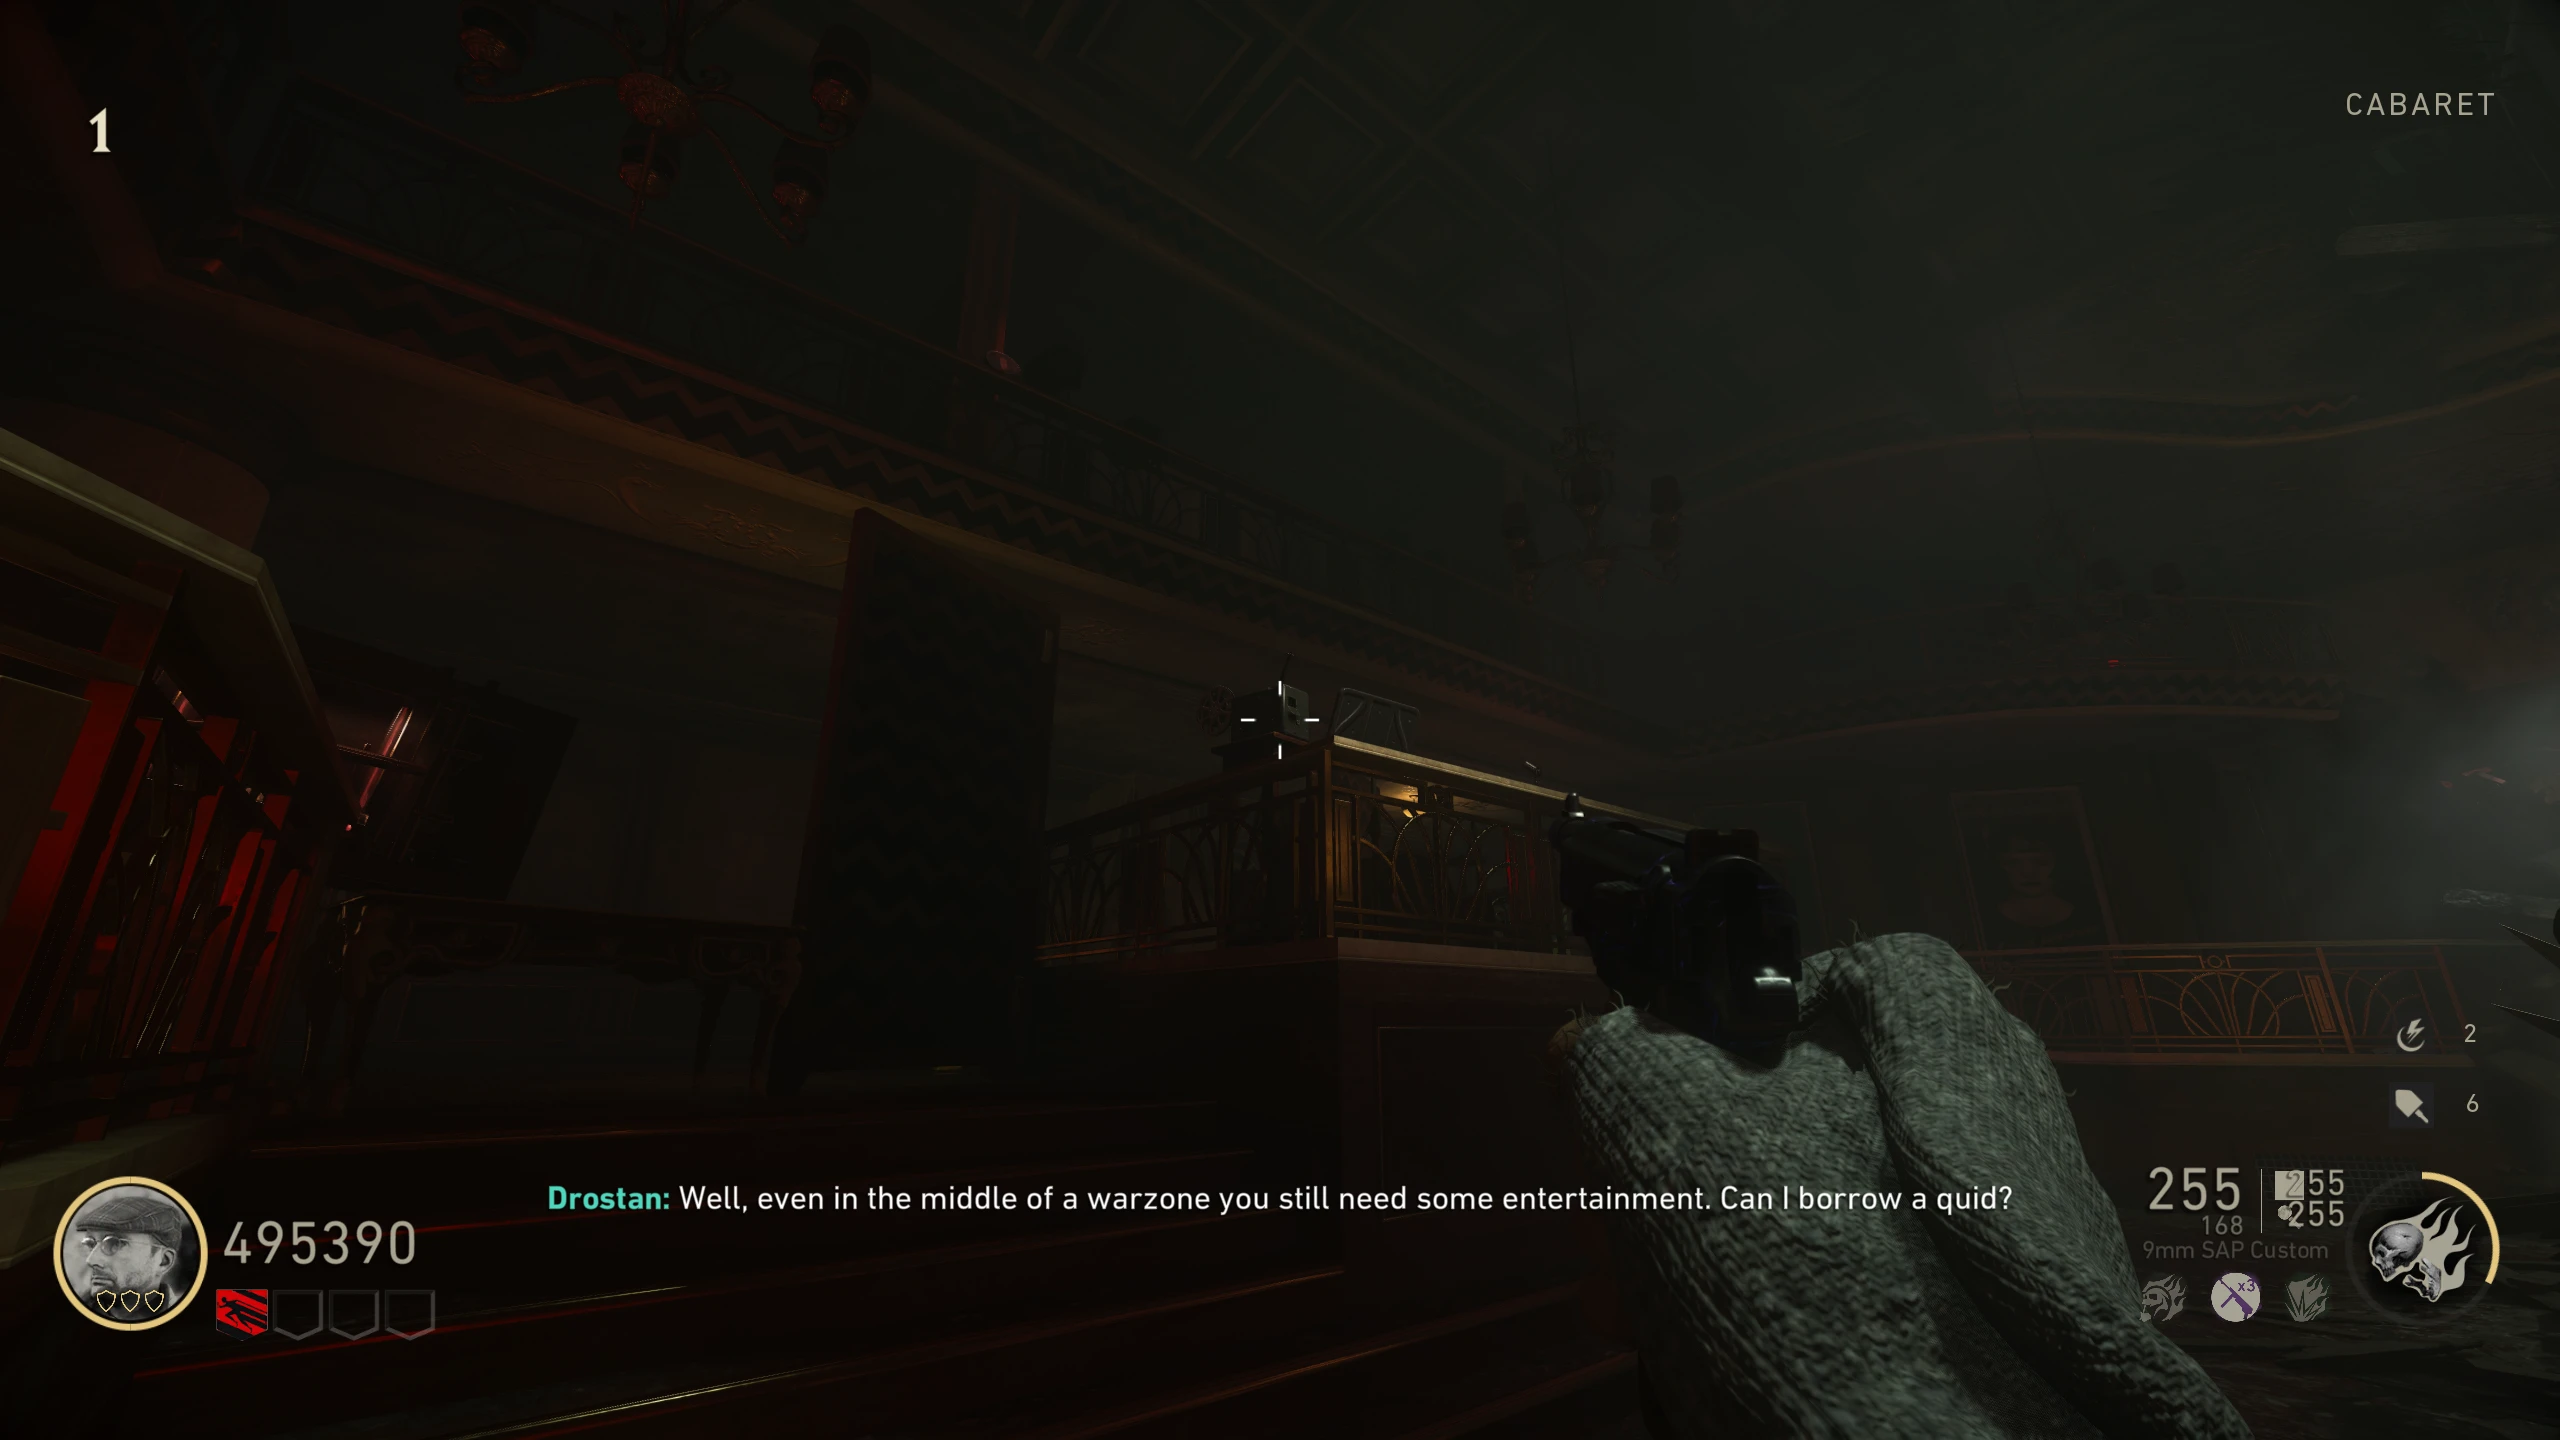
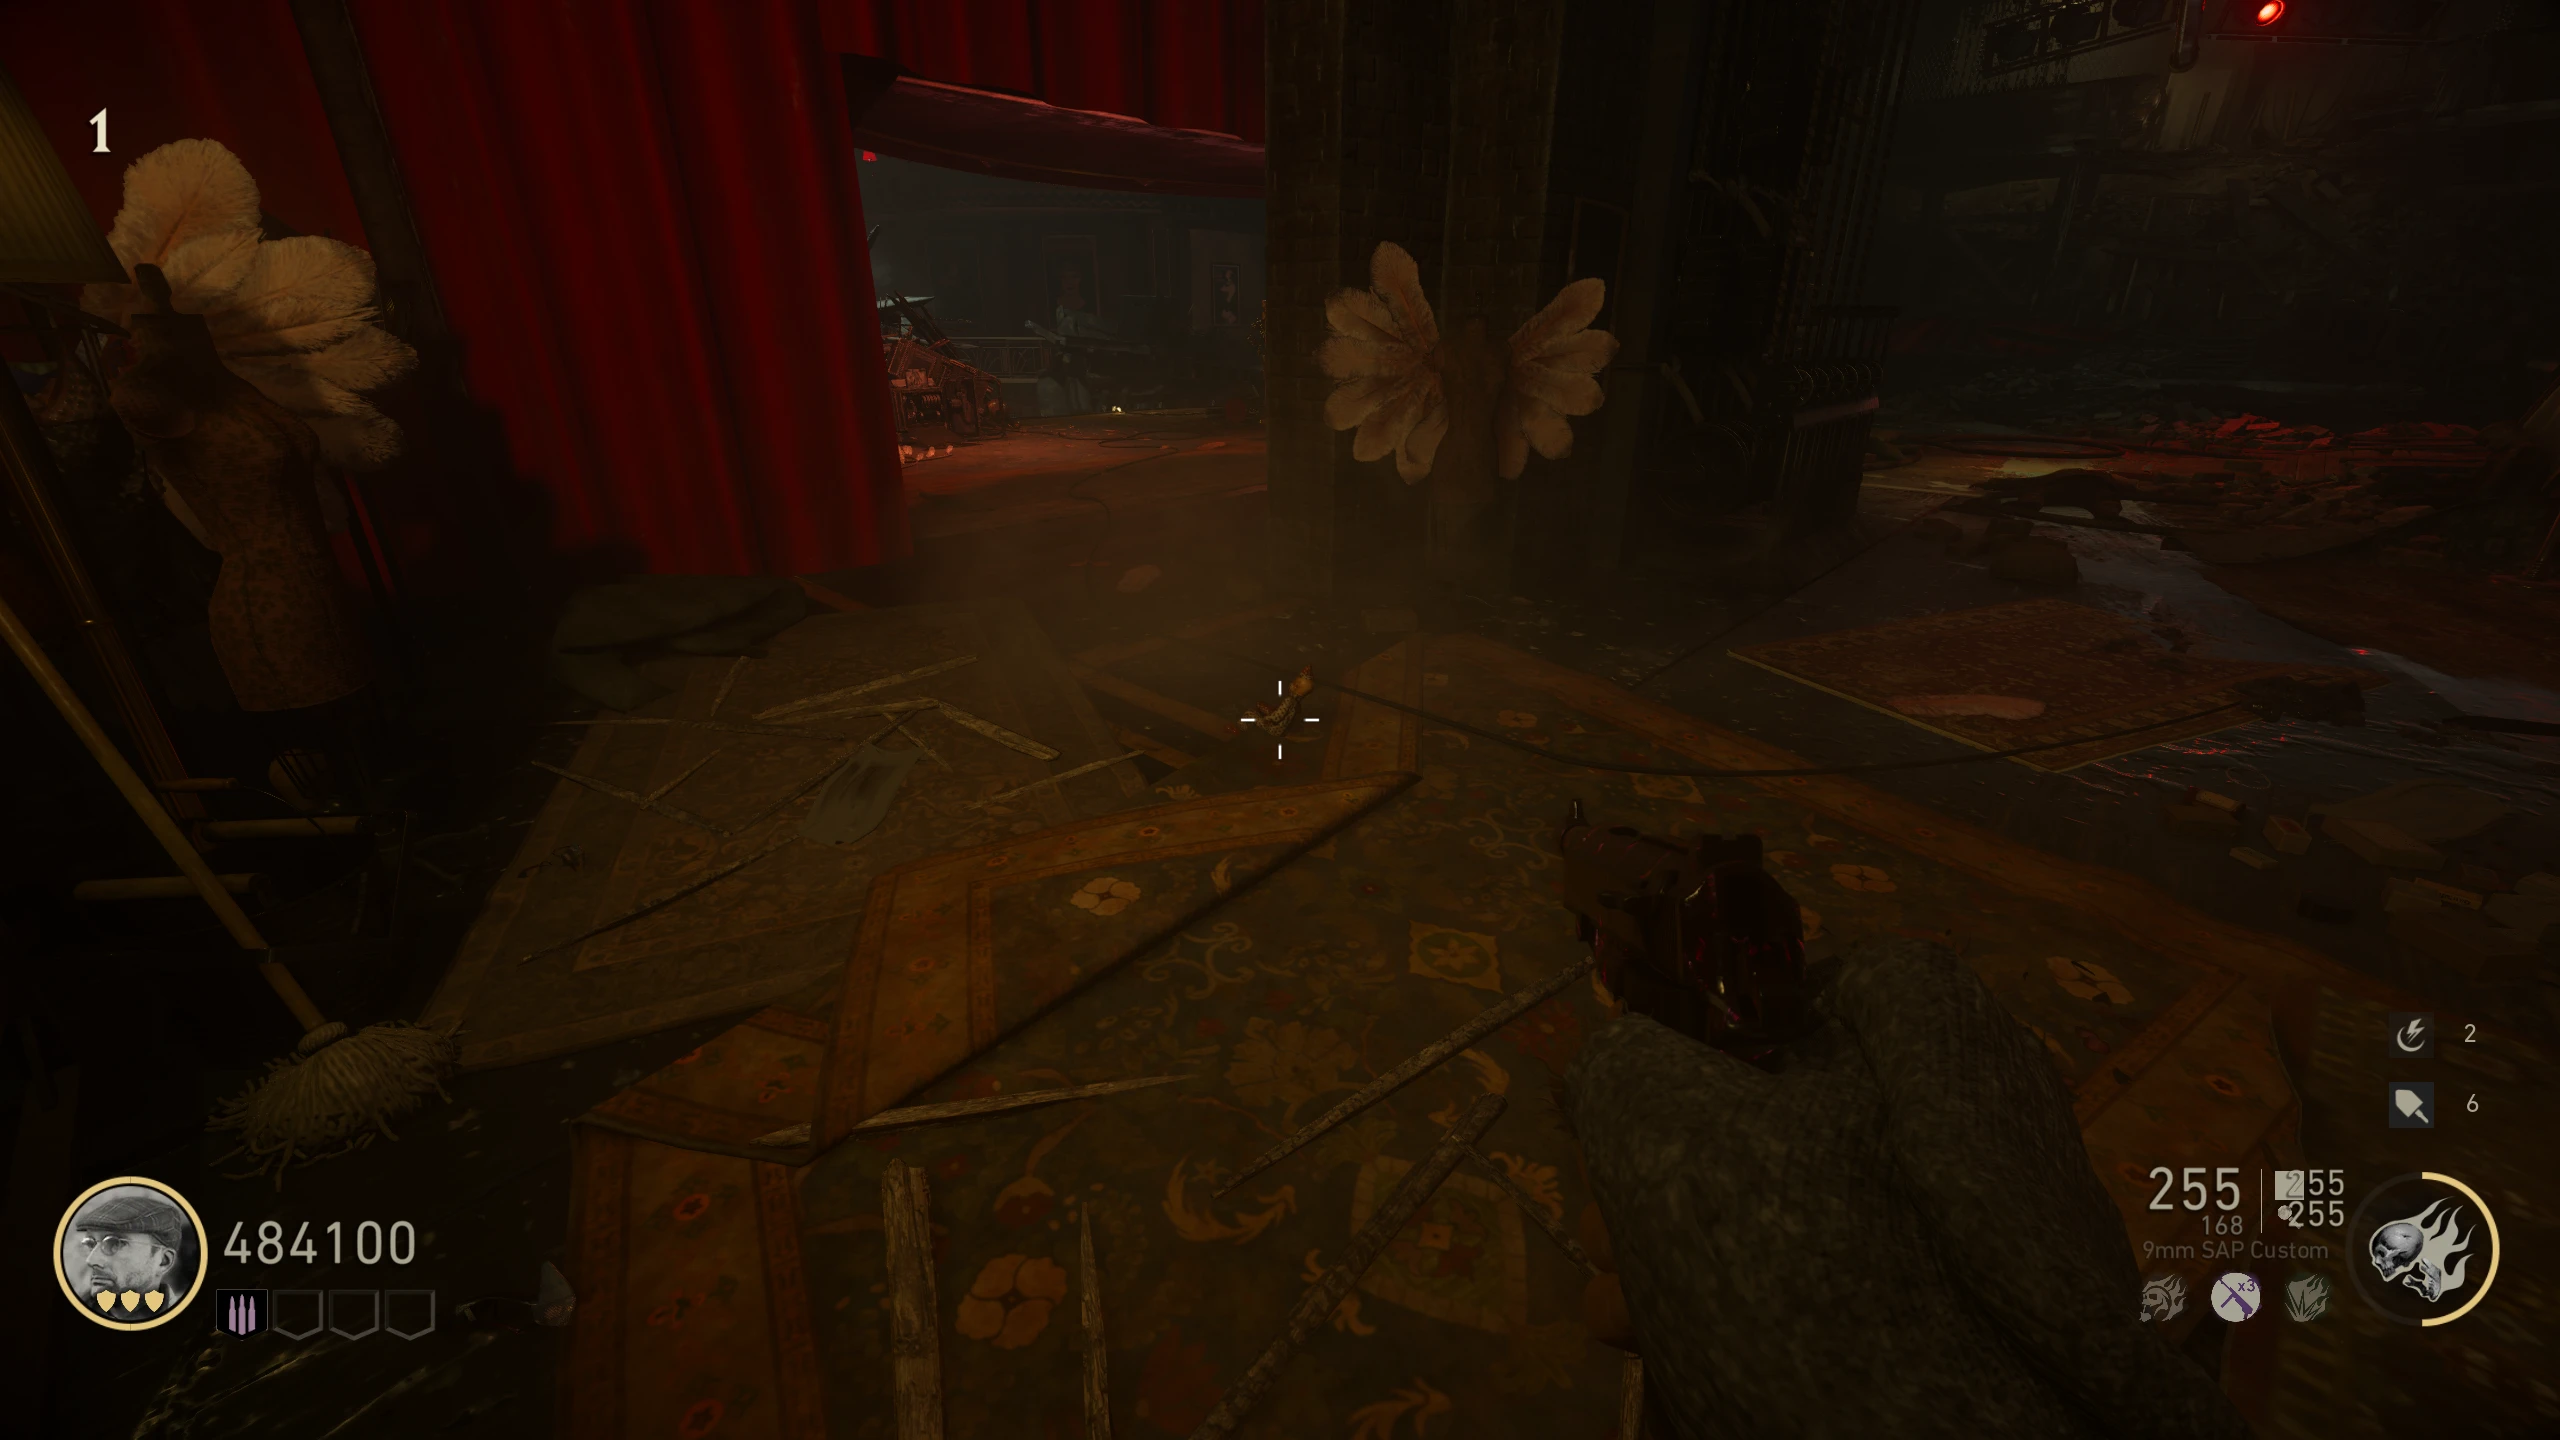
- Place the painting in front of the projector at the back of the 'Cabaret.'
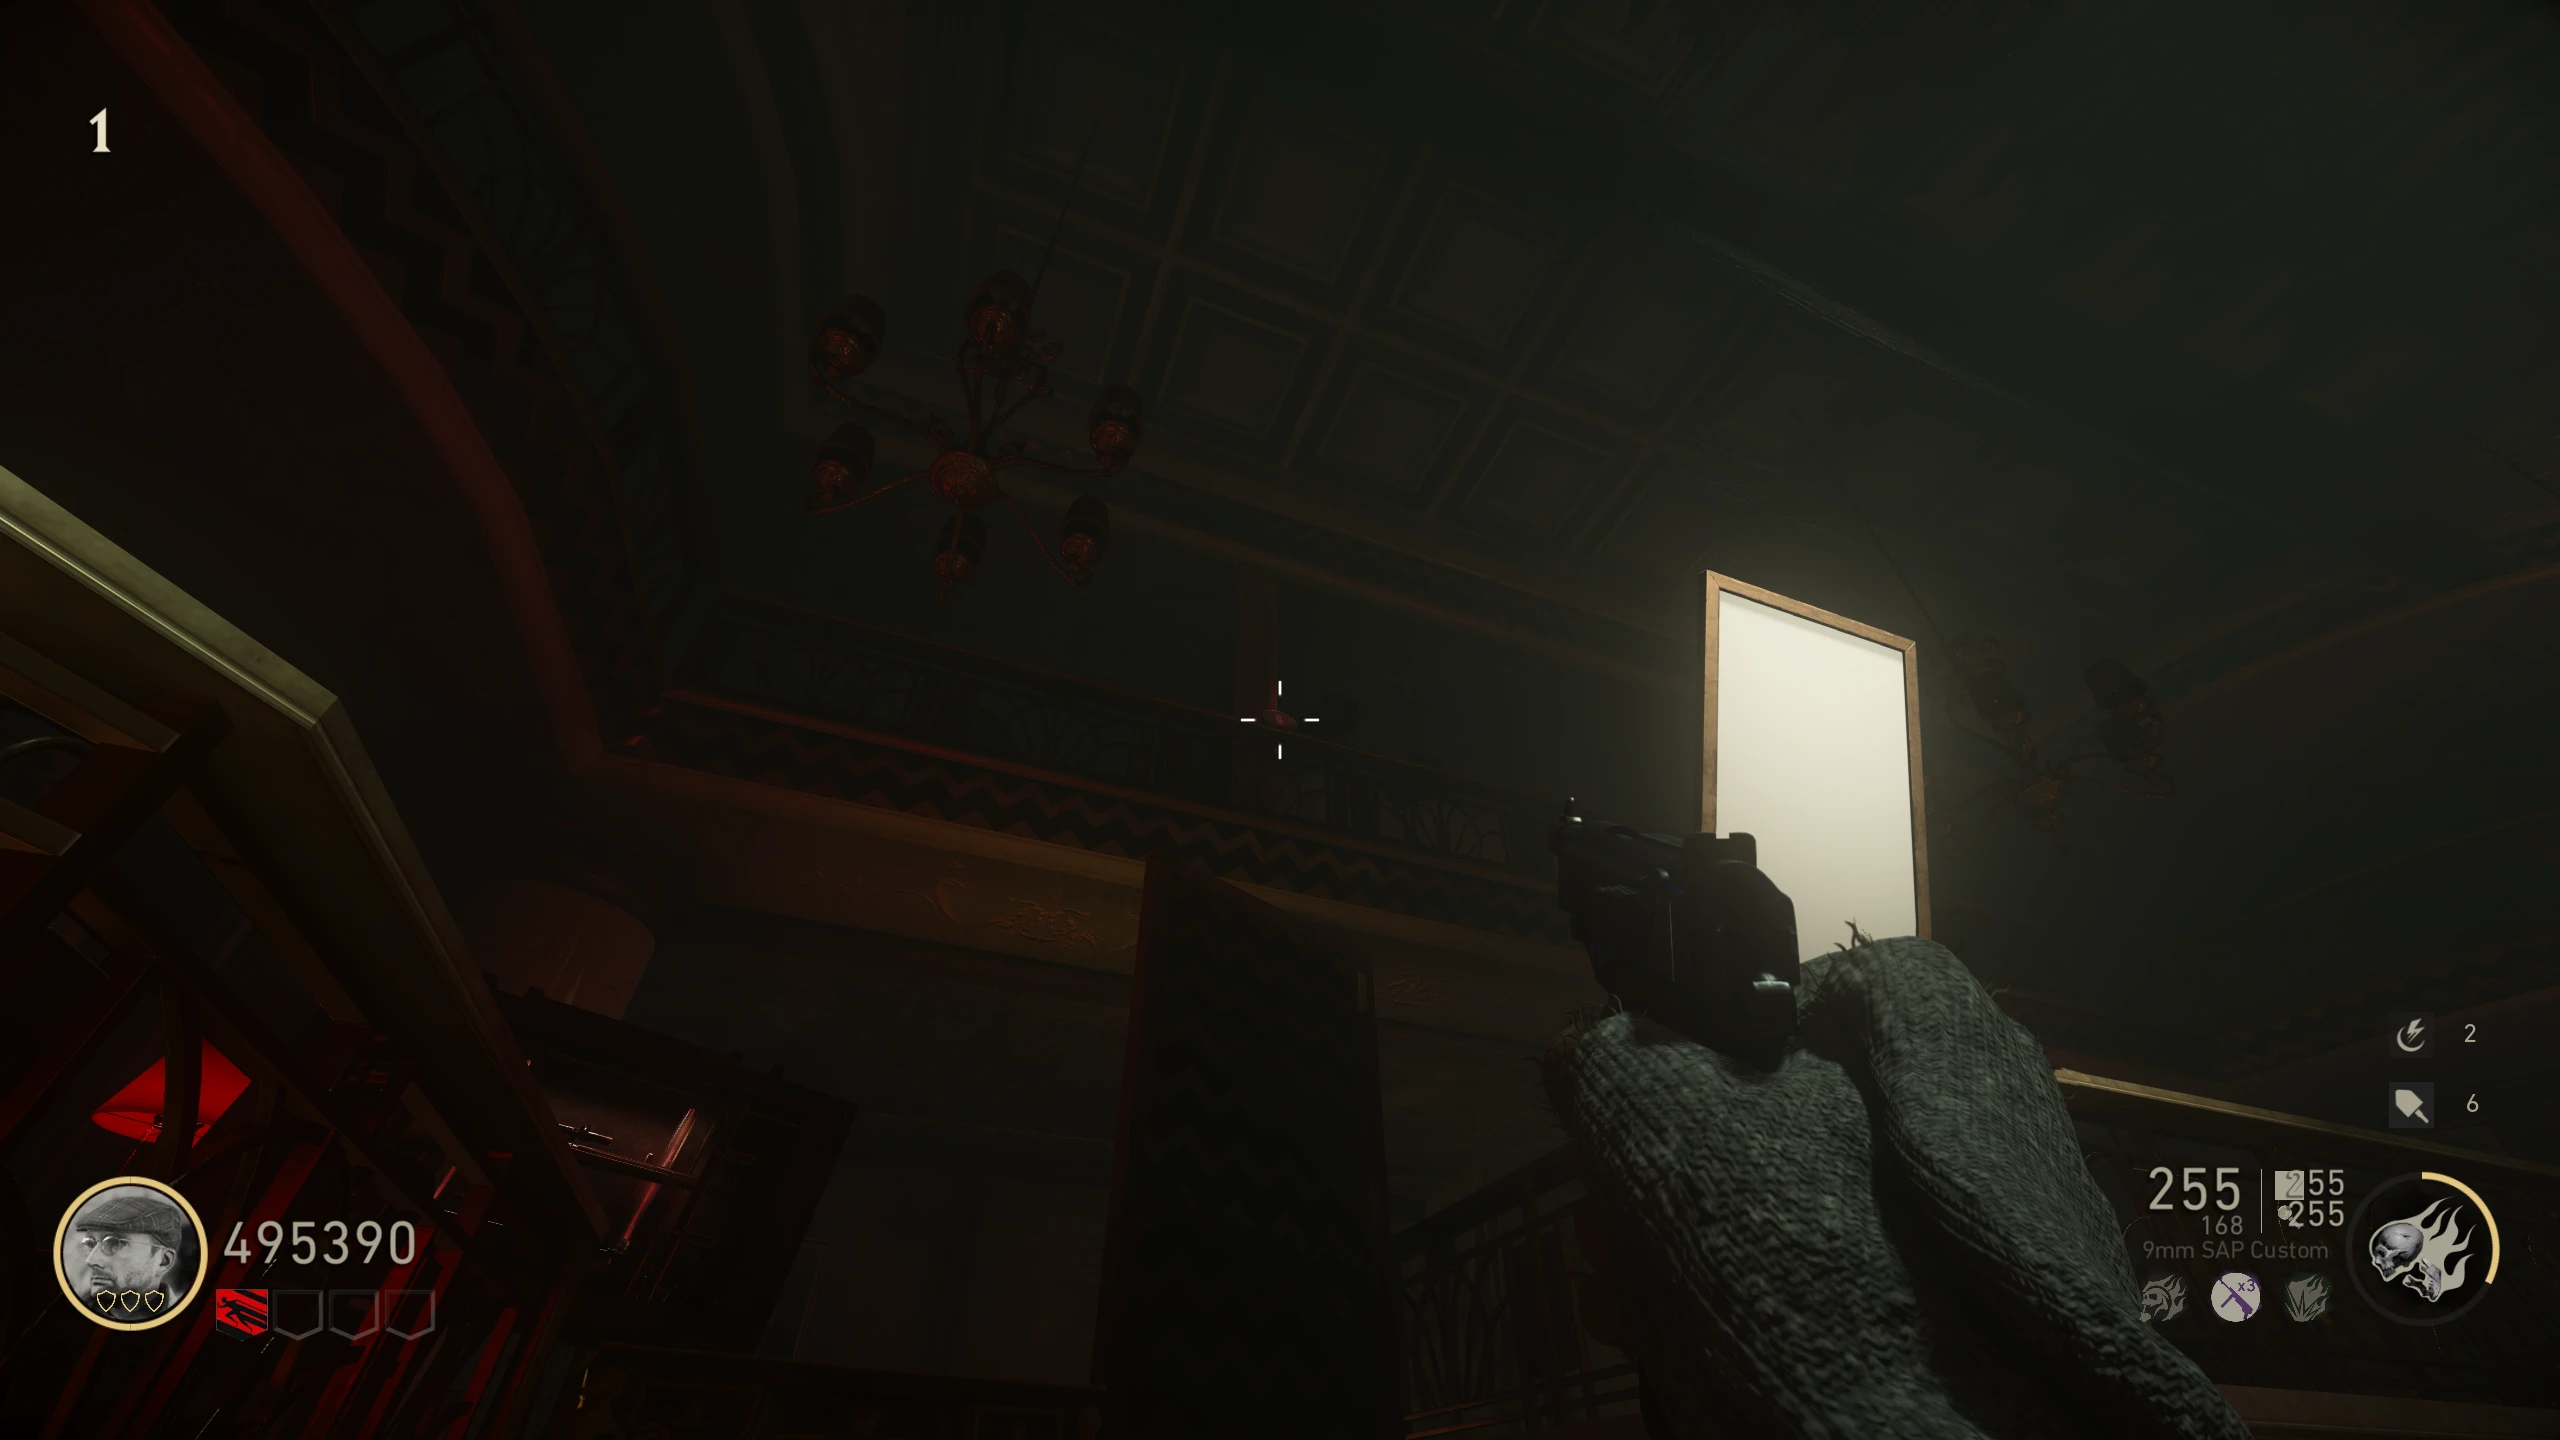
- Above the Projector, there is a film reel; shoot it to make it fall. It will land in front of the projector on the floor. Pick it up and place it in the Projector.
- Obtain the Wunderbuss.
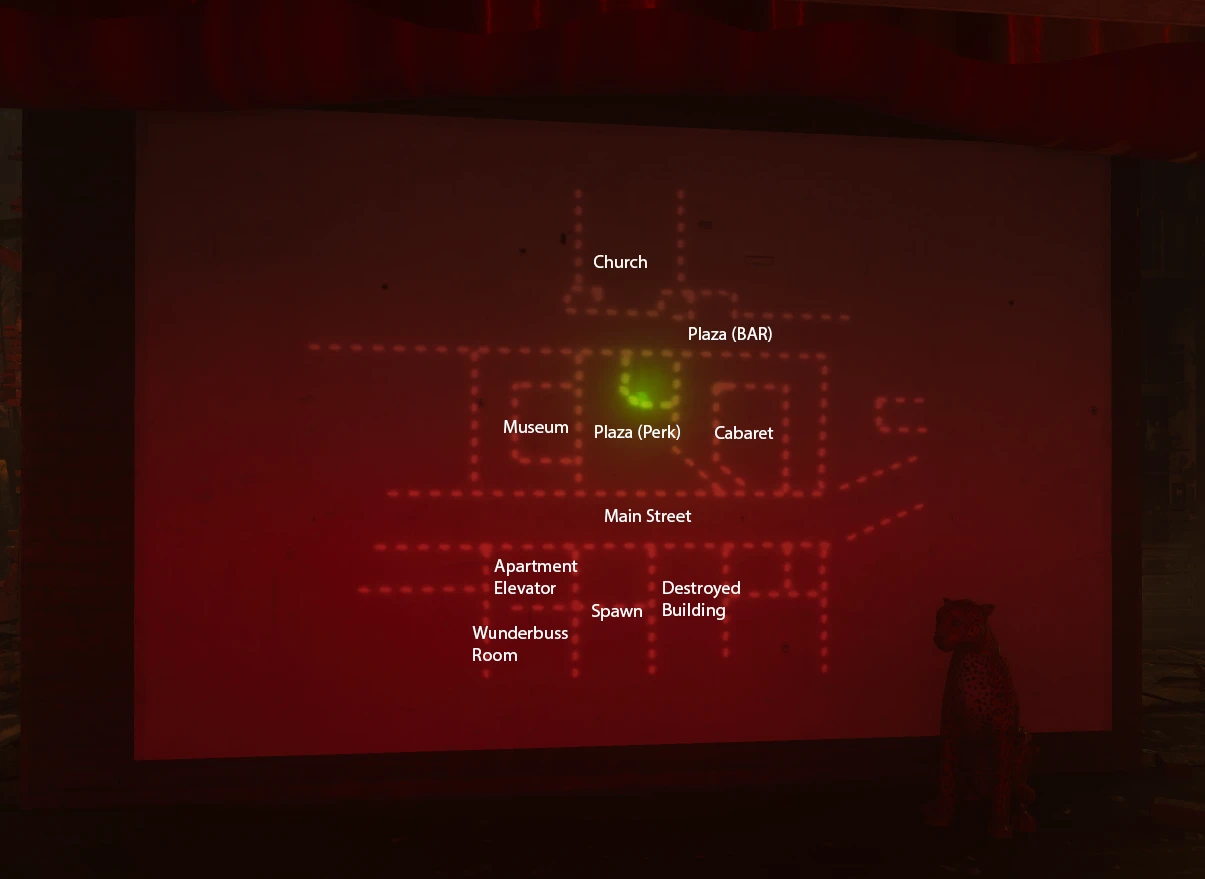
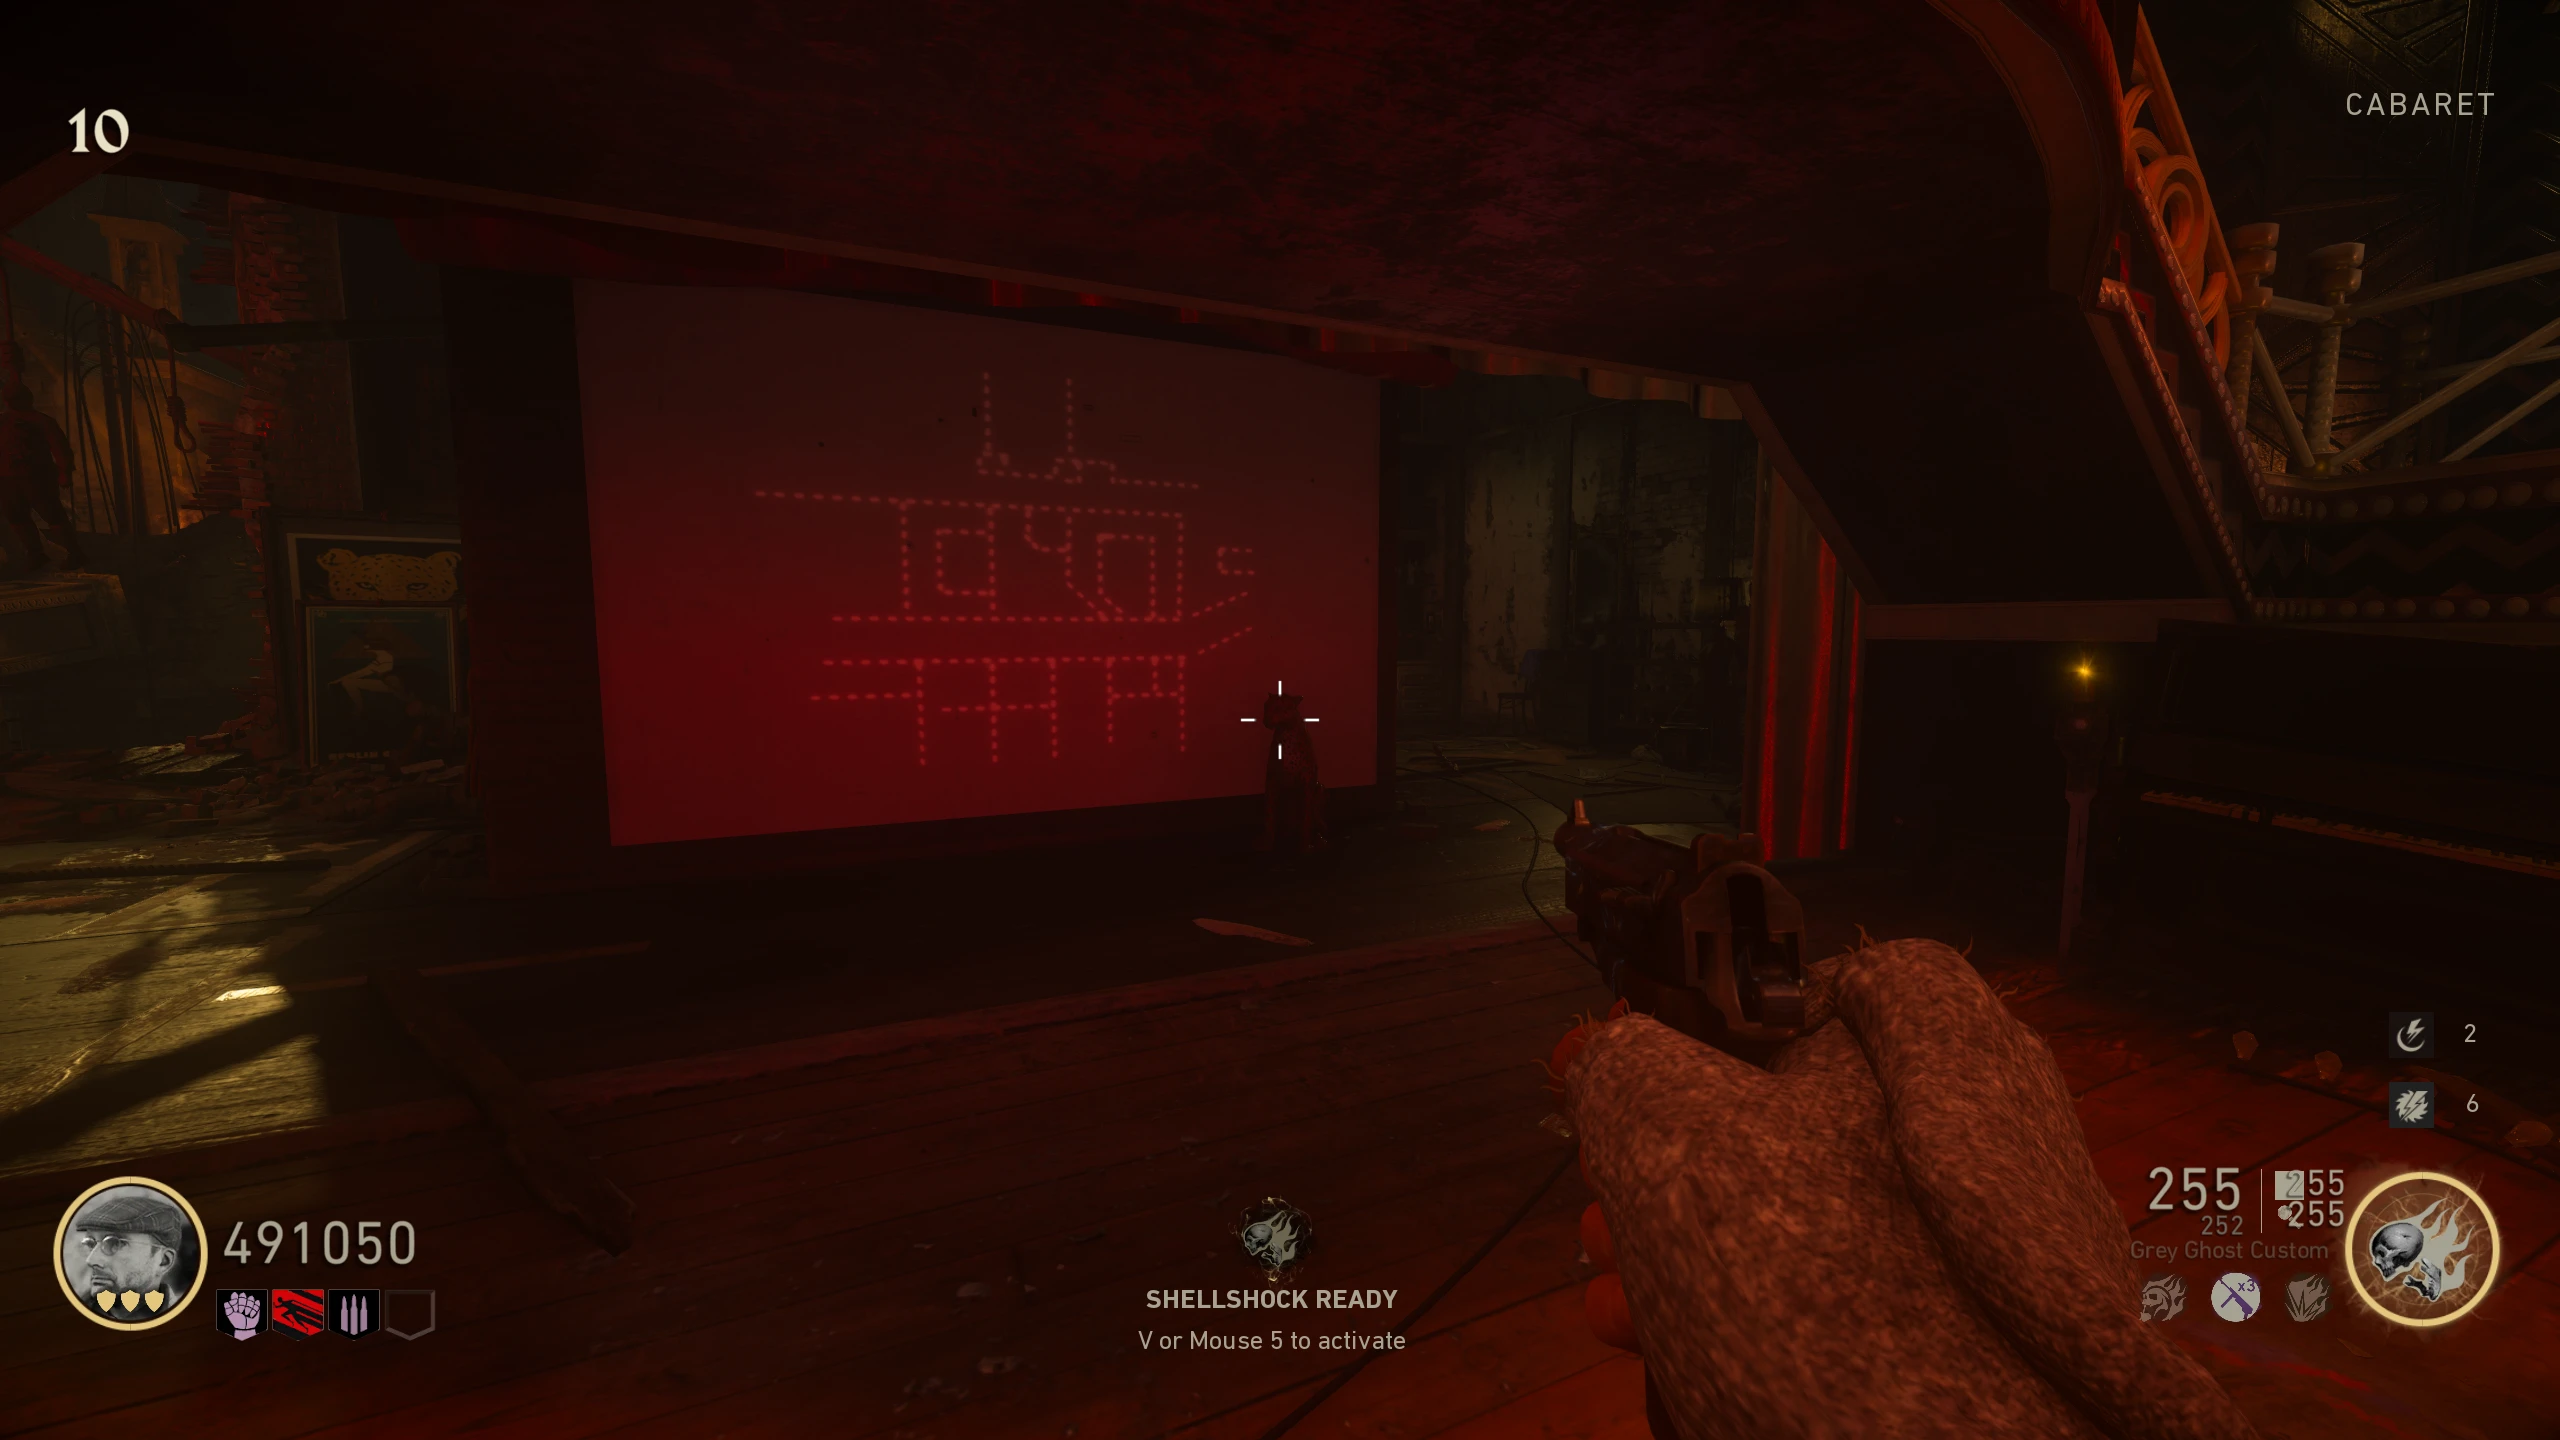
- Shoot the Projector with the Wunderbuss to activate it. It will project a map of the city on the stage screen, with one area lit green. This indicates which Clown Doll is active. Clown locations by map area:
- Count the number of kills it takes to "fill" the clown (min 1, max 9).
- Once filled, the clown stops accepting kills and a new area lights up on screen. Repeat for three more Clown Dolls until you have four numbers.
- If you miss a number, the Clowns reset to the first after you complete the fourth, so you can run through them again.
- With the four numbers, go to the 'Apartments,' and enter the code into the safe. To enter the code into the safe, follow the instructions below or see this video by Stanley557:
Note: Spinning the dial on the safe on PC is COMICALLY slow. I recommend you plug in a controller, and use the thumbstick to spin it.
- Reset the safe by making three full rotations clockwise. Count a full rotation when you pass your first number.
- Once reset, stop on your first number (going clockwise). You don't have to be exact with "landing" on a number, as long you don't go to the next number, you should be fine.
- Rotate counterclockwise to your second number.
- Rotate clockwise to your third number.
- Rotate counterclockwise to your fourth number.
- Exit the safe by holding interact. If done correctly, it will open.
- Once you open the Safe, the Dancer's Dagger can be picked up.
Nazi Axe
The Nazi Axe (officially called the Holda) is a stronger version of the Ice Pick. While sprinting, doing a melee attack will start a charge (similar to the Ripsaw) that will cause a small explosion on impact, stunning any Zombies in the area.
- You'll need two numbers. You can skip this section by going straight to step 2 and using the image in step 4. How to find them the intended way:
- In one of the following locations, there will be radio frequencies etched into a wall or ceiling:
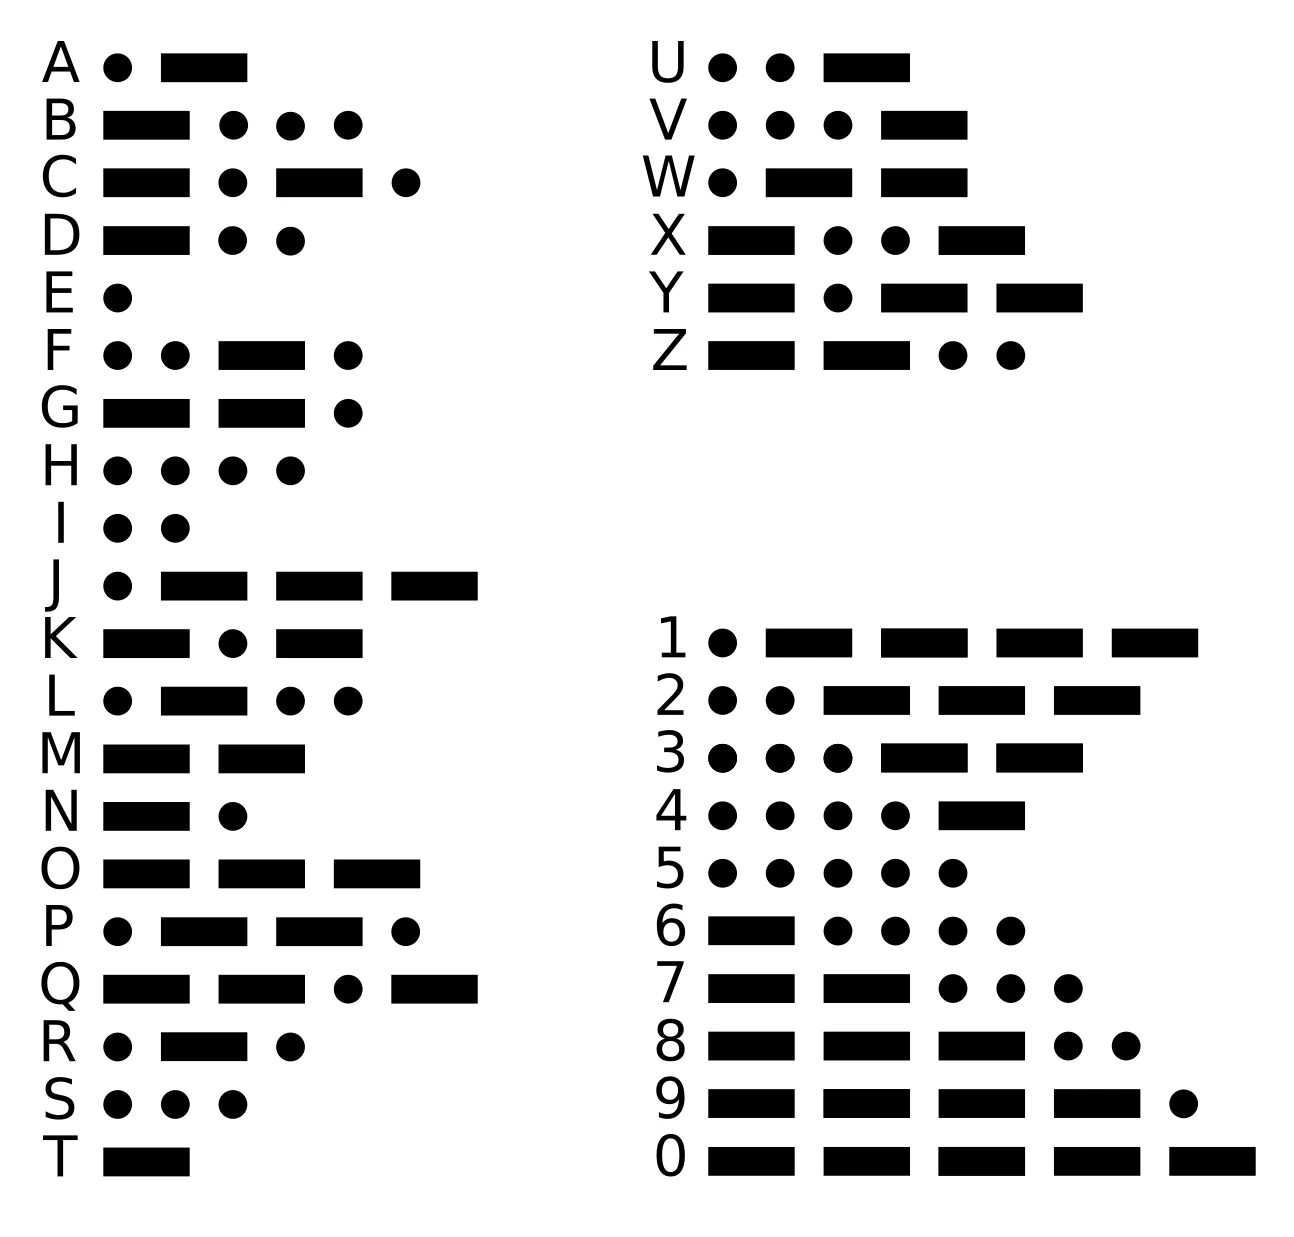
- Enter those numbers into the 'Main Street' Radio. It will play Morse Code with two numbers in it. Use this image to decode them.
- Morse Code is a series of "." (dots, short beeps) and "-" (dashes, long beeps). The end of a symbol (number/letter) is indicated by a pause in the code.
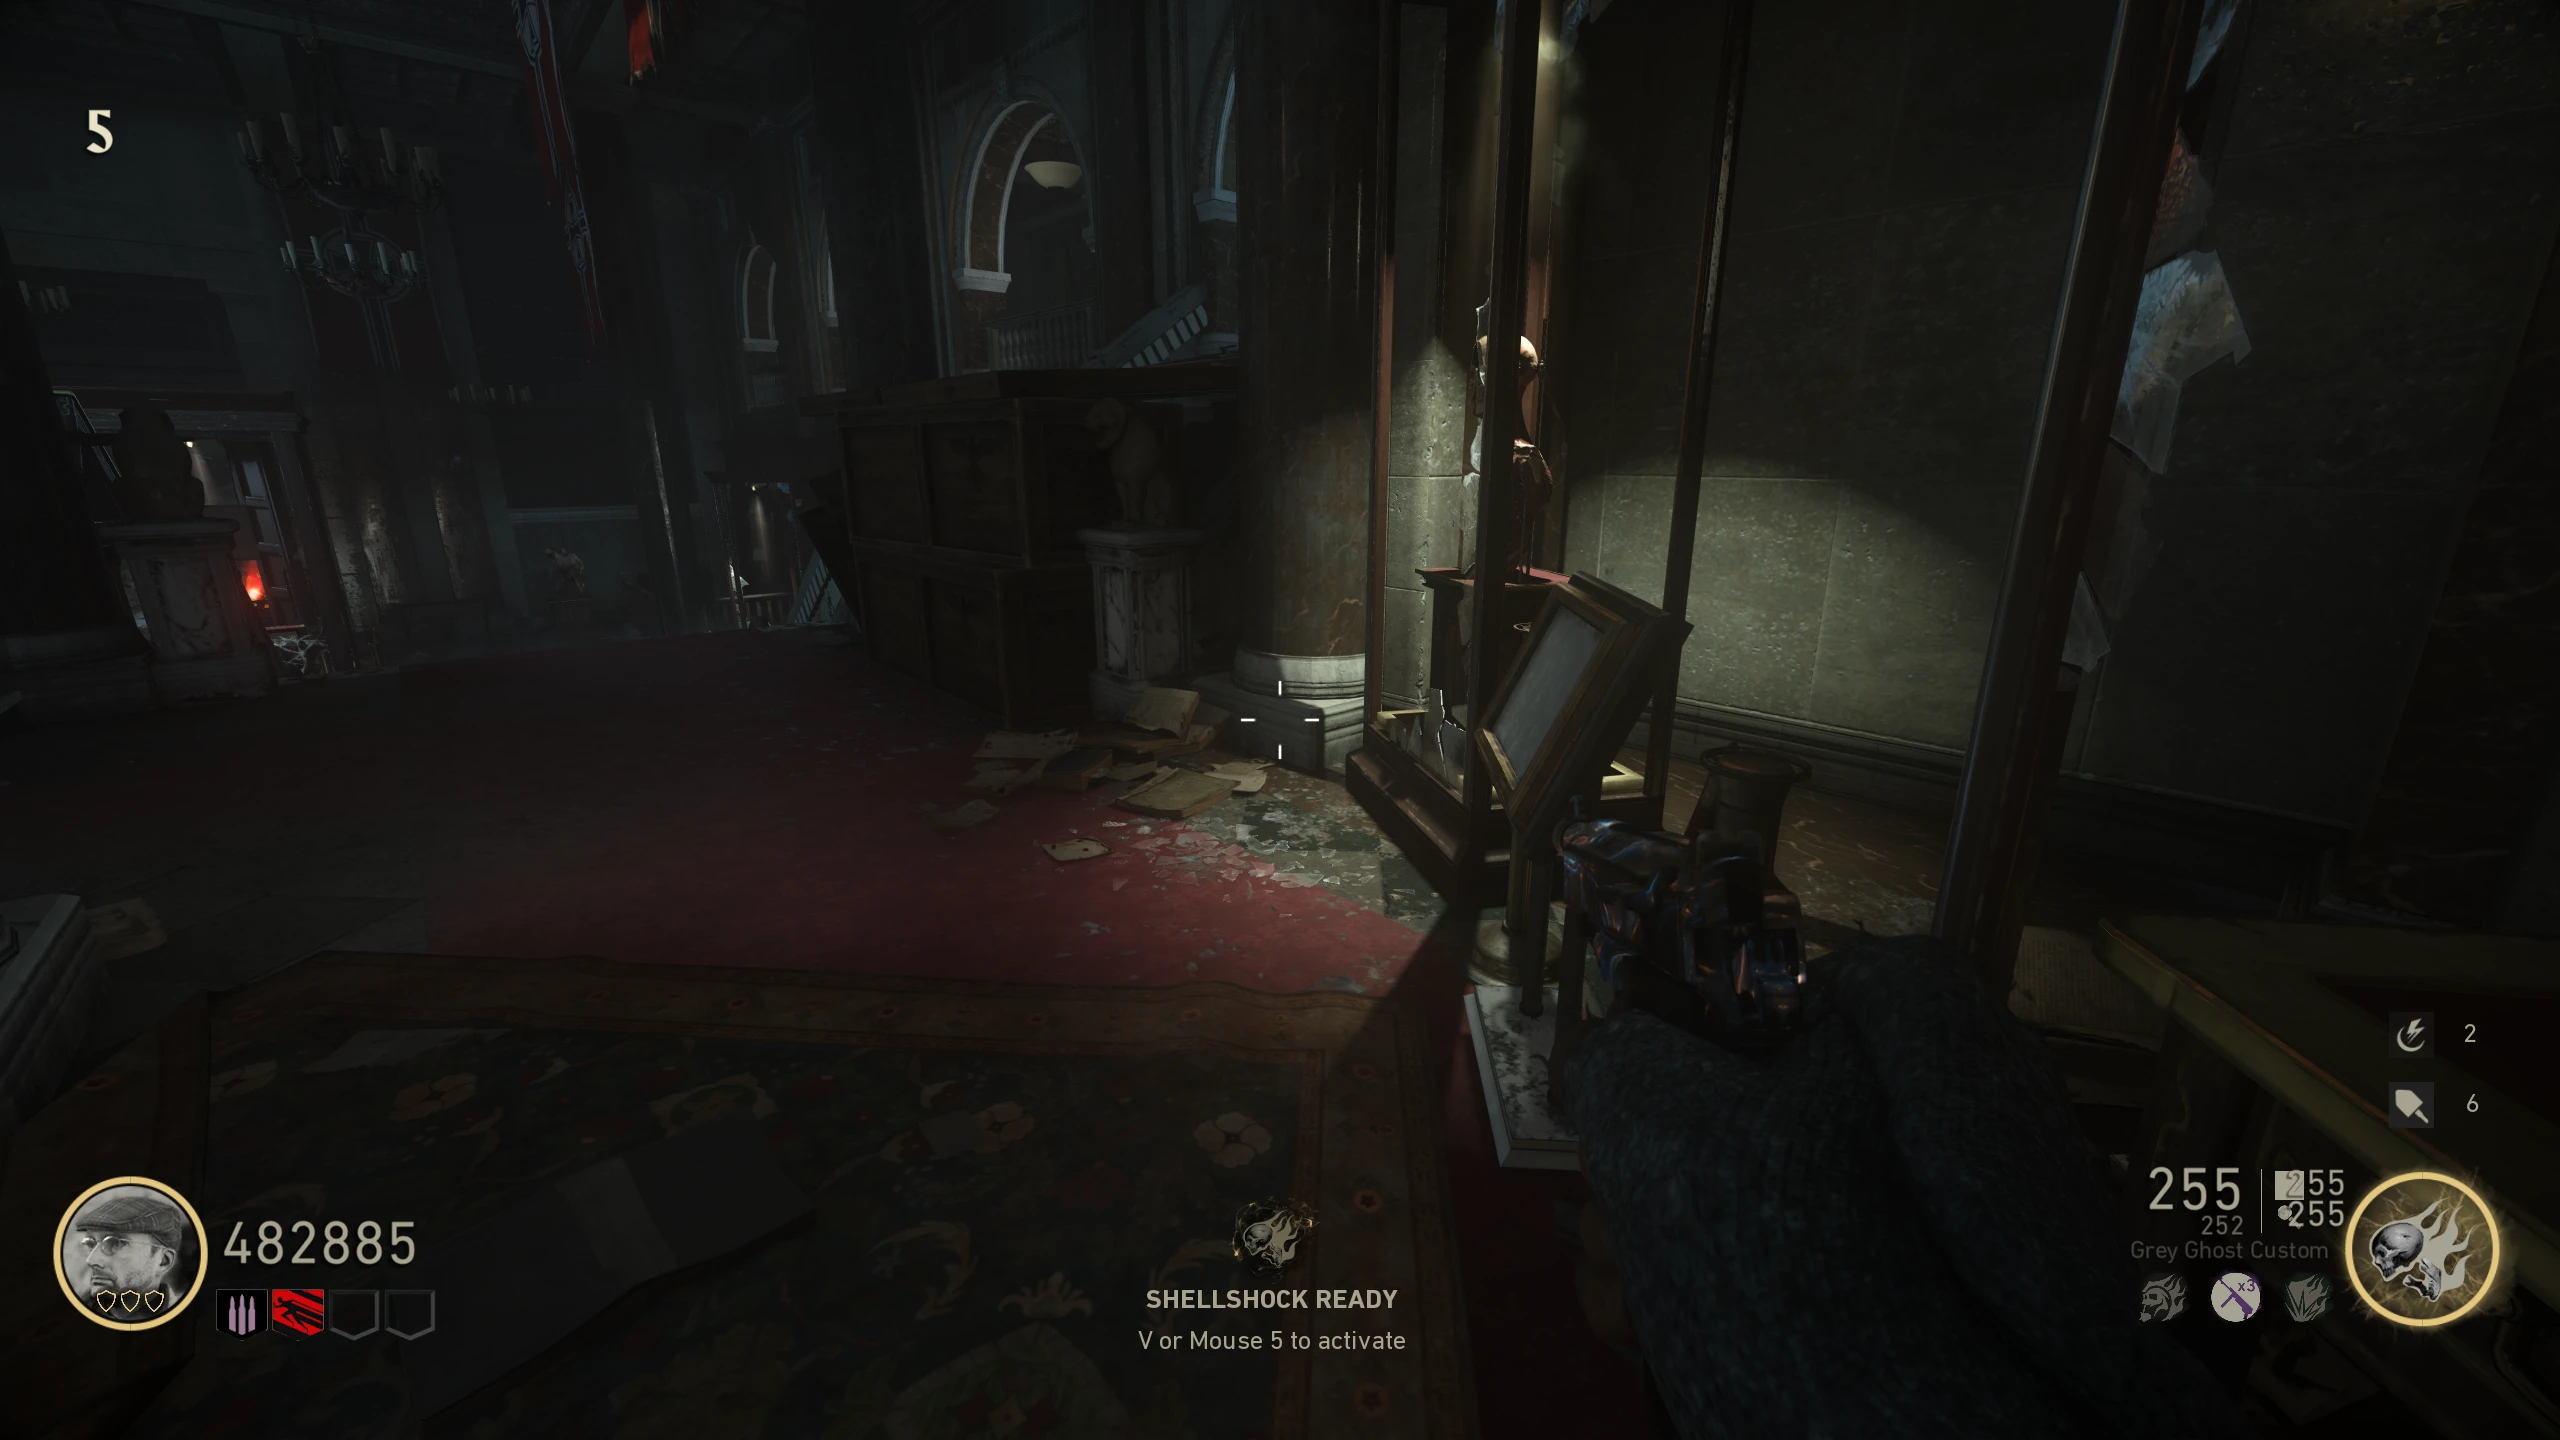
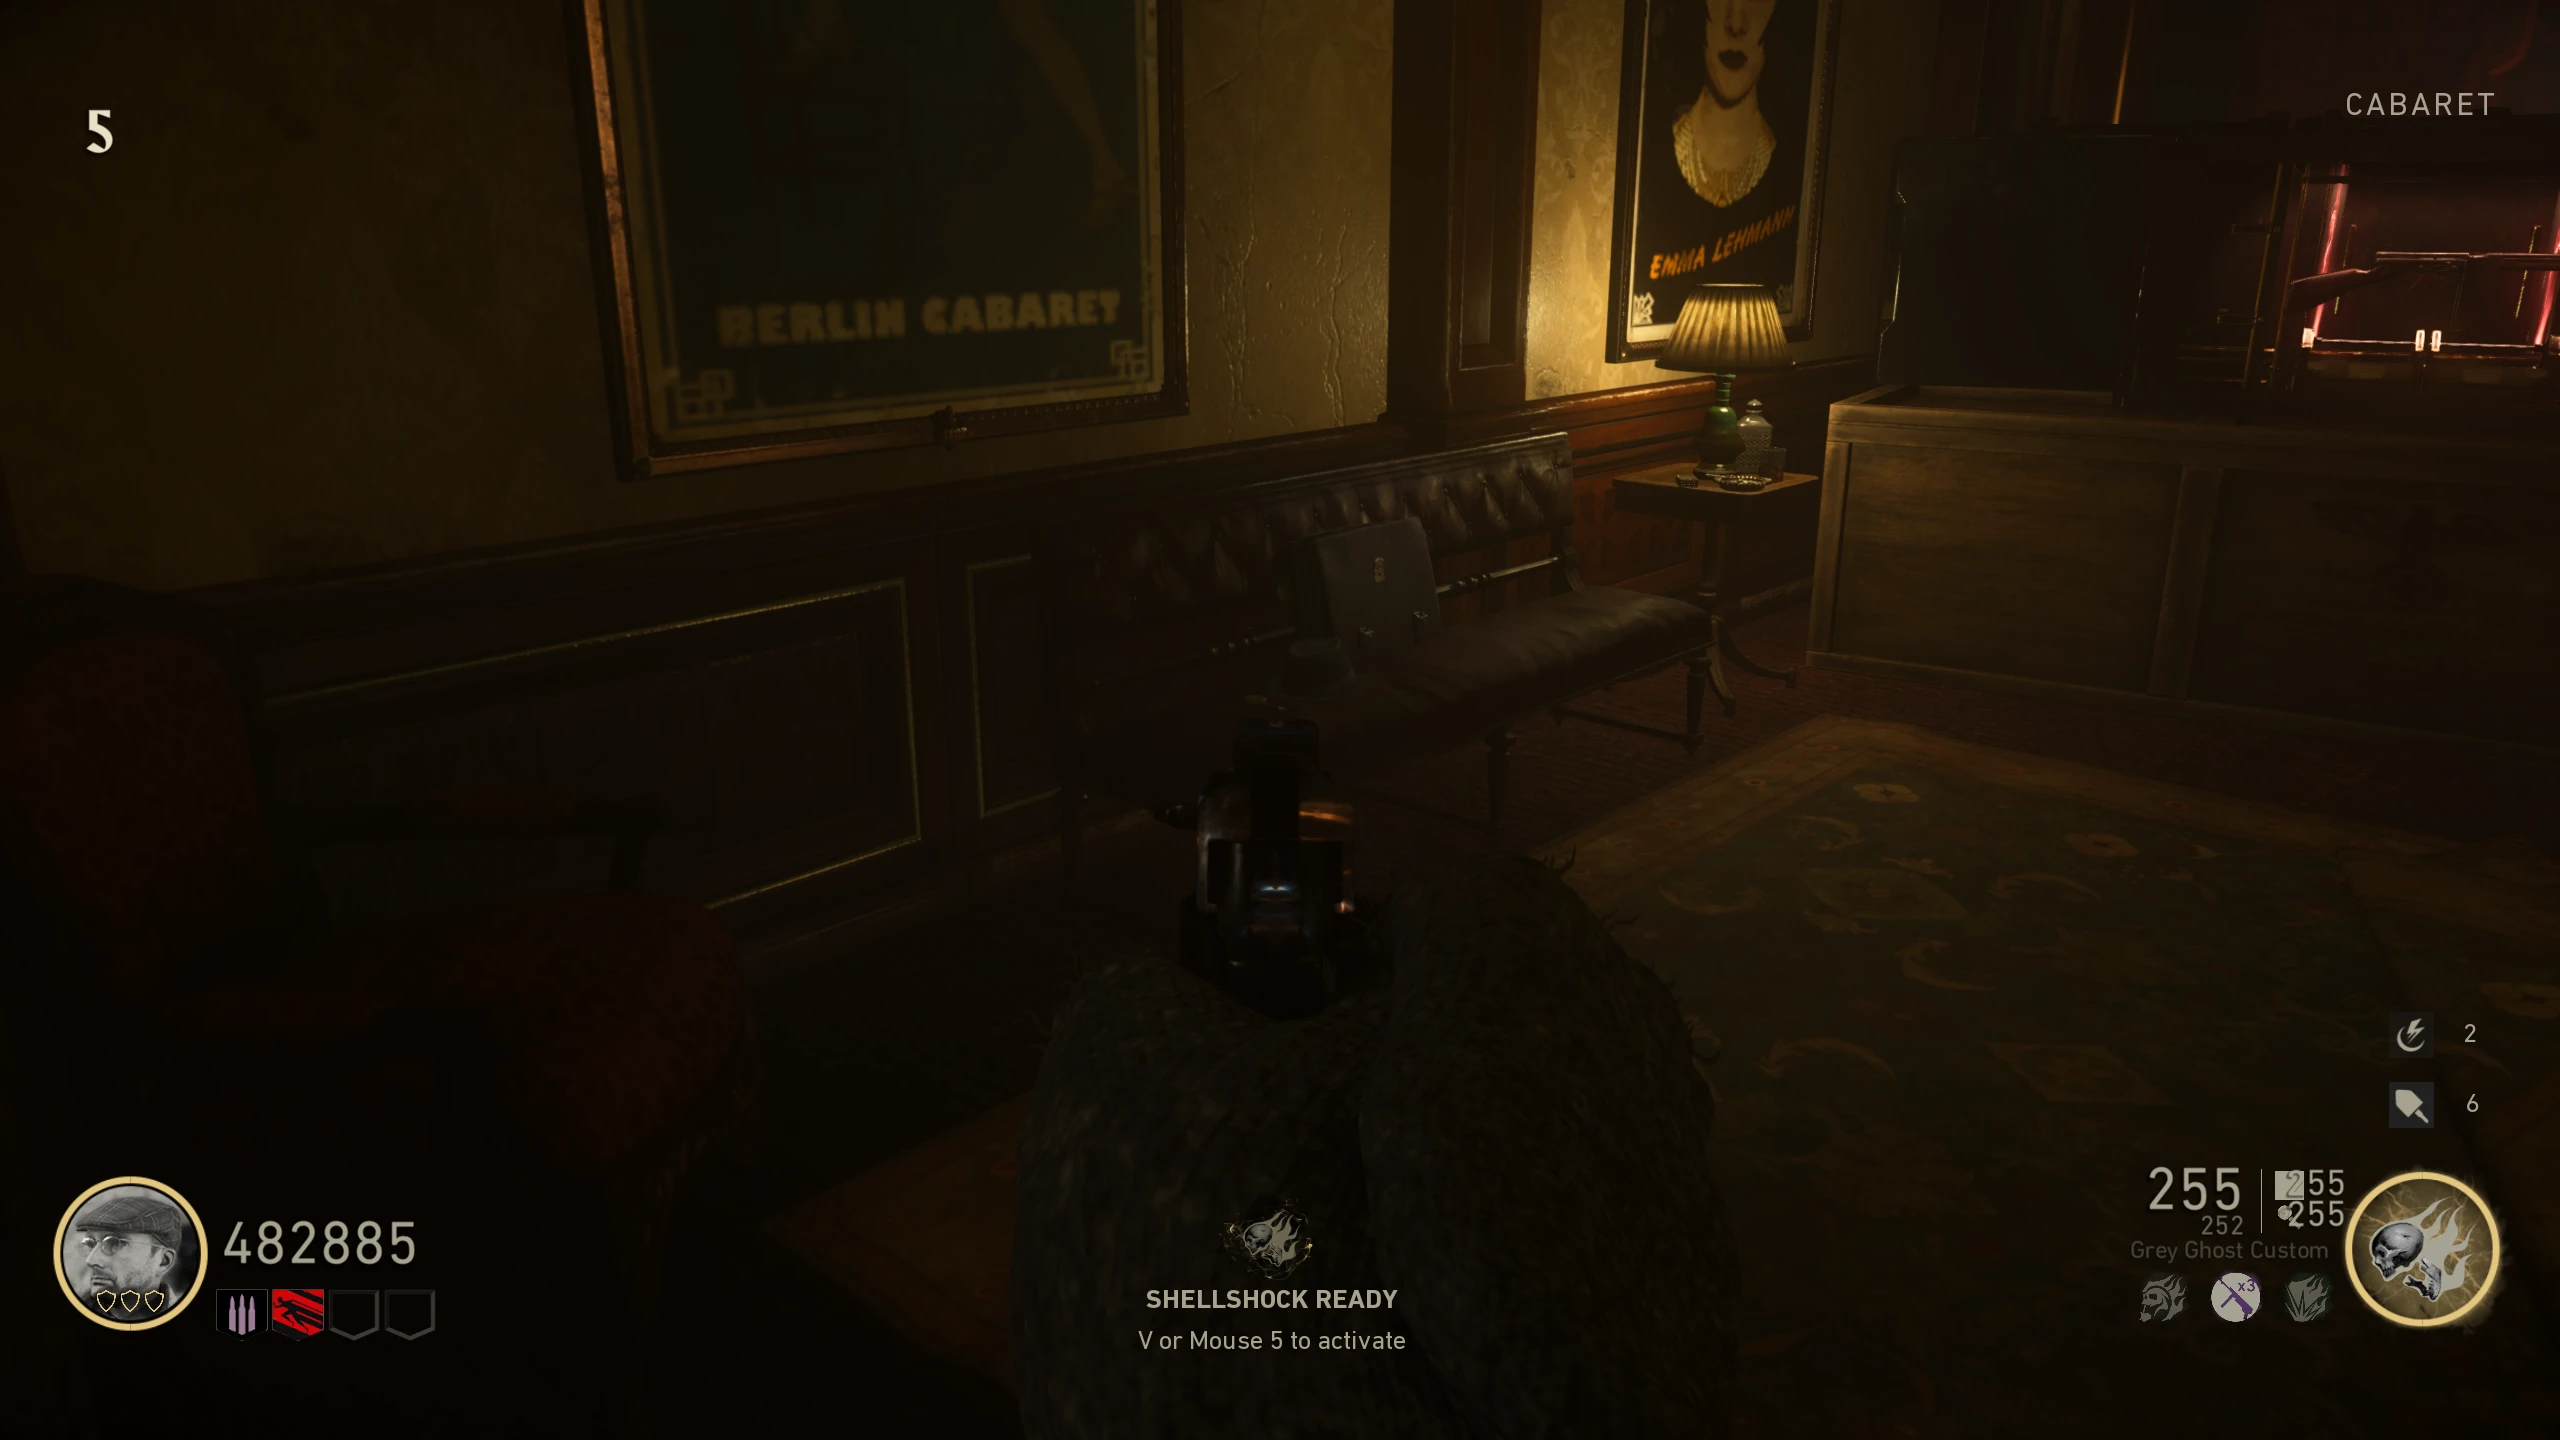
- Go to the 'Cabaret,' and pick up the small magnifying glass beside the hat on the couch left of the M1927 wallbuy.
- Go to the 'Church,' and interact with the map on the wall. The magnifying glass will appear on the map, and you will be able to move the glass around.
- Using the number from the Radio, or guessing from this image, move the glass to the indicated location and exit the map. If correct, the cabinet right of the map opens, revealing the Bowl. If not, try each location until it opens.
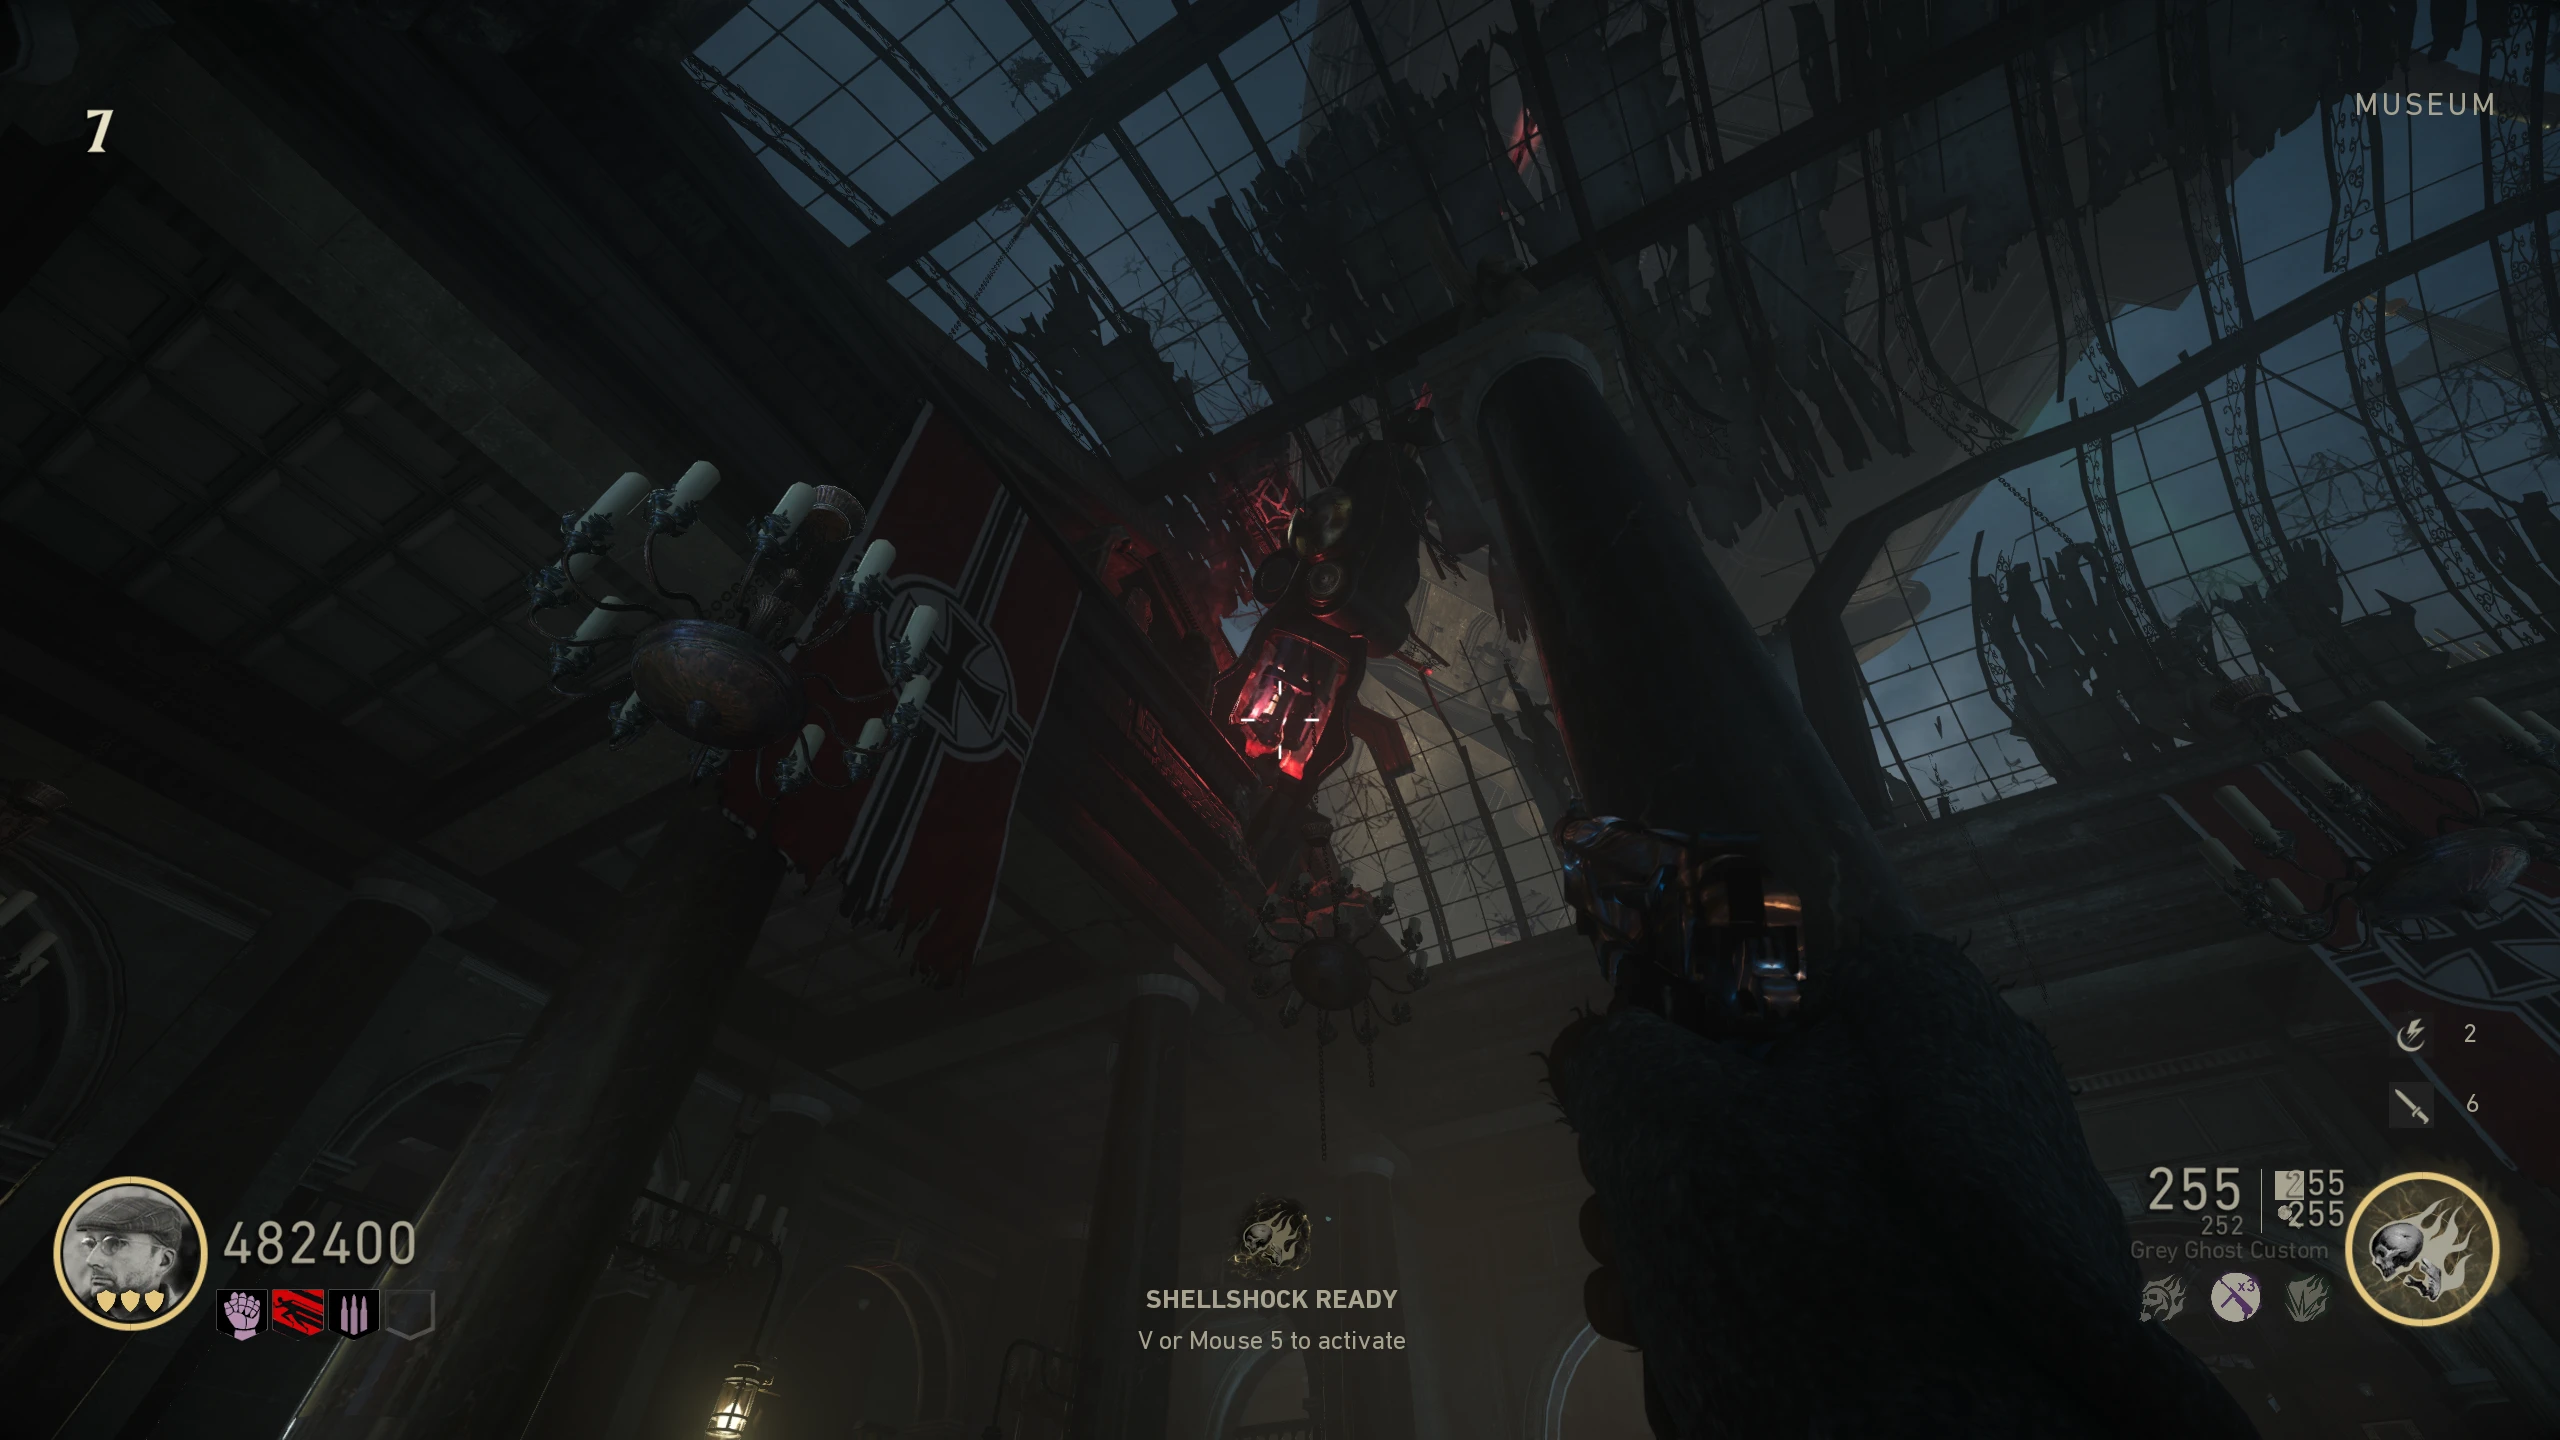
- Once you have the Bowl, place it on the scale left of the Combat Shotgun wallbuy on the top floor of the 'Museum.'
- Progress through the Wunderbuss quest (unless you've completed it already) to the point where Sizzlers start spawning.
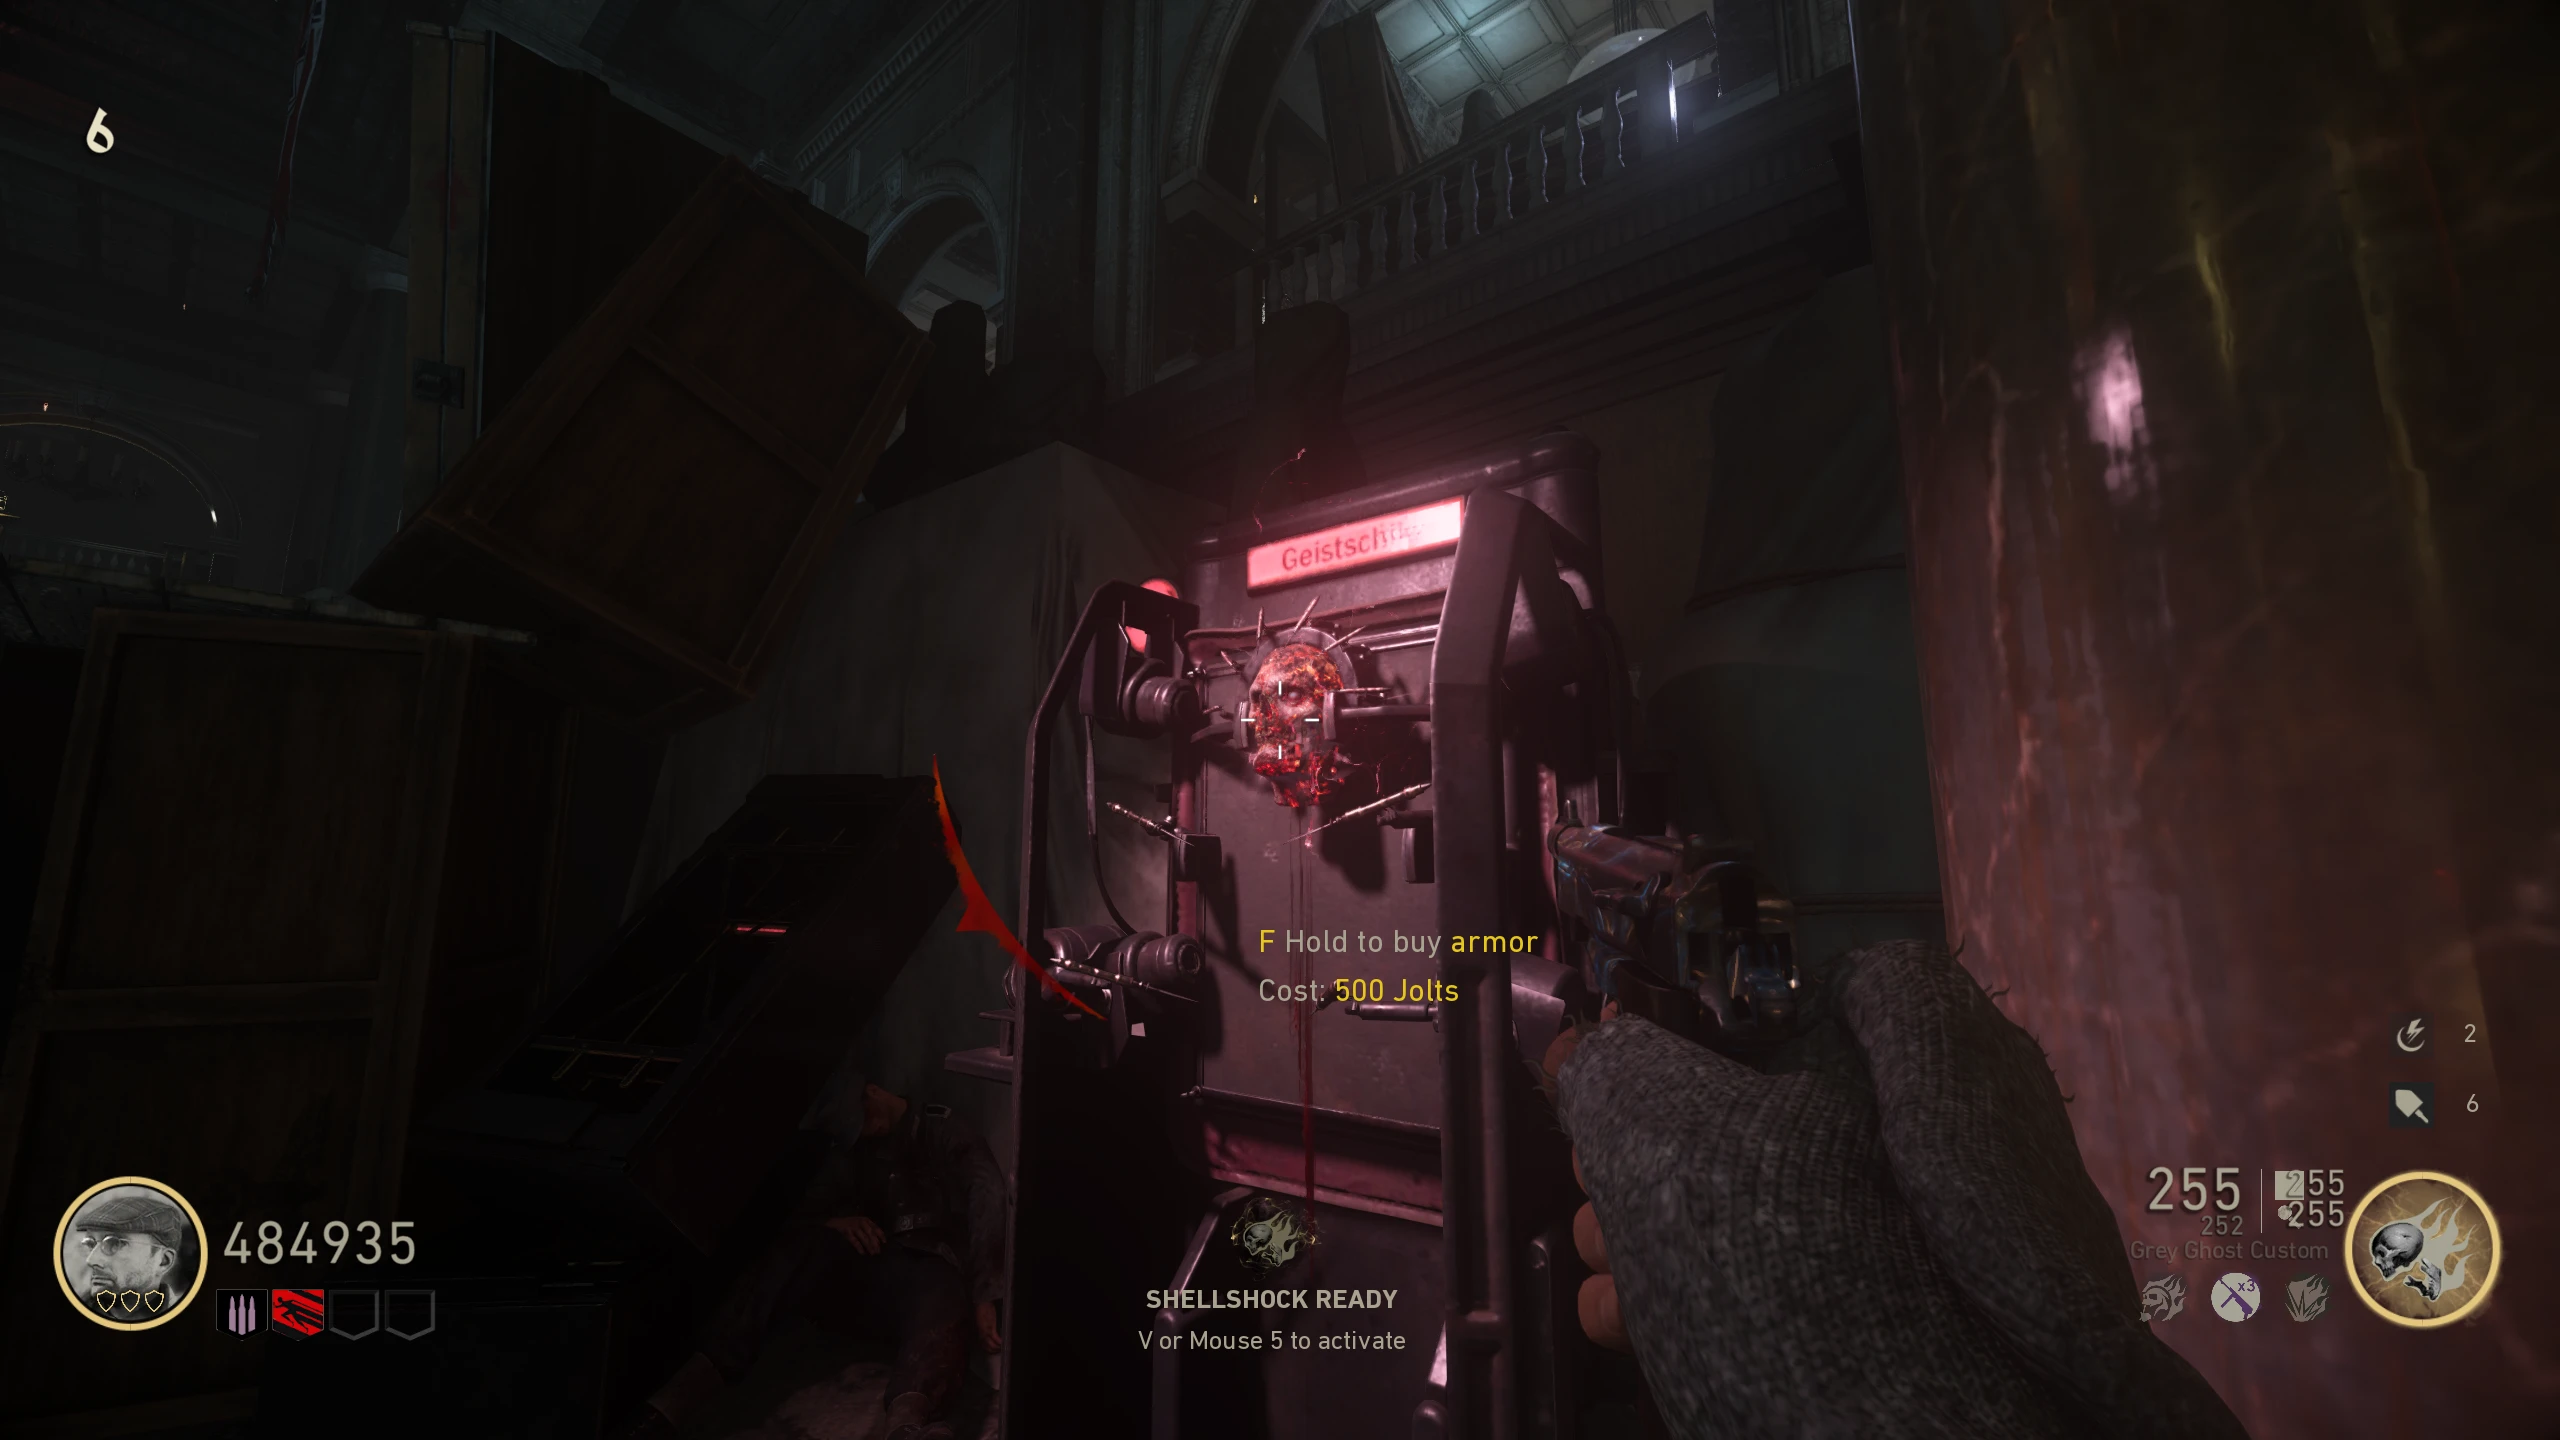
- Melee kill a Sizzler beside an Armour stand. If done correctly, its head will get stuck on the stand. Purchase Armour at the stand to pick it up.
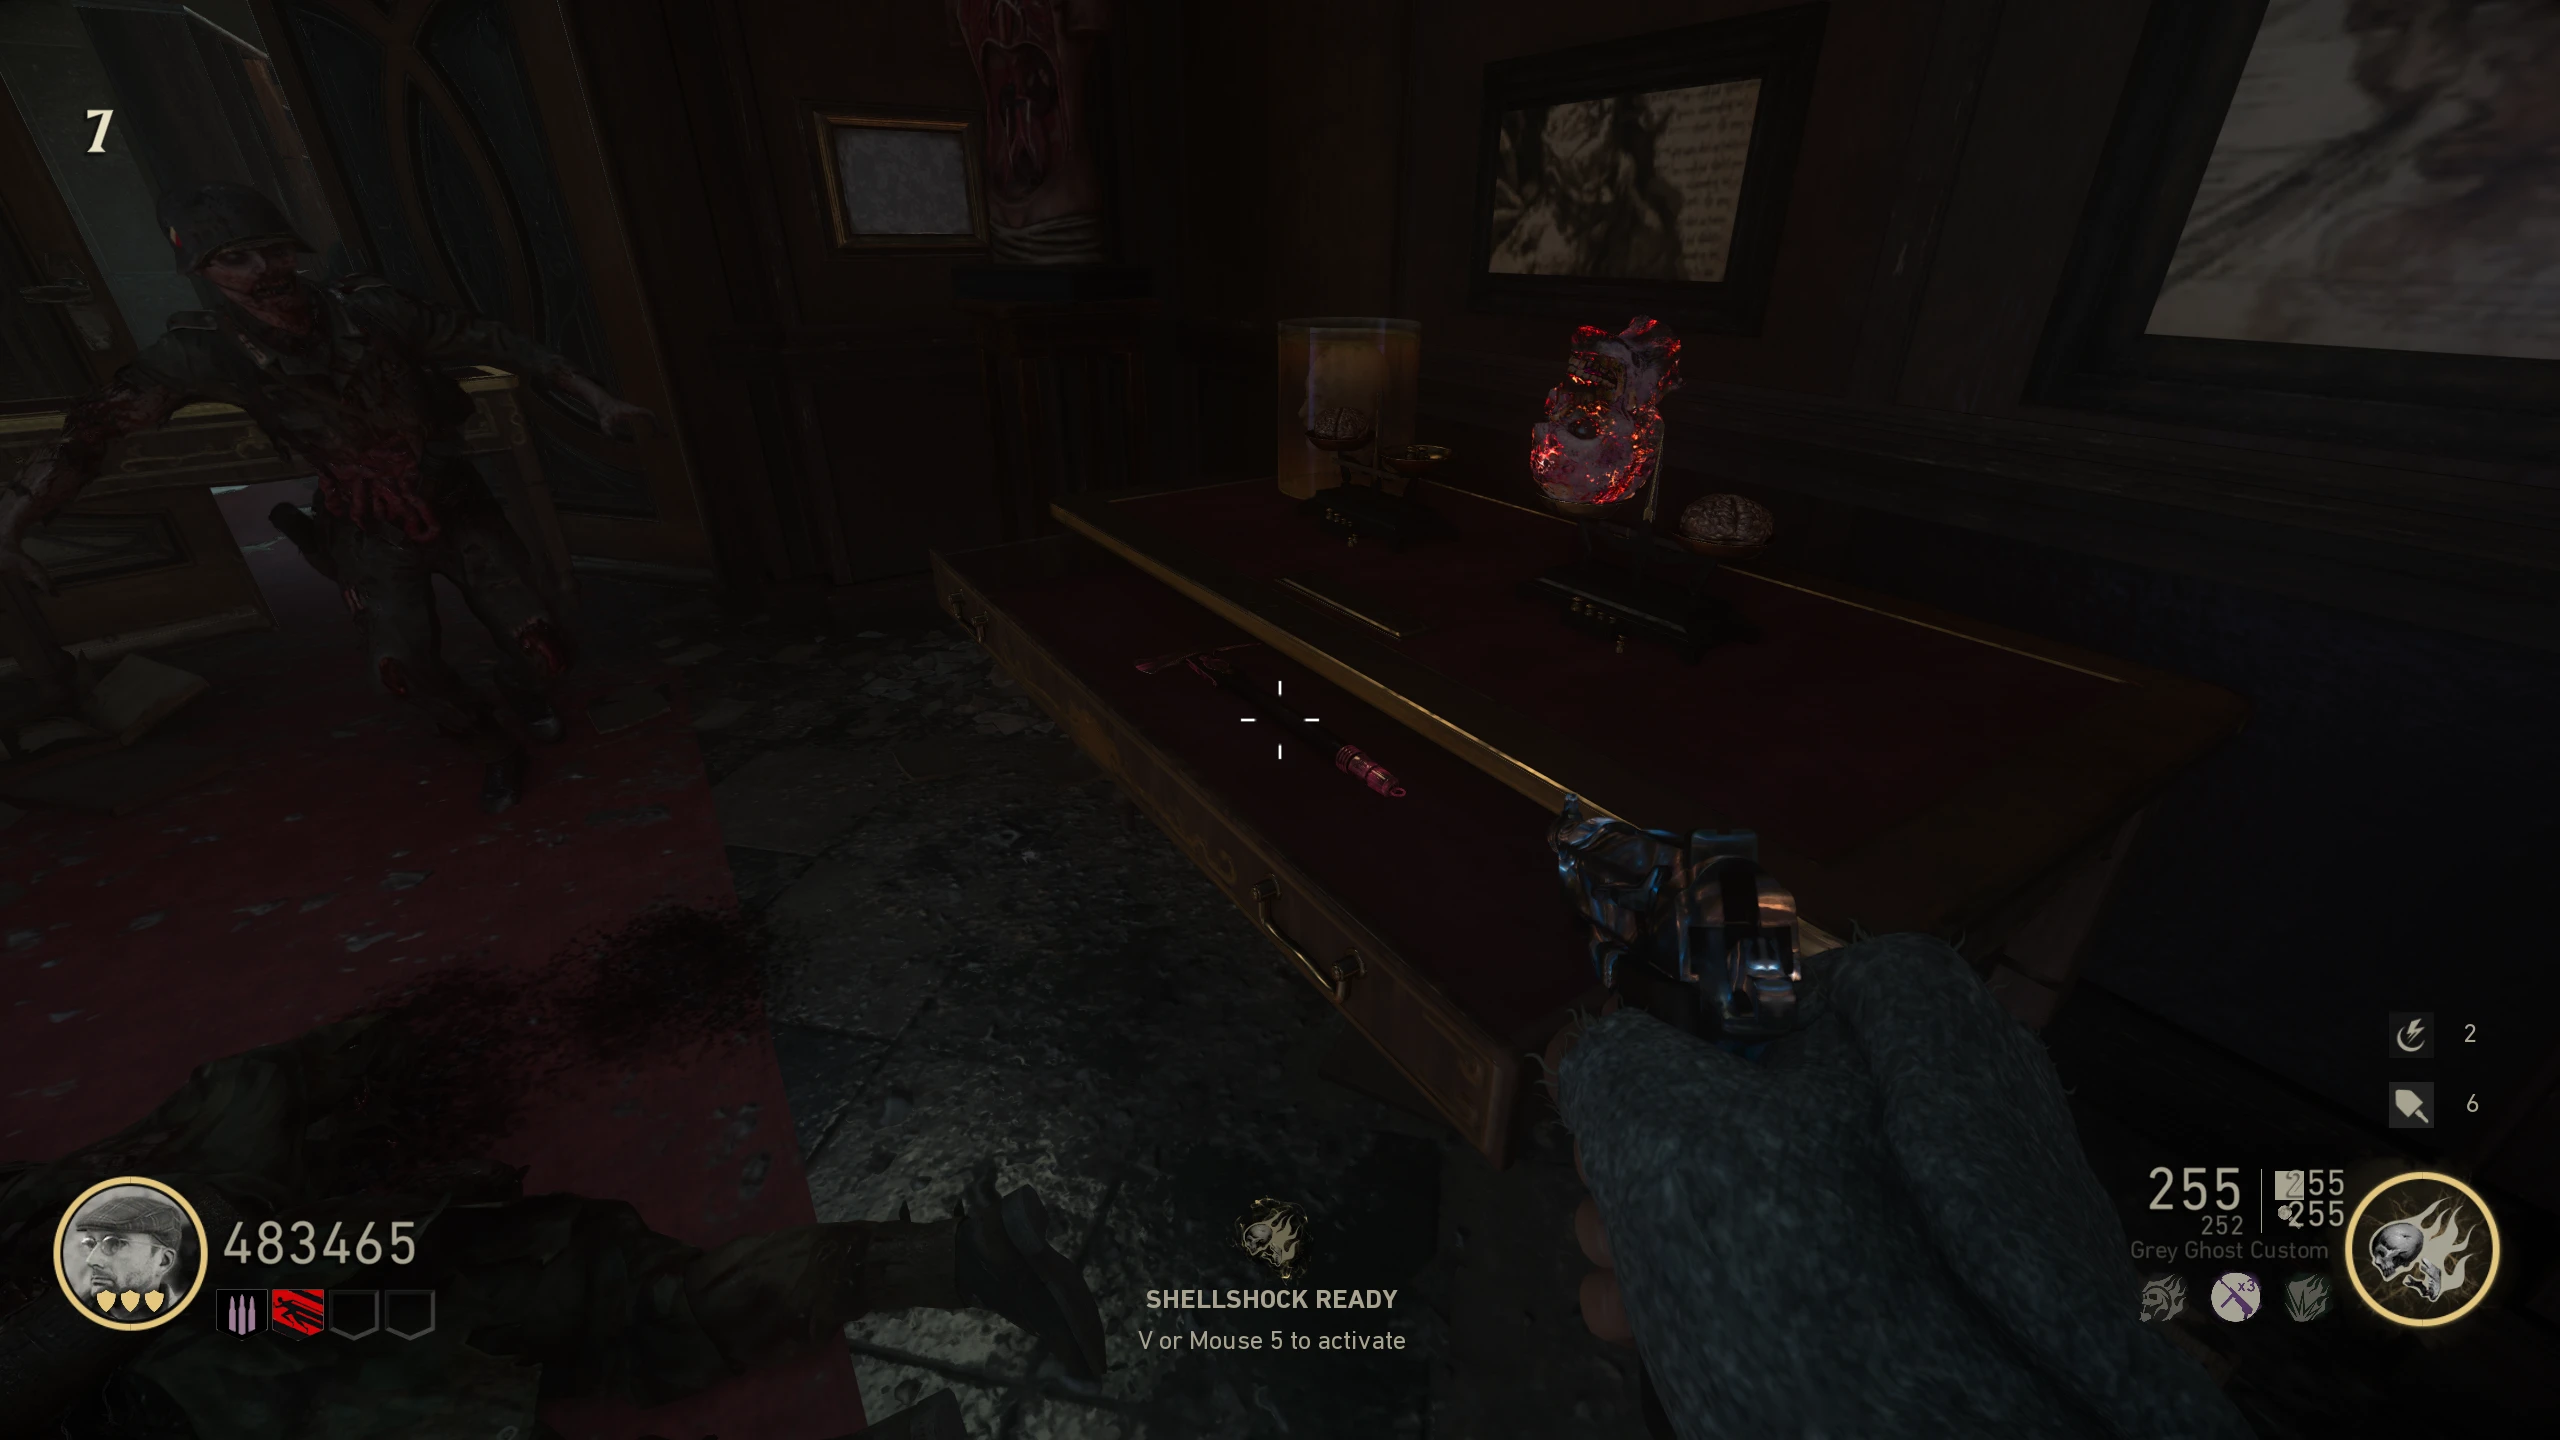
- Place the head in the Bowl. Get ~10-15 kills close to the rabbit model right of the Bowl.
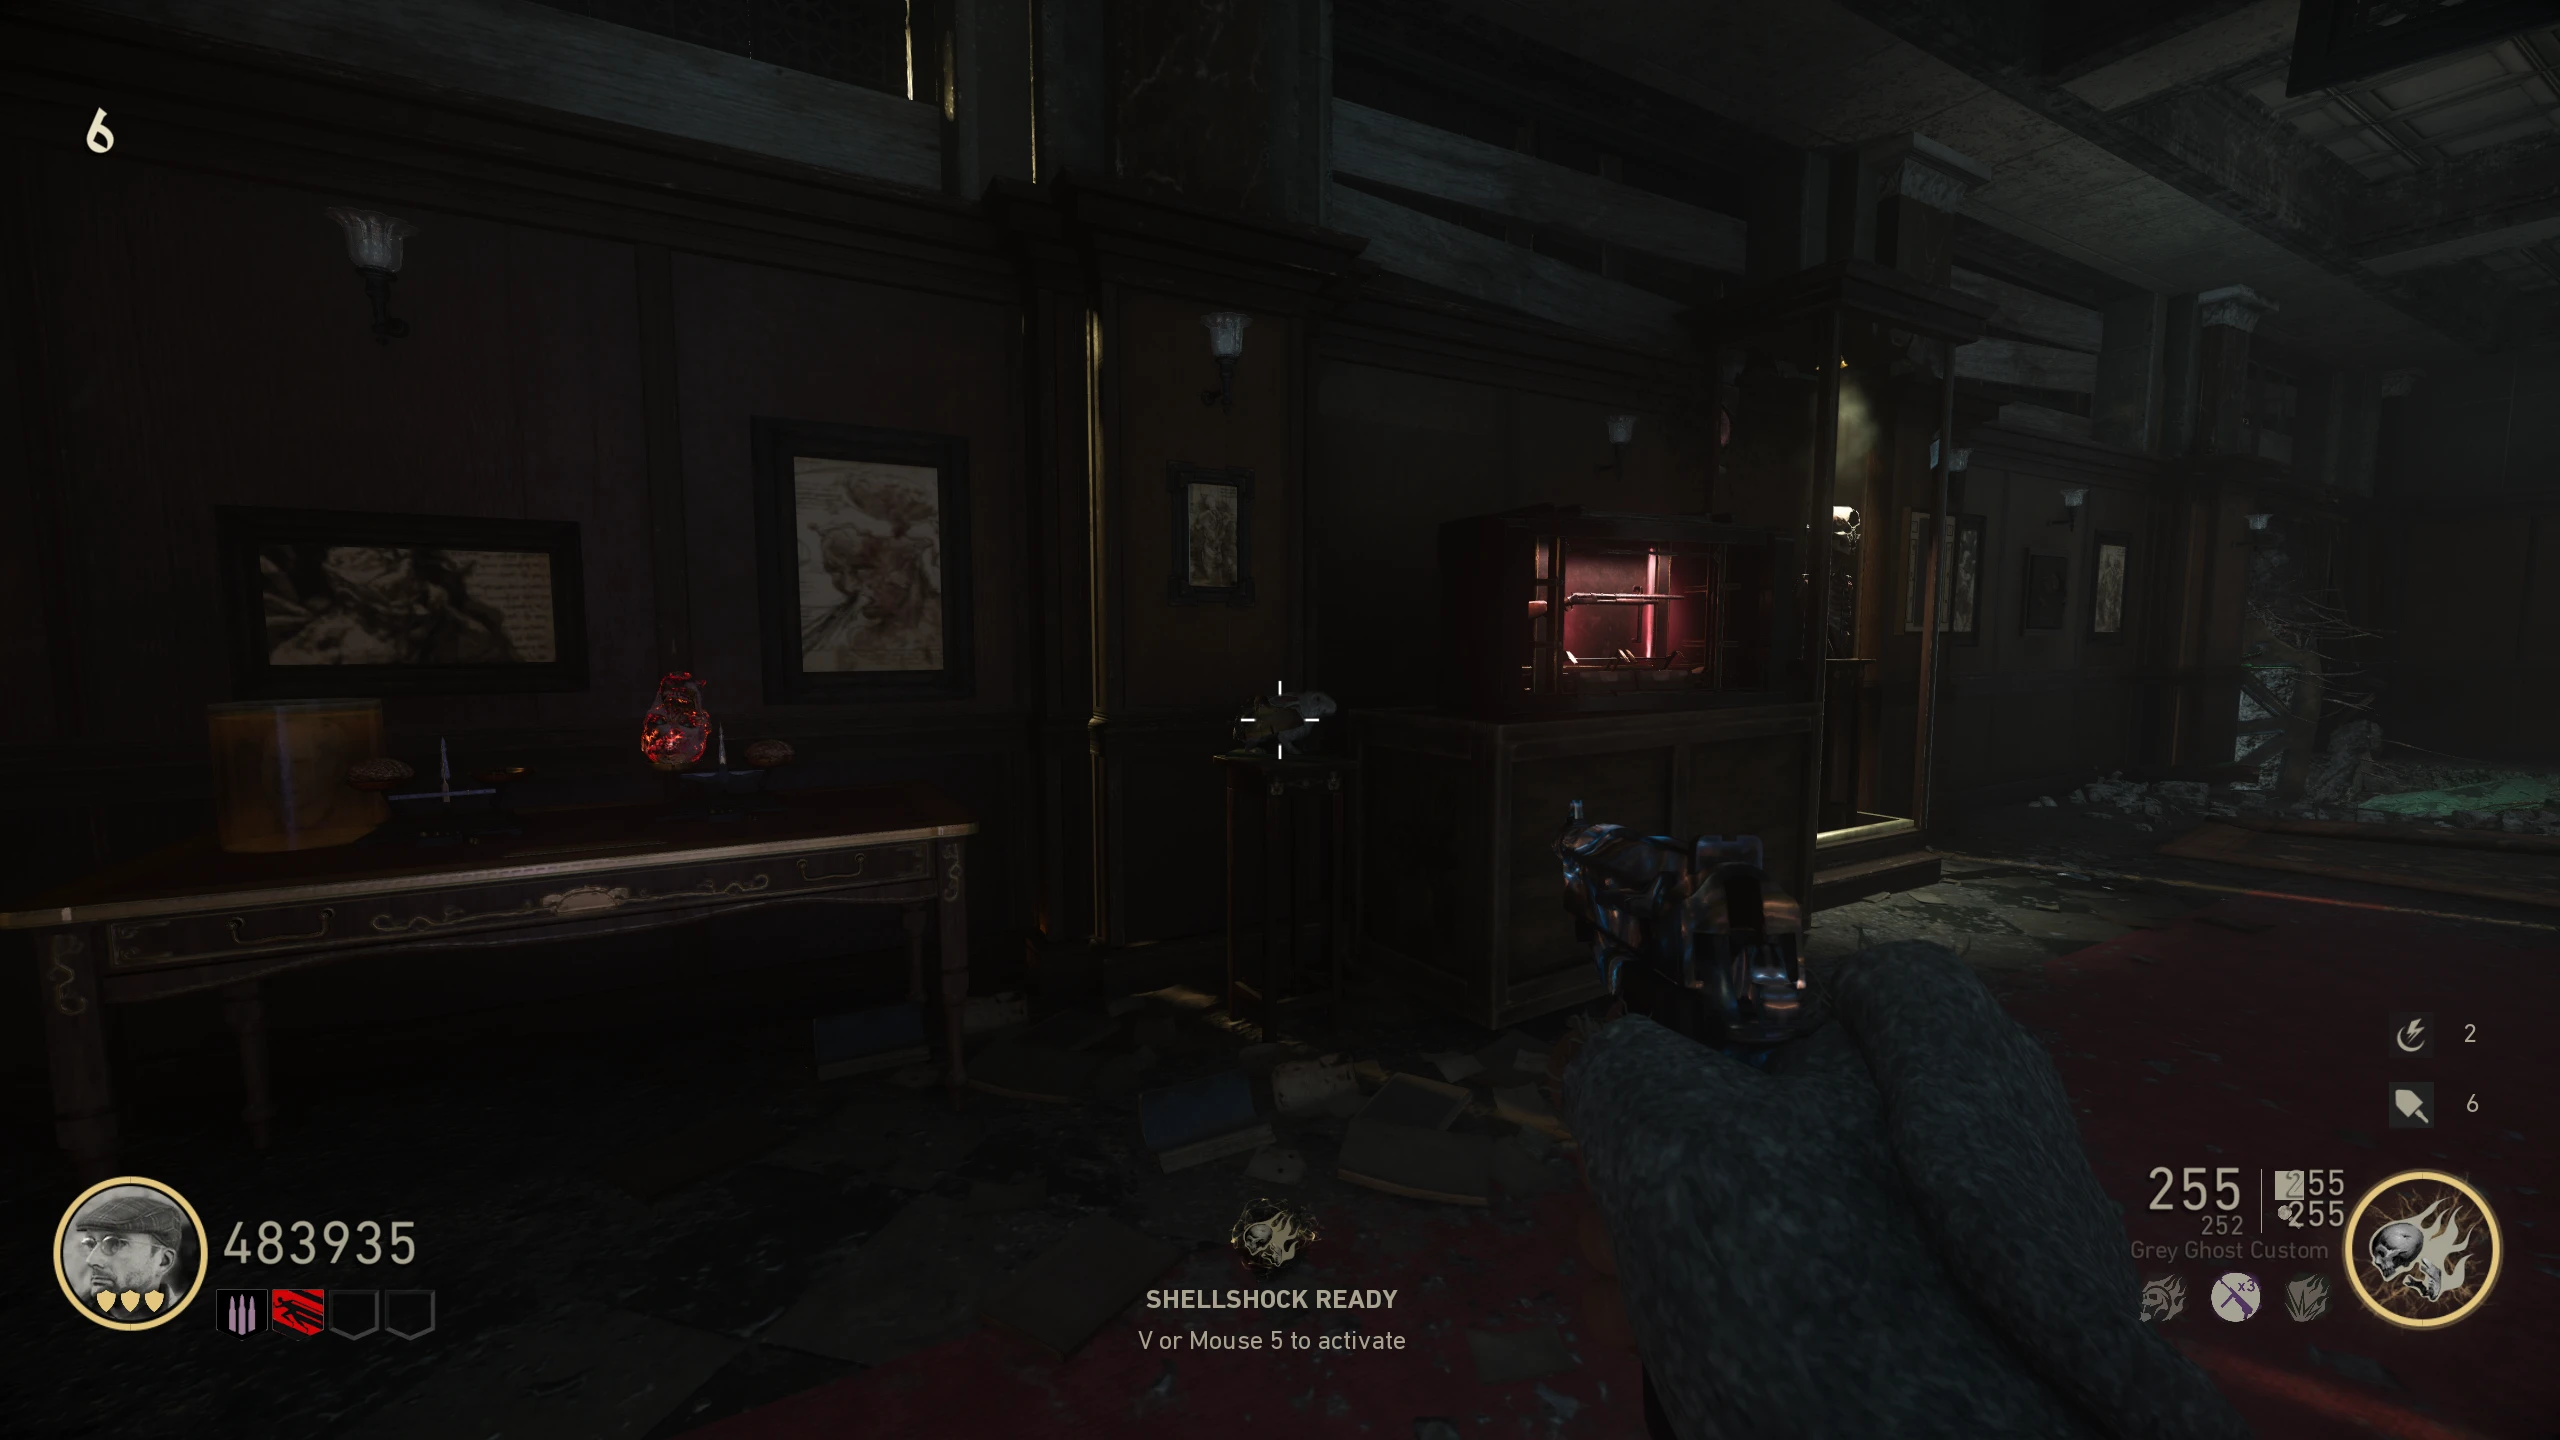
- Once you get enough kills, a drawer in the table will open with the Nazi Axe inside.
"Stadtjäger Down" Main Quest
Stats (Solo): Difficulty - 8/10, Est. Completion Time - 1 Hr to 1:15 Hr
- Obtain the Wunderbuss.
- There are two parts to this Quest that can be done somewhat simultaneously, Obtaining the Blade, and Lowering the Drop Pod.
Obtaining the Blade
- Obtain the Smuggler's Bat, Dancer's Dagger, and Nazi Axe. These can be obtained in any order and simultaneously.
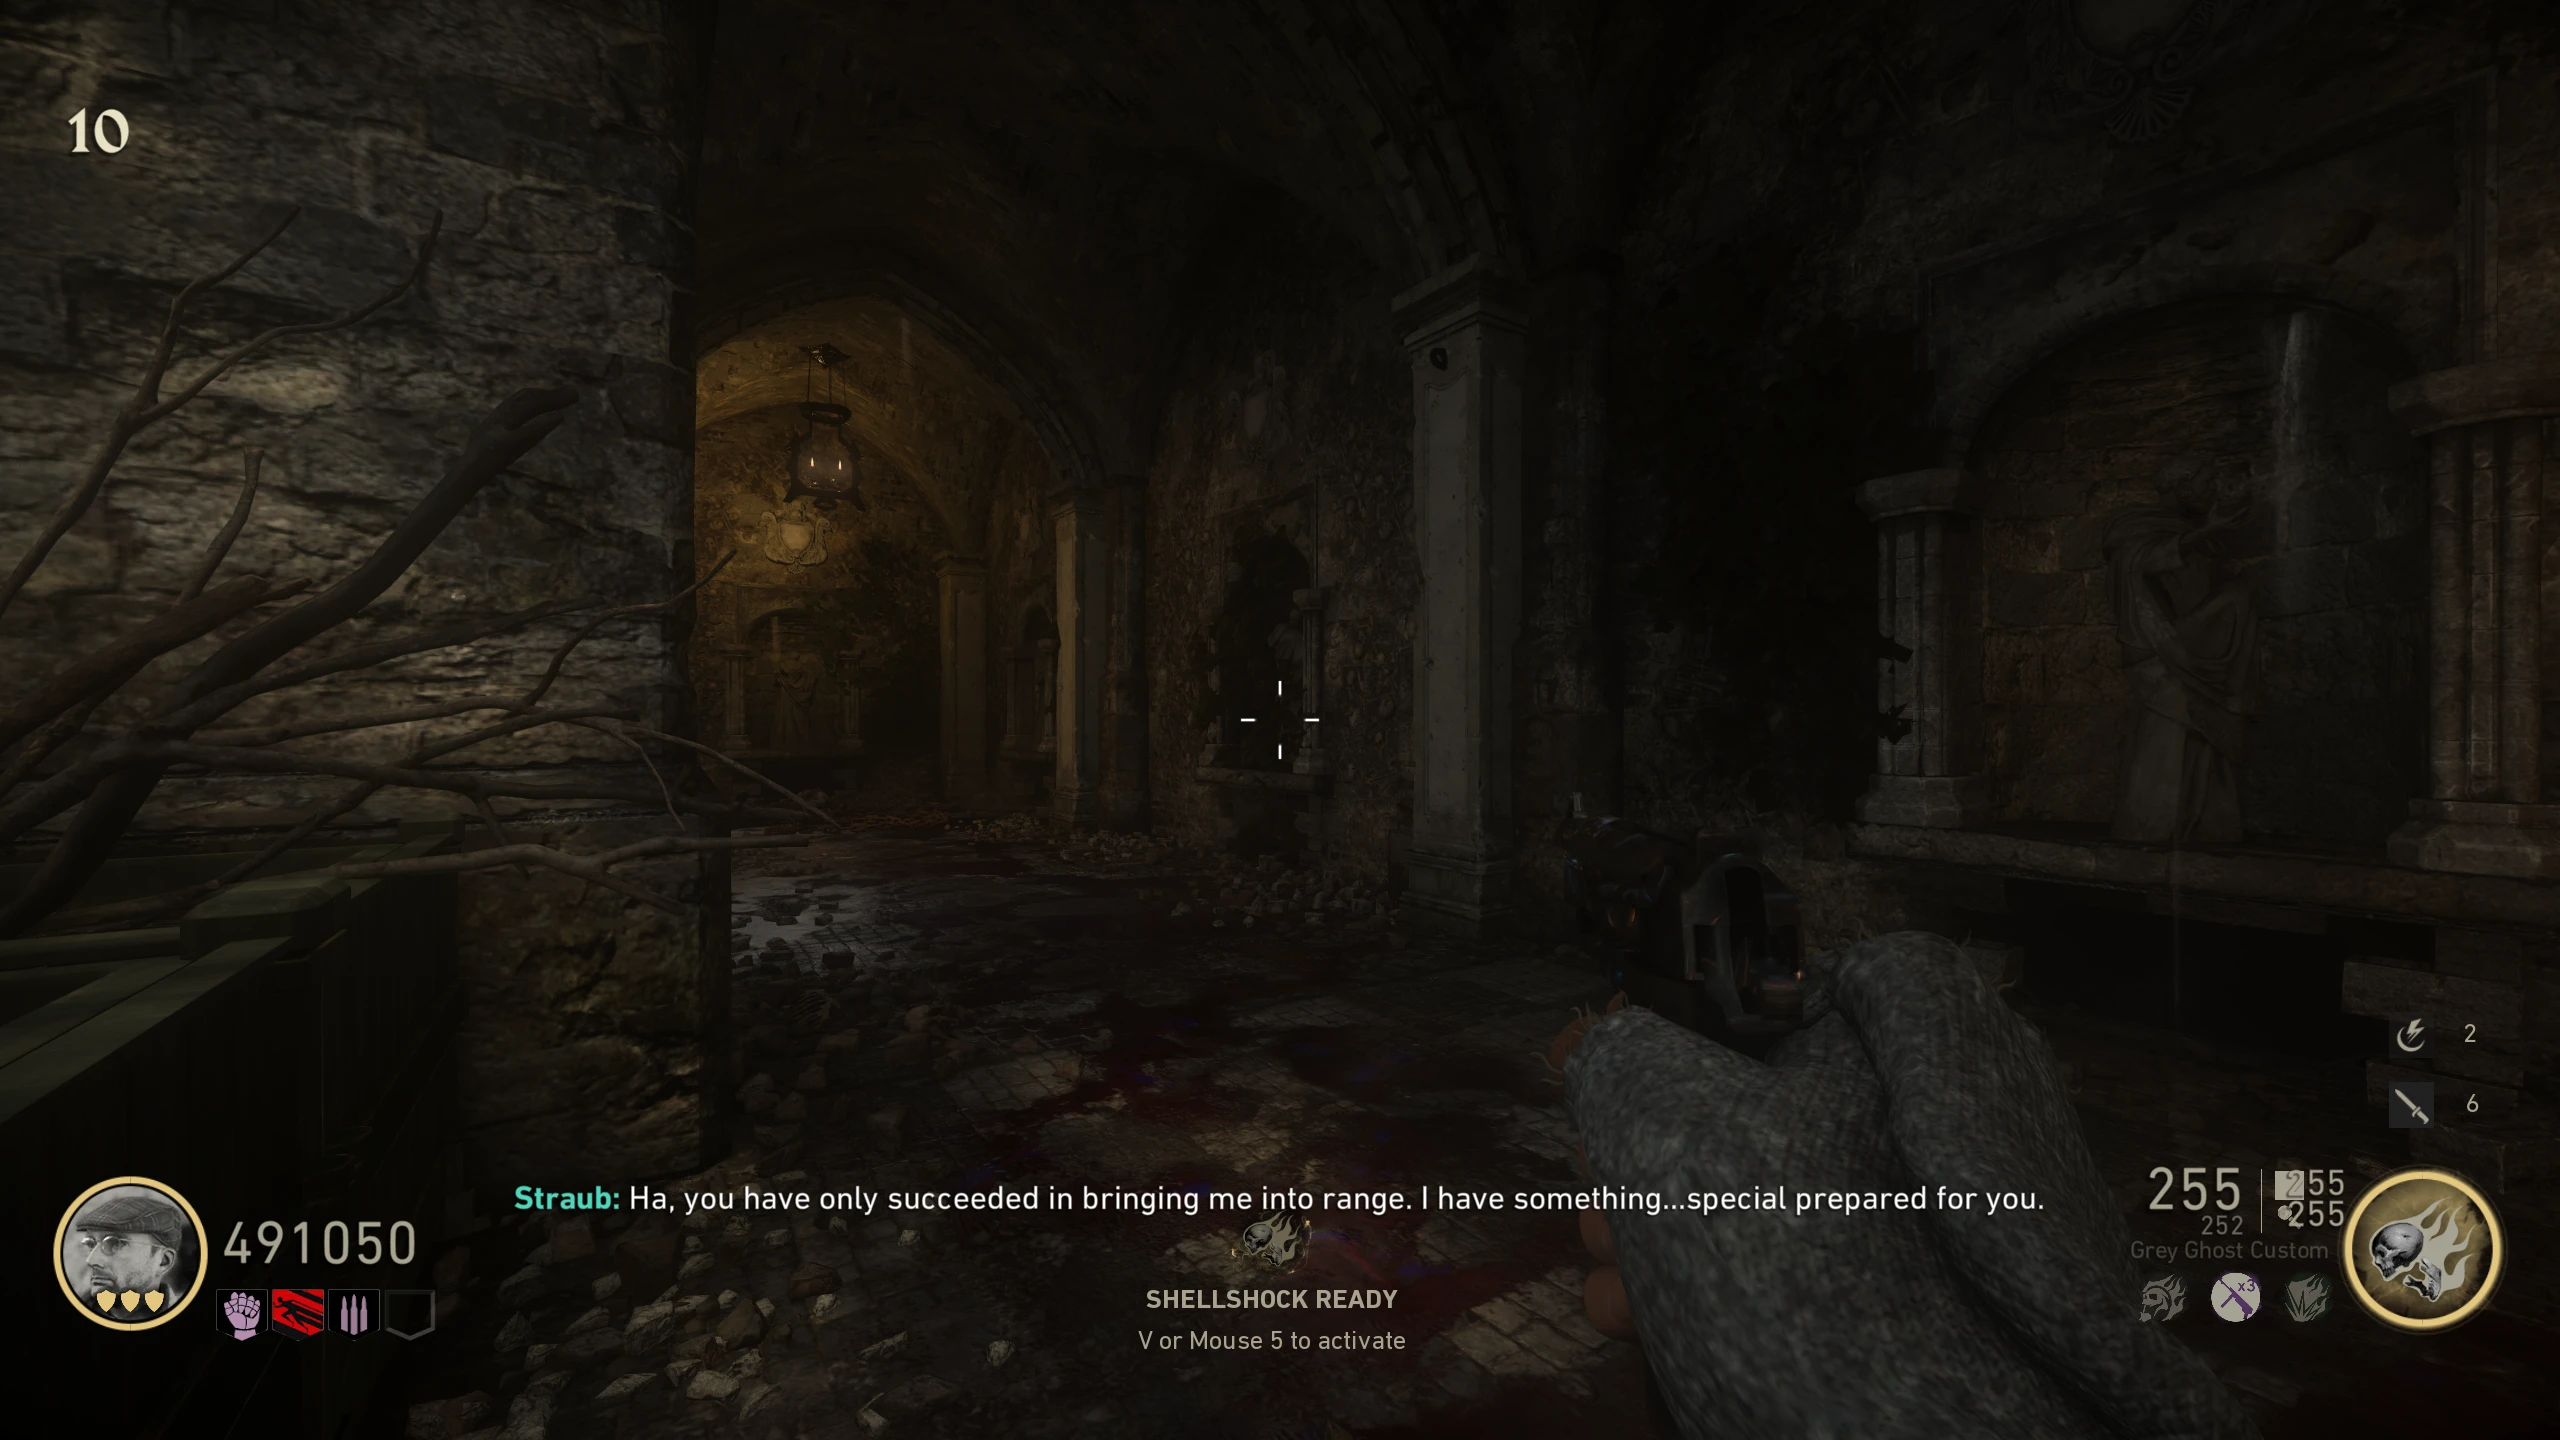
- Place each of the melee weapons in the stone slots, right of the large, red door beside the 'Church.'
- Kill 20 Zombies, 10 Sizzlers, and 10 Pests (in that order) near the weapons to charge them. Once done, the red door opens, revealing 'Barbarossa's Refuge.'
Warning: Once you shoot the Anchor, anyone inside 'Barbarossa's Refuge' will be locked in. You will be able to leave eventually, but only after doing a slightly time-consuming puzzle.
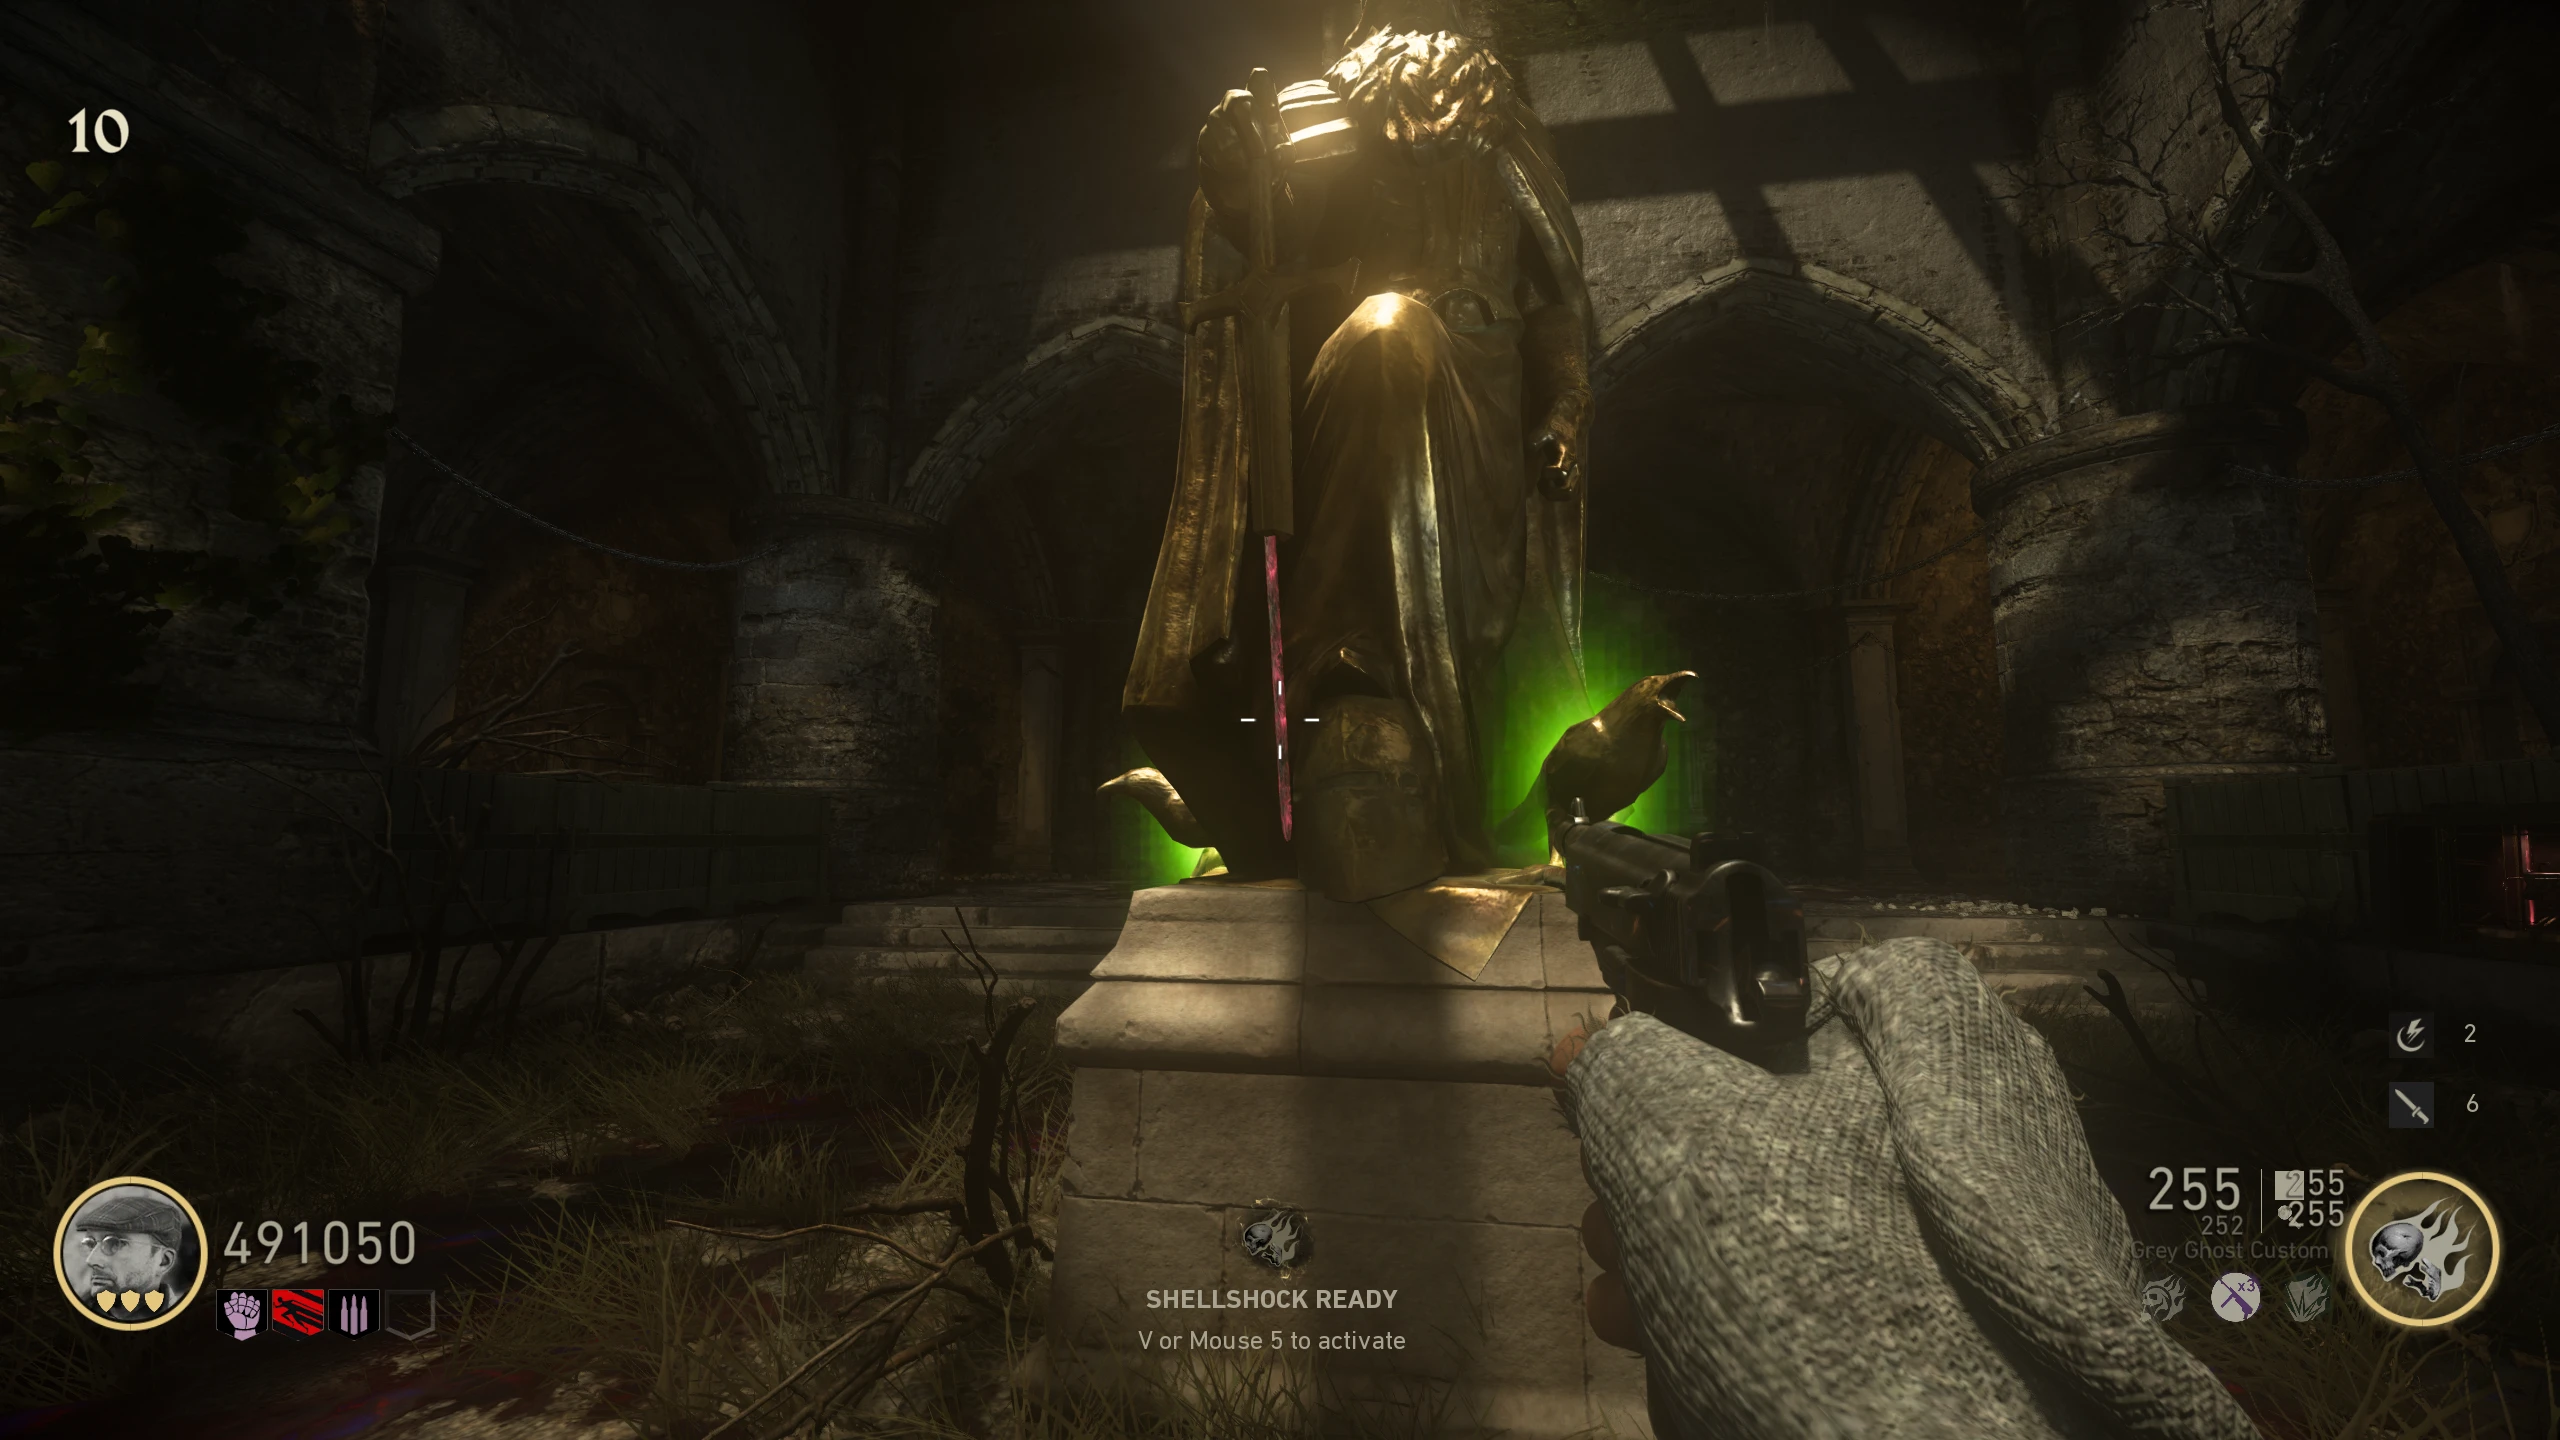
- Using the Wunderbuss, shoot the anchor in the ceiling until it's charged (takes 150 ammo; it'll turn yellow) to lock you into 'Barbarossa's Refuge.'
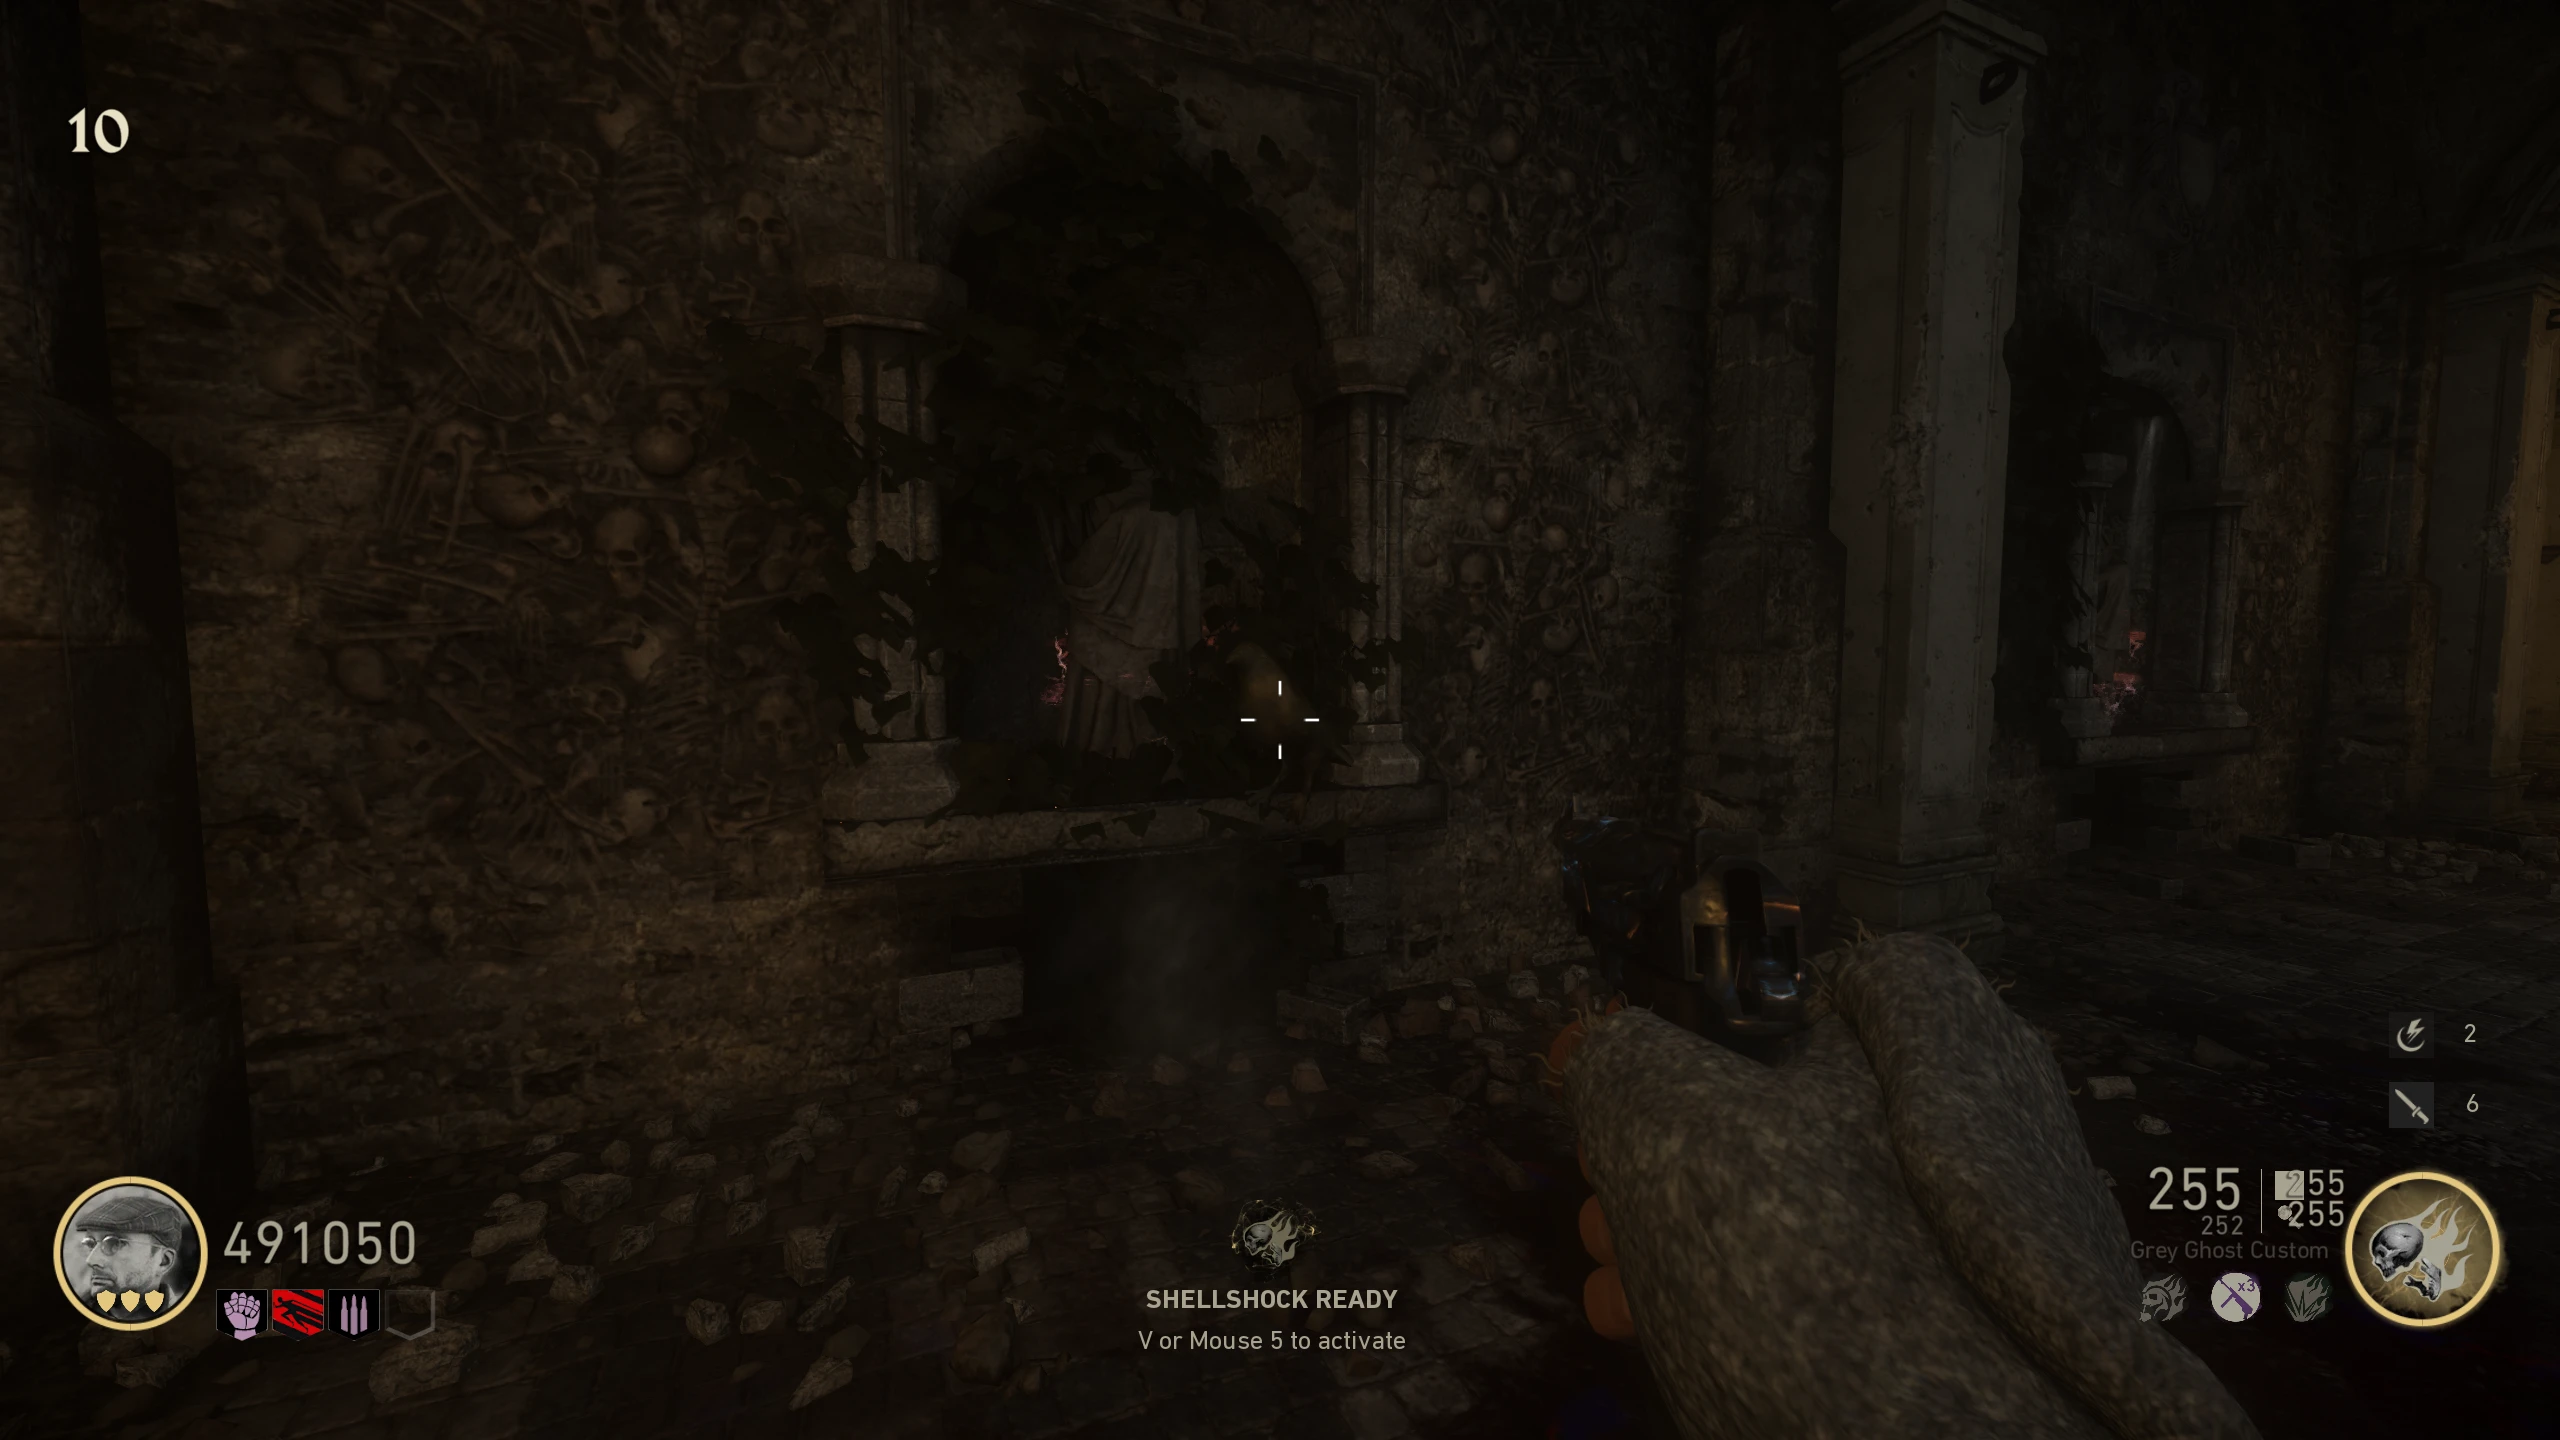
- Around the room are four walls with statues. Get all statues on each wall facing forward. Shooting a statue also rotates its neighbours. Completing a wall spawns a raven statue in front of the second/third statue; pick it up. The walls are ordered counterclockwise, starting with the one with three statues left of the stairs. Use the solver below.
- Once you have all four raven statues, you will need to place them on the Barbarossa statue in the middle of the room. Watch this video (Backup Youtube link) for how to place them properly.
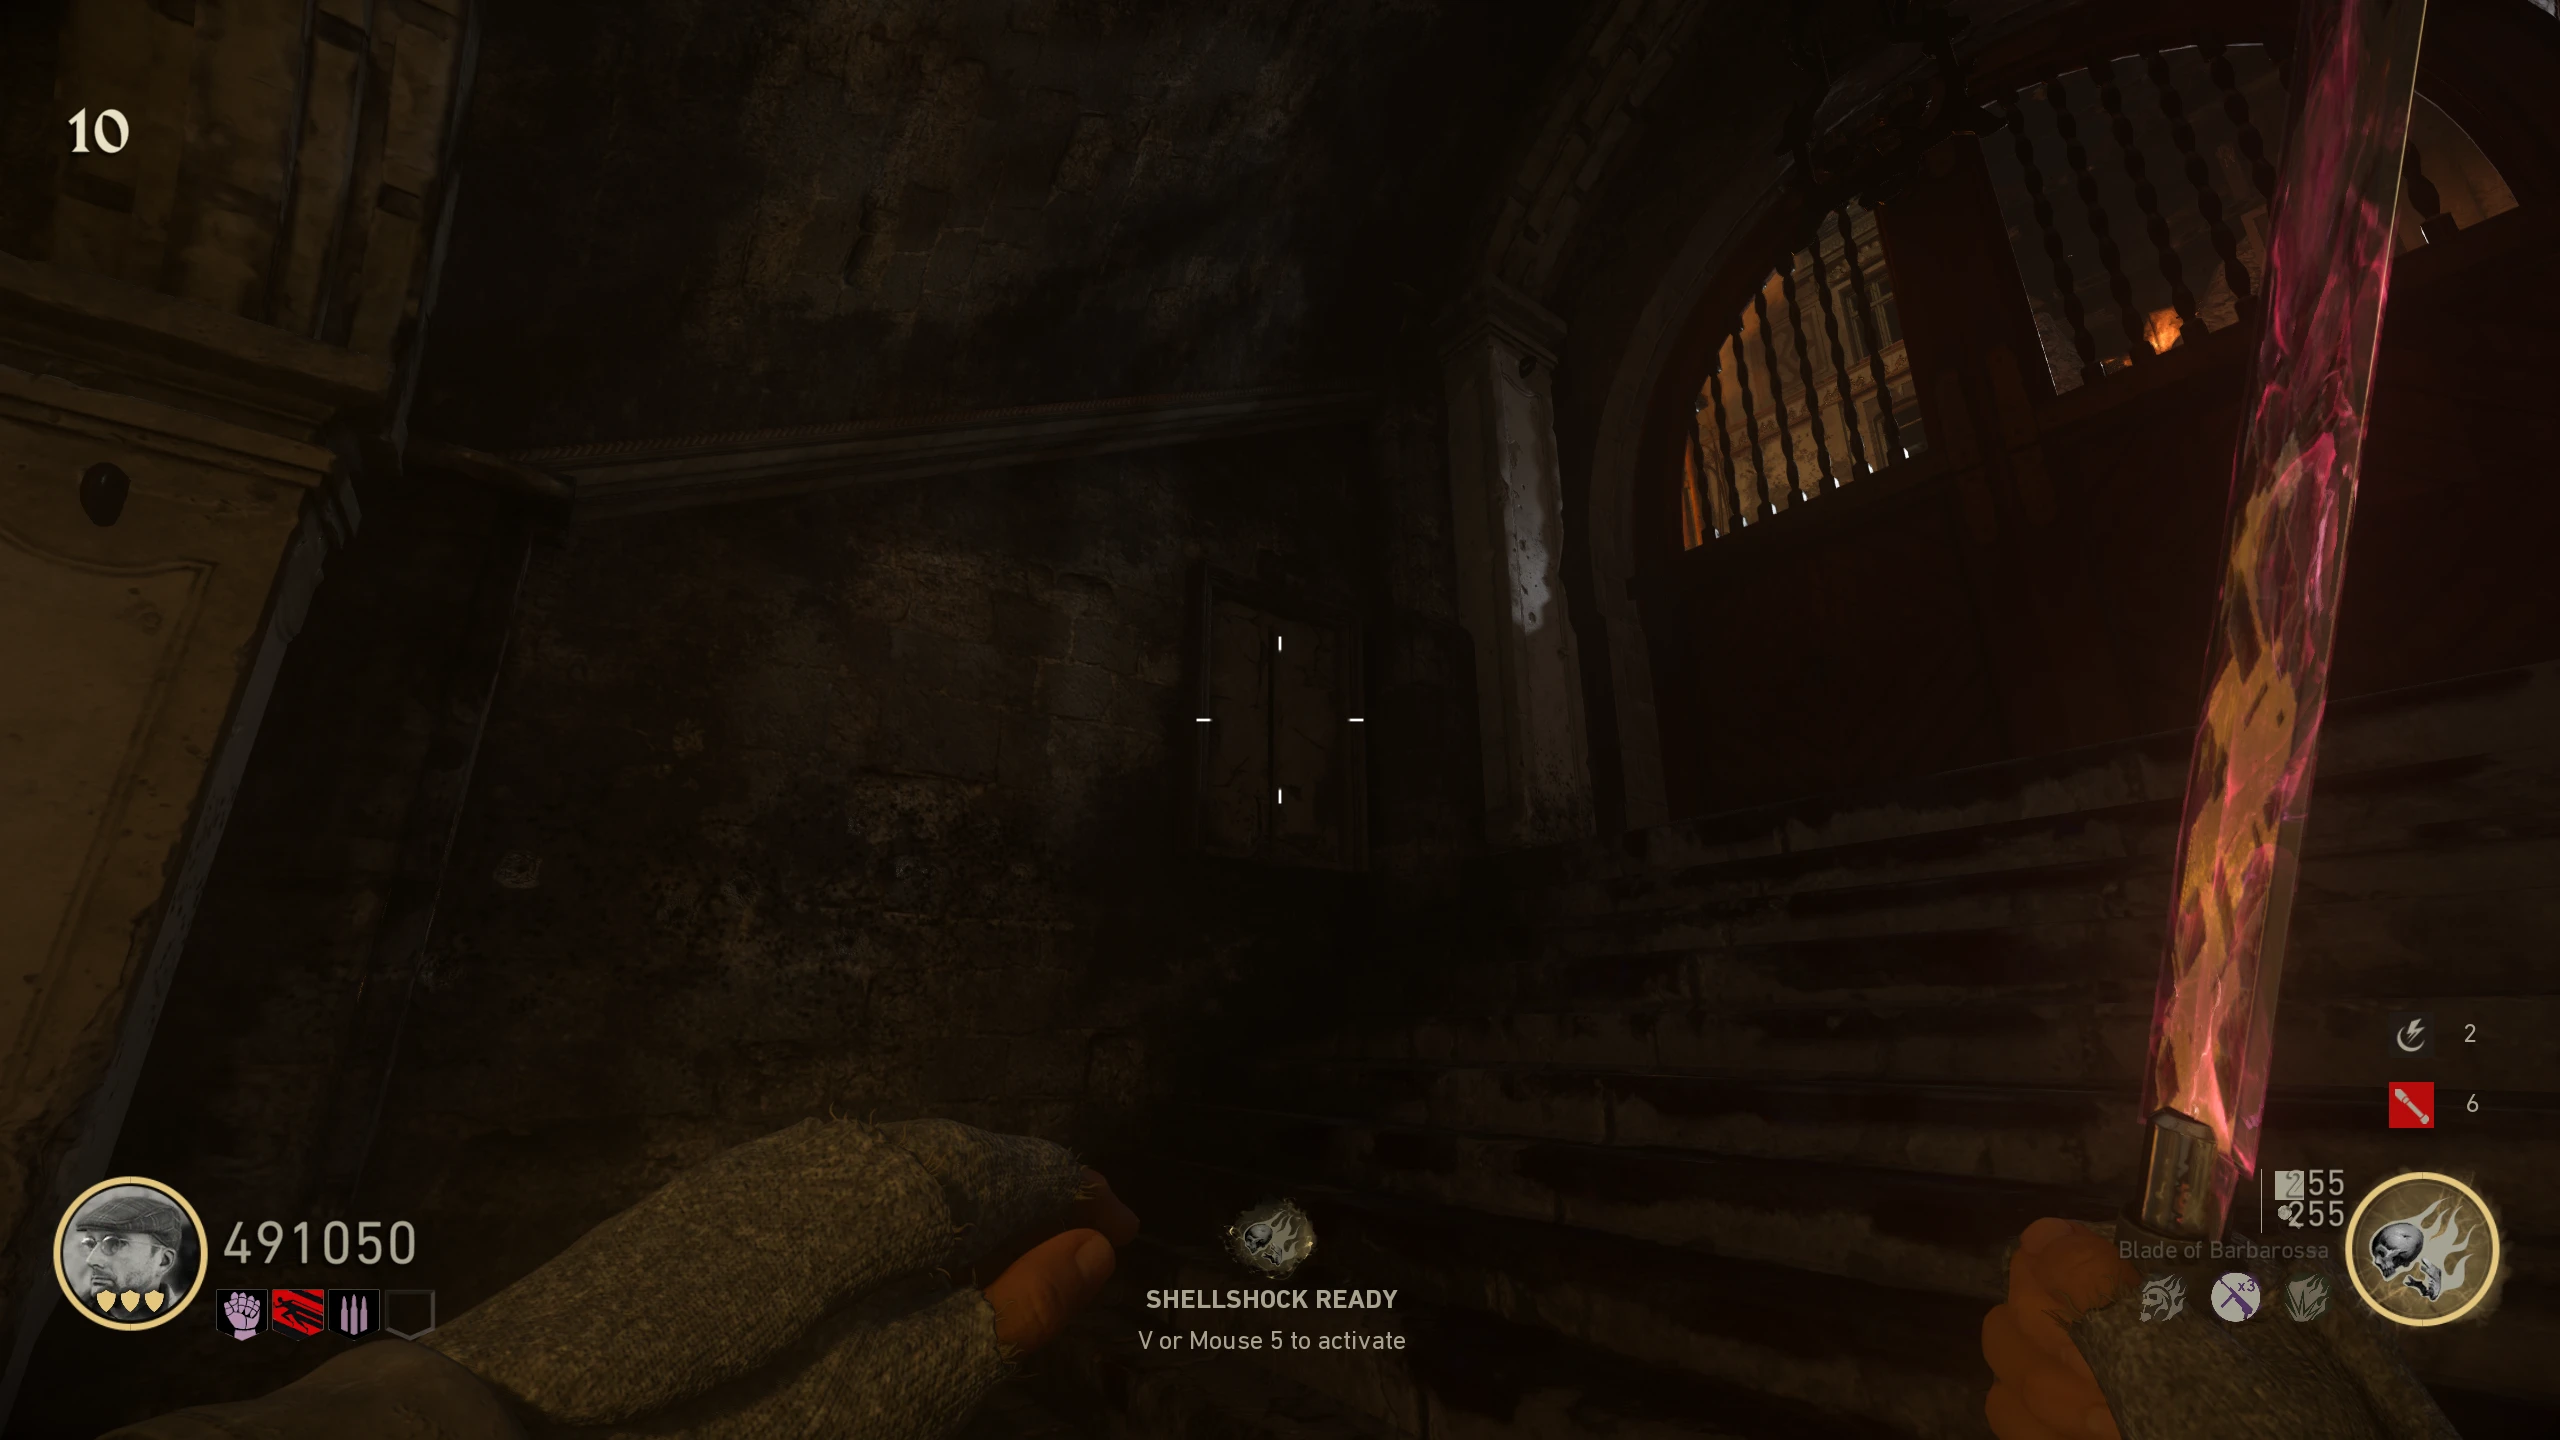
- If placed correctly, the blade on the statue breaks, revealing the real Blade. Pick it up and place it in the stone slot at the top of the stairs to open the door.
Lowering the Drop Pod
- Charge three Zeppelin anchors with the Wunderbuss by shooting 150 ammo into each (they'll turn yellow when done).
- The anchor in the 'Plaza' can be charged by killing Zombies near it or shooting it with the Wunderbuss, but not both. The first way you charge it will be the way you have to do it.
- Anchor locations:
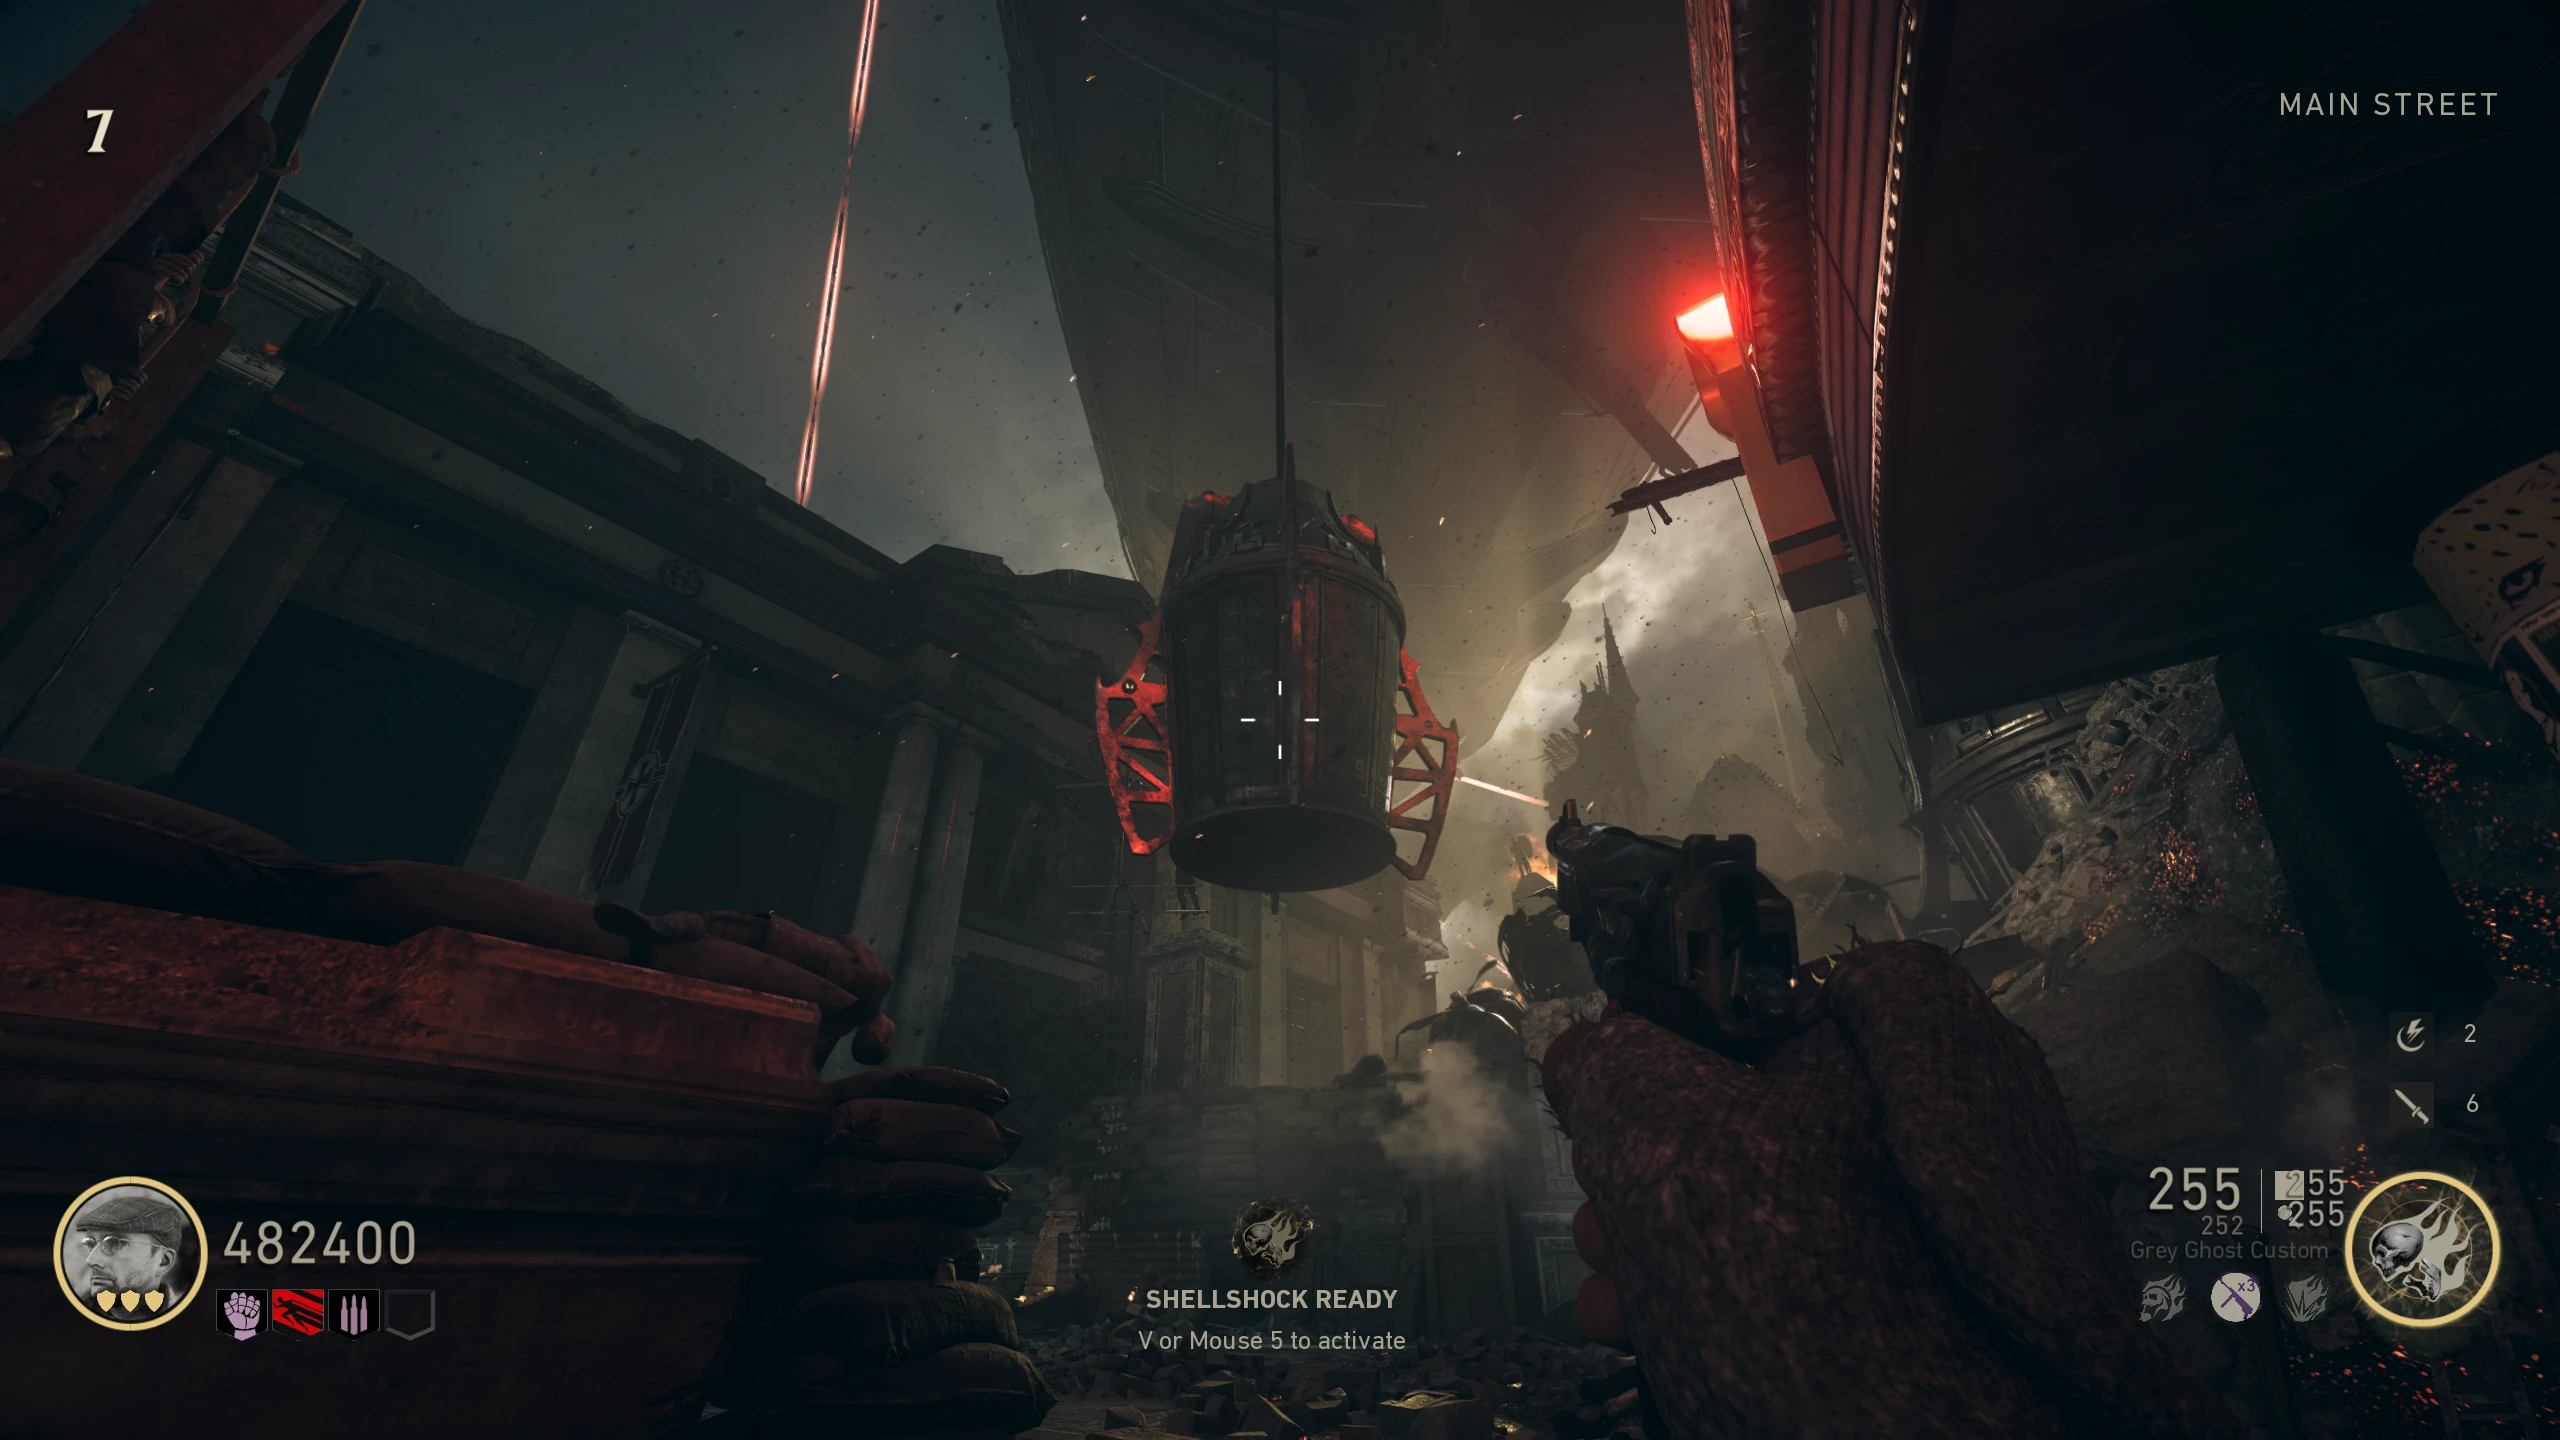
- Once all three anchors are charged, the Drop Pod will dangle above 'Main Street'.
Entering the Zeppelin
Point of No Return: Once you enter the Zeppelin, you will be stuck in there until the Boss Fight is over.
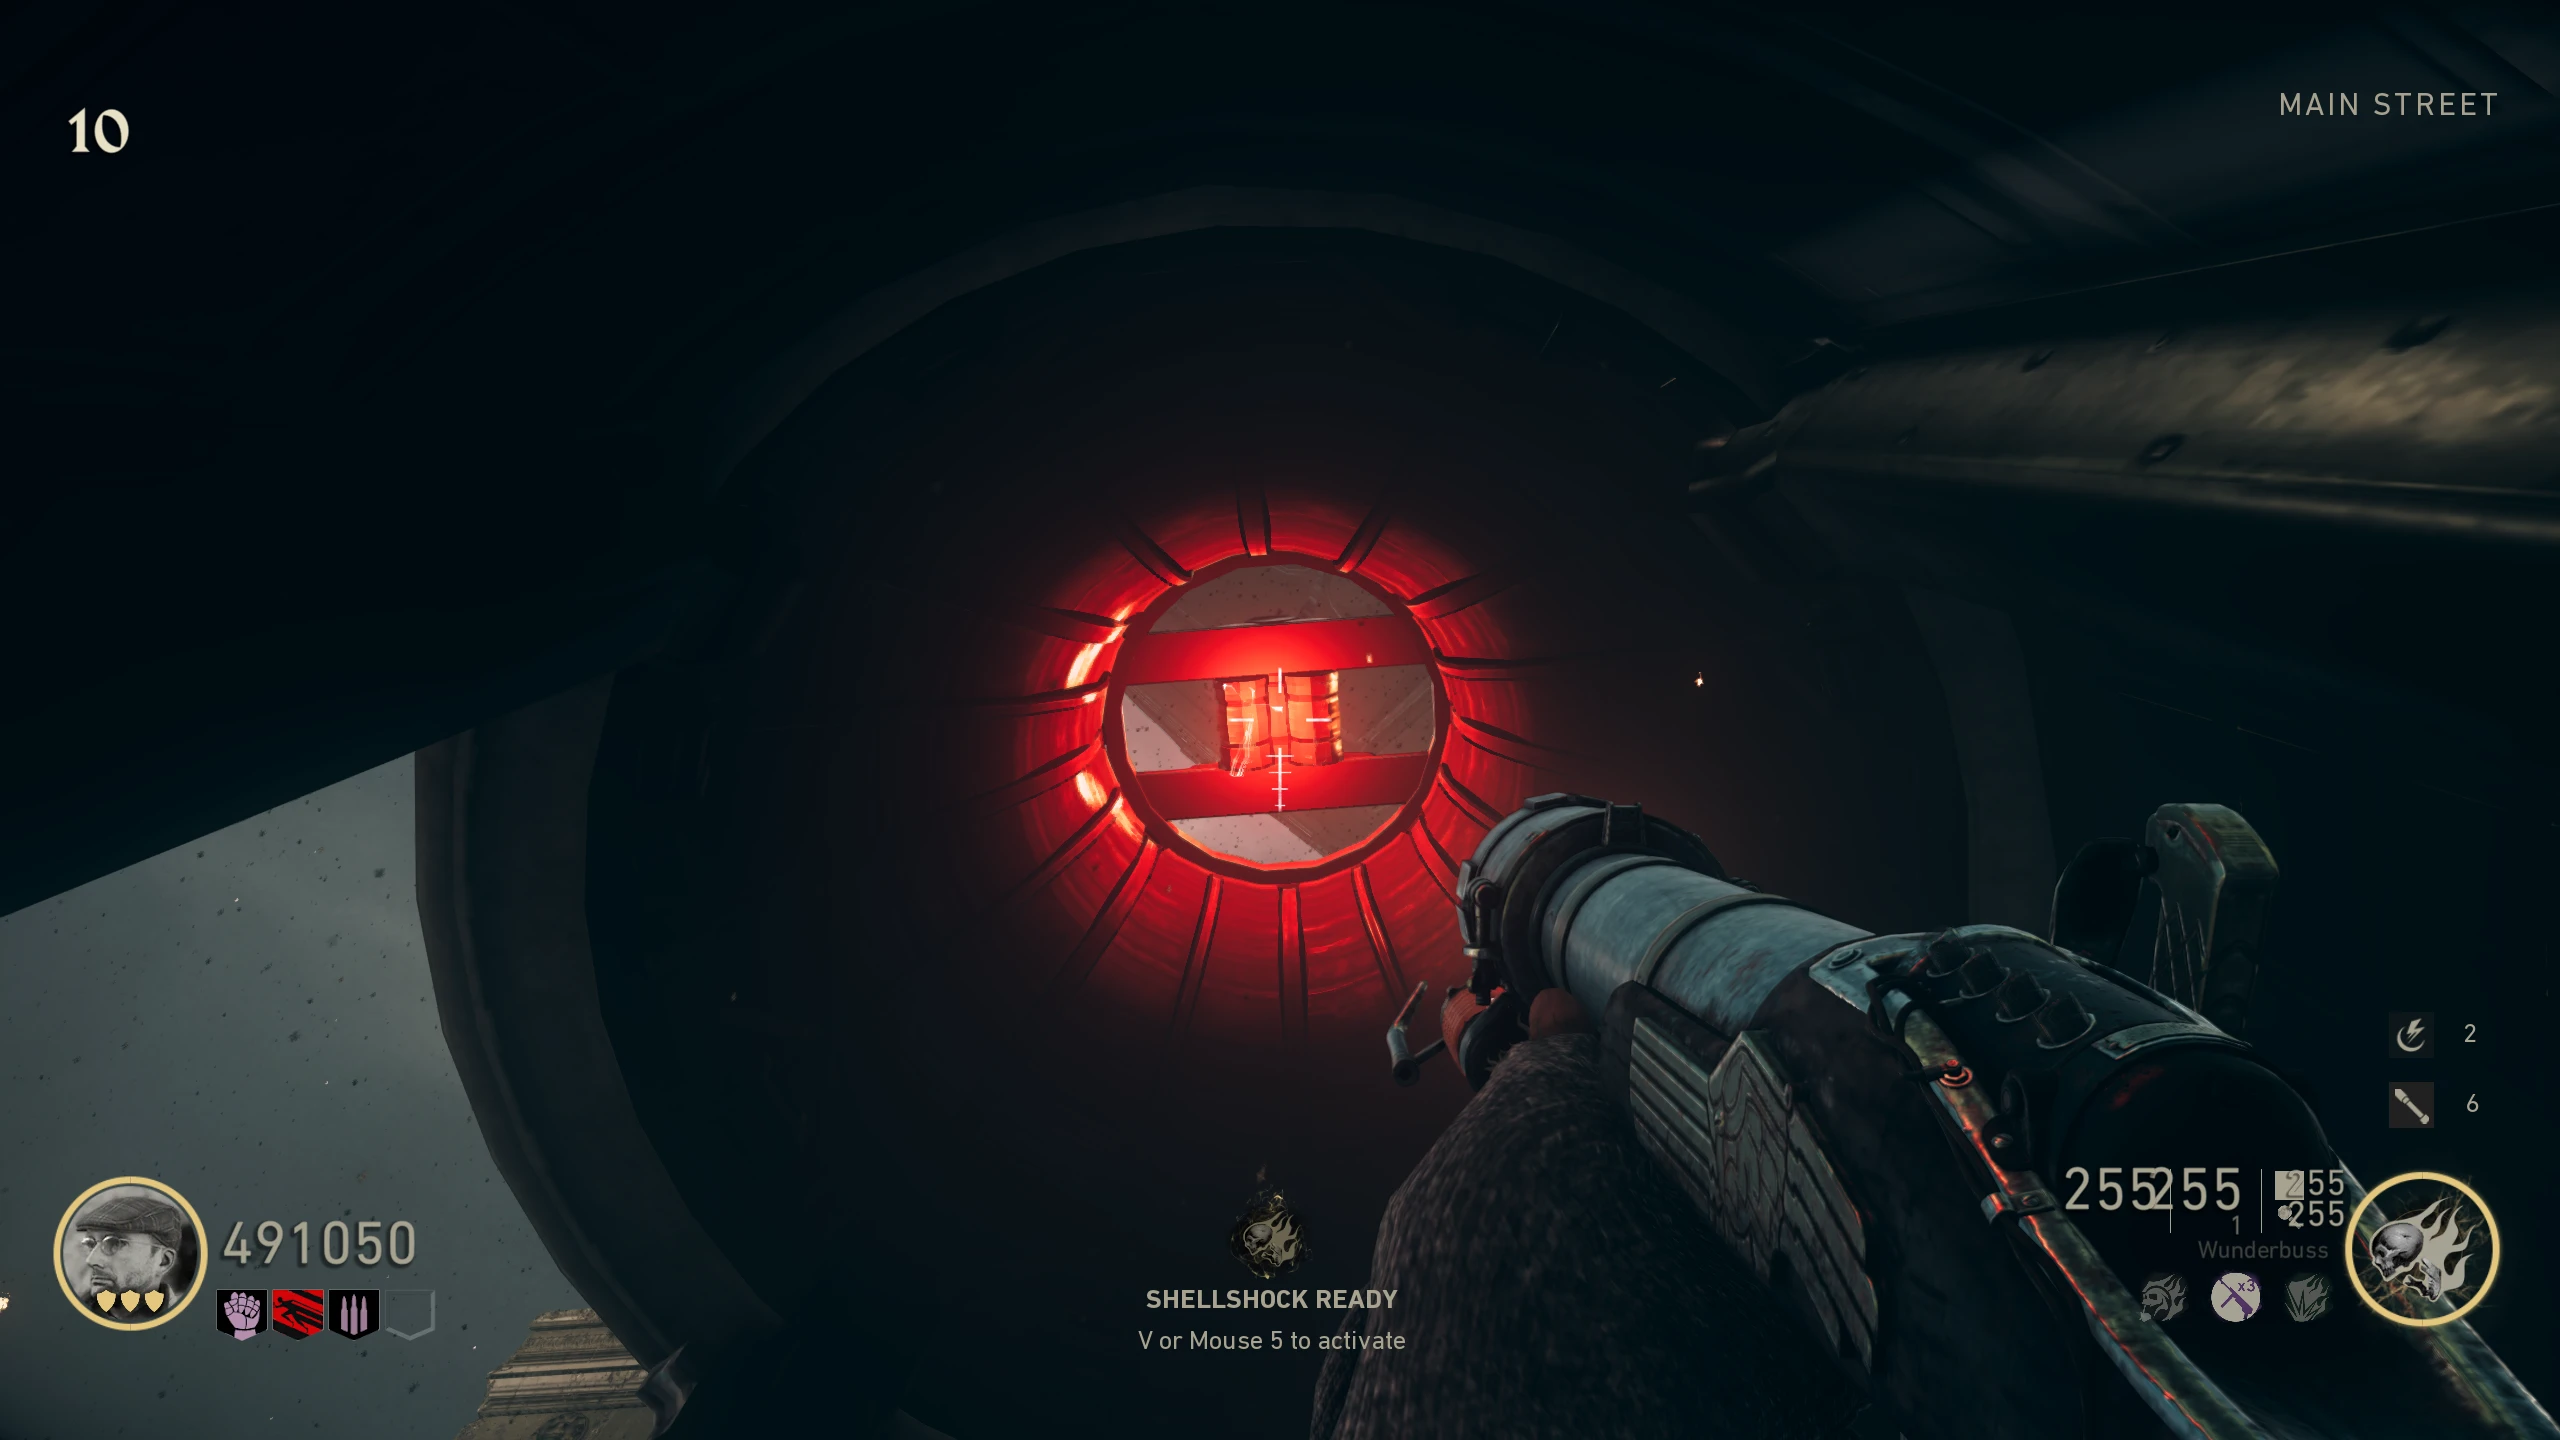
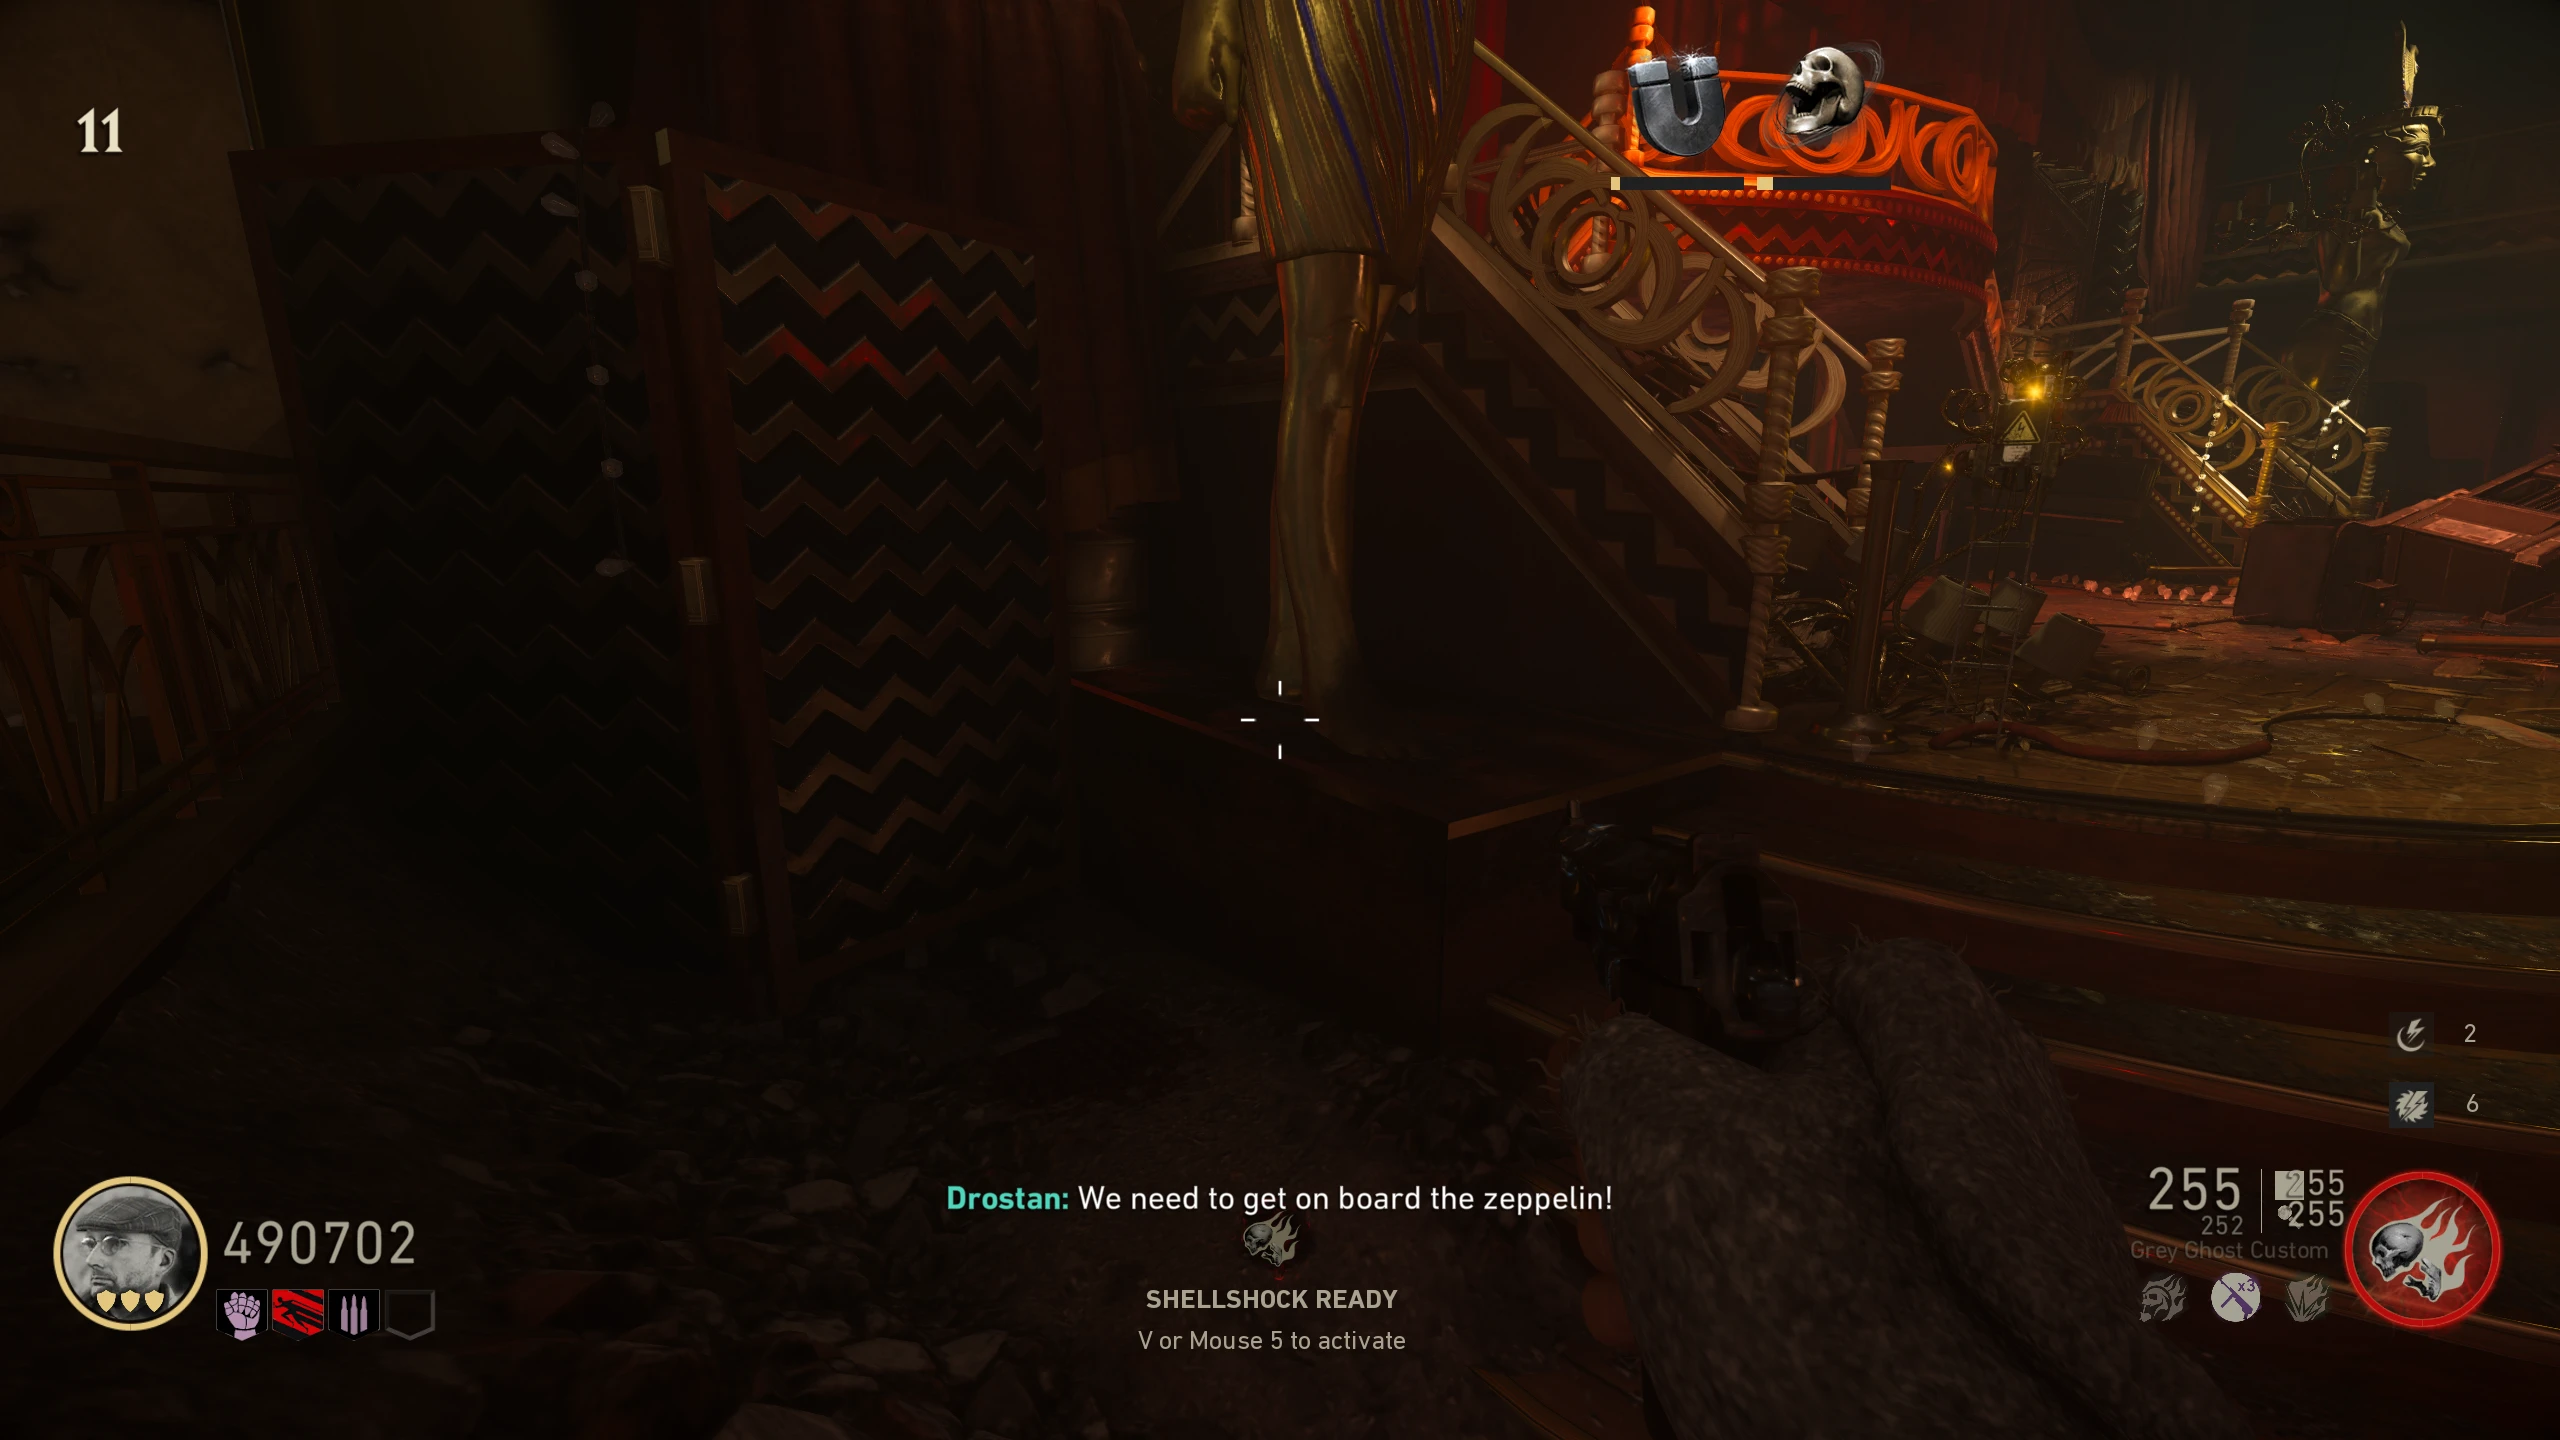
- Once you're ready for the Boss Fight (see below for tips for before you start), all players must have a Wunderbuss with full ammo. Enter the Drop Pod on 'Main Street'; all players must shoot the cable at the top of the Drop Pod at the same time. This will start raising the Drop Pod up to the Zeppelin.
- I recommend the Dancer's Dagger over the Blade for the Boss Fight. The Dagger's heavy attack restores a full armour piece when you're already at full health.
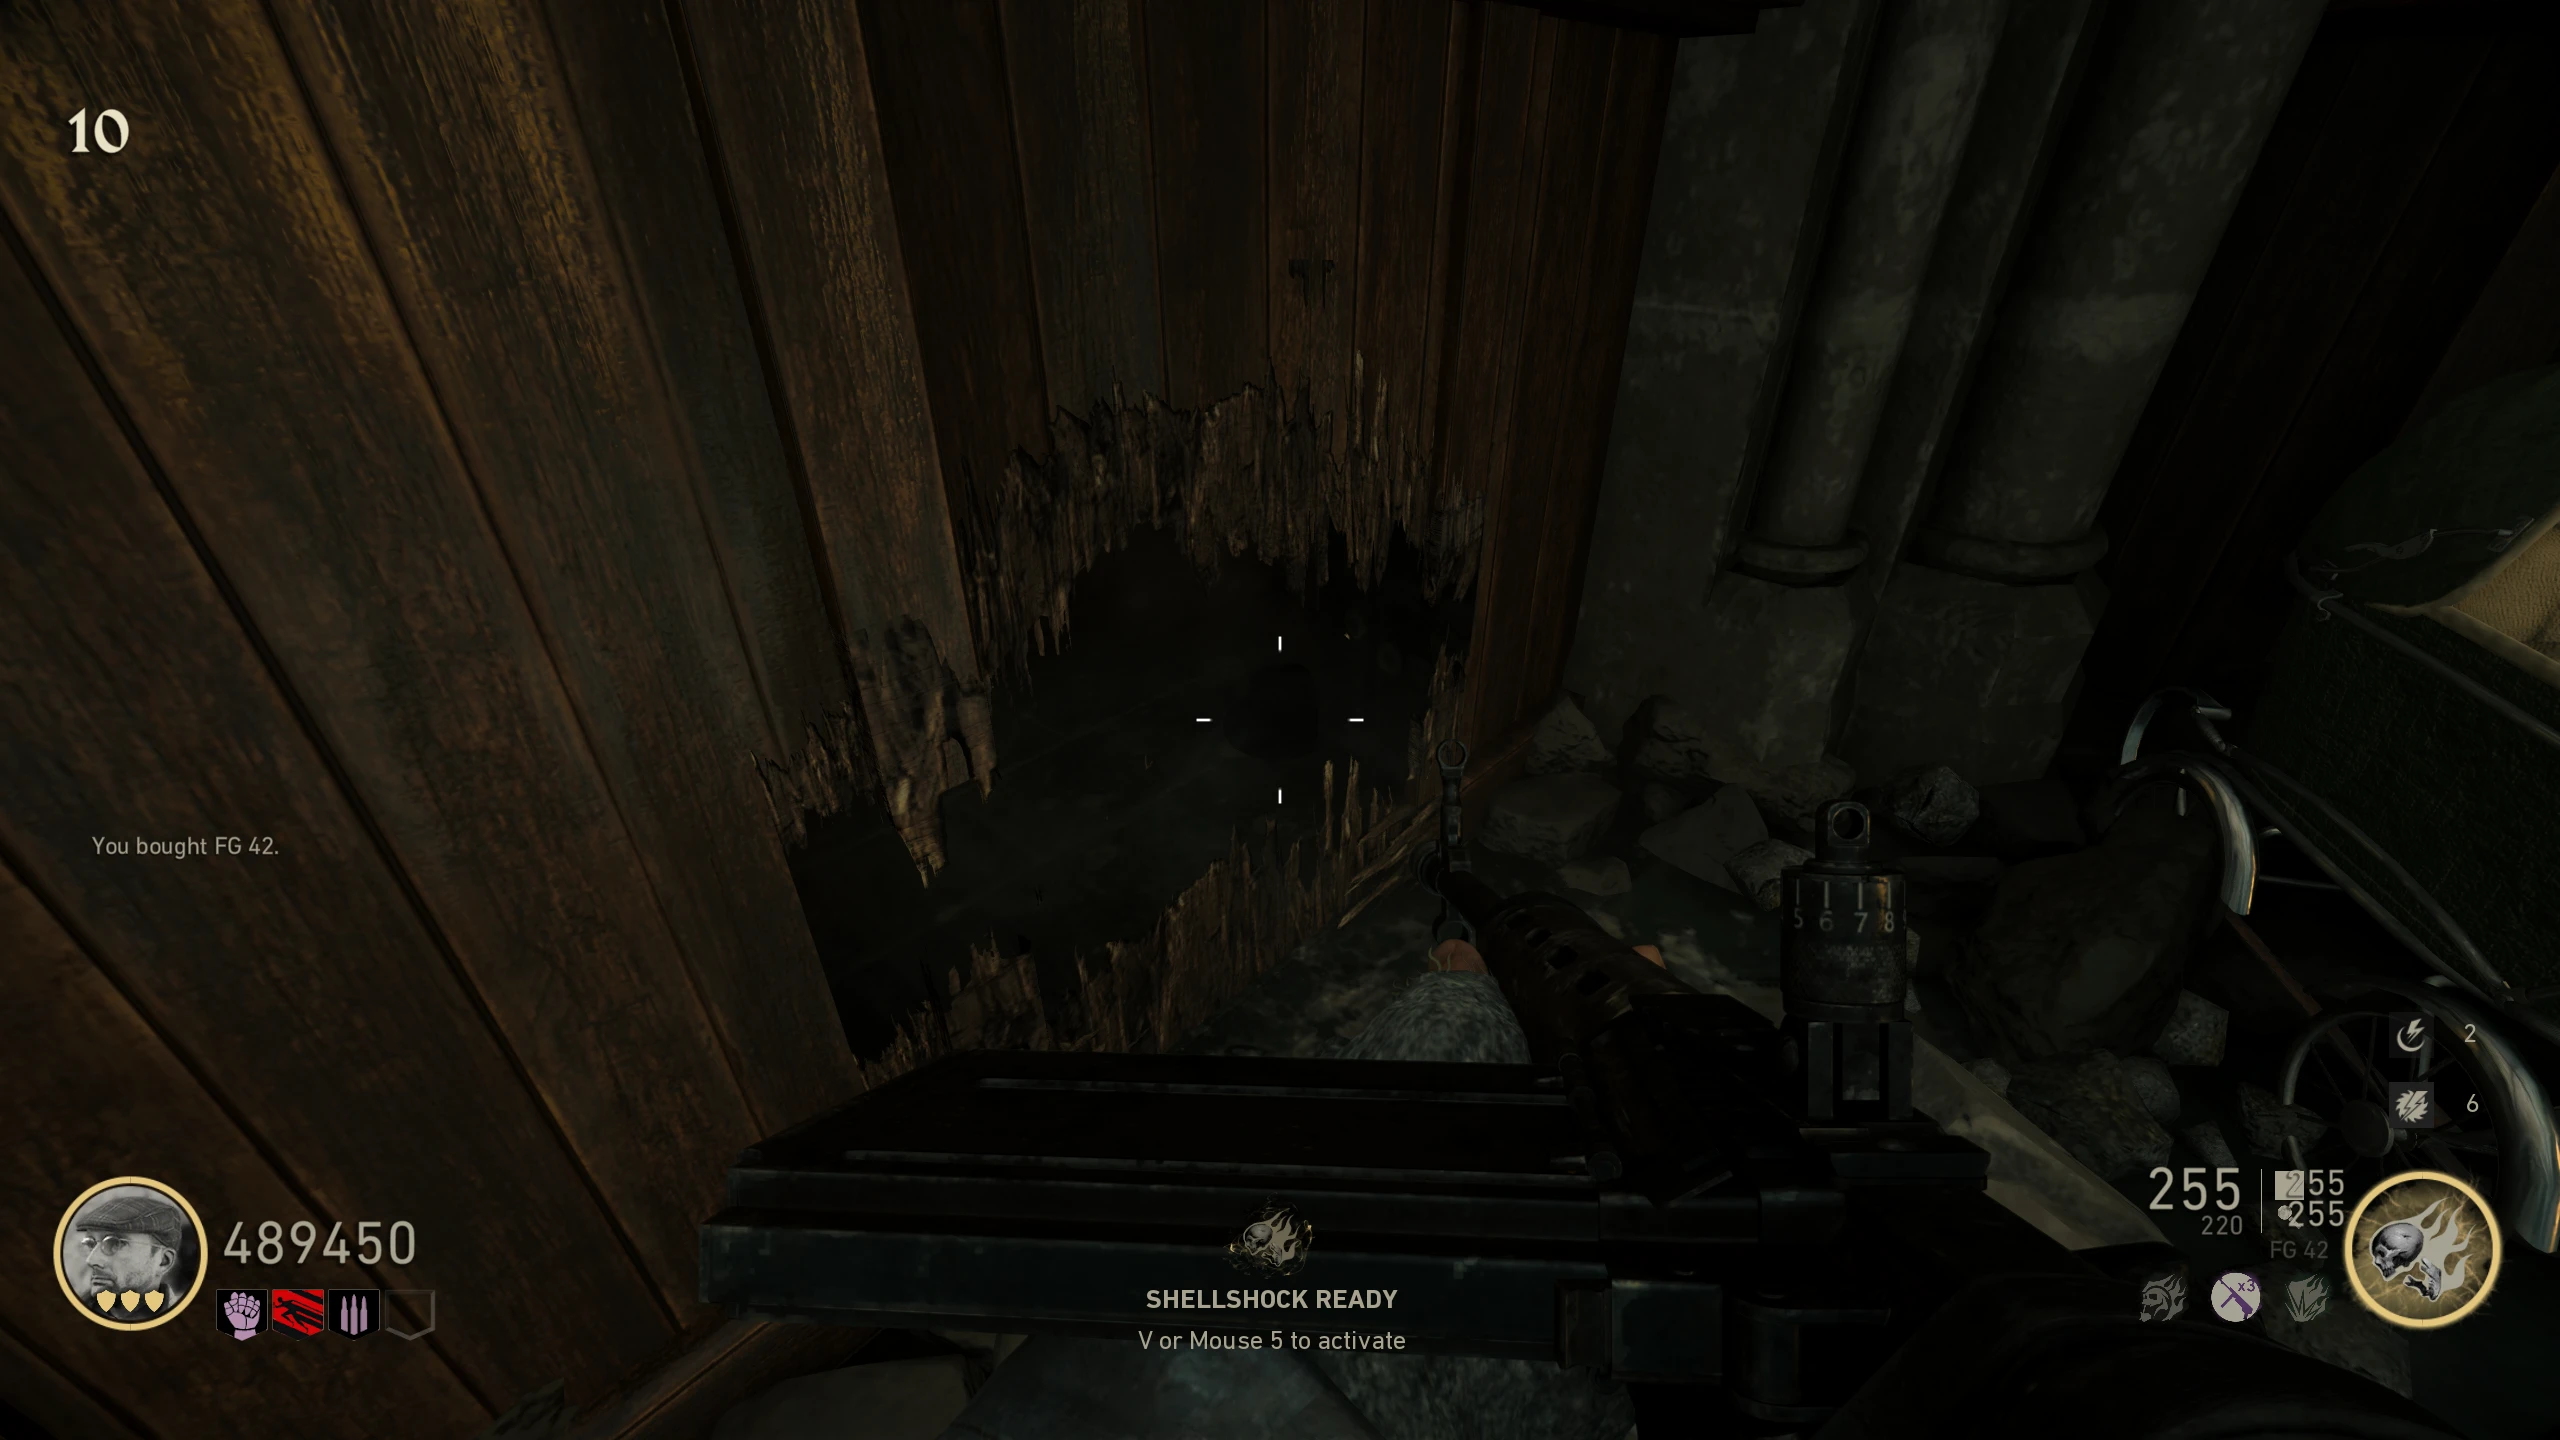
- Also, Pack-a-Punch an MP40 (Main Street) or FG42 (Church). The Boss Fight is long and ammo runs out fast, but both have wallbuys in the arena so you can restock instead of waiting for a max ammo power-up.
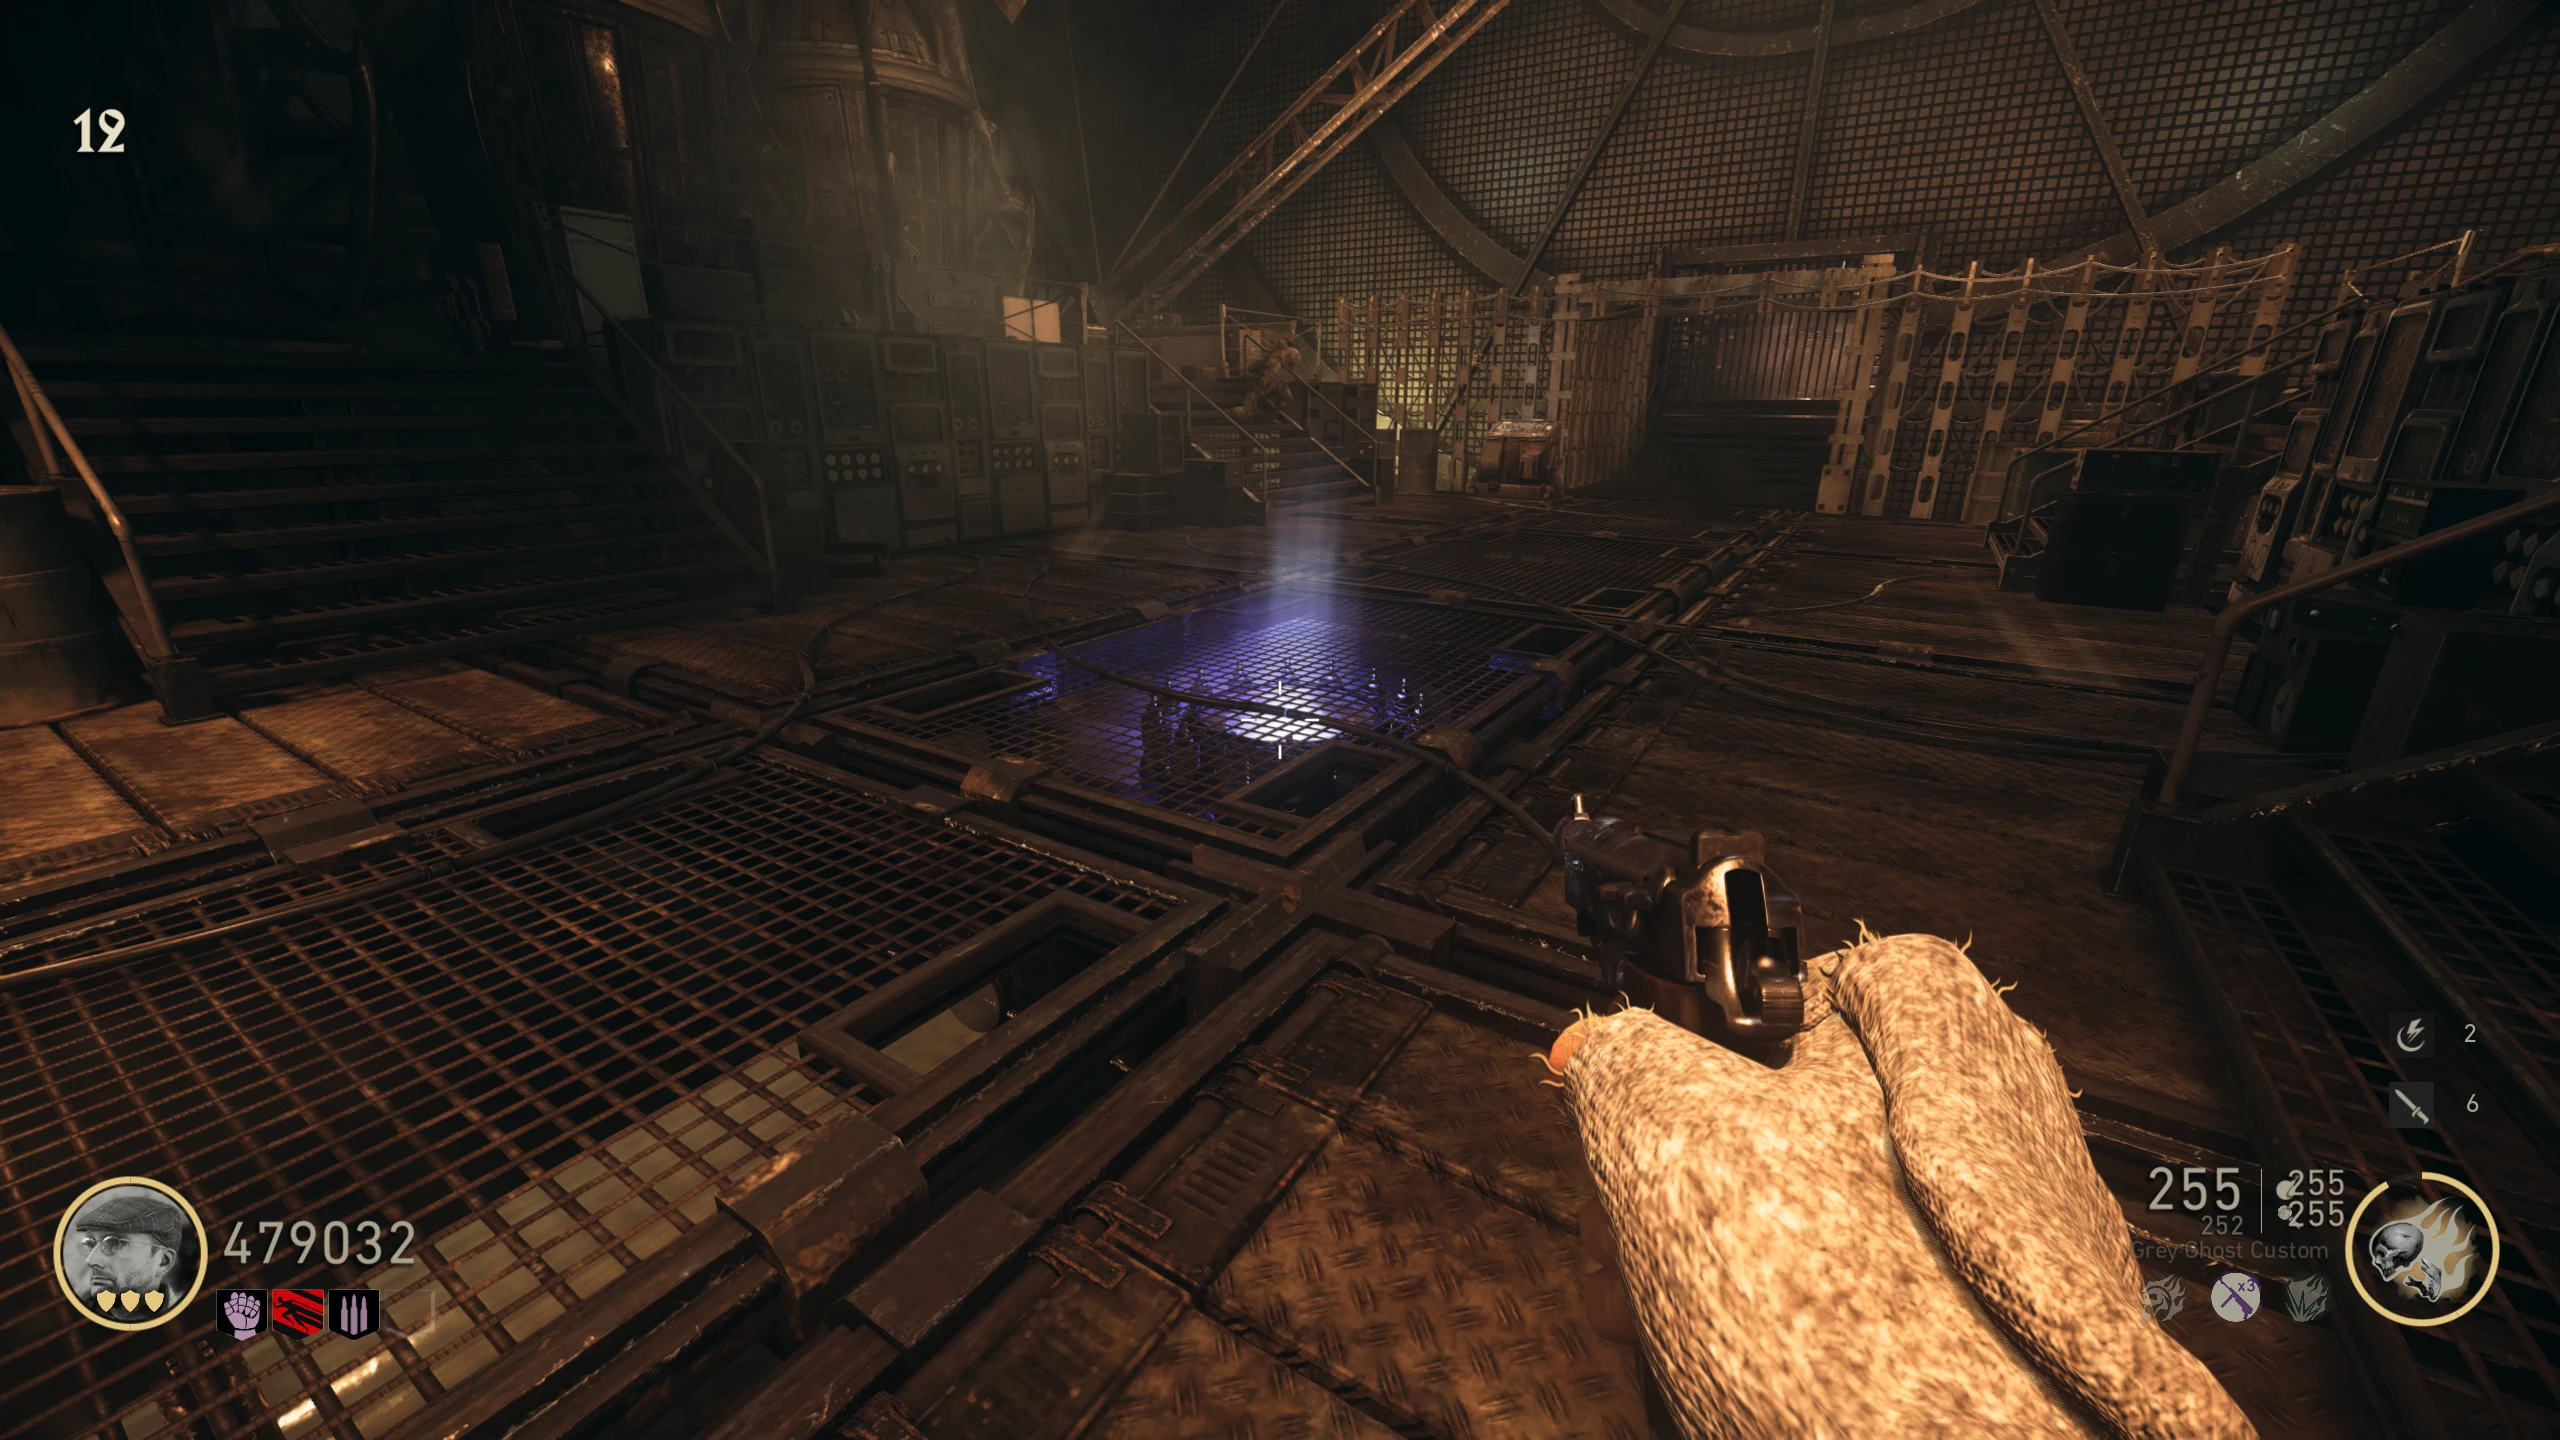
- Once you're in the Zeppelin, the Boss Fight won't start right away. First, move the "power ball" through the floor to open all the gates, then guide it into Straub's room at the far end.
- Use the interactive terminals scattered around the Zeppelin to move the ball. Each terminal shows nodes connected by wires; you can only move the ball along green wire connections. If one terminal doesn't have the connection you need, look for another one nearby.
- Open all five gates throughout the Zeppelin, as it helps with training during the Boss Fight (especially the four around Straub's room). Once you move the ball up the stairs, there are two paths. Take the up path first and open all the gates there, then come back and take the down path. Down is the intended route, so doing up first saves you backtracking.
- Once all gates are open, guide the power source into Dr. Straub's room. When it arrives, the wave ends and Straub is killed by Zombies.
- Exit the room, and the Stadtjäger will drop, signalling the start of the boss fight.
Stadtjäger Bossfight
Phase 1
- Shoot the Stadtjäger to aggravate him. When aggravated, the engine on his chest glows orange and he charges at you. While it's orange, you can deal damage.
- There are no damage indicators (no hitmarkers, bullets phase through him), so just keep shooting the glowing engine until the phase ends.
- Once you have dealt enough damage, this phase will end, indicated by the Stadtjäger "injecting" himself with a Geistbolt.
Phase 2
- Now the Stadtjäger occasionally spawns Sizzlers by throwing Geistbolts. You can only damage him while he's doing this, not while he's charging.
- Once you have dealt enough damage, this phase will end, indicated by the Stadtjäger "injecting" himself with another Geistbolt.
Phase 3
- Now the Stadtjäger occasionally produces a cloud of gas. Shoot the gas (any weapon works, Wunderbuss recommended) while he's standing in it to electrify it. He takes damage while the gas is electrified.
- Once you deal enough damage, the phase ends as before, but this time he dies..
- Enter the Drop Pod you entered on. It will close, and you'll be brought back to the street. After a couple of seconds, the cutscene will start.
"The Classic" PPSh-41
The Classic is a special PPSh-41 variant with a bigger 70-round mag, more reserve ammo, and a faster fire rate.
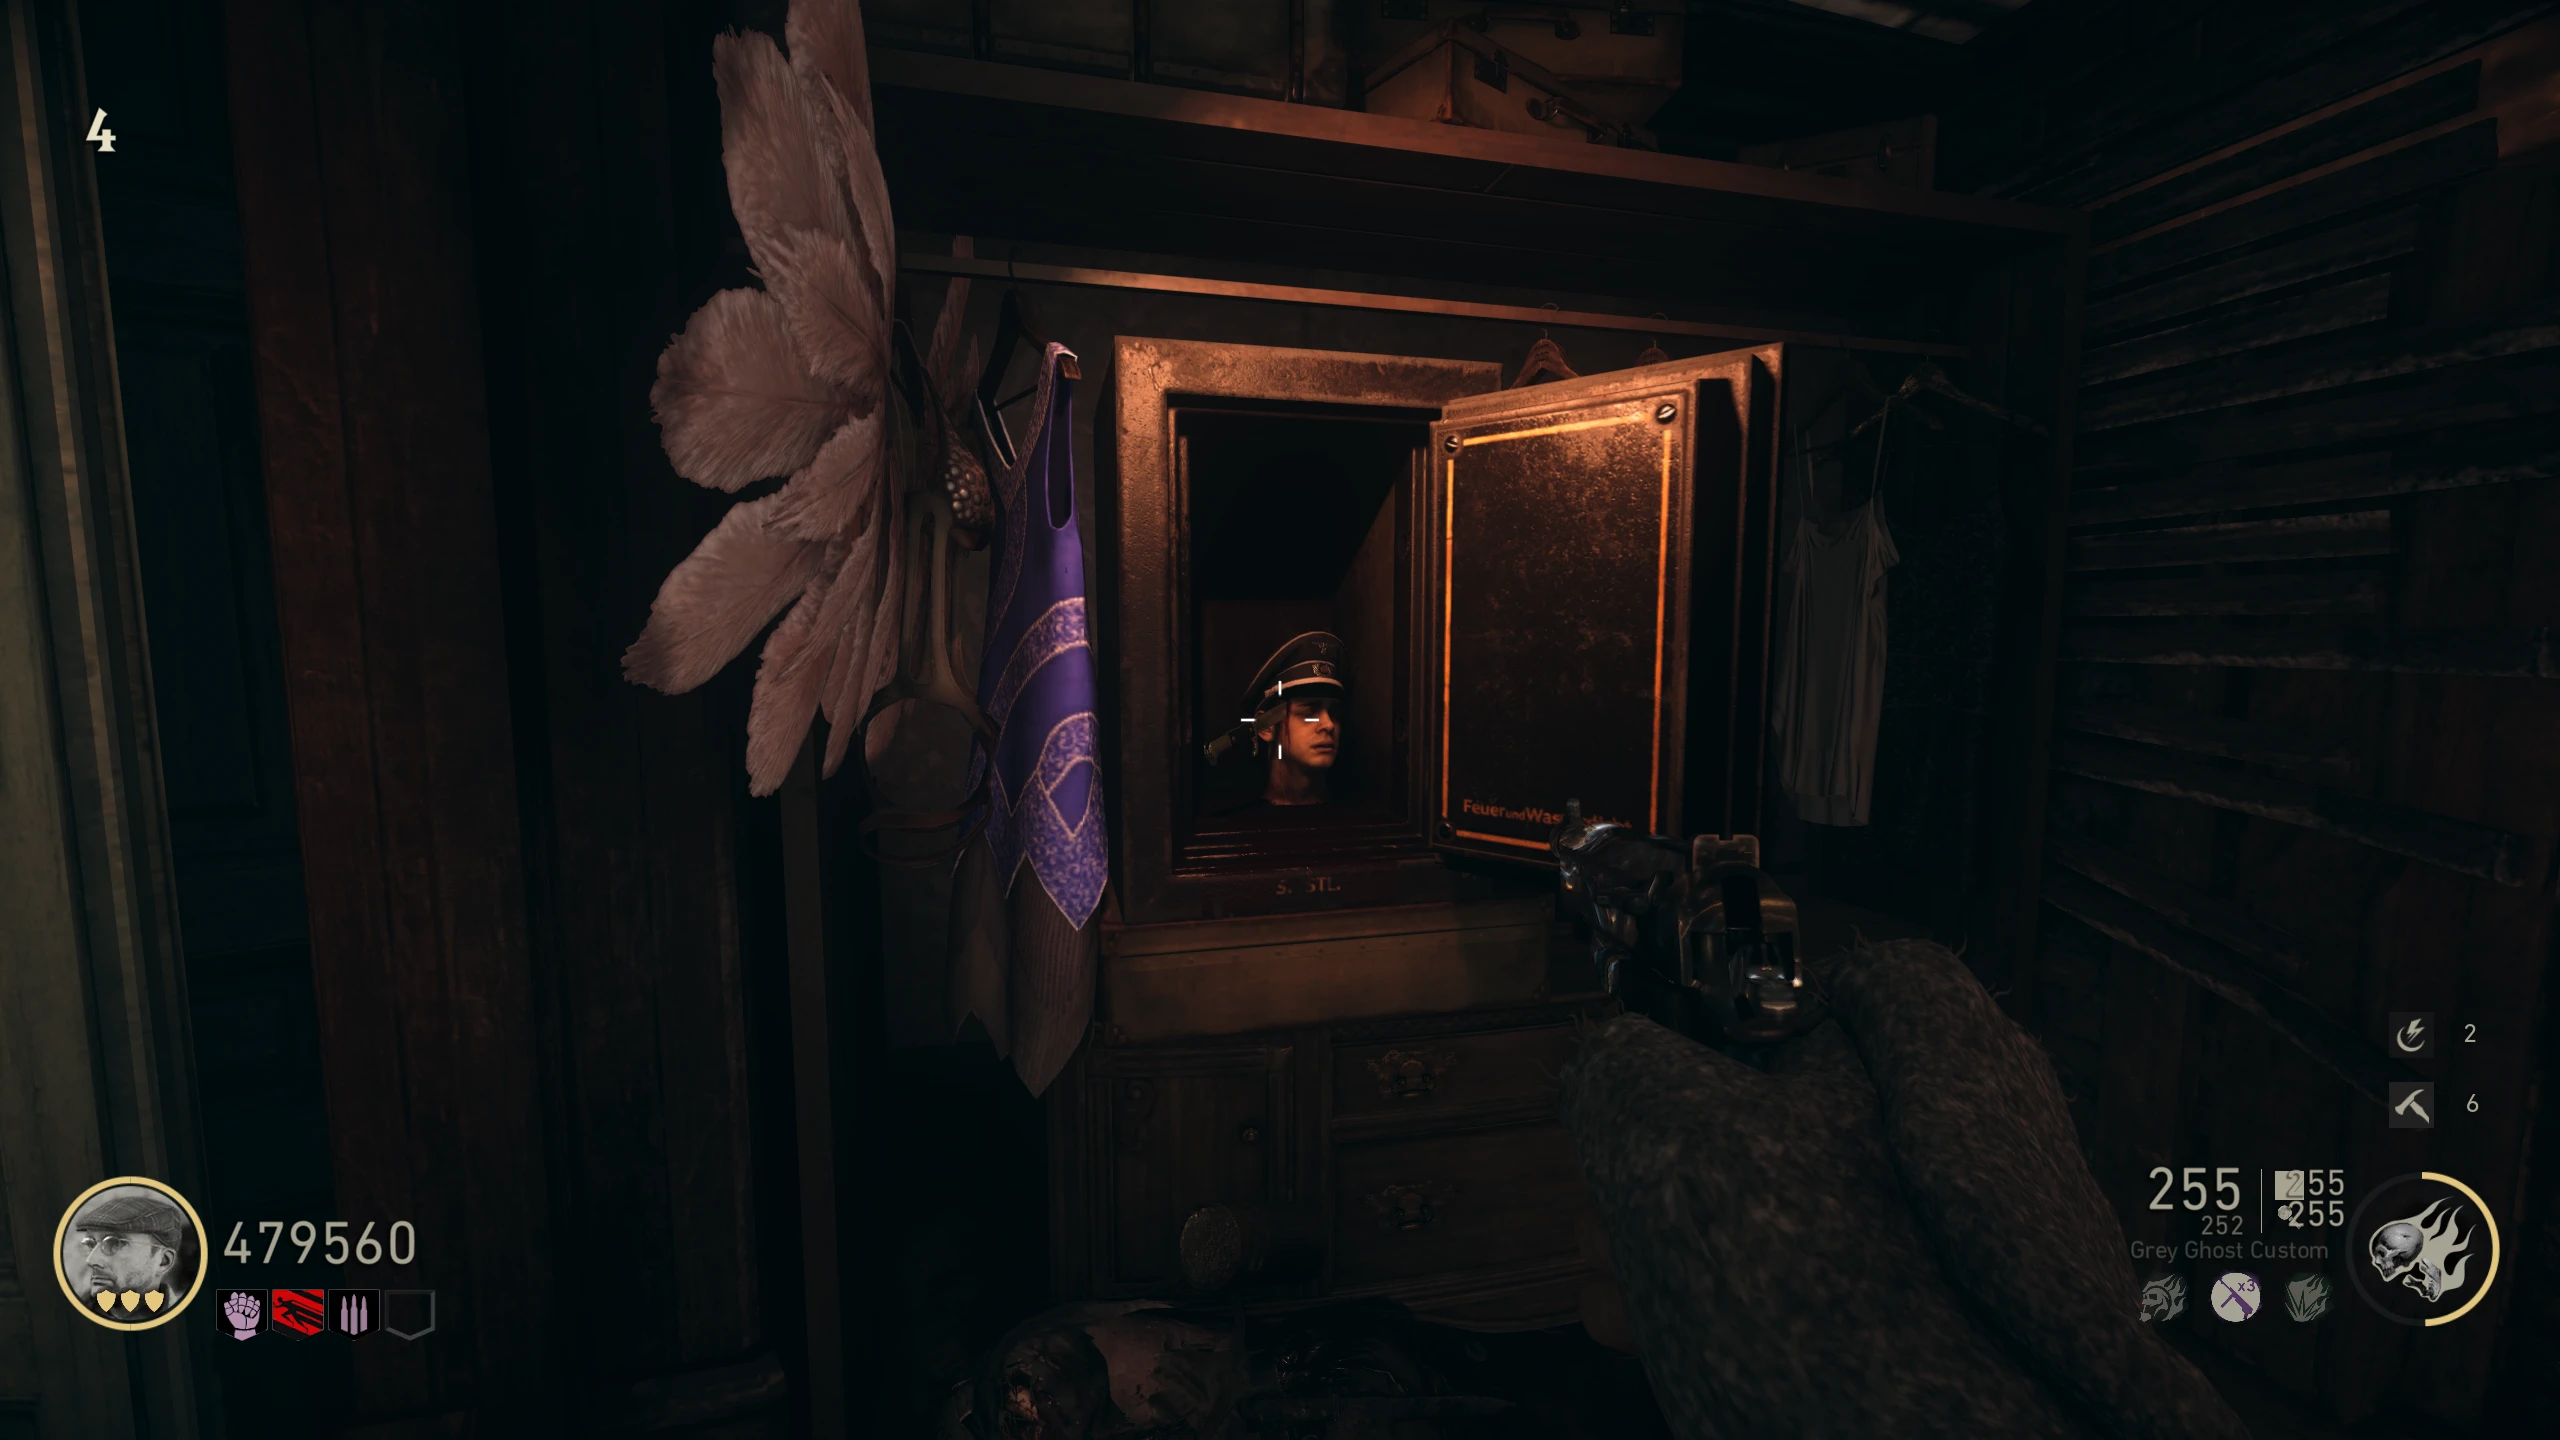
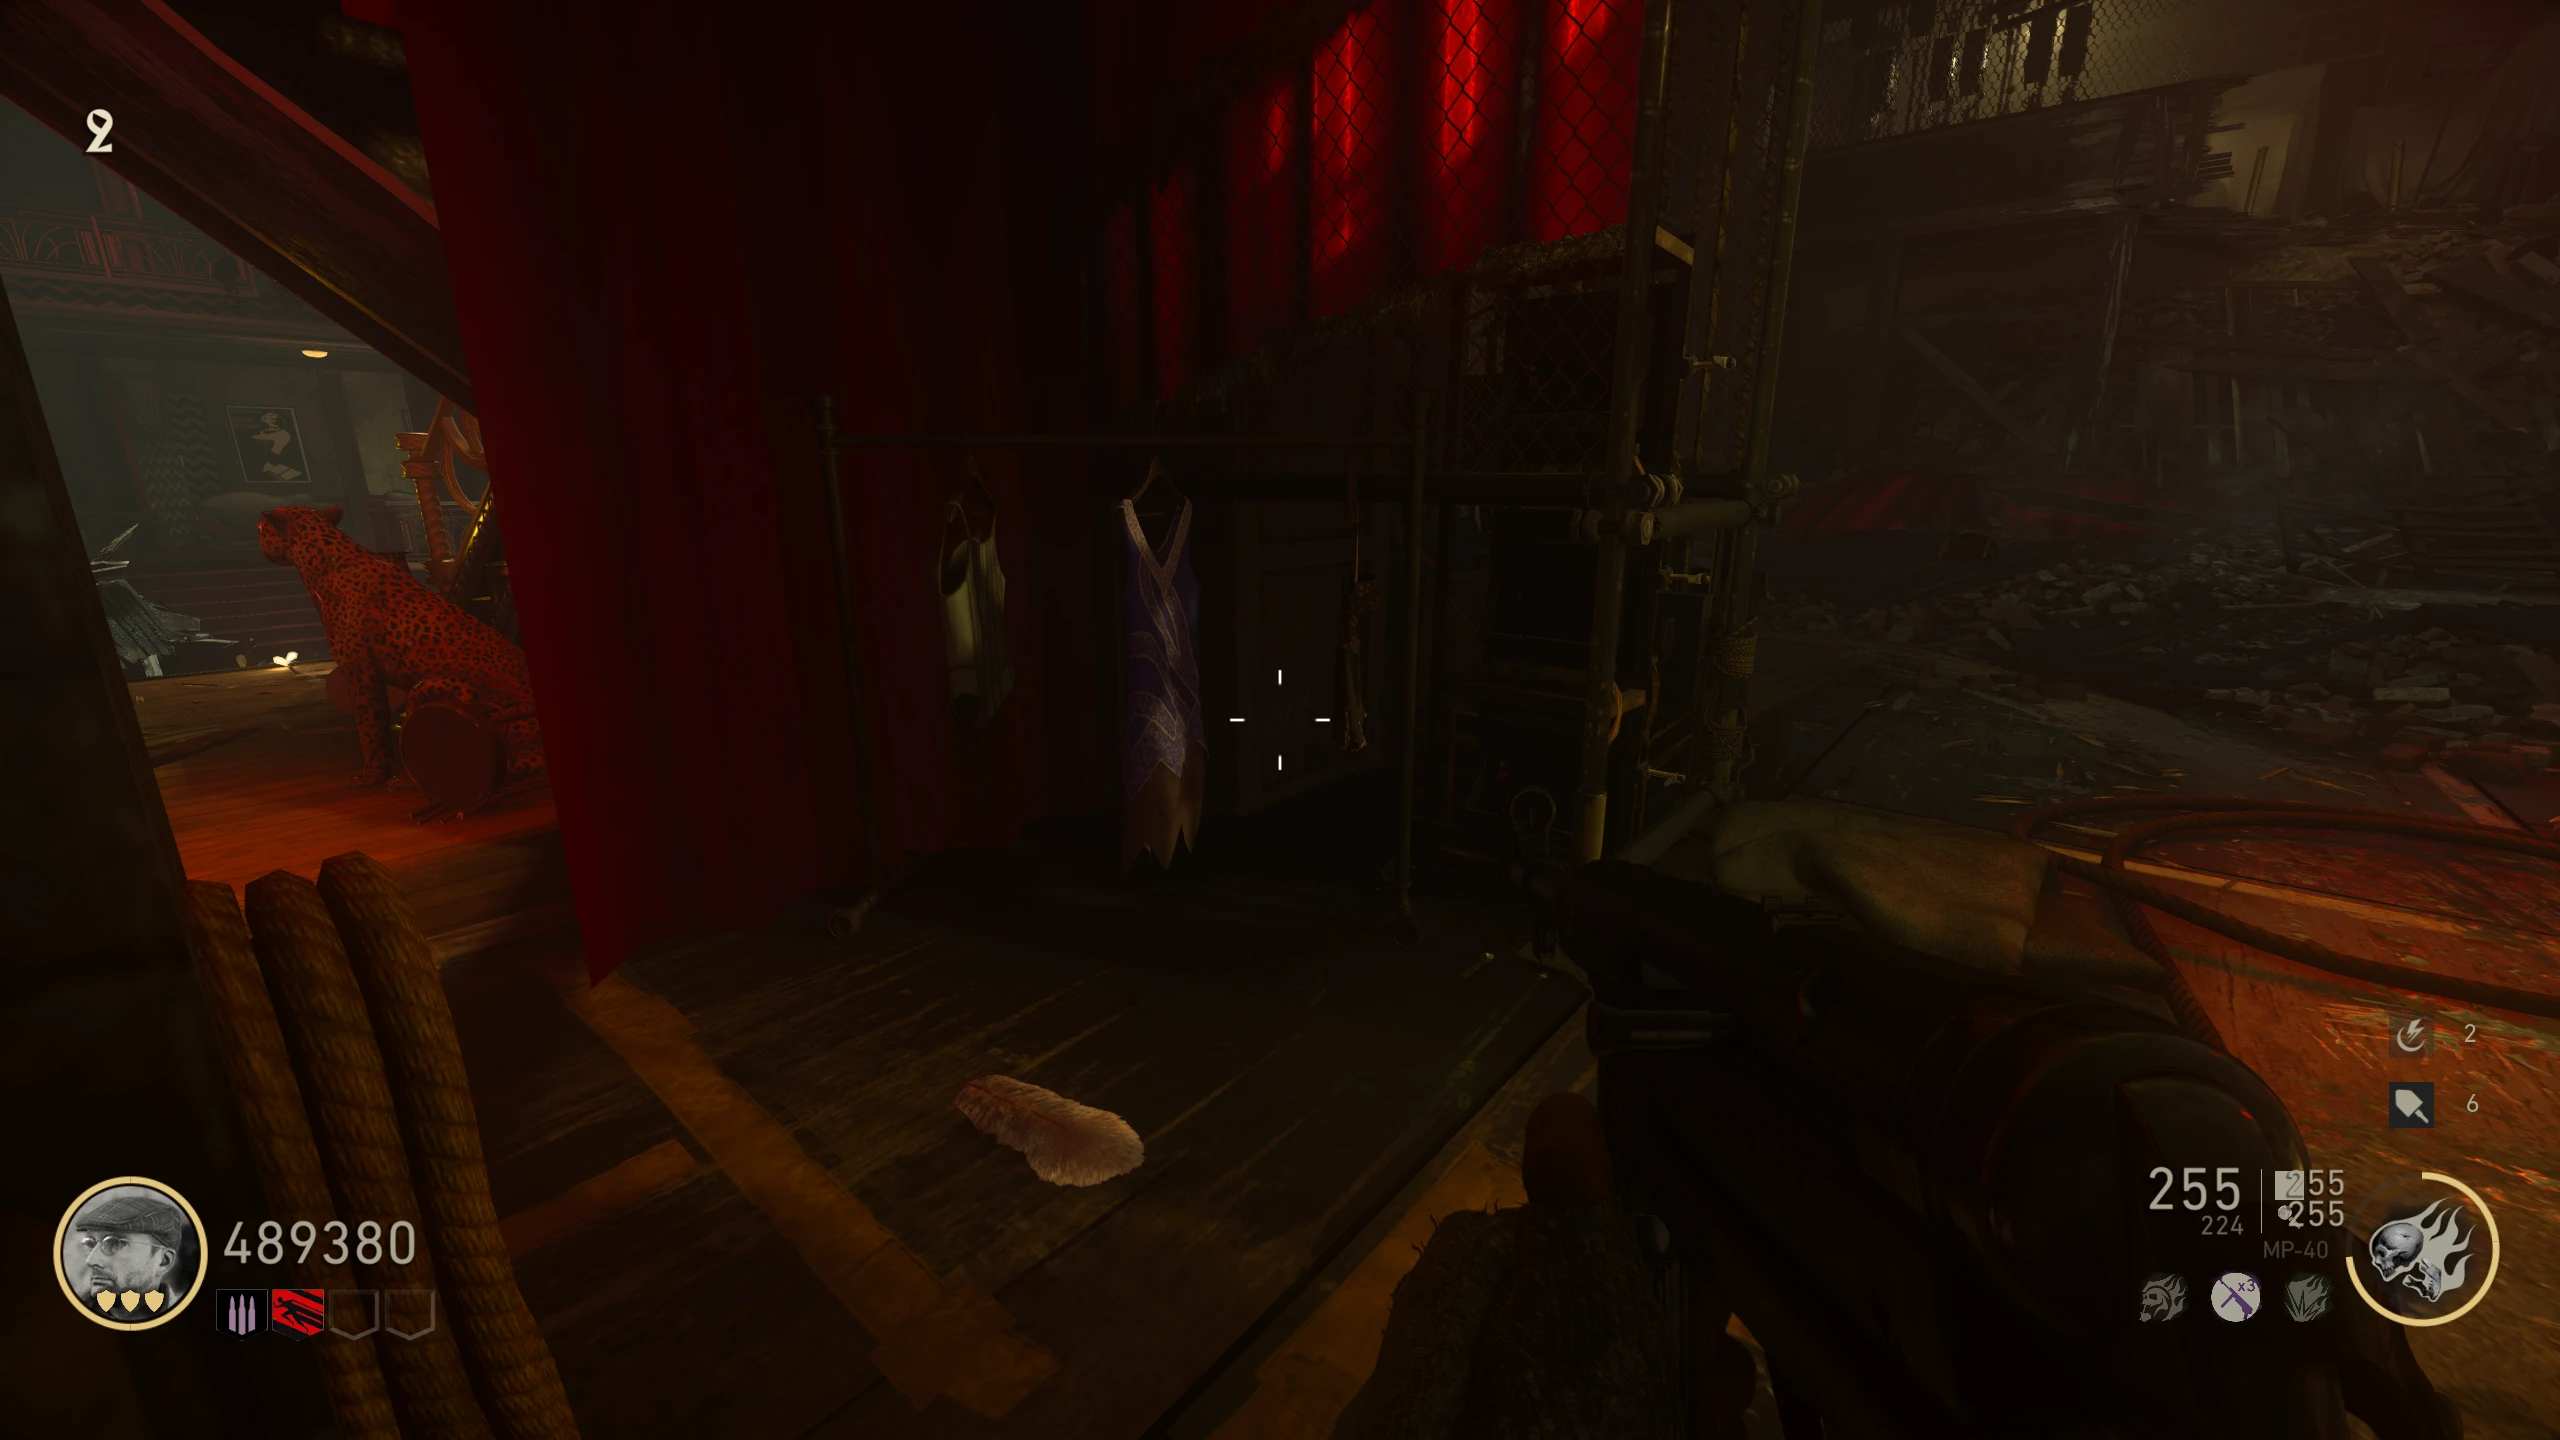
- In the back right corner of the backstage area in the 'Cabaret,' there are three mirrors.
- Drop Jolts in front of the left mirror. Lights around the mirror will start flashing, then a single light will start moving around the mirror. Interact with the mirror when the light gets to where it started (bottom middle).
- If you mistime the light, you can retry immediately by giving the mirror more jolts.
- If you interacted at the right time, the lights around the mirror will flash again, and you can move on to the next one to the right.
- Repeat for the other two mirrors, each mirror is a little faster than the last.
- When you've completed all the mirrors, they will start spewing bills, and The Classic will enter the Mystery Box's weapon pool (you aren't guaranteed to get it).
Unlockable Characters
New playable characters can be unlocked through the completion of various challenges. Your progress can be checked on the Lobby Menu → Soldier → Dossier → Challenges. All the challenge requirements have been confirmed via modding, and reading the game's code. The challenges listed here will/may differ from those found else where online.
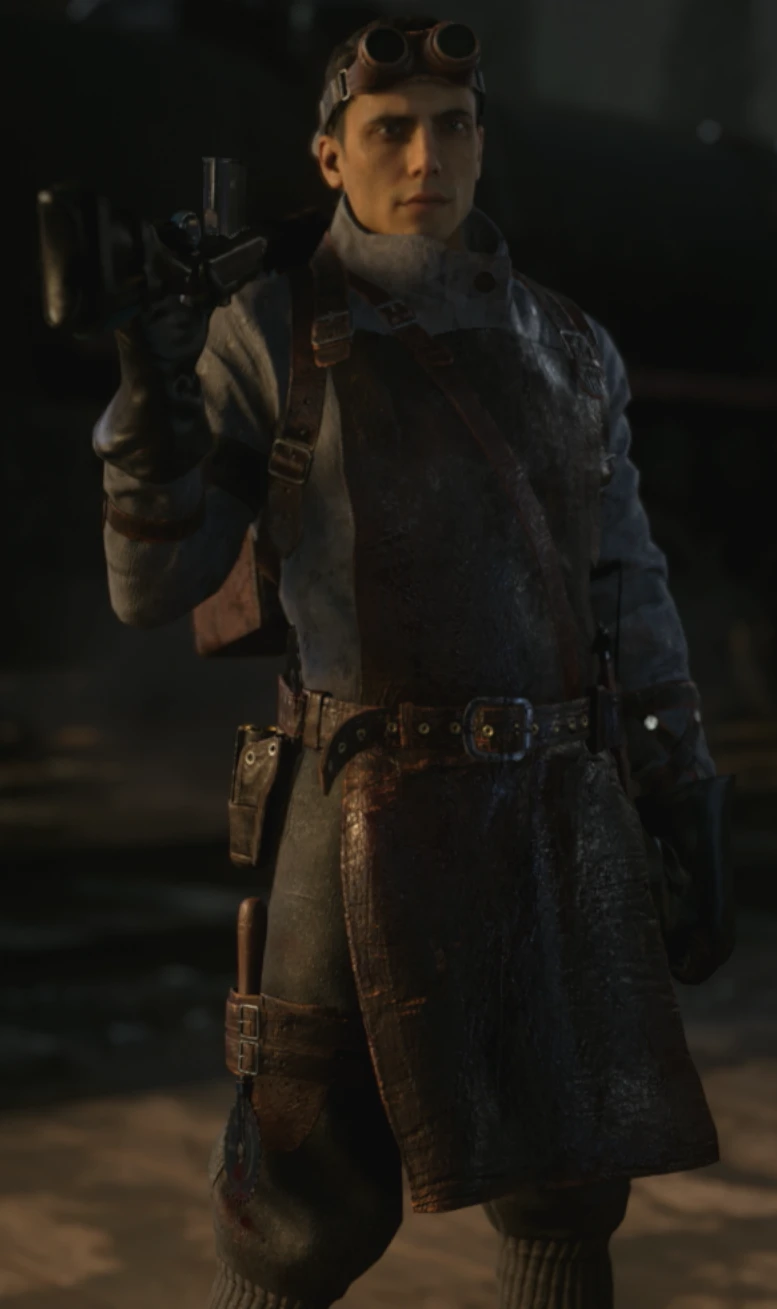
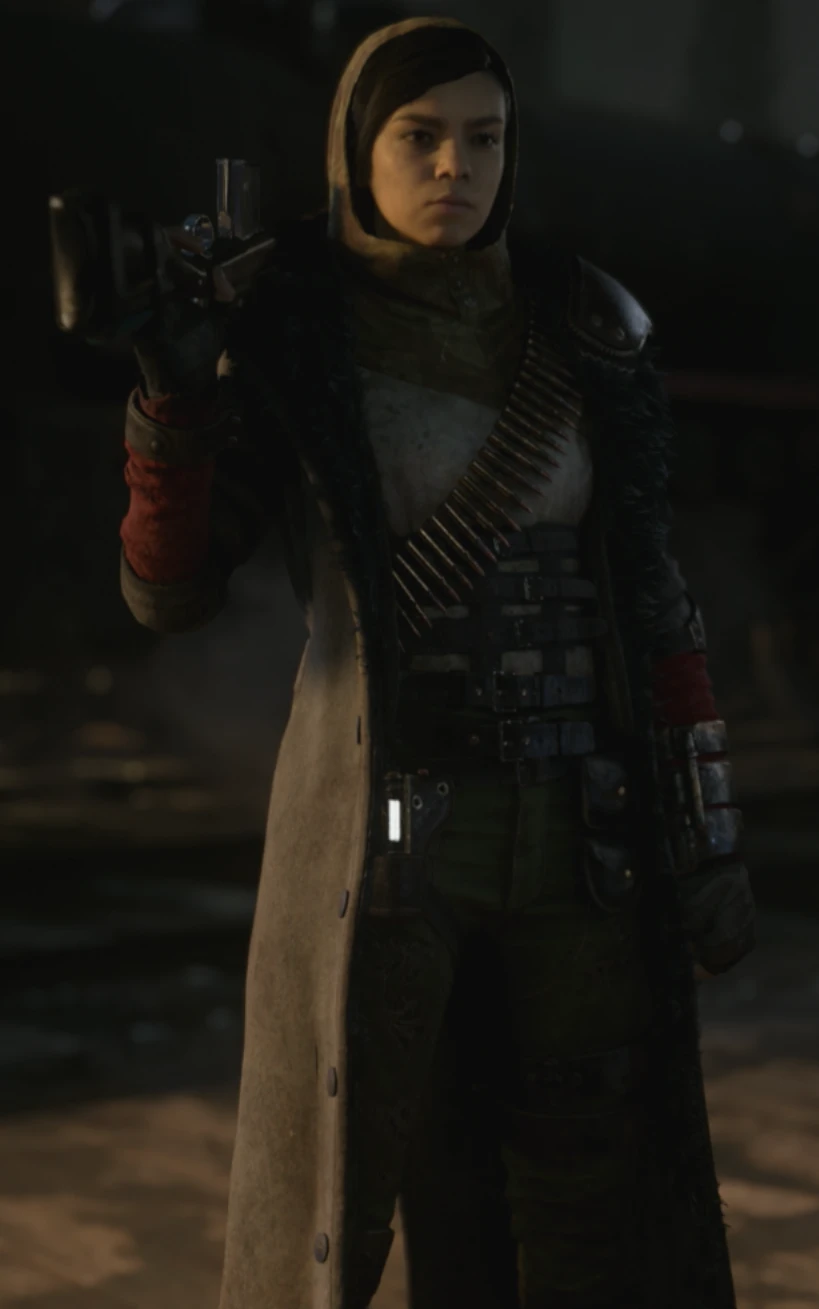
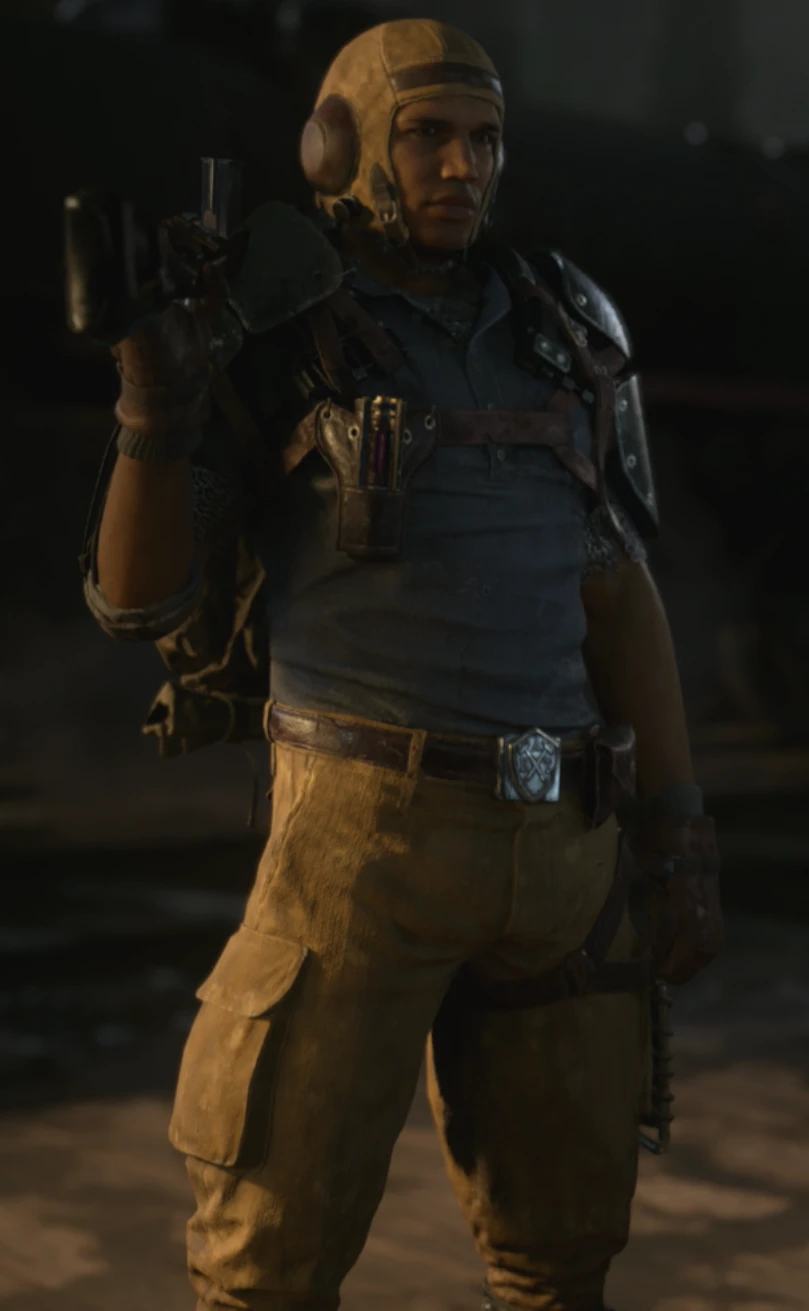
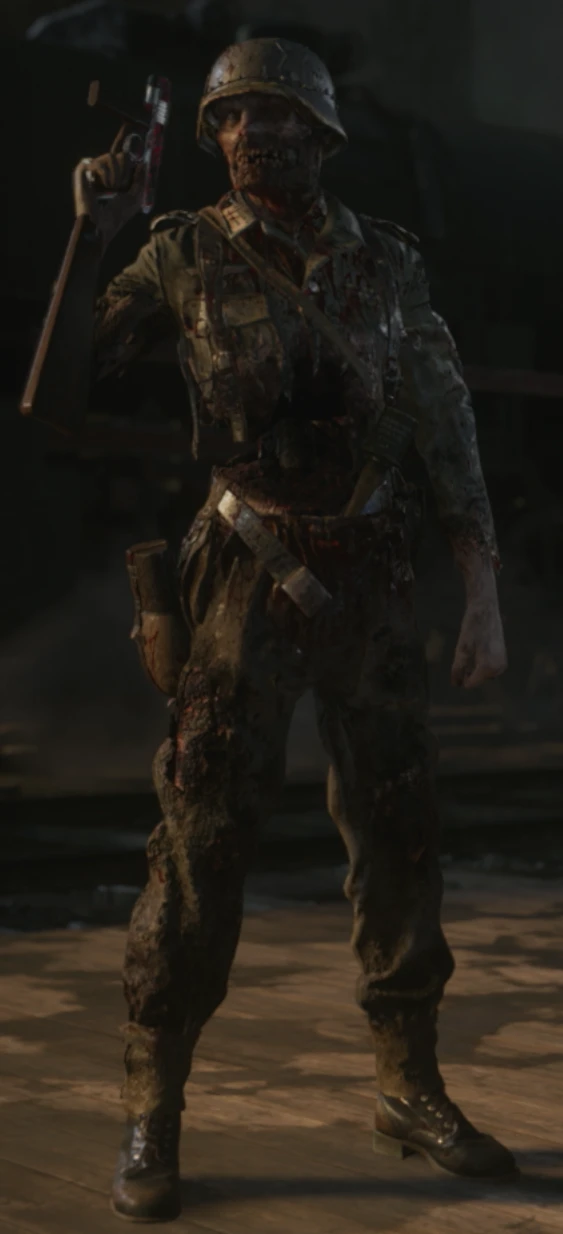
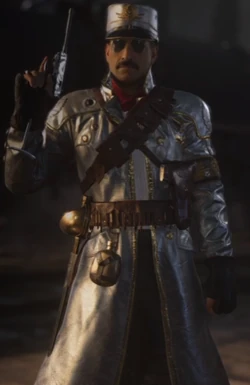
Necromedic (Fieldwork) --- Character Model
Stalker (Vigilant) --- Character Model
Skullbreaker (The Answer) --- Character Model
Wicht Warden (Cold Blooded) --- Character Model
Rookbane (Level 1000 Reward) --- Character Model
 Tips
Tips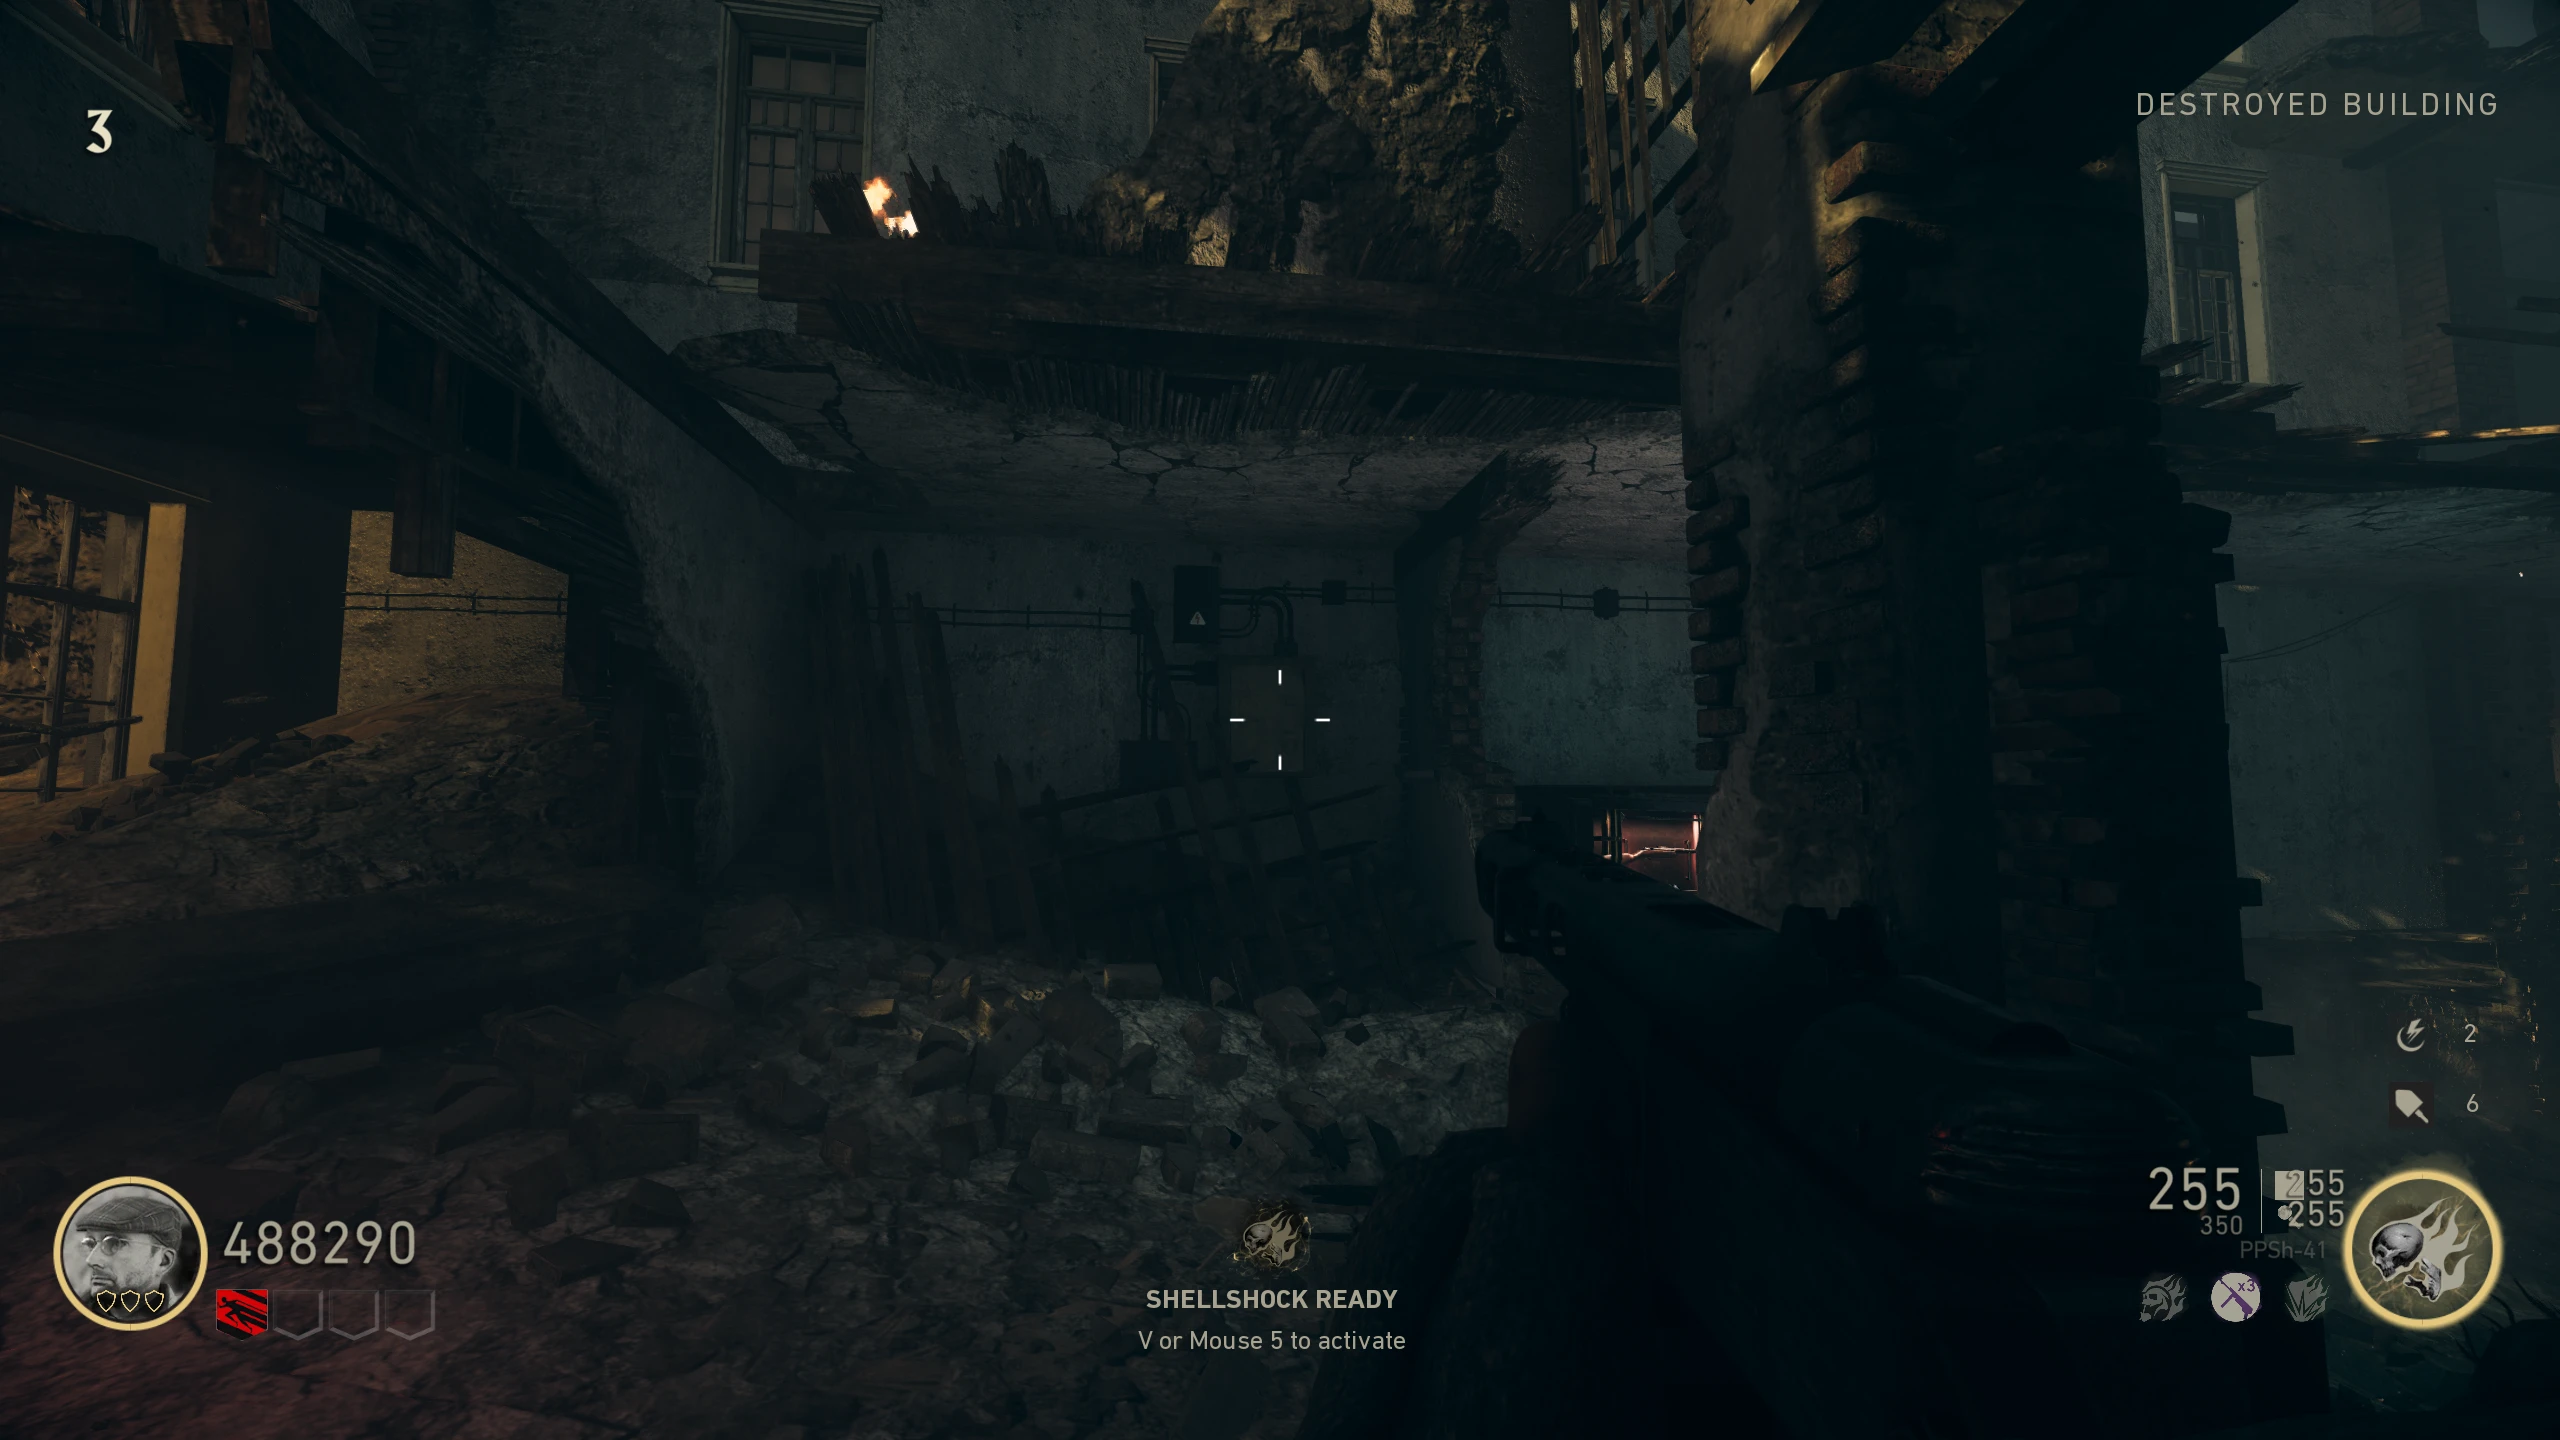
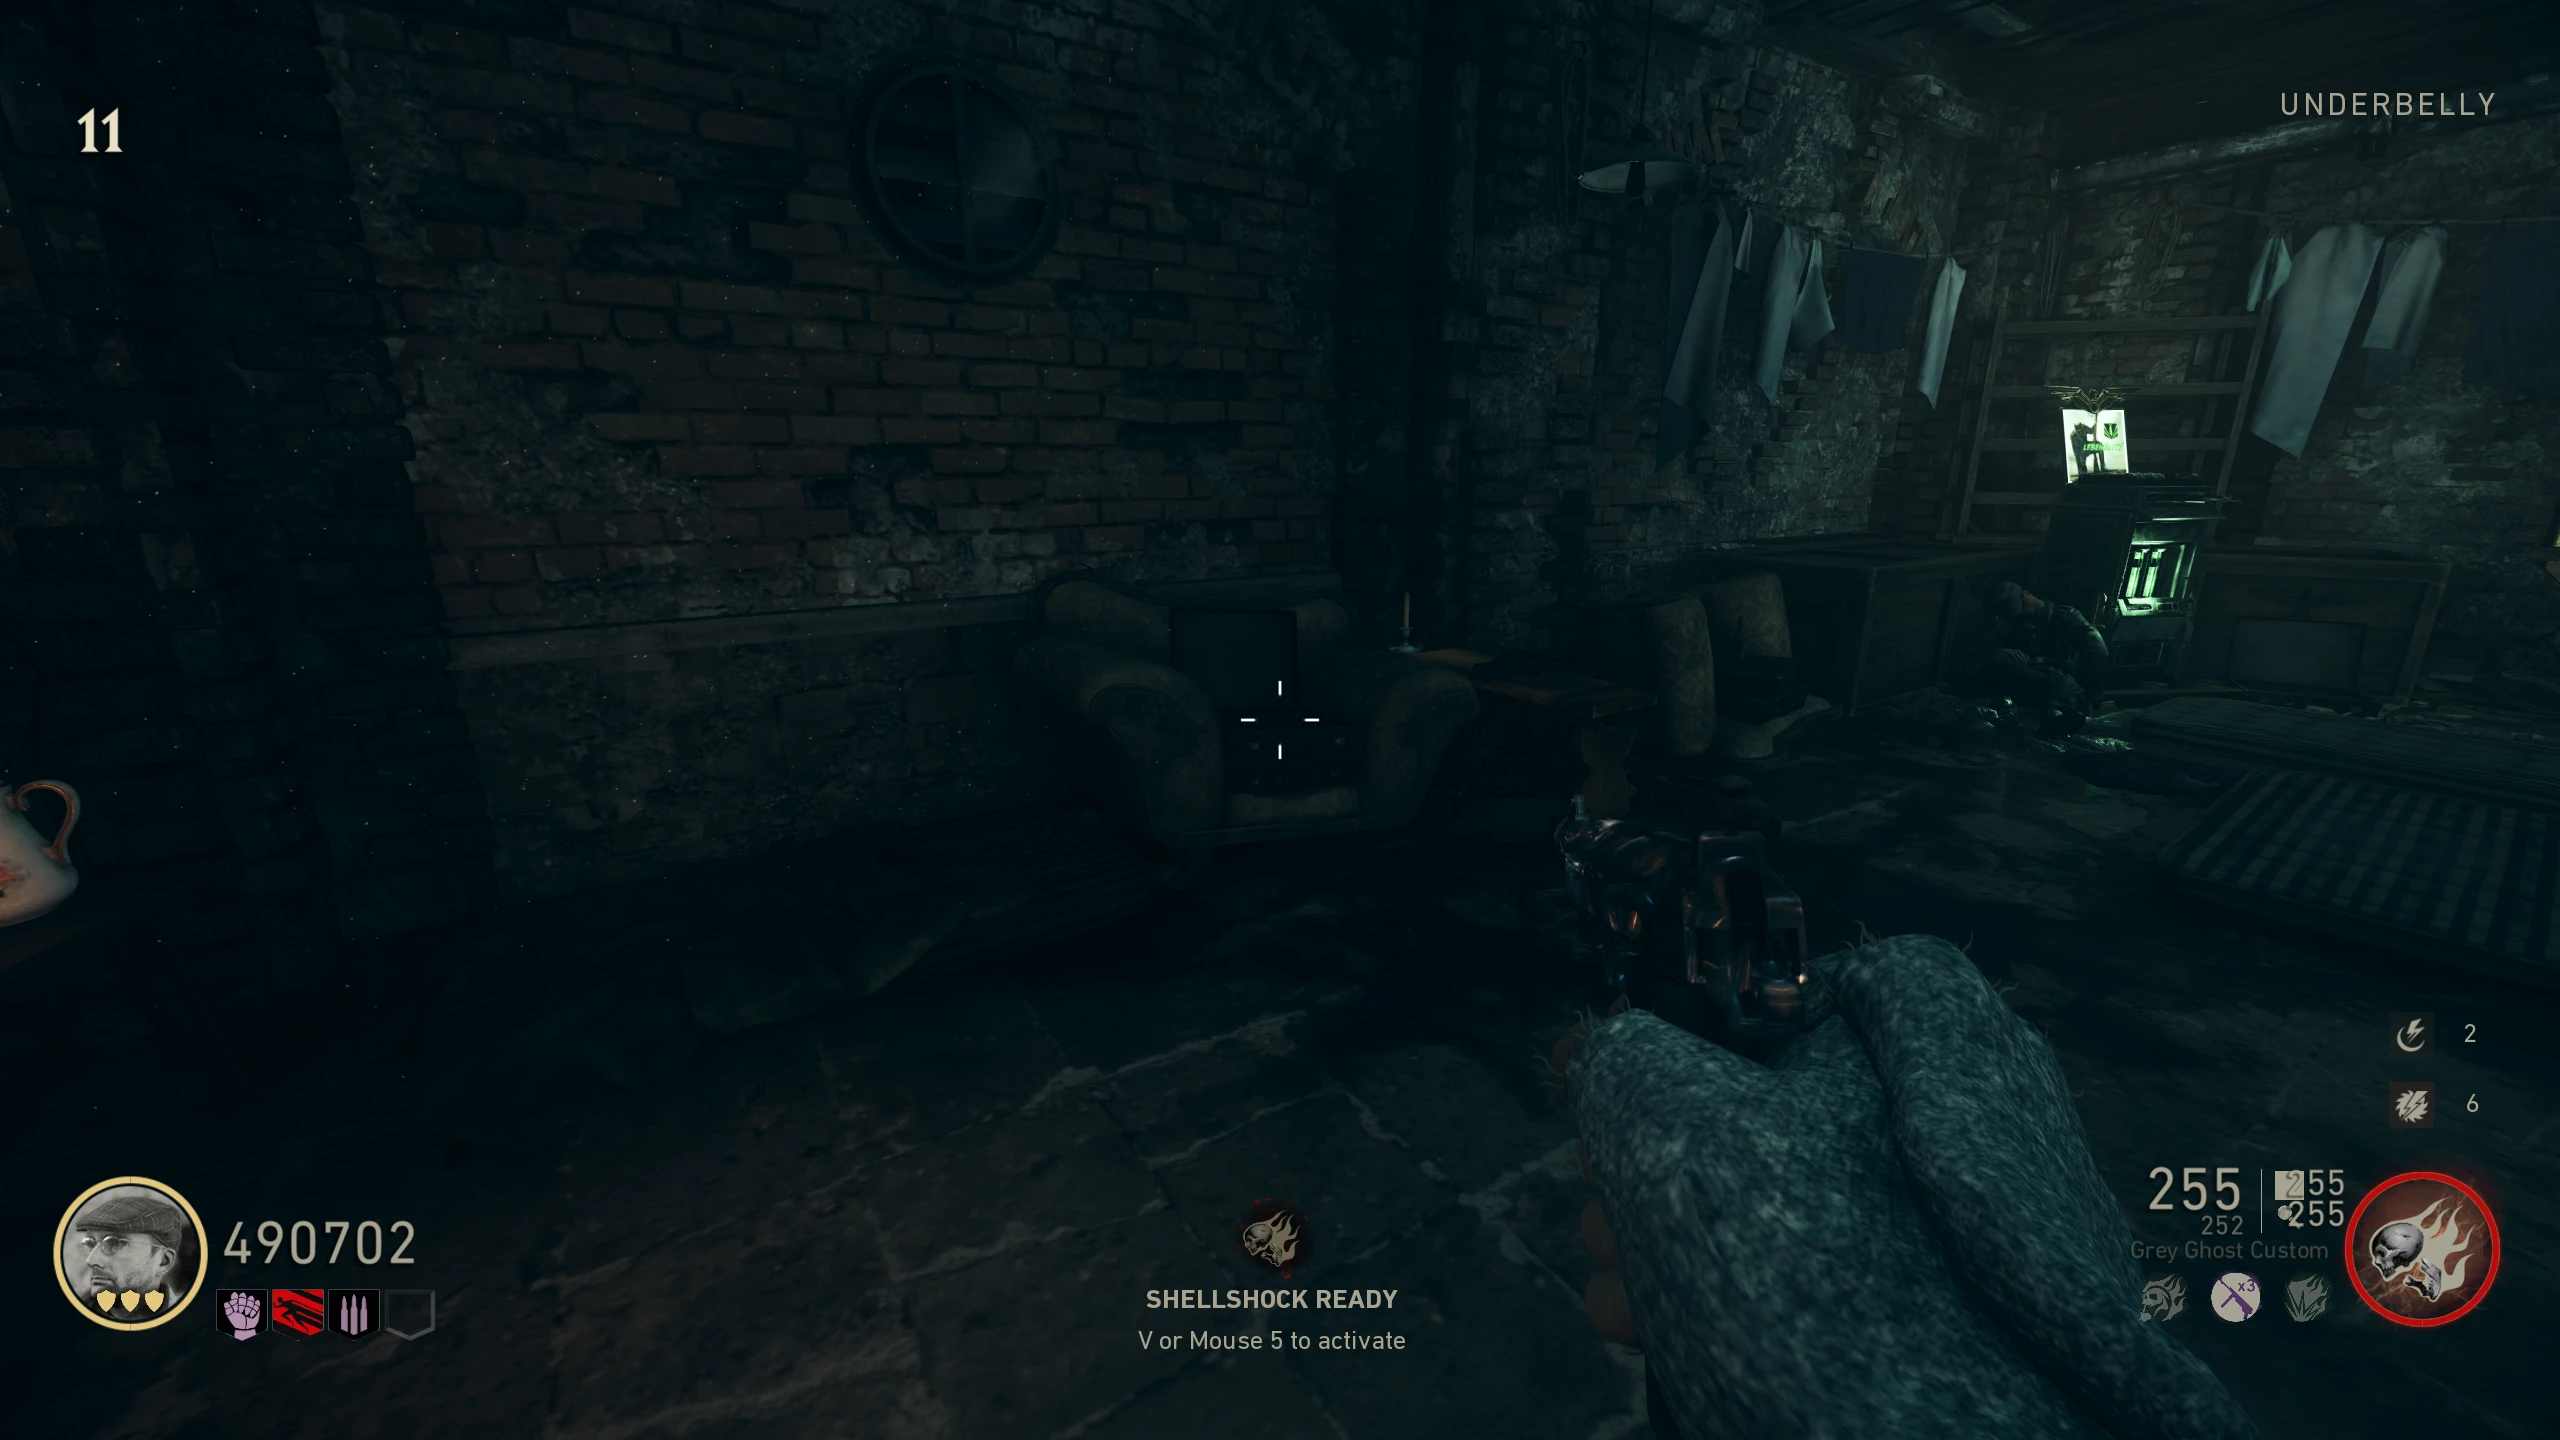
![Wallbuy in the 'Underbelly' [Spawn]](pictures/smugglers_bat/sawed_off_shotgun.webp)