Map Progression
Weapons and Buildables
Easter Eggs
Miscellaneous
Power
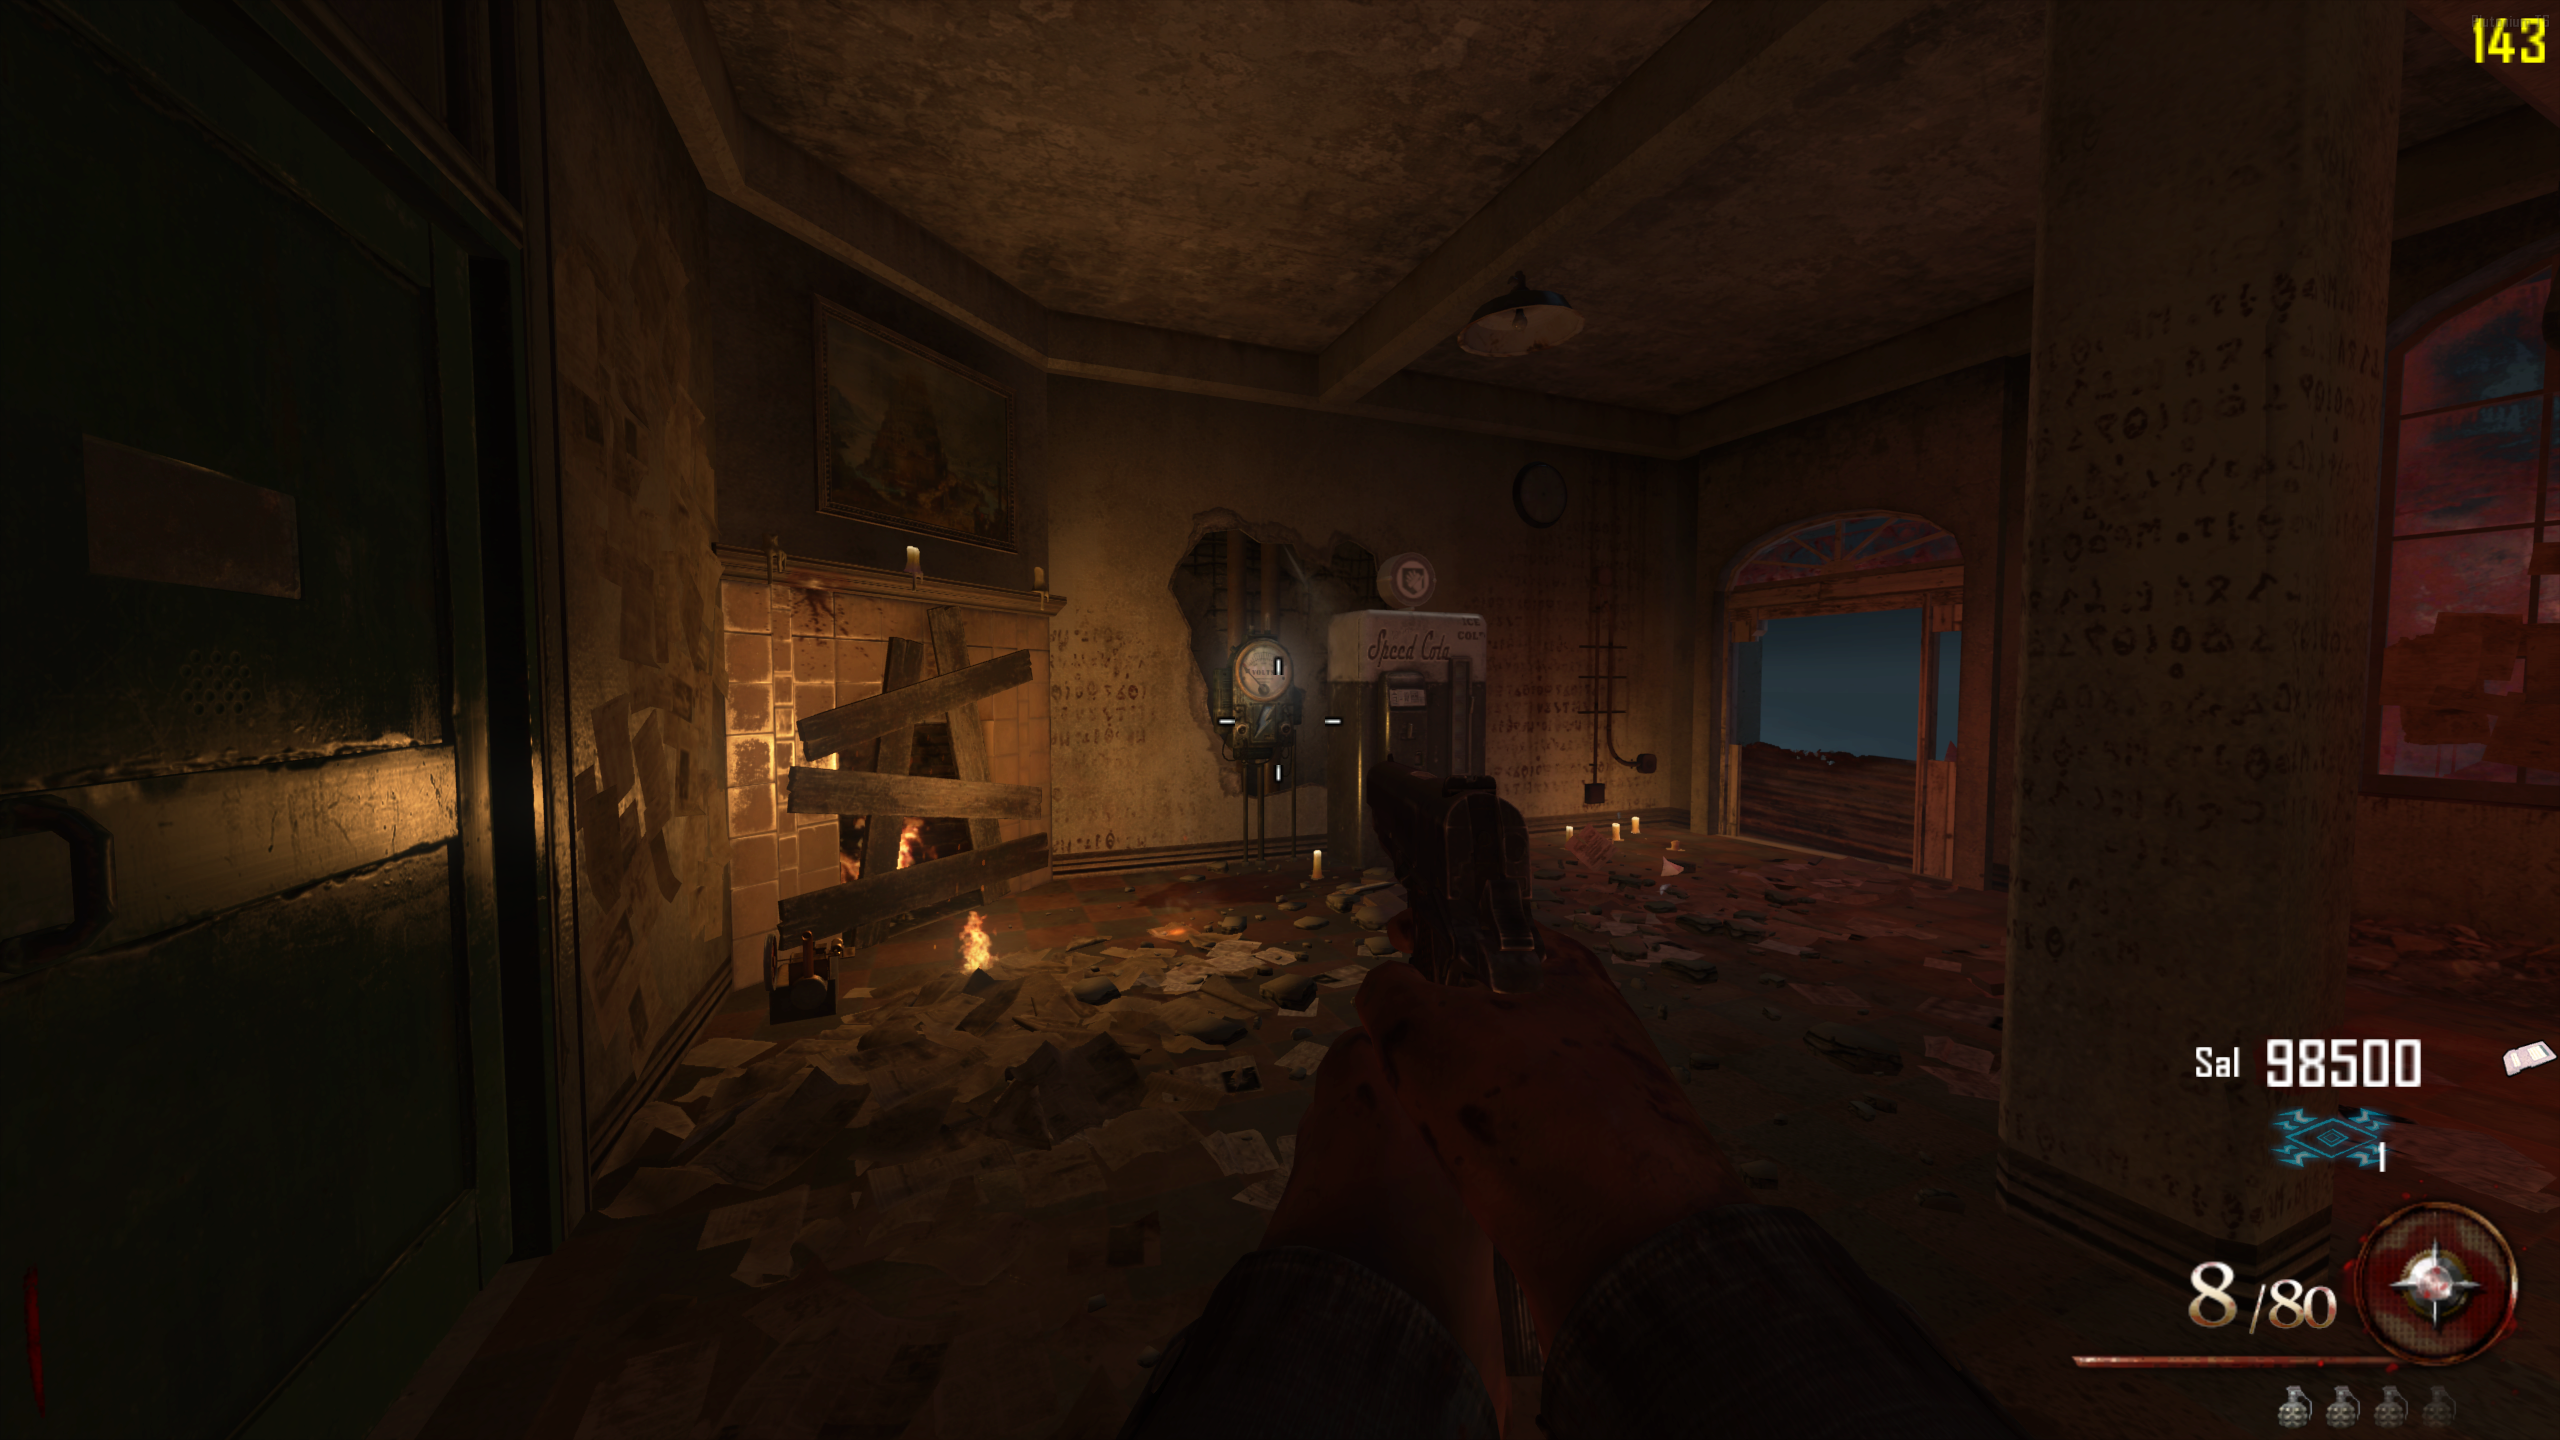
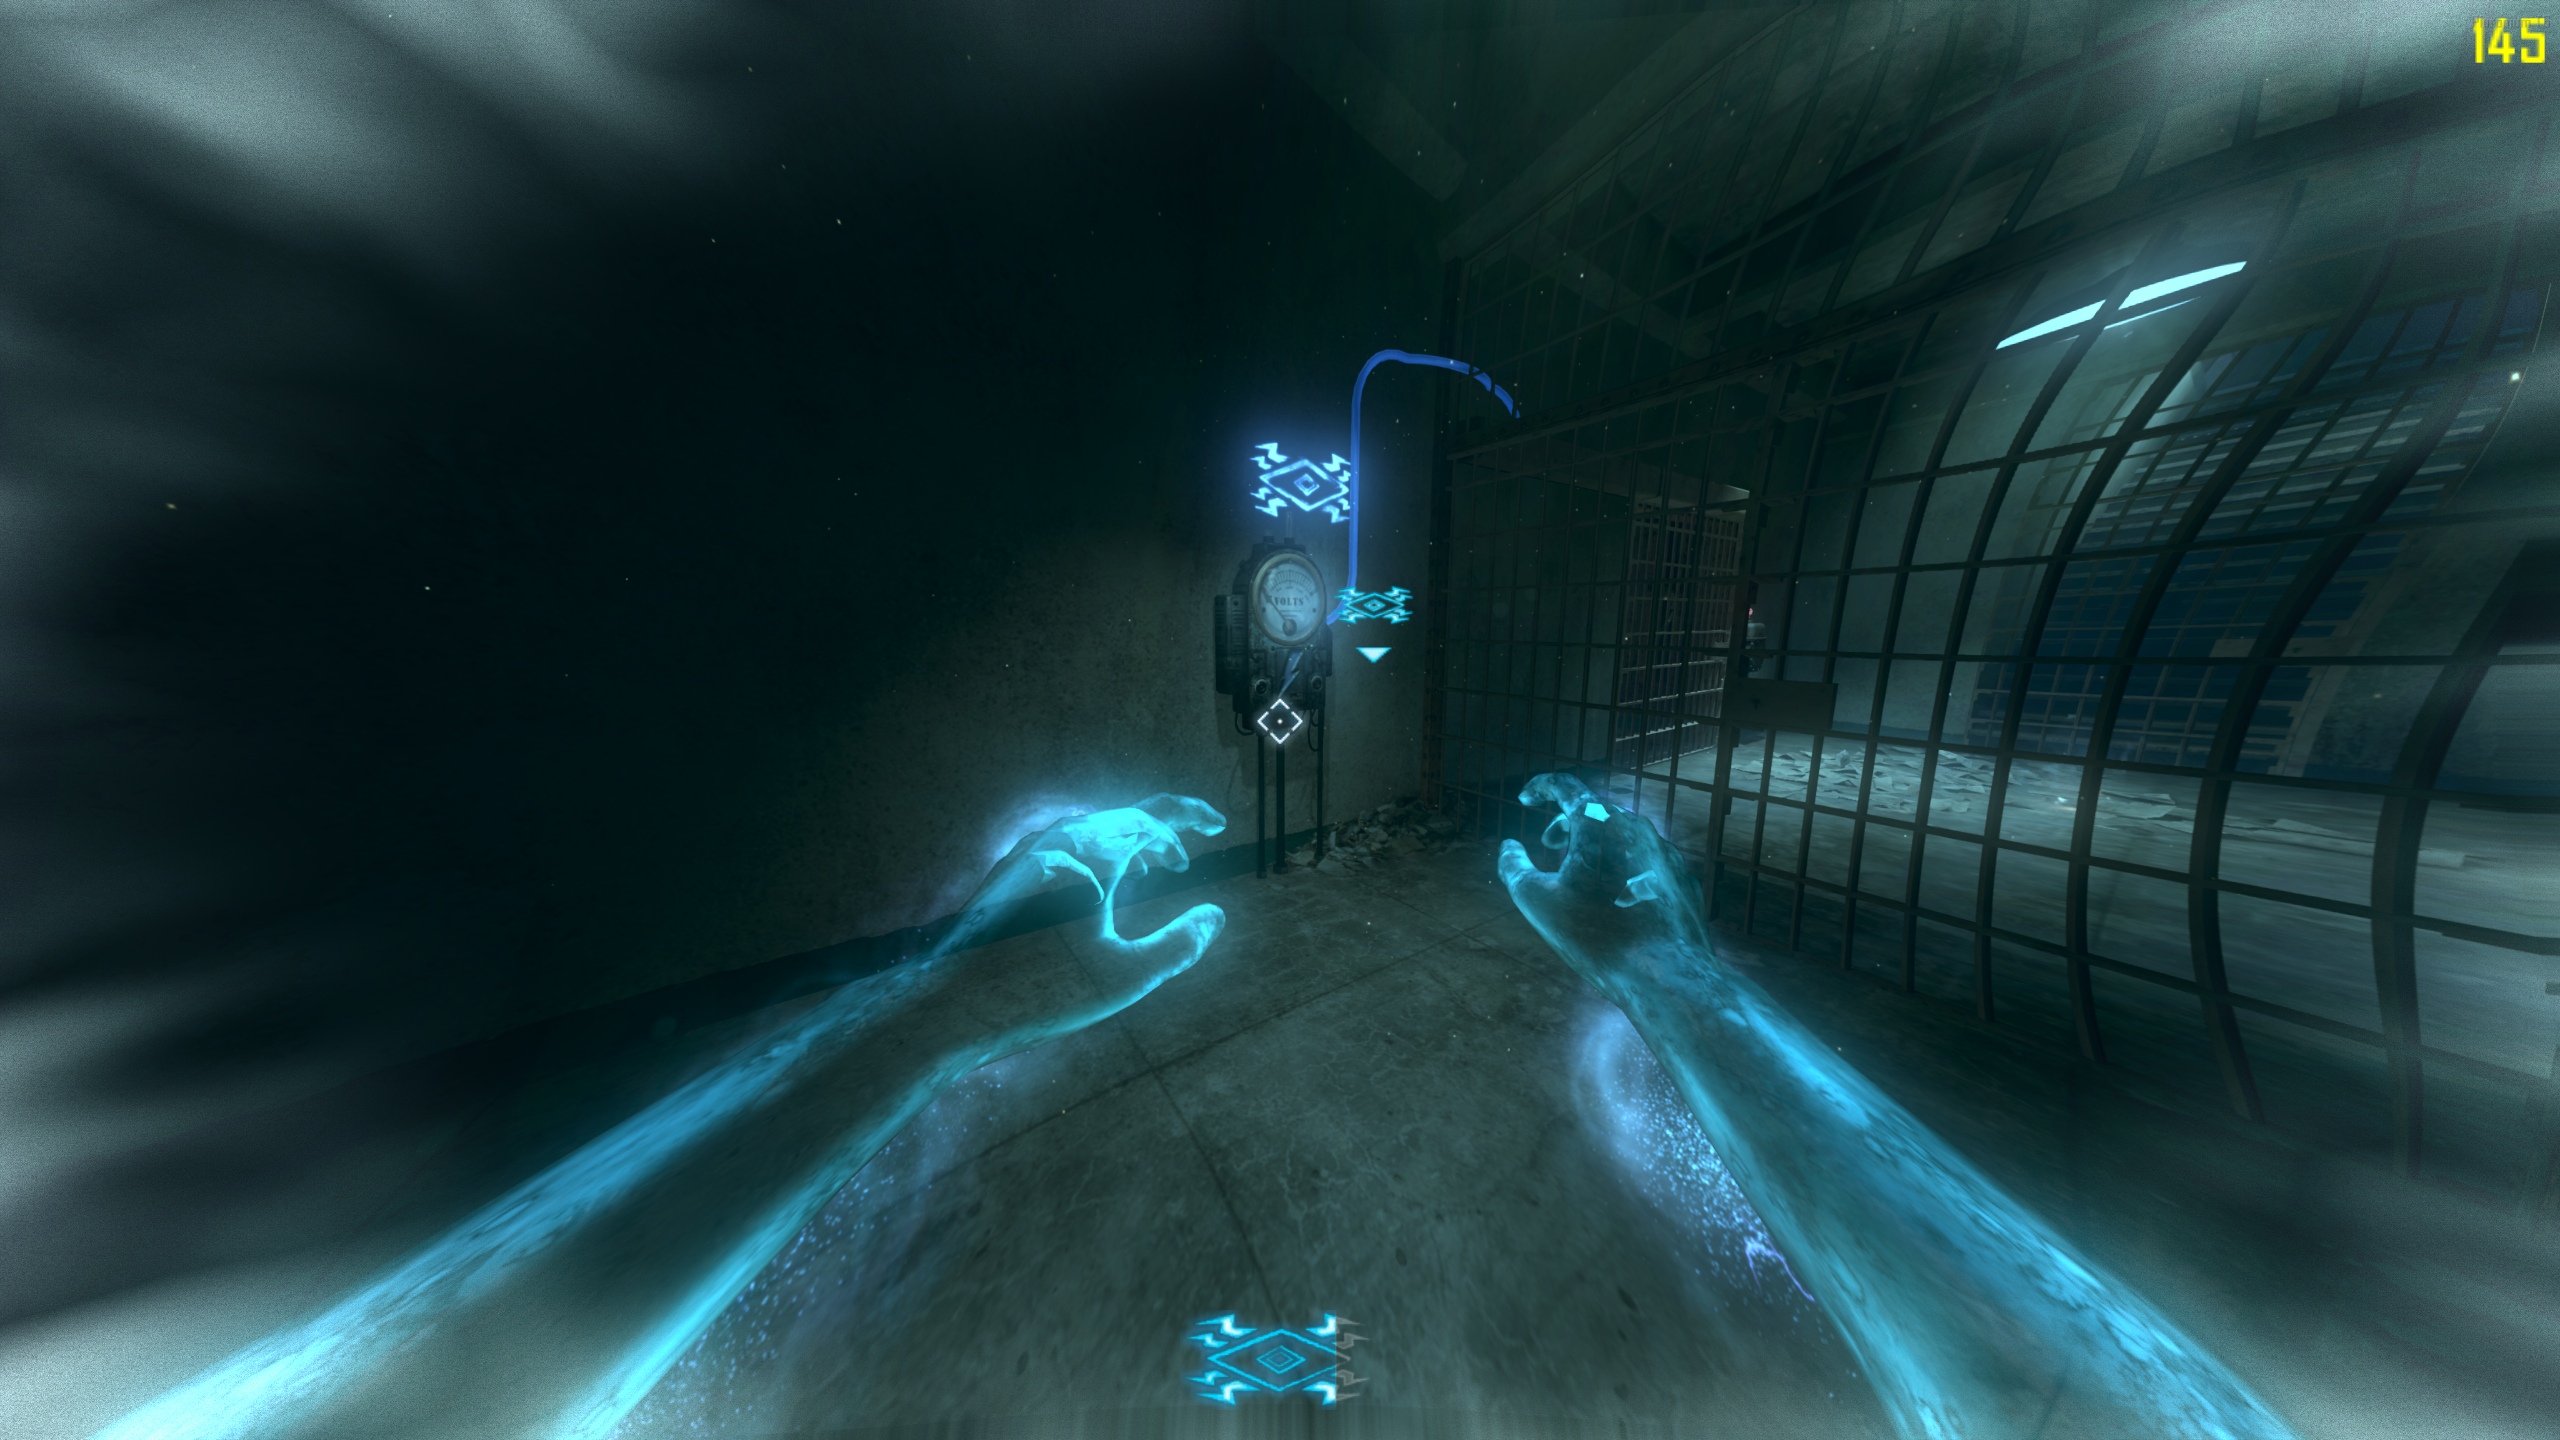
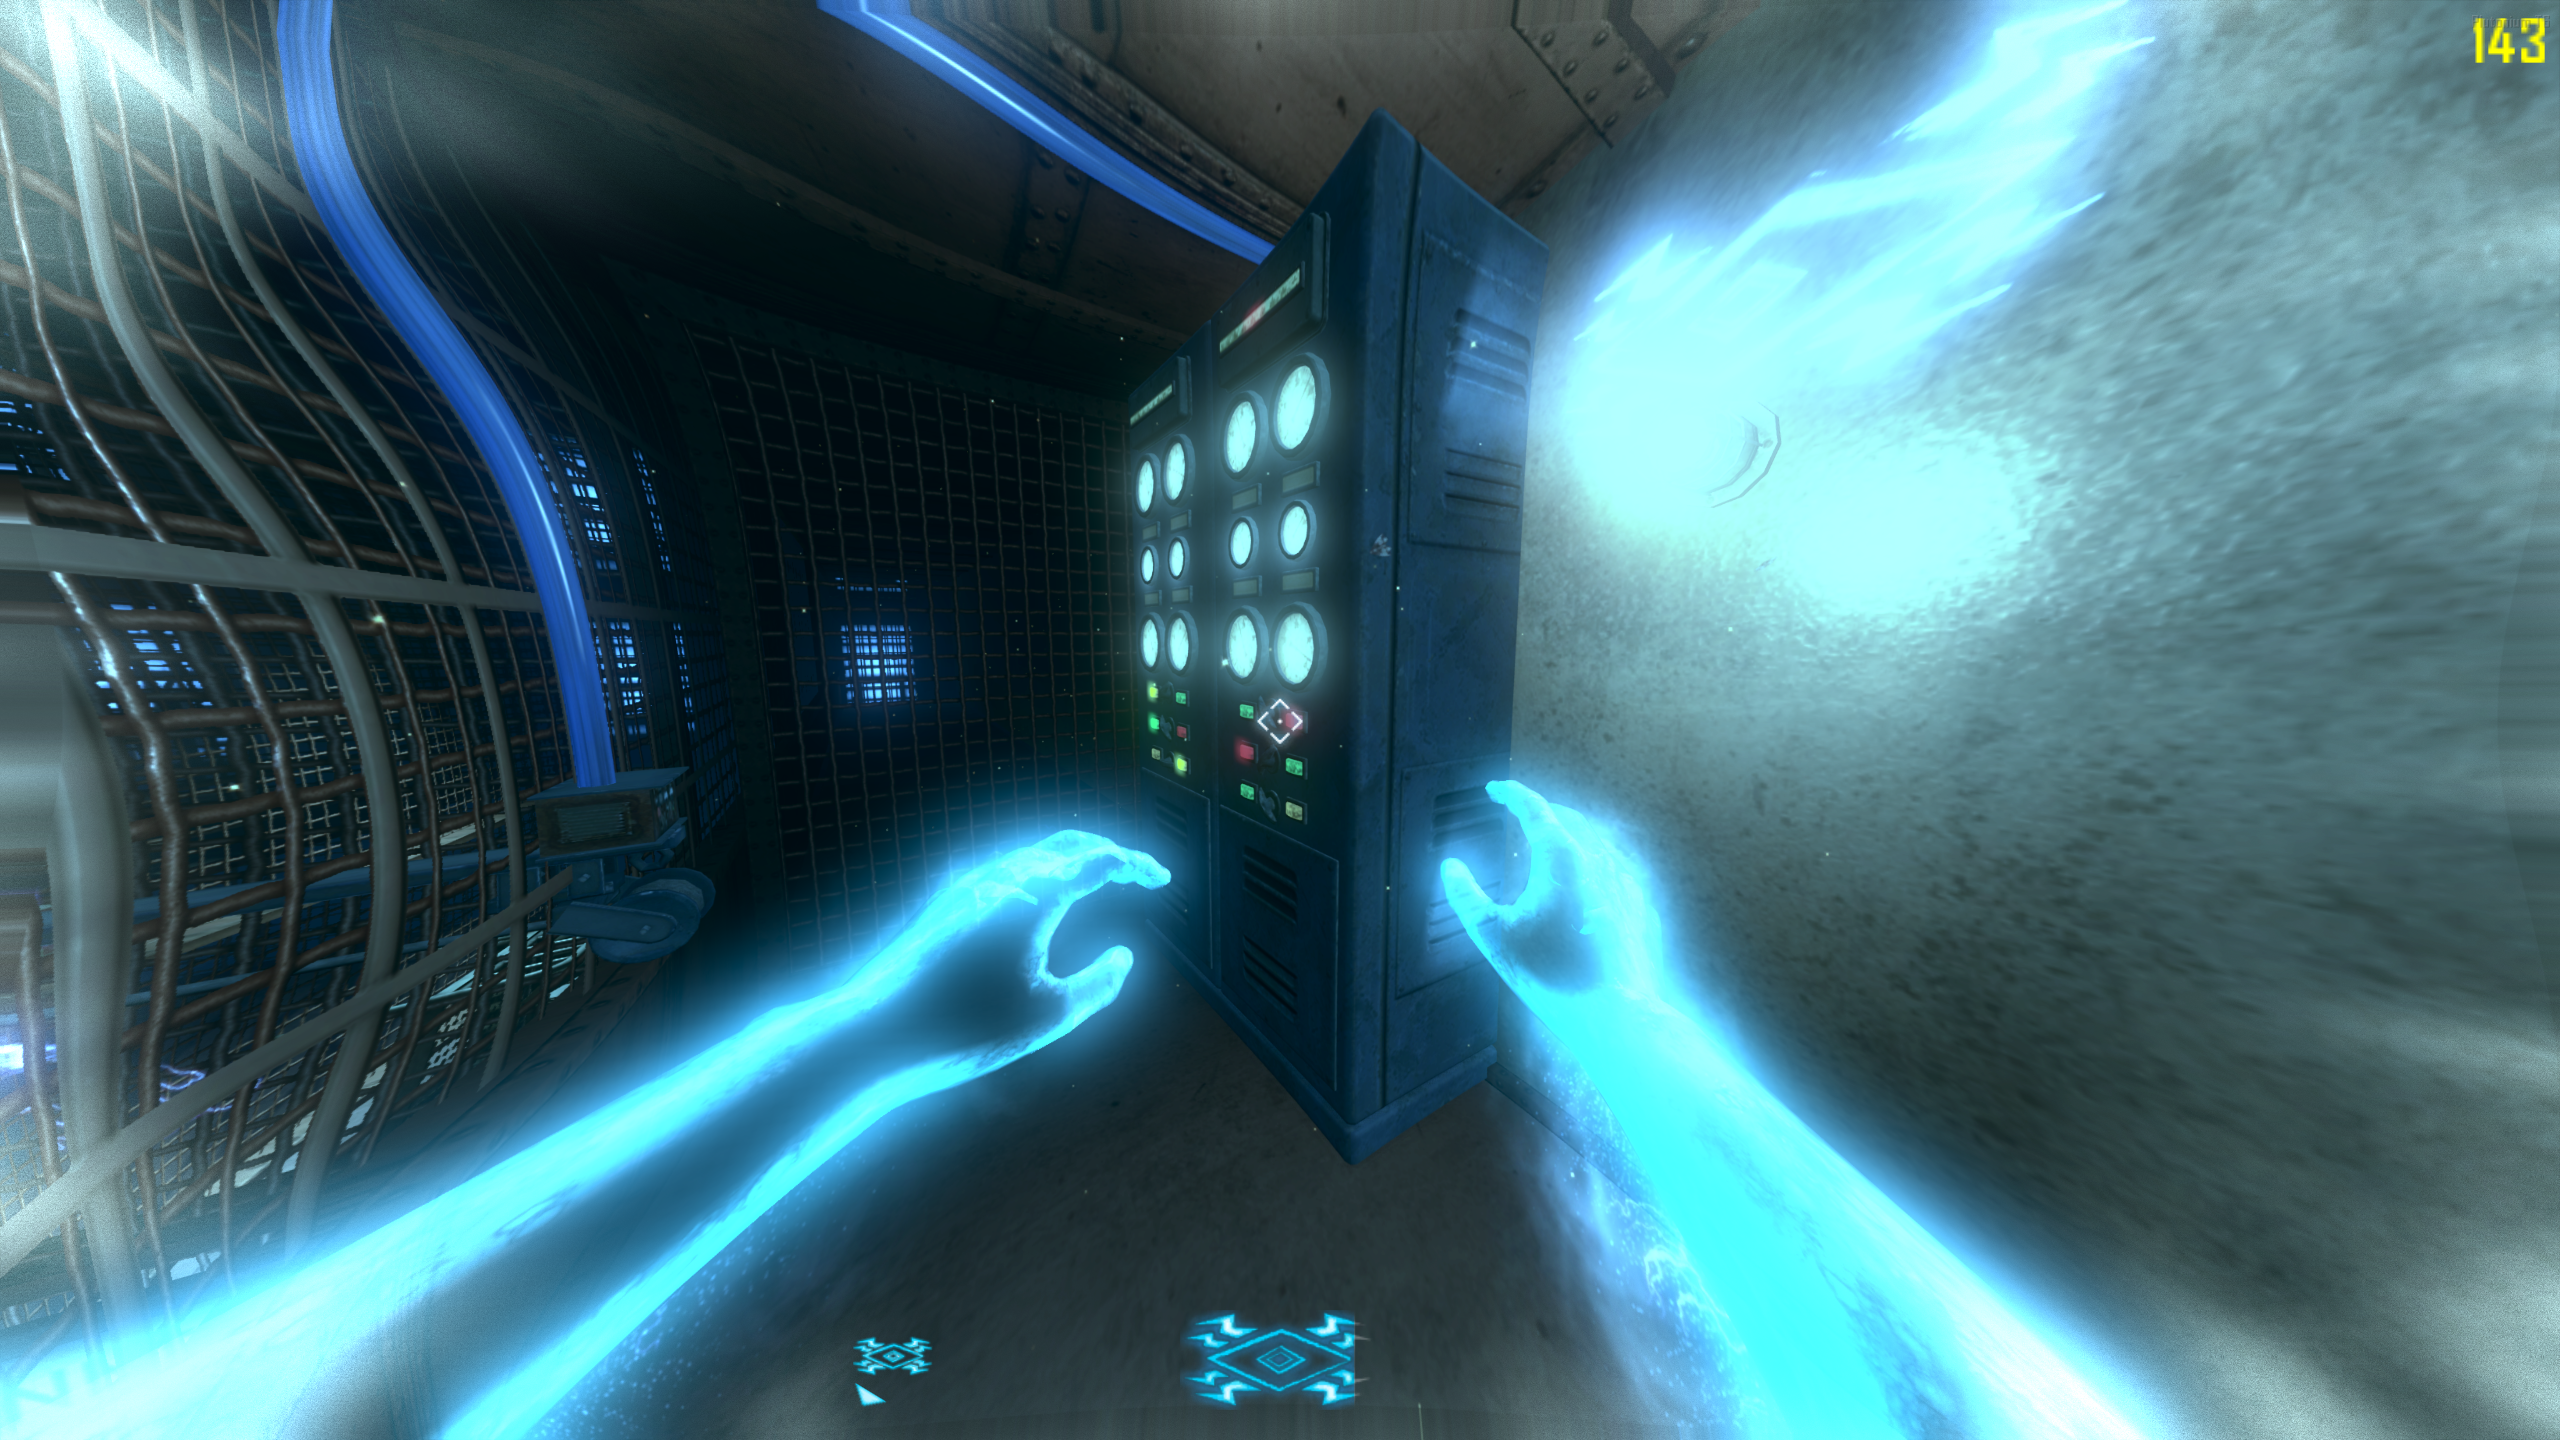
- There are no normal power switches, so anything that requires power (like perk machines) will have a Voltmeter beside it. You'll need to shock the Voltmeter while in Afterlife Mode to turn it on for the rest of the game.
- In addition to the Perk Machine Voltmeters, there are "hidden" Voltmeters that open doors or power devices around the map. These are covered in the sections where they're needed.
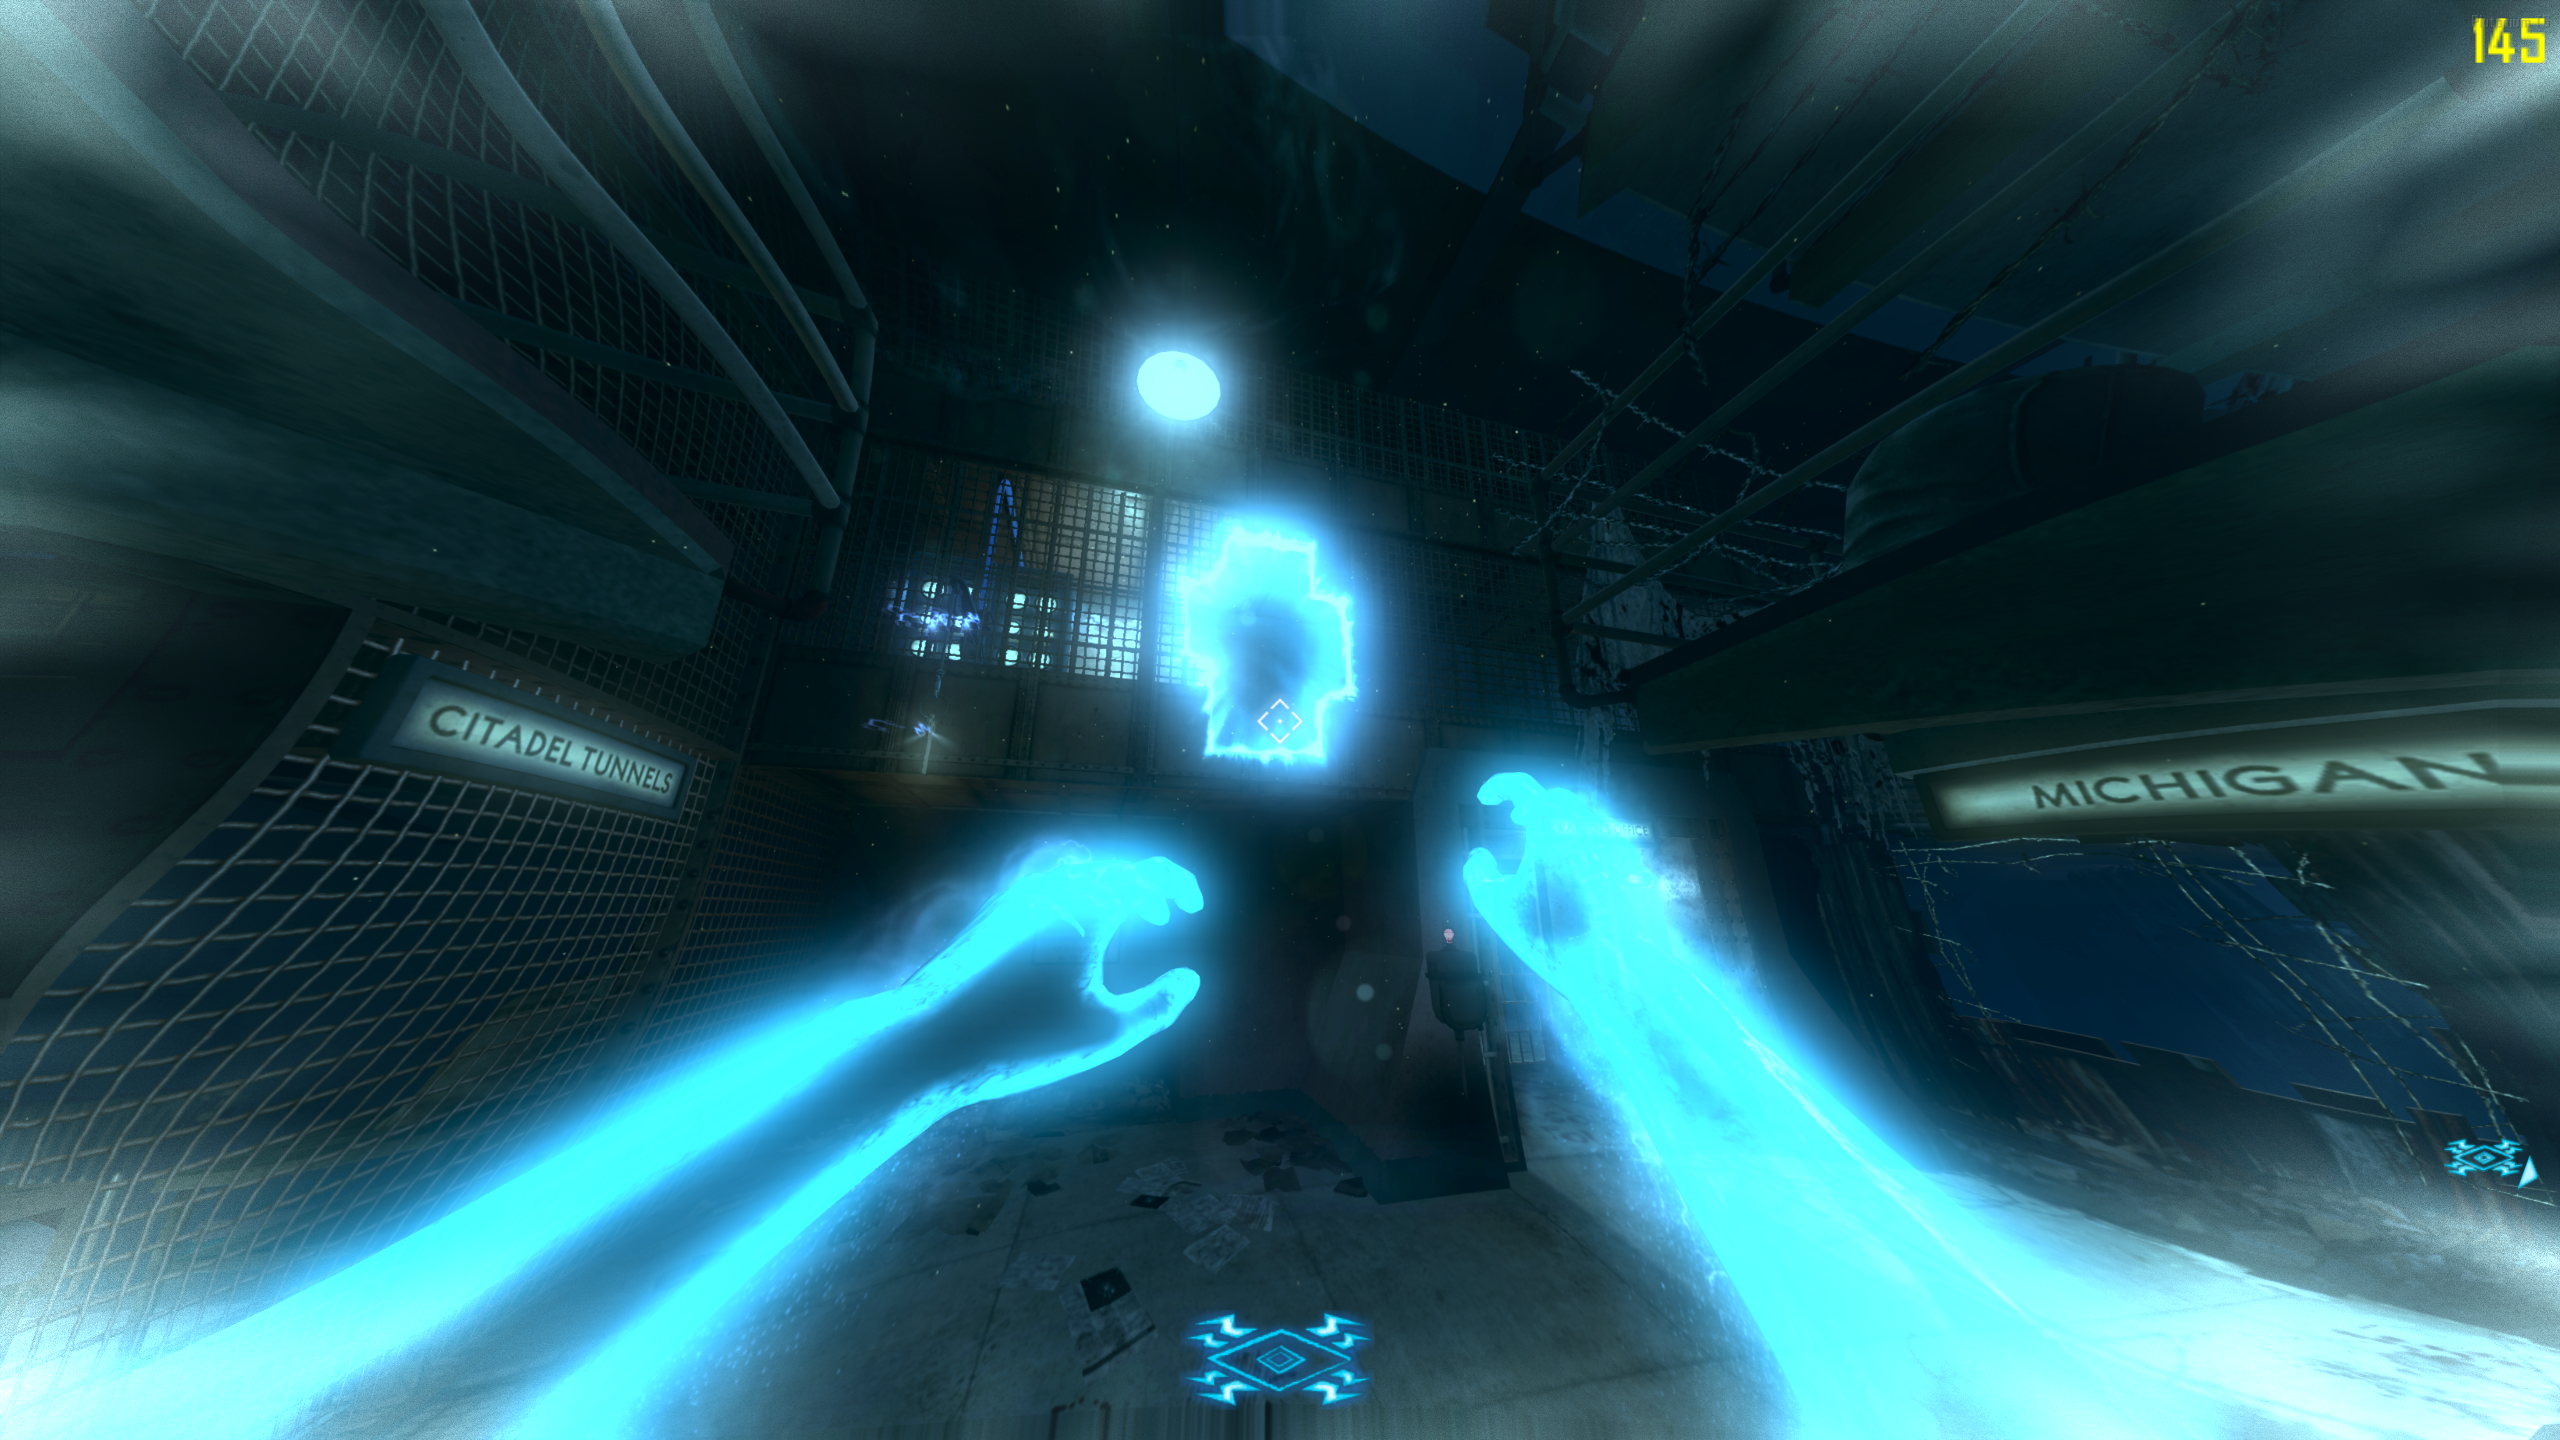
- Only one door that needs power isn't covered elsewhere in this guide: the door to the Warden's Office. Enter the ghostly hole above the Warden's Office door, and go right. At the end of the path, you'll find a Voltmeter. Shock it to open the door.
Warden's Key
- The Warden's Key is an item that unlocks certain doors and items. Most quests on the map need it.
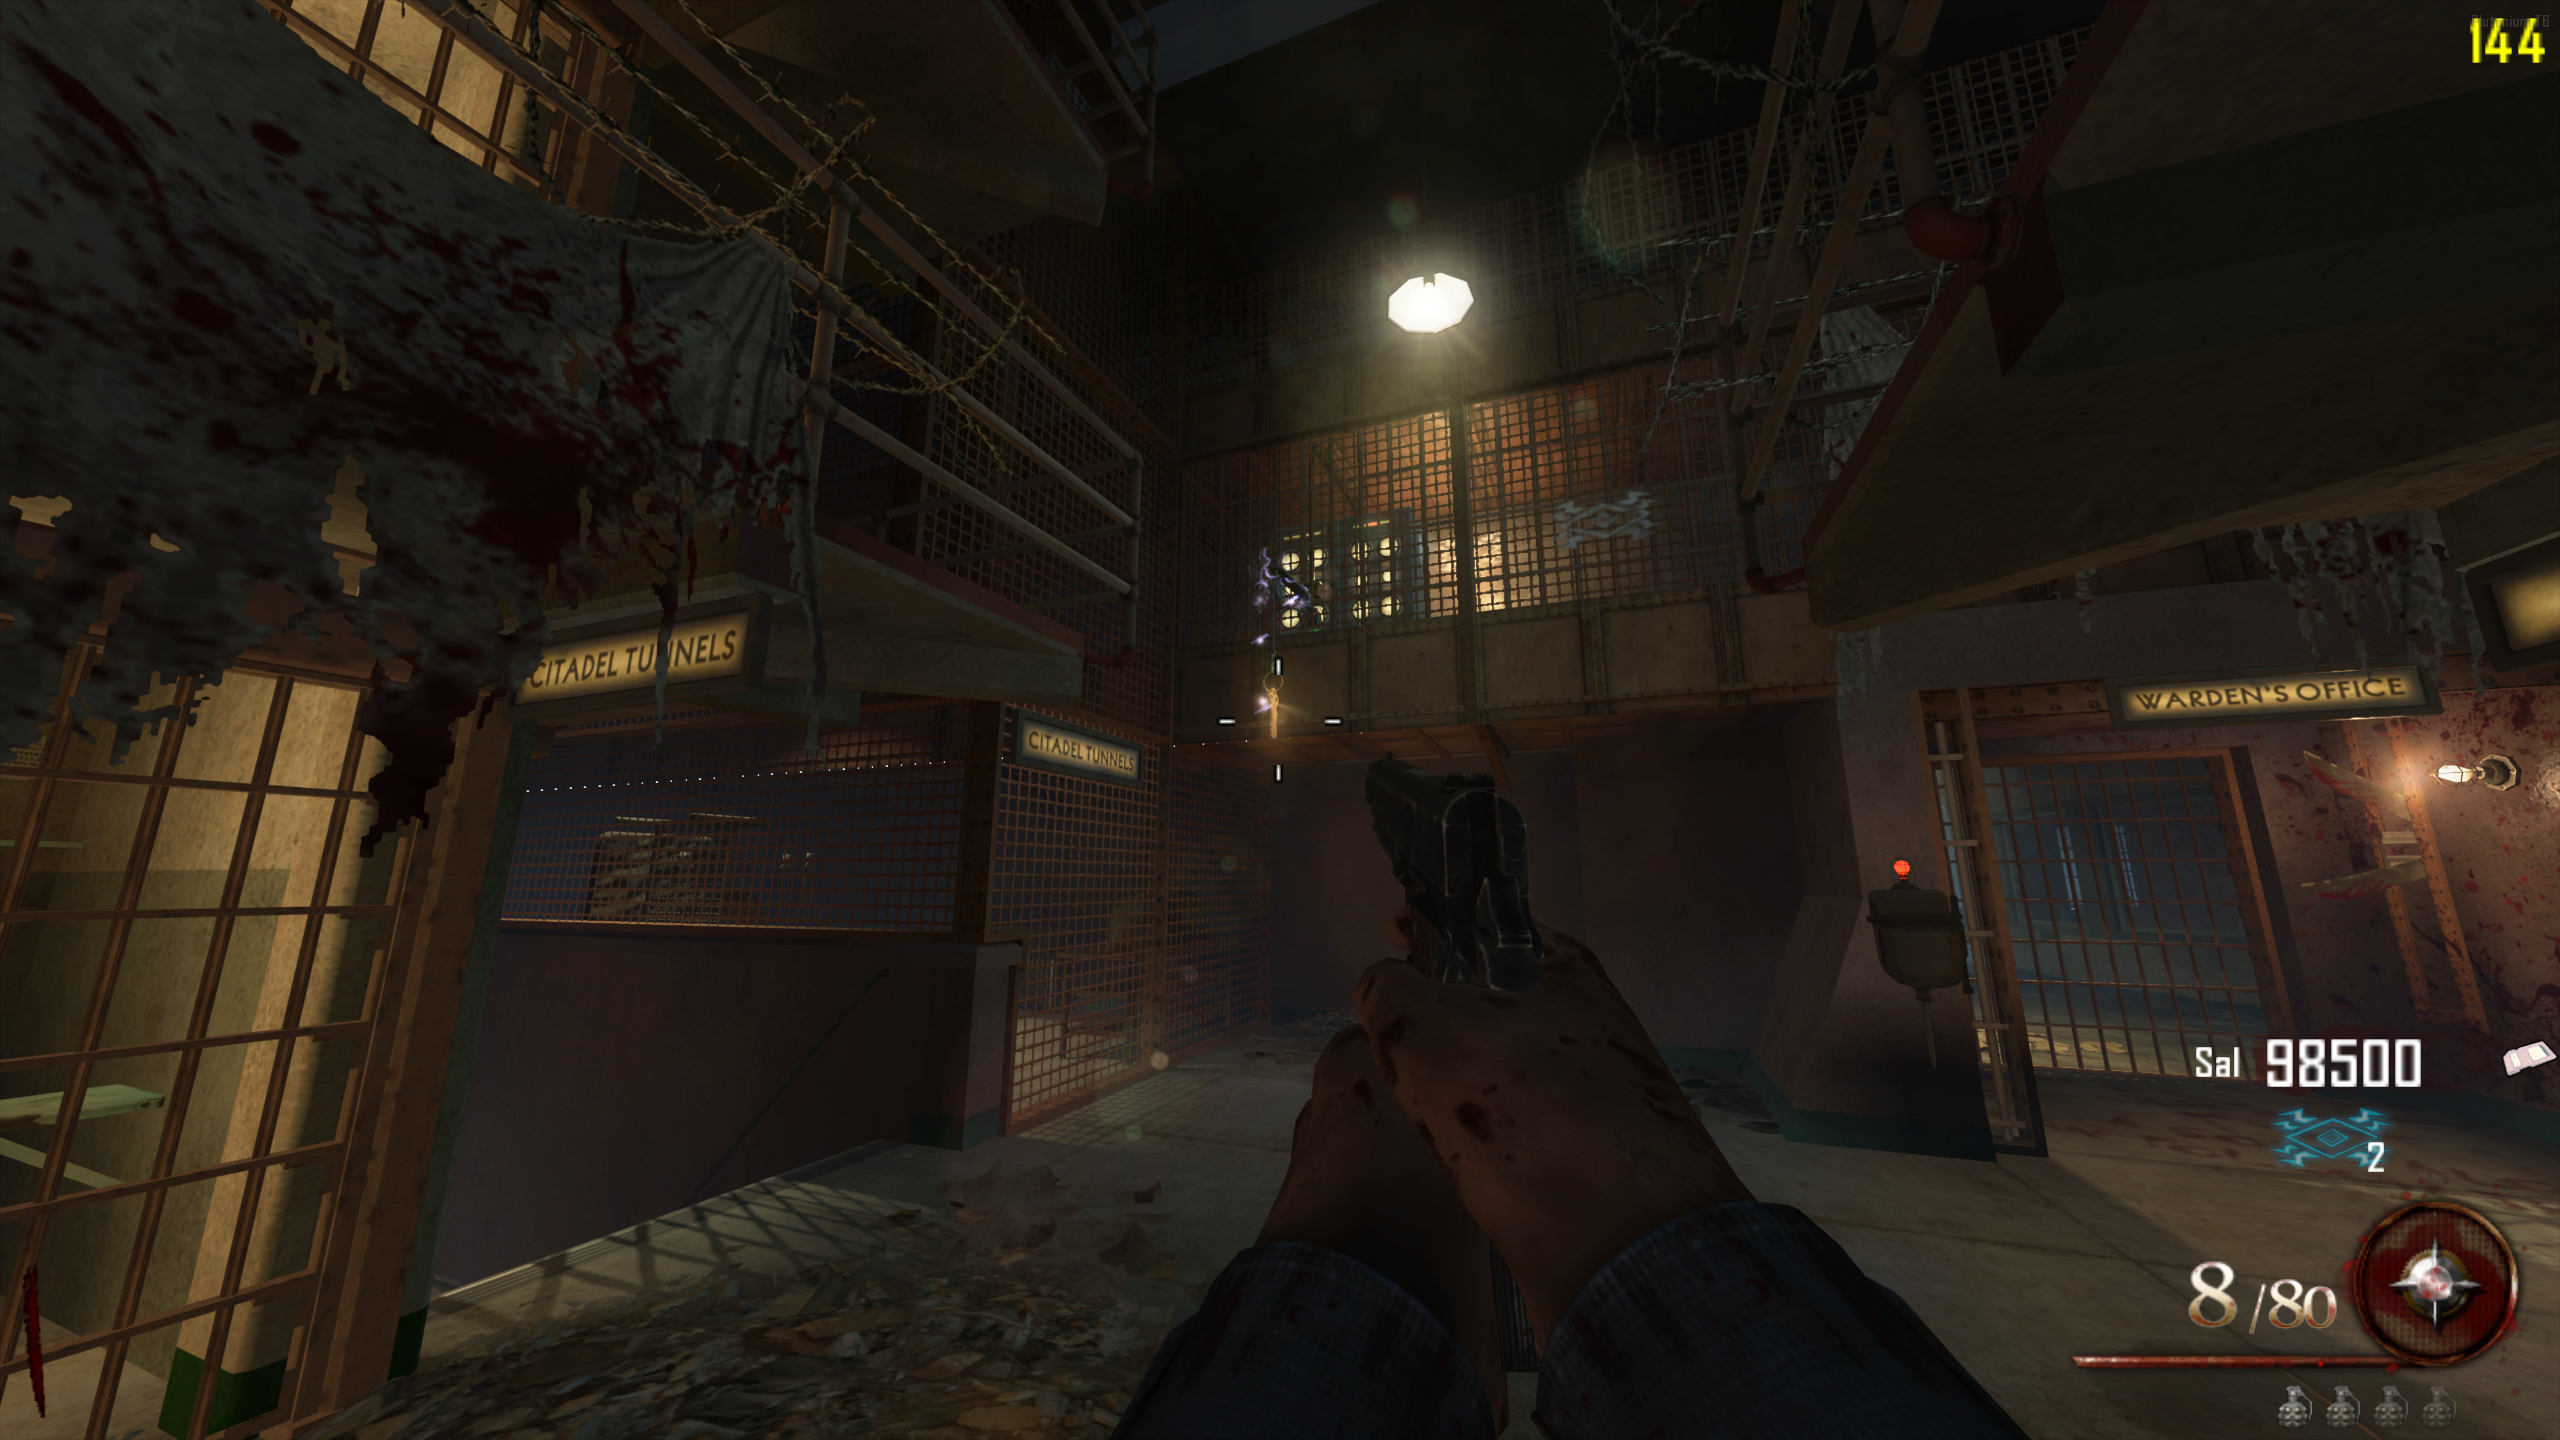
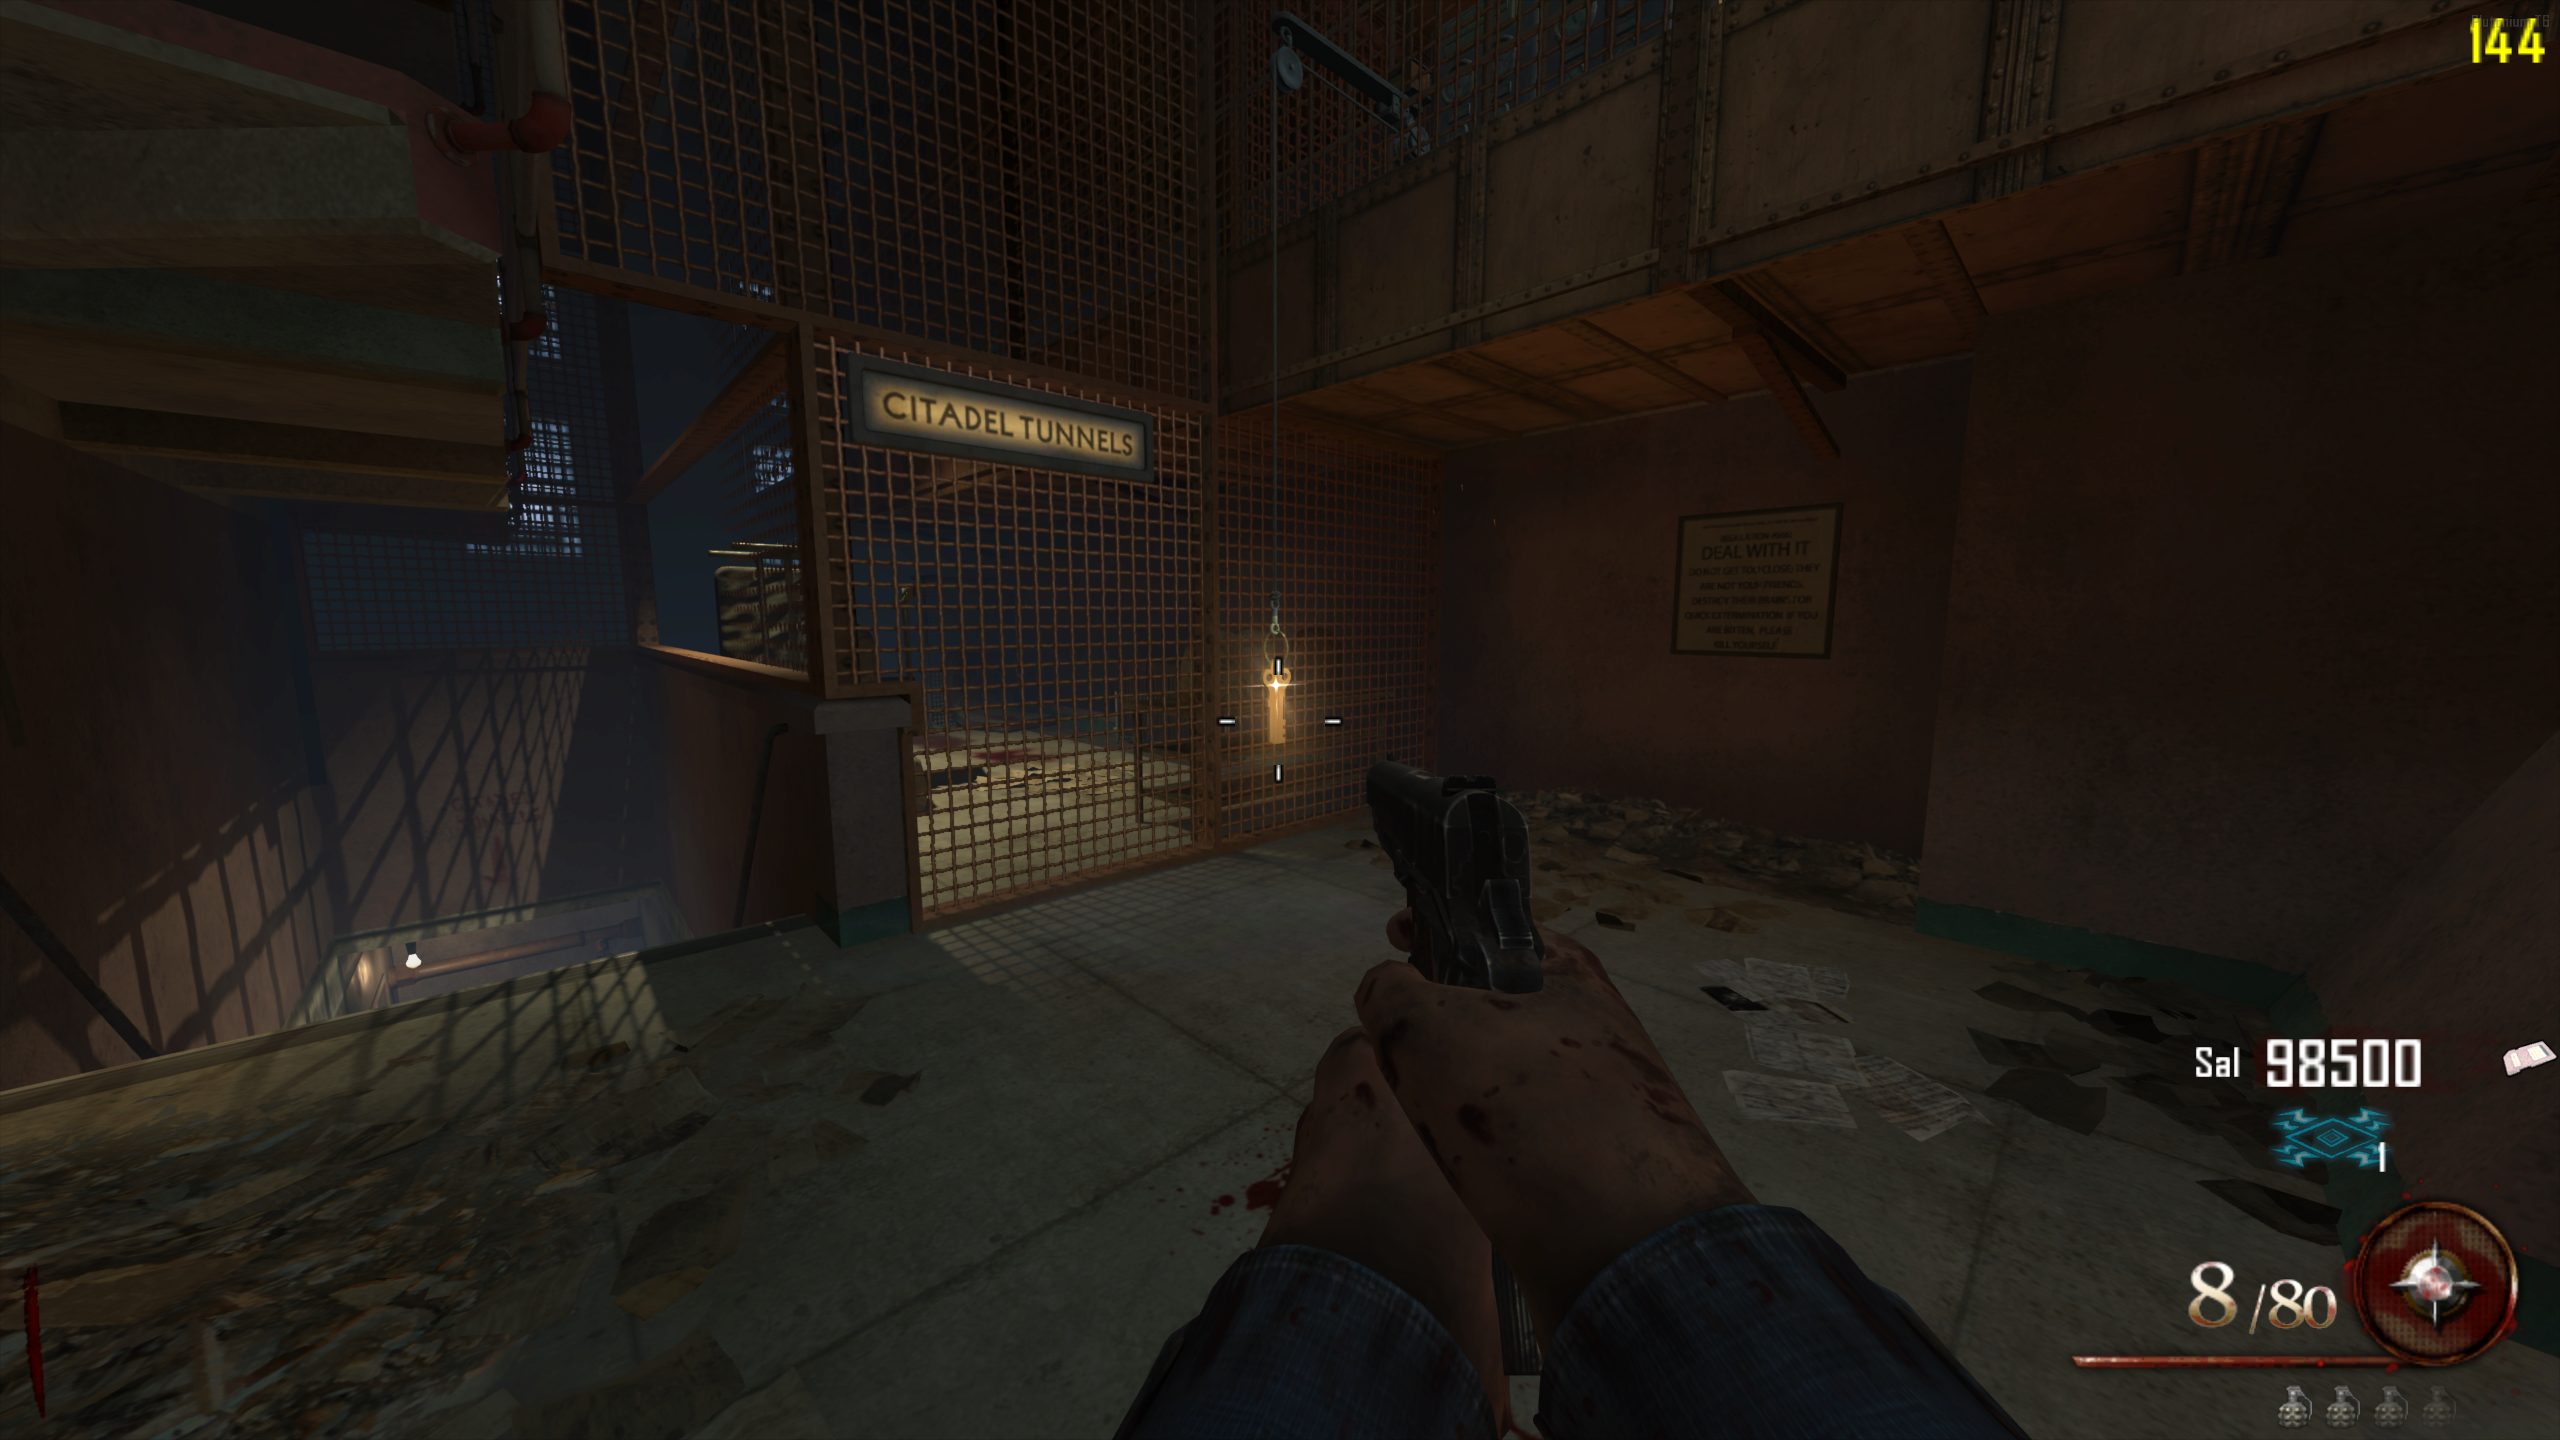
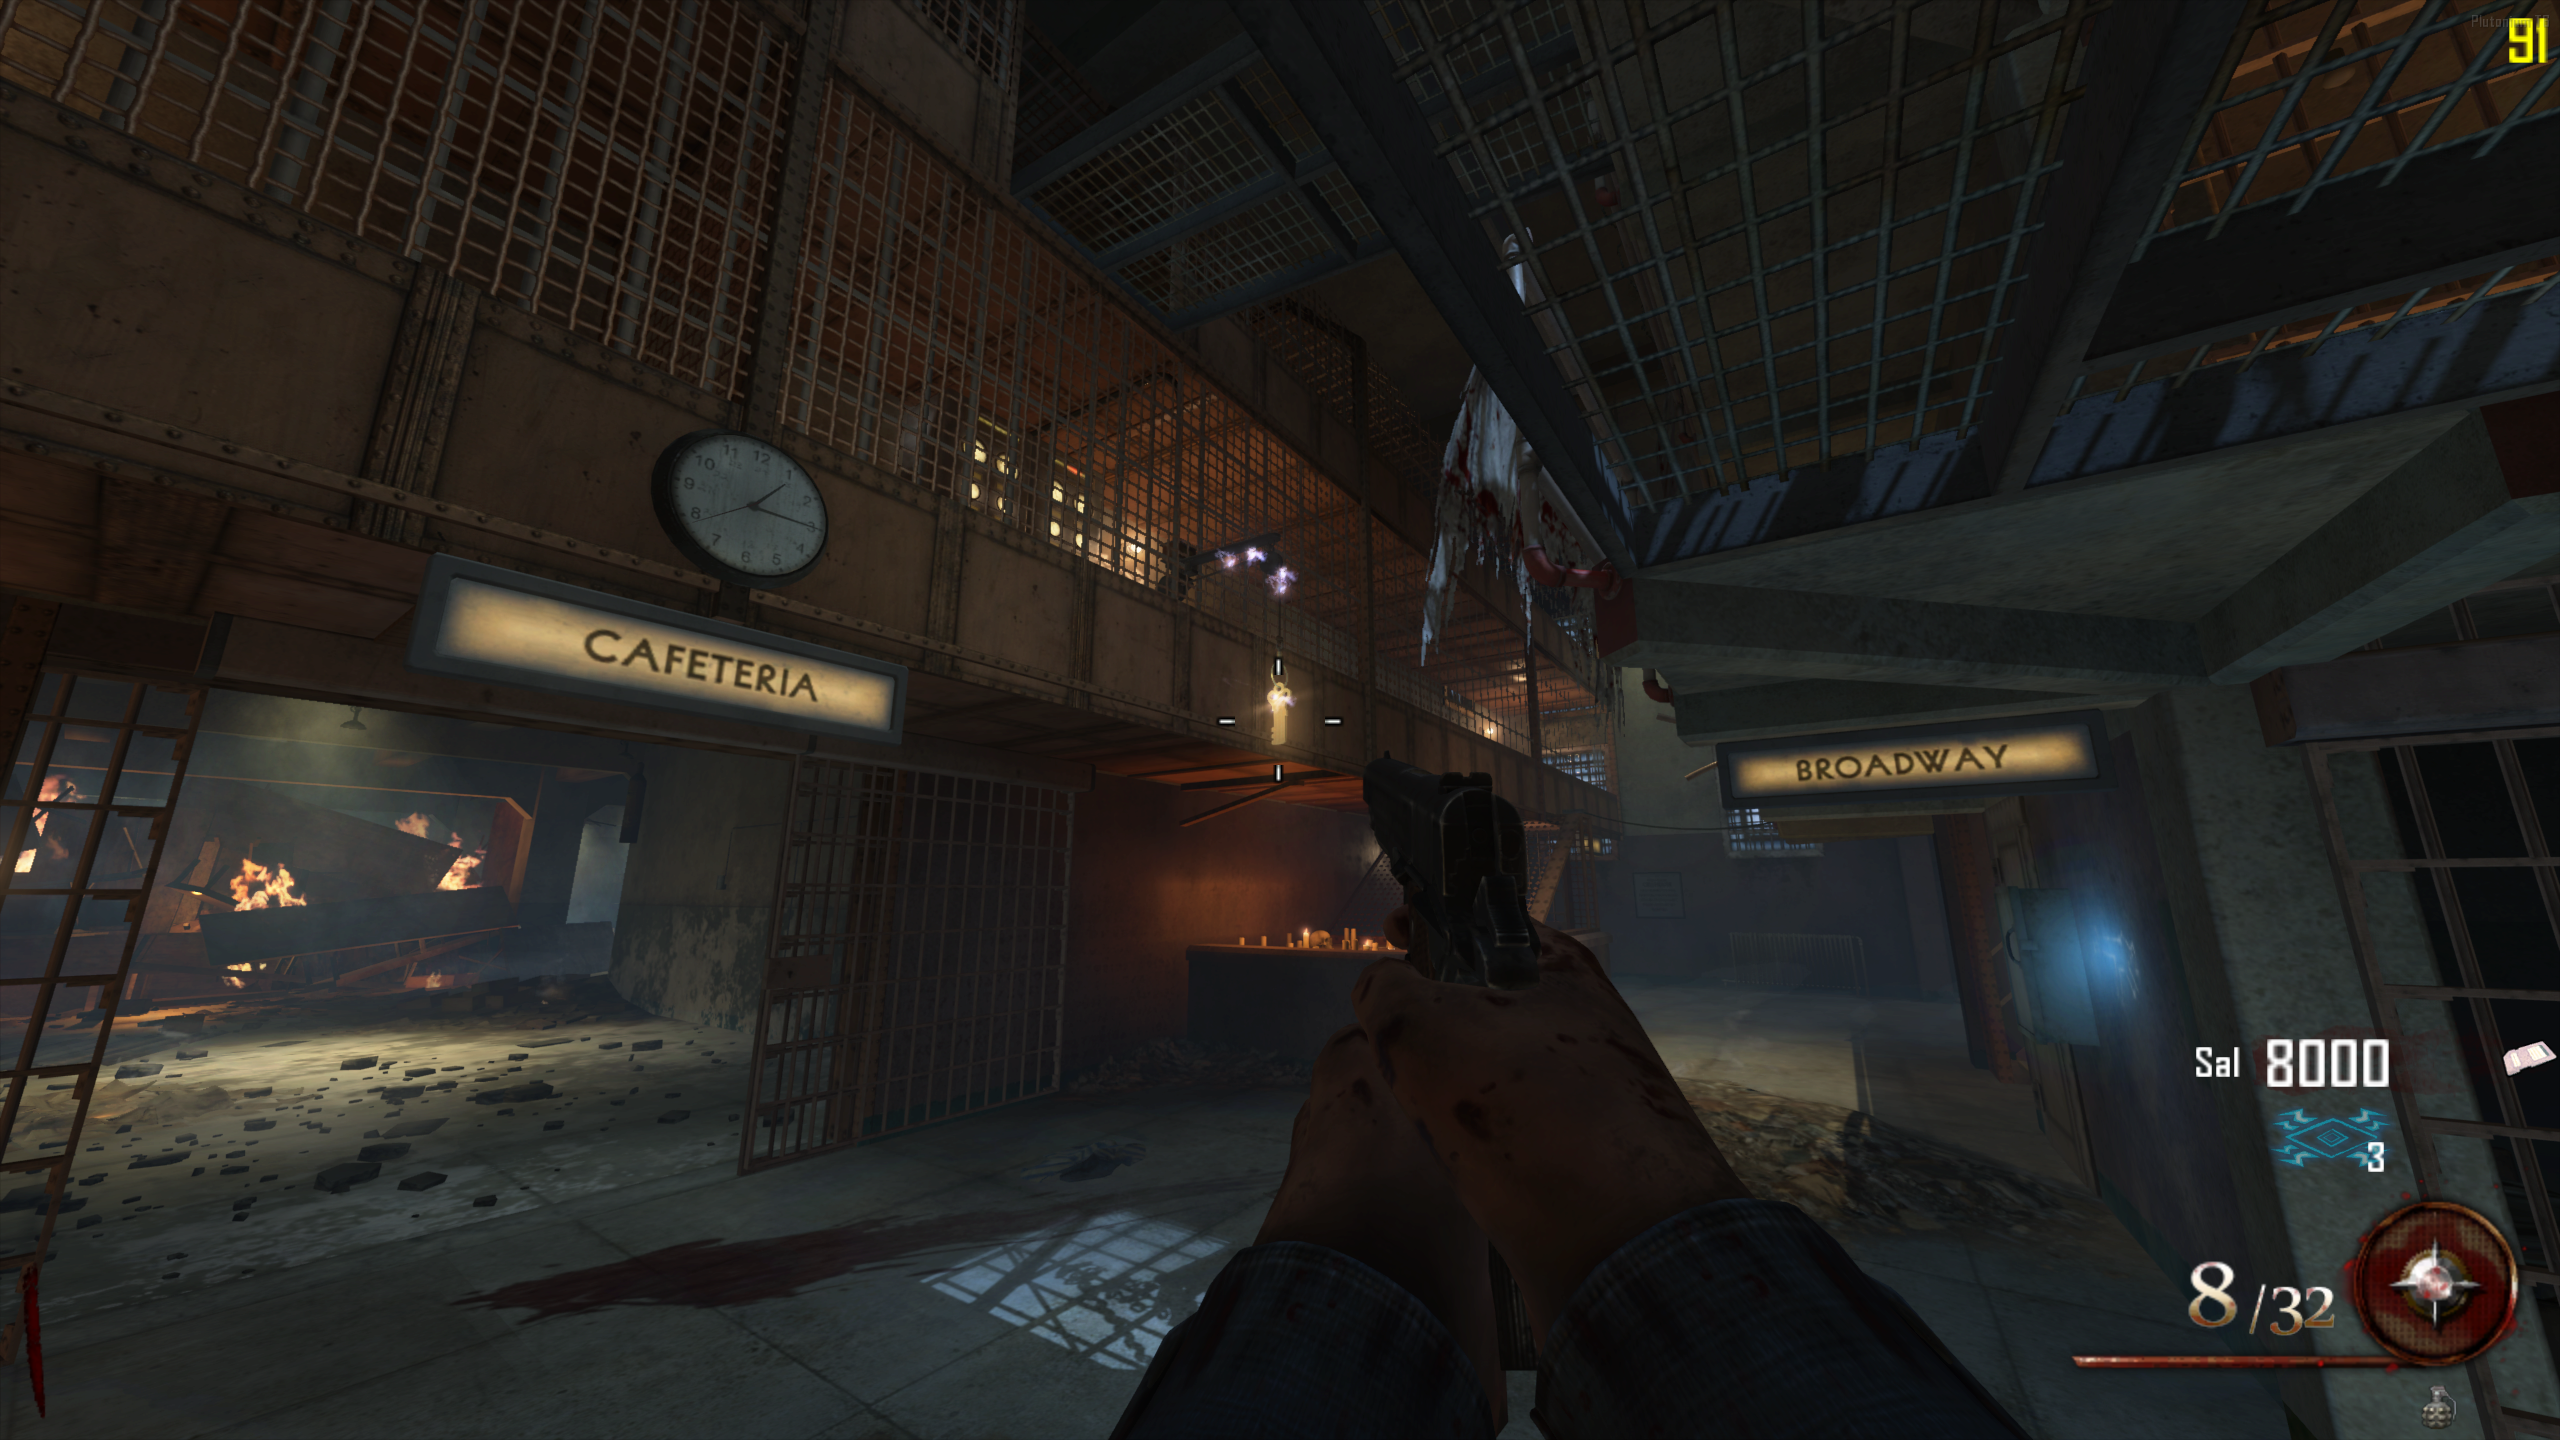
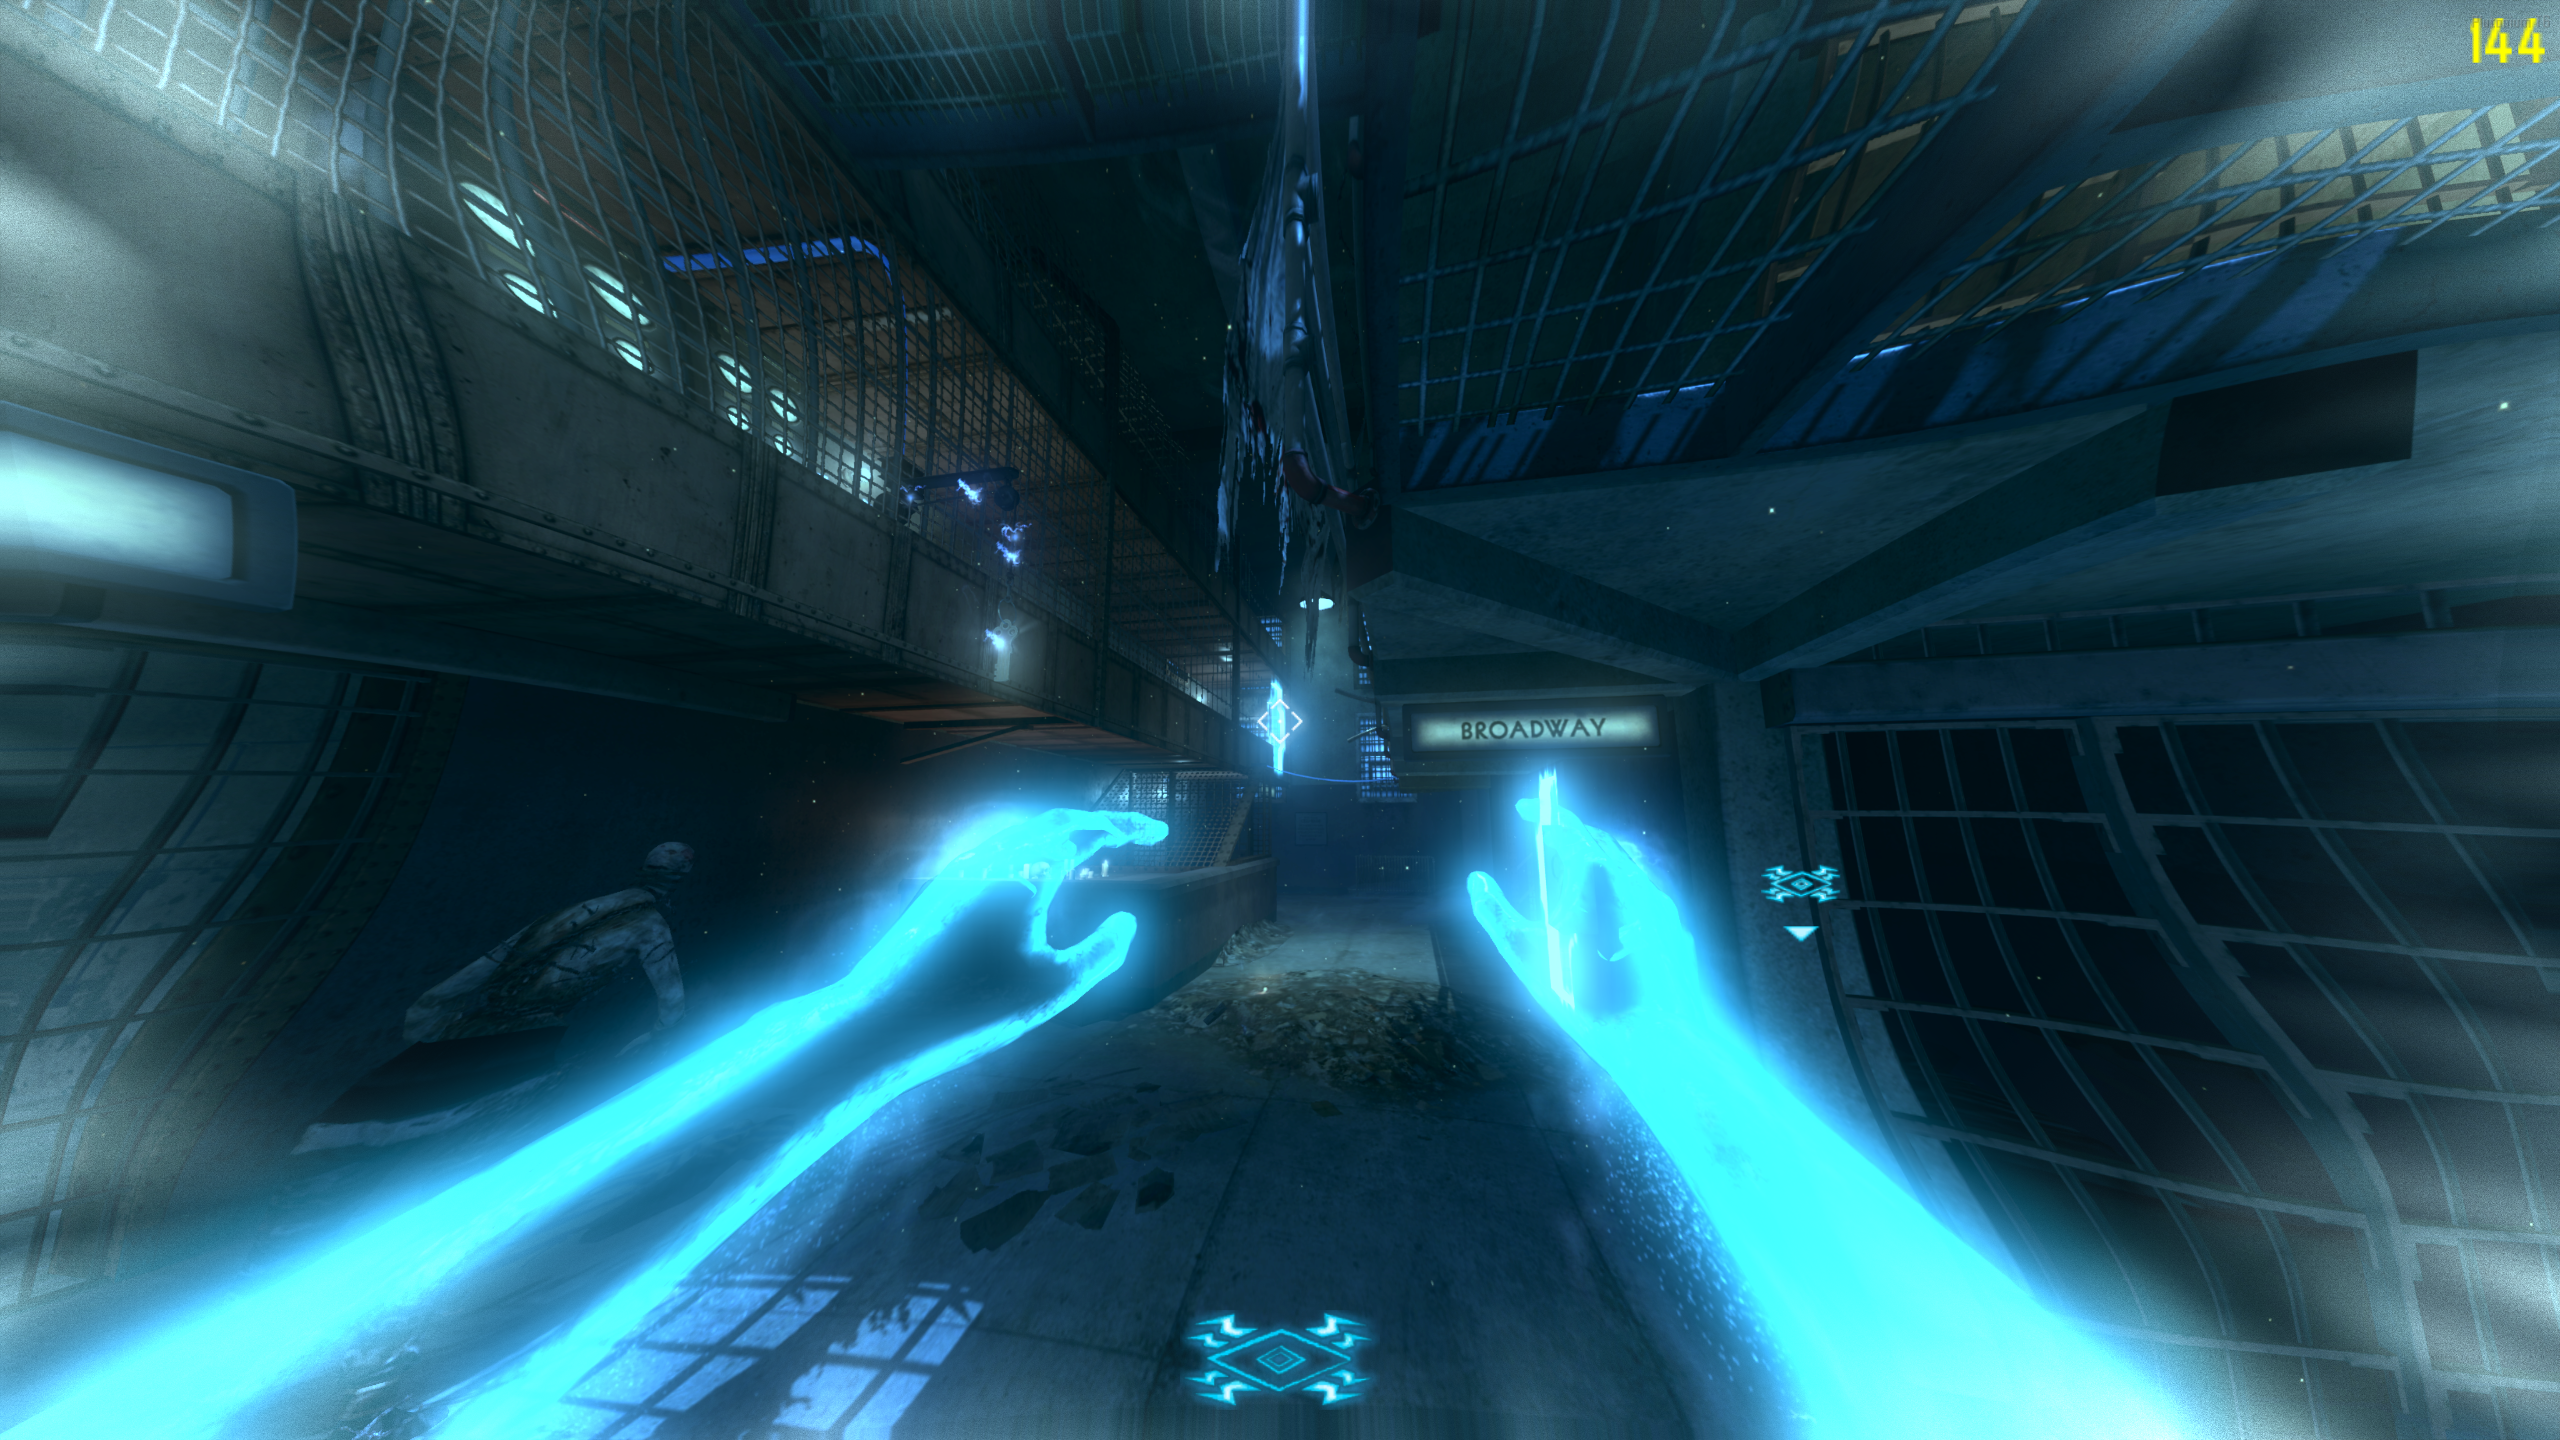
- The Key spawns hanging in the air (locations are below). To get it down, shock a nearby generator while in Afterlife Mode. To reach the generator, enter the ghostly doorway in the wall near the key. Shocking the generator drops the key low enough to pick up. Key Locations:
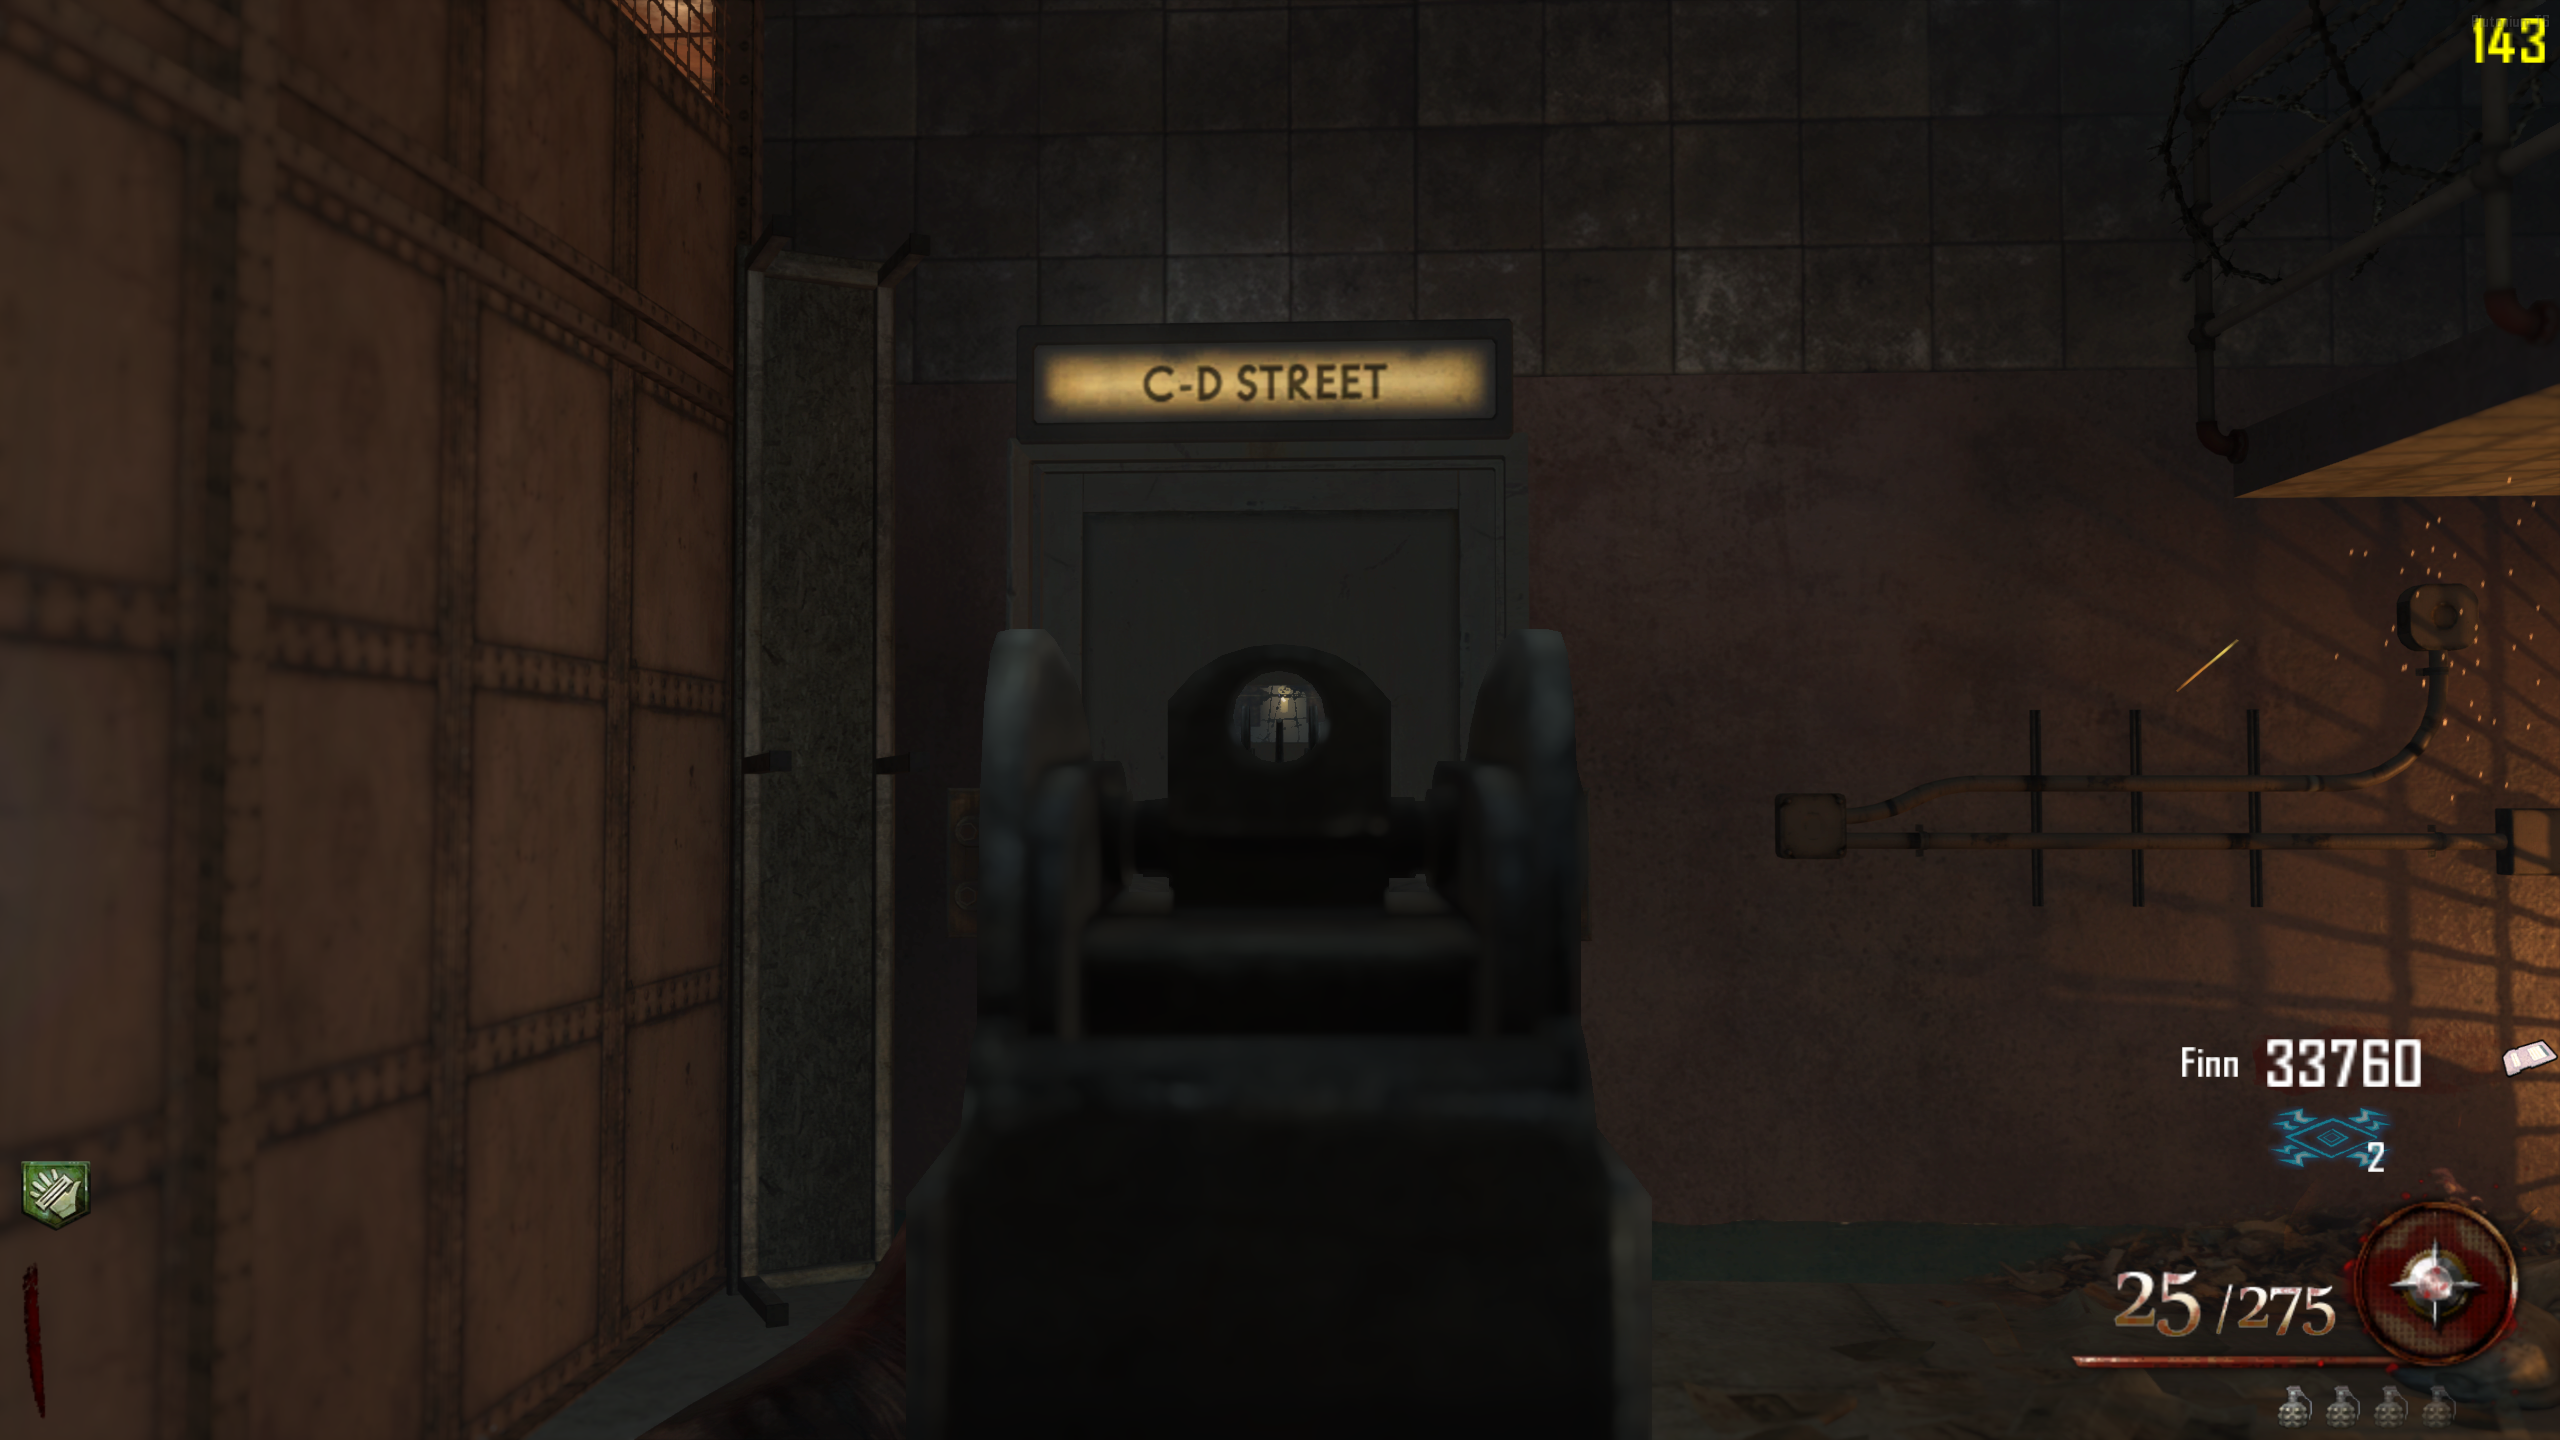
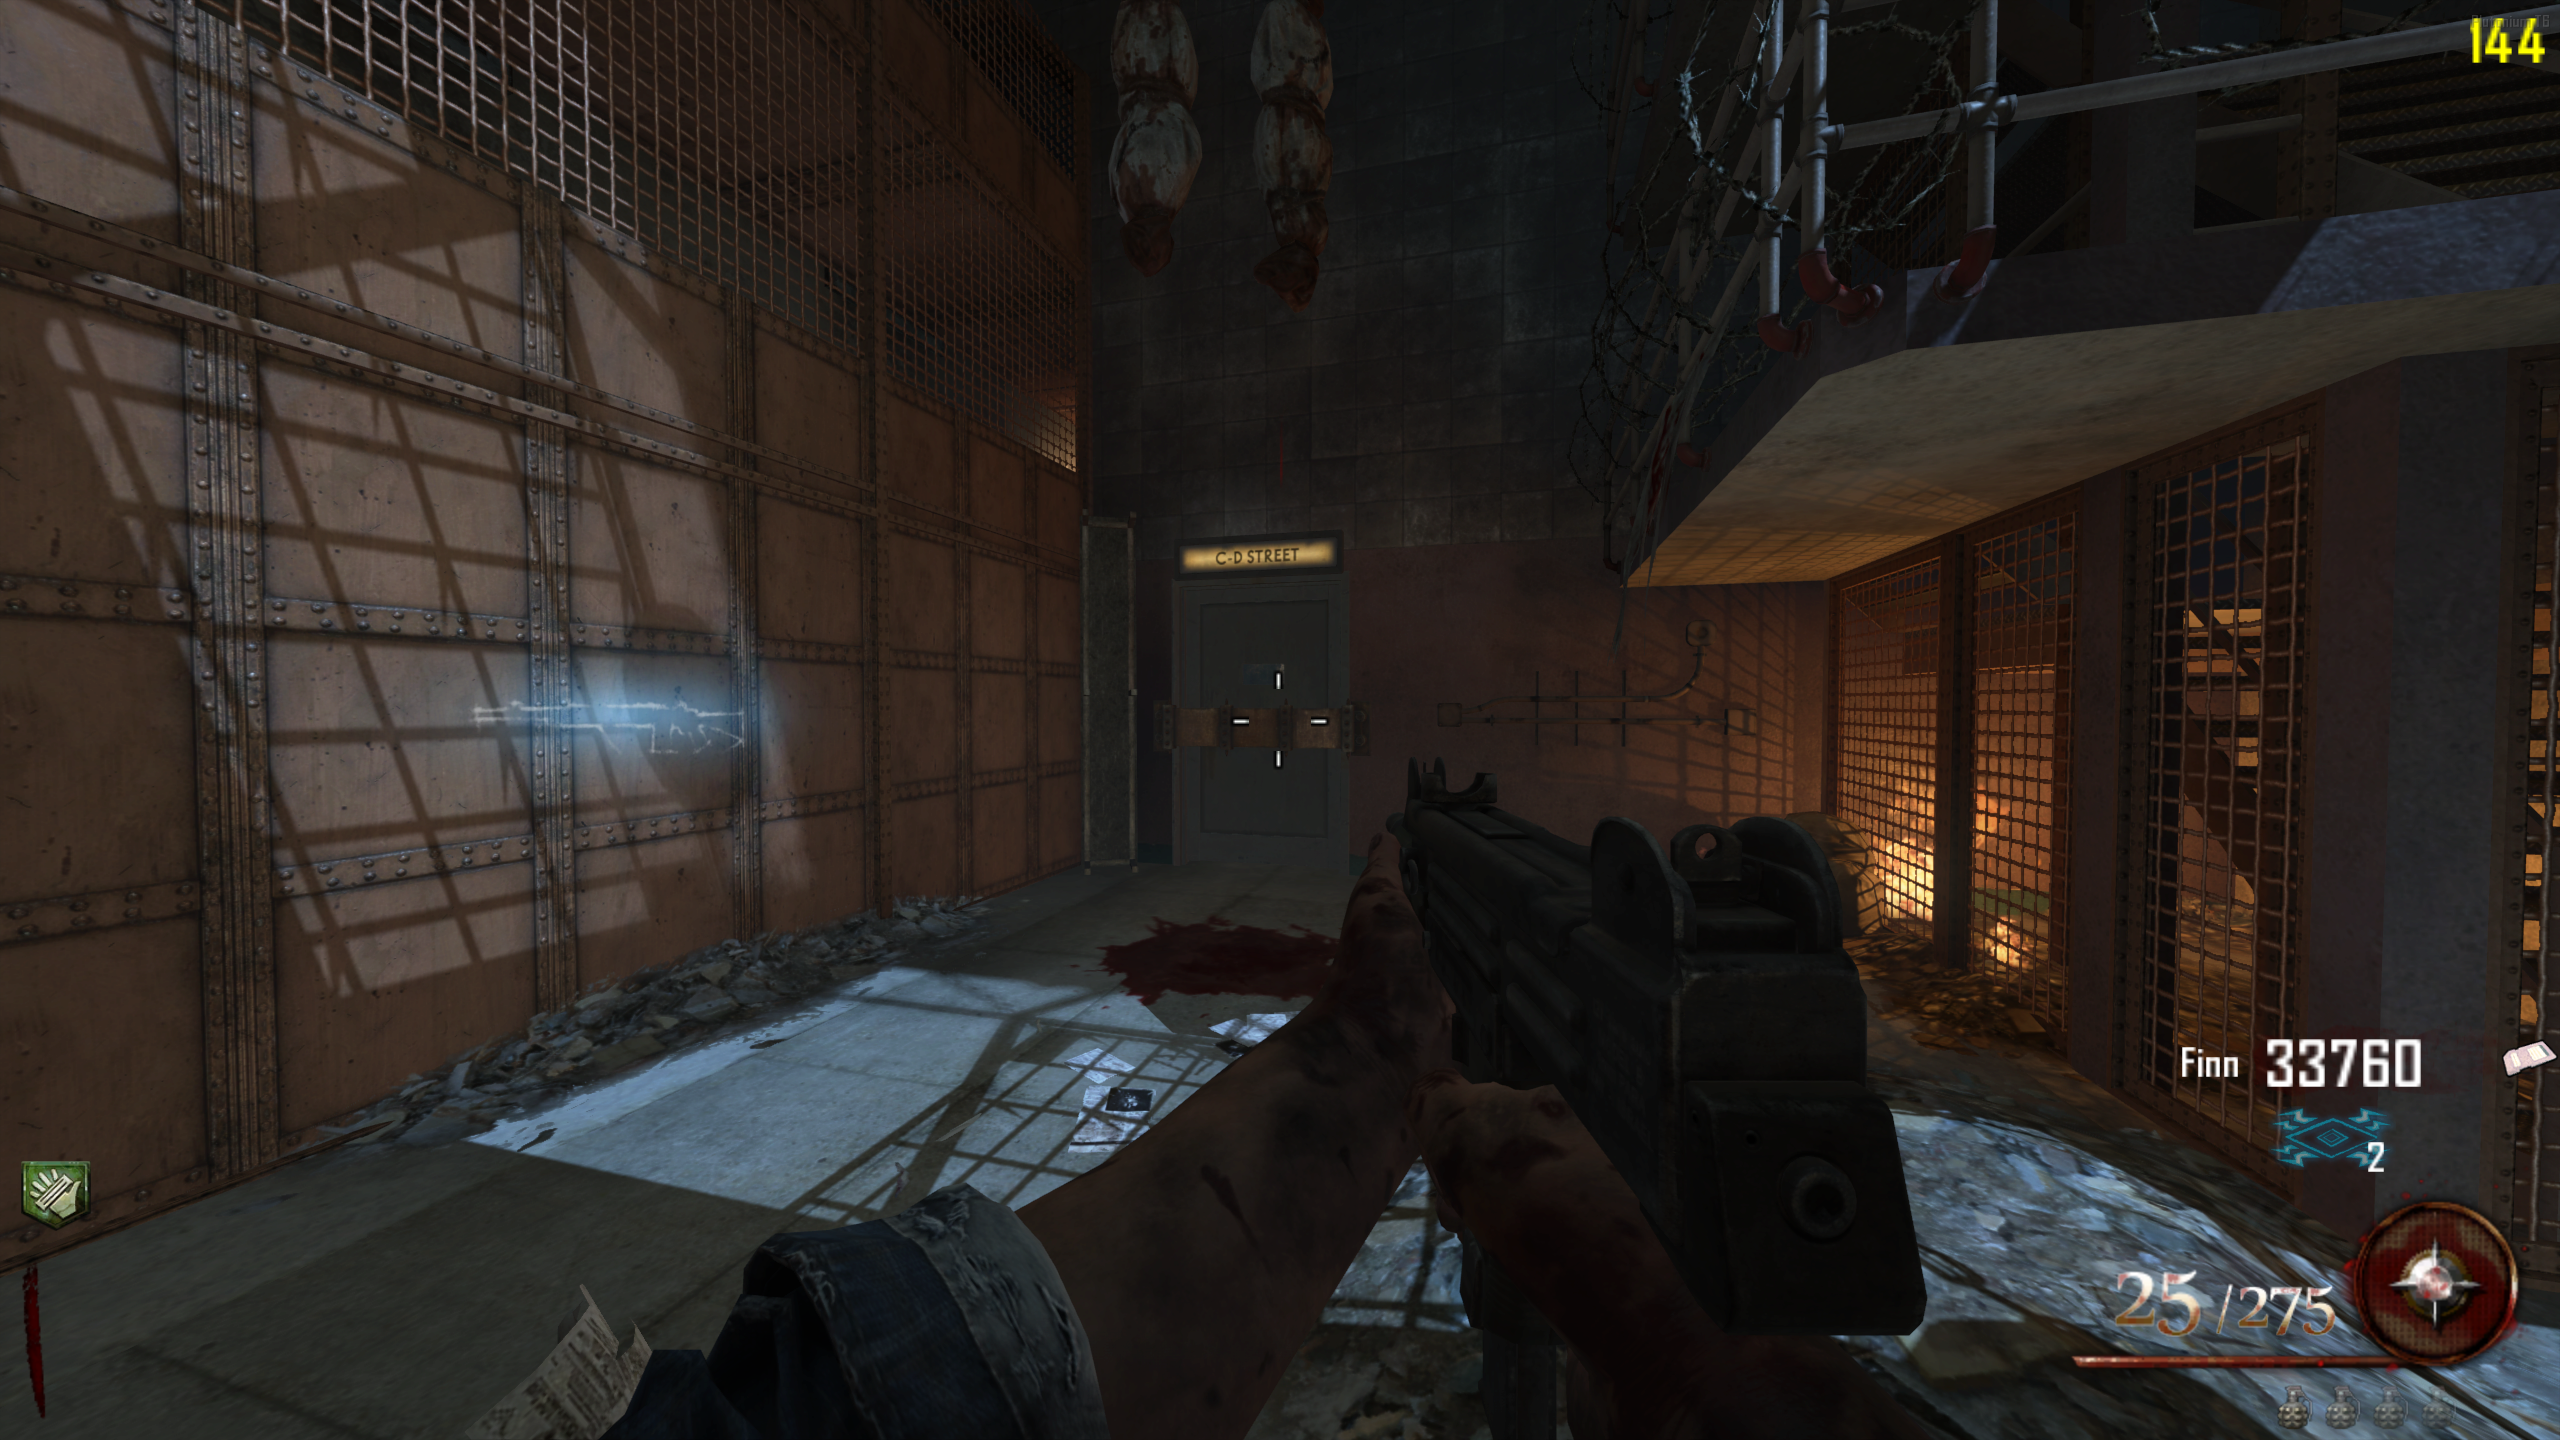
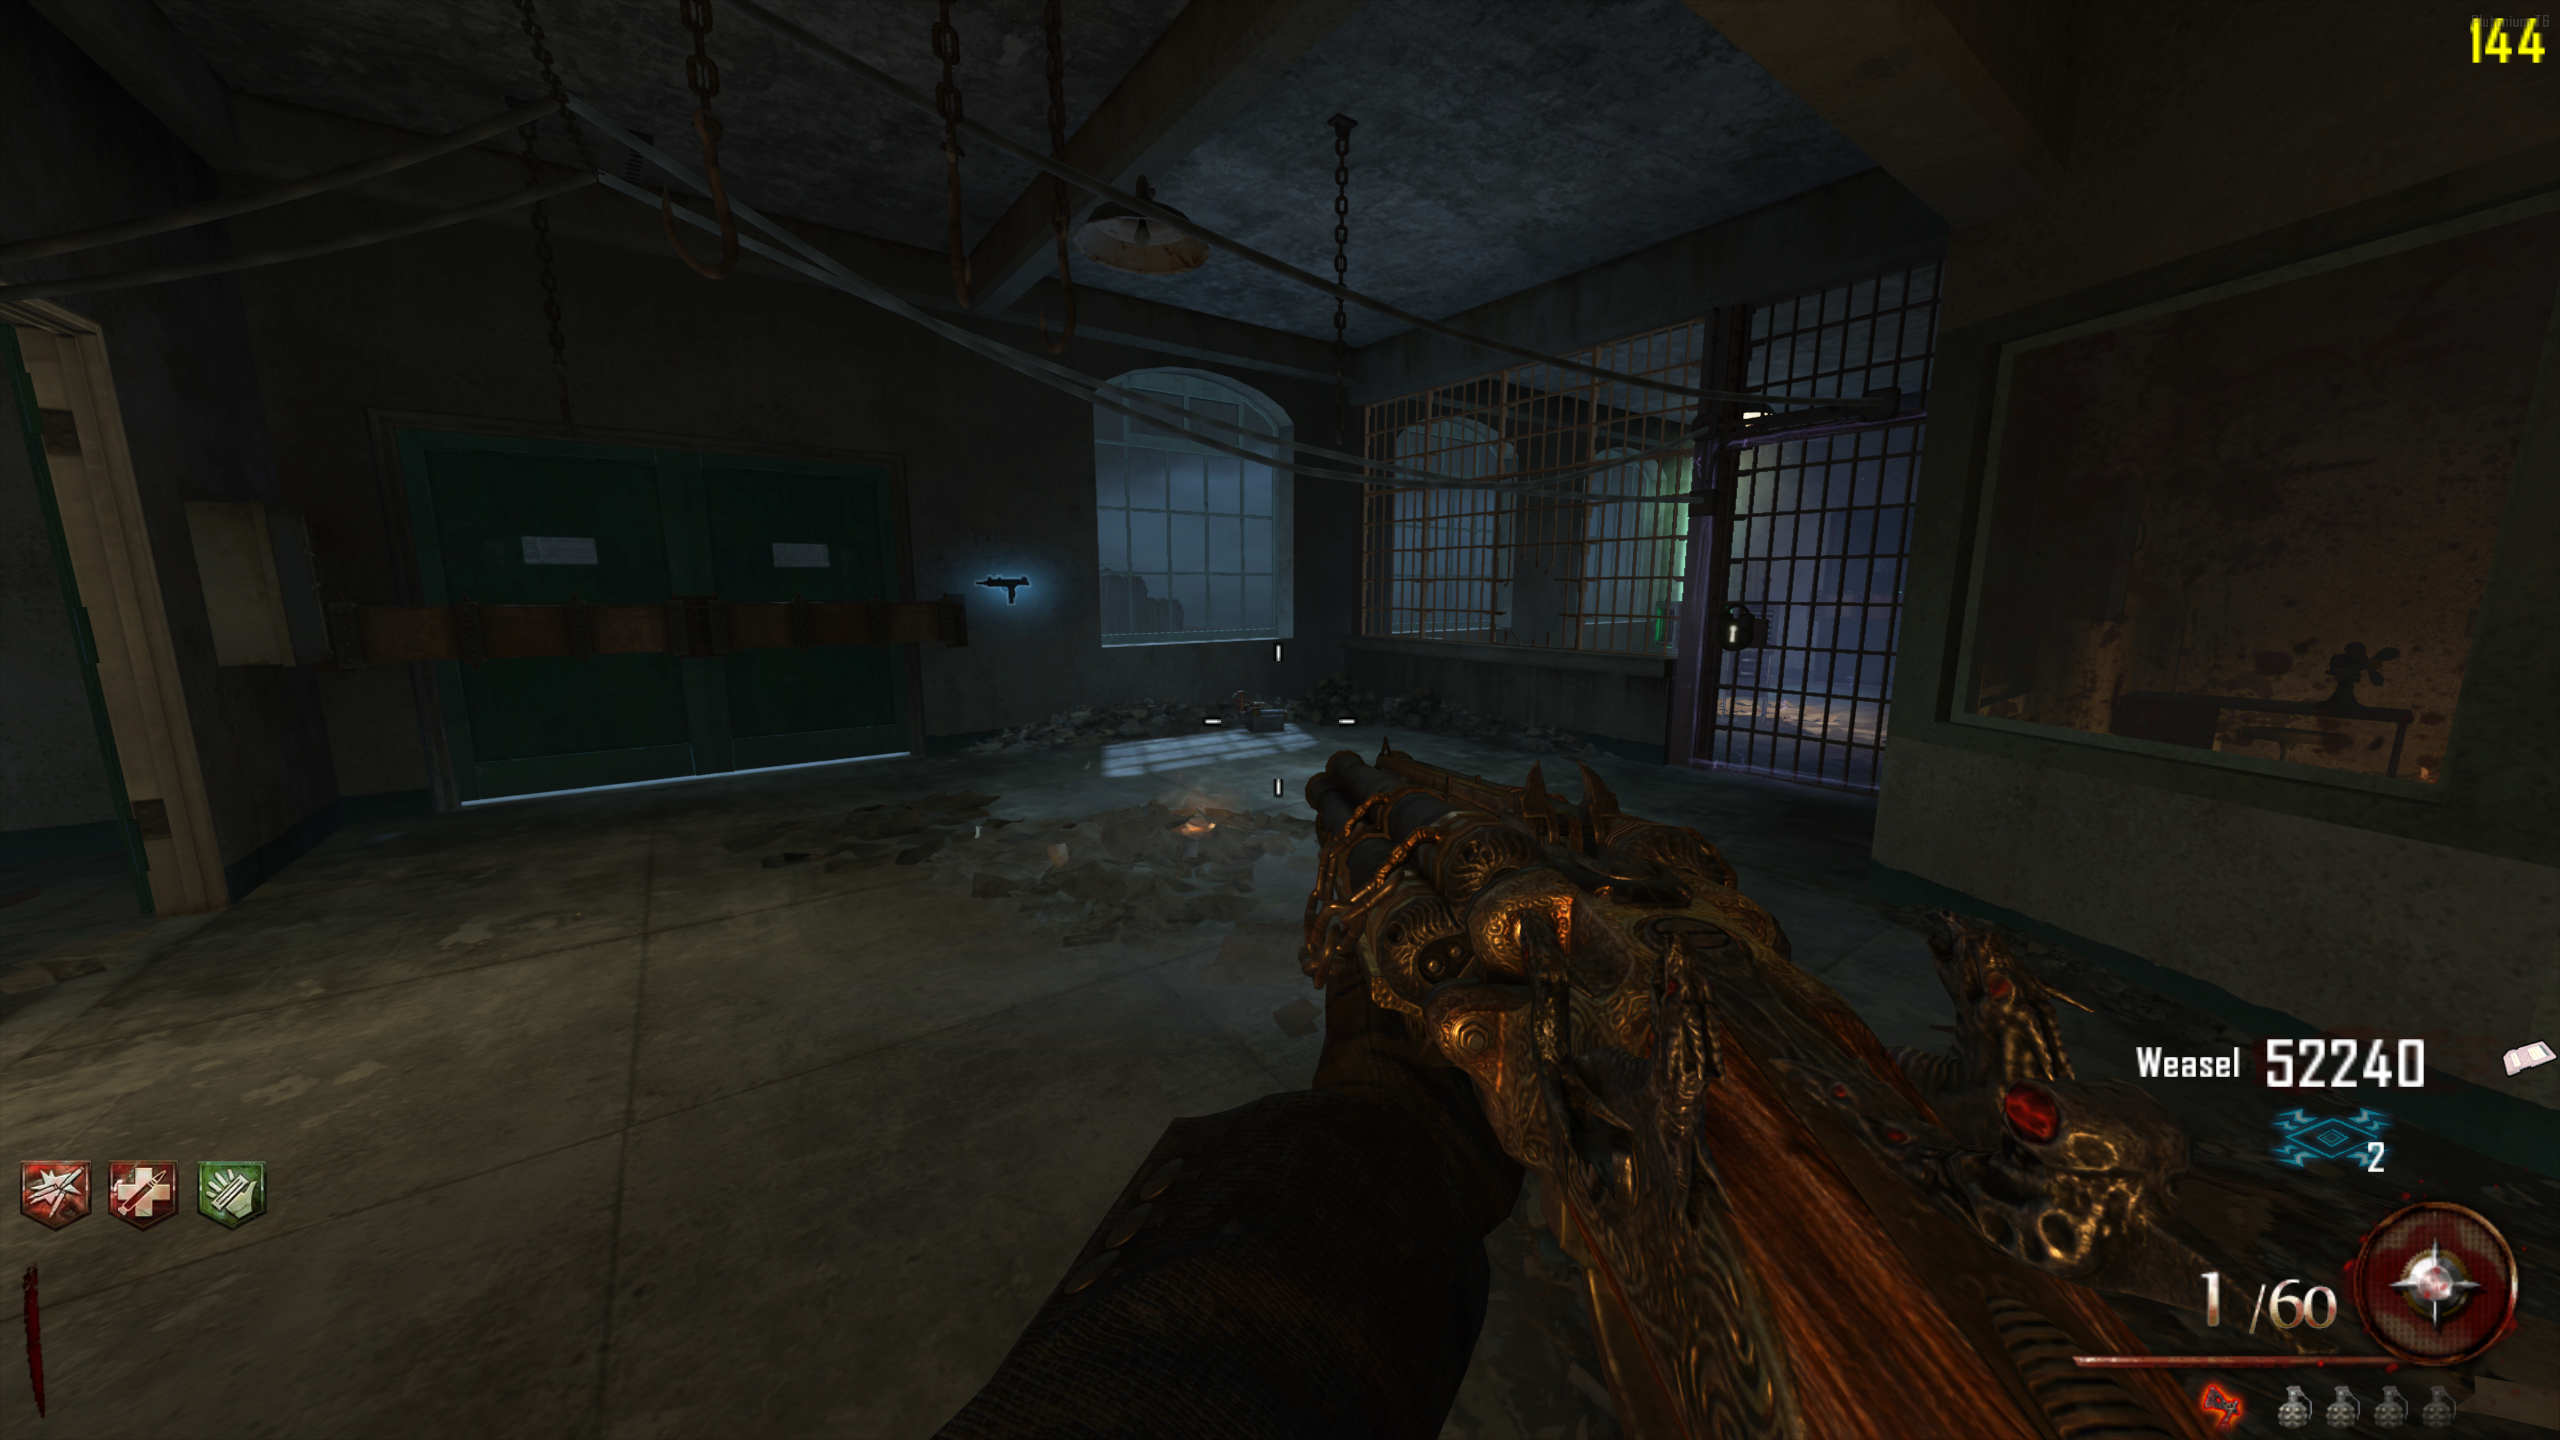
- You can tell which location the Key spawned at before opening any doors. From the spawn room, look through the narrow window in the locked door, right of the M14 wallbuy, and you can see the Cafeteria entrance. If the Key is hanging there, it's the Cafeteria spawn. If not, it's above the Warden's Office.
Pack-a-Punch / Golden Gate Bridge
- Obtain the Warden's Key.
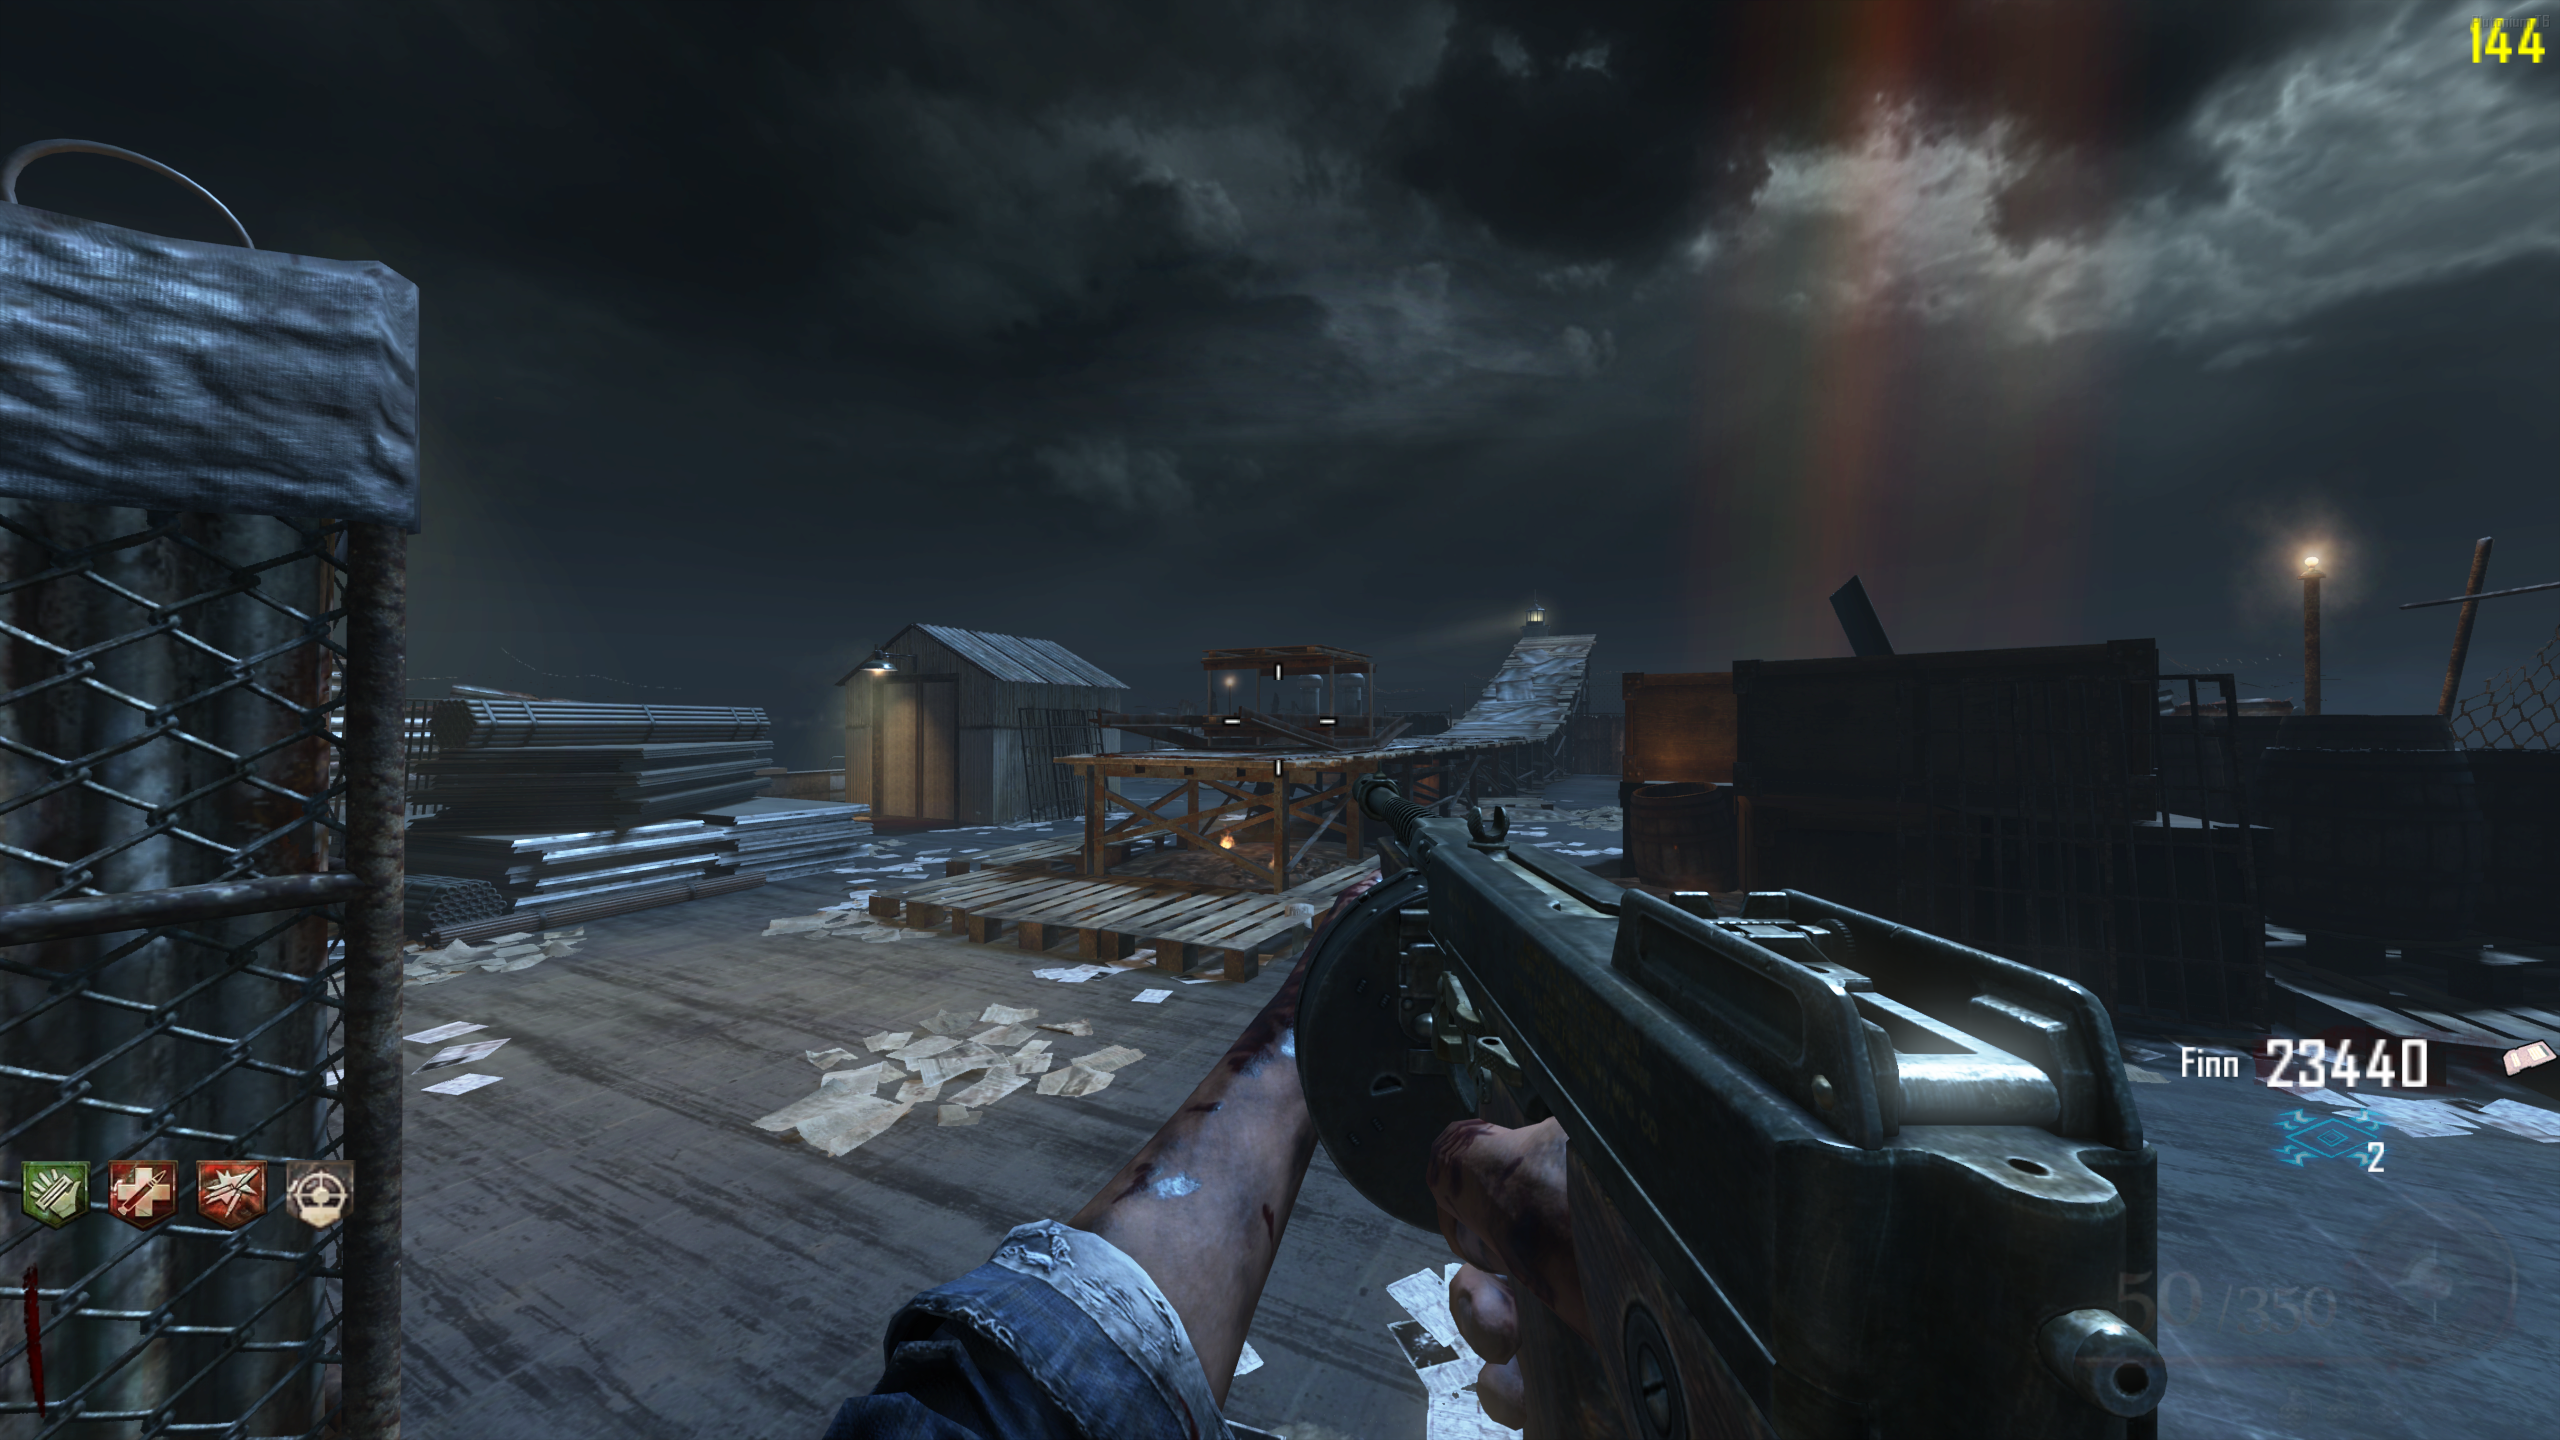
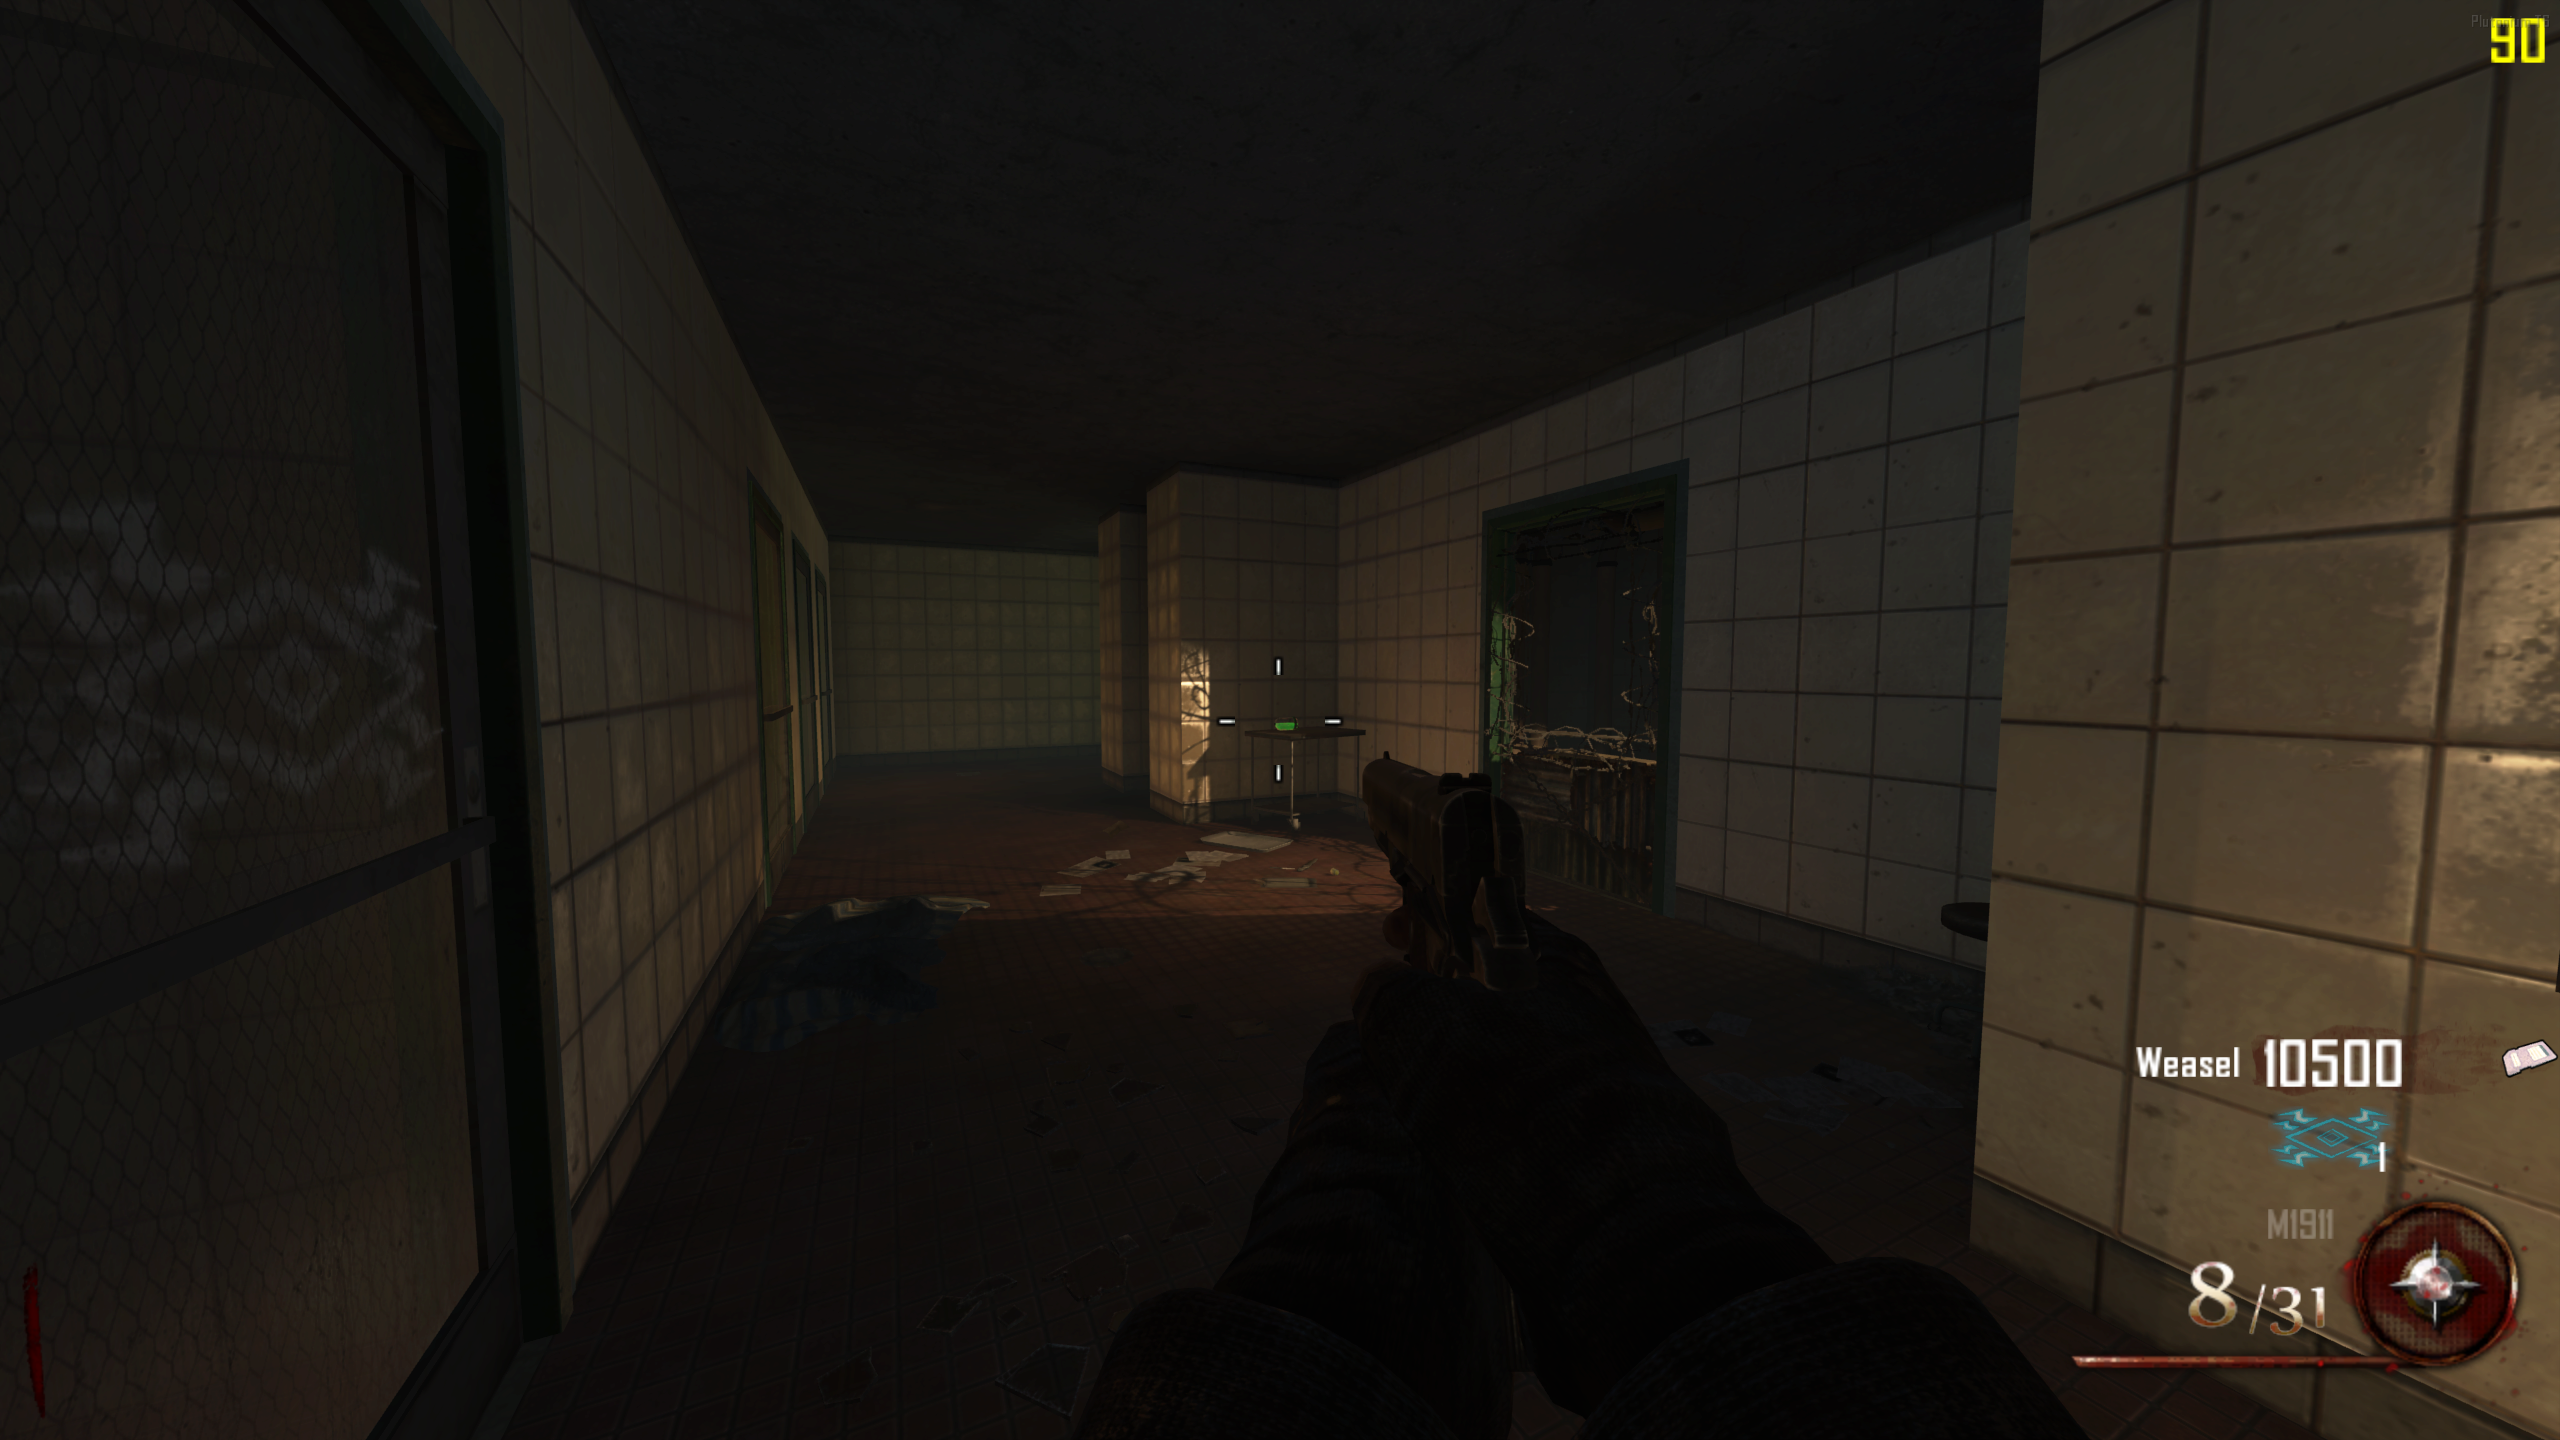
- To go to Pack-a-Punch, you must build the Plane. The skeleton of the Plane is on the Roof, above the Infirmary. To unlock the Roof, enter the Ghostly doorway in the tiled hallway of the Infirmary, then jump up to the Roof. Once there, shock the Voltmeter beside the door.
- You need to collect five parts: Laundry, Tanks, Engines, Valves, and Rigging. Once you have a part, interact with the Plane to add it. In Solo, you can hold all five at once, but in Co-op, you can only hold one. These parts can be collected and added in any order. Part Locations:
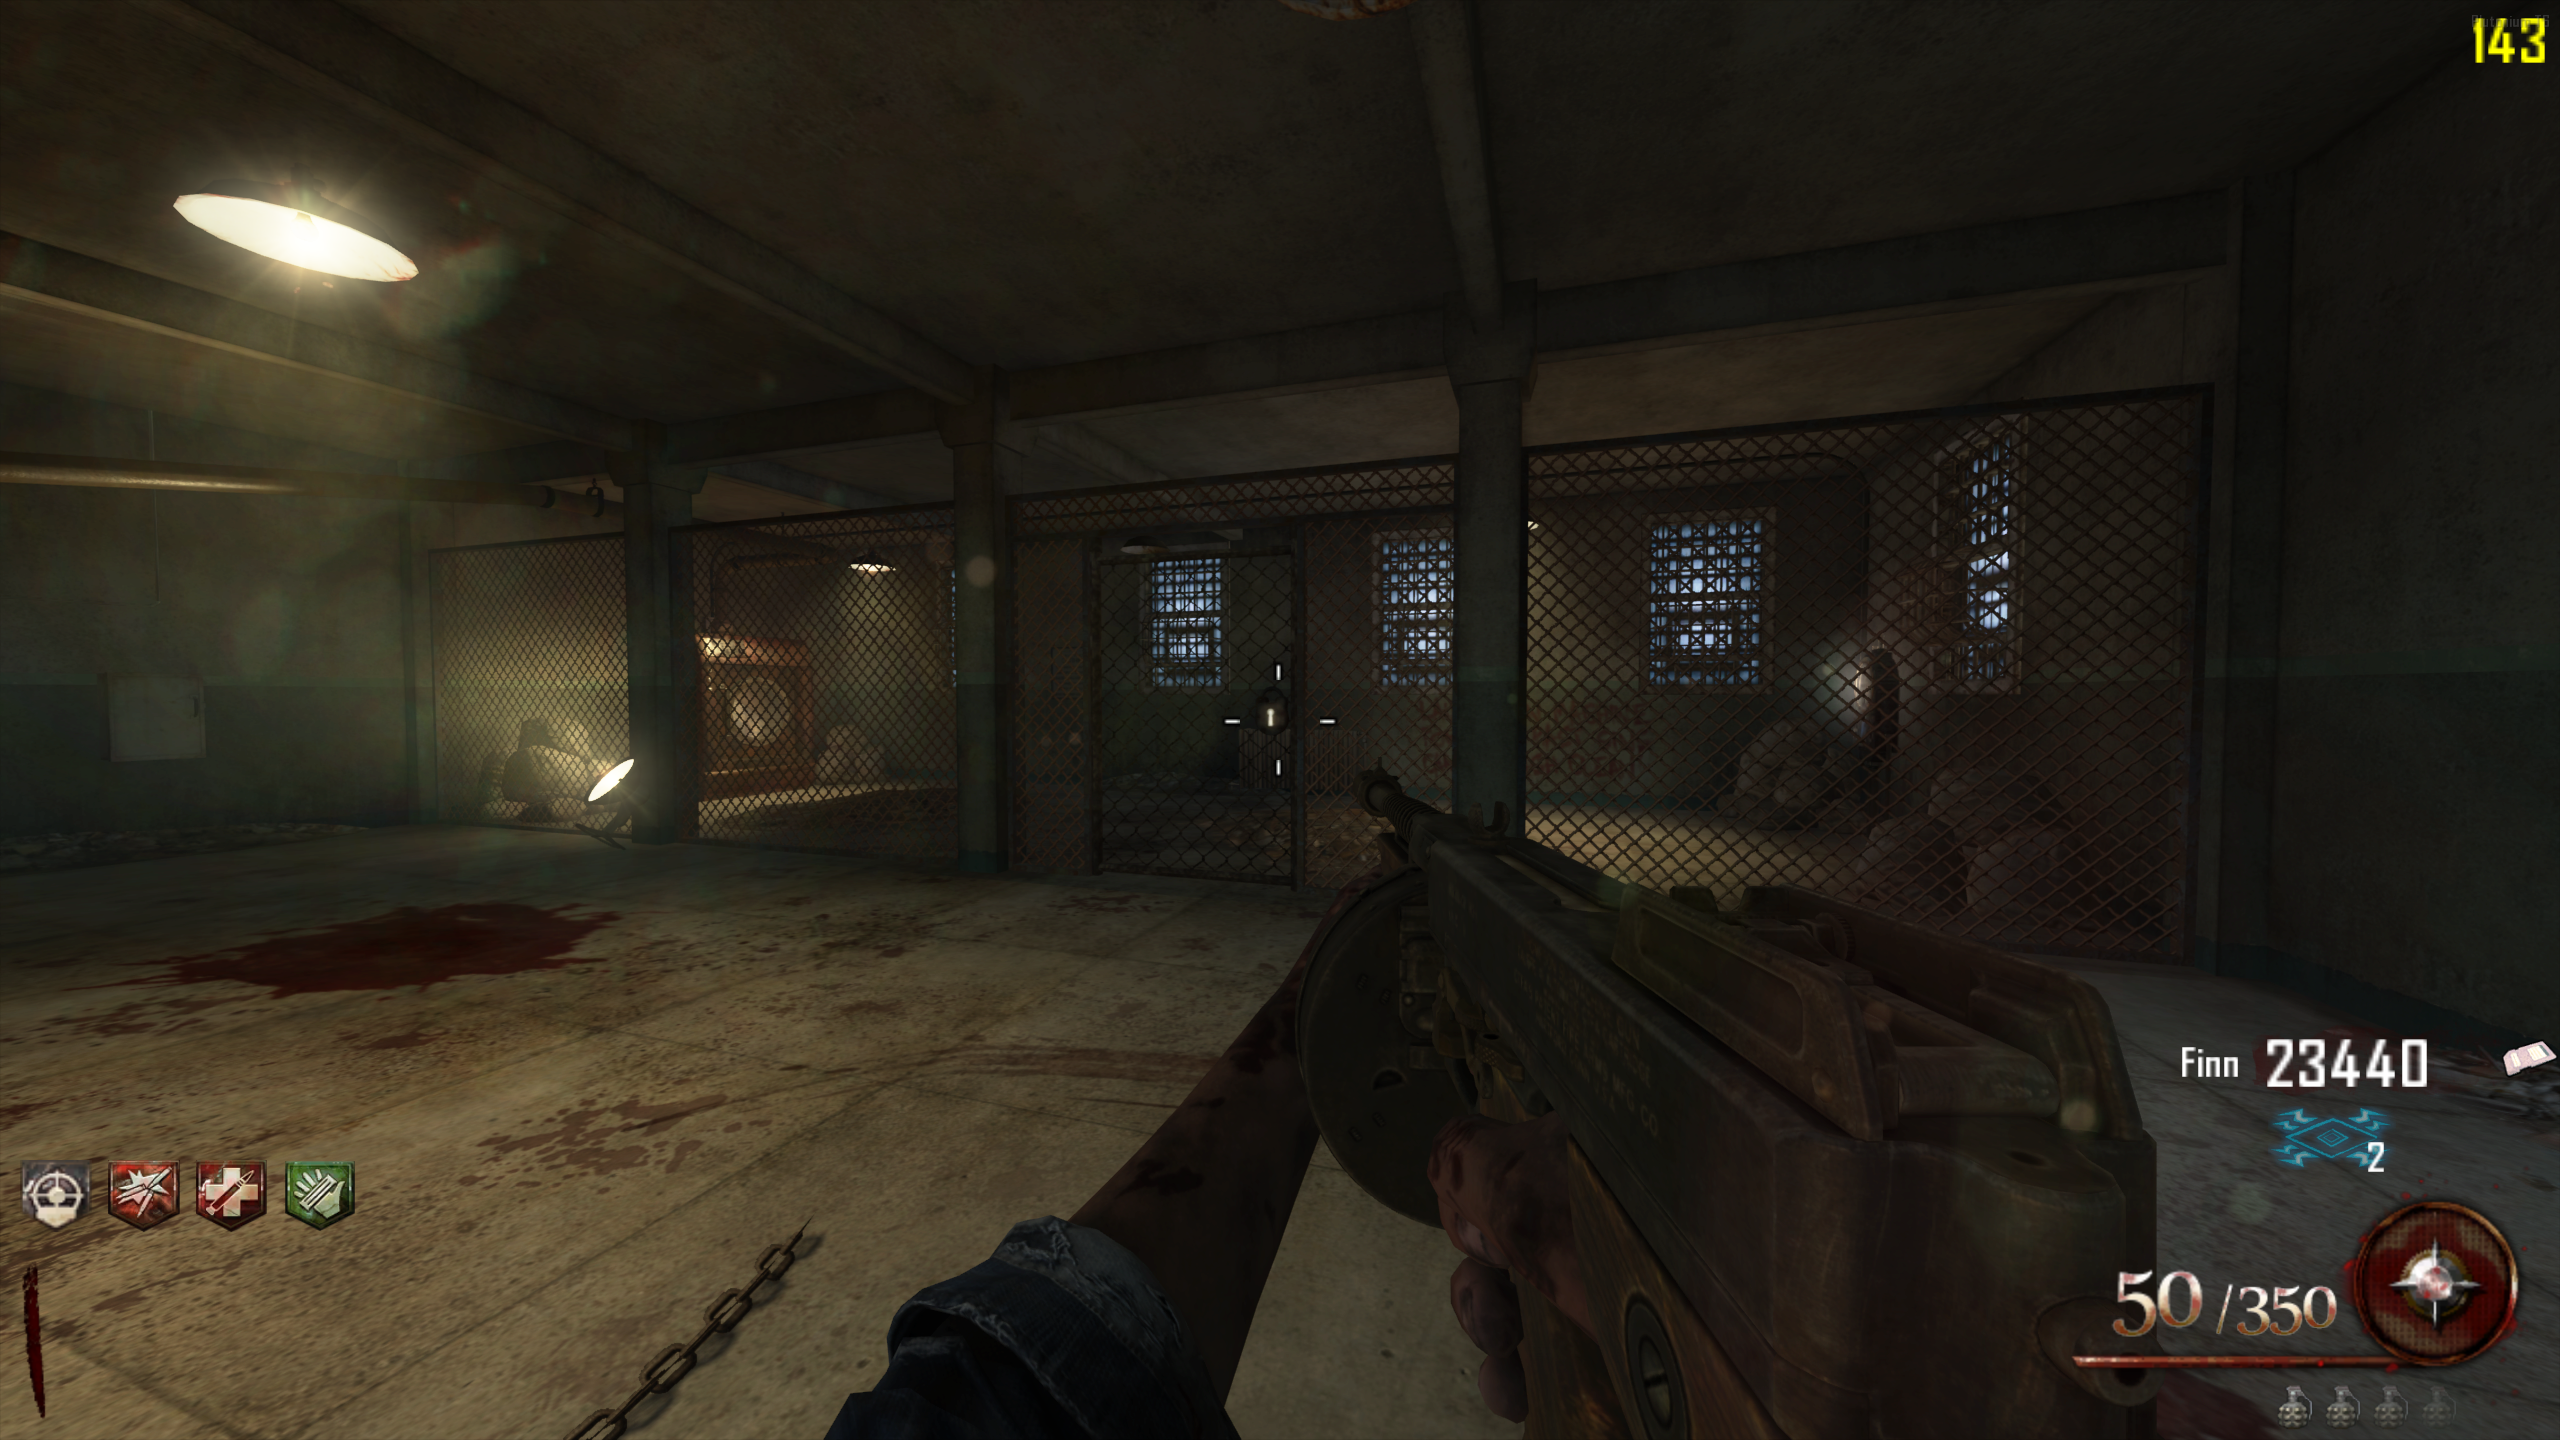
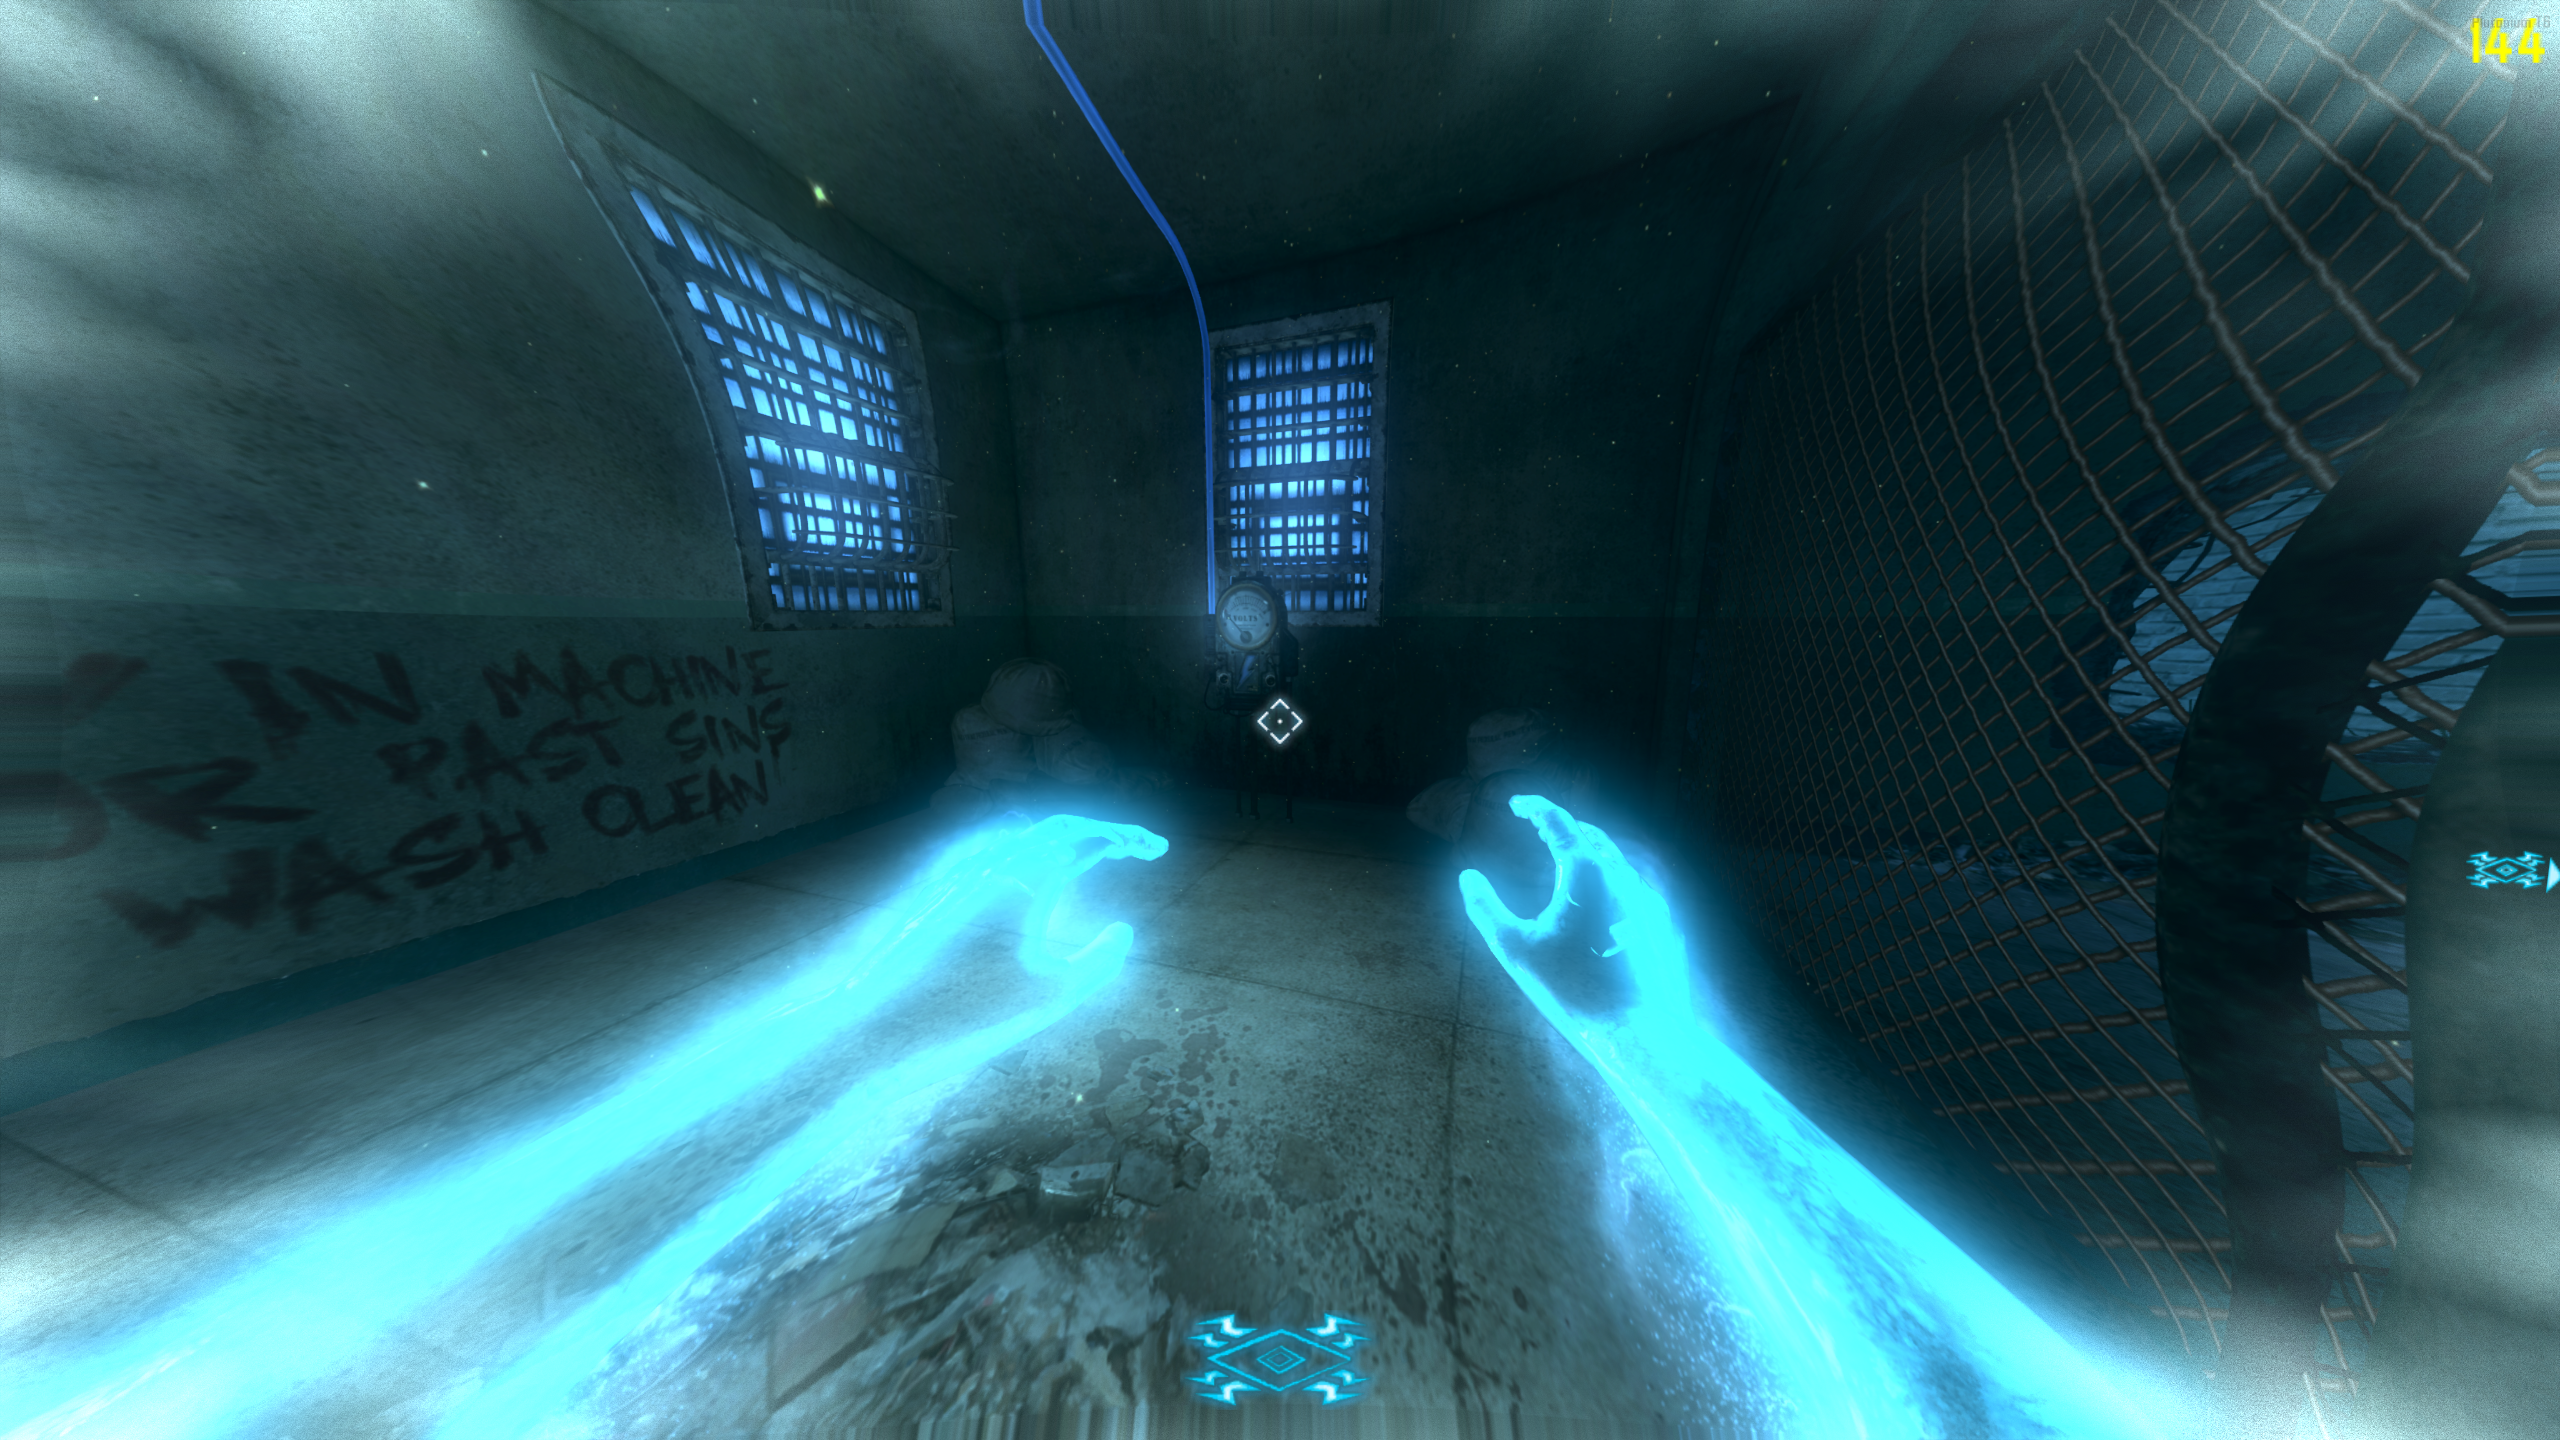
Part Location/Steps Laundry - In the hallway outside the Cafeteria, enter Afterlife and enter the hole beside the MP5 wallbuy. Once inside the hole, turn around and shock the Voltmeter through the gap between the pipe and the wall.
- Normally you're supposed to run down the hall, jump up to the second level, then run back to where you entered to shock the Voltmeter, but you can skip all of that.
- Once the Voltmeter is shocked, the door to the Showers will open.
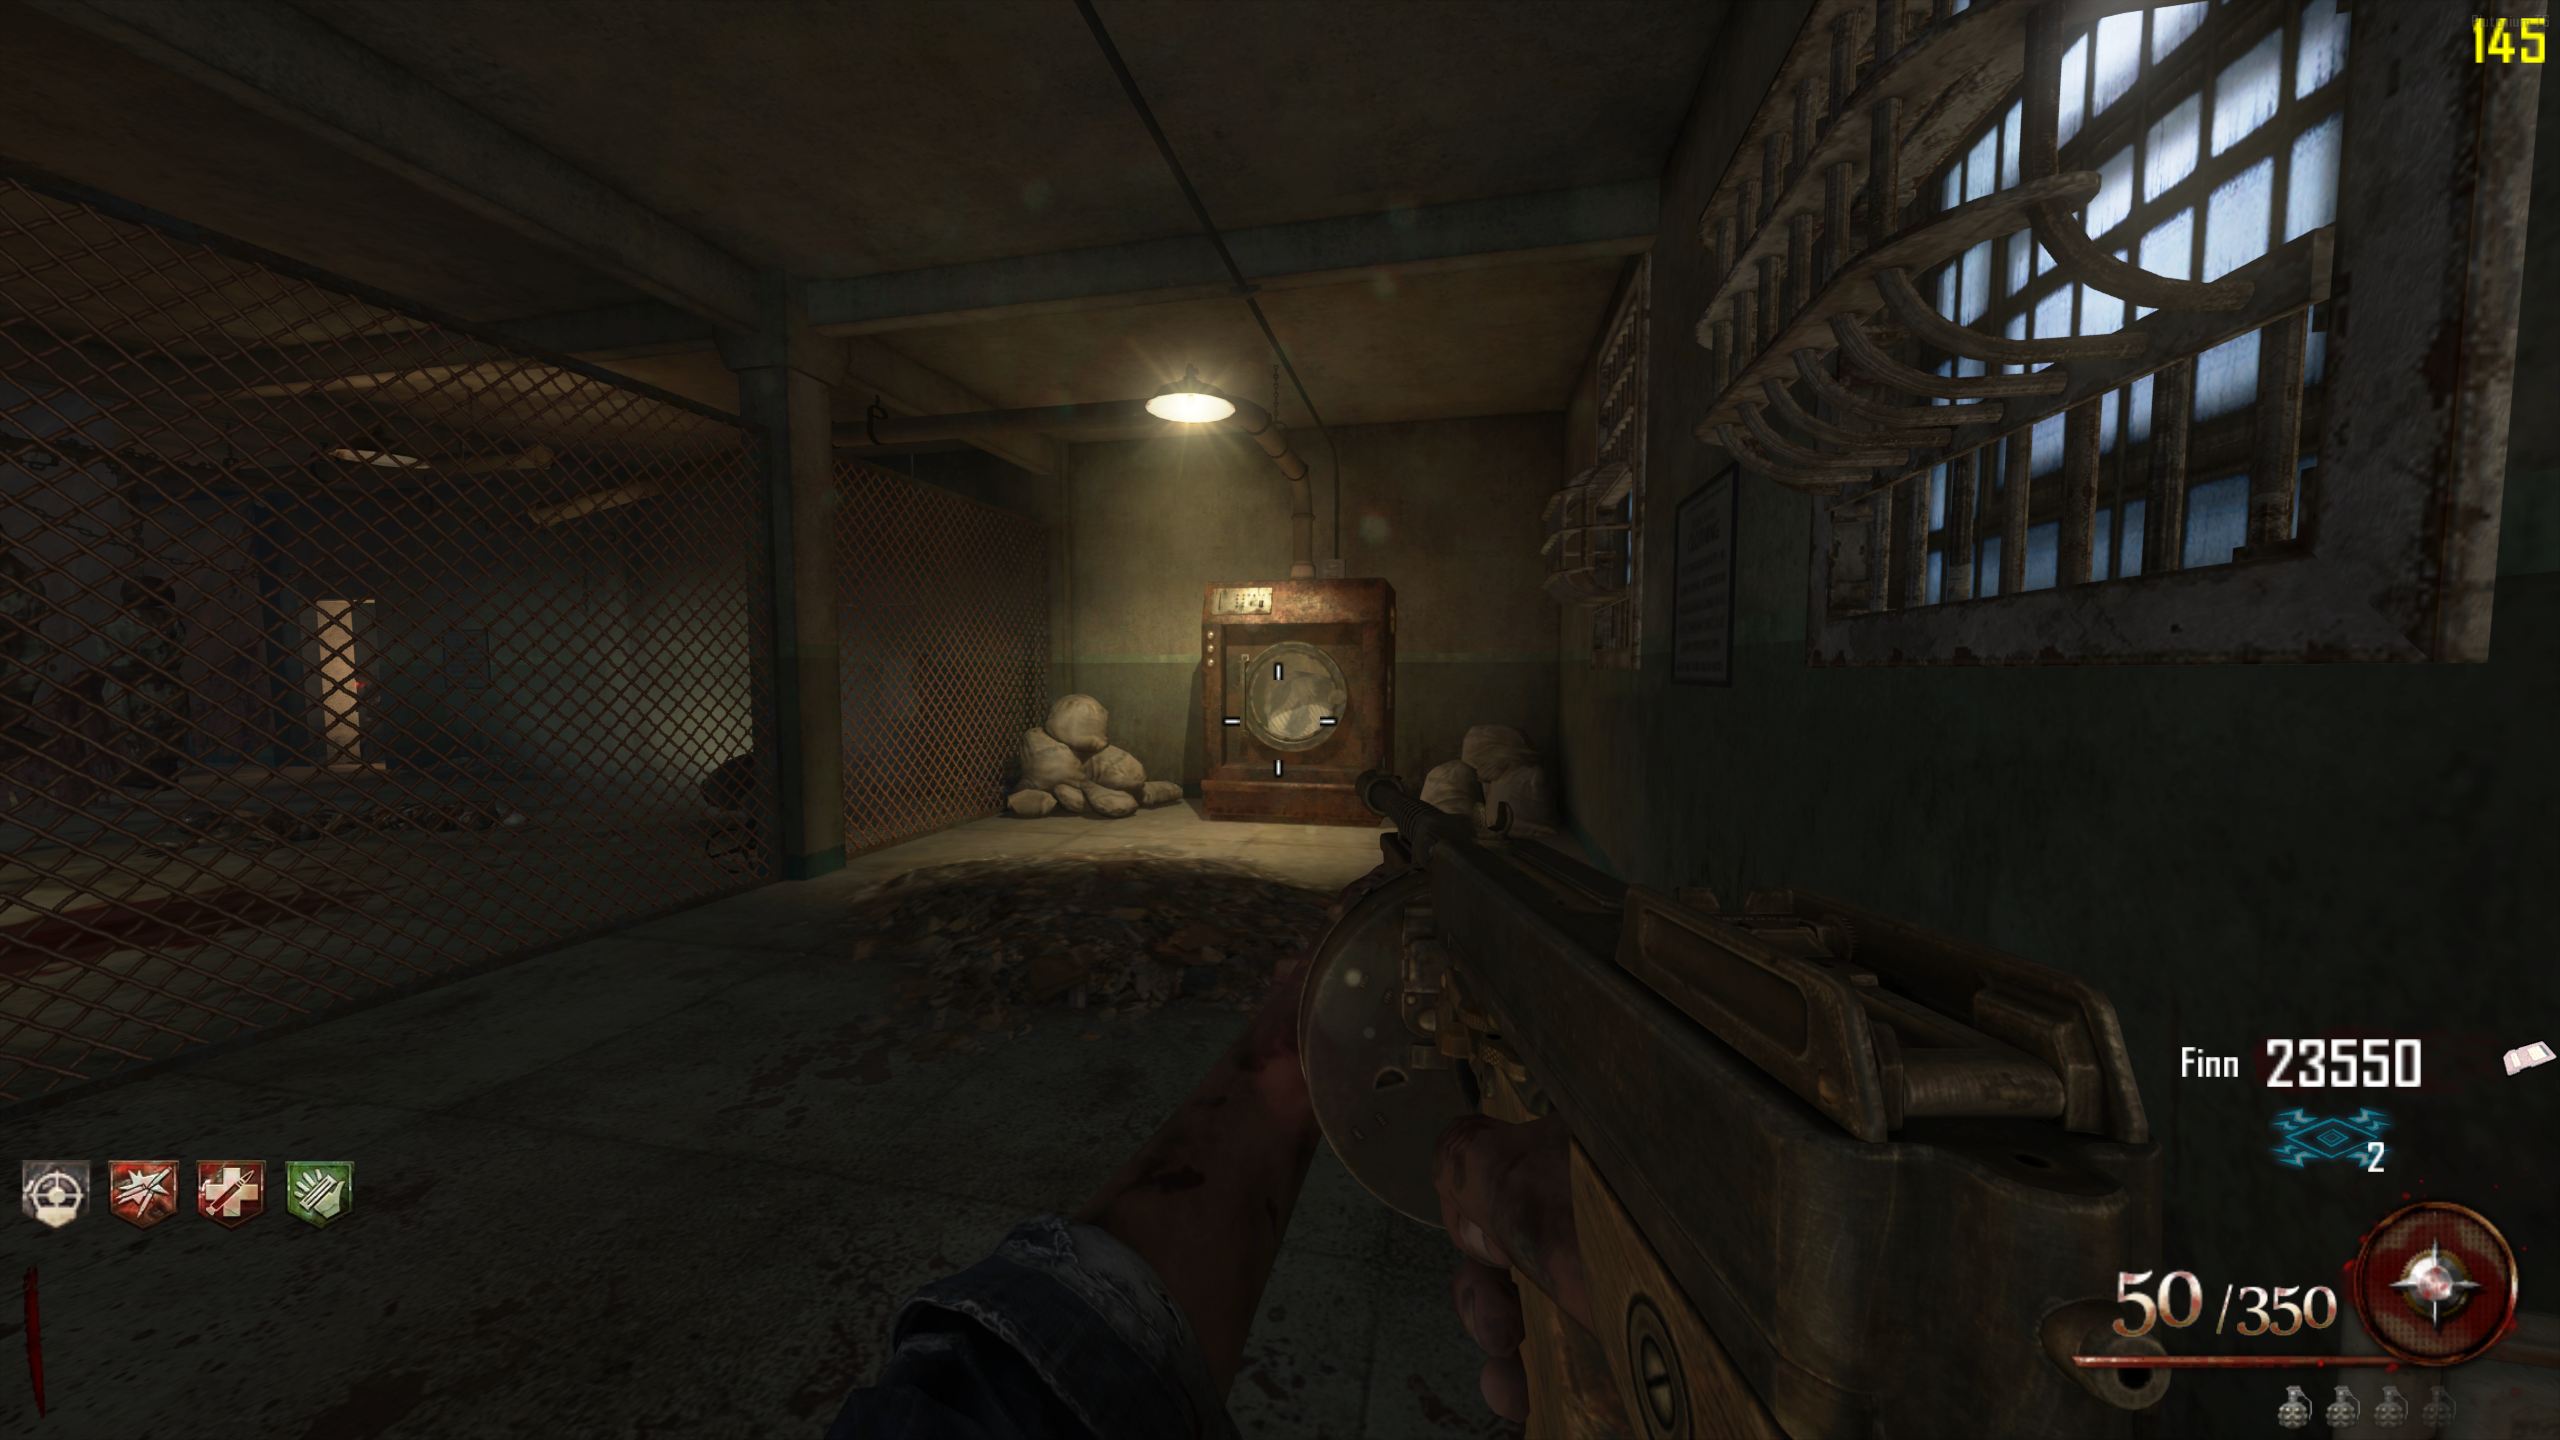
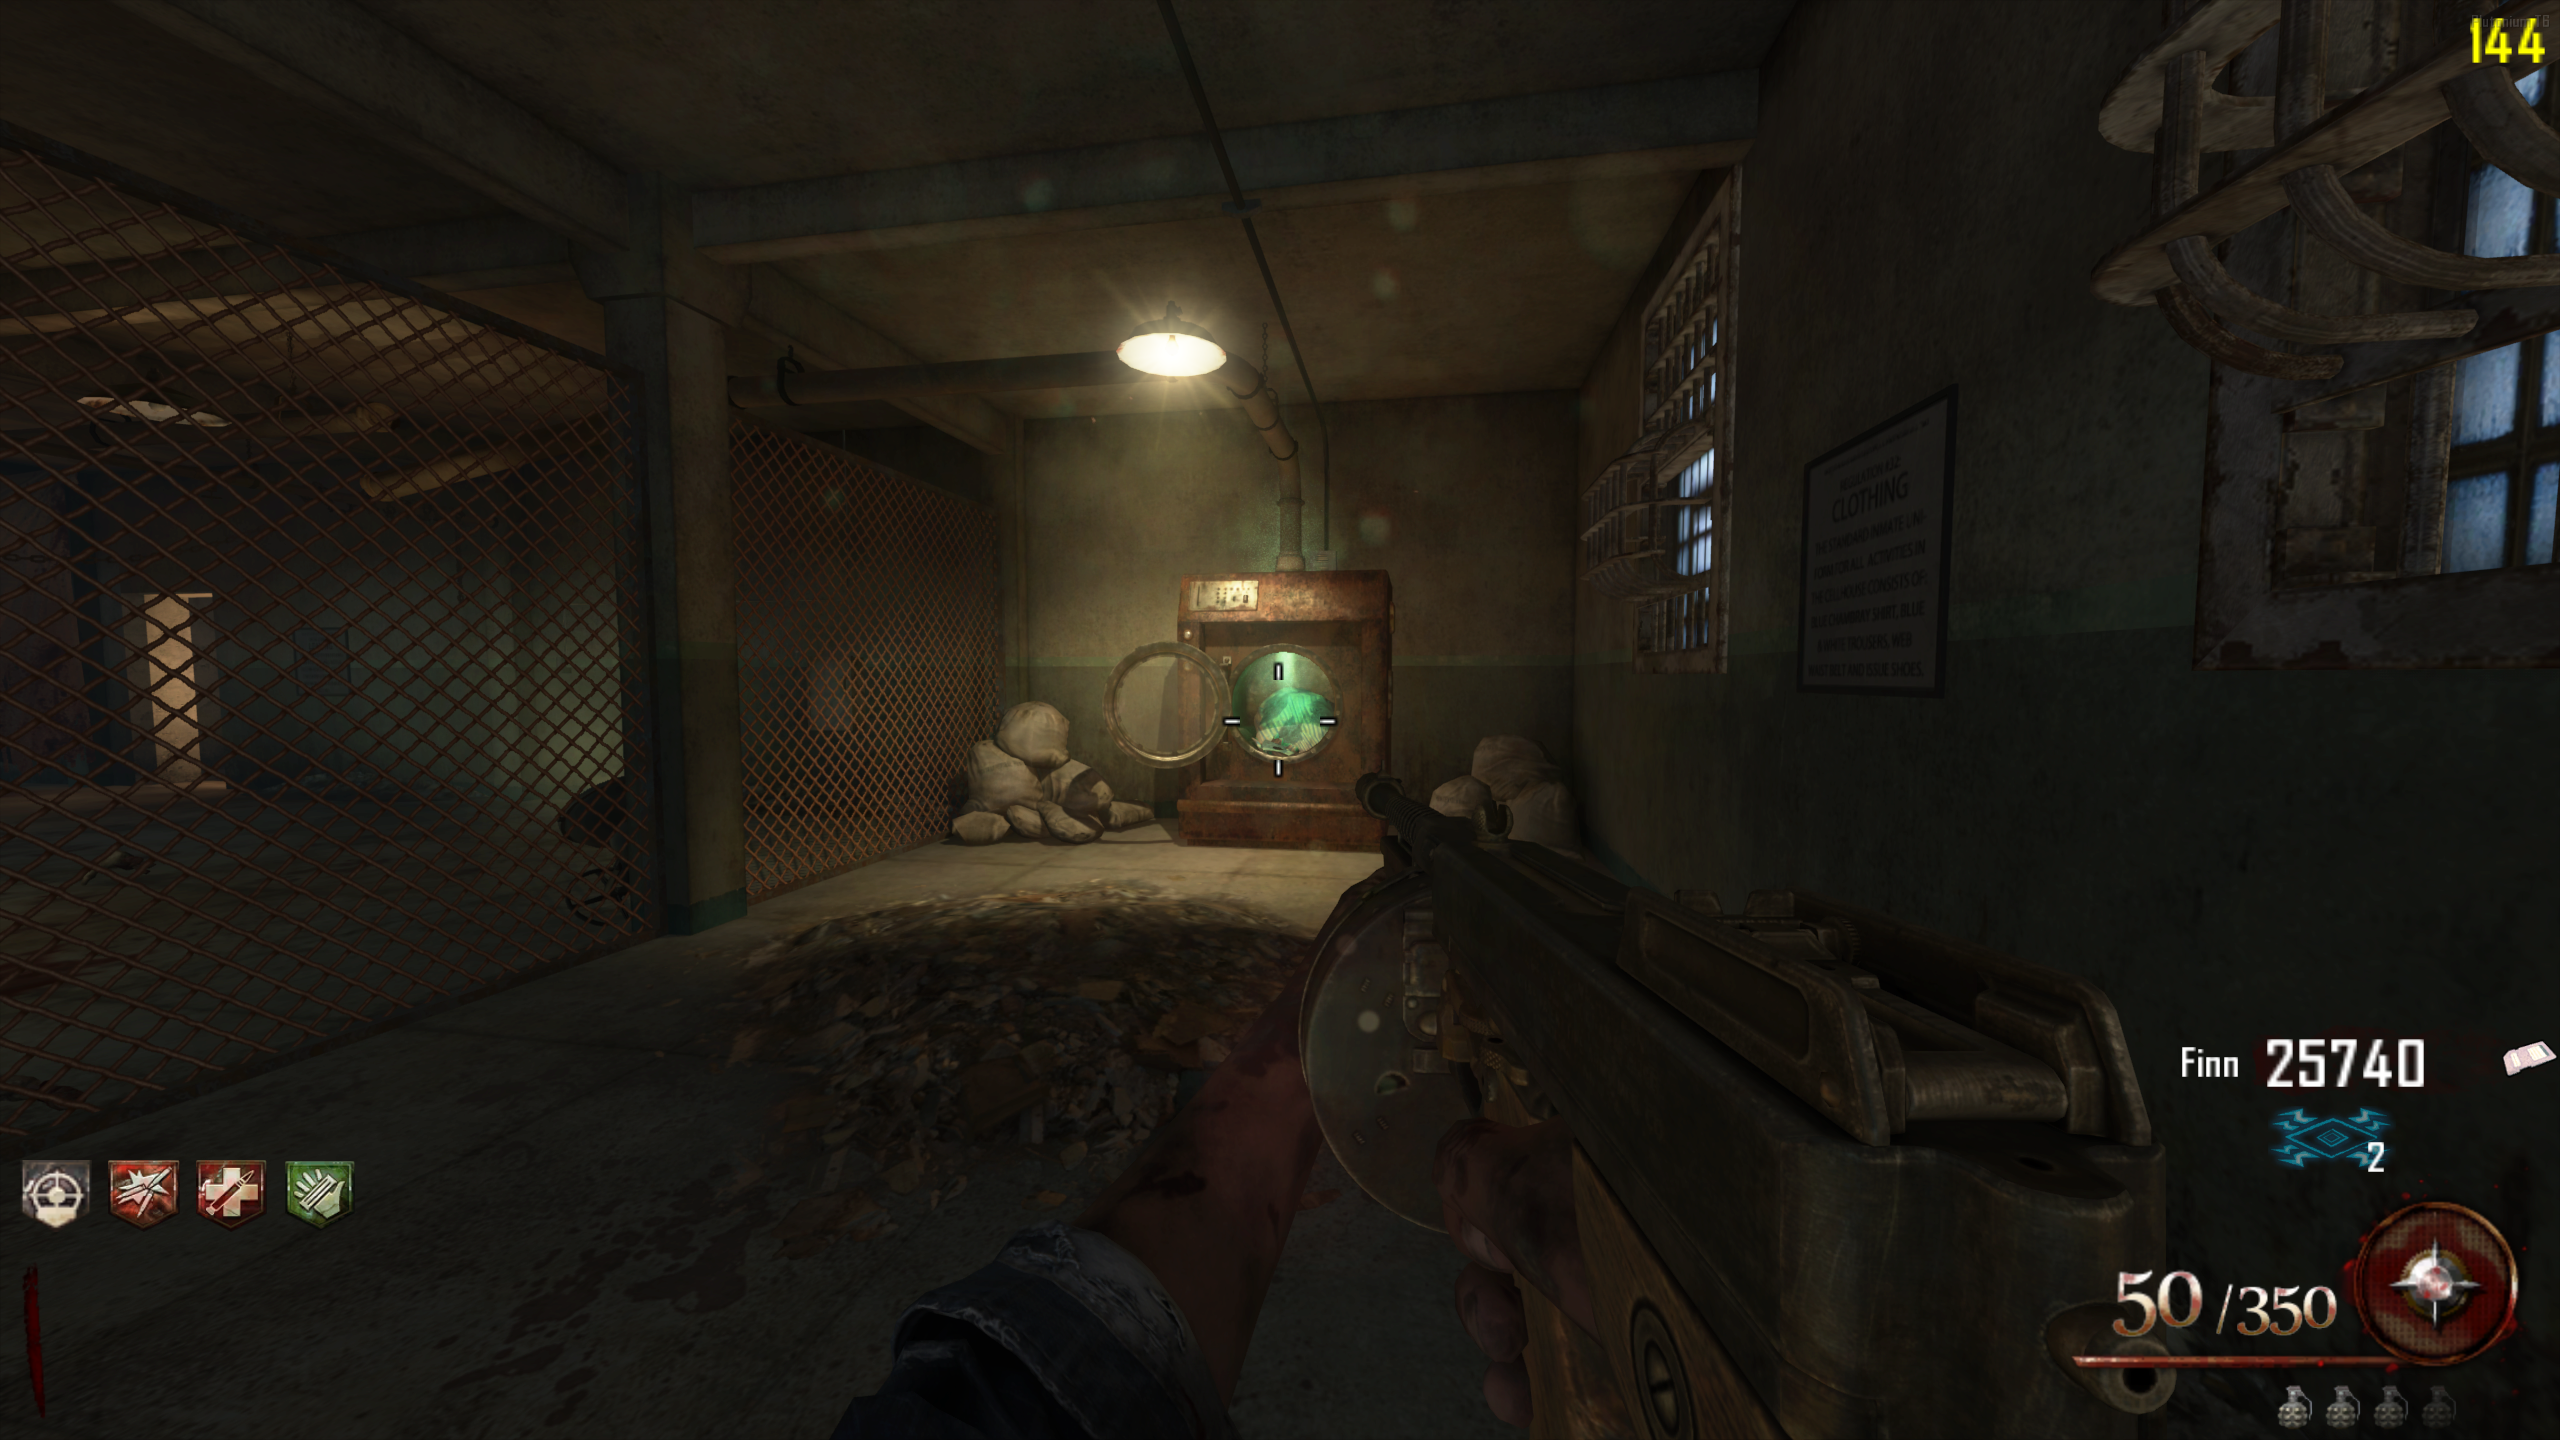
- In the Showers, interact with the door with the lock to open it. Once the door is open, enter Afterlife Mode, and shock the Voltmeter that was behind the door.
- This will turn on the Laundry machine across from the Voltmeter. Interact with it to start a lockdown in the Showers. This lockdown lasts about 30 seconds. Zombies will start spawning, and all players outside the Showers can't enter until the machine is done.
- Once done, interact with the Laundry machine to pick up the Laundry.
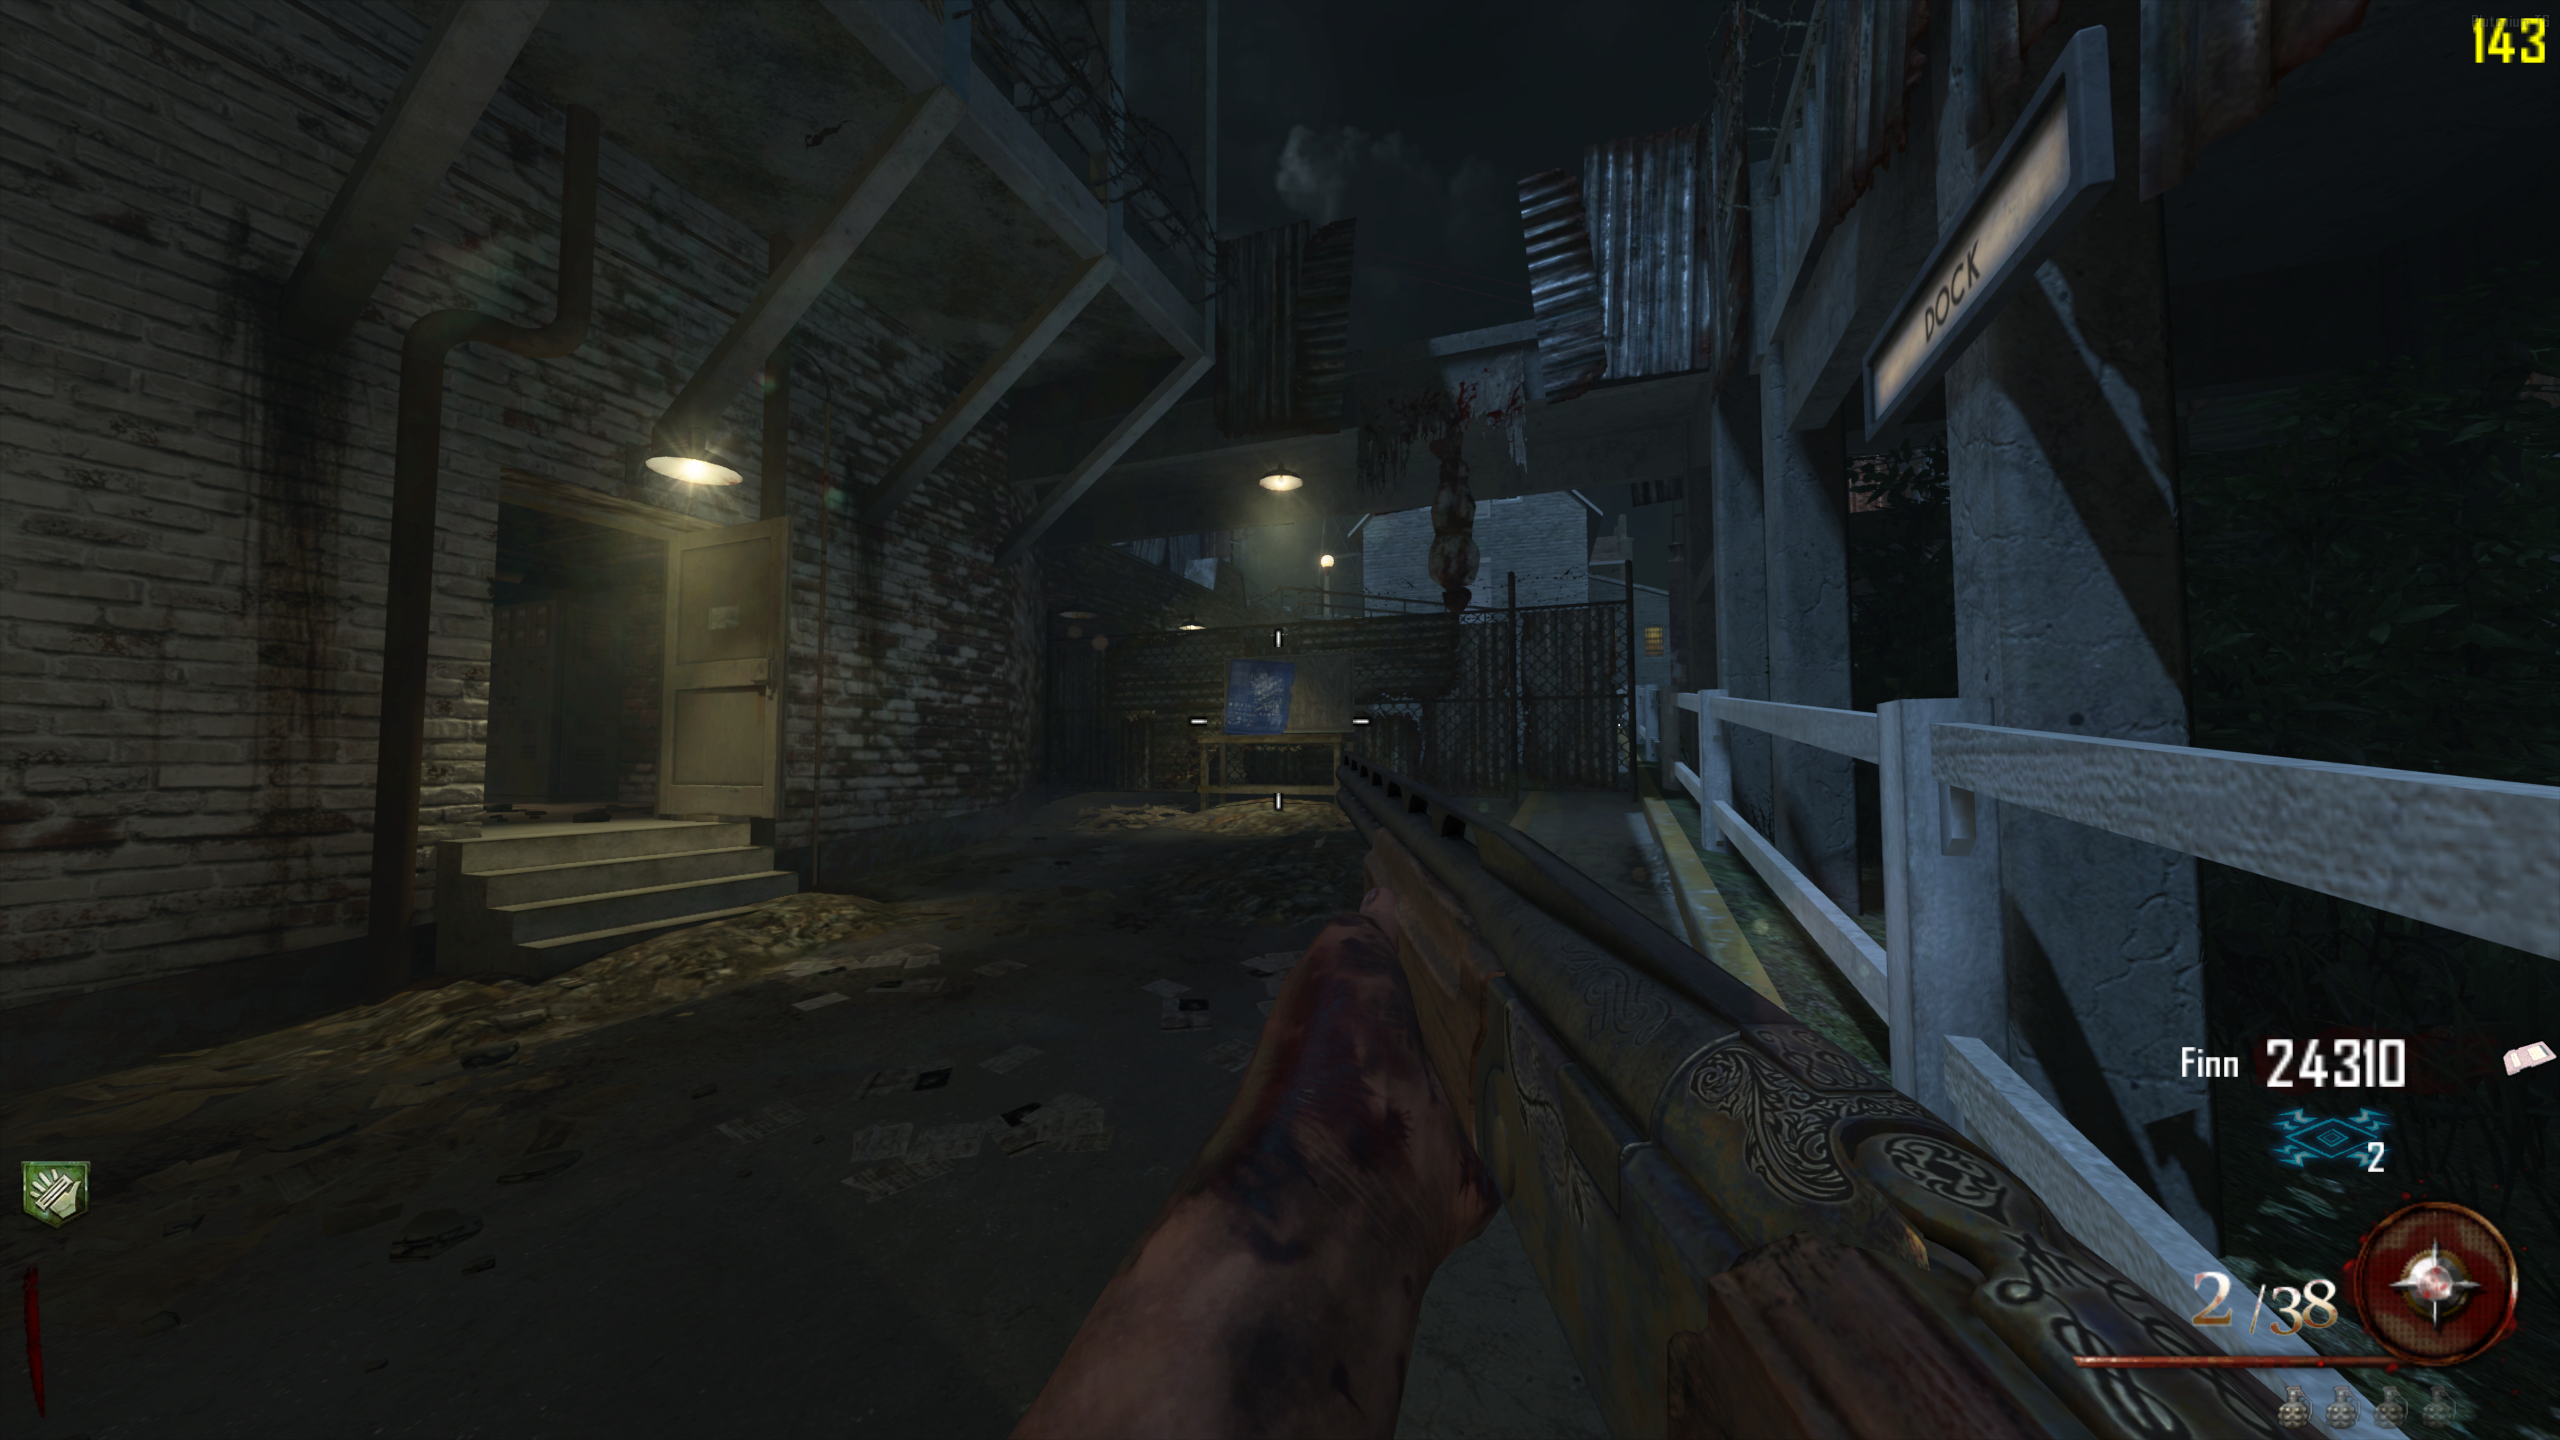
Tanks - On the Docks, interact with the locked gate, left of the M1927 wallbuy, to open it. How you get the Tanks changes slightly between Solo and Co-op:
- In Solo:
- In Co-op:
- Two players must stand in the small area between the opened gate and the gate with the Tanks behind it. One player will need to enter Afterlife, so make sure the other player doesn't have a Plane part already.
- One player must enter Afterlife, and shock the Voltmeter in the small area. This will open the Tanks gate, and close the first gate, locking both players inside. Don't leave Afterlife yet.
- The alive player needs to pick up the Tanks, then come back to the small area with the downed player.
- Shock the same Voltmeter again to reopen the first gate. Both players can now leave, and you can revive the downed player.
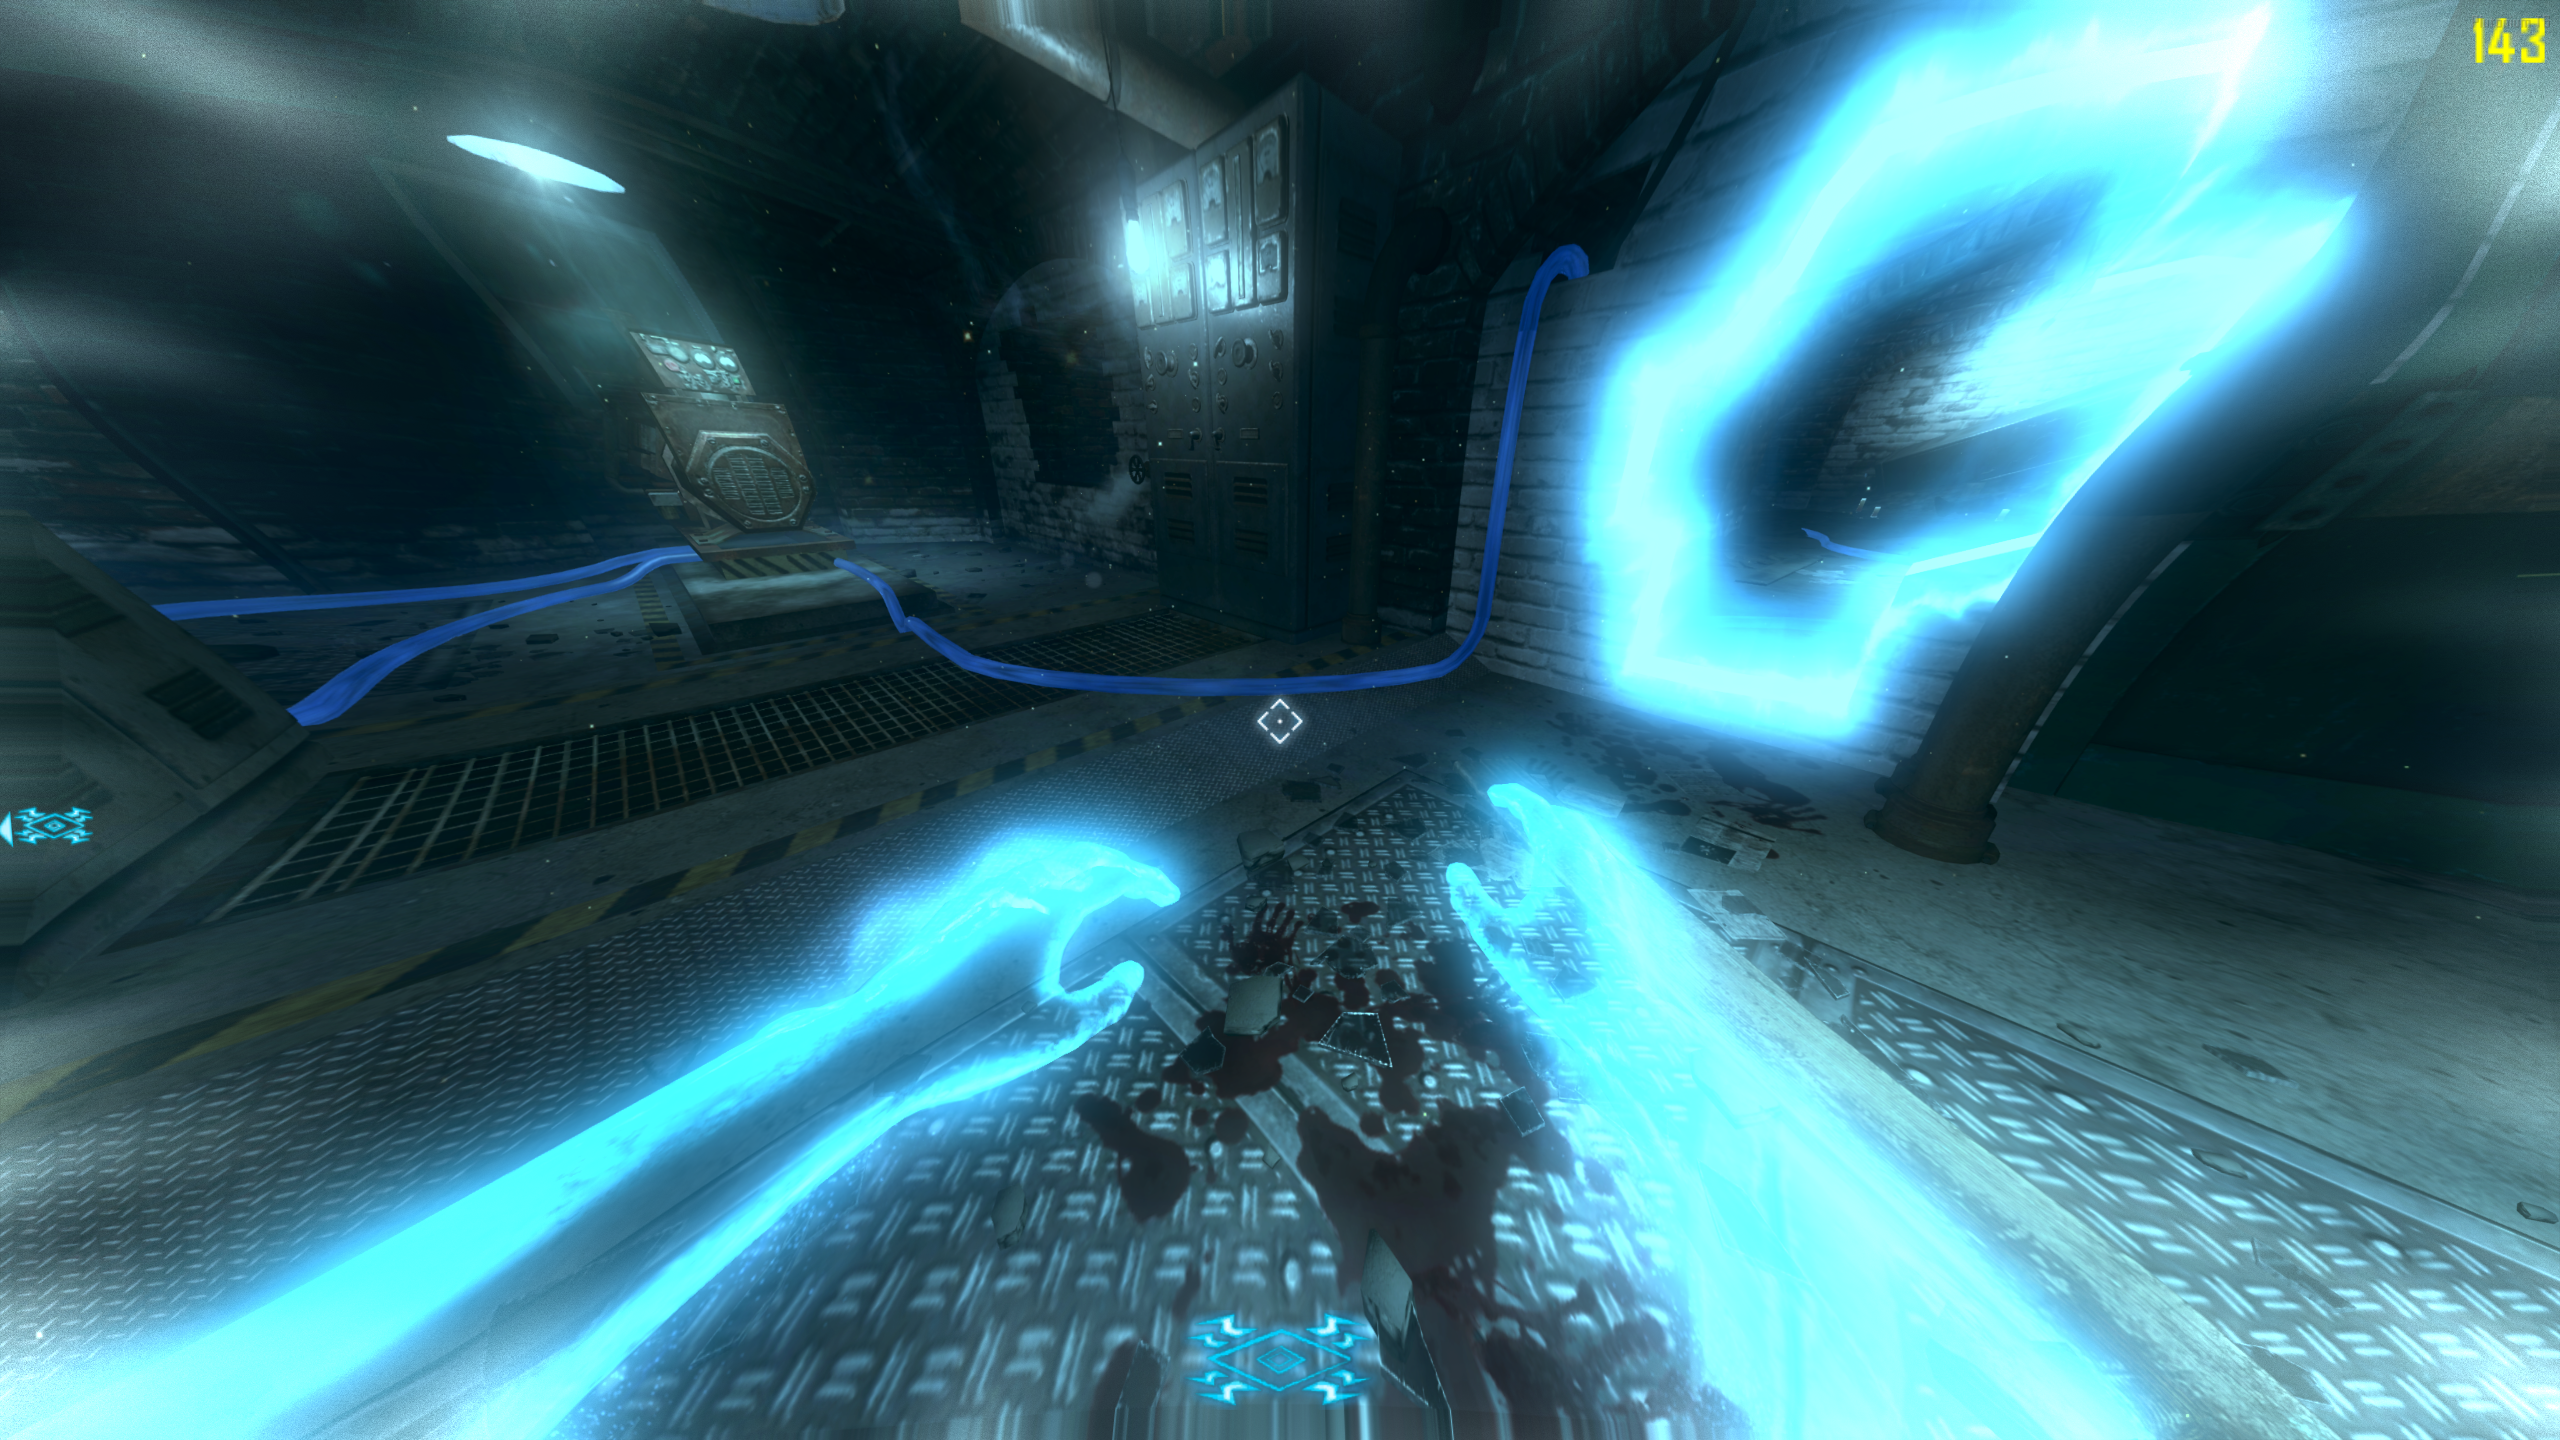
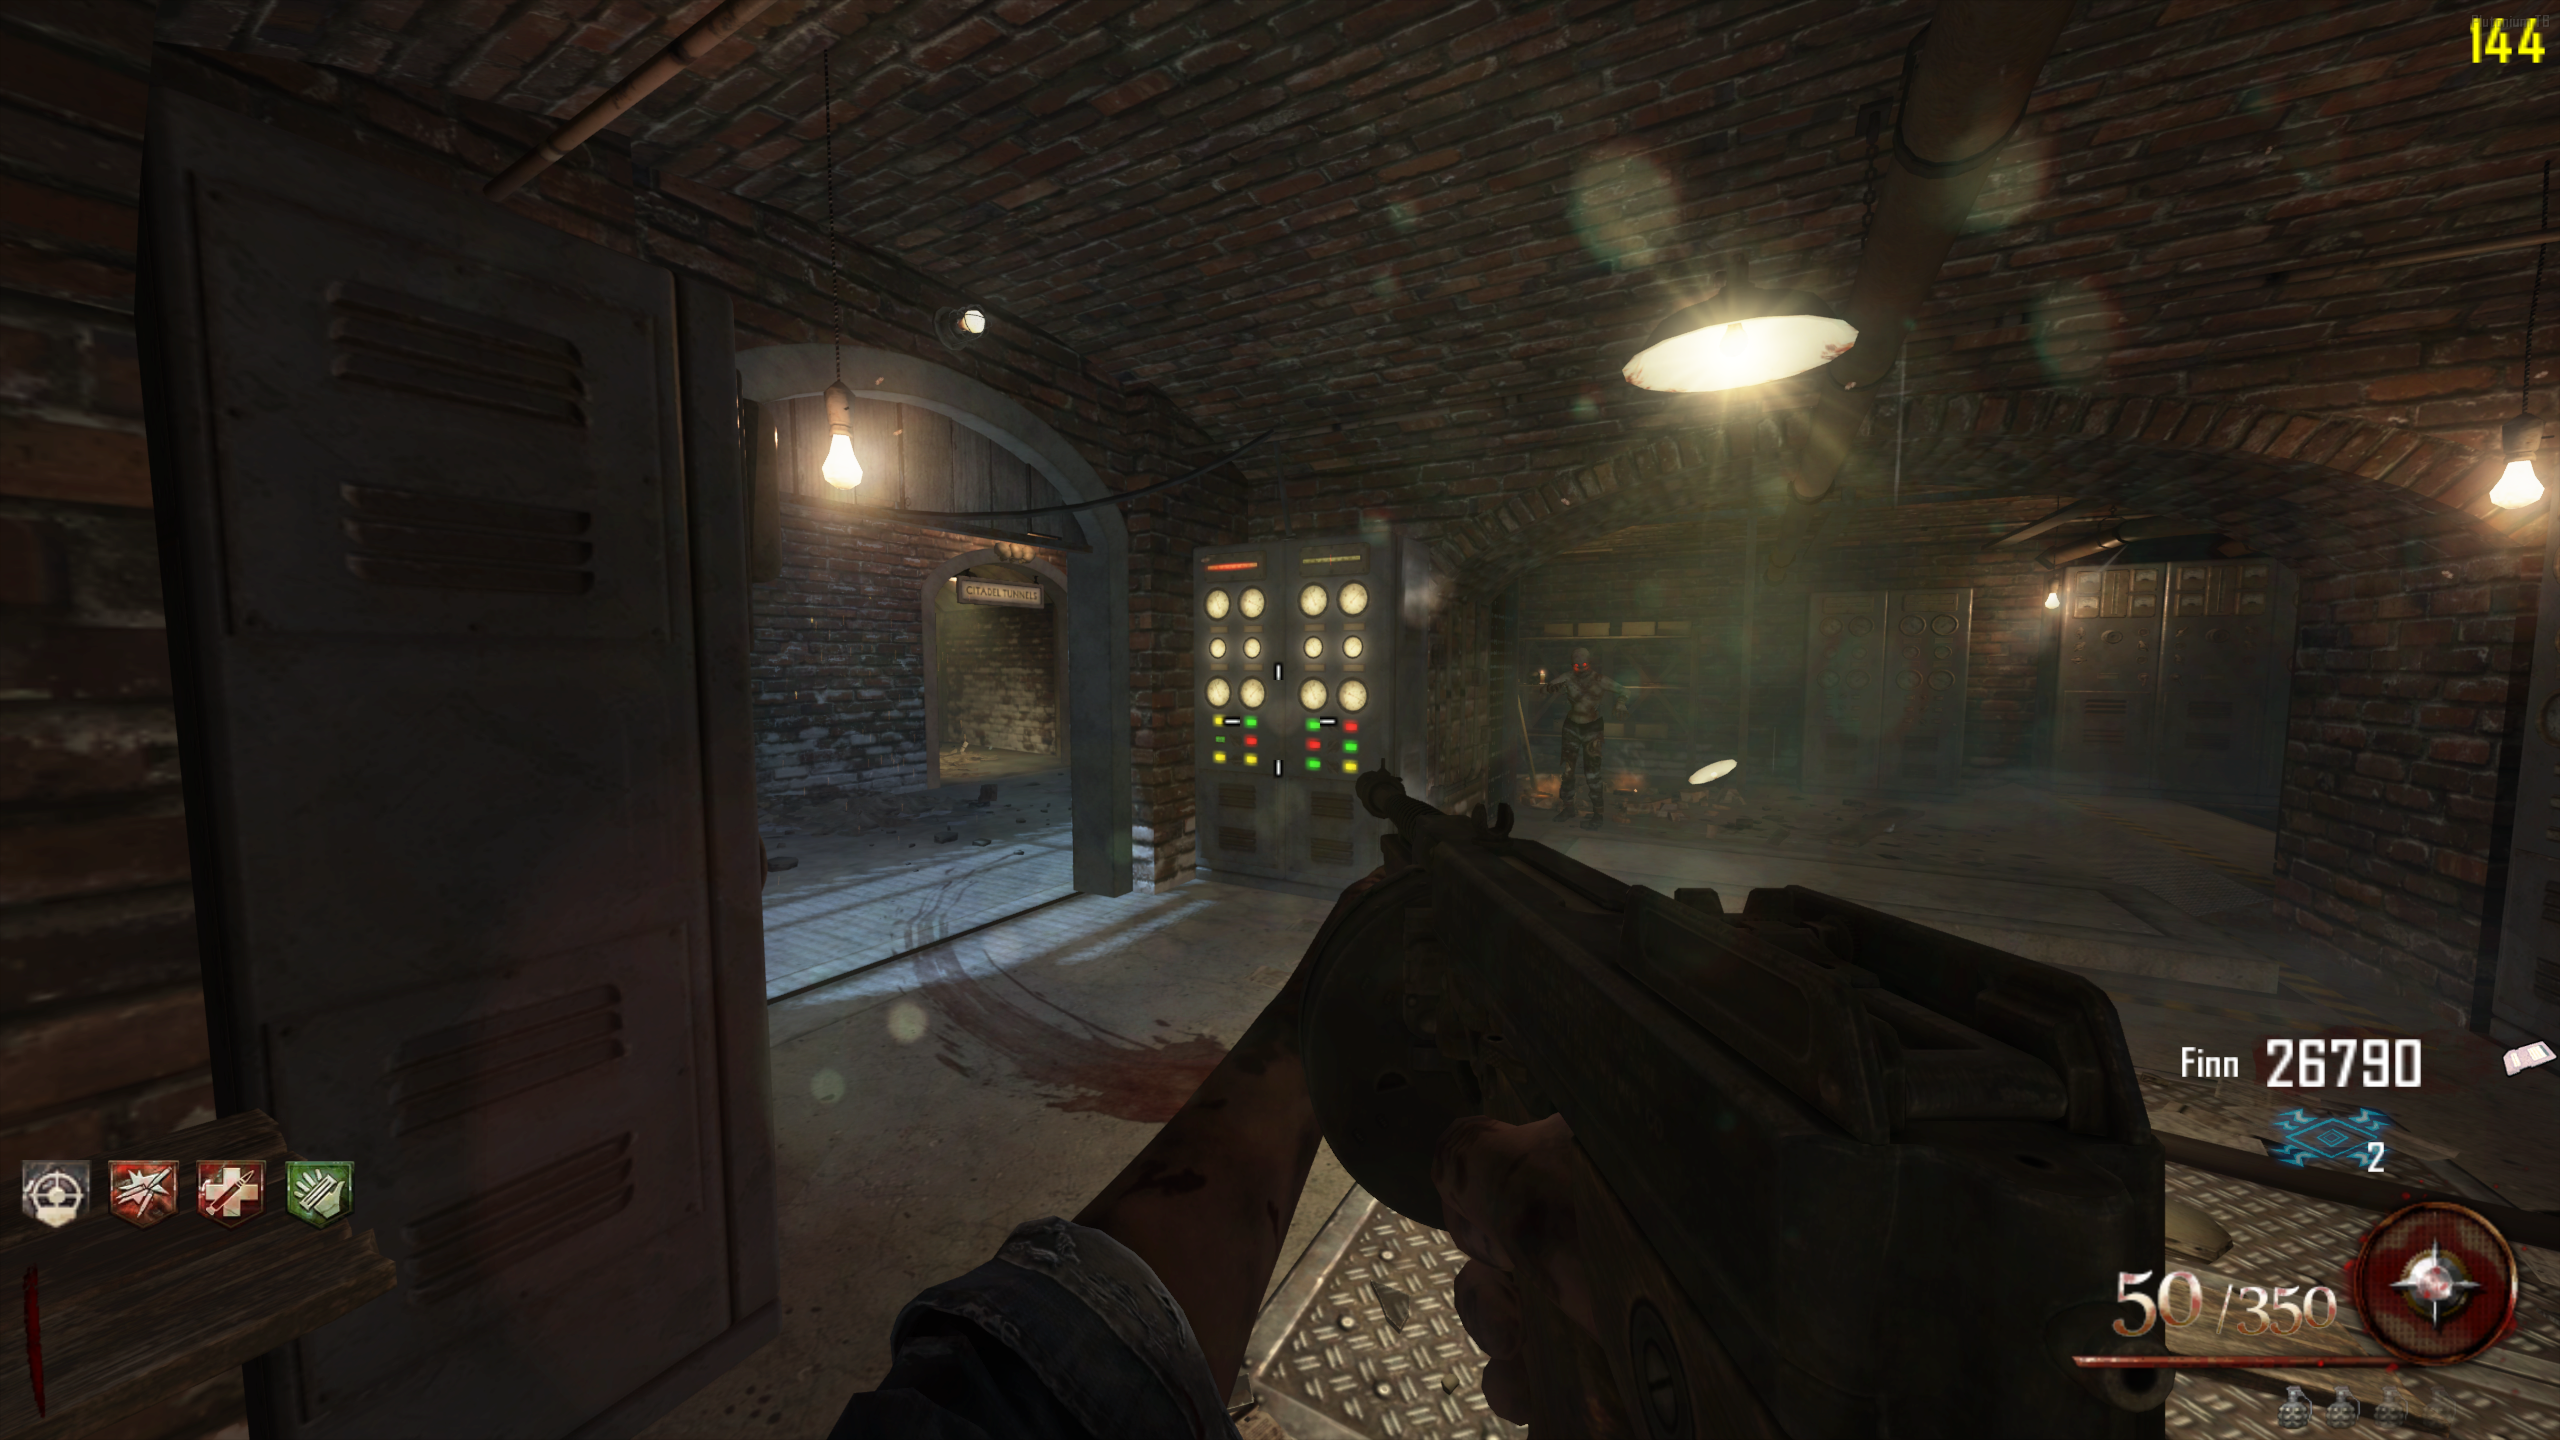
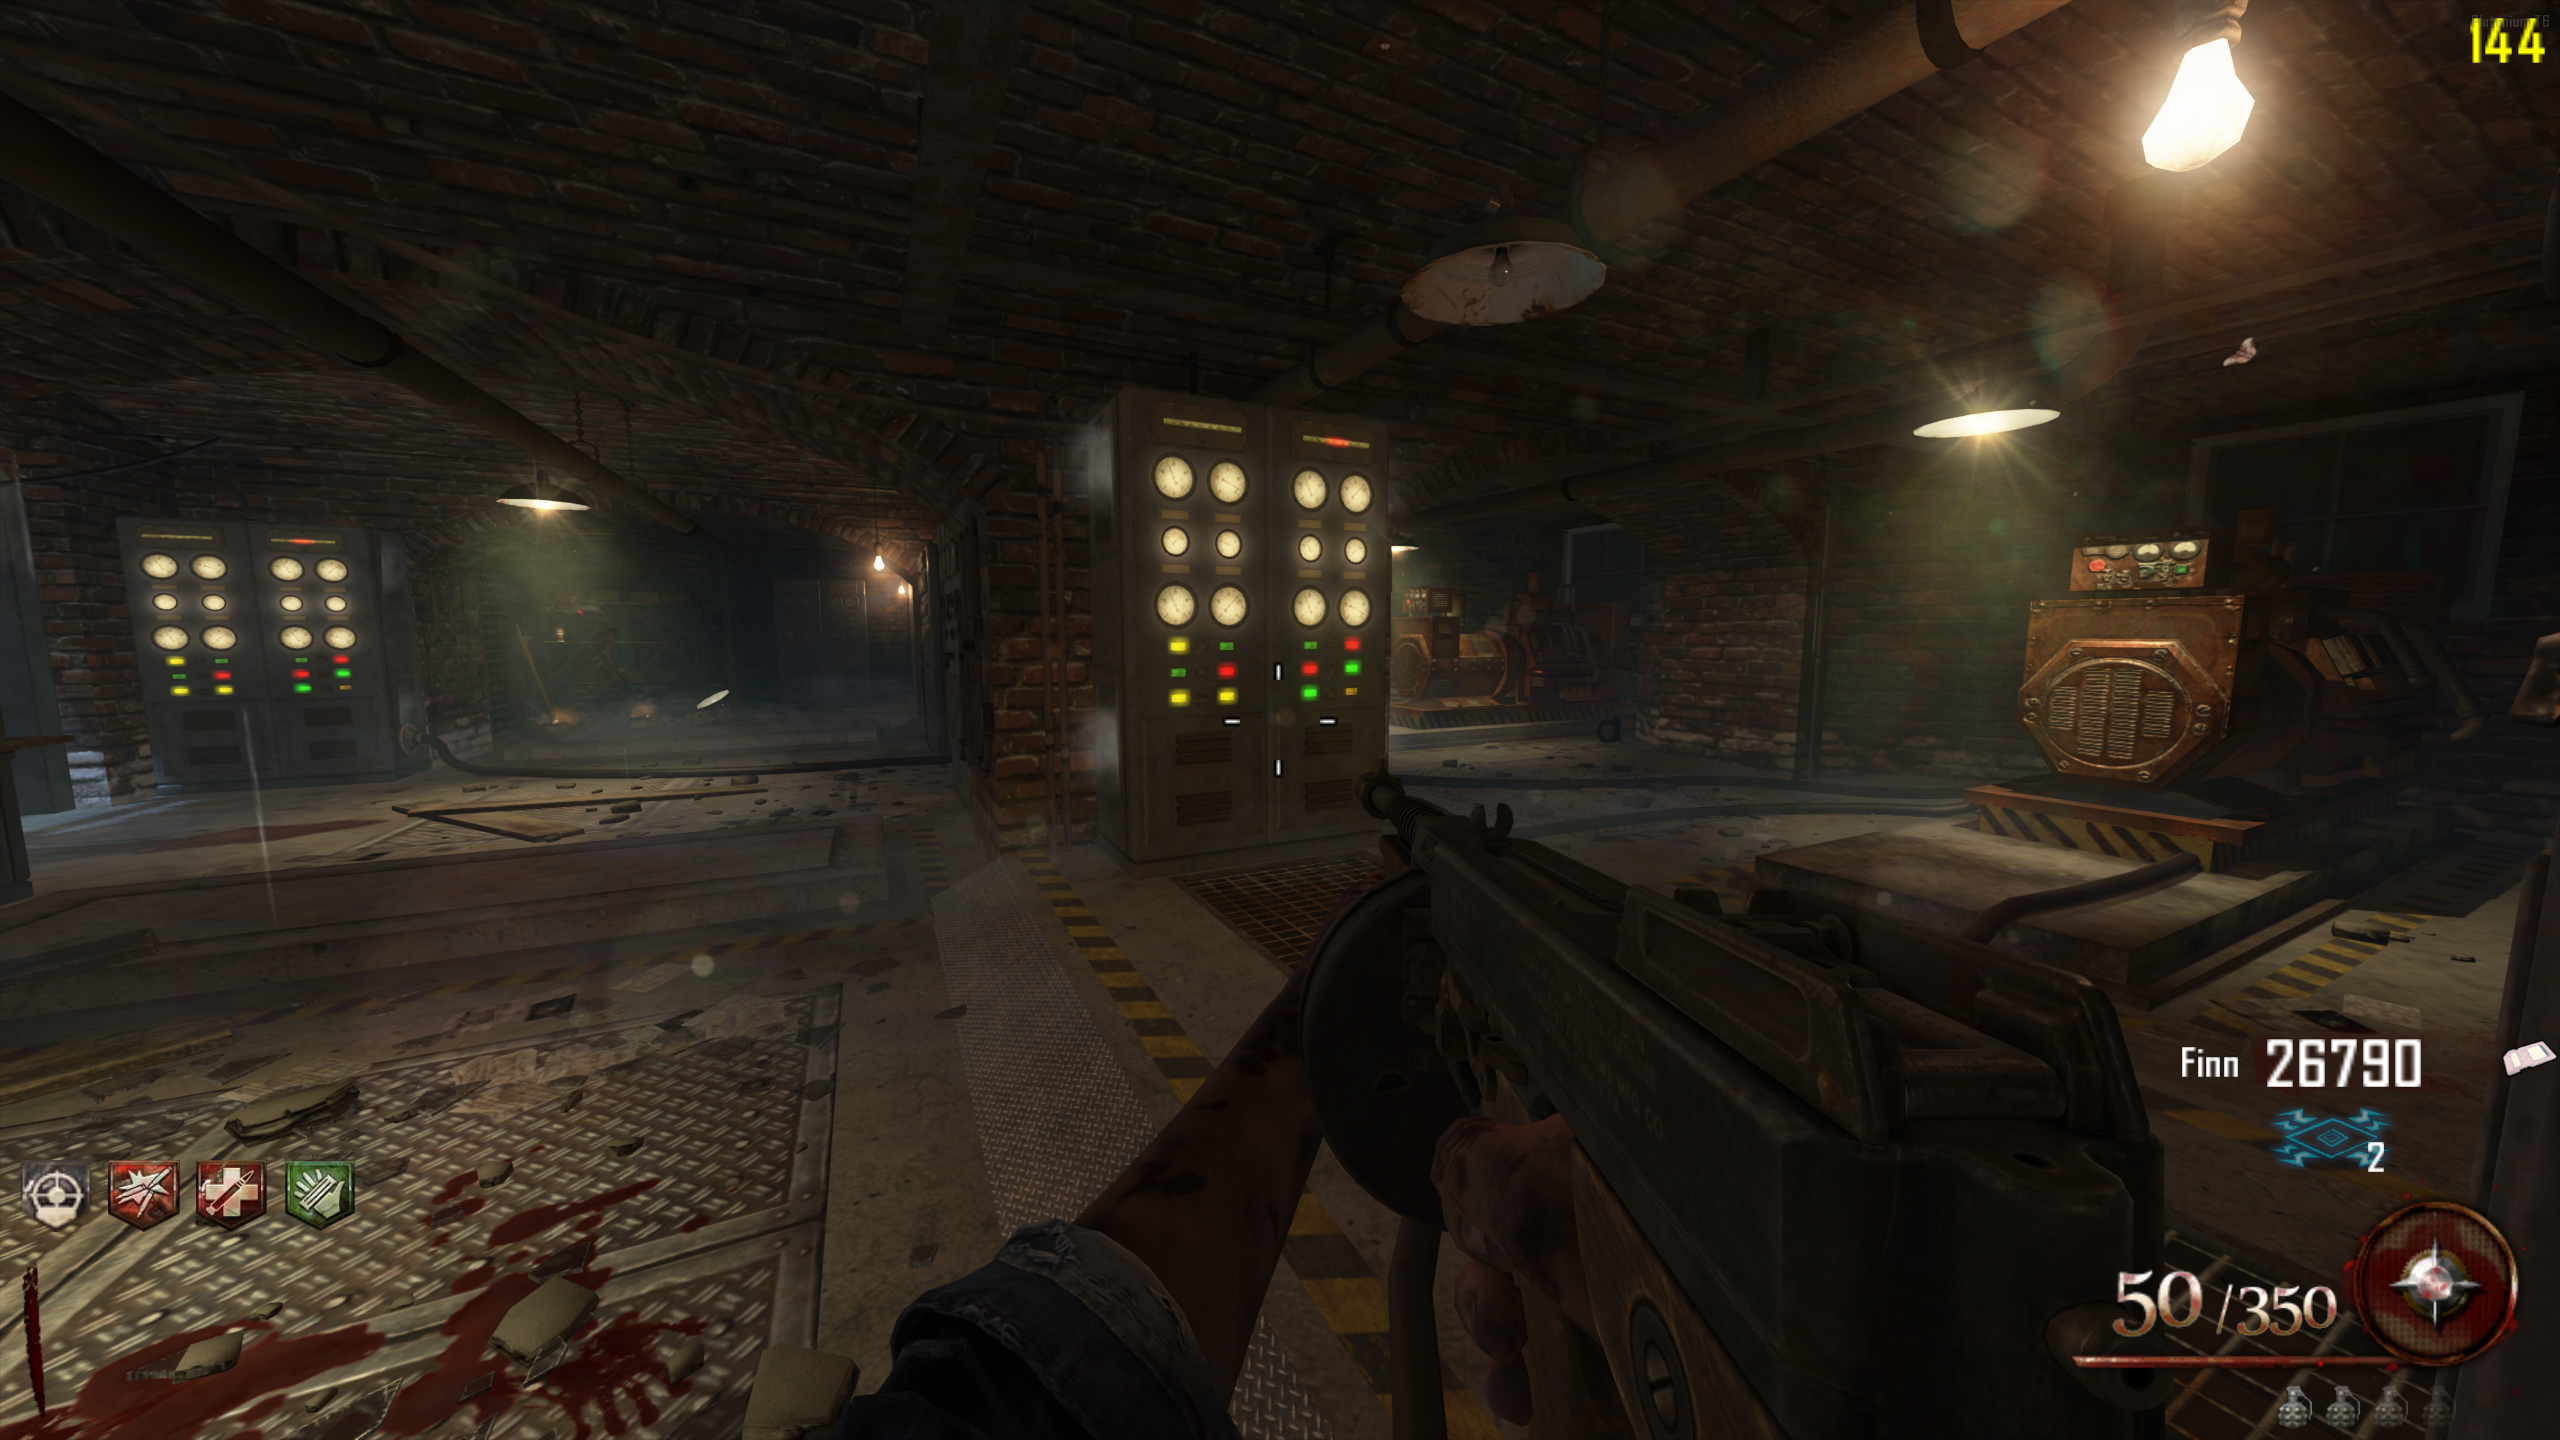
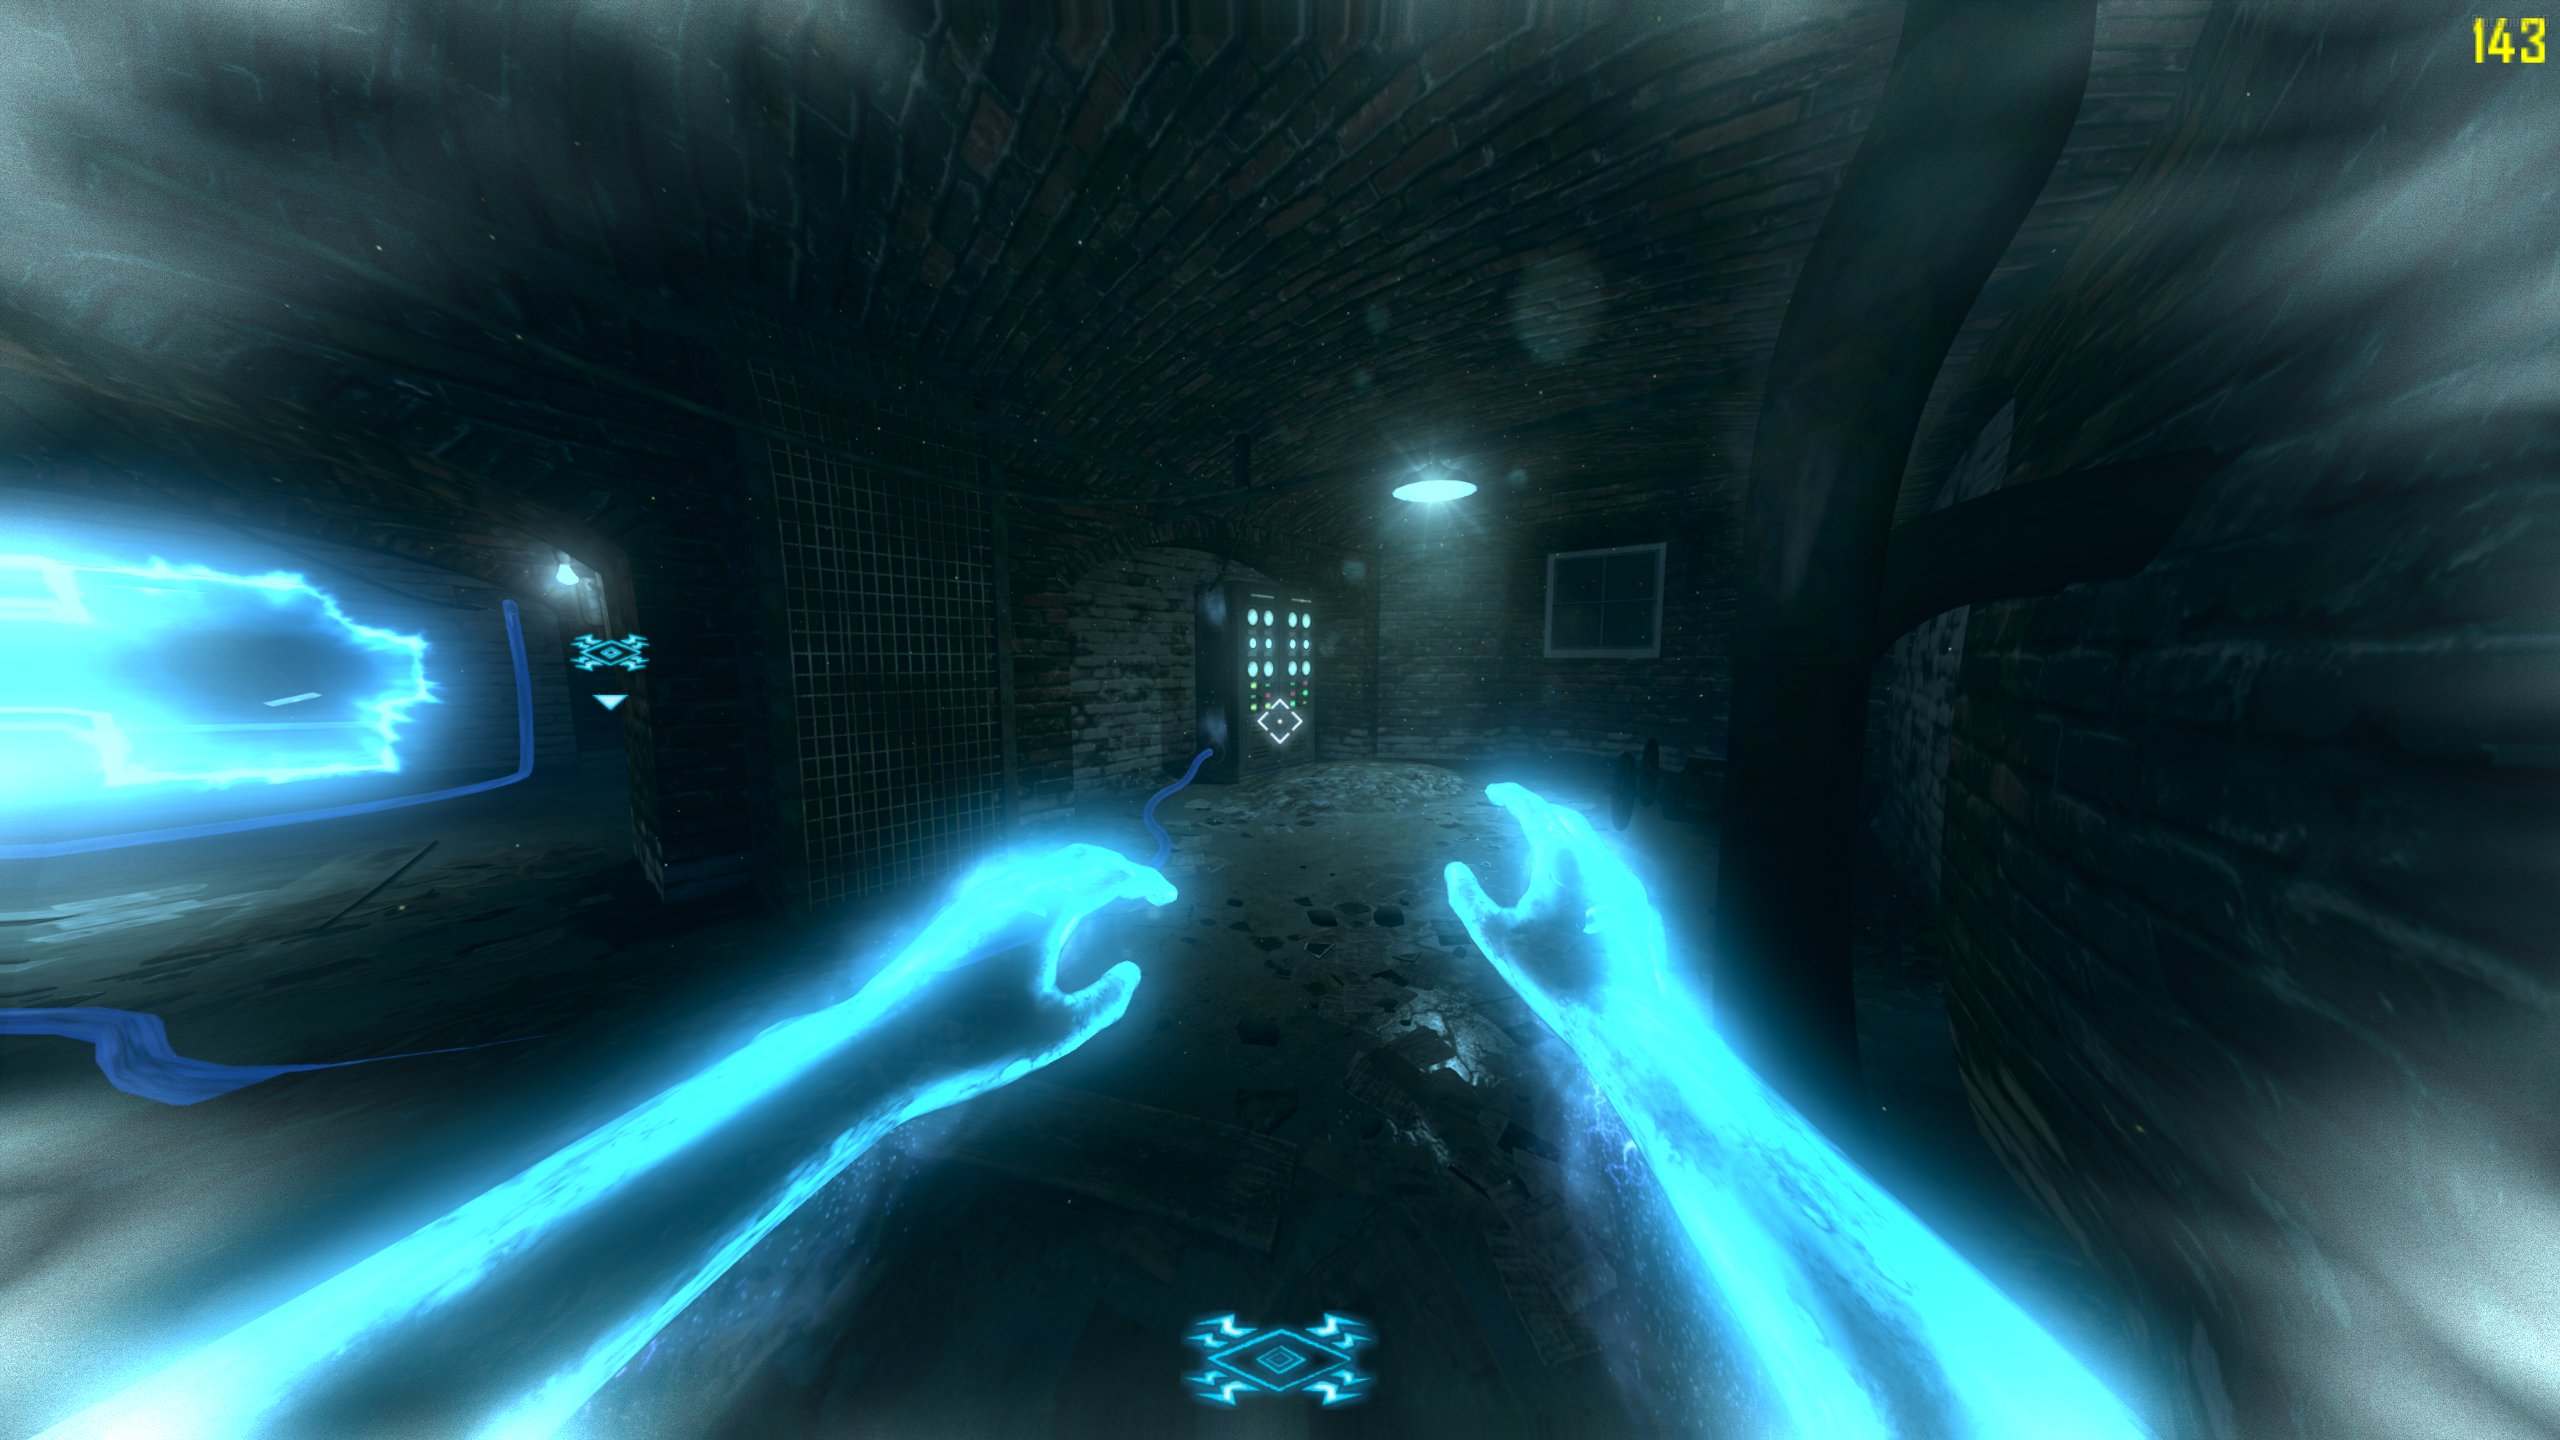
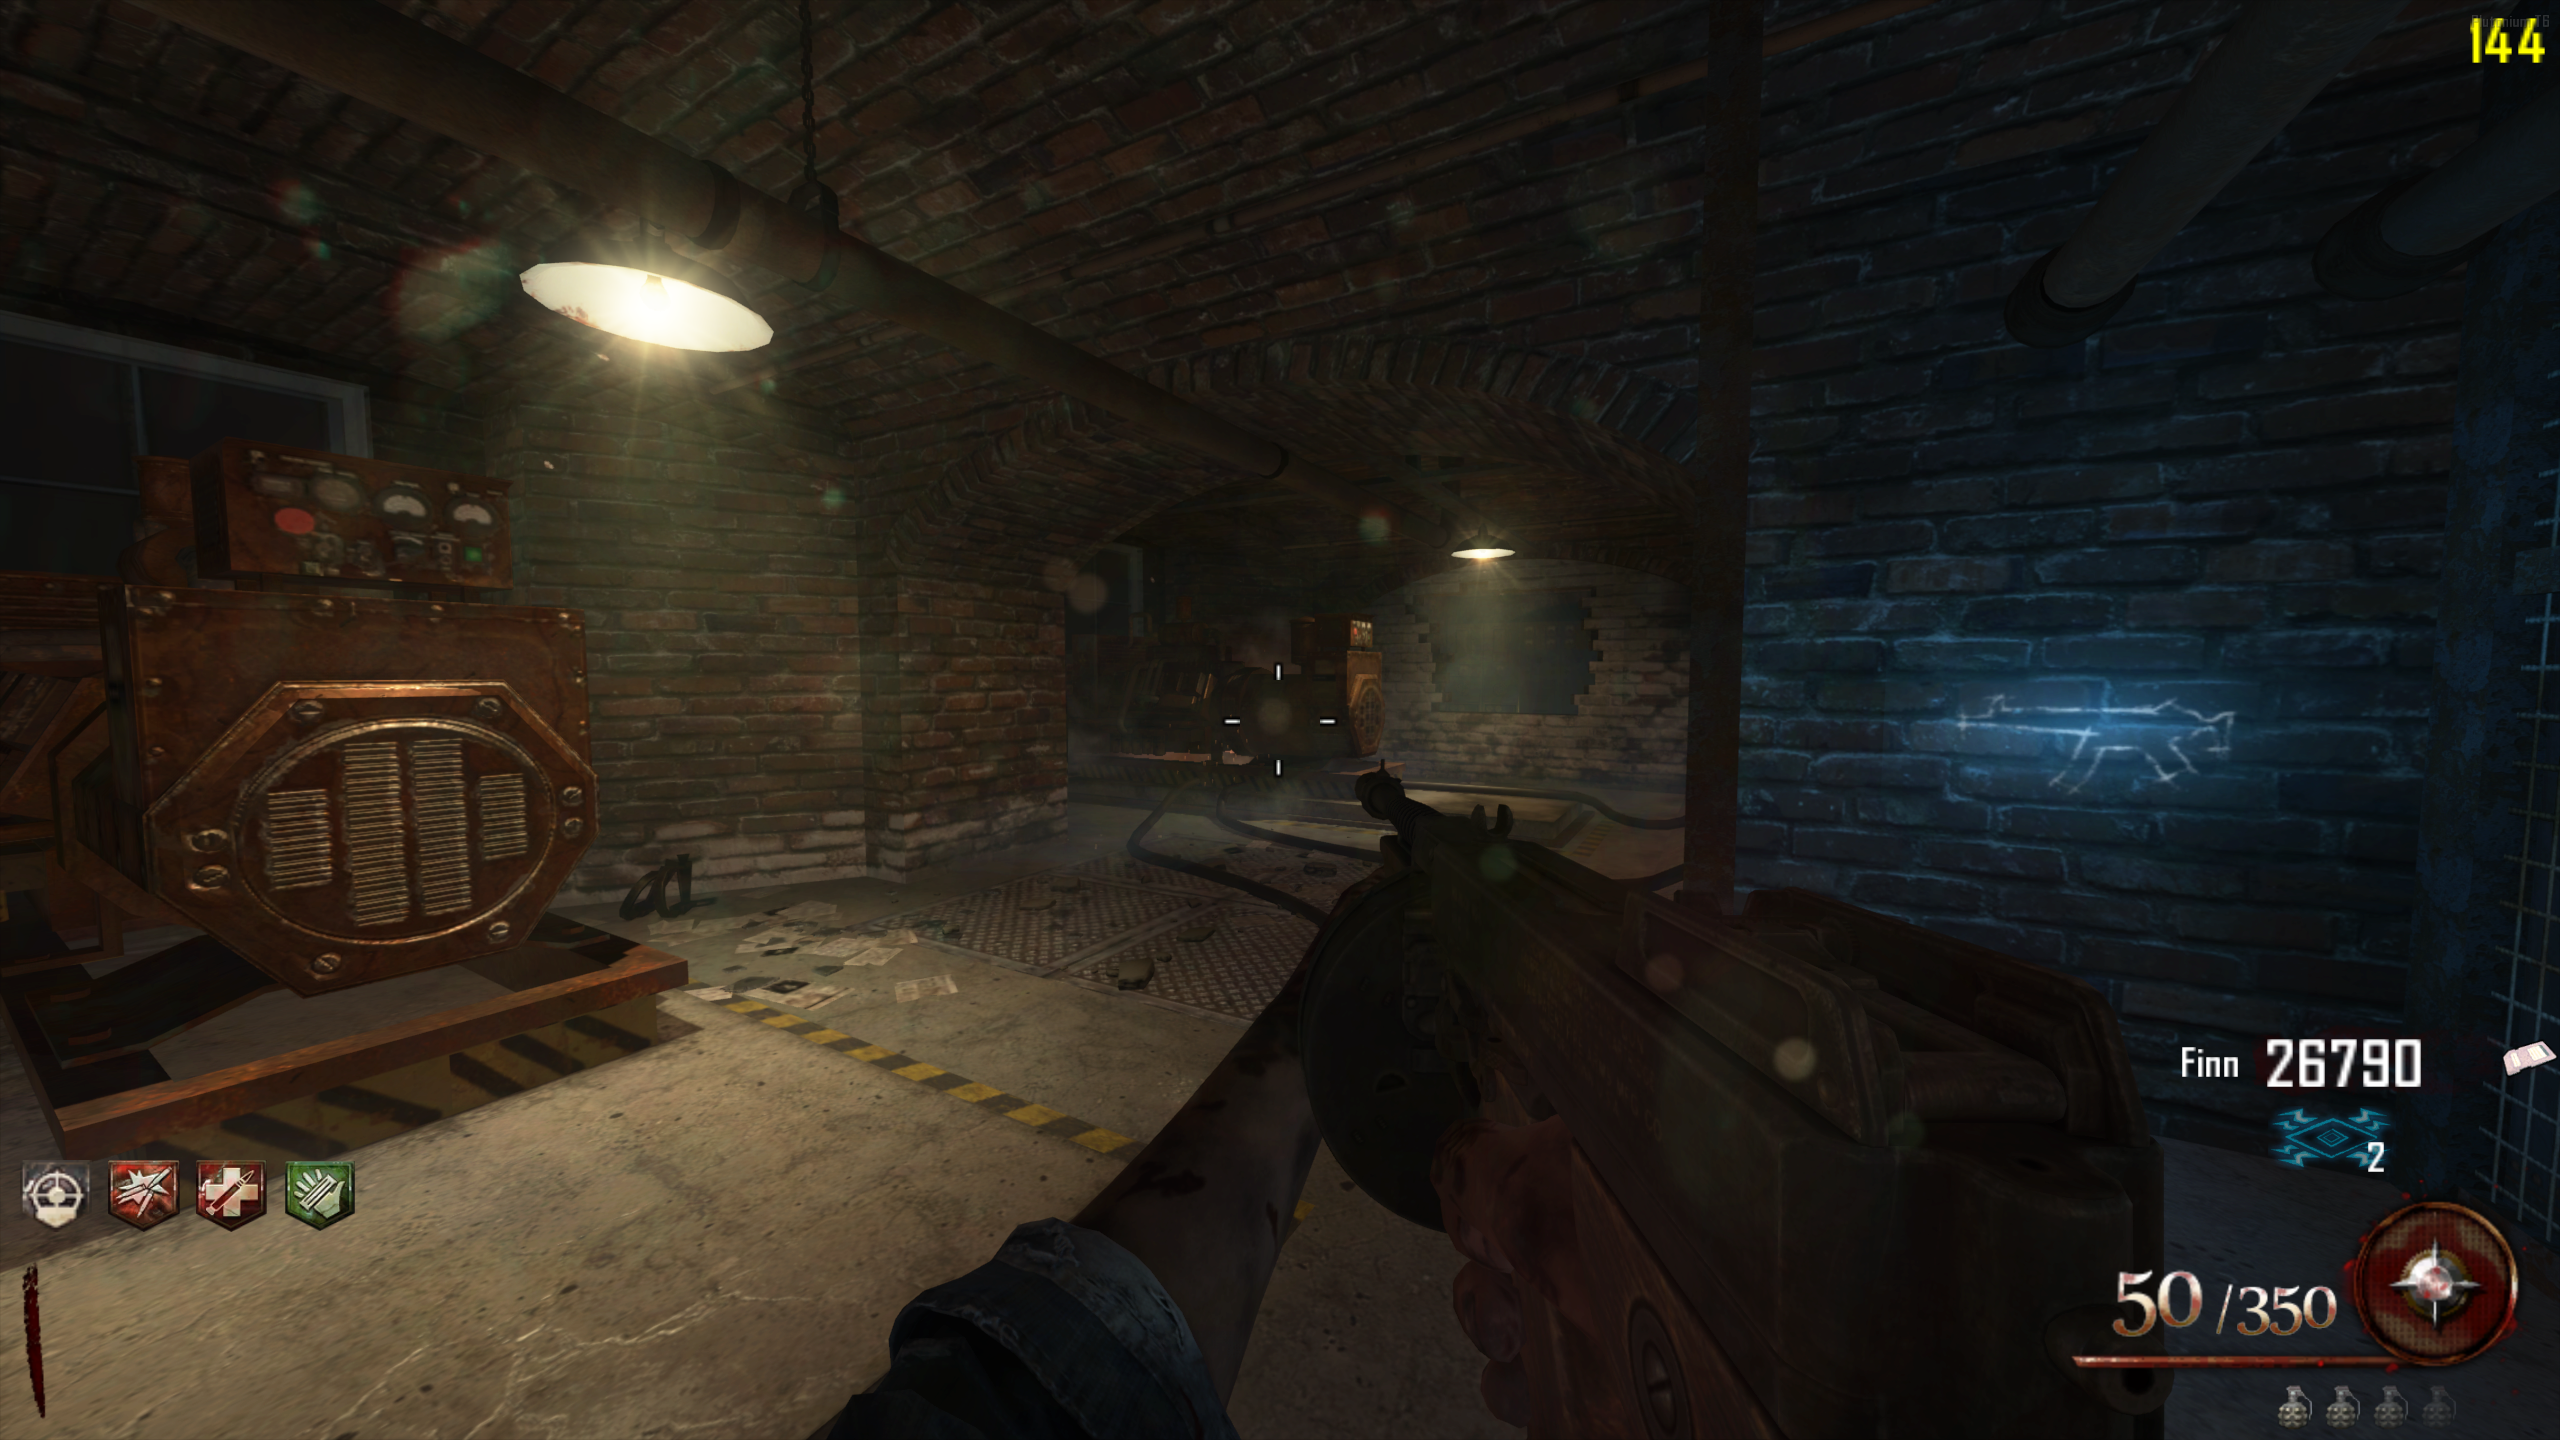
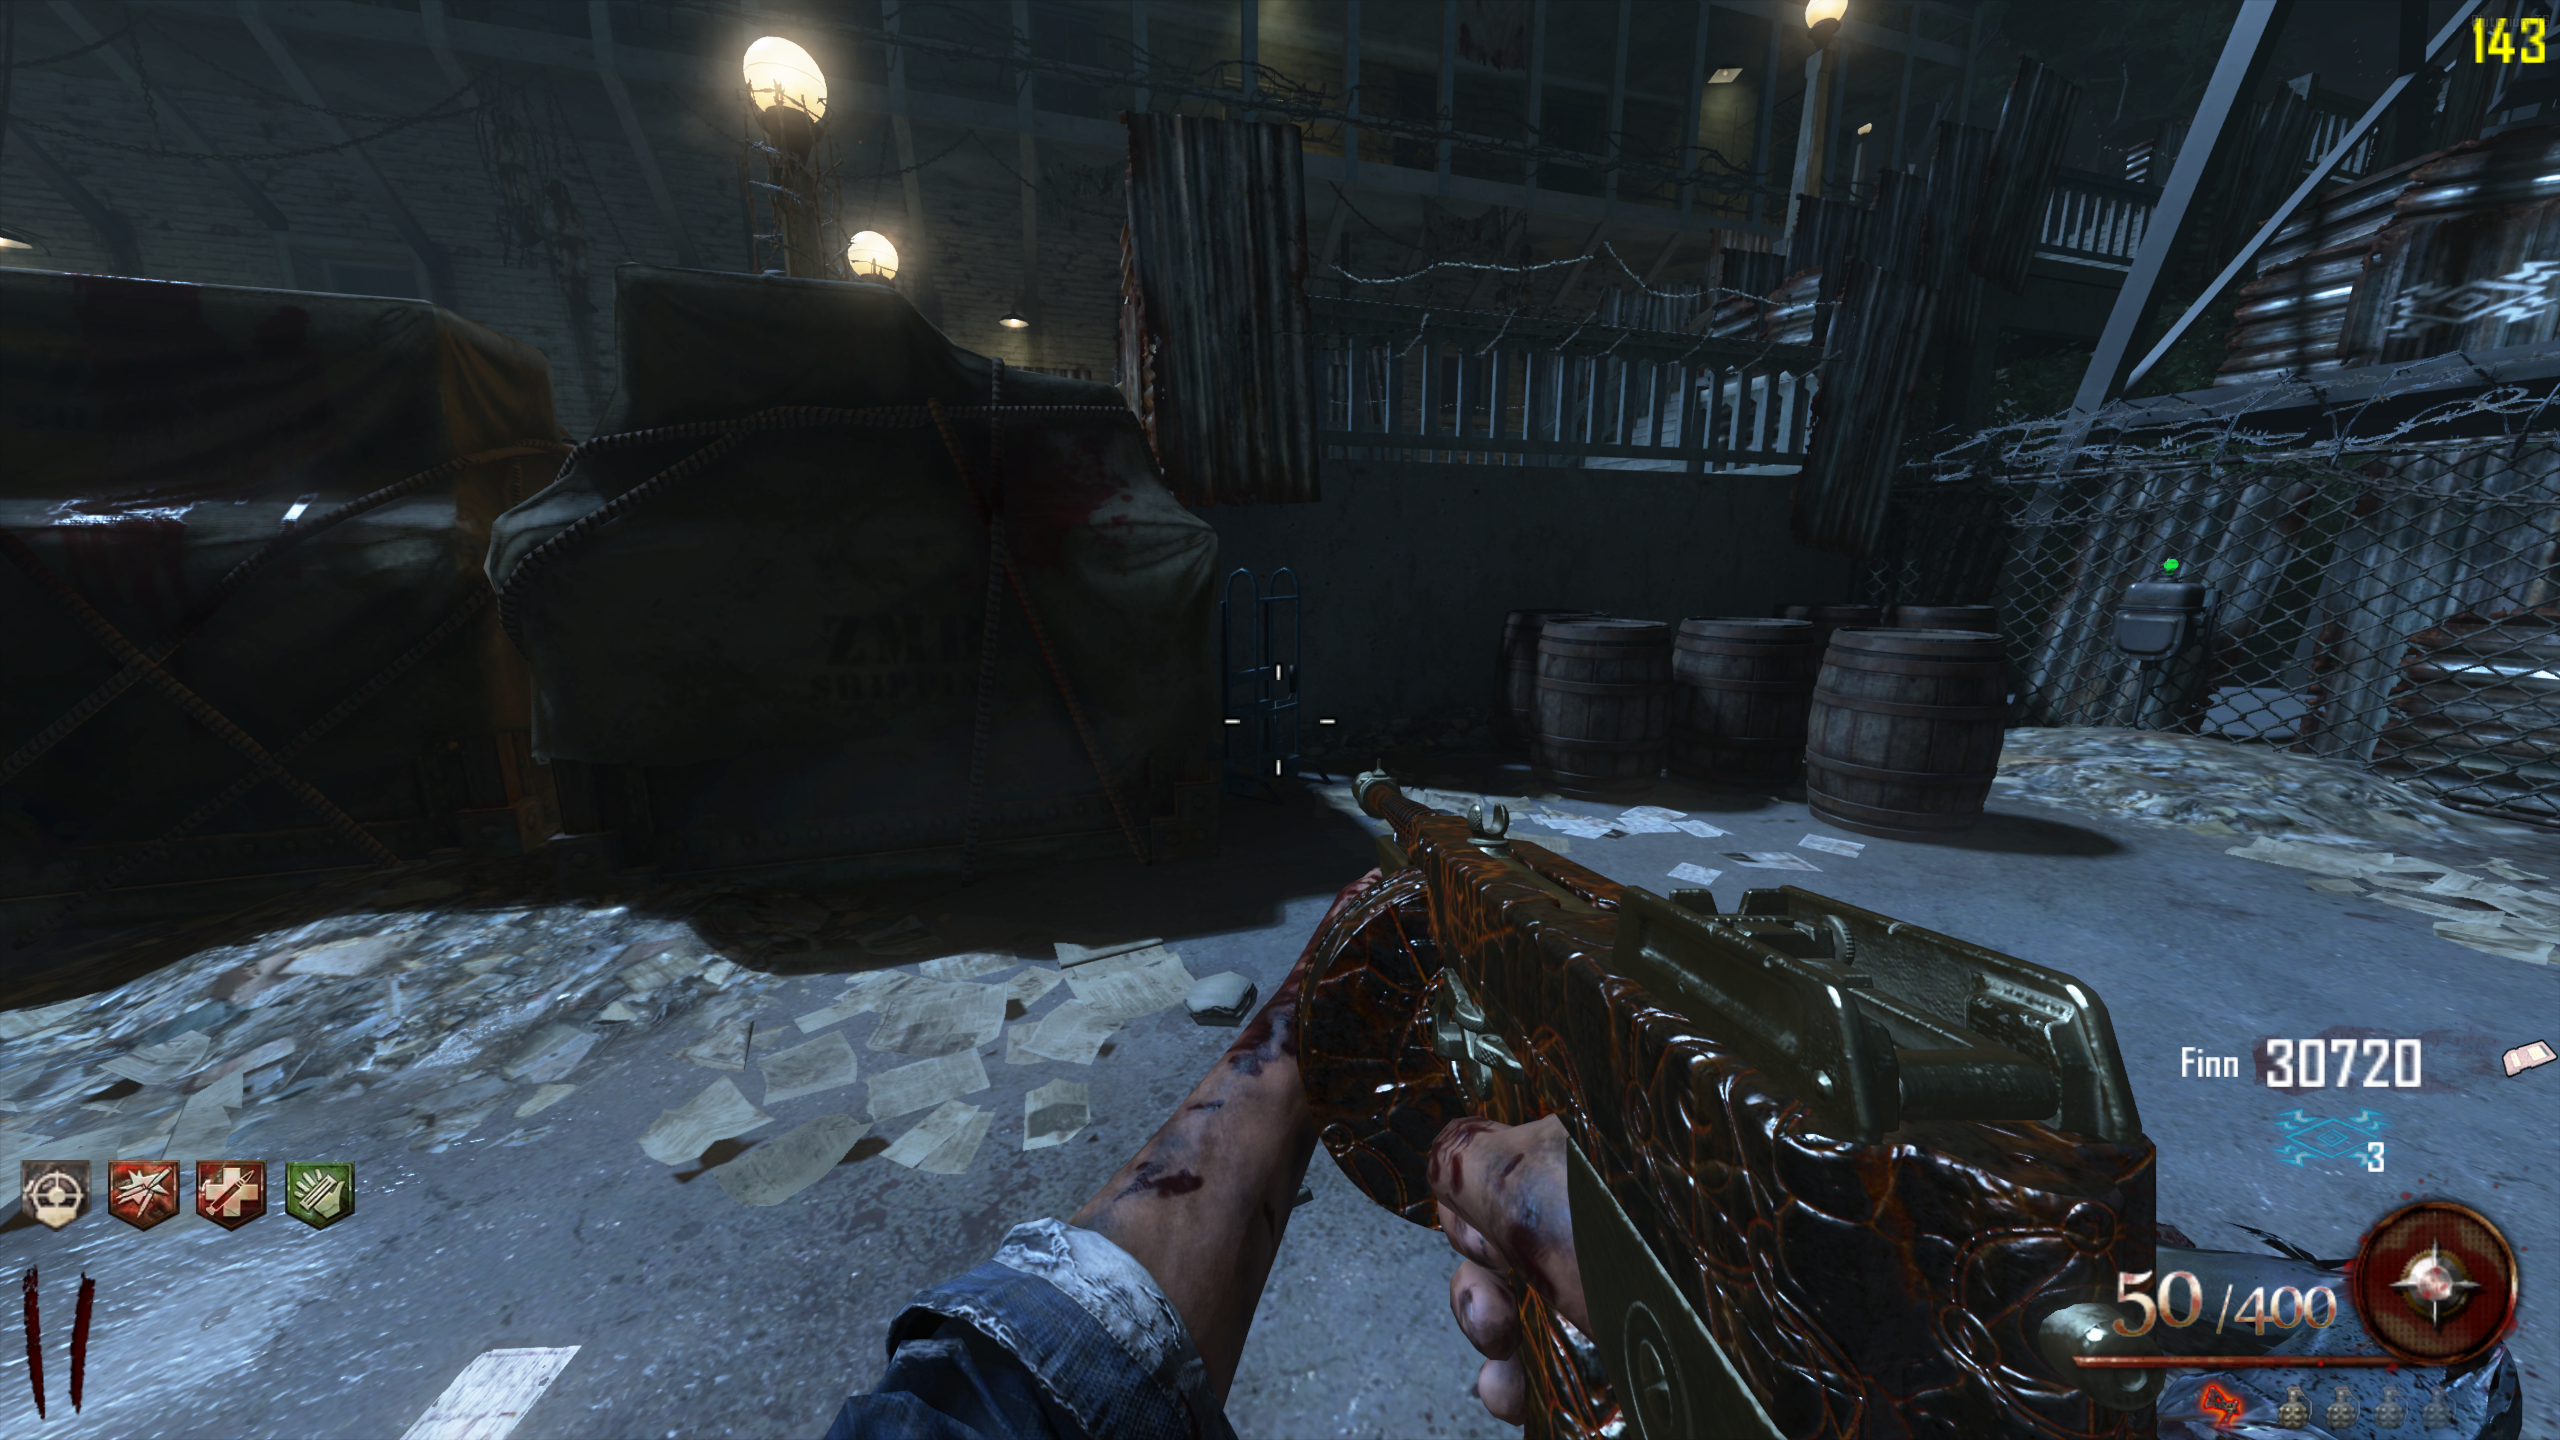
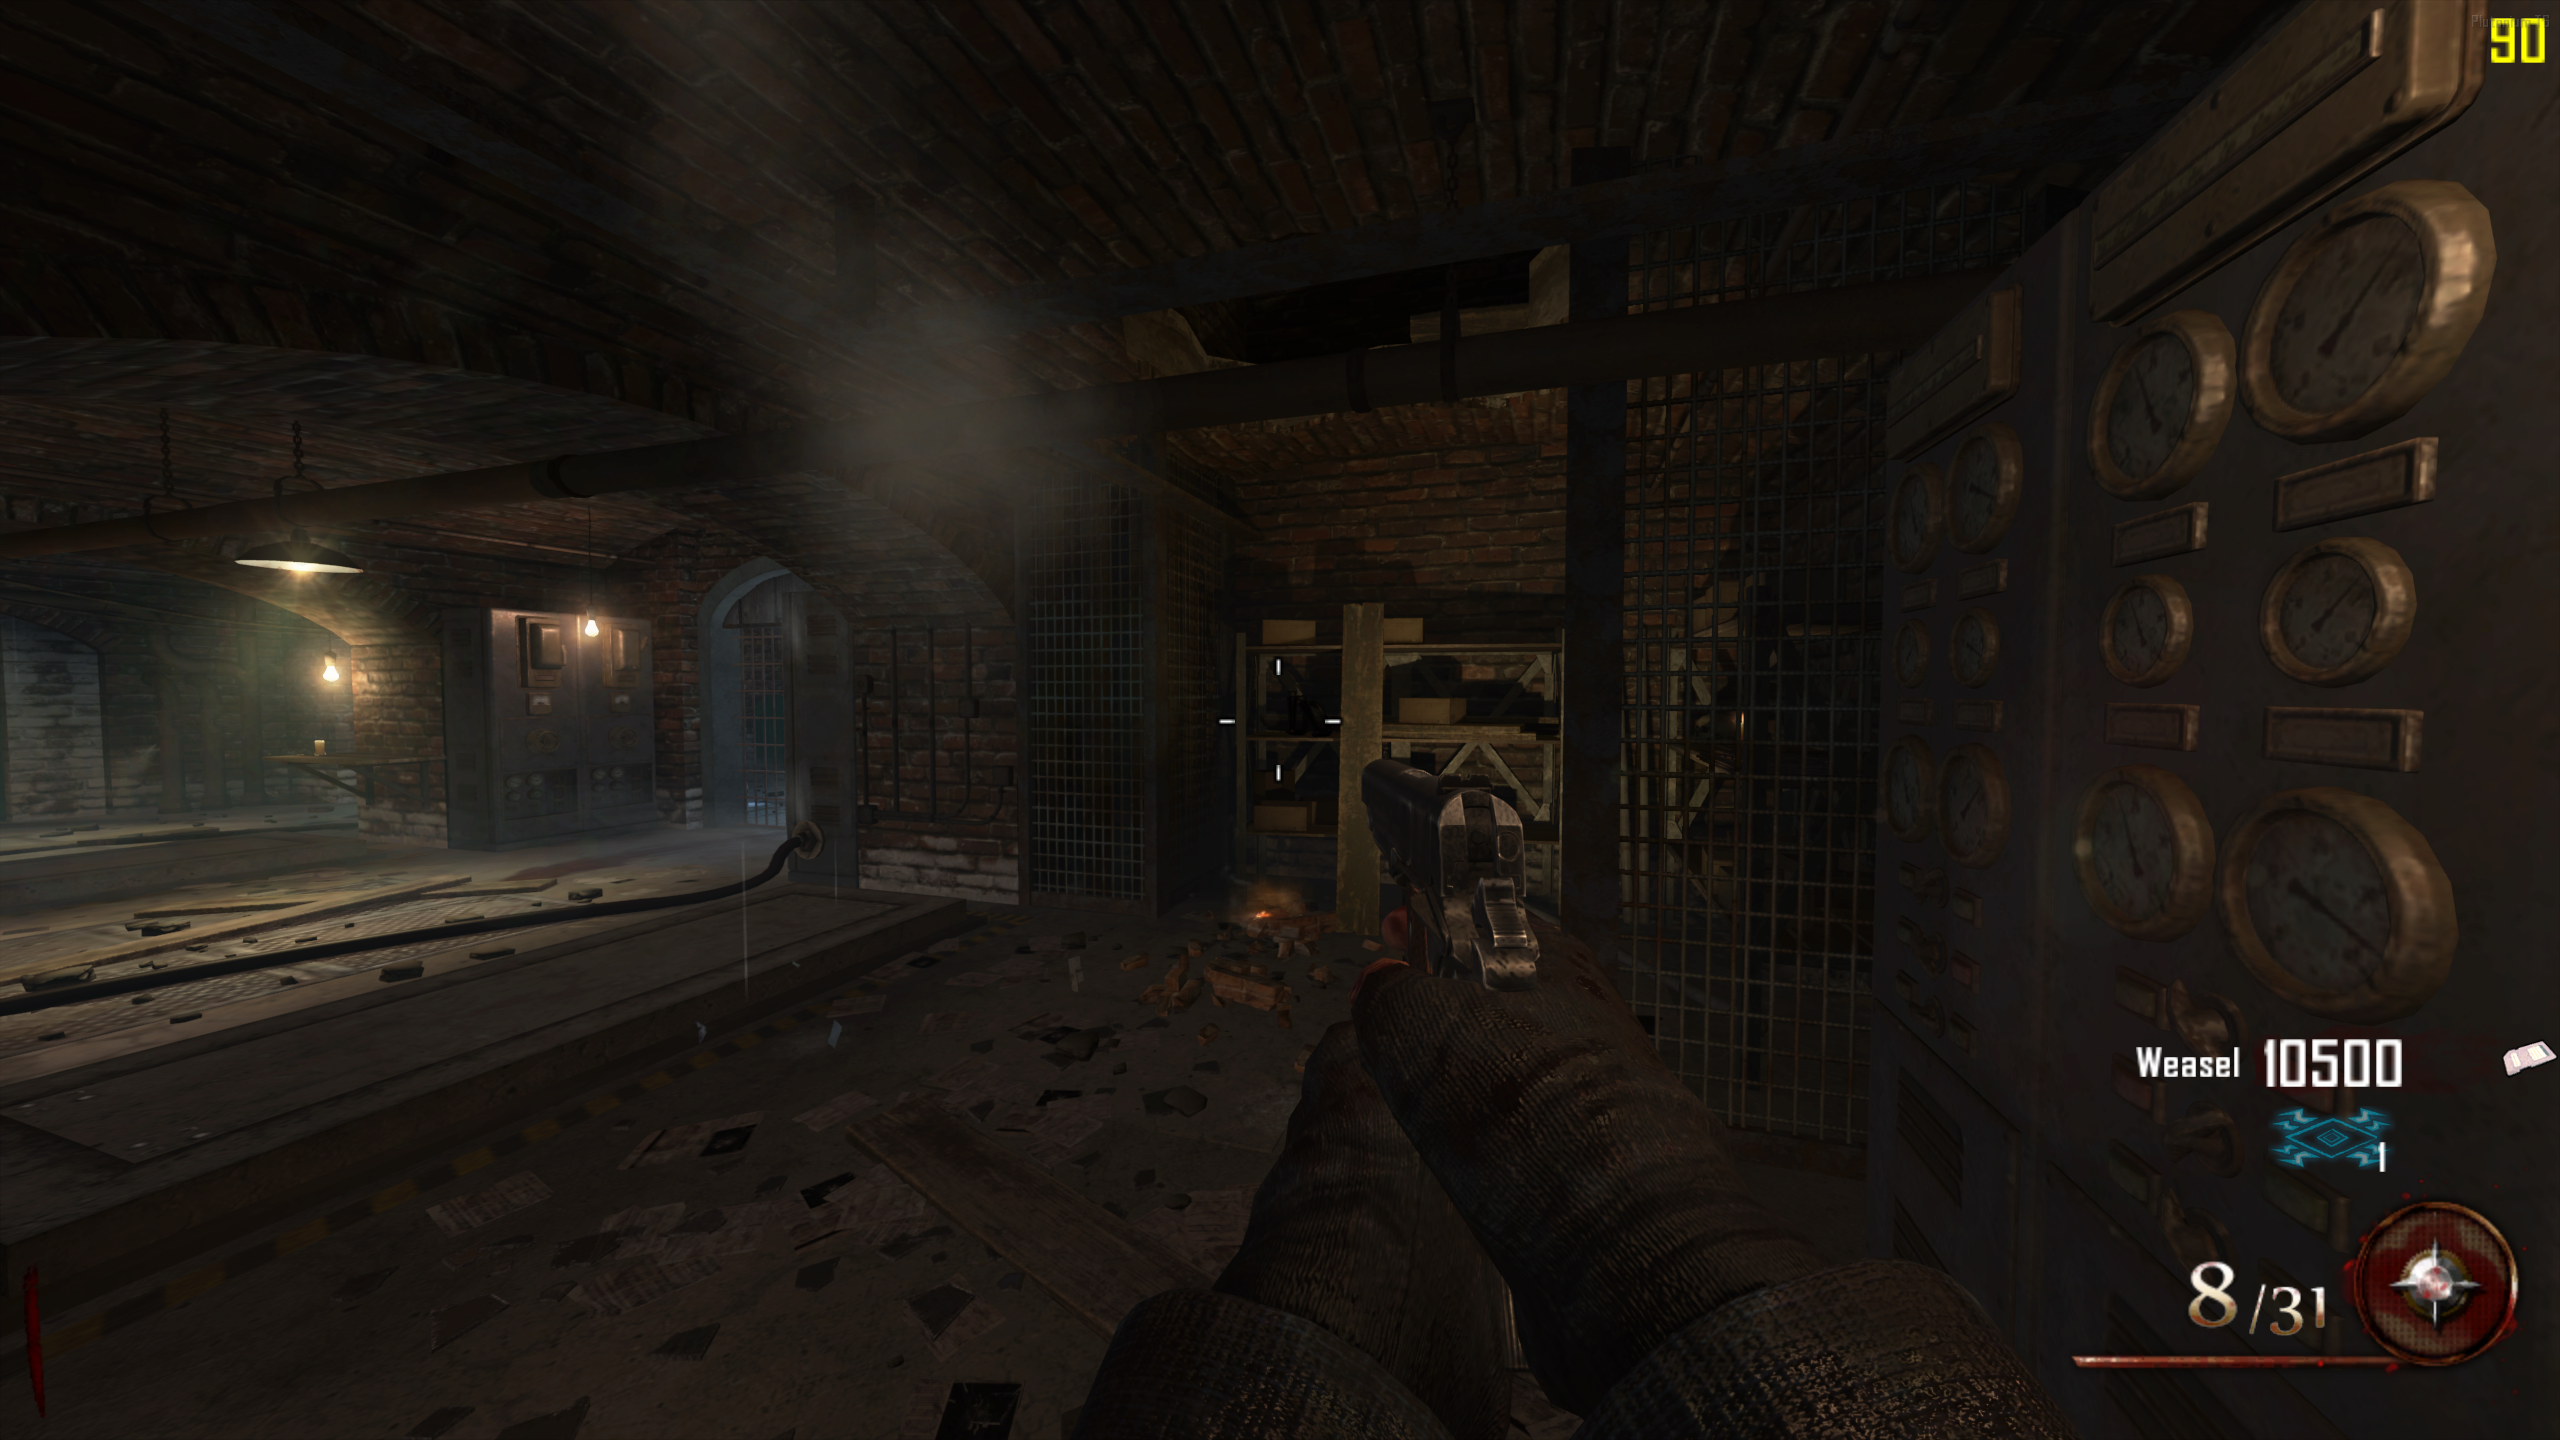
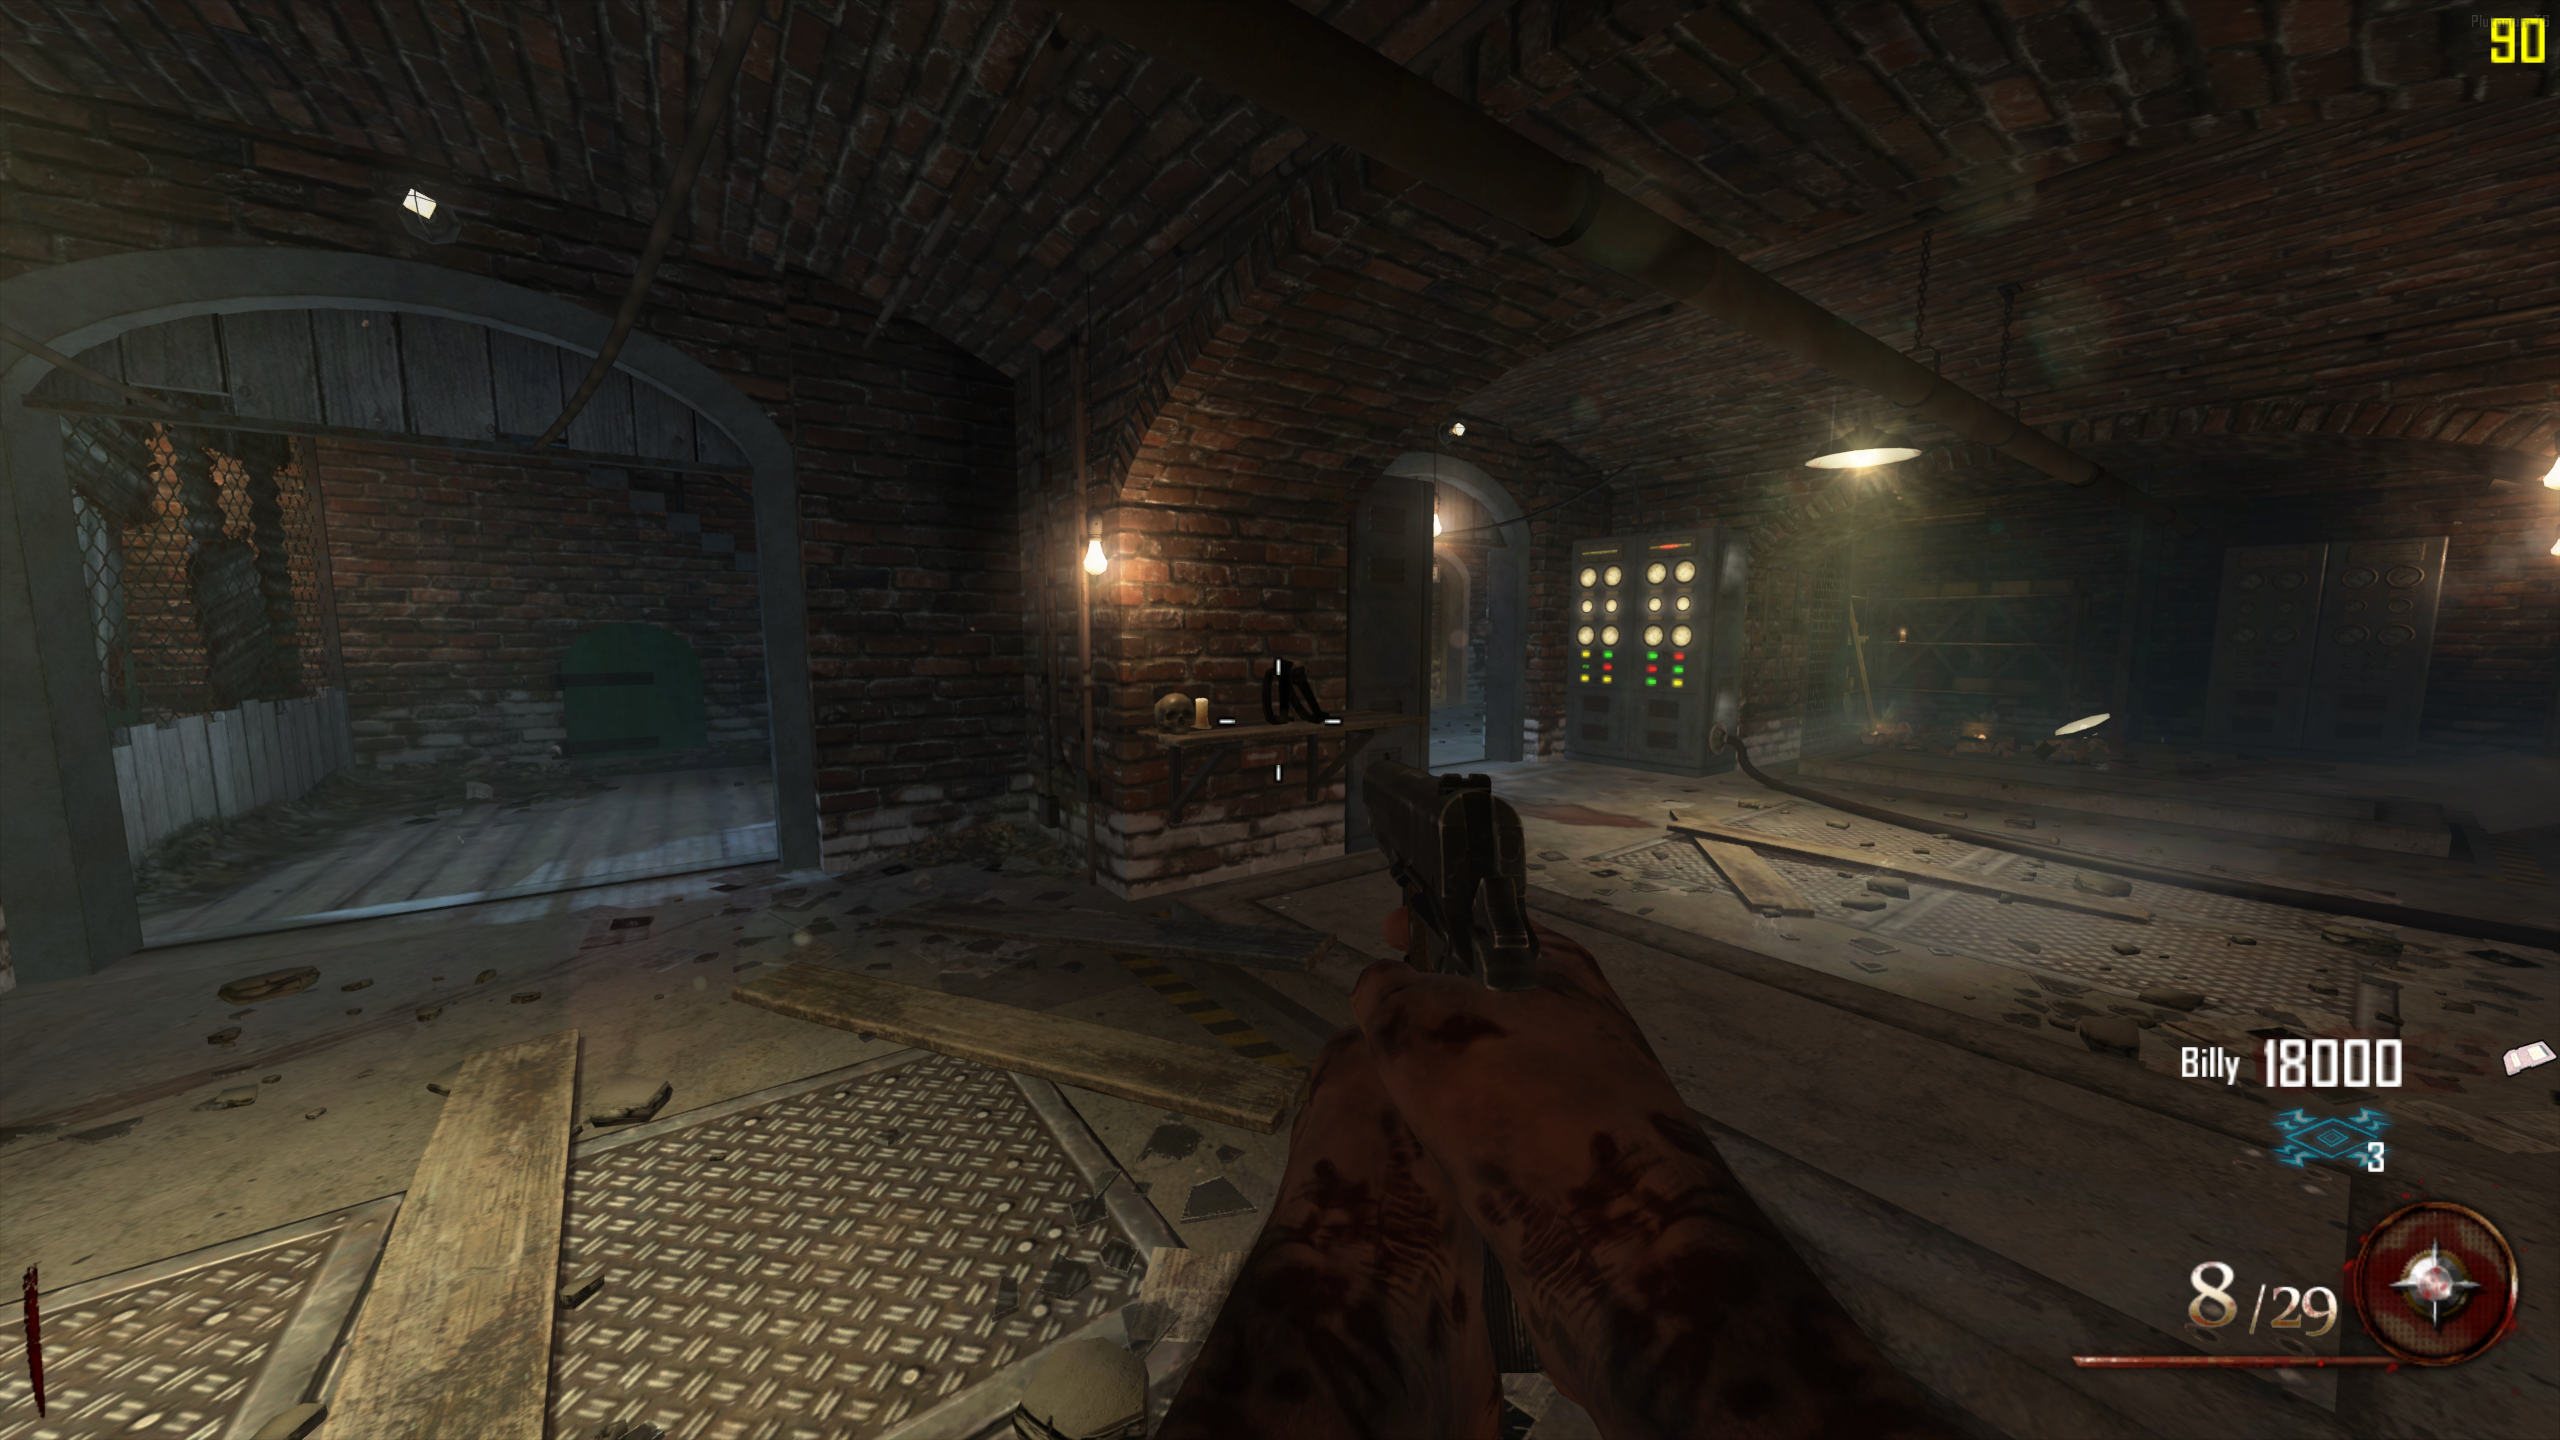
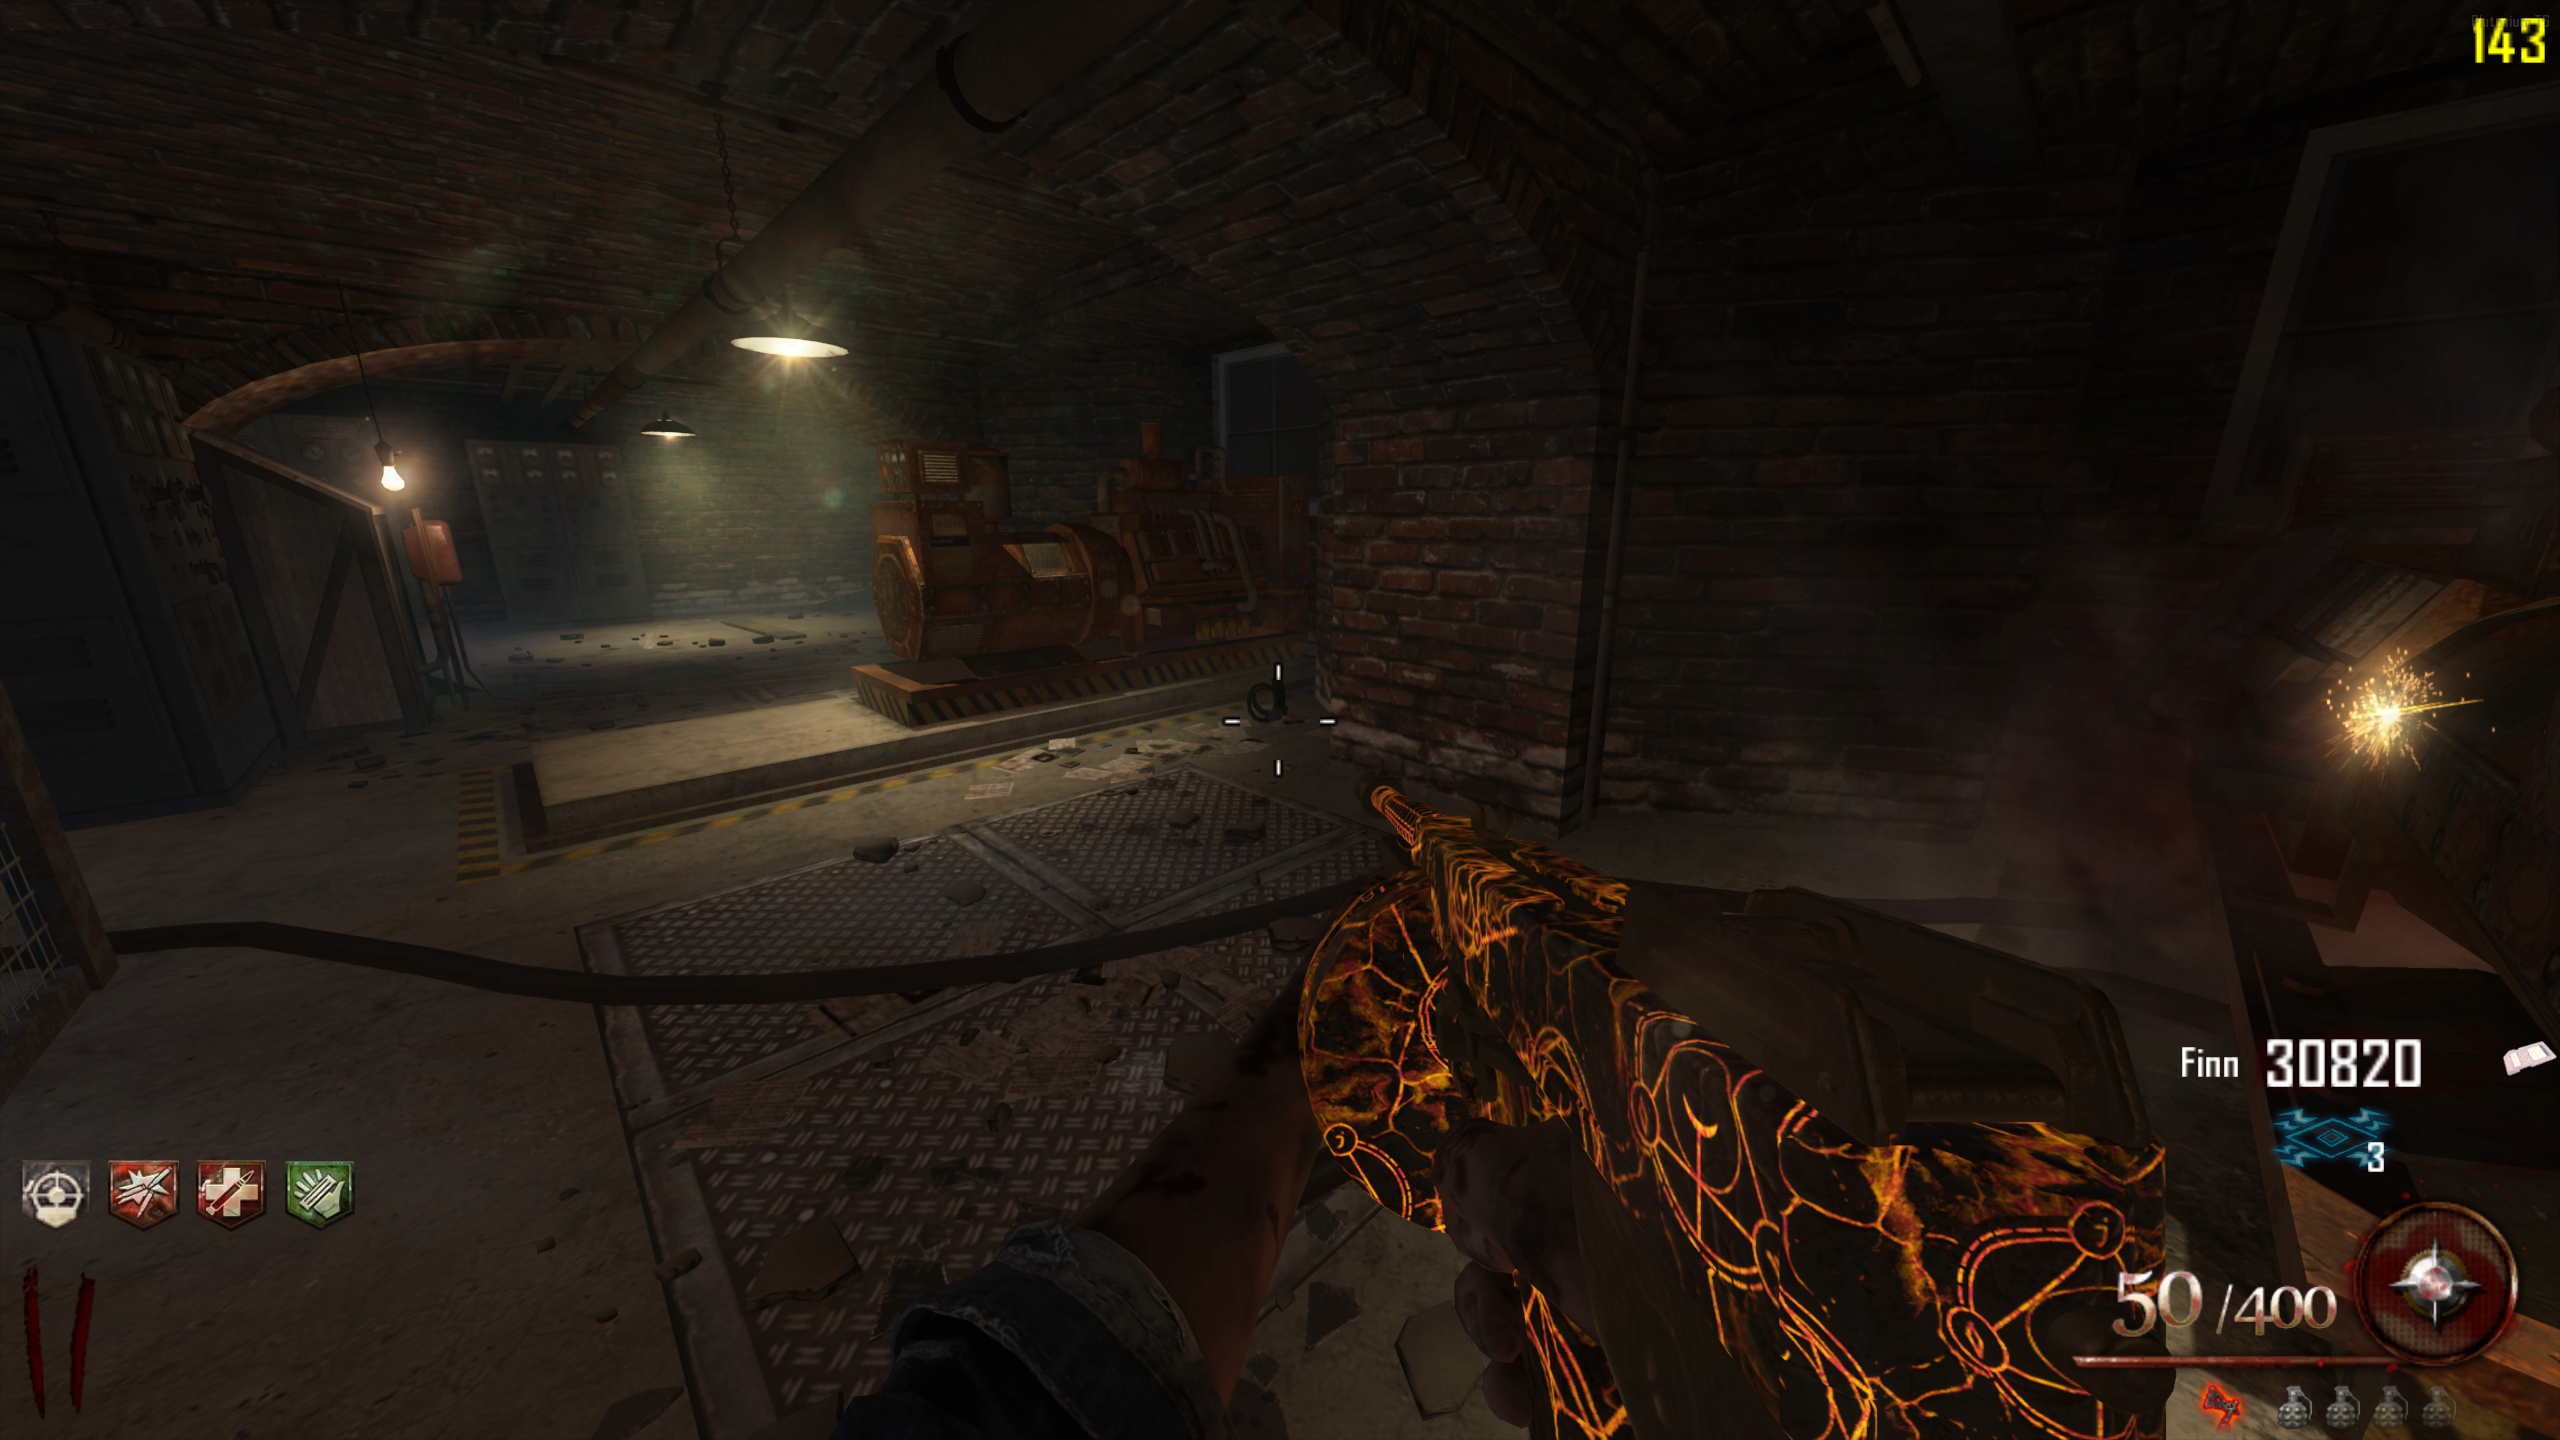
Engines - In the Generator Room at the Docks, there are three panels that need to be shocked. Enter Afterlife, and shock each panel. Each panel will have a blue wire leading to it. Panel locations:
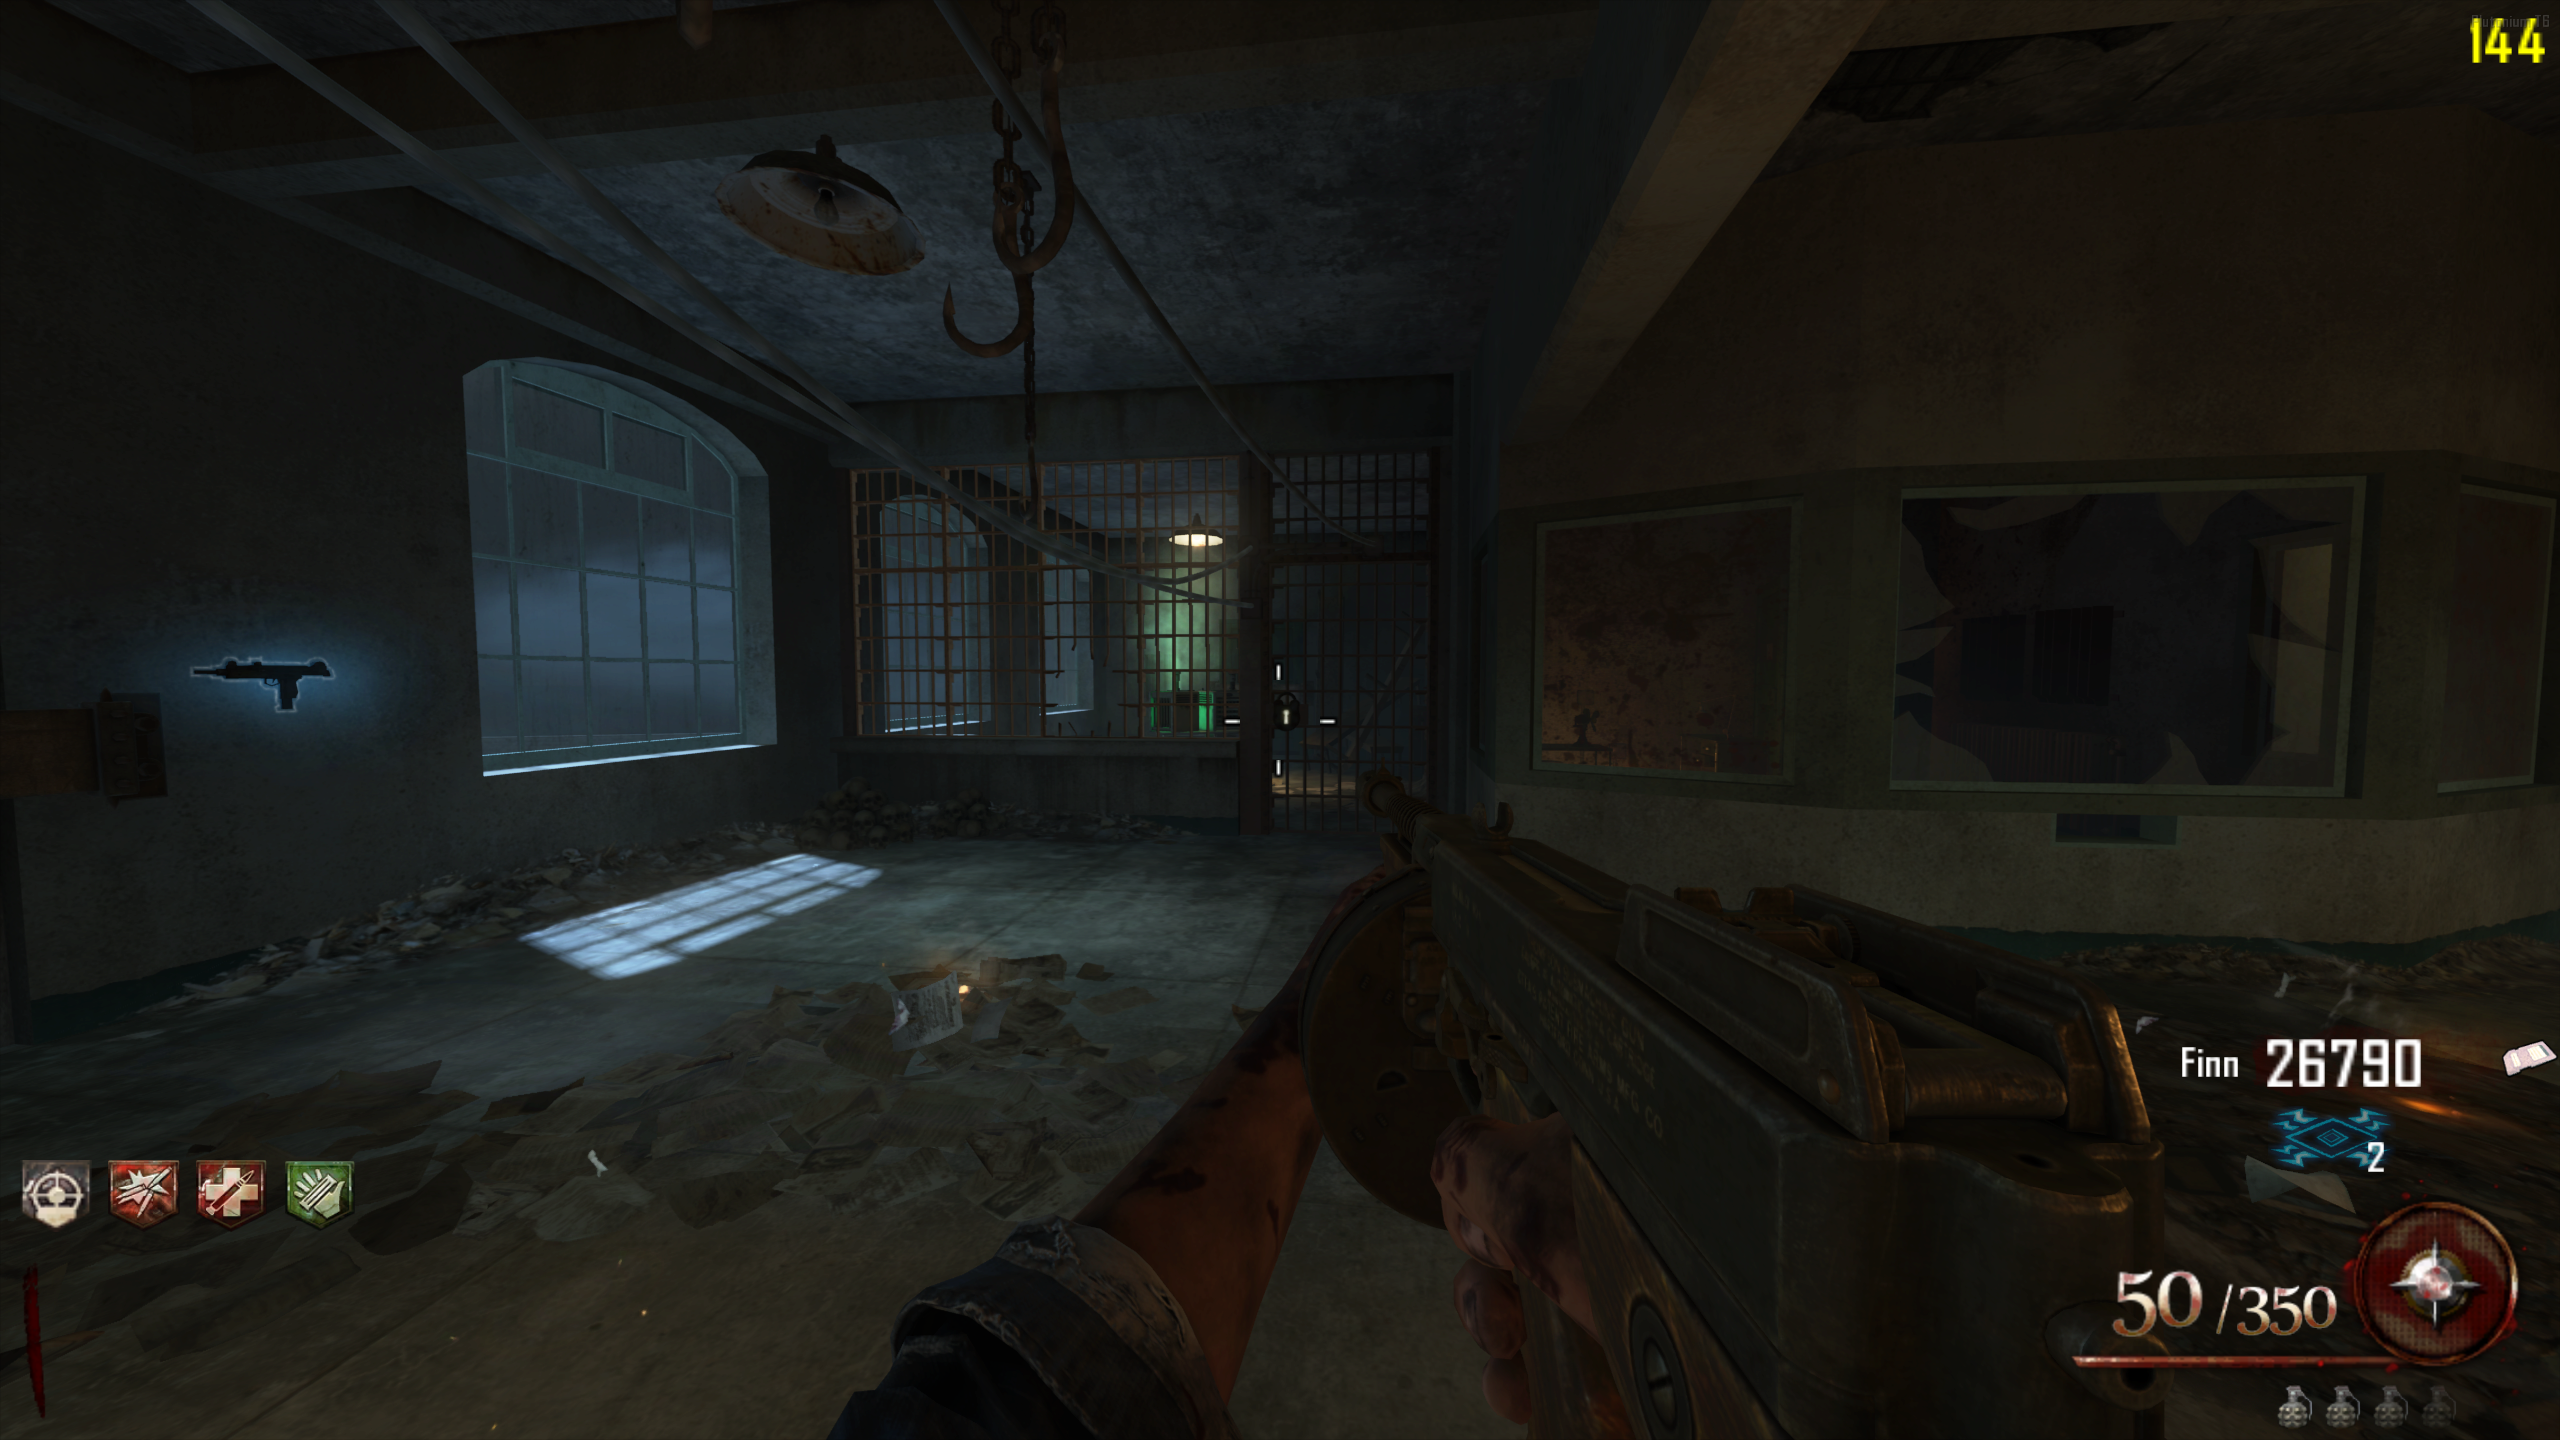
- Once all three panels have been shocked, one of the generators in the room will start smoking. In the Warden's Office, there's a locked gate, right of the Uzi wallbuy. Interact with it to open it.
- Inside, the Engines are on the table for you to pick up.
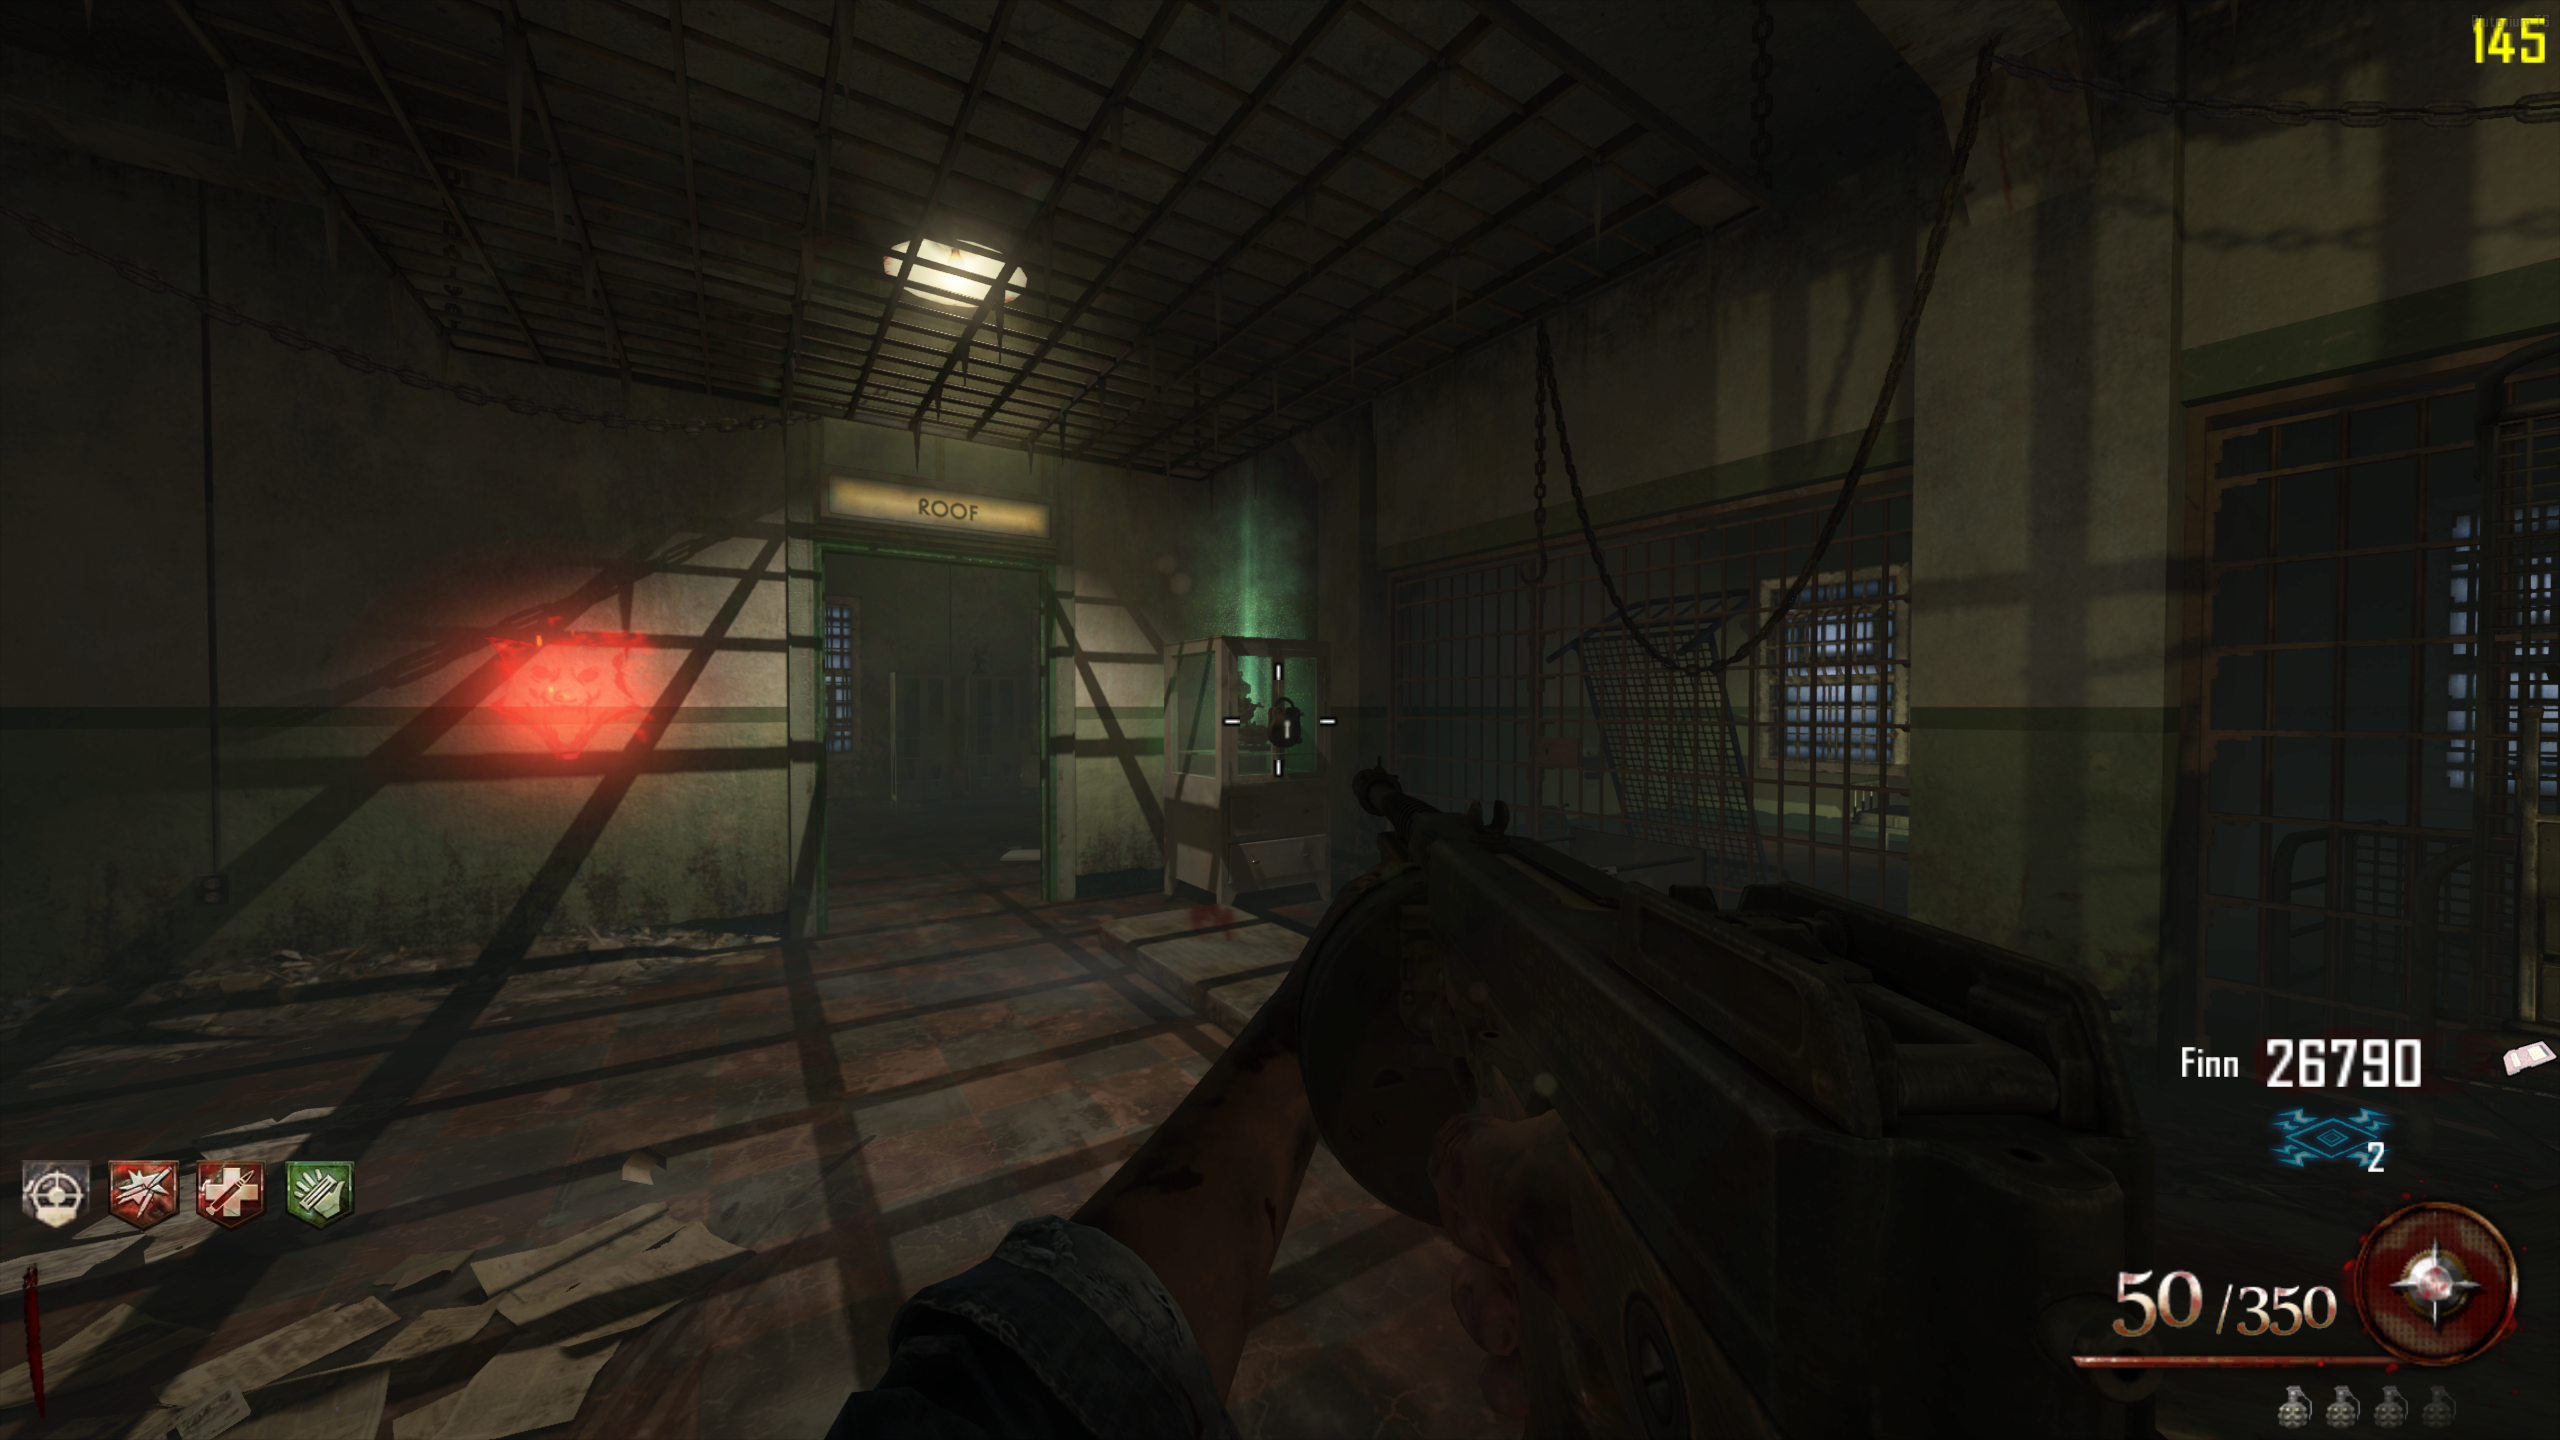
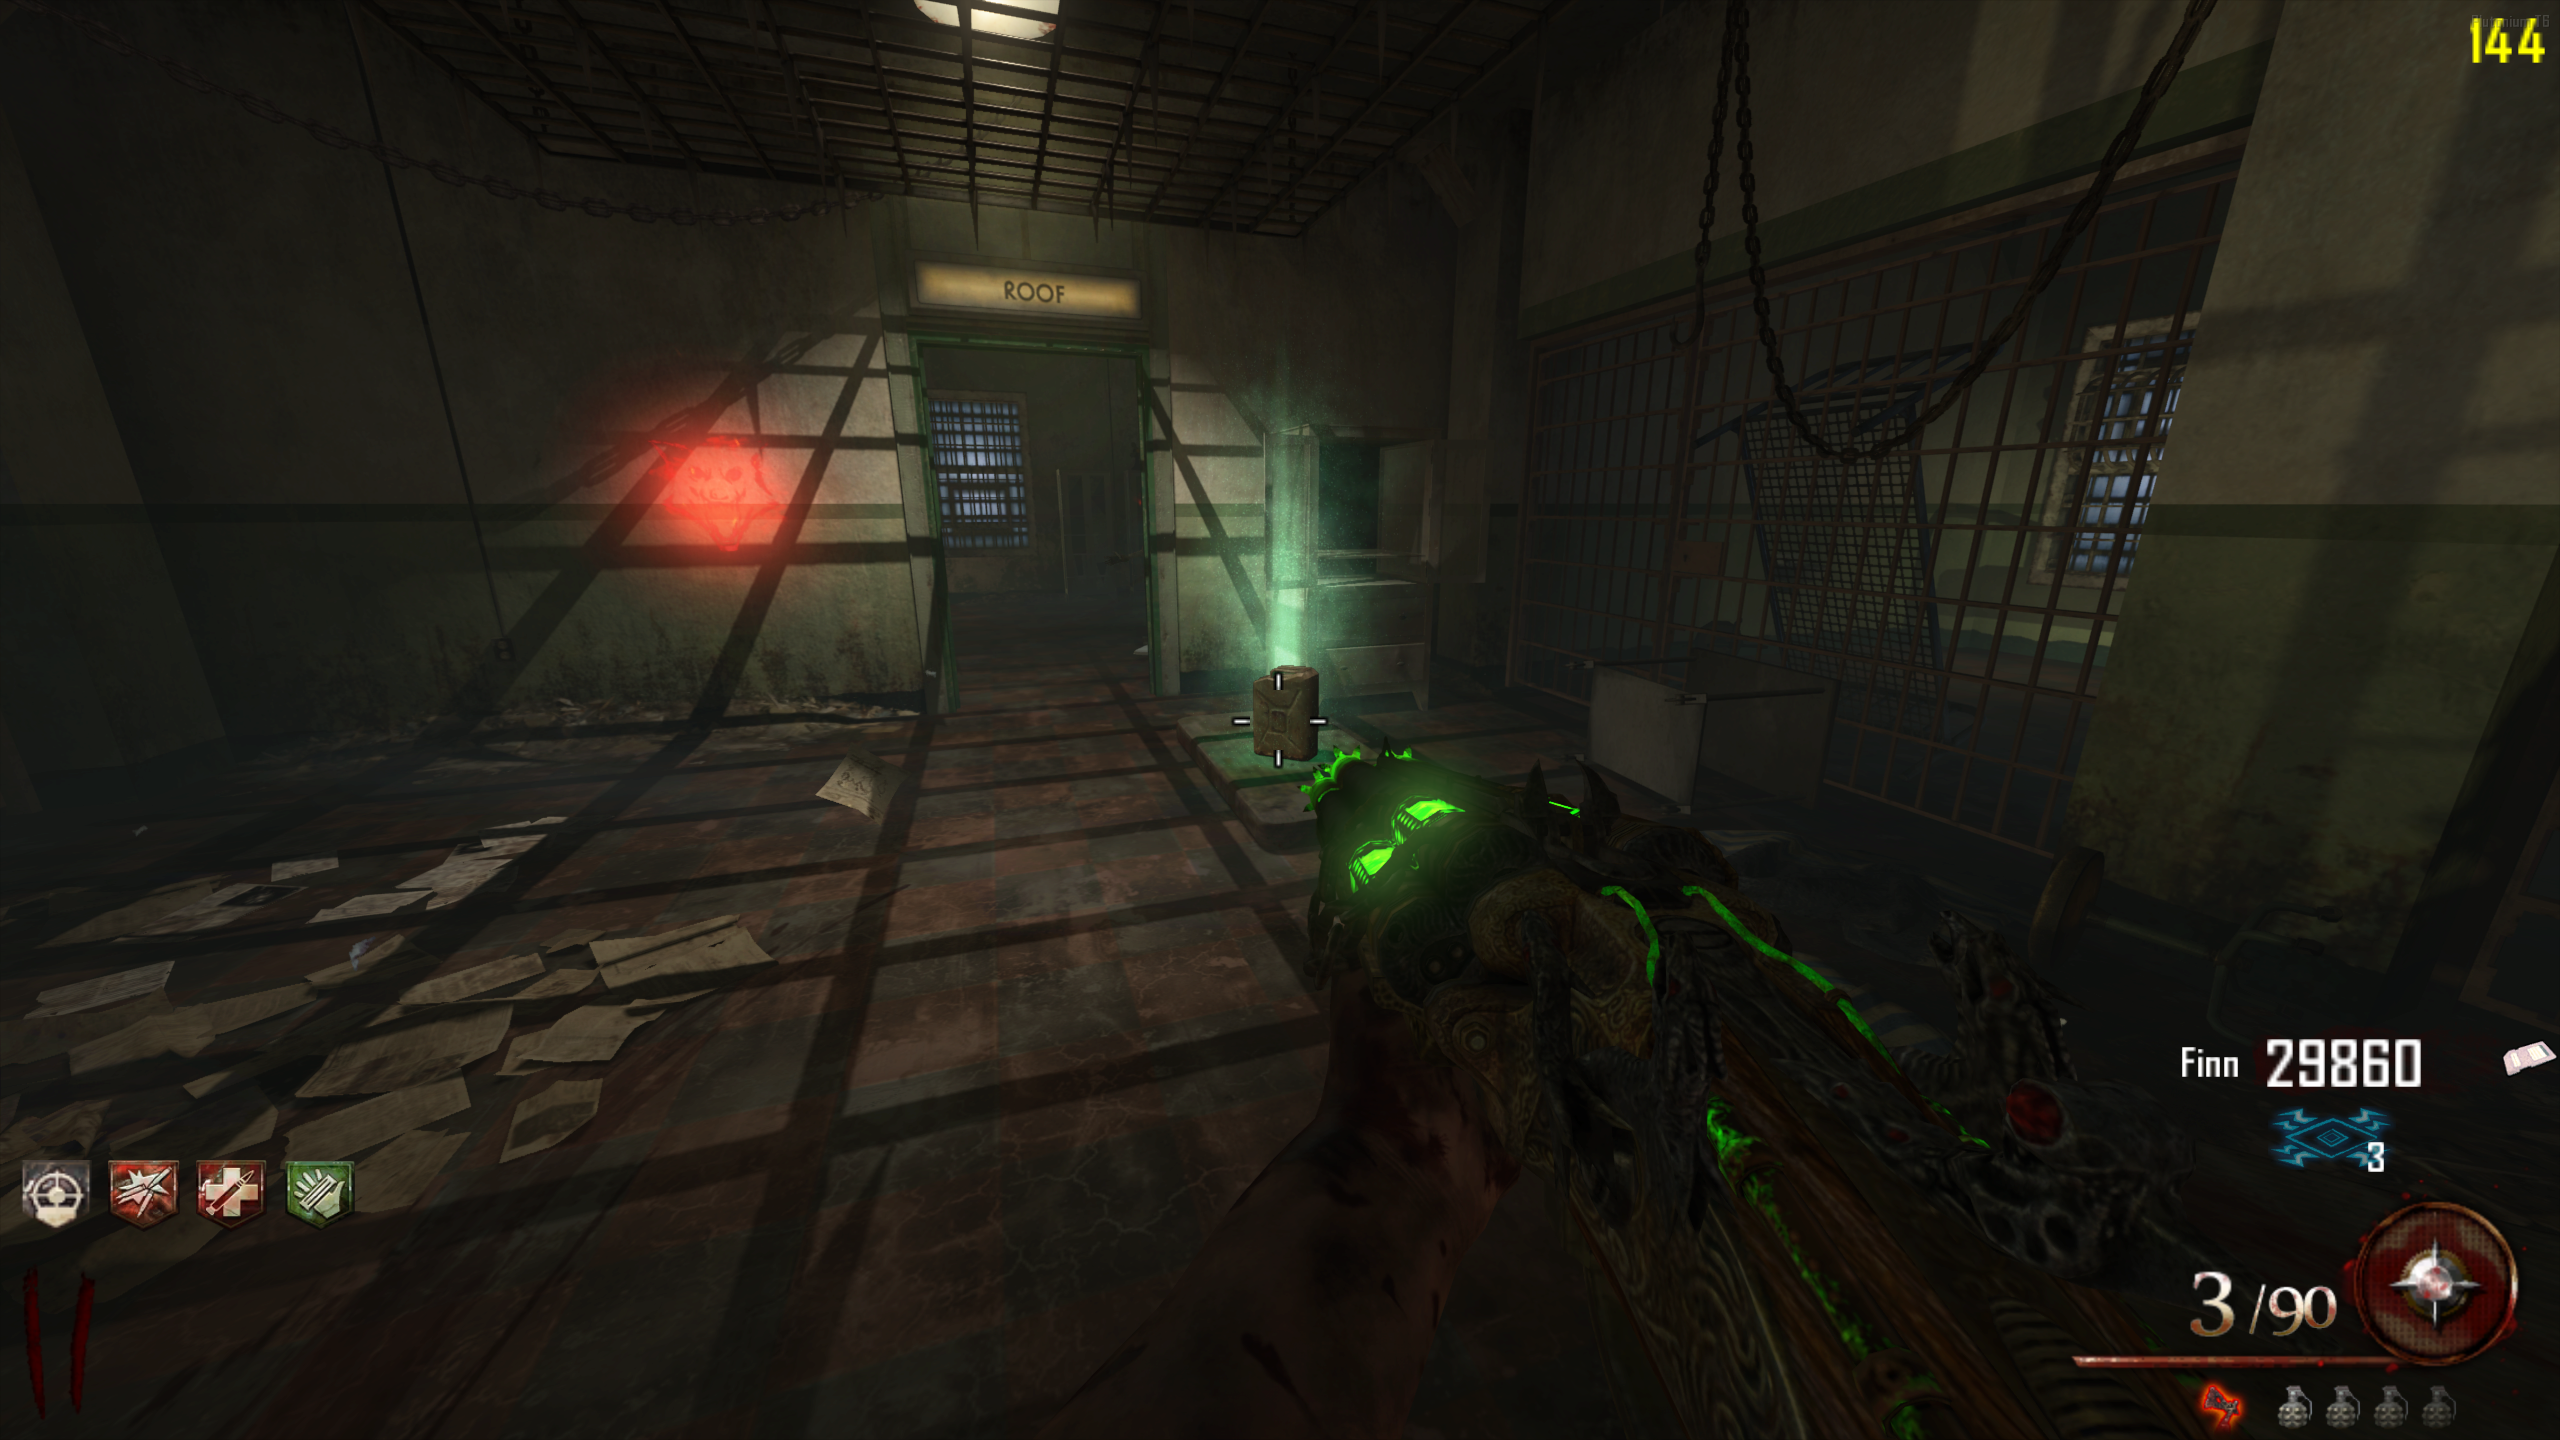
Valves - In the Infirmary, interact with the locked cabinet beside the doorway to the Roof. Pick up the Valves inside.
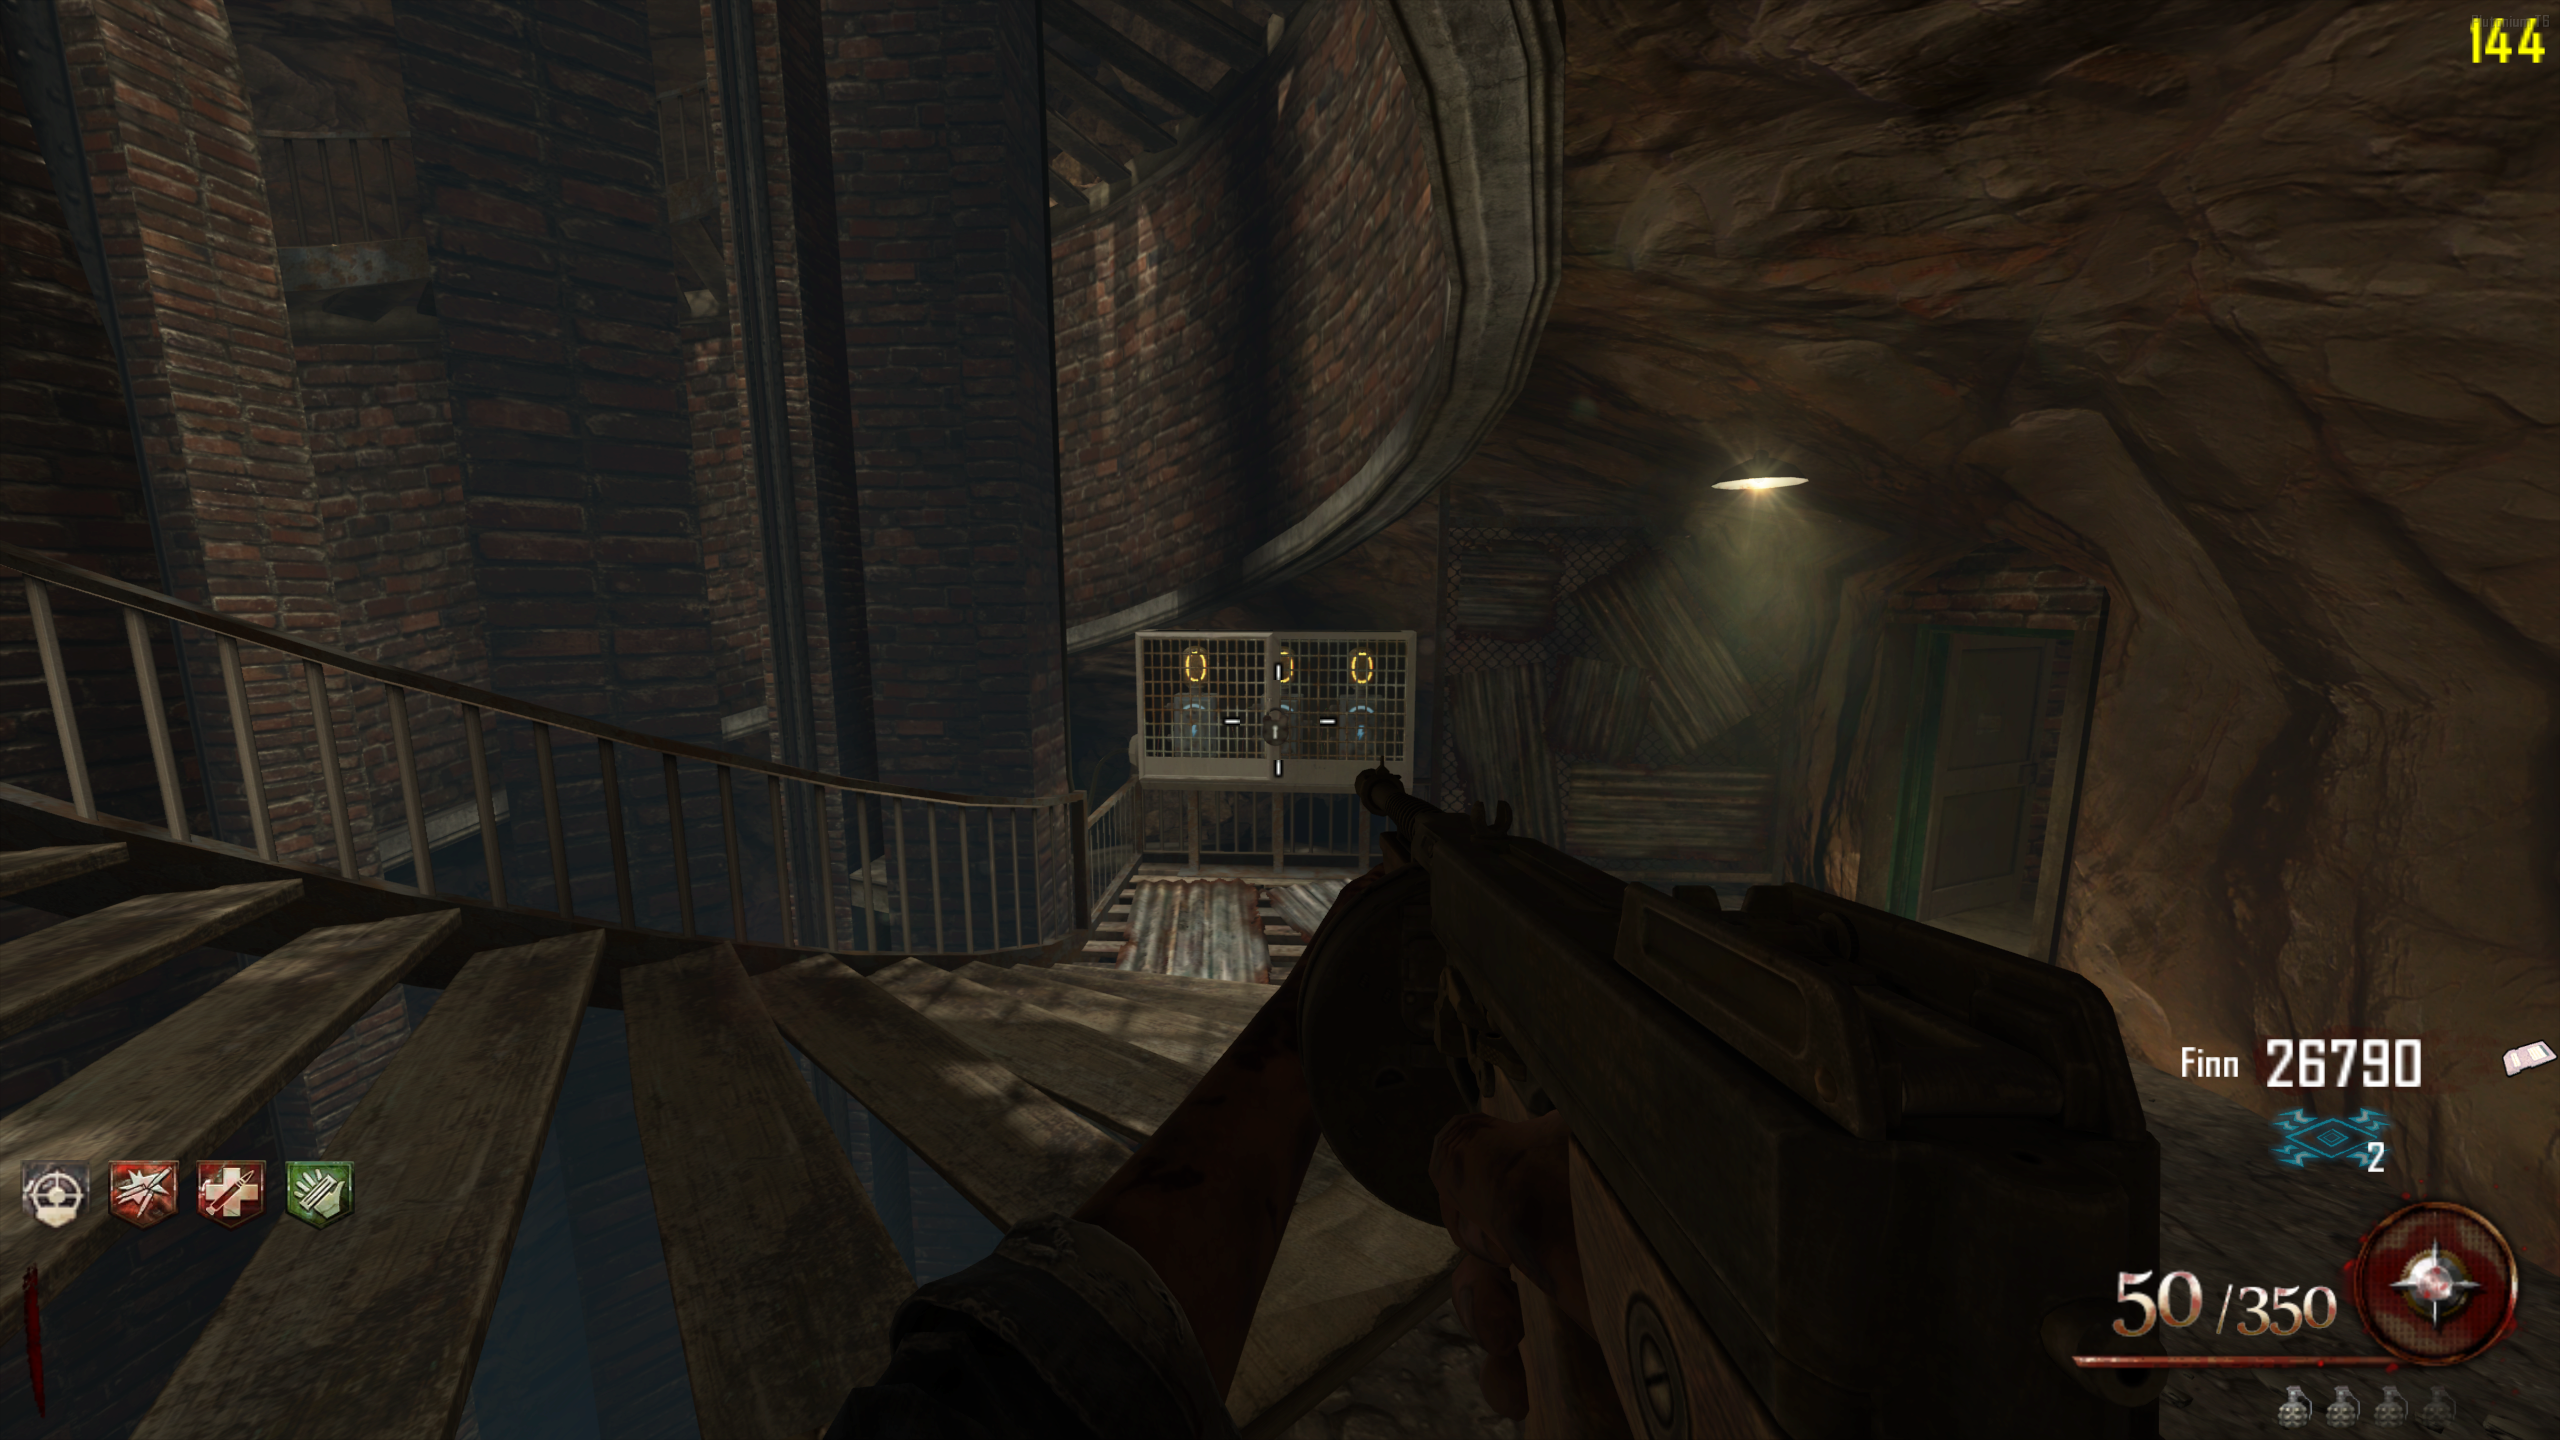
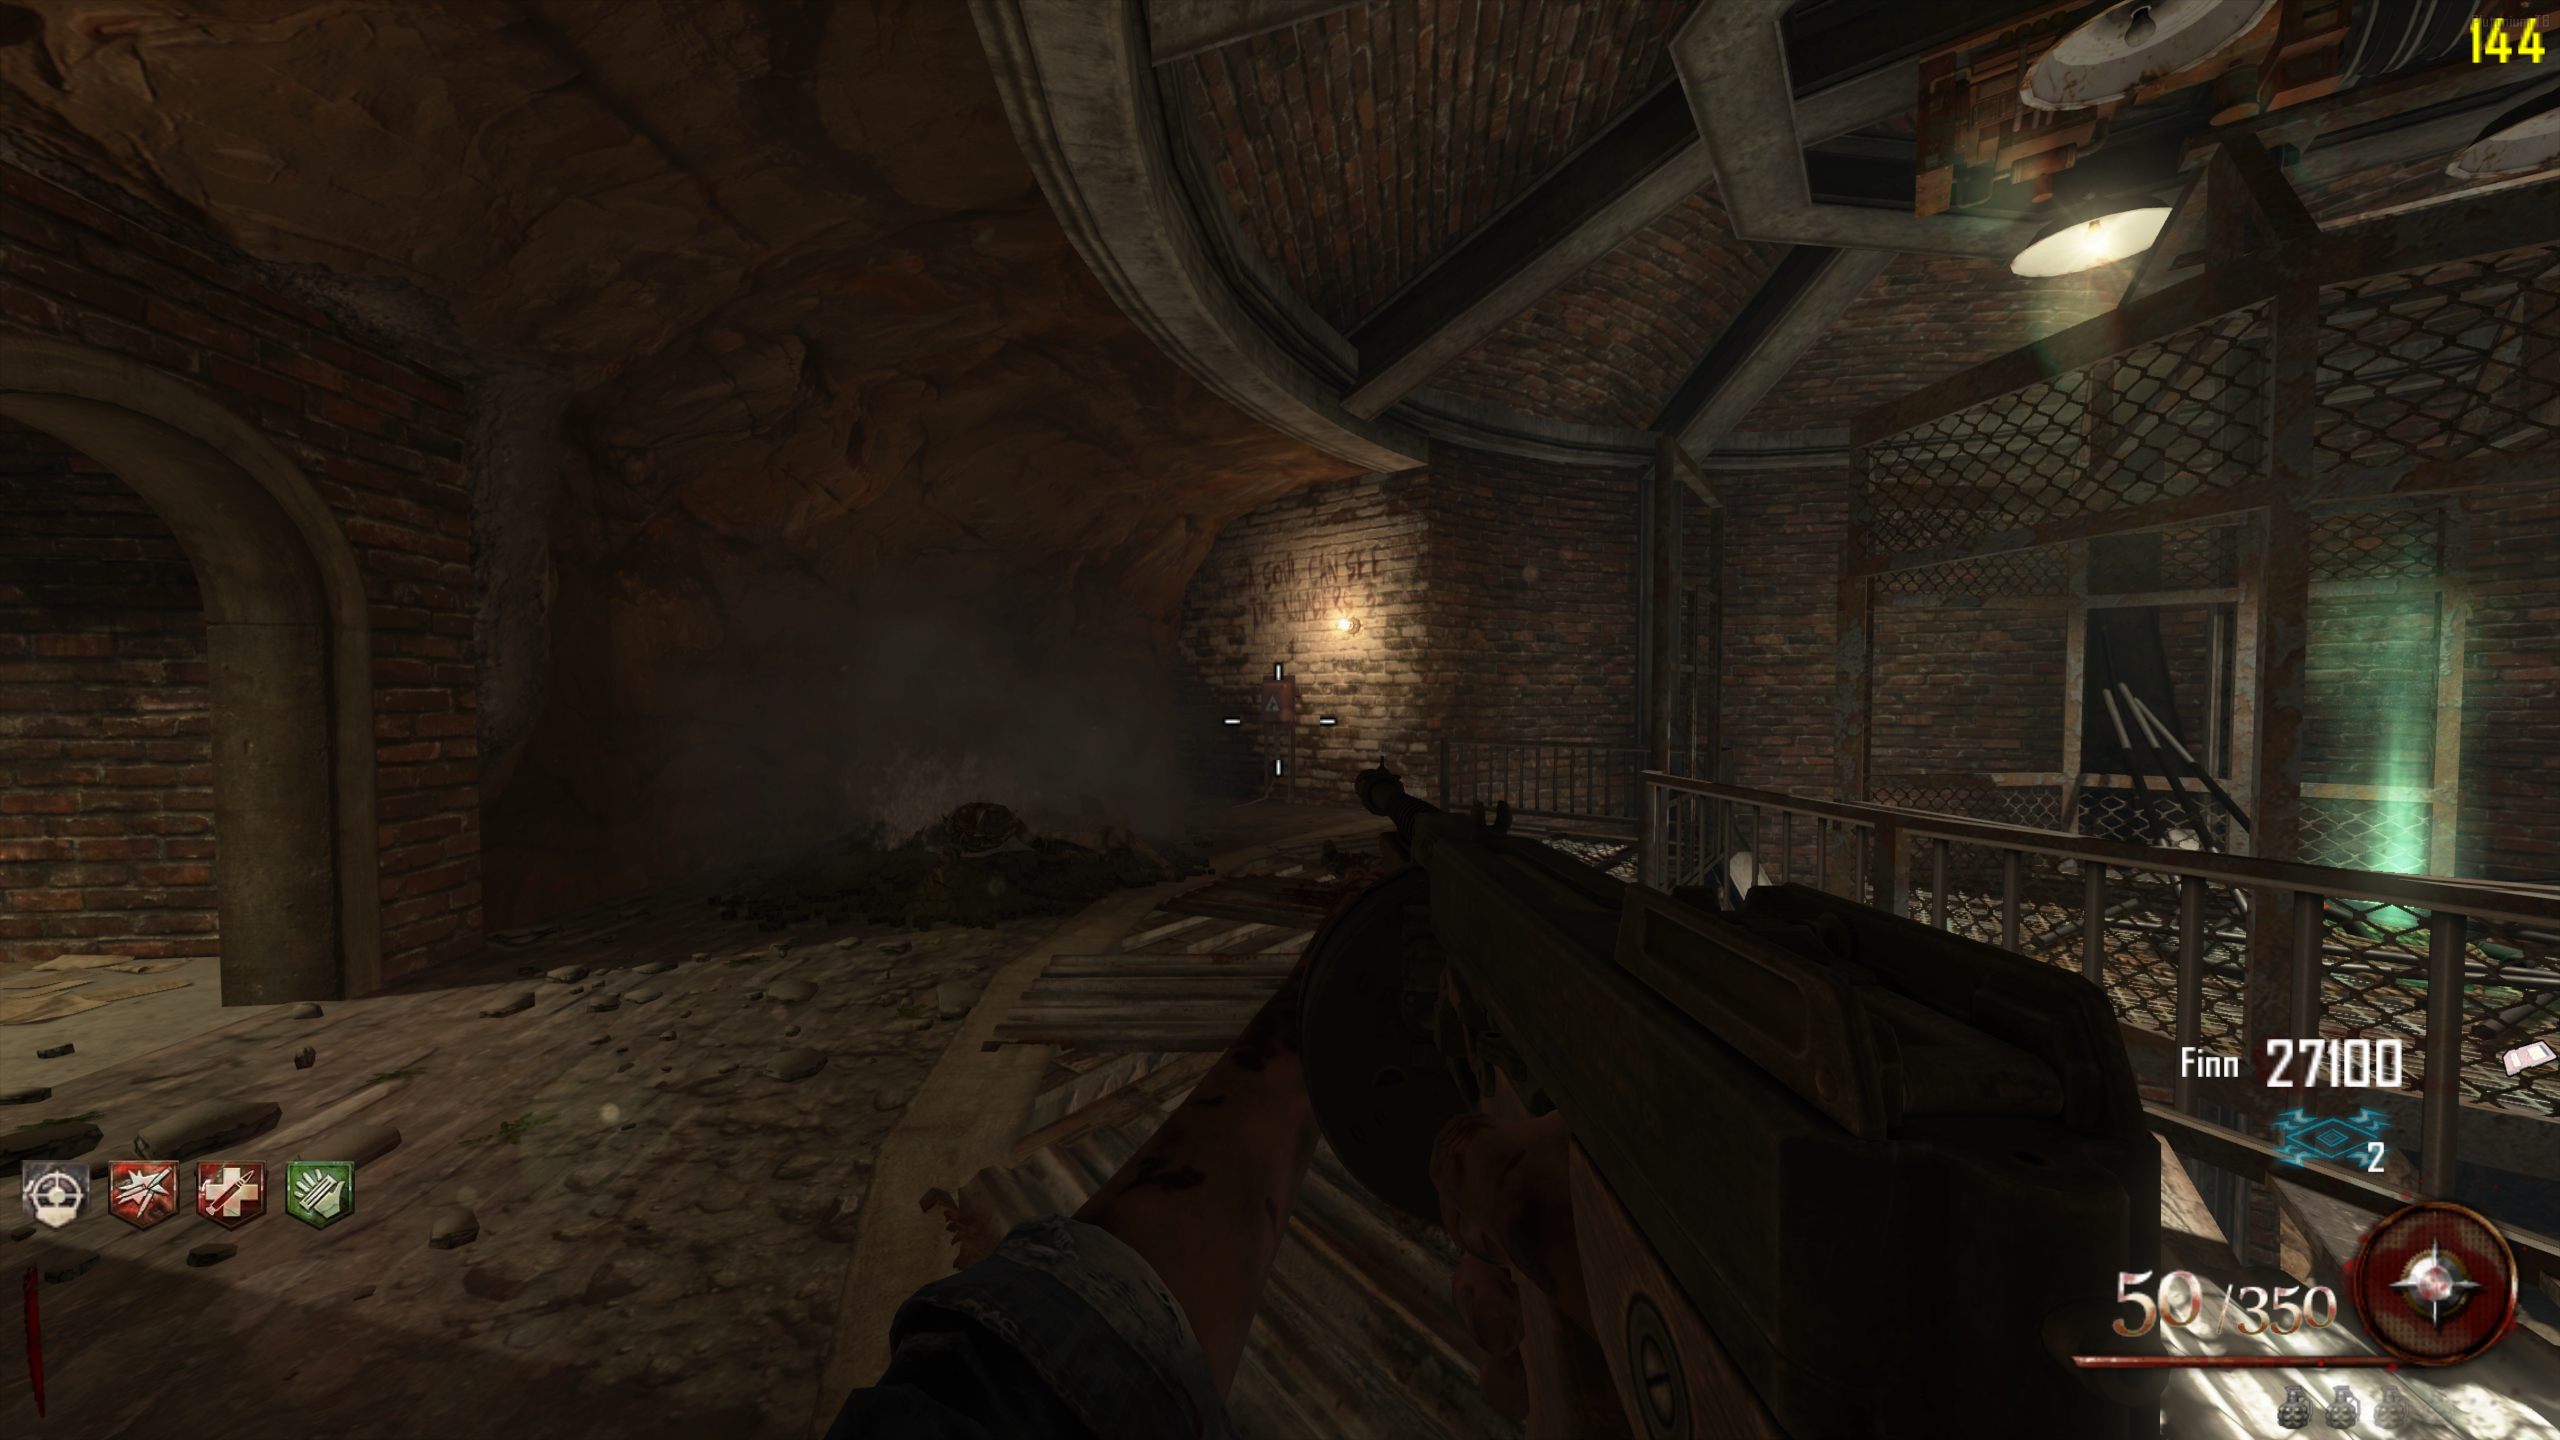
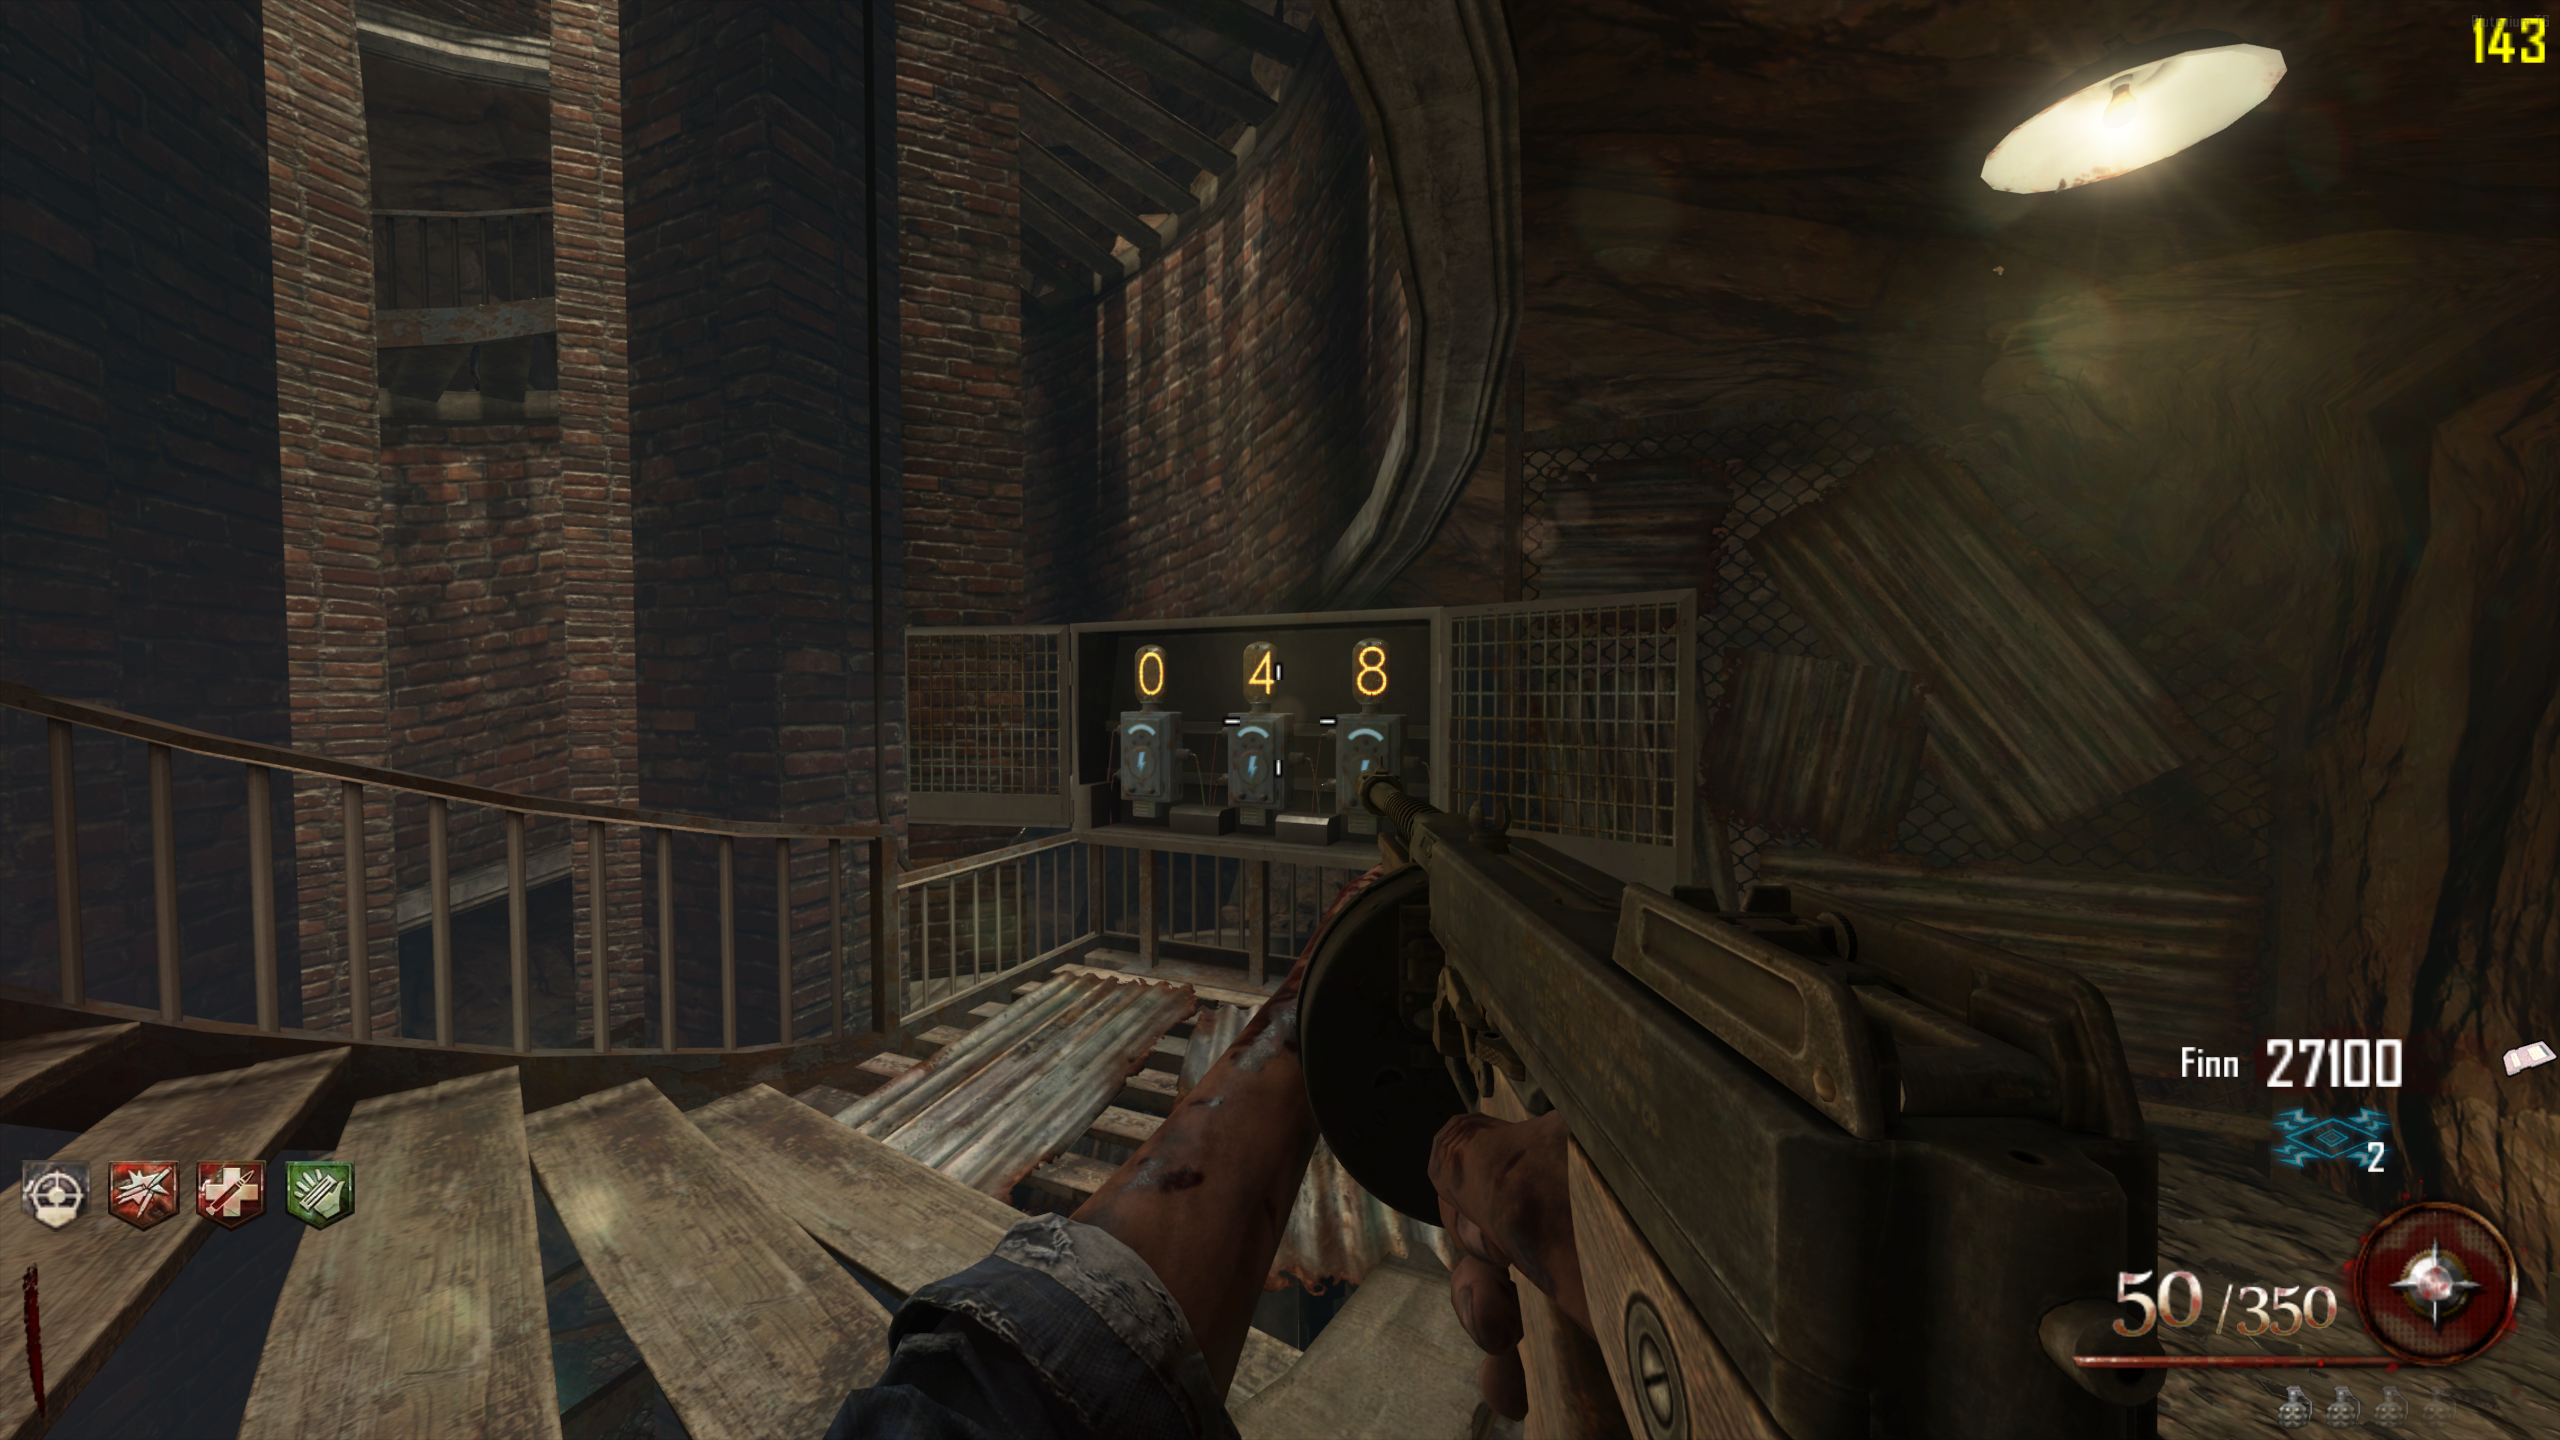
Rigging - In the Citadel Tunnels, you'll find a large, spiral staircase. At the bottom, there's a locked panel with three number pads behind it. Interact with the panel to unlock it.
- Go to the top of the stairs, and enter Afterlife Mode using the Electrical Box there (any works, but this is closest).
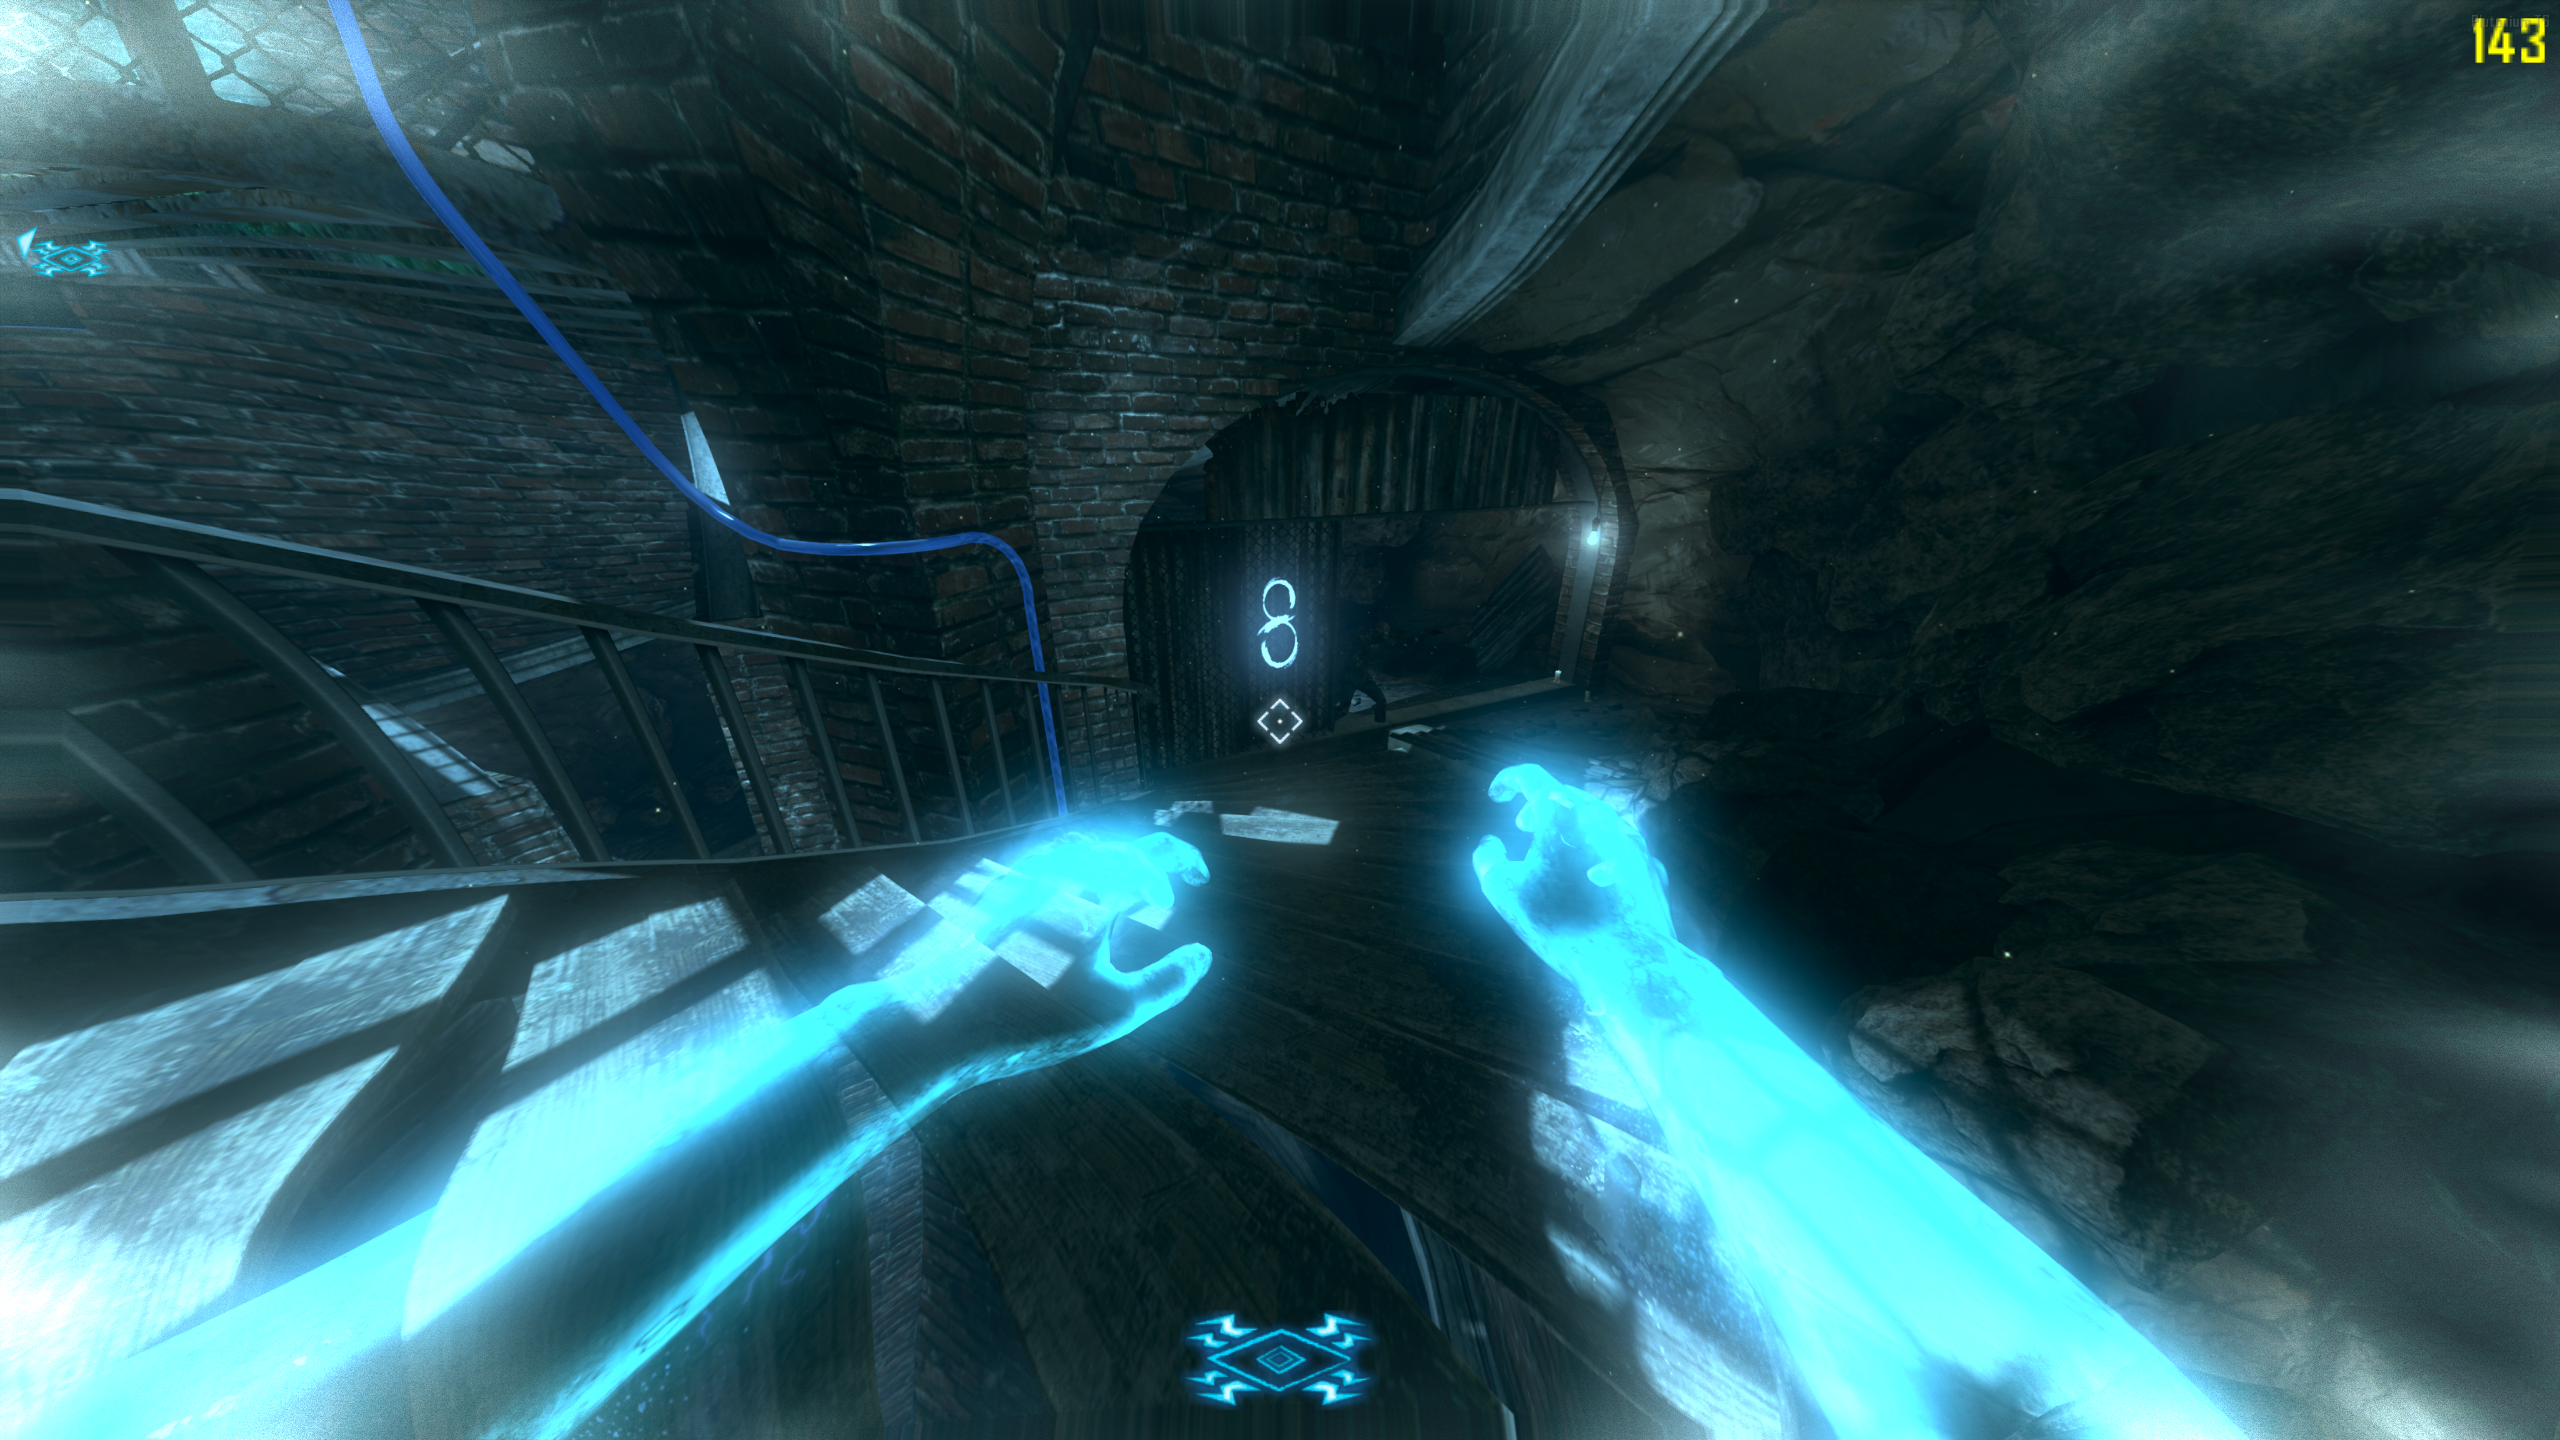
- While in Afterlife, run down toward the panel you unlocked. On three of the walls on the way down the spiral stairs, you'll see a number that only shows up in Afterlife. Remember them in order from top to bottom.
- Once you reach the panel, shock in the numbers in the order you saw them. To enter a digit, shock the electrical box below it until the number above changes to the one you need.
- Once the numbers are in, they'll flicker. Revive yourself quickly (or have another player revive you), then run down past the number pad and the Uzi wallbuy. You have 60 seconds for the next step, and the time you have left is shown on the number pad.
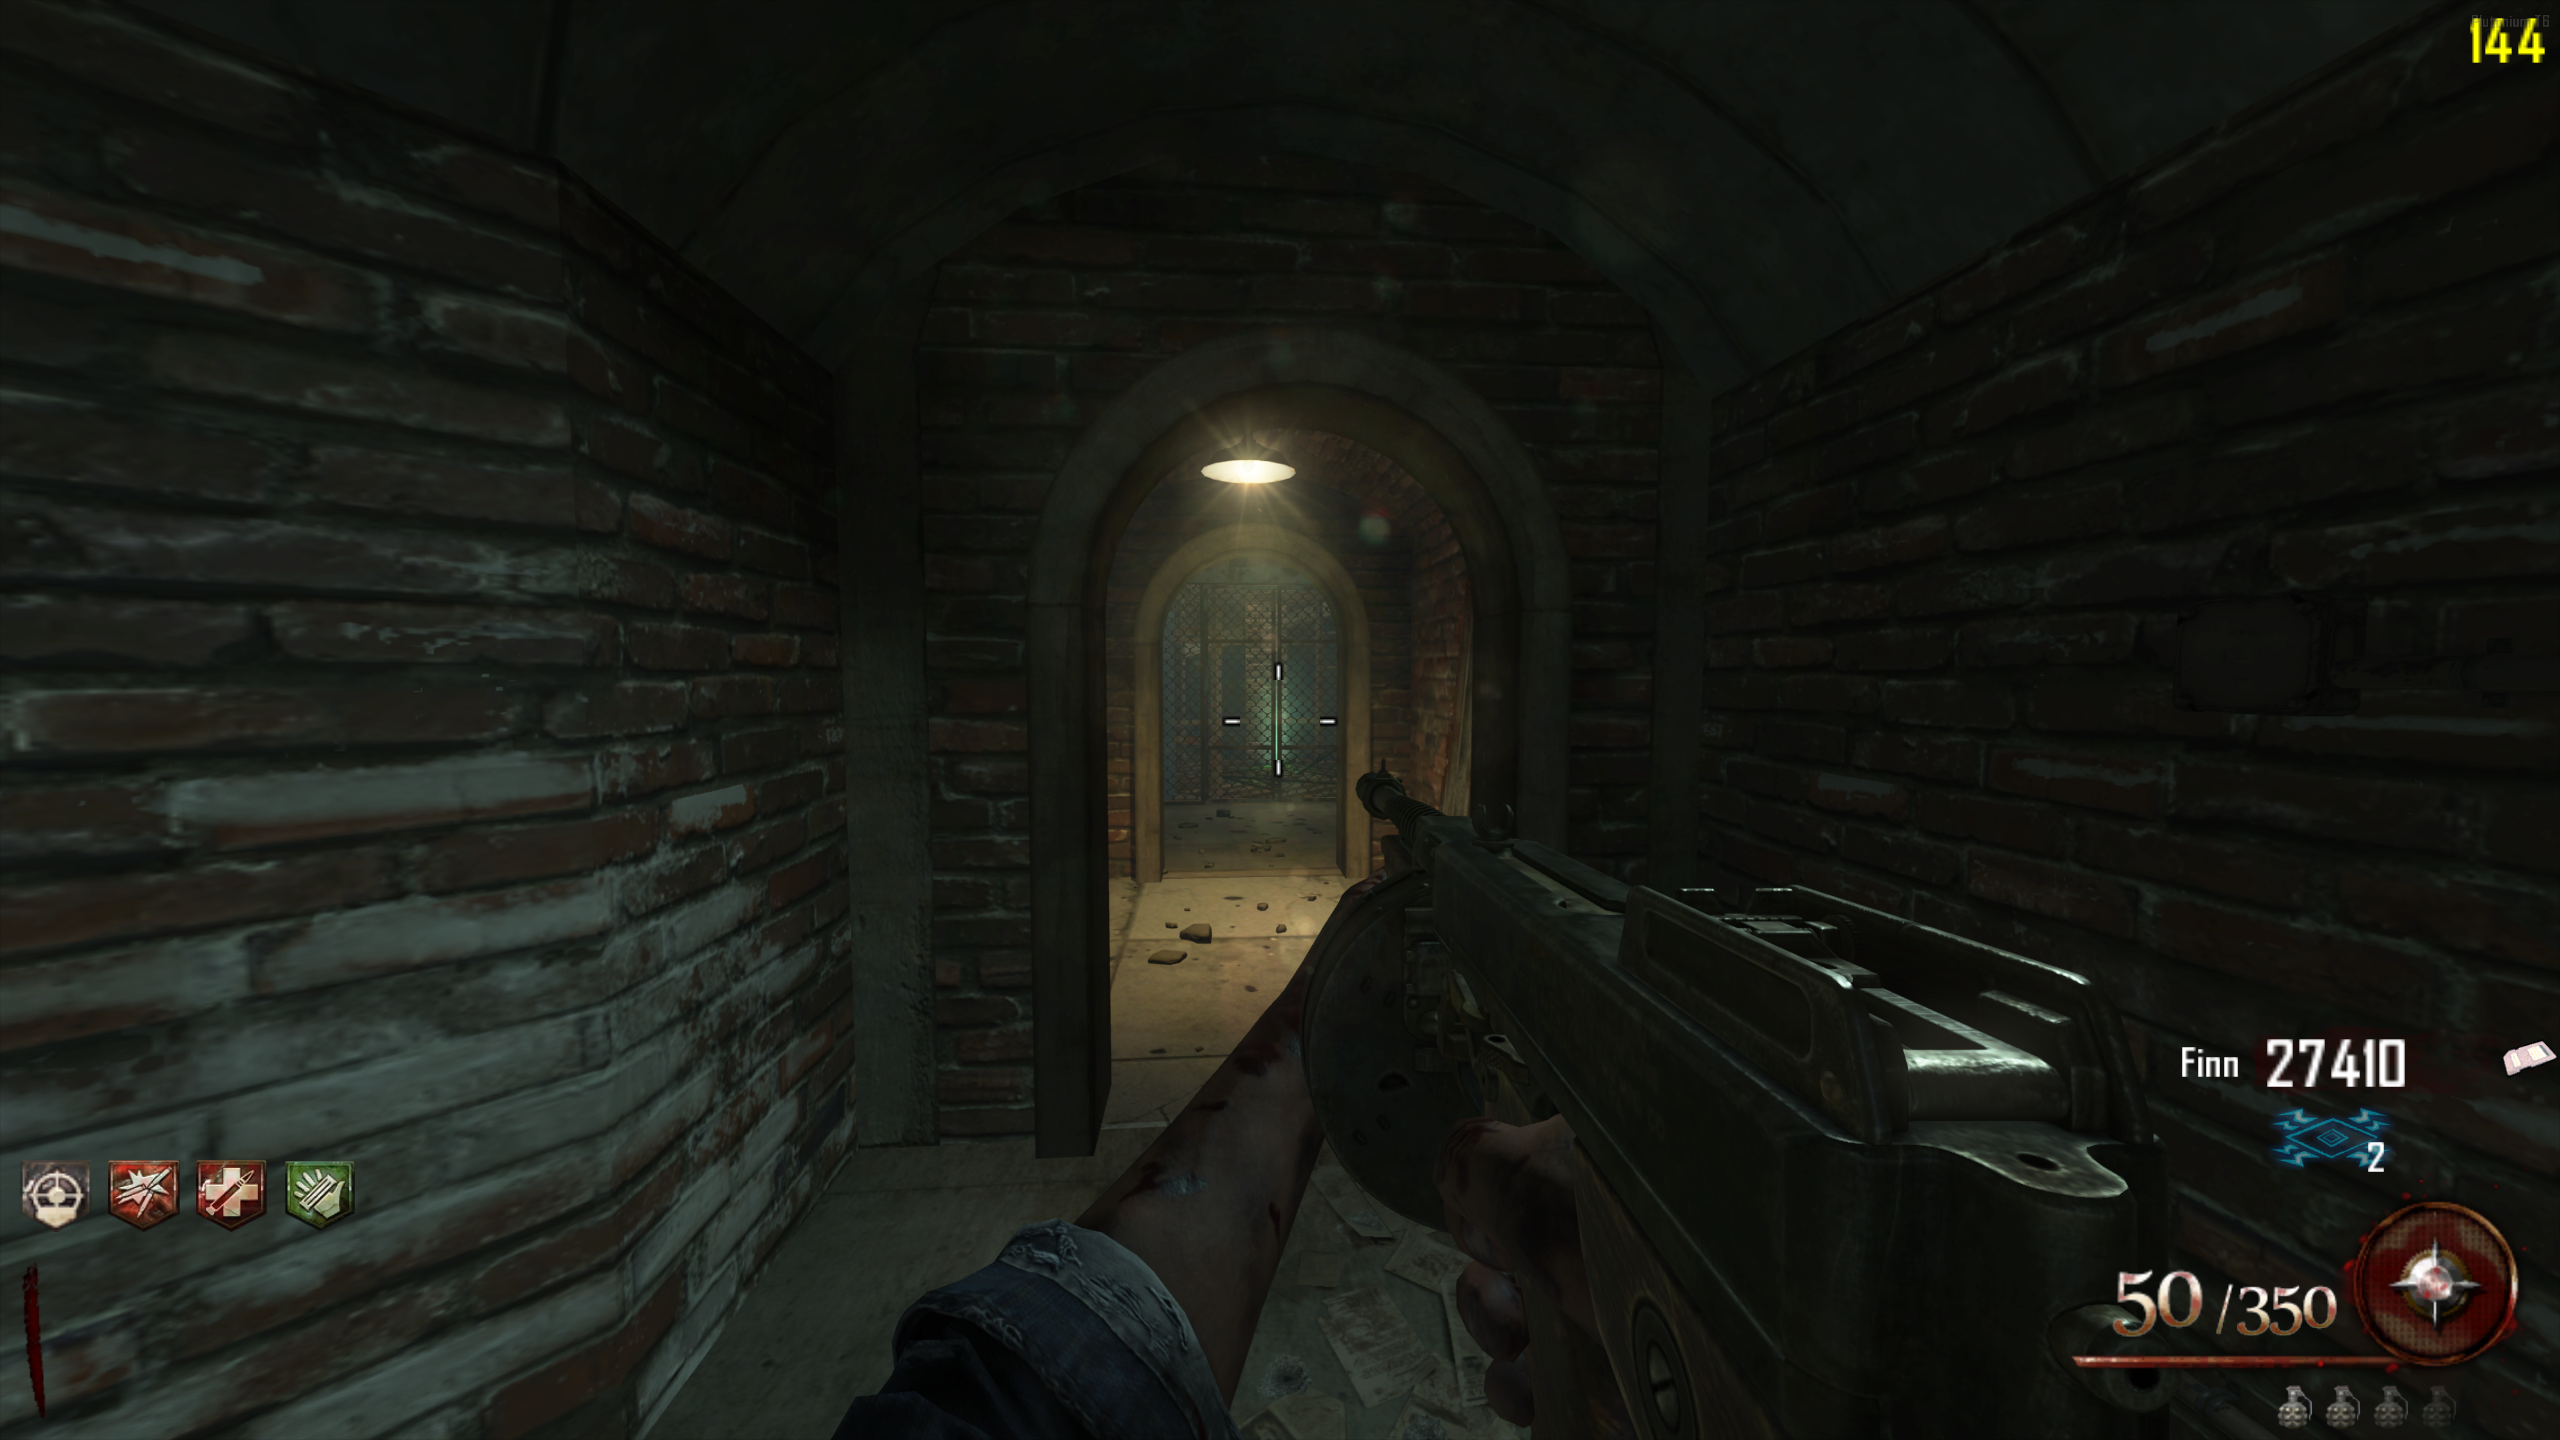
- At the bottom of the Uzi wallbuy stairs, go left and interact with the gate at the end to open it. Interact with the rope on the floor to pick up the Rigging.
- If you take too long, the lift will go back up, and you'll need to enter the code again to bring it back down.
- In the hallway outside the Cafeteria, enter Afterlife and enter the hole beside the MP5 wallbuy. Once inside the hole, turn around and shock the Voltmeter through the gap between the pipe and the wall.
- Once all five parts are added to the Plane, interact with it to get on and start the takeoff countdown. All players must interact with the Plane before it leaves to avoid being left behind.
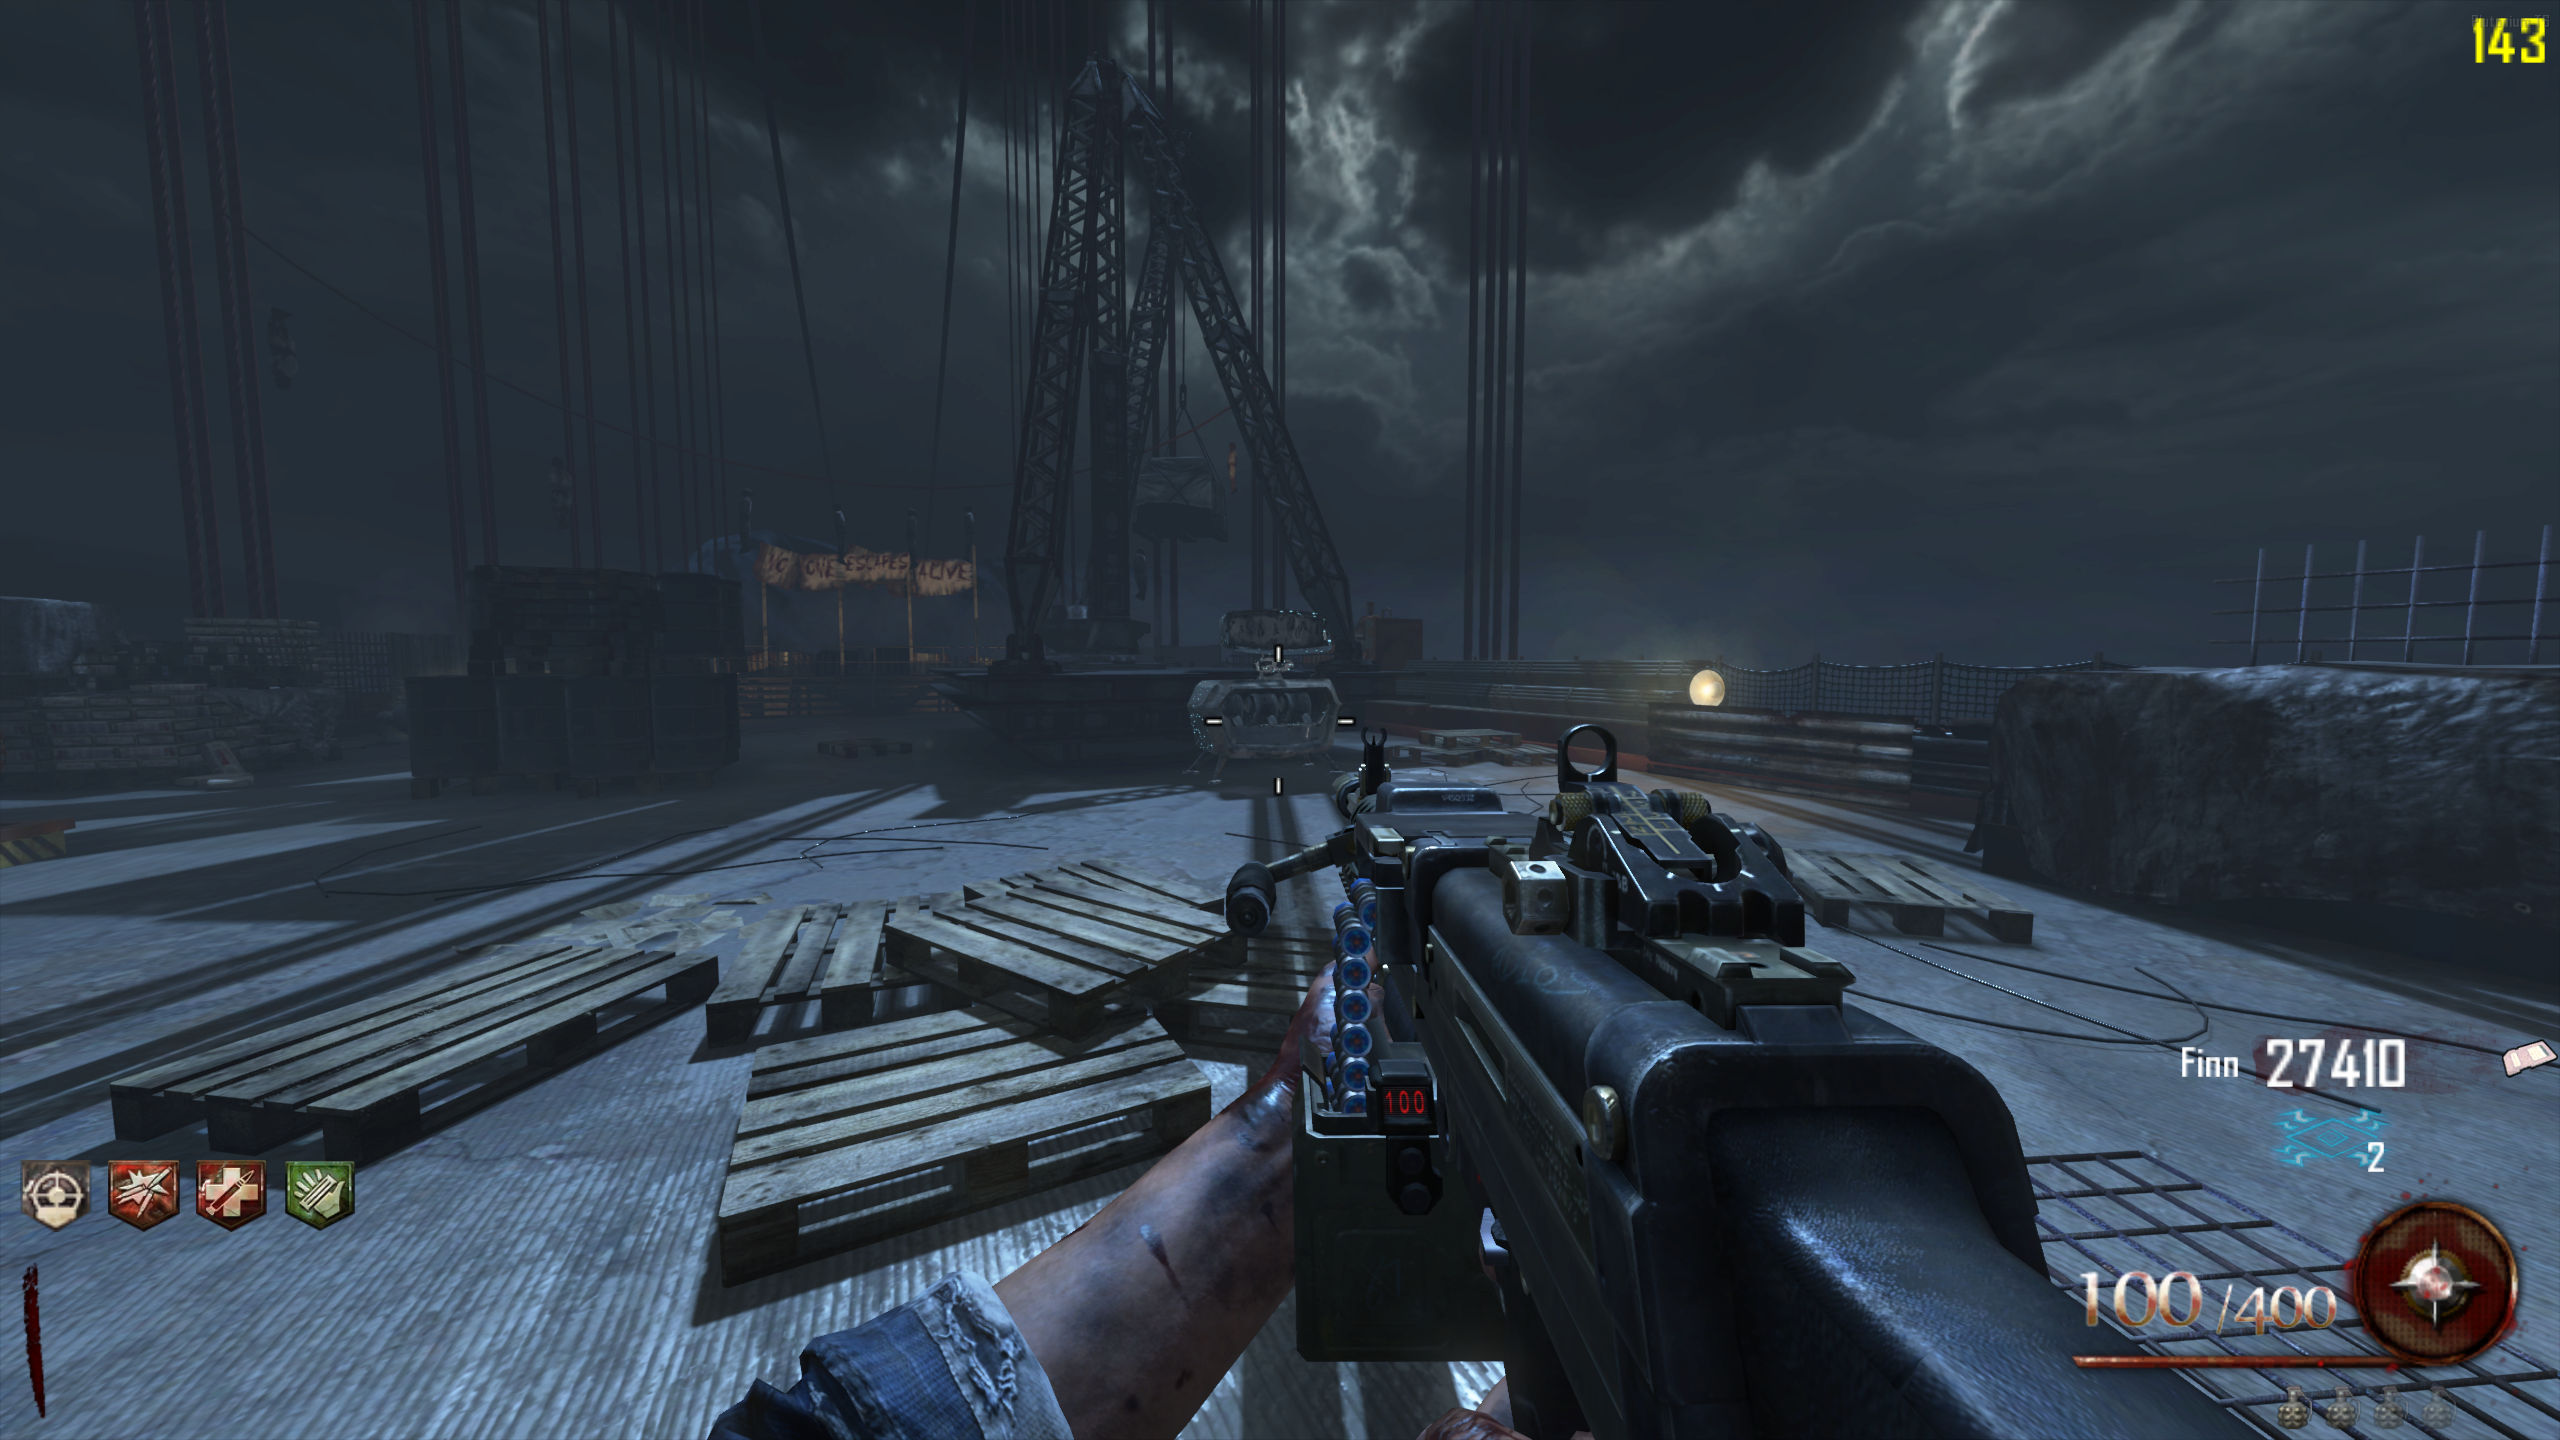
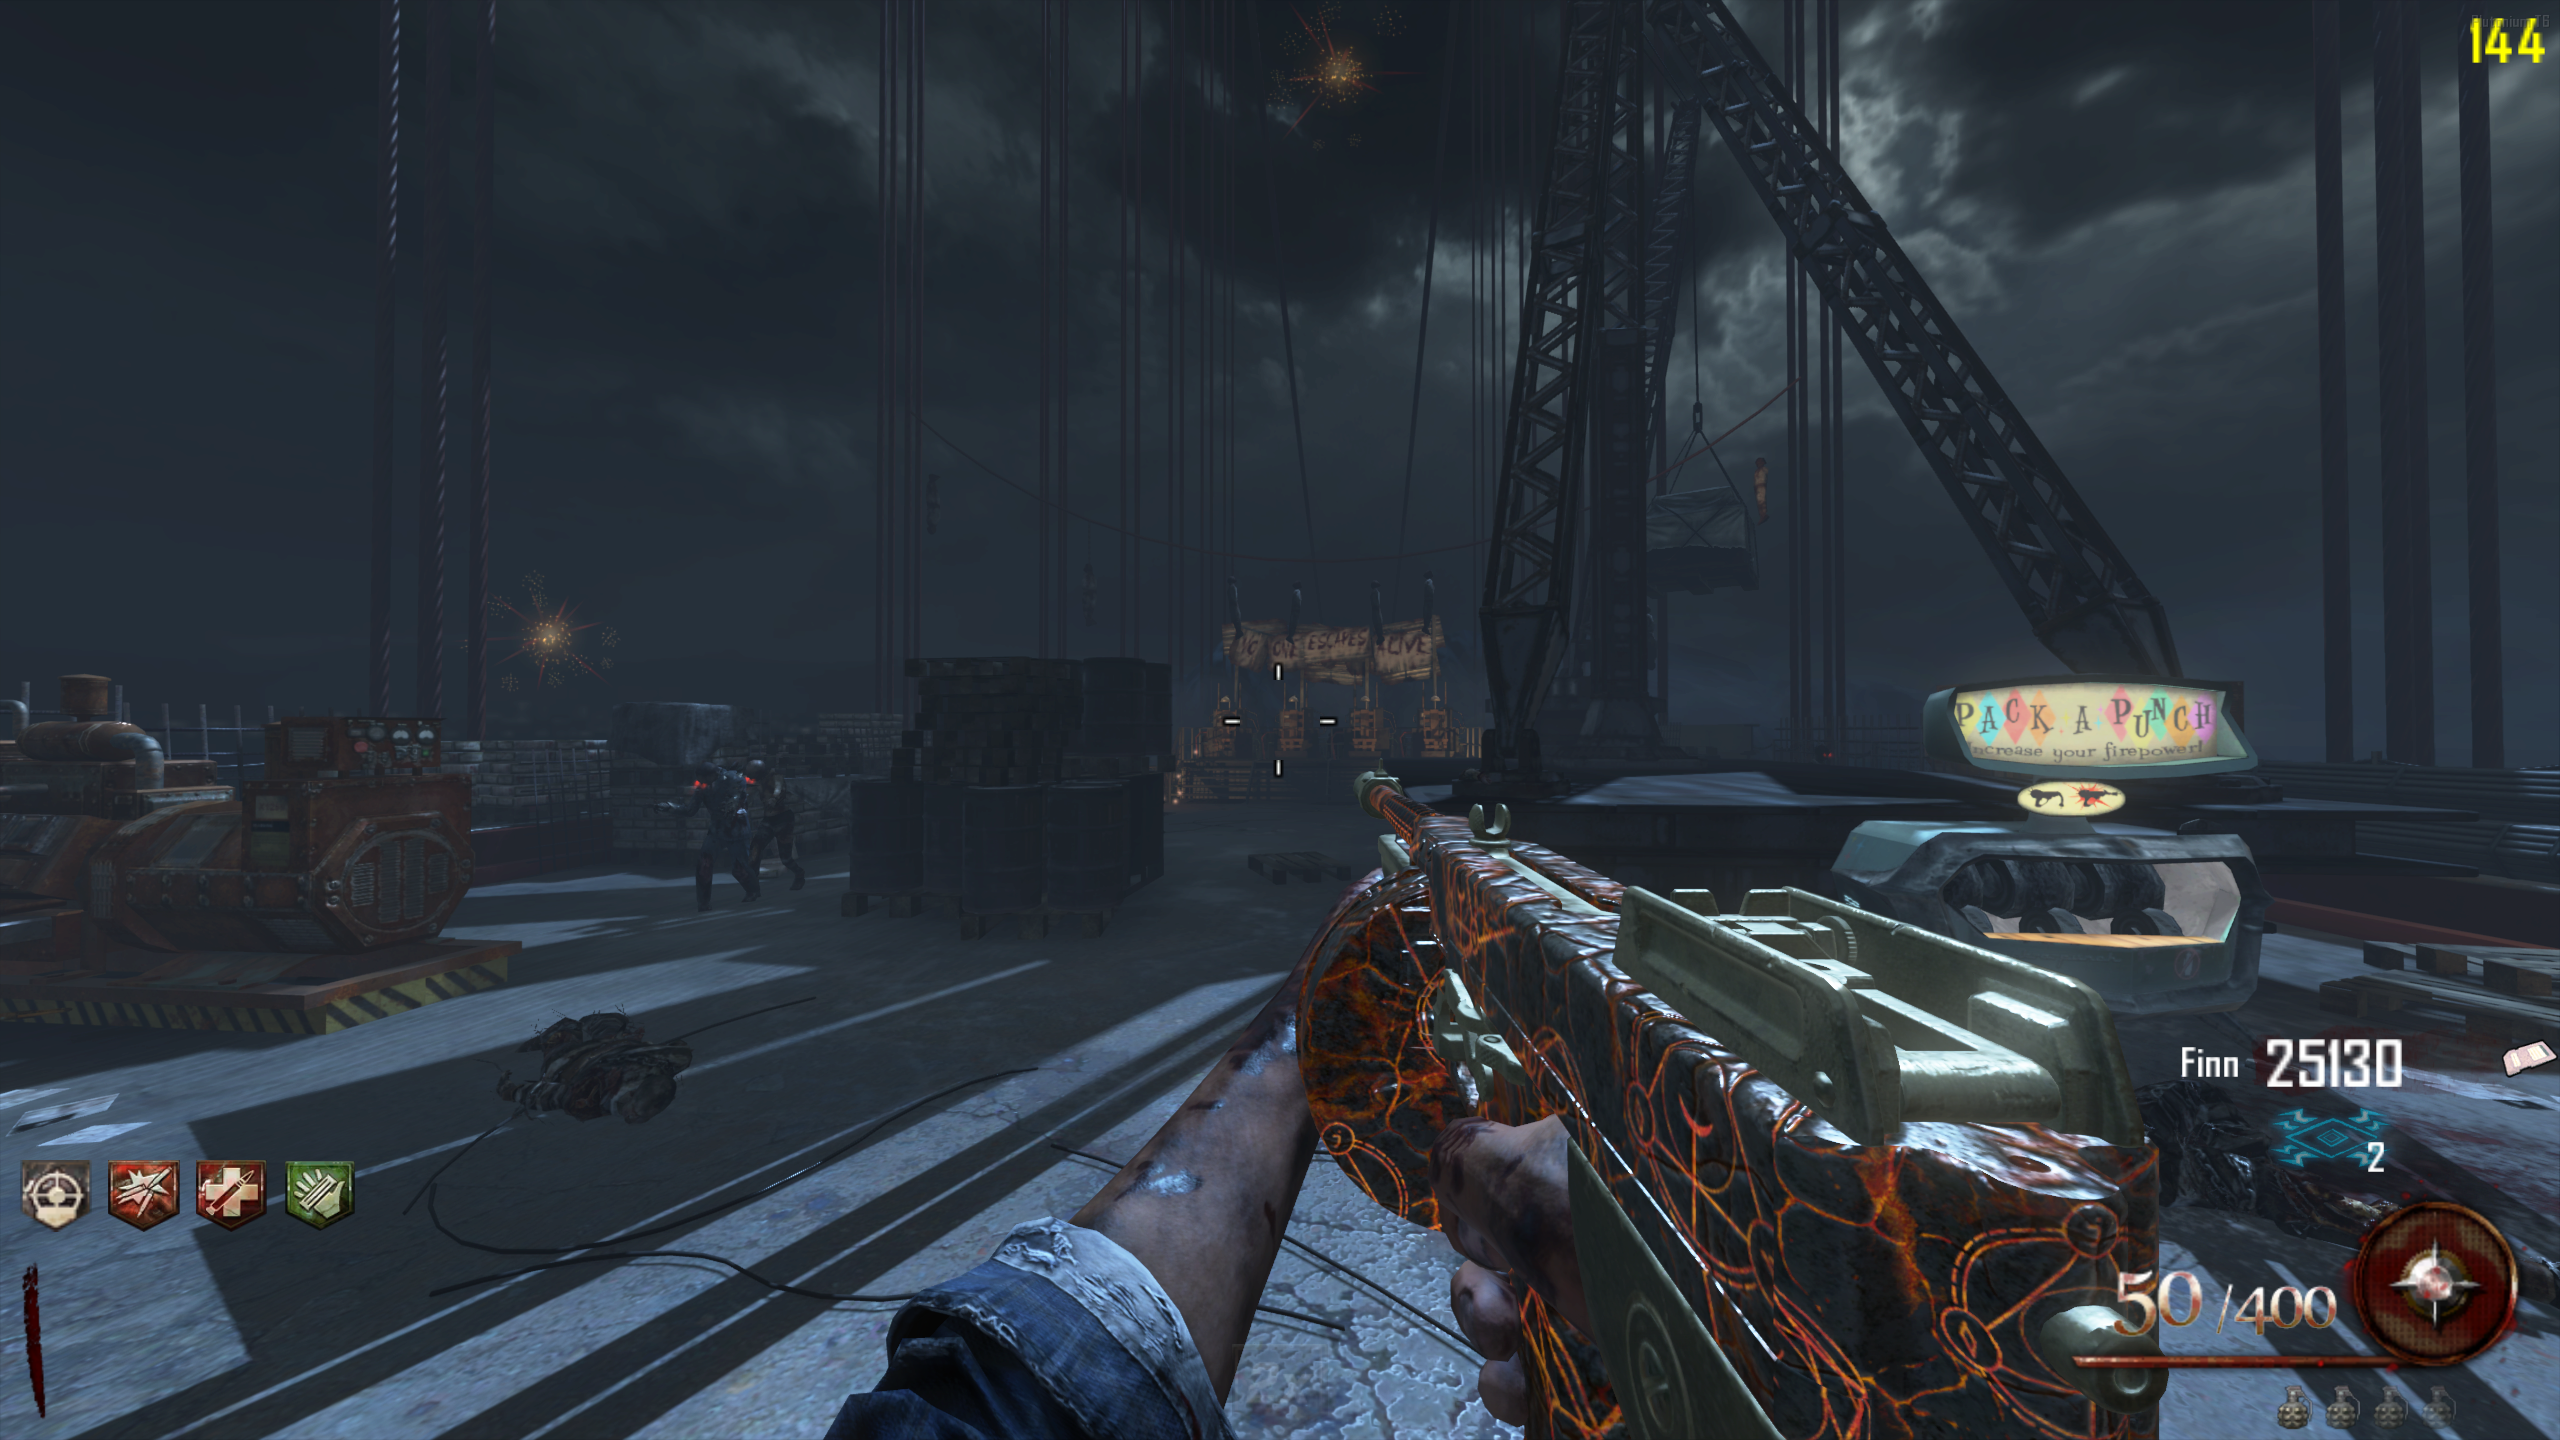
- After a few seconds, the Plane will take off. After a short cutscene, the Plane will crash into the Golden Gate Bridge. On the Bridge, you can use the Pack-a-Punch.
- The number of Brutuses that spawn scales with how many rounds you've spent on the Bridge: 1 on your 1st round there, 2 on the 2nd, 3 on the 3rd, capped at 4 from the 4th round on.
- To get back to the Prison, interact with one of the Electric Chairs behind the Pack-a-Punch machine. You'll arrive back in the spawn room in Afterlife, and need to revive yourself.
- Try to avoid leaving a player alone on the Bridge. You can only go to the Bridge once per round, so reviving a downed player there is almost impossible.
- To get to the Bridge/Pack-a-Punch again, the Plane needs to be refuelled. The round after you get back, five Gas Cans will spawn at the same five spots the Plane parts came from. Carry them to the Plane the same way you did the parts.
- You don't need to redo any of the steps to reach them. The Gas Cans are simple pickups.
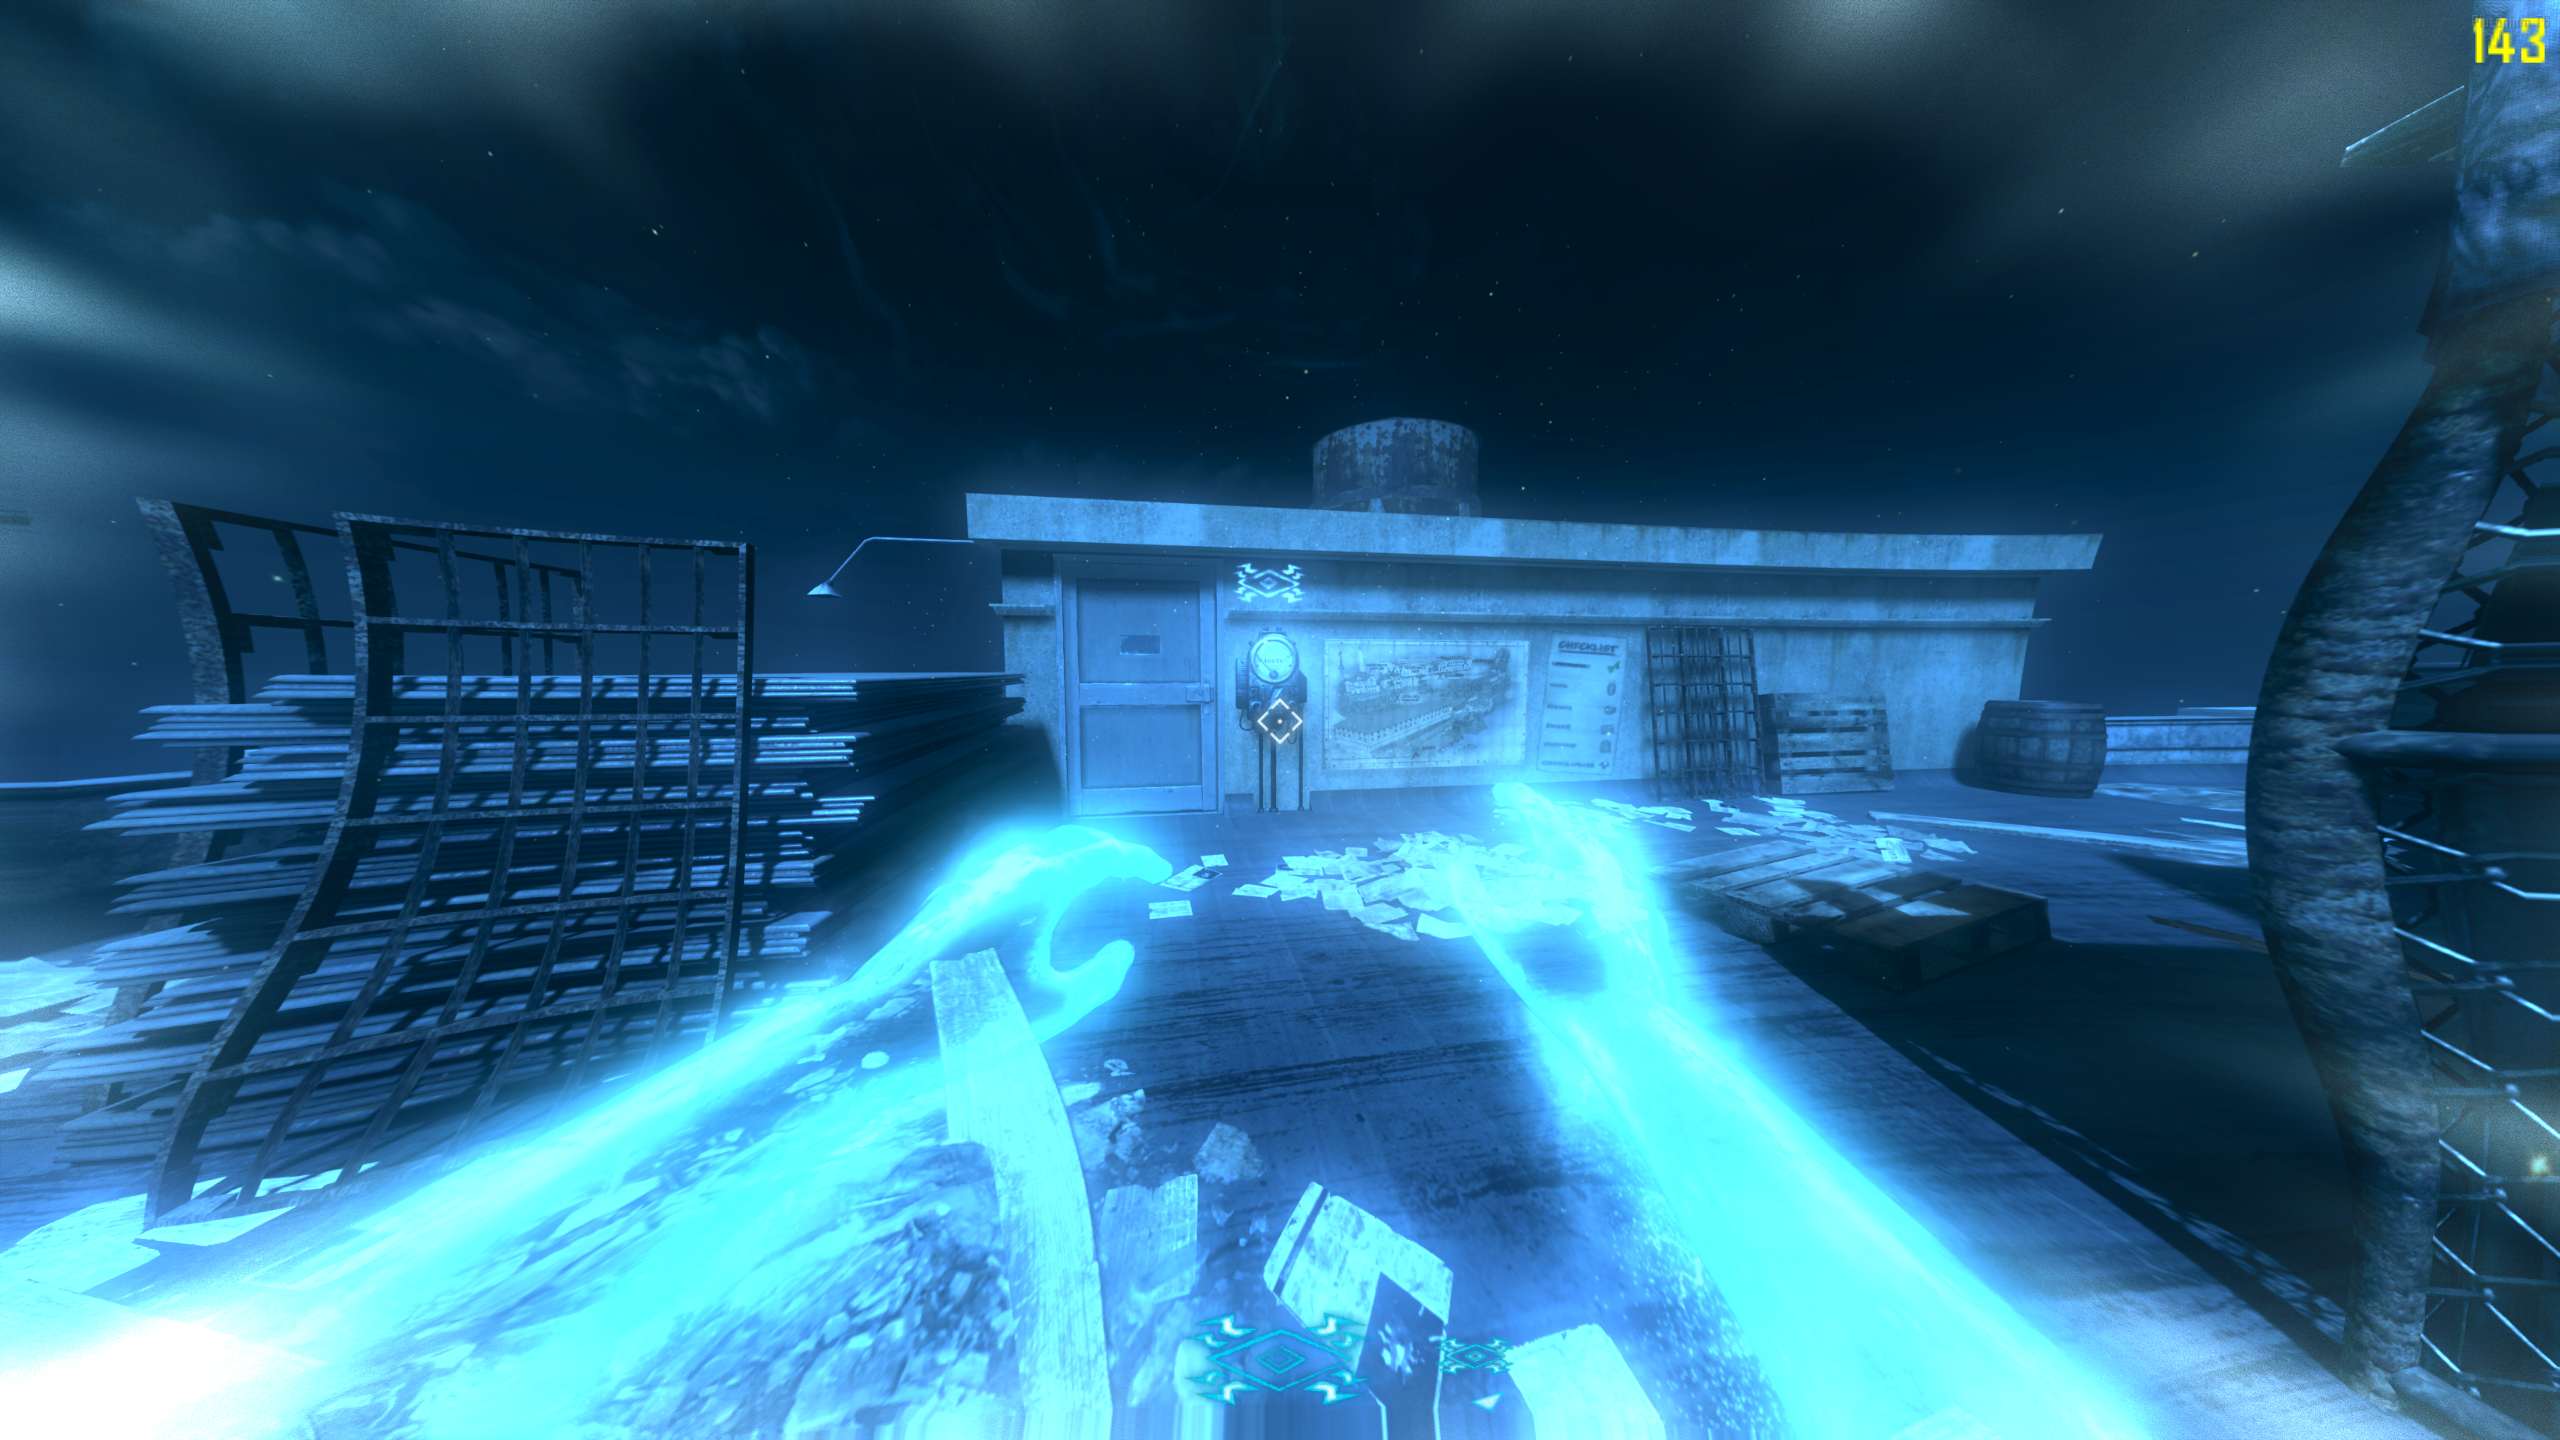
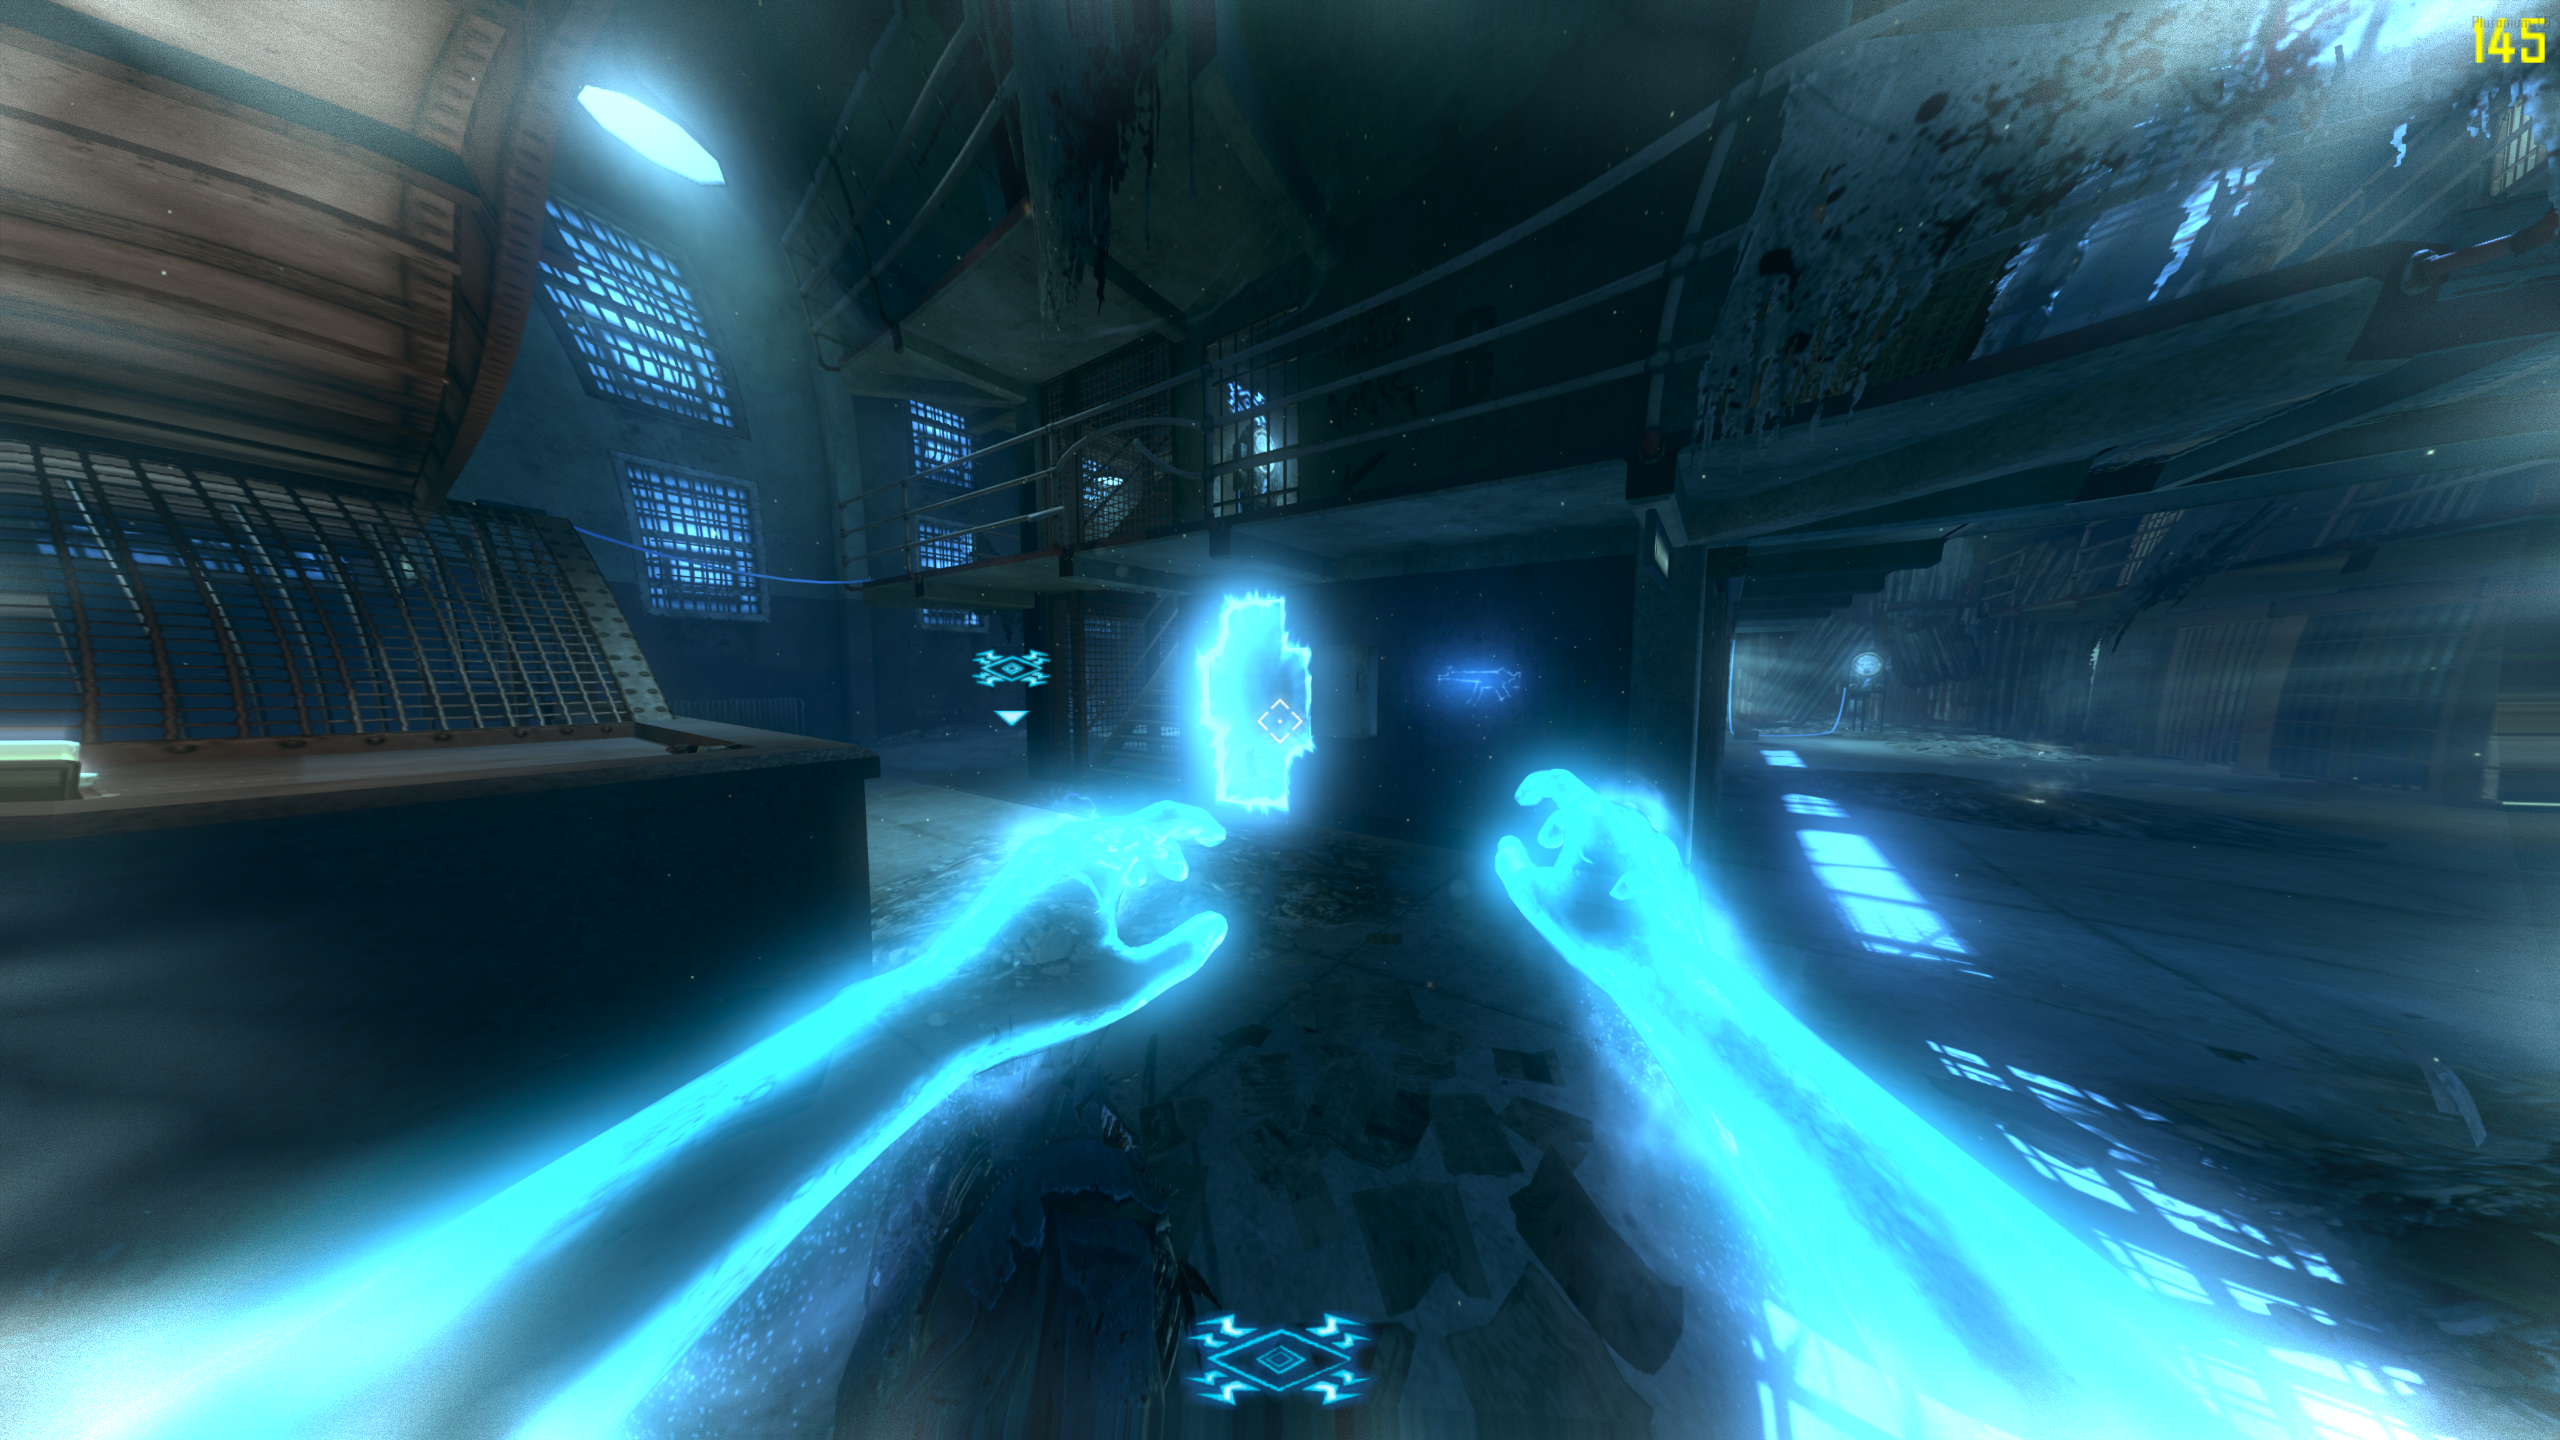
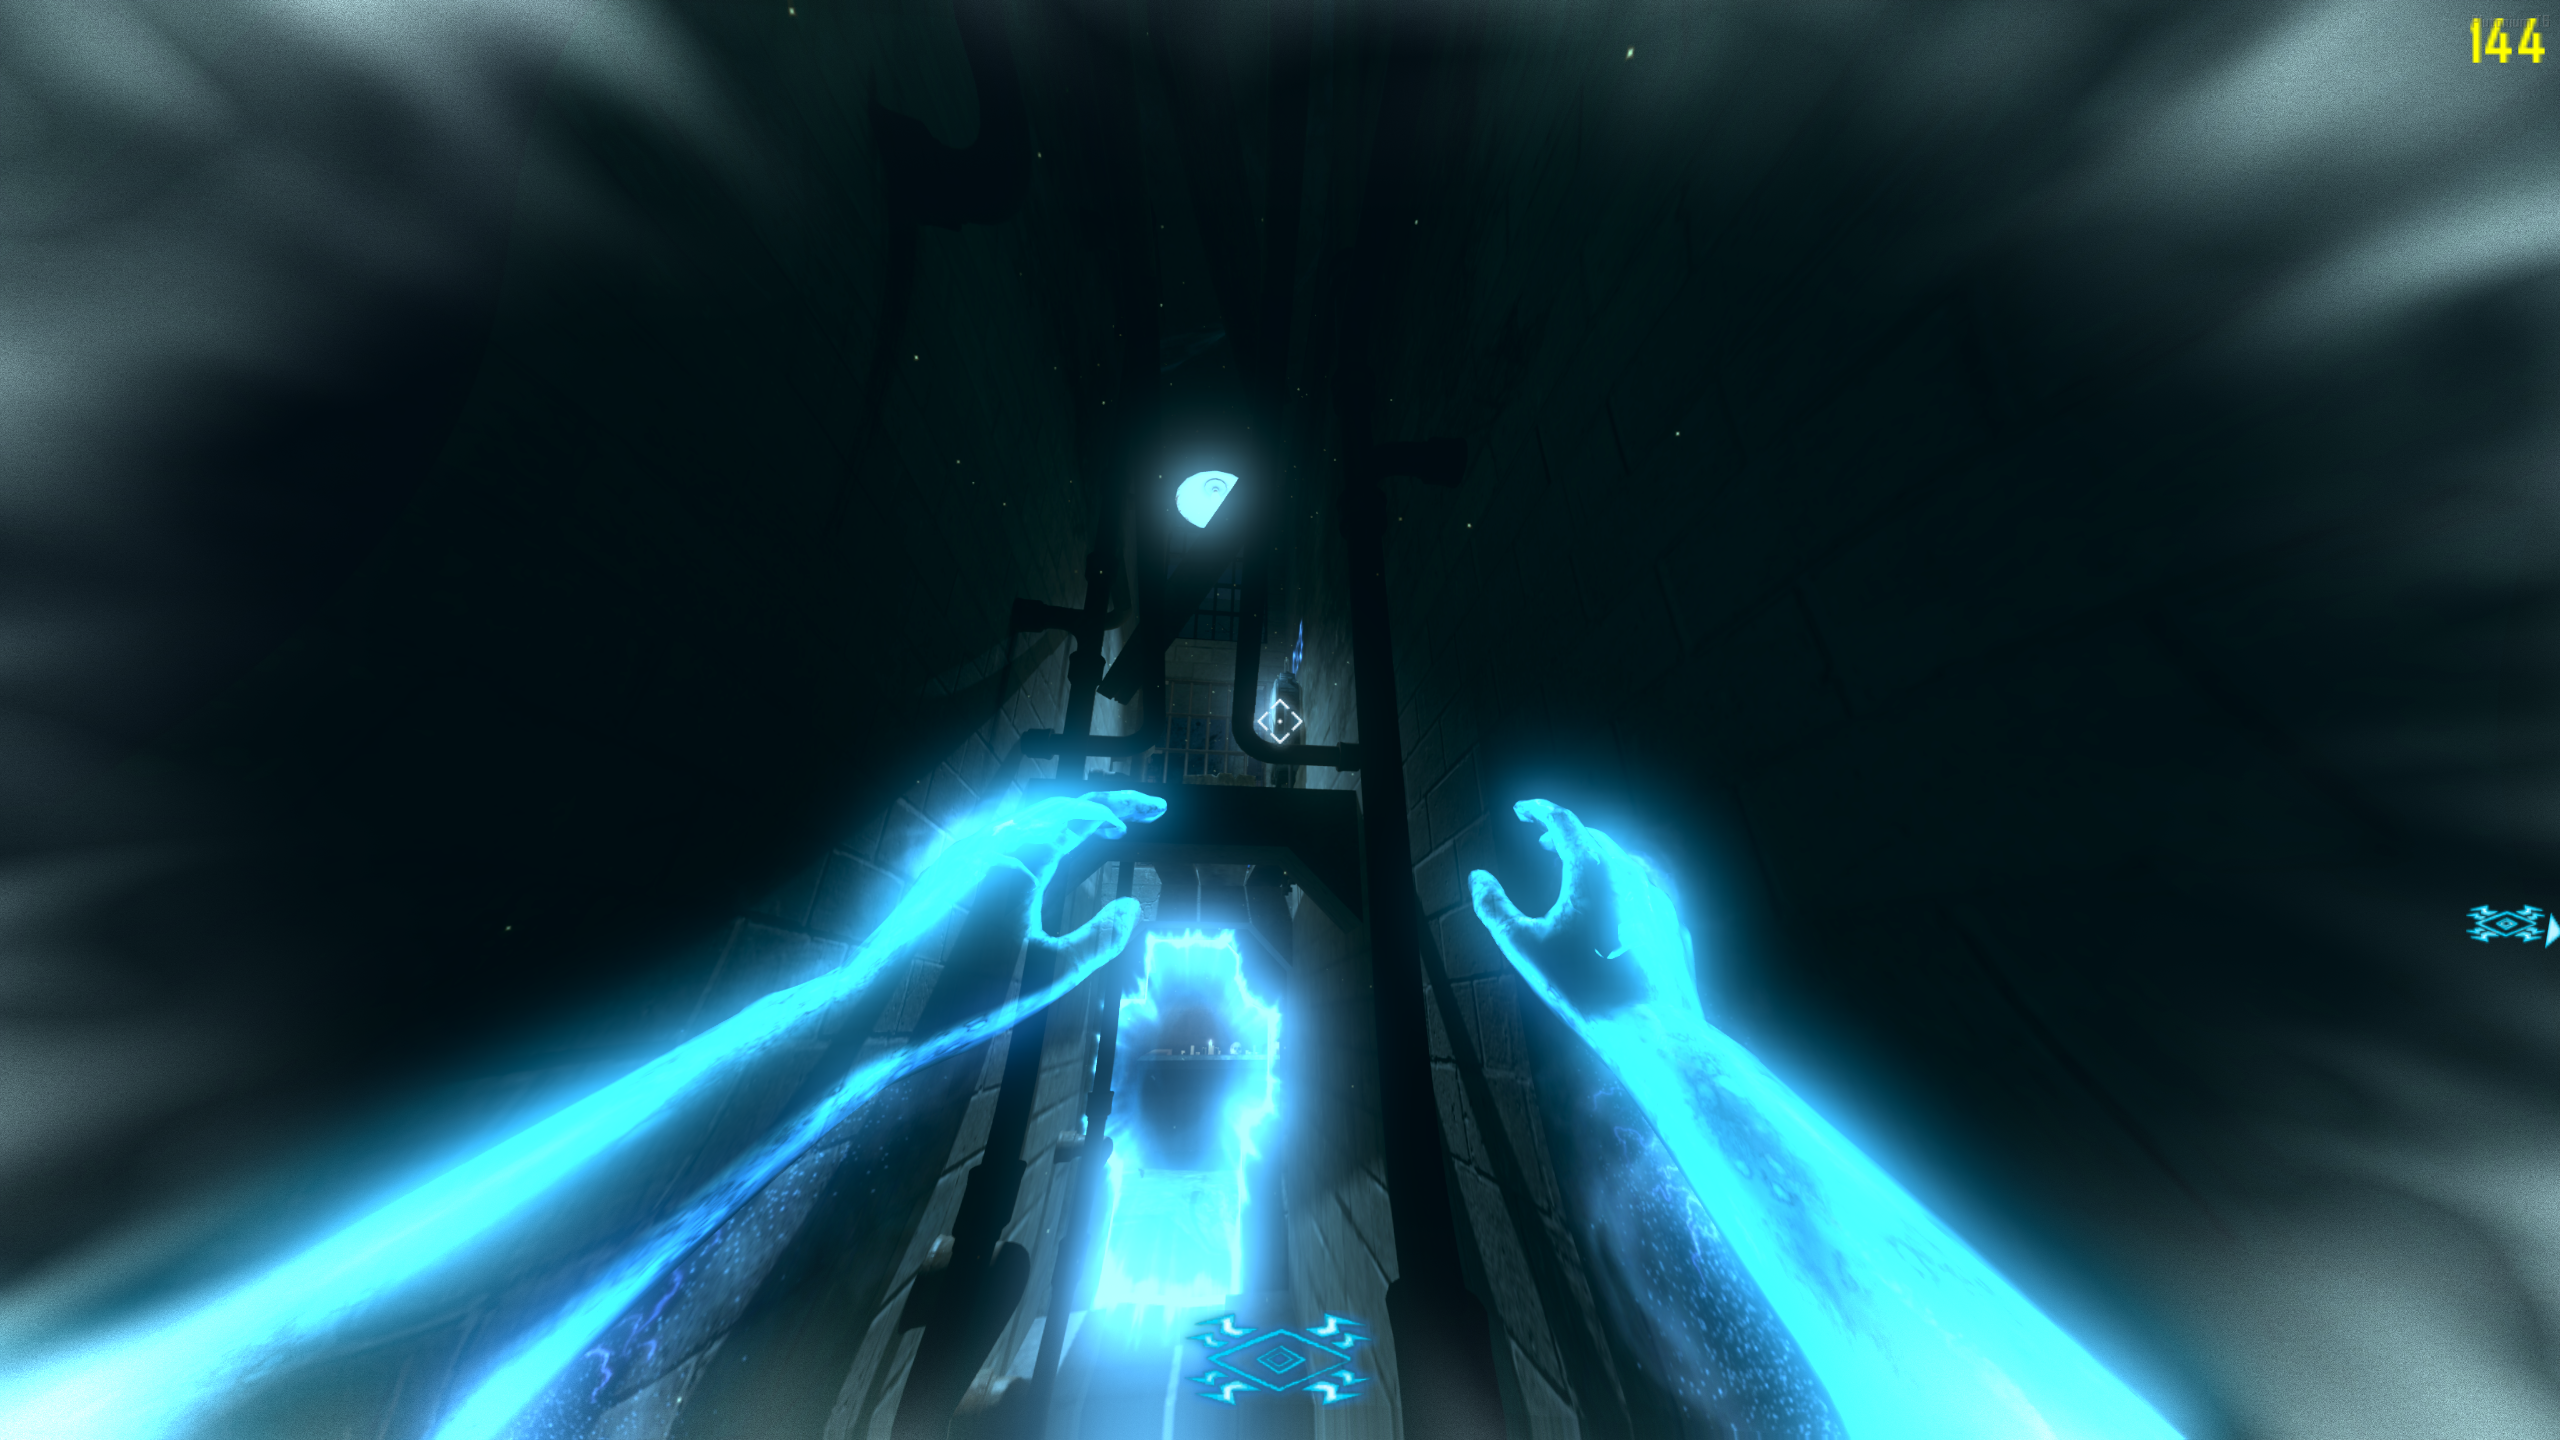
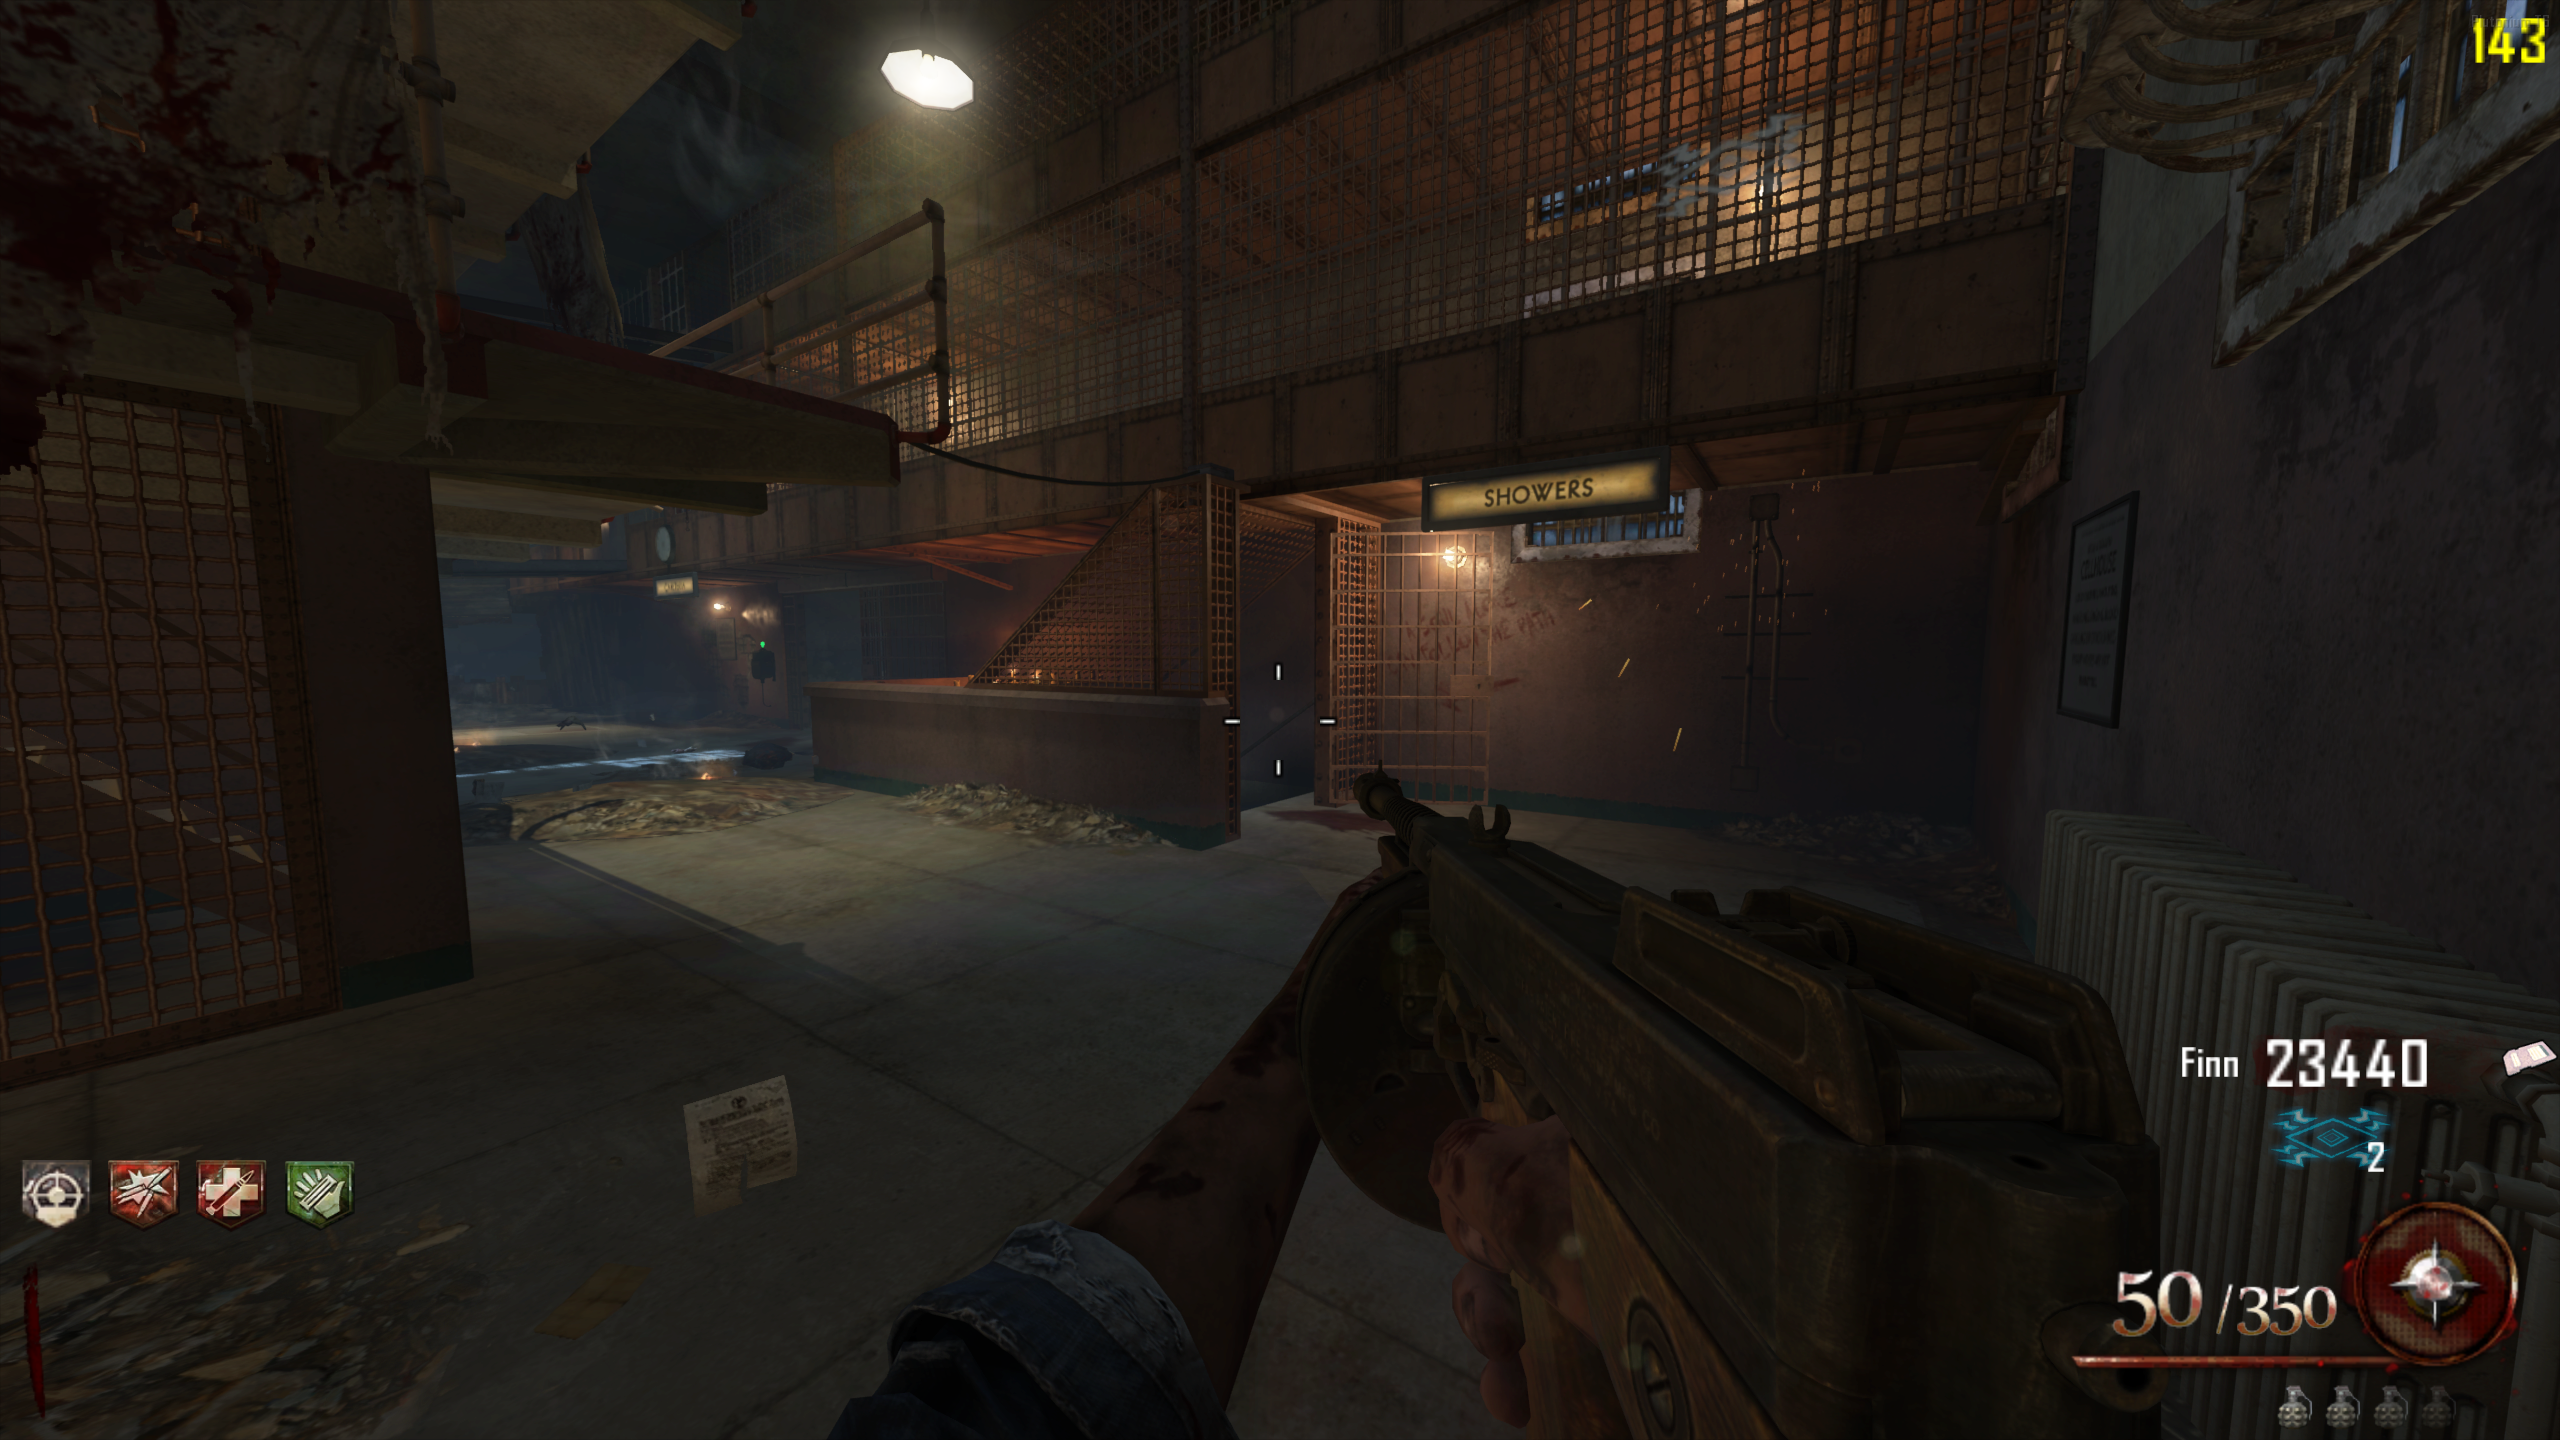
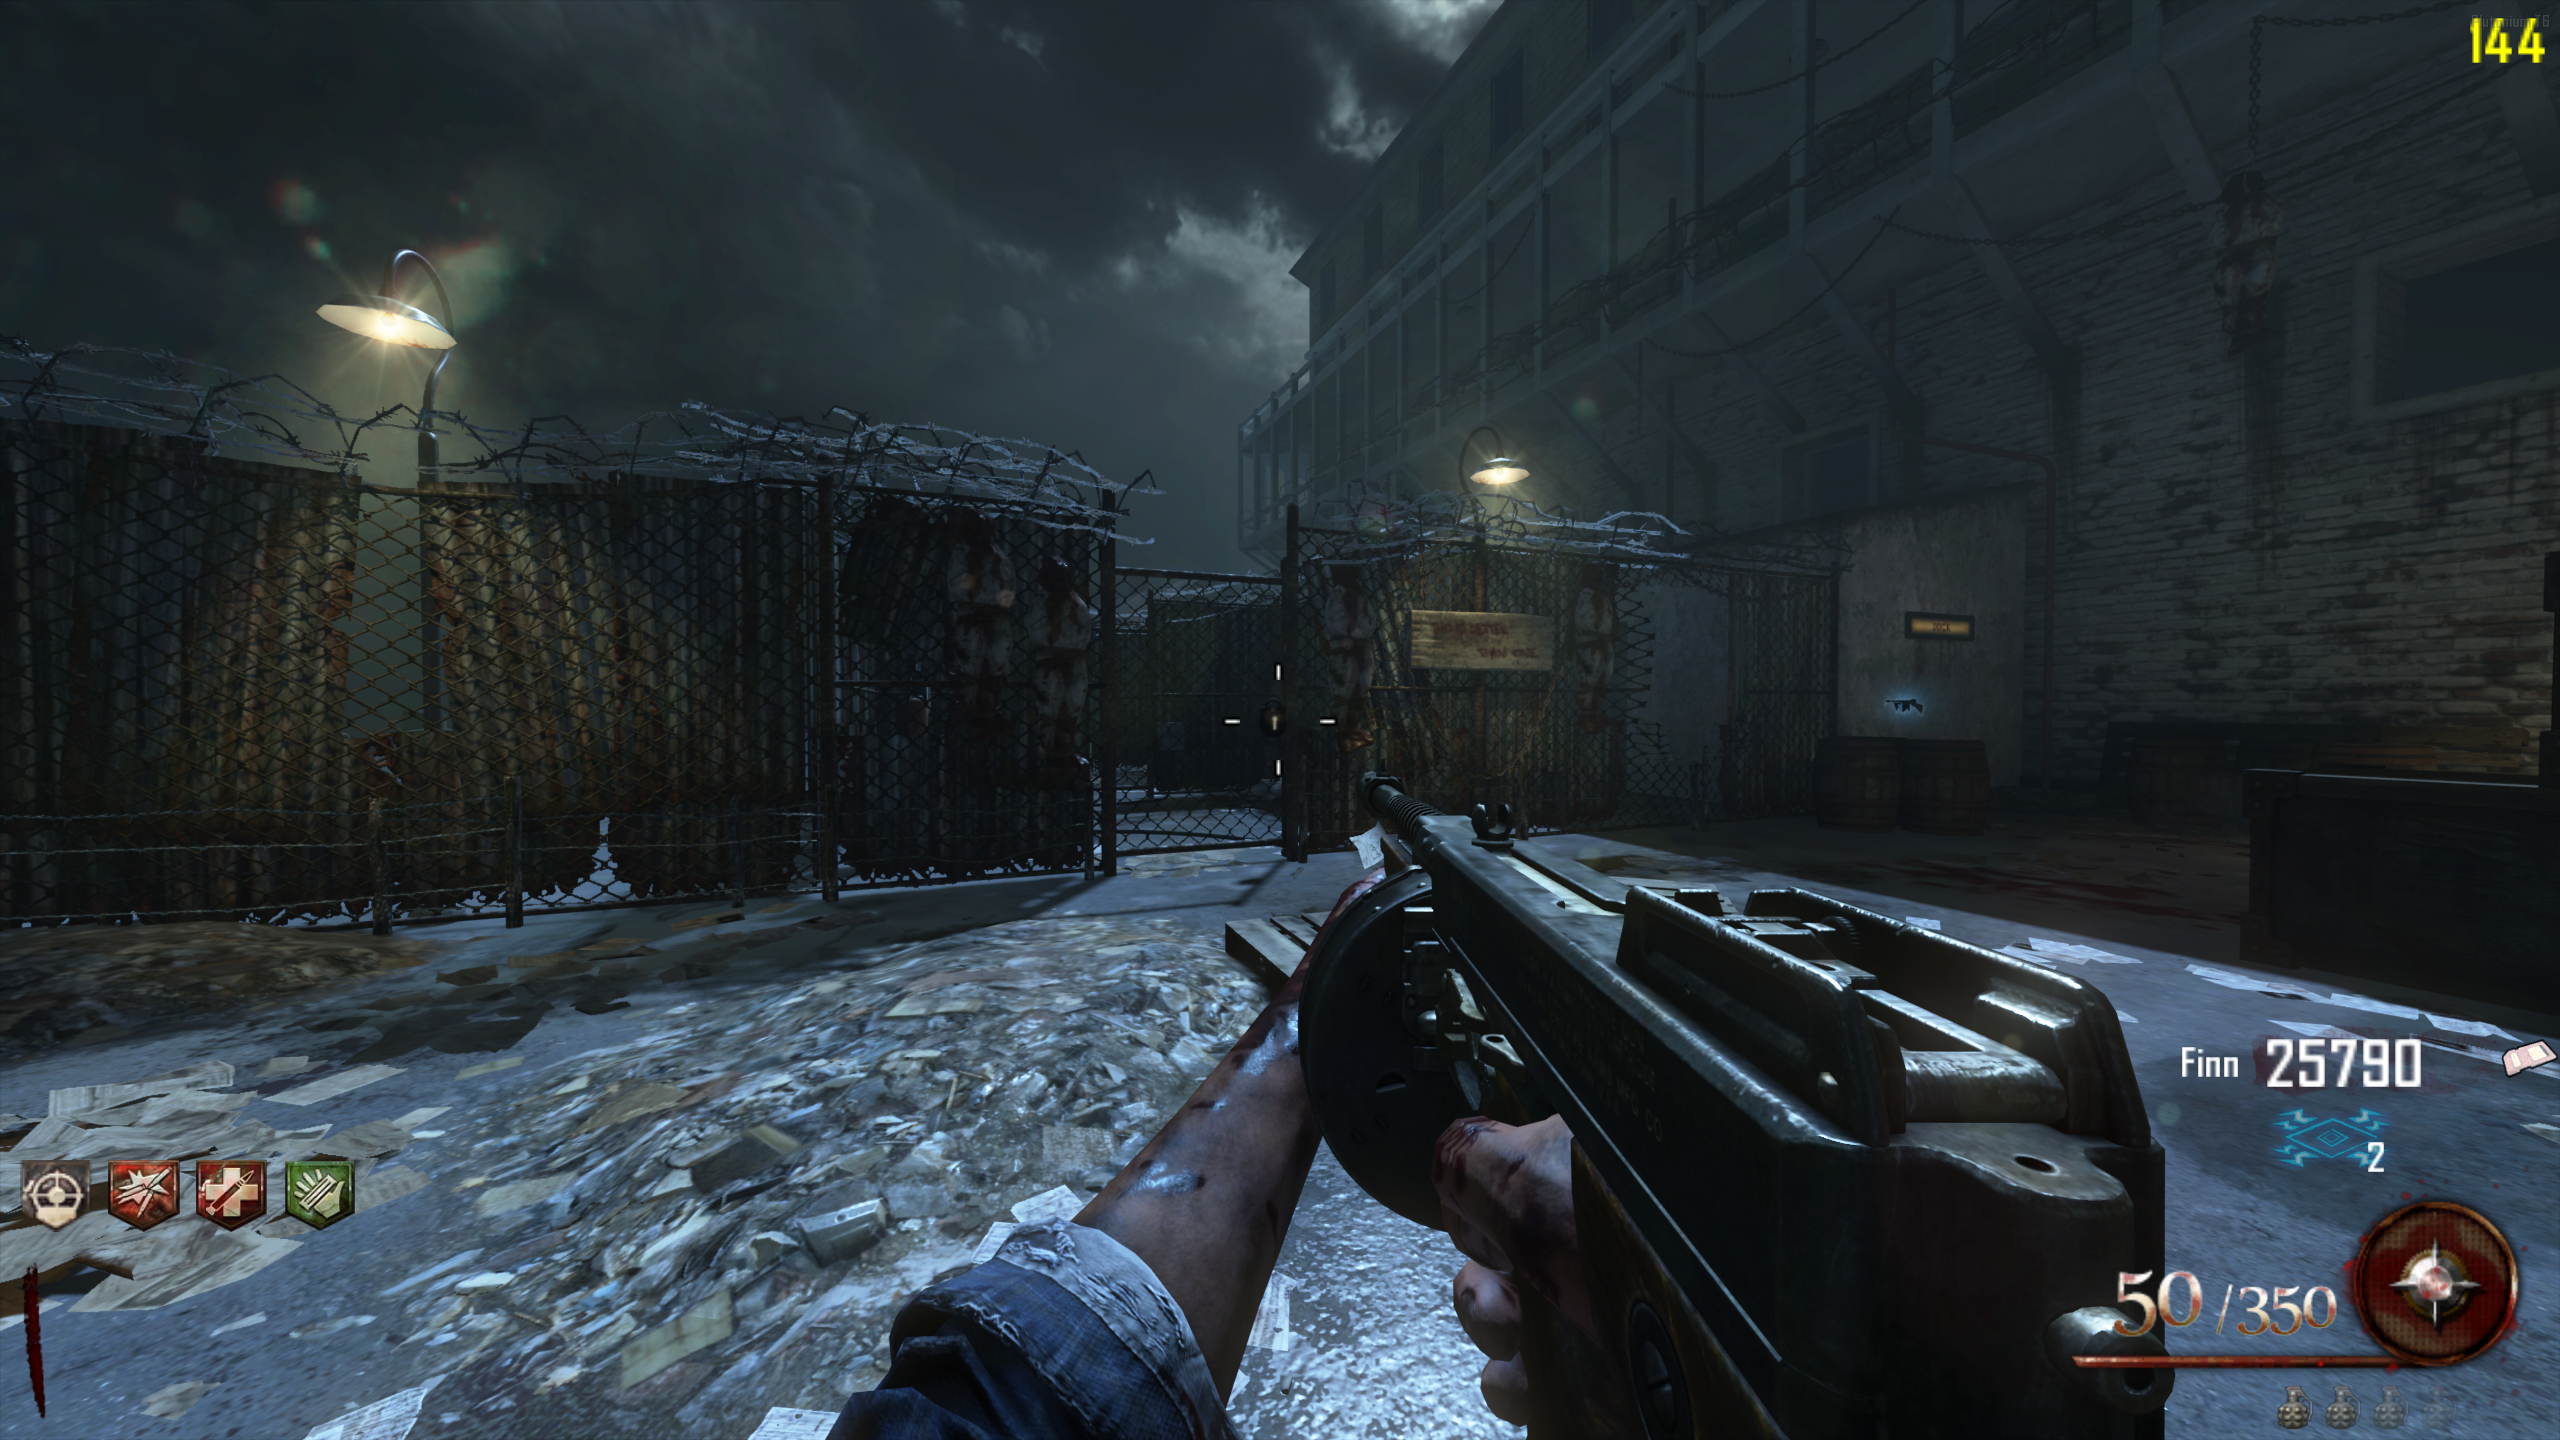
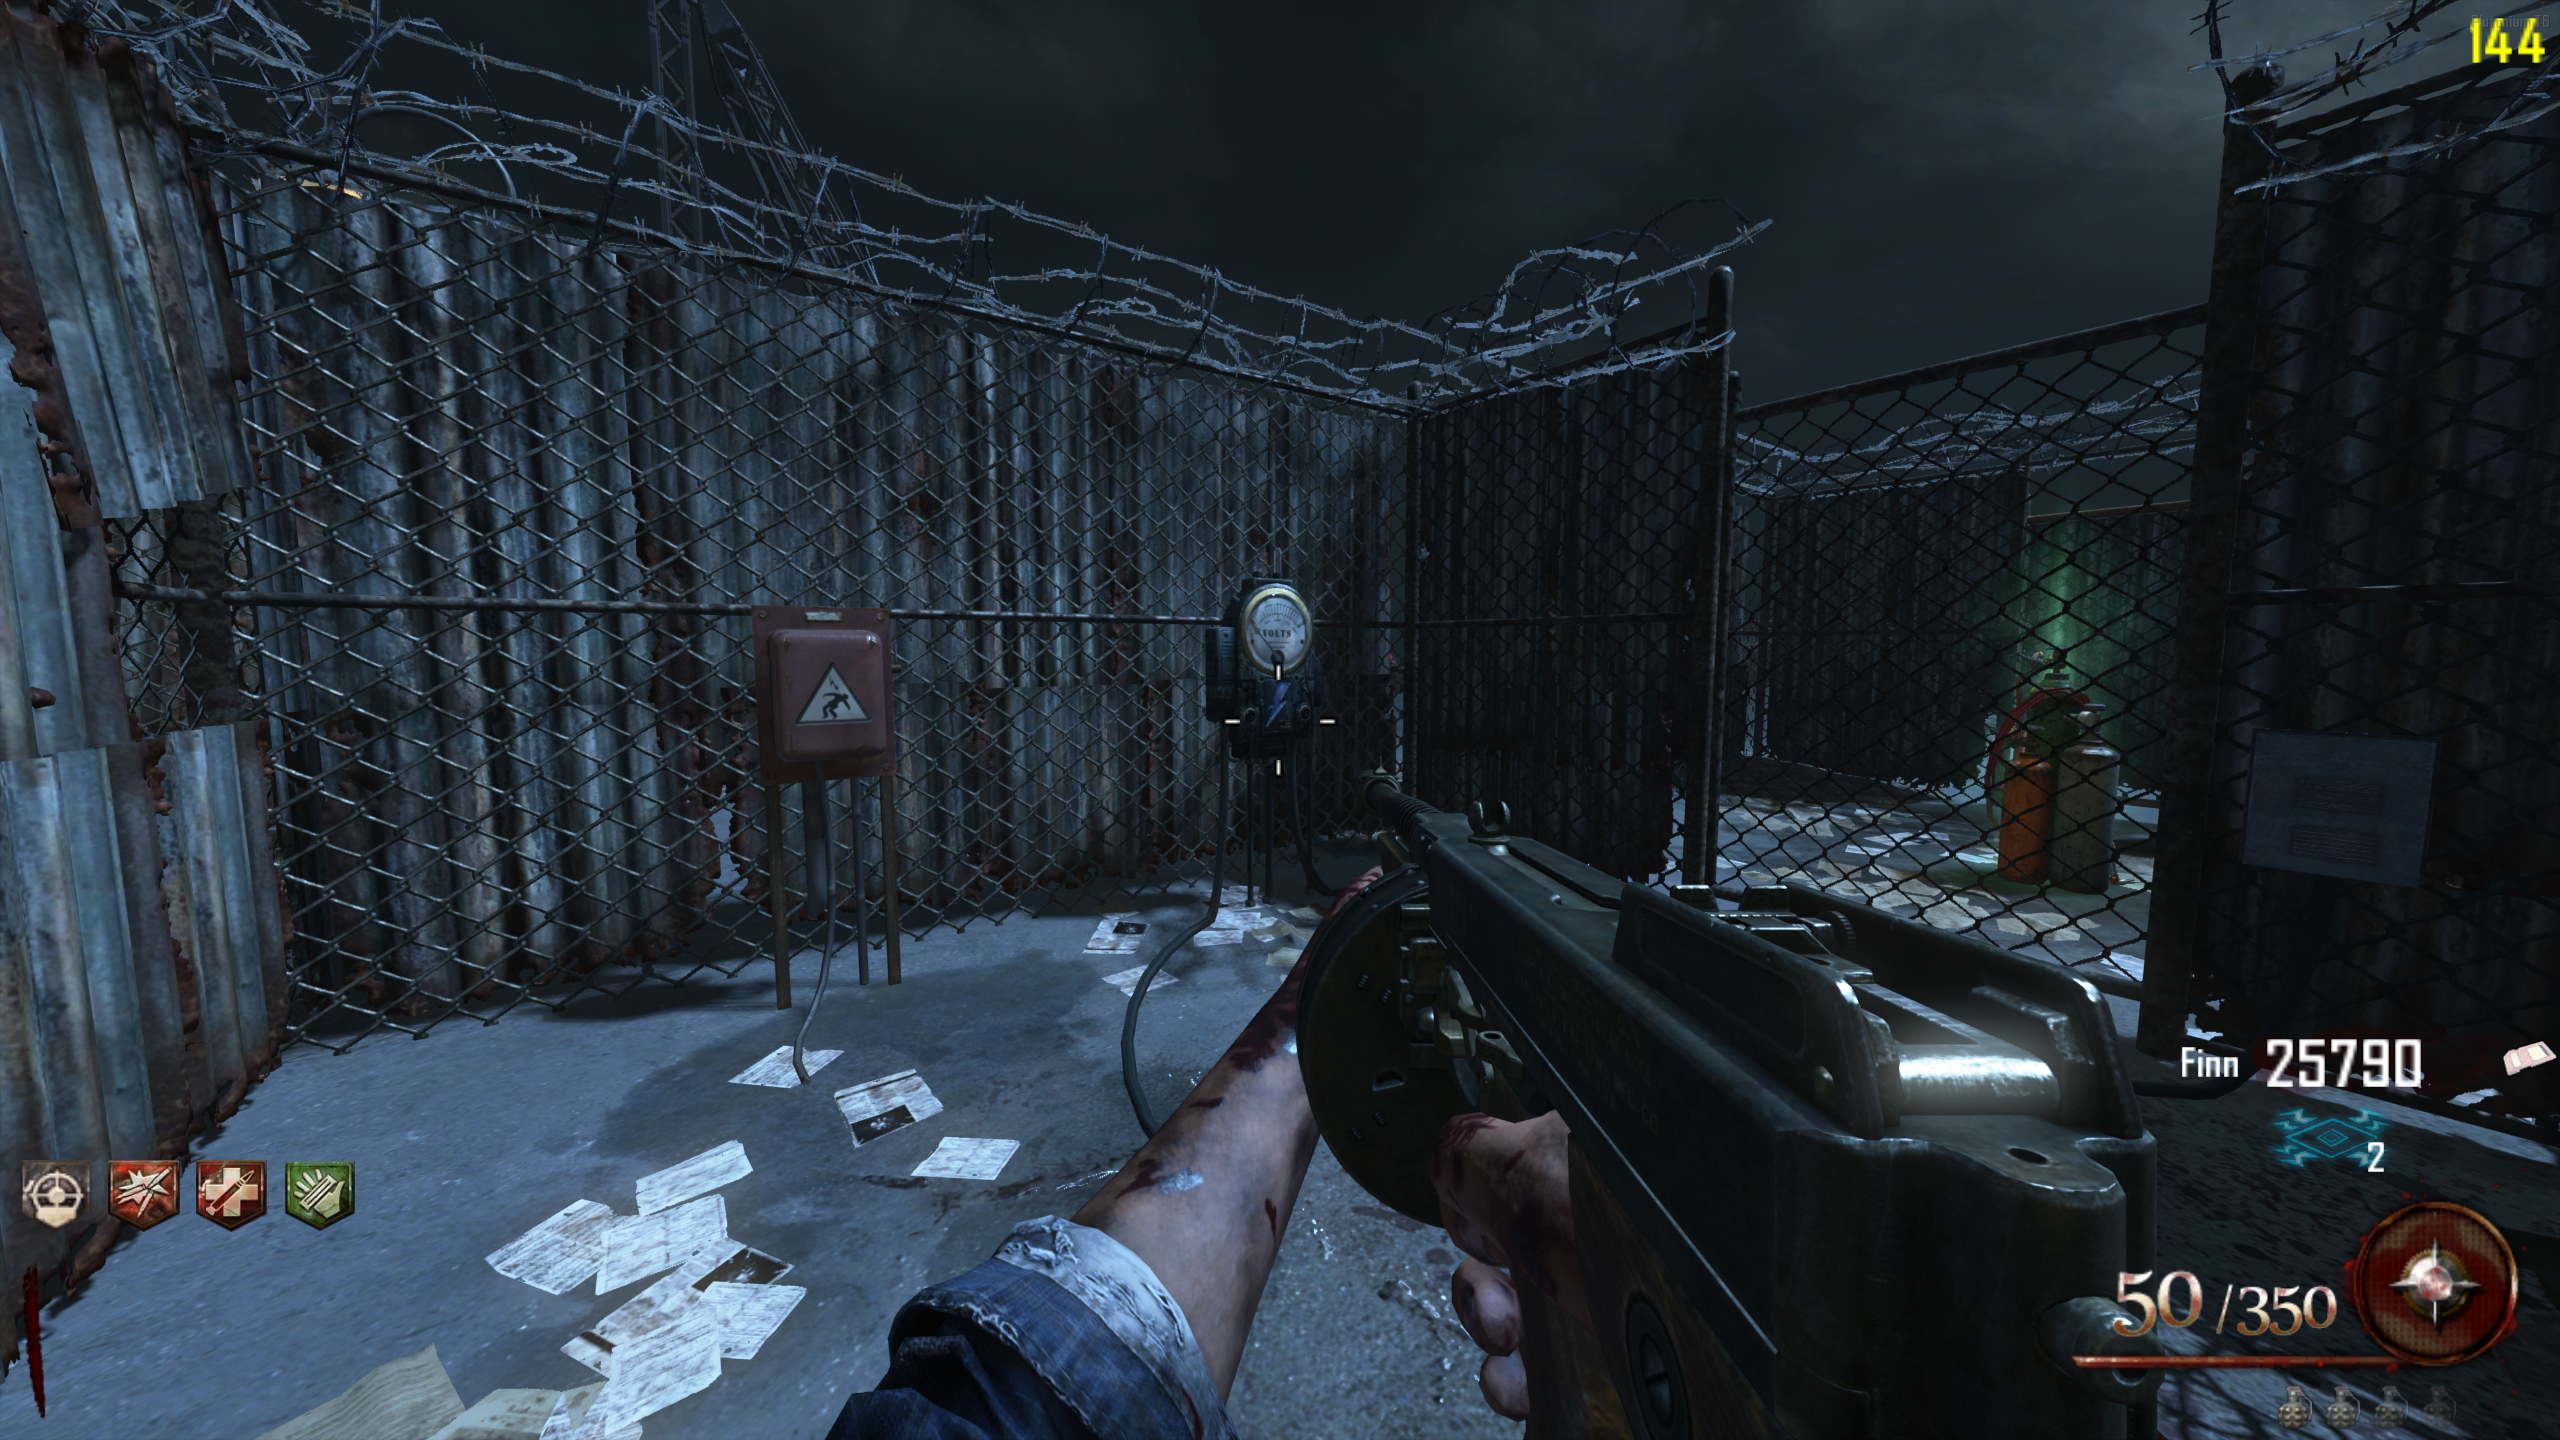
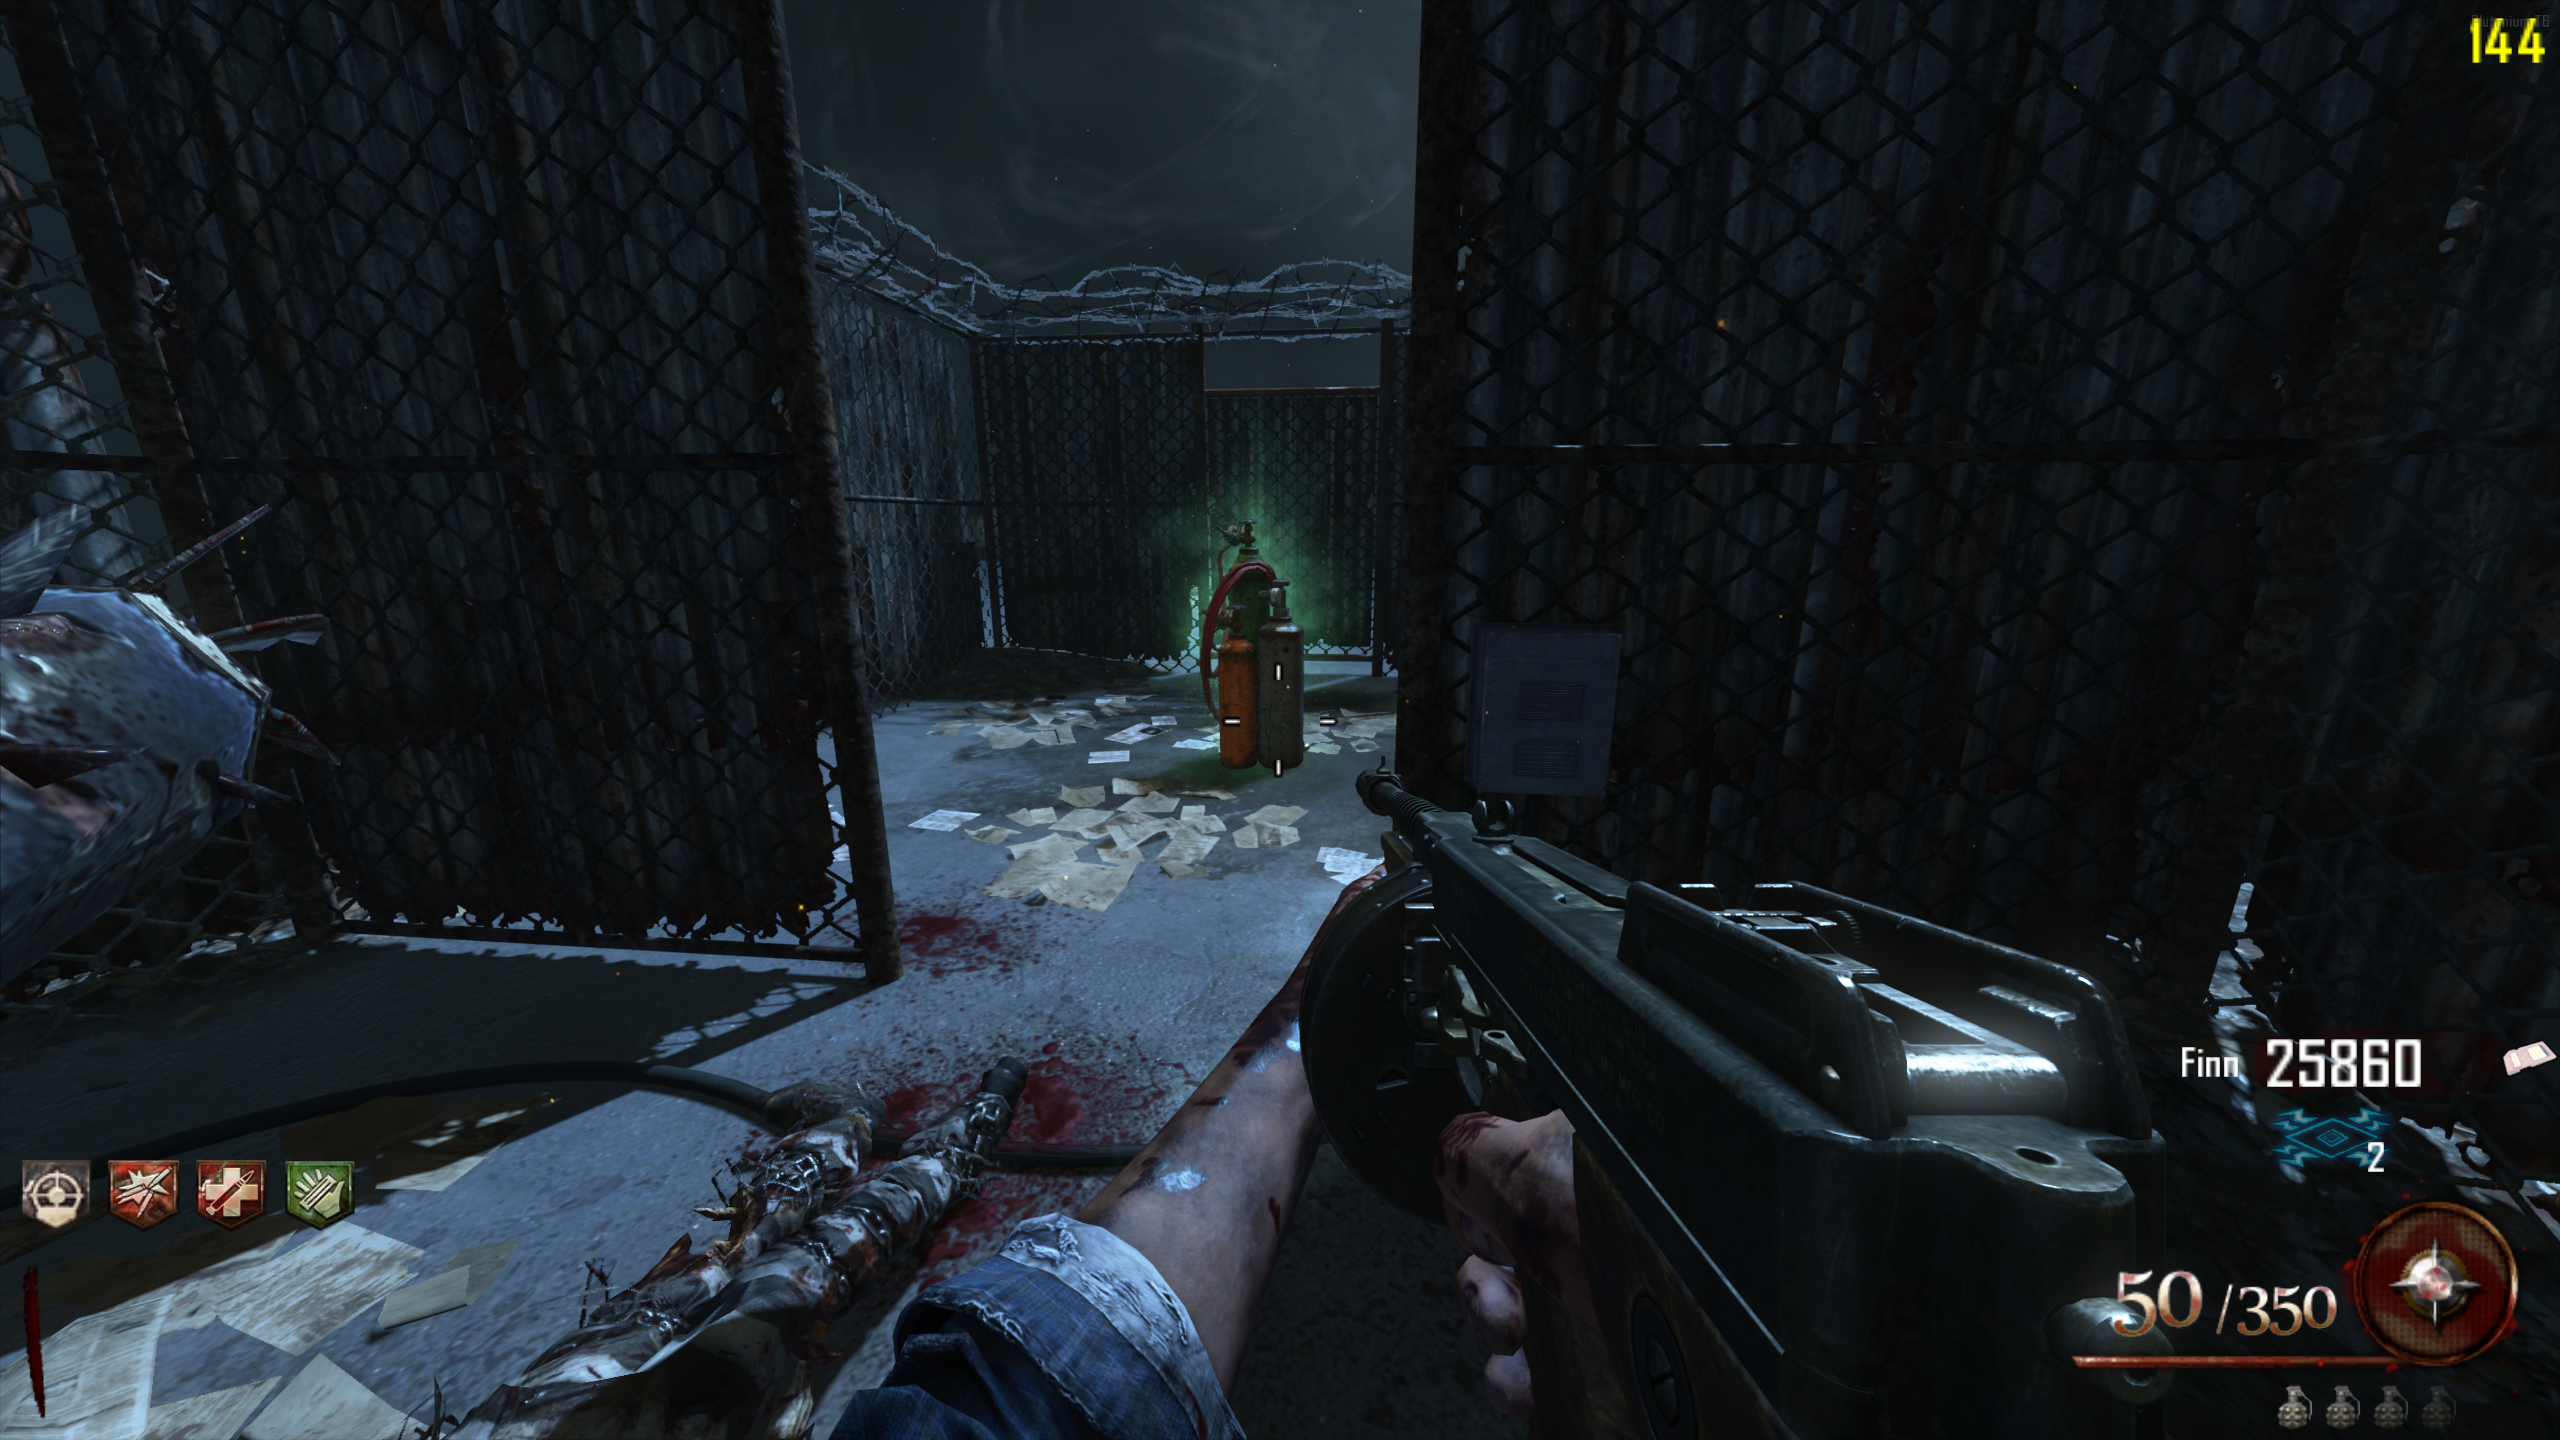
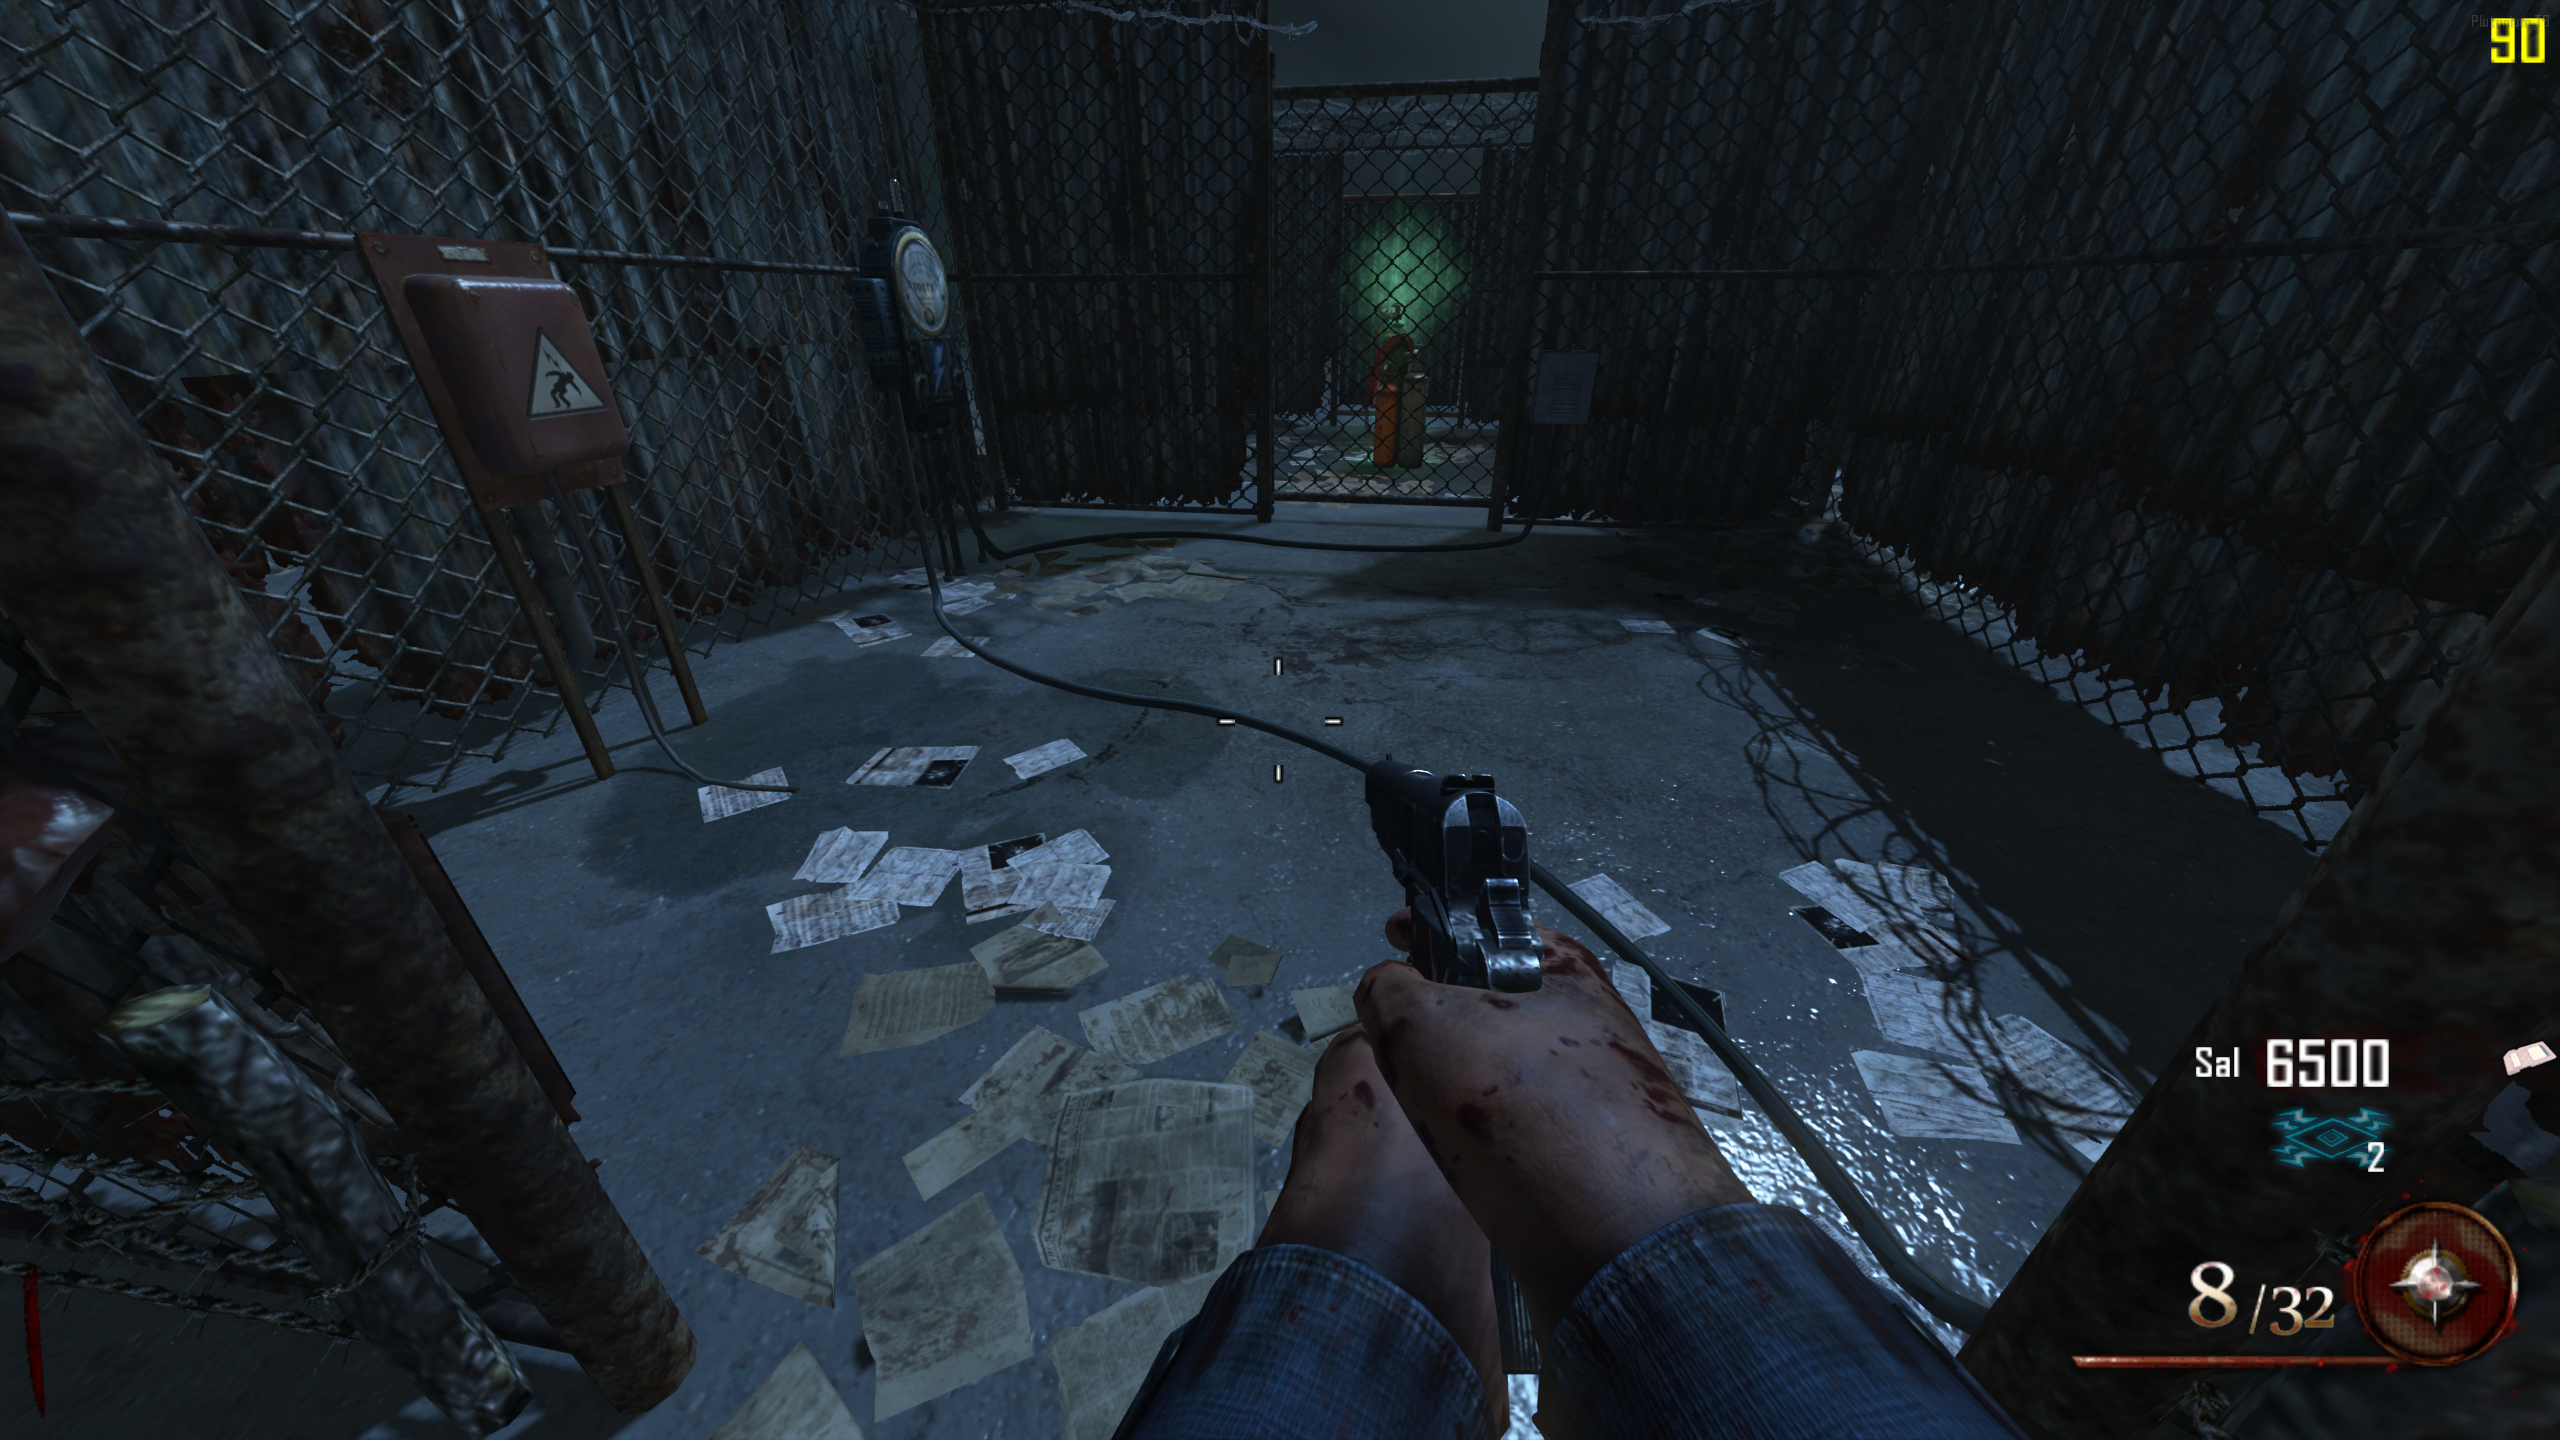
Afterlife Mode
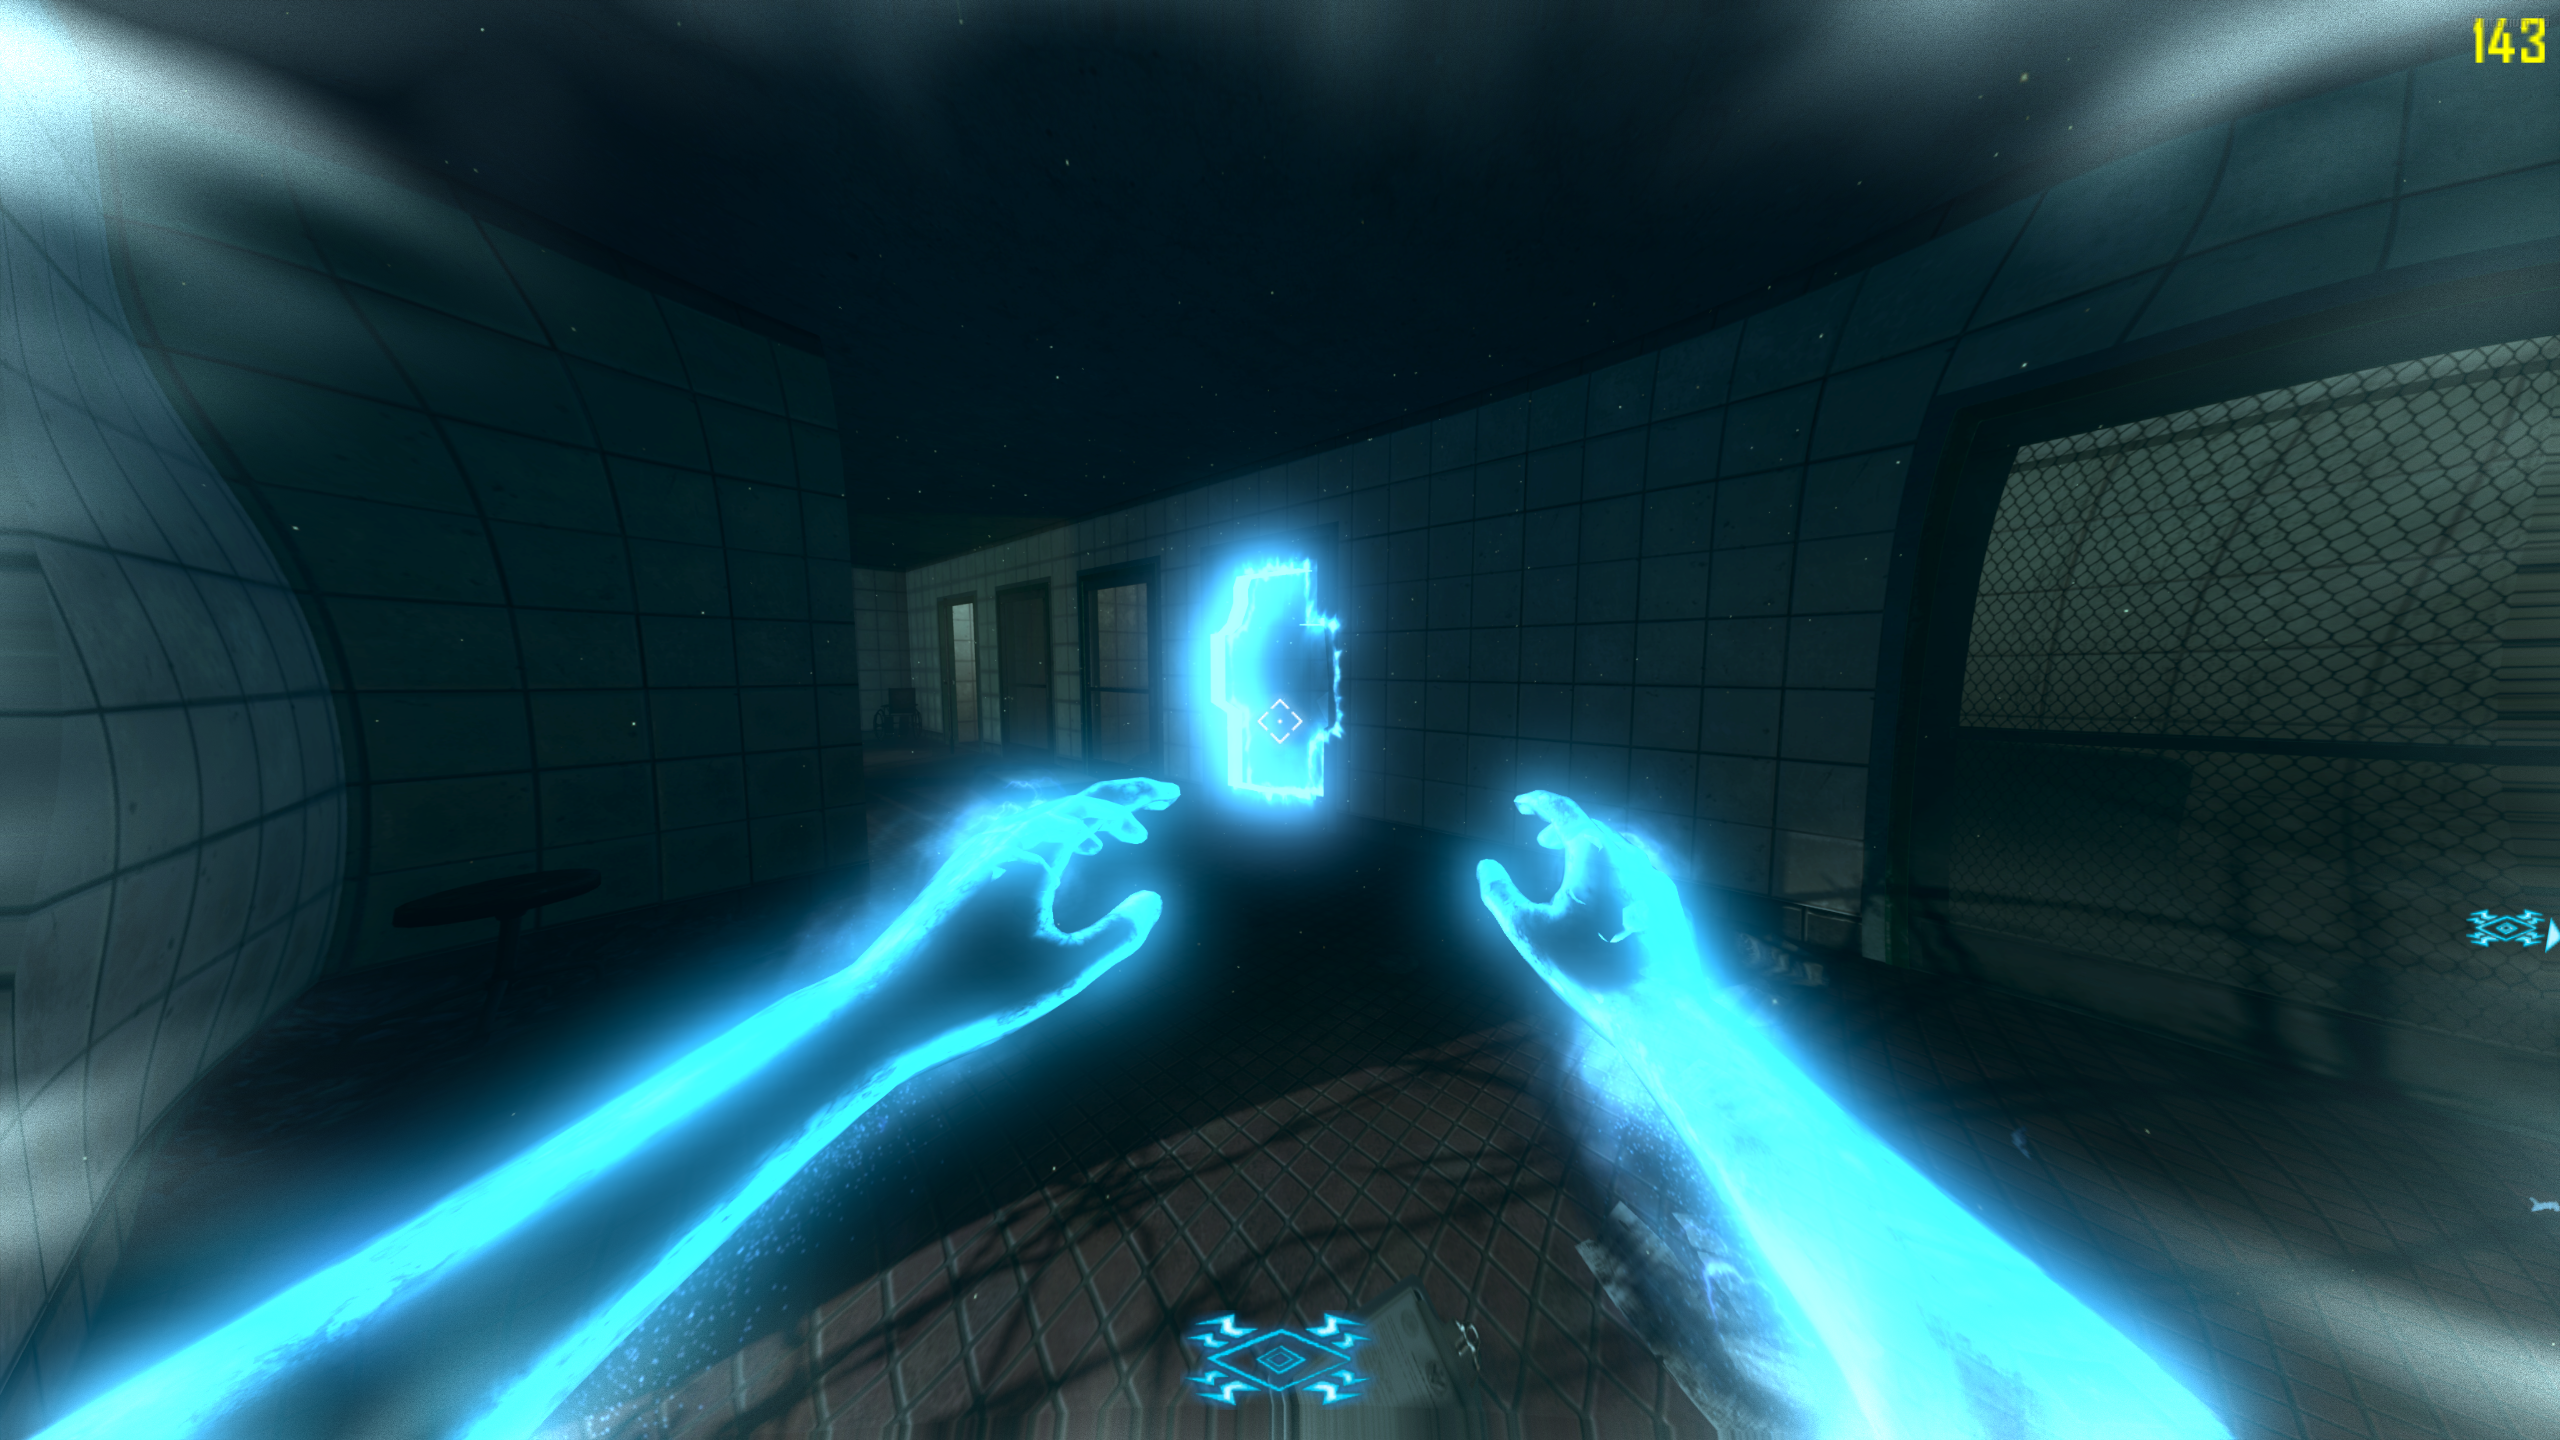
- Afterlife Mode is a special timed mode you can enter that allows you to do actions (open doors, power perks, etc.) that you can't do otherwise.
- You can enter Afterlife Mode by interacting with any electrical box around the map, or by going down. Either way uses up a charge, and you'll be put into Afterlife automatically as long as you have one available. Entering from an electrical box gives your perks back when you return to your body. Going down loses all of them. Your points are kept either way.
- You can hold one charge at a time in Co-op, and up to three in Solo. You earn one charge at the end of every round, up to that cap, and there's no other way to get one. If the Afterlife icon, on the bottom-right of the HUD, doesn't show 0, you can enter Afterlife. In practice that means one Afterlife per round in Co-op. In Solo, you can use up to three in the same round if you've saved them from previous rounds.
- In Afterlife Mode, a bar at the bottom-middle of your screen shows the time you have left. If it drains completely before you revive yourself (or another player revives you), you'll go down. The bar stops draining while a revive is in progress, so you can use another player to extend your Afterlife time.
- How long Afterlife Mode lasts depends on how many times you've gone down in a round. First Afterlife is 66.7s, second is 33.3s, and third is 22.2s. The count resets every round, so the first Afterlife of a new round is always the full 66.7s. Only going down makes the next one shorter. Entering from an electrical box doesn't shorten the one after it.
- Most actions cost you extra time on top of the normal drain. Each one takes a percentage of the bar, not a flat number of seconds: a lightning shot costs 0.5%, a hit from a Zombie costs 5%, and jumping costs 3% per second in the air. So a Zombie hit on a 66.7s Afterlife costs about 3.3 seconds, but only about 1.7 seconds on a 33.3s one.
- While in Afterlife Mode you move faster and you can shoot lightning. Zombies will ignore you. They won't chase you or try to hit you, but if one does hit you (from an attack on another player), it costs you time. Your lightning doesn't kill Zombies. It zaps up to five nearby ones at once and teleports them away from you. You can shock Voltmeters and revive your own body, but you can't revive other players while you're in Afterlife.
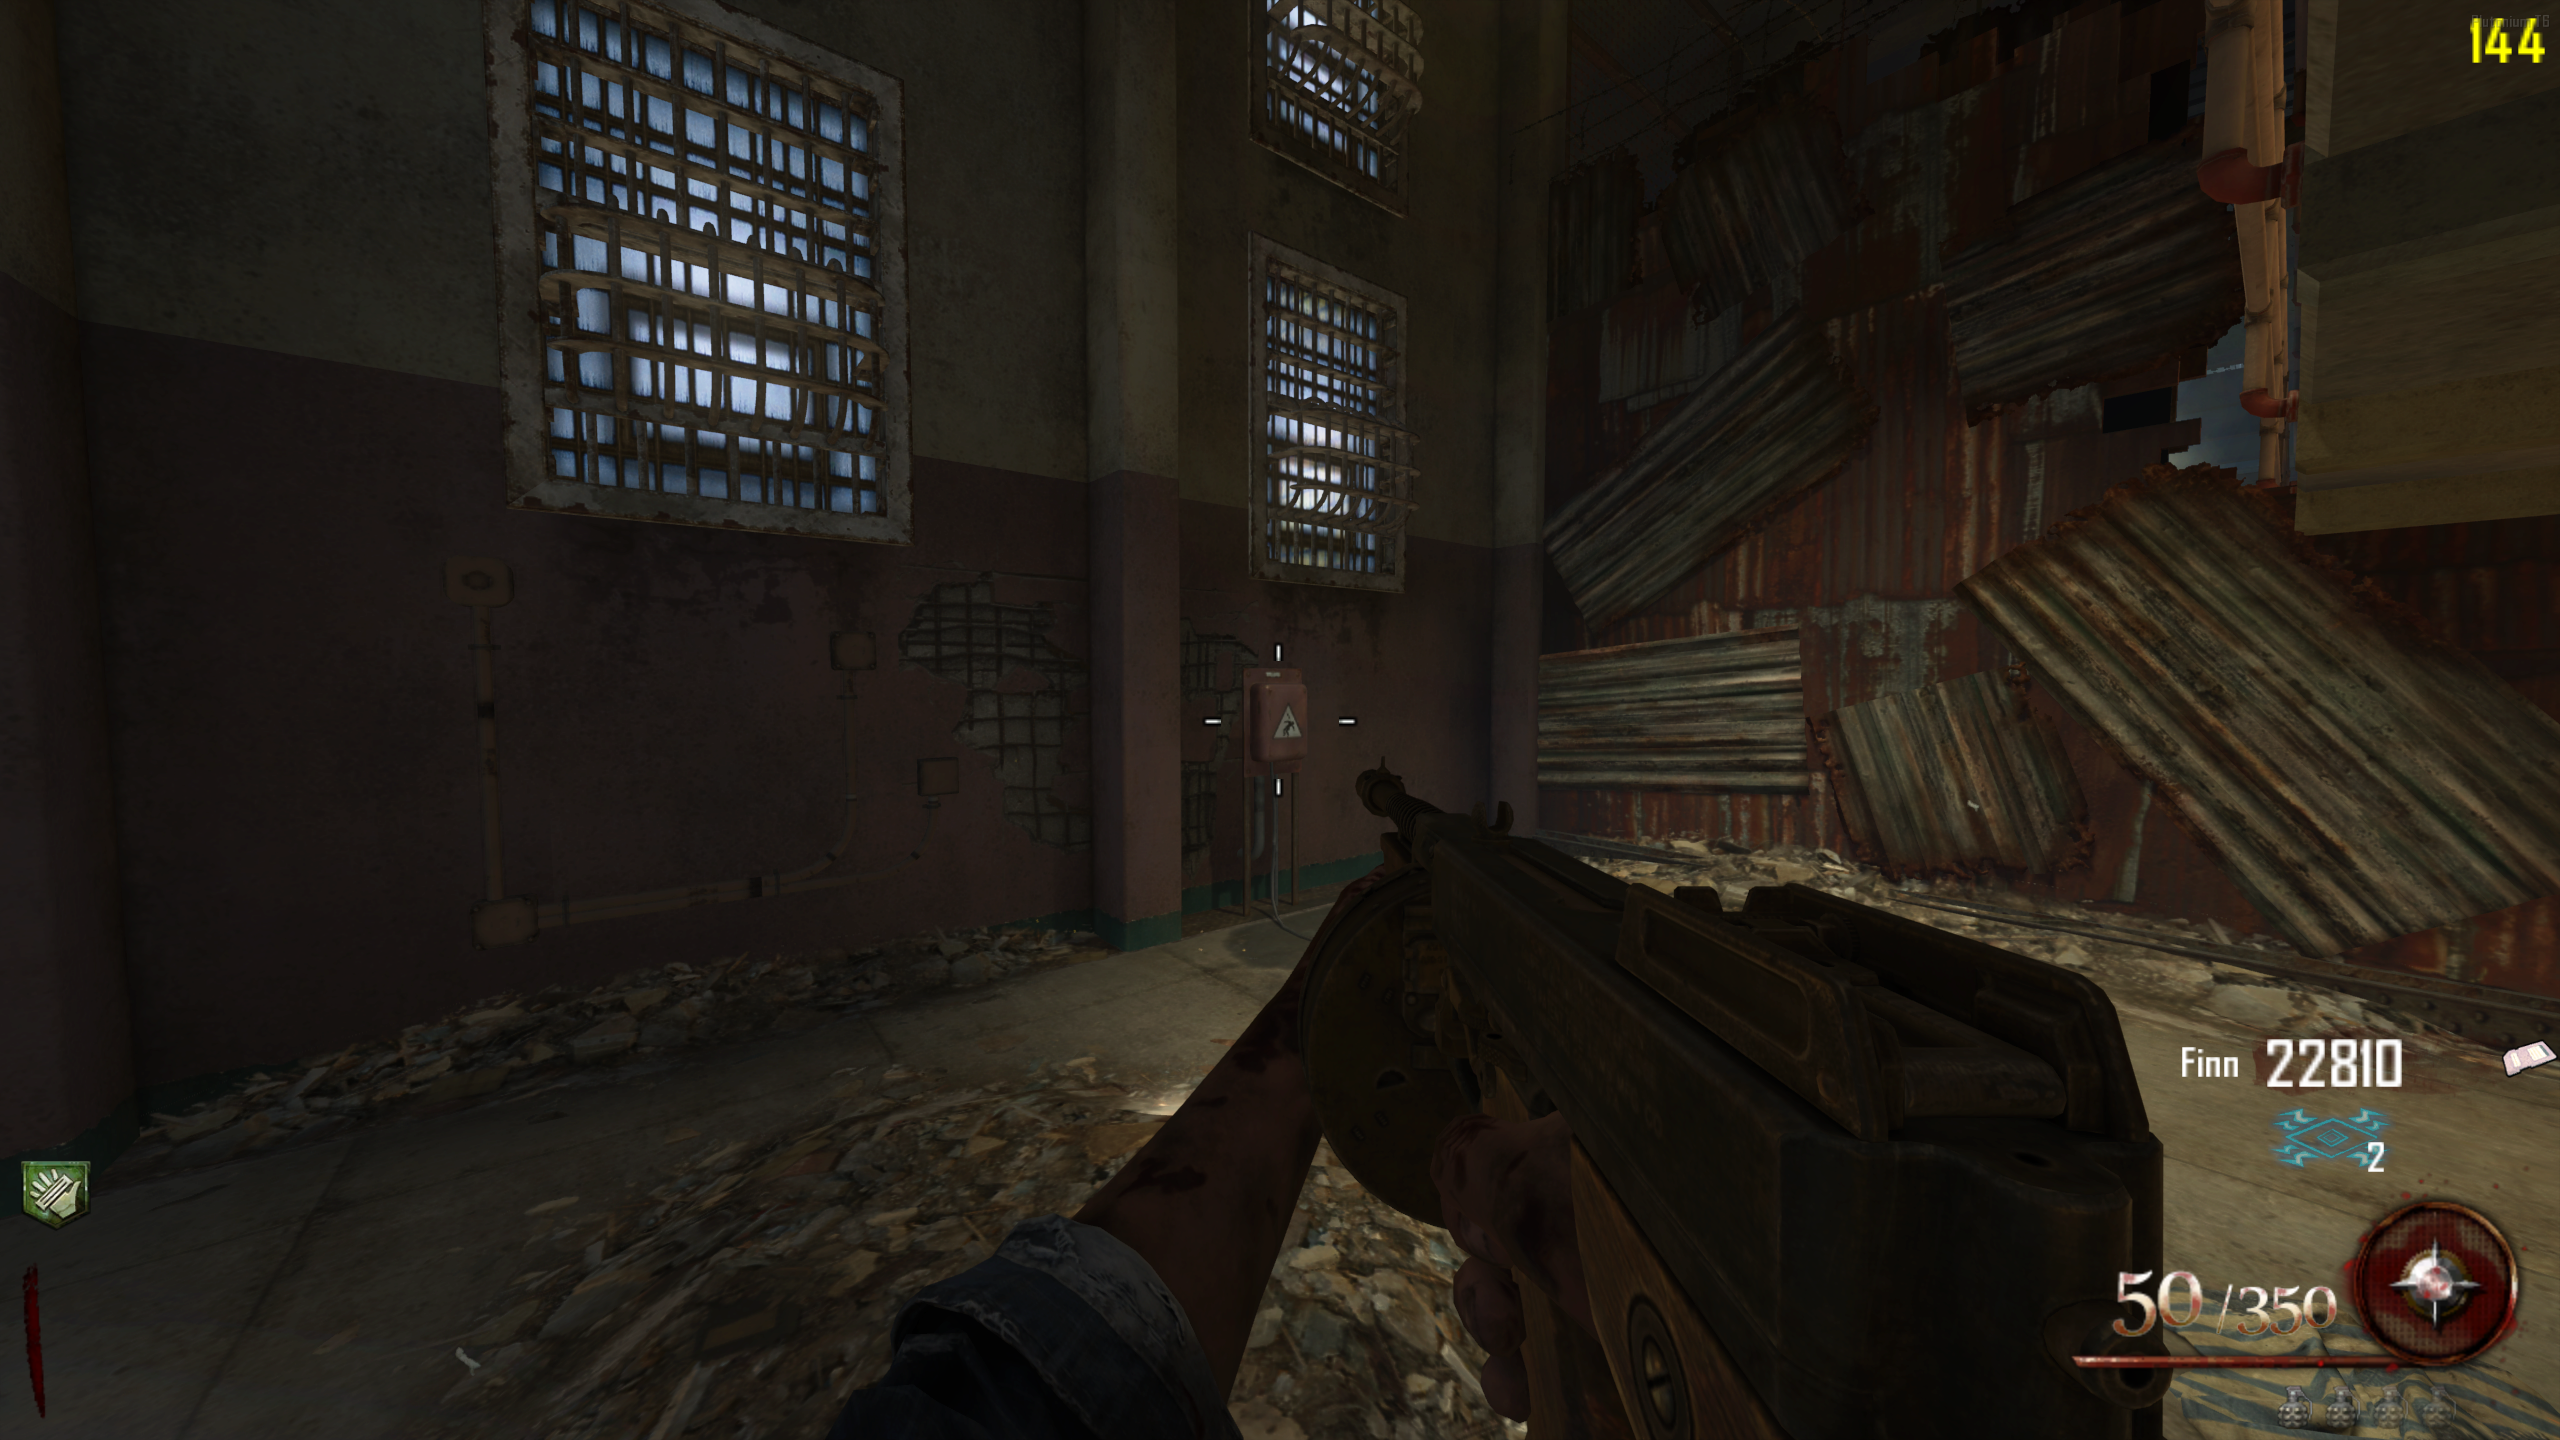
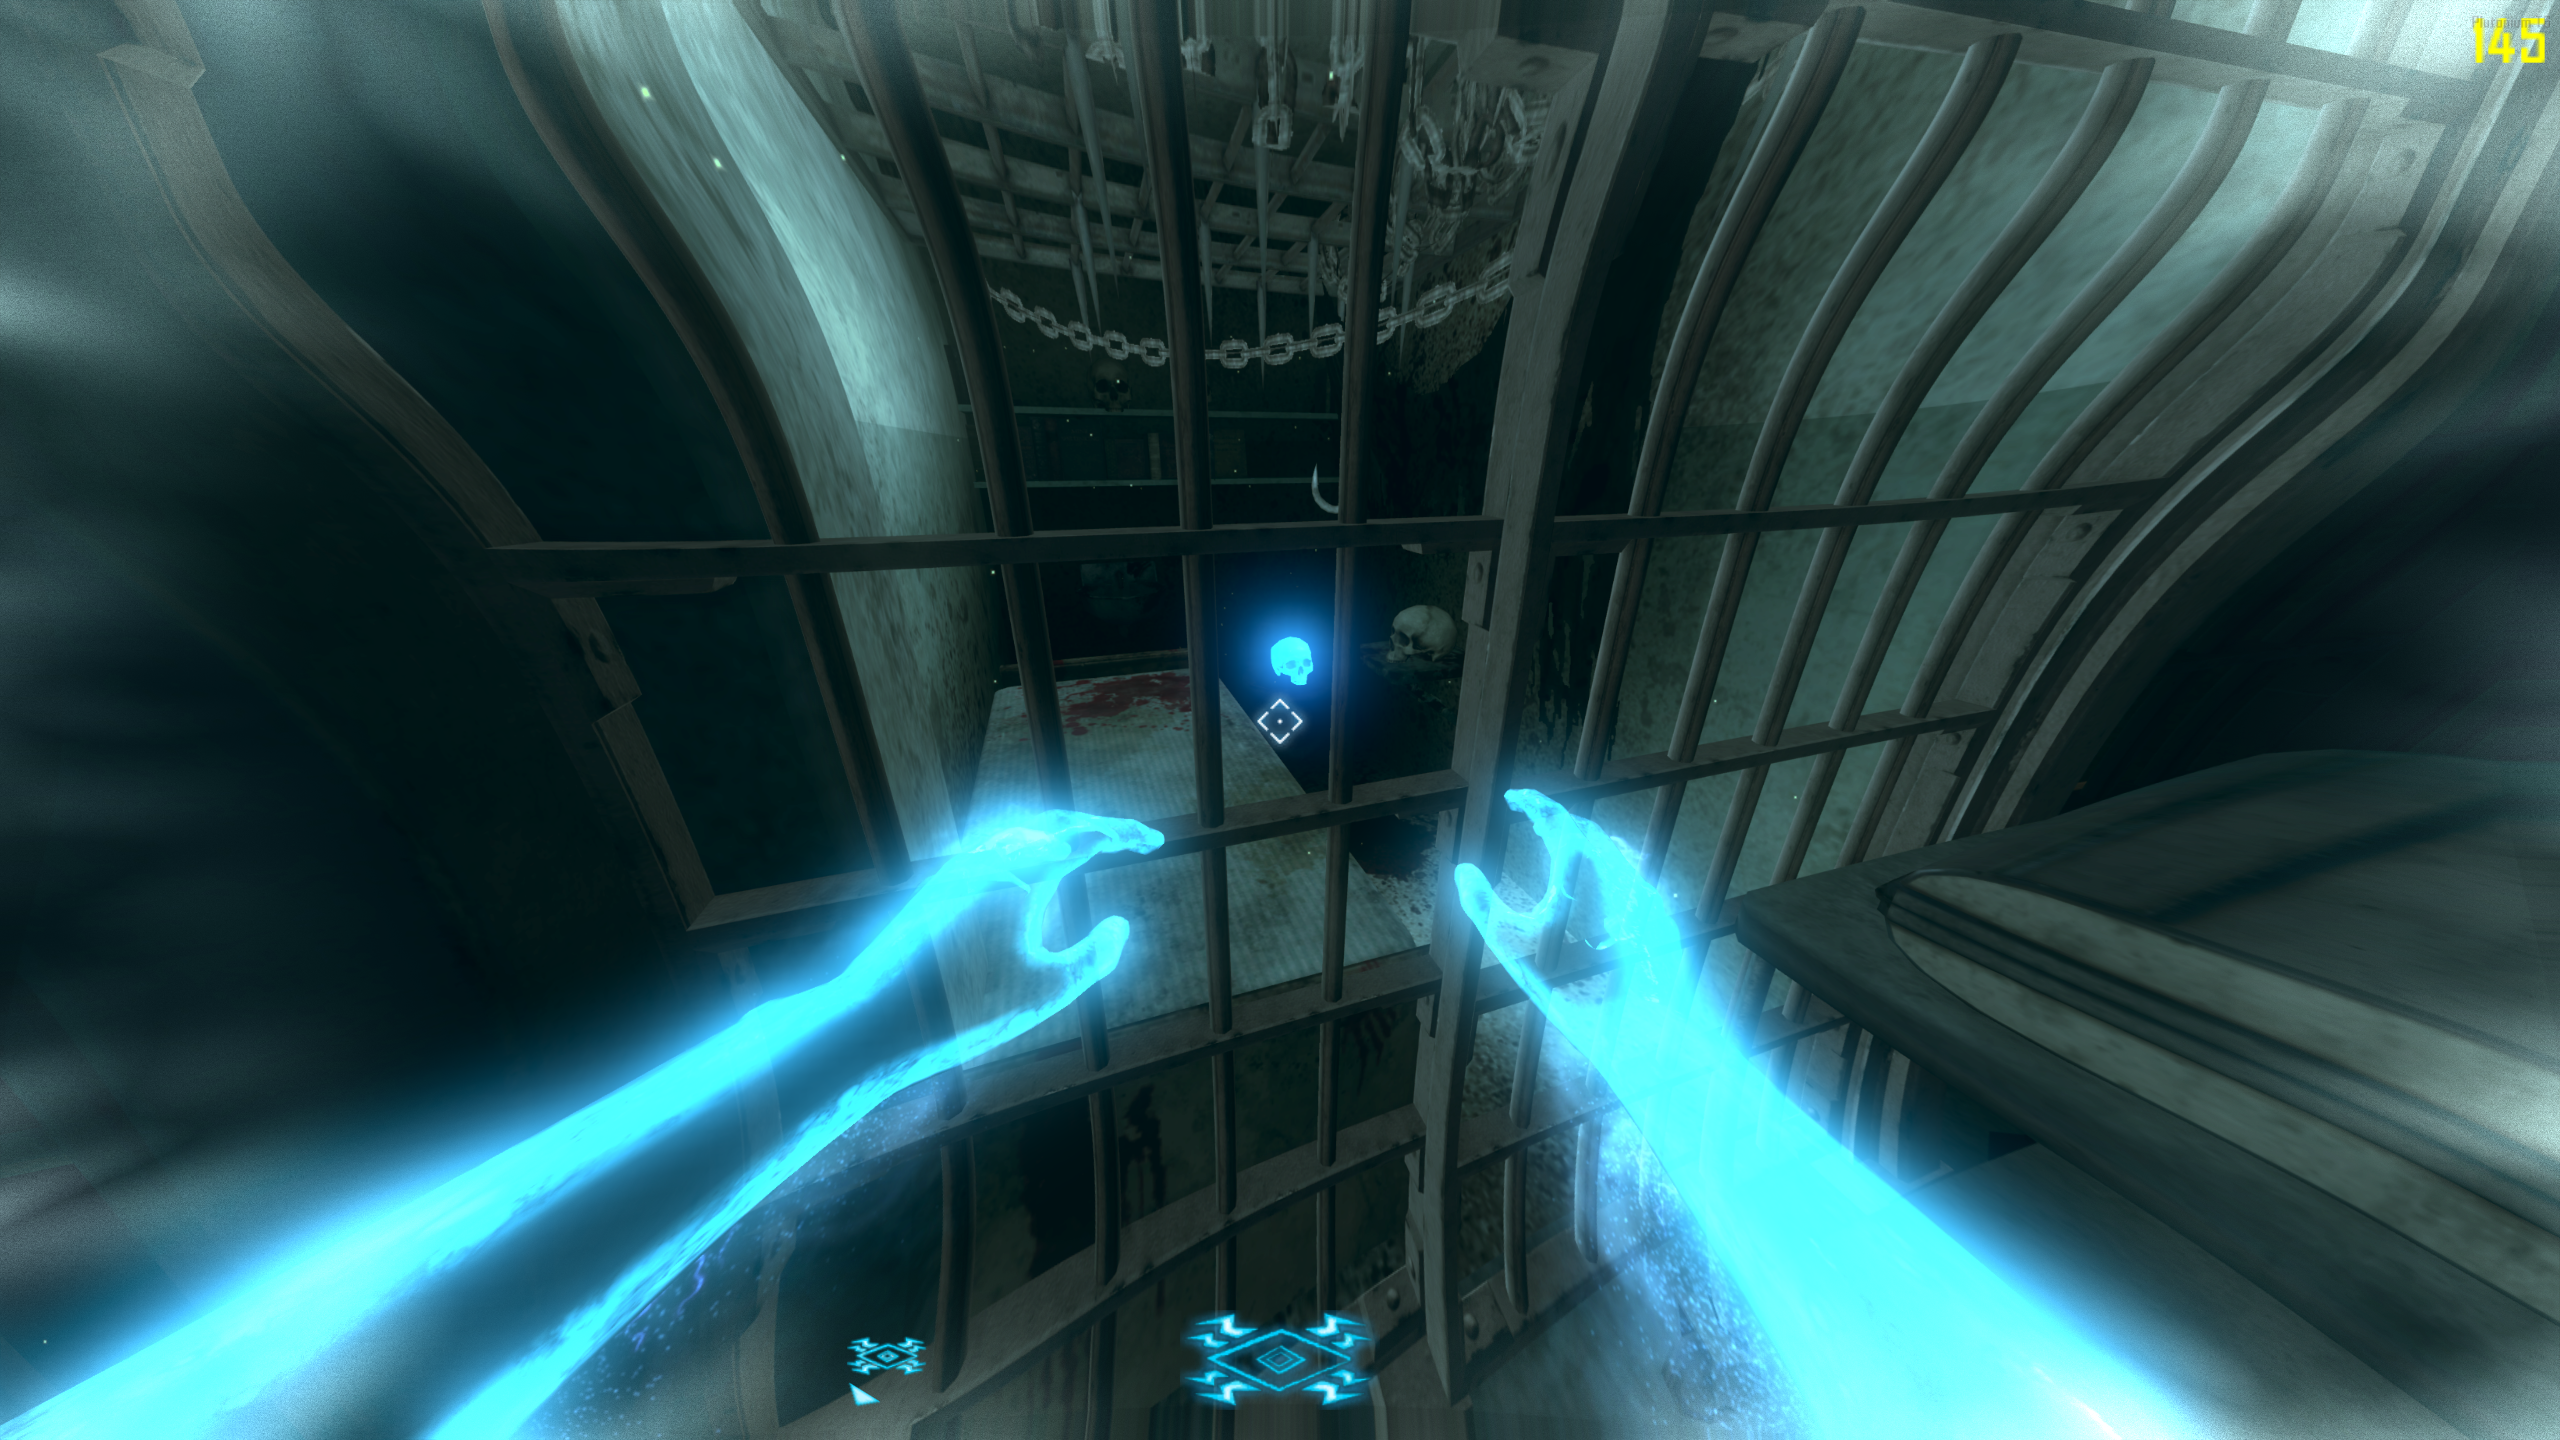
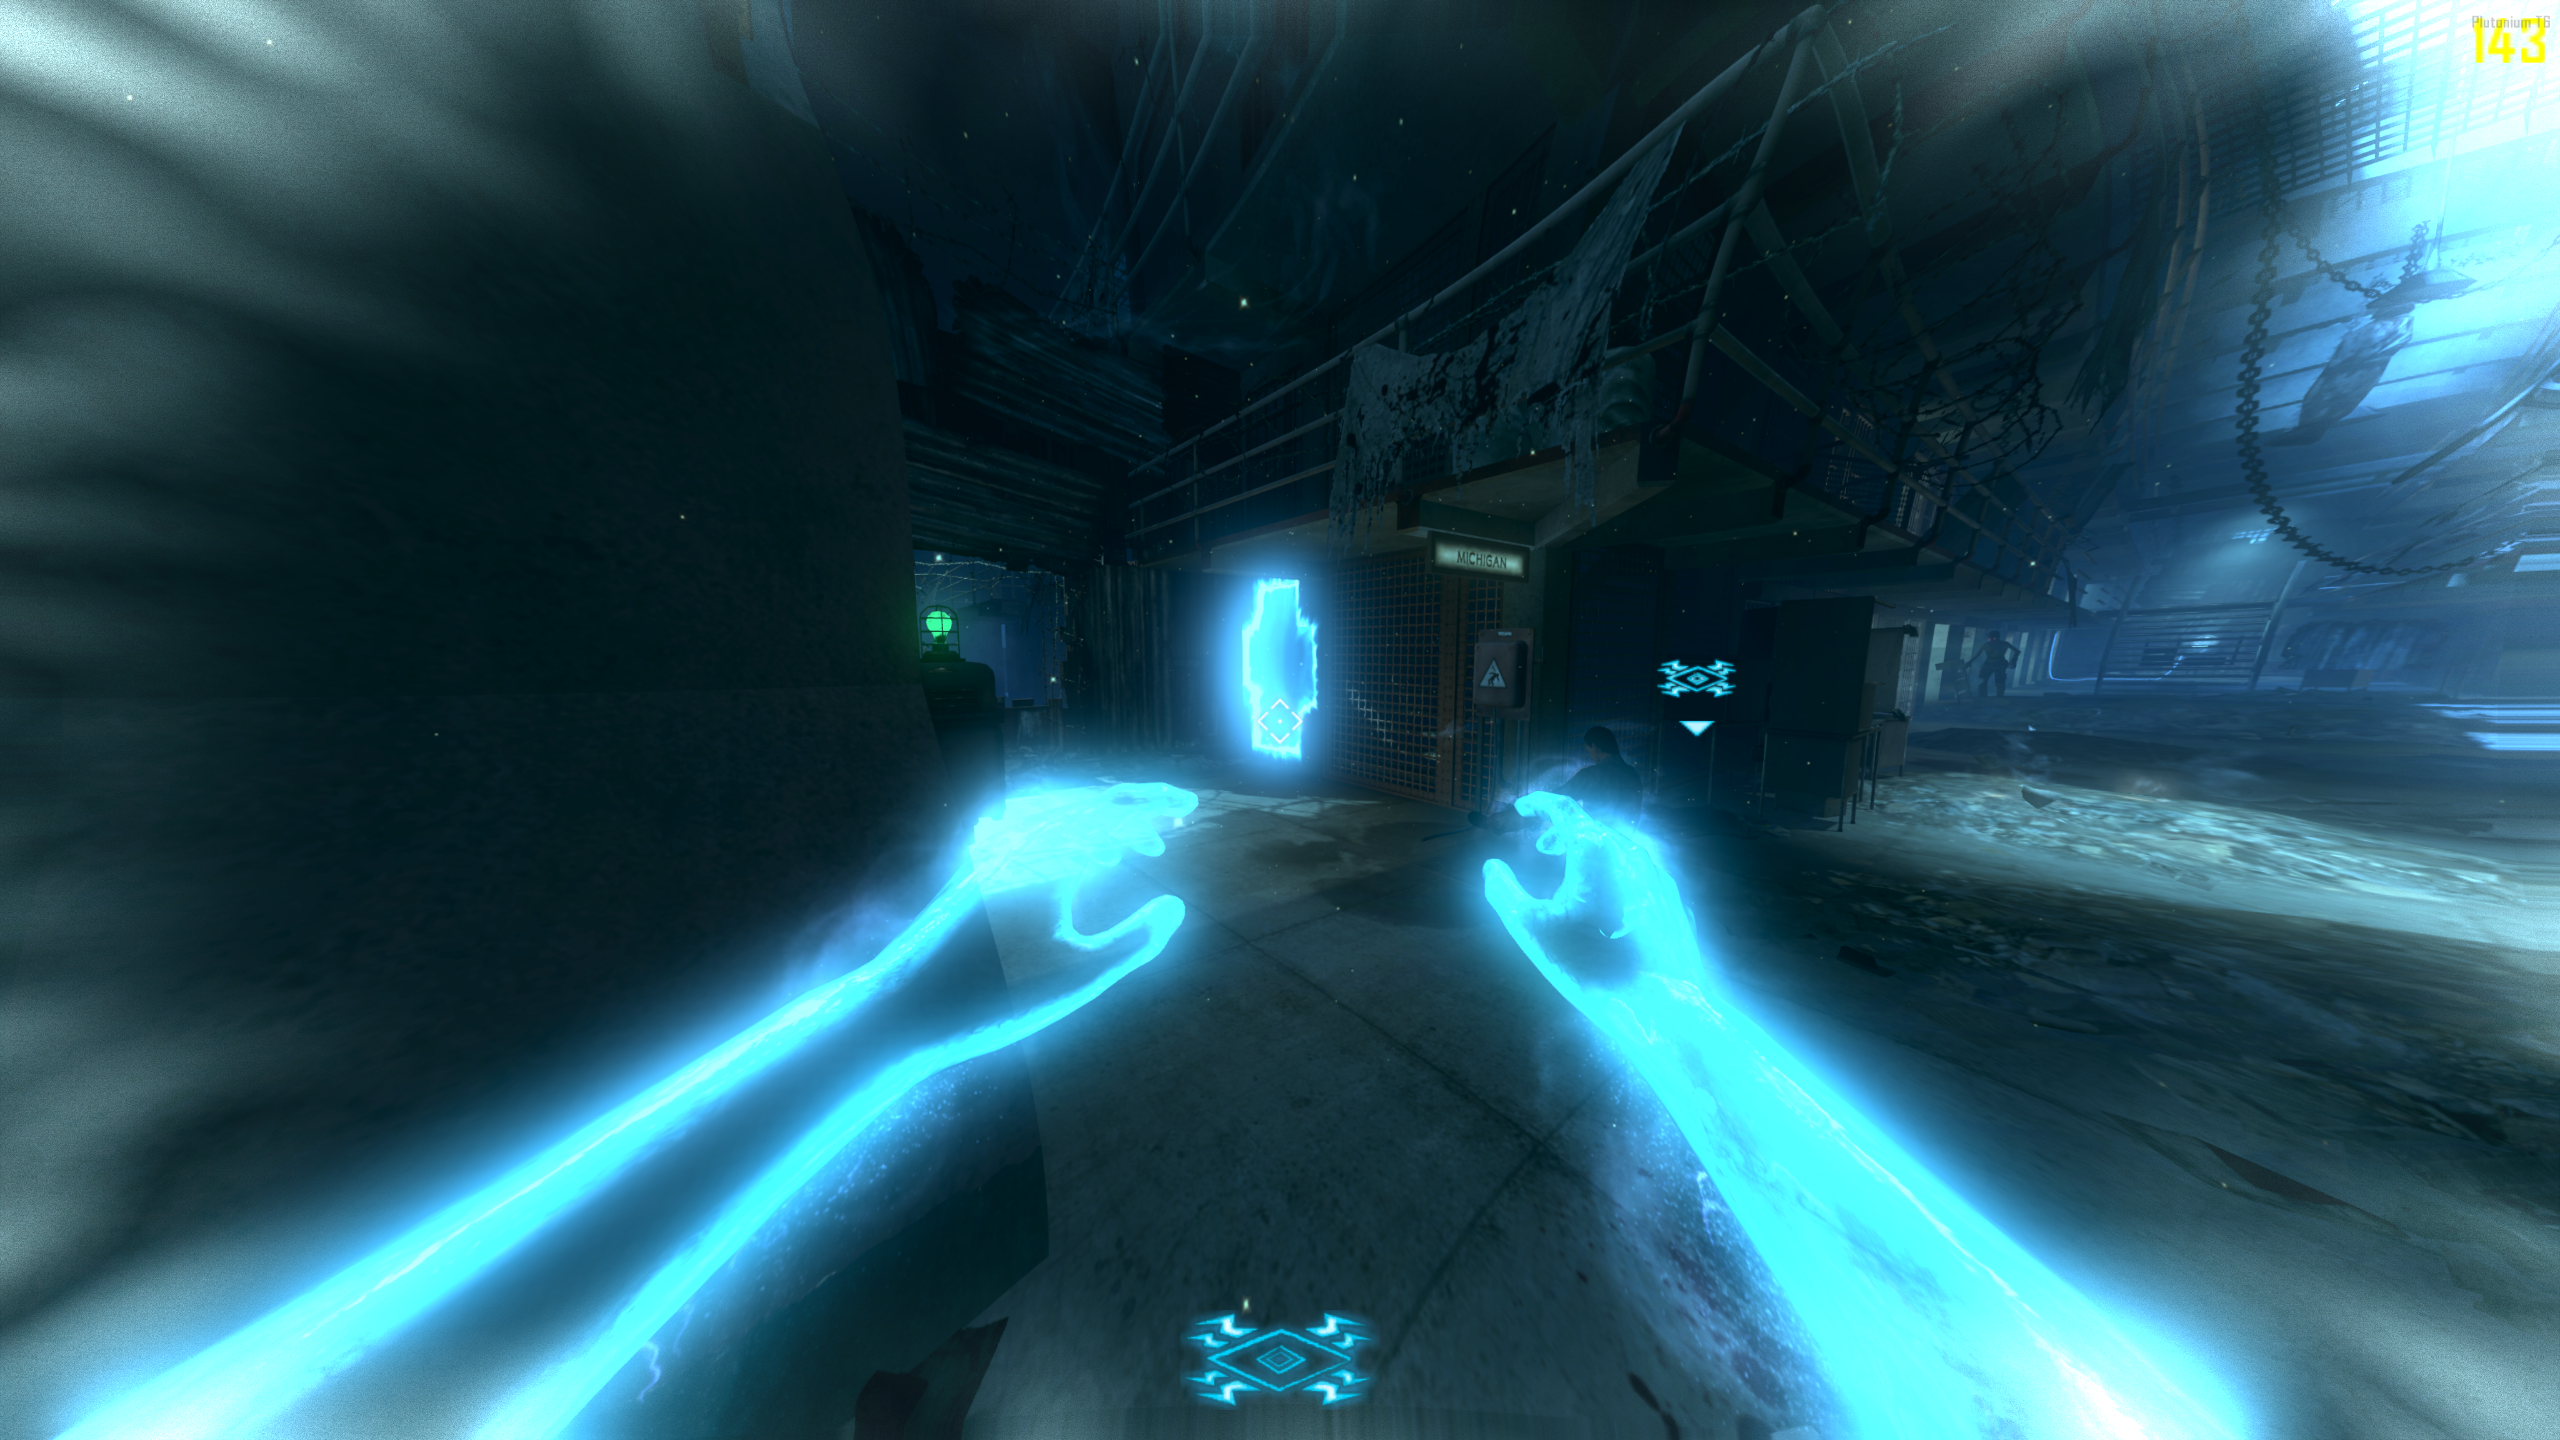
- While in Afterlife Mode you'll see ghostly doorways that you can't see normally. These doorways will almost always have something you need to shock at the end, like a Voltmeter or an item.
Blundergat
The Blundergat is a shotgun with four barrels that all fire at once, using one shot of ammo. It can be Pack-a-Punched into The Sweeper without an Easter Egg. It can also be converted into the Acidgat. It's available through the mystery box or via the following quest:
- Obtain the Hell's Retriever.
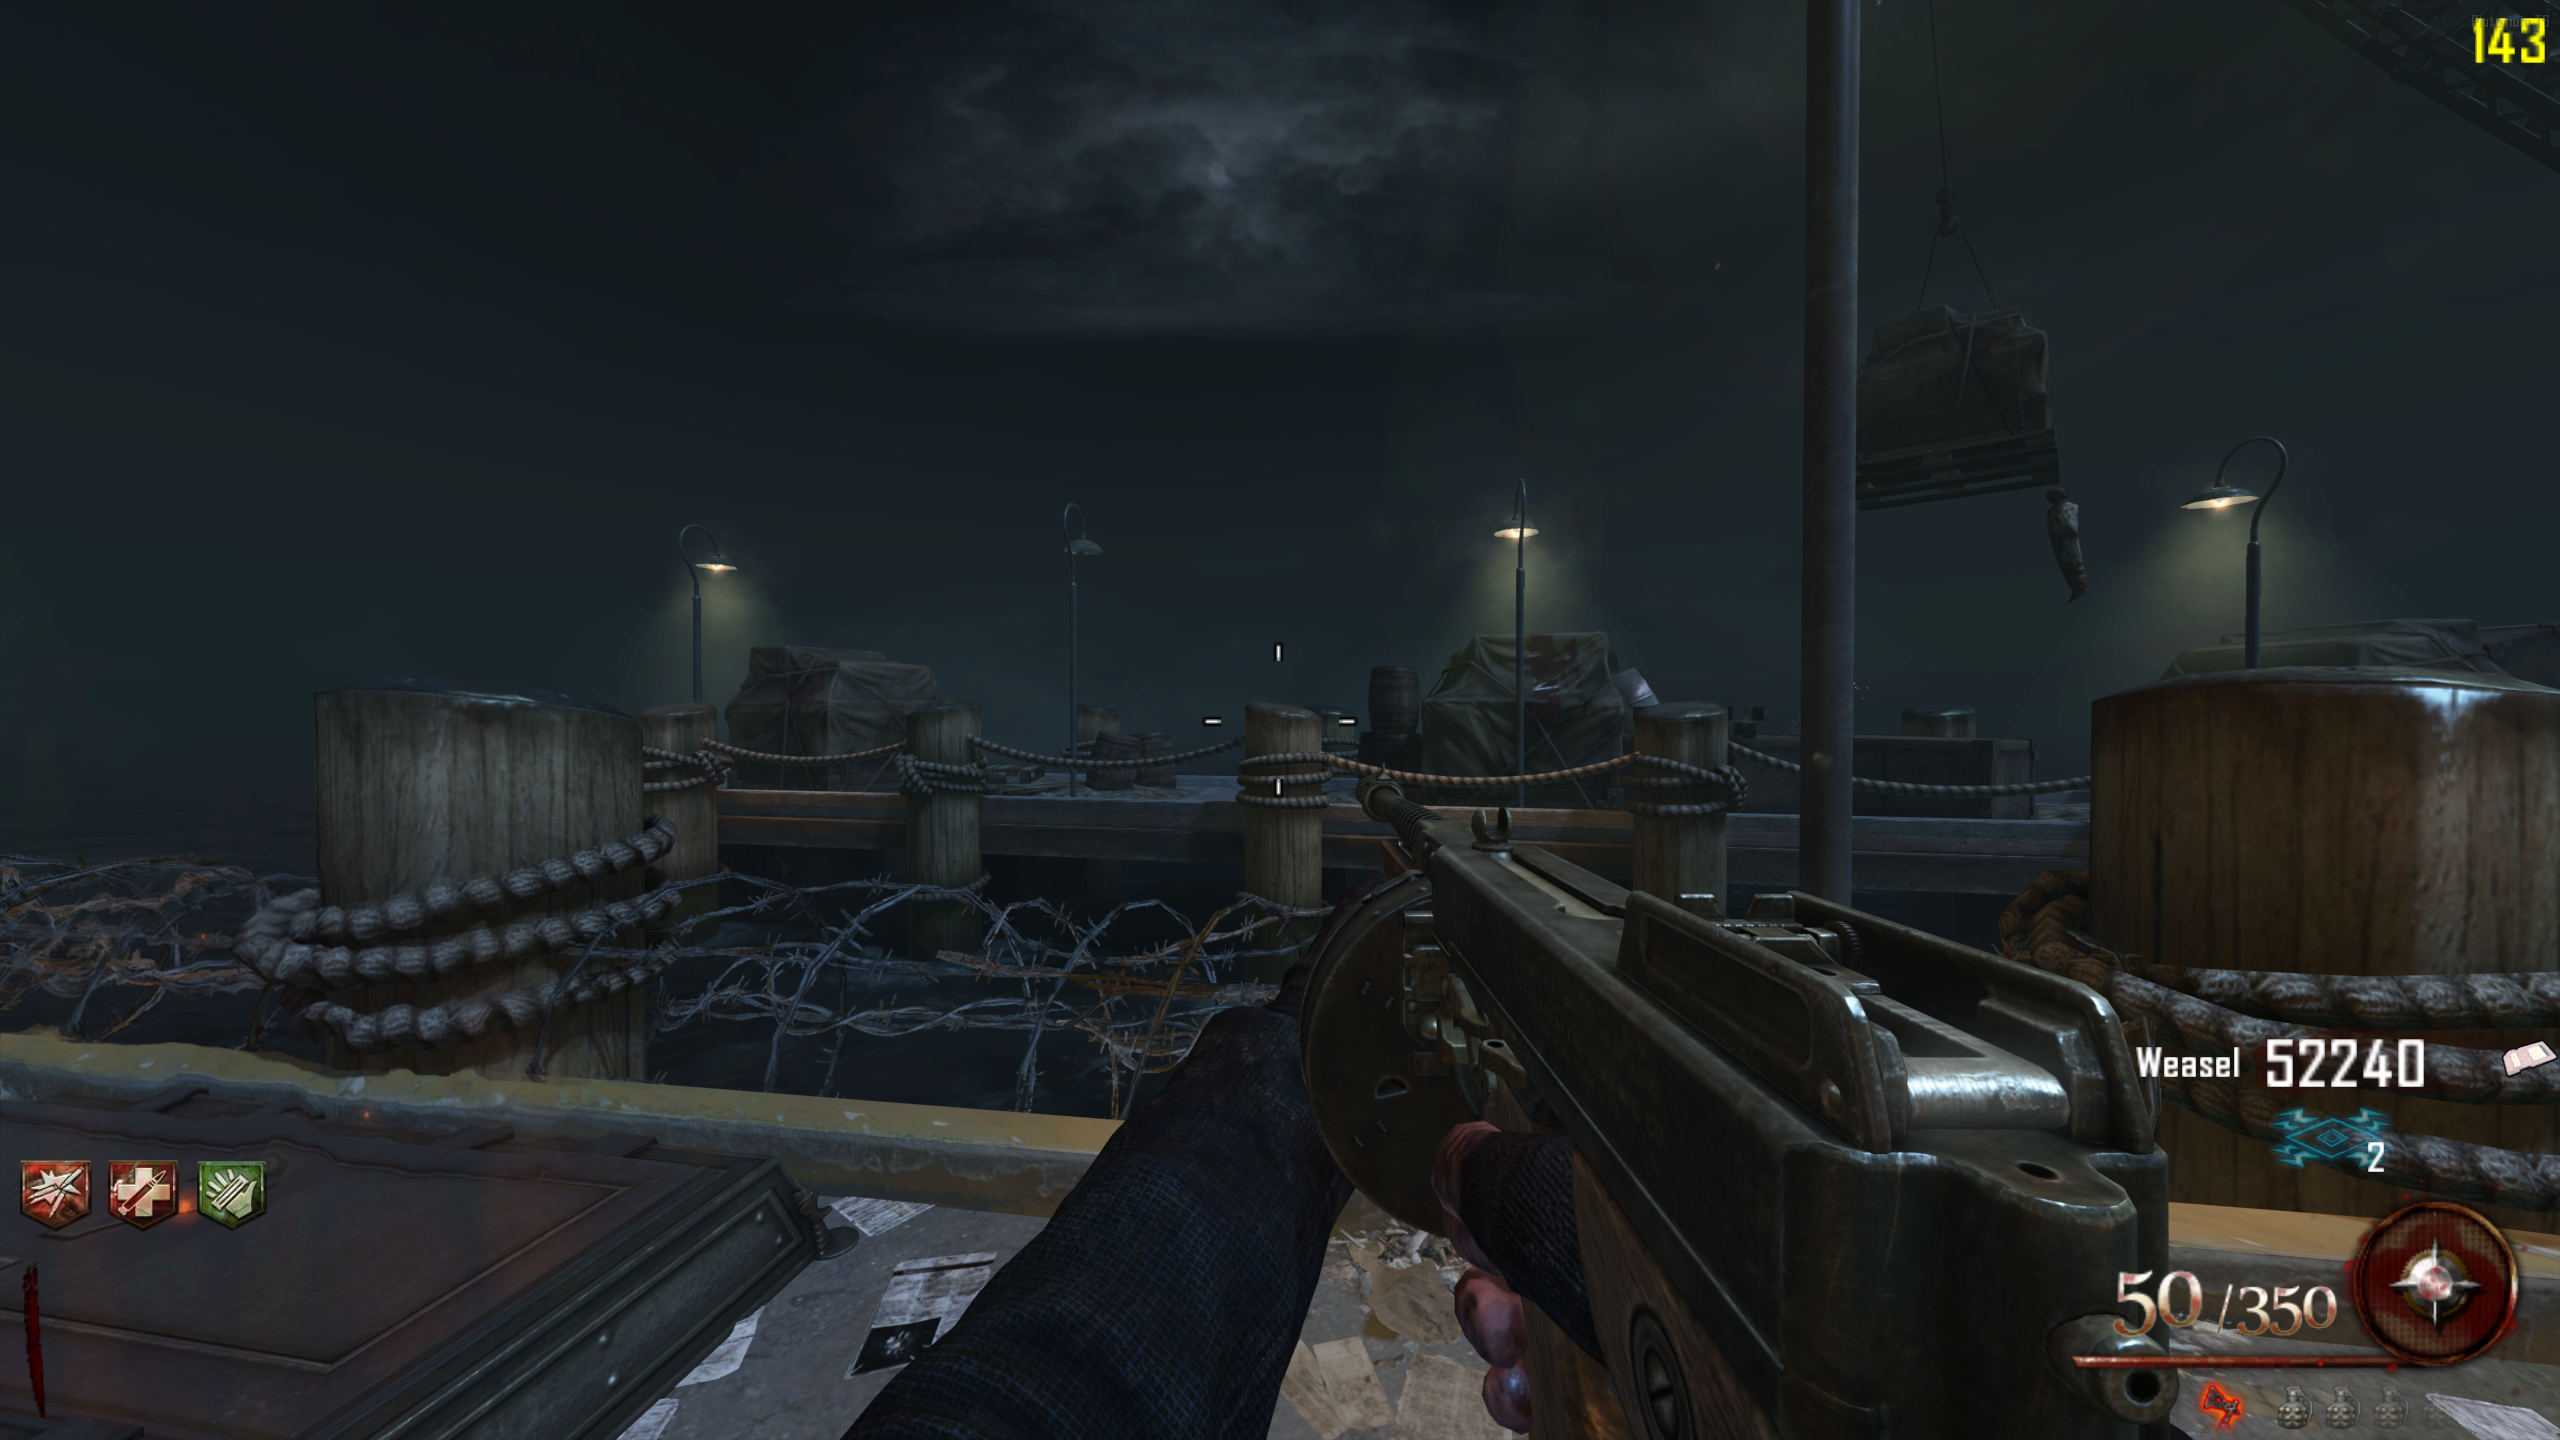
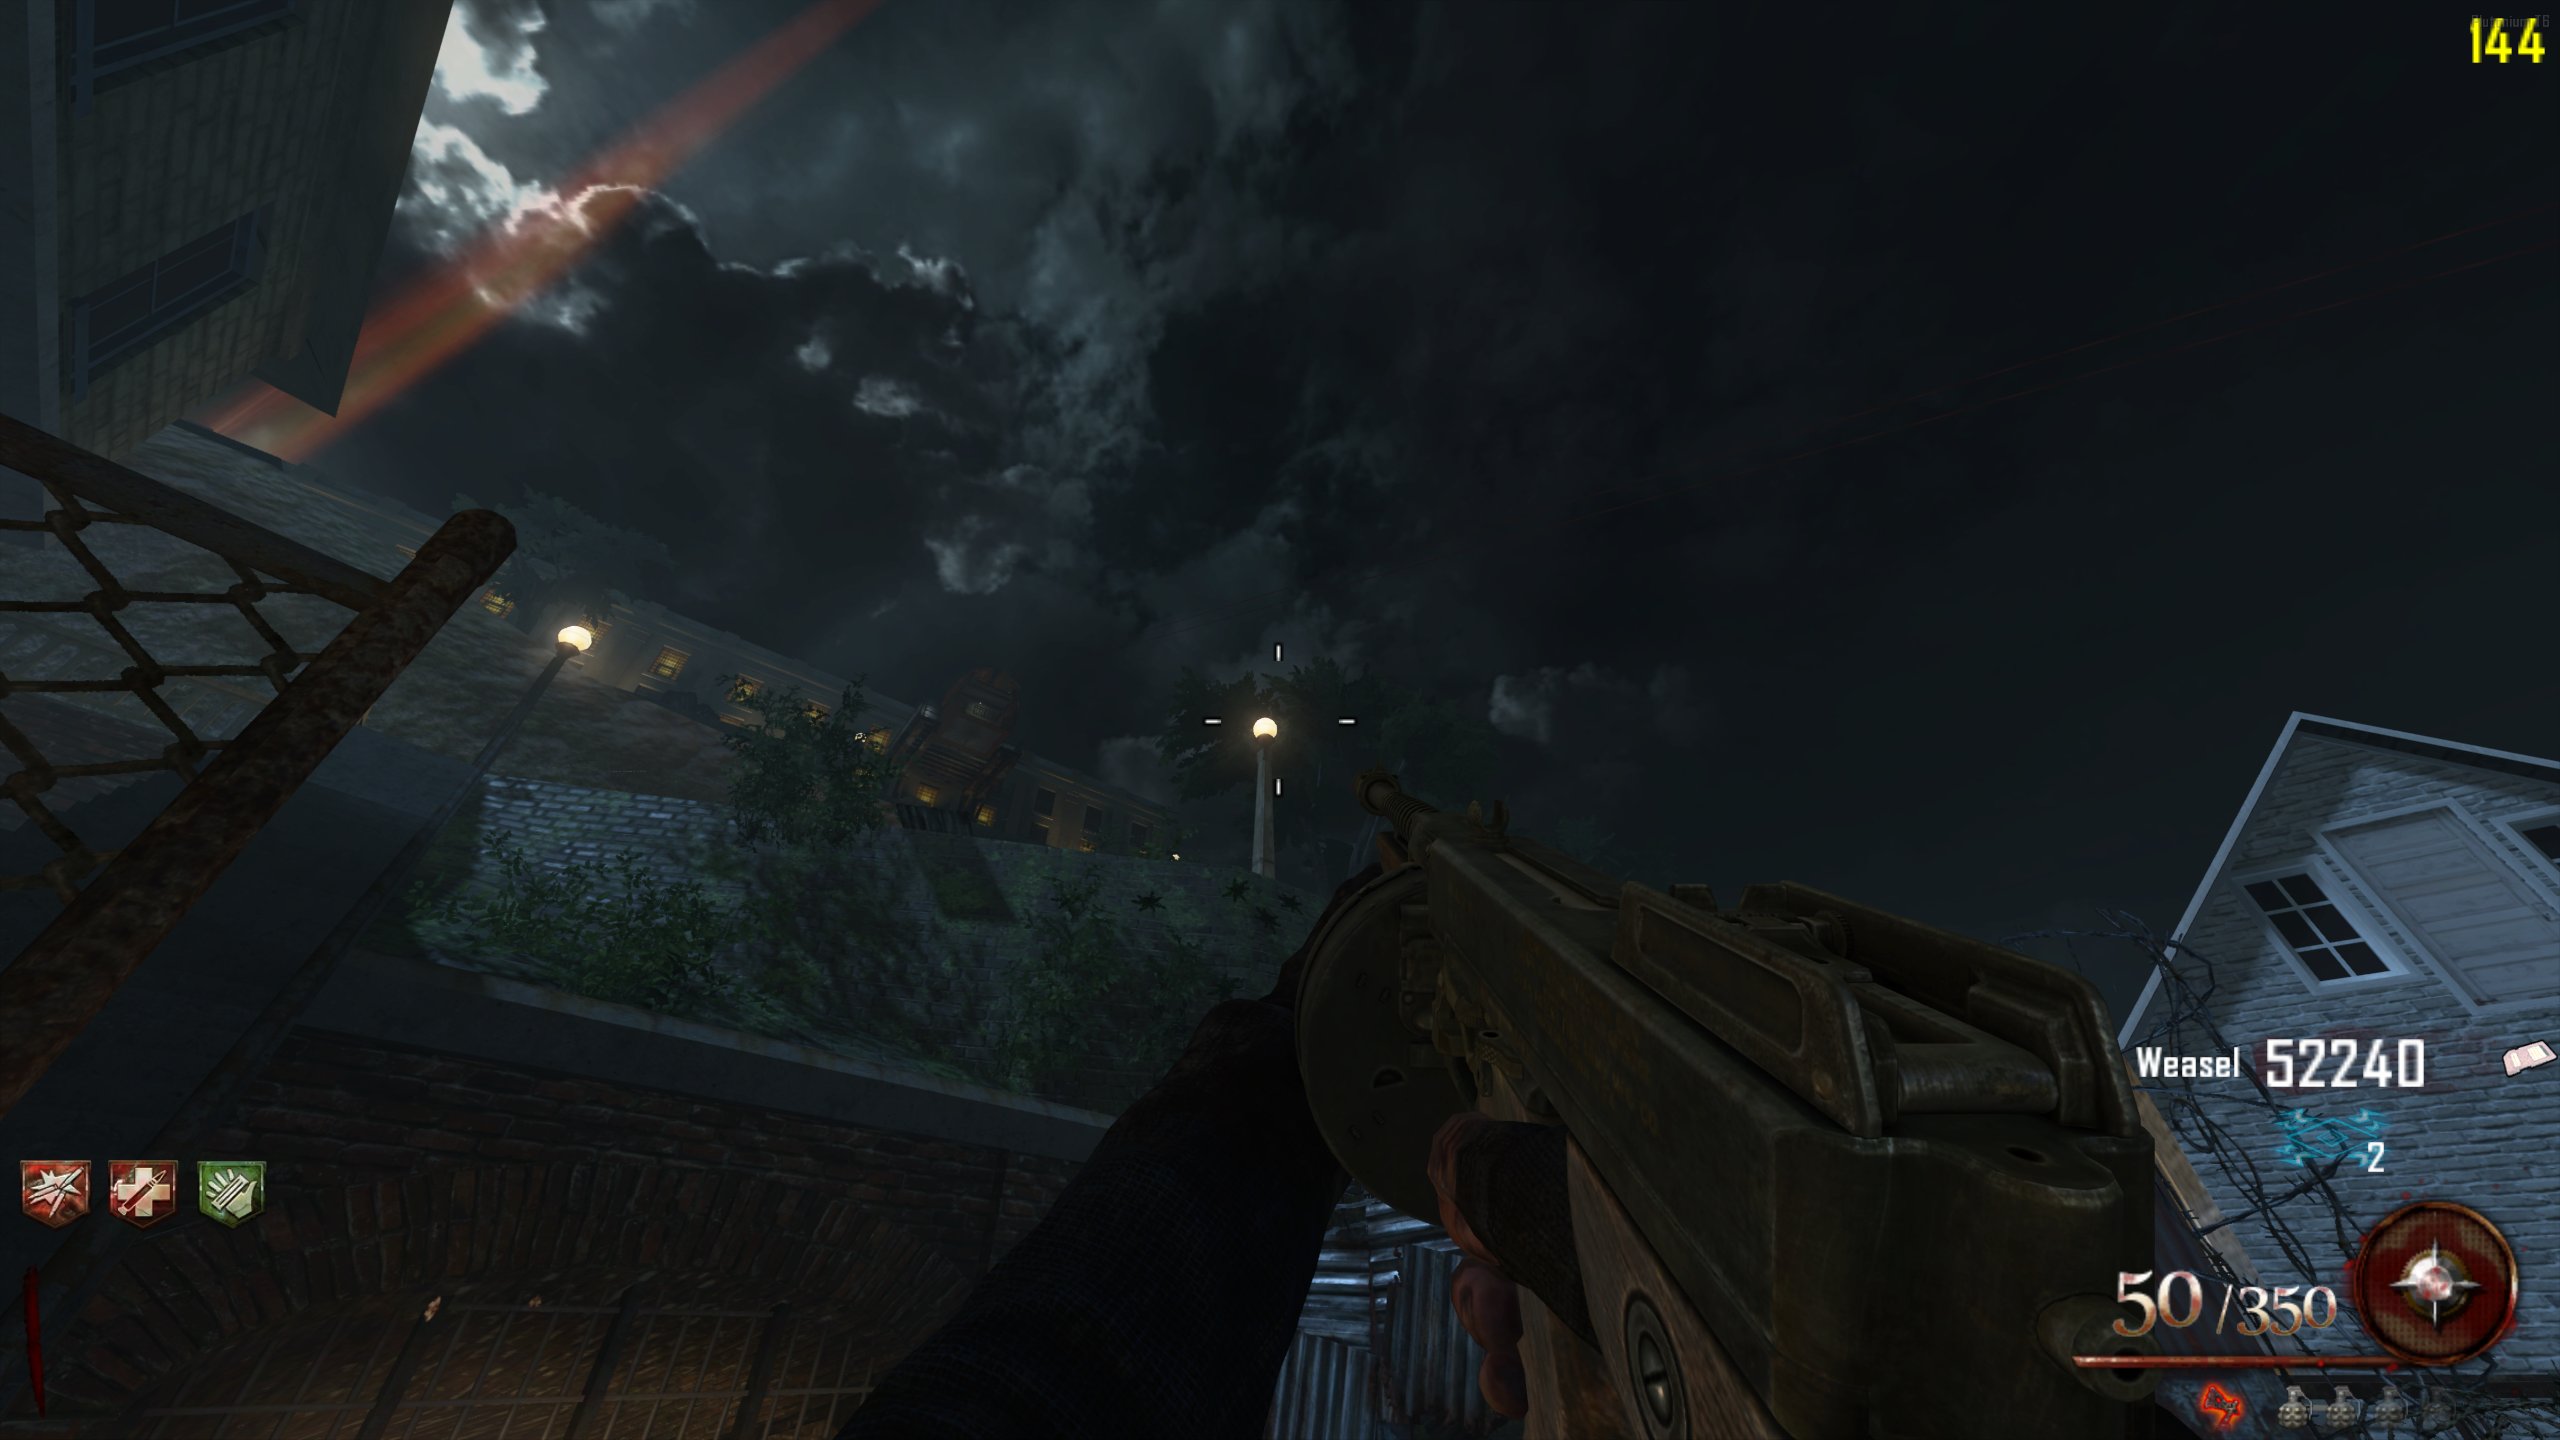
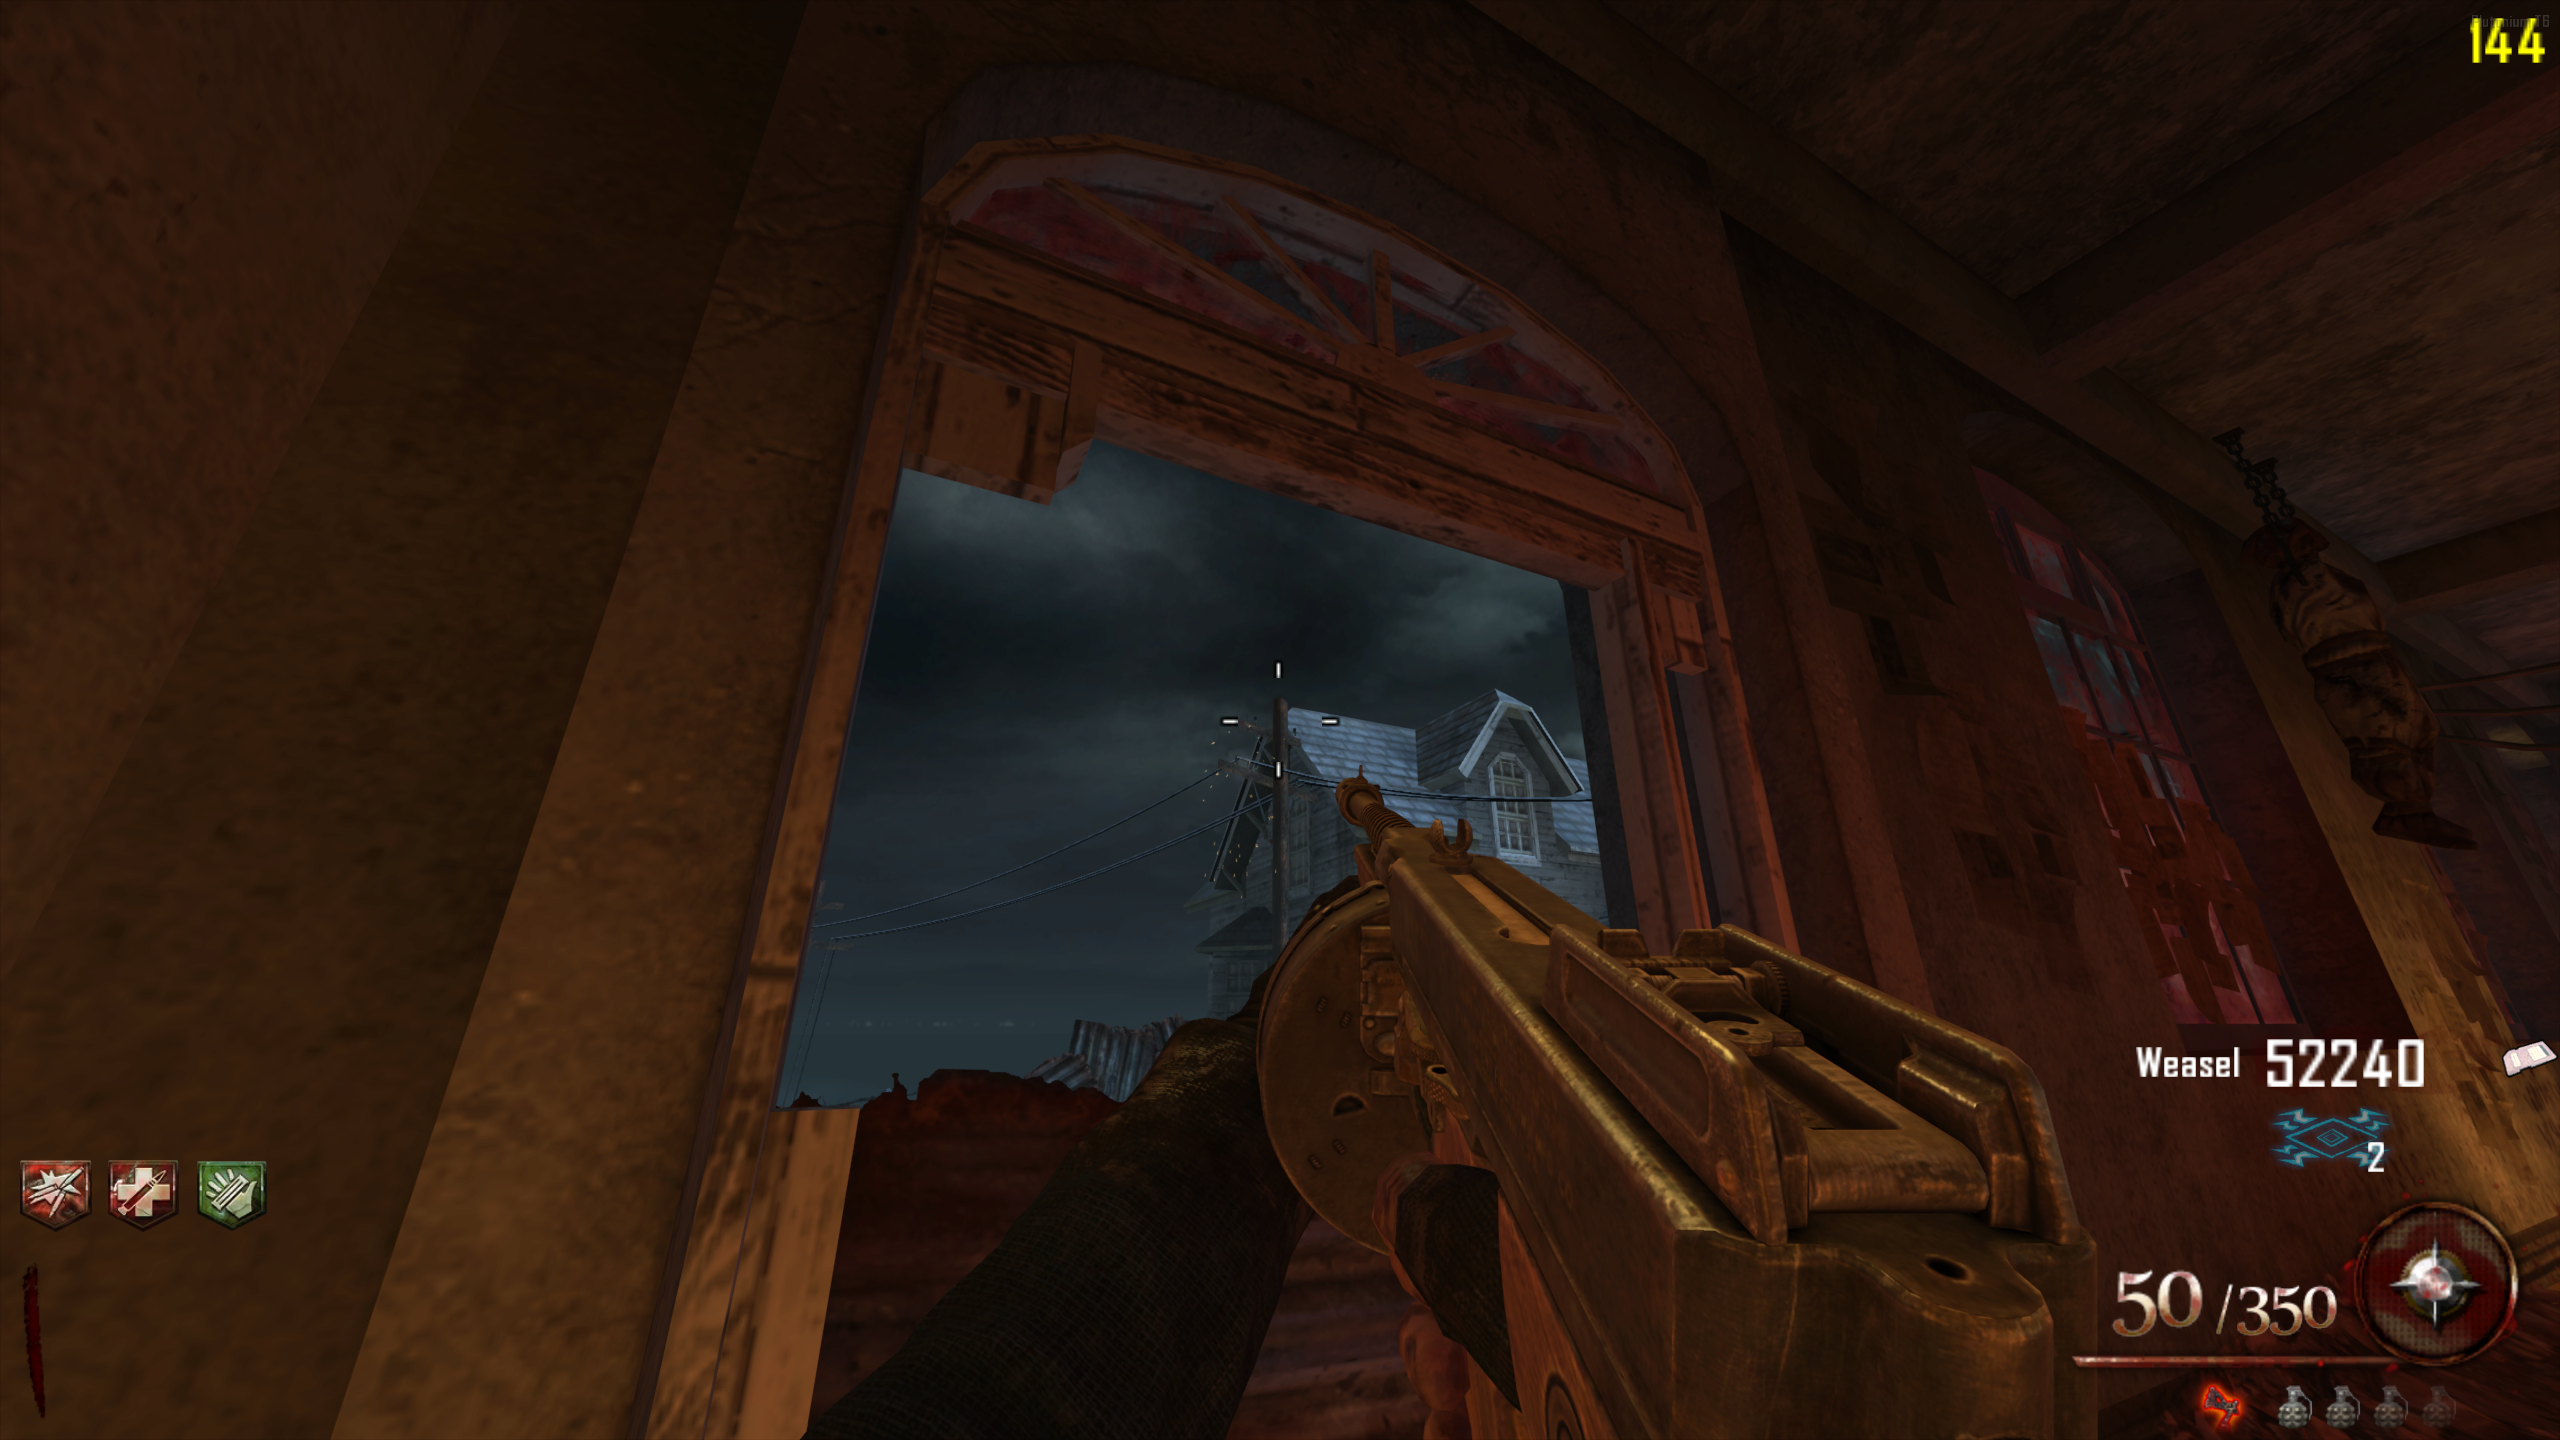
- There are five Blue Skulls around the map. They're only visible in Afterlife Mode, and they become collectible as soon as you have the Hell's Retriever. To collect one, throw the Hell's Retriever at it. If you hit it, the Retriever will come back with the Skull on it. Skull Locations:
- Cell Block - On the toilet in the lit up cell, outside the Library (Spawn)
- Roof - On the corner of the next building over, from the back left corner of the Roof
- Docks - On the third post from the left, on the inaccessible dock
- Docks - On the lamp post up the hill from the Juggernog machine, thrown from the corner while jumping
- Warden's Office - On the top of the telephone pole, out the window beside Speed Cola
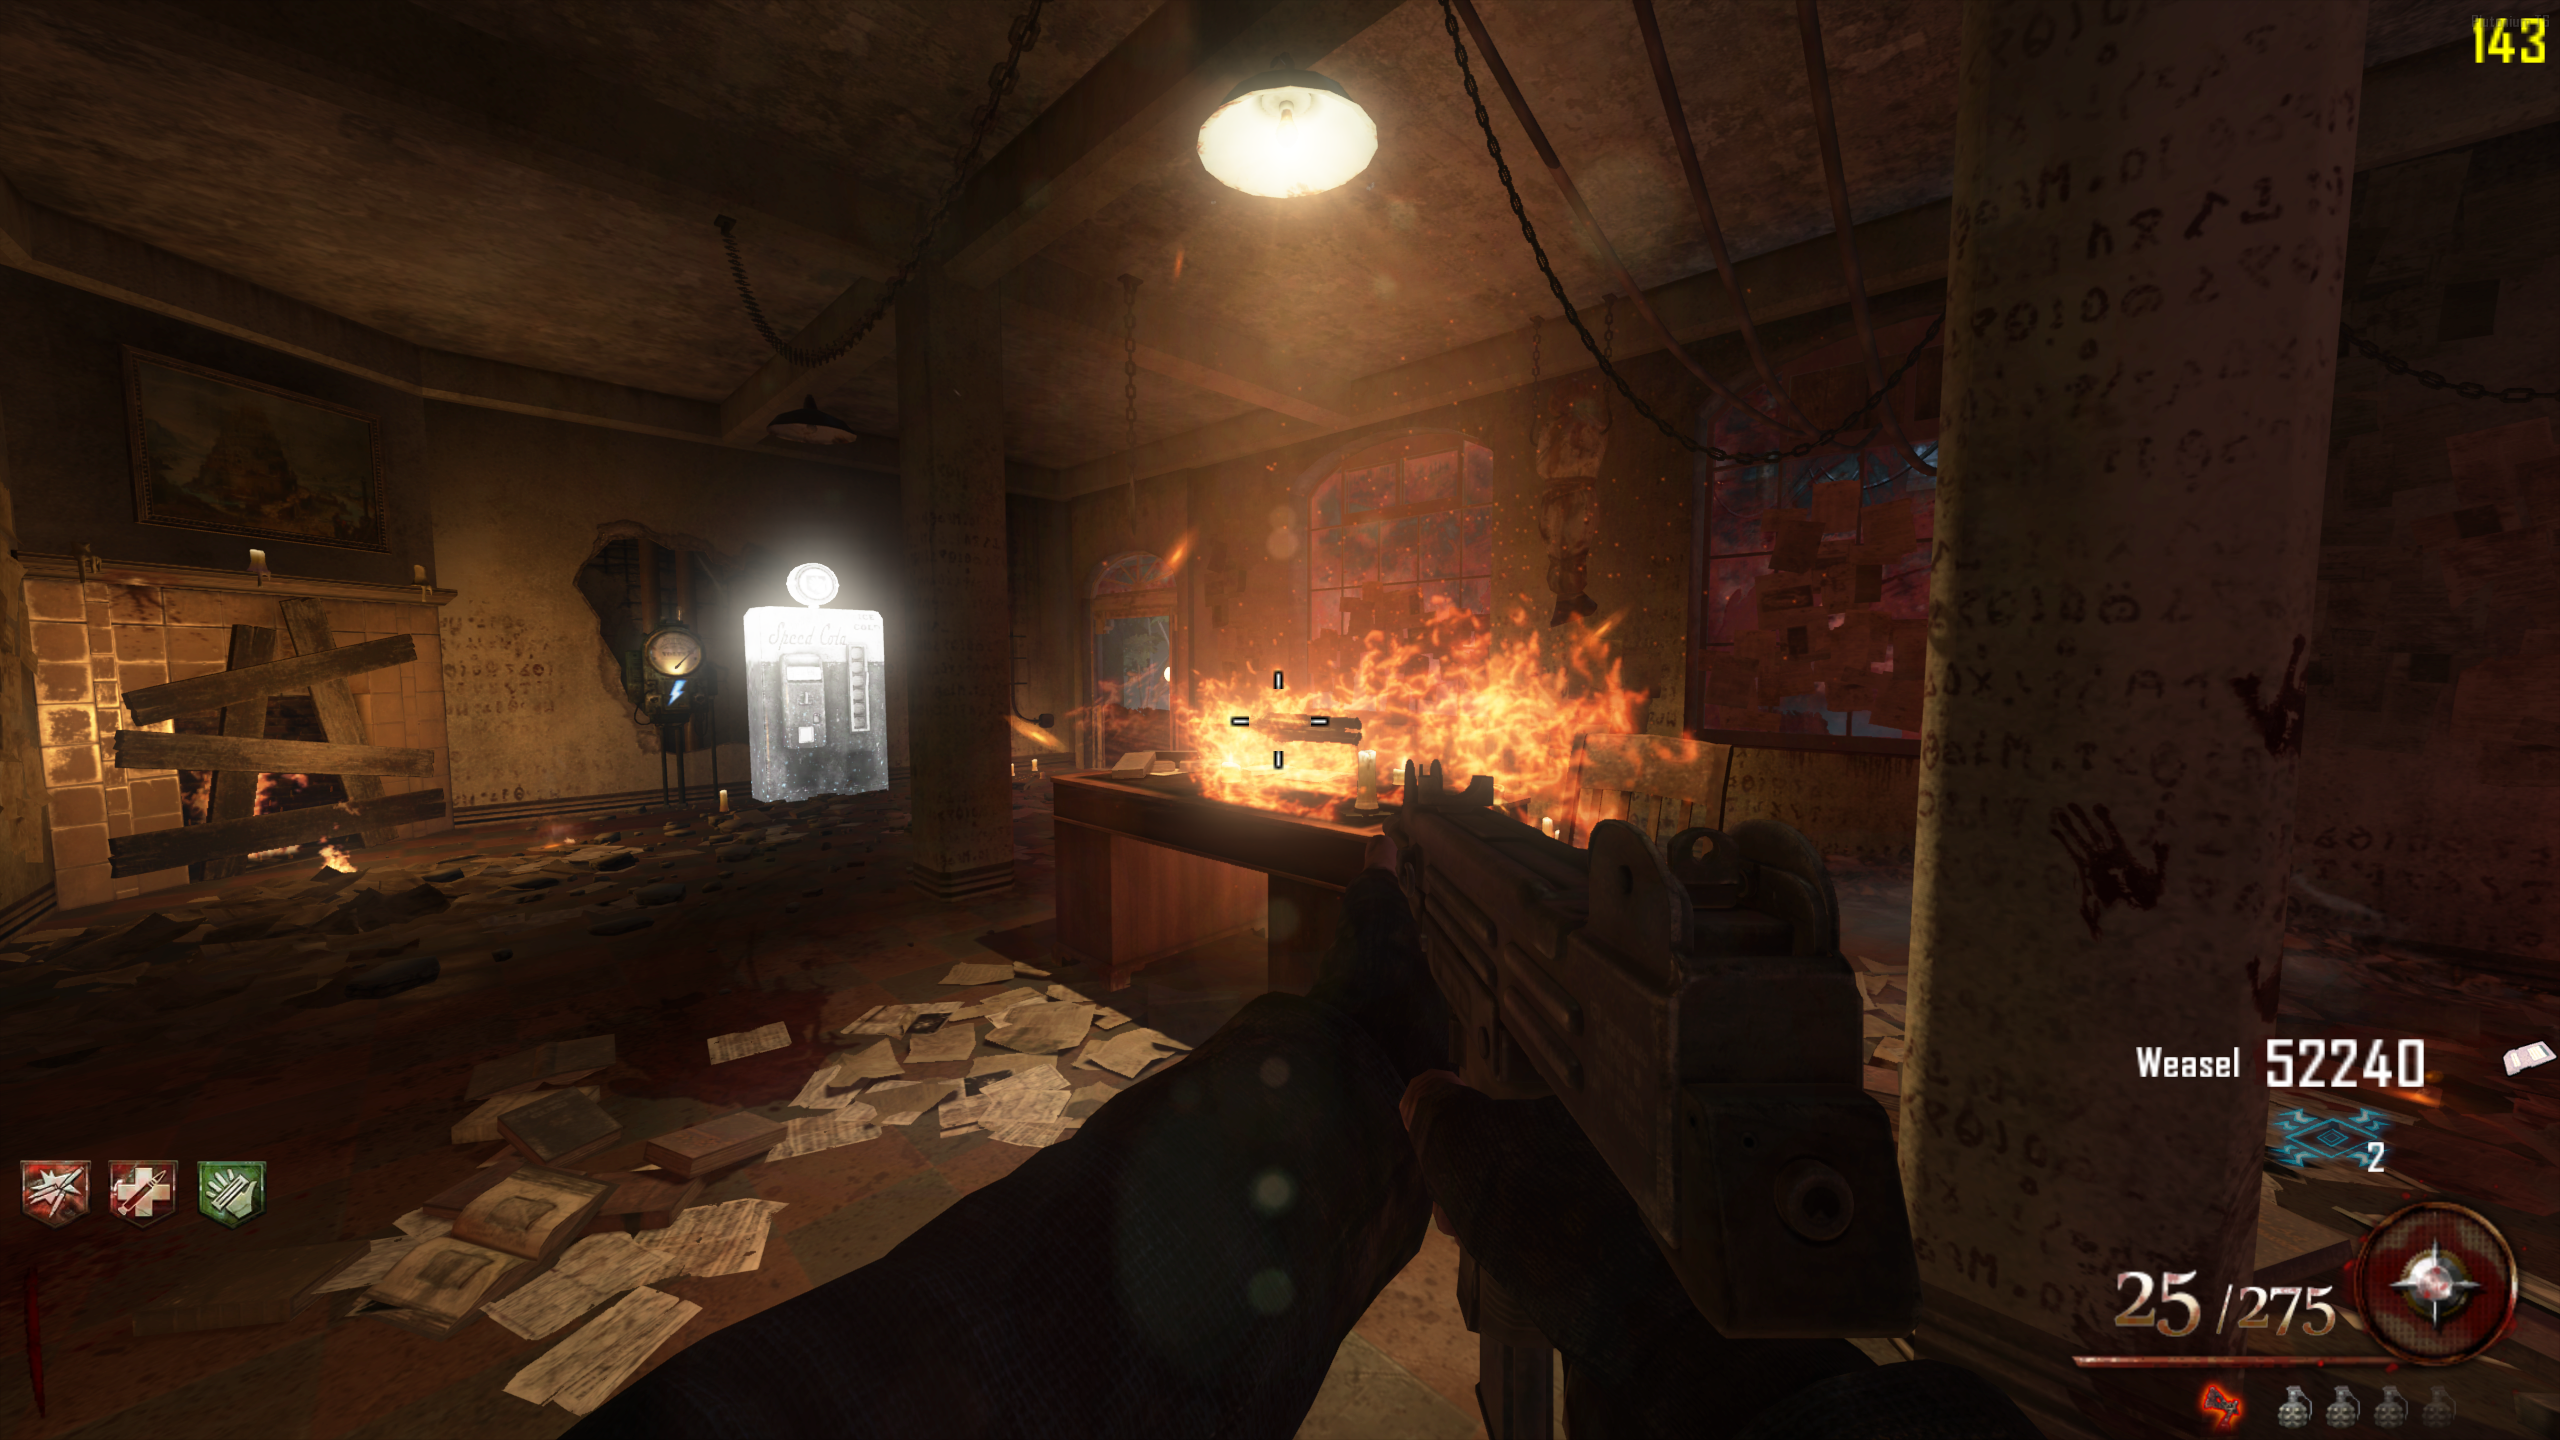
- Once all five Skulls are collected, you'll hear a laugh. In the Warden's Office, the Blundergat will rise out of the flames on the desk. It won't despawn, so you can leave it and come back for it.
Acidgat
The Acidgat is an upgraded Blundergat that fires a three round burst of acid. The projectiles stick to surfaces and enemies, explode after a couple of seconds, and attract nearby Zombies to them like a Monkey Bomb. It can be Pack-a-Punched into the Vitriolic Withering, which does more damage and fires six projectiles per burst.
The acid explosions can damage you as well, so try not to stand on top of them, especially at low health.
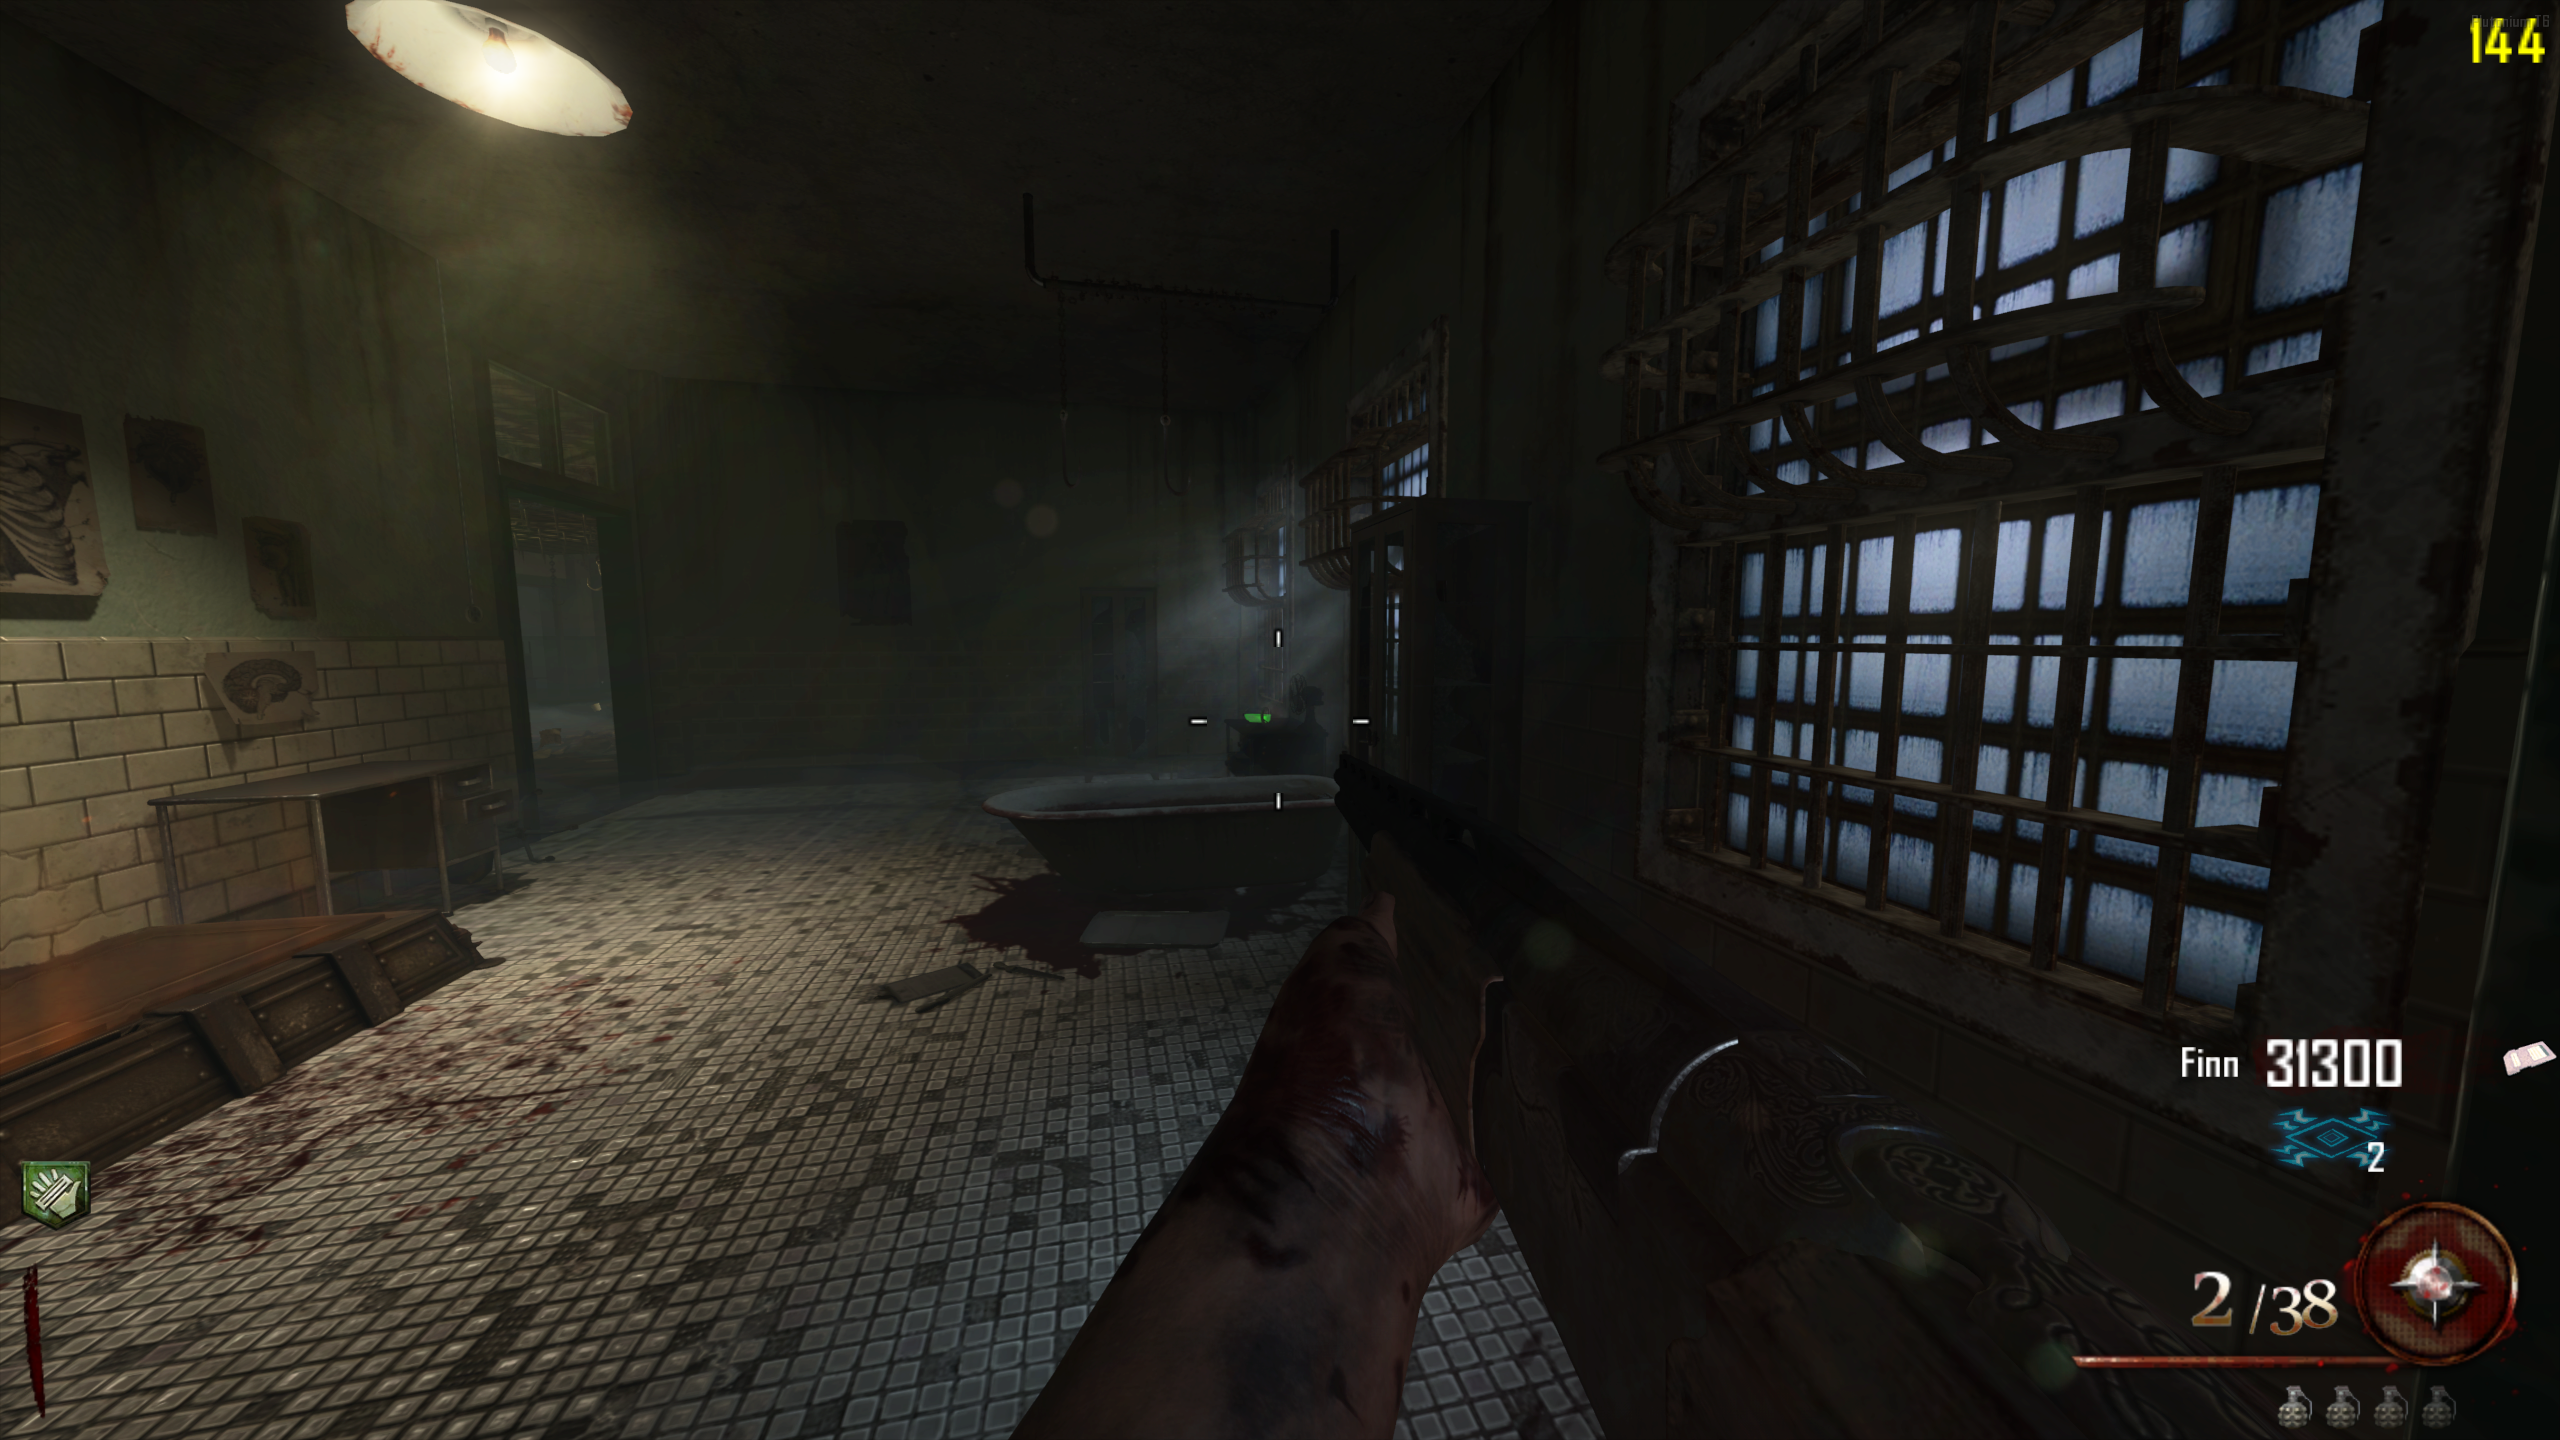
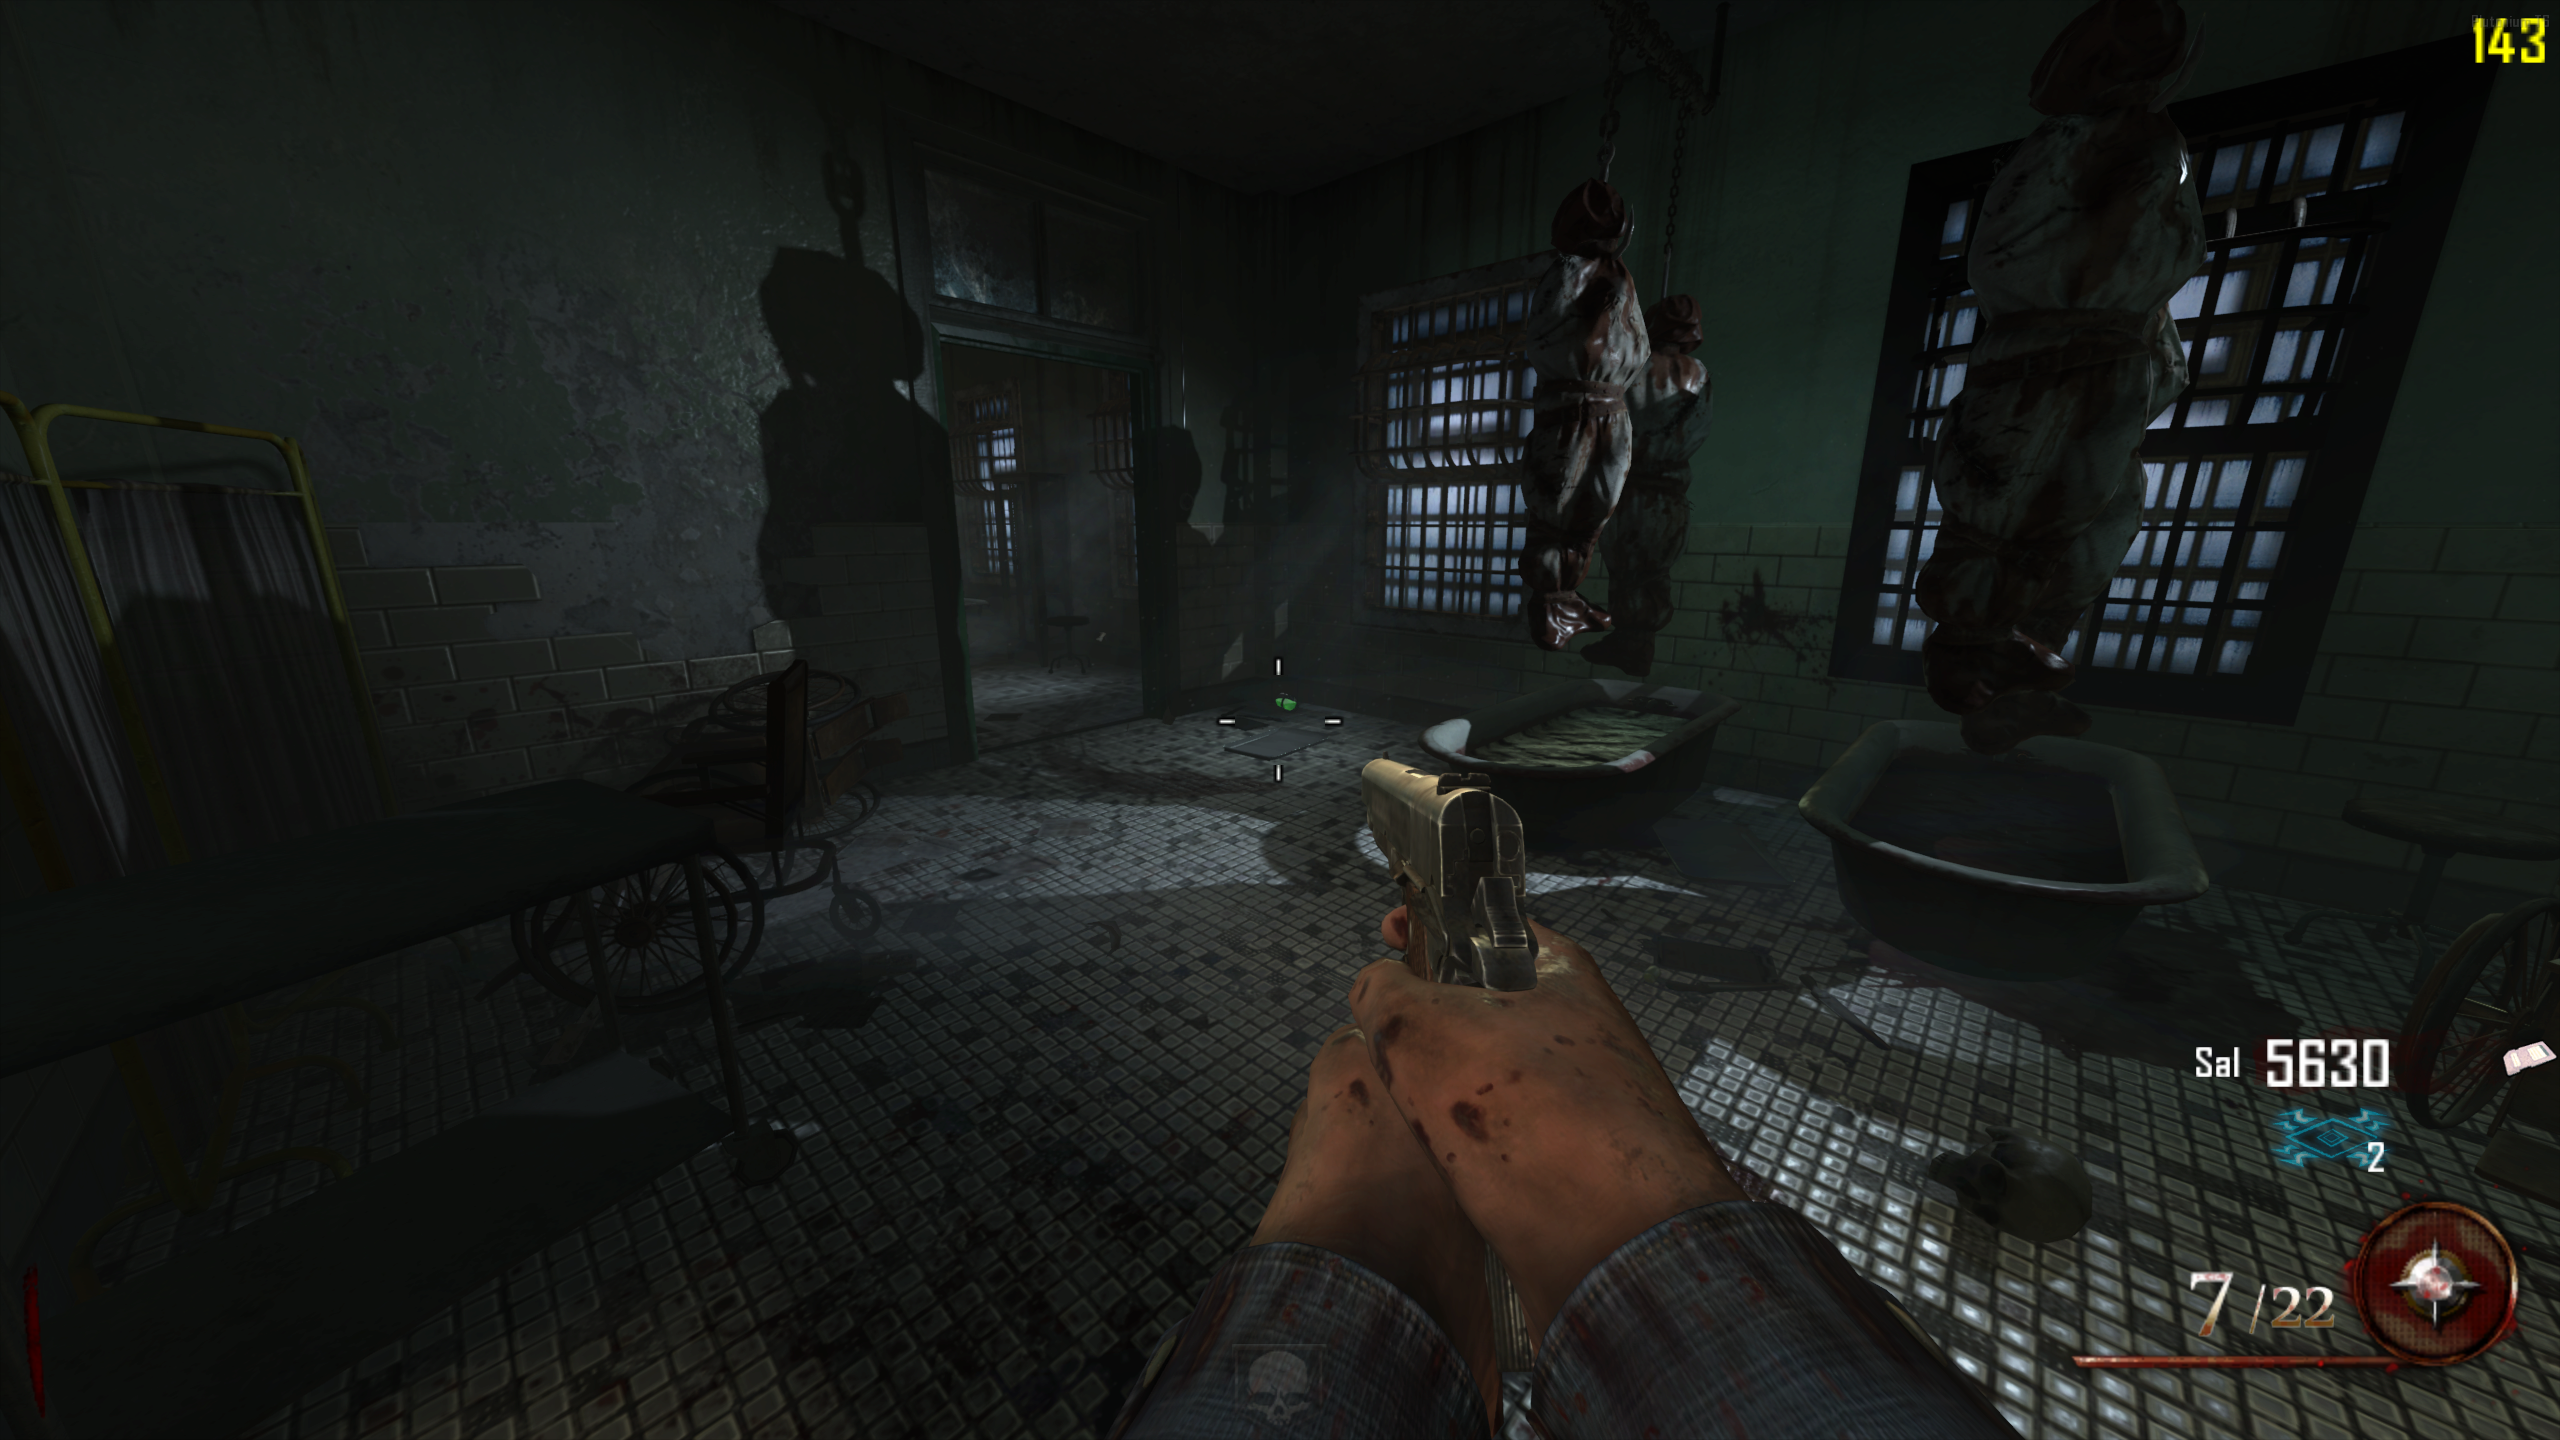
- The Acidgat Kit needs three parts to build. Unlike other maps in BO2, you have to find all three before you can start building, and picking up a part gives every player access to it (shared inventory). You can carry all Acidgat Kit parts and Zombie Shield parts at the same time. Part Locations:
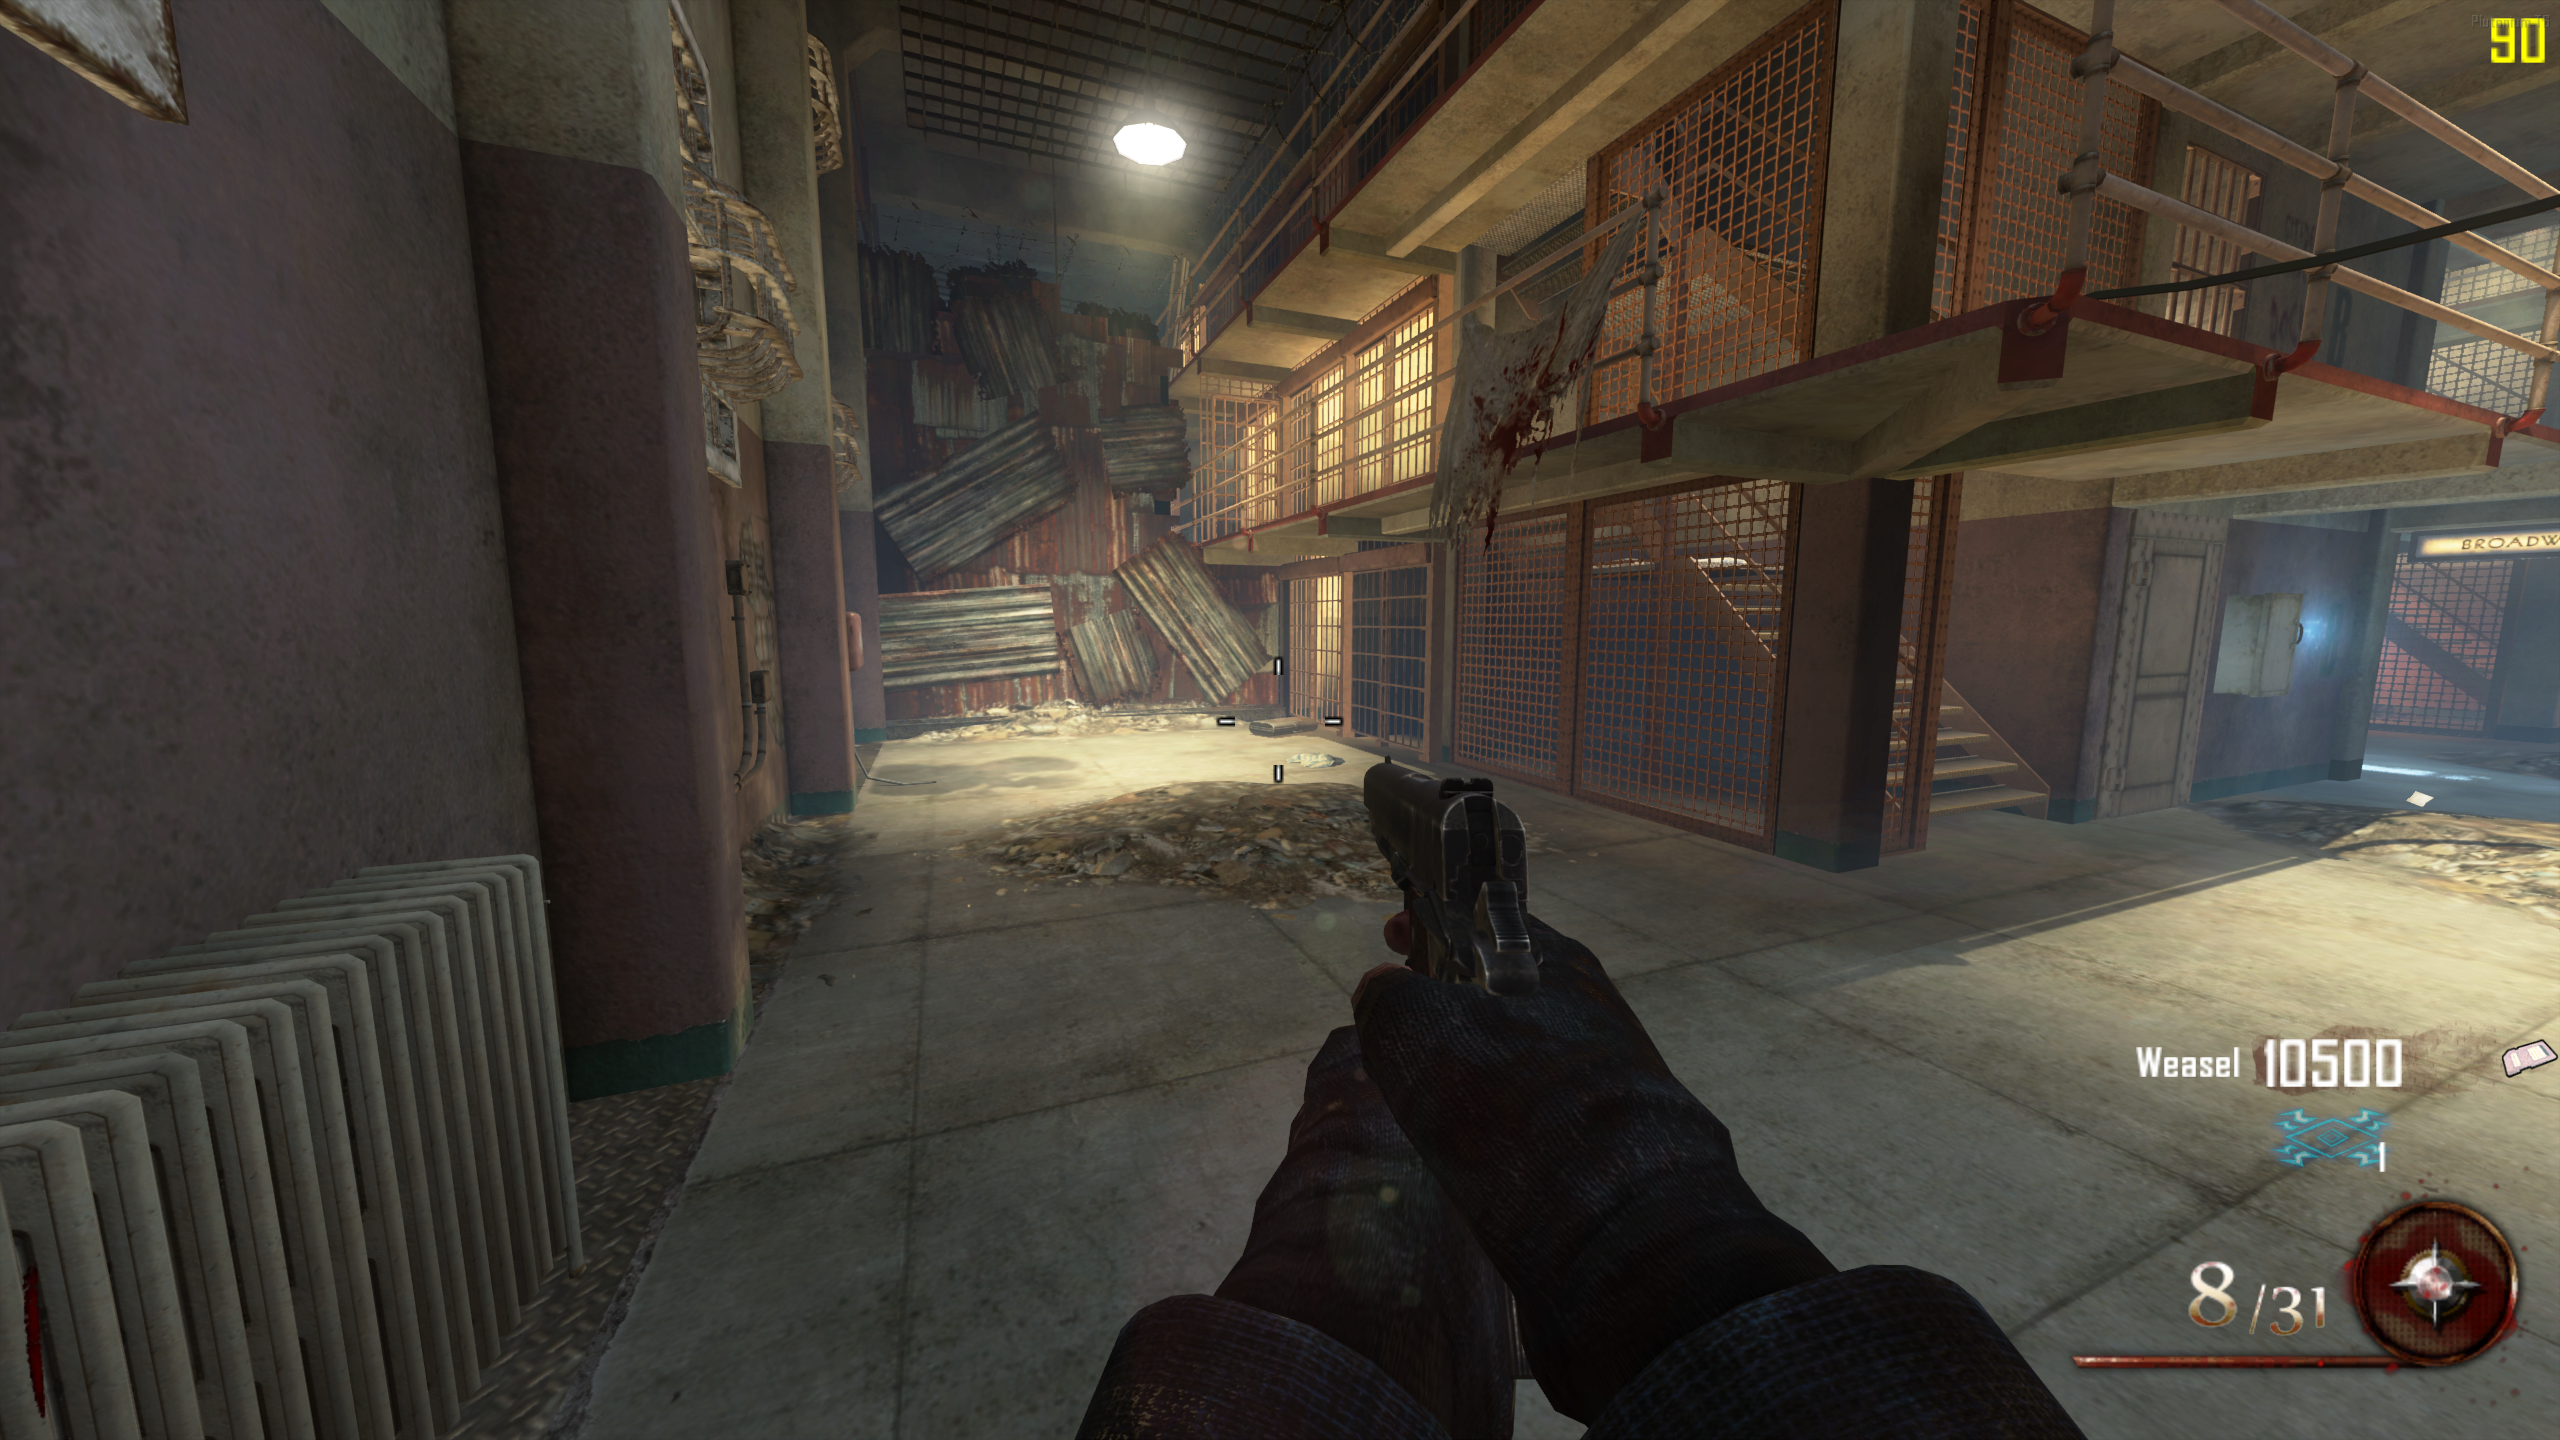
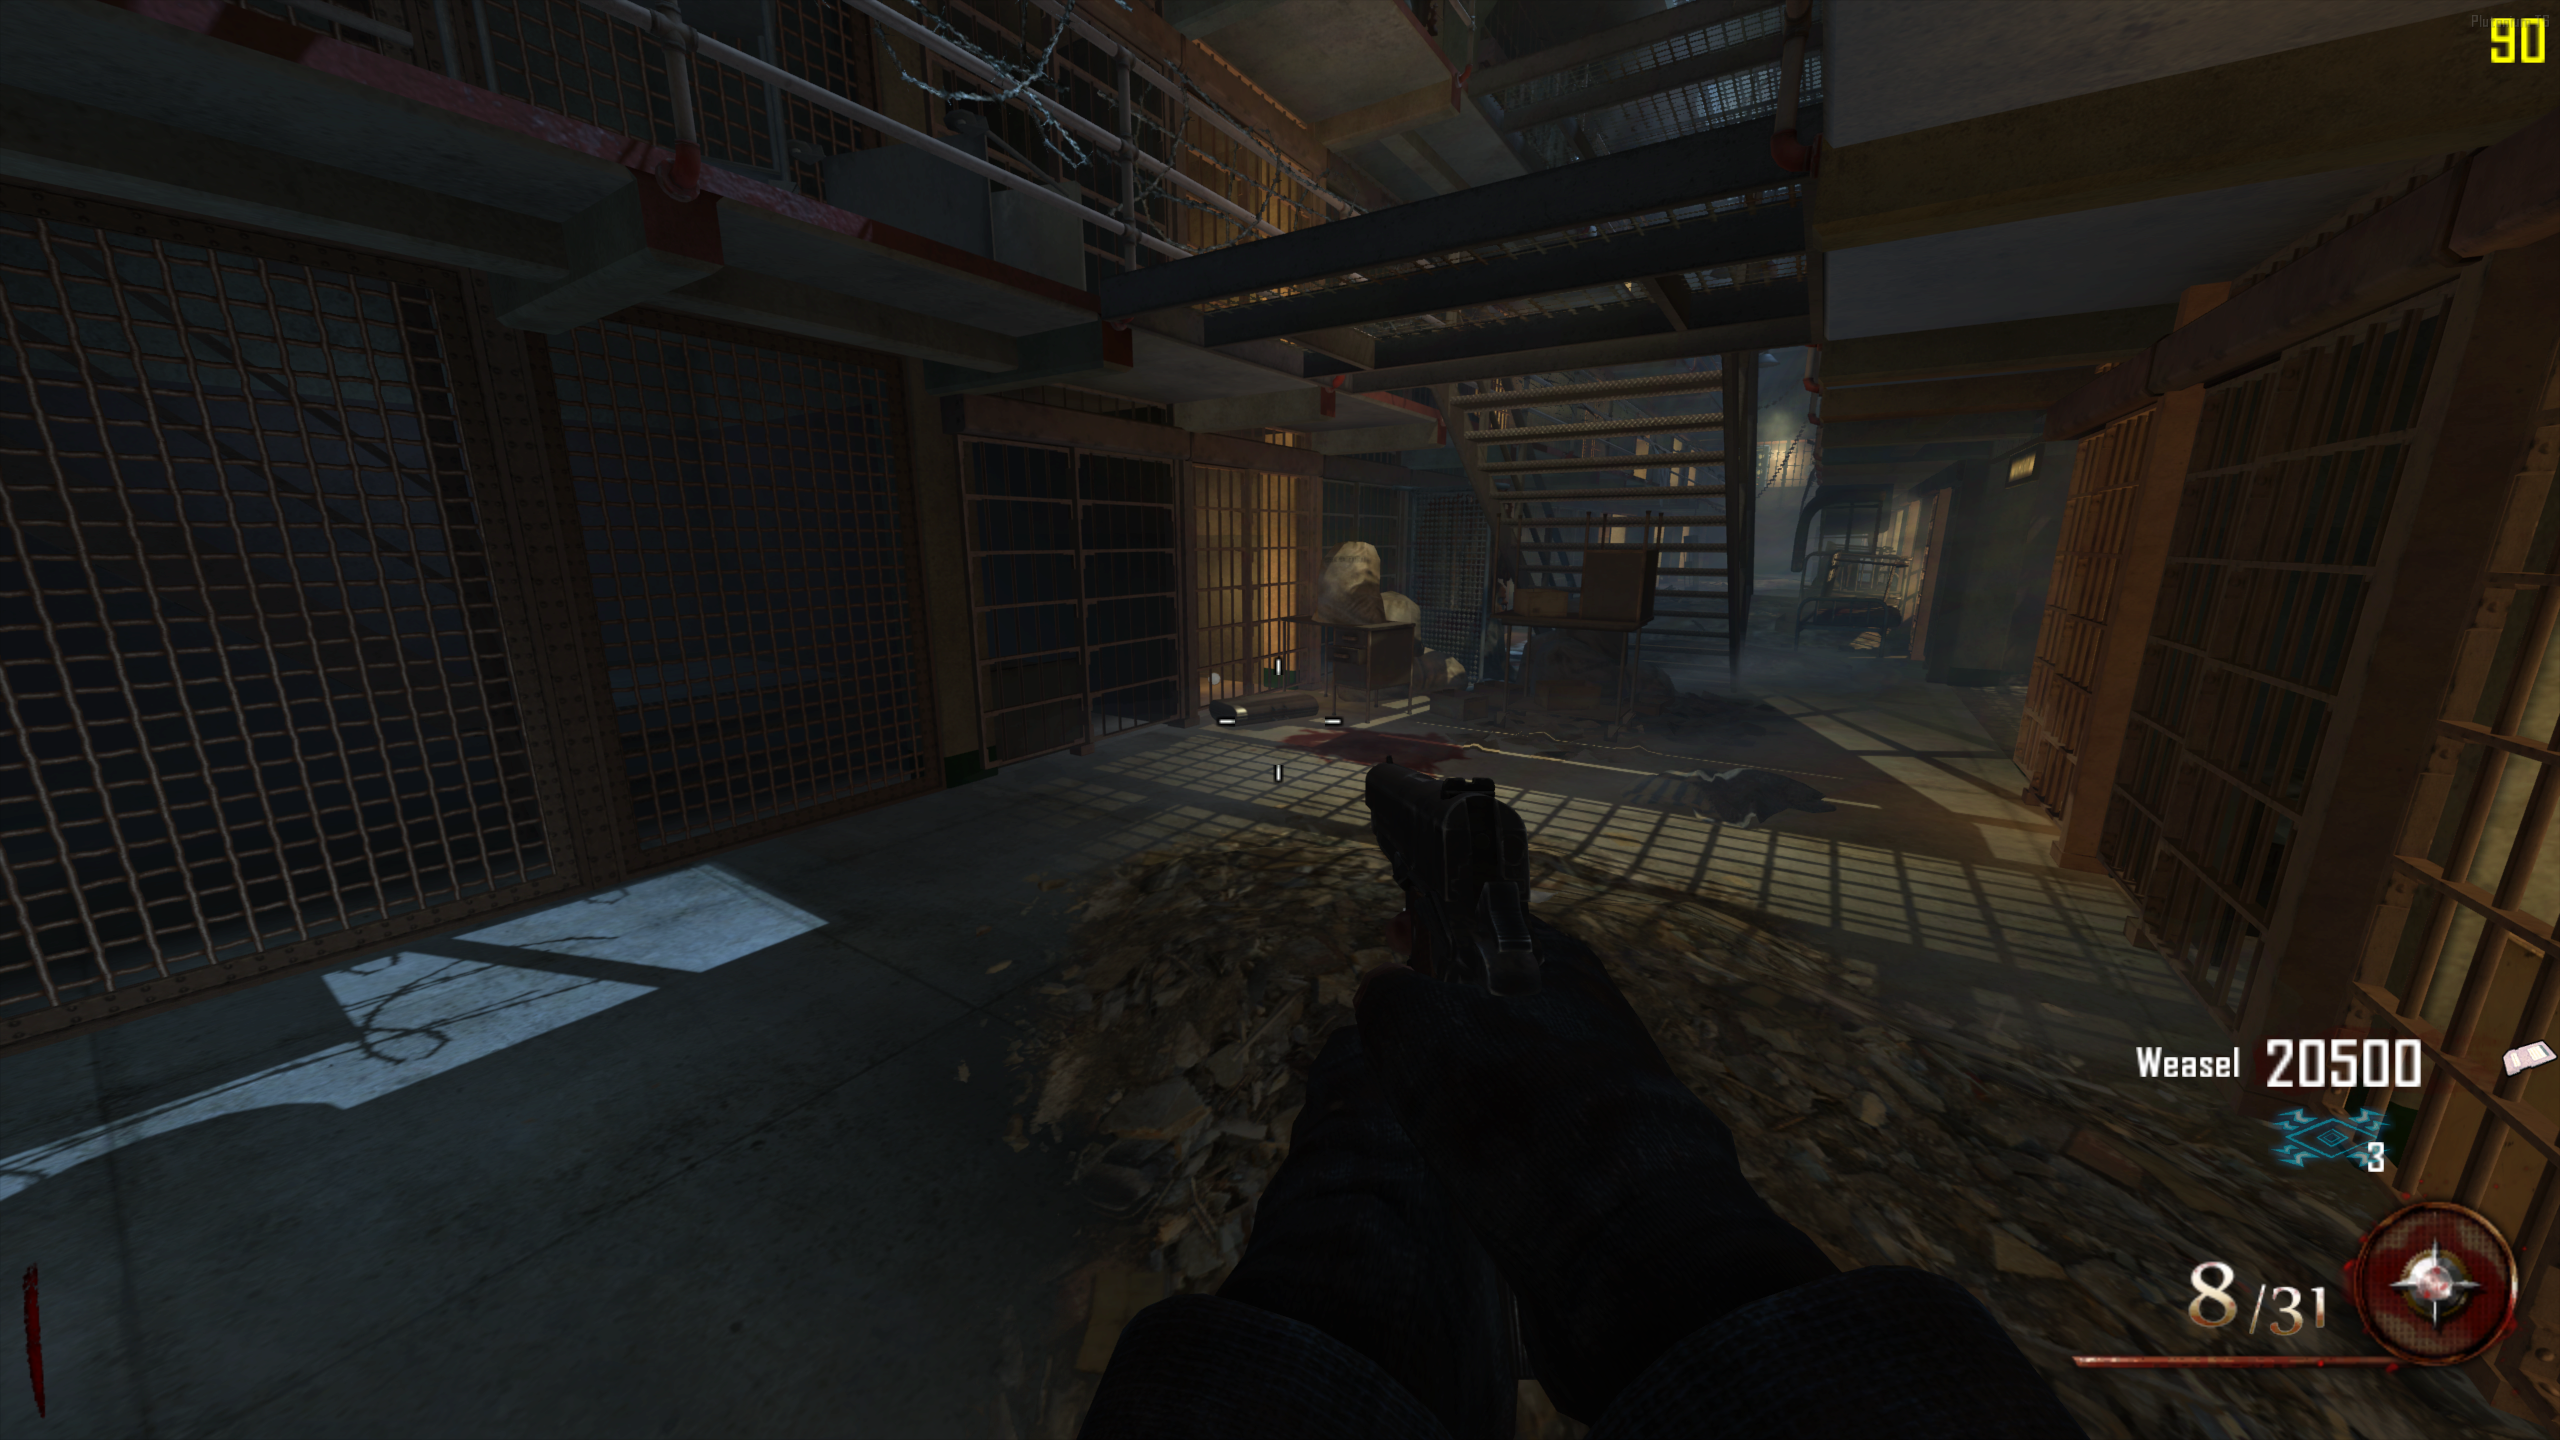
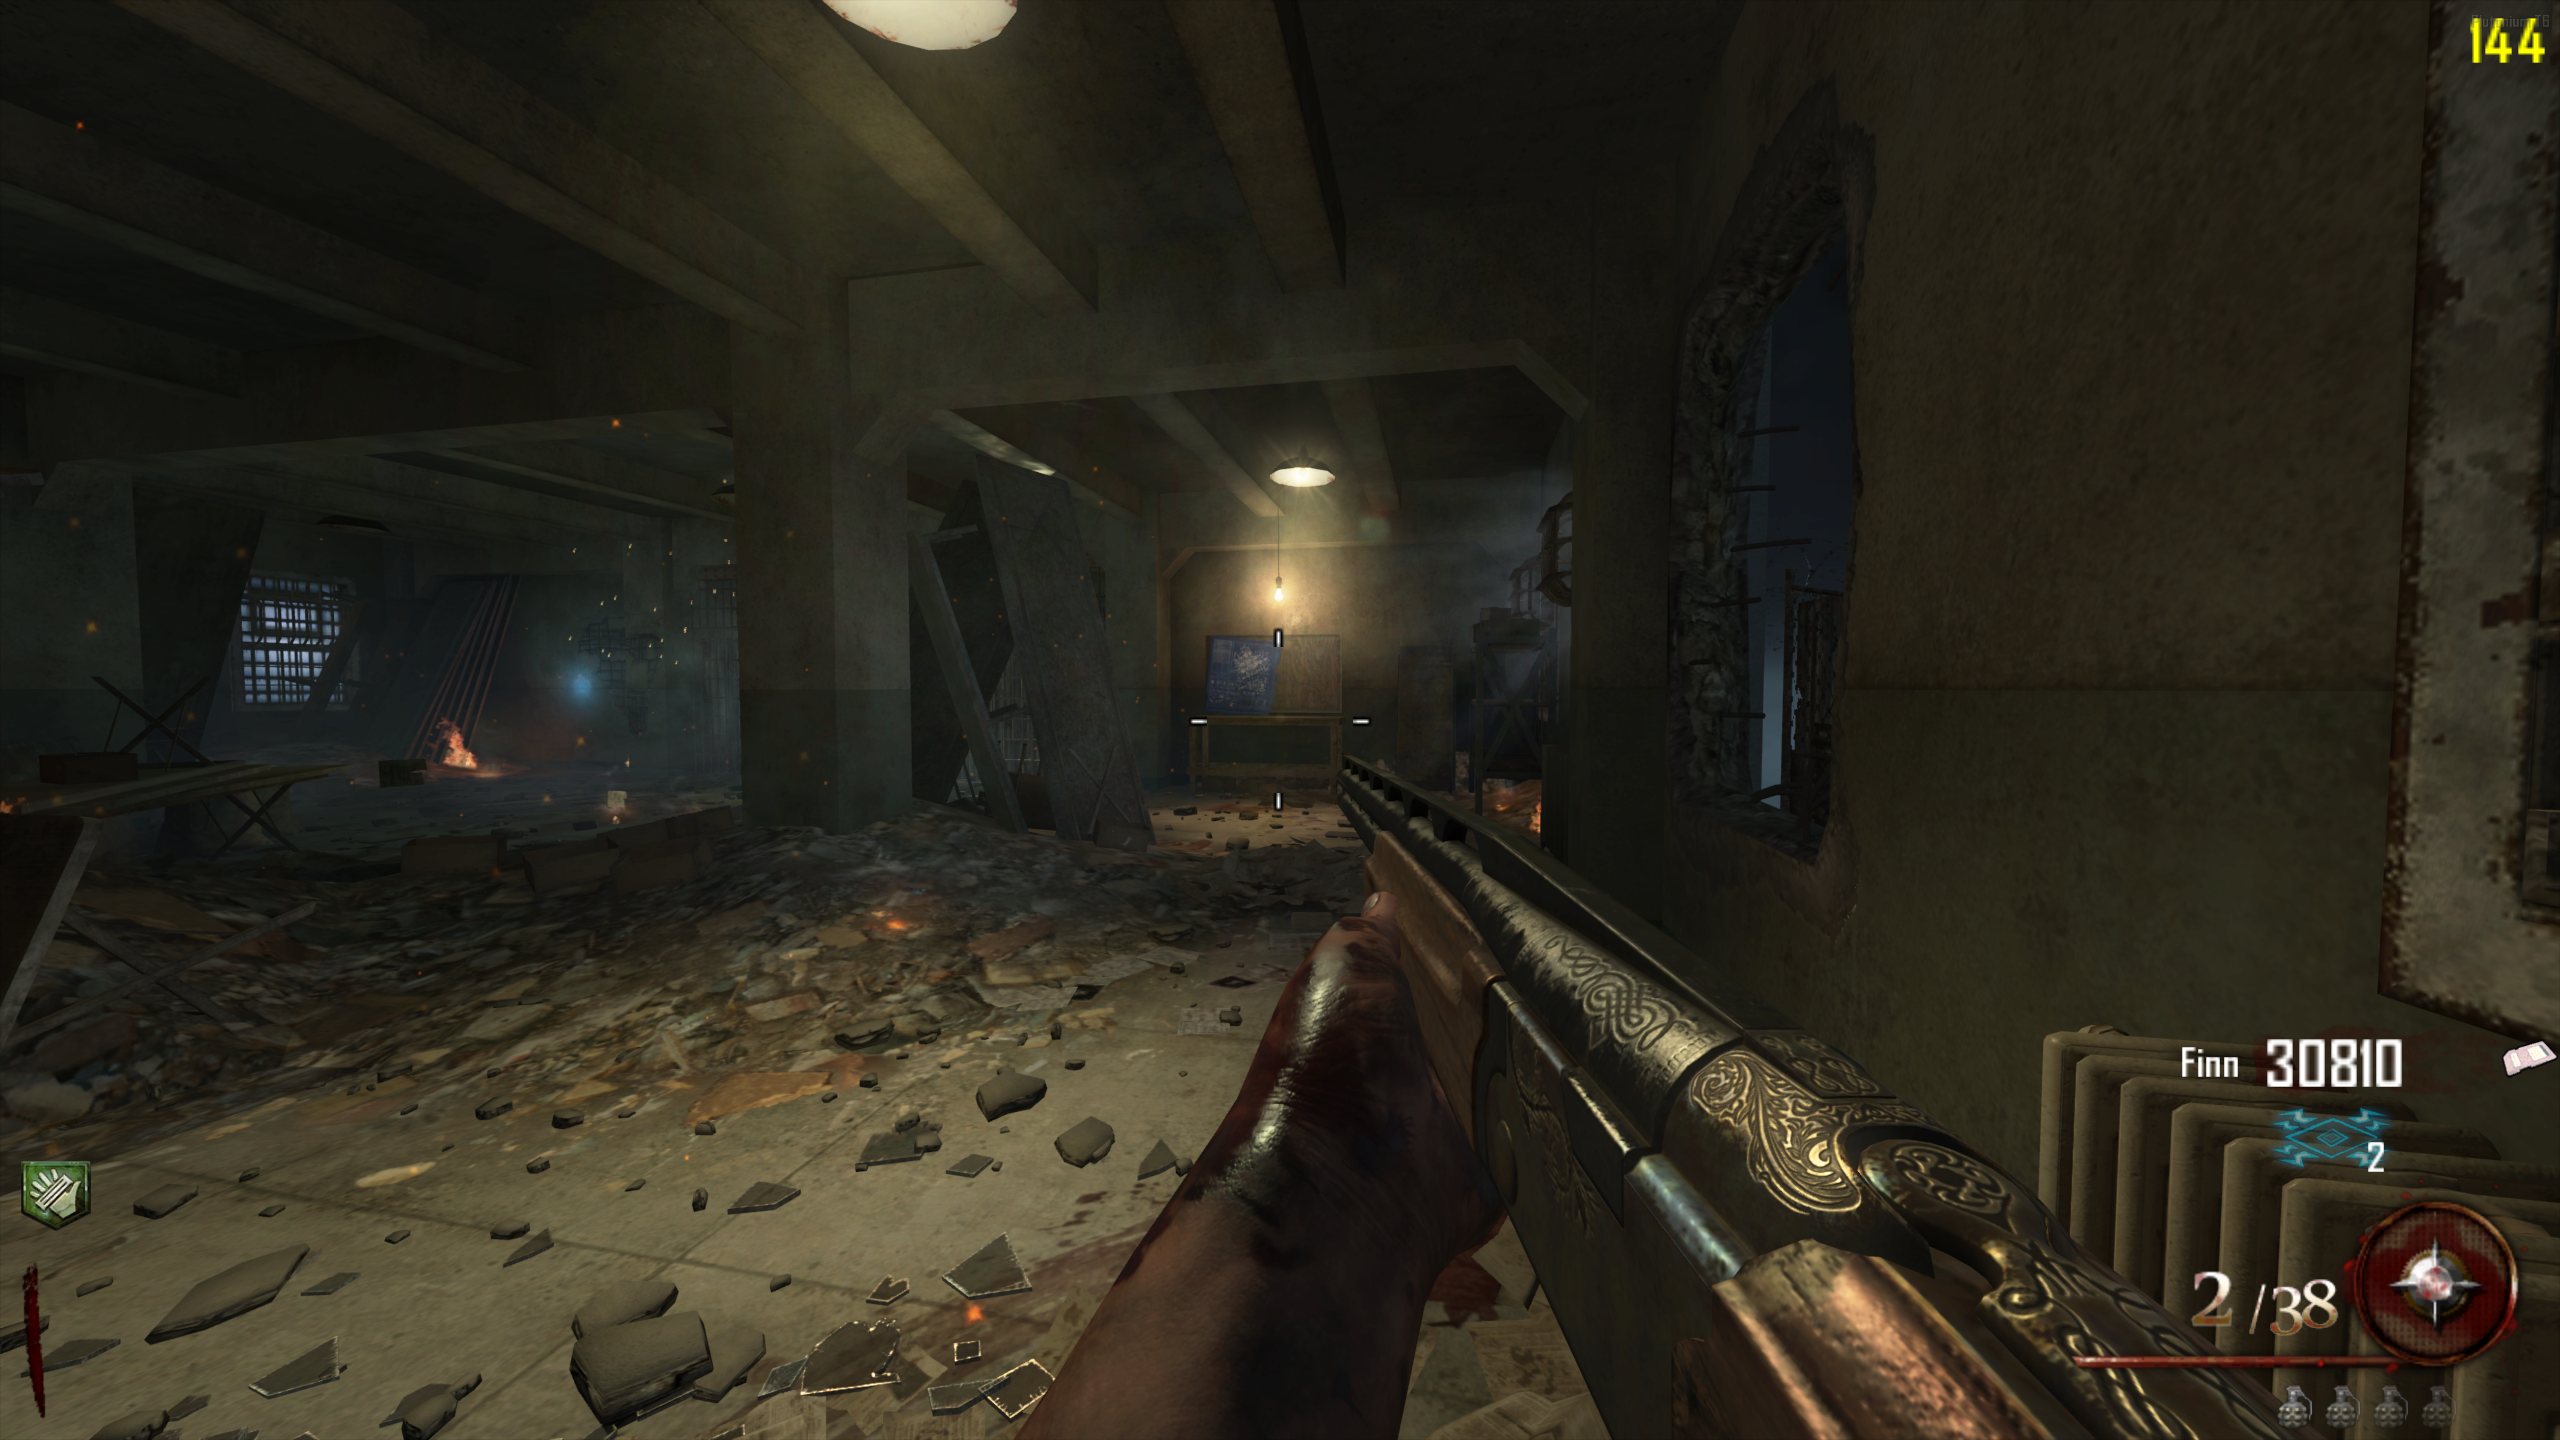
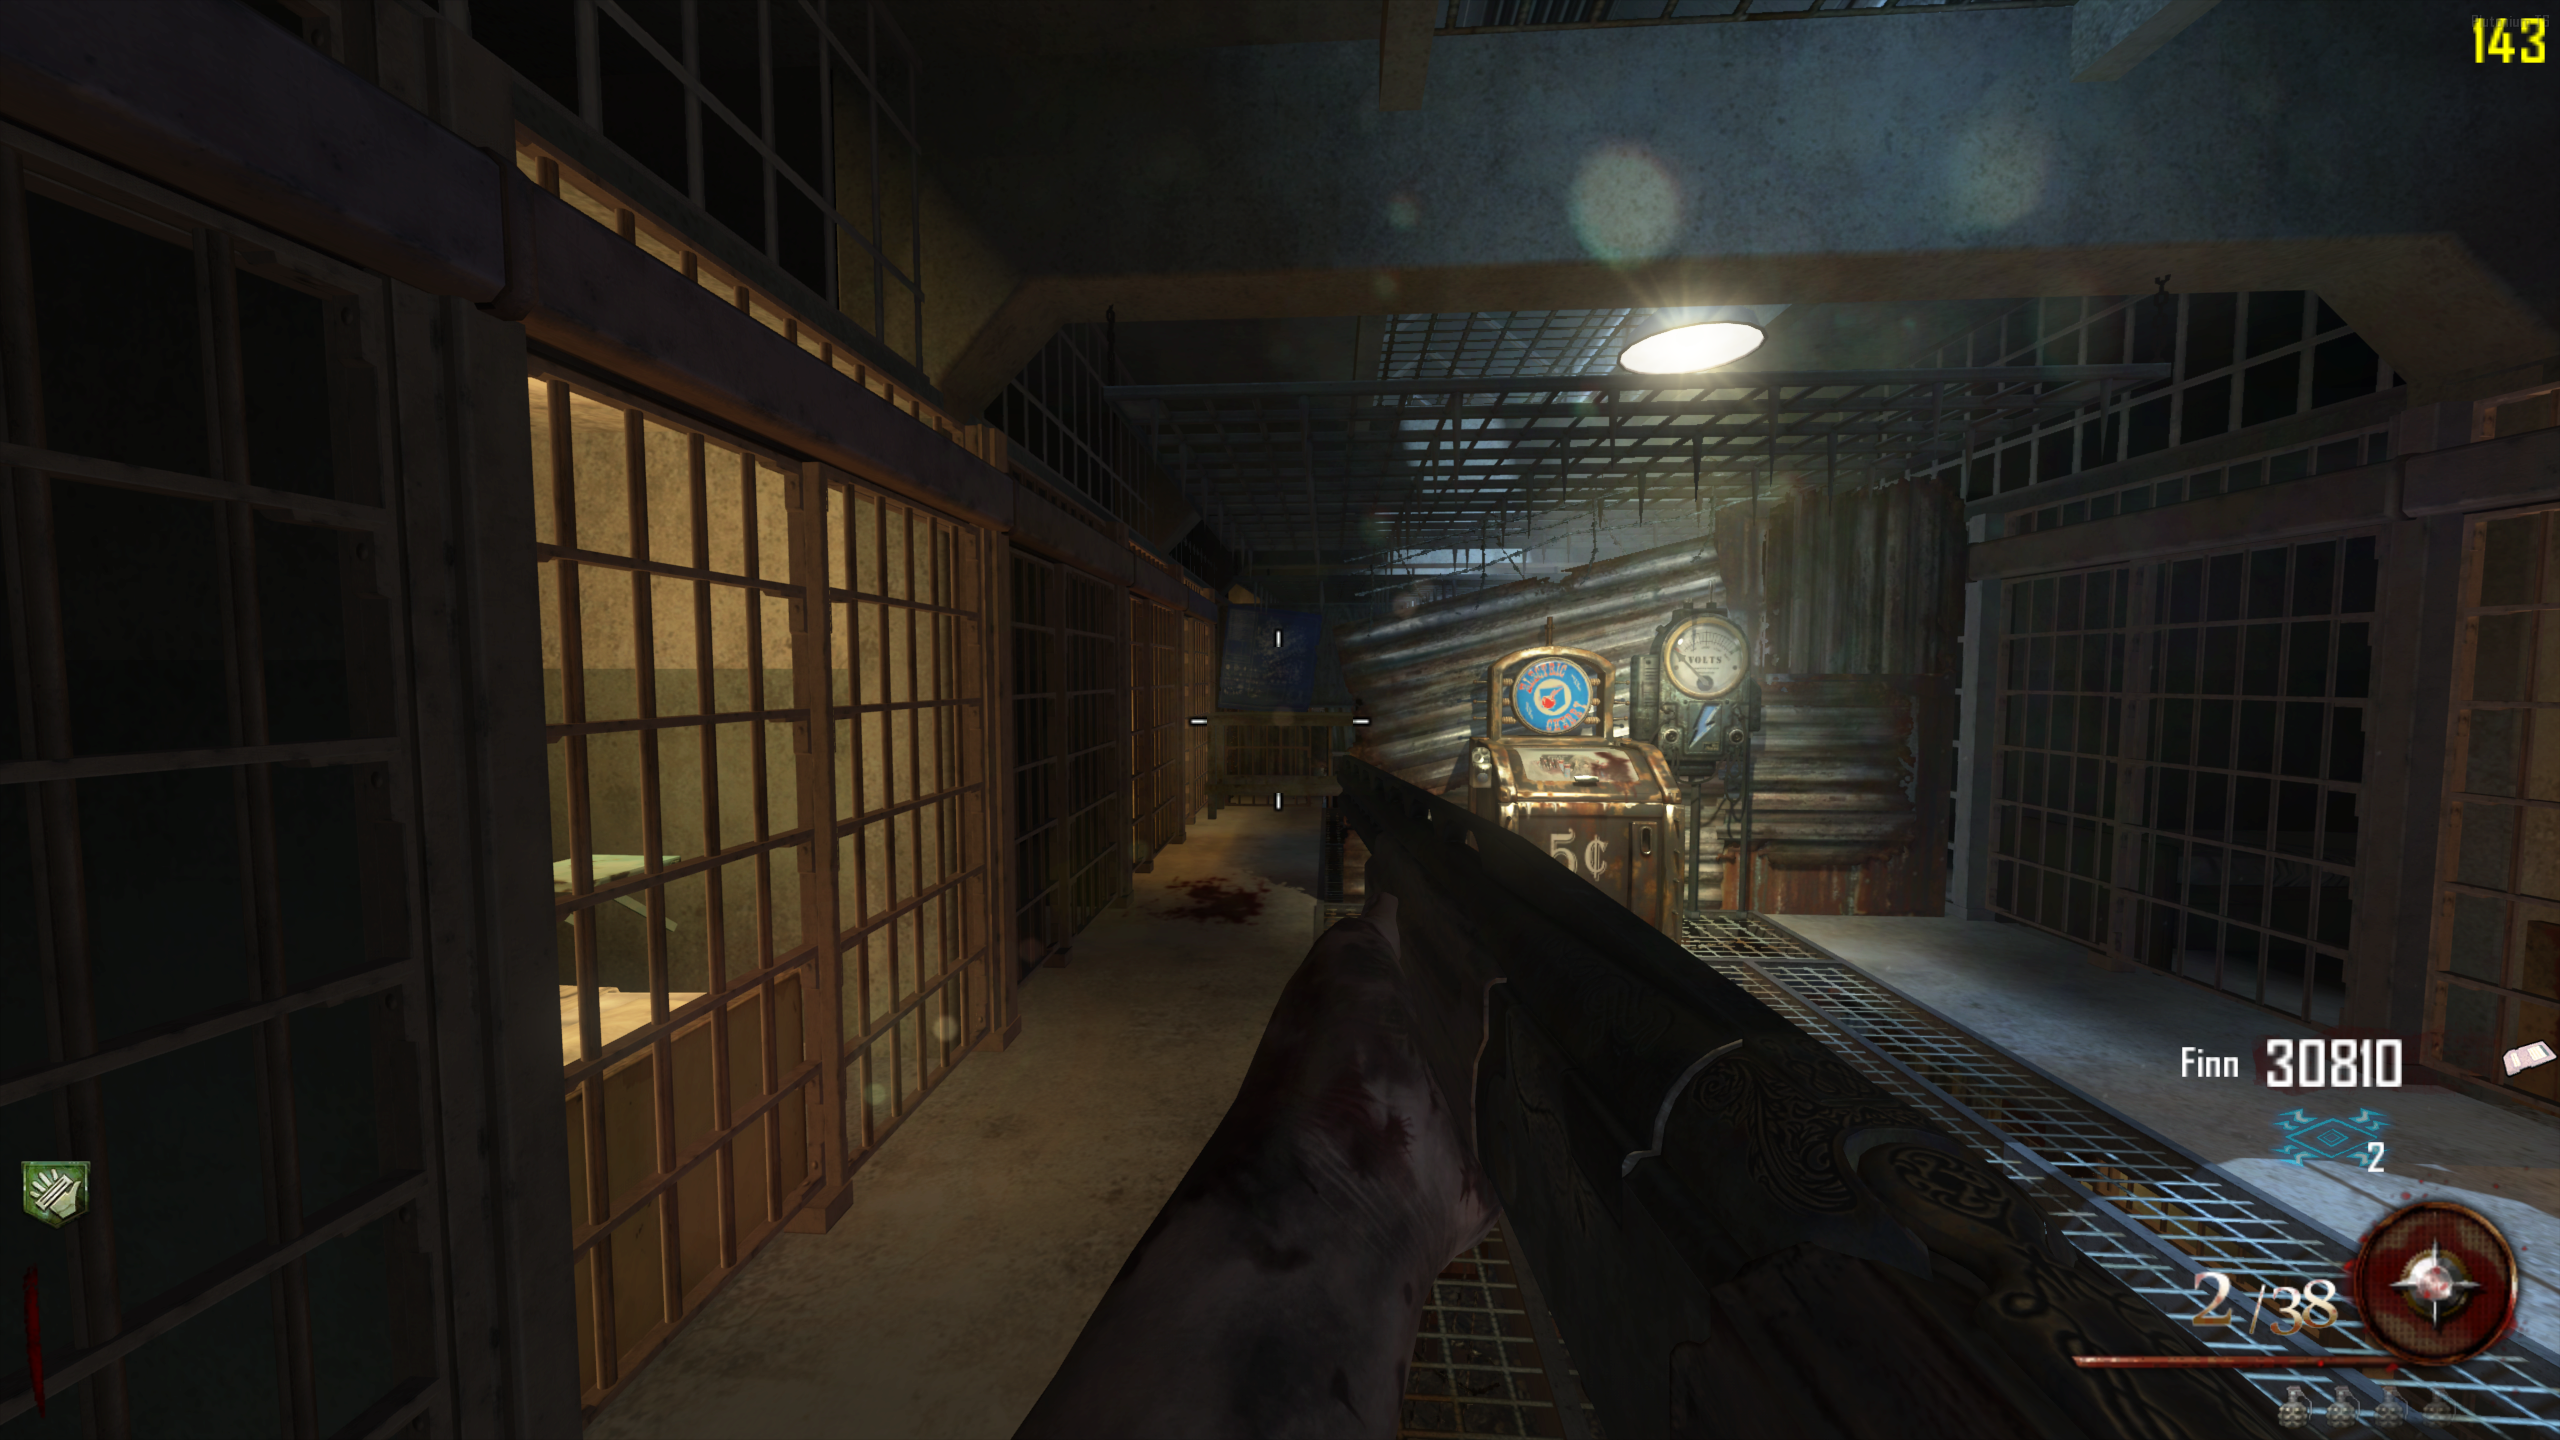
Part Locations Motor Case Acid Bottle - Craft the Acidgat Kit at the buildable table on the Docks, in the Cafeteria, or in the Cell Block behind Electric Cherry.
- Once you build the Kit at a table, interact with it to put your Blundergat inside. It'll close, and start working. After a few seconds, it'll open and you can take out the Acidgat.
Hell's Retriever
The Hell's Retriever is a throwable tomahawk that takes your tactical grenade slot. It flies out, chains between up to six nearby Zombies, and comes back to you after a few seconds. Holding the throw button charges it, which increases the damage and the range it picks up Power-Ups from. It's a one hit kill up to around round 20 when charged.
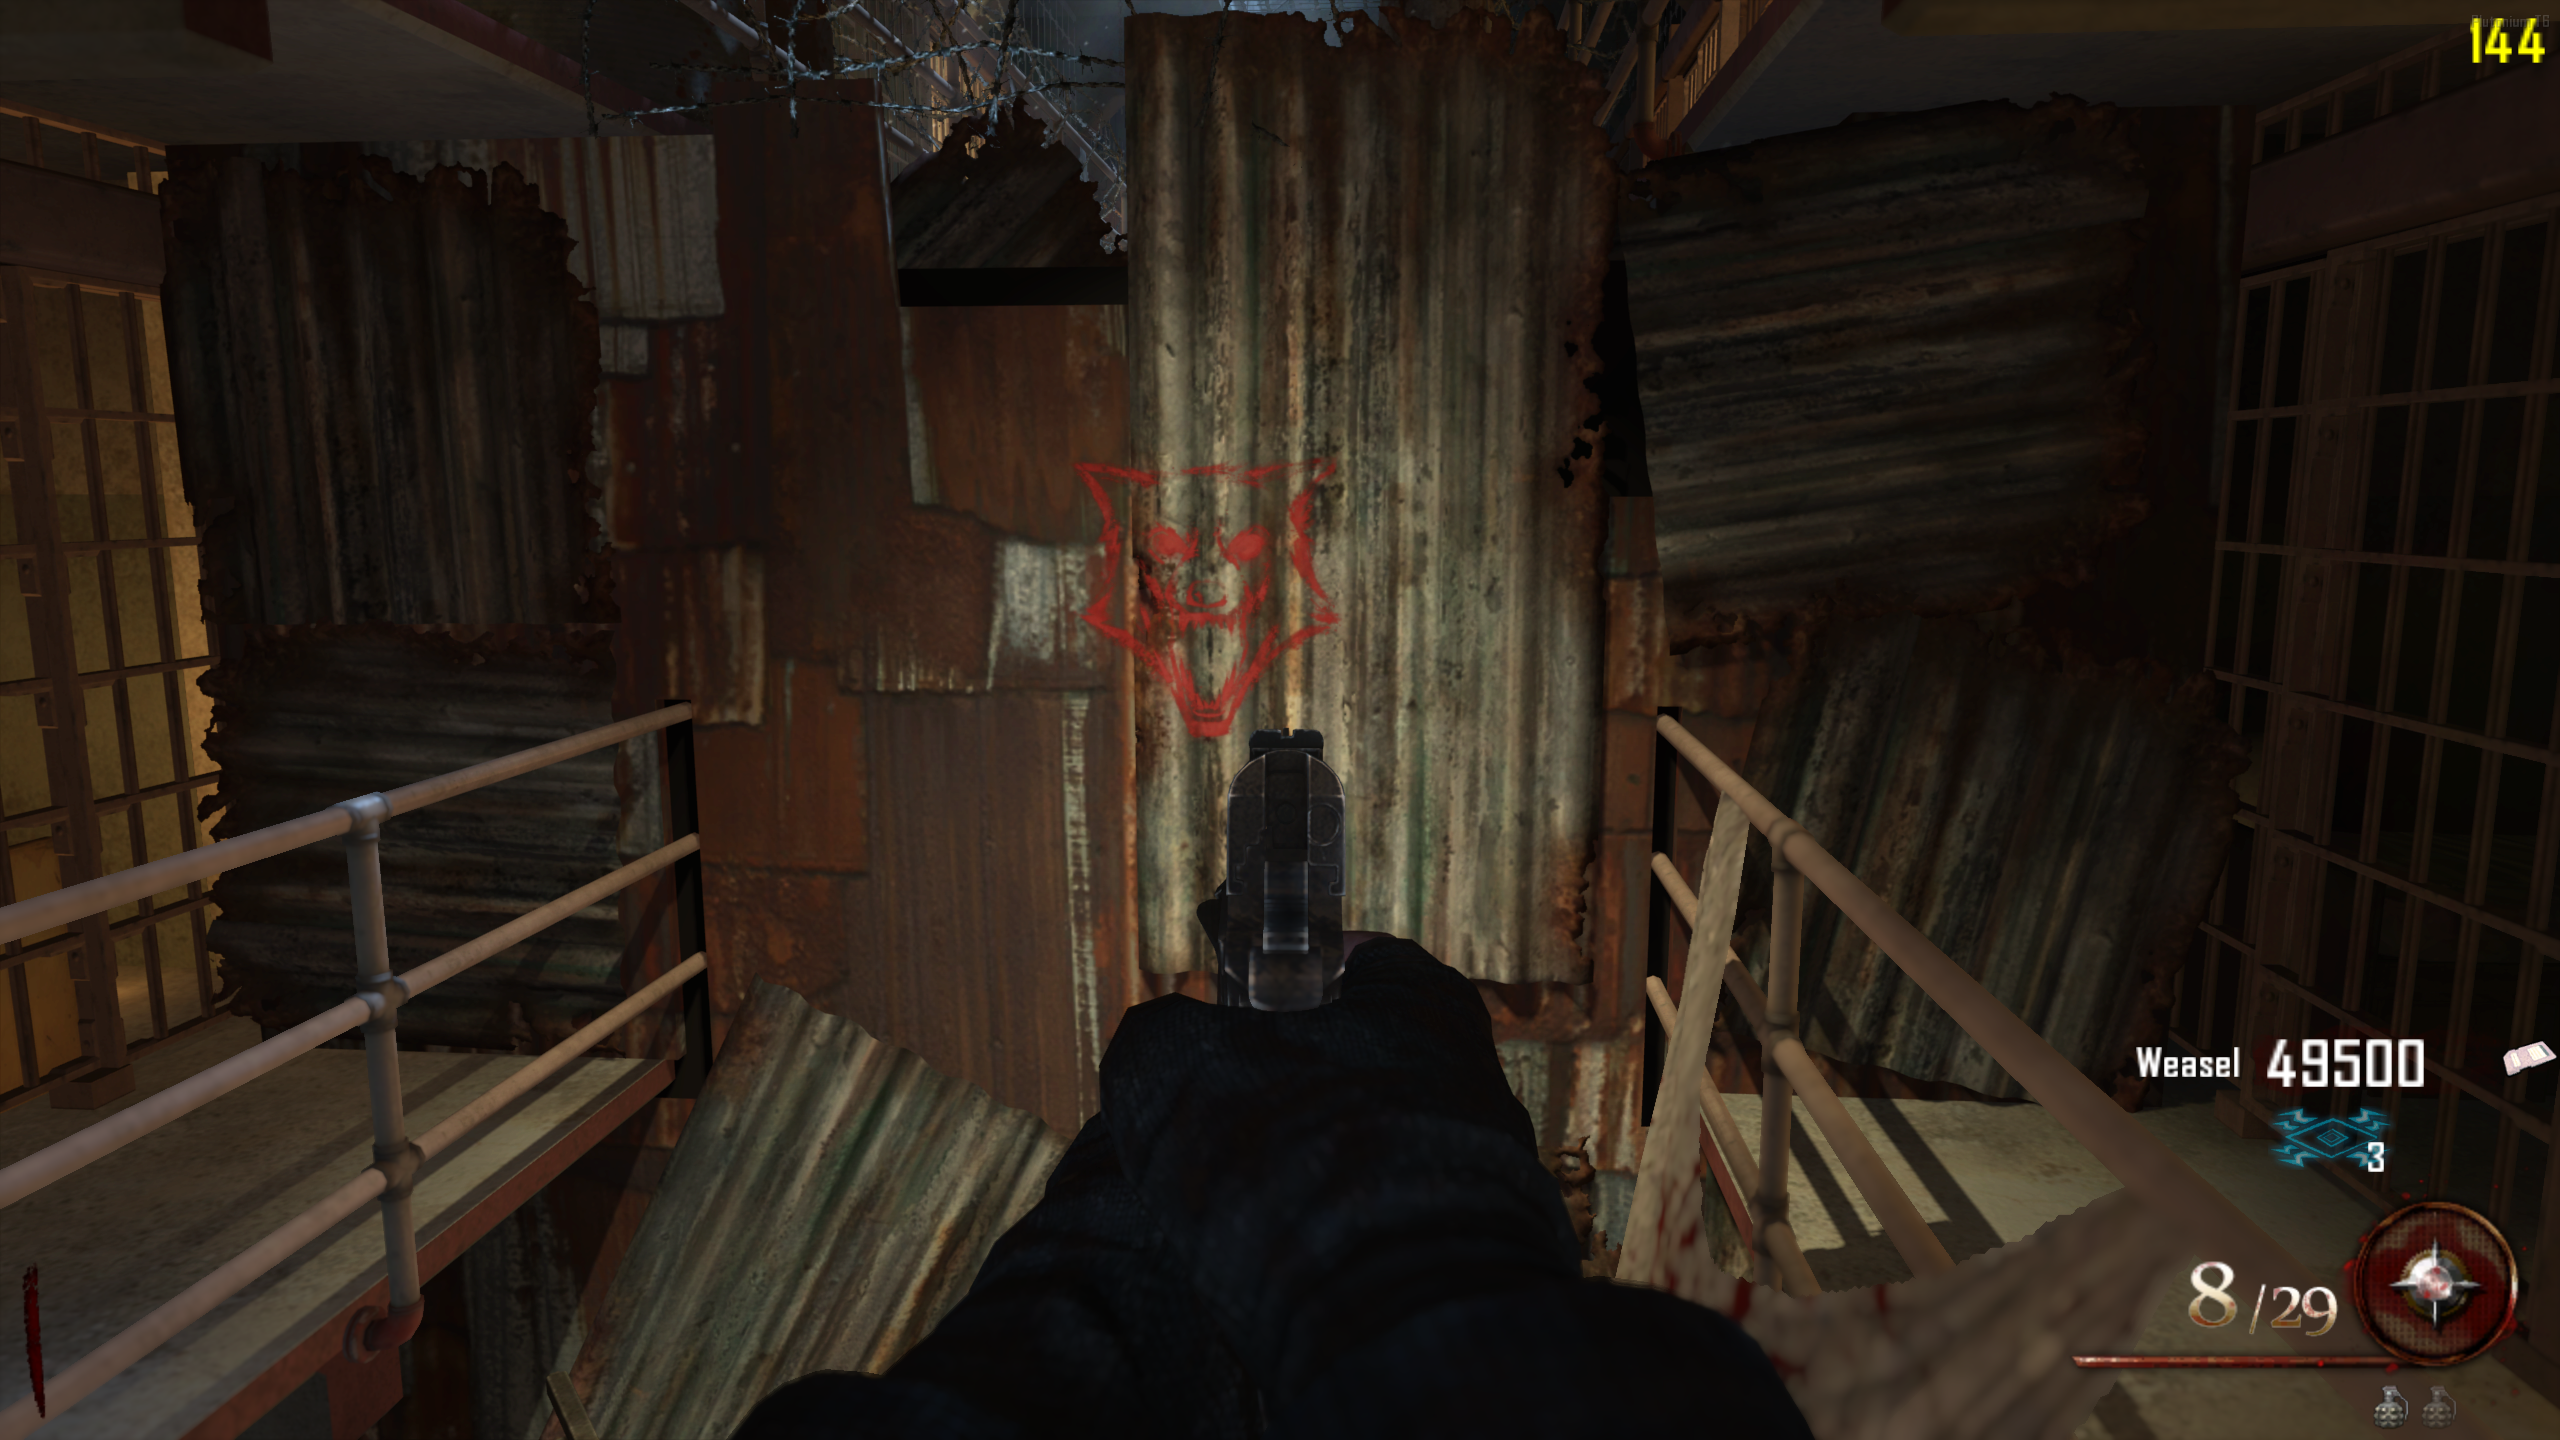
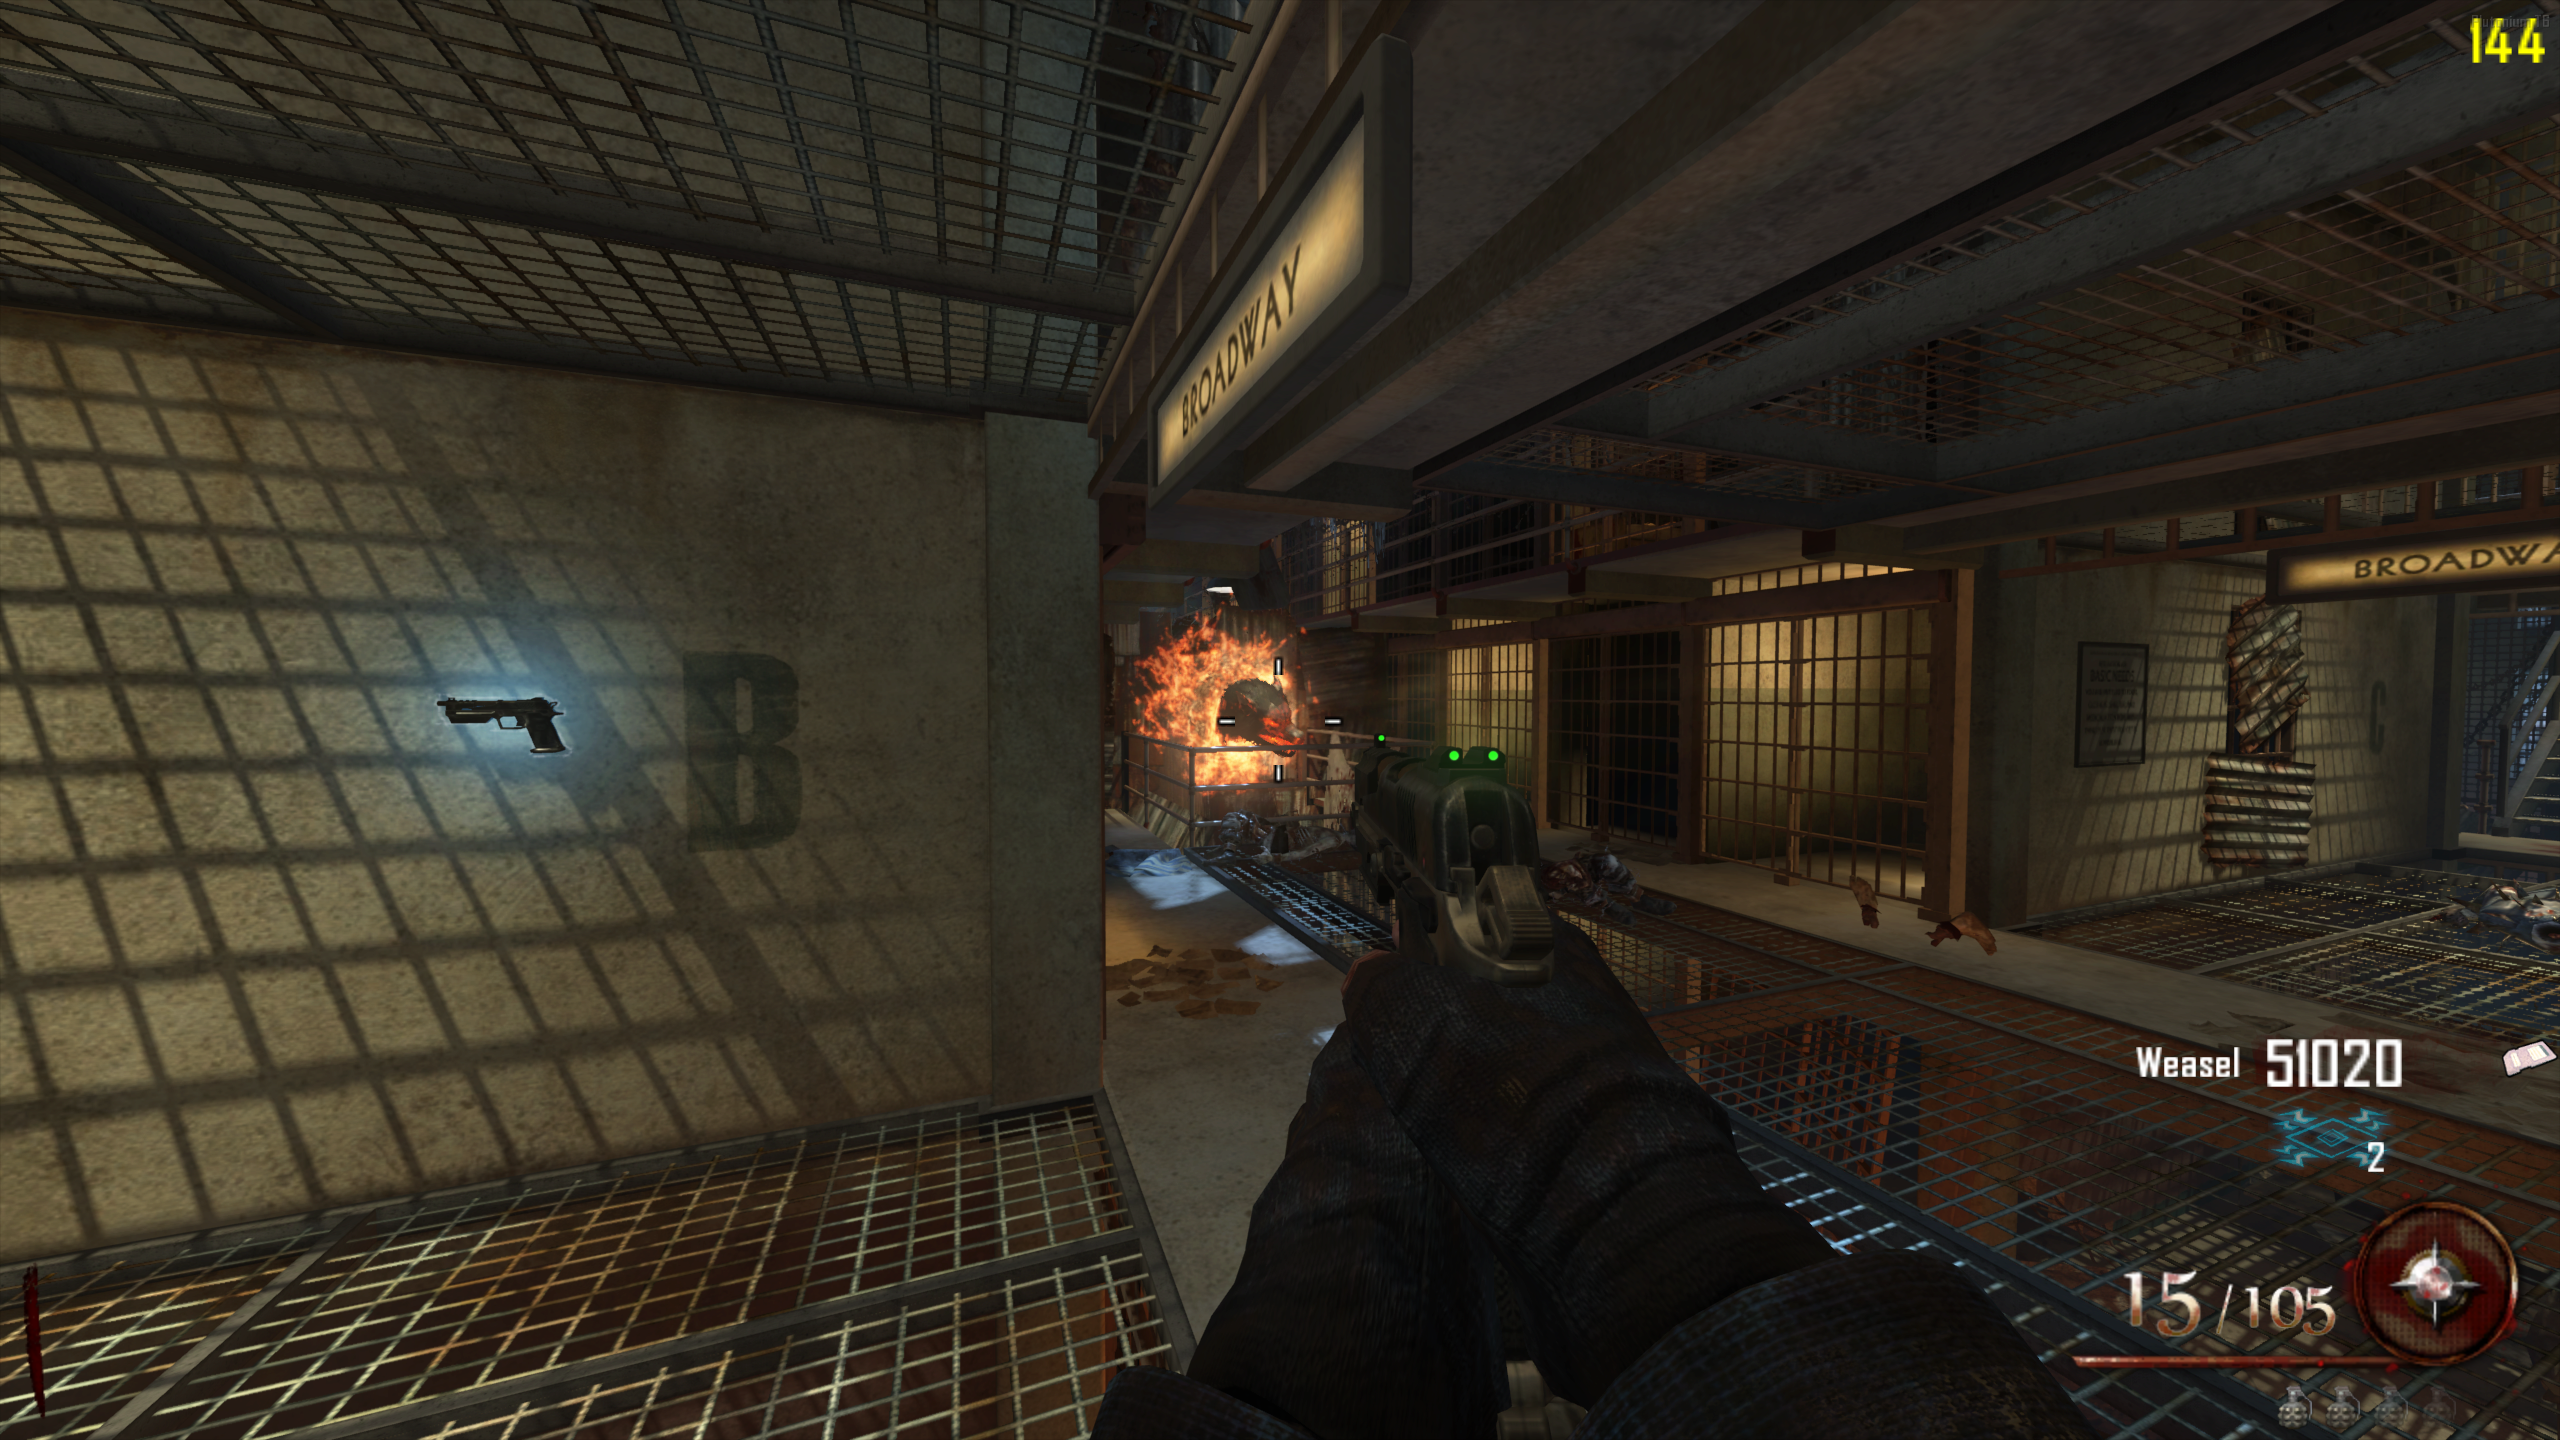
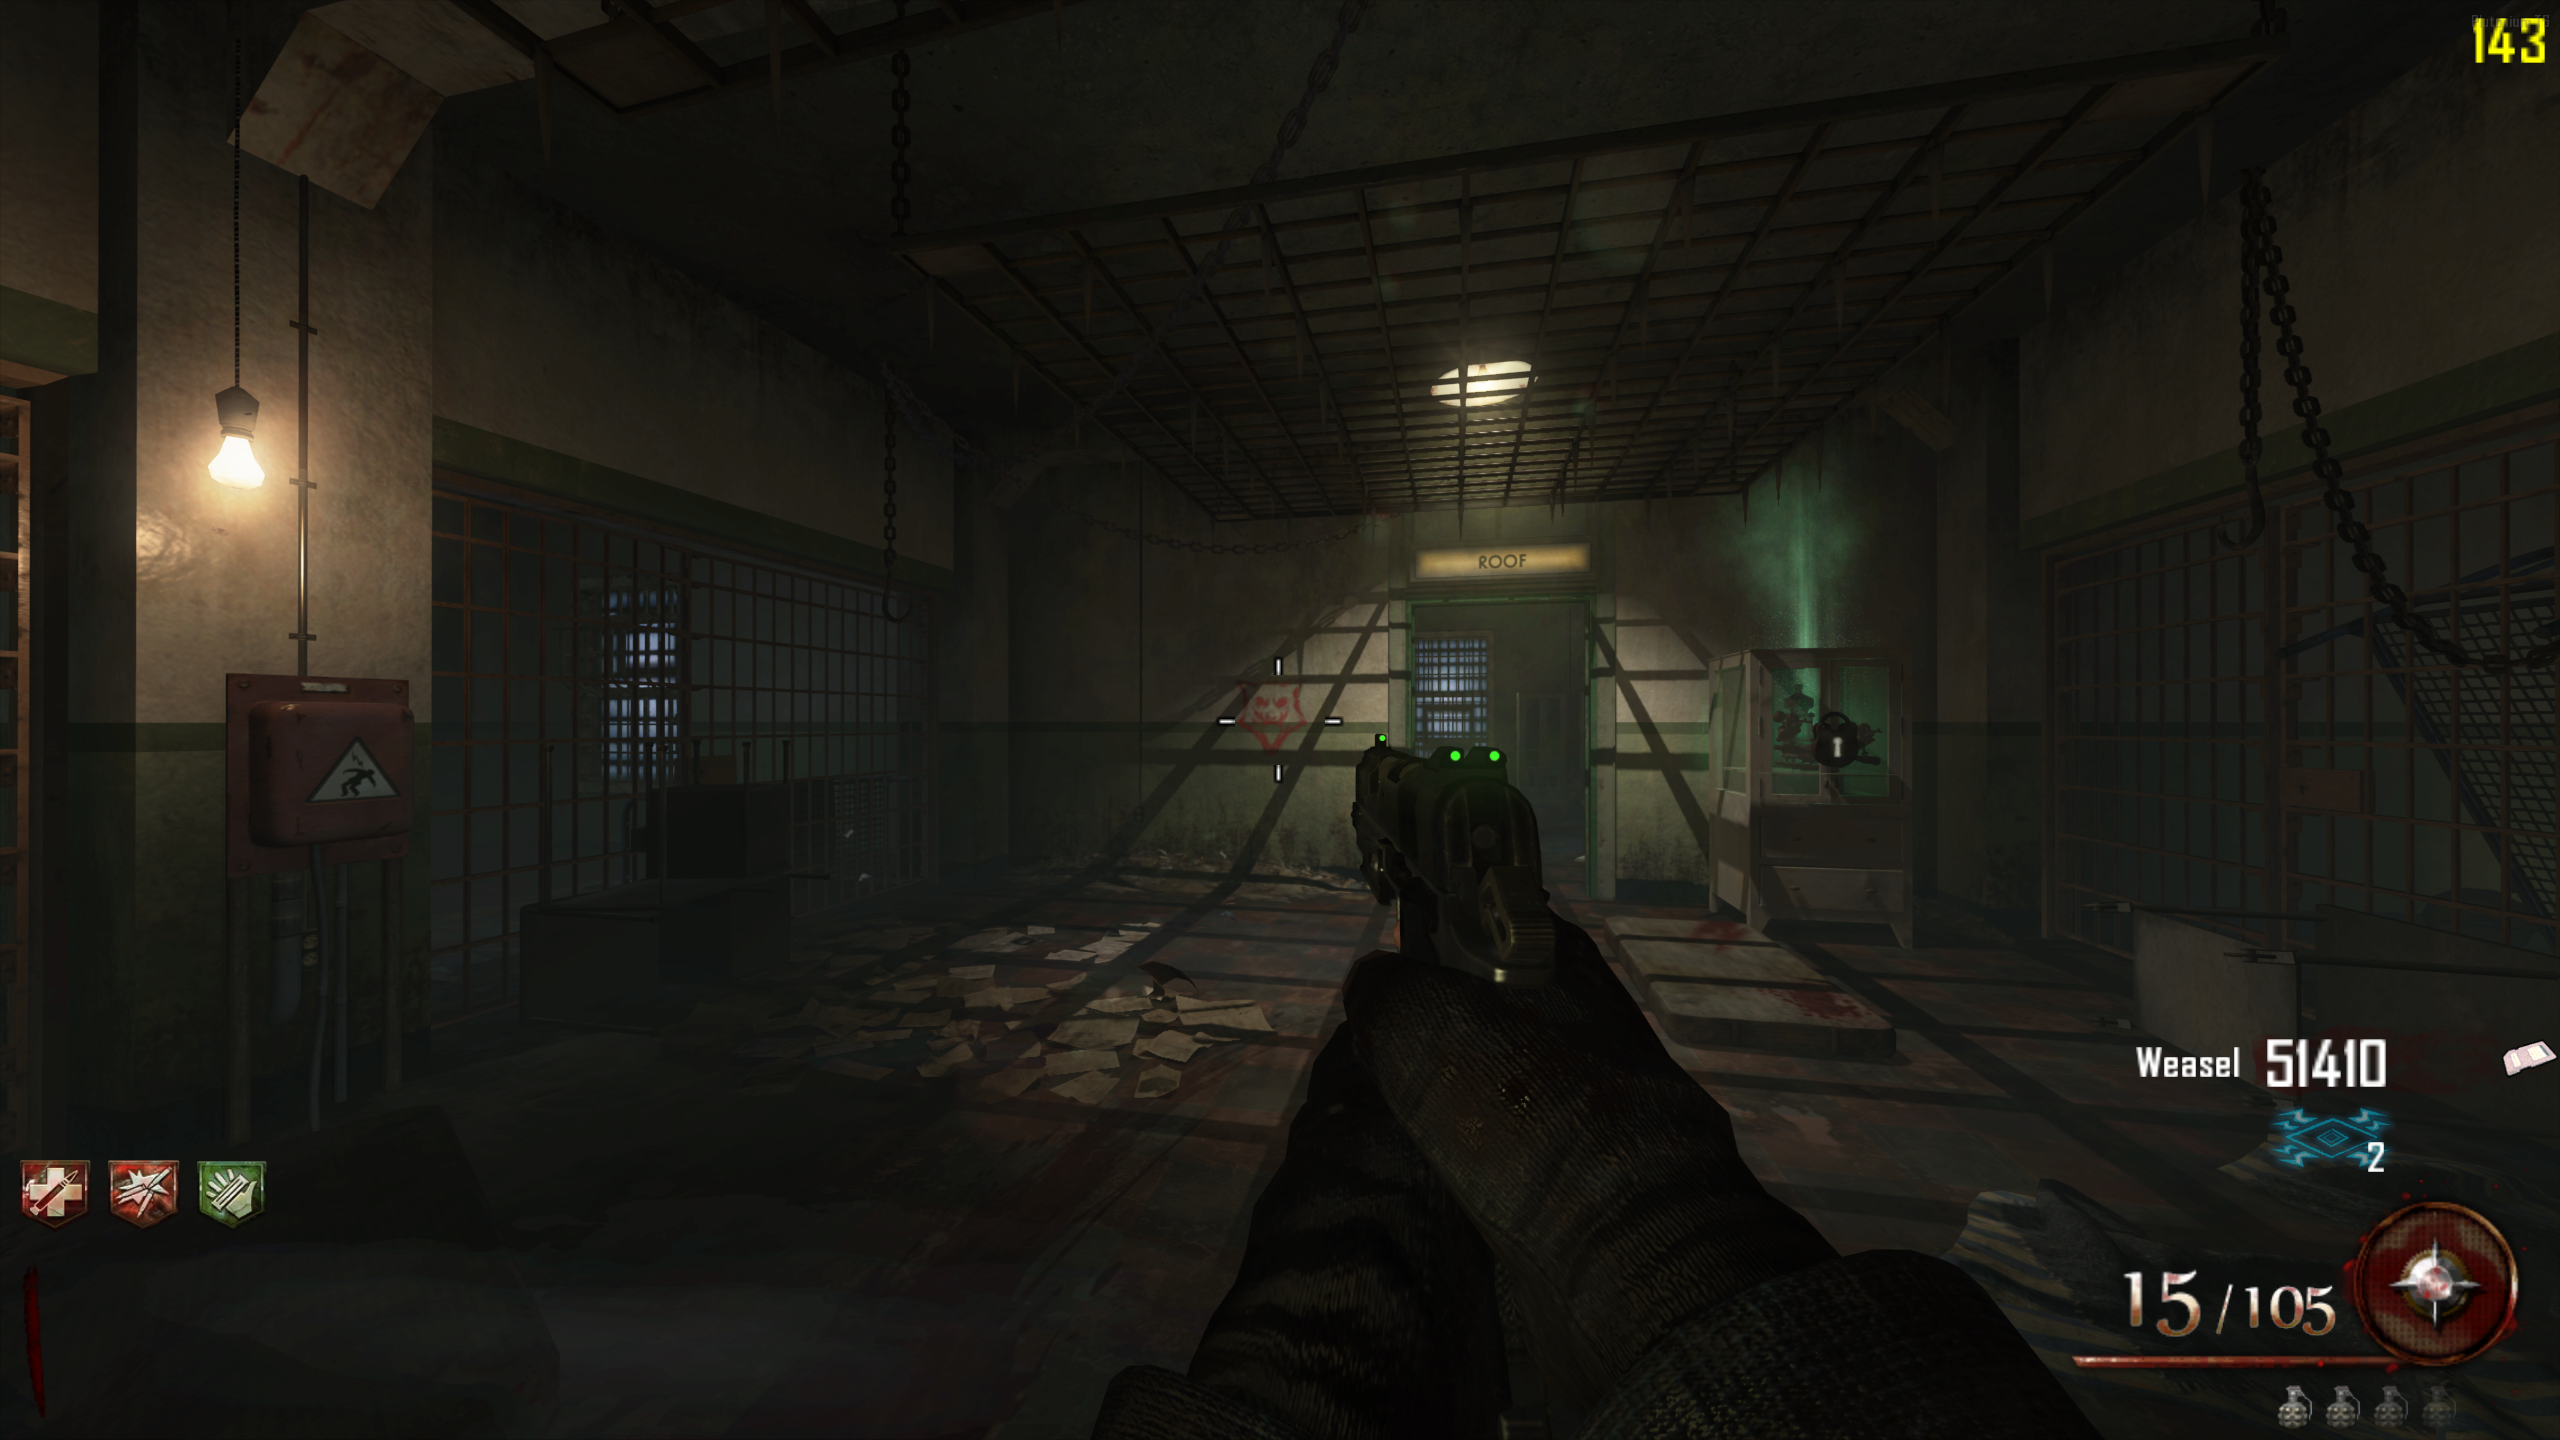
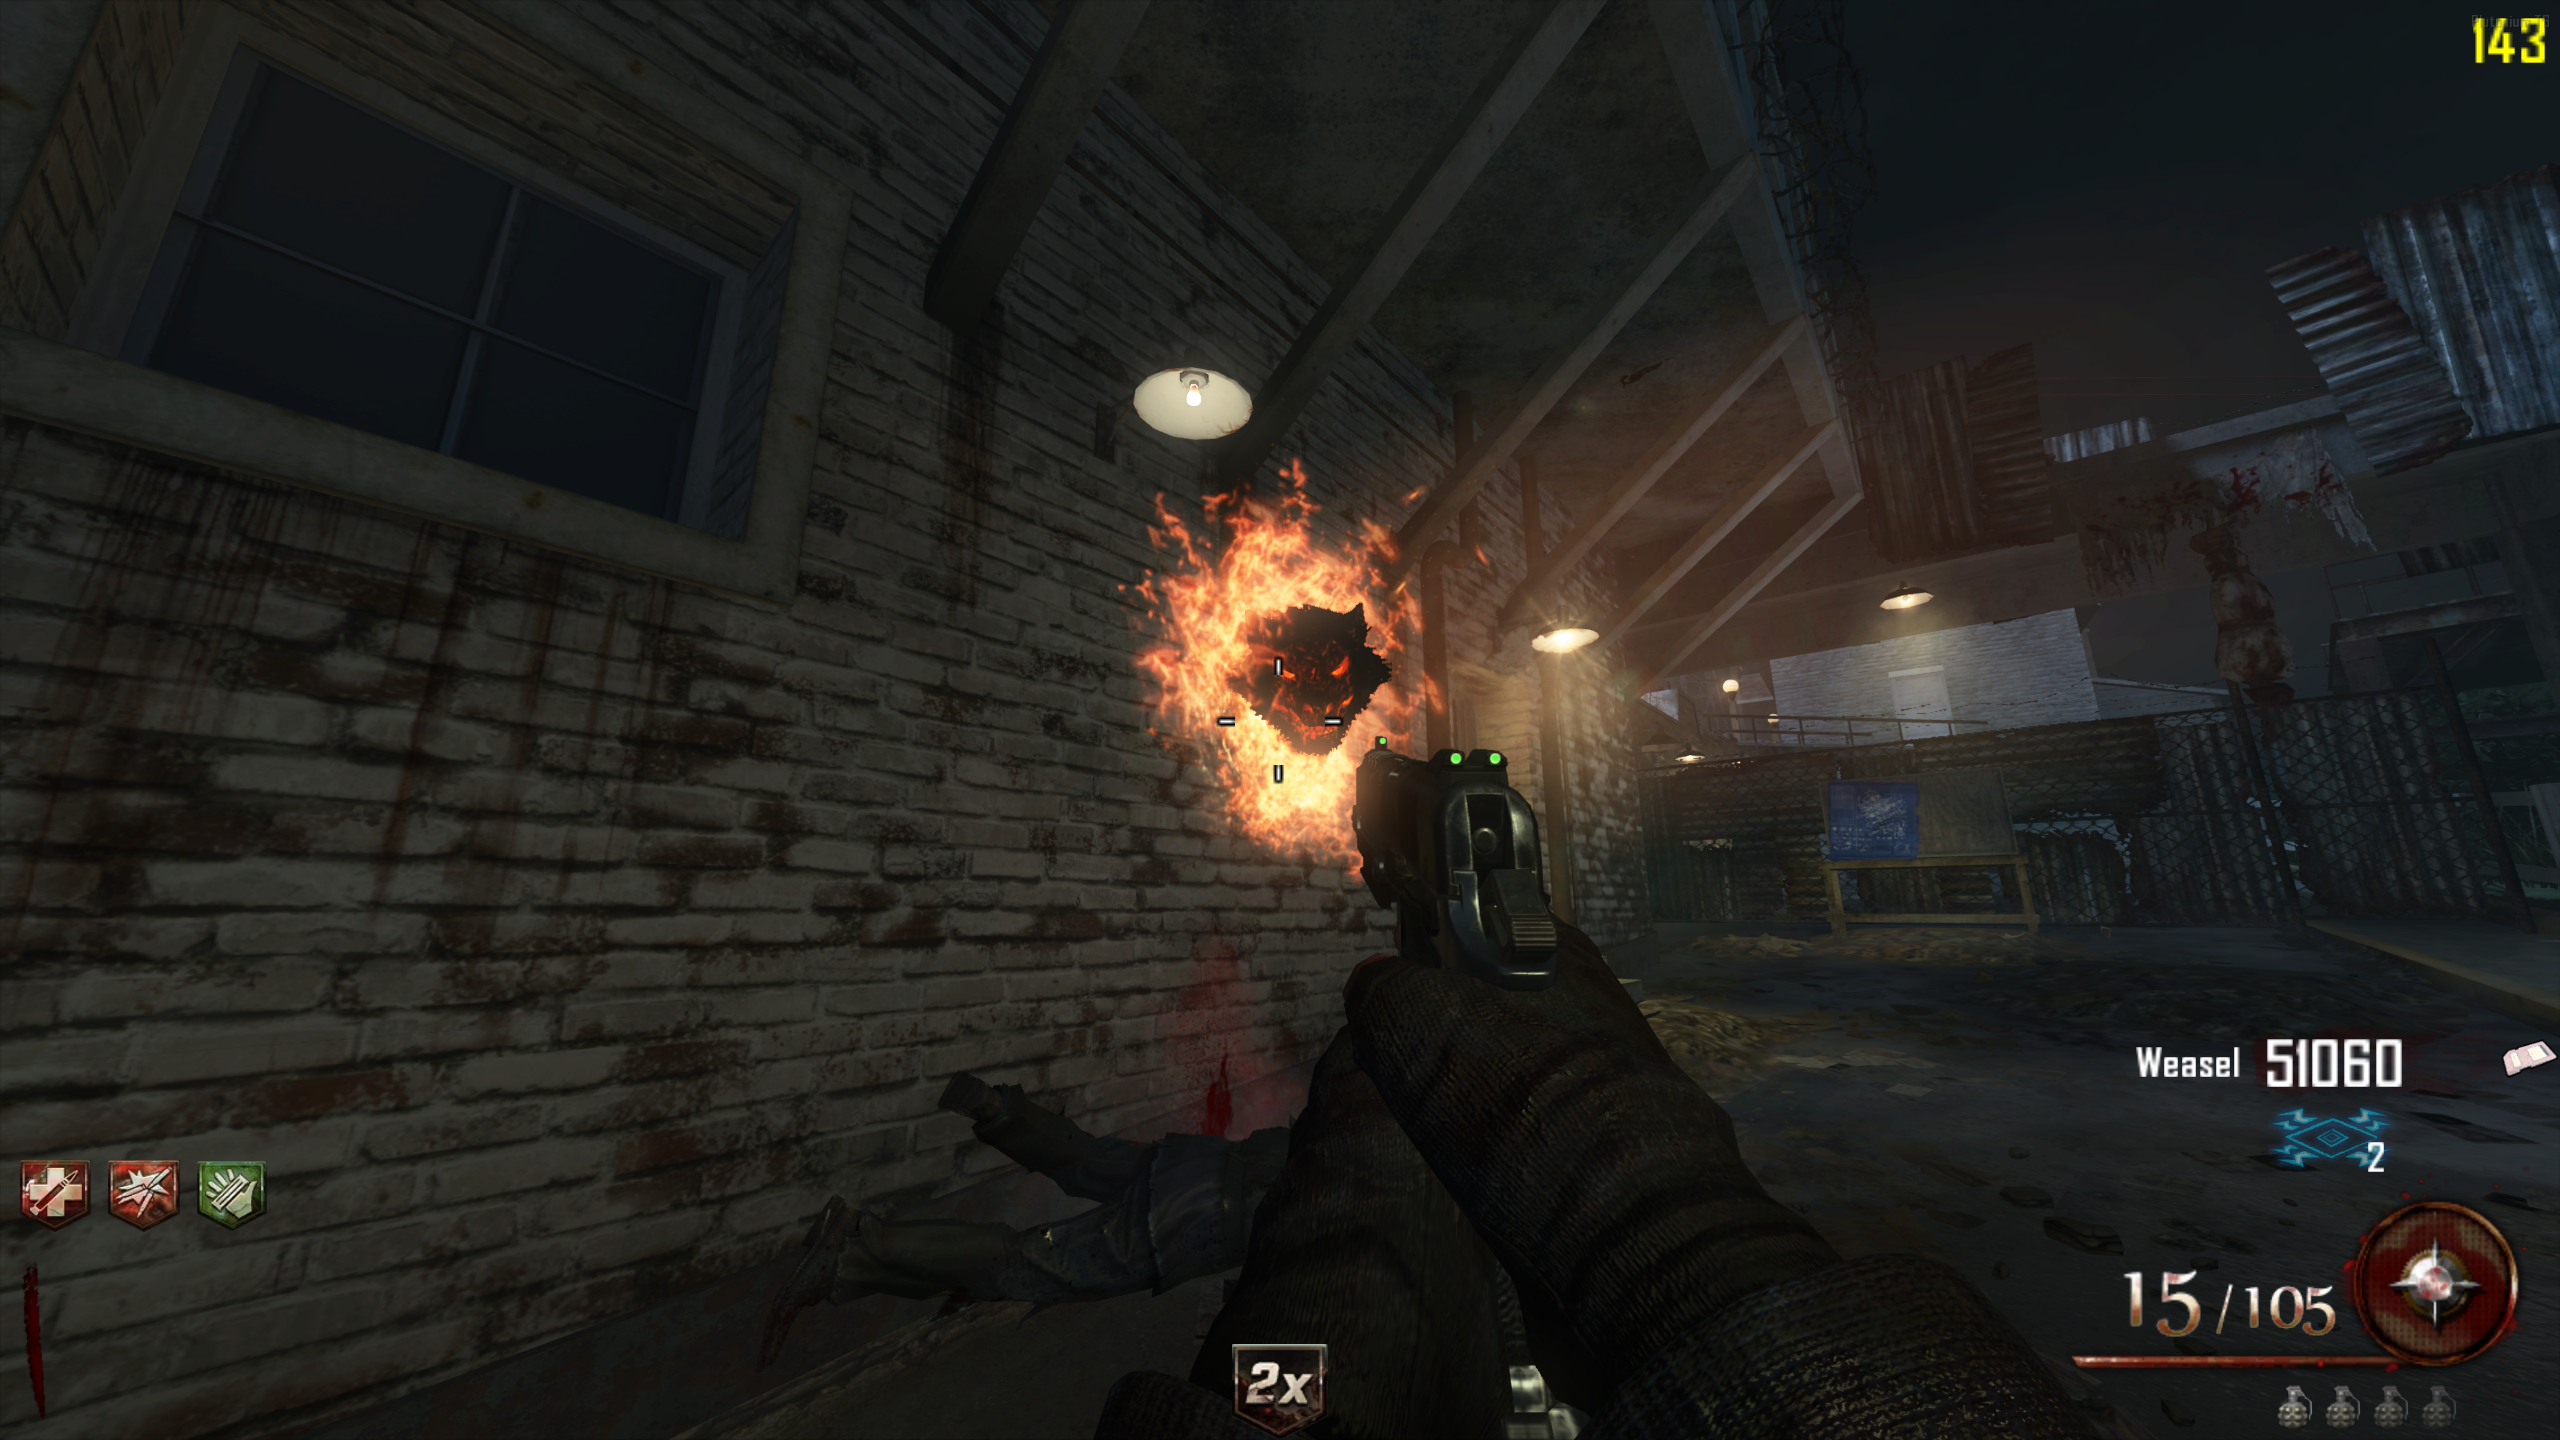
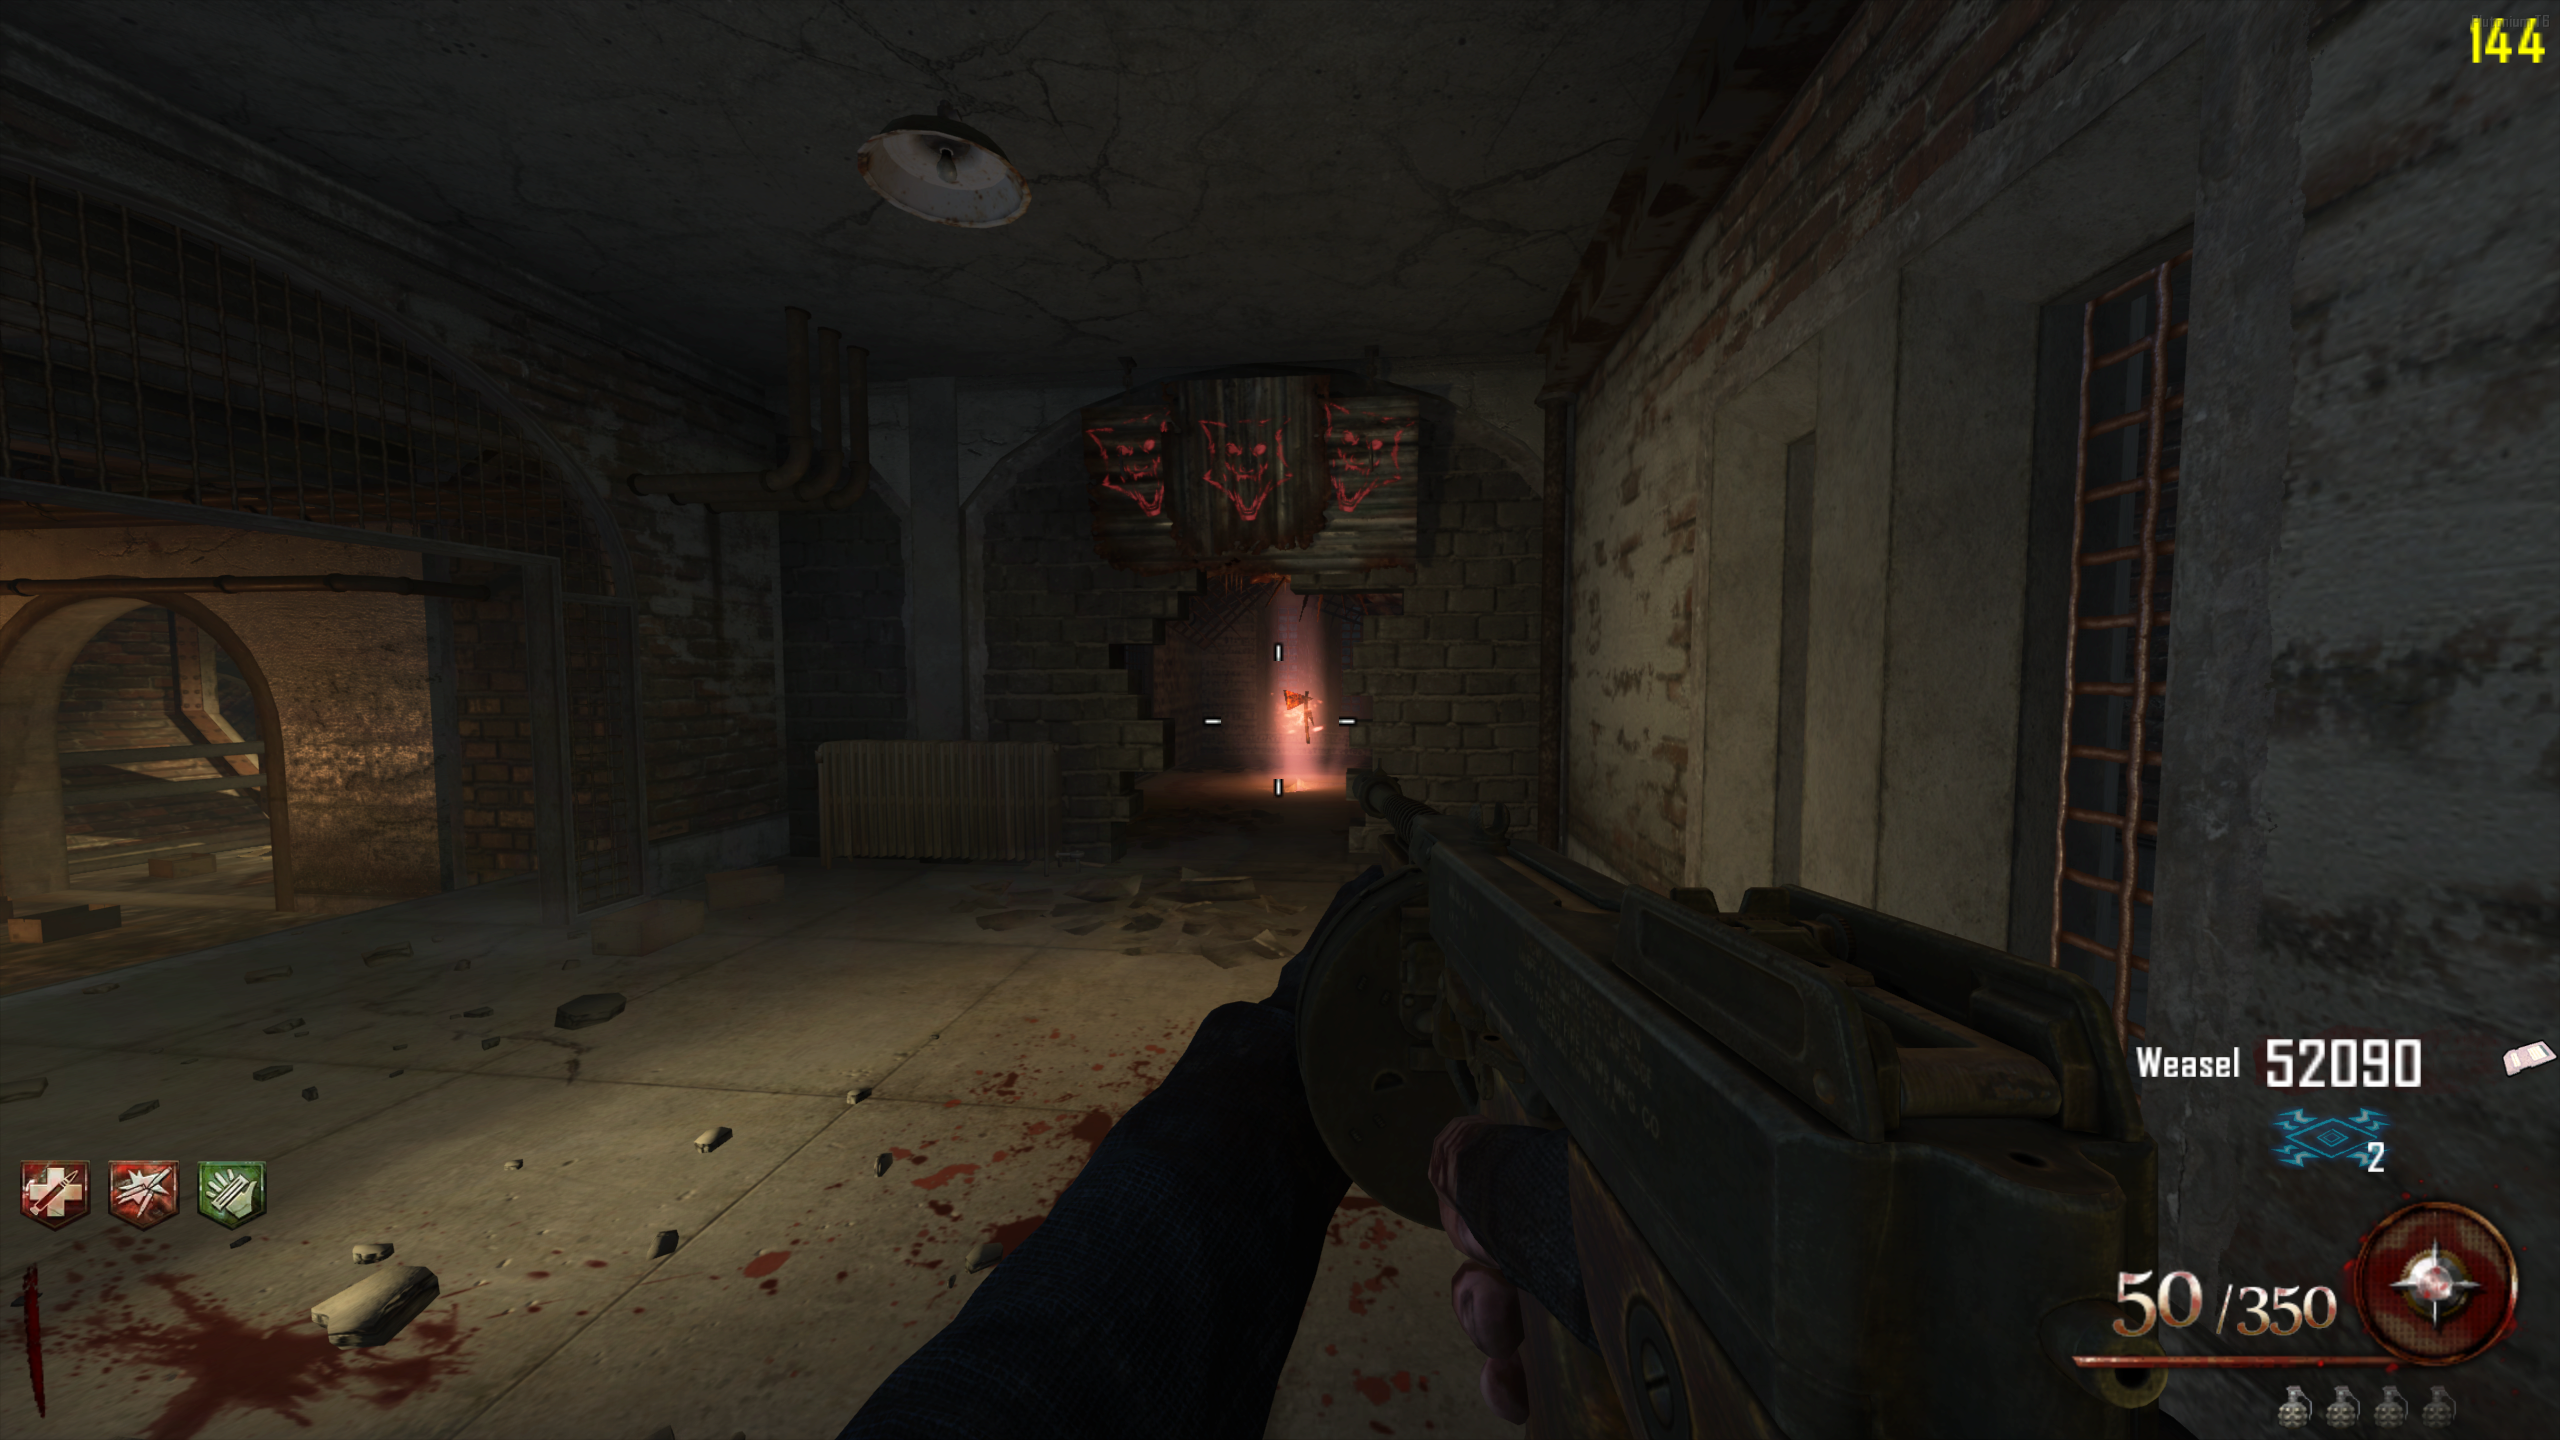
- There are three Cerberus Heads around the map, marked by a red dog painting on the wall. Kill a Zombie in front of one and the head will come out of the wall. Head Locations:
- Feed each Head six Zombies. Kill a Zombie close to the Head and the body gets pulled into its mouth. The Head can only eat one at a time, so wait for it to finish chewing before killing the next one or the kill won't count.
- Once a Head has eaten six, it disappears back into the wall. When all three are done, go to the Citadel Tunnels, between the Showers and the top of the spiral staircase. The wall with the three dog paintings on it will be open, with the Hell's Retriever inside. Interact with it to pick it up.
Hell's Redeemer
The Hell's Redeemer is the upgraded Hell's Retriever. It glows blue, charges faster, holds three charges instead of two, and chains further between Zombies. It's a guaranteed one hit kill on any Zombie at any round as long as you charge it once, and it'll also kill Brutus once his helmet is off.
Each player has to do this whole quest individually. One player getting the Redeemer doesn't give it to anyone else, but everyone can work through the steps at the same time.
- Obtain the Hell's Retriever.
- Get 15 kills with the Hell's Retriever anywhere inside the Prison. Kills on the Golden Gate Bridge don't count. You'll hear the Afterlife sound effect when it's done.
- Build the Plane and go to the Golden Gate Bridge. While on round 10 or higher, survive the entire round using only the Hell's Retriever, getting at least one kill with it. You'll hear a sound cue at the end of the round if it worked.
- Killing a Zombie with anything other than the Hell's Retriever resets this step. Knifing the air is fine.
- Wait for the round to fully change over before you take the Electric Chair back.
- You only need one kill with it. Other players can kill however they like, as long as the Hell's Retriever is the only thing you kill with.
- Return to the Prison and go to where the first Cerberus Head was. Look down into the lava pit below it and throw the Hell's Retriever into it. If it worked, the Retriever won't come back to you.
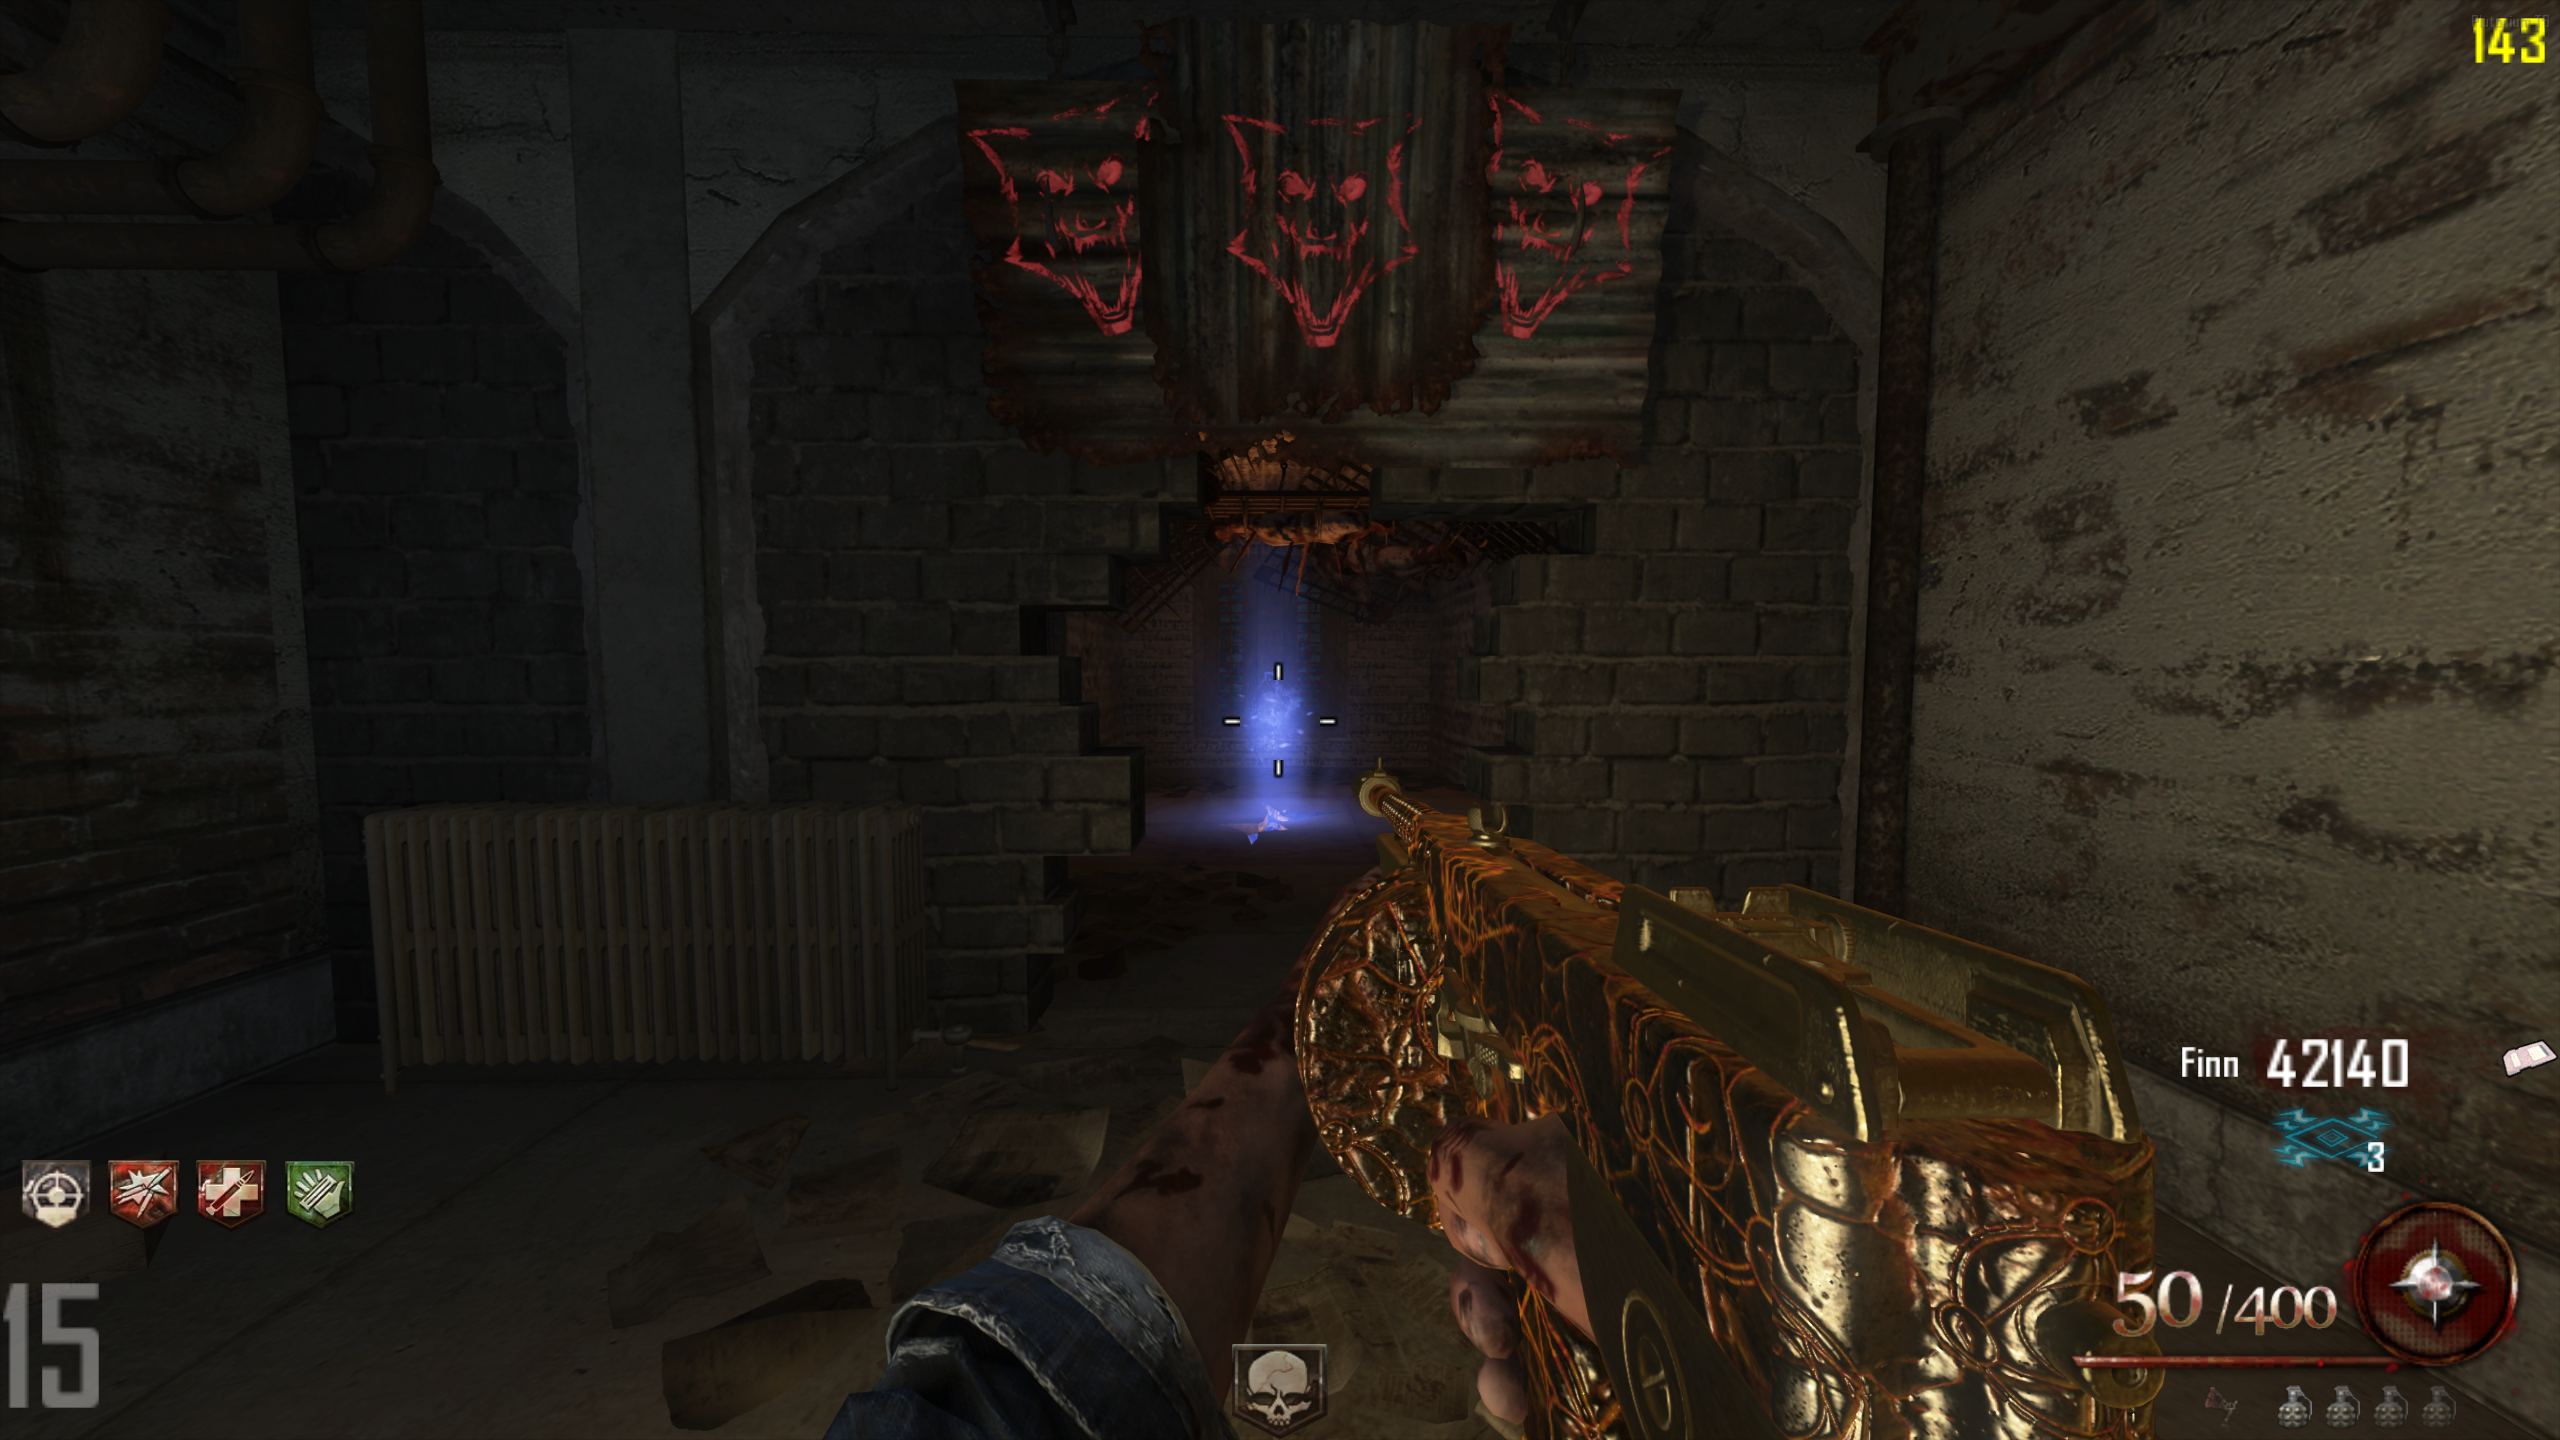
- Finish the round. On the next round, enter Afterlife and go back to where you picked up the Hell's Retriever in the Citadel Tunnels. It should be glowing blue. Pick up the Hell's Redeemer, and you'll have it when you return to your body.
Spoon
The Spoon replaces your knife and it's a one hit kill until around round 14.
- Obtain the Hell's Retriever, then travel to the Golden Gate Bridge and back at least once.
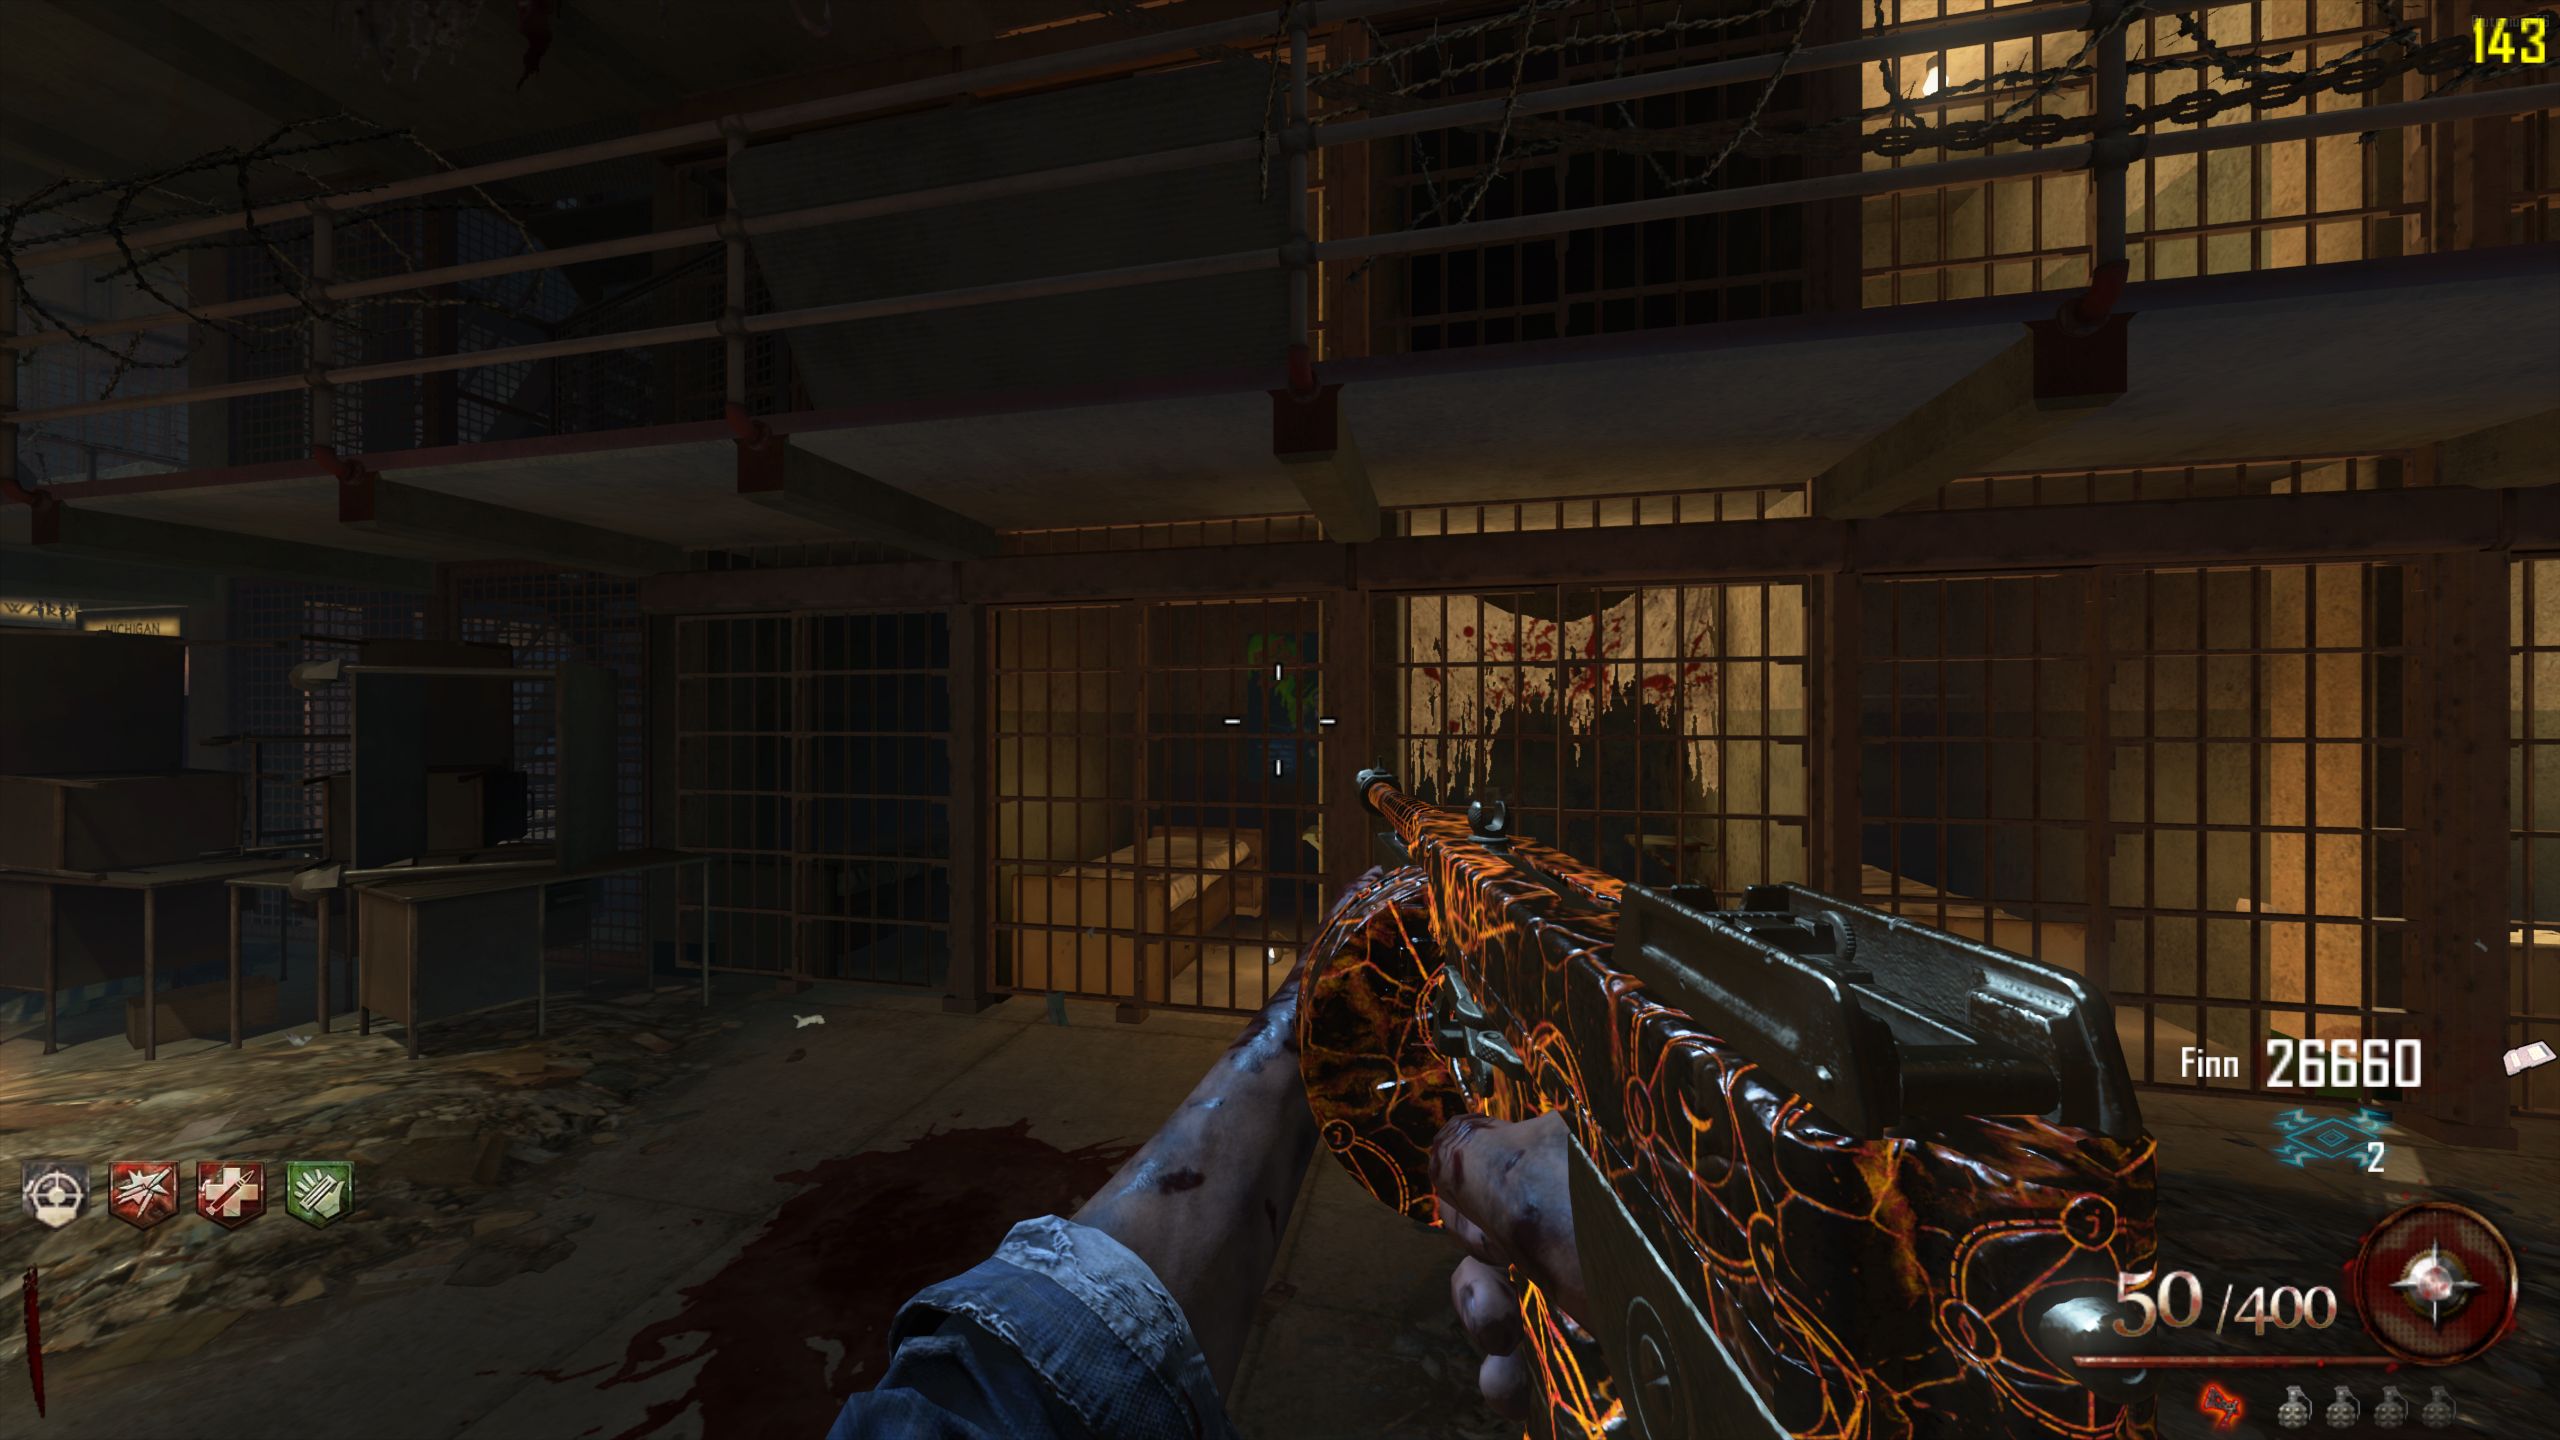
- One of the cells outside the Warden's Office will have a poster on the back wall. Throw the Hell's Retriever at the poster to knock it down, revealing a hole in the wall with an Afterlife symbol behind it.
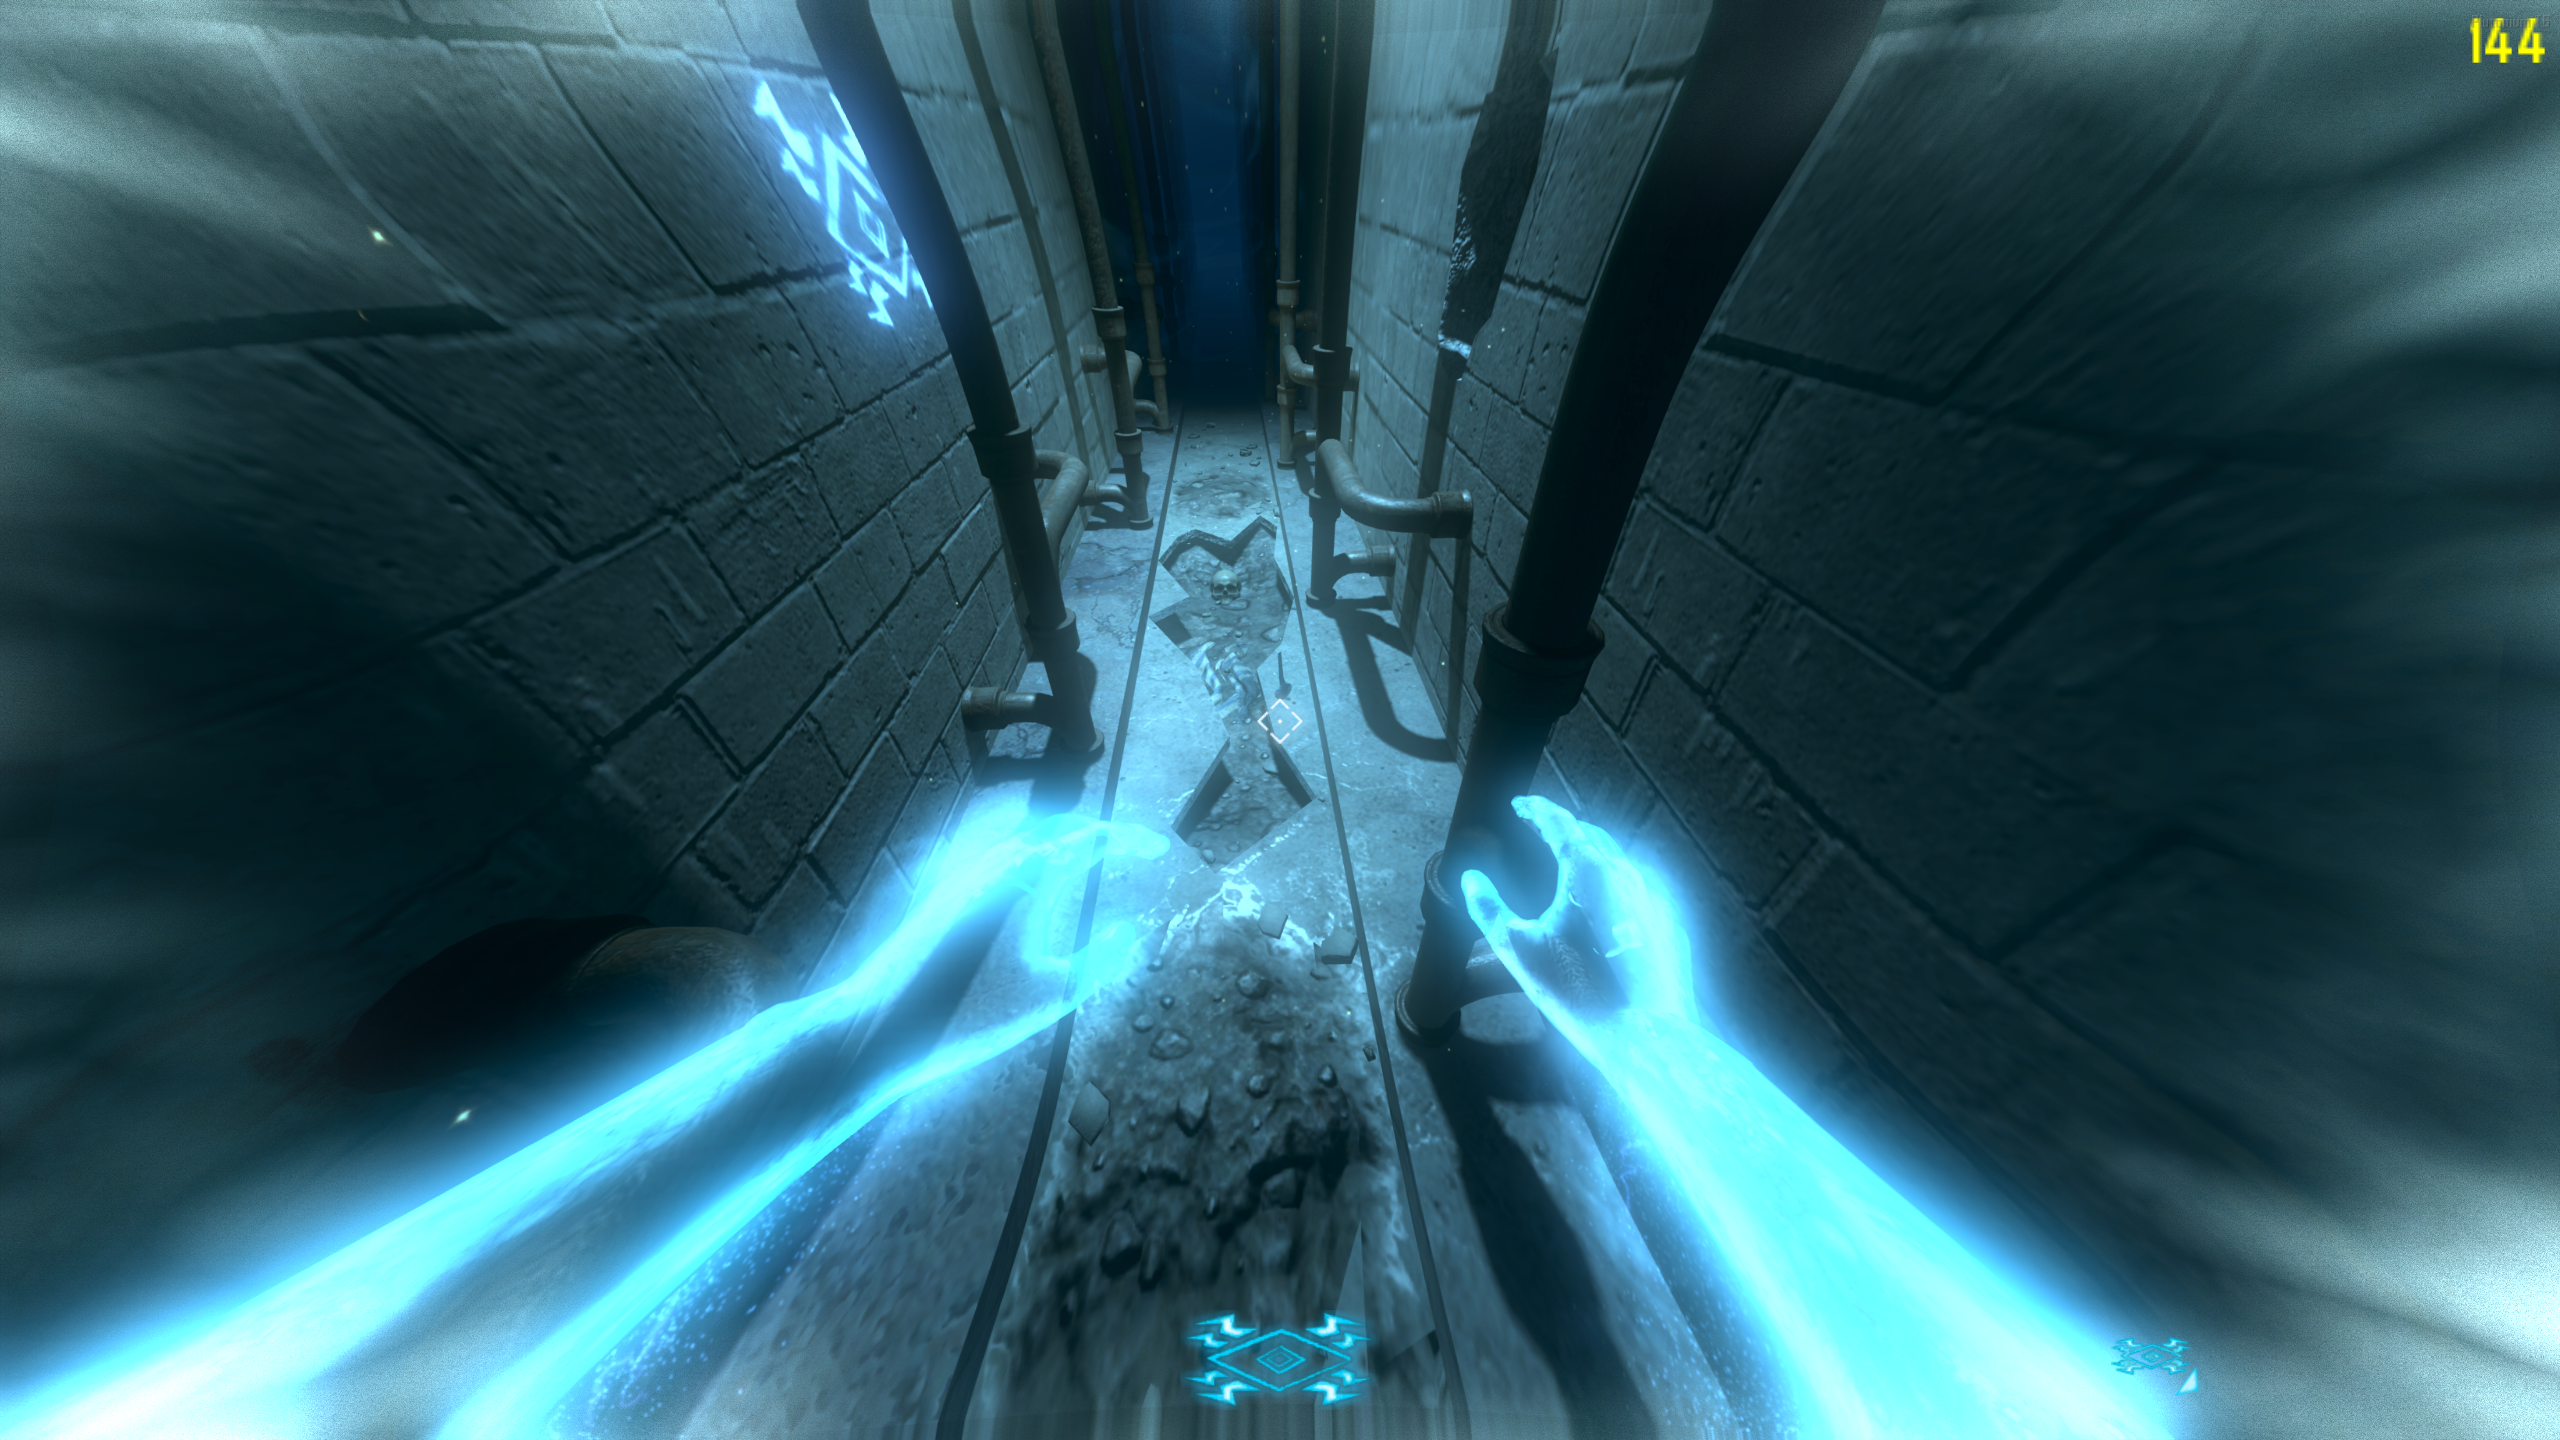
- Enter Afterlife at the electrical box around the corner. A new ghostly doorway will have opened in the wall opposite the Warden's Office. Go through it and shock the spoon on the floor, next to the crack with the skull in it. You'll hear a laugh if it worked. You can now revive yourself.
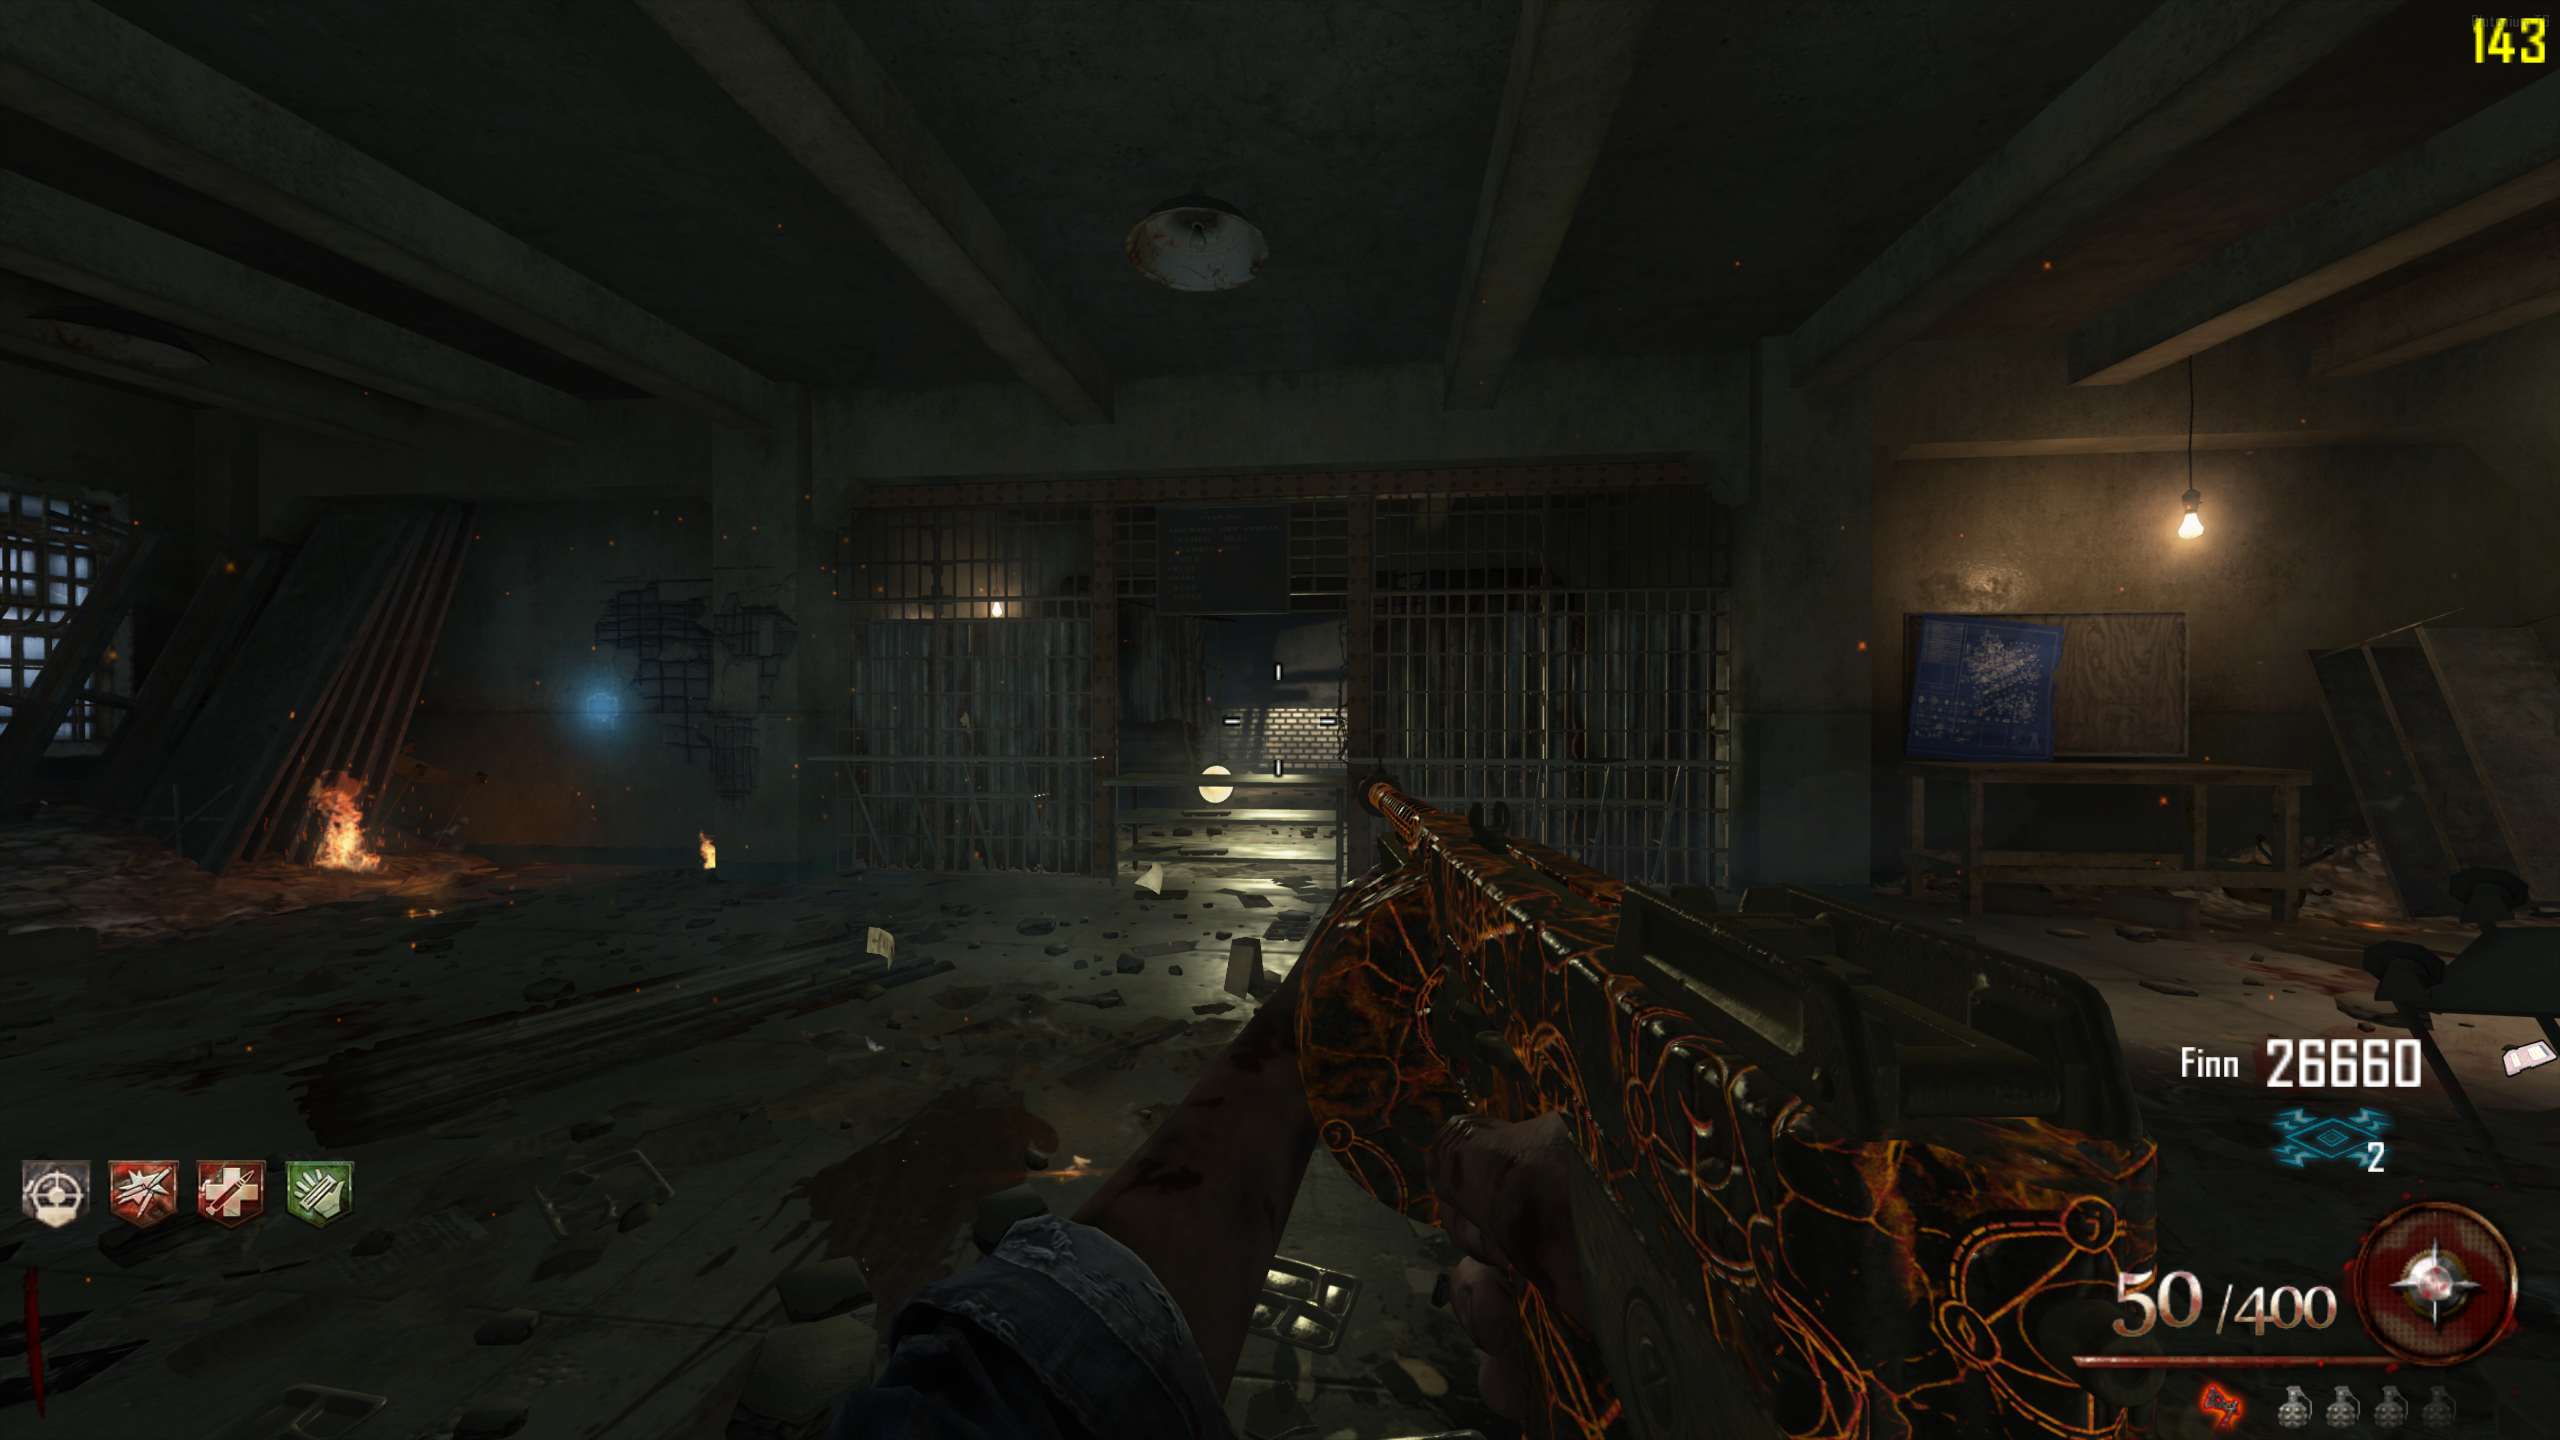
- In the Cafeteria, look through the Zombie spawn window at the back of the room, beside the buildable table. On the table against the left wall, there's now a spoon. Throw the Hell's Retriever at it to collect it. Brutus will say a line, like "...your number is up!" if it worked.
- Every player who wants the Spoon has to throw the Hell's Retriever at the Cafeteria spoon themselves. The poster and the shock only need to be done once for the whole team.
Golden Spork
The Golden Spork is the upgraded Spoon and a one hit kill until around round 33.
- Obtain the Spoon and the Acidgat.
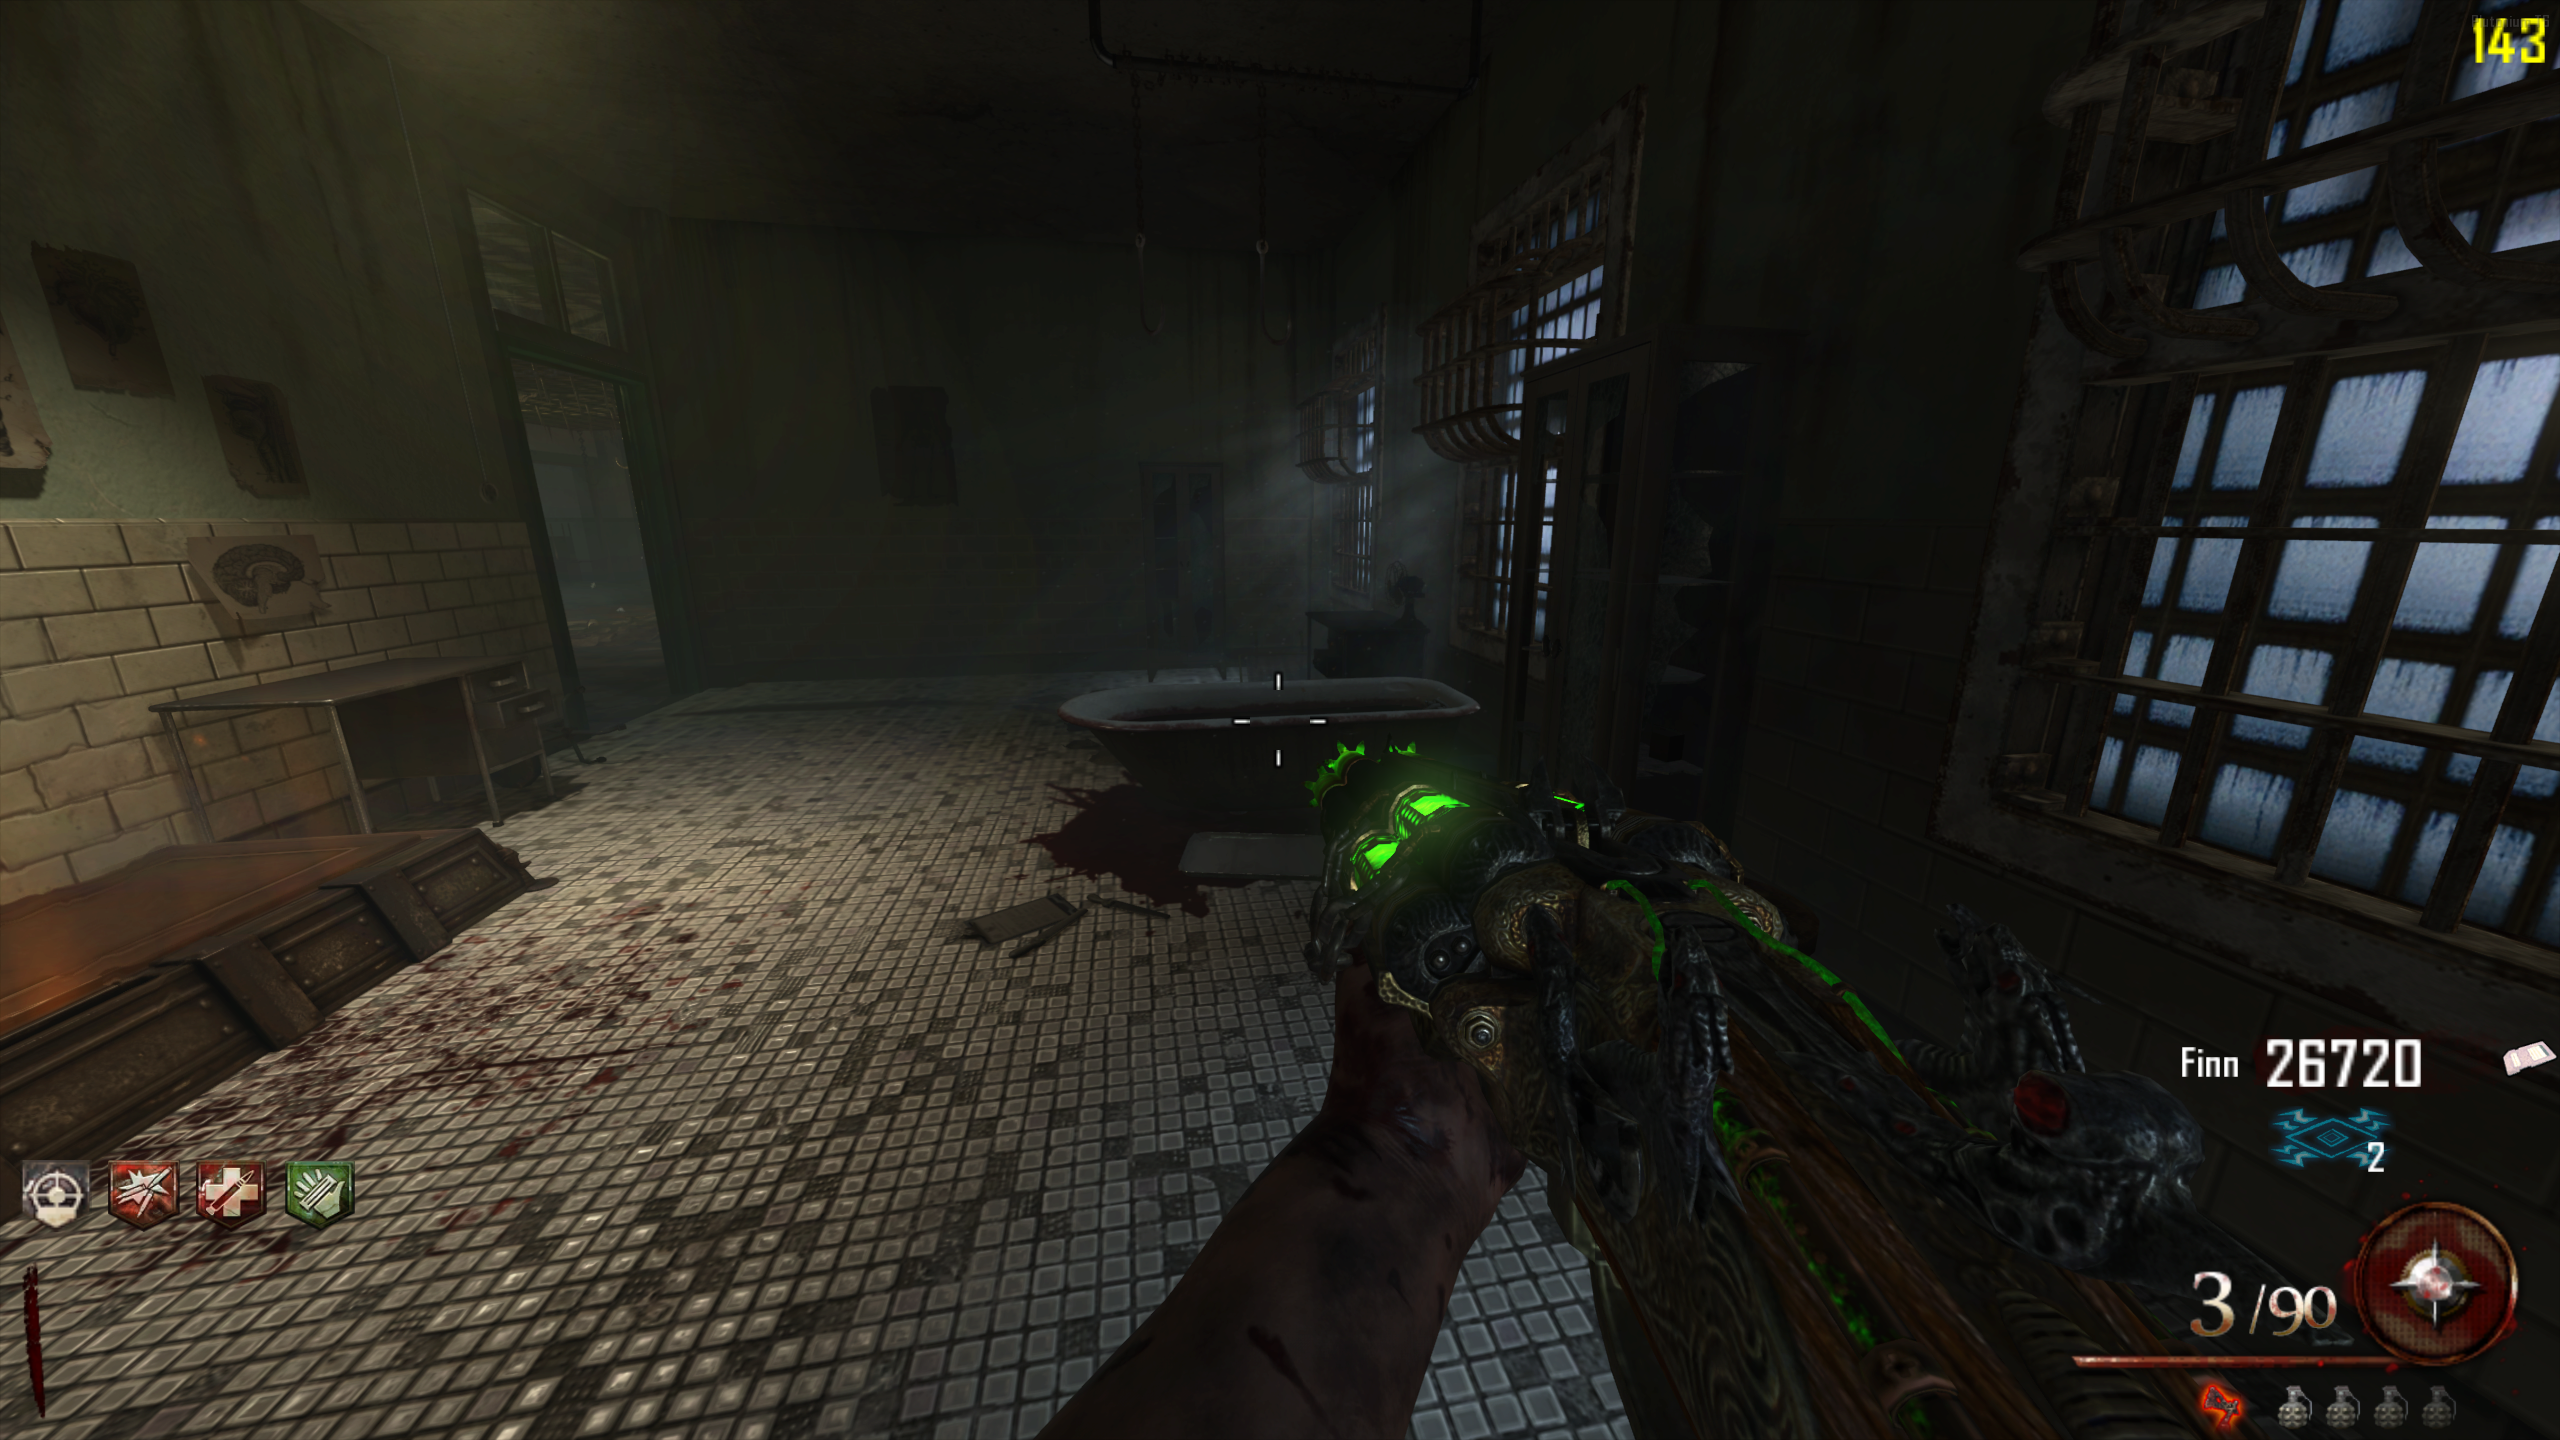
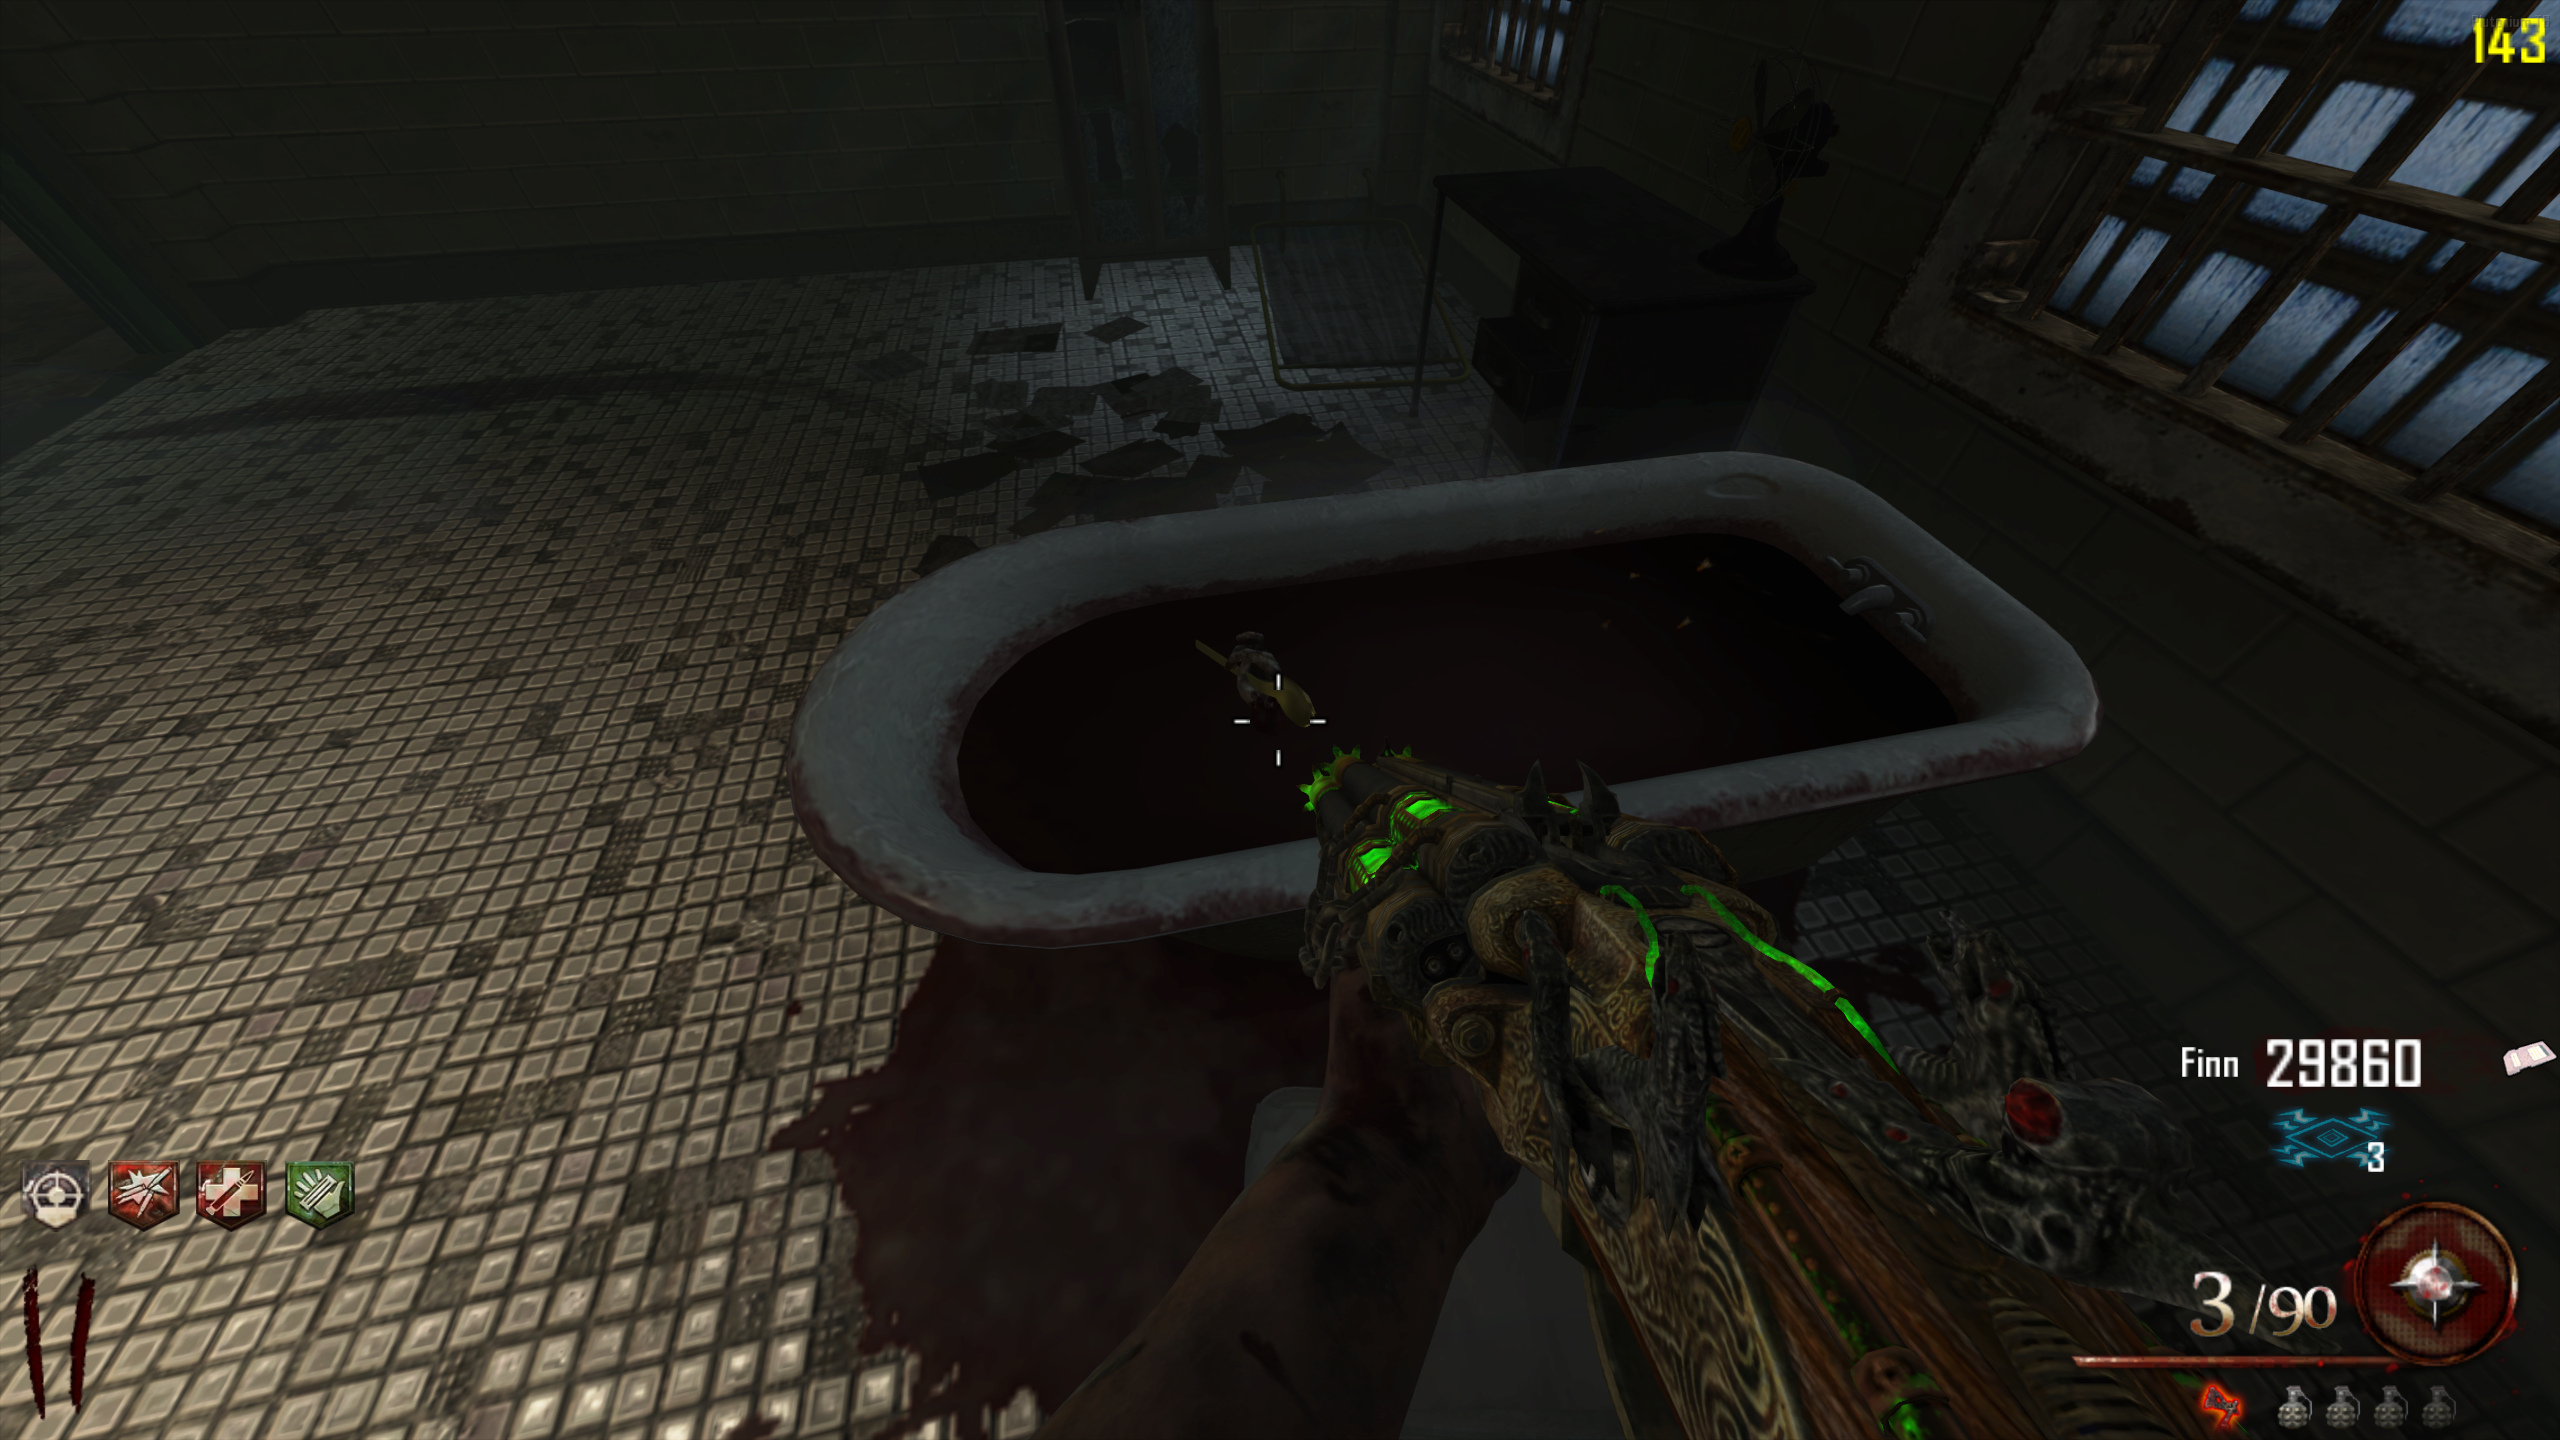
- In the Infirmary, go to the room with the Mystery Box spawn and interact with the bathtub filled with blood. The Spoon will appear and start stirring the blood.
- In the Showers, kill 50 Zombies with the Acidgat (normal or PAPed). Only kills from the acid explosion count, not direct hits, so it takes more Zombies than you'd expect to land 50 kills. You'll hear a laugh when you've got enough kills.
- Return to the same bathtub in the Infirmary and interact with it again. A Zombie hand will rise out of the blood holding the Golden Spork. Interact again to take the Spork.
Zombie Shield
- The Zombie Shield needs three parts to build:
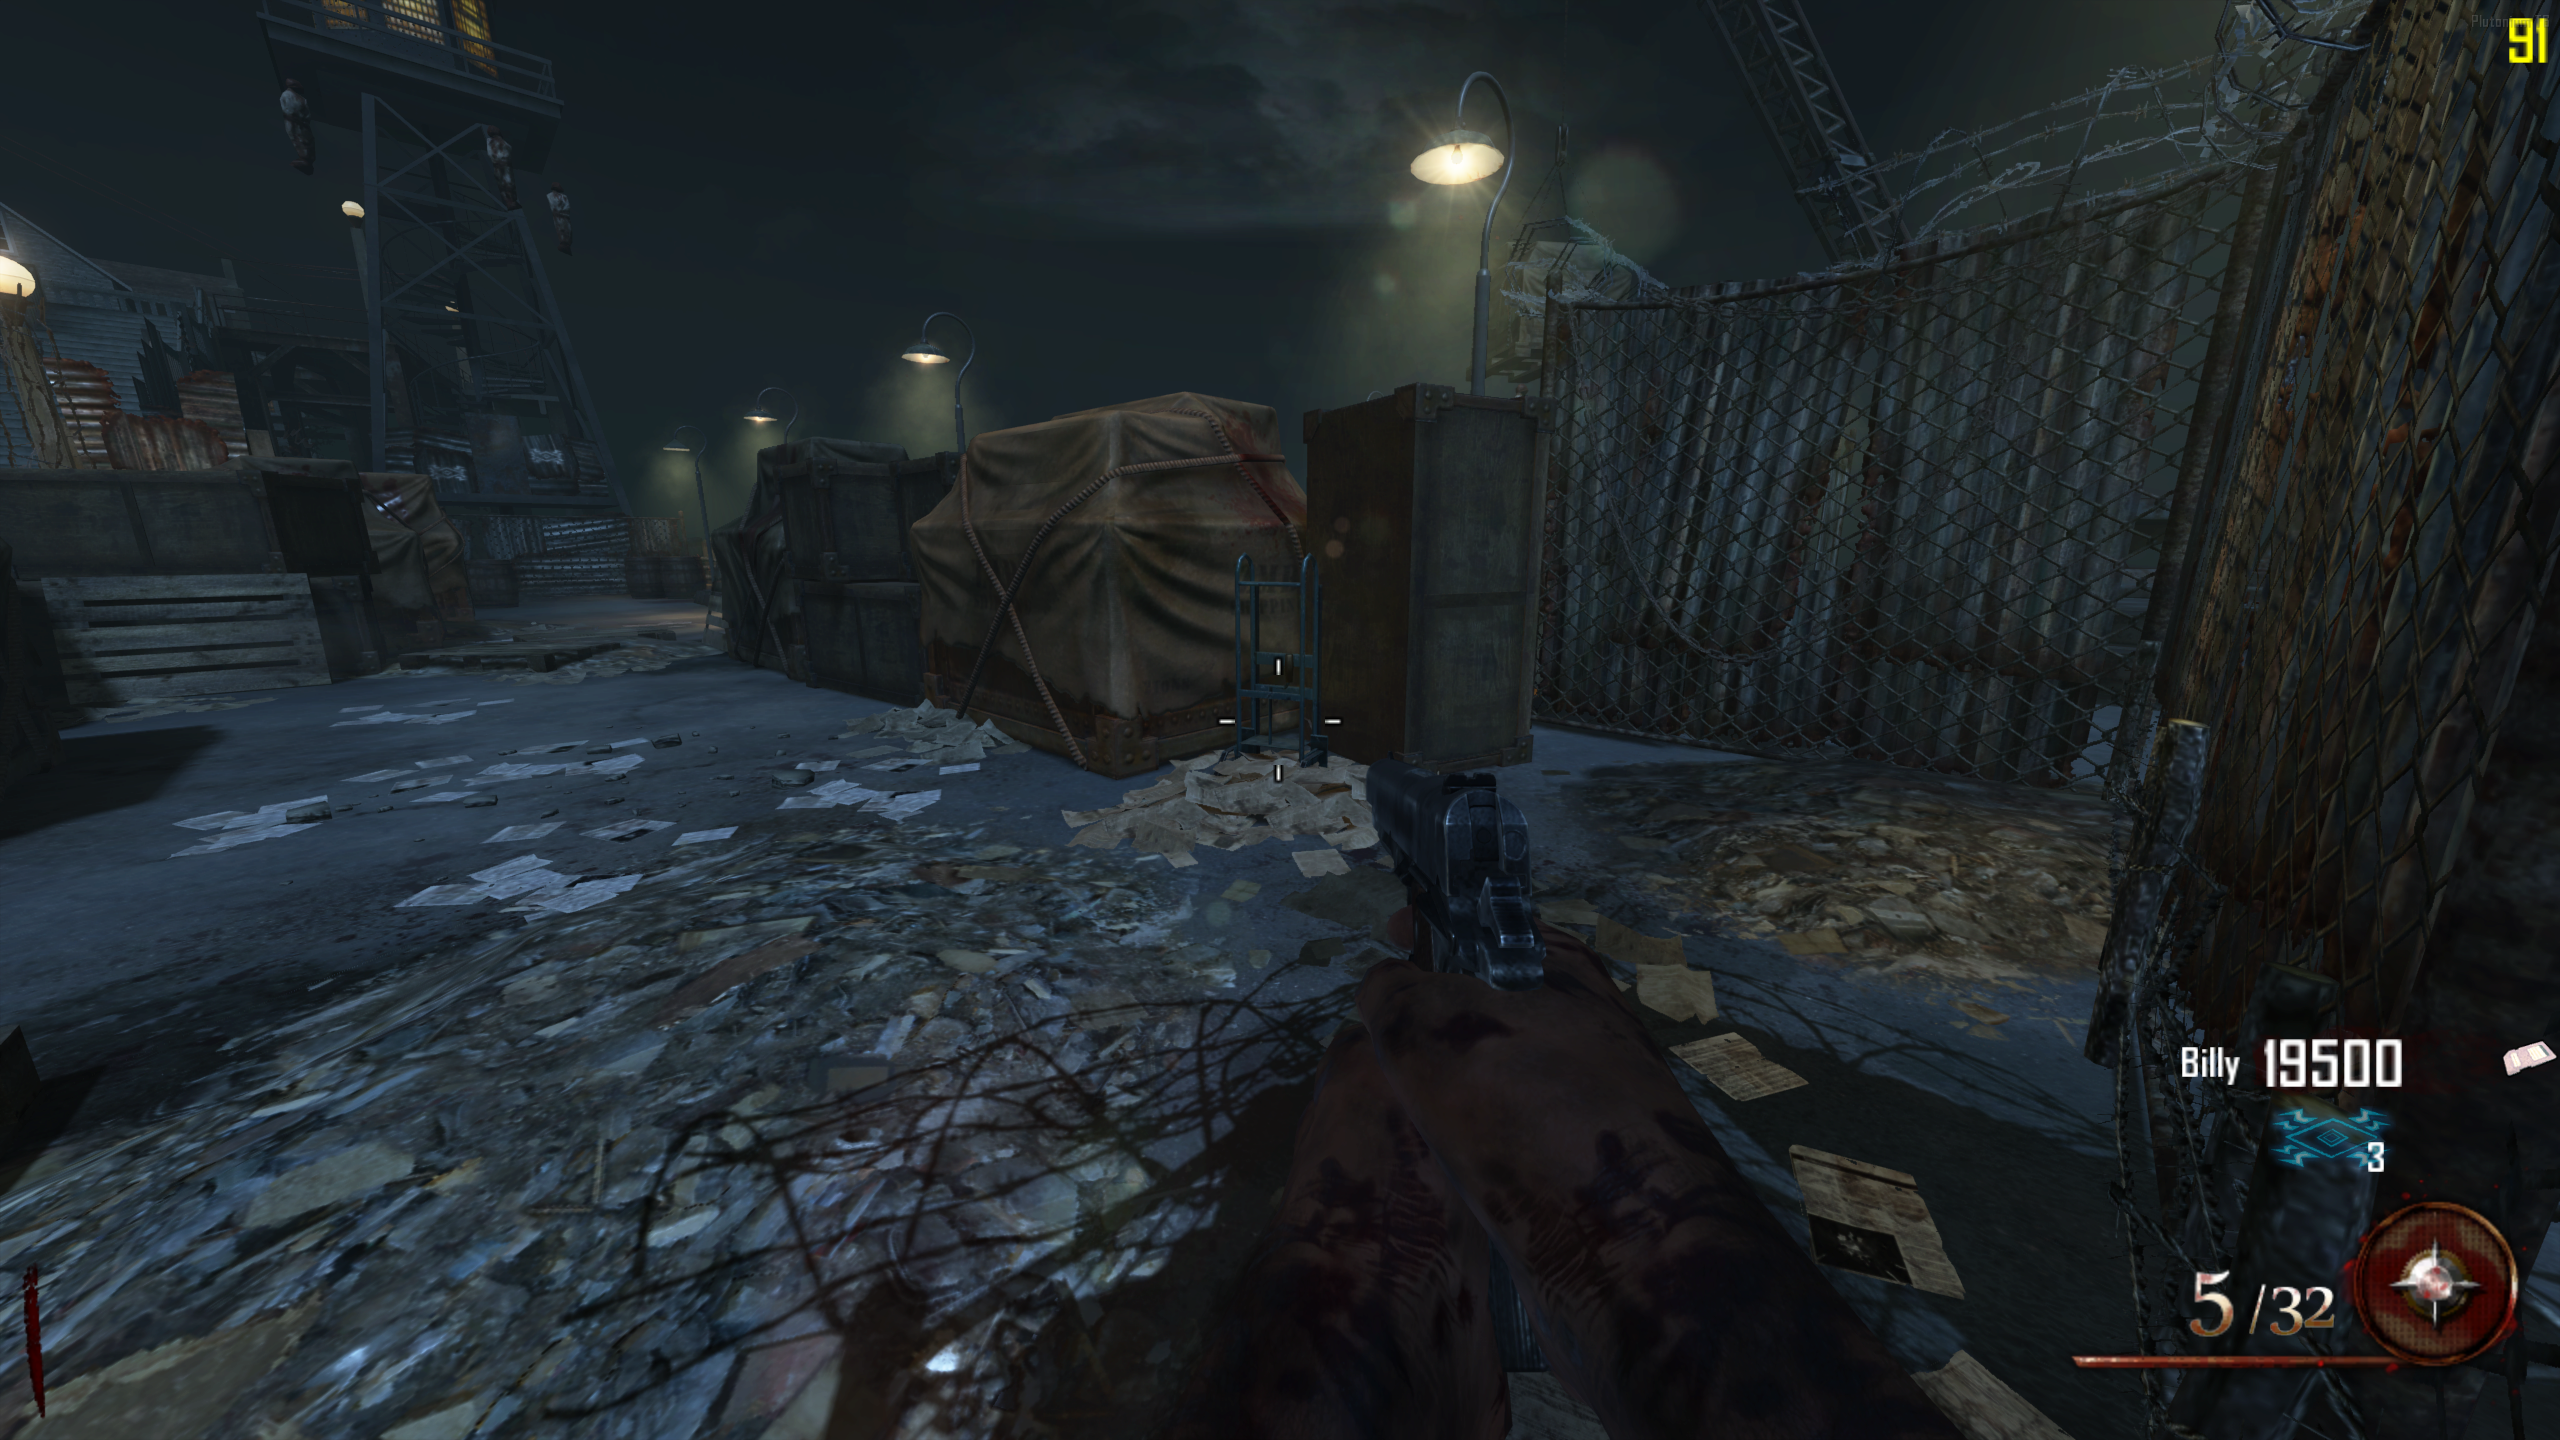
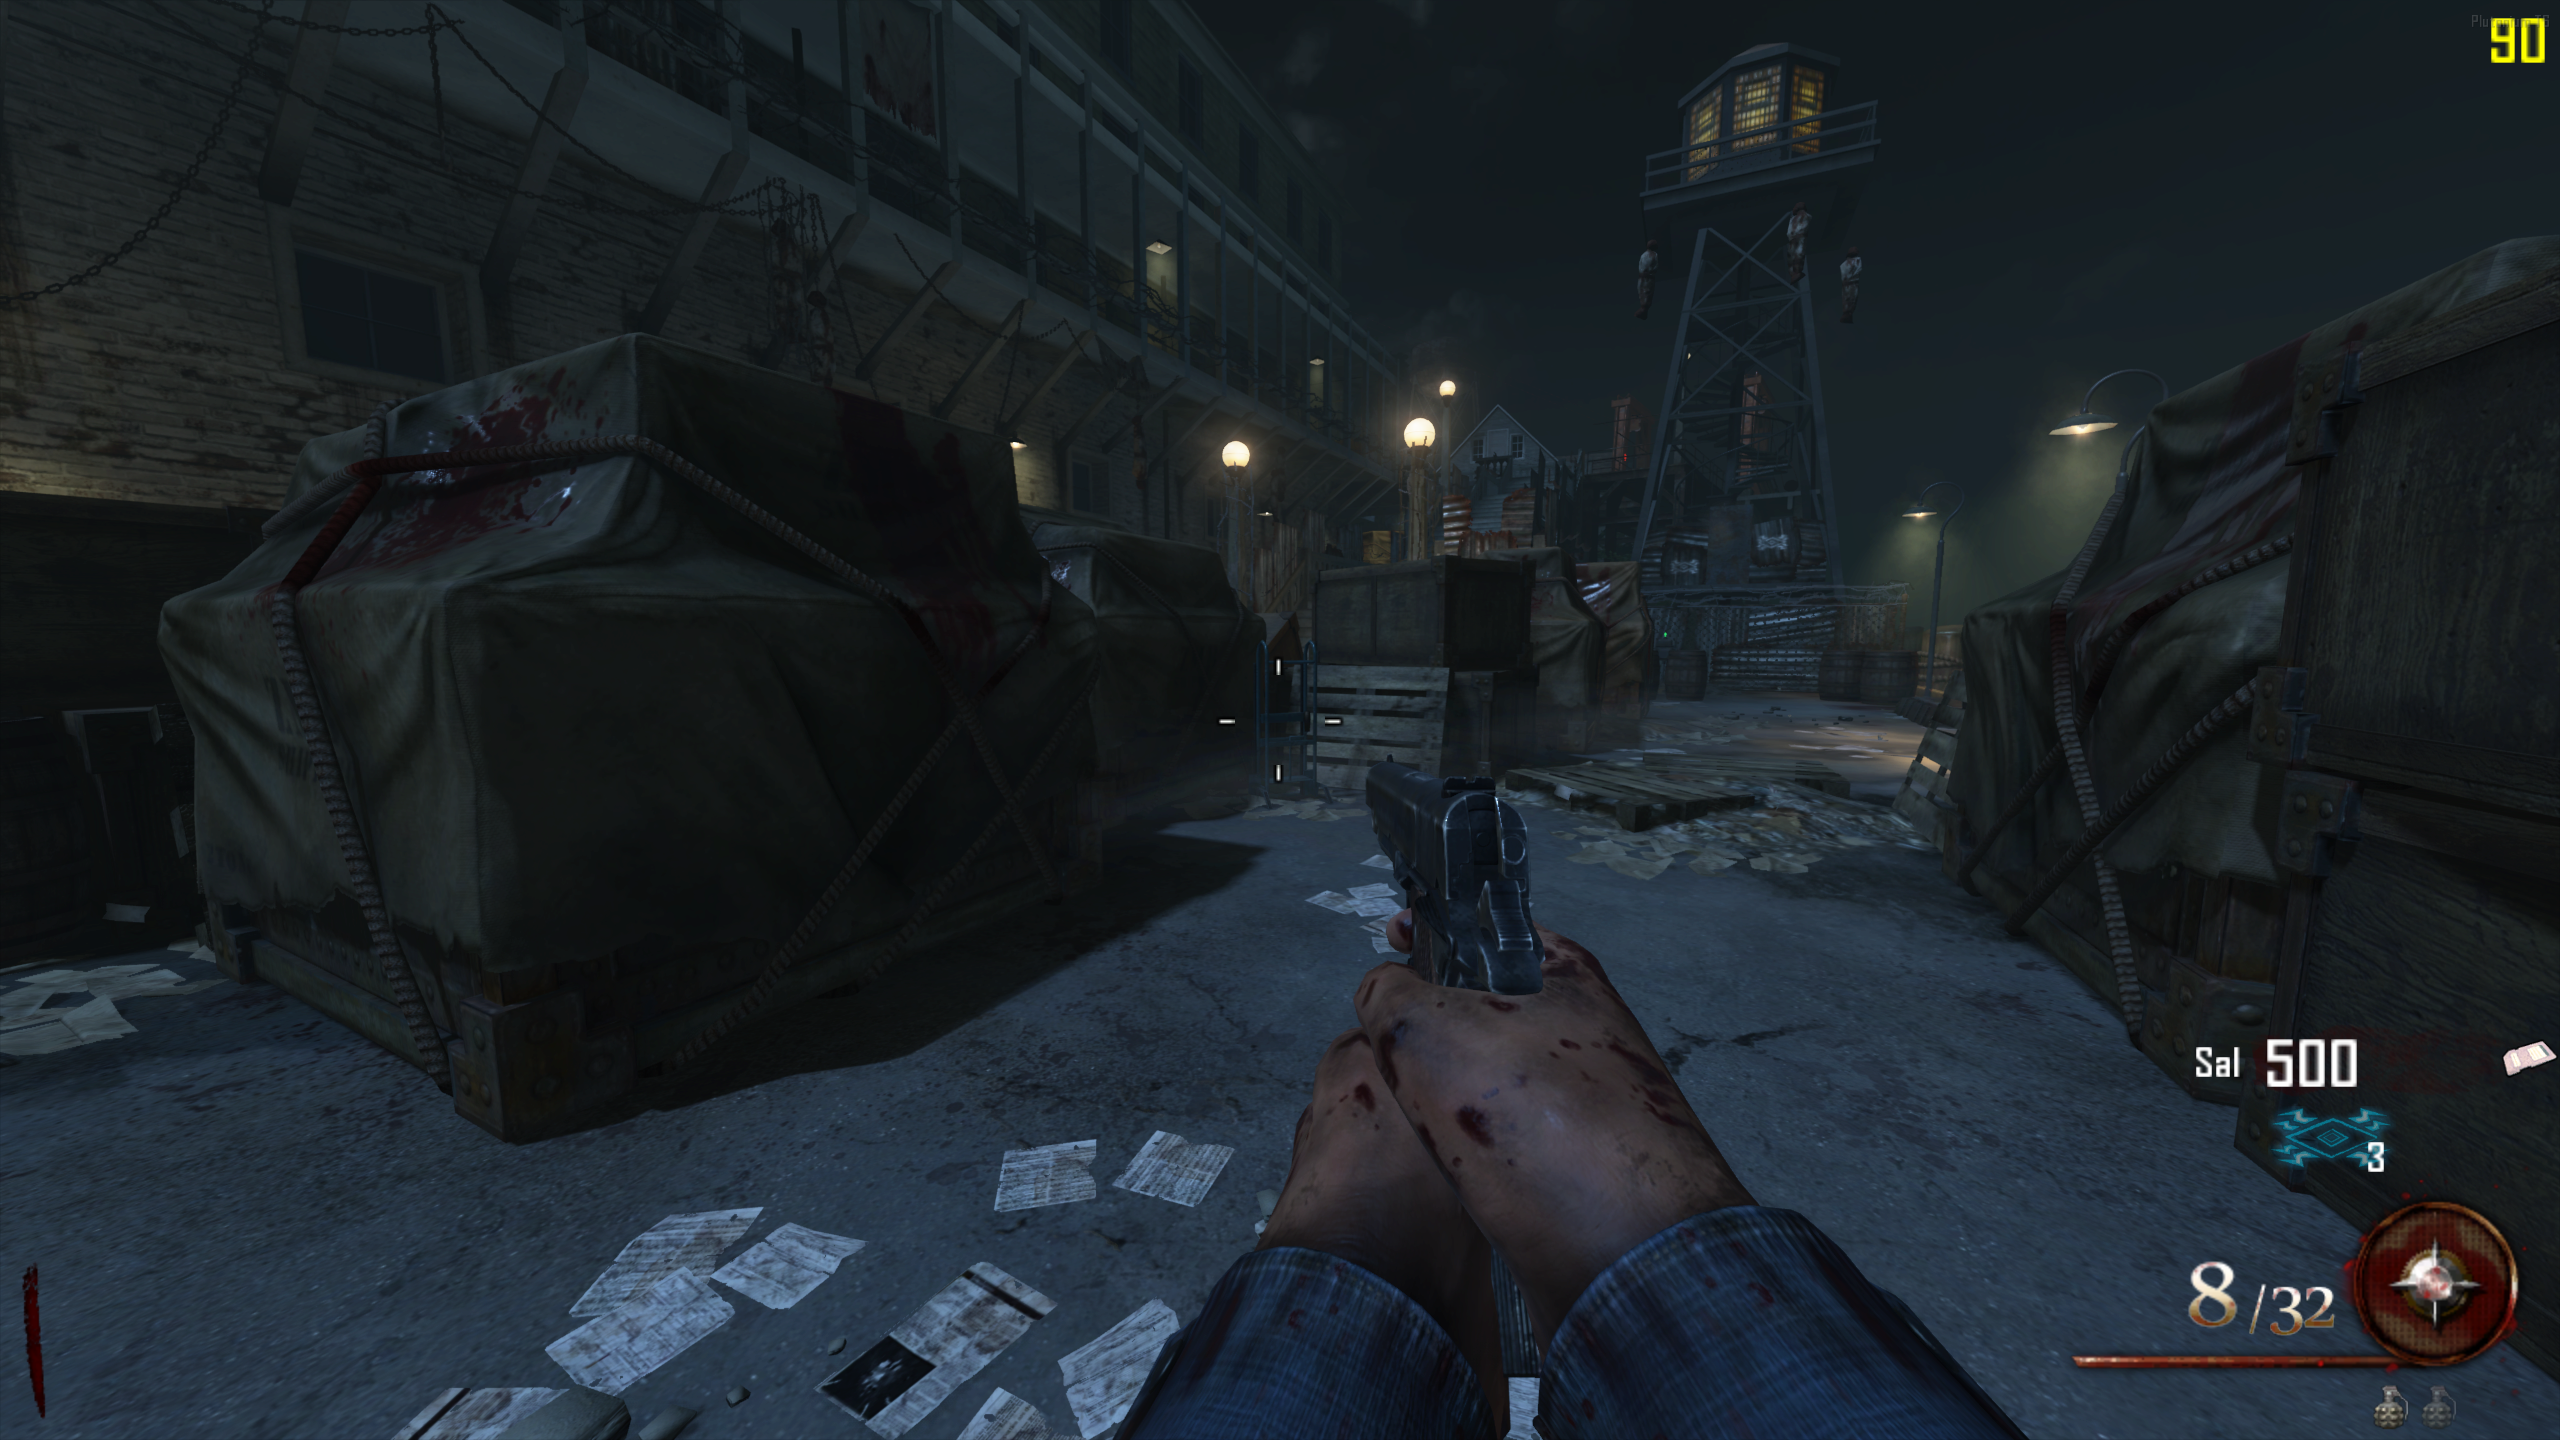
Part Locations Dolly Clamp Cell Door - Craft the Zombie Shield at the buildable table on the Docks, in the Cafeteria, or in the Cell Block behind Electric Cherry.
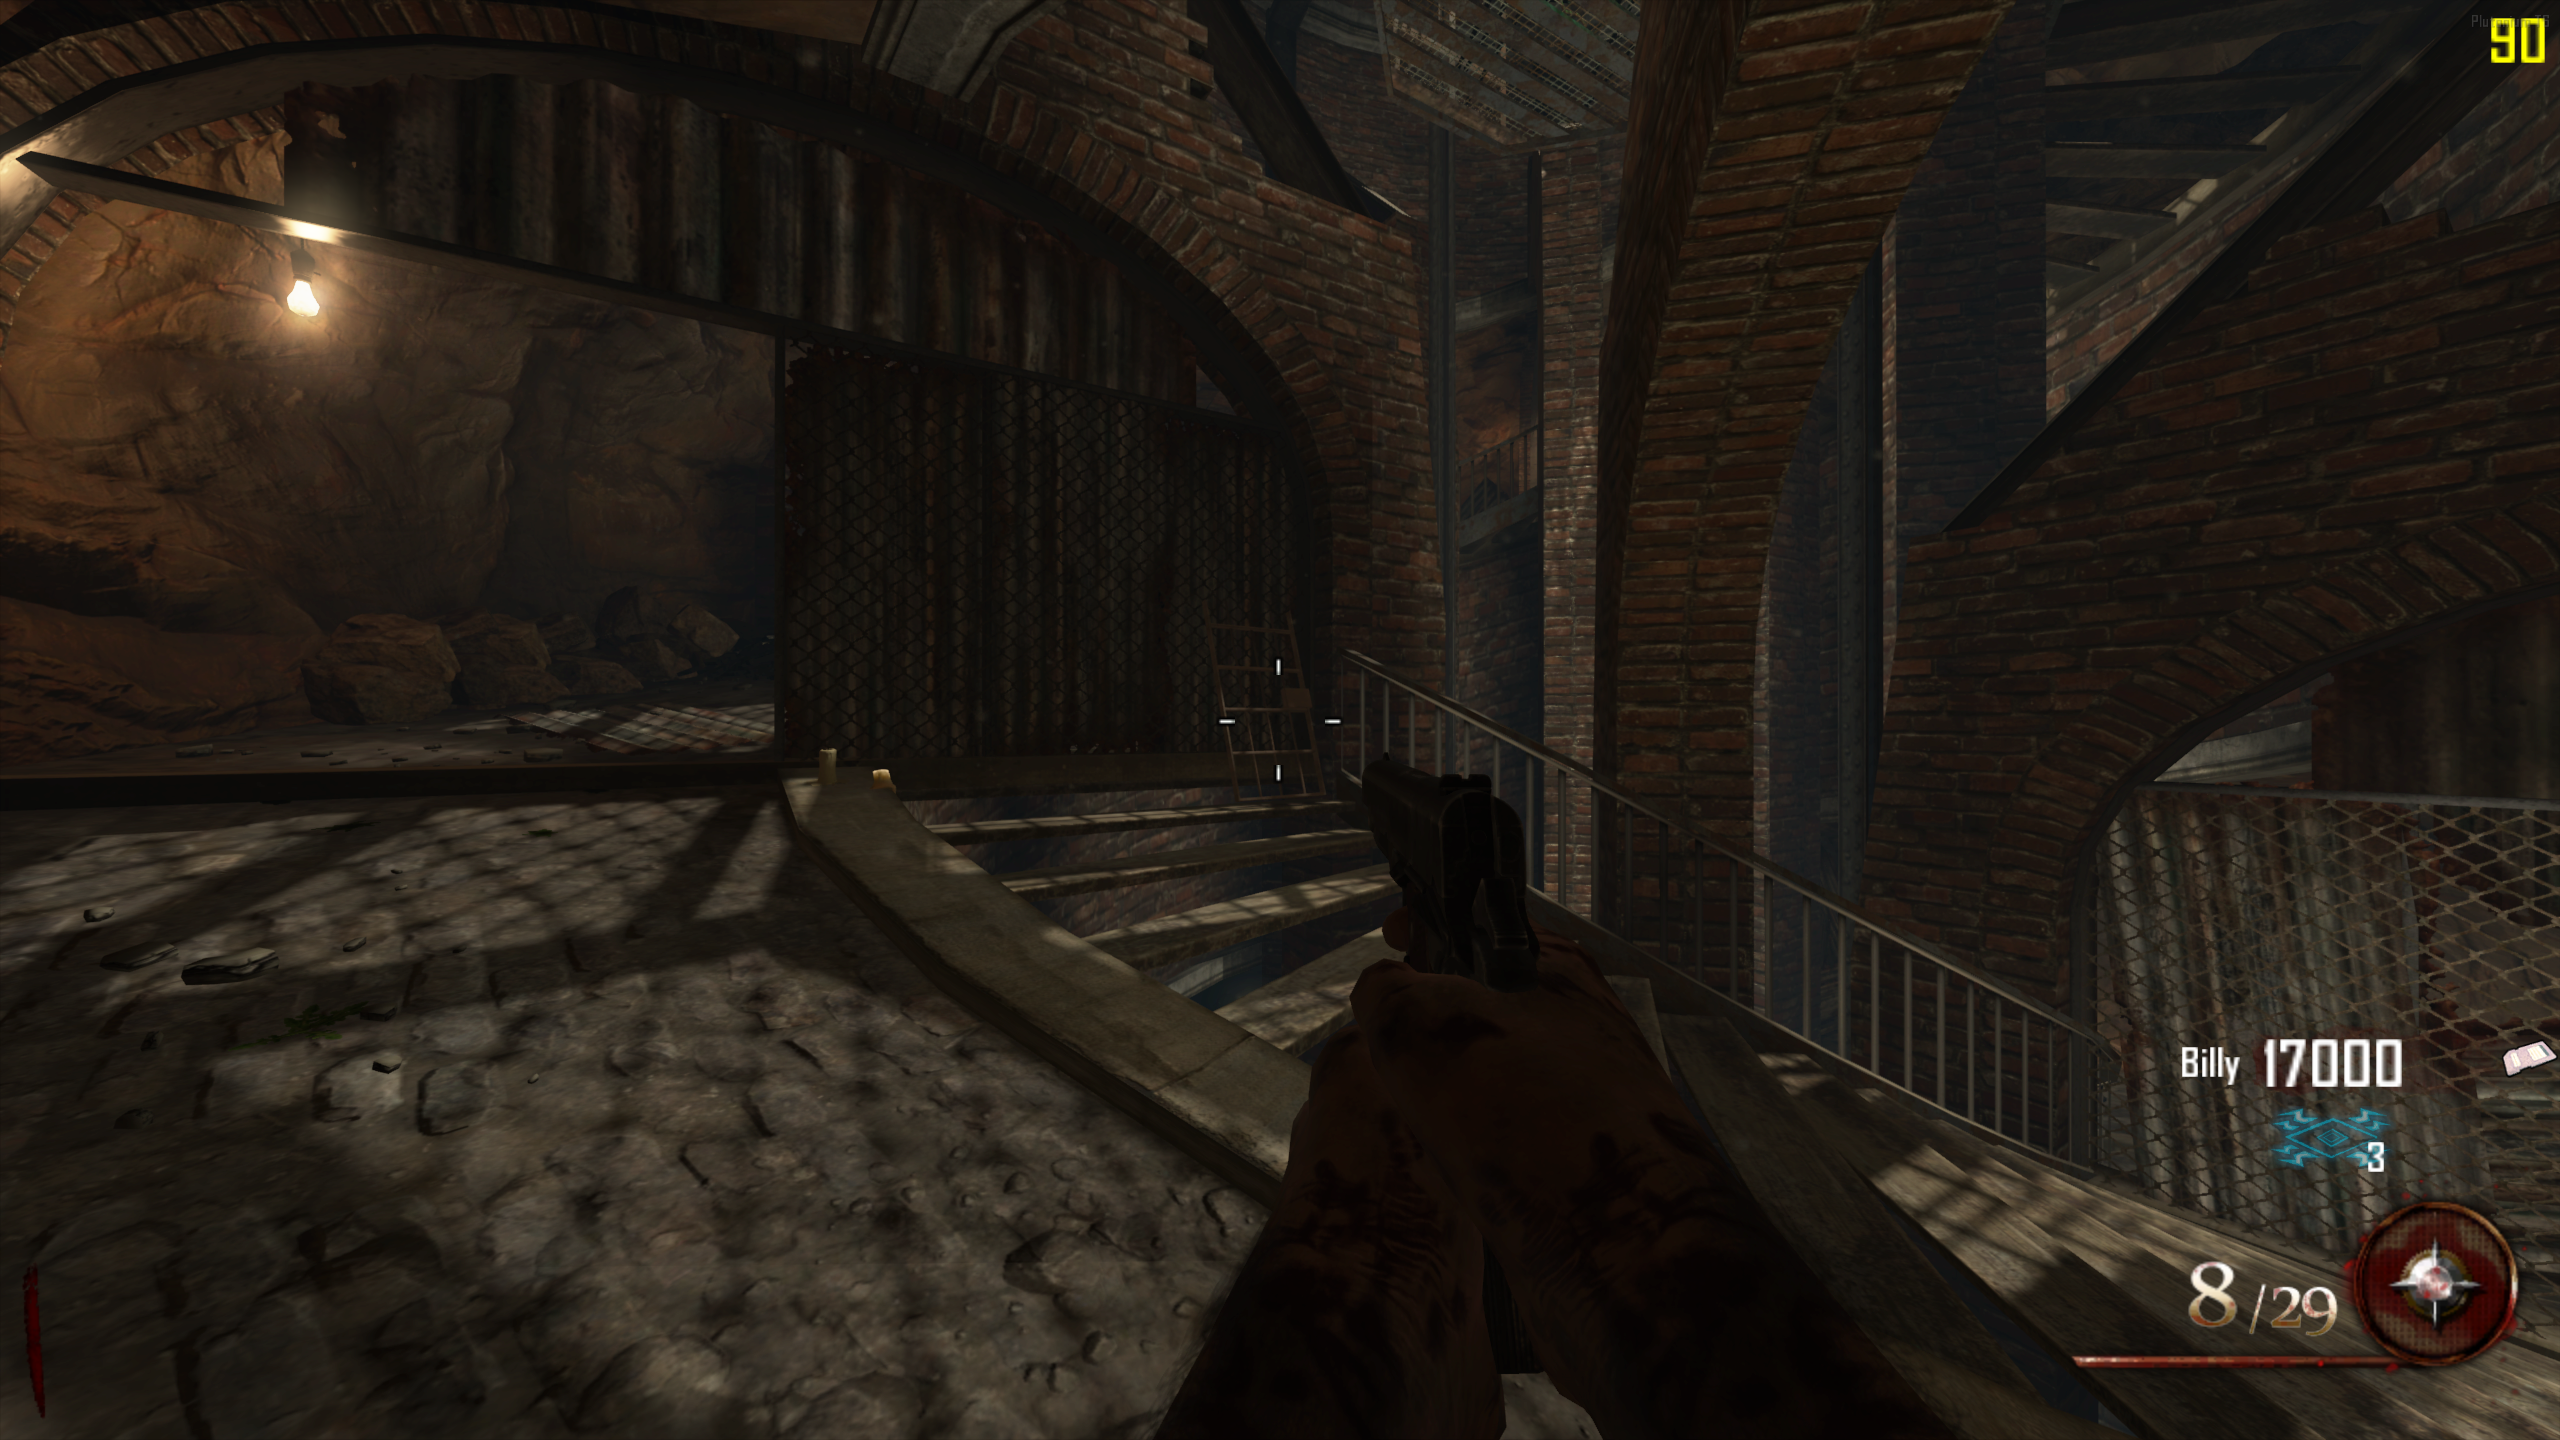
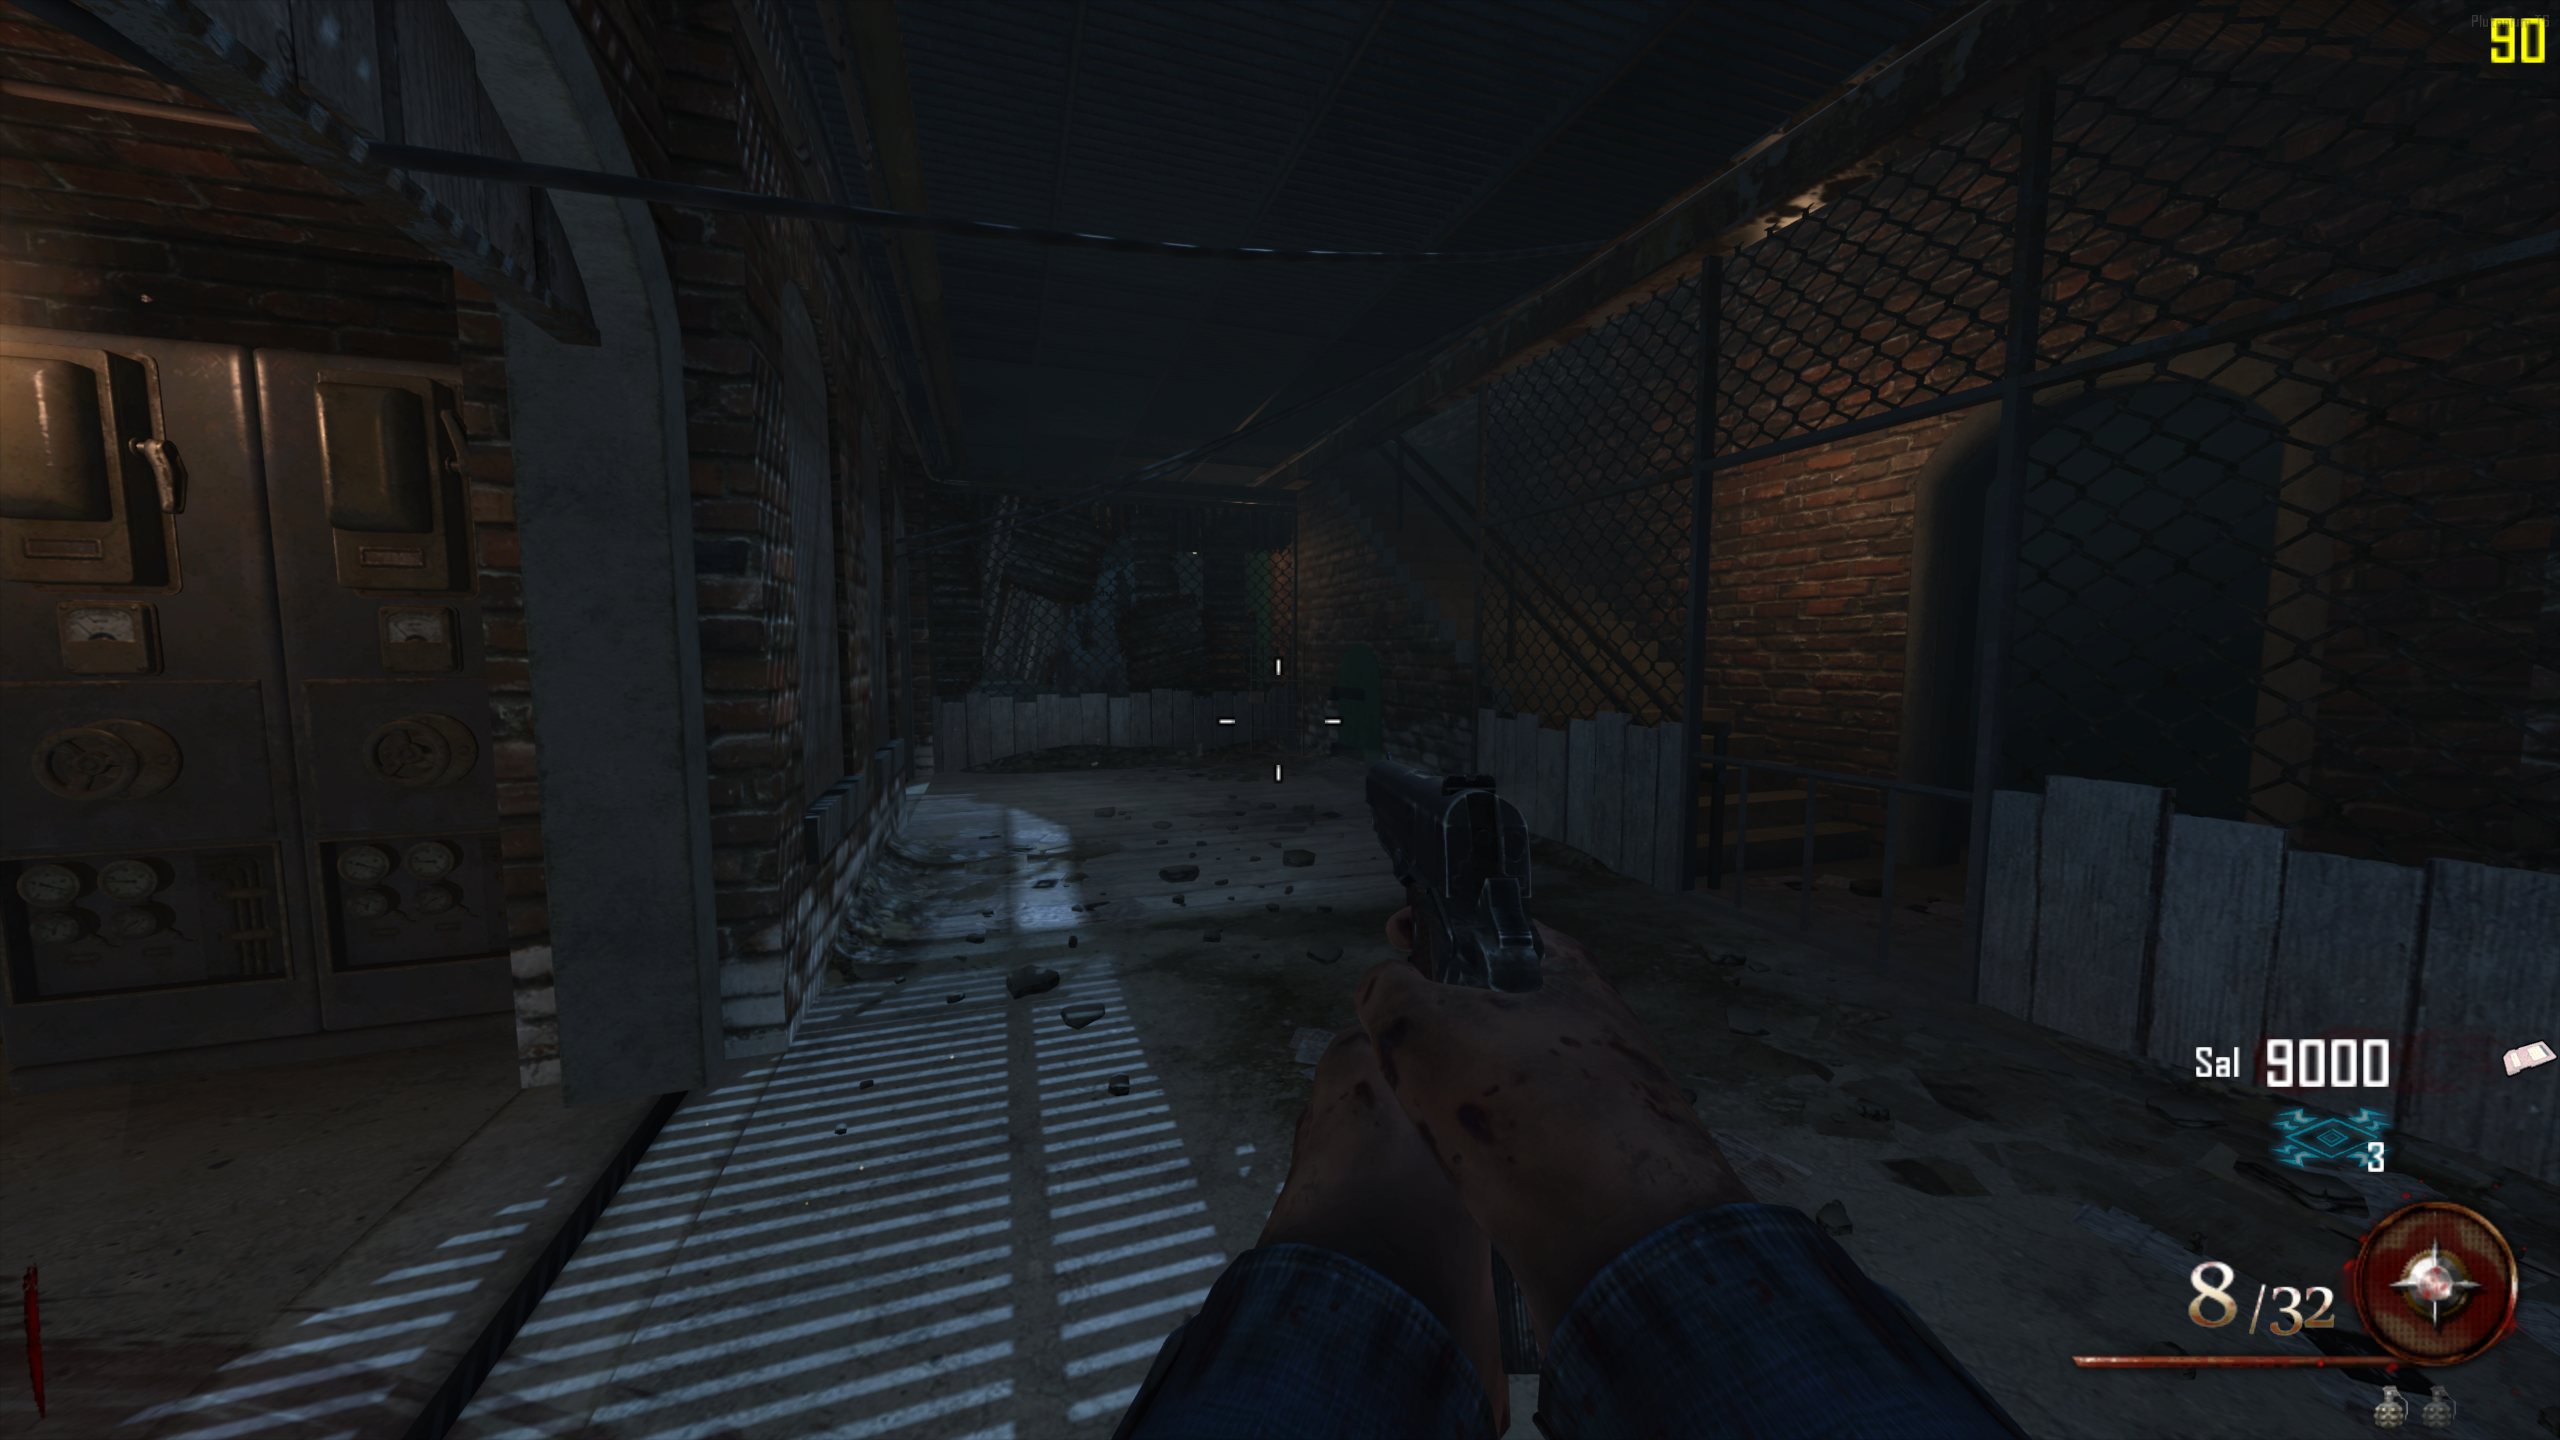
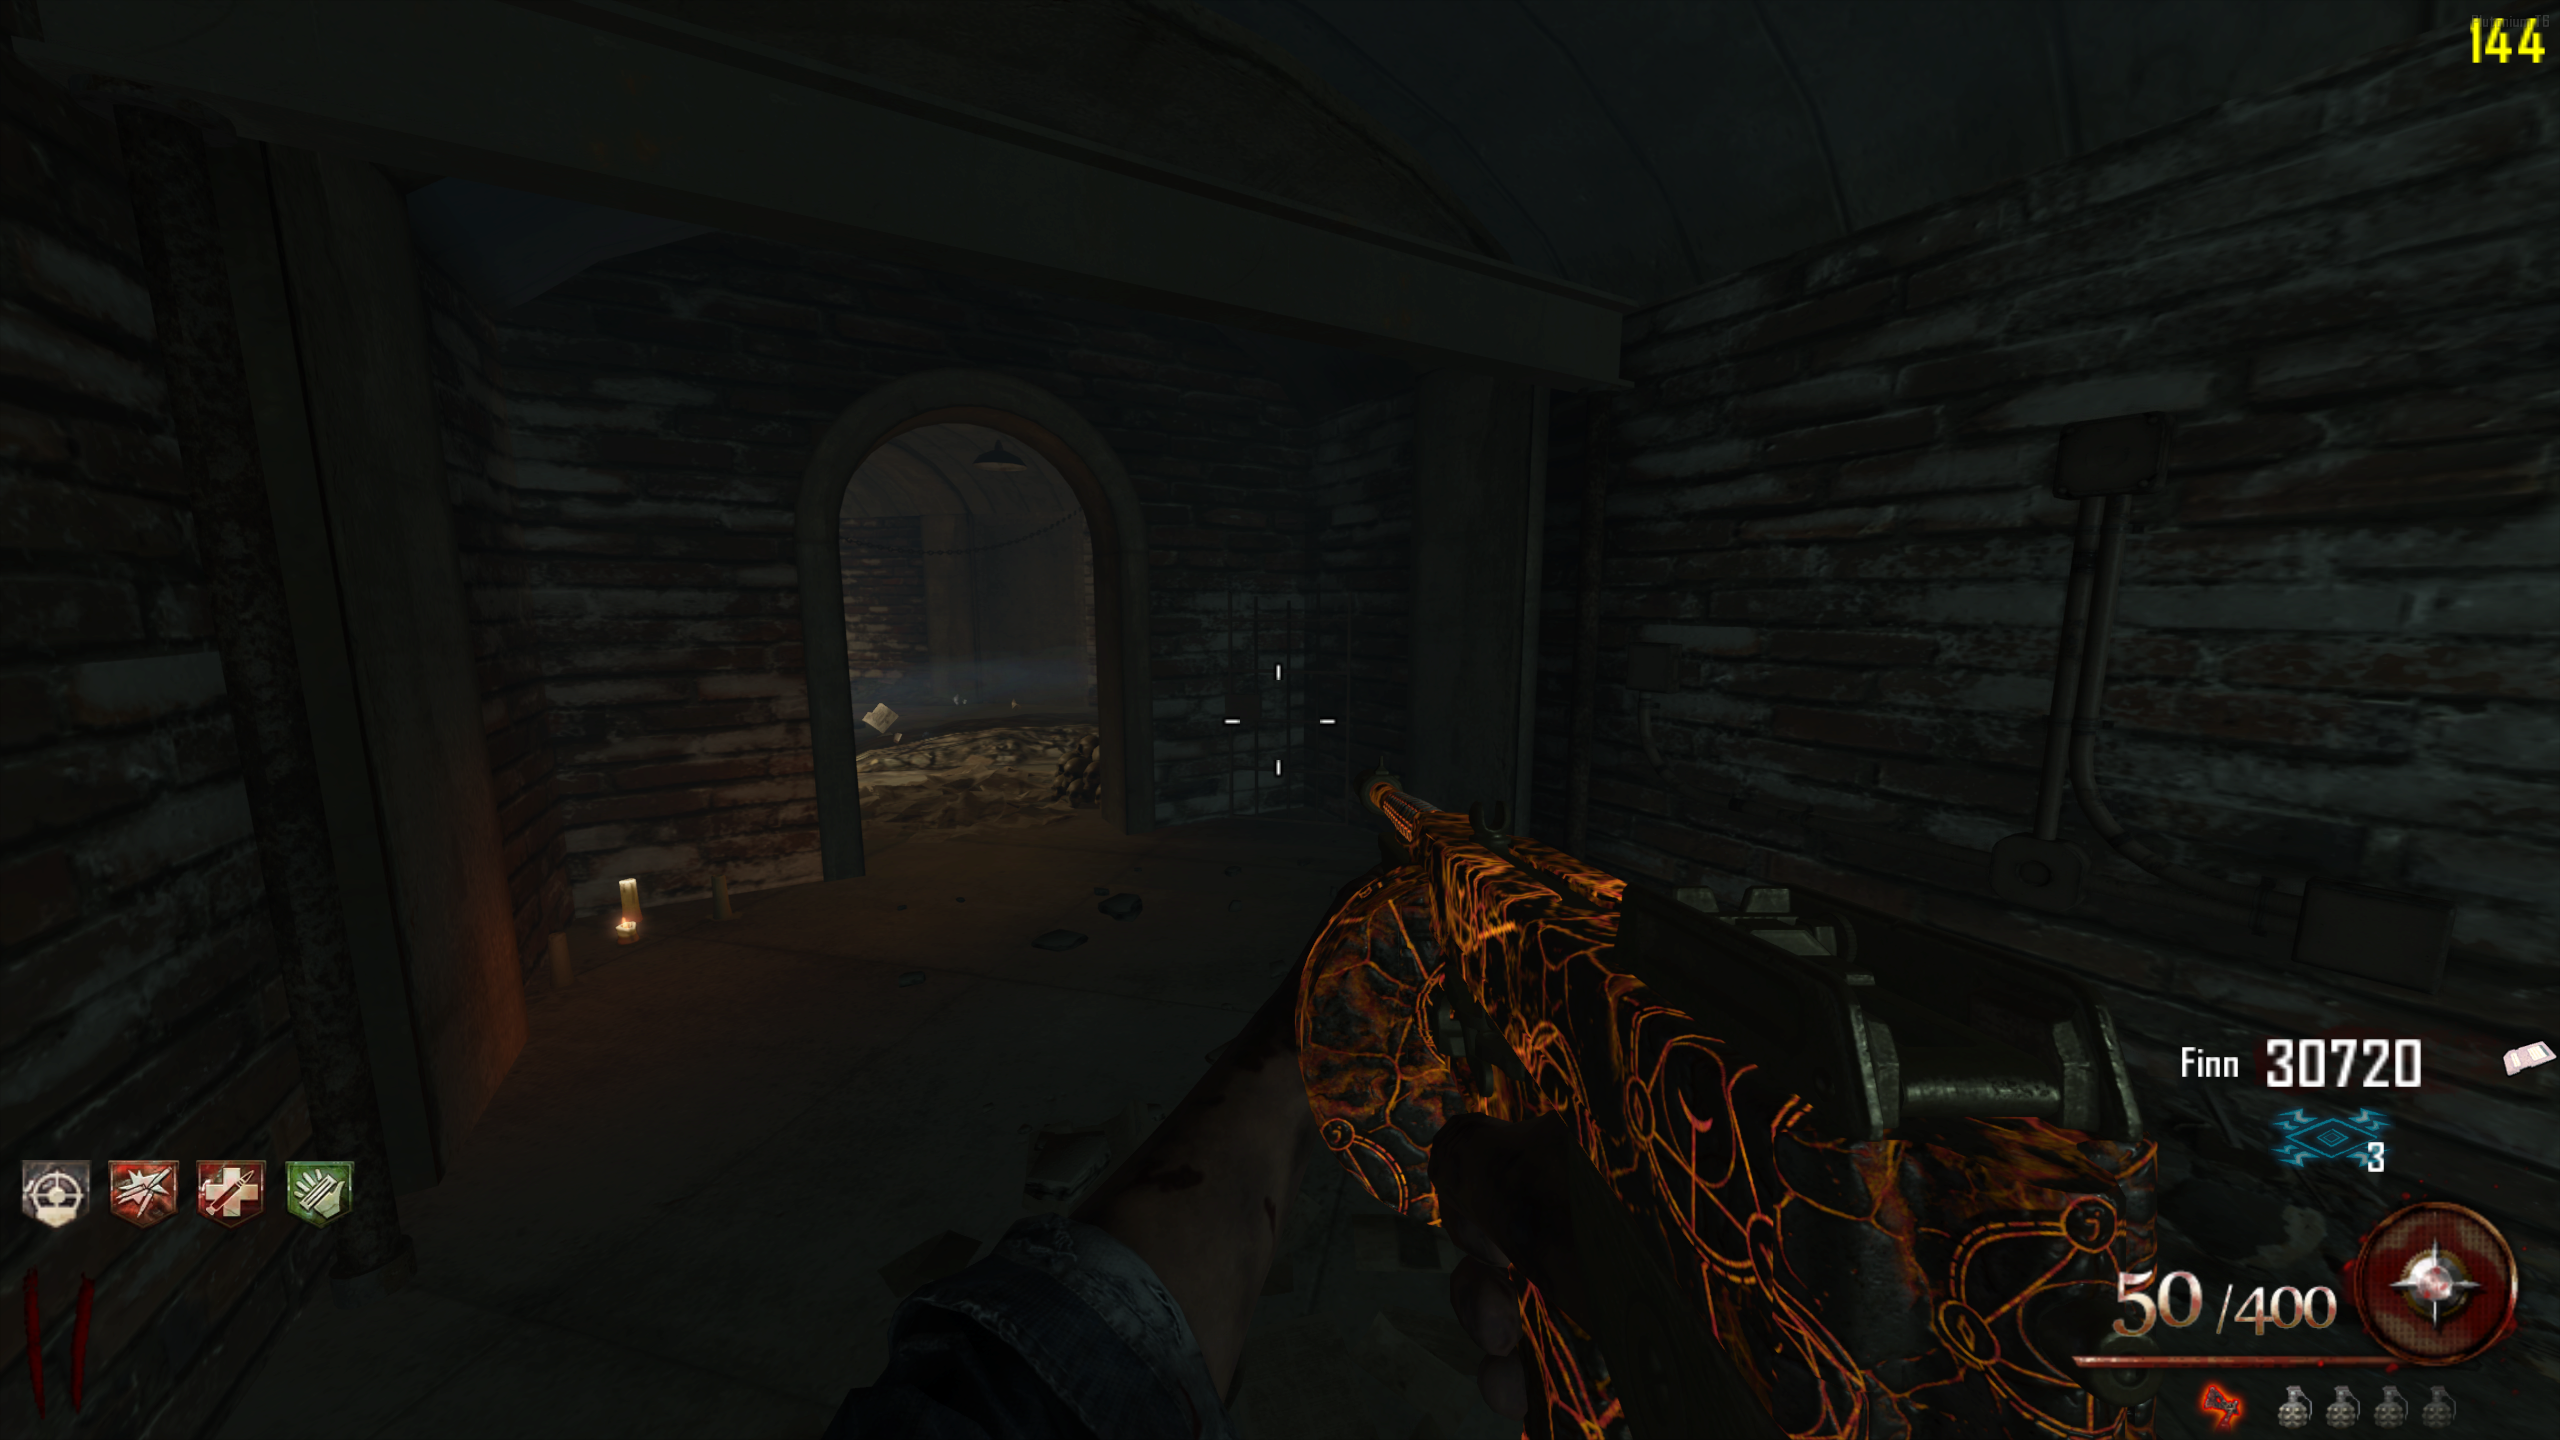
"Pop Goes the Weasel" Main Quest
Stats (Co-op): Difficulty - 2/10, Est. Completion Time - 1:20 to 1:40 Hrs
This quest needs at least two players, and one of them has to be Albert "Weasel" Arlington. It also can't be done on Easy difficulty. Every step except the last can be done in Solo.
Setup
You can complete these steps in any order (unless one is needed for another), so focus on getting them all done.
- Obtain the Hell's Retriever.
- Build the Plane, and fly to the Pack-a-Punch / Golden Gate Bridge once.
- Complete the Blundergat Easter Egg. You must do these steps. You can't get the Blundergat from the Mystery Box.
- Obtain the Spoon.
Complete Three Cycles
- Refuel the Plane and fly to the Bridge two more times. You need three trips in total before the next step will work. The Gas Cans spawn at the Plane part locations the round after you get back.
This is your last chance to Pack-a-Punch, and your last chance to get the Hell's Redeemer. Only start the next step after all players are back from the Bridge and nobody needs to go there again. Flying after starting the next step could bug the Plane out, making the last step of the Easter Egg impossible to start.
The Prisoner Numbers
- Go to the number panel at the bottom of the spiral staircase in the Citadel Tunnels. The numbers should now be cycling on their own, and you'll hear constant clicking. If they aren't moving, you've missed one of the setup steps above.
- Enter Afterlife and shock in the four mobsters' prison numbers: 101, 872, 386, and 481. You can enter them in any order. The panel will blink and shuffle the digits after each one.
- You don't have to get all four in on one Afterlife. Revive yourself, enter Afterlife again at the same box, and carry on where you left off.
- In Co-op, have a player stand at your body and start reviving you over and over without finishing. The Afterlife meter stops draining while a revive is in progress, which gives you far more time.
- If it worked, Brutus will speak, the screen will turn black and white, and Stanley Ferguson will start narrating.
Audio Reels
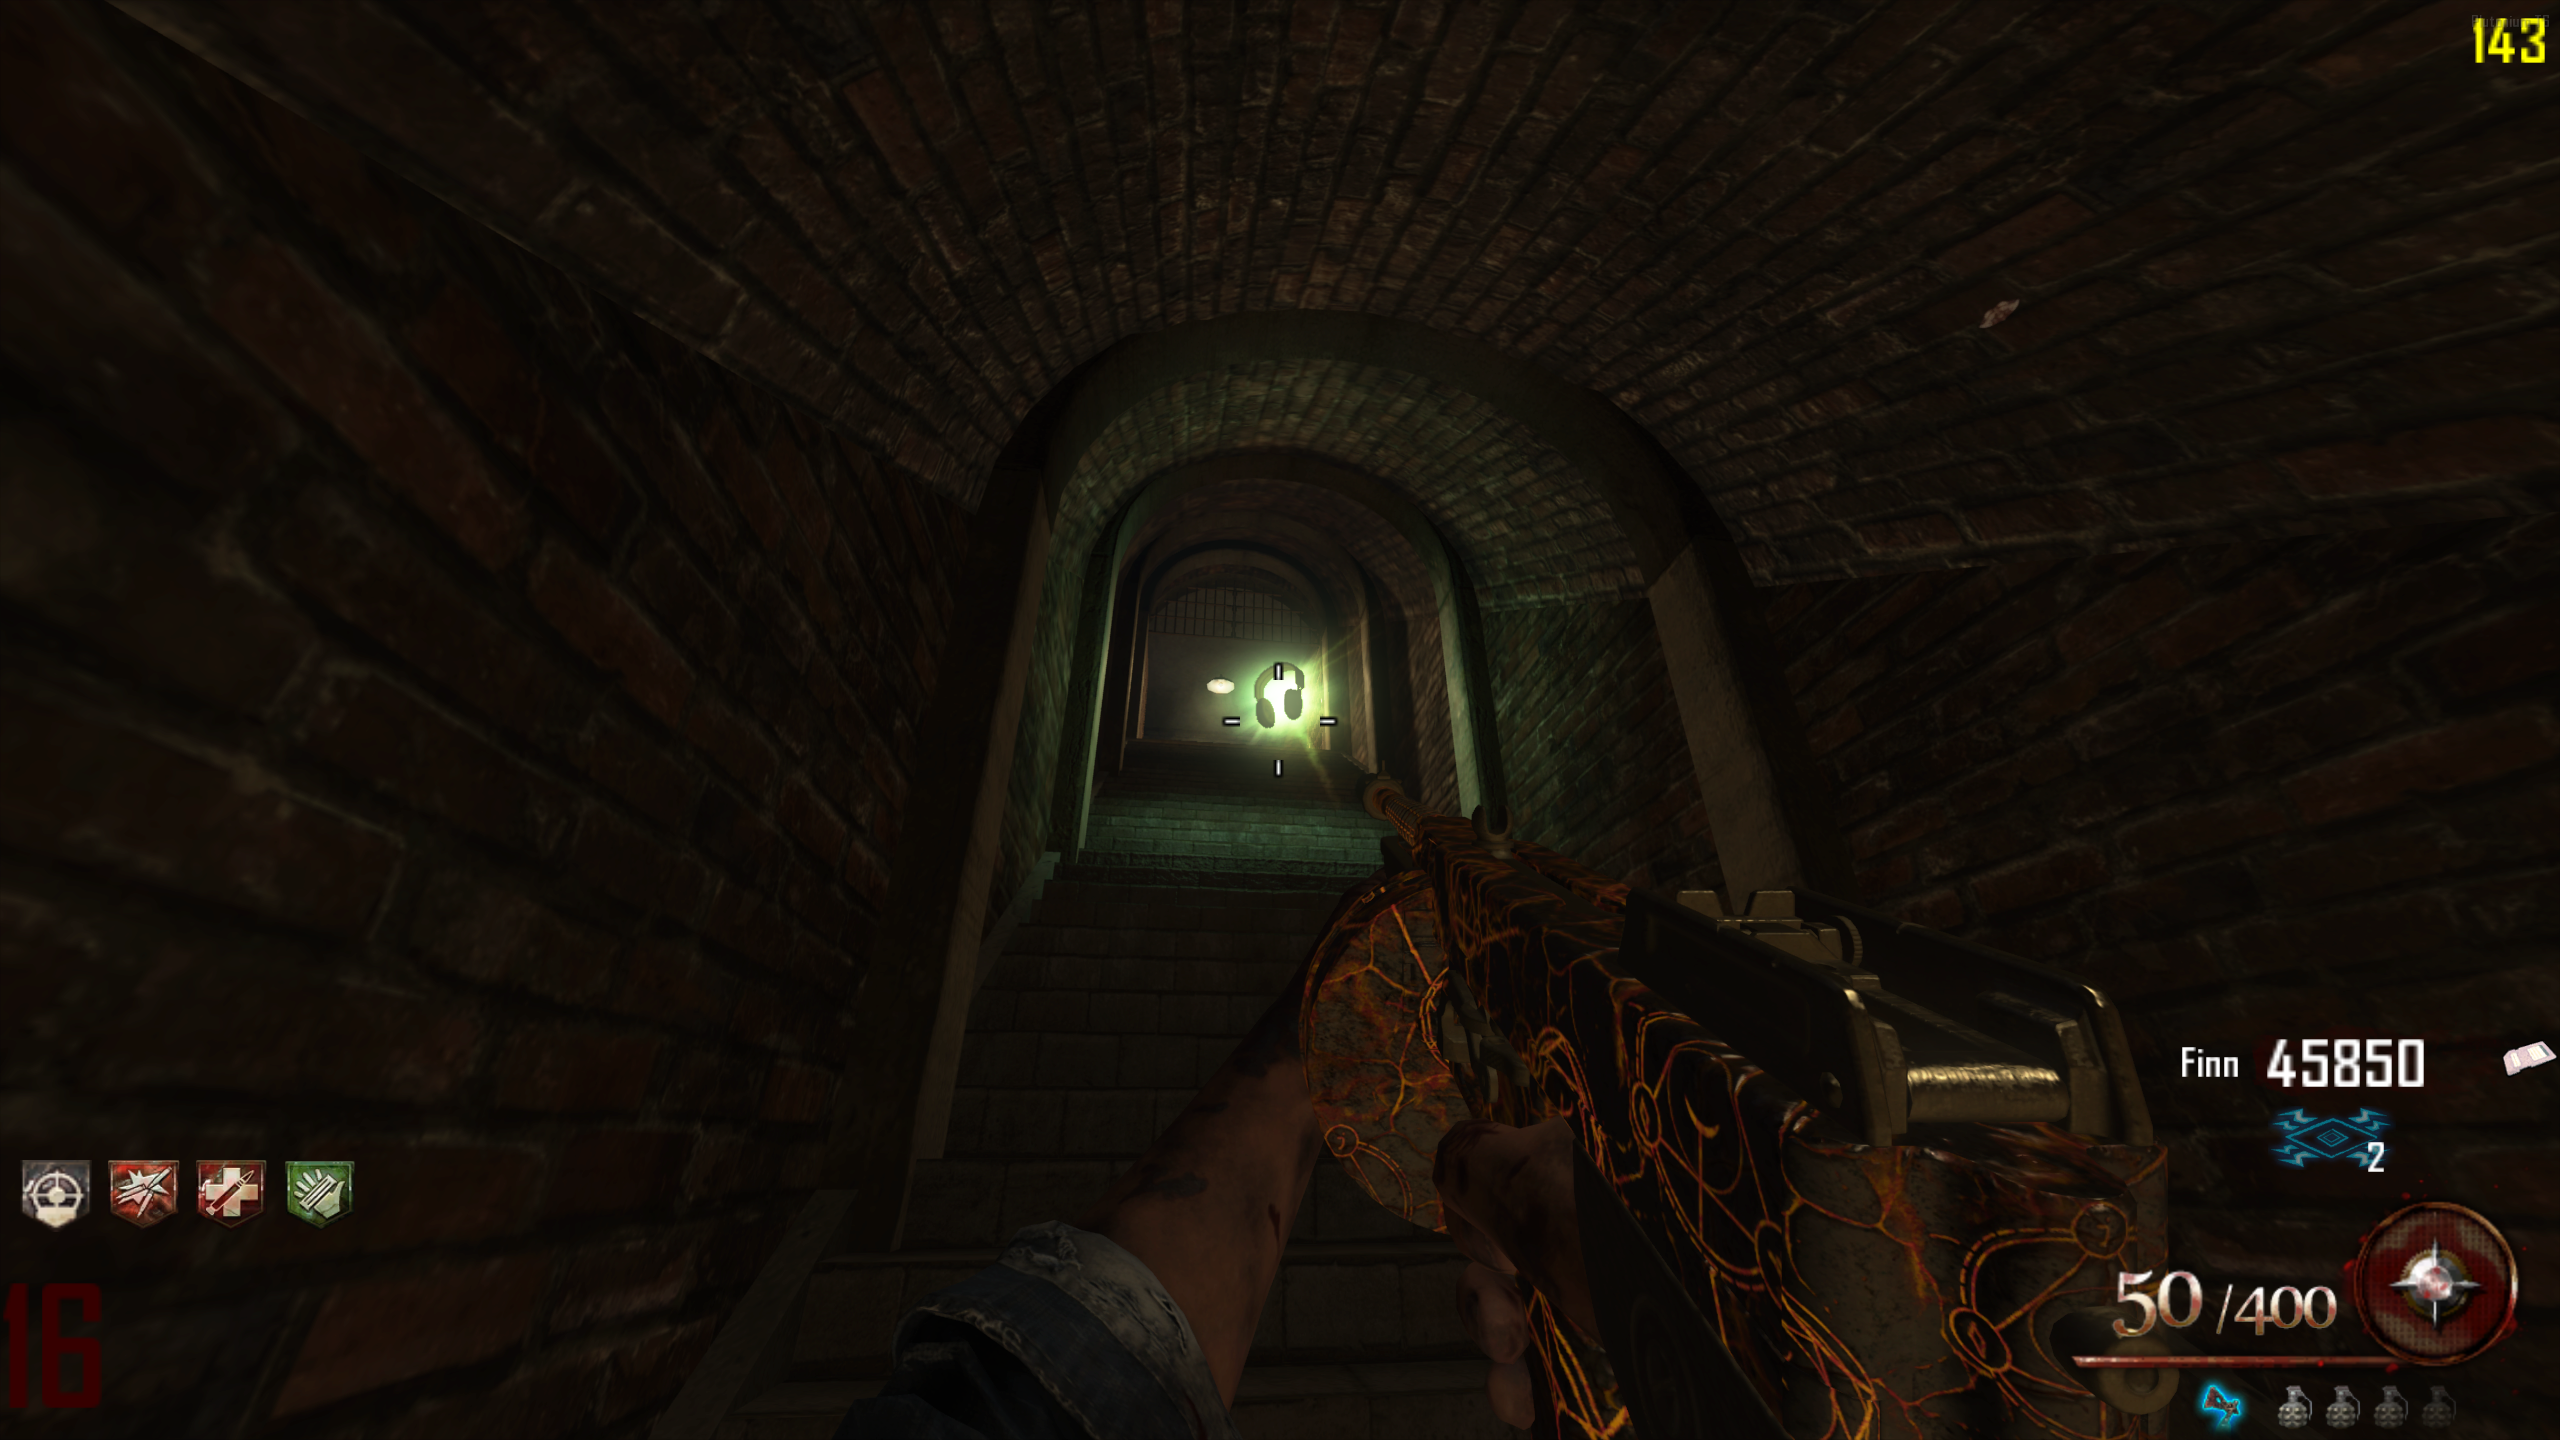
- When the narration finishes, a Headphones Power Up will spawn (it won't despawn). Pick it up and listen to the whole recording. The next one won't spawn until the current one has finished playing. Headphone Locations, in order:
The Final Flight
- Finish the round. Once the new round has started, one player needs to enter Afterlife using an electrical box in the Infirmary, then head up to the Plane on the Roof.
- Interact with the Plane while in Afterlife. It doesn't need fuel and there won't be a prompt, but the interact button still works. This pulls every player onto the Plane, wherever they are, and puts anyone not already in Afterlife into it for free. Then the Plane flies to the Bridge.
- You'll land on the Bridge in Afterlife with your bodies in the Electric Chairs. Revive yourself from a chair. After a few seconds, the Weasel will show up as an enemy to the other players, and Zombies will stop attacking him entirely.
- The two teams should now fight. Weasel has more health to make up for being outnumbered.
- If Weasel kills everyone else, you get "The Cycle is Broken". This is the good, canon ending.
- If the other players kill Weasel, you get "The Cycle Continues". This is the bad ending.
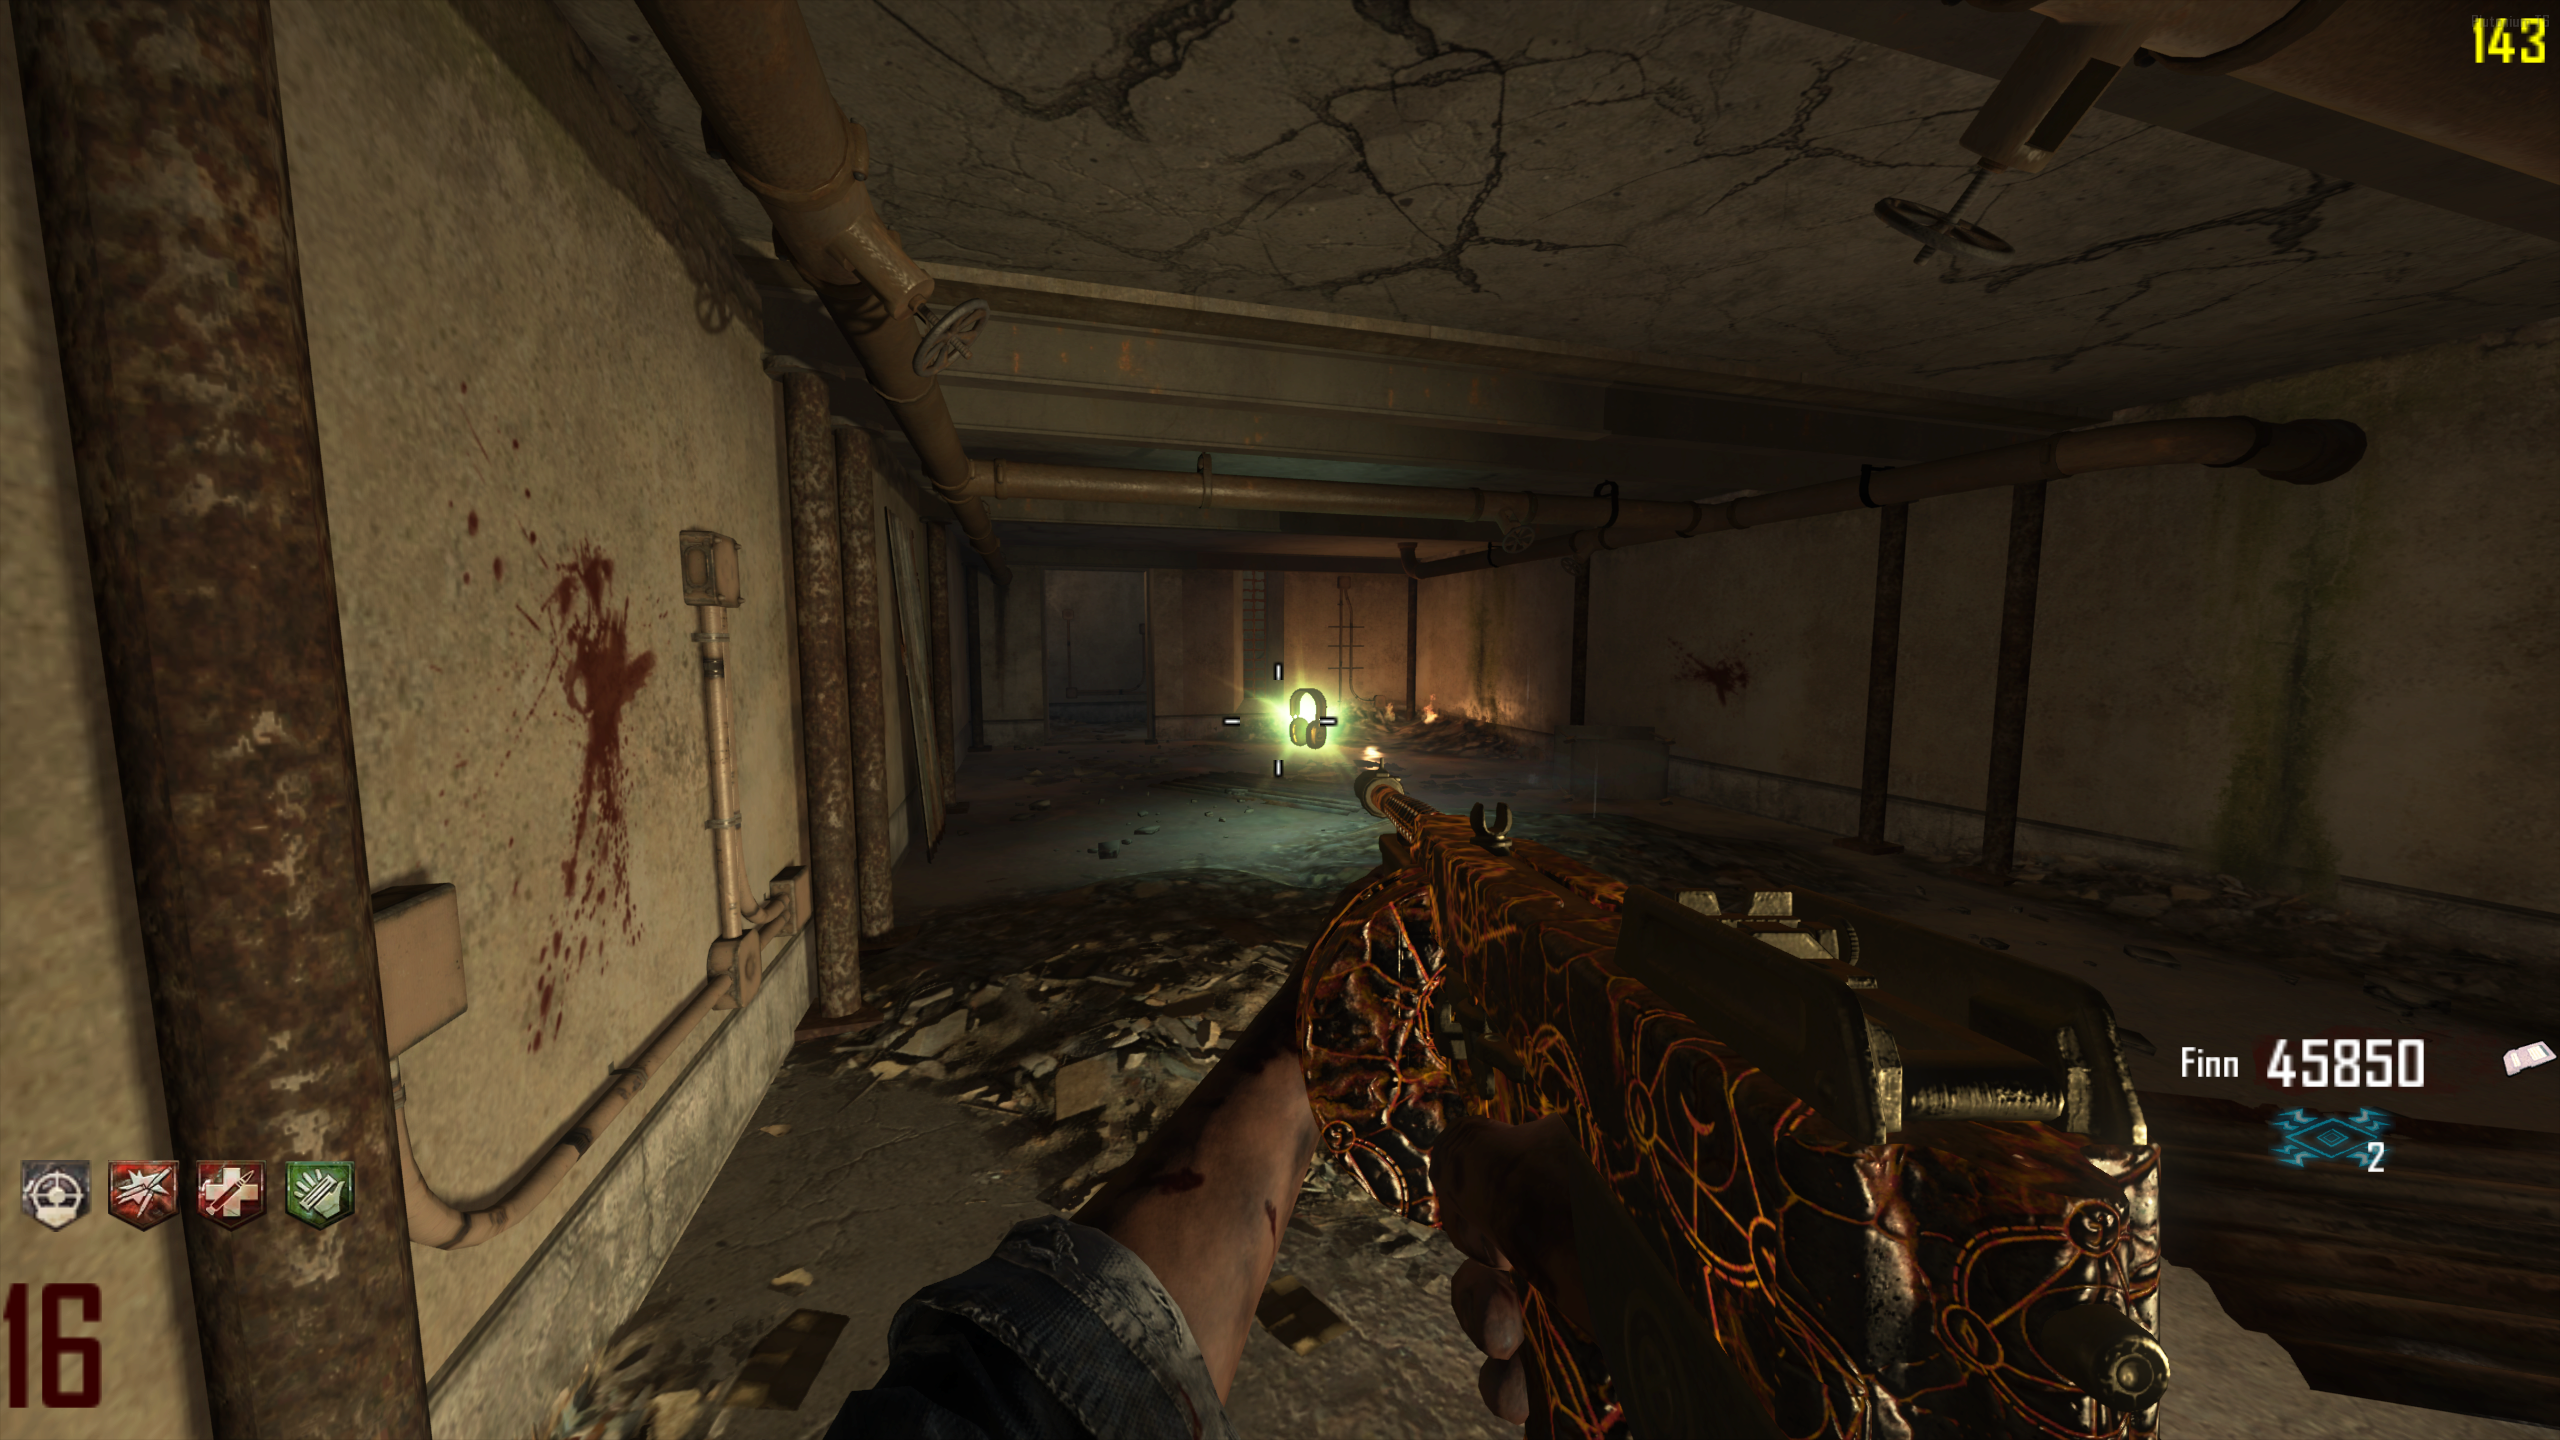
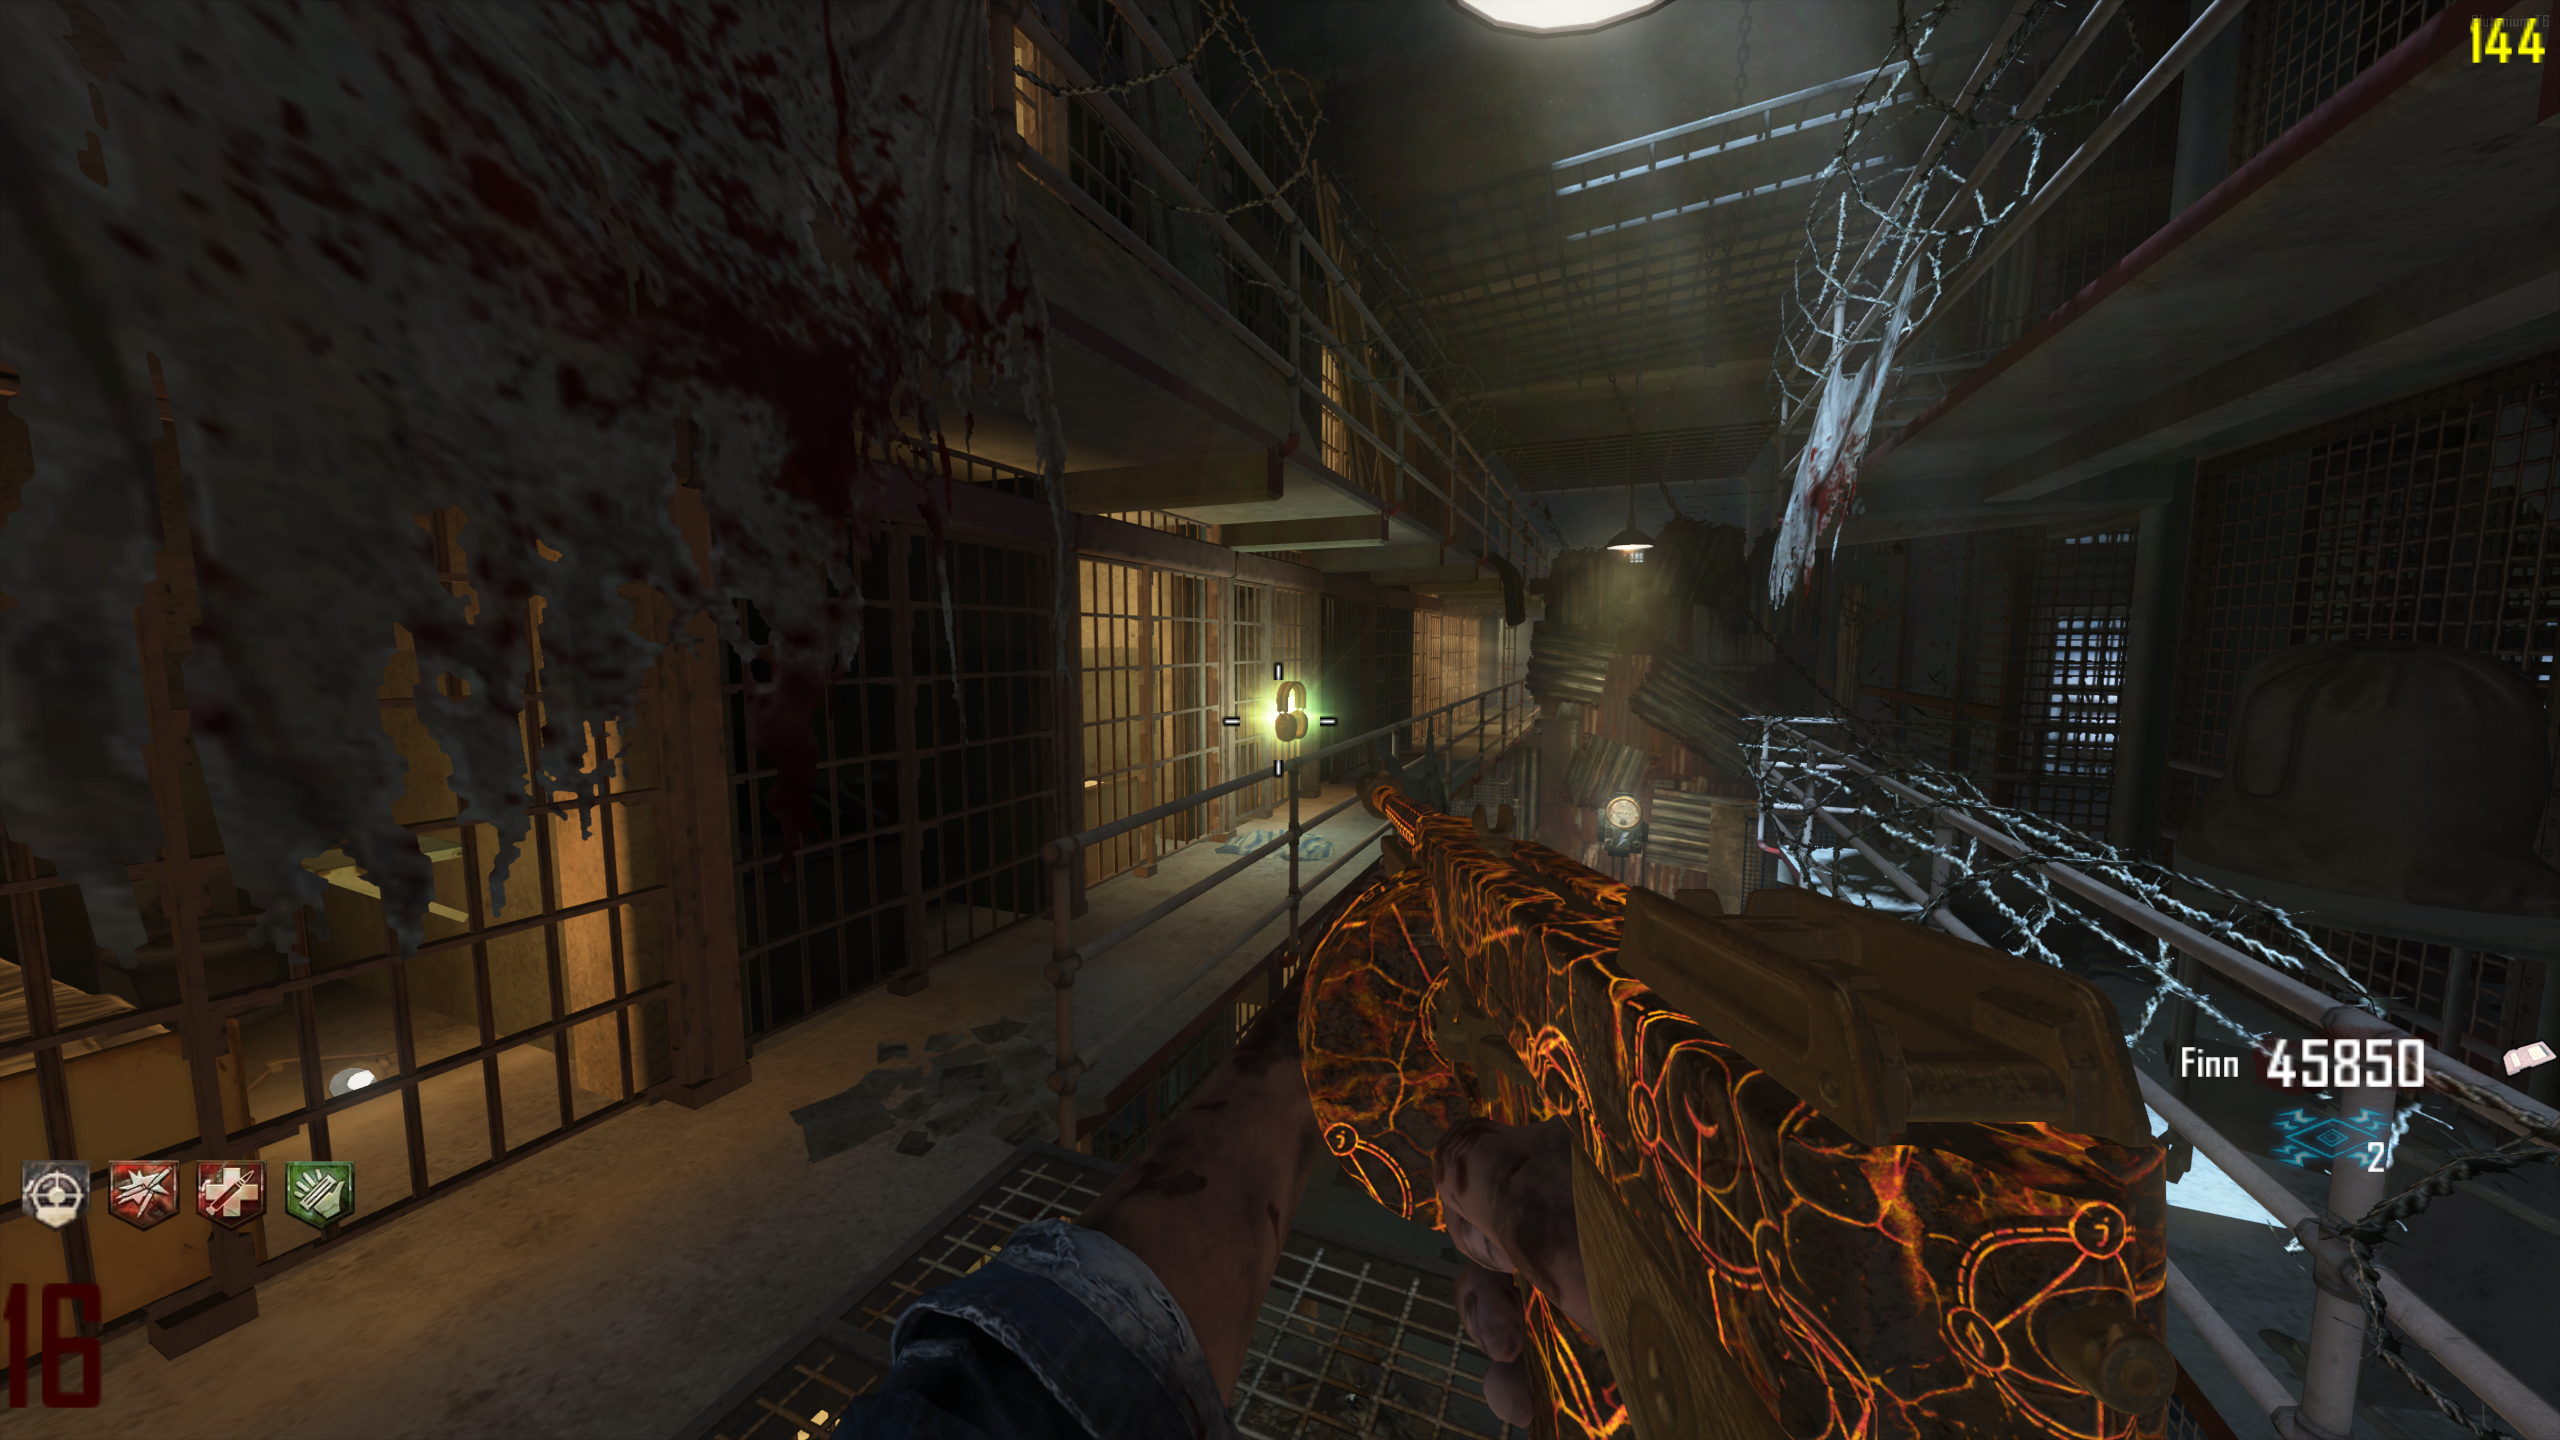
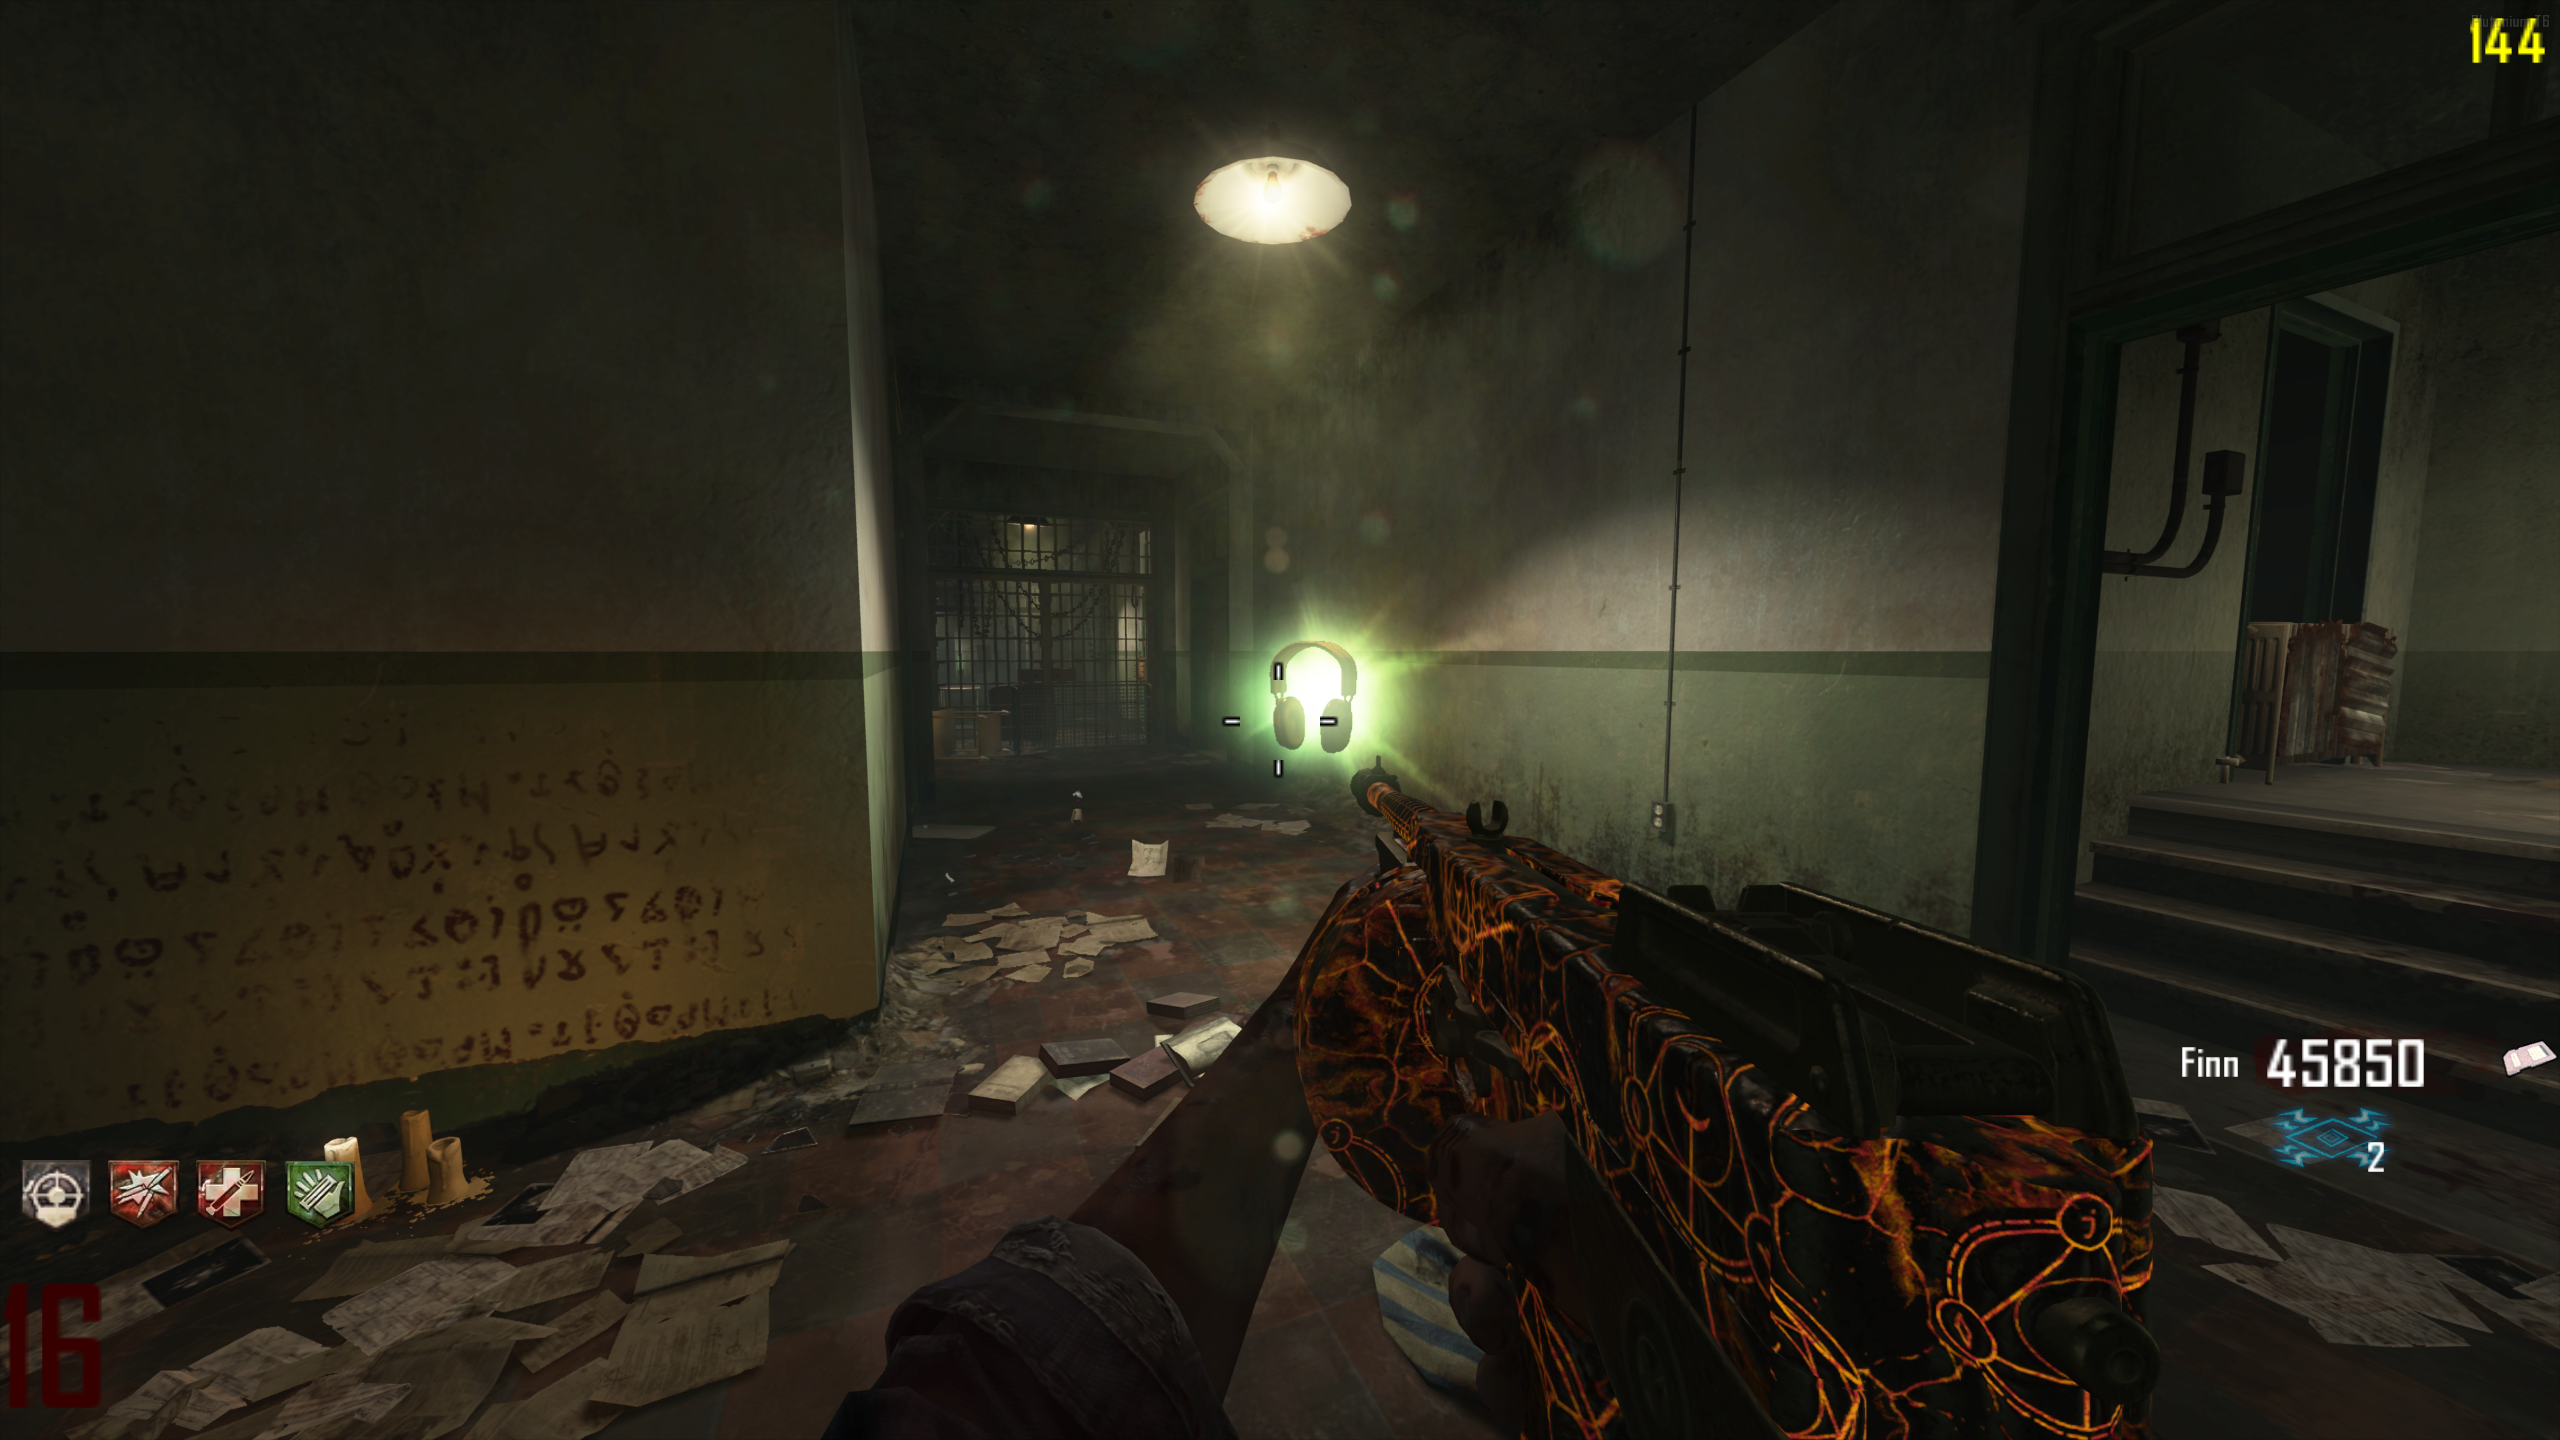
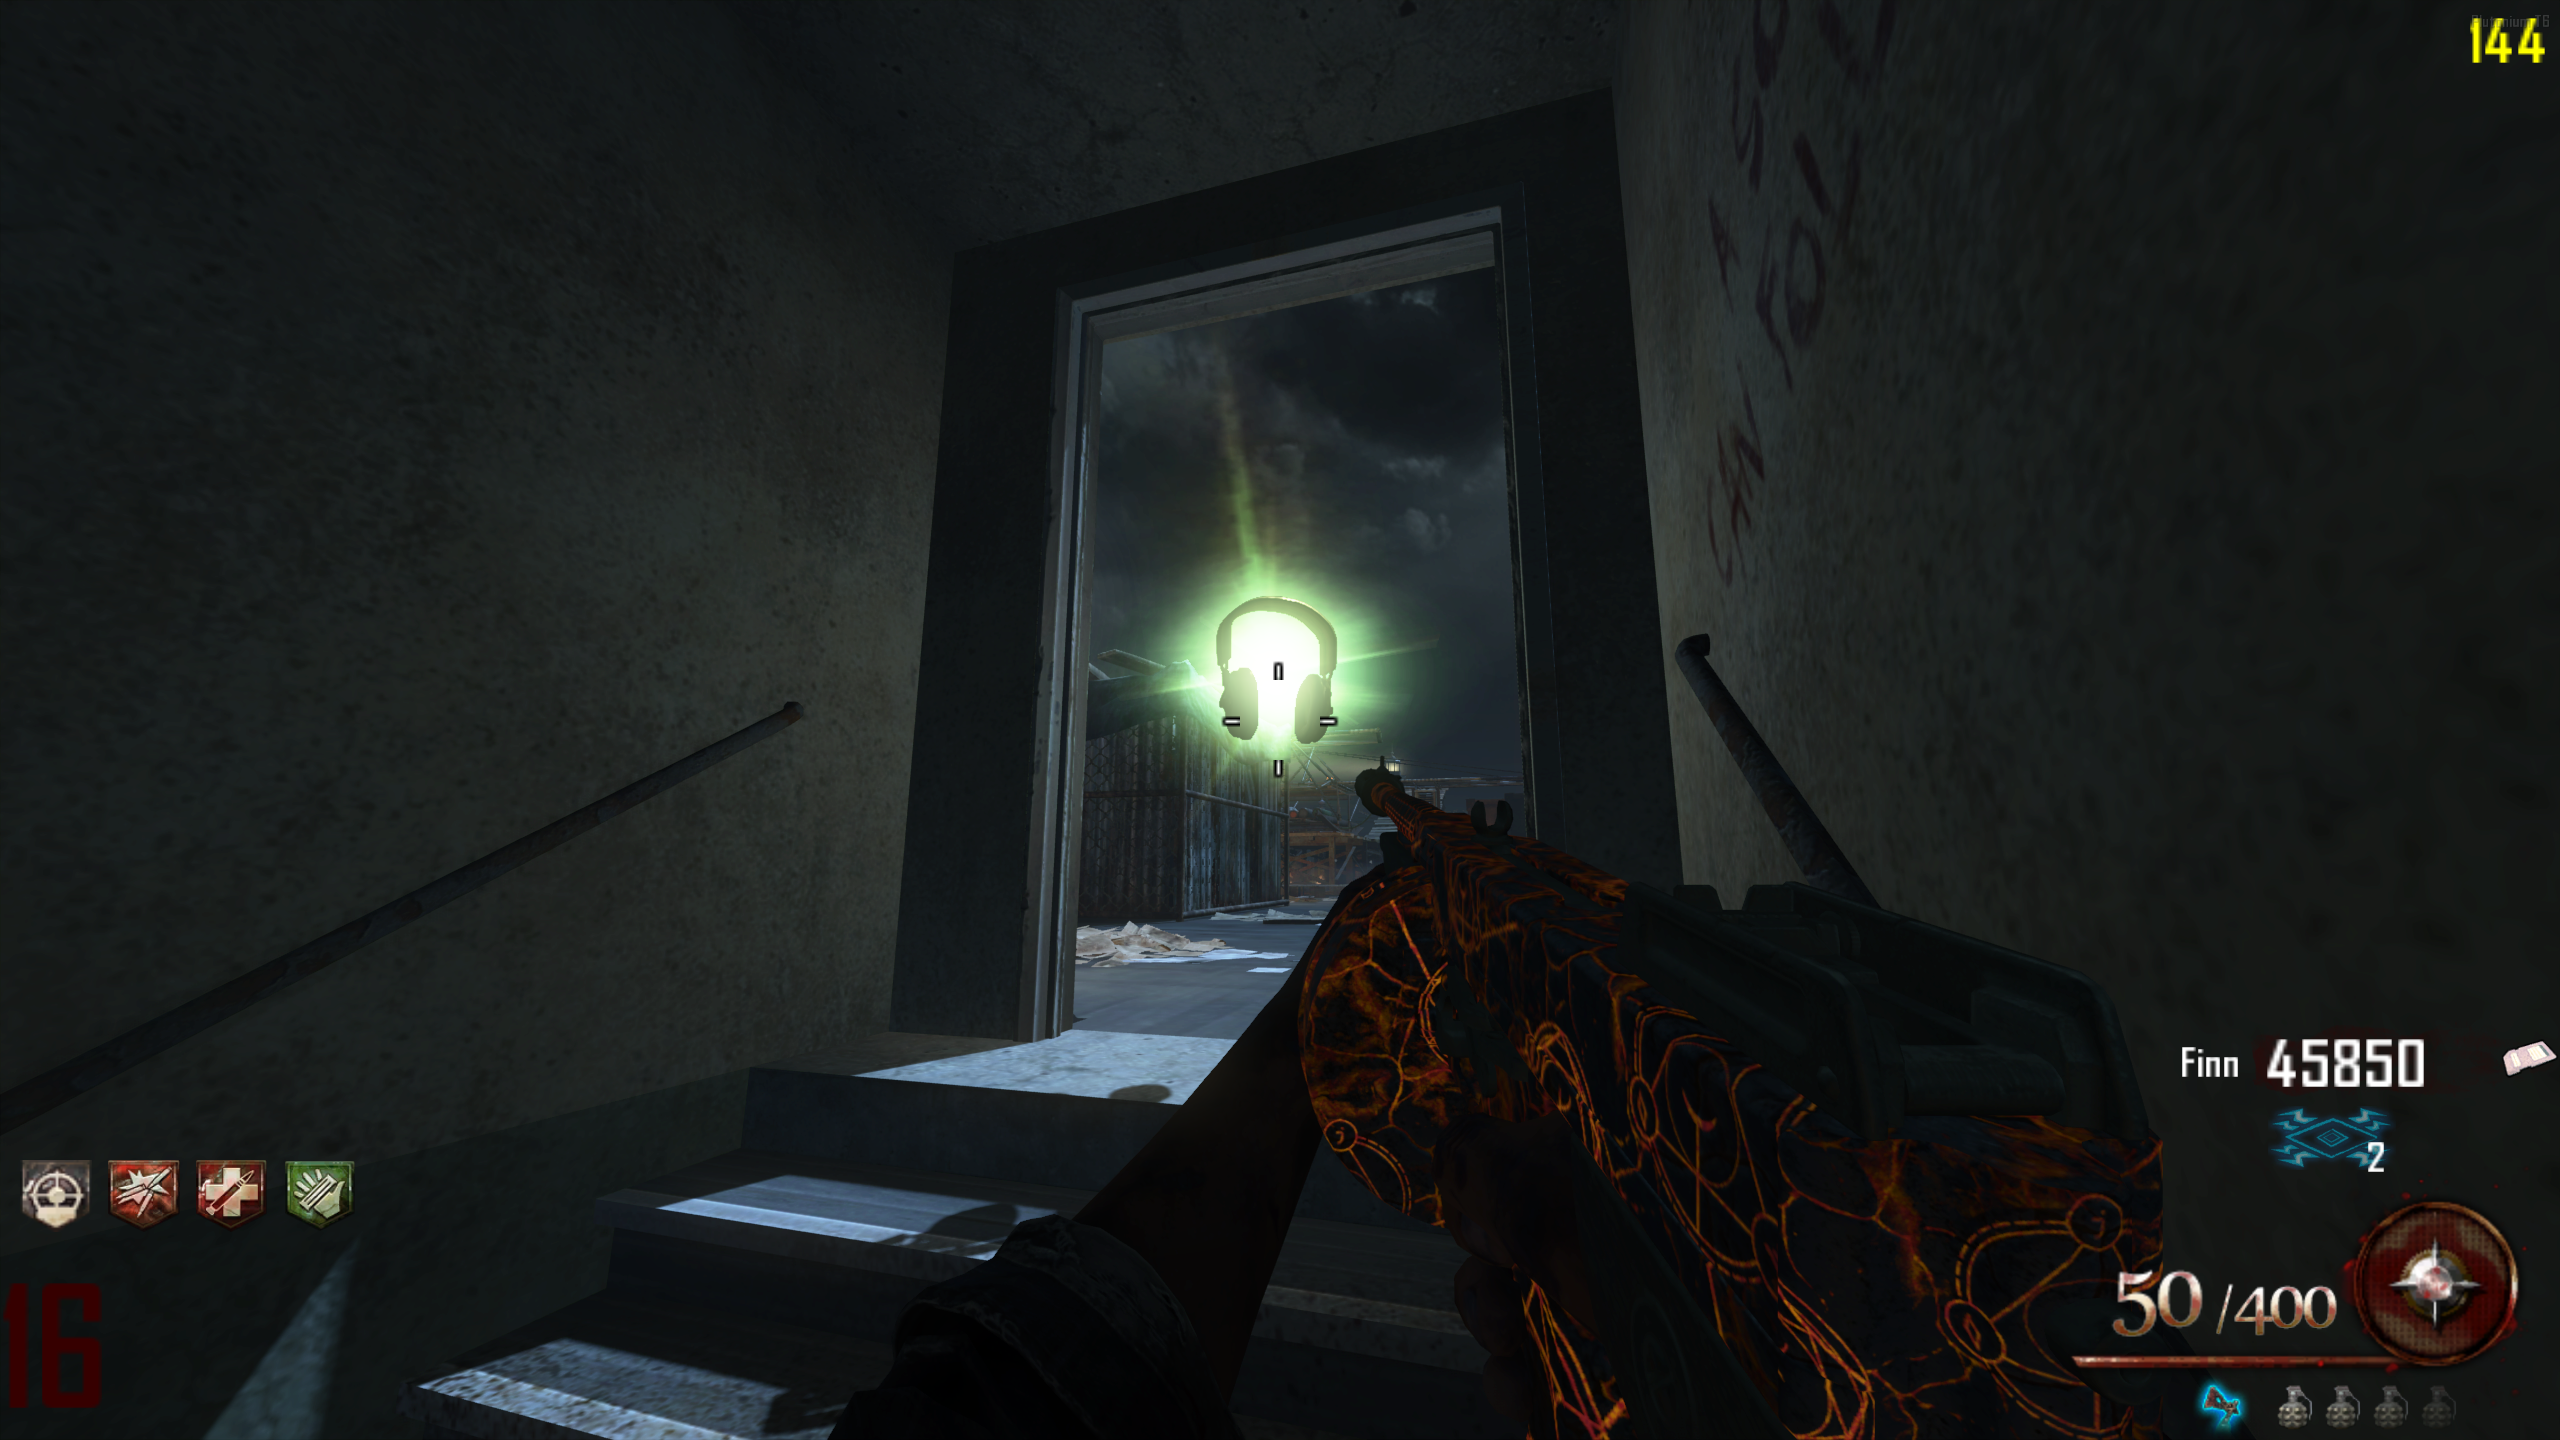
Both endings unlock the "Pop Goes the Weasel" achievement, and the game ends there either way.
"Where Are We Going" Song
Link to song on streaming here.
- Get the Warden's Key.
- Go to the spiral staircase in the Citadel Tunnels, and unlock the number pad at the bottom of the staircase.
- While in Afterlife, shock the numbers 935 into the number panel. This will start the song.
"Rusty Cage" Song
Link to song on streaming here.
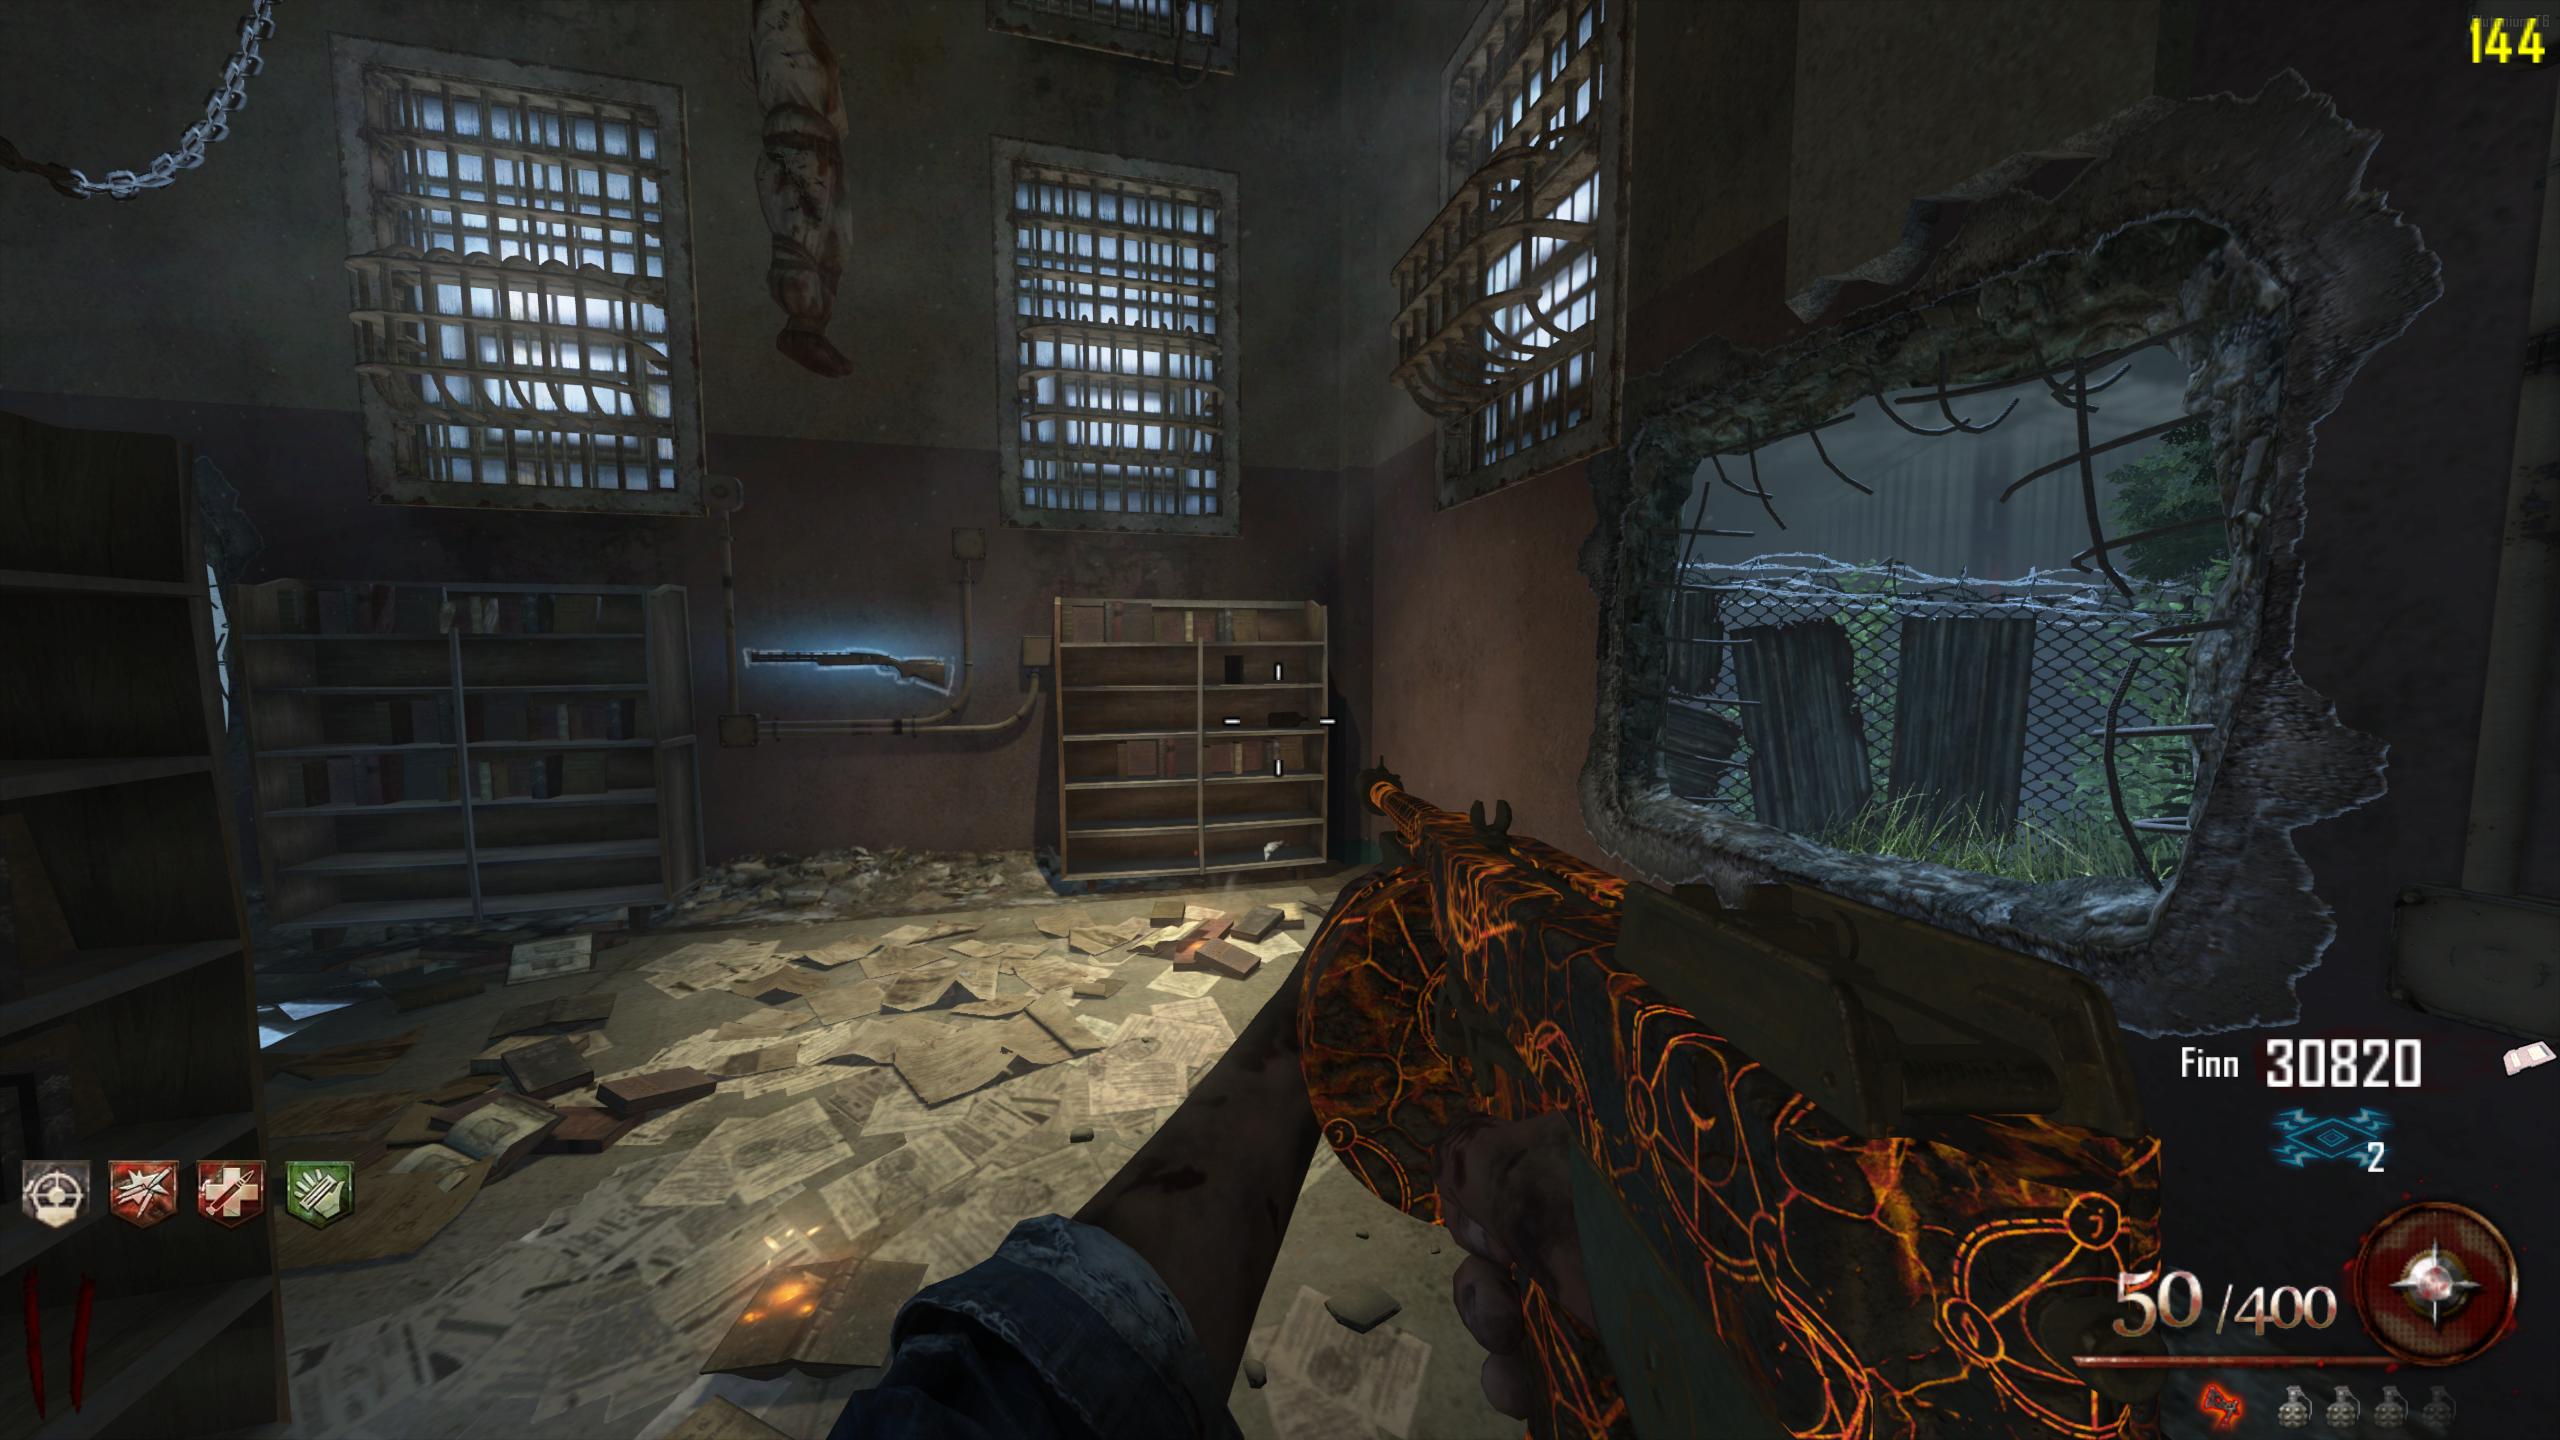
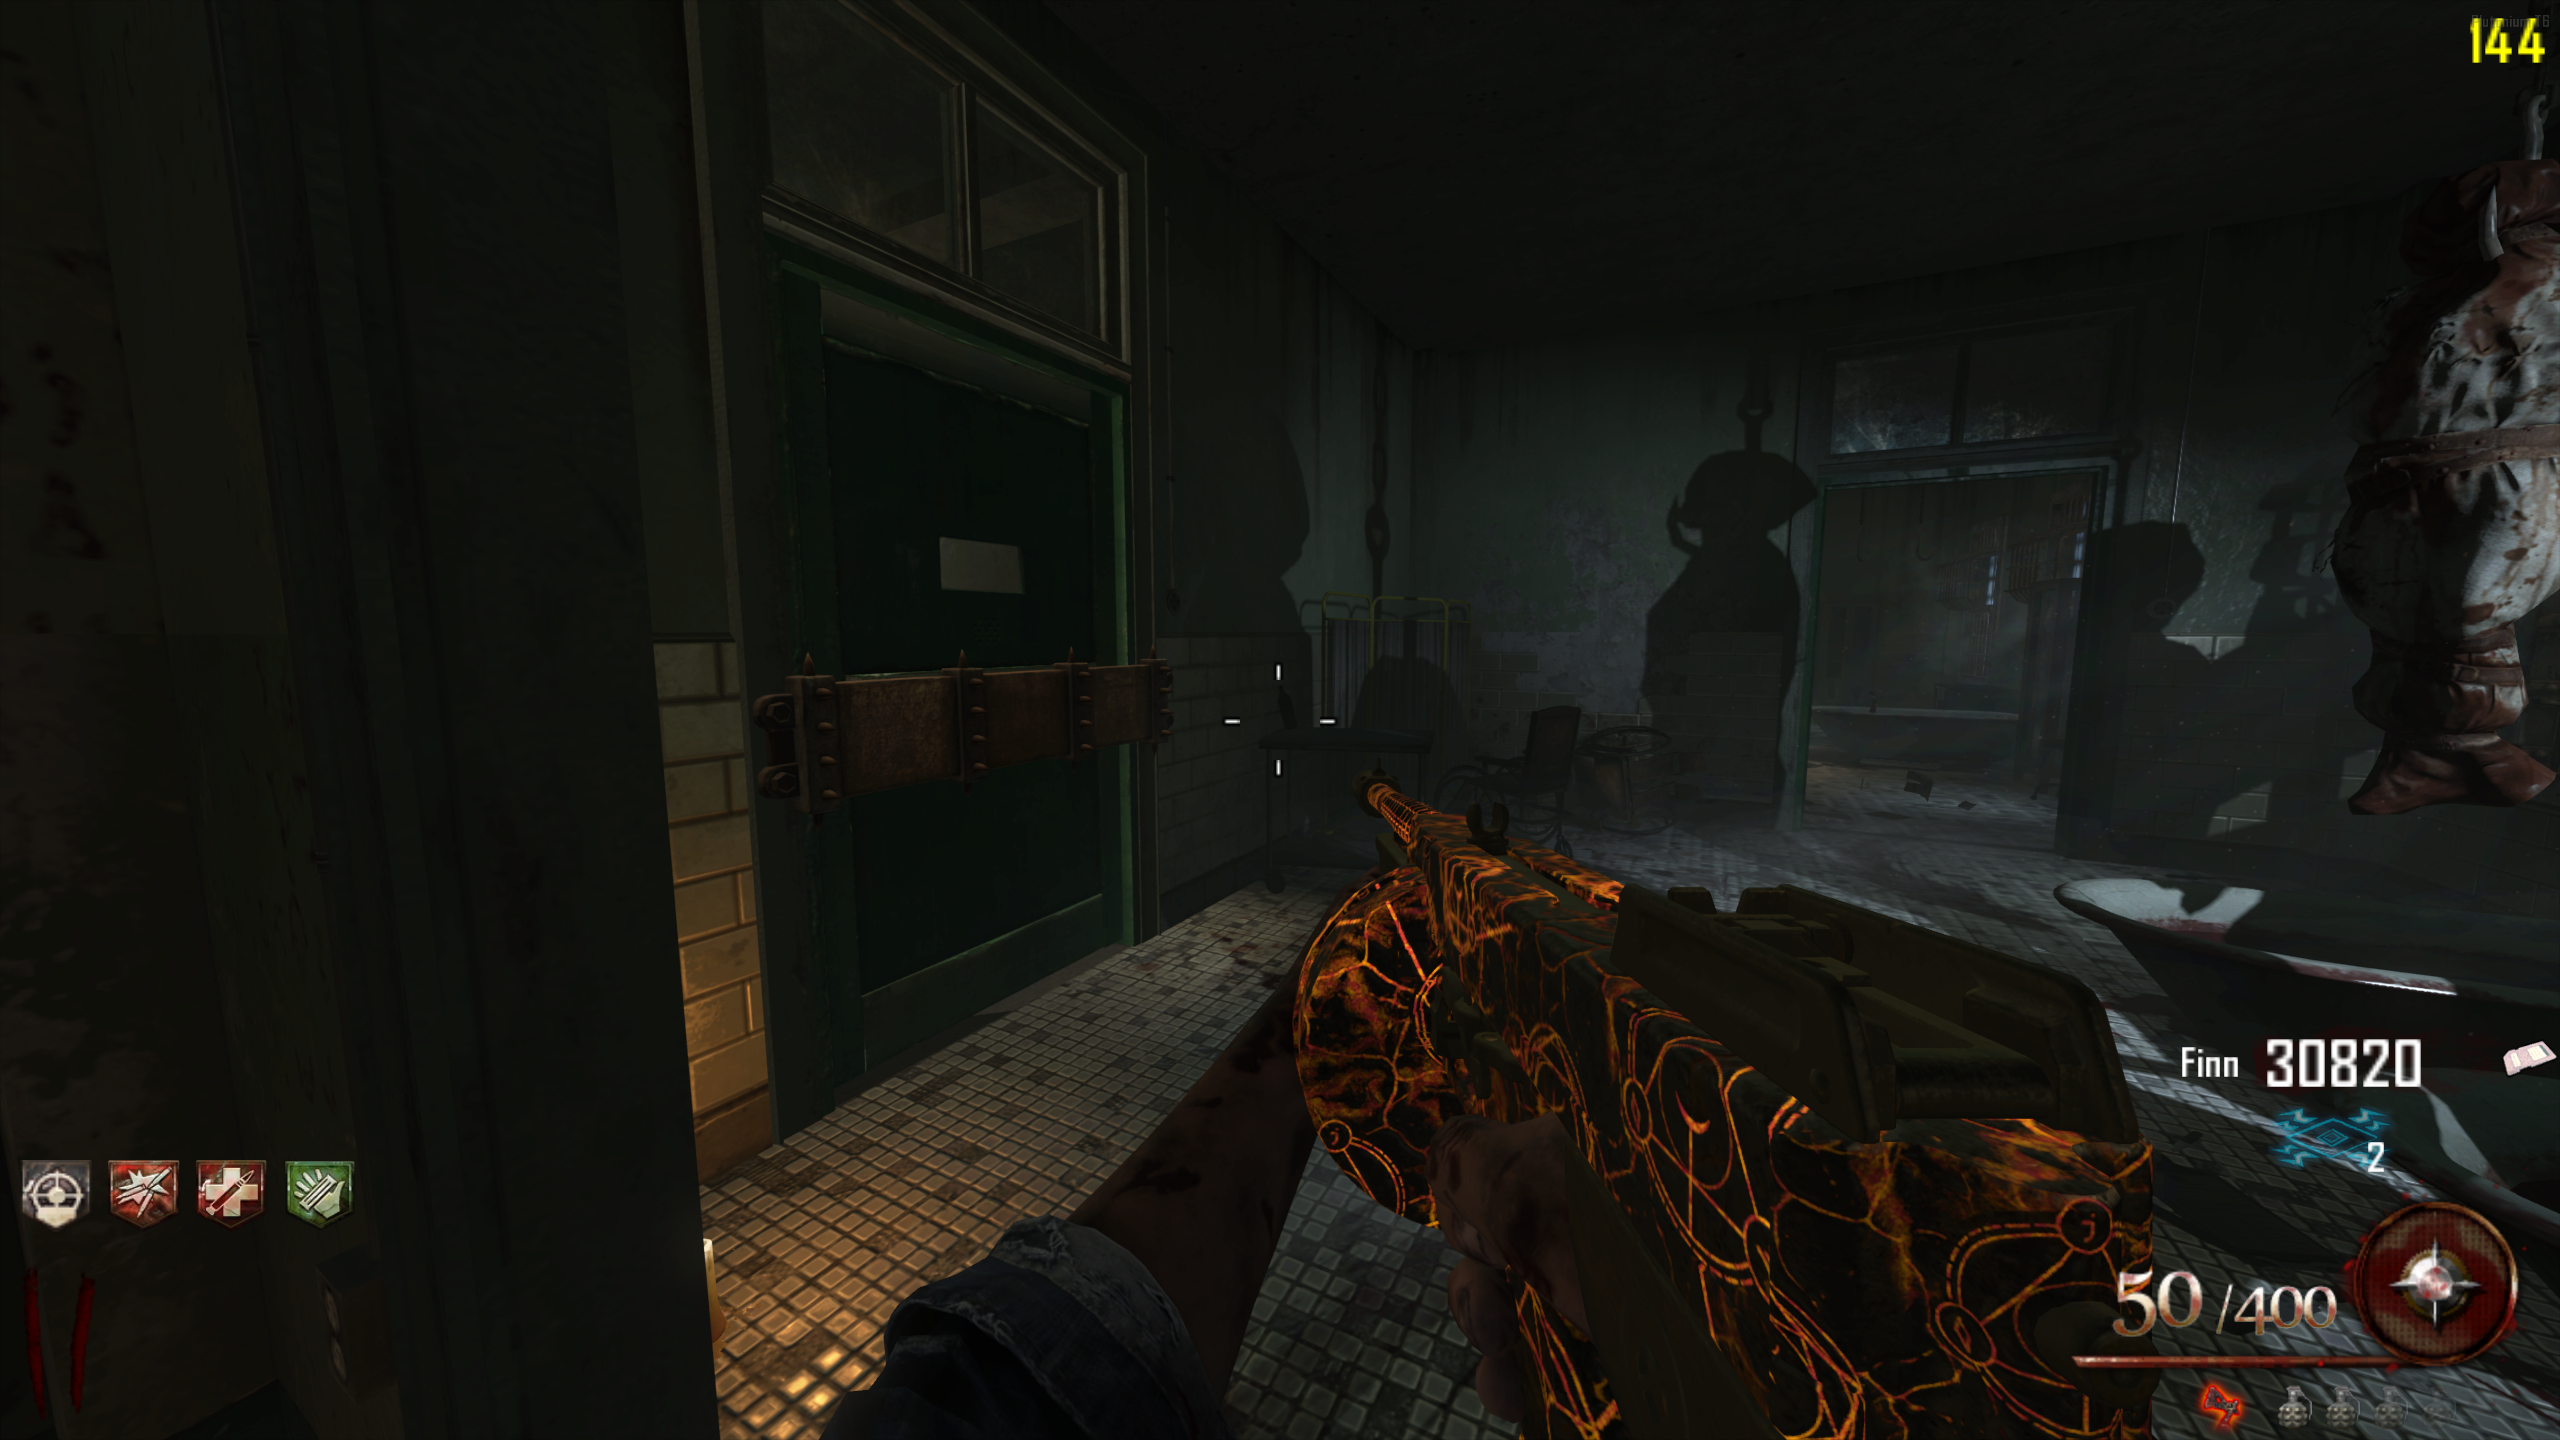
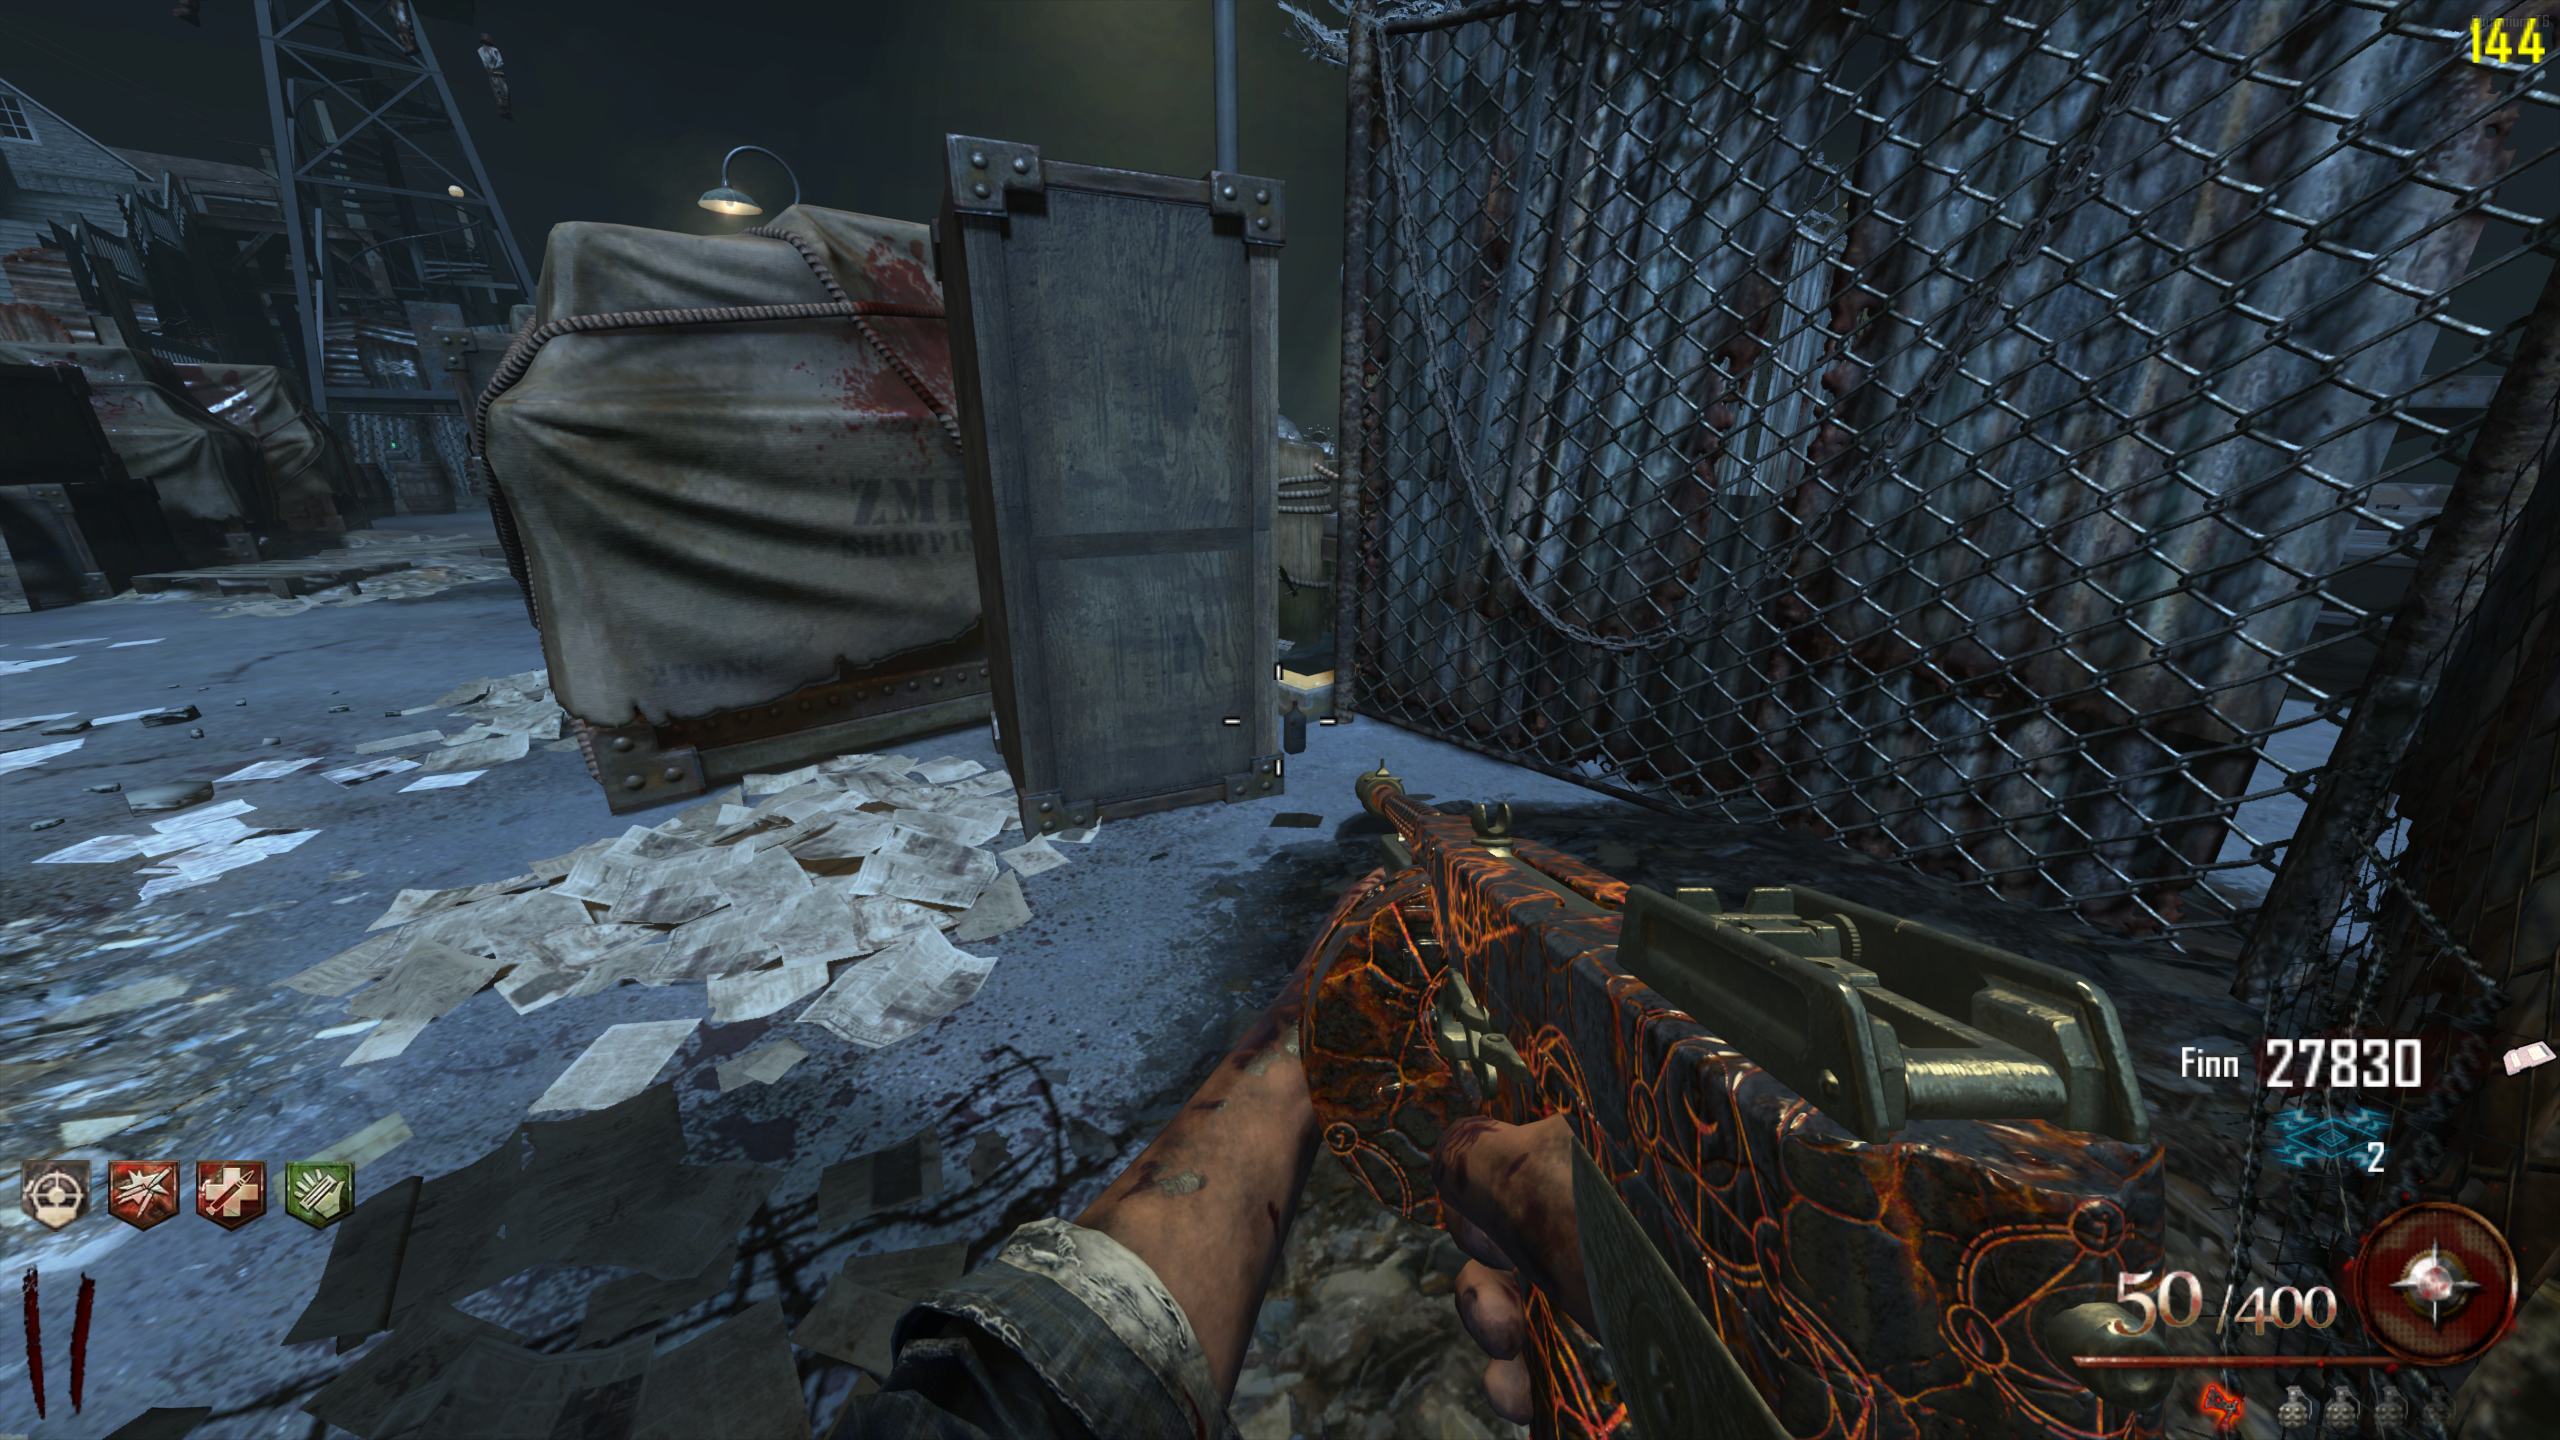
Jumpscare
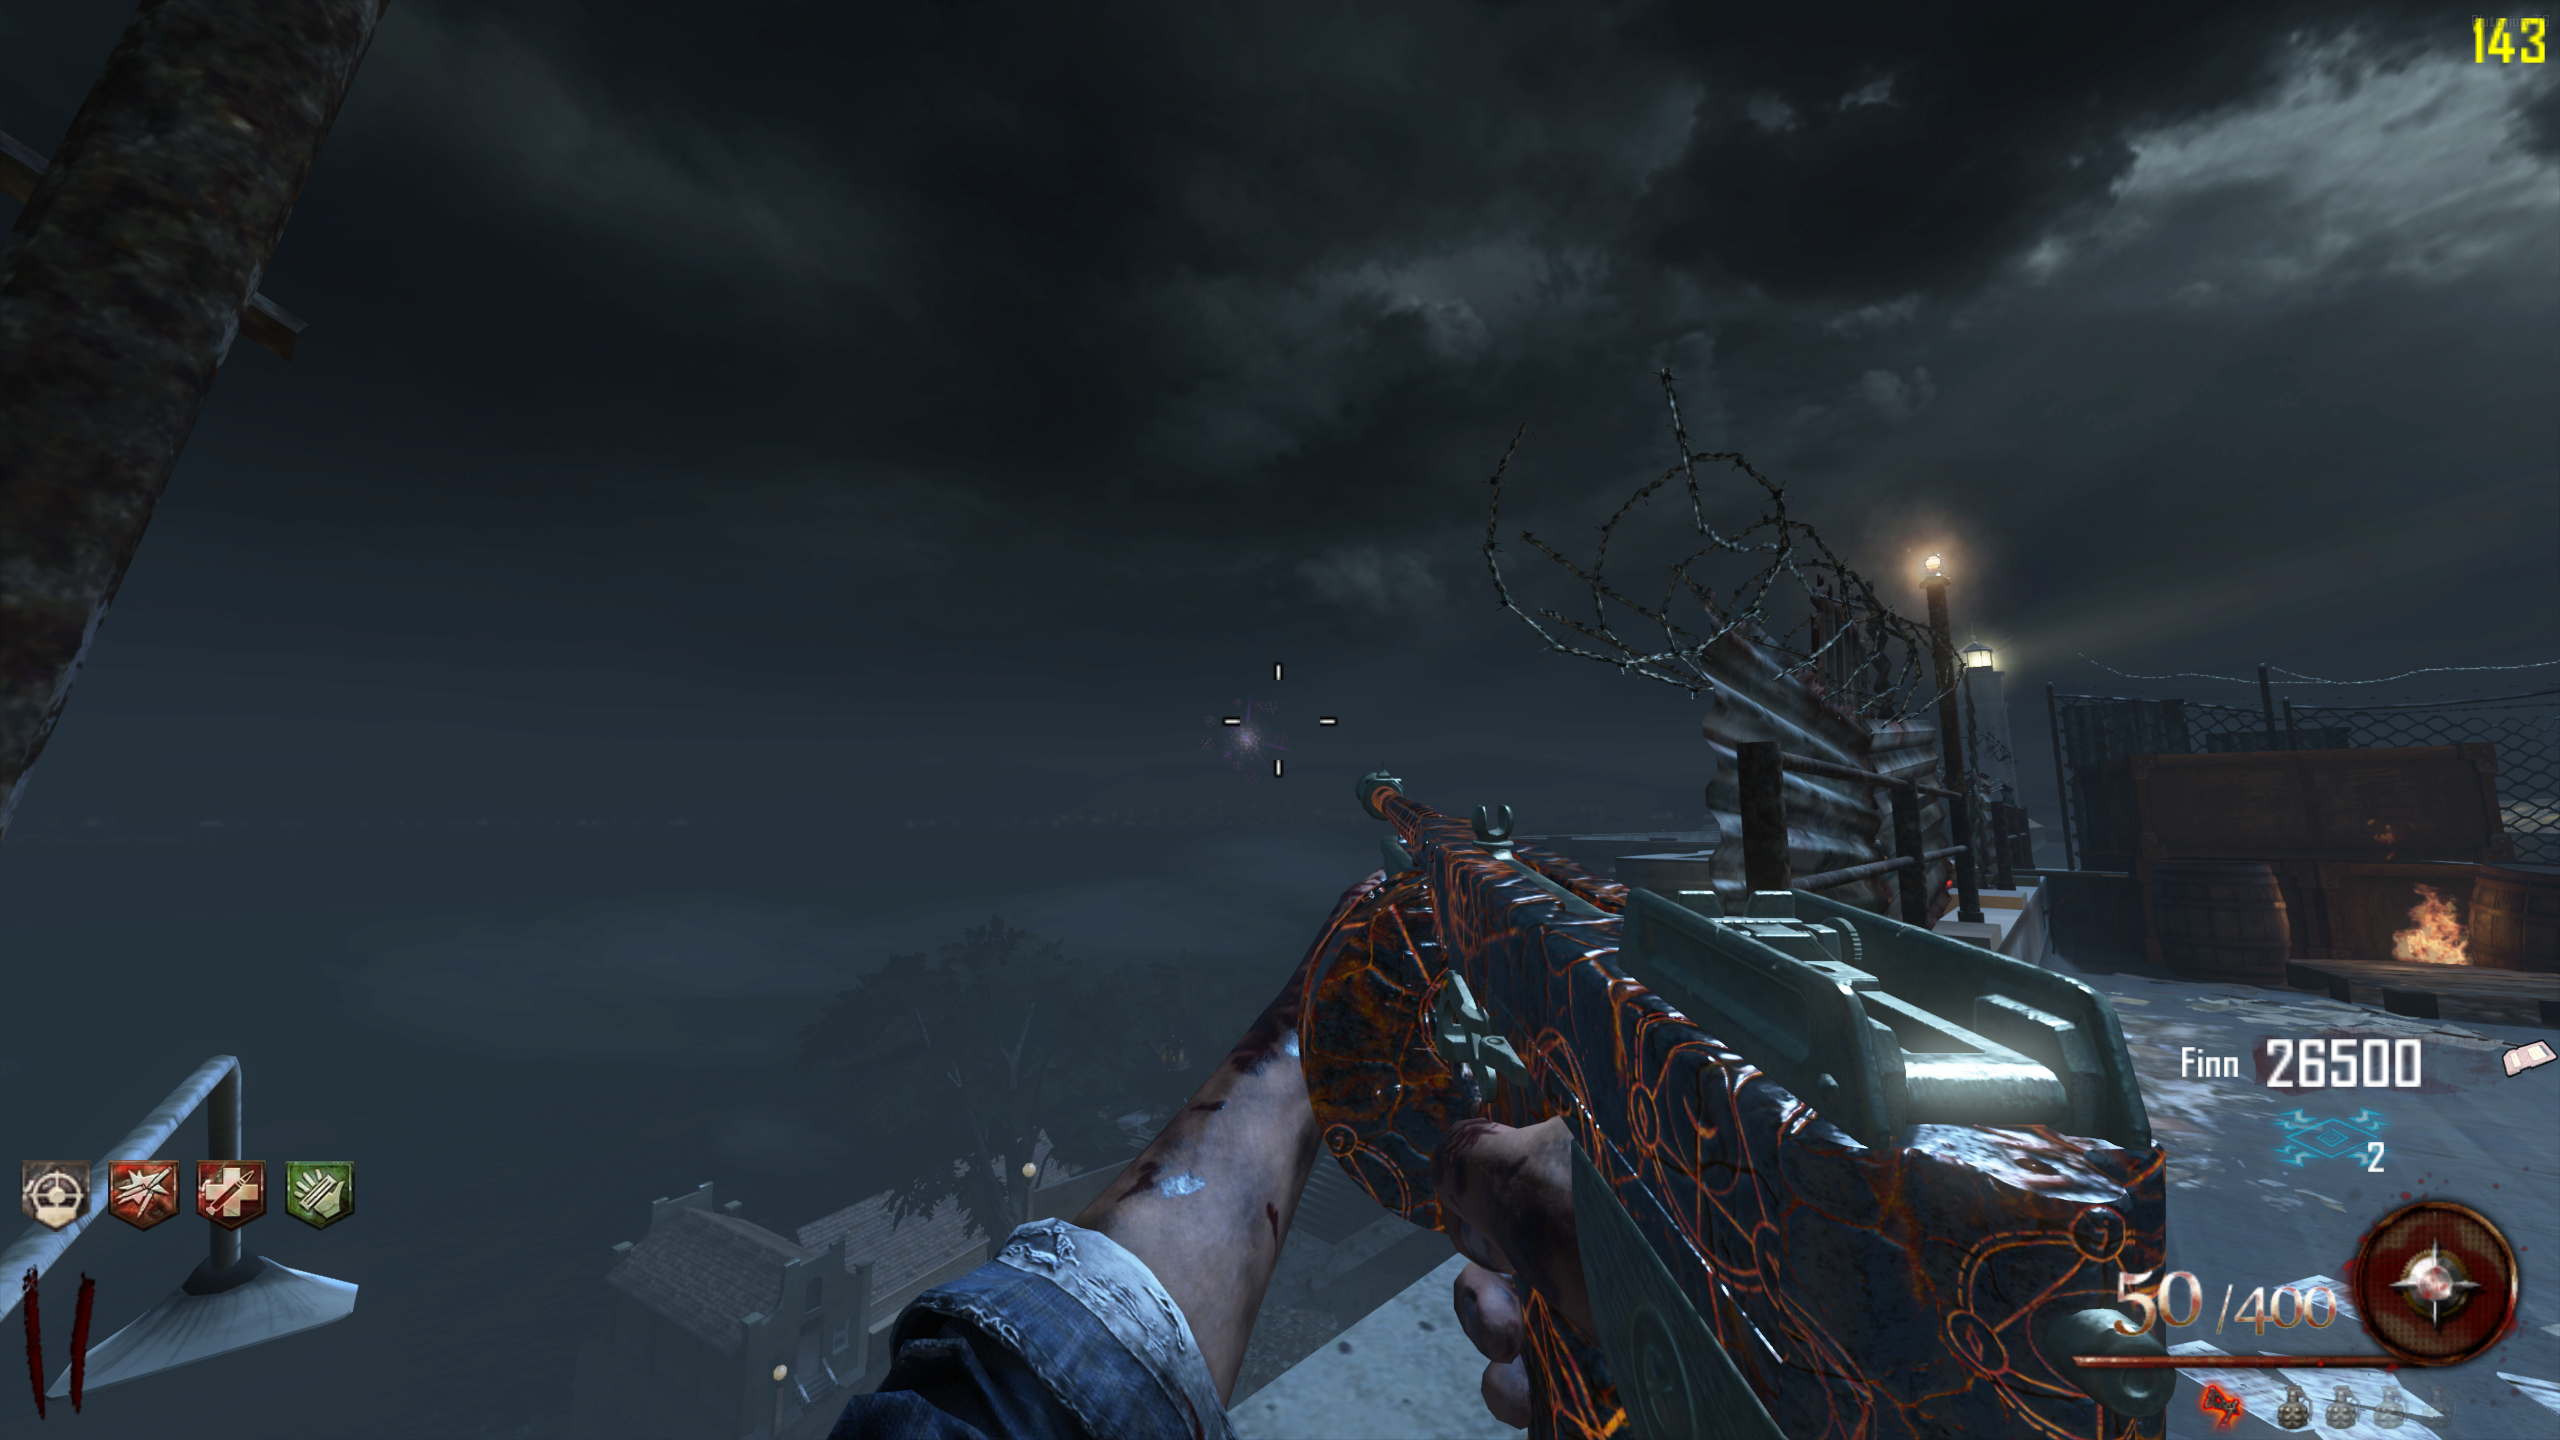
- Obtain a DSR-50 or Barrett M82 with its scope. No other Sniper Rifle triggers this. Pack-a-Punching one of these can sometimes swap it to an iron-sighted variant instead of keeping the scope. If that happens, Pack-a-Punch it again to get the scope back.
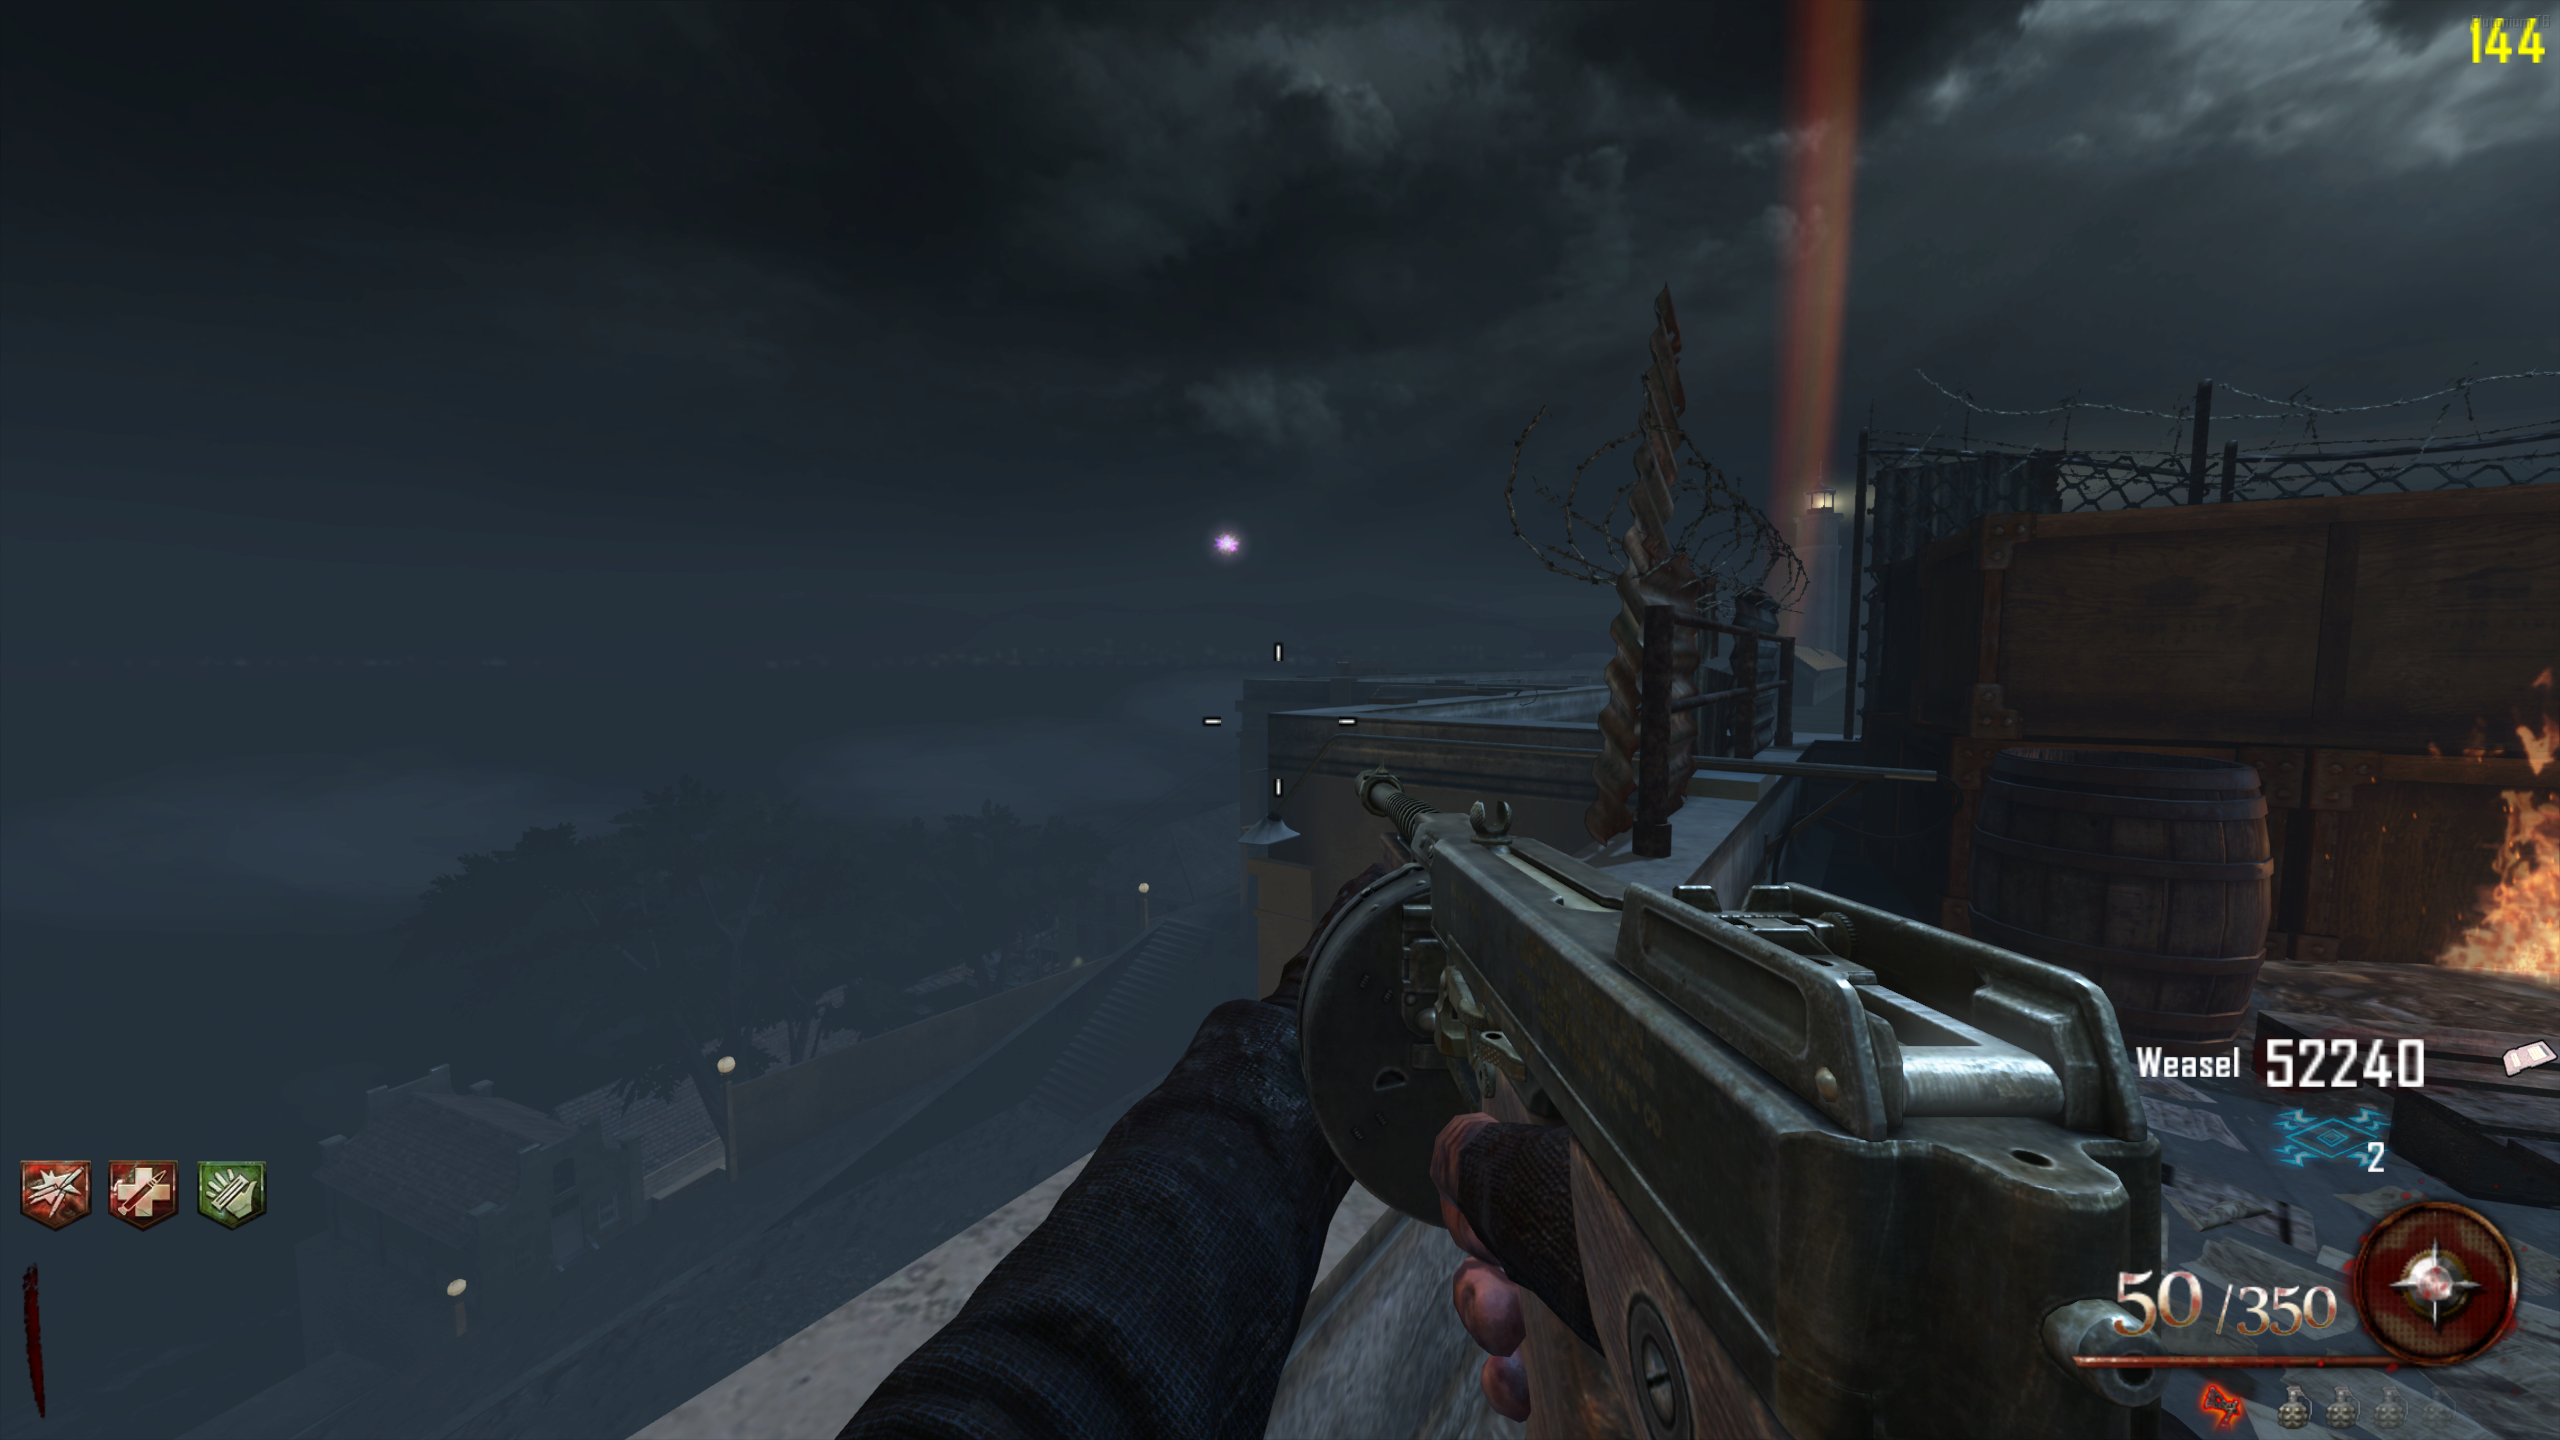
- While on the Roof, face the back of the Plane and aim the scoped weapon at the fireworks off the left side of the Roof.
Brutus 115 Code
- Get the Warden's Key and unlock the number panel at the bottom of the spiral staircase in the Citadel Tunnels.
- While in Afterlife Mode, shock the numbers 115 into the panel.
- Brutus will speak to you, and the panel will change to 666. After a while it goes back to normal.
Open All Doors for Free
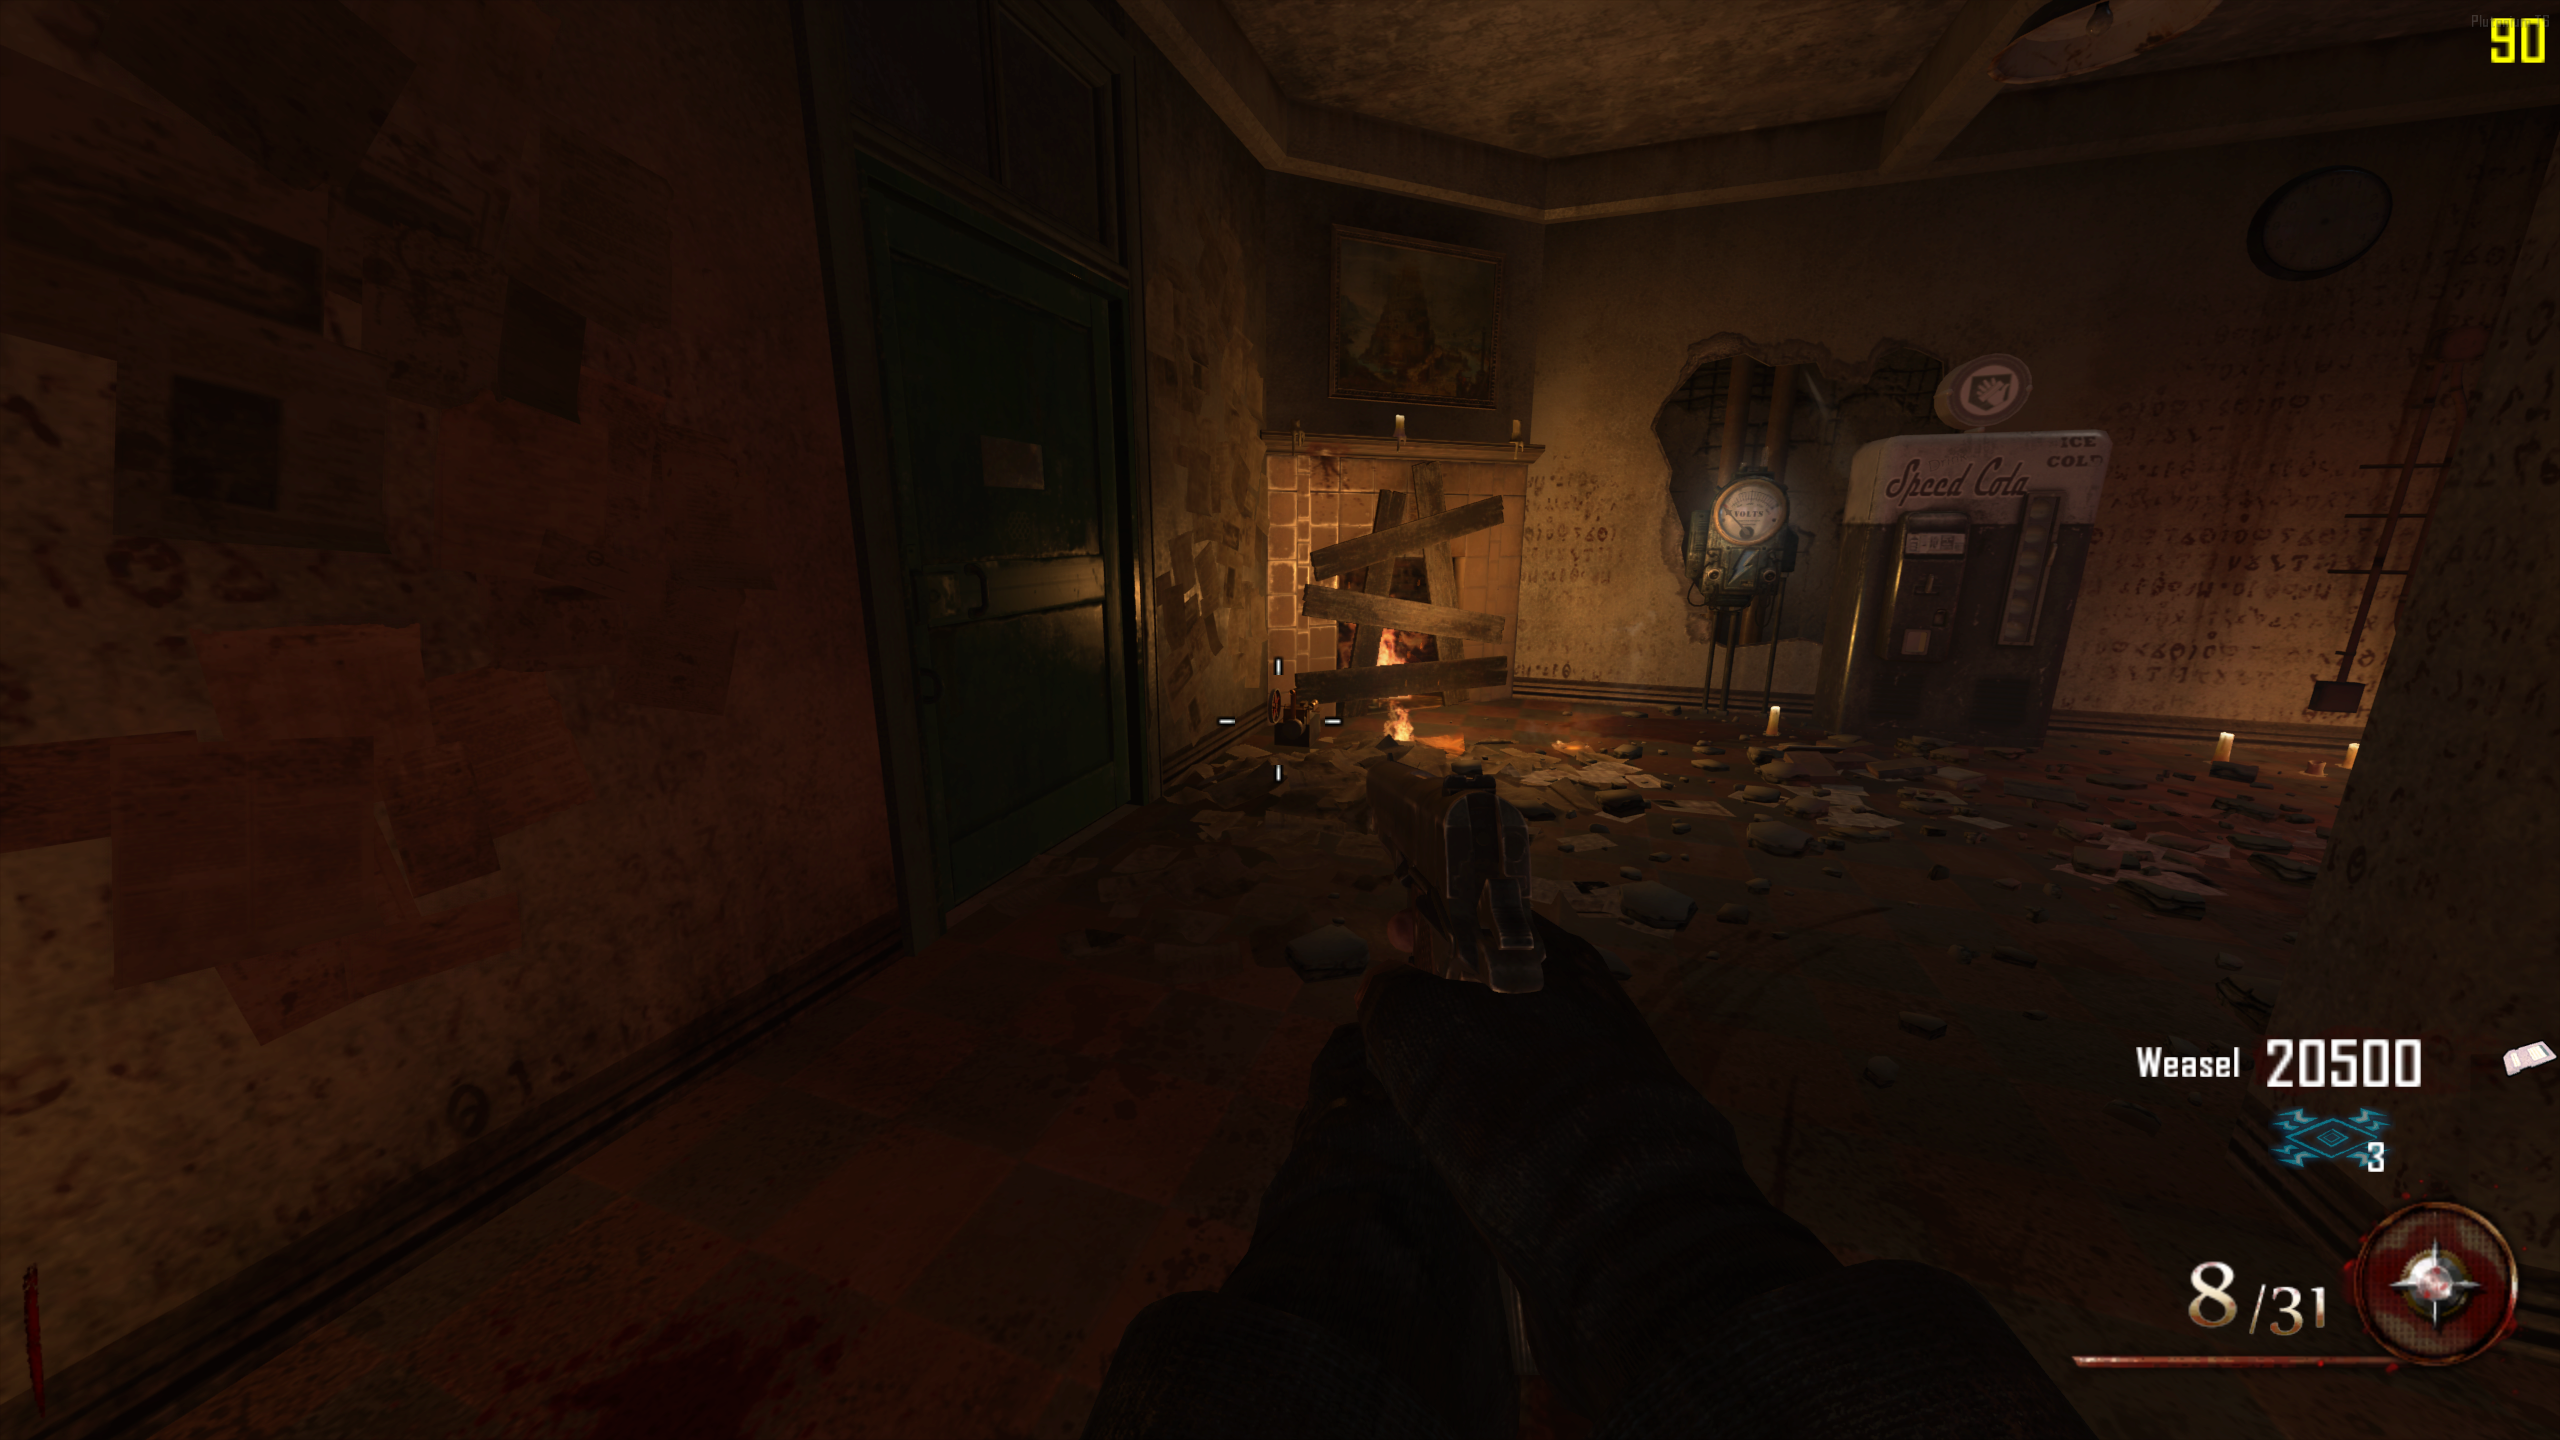
- If you're on PC, cap your FPS at 90 for the best odds.
- Stand in front of a door, and cook a grenade. Right before it blows up, jump and then spam the interact button. You can do this on a controller, but it's easier on keyboard. The crosshair pulses four times before the grenade blows, so use that to time your jump.
About This Map
Mob of the Dead is the second DLC Zombies map in Black Ops 2, set inside Alcatraz Island prison where four mobsters are trapped in a repeating cycle of escape and death. This guide covers the 'Pop Goes the Weasel' main quest, the plane build and Golden Gate Bridge escape, the Blundergat and its Acid Gat and Vitriolic Withering upgrades, Hell's Retriever and Hell's Redeemer, the Golden Spork, and every side Easter Egg on the map. Also known as MOTD, Alcatraz, Mob.