Weapons
Easter Eggs
- "Bye-Bye, Dark Aether" Main Quest
- "Destroy Something Beautiful" Song
- Play as the Aetherella Trap
- Deadshot Sharpshooter (Free Deadshot Perk)
Free Loot Easter Eggs
- Mister Peek Bowling Mini-game (Free Loot / Gun, and Dark Ops Calling Card)
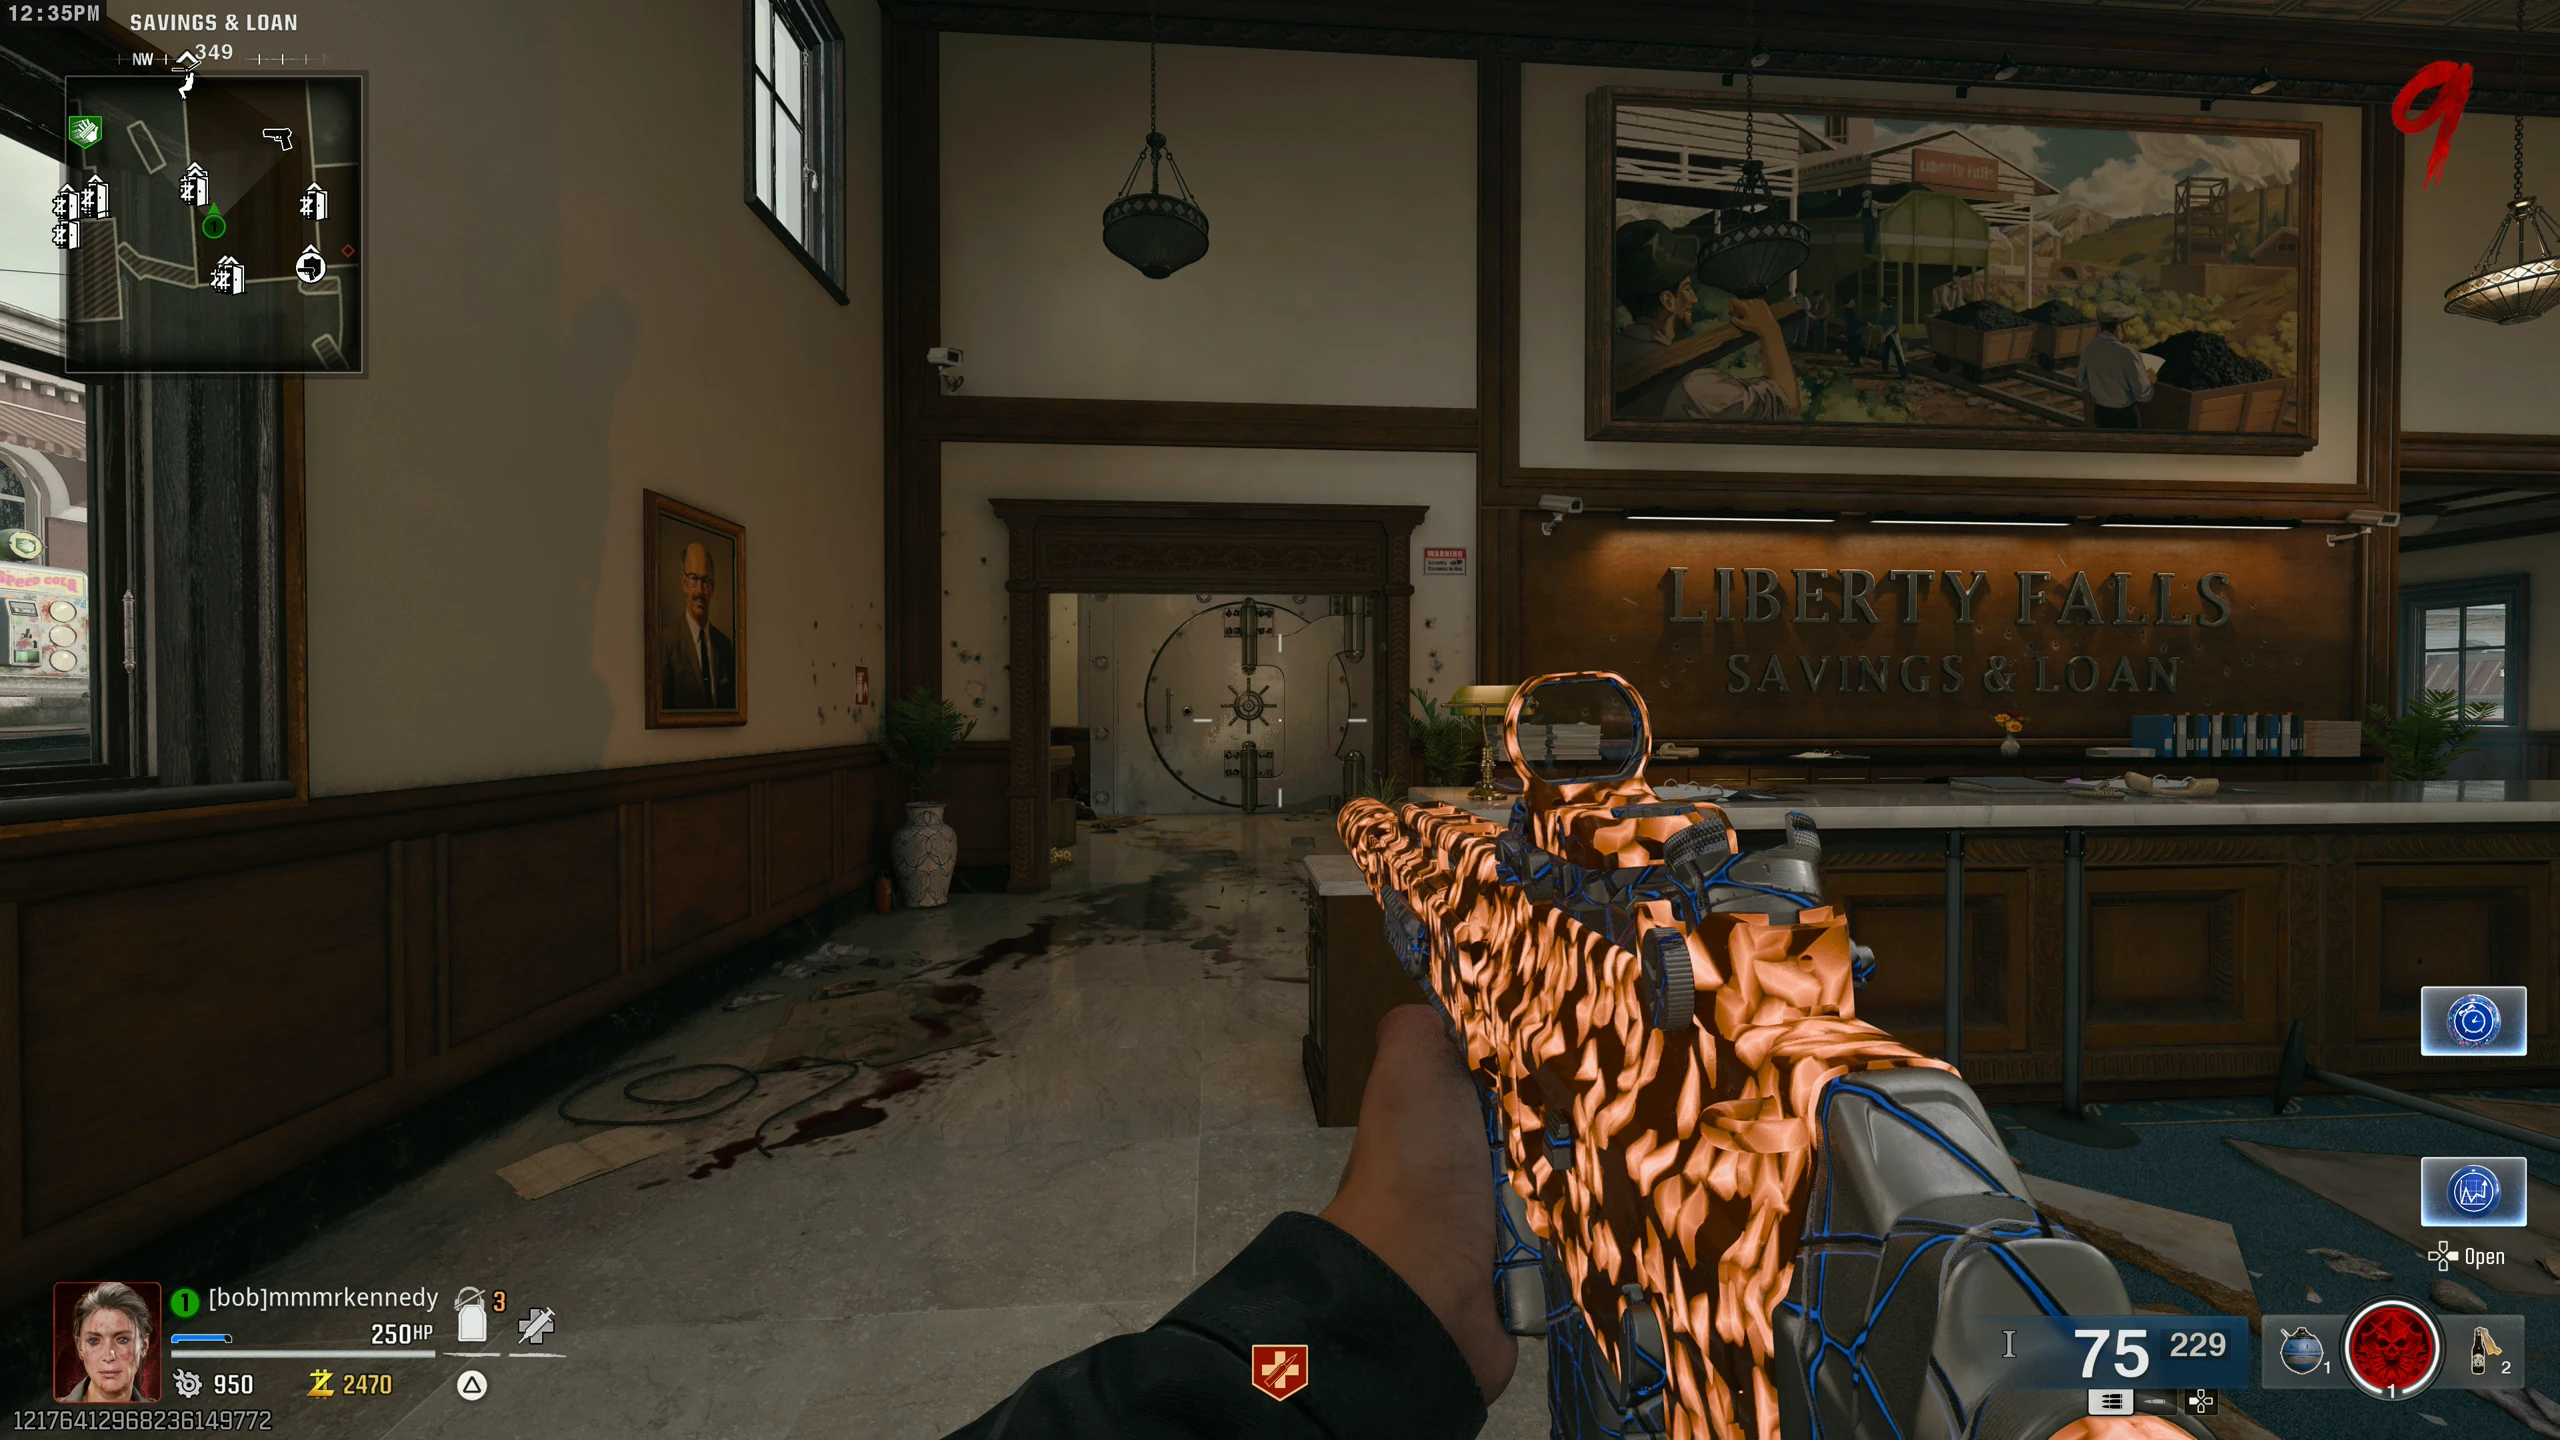
- Opening the Bank Vault (Free Loot)
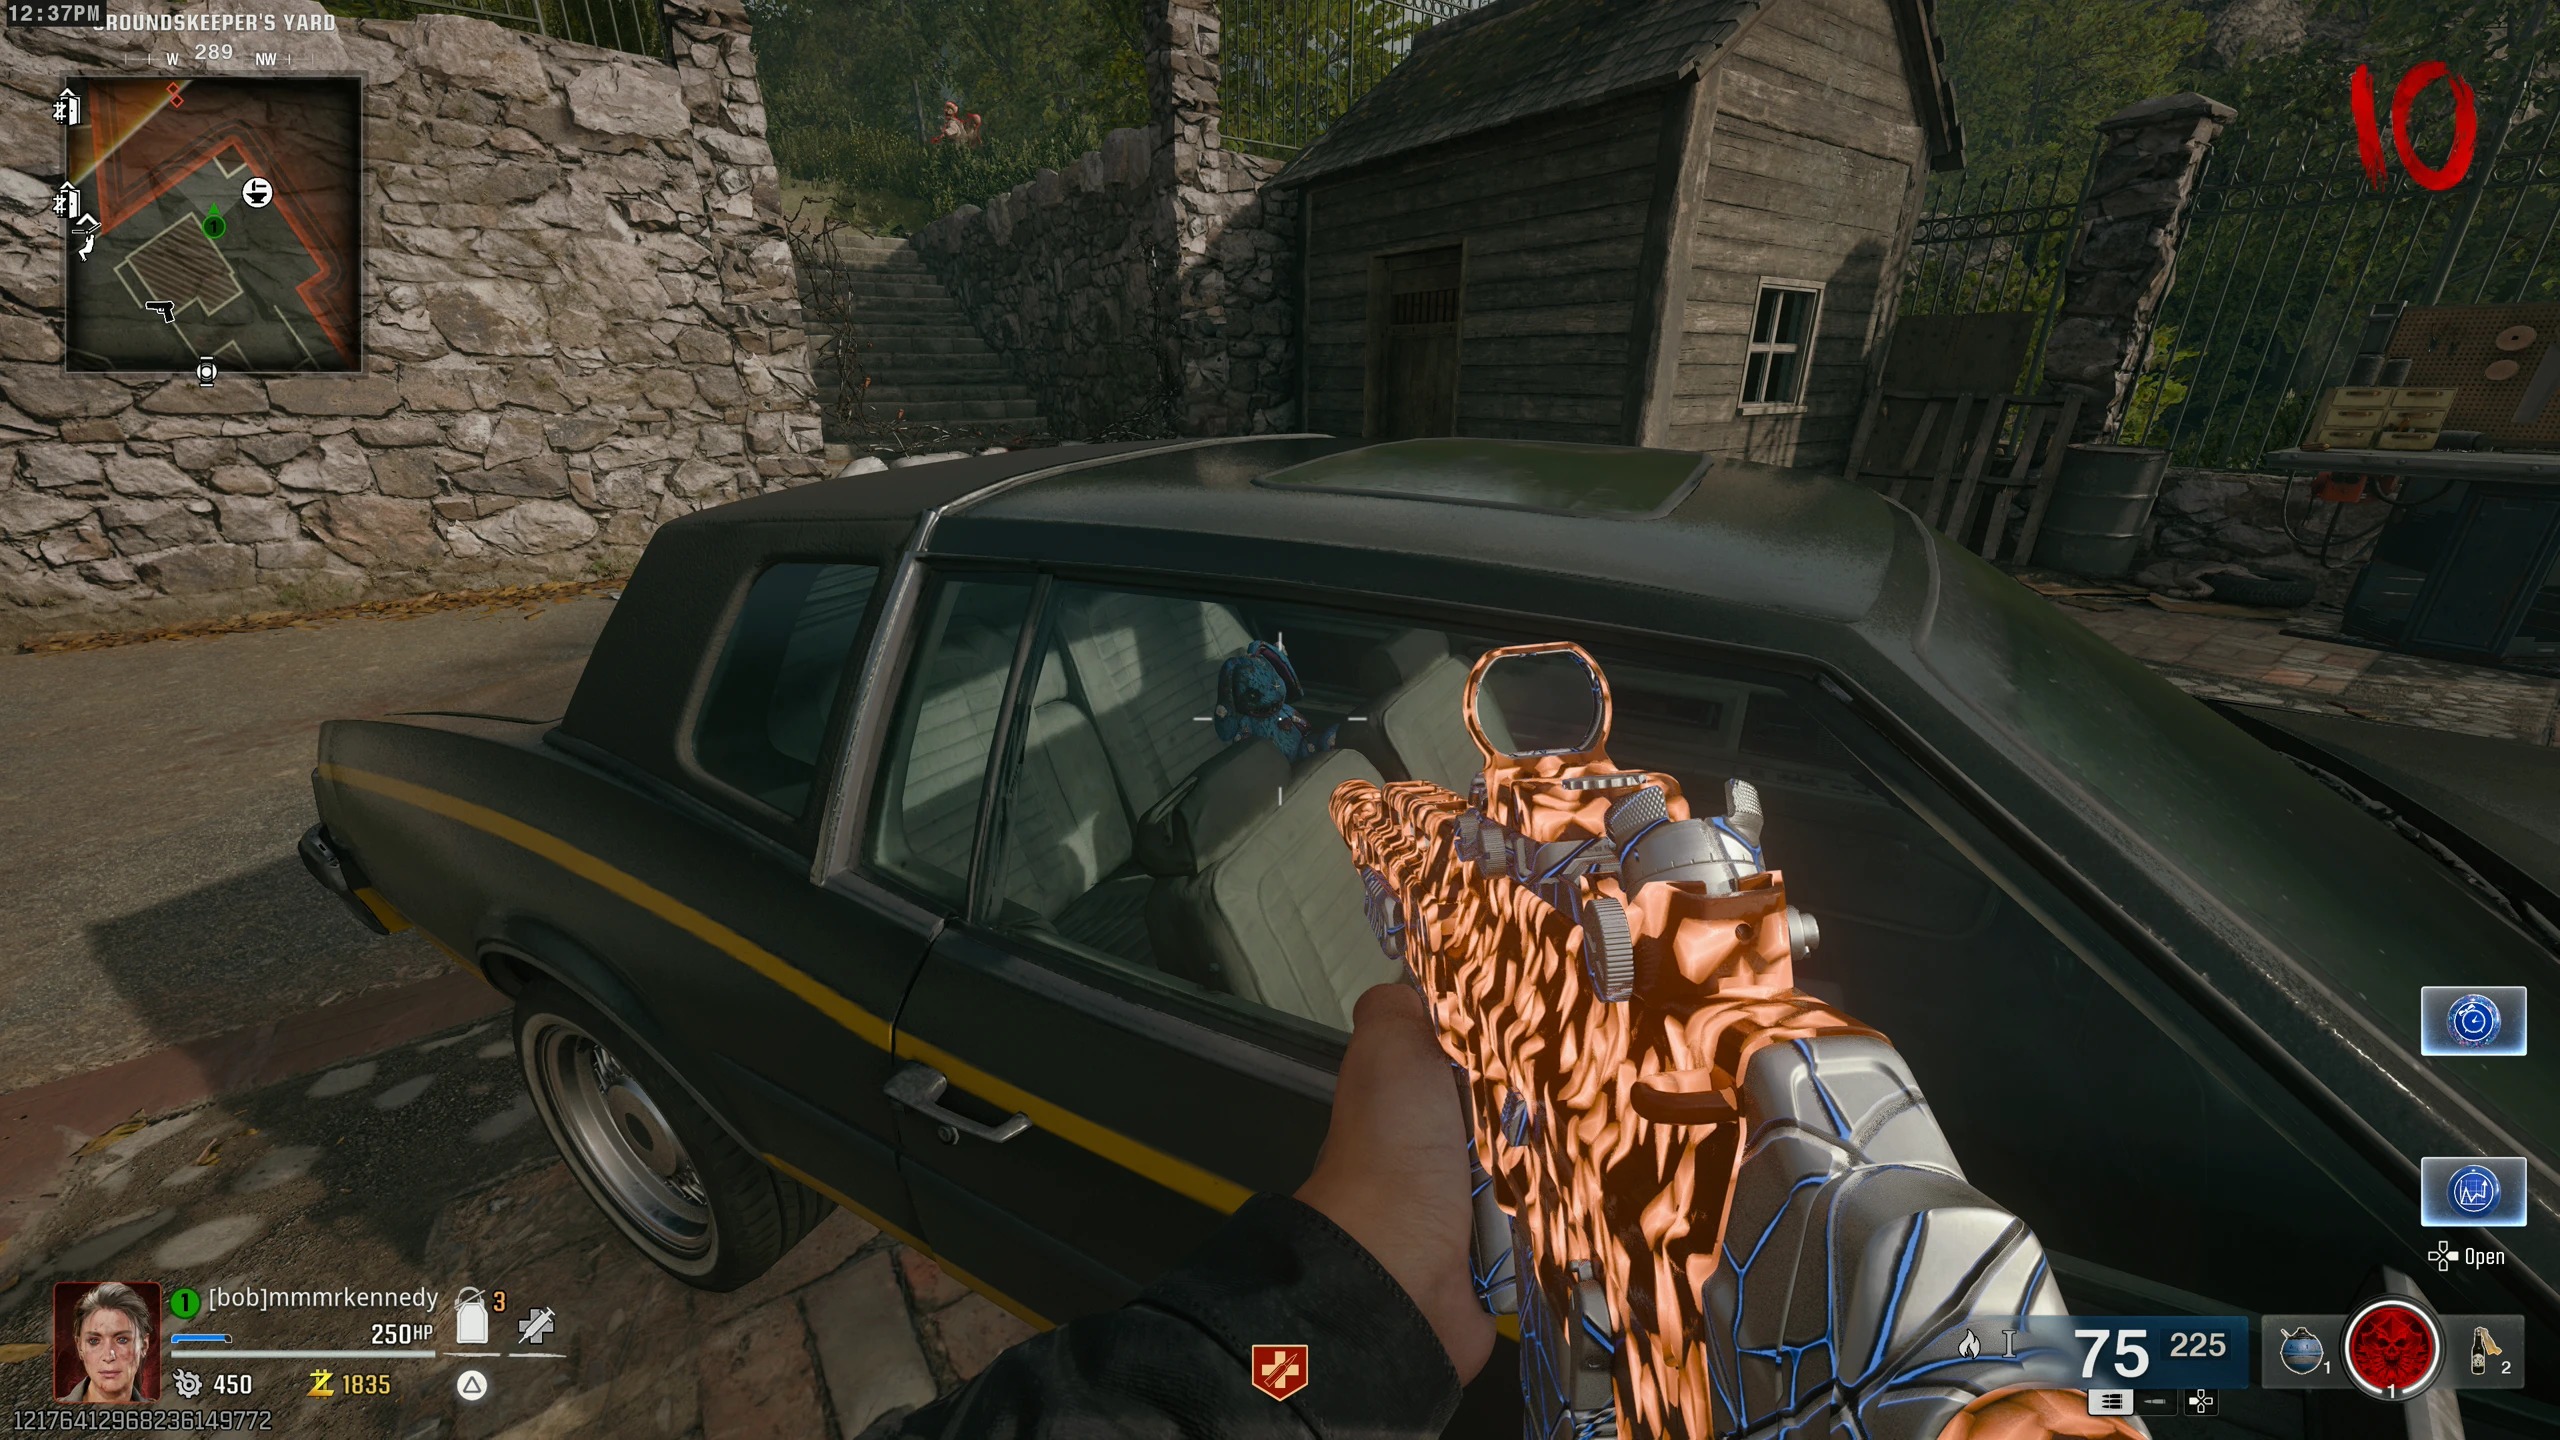
- Mr. Peeks Car (Free Gun)
- Vending Machine (Free Loot / Weapon)
- Raining Zombies (Free Aether Tool and Loot)
- Red Orb (Free Loot / Fire Sale Power-up)
- Gravedigger (Free Loot)
Misc. Easter Eggs
Jet Gun (Thrustodyne M23)
The Jet Gun is available from the mystery box, through the completion of S.A.M. trials, and via the following quest:
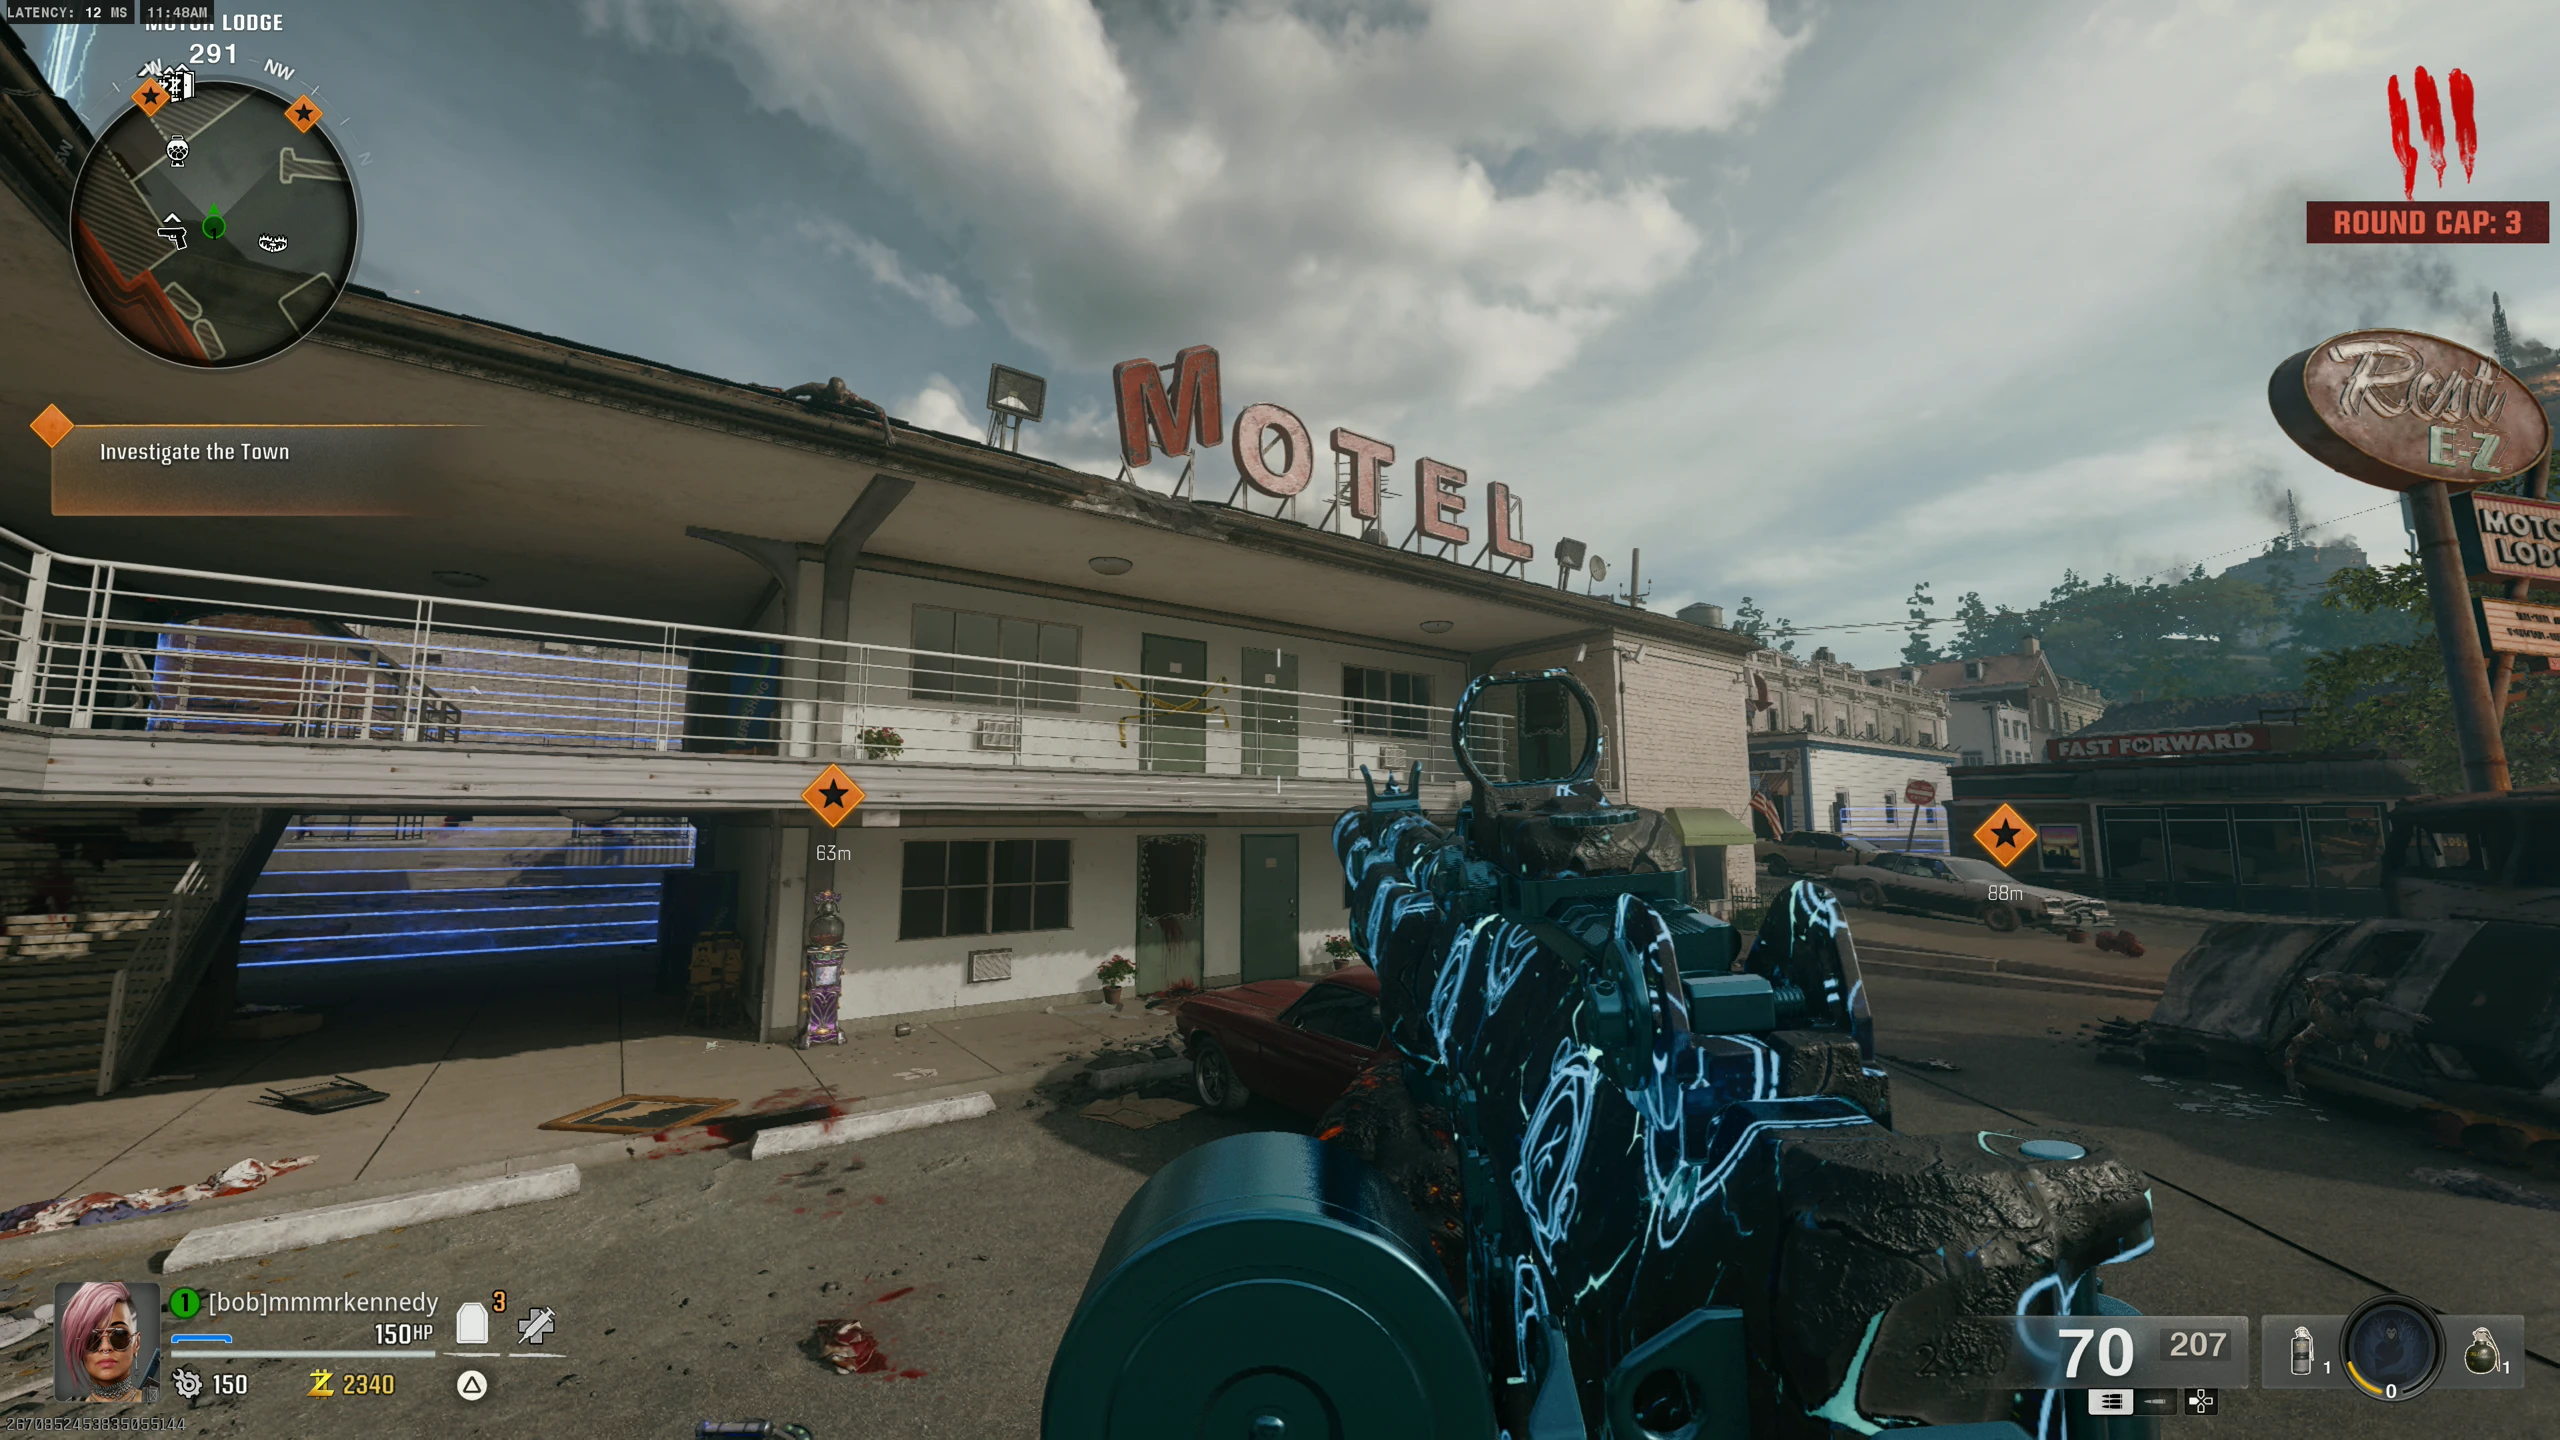
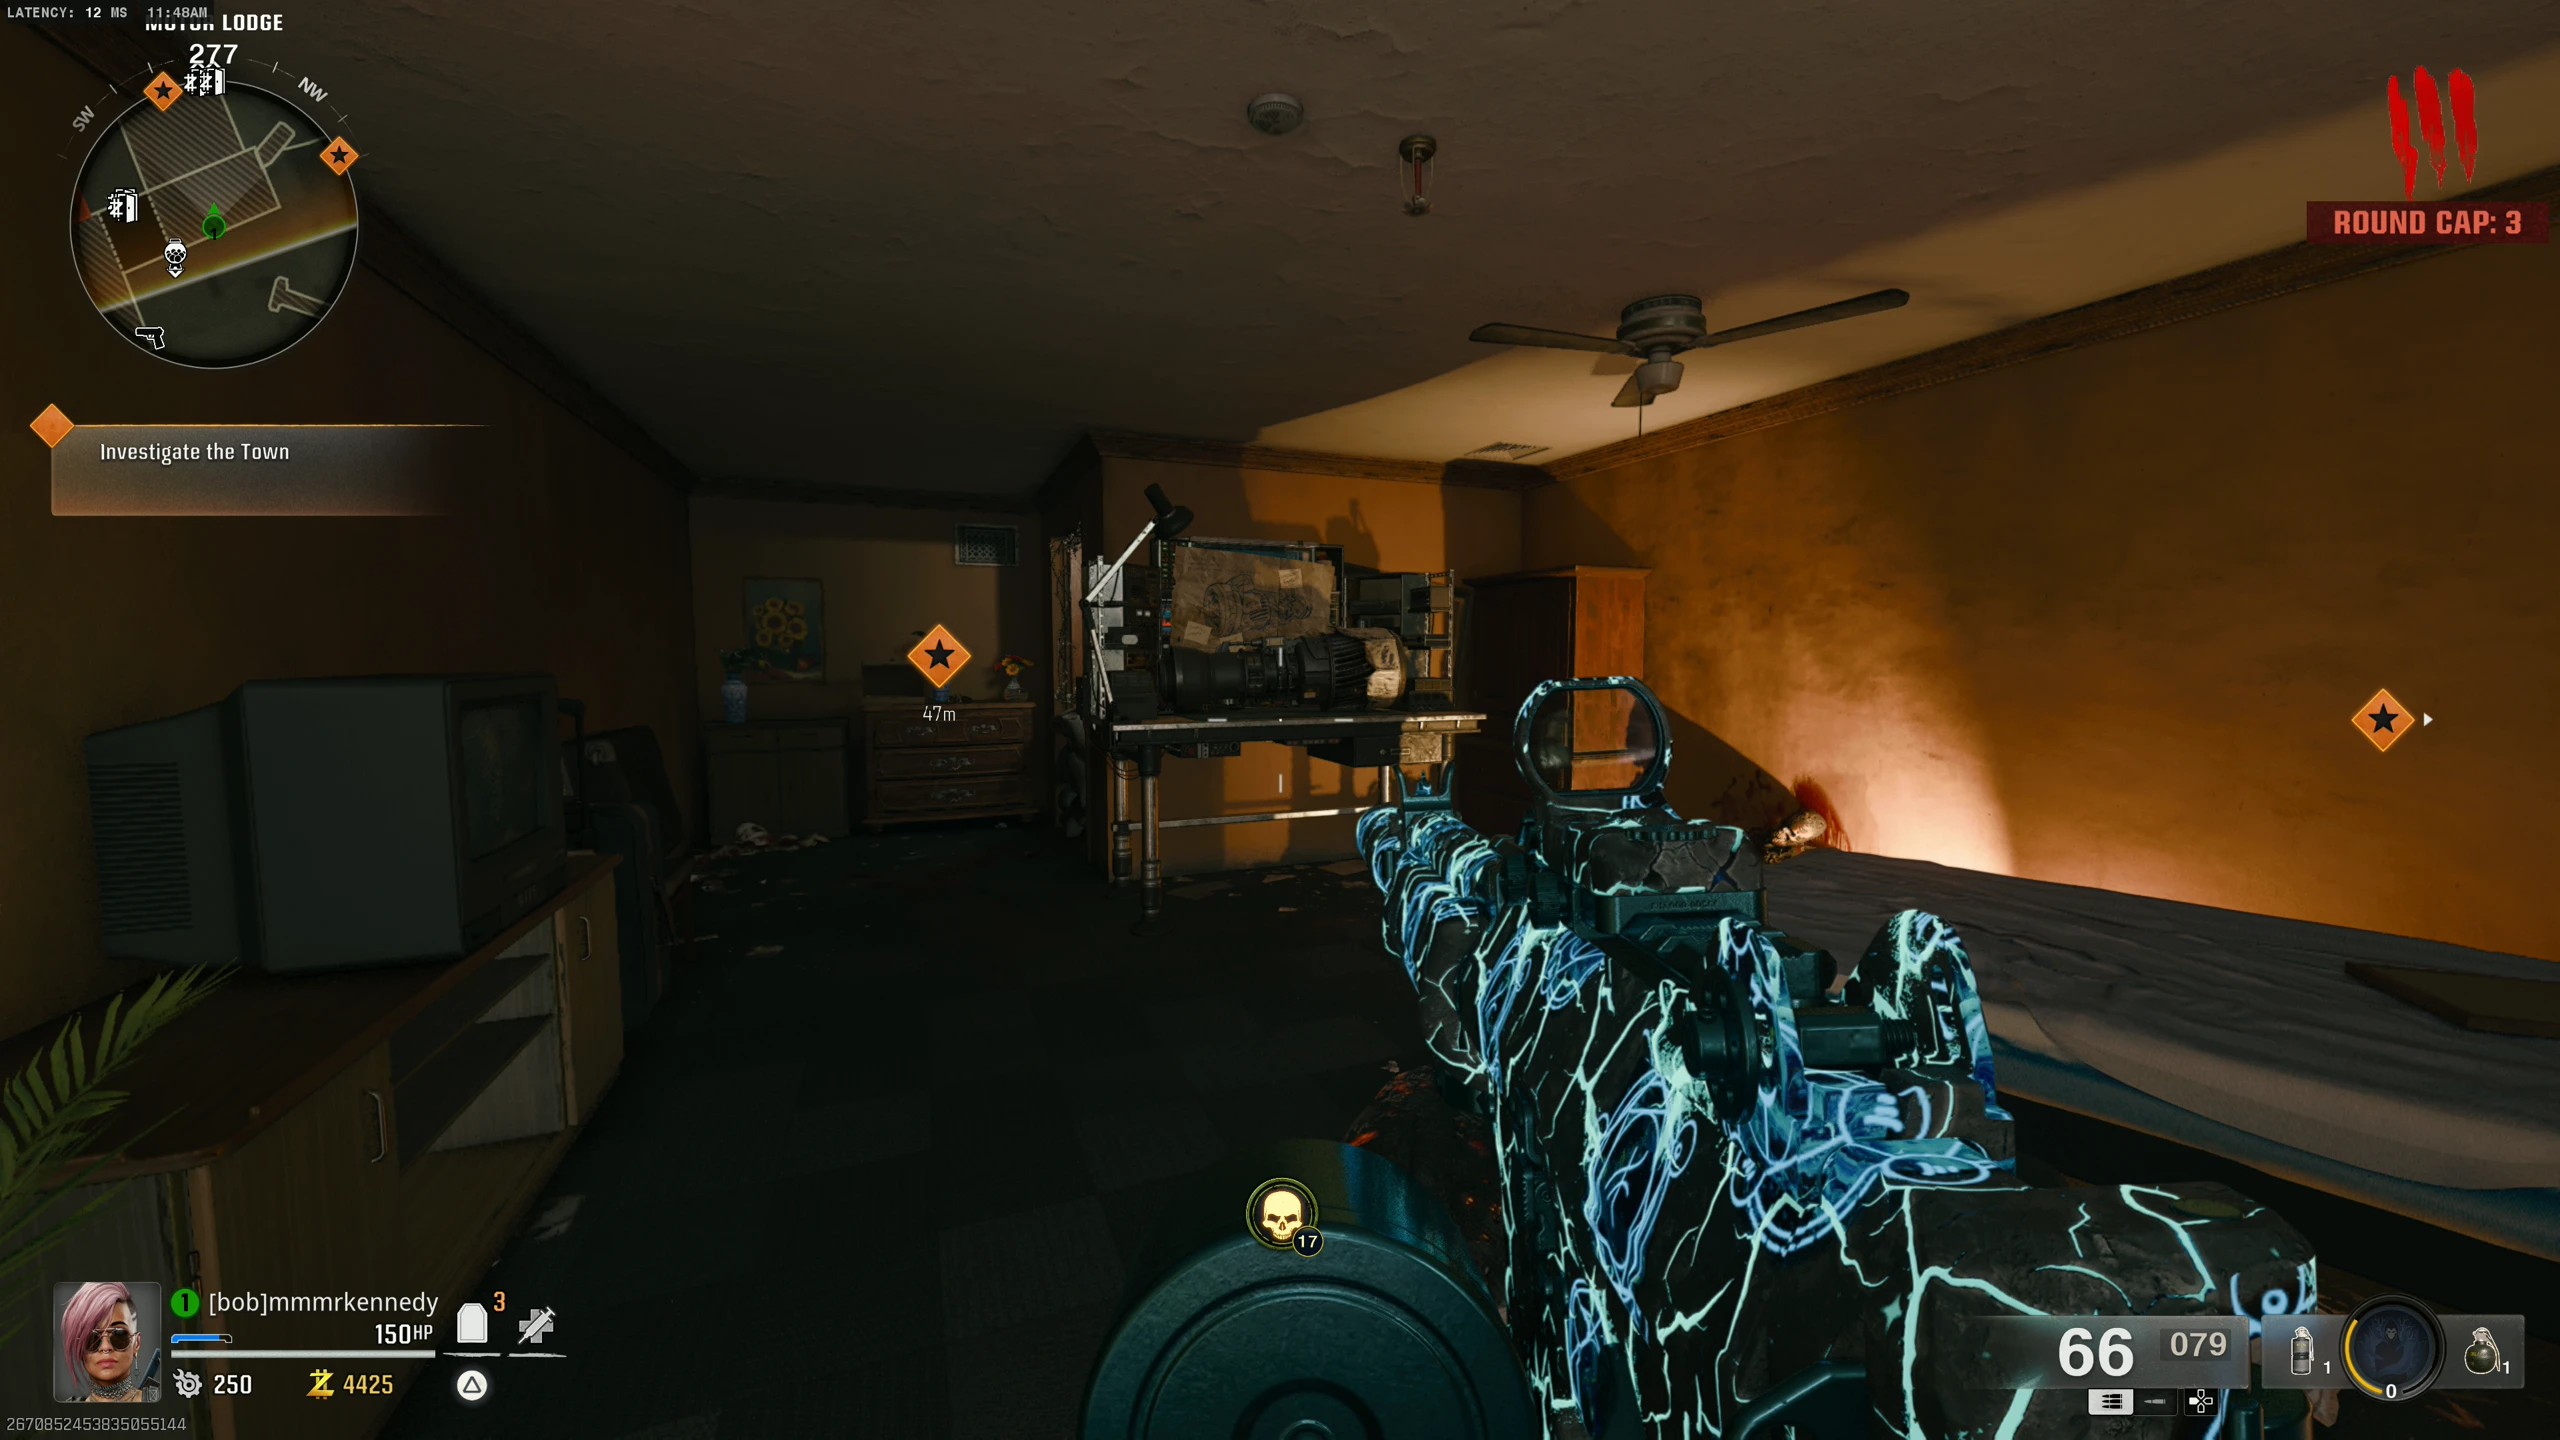
- Walk up to this door on the upper level of the Motel. It will fly open and Zombies will spill out. Inside is the workbench used to build the Jet Gun.
- The Jet Gun requires three parts: Gauge, Handbrake, and Wires:
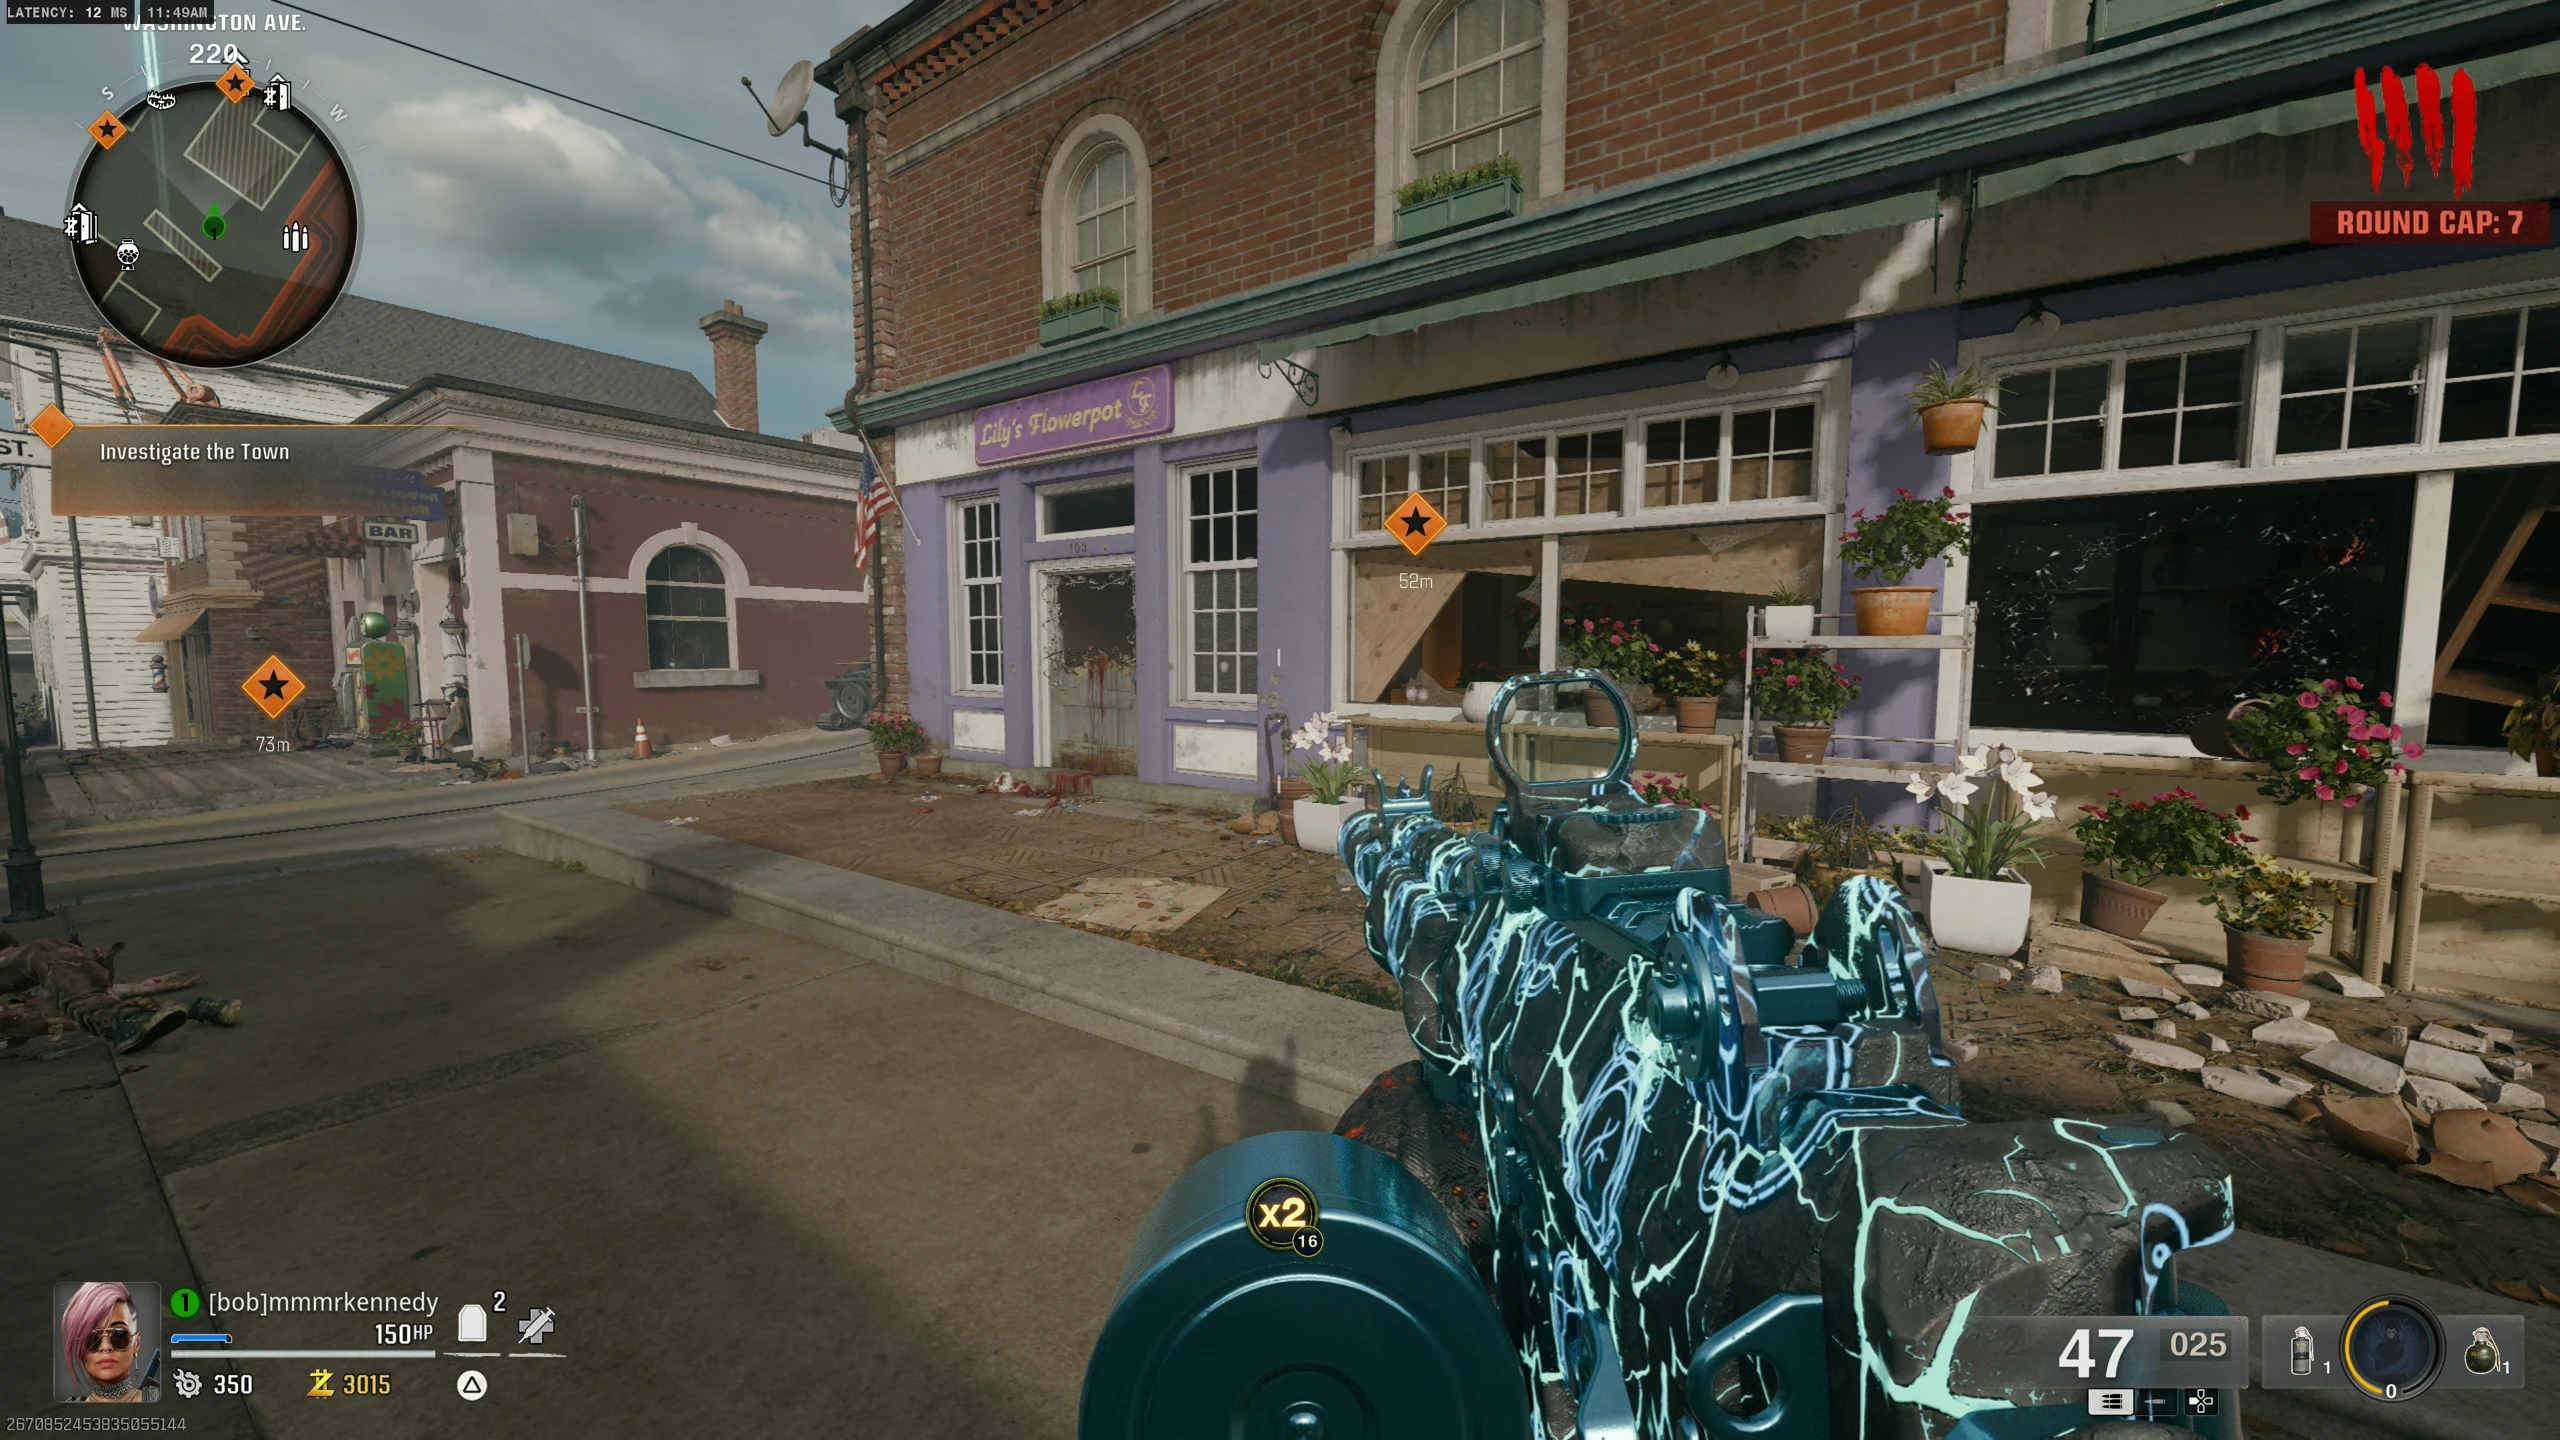
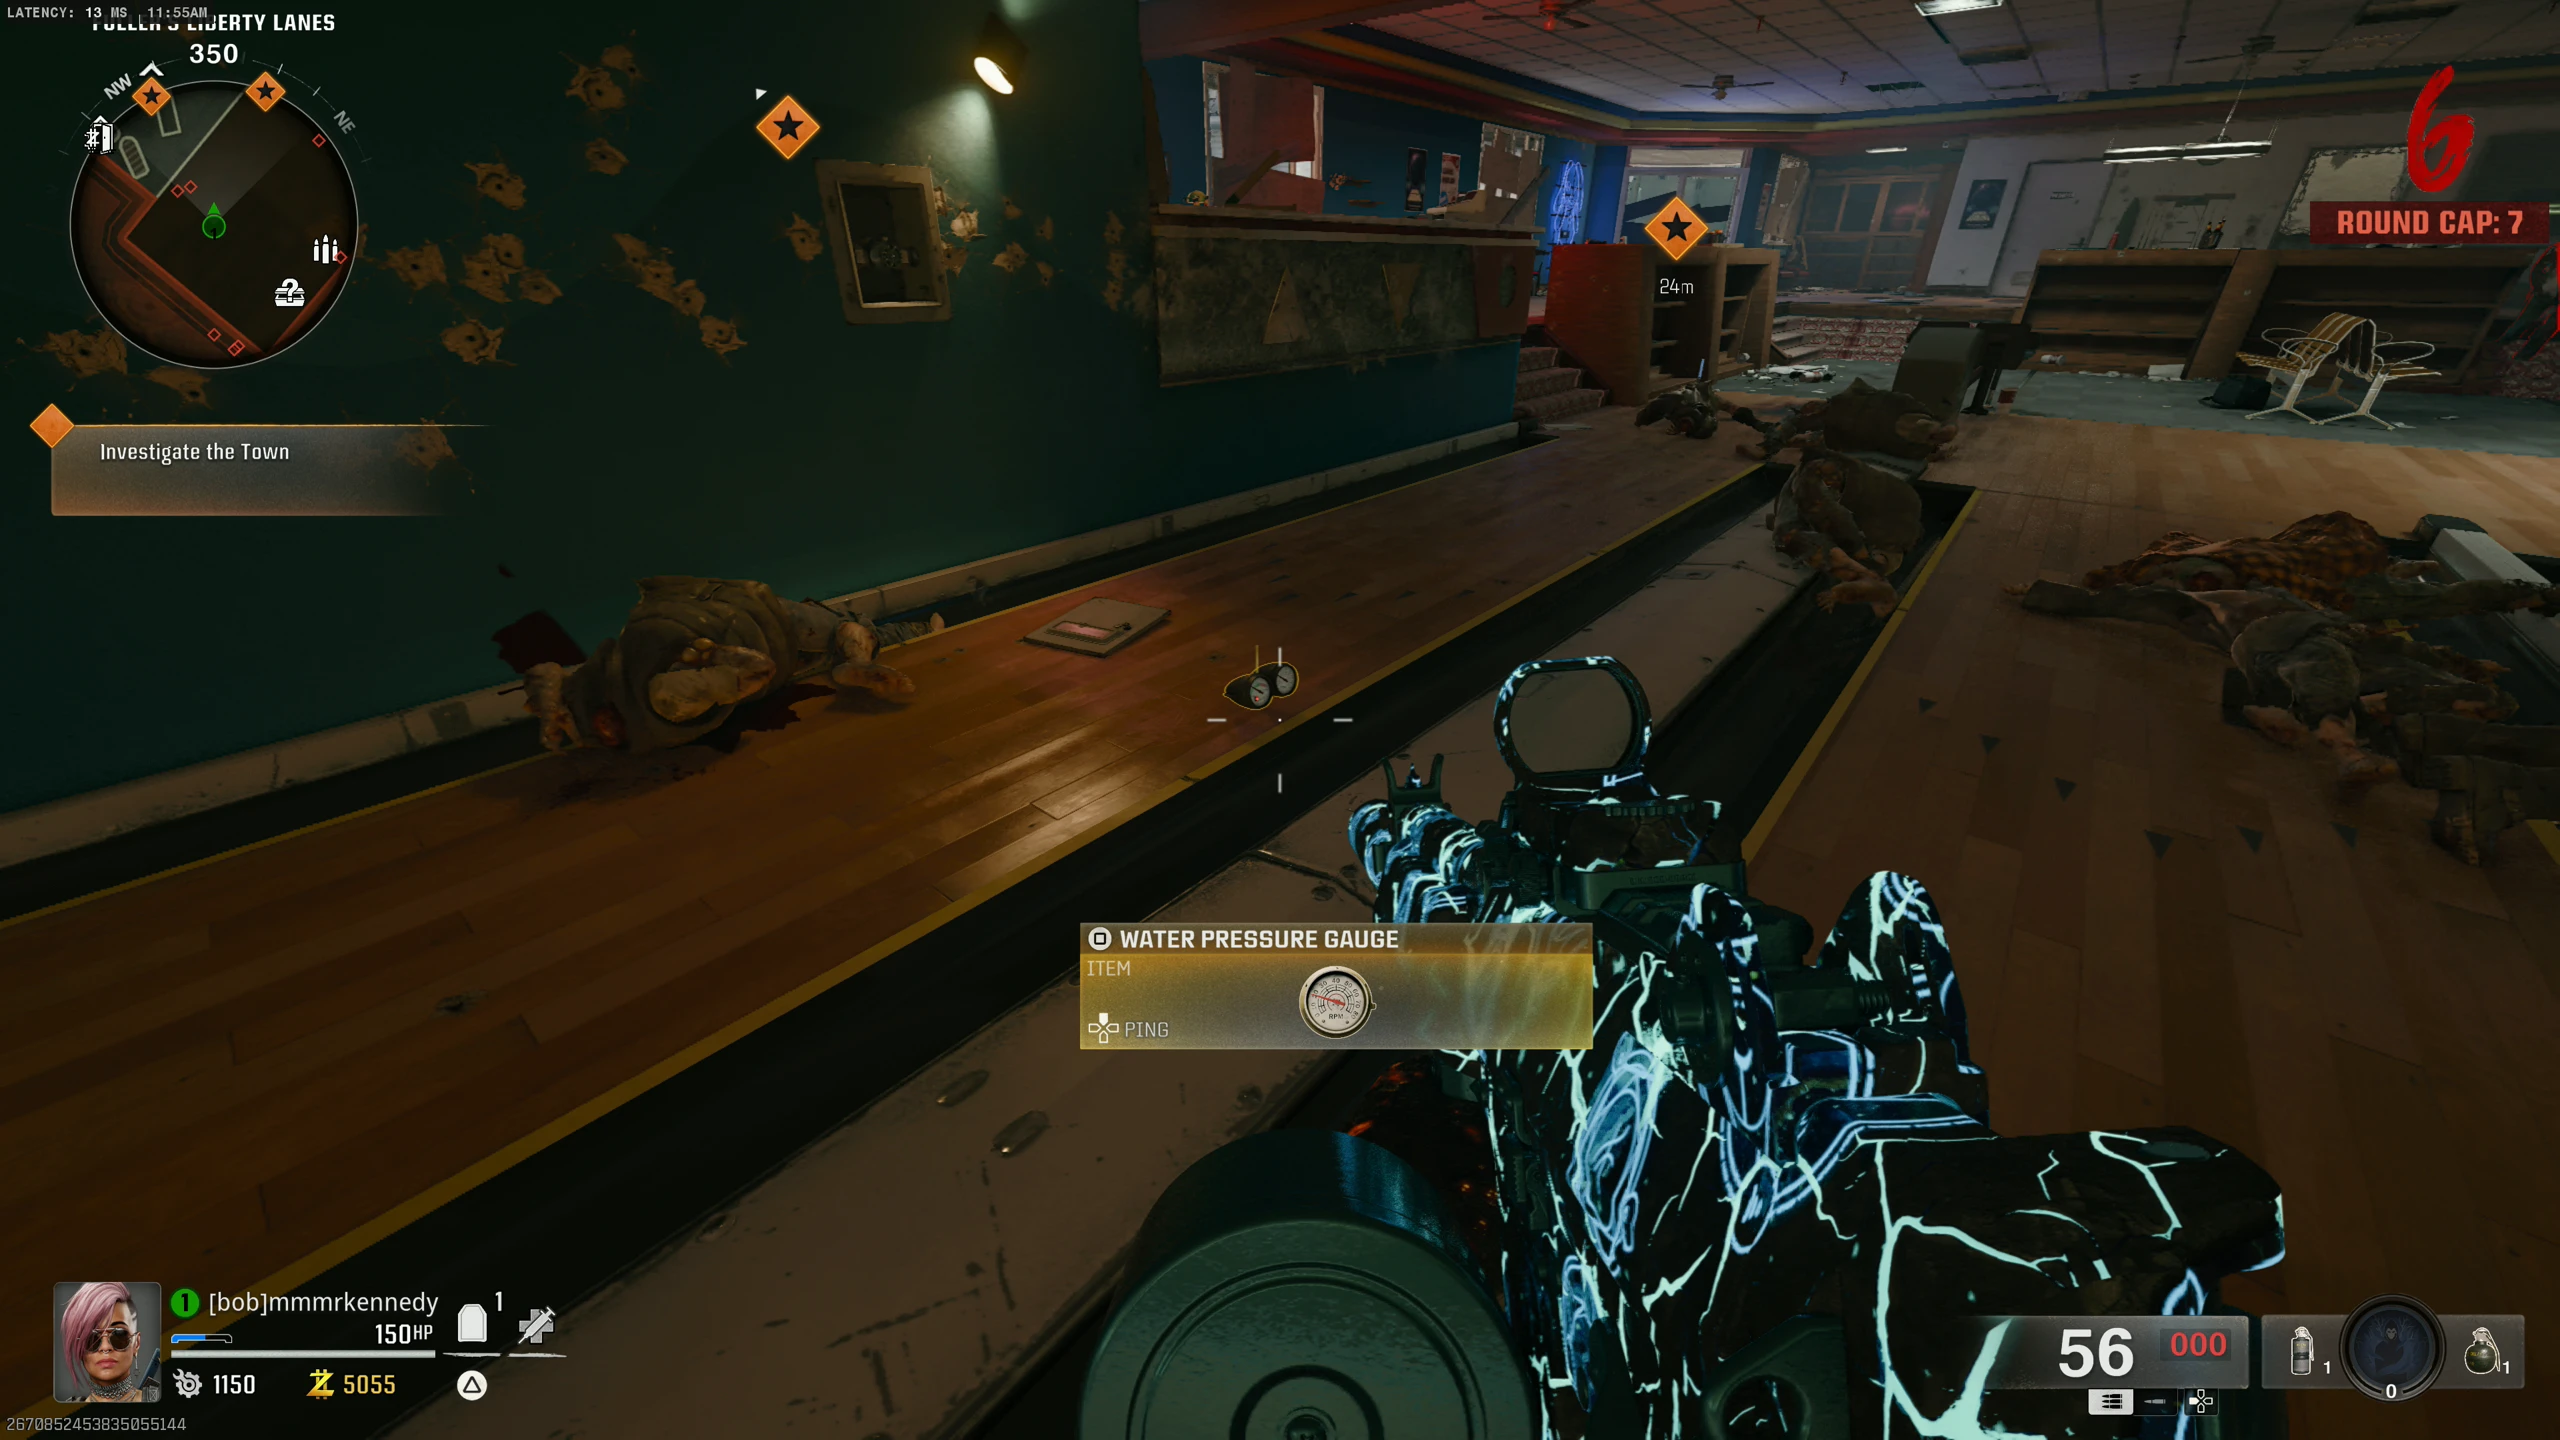
Part Steps to Obtain Gauge - Pick up the Water Valve from the pipe right of Speed Cola on 'Washington Ave.'
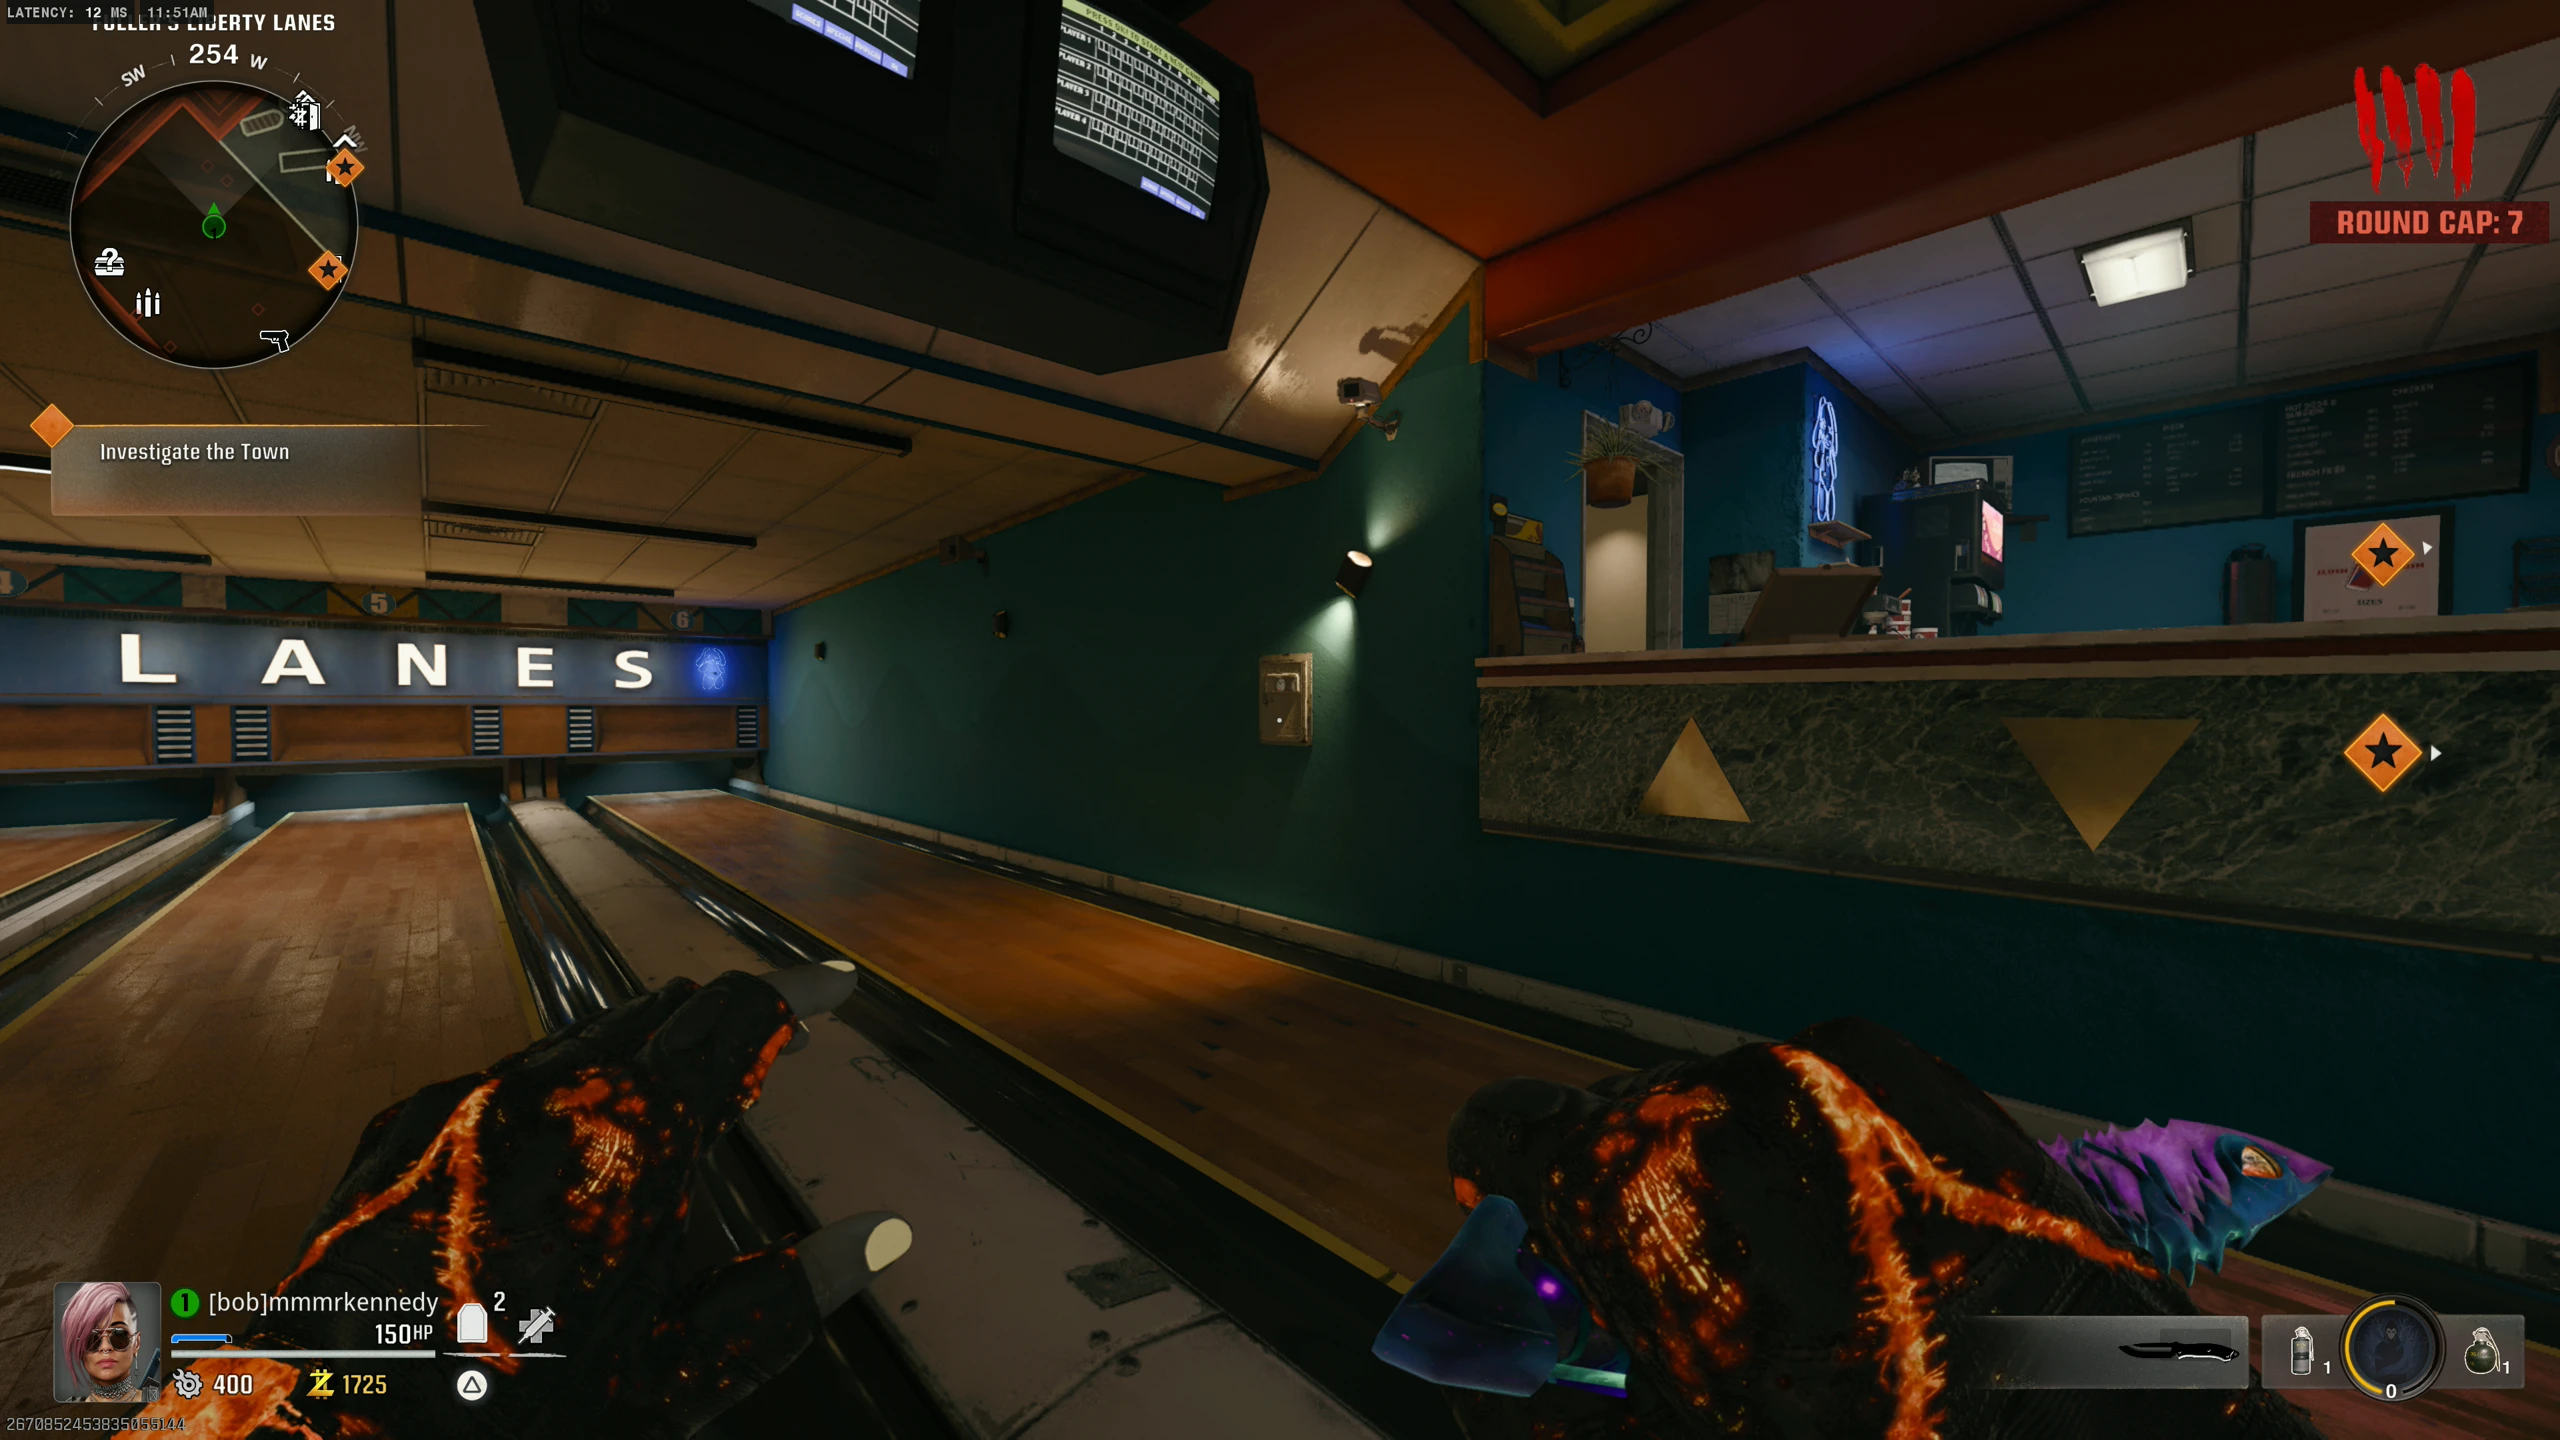
- Go to the Bowling Alley, shoot this panel off the wall, and interact to place the valve.
- Hold interact on the valve to "build pressure." Zombies will spawn; do not leave the Bowling Alley for too long or progress resets.
- Once finished, pick up the gauge from the floor.
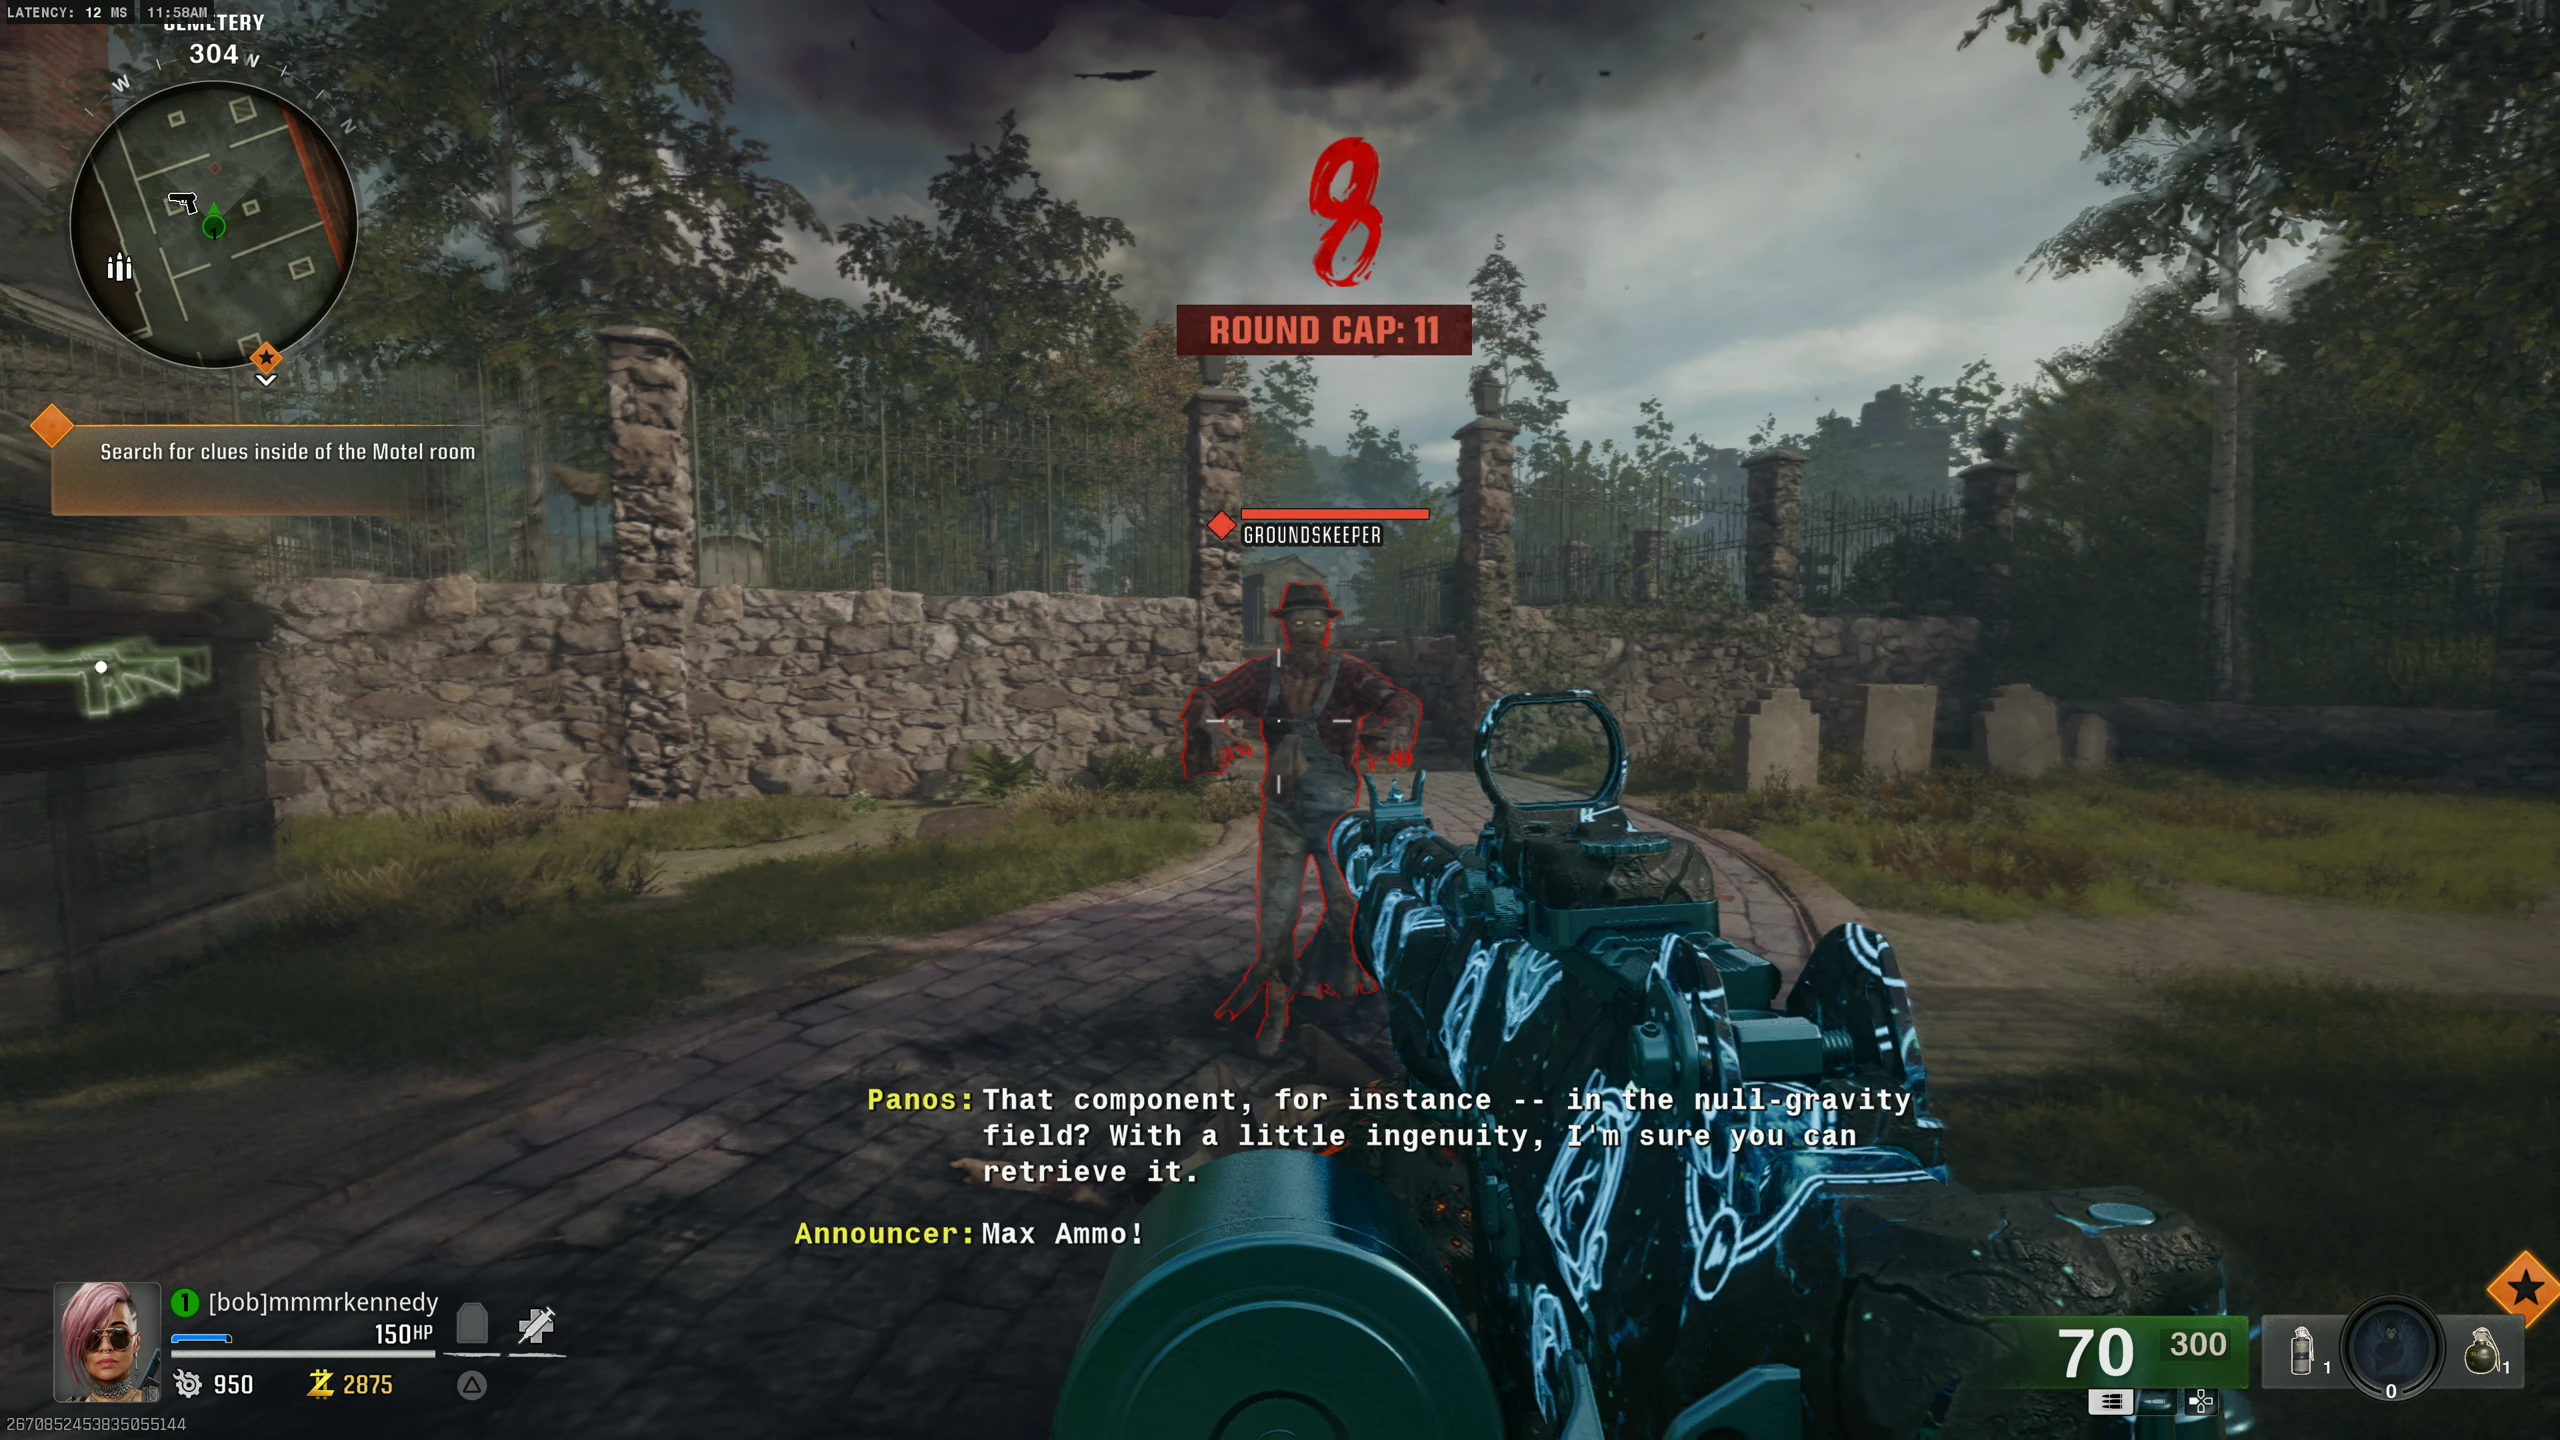
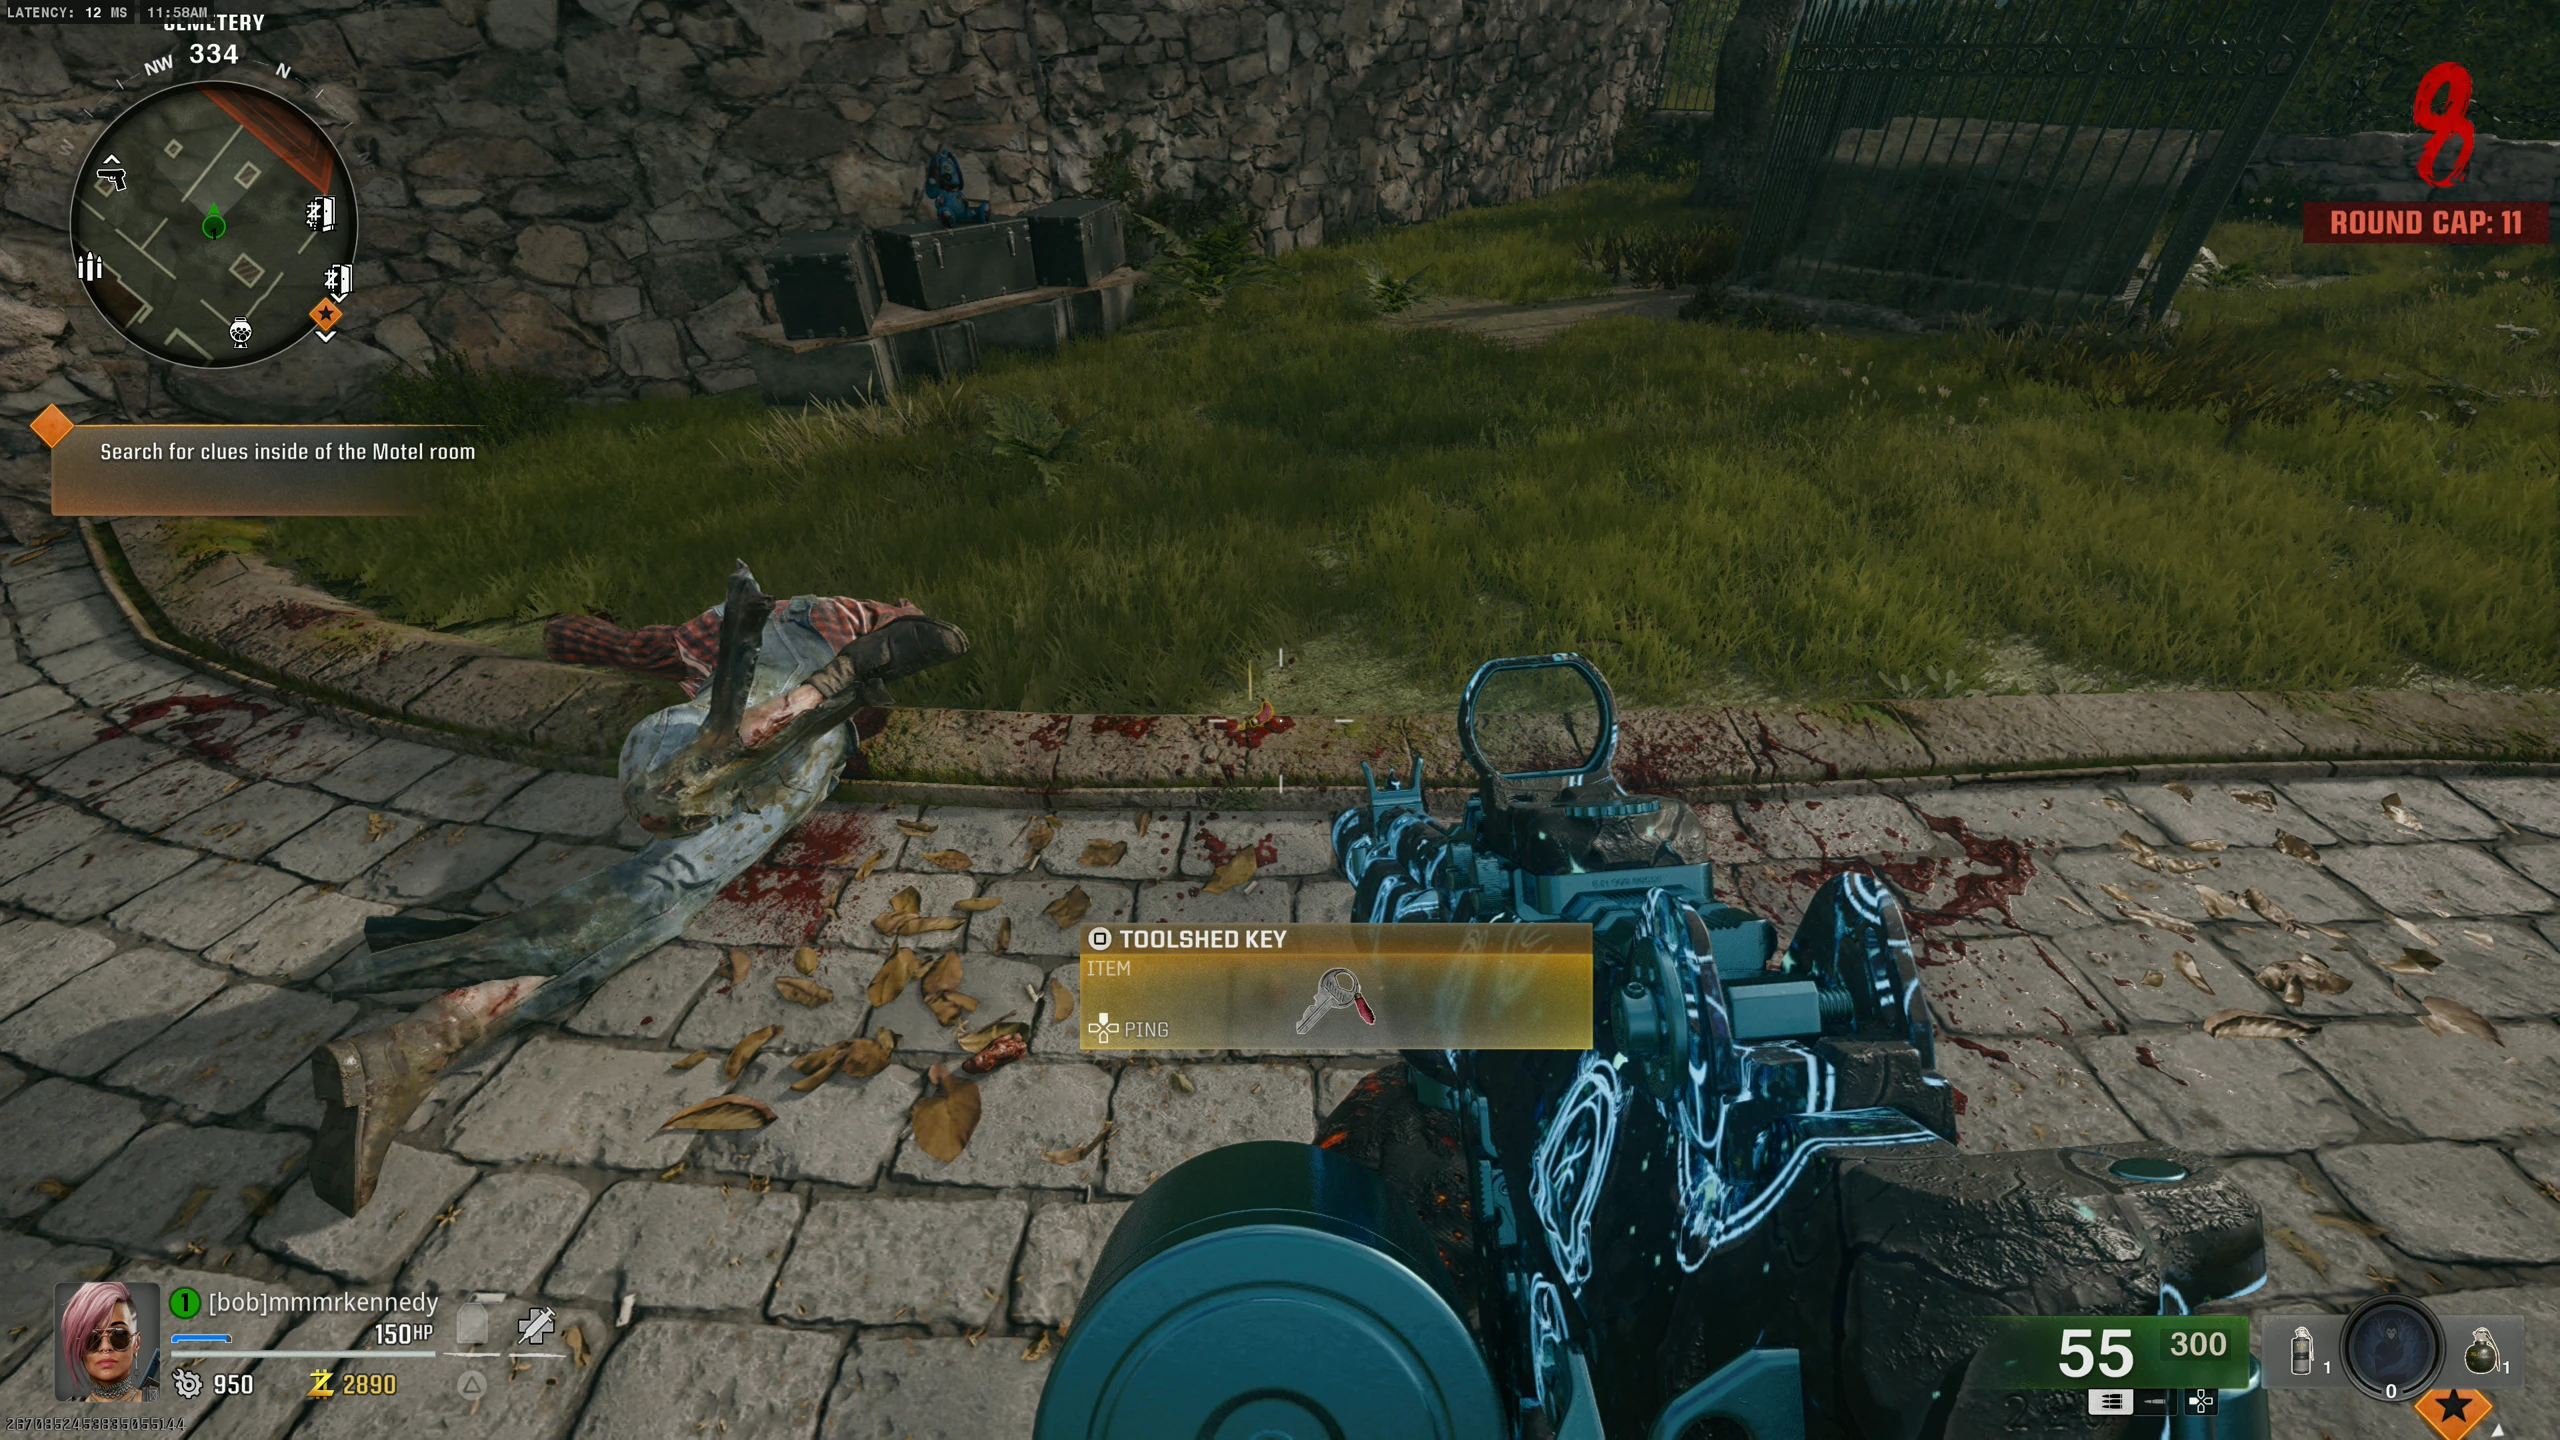
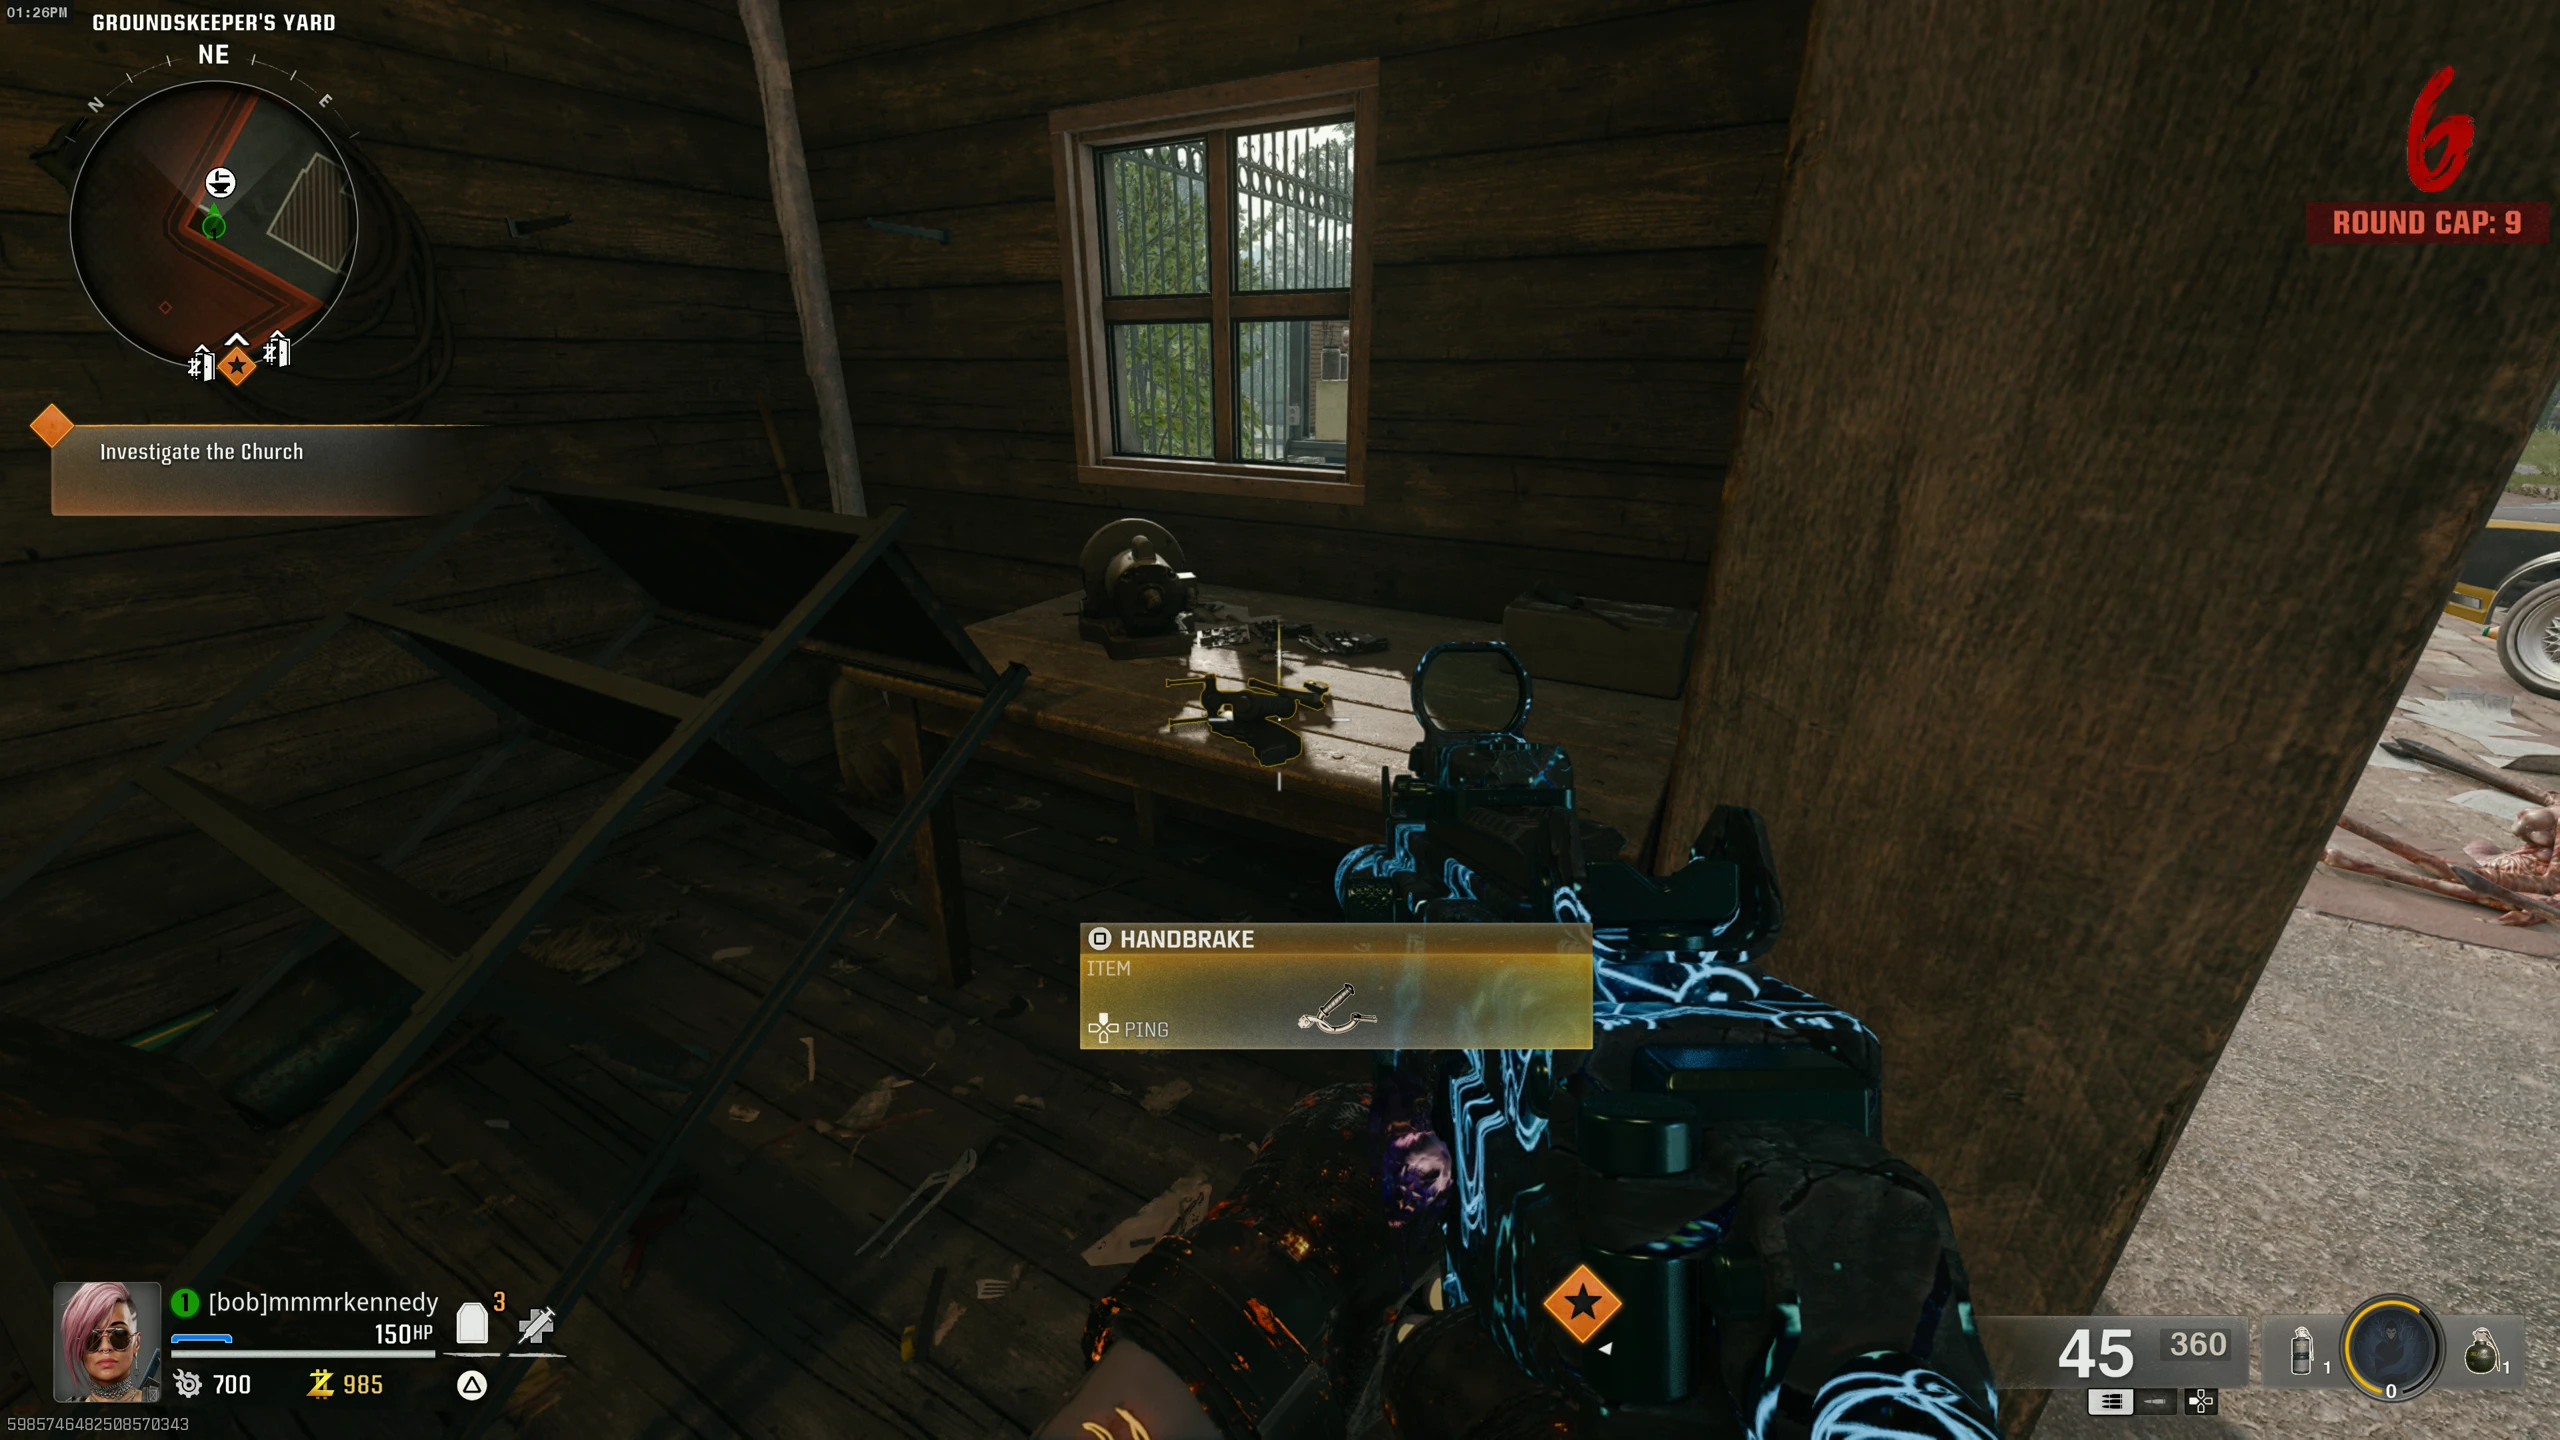
Handbrake - Kill the "Groundskeeper" zombie in the Cemetery to get the Toolshed Key. (He's non-aggressive and spawns randomly over a few rounds.)
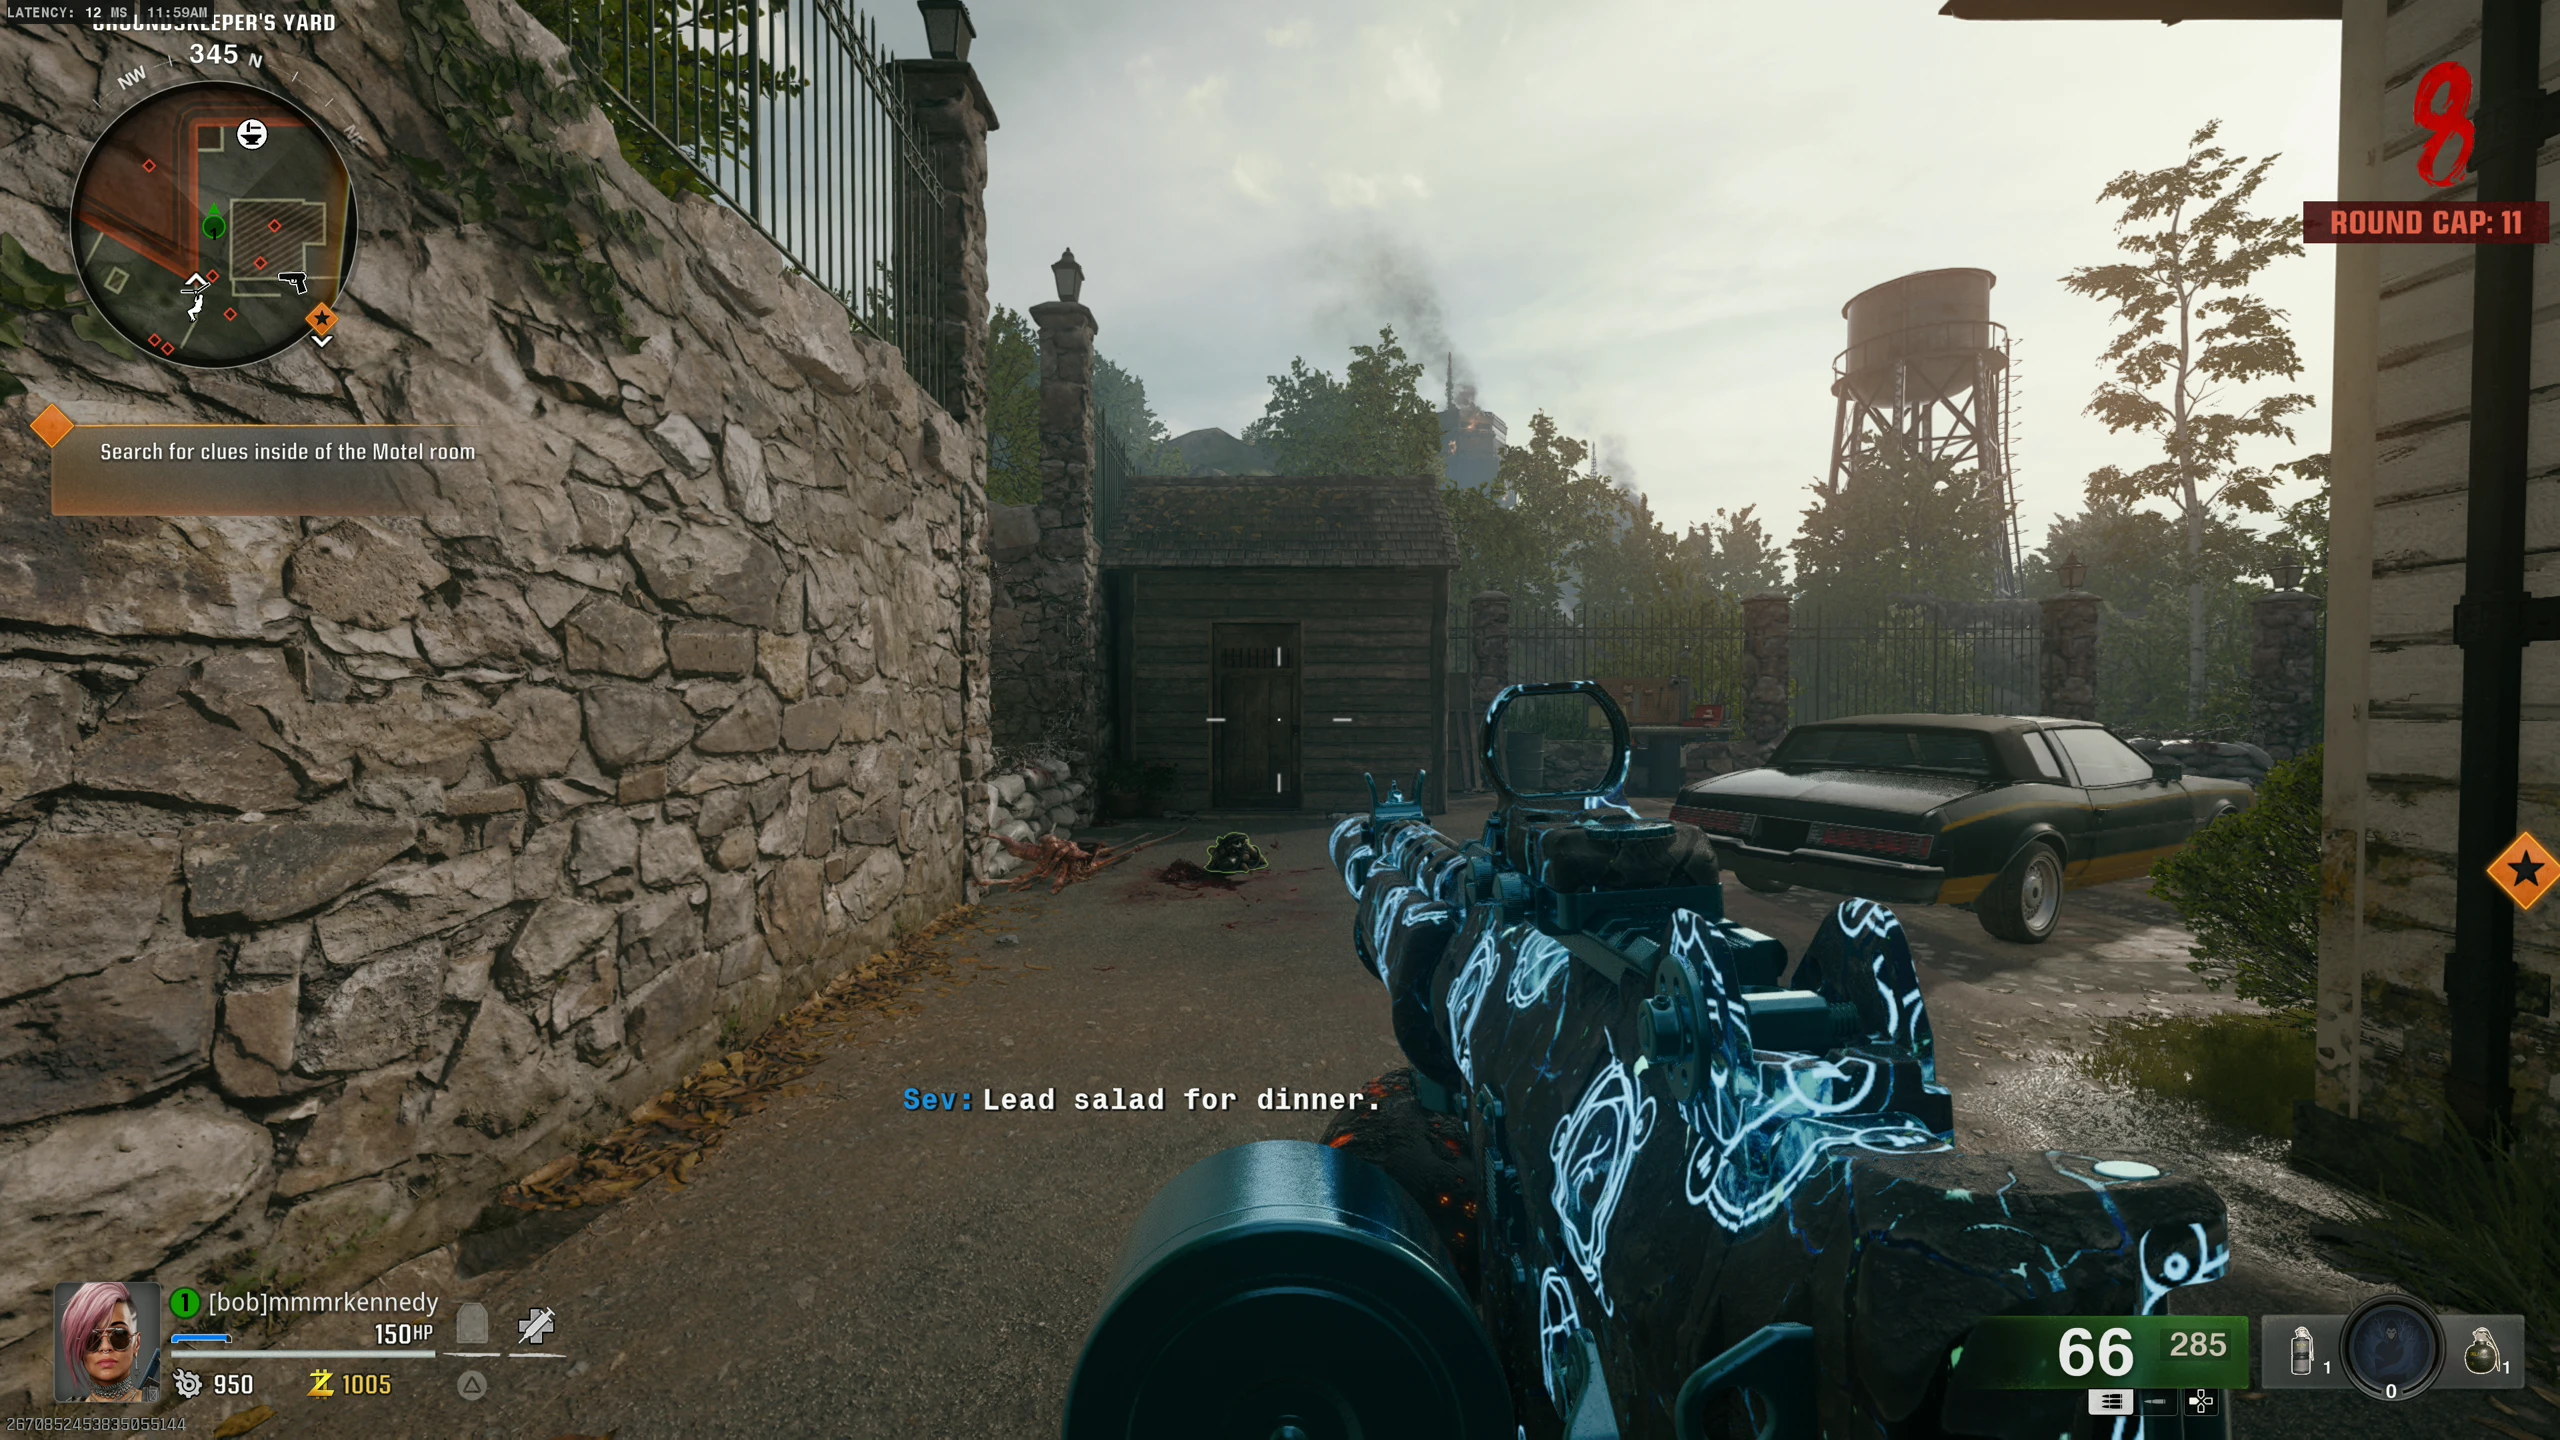
- Go to the Groundskeeper's Yard and interact with the shed door.
- Pick up the Handbrake from the table inside.
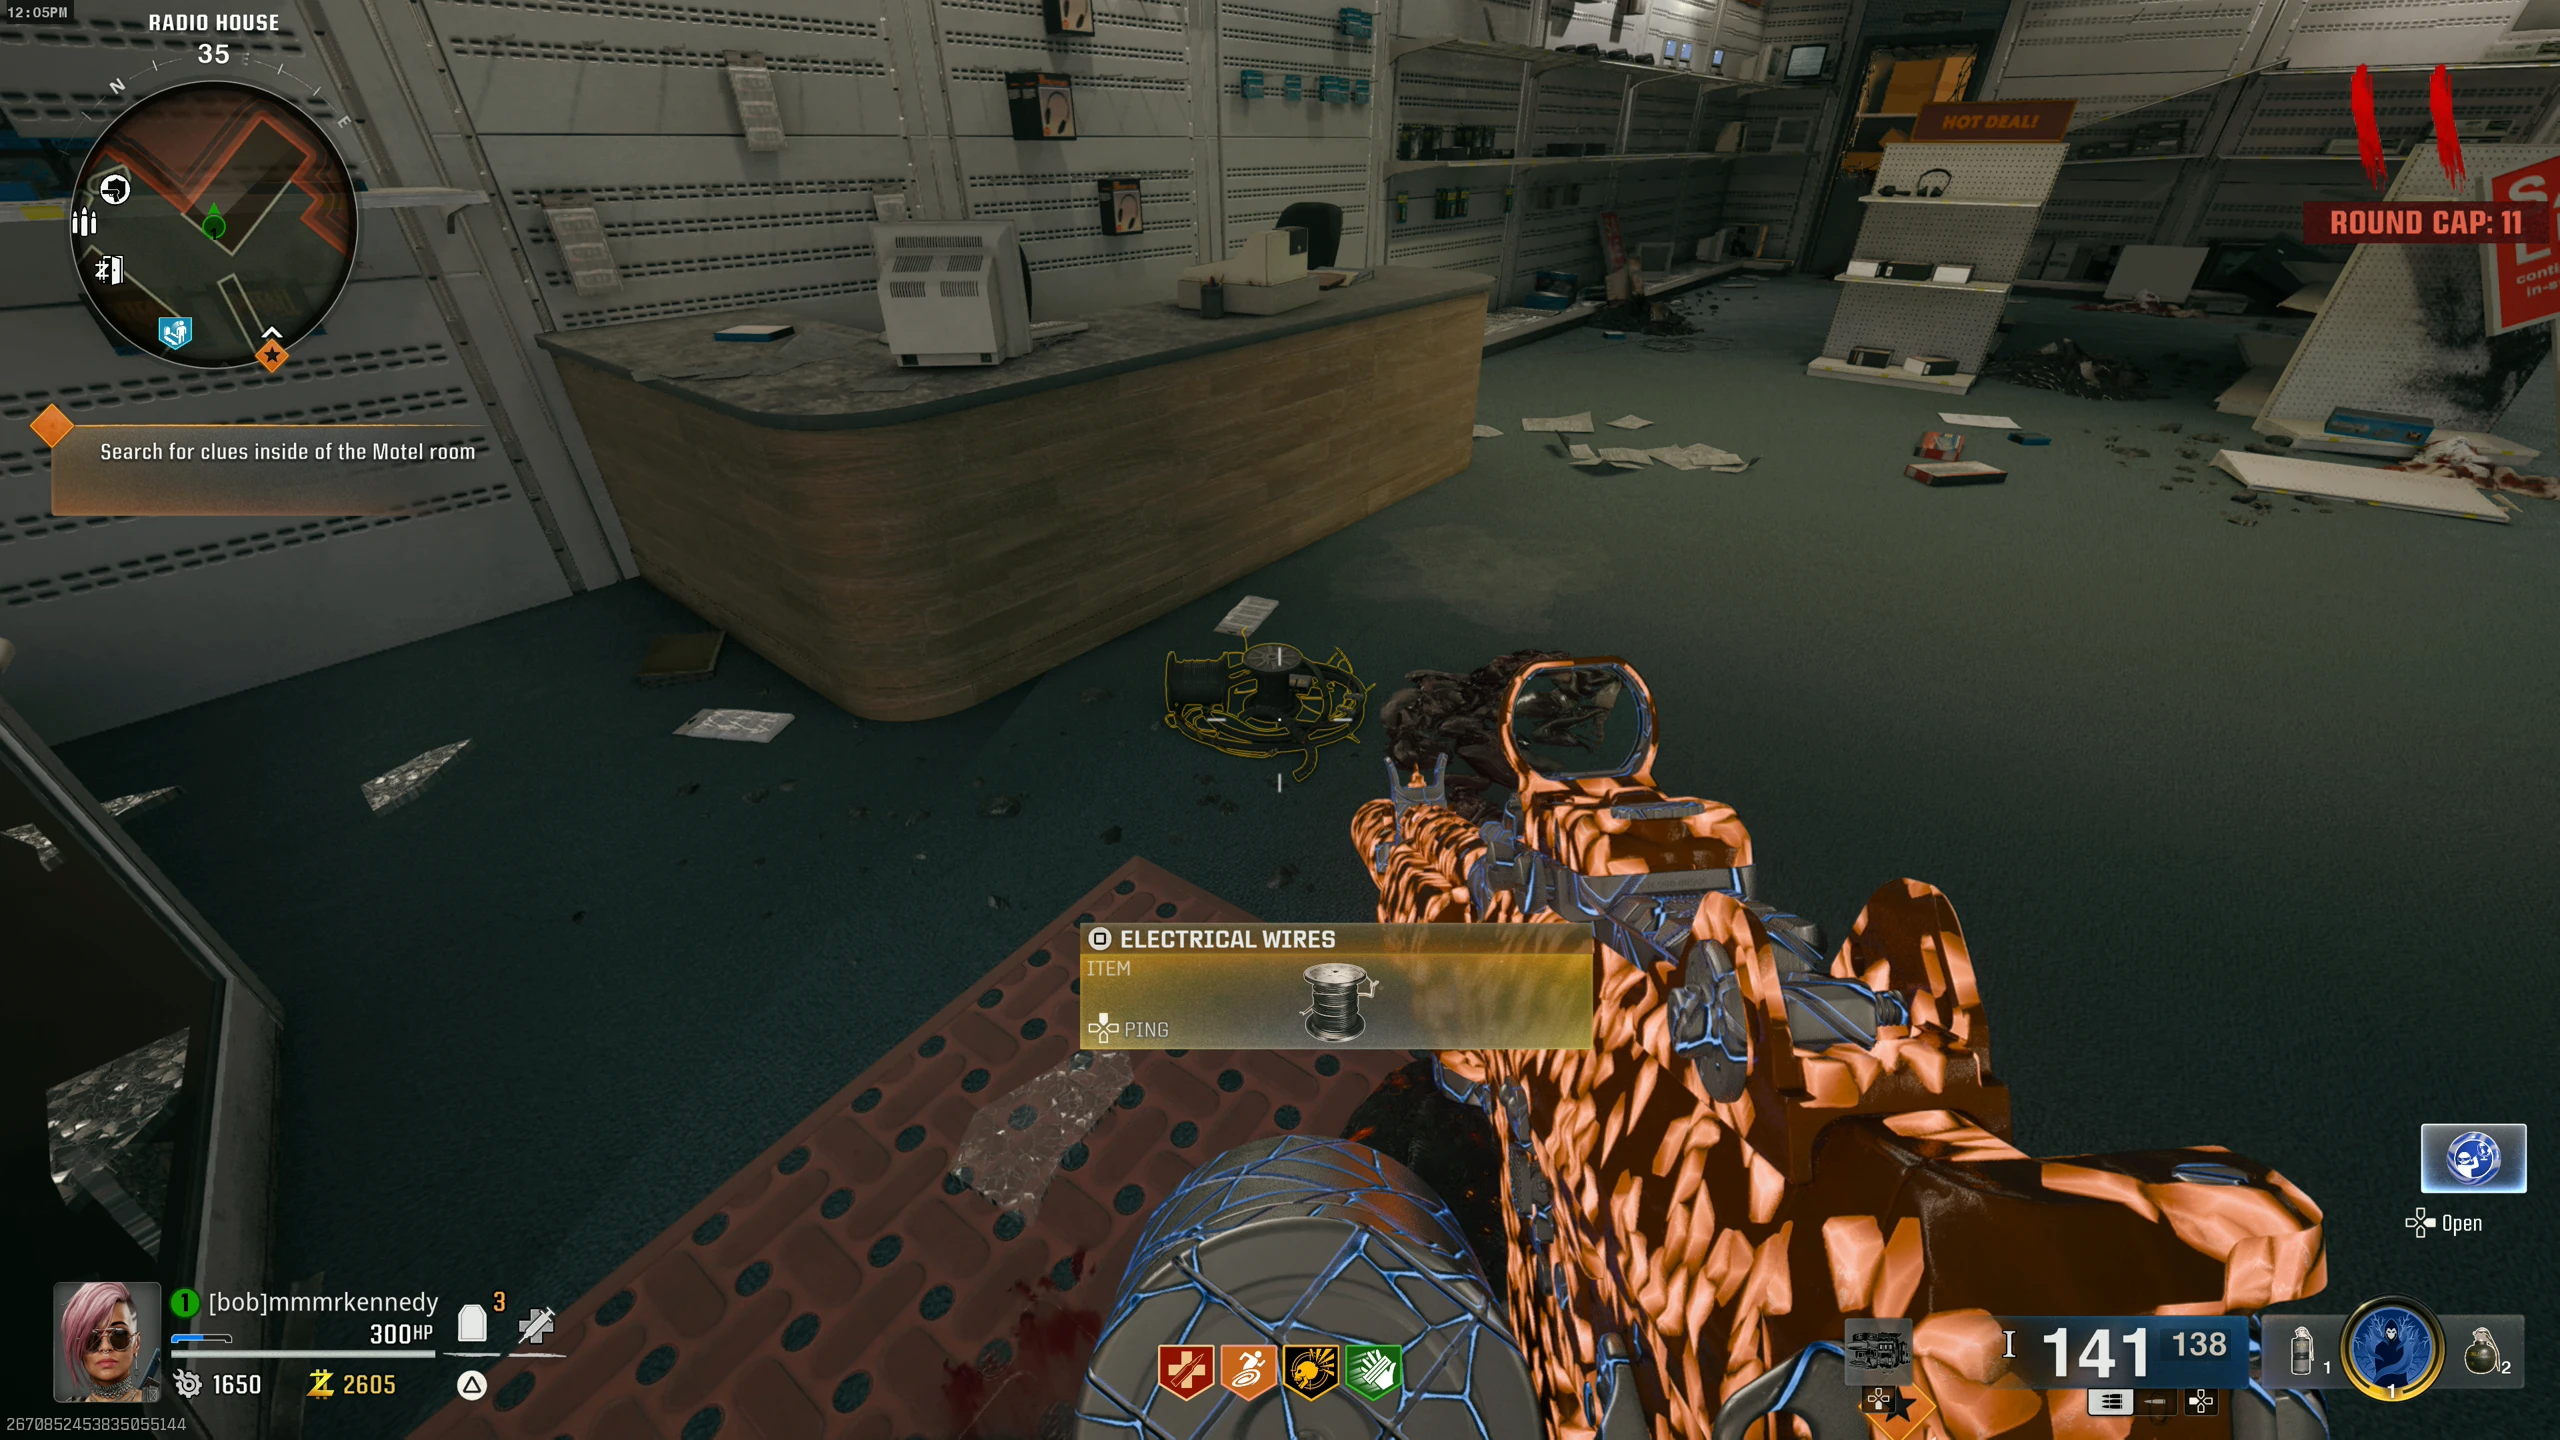
Wires - Obtain a Mangler Cannon (shoot a Mangler's arm cannon to make it drop).
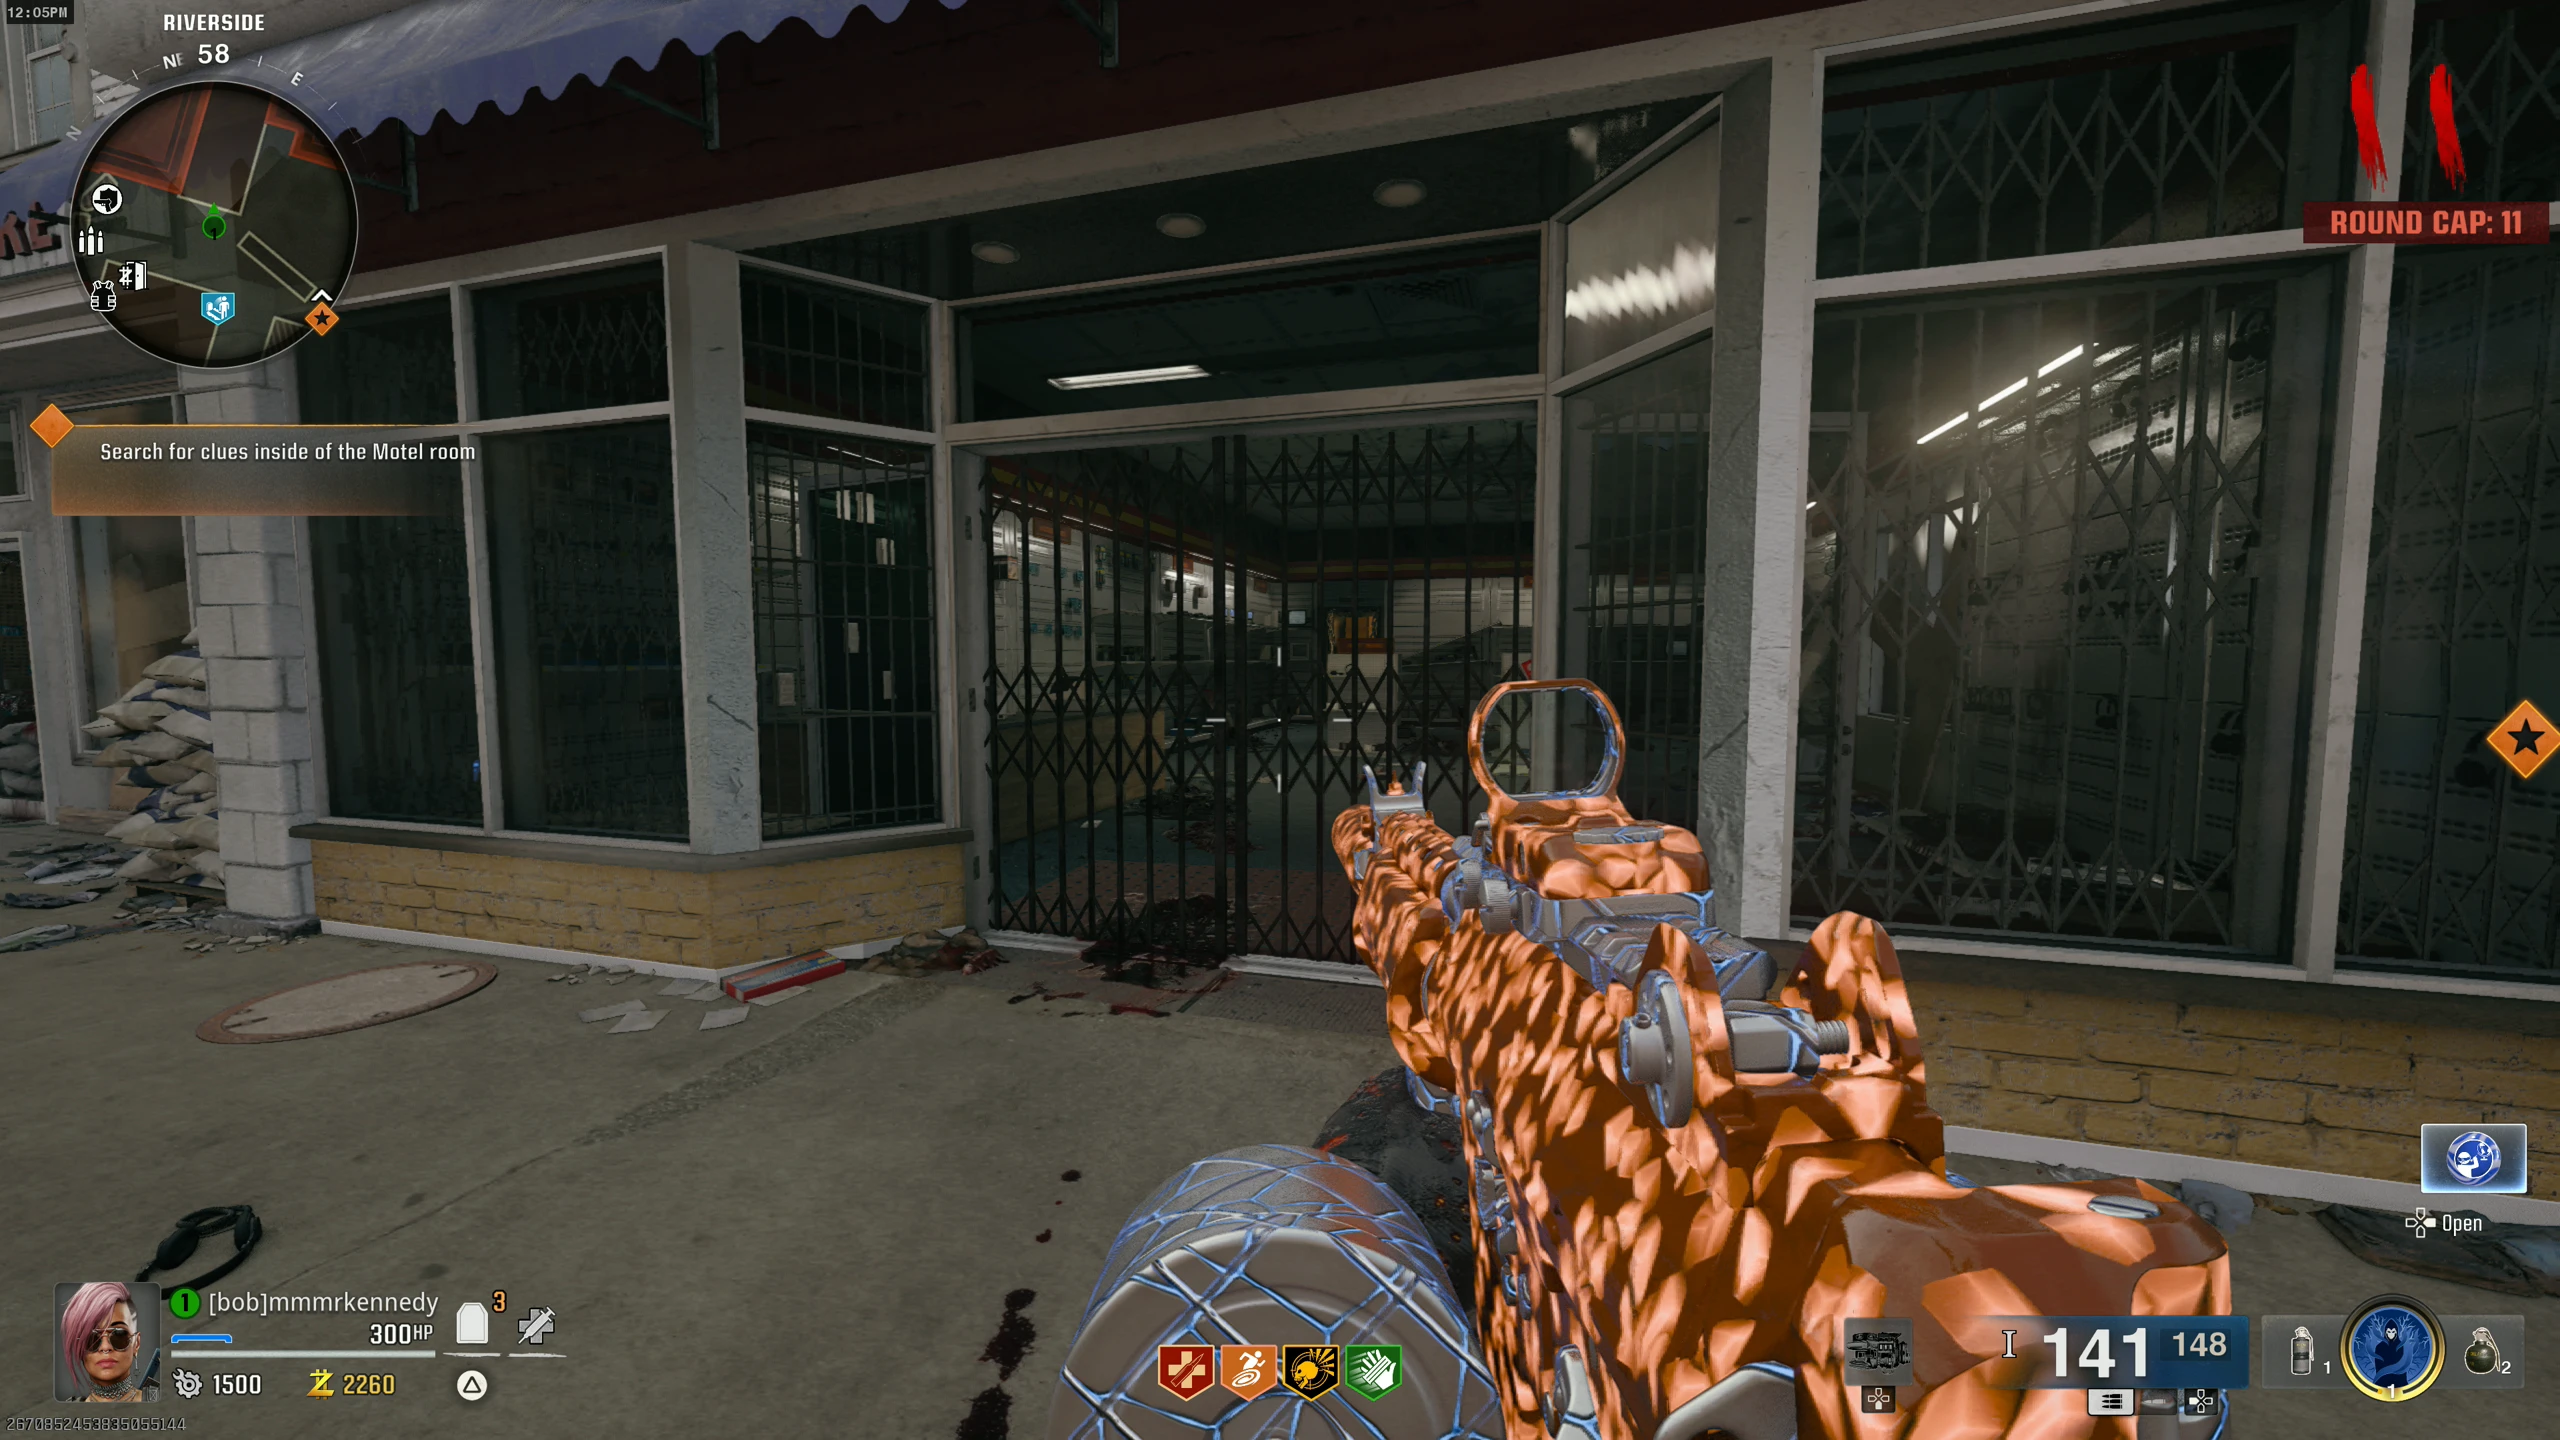
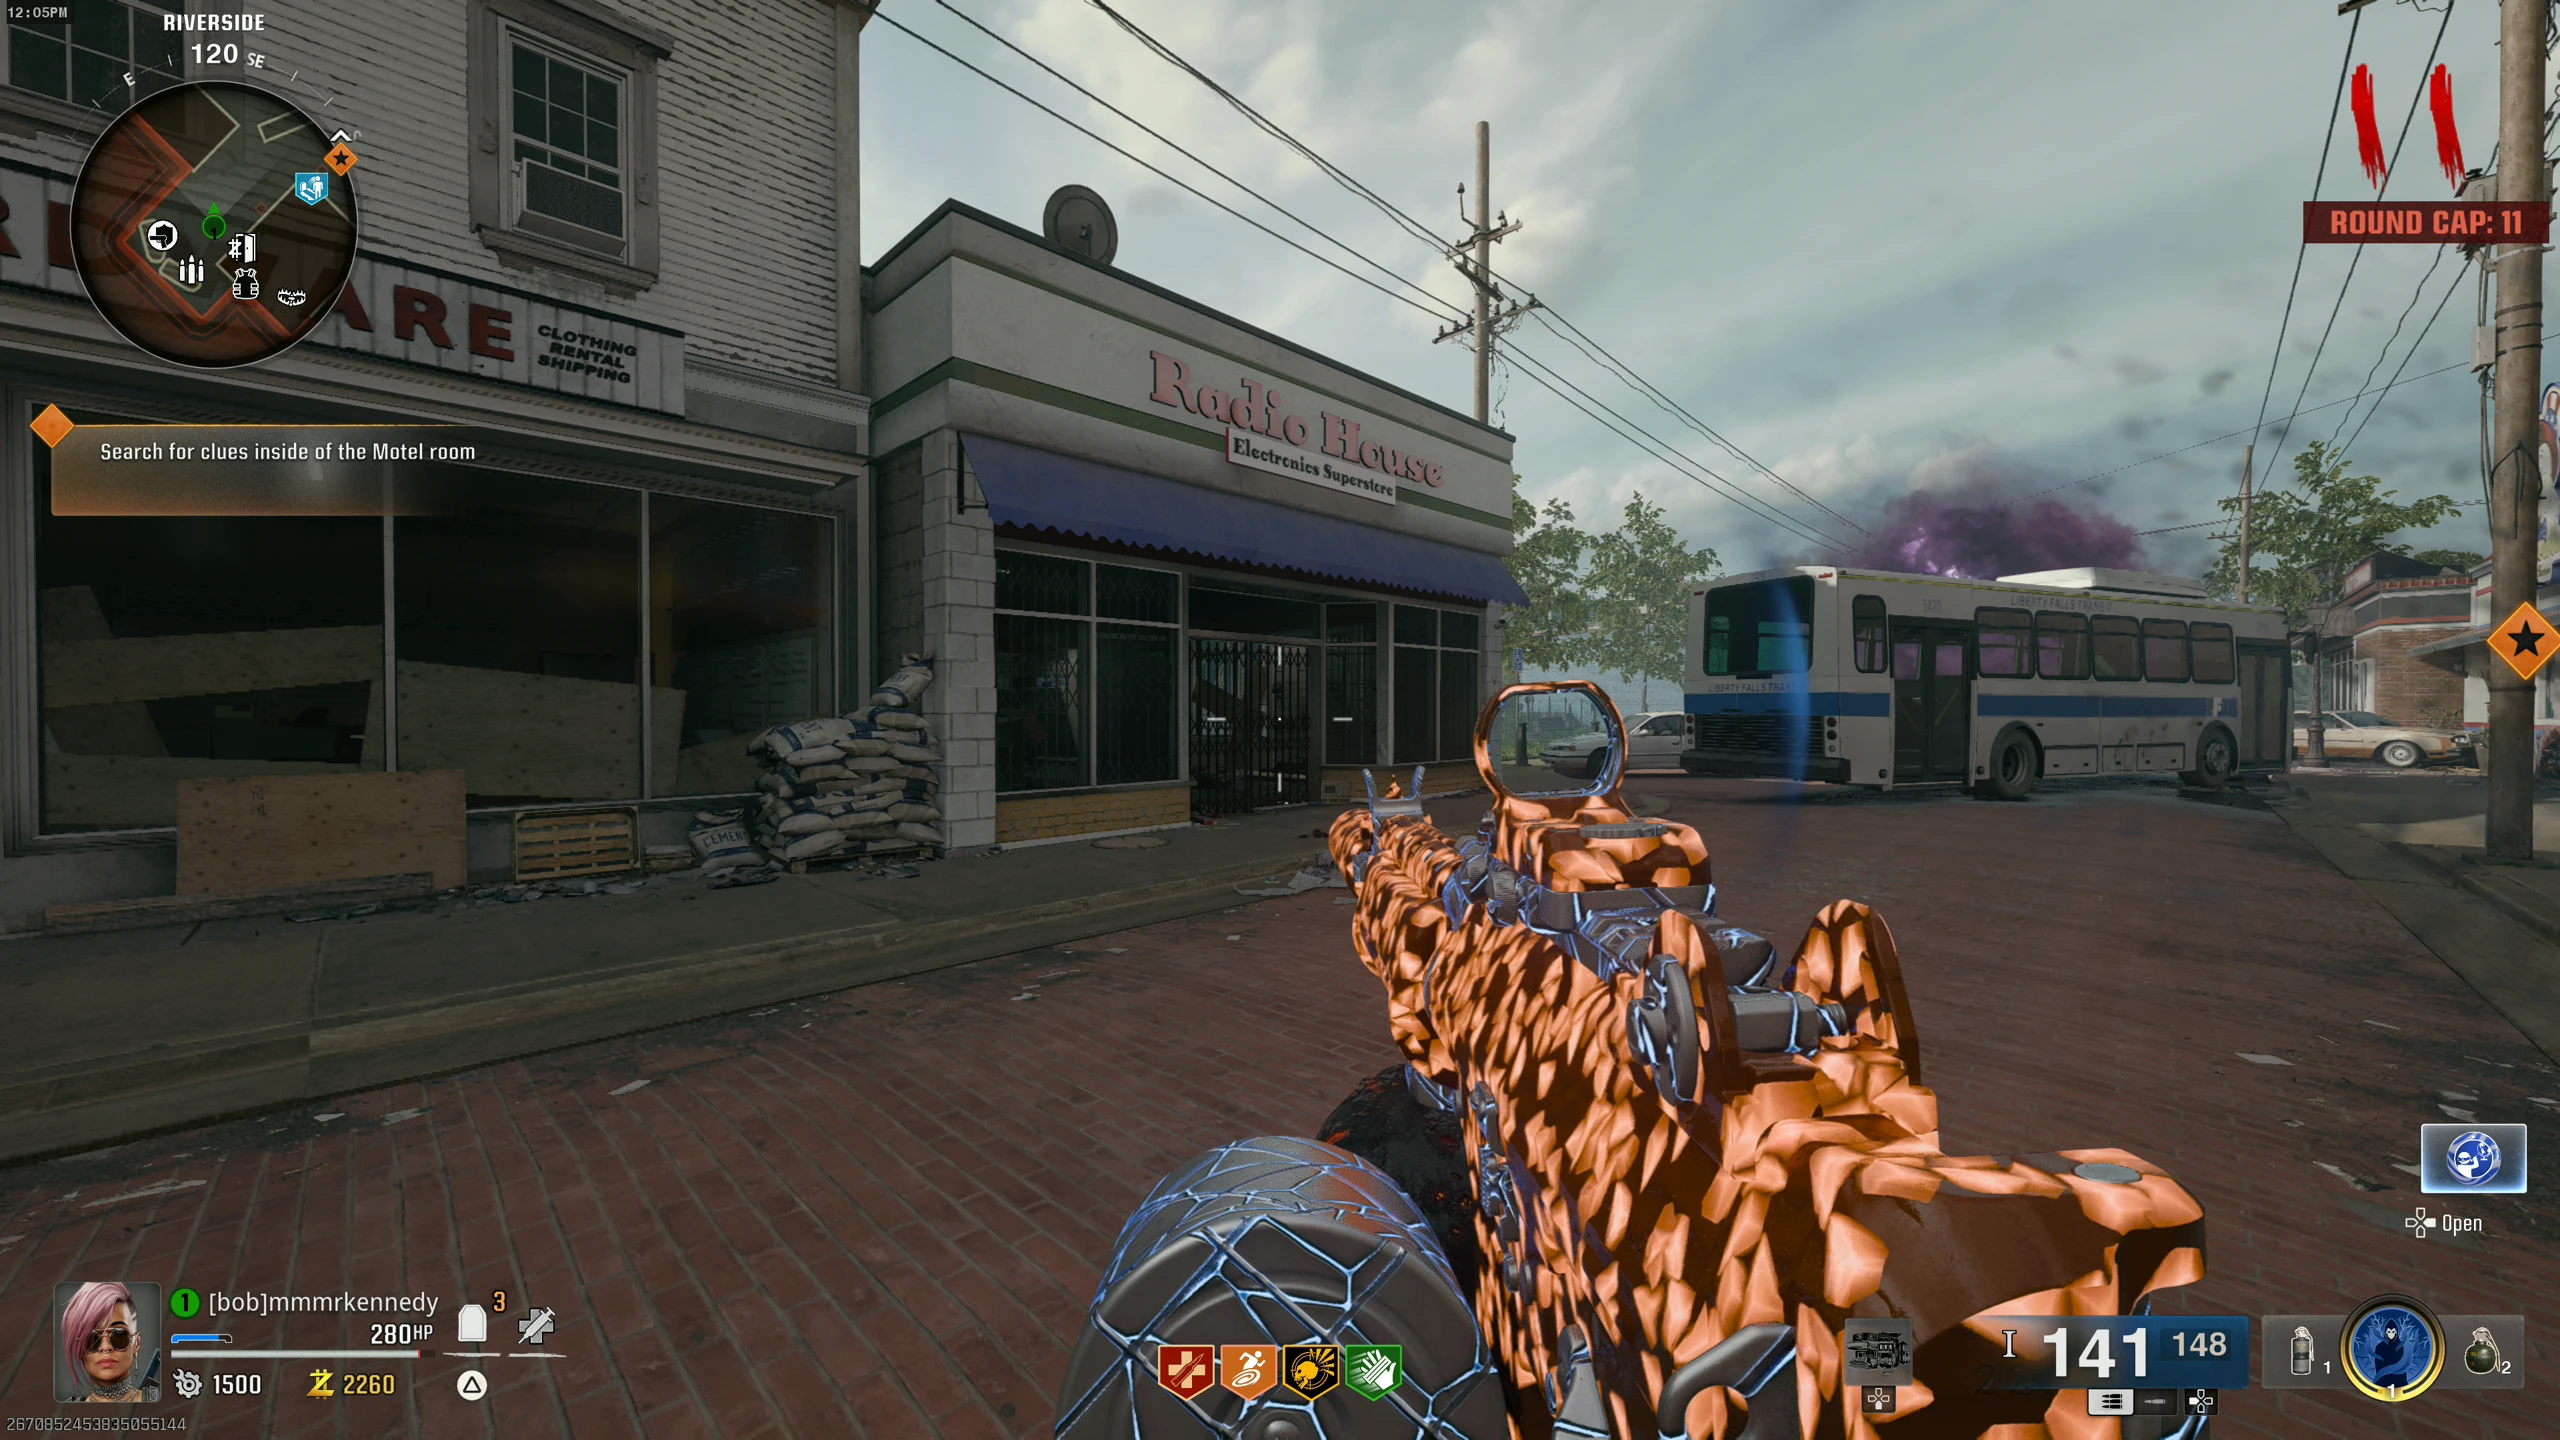
- Shoot the metal gate at the Radio House store in Riverside with the cannon to break it open.
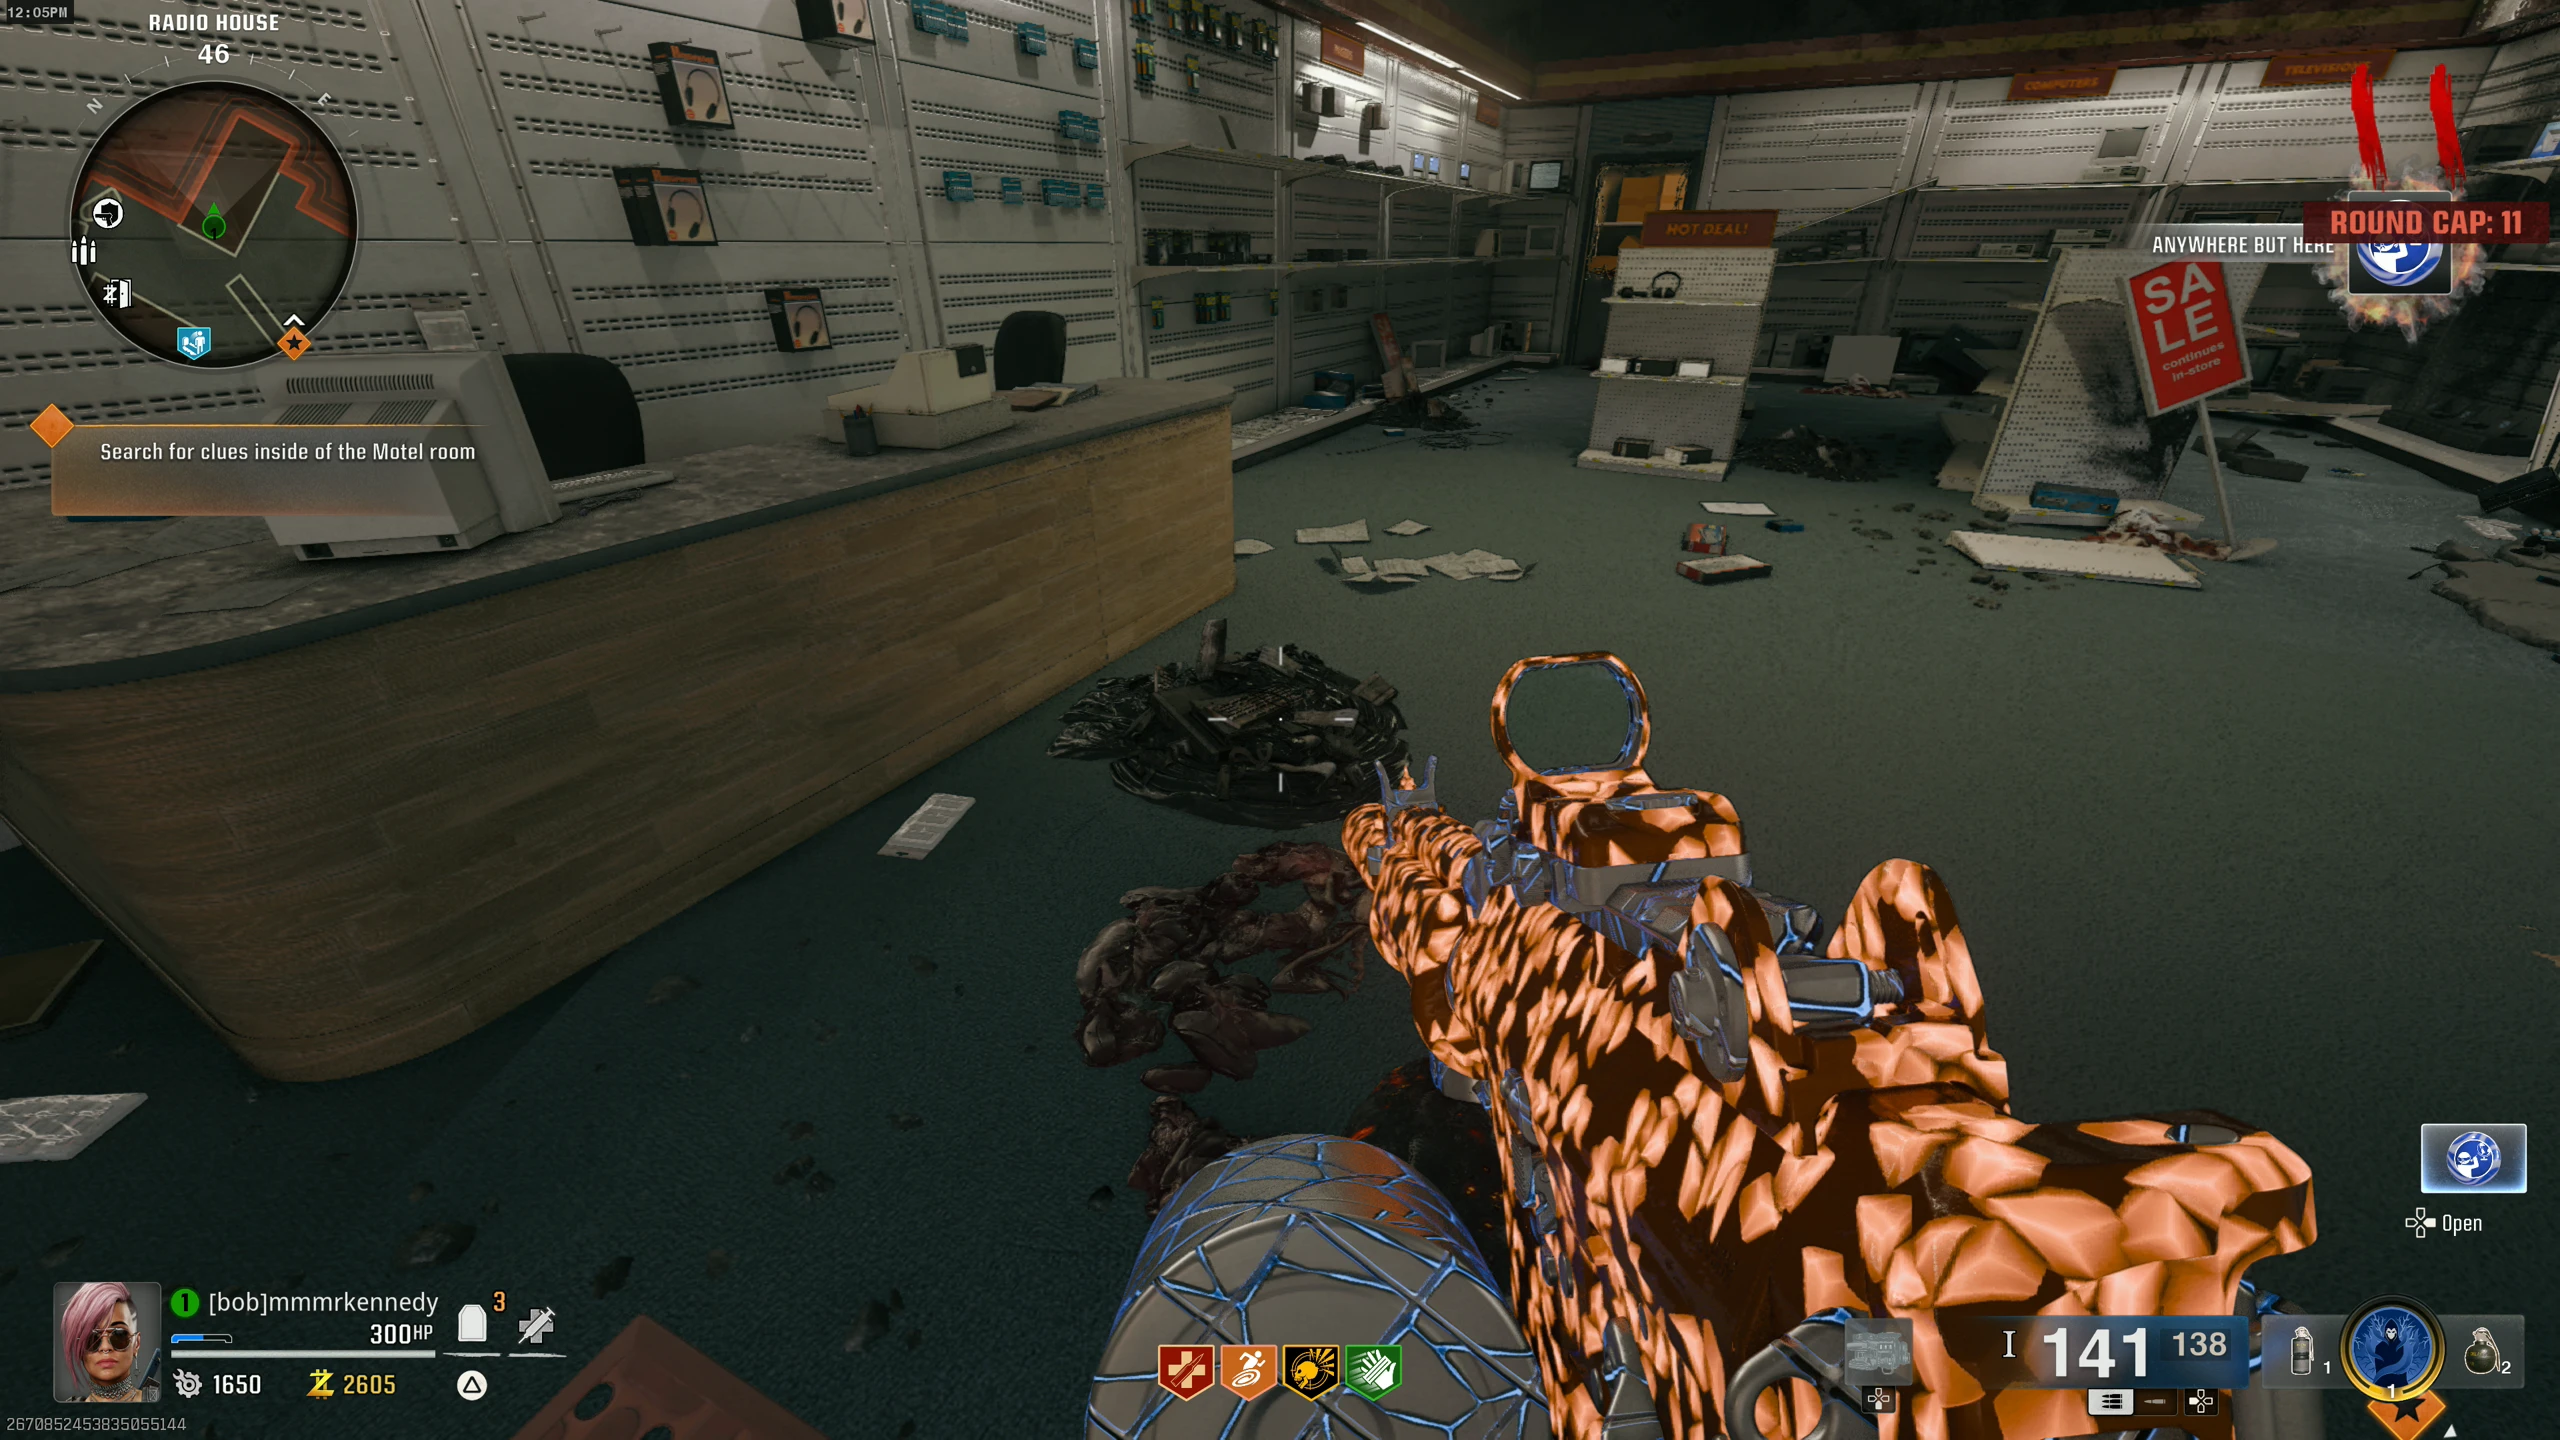
- Search the four garbage piles on the floor inside to find the Electrical Wires.
- Once you have all three parts, the Jet Gun can be built on the workbench in the Motel.
"Bye-Bye, Dark Aether" Main Quest
Stats (Solo): Difficulty - 2/10, Est. Completion Time - 30 to 45 Mins
Building the L.T.G.
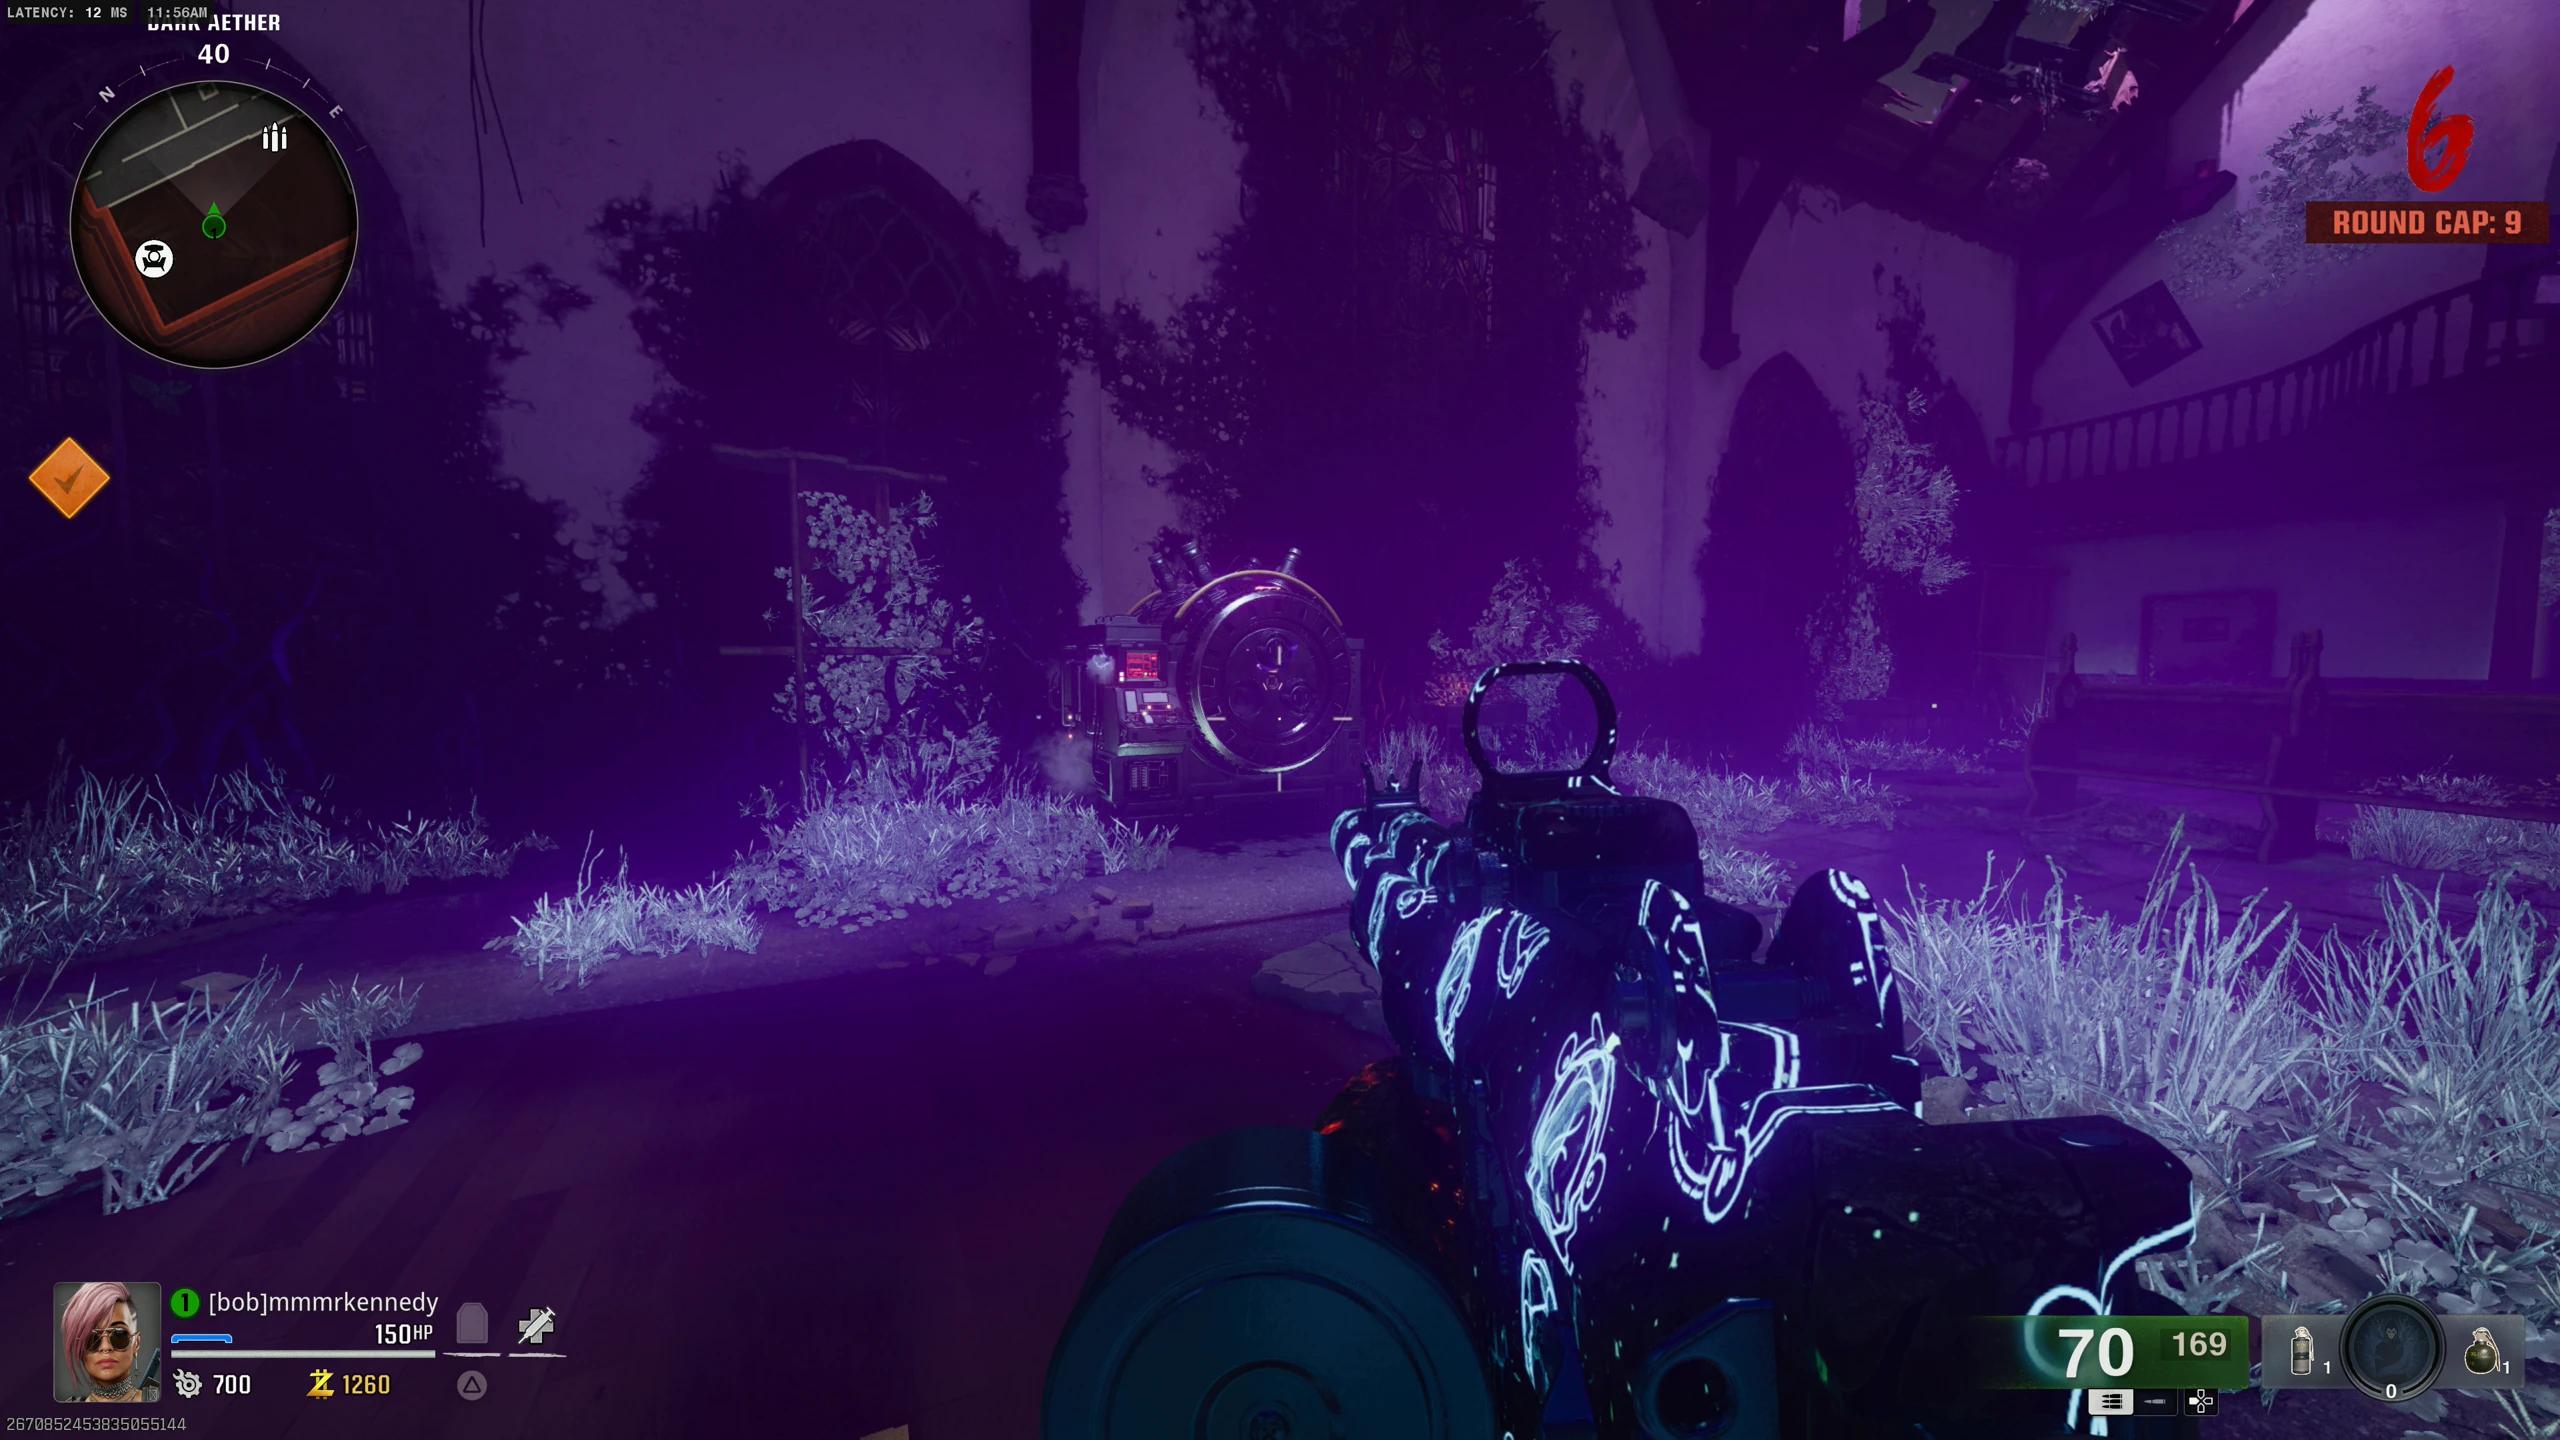
- Interact with this machine in the Church (called the SDG). All Zombies will die and an in-game story cutscene will start. You don't have to stay in the Church for the cutscene.
- Obtain the Jet Gun.
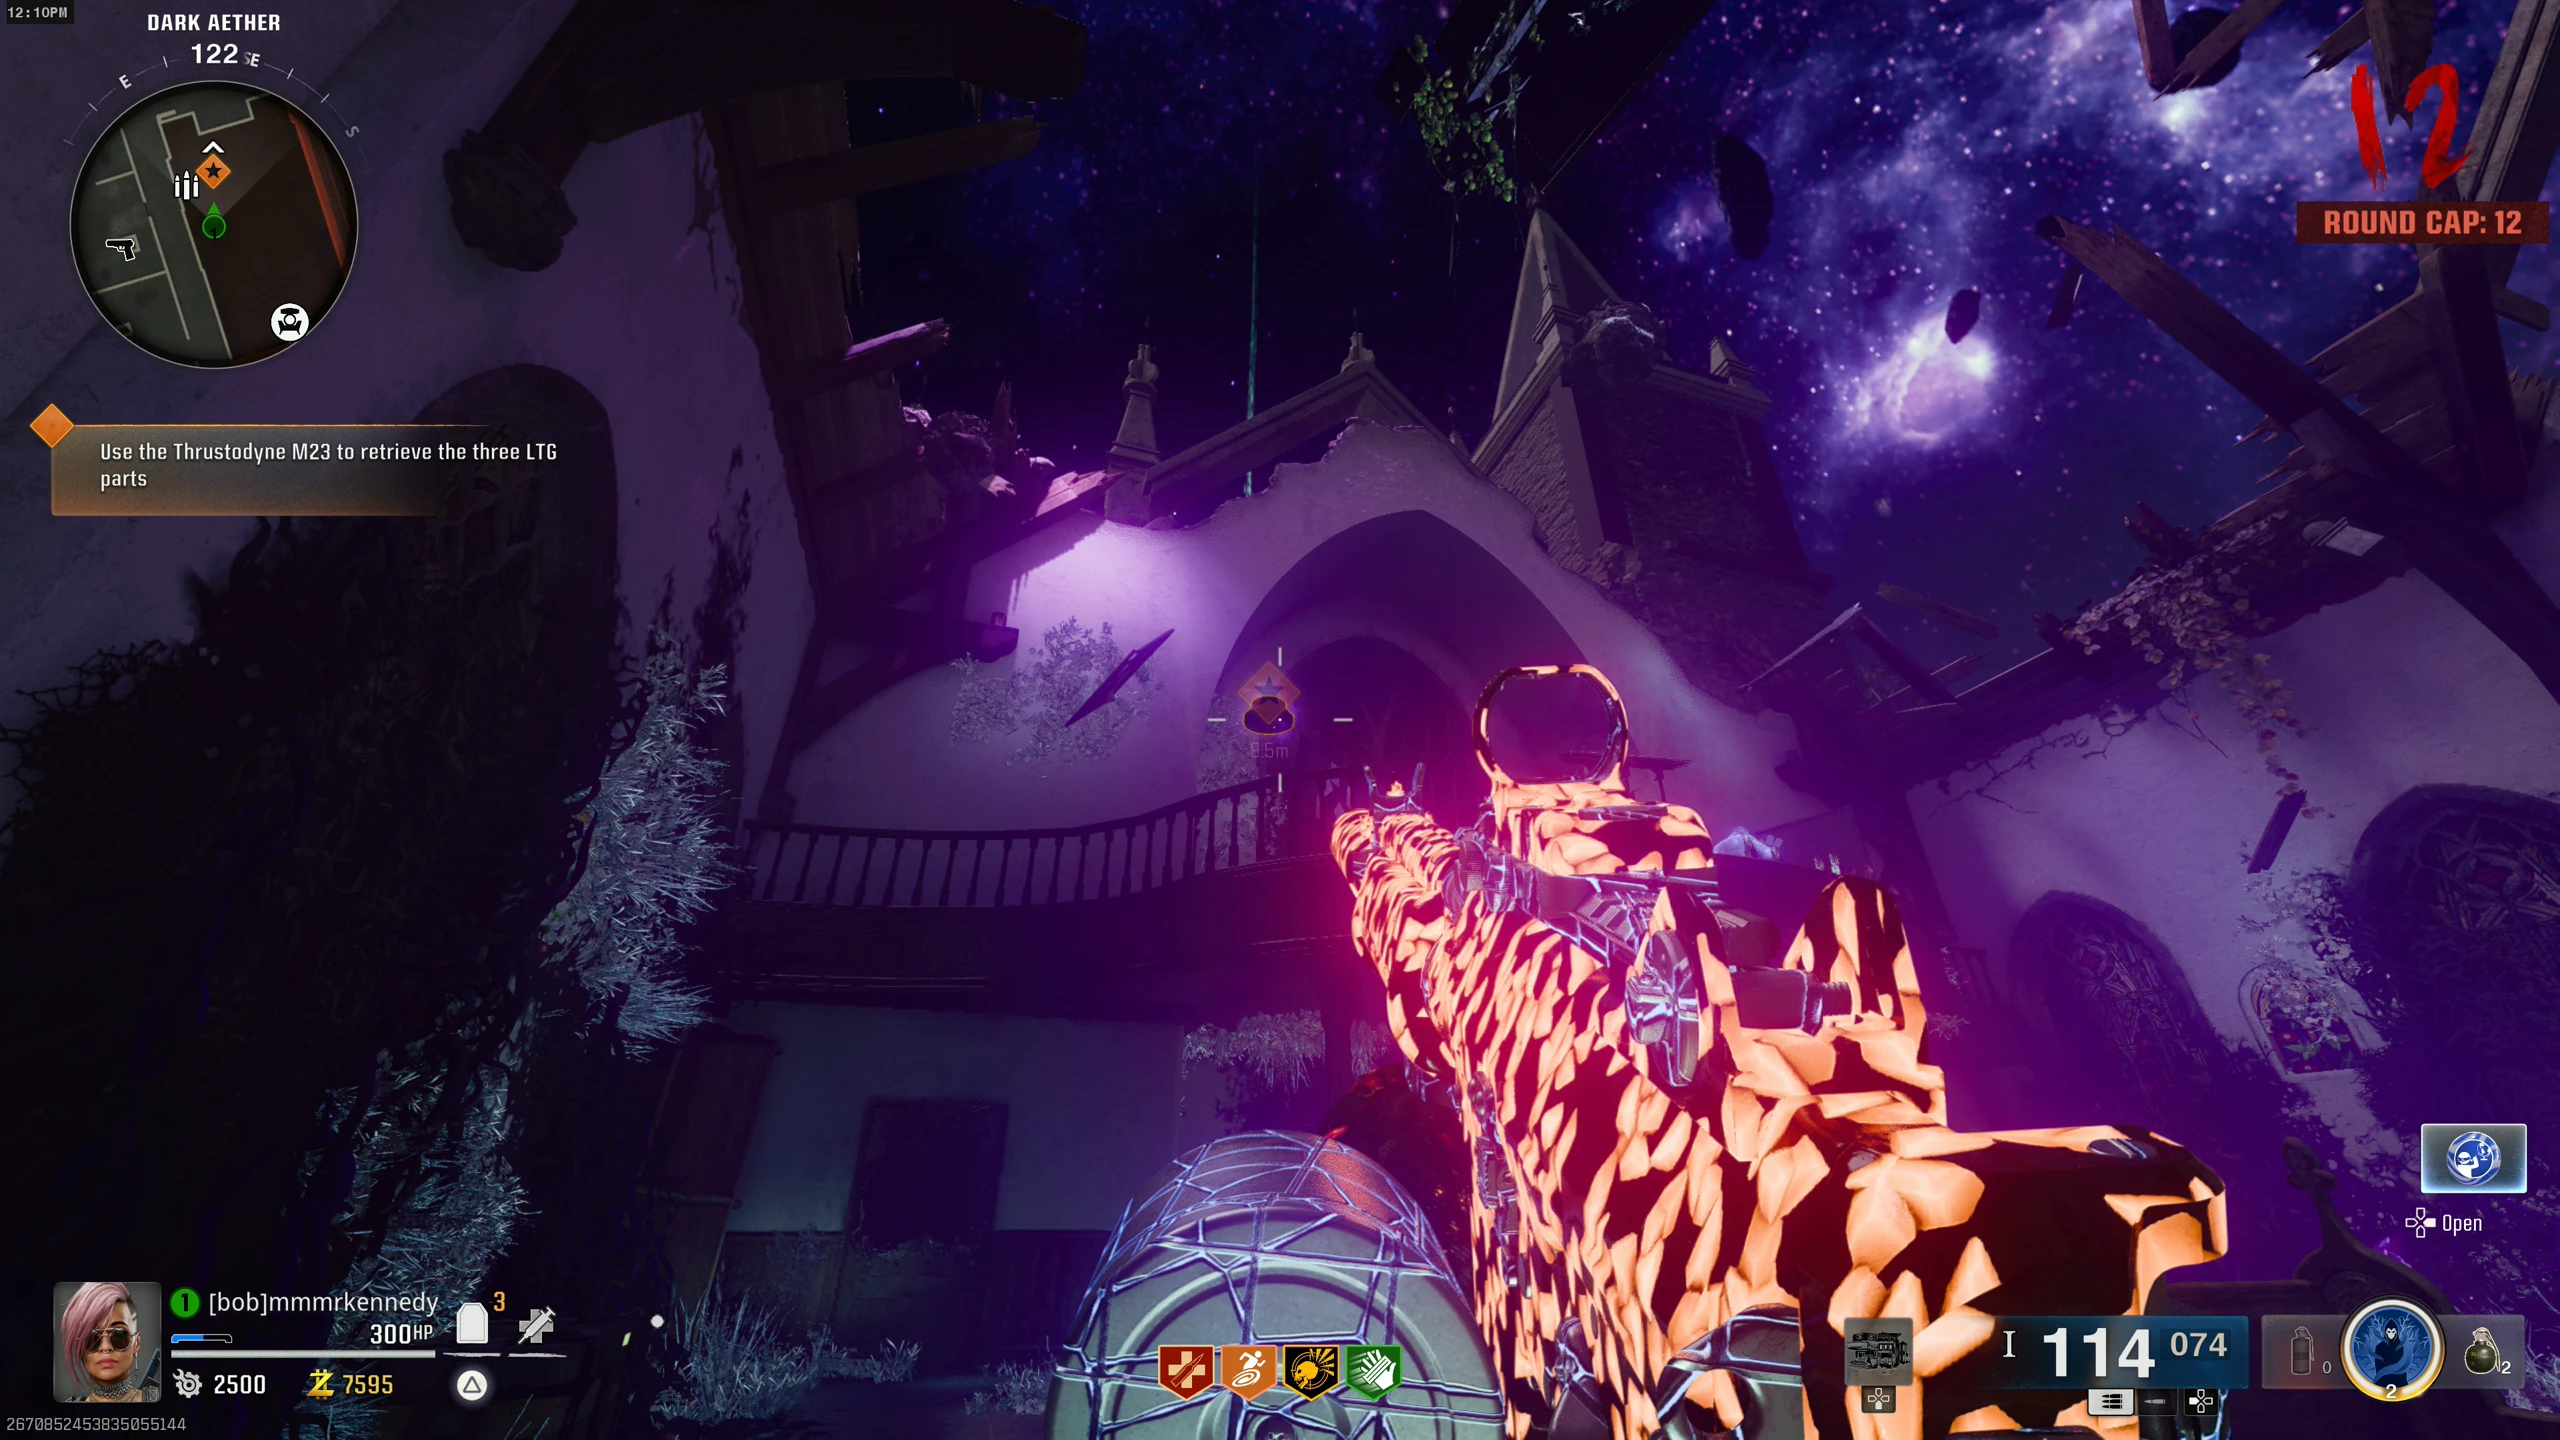
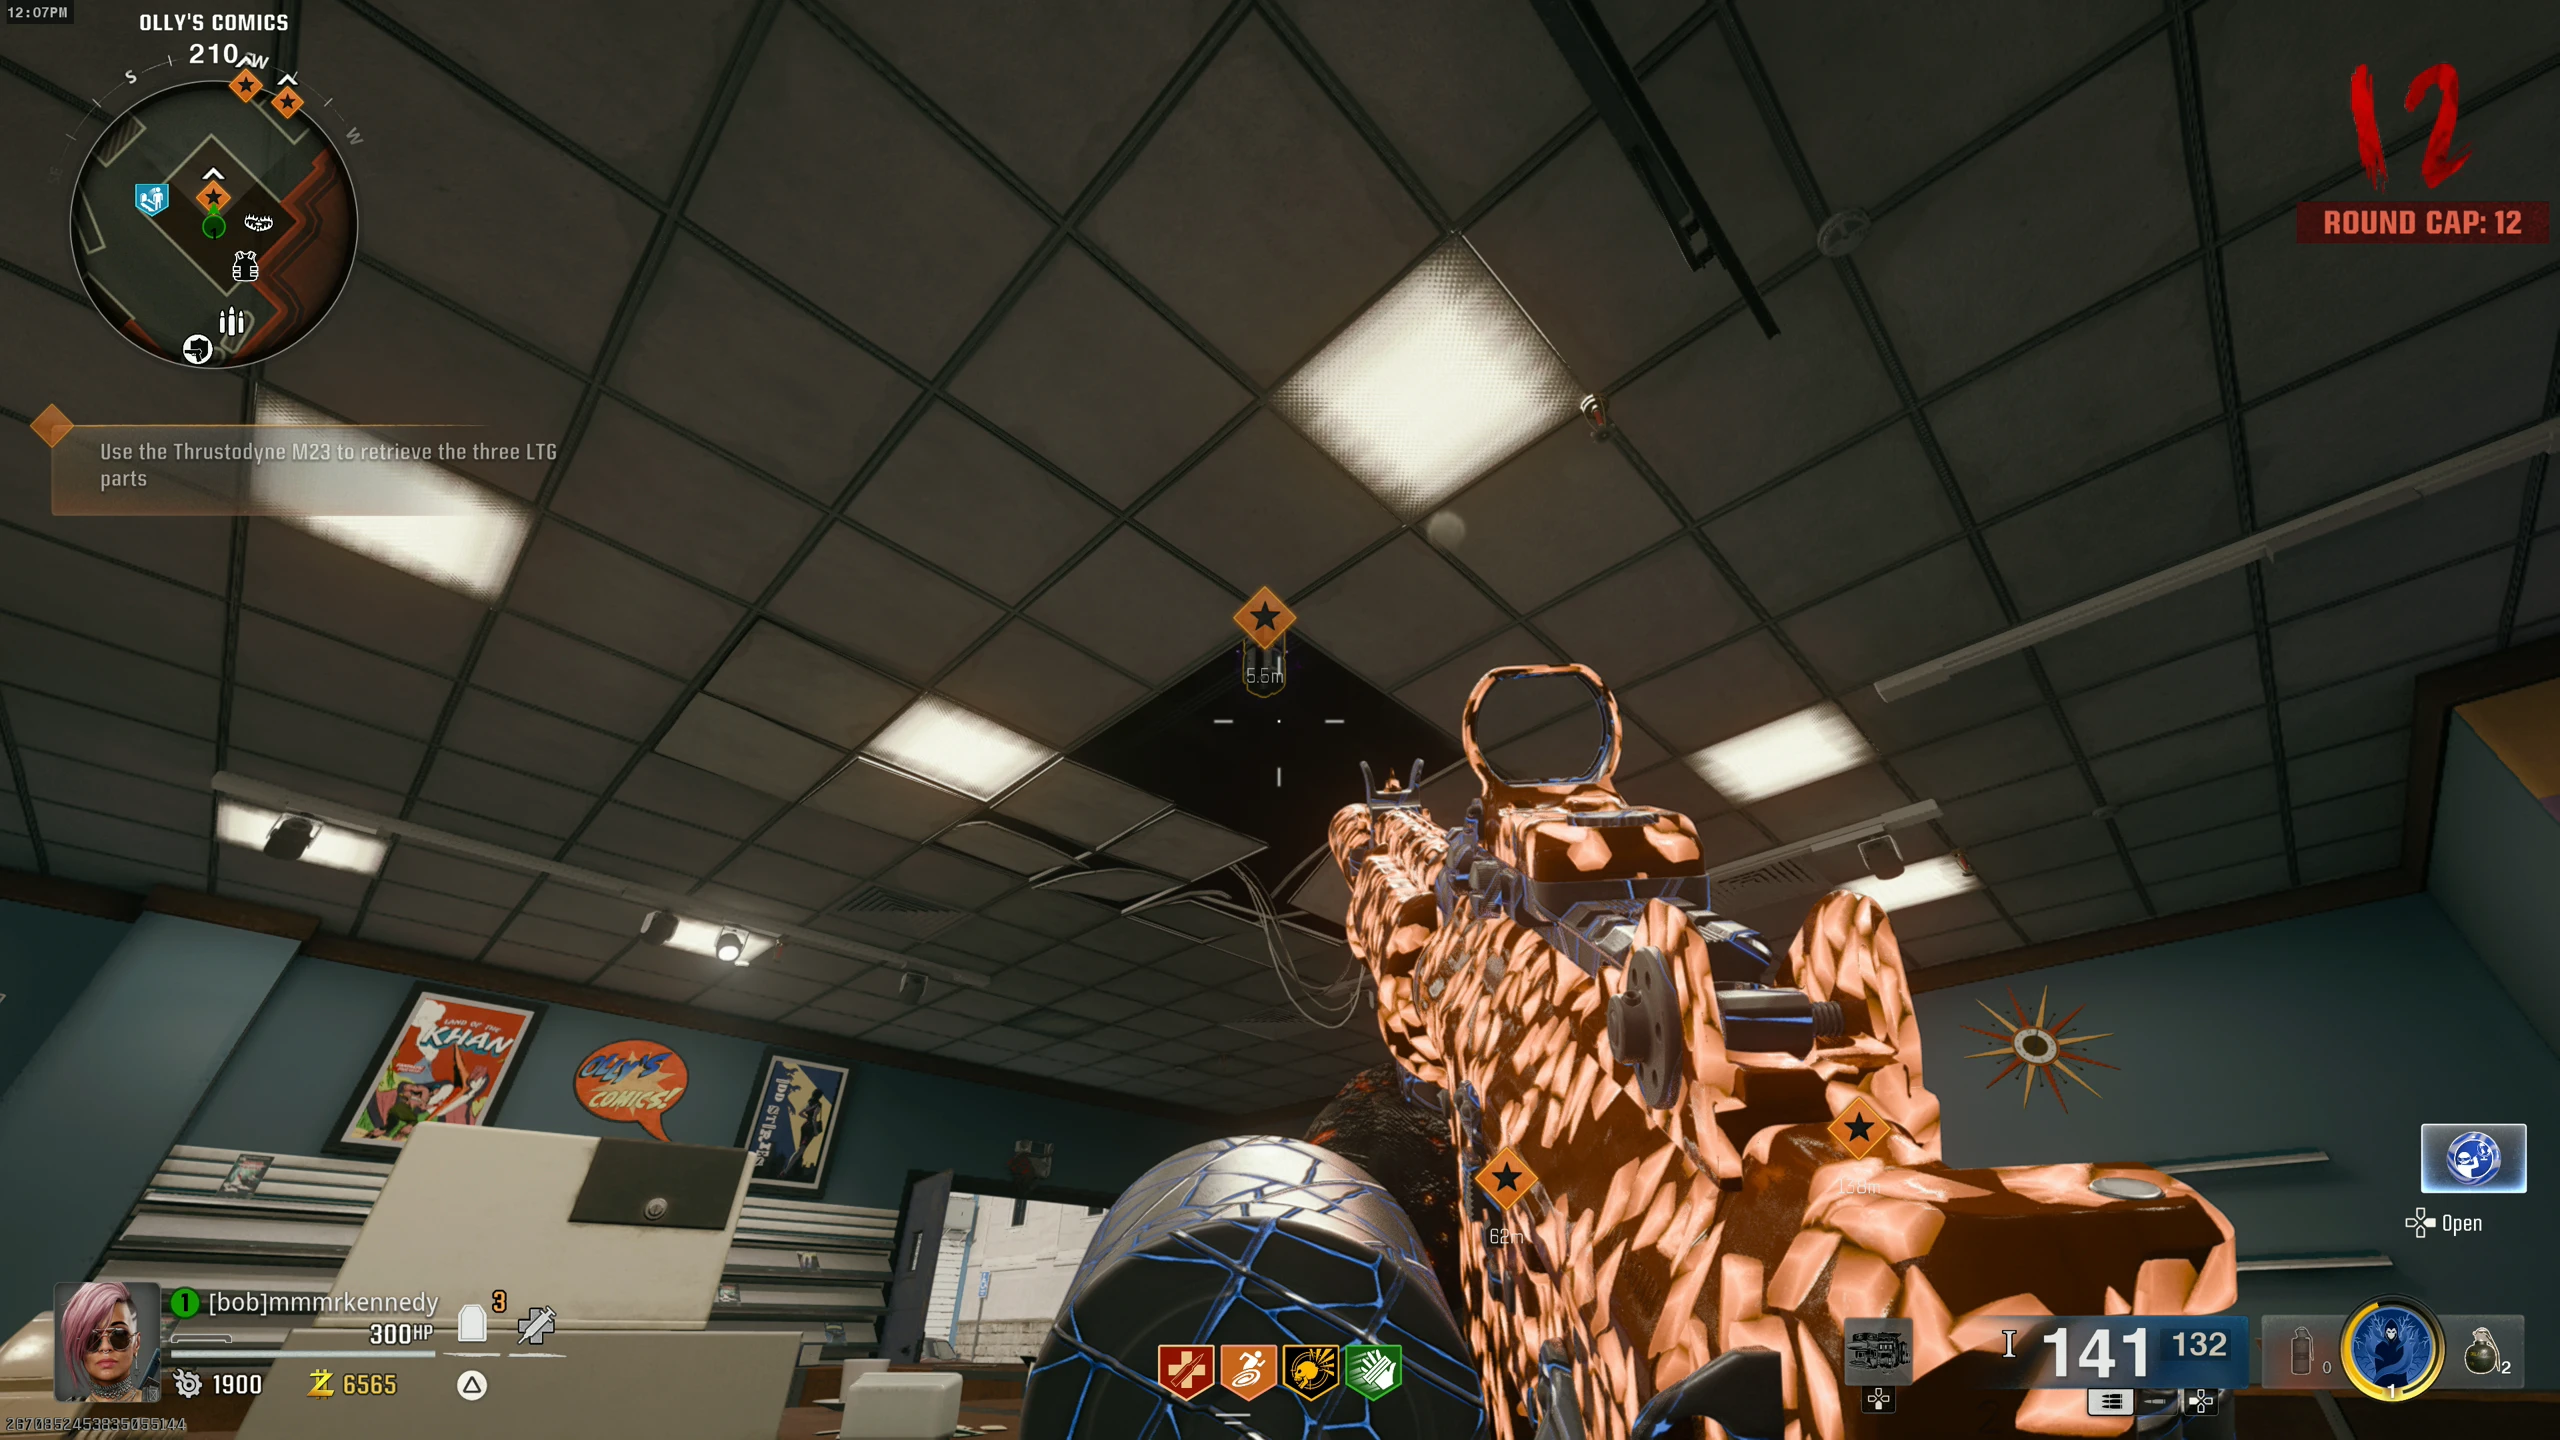
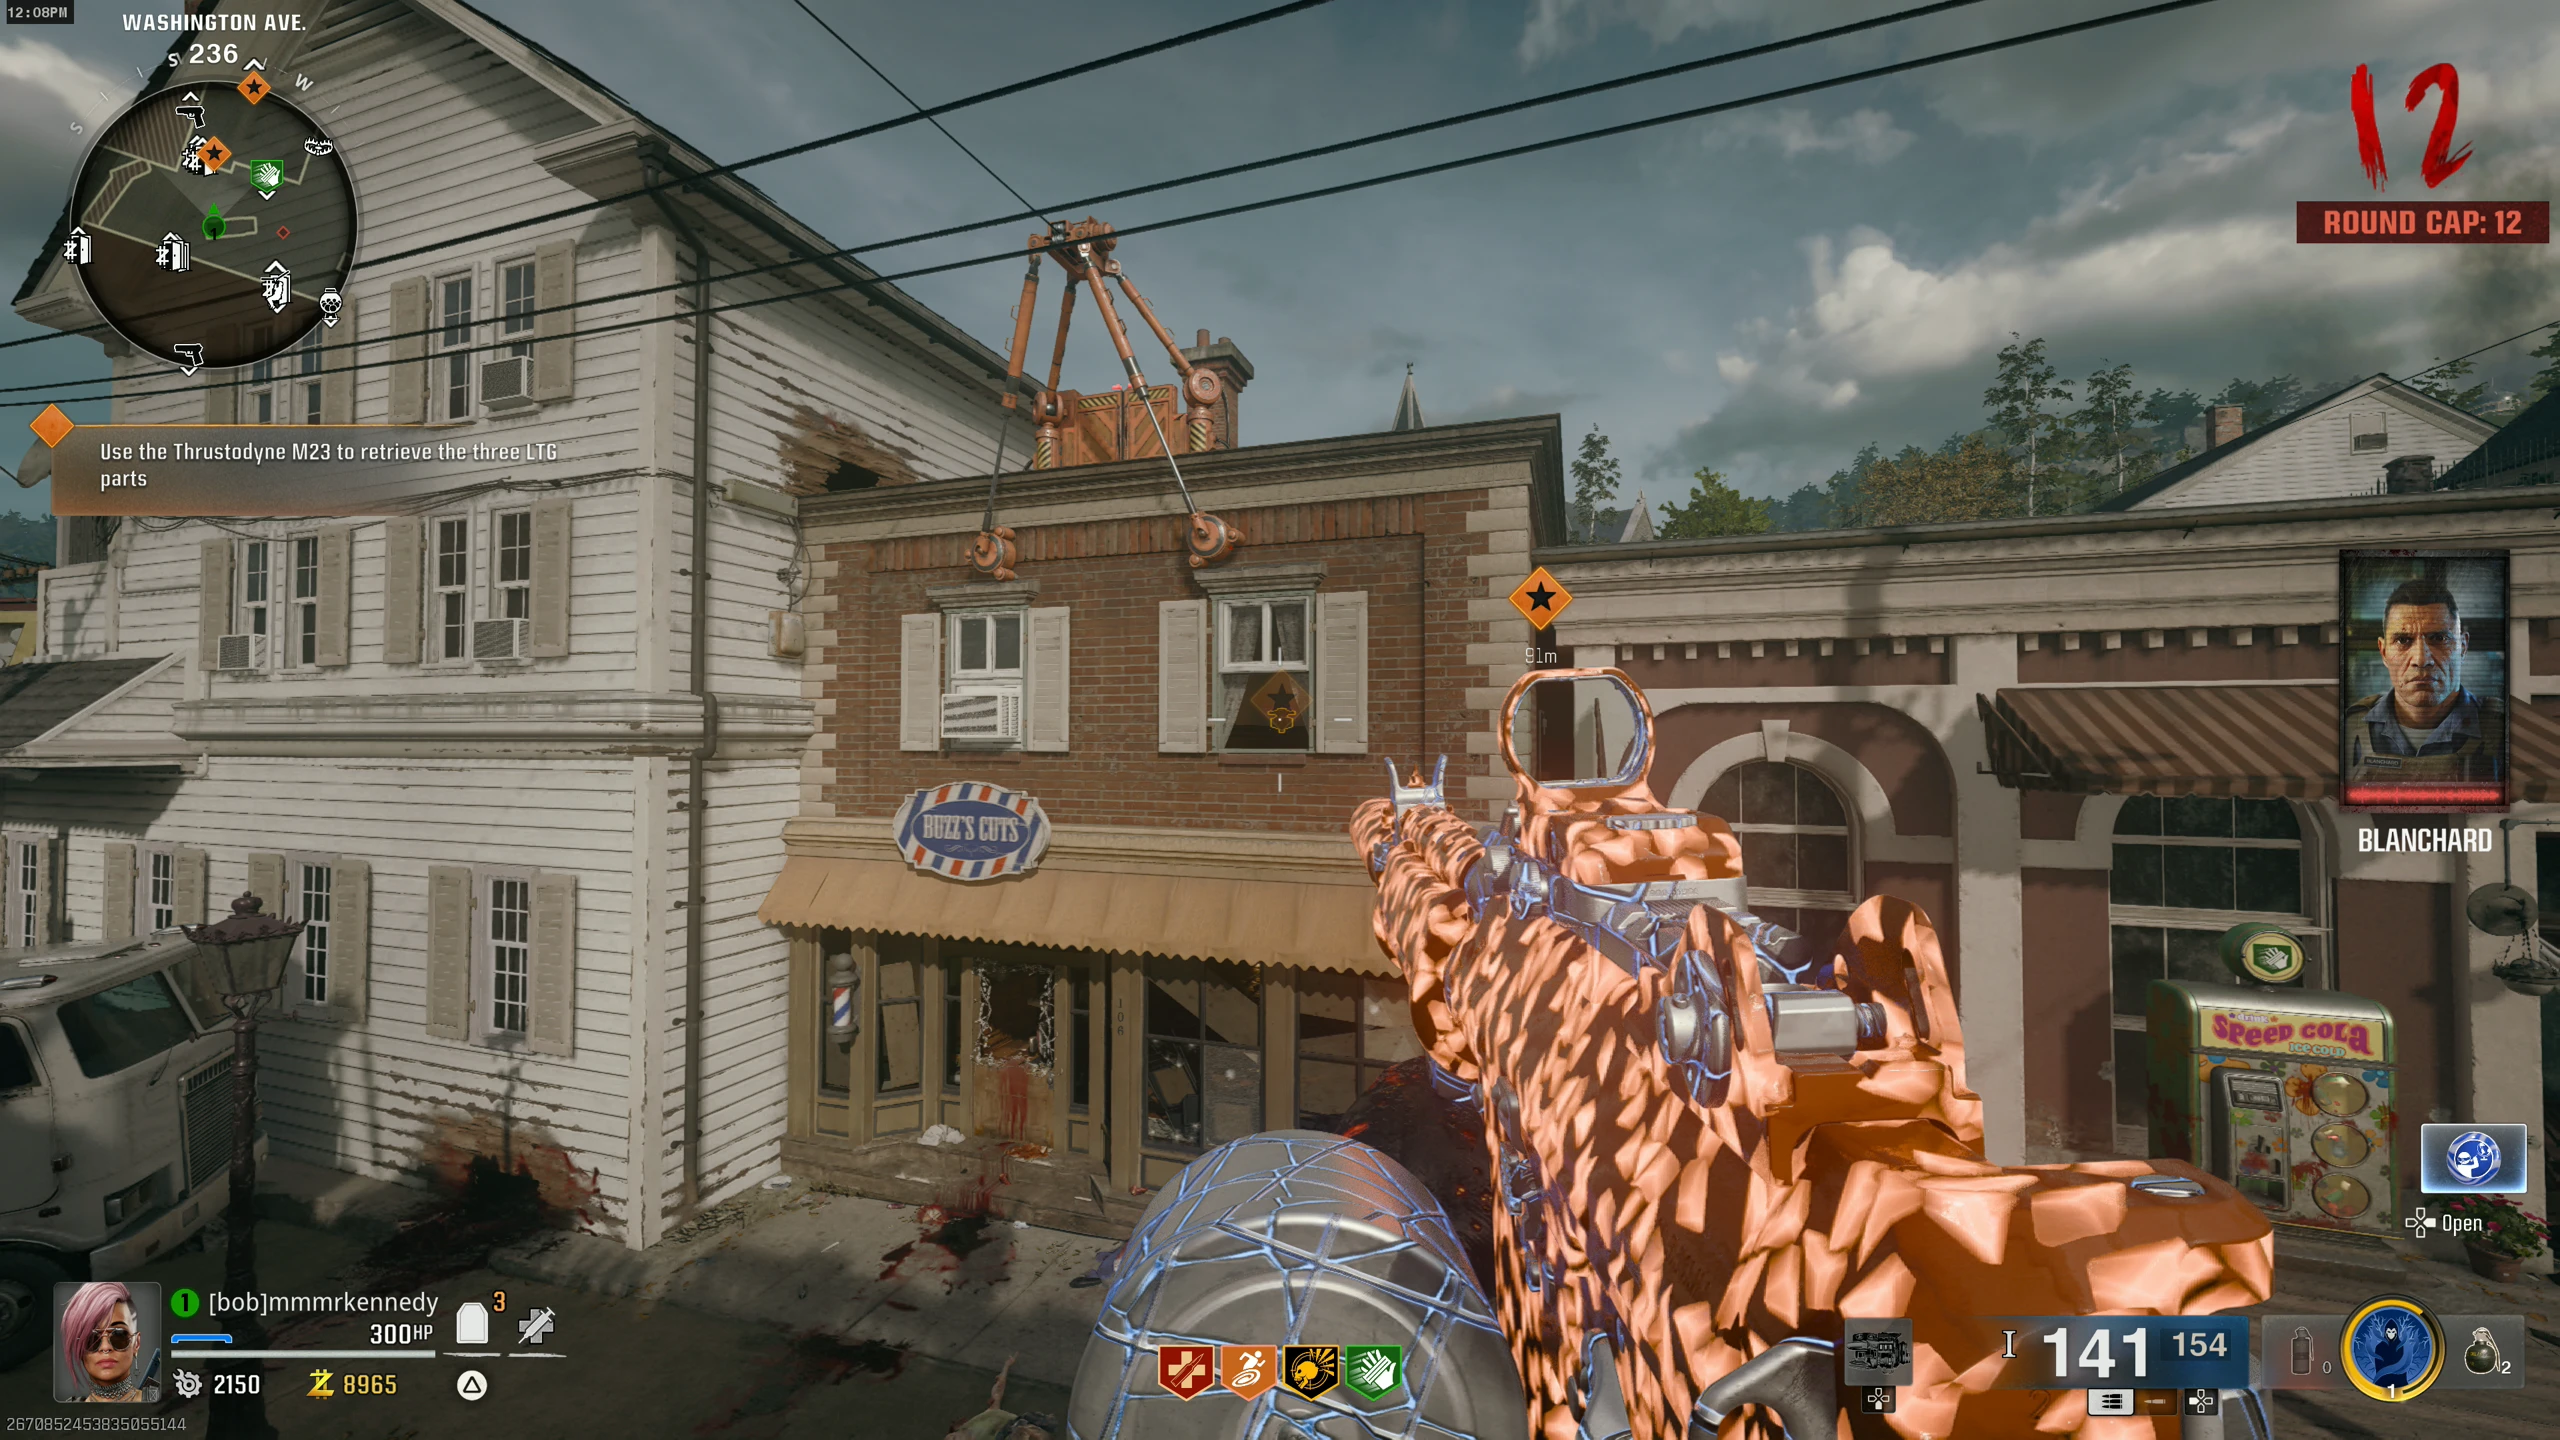
- There are three L.T.G. parts around the map that you must suck up with the Jet Gun's primary fire. Part locations:
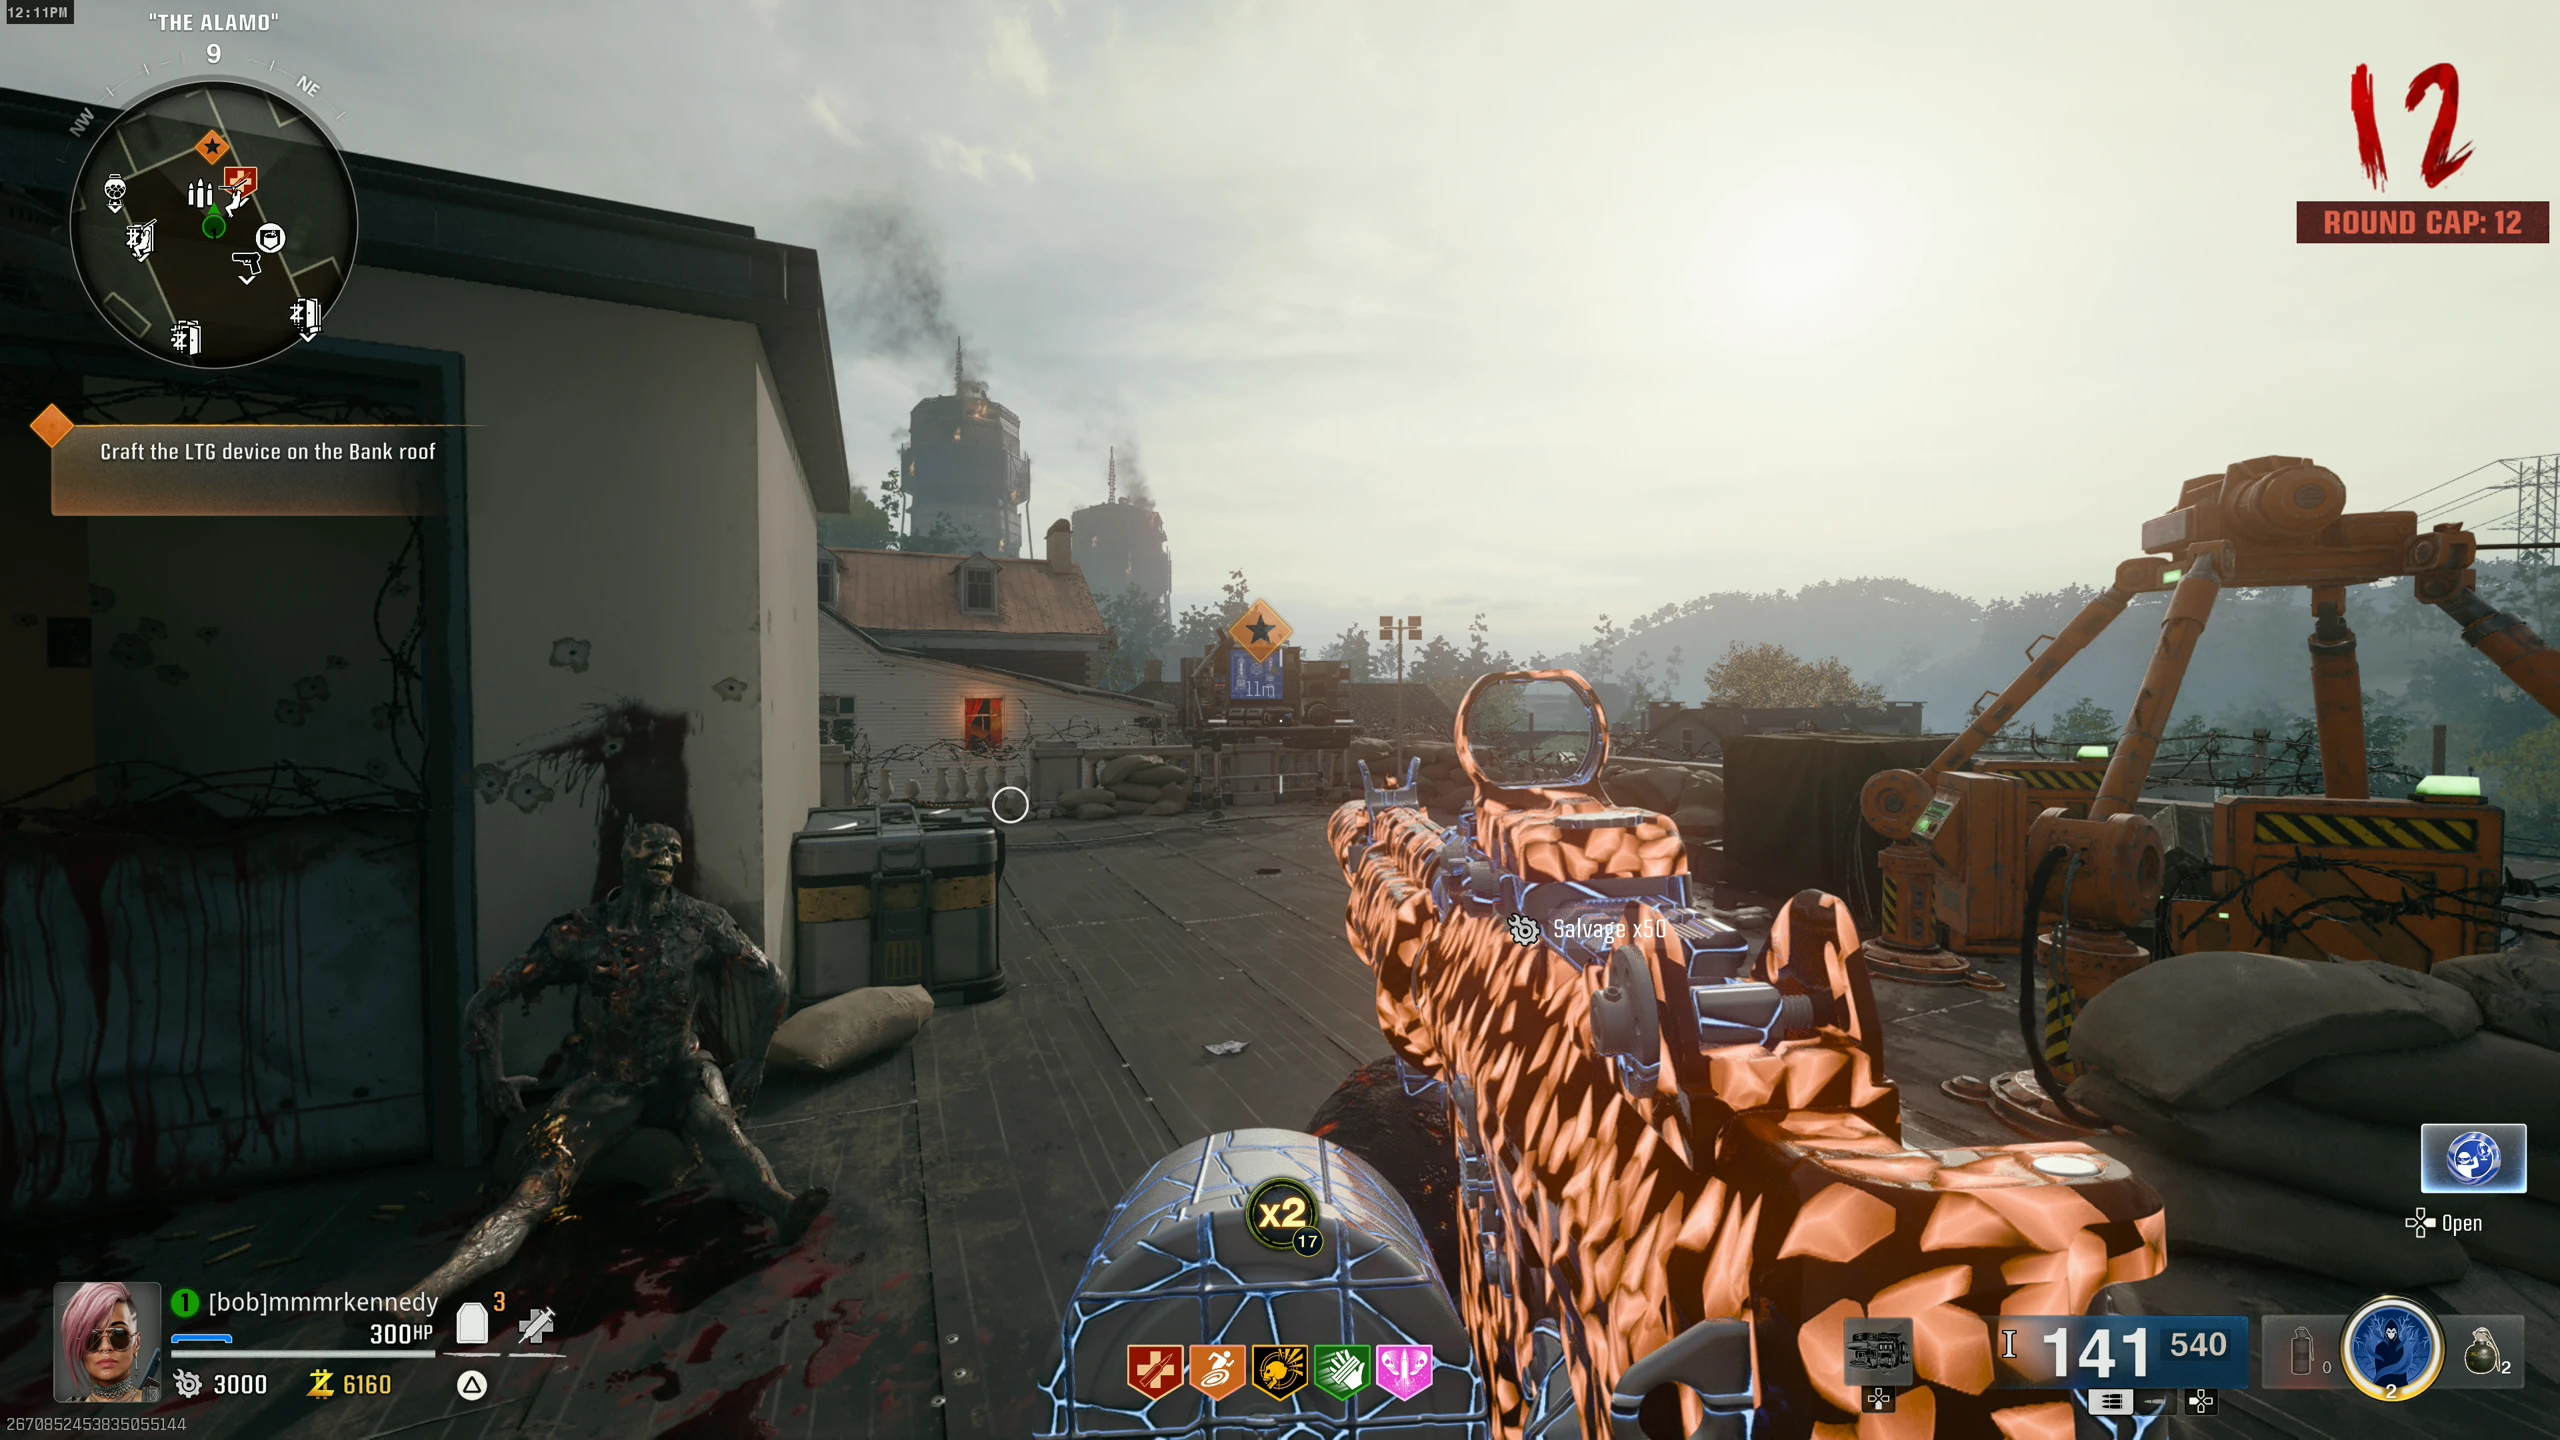
- Once you have all three parts, the L.T.G. can be crafted at the workbench on "The Alamo" (the roof of the Bank).
Canister #1
- Interact with the machine in the Church to pick up an Aether Canister.
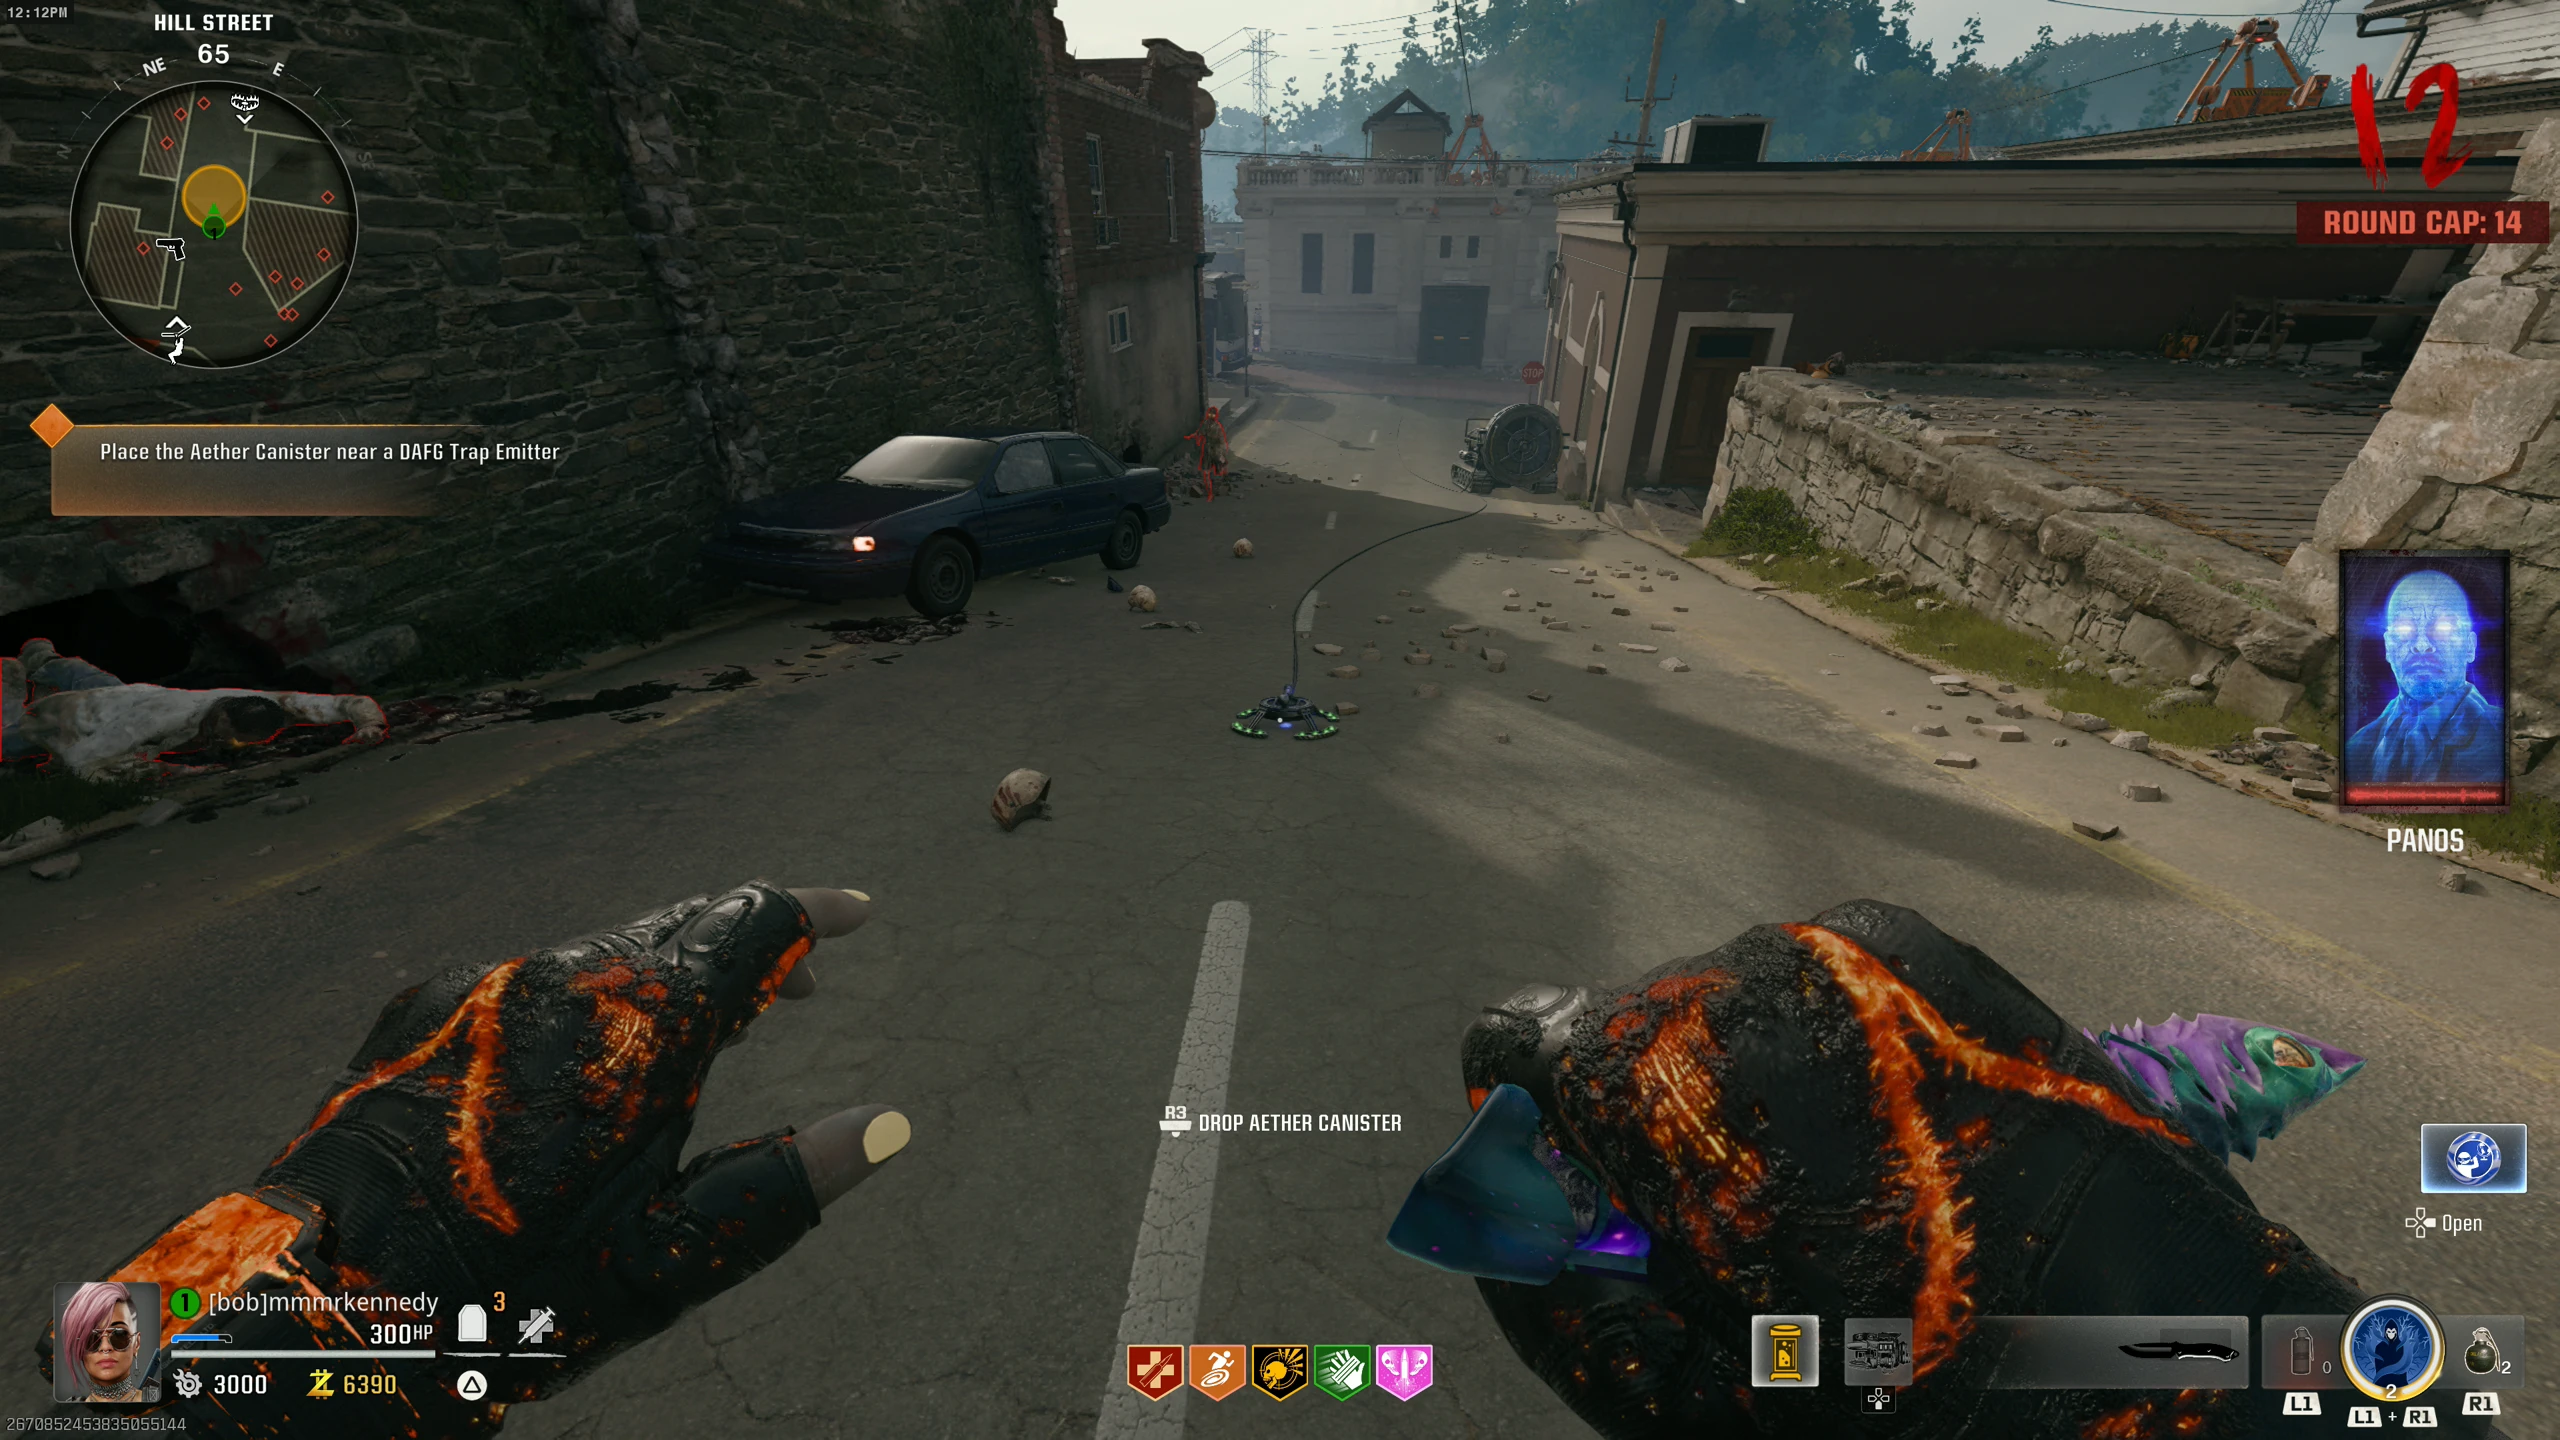
- Go to 'Hill Street' and drop the canister on one of the Dark Aether Field Generator nodes.
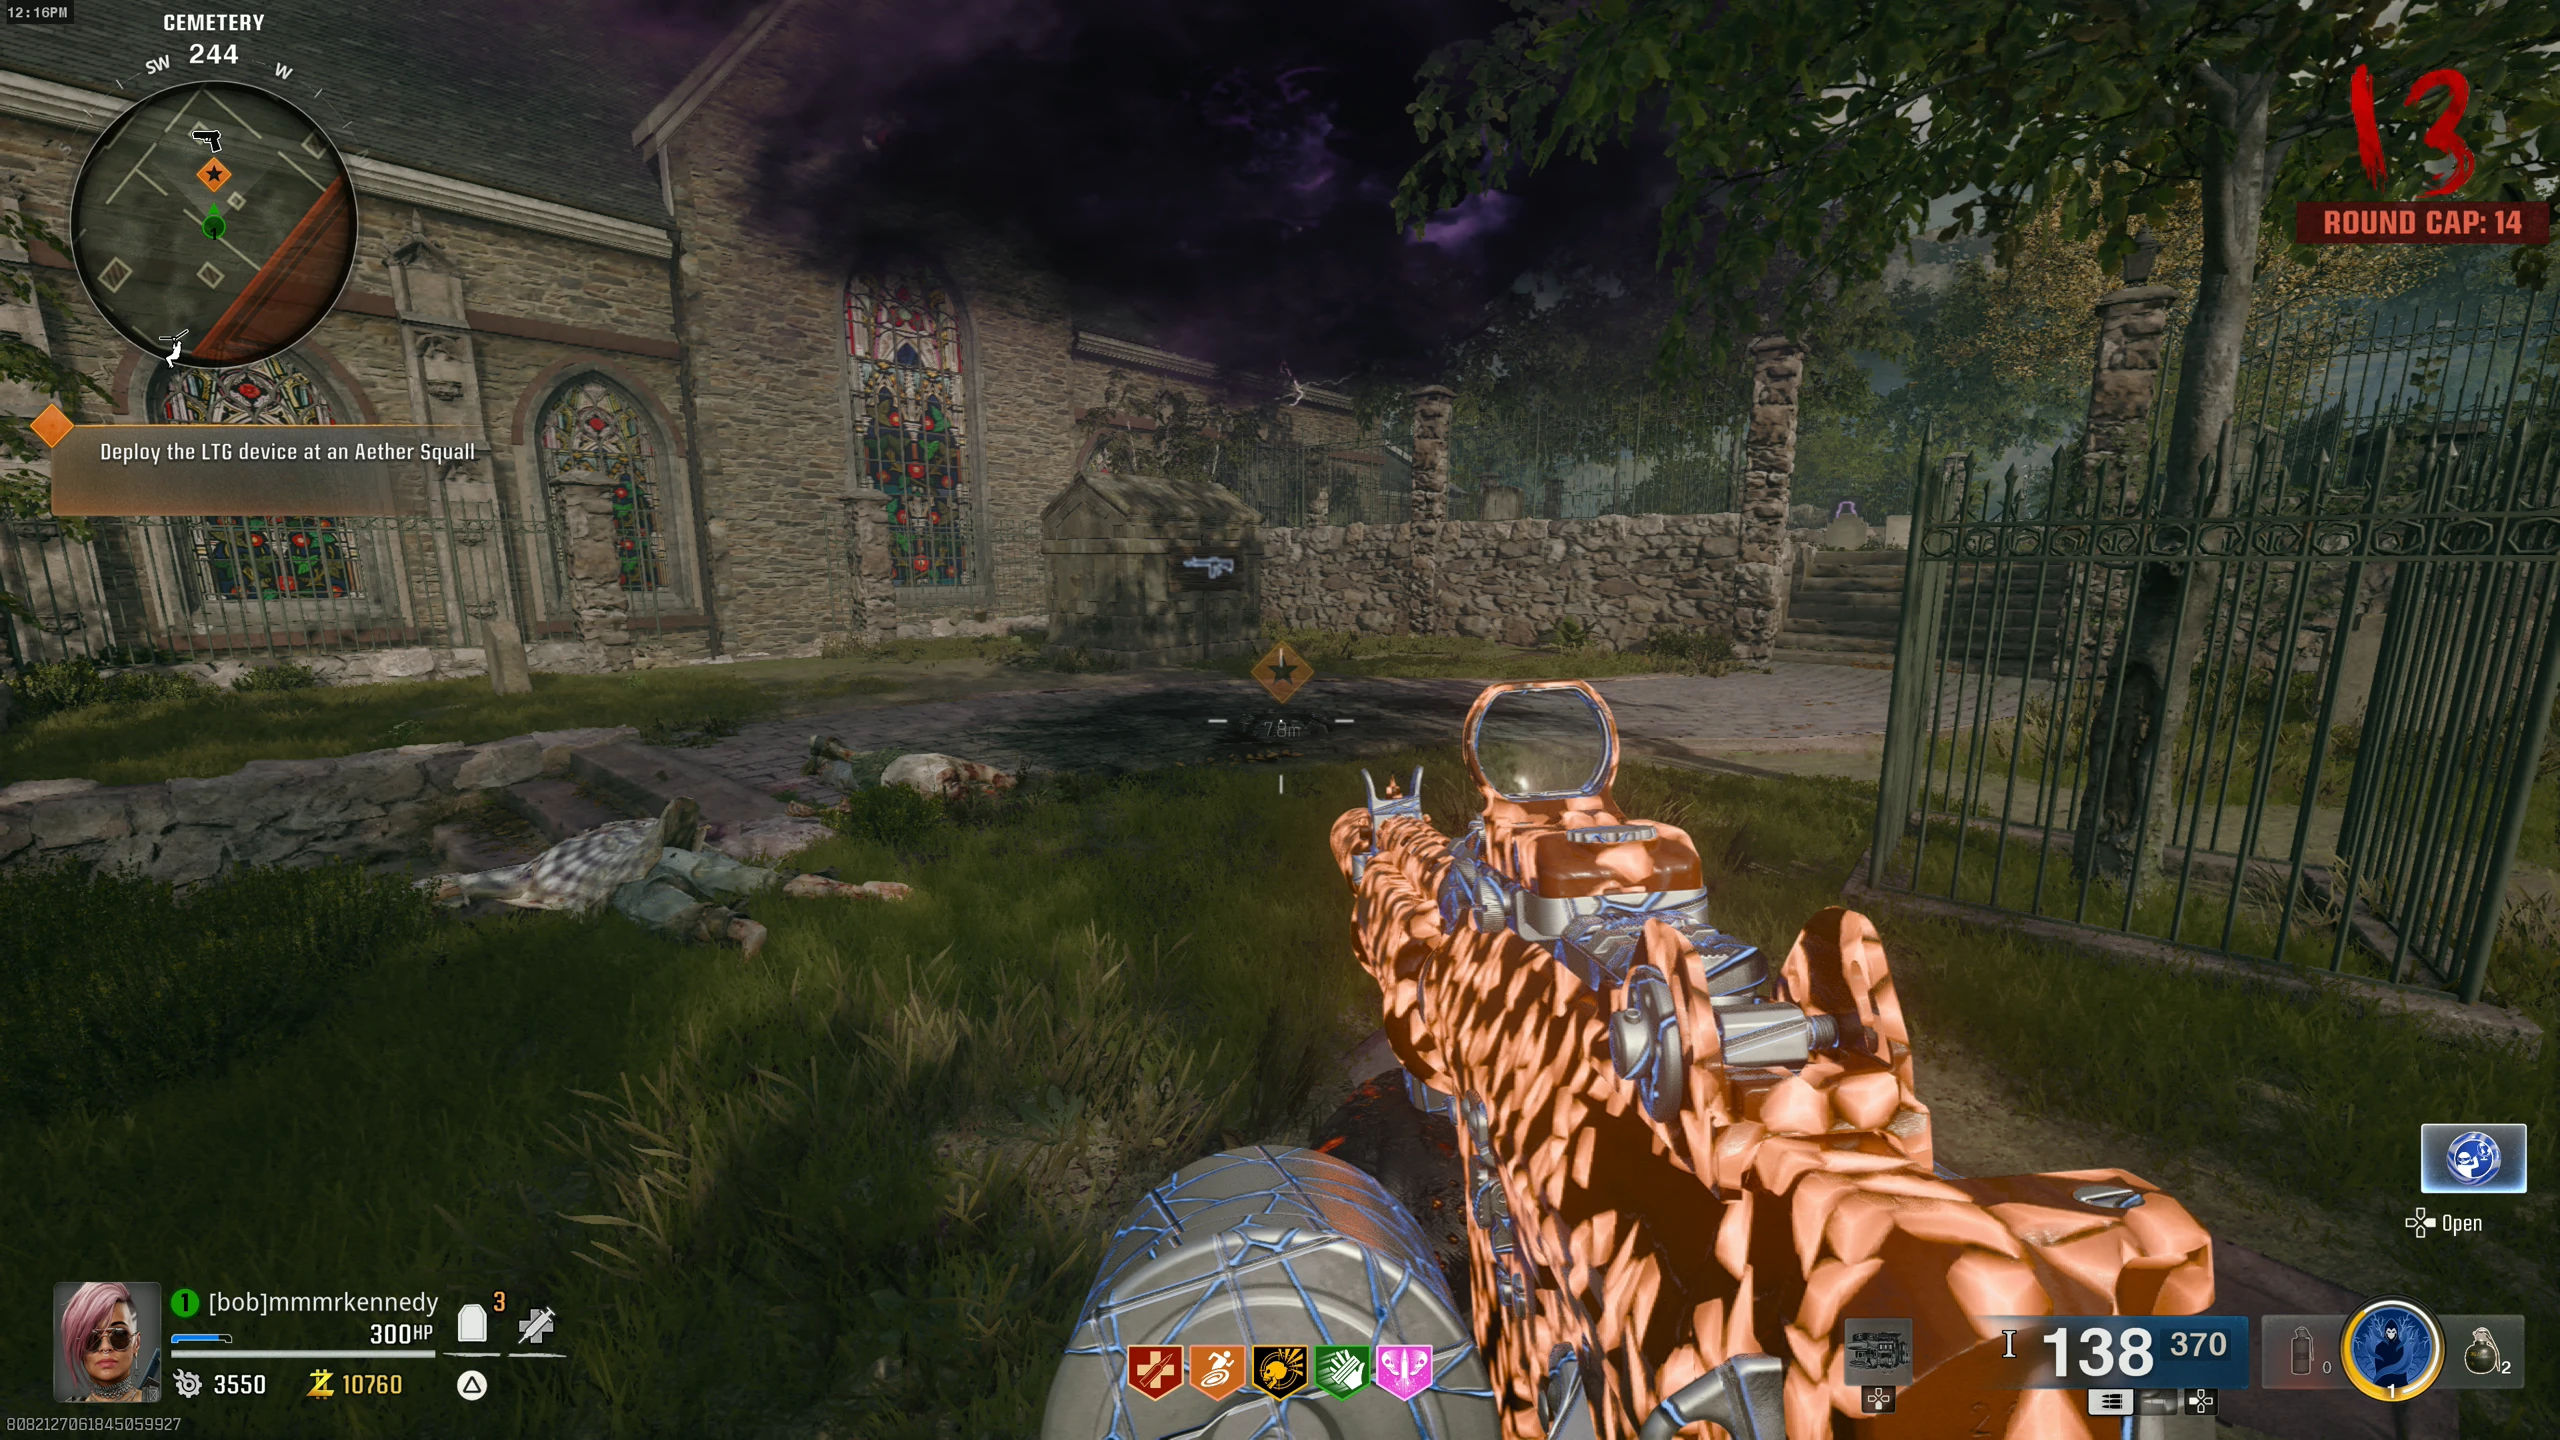
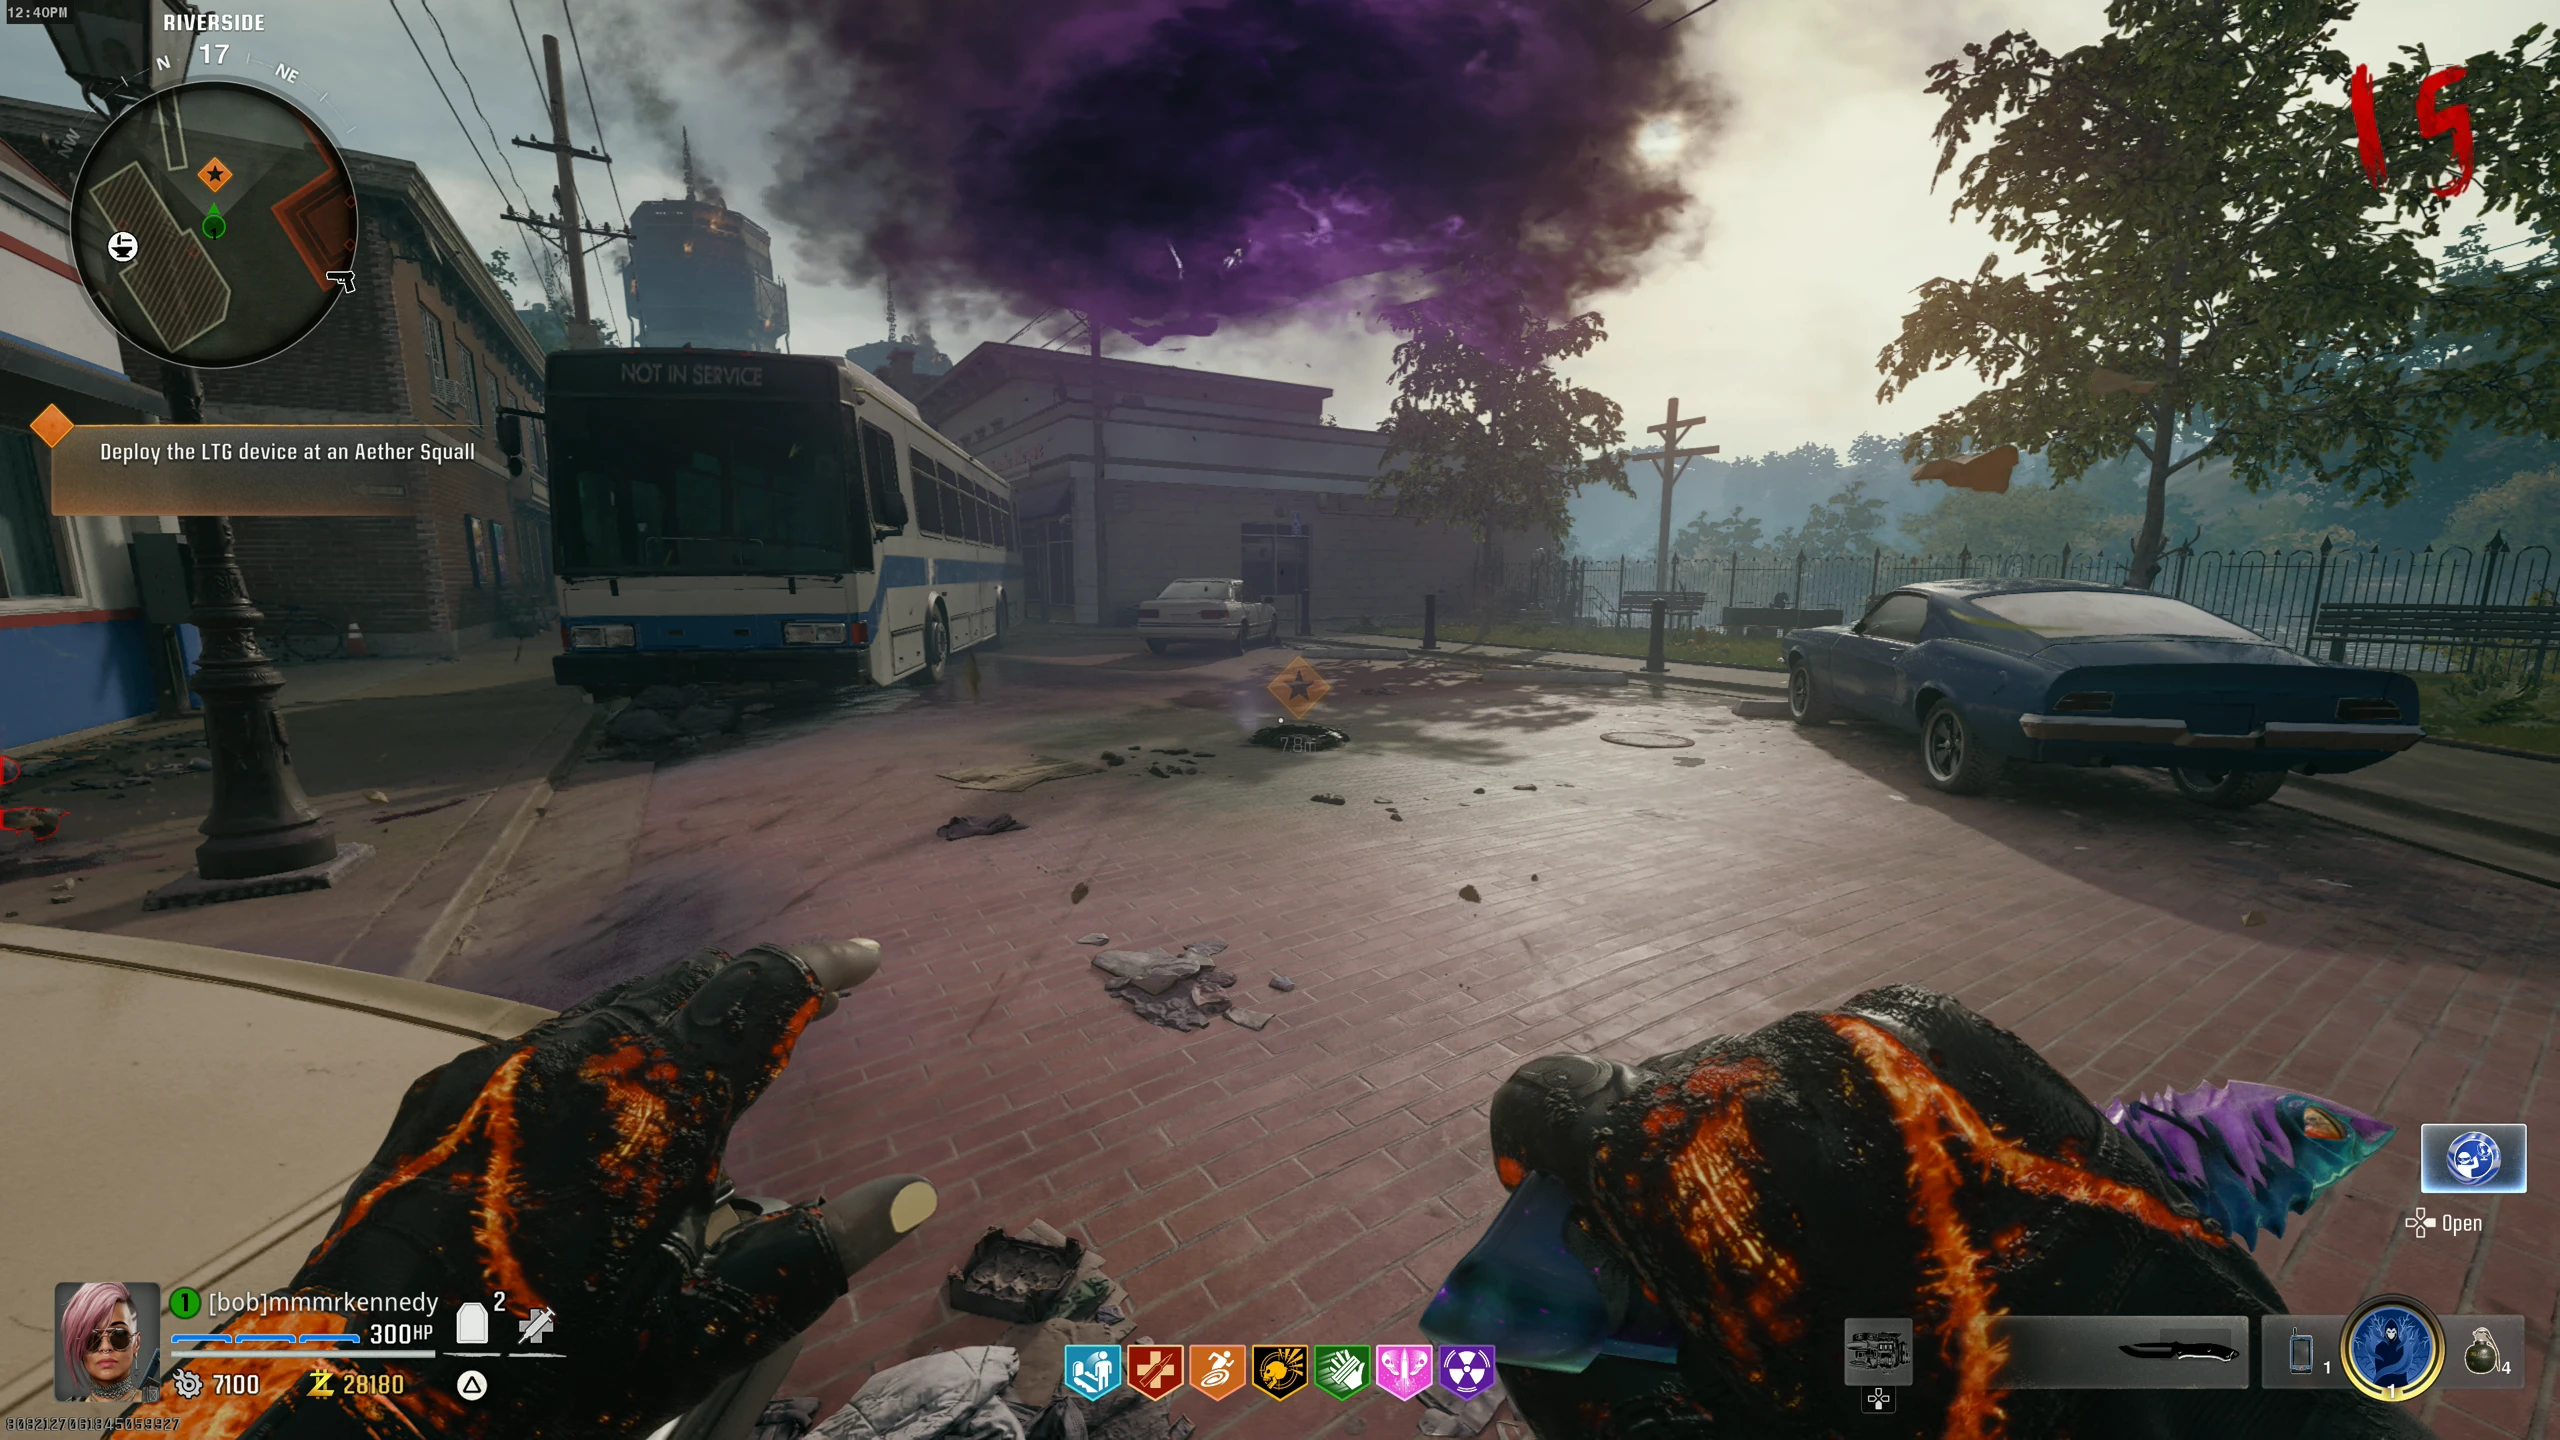
- Go to the 'Cemetery' and place the L.T.G. on the metal under the Aether cloud storm. This will start a timed event where you must defend the L.T.G. from Zombies.
- If you fail to defend the L.T.G., you will have to wait until the next round to retry.
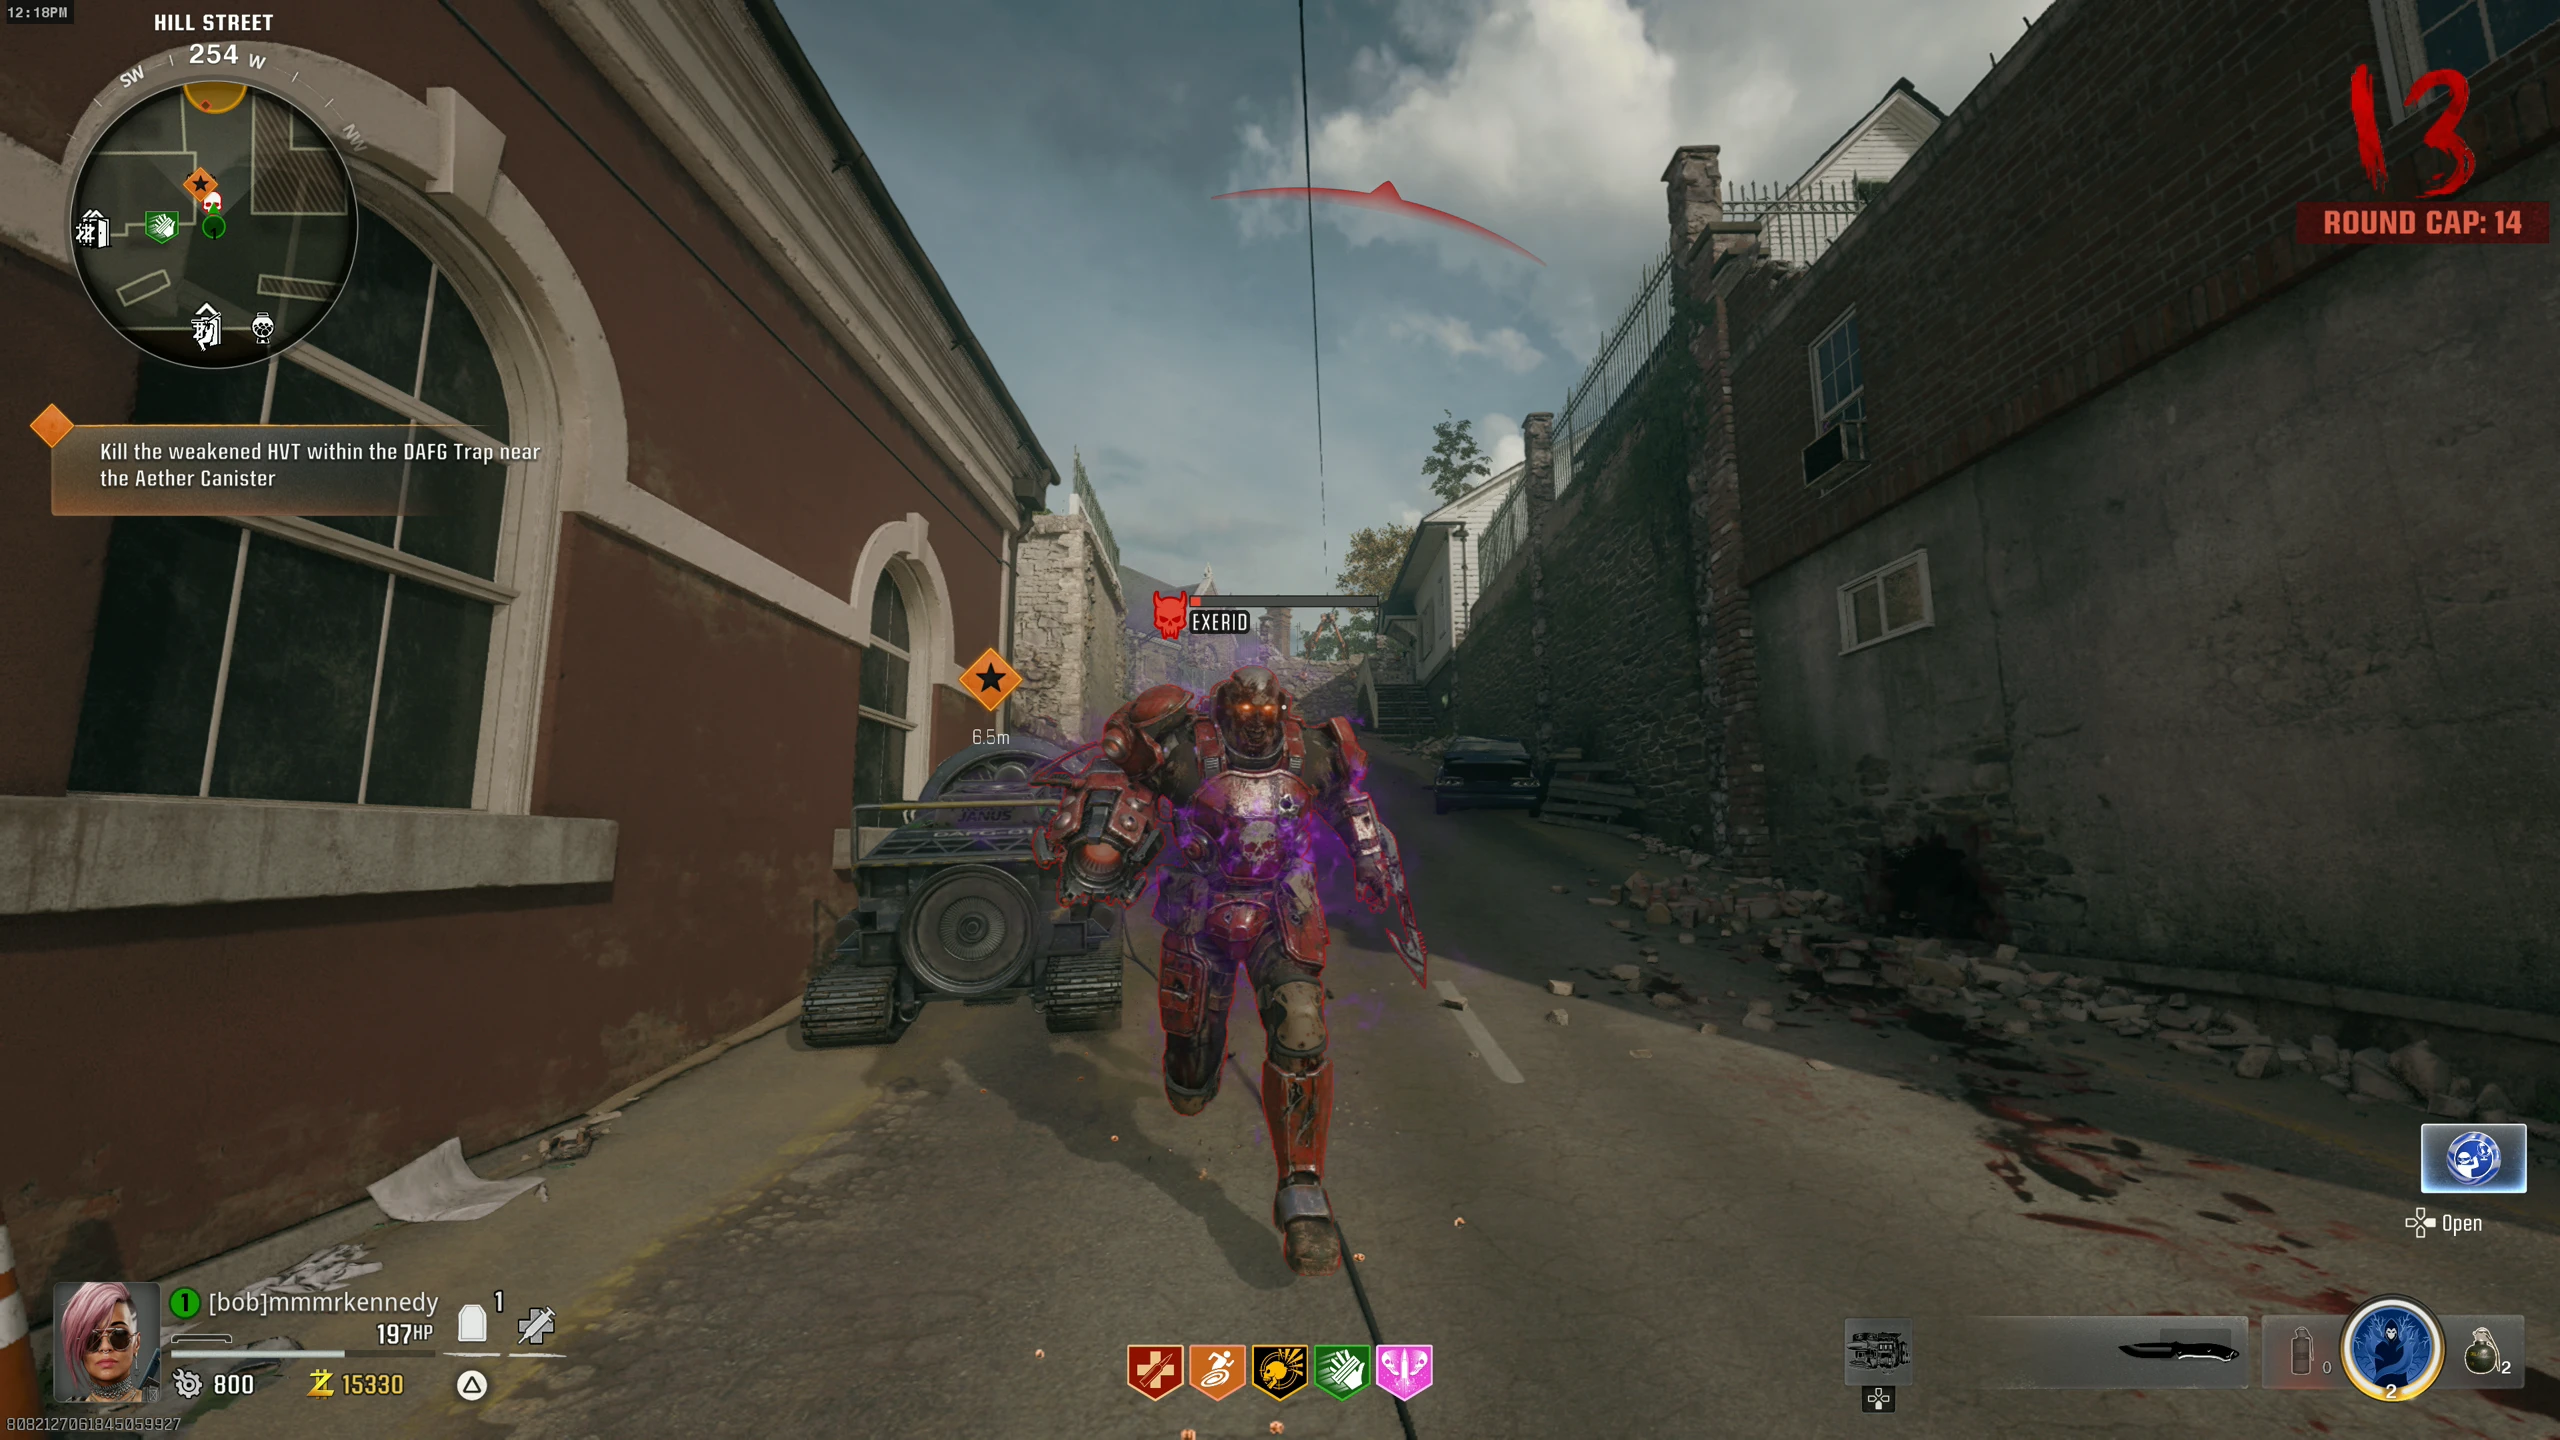
- Once you've defended the L.T.G., it will turn red and spawn an HVT. Shoot the HVT until it glows purple (happens at about 10% health remaining).
- Once the HVT is glowing purple, lure it into the same trap node where you dropped the canister. Activate the trap while the HVT is standing inside it, and then kill the HVT (with anything) within the trap. If done correctly, the canister will absorb the HVT's "essence."
- If you kill the HVT early, end the round and interact with the L.T.G. to respawn the HVT.
- Pick up the canister and bring it back to the SDG before the countdown expires.
- If you don't bring it back in time, wait one round then interact with the L.T.G. to spawn another HVT.
Aether Projectors
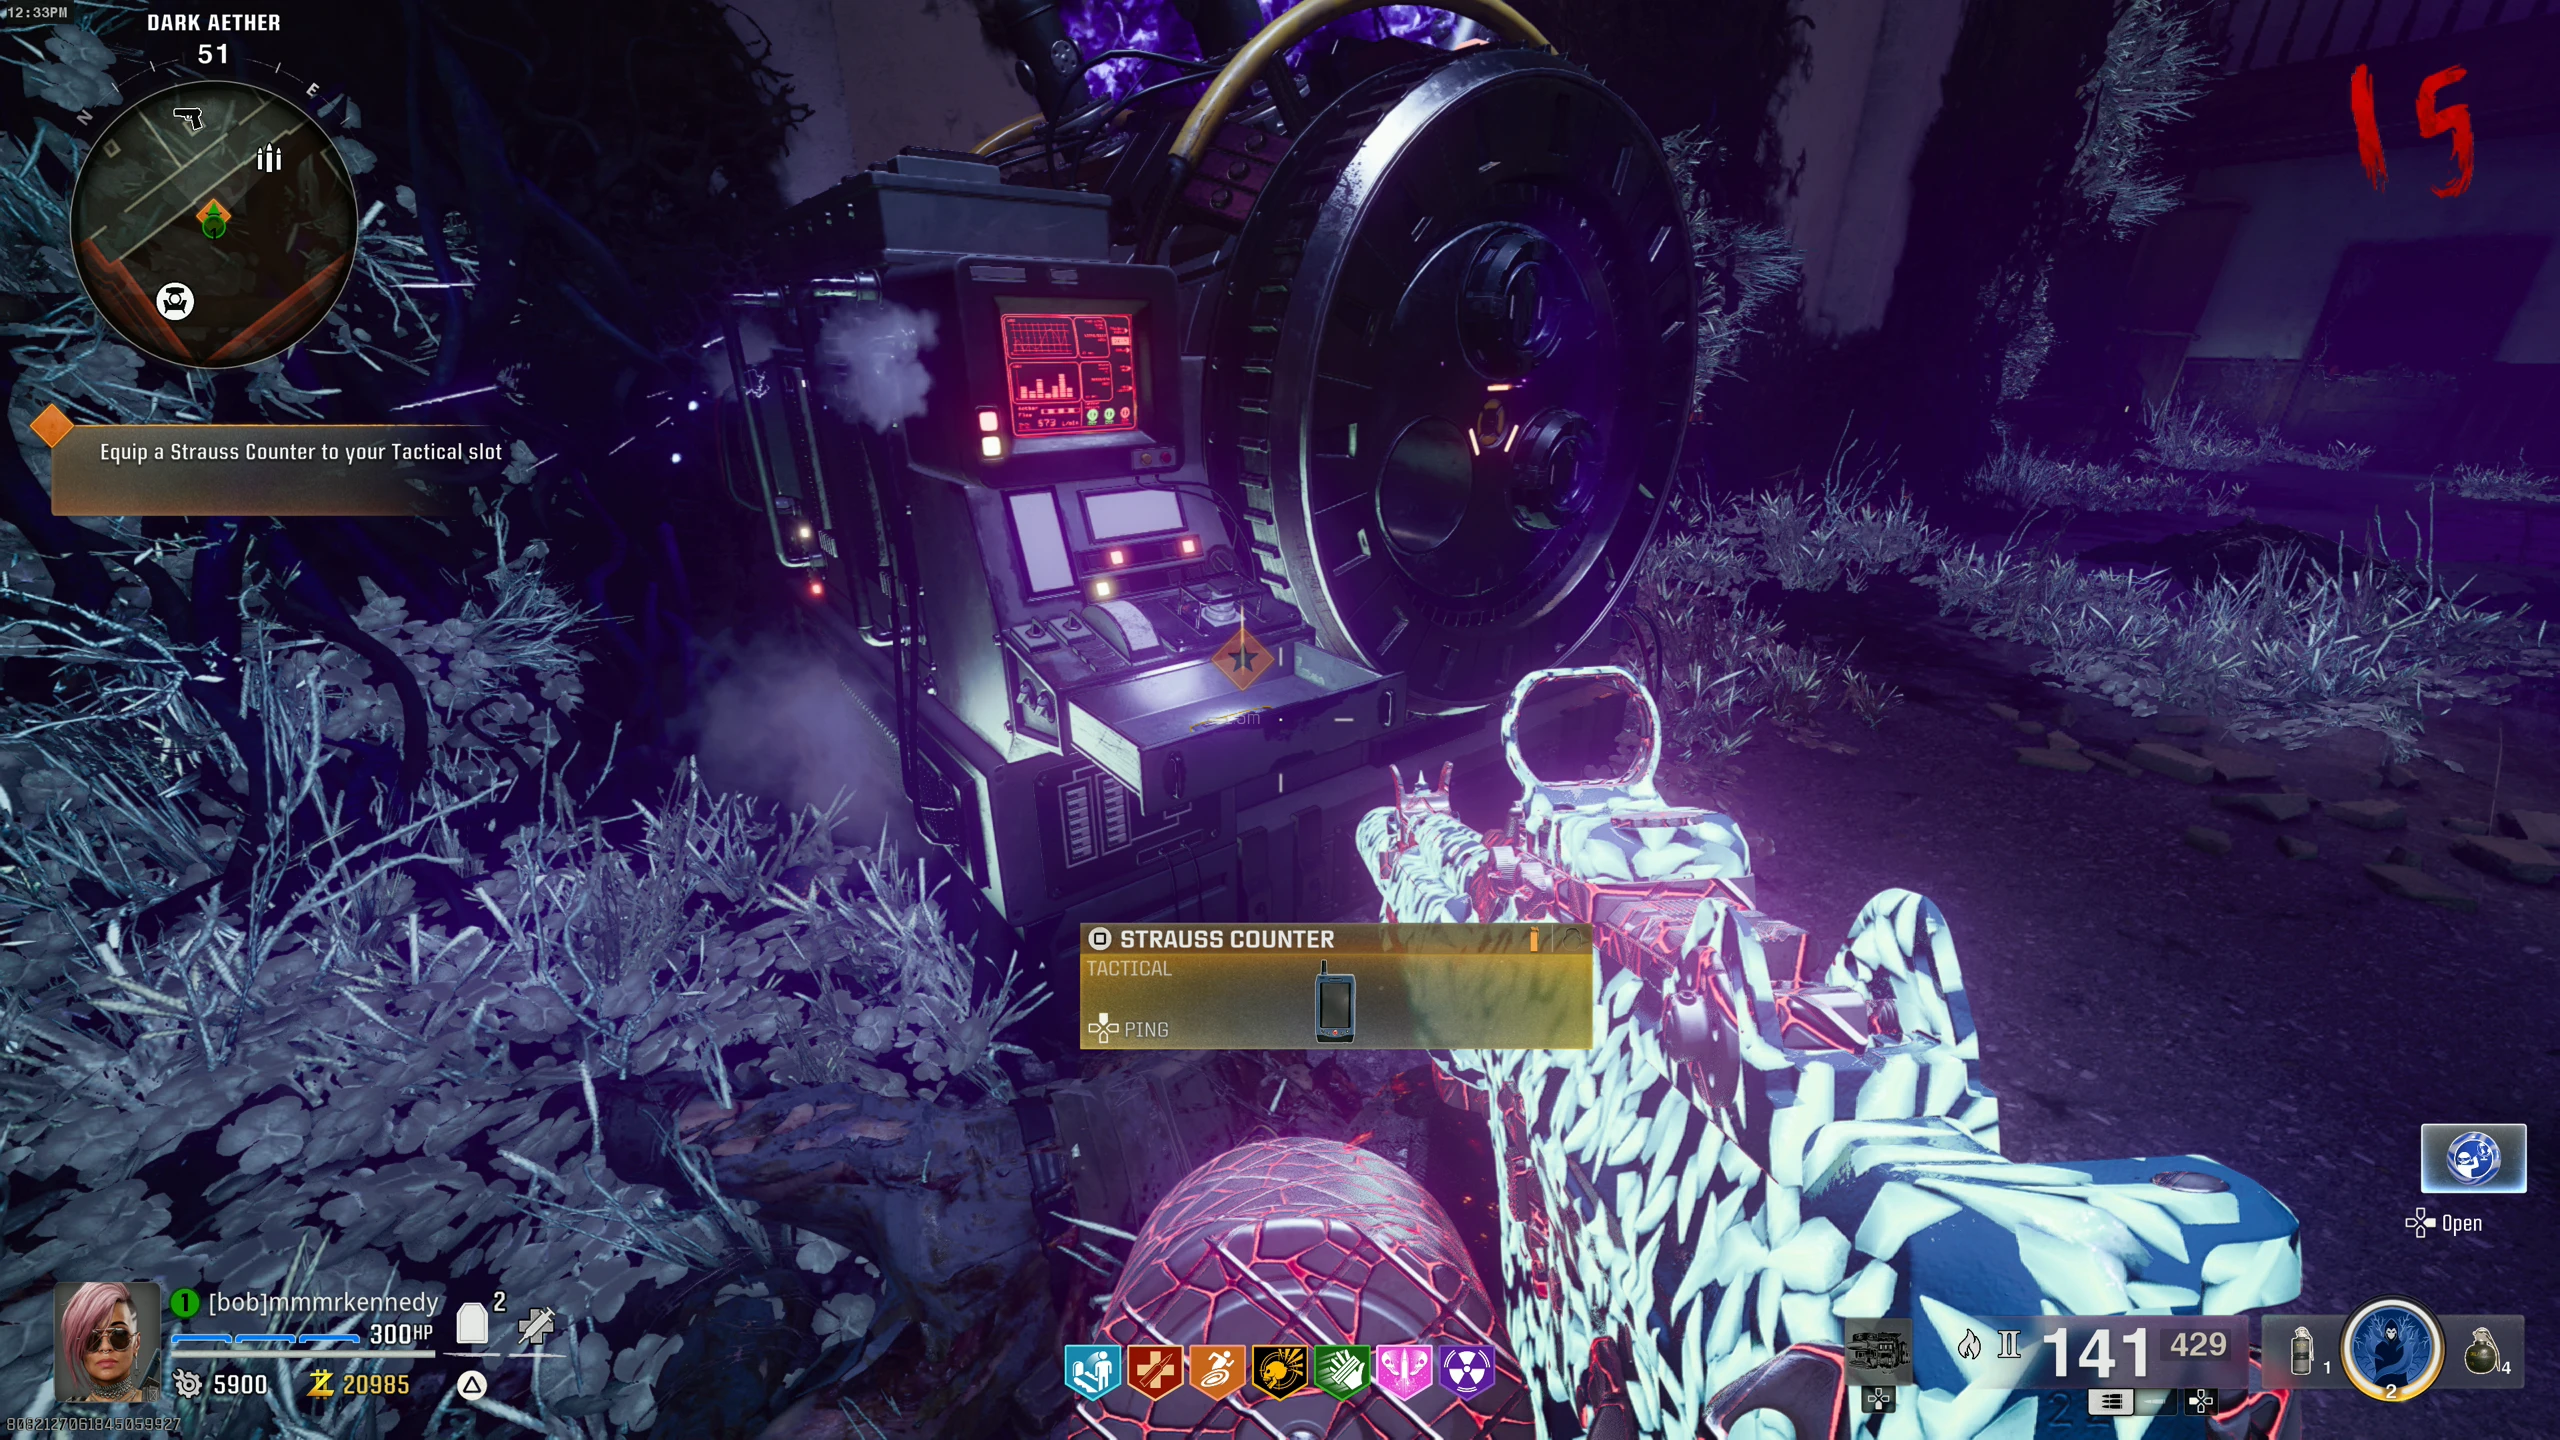
- Pick up a Strauss Counter from the SDG. The drawer with the Strauss Counter may take a couple of seconds to open due to a conversation.
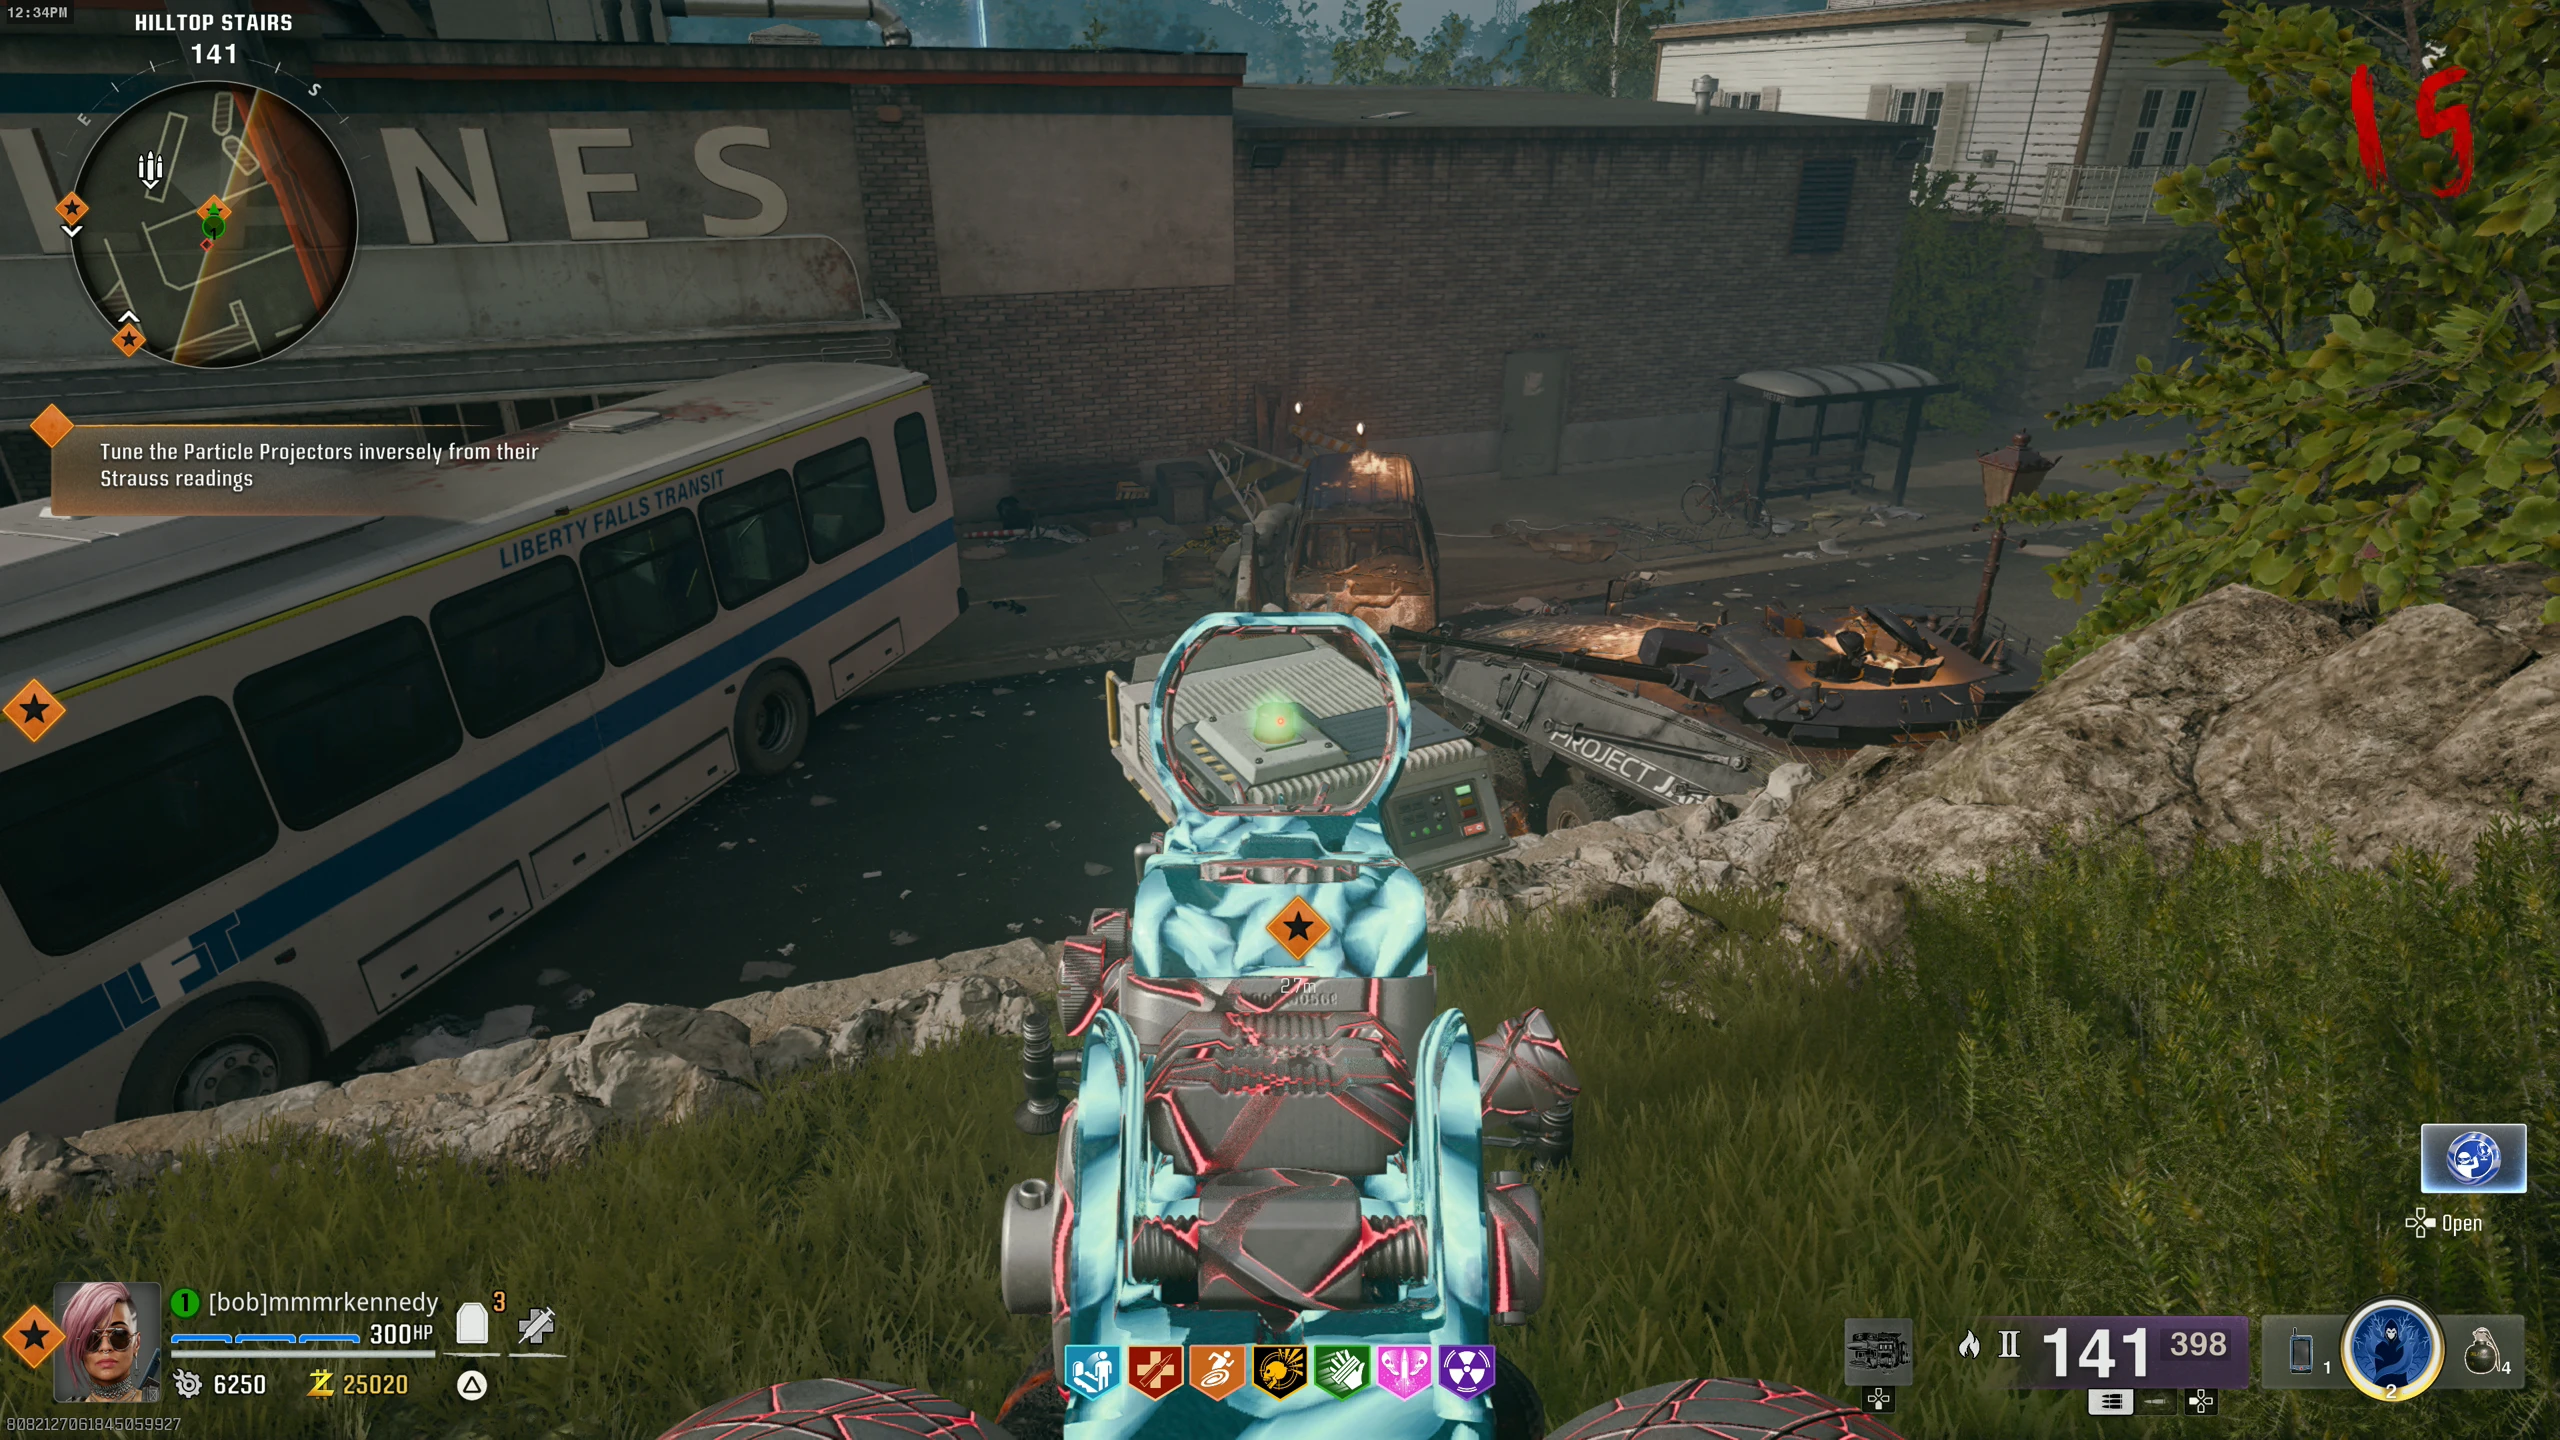
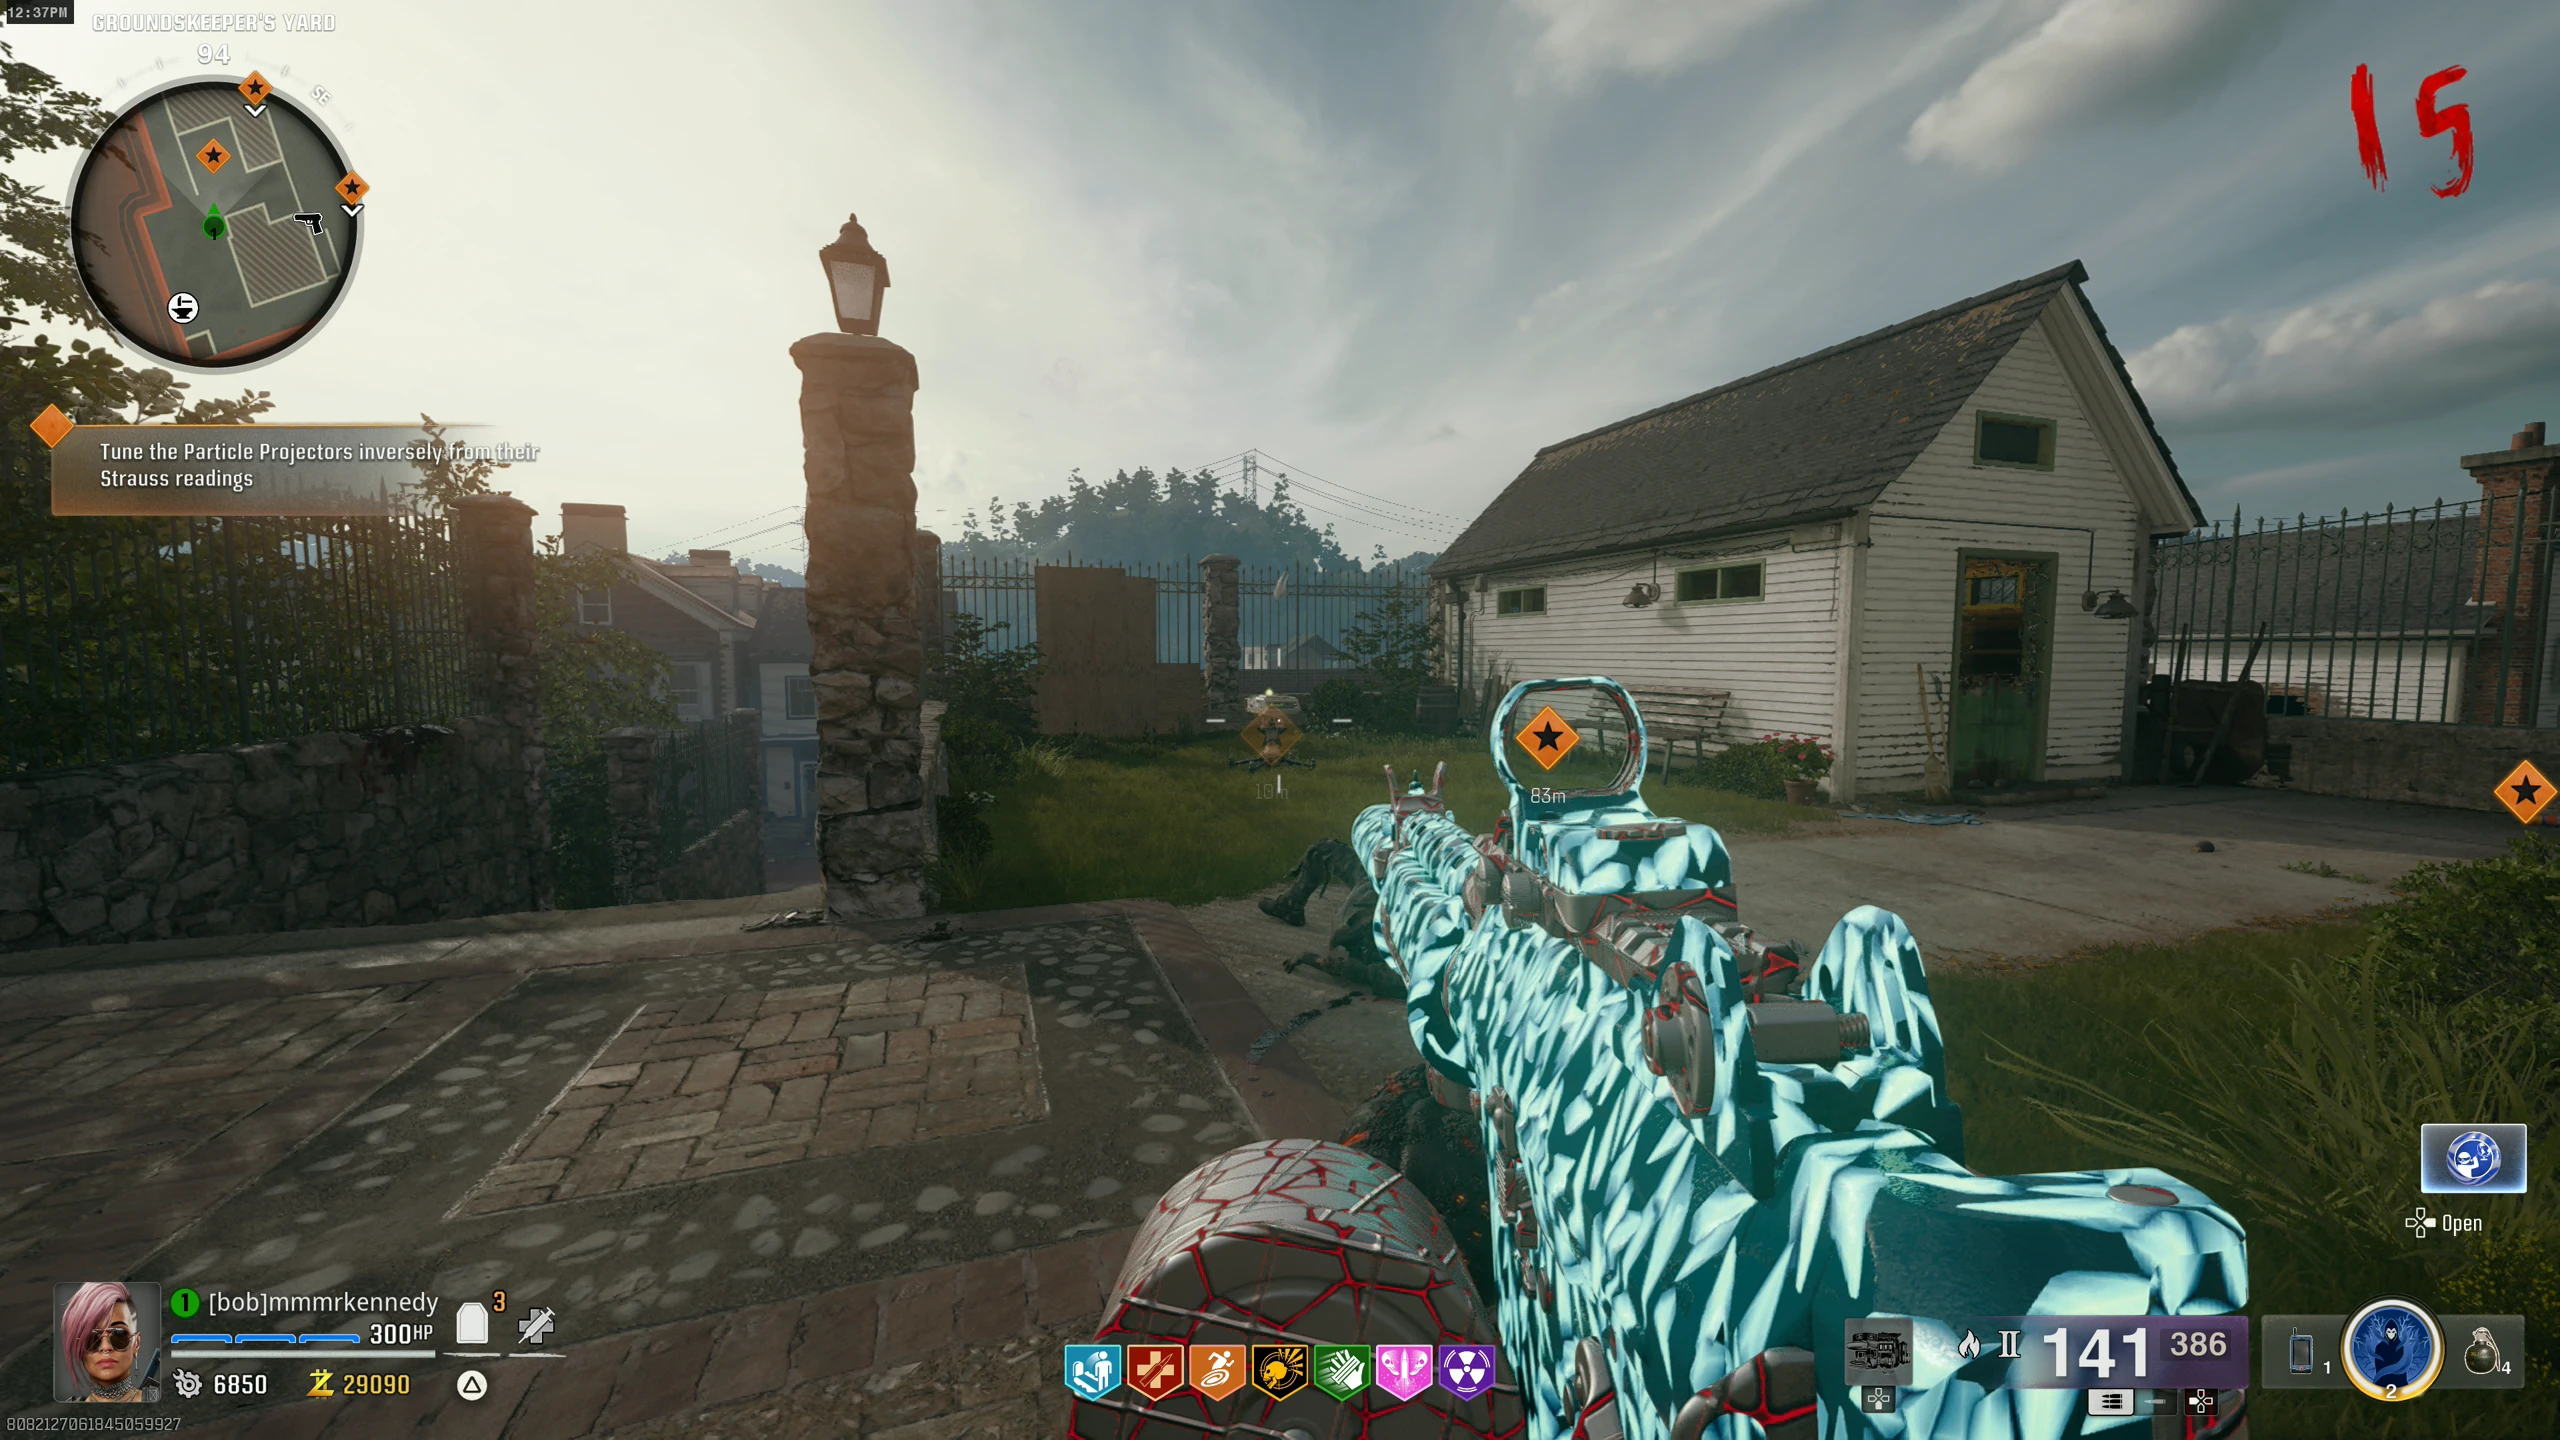
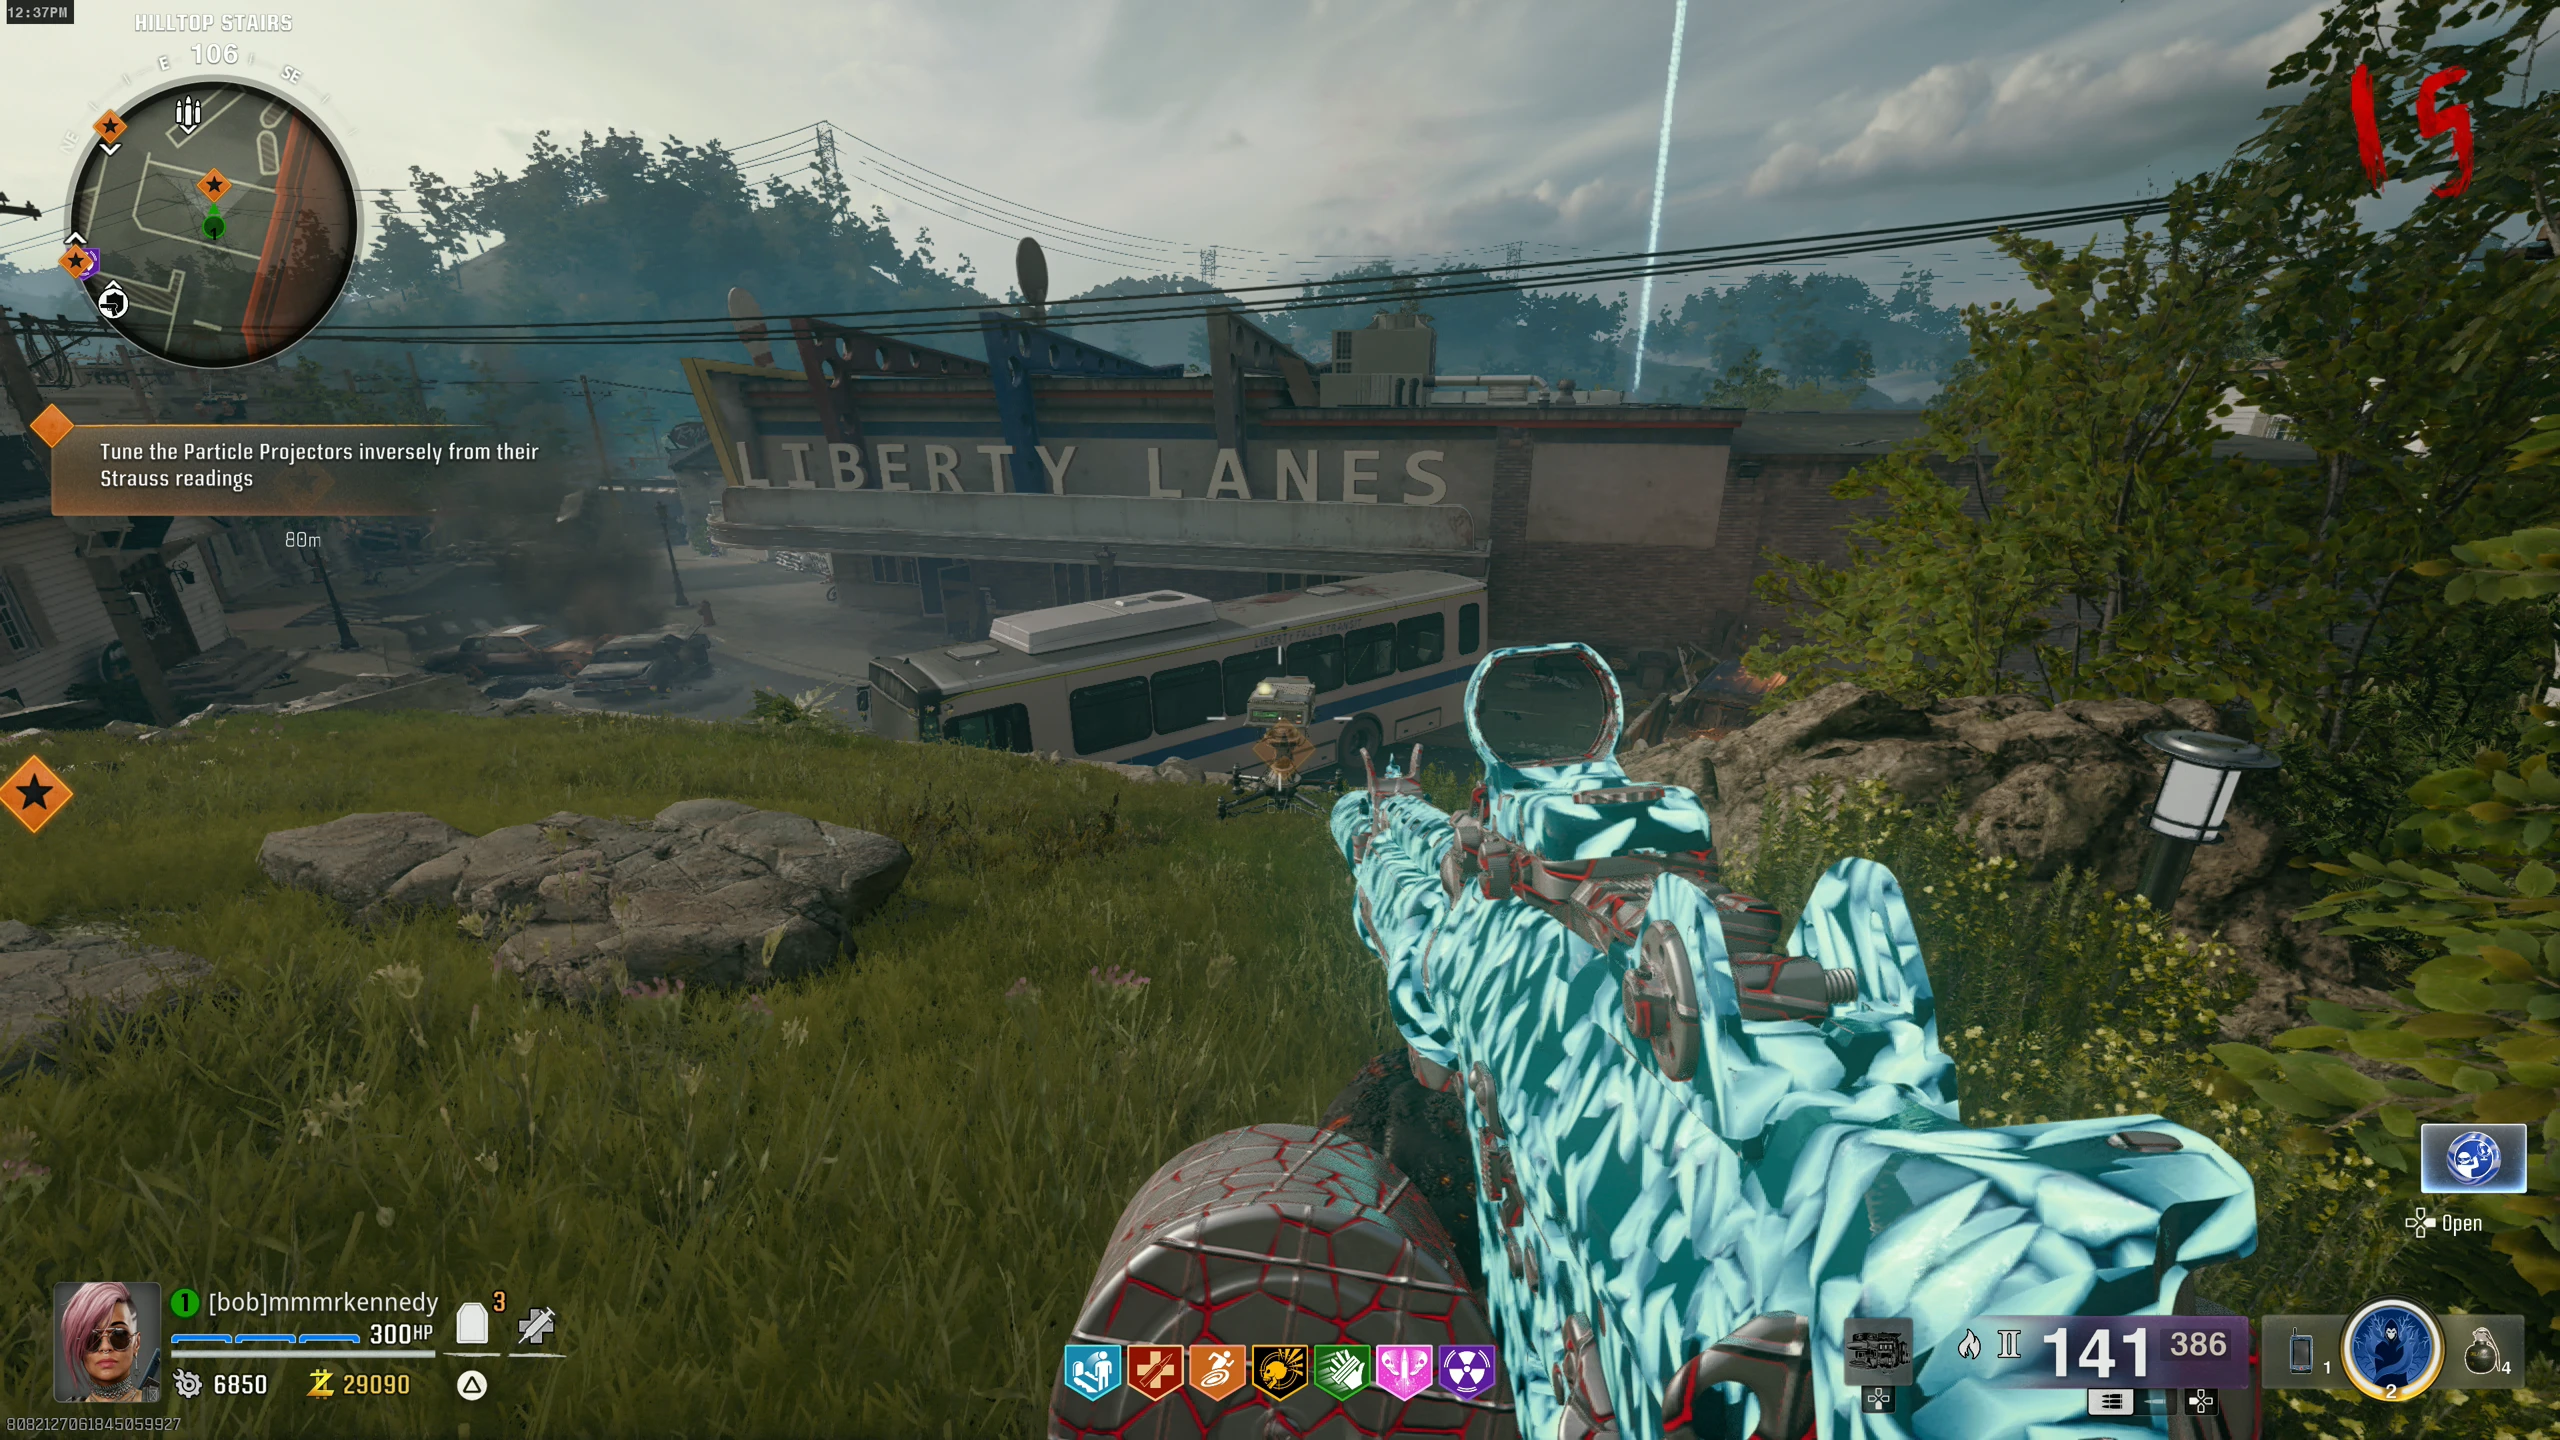
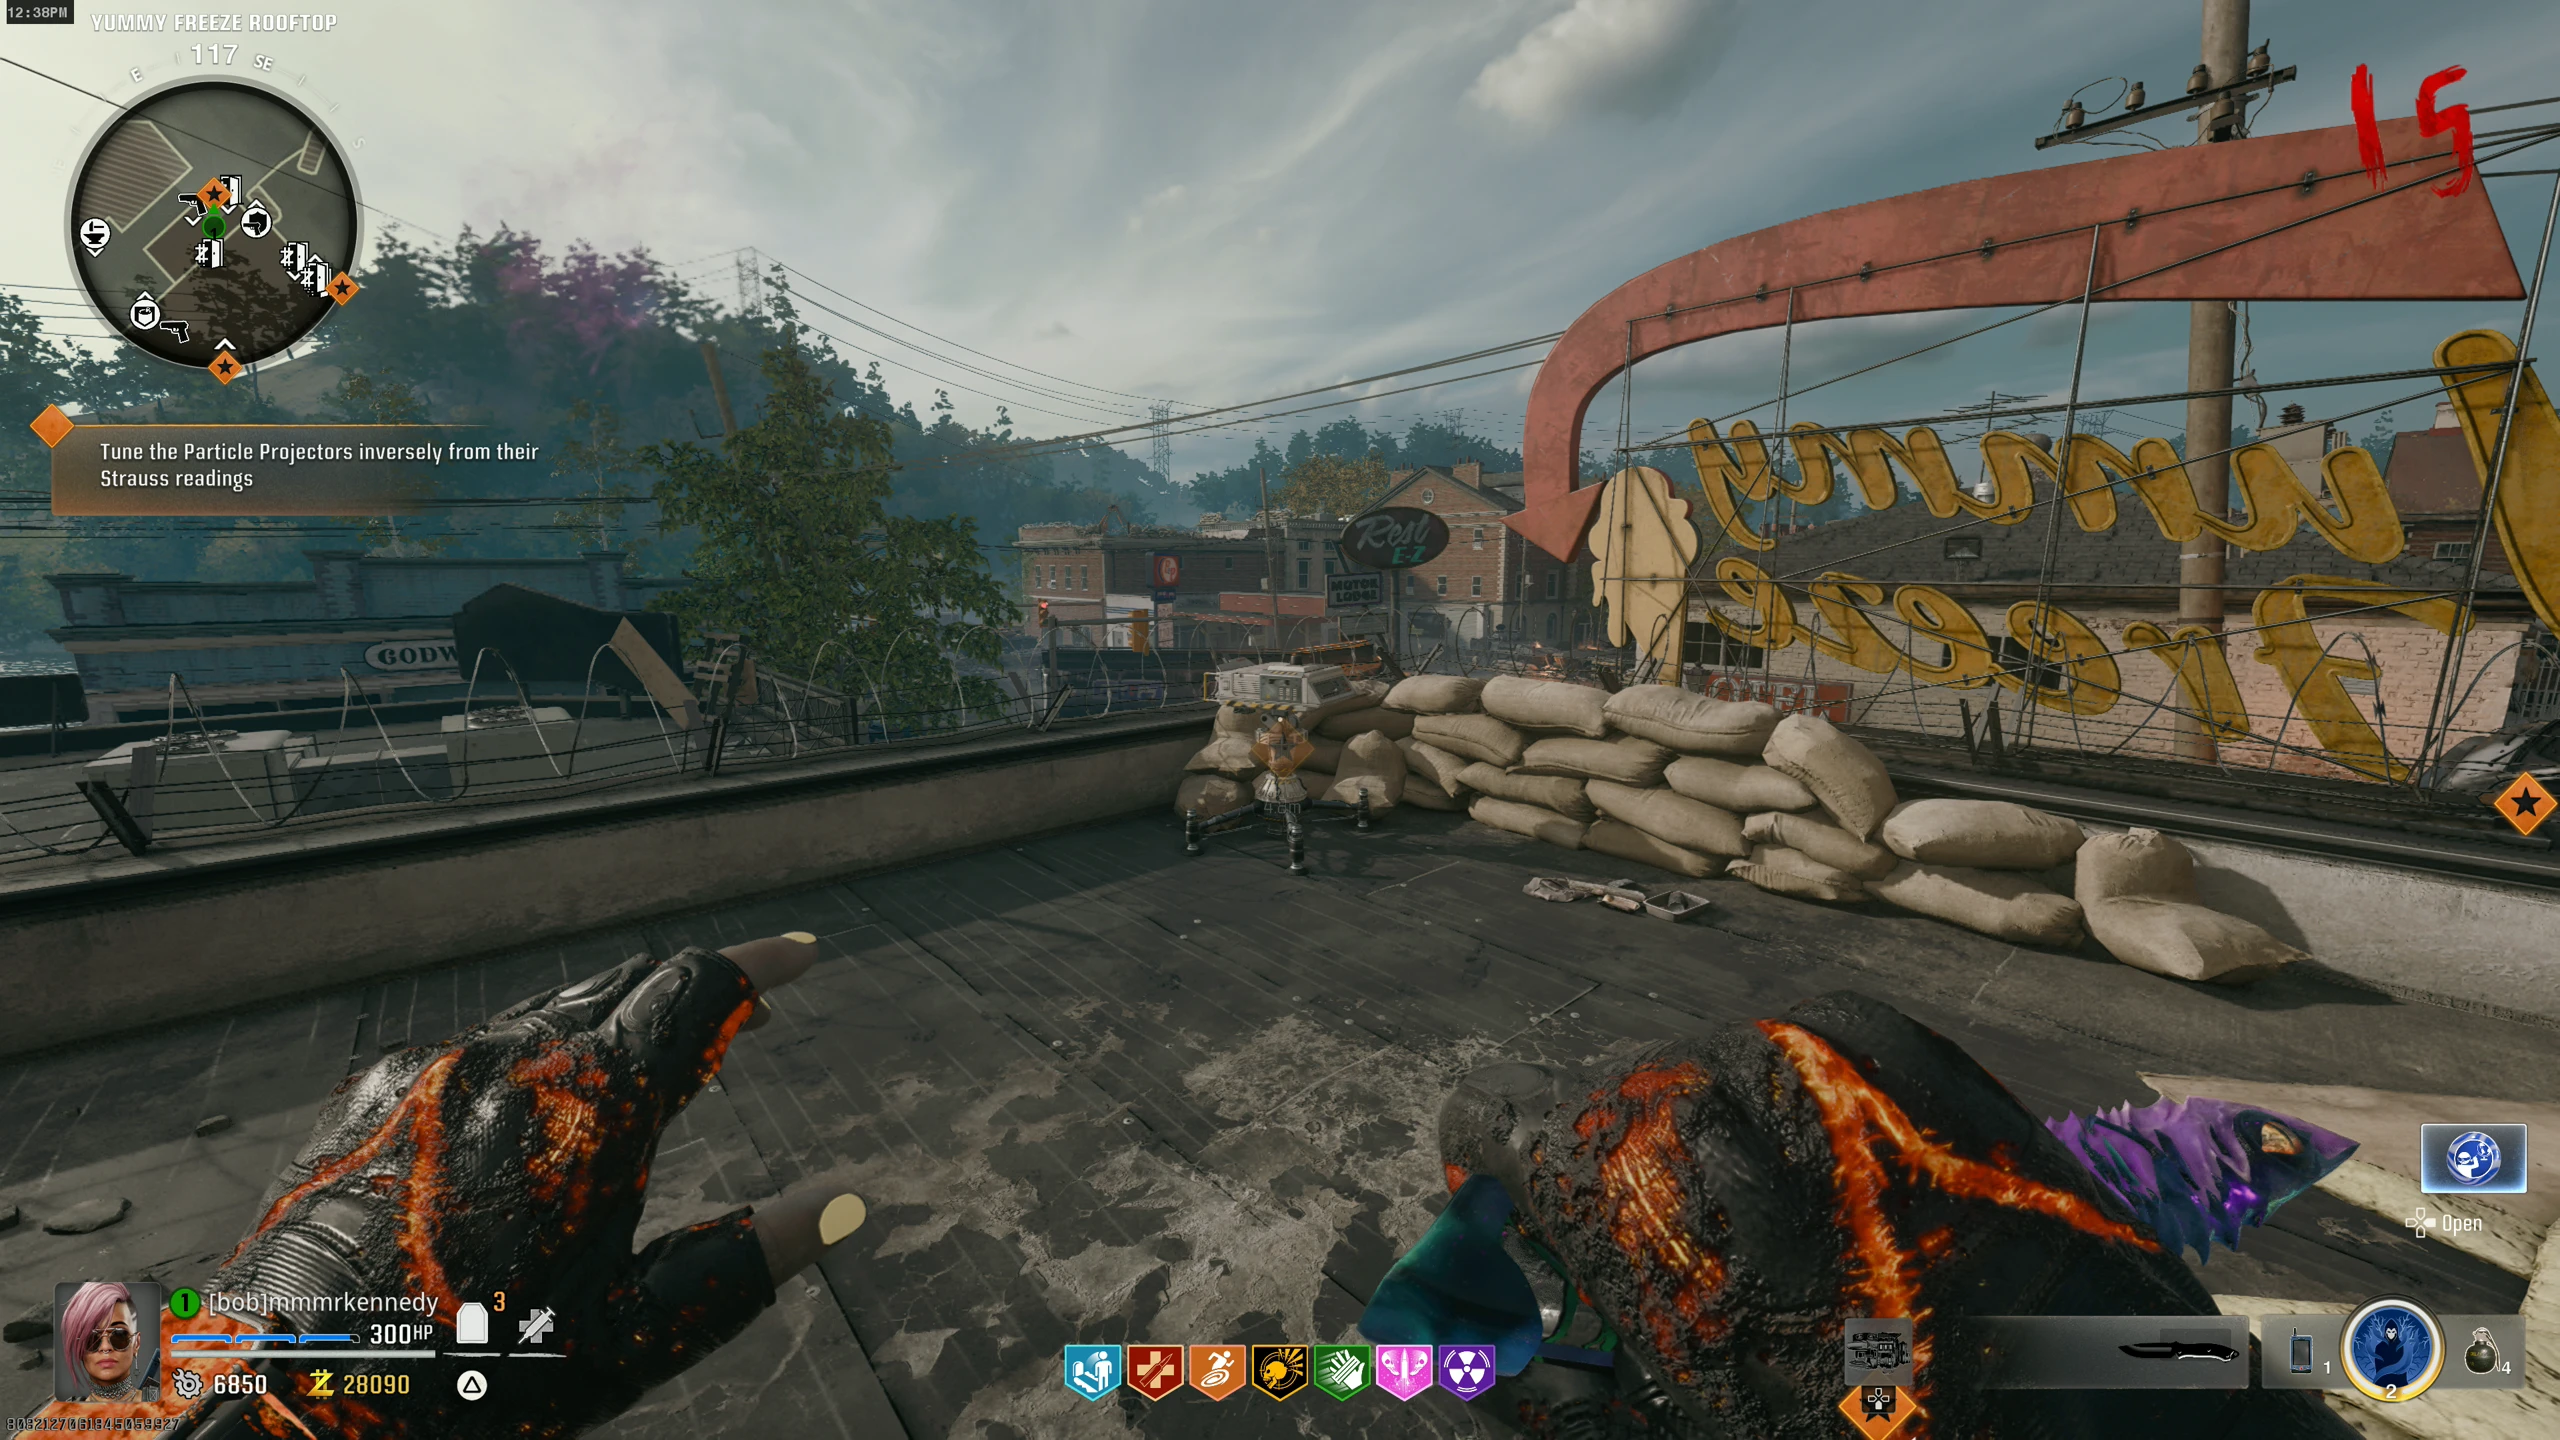
- There are three Aether Projectors around the map that need to be set to the correct colour using the Strauss Counter (see below). When near a projector, pull out the counter and look at the colour it is displaying. Based on this colour, you will need to set the projector to a different colour by interacting with it to change the light on the top. Projector locations:
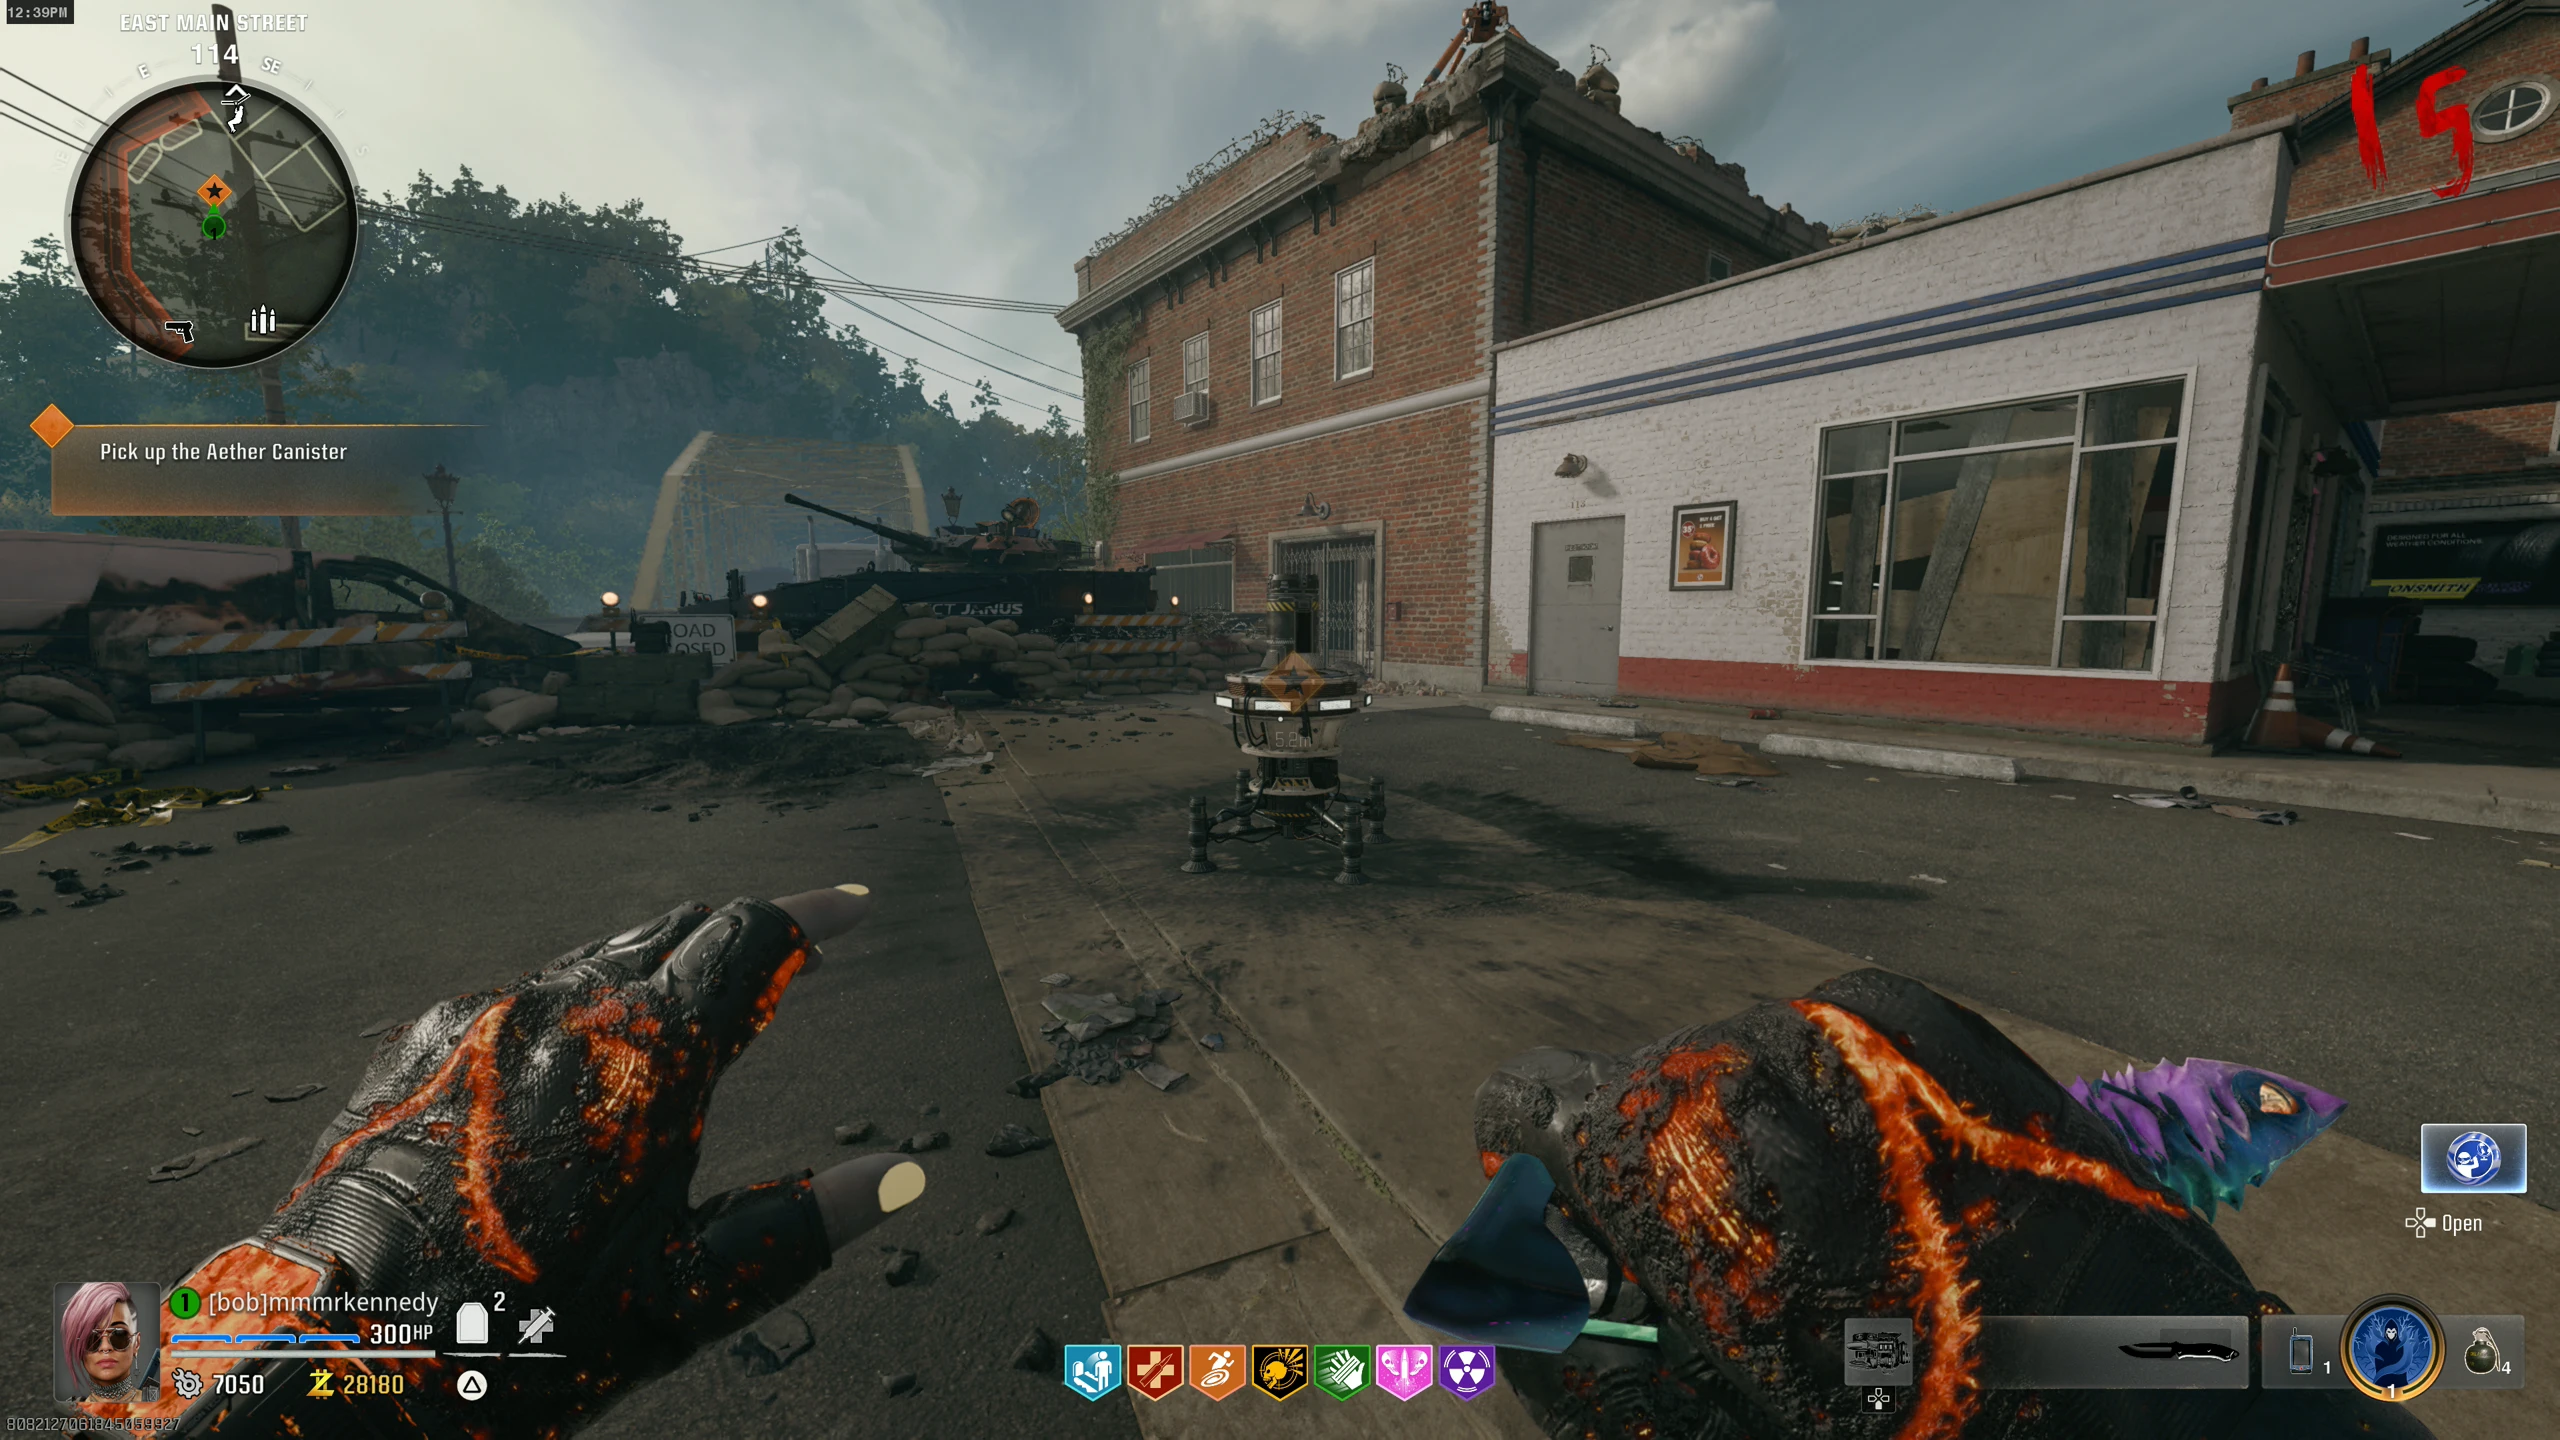
Strauss Counter Colour Projector Colour Red Green Green Red Yellow Yellow - Once all three projectors are set correctly, they'll turn to face spawn and shoot a beam of energy. After a few seconds, a canister will come out of the top of the device near the Gas Station on 'East Main Street'. Interact with it to pick up the canister.
Canister #2
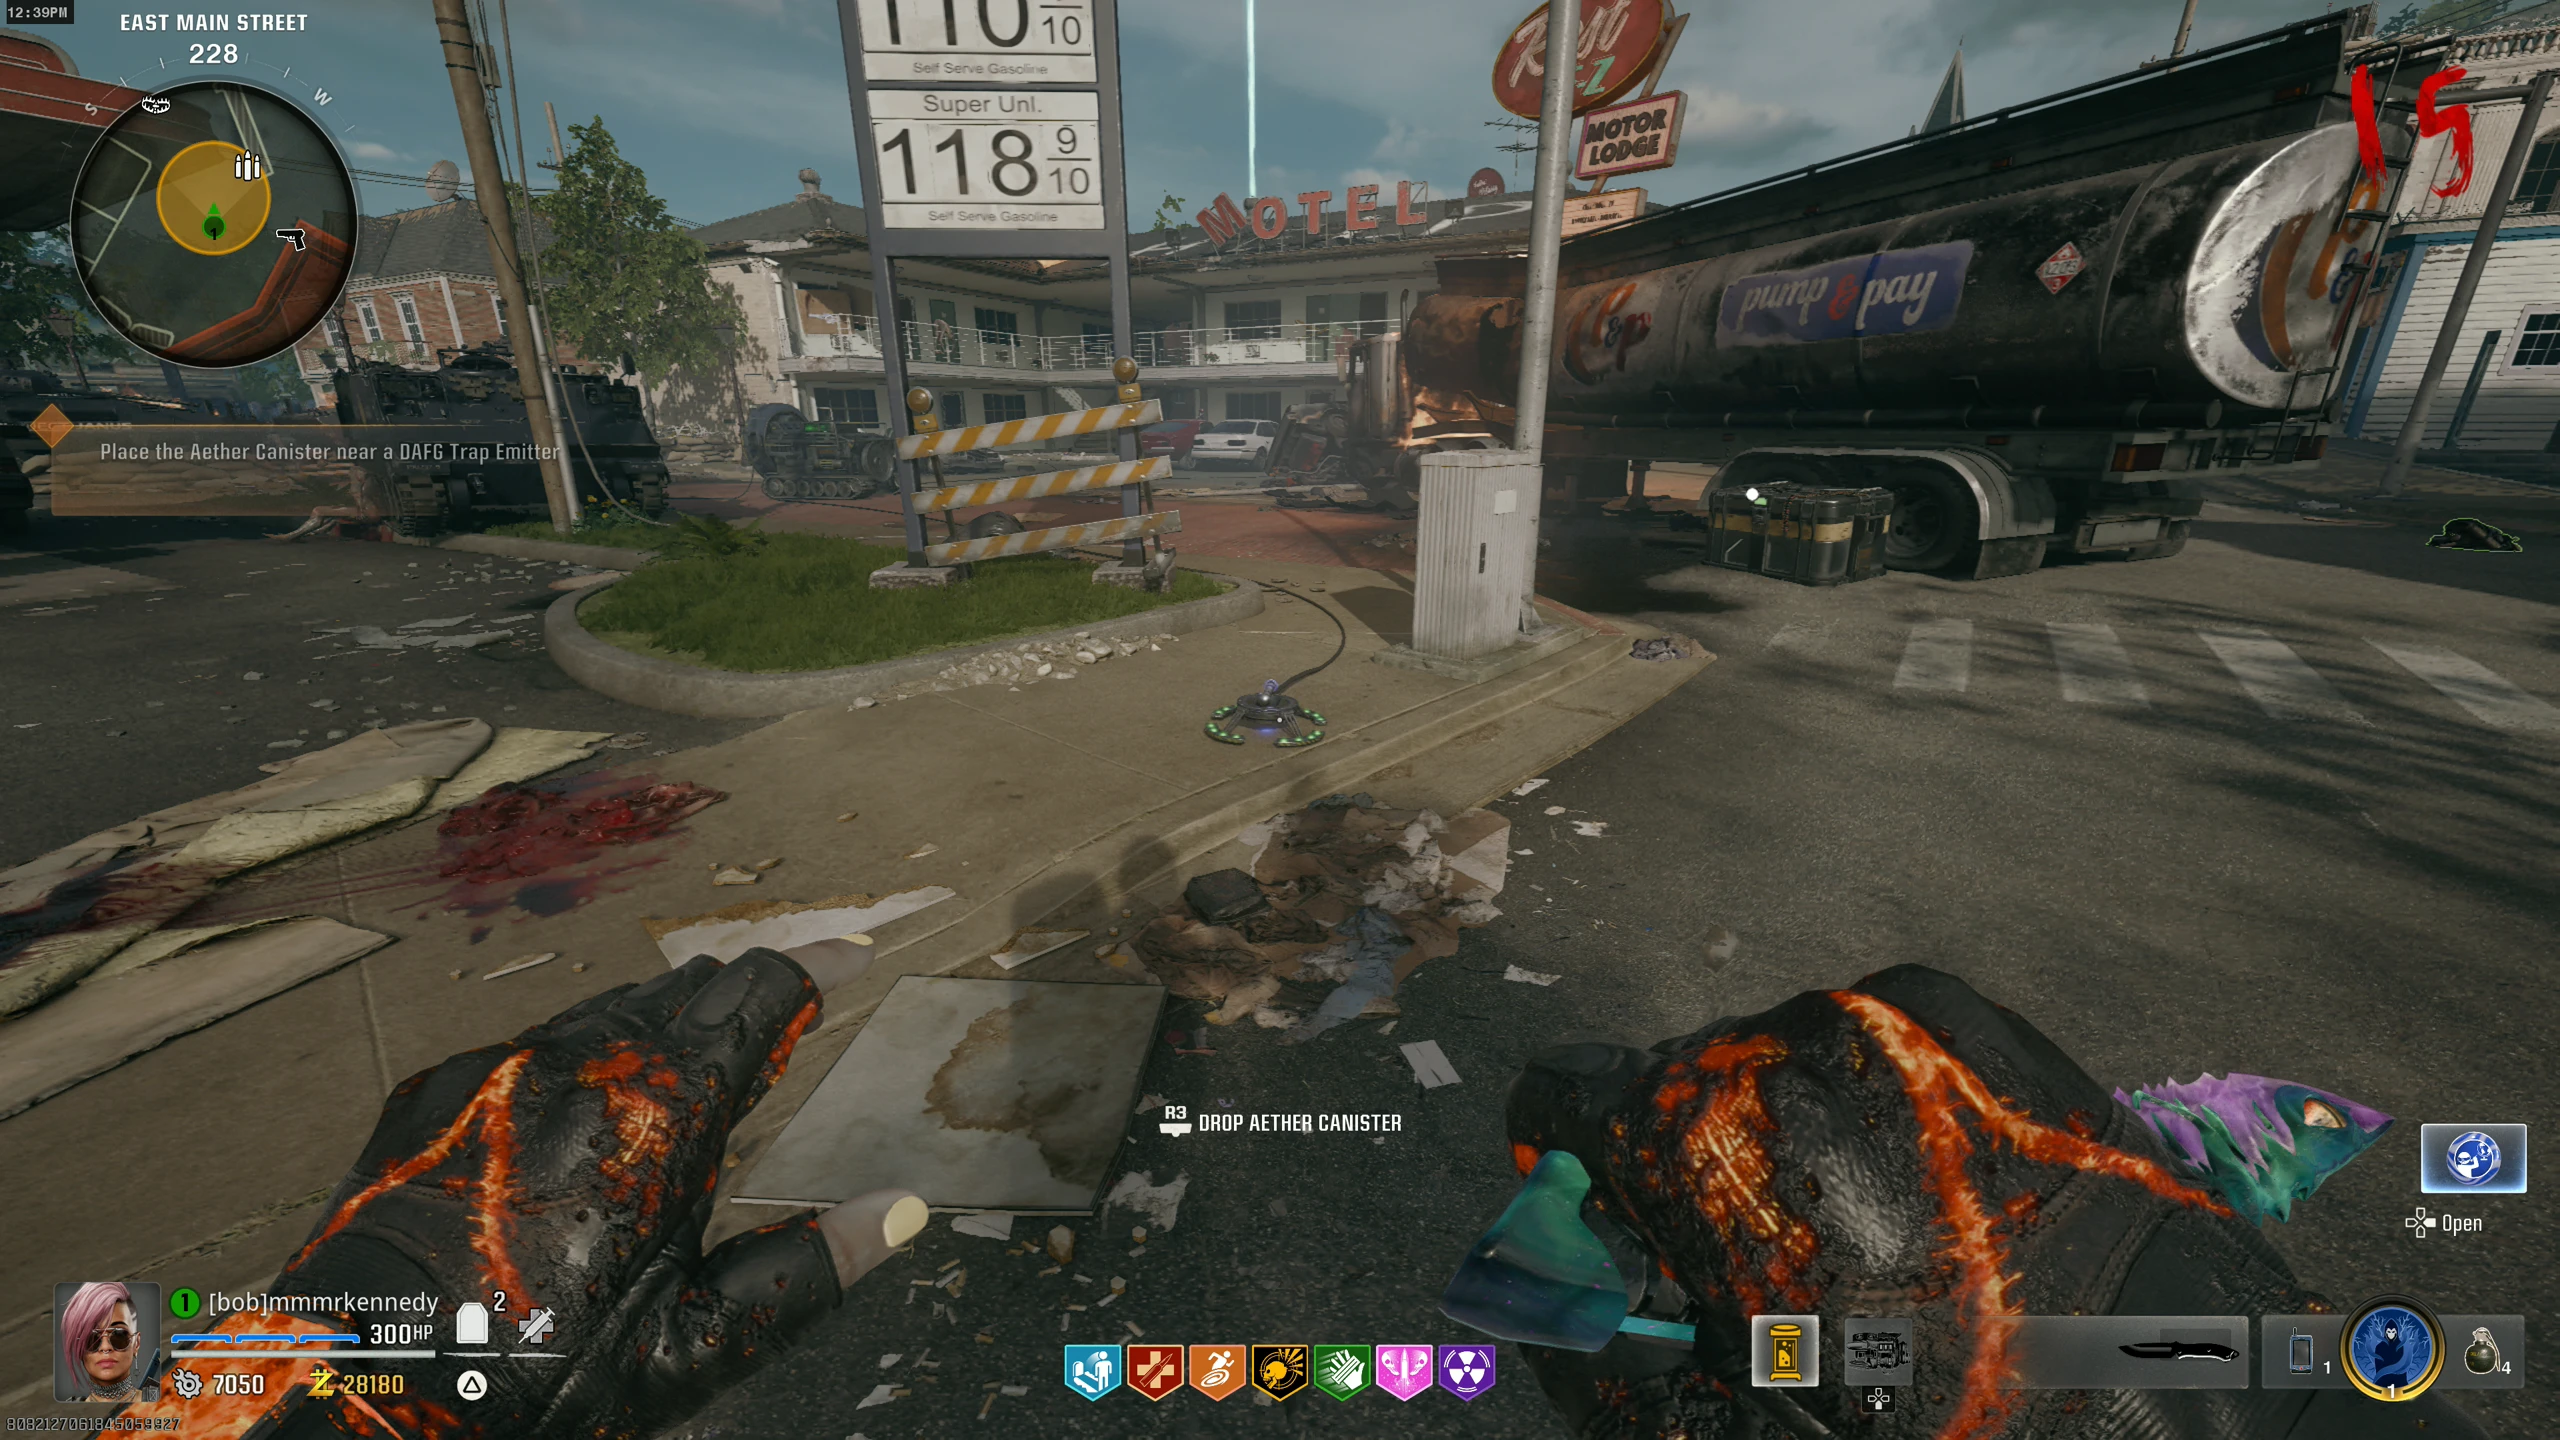
- Drop the canister on one of the Dark Aether Field Generator nodes around the Gas Station.
- Place the L.T.G. under the Aether Storm in the 'Riverside' area. Defend the L.T.G., spawn and kill the HVT, and deliver the Canister to the SDG again (steps 7-10).
- If you can't place the L.T.G., go back to the Cemetery and pick it up first.
Once you interact with the SDG after delivering the canister, you will be put into the Boss Fight.
- Once the canister is brought back to the SDG, interact with it to start the boss fight.
Boss Fight
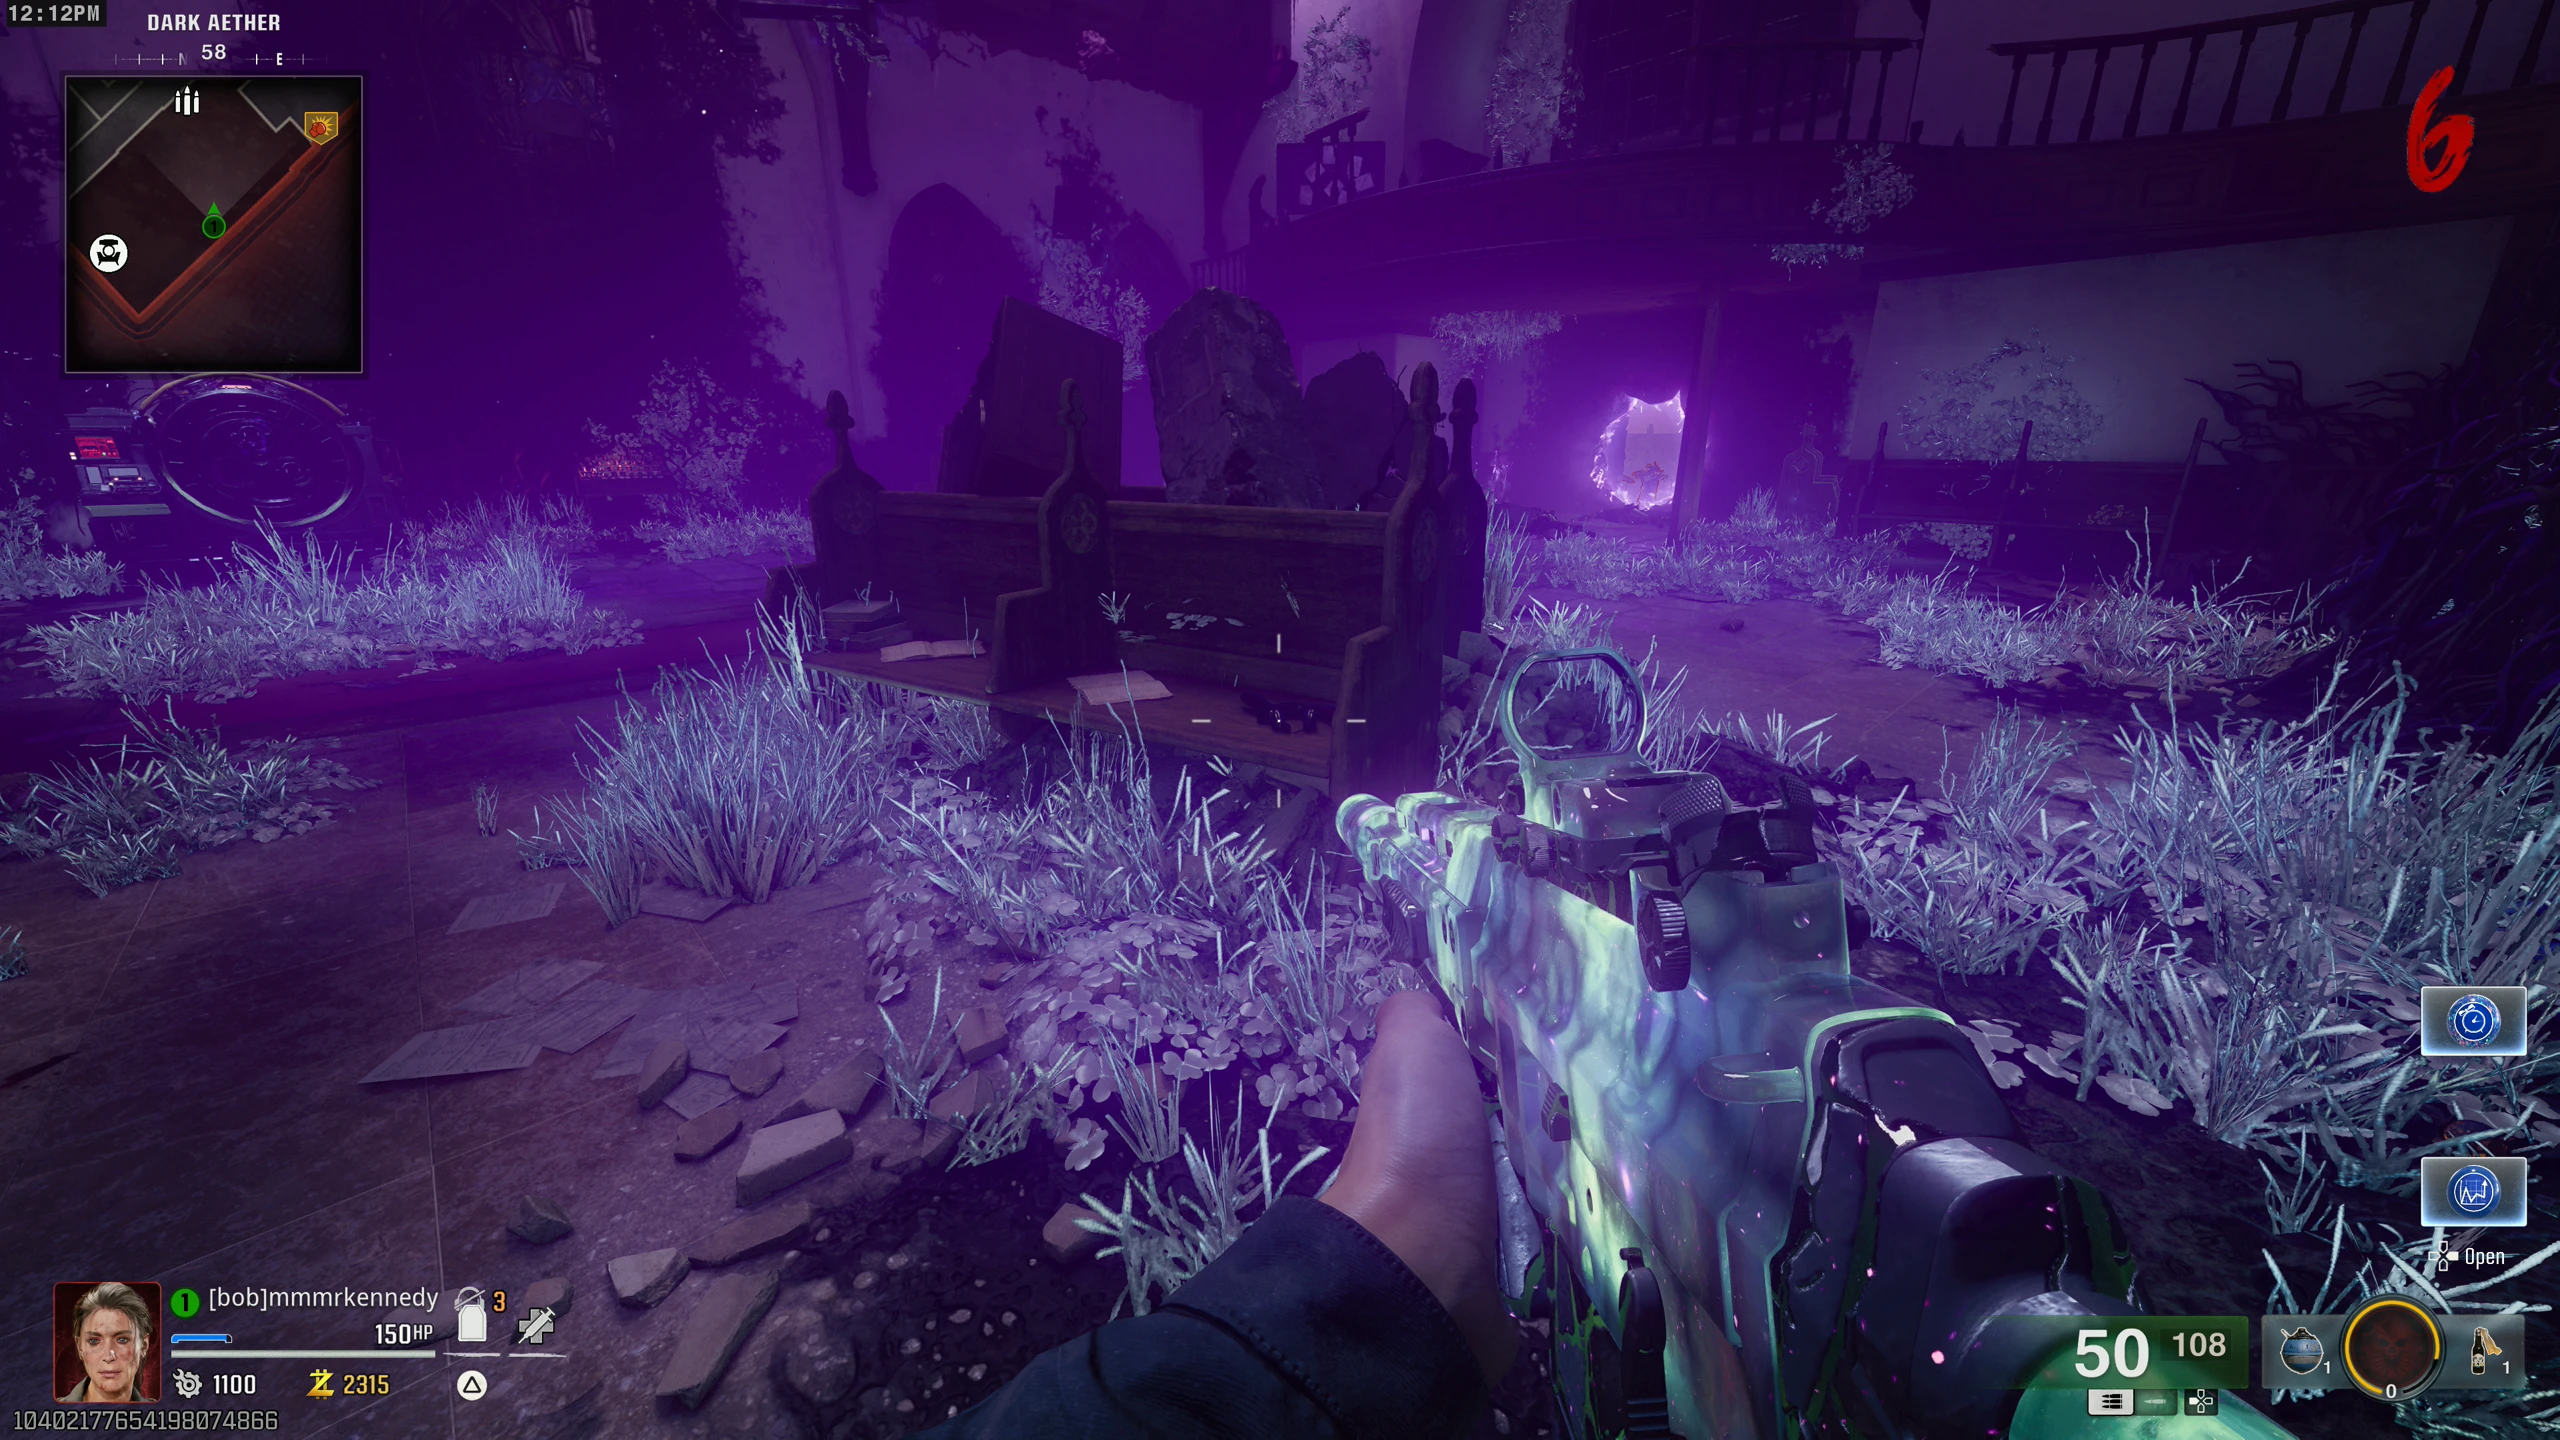
- All players are teleported to the 'Dark Aether' (Church). The Boss Fight is three rounds. Kill all enemies or kill the boss enemy to end each wave.
- On round 1, kill all the Zombies until they stop spawning, and a Full Armour power-up spawns.
- For rounds 2 and 3, an HVT spawns (one per wave on Solo, more on Co-op). Zombies spawn infinitely until you kill the HVT(s). After wave 2, a Max Ammo spawns.
- Once the final wave is done, all players go down and the ending cutscene plays. After it ends, you can keep playing. If you do, you'll get all perks and a bunch of loot including level 3 PAP crystals and Orange Aether Tools.
"Destroy Something Beautiful" Song
Link to song on streaming here.
- Interact with three "Mister Peeks Headphones" around the map. Headphone locations:
- Once all three headphones are interacted with, the song will start.
Play as the Aetherella Trap
- Obtain the Jet Gun.
- Using the Jet Gun's primary fire (the suck), you must suck up nine Aetherella dolls. When a doll is collected, a sound will play. Doll locations:
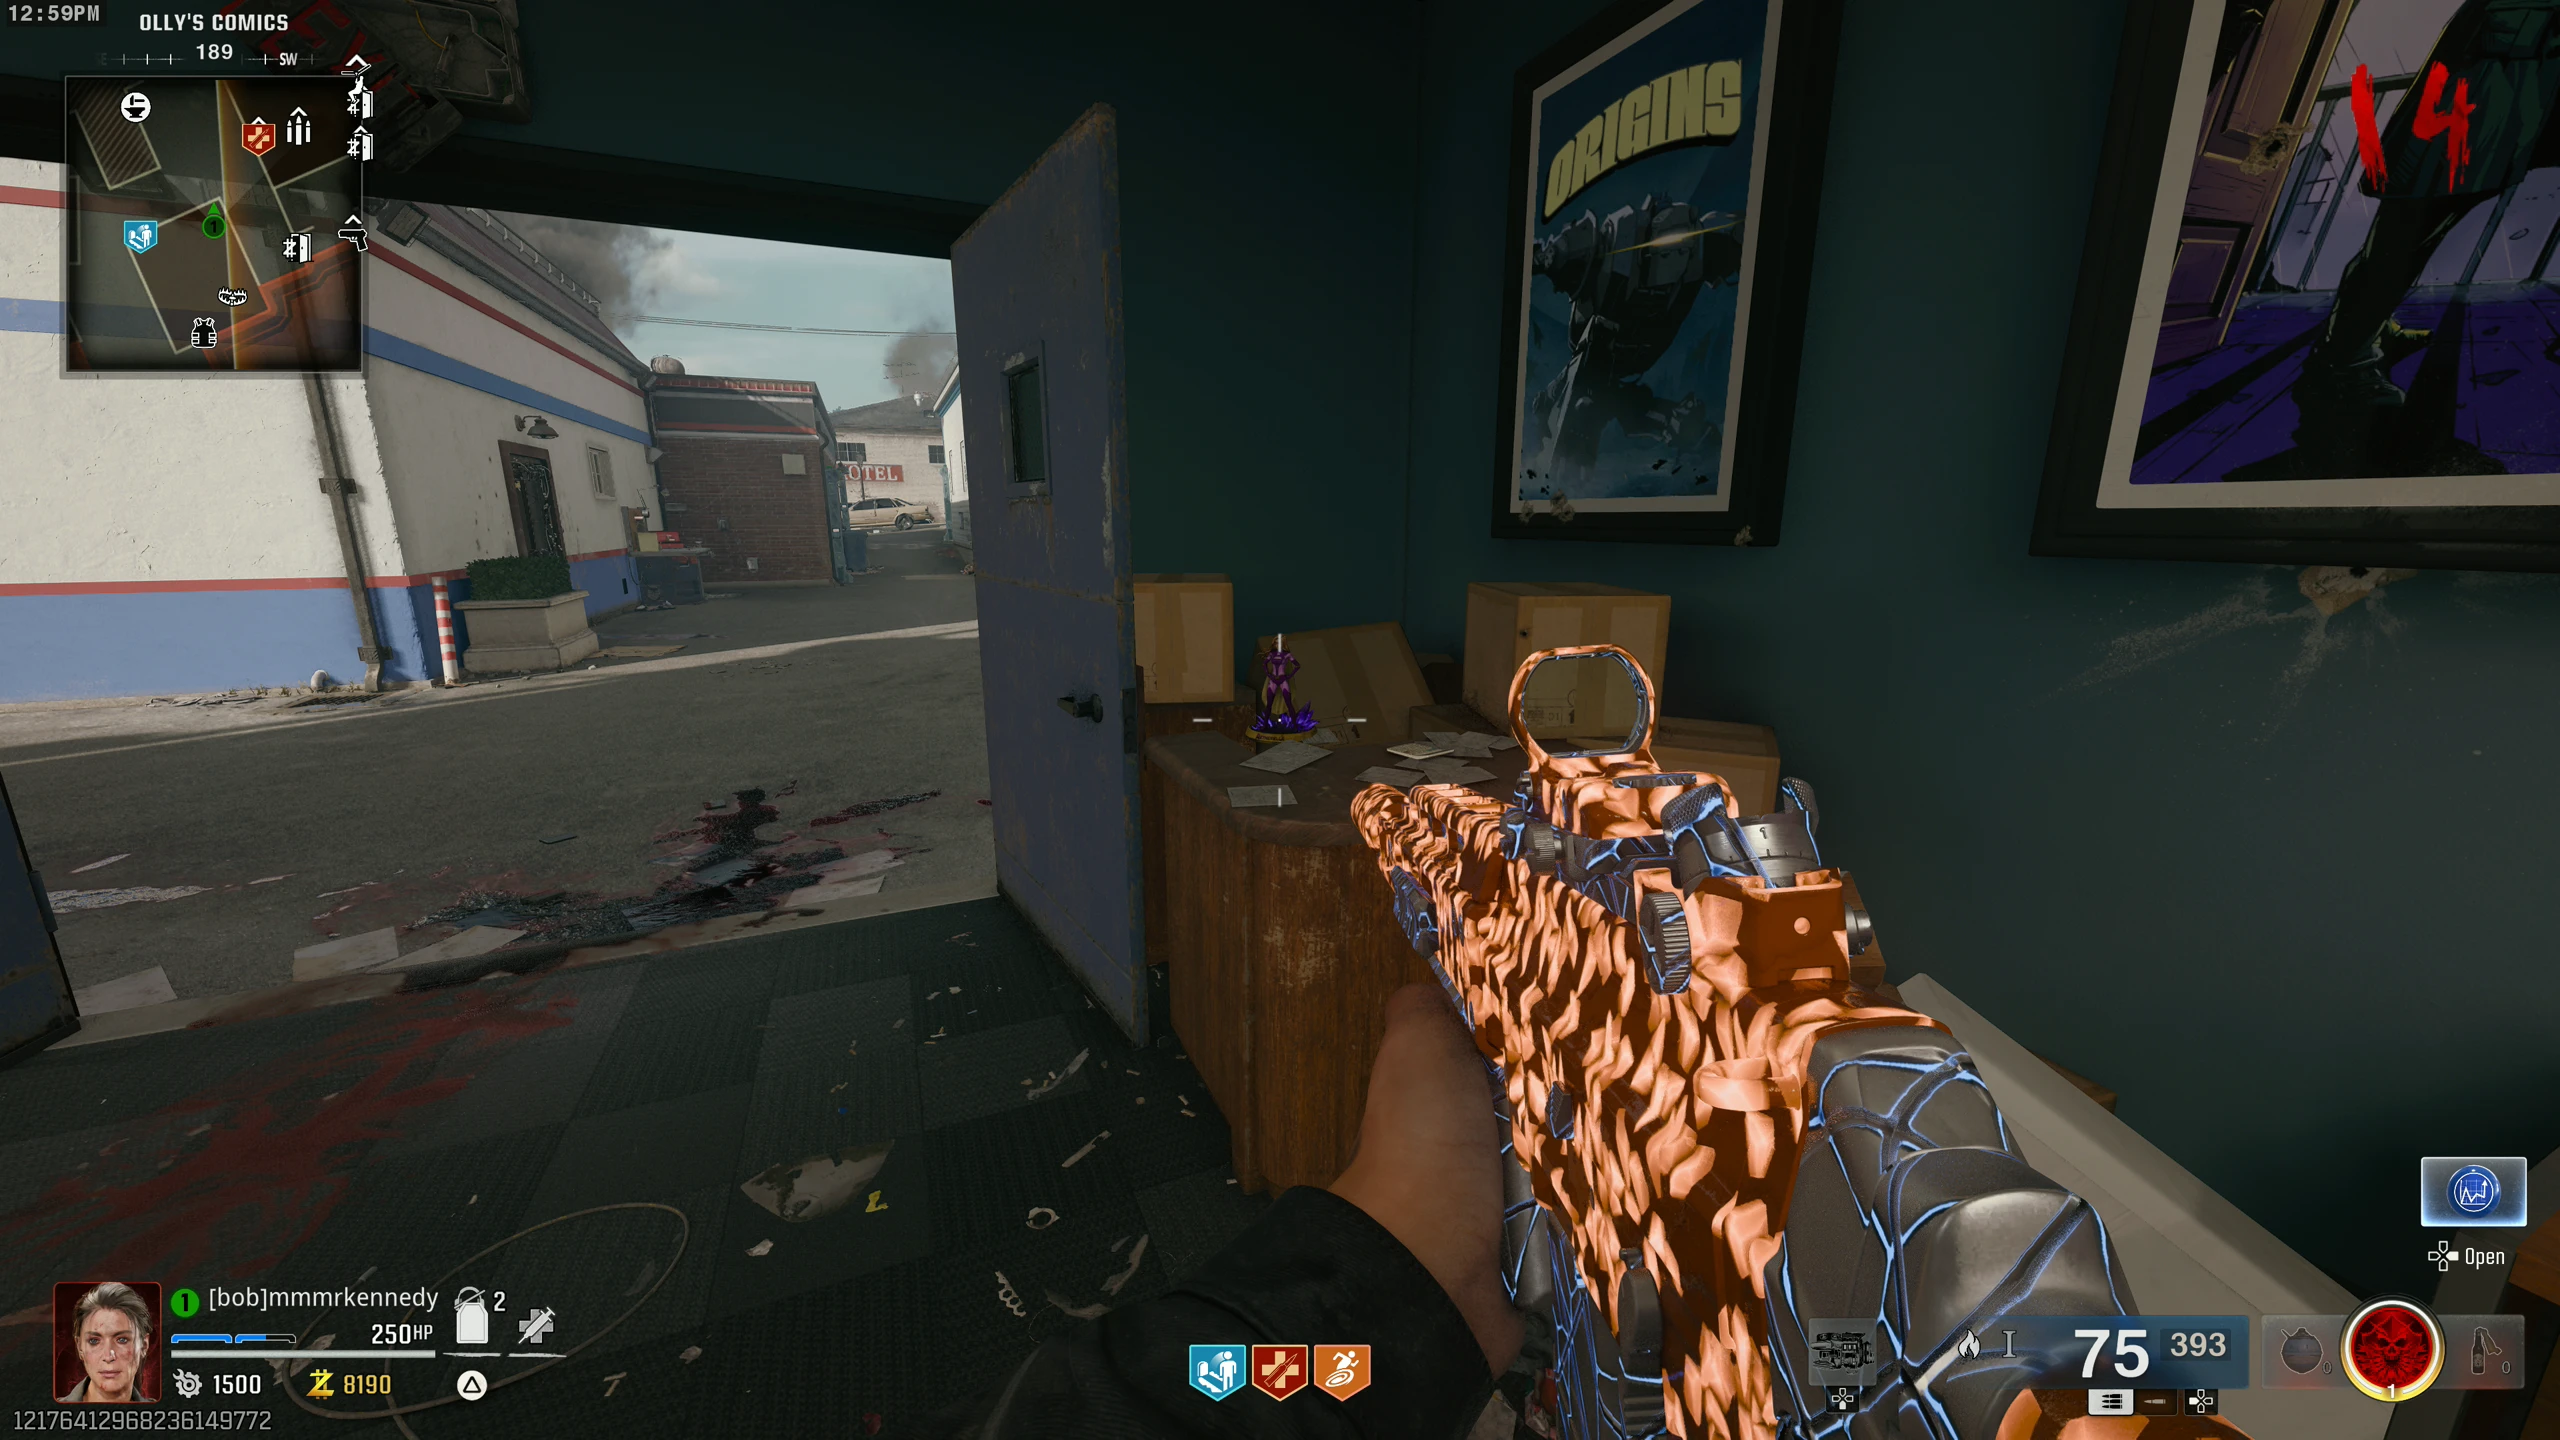
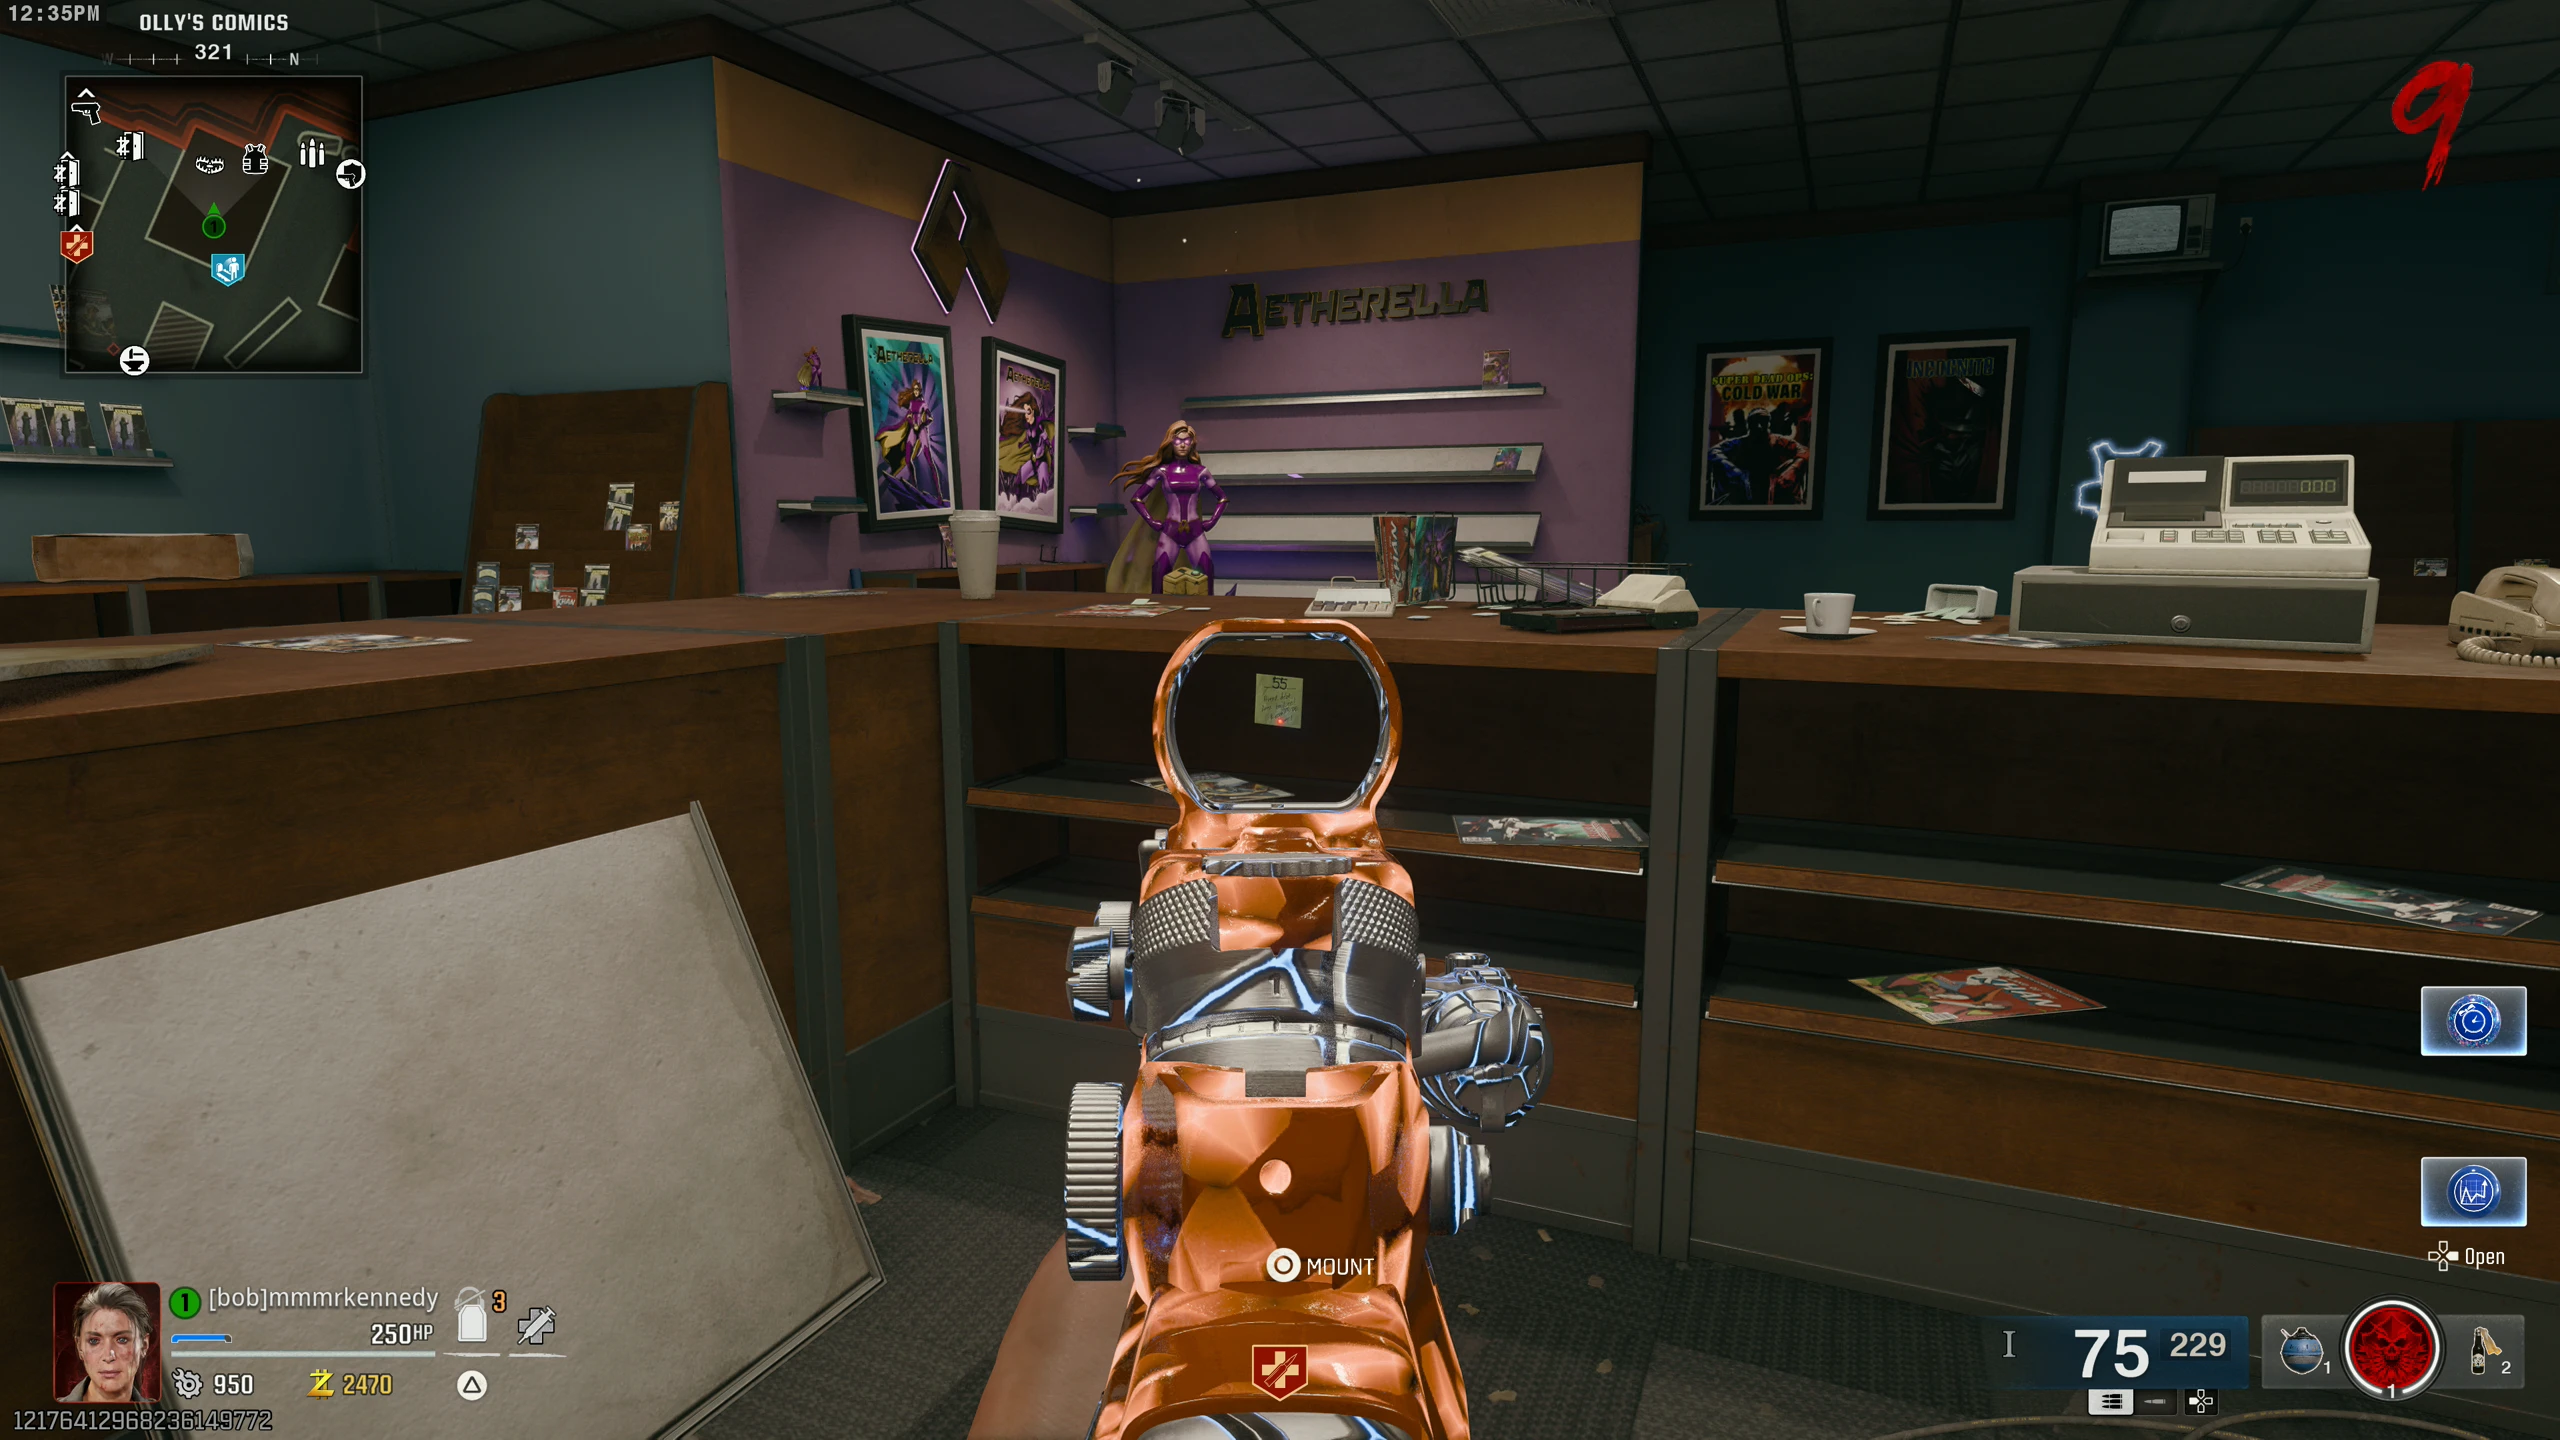
- Olly's Comics - On the table right of the door to the parking lot
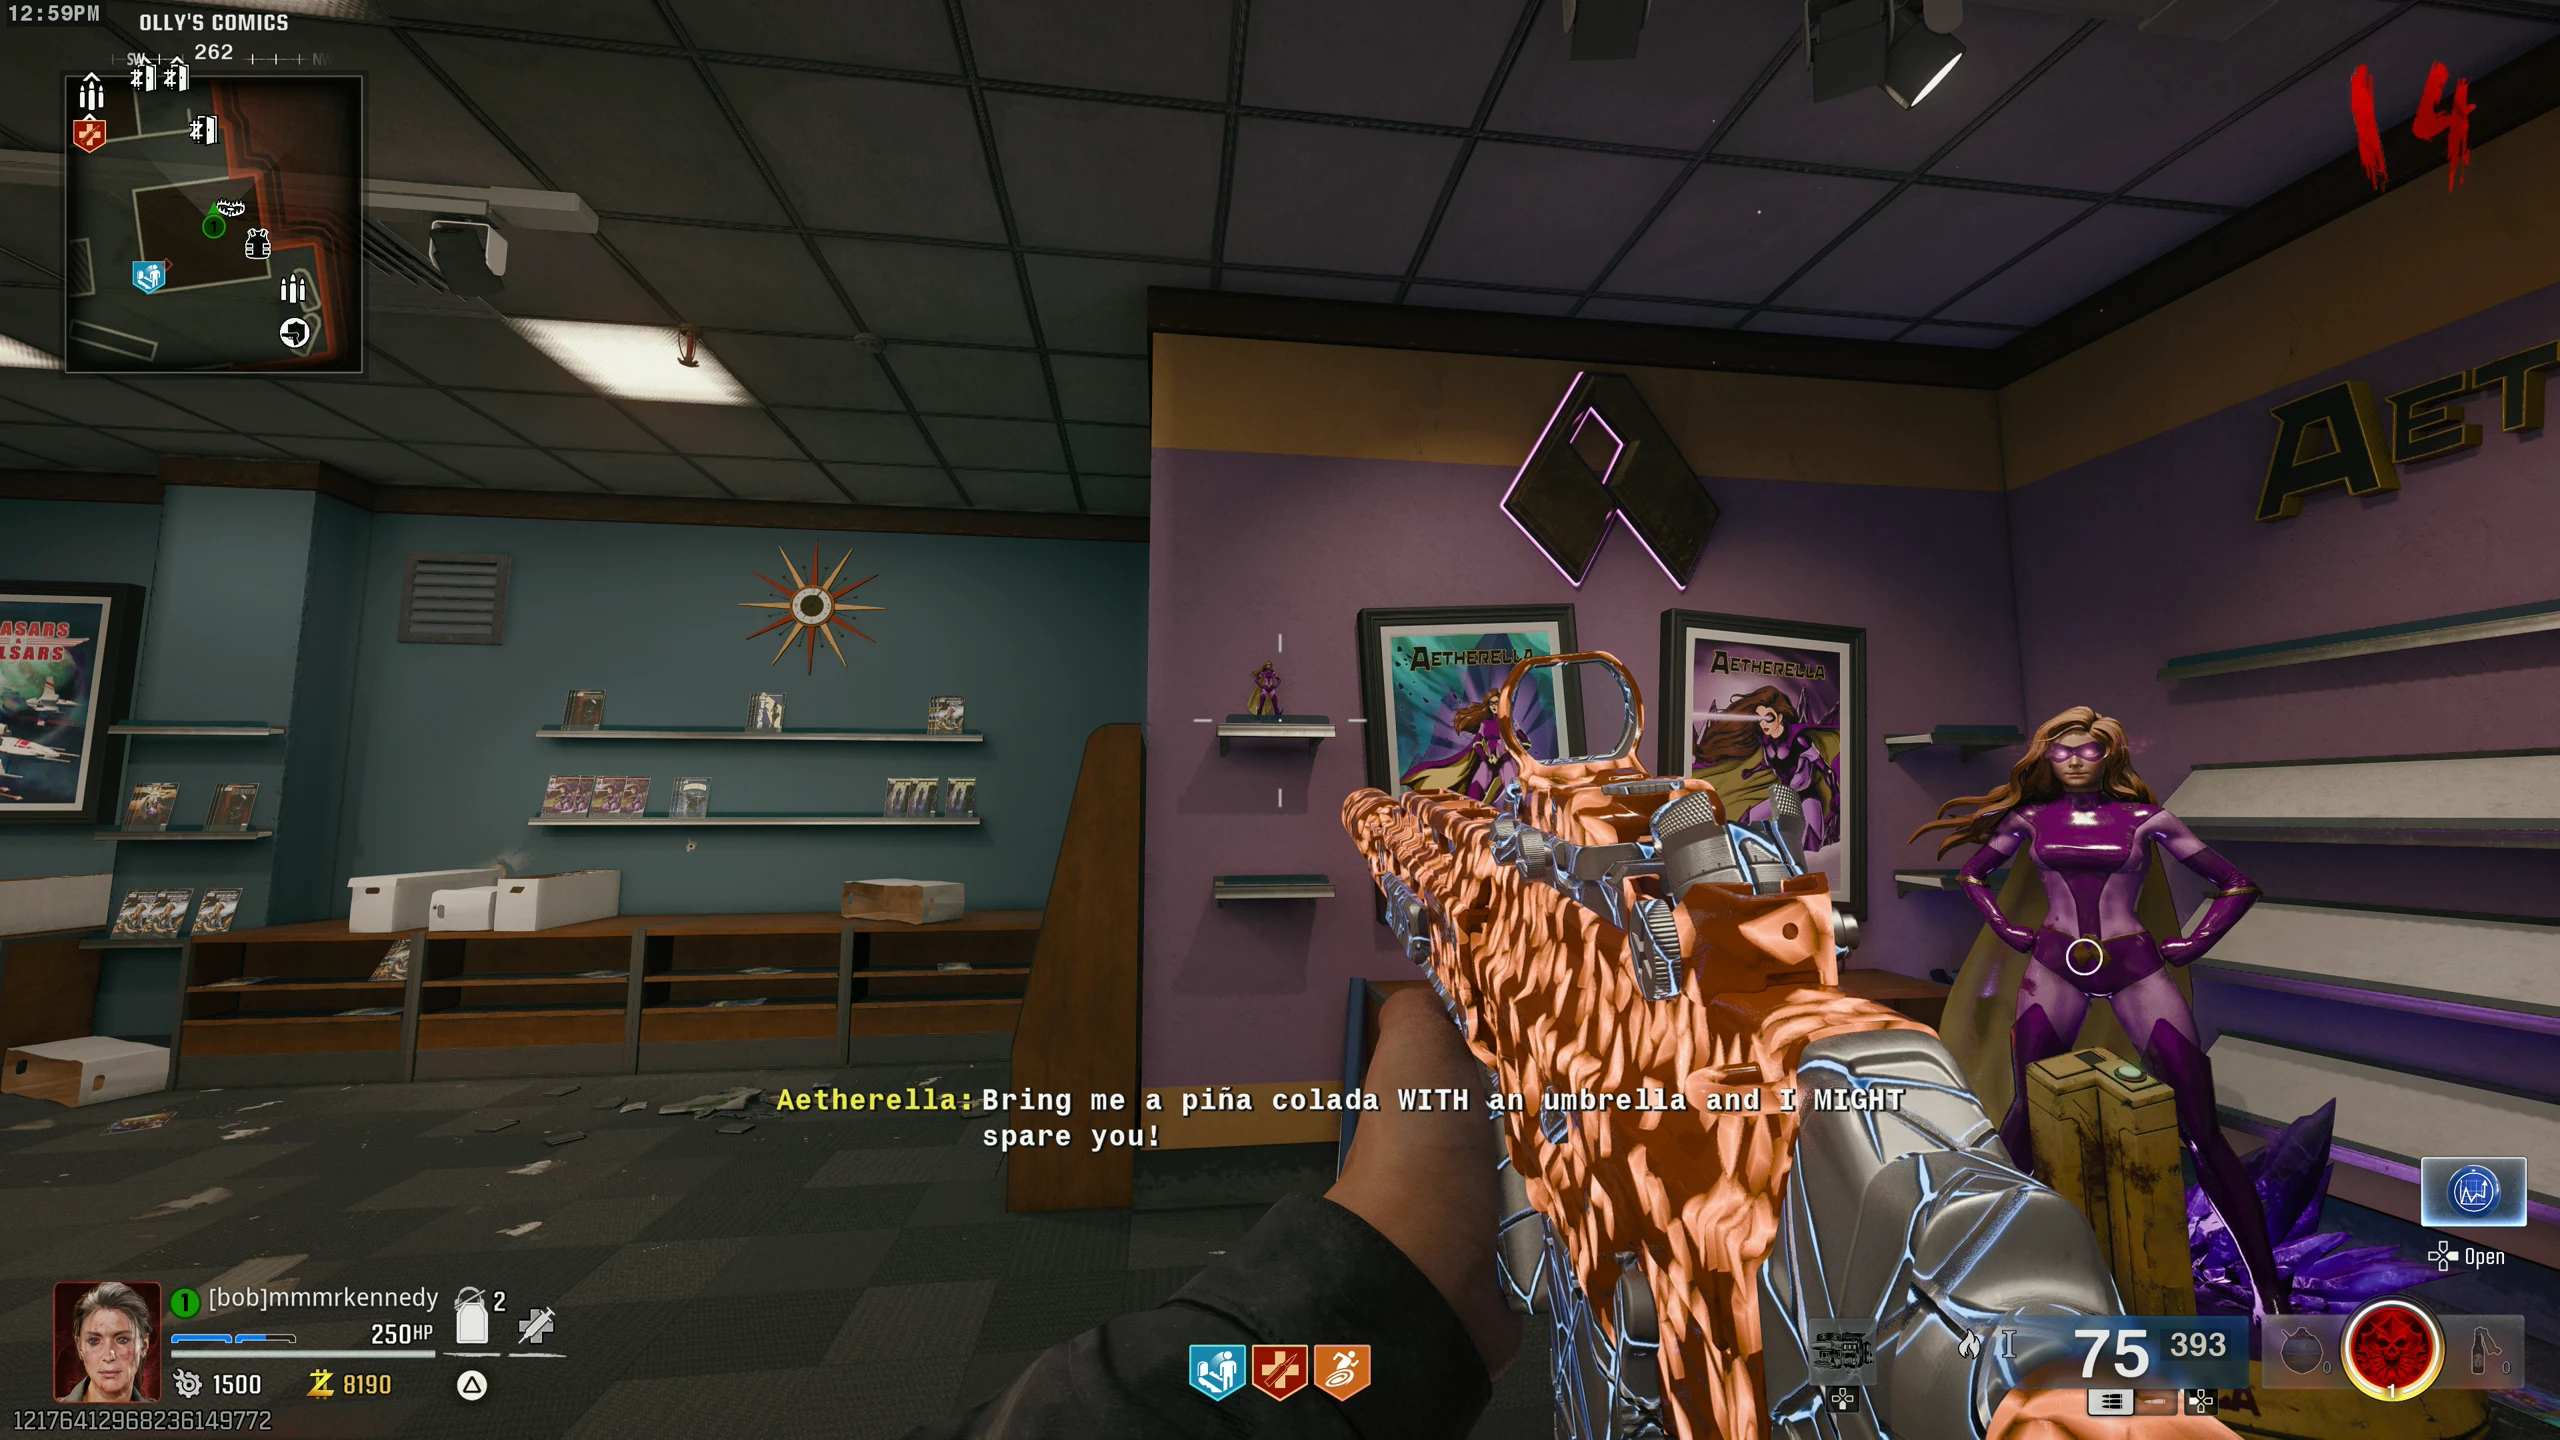
- Olly's Comics - On a shelf on the wall, left of the Aetherella trap
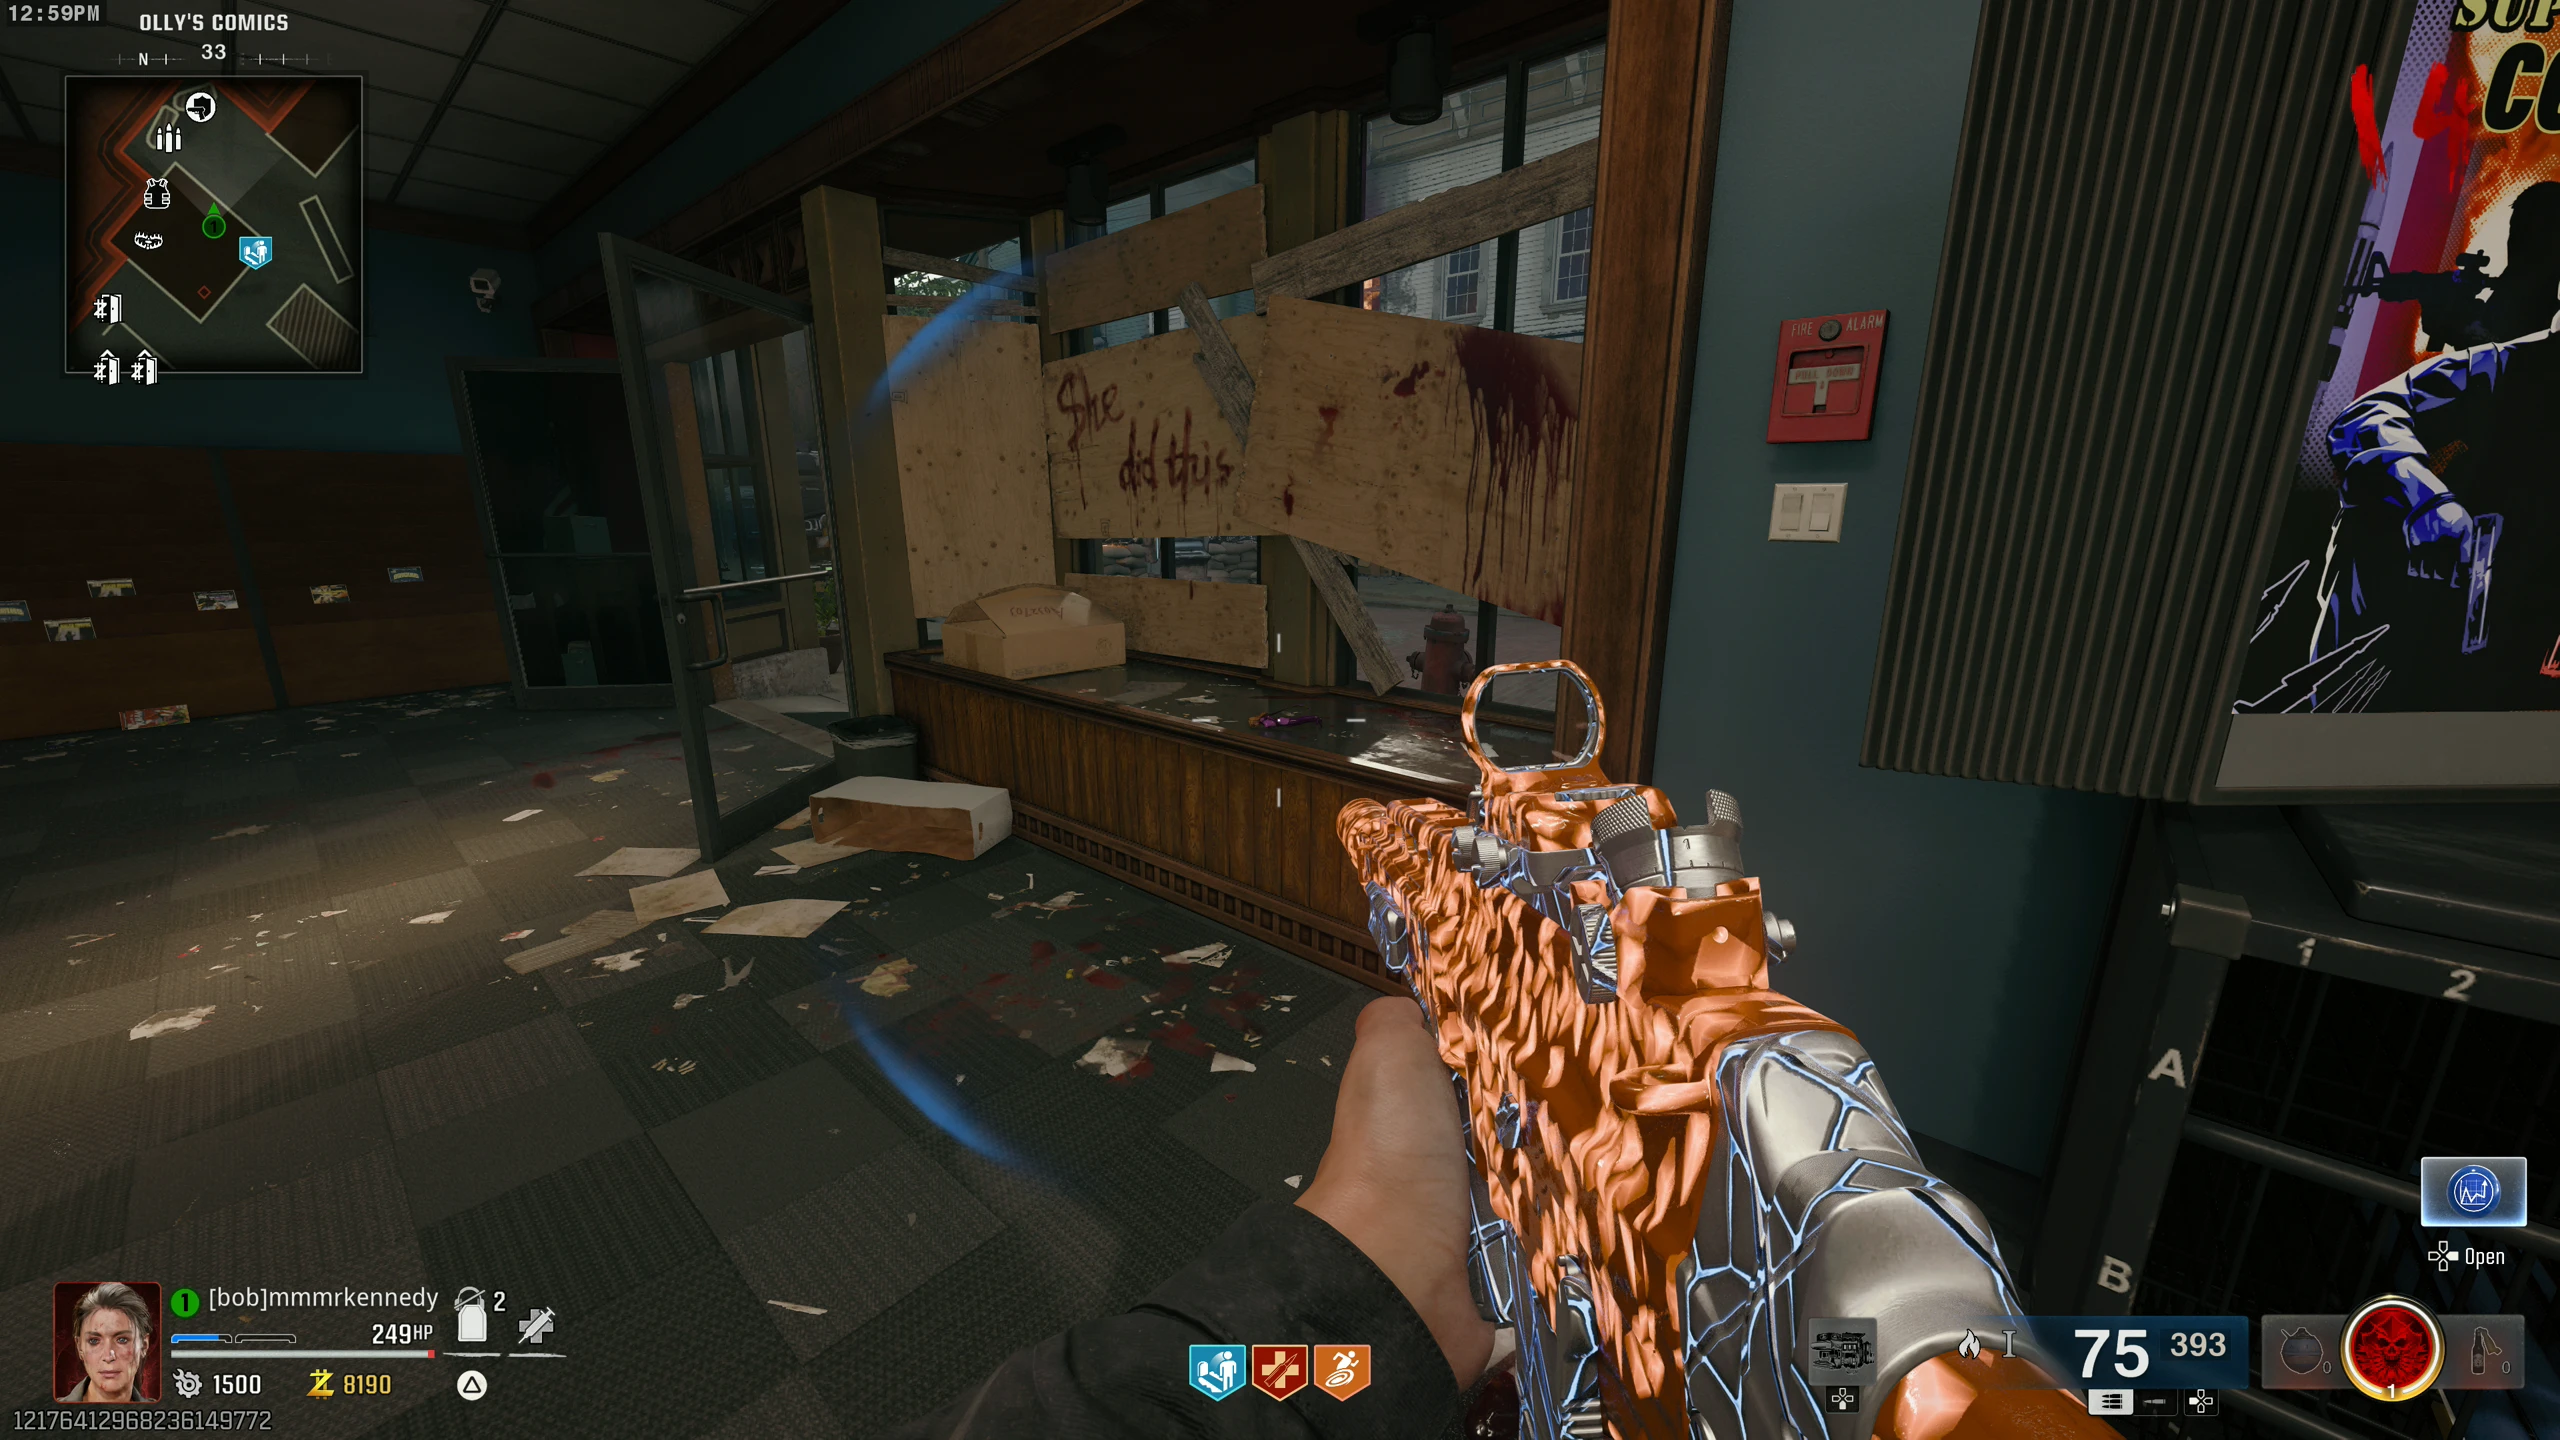
- Olly's Comics - On the wall by the window, right of the door near the Armour wallbuy
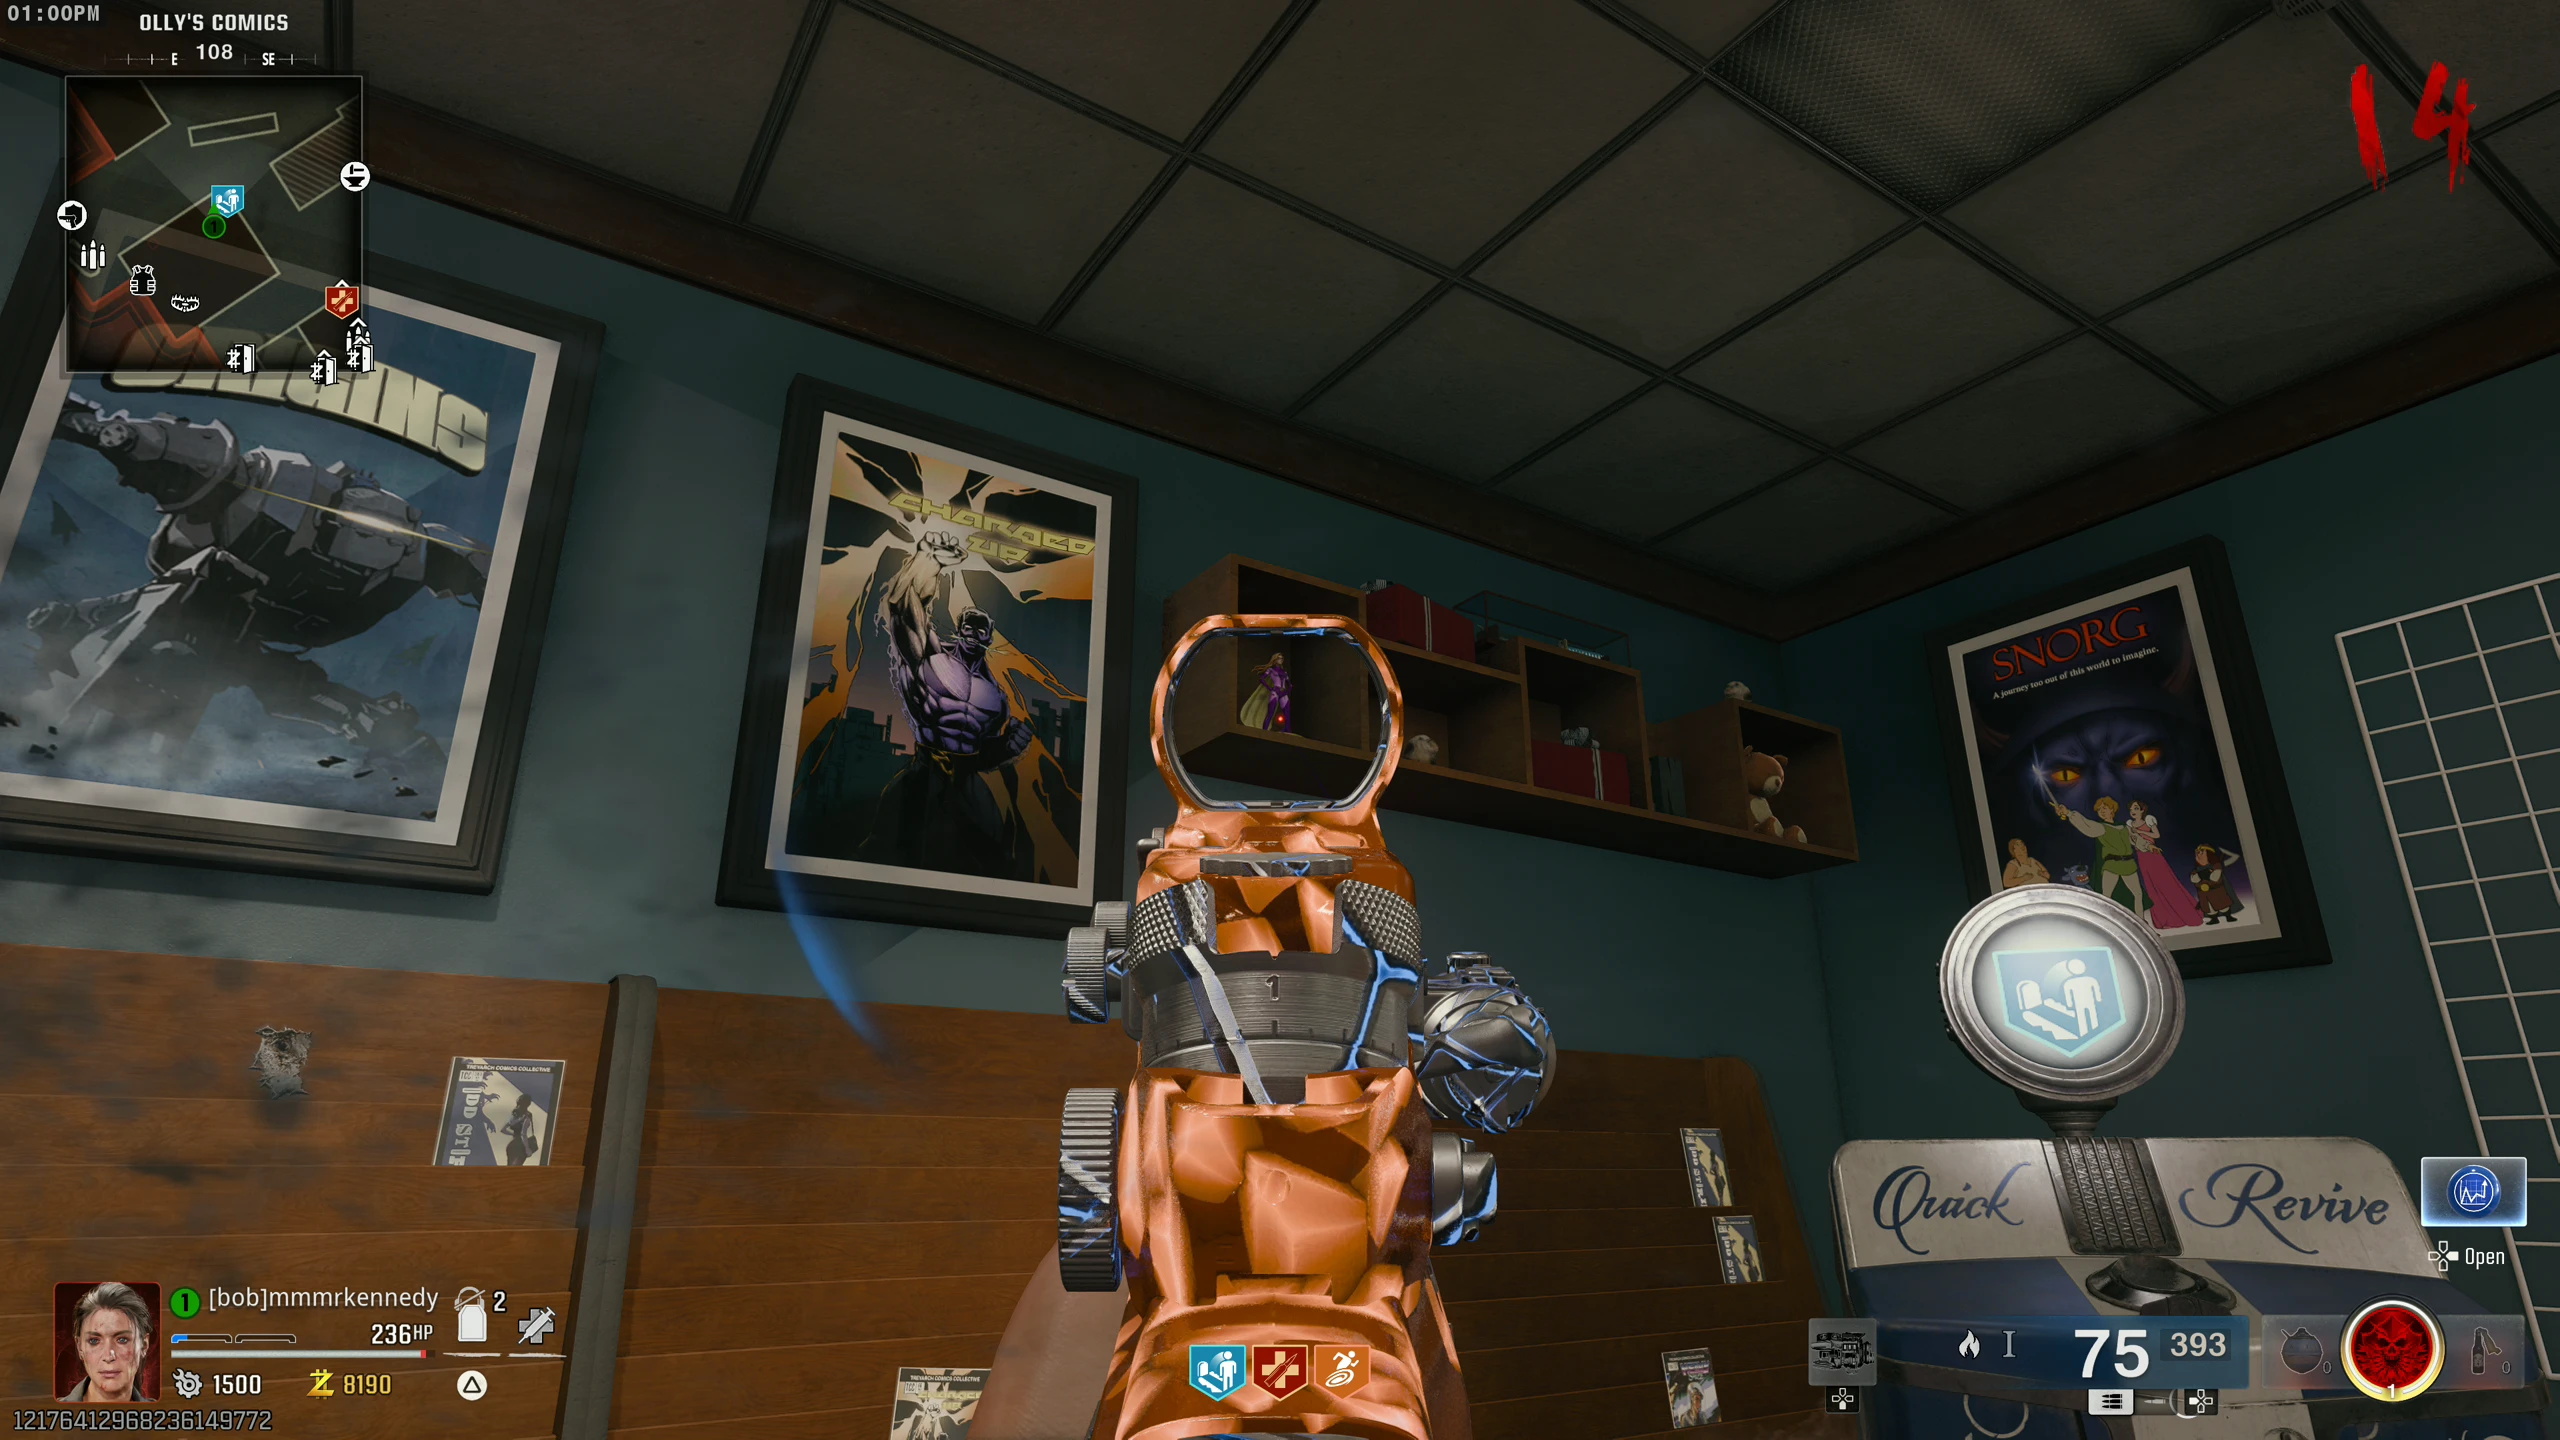
- Olly's Comics - On a shelf, left of Quick Revive
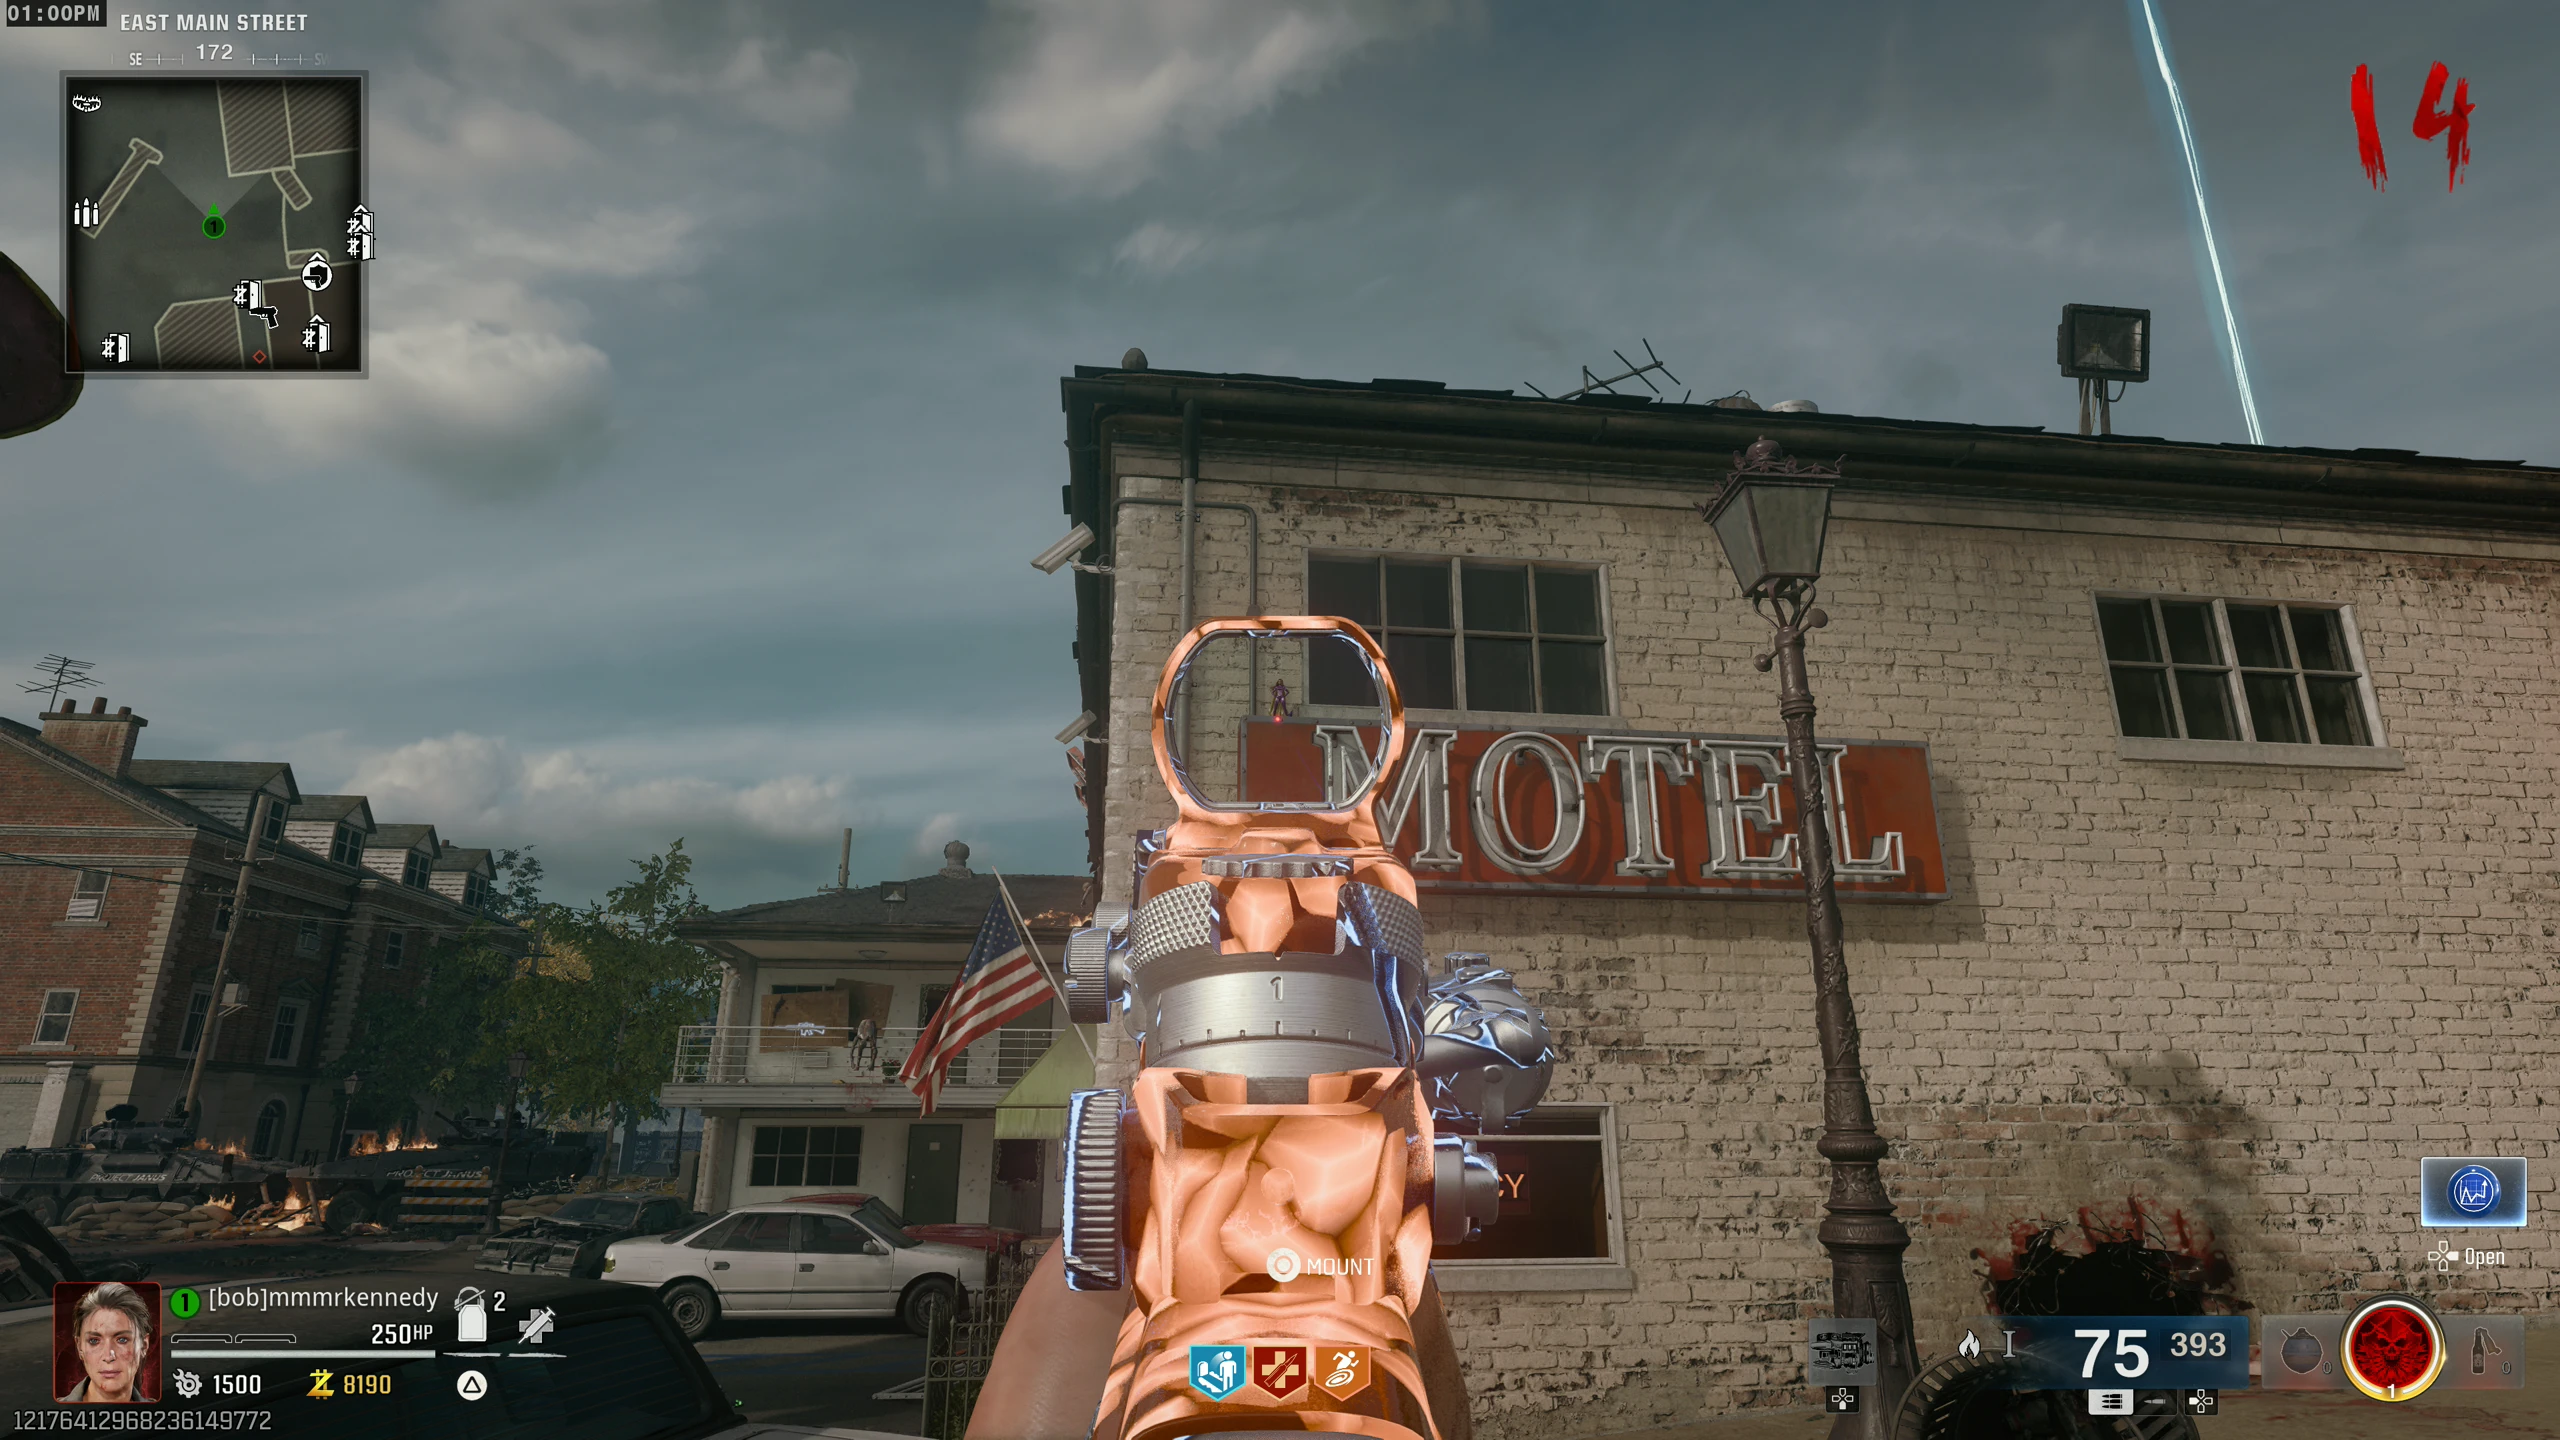
- Motel - On the Motel sign on the right side of the building
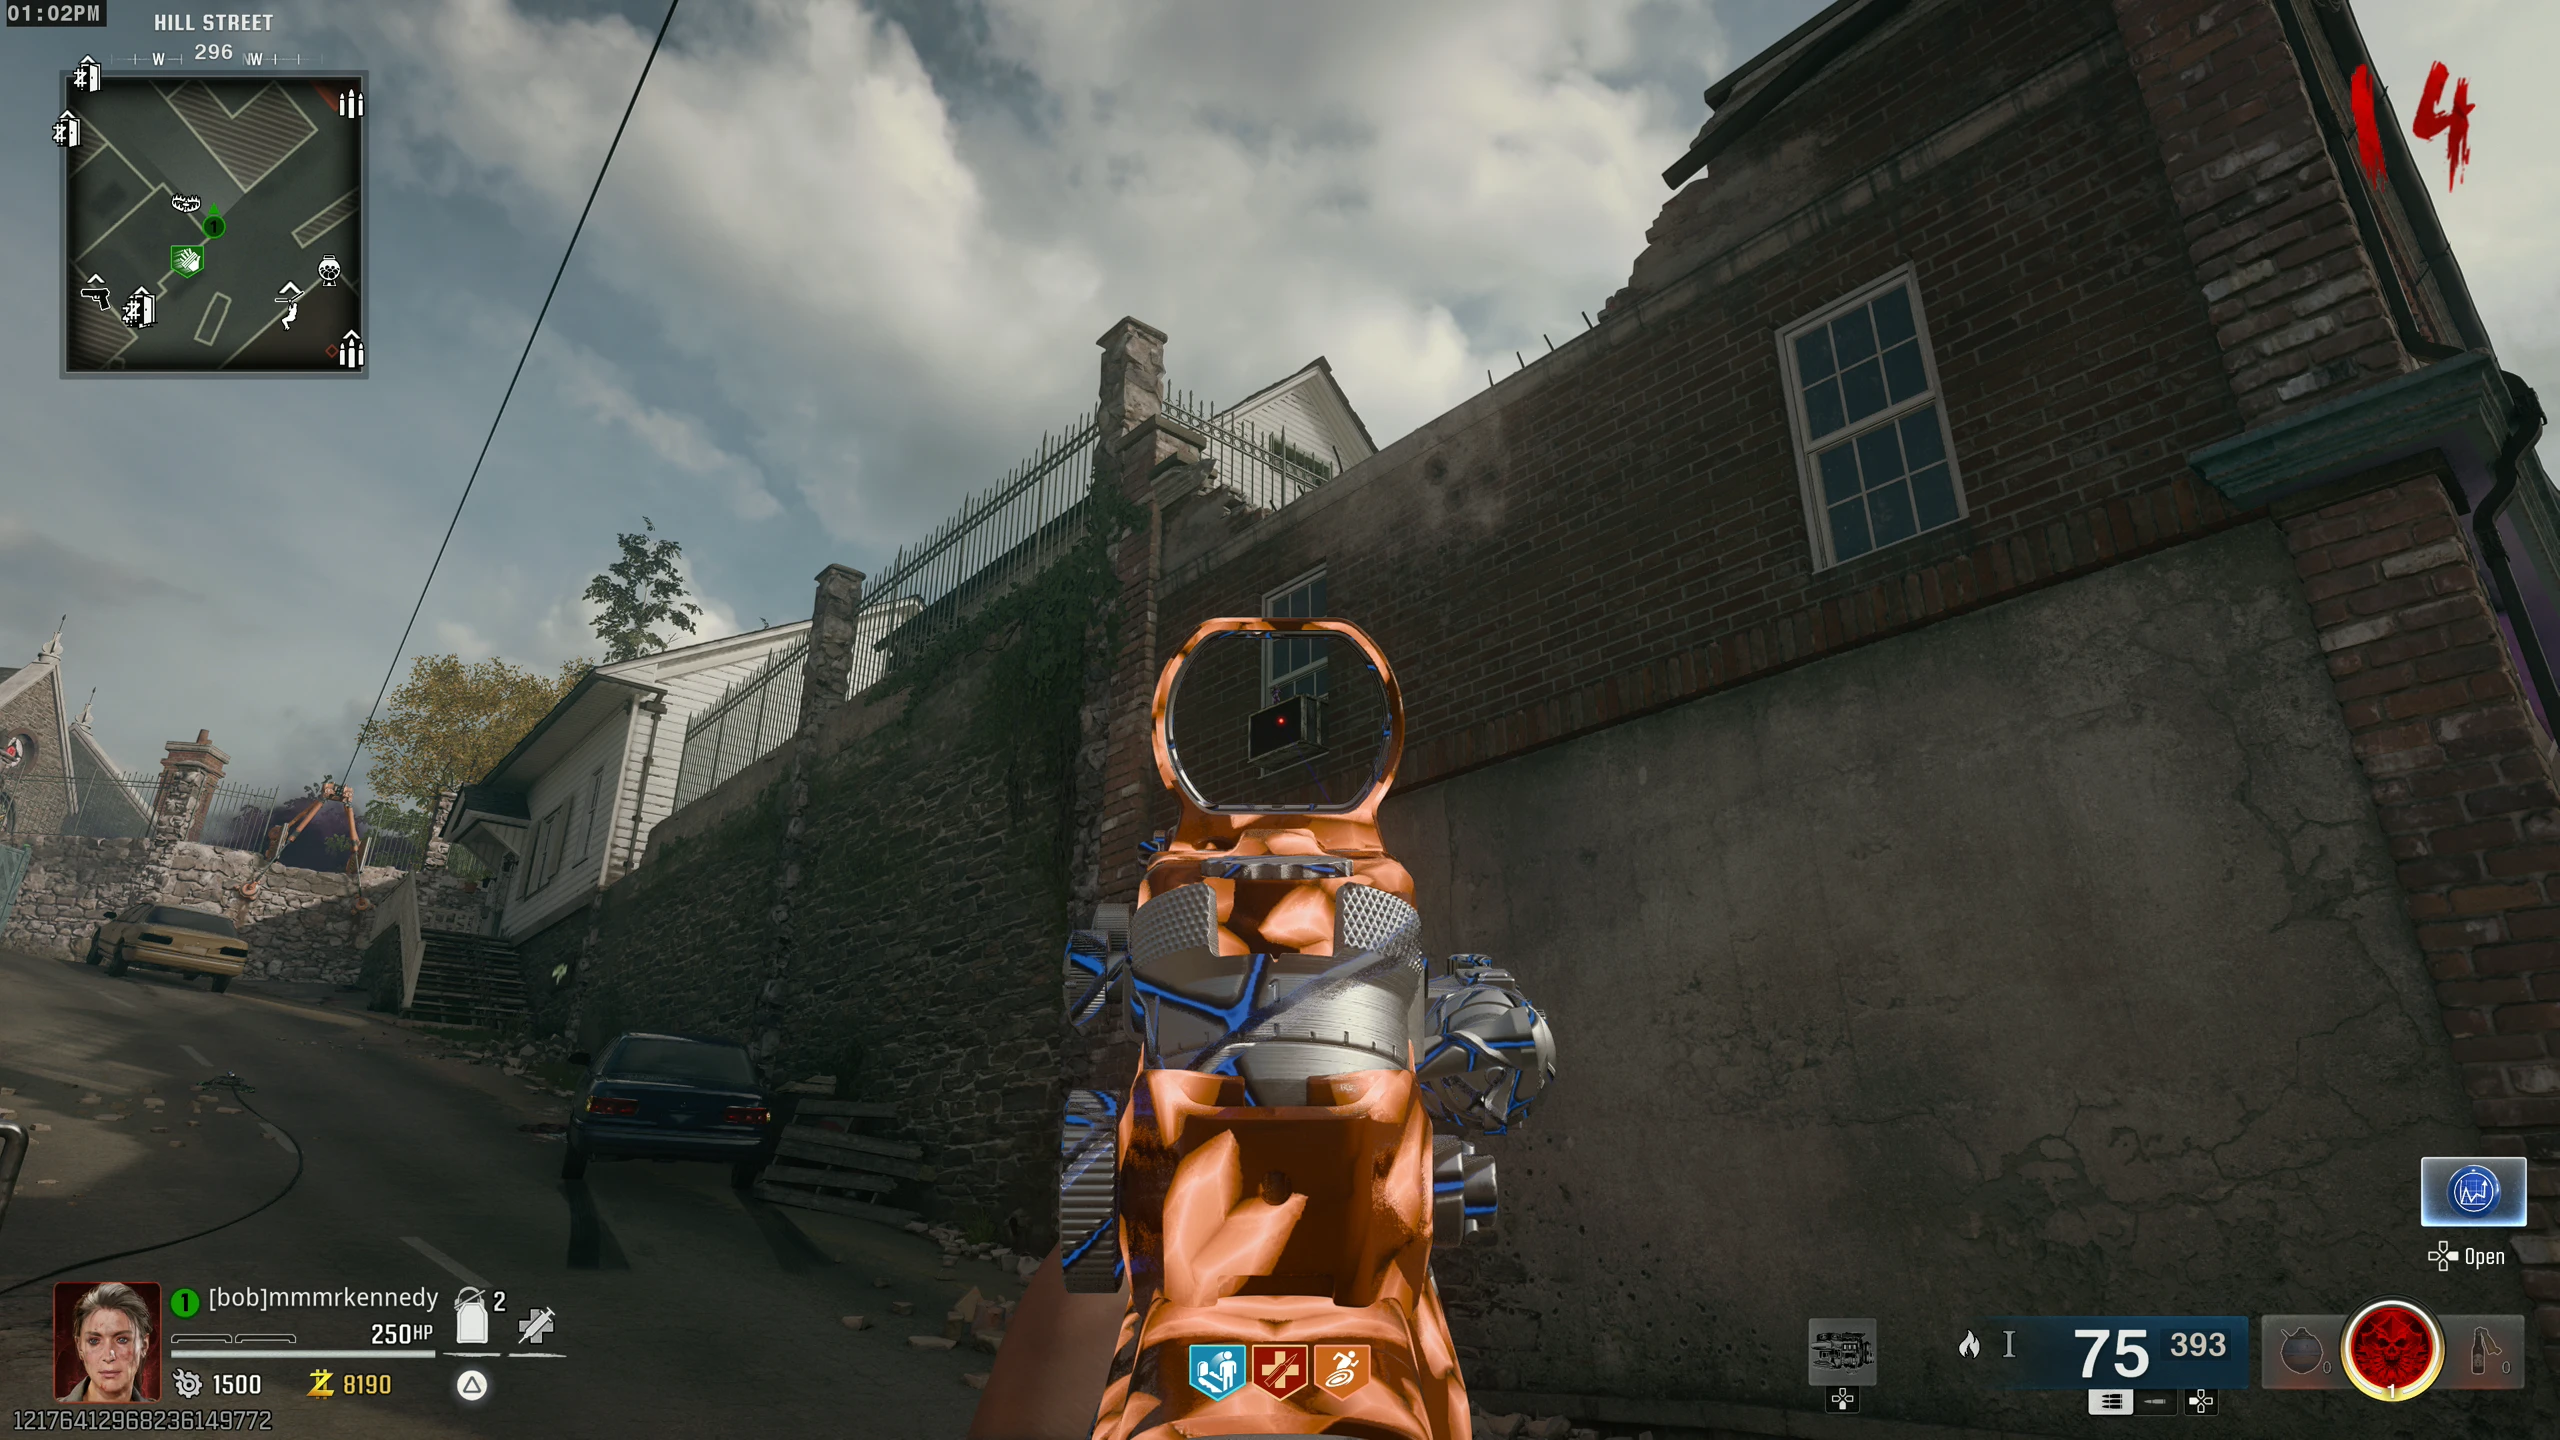
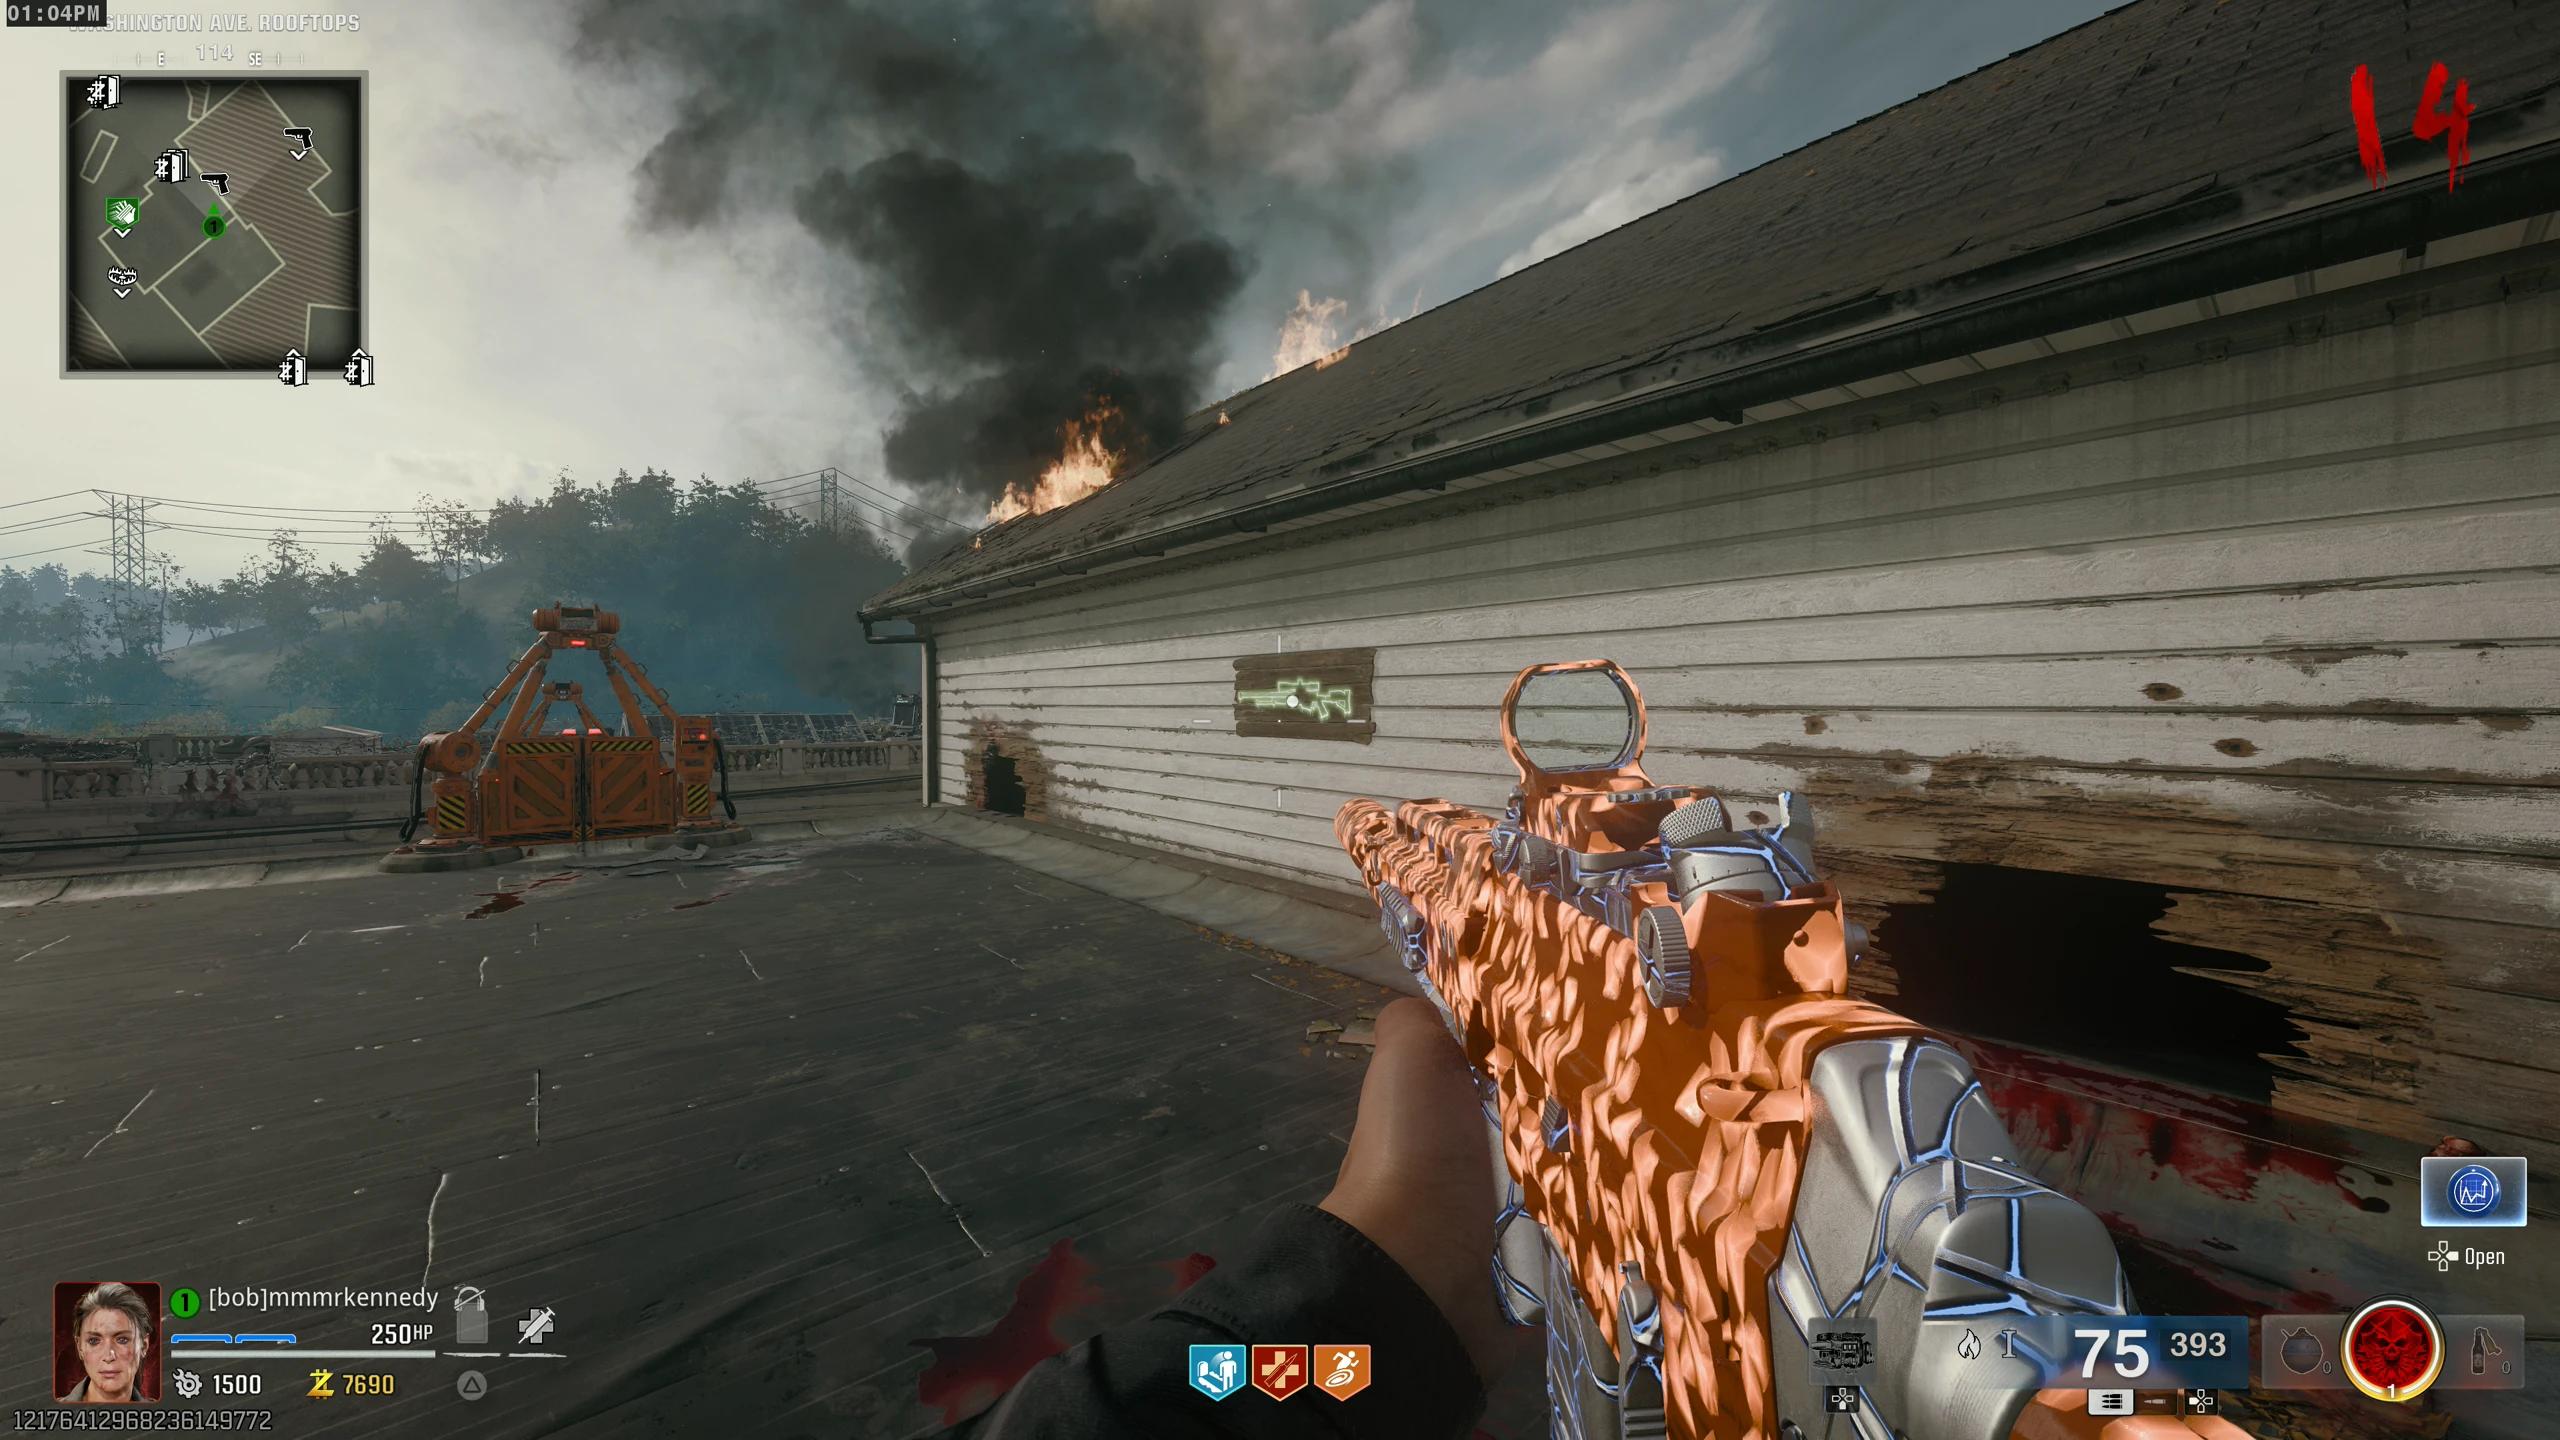
- Hill Street/Washington Ave. Rooftops - On the A.C. unit in the window above and across from the D.A.G.F. Trap
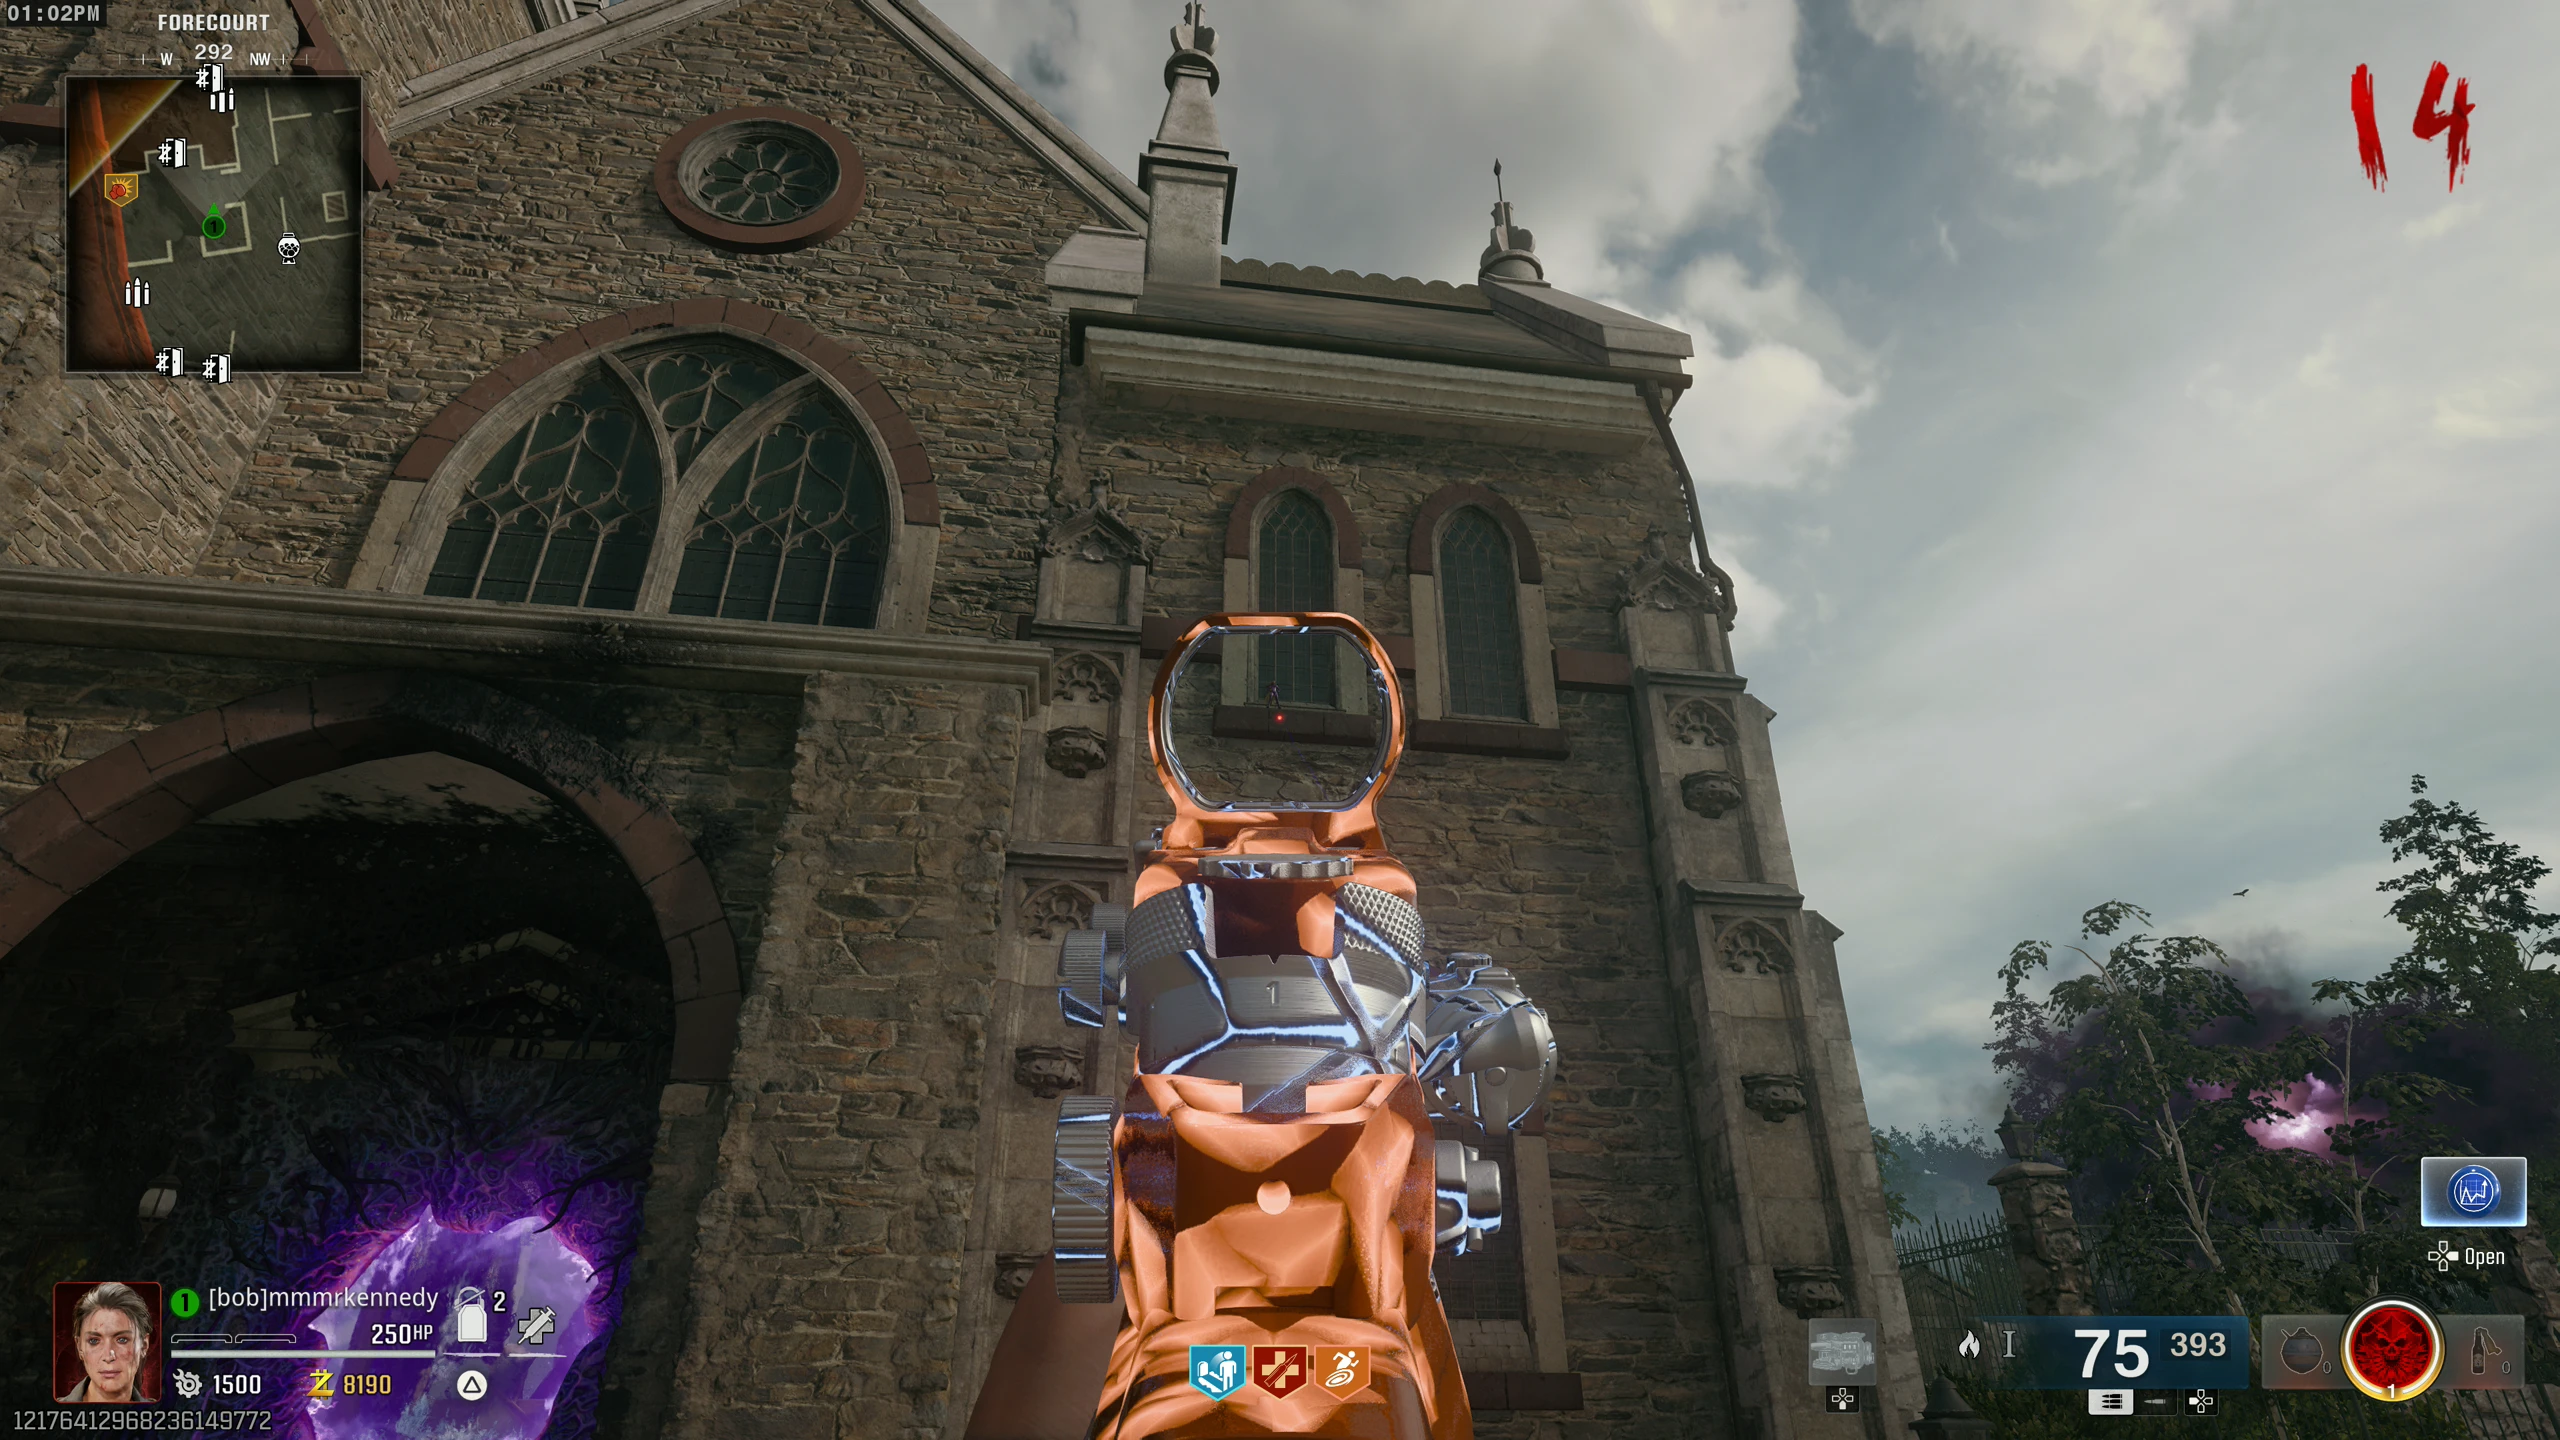
- Forecourt - In front of a window on the front-right of the Church
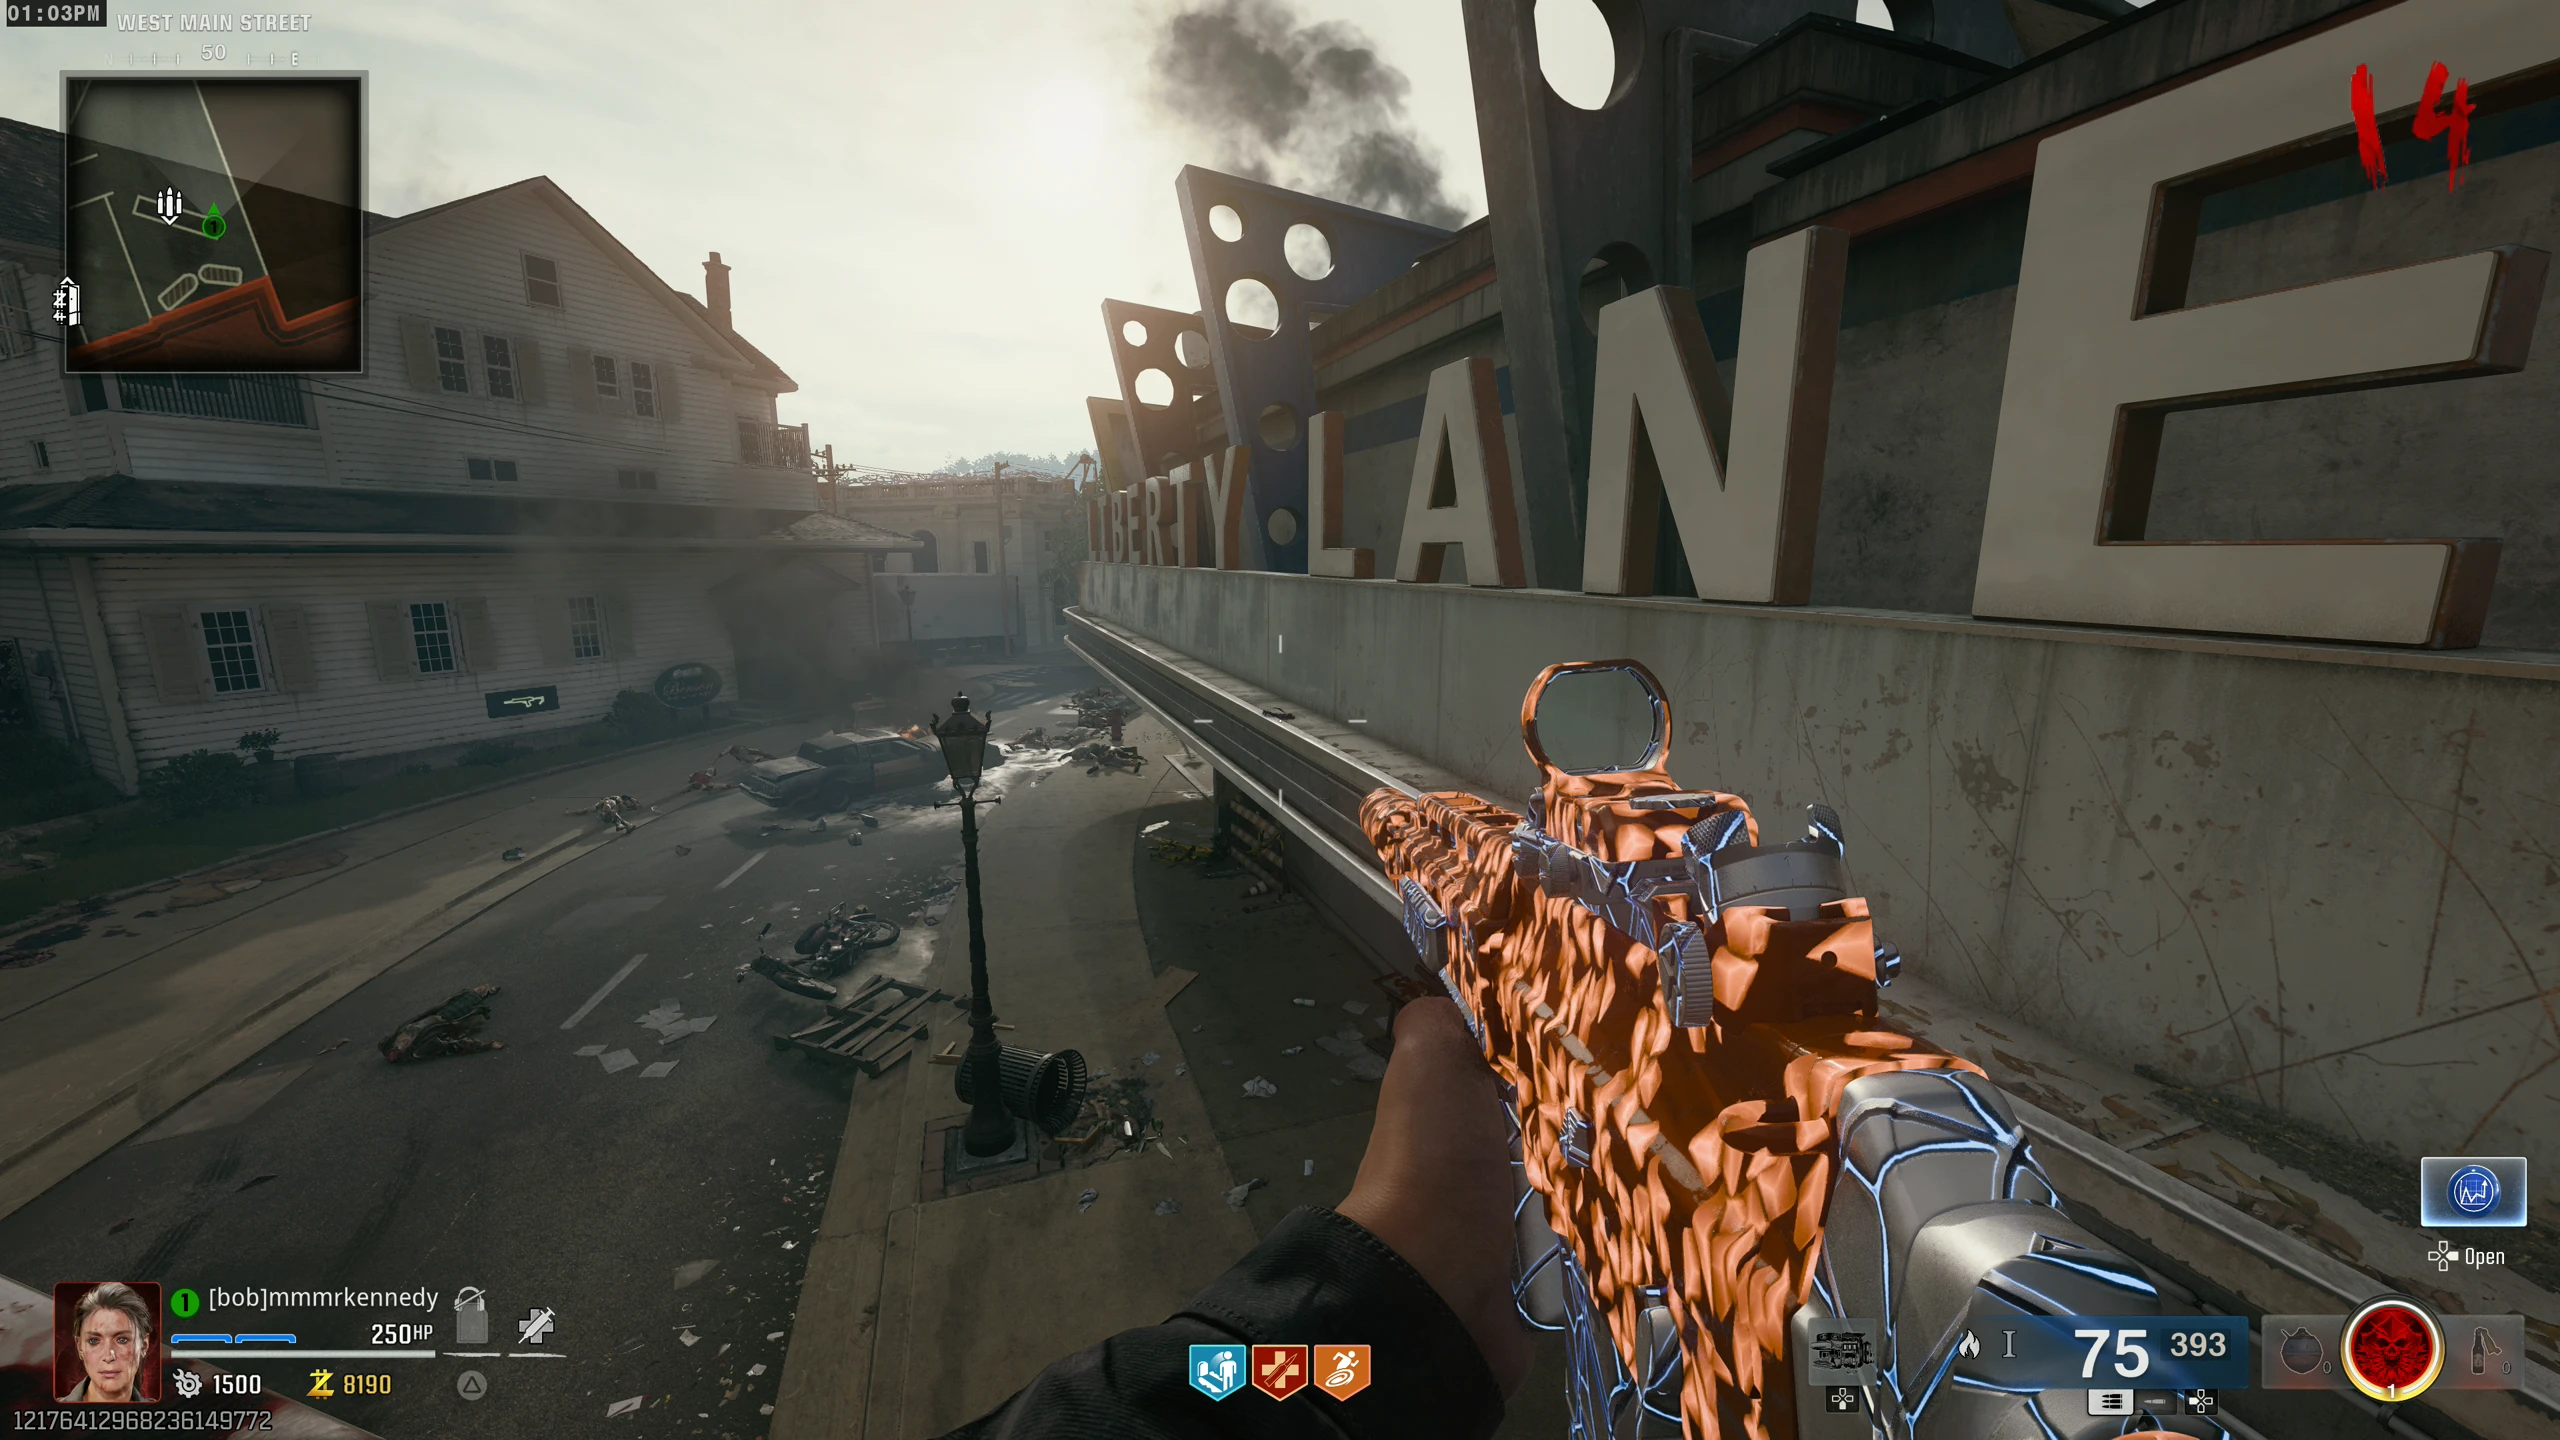
- West Main Street - On the Liberty Lanes sign. You need to be standing on the bus to see it
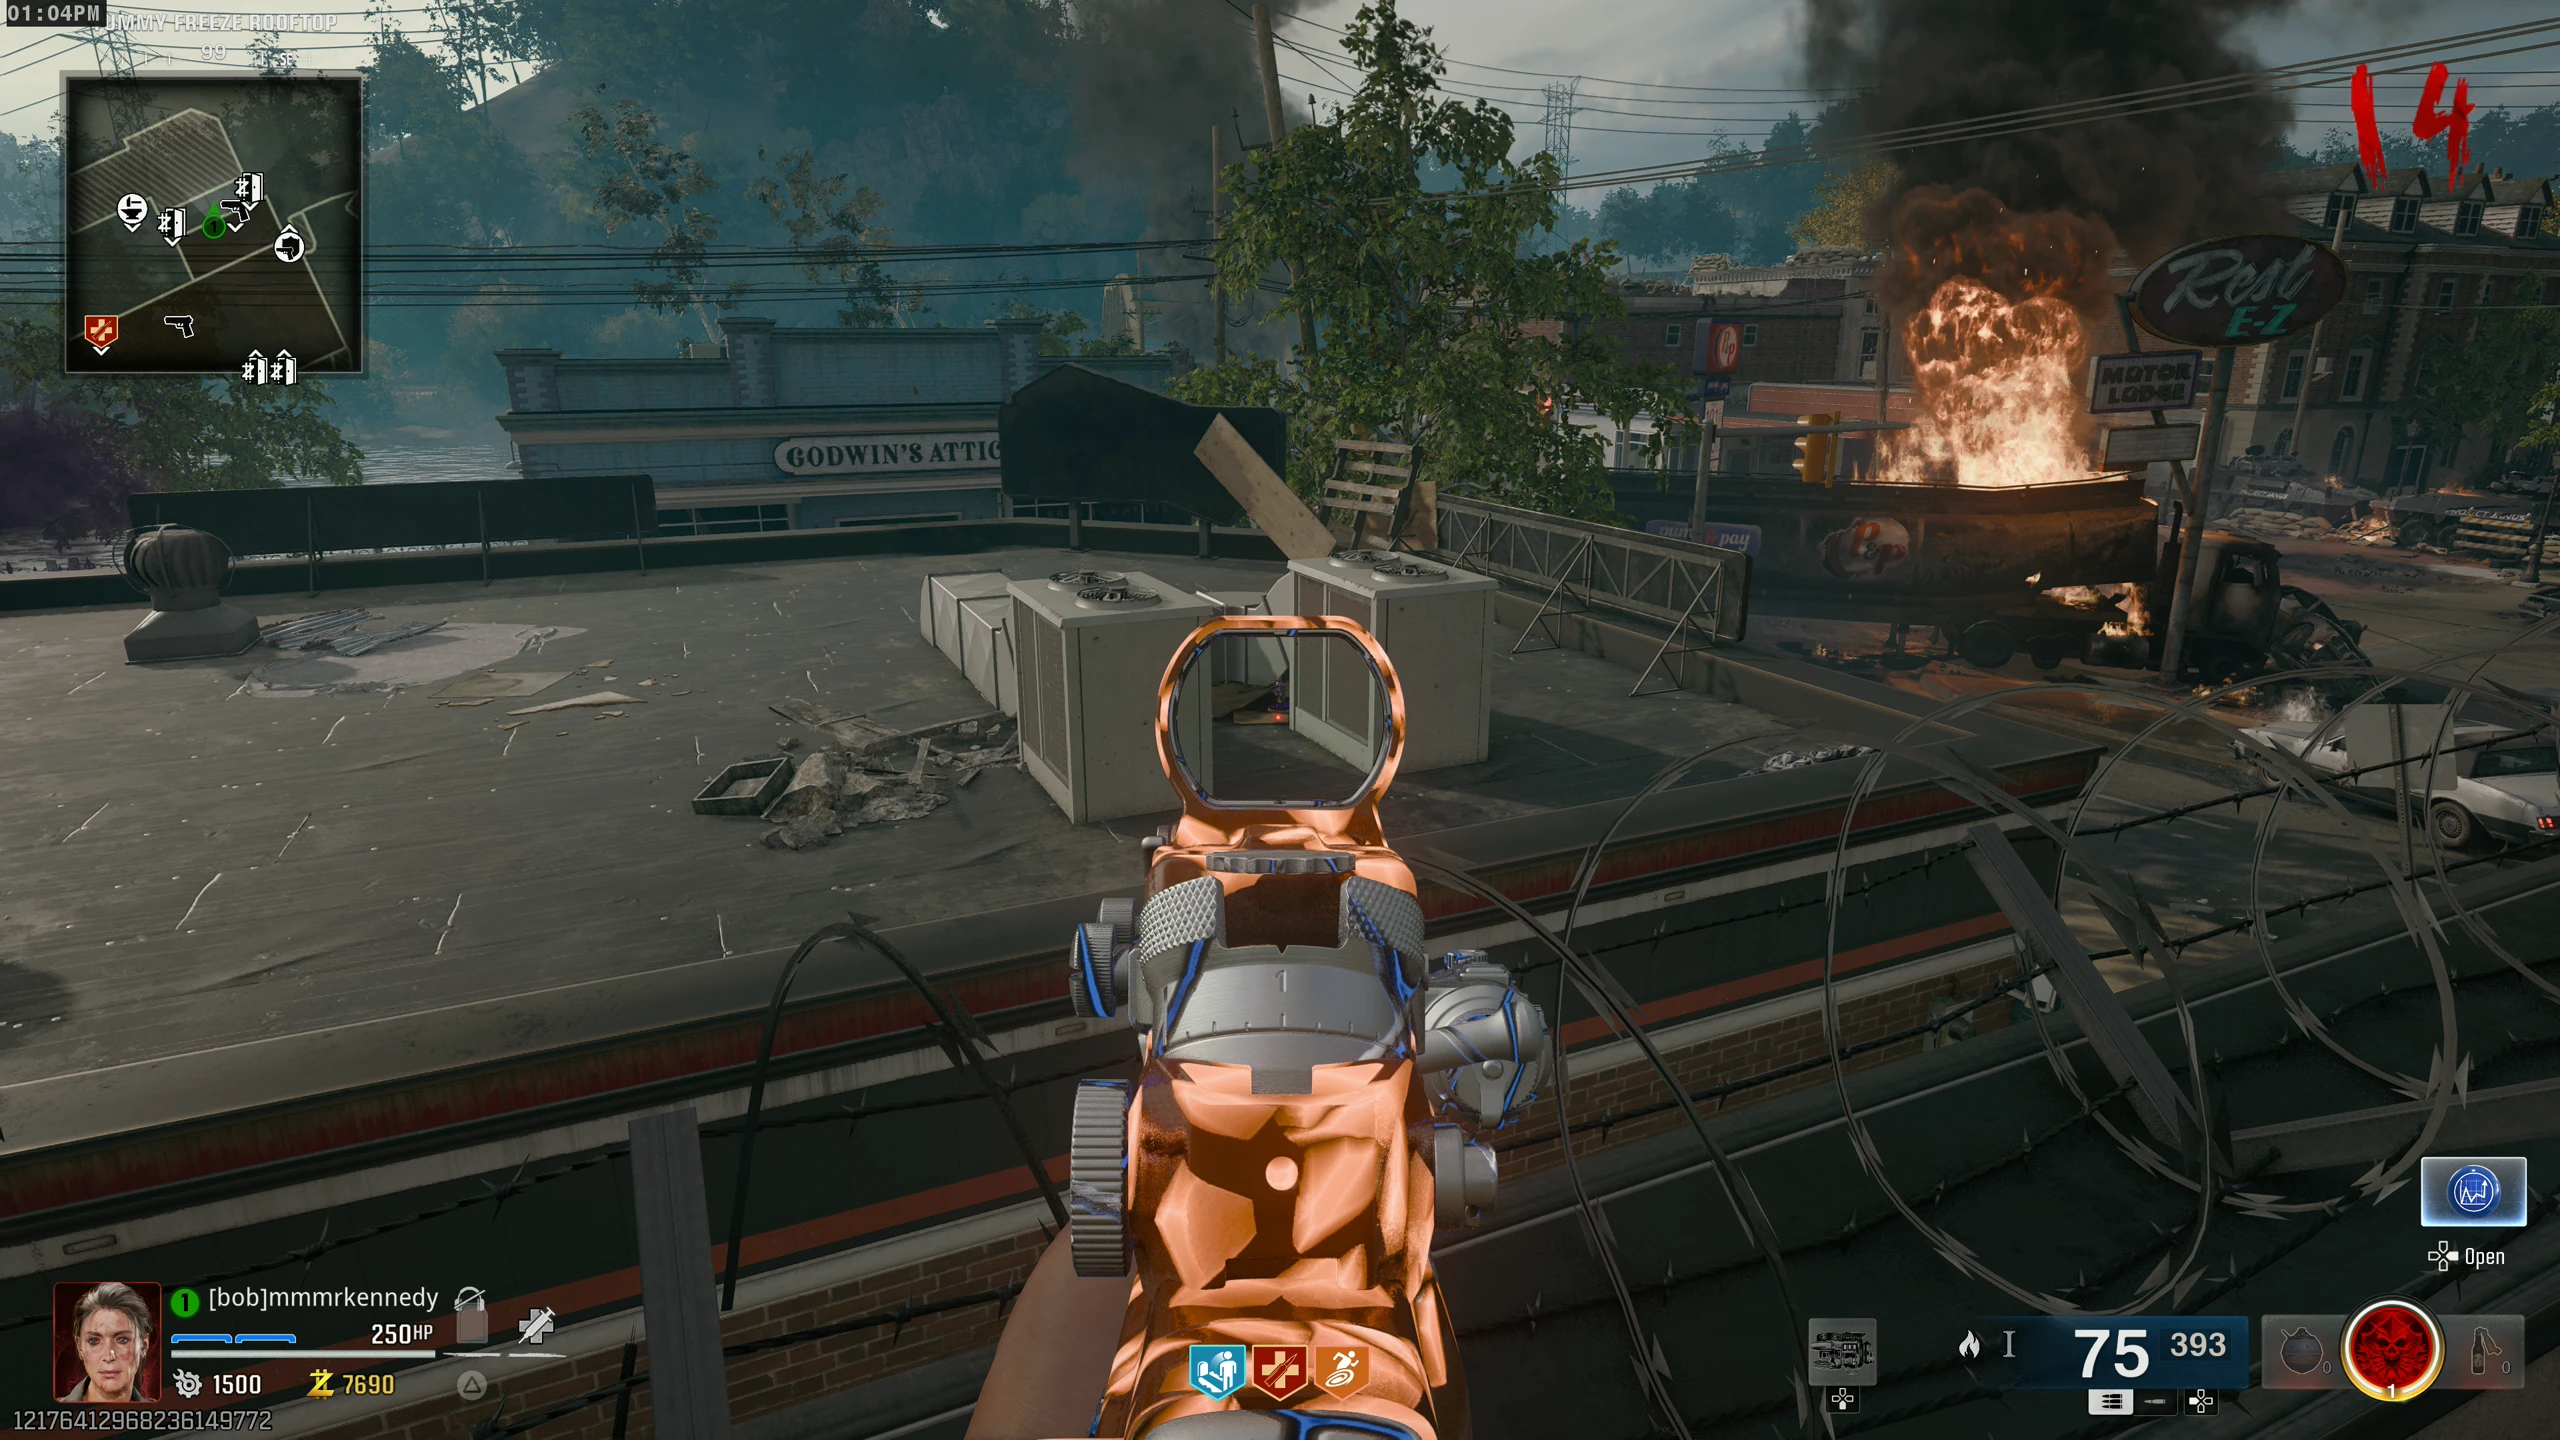
- Yummy Freeze Rooftop (drop from "The Alamo") - On a nearby rooftop, between some HVAC units
- Once you collect all the dolls, you immediately turn into Aetherella for 2-3 minutes. You become invincible and shoot laser beams that auto-target nearby enemies. Buying the Aetherella trap while transformed gives you increased movement speed.
Deadshot Sharpshooter (Free Deadshot Perk)
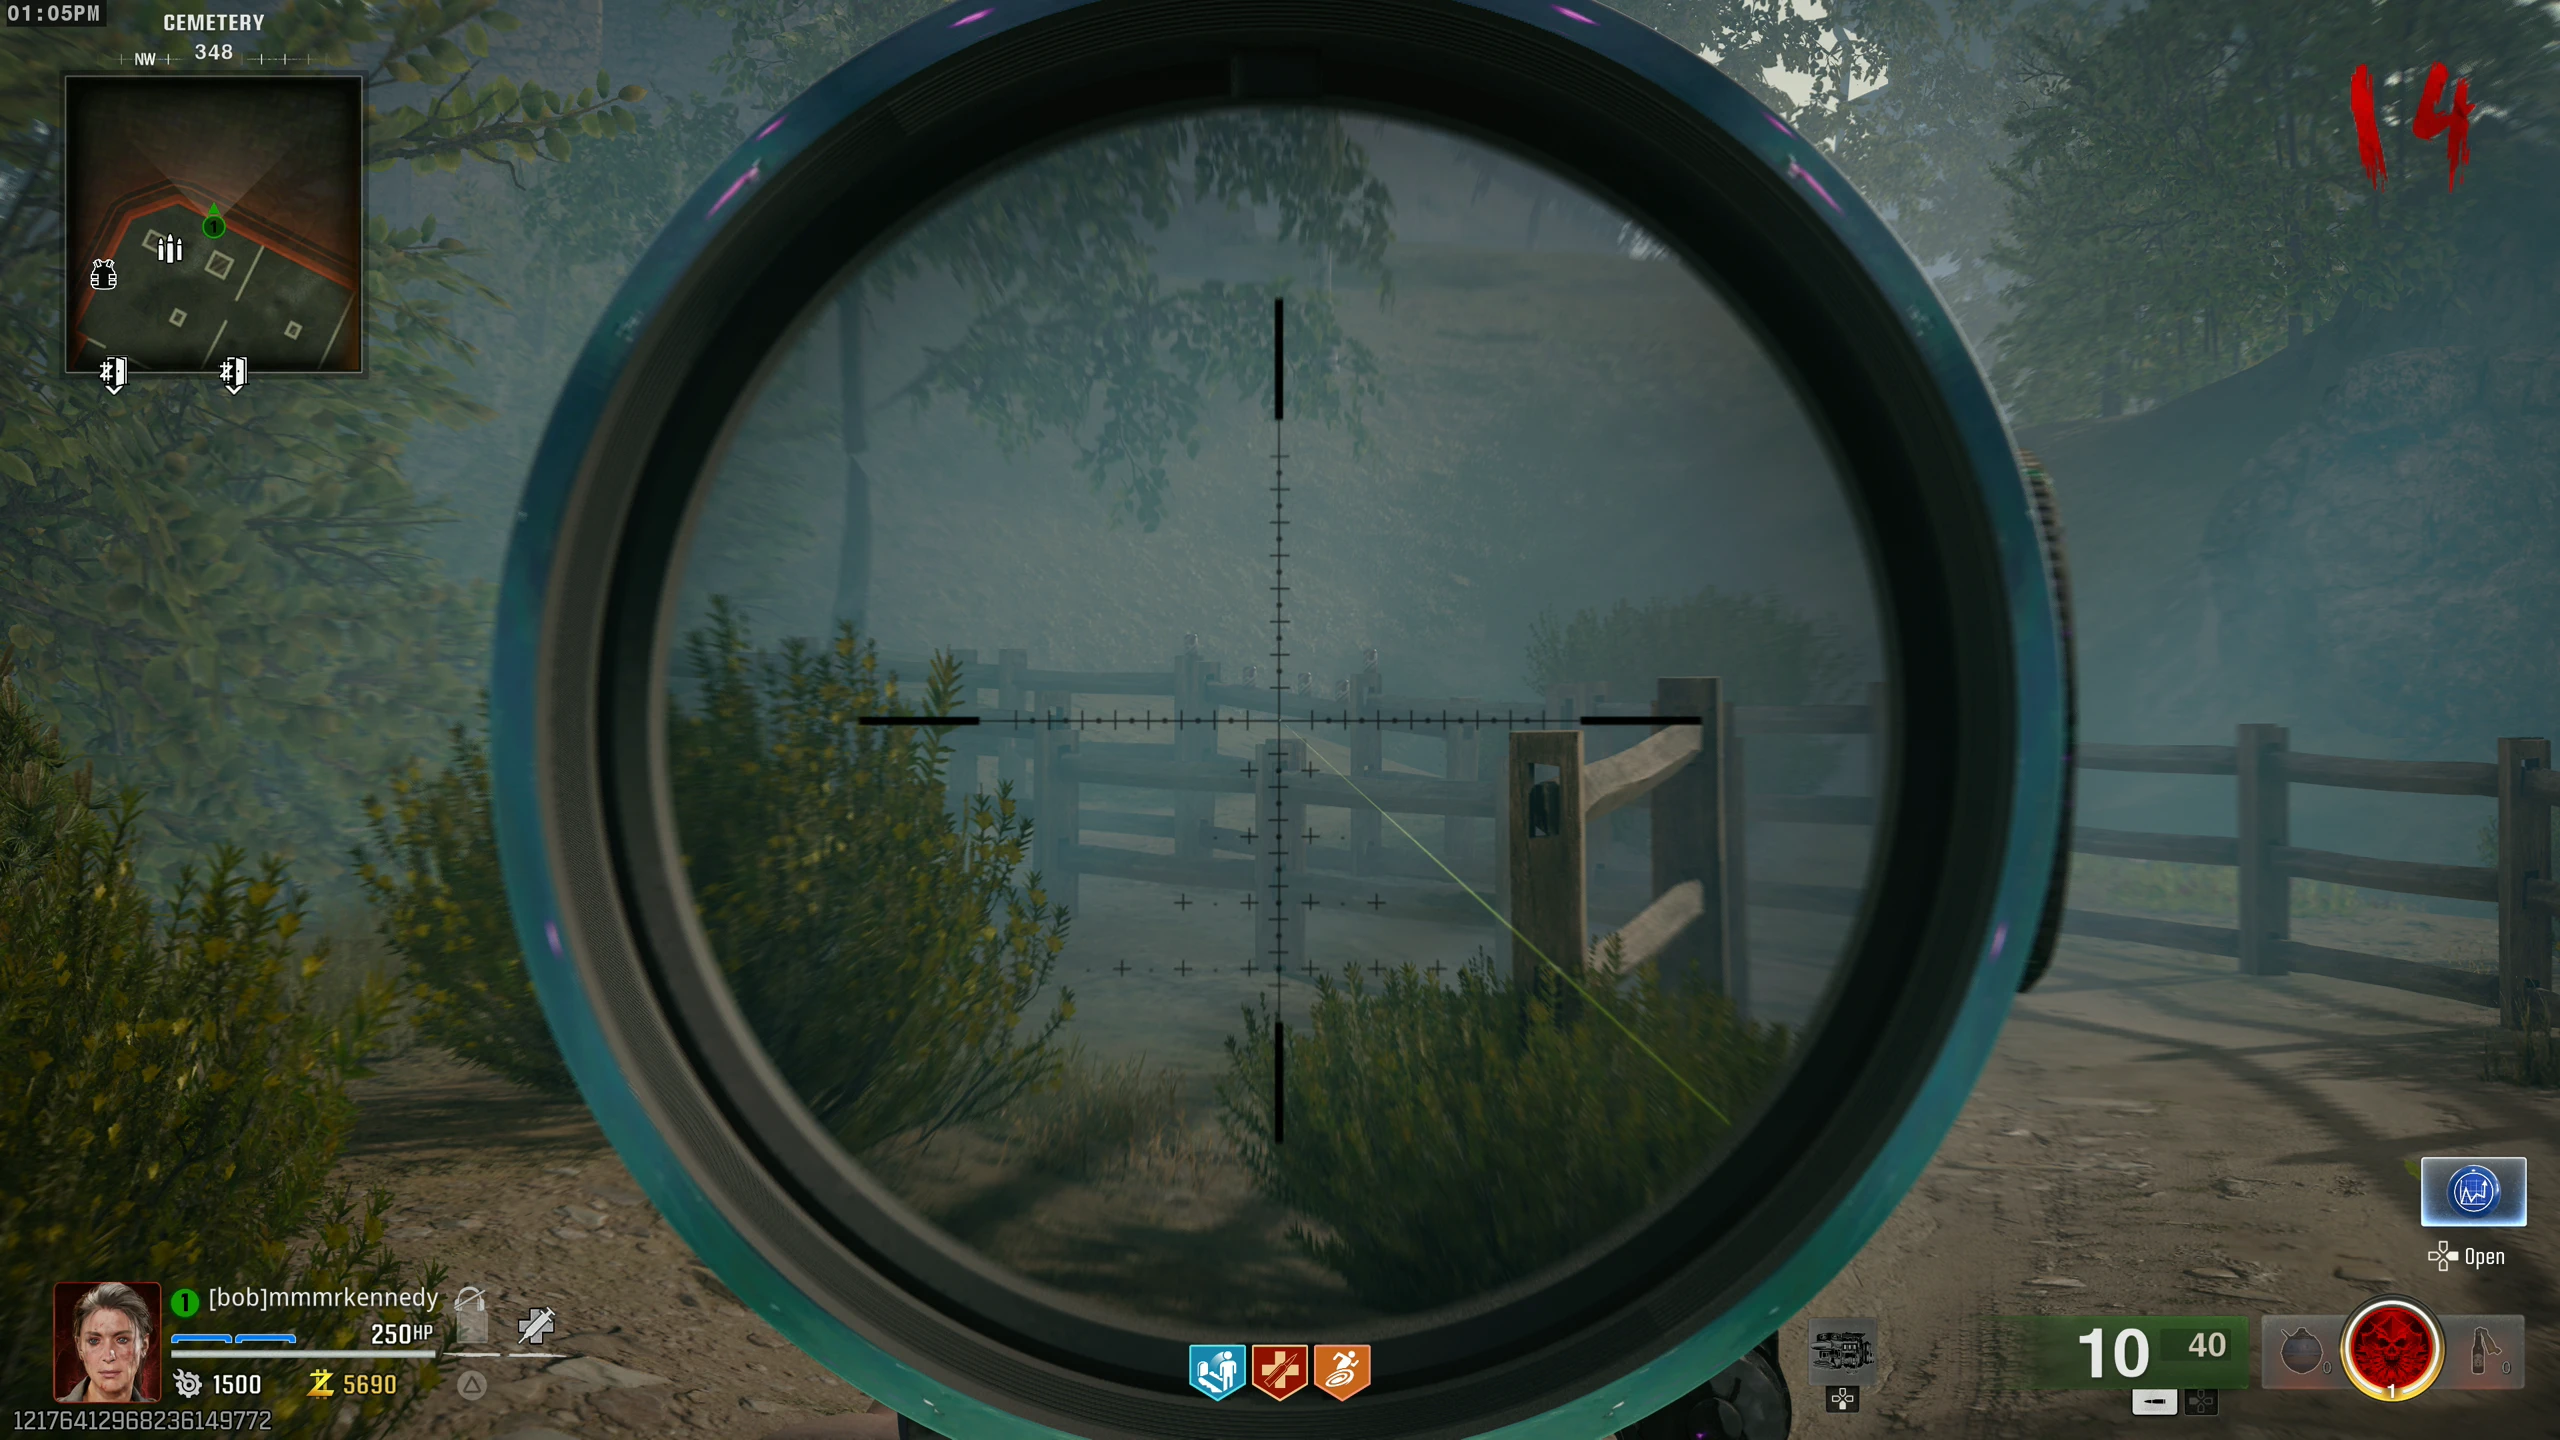
- Obtain a Sniper or a weapon with a high zoom scope (this is not required, but it makes it easier). The LR 7.62 can be purchased from the wallbuy on 'Washington Ave. Rooftops.'
- Out of the Zombie Spawn right of the Ammo Box in the 'Cemetery,' there are five Deadshot Daiquiri cans on a fence.
- Shoot the cans without missing them or taking too long.
- If you miss a can or take too long, all the remaining cans will disappear, and you can retry in two rounds.
- Once you shoot all five cans, you get Deadshot Daiquiri. It's lost when you go down like any other perk, and you can only do this once per game.
Mister Peek Bowling Mini-game (Free Loot / Gun, and Dark Ops Calling Card)
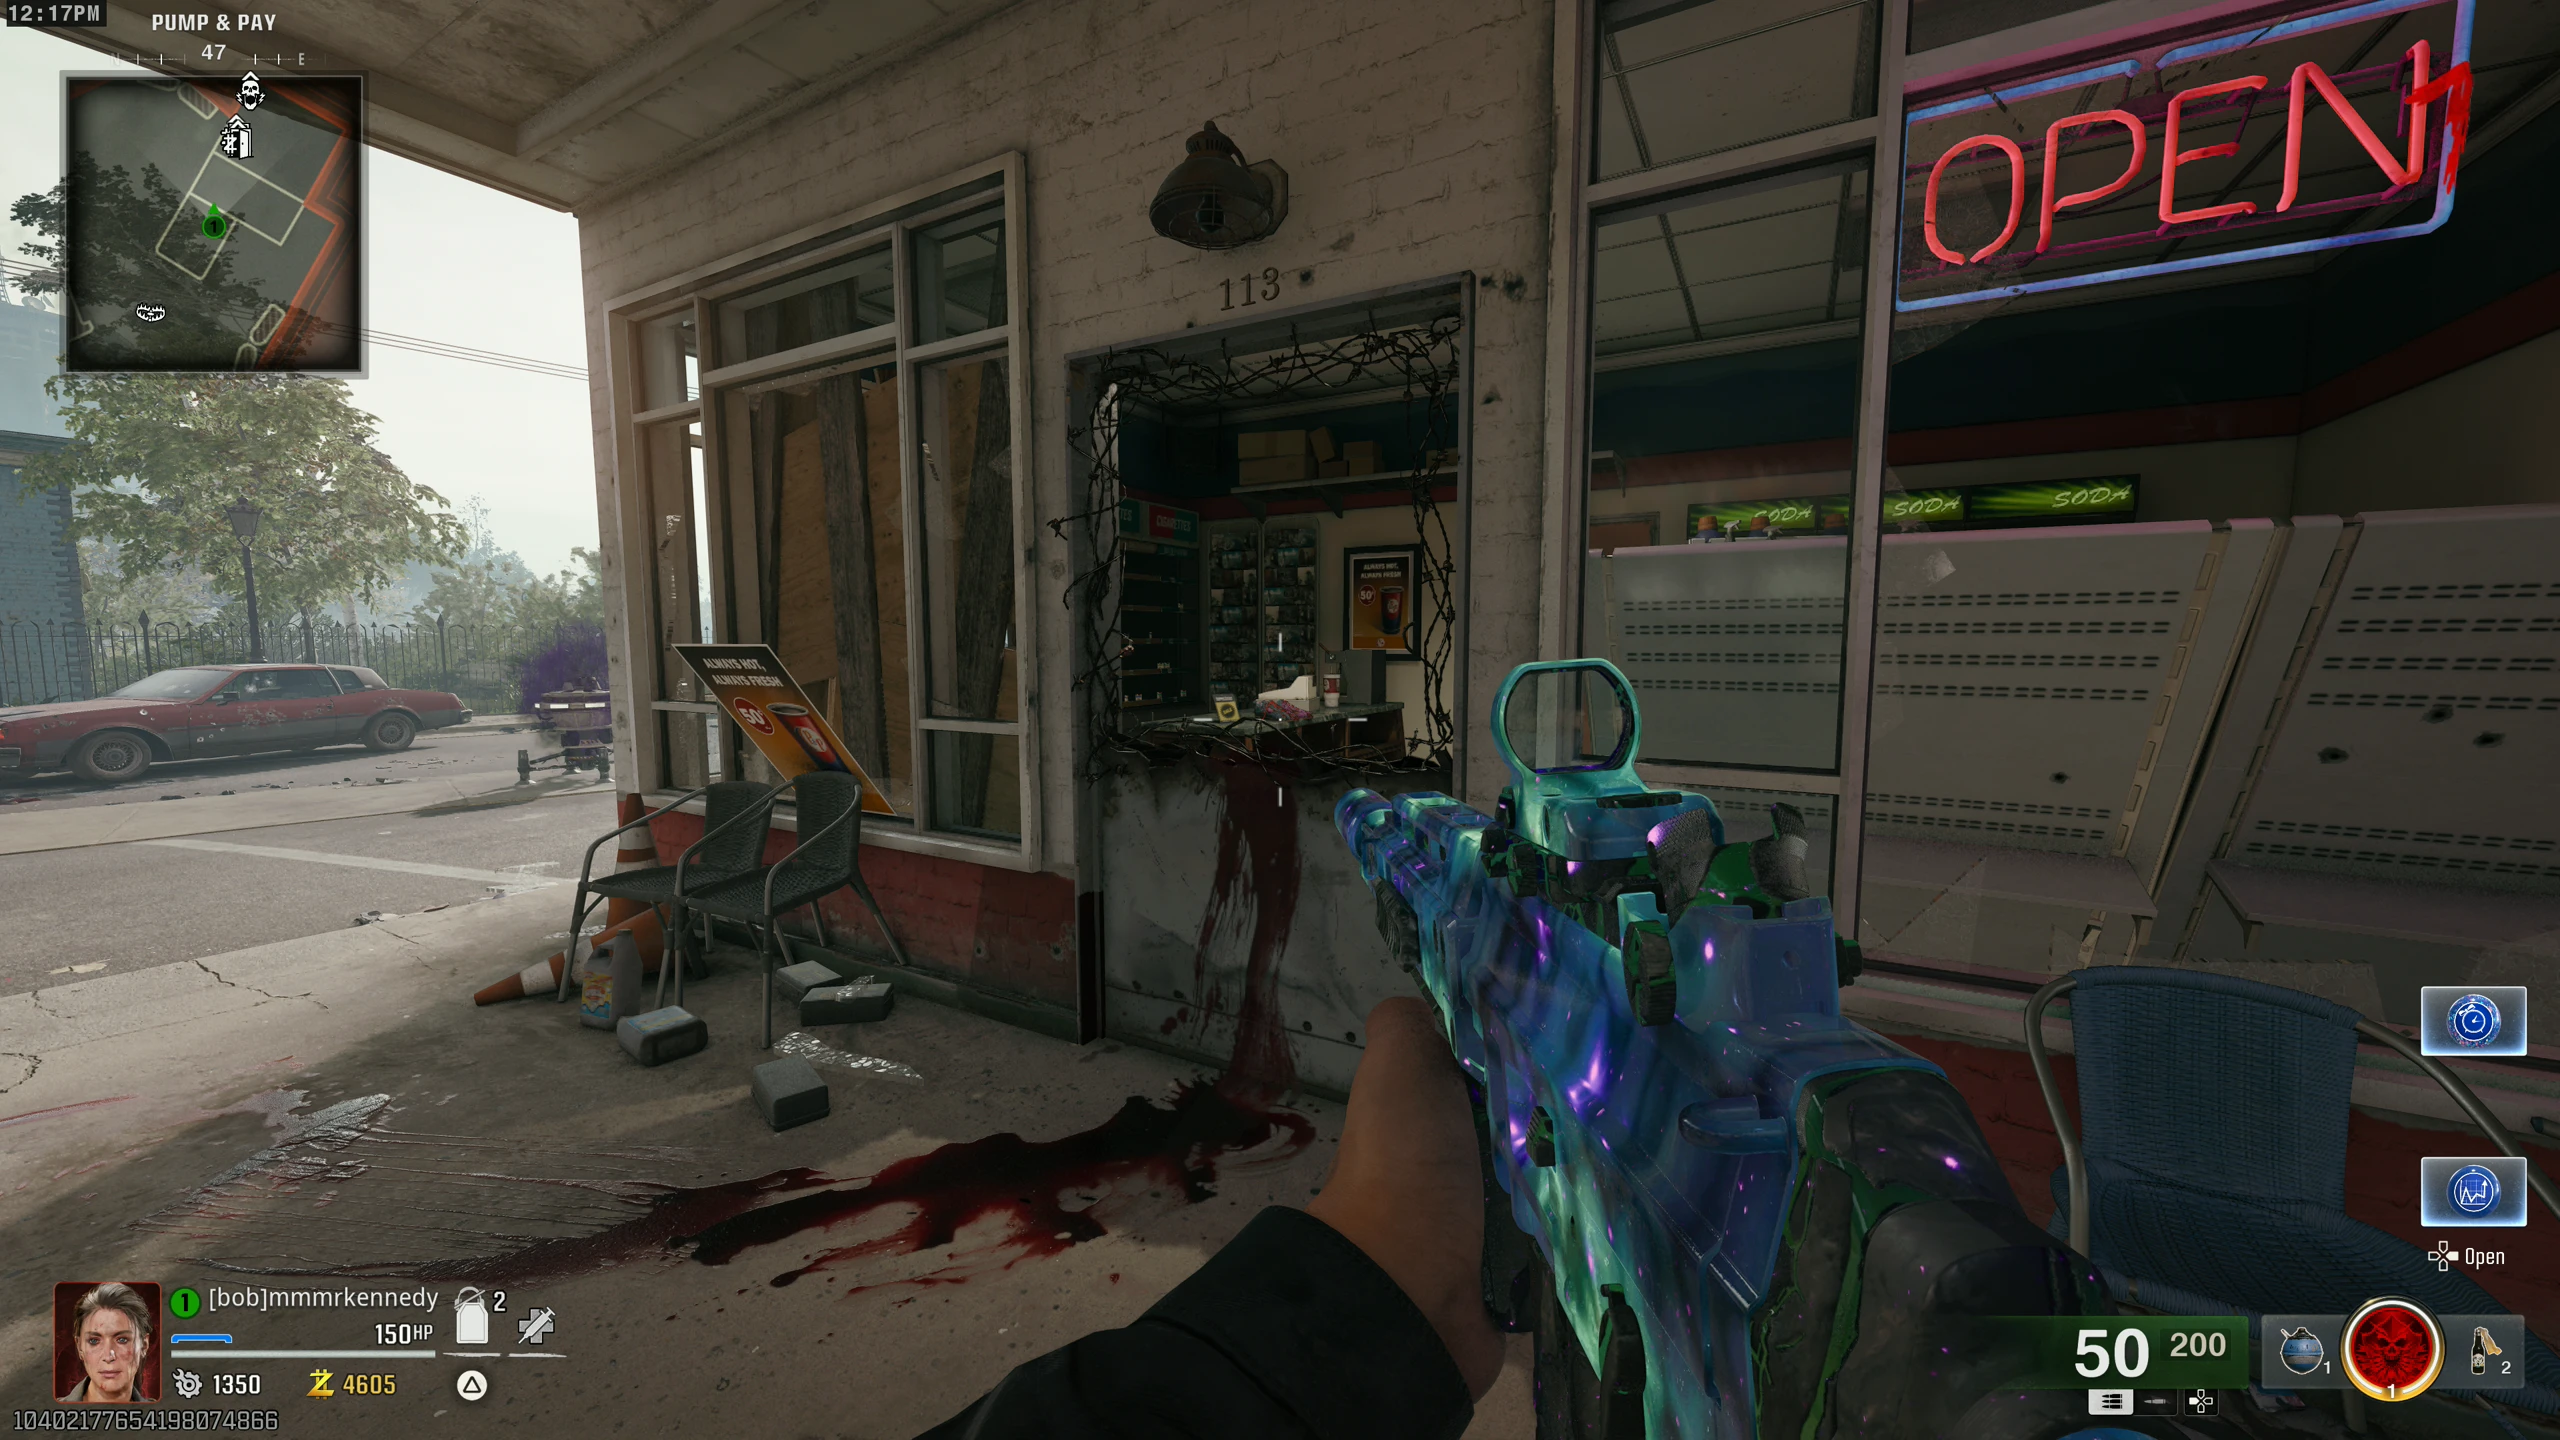
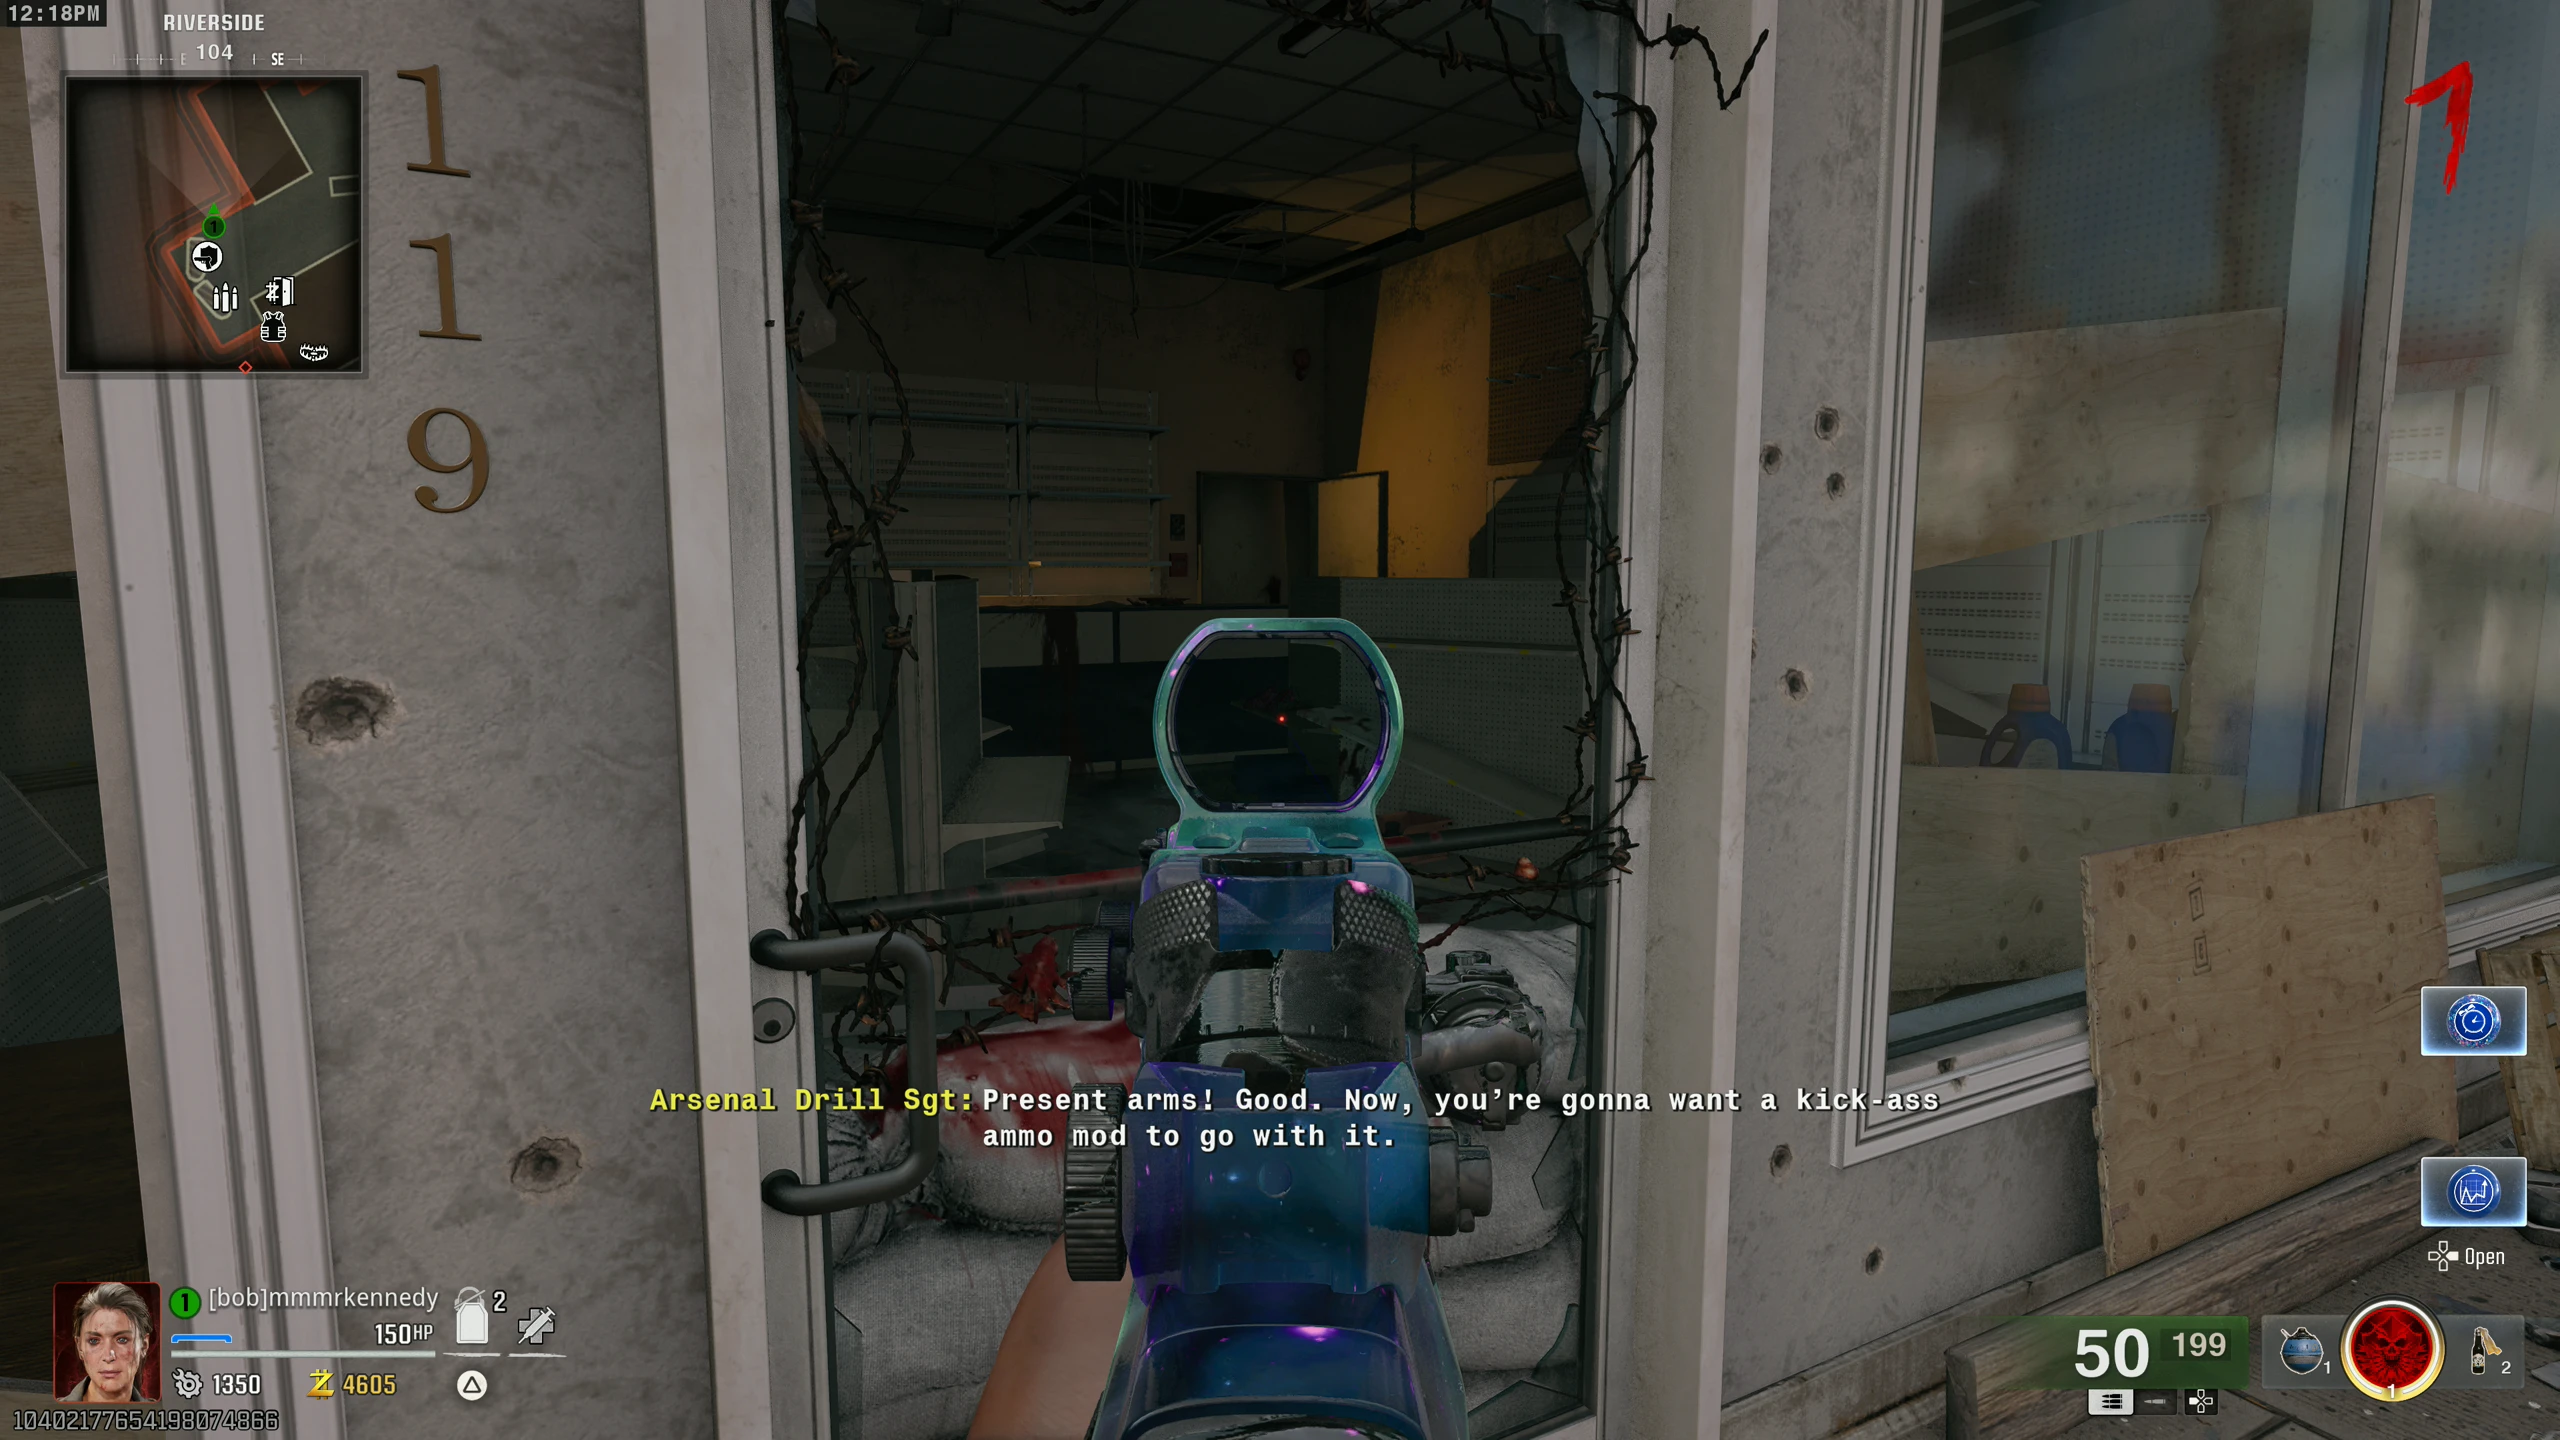
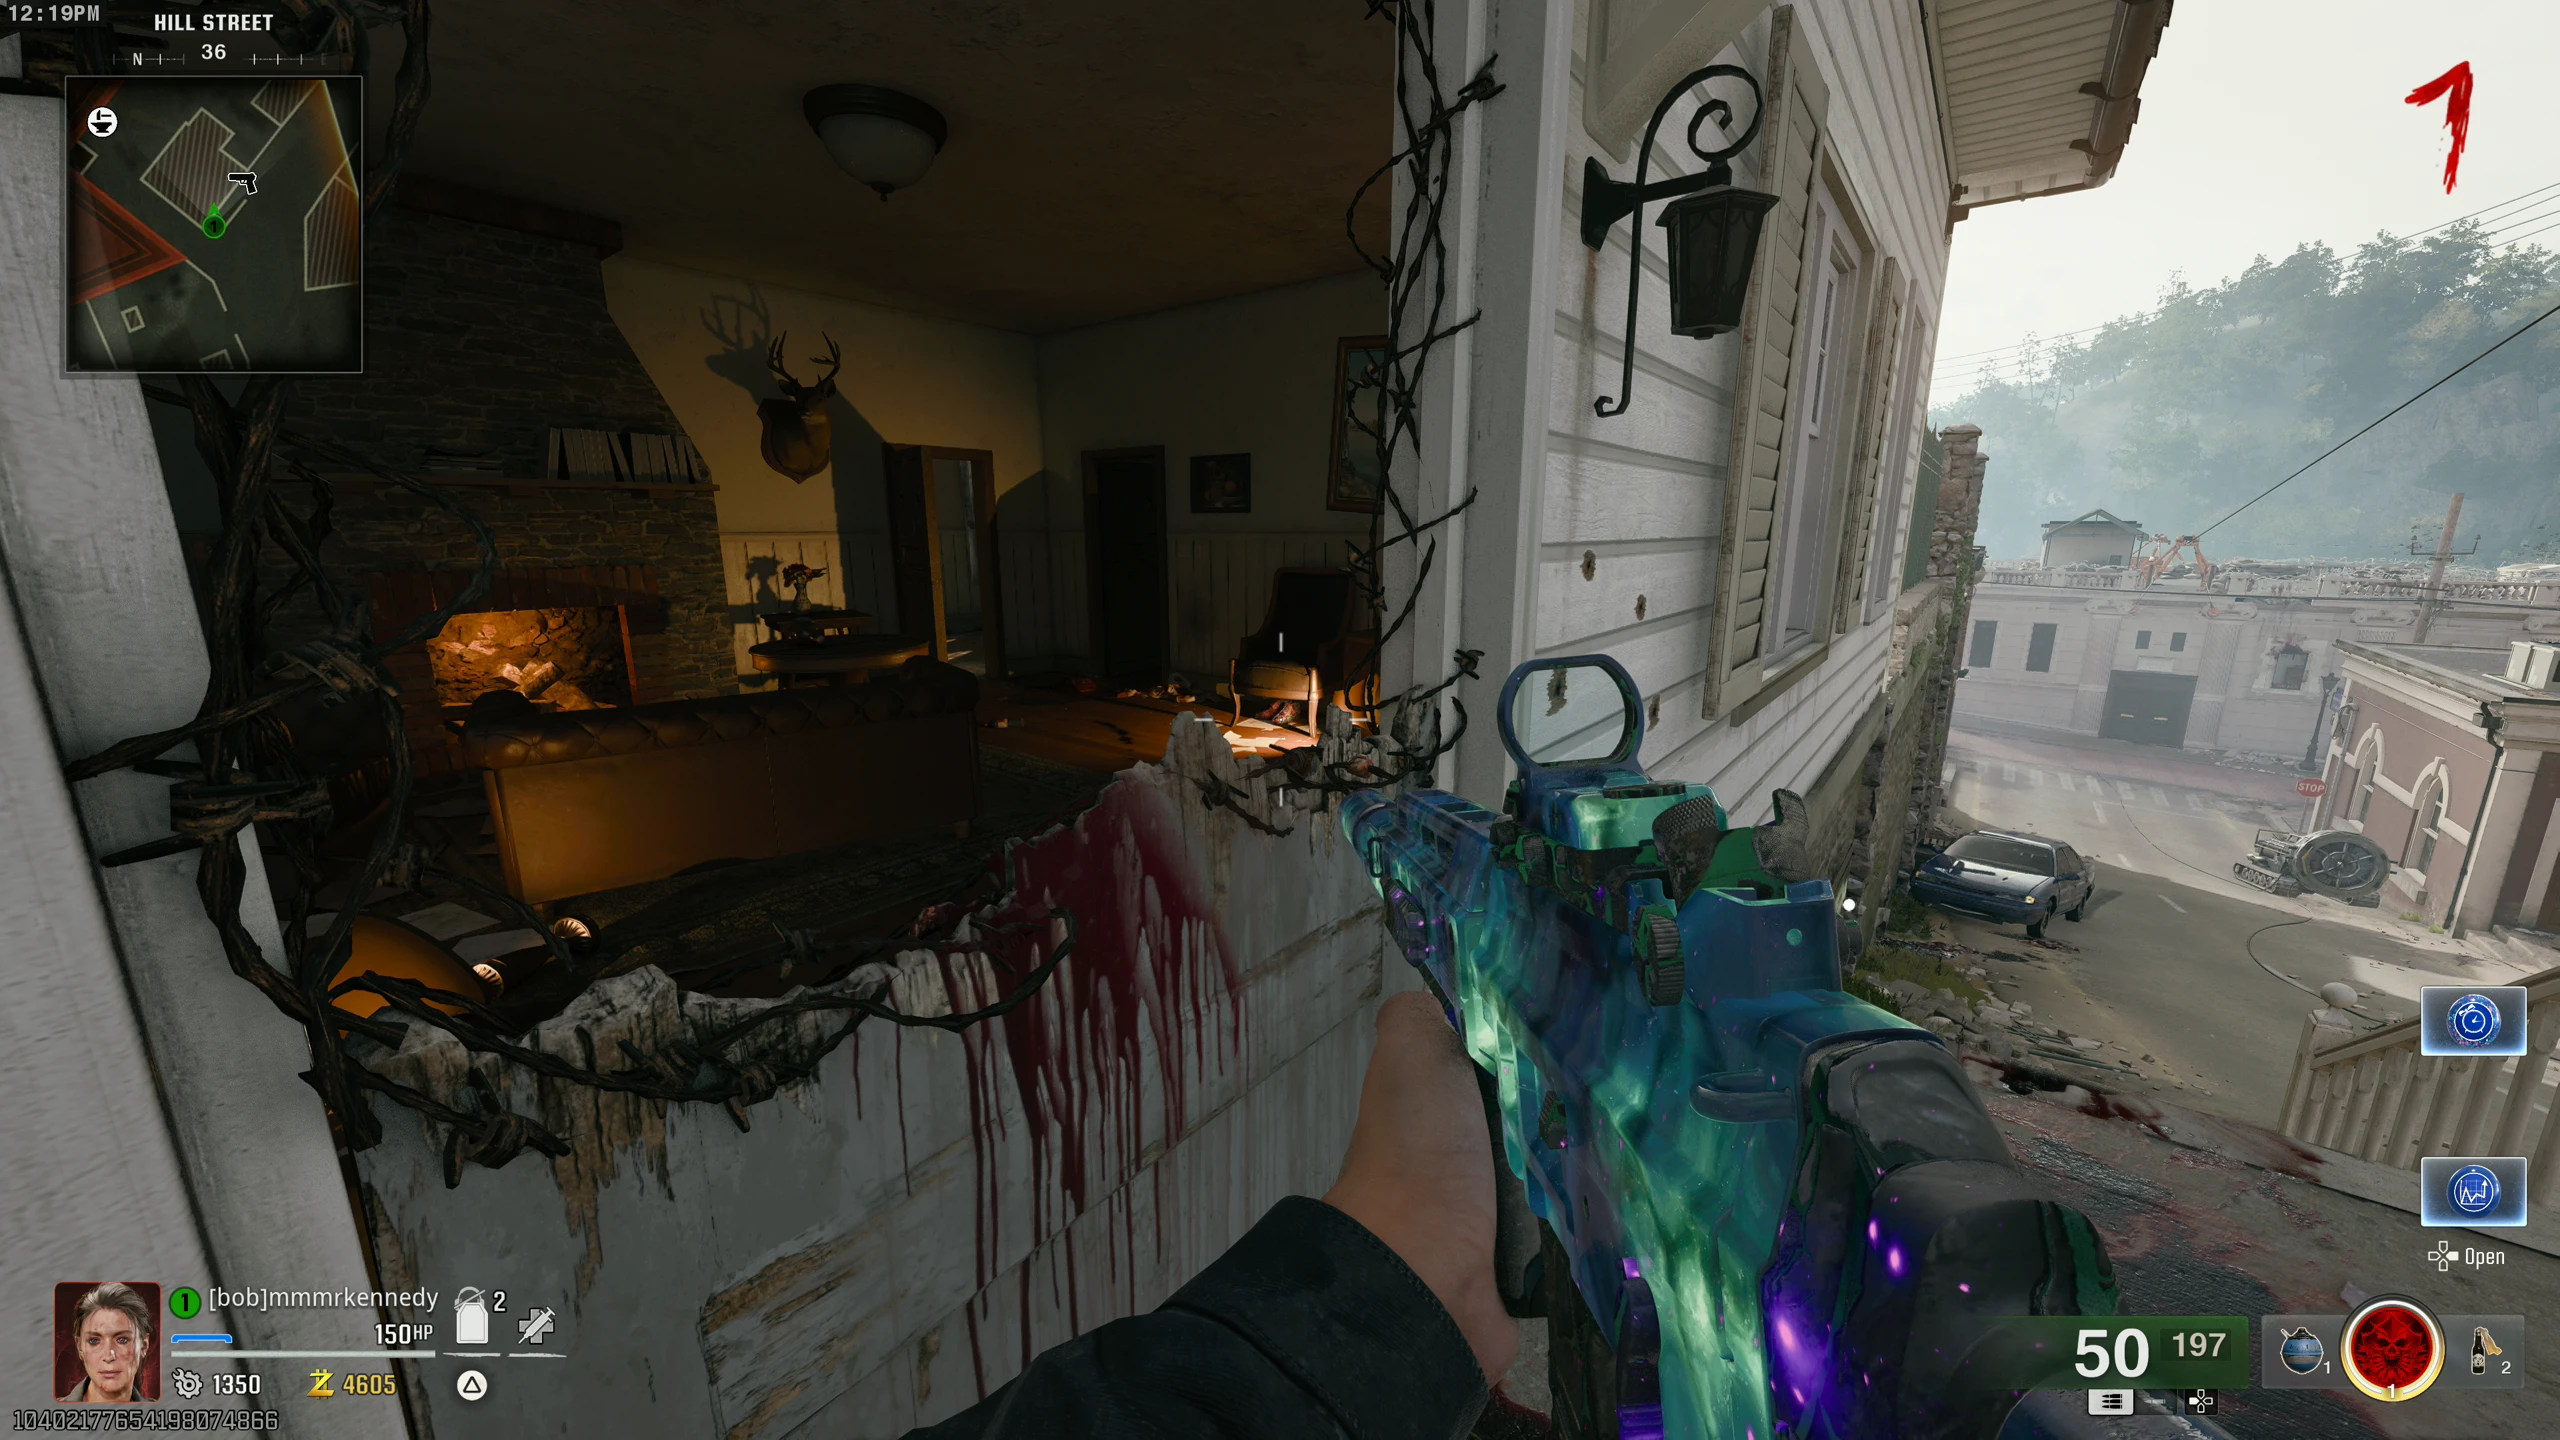
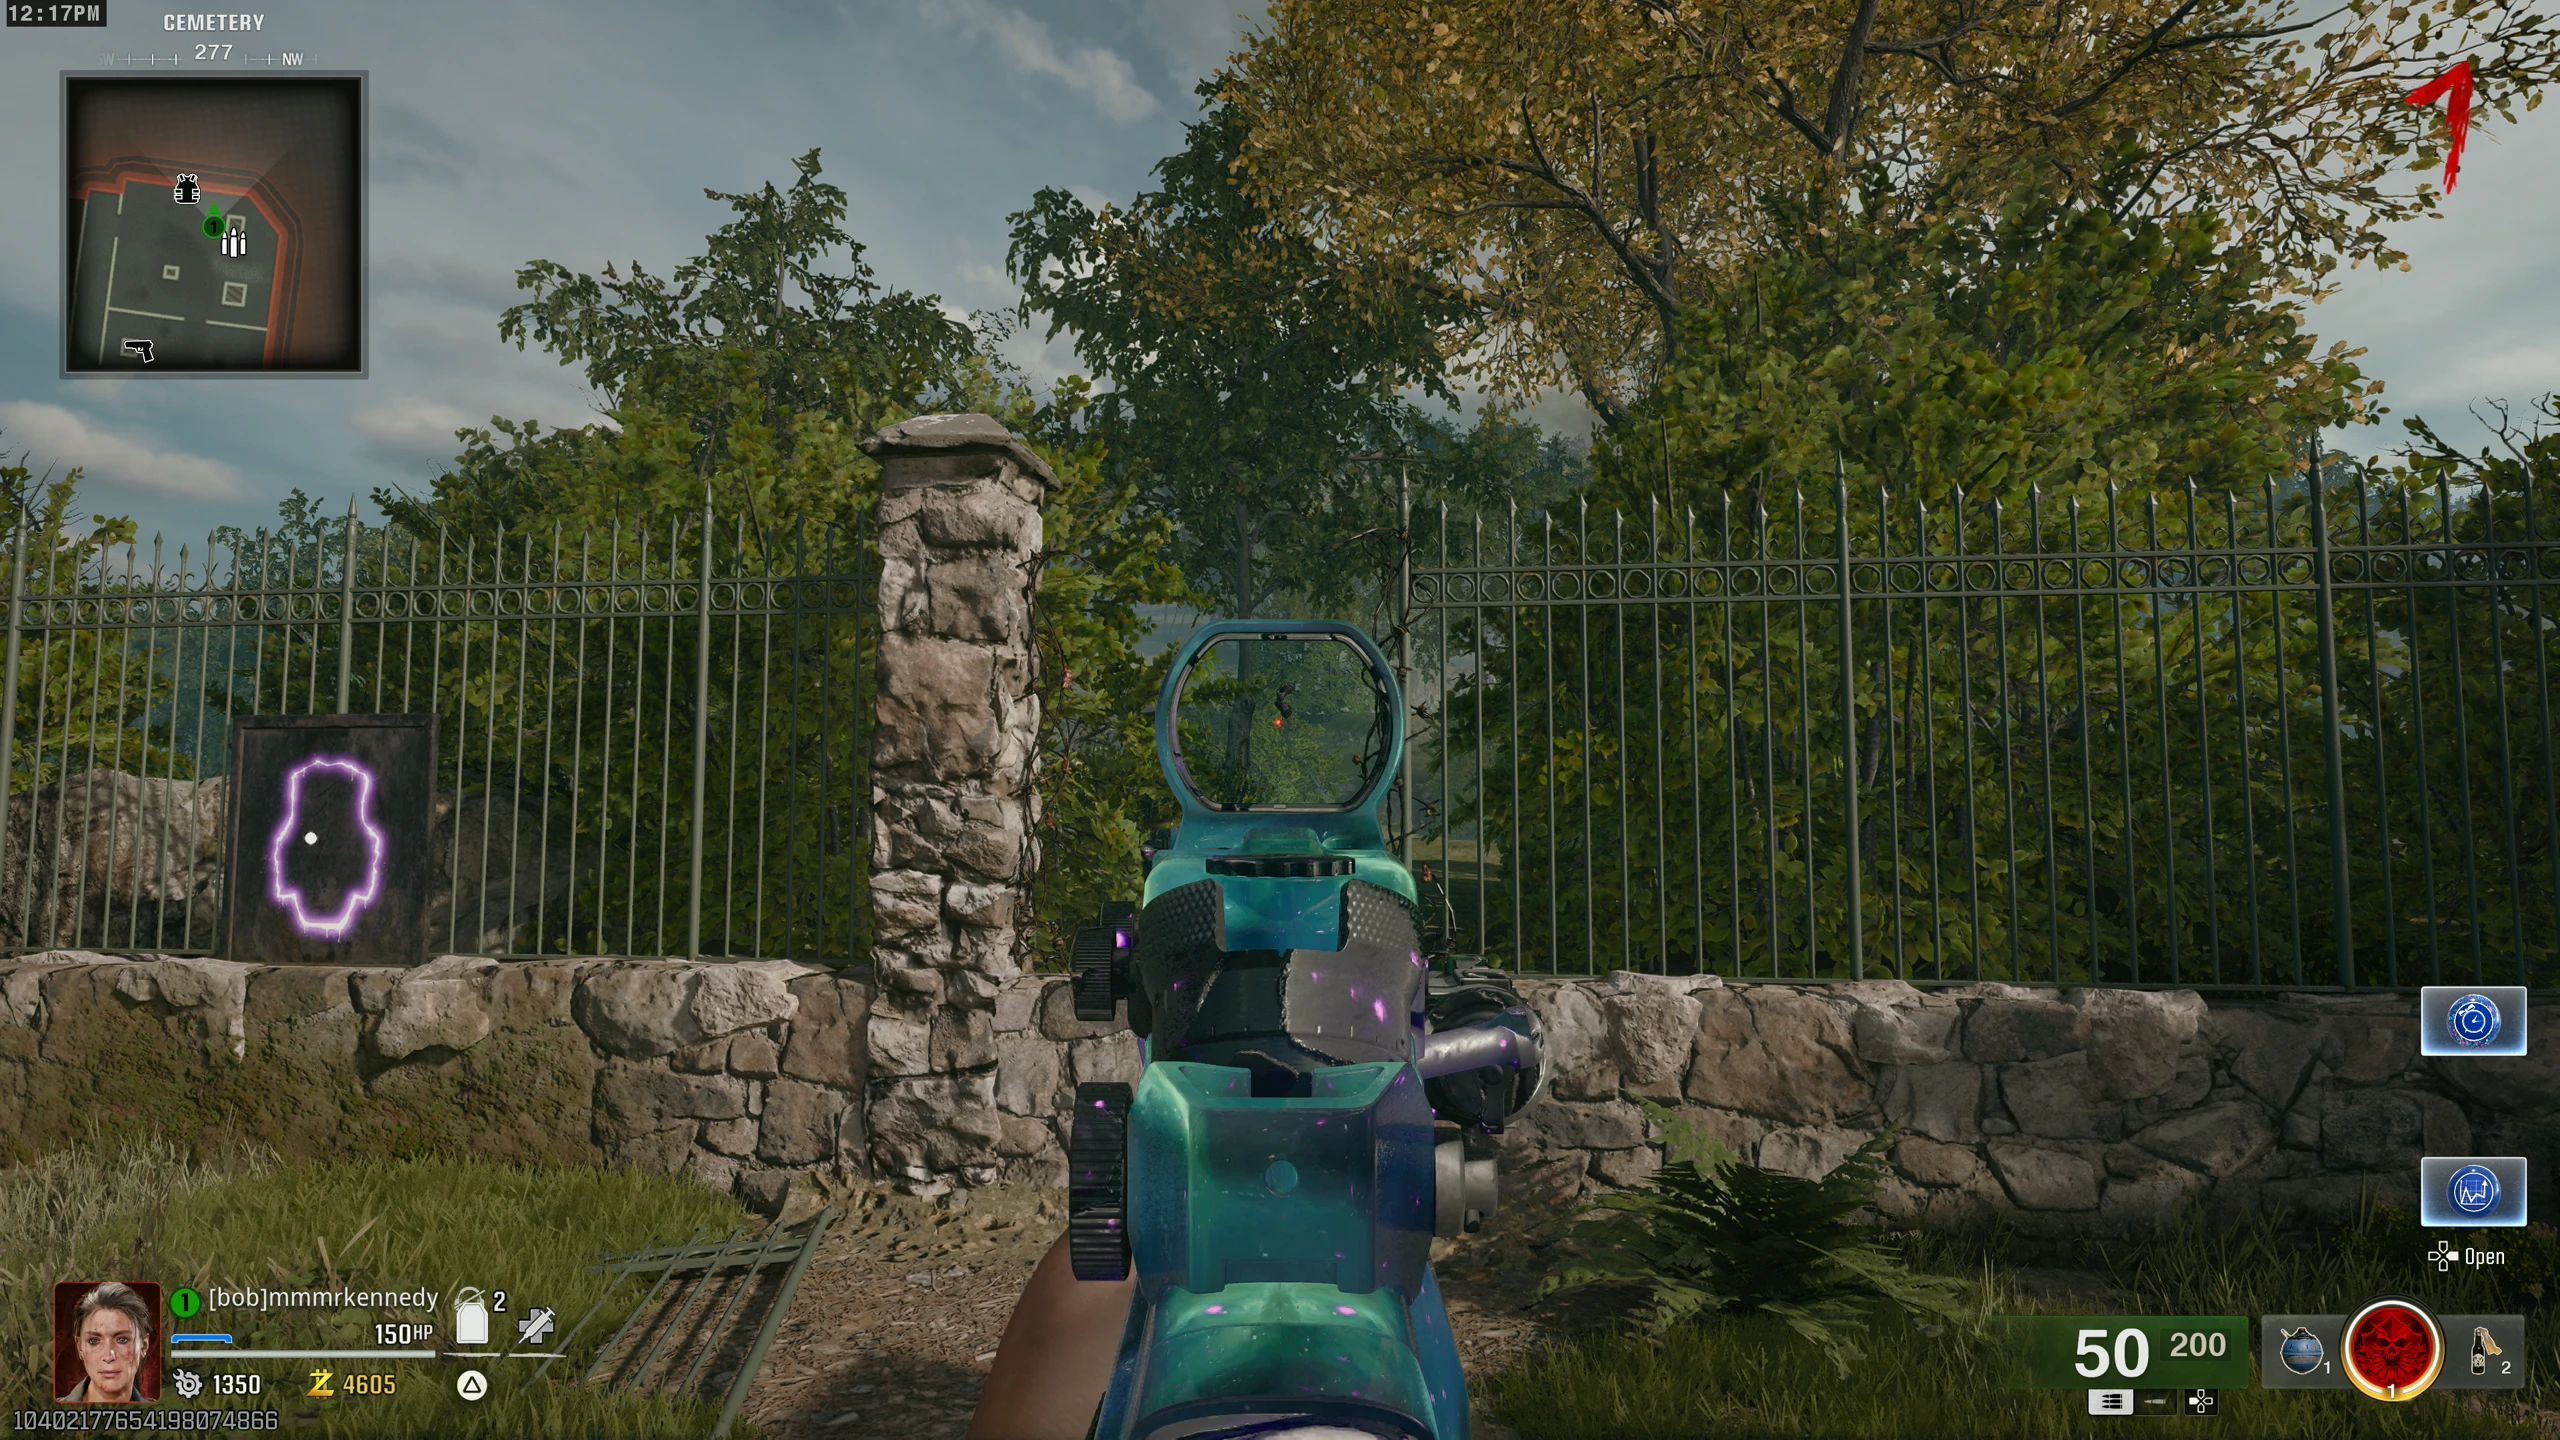
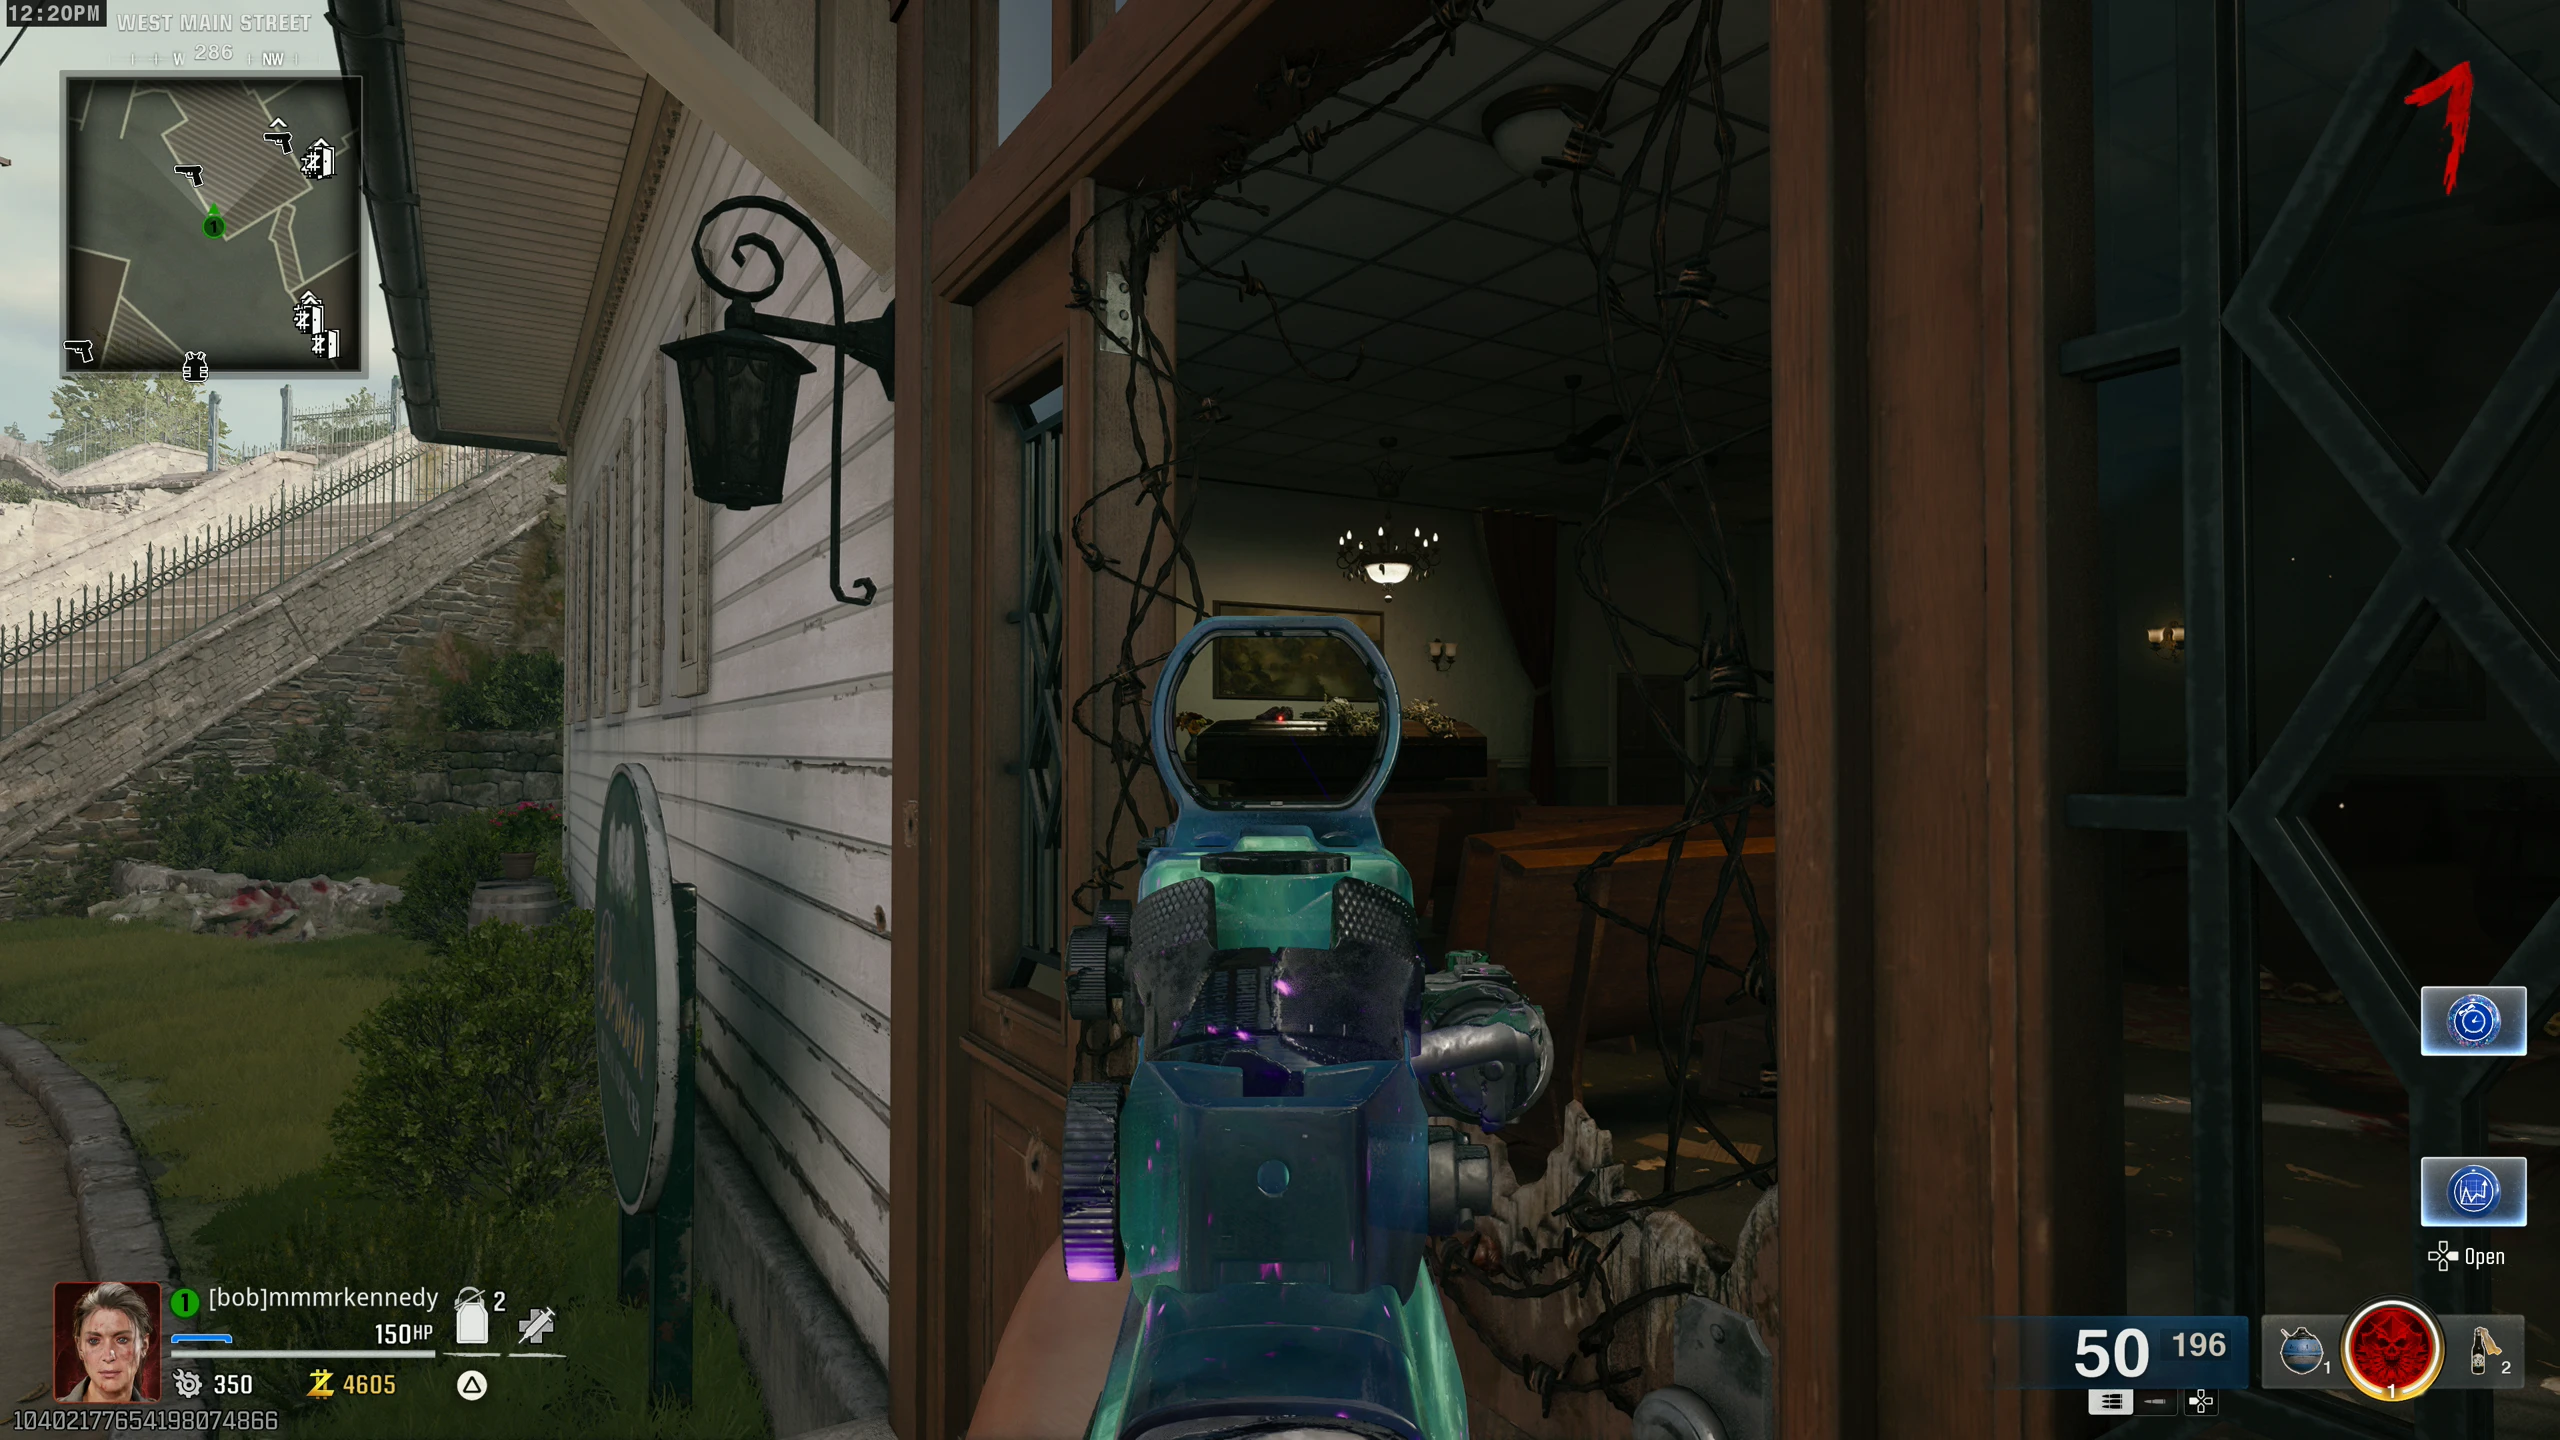
- There are five pairs of Bowling Shoes you must shoot. Shoe locations:
- Pump & Pay - On the cashier desk, inside a barrier
- Riverside - On a shelf inside the "Frank's Hardware" store right of the Arsenal machine
- Hill Street - Under a chair inside the house up the stairs from the AK-74 wallbuy
- Cemetery - Hanging from a tree outside the barrier, right of the Armour wallbuy
- West Main Street - Inside the funeral home, on top of the casket
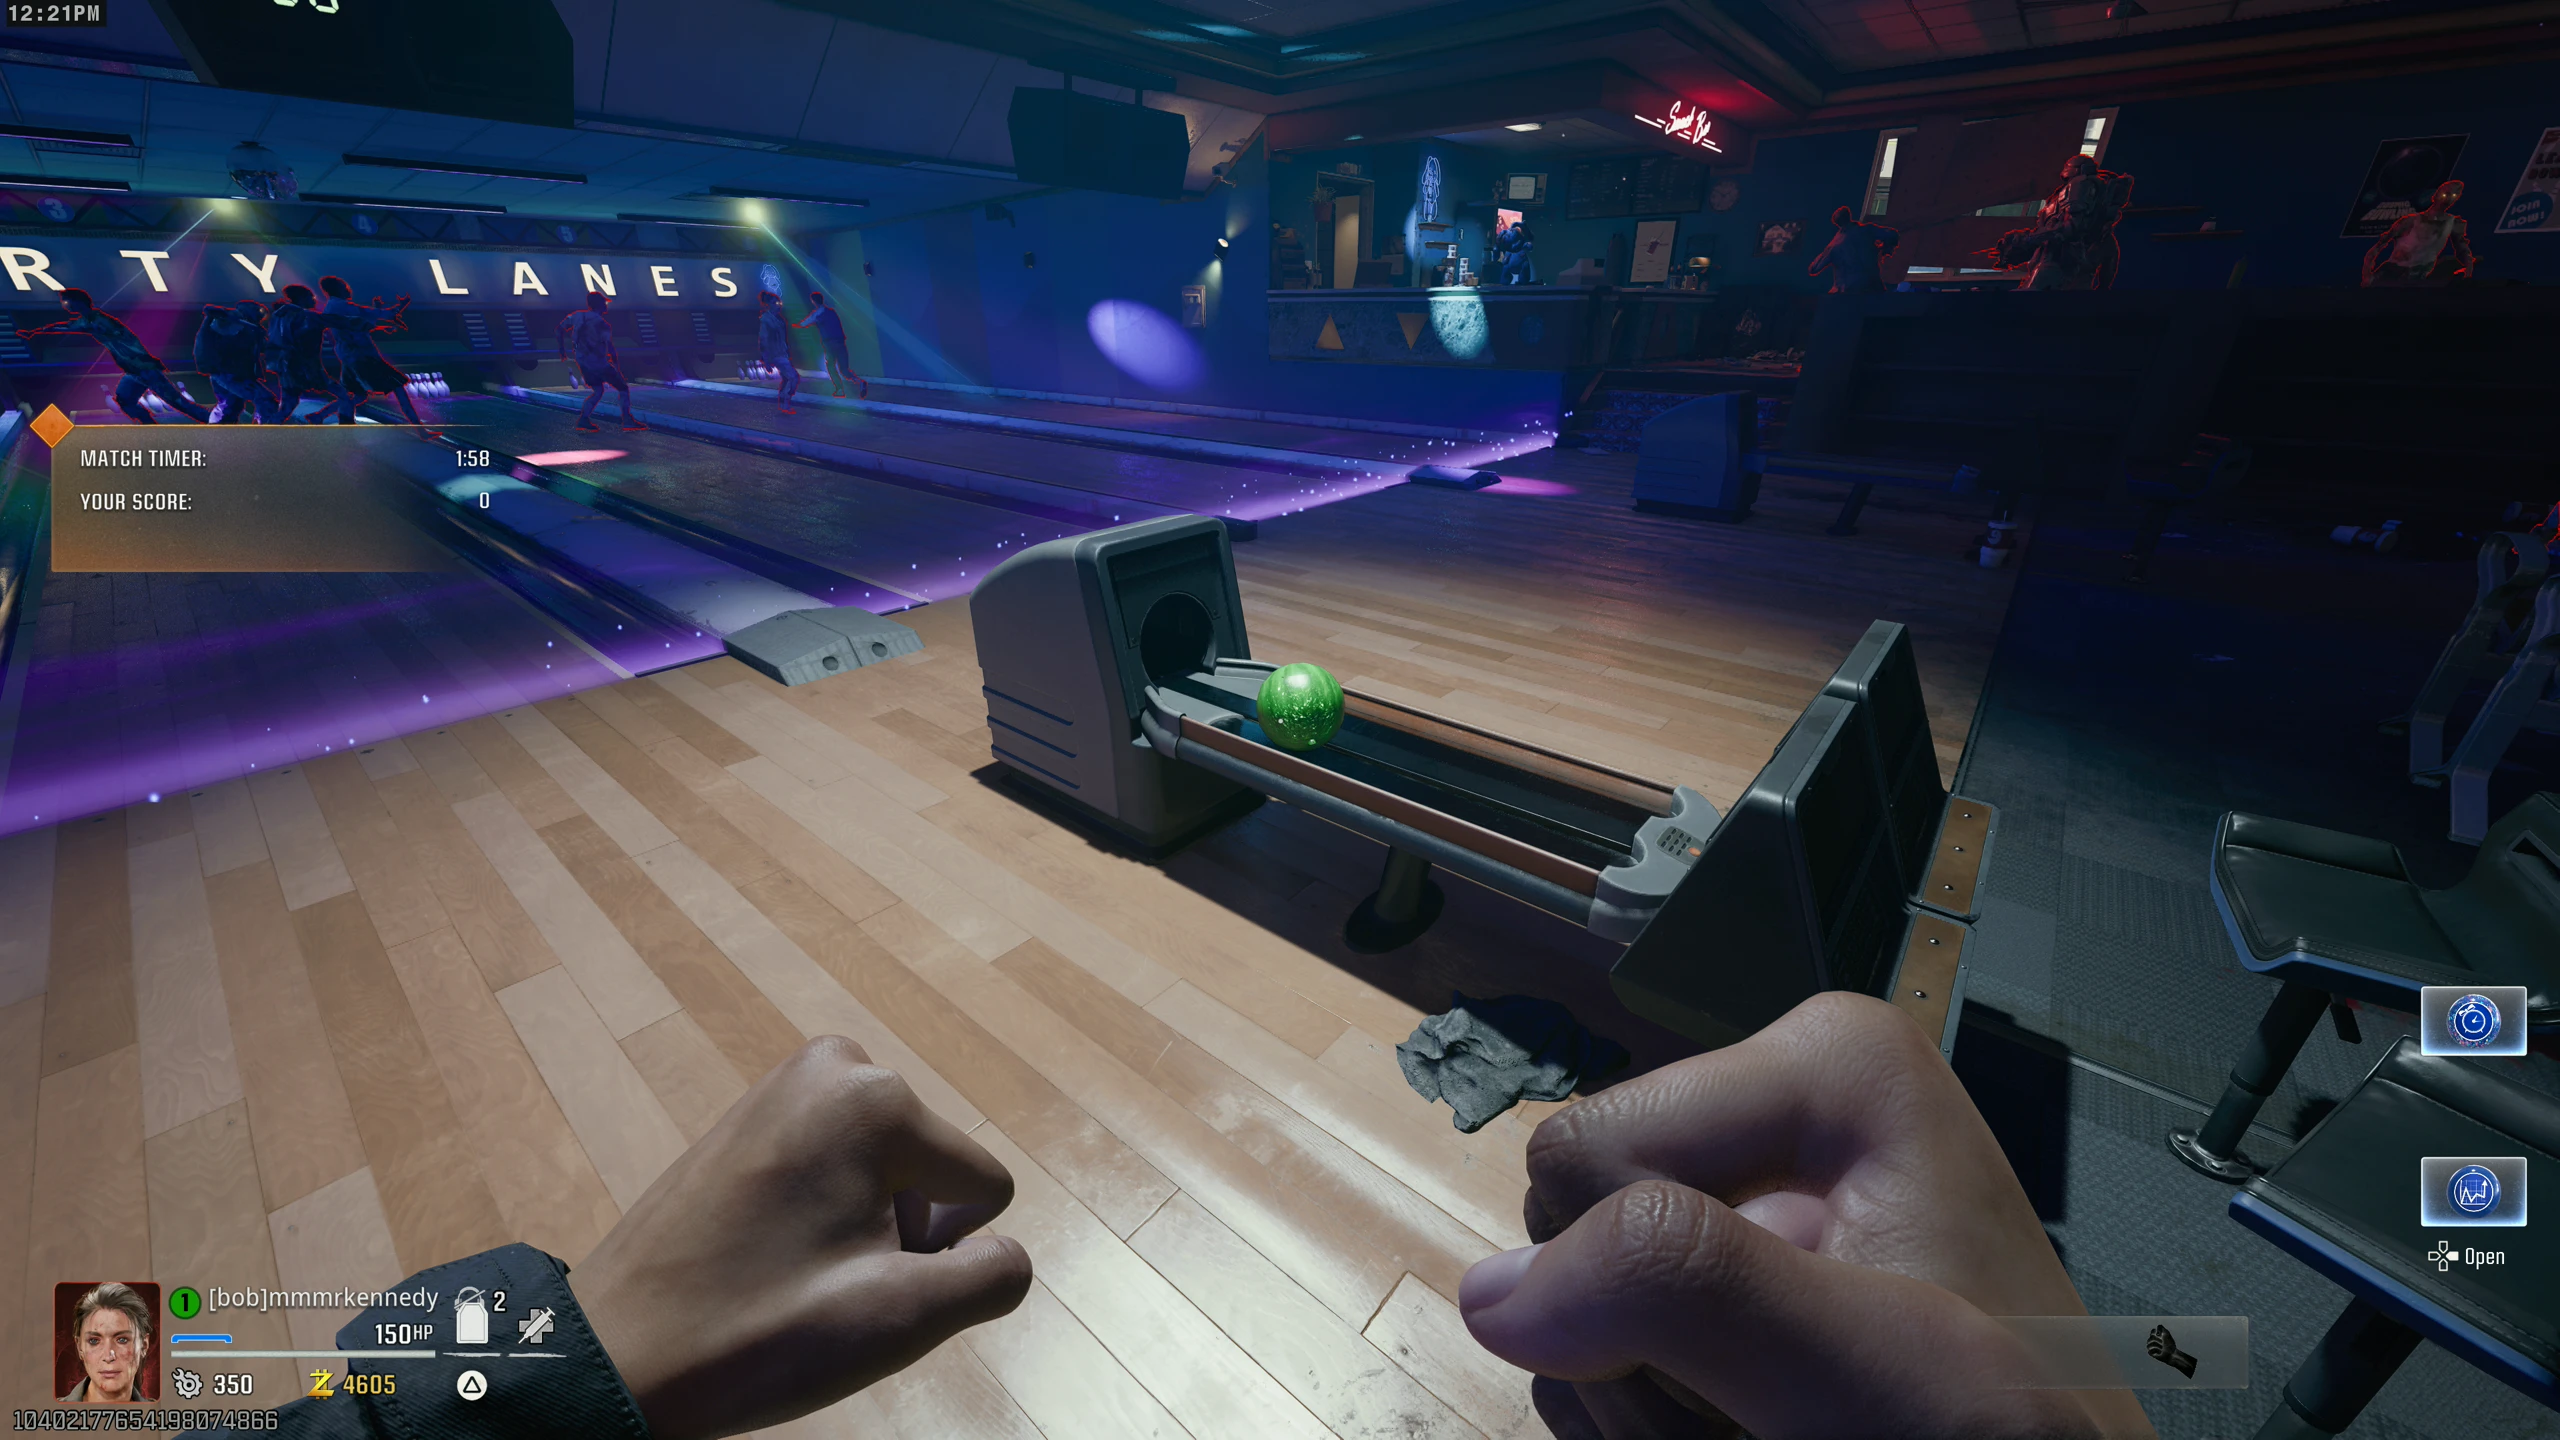
- Once all five shoes are shot, all players will be teleported to the Bowling Alley.
- Pick up a Bowling Ball from a Ball Return machine and throw it at as many Zombies as you can. Each hit awards 10 points. Charging the throw (hold the button) lets you hit multiple Zombies at once.
- Each player has their own coloured ball (it's the same colour as your number on the HUD by your name) and ball return machine. You can't use another player's ball, and your ball will always come from the same ball return machine.
- When charging up a throw, ignore the crosshair arrow indicators, as these don't indicate throw power. Instead, wait until the ball starts emitting "energy," as this indicates when it's fully charged.
- Rewards are based on how well you do. If any player gets at least 300 points, all players get the Dark Ops Calling Card "Strike!".
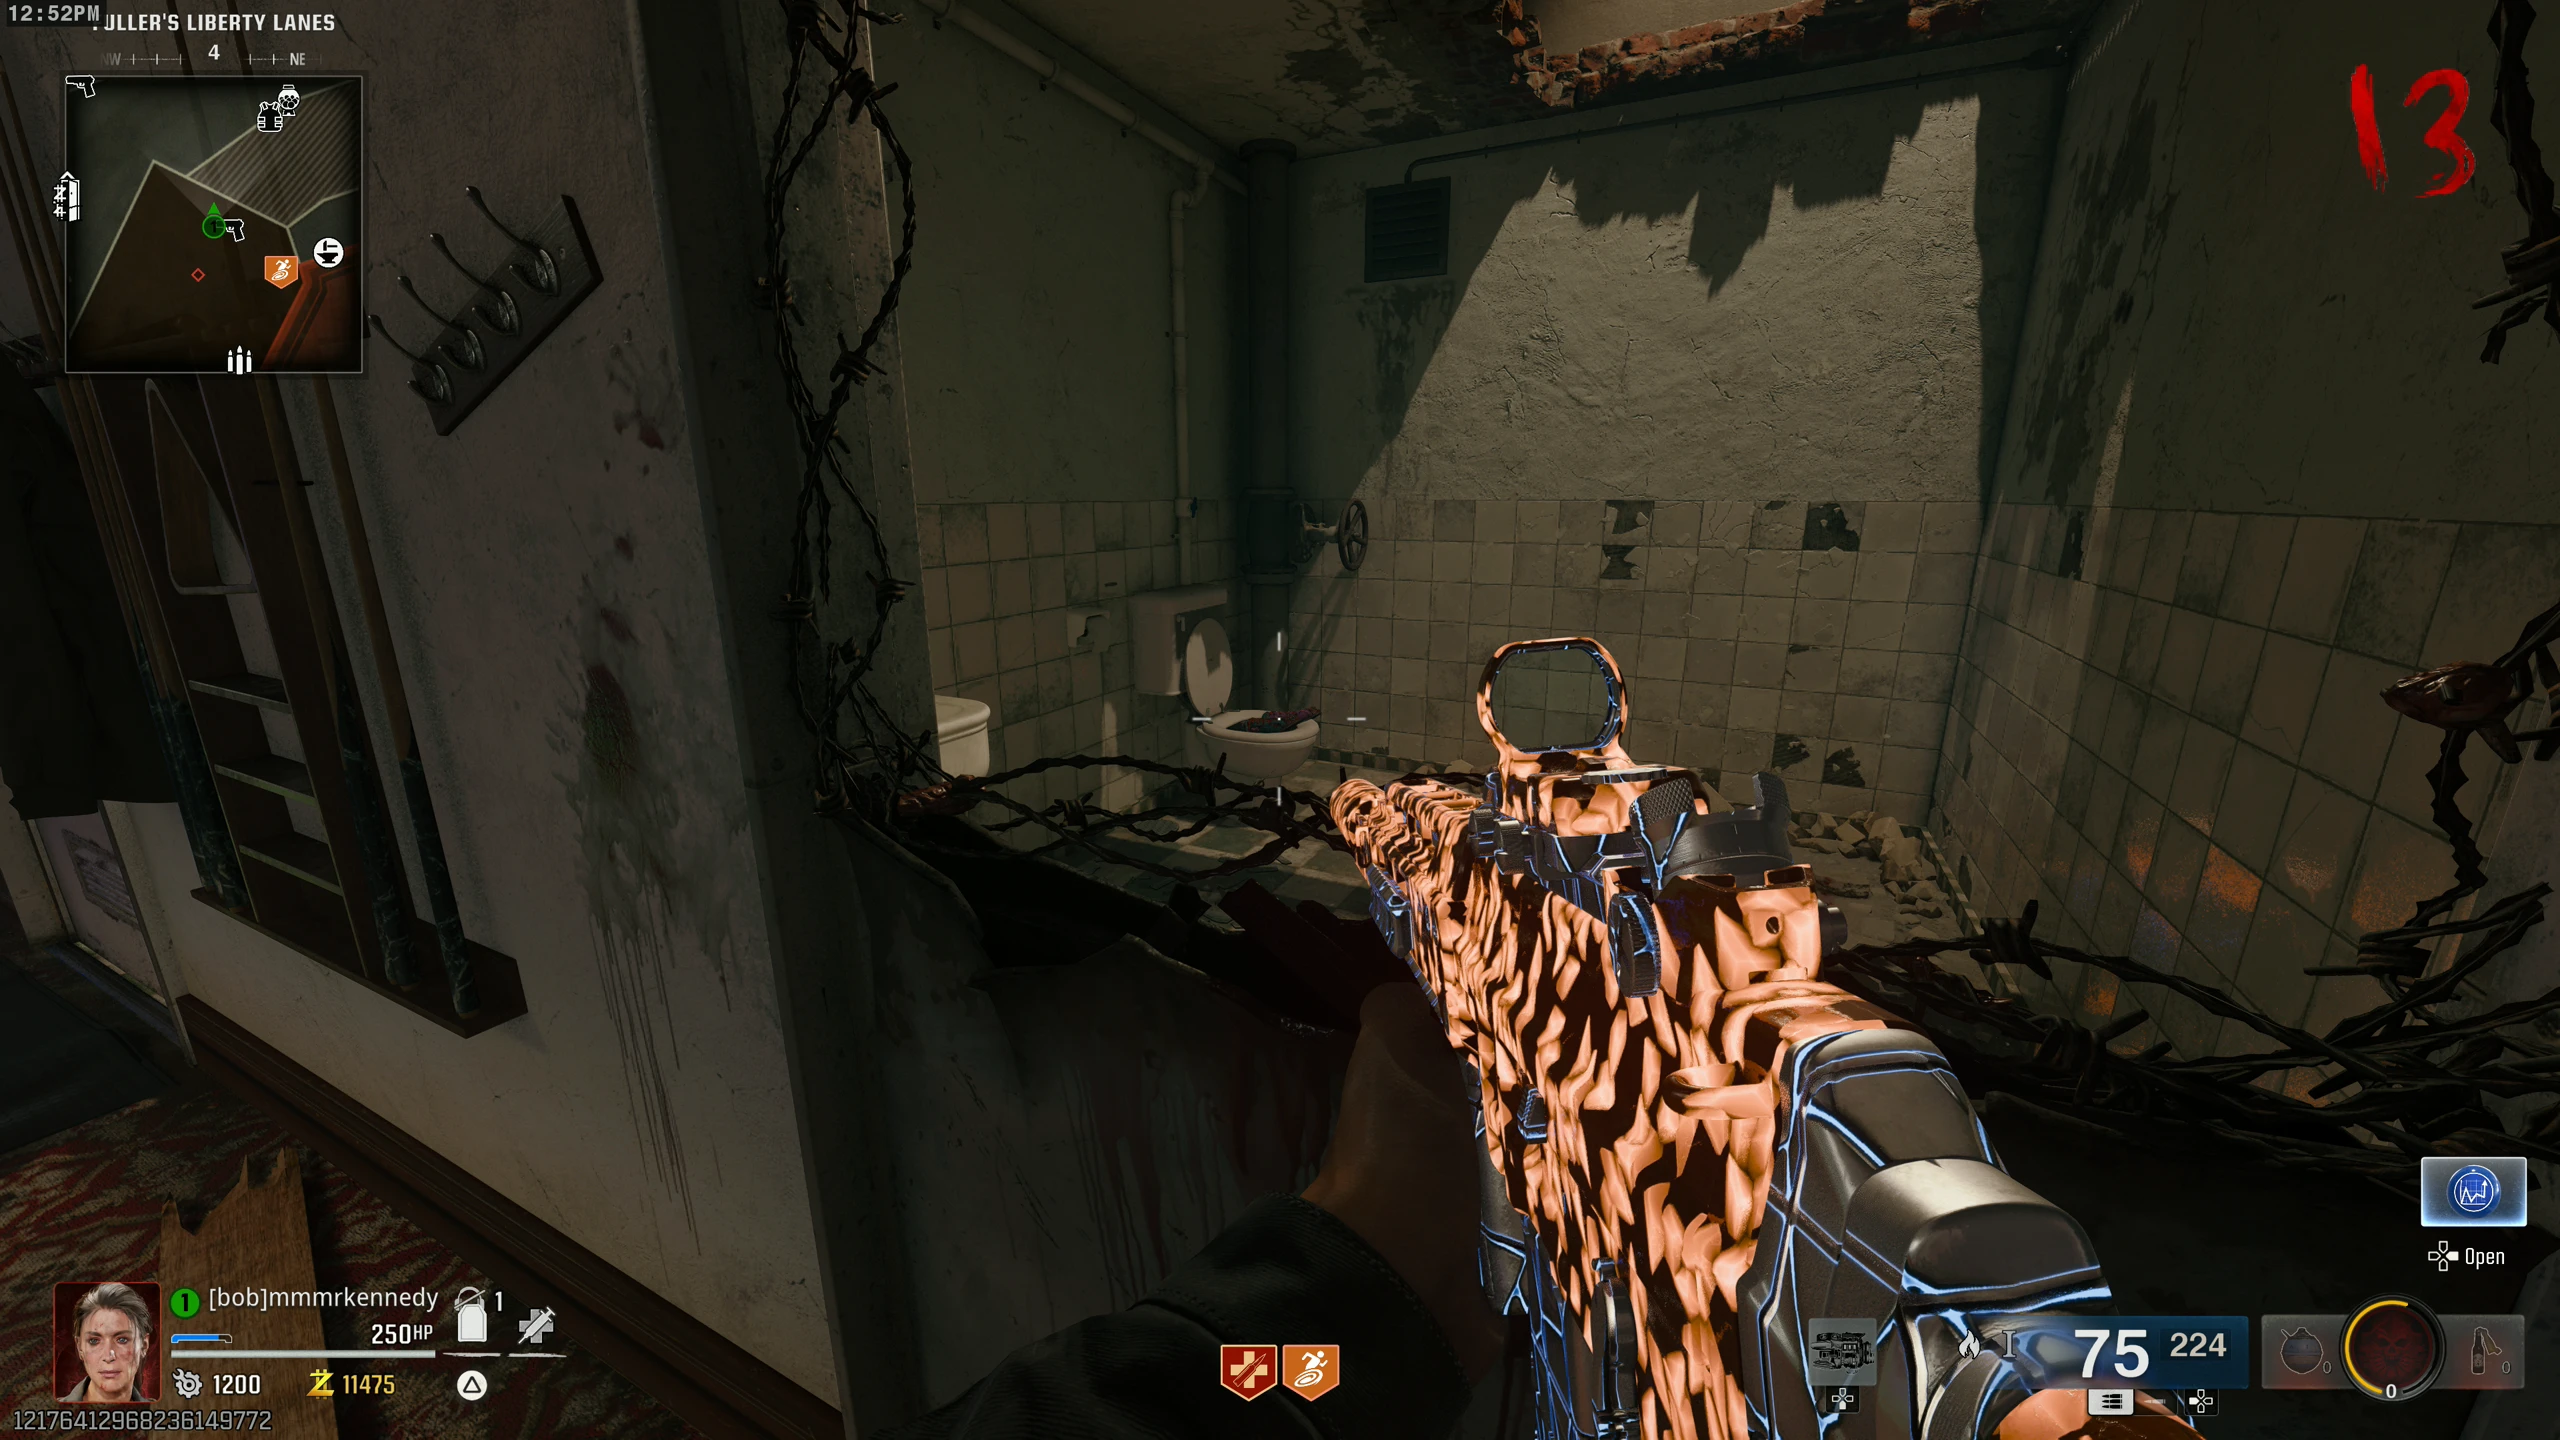
- After about 6 rounds, you can replay the Mini-game by shooting the pair of shoes in the toilet in the Zombie spawn left of the Marine SP wallbuy in the Bowling Alley.
Opening the Bank Vault (Free Loot)
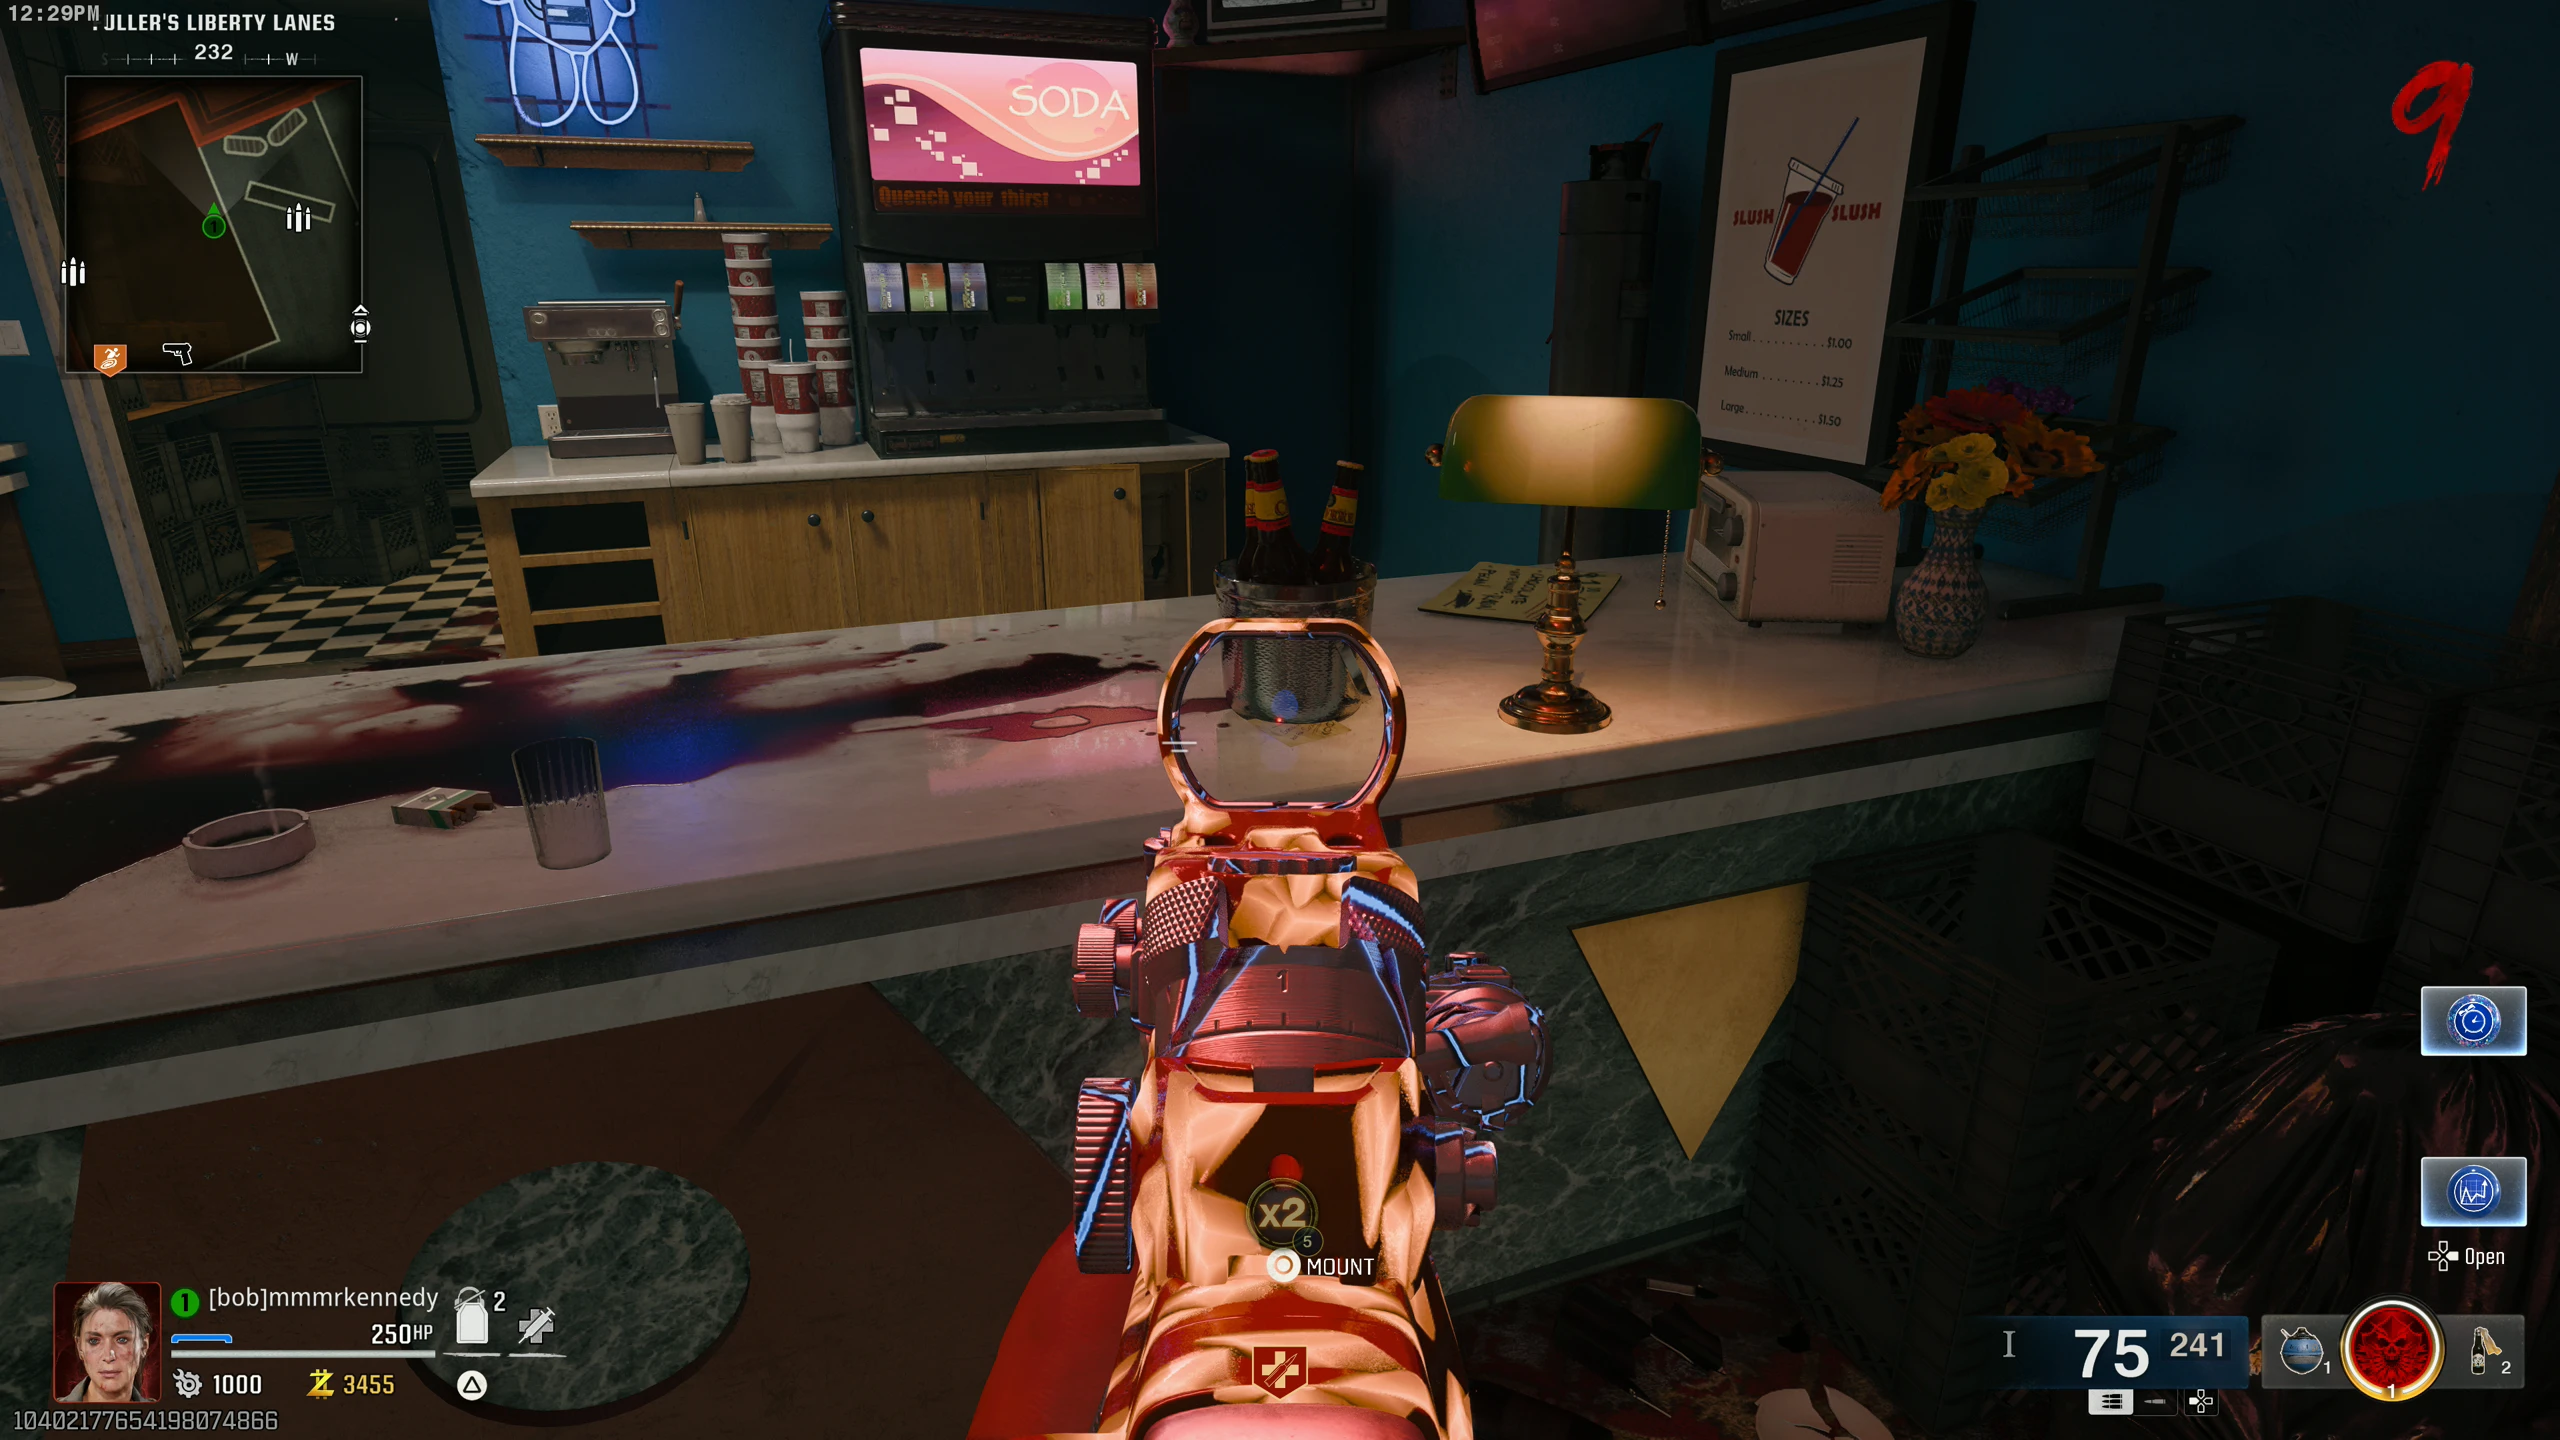
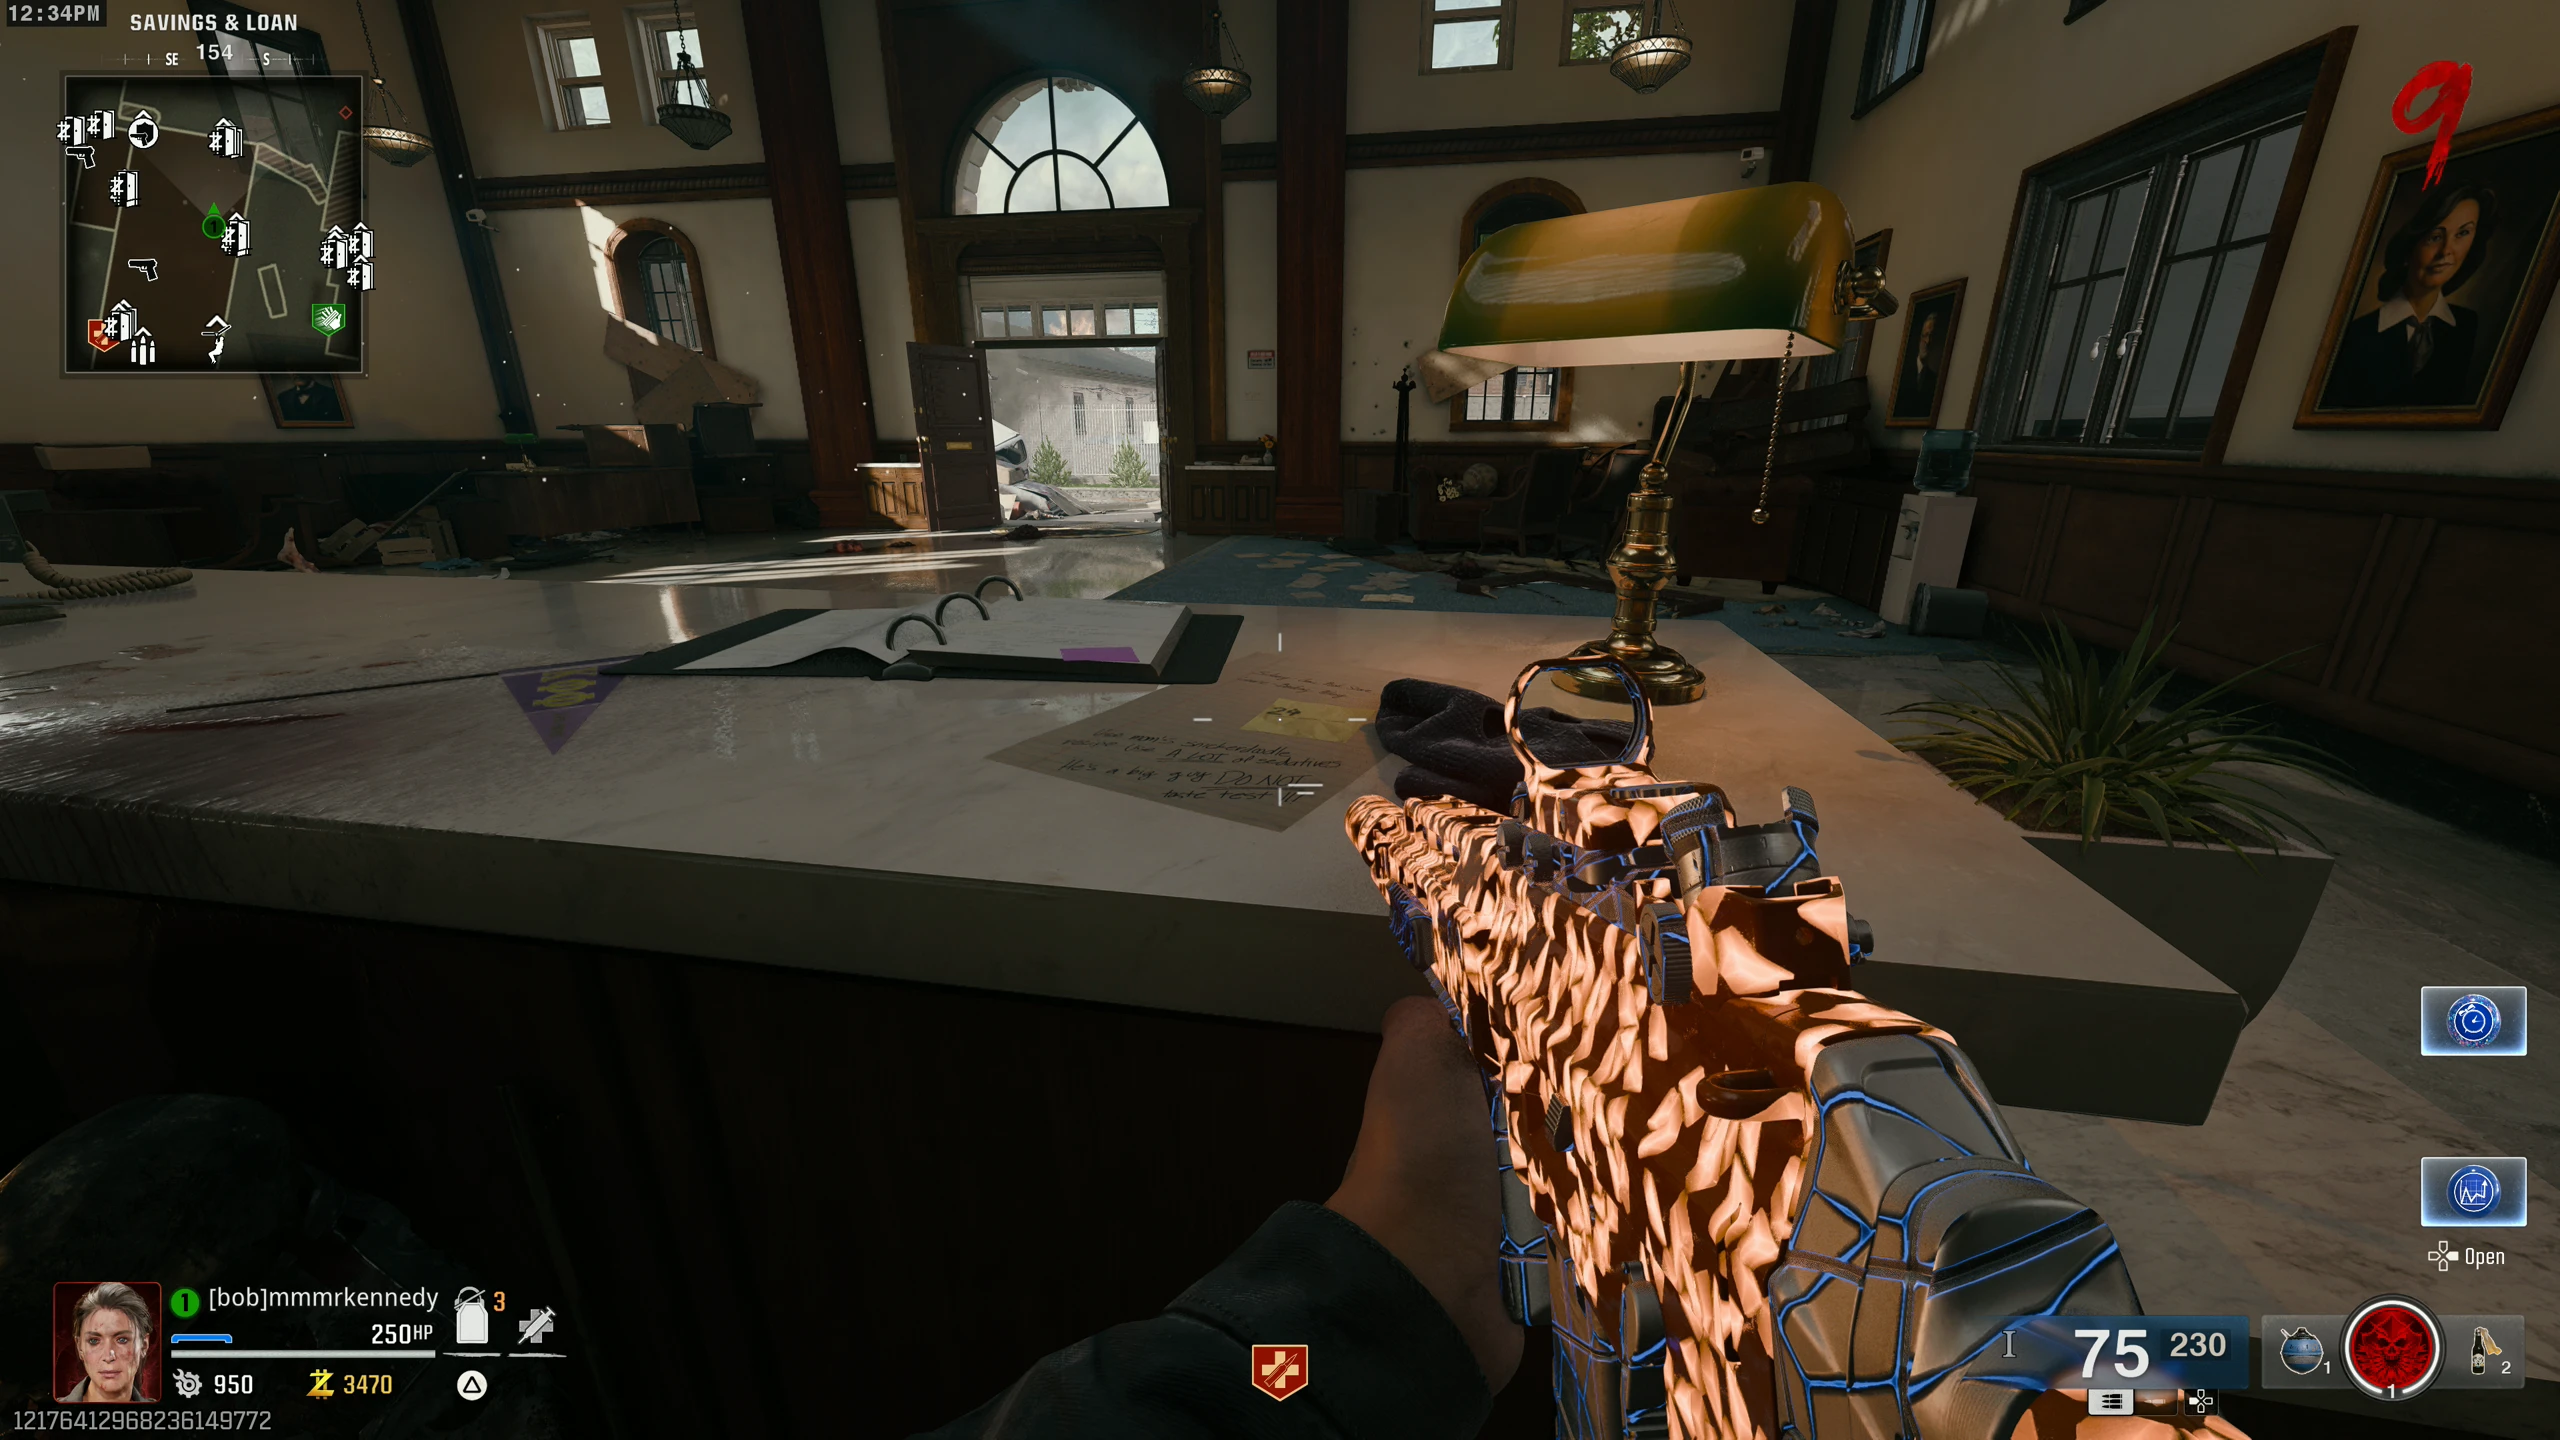
- There are three numbers on sticky notes around the map. Each note shows its position in the order using underscores for the other slots. Example: "__ __ 26" means 26 is the last number. Sticky Note locations:
- Once you have all three numbers, interact with the Bank Vault to enter them. If correct, the vault opens. On your first entrance, you'll get 500 points.
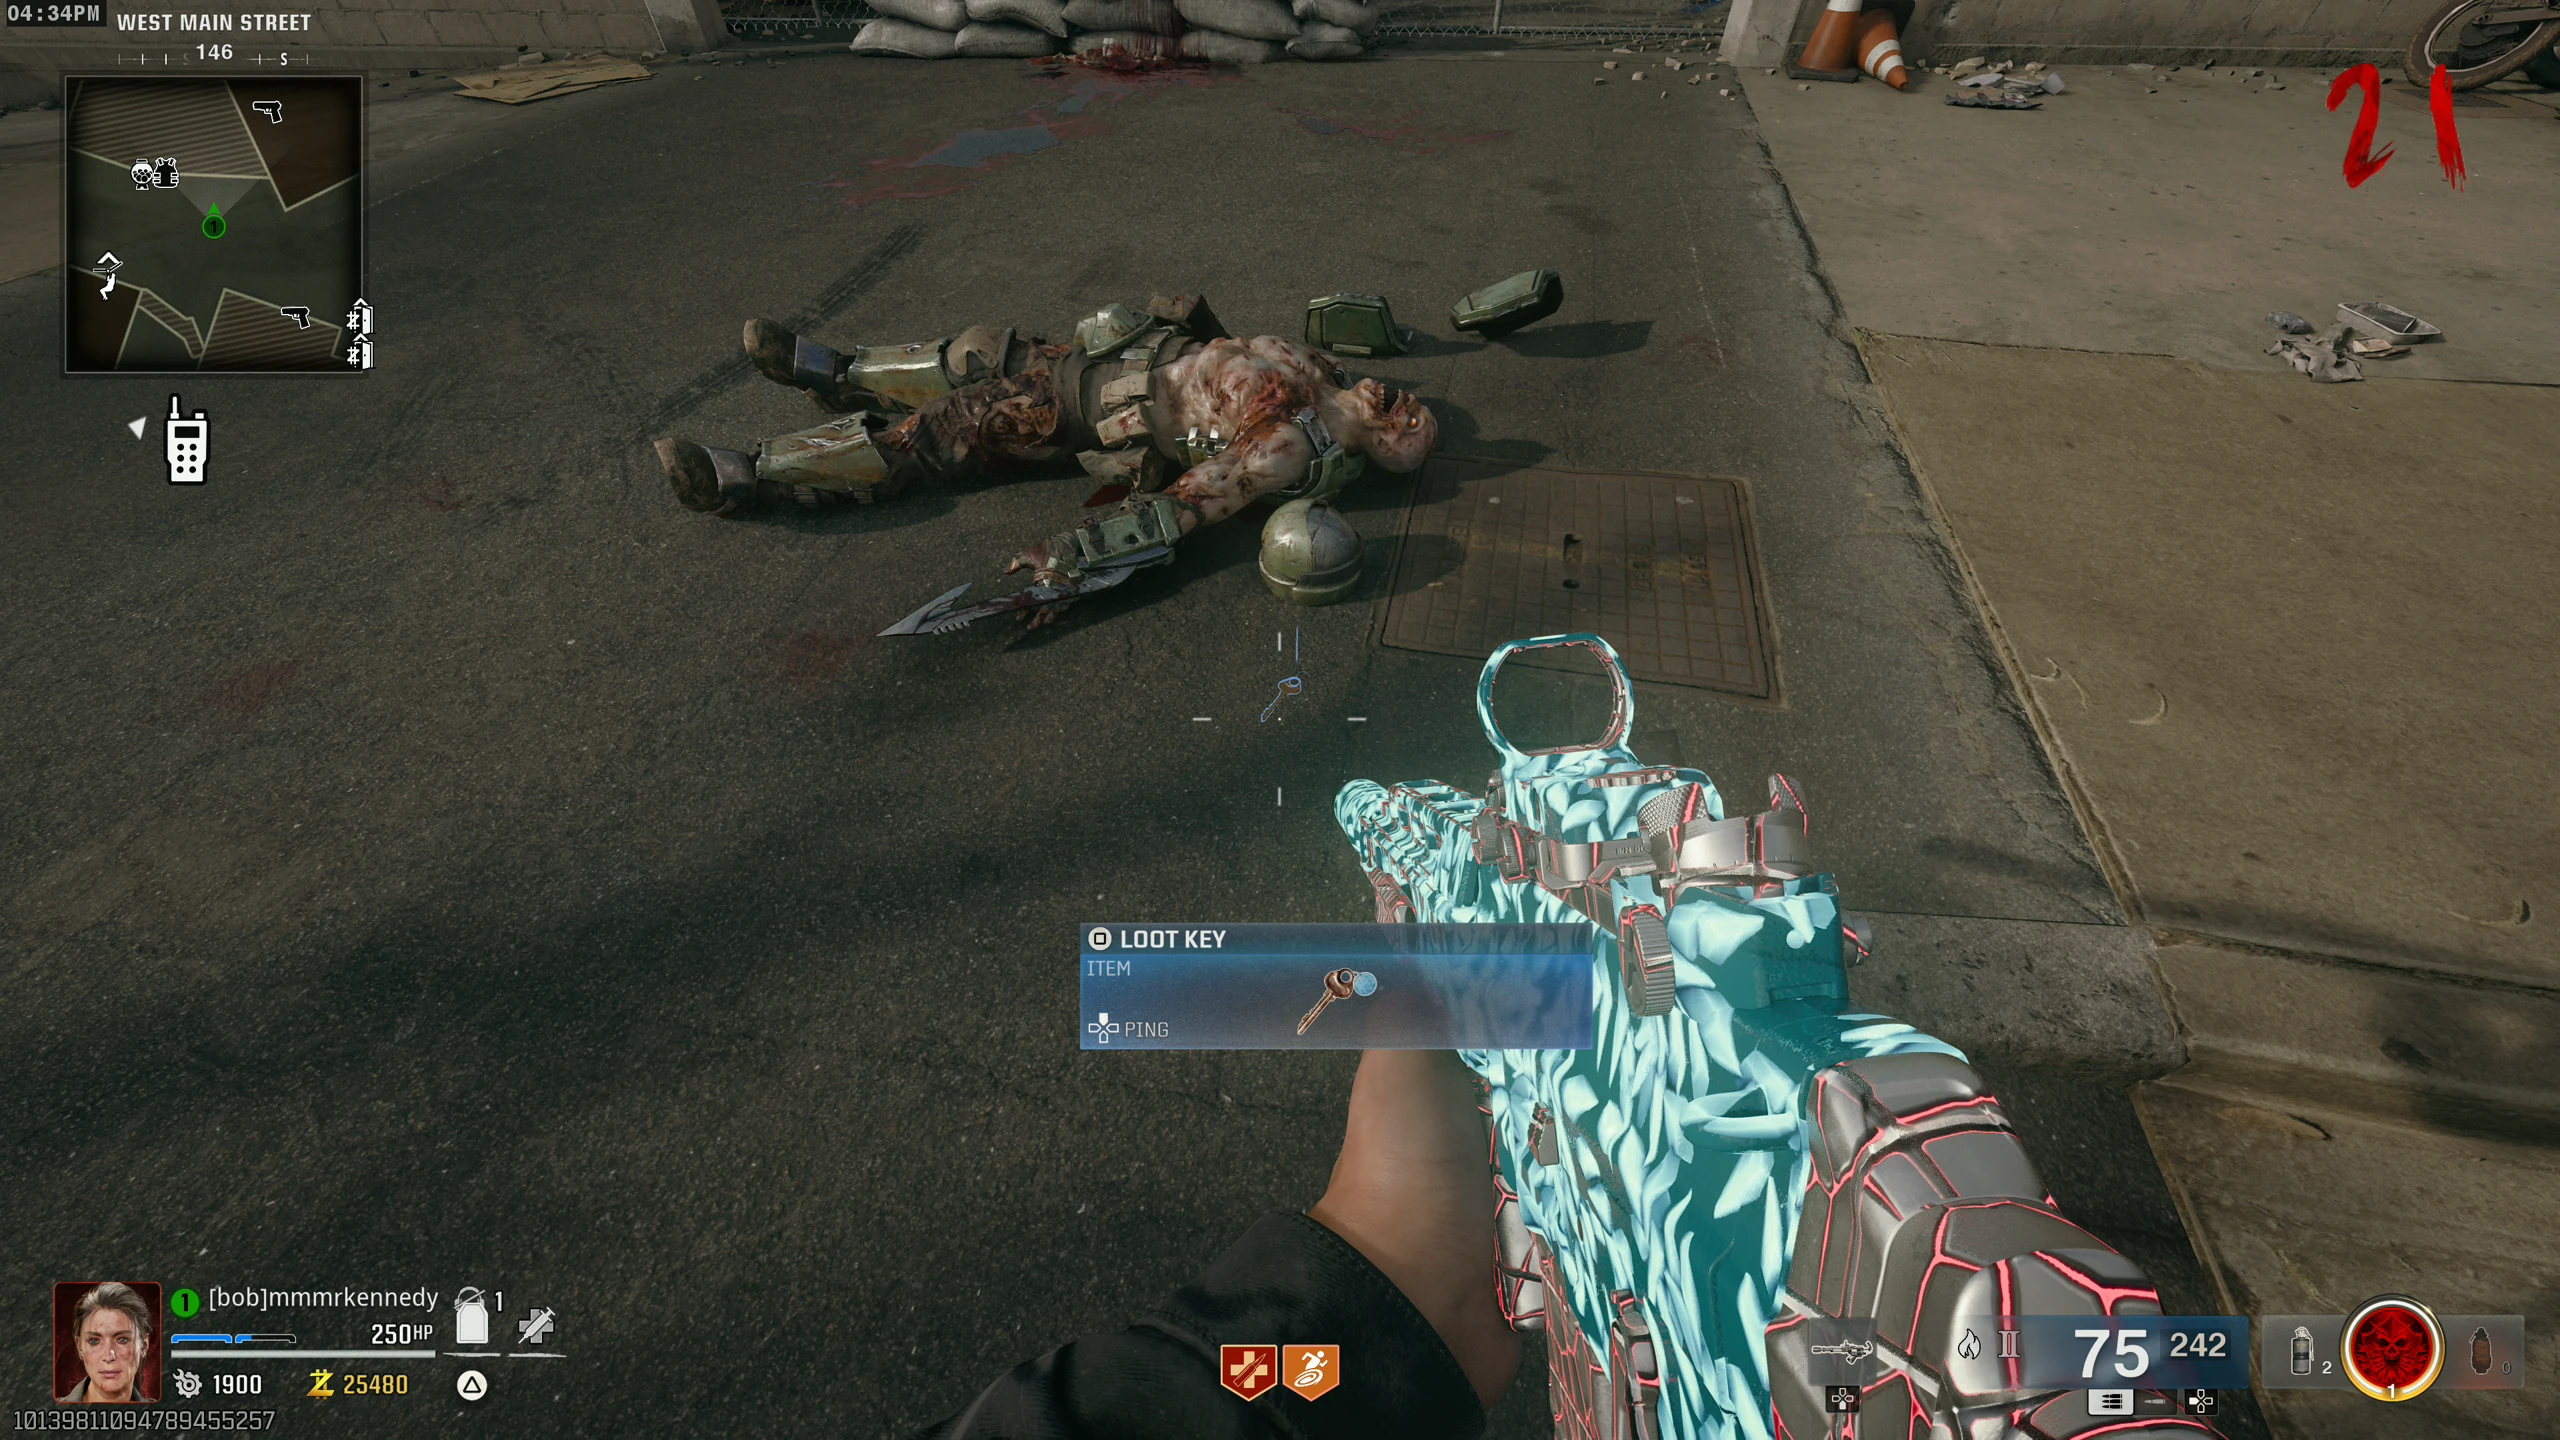
- You can now use the Loot Keys dropped by killing enemies to open the safety deposit boxes inside the vault. The better the rarity of the key (same colours as the weapons), the better the loot.
Mr. Peeks Car (Free Gun)
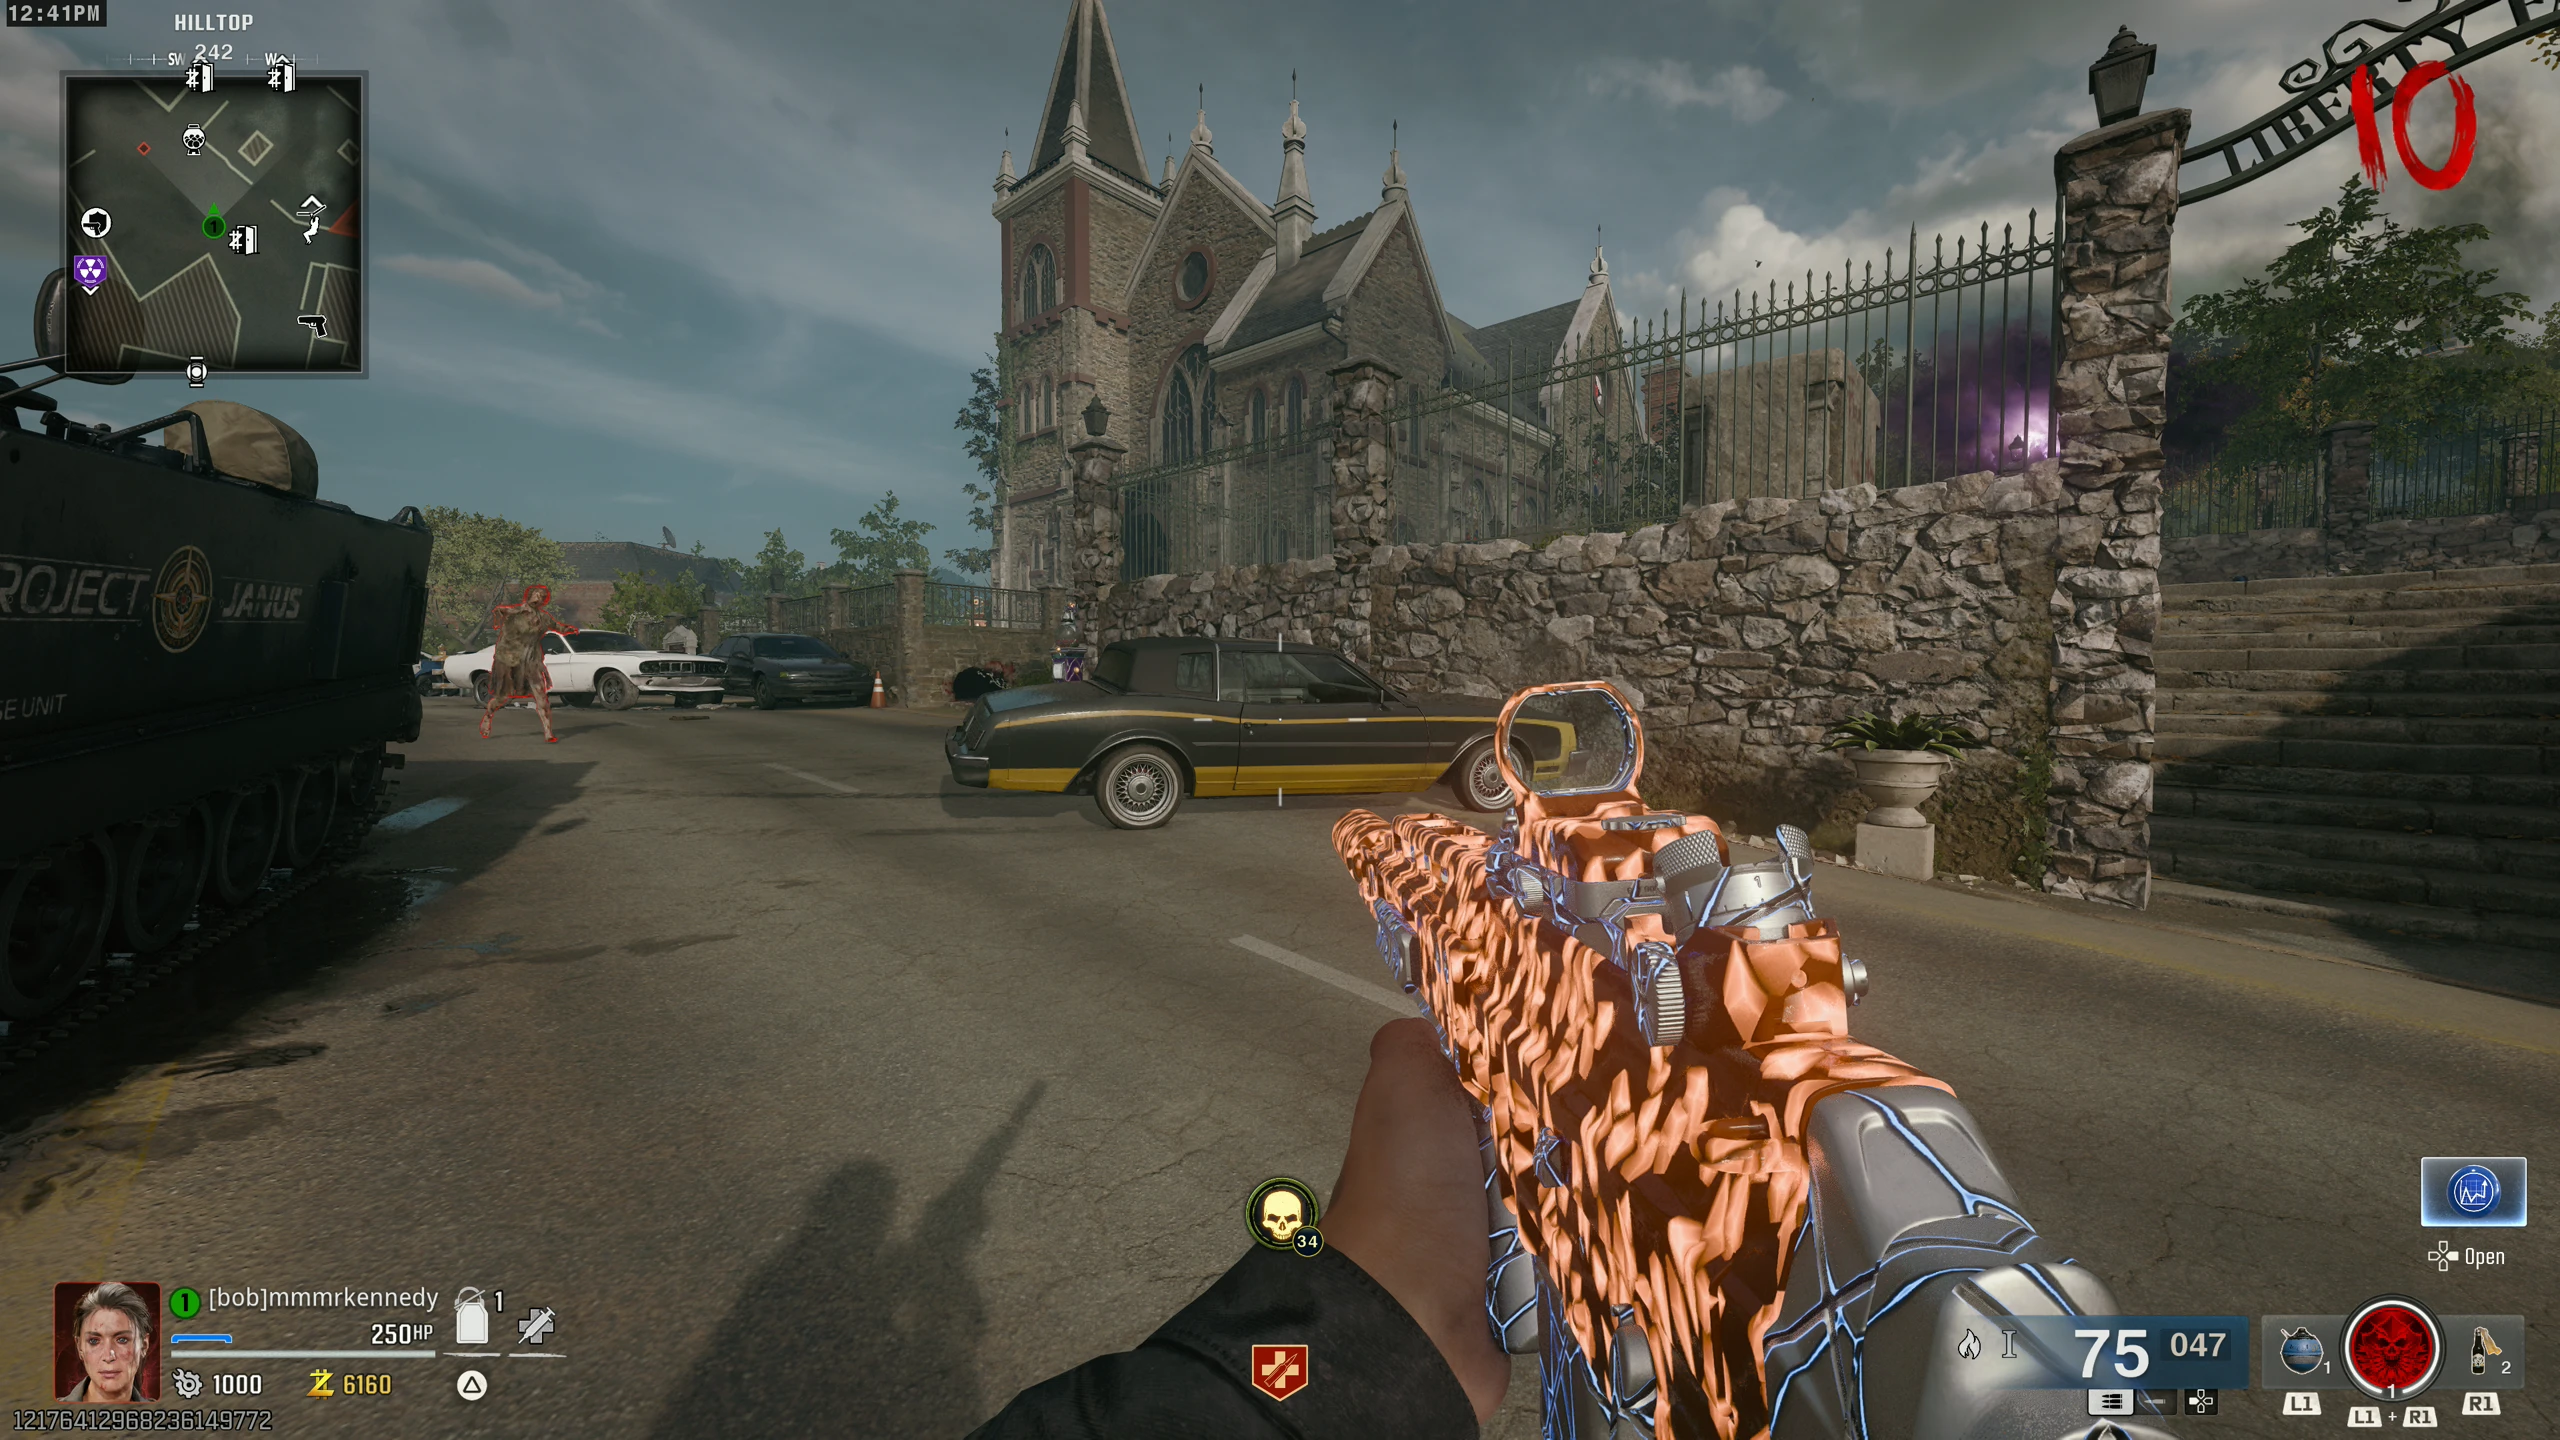
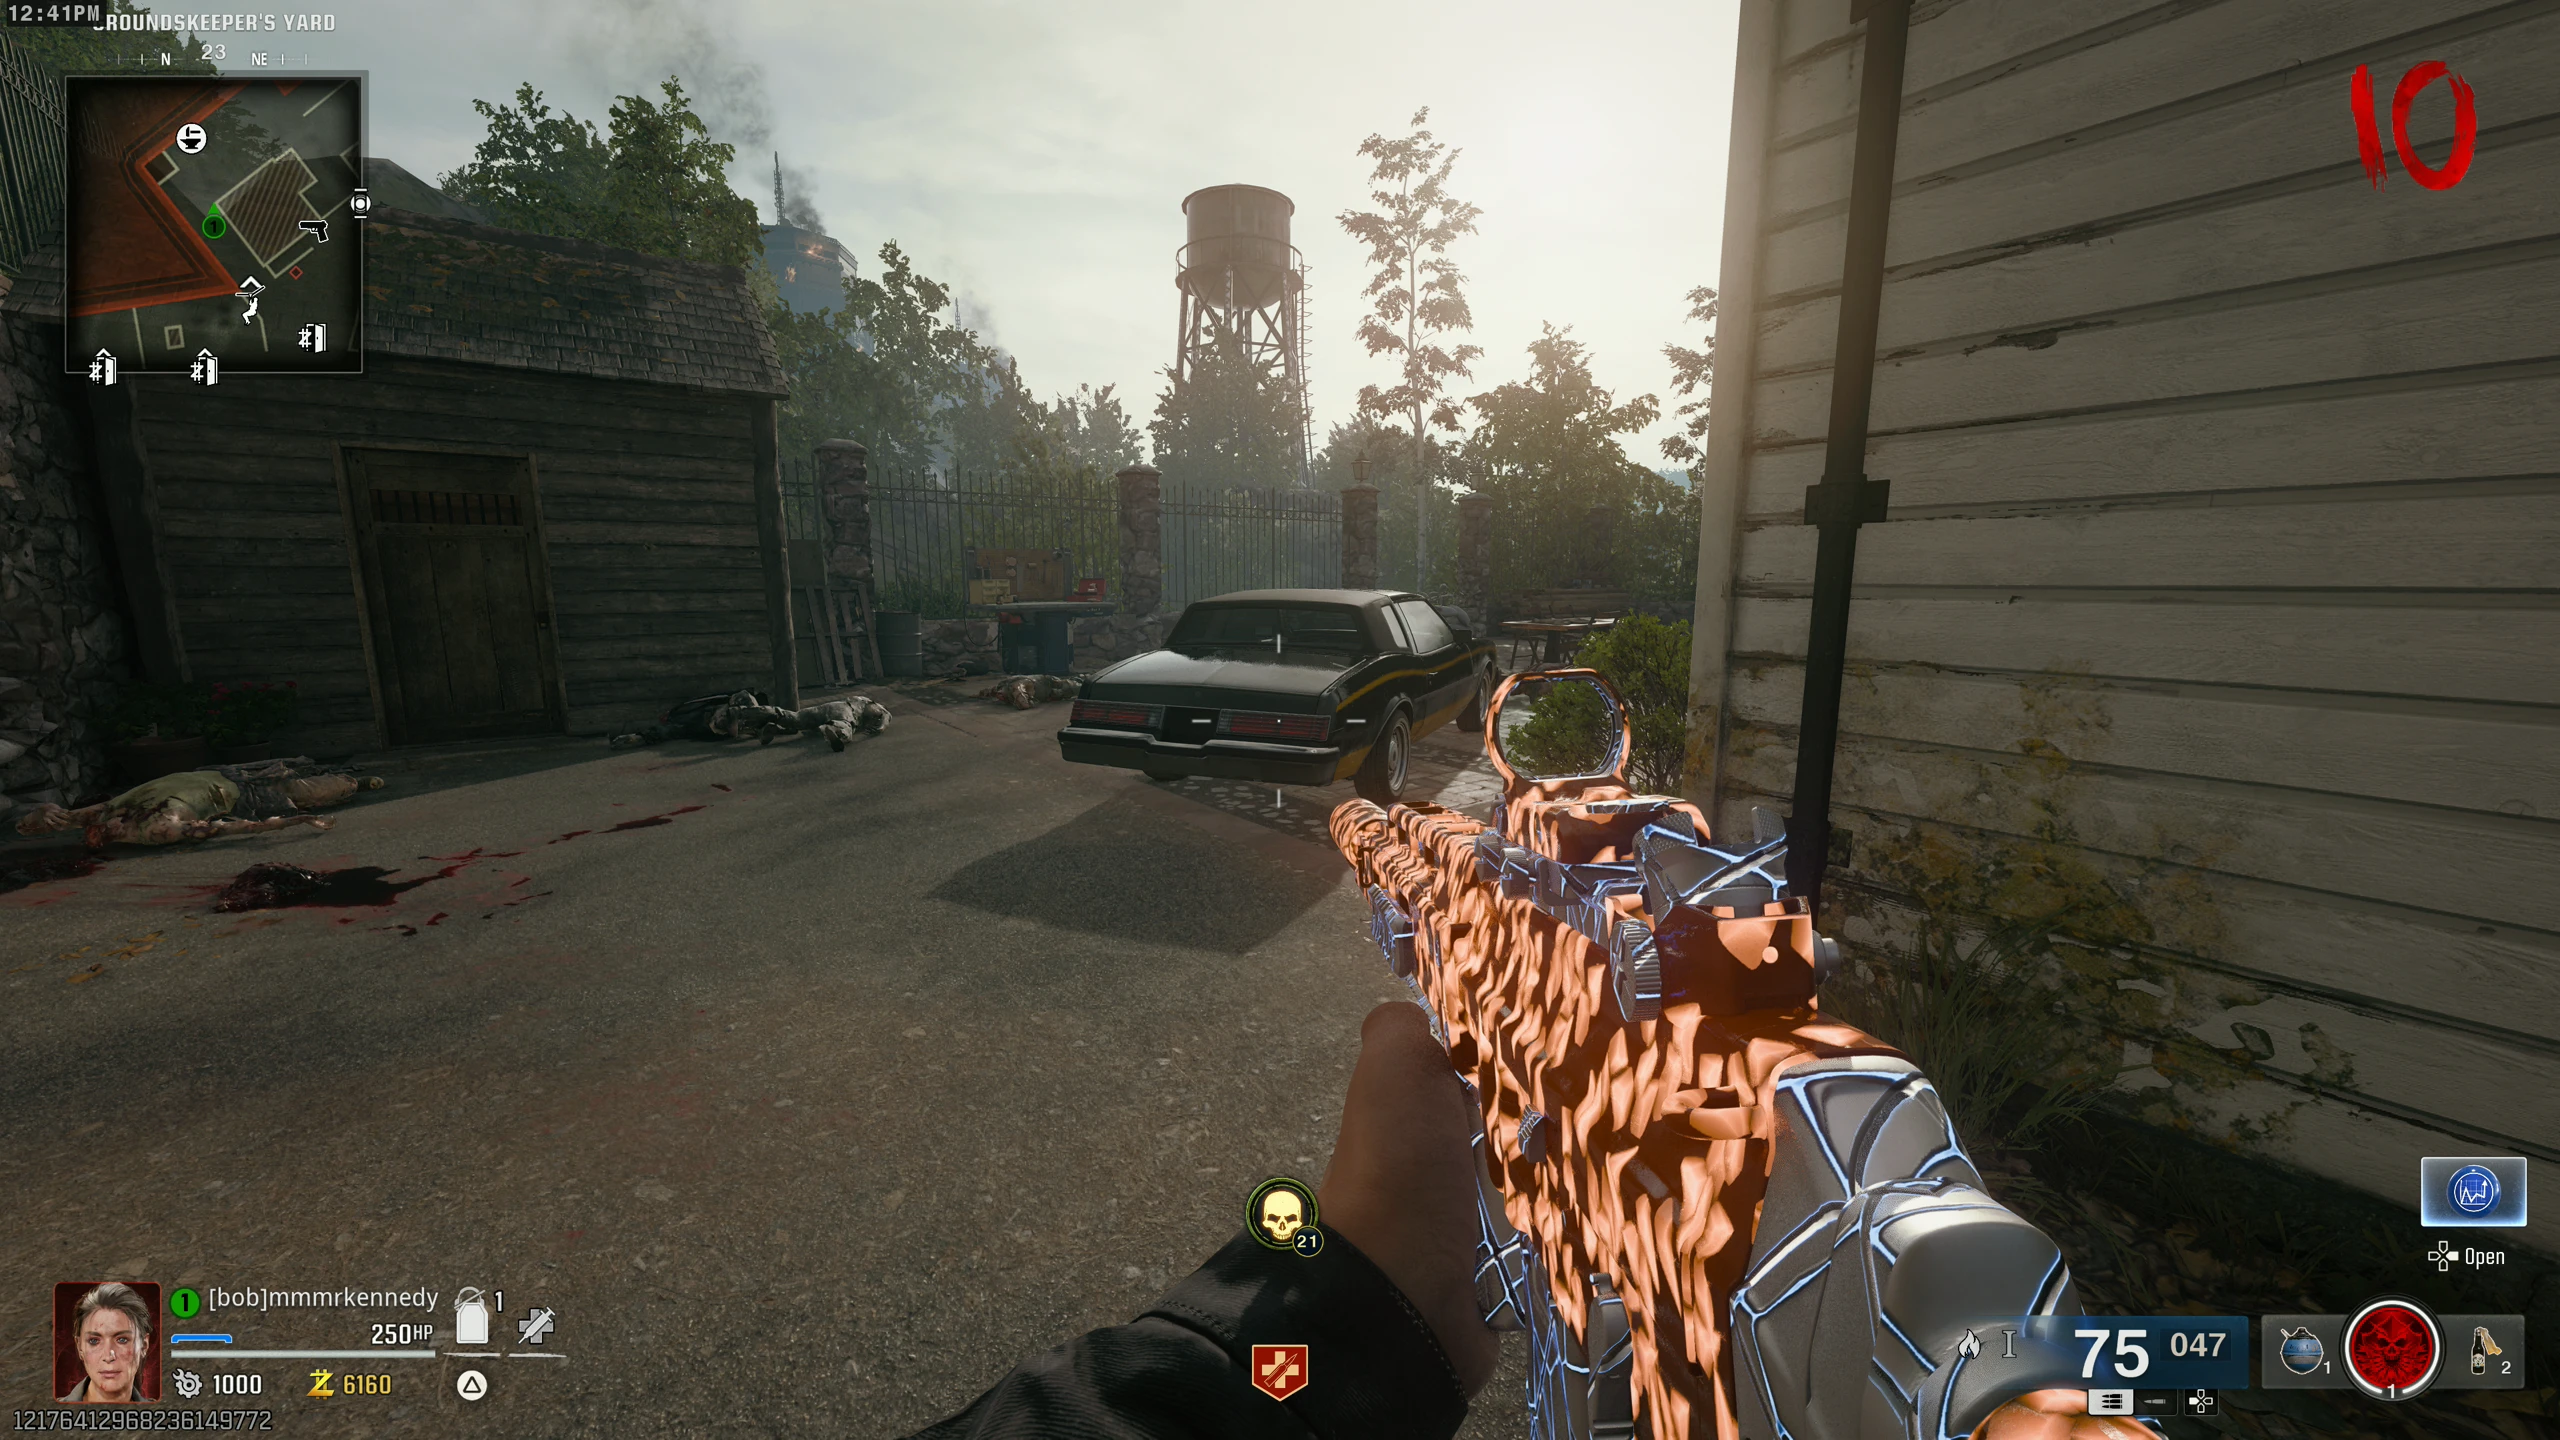
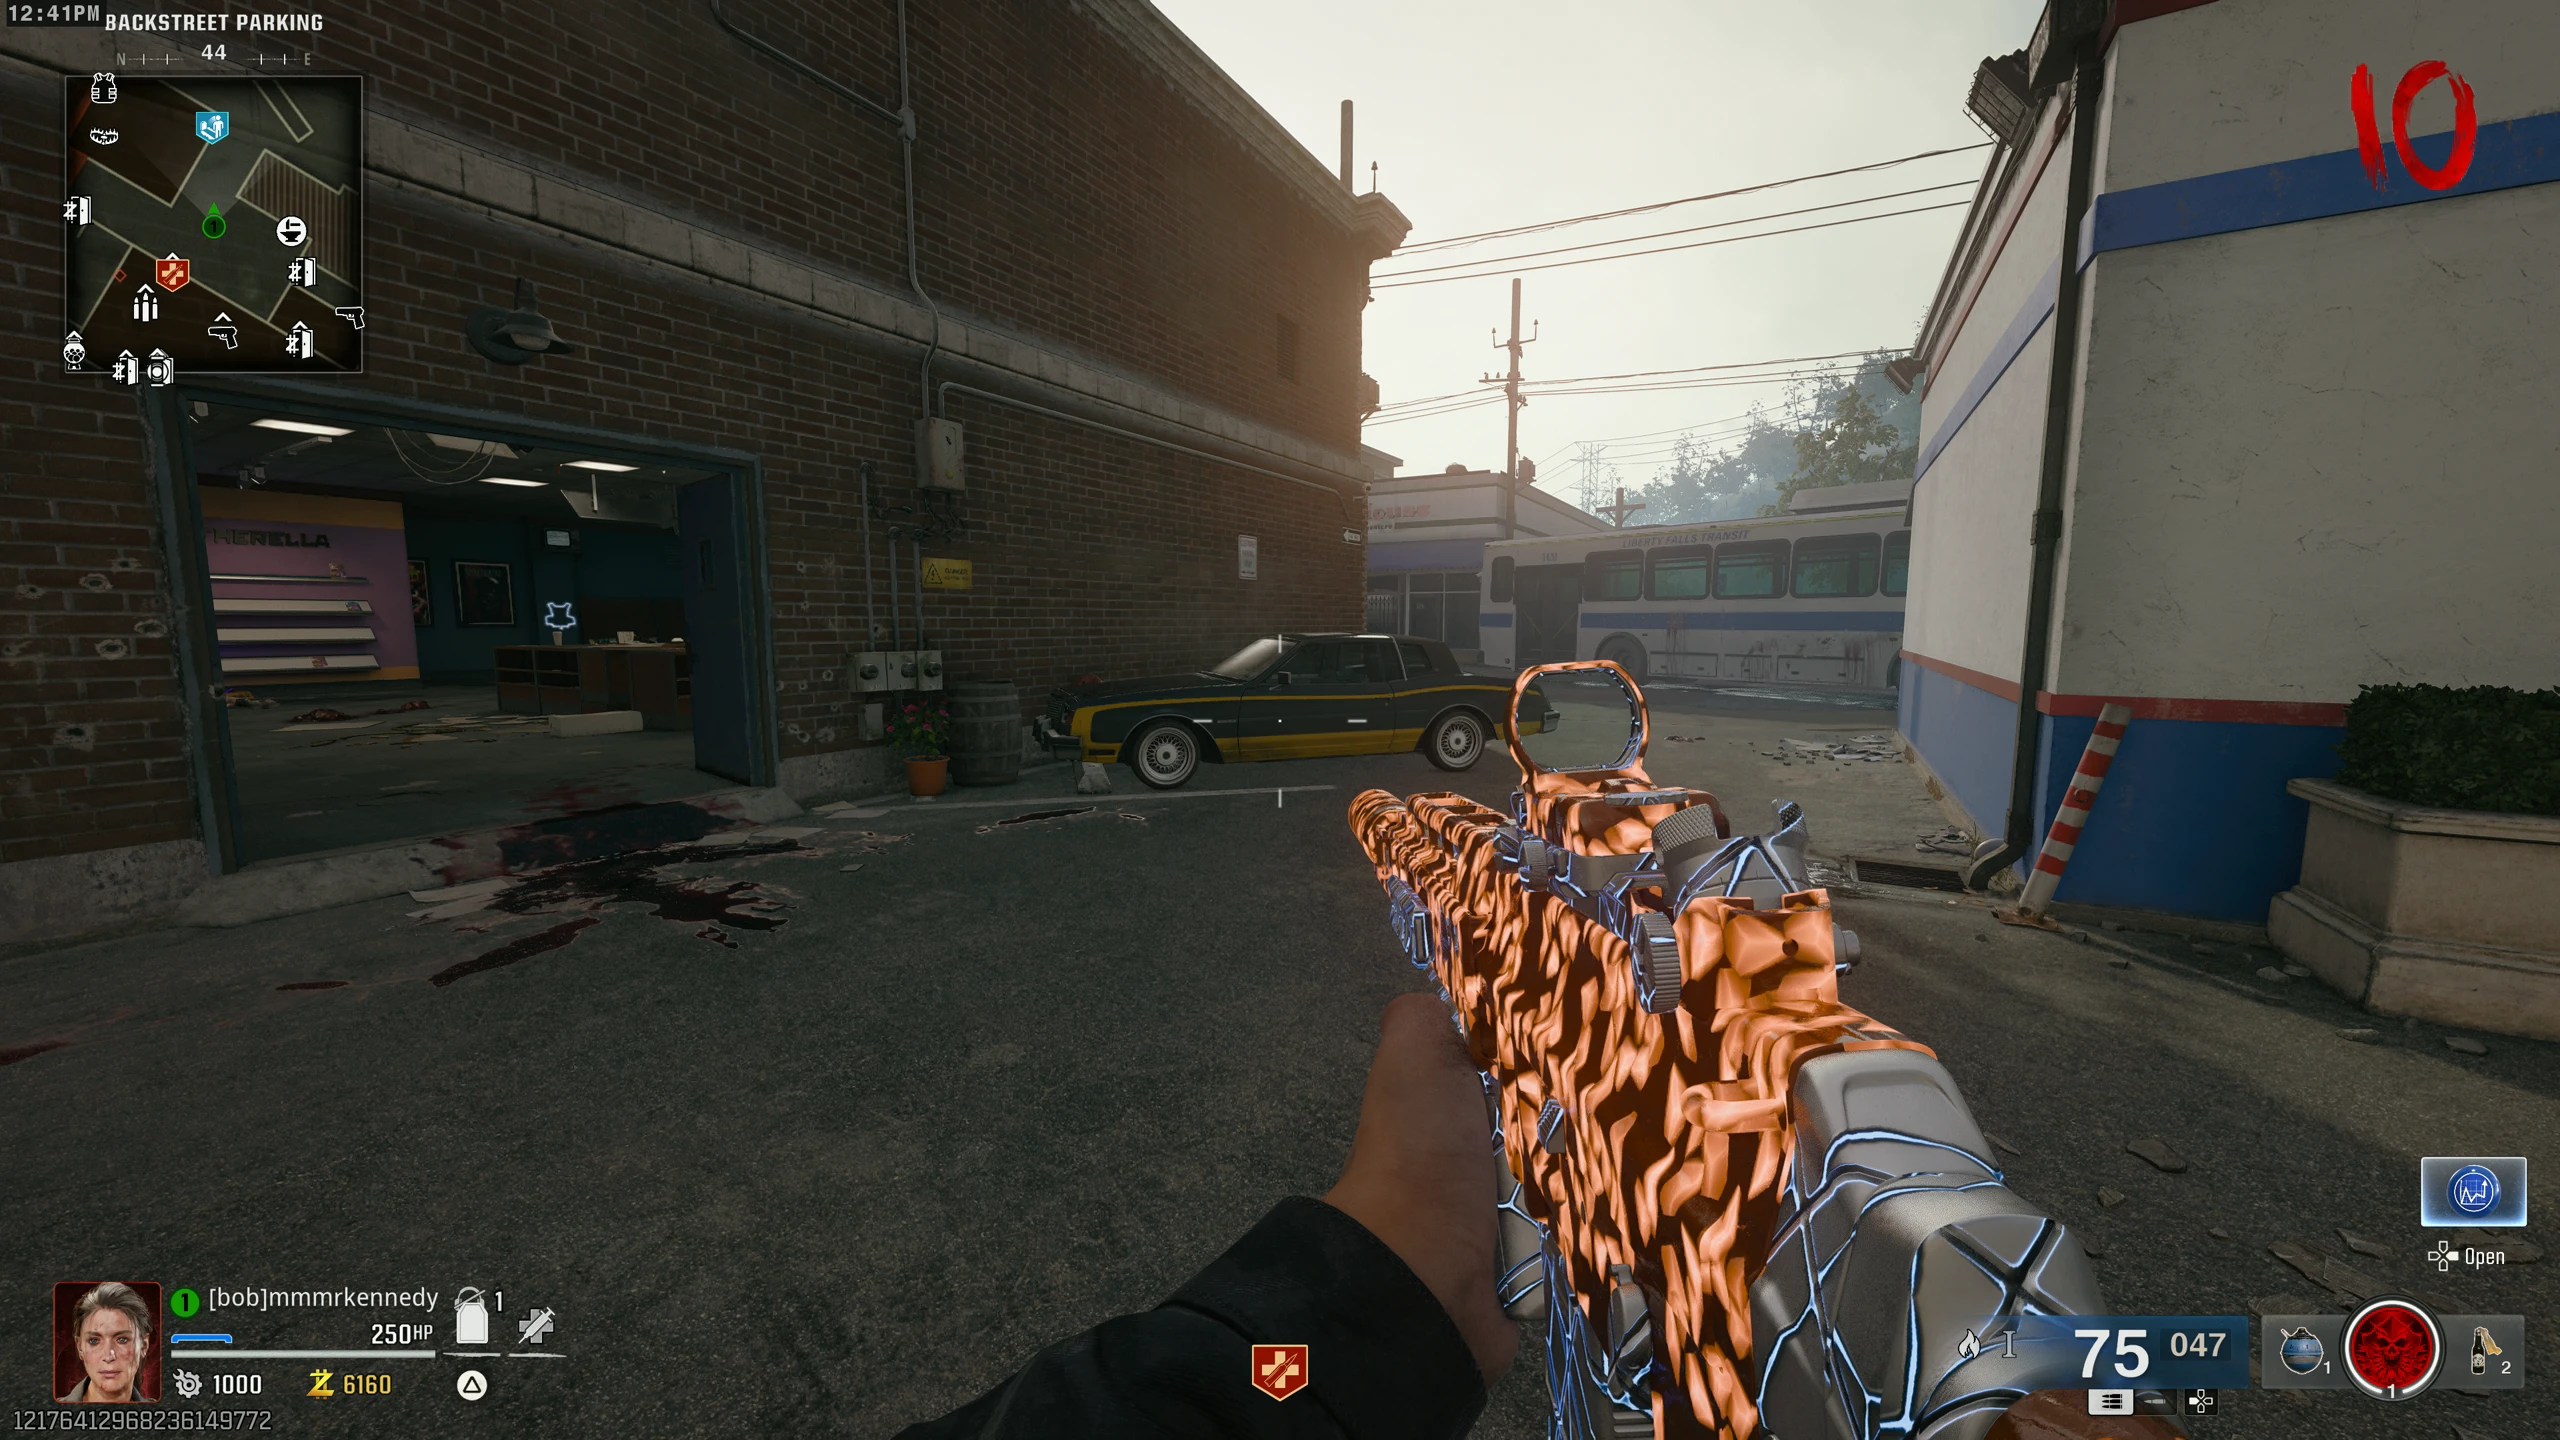
- Around the map are three black and yellow cars. One will have Mister Peeks in the back seat. Destroying that car with a Mangler Cannon shot (yours or an enemy Mangler's) makes a free gun pop out of the trunk. Car locations:
- After about five rounds, Mister Peeks will respawn in one of the other cars (assuming it is not already destroyed), allowing you to do this again.
Vending Machine (Free Loot / Weapon)
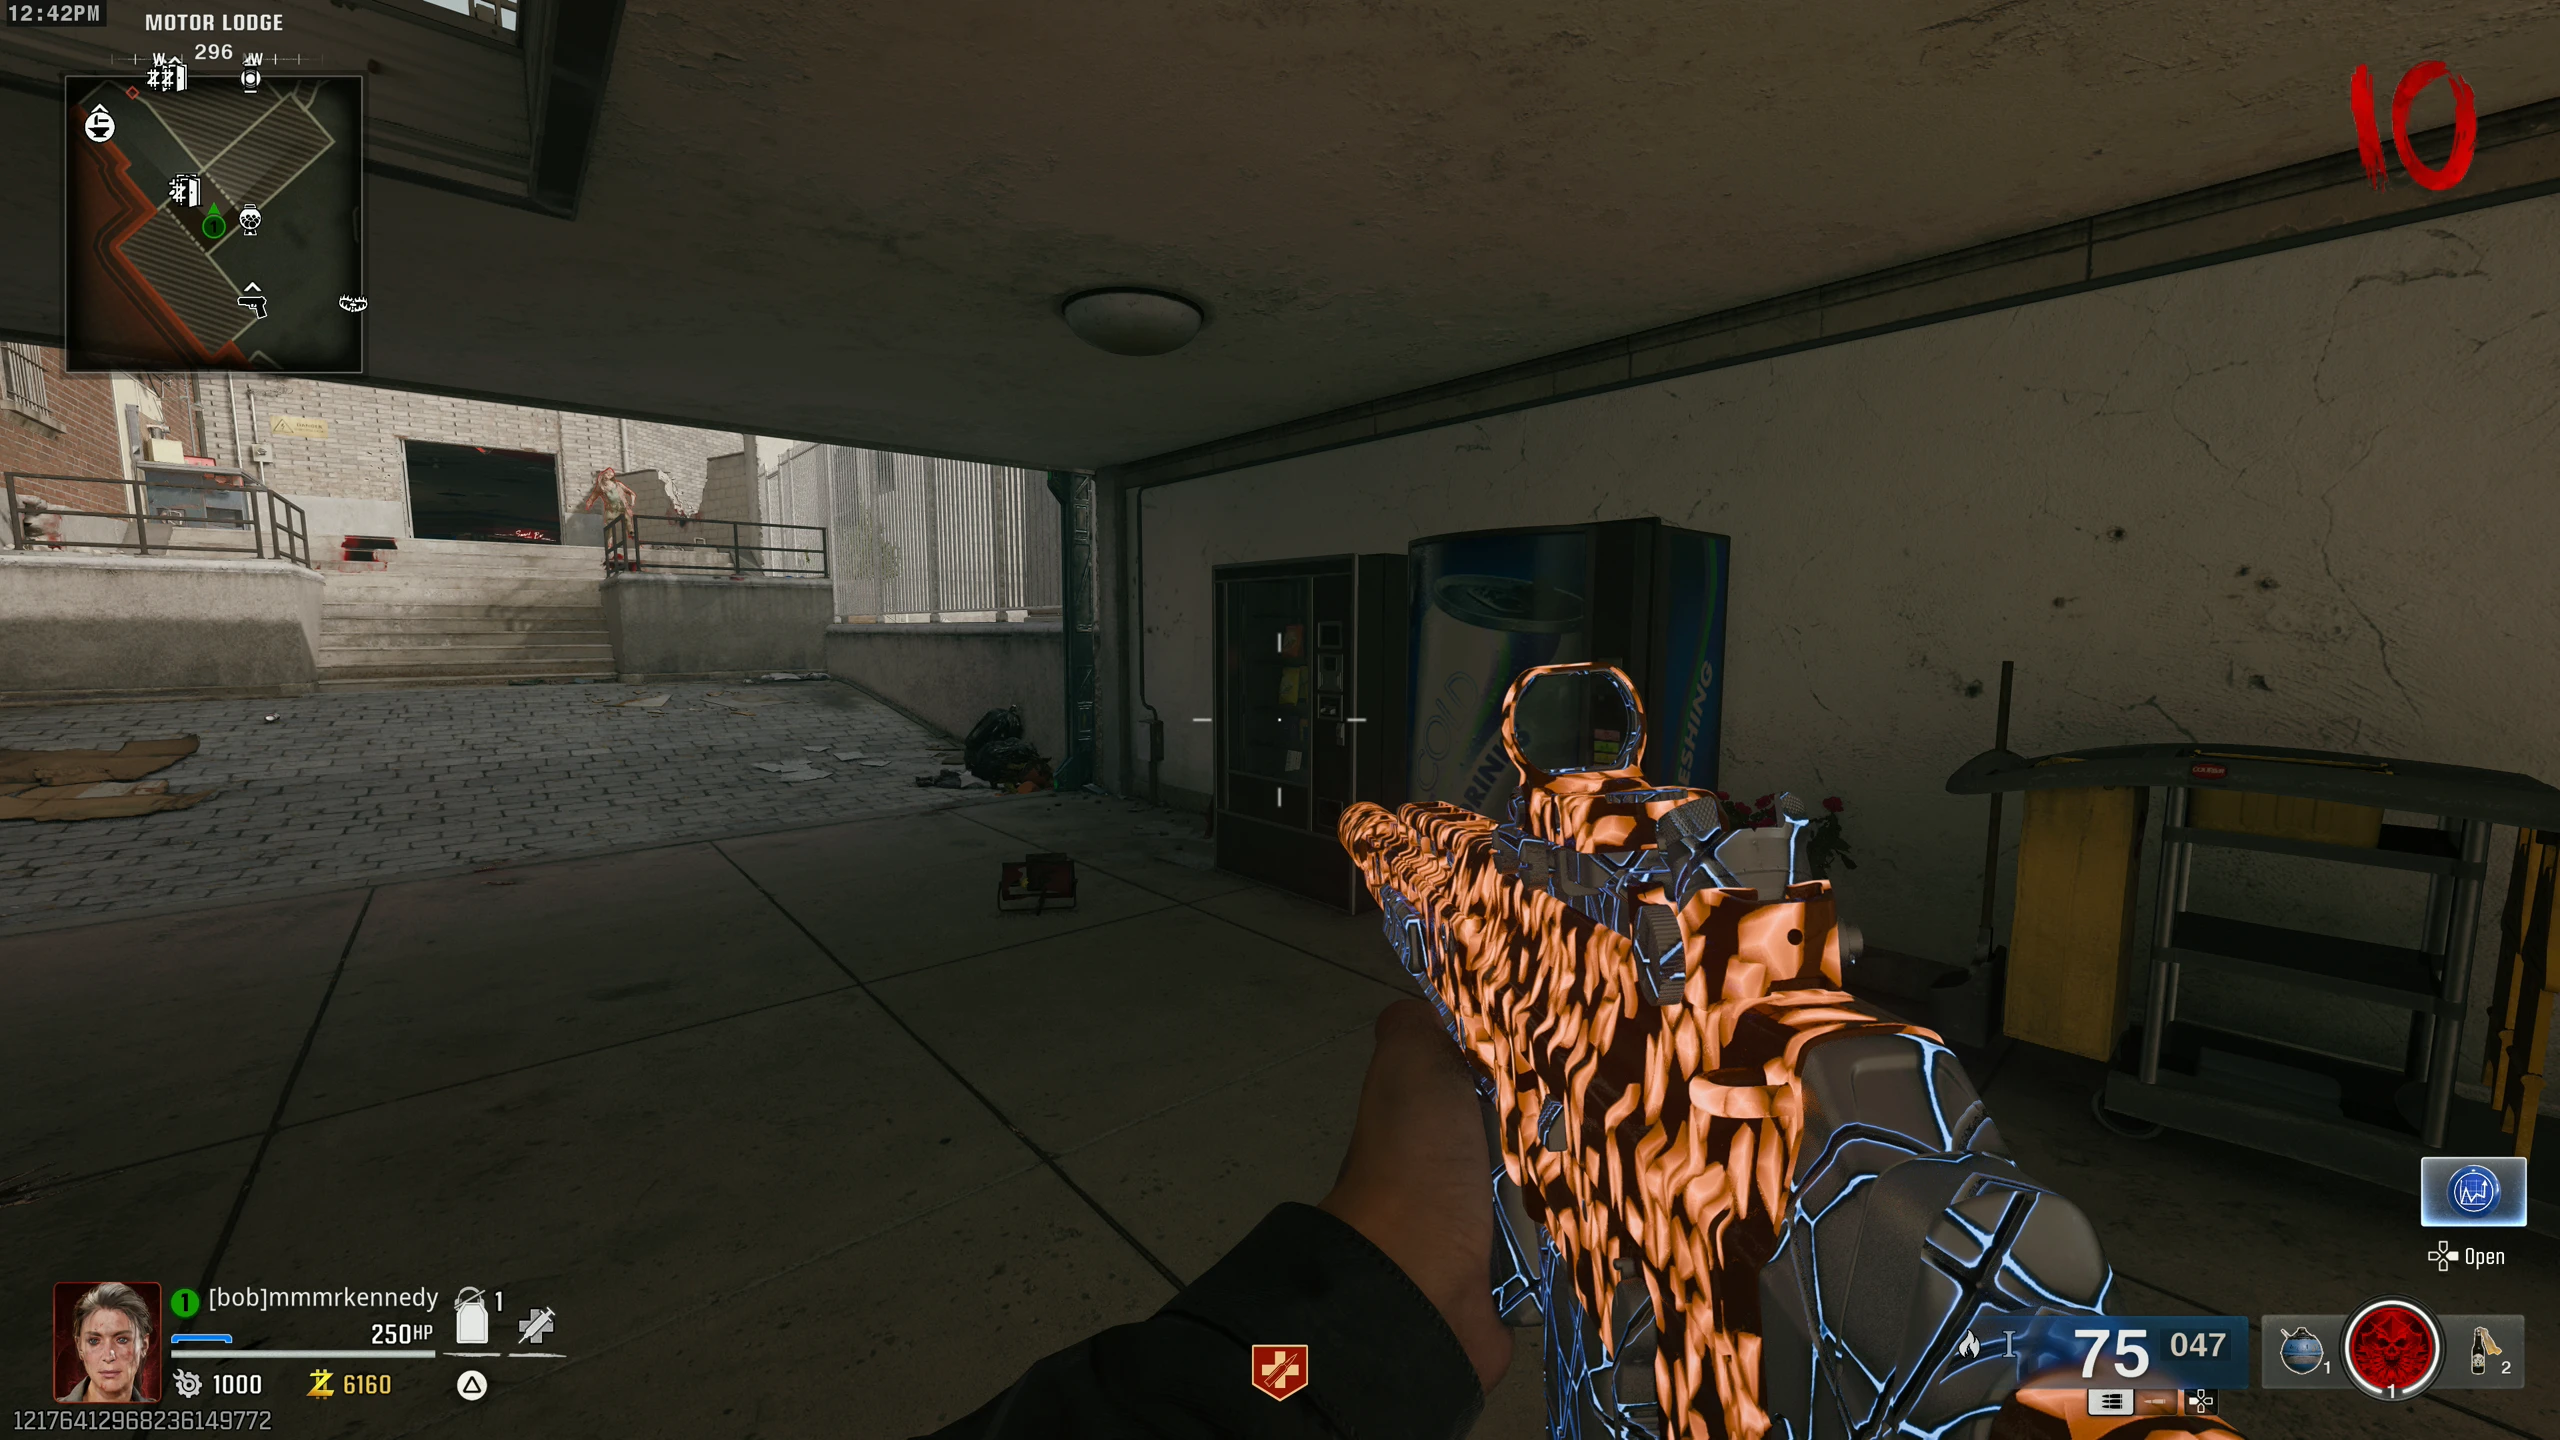
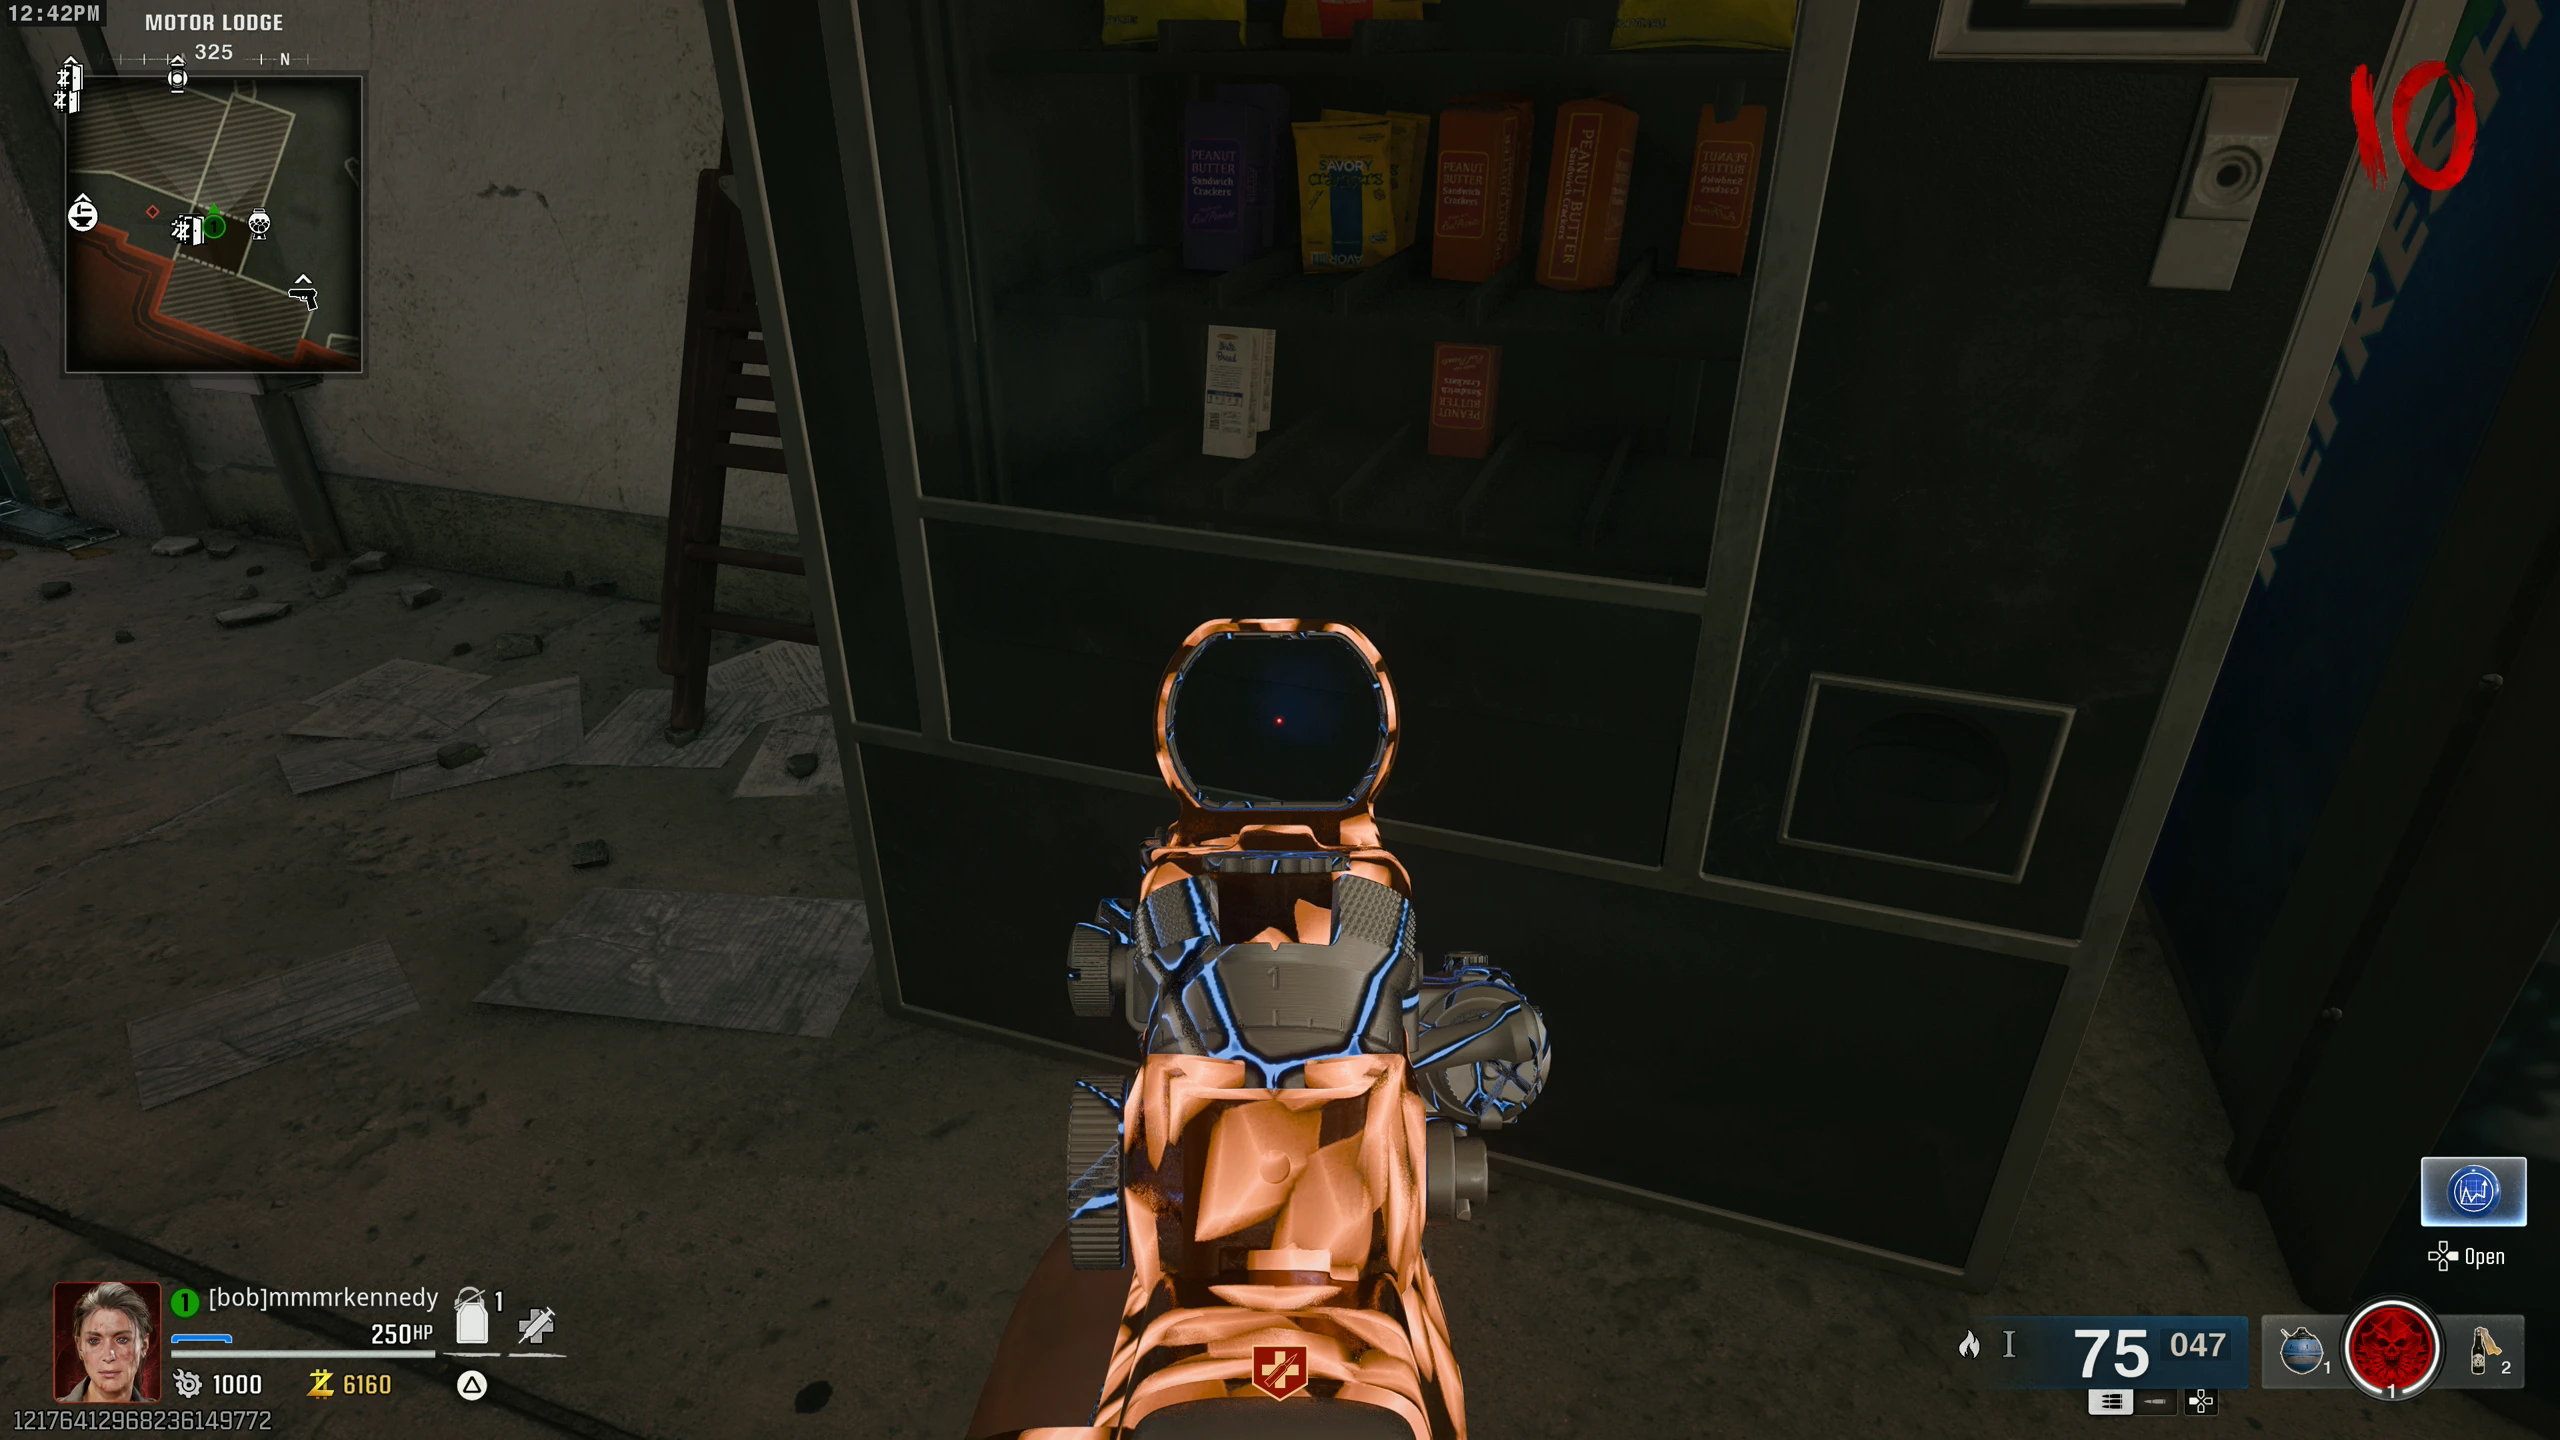
- Melee the Vending Machine below the Motel stairs to get a random piece of loot. Once per round, per player. Crouch and melee the item collection slot at the bottom.
- If you melee the machine with Melee Macchiato equipped, it spits out a bunch of loot and breaks permanently. Once broken, no more loot for the rest of the game.
Raining Zombies (Free Aether Tool and Loot)
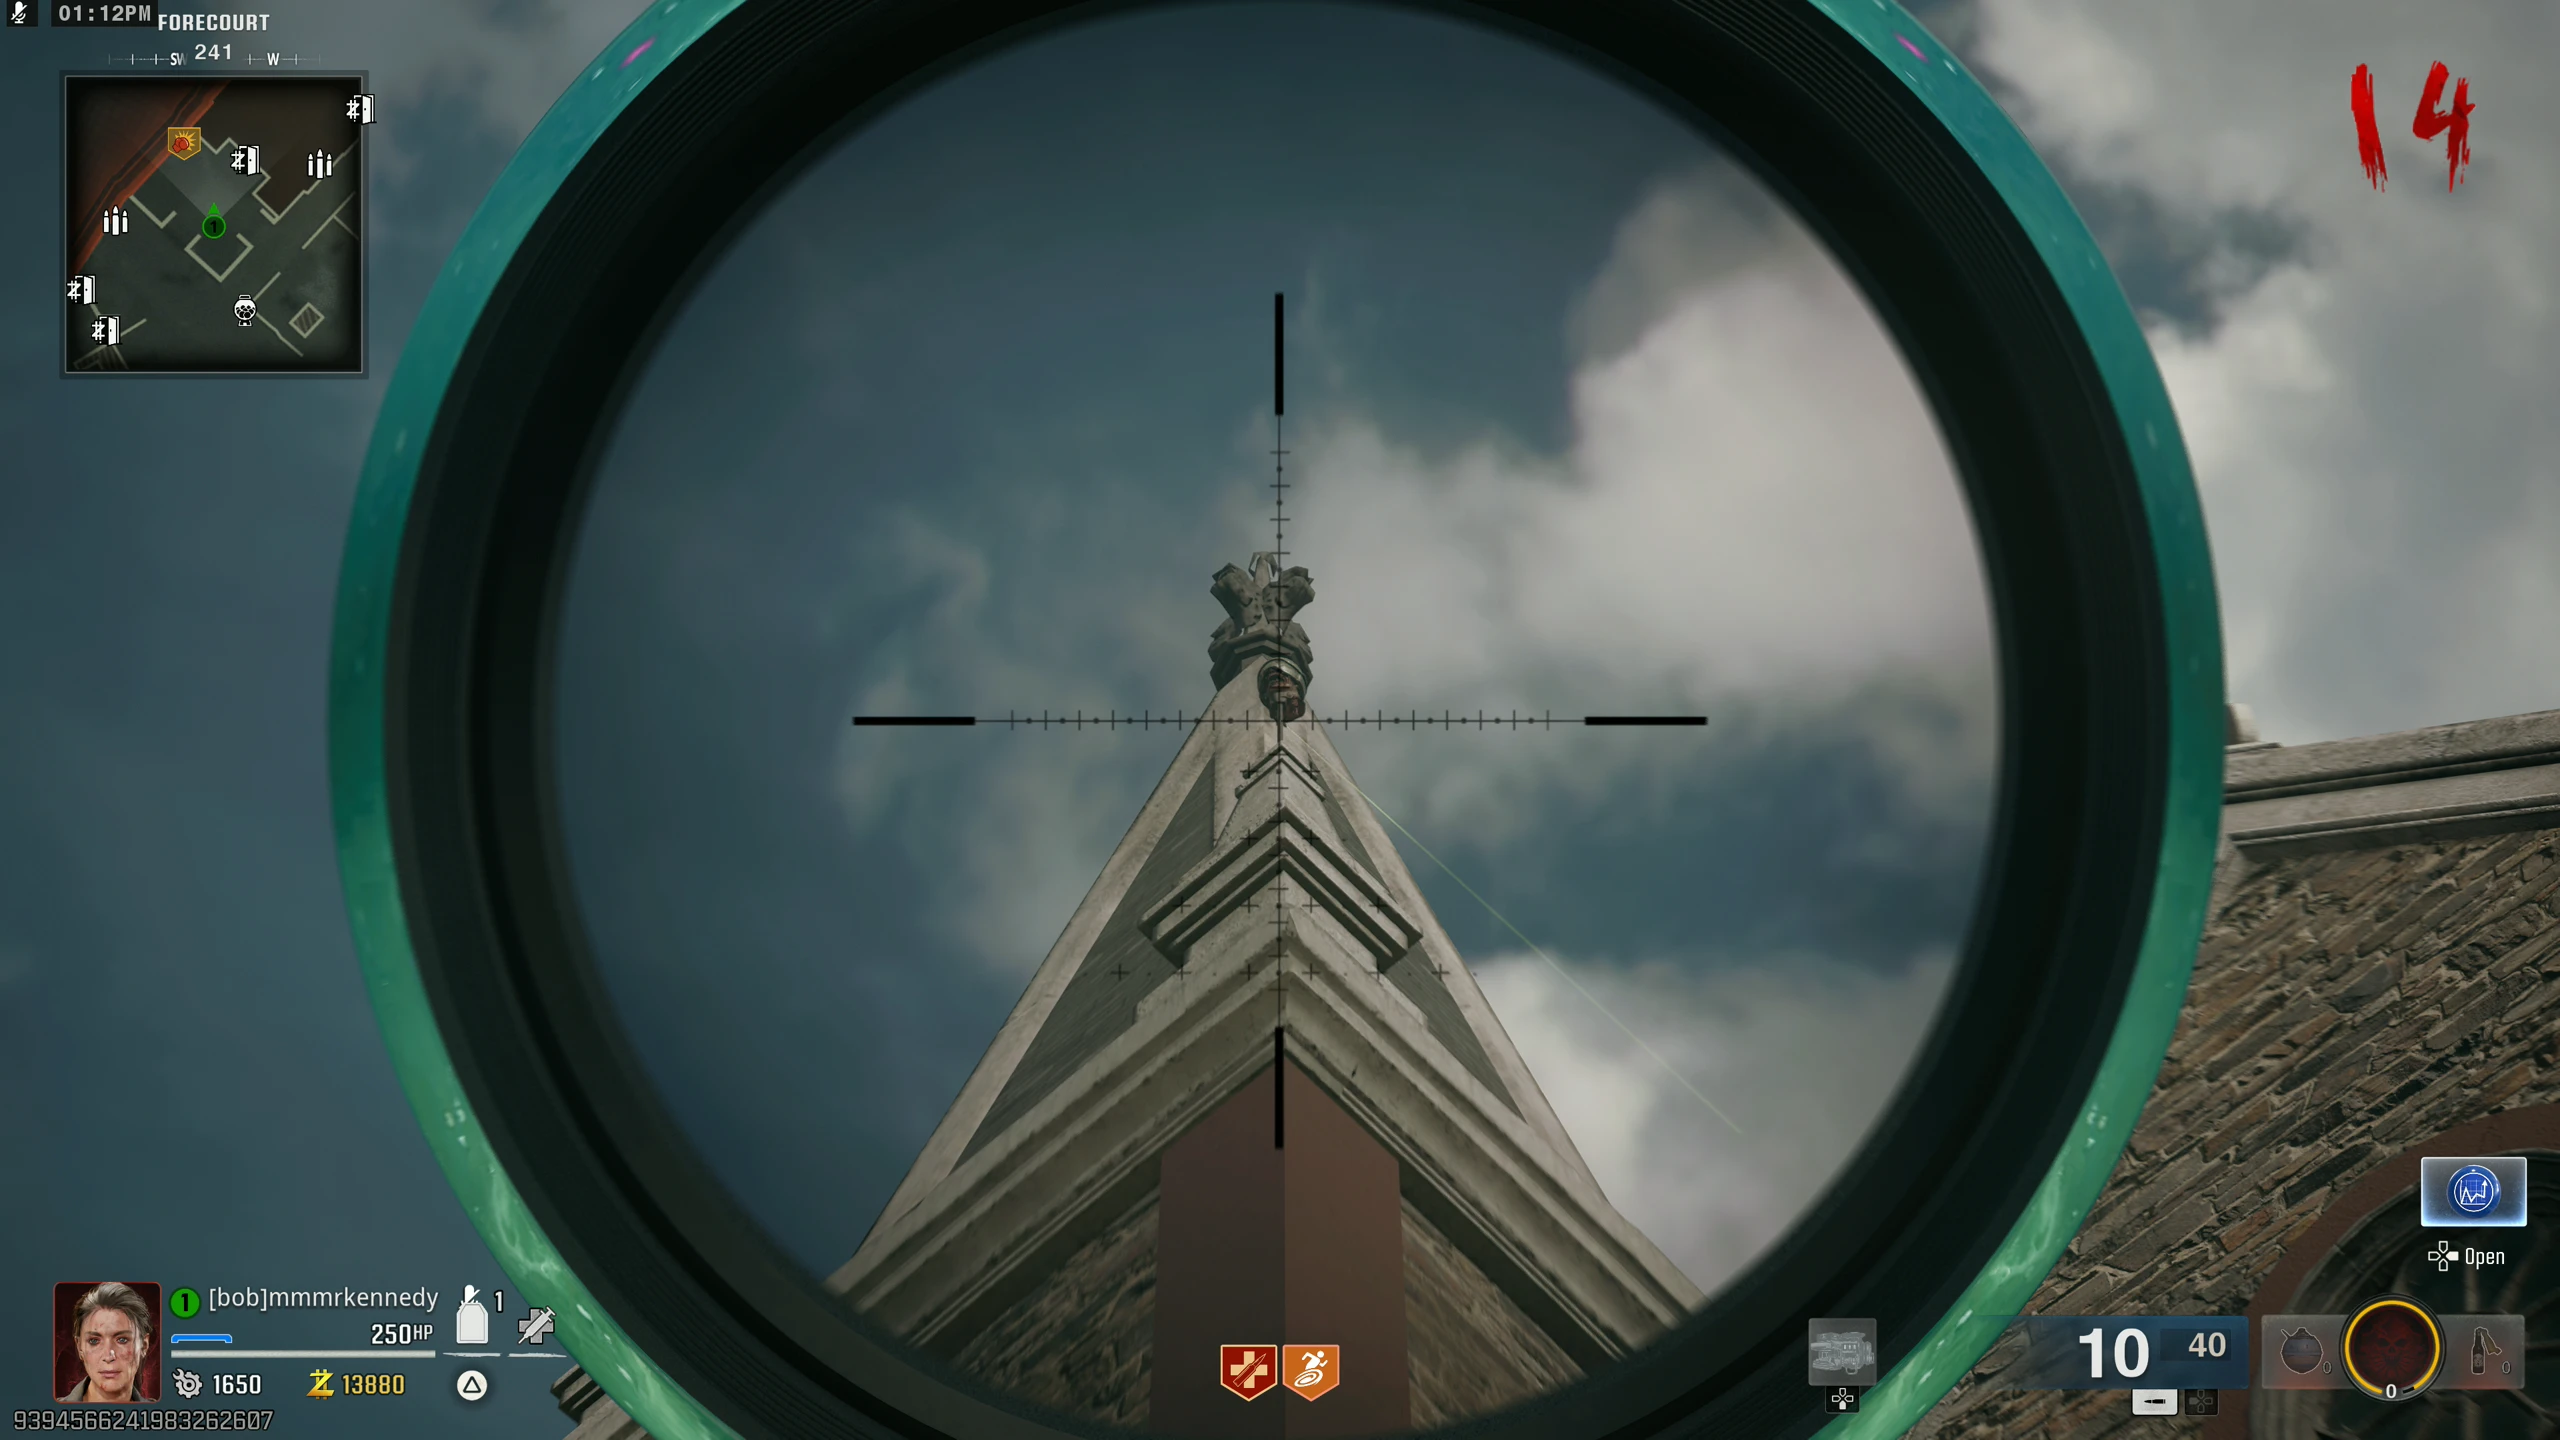
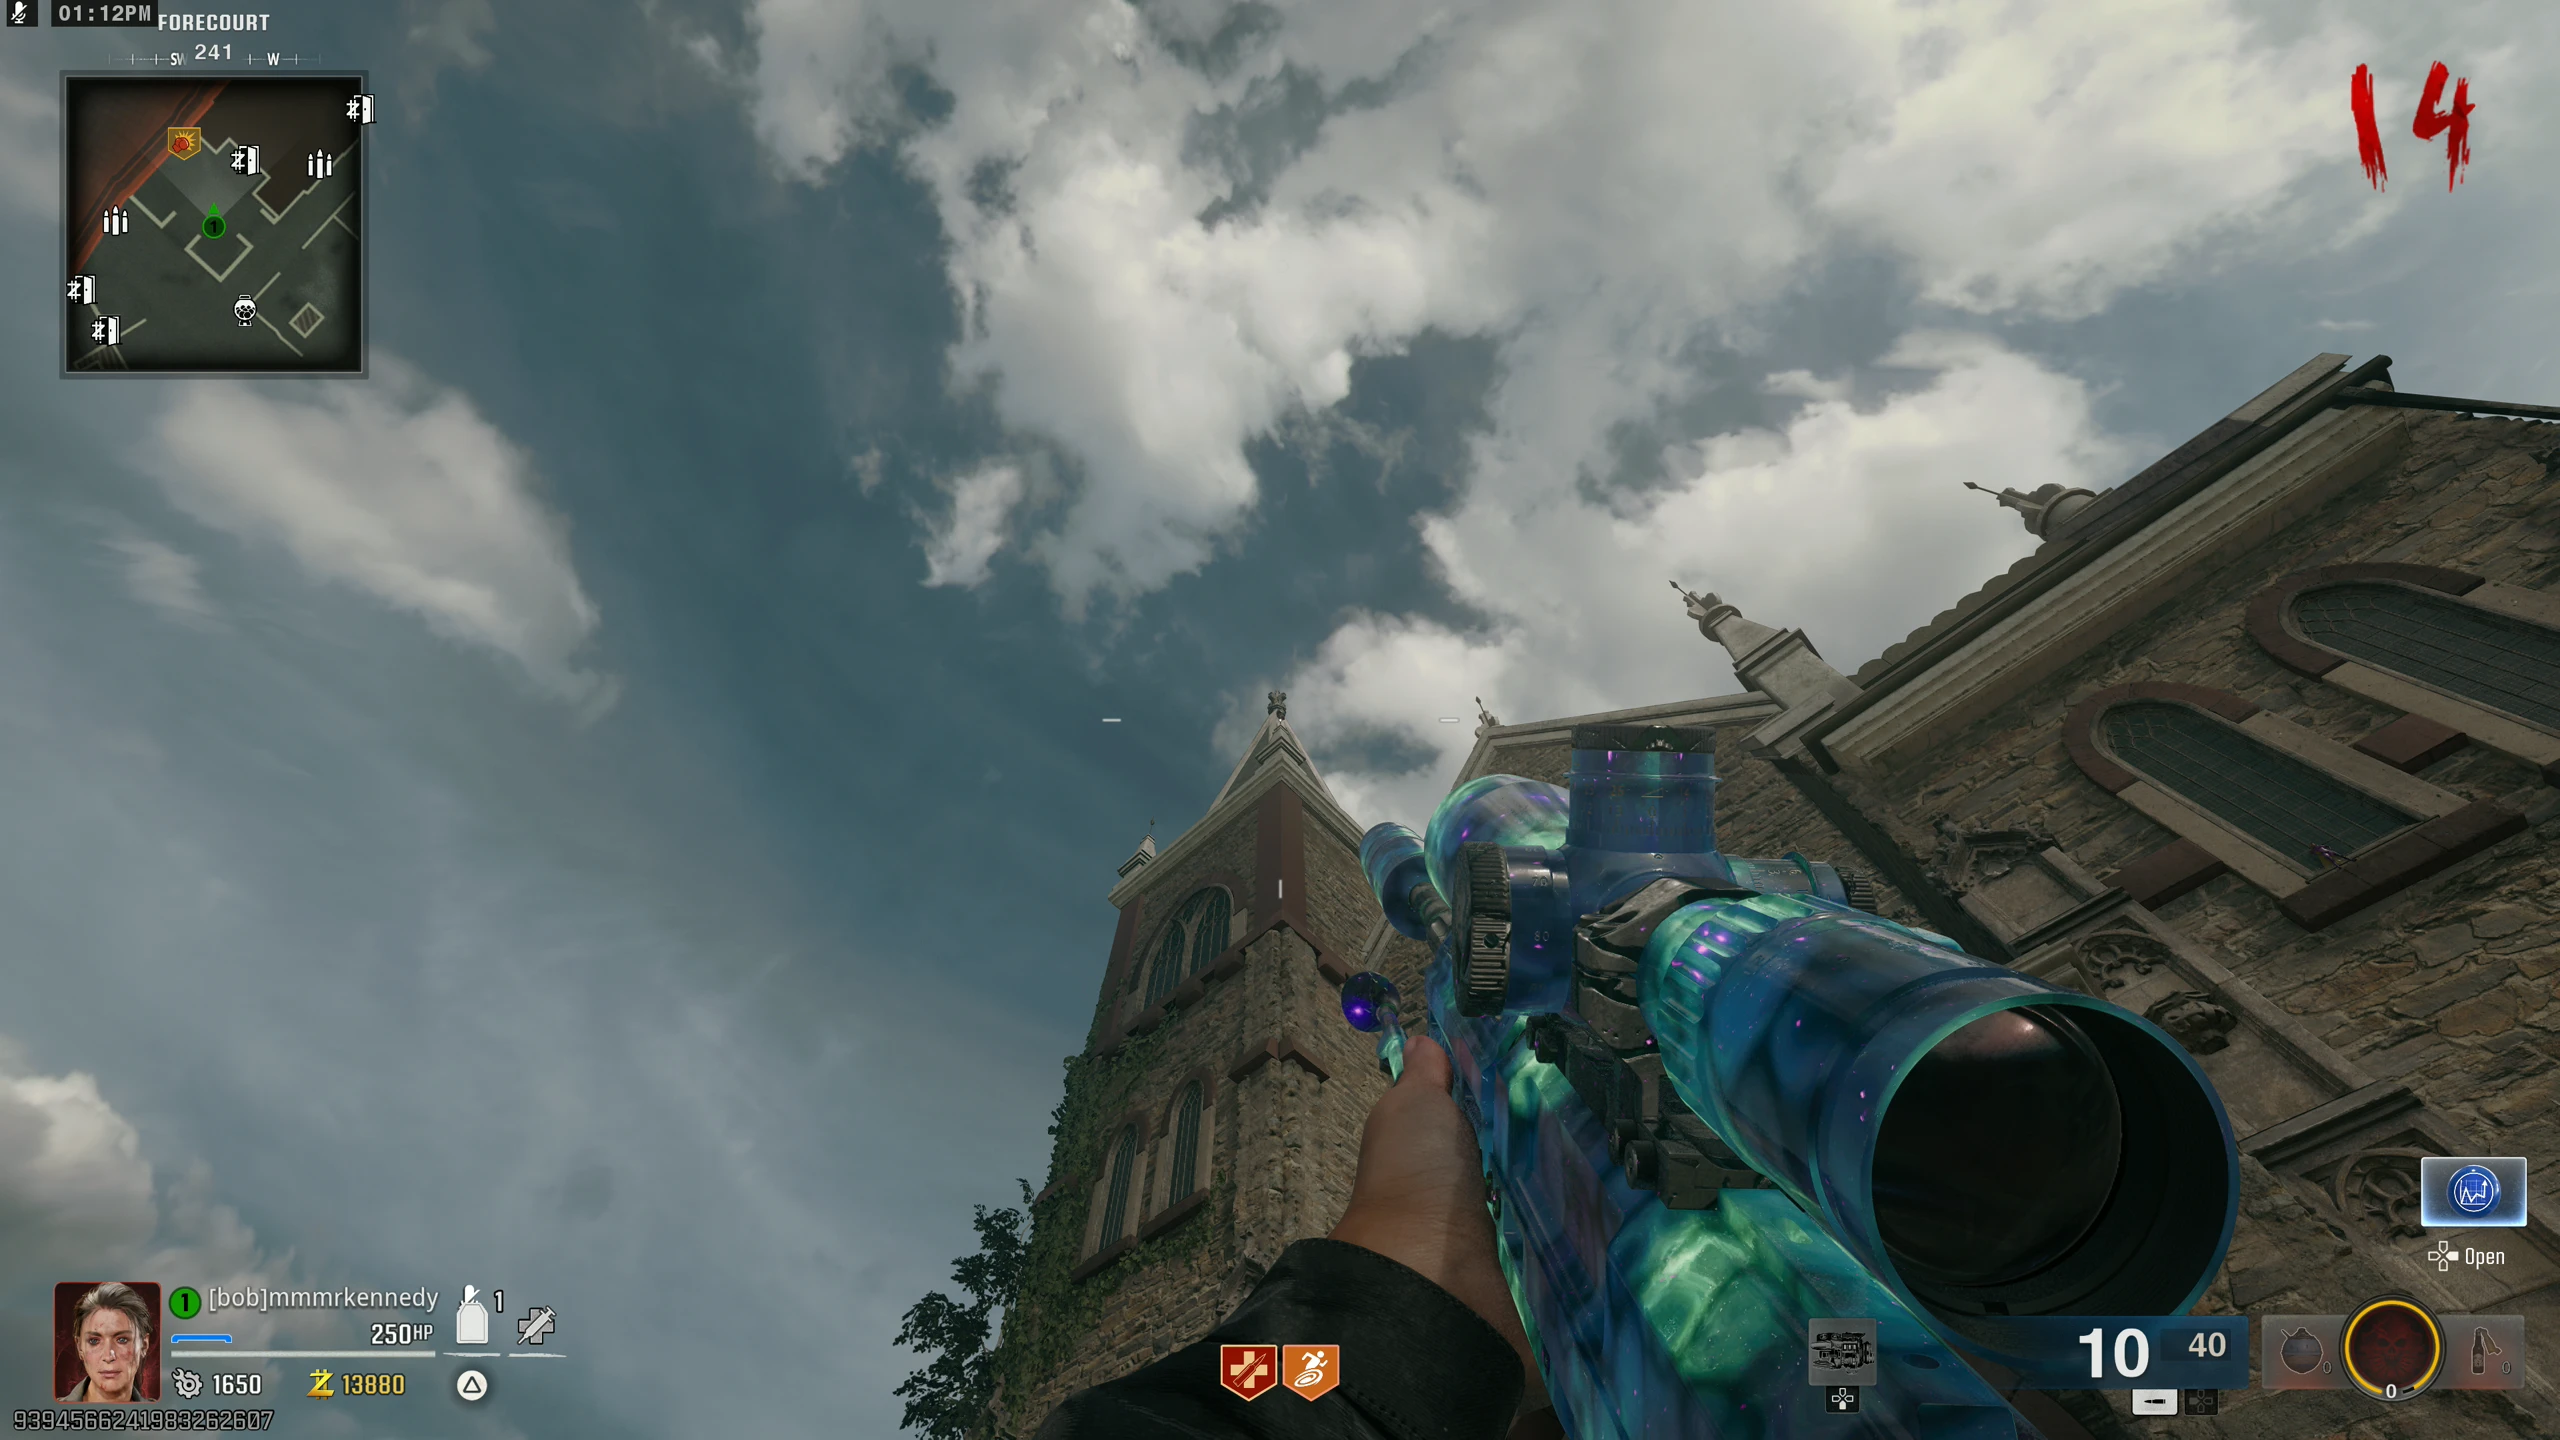
- On the top-left of the Church, you must explode a head (Zoomed-Out View) using a lethal grenade or explosive weapon.
- Once destroyed, Zombies rain from the sky around the Church's 'Forecourt' and parking lot. When they hit the ground they drop points, salvage, or scorestreaks. The final Zombie always drops an Aether Tool; rarity depends on the current round (see below).
- Round 1-9: Green Aether Tool
- Round 10-19: Blue Aether Tool
- Round 20+: Purple Aether Tool
Red Orb (Free Loot / Fire Sale Power-up)
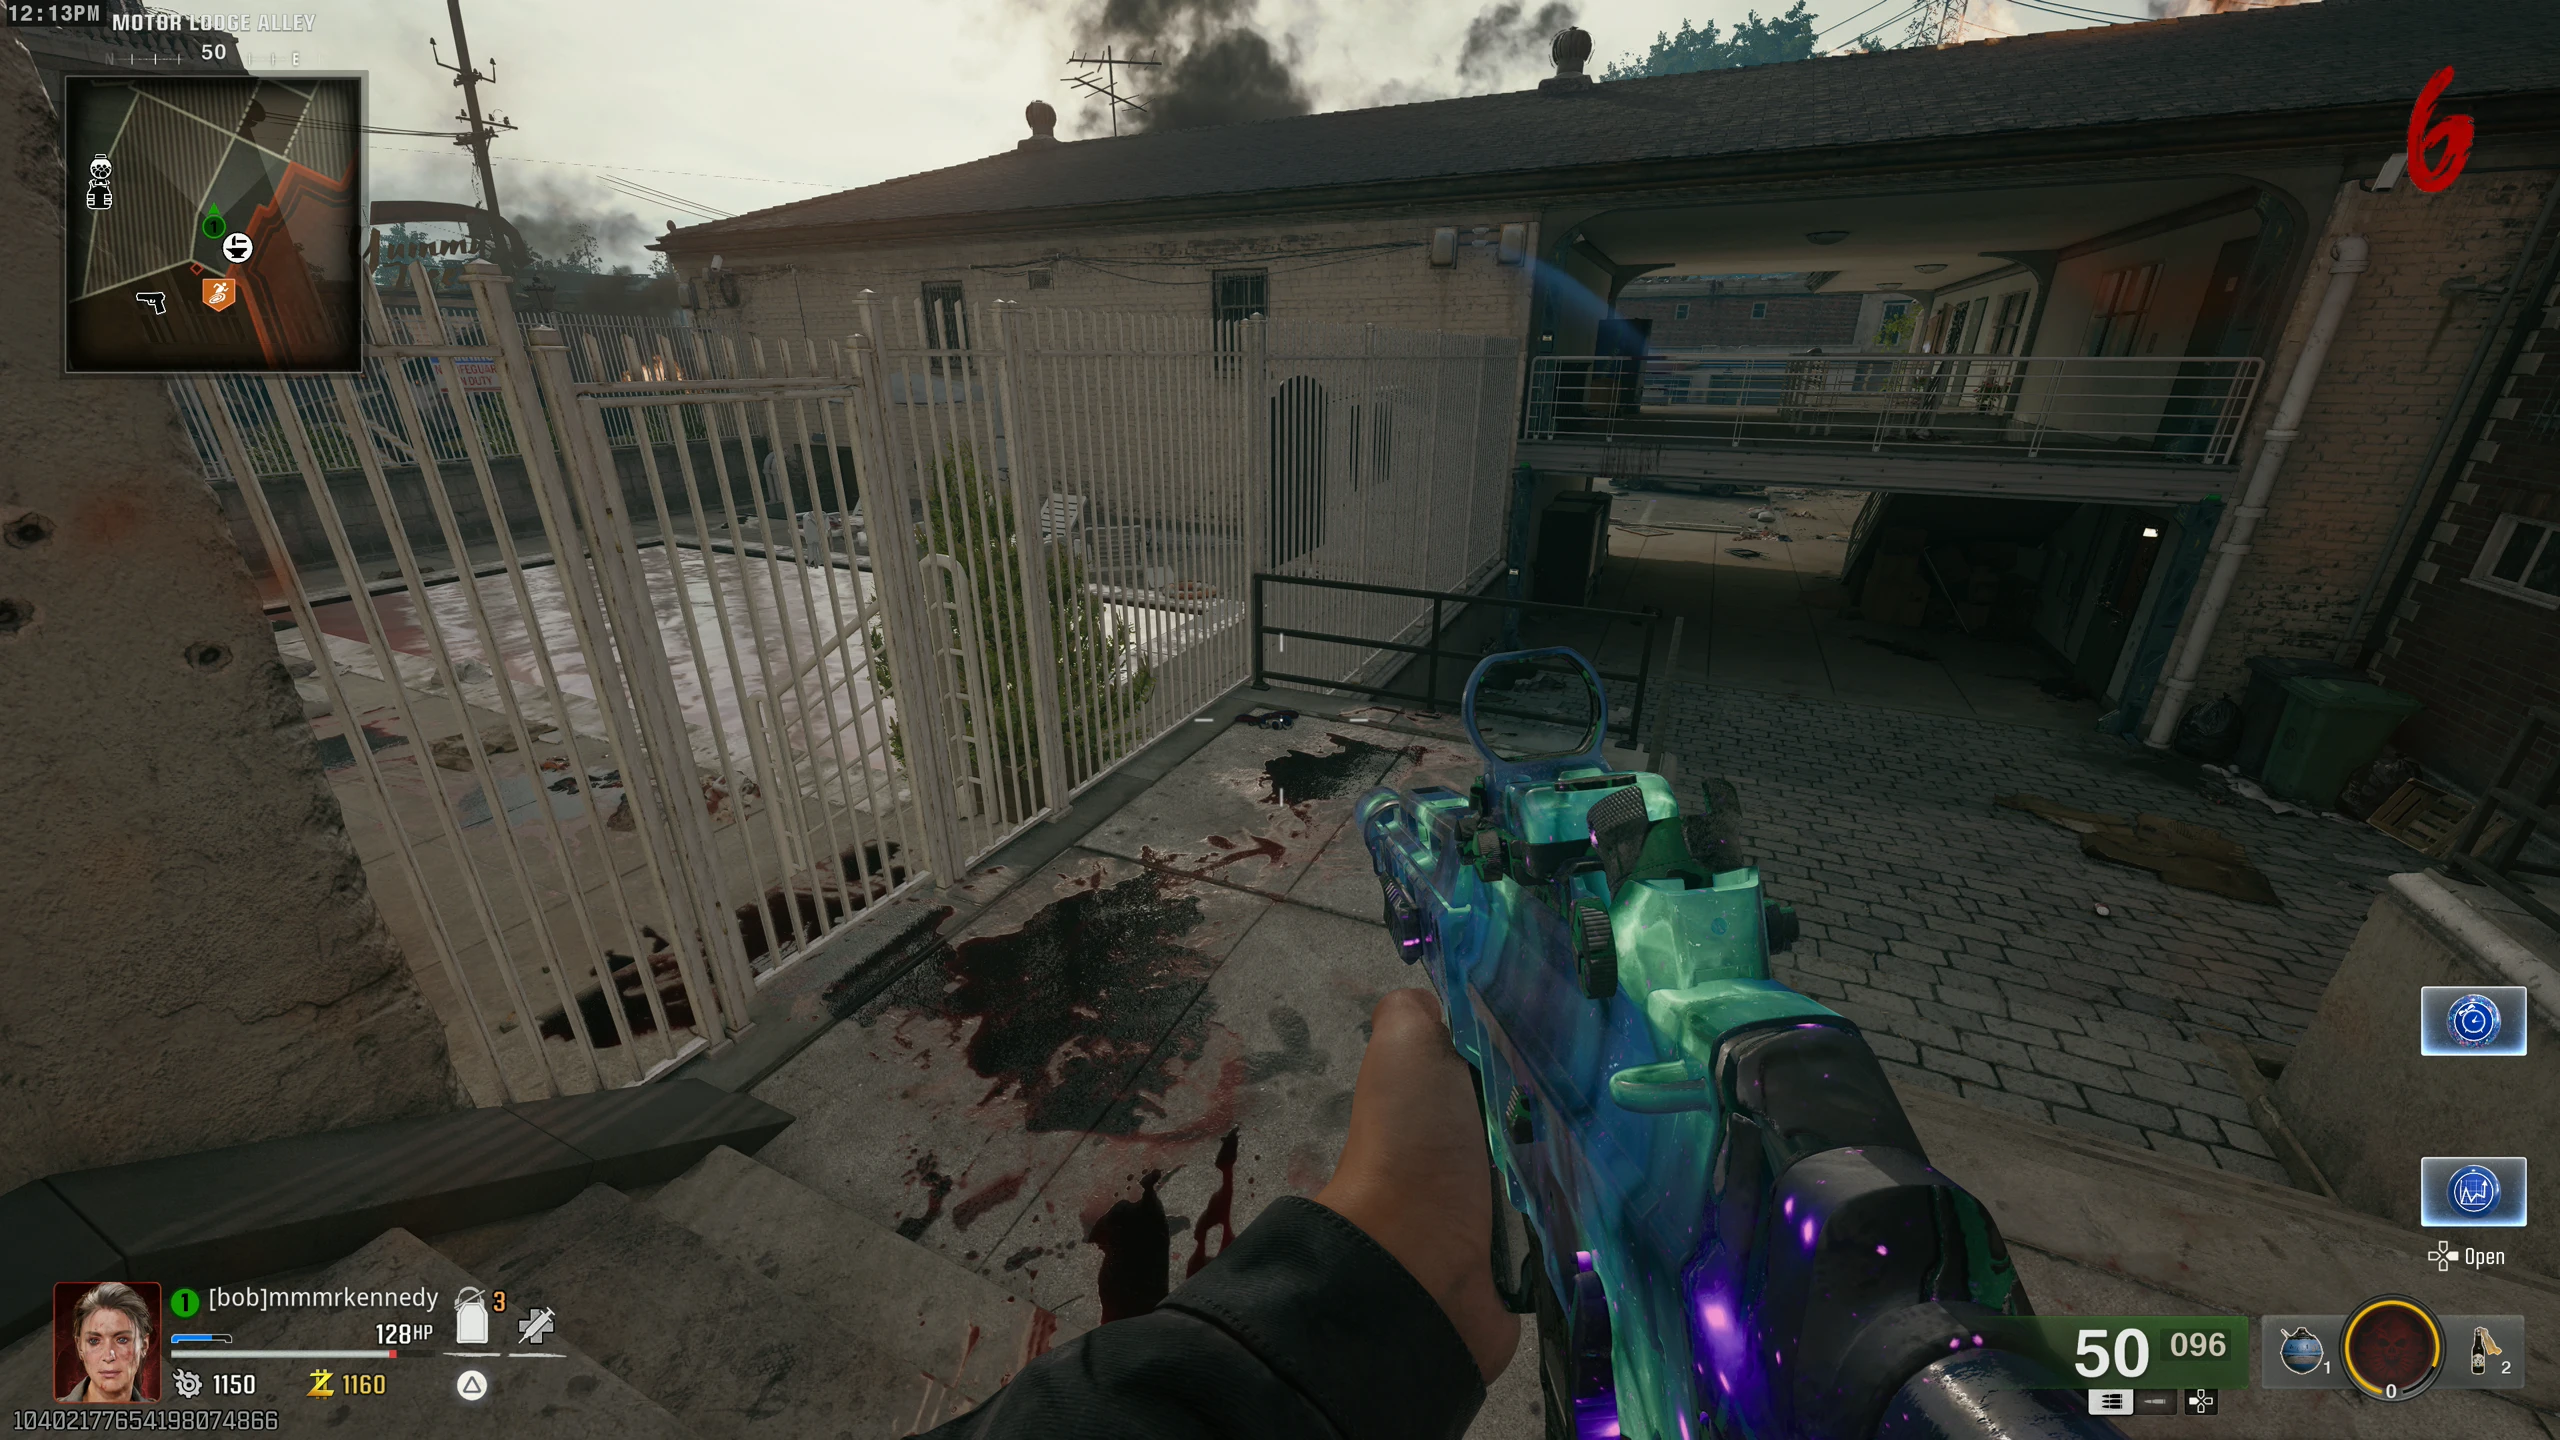
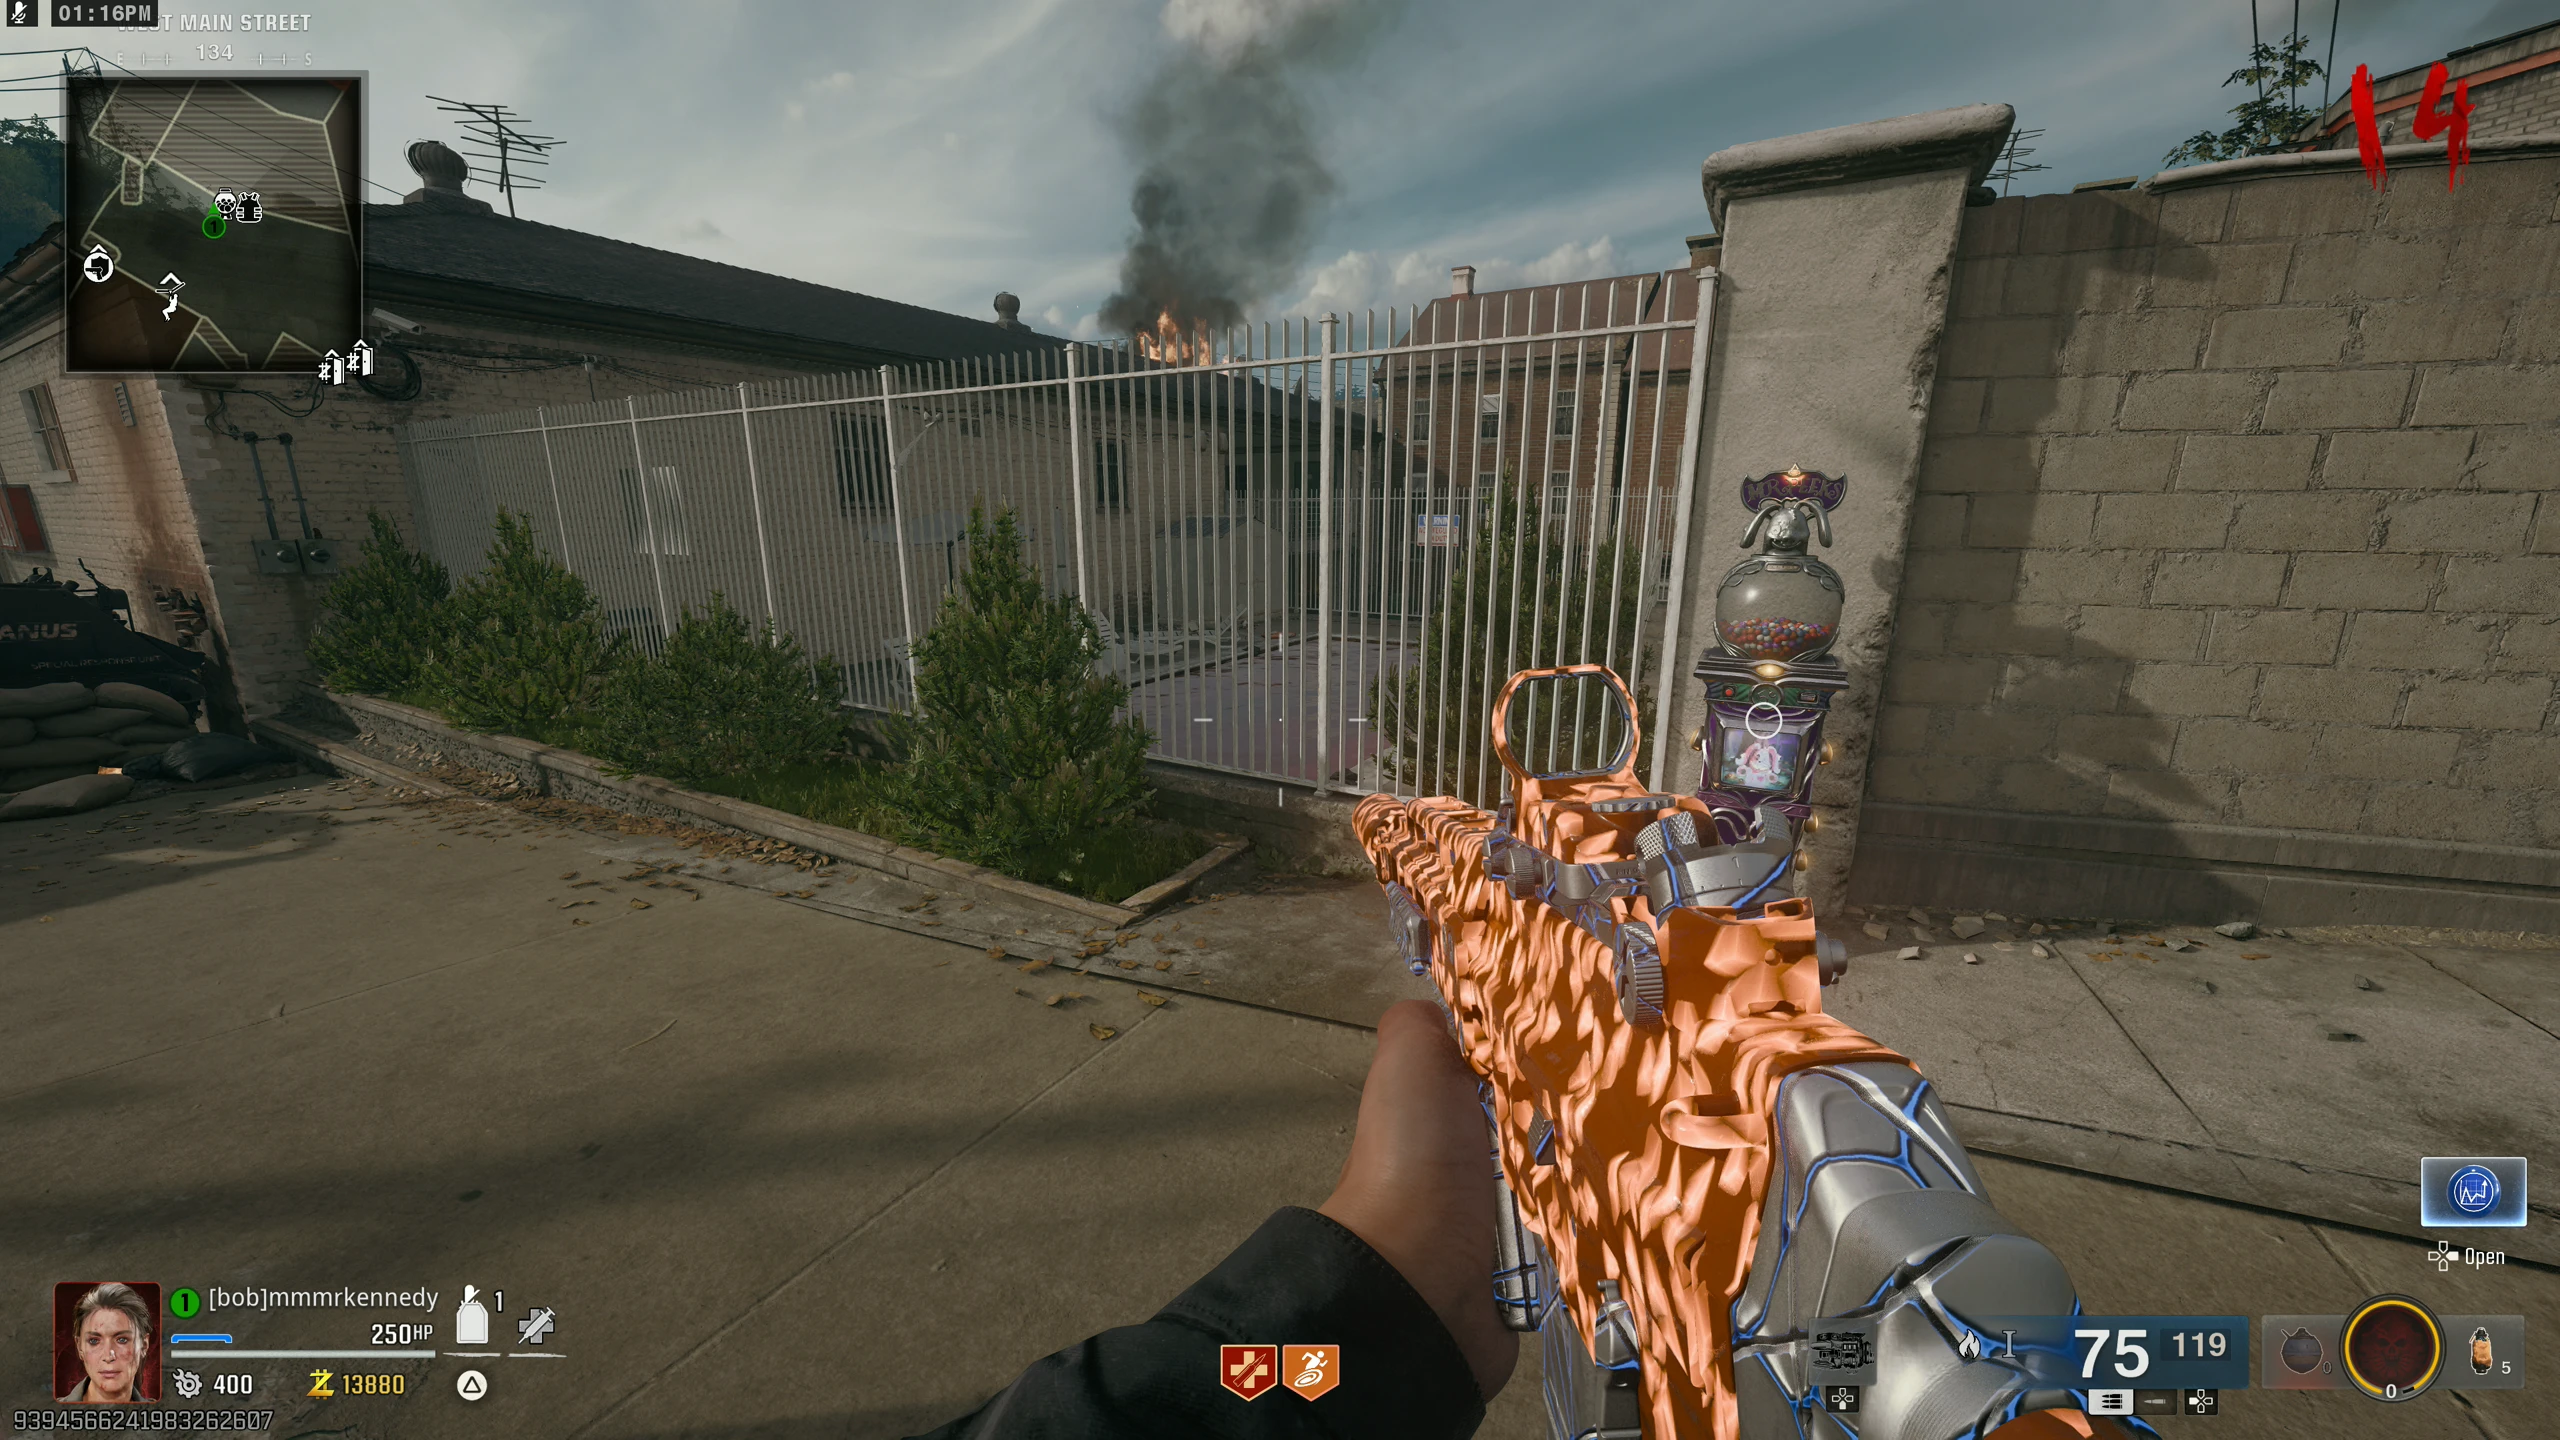
- Quickly throw three semtex grenades into the centre of the Bloody Swimming Pool behind the Motel. If done fast enough, a red orb will fly out after a couple seconds, dropping Salvage and Equipment.
- If you take too long to throw the Semtex grenades, the orb won't spawn, and you can retry on the next round.
- This can be done two more times, once after each Vermin round. On the third completion, the orb drops a fire sale power-up along with the other loot.
Gravedigger (Free Loot)
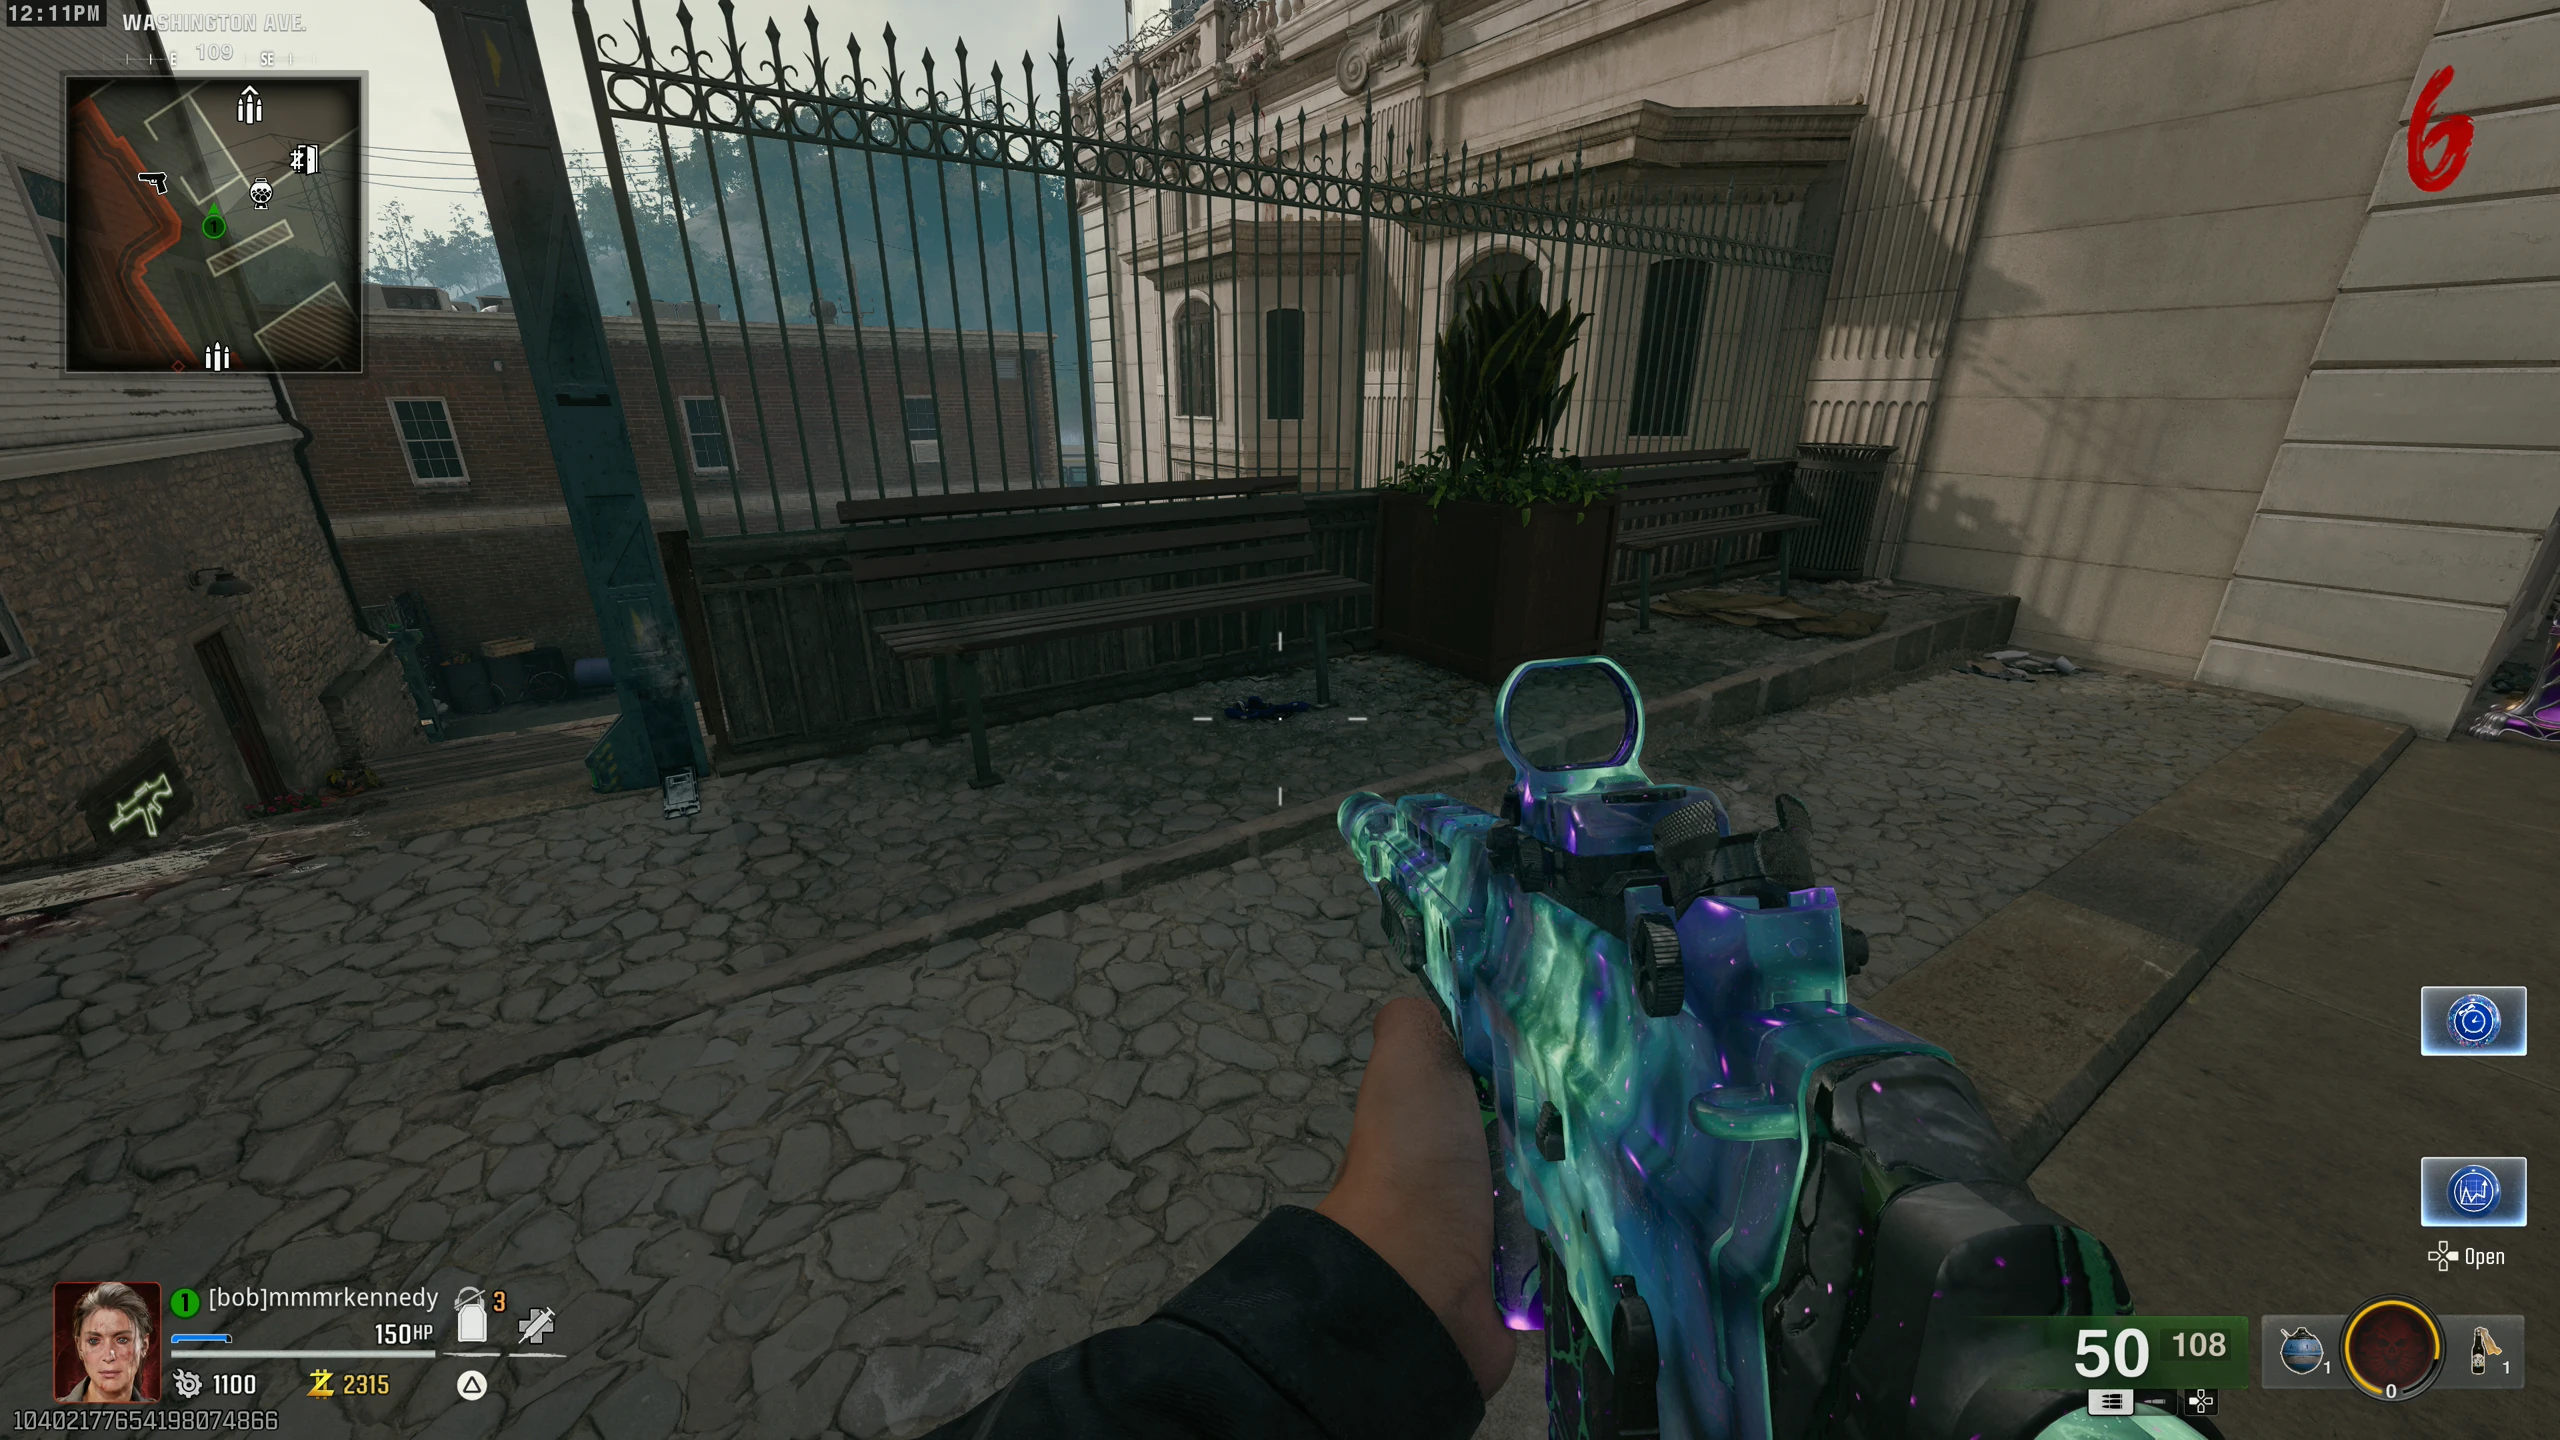
- Shoot the wooden barrel on the 'Washington Ave. Rooftops' with the Chopper Gunner Scorestreak. A shovel will drop for you to pick up.
- With the Shovel, dig up graves in the 'Cemetery' for rewards like a free perk, equipment, and weapons. Zombies and Vermin can also spawn from the graves.
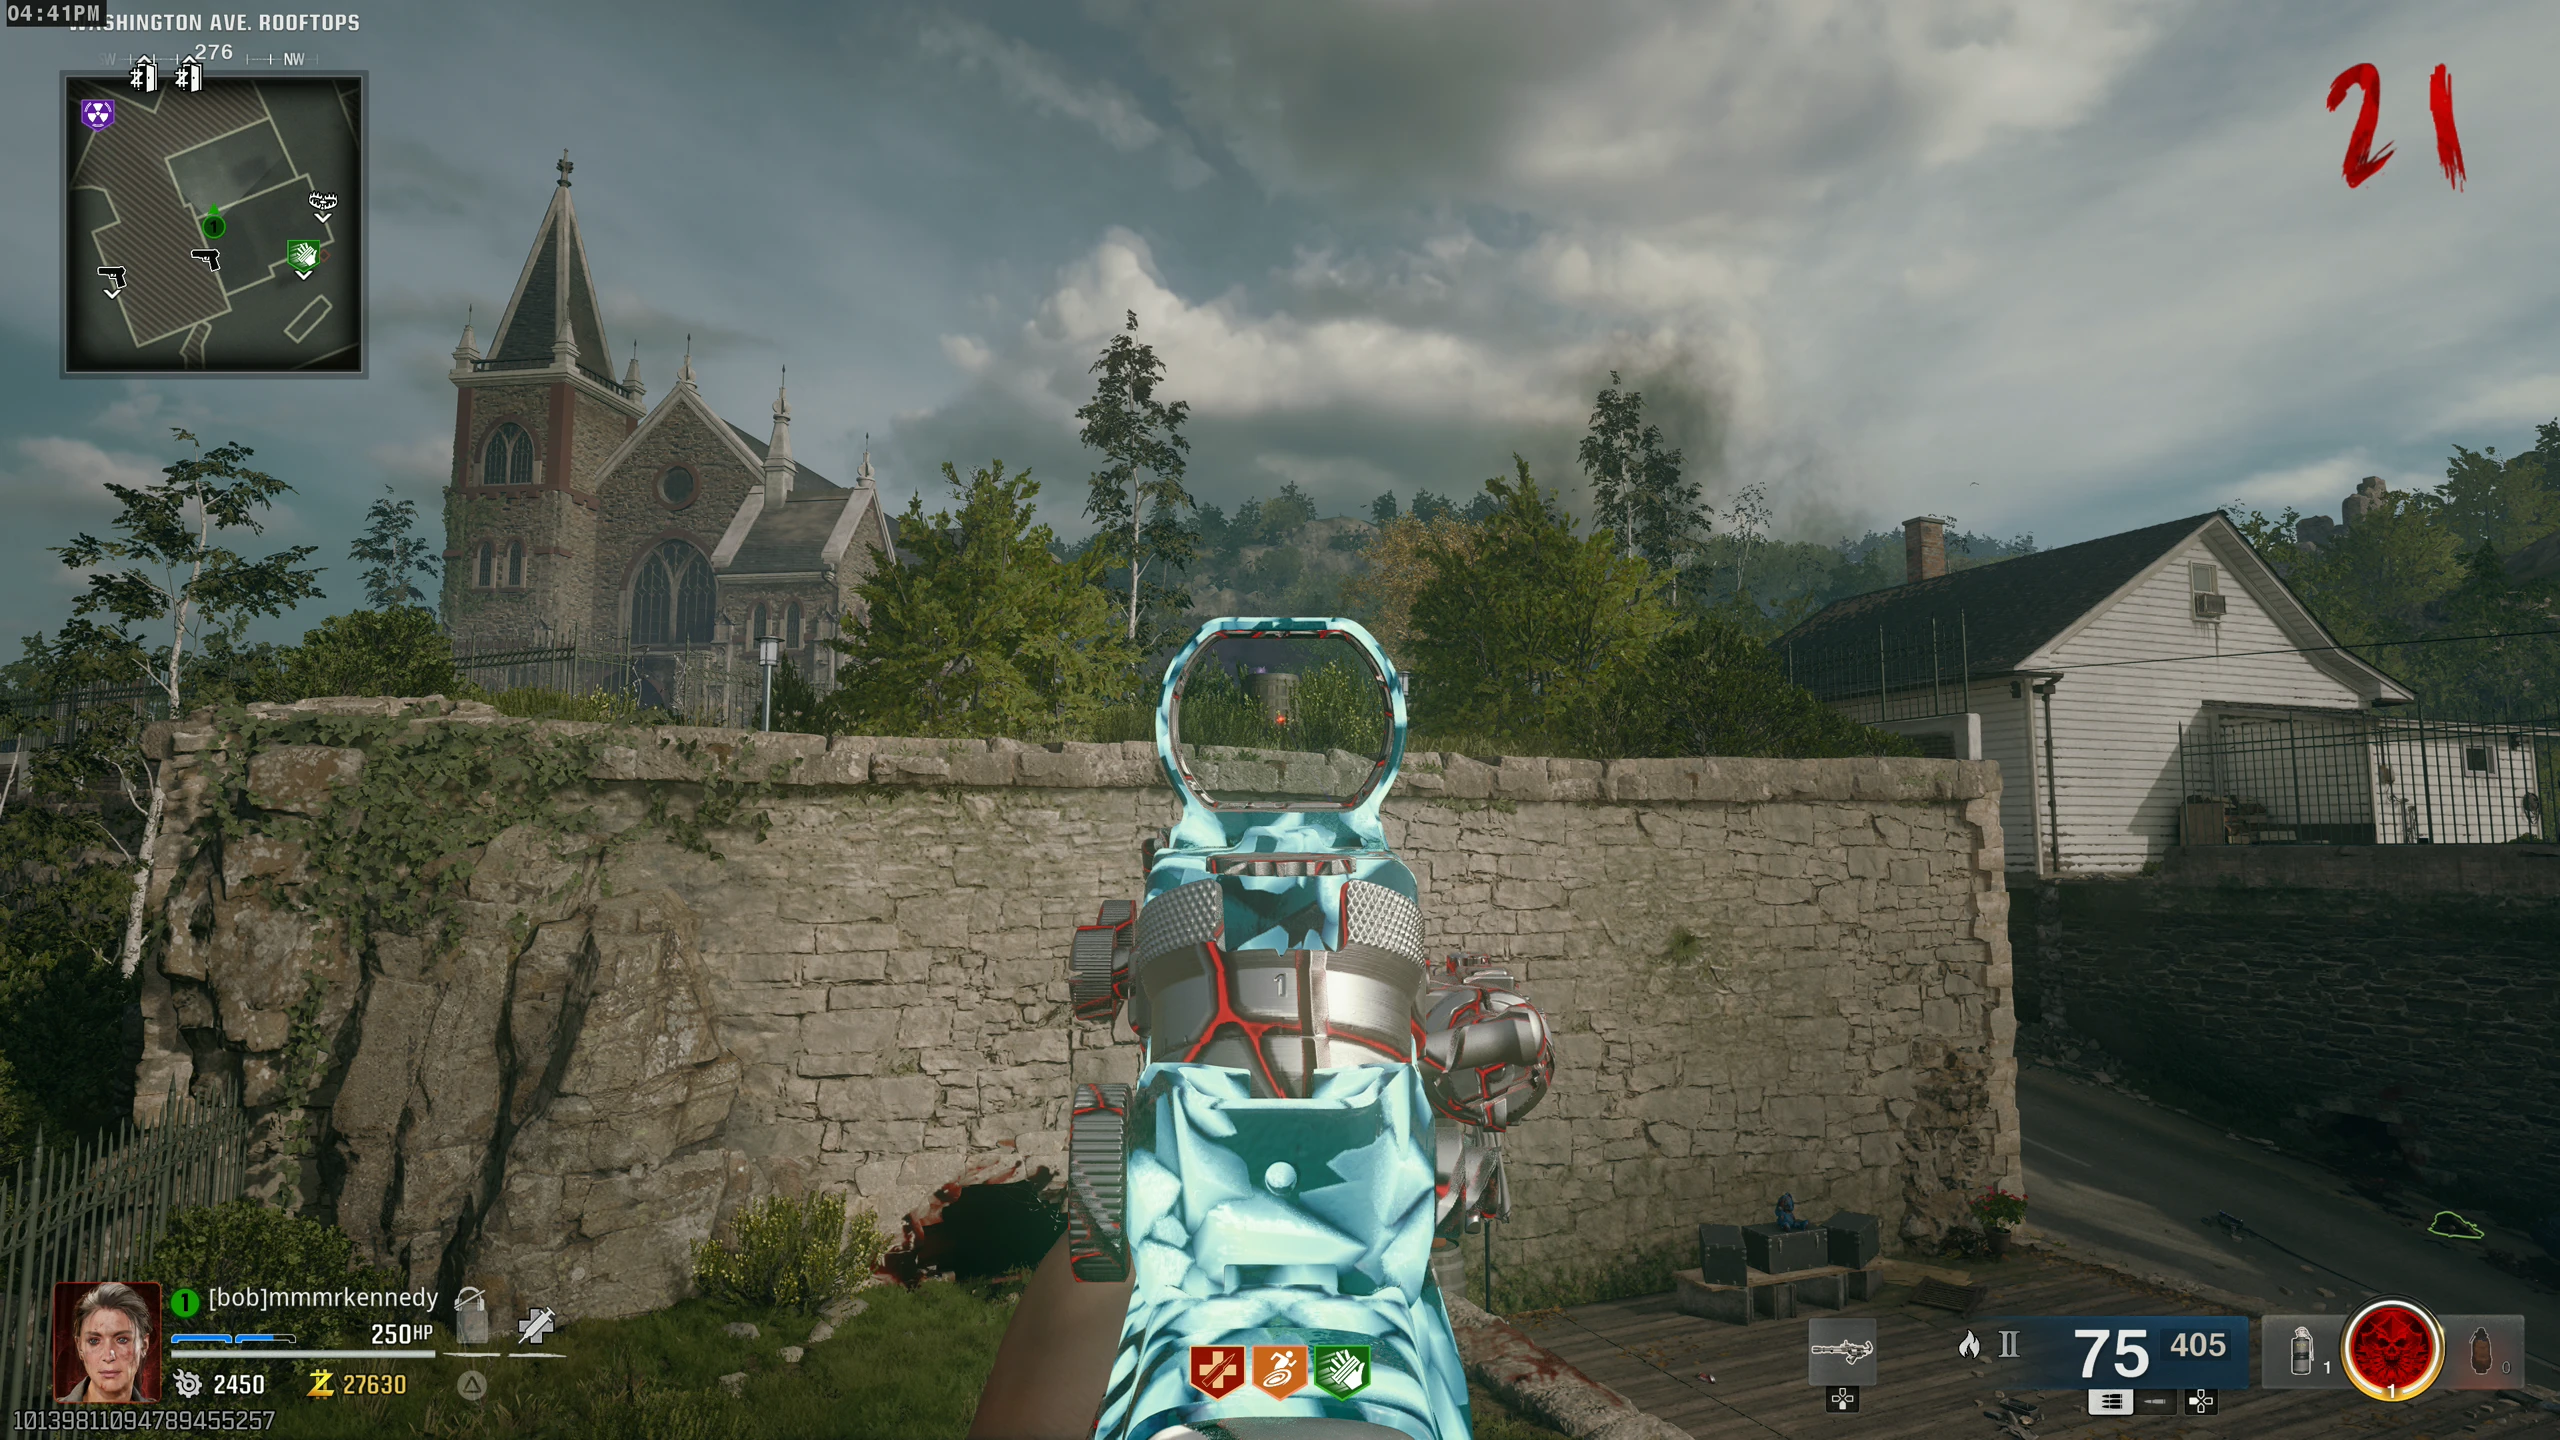
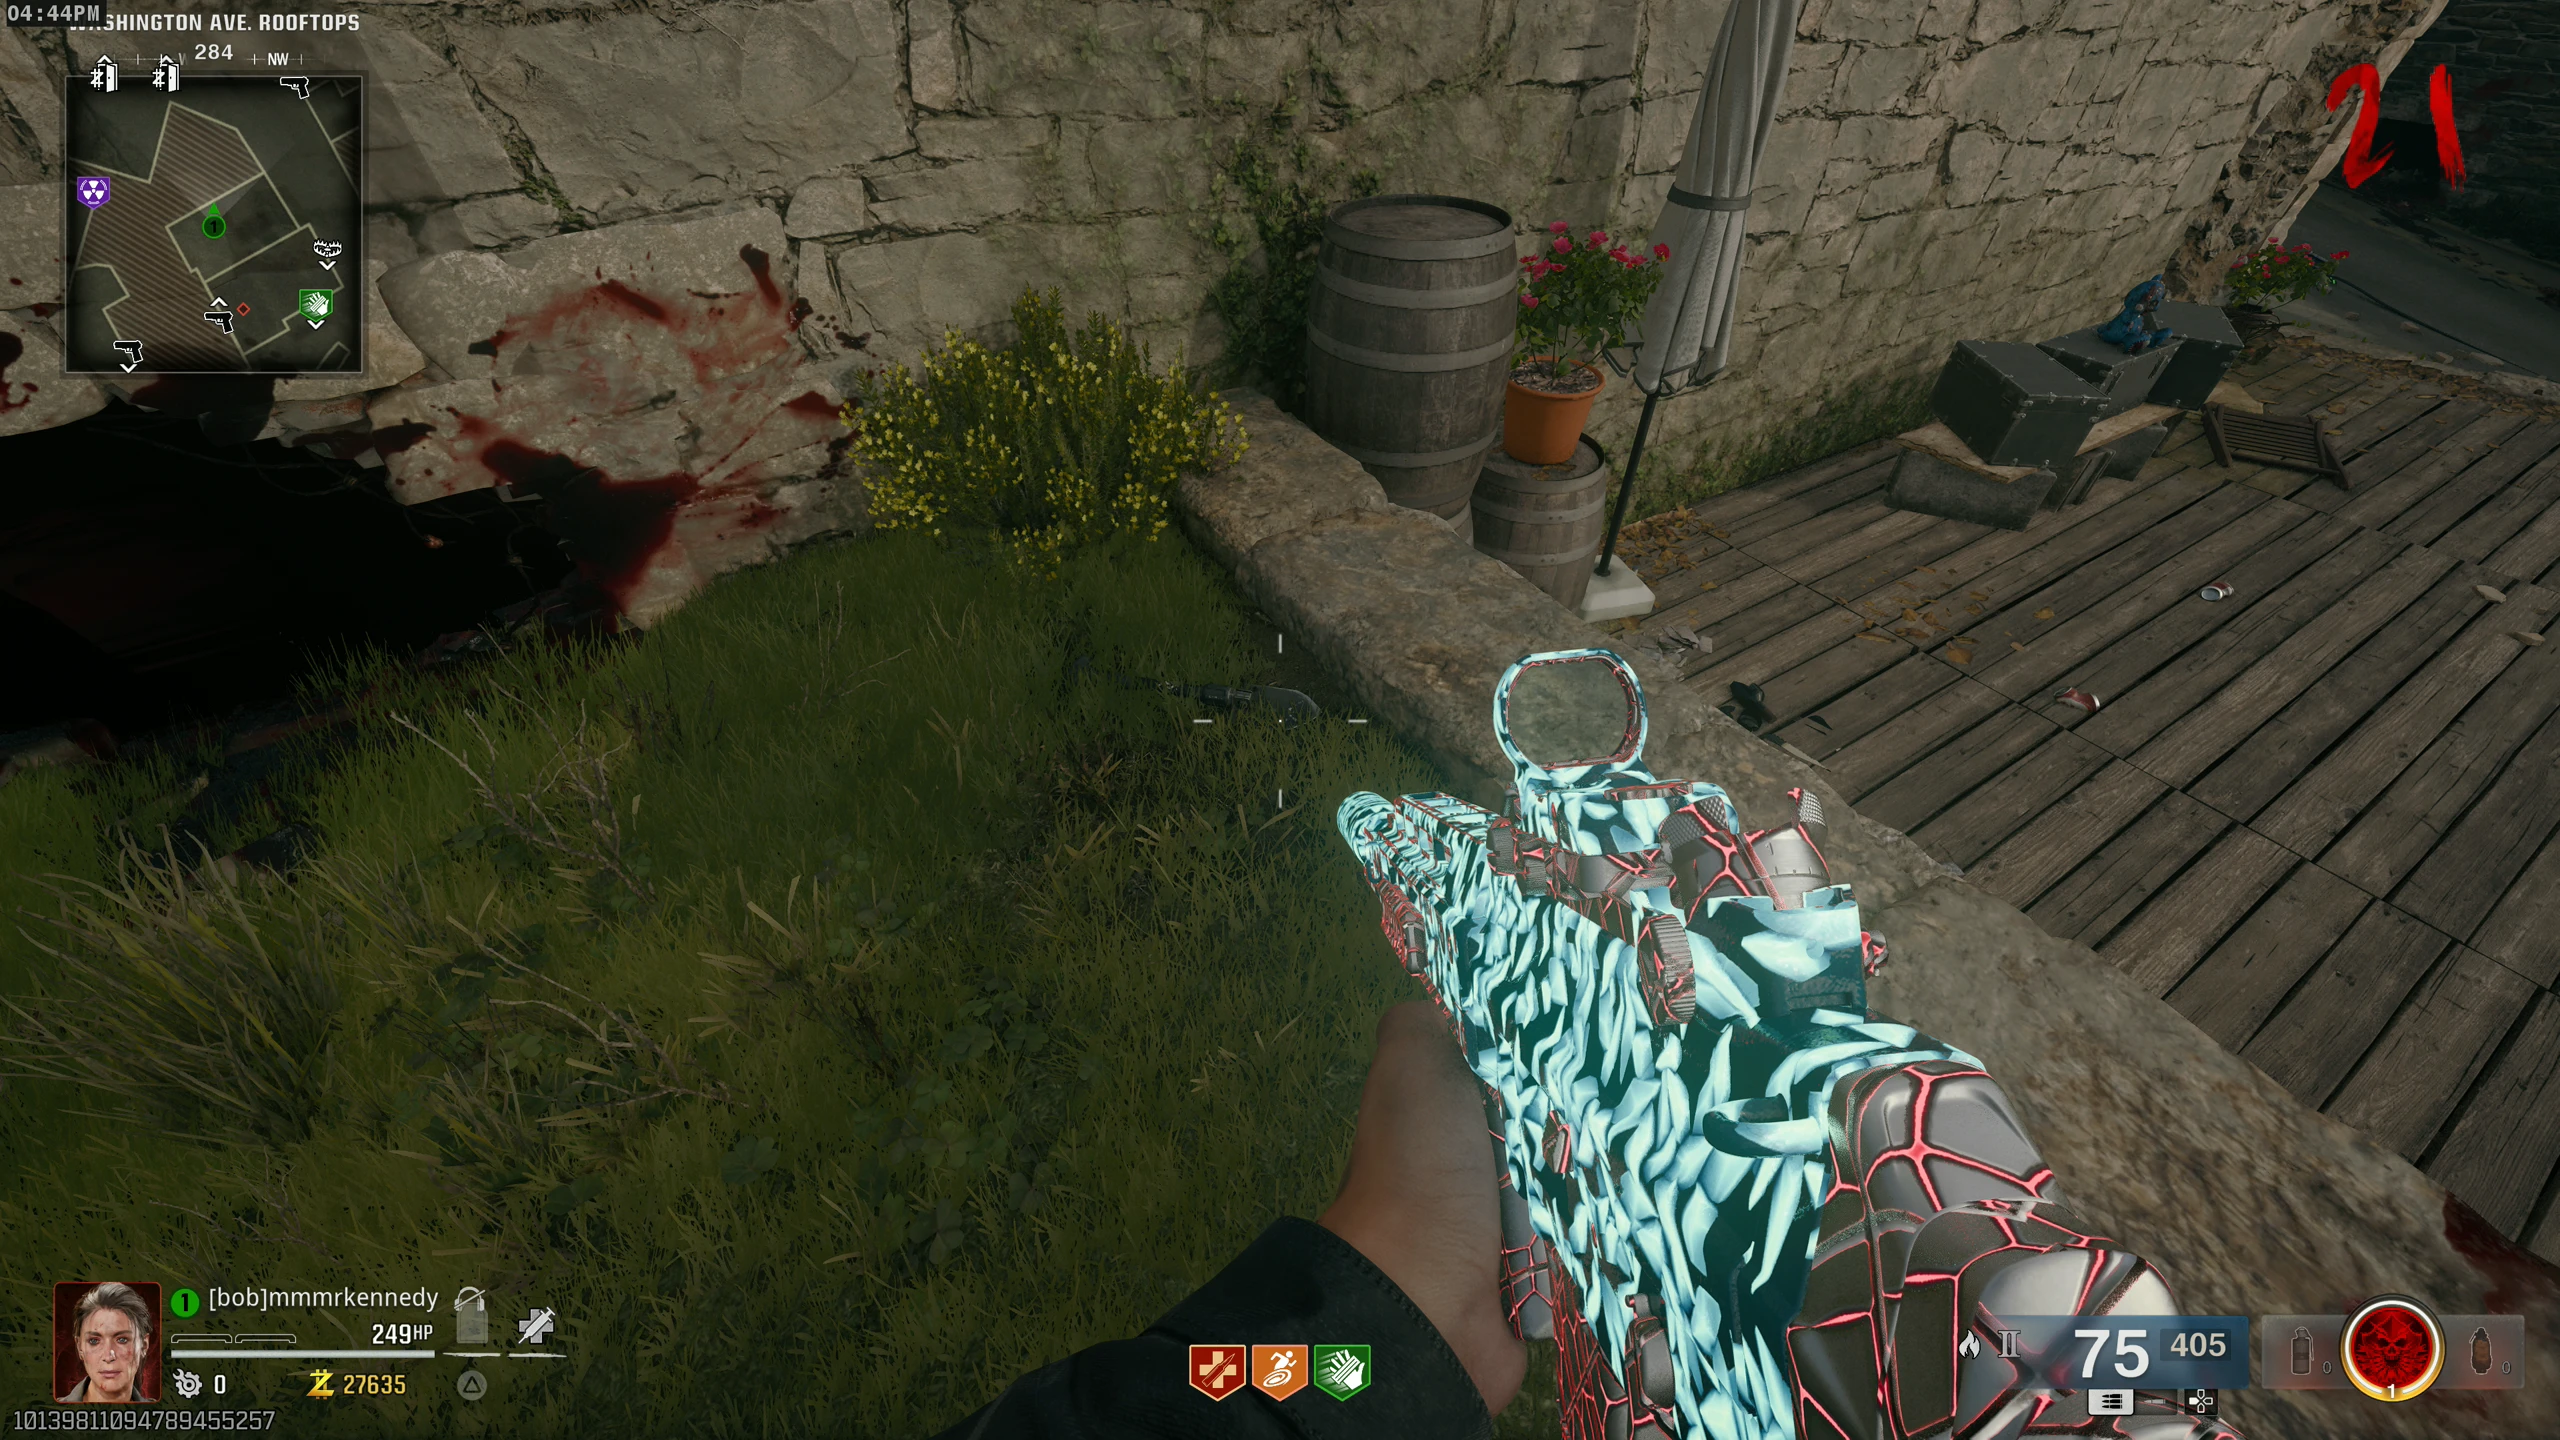
Free Power-ups
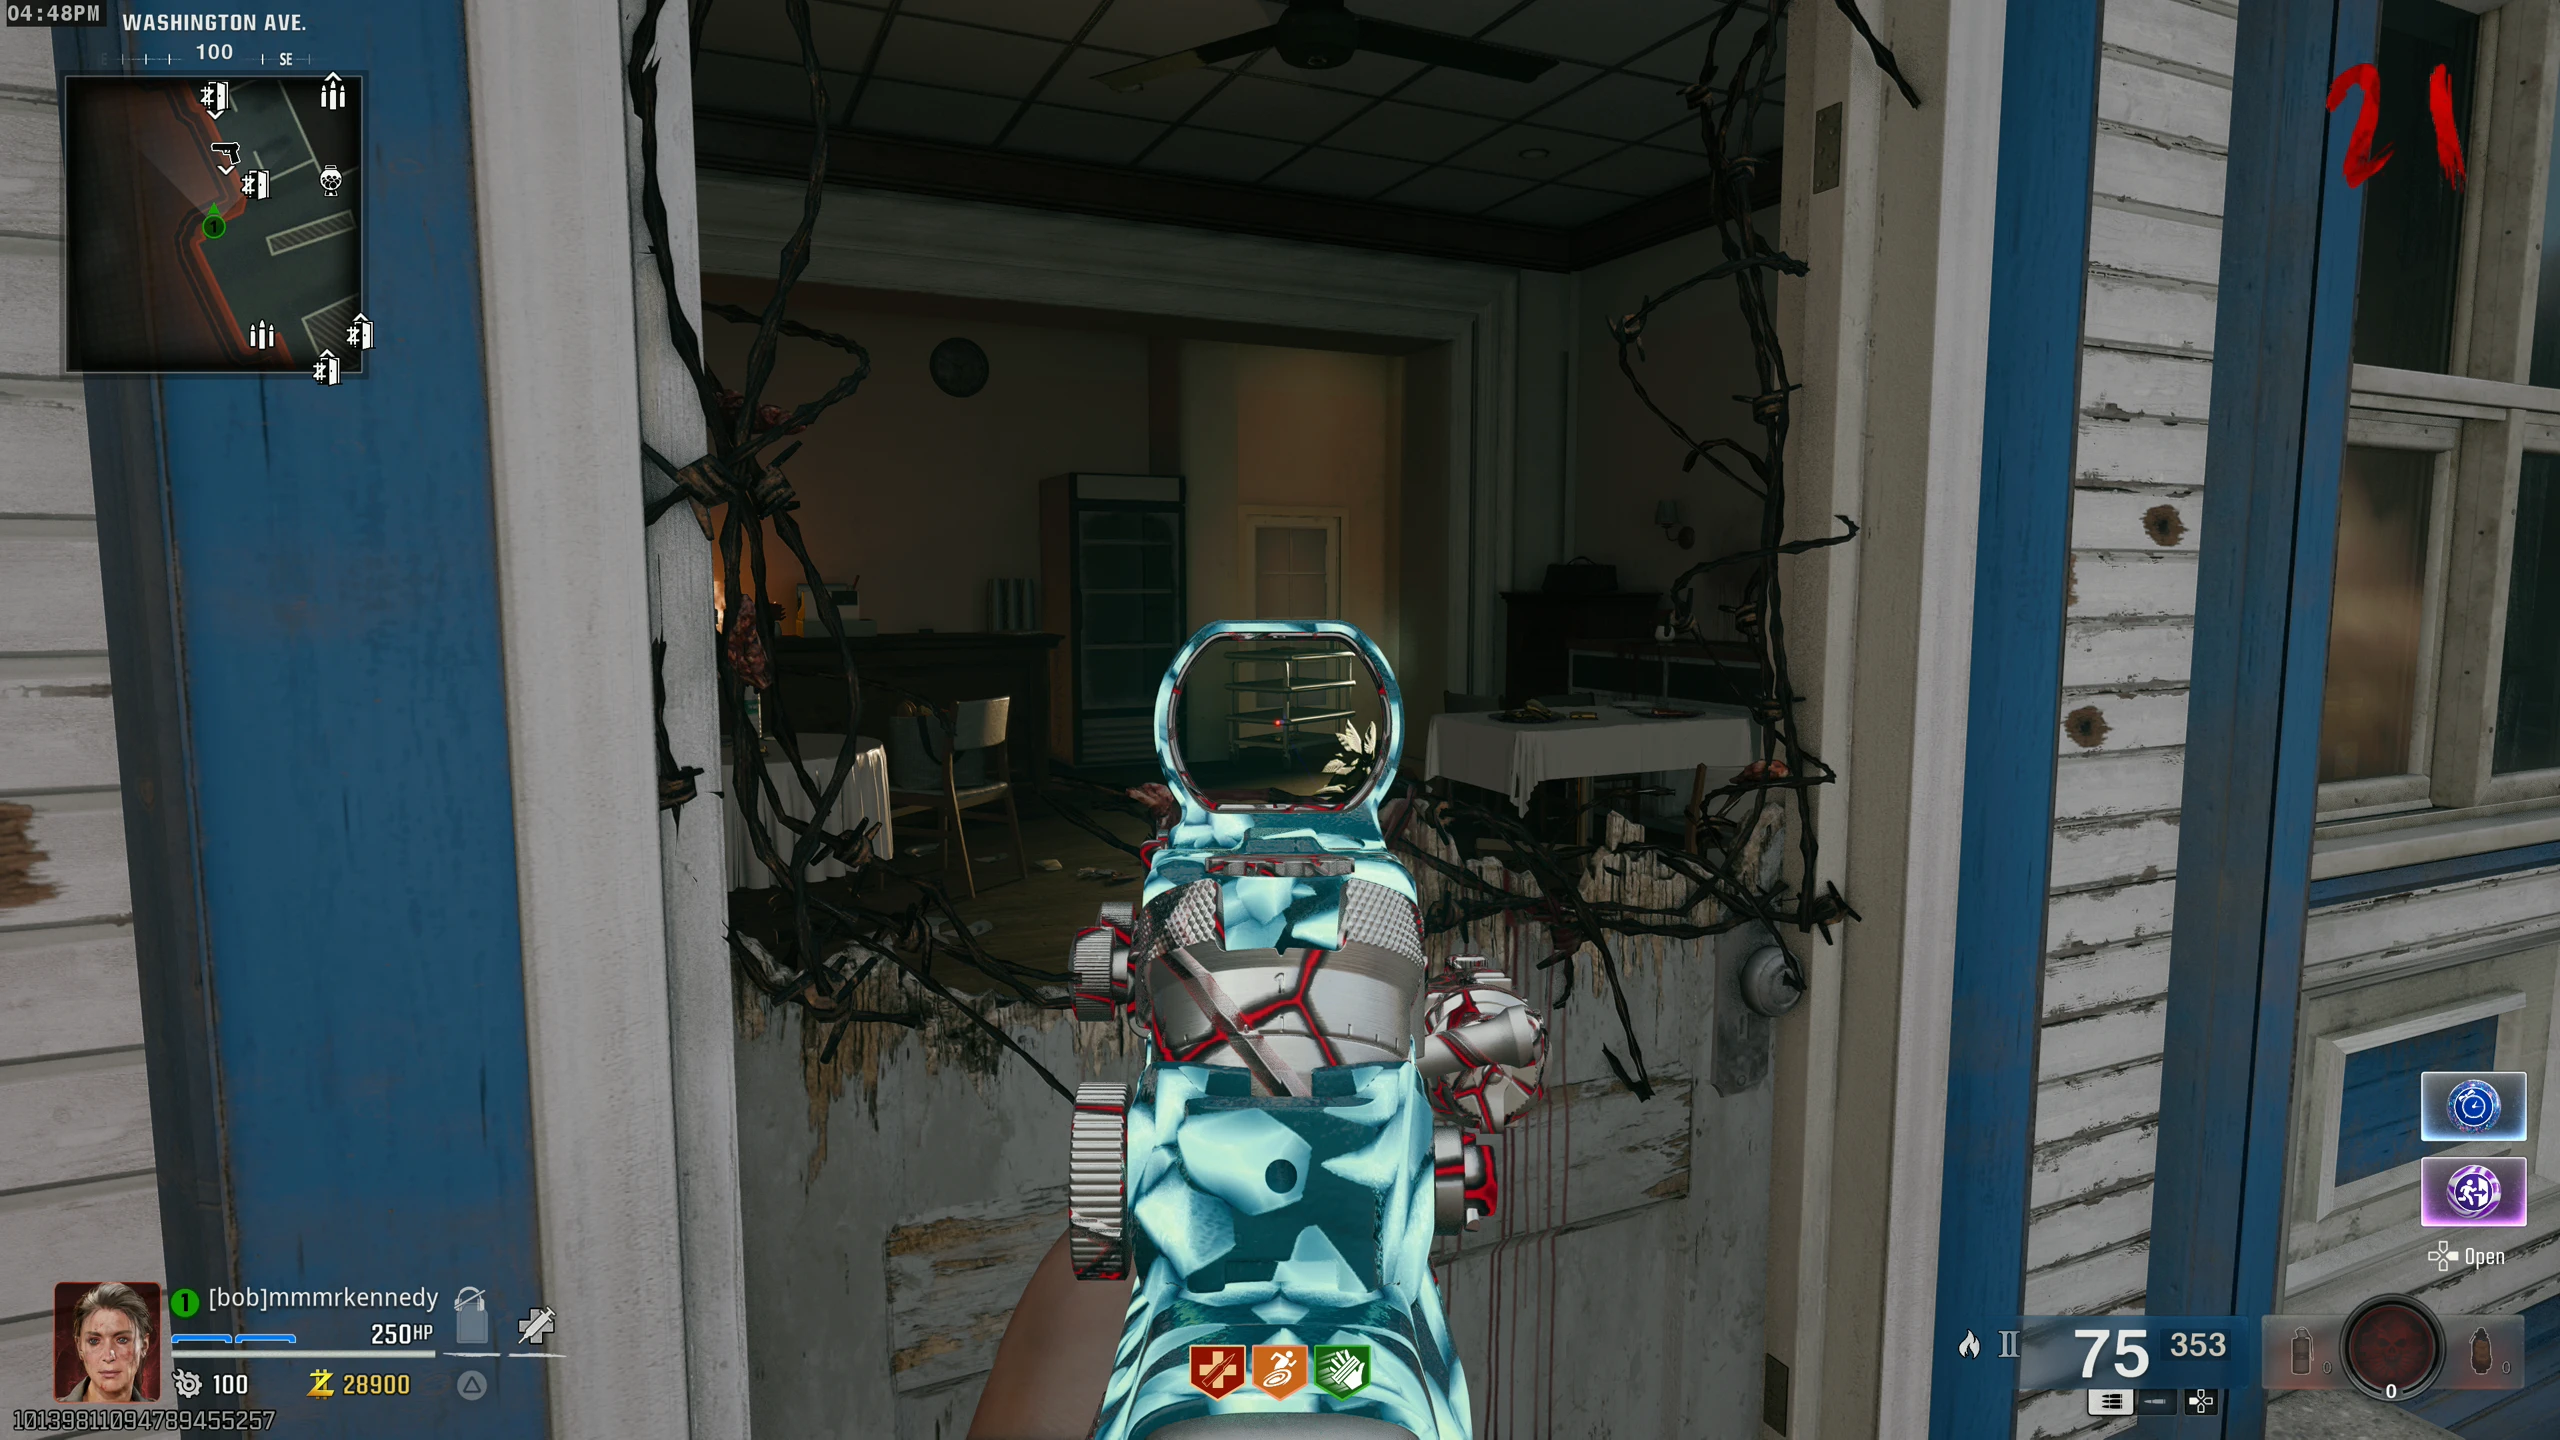
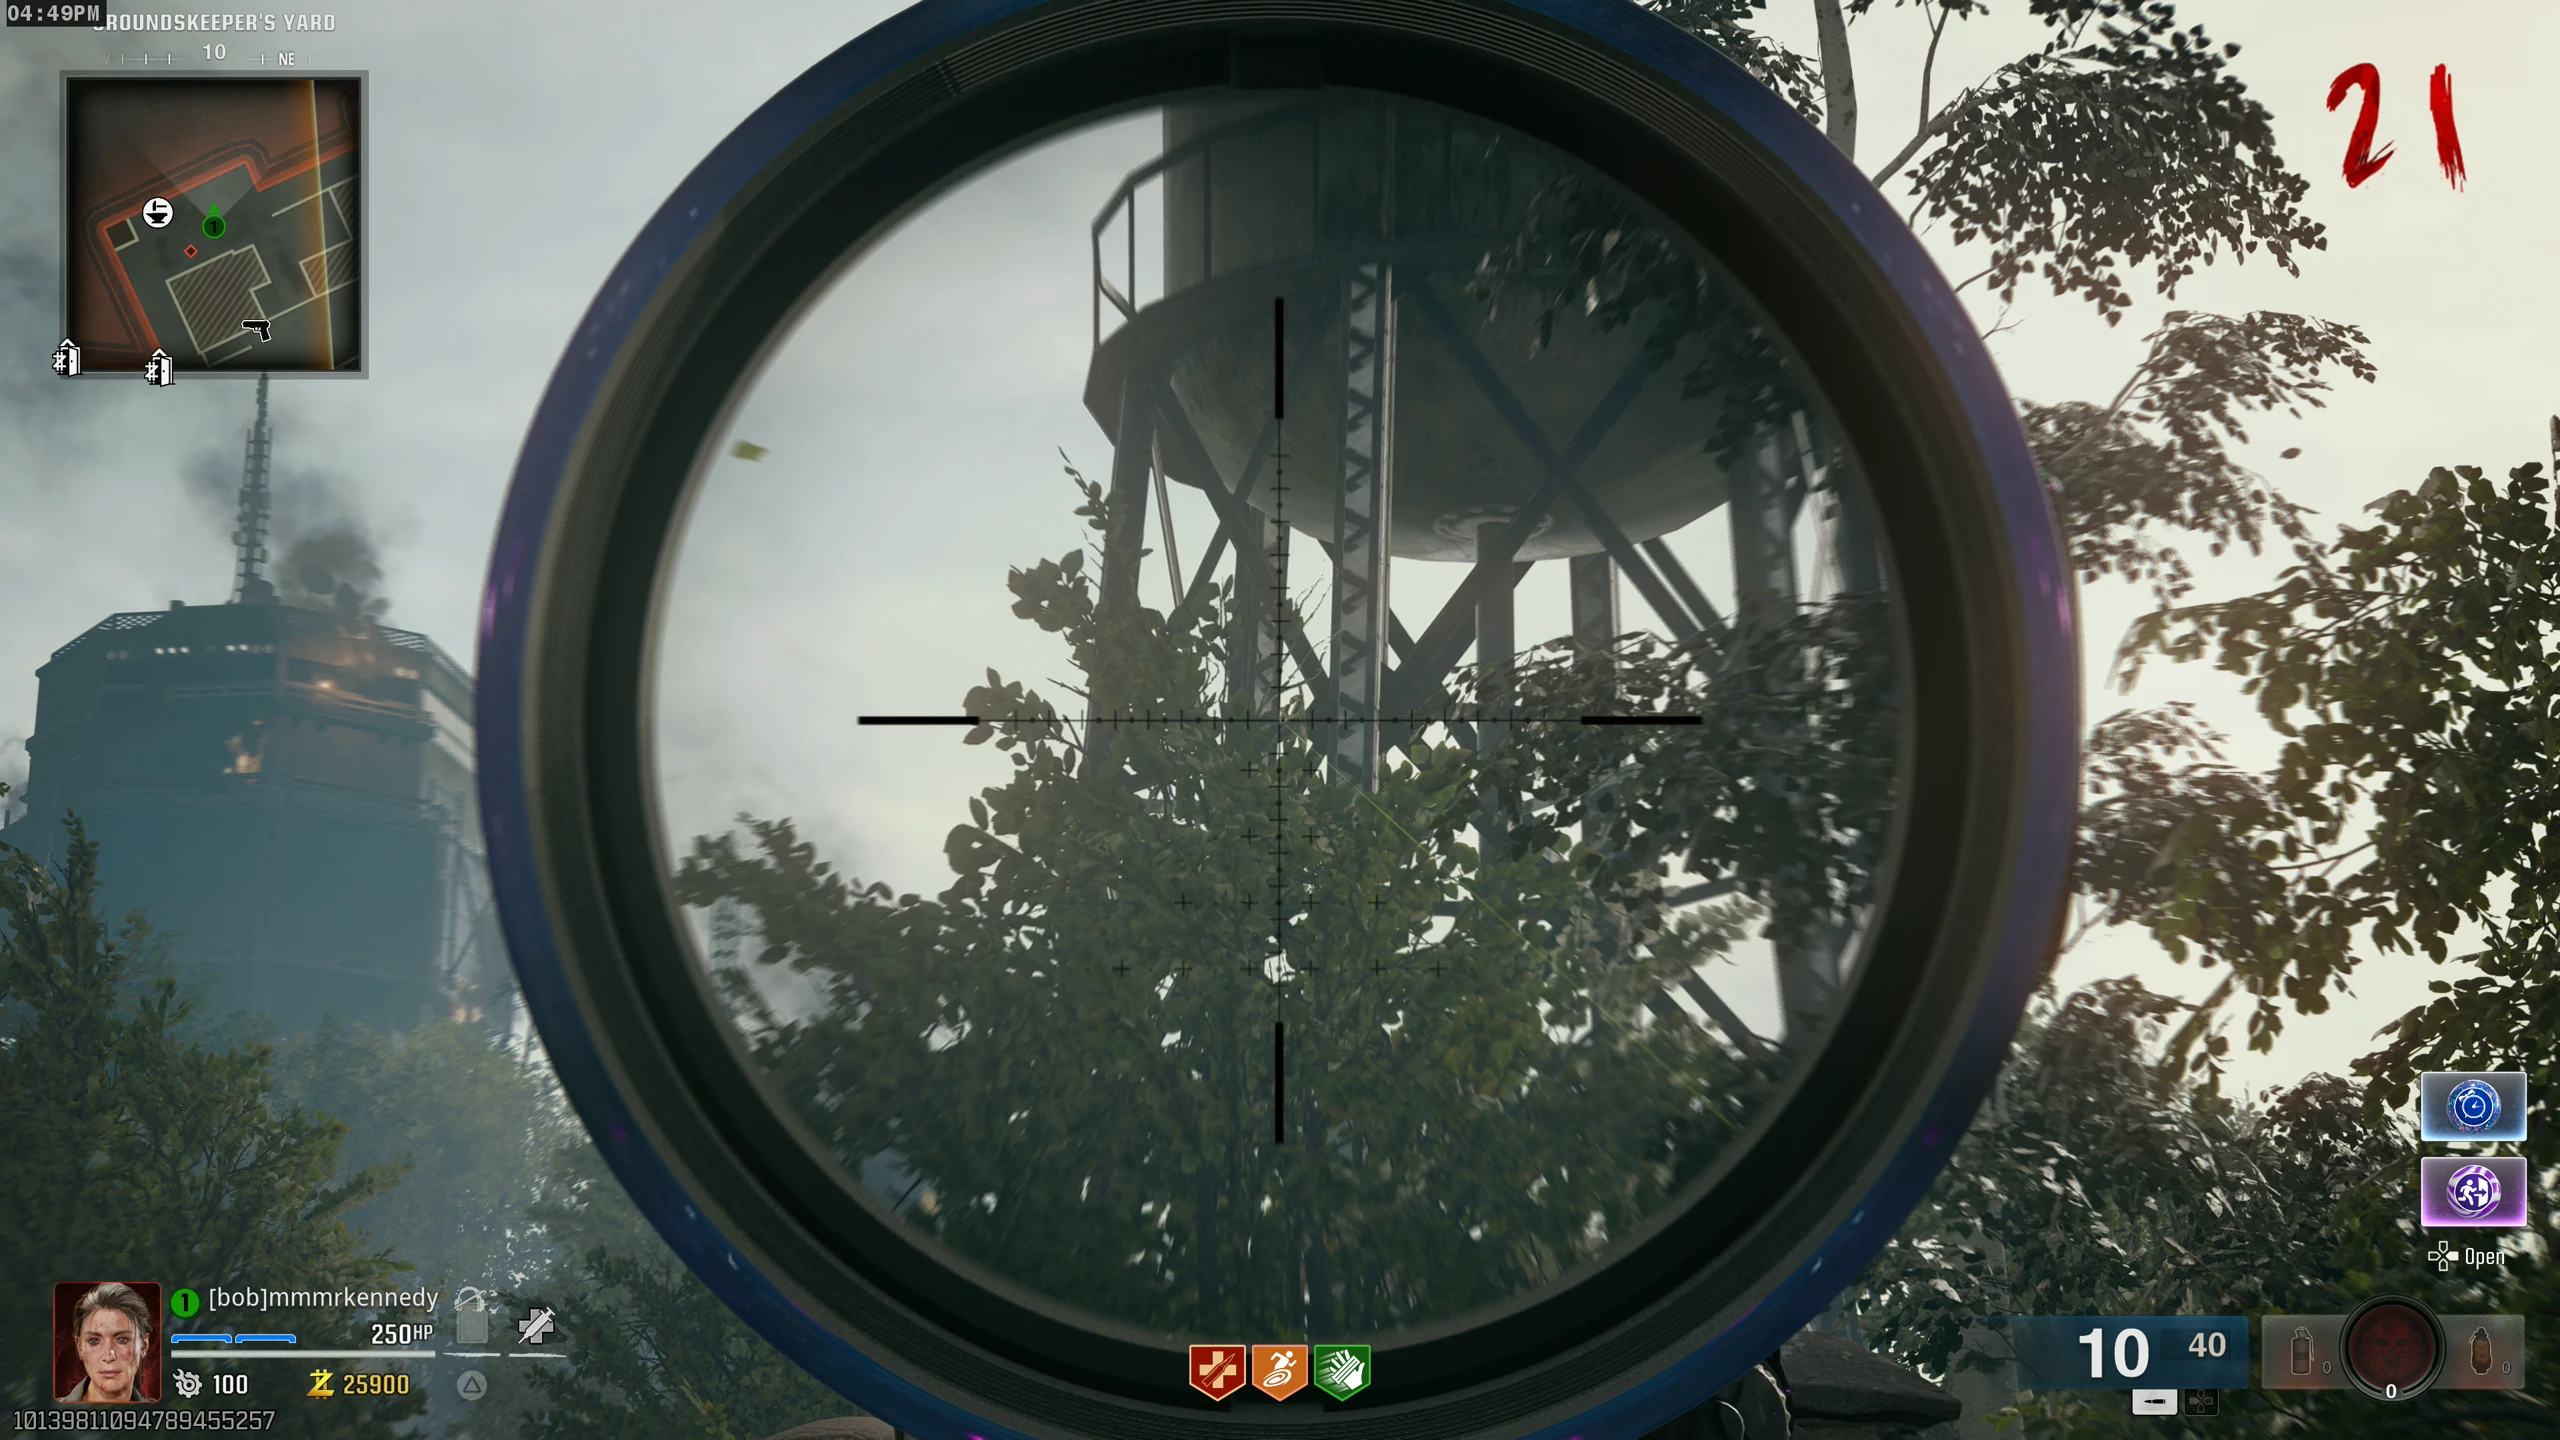
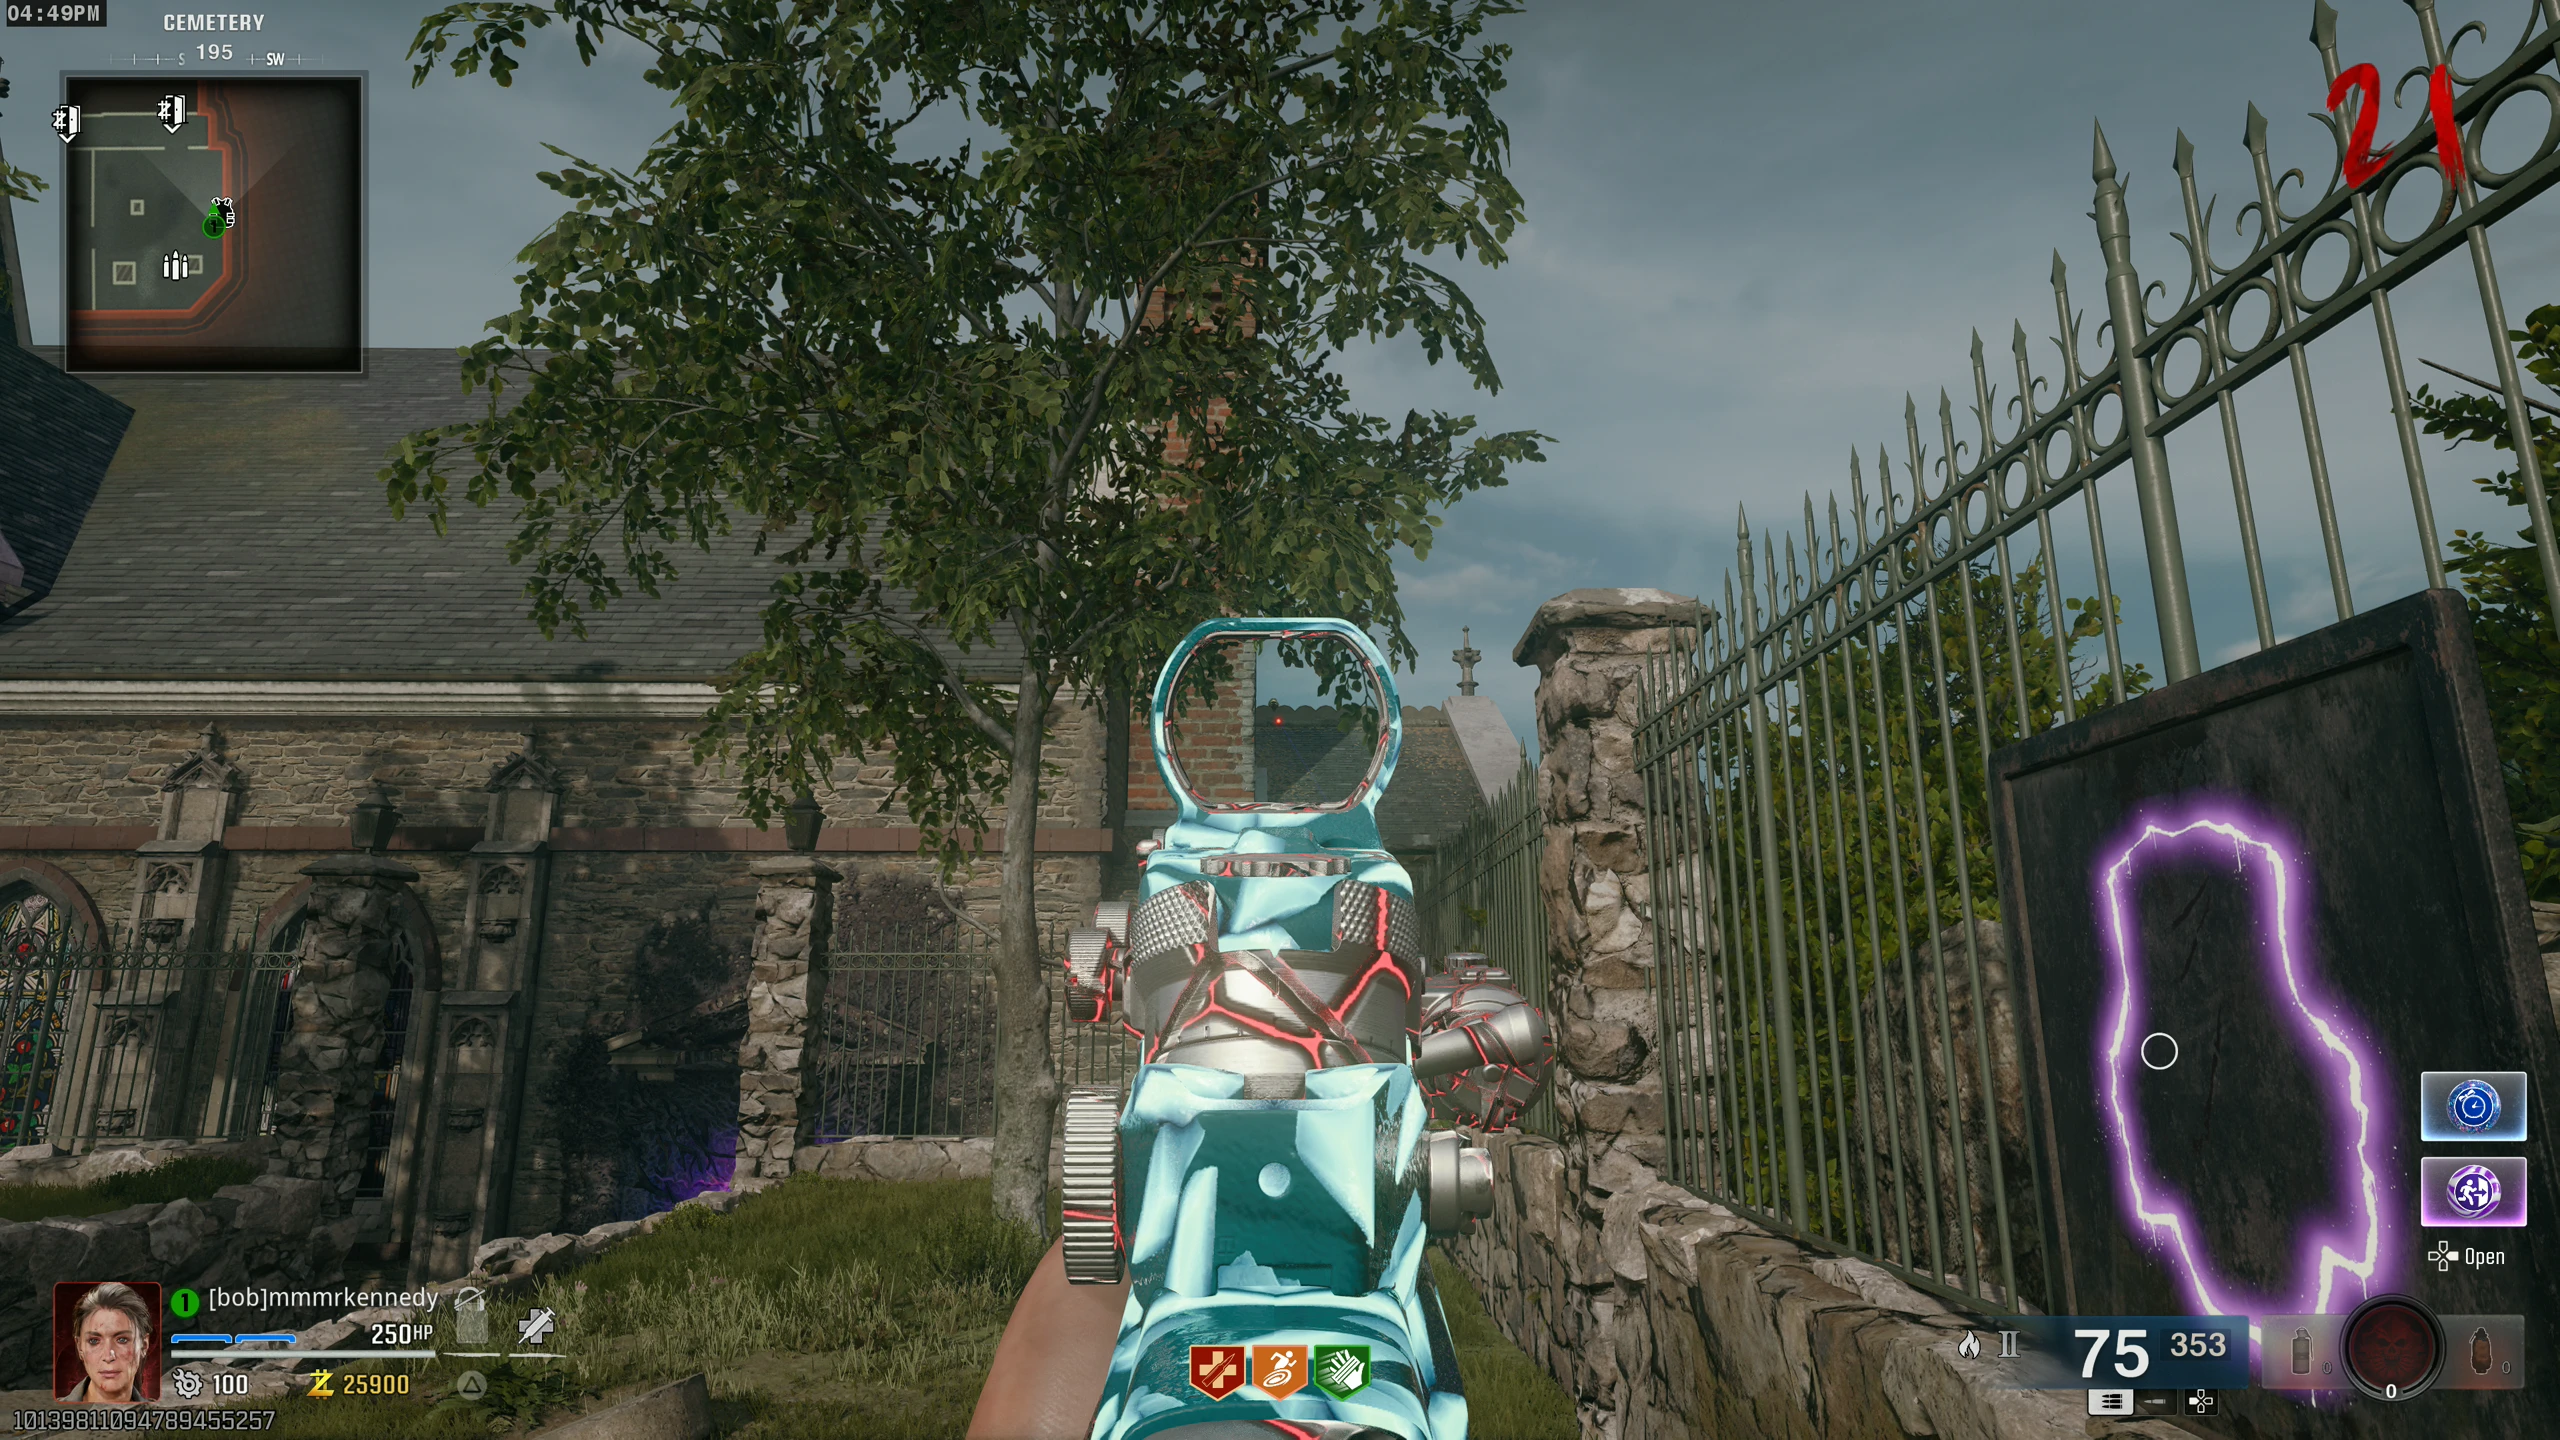
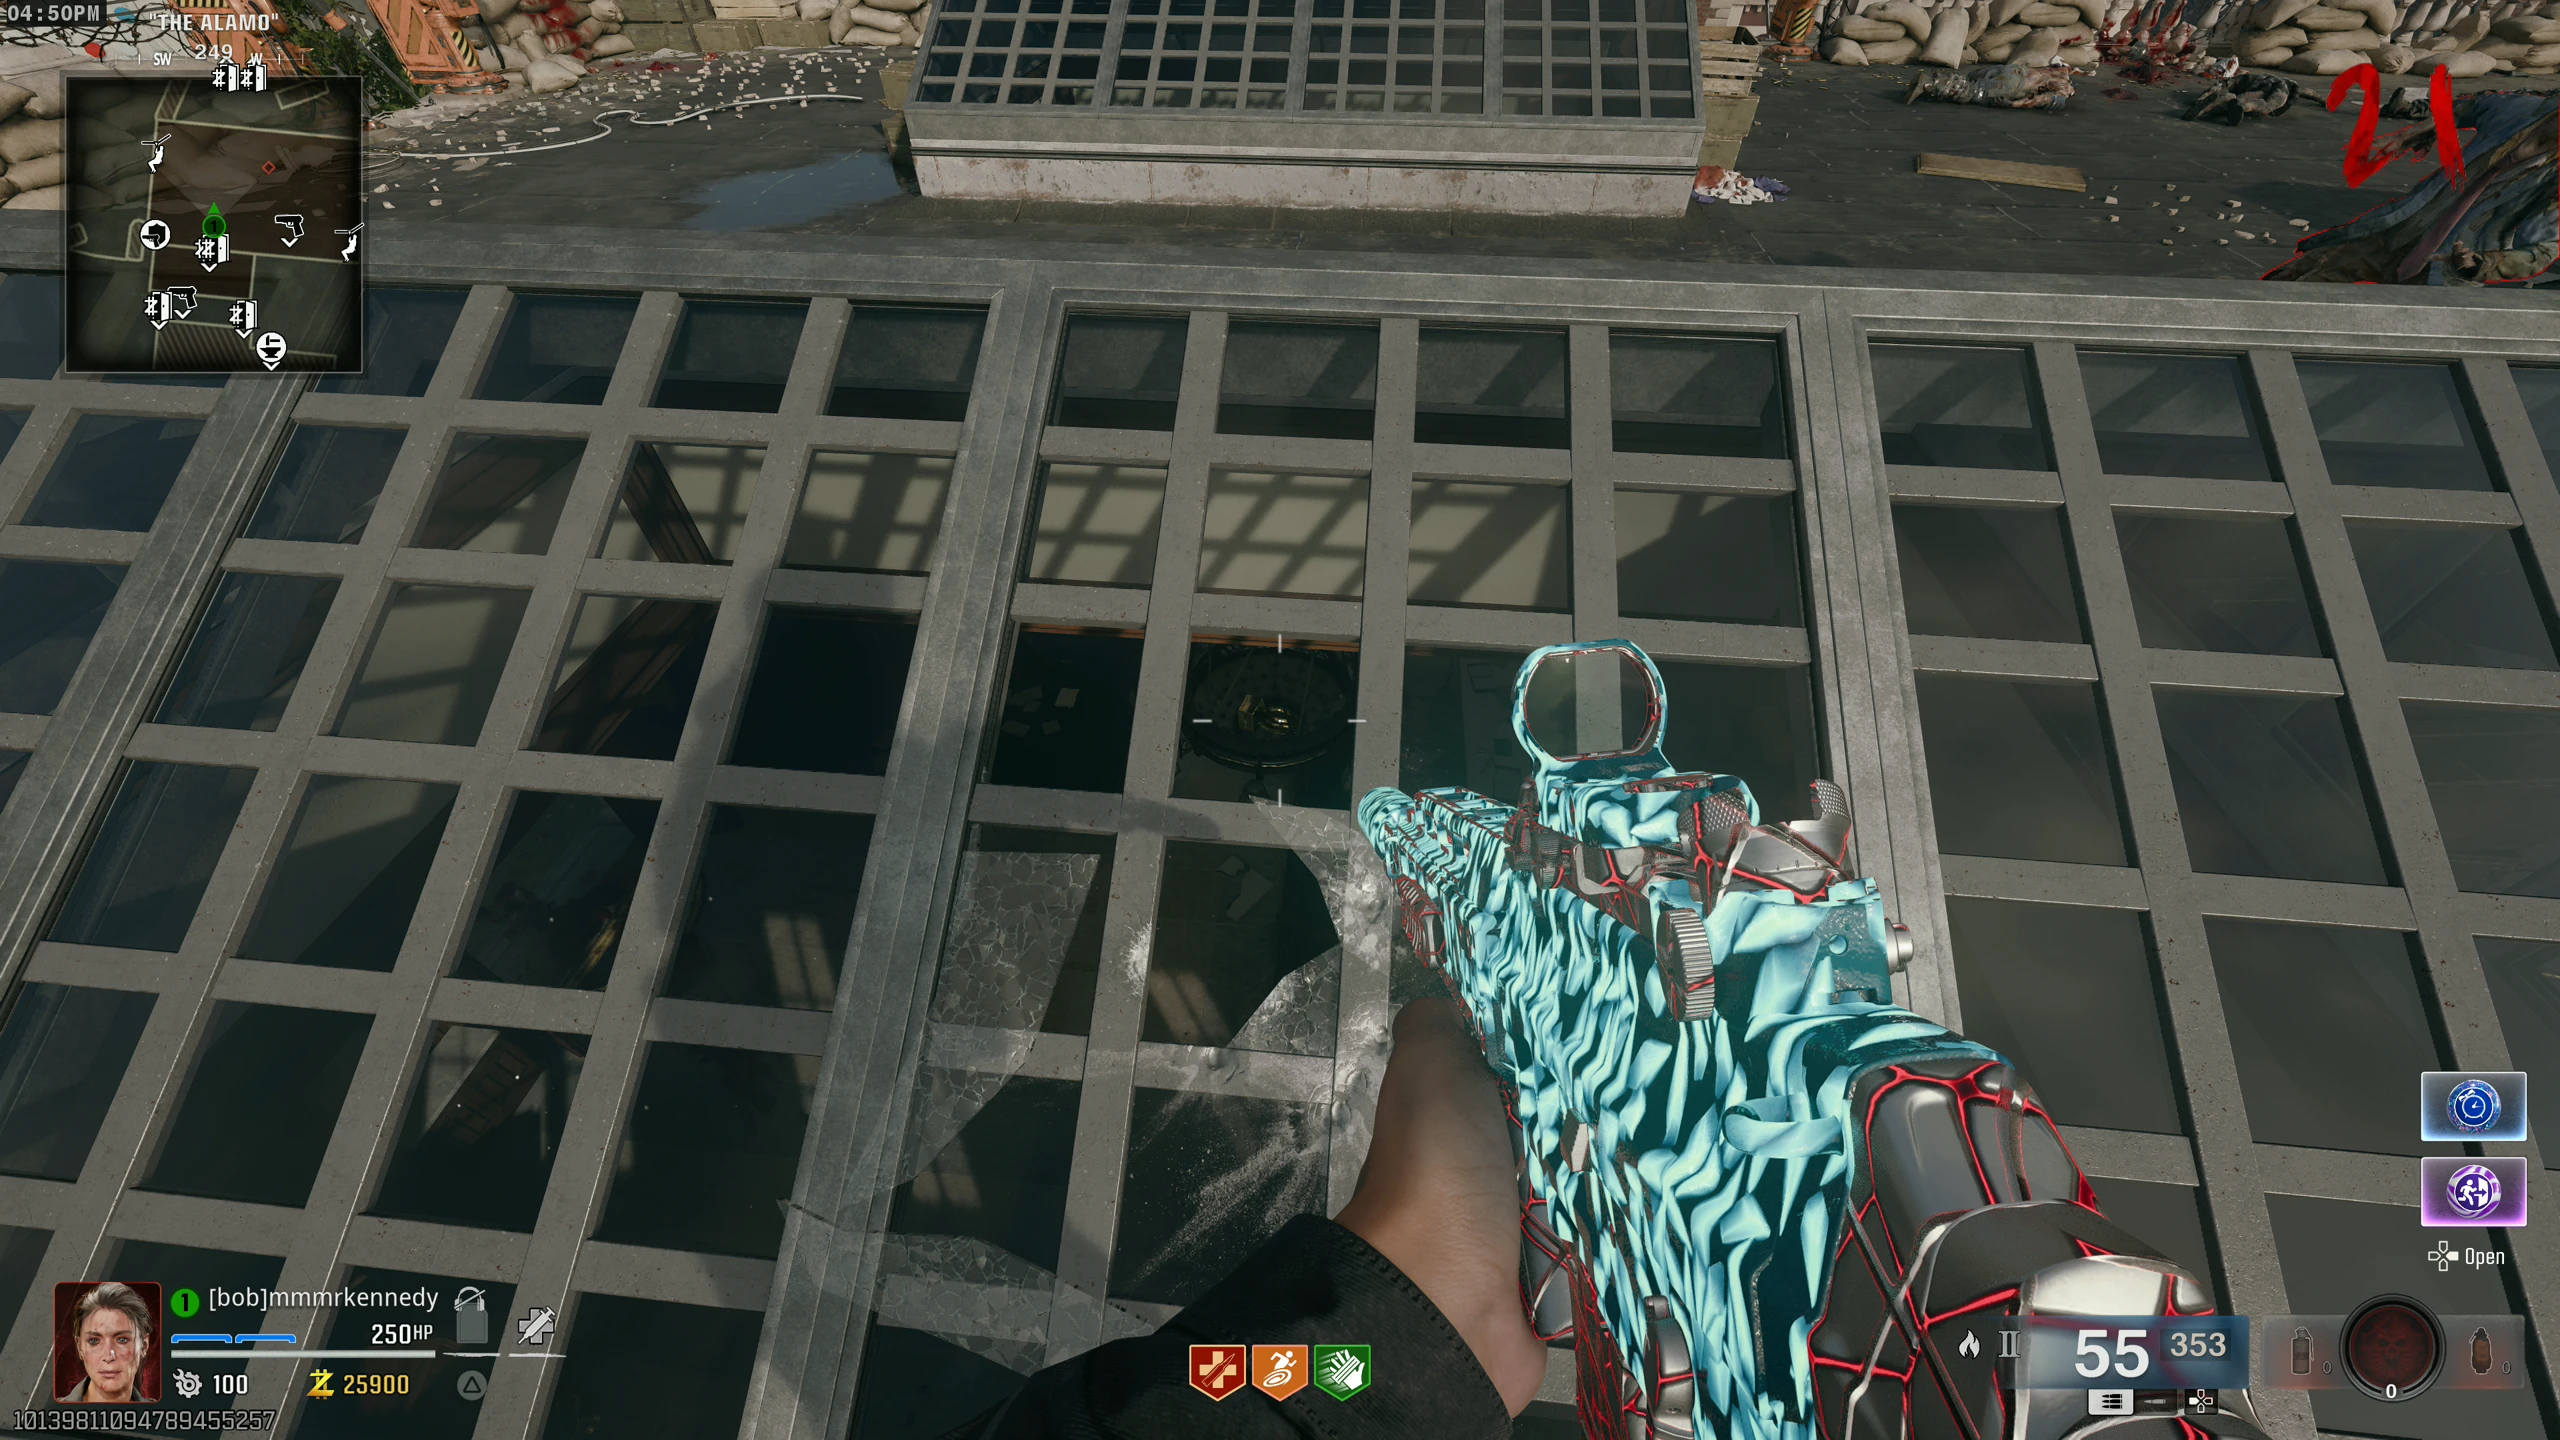
- There are eight power-ups hidden around the map that spawn when shot. Each can only be triggered once per match. Locations:
- Max Ammo: Abandoned Rooftop/East Main Street - On the right side of the bridge, at the base of the yellow support
- Bonus Points: Riverside - On the backside of Olly's Comics, on an A.C. unit in a window
- Max Armour: Washington Ave. - On a metal cart in the barrier across the street from the Ammo Box
- Double Points: Groundskeeper's Yard - On one of the supports of the water tower
- Insta-Kill: Cemetery - On the roof of the Church at the back (can be seen by standing near the Armour wallbuy)
- Nuke: "The Alamo" - Looking through the skylight closest to the Arsenal, in the chandelier in the Bank
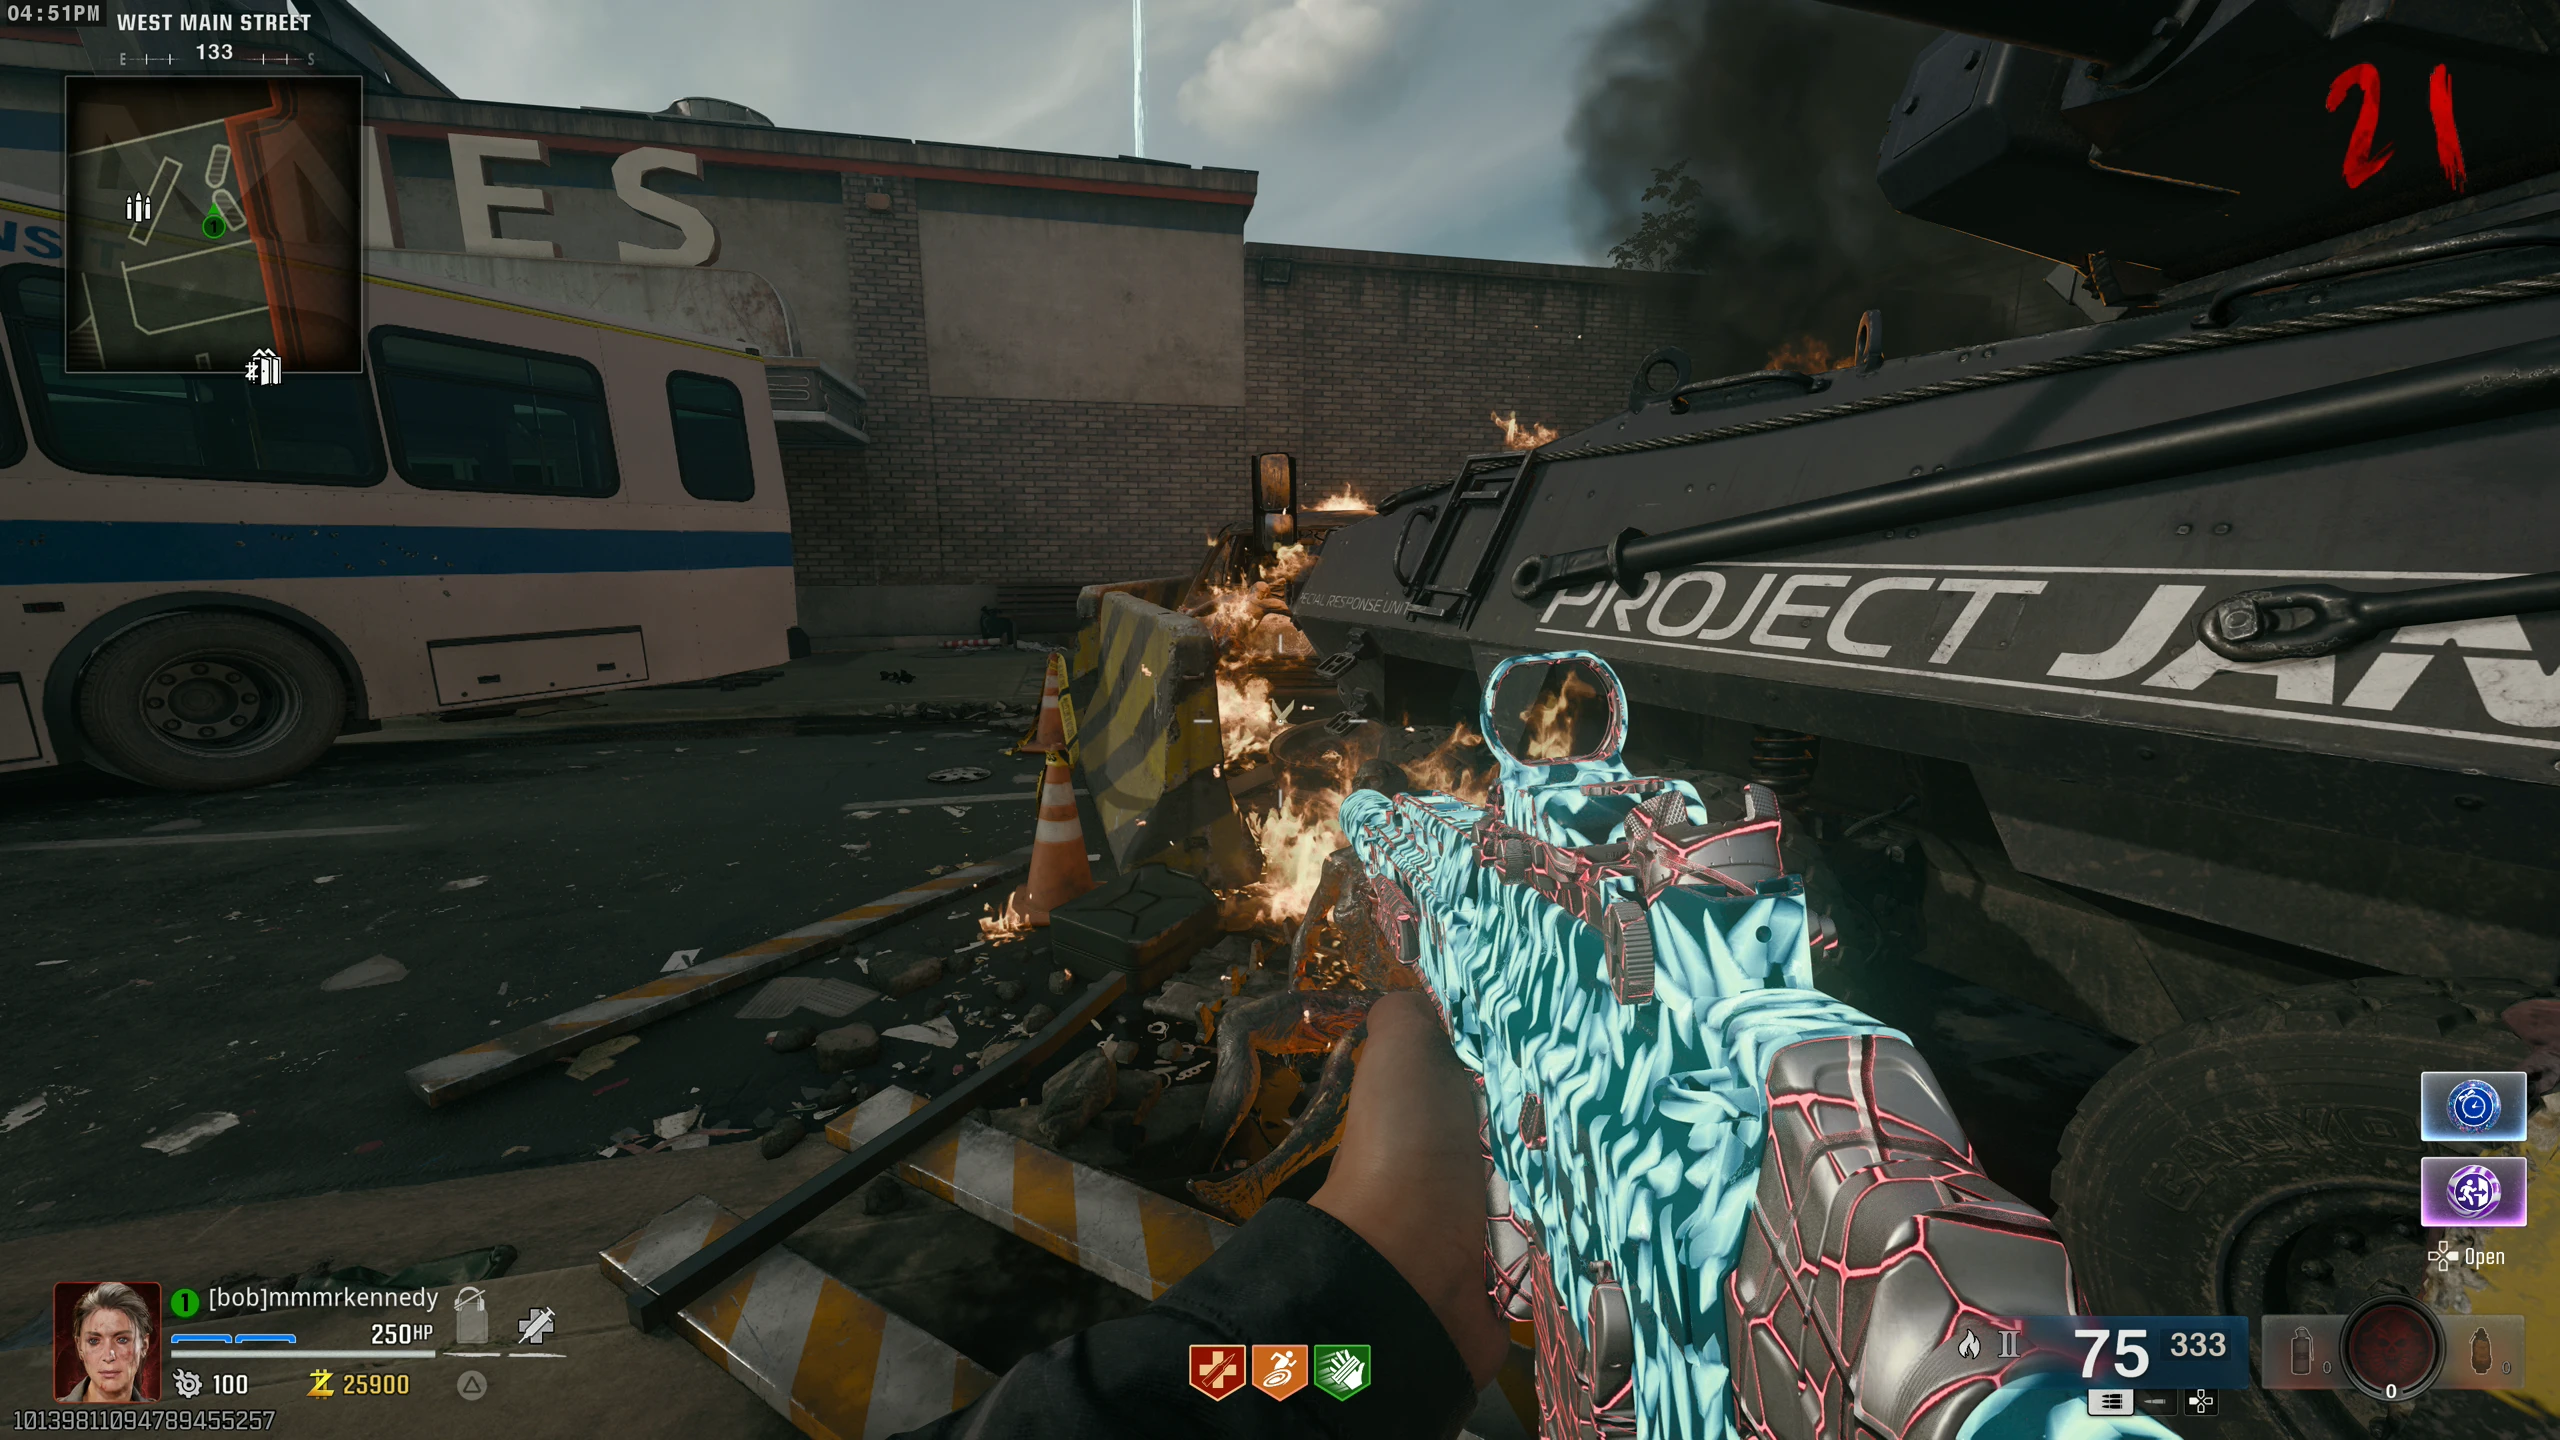
- Full Power: West Main Street - Behind the flaming barrier near the bus
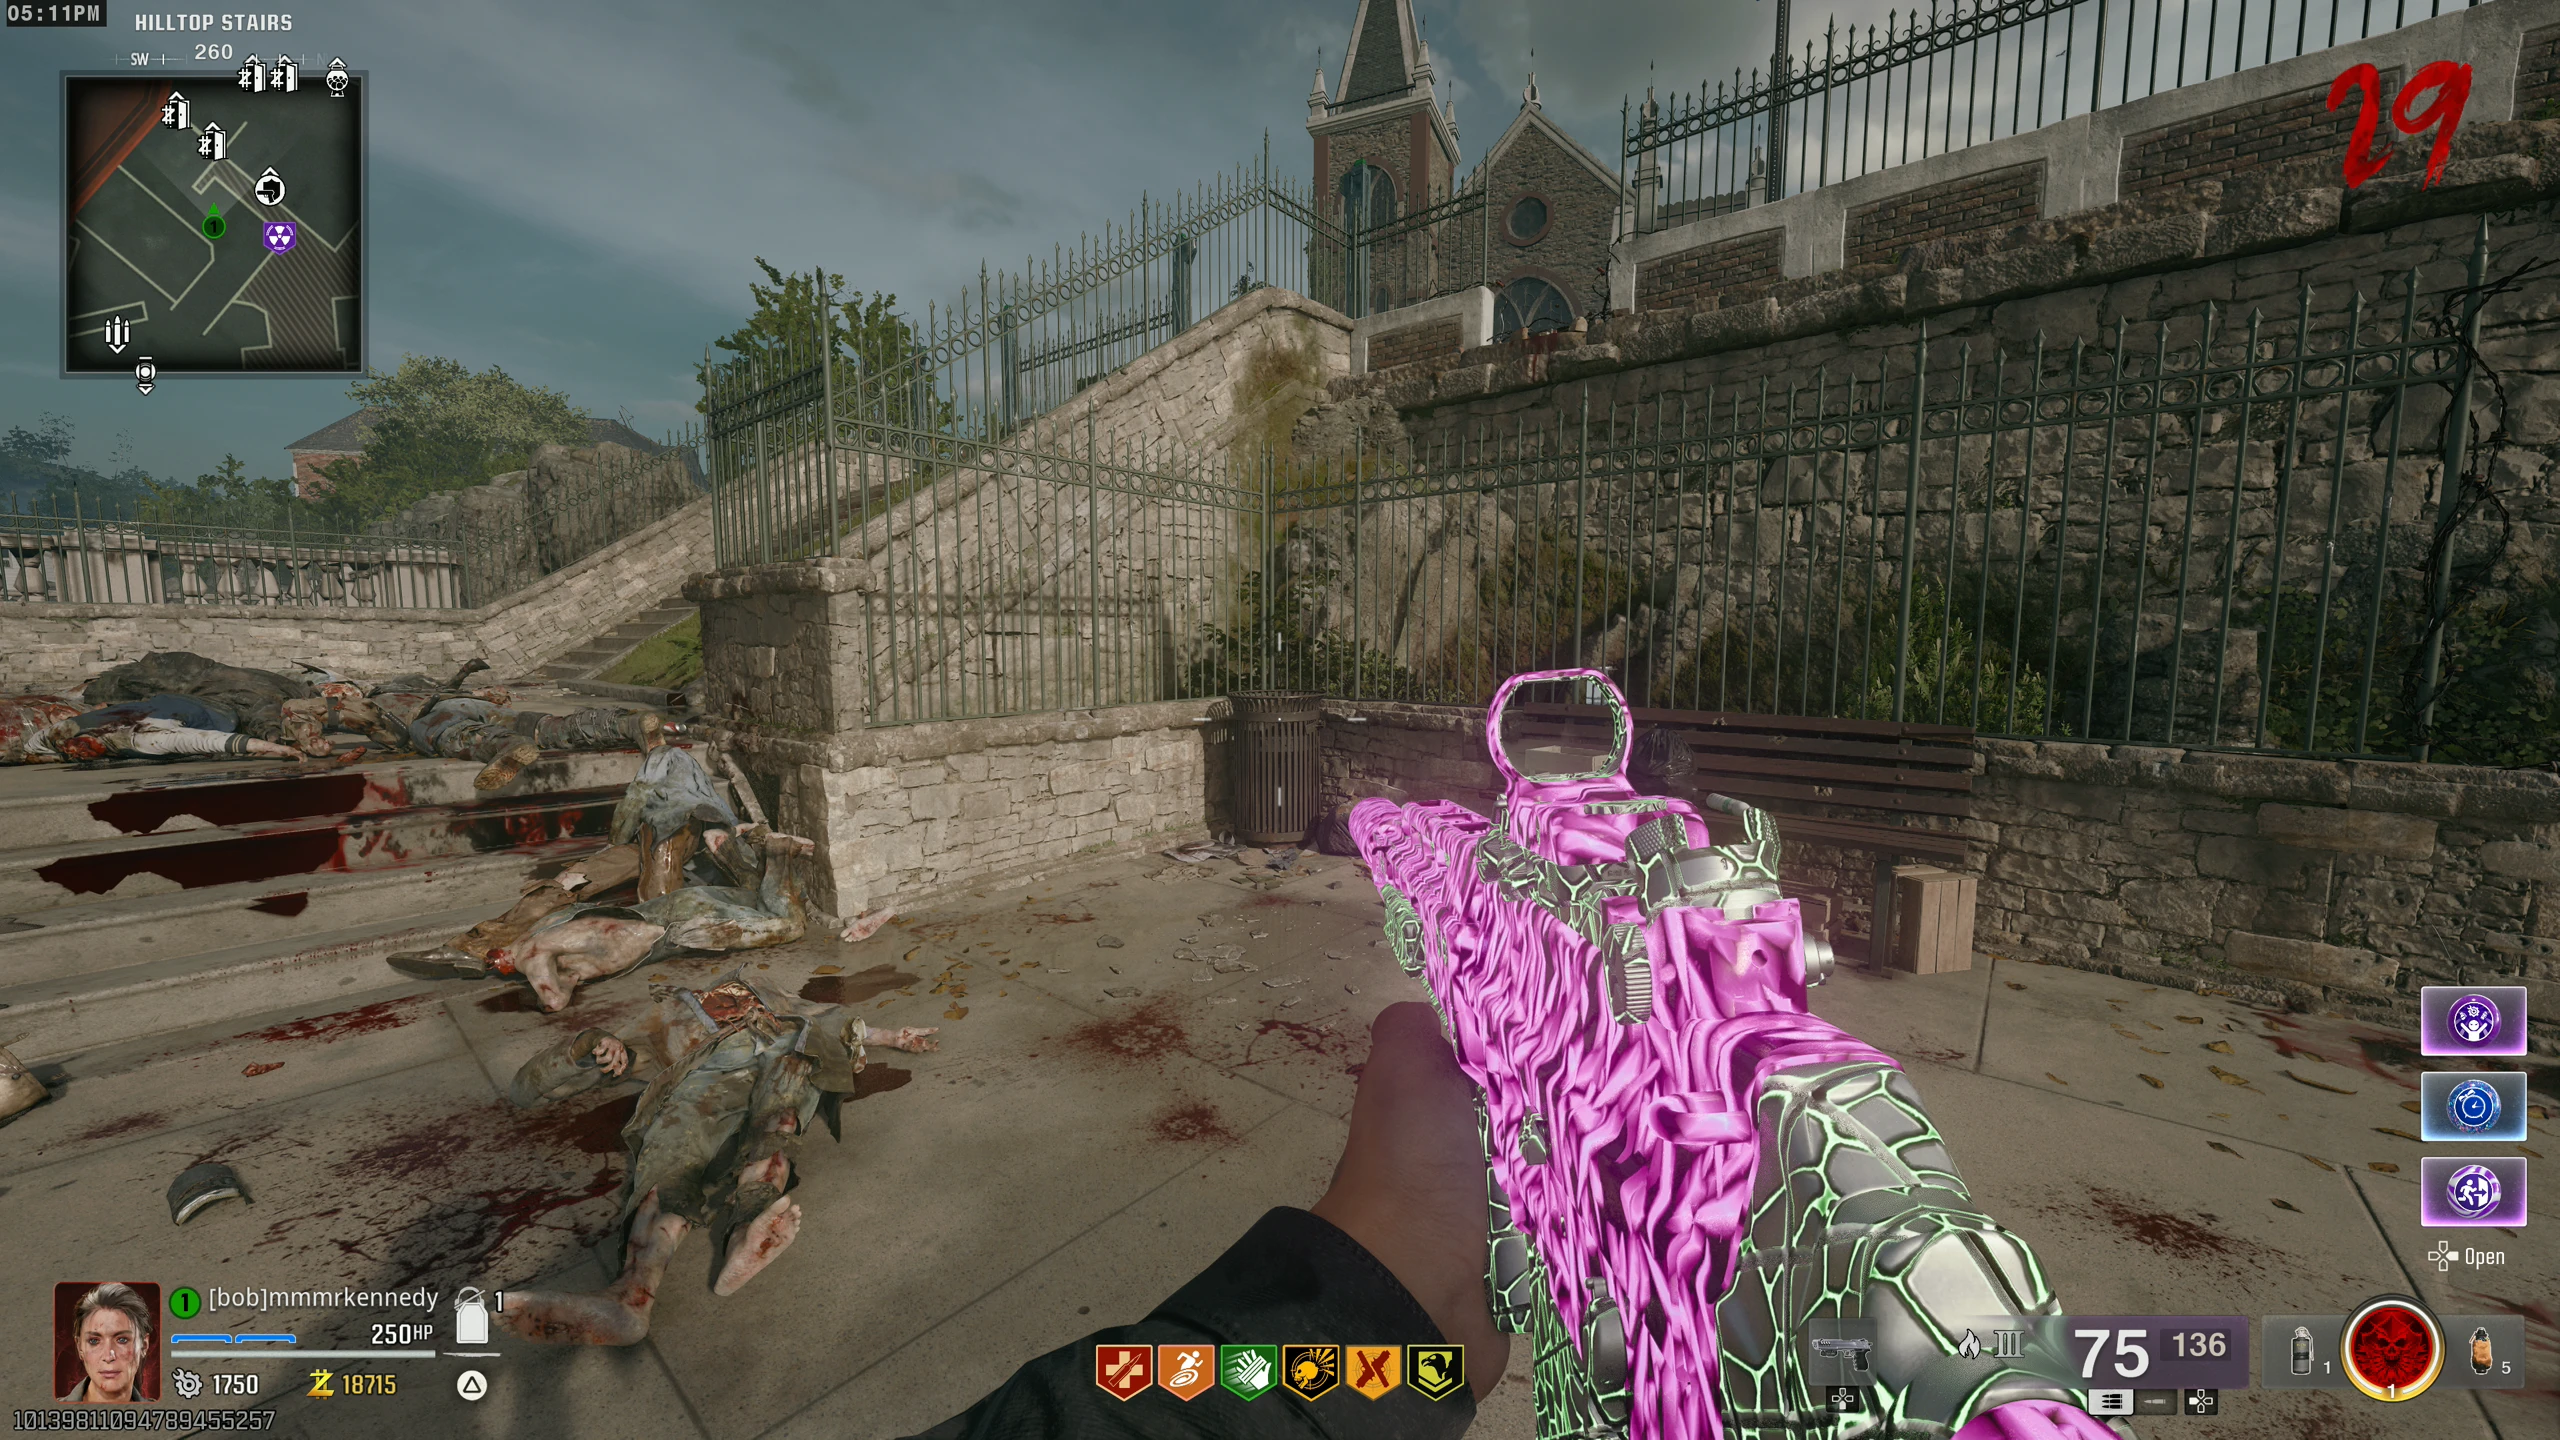
- Fire Sale (Only spawns after shooting all other power-ups): Hilltop Stairs - In the trash can, left of PhD Flopper
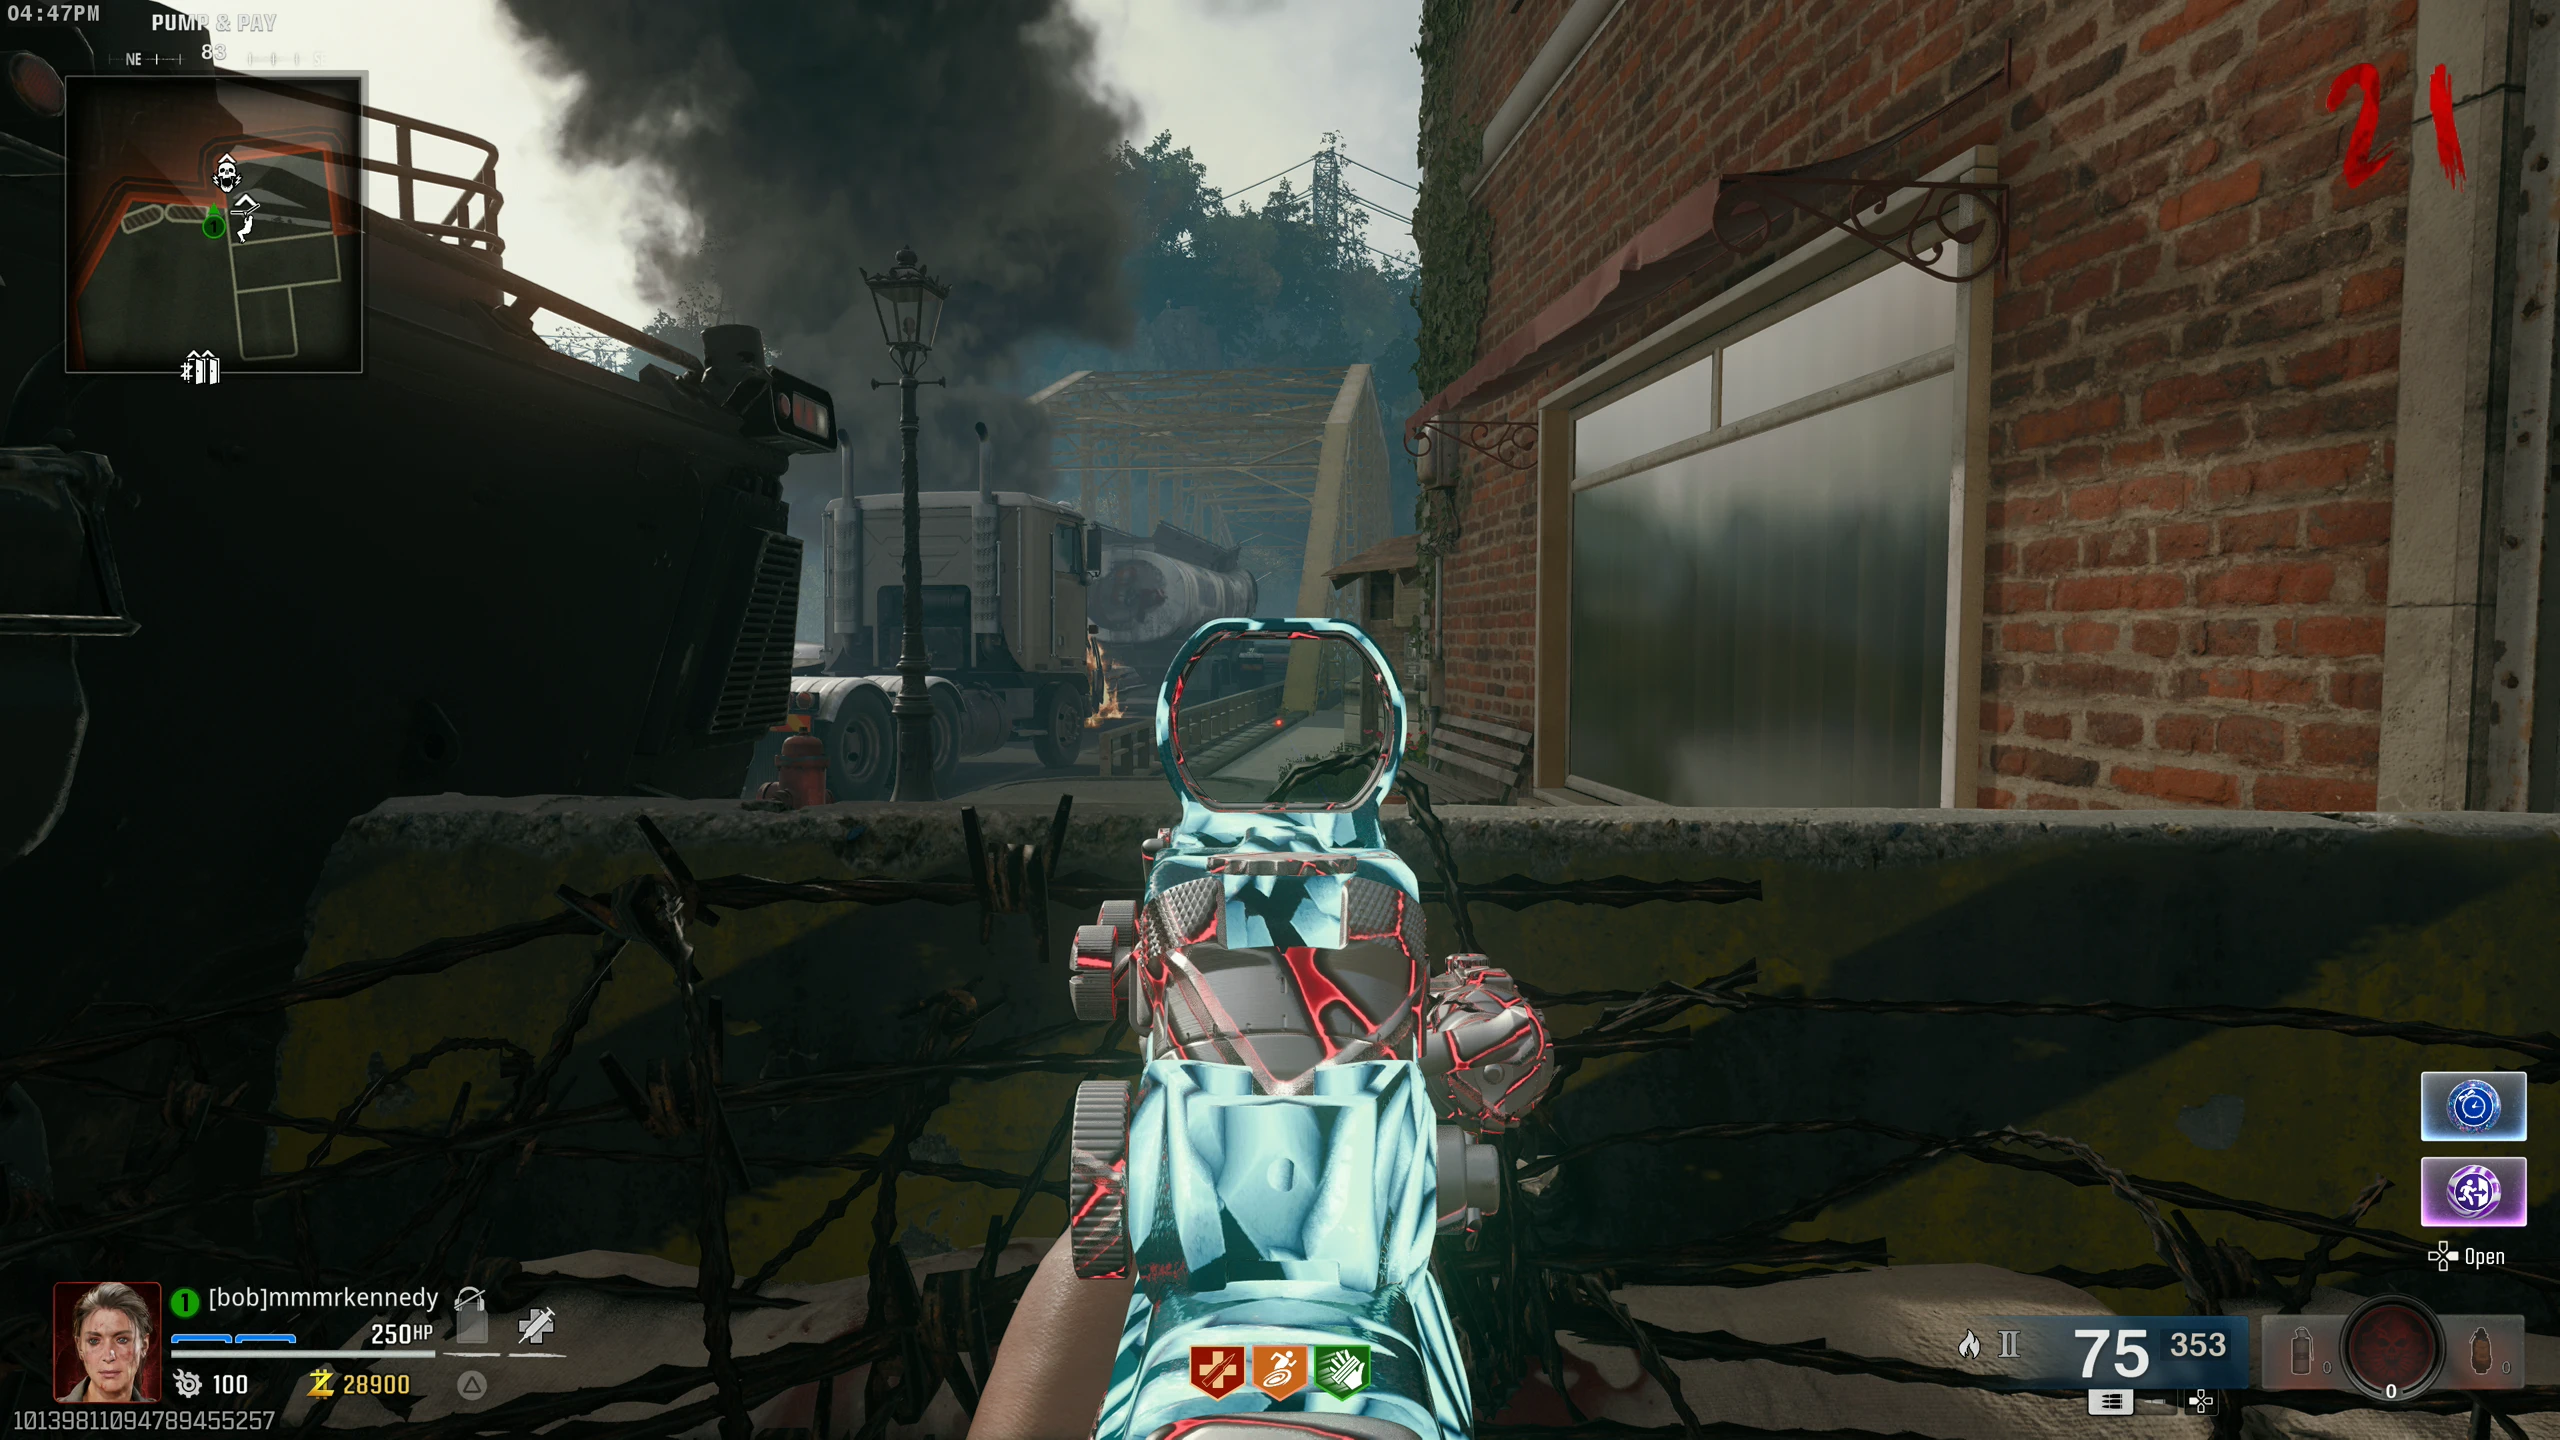
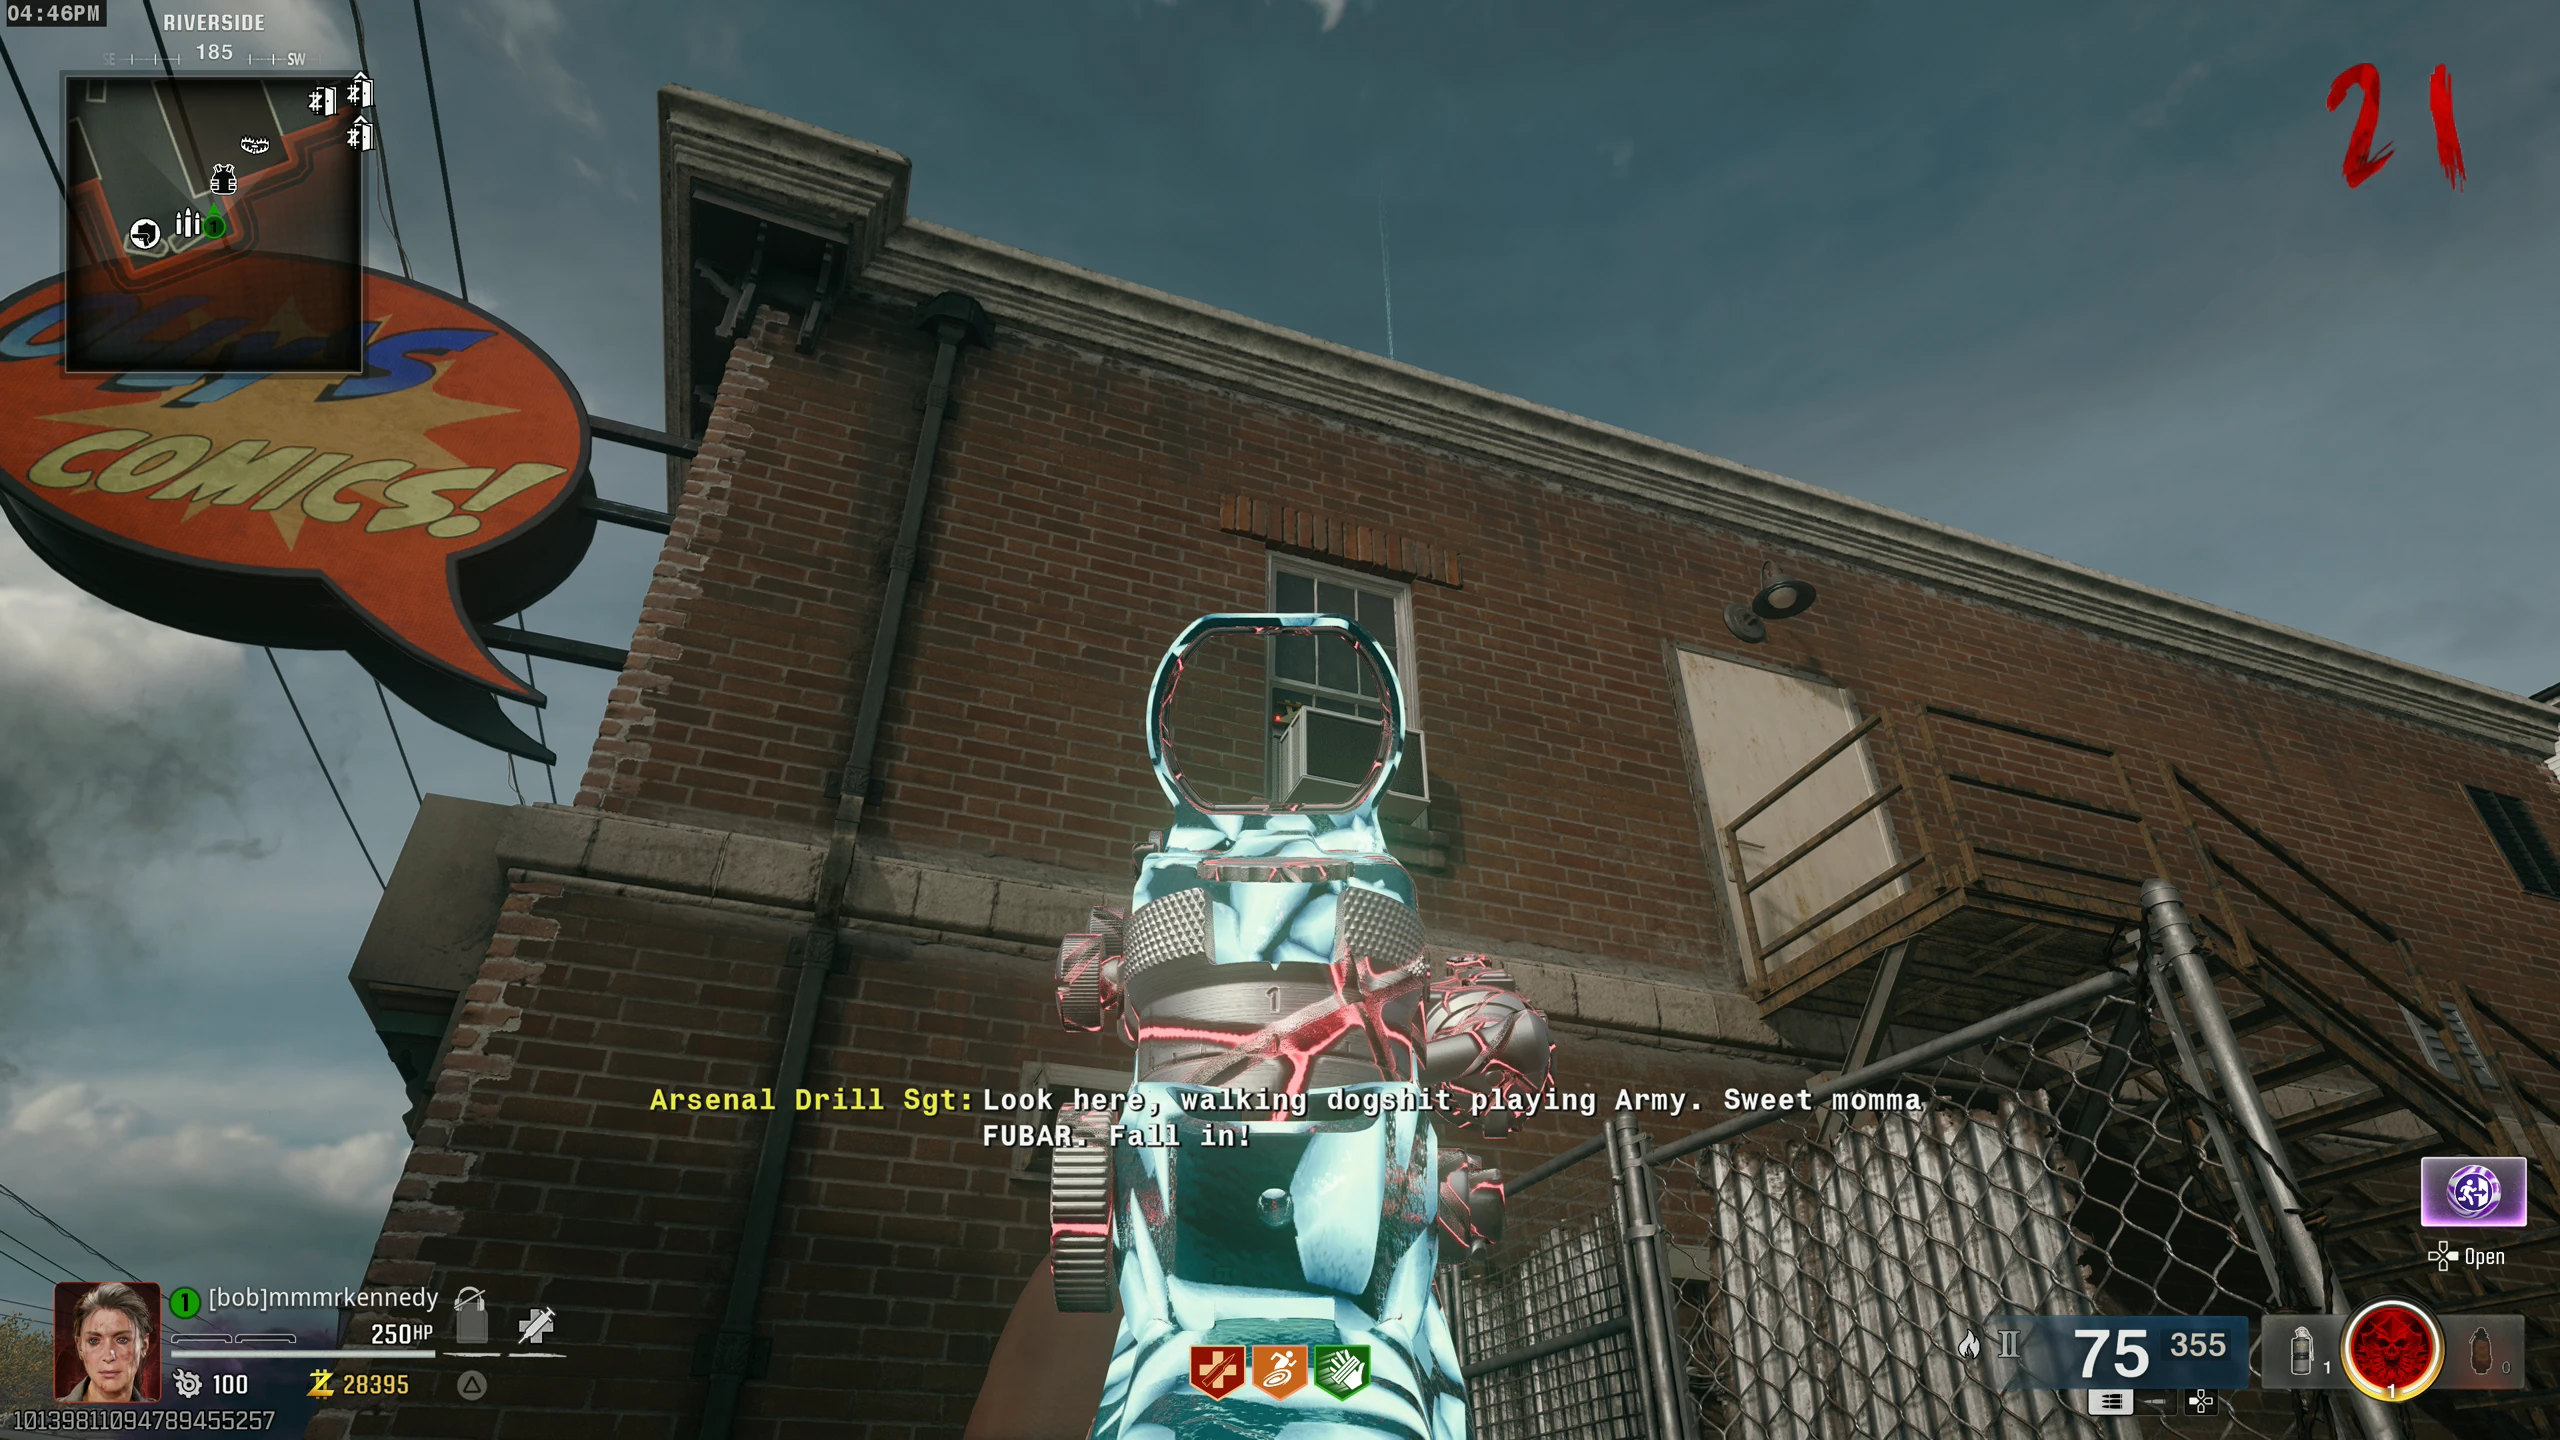
Dancing Zombies
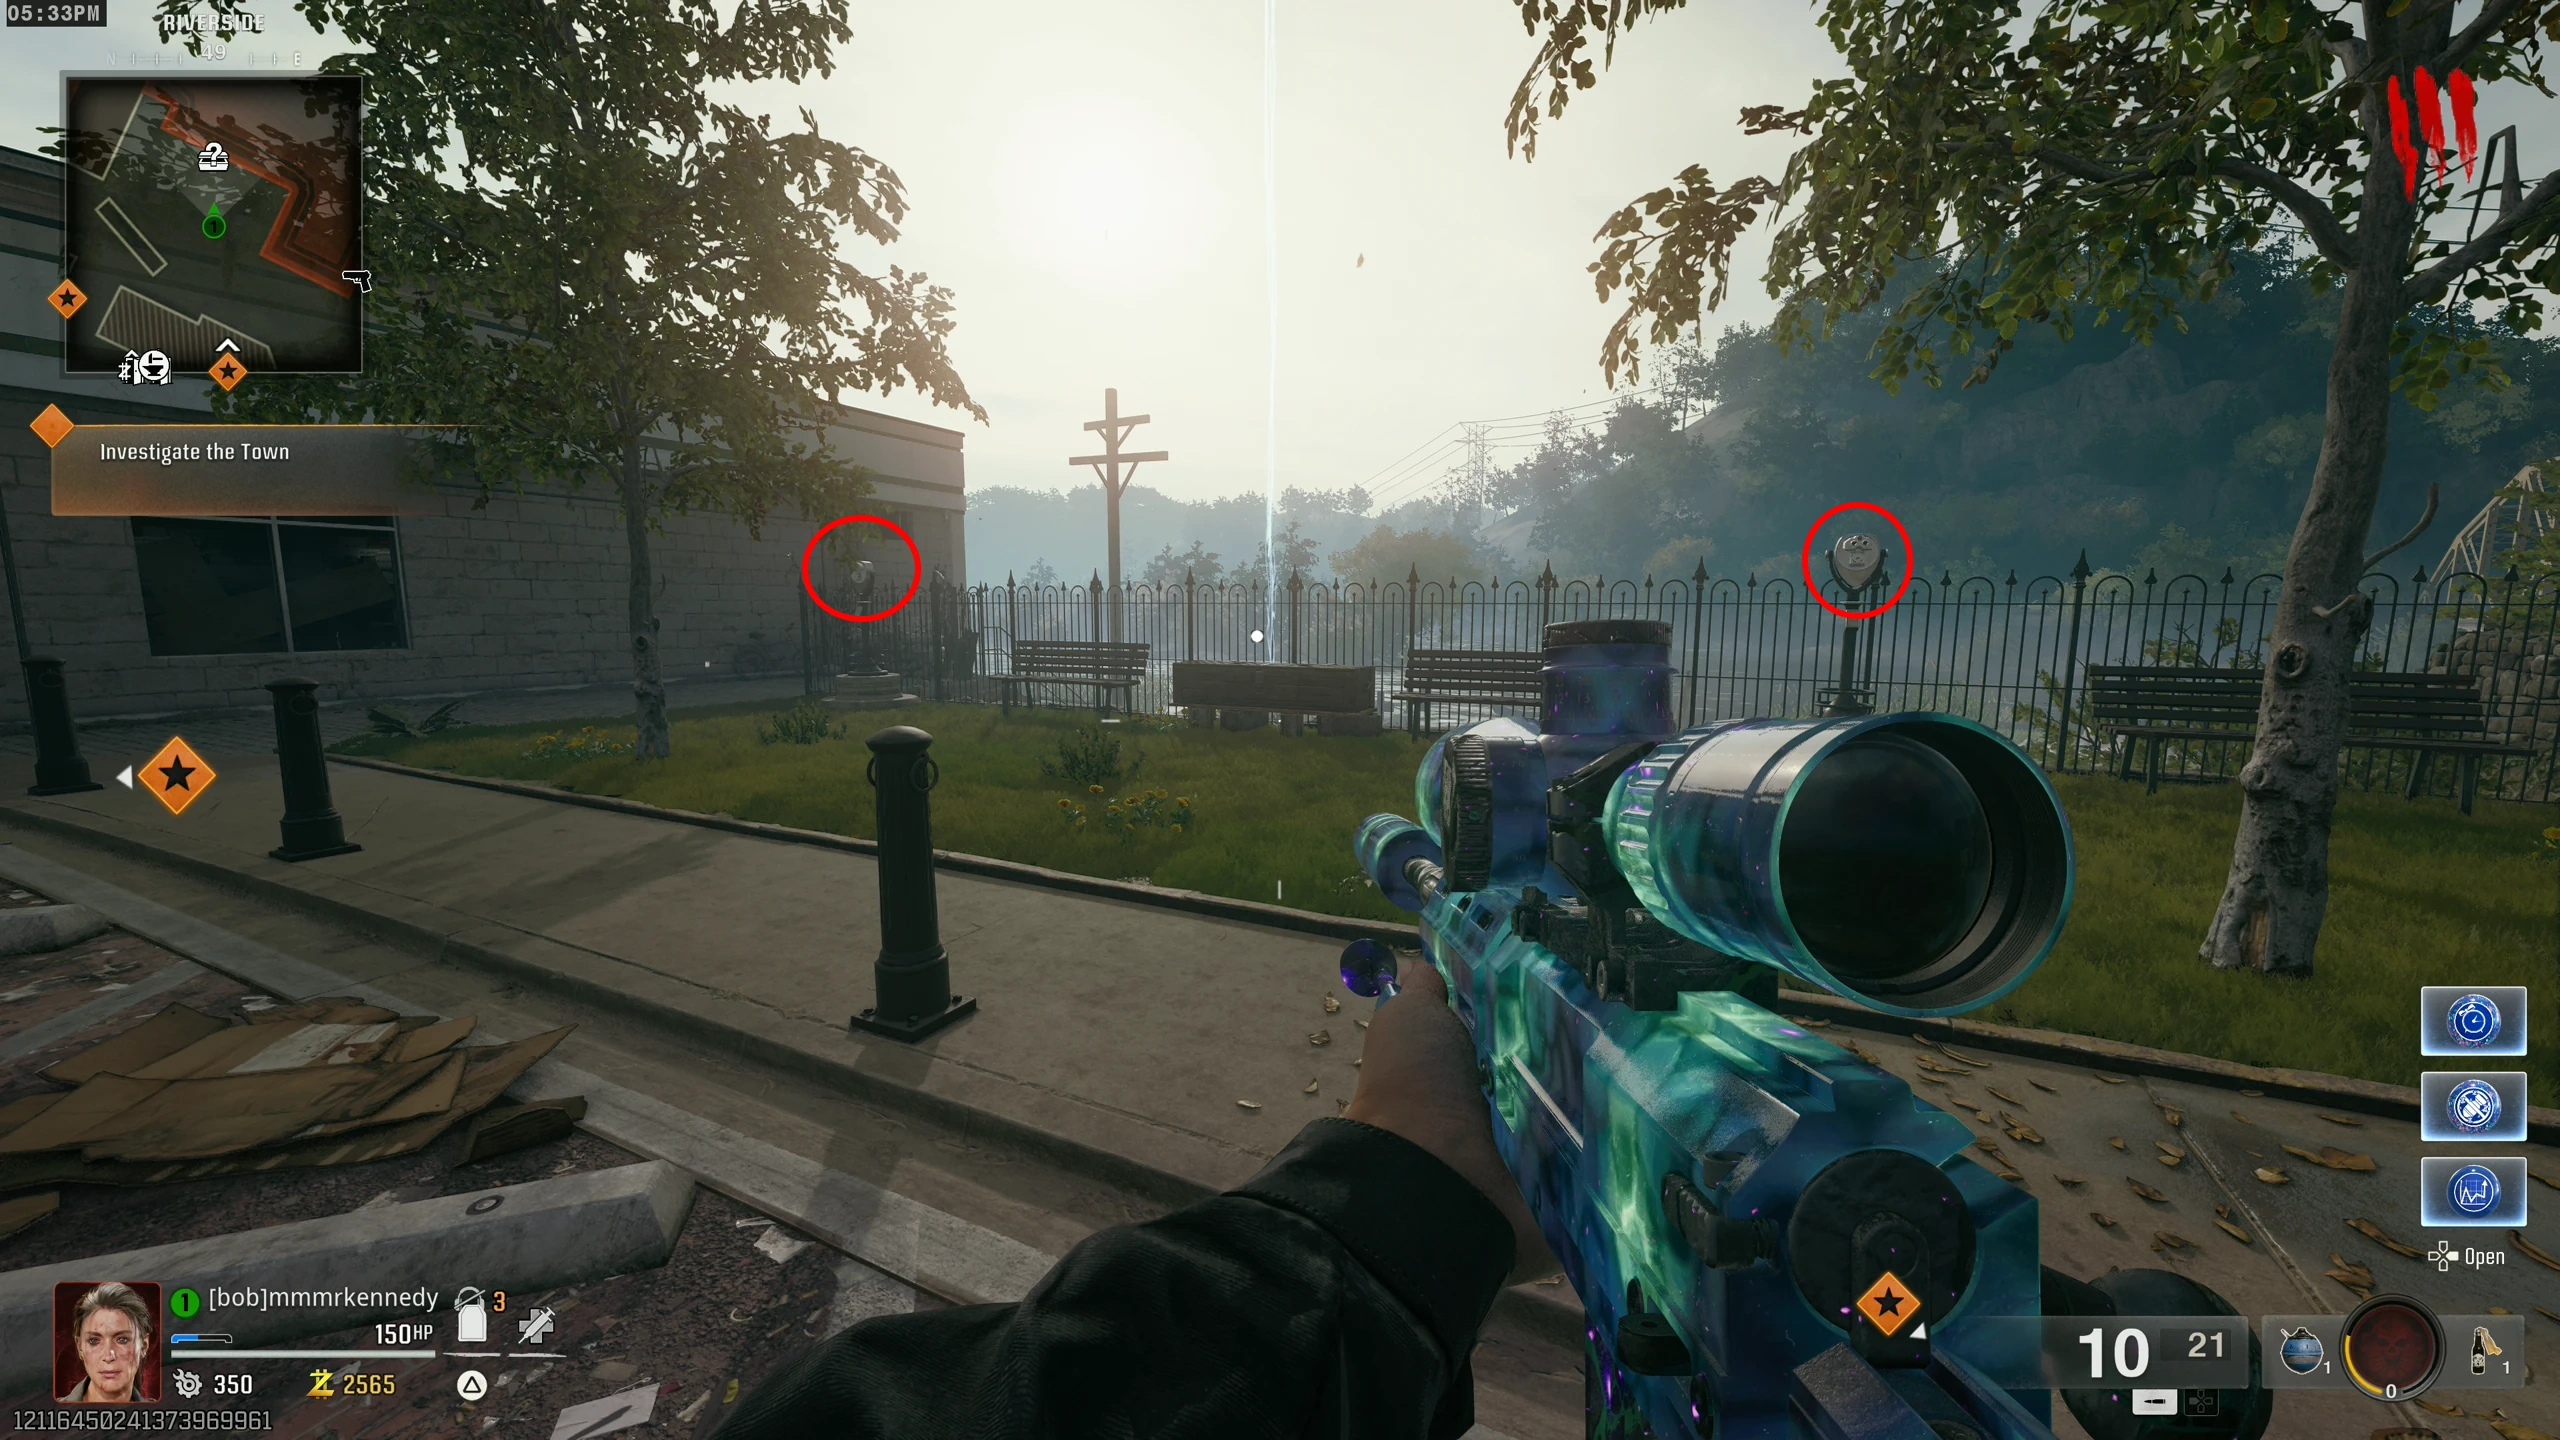
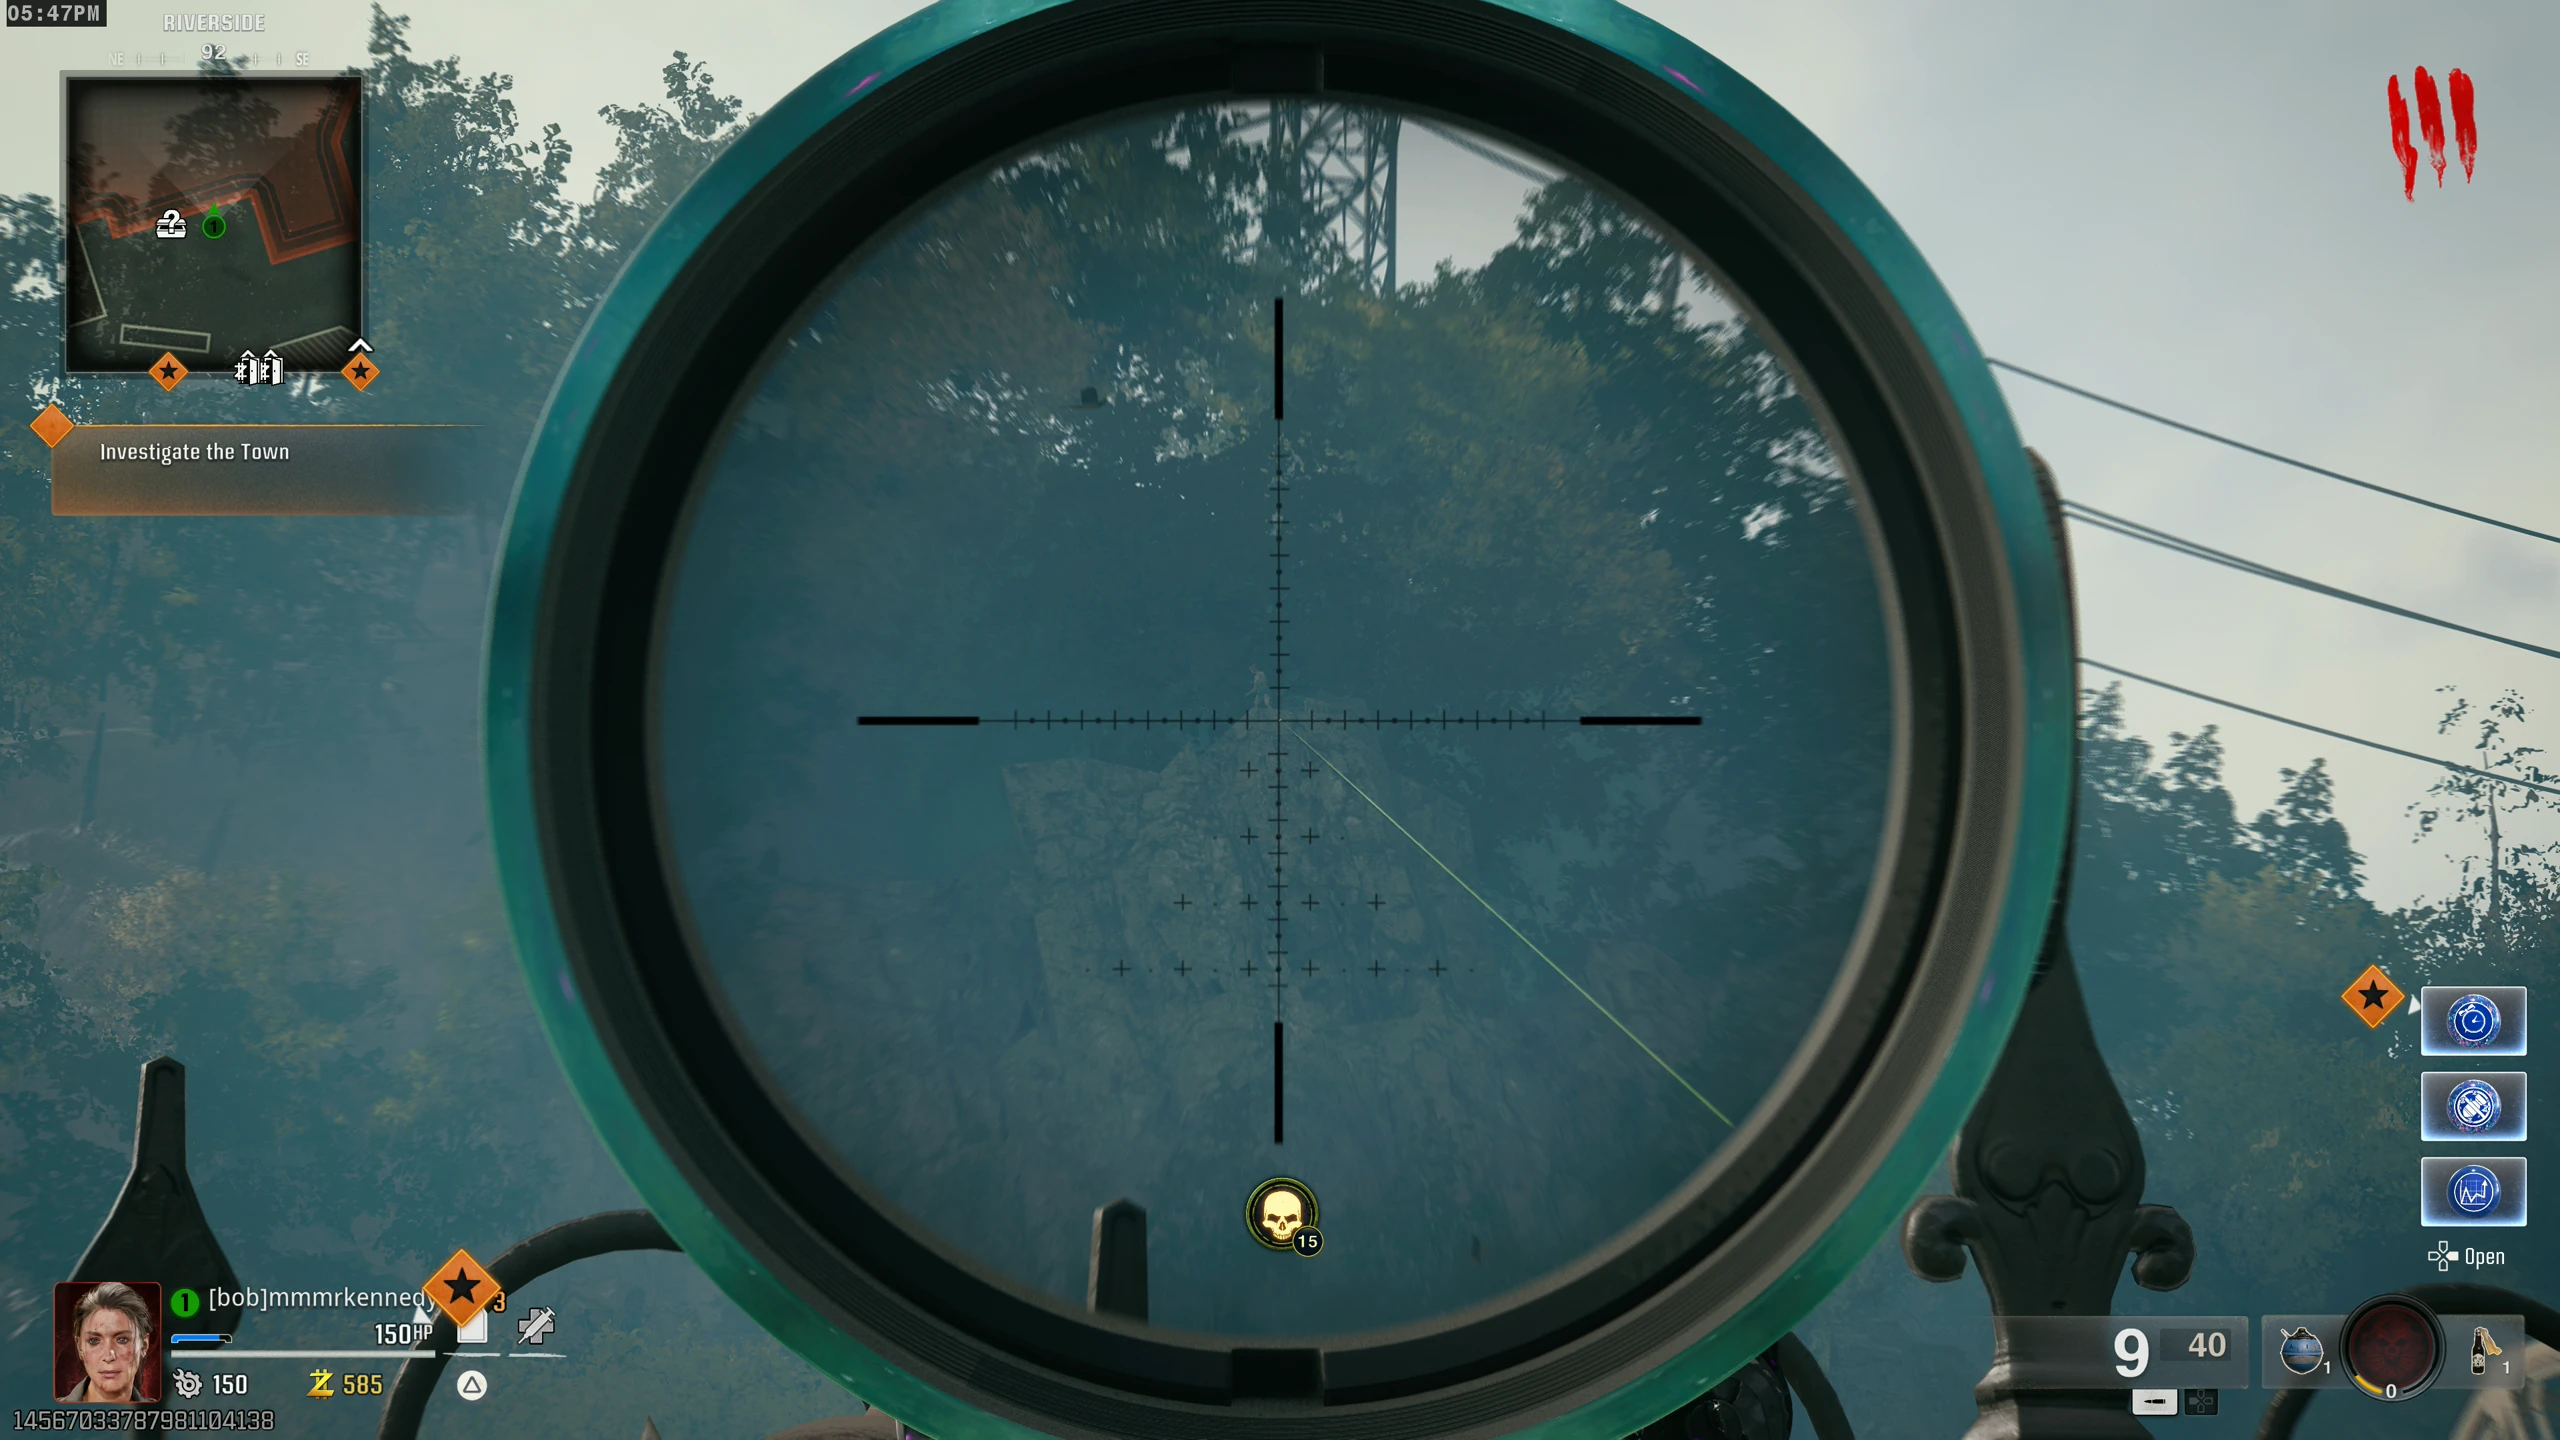
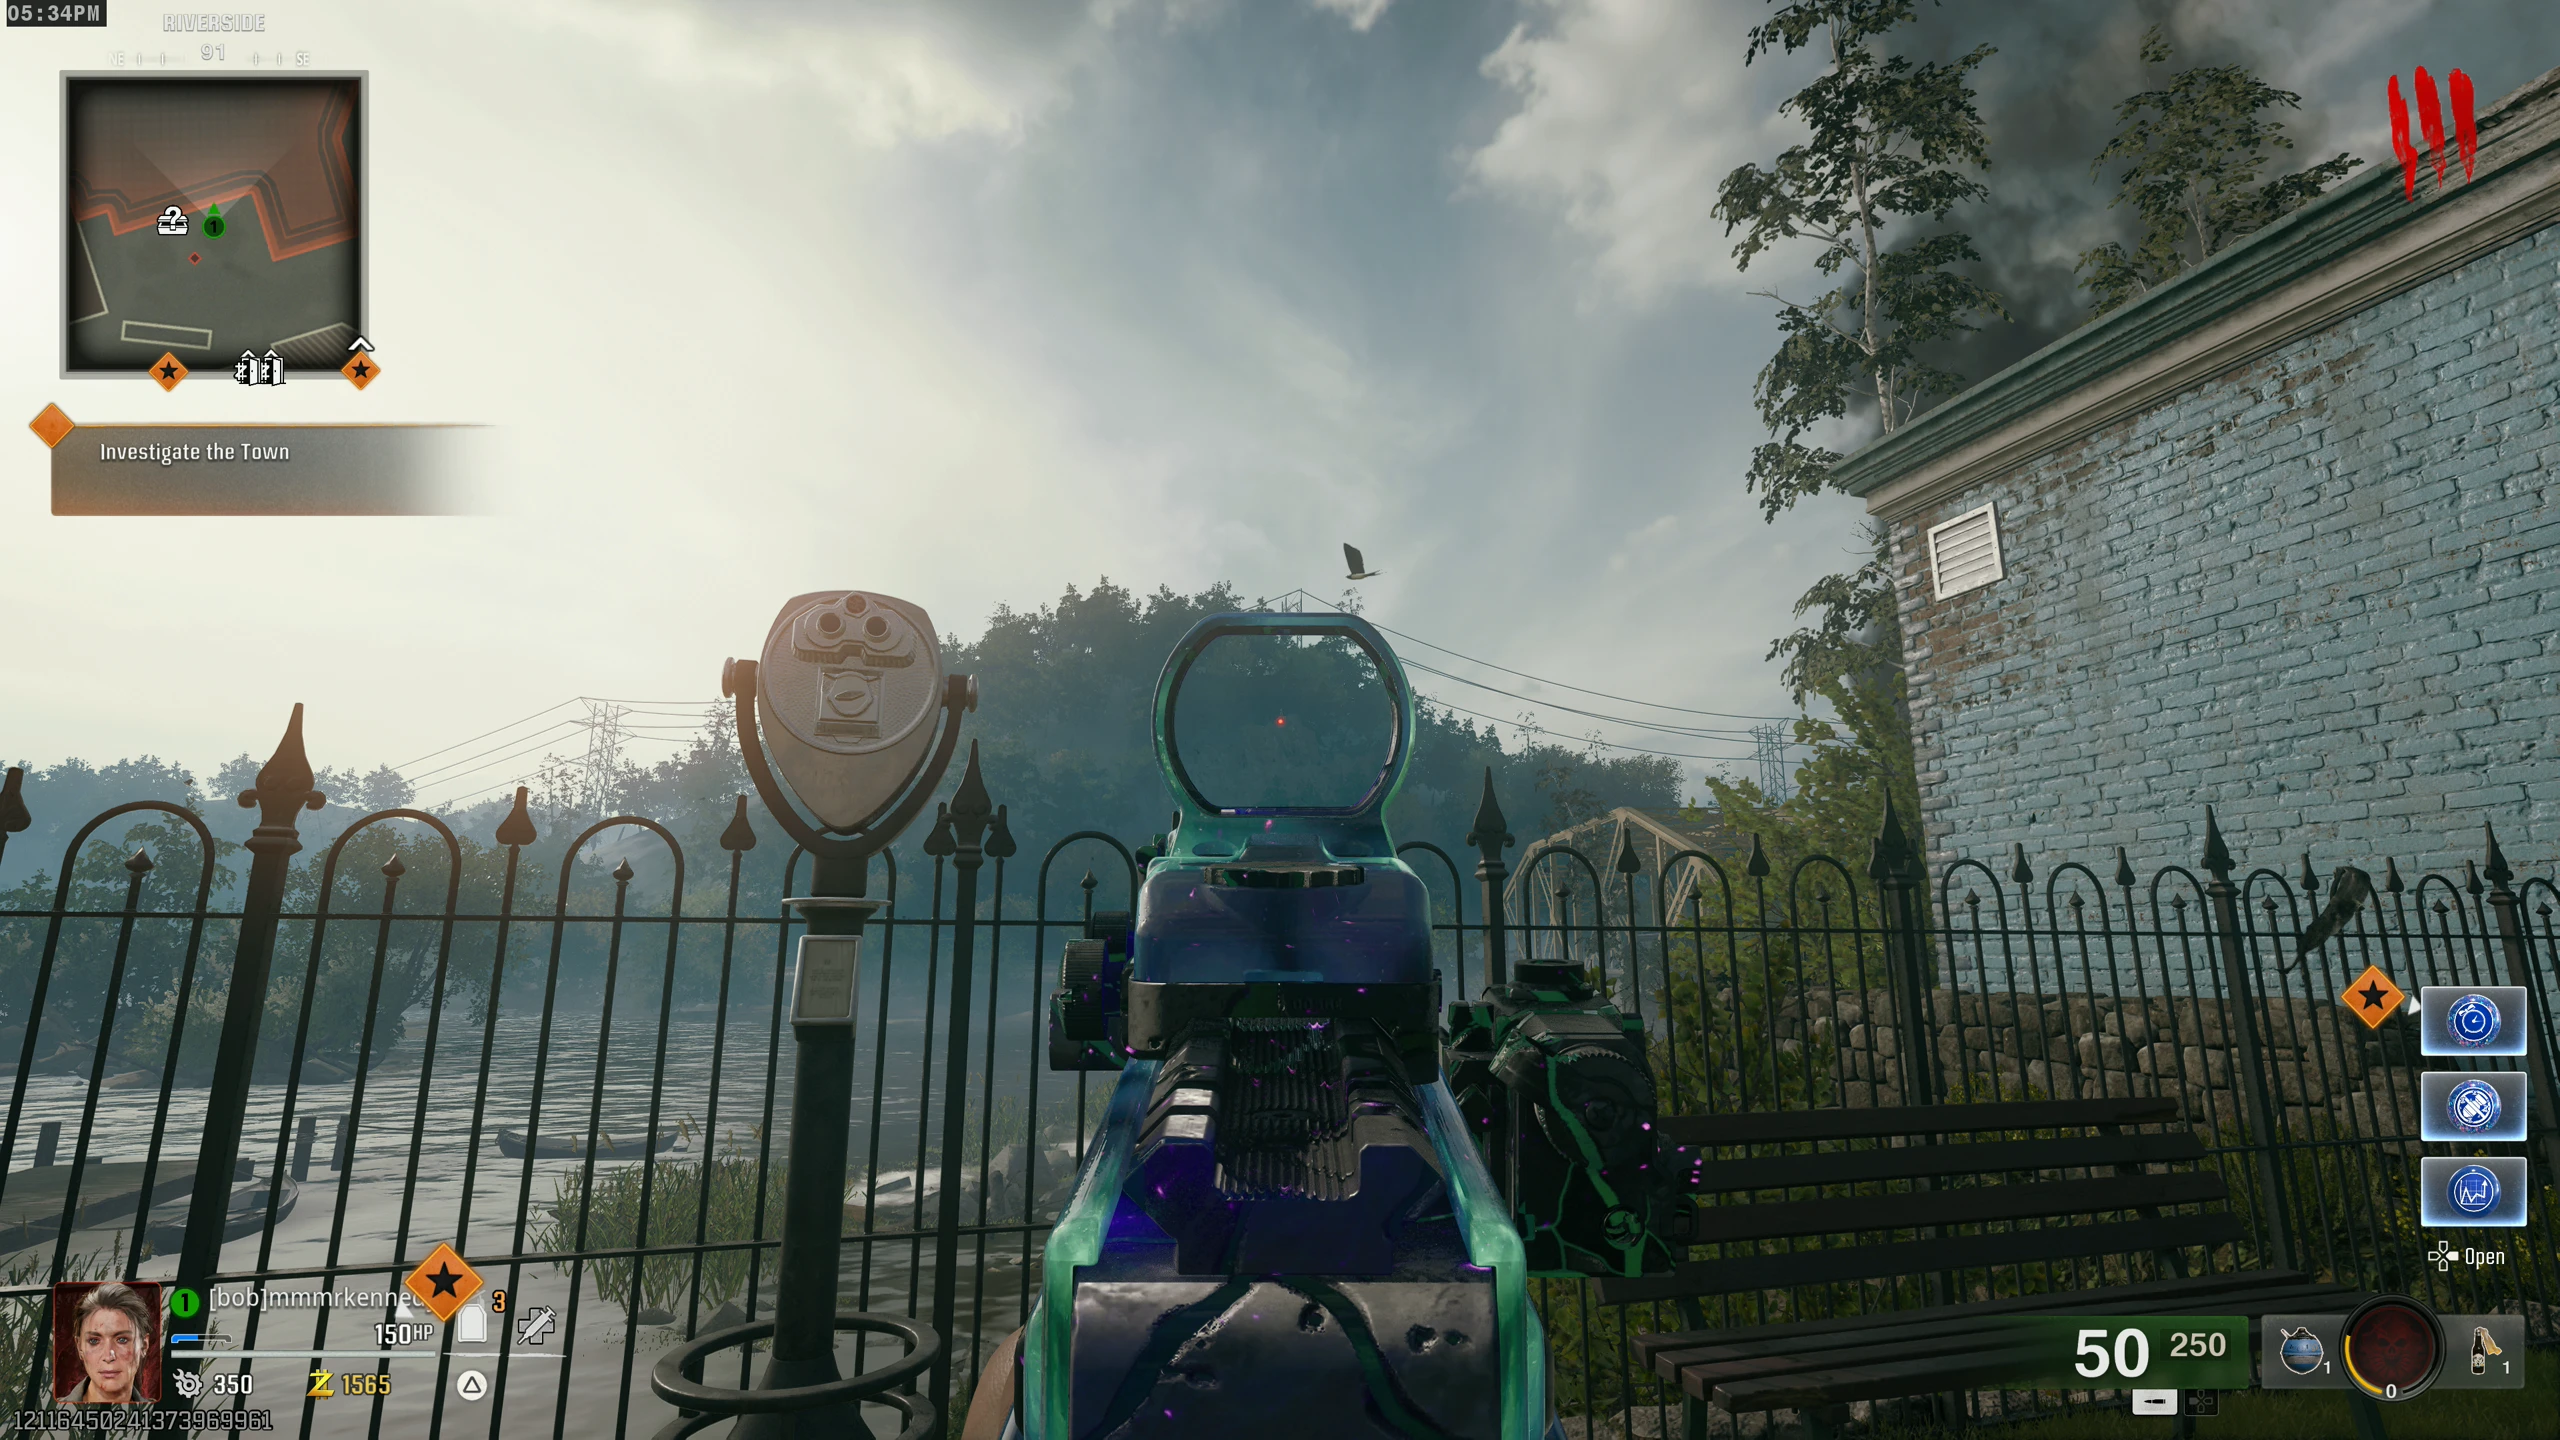
- In the Riverside area, use both Binoculars to look at the dancing Zombie on the cliff (Zoomed Out View) across the river. Stare through each one until you're kicked off.
- After watching the Zombie through both Binoculars, two laser beams will appear around it, music will play from the bus on the street, and all Zombies will run to it and start dancing.
- The dancing will last for about a minute, and shooting/killing a Zombie won't stop the others from dancing.
Pool Table (Free 100 Points)
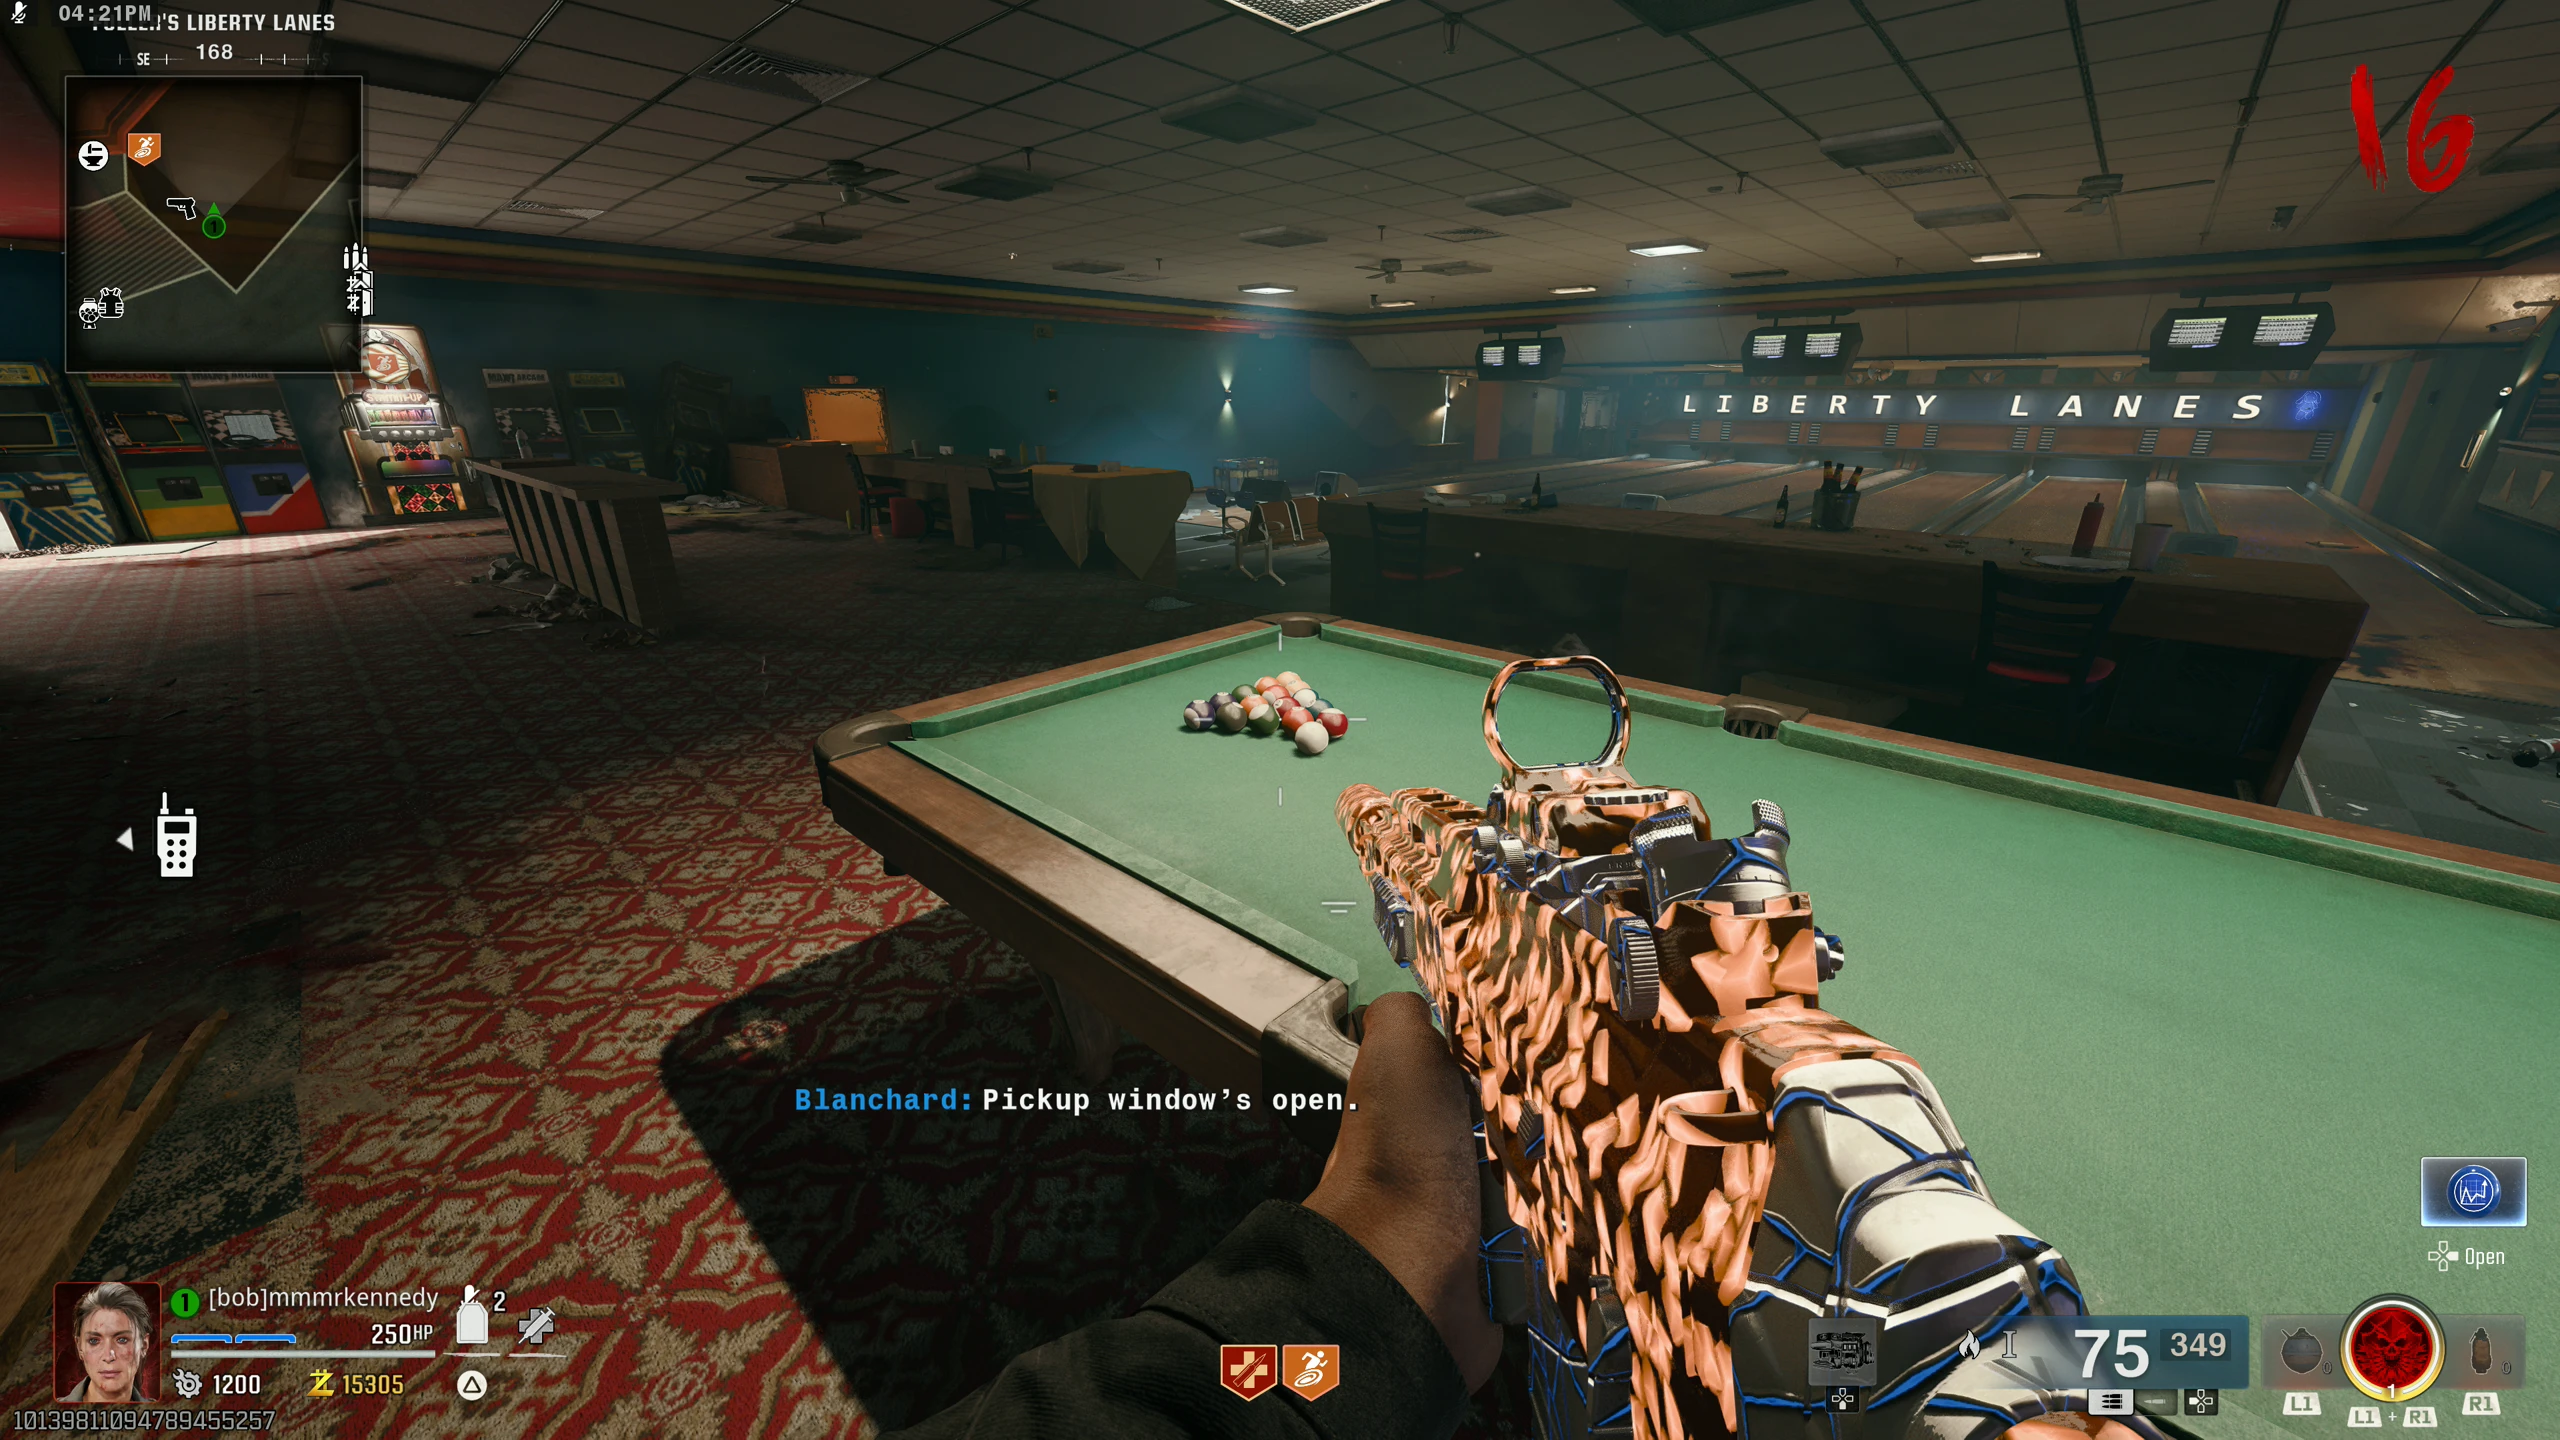
- Shoot any of the balls on the Pool Table in Liberty Lanes. Every ball will fall into a pocket and 100 points will spawn.
About This Map
Liberty Falls is a Black Ops 6 launch Zombies map, set in a small West Virginia town. This guide covers the 'Bye-Bye Dark Aether' main quest (main Easter Egg), the Jet Gun quest, and all side Easter Eggs. Also known as LF.