Map Progression
Easter Eggs
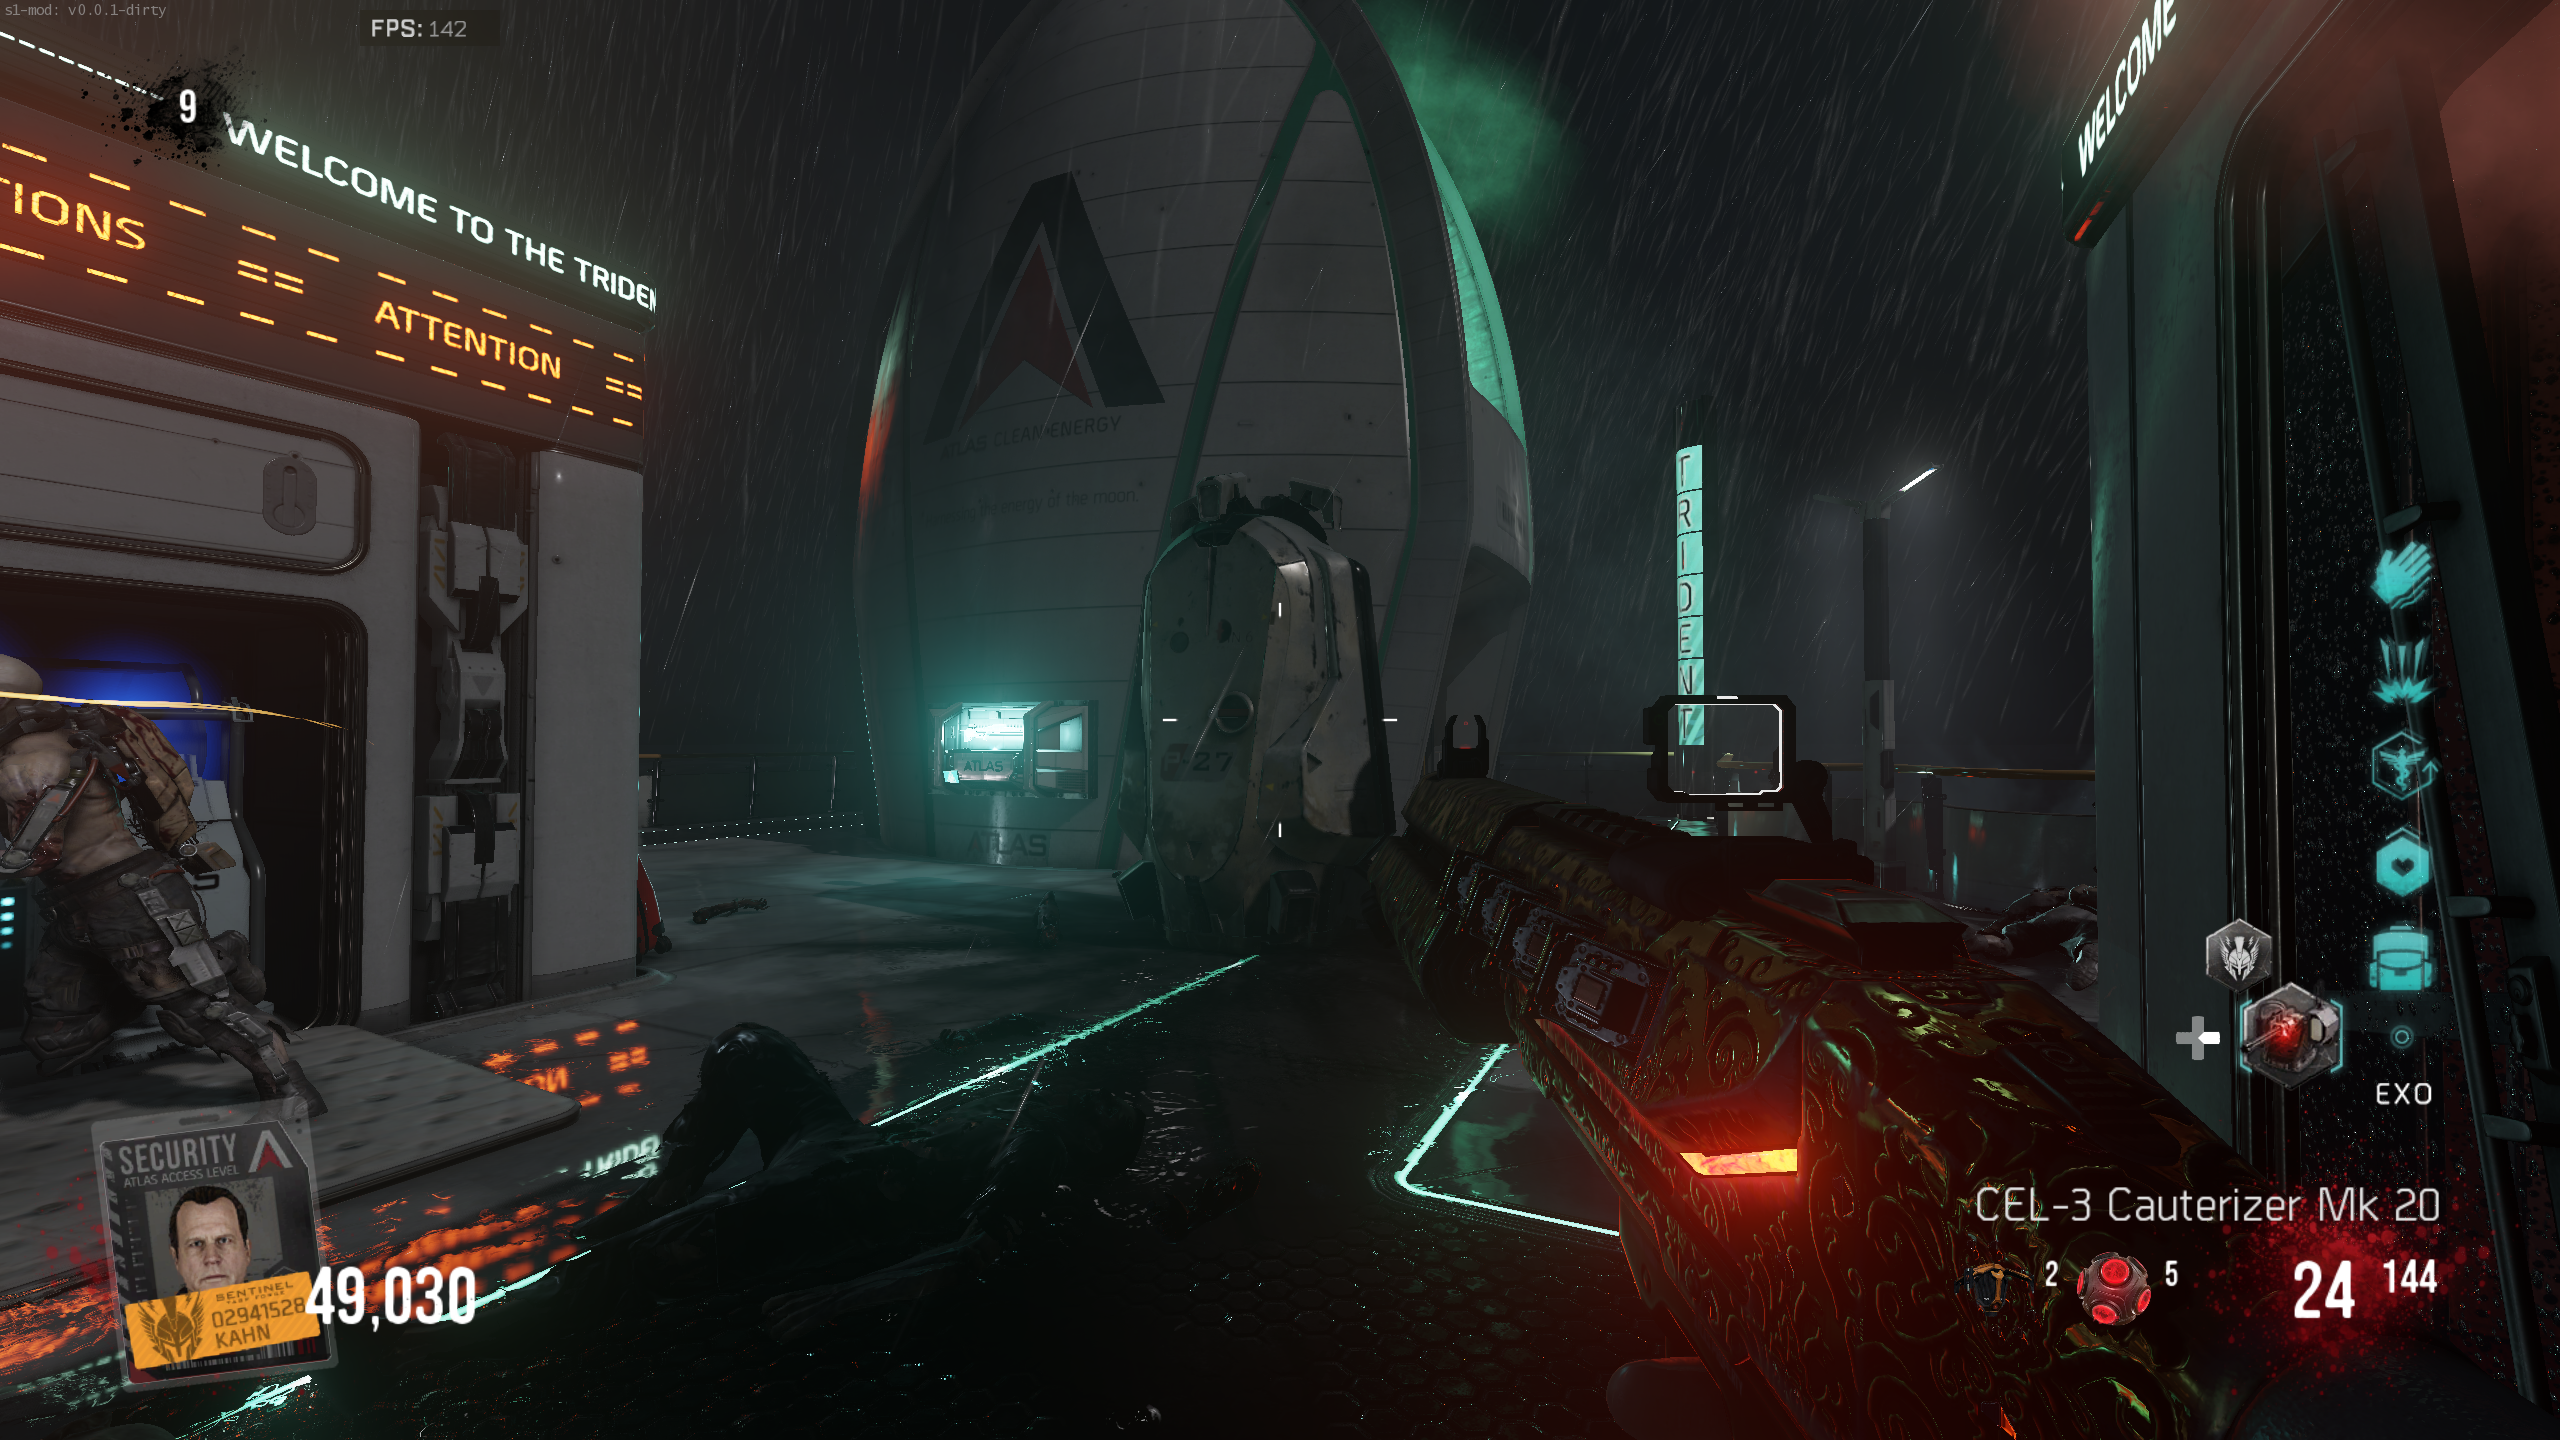
Zombie Oz Boss Fights
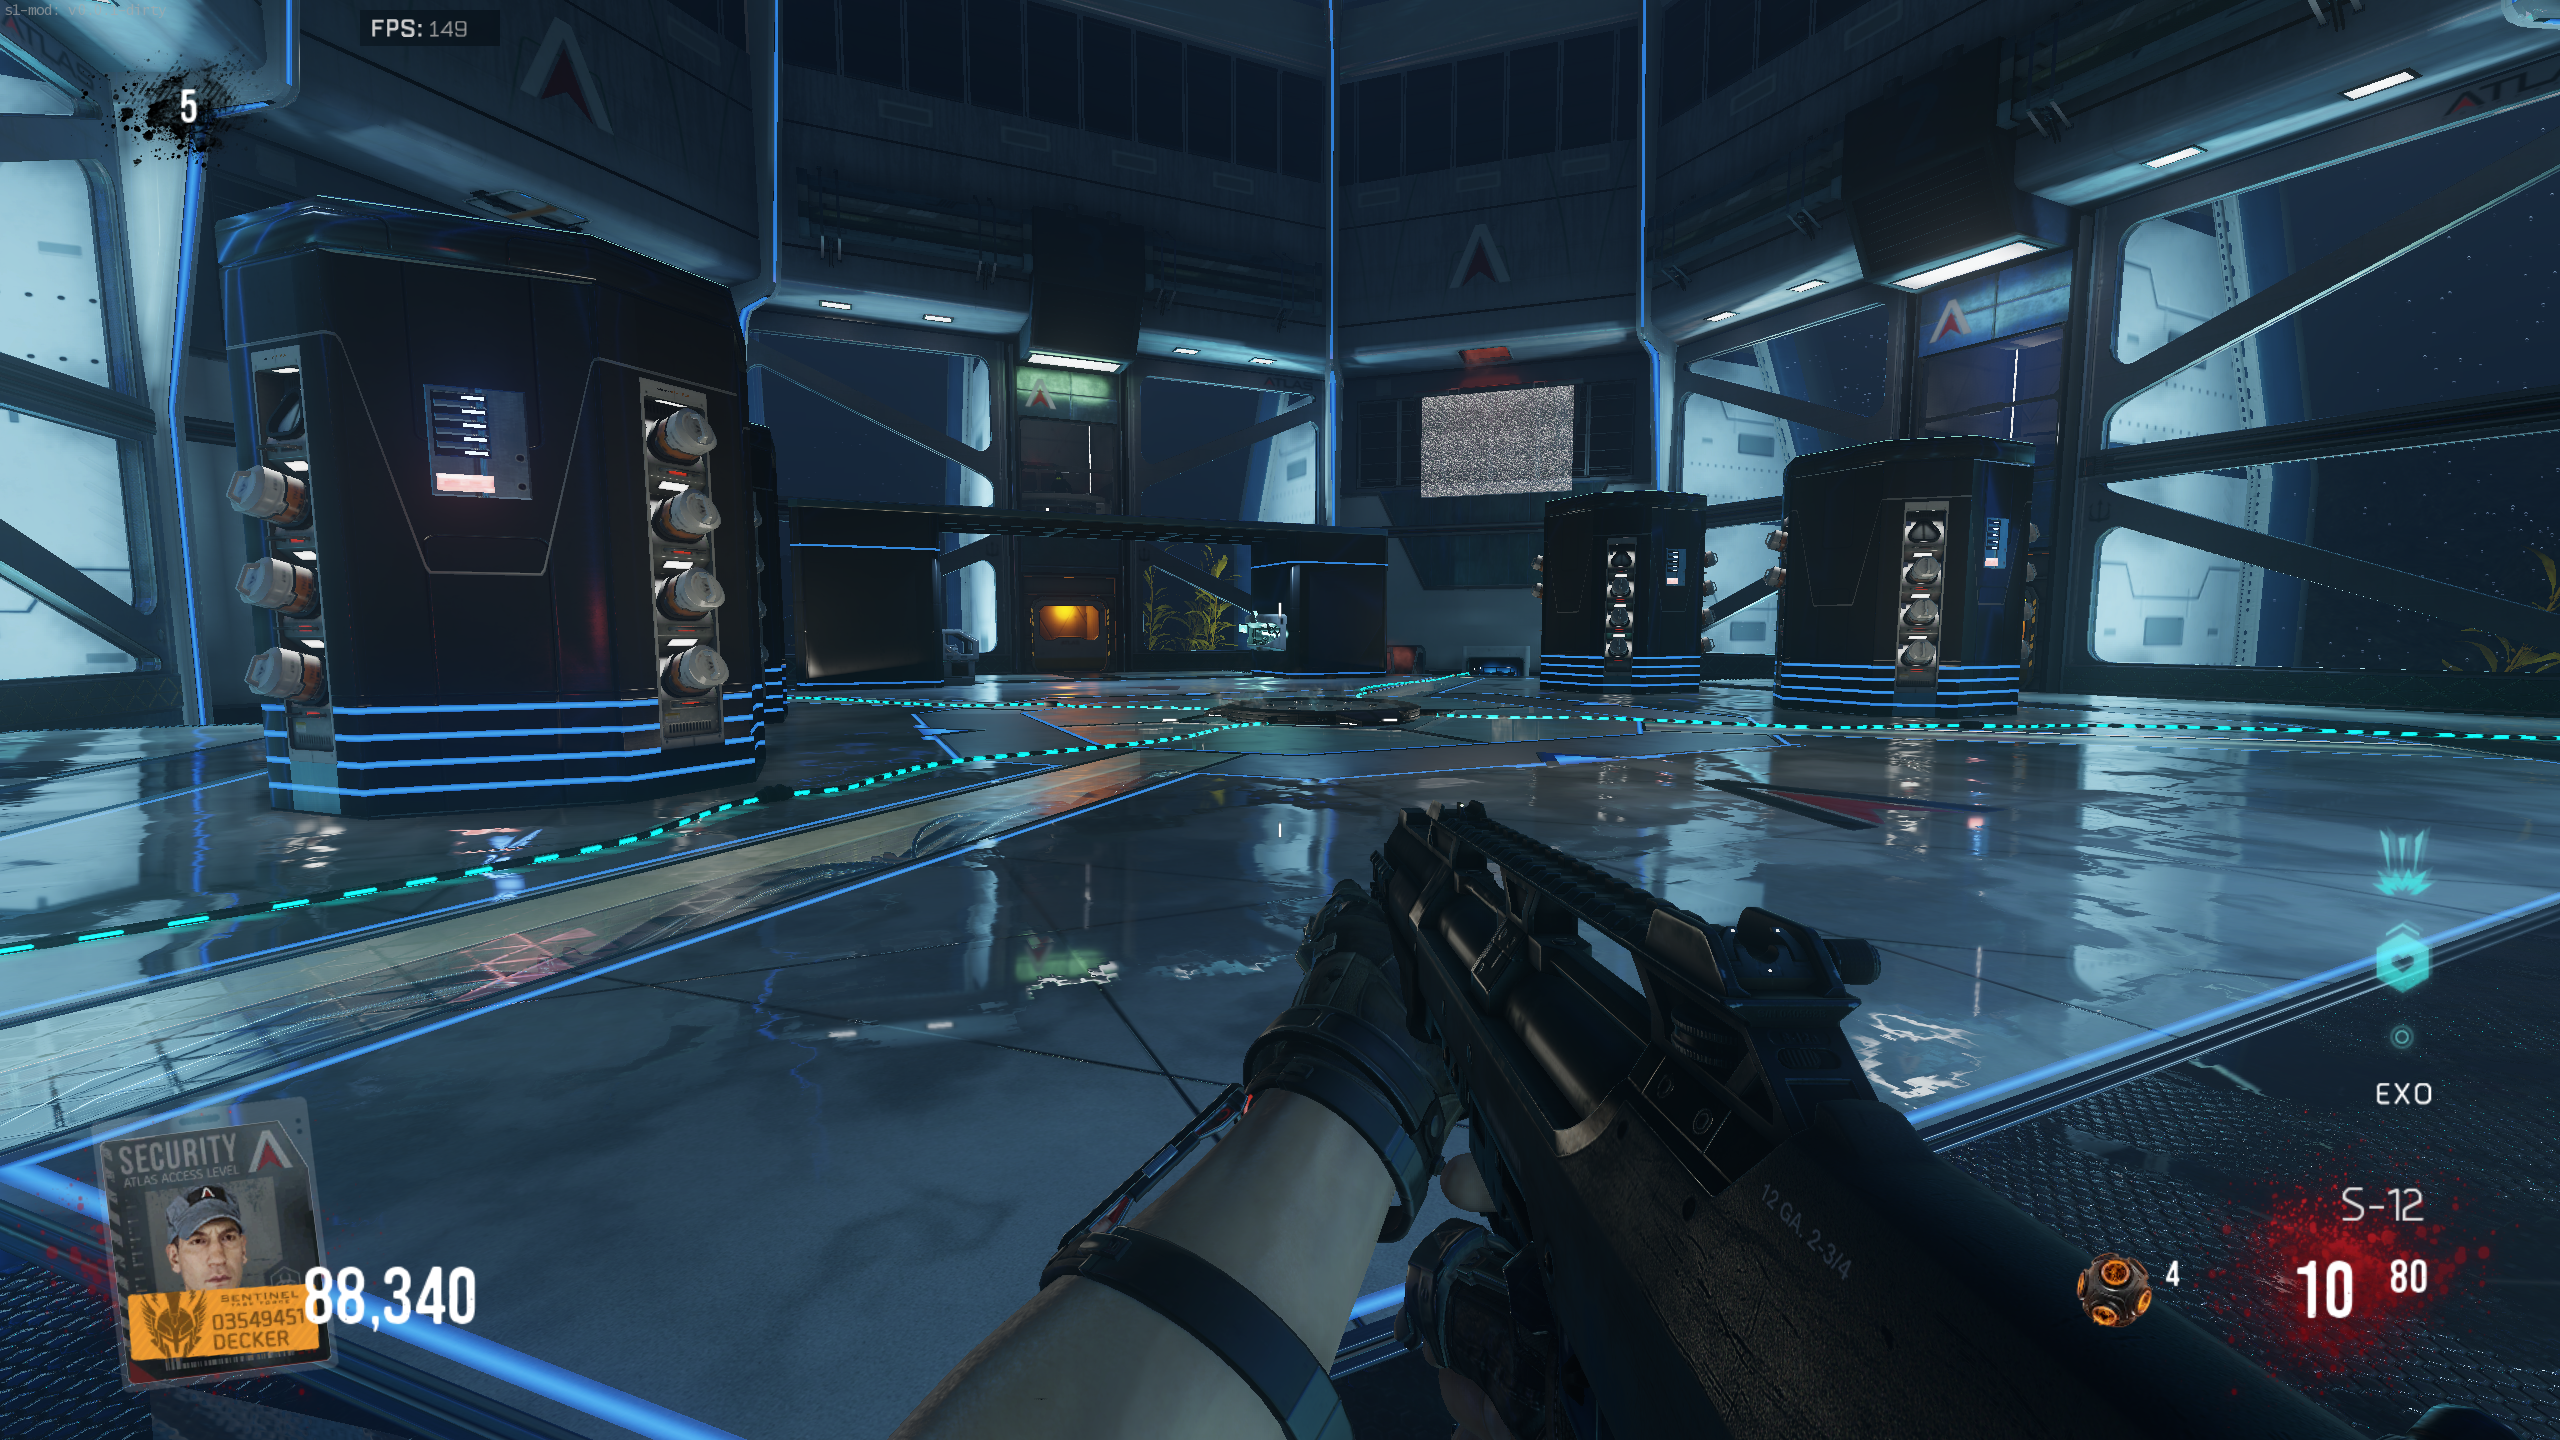
- On Rounds 5, 12, and 20, you'll be teleported to a special arena with Zombie Oz.
Round 5
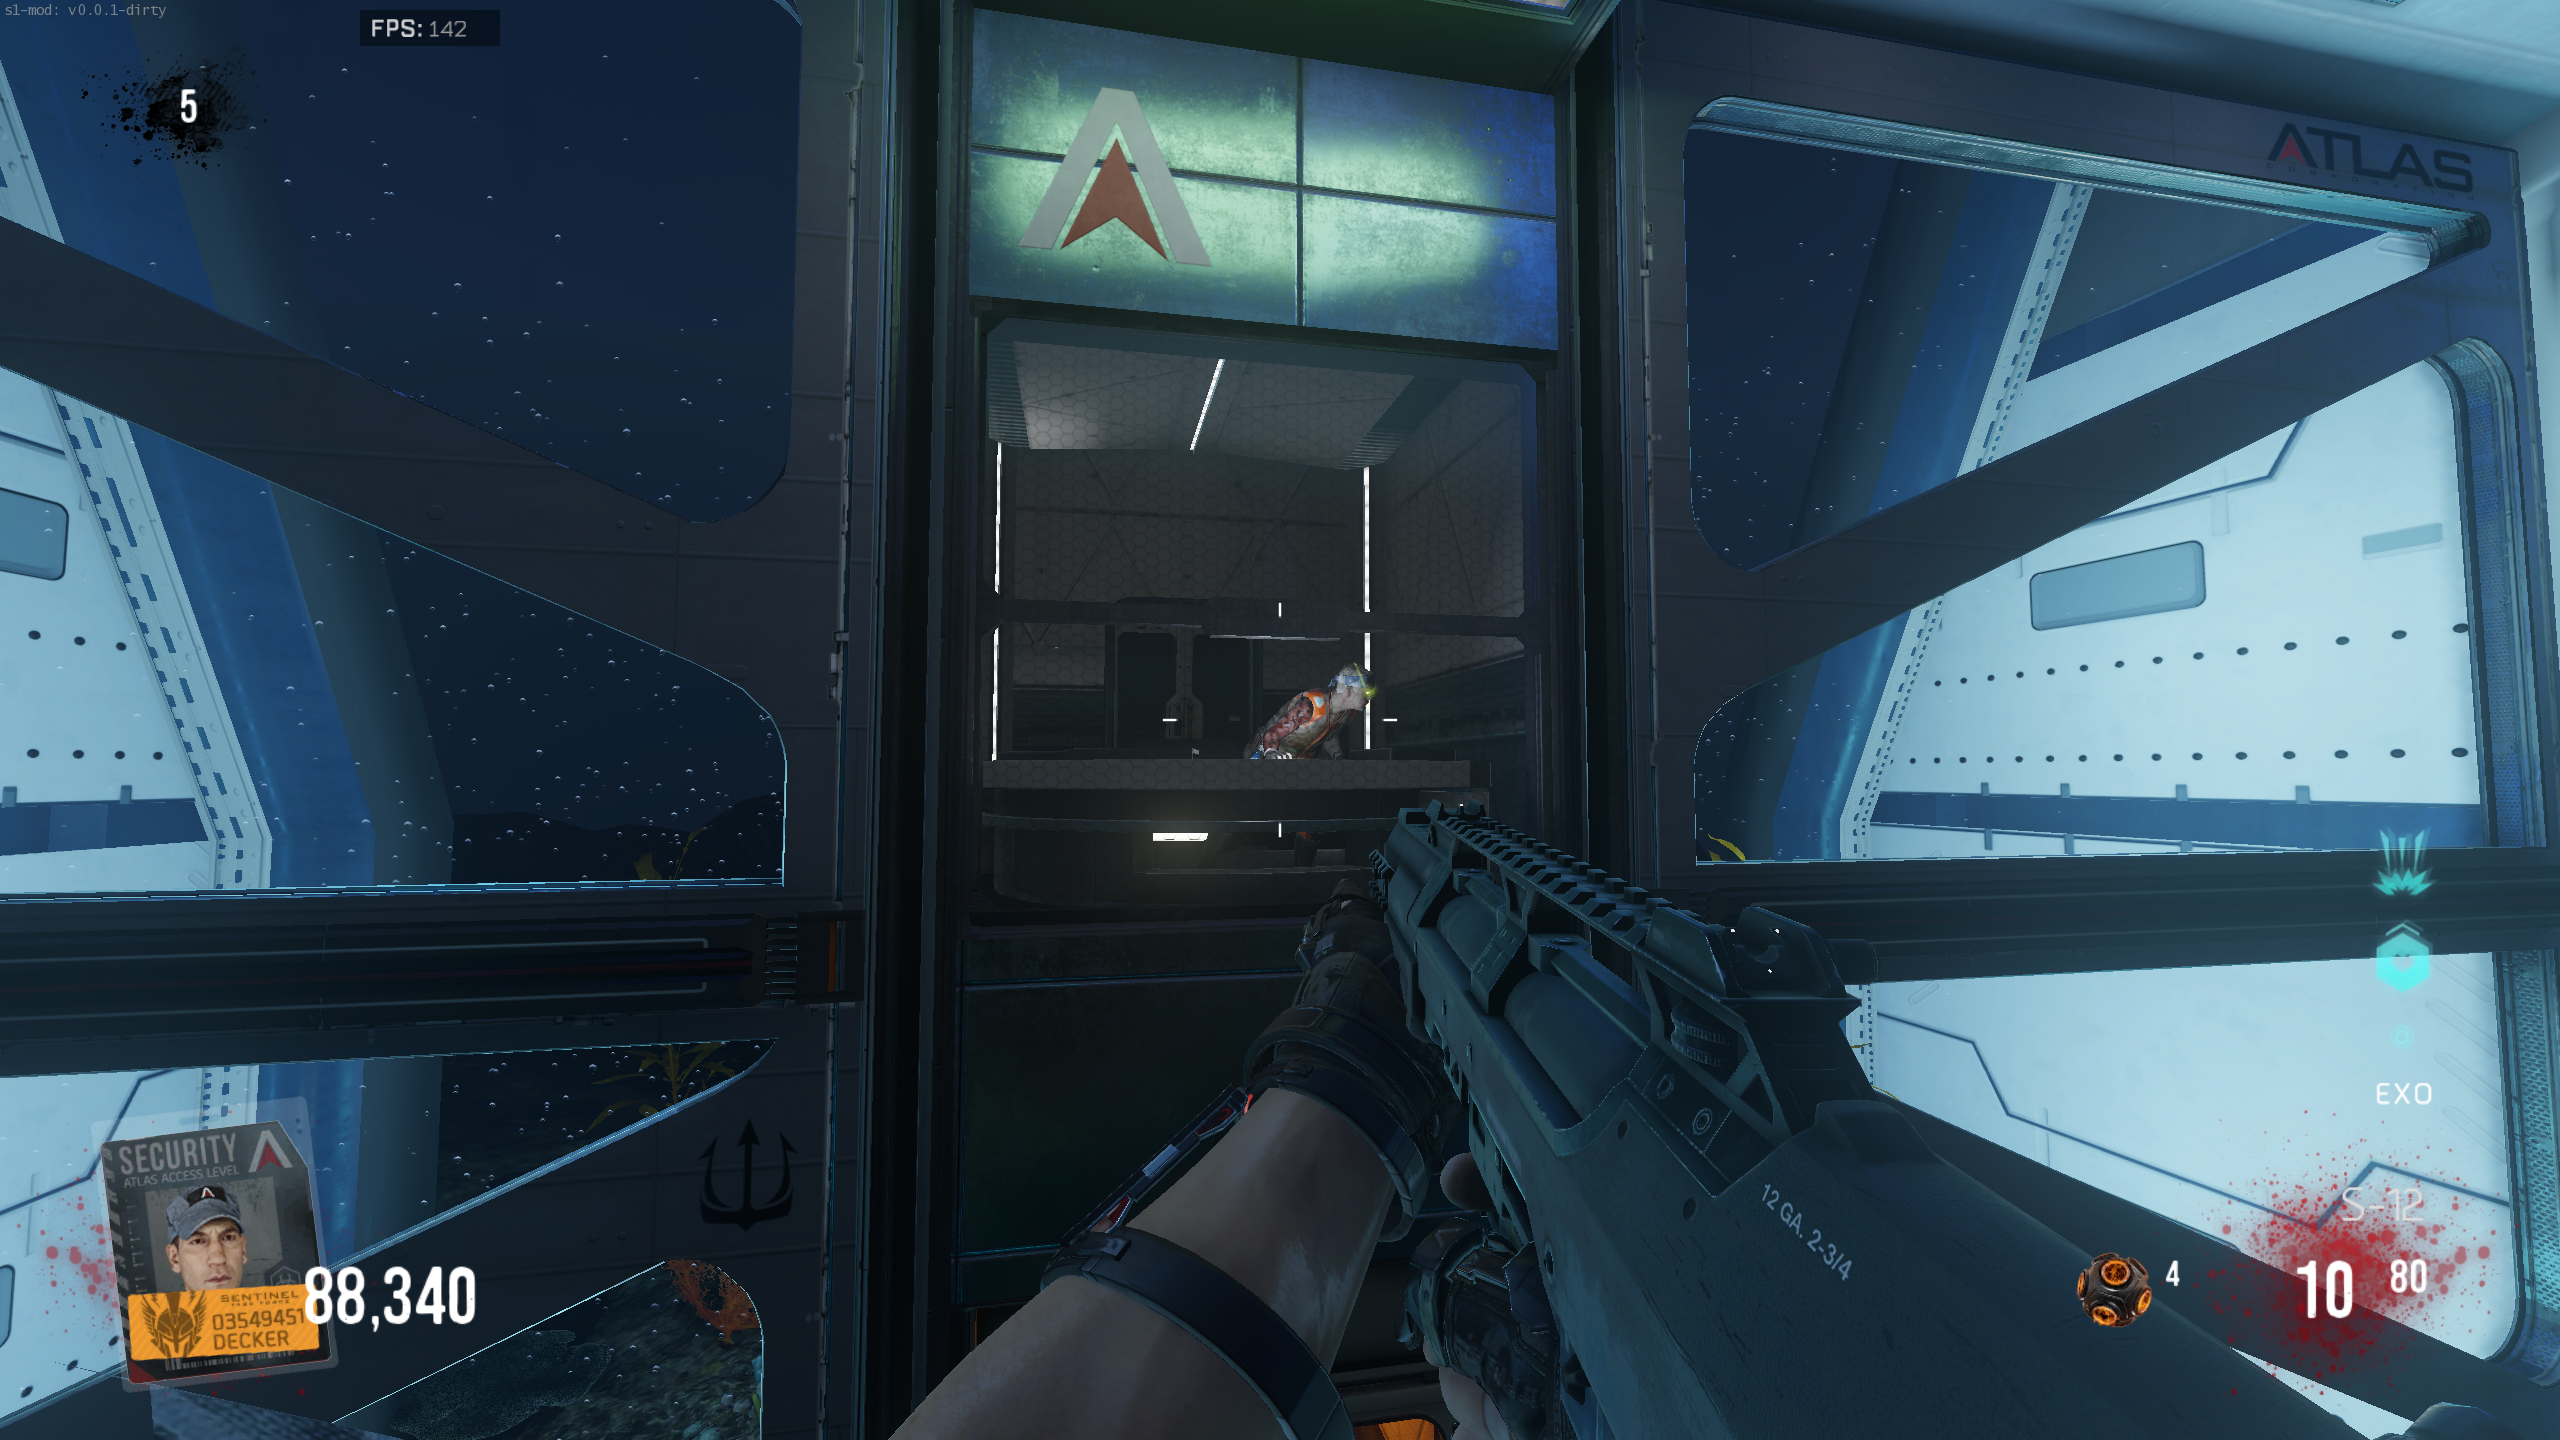
- On Round 5, you'll be teleported to an arena with Oz talking to you from behind a window. After about 30-45 seconds, you'll be teleported back to the main map. This is a teaser for the first real fight on Round 12.
Round 12
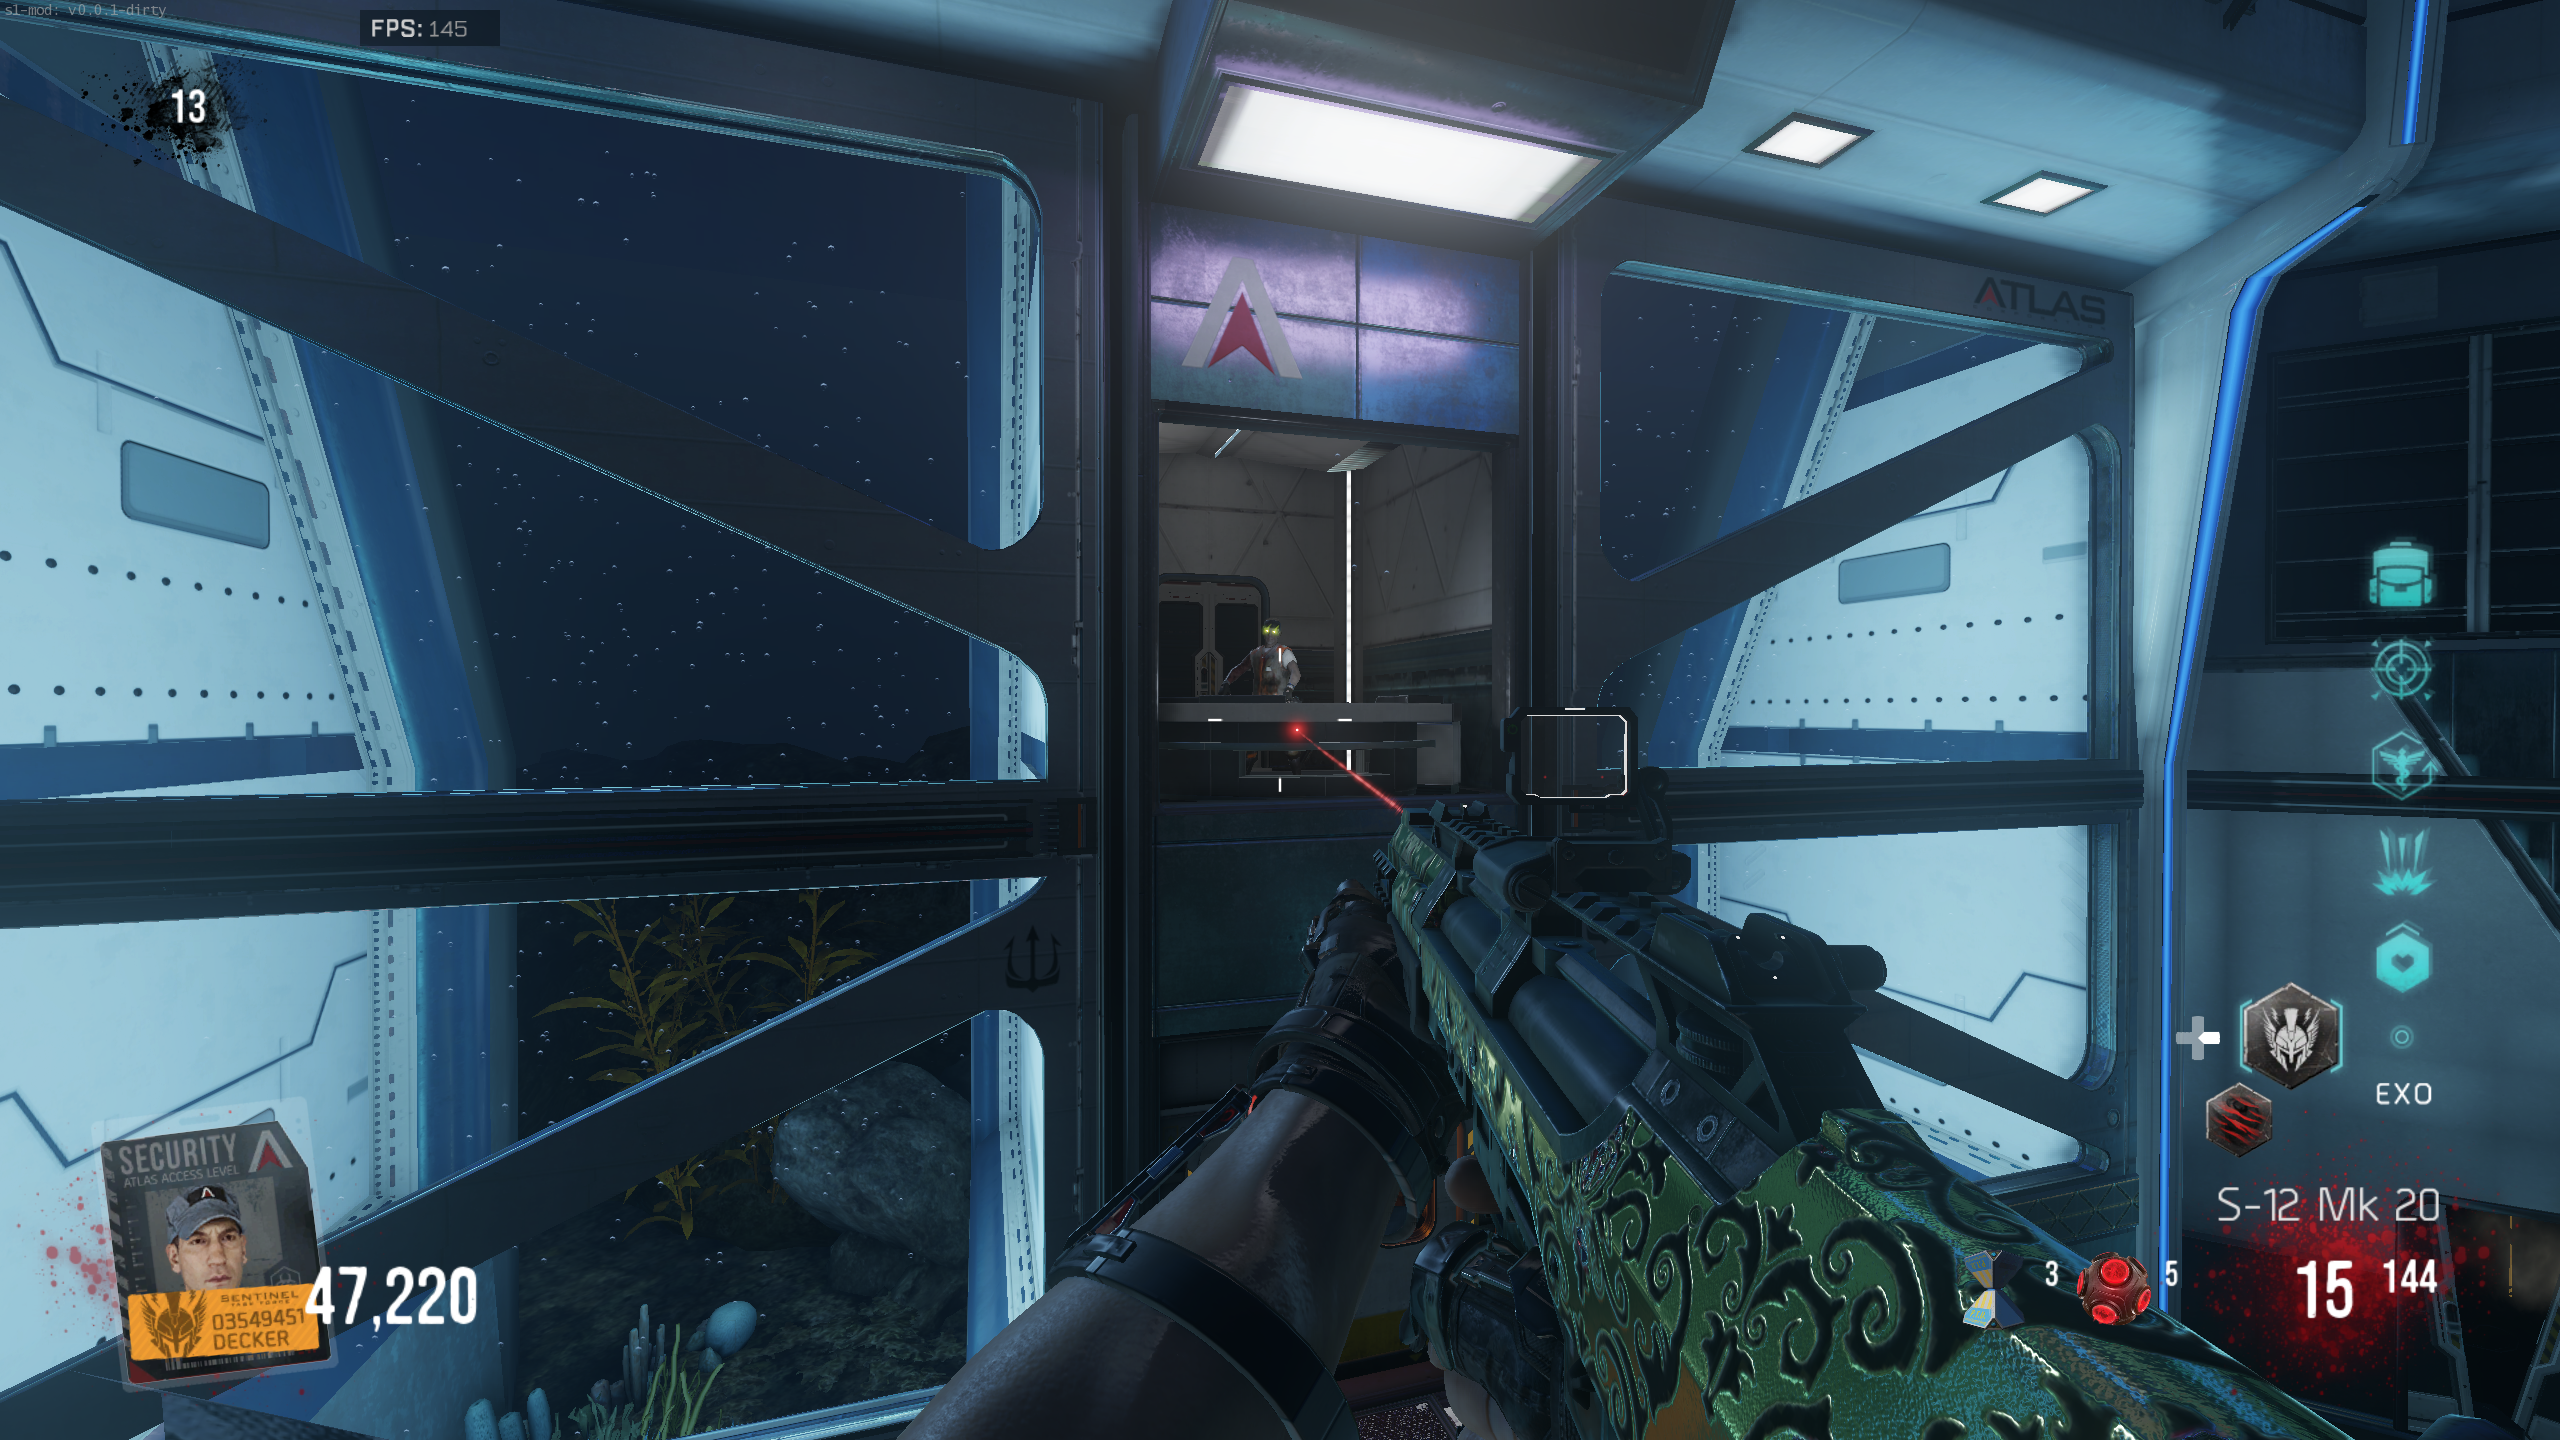
- On Round 12 (or 13, if 12 was a Dog Round), you'll be teleported to the arena again, but this time you'll need to defeat Oz.
- Shortly after you spawn in the arena, Oz's window will open, allowing you to shoot him. Keep shooting him until the area blows up. Once it does, he'll teleport to one of the other windows around the room.
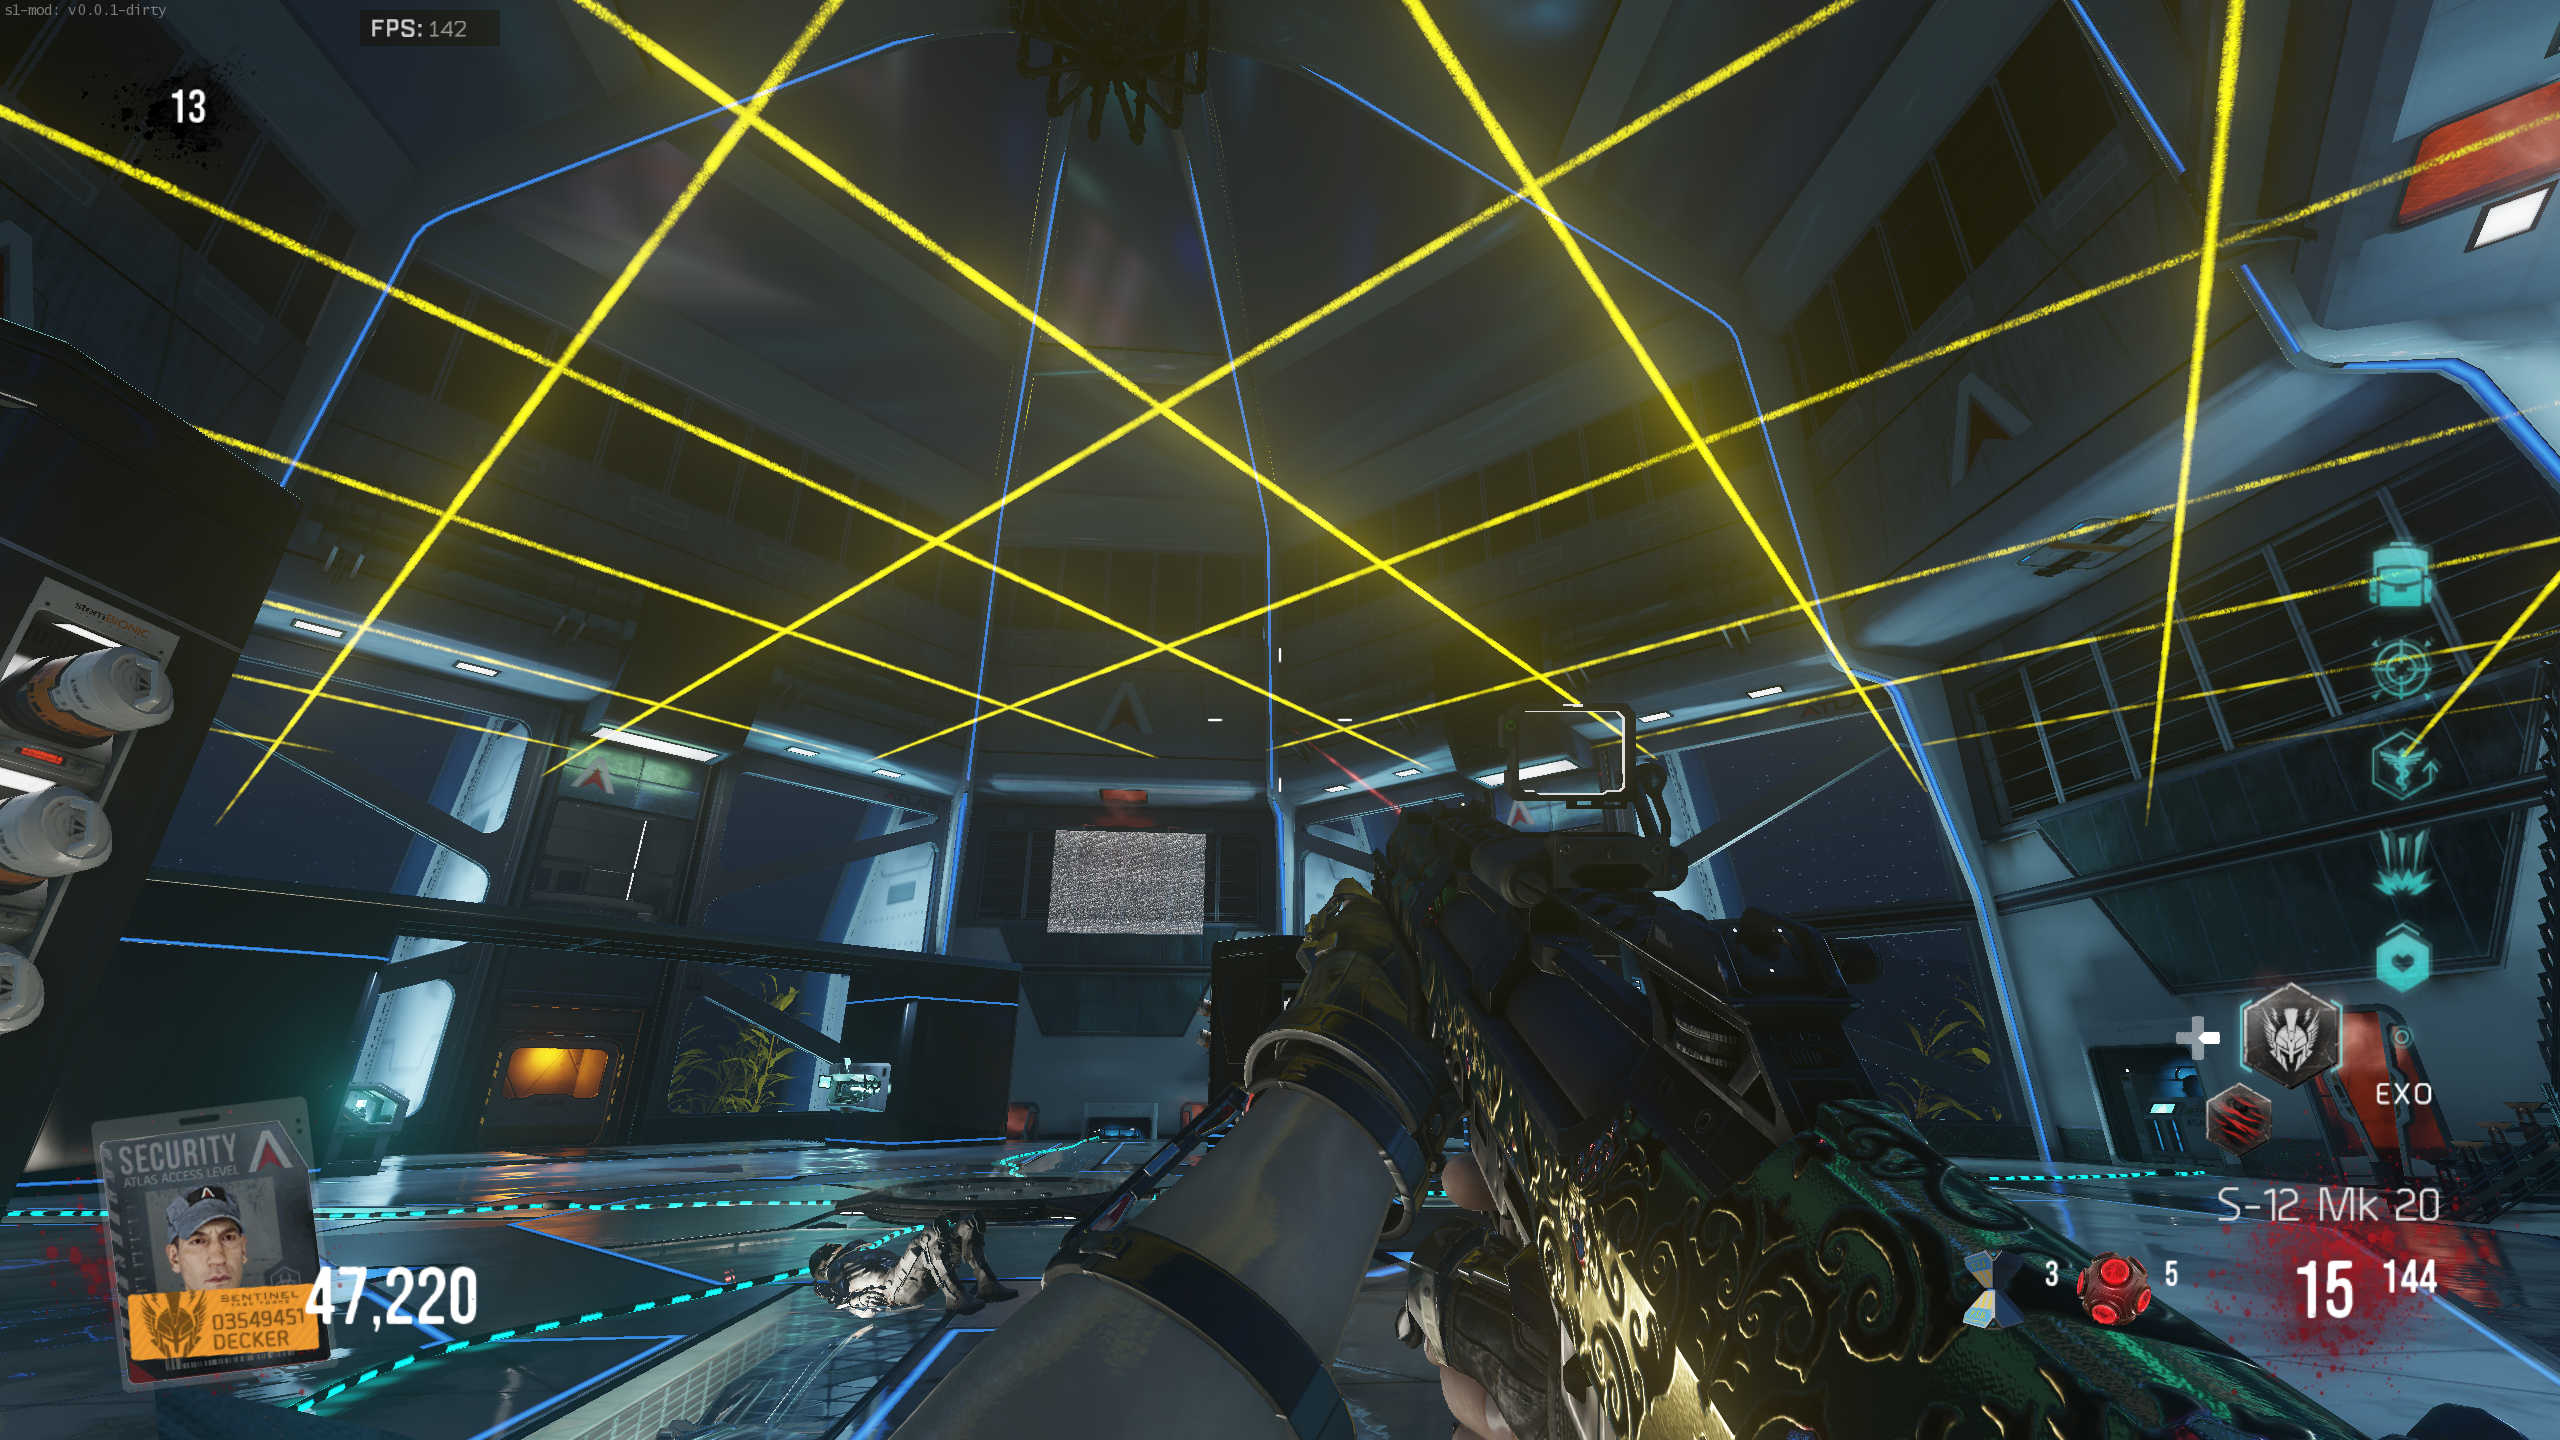
- After teleporting, he'll activate one of three traps: Lasers, Gas, or Electric Floor. Avoid the active trap until it goes away. While the traps are active, up to about five Zombies will spawn.
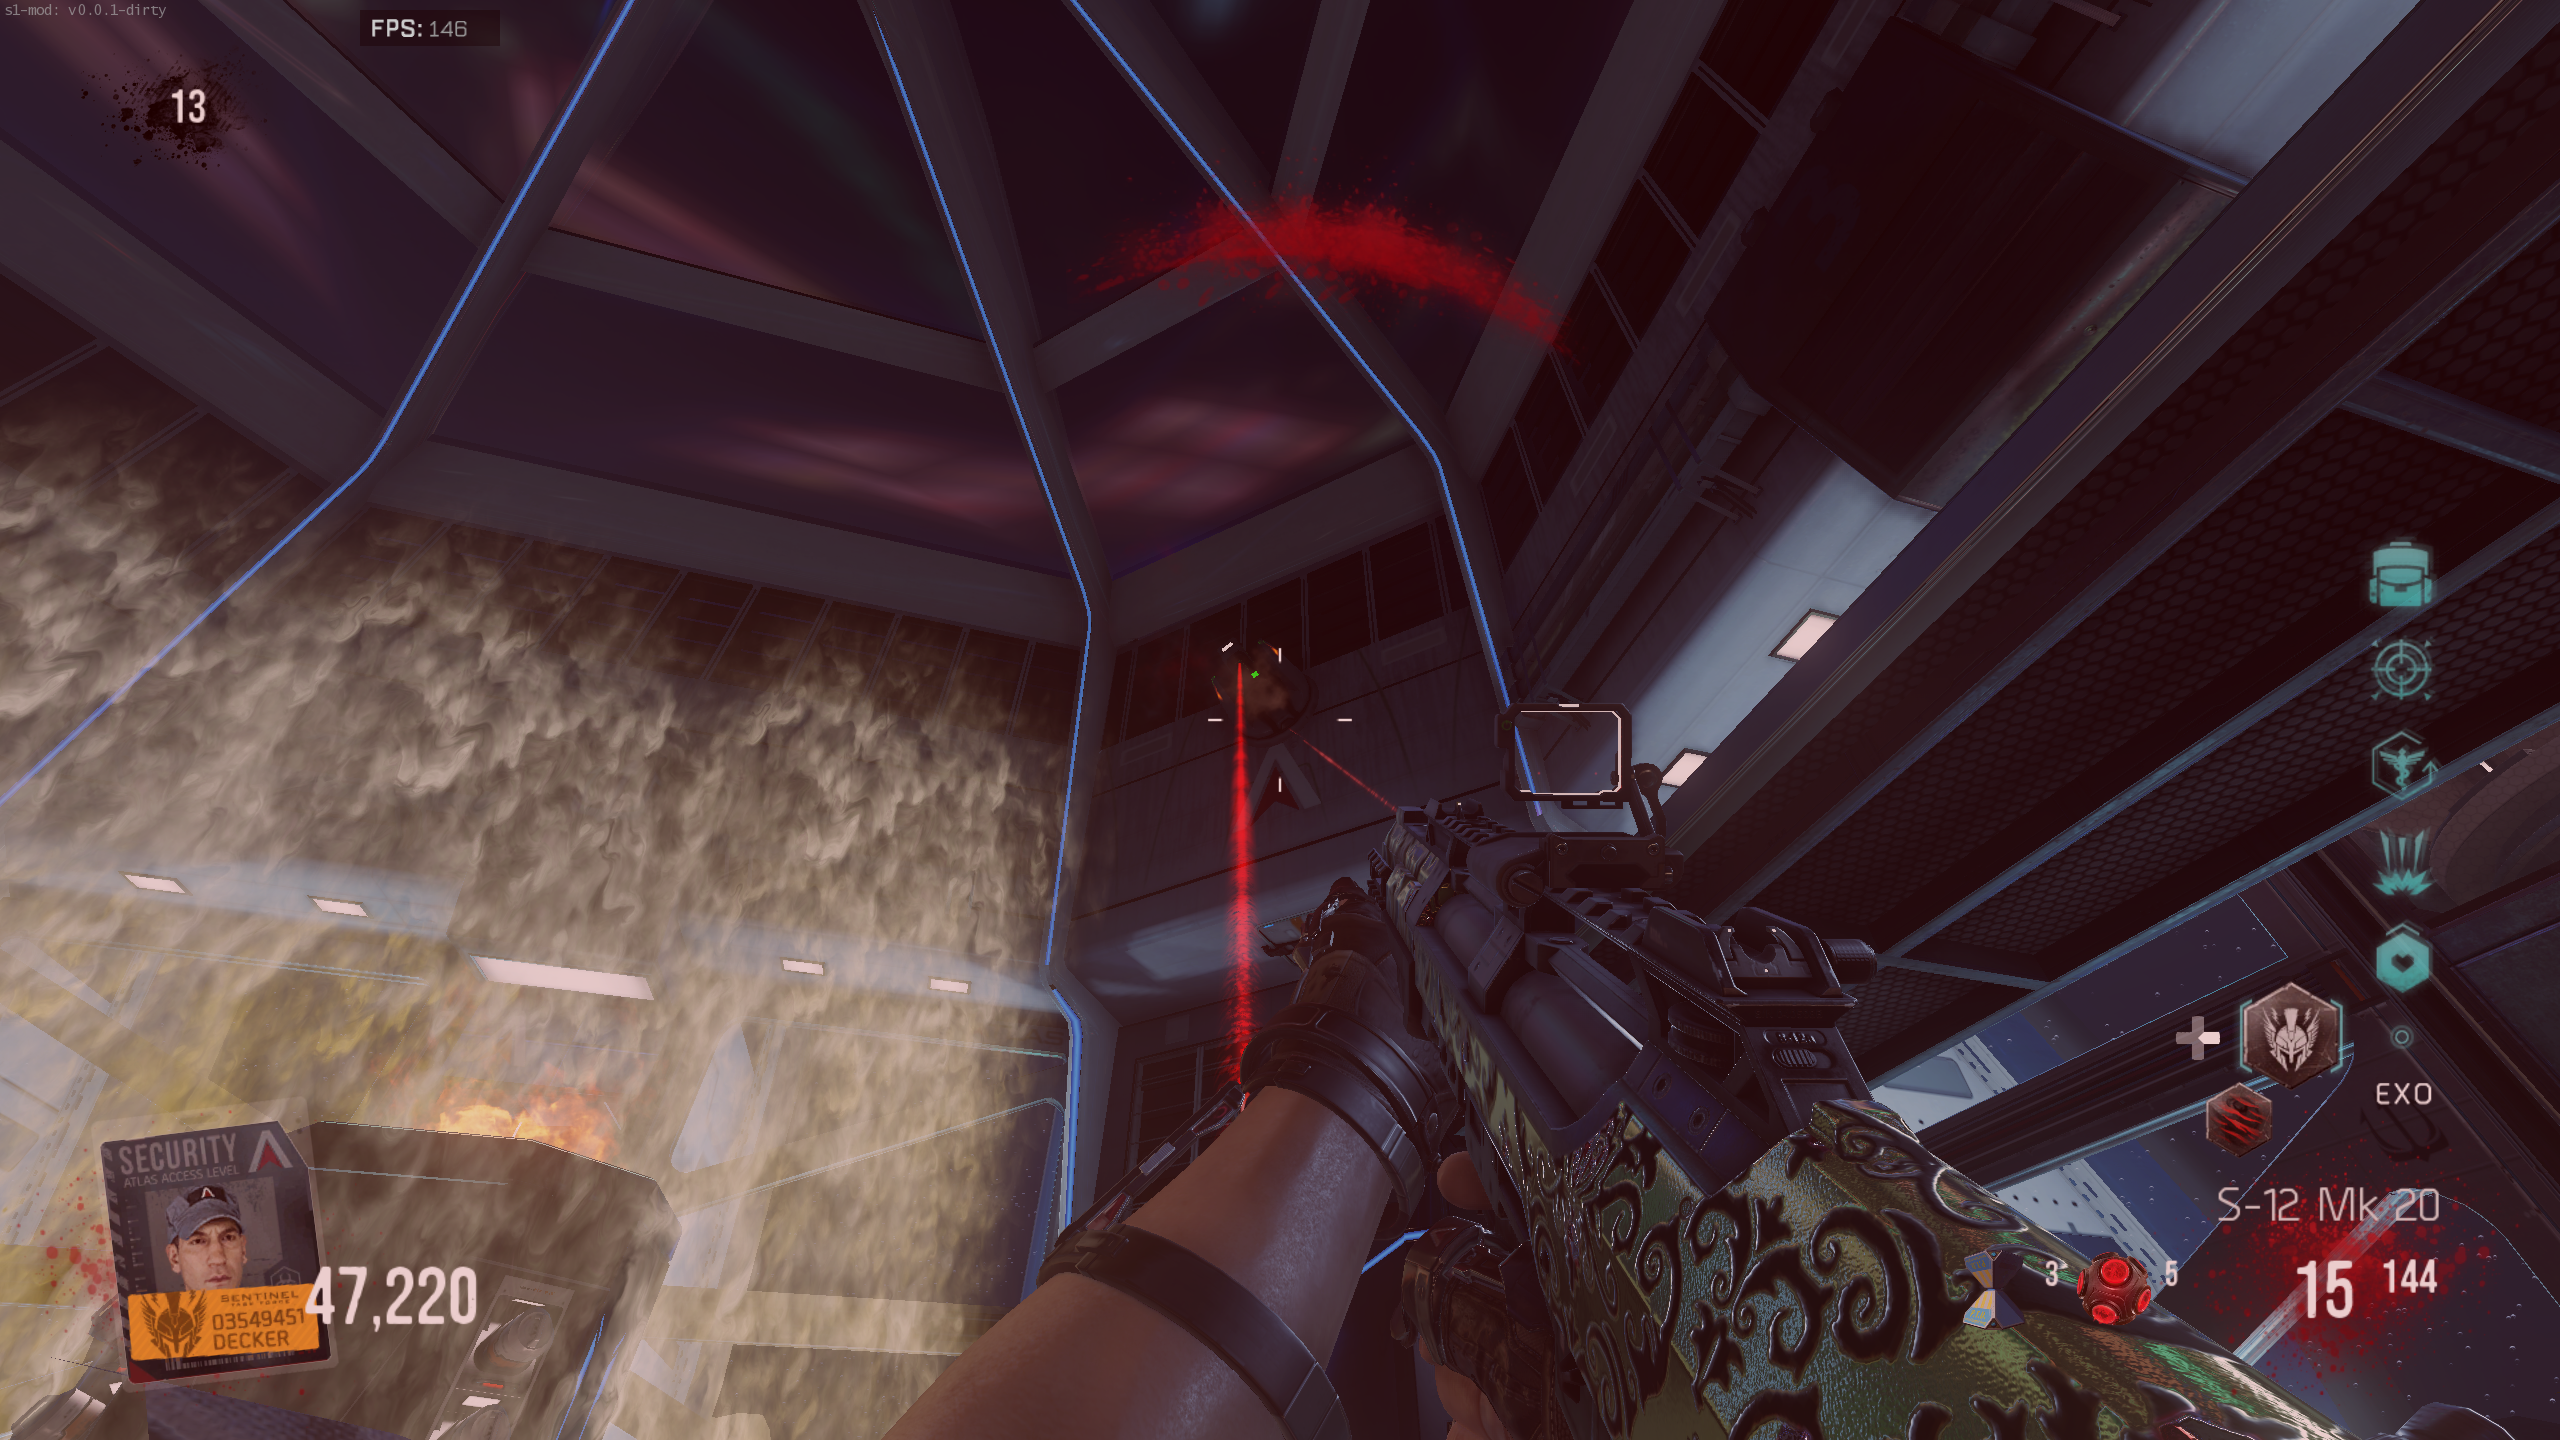
- Lasers: Indicated by the yellow lasers at the top of the arena. They will turn red after a few seconds, indicating they're active. If you touch a laser, it will do minimal damage but disable your Exo Suit.
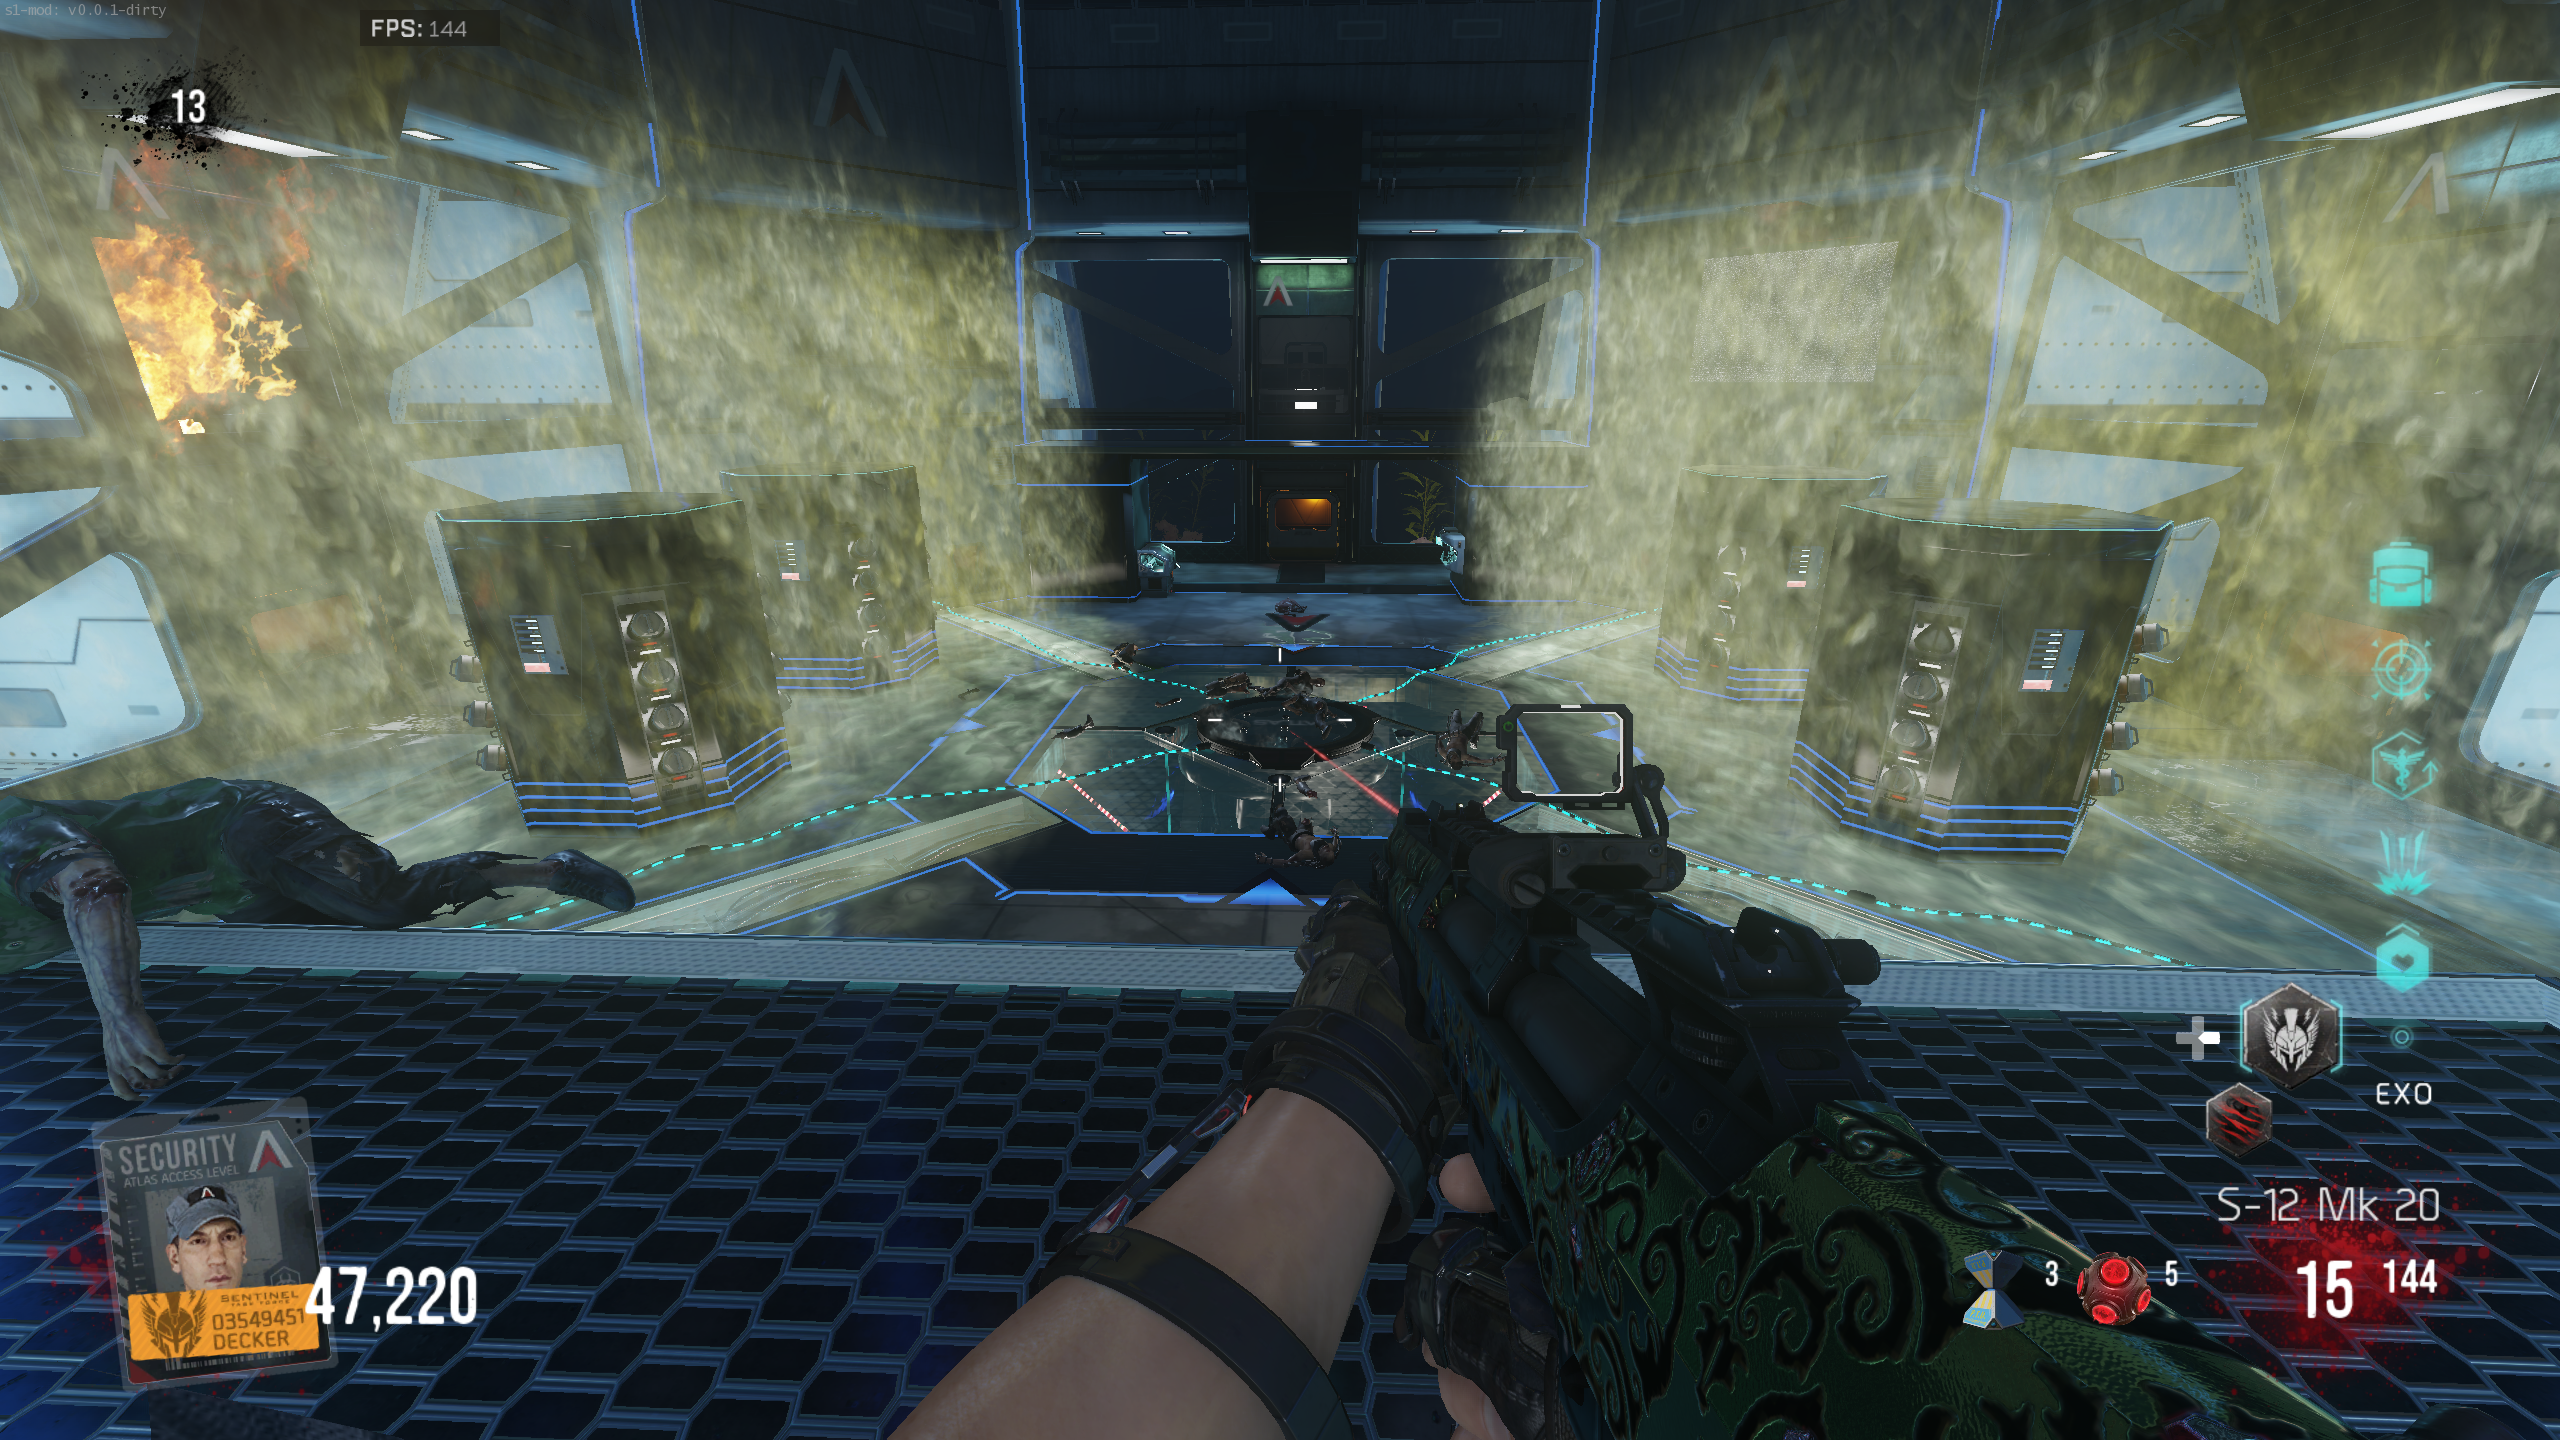
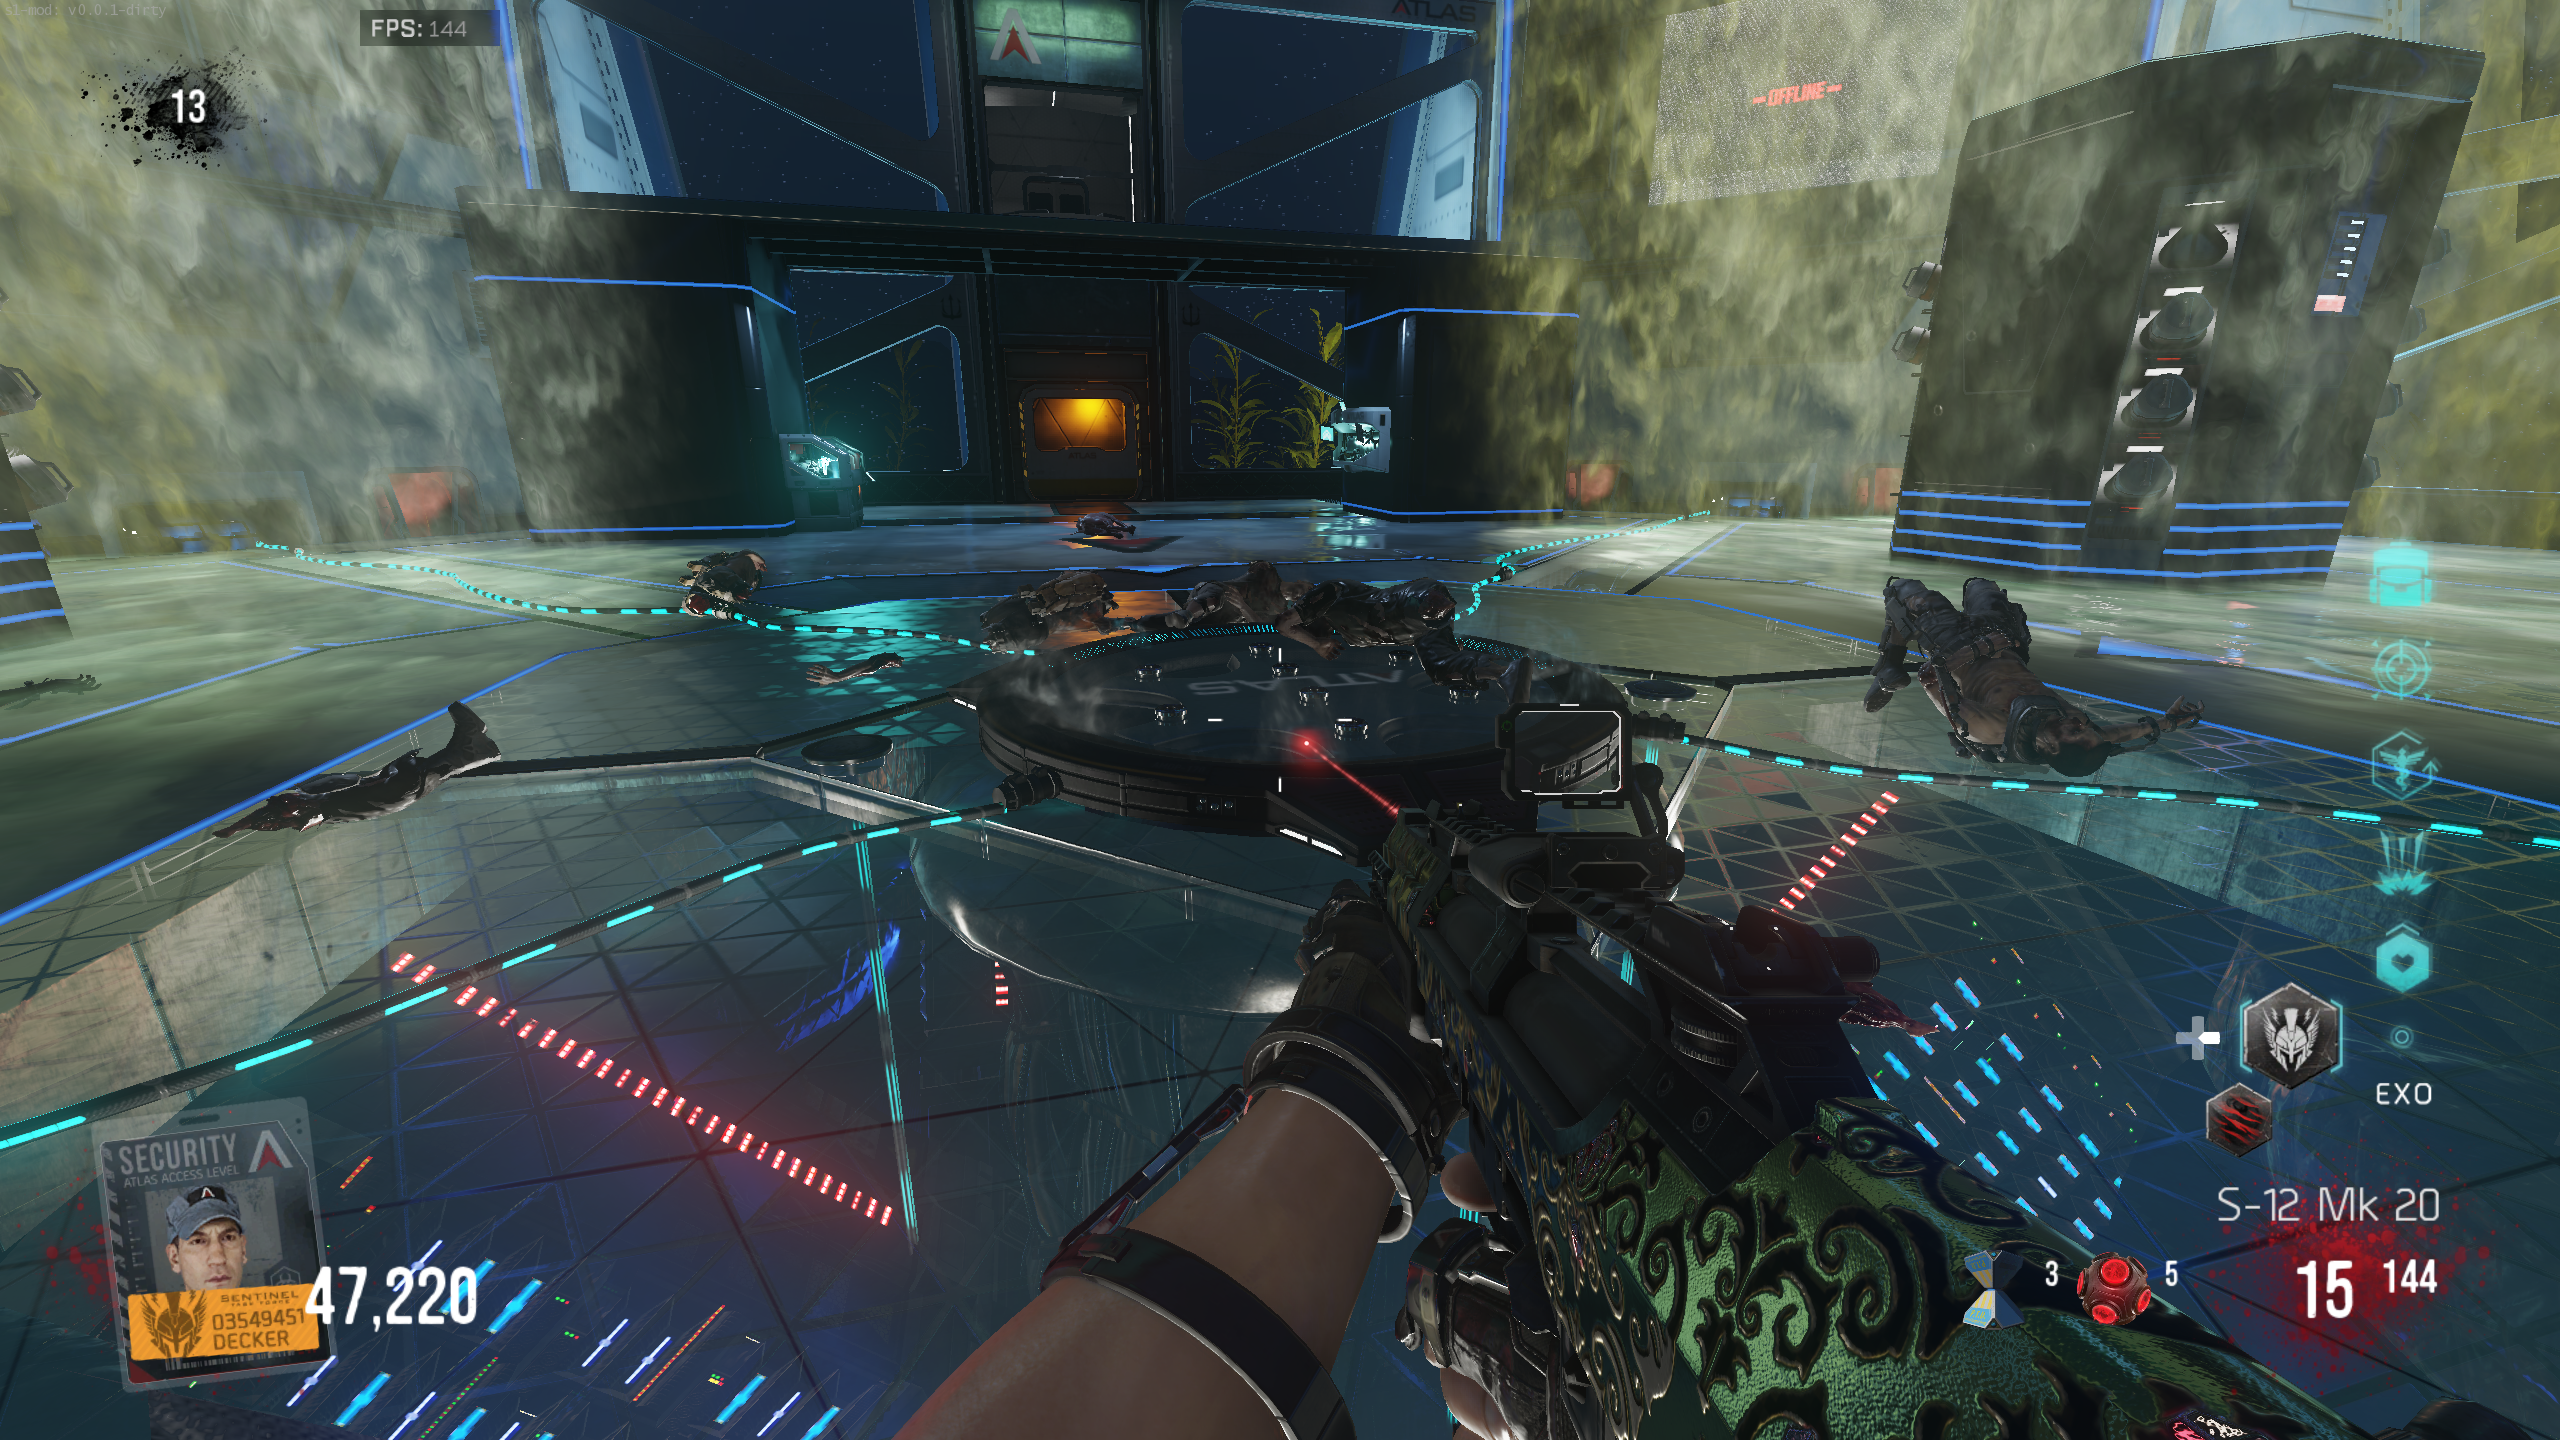
- Gas: Indicated by the gas surrounding the pillars. If you run into the gas, you'll become infected, and you'll need to cleanse yourself with the Decontamination Pad in the middle of the arena (it has unlimited uses).
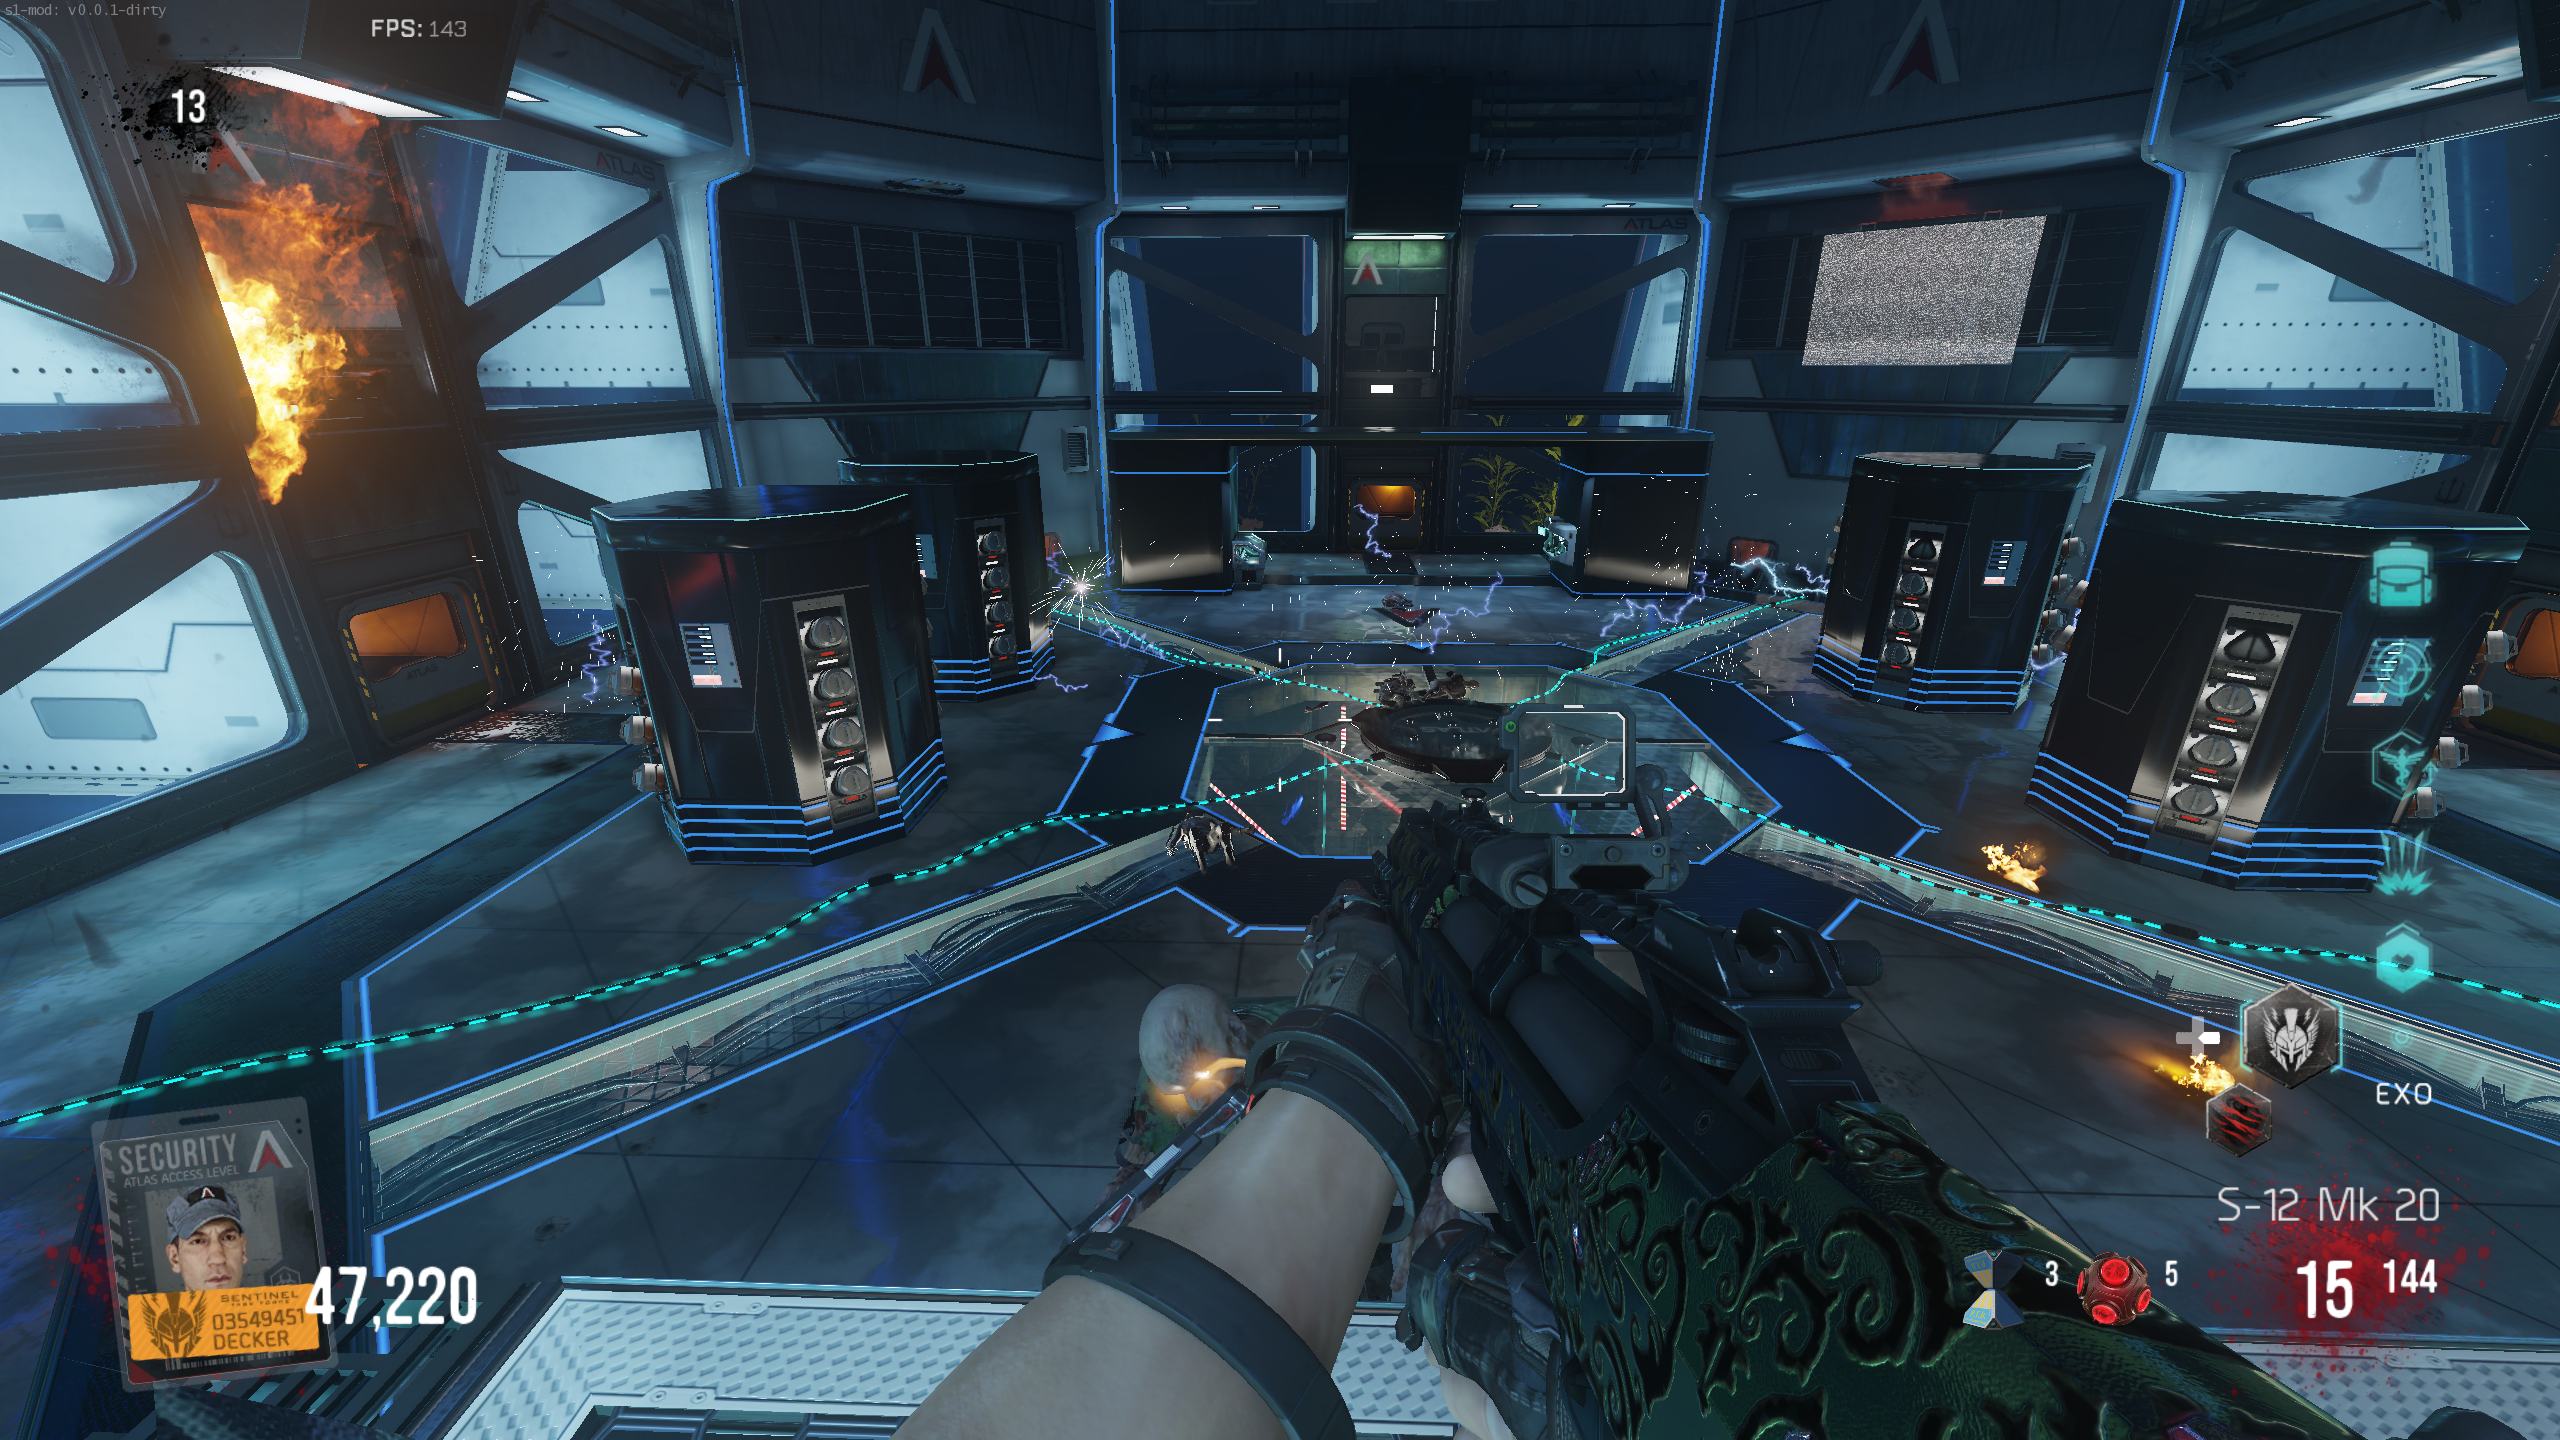
- Electric Floor: Indicated by the electricity on the floor of the arena. After a few seconds, it'll activate on one side of the floor, dealing damage to anyone standing on it, but it doesn't disable your Exo Suit.
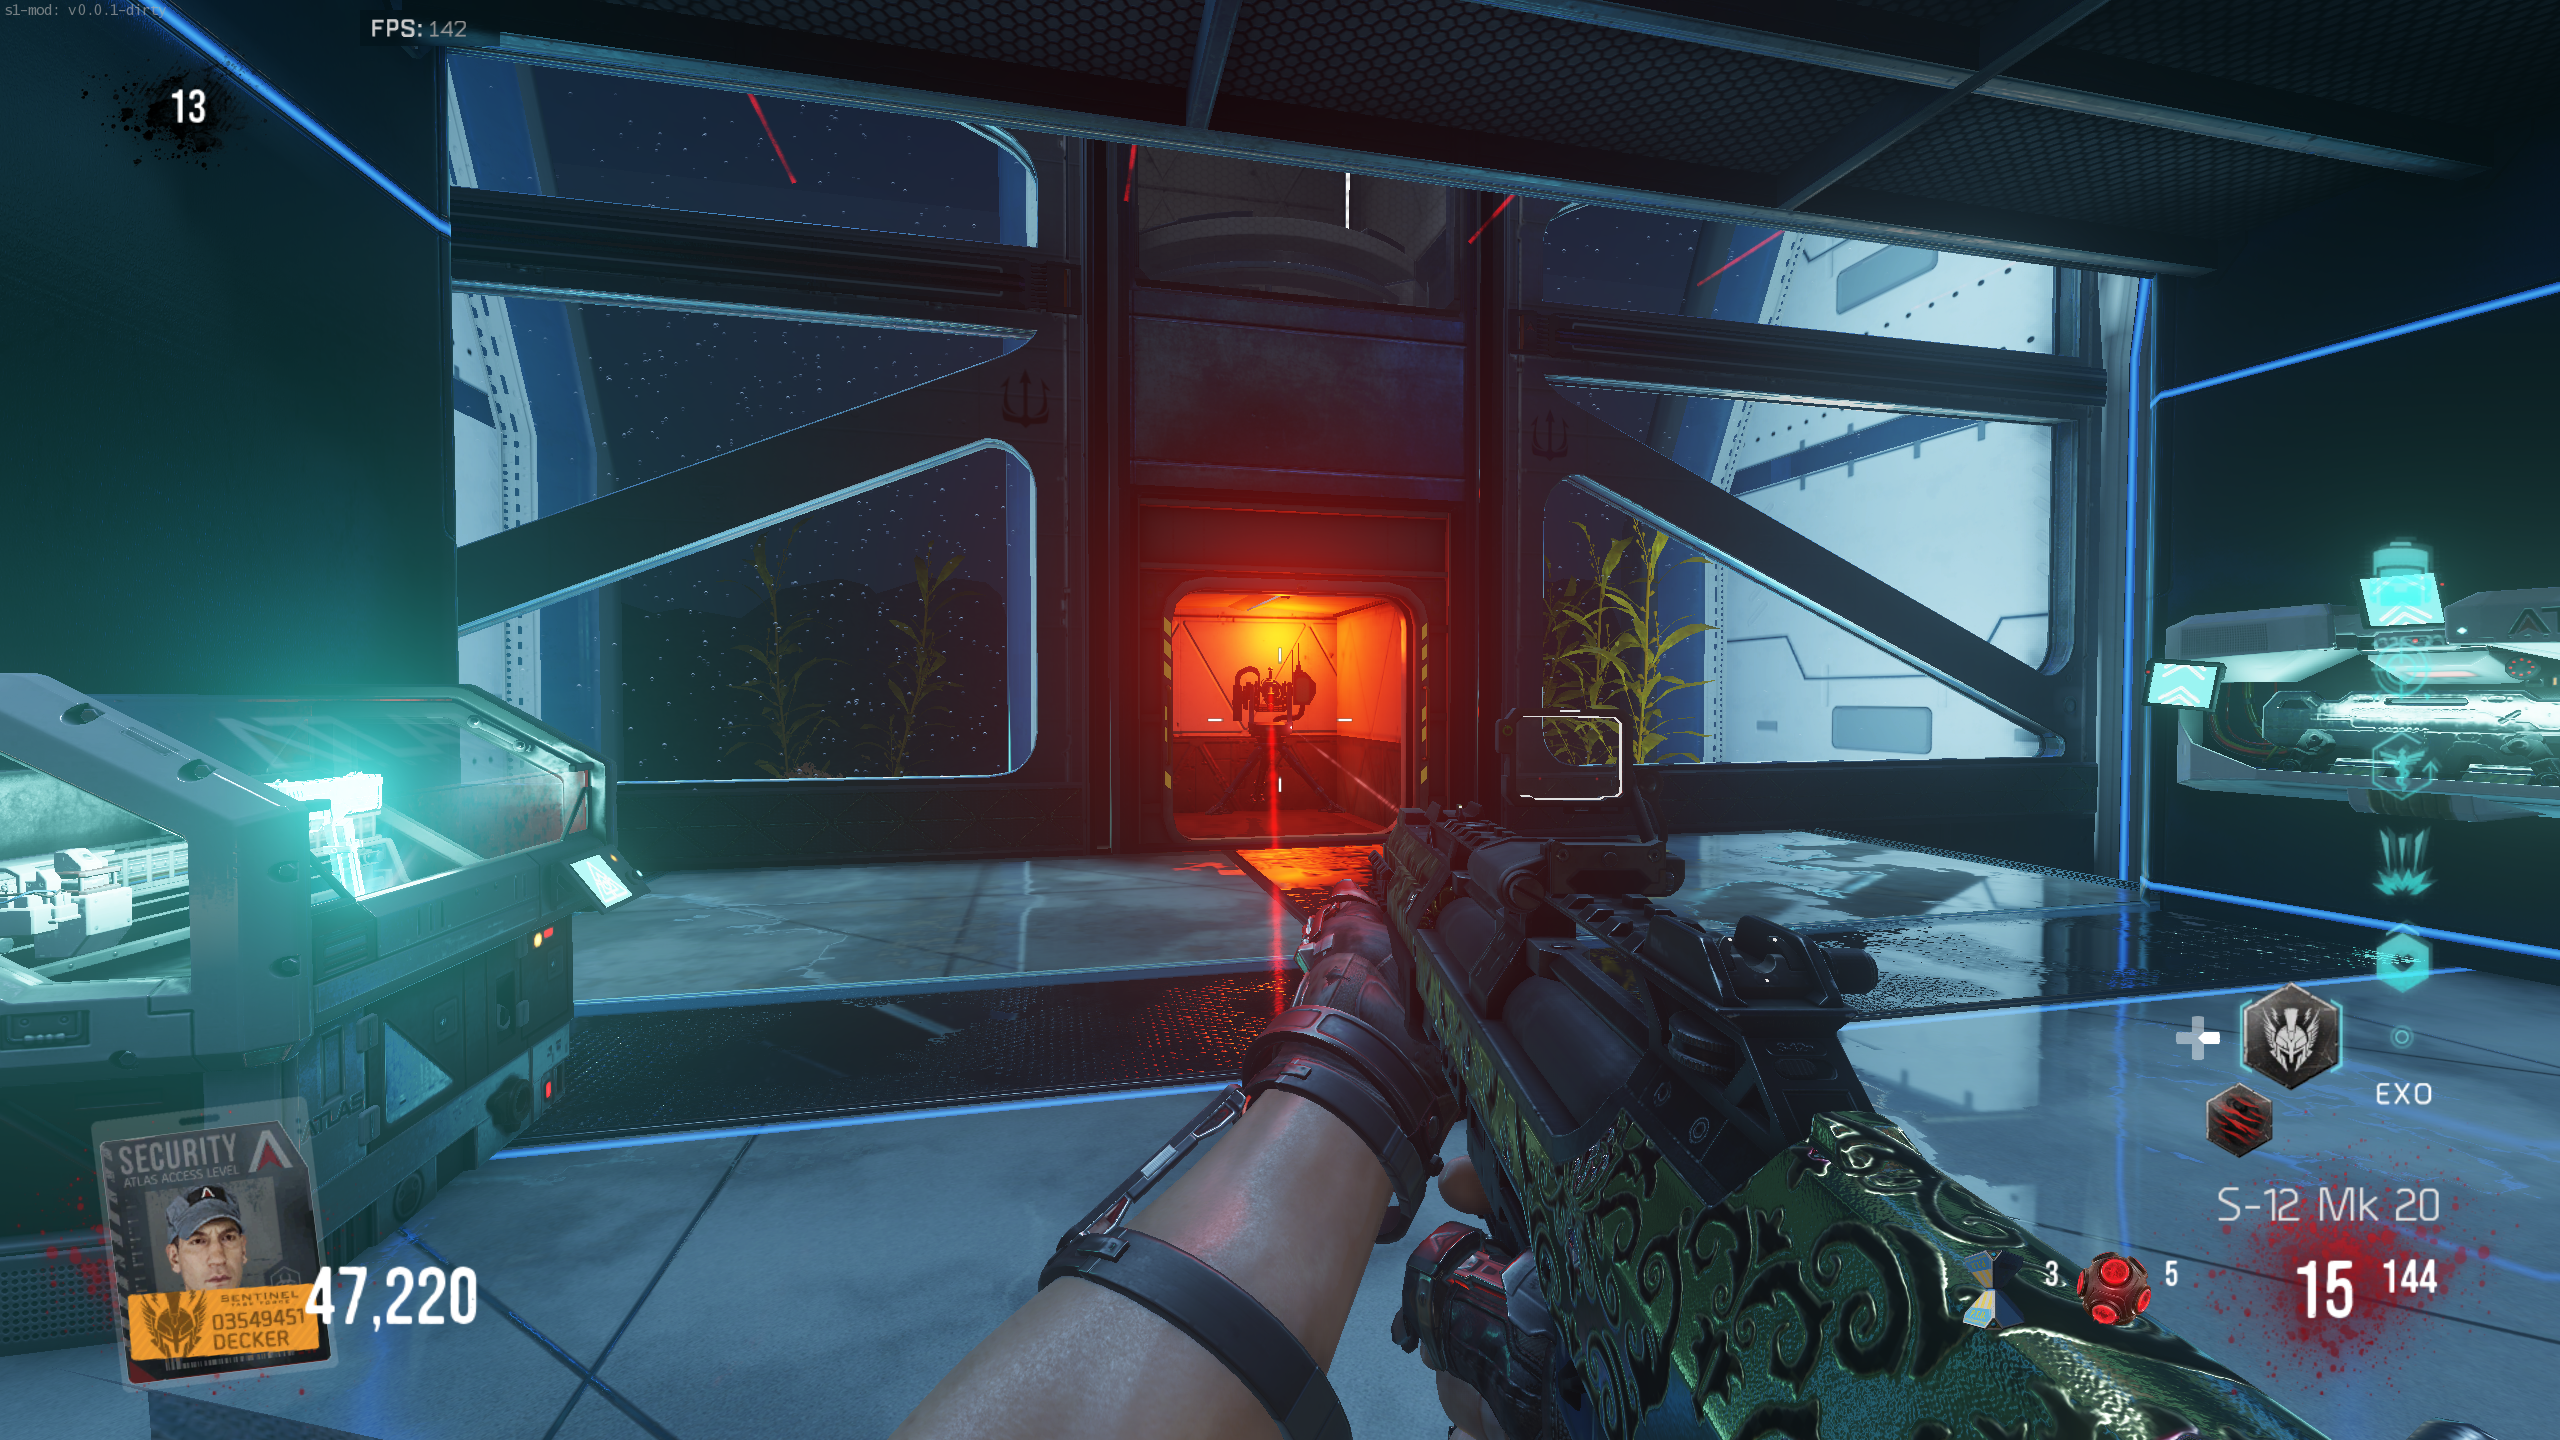
- While the main traps are active, he can also spawn smaller traps, like a Sentry Gun or wall-mounted Turrets. Shoot them to destroy them, since they don't have much health.
- Every time Oz teleports after you do damage, he'll add another one of the main attacks before you can do damage again. For example, after the first teleport, he'll activate the Gas. Then after the next teleport, you could get Lasers, then Gas before the window opens. The last window will always have all three traps.
- Once Oz is defeated, you'll receive Full Reload and DNA Bomb power-ups. Angie will start counting down from 10, and you'll be teleported back to the map at 0. Also, a Credits Drop crate will spawn somewhere around the arena. Once you collect those credits, another drop will spawn. These drops will keep spawning until you are teleported back to the main map.
Round 20
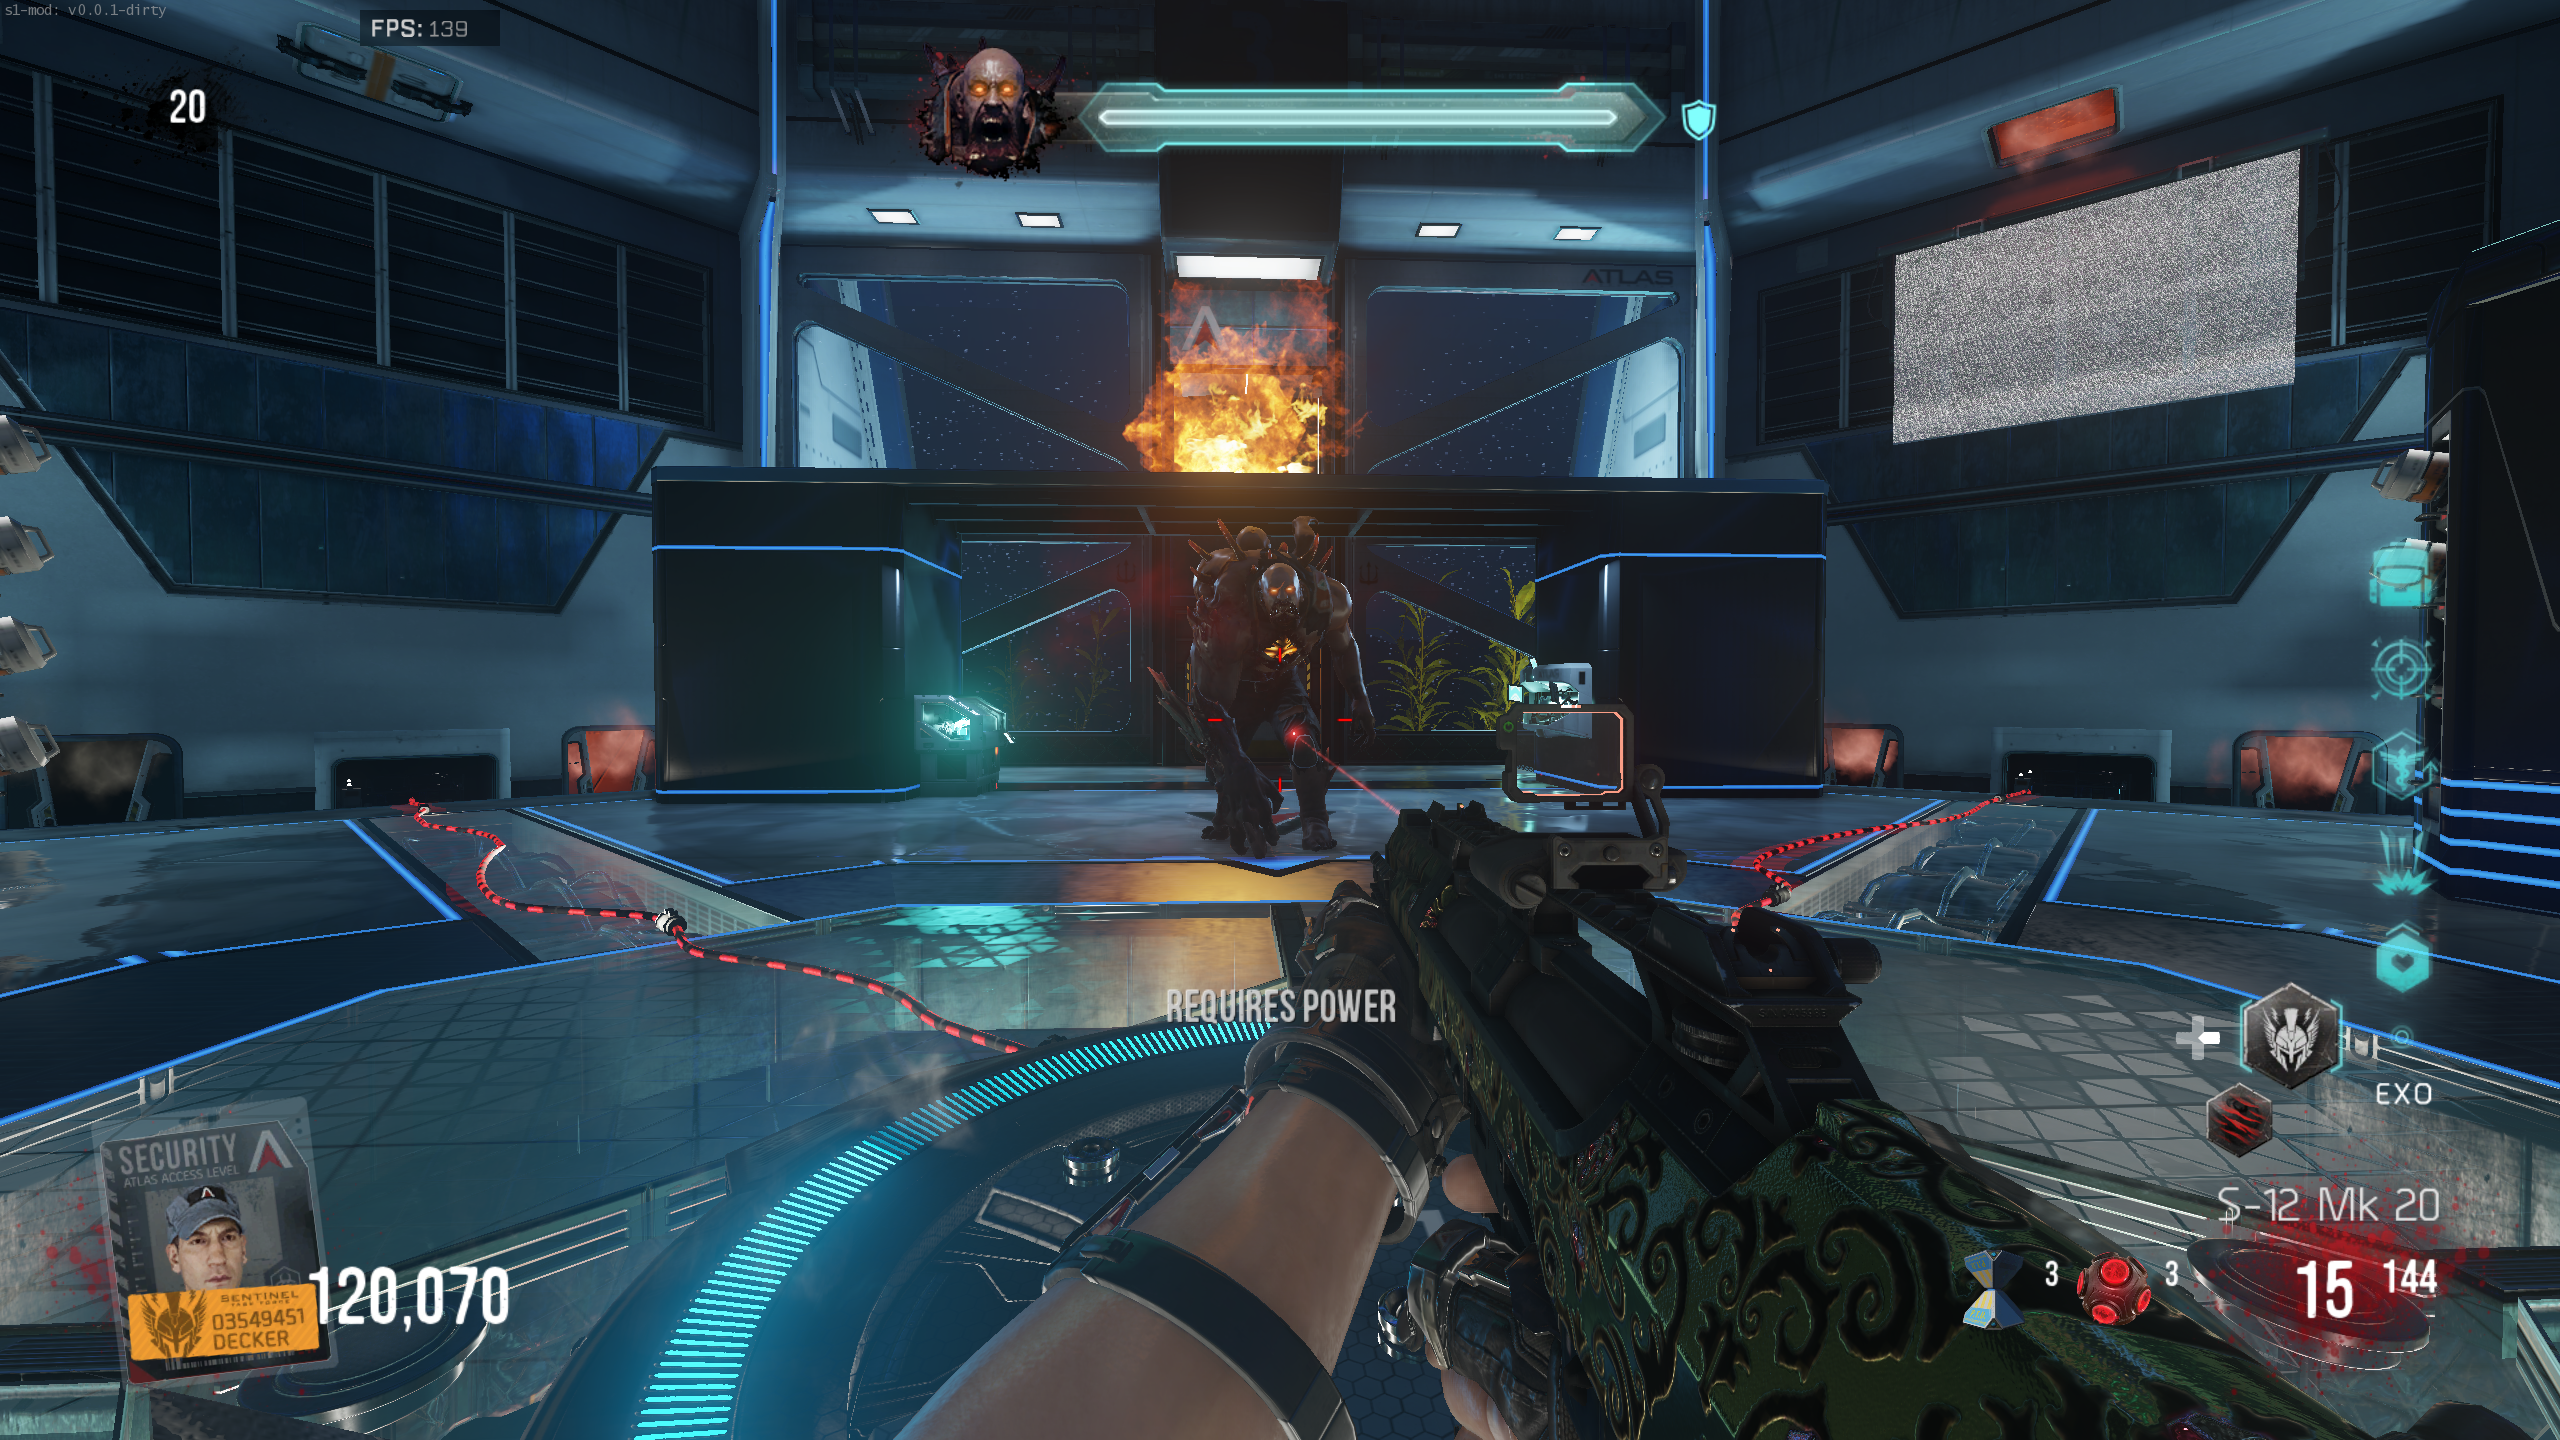
- Oz will spawn as a large mutated creature. You'll need to activate the Decontamination Pad while Oz is standing on it. This will remove his shield, allowing you to do damage. You can only do about 1/4 of his health in one Pad use (the game caps your damage).
- Every time you use the pad (whether it hits Oz or not), you'll need to turn on the four generators that connect to it. These generators are in the four corners of the arena.
- The general fight loop is: Power the Decontamination Pad, wait for Oz to spawn, activate the Pad when Oz is on it, shoot Oz until his shield is back up, repeat.
- Throughout the fight, one of the traps from the Round 12 fight will activate.
- Once Oz is defeated, it's the same as the Round 12 fight. You'll receive Full Reload and DNA Bomb power-ups, and Credits Drop crates will spawn.
"Reunion" Main Quest
Stats (Solo): Difficulty - 4/10, Est. Completion Time - 1:10 to 1:30 Hrs
Unlocking the Secret Room
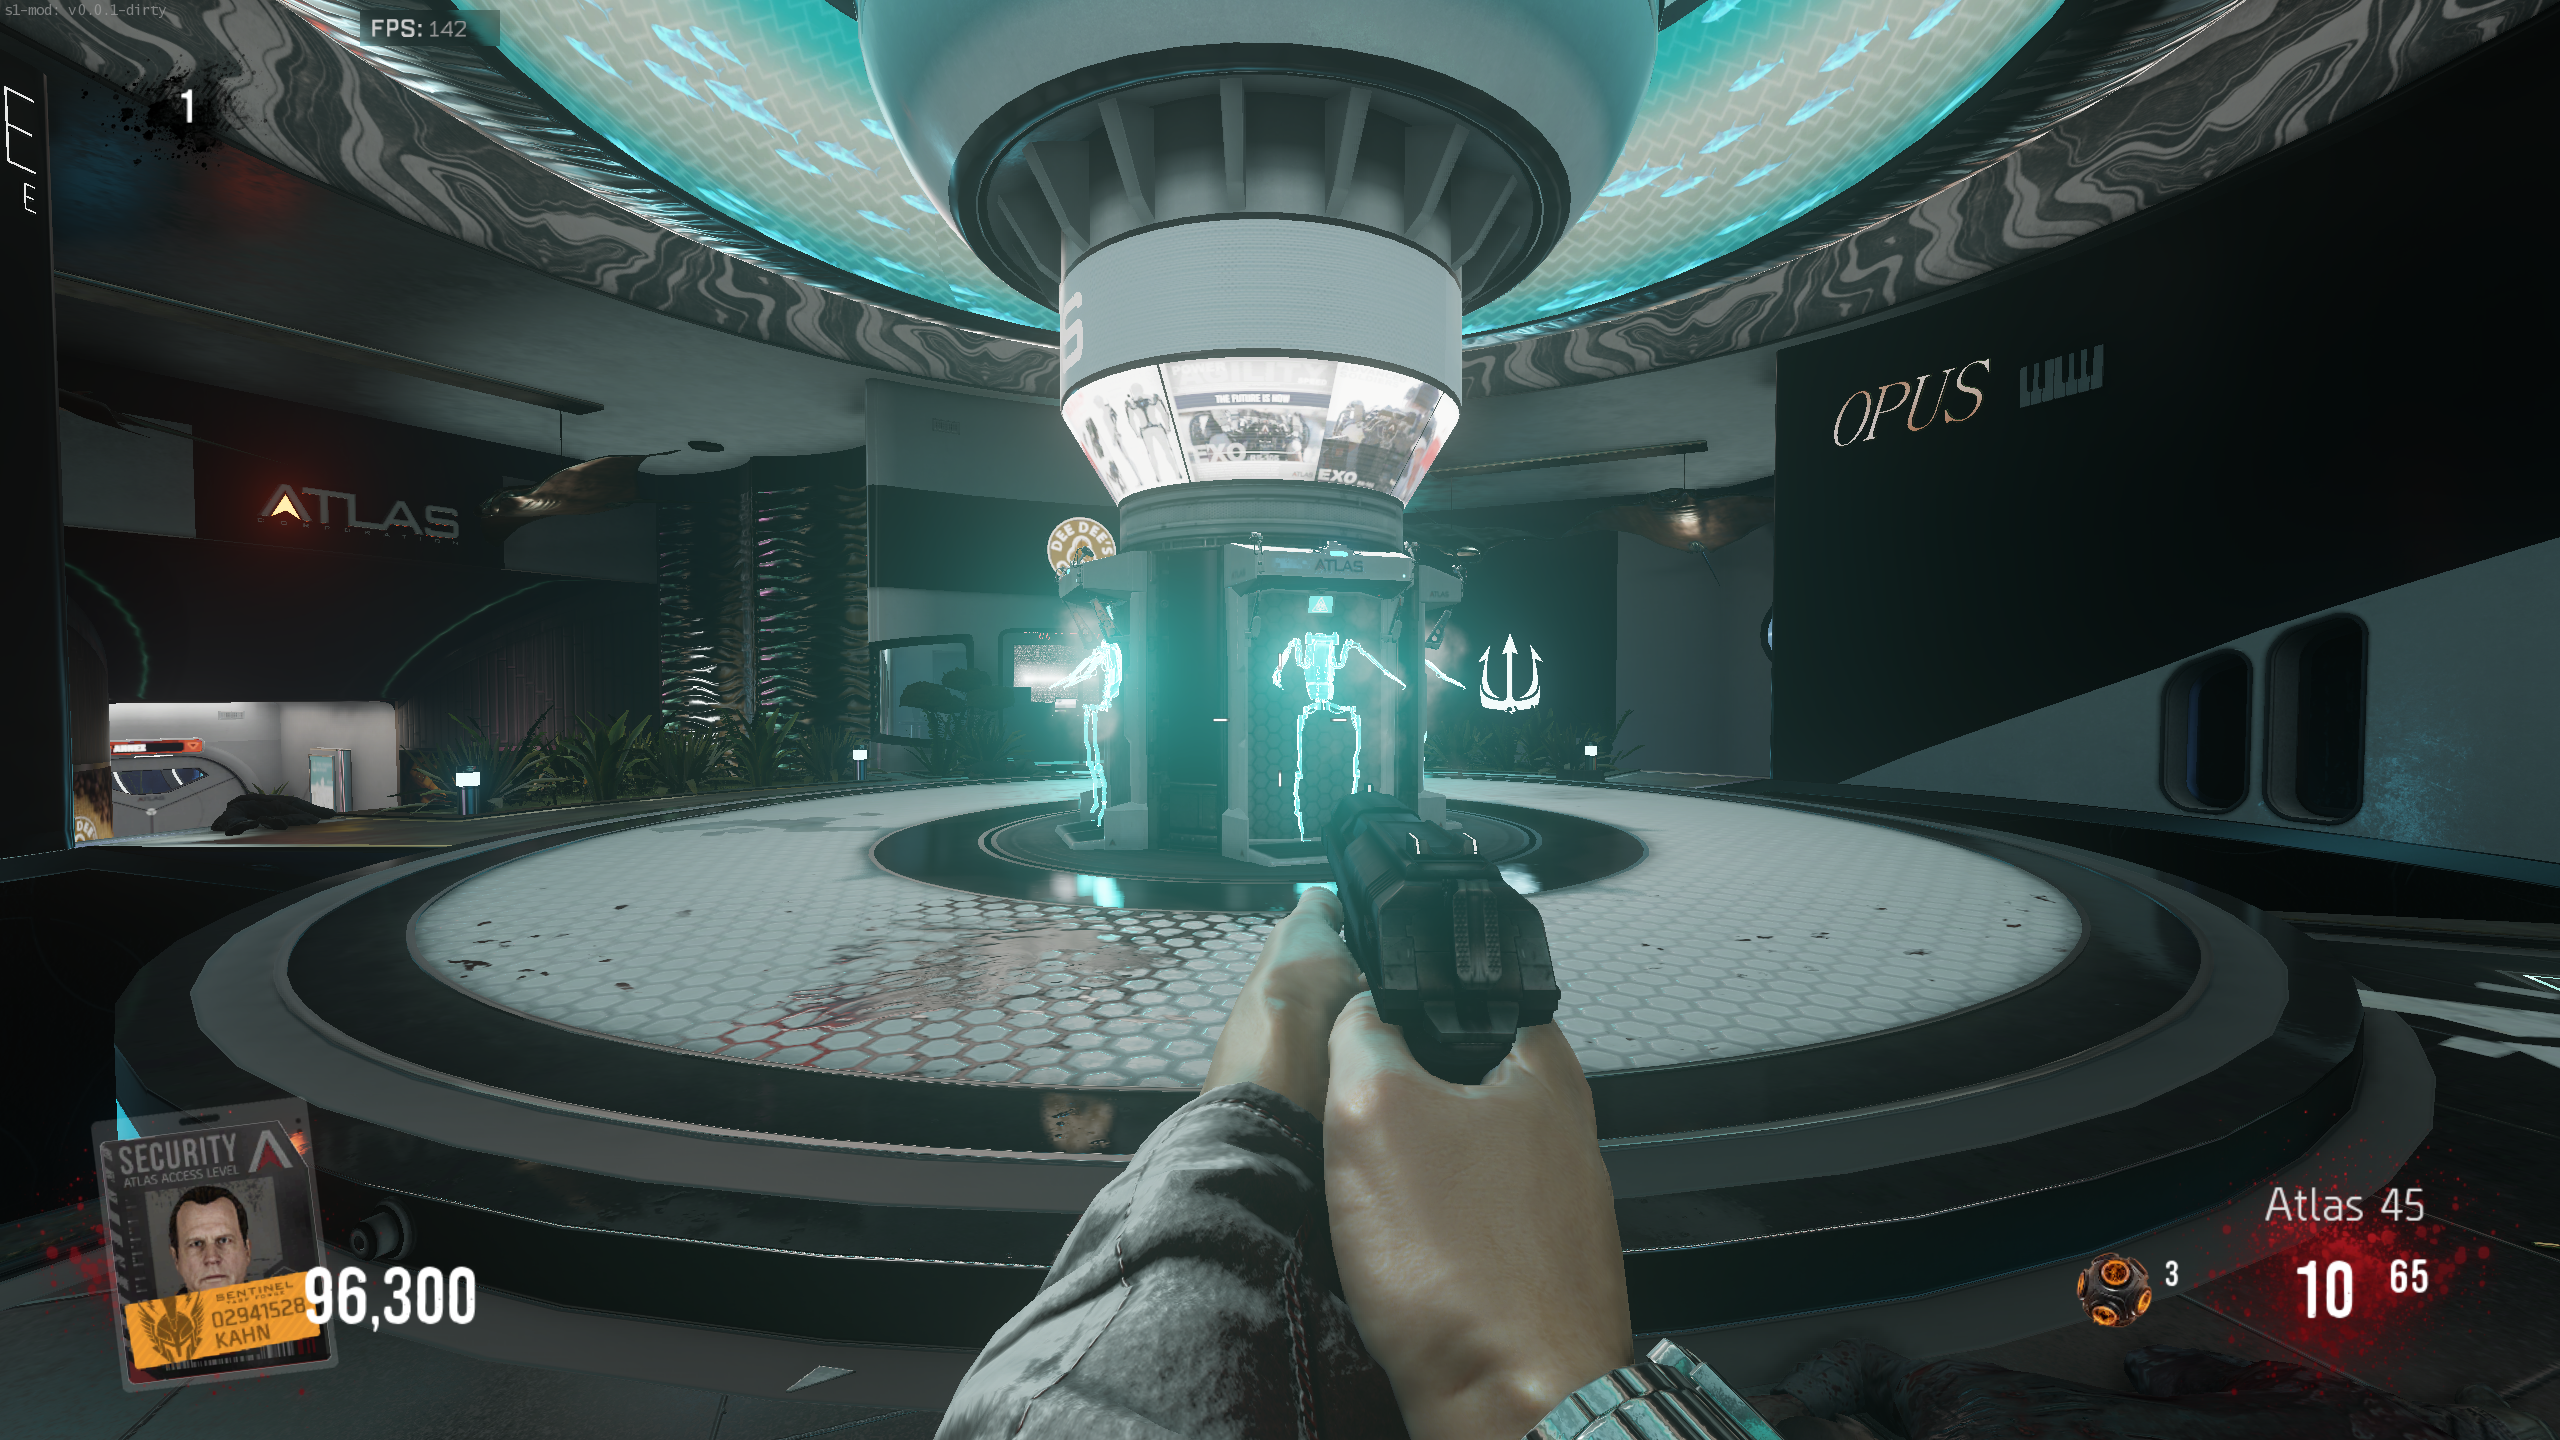
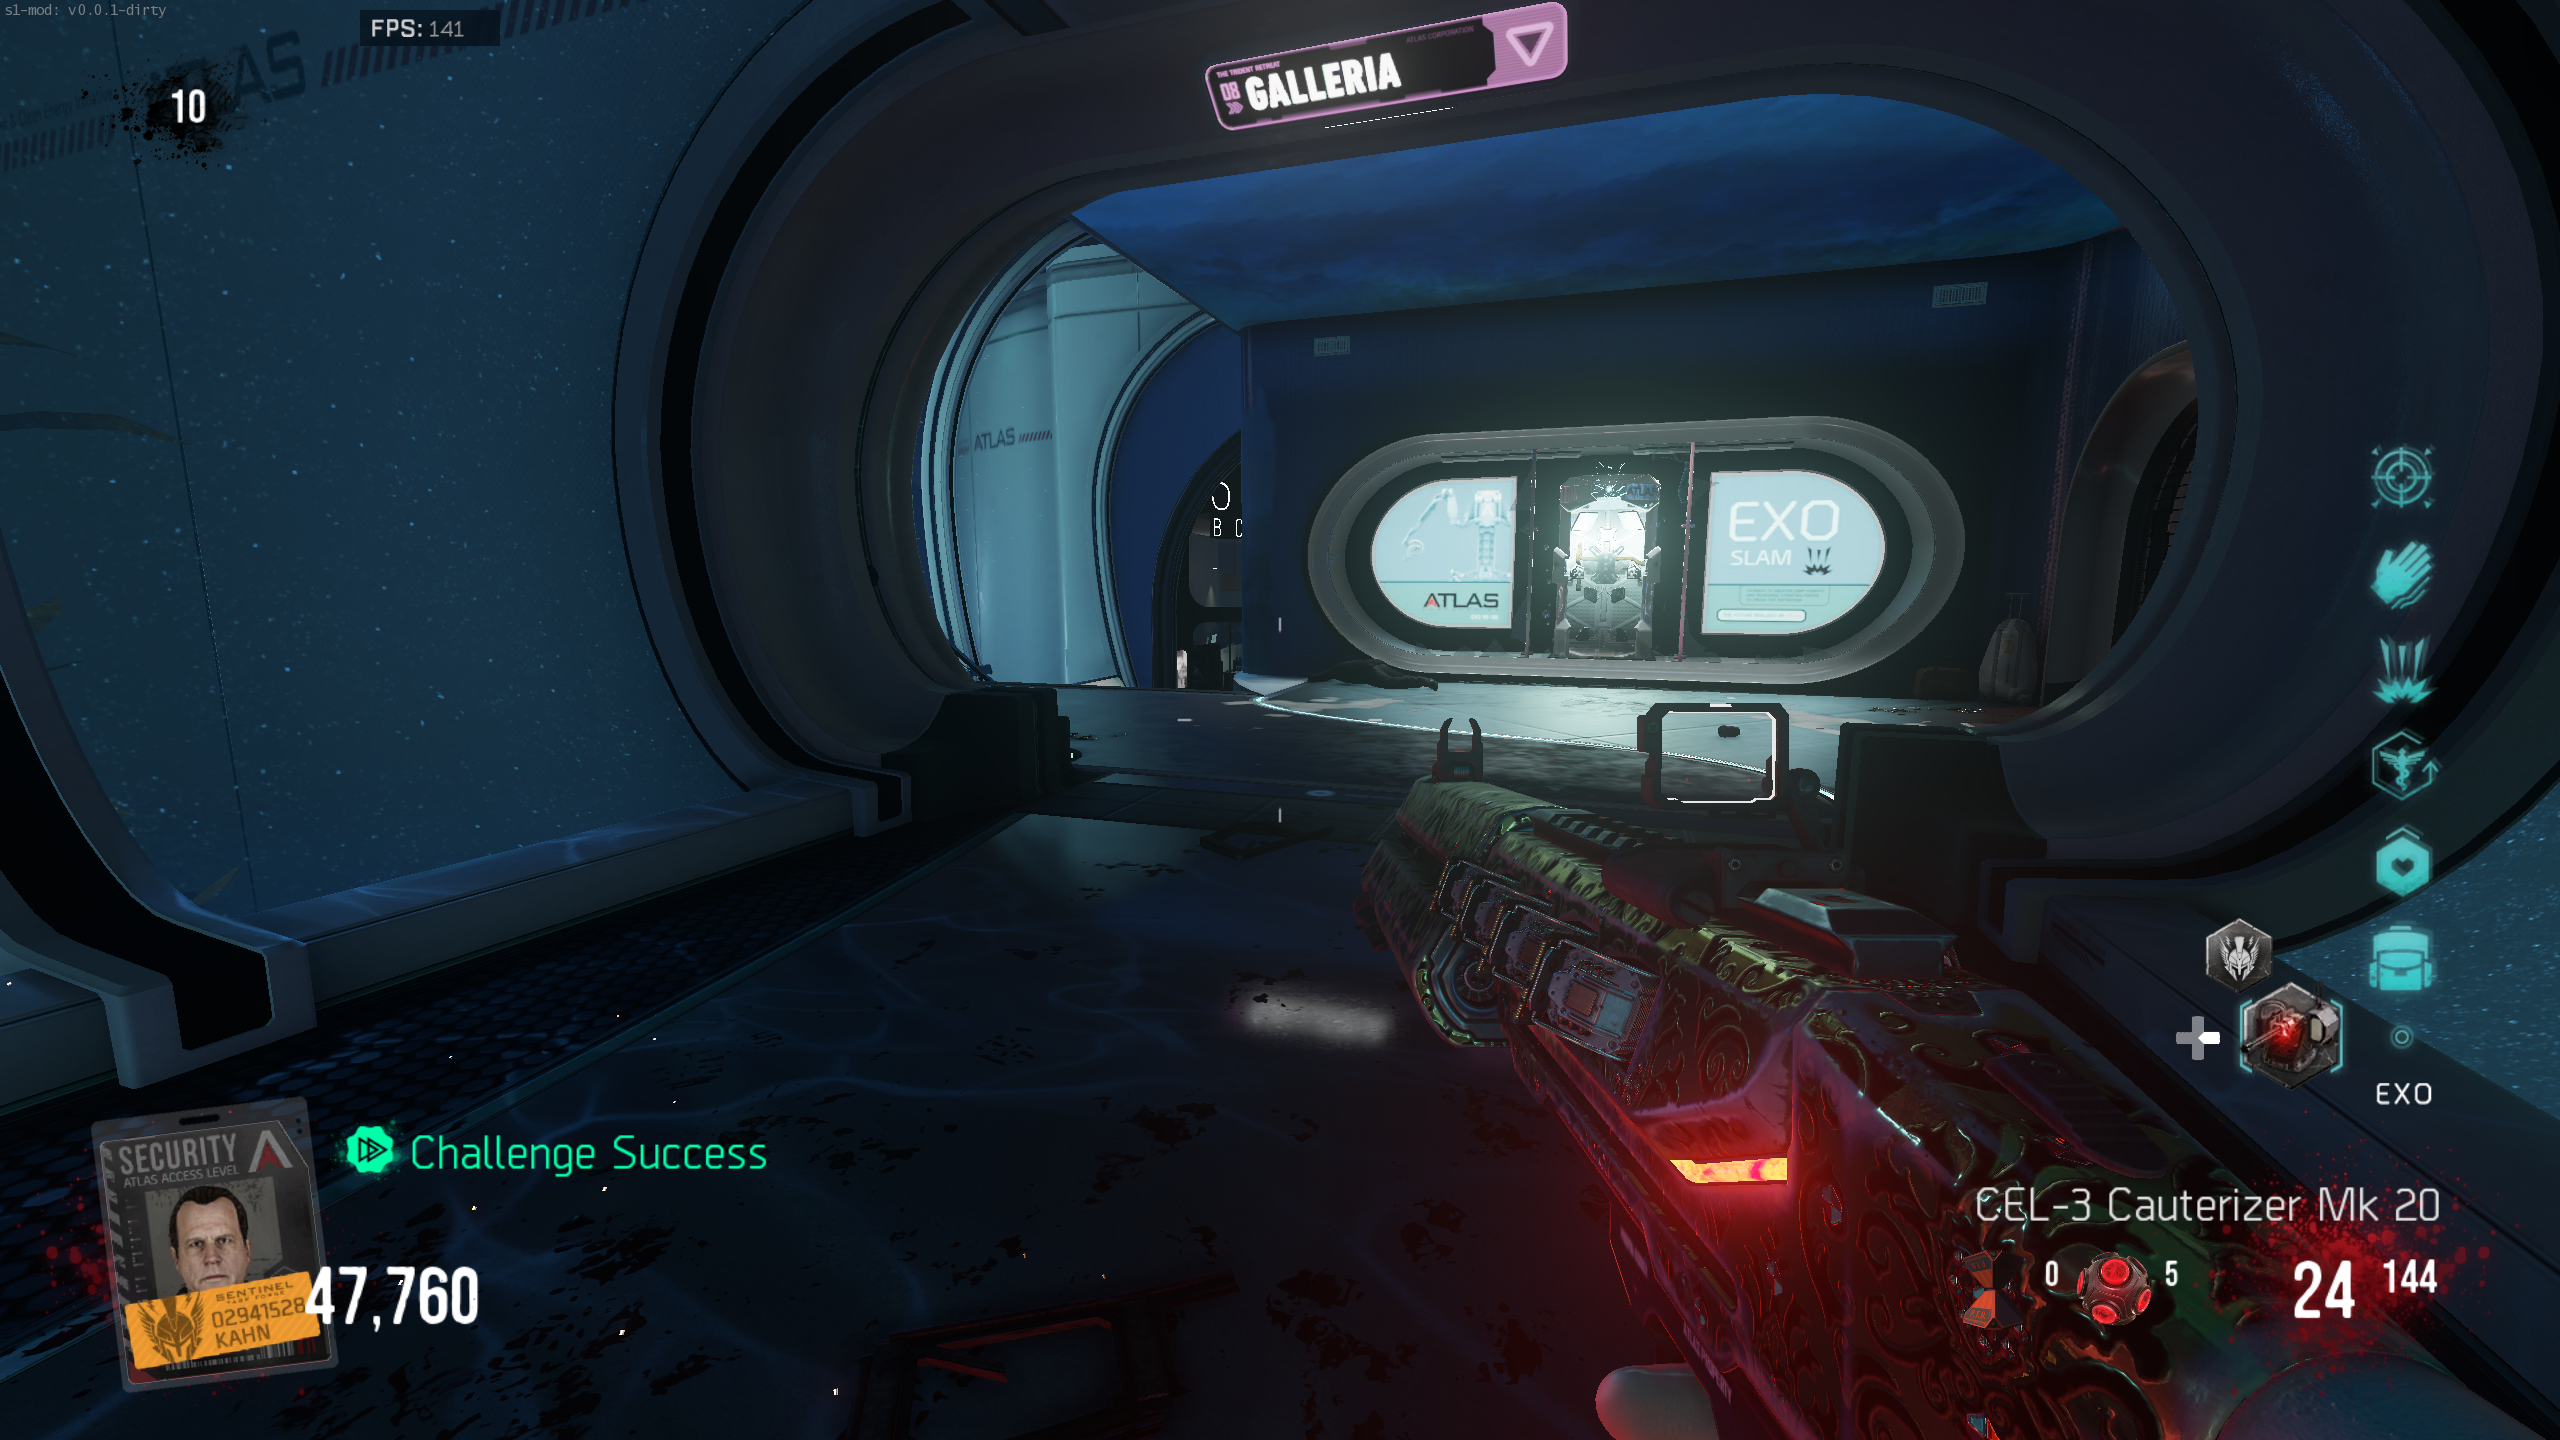
- Obtain an Exo Suit from the machine in the Galleria.
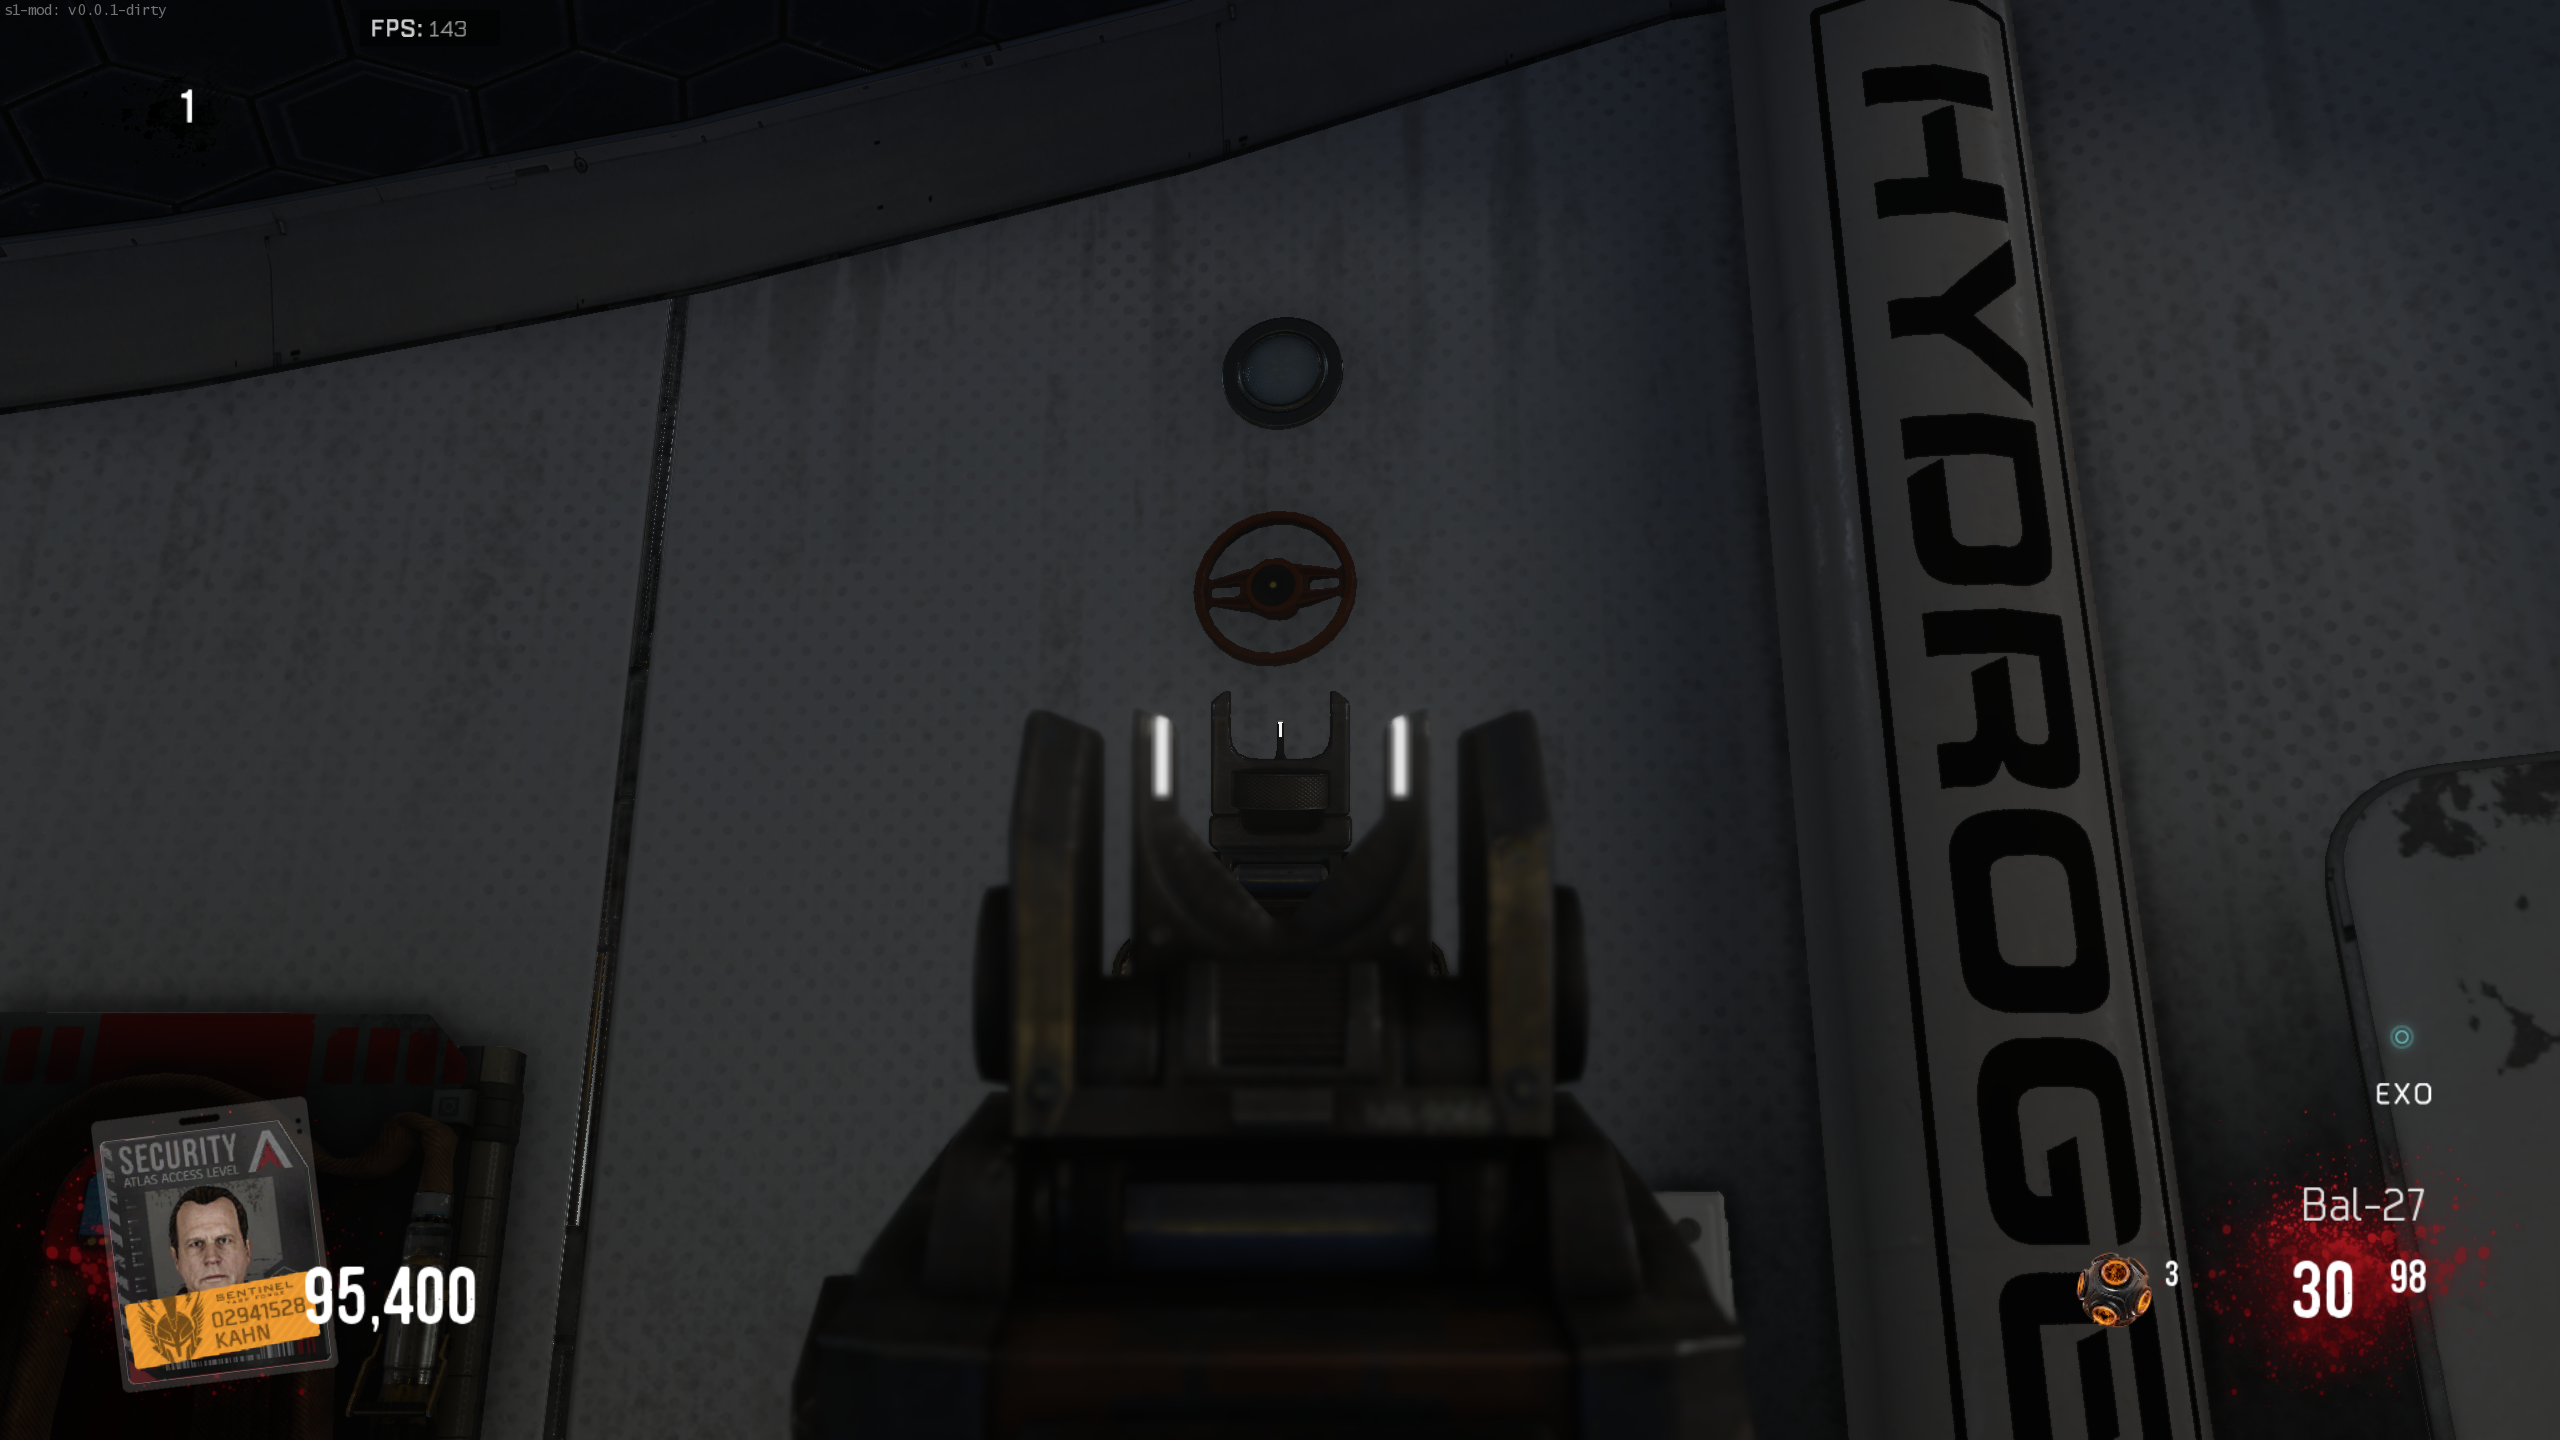
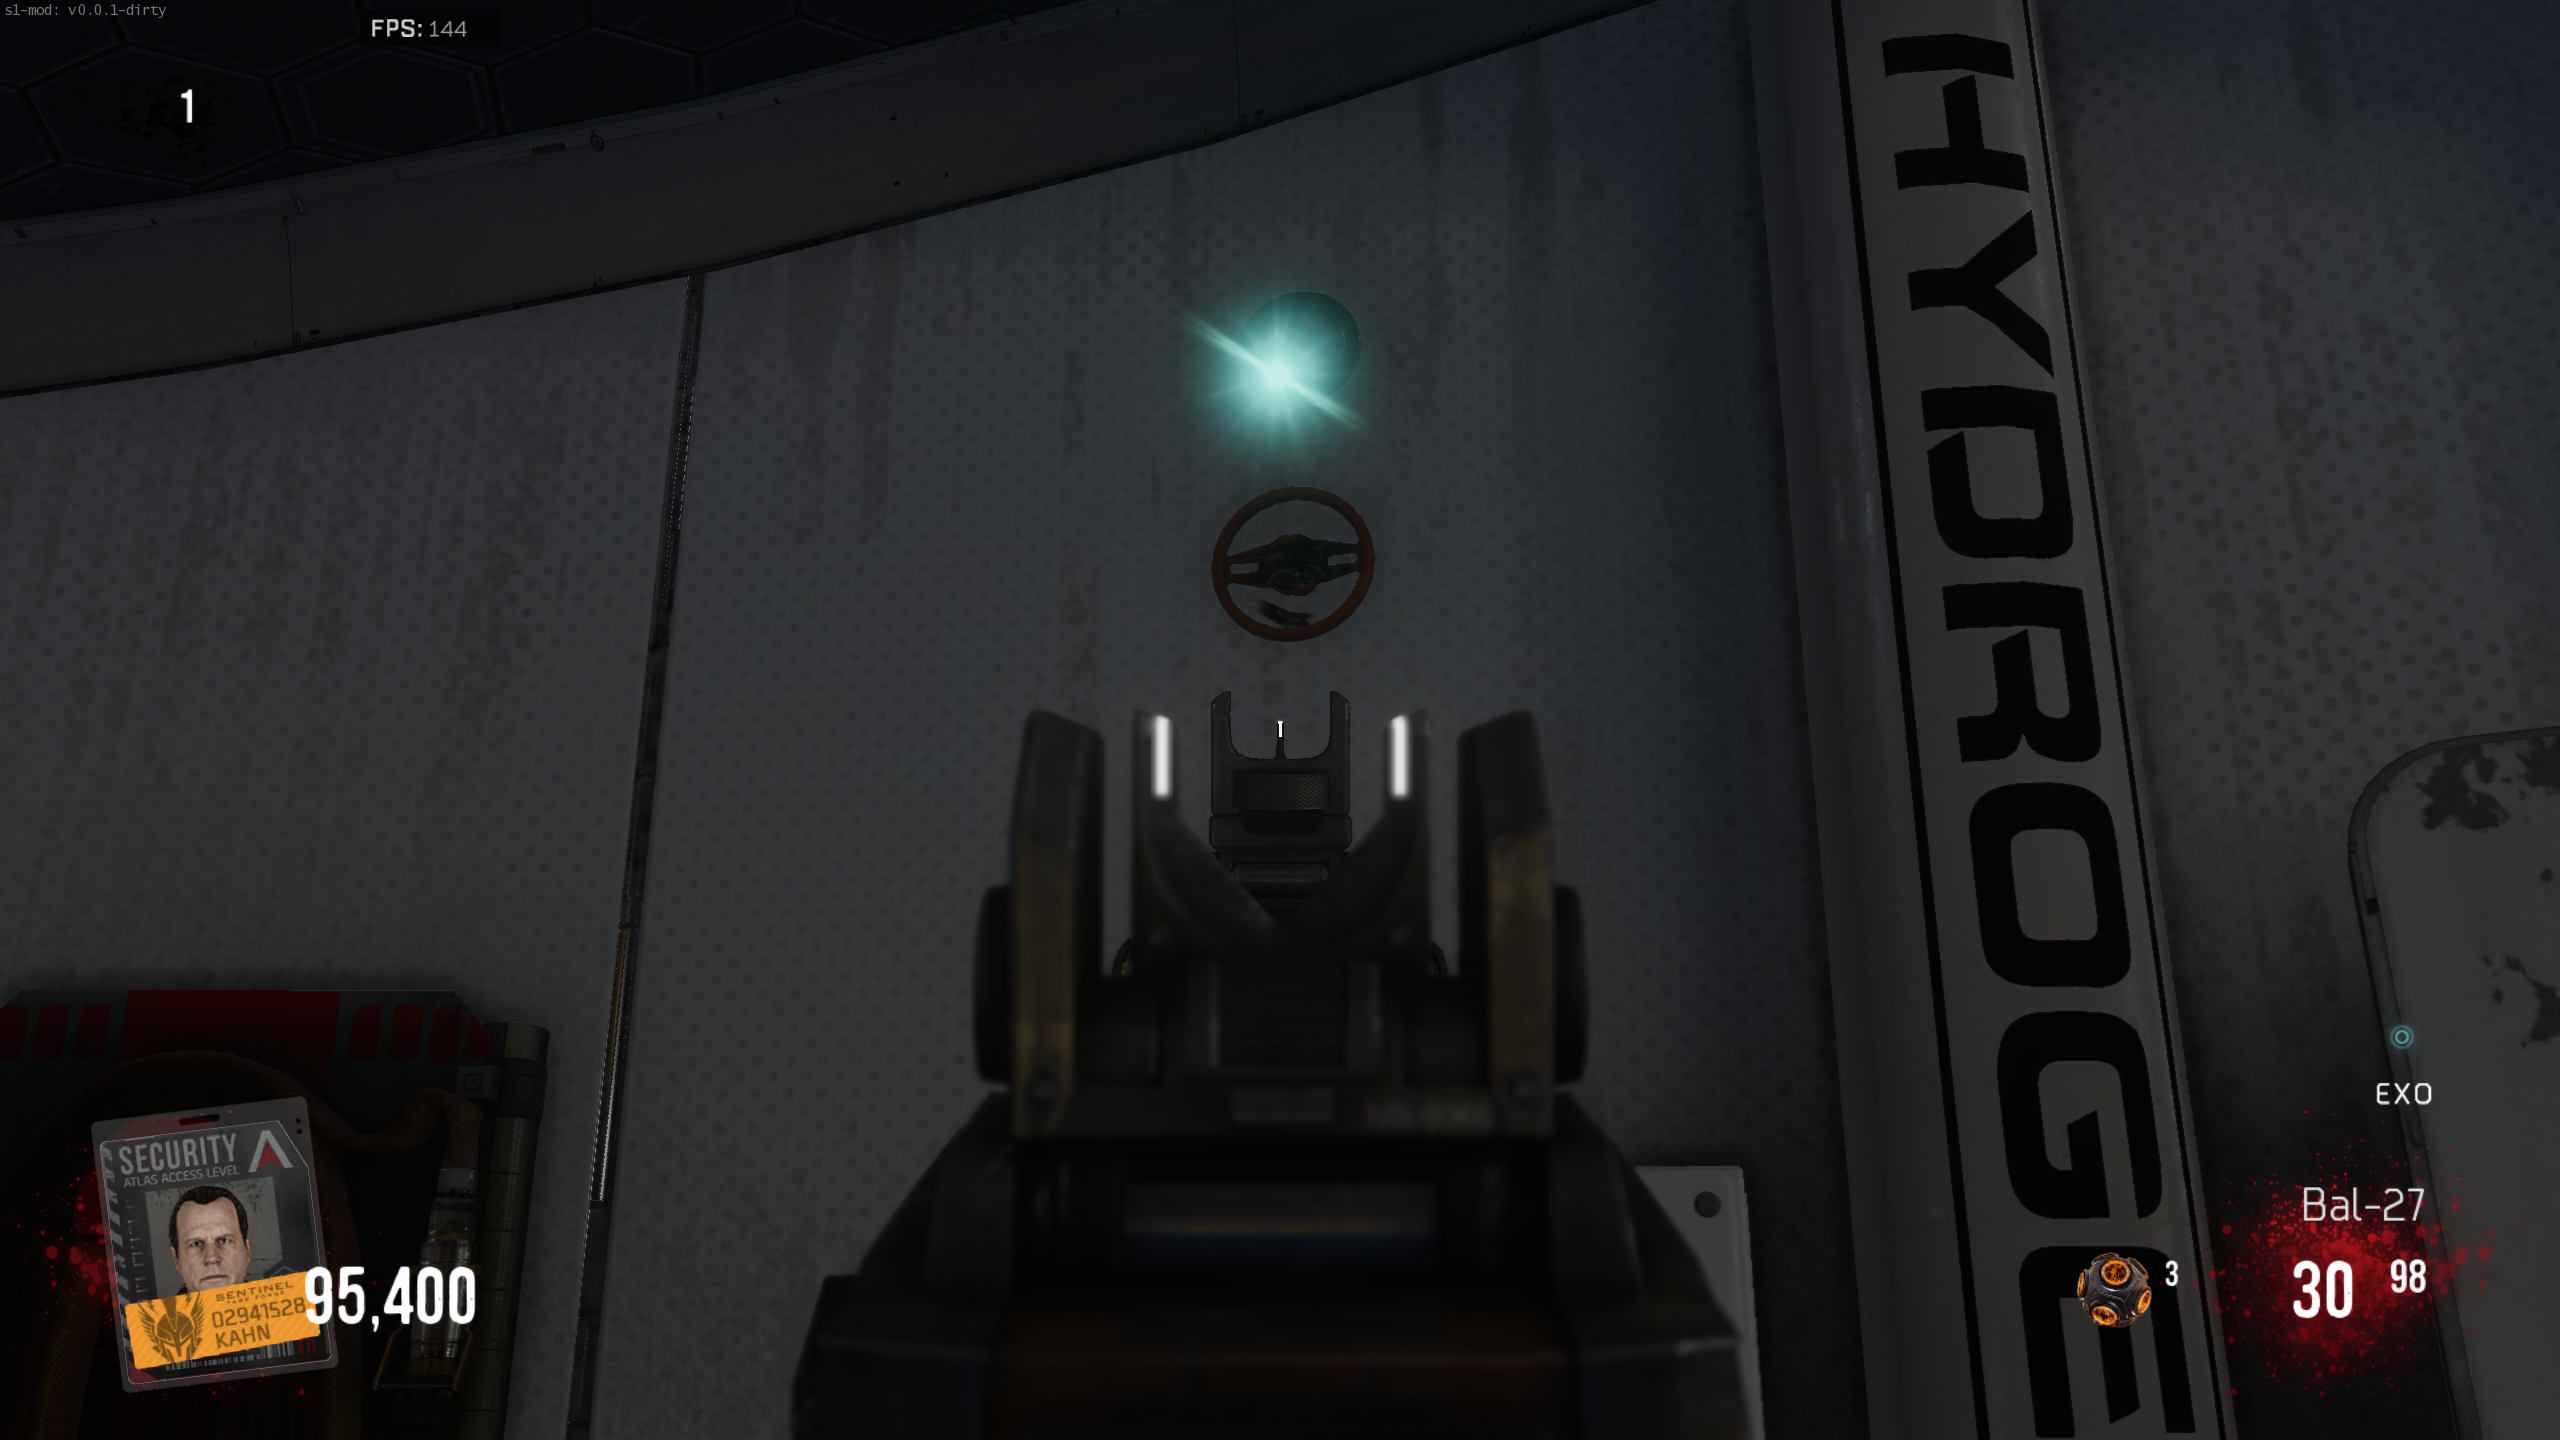
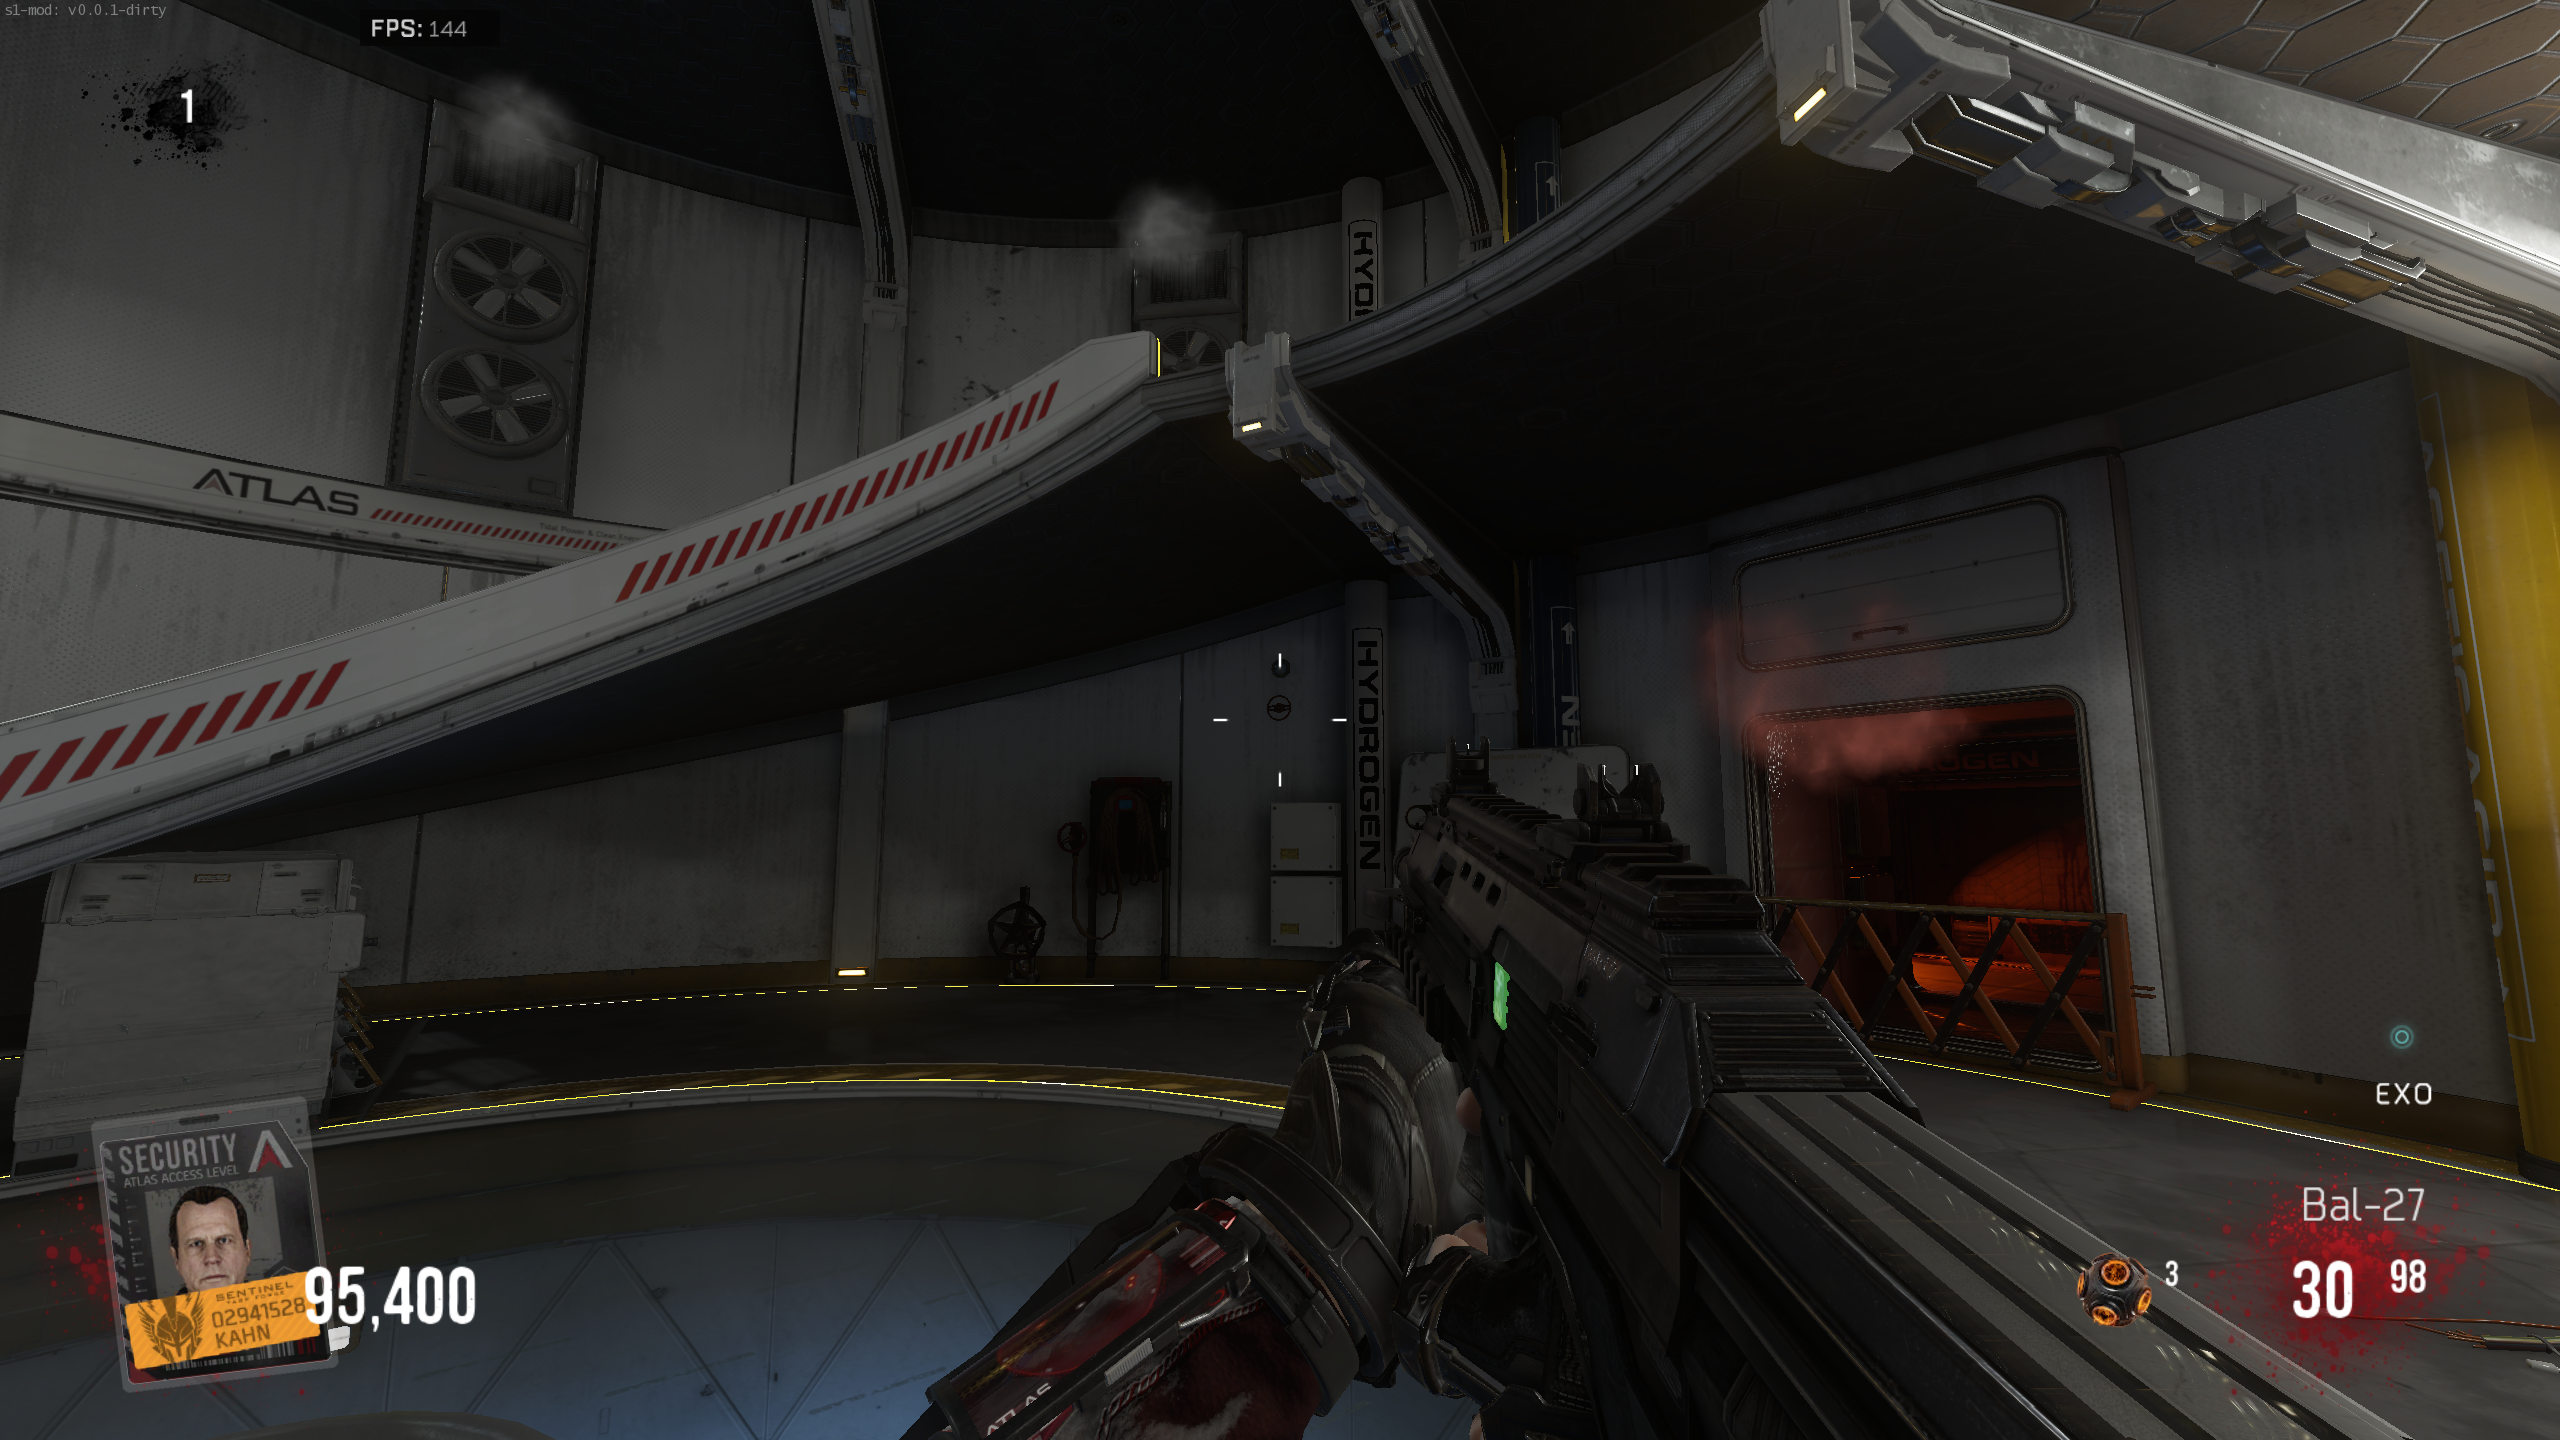
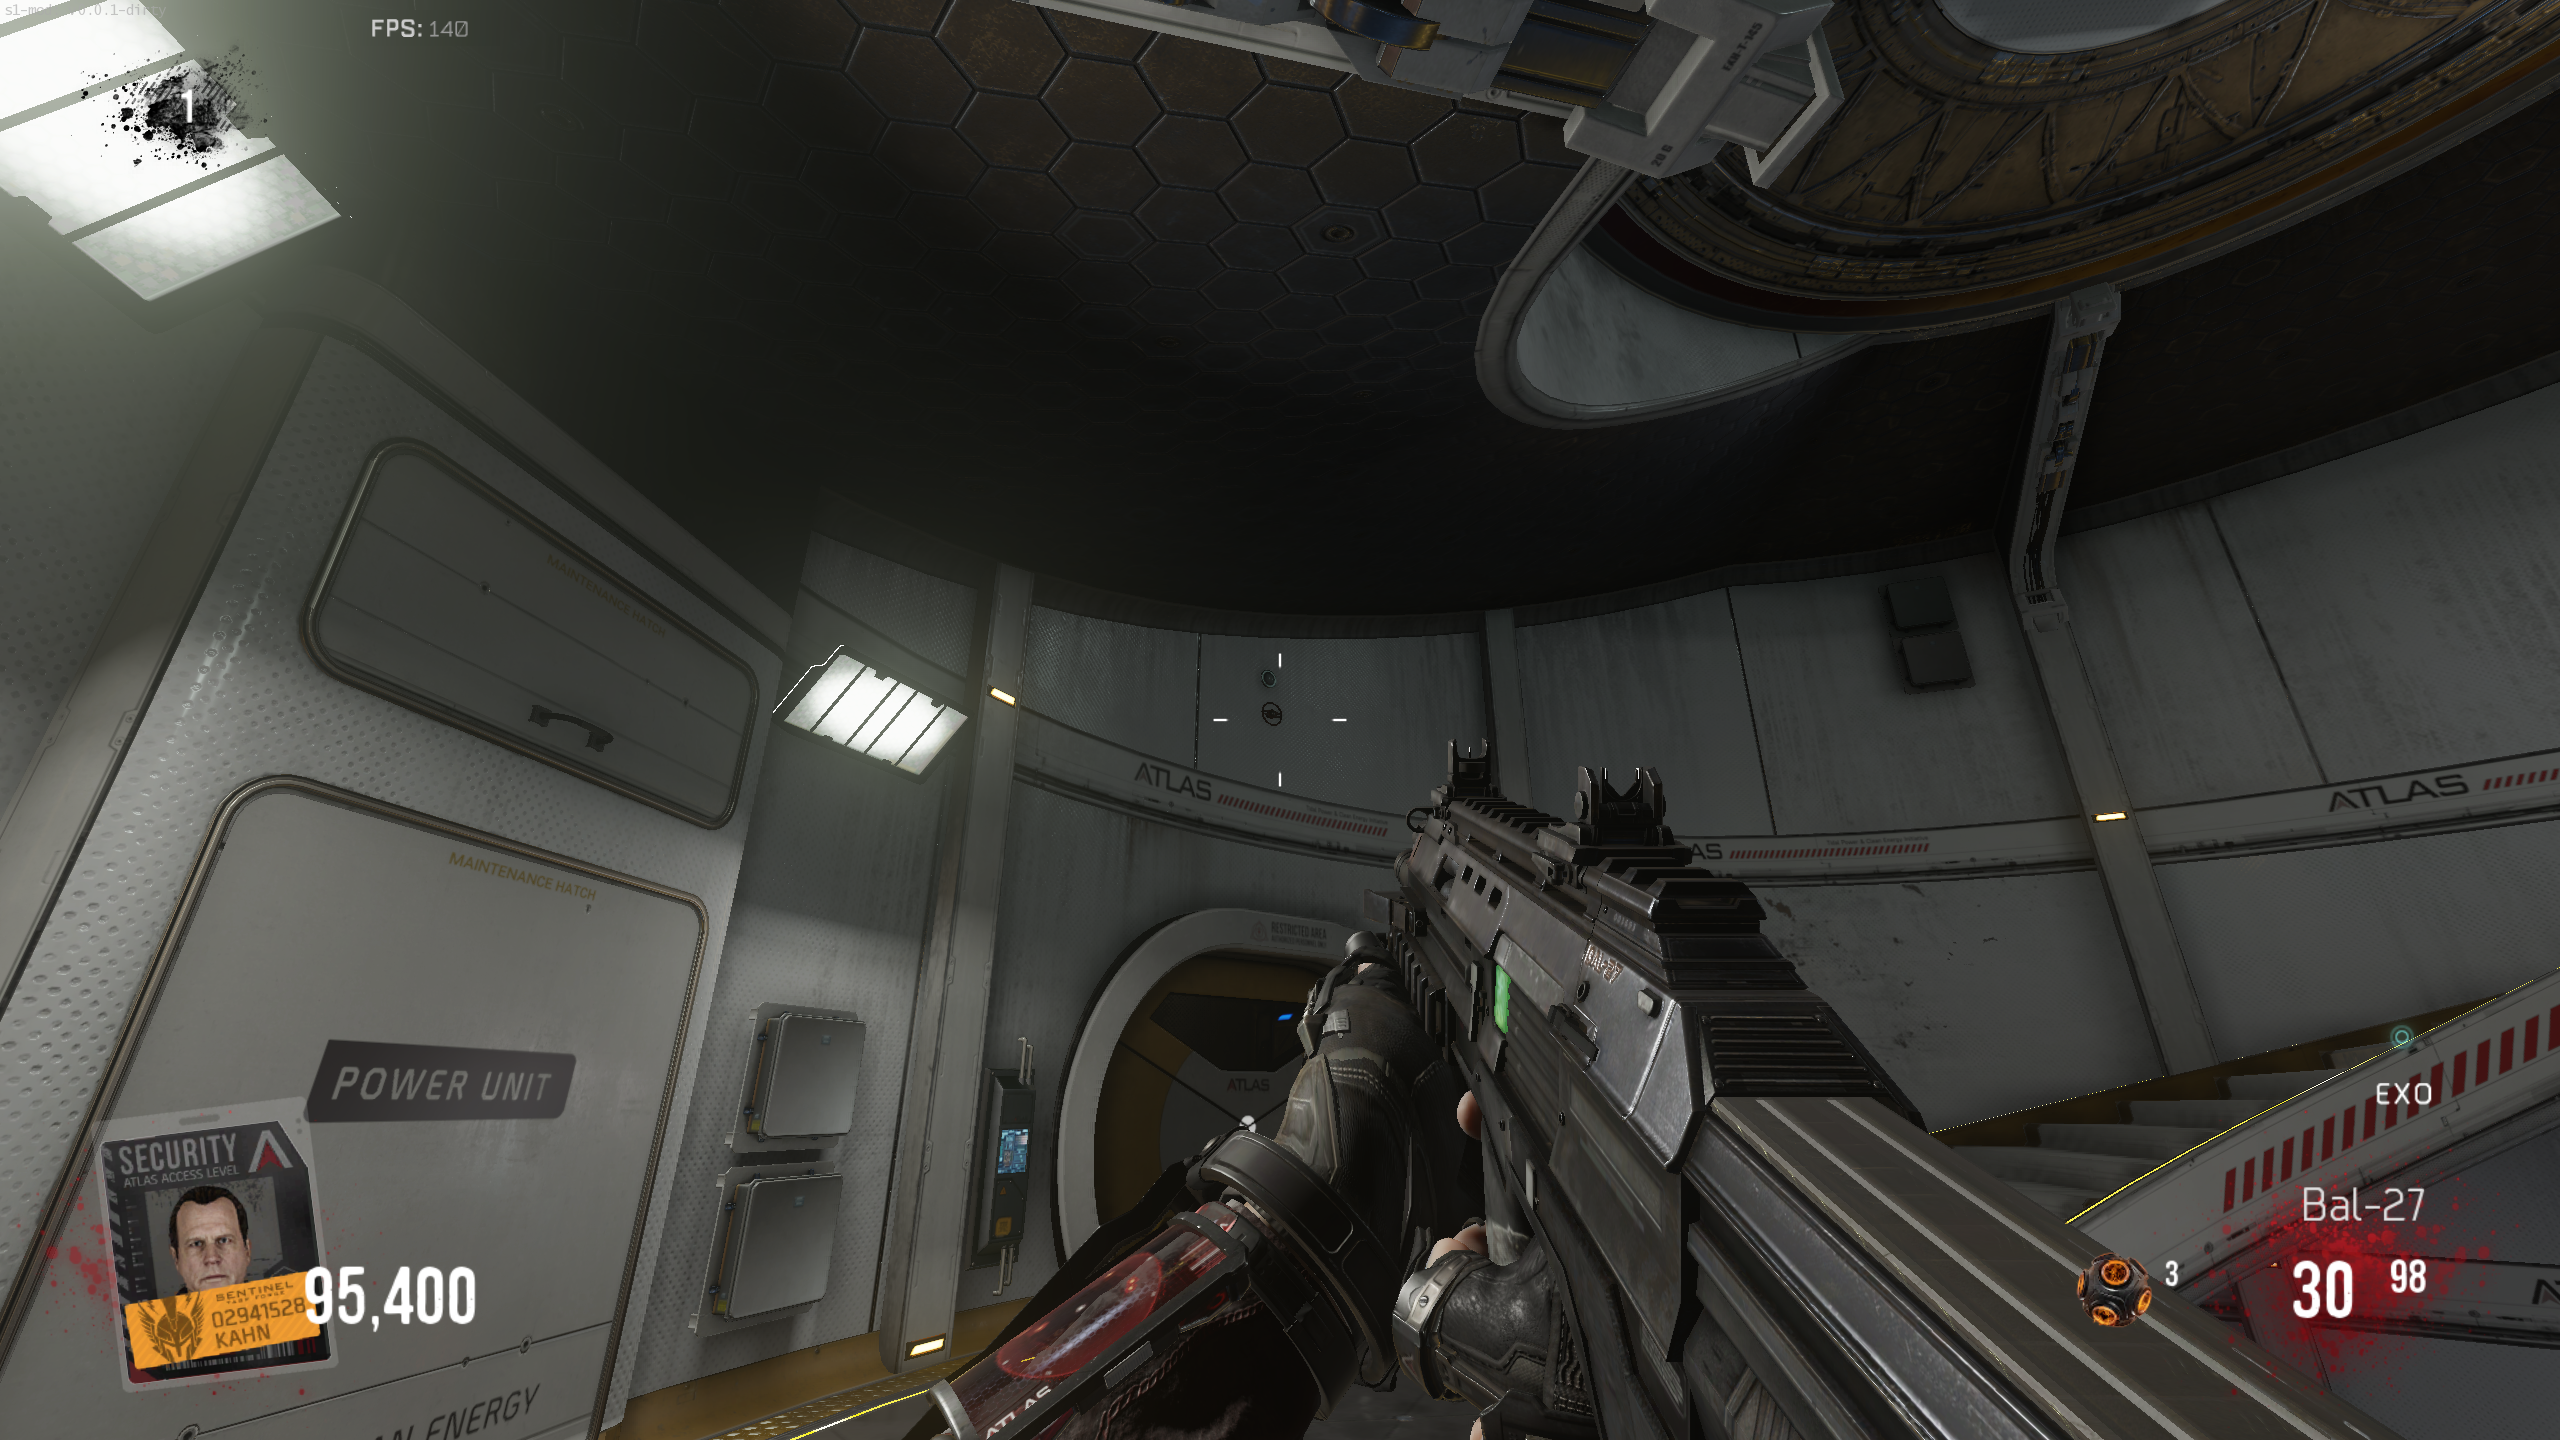
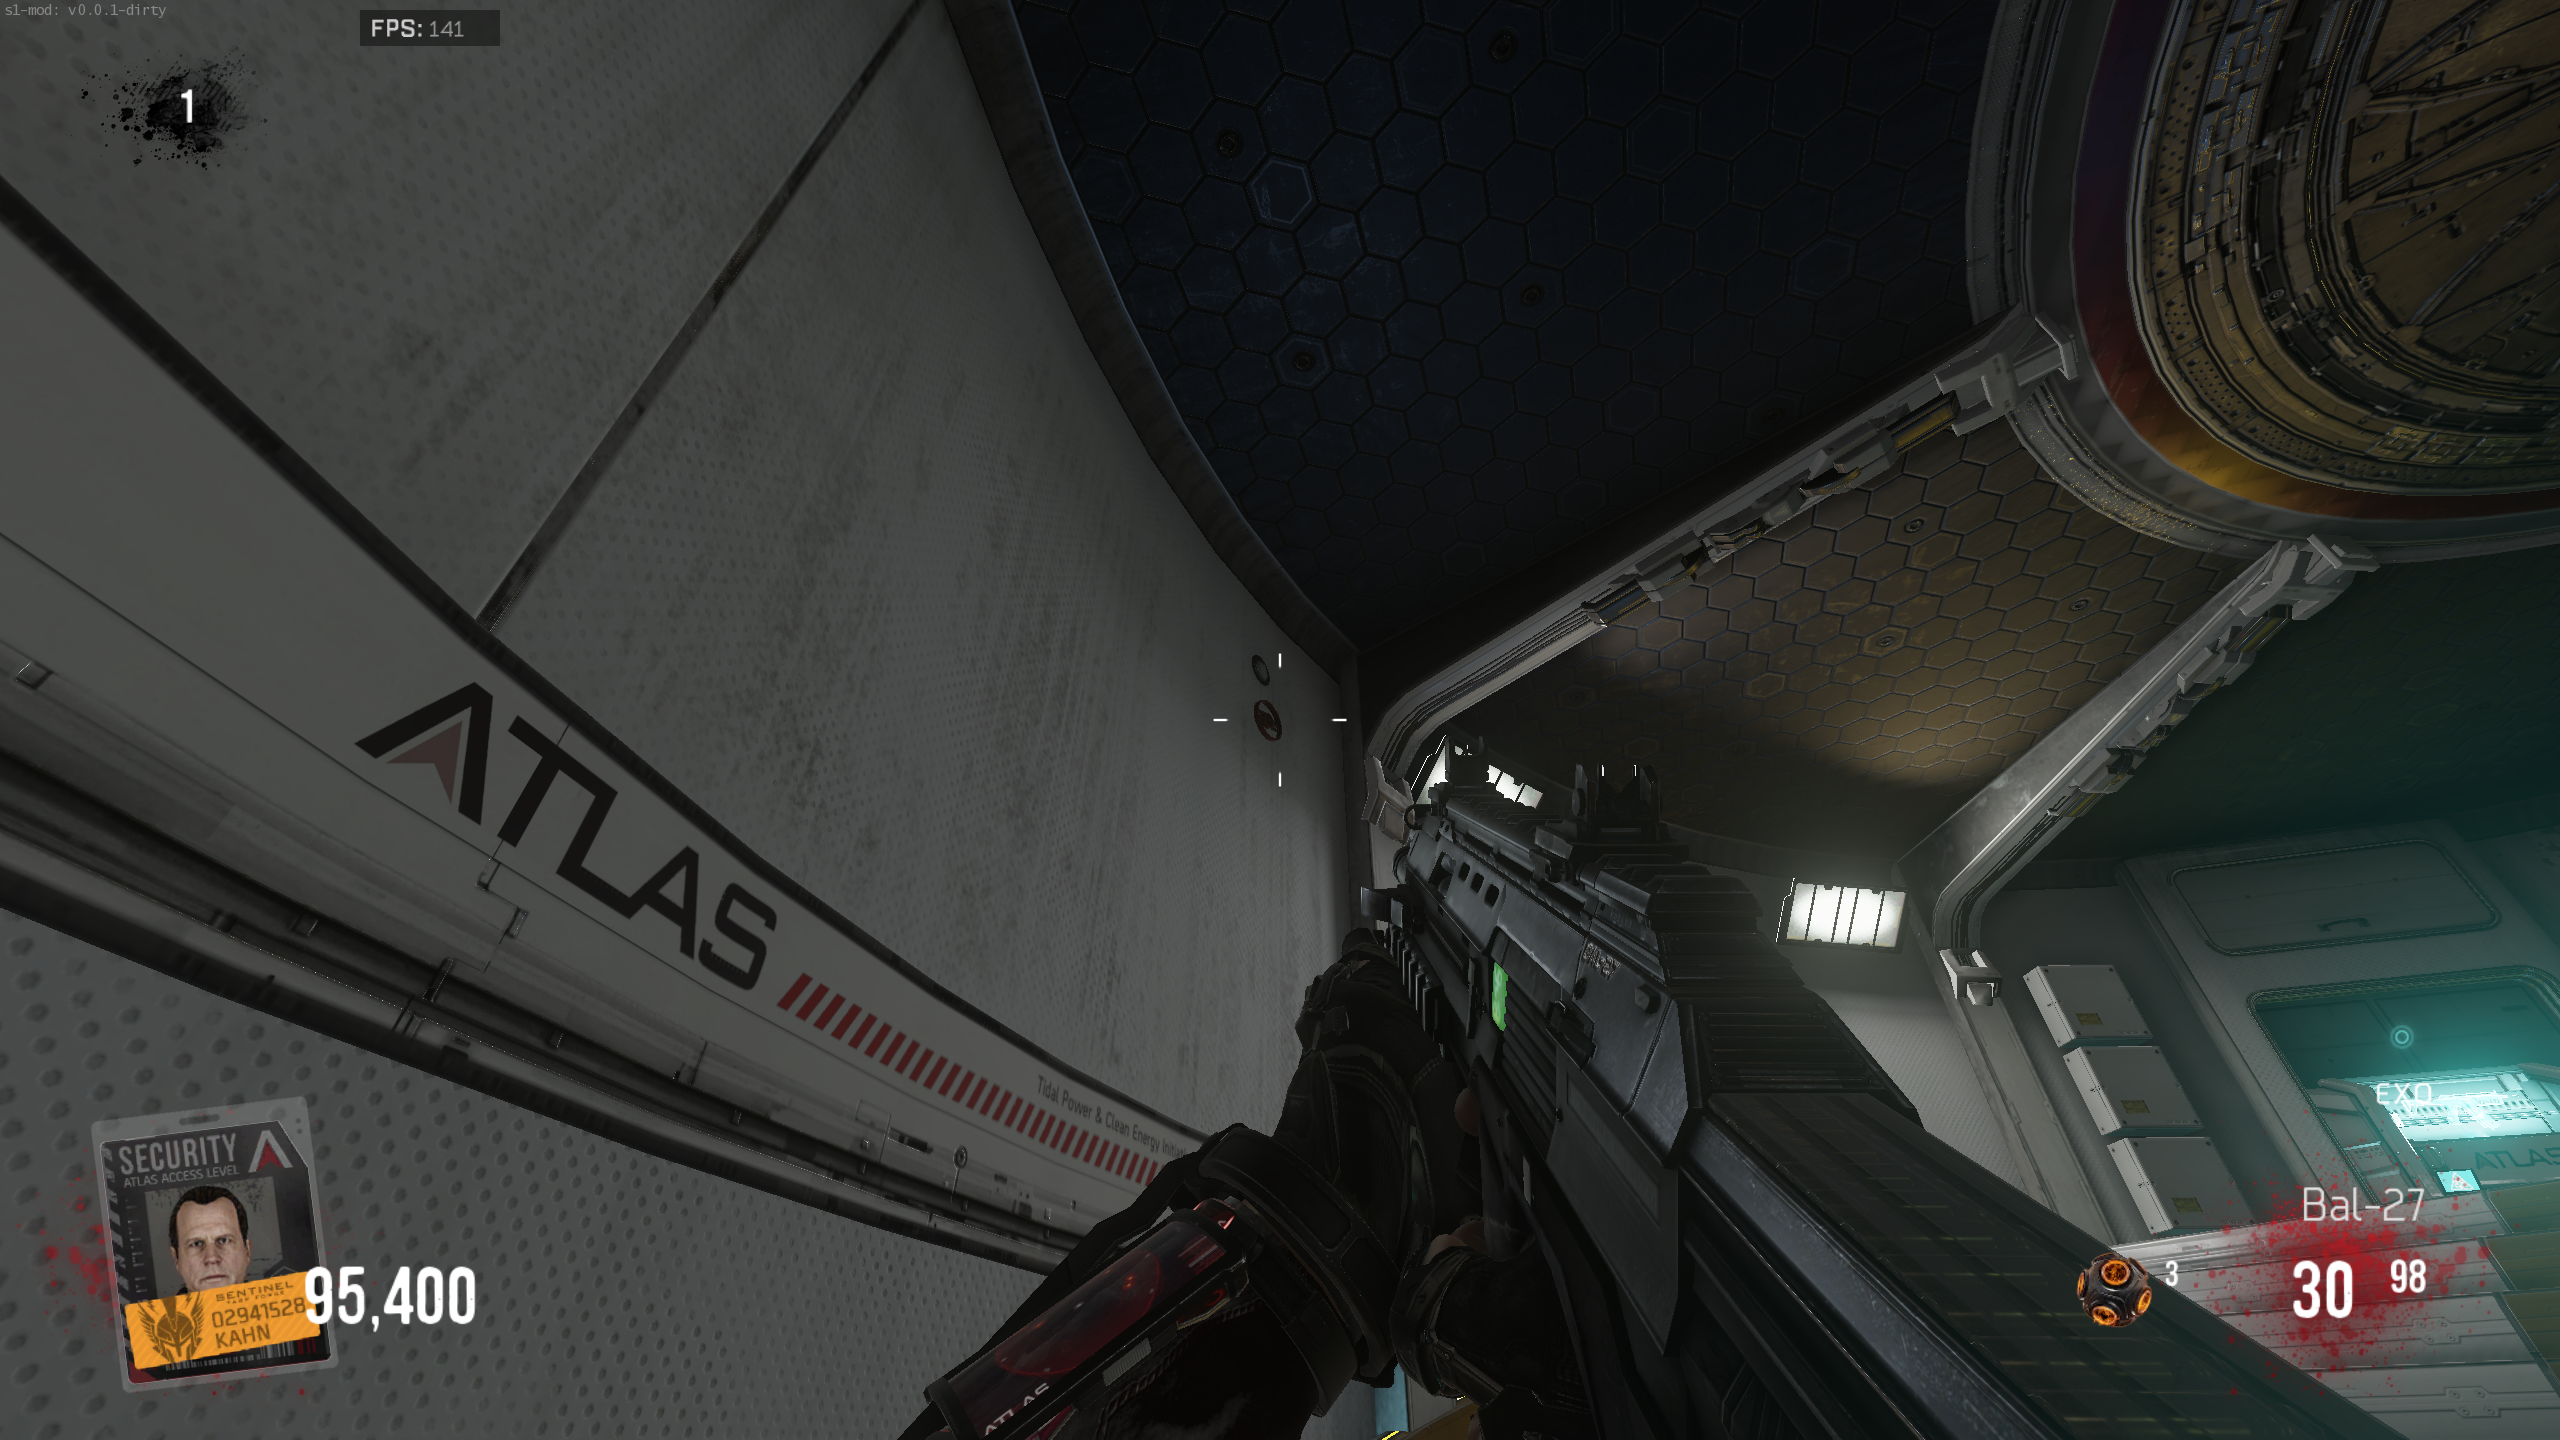
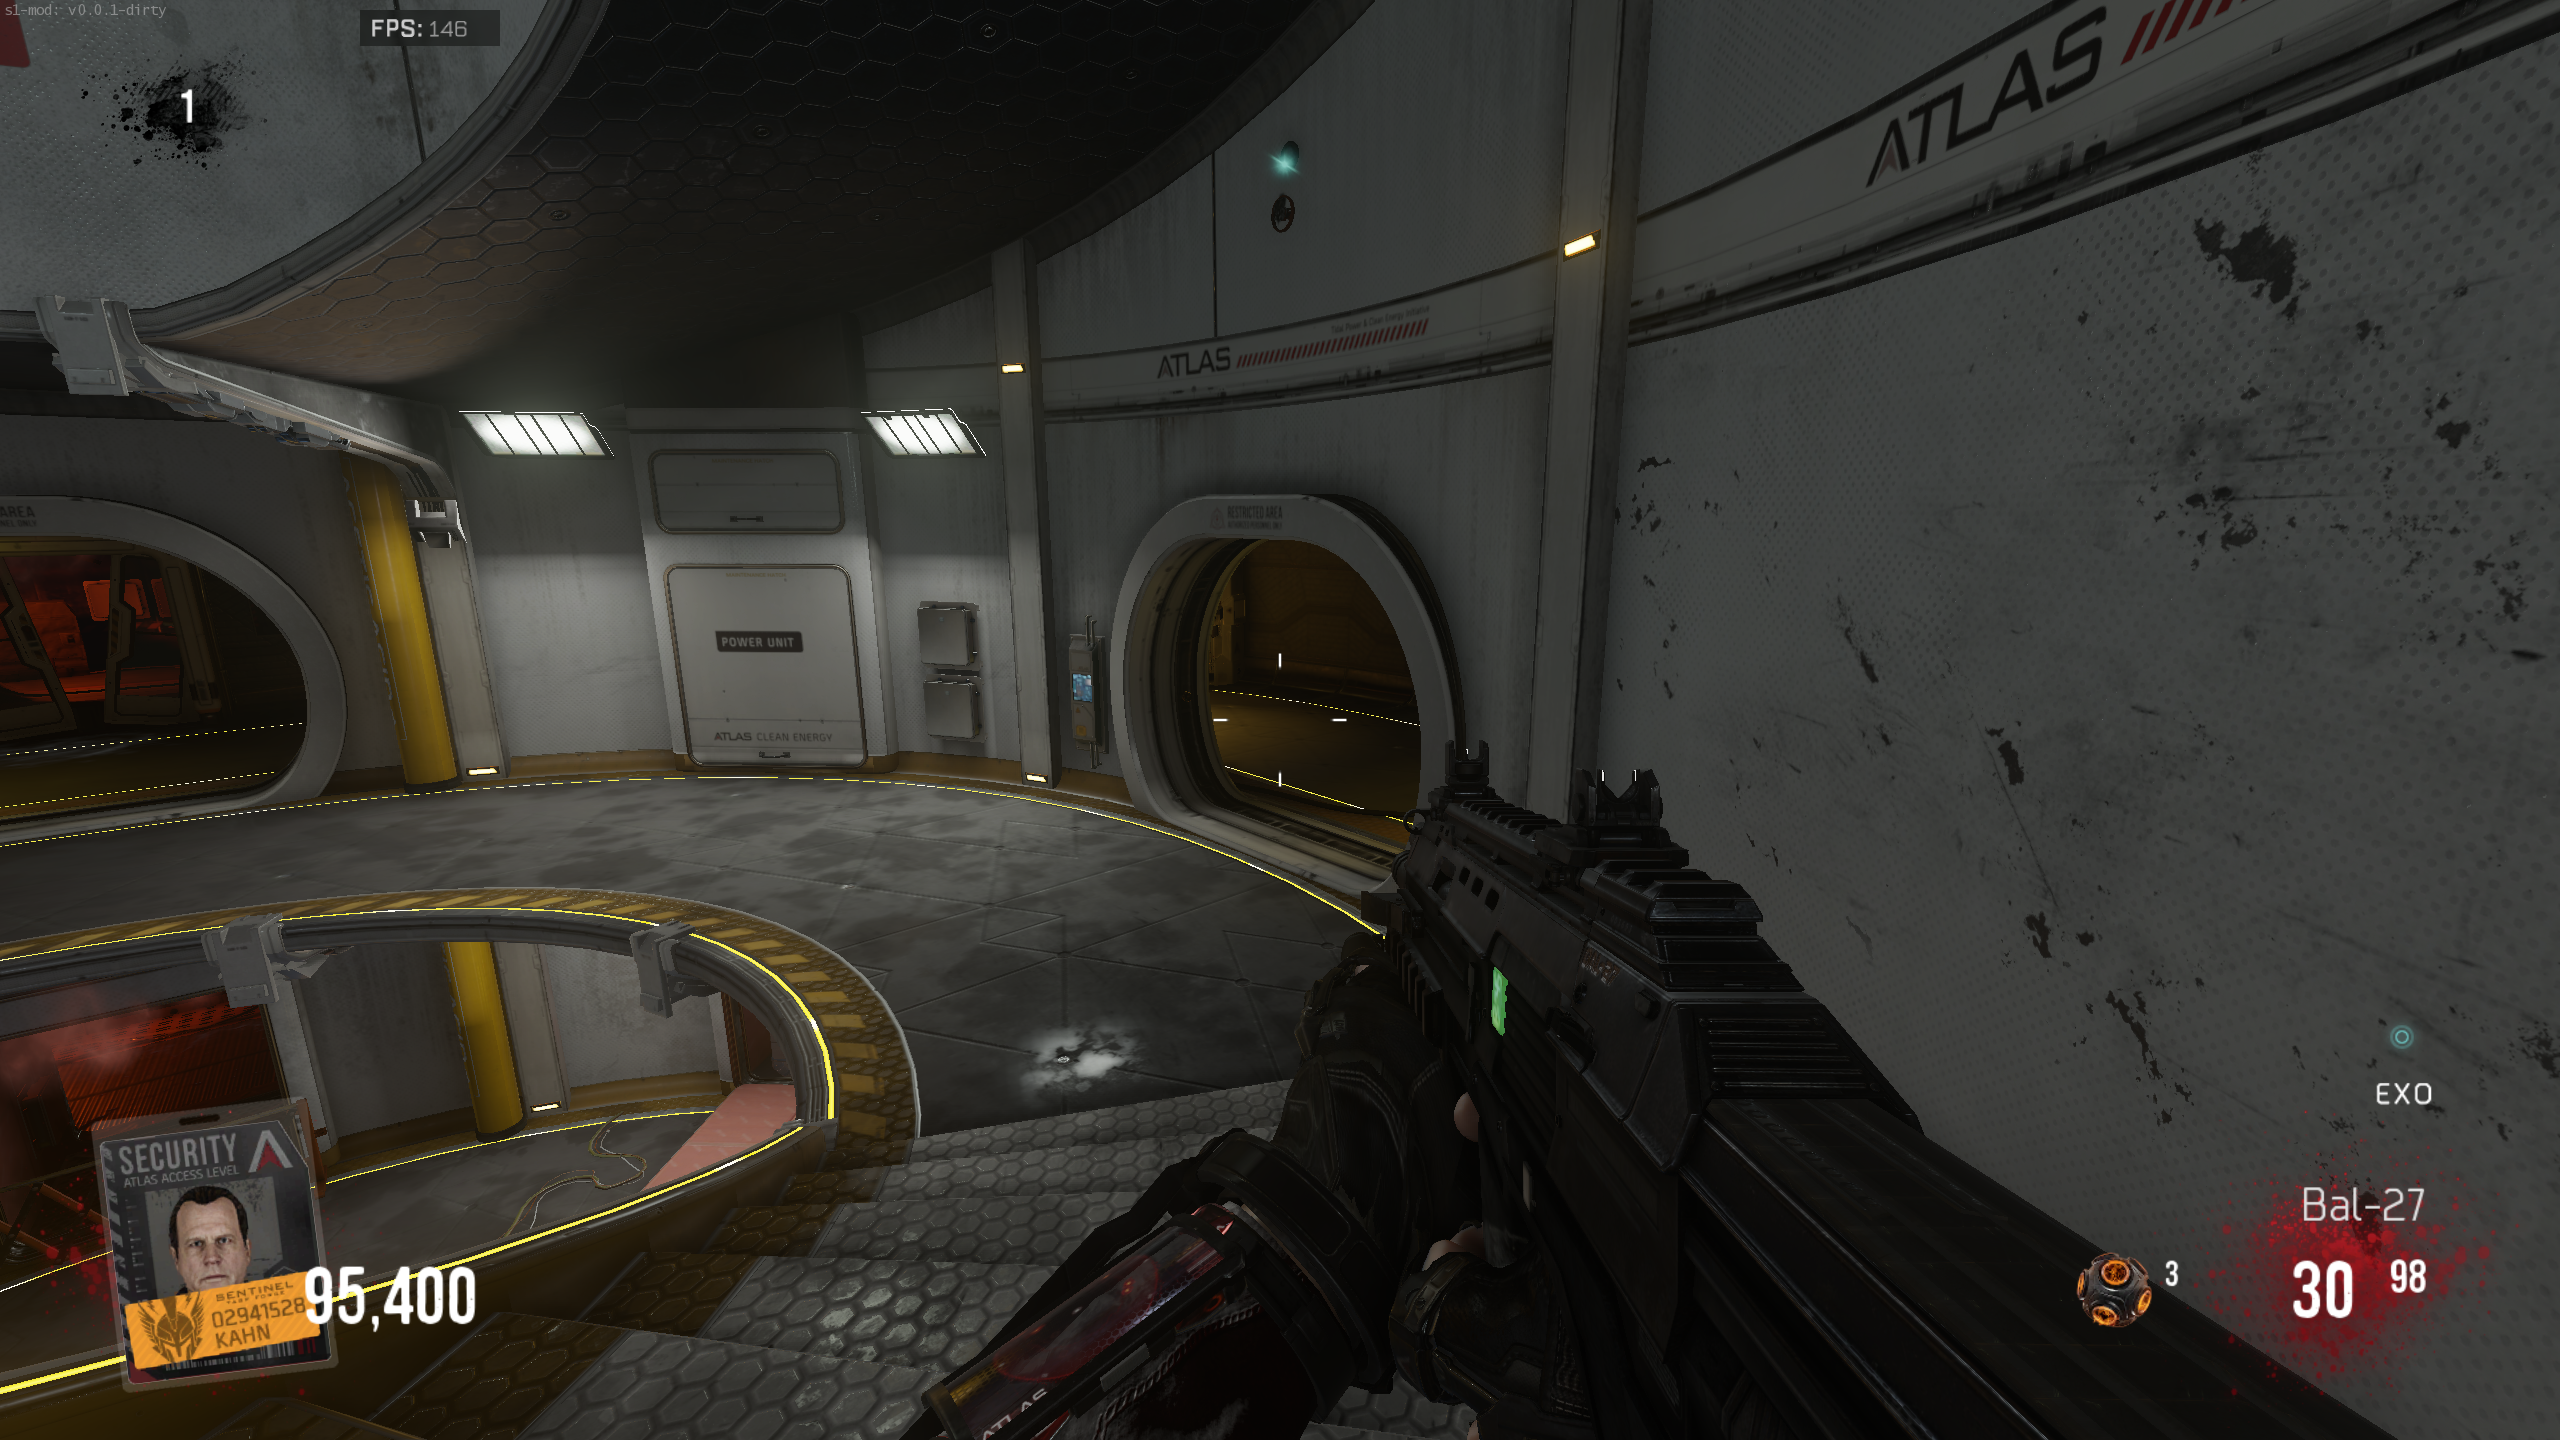
- In the Tidal Generator room, along the spiral staircase, there are three valves on the wall. Shoot the valves to turn them until a blue light shines above each one. Valve locations:
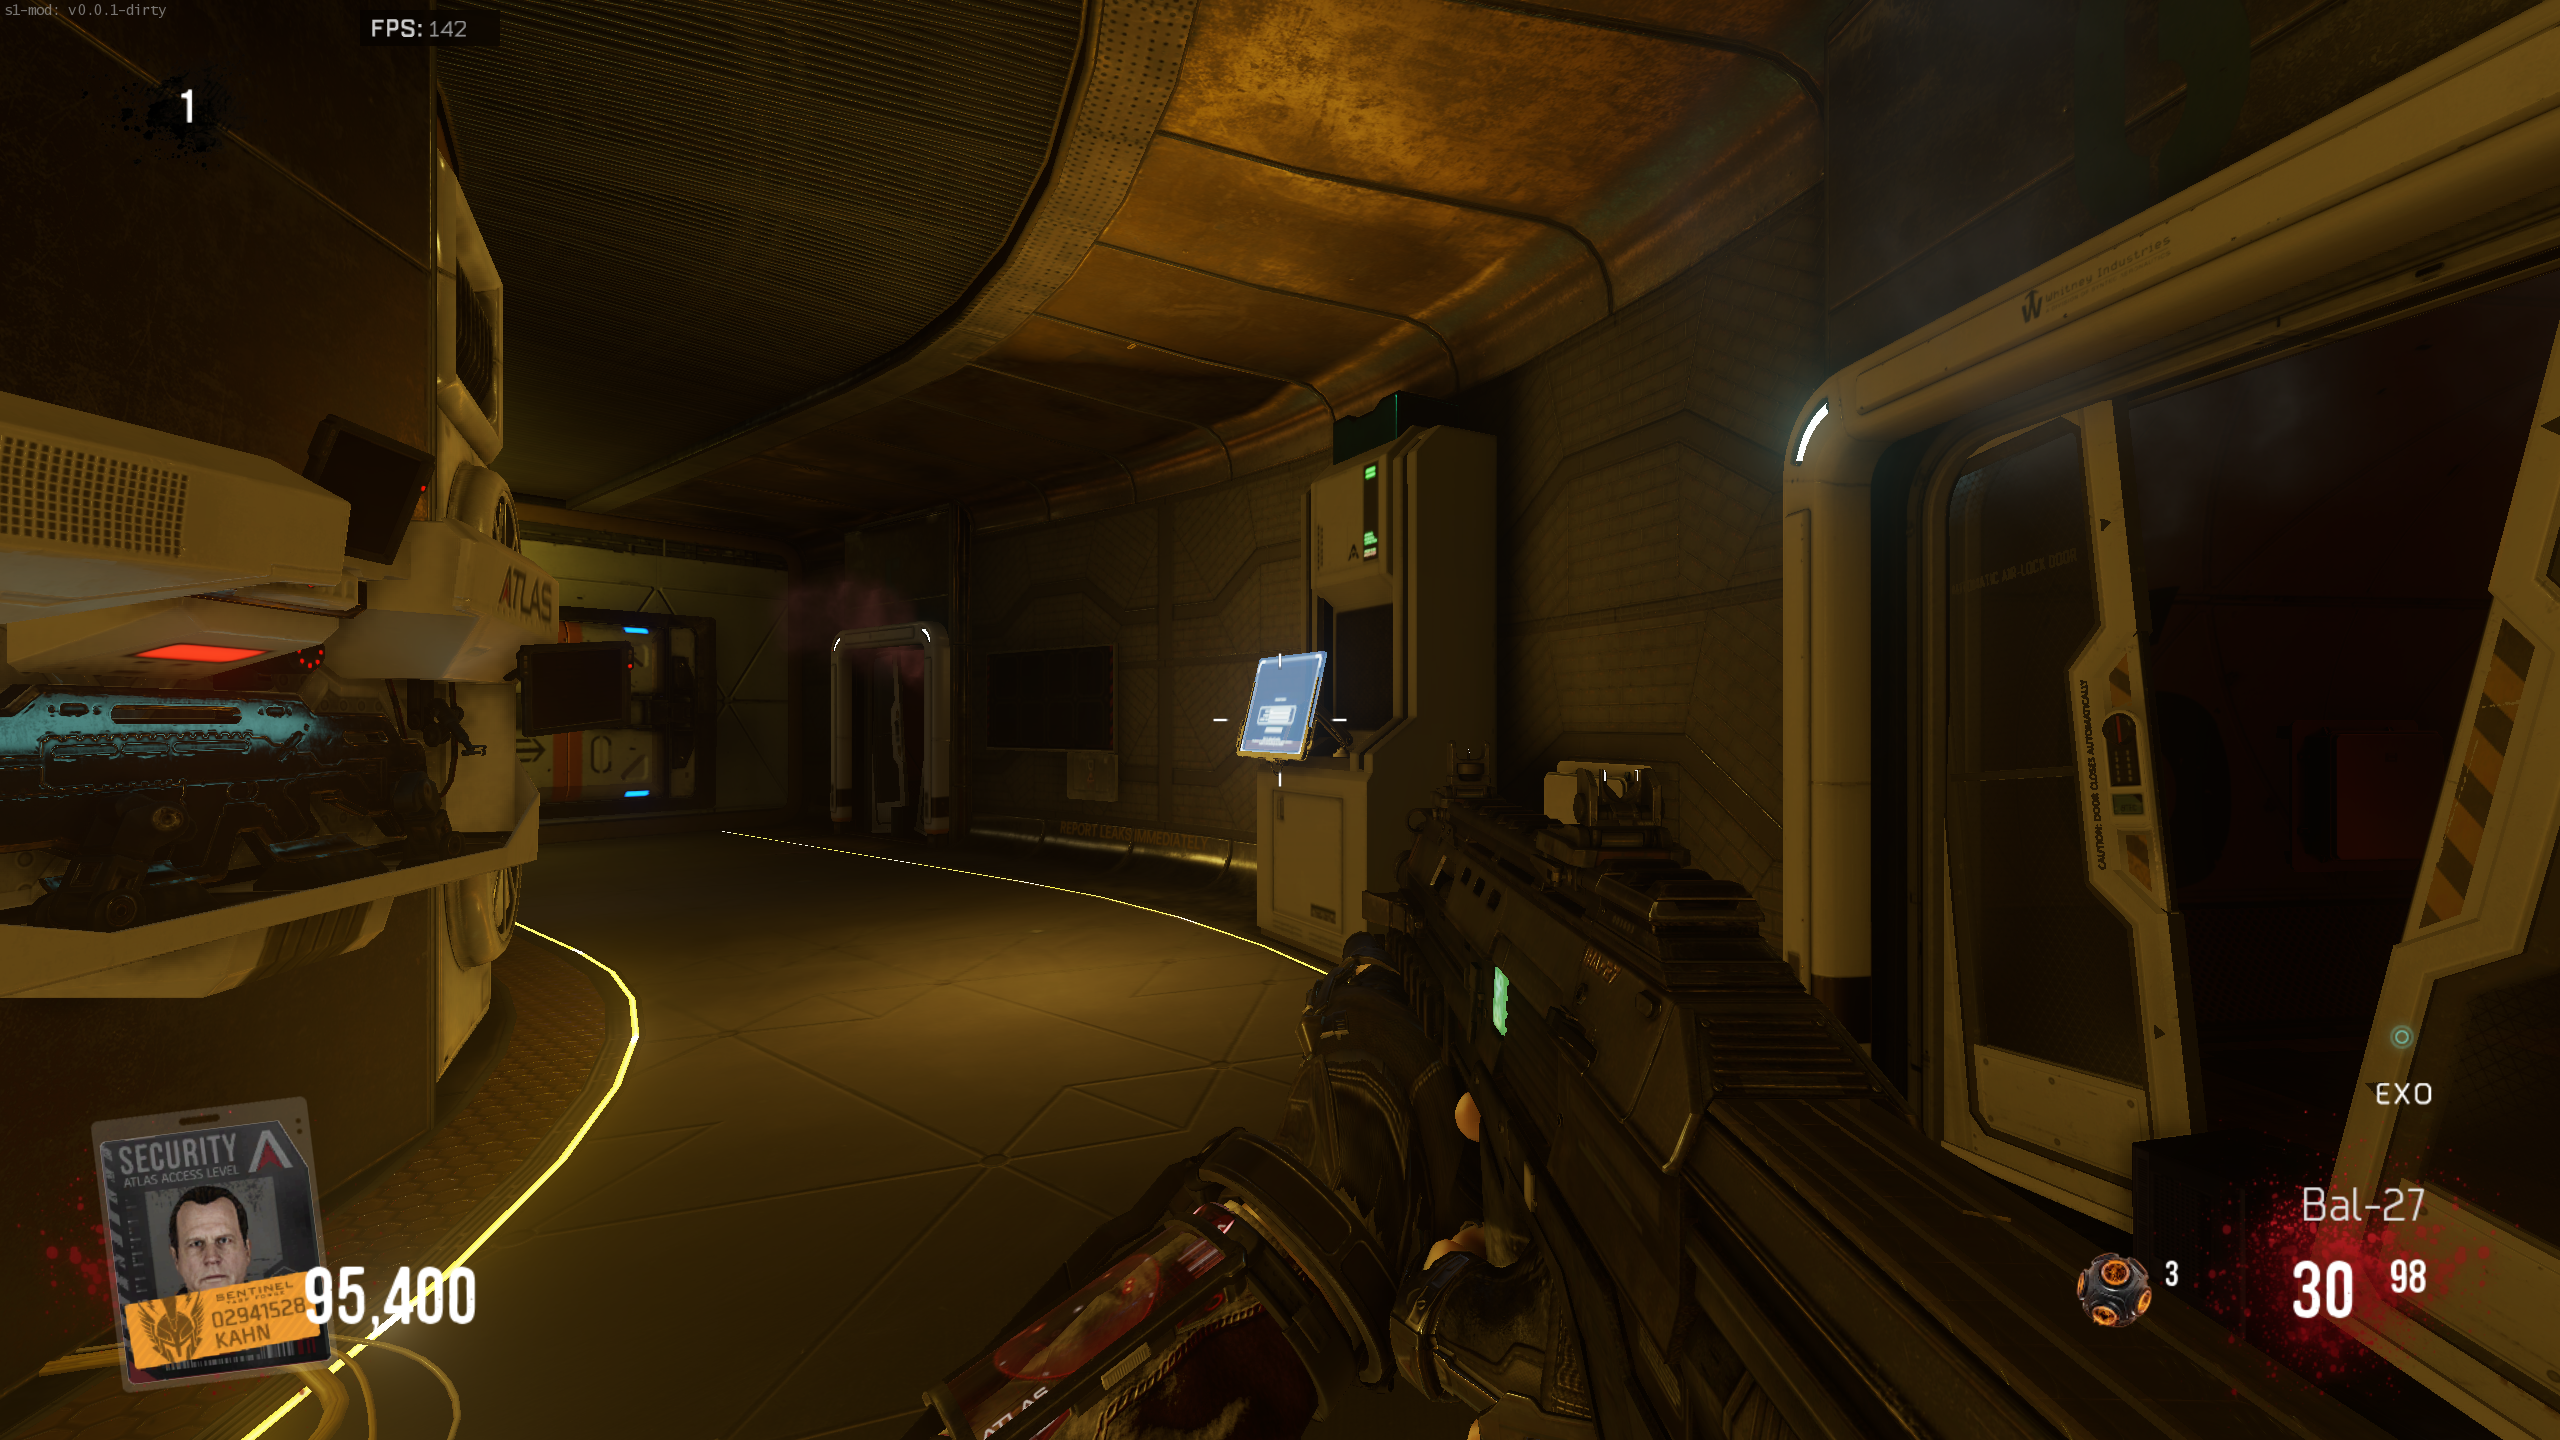
- Once all three valves have their lights on, a door will open halfway up the stairs. Interact with the terminal inside. Angie will ask if you want to override the encryption on the data. Interact with it again and Angie will say "Access Denied".
Reroute the Power & Drone Challenge
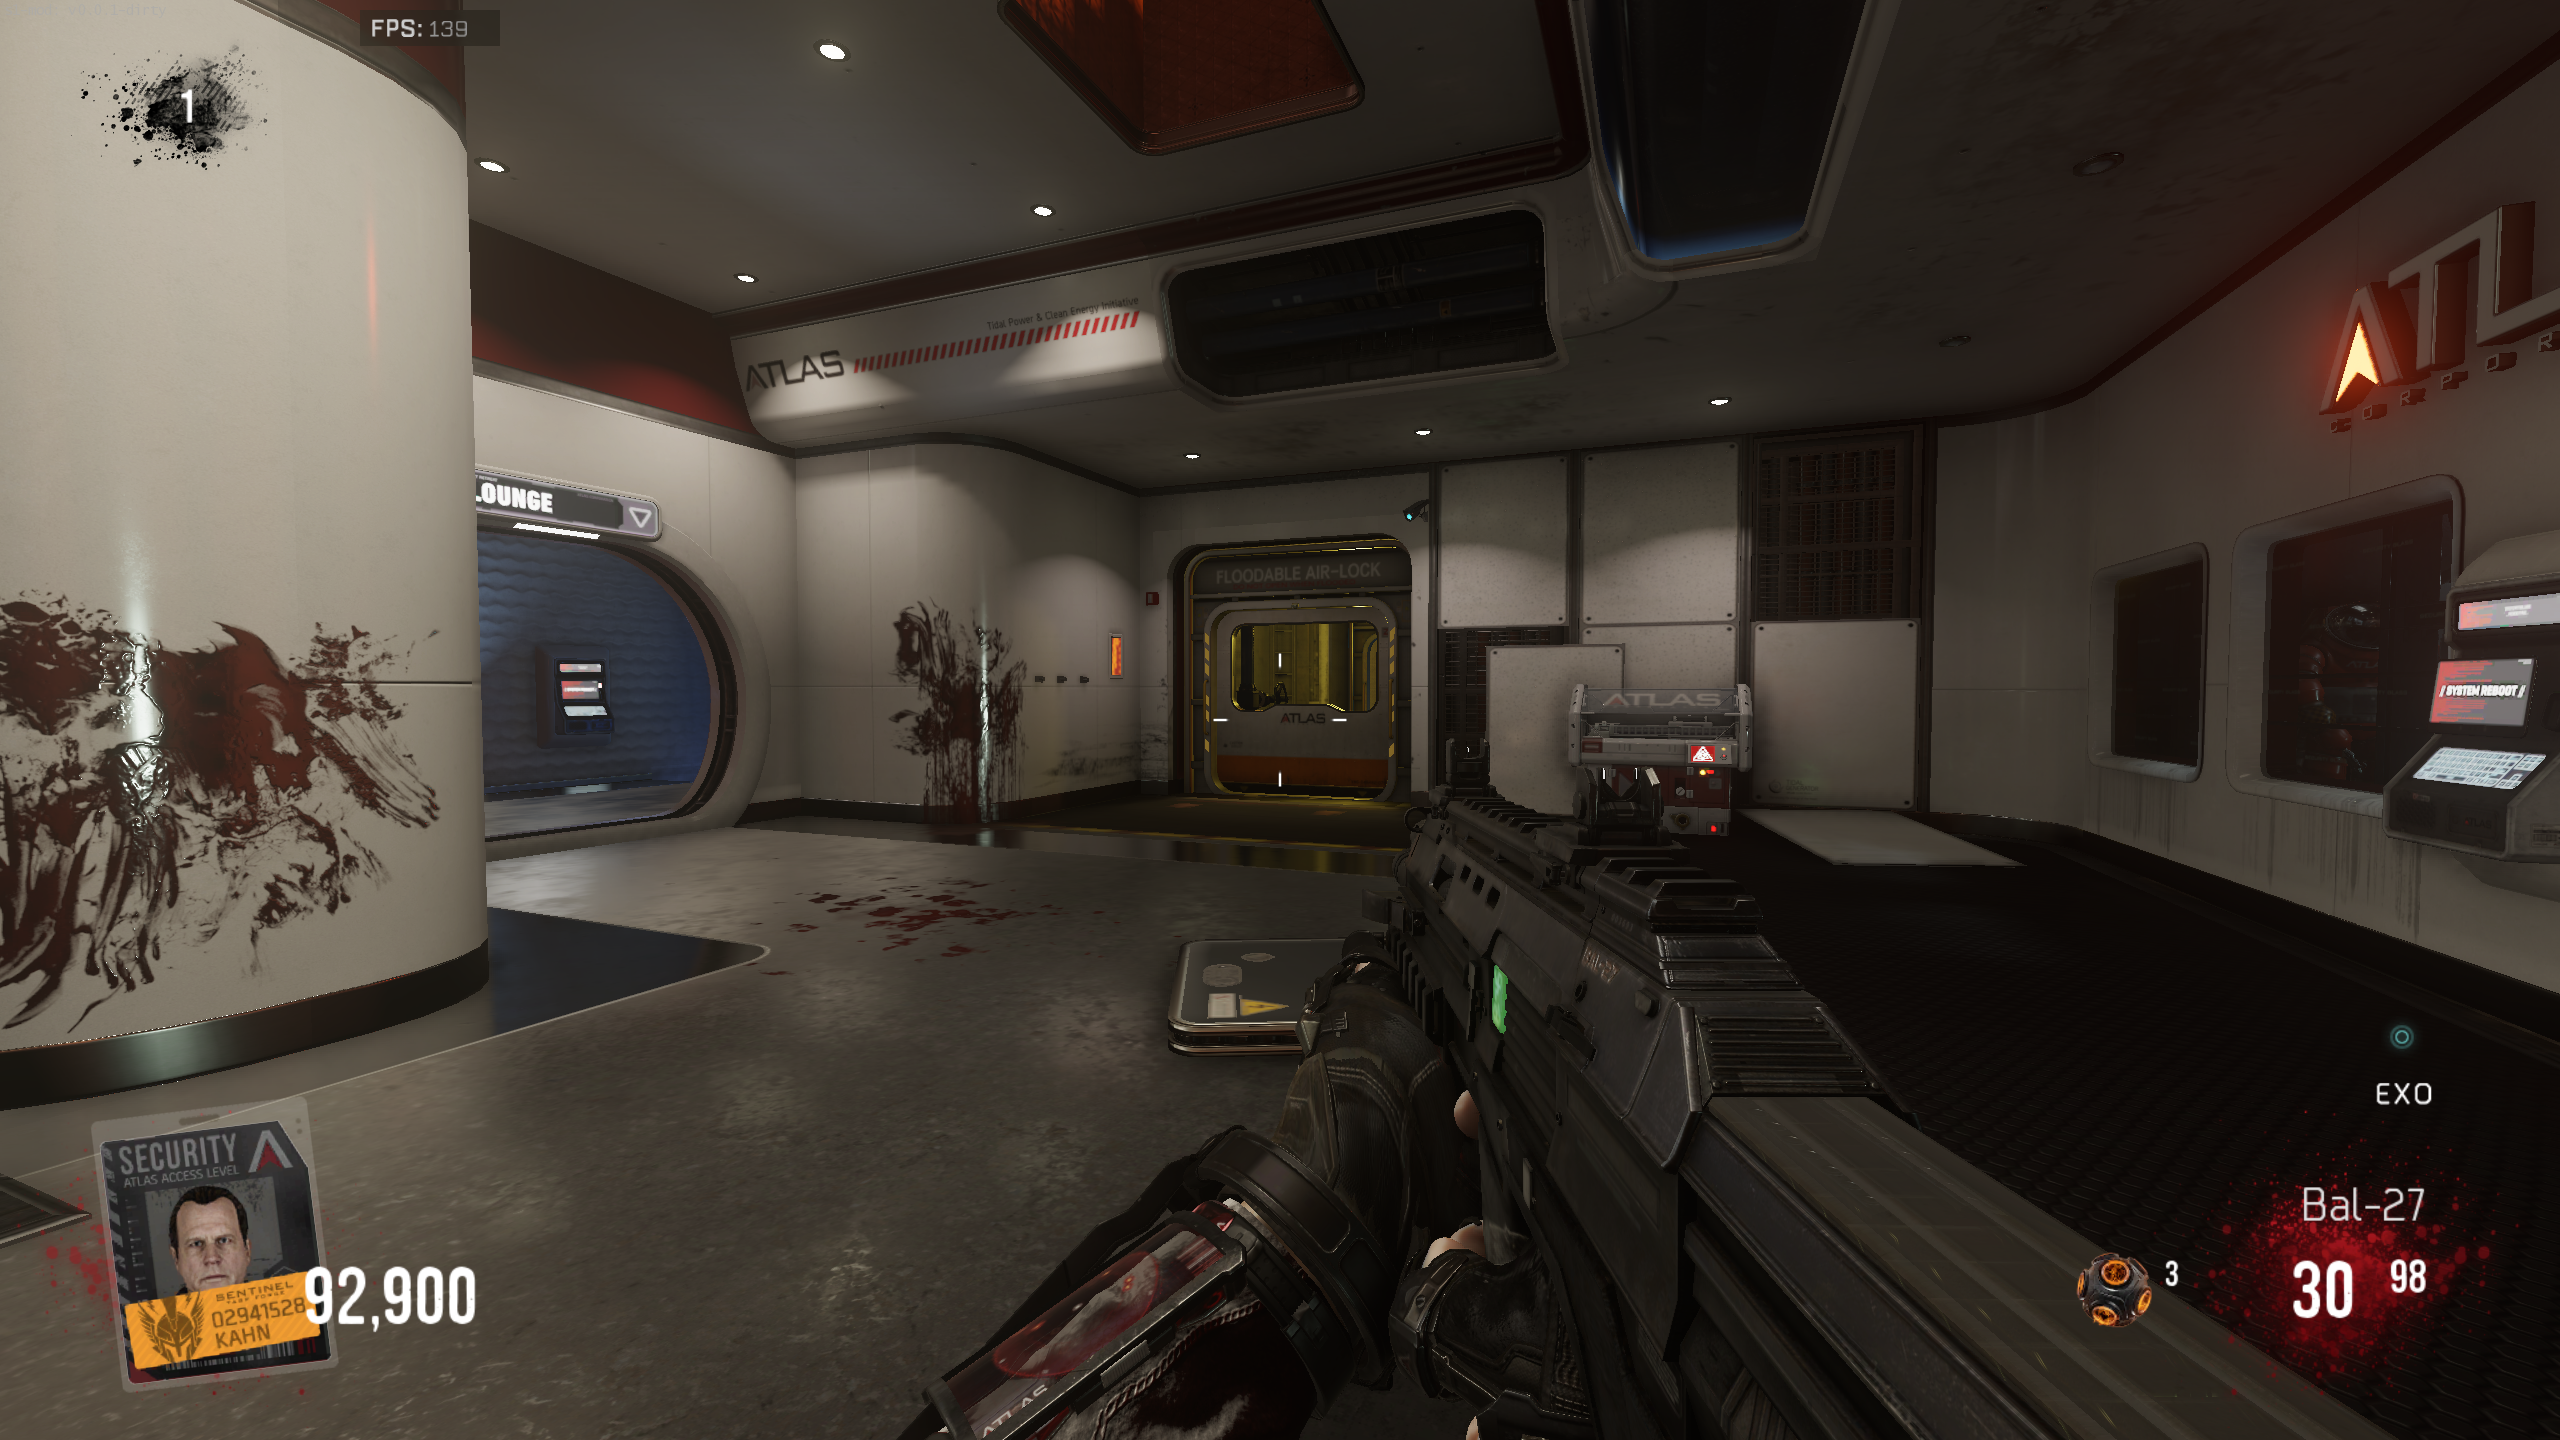
- In the Lounge, there is a door that leads to the underwater area. Stand by the door and hold the interact button for about 45 seconds to depressurise it.
- You can leave and come back later, since the door keeps your progress.
- Get a Goliath Suit scorestreak from one of the random drops. The drop is random, but one normally shows up by about Round 8-12.
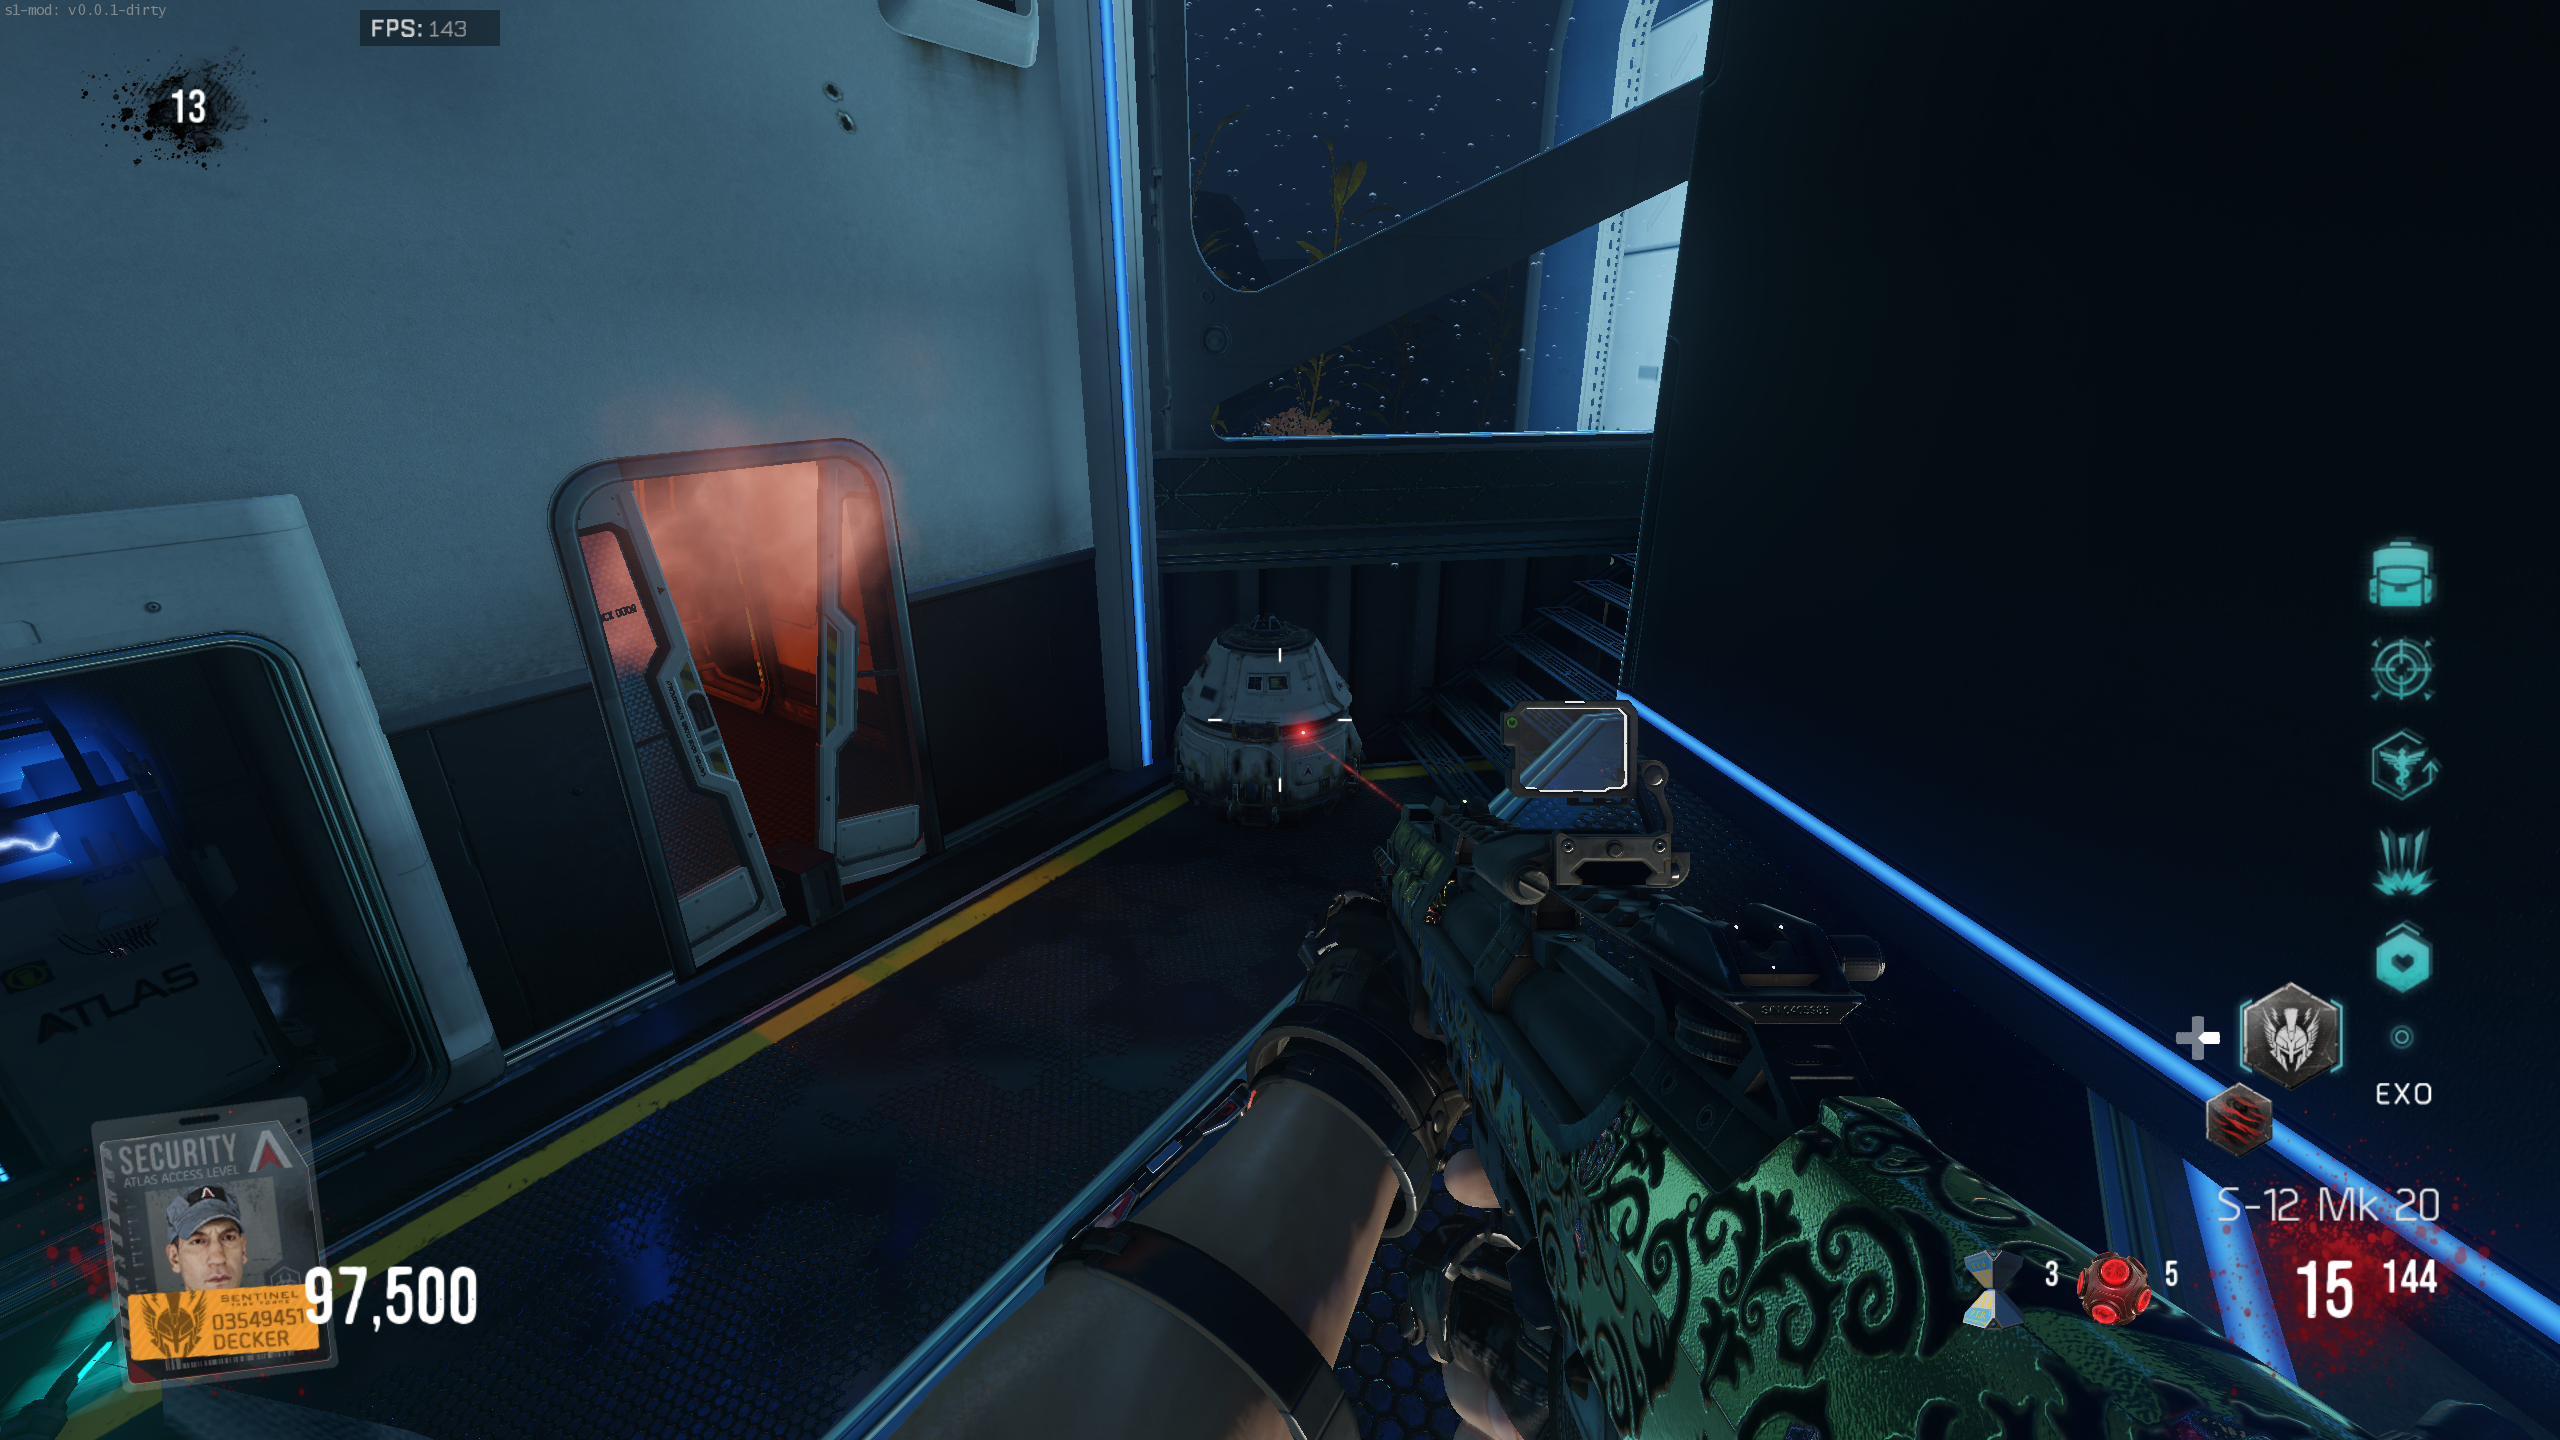
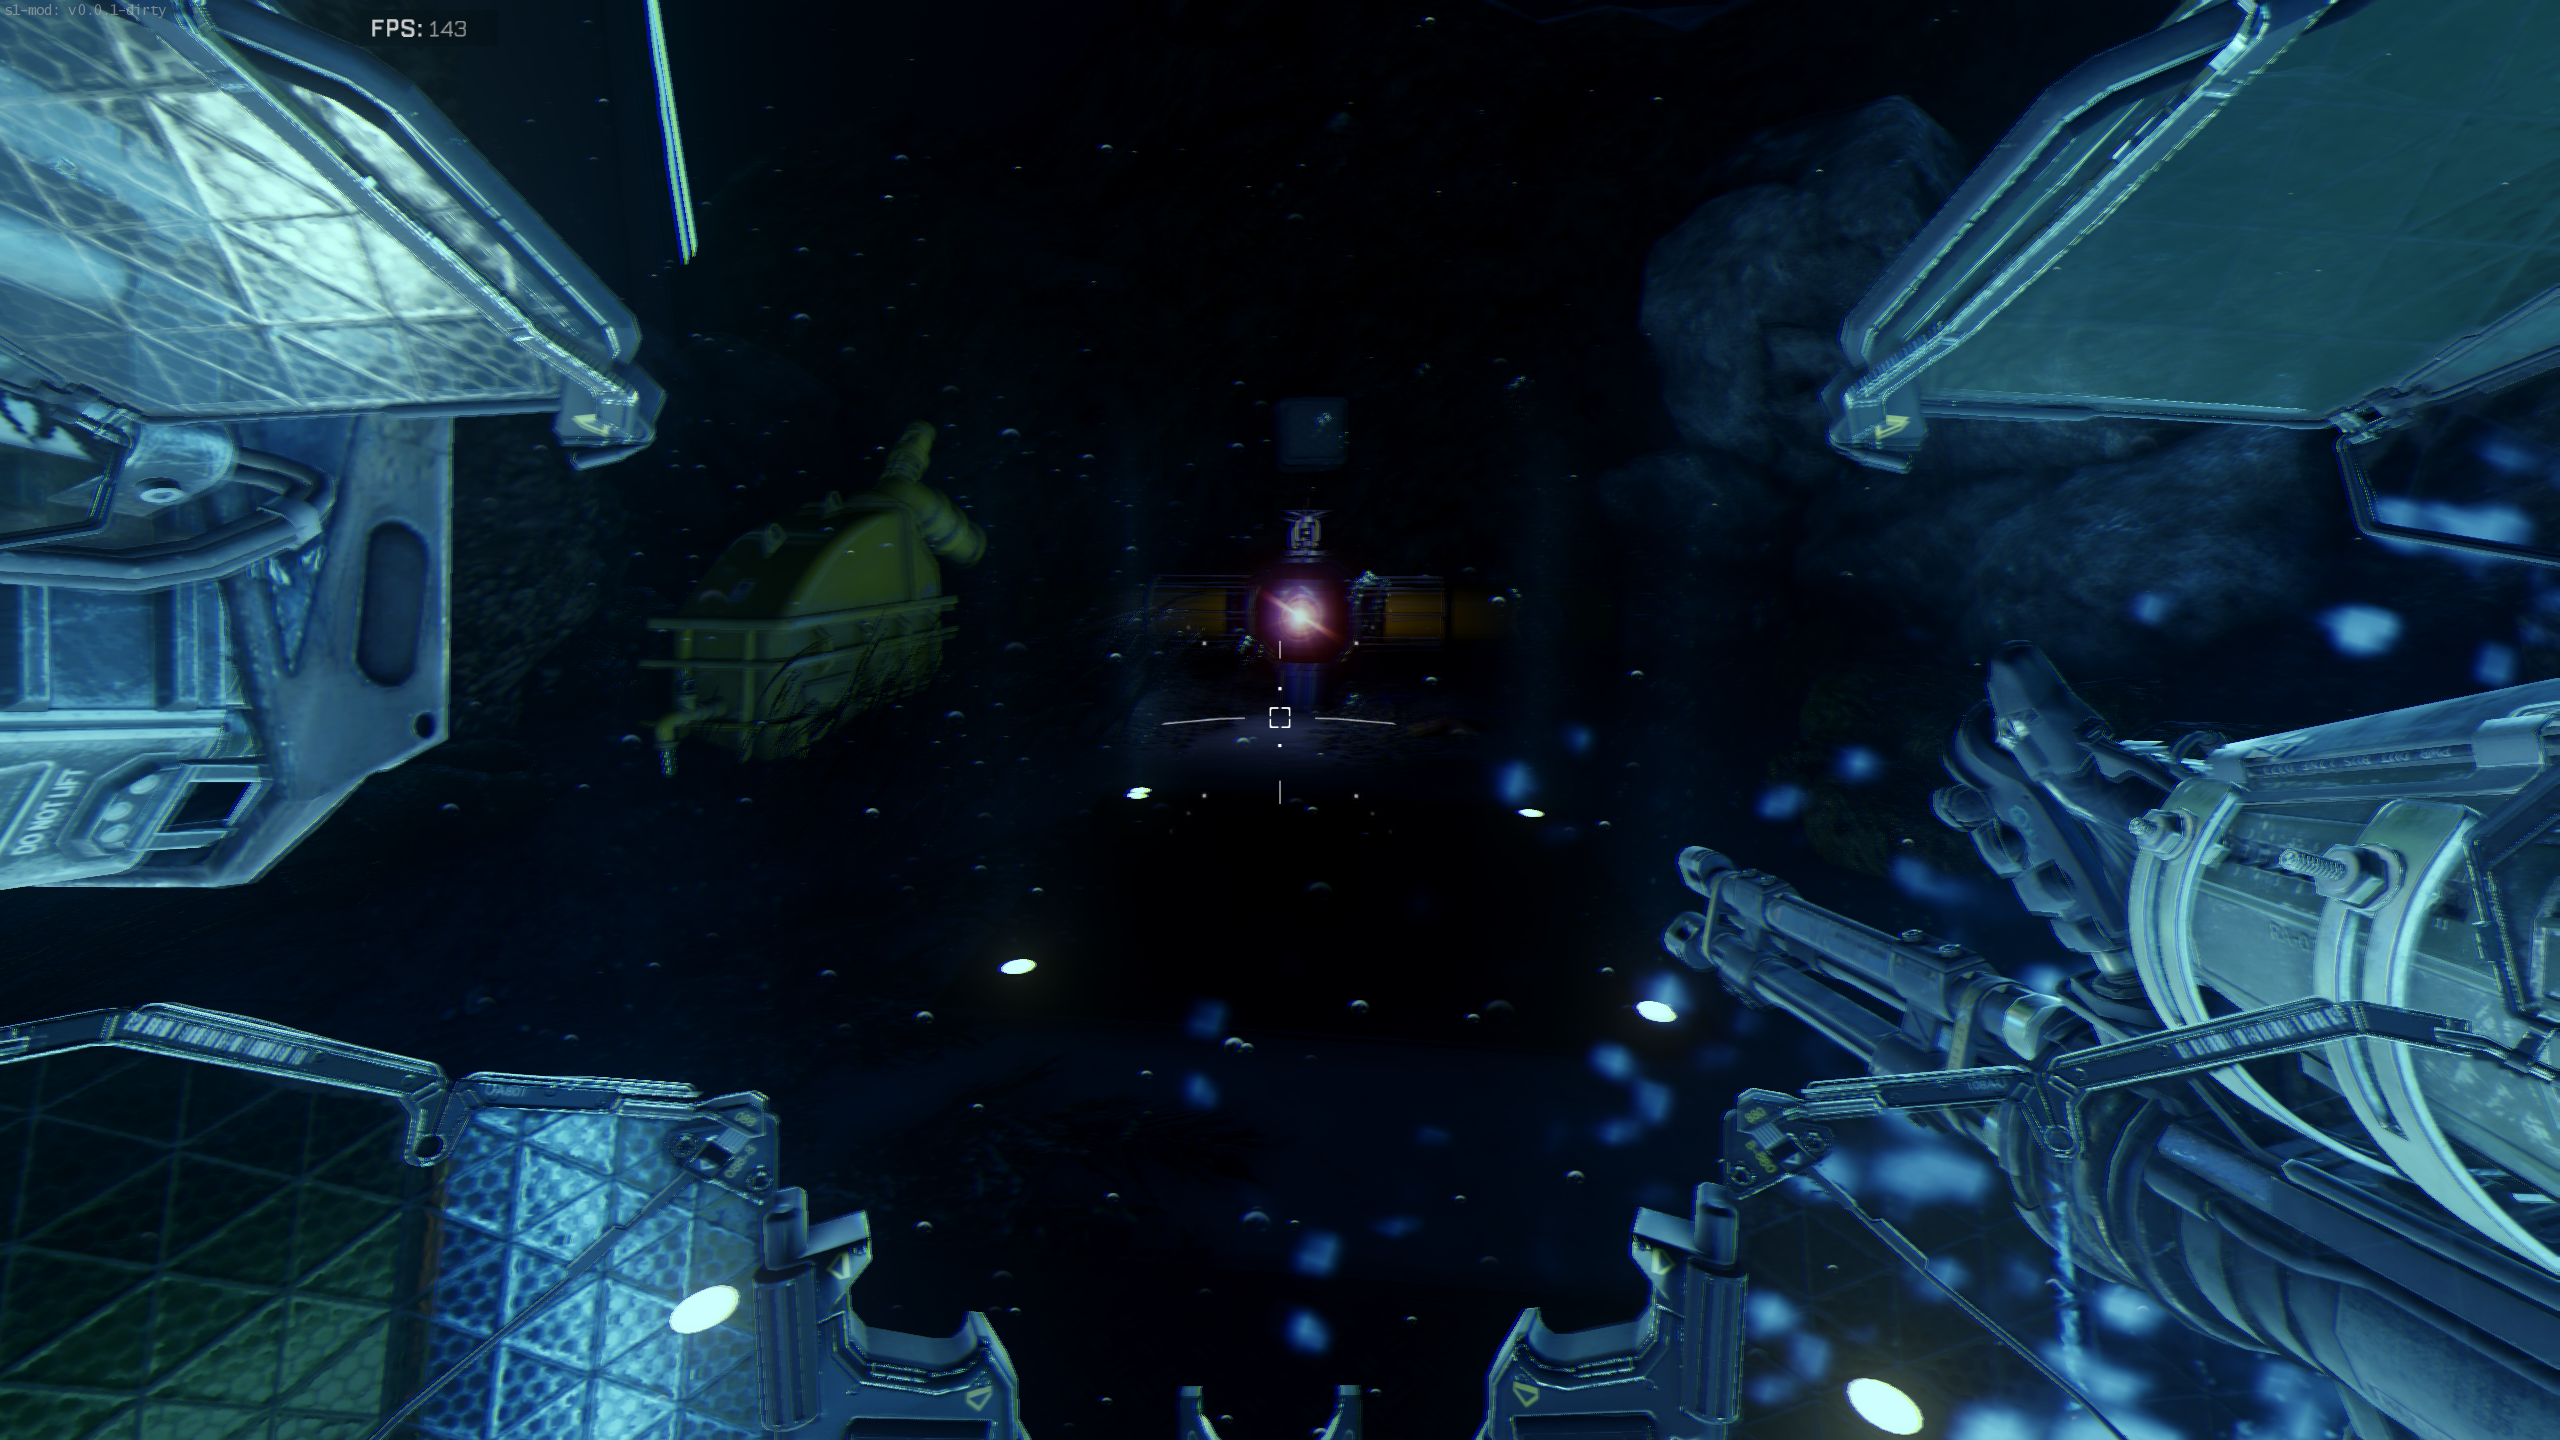
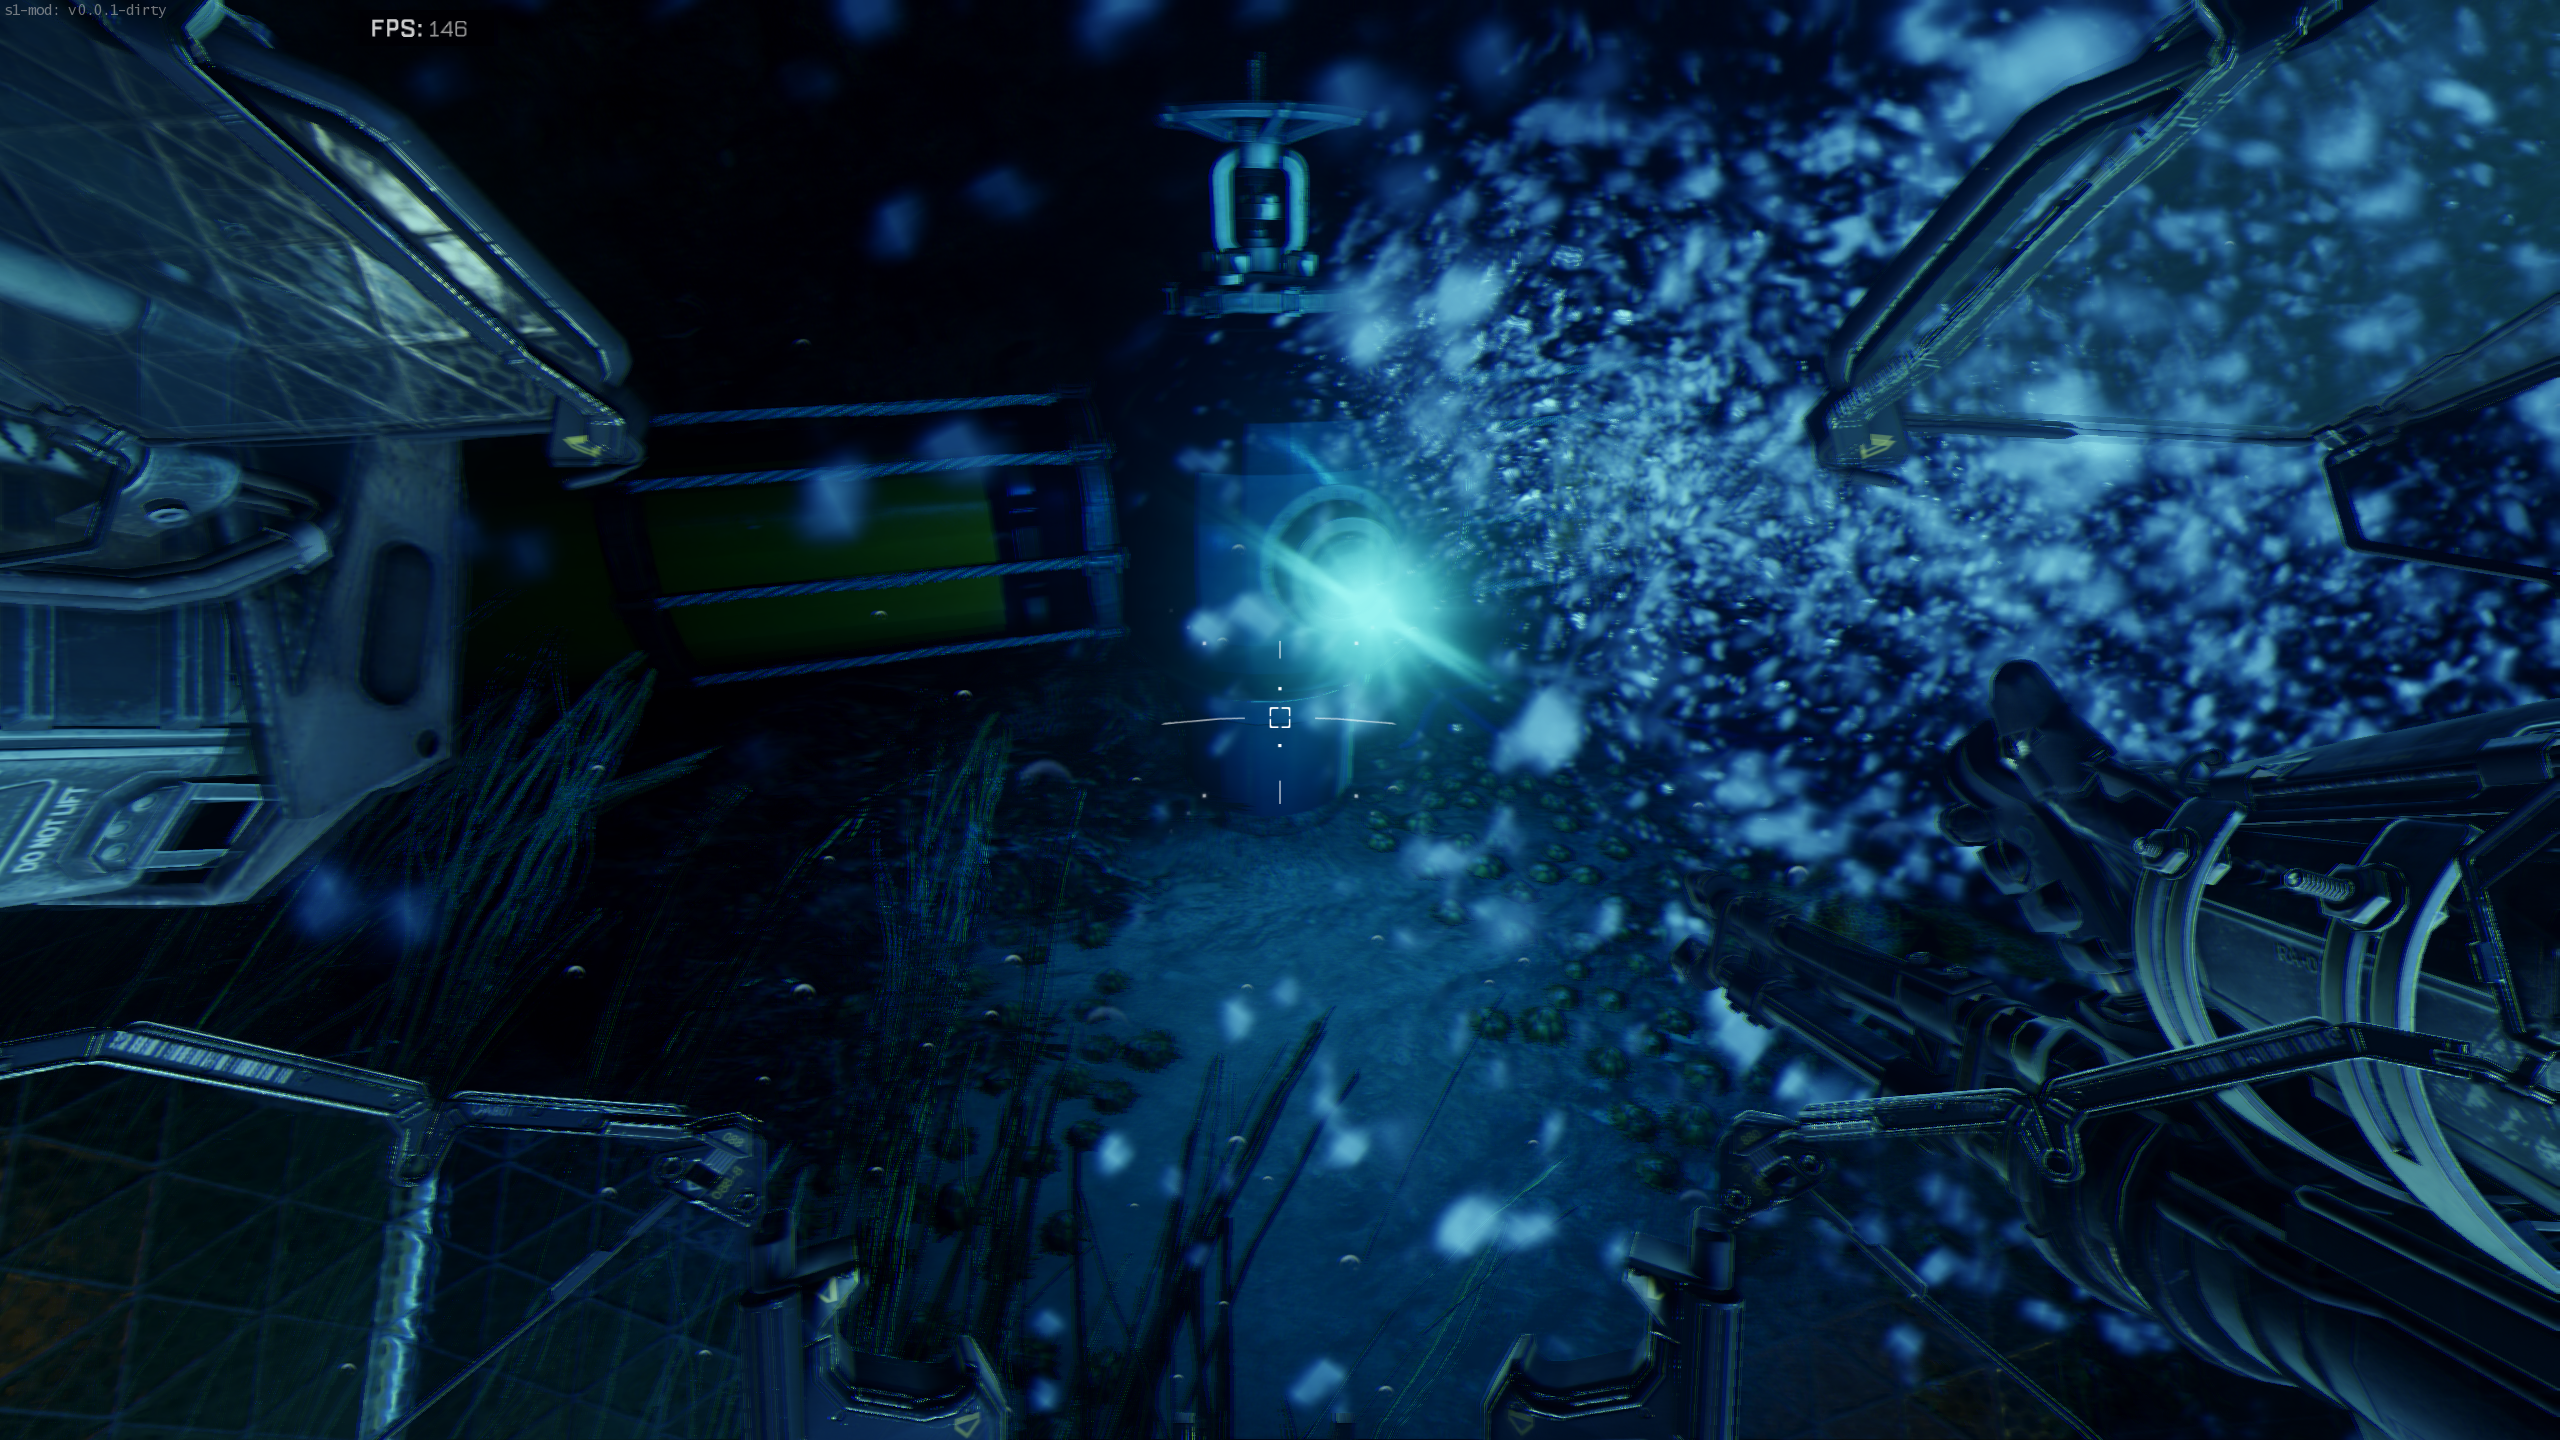
- While in the Goliath suit, interact with the depressurised door to open it. Go through the door into the underwater area. Walk toward the red, glowing switch at the end of the underwater path. A floating Zombie blocks the path, so melee it out of the way.
- Once you get to the switch, interact with it to turn it blue. Return to the facility the same way you came. Once you are back inside the map, Oz will tell you about a challenge coming next round.
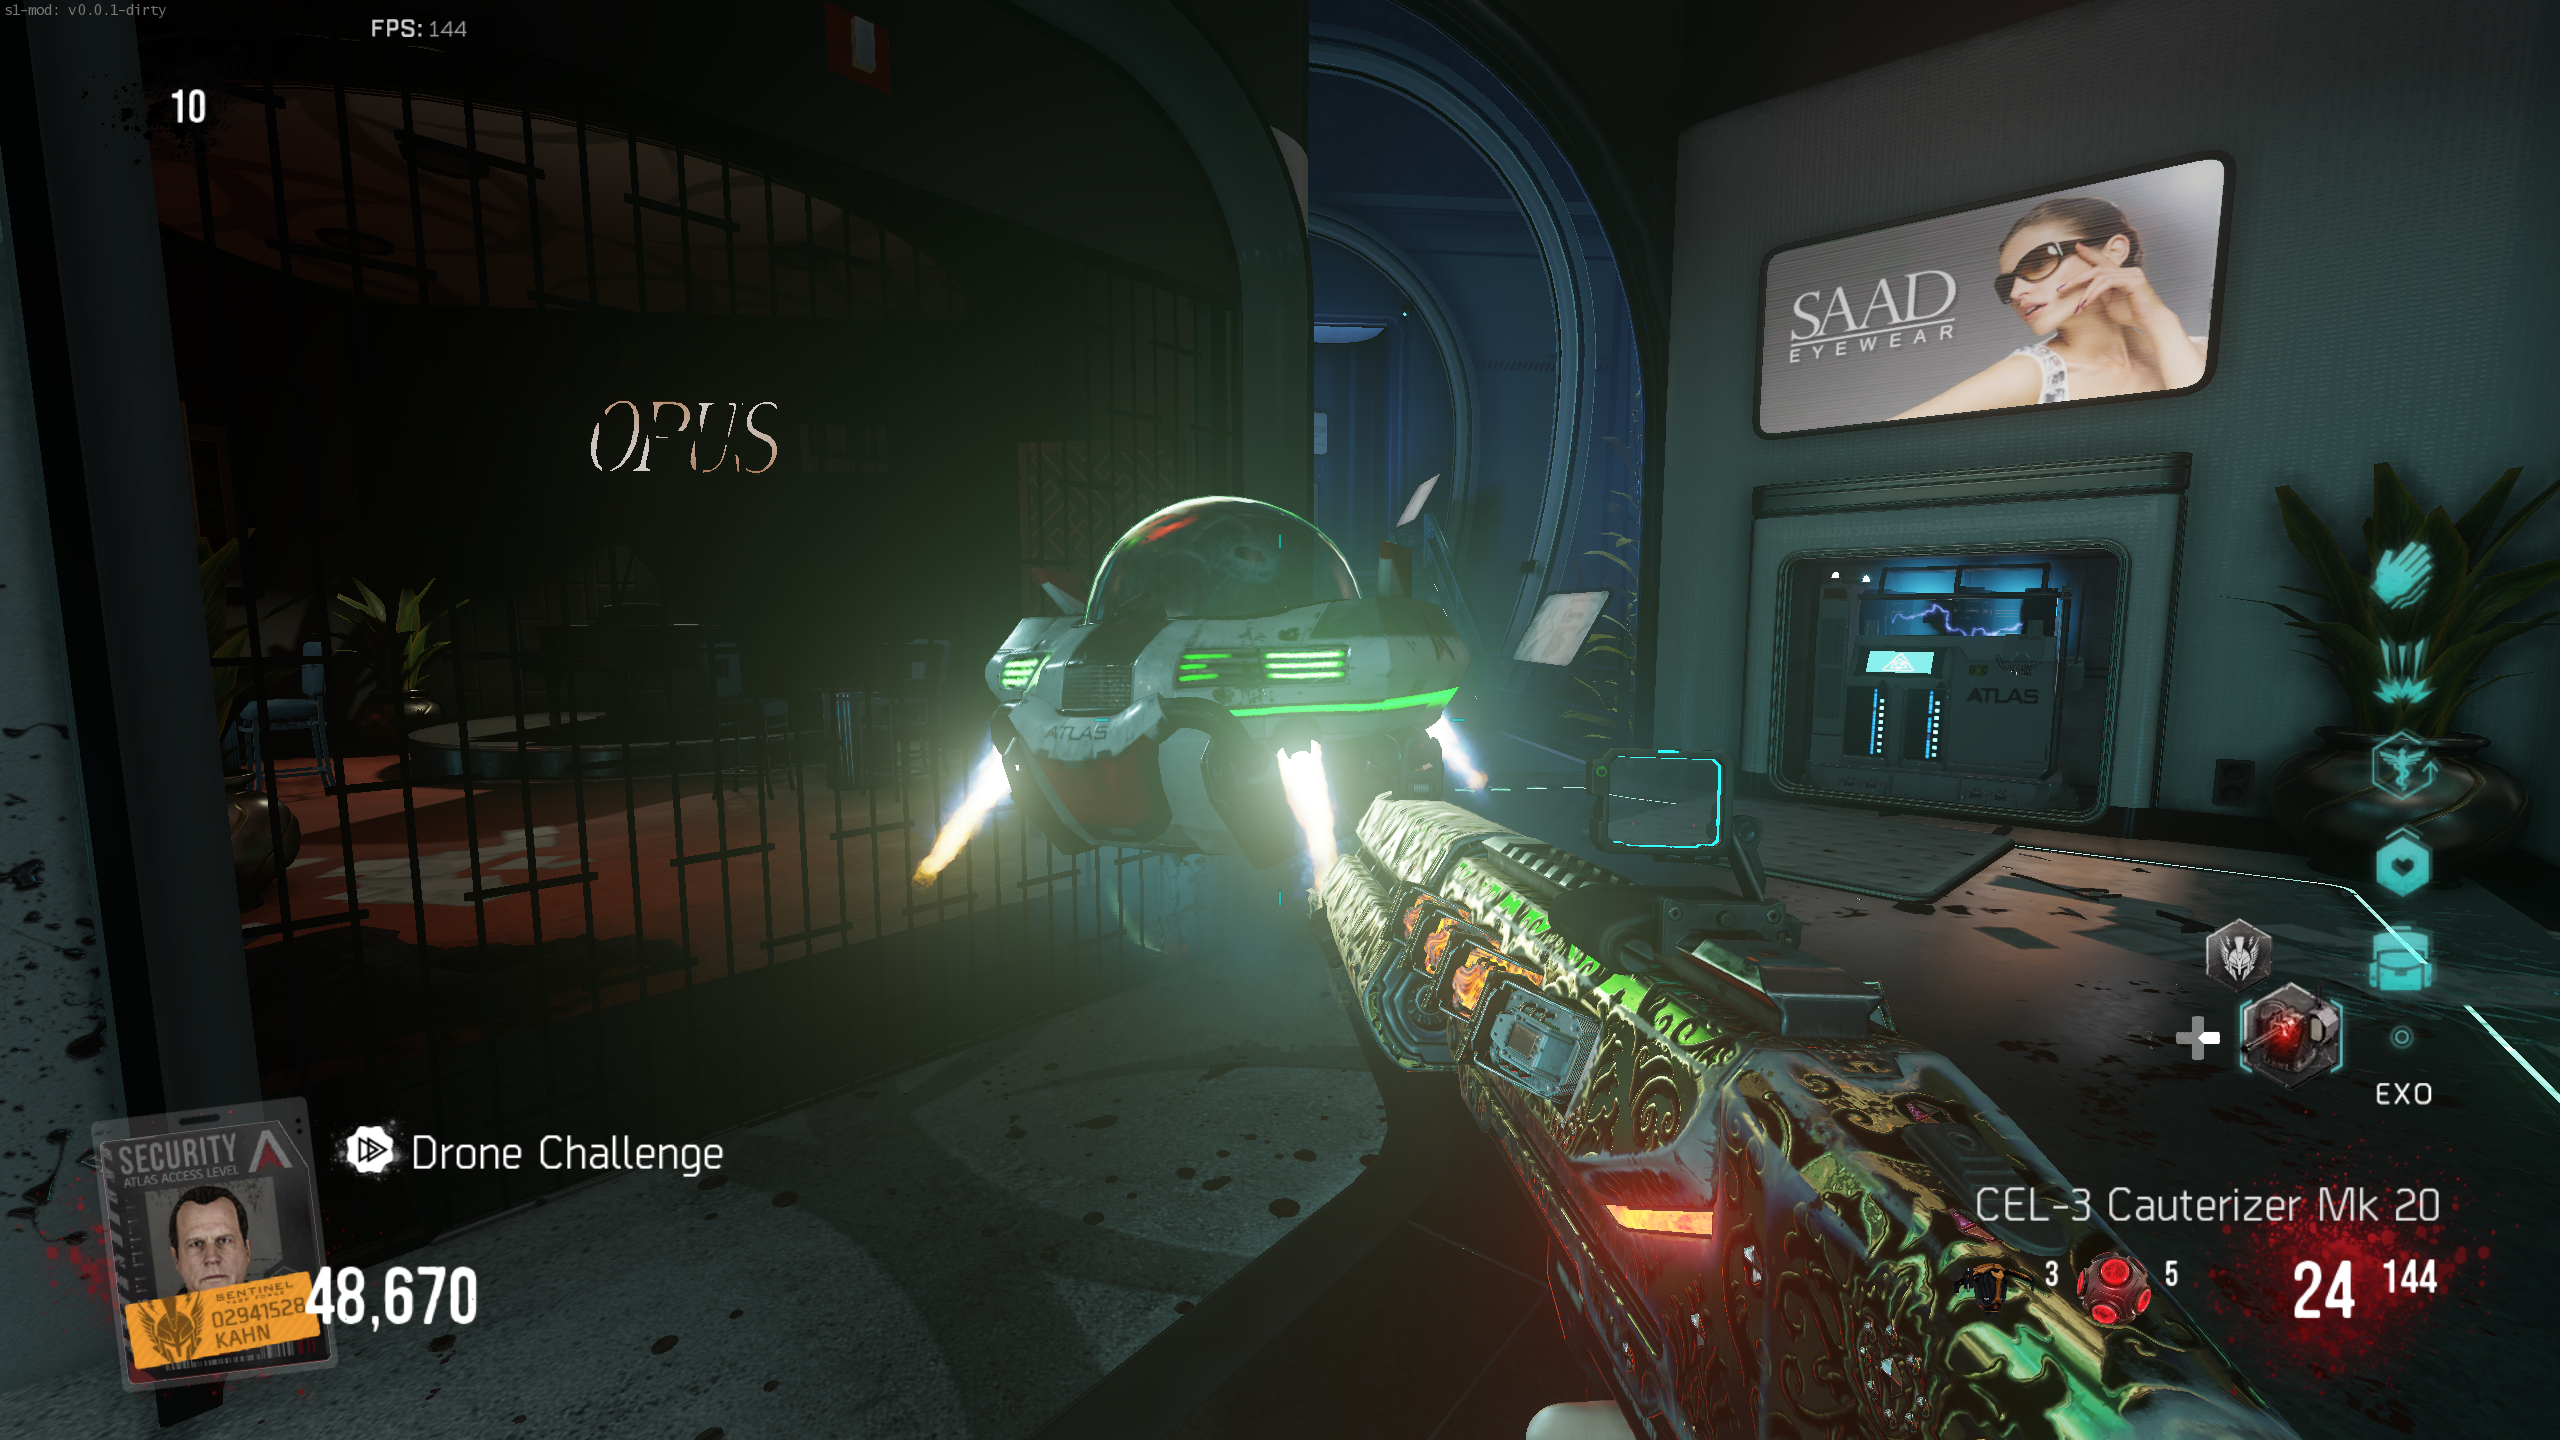
- At the start of the next round, Oz will begin a challenge. An empty Treasure Drone will spawn somewhere around the map. Destroy it by shooting it, and another will spawn somewhere else. Repeat for five total drones. Once all five are destroyed, the text about your points will turn green and say "Challenge Success", and Oz will speak.
- A "filled" drone can also spawn during this step, but destroying it is not required.
- Once a drone is activated (by proximity or damage), it will start flying toward a map exit. If one flies away, you fail the challenge. The challenge then restarts at the beginning of the next round.
- Killing all the Zombies and ending the round also fails the challenge.
Charge the Capacitor & Contact Grenade Challenge
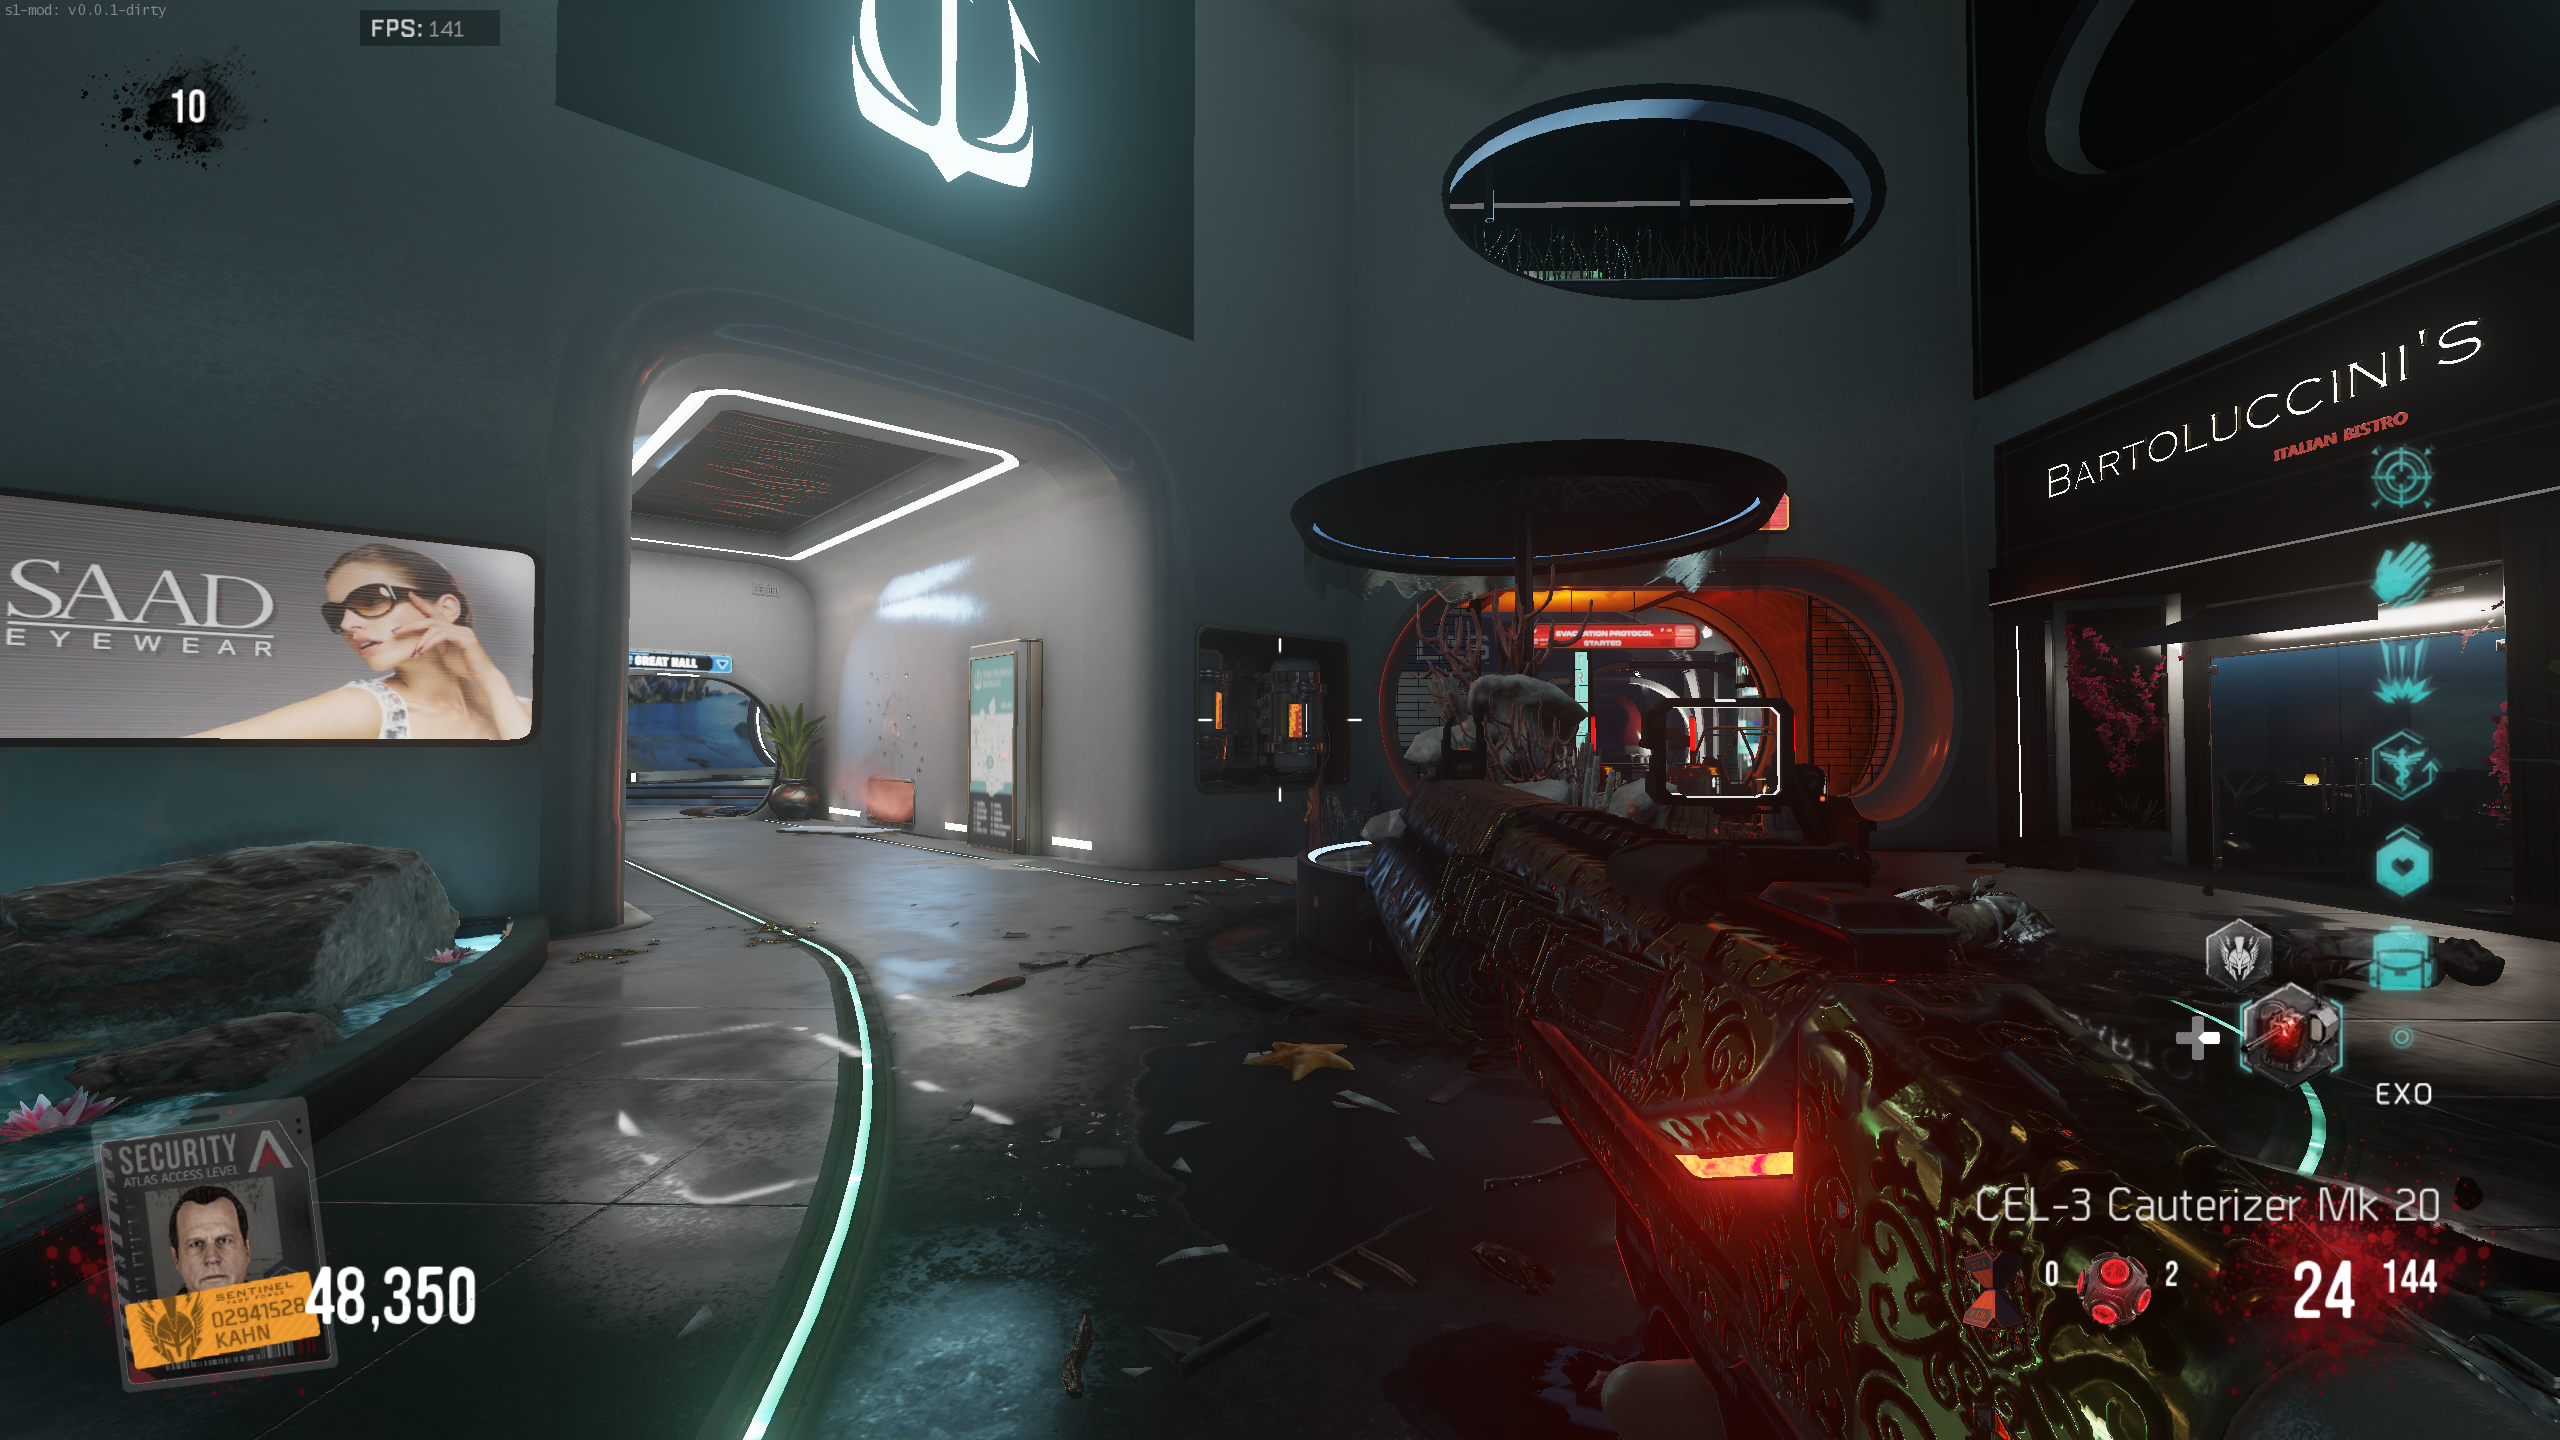
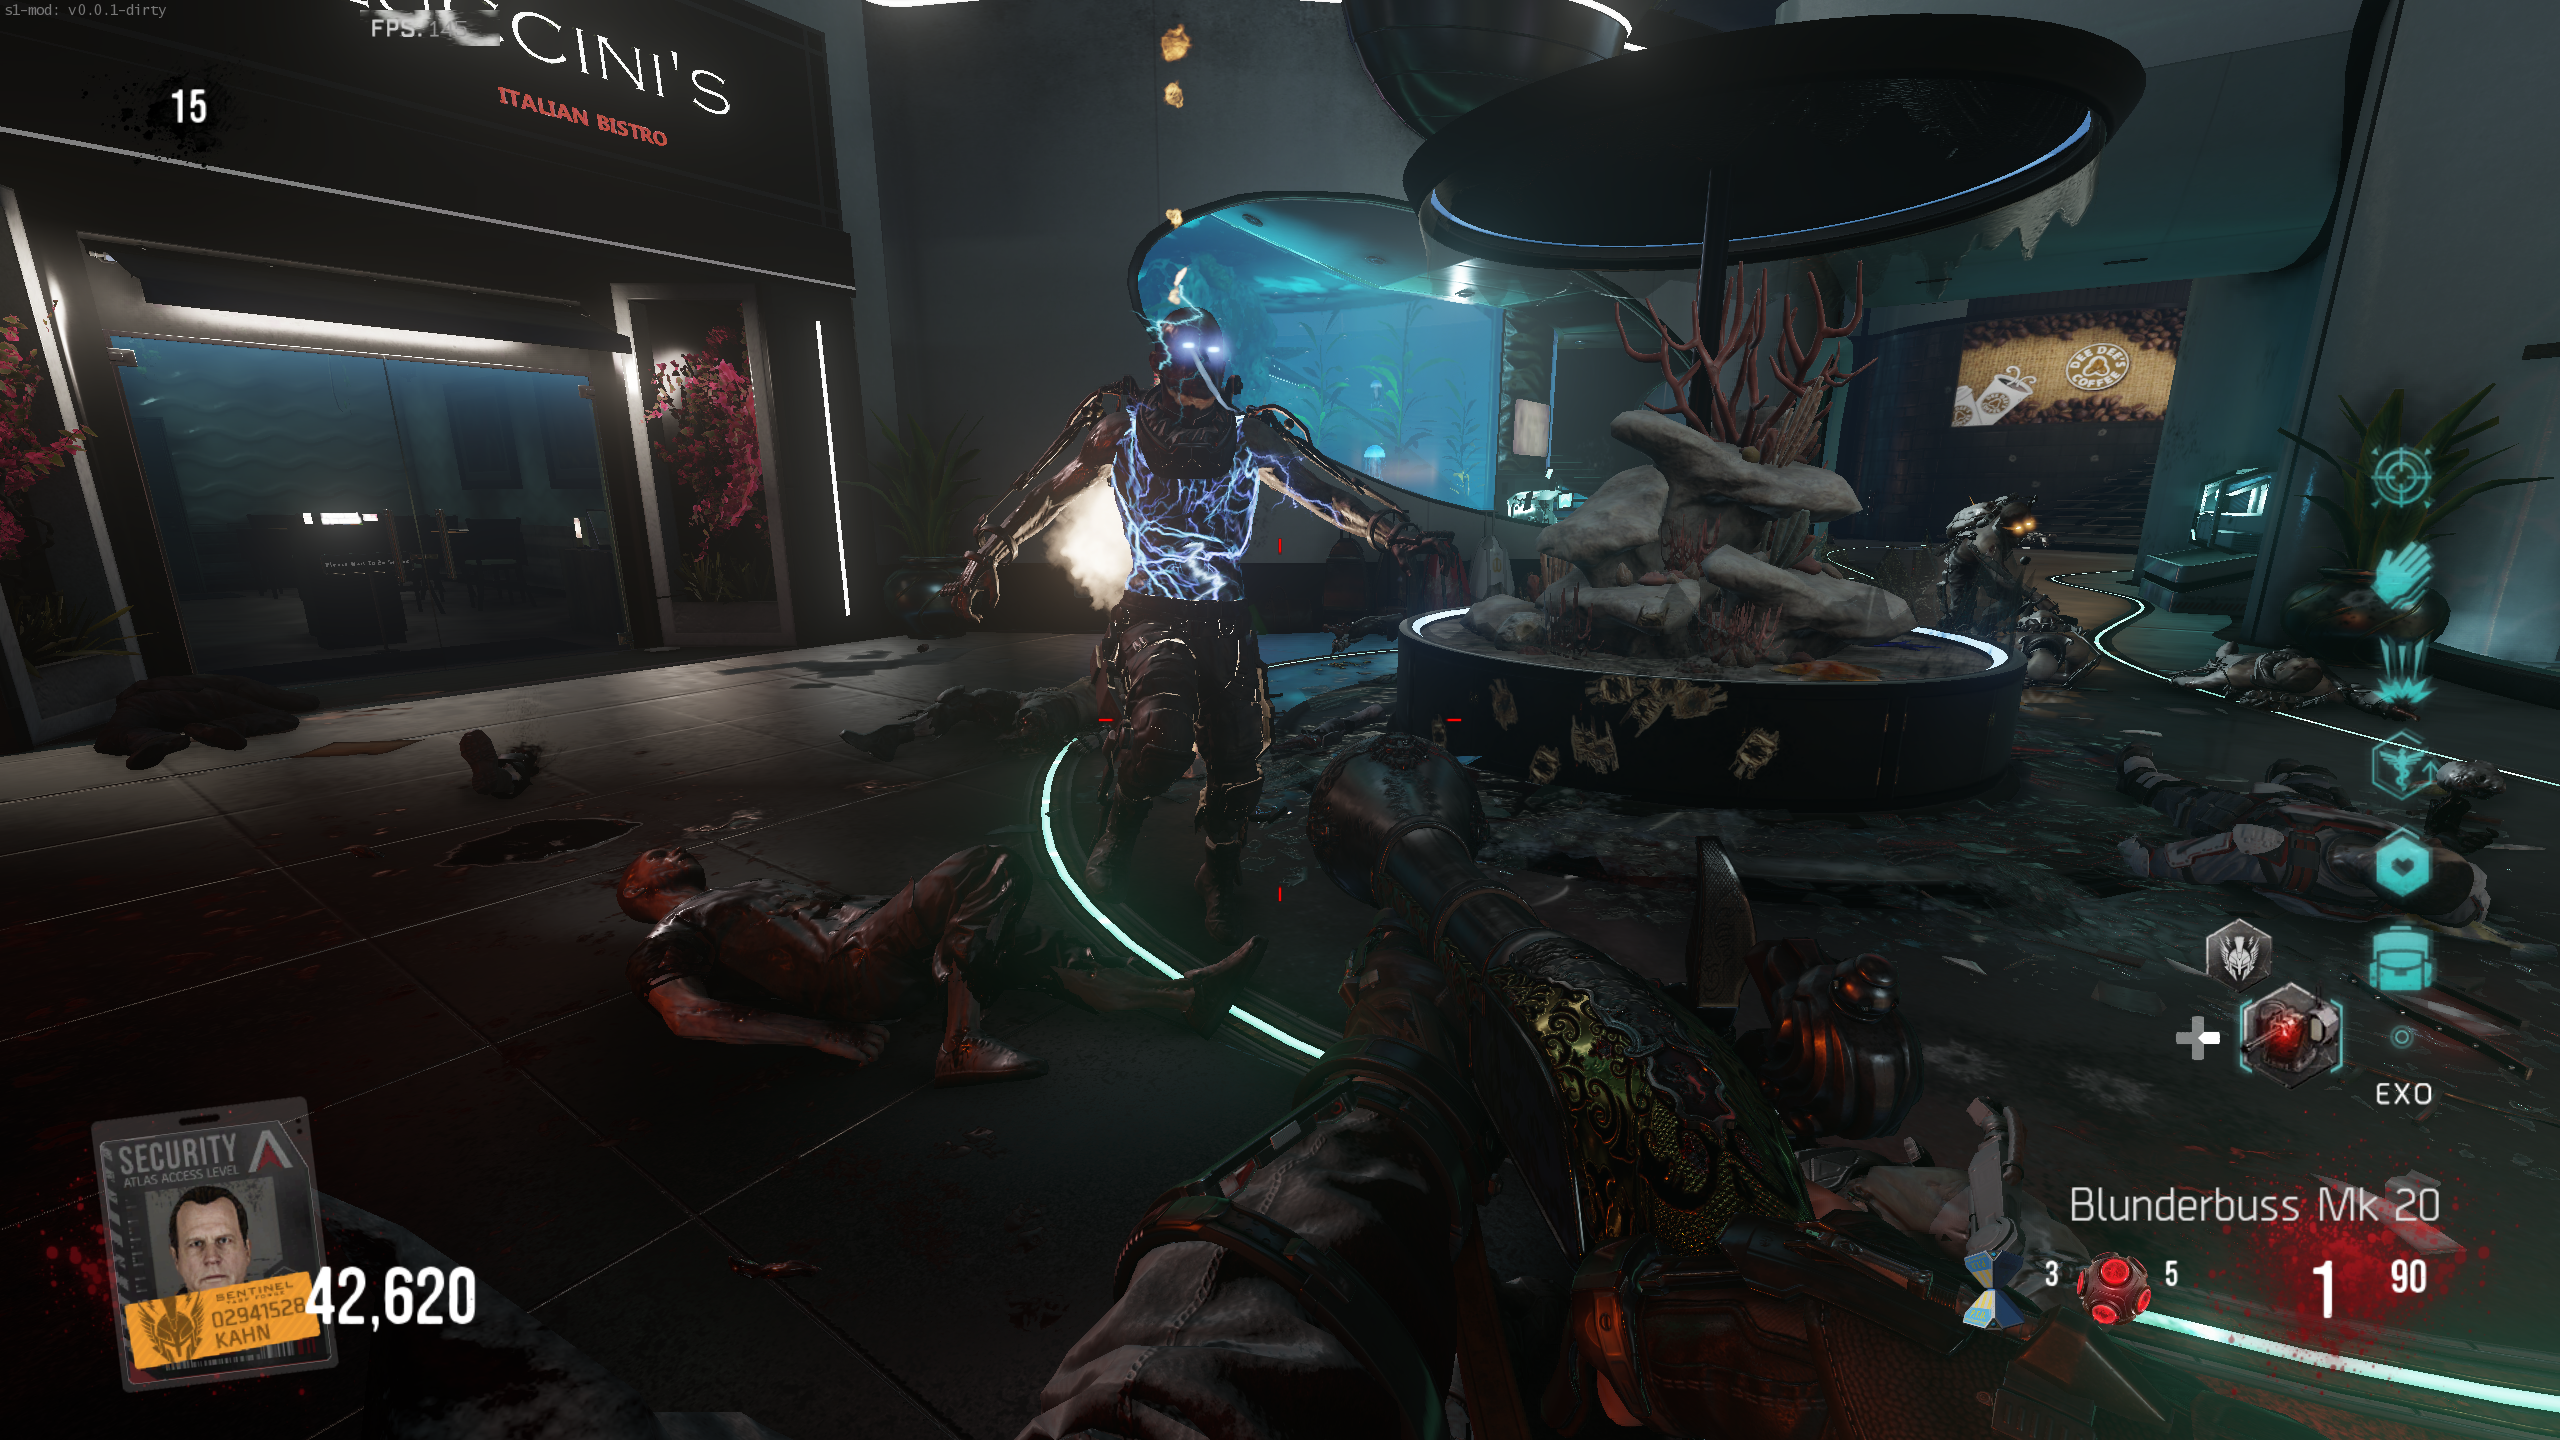
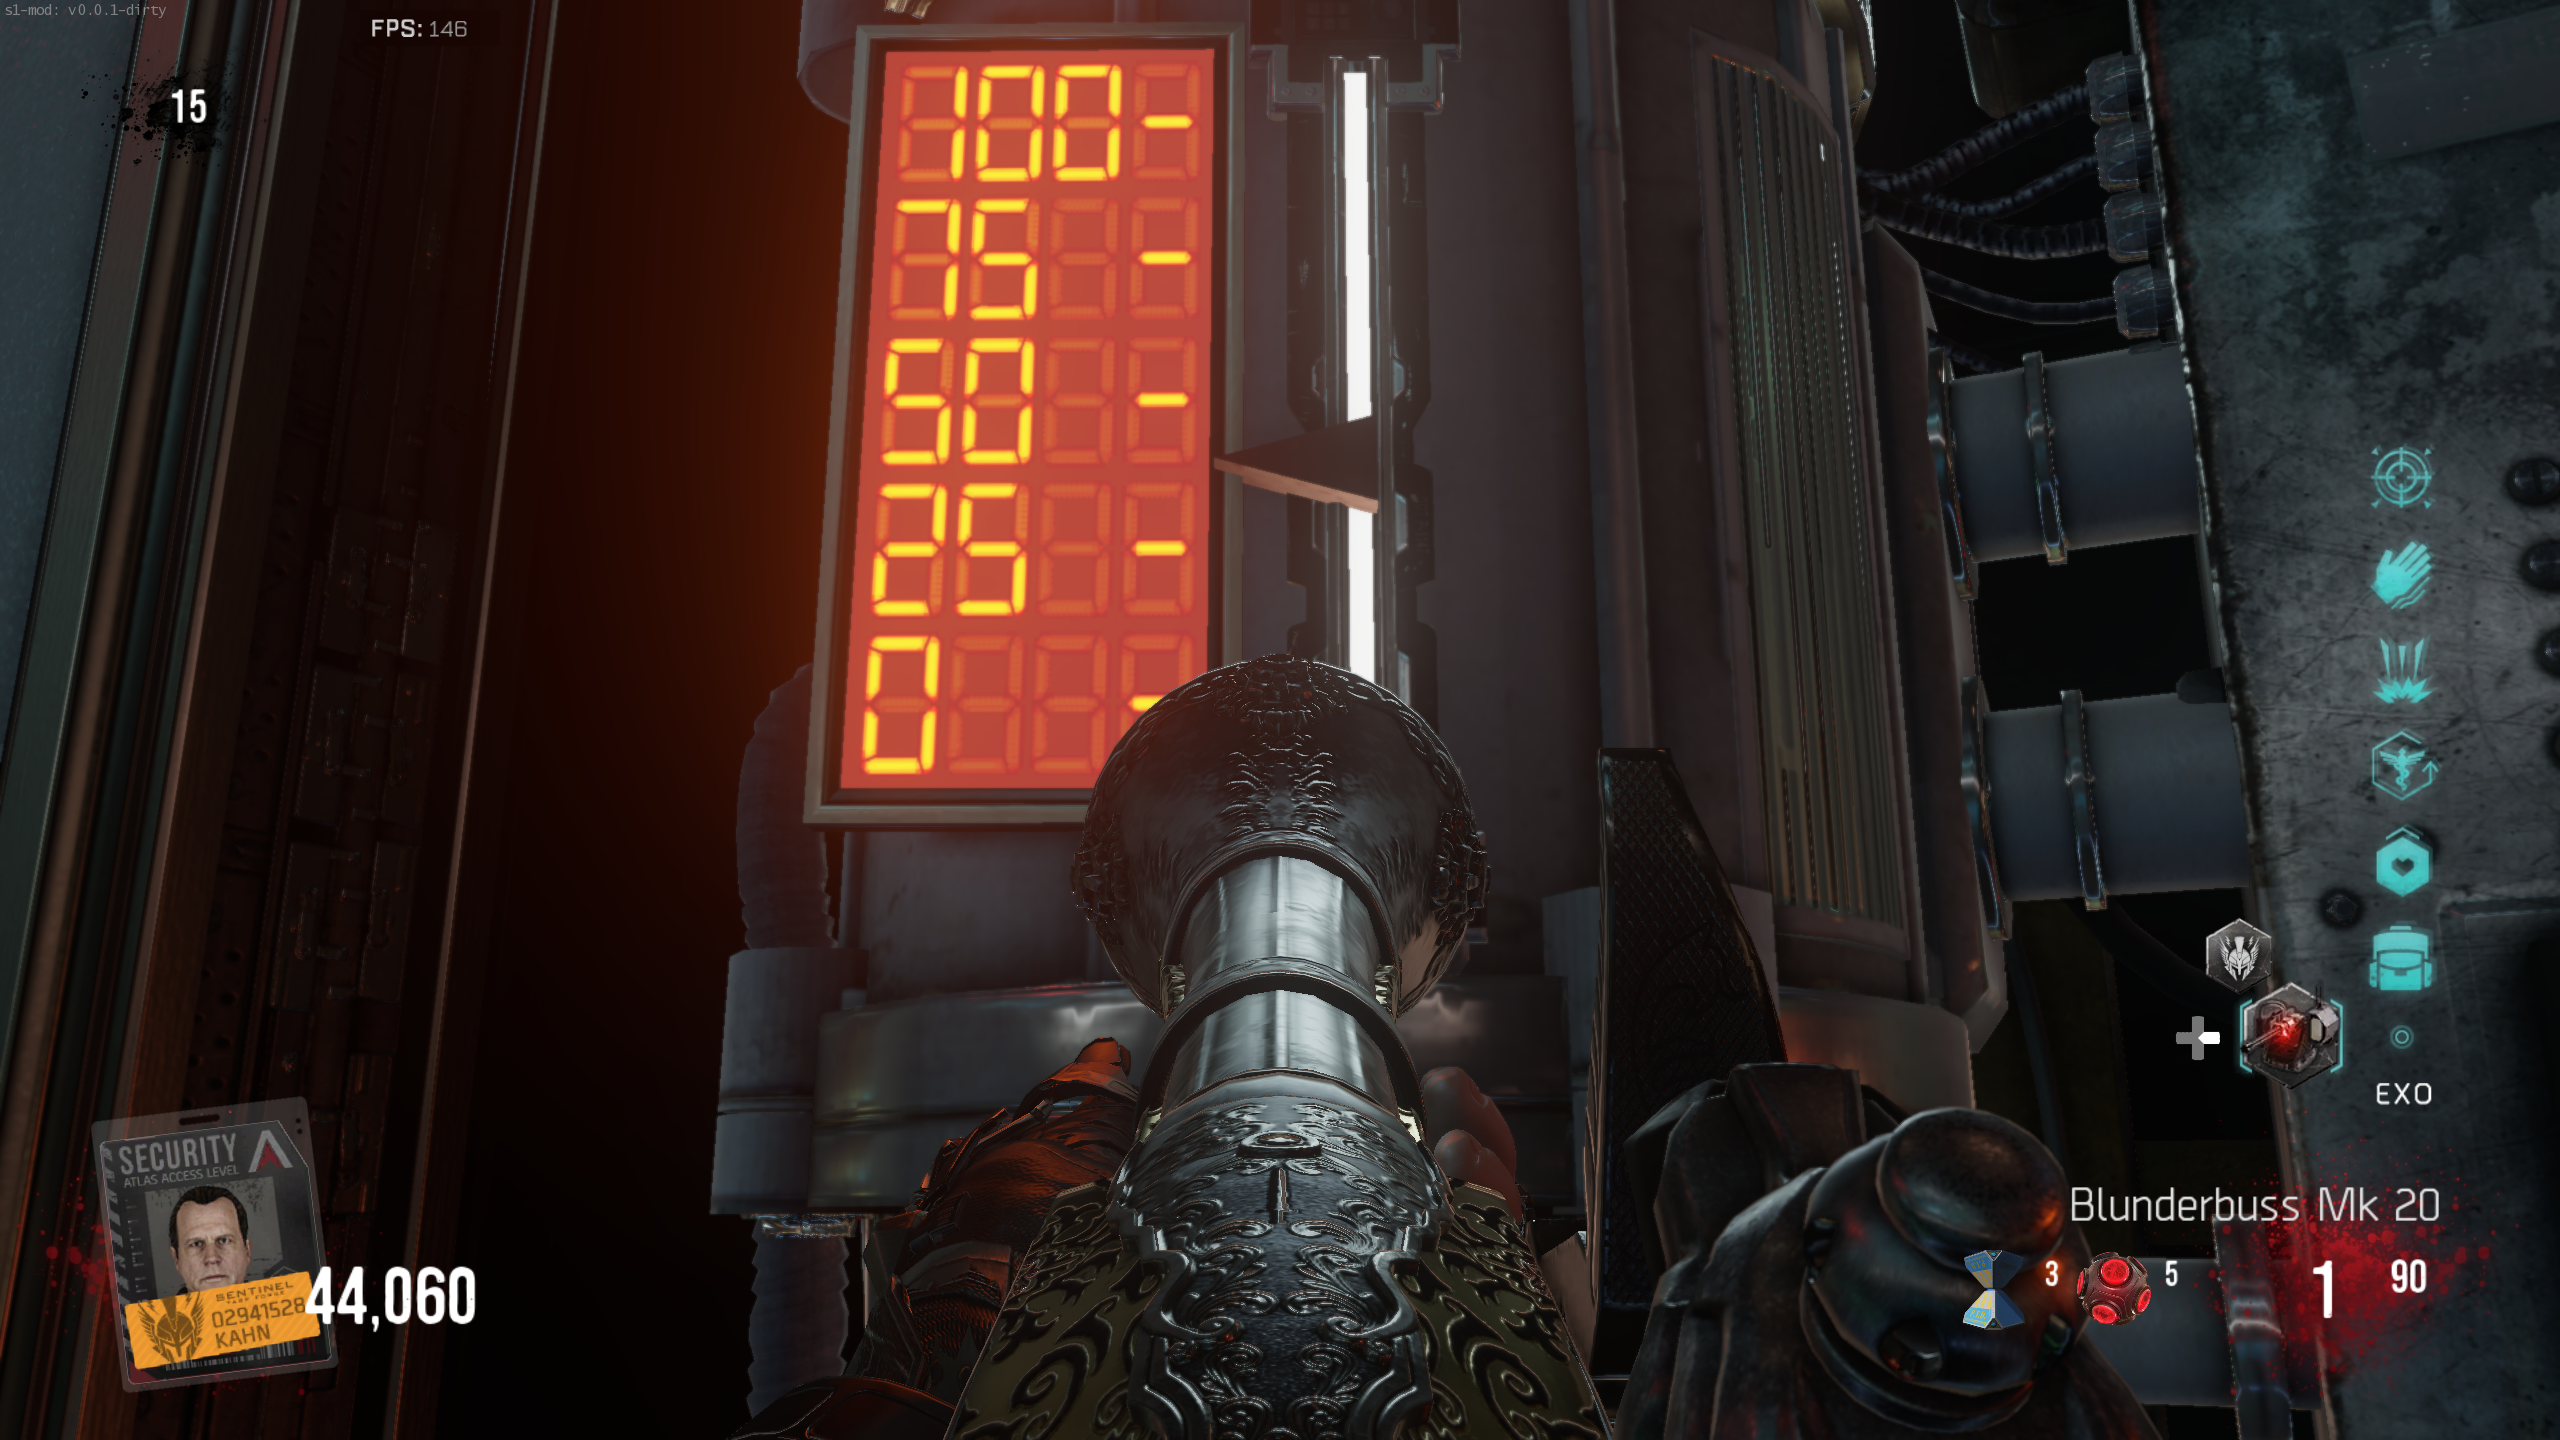
- In the Galleria, there is a capacitor station that needs charging. Lure EMZs to the area and let them hit you so the capacitor absorbs their energy. It takes about 16 EMZ charges (4 Zombies per 25 charge) to reach 100%. Check your progress on the number panel on the capacitor.
- This area, combined with an EMZ taking your Exo Suit offline, can often get you trapped. I recommend you pick off non-EMZs, and only go to the capacitor when there aren't many Zombies alive.
- This map has multiple variants of electric Zombie, such as Armoured Electric, Electric Dog, Electric Teleporter, etc. You can use any of these variants.
- Once finished, Angie will say "Capacitor is Charged. Power Diverted to Tidal Generator", followed by another quote from Oz.
- Another challenge starts at the beginning of the next round. You get unlimited Contact Grenades for the round, whether you bought them or not. Kill Zombies with the grenades until the round ends. You cannot use your guns, Tactical Grenades, or any special Scorestreaks against Zombies. You can't fail this challenge.
Jumping Puzzle & Move Challenge
- In Spawn, several blue glowing platforms appear in set patterns. Use your Exo movement to navigate them and reach the final platform. Each time you reach it, you get bounced back to the map and a new pattern appears. You can only stand on a platform for a short time before it disappears, so you have to wait for it to respawn. The step is done after nine patterns.
- Another challenge starts at the beginning of the next round. Moving drains your points, and you have to keep them from reaching zero. If your points hit zero, you cannot move.
Simon Says & Friendly Fire Challenge
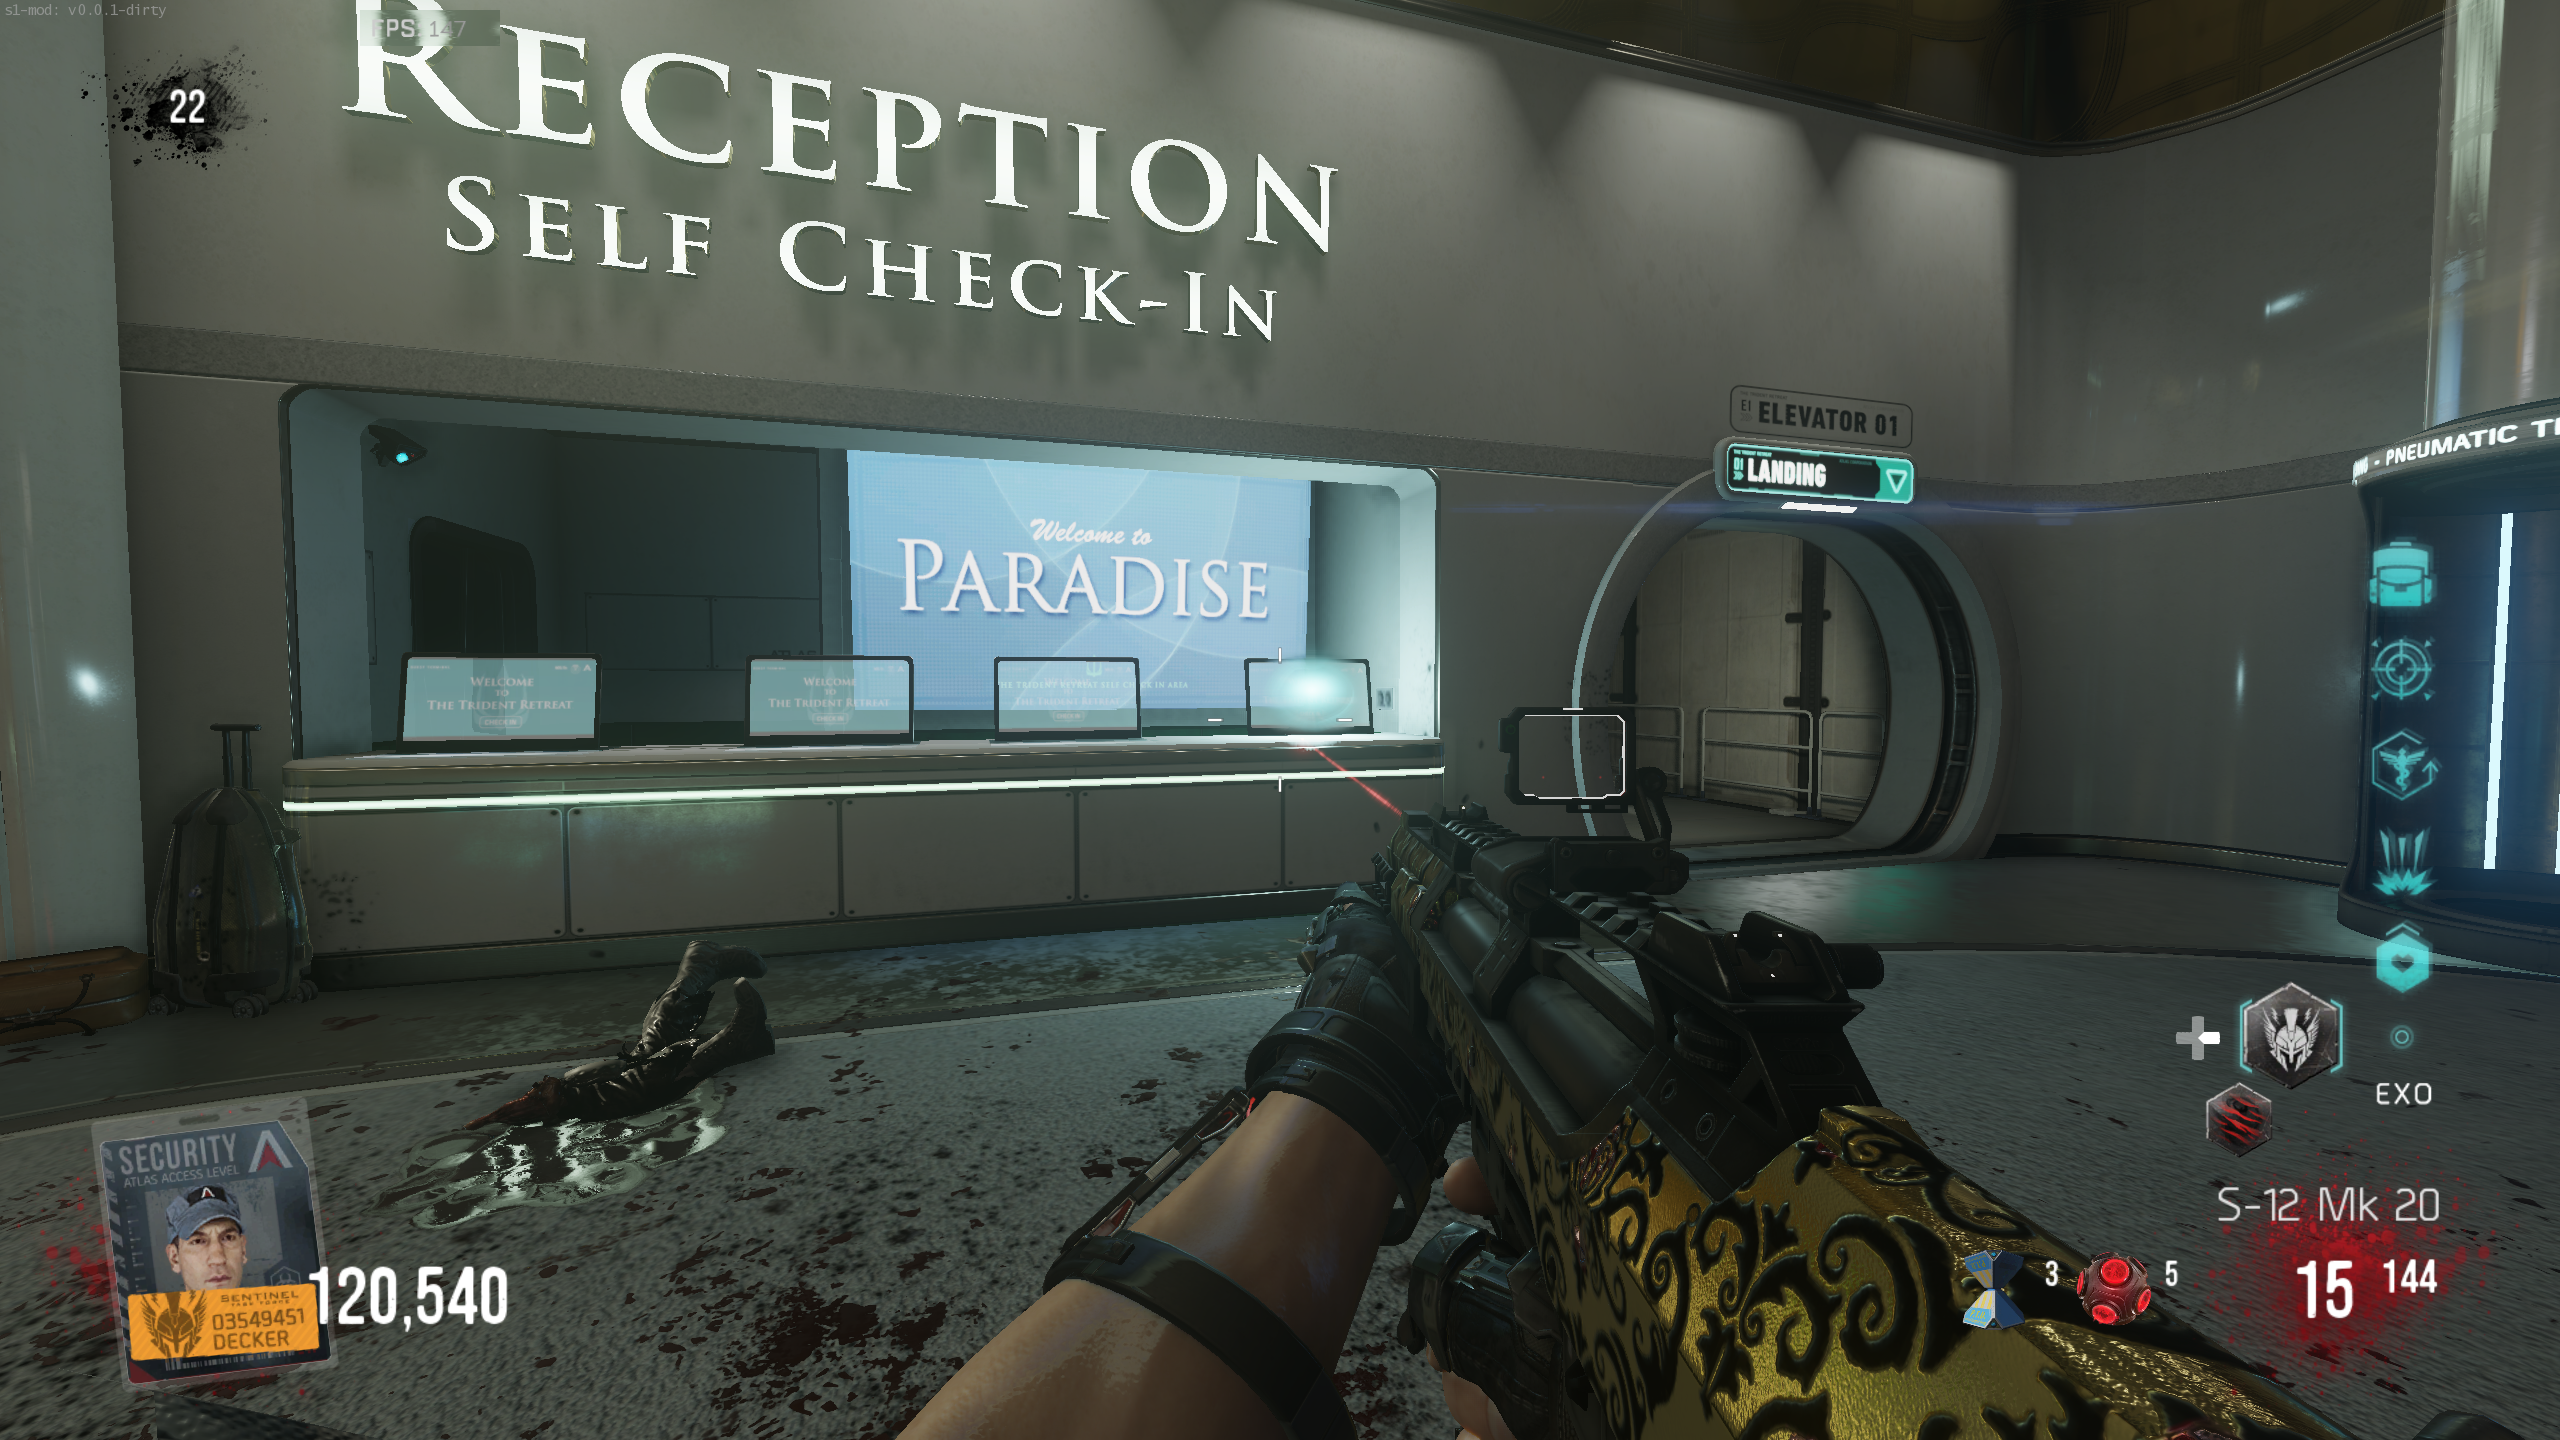
- Head to the Reception desk and find the four monitors. The one on the right will be glowing. Interact with it to start a Simon Says mini-game. Each monitor shows a different colour. Interact with them in the order they flash. Once done, a cheerful noise will play, and Angie will say something about power being diverted. Use the helper below to keep track of the order.
The order of the colours on the monitors is random, so you'll need to rearrange the colours on the helper below to properly use it.
Simon Says Helper
Tap each colour as it flashes, in the order it flashes, for as long as the sequence runs. The order you tapped is listed underneath. Tap Undo if you mistime one, or Reset to start the sequence again. Tap Arrange to shuffle the pads into the order they sit in game.
- Another challenge starts at the beginning of the next round. Friendly Fire is enabled across the lobby on this round. Do not down anyone through Friendly Fire or the challenge fails. In Solo, AI-controlled players will spawn in, and they will try to shoot you. Finish the round without a single Friendly Fire casualty to complete the challenge.
Number Panel & MAHEM Challenge
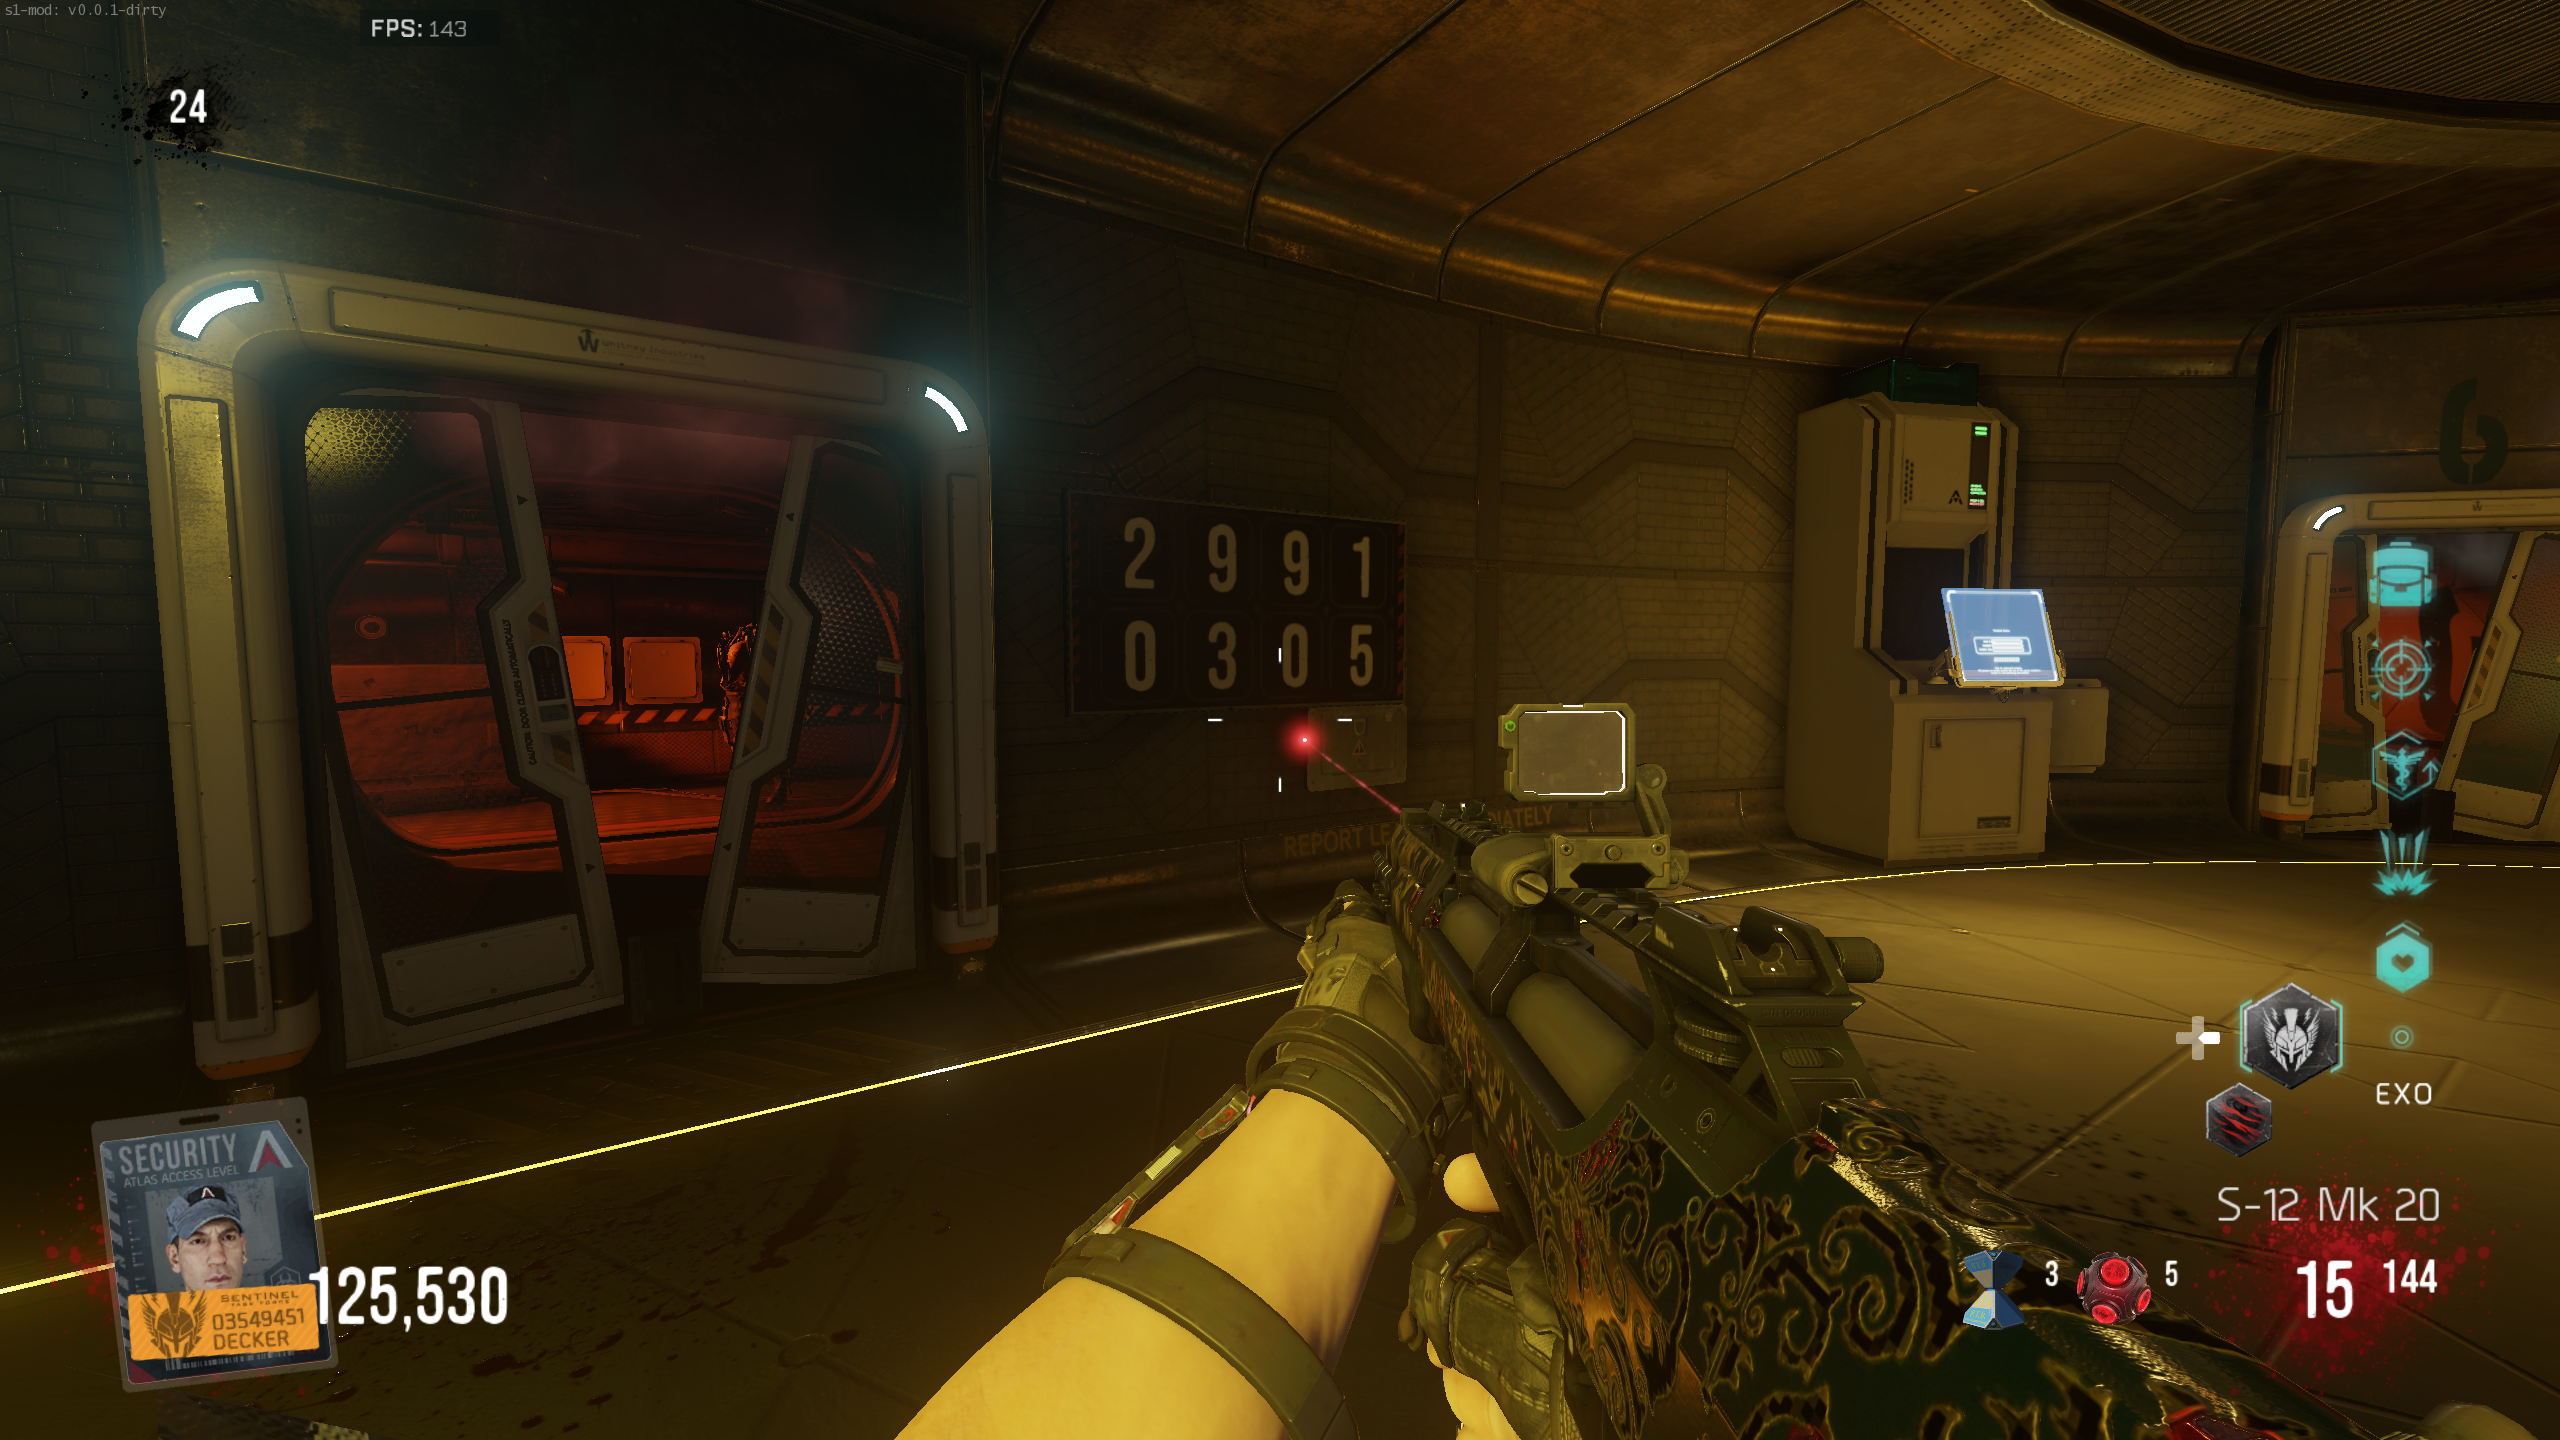
- Head to the Tidal Generator. Near the terminal on the second floor, there is now a number panel display. Change the bottom row of numbers to match the top row. The step will autocomplete as soon as you match all four numbers. Your actions control the four numbers (left to right):
- The first number tracks Zombies hit by an Exo Slam (Exo Slam Perk needed).
- The second number changes when you jump.
- The third number changes when you buy anything from the wall (excluding weapon ammo).
- The fourth number changes when you kill Zombies by any means.
- Completing the number panel step will power the Mk. 25 Weapon Upgrade Station in the Tidal Generator side room.
- This challenge round gives you a MAHEM Mk 25 with unlimited ammo. It is the only weapon you can kill Zombies with, so finish the round using nothing else. Oz gives an audio cue once you are done.
Oz's Memories
- Go to the Tidal Generator and activate the terminal on the second floor again. Angie will say something like "Power Diversion Complete", and the machine, right of the terminal, will turn red.
- Interact with the terminal one more time to turn the machine blue. You'll be automatically teleported into a fragment of Oz's memory, resembling the Spawn of Outbreak. Any of the four characters not present will spawn in as (friendly) AI. Hold out against two waves of Zombies. The characters and Oz talk between the waves.
- After the second wave in the memory, you'll be teleported back to the map, the Easter Egg is complete, and the match will end. The map will restart in "Double Feature" mode.
Descent Gold Trophy
- Complete the Main Quest at least once in any game.
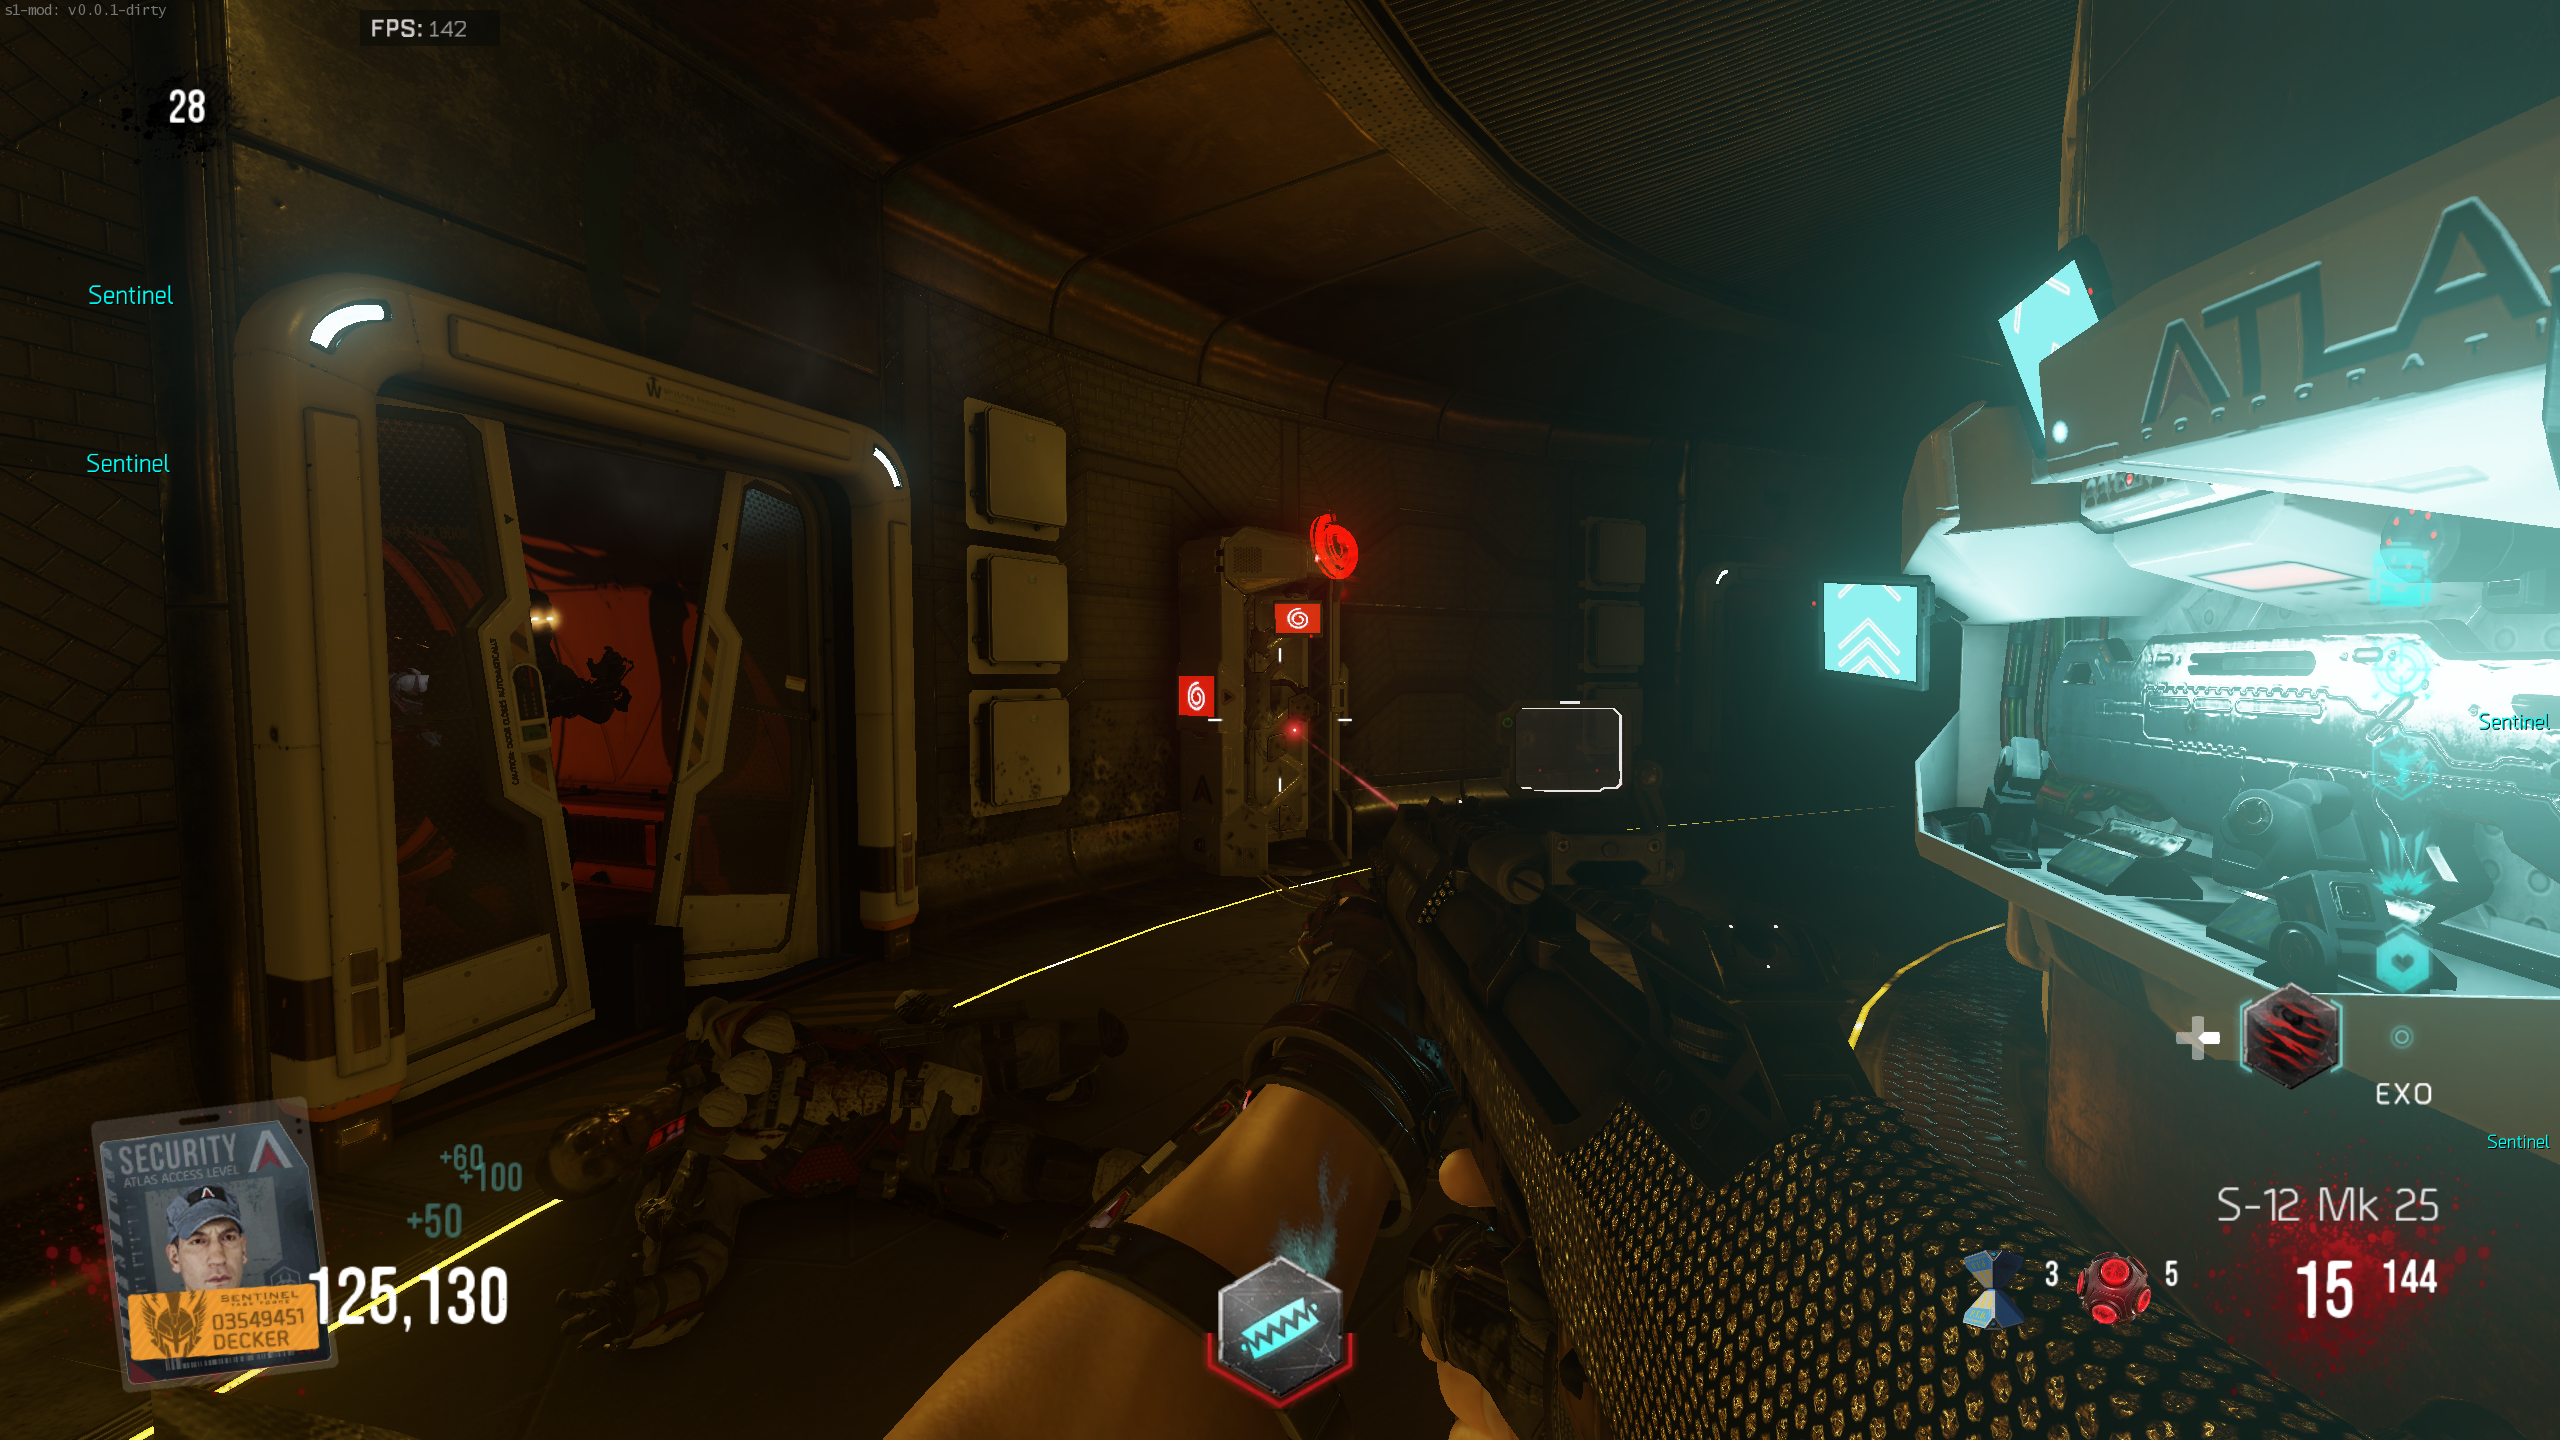
- As soon as you spawn in, interact with the "Double Feature" keypad 180° behind you. This will activate Double Feature mode, where there's a black and white filter, no HUD, points only for kills rather than hits, no revives, and upgrade cost drops from 2500 to 1500.
- Reach Round 20 and kill Mutated Oz in the "Boss Fight" like normal.
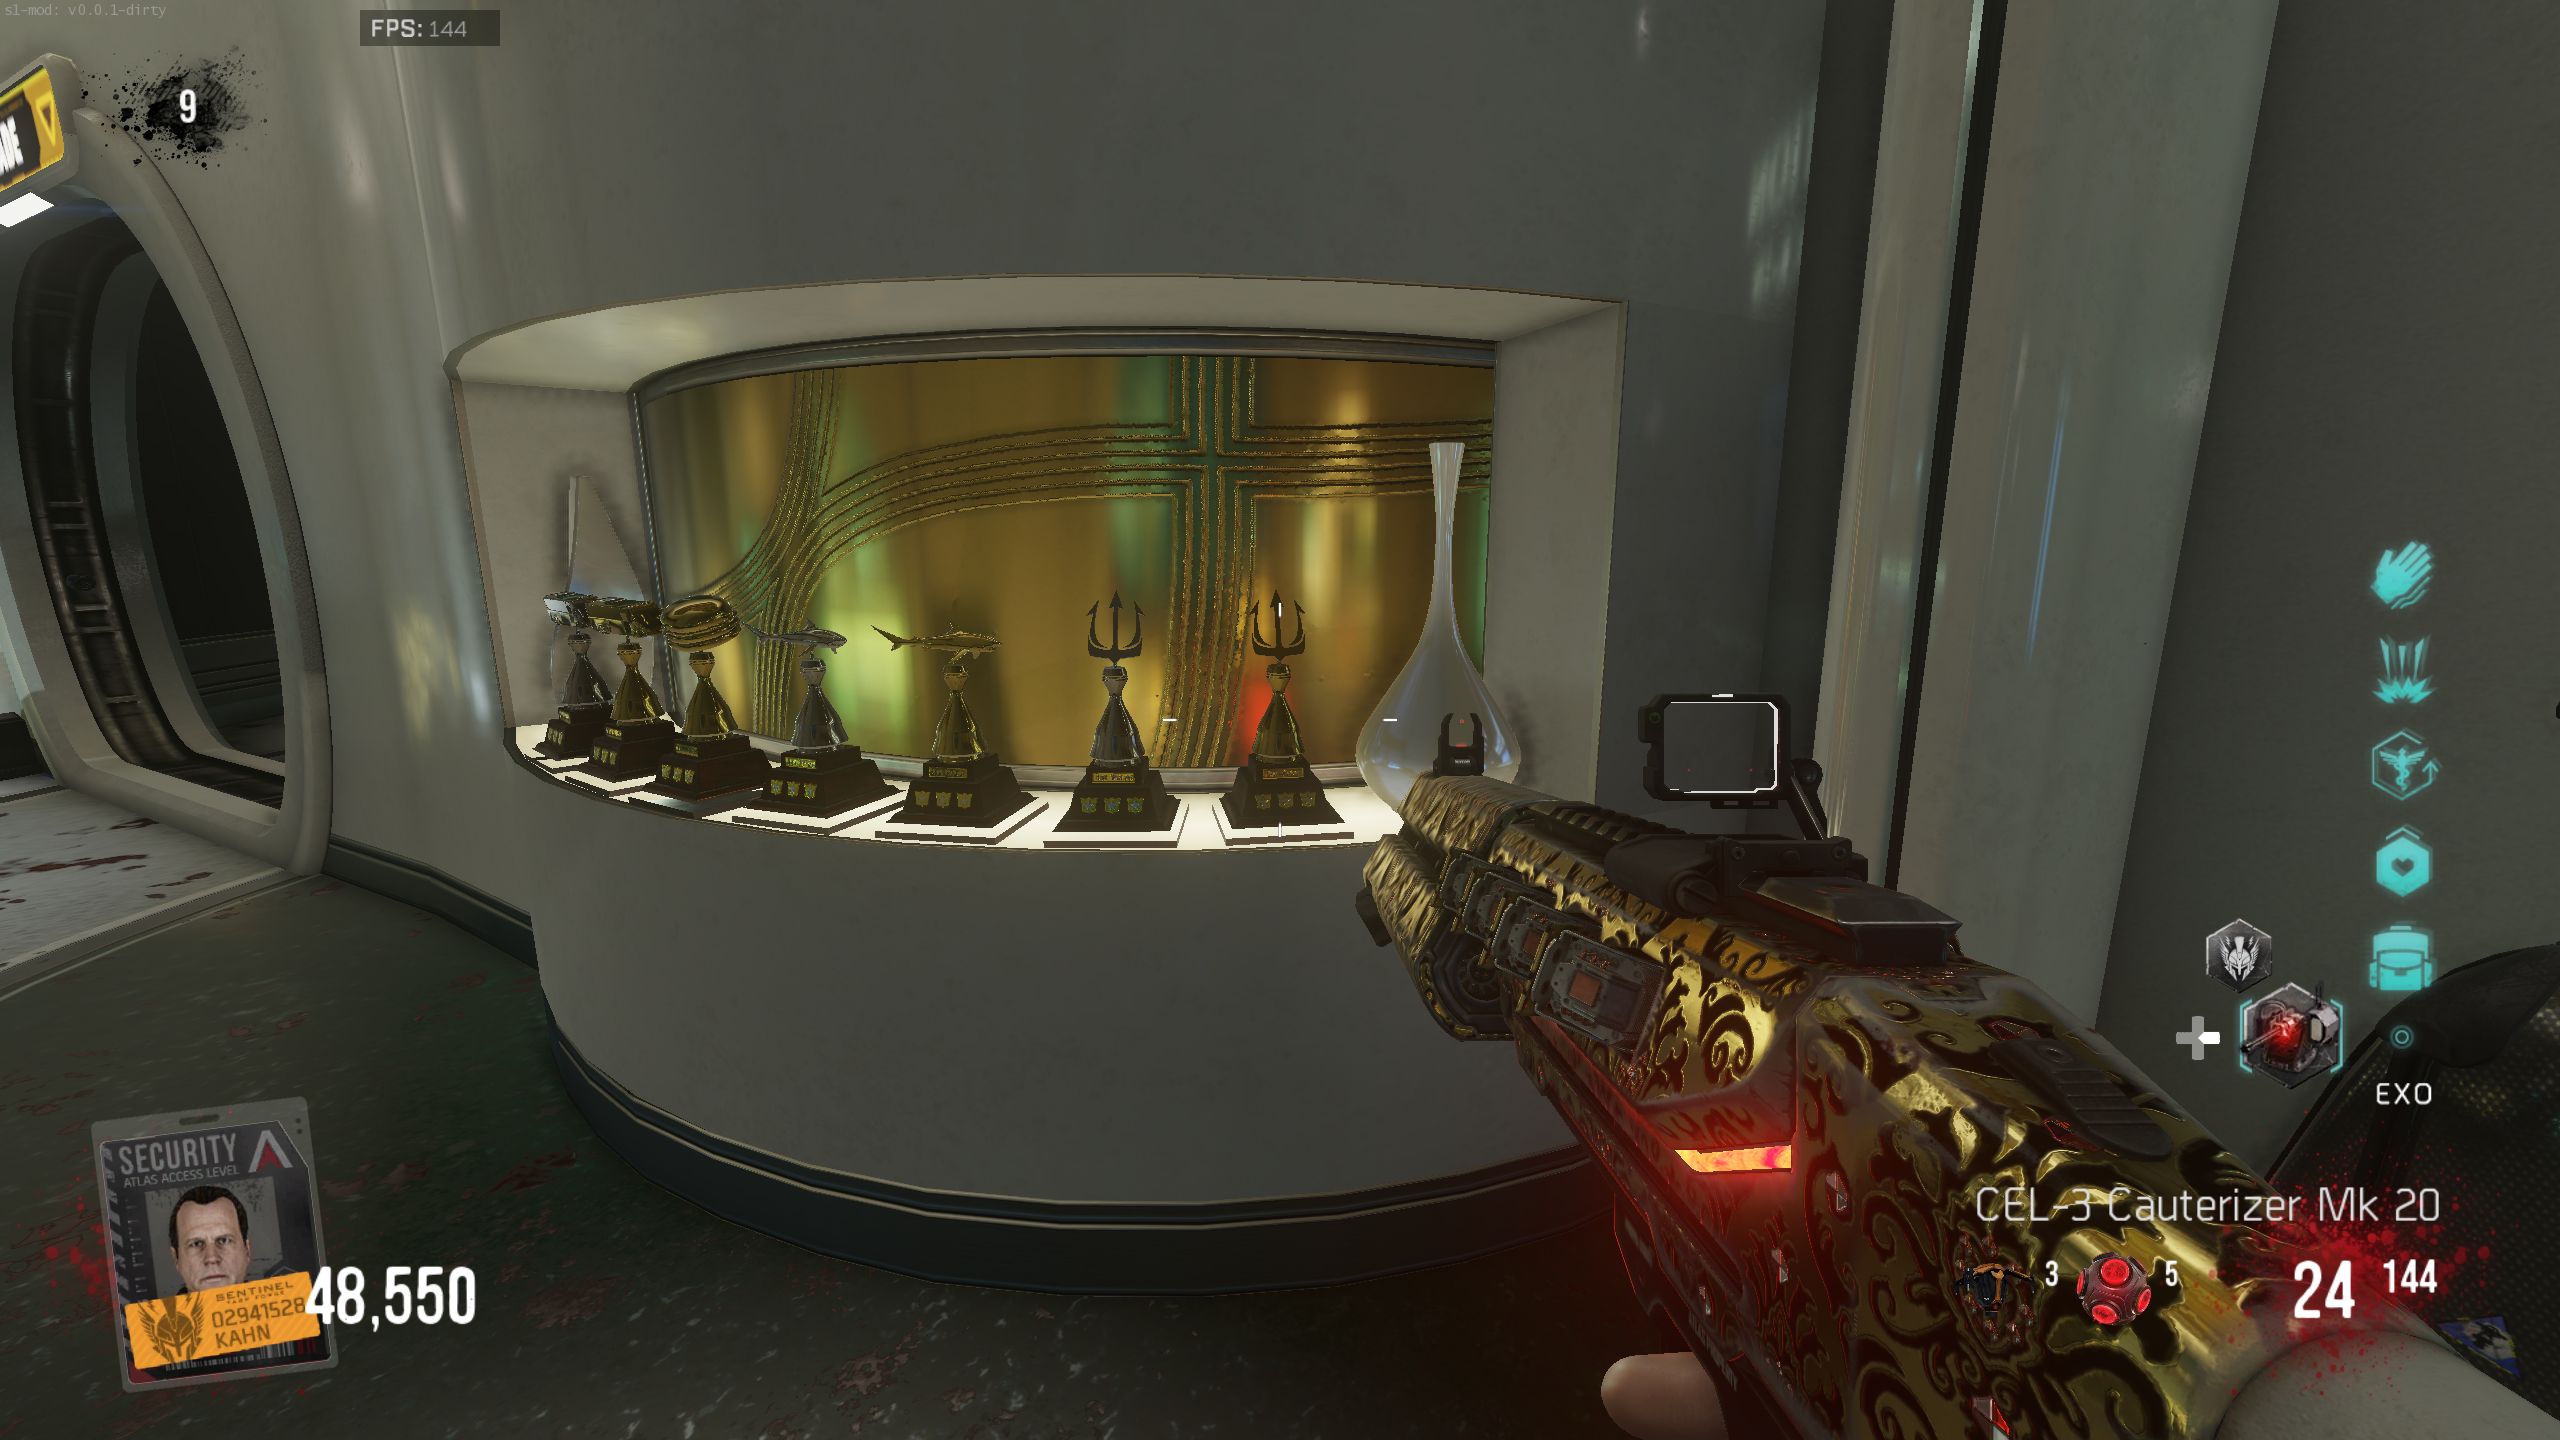
- At the start of your next Descent game, you can see the Gold Trophy in the 'Reception' area.
"Dies irae" Song
Link to song on YouTube.
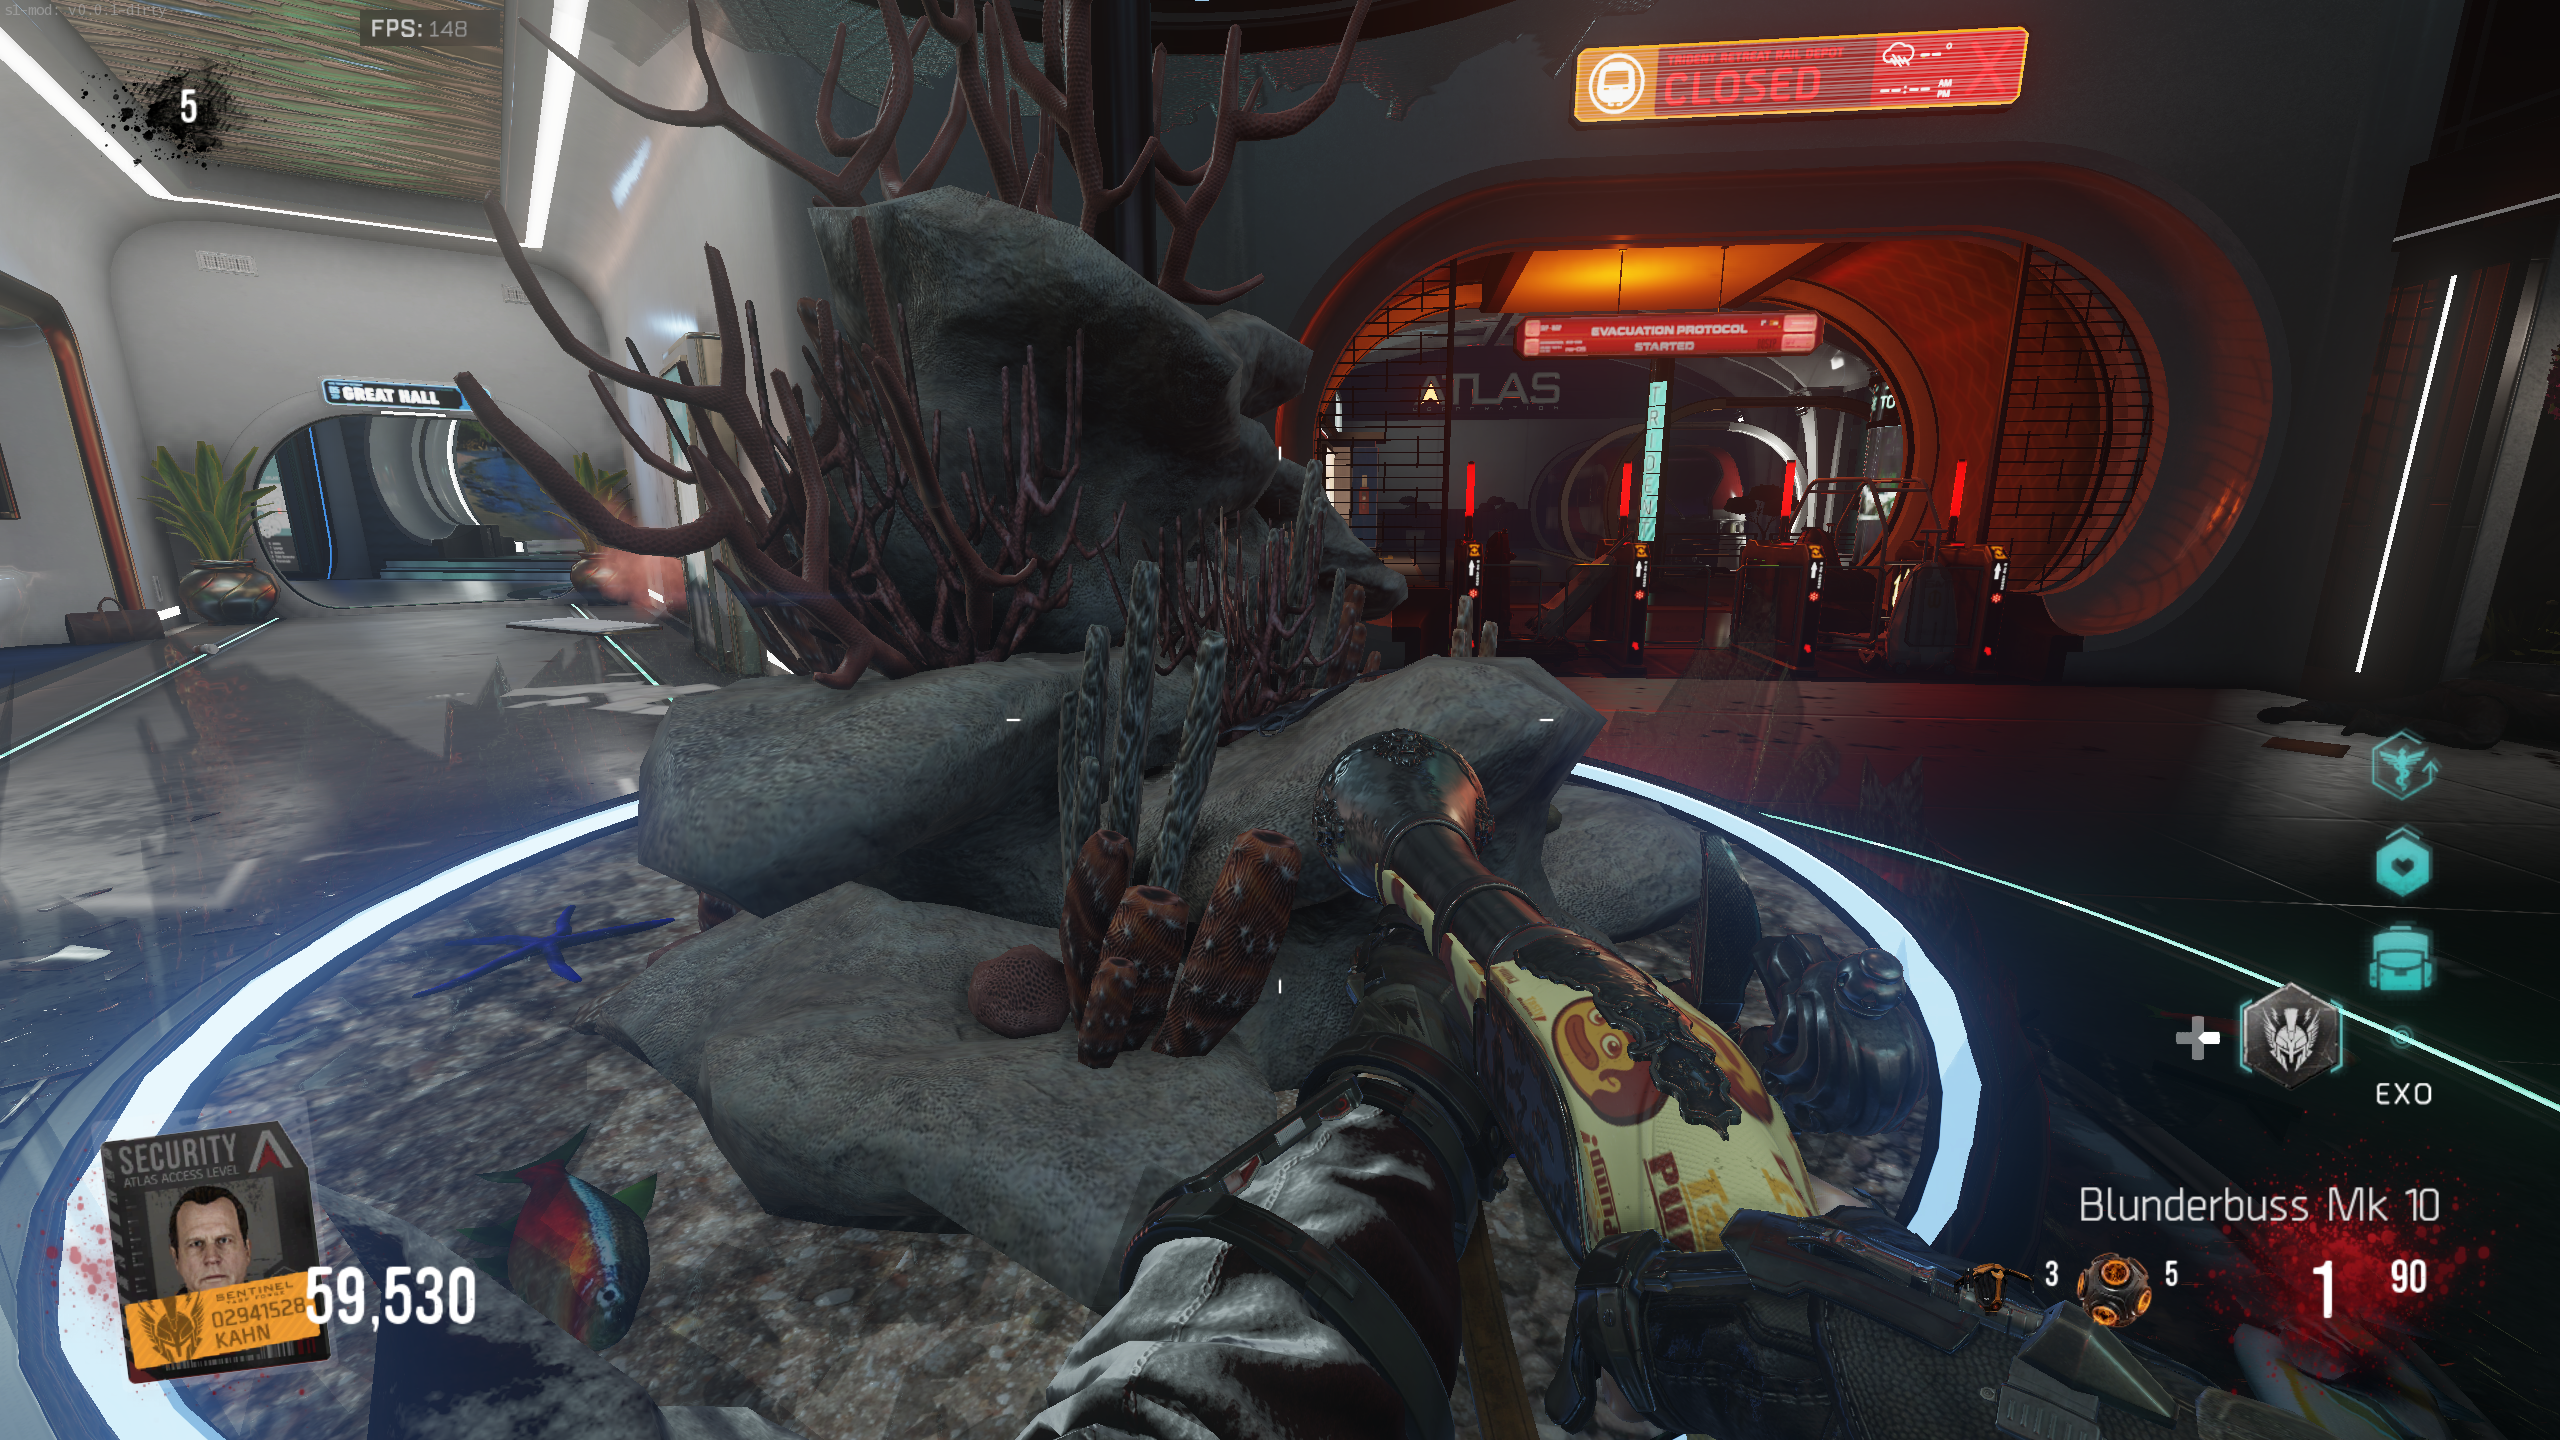
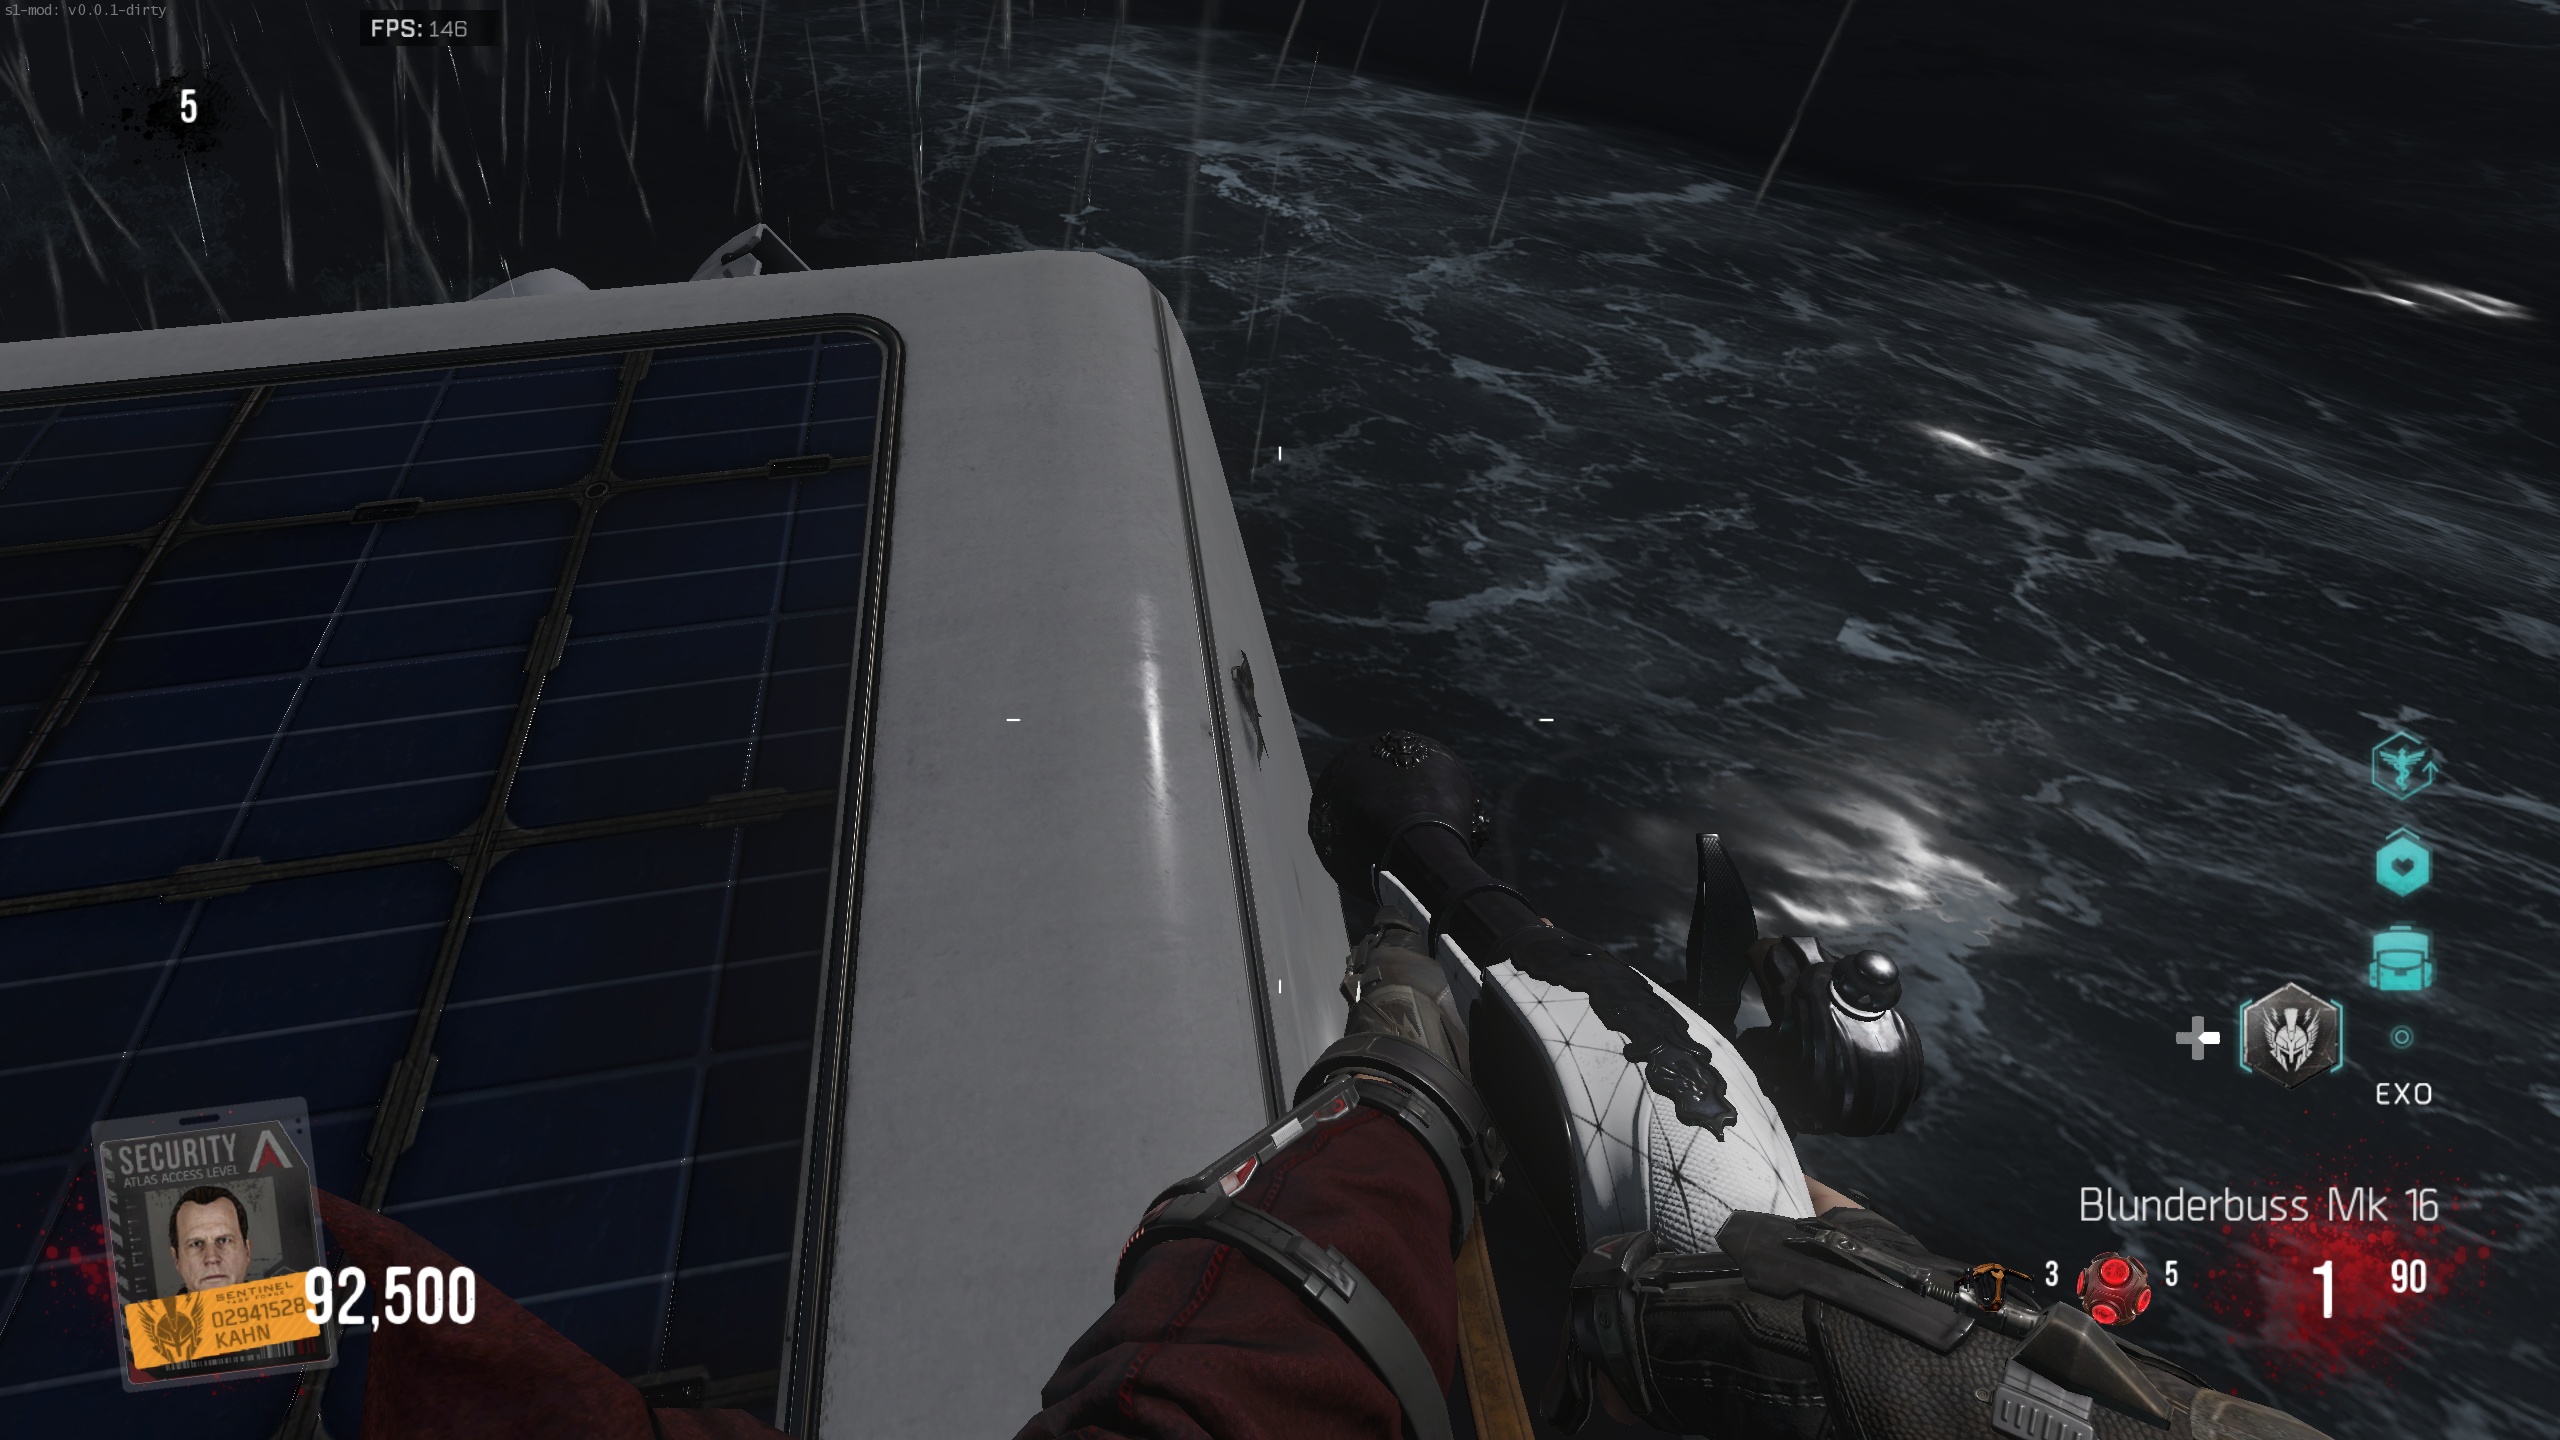
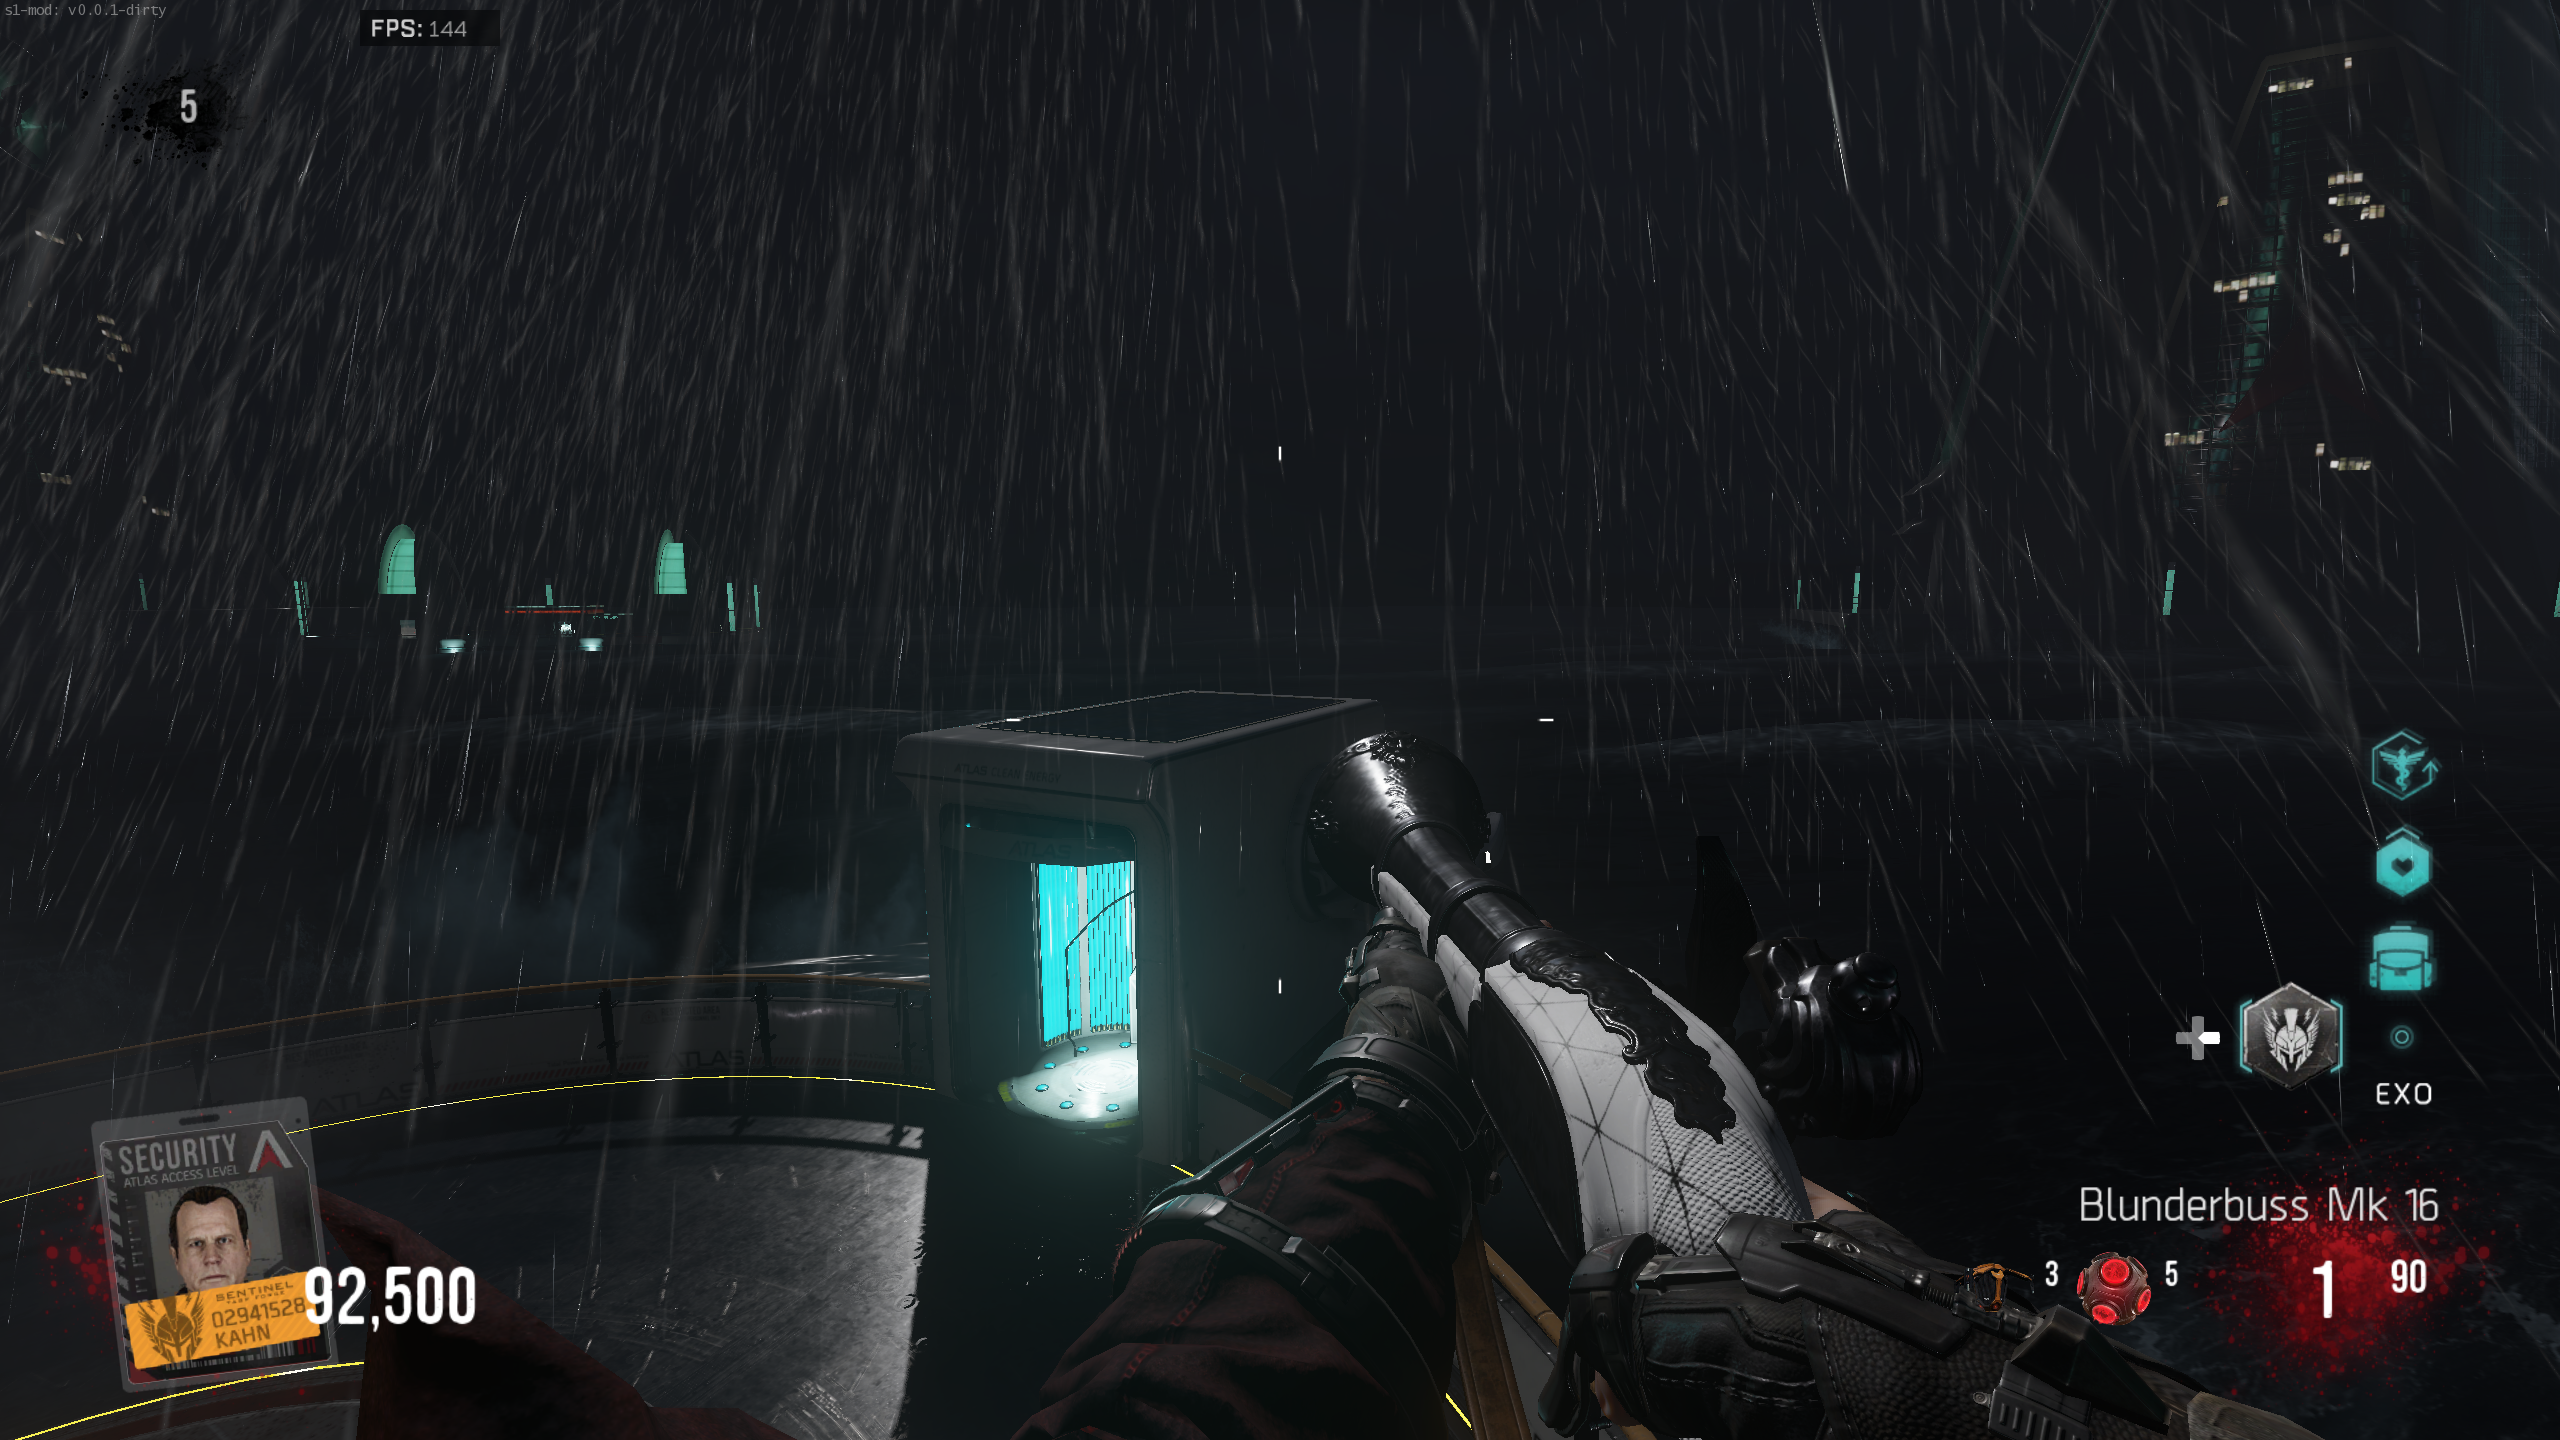
- Interact with three Toy Stingrays to start the song. Each one plays a brief section when you interact with it. Toy Stingray Locations:
About This Map
Descent is the fourth, and final Advanced Warfare Exo Zombies map, set in an underwater resort overrun after the Atlas outbreak. This guide covers the Reunion main quest and each of Oz's challenges, from the secret room and the drone reroute to the jumping puzzle, the Simon Says panel, and the number panel, plus the Zombie Oz boss fights on rounds 5, 12, and 20, the Dies irae song, and the Descent Gold Trophy. Also known as Exo Zombies Descent.