Map Progression
Weapons and Buildables
Easter Eggs
- Main Quest
- "Shockwave" Song
- "This Jazz is Classified" Intro Cutscene Song
- Last Gen Richtofen Jump Scare
- Nova Crawler Easter Egg / Free ~6,000 Points
Gauntlet Challenges
Power
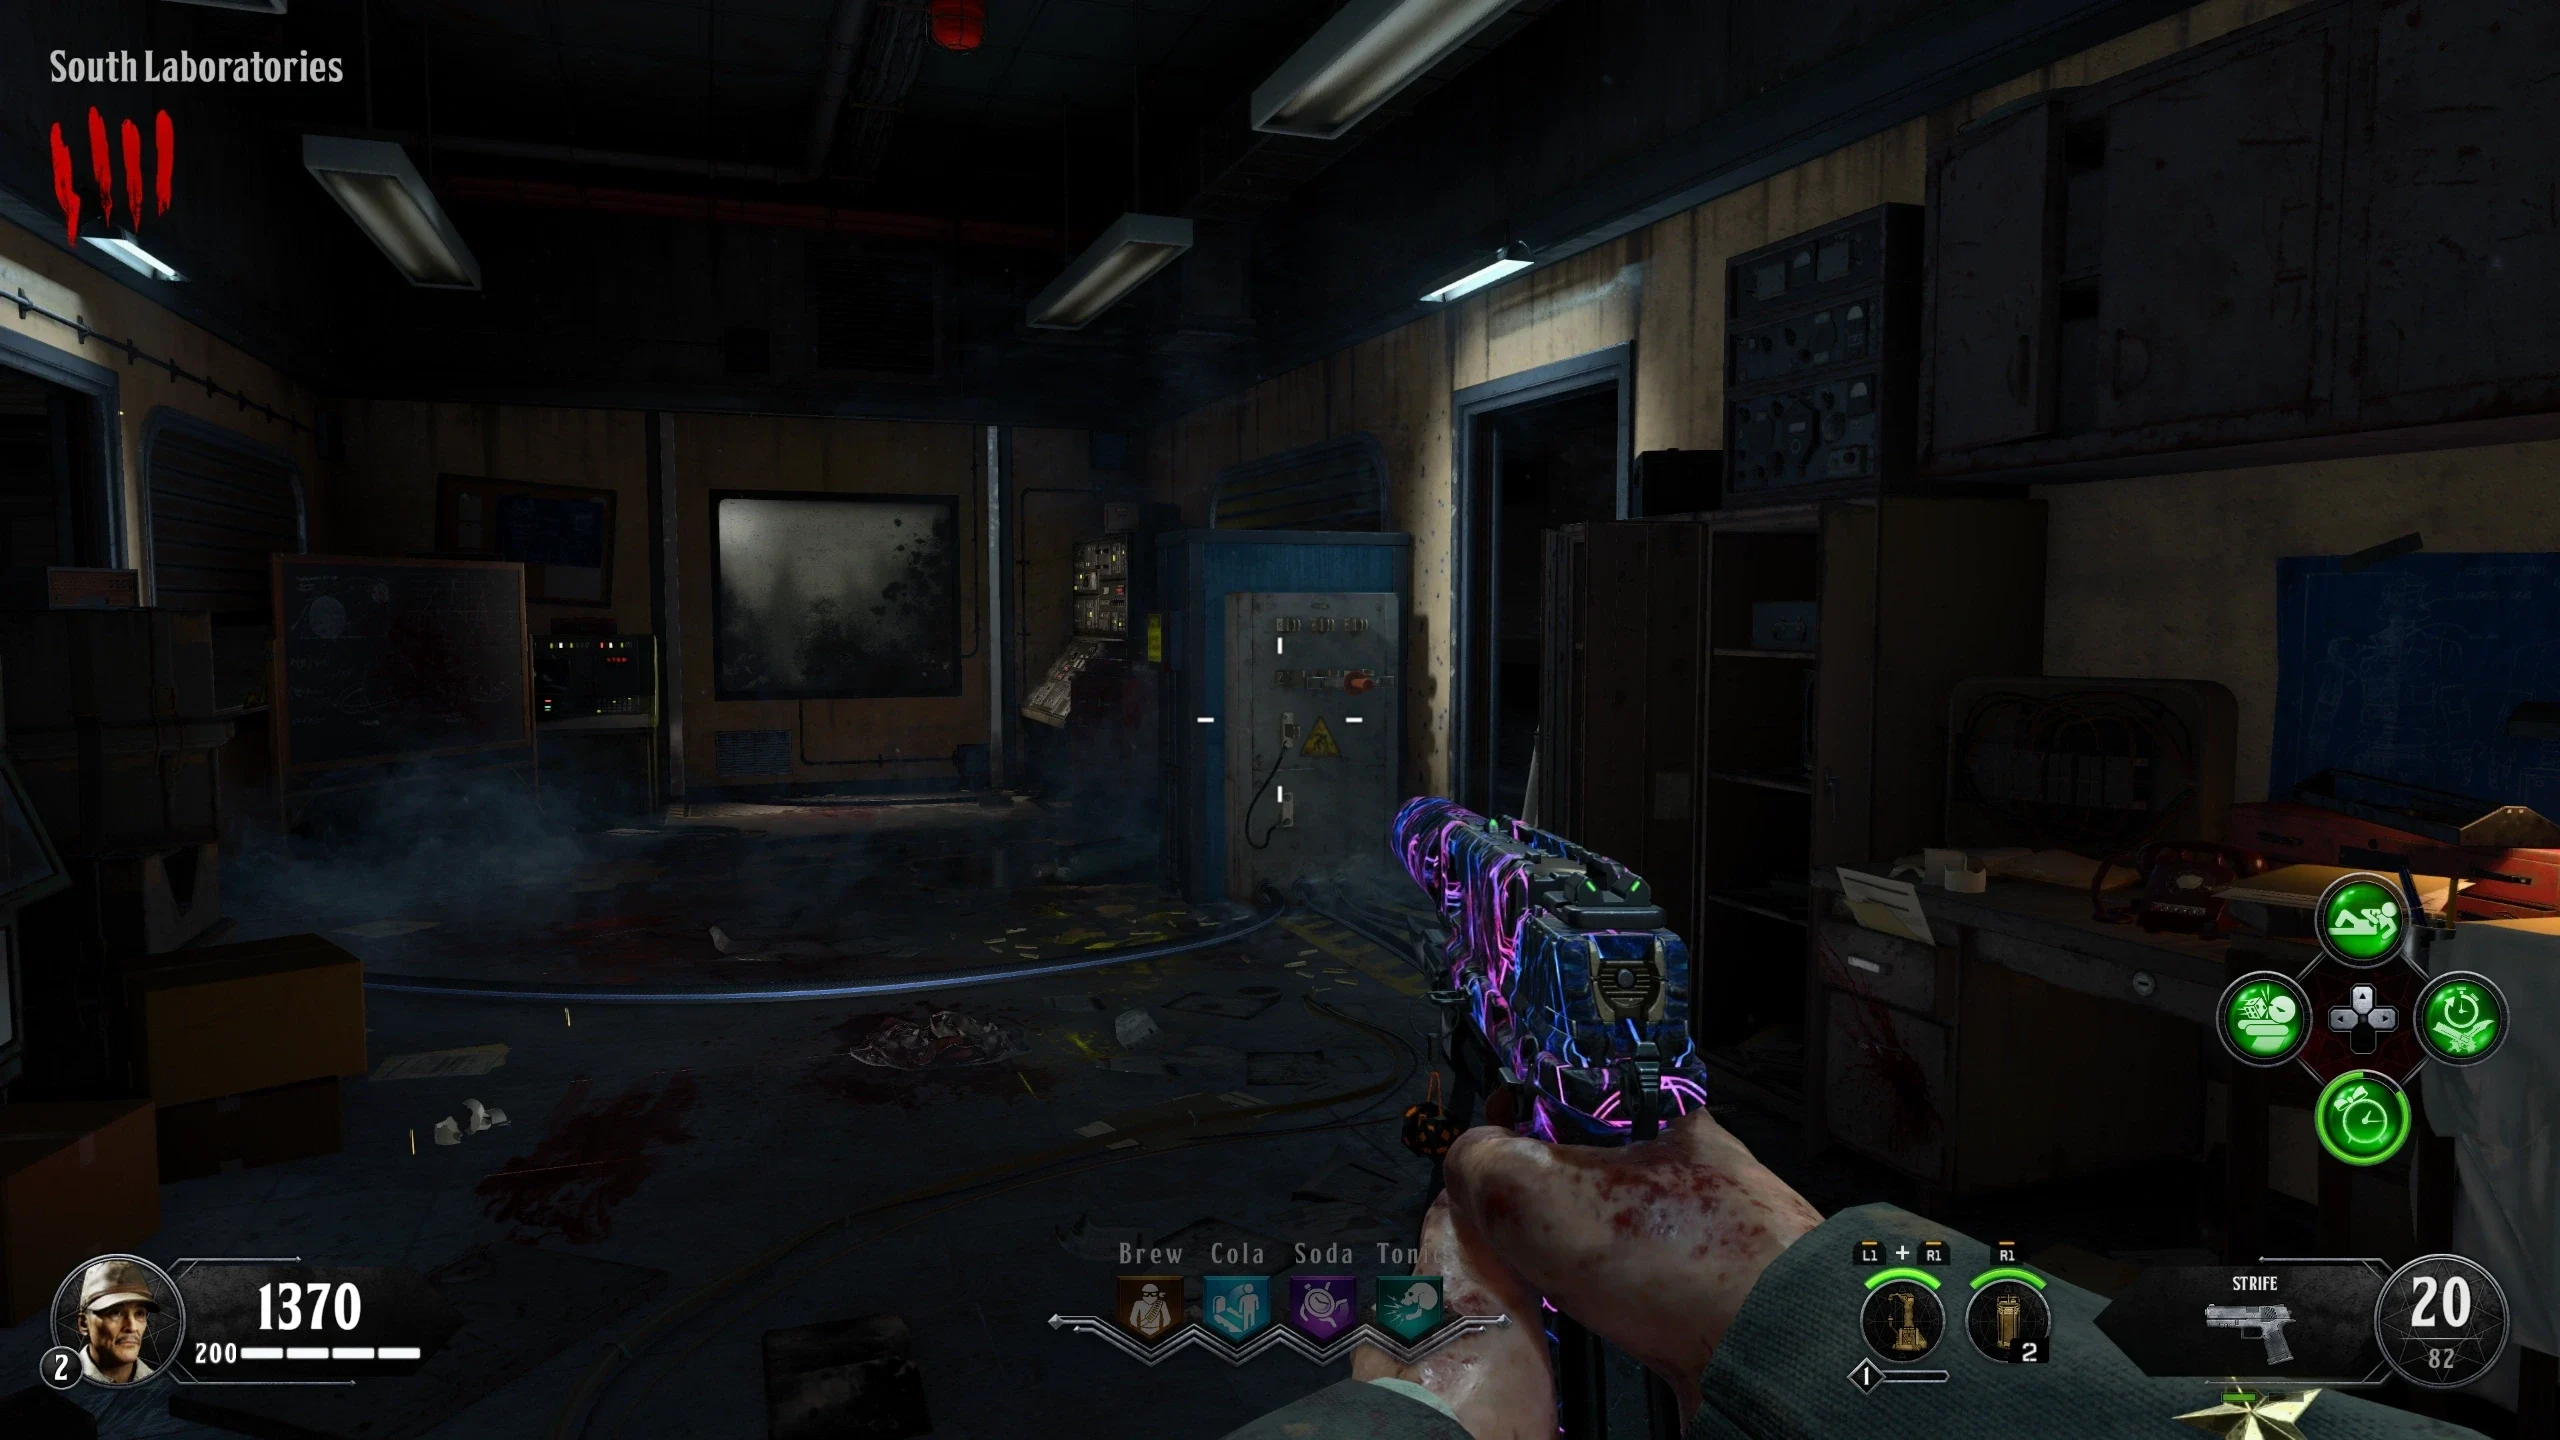
- There is one power switch. It's in the room behind the Soda Perk.
Pack-a-Punch
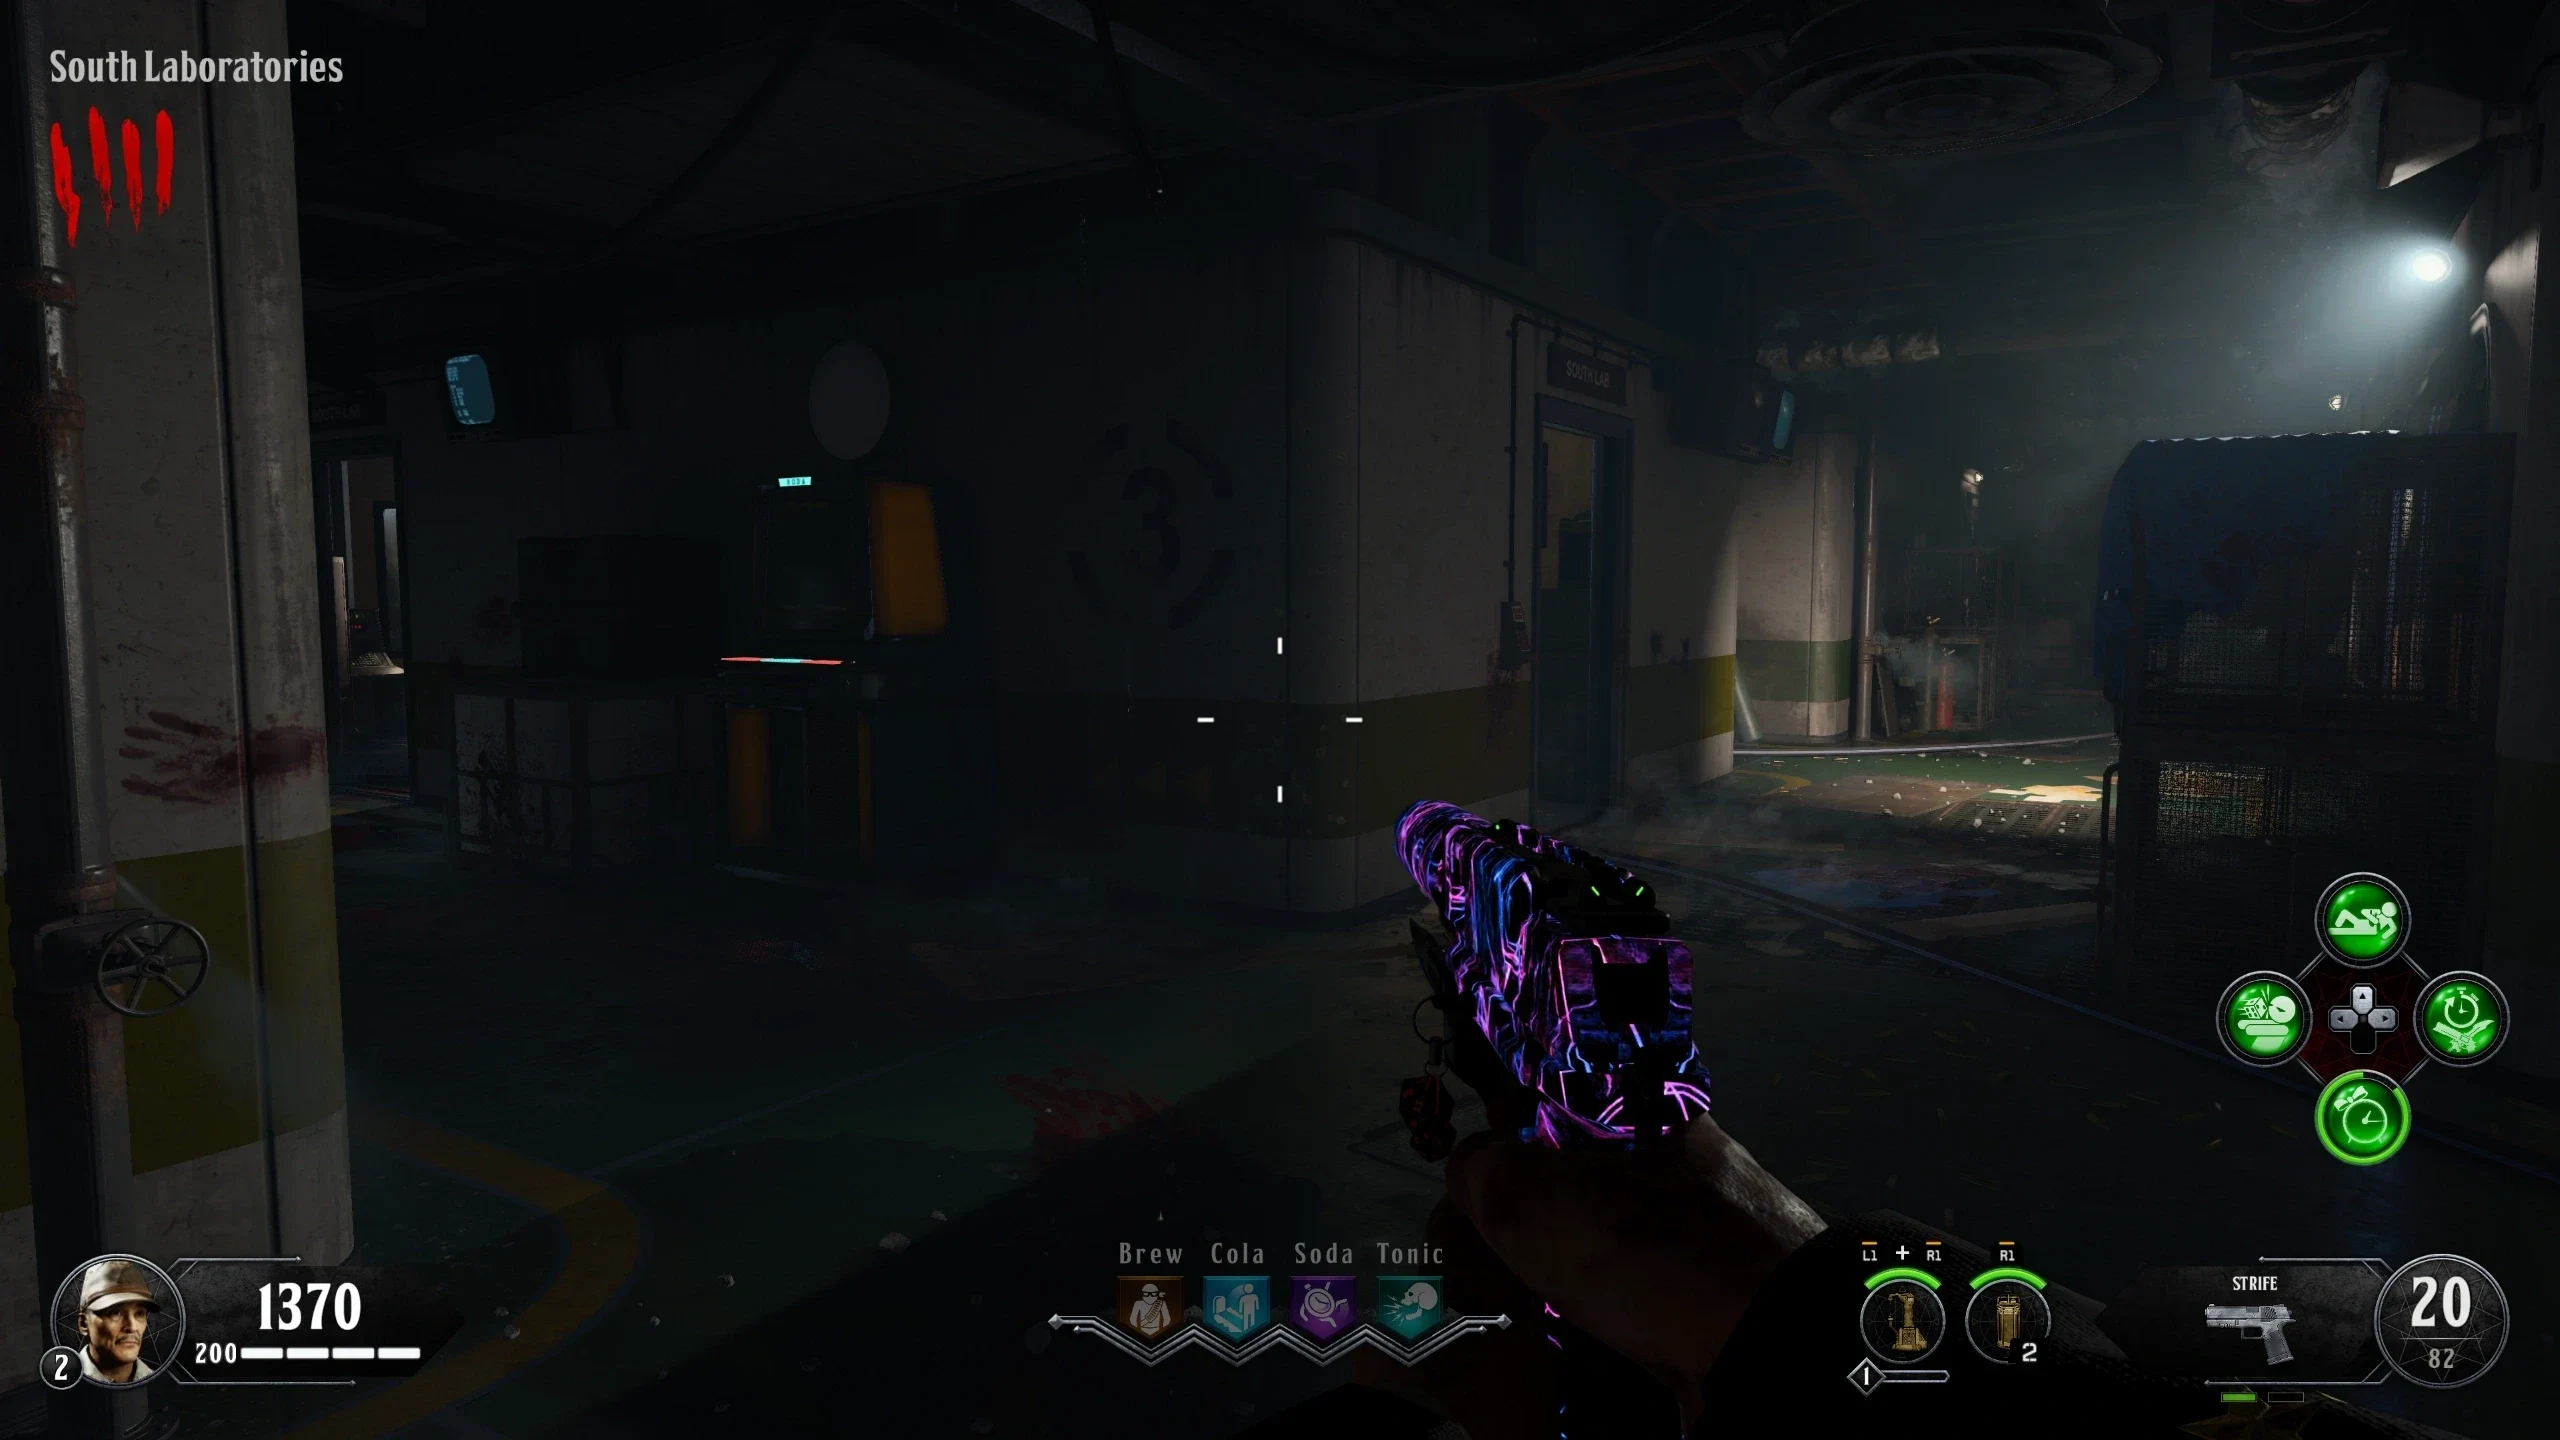
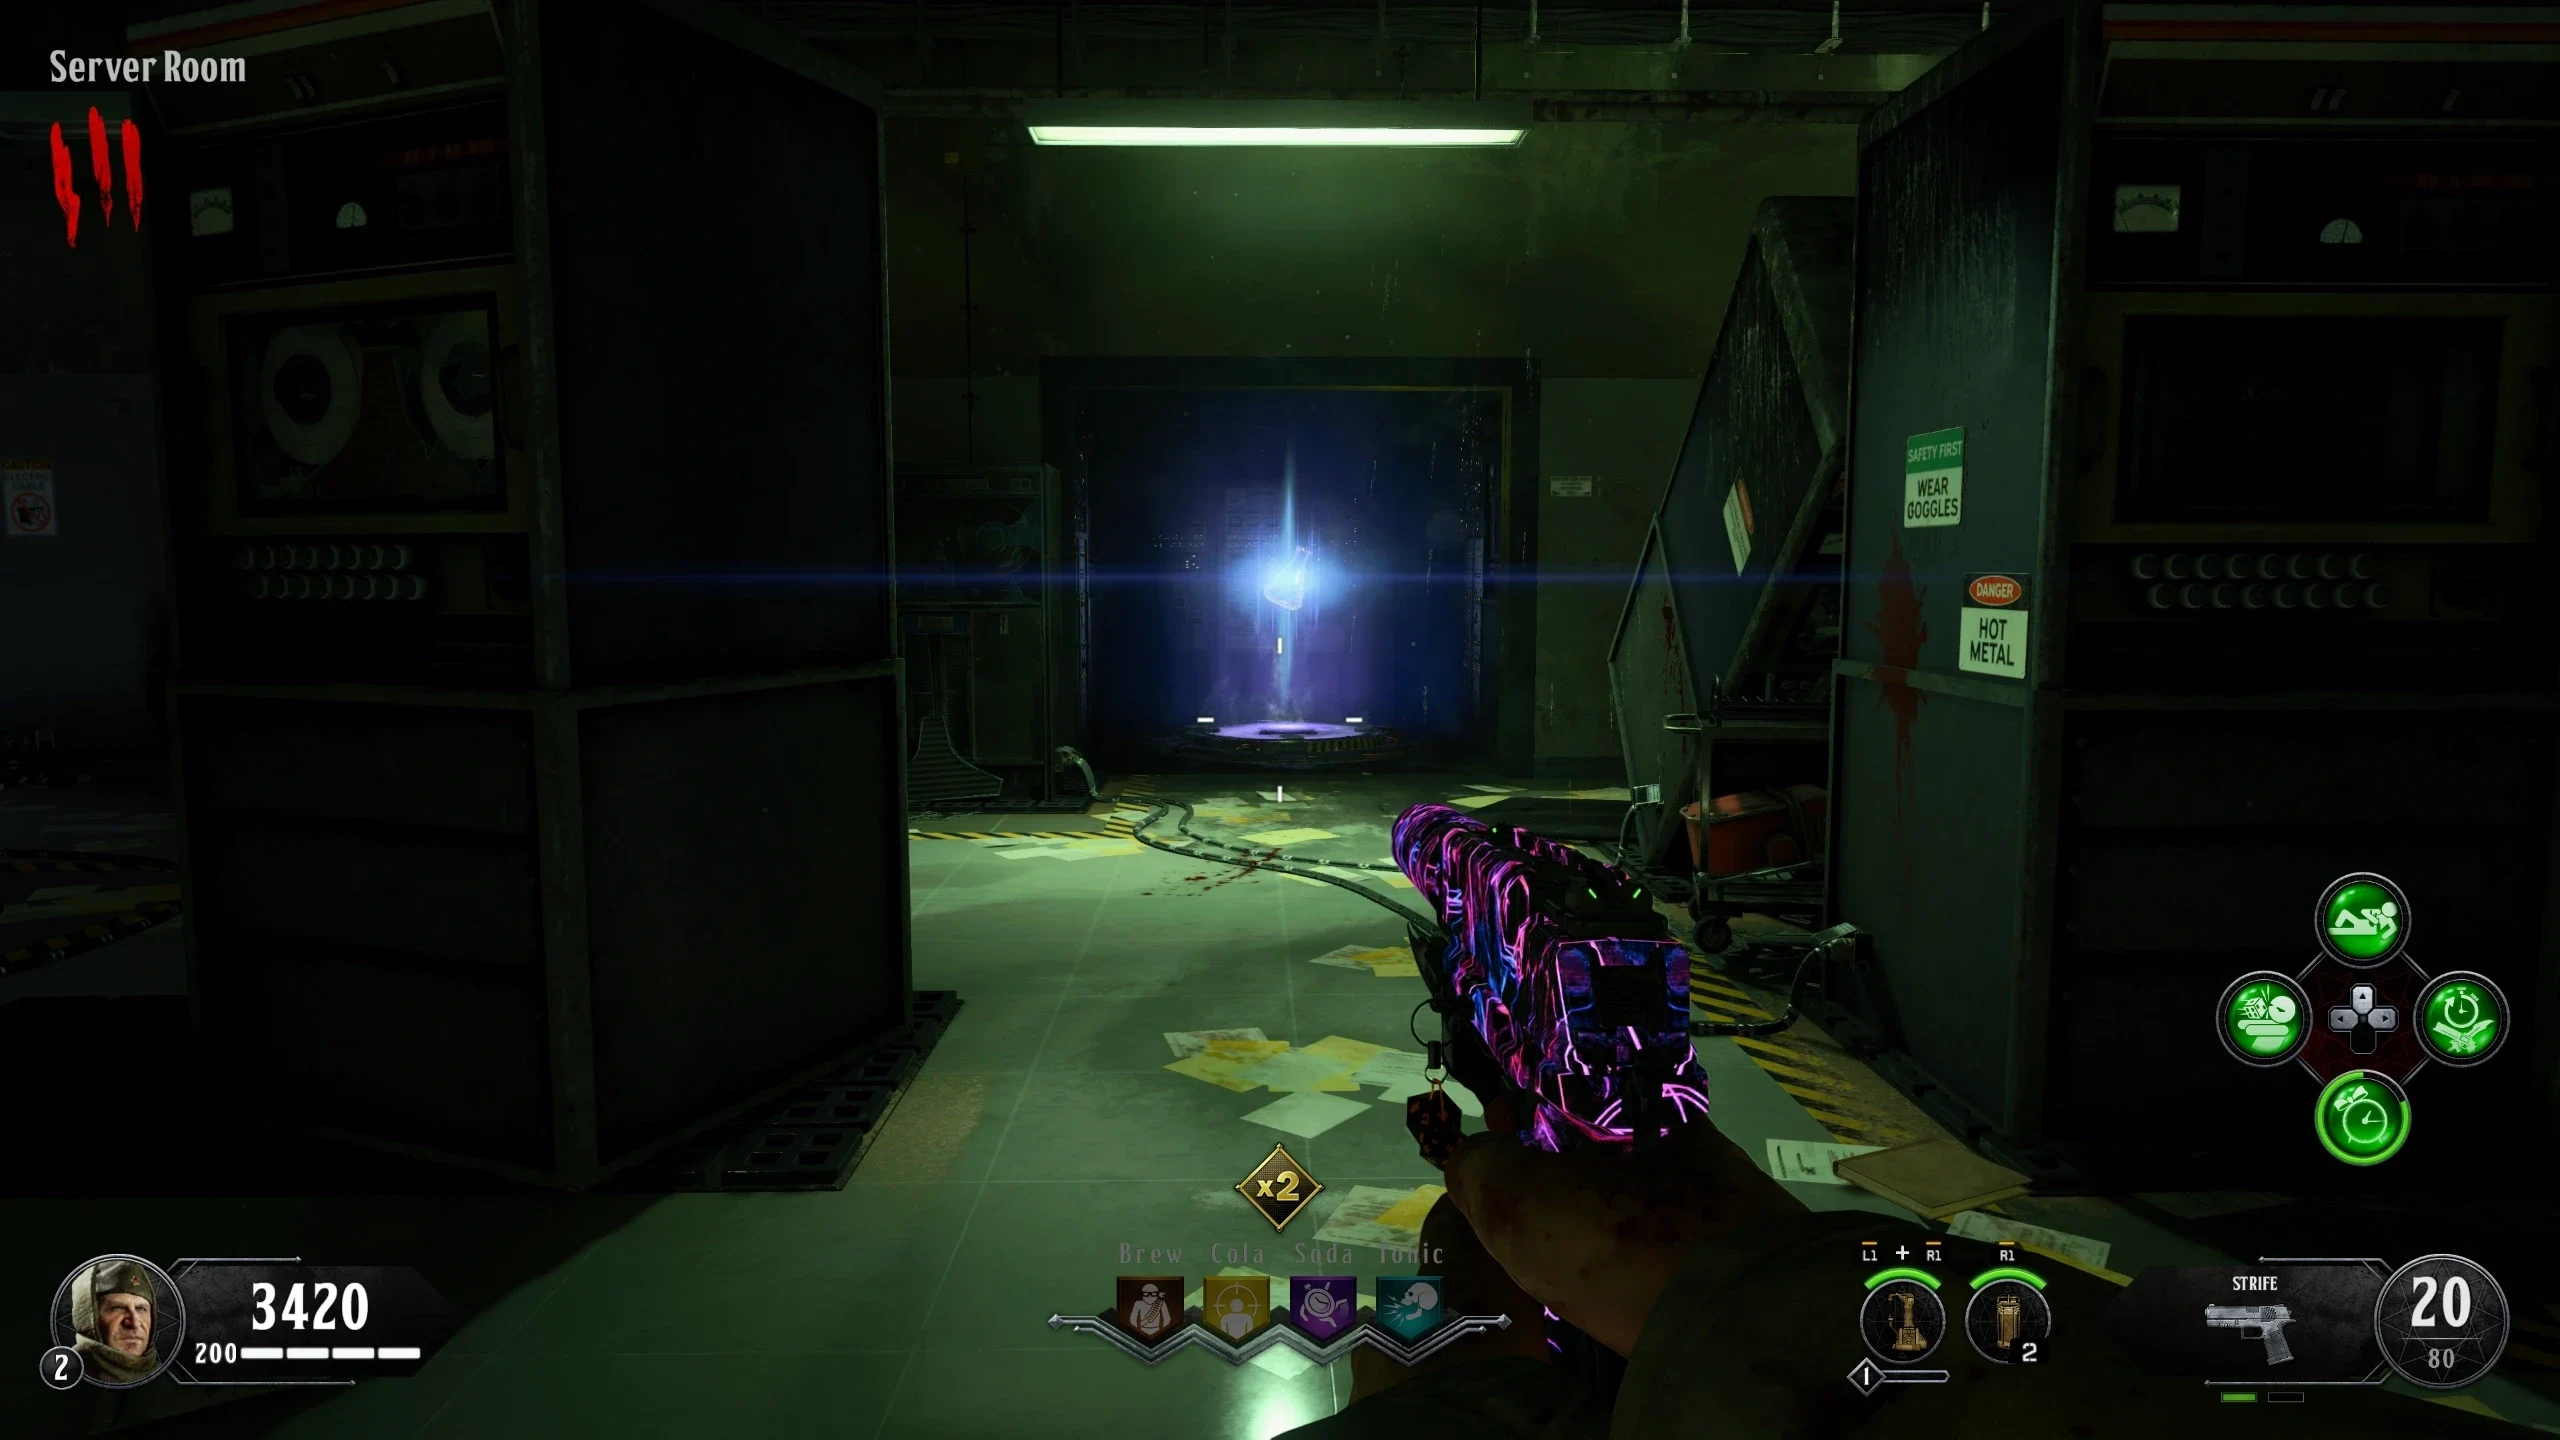
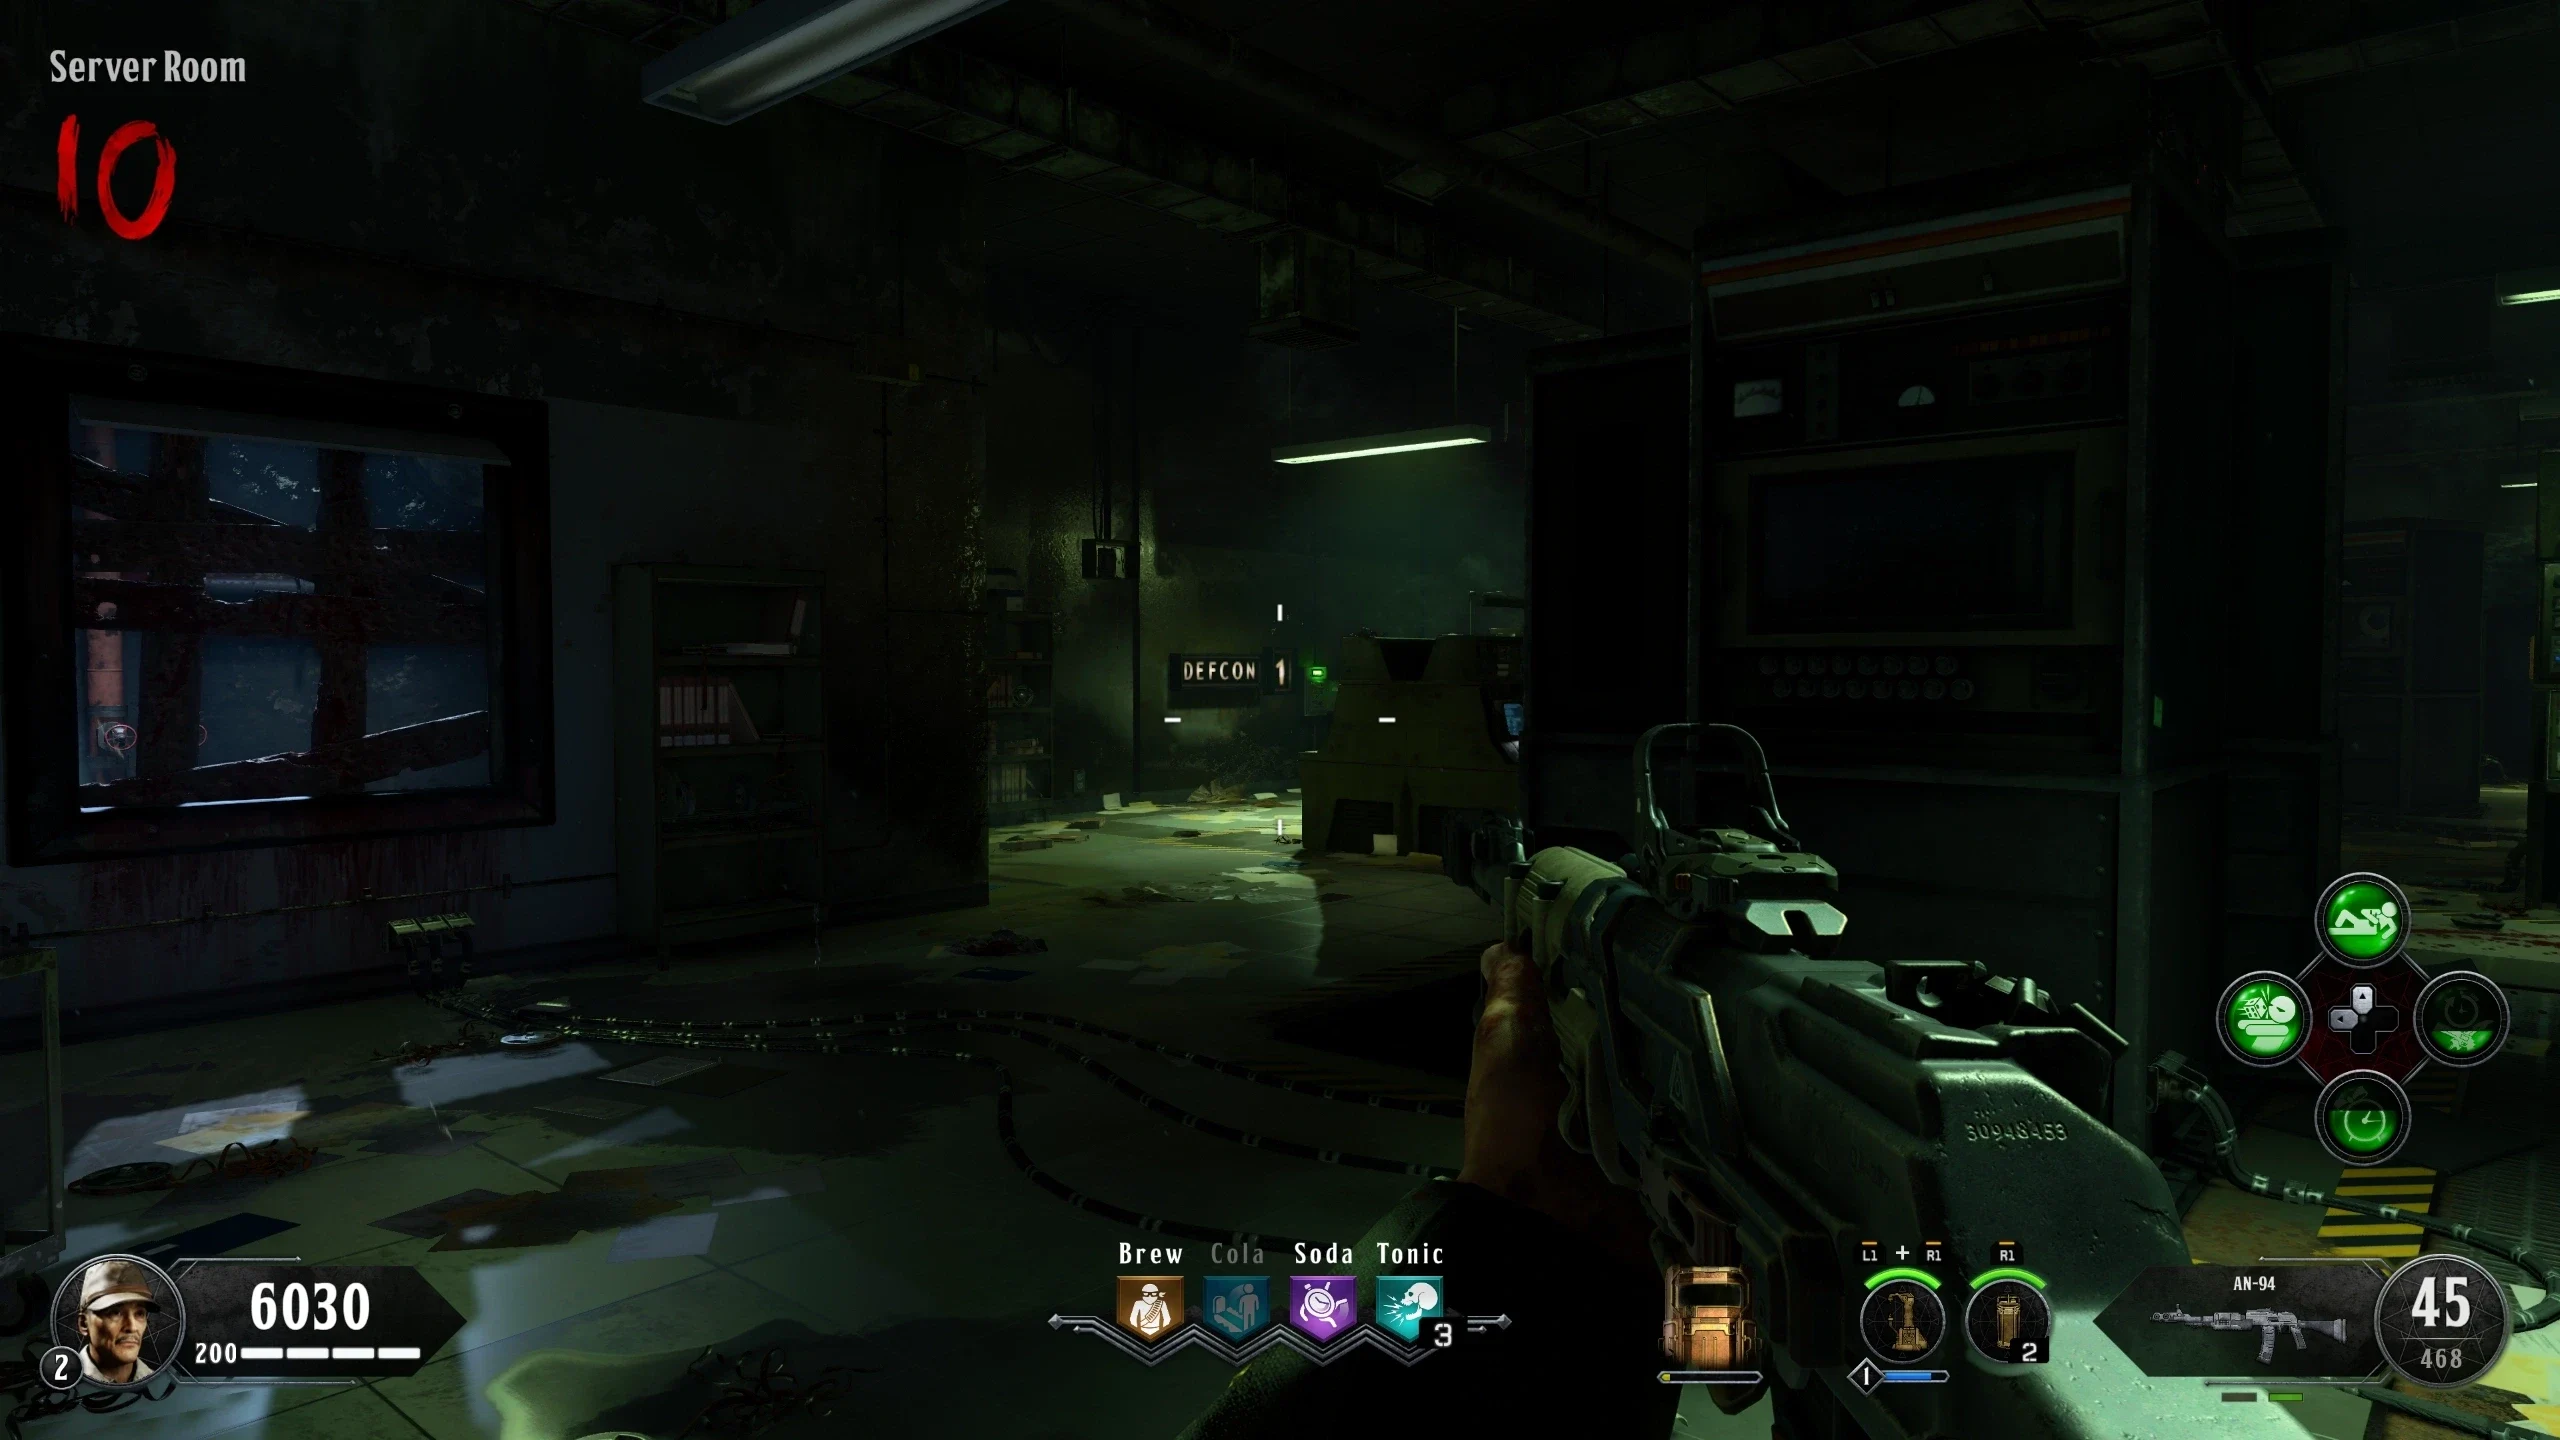
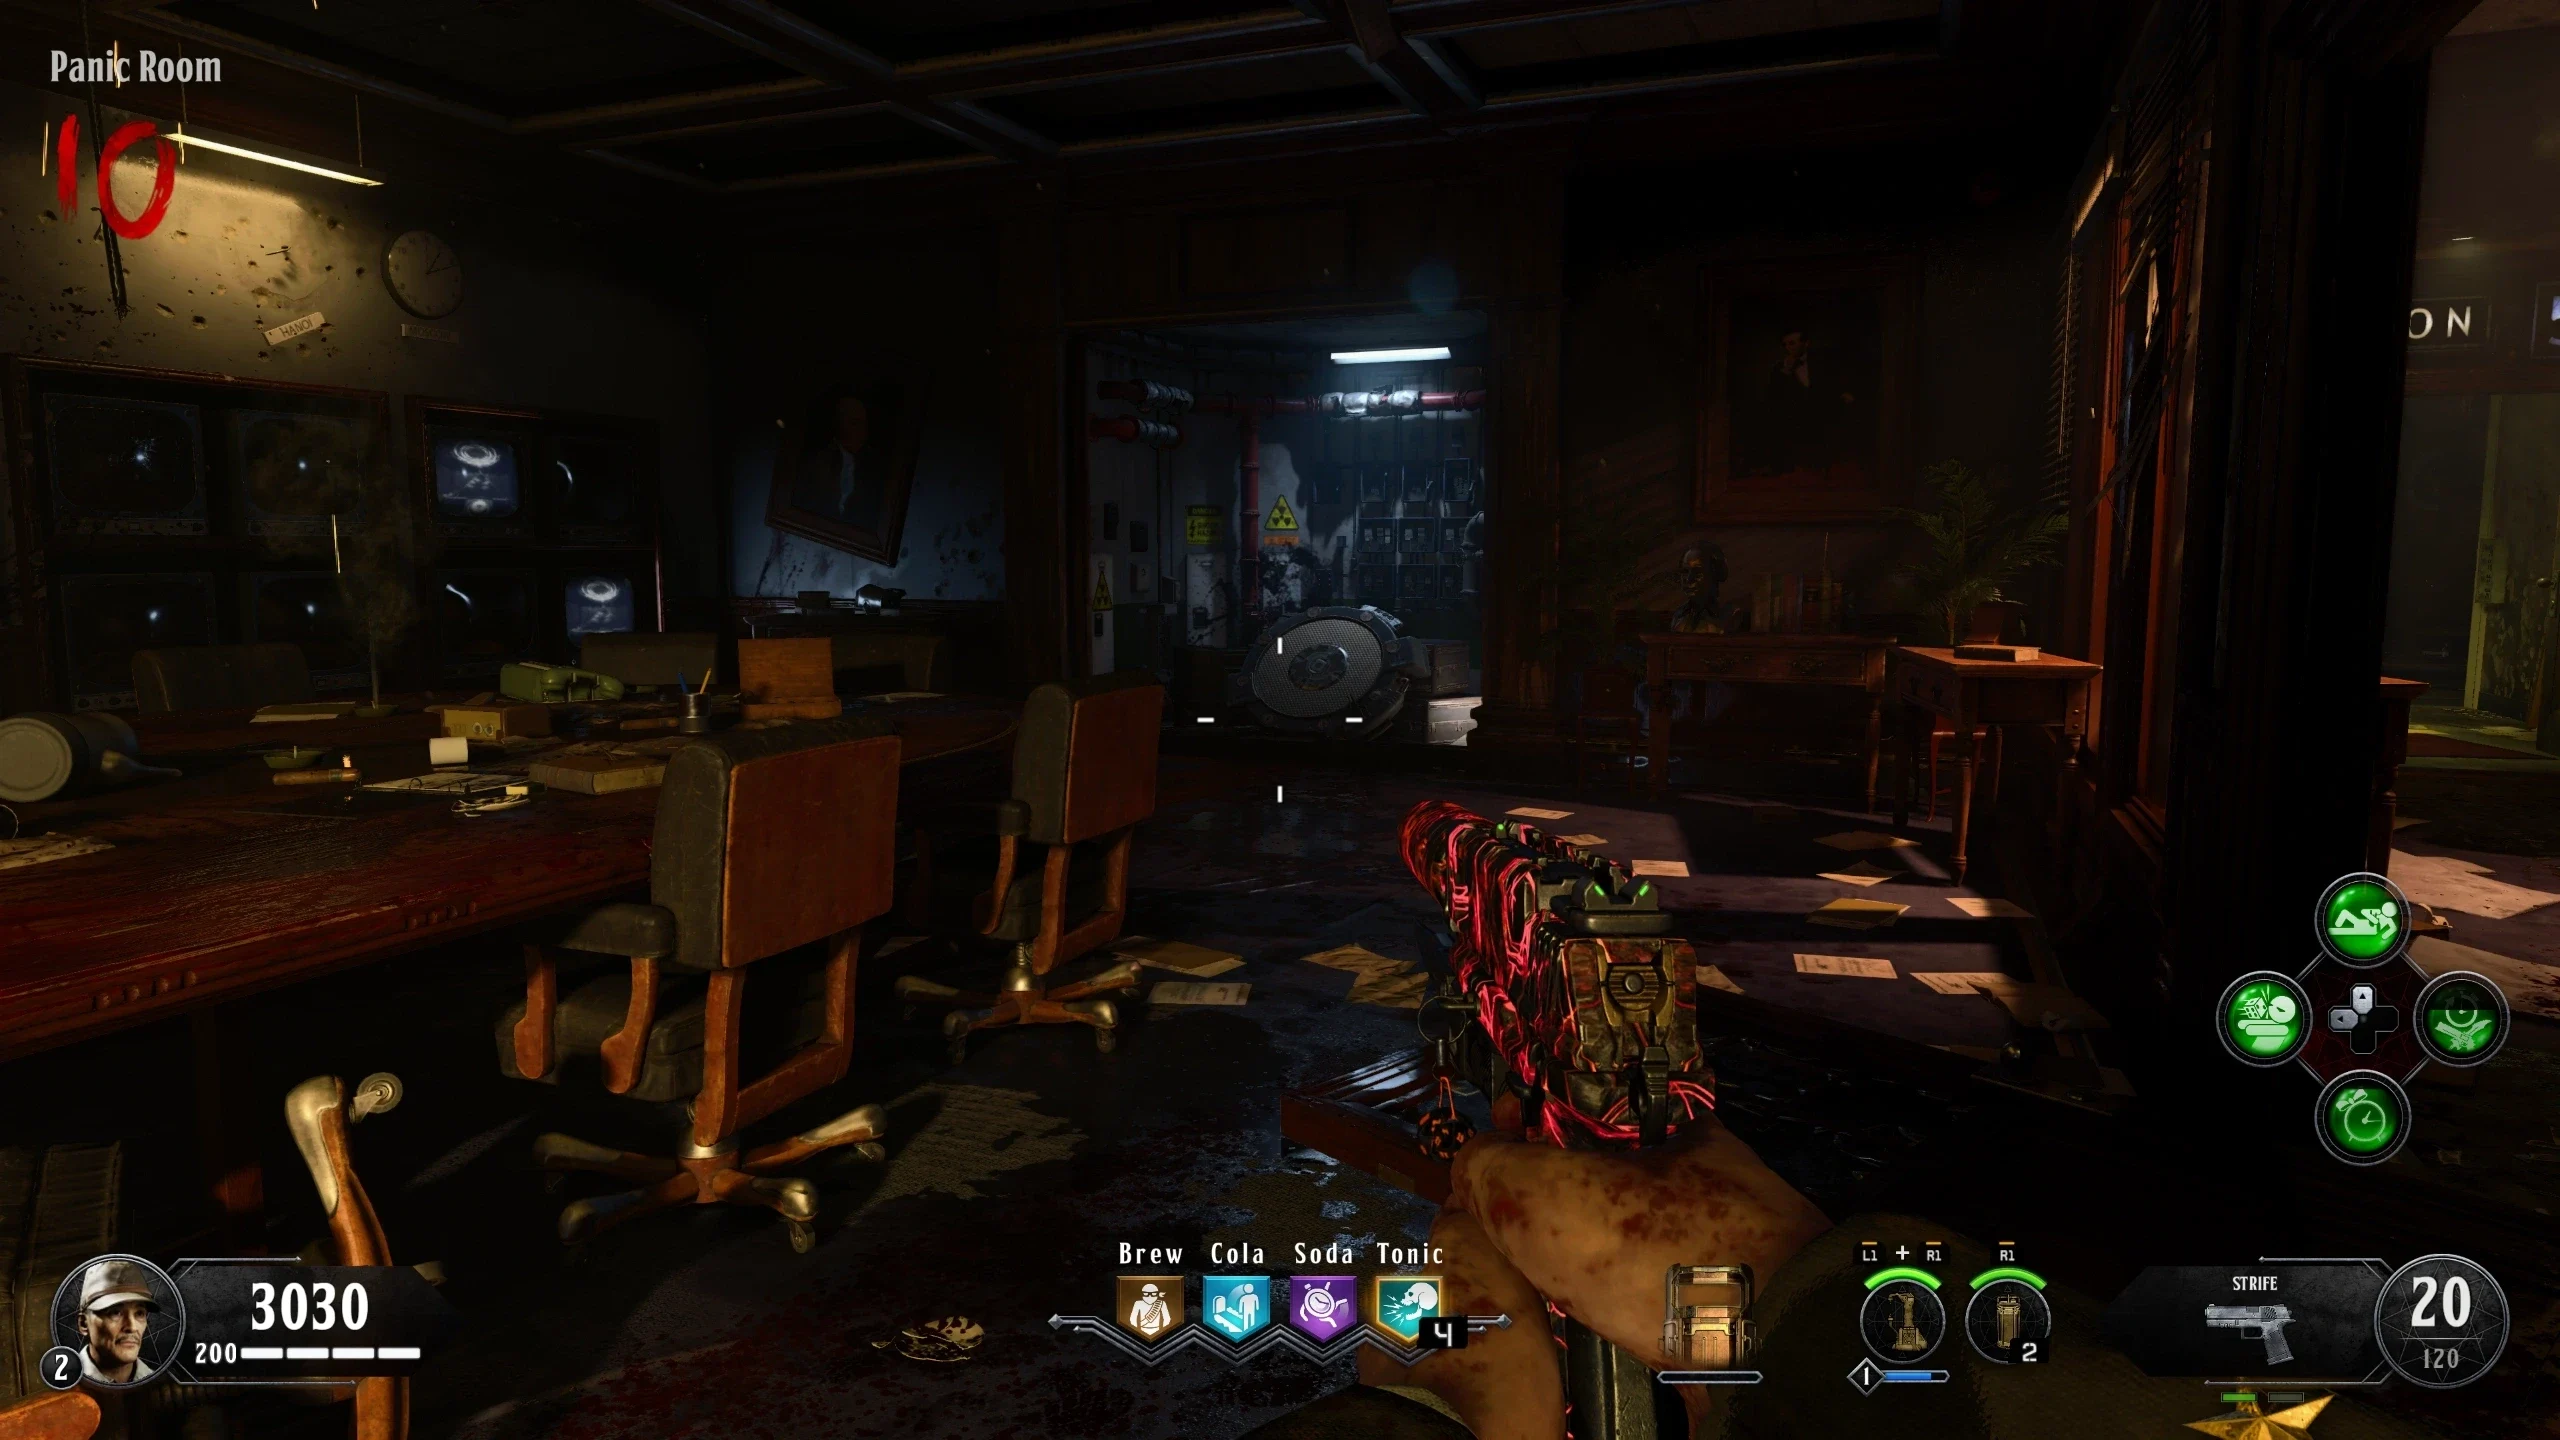
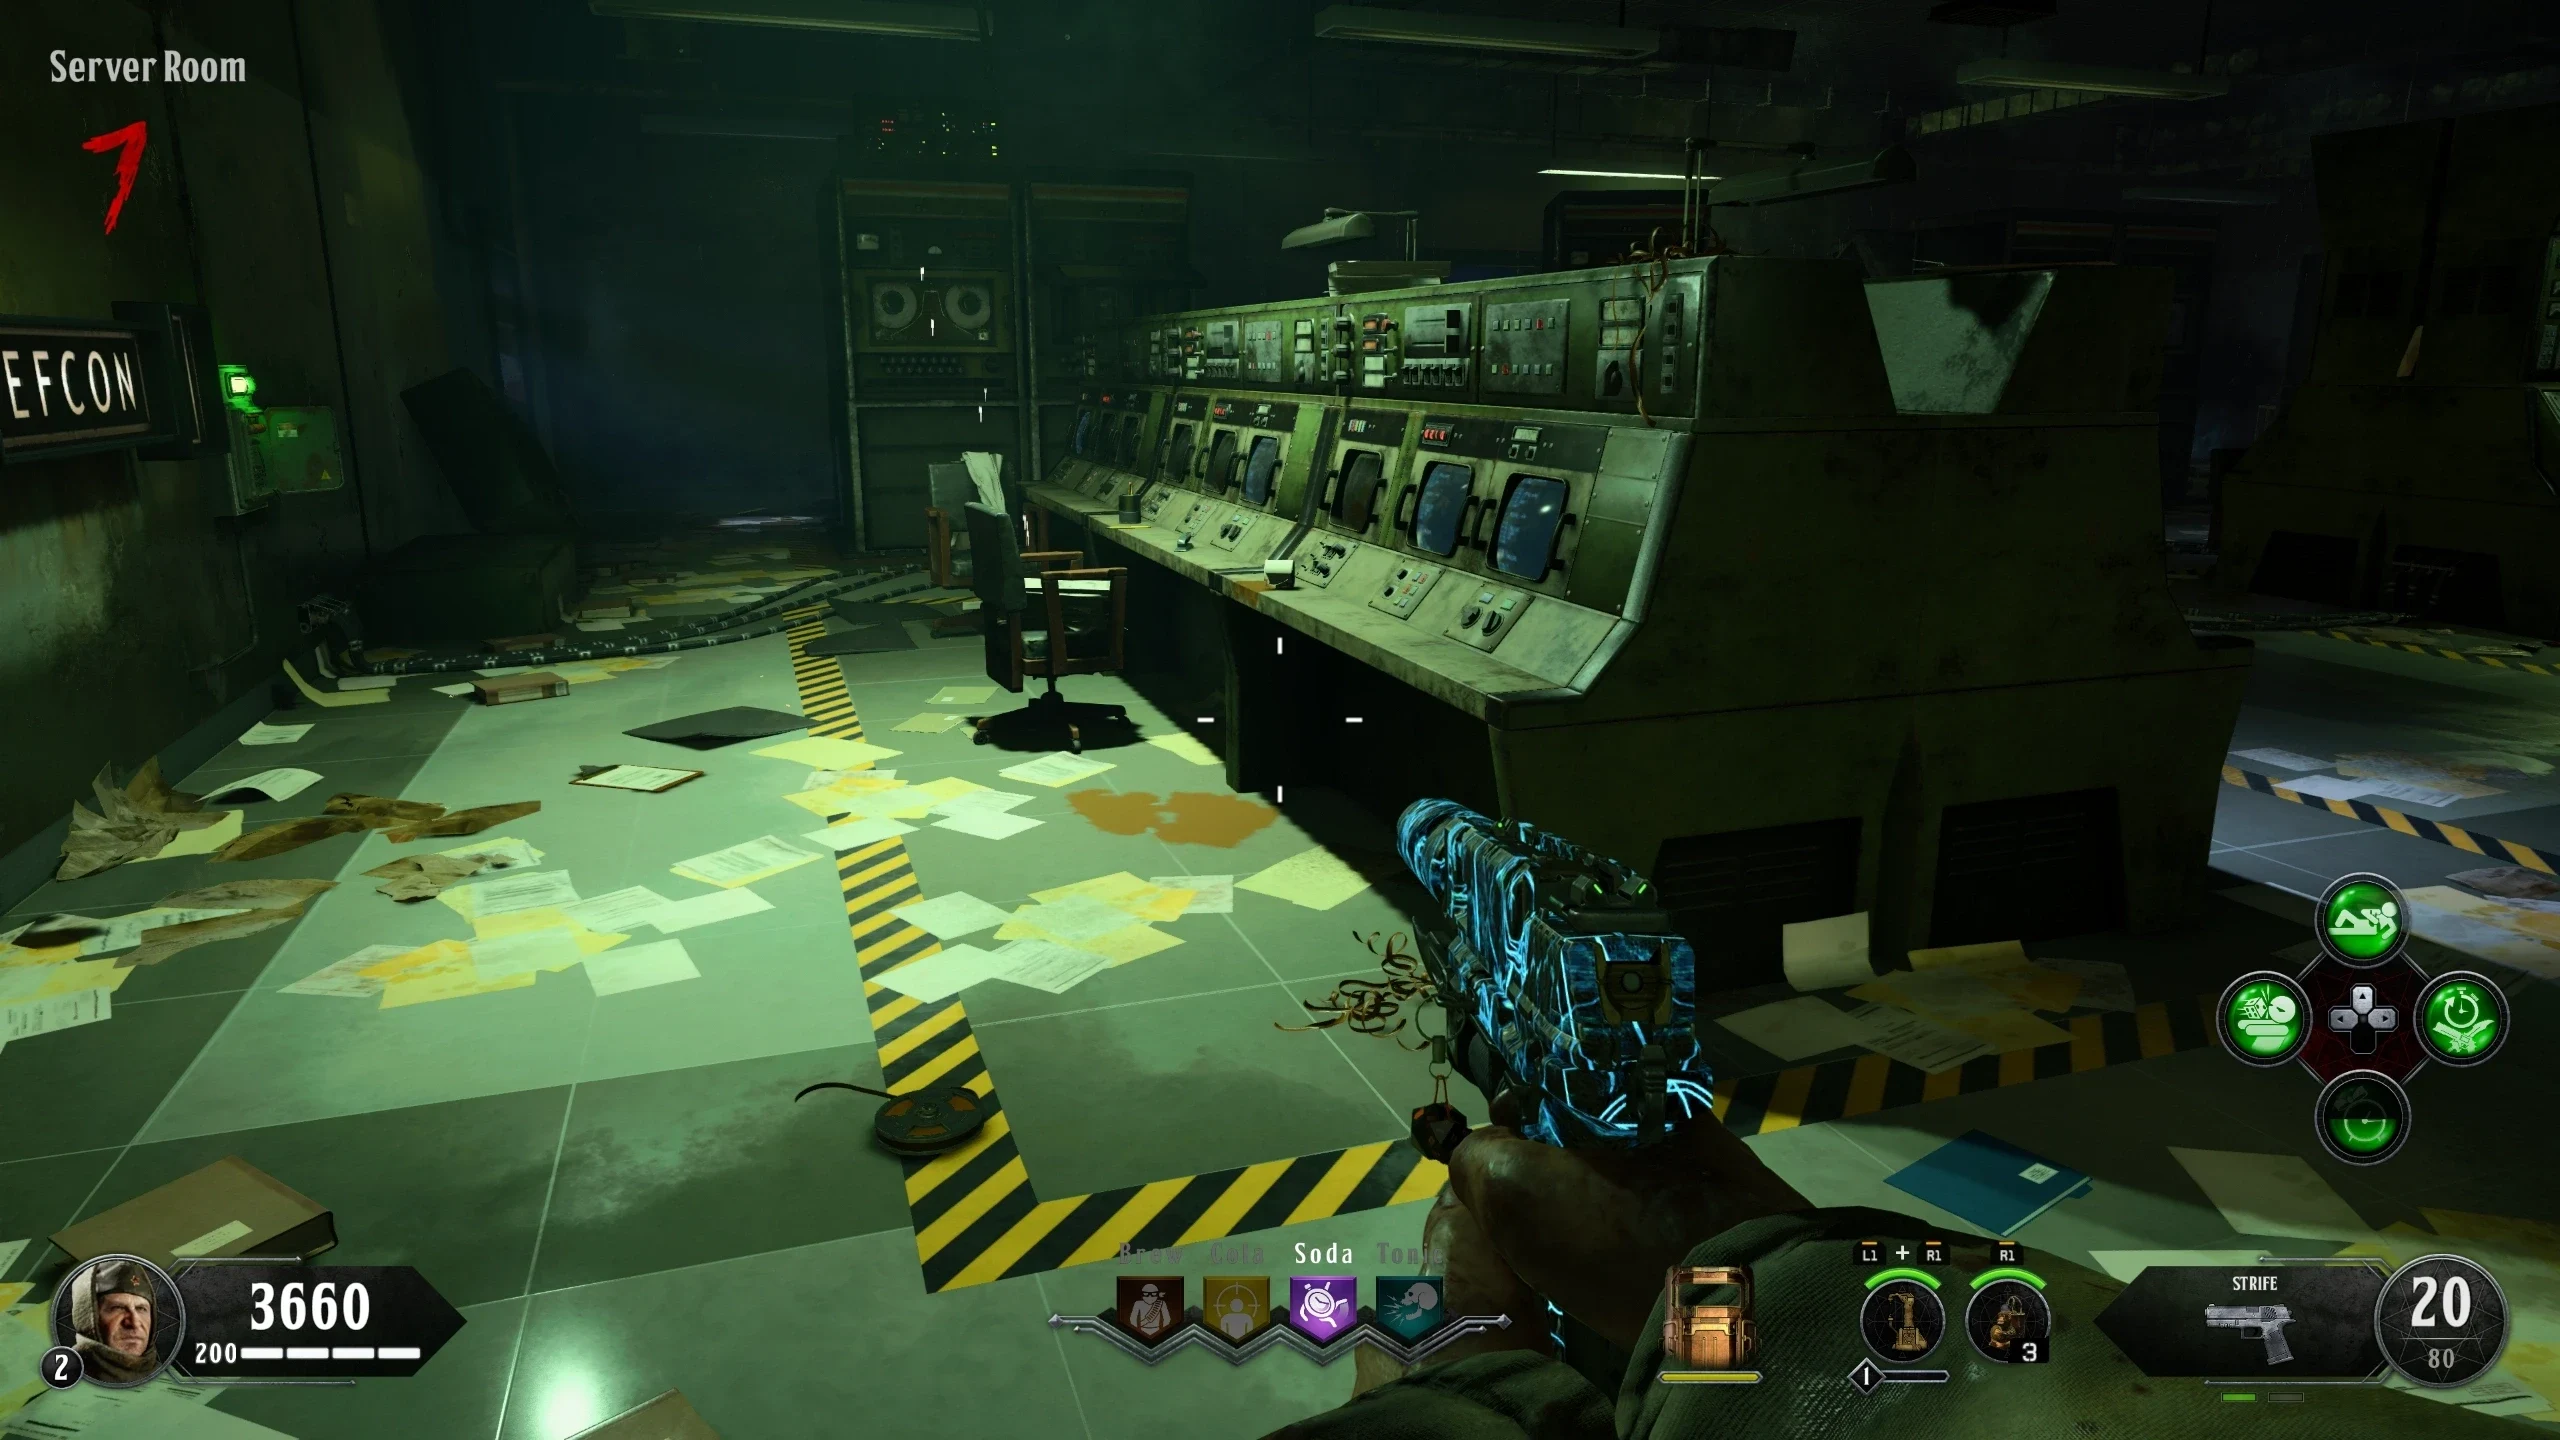
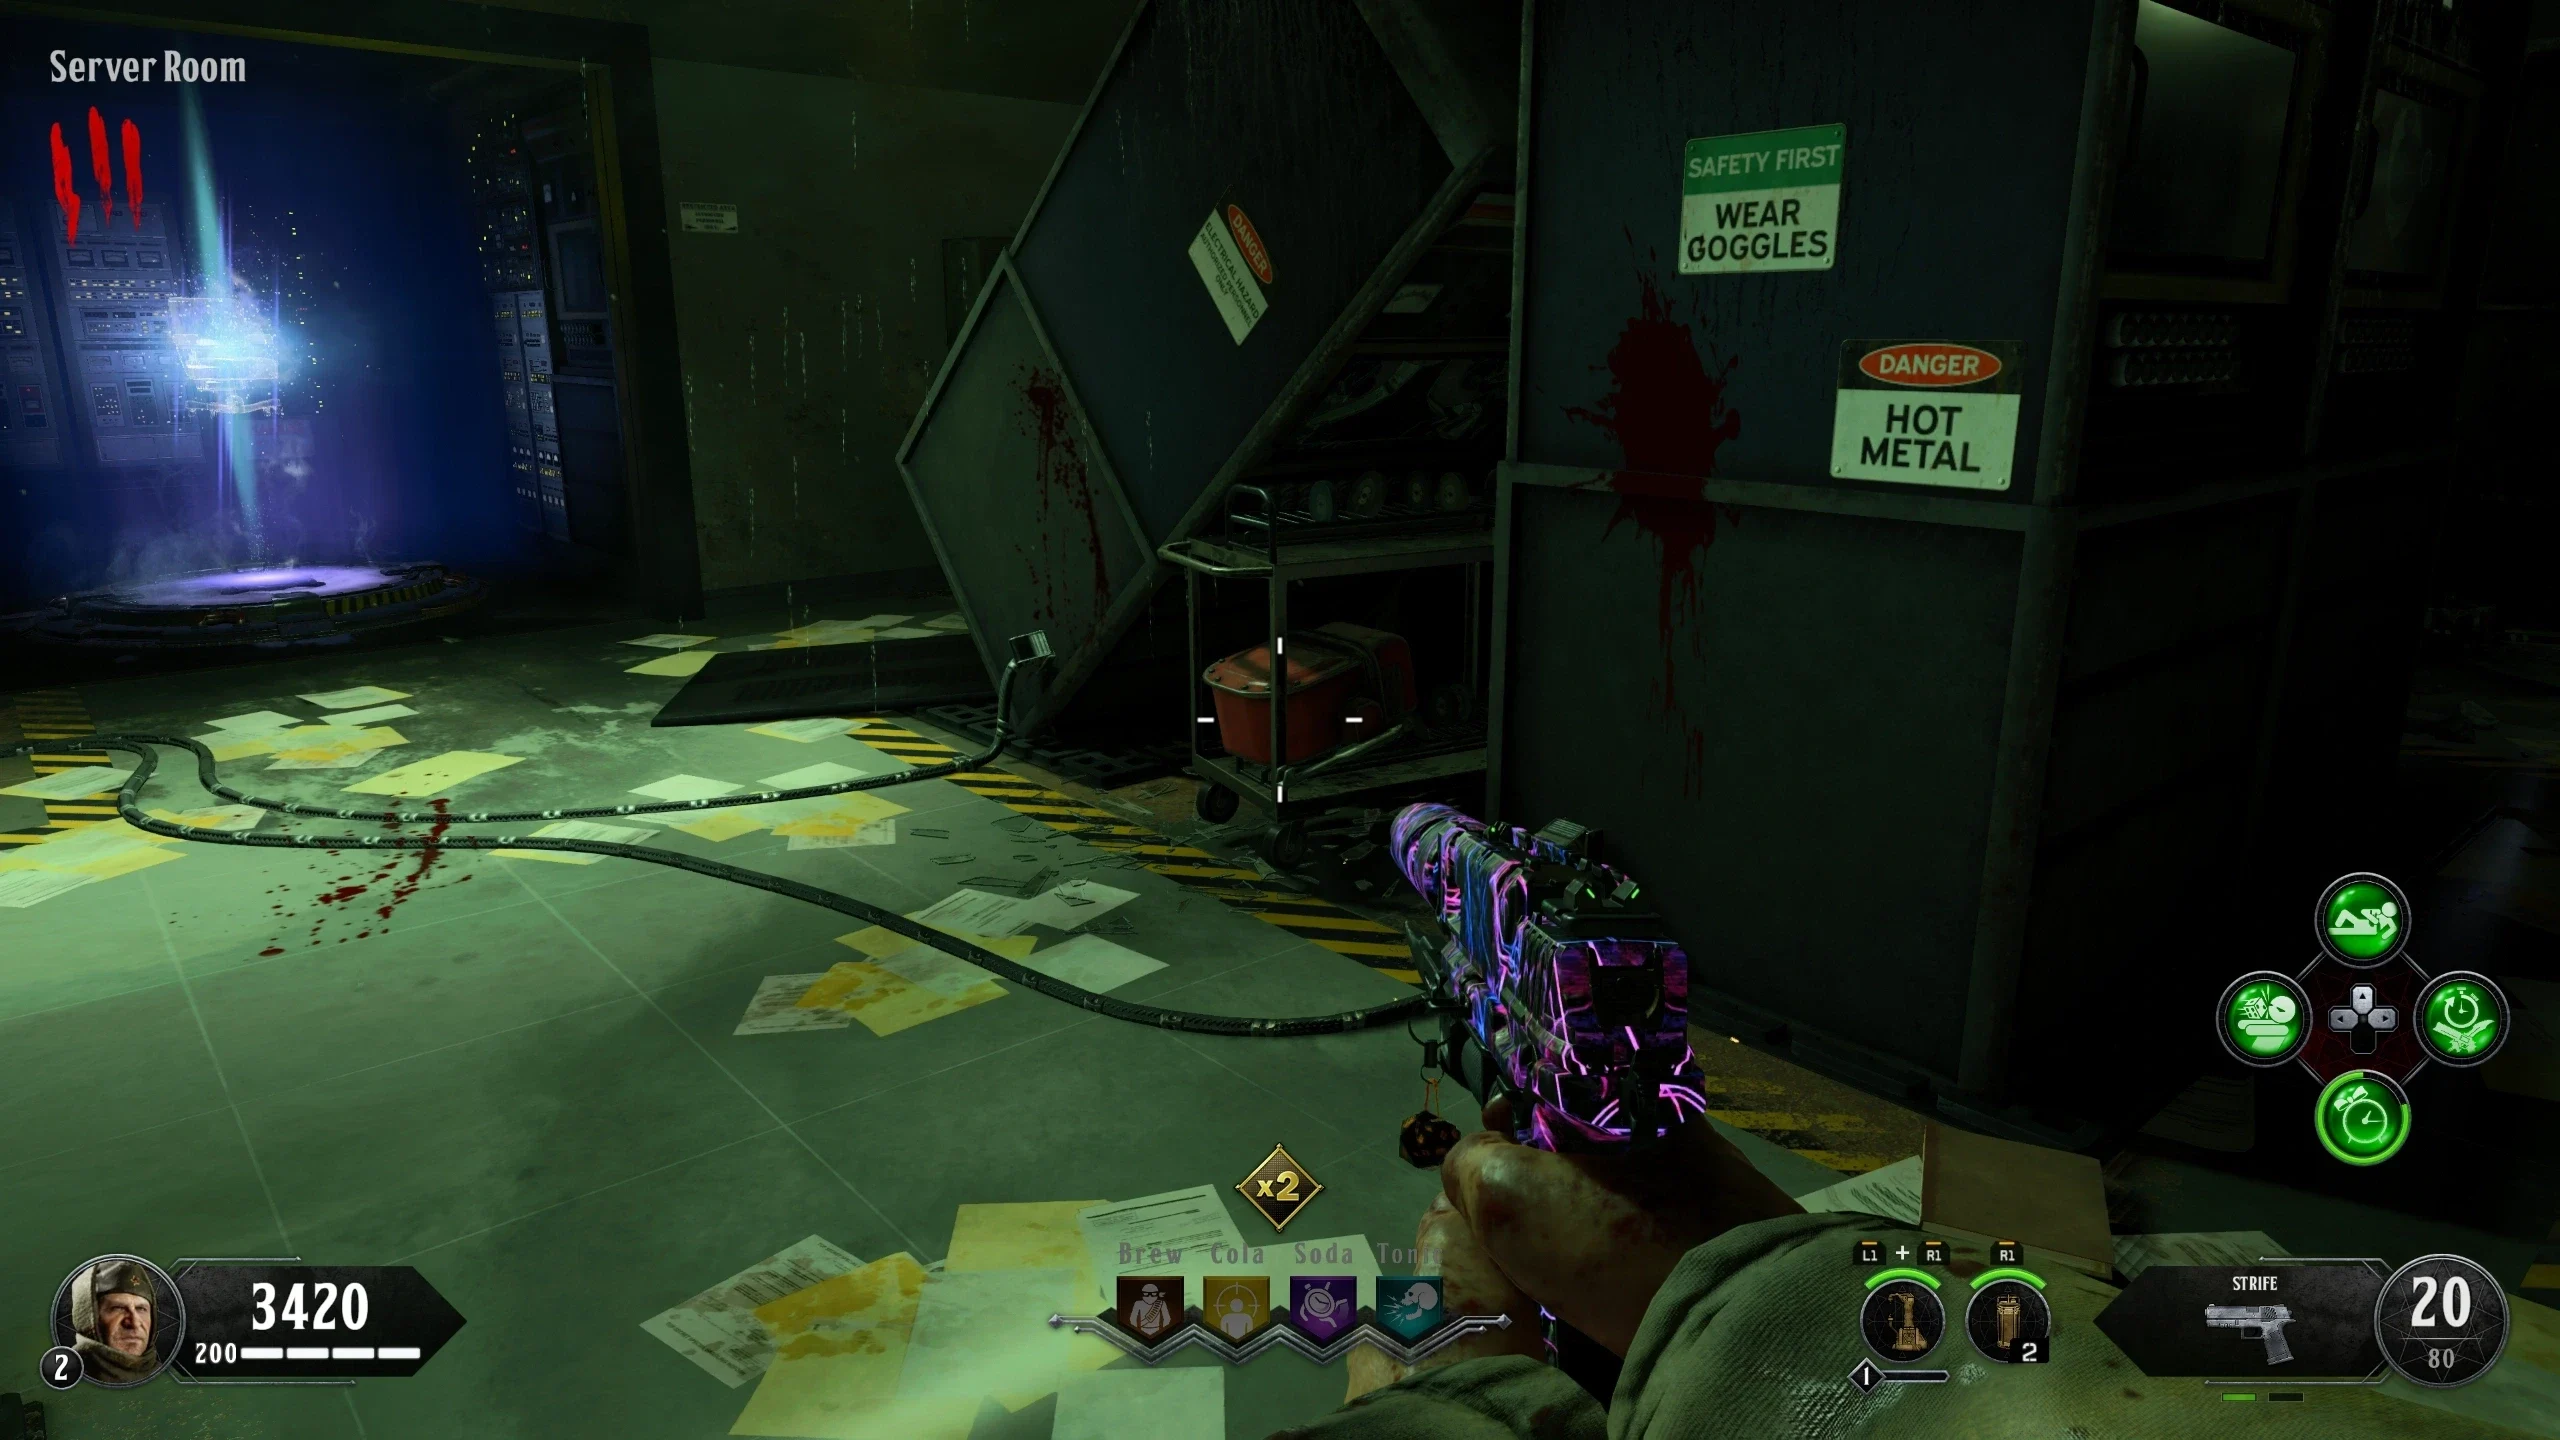
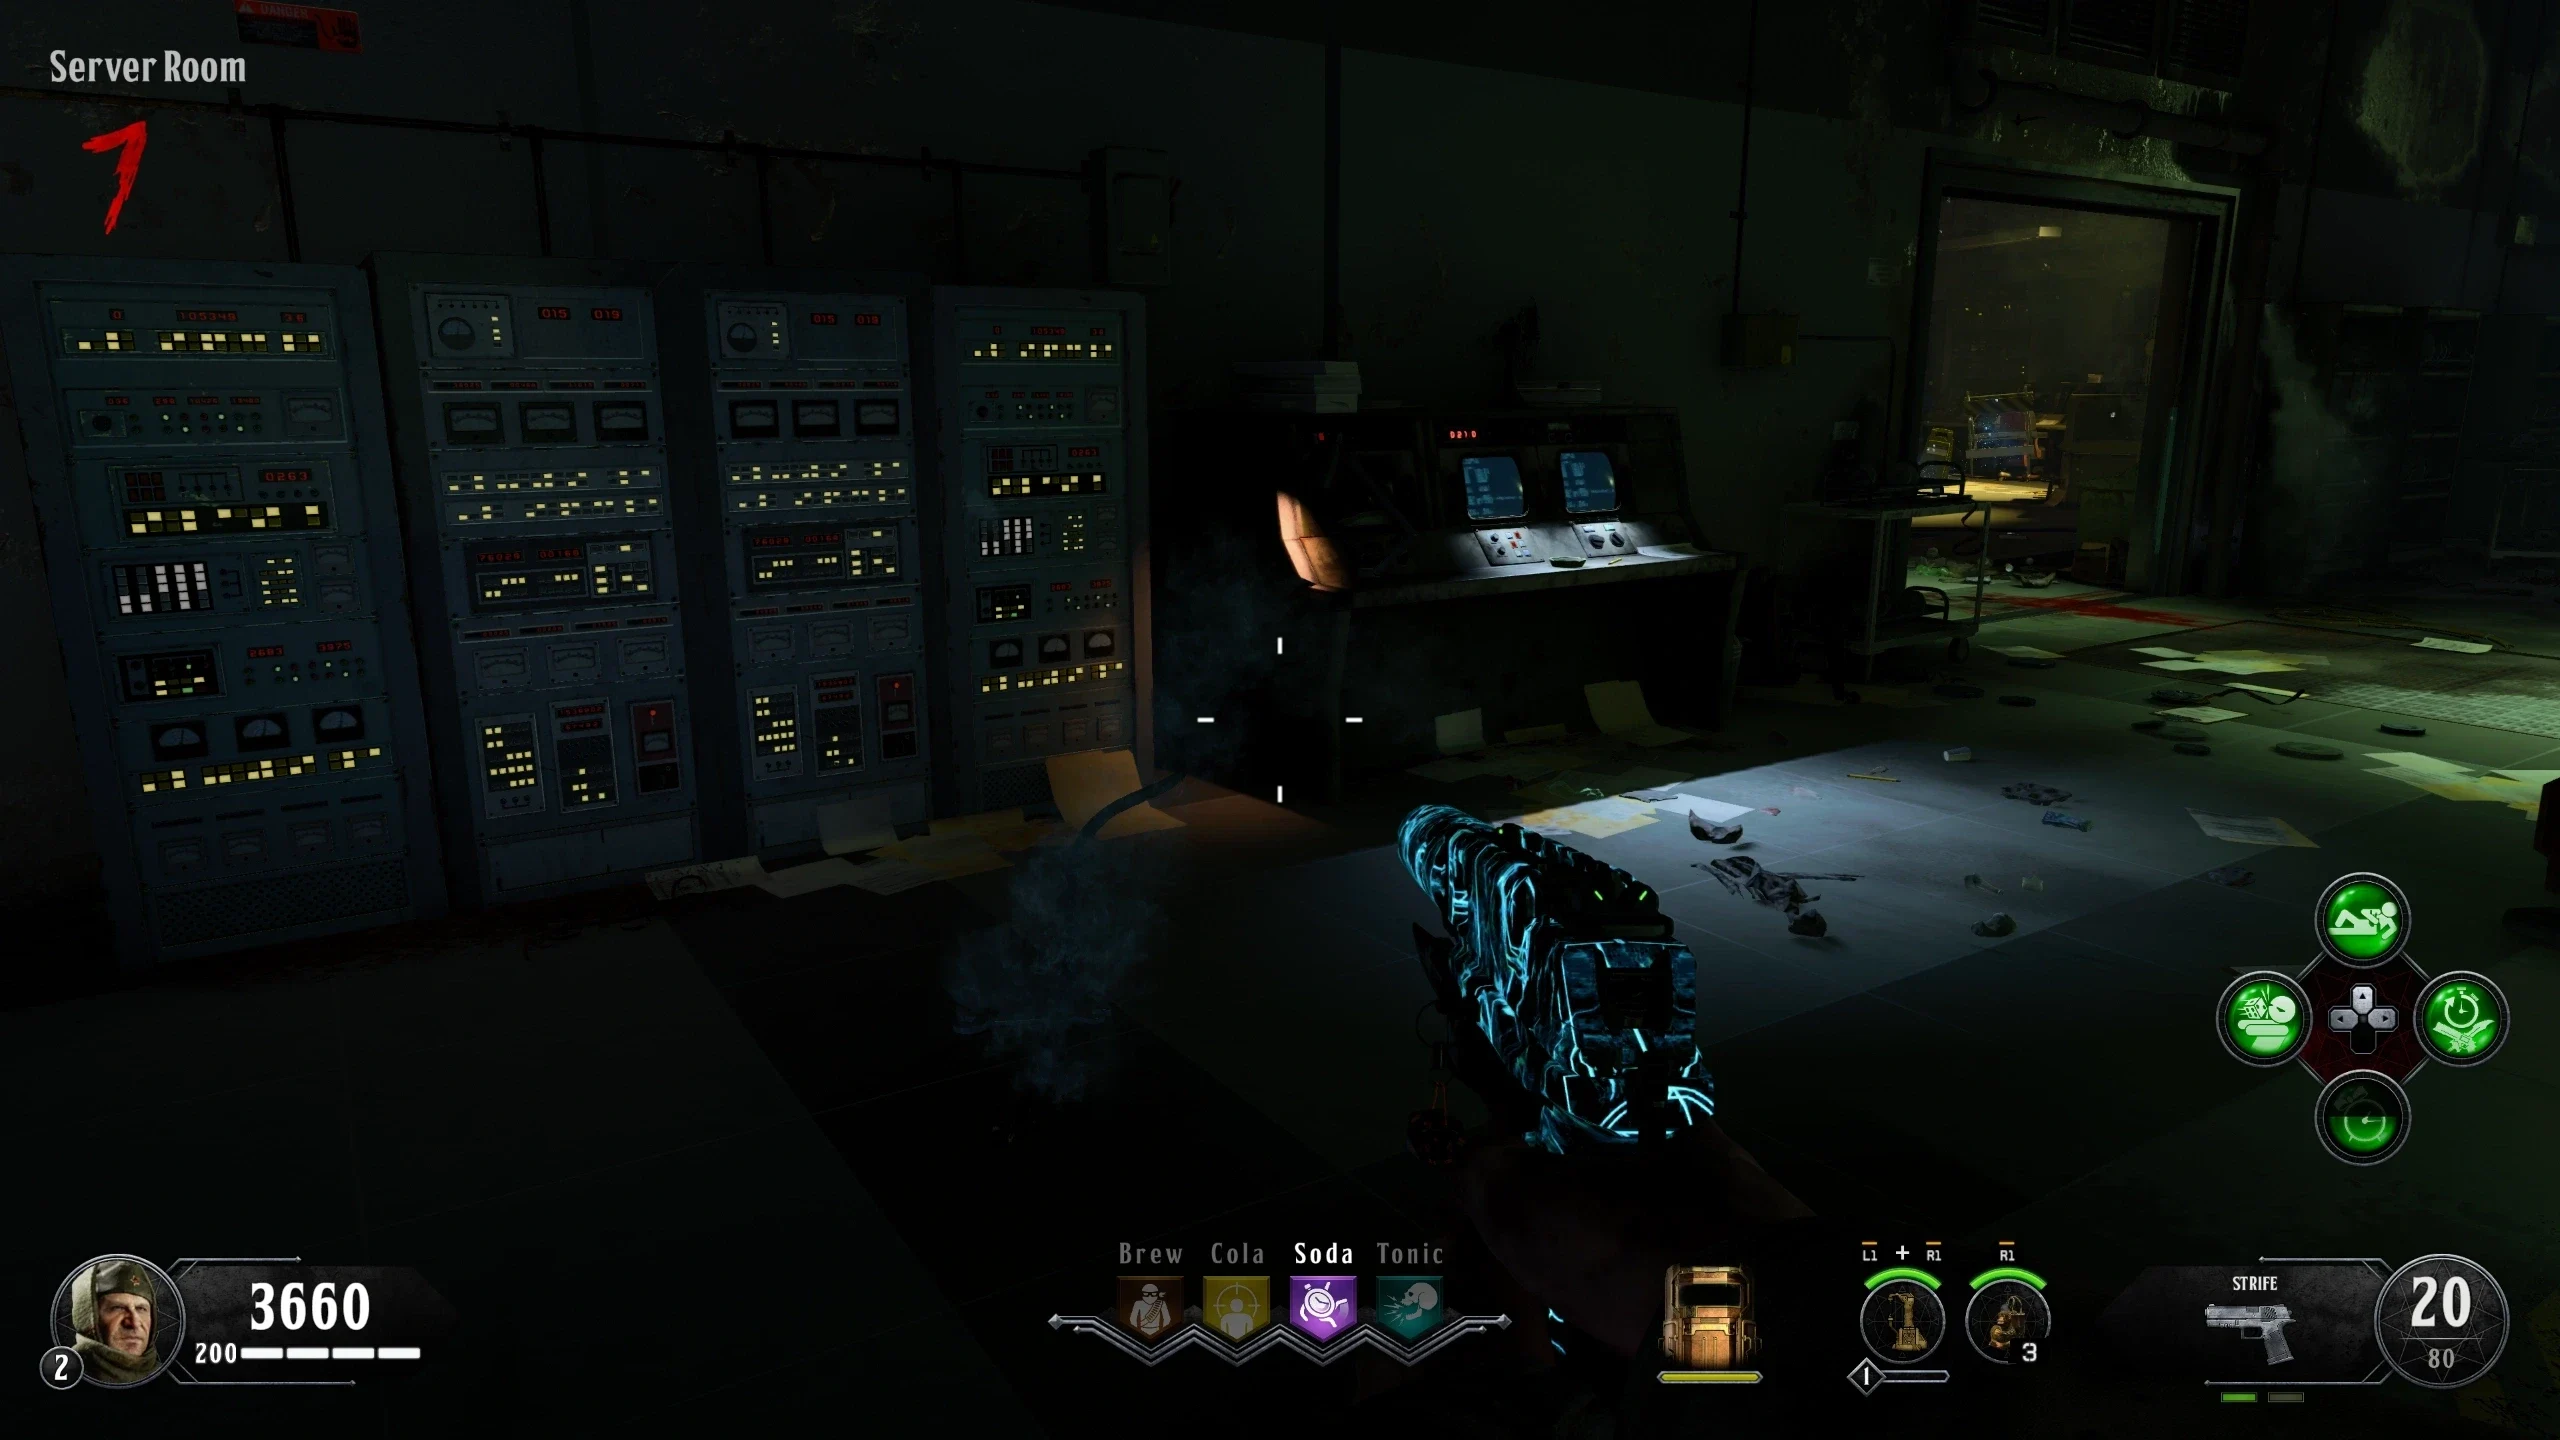
You can still enter the 'Panic Room' after placing the Teleporter Signal Amplifier by activating the Defcon switches and then entering the teleporter at the back of the 'Server Room.'
- Craft the Teleporter Signal Amplifier, three parts are required:
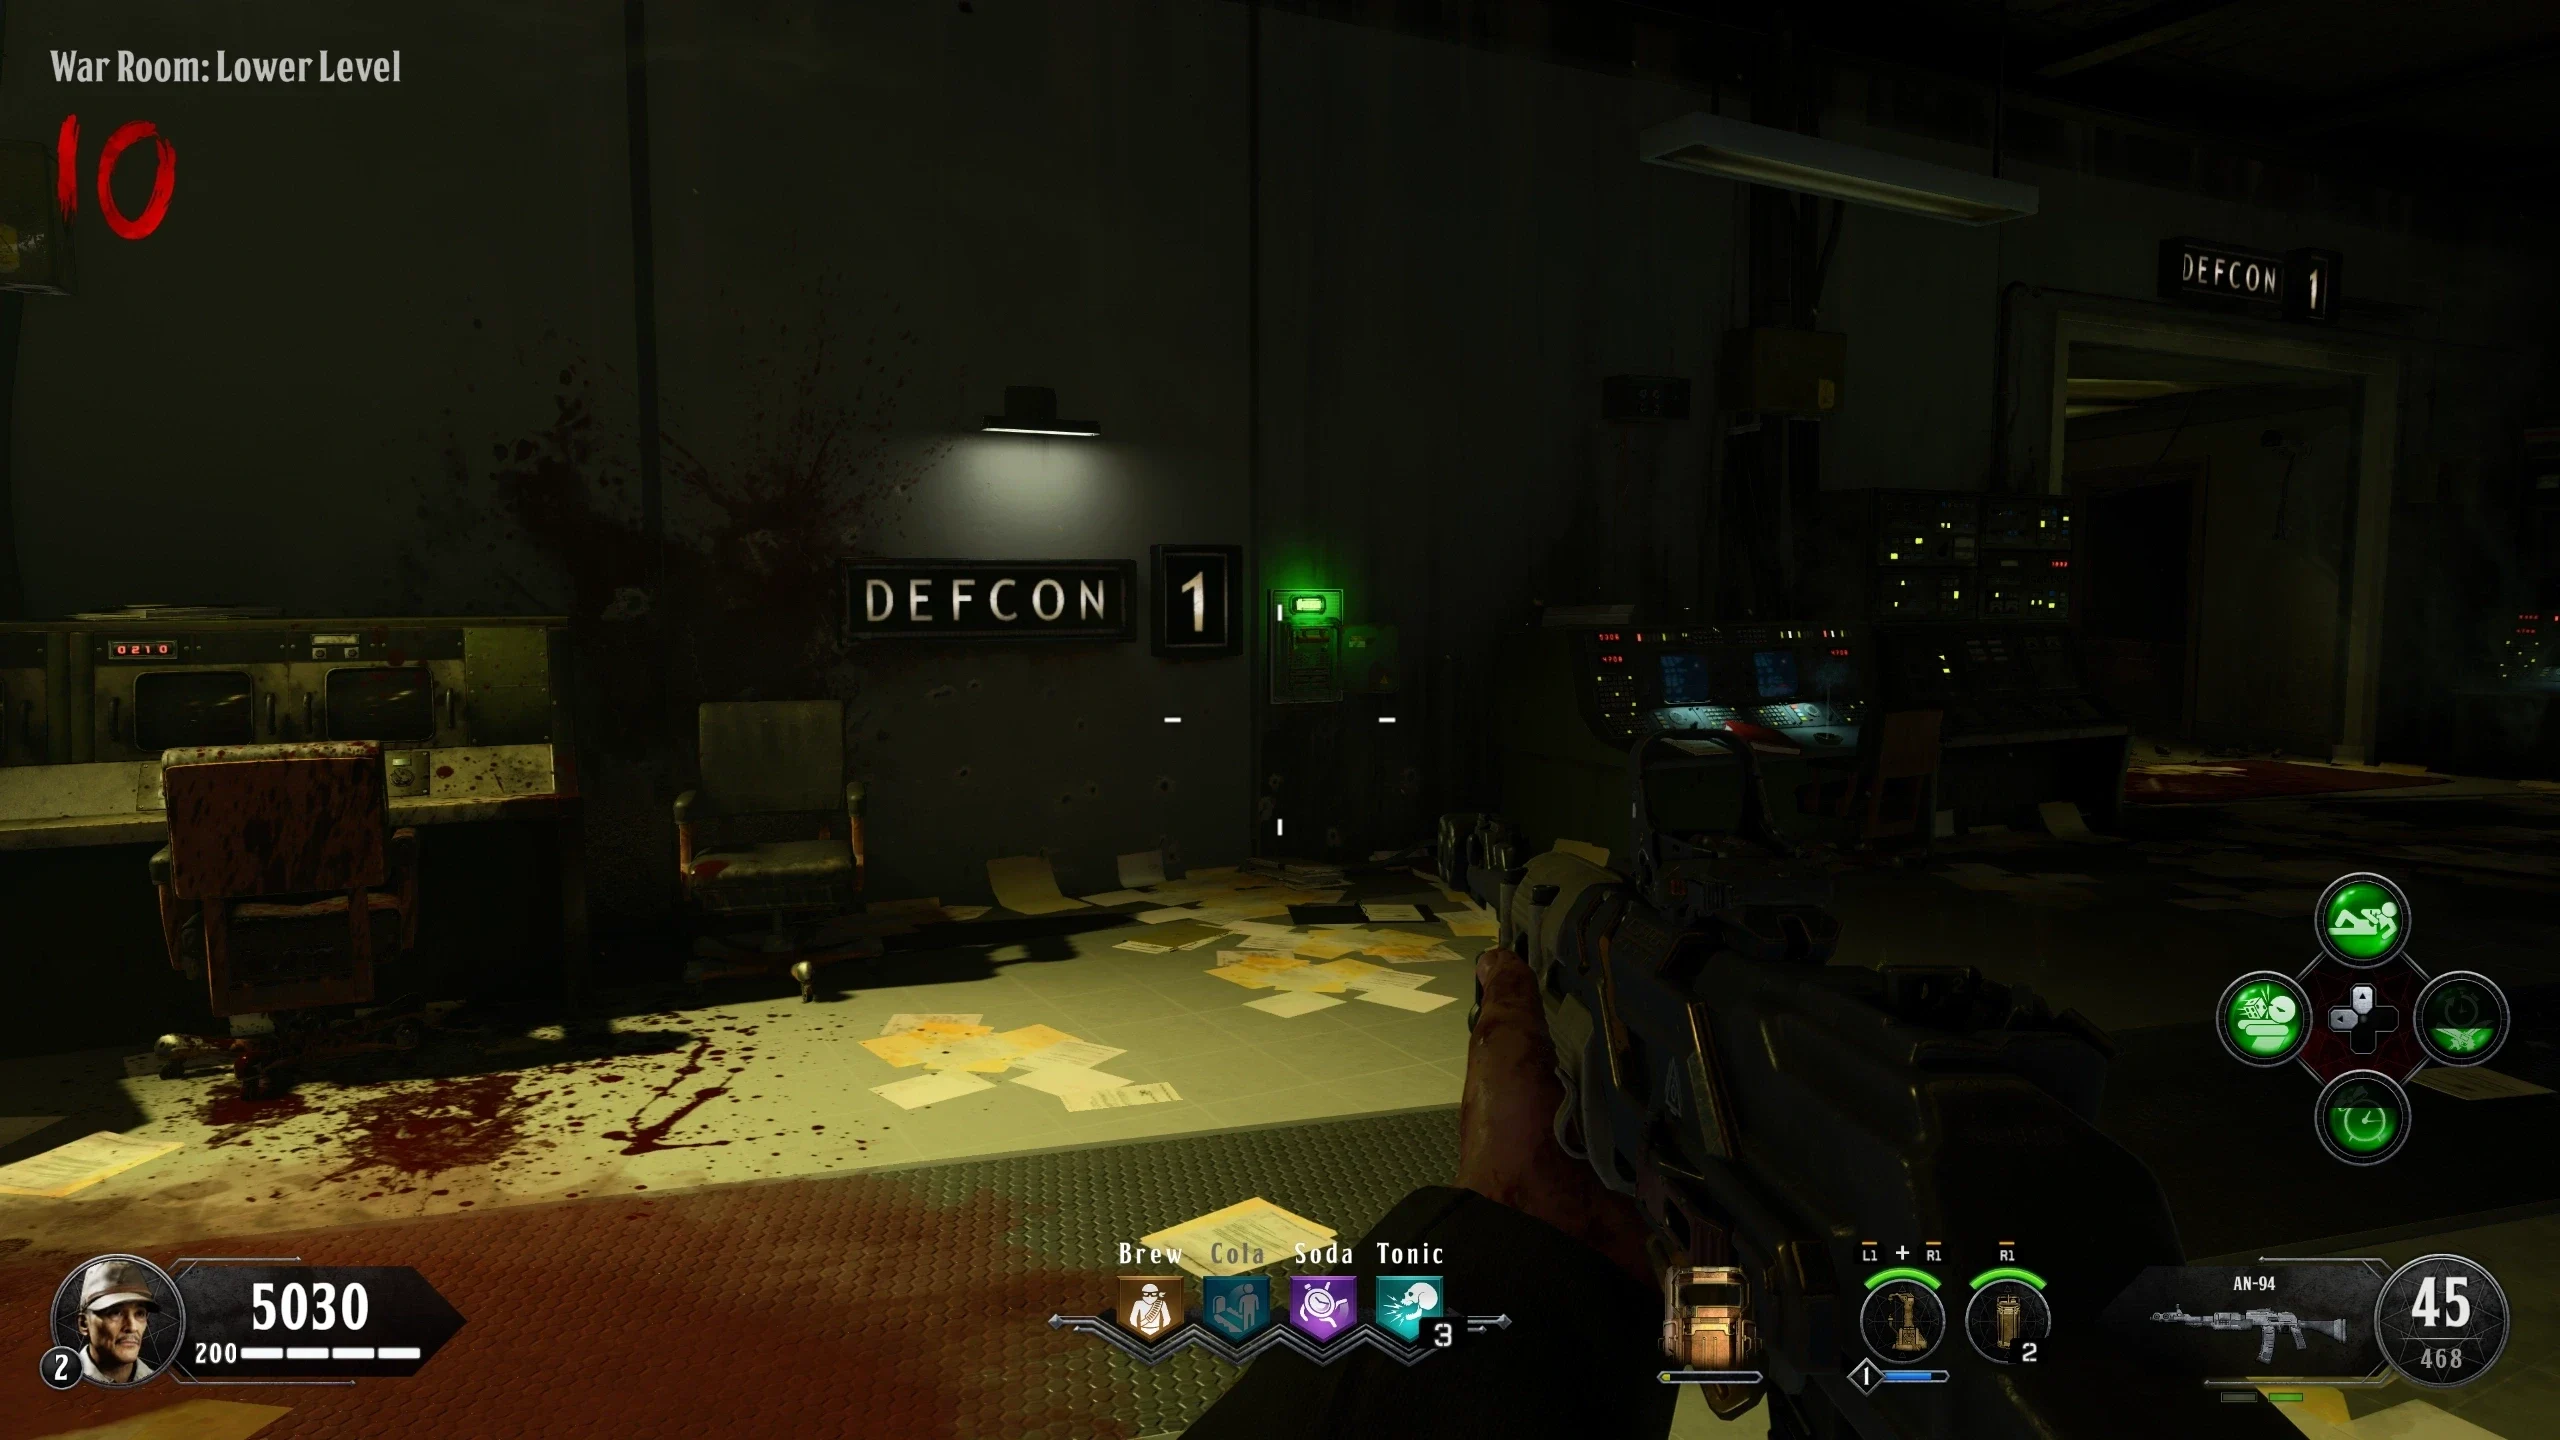
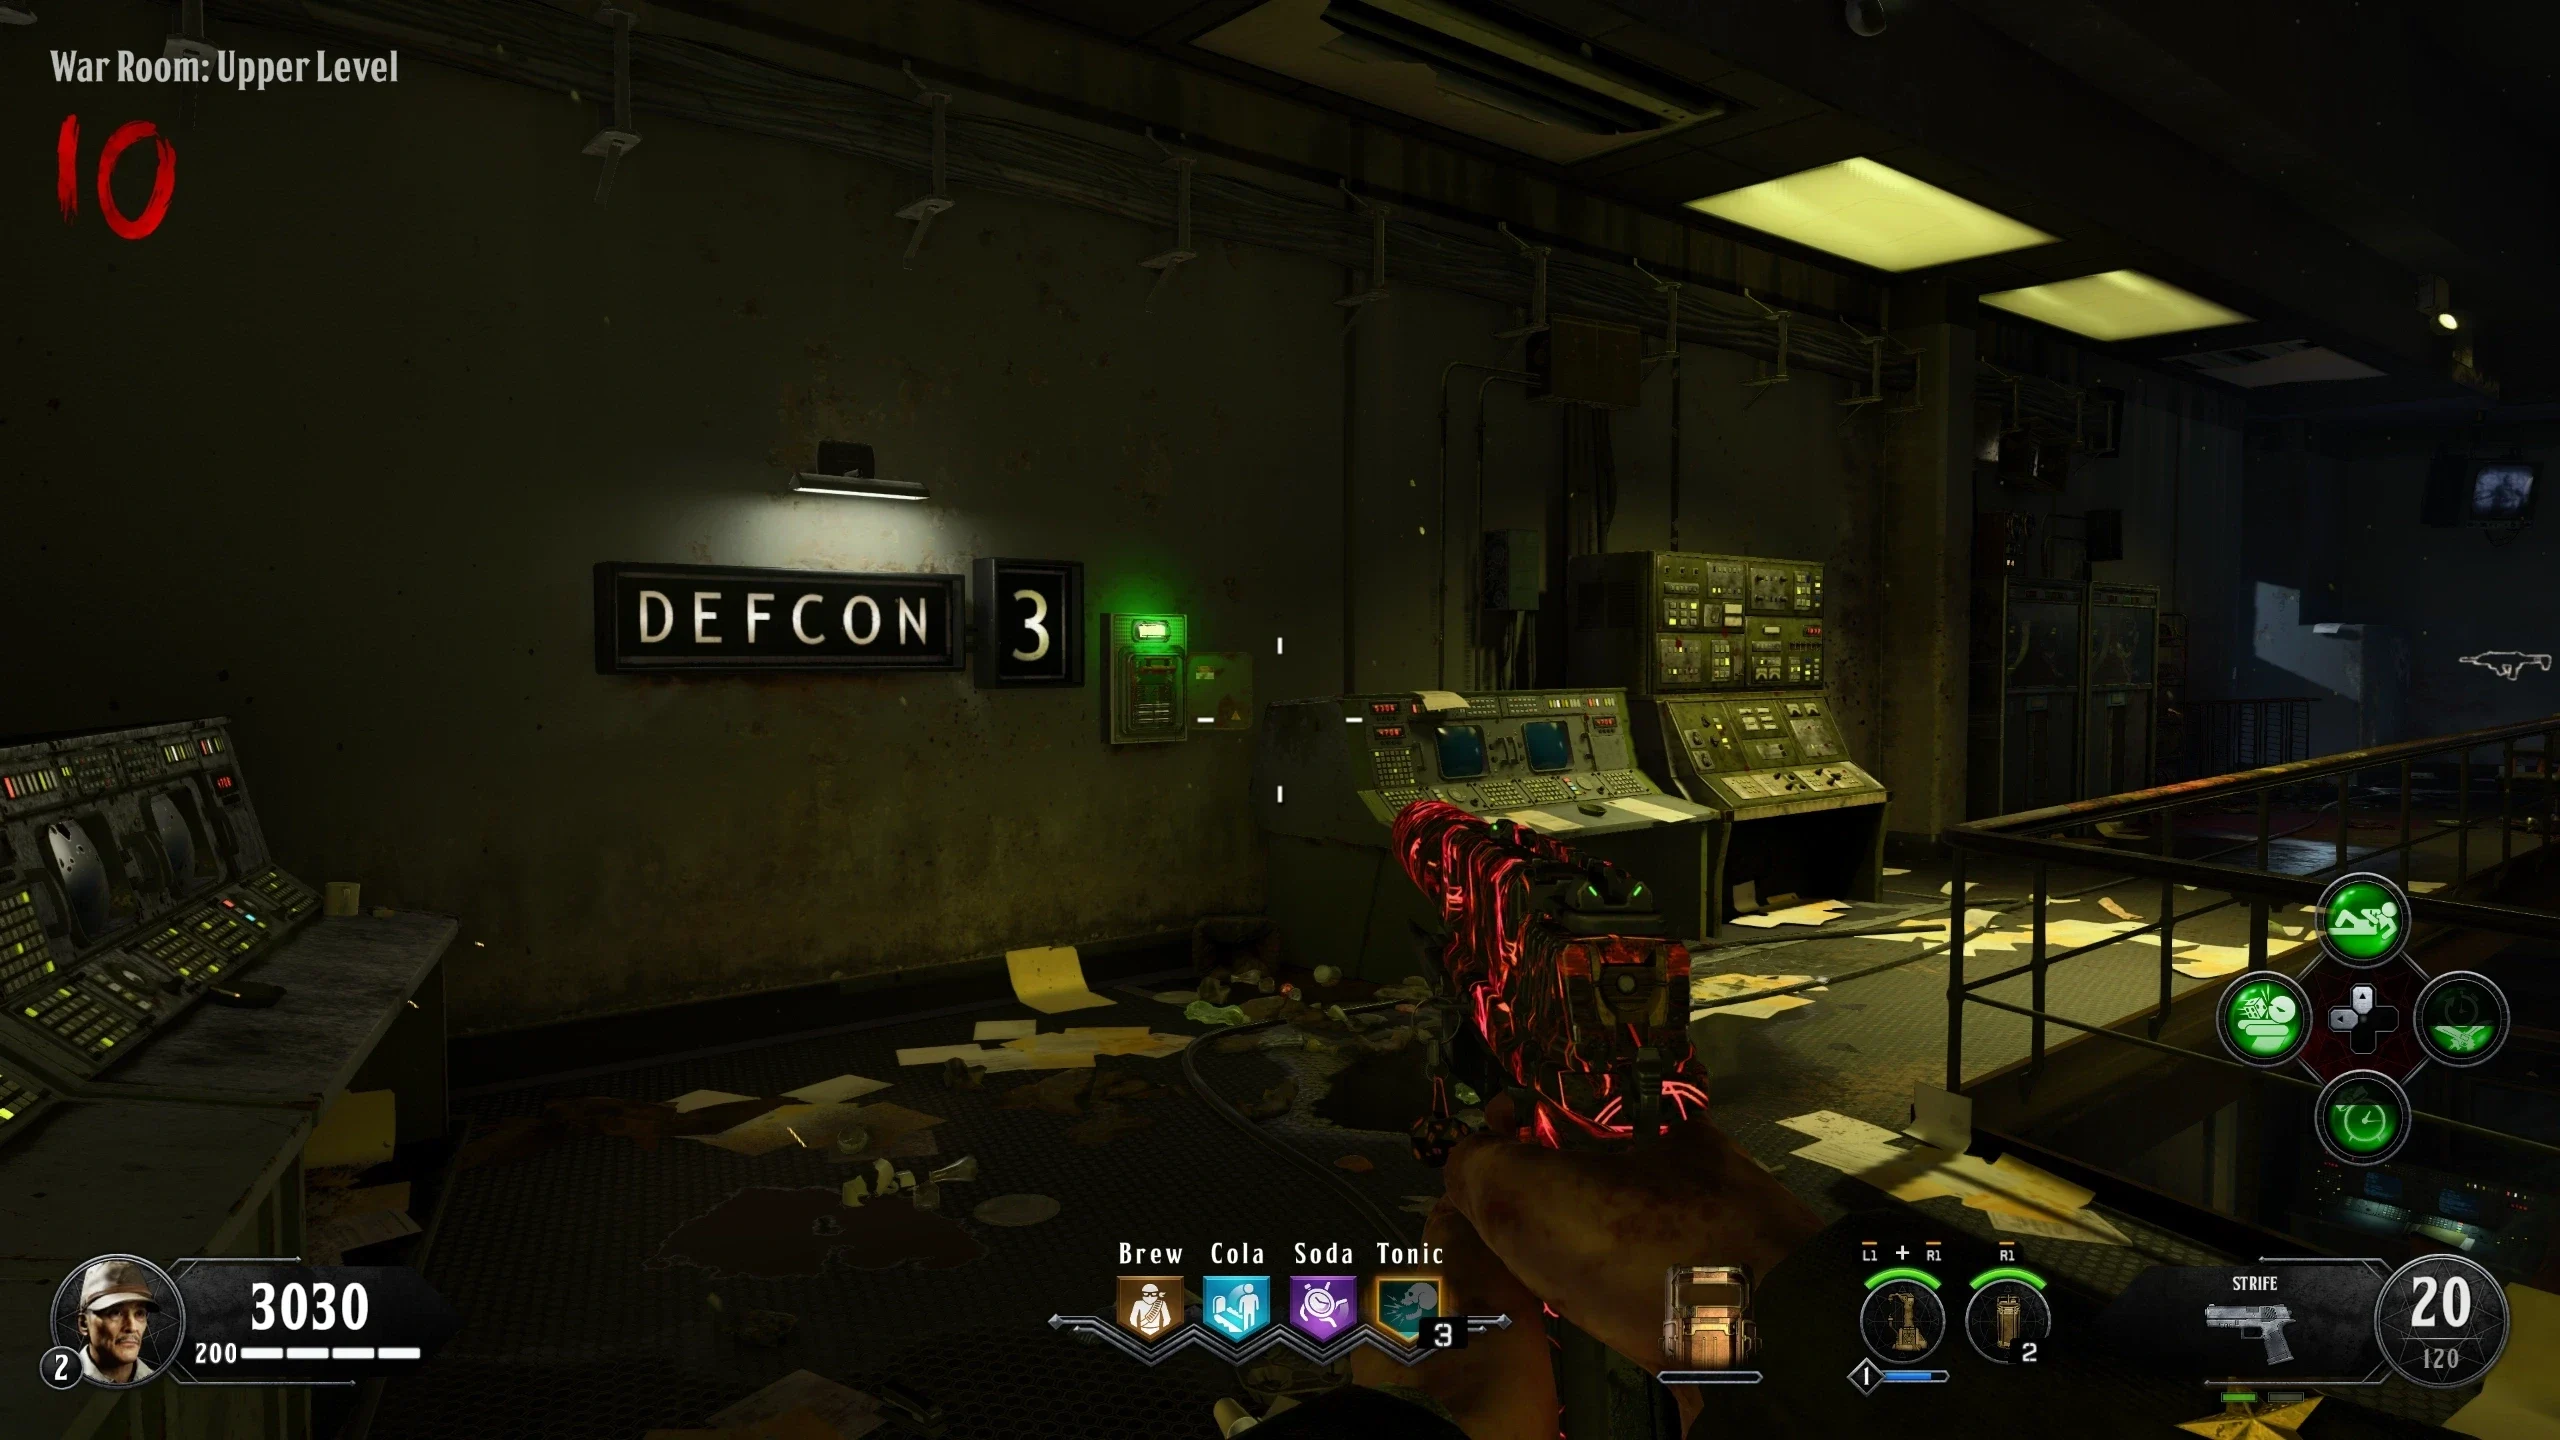
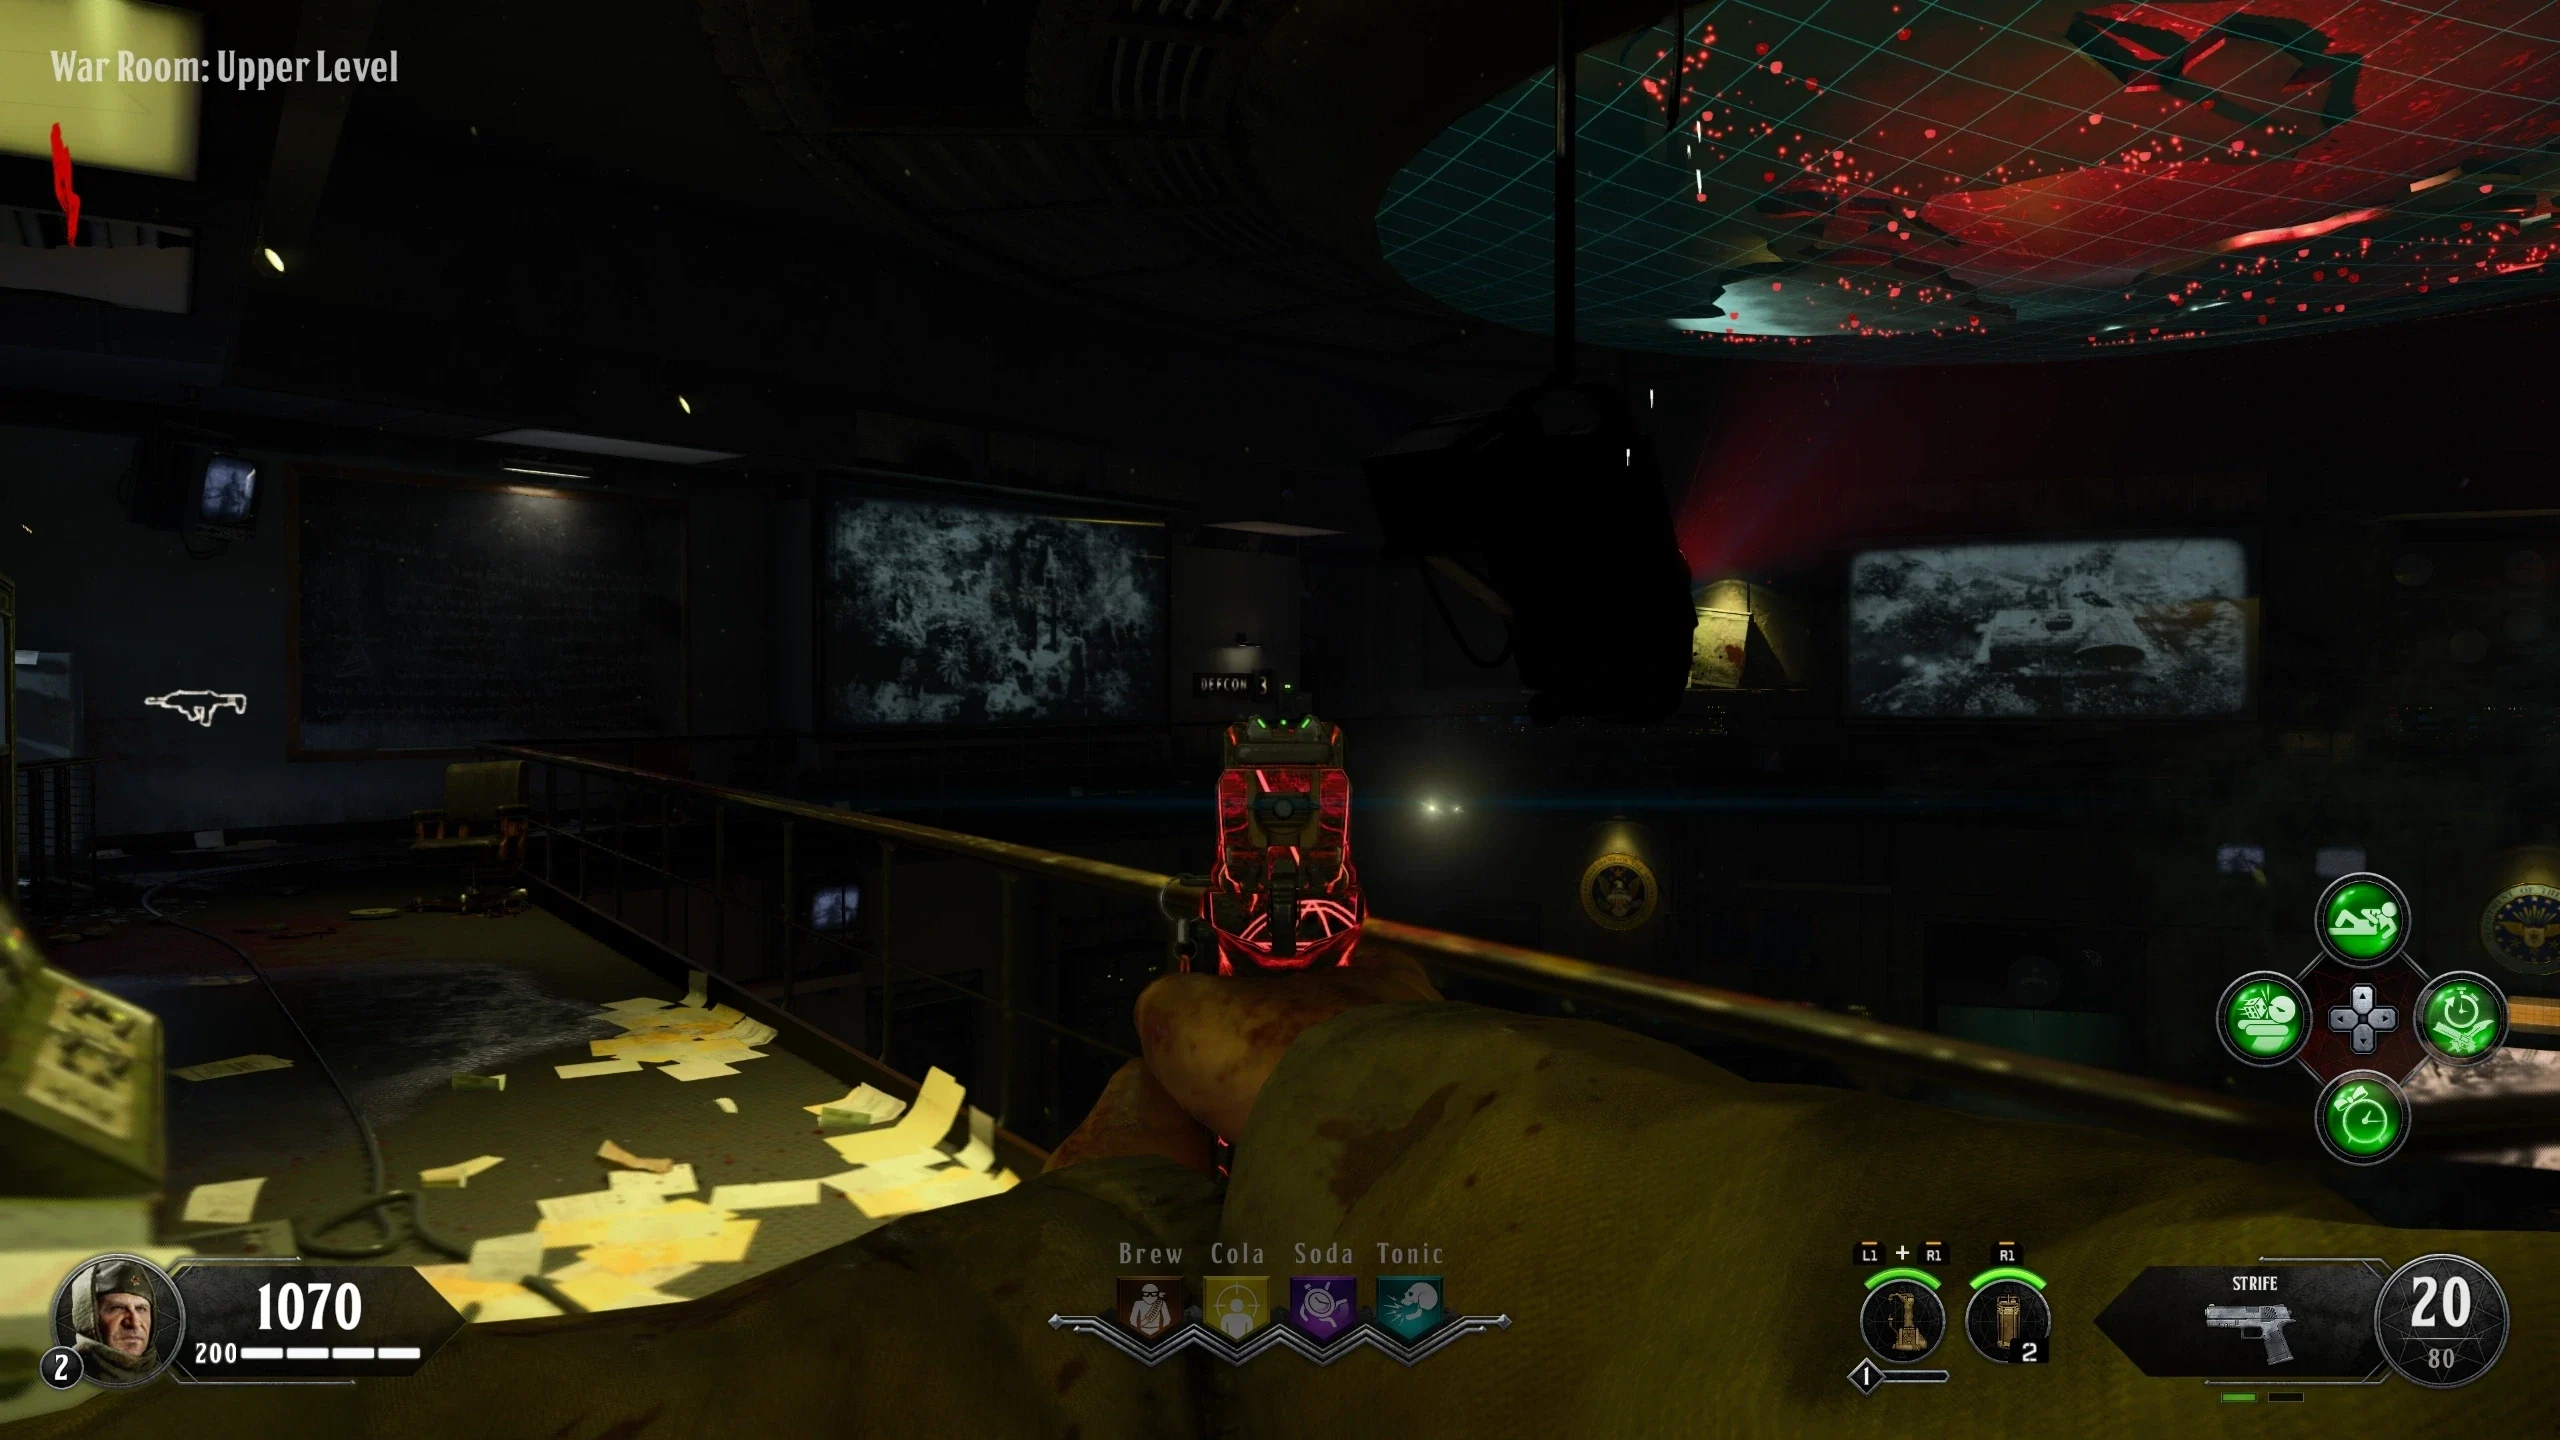
Part Locations Teleporter Pad Amplifier - Activate the four Defcon switches in any order:
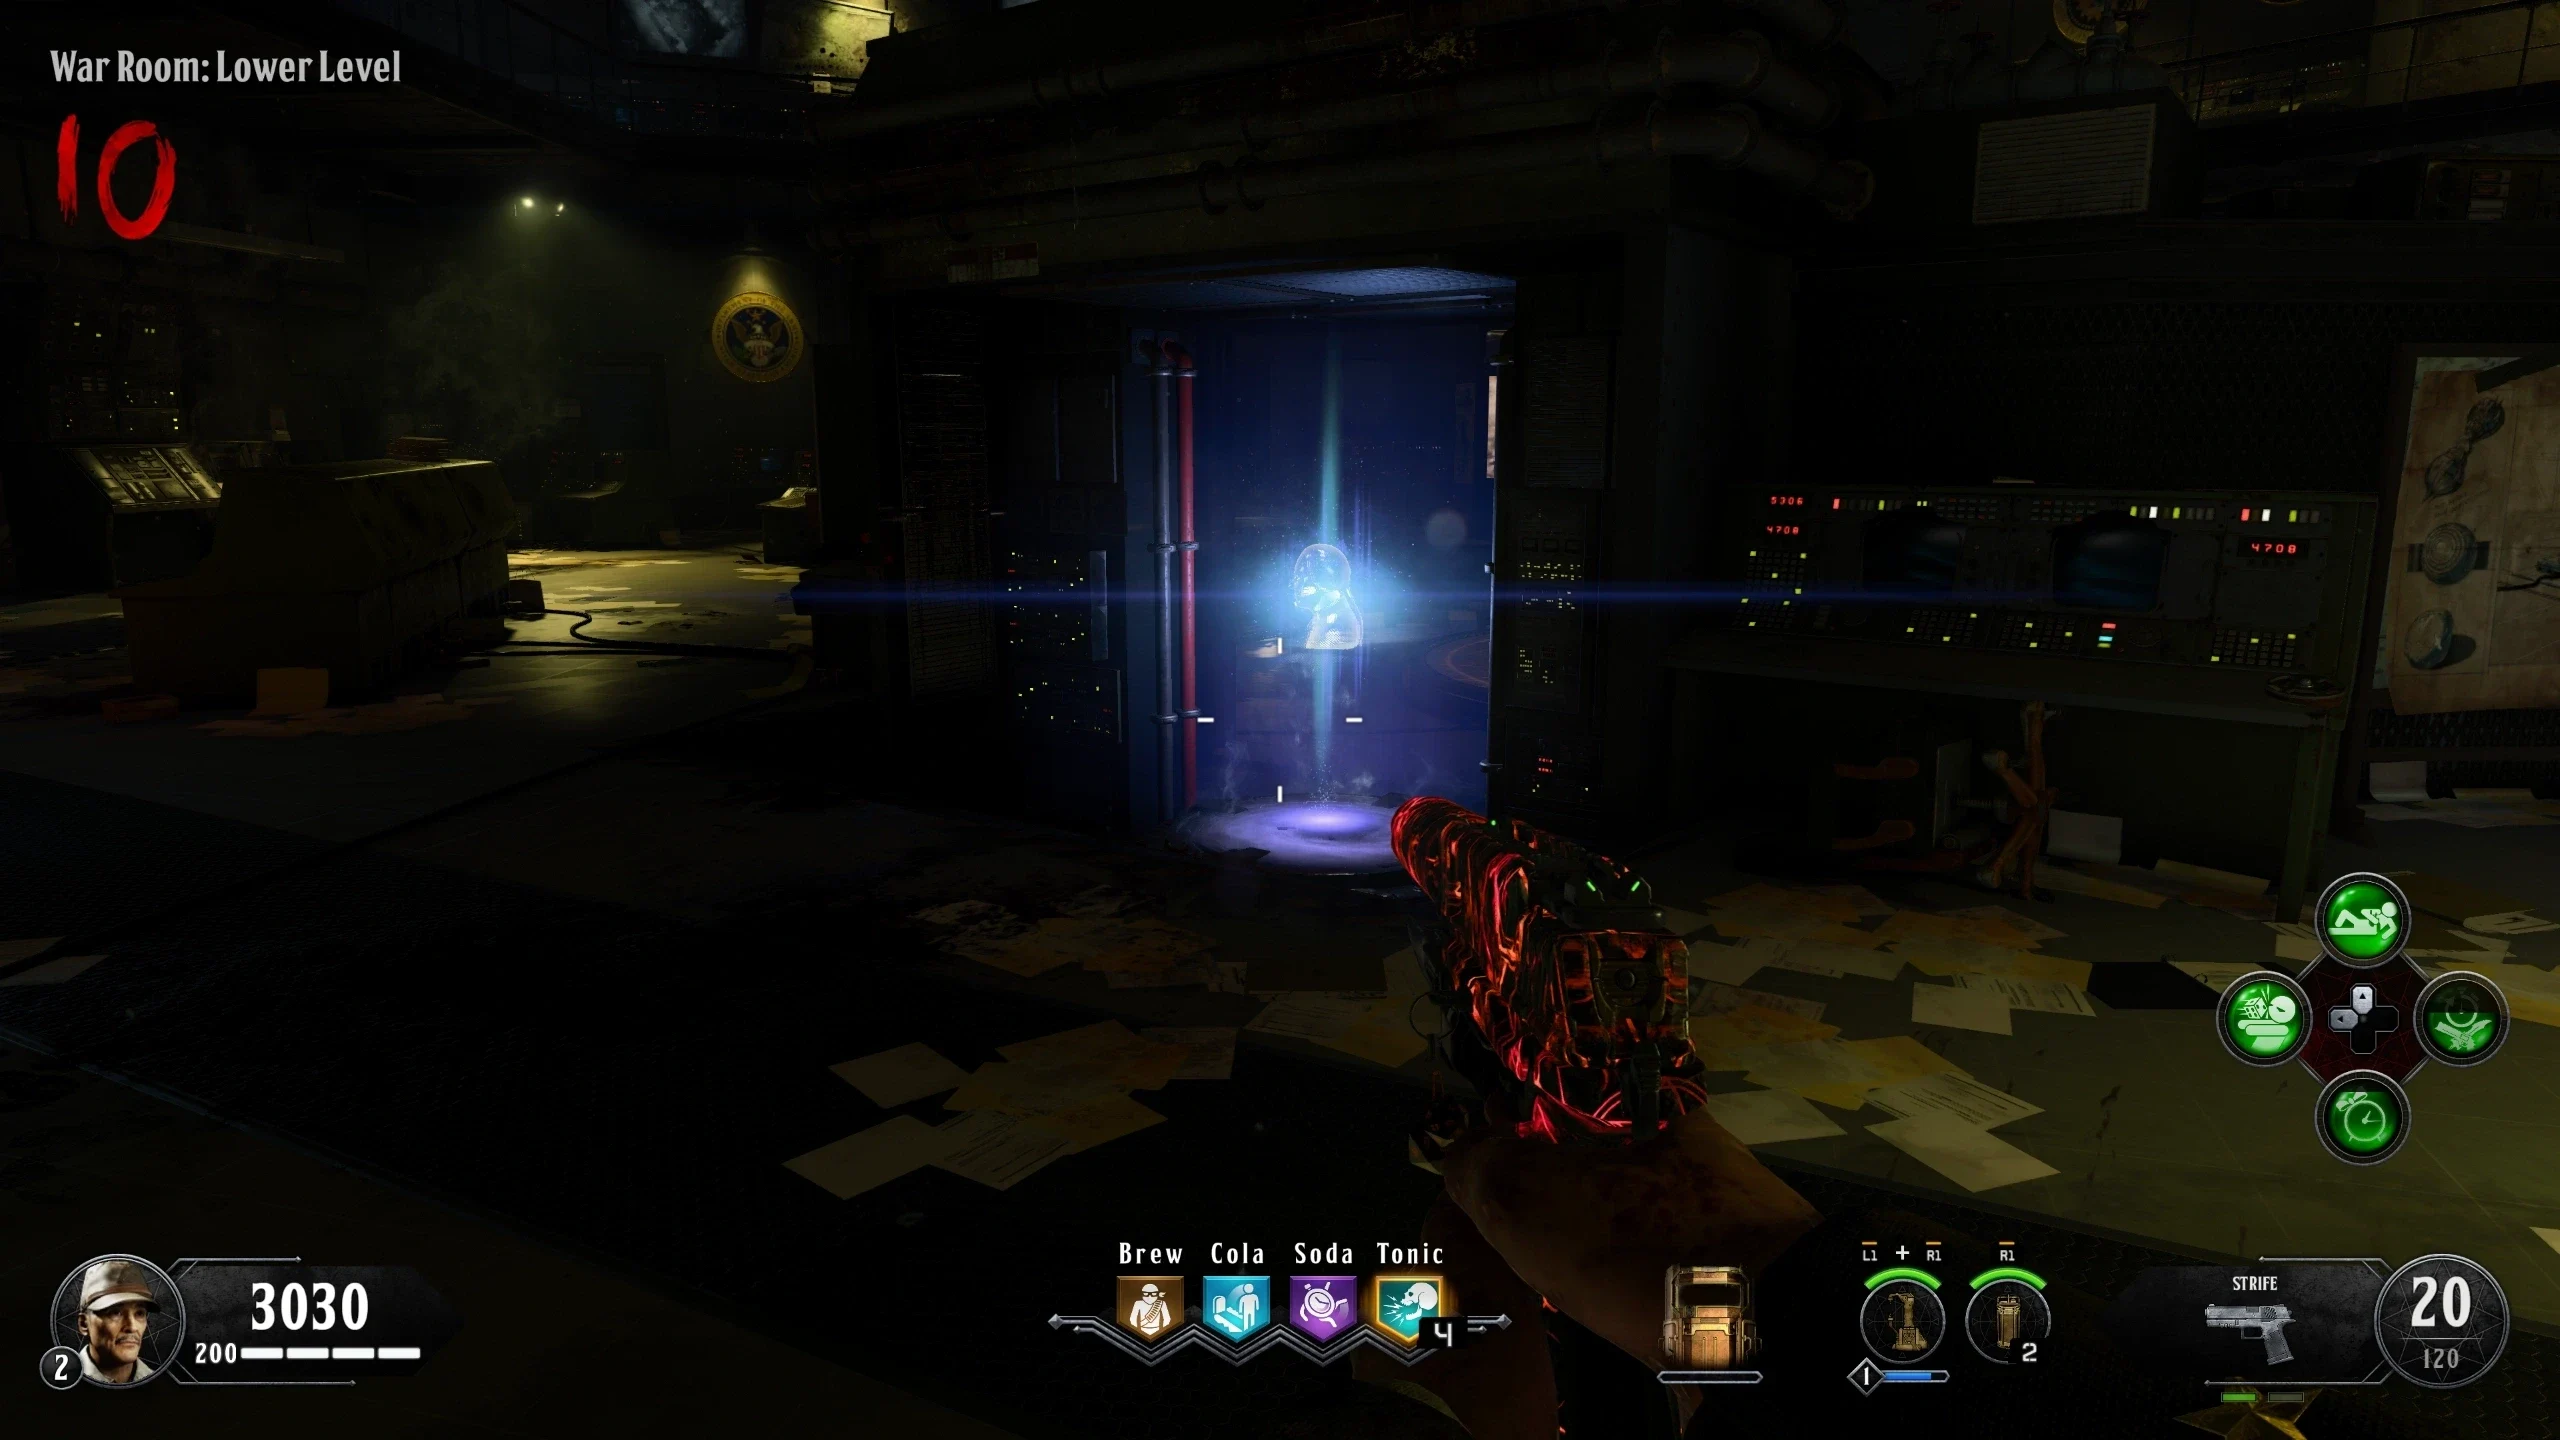
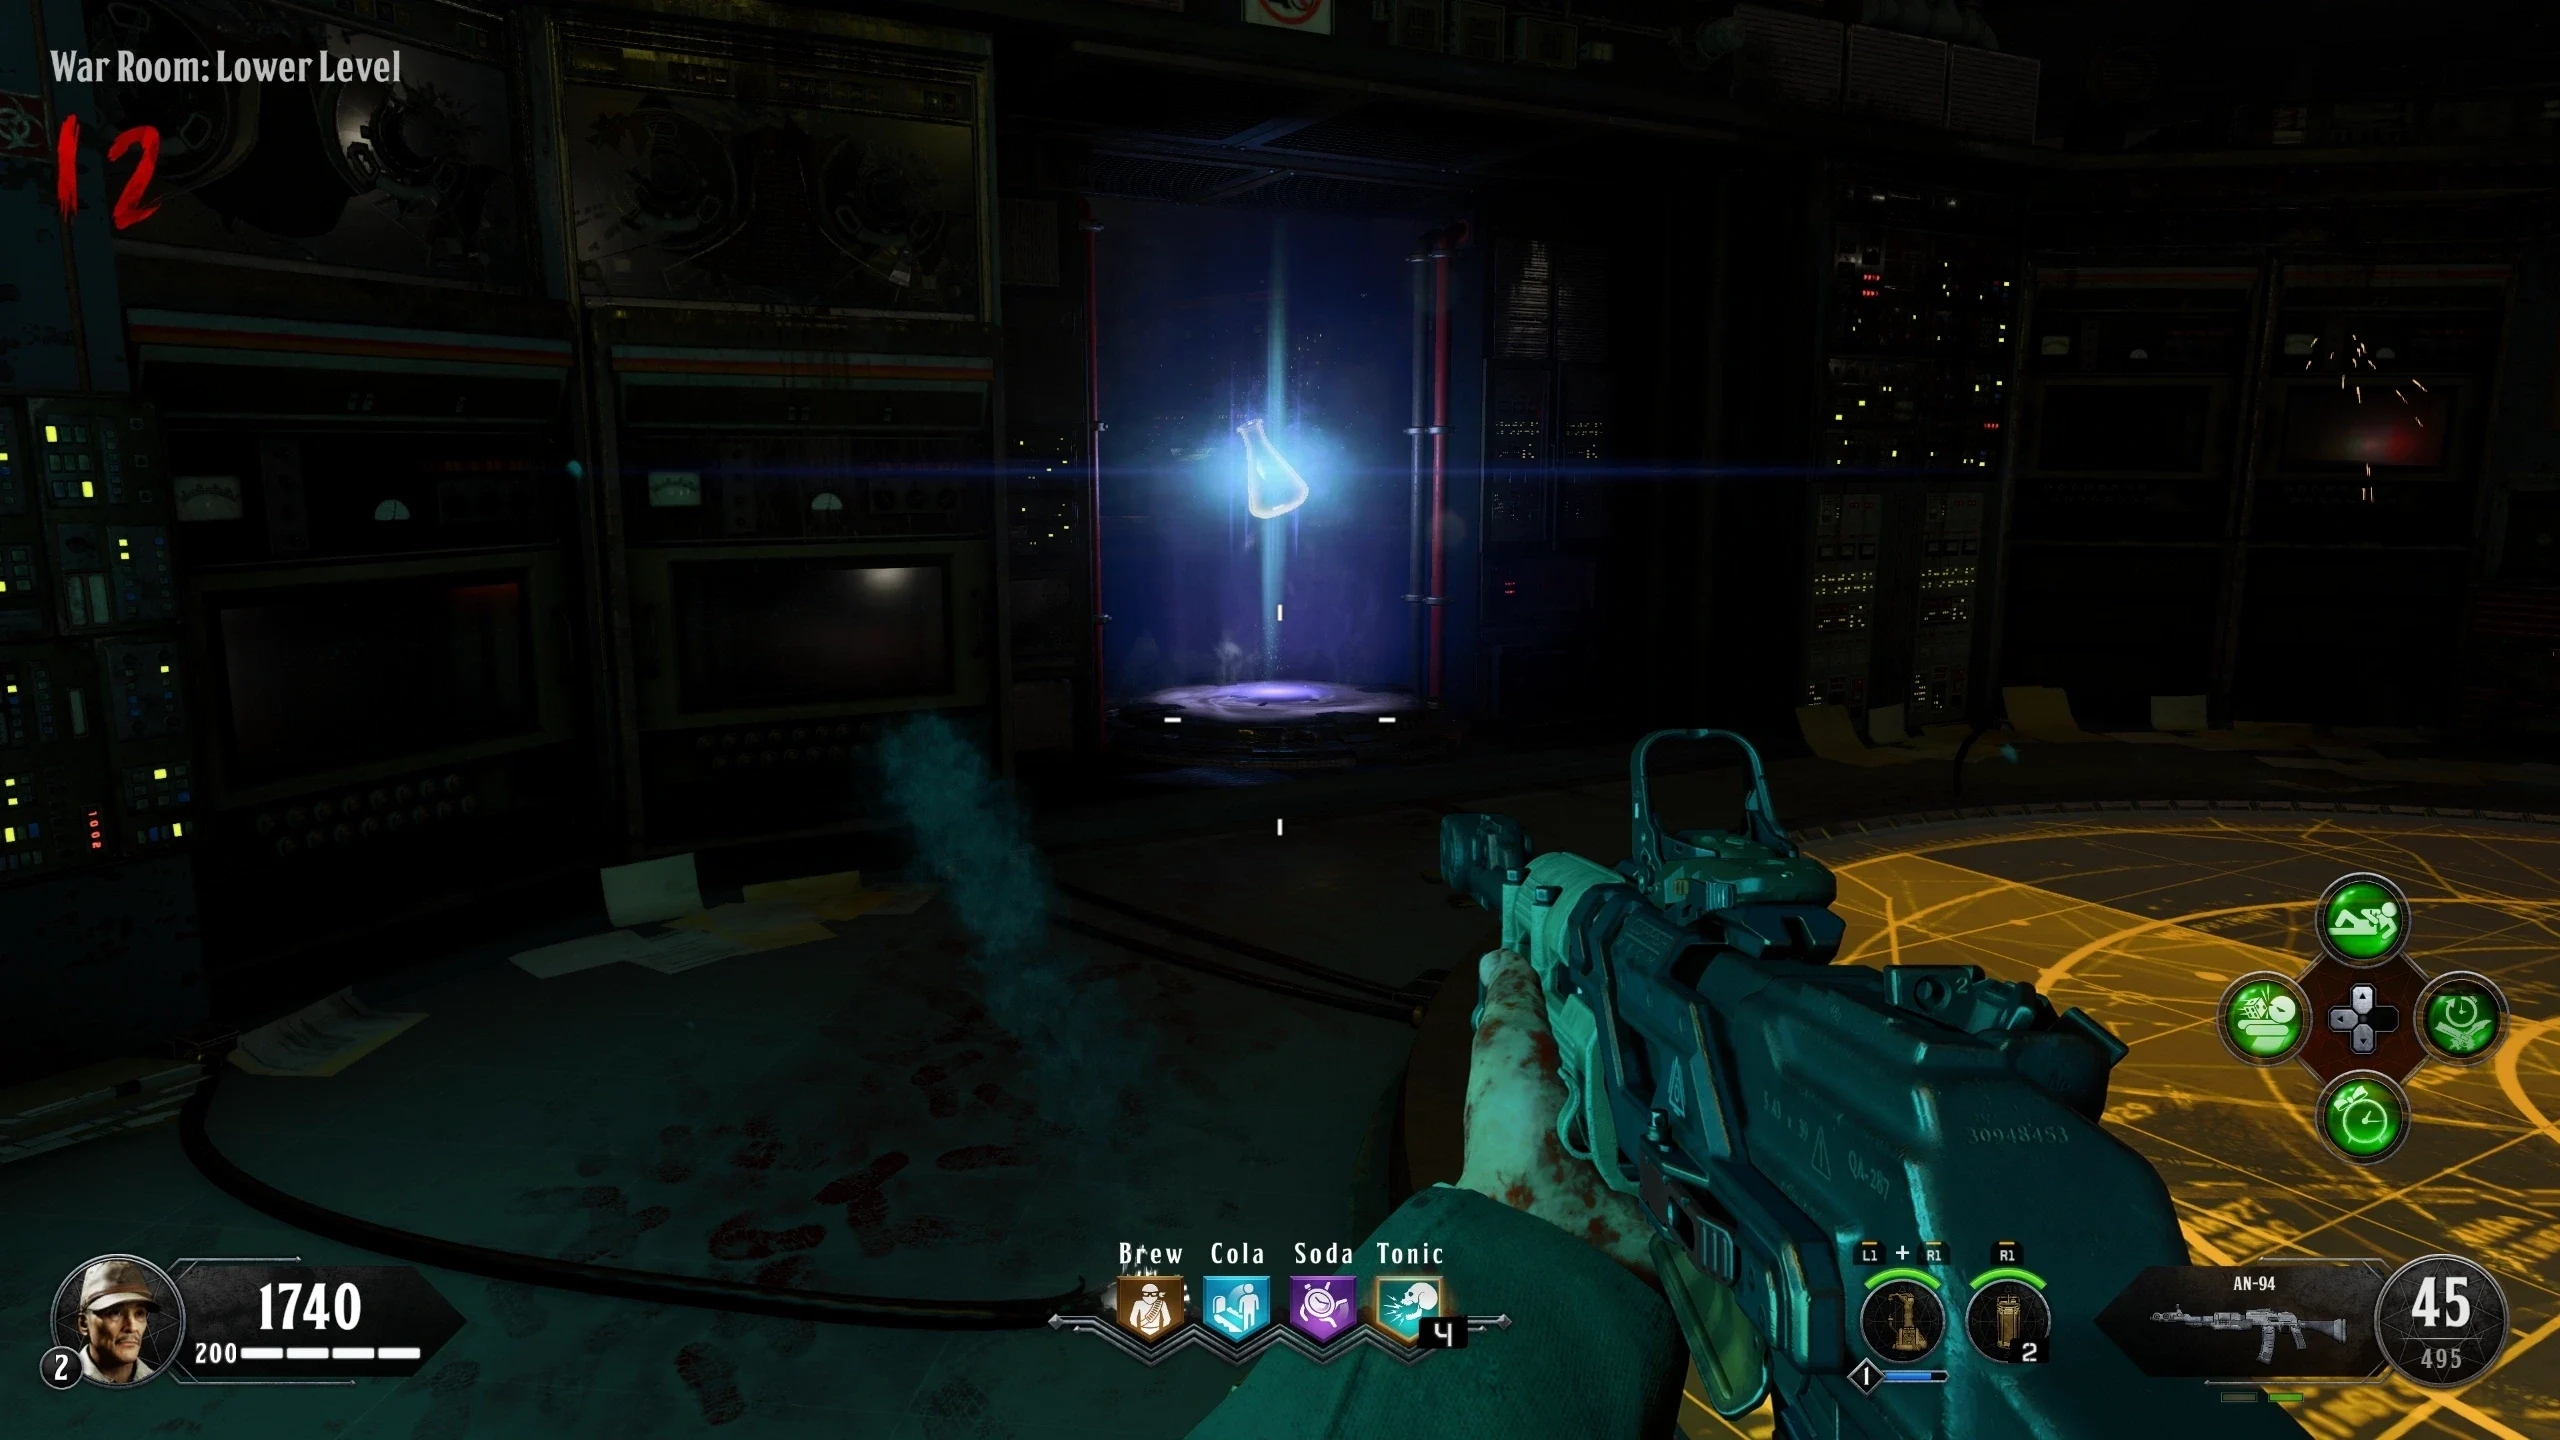
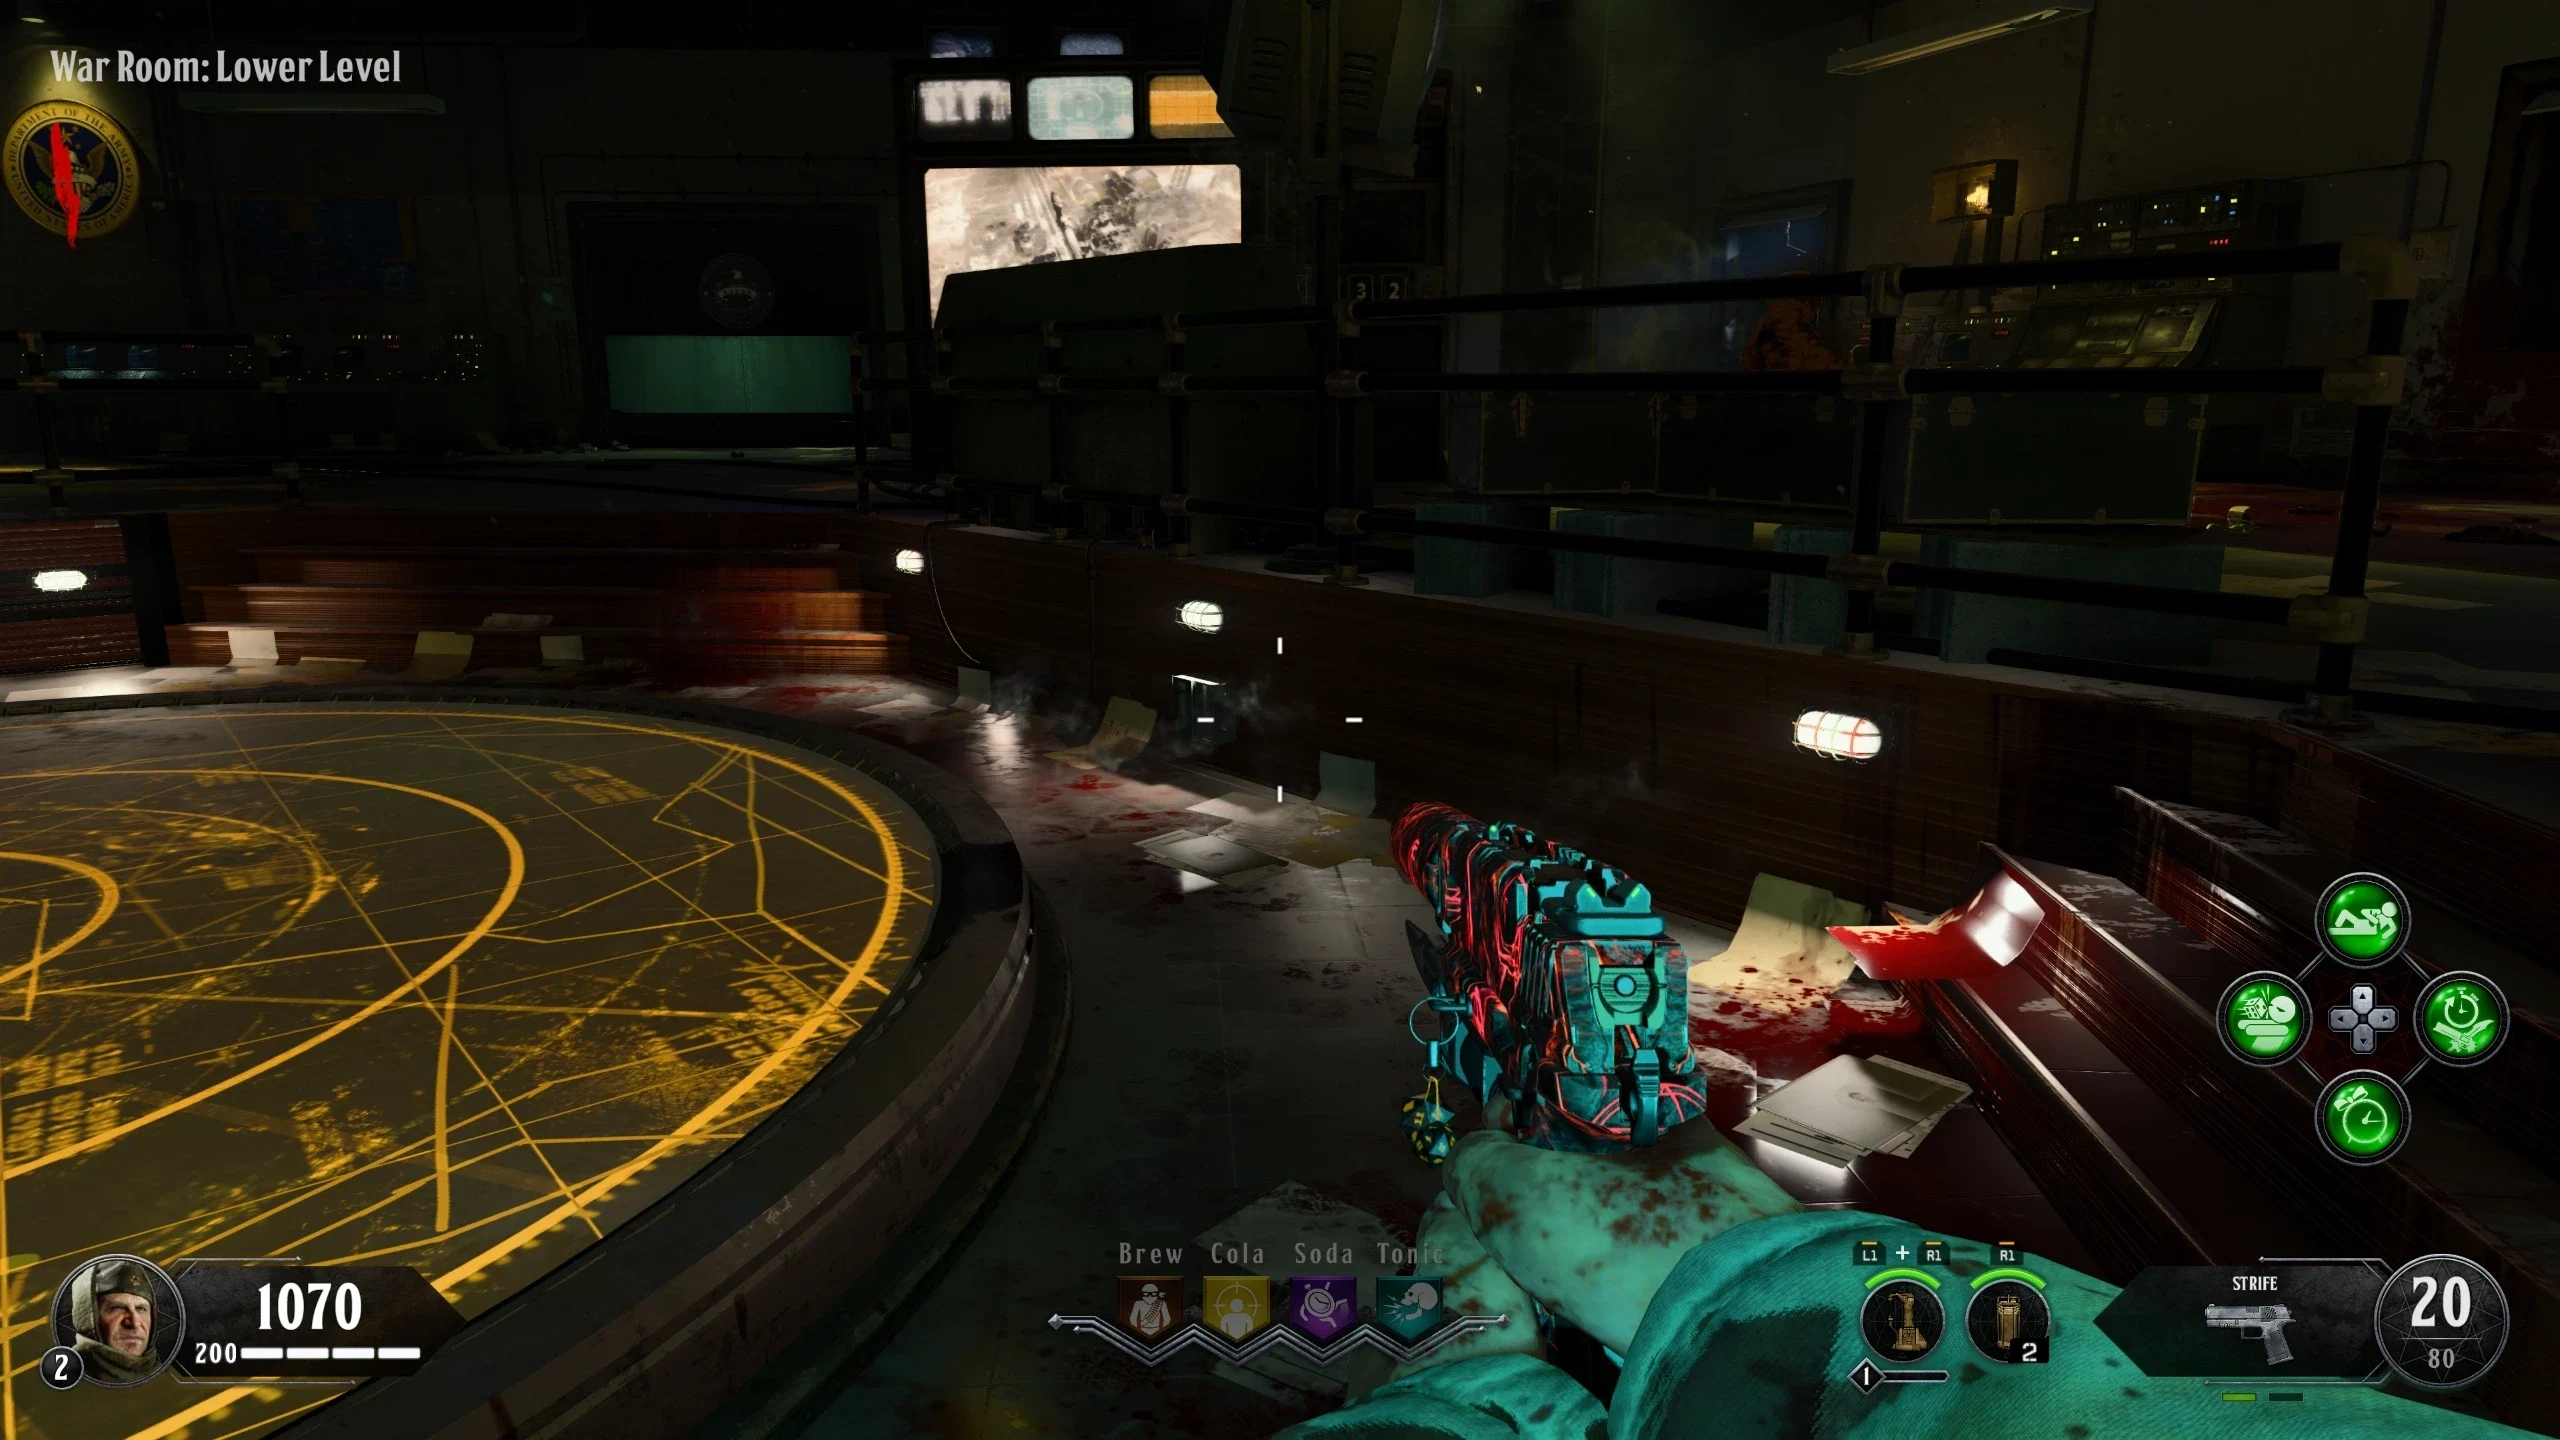
- Enter the teleporter in the 'War Room: Lower Level' to go to the 'Panic Room.'
- Collect the Amplifier.
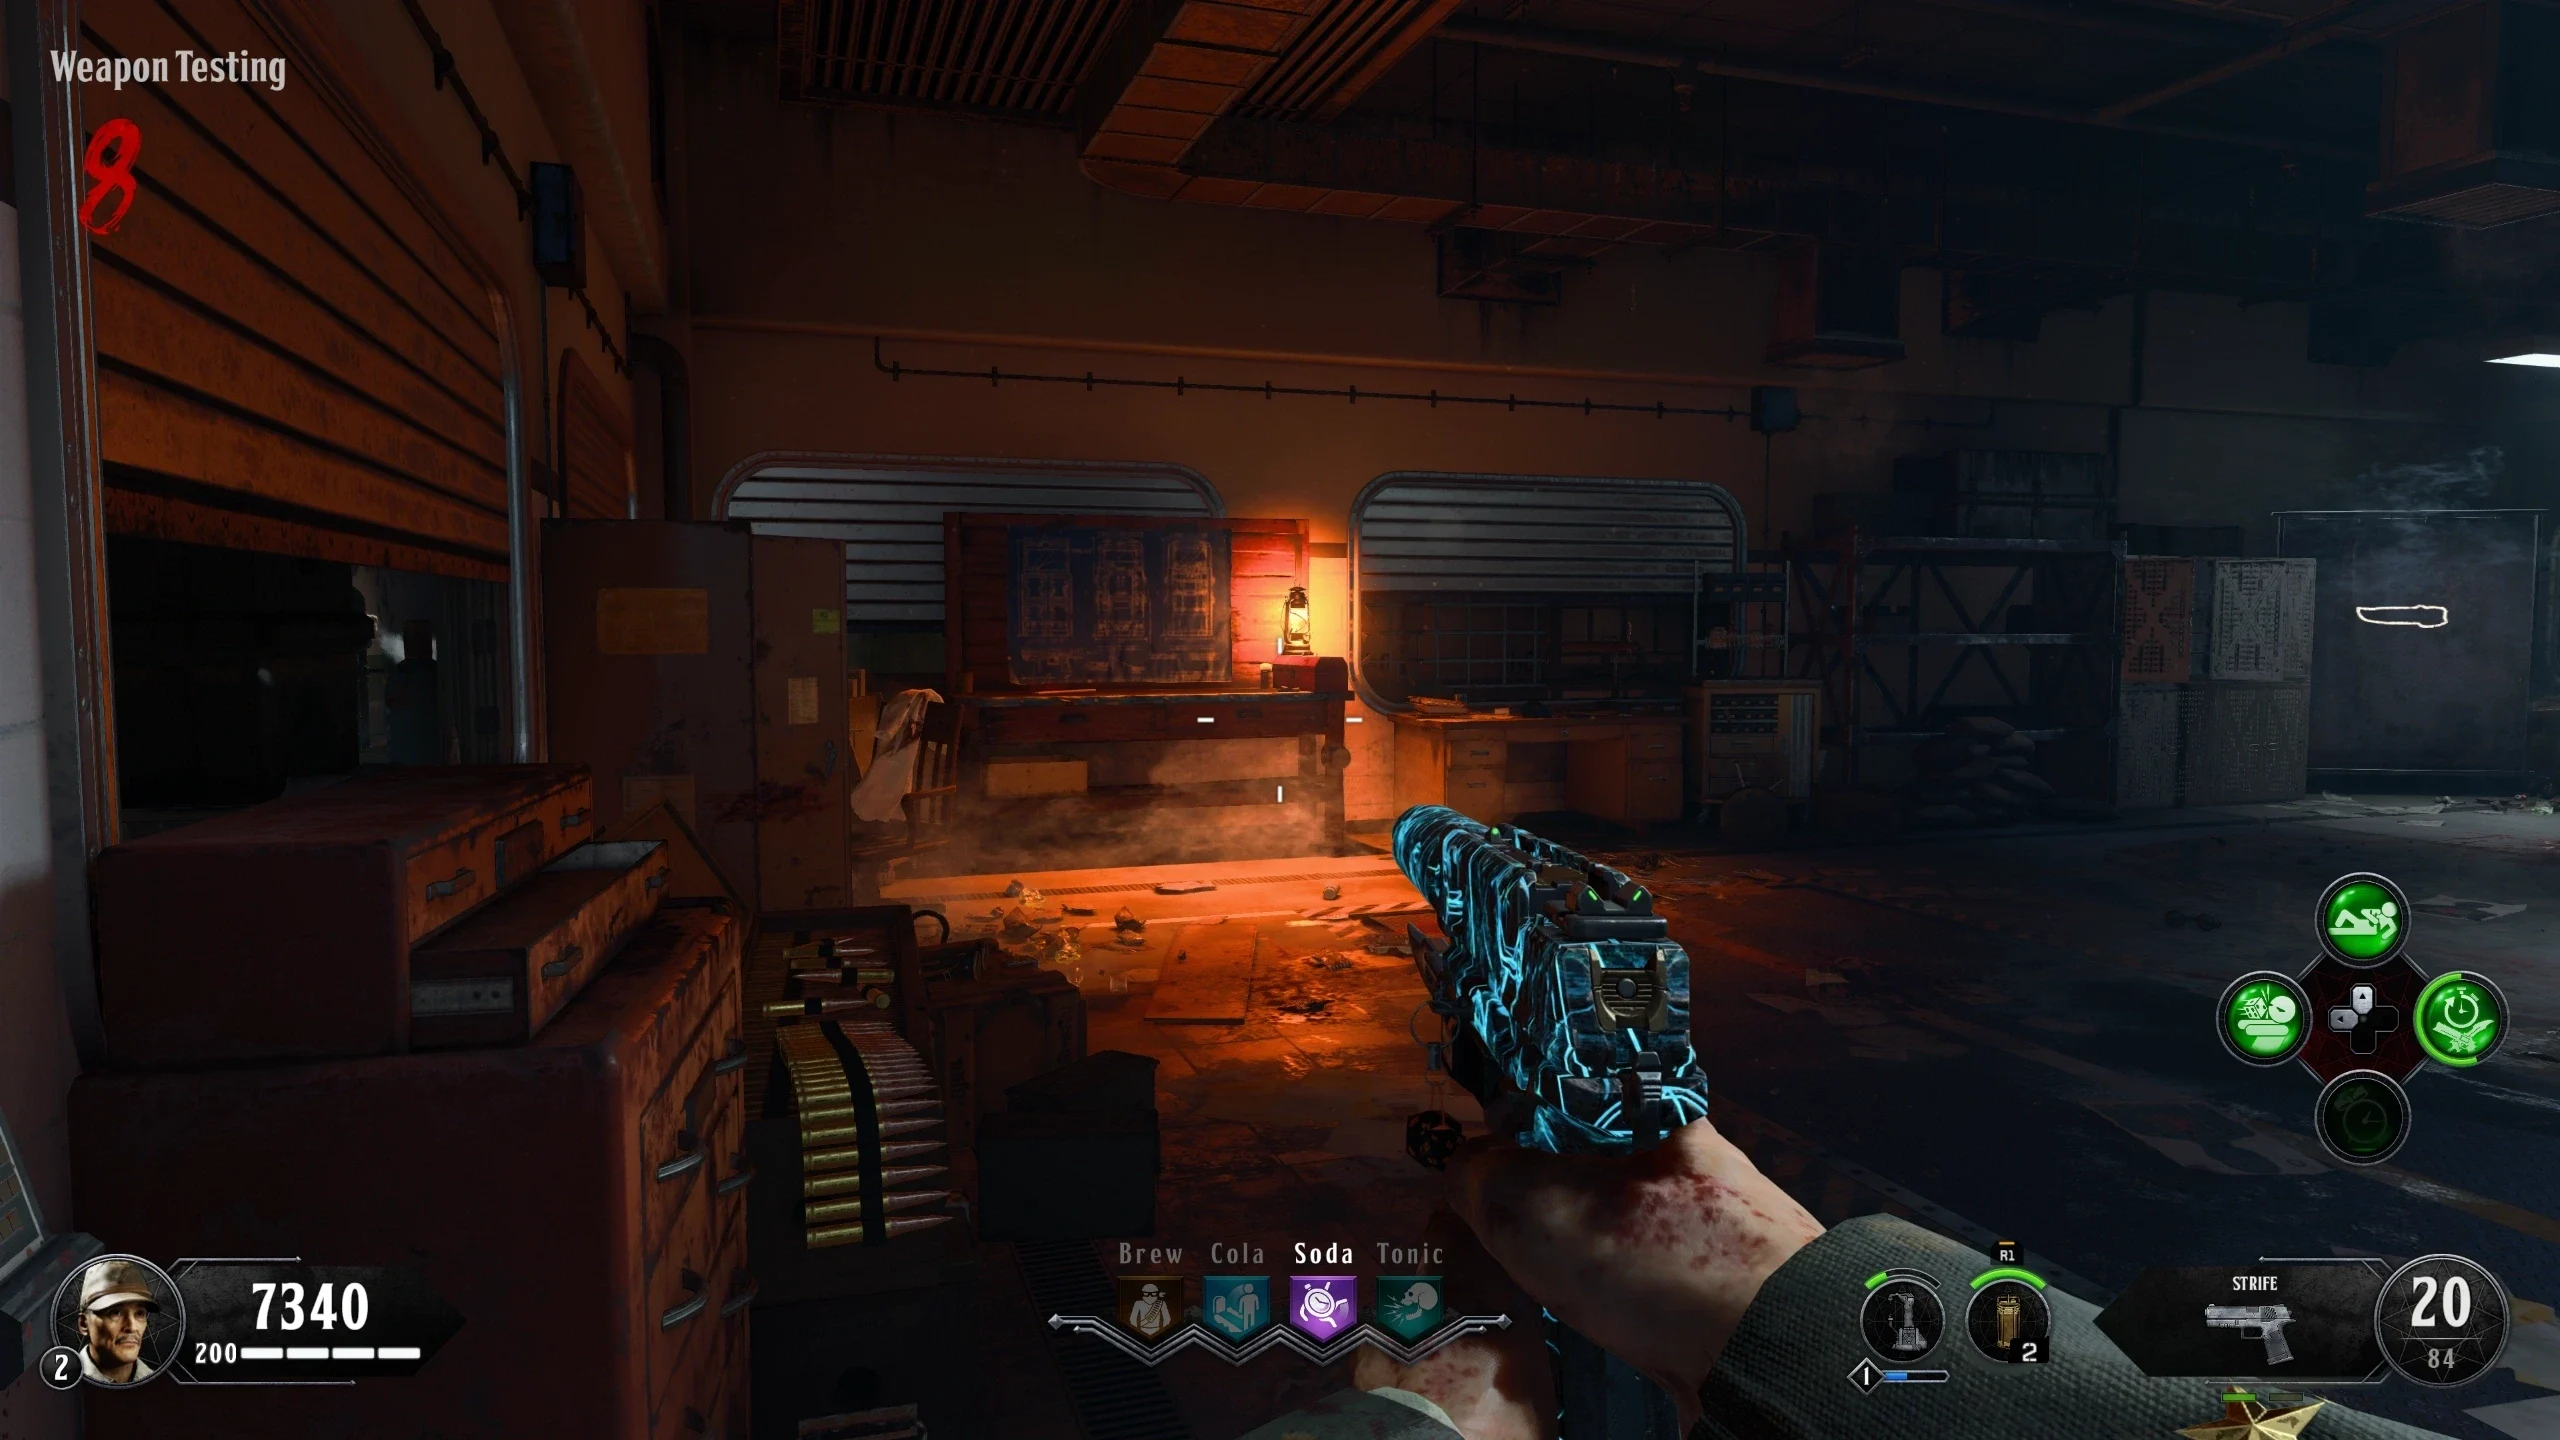
Wires - Craft the Teleporter Signal Amplifier at Central Filing or Weapon Testing.
- Place the Teleporter Signal Amplifier on the small teleporter in the 'War Room: Lower Level.'
- Once the Defcon level is set to five, the big teleporter in the middle of the 'War Room: Lower Level' will take you to 'Groom Lake' where Pack-a-Punch is.
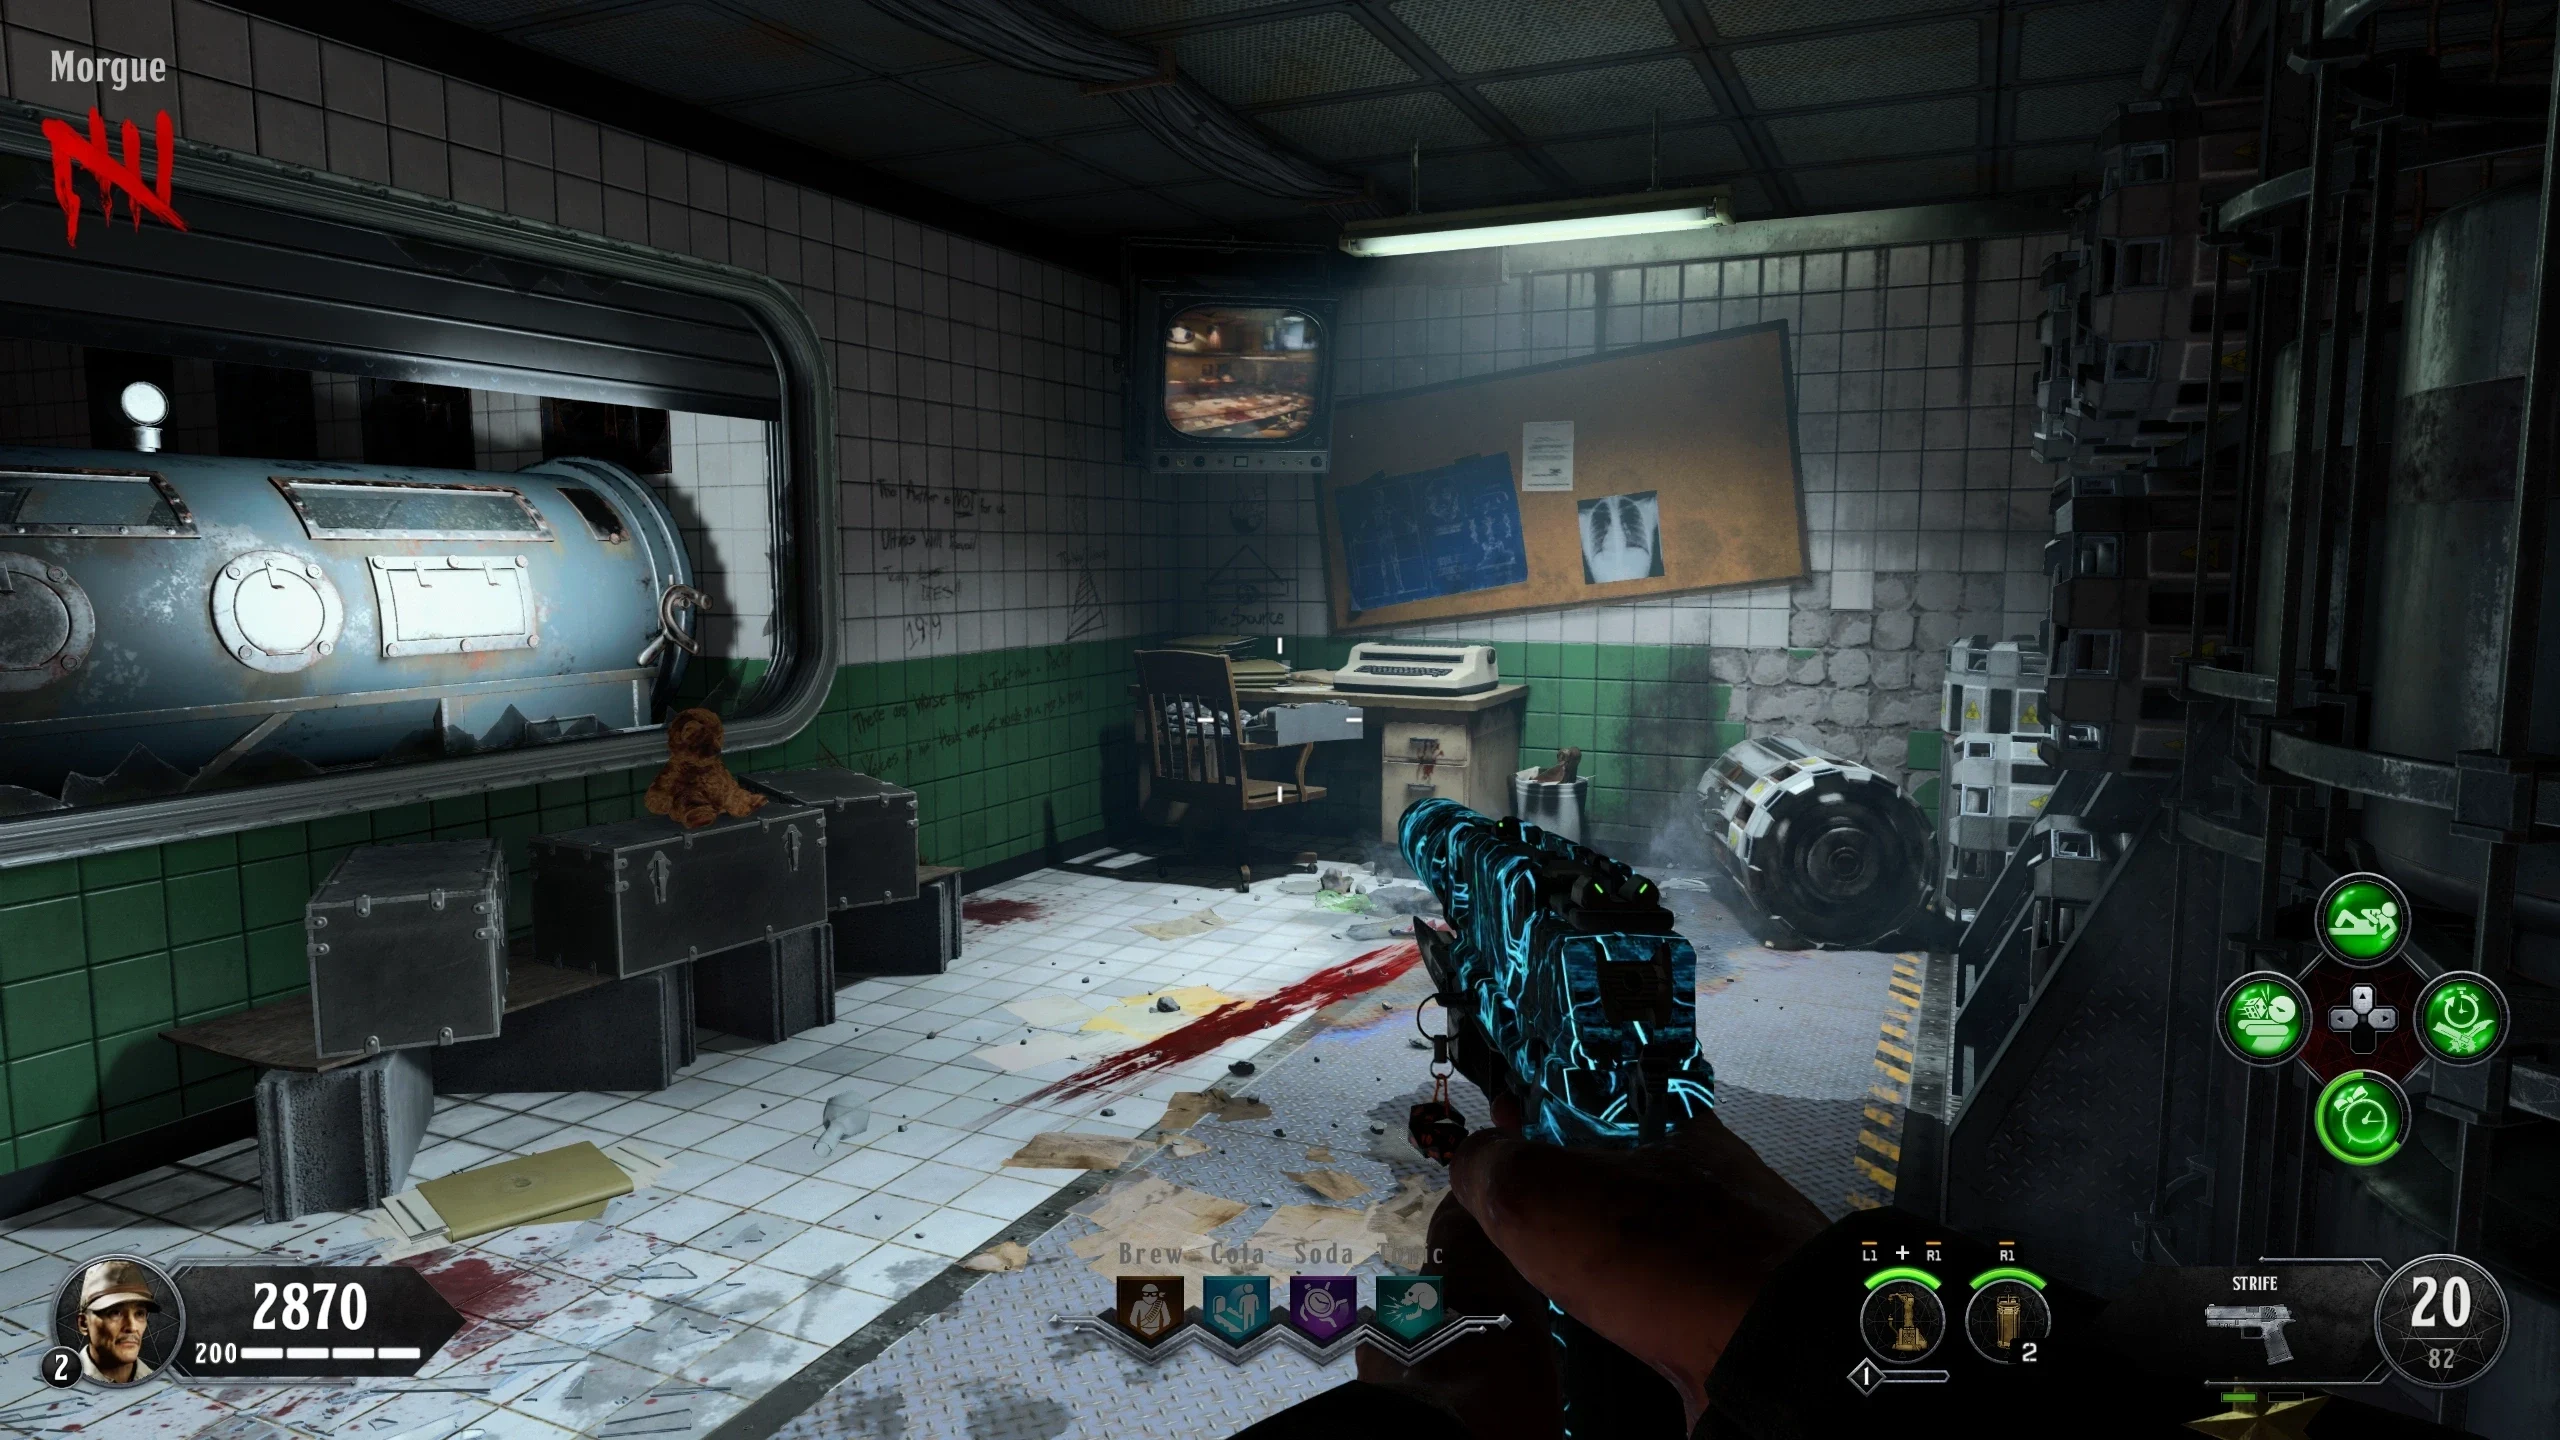
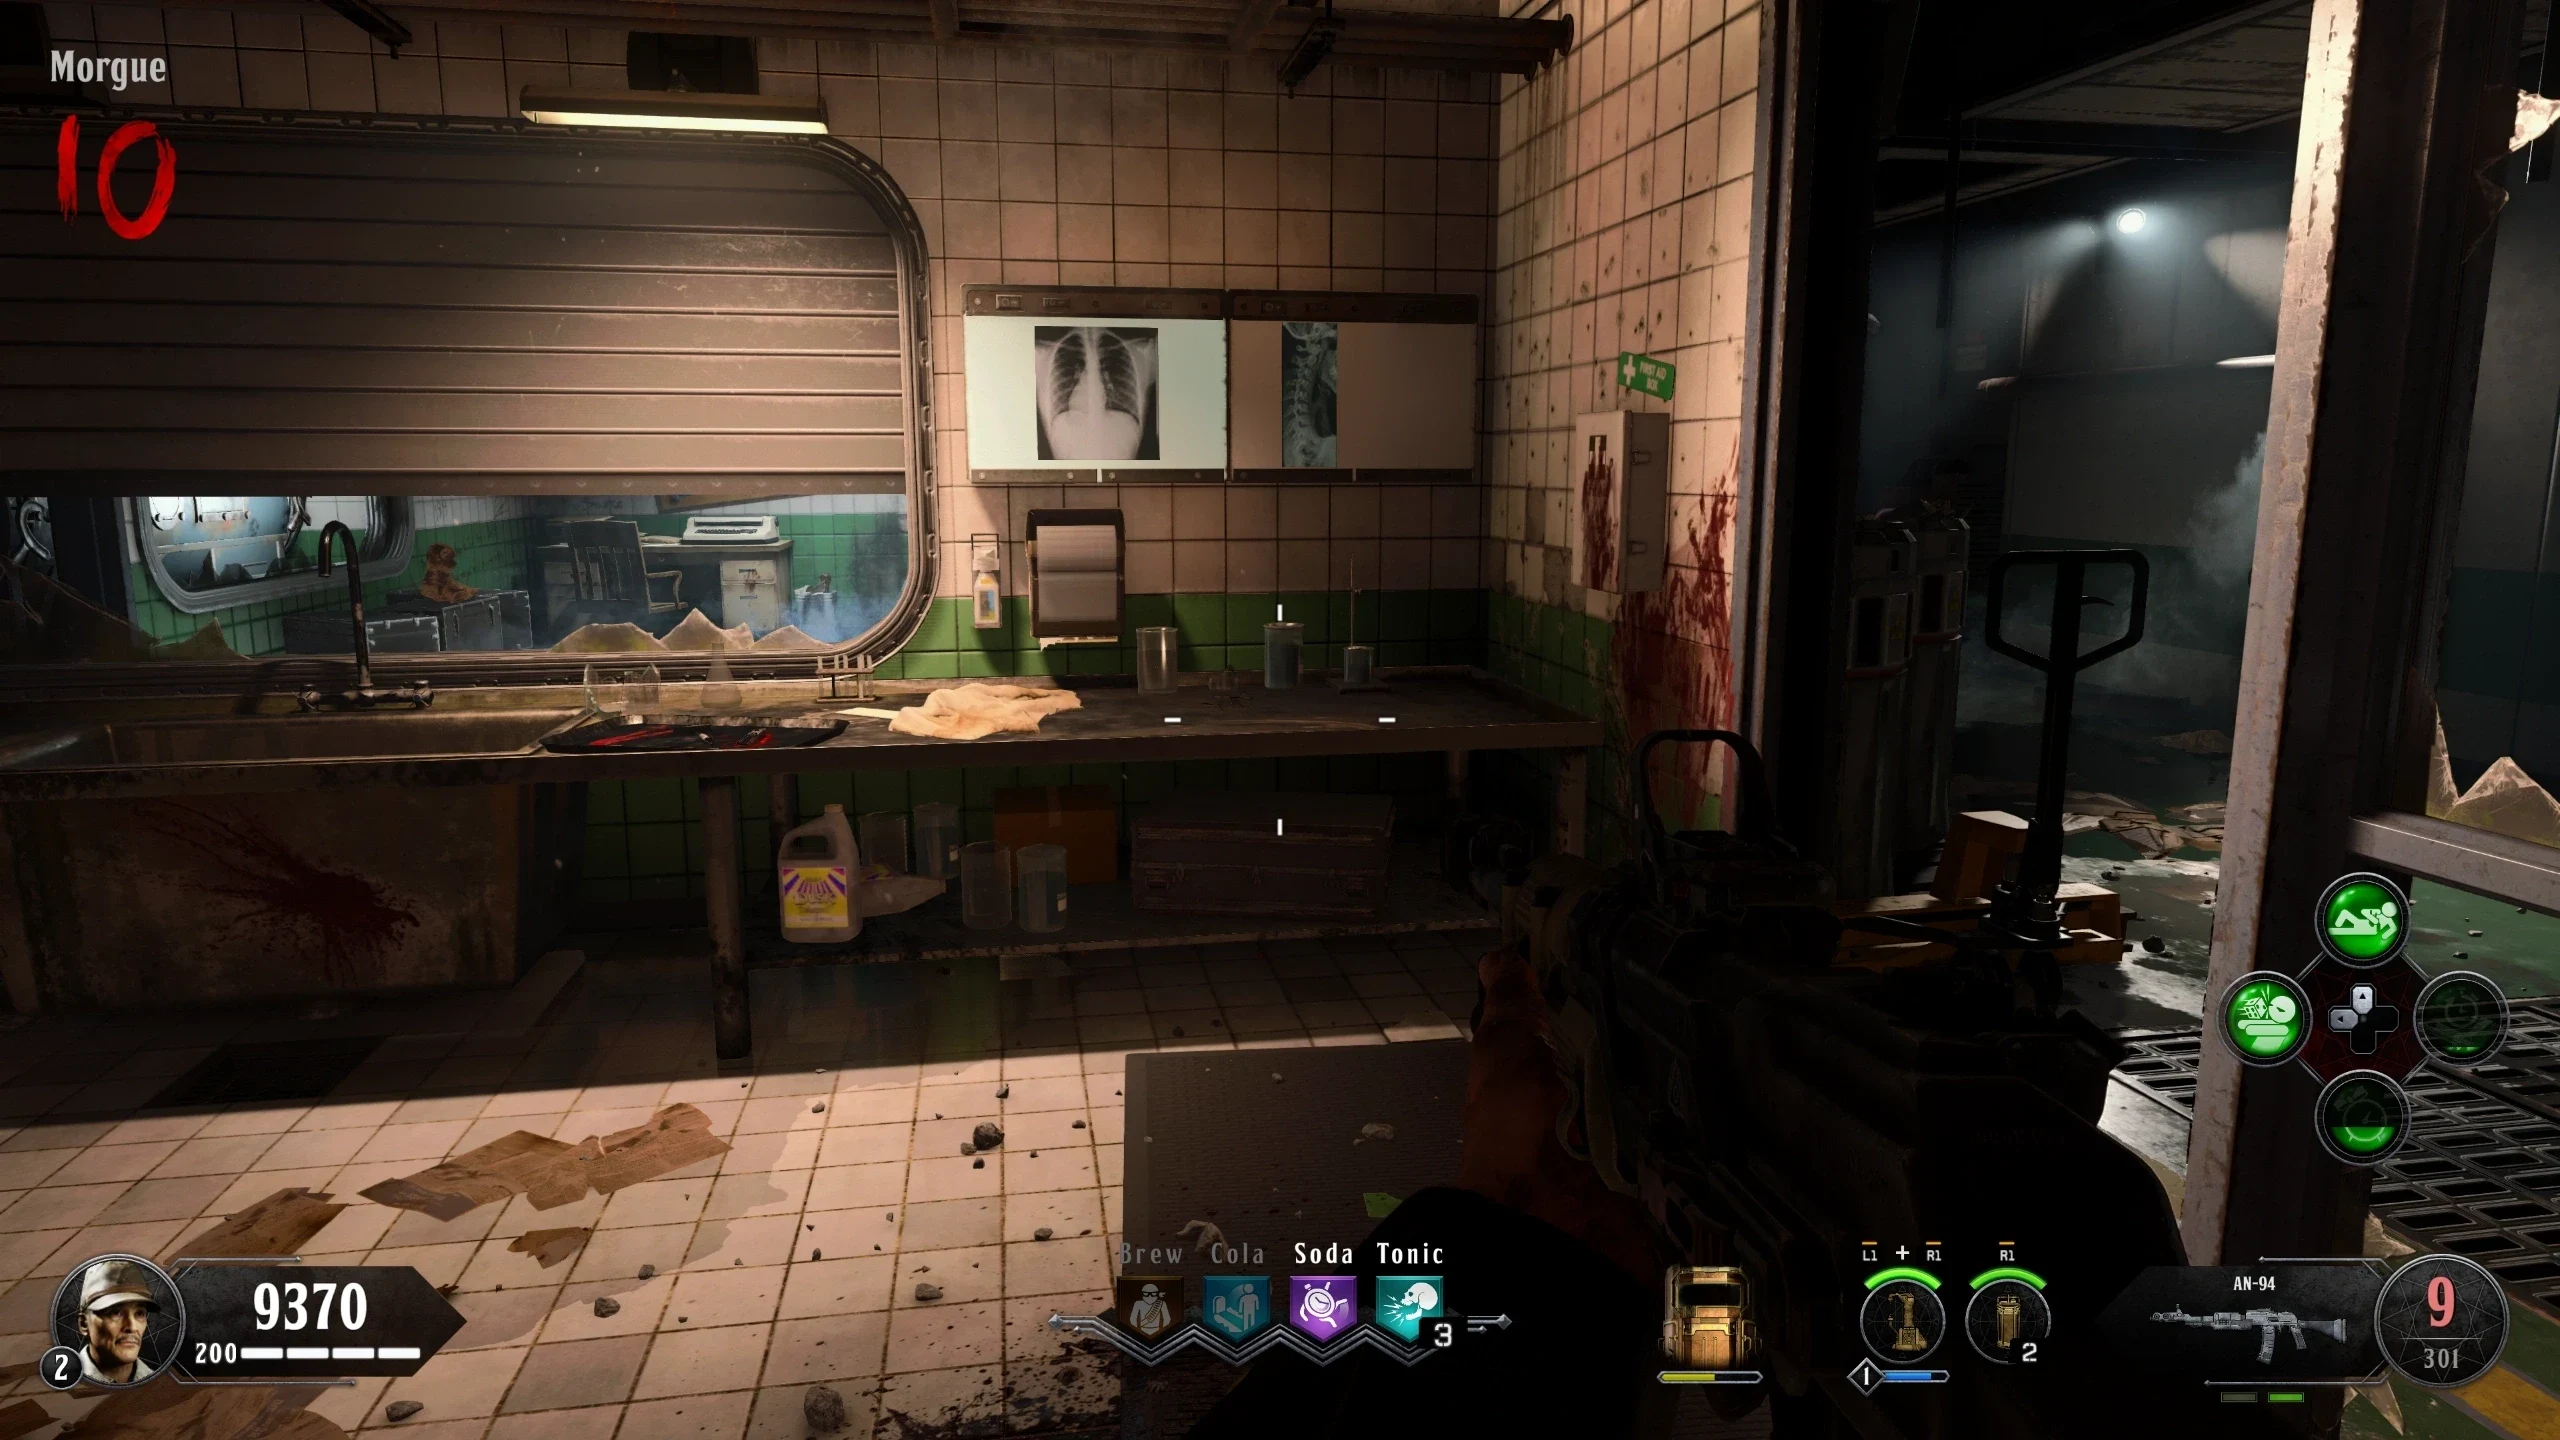
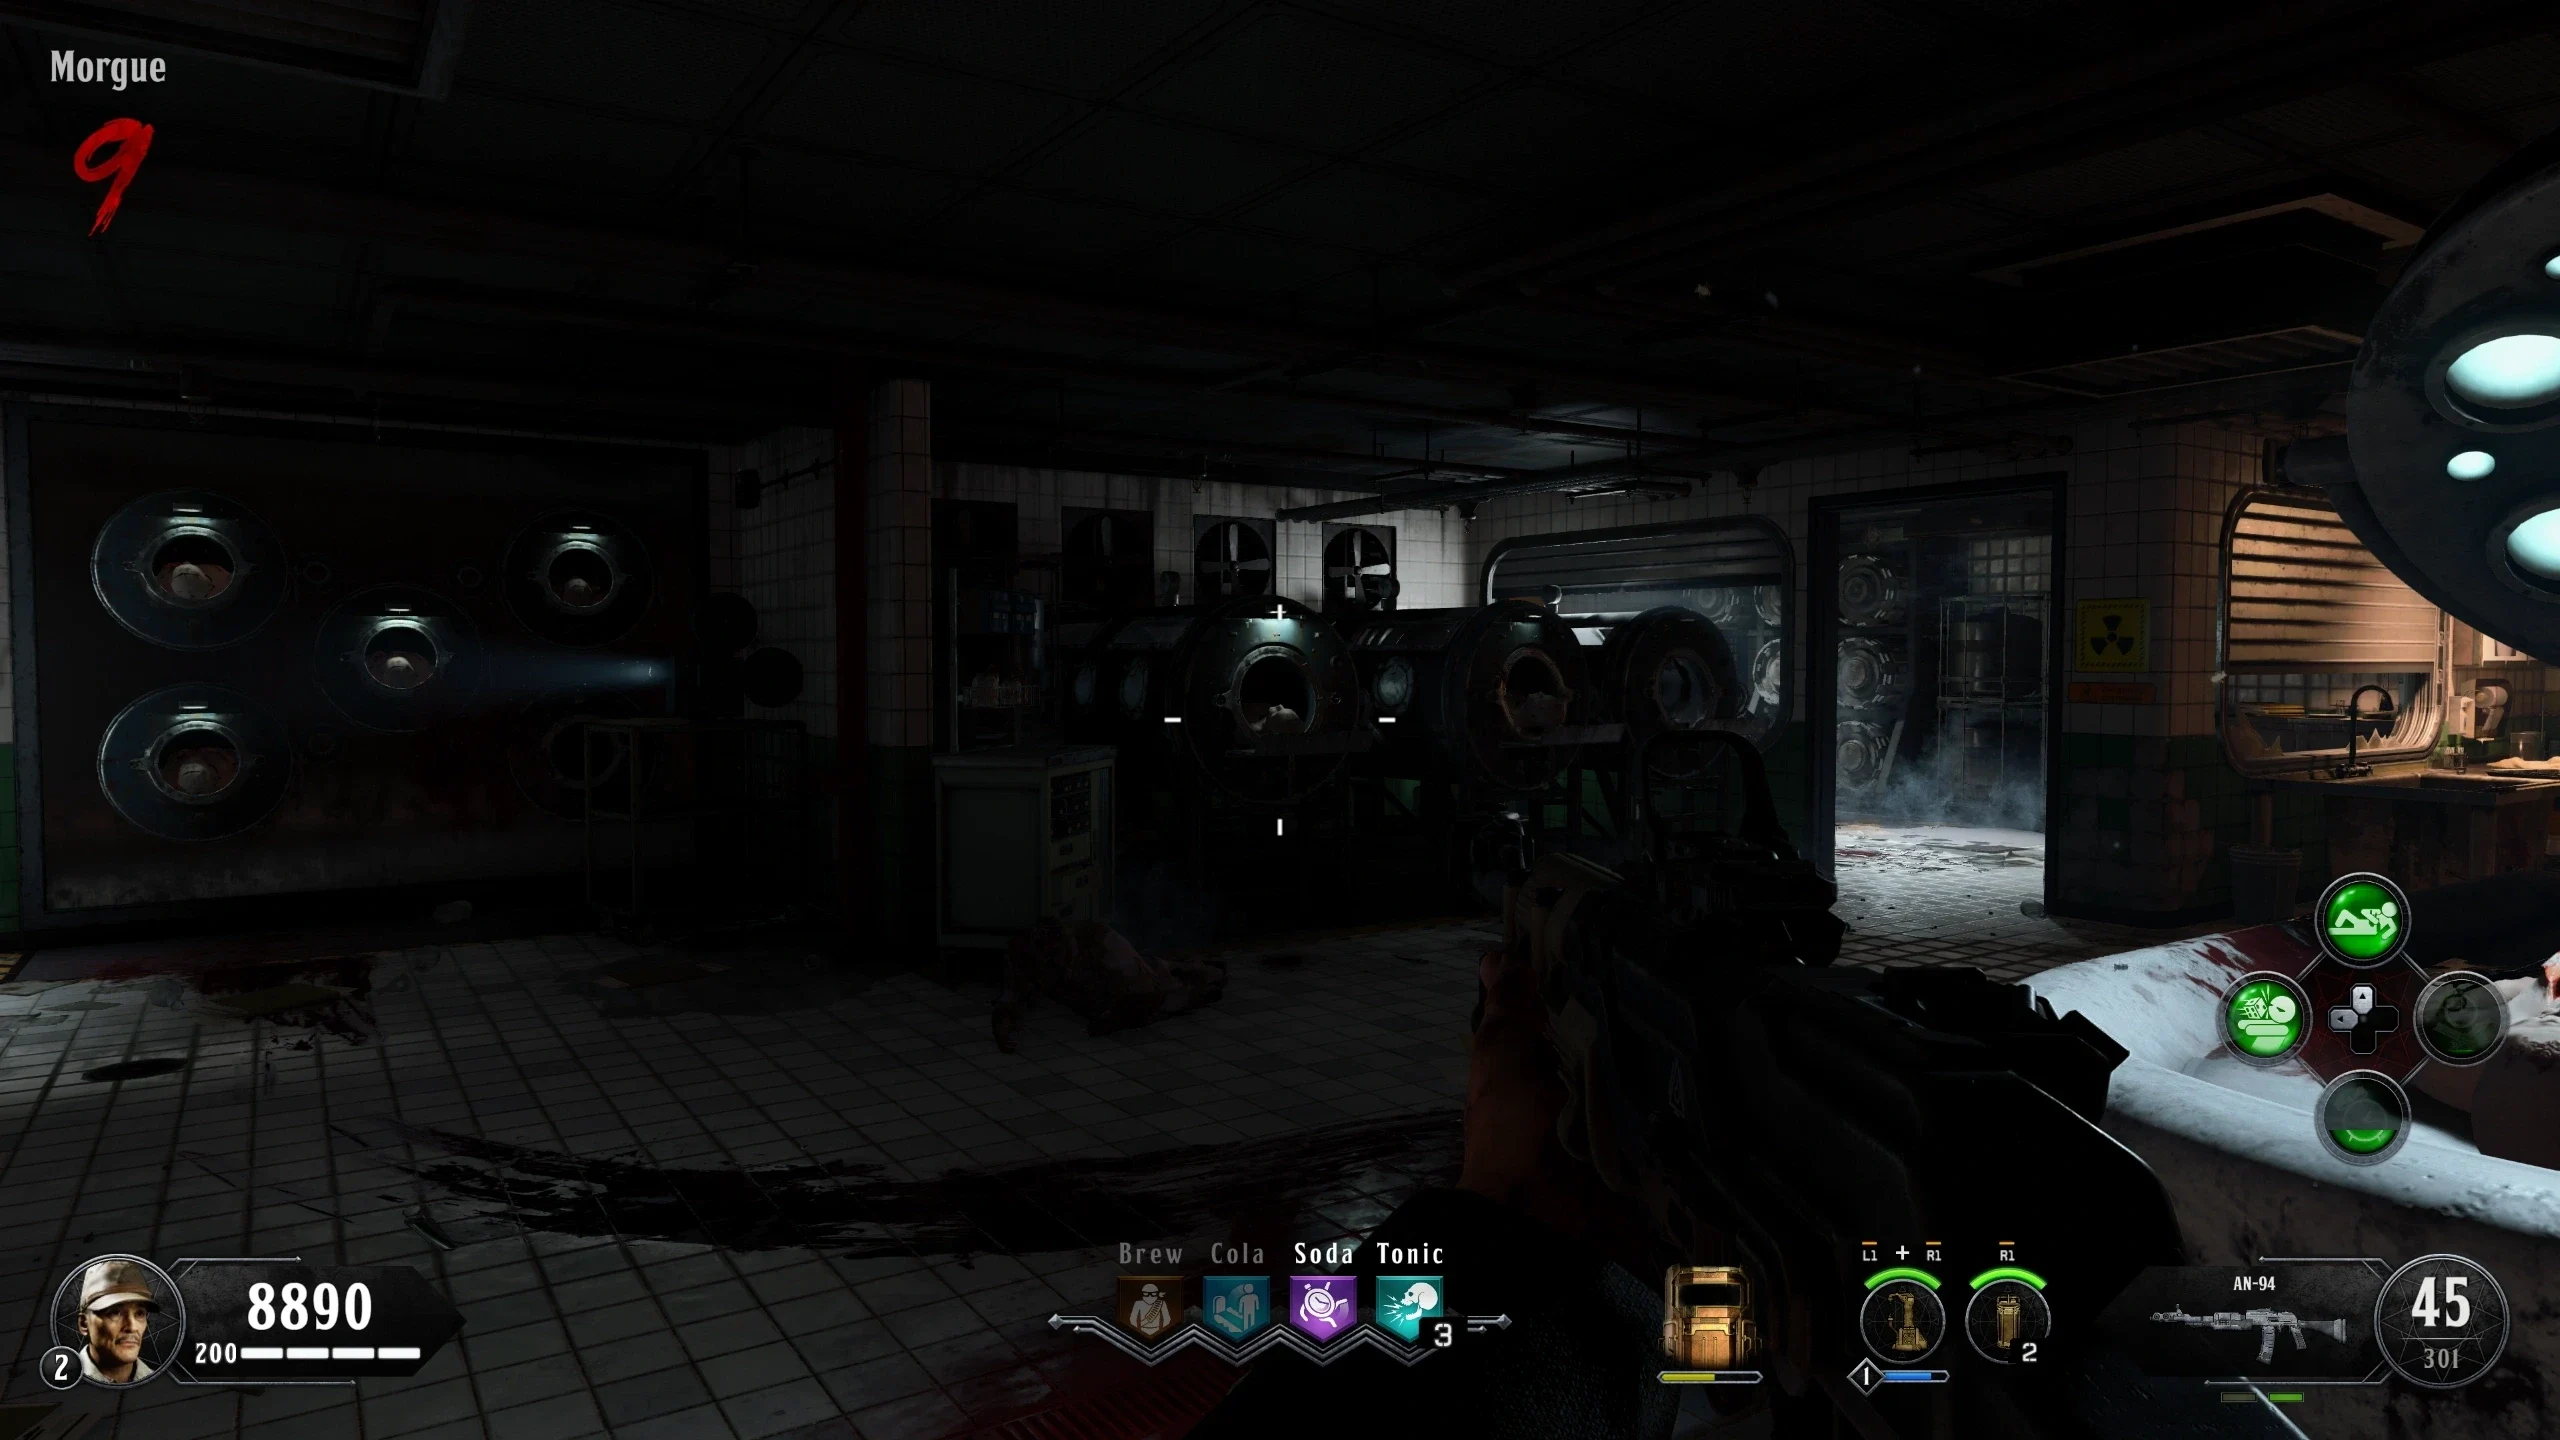
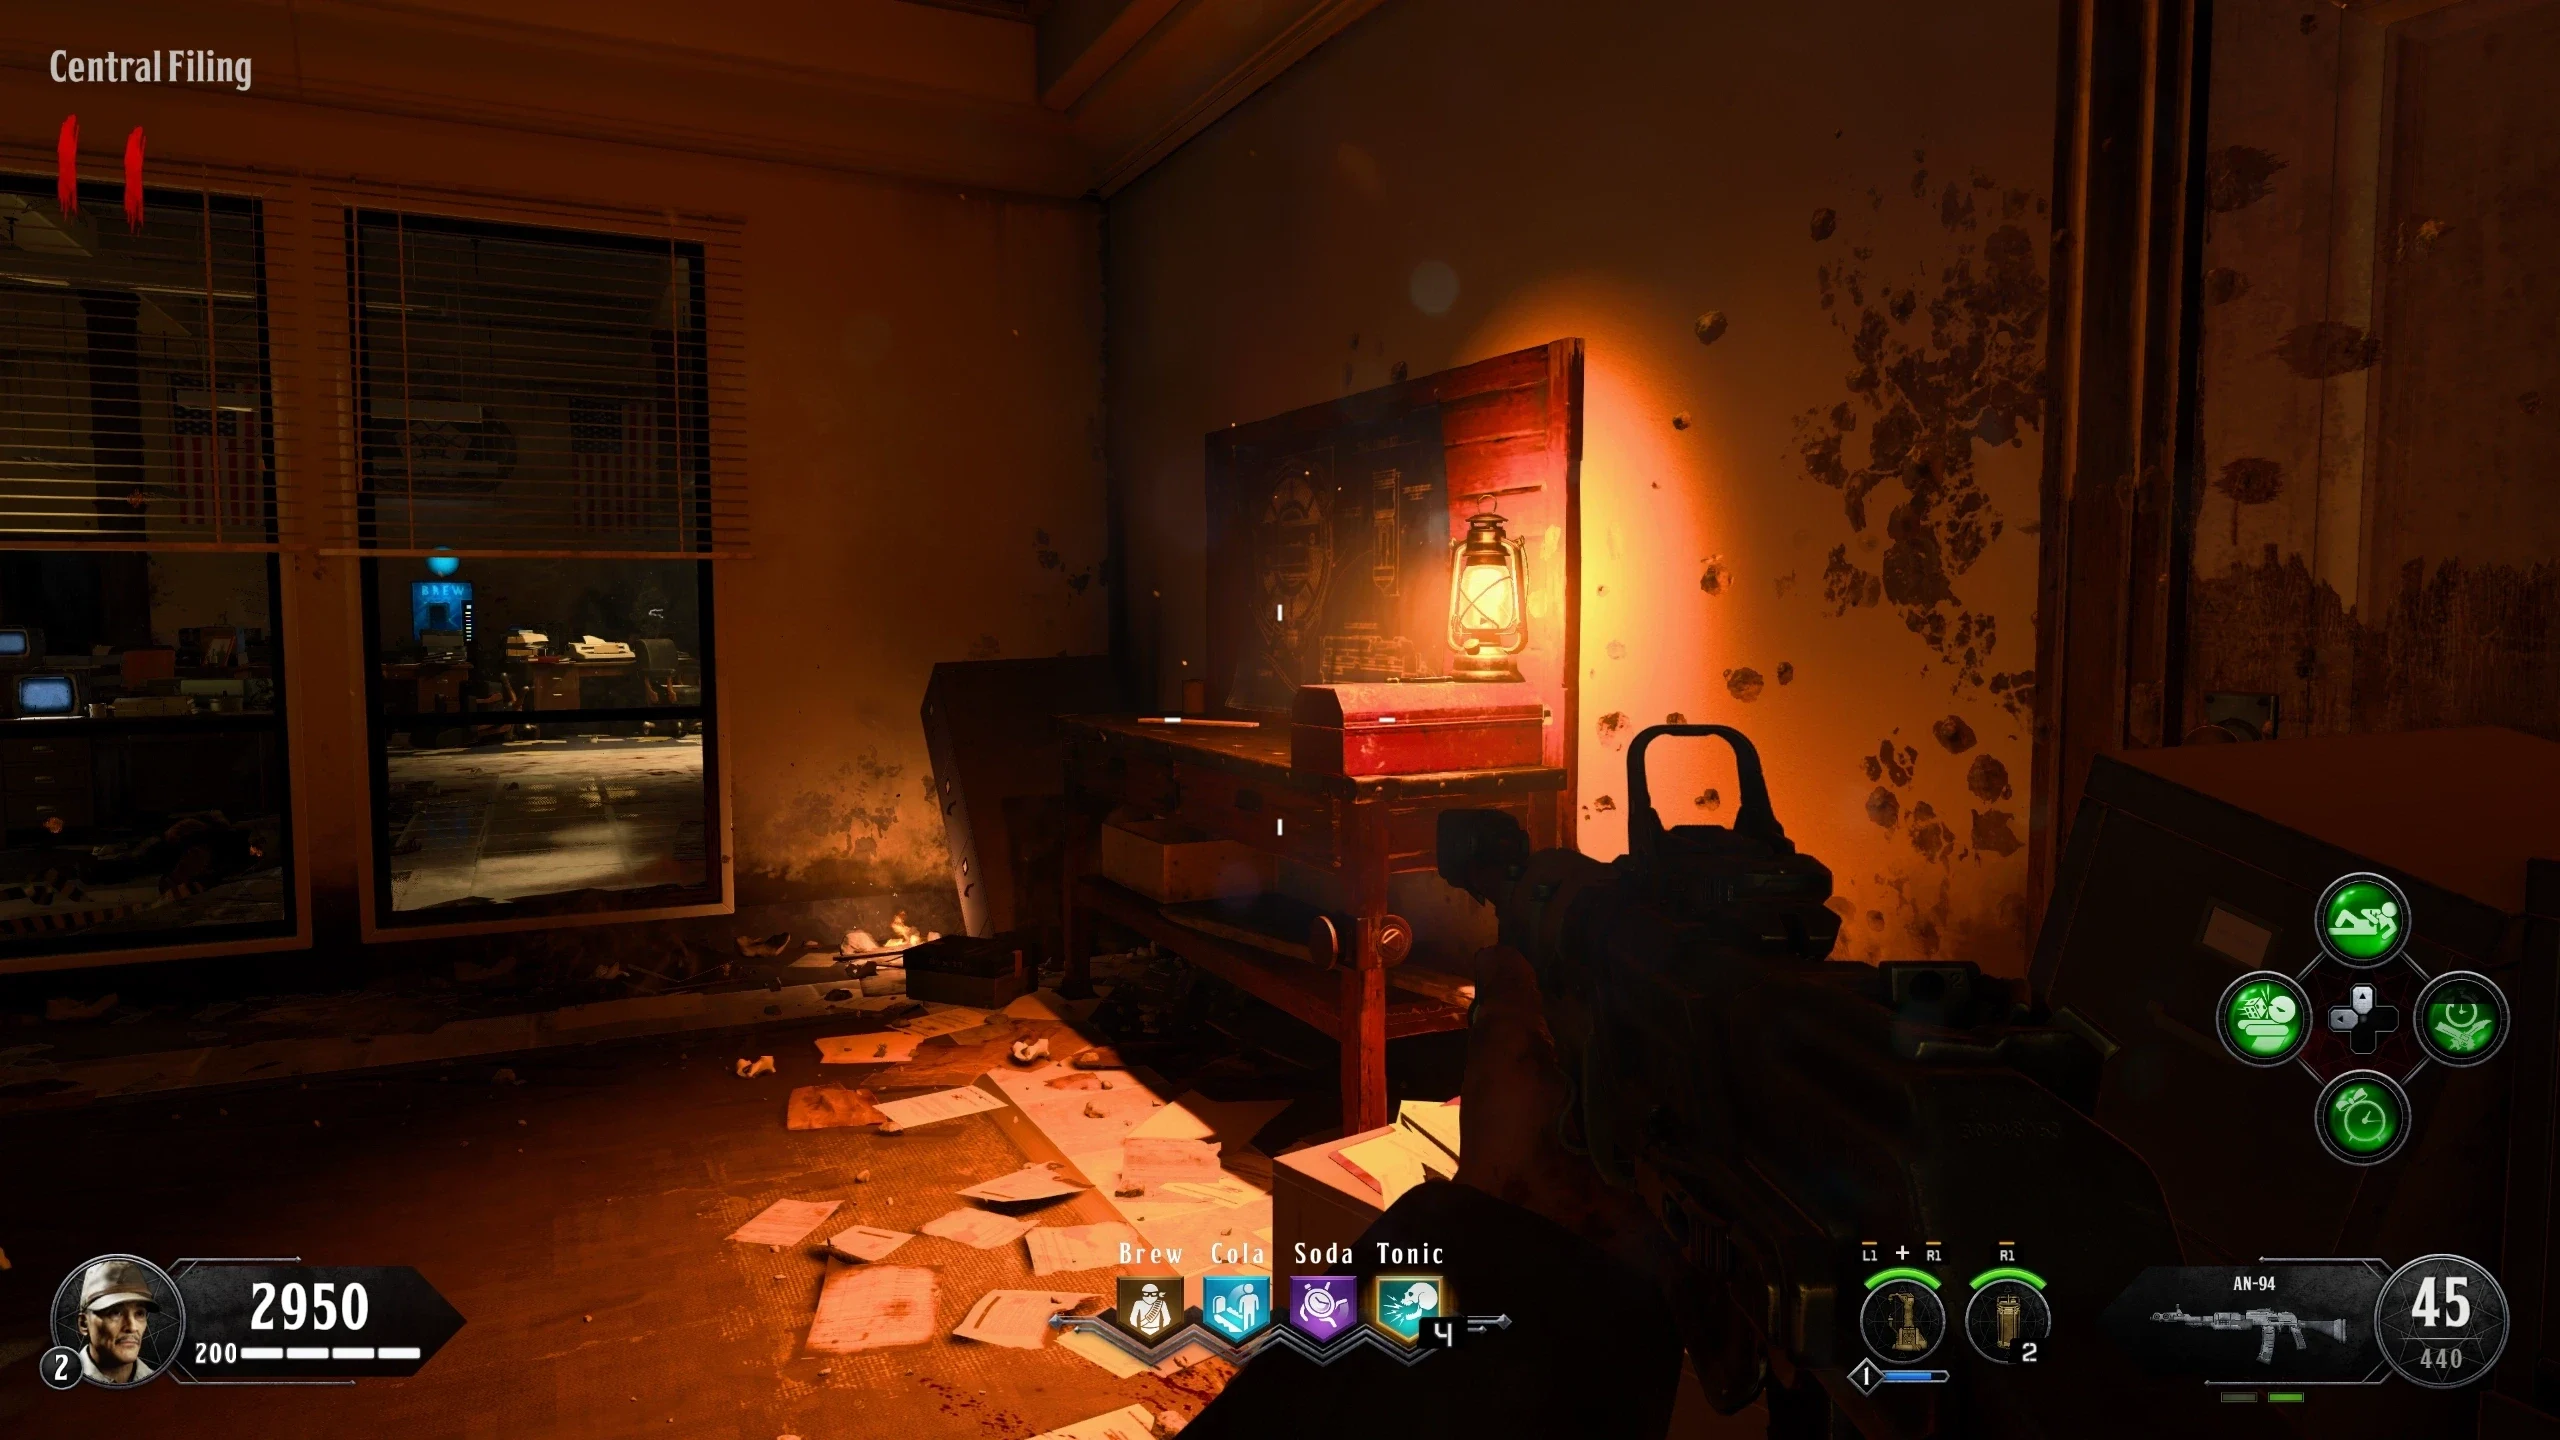
Winter's Howl (Project Skadi)
The Winter's Howl can be Pack-a-Punched and doesn't require an Easter Egg to do so. The Winter's Howl is available through the mystery box and via the following quest:
- Recommended: Equip a Frag Grenade and complete the Nova Crawler Easter Egg on Round 1 to get 6000 points for free.
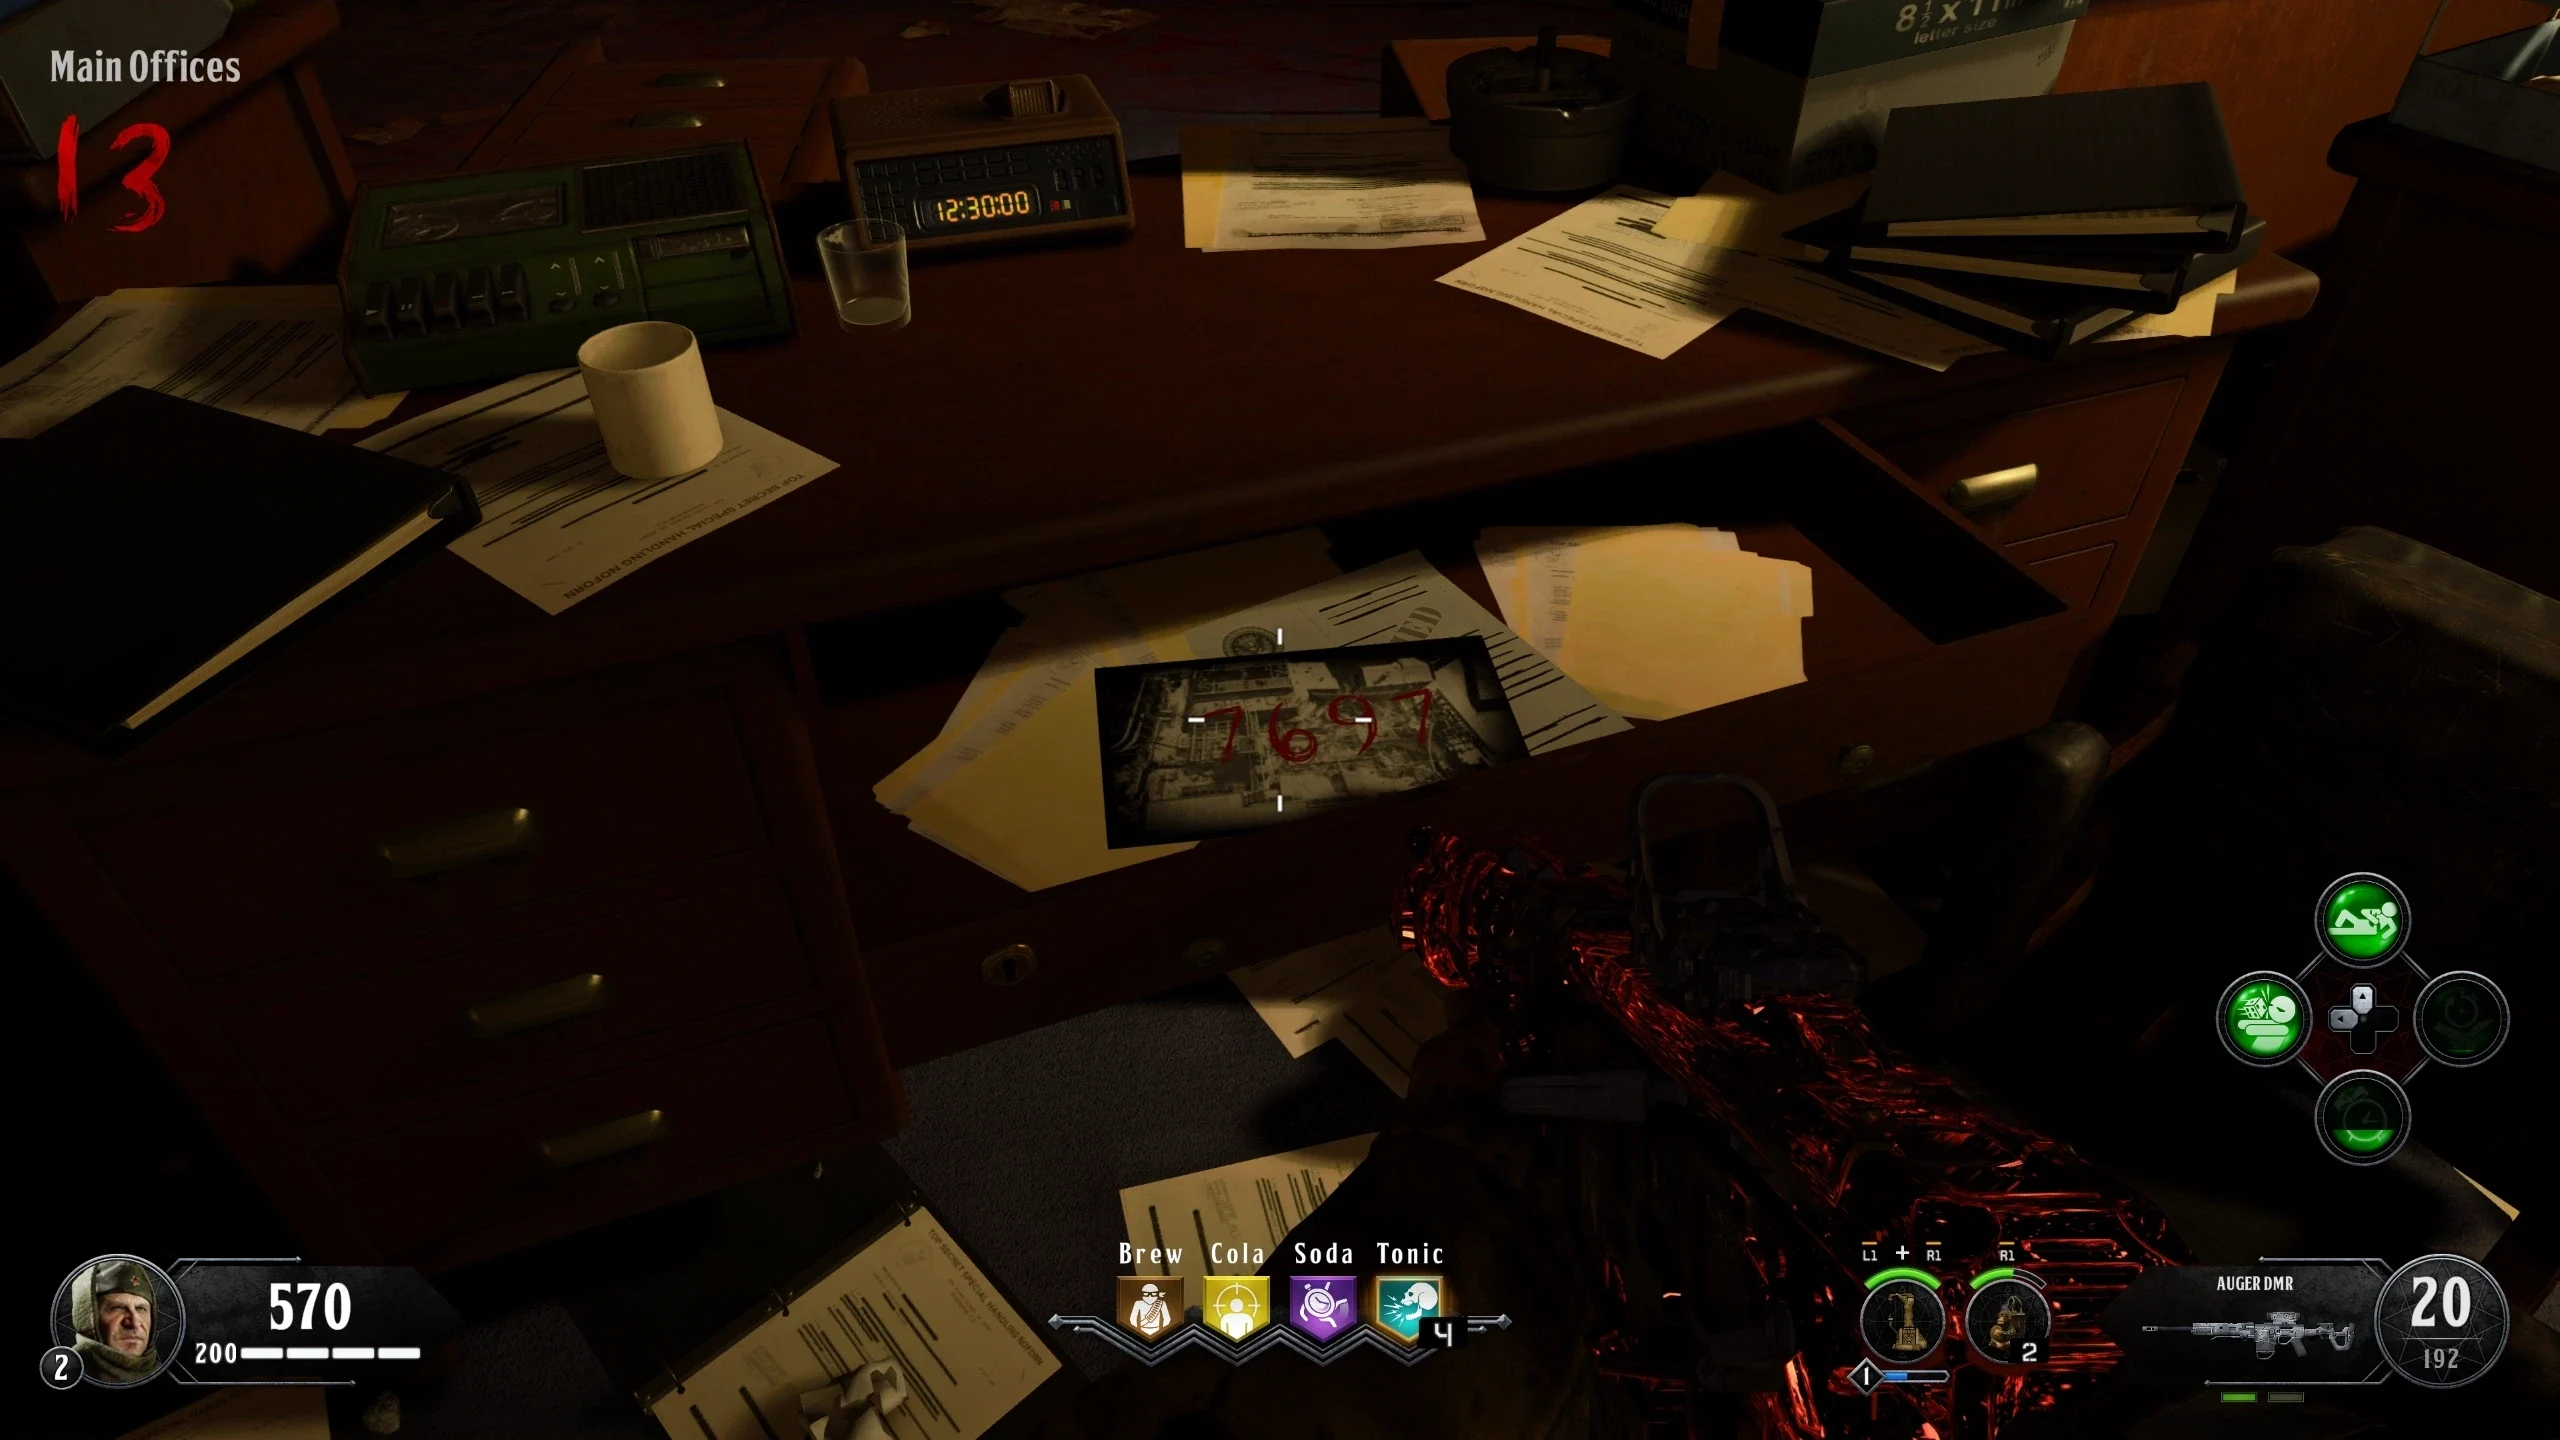
- To get the Winter's Howl, collect four sets of numbers, each corresponding to an image of a previous map. You can collect them in any order.
Der Riese Numbers
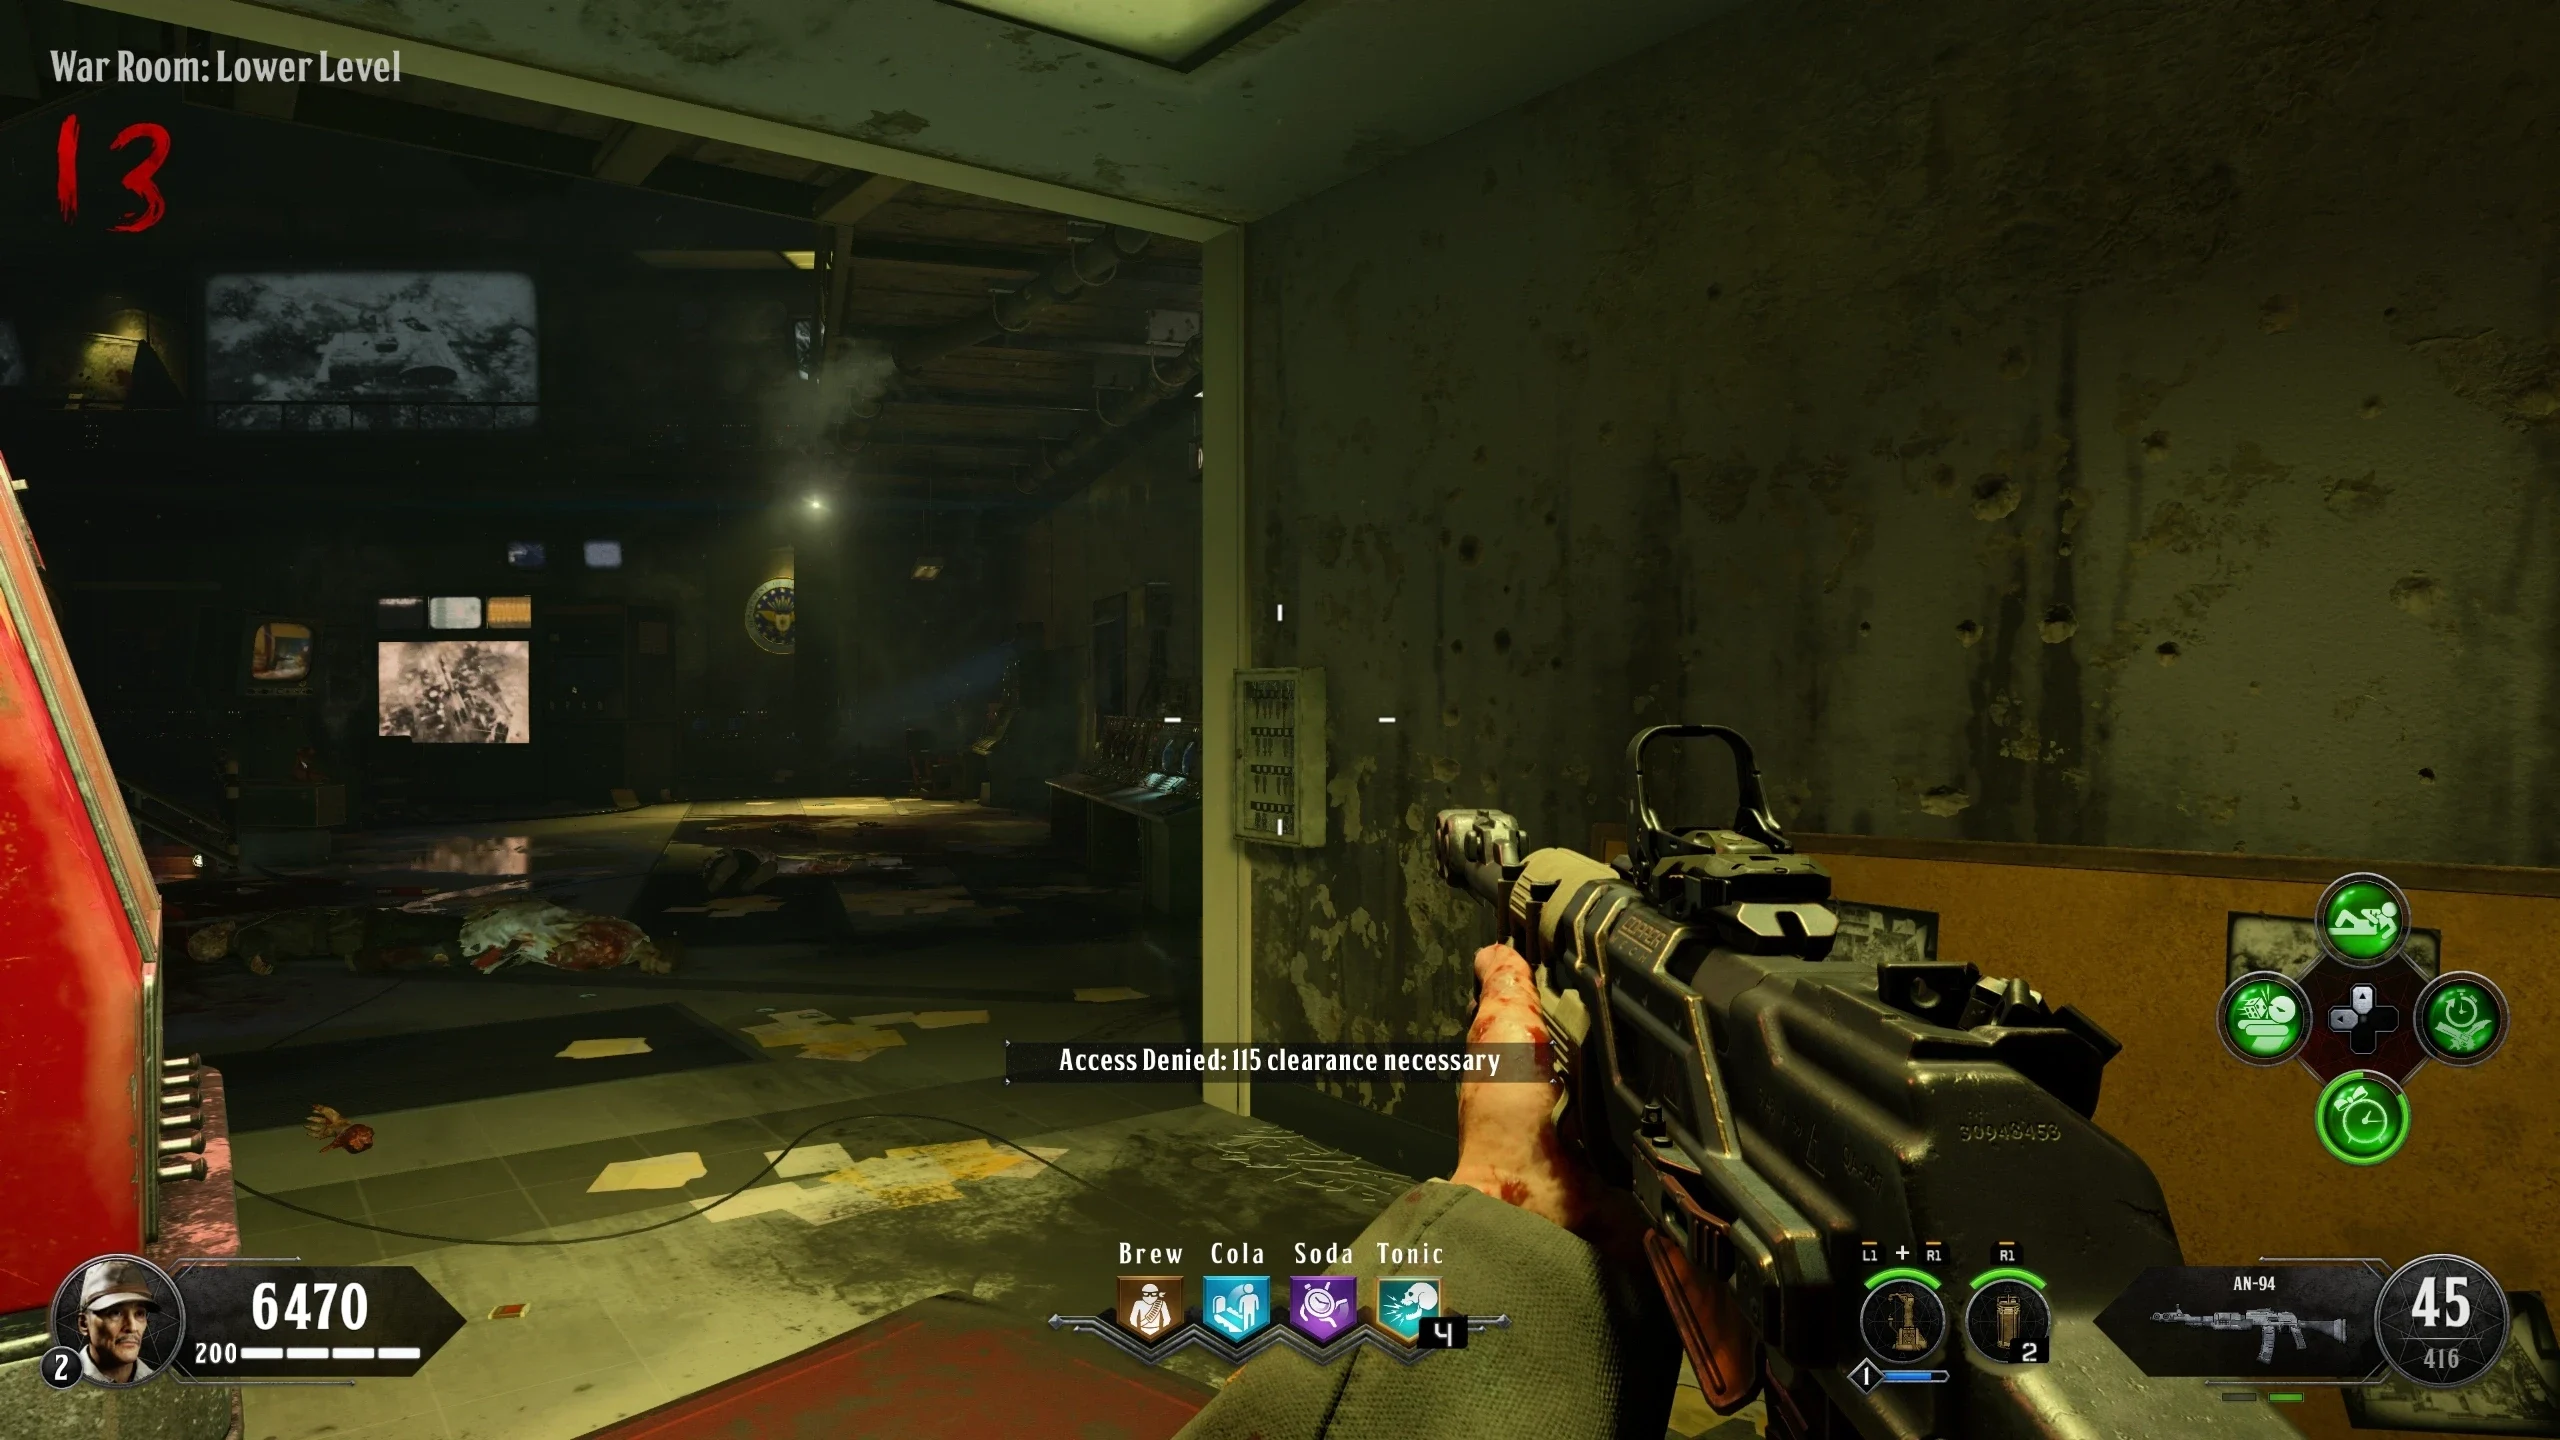
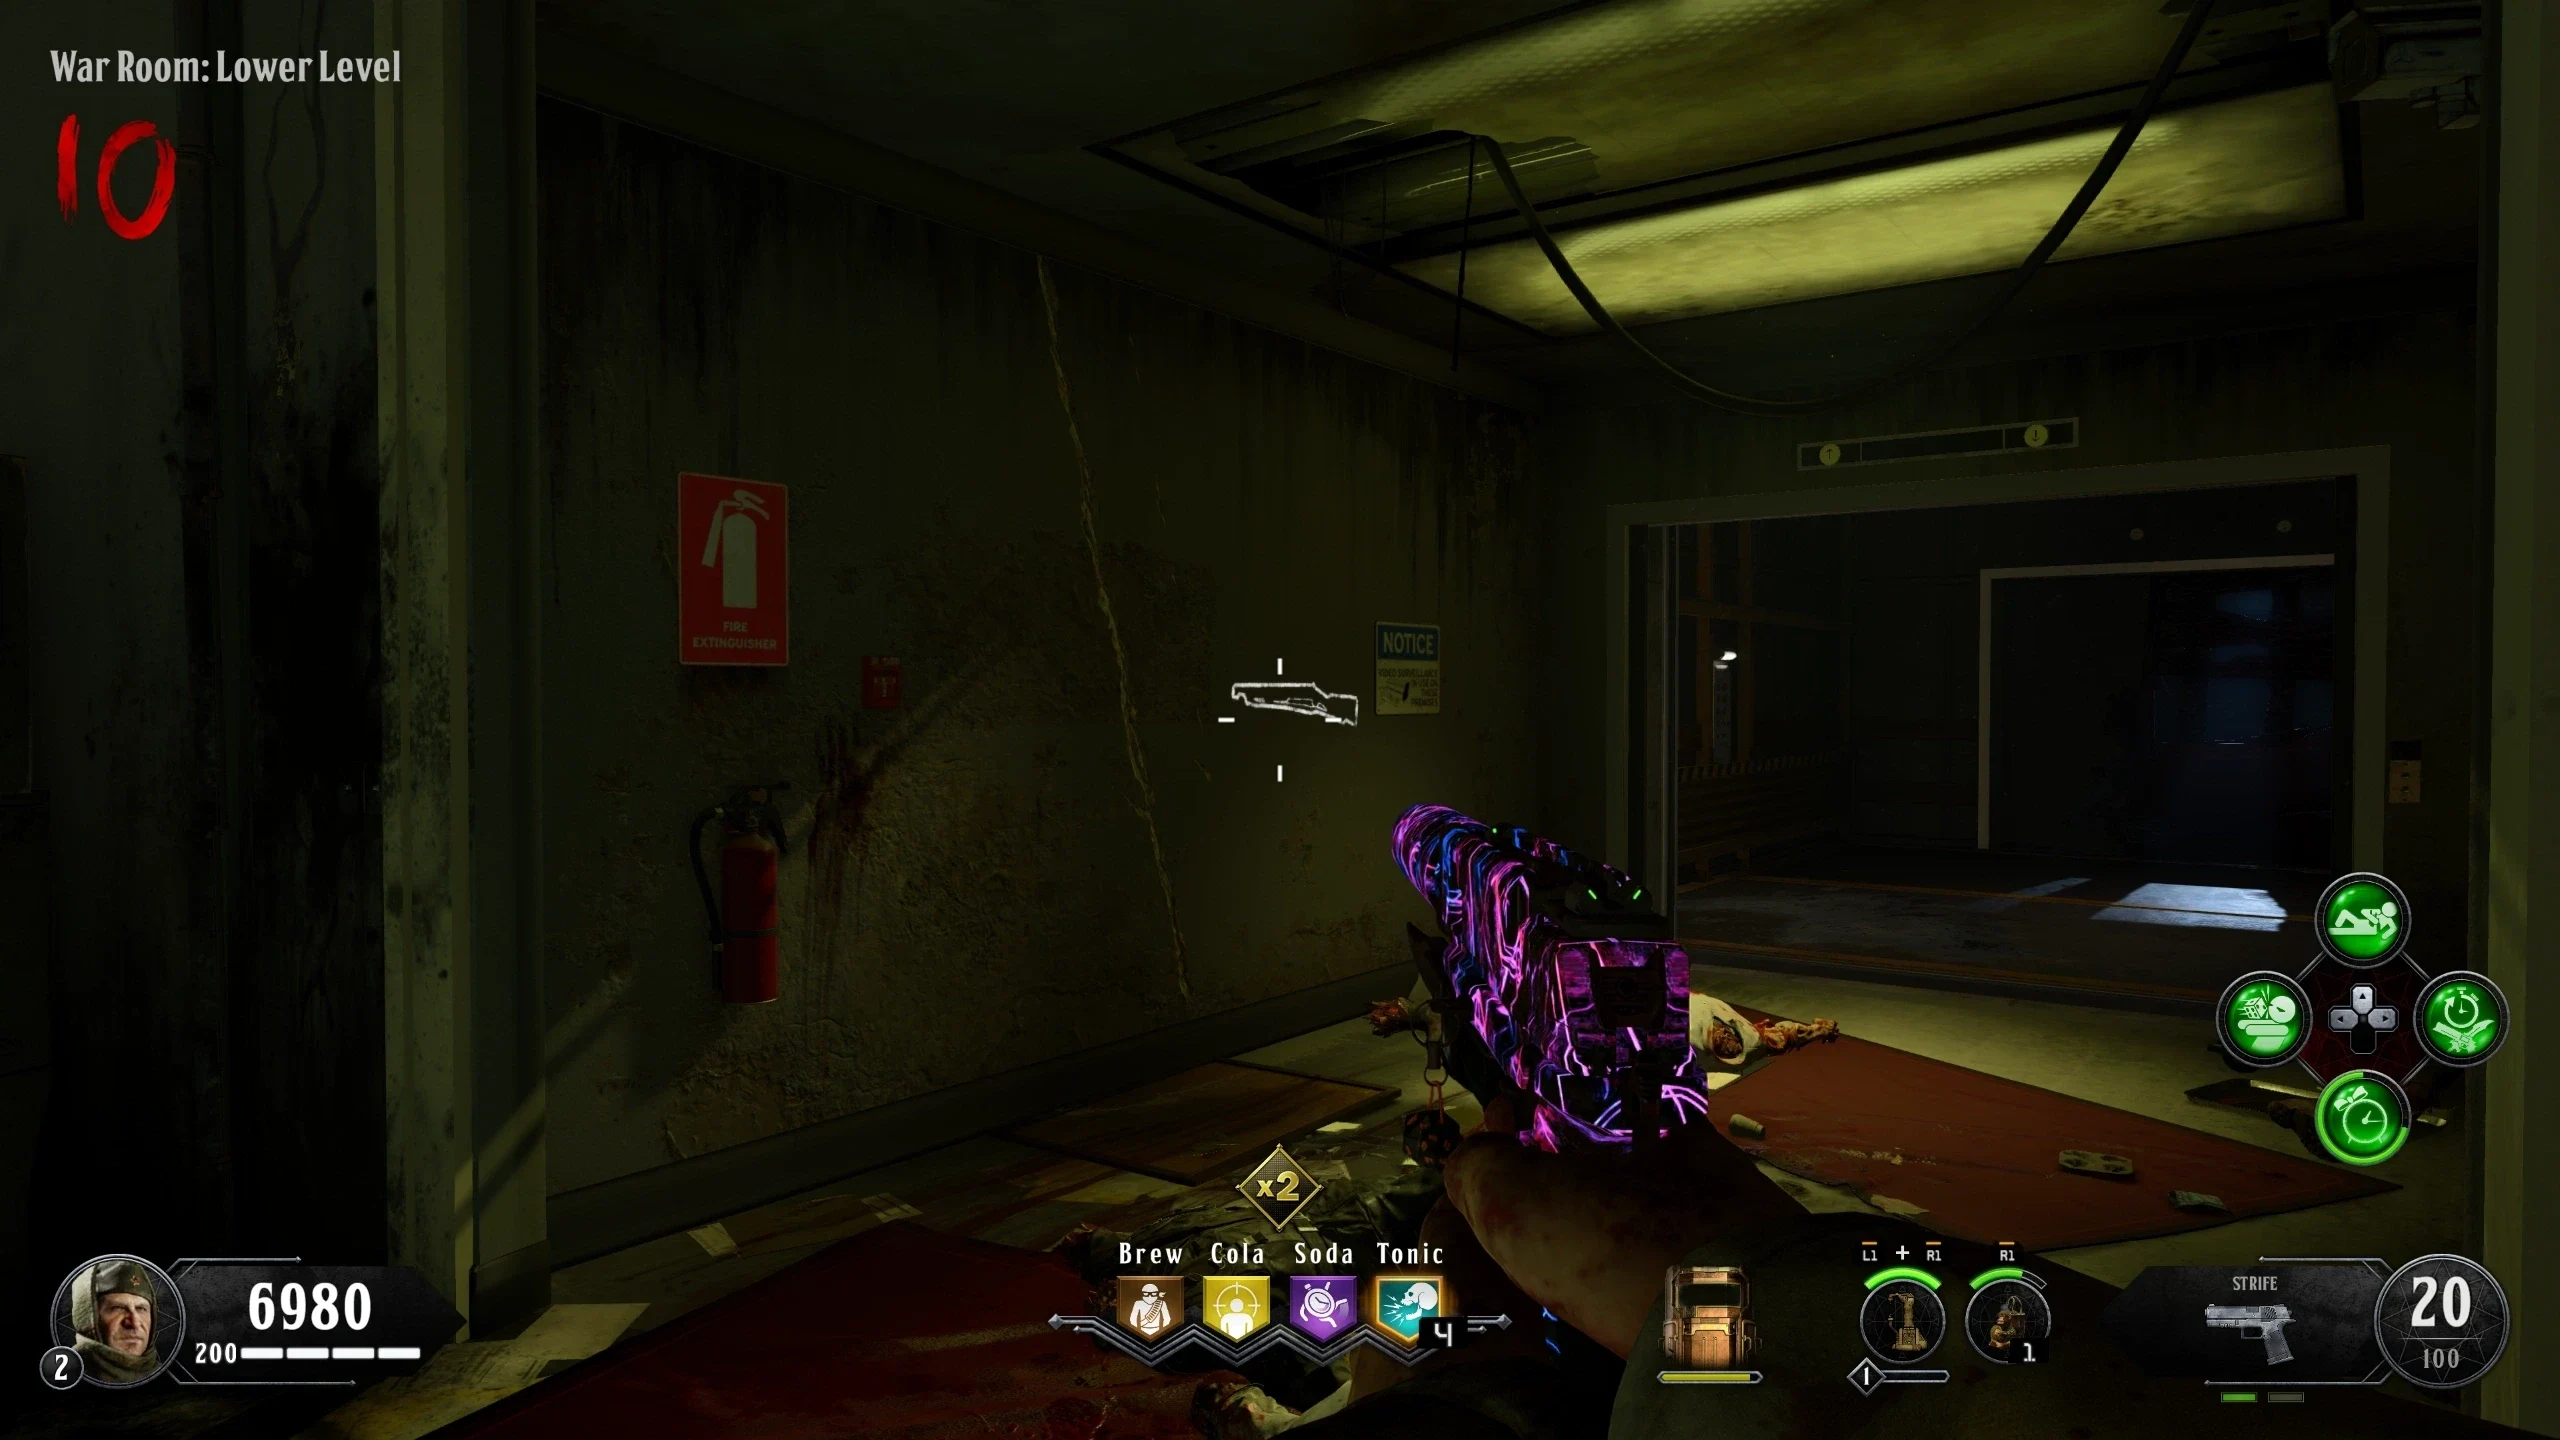
- Pick up the Key in the box opposite the Cola Perk, in the 'War Room: Lower Level.'
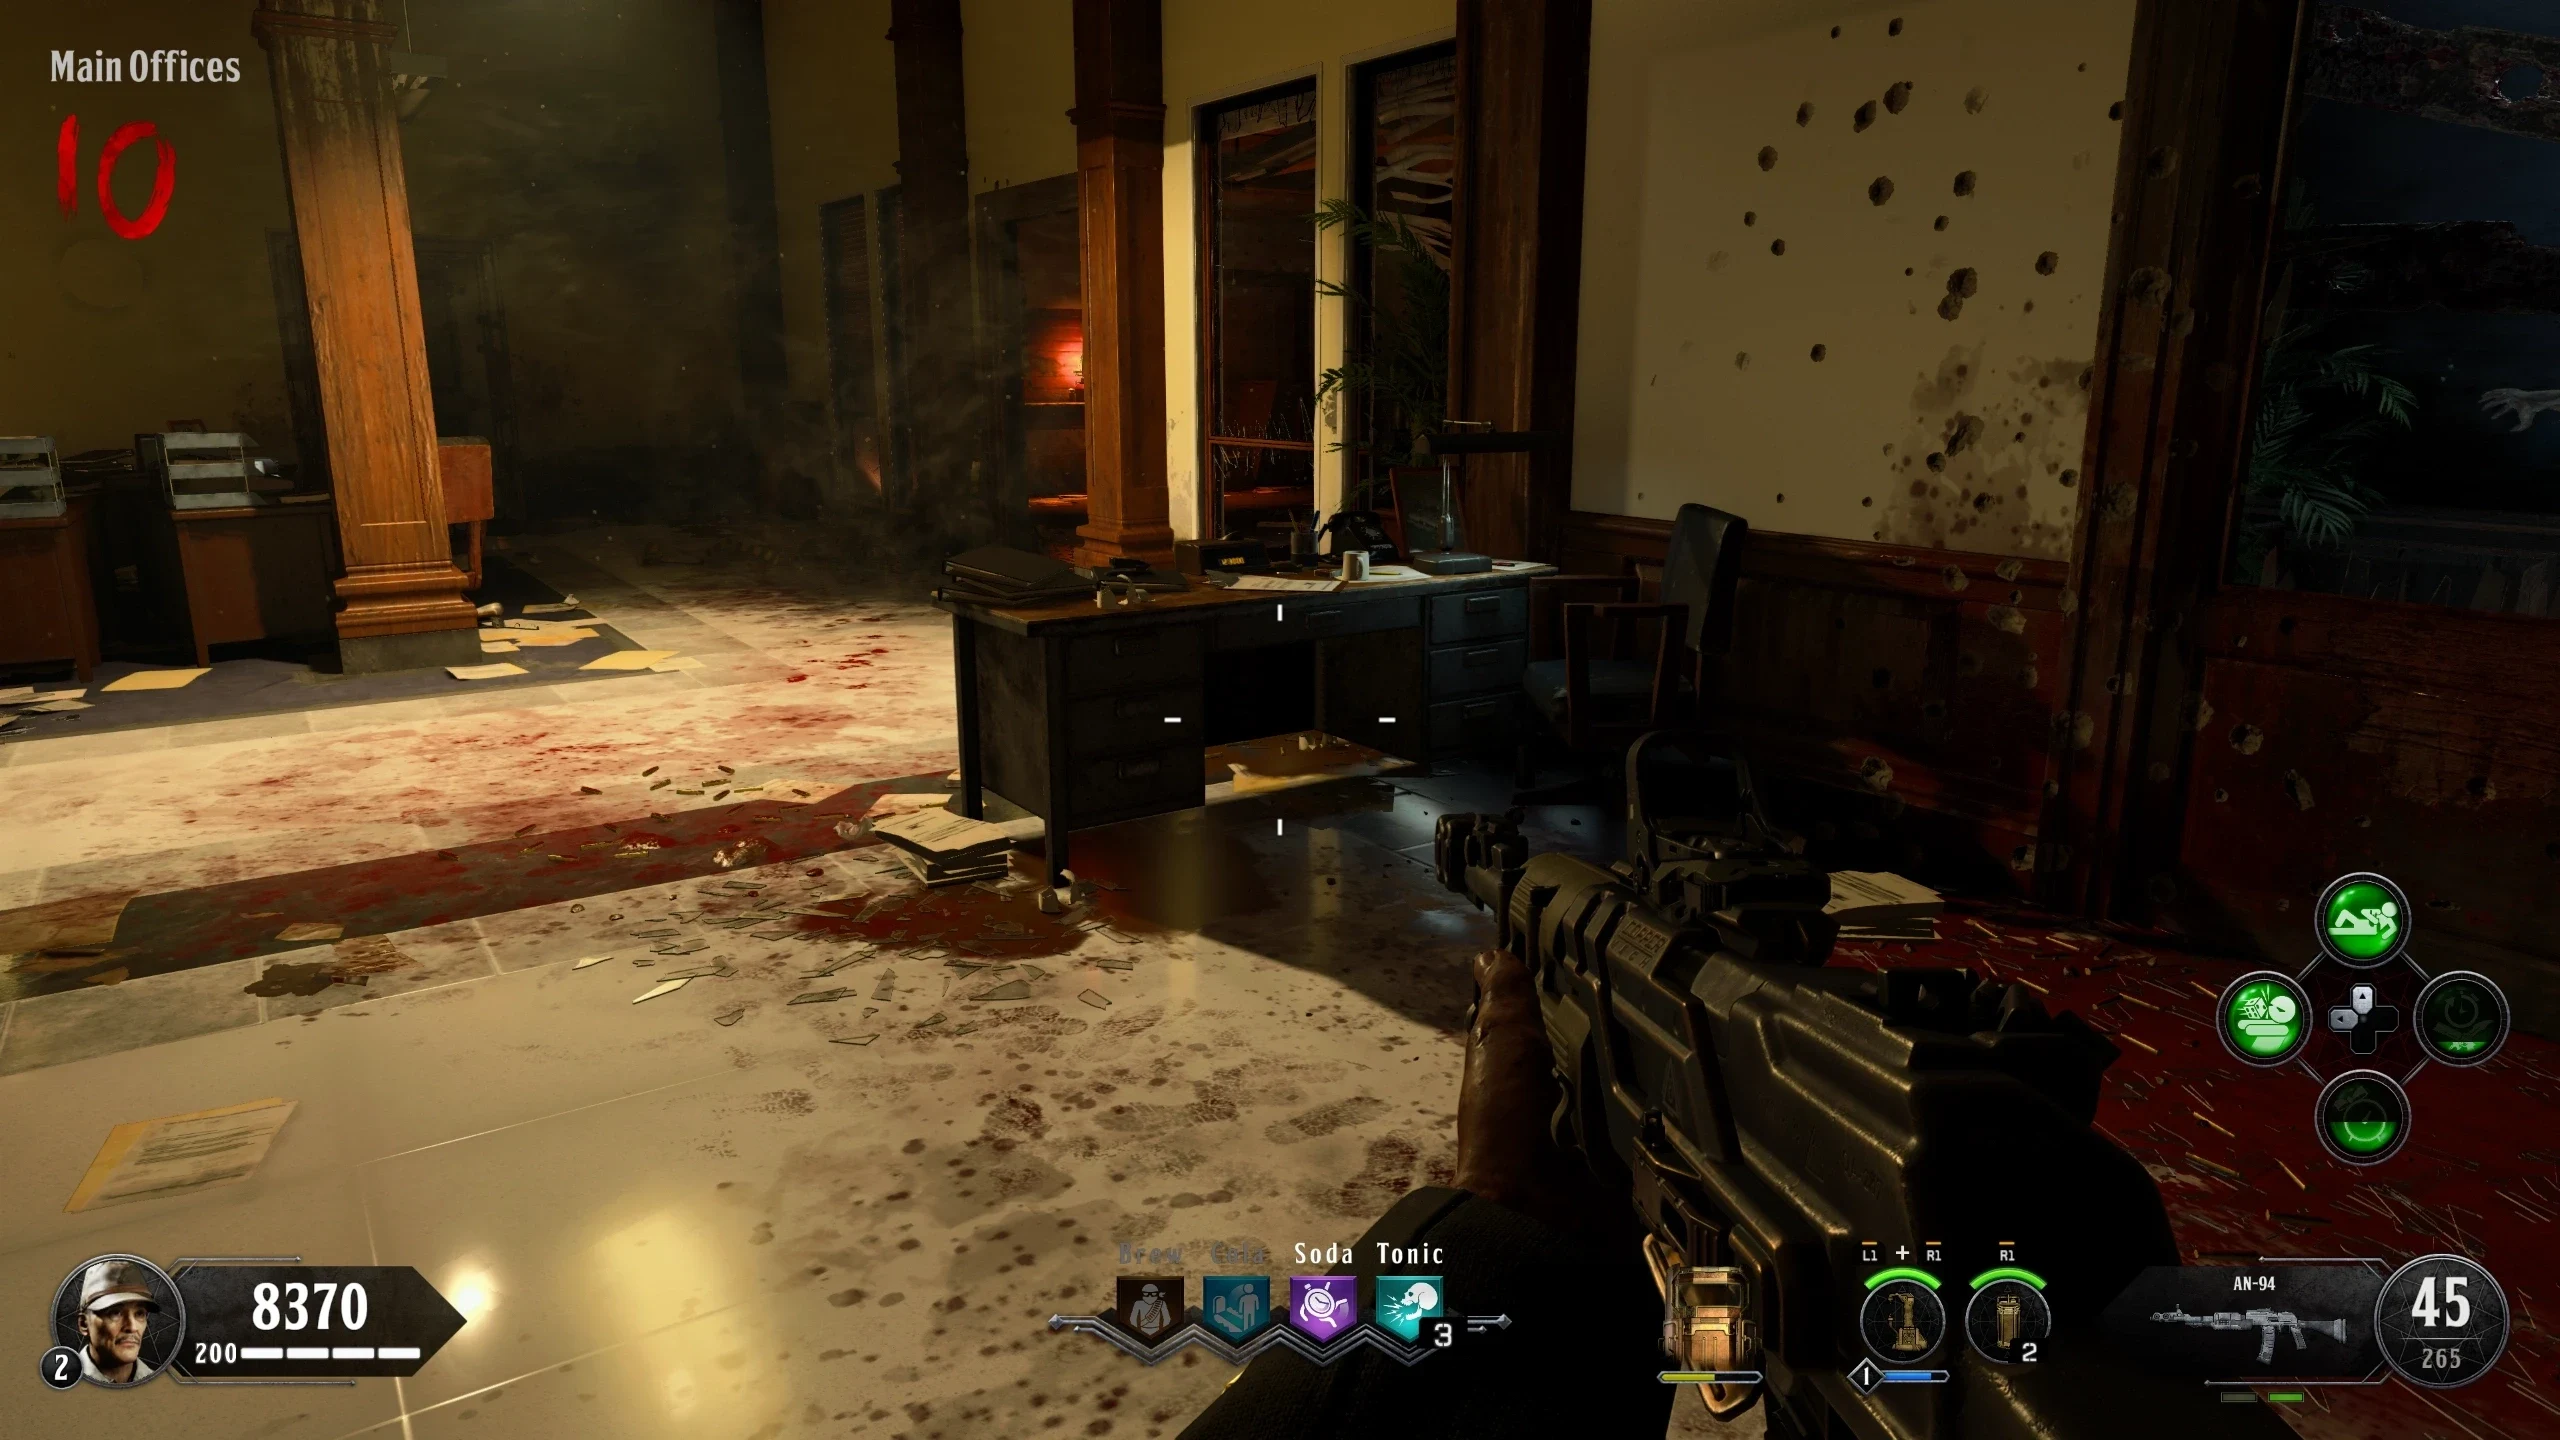
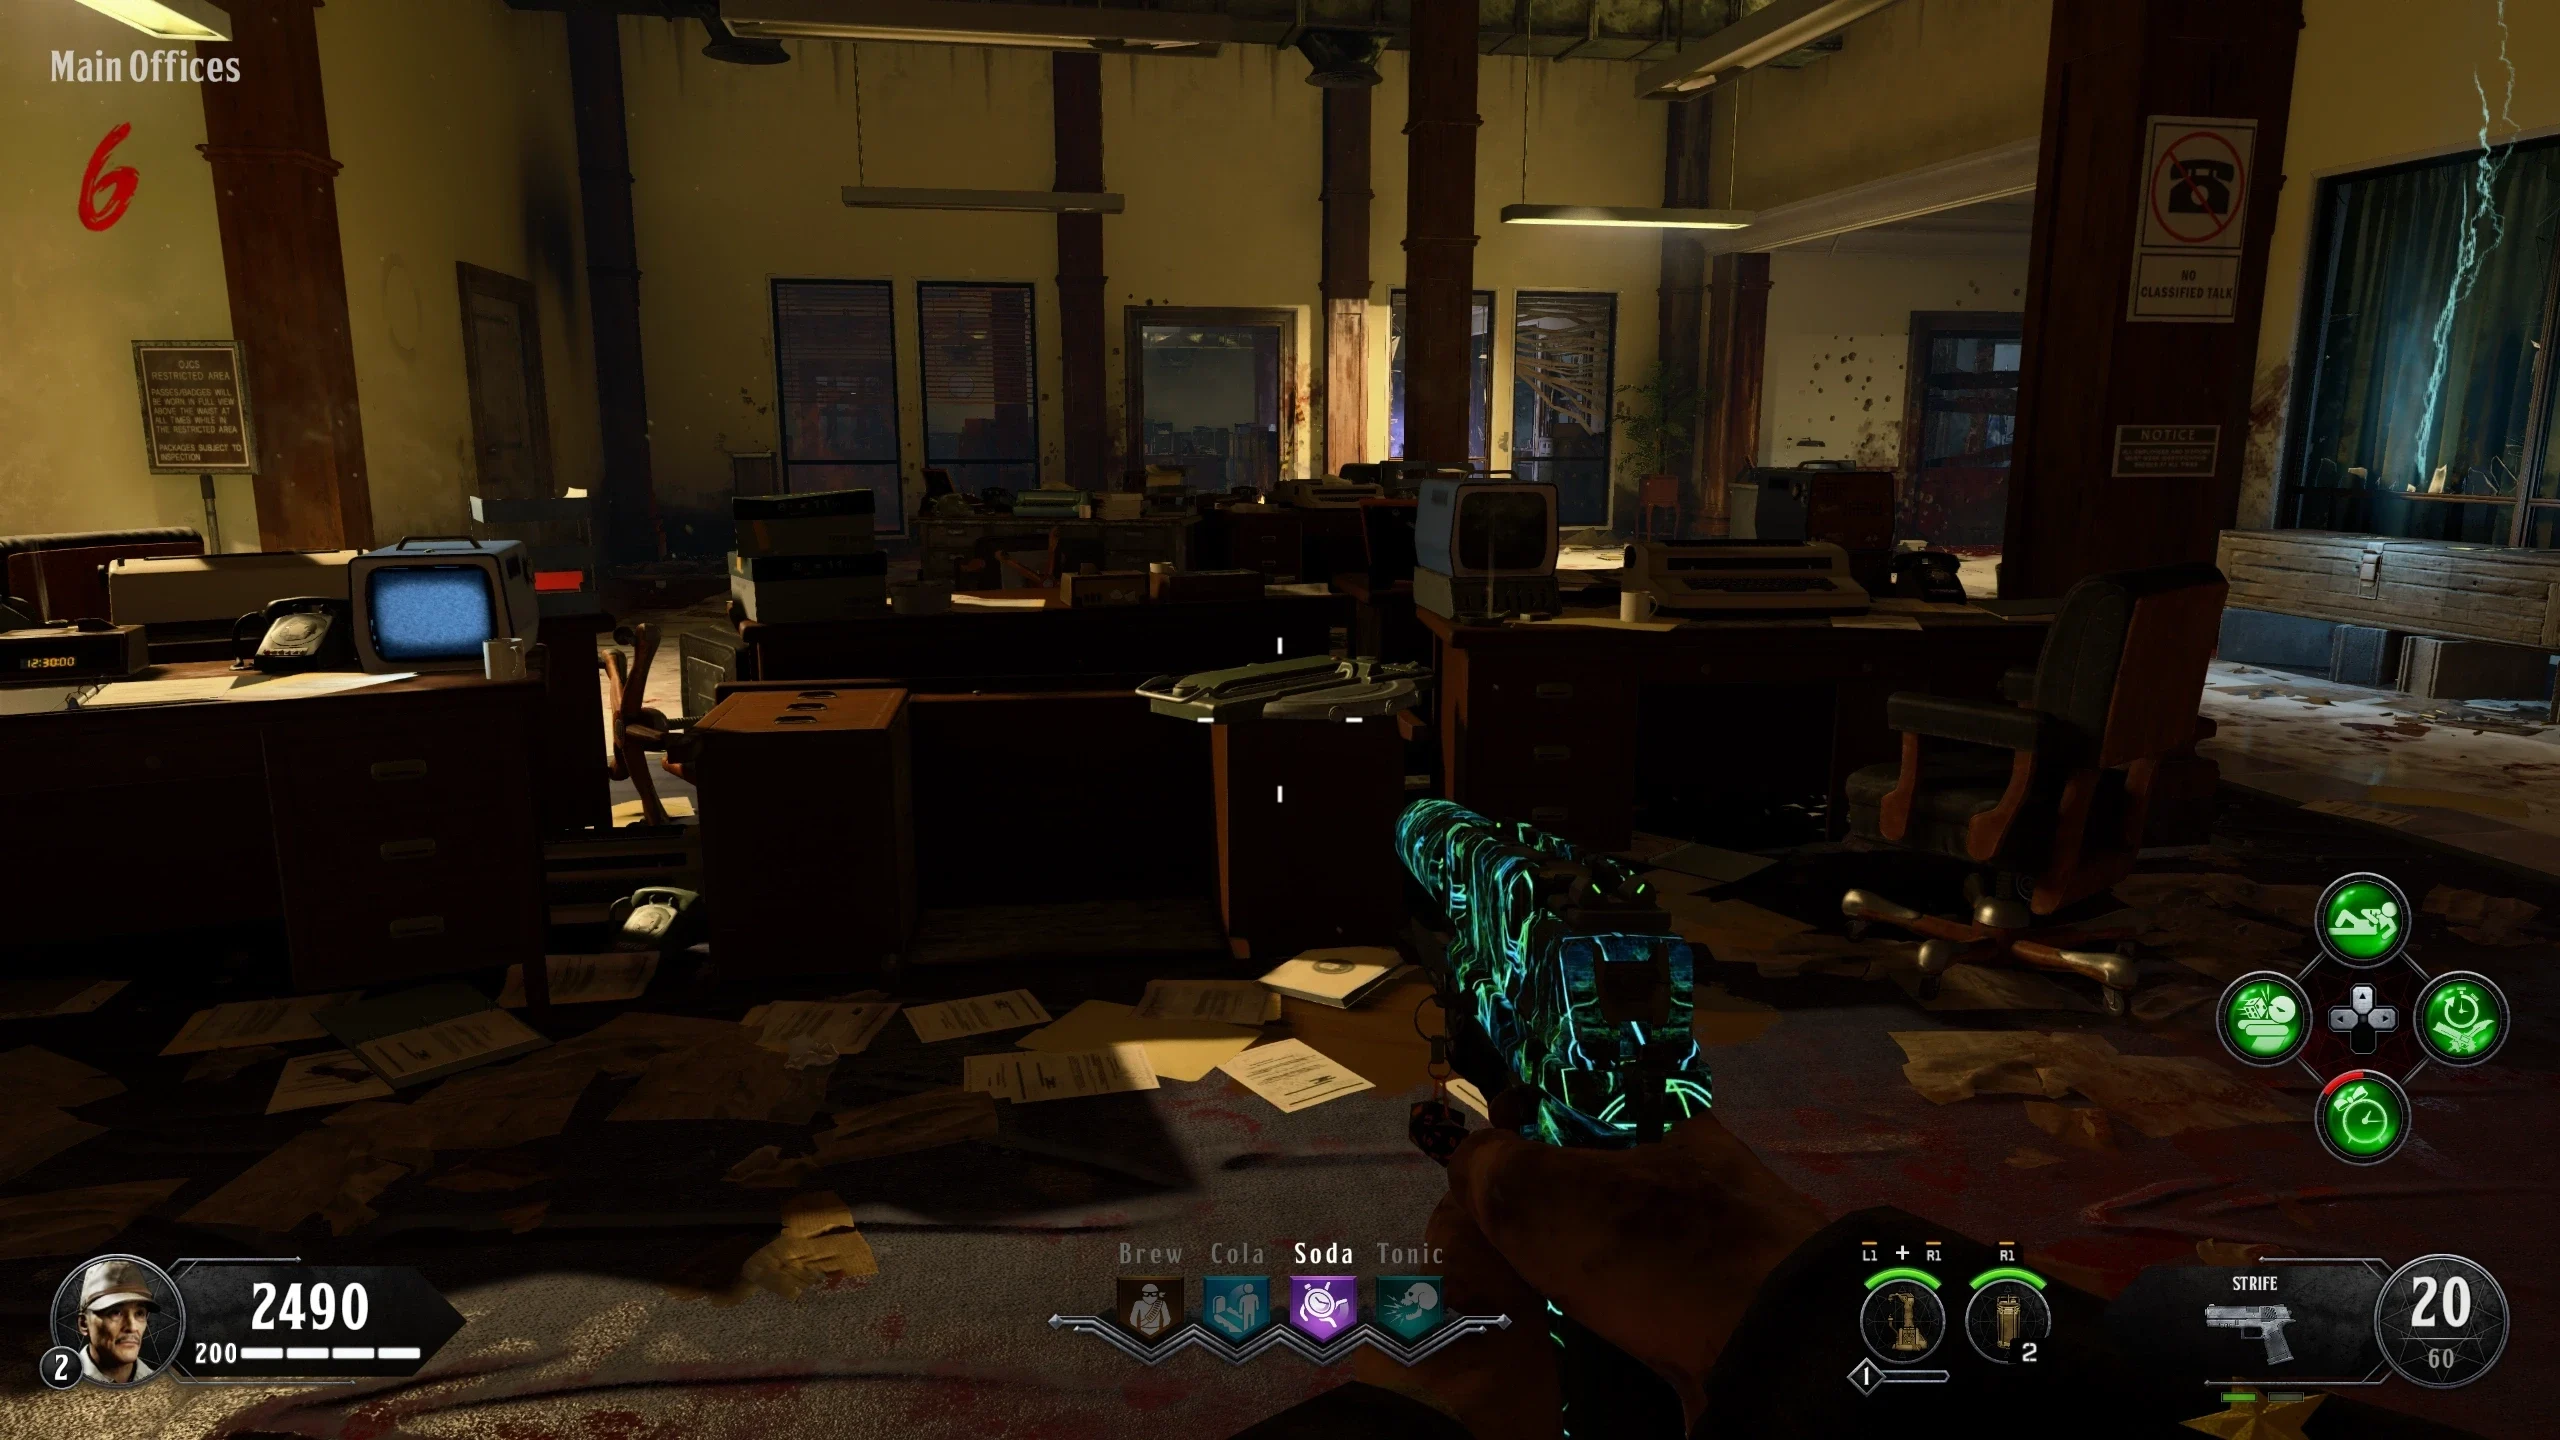
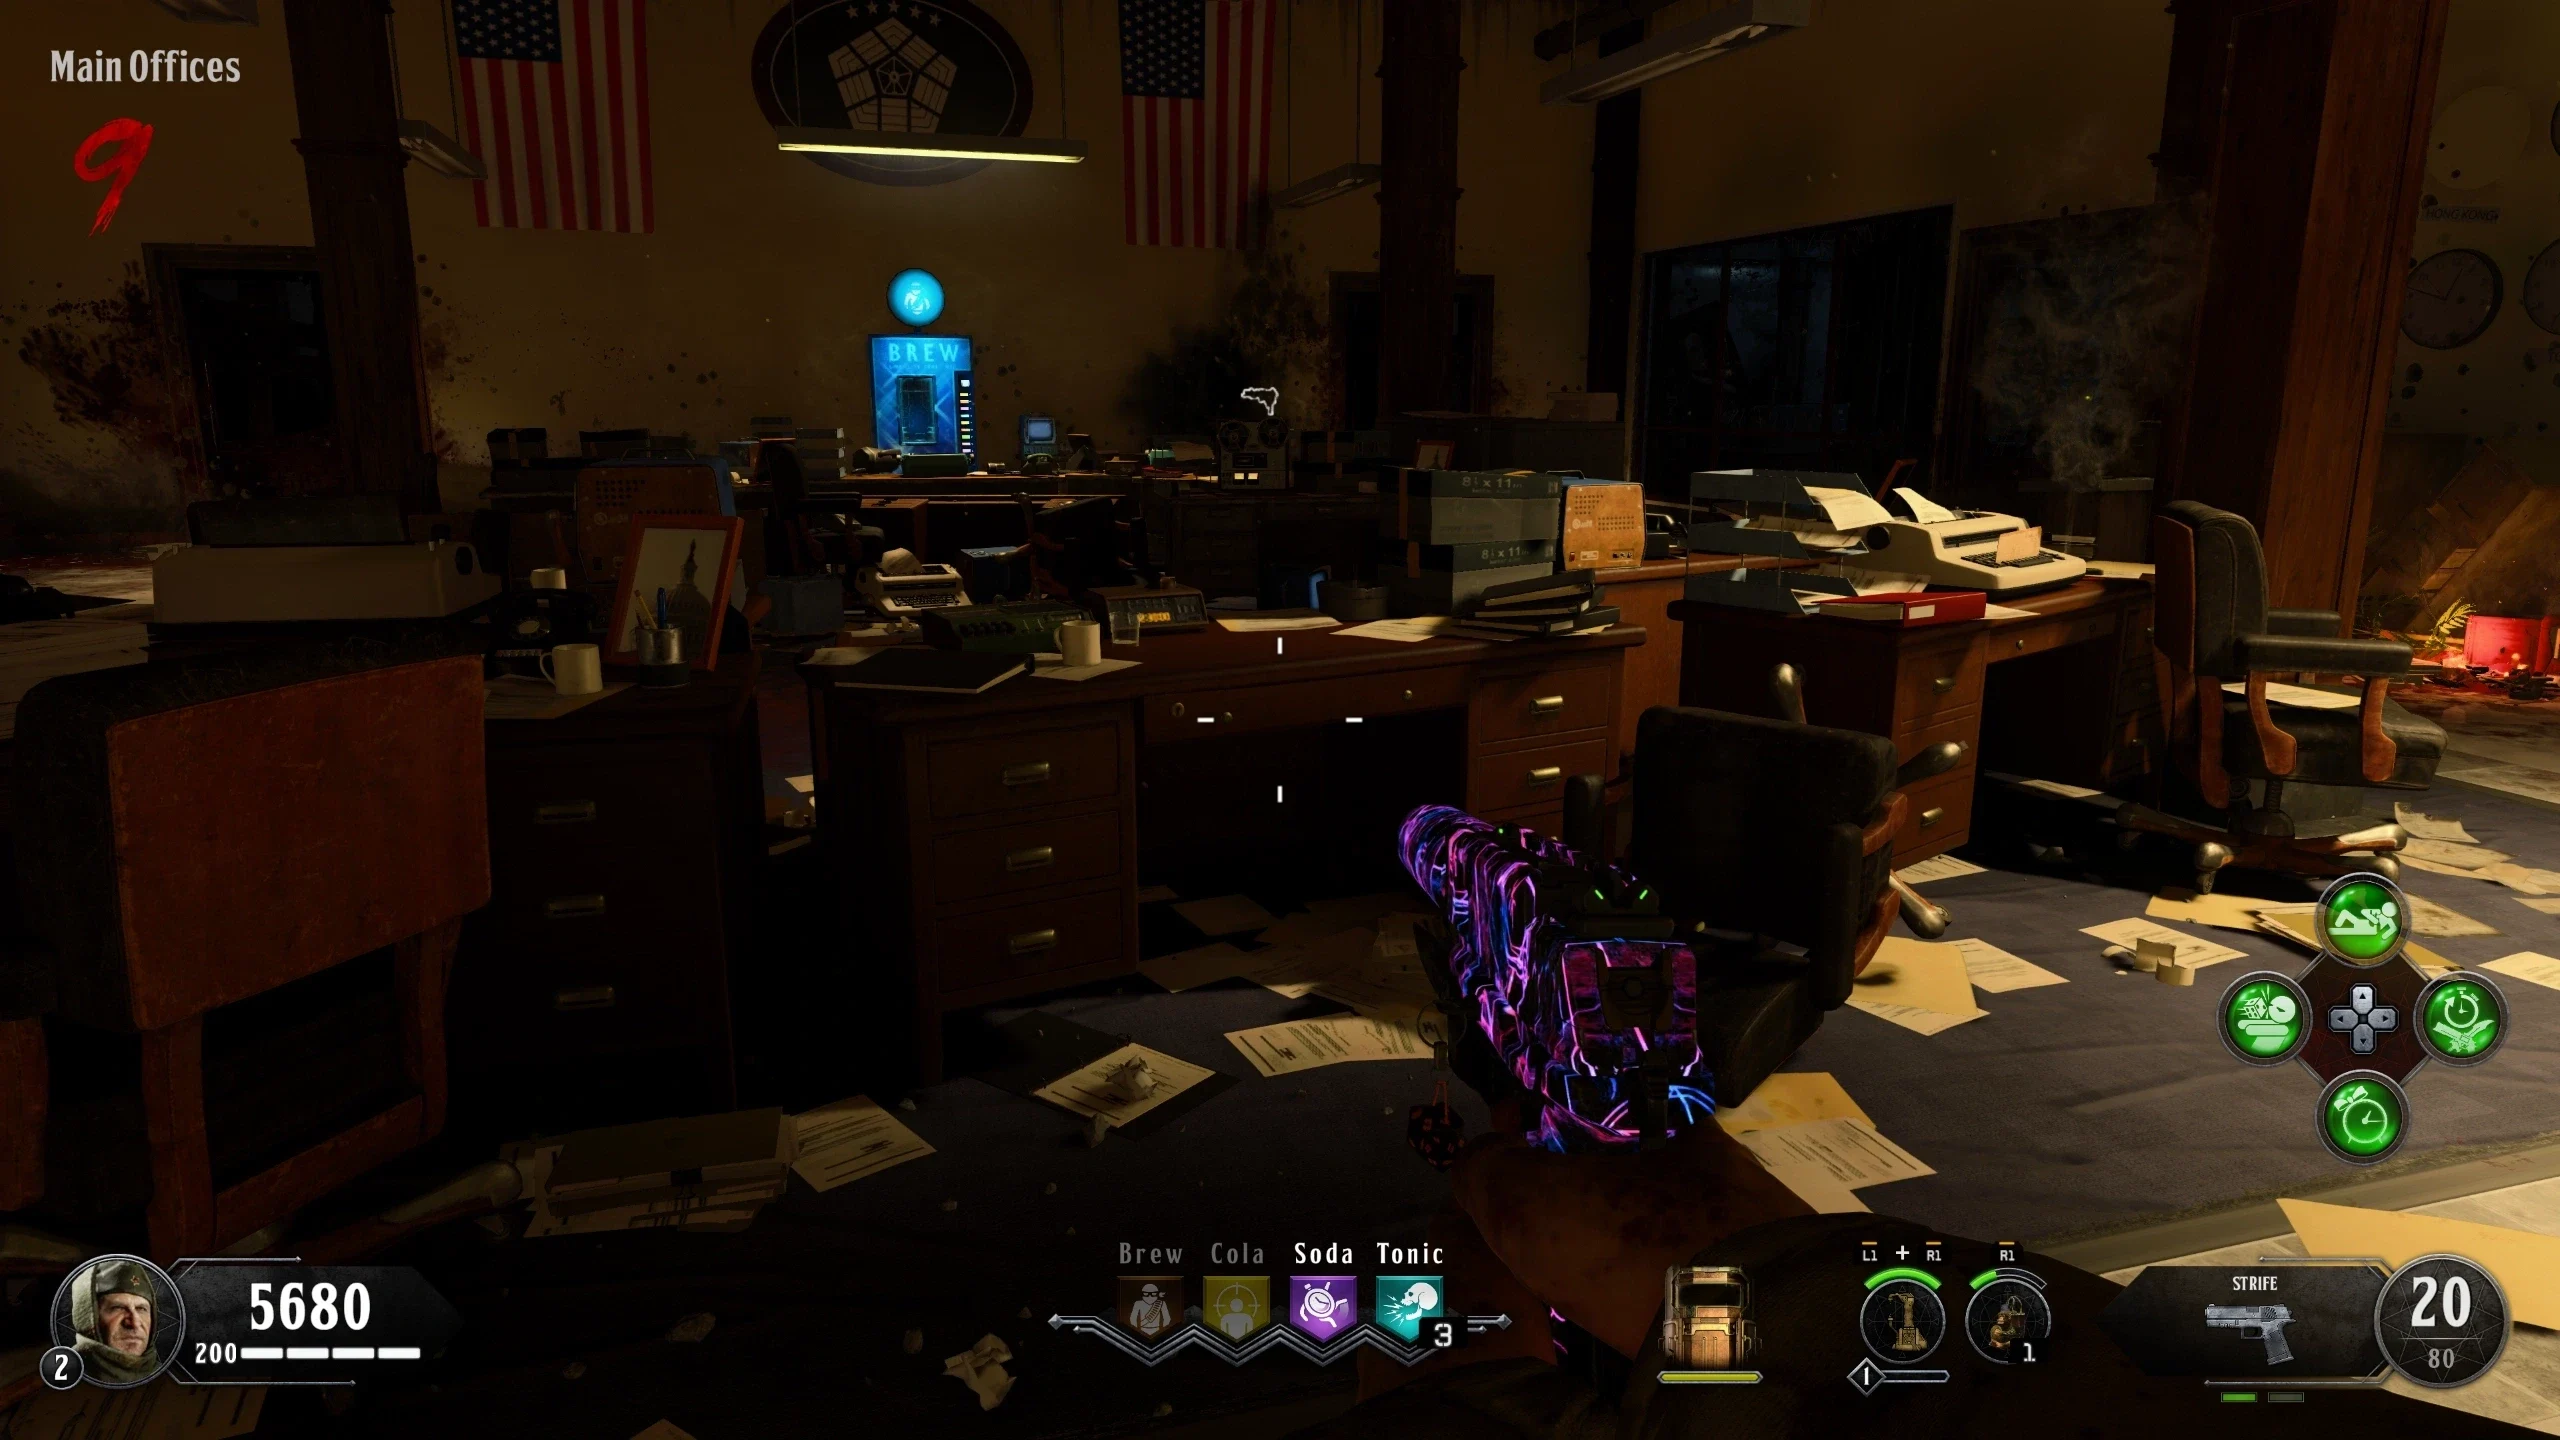
- Go to the 'Main Offices' and interact with the desk in the center of the room to open the drawer. A picture of Der Riese with numbers will be inside. Note the numbers.
Shangri-La Numbers
- Activate Power.
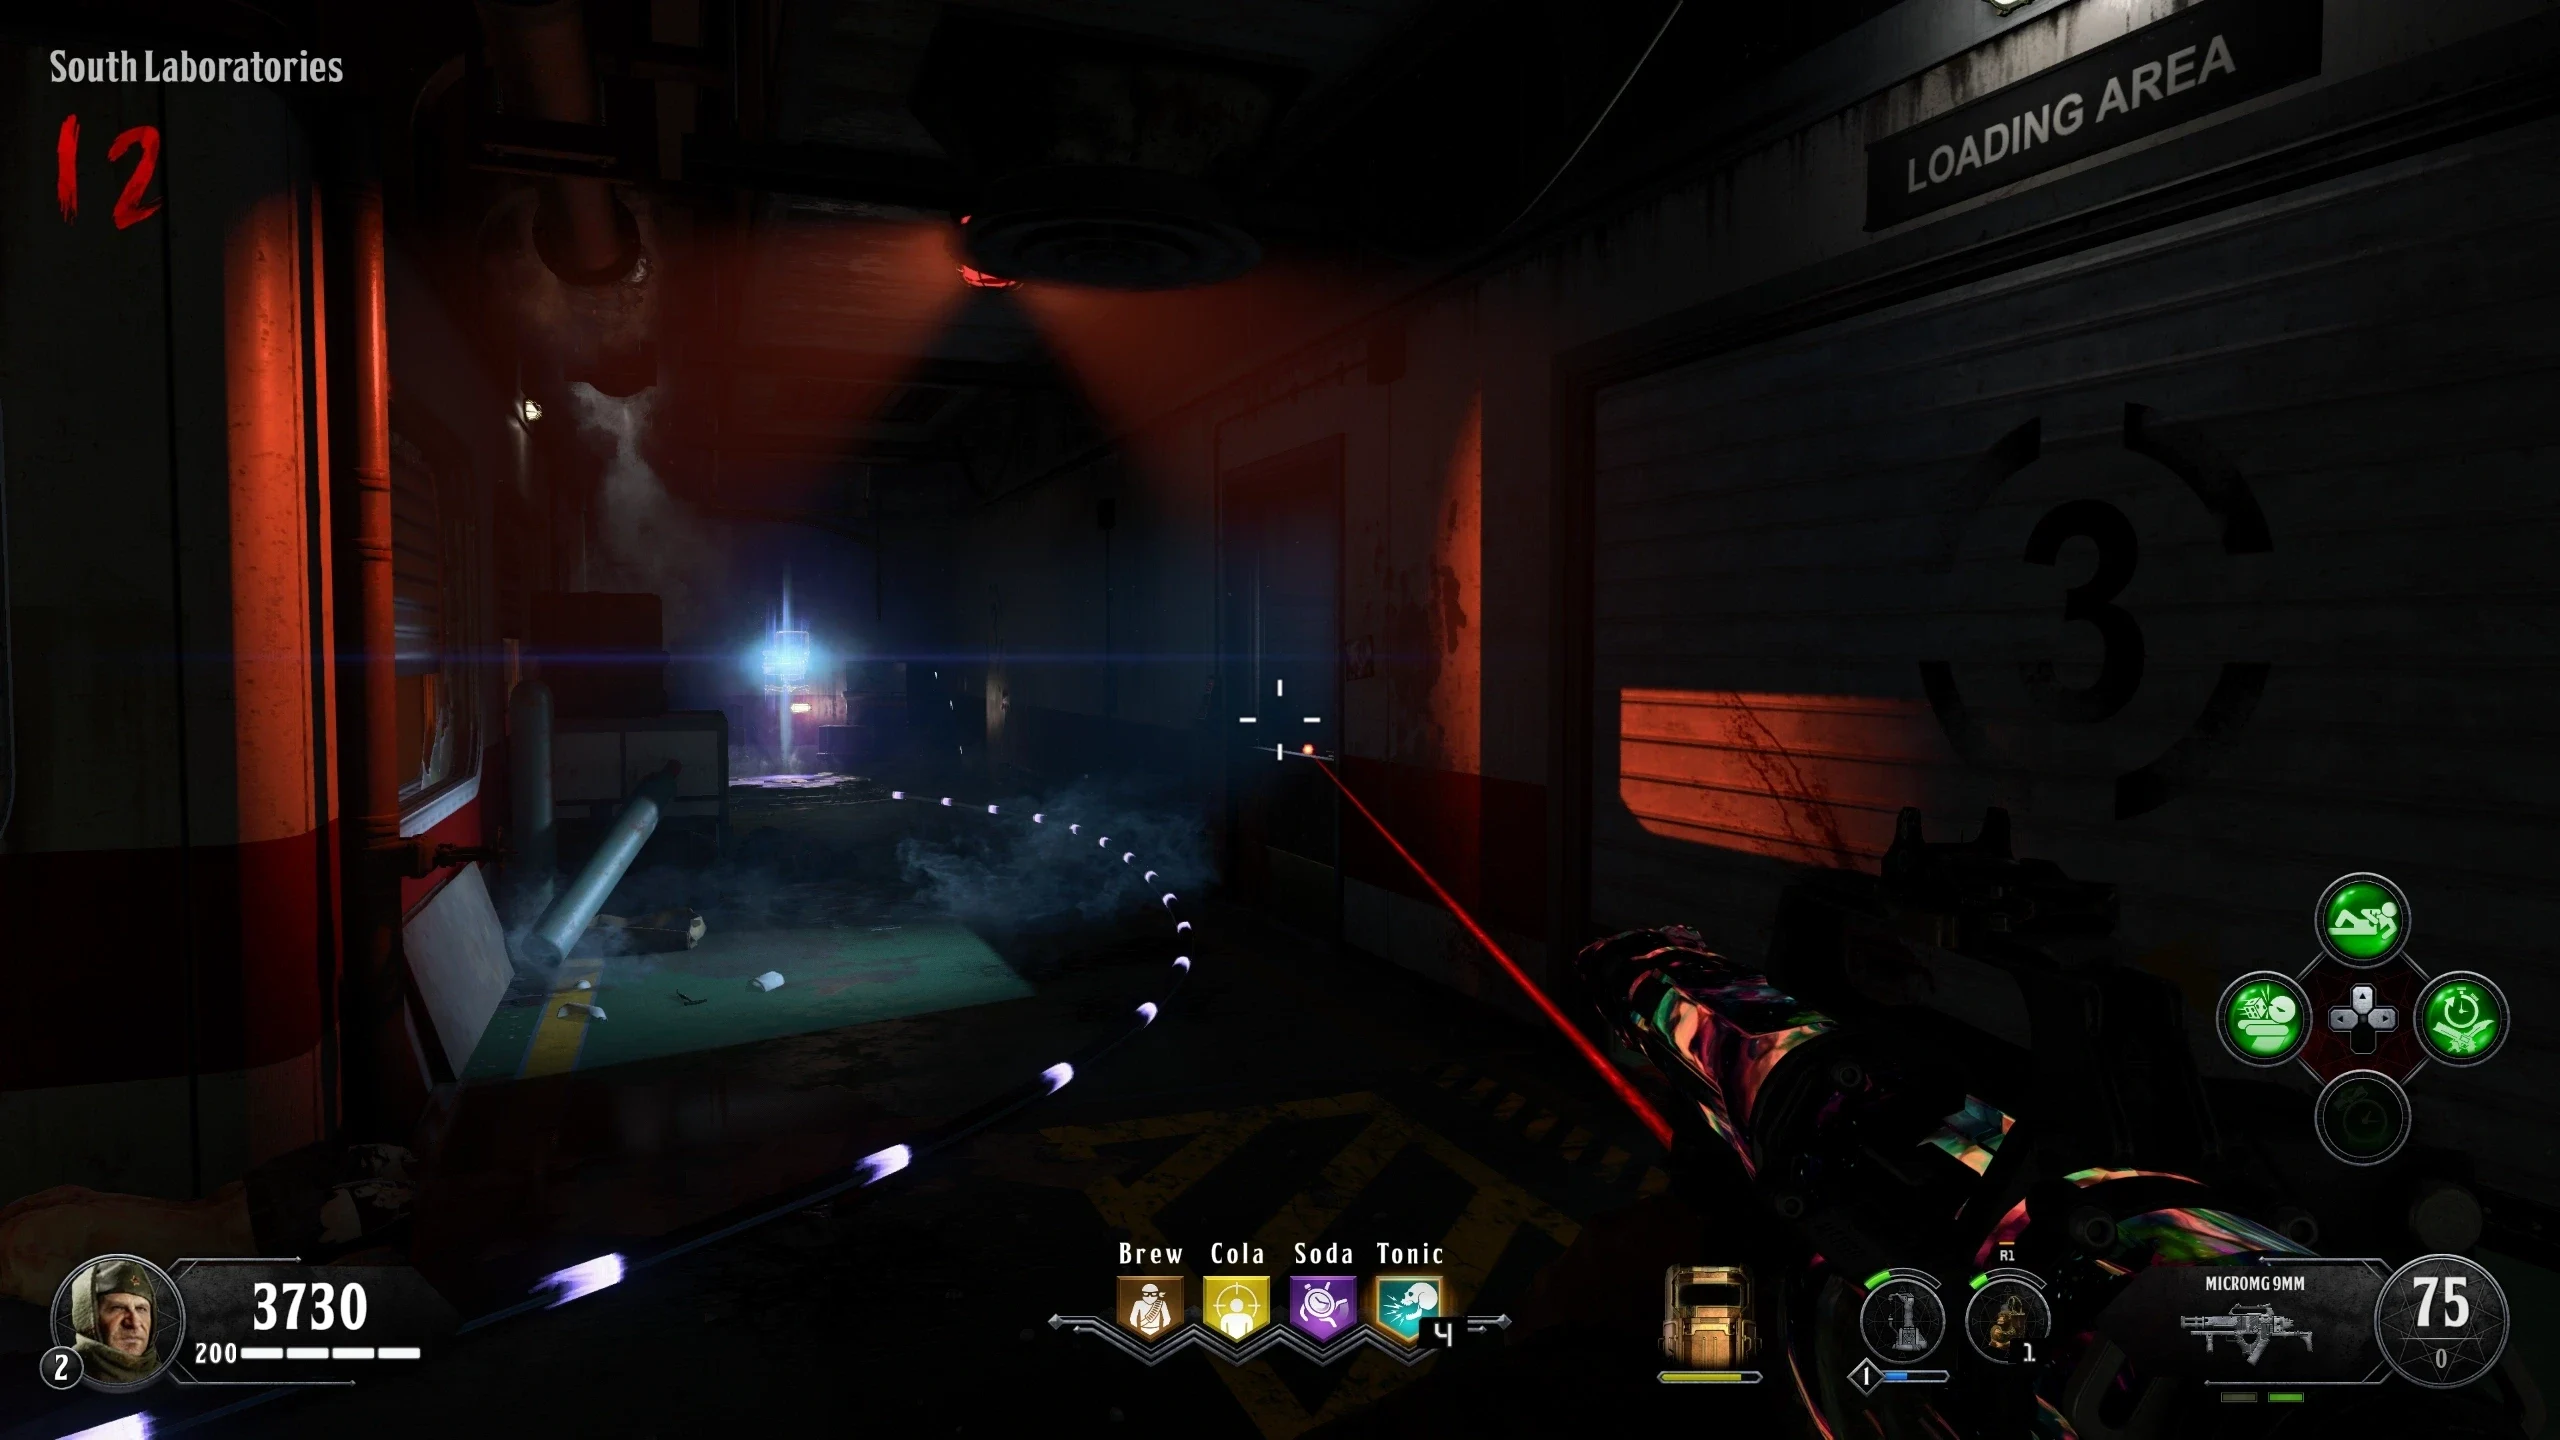
- If you don't have Frag Grenades equipped, purchase and Pack-a-Punch the M1897 Trebuchet from the wallbuy in the 'War Room: Lower Level' near the lower elevator.
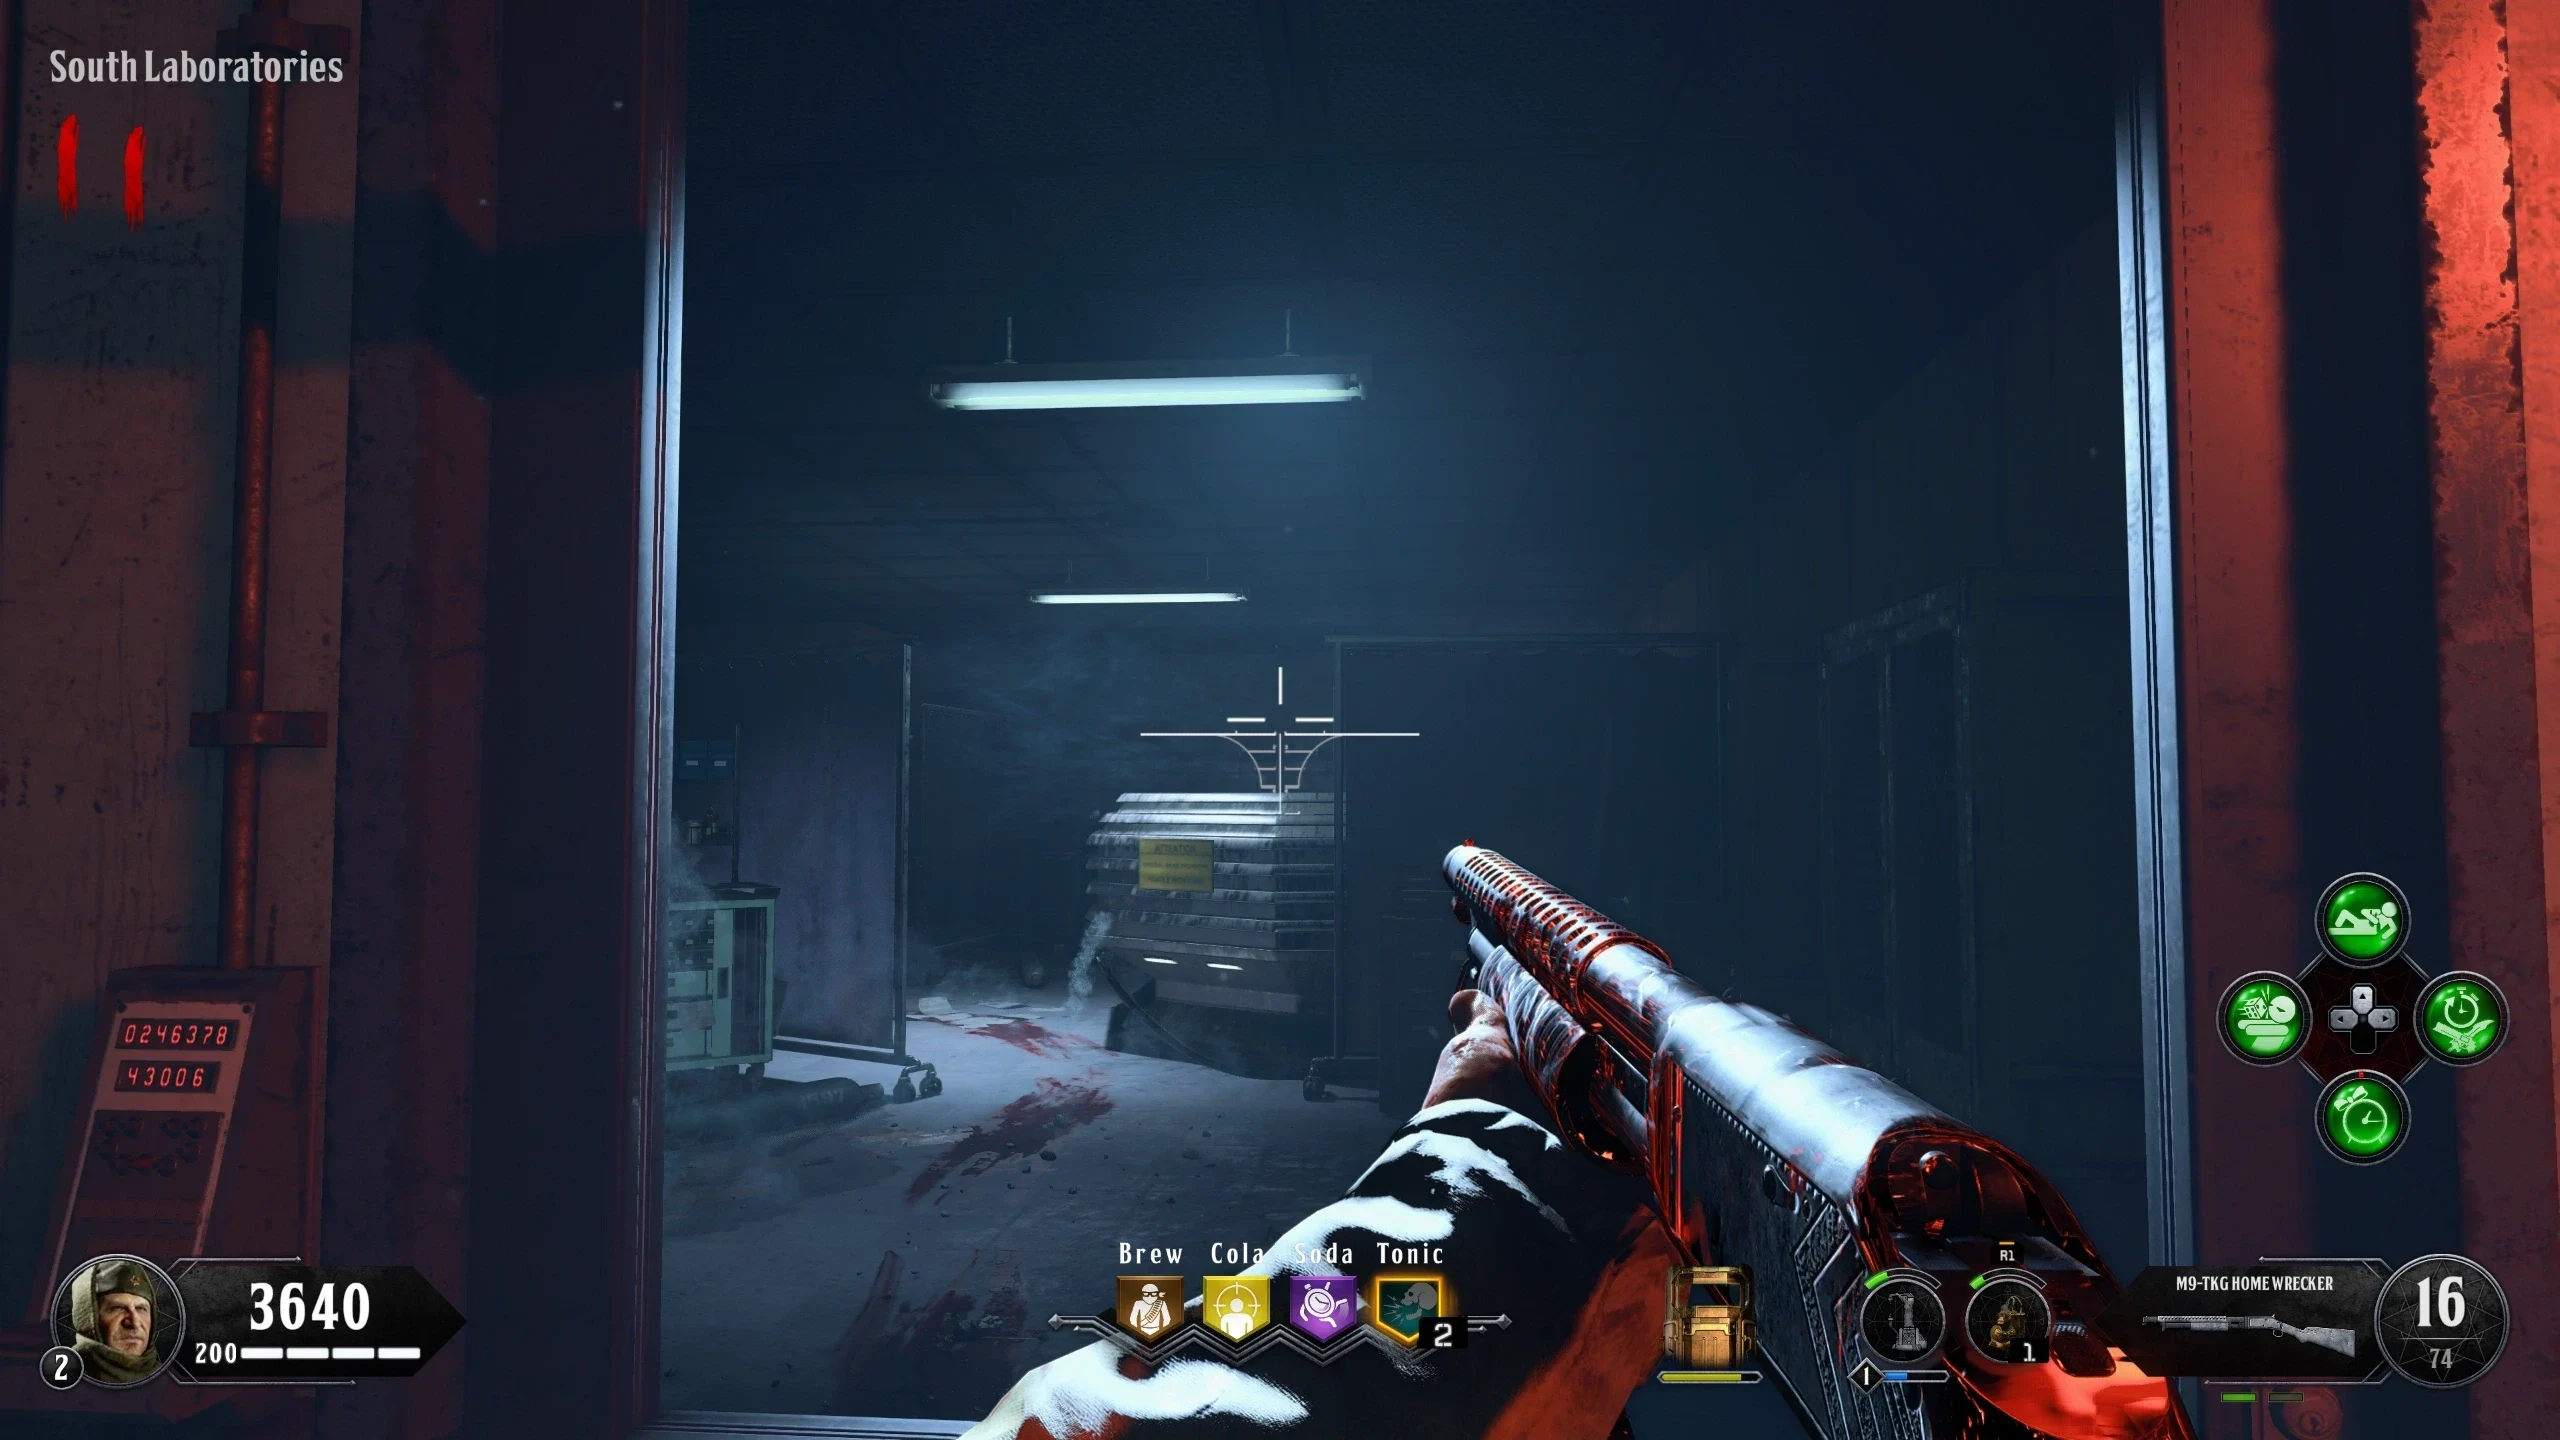
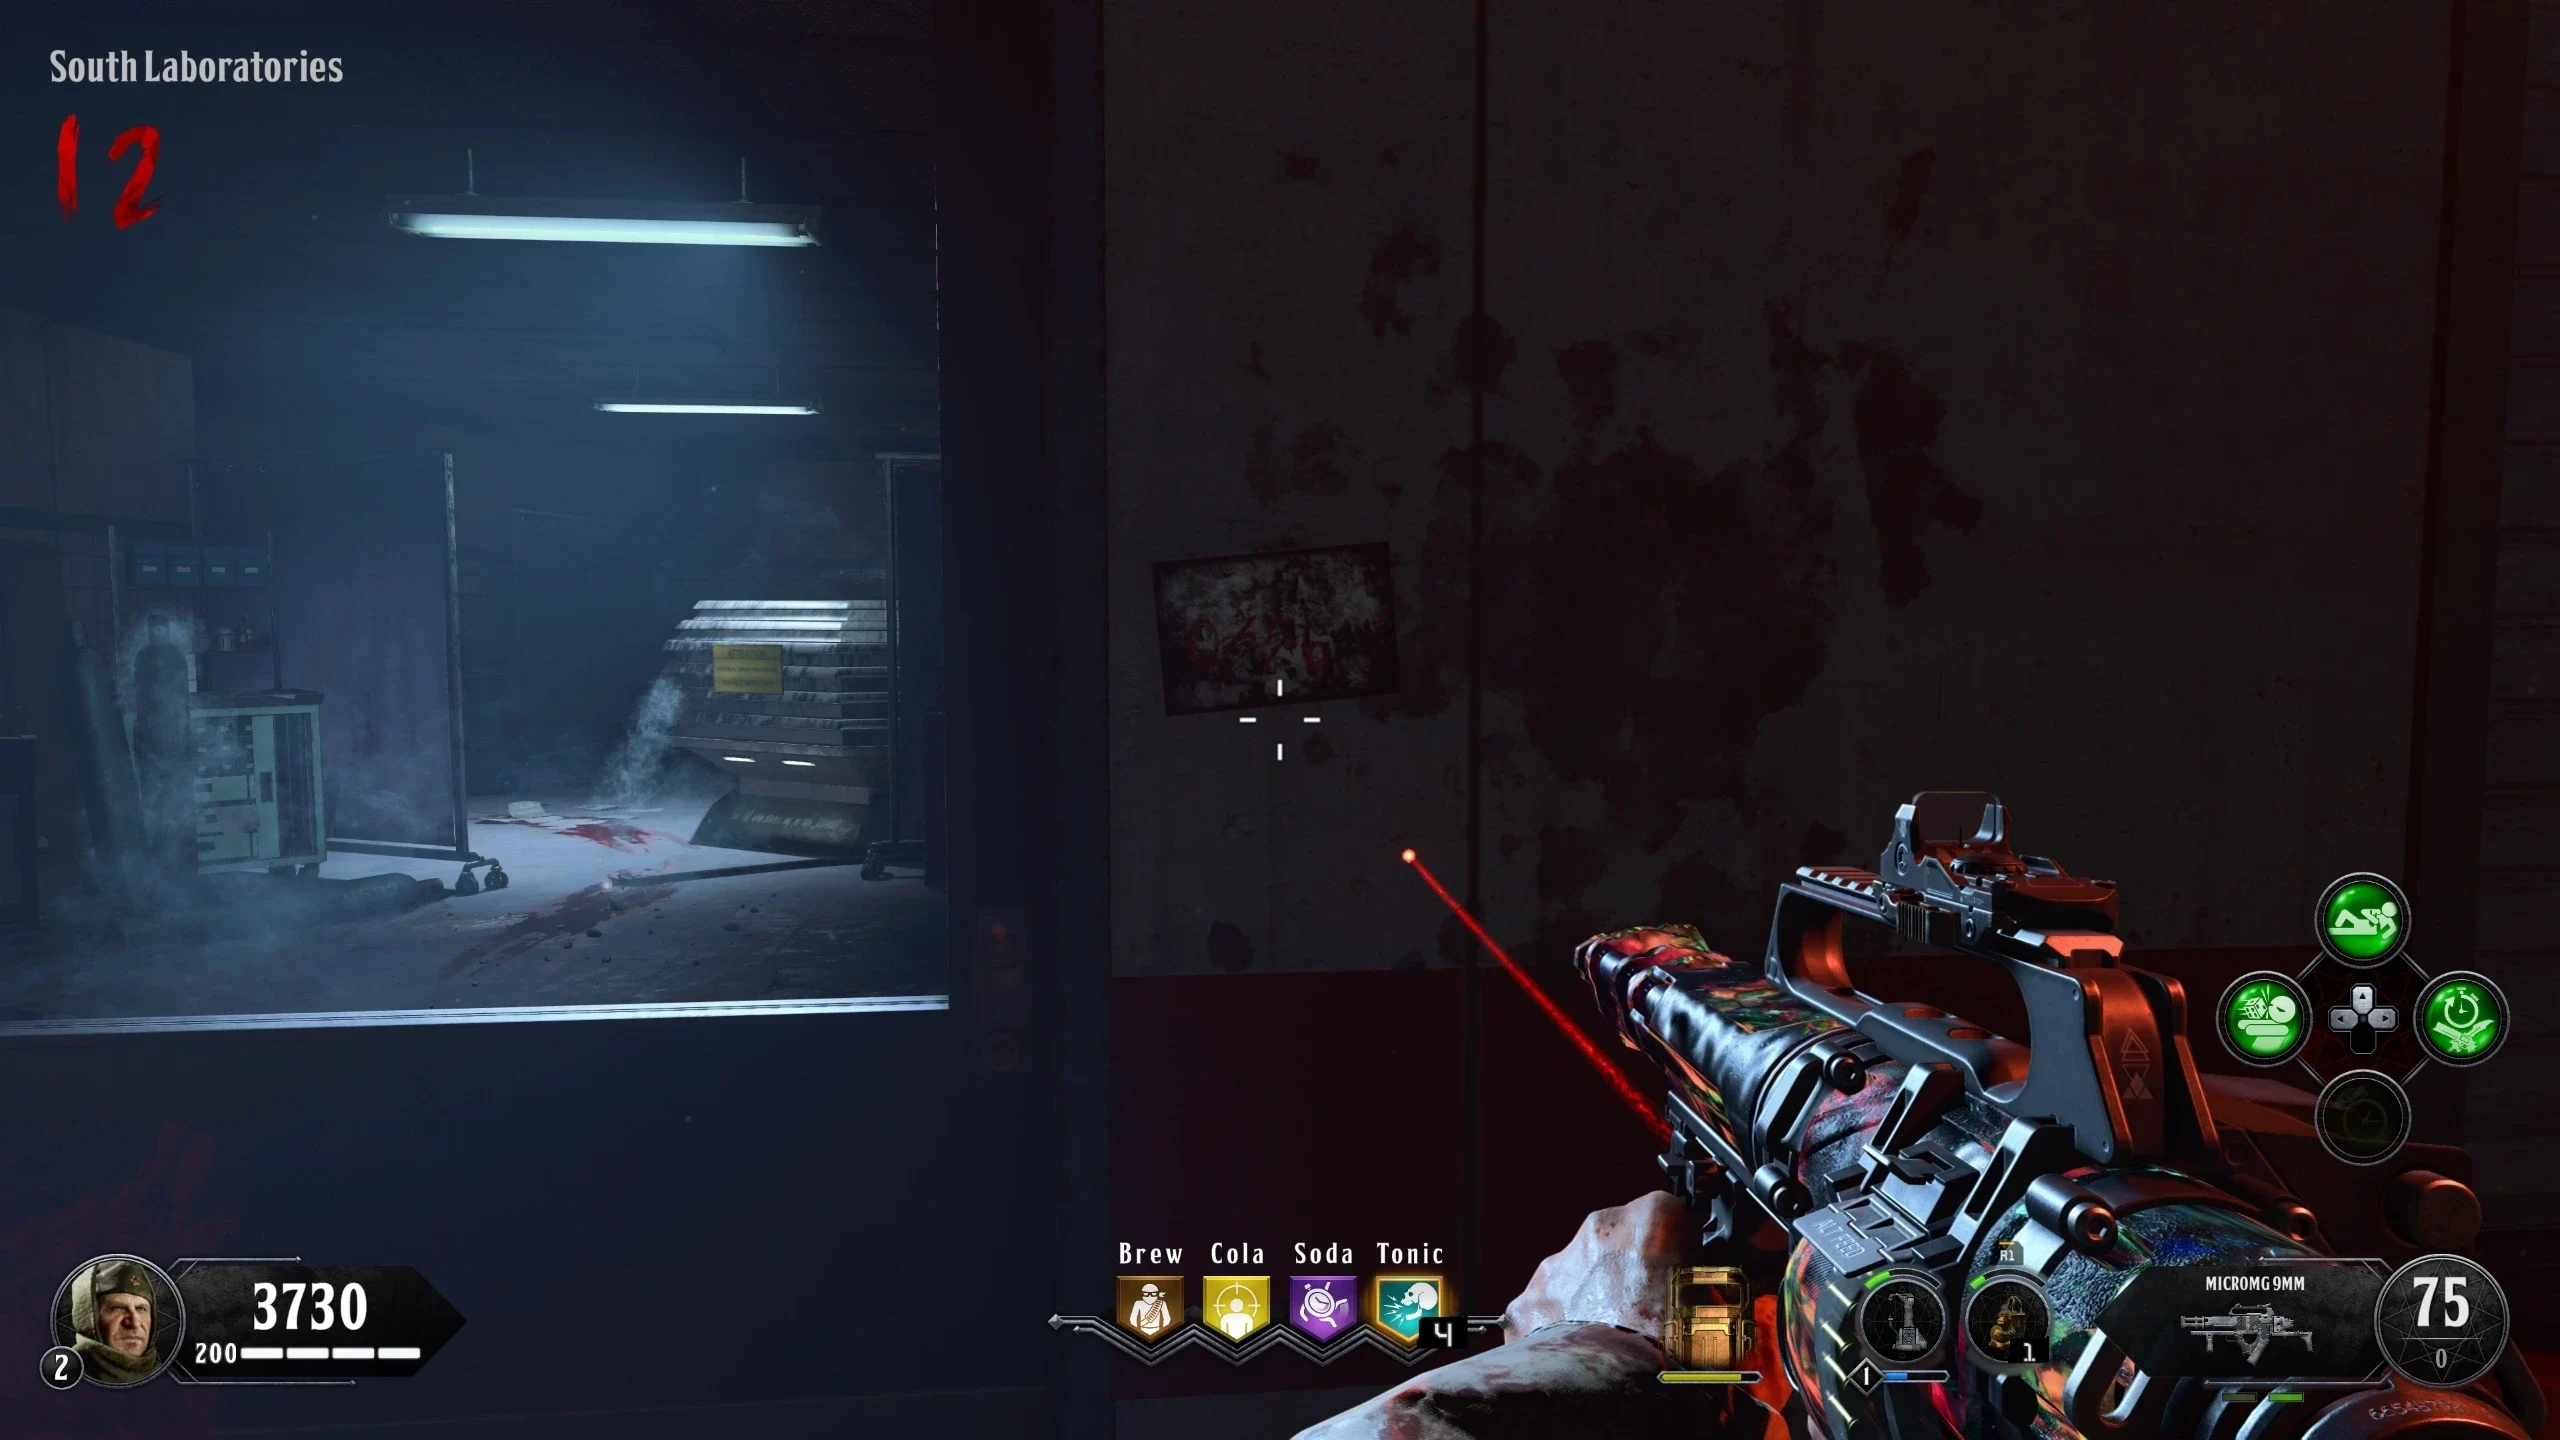
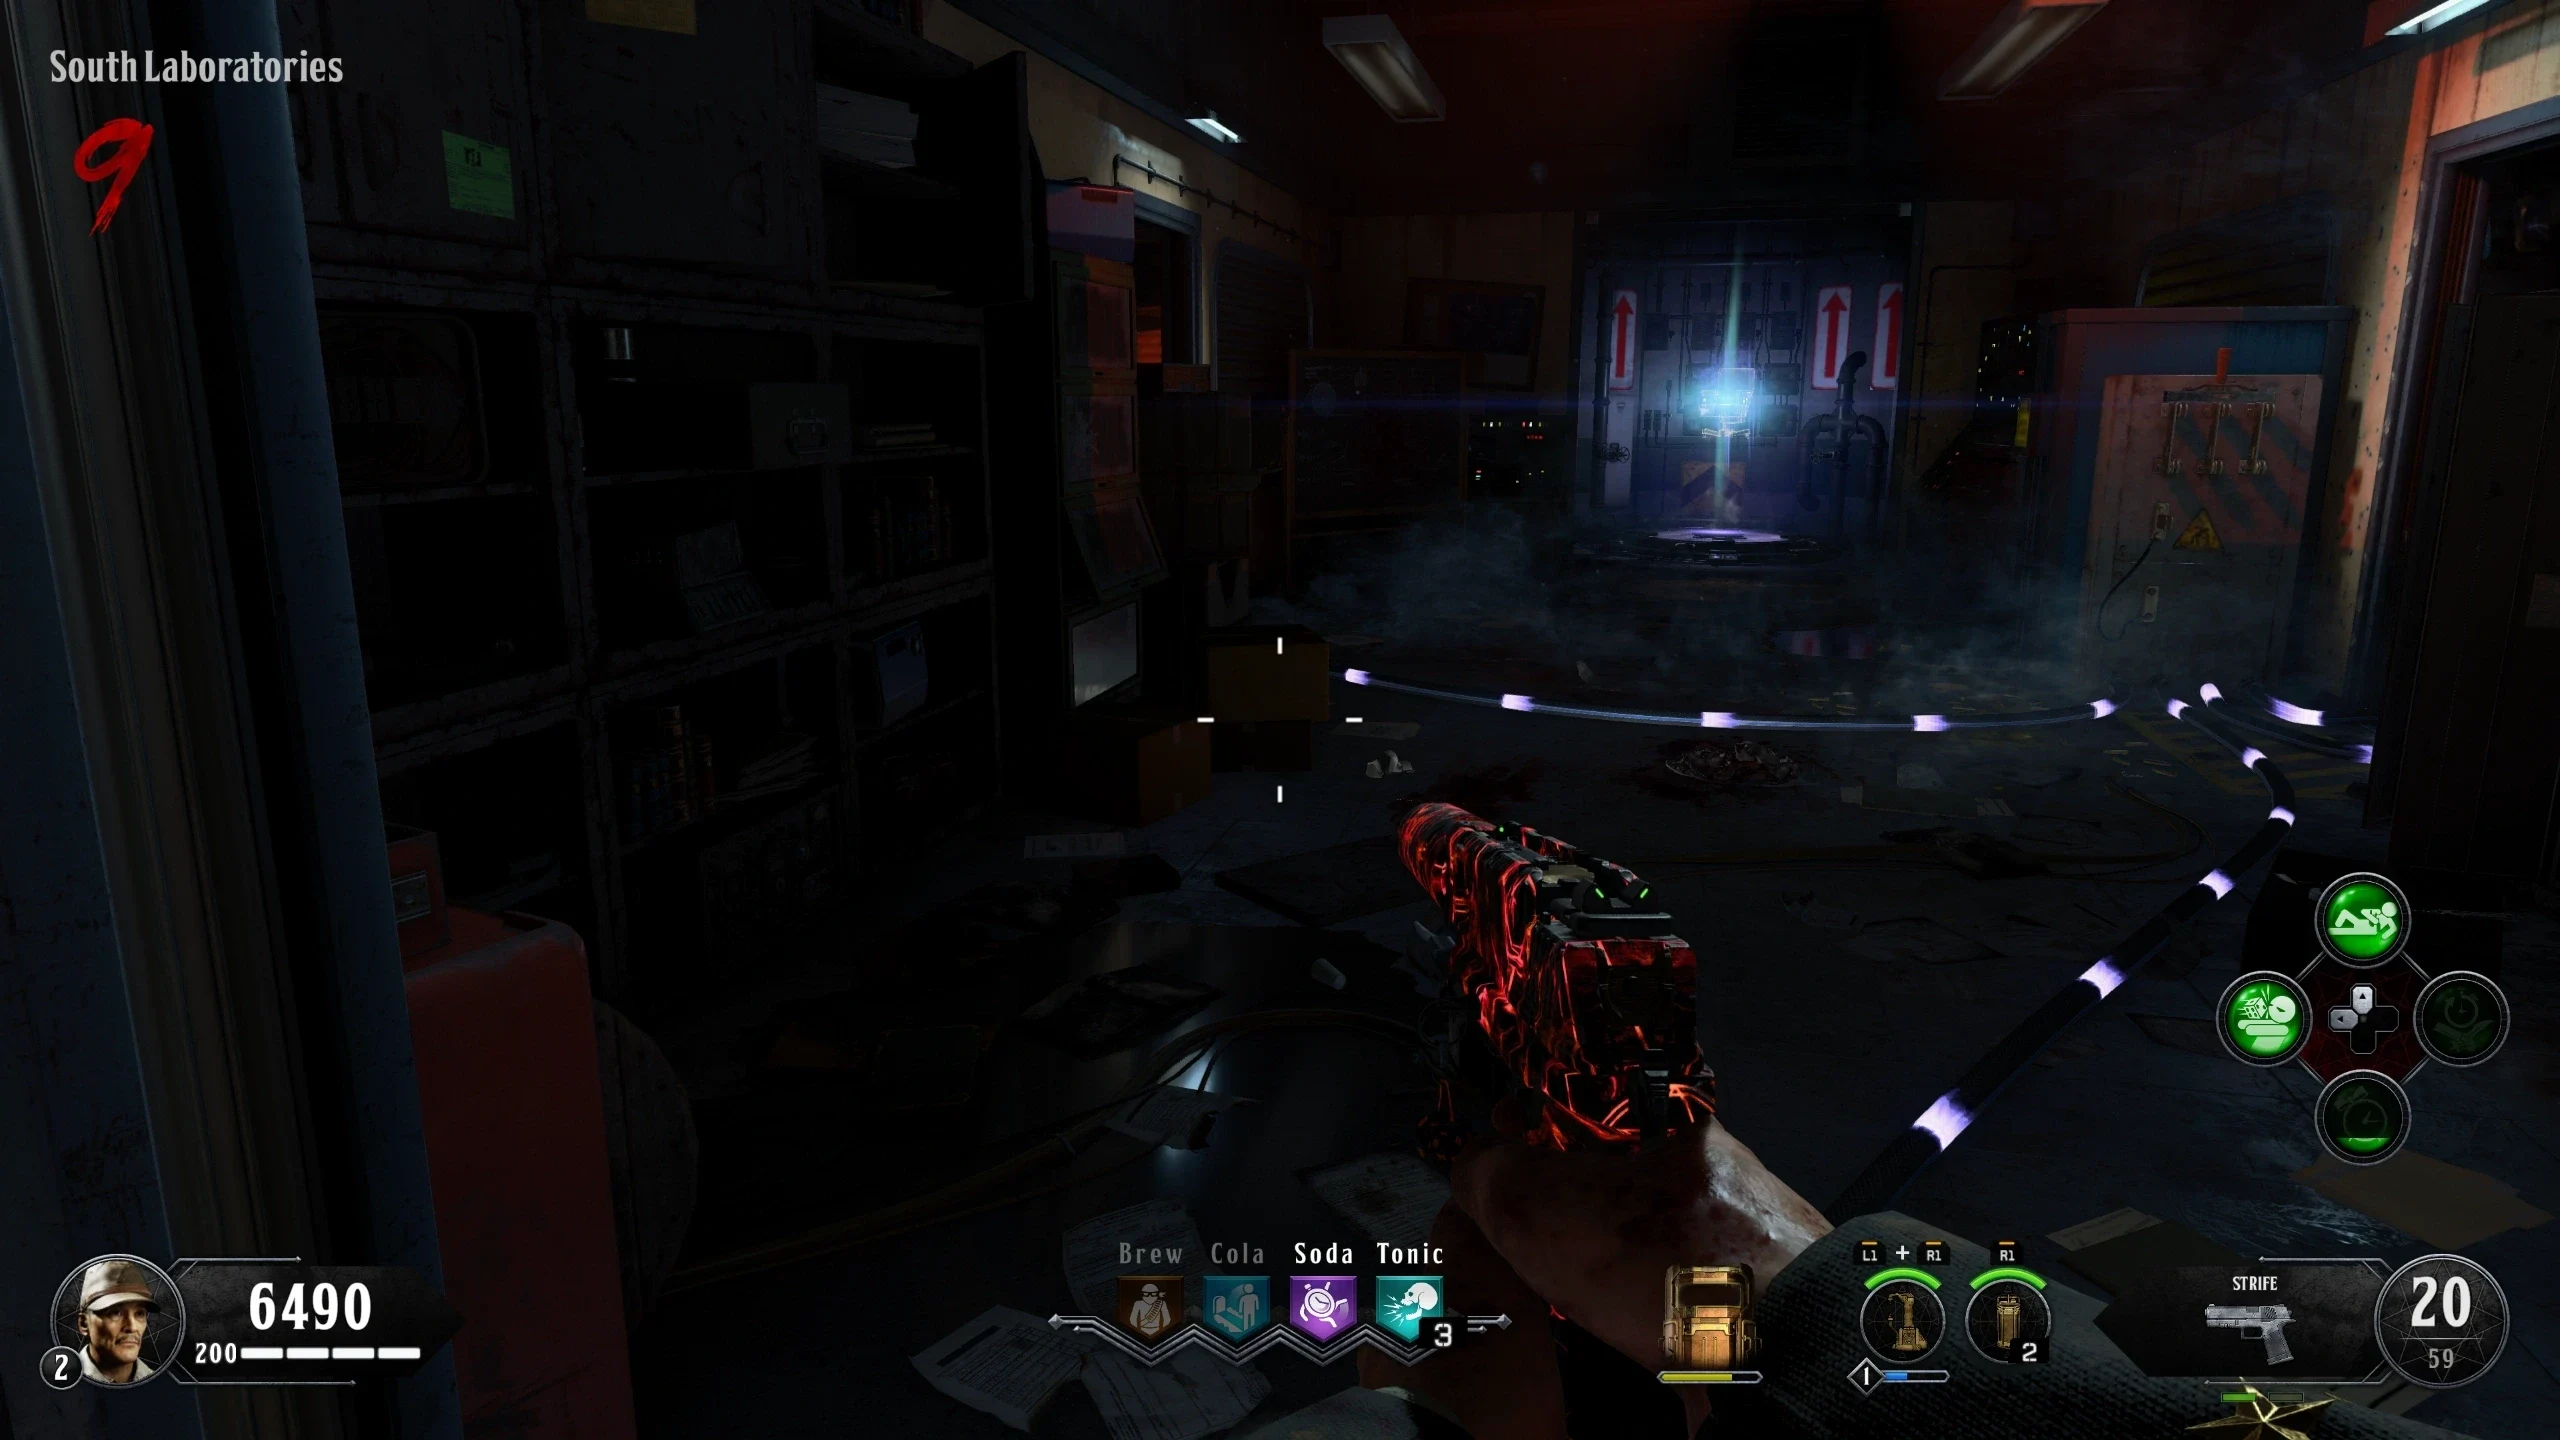
- In the 'South Laboratories,' navigate to the barrier near 'Weapon Testing.' Throw a Grenade/Shoot a Trebuchet shot behind this machine.
- If done correctly, a sound will play and the Shangri-la picture will spawn on the right side of the barrier.
Kino der Toten Numbers
- Open Pack-a-Punch.
- Activate the Defcon Switches in the following order:
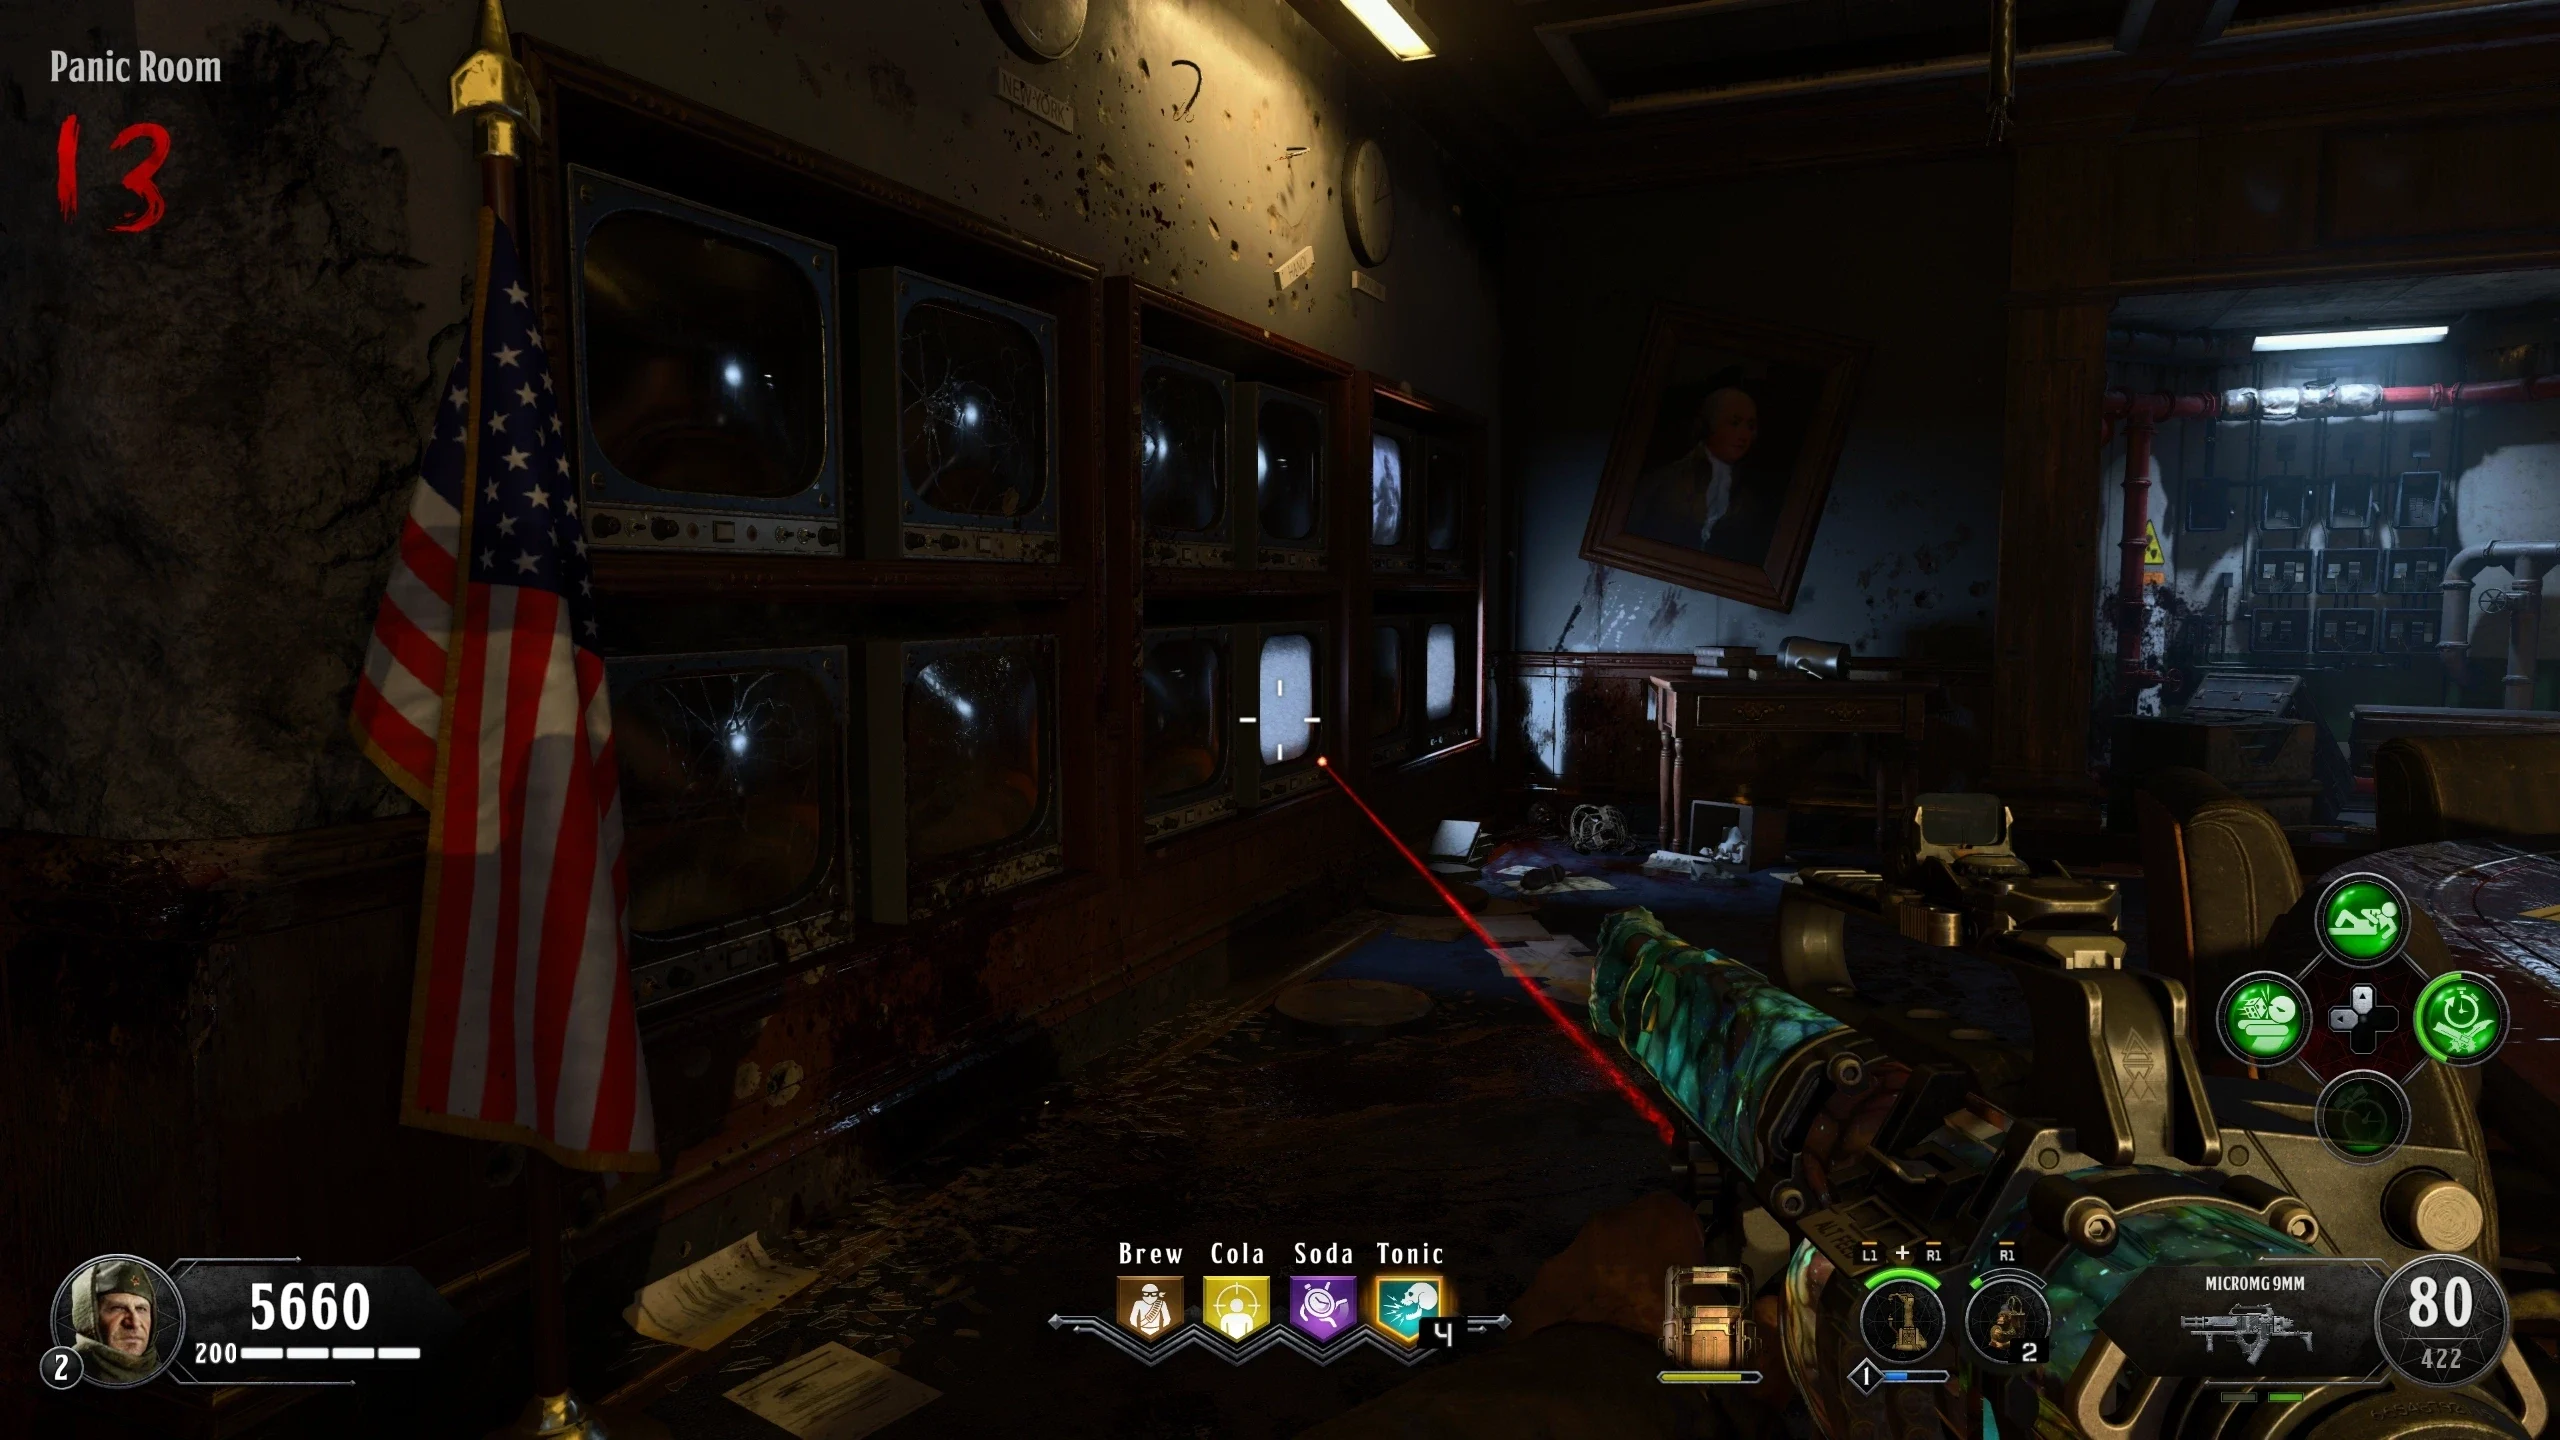
- Enter the 'Panic Room' via the teleporter in the 'Server Room.'
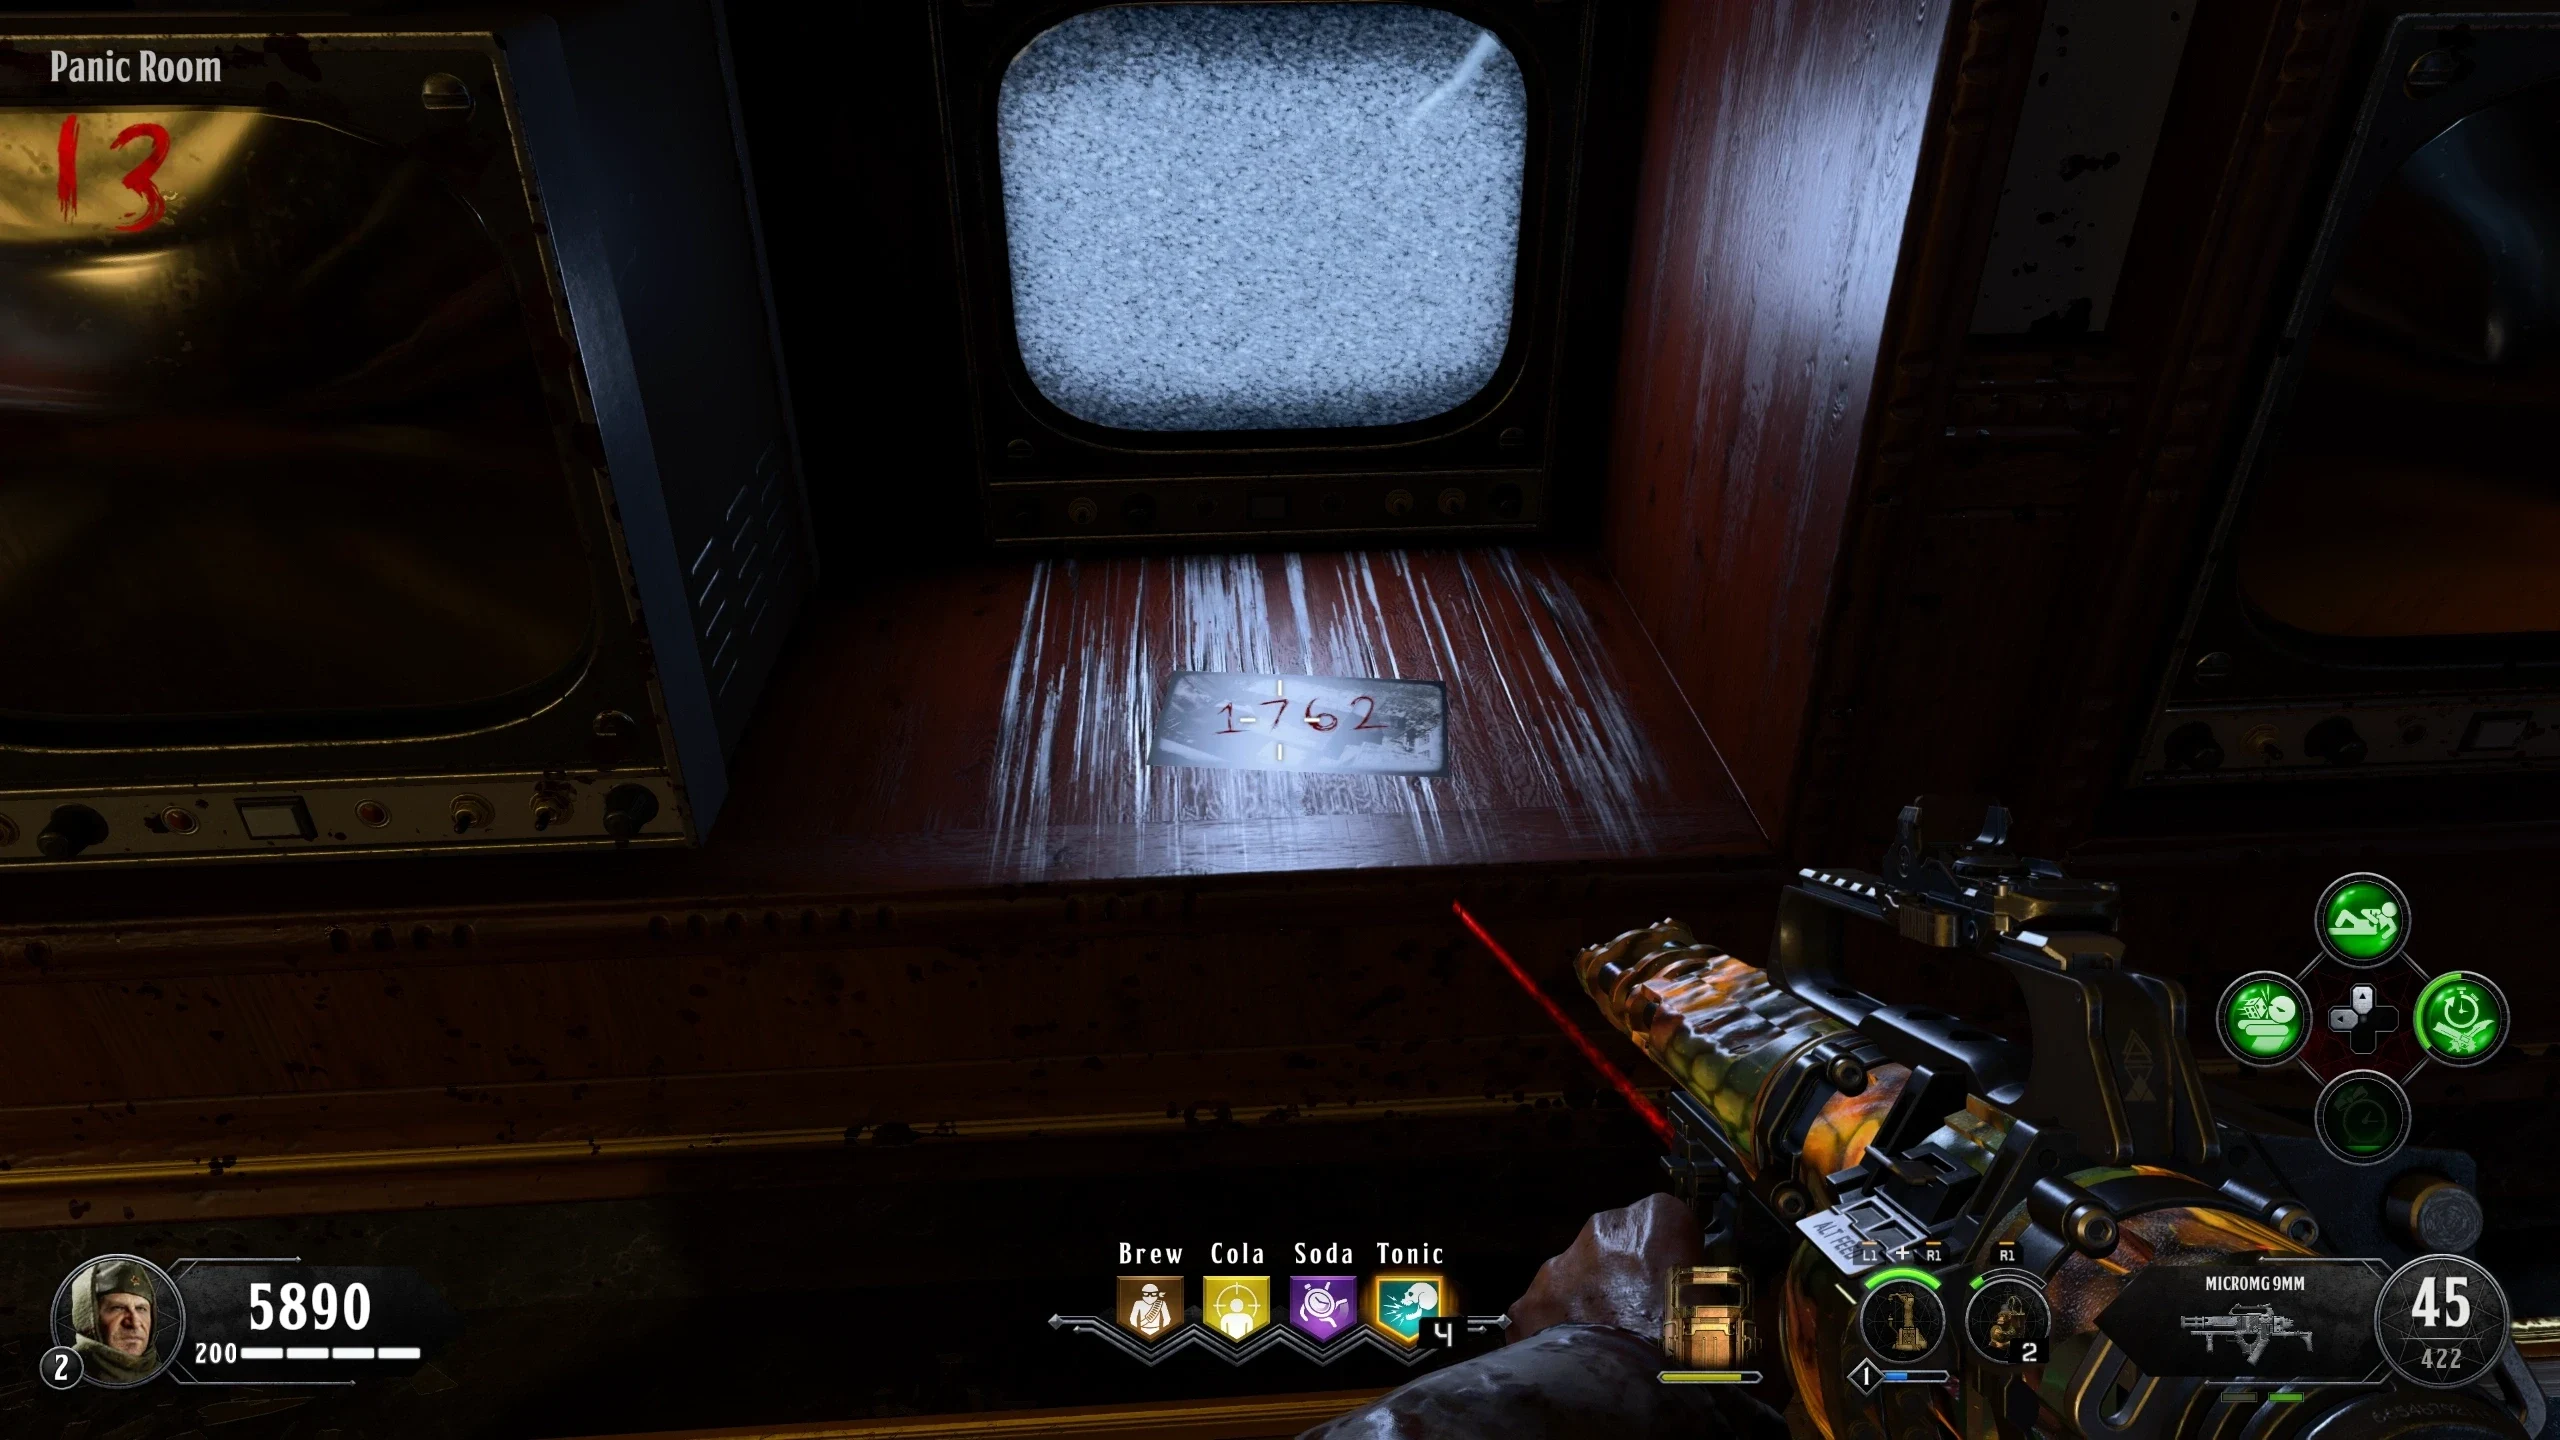
- Interact with this TV to make it slide back, revealing the Kino der Toten numbers below where it was.
Shi No Numa Numbers
- Obtain any Pack-a-Punched weapon (the Pack-a-Punched Welling you get while down on solo works).
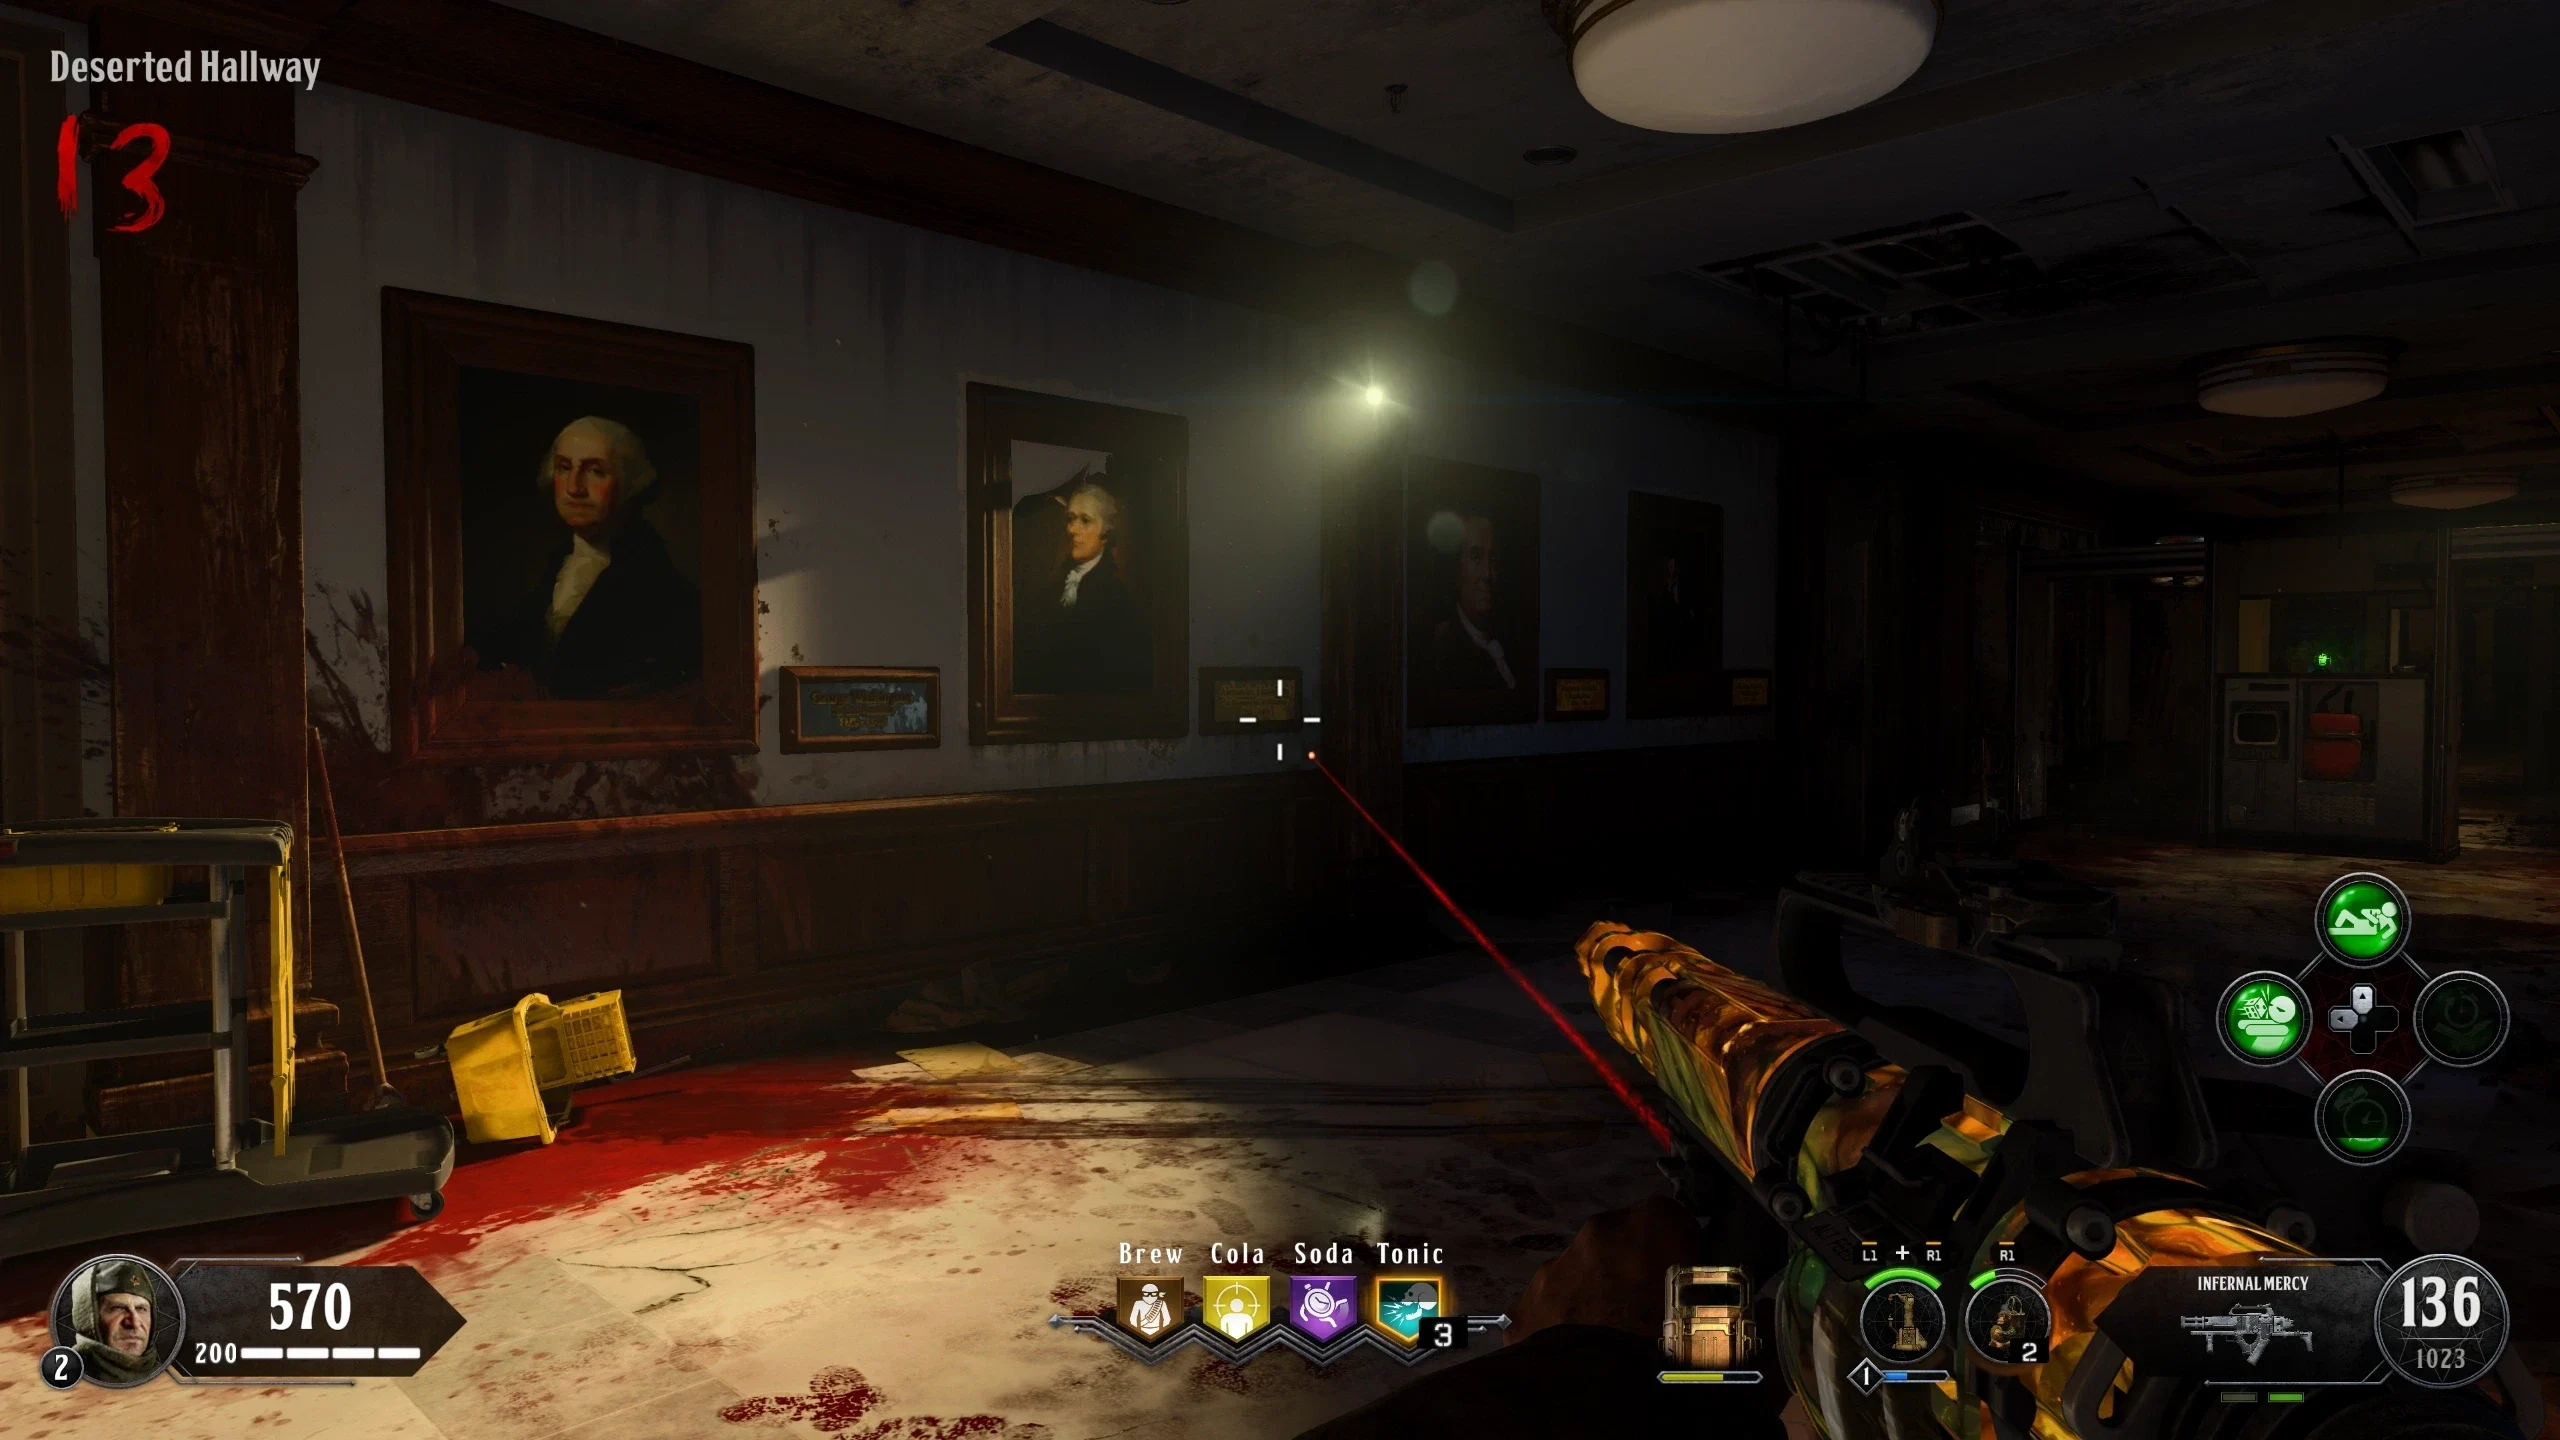
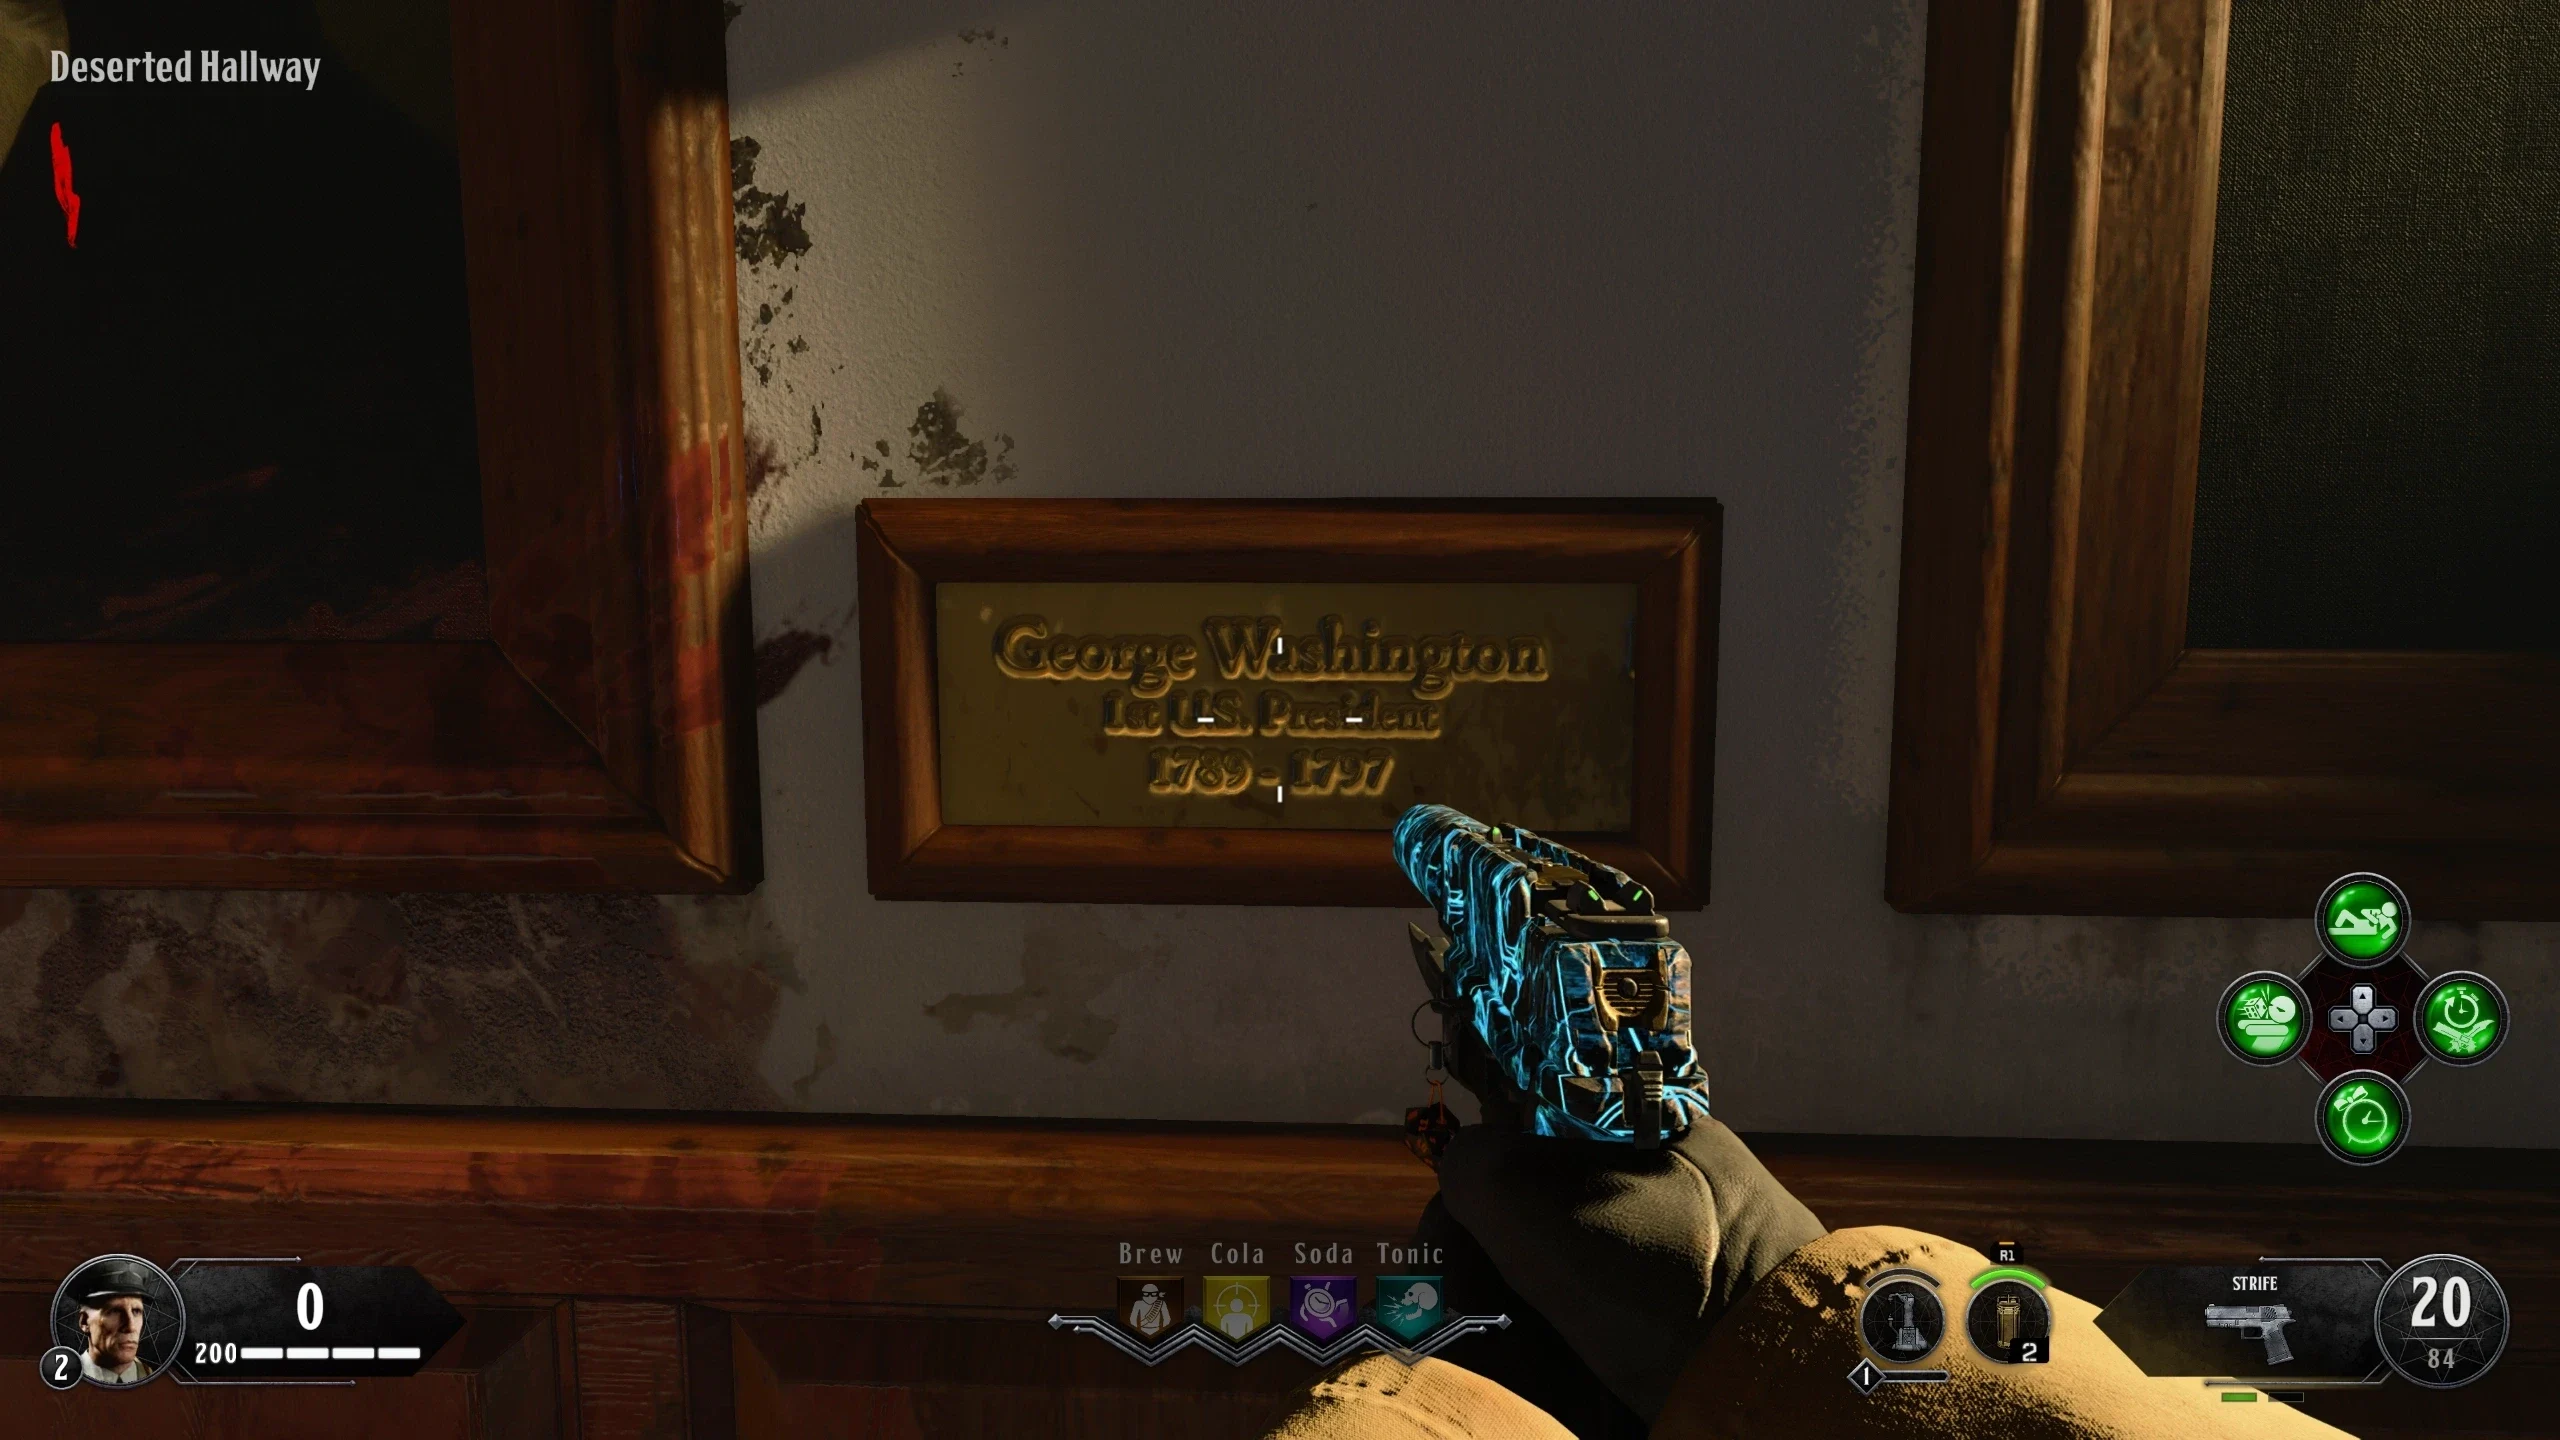
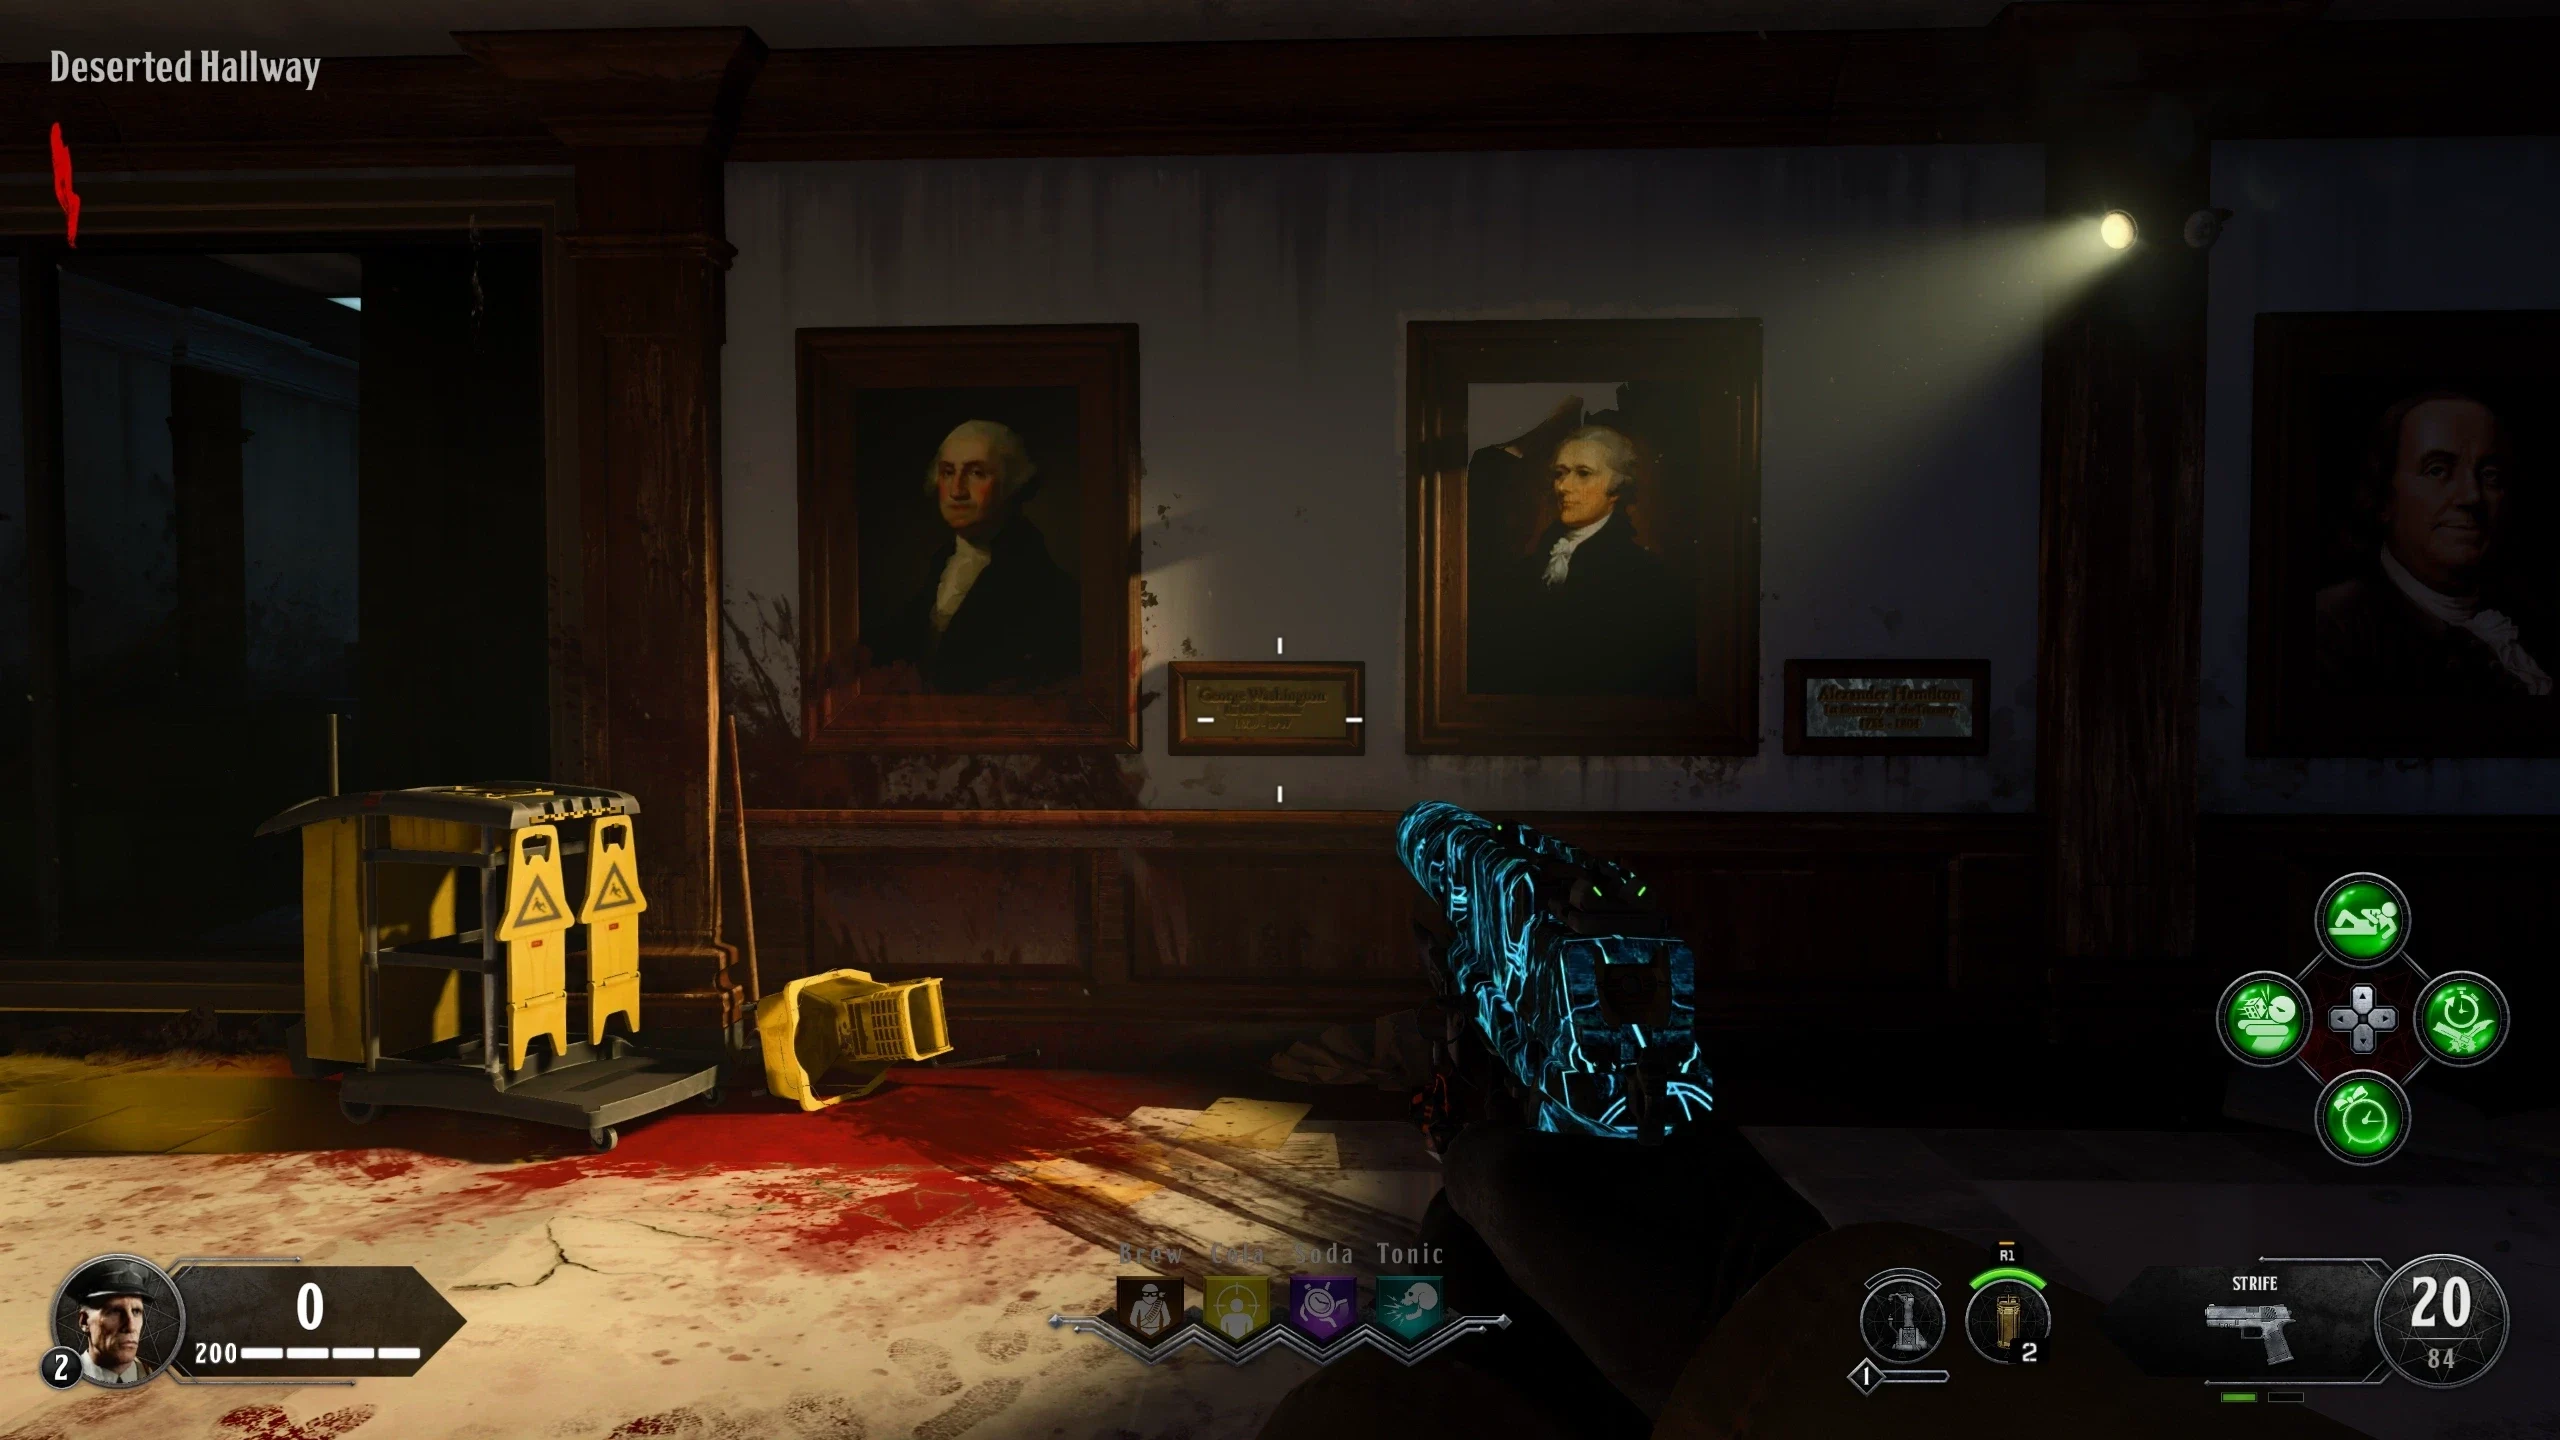
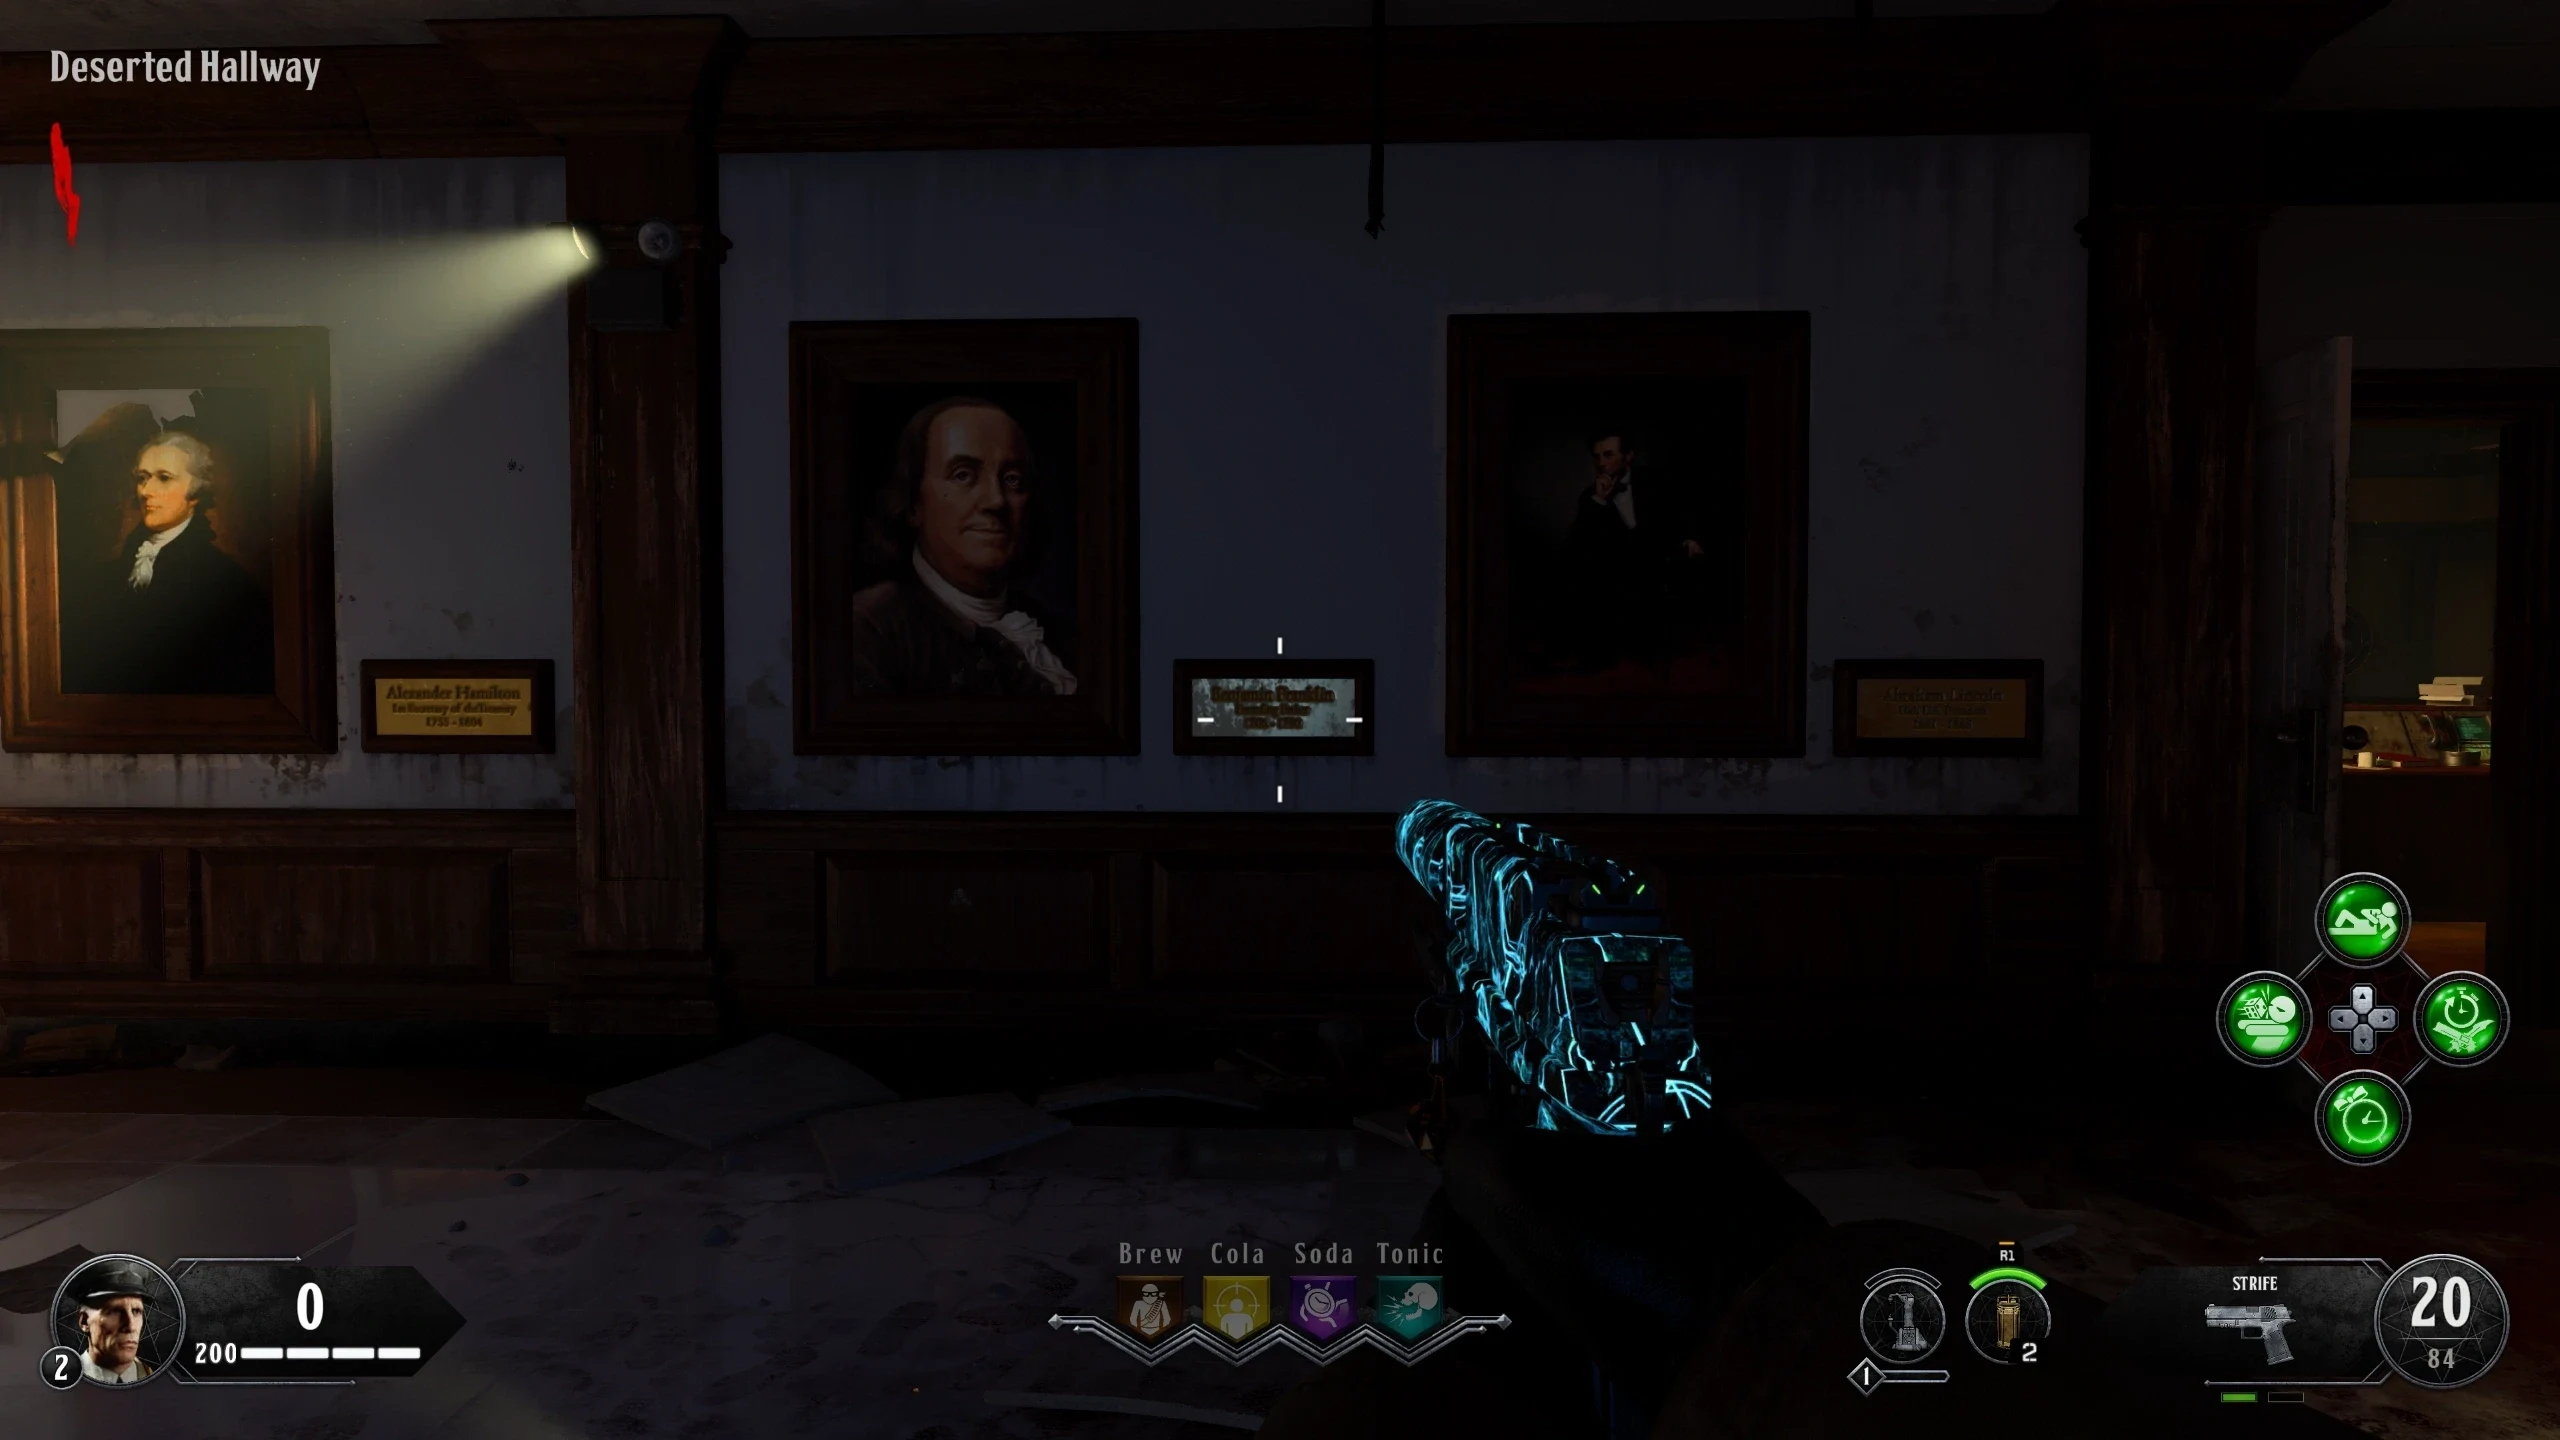
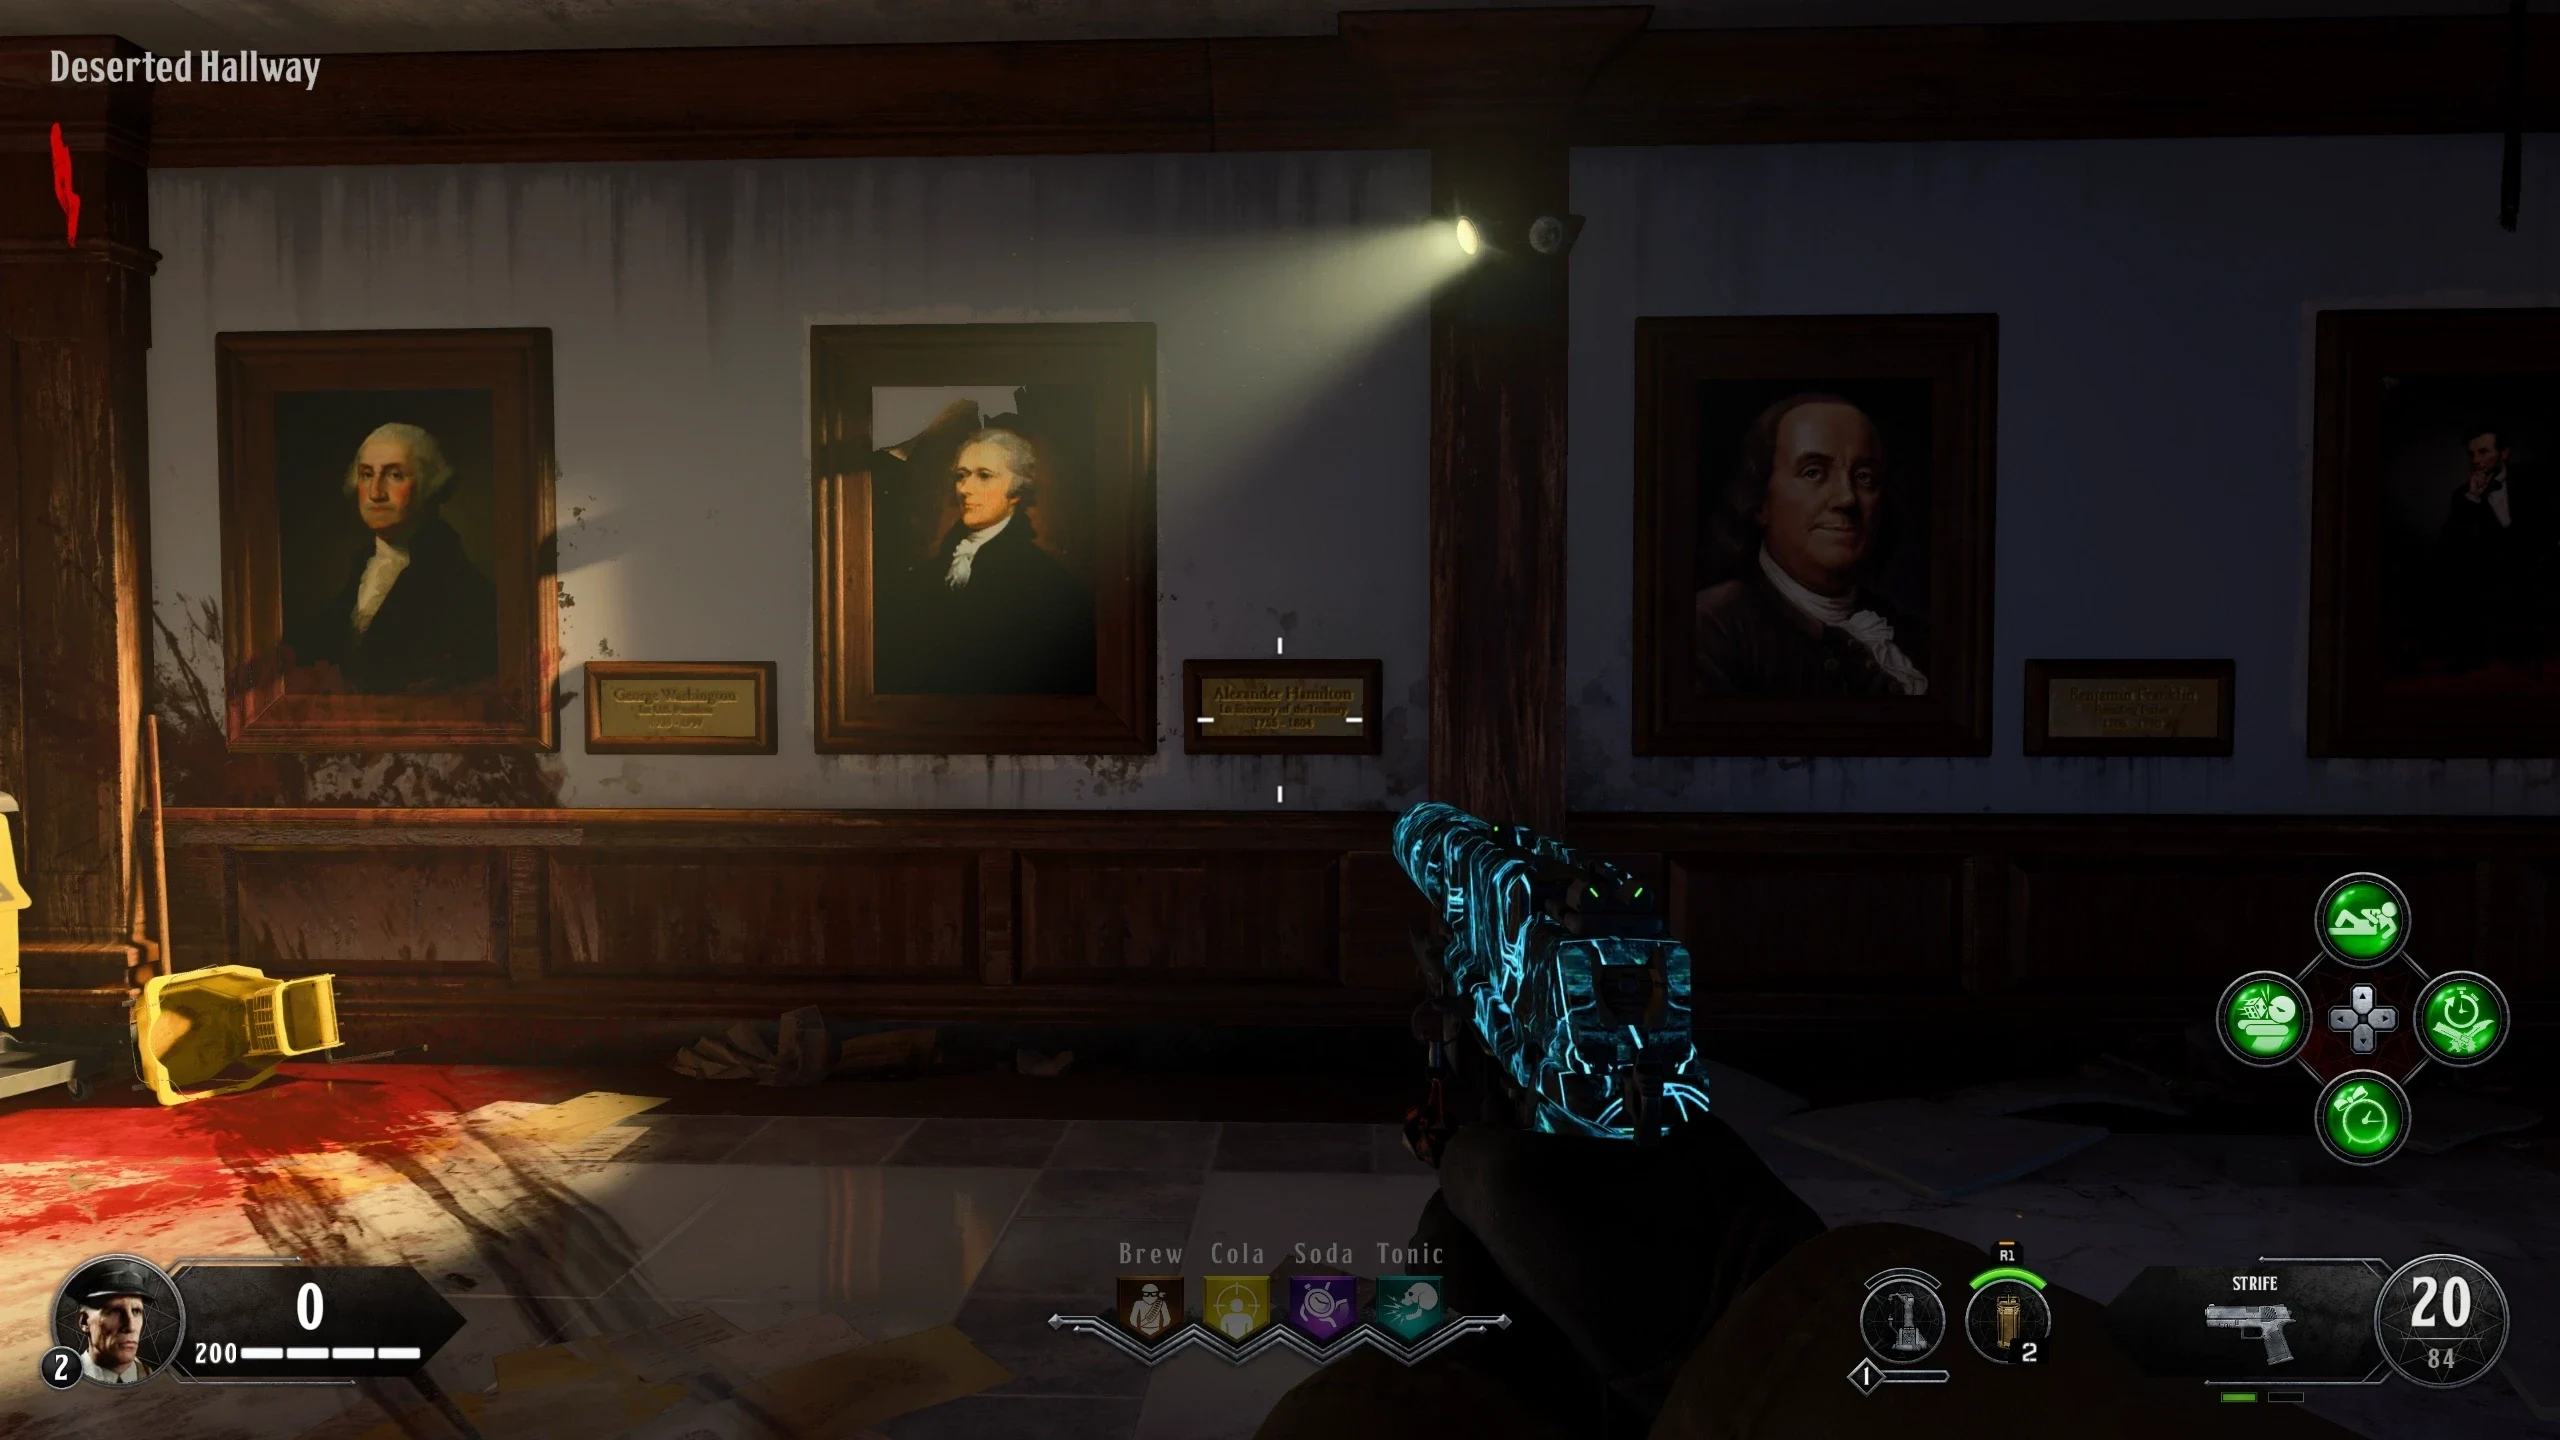
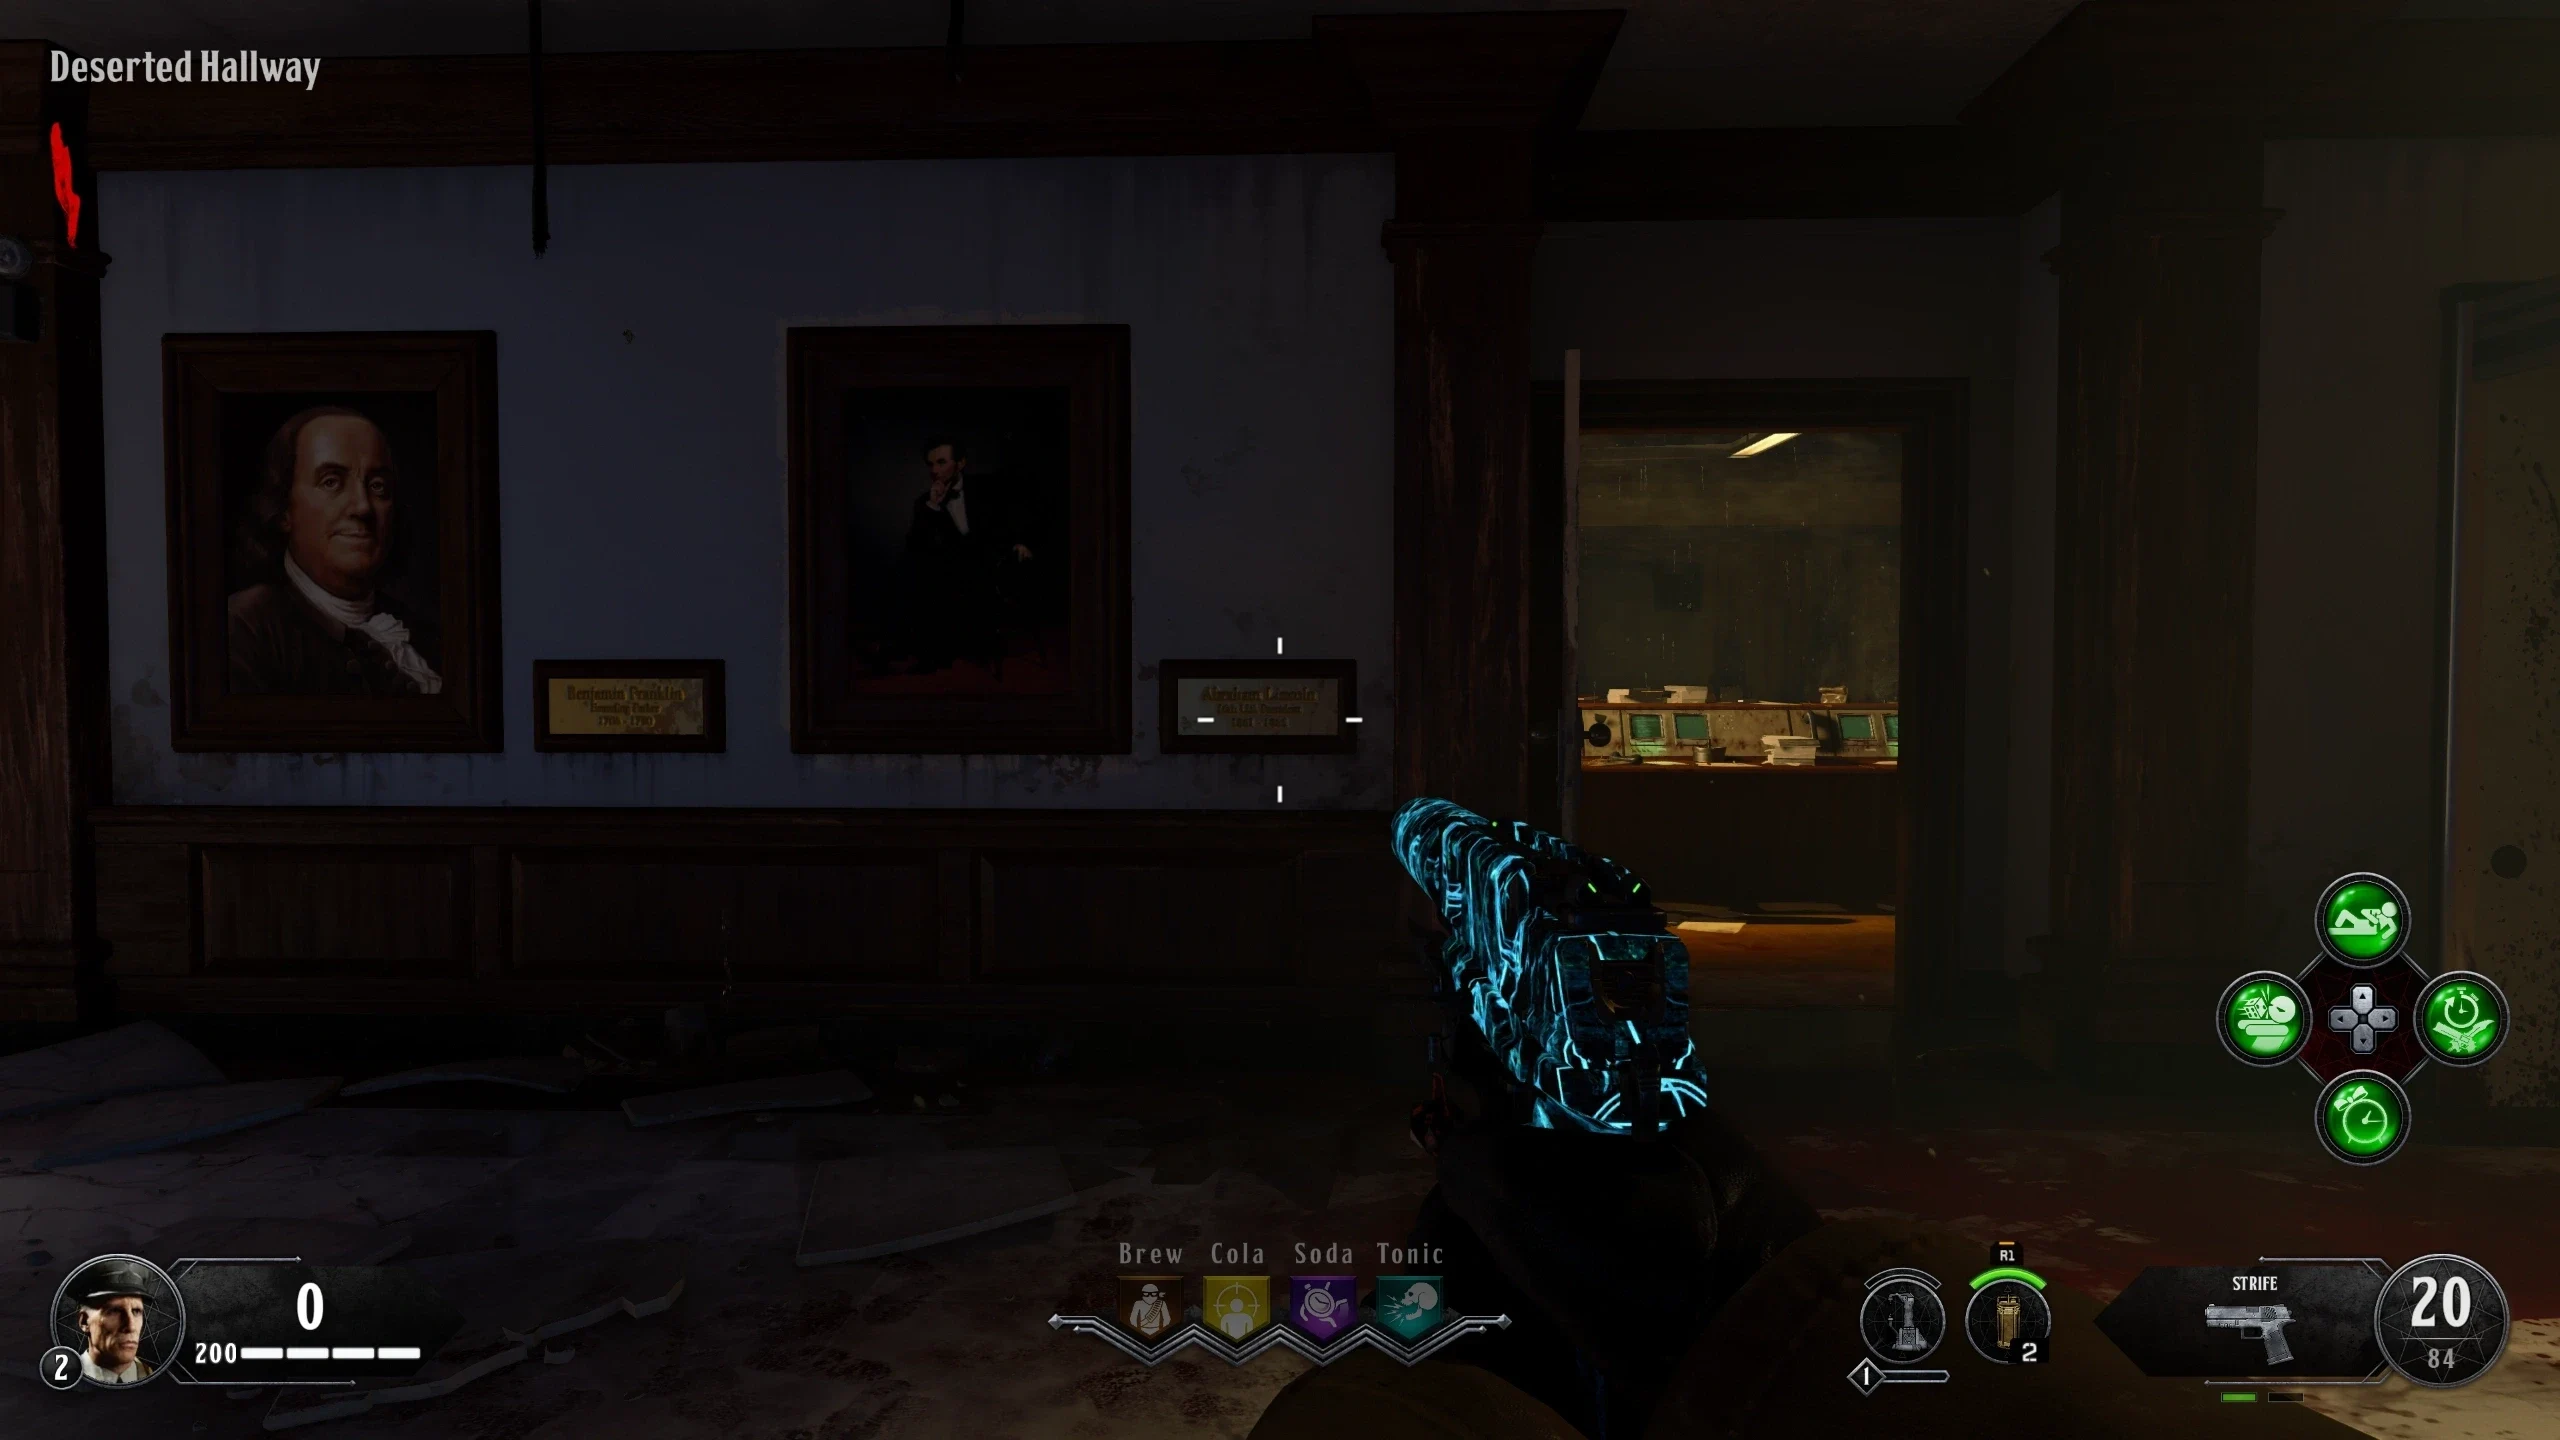
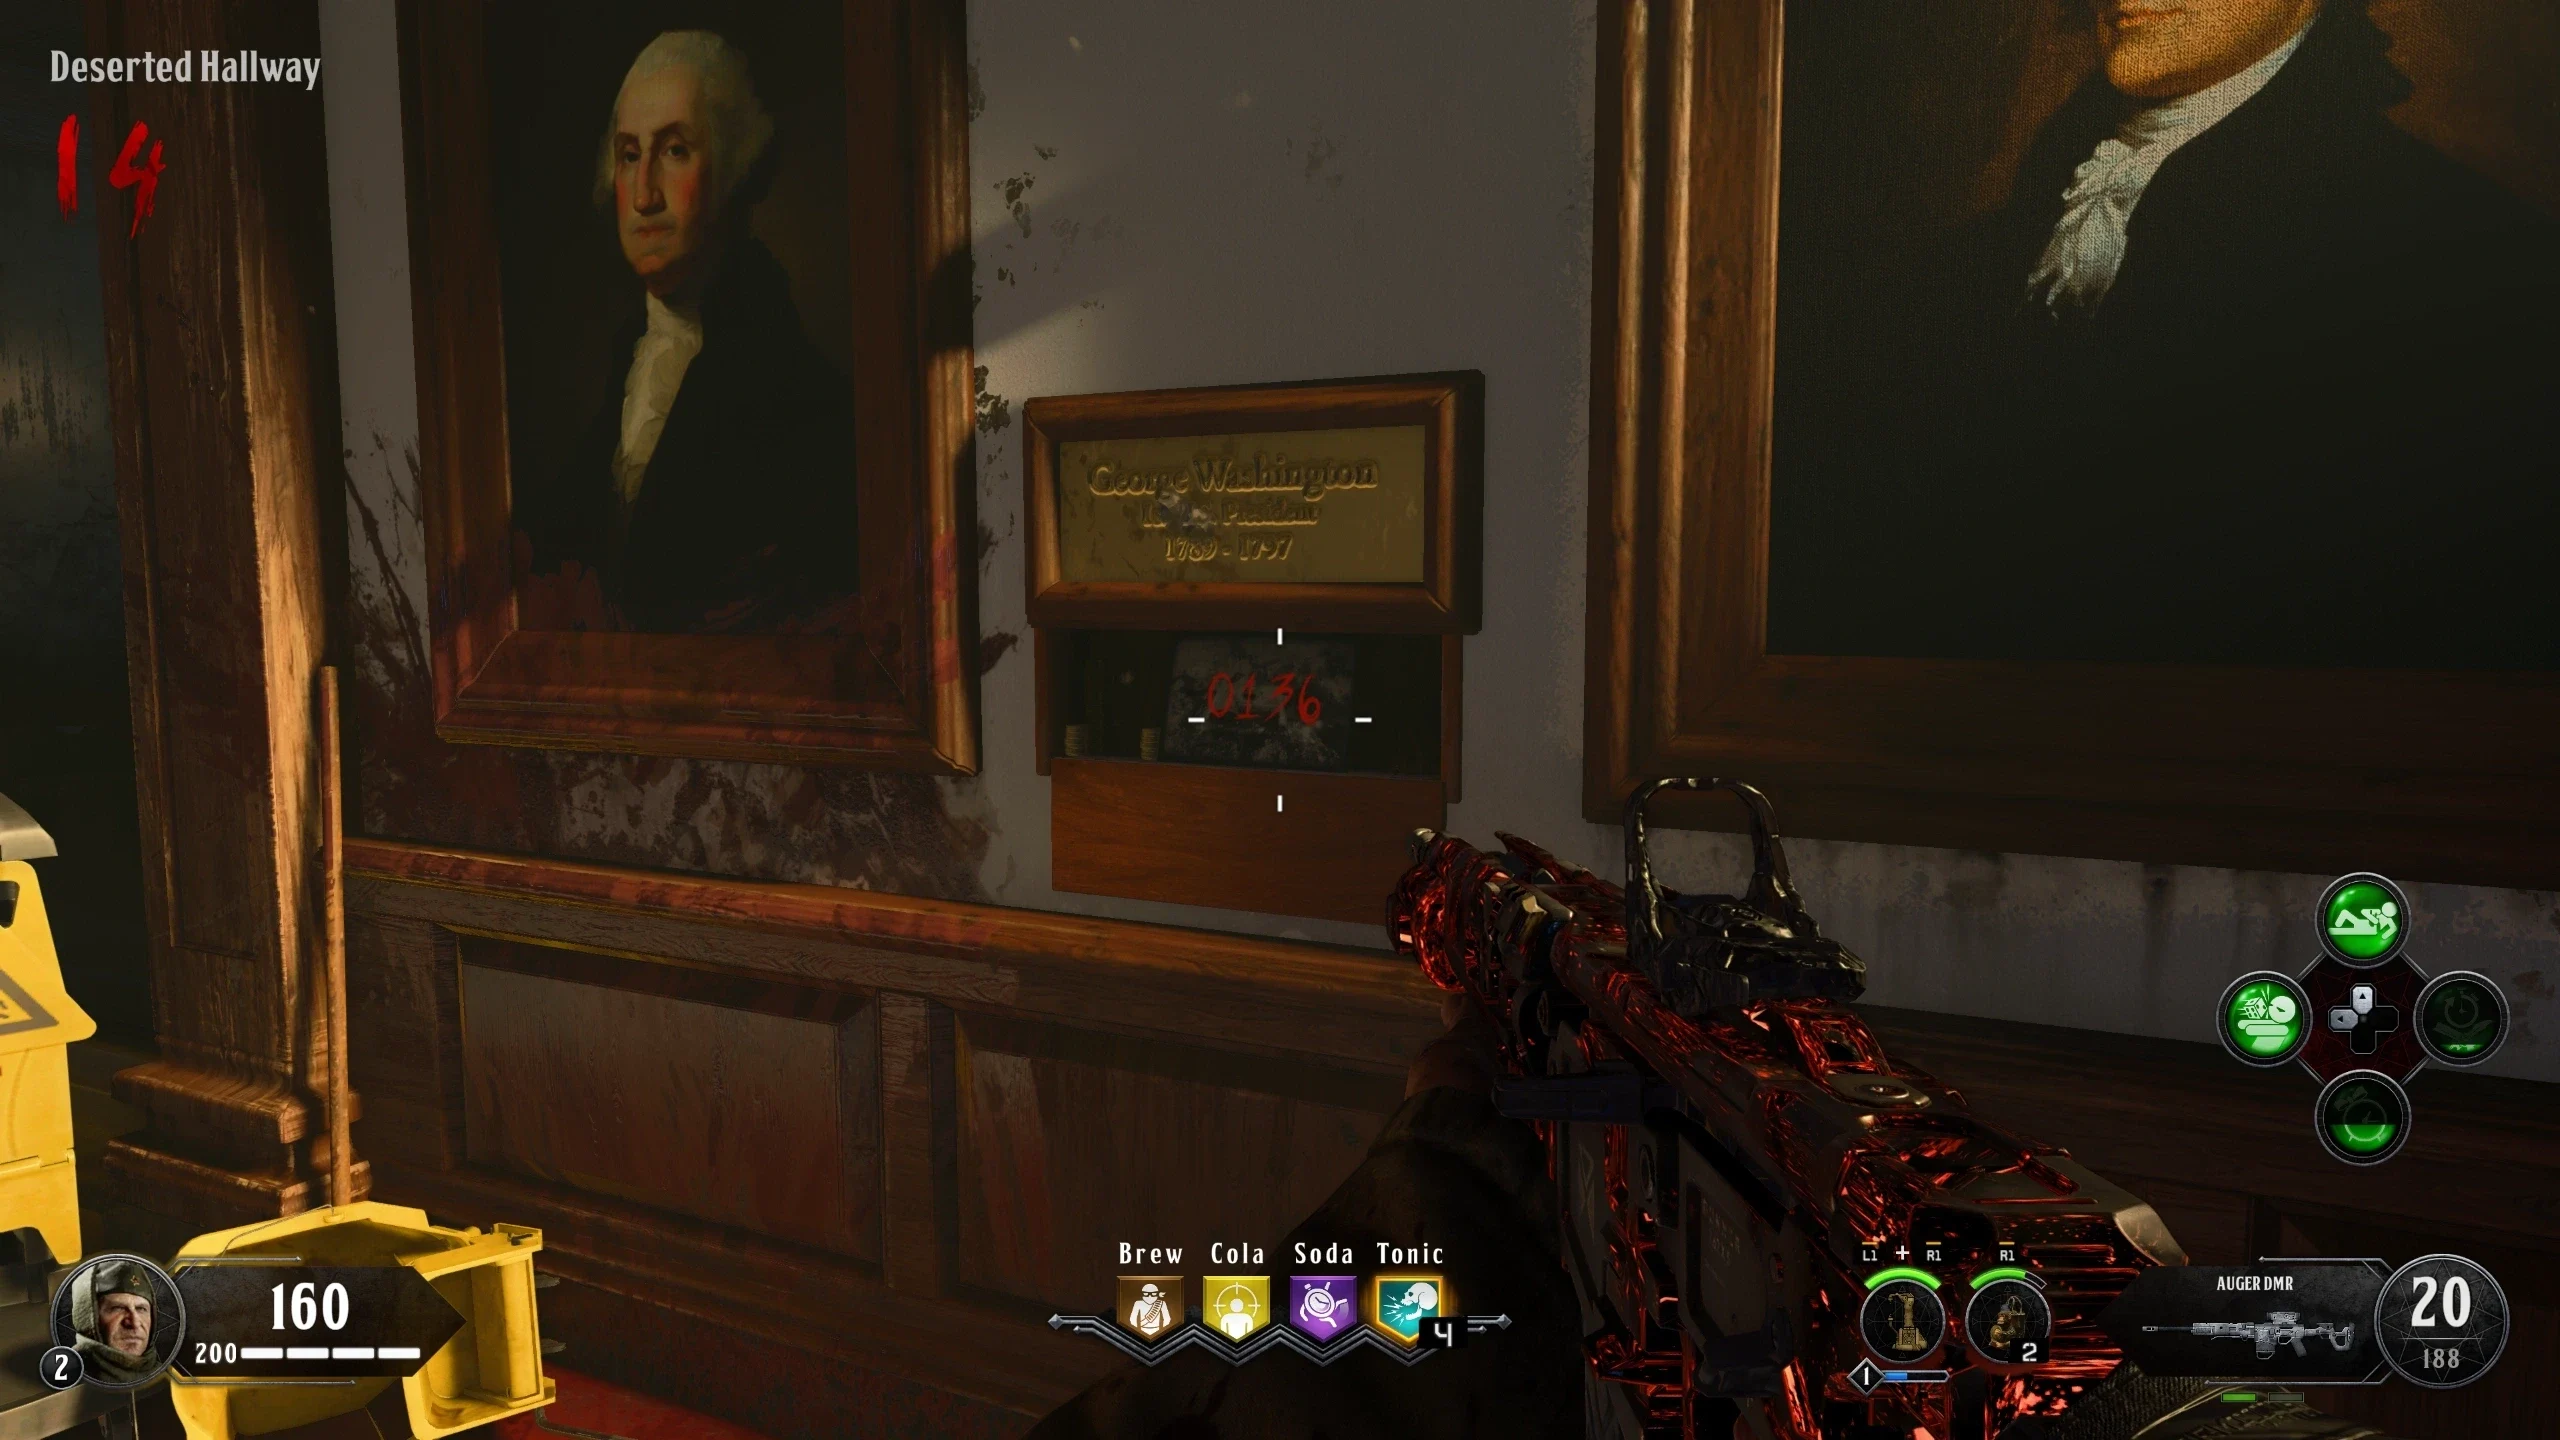
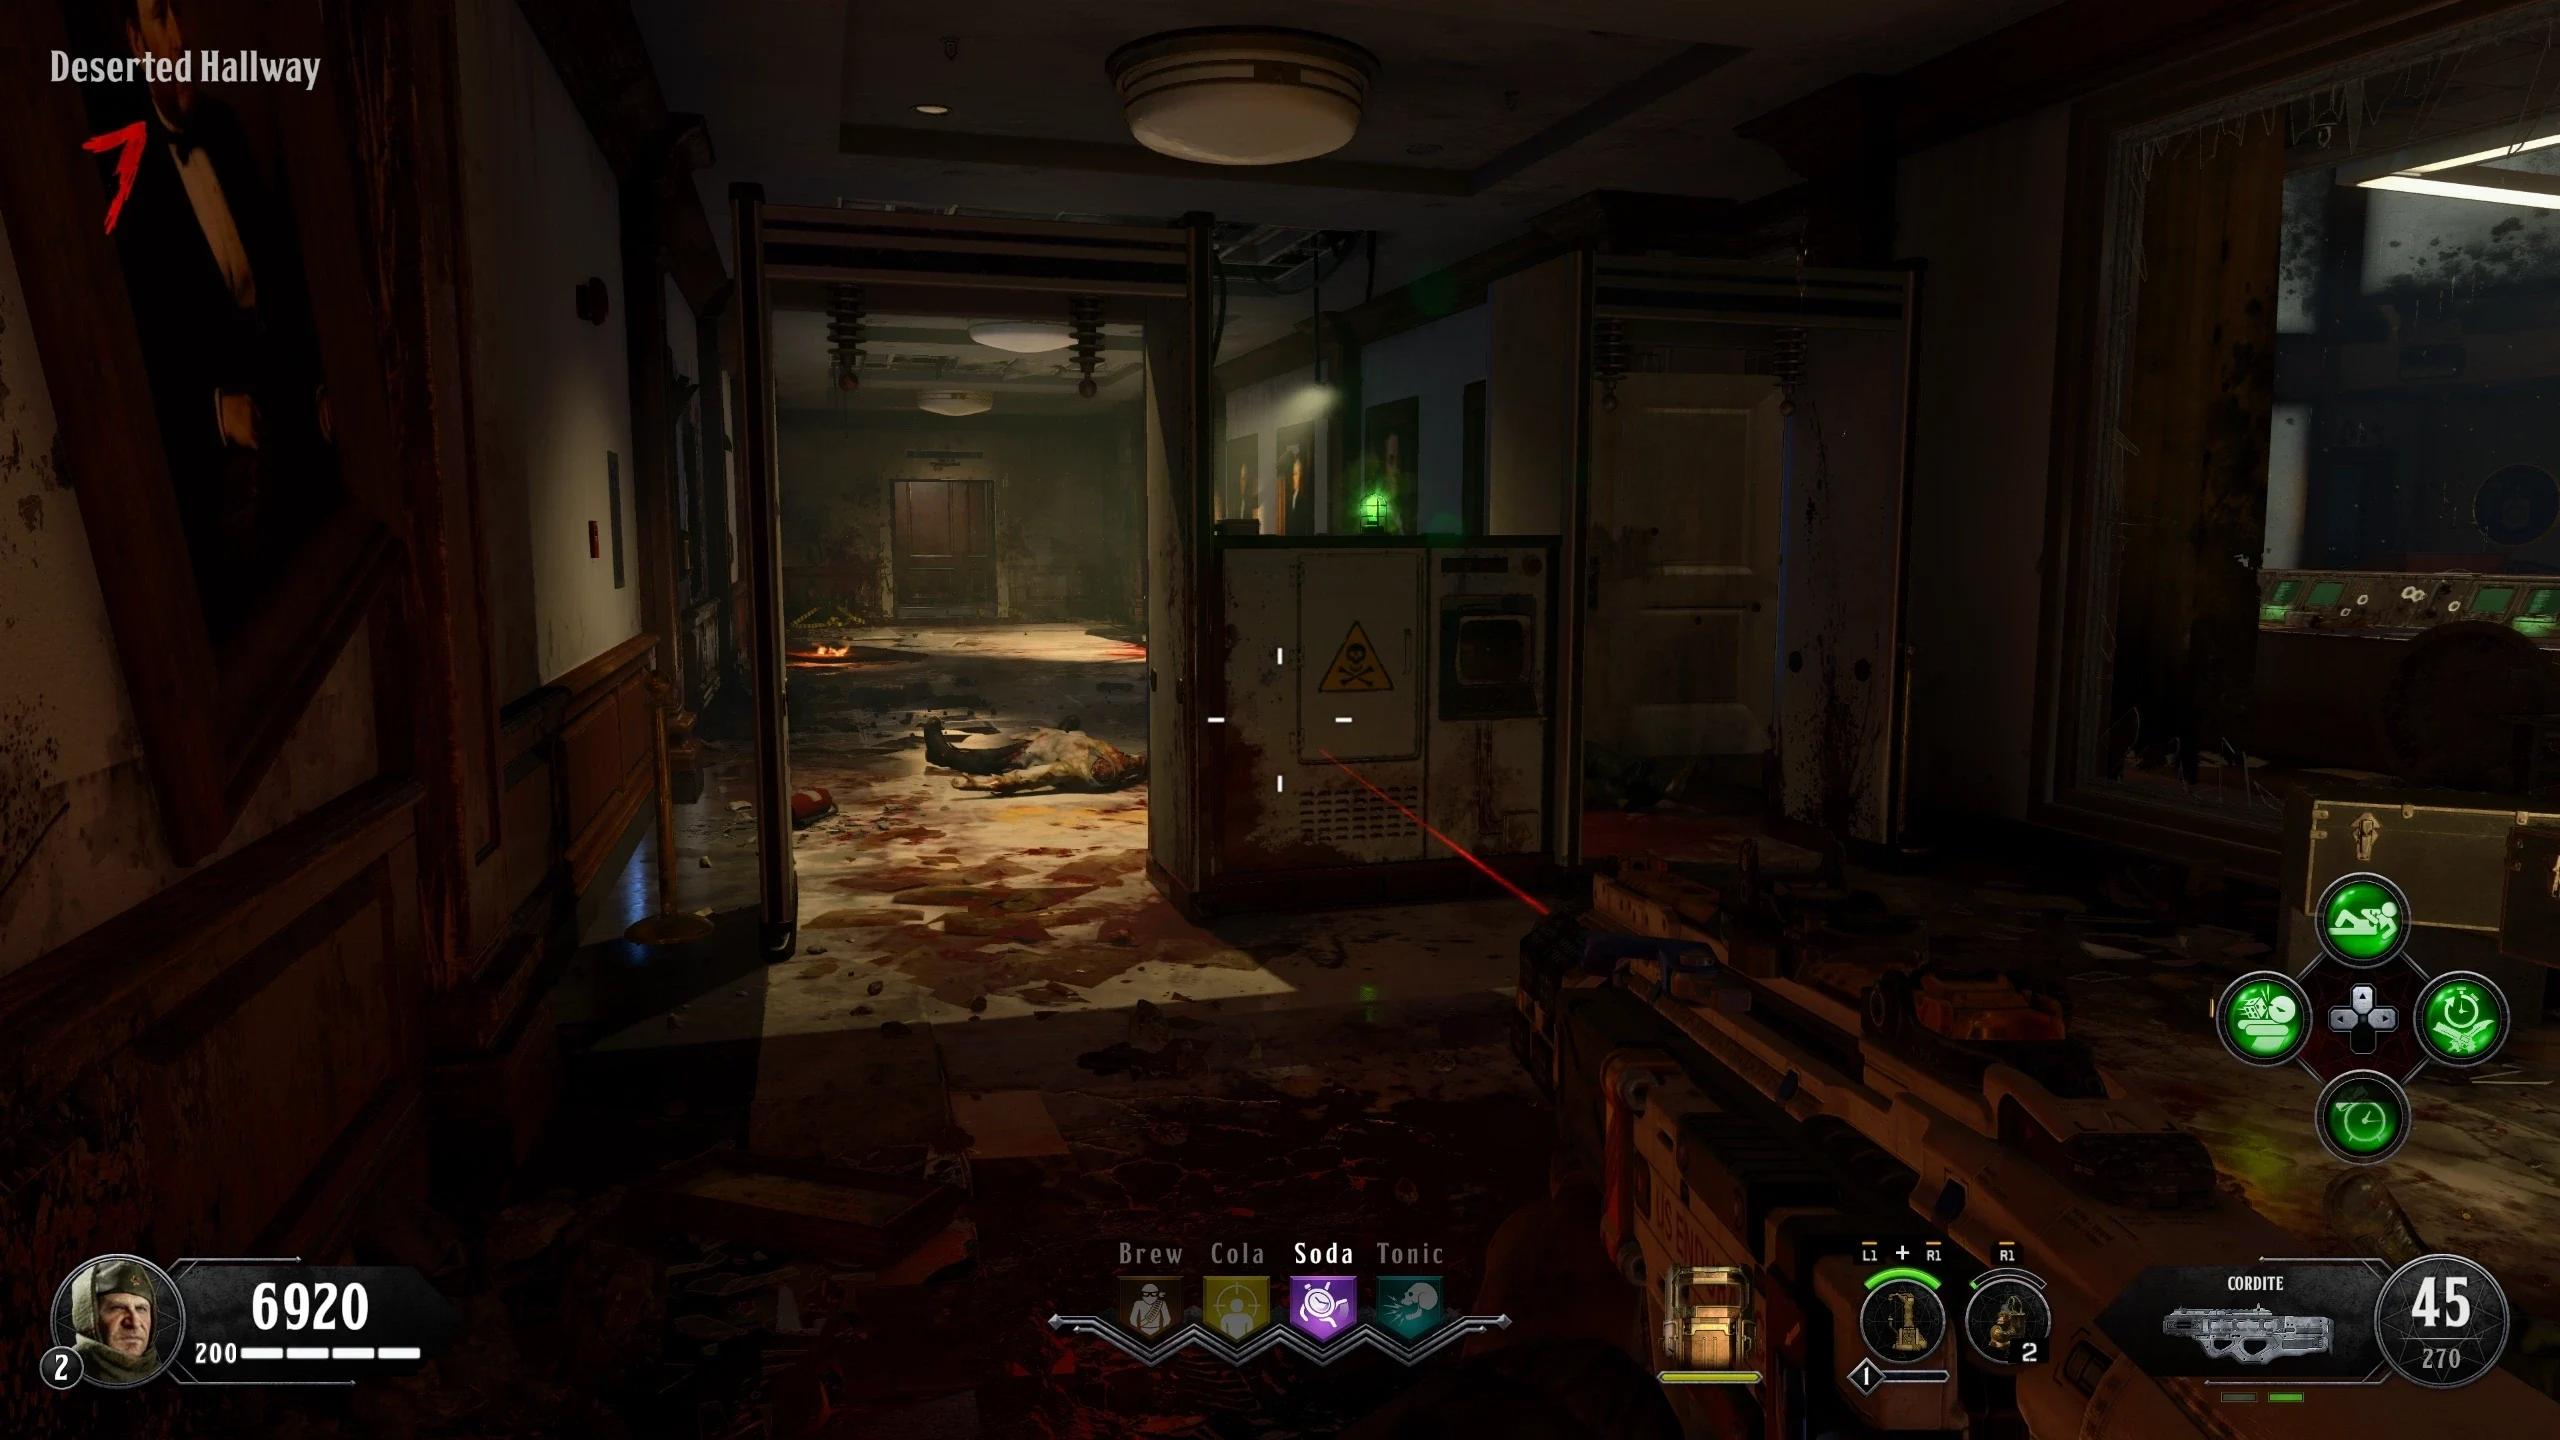
- In the 'Deserted Hallway,' there are four pictures of historical American Figures. Shoot their nameplates in the following order:
- If done correctly, George Washington's nameplate will rise, revealing the Shi No Numa Numbers.
Input the Numbers
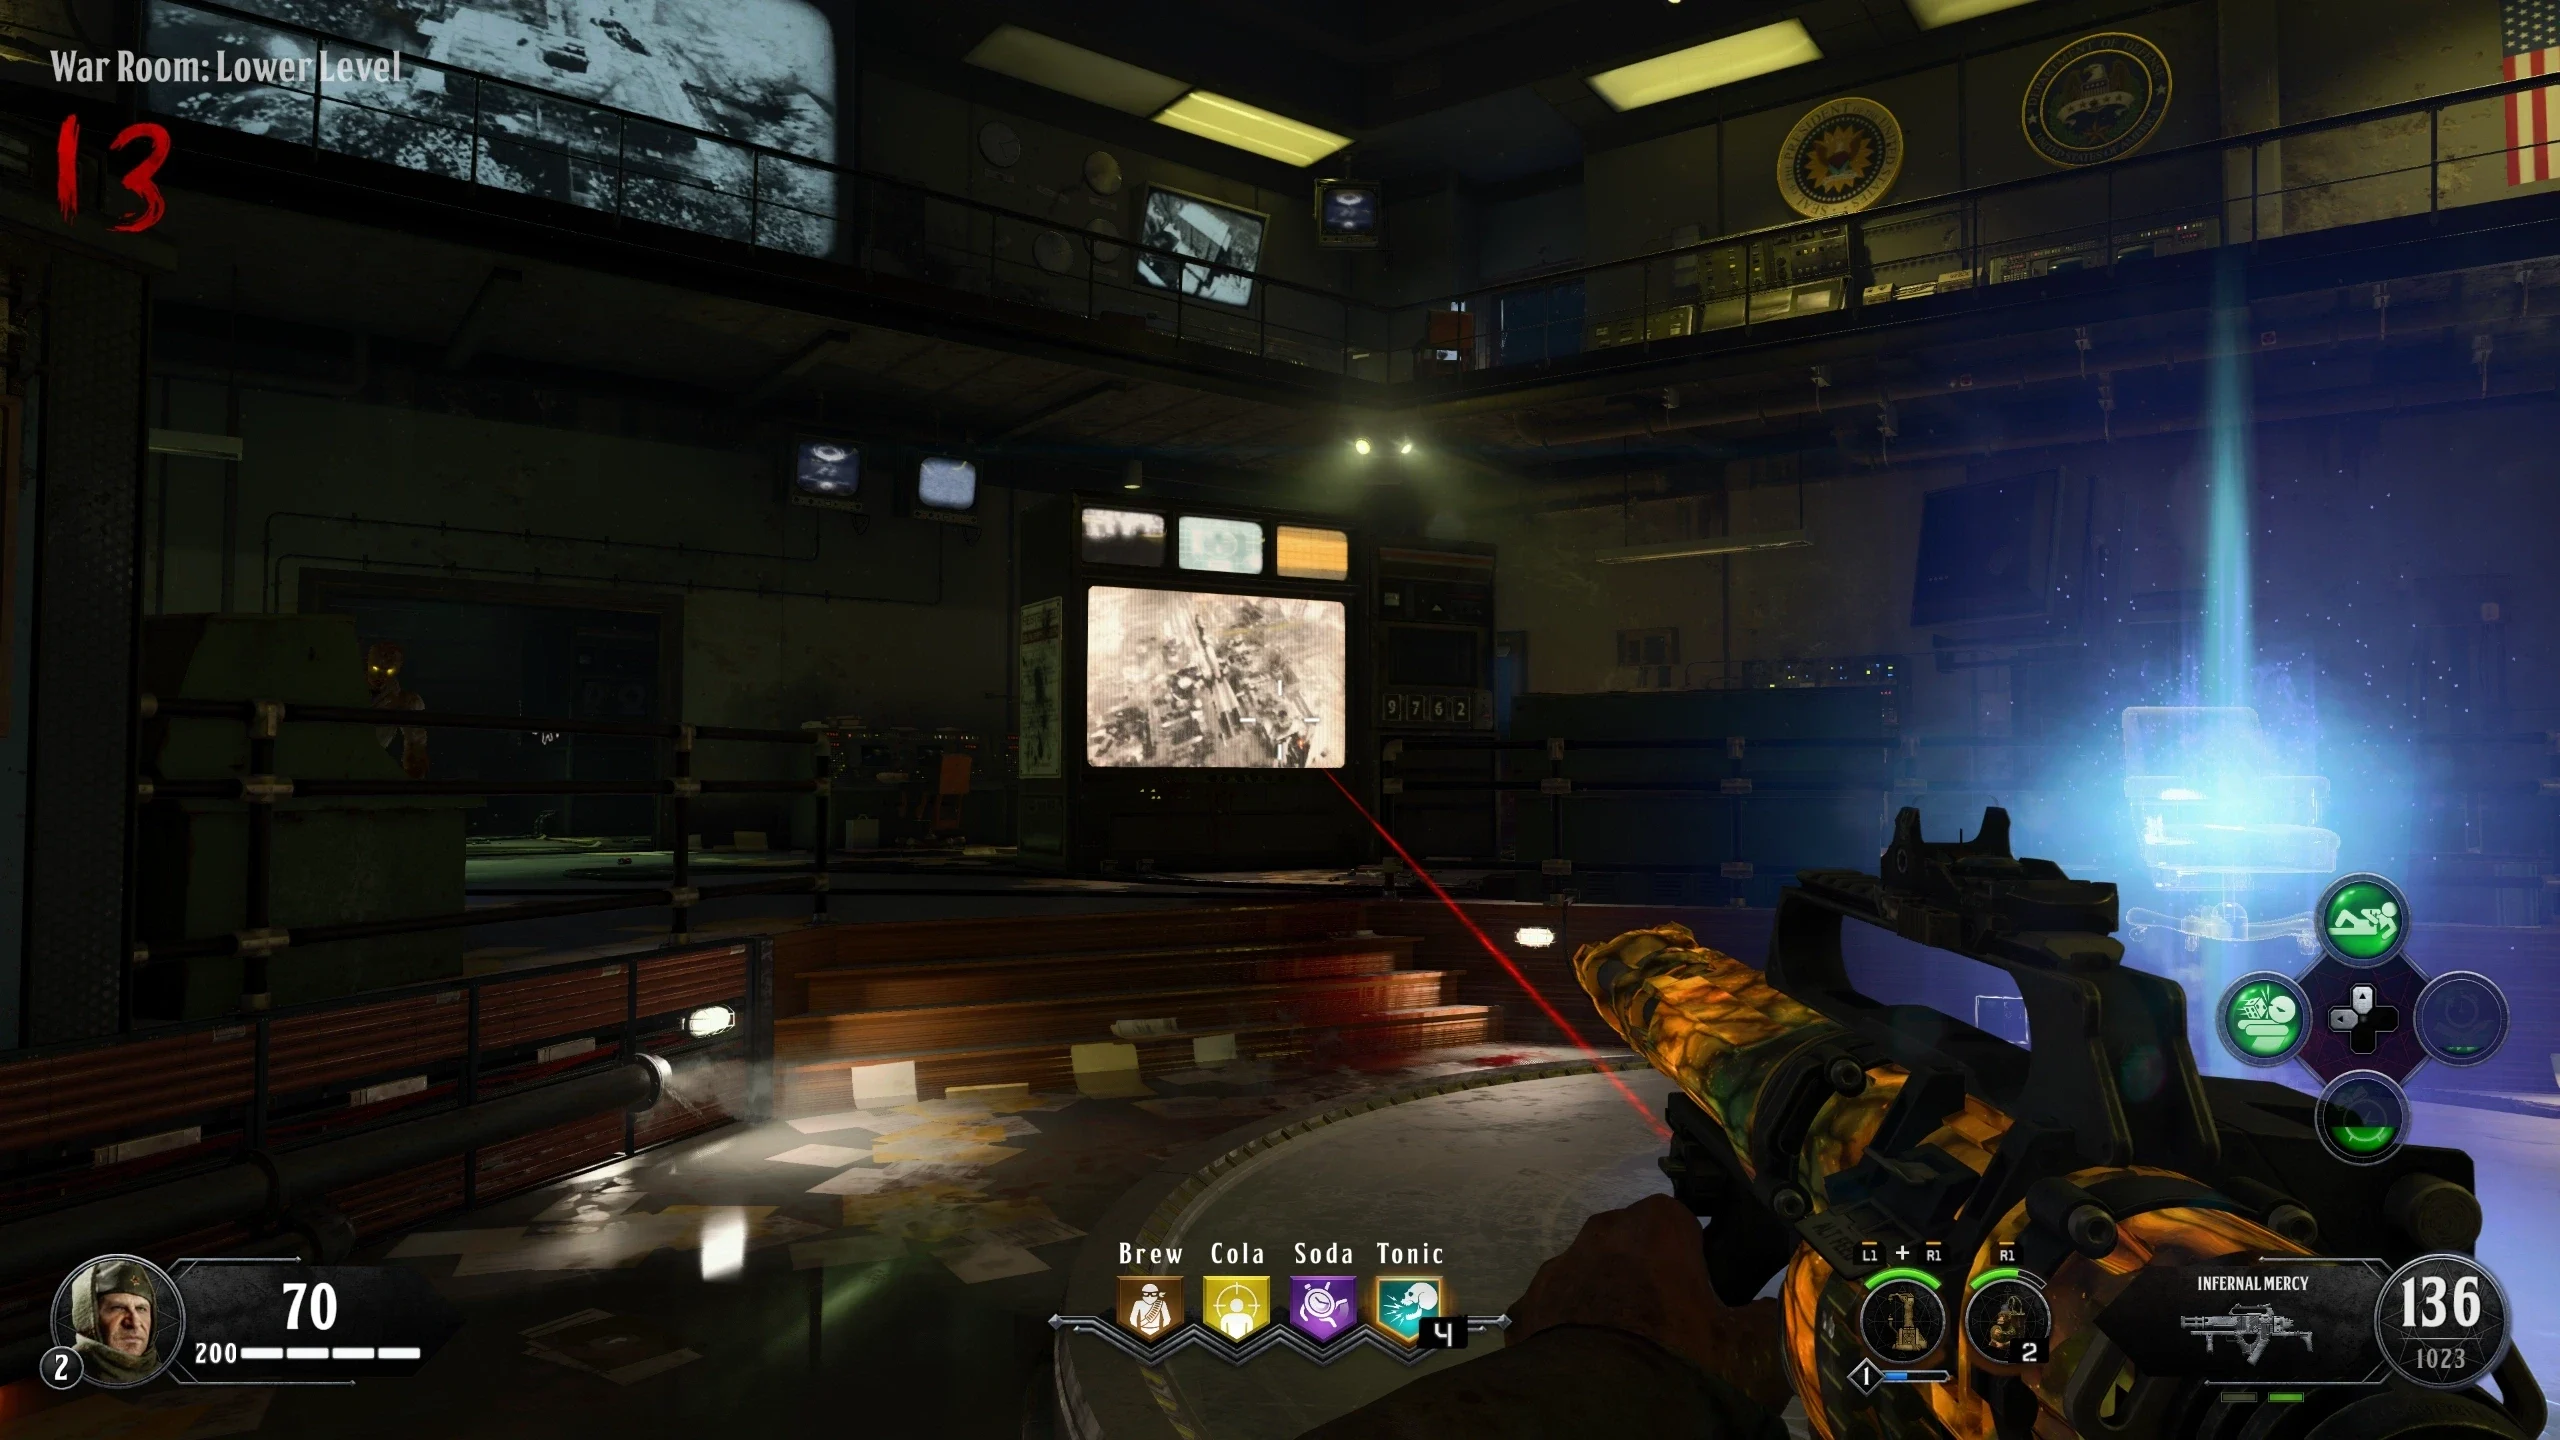
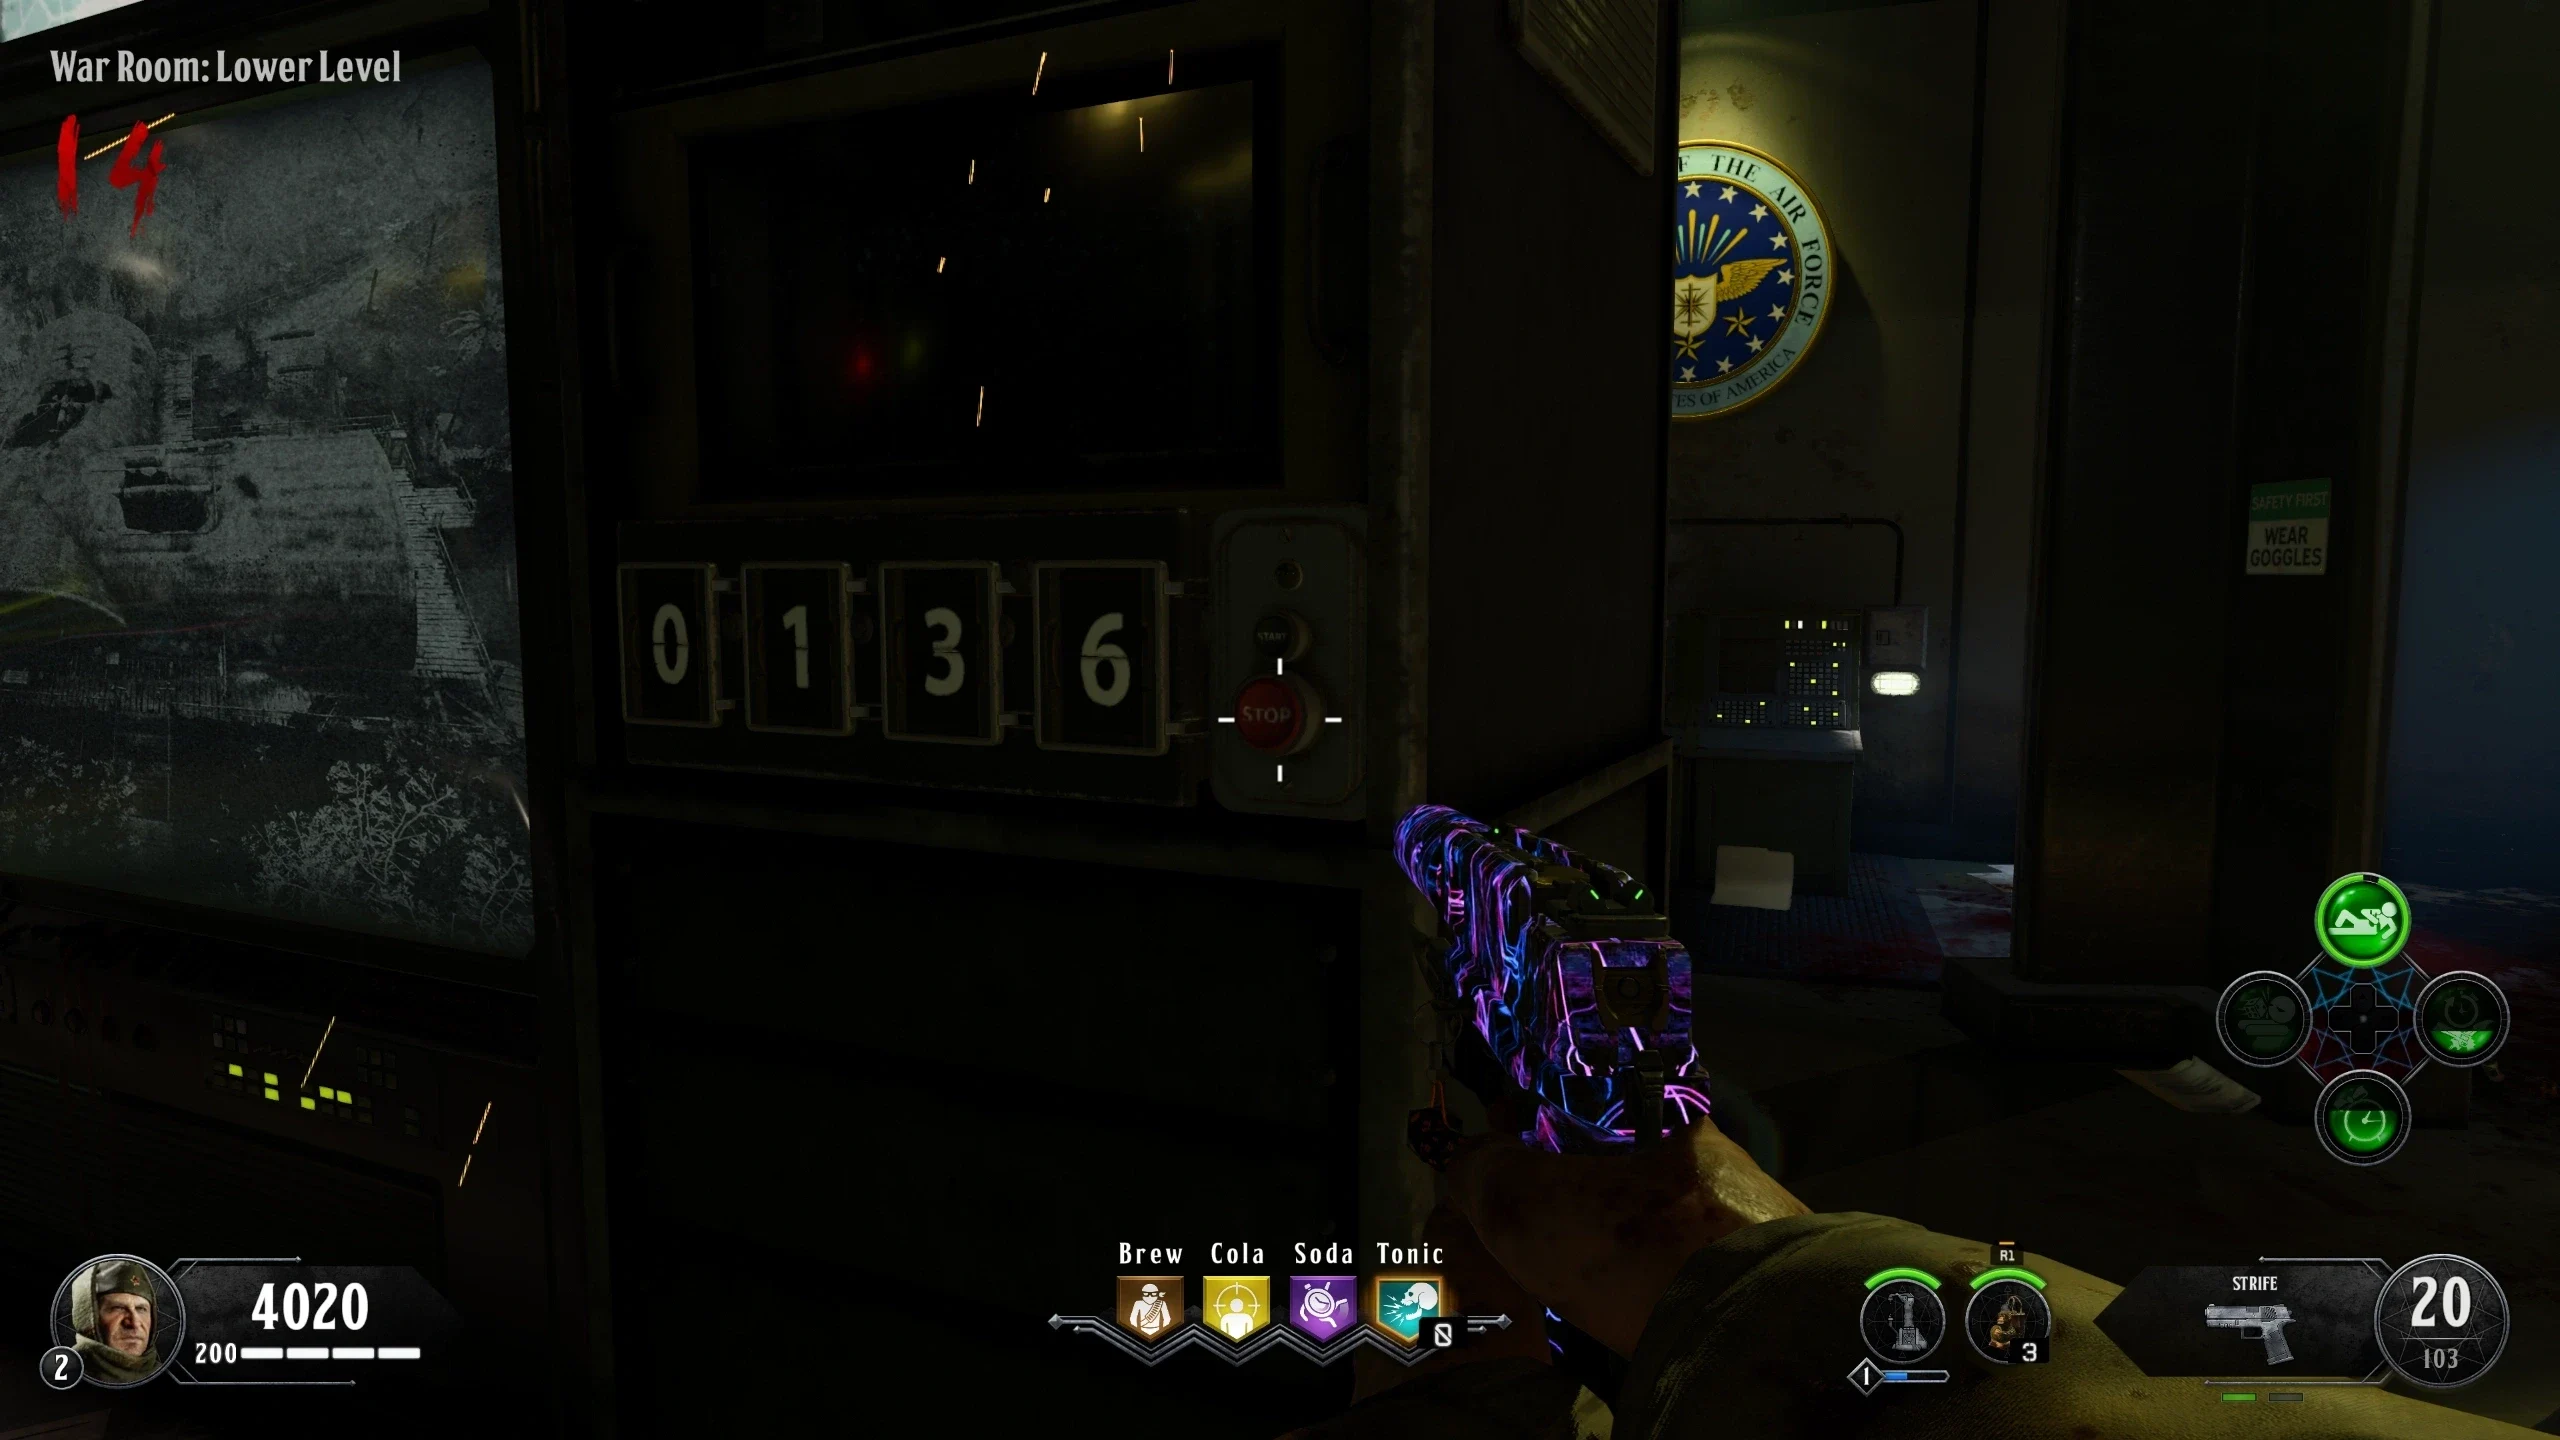
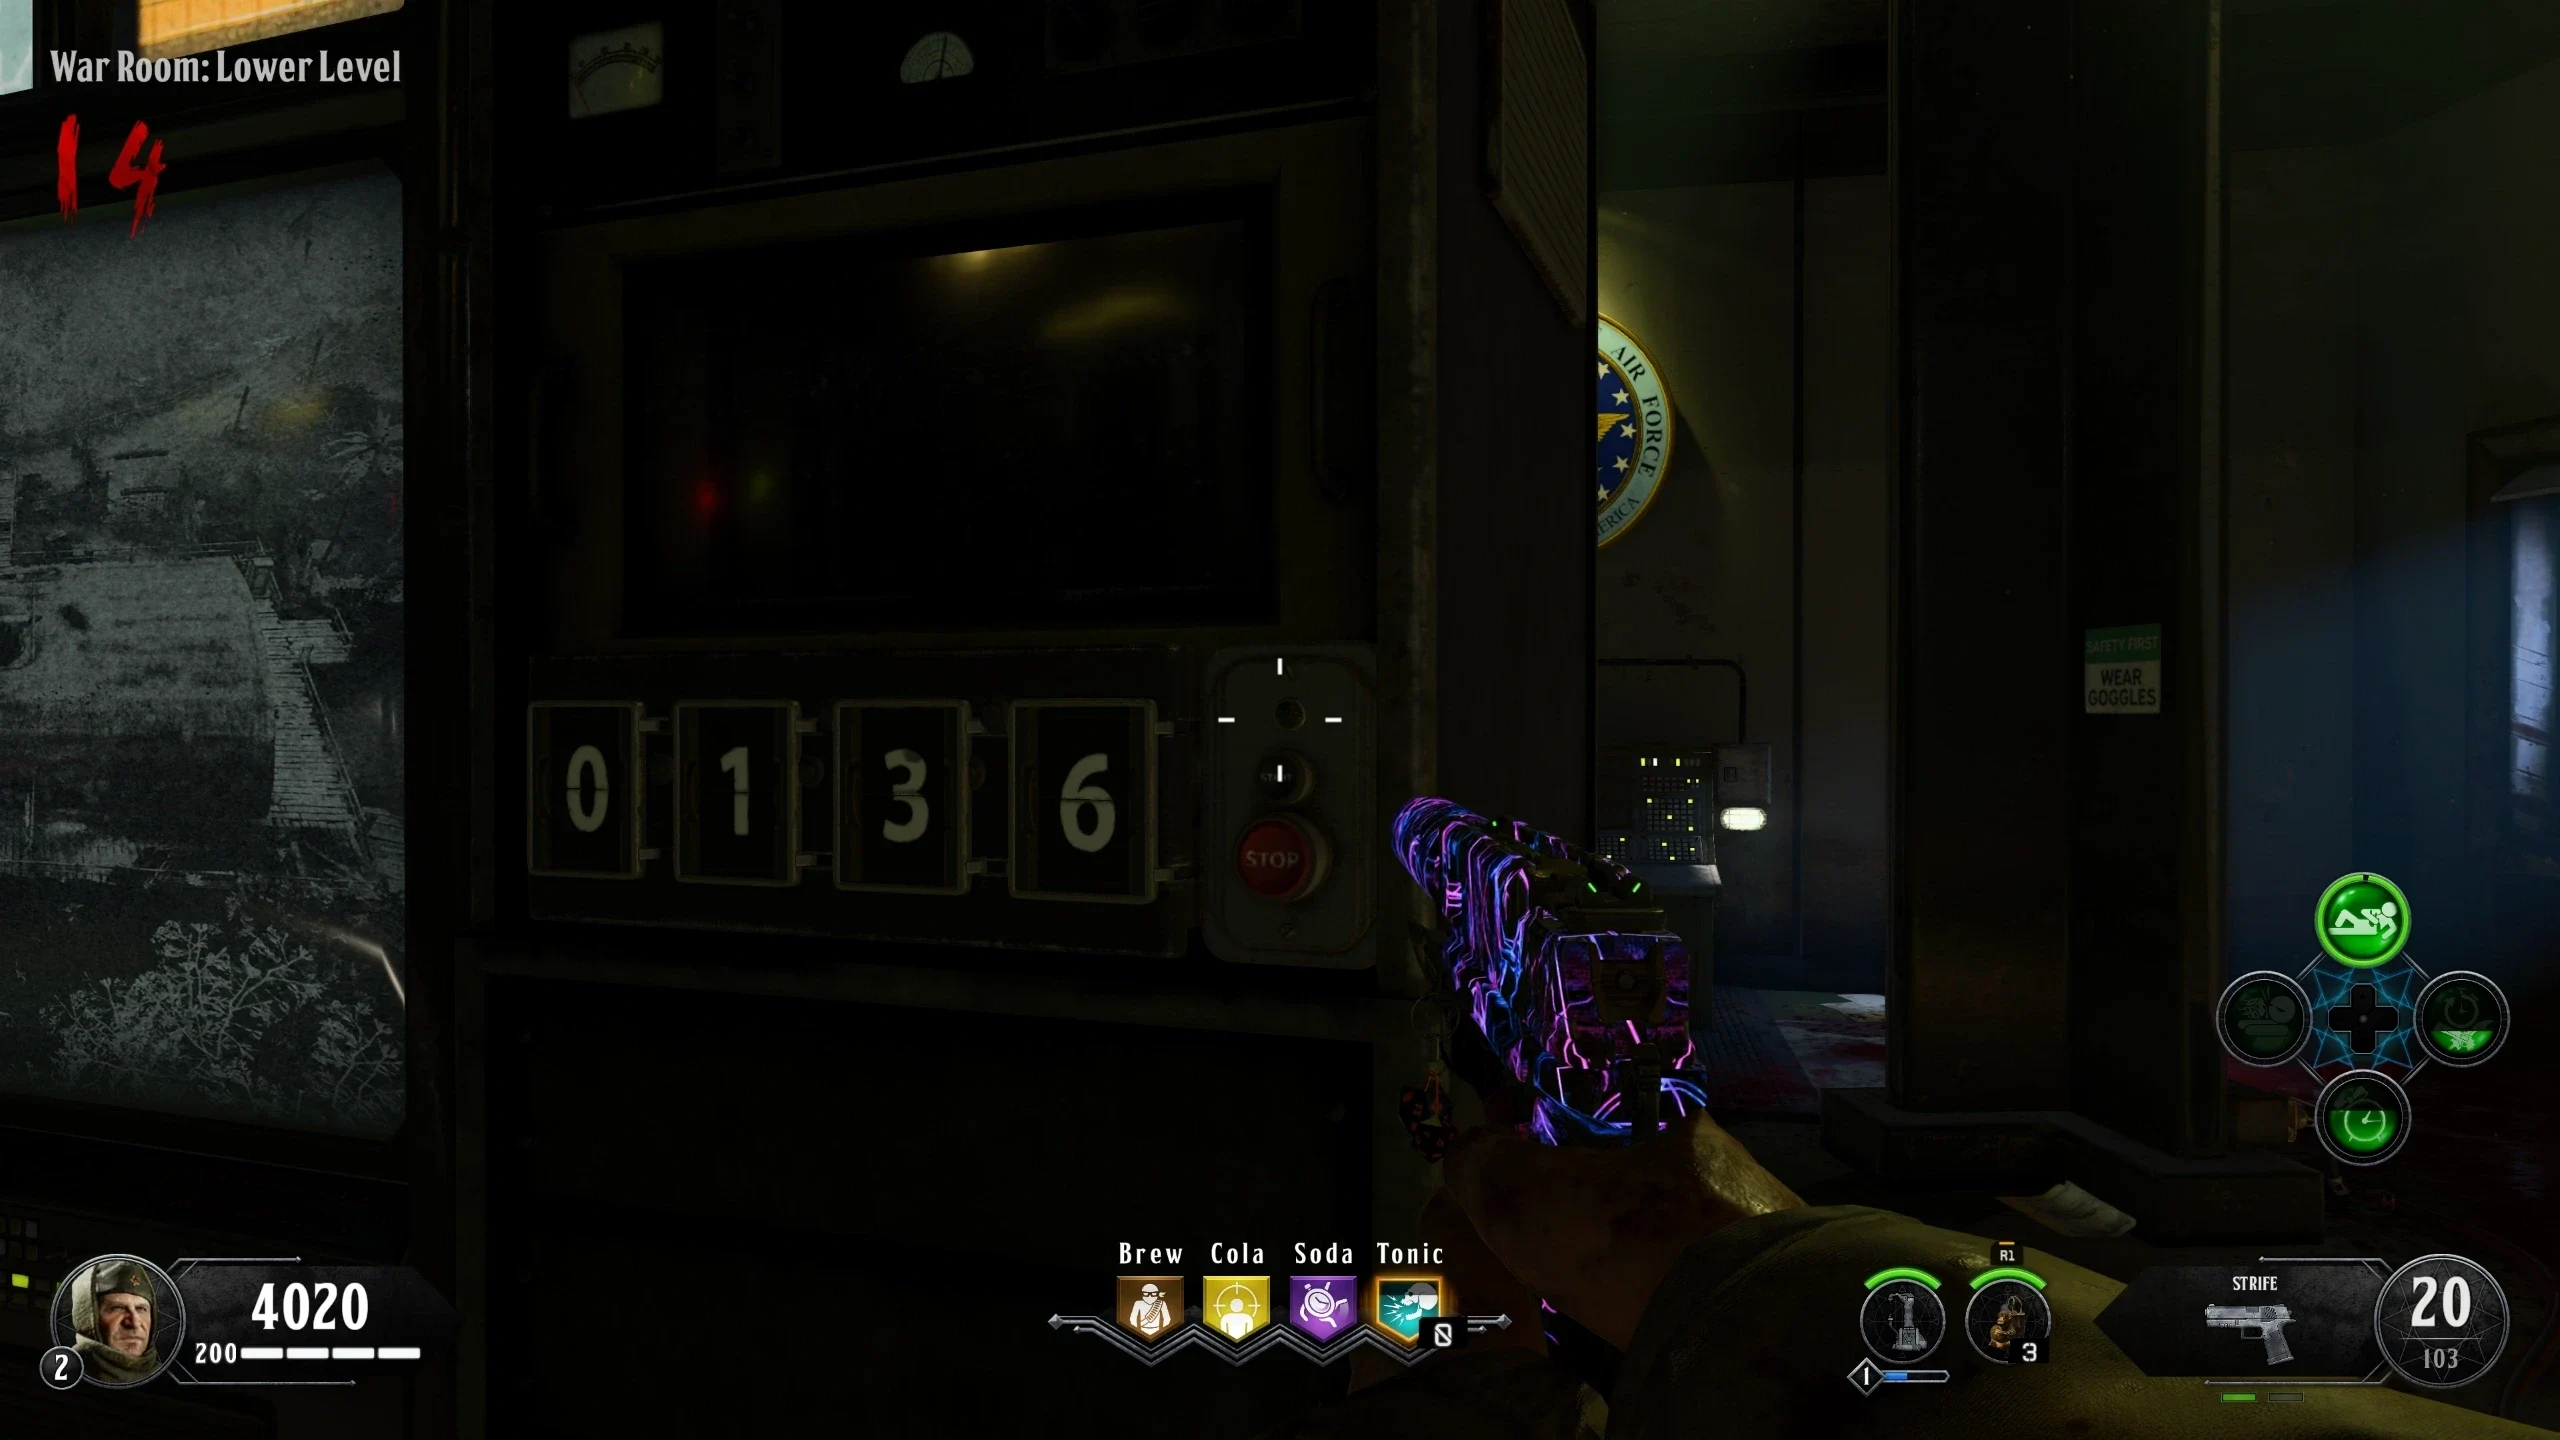
- In the 'War Room: Lower Level,' there is a machine with flashing pictures and a number pad.
- Shoot the numbers to change them, then press the button on the right to enter the code. After each correct entry, the light above the button turns green and the map picture appears on-screen.
- You must enter the numbers from the pictures in the following order:
- If you enter the wrong number, you must restart with the Shi No Numa code.
- If done correctly, a voice and the machine's screen will say "Project Skadi Retrieved" after a few seconds.
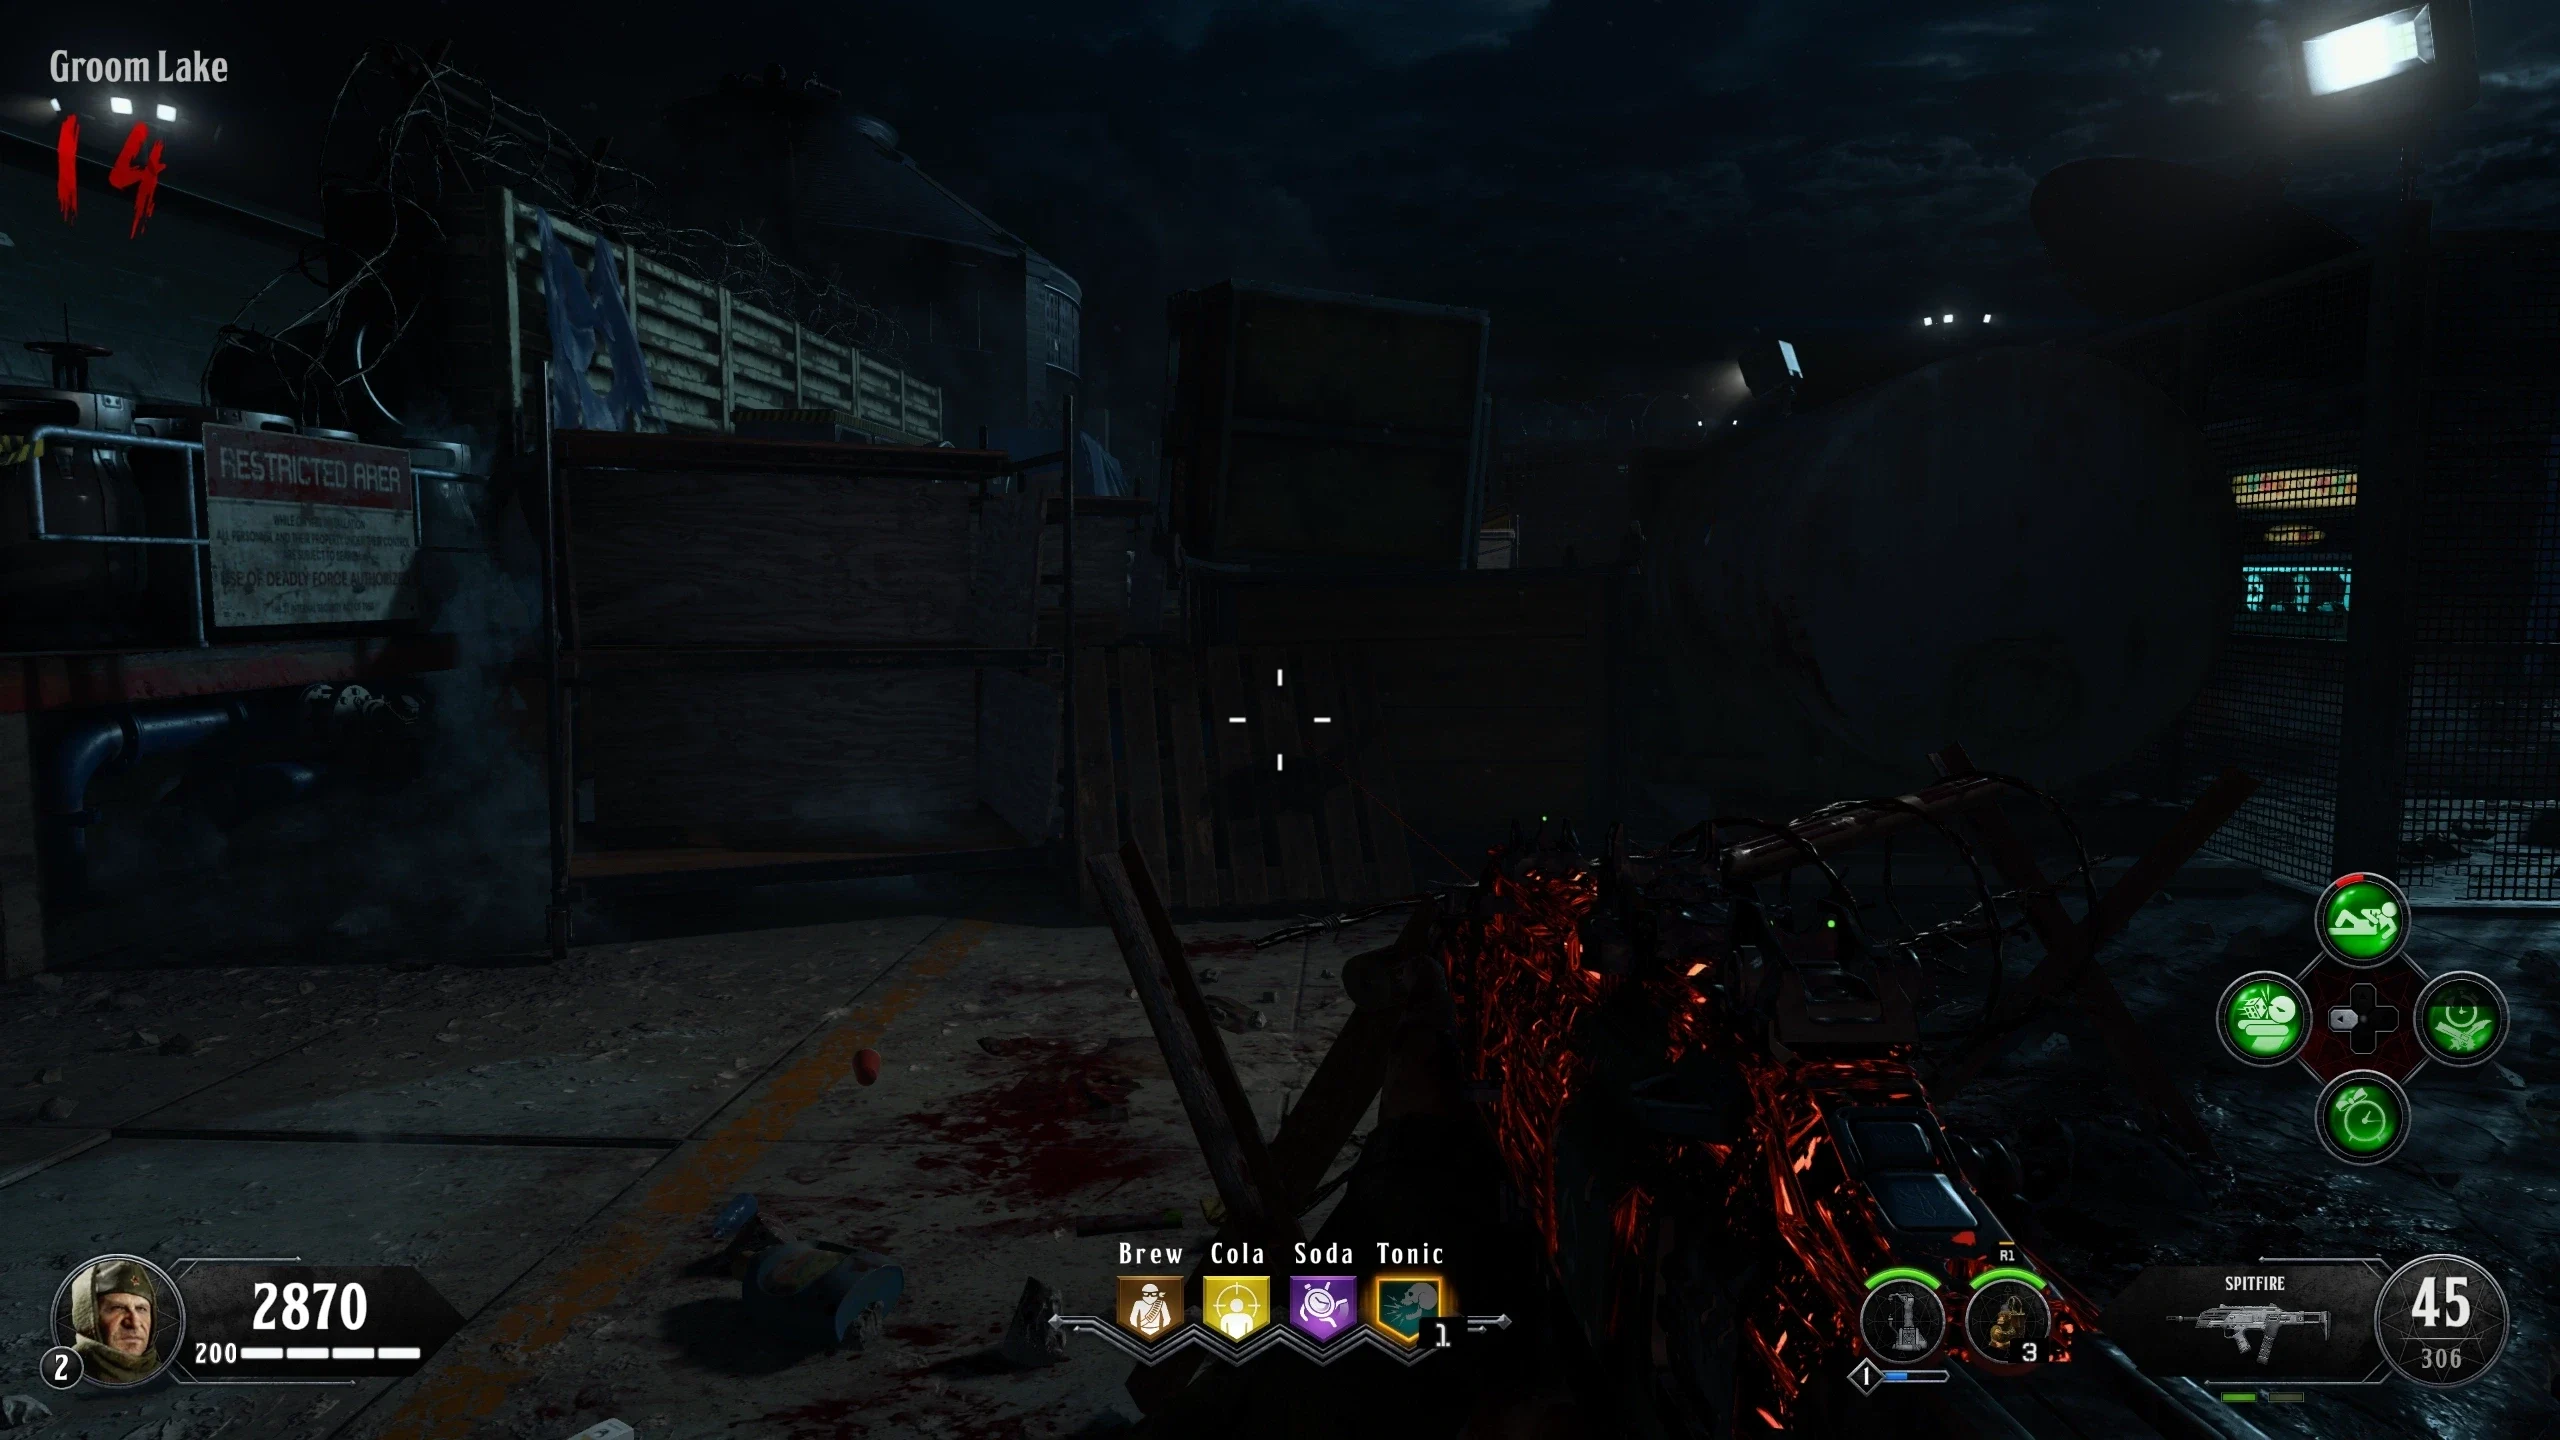
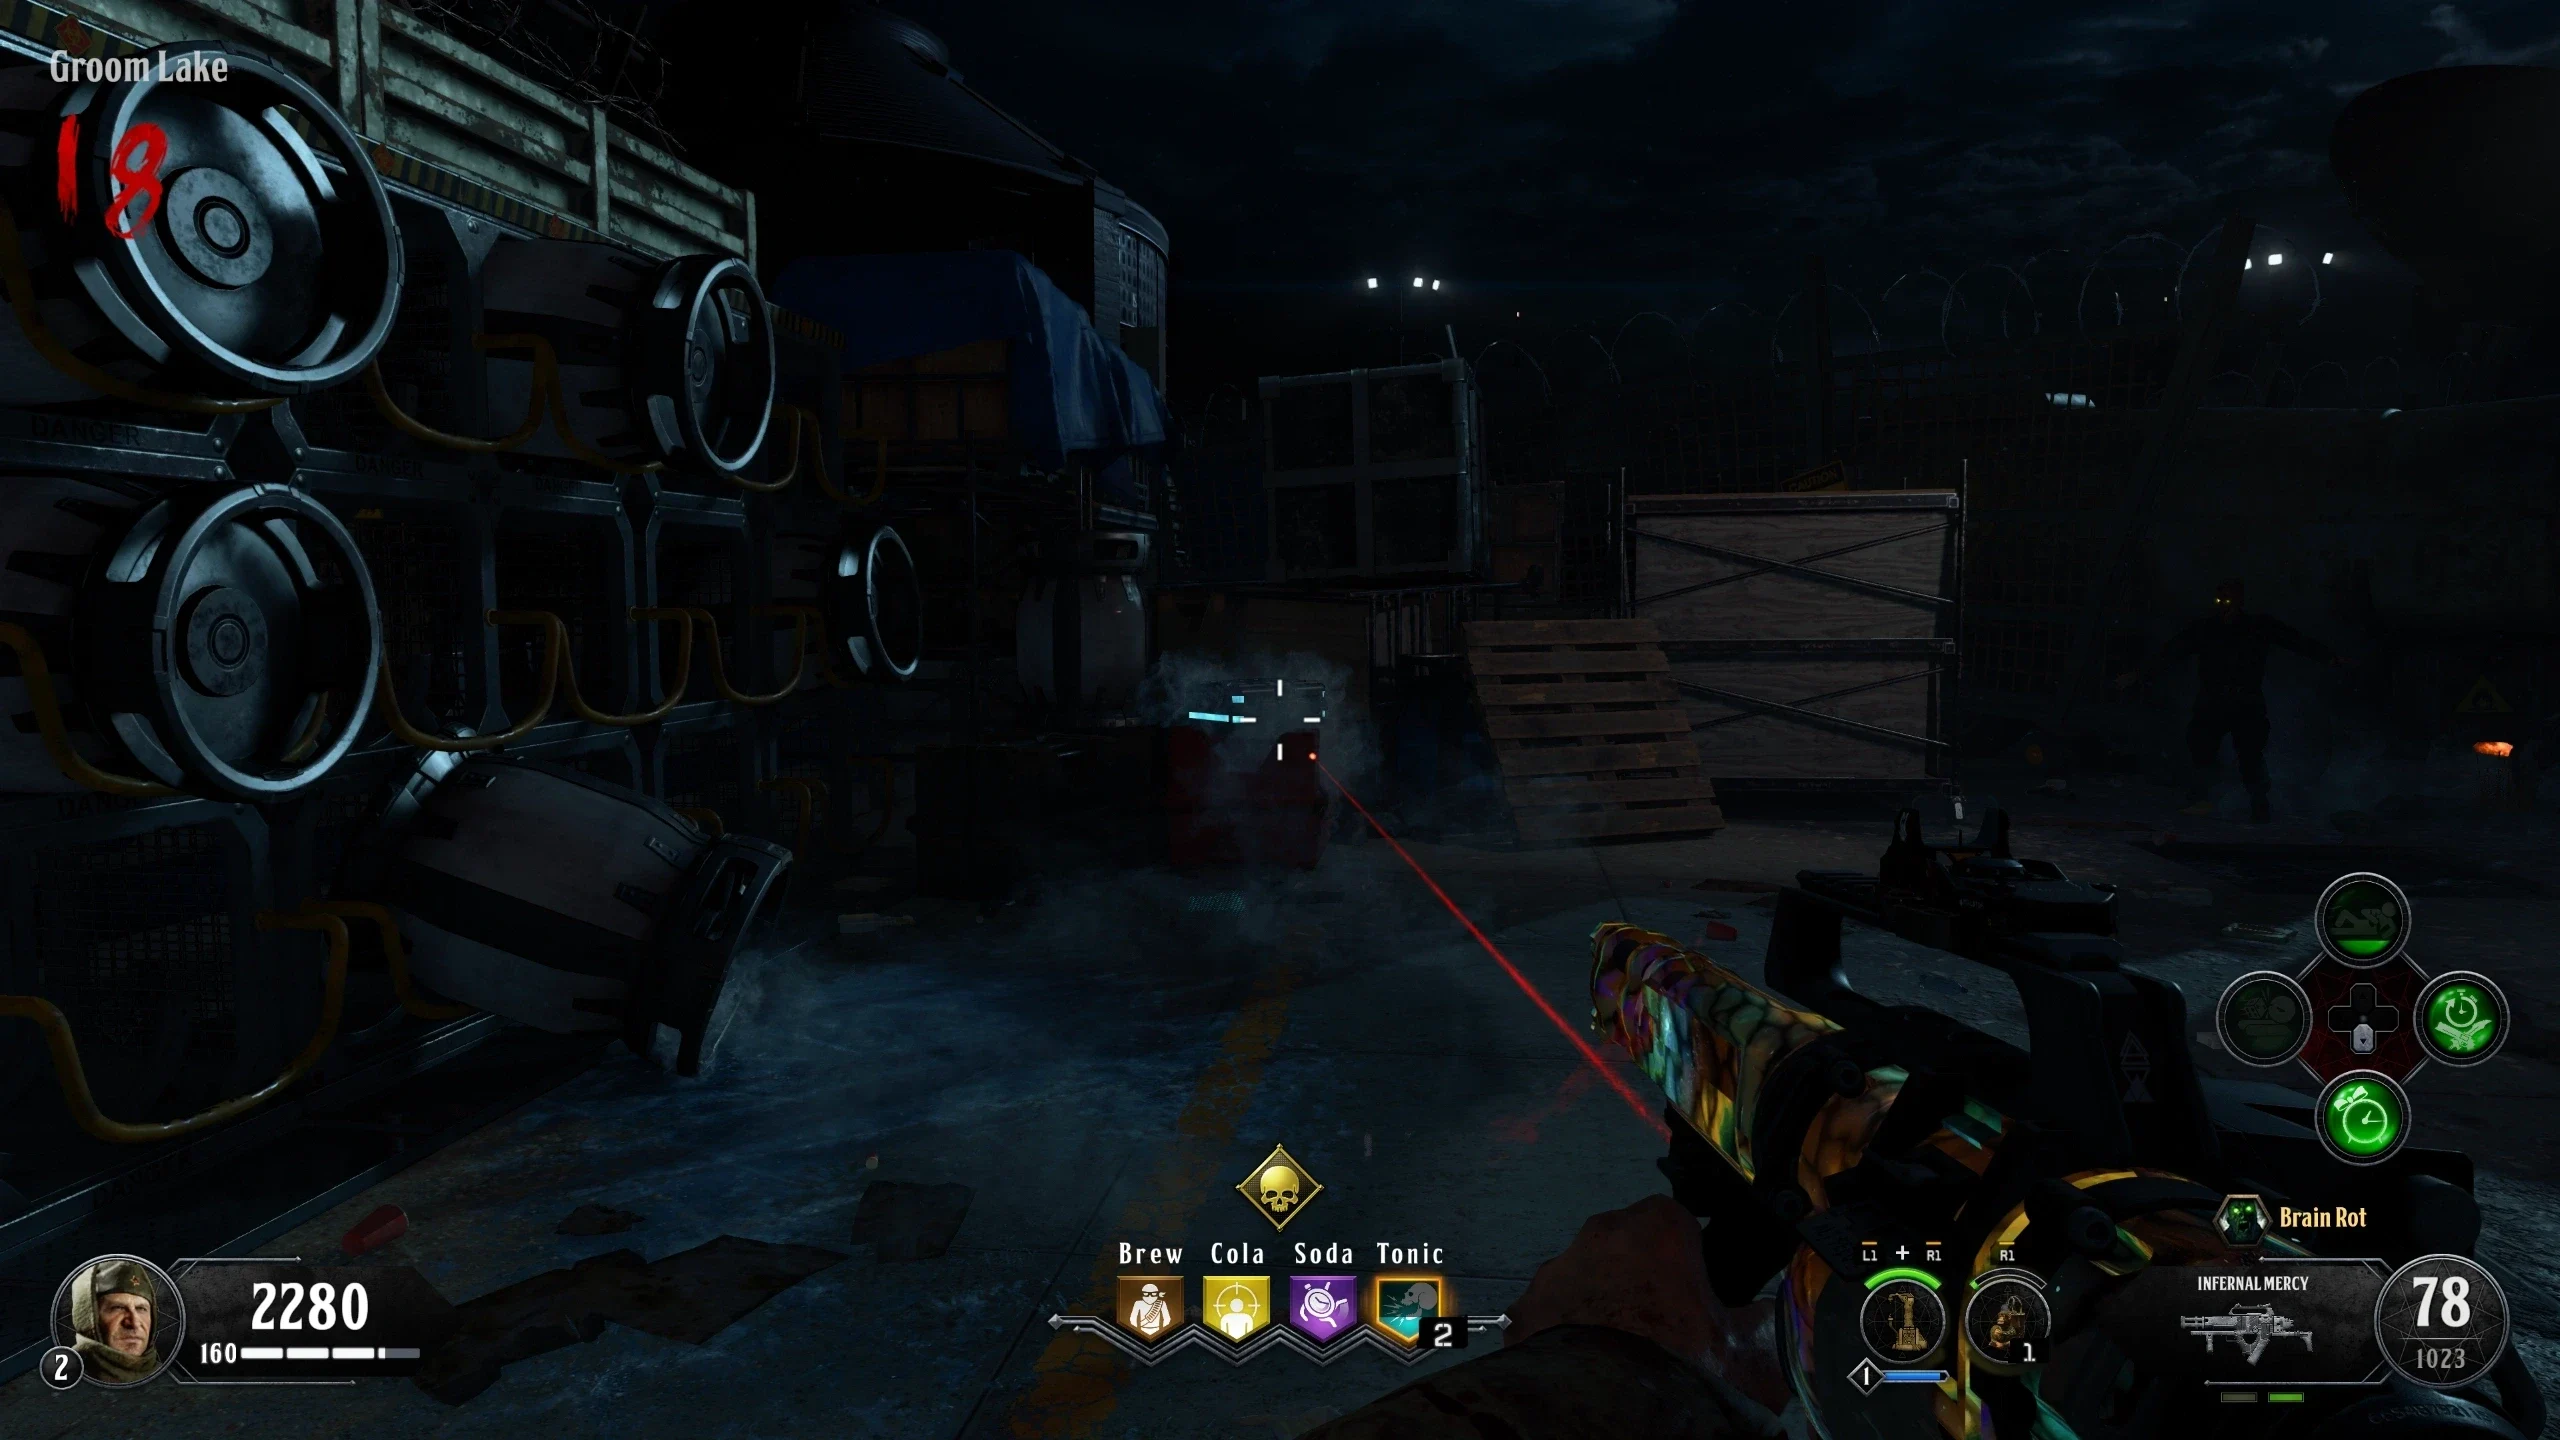
- Teleport to 'Groom Lake' and survive three full rounds without leaving. This will open the barriers on the left of Pack-a-Punch.
- The Winter's Howl can be picked up from the blue glowing case.
Riot Shield
- The Riot Shield requires three parts to be built:
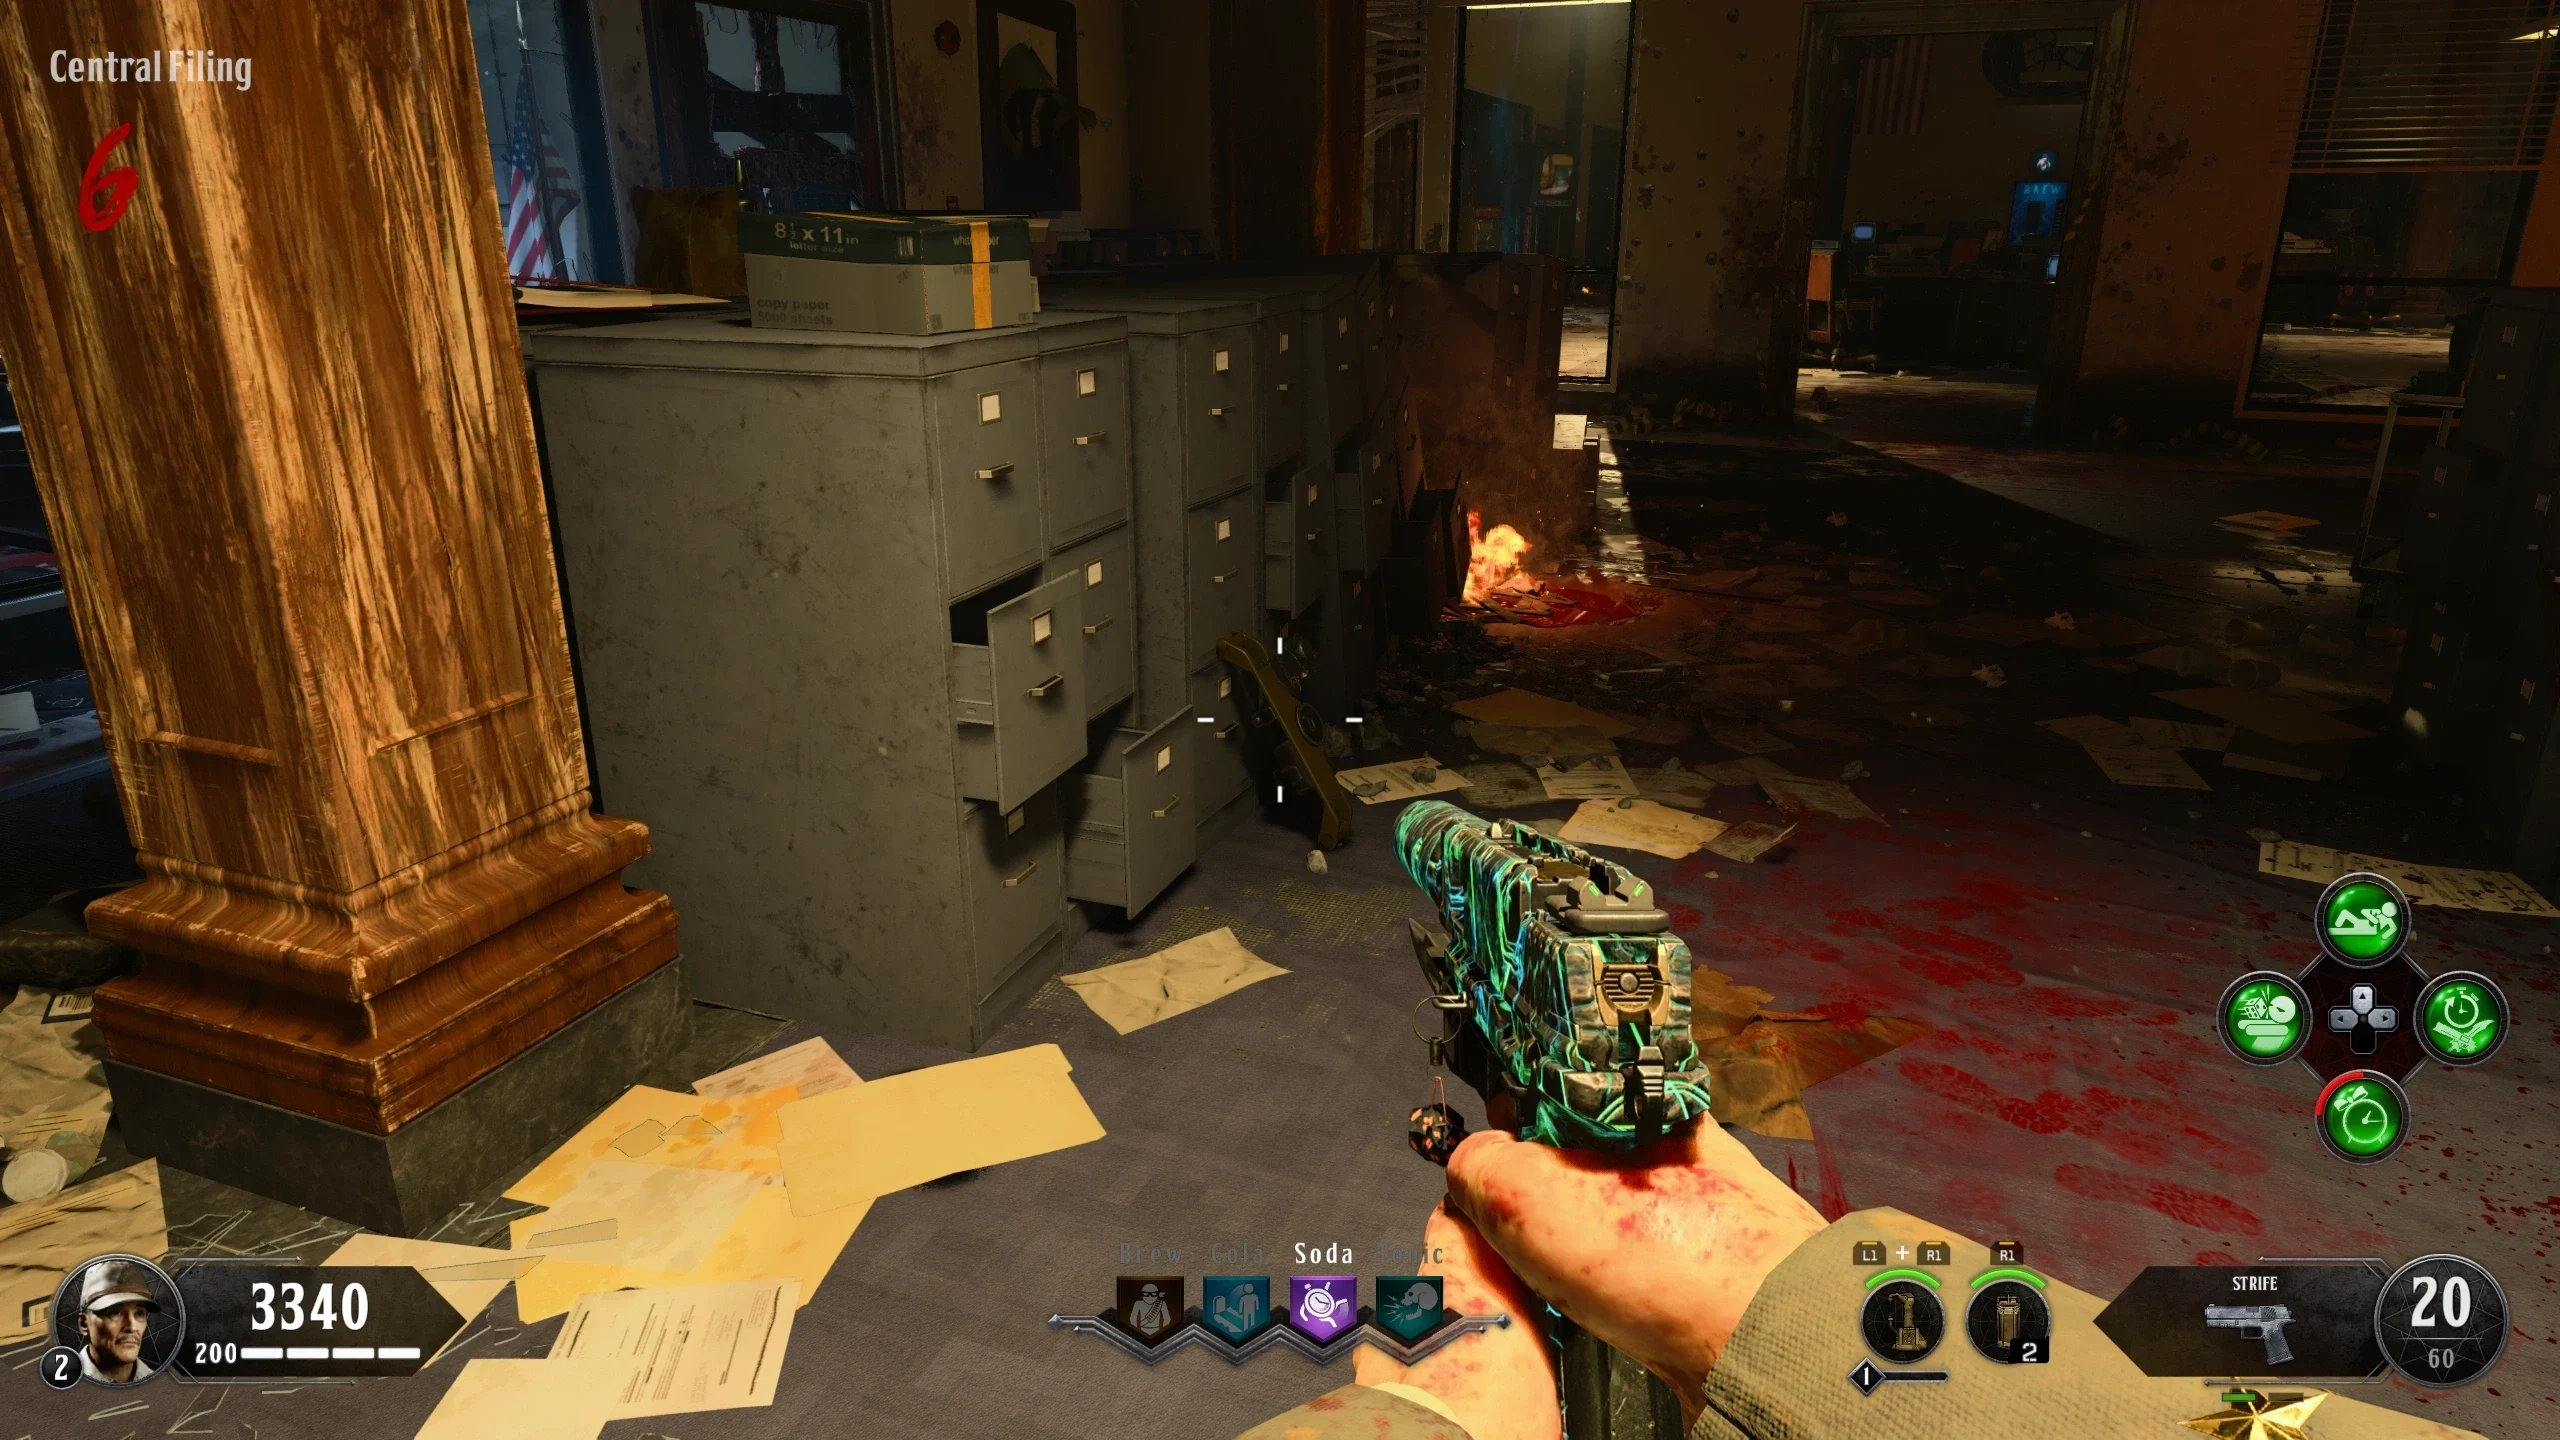
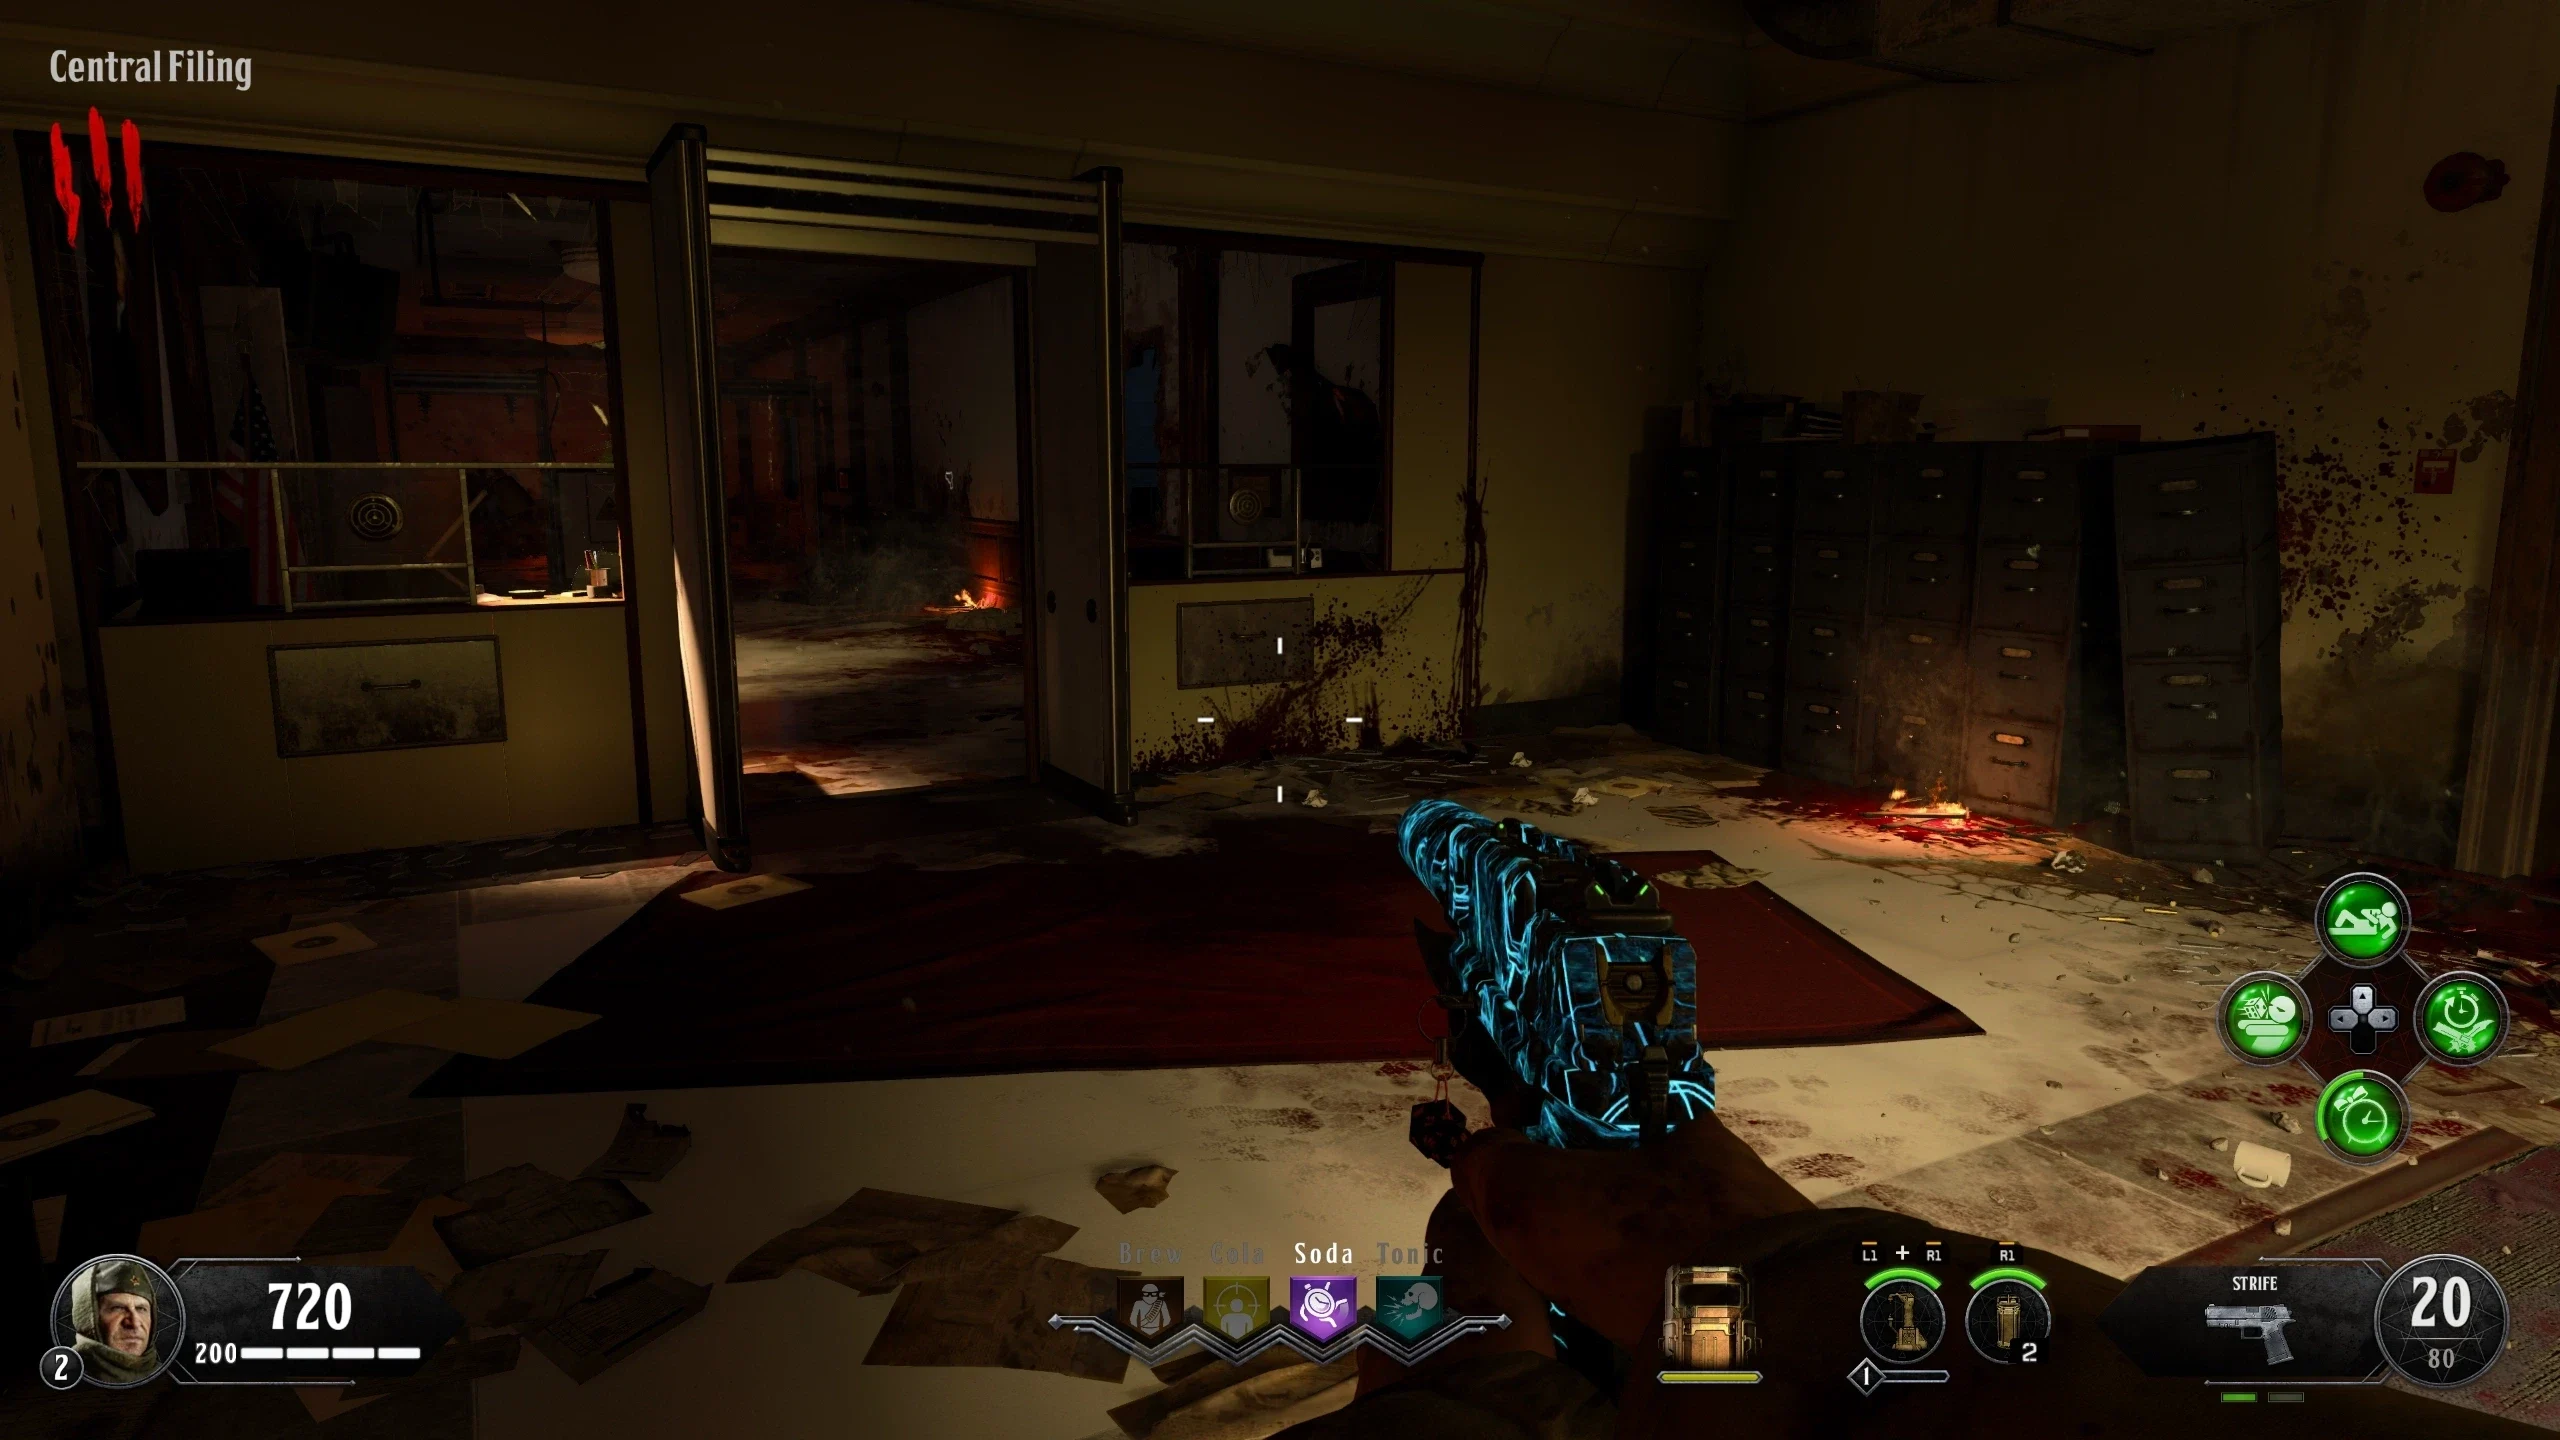
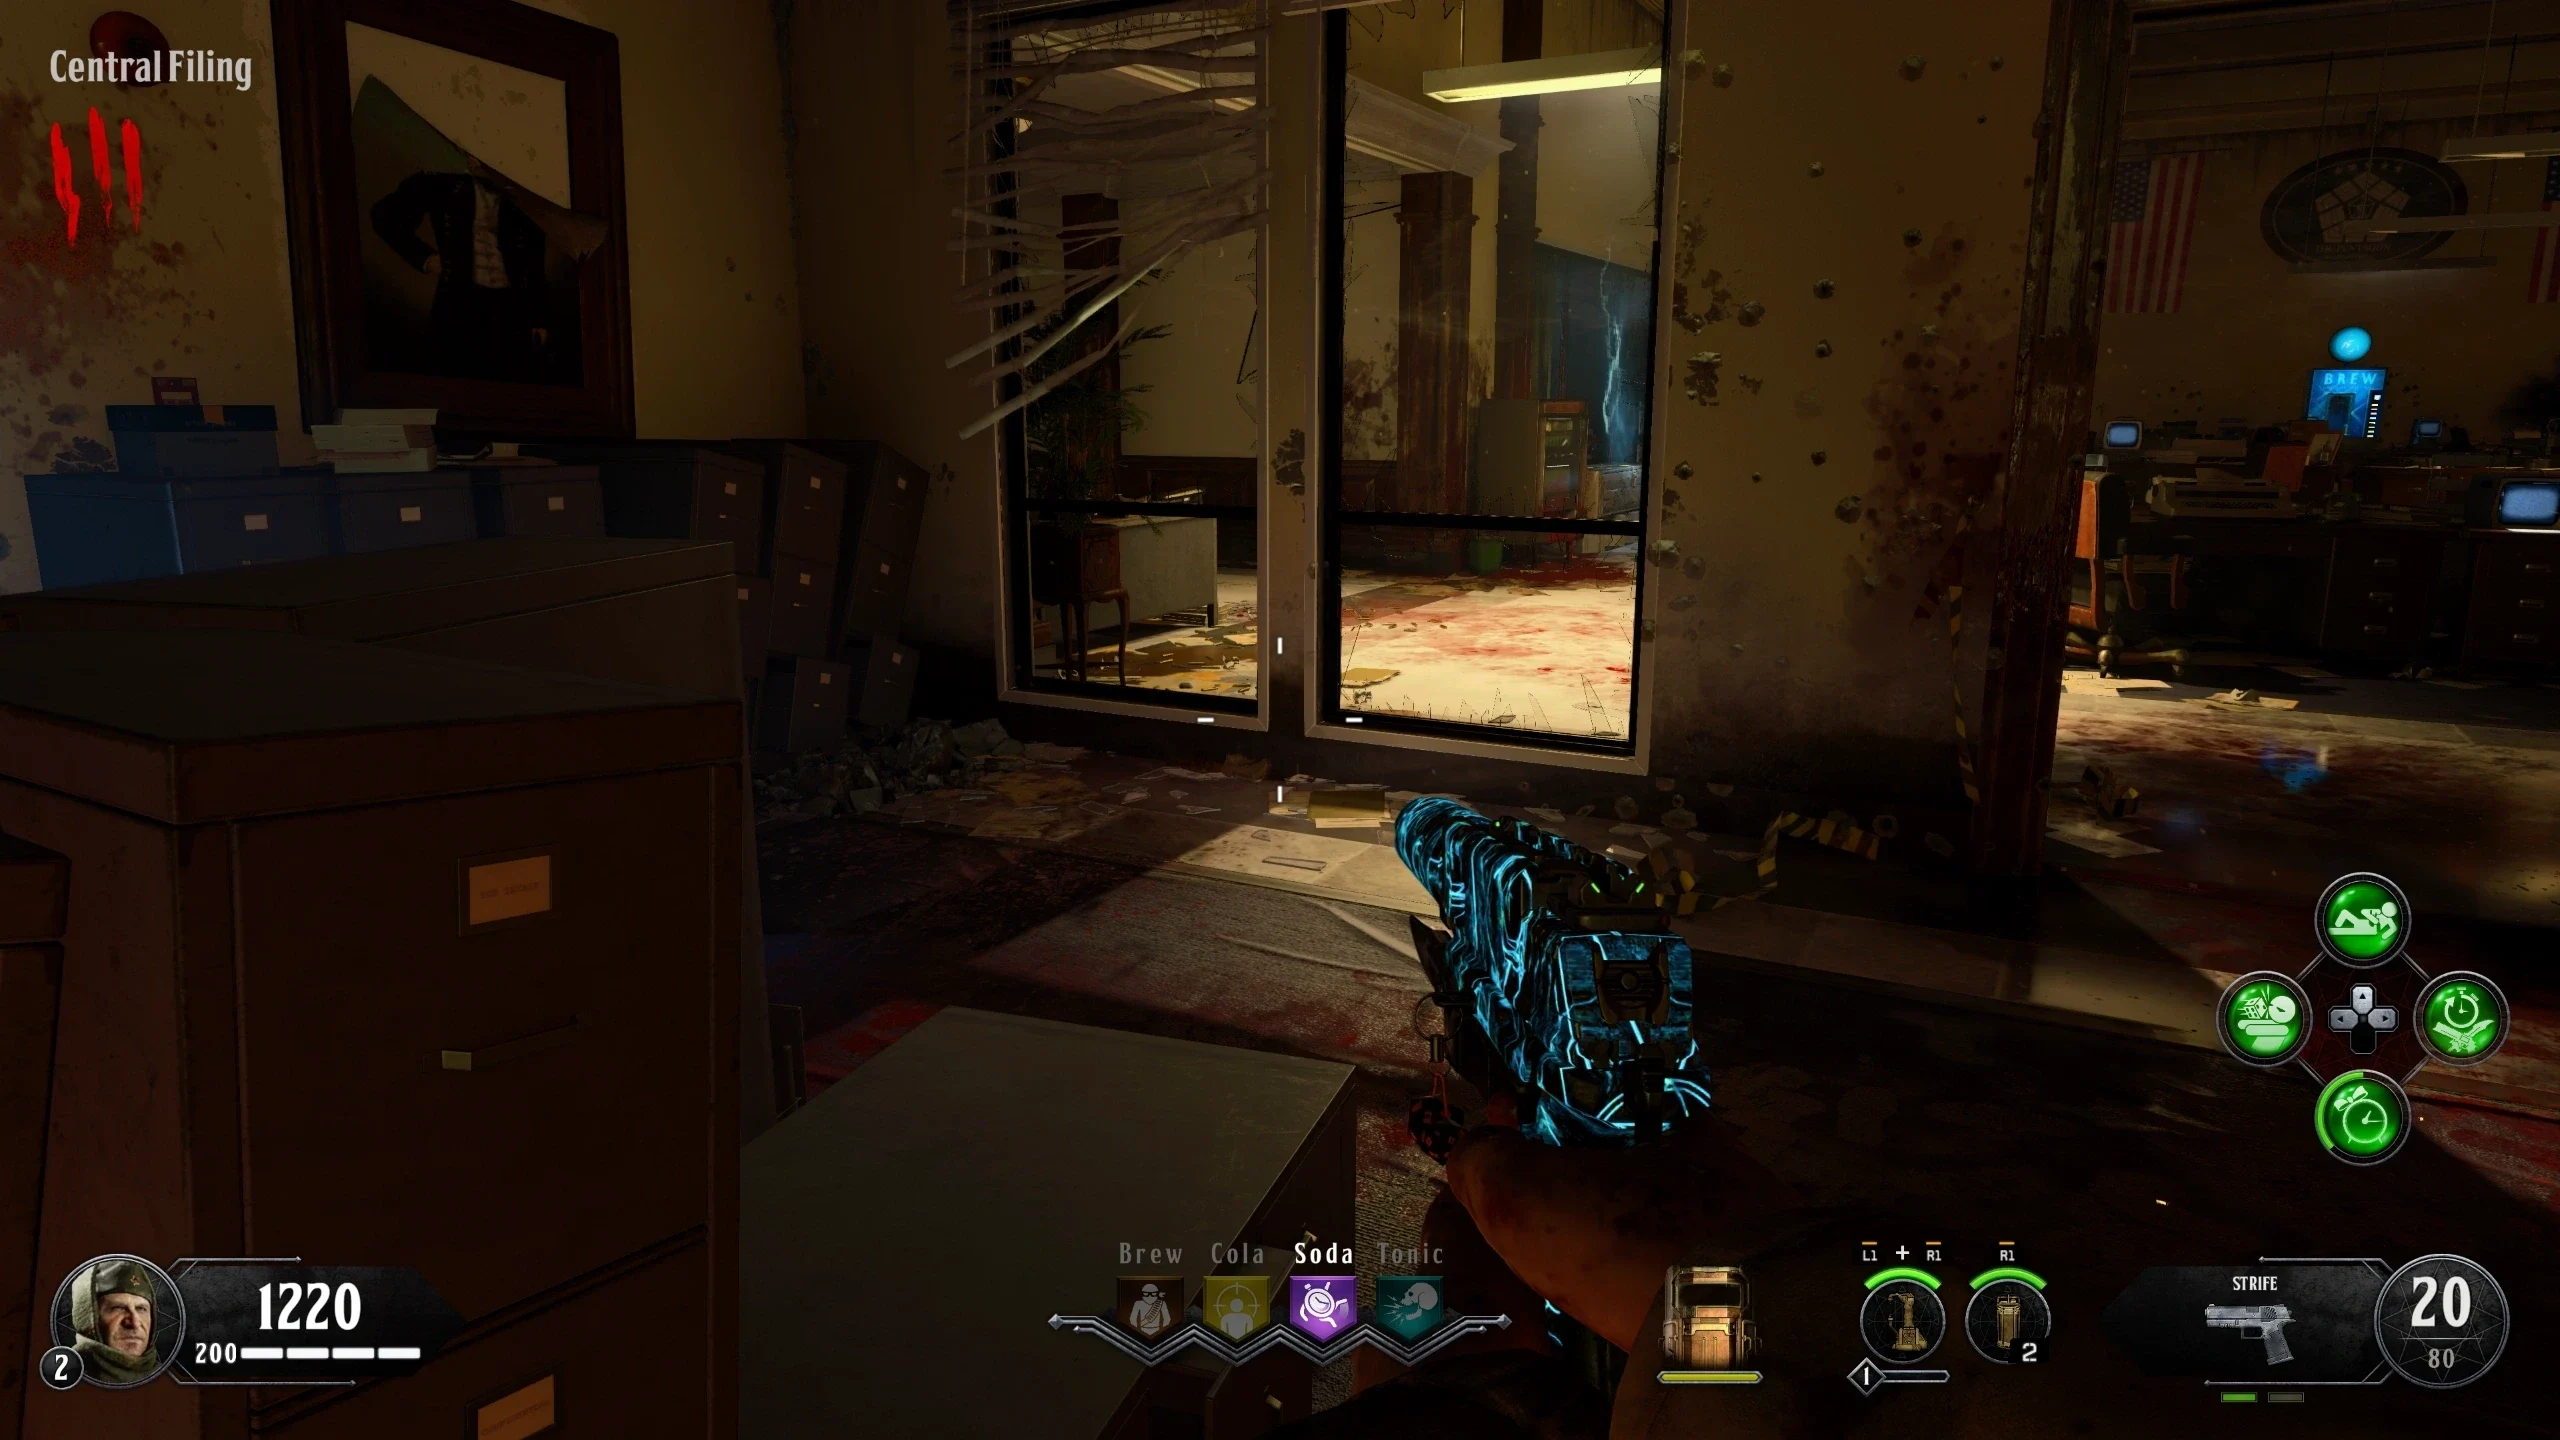
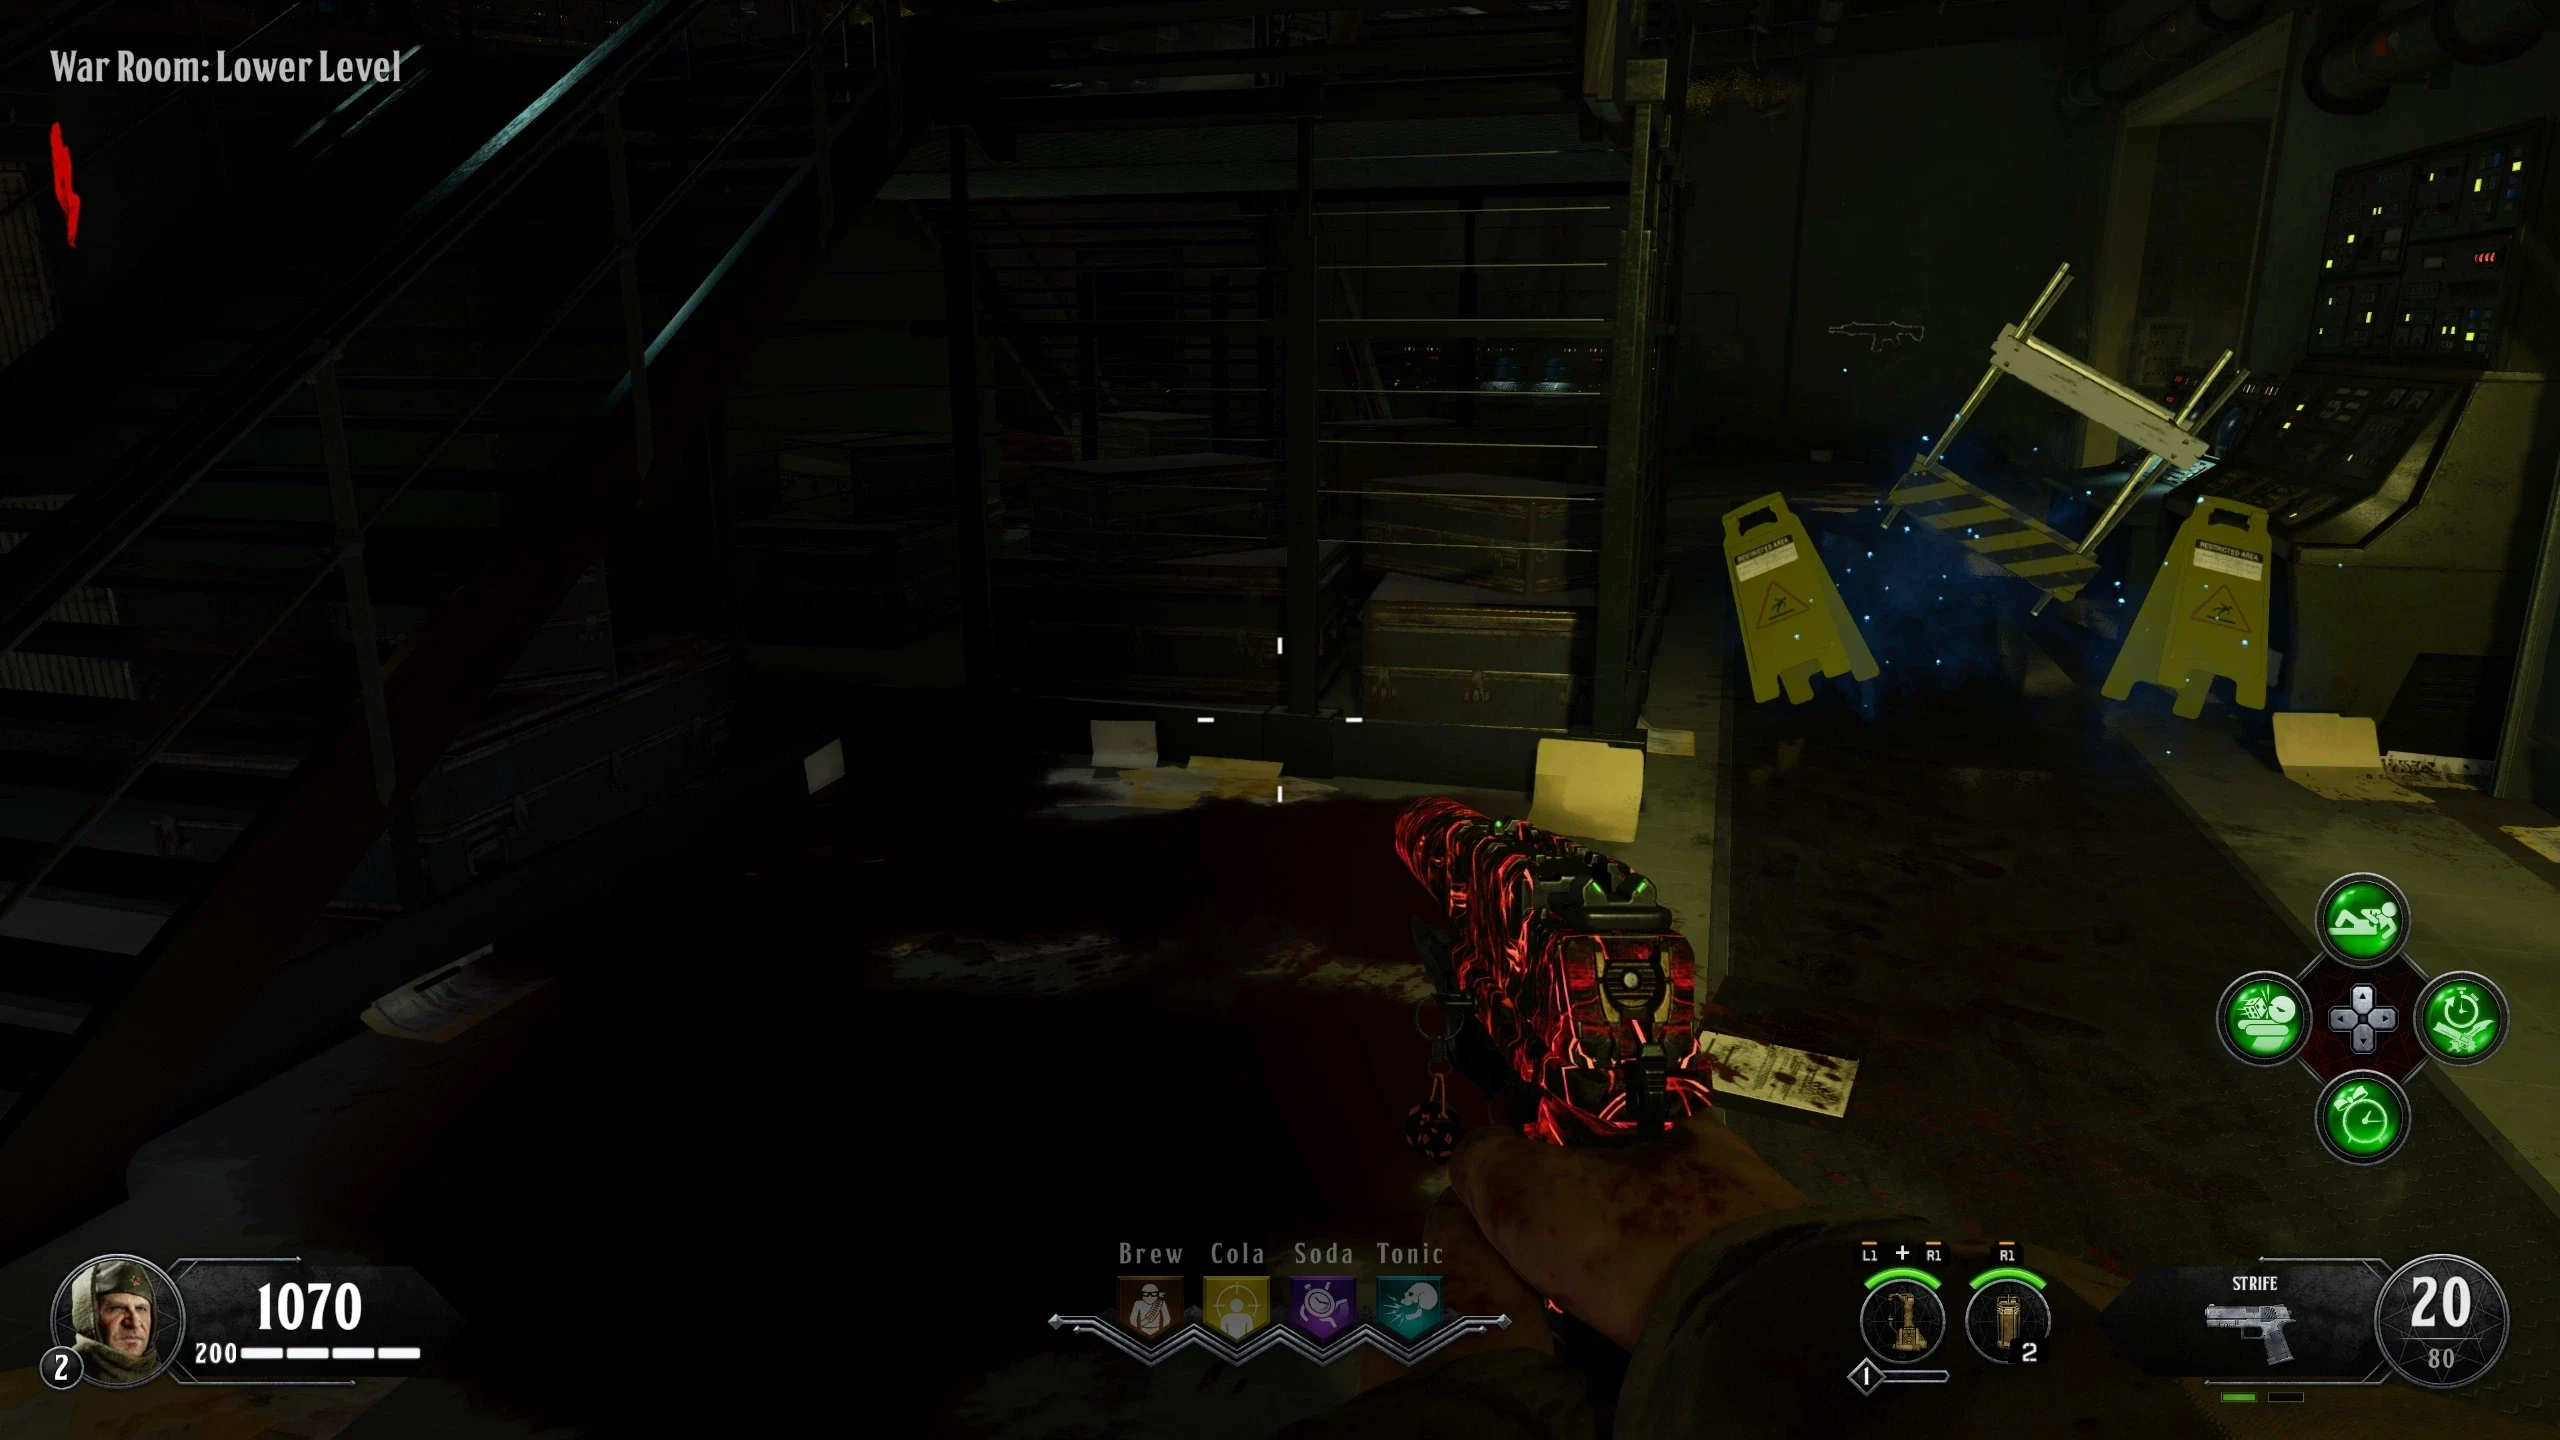
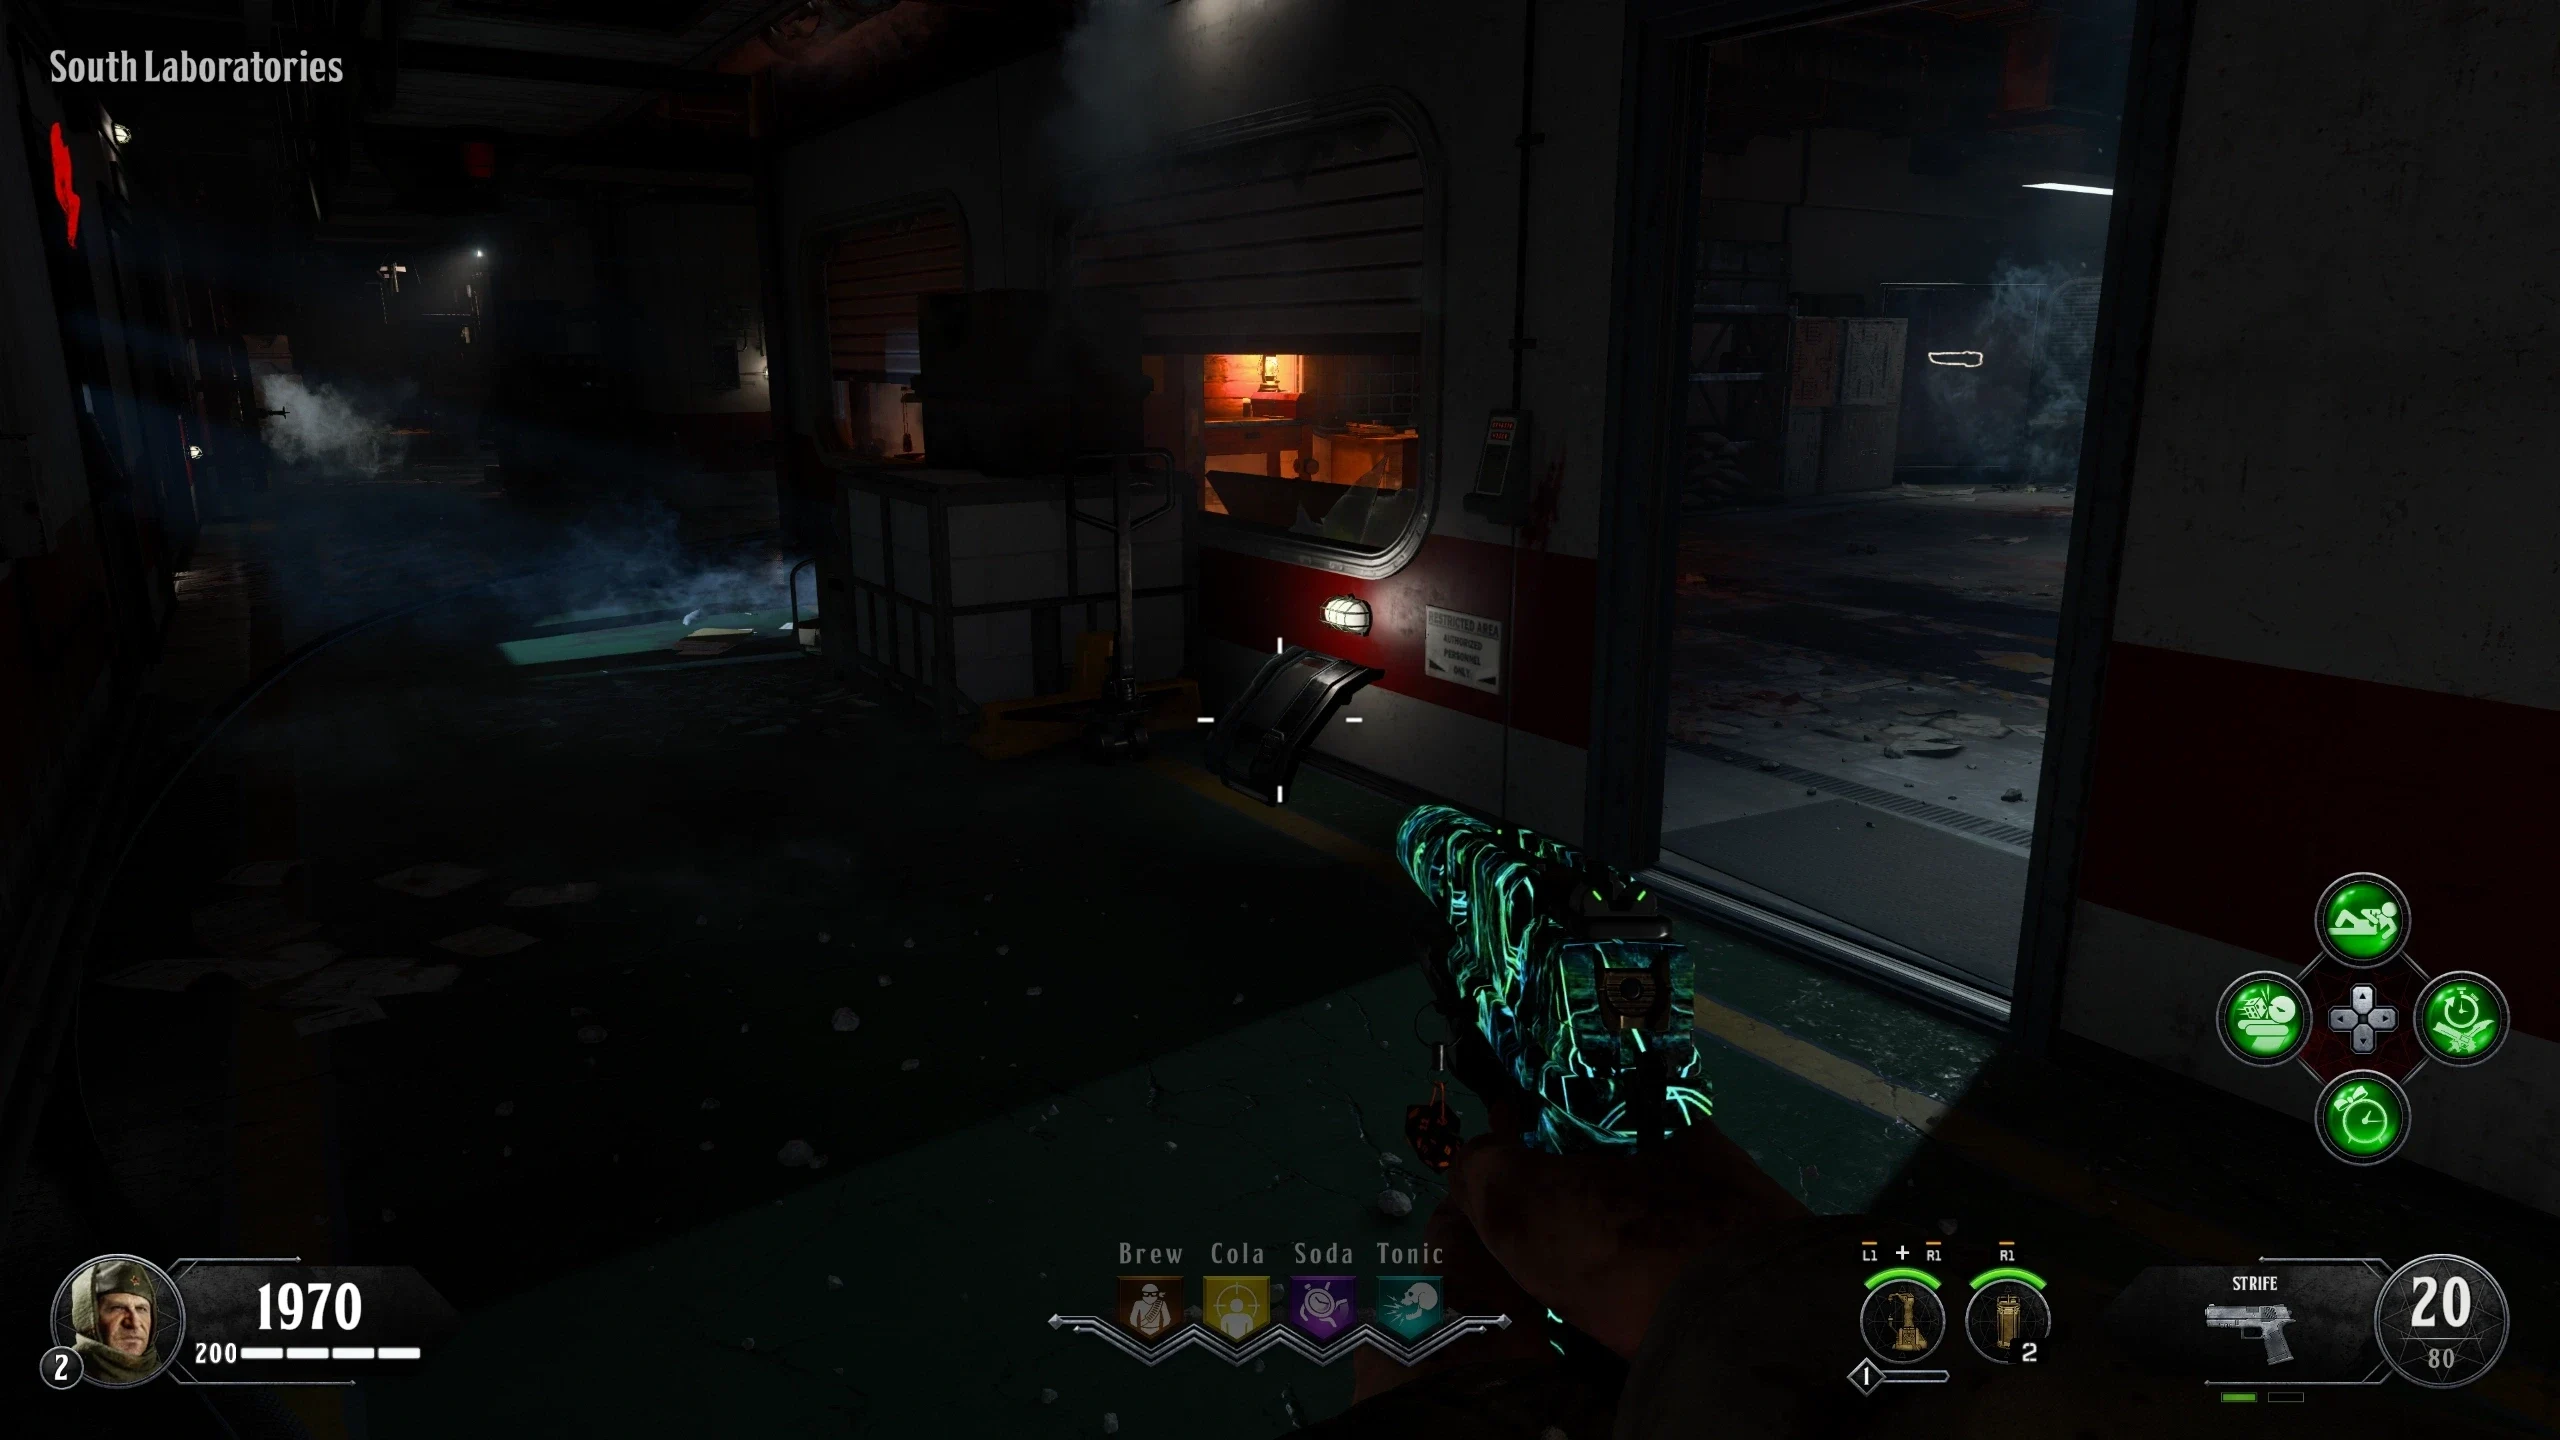
Part Locations Gun Assembly Base Window - Craft the Riot Shield at Central Filing or Weapon Testing.
Electric Traps
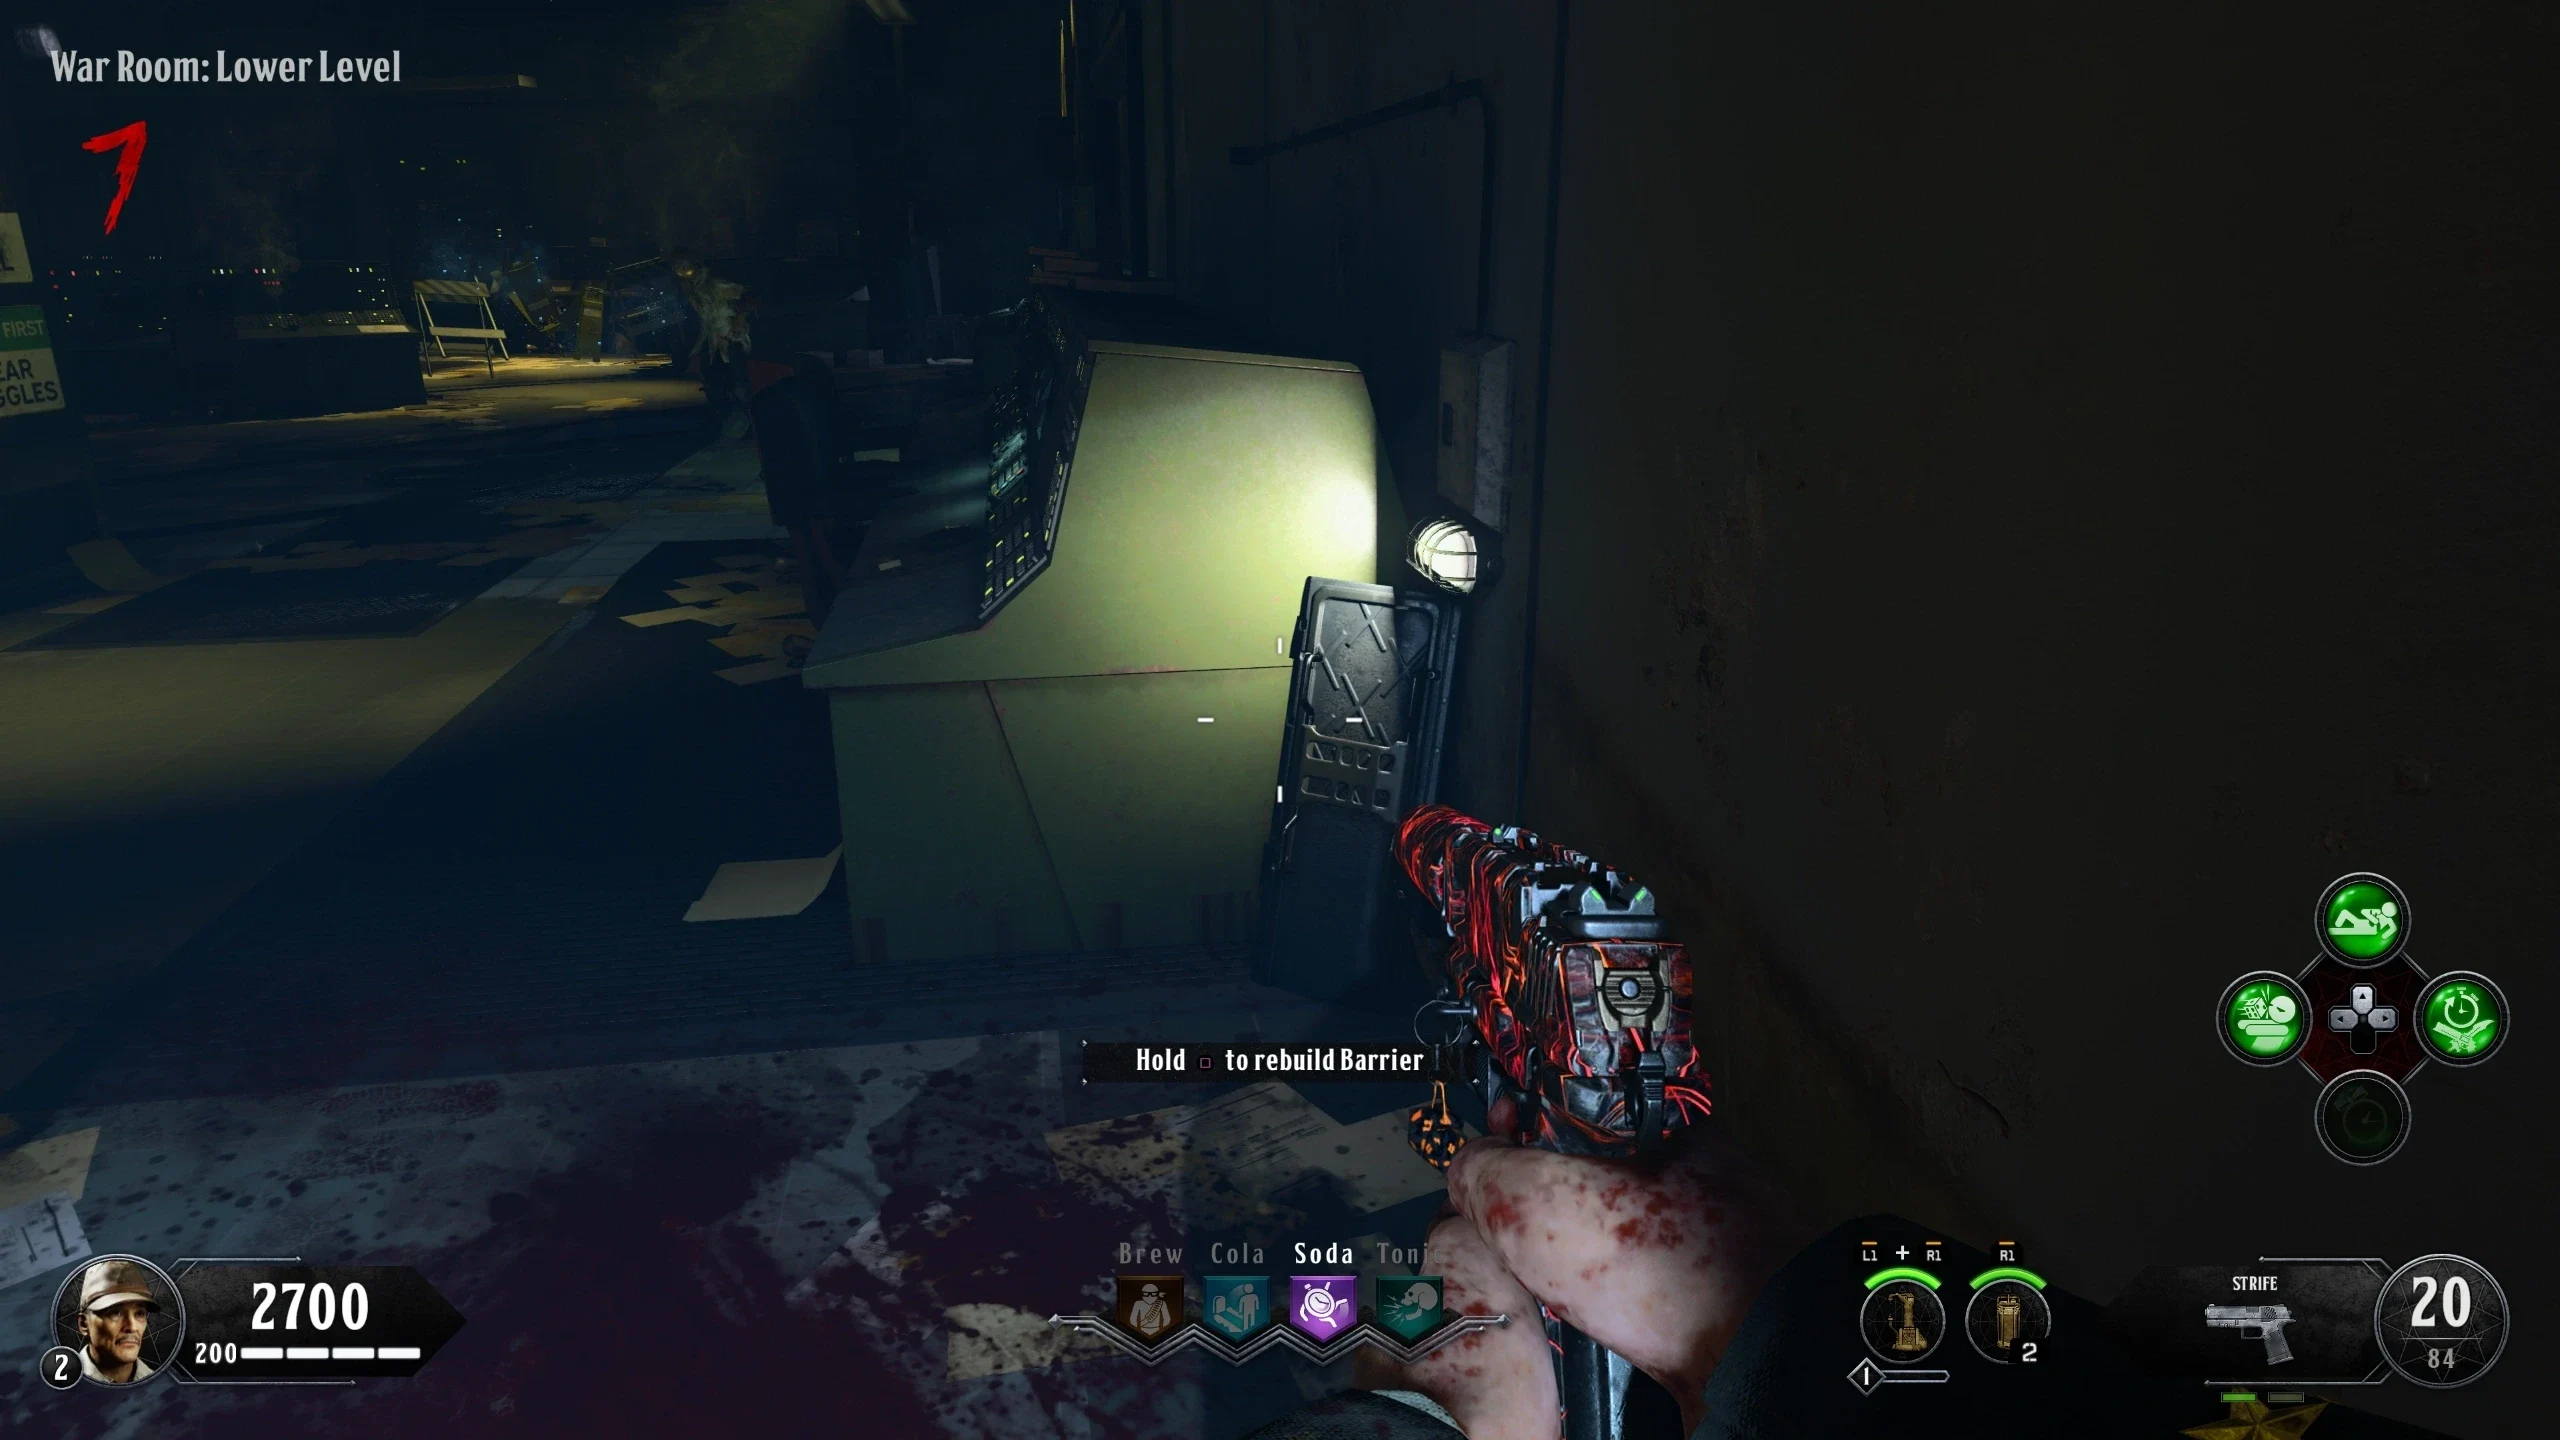
- There are two electric traps on the map. Both require a trap part to activate, with three possible spawn locations each:
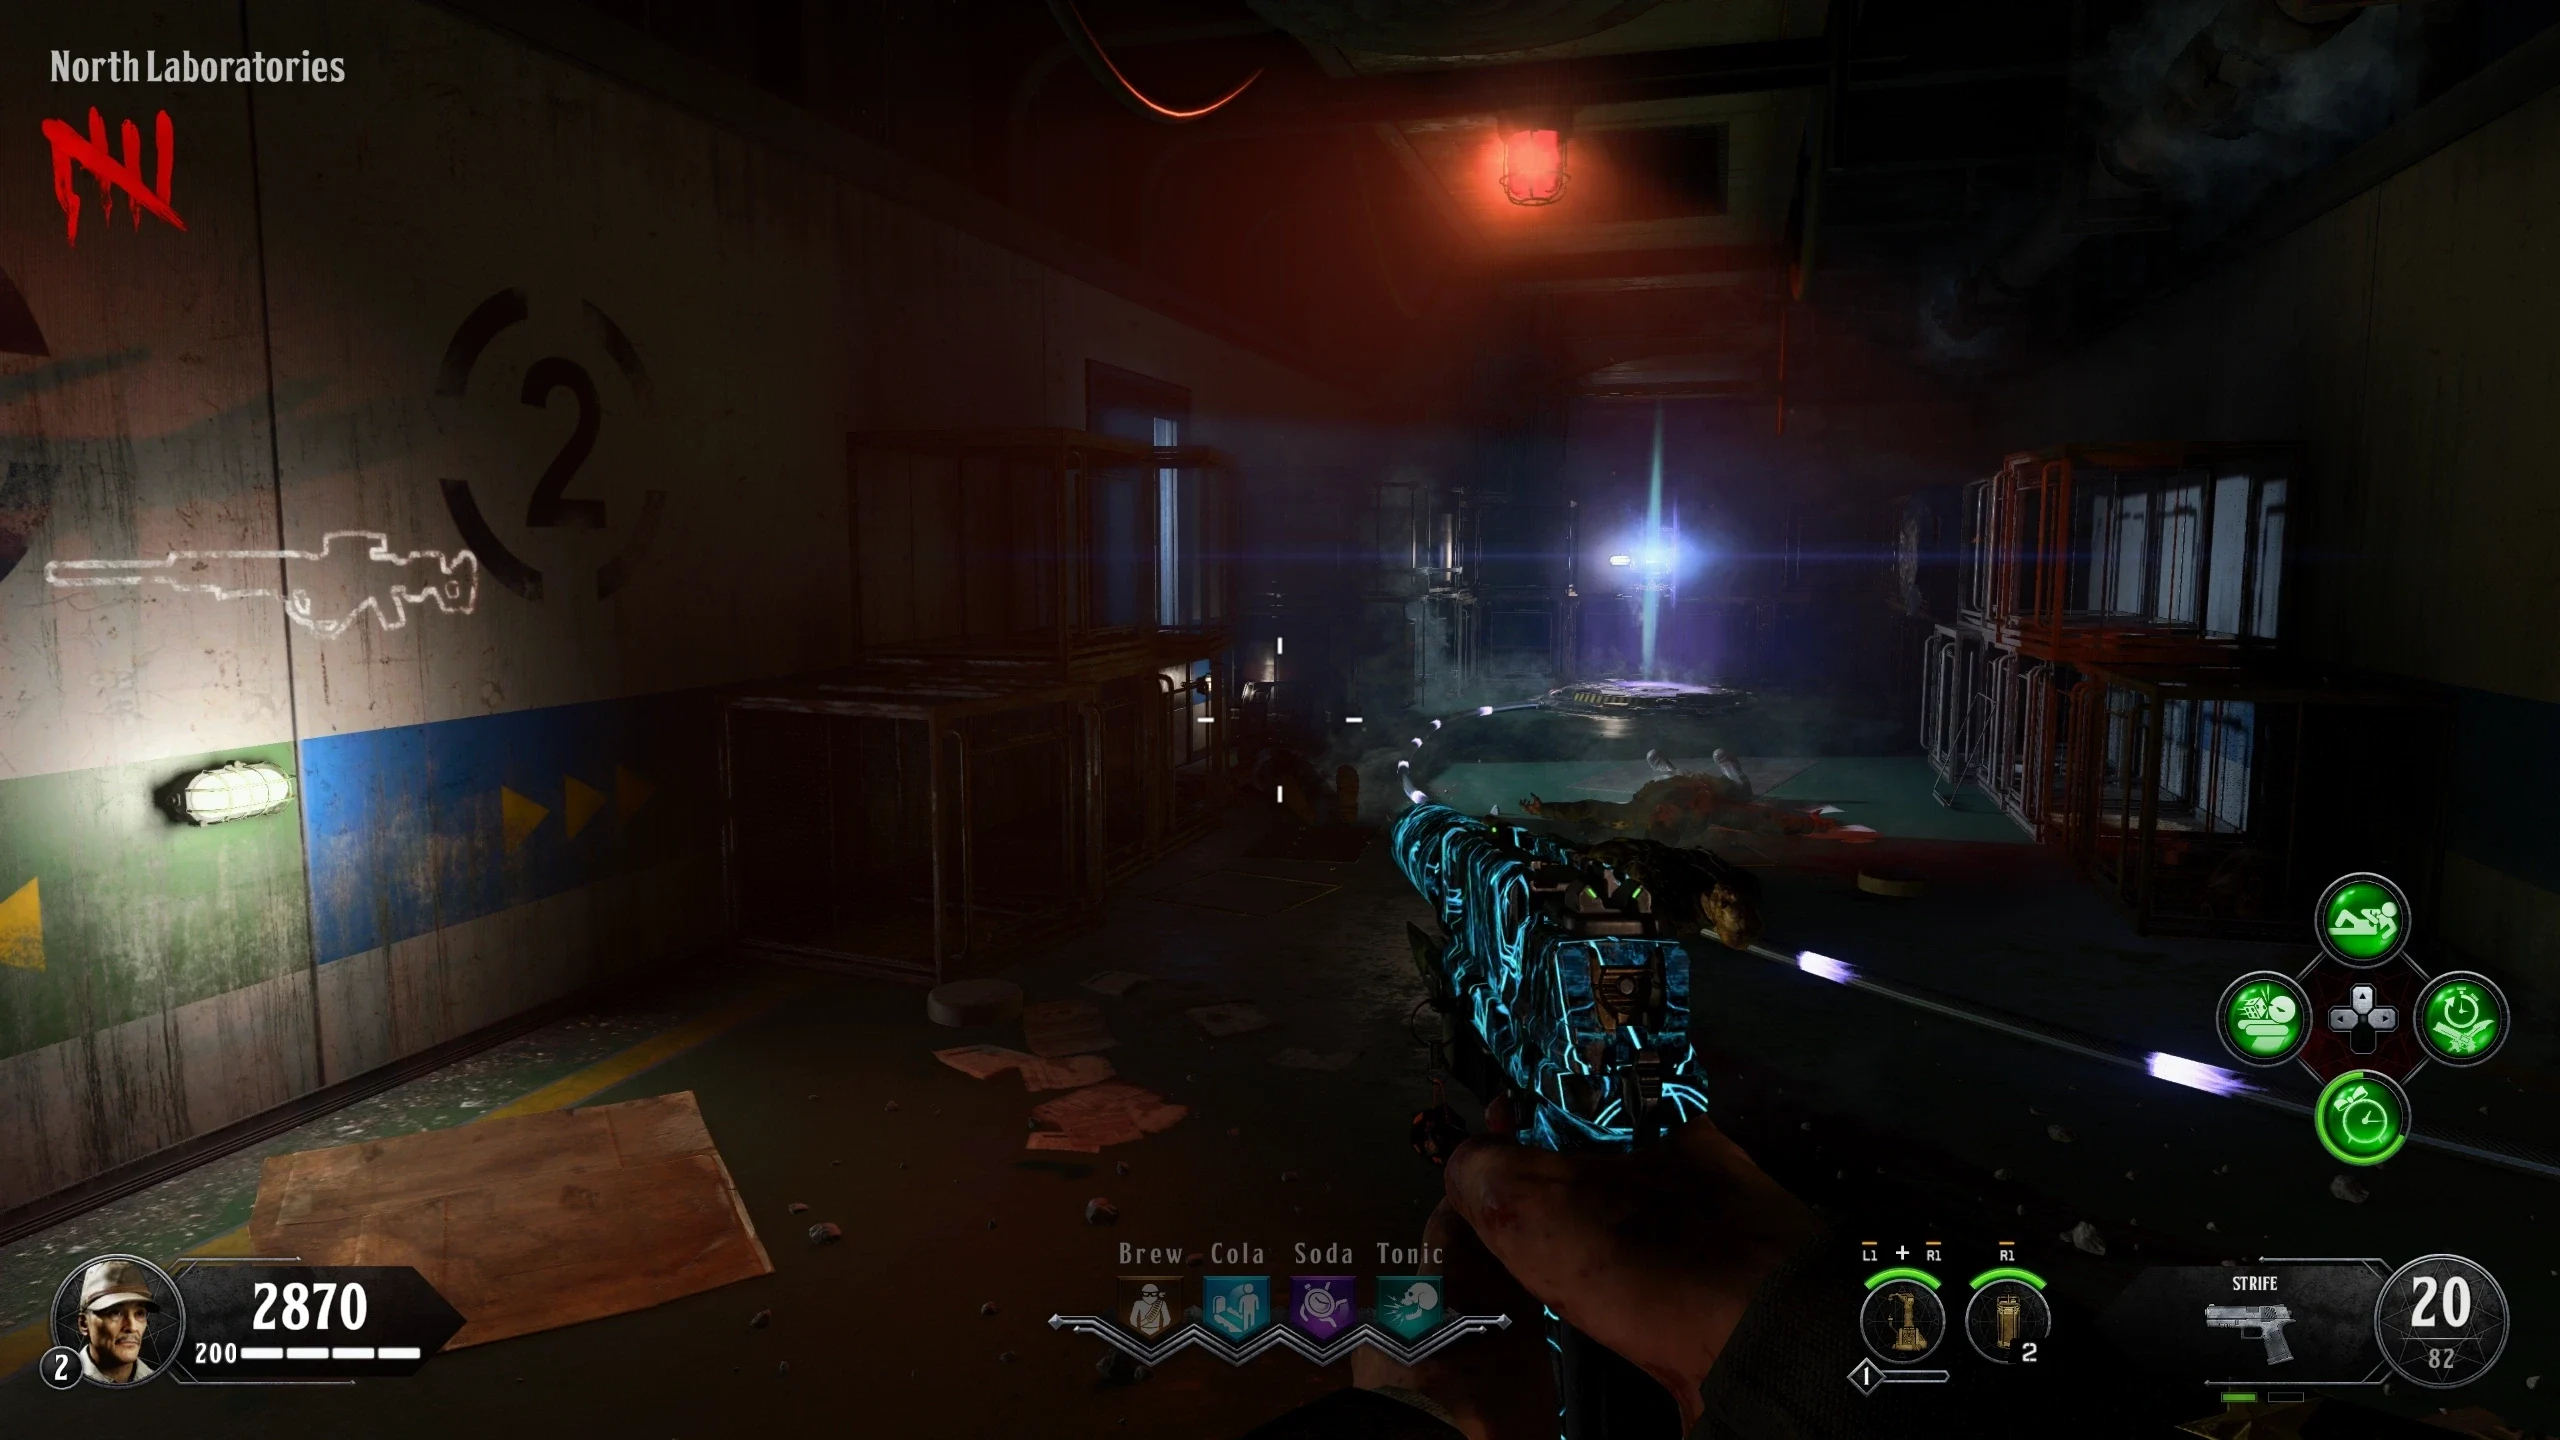
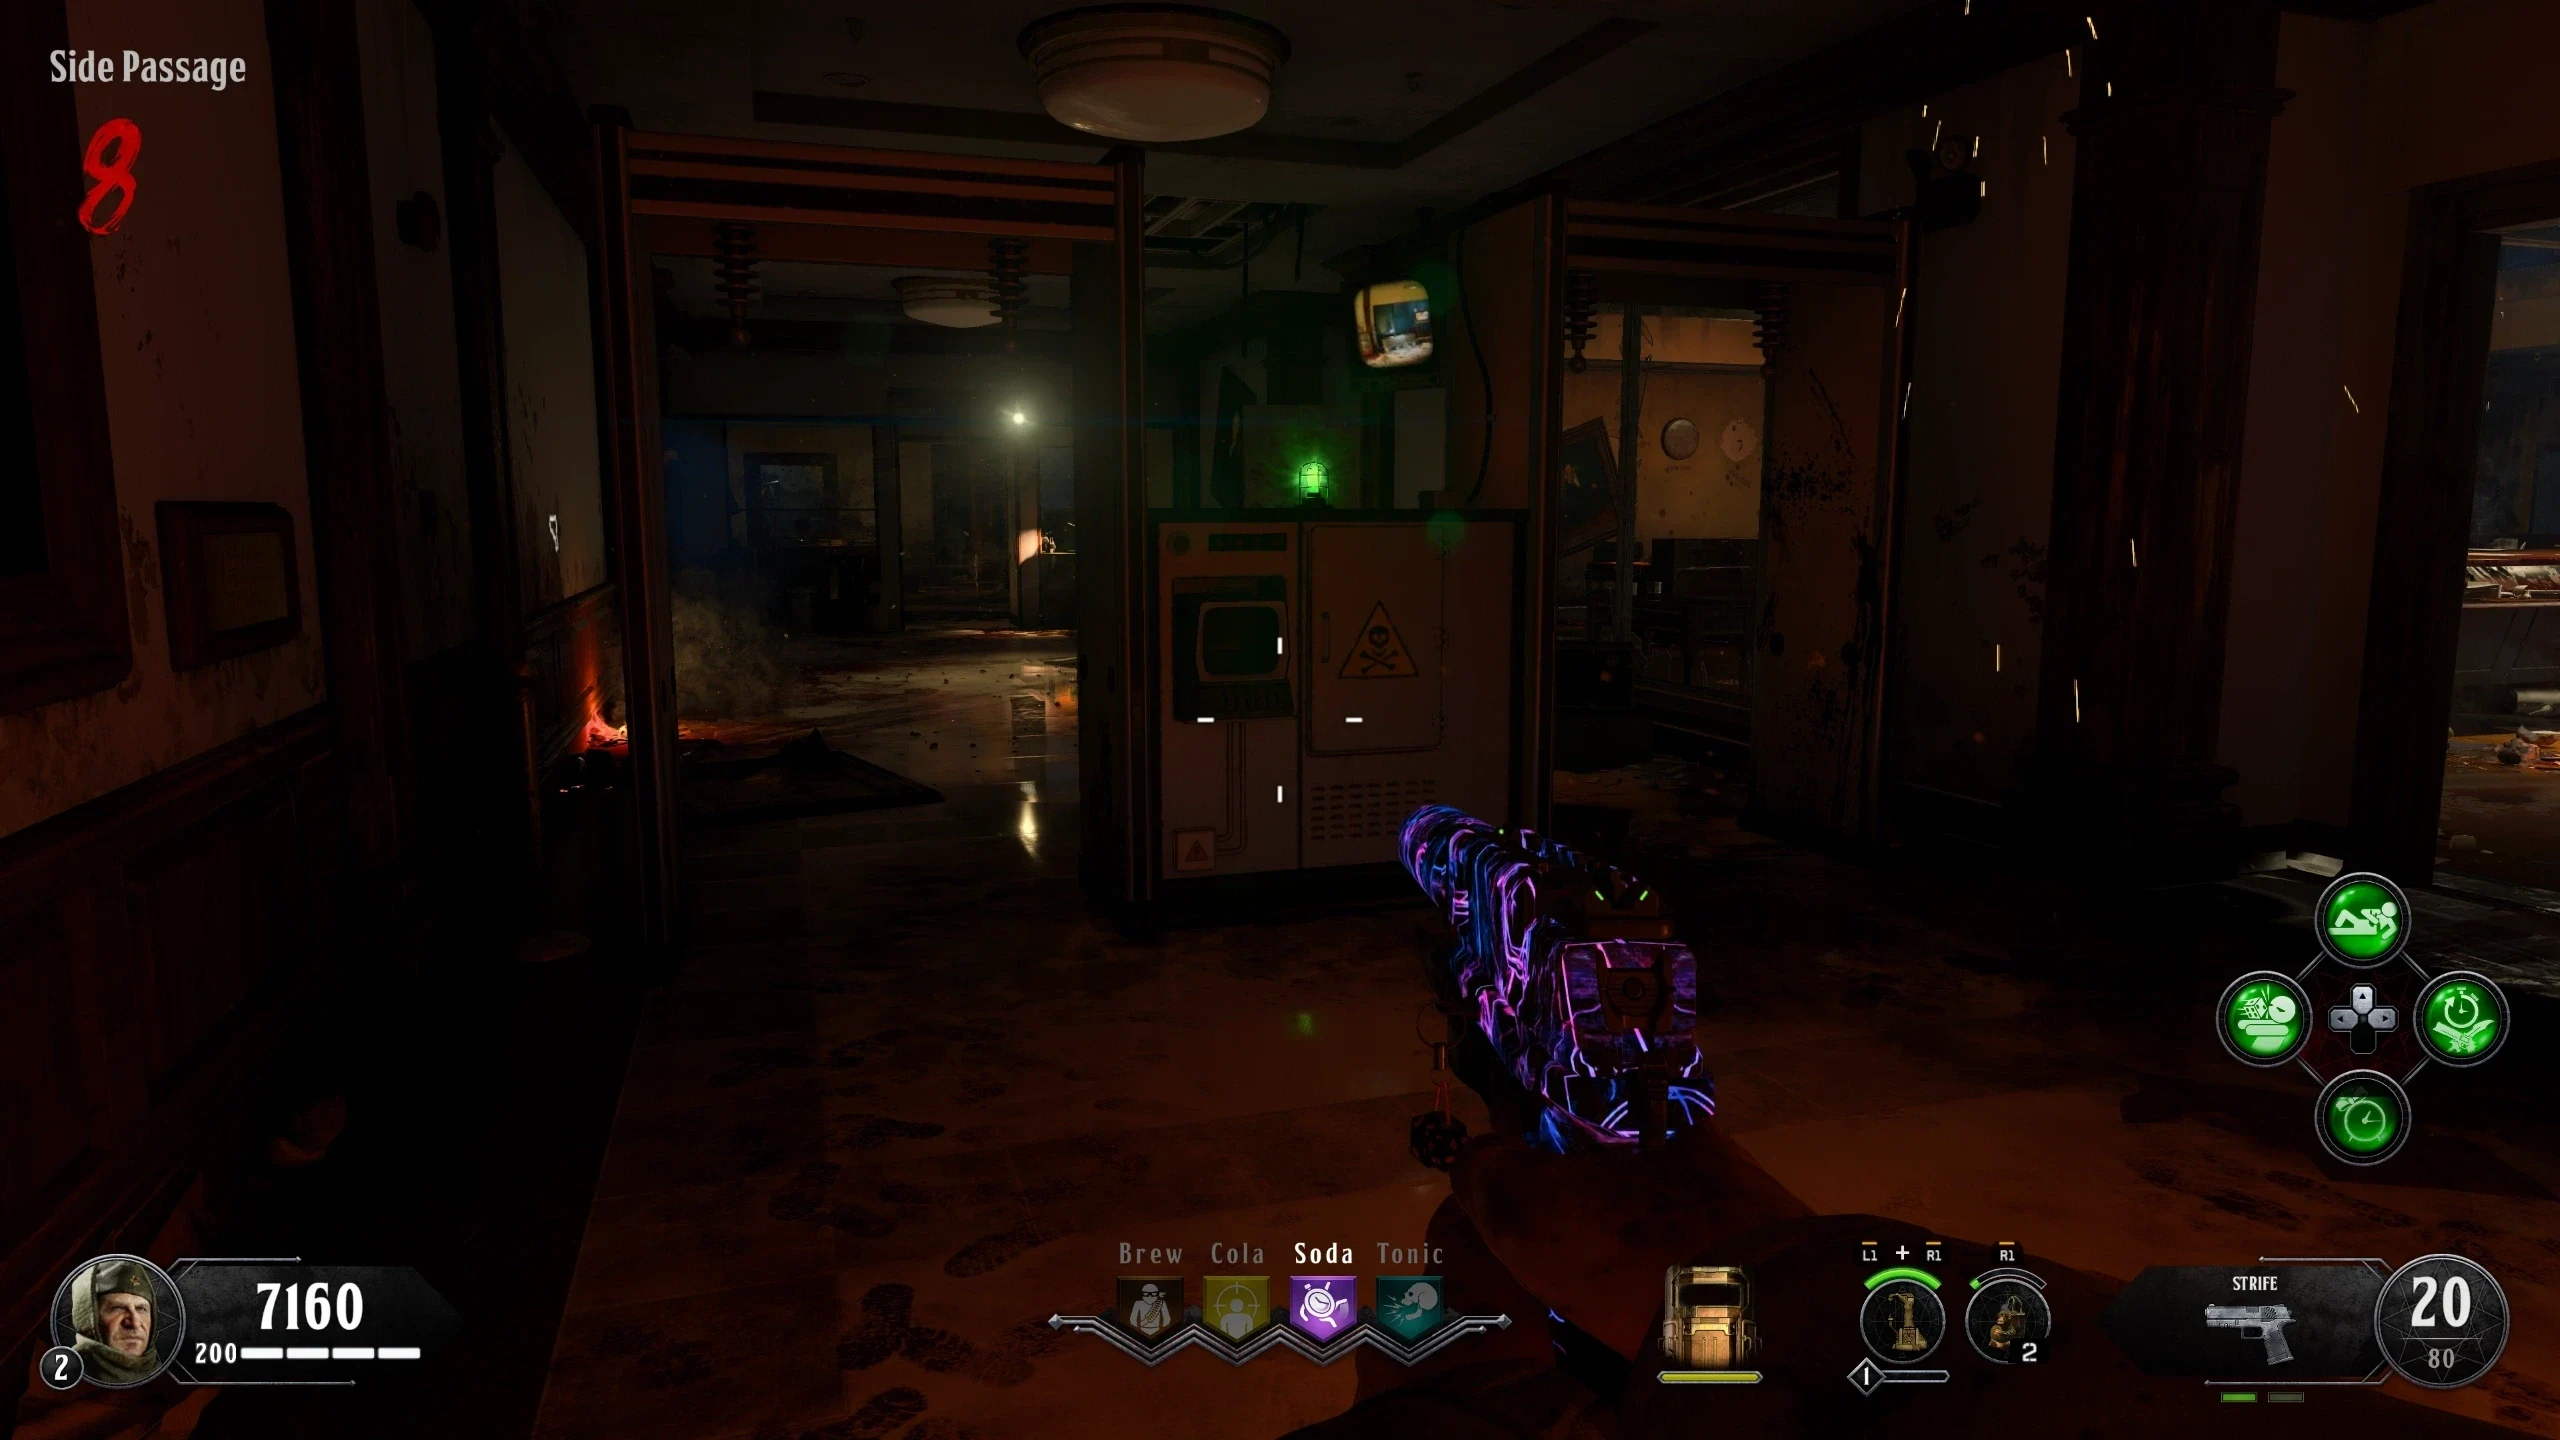
- Both traps are in the hallways on either side of the spawn room and look like metal detectors:
Main Quest
Stats (Solo): Difficulty - 9/10, Est. Completion Time - 4 Hrs to 6 Hrs
| Perks | Special Weapons | Elixirs | Equipment |
|---|---|---|---|
|
|
|
|
- Unlike every other Main Quest, there's only one step: Reach Round 150. The cutscene triggers after finishing Round 149. Round 150 strategy:
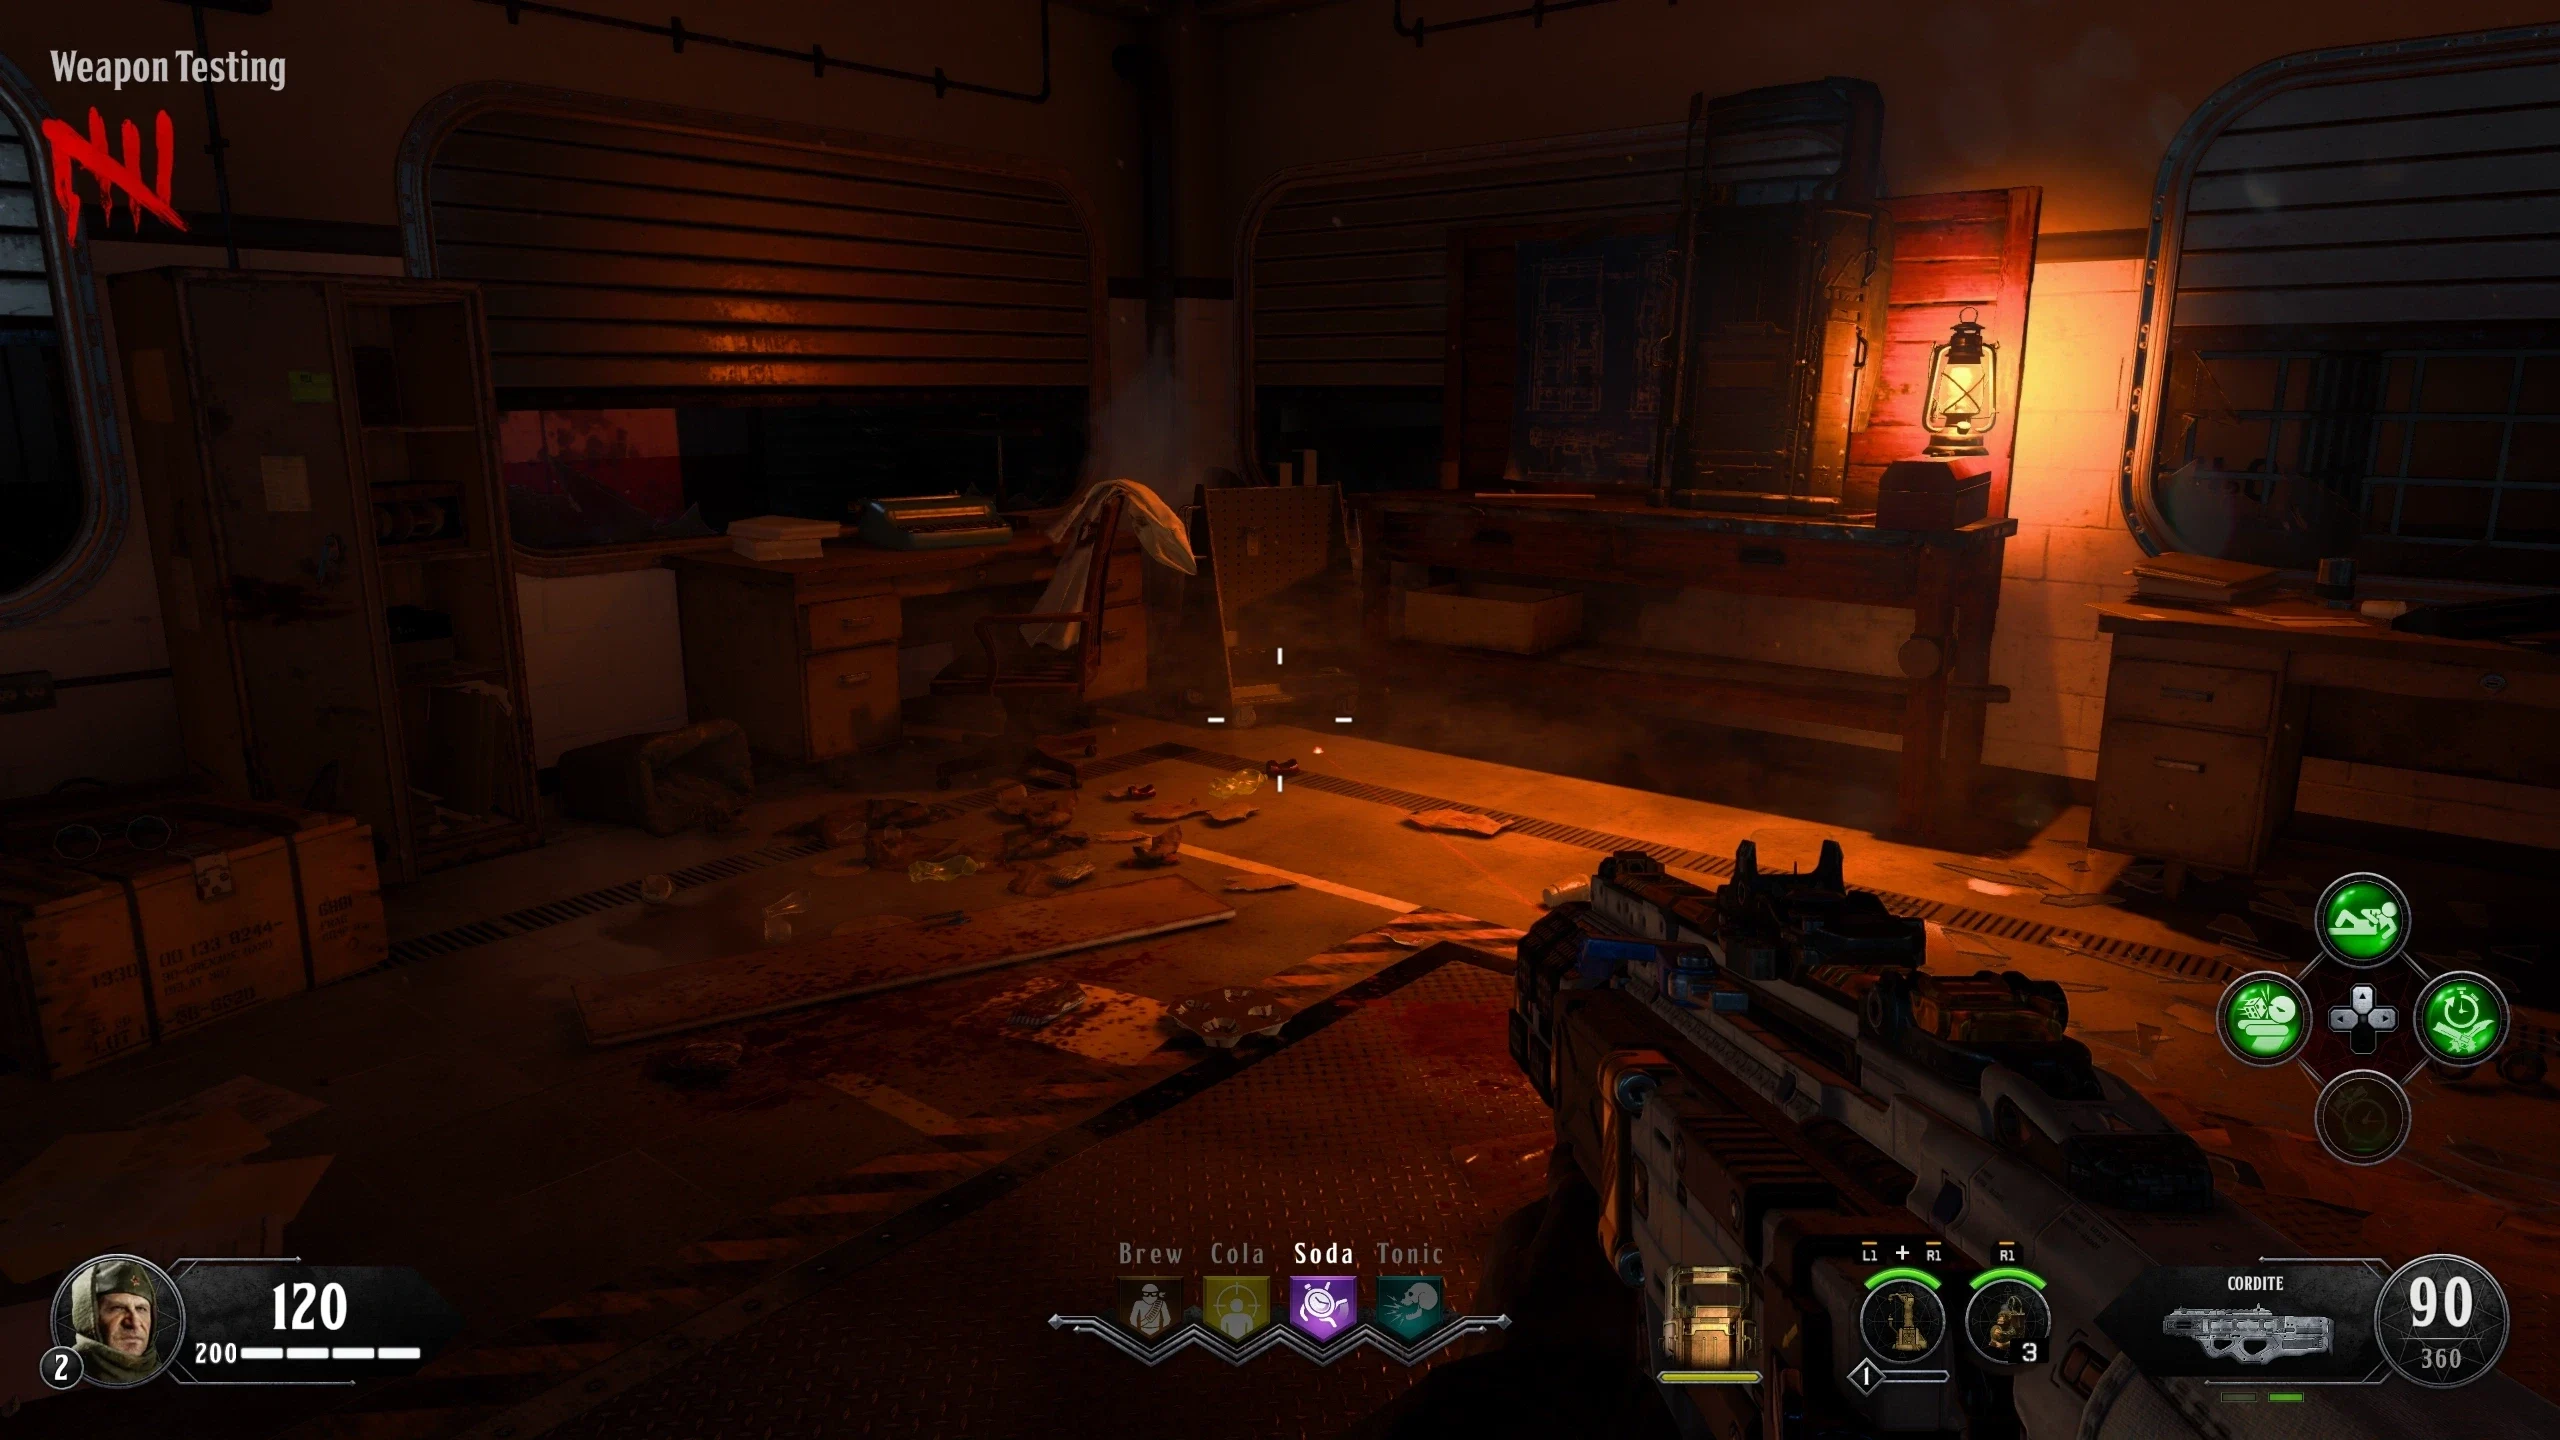
- Build the Riot Shield in 'Weapon Testing.' You will be using the Shield, Wraith Fire and the Ragnarok DG-5 to get kills.
- Stand in this corner next to the Shield workbench while holding your shield out.
- Plant your Ragnarok DG-5s as soon as they're ready. Otherwise, throw a Wraith Fire at your feet.
- When your Wraith Fires and Ragnaroks aren't ready, shoot the zombies with the Shield gun until a Wraith Fire or the Ragnaroks recharge.
- Use Equip Mint whenever you have it and you run out of Wraith Fires.
- Don't let your Shield break. Buy a new one from the bench before it gets low on health or ammo.
- If you'd rather use the Hellion Salvo, swap Dying Wish for PhD Slider and shoot the Hellion at your feet until the Ragnaroks recharge. Return to using the Shield when the Hellion runs out of ammo.
"Shockwave" Song
Link to song on streaming here.
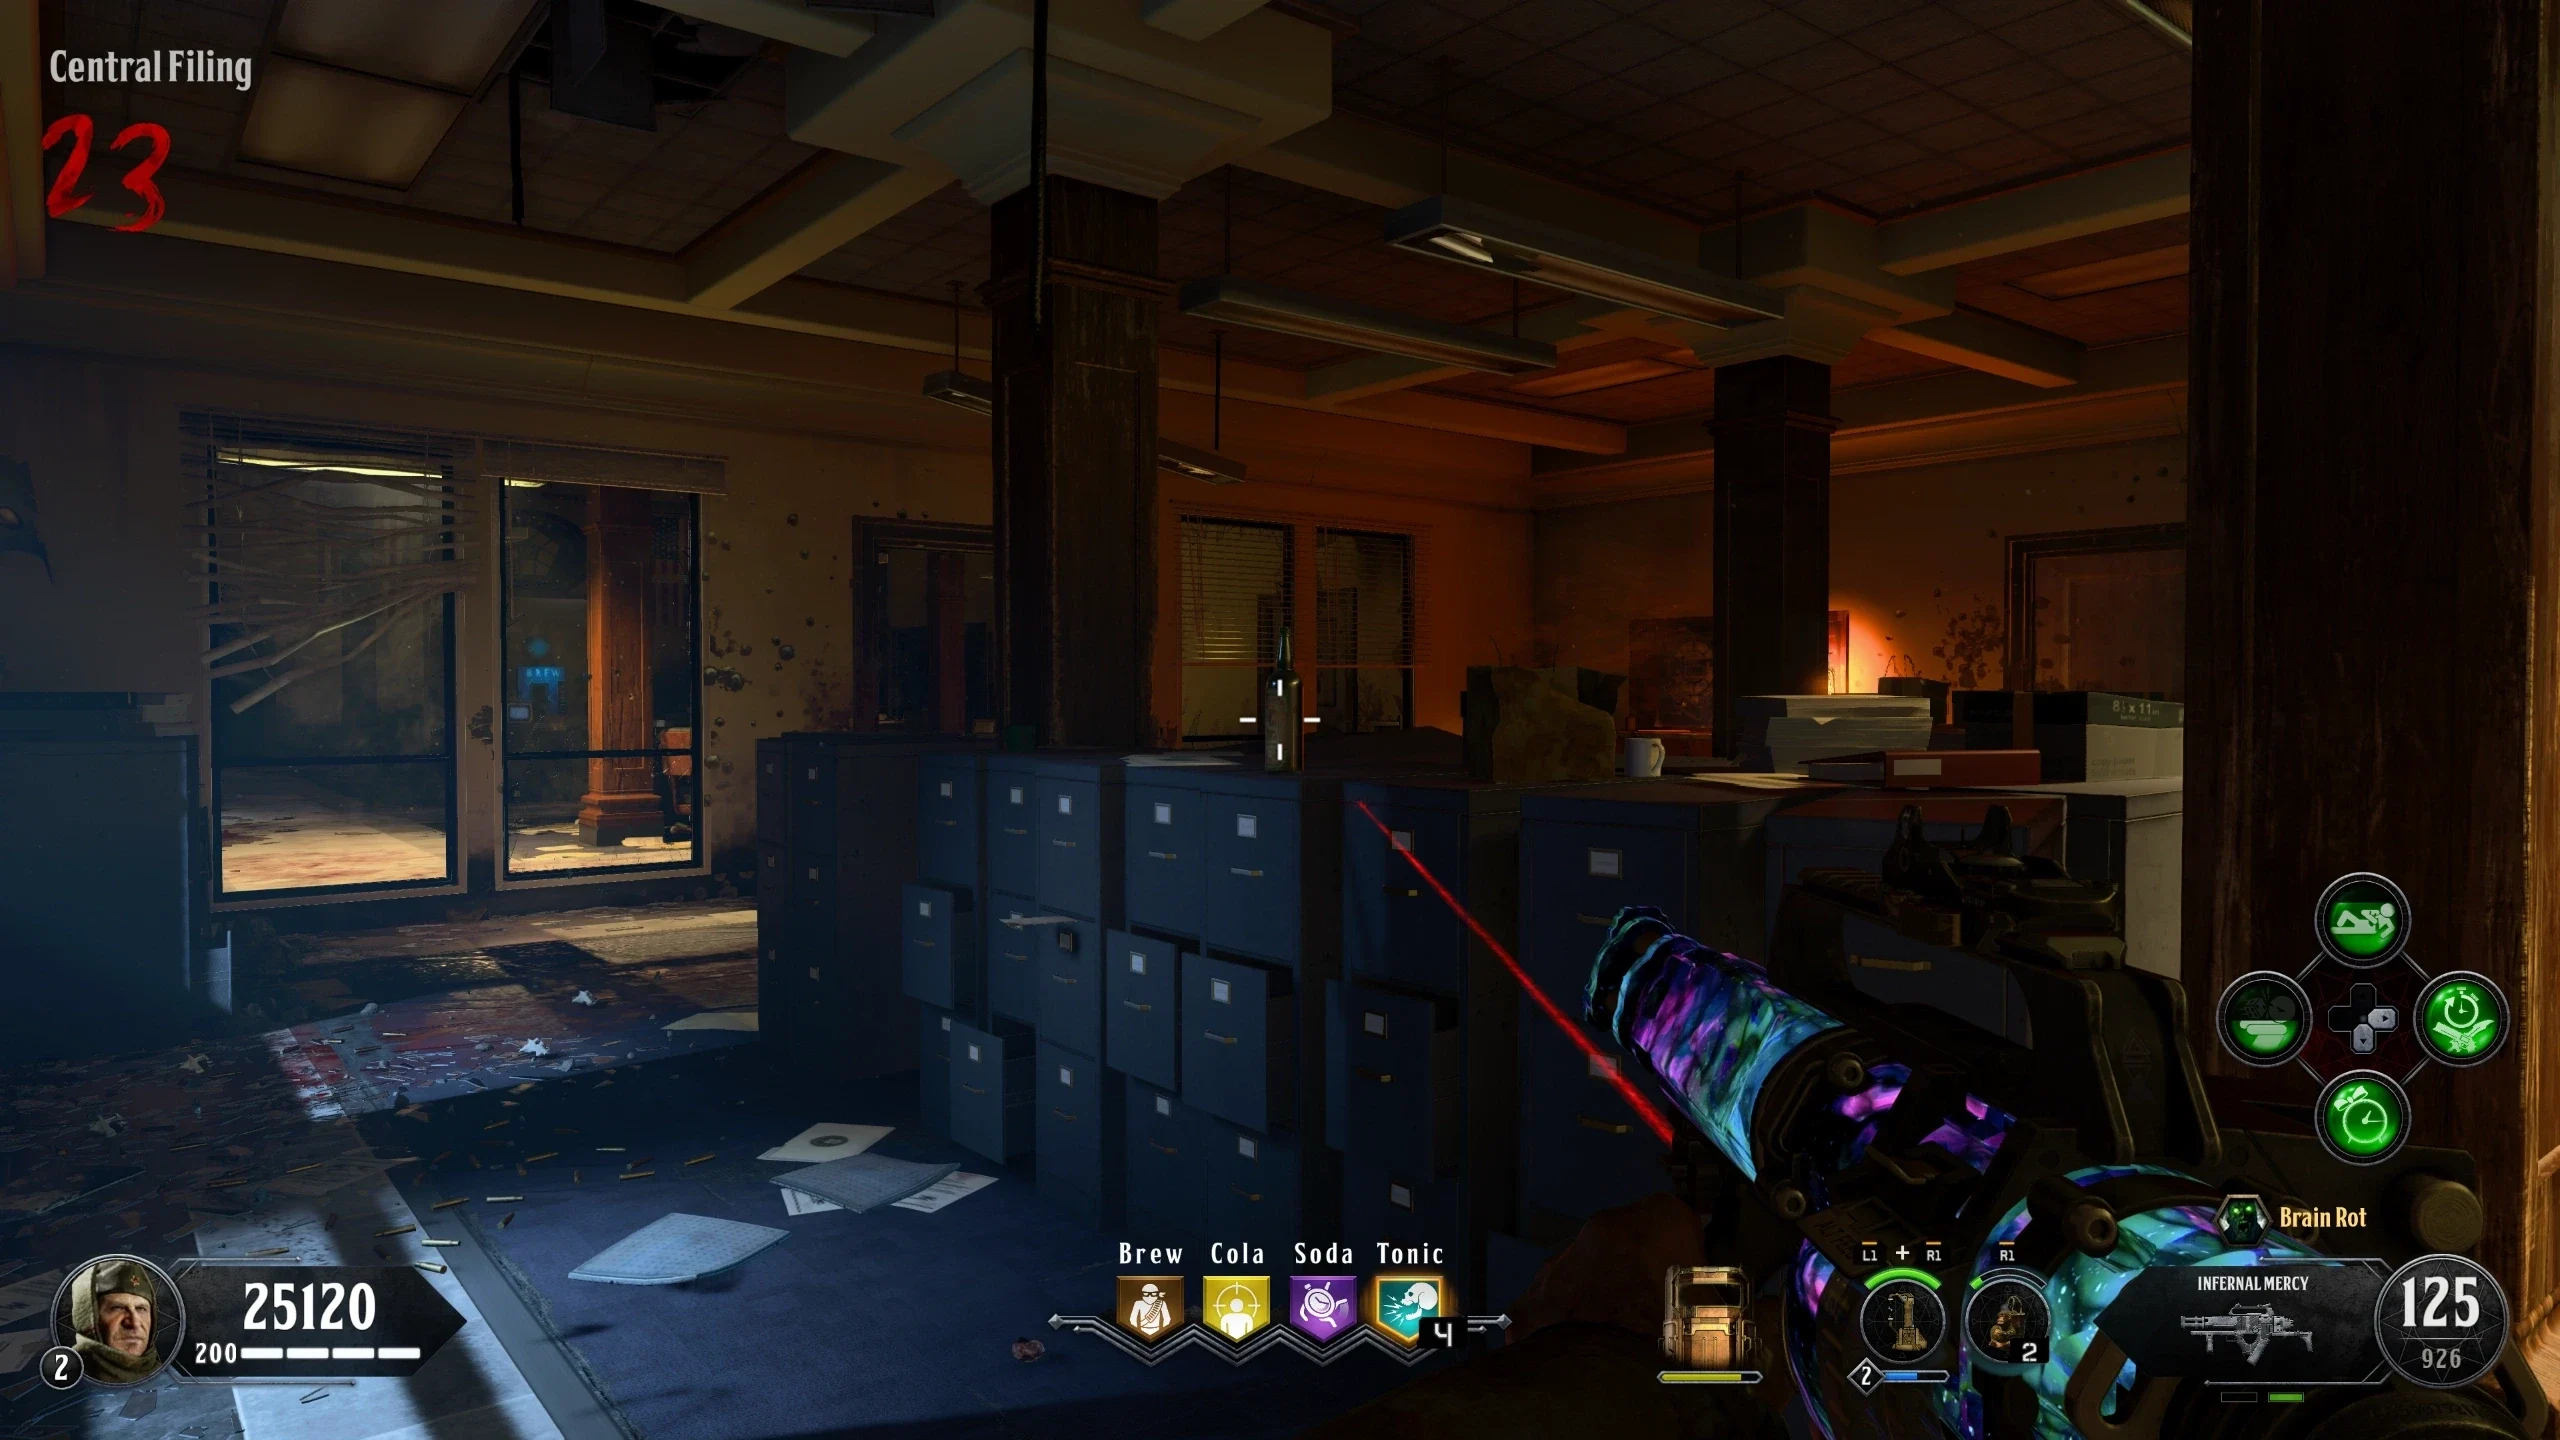
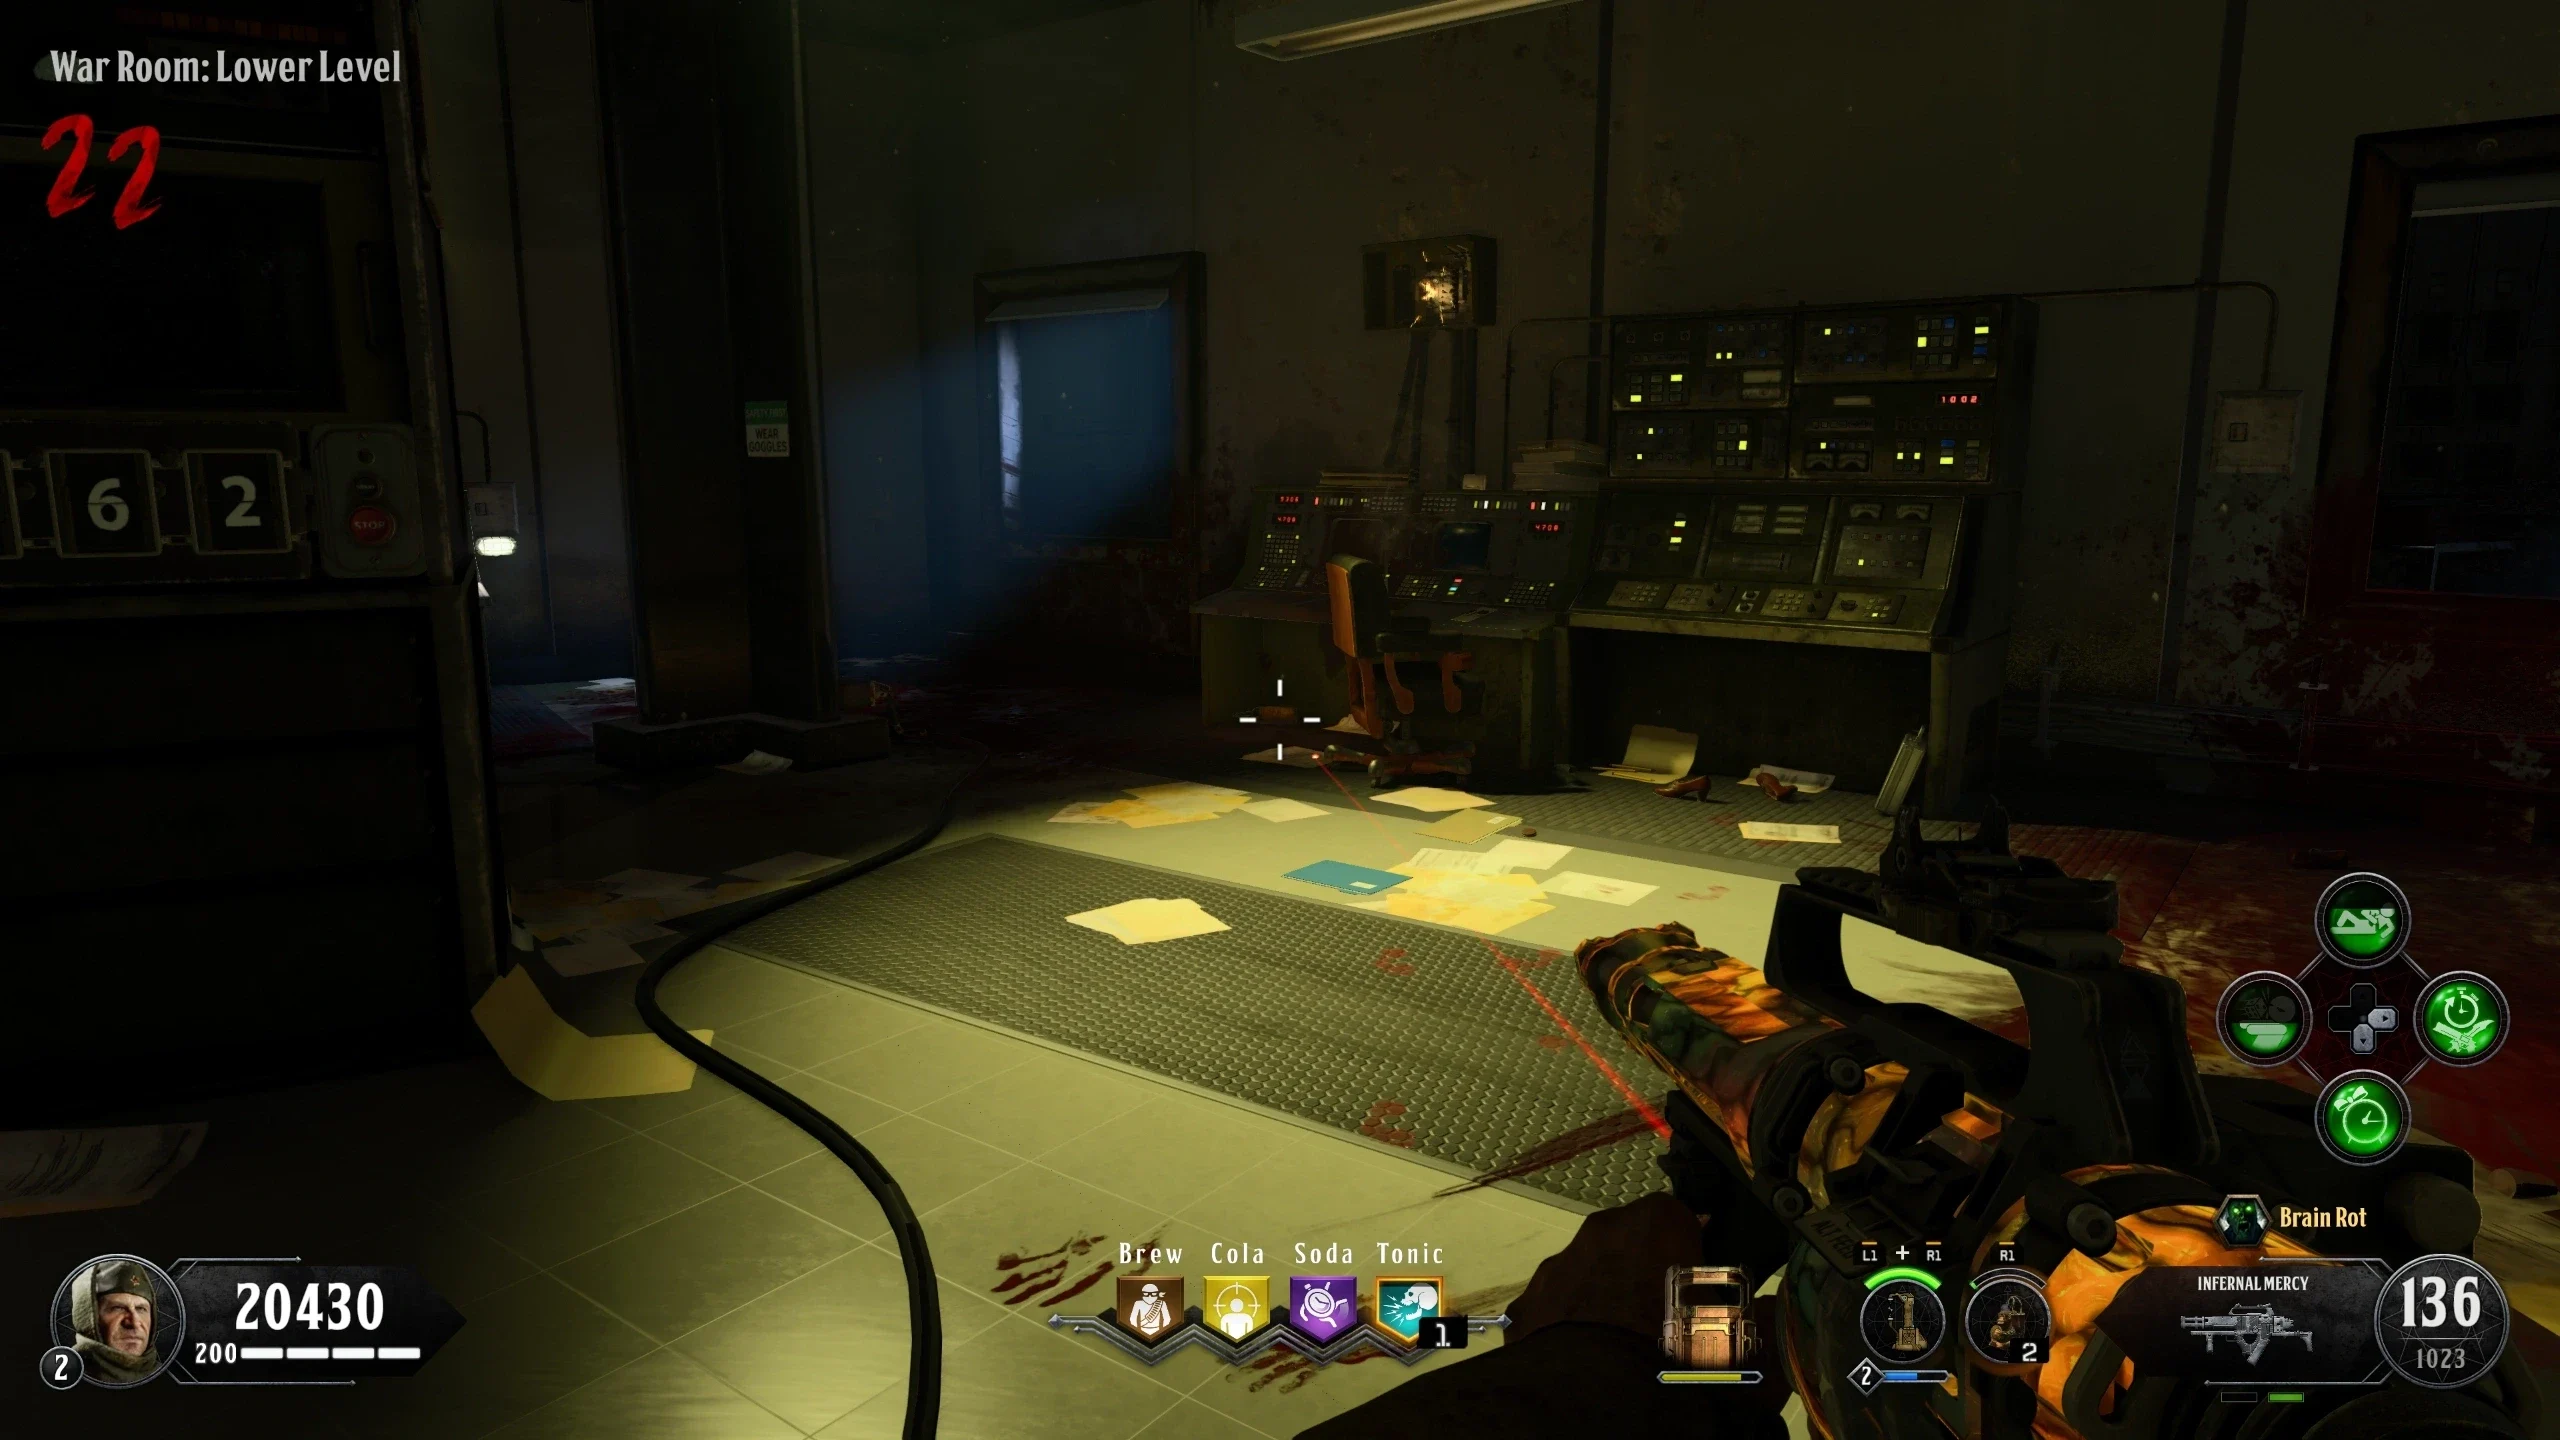
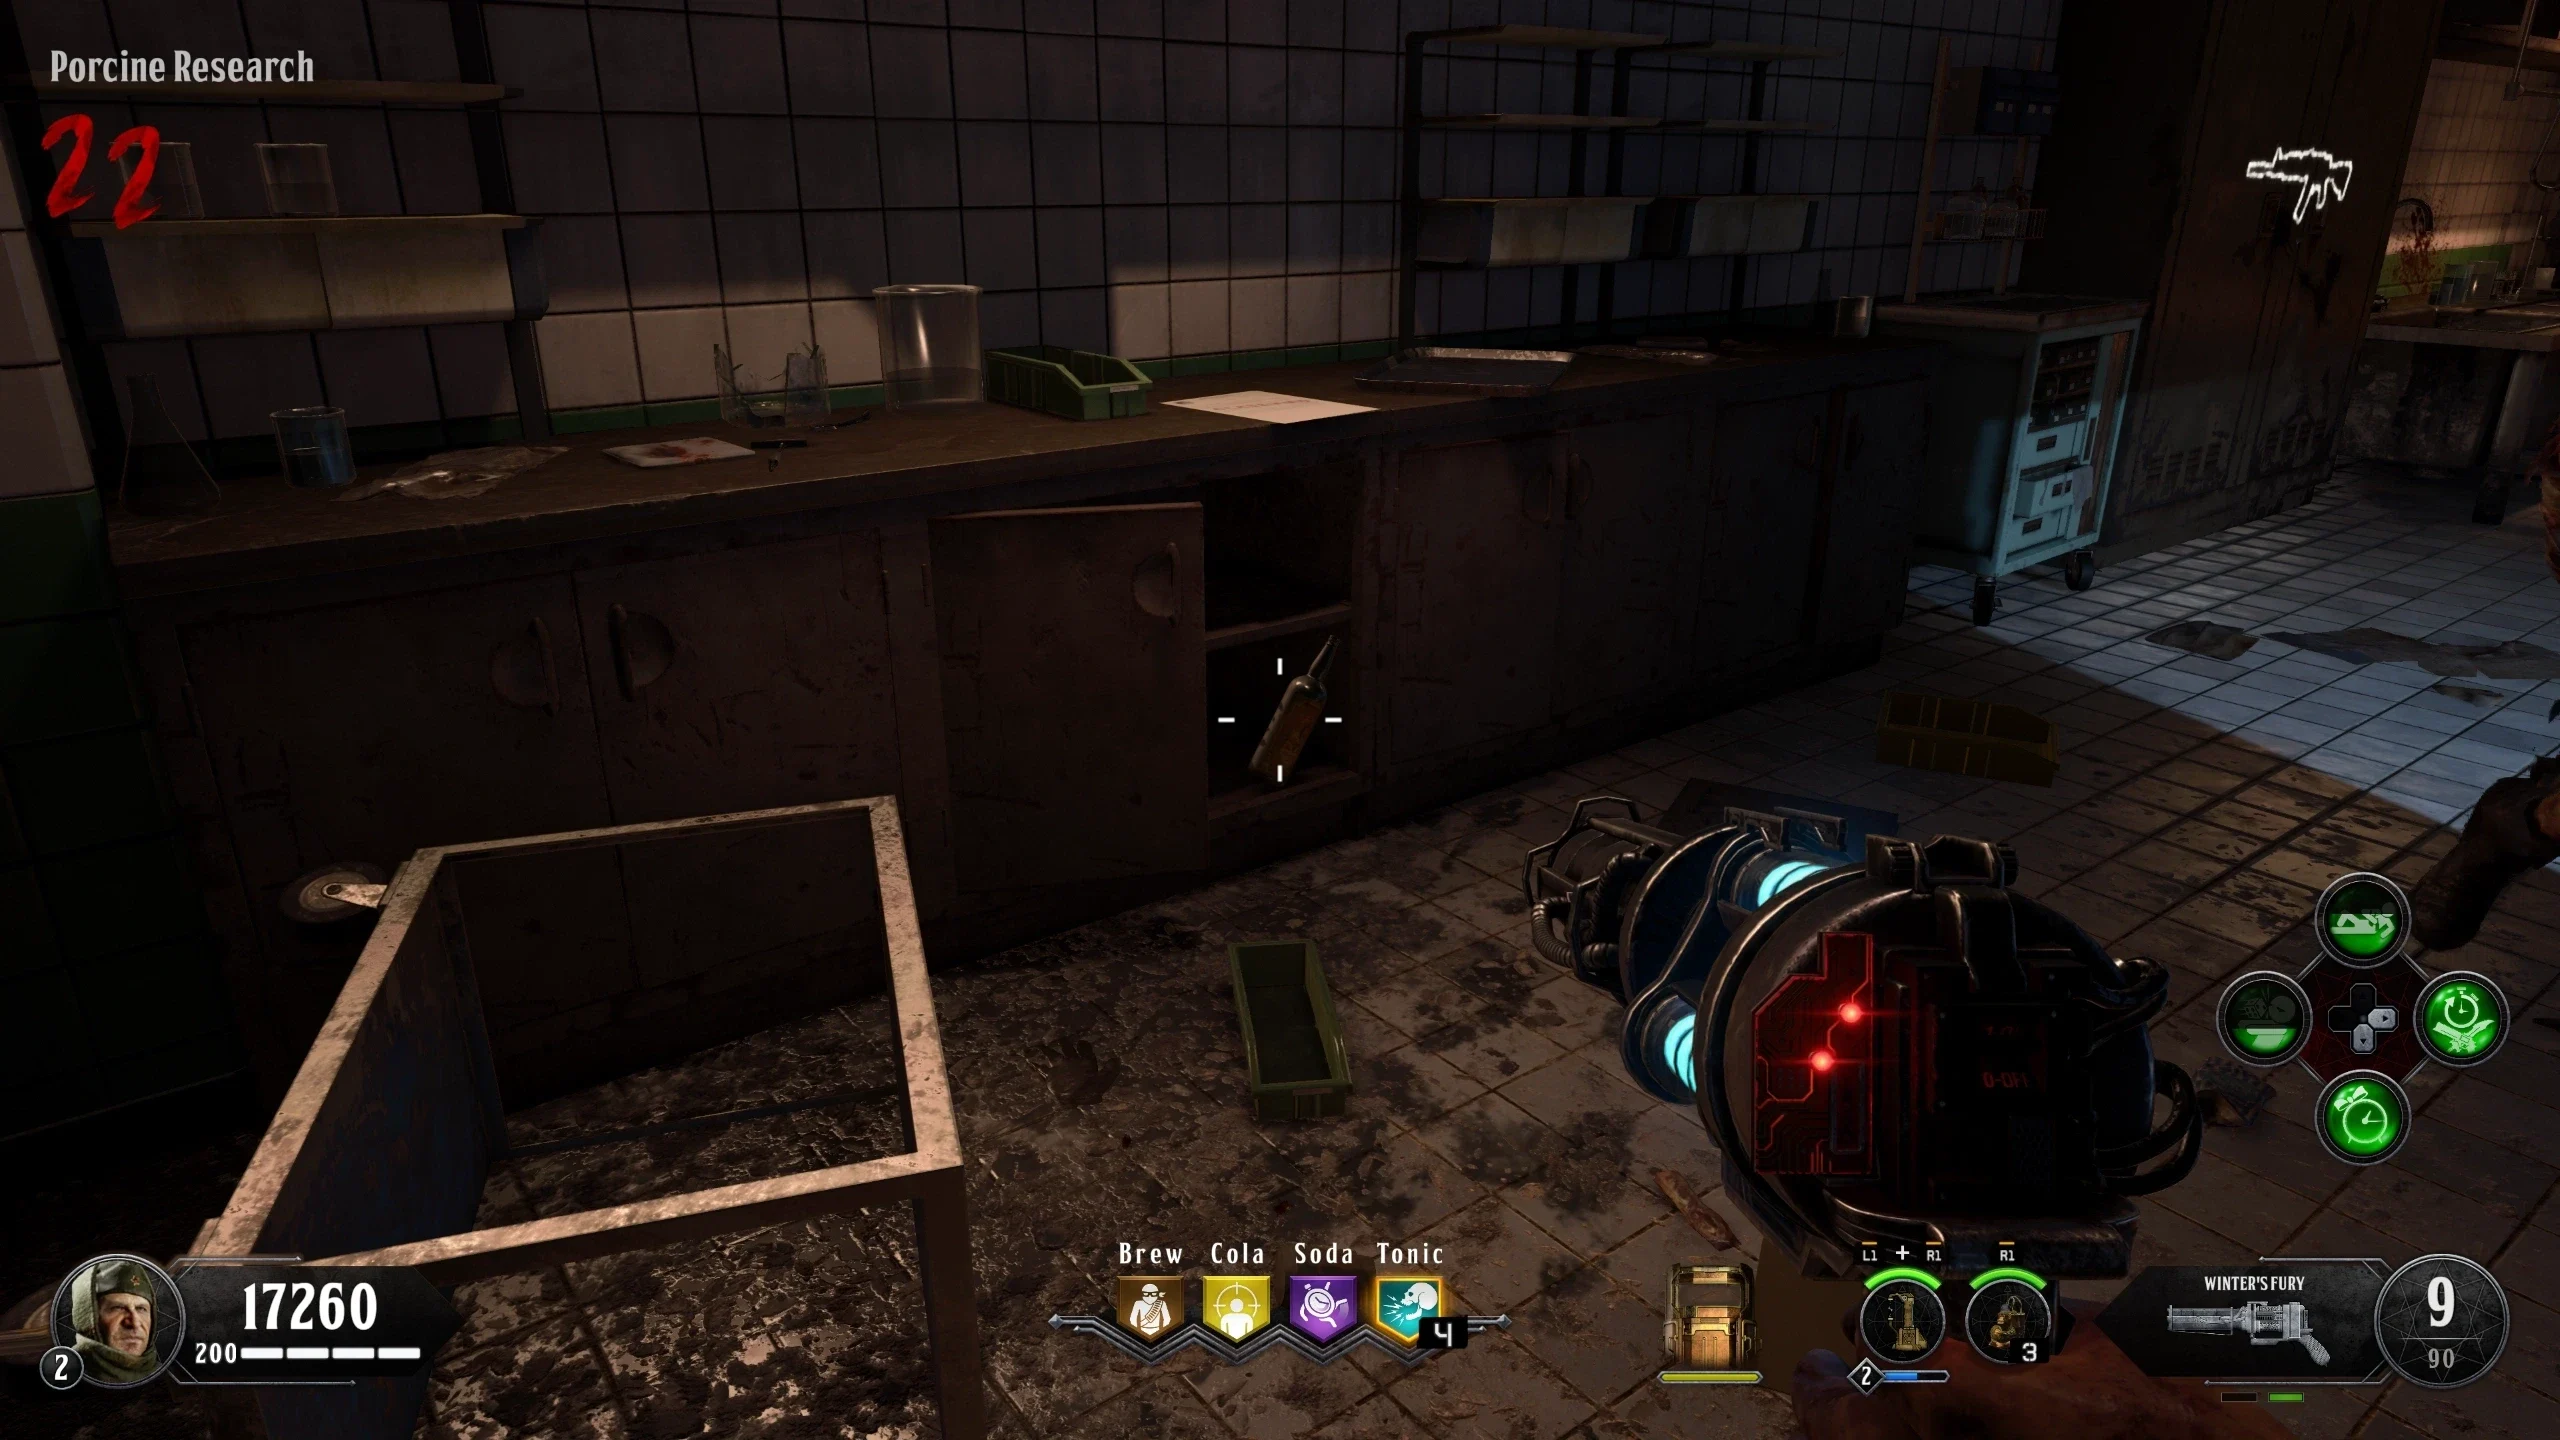
- Three bottles need to be interacted with to start the song:
- Once all three bottles are interacted with, the song will start.
"This Jazz is Classified" Intro Cutscene Song
Link to song on streaming here.
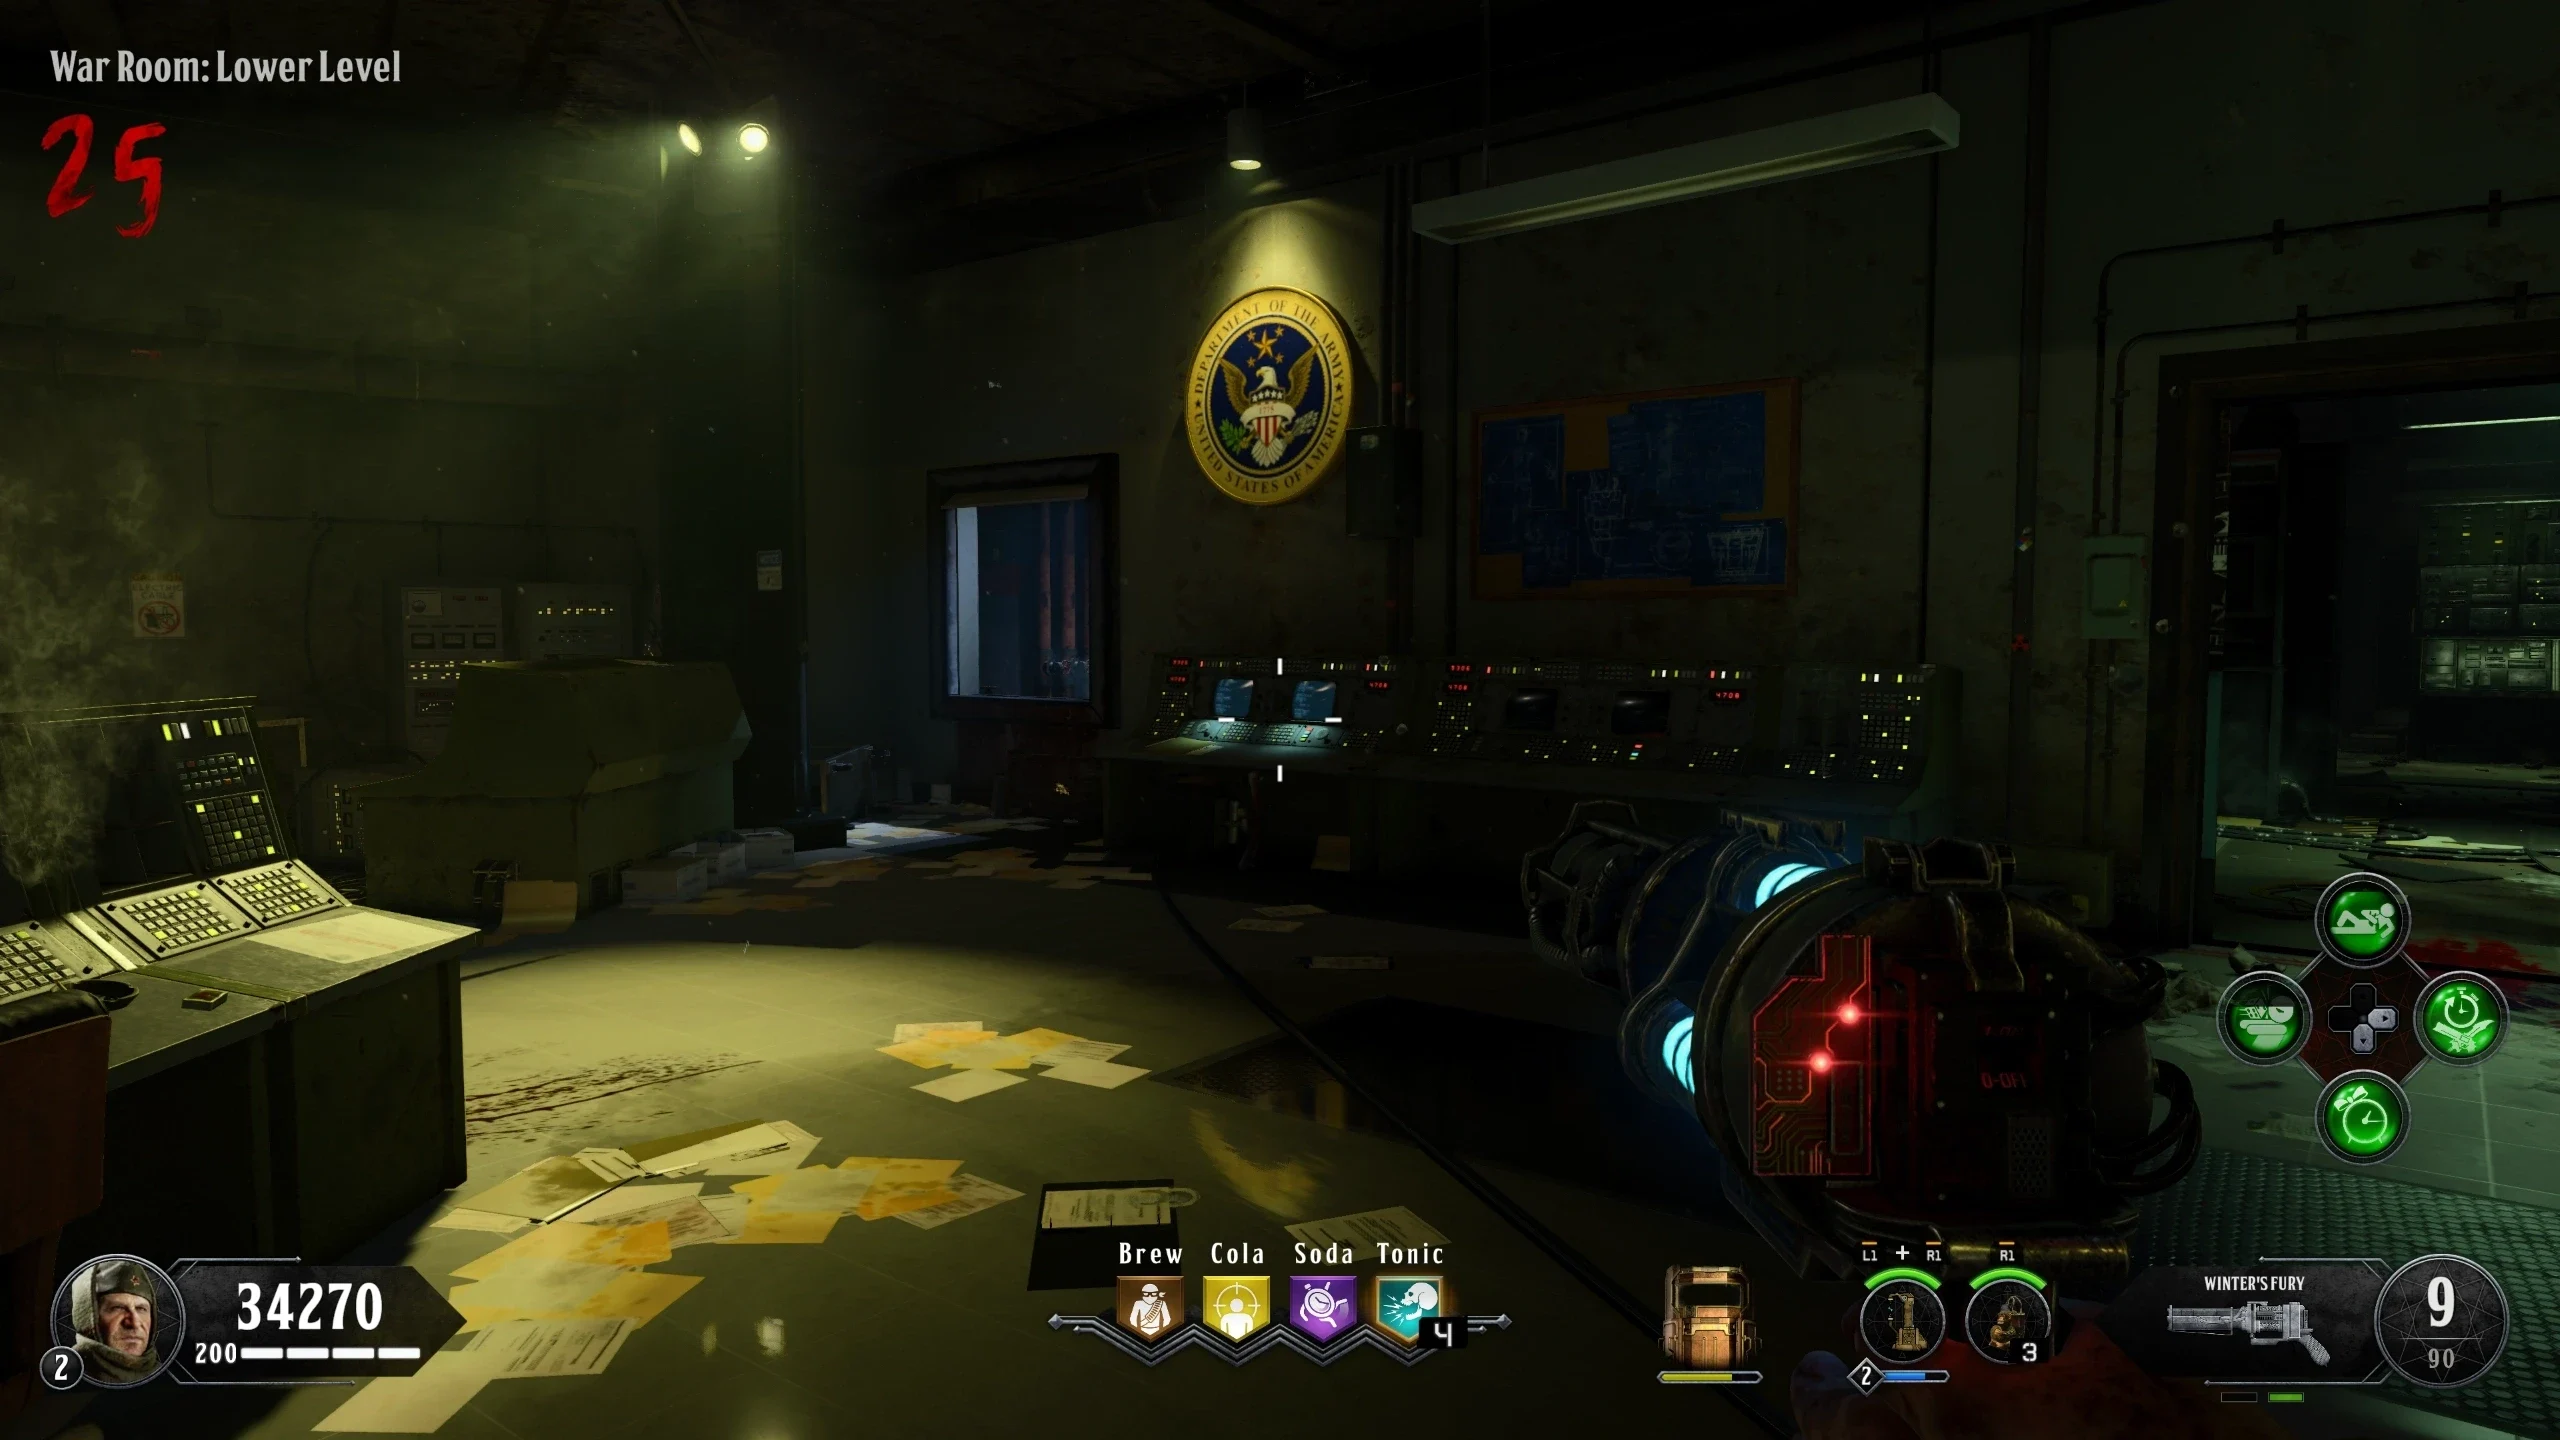
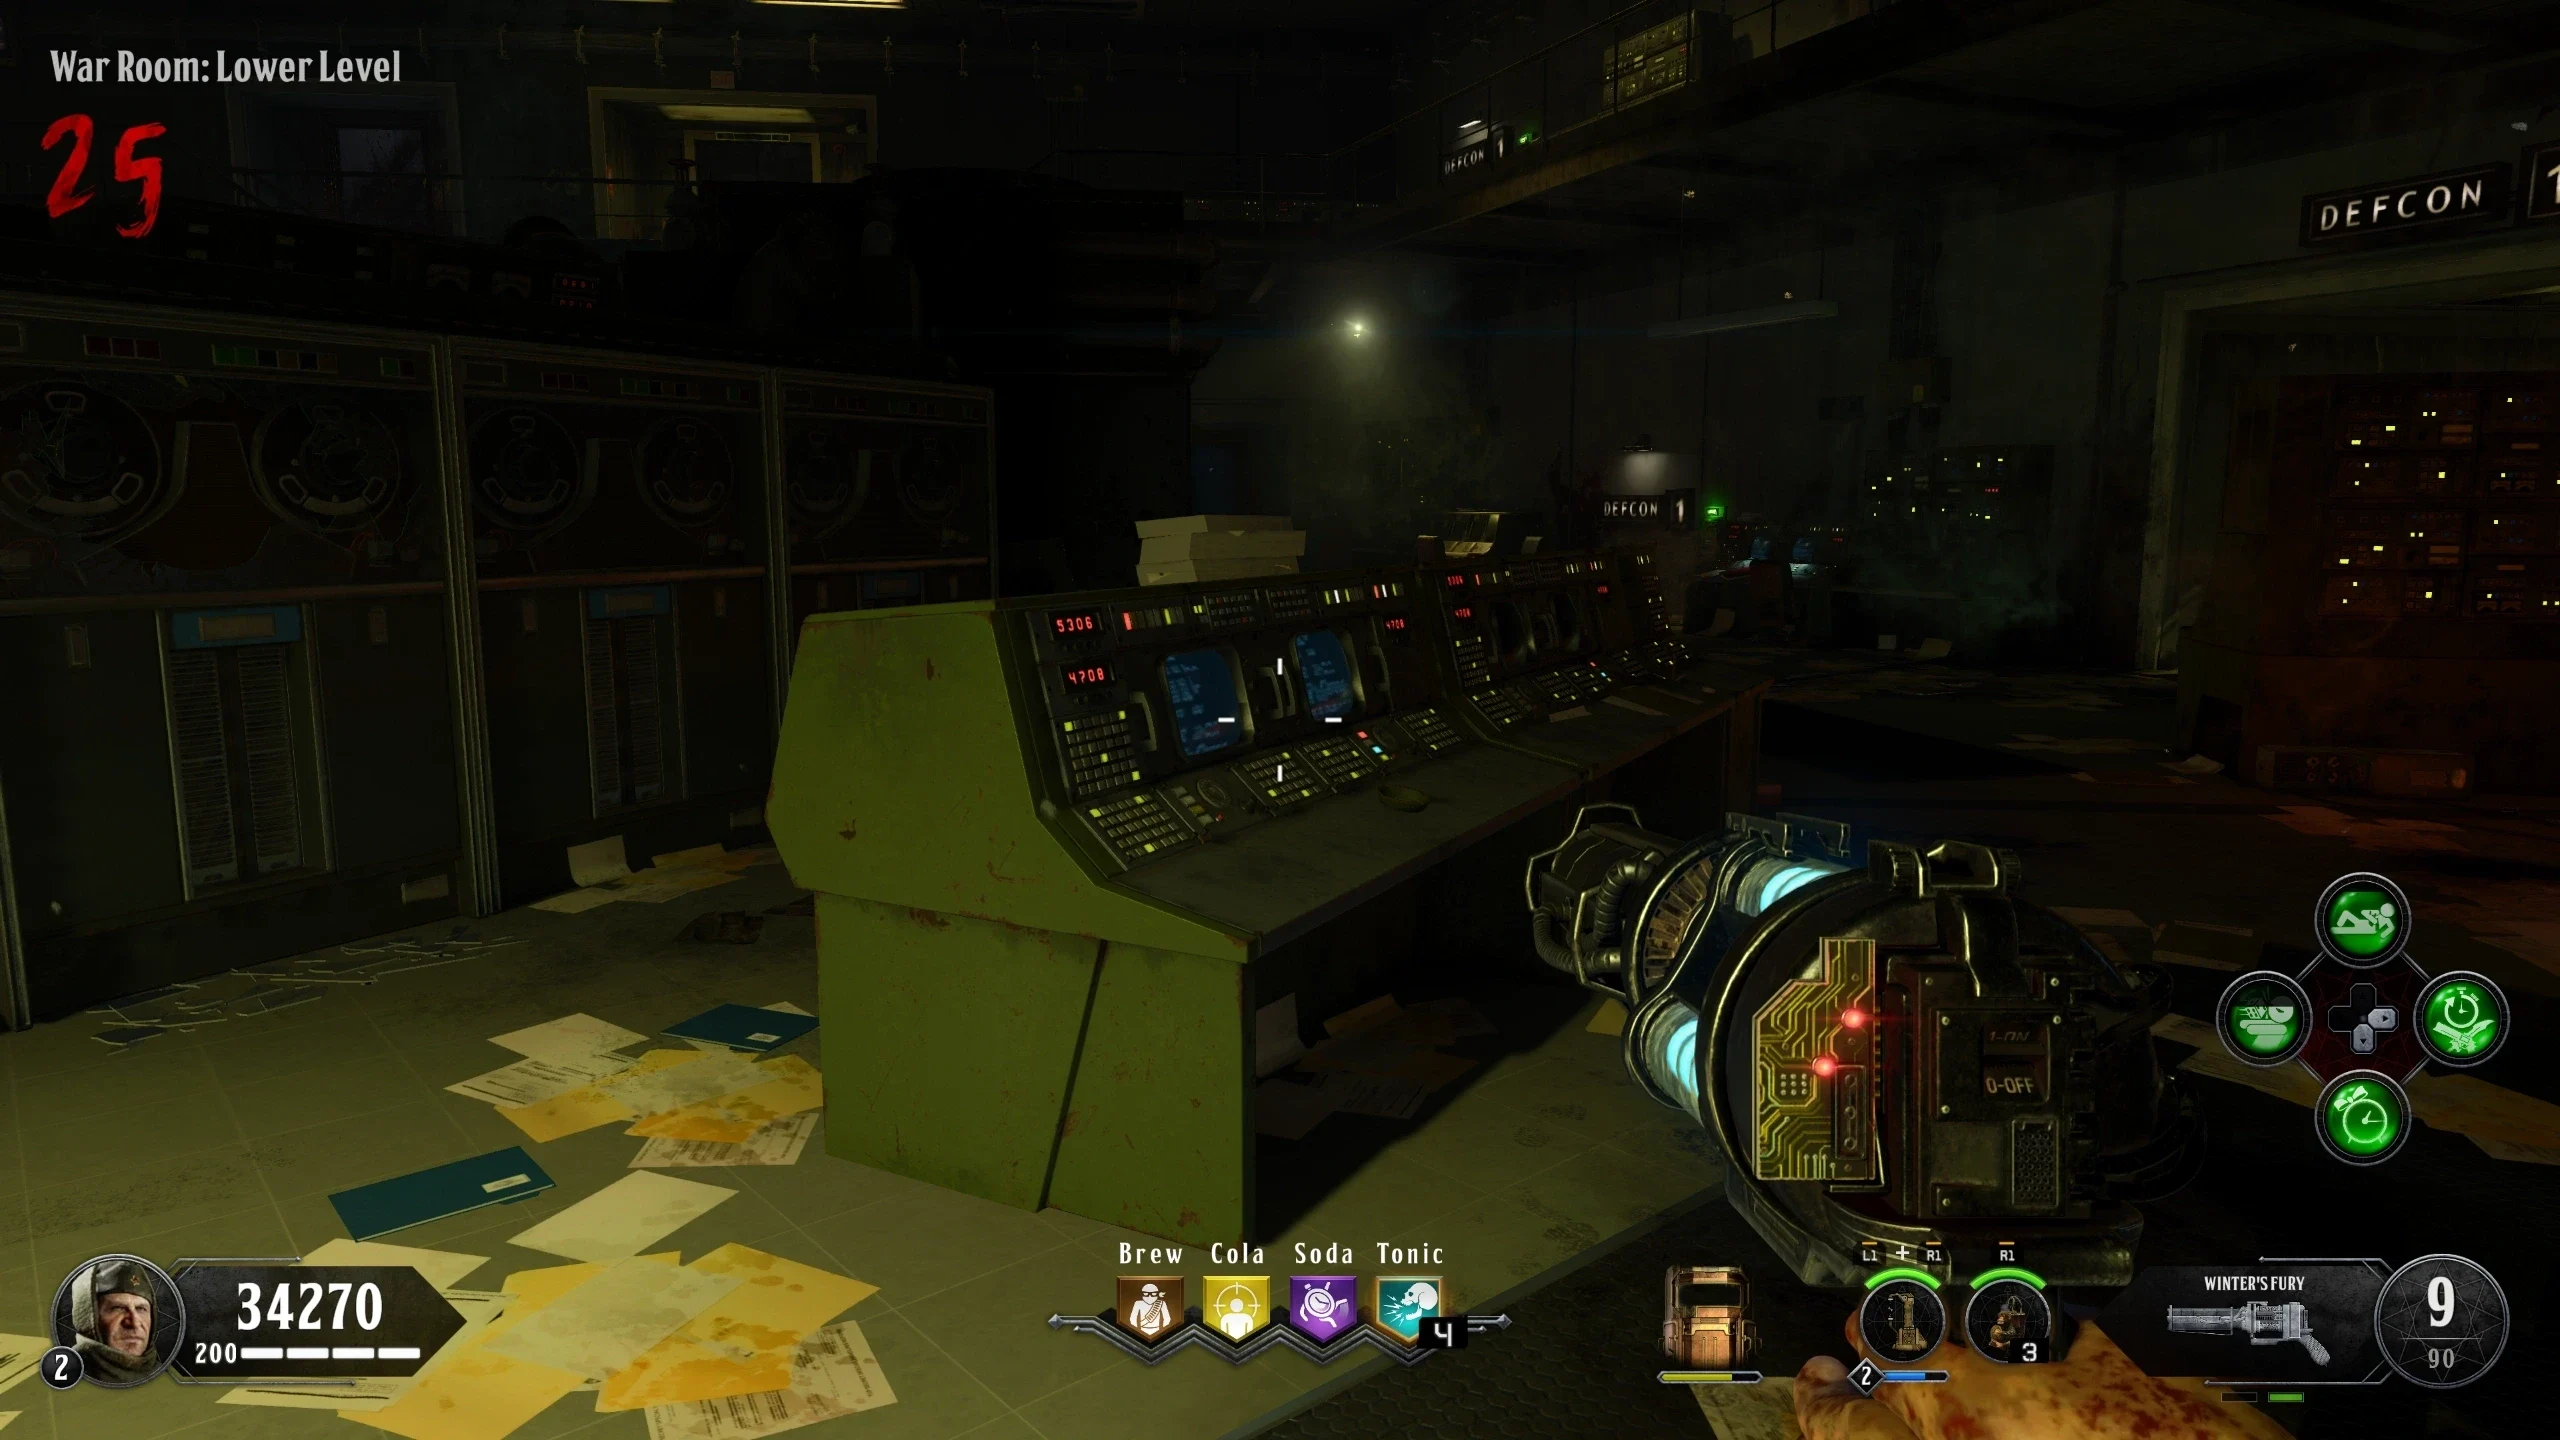
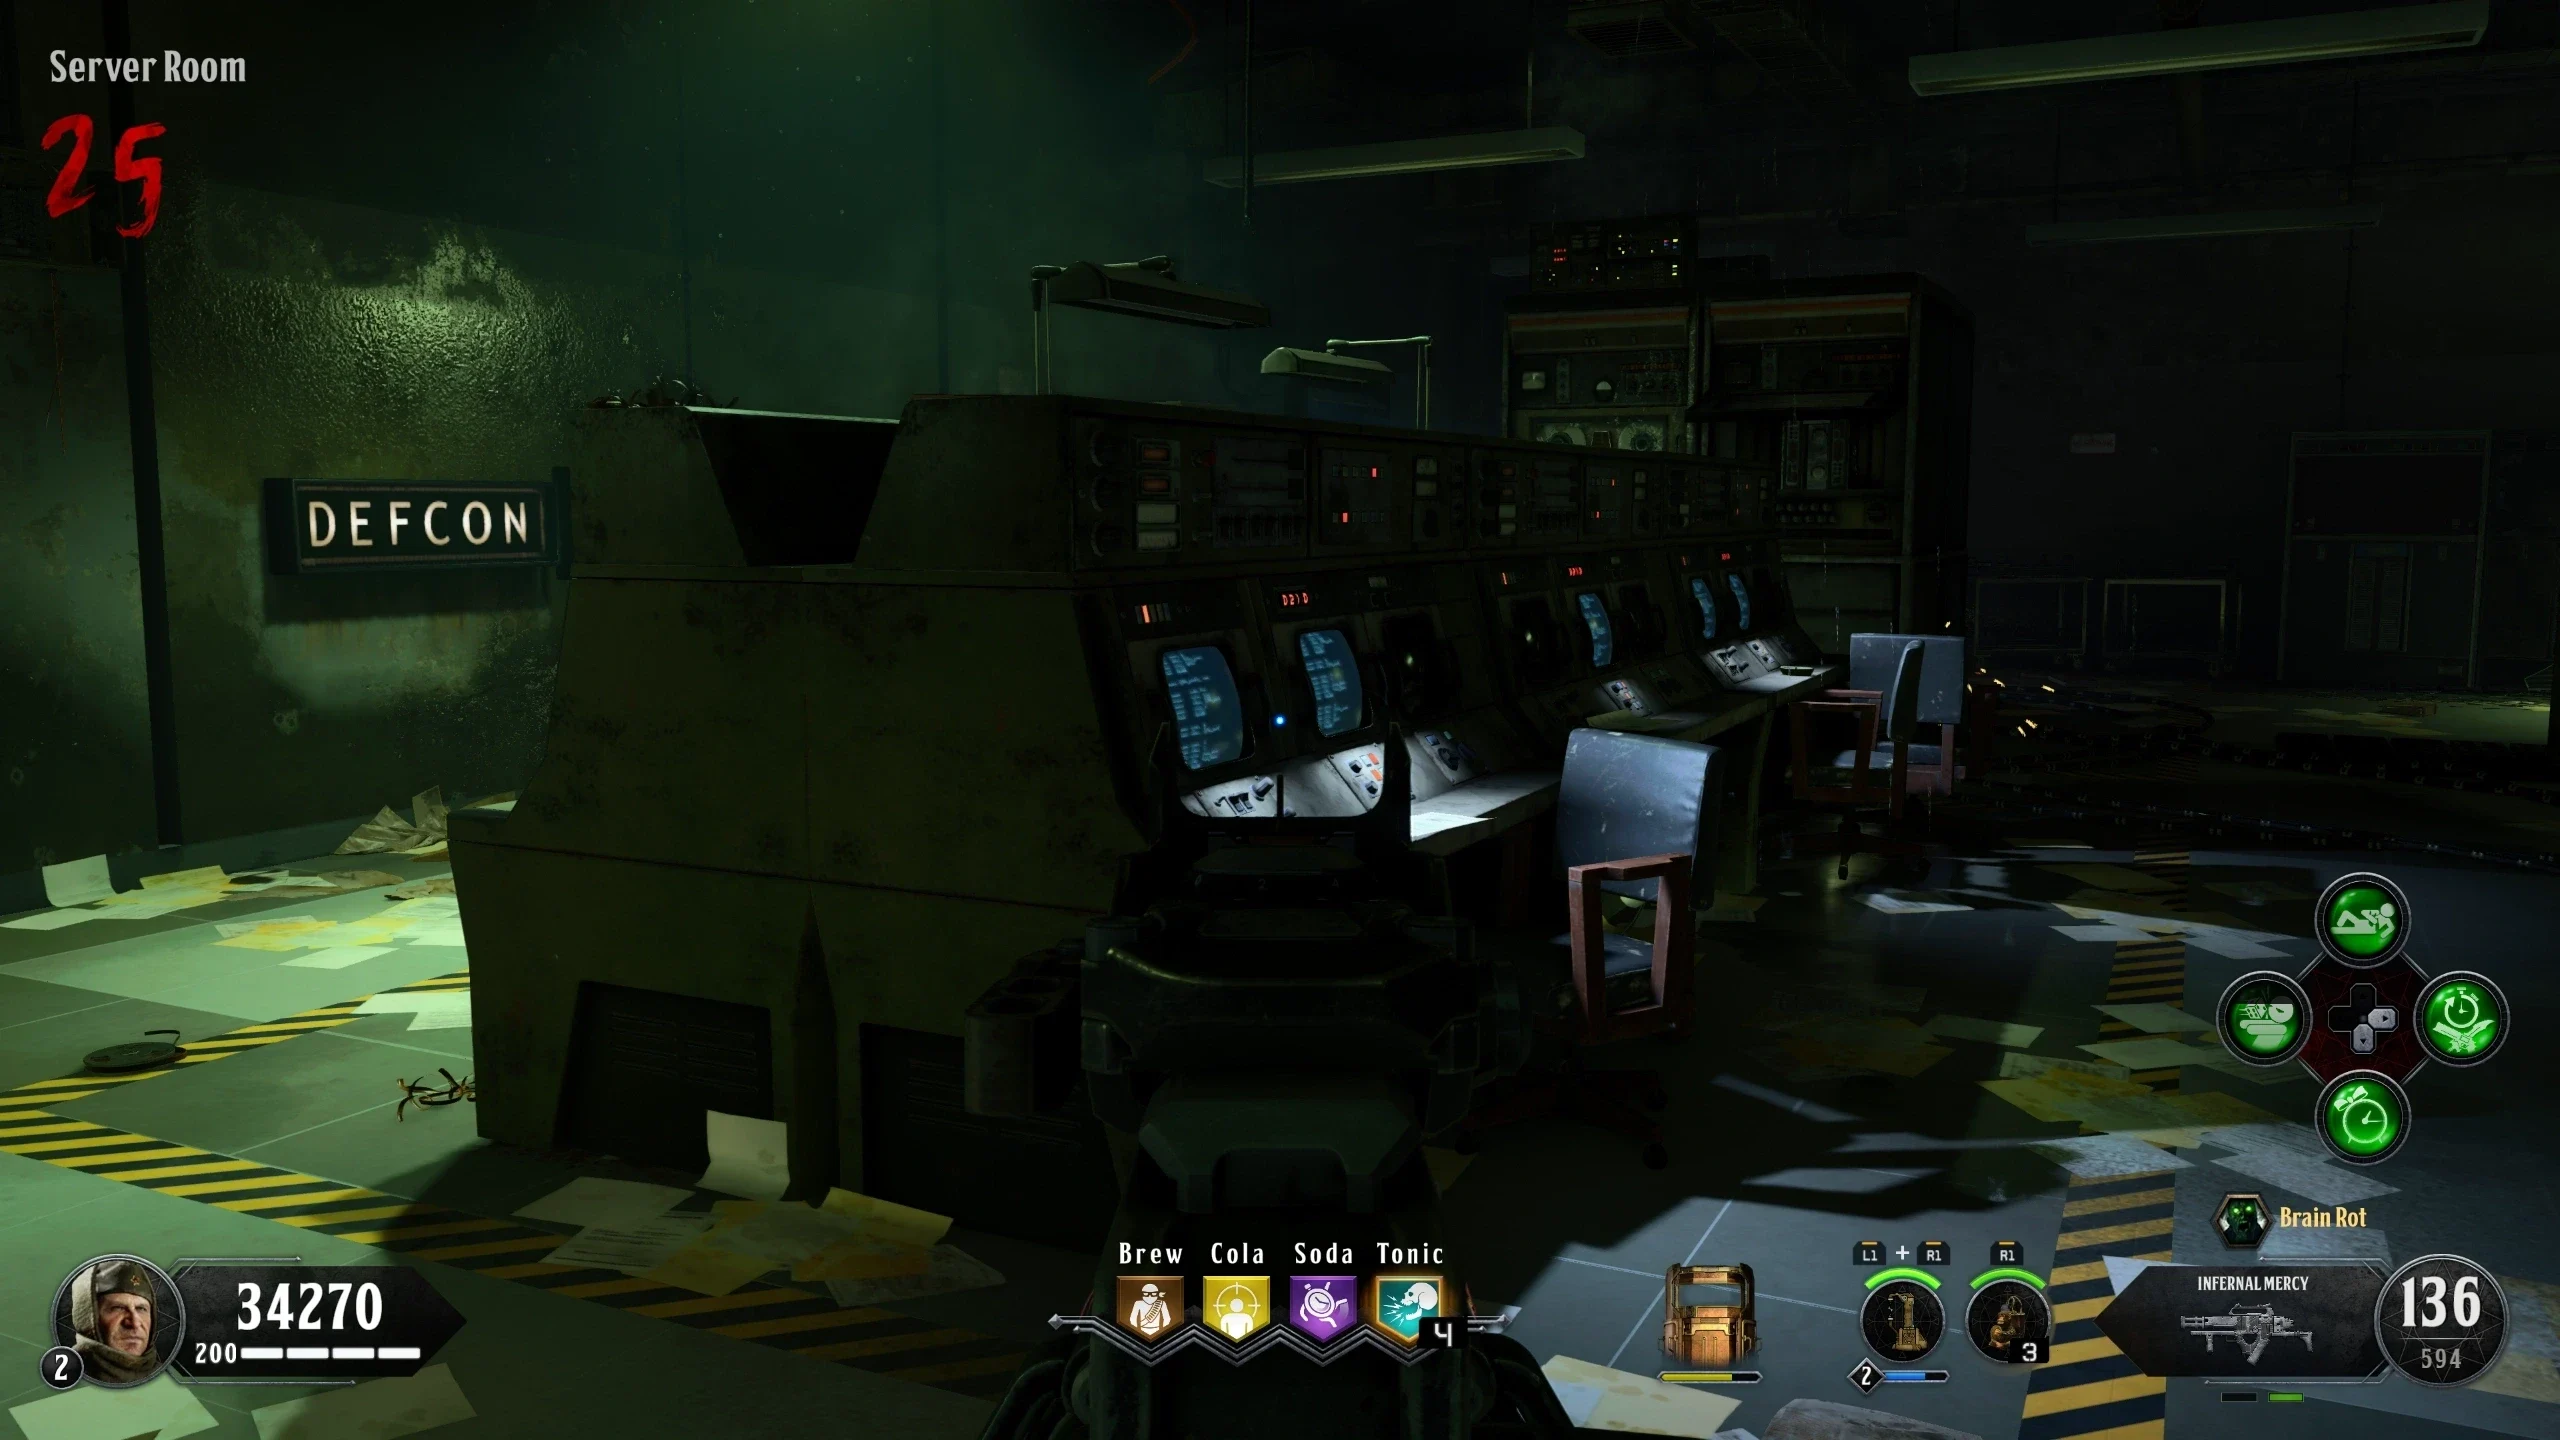
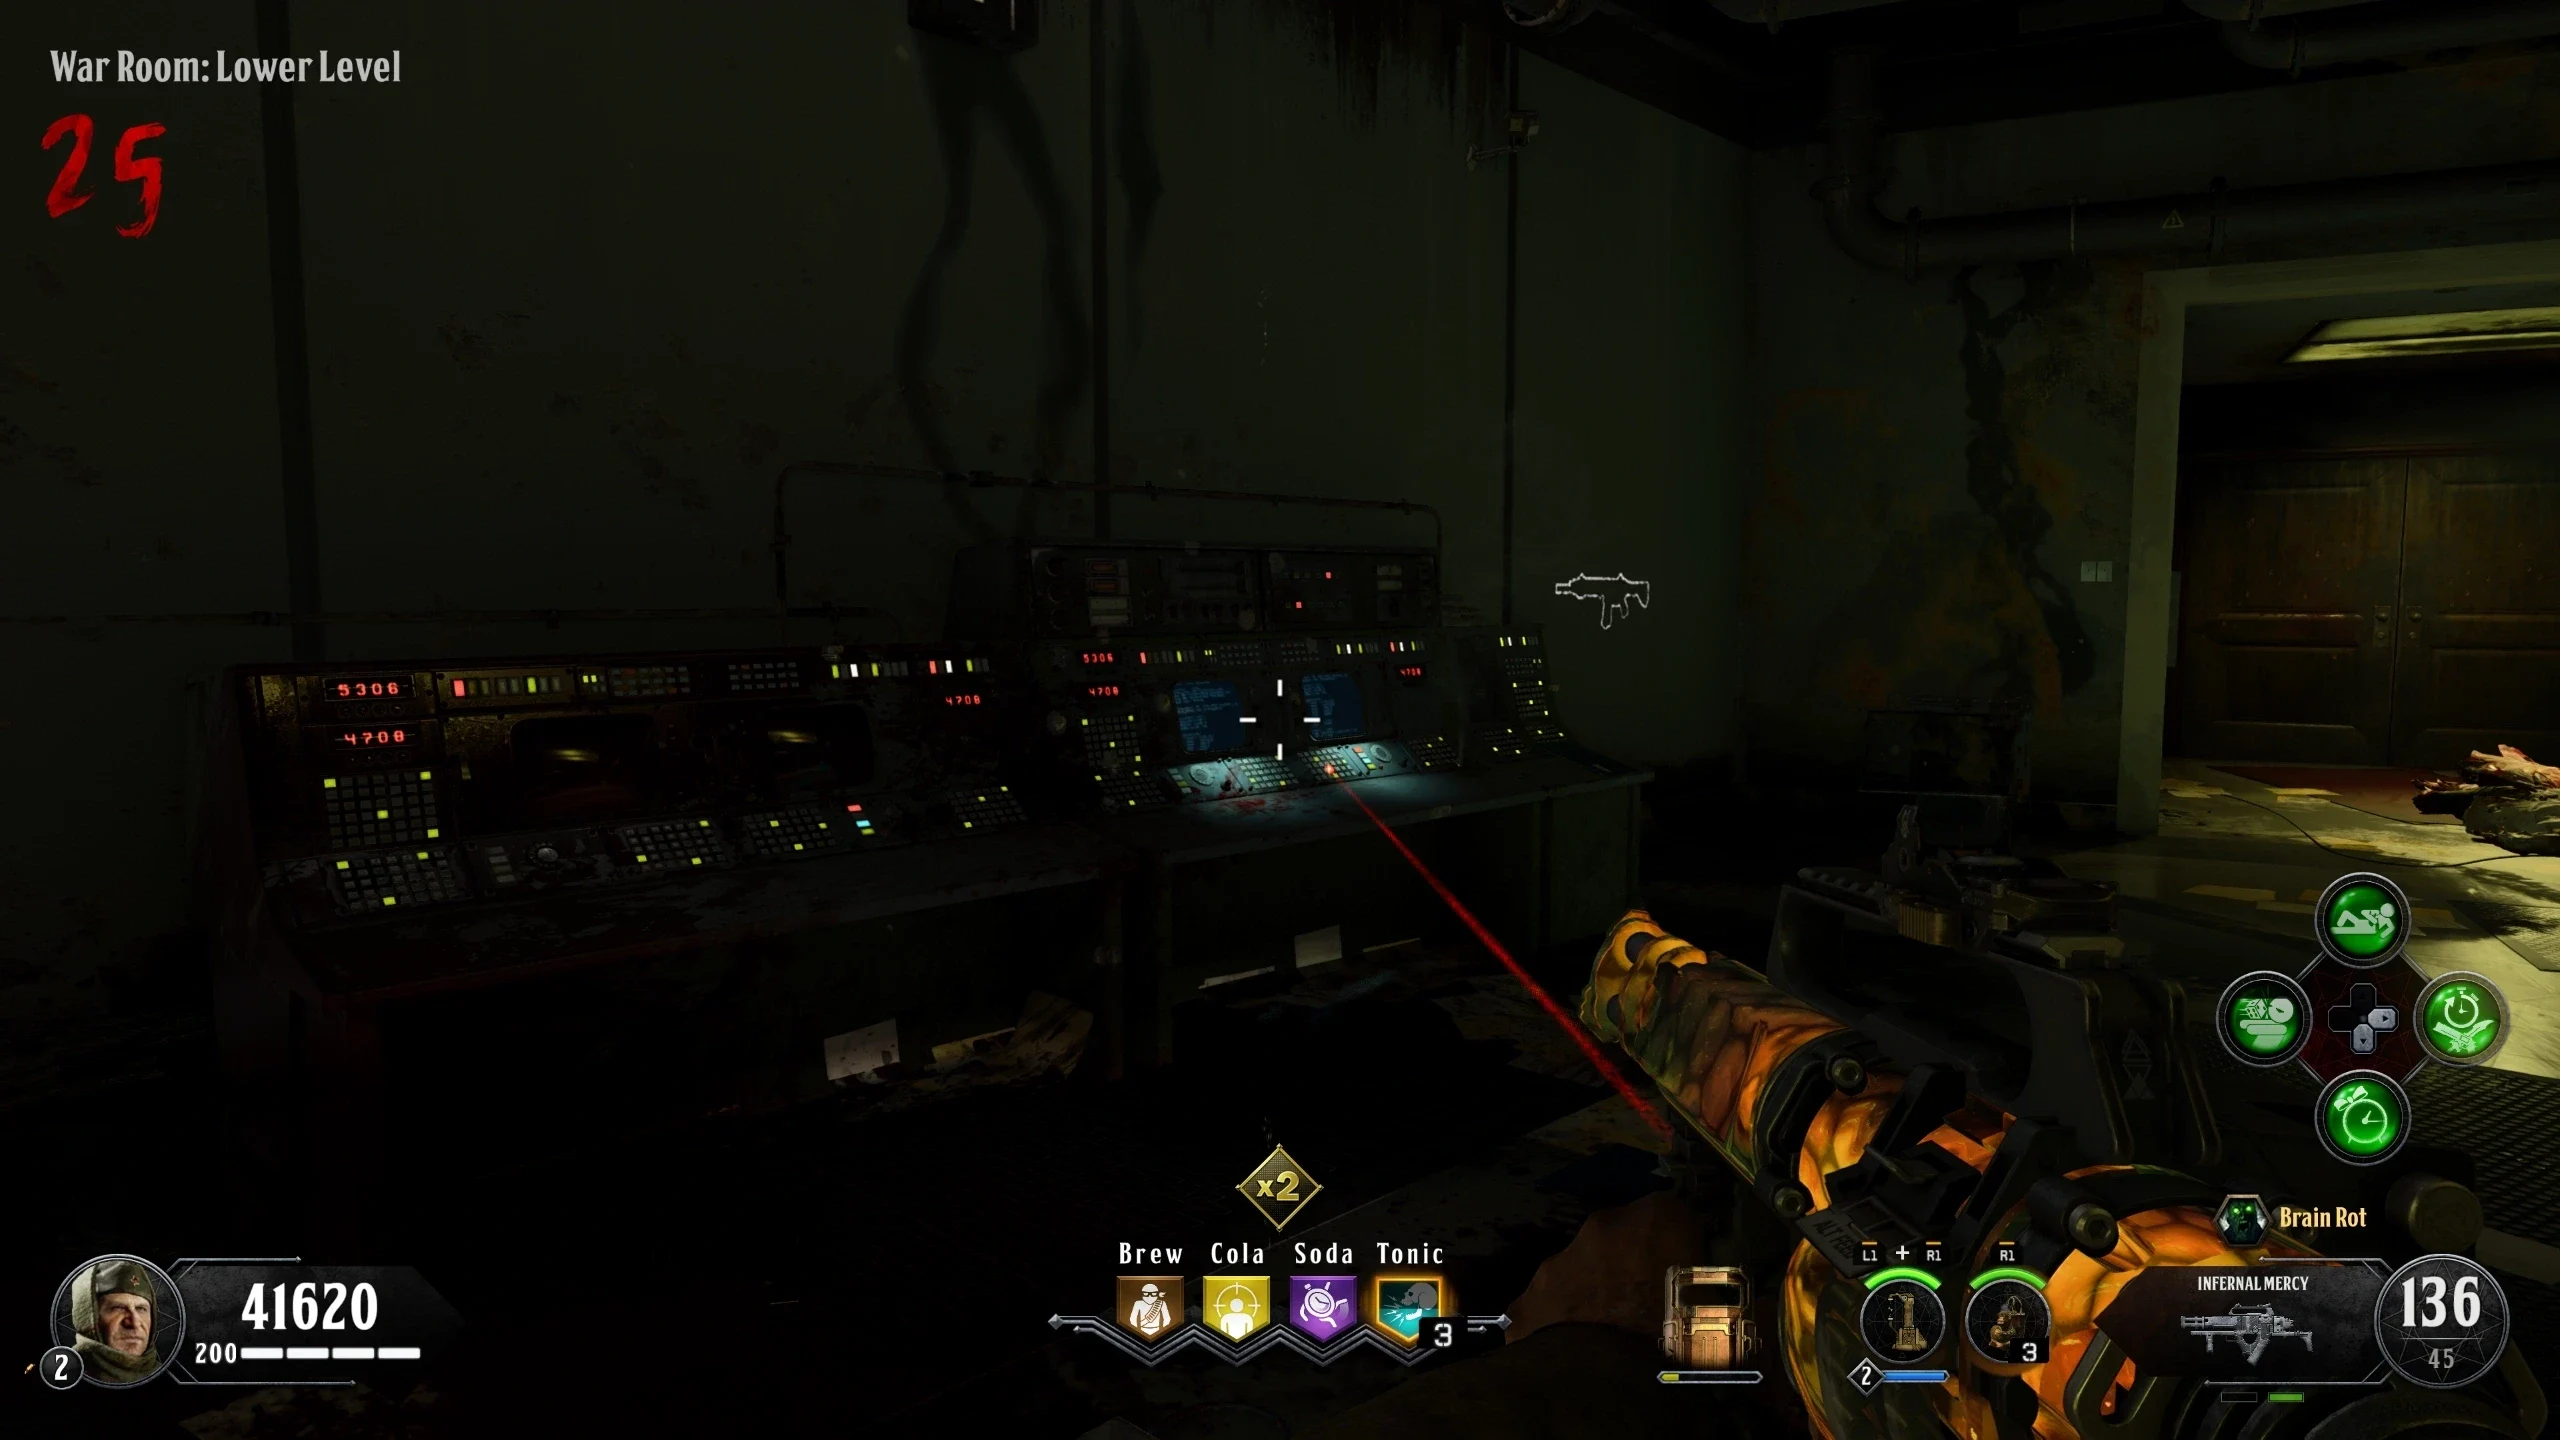
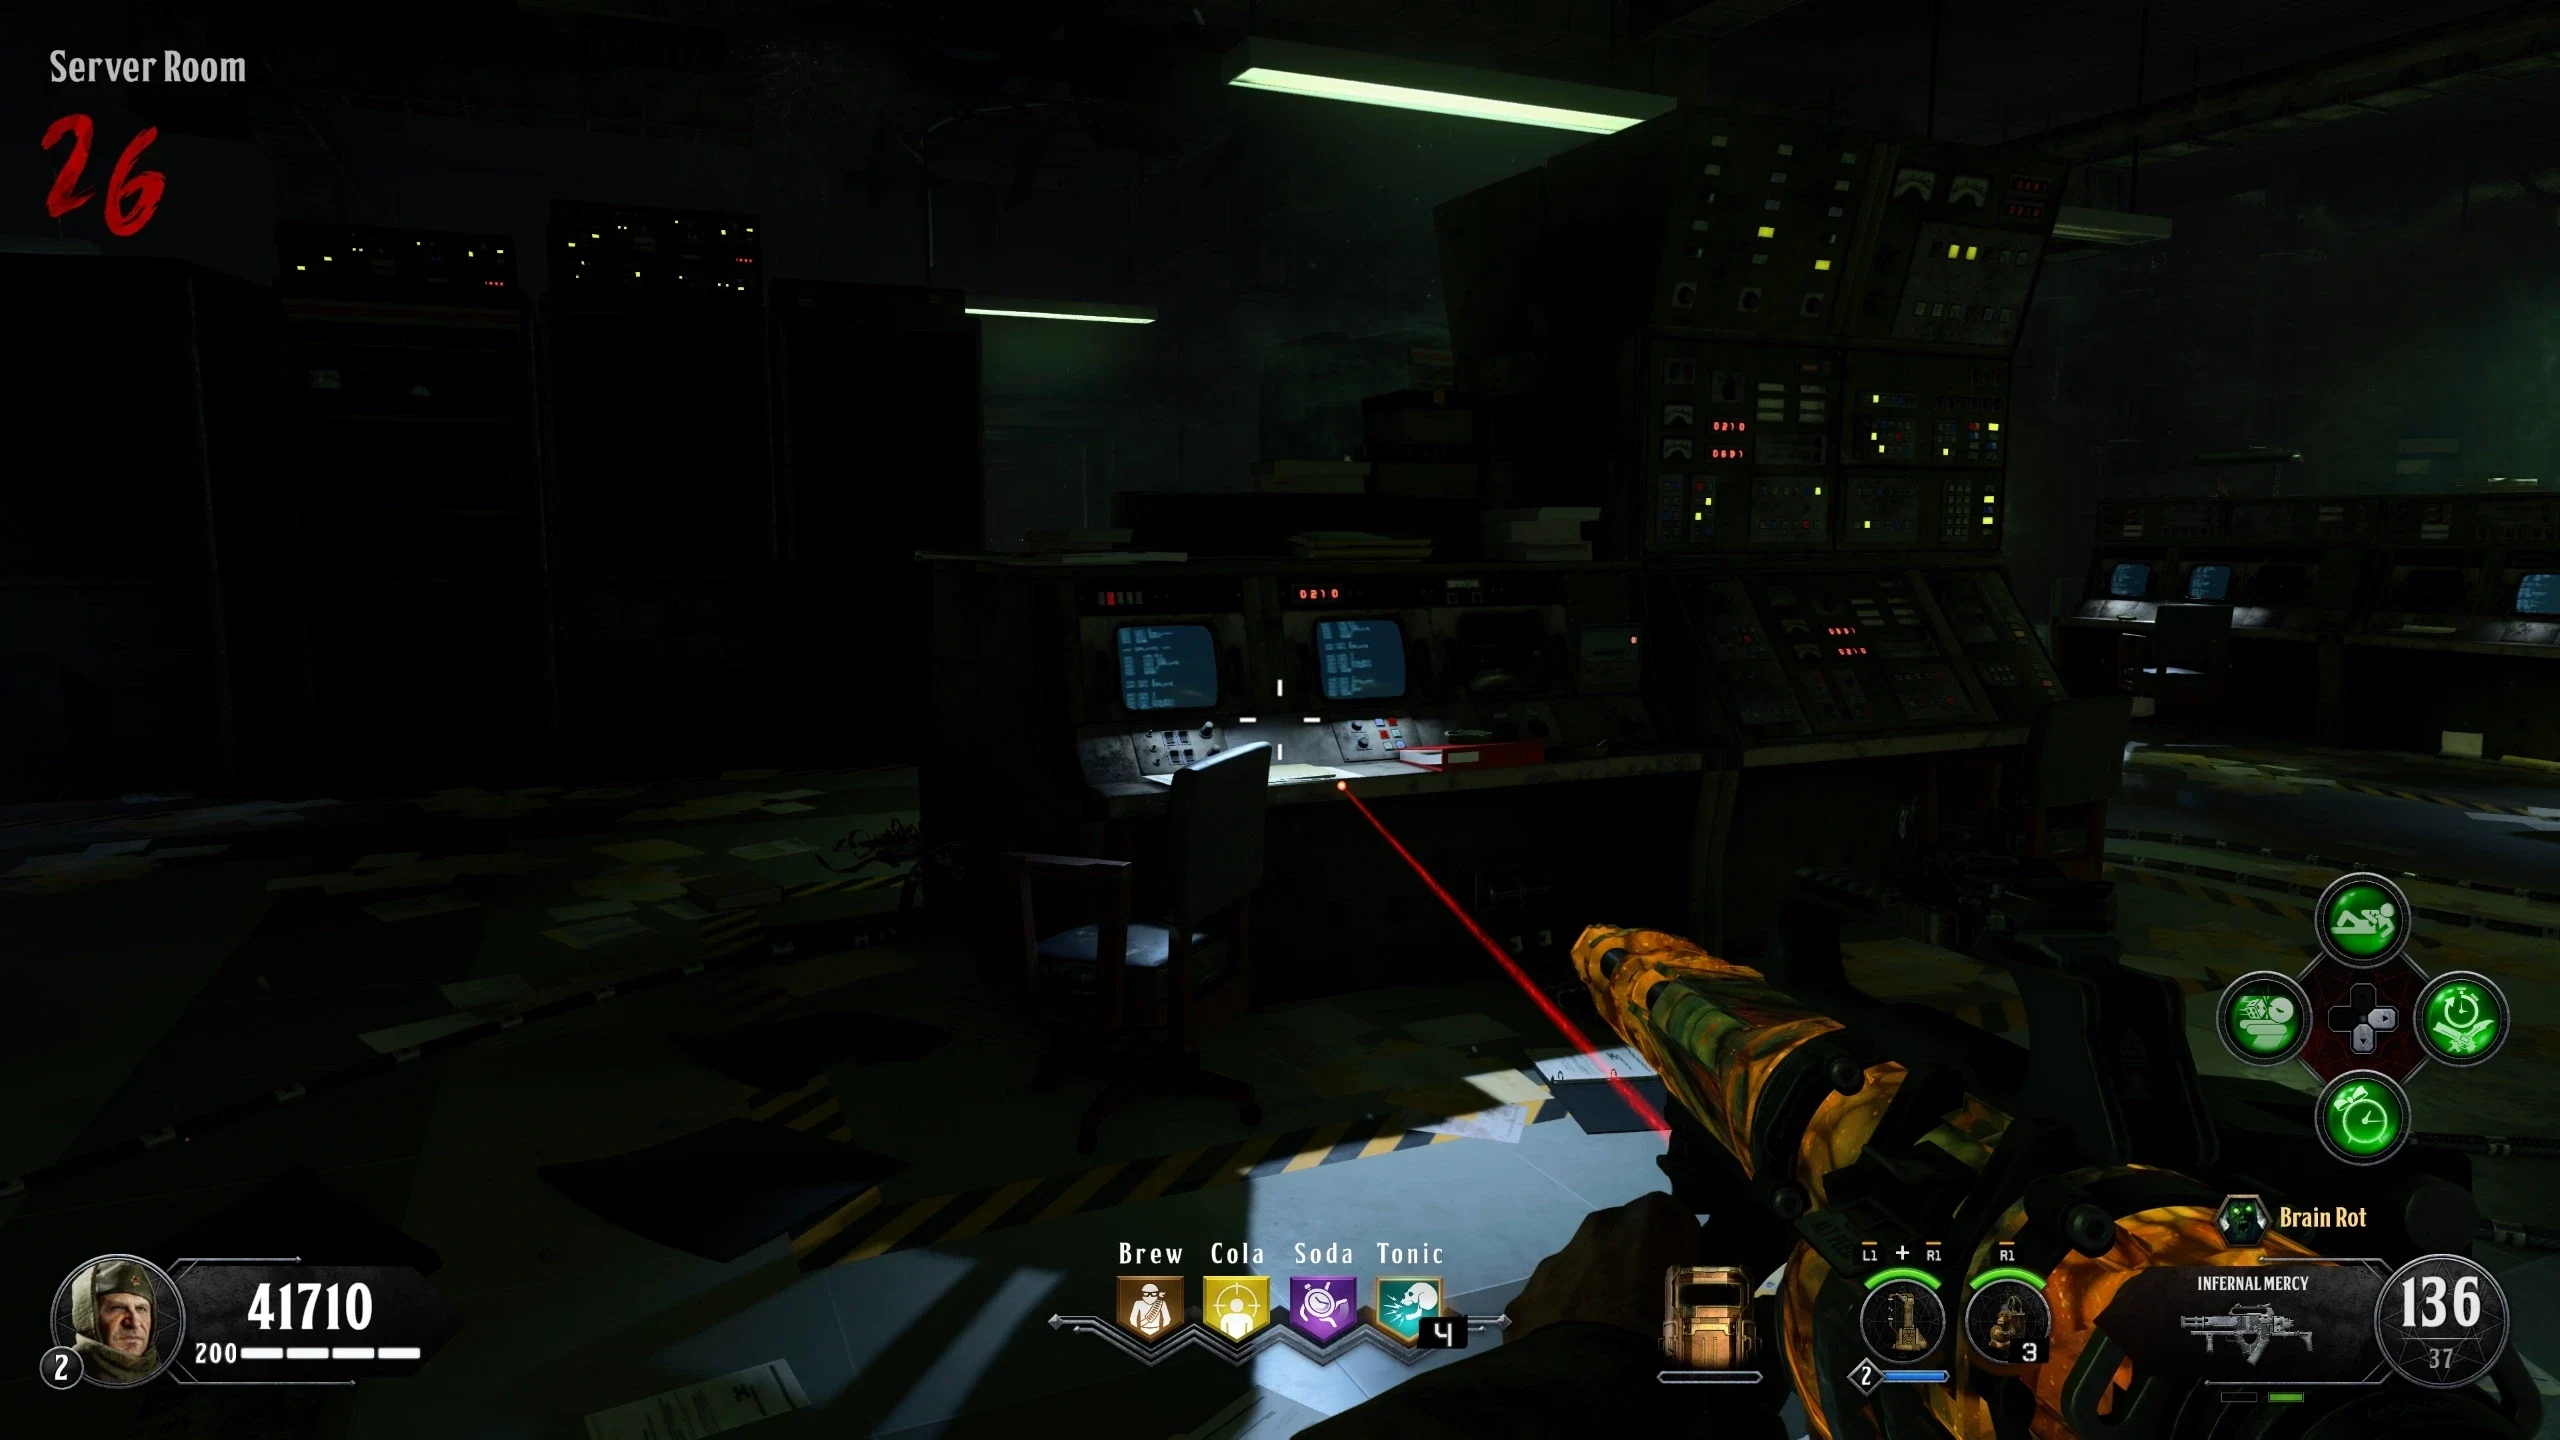
- There are five computers in the 'War Room: Lower Level' that need to be interacted with in the following order to start the song:
- Once all five computers are interacted with, the song will start.
Last Gen Richtofen Jump Scare
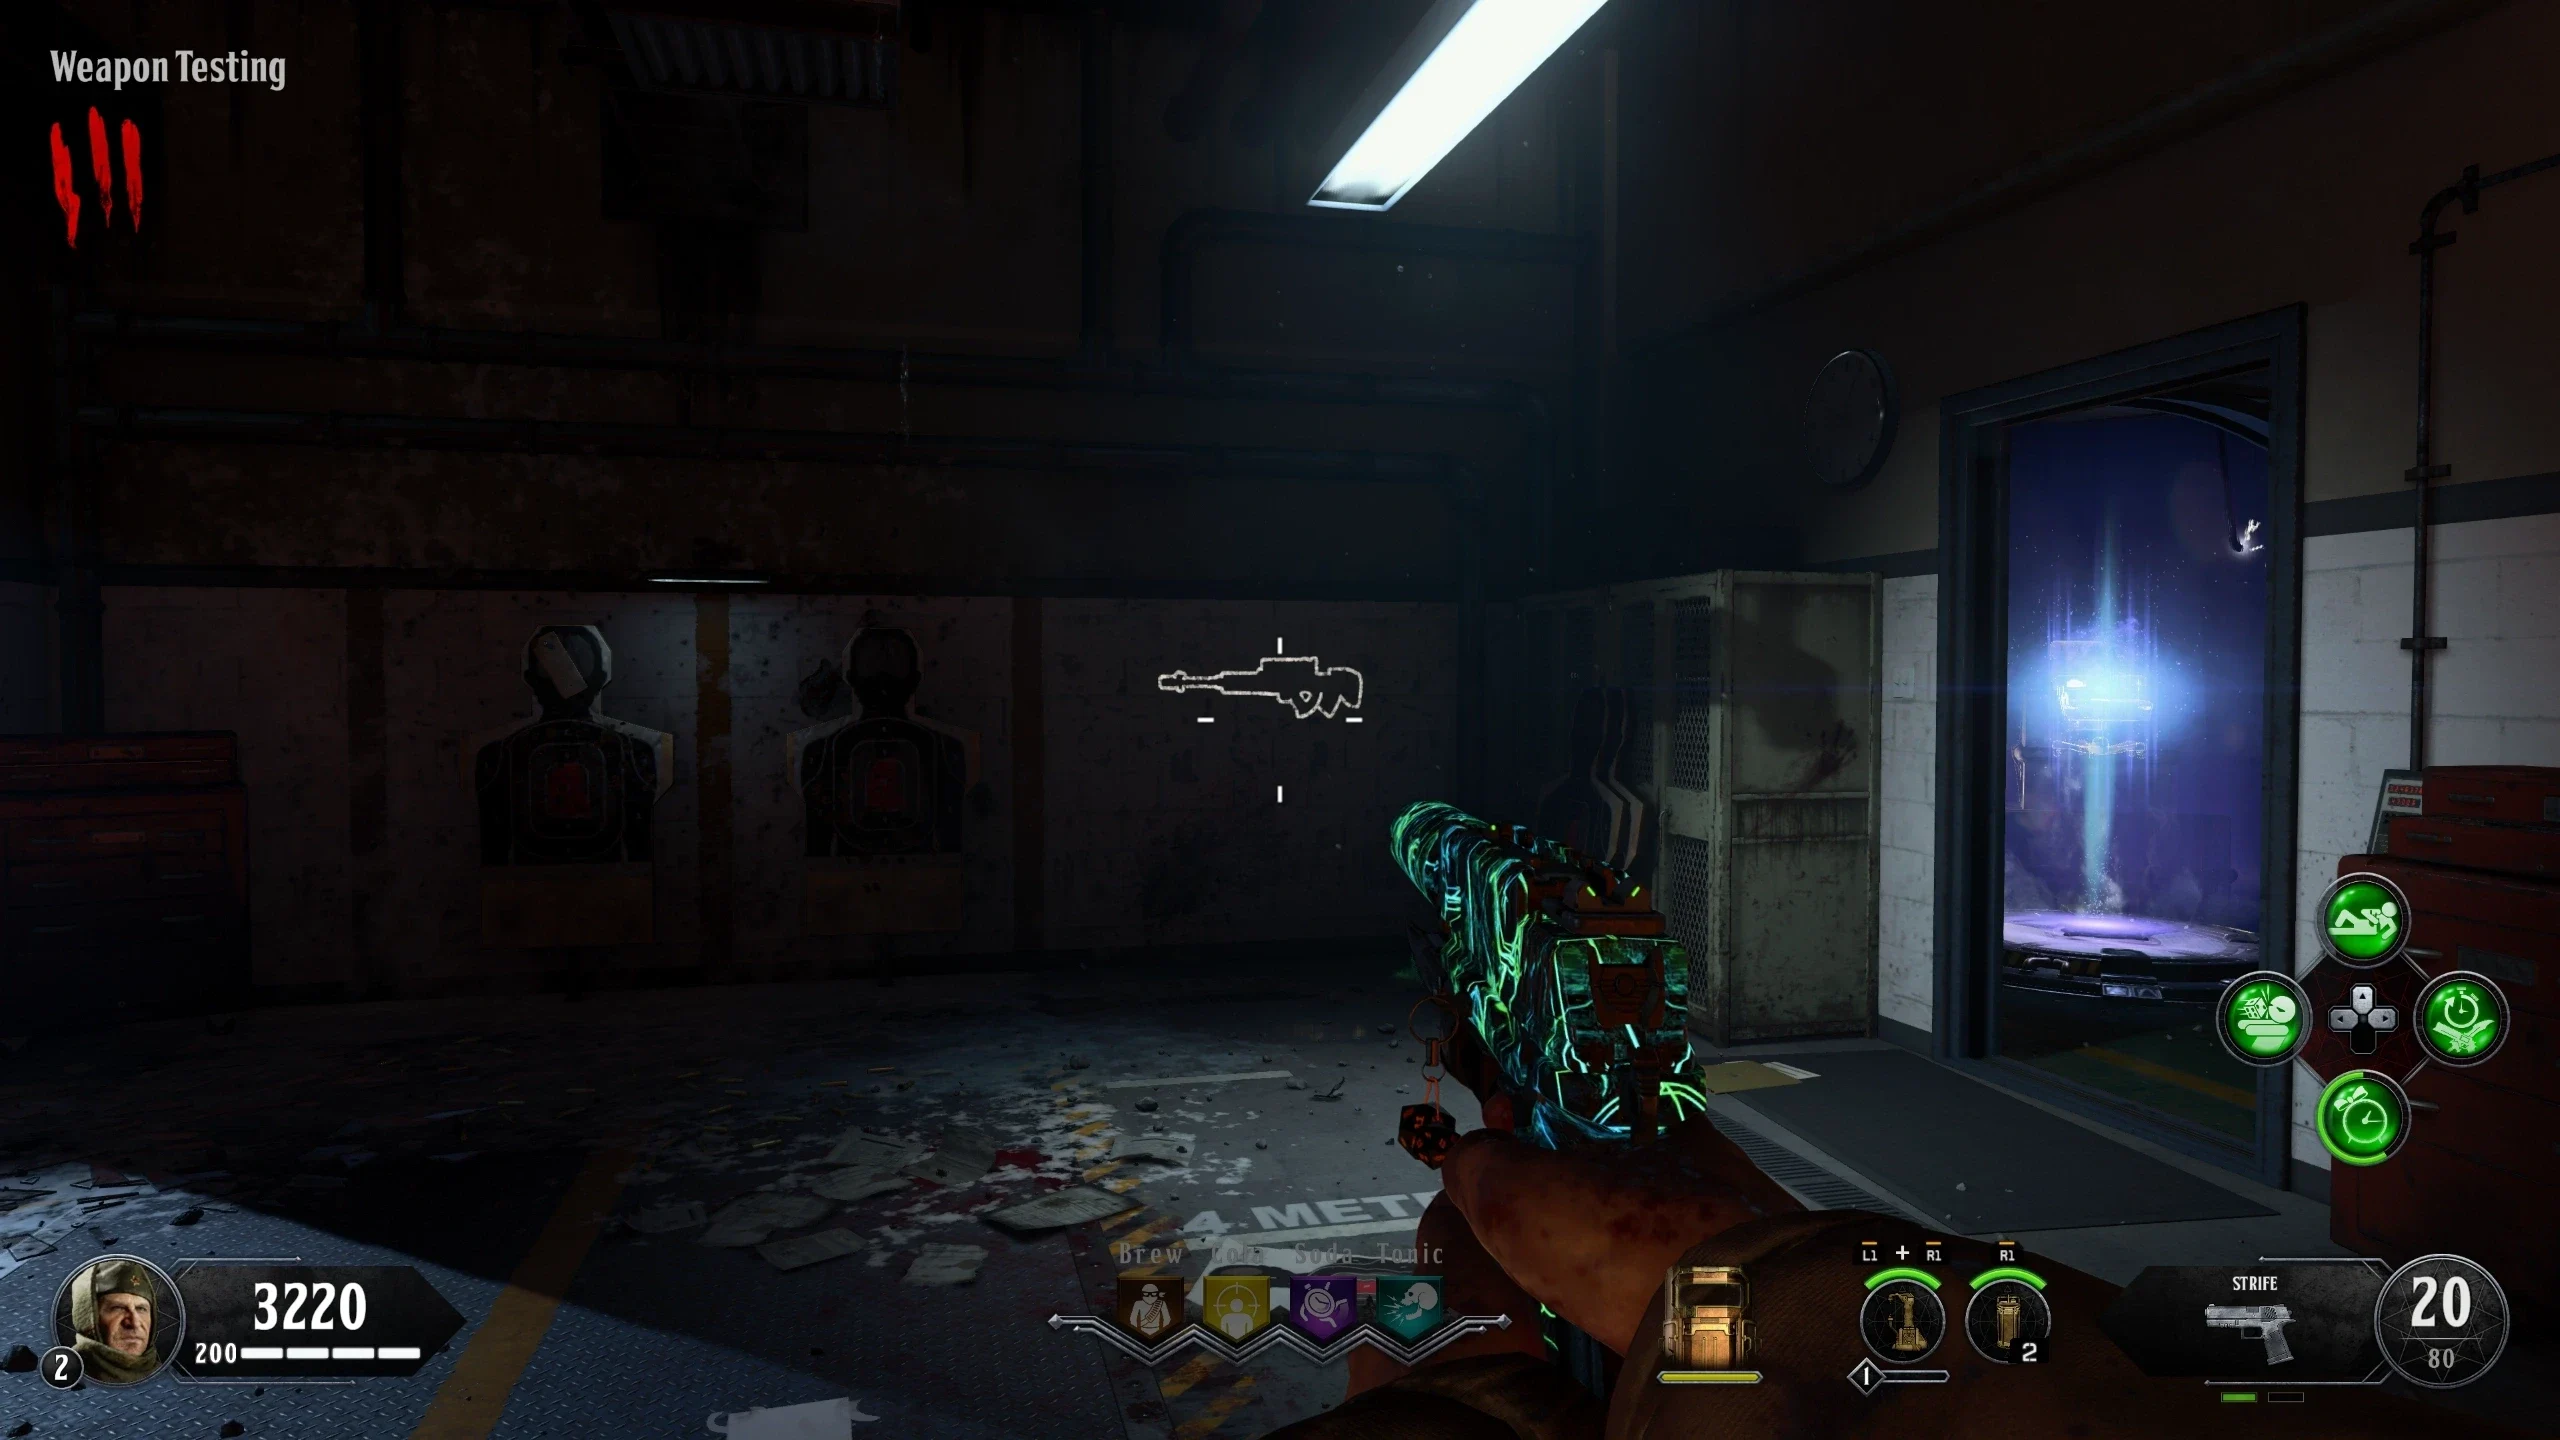
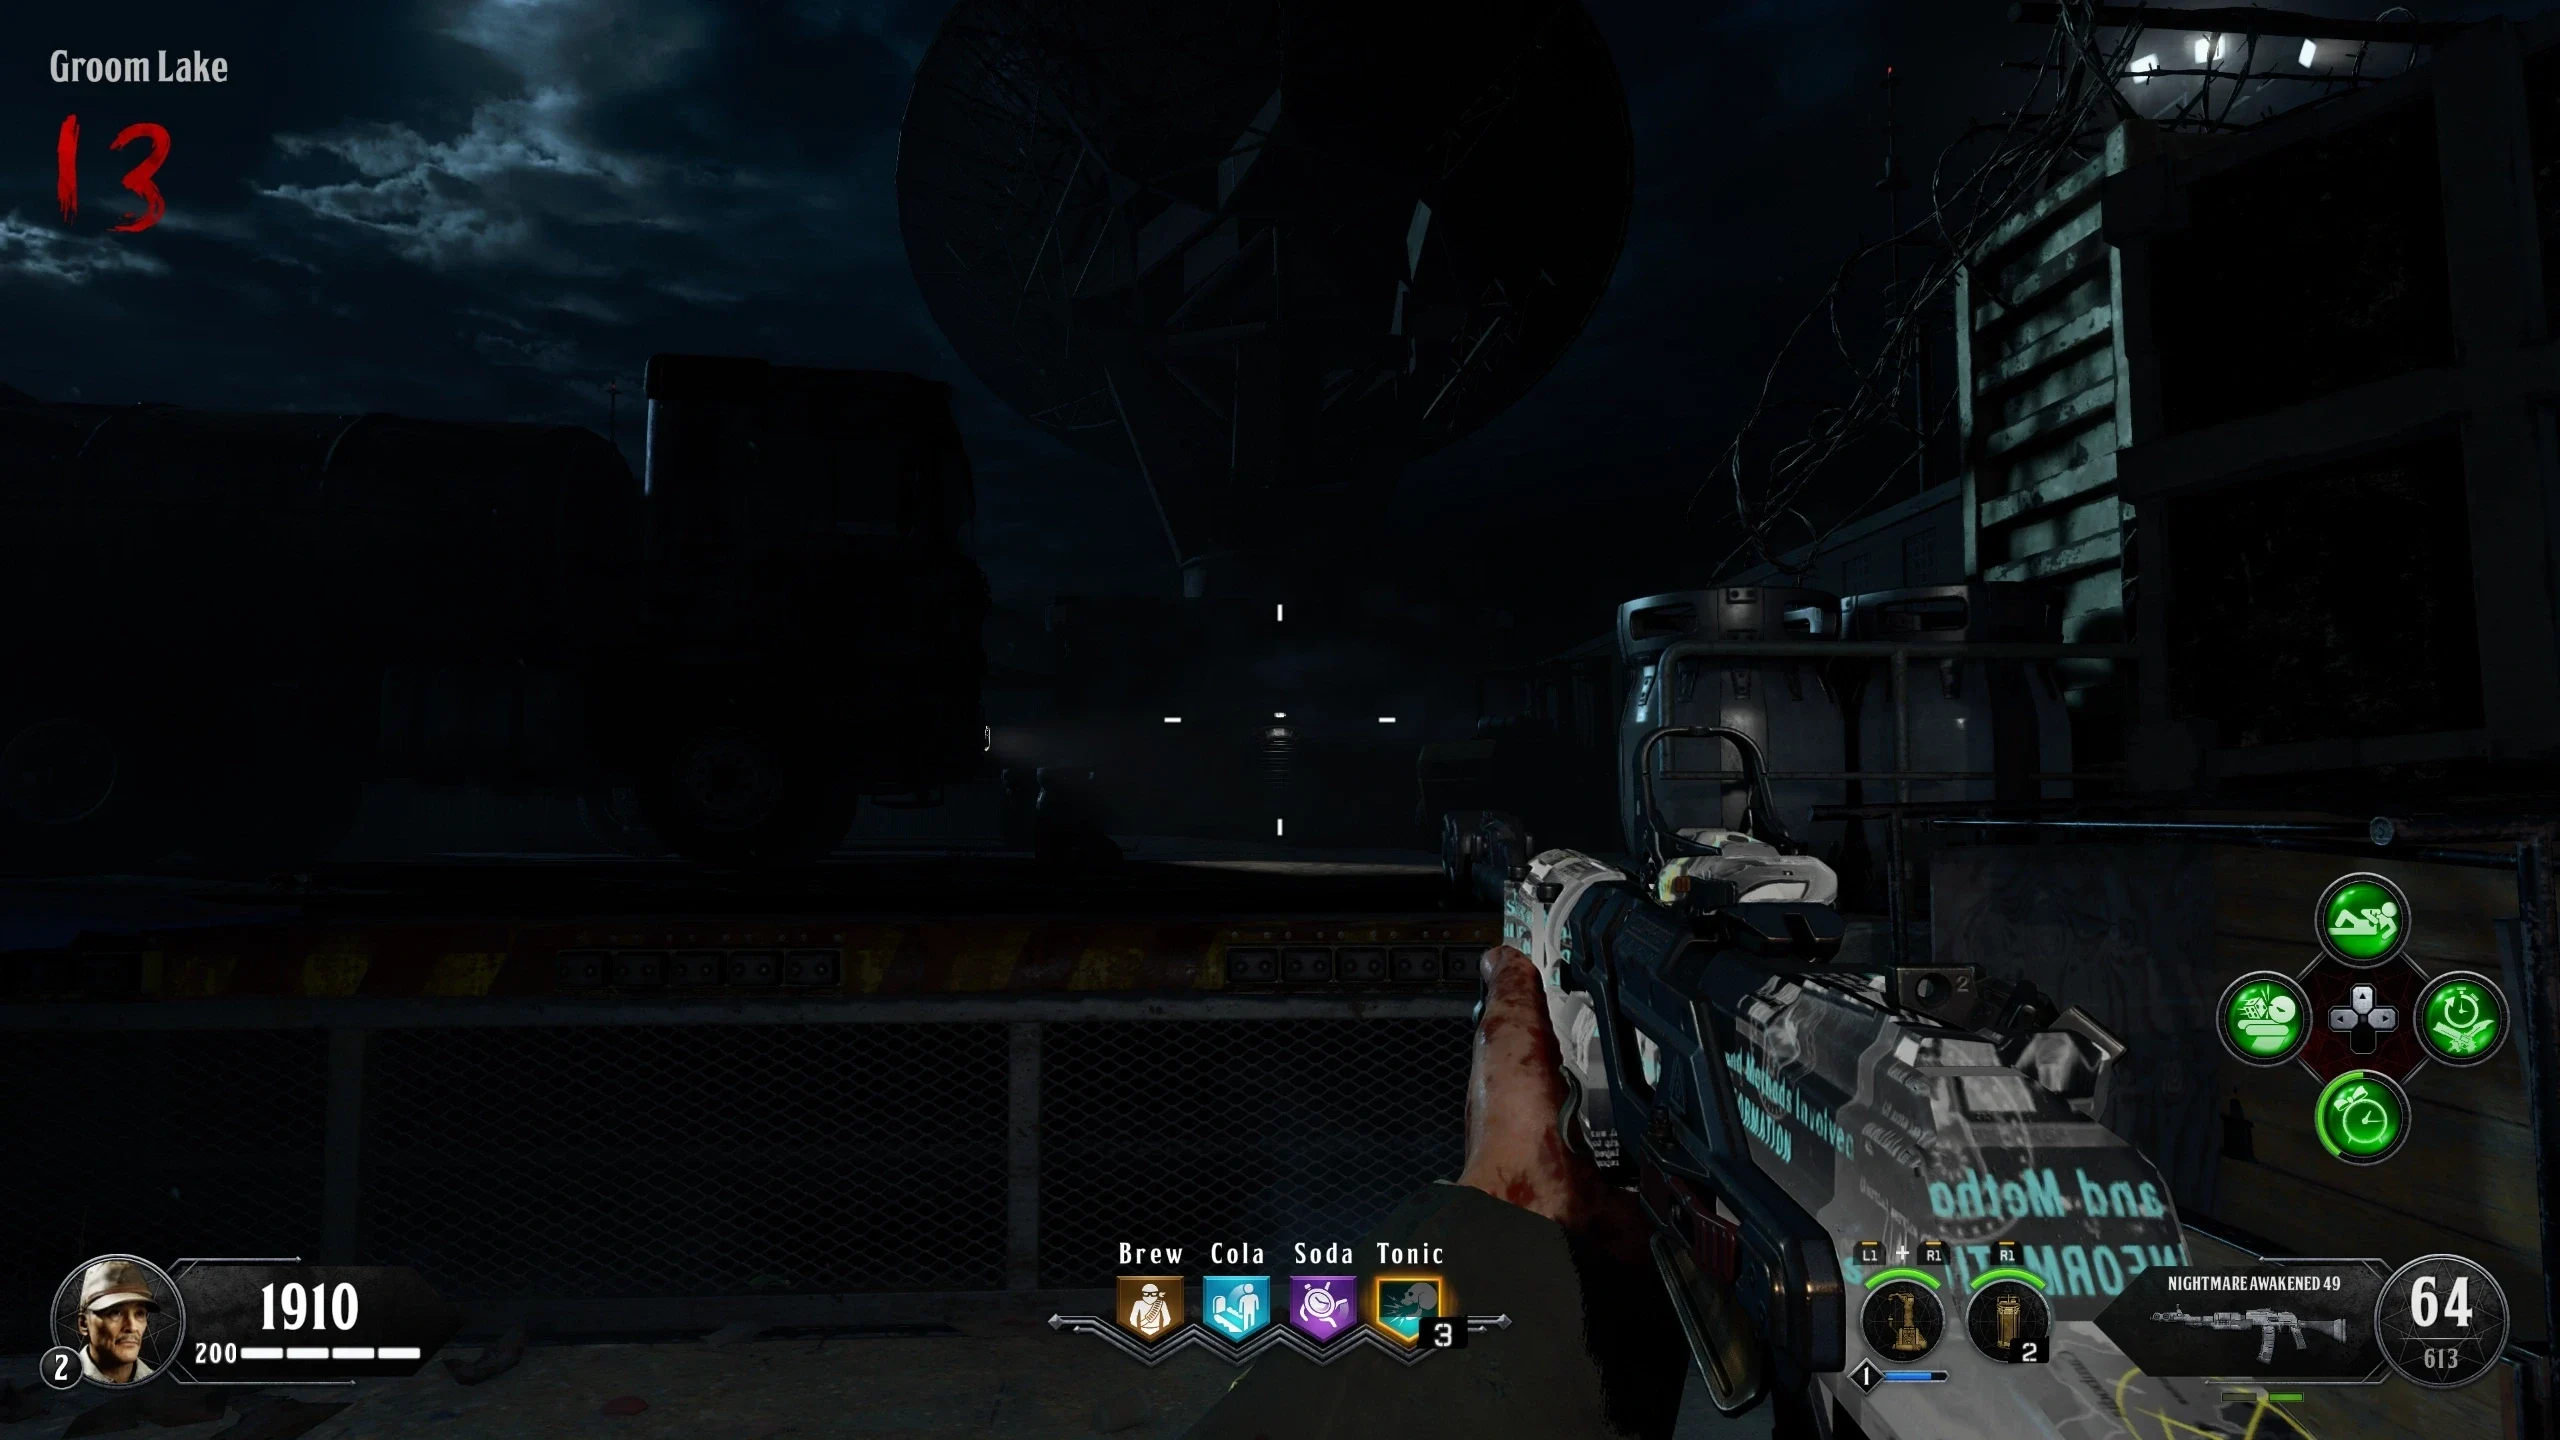
- Open Pack-a-Punch.
- Obtain a sniper with a default scope. The Koshka is on the wall in 'Weapon Testing' for 4500 points.
- Navigate to 'Groom Lake' and aim at this light outside the map, left of Pack-a-Punch.
Nova Crawler Easter Egg / Free ~6,000 Points
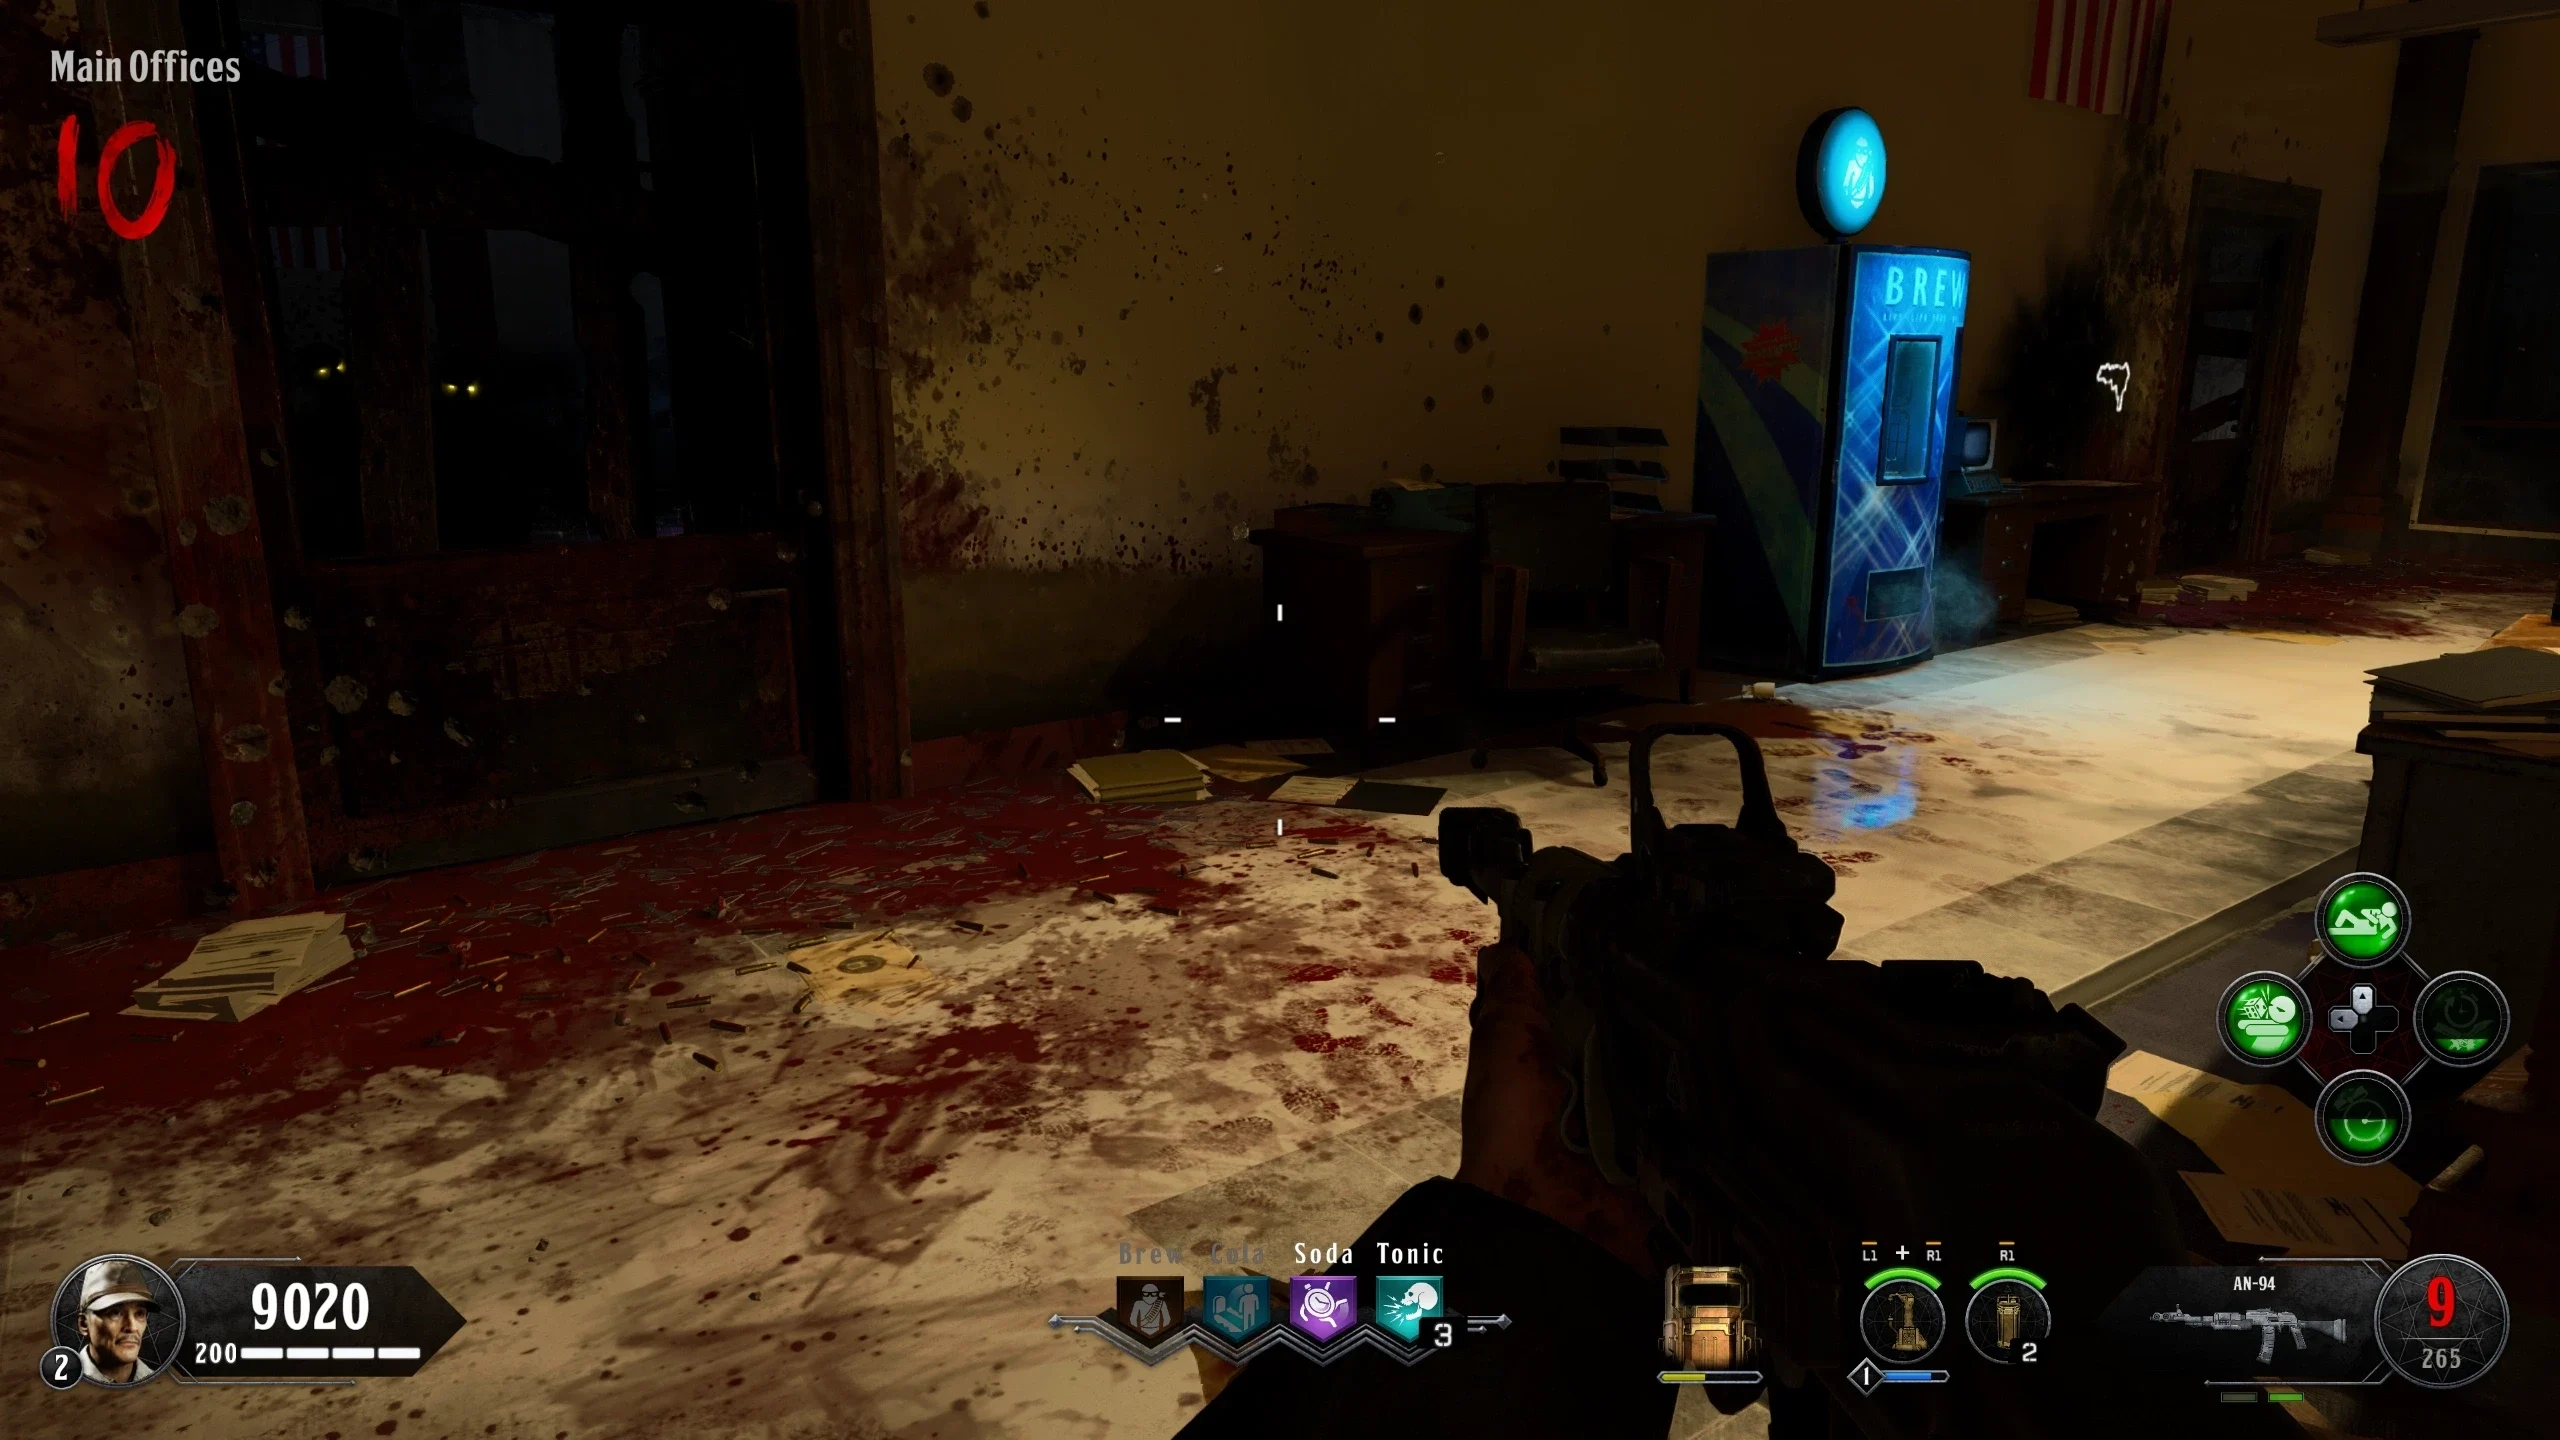
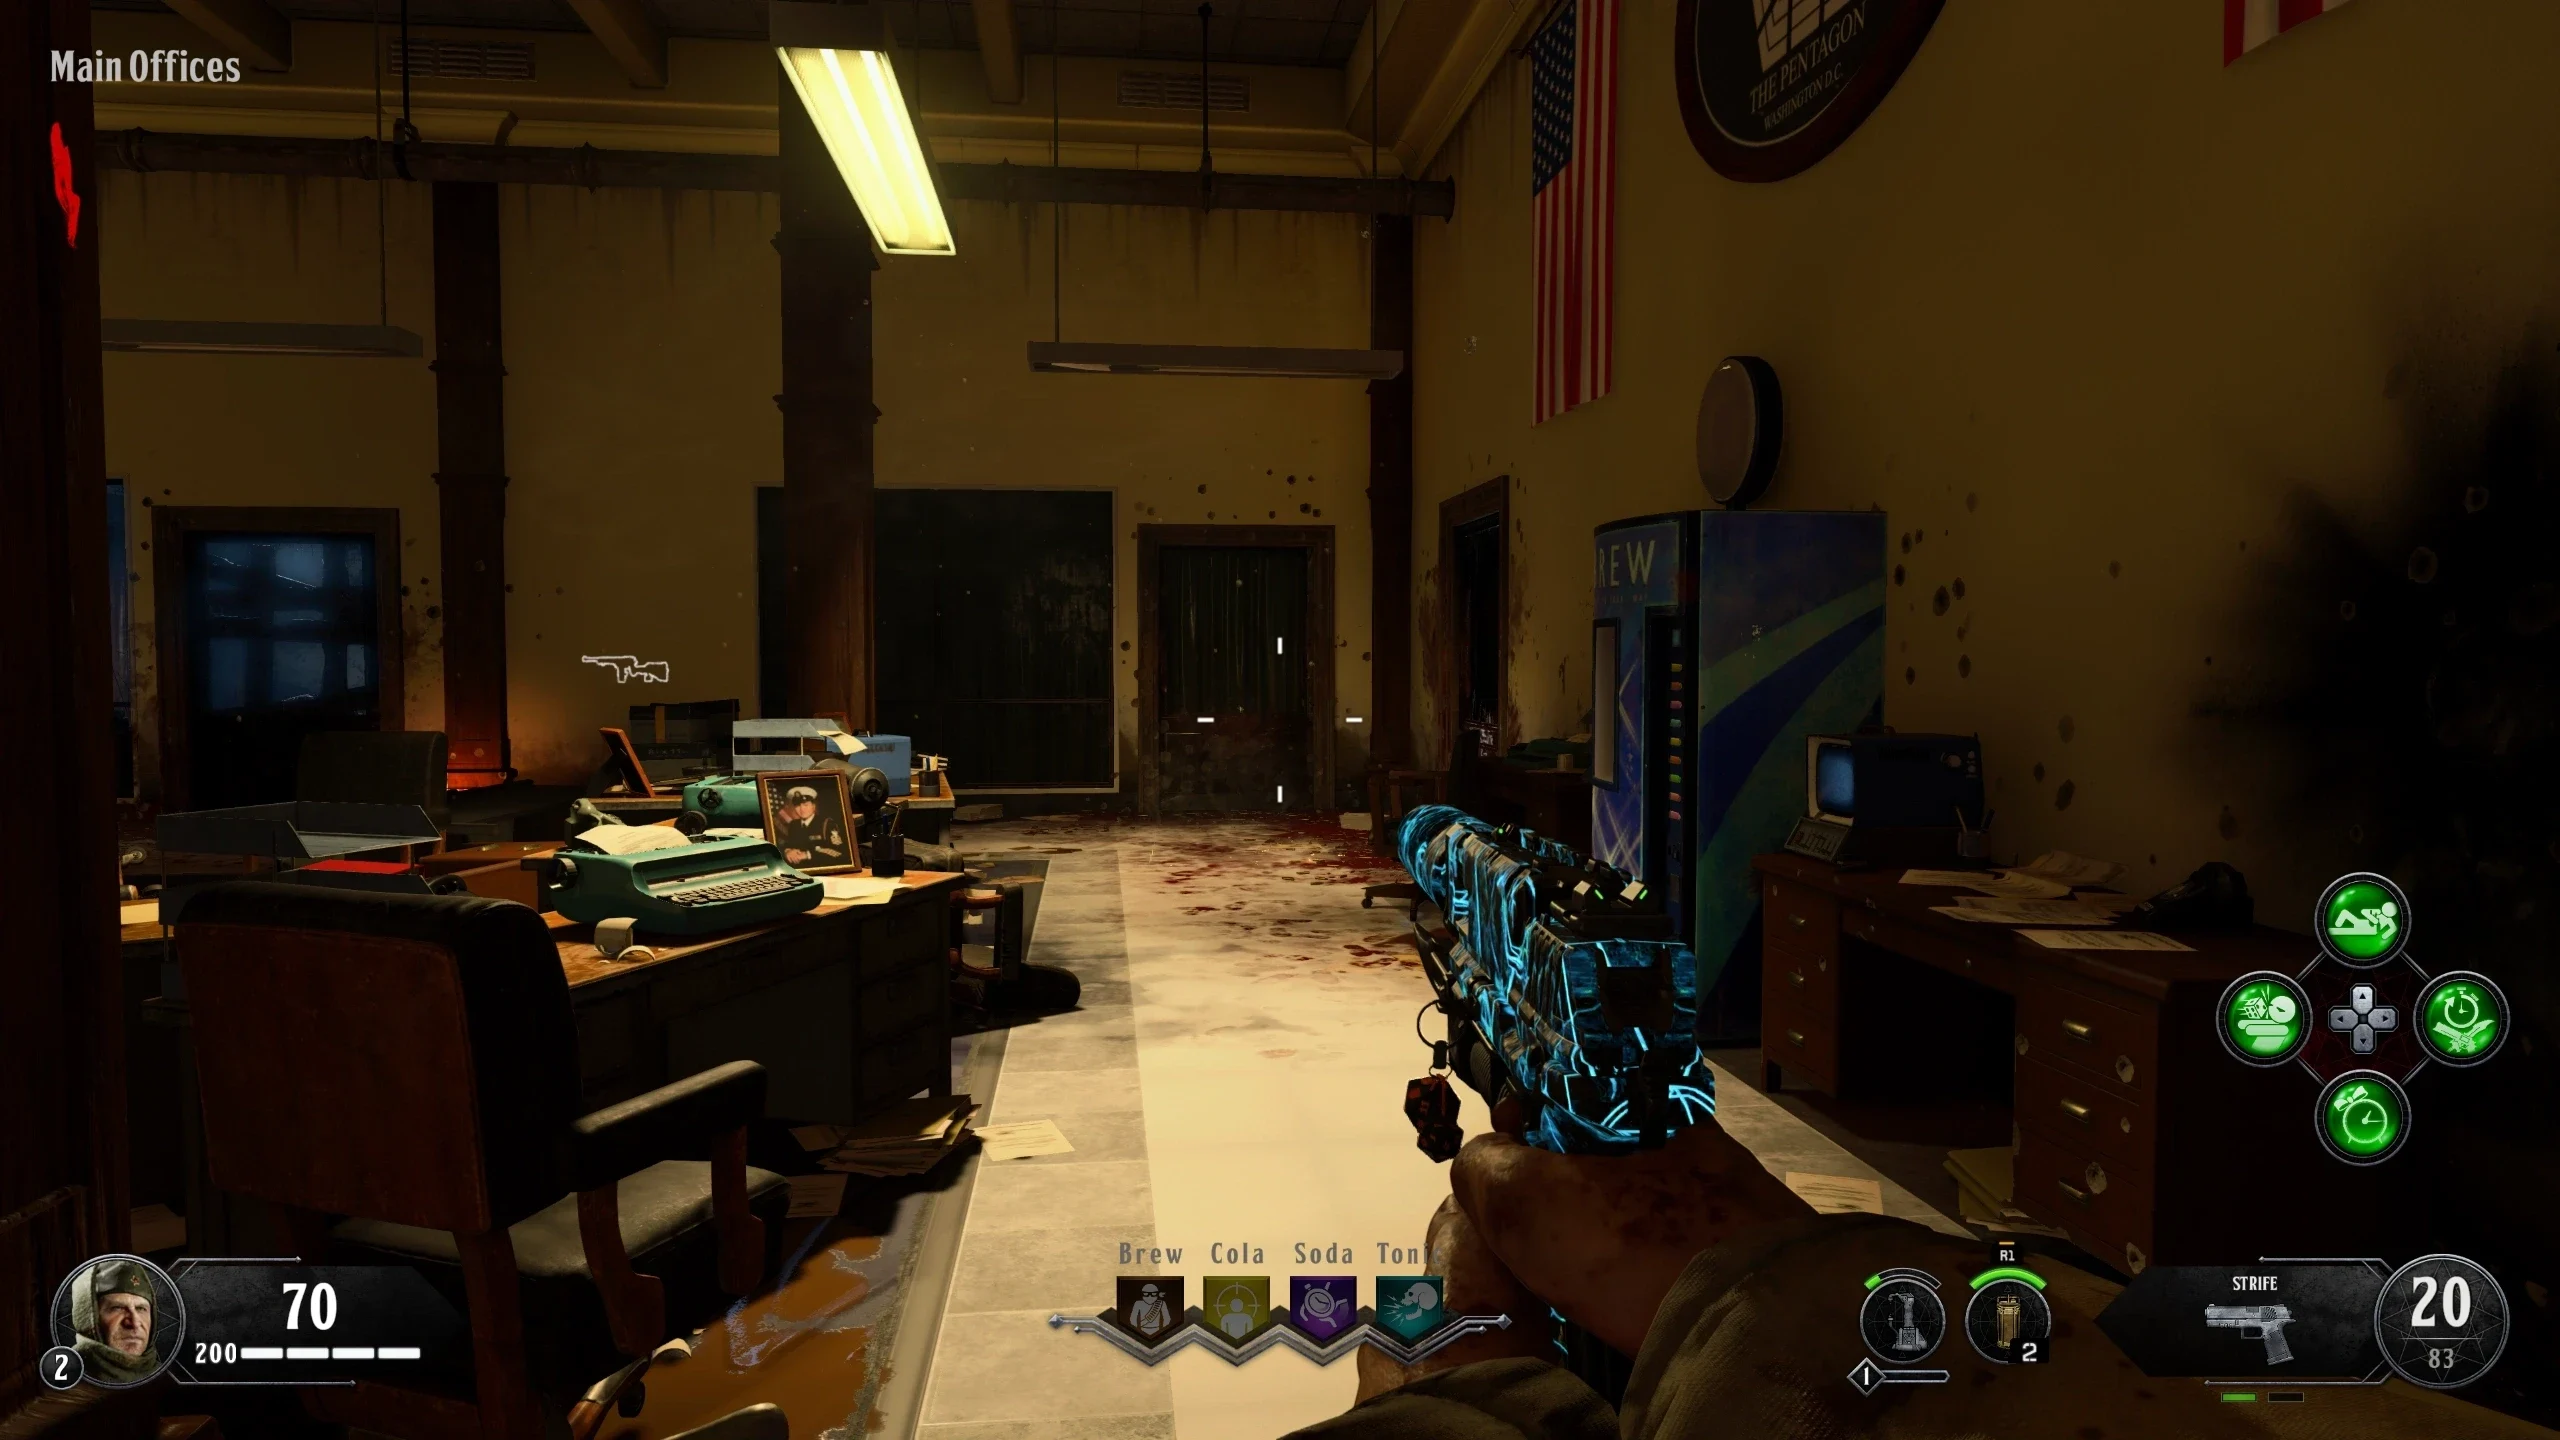
- In the 'Main Offices,' interact with this door left of the Brew Perk Machine five times.
- Interacting with the door will play a knocking sound, and Robert McNamara will speak to you.
- After the fifth interaction, Samantha will yell at you and 40 Nova Crawlers will spawn. Kill them all with melee for about 6000 points. Use Double Points and Temporal Gift Elixirs to push that to 12,000.
"Death-Con Five" Gauntlet Challenges
| Round # | Round Name | Description |
|---|---|---|
| Round 1 | Share the Health | Kill enemies to regenerate depleting health |
| Round 2 | Slippery | Players can only attack while sliding |
| Round 3 | Flag Protocol | Players can only attack when standing next to a flagpole |
| Round 4 | Bursting With Excitement | Players can only use the RK 7 Garrison pistol |
| Round 5 | Tower Defense | Walking, running, or sprinting causes damage |
| Round 6 | Power Trip | Activate the power before the end of this Hellhound round |
| Round 7 | Eat and Run | All enemies are sprinting |
| Round 8 | Special Forces | Kill 10 enemies with a Special Weapon this round |
| Round 9 | Brittle | Complete the round with a limited number of hits across all players |
| Round 10 | You've Been Served | Defend the Server Room |
| Round 11 | High Gas Prices | Nova 6 Crawler gas causes point drain |
| Round 12 | Down the Rabbit Hole | Use 10 unique teleporters during this round |
| Round 13 | Bear a Grudge | Hunt down and open the Mystery Box 6 times this round (Firesale disabled) |
| Round 14 | No Gen | No health regeneration |
| Round 15 | Whole Hog | Defend the Porcine Research Lab |
| Round 16 | Bursting With Fear | Players can only use the RK 7 Garrison pistol |
| Round 17 | Walled In | Make 5 unique wall buys |
| Round 18 | Shock and Awe | Get 55 trap kills and survive for 5:55 |
| Round 19 | Teleporter Tango | Teleport before your timer runs out or you start taking damage |
| Round 20 | Time to Panic | Defend the Panic Room during this Nova 6 Crawler round |
| Round 21 | Anywhere but WTF? | Players randomly teleport, complete the round under the time limit |
| Round 22 | Make It Rain | Take damage while you have over 5000 points |
| Round 23 | CQZ | Zombies can only be damaged in close quarters |
| Round 24 | Double Trouble | Enemies do double damage |
| Round 25 | Conference Call | Defend the Conference Room and Hallways |
| Round 26 | On the Clock | Complete the round before the timer expires |
| Round 27 | Bursting Your Bubble | Players can only use the RK 7 Garrison pistol |
| Round 28 | Out of Order | Teleporters and elevators are disabled |
| Round 29 | Nothing Special | Special Weapons are disabled |
| Round 30 | Doom Lake | Defend Groom Lake |
About This Map
Classified is the Black Ops 4 reimagining of the Black Ops 1 map "Five", returning to the Pentagon. This guide covers the Winter's Howl wonder weapon, the Round 150 main quest, Pack-a-Punch, and all side quests. Also known as Pentagon.