Map Progression
Weapons and Buildables
Easter Eggs
Gauntlet Challenges
Pack-a-Punch
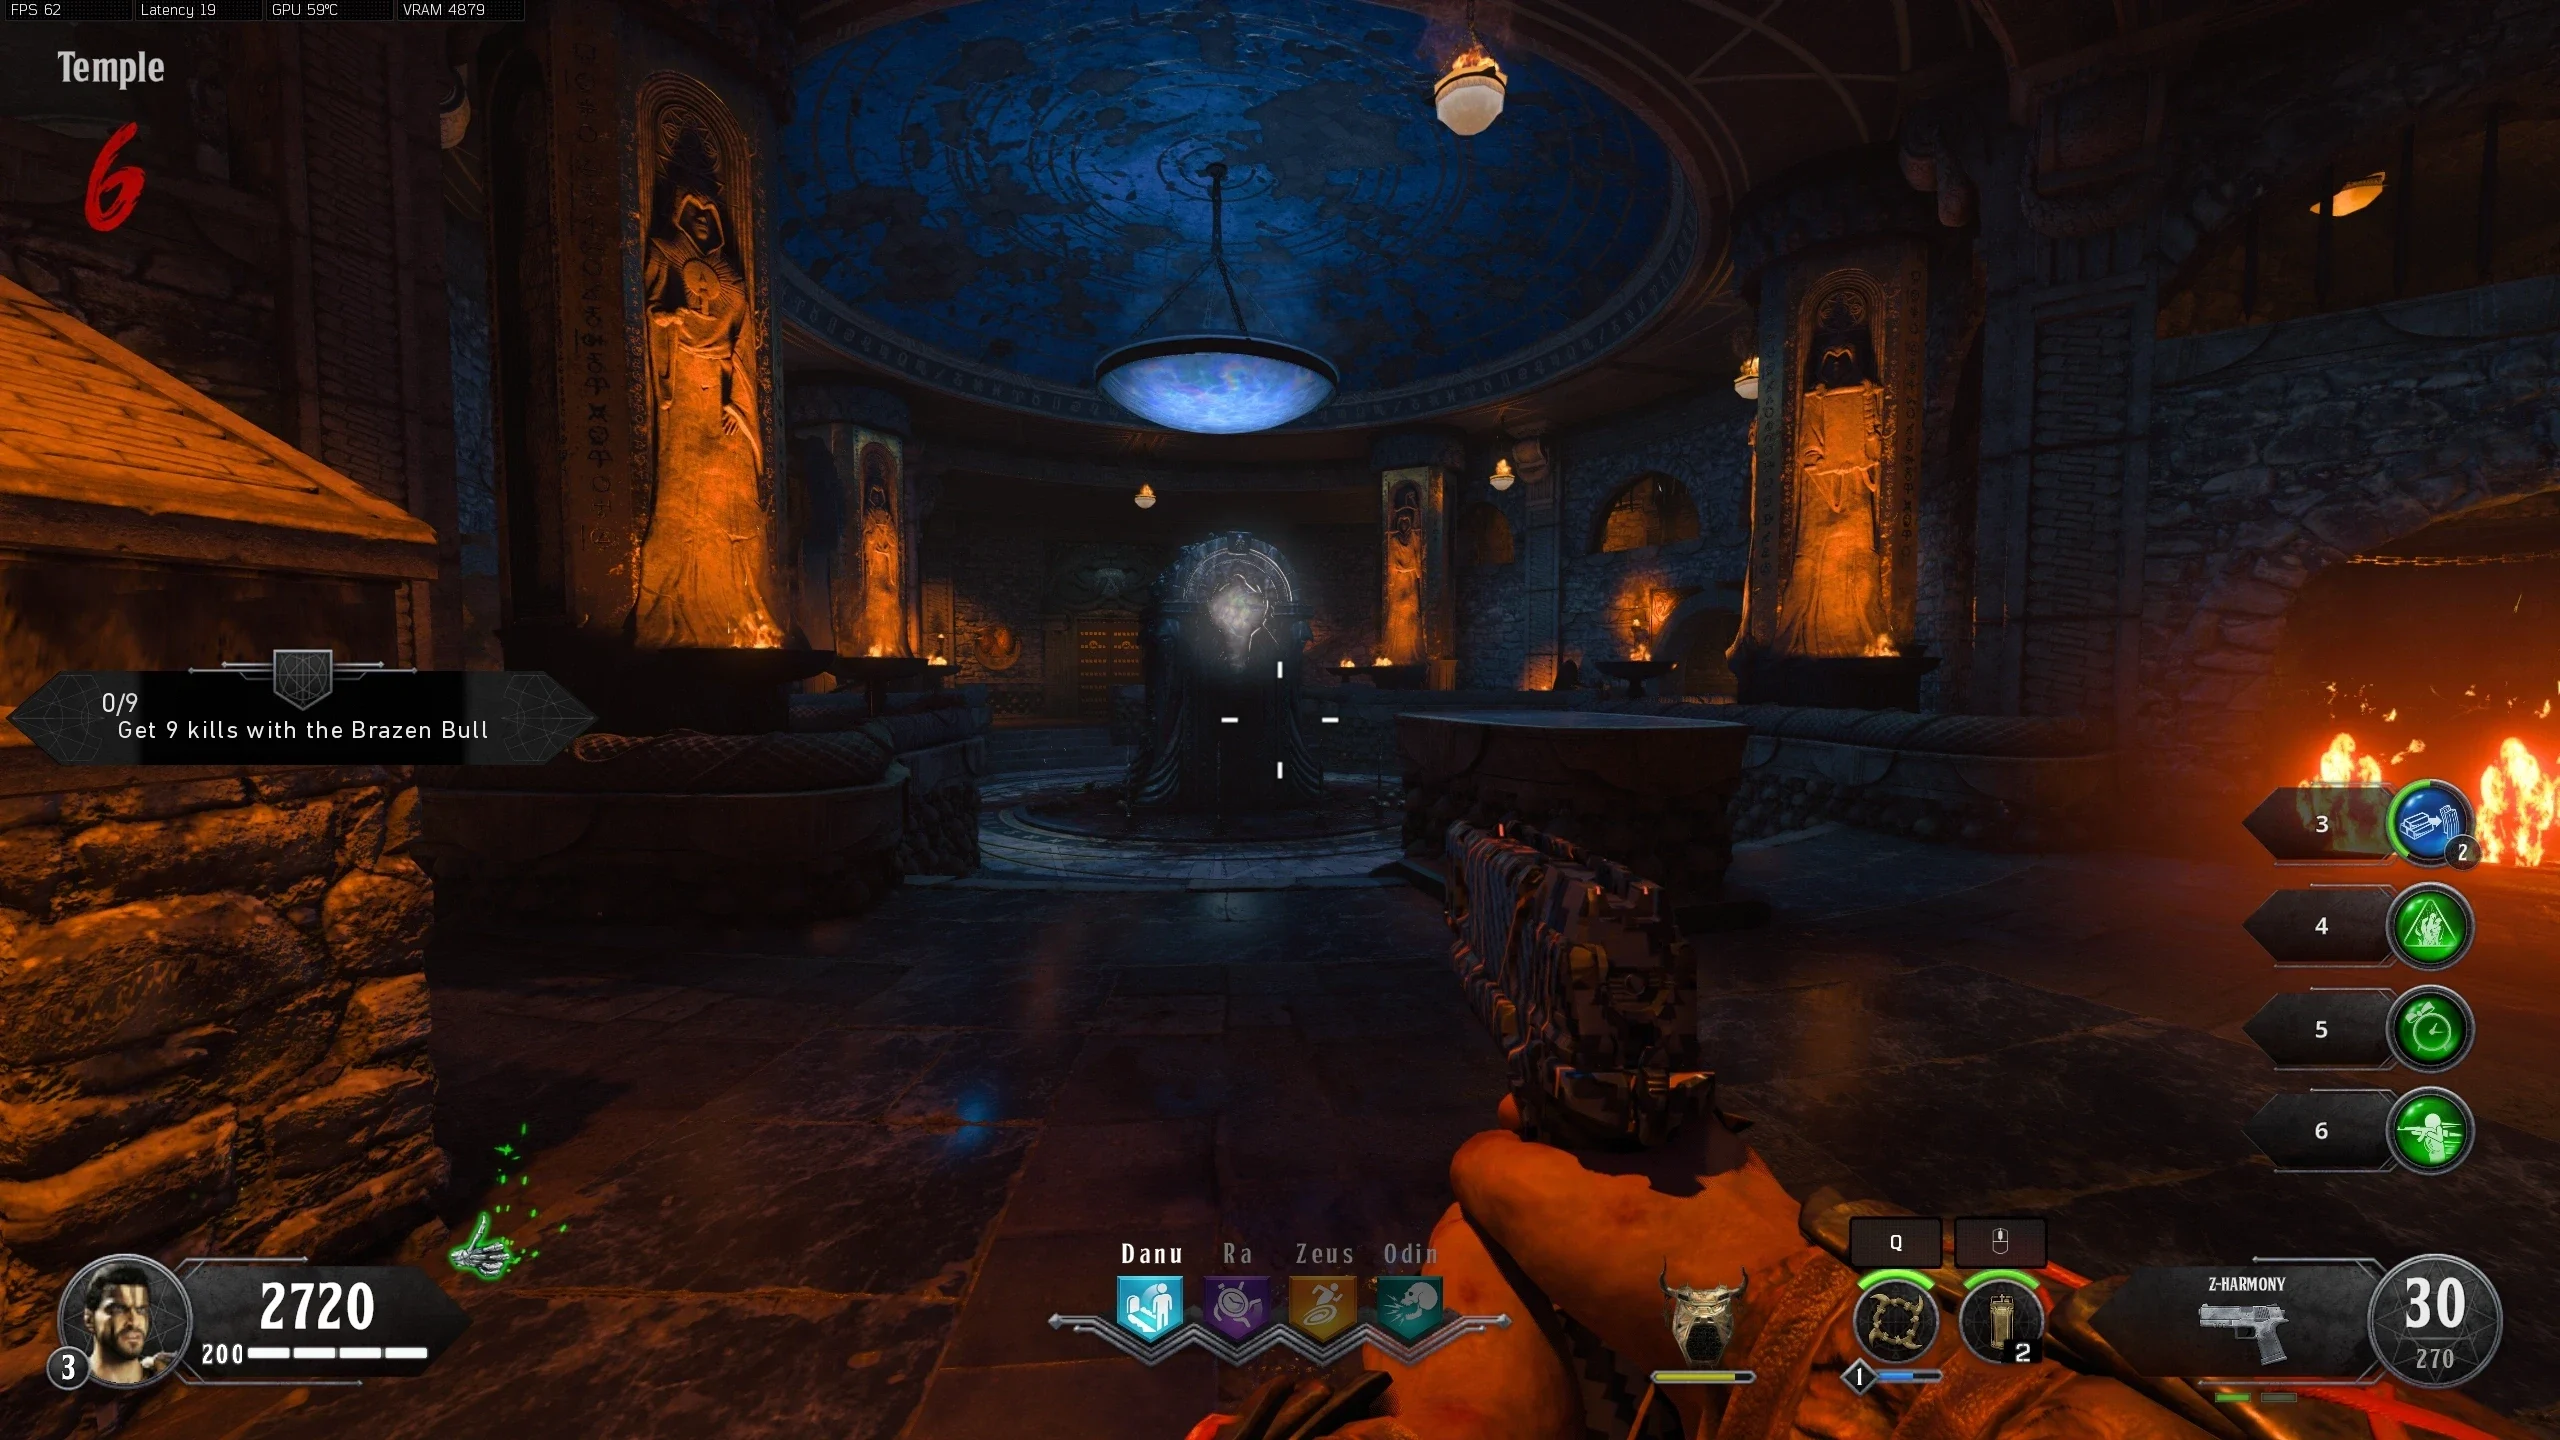
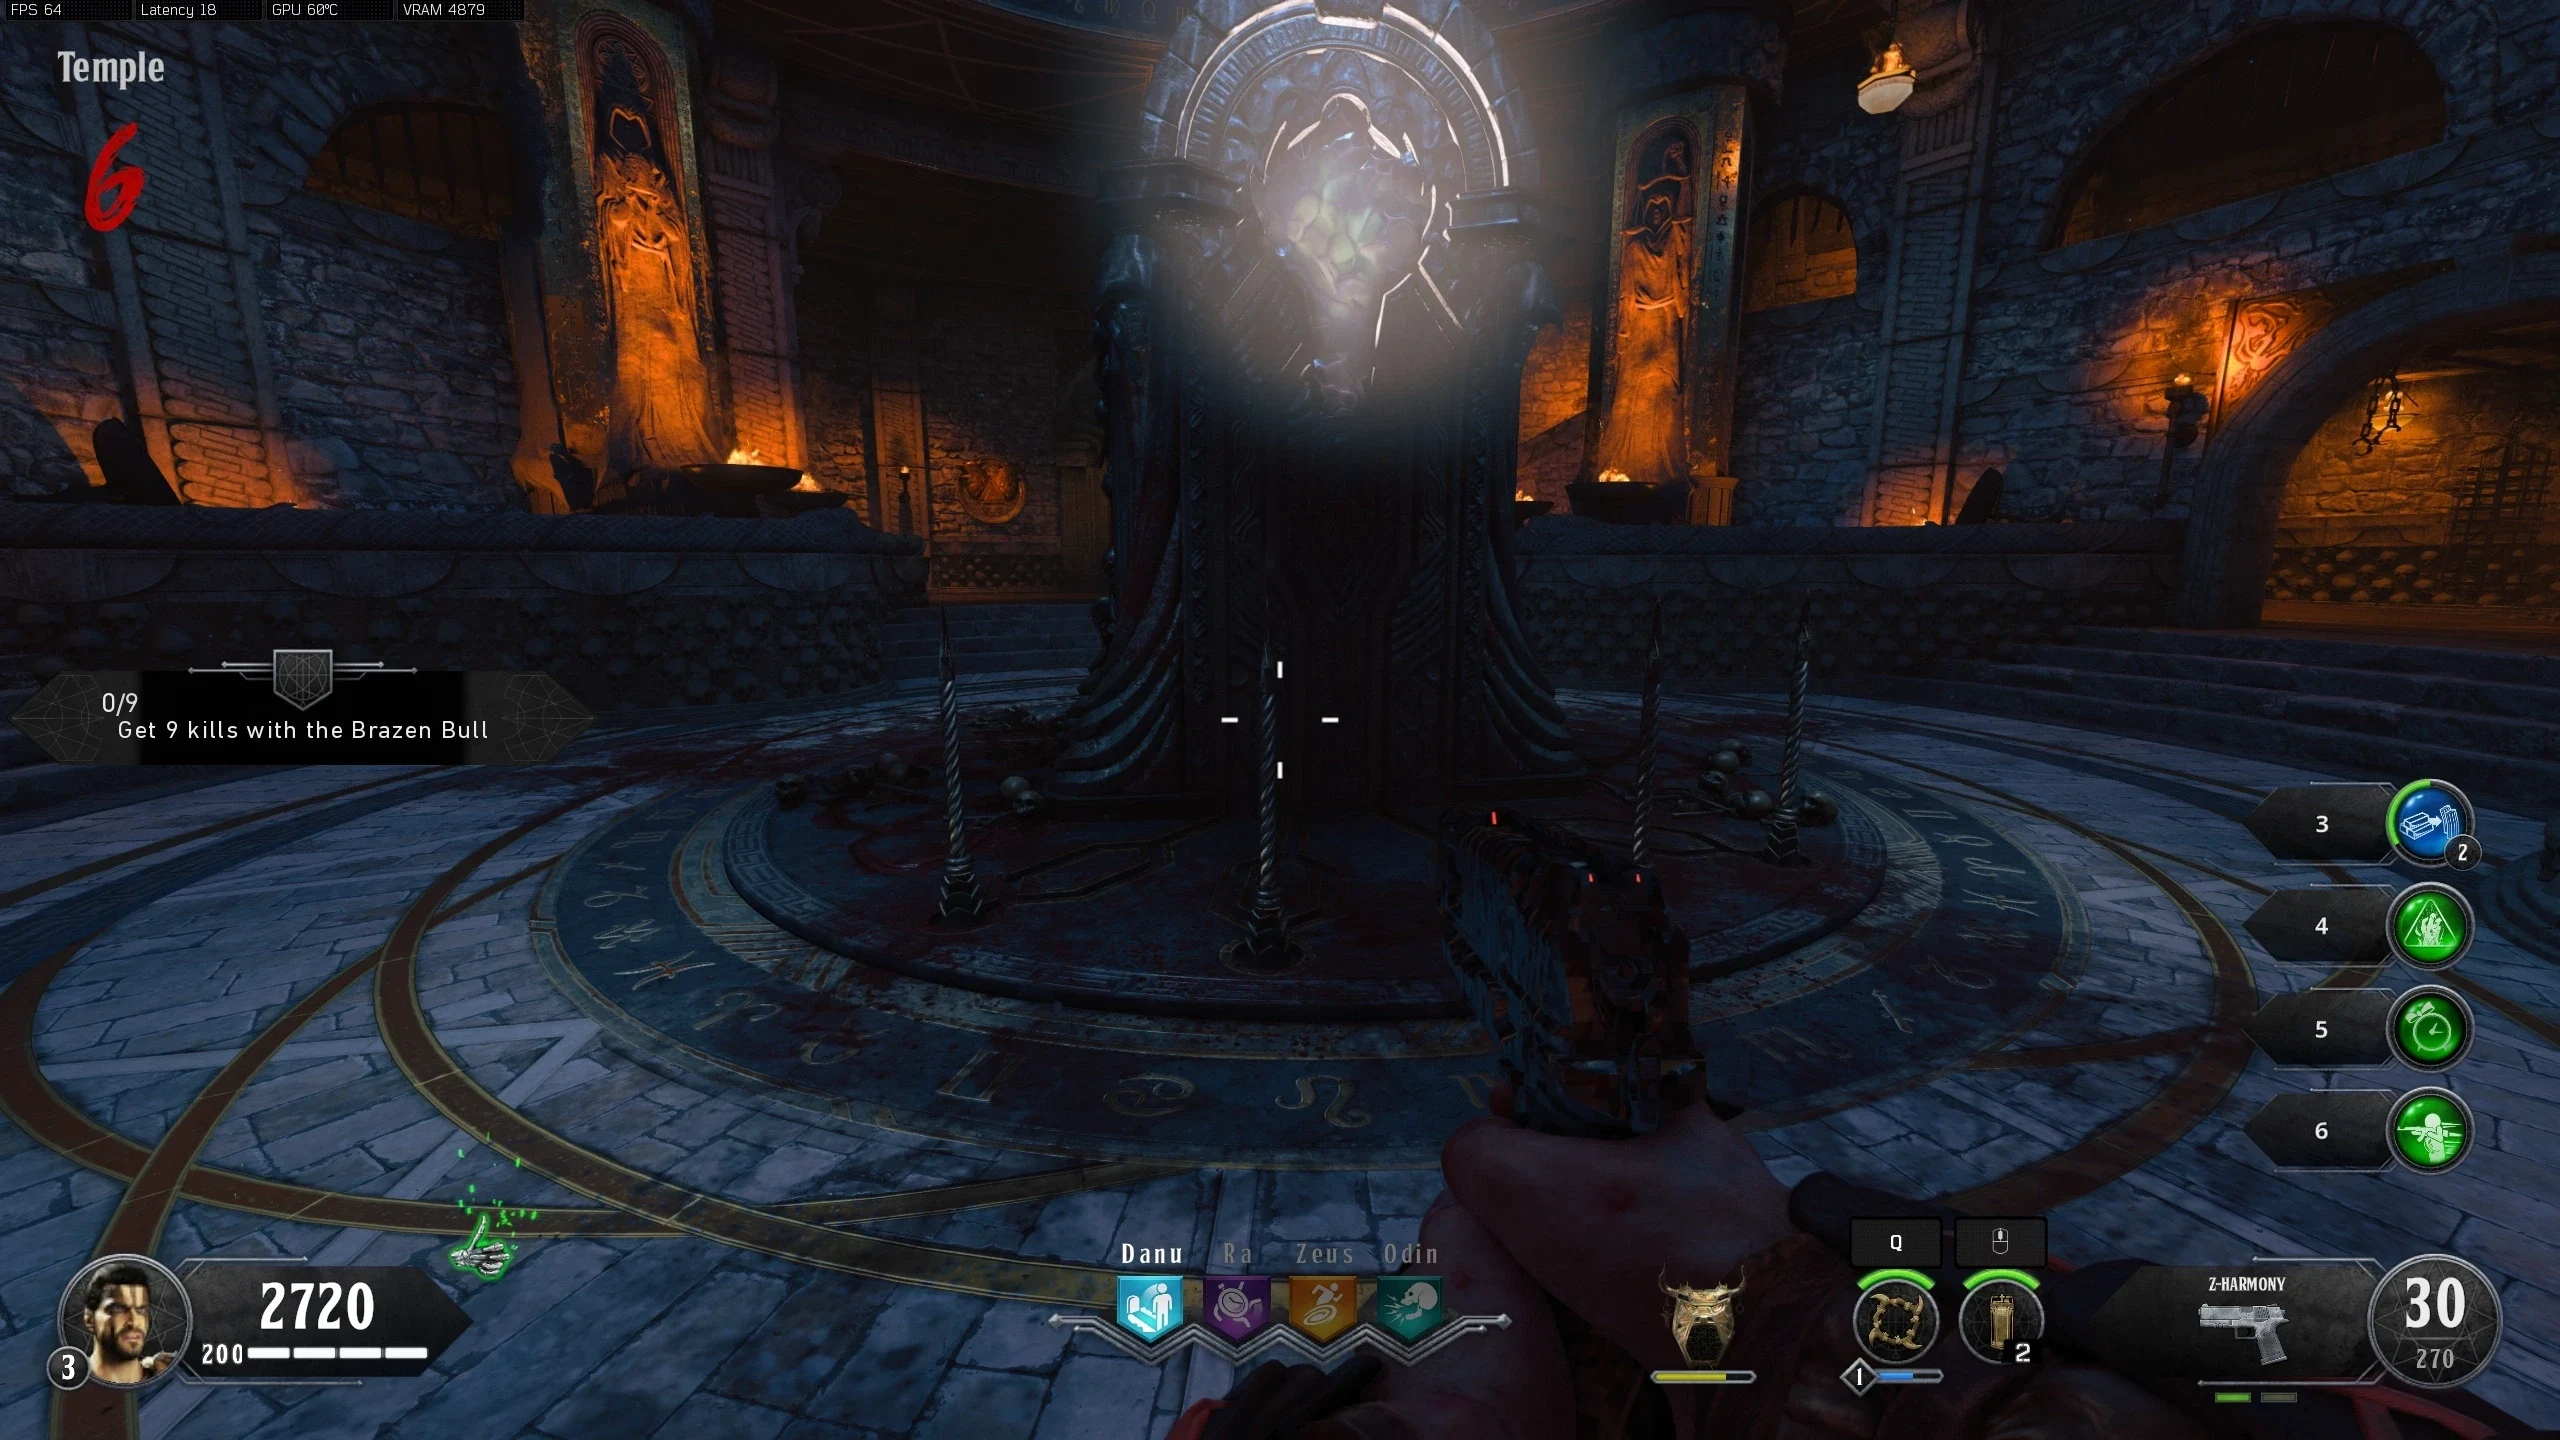
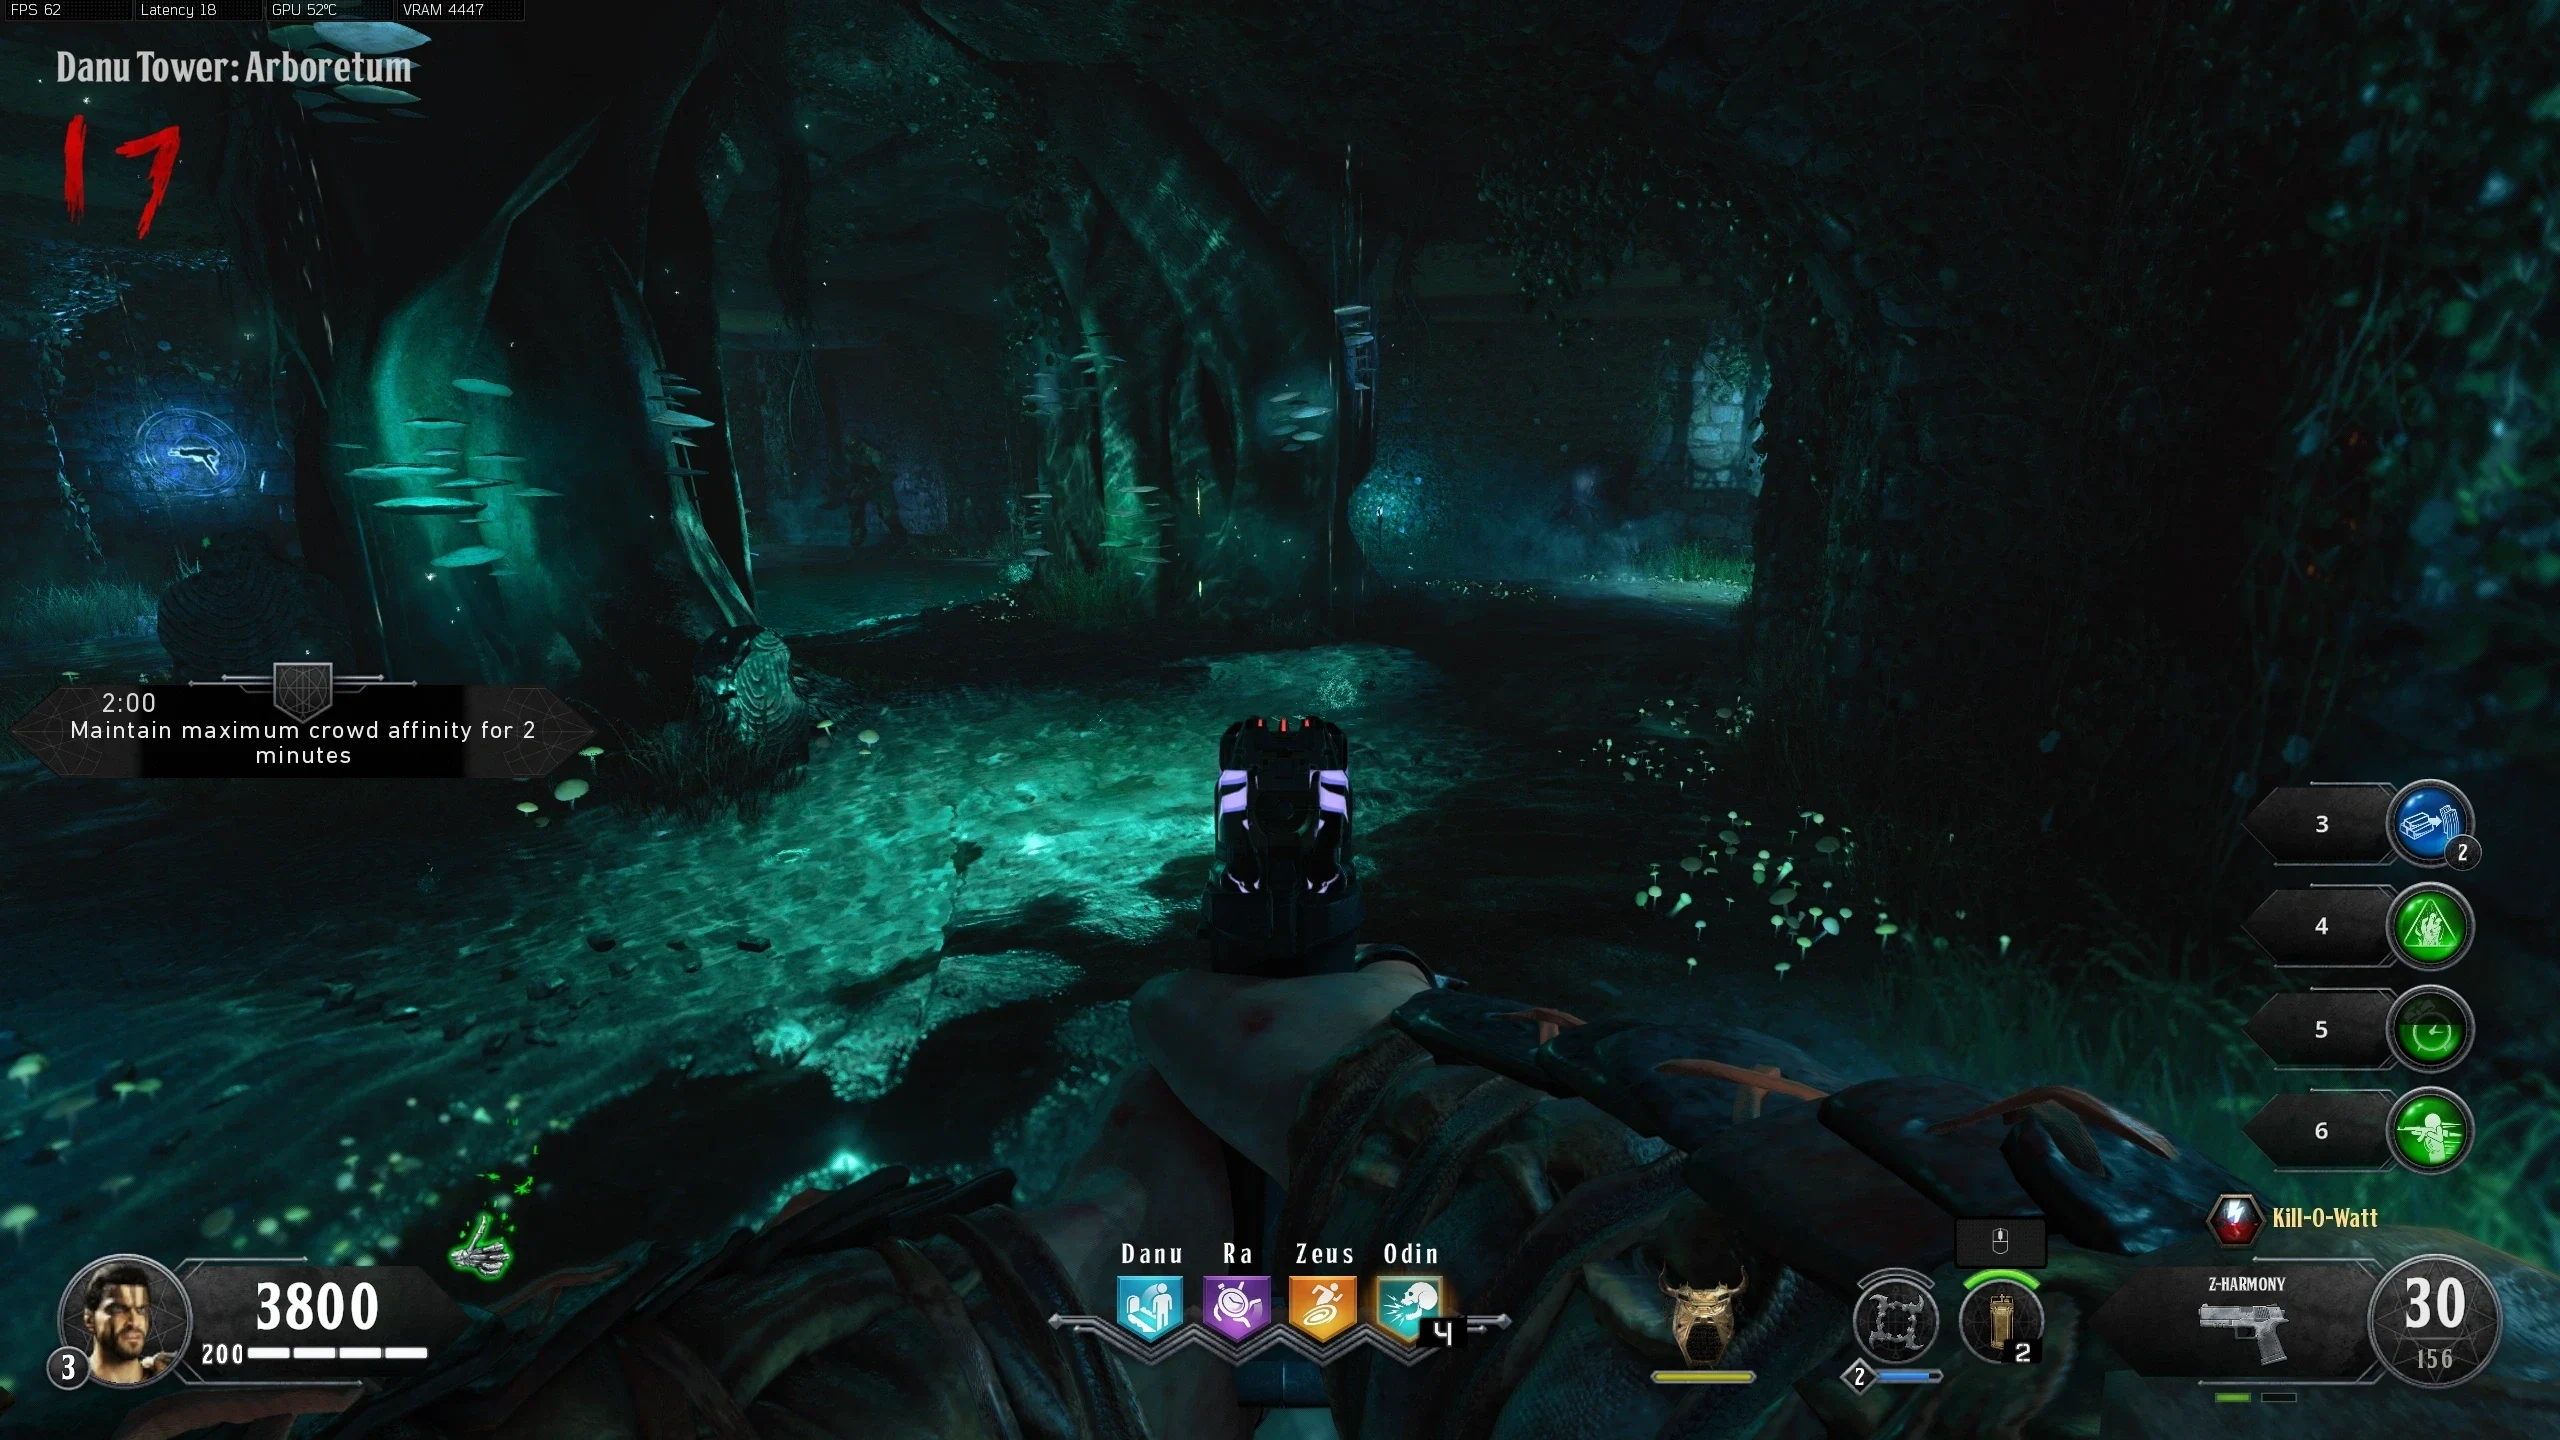
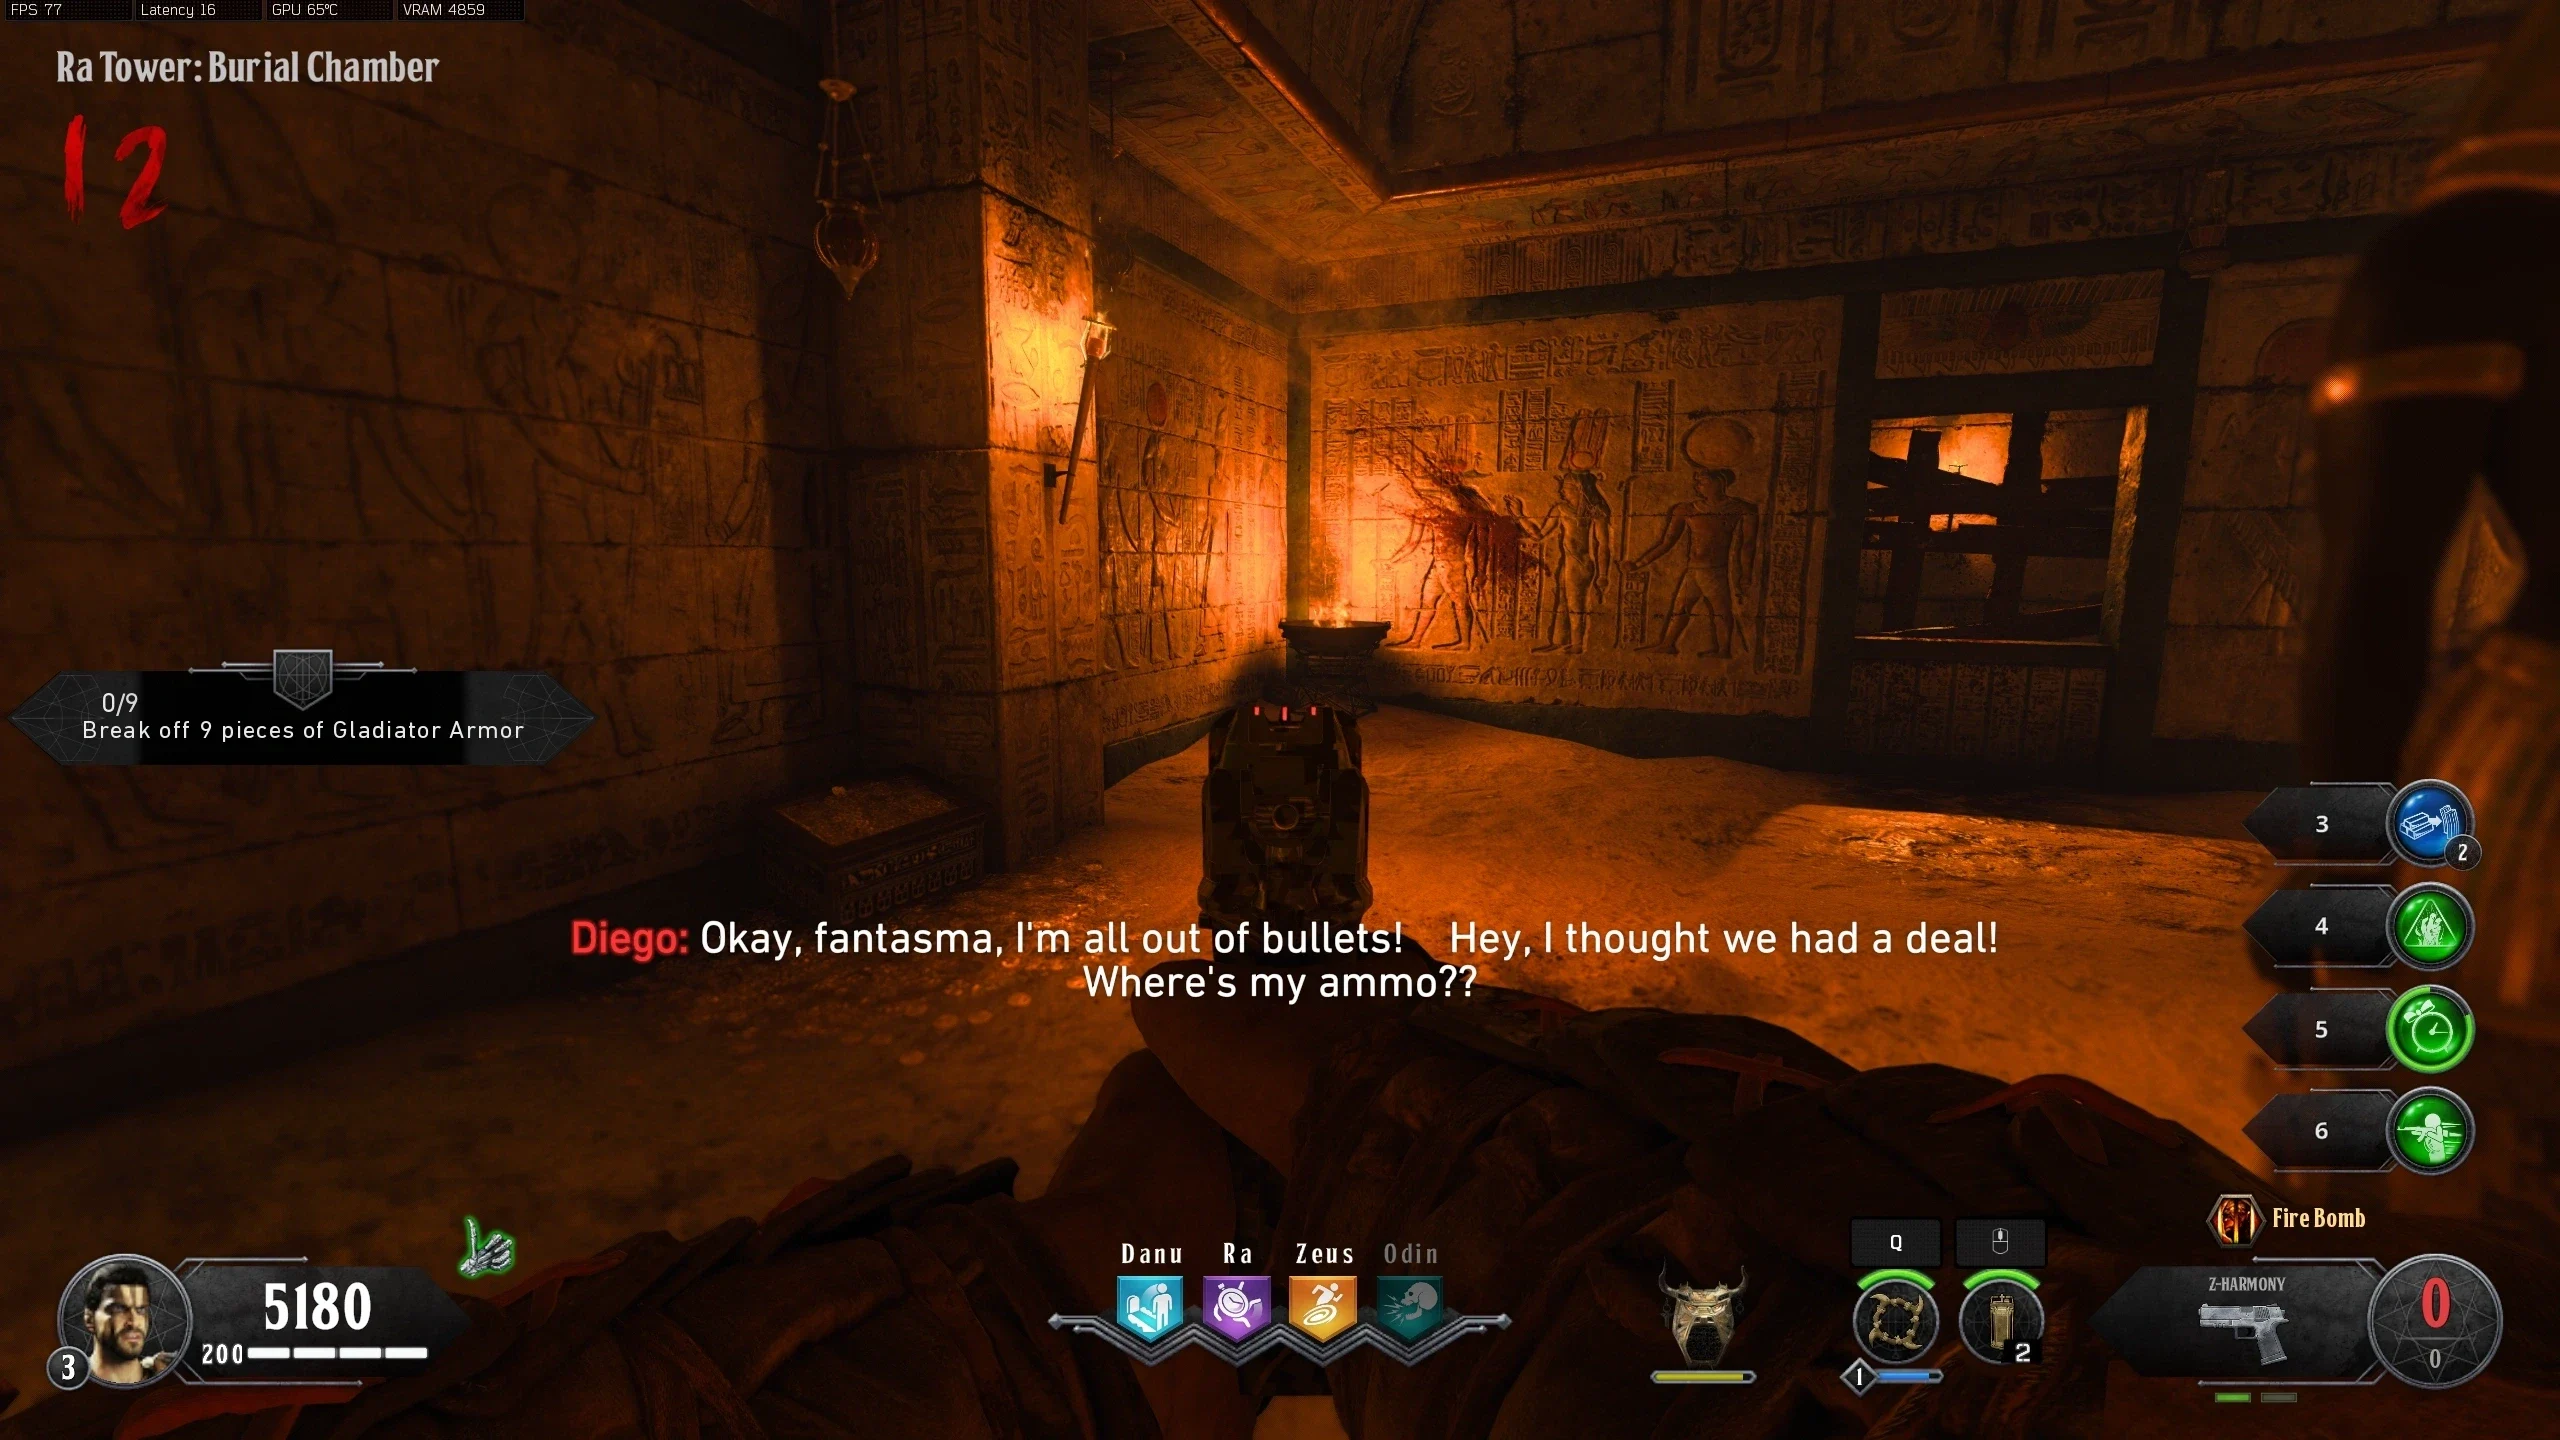
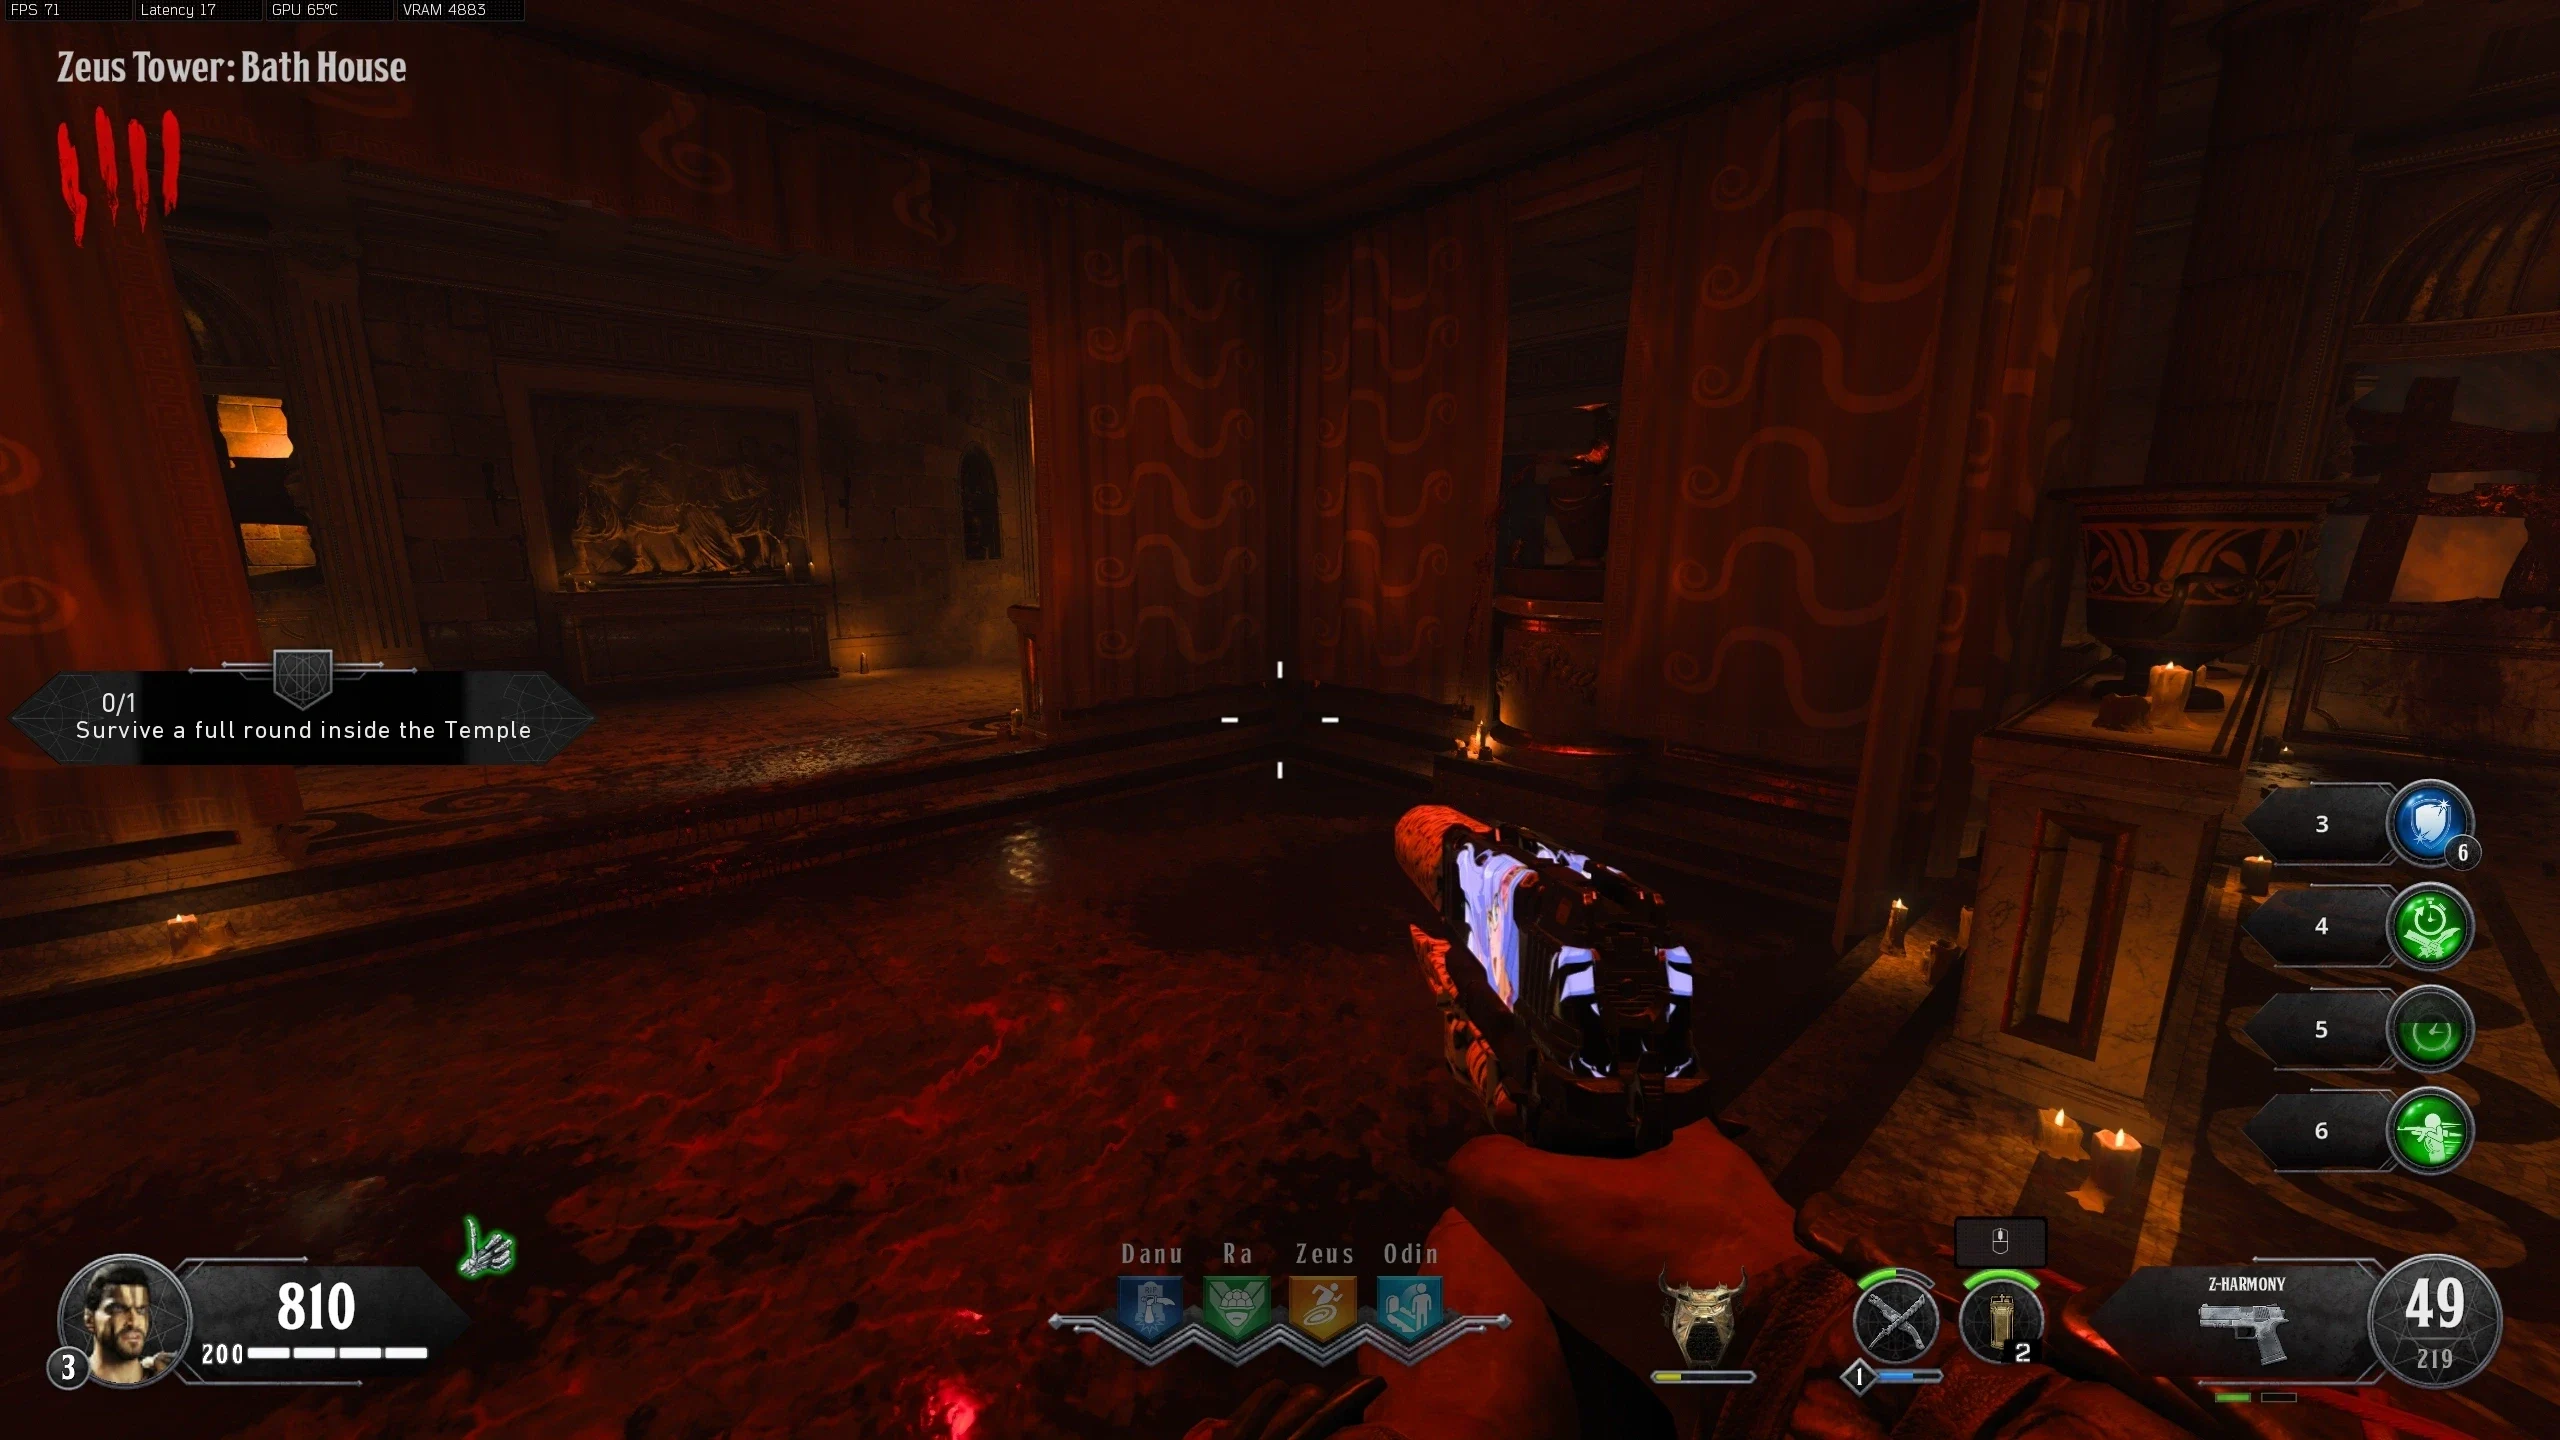
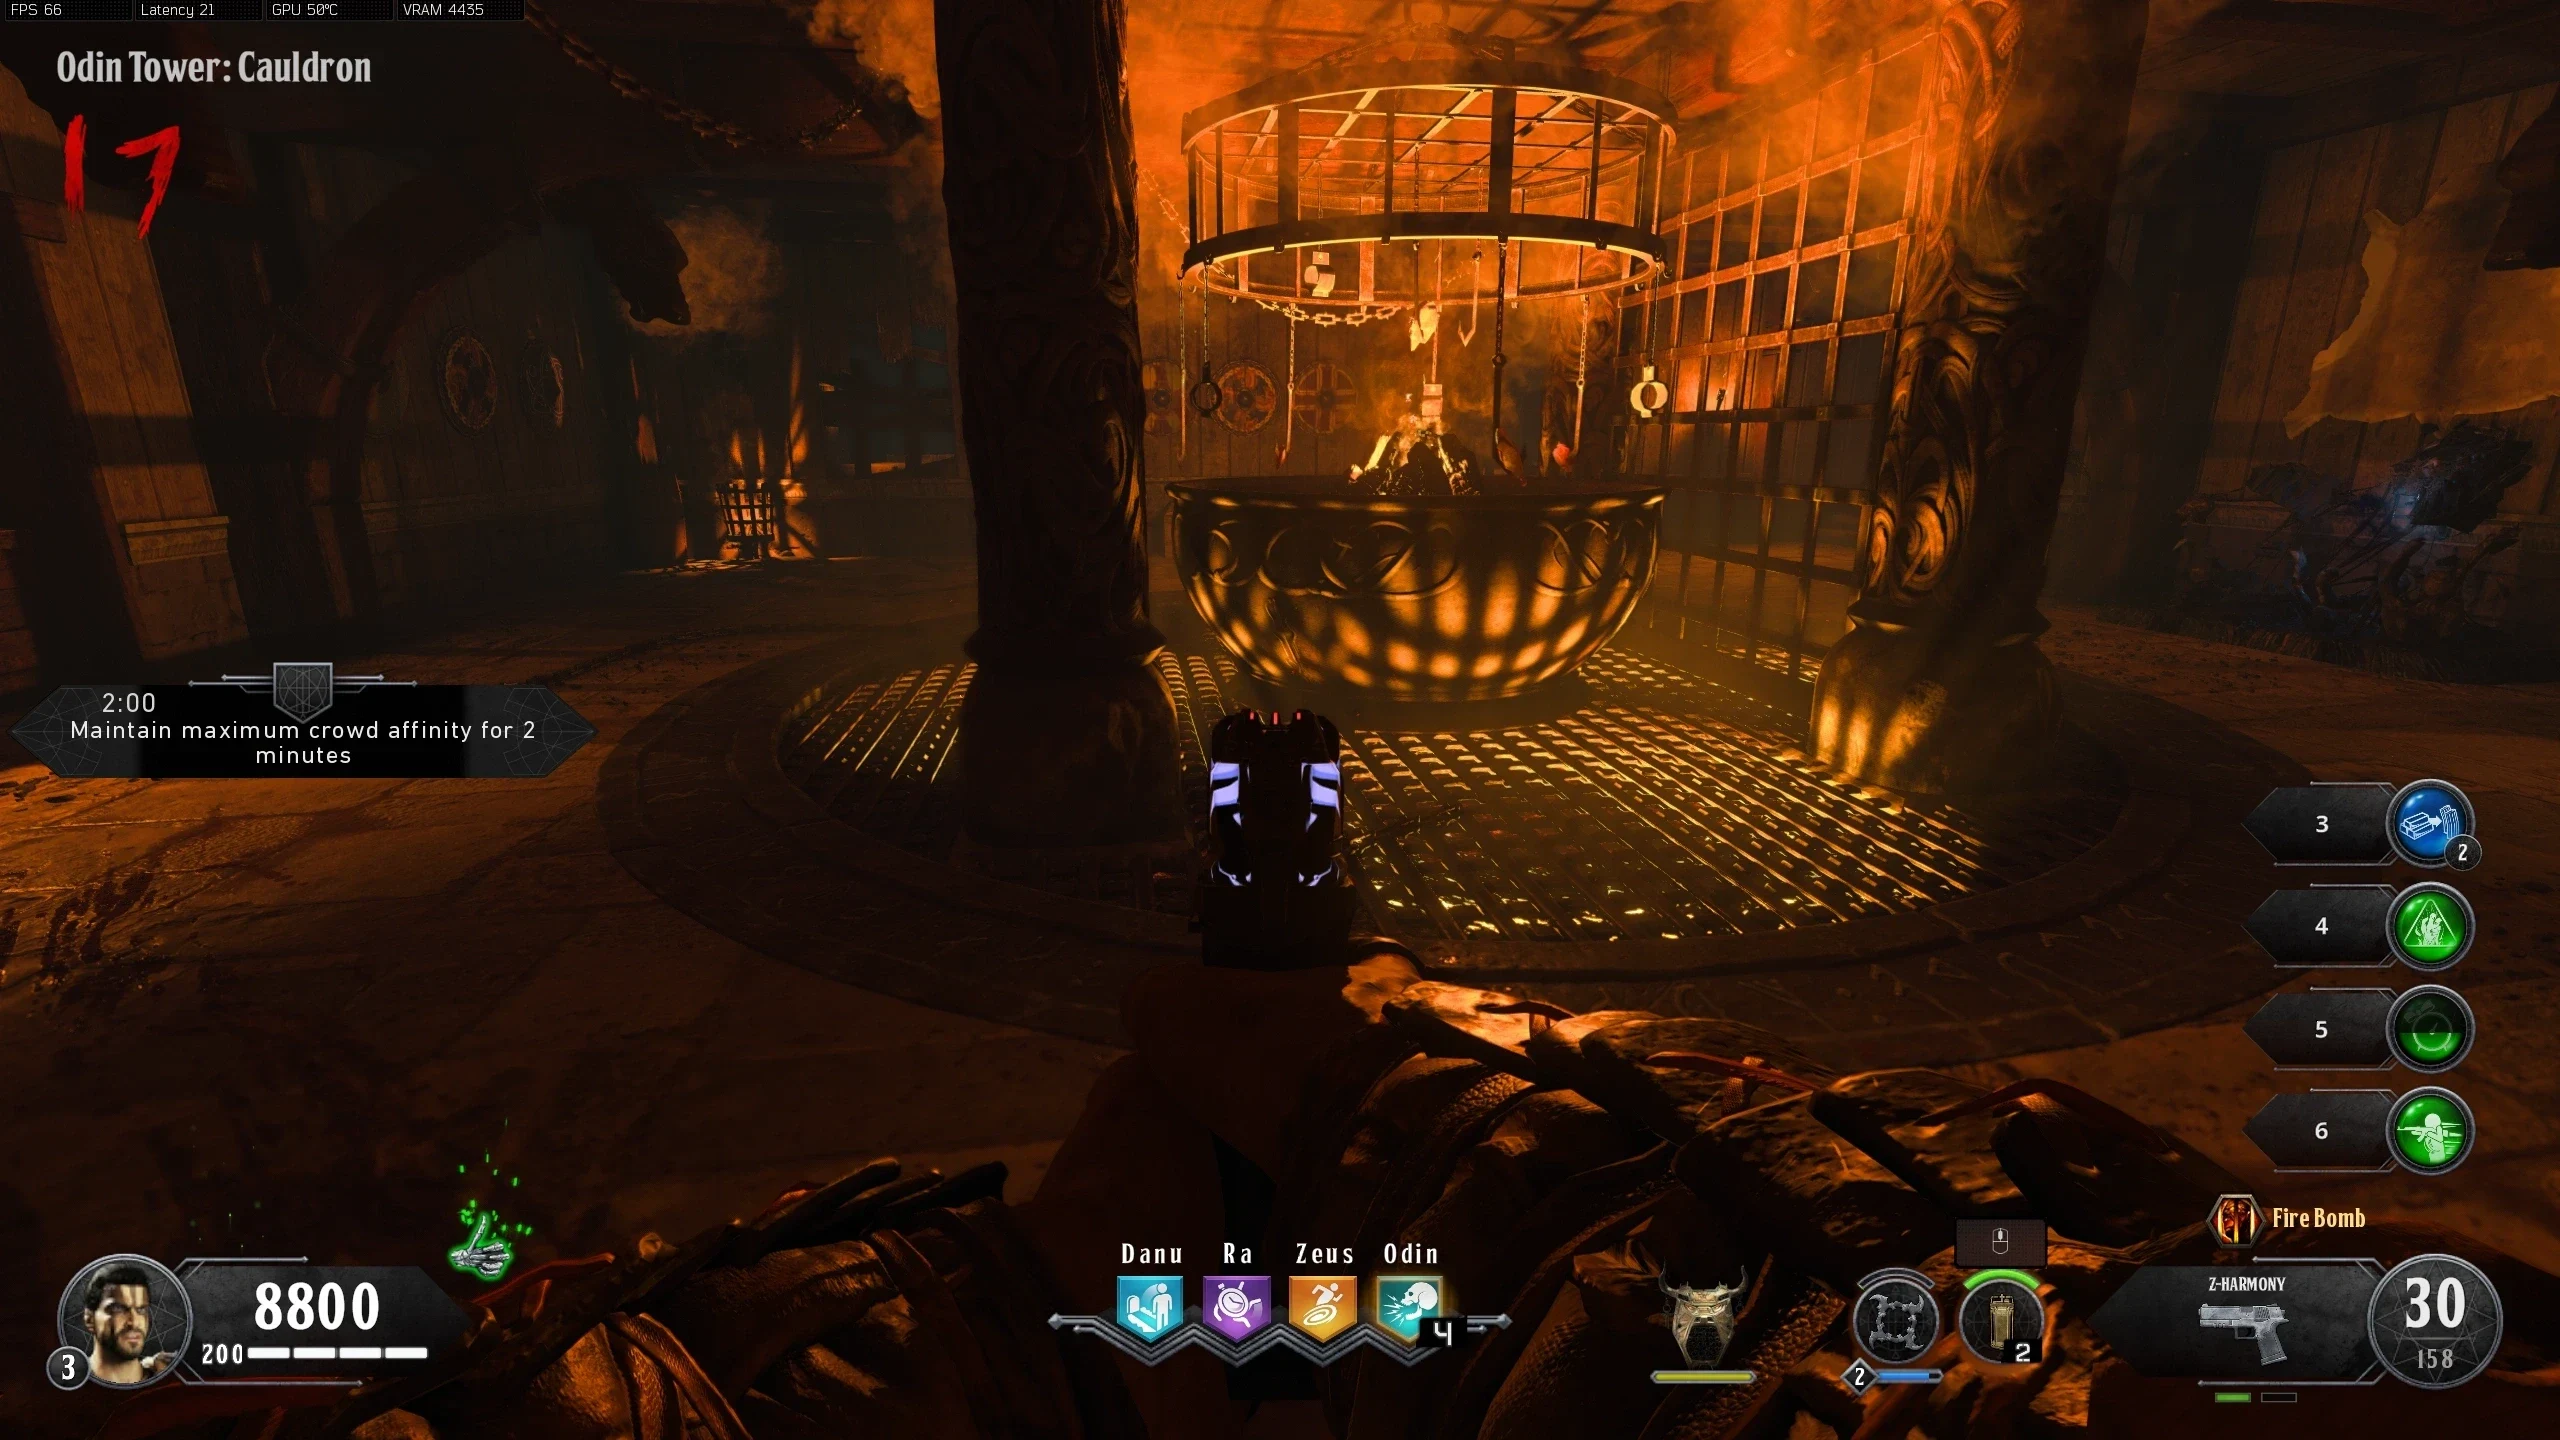
- In each of the four God Altars, on the top floor, there is a gong which will spawn various enemies. Once killed, the enemies will drop a Head. Collect all four heads from each of the God Towers:
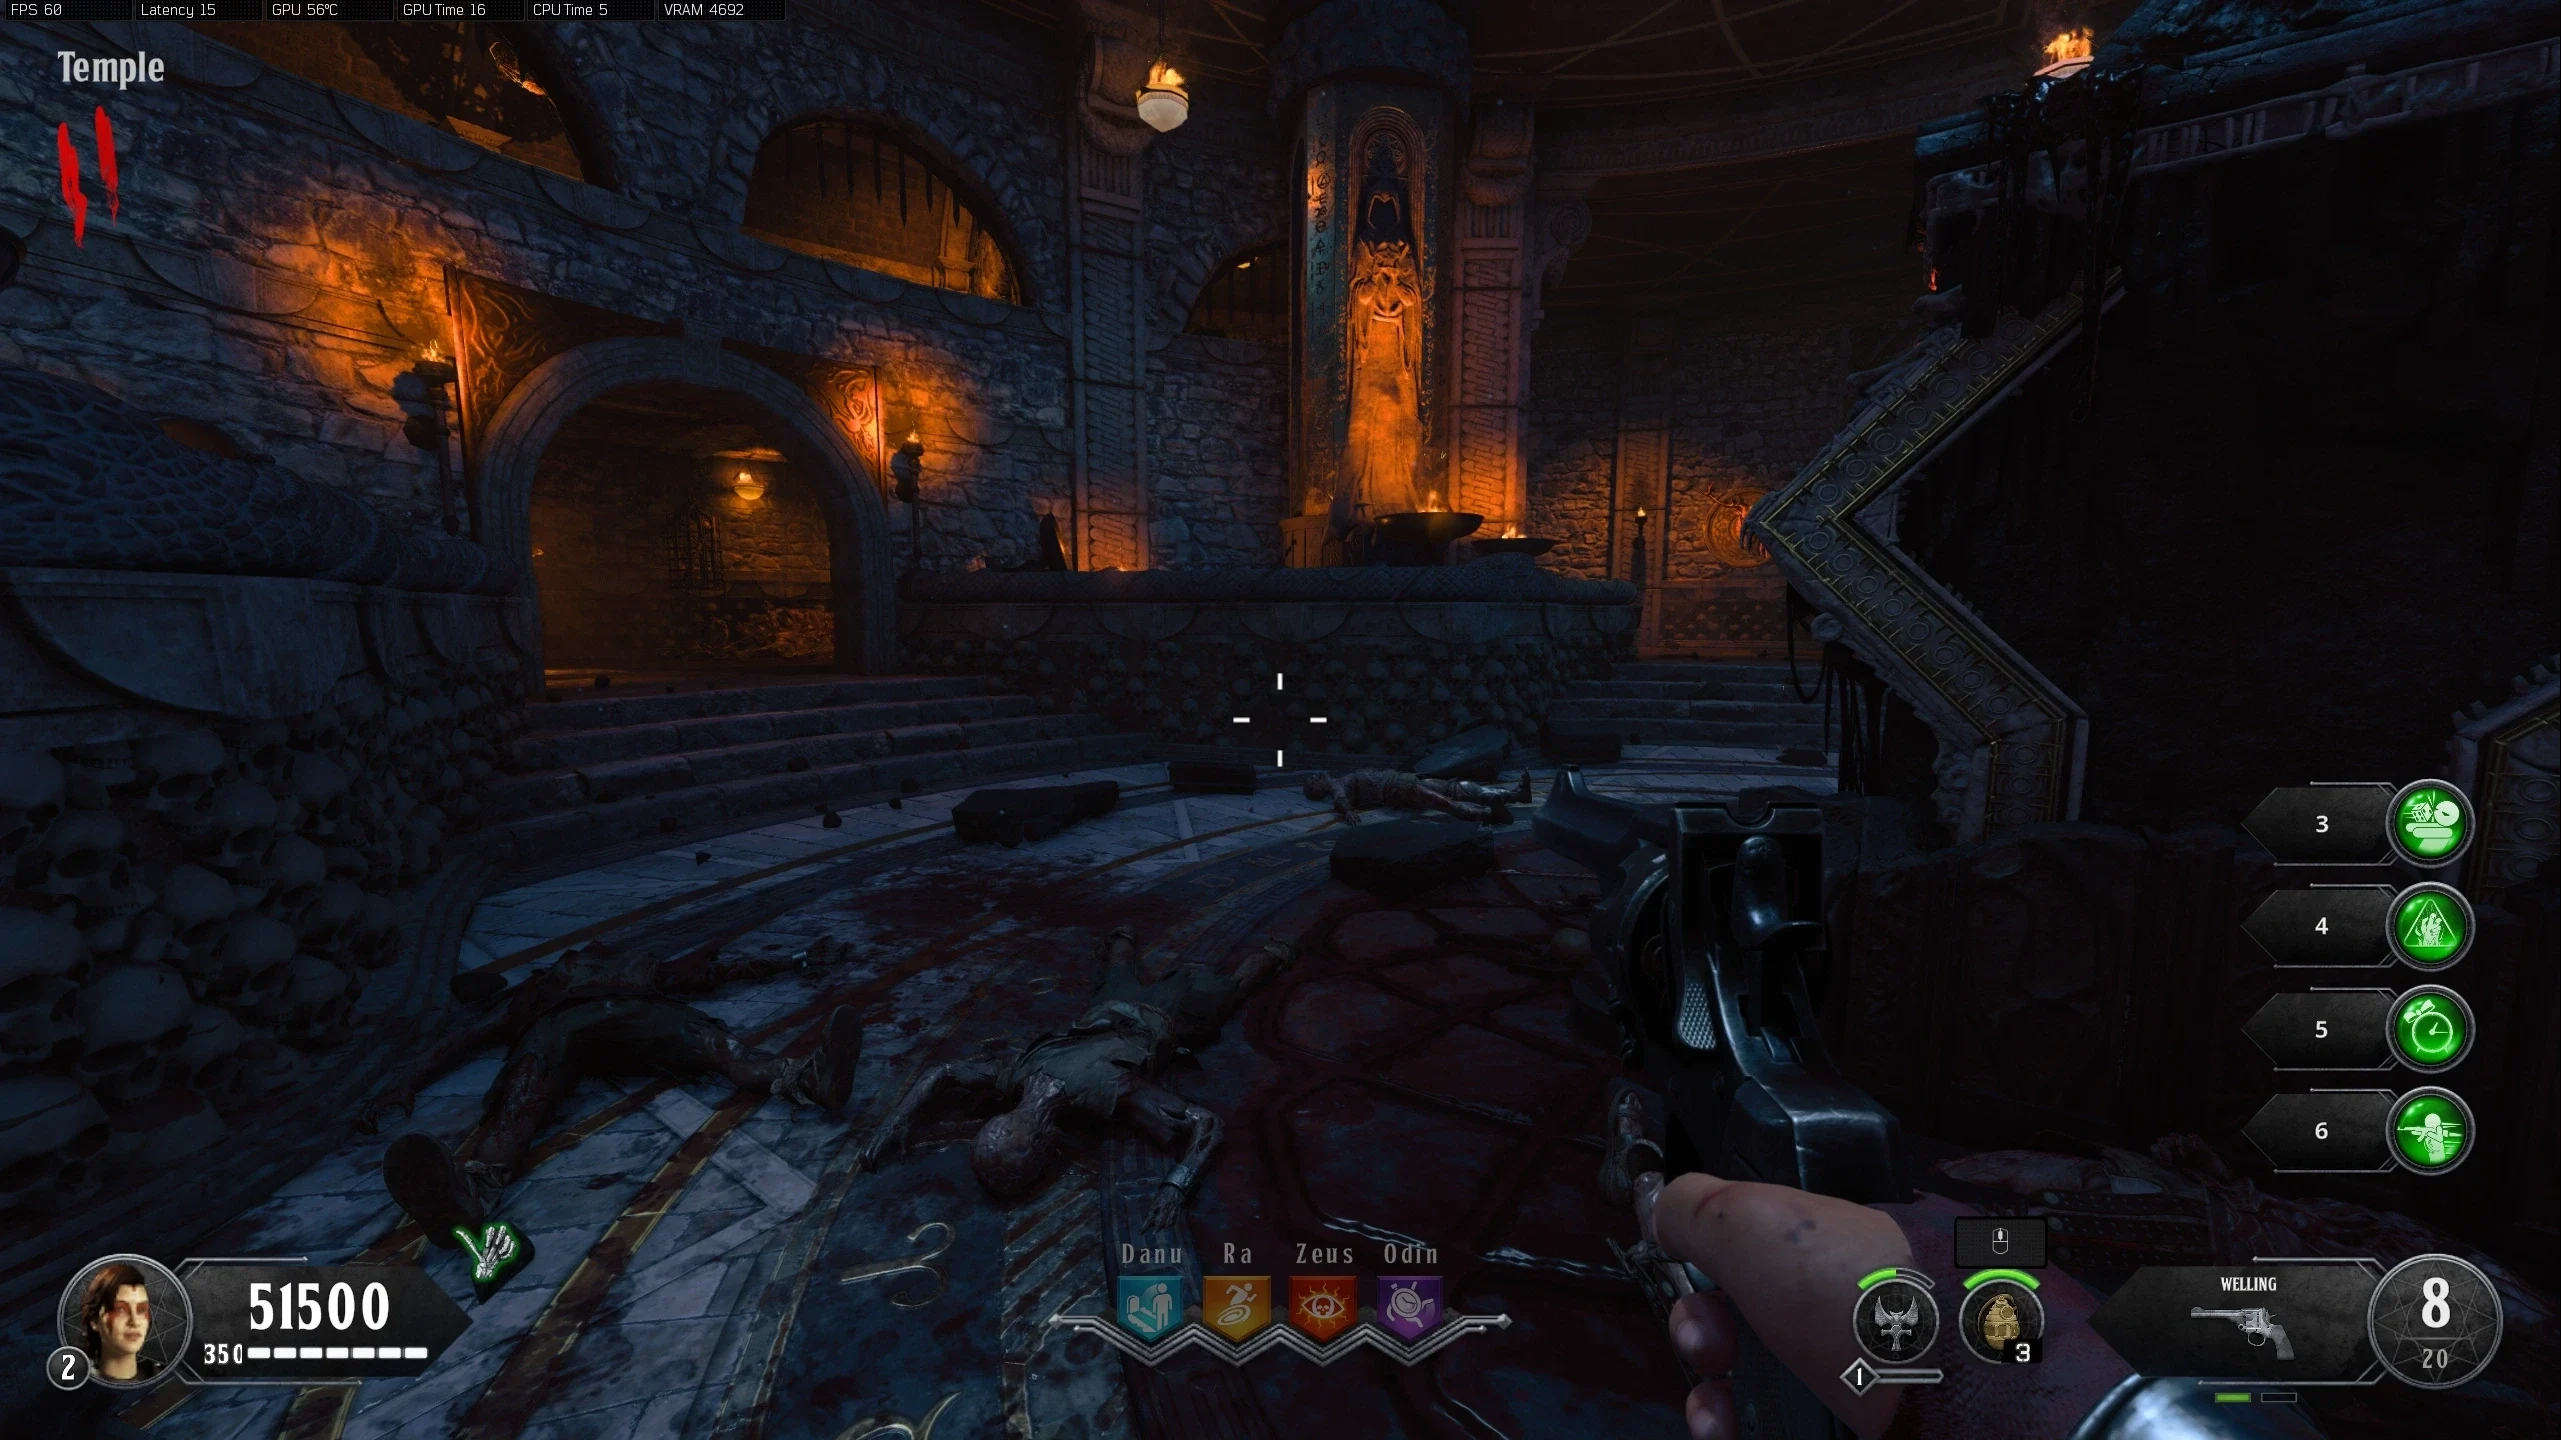
- Navigate to the 'Temple' and place the four heads on the spikes in the middle of the room.
- After a few seconds, the Pack-a-Punch Altar will spawn.
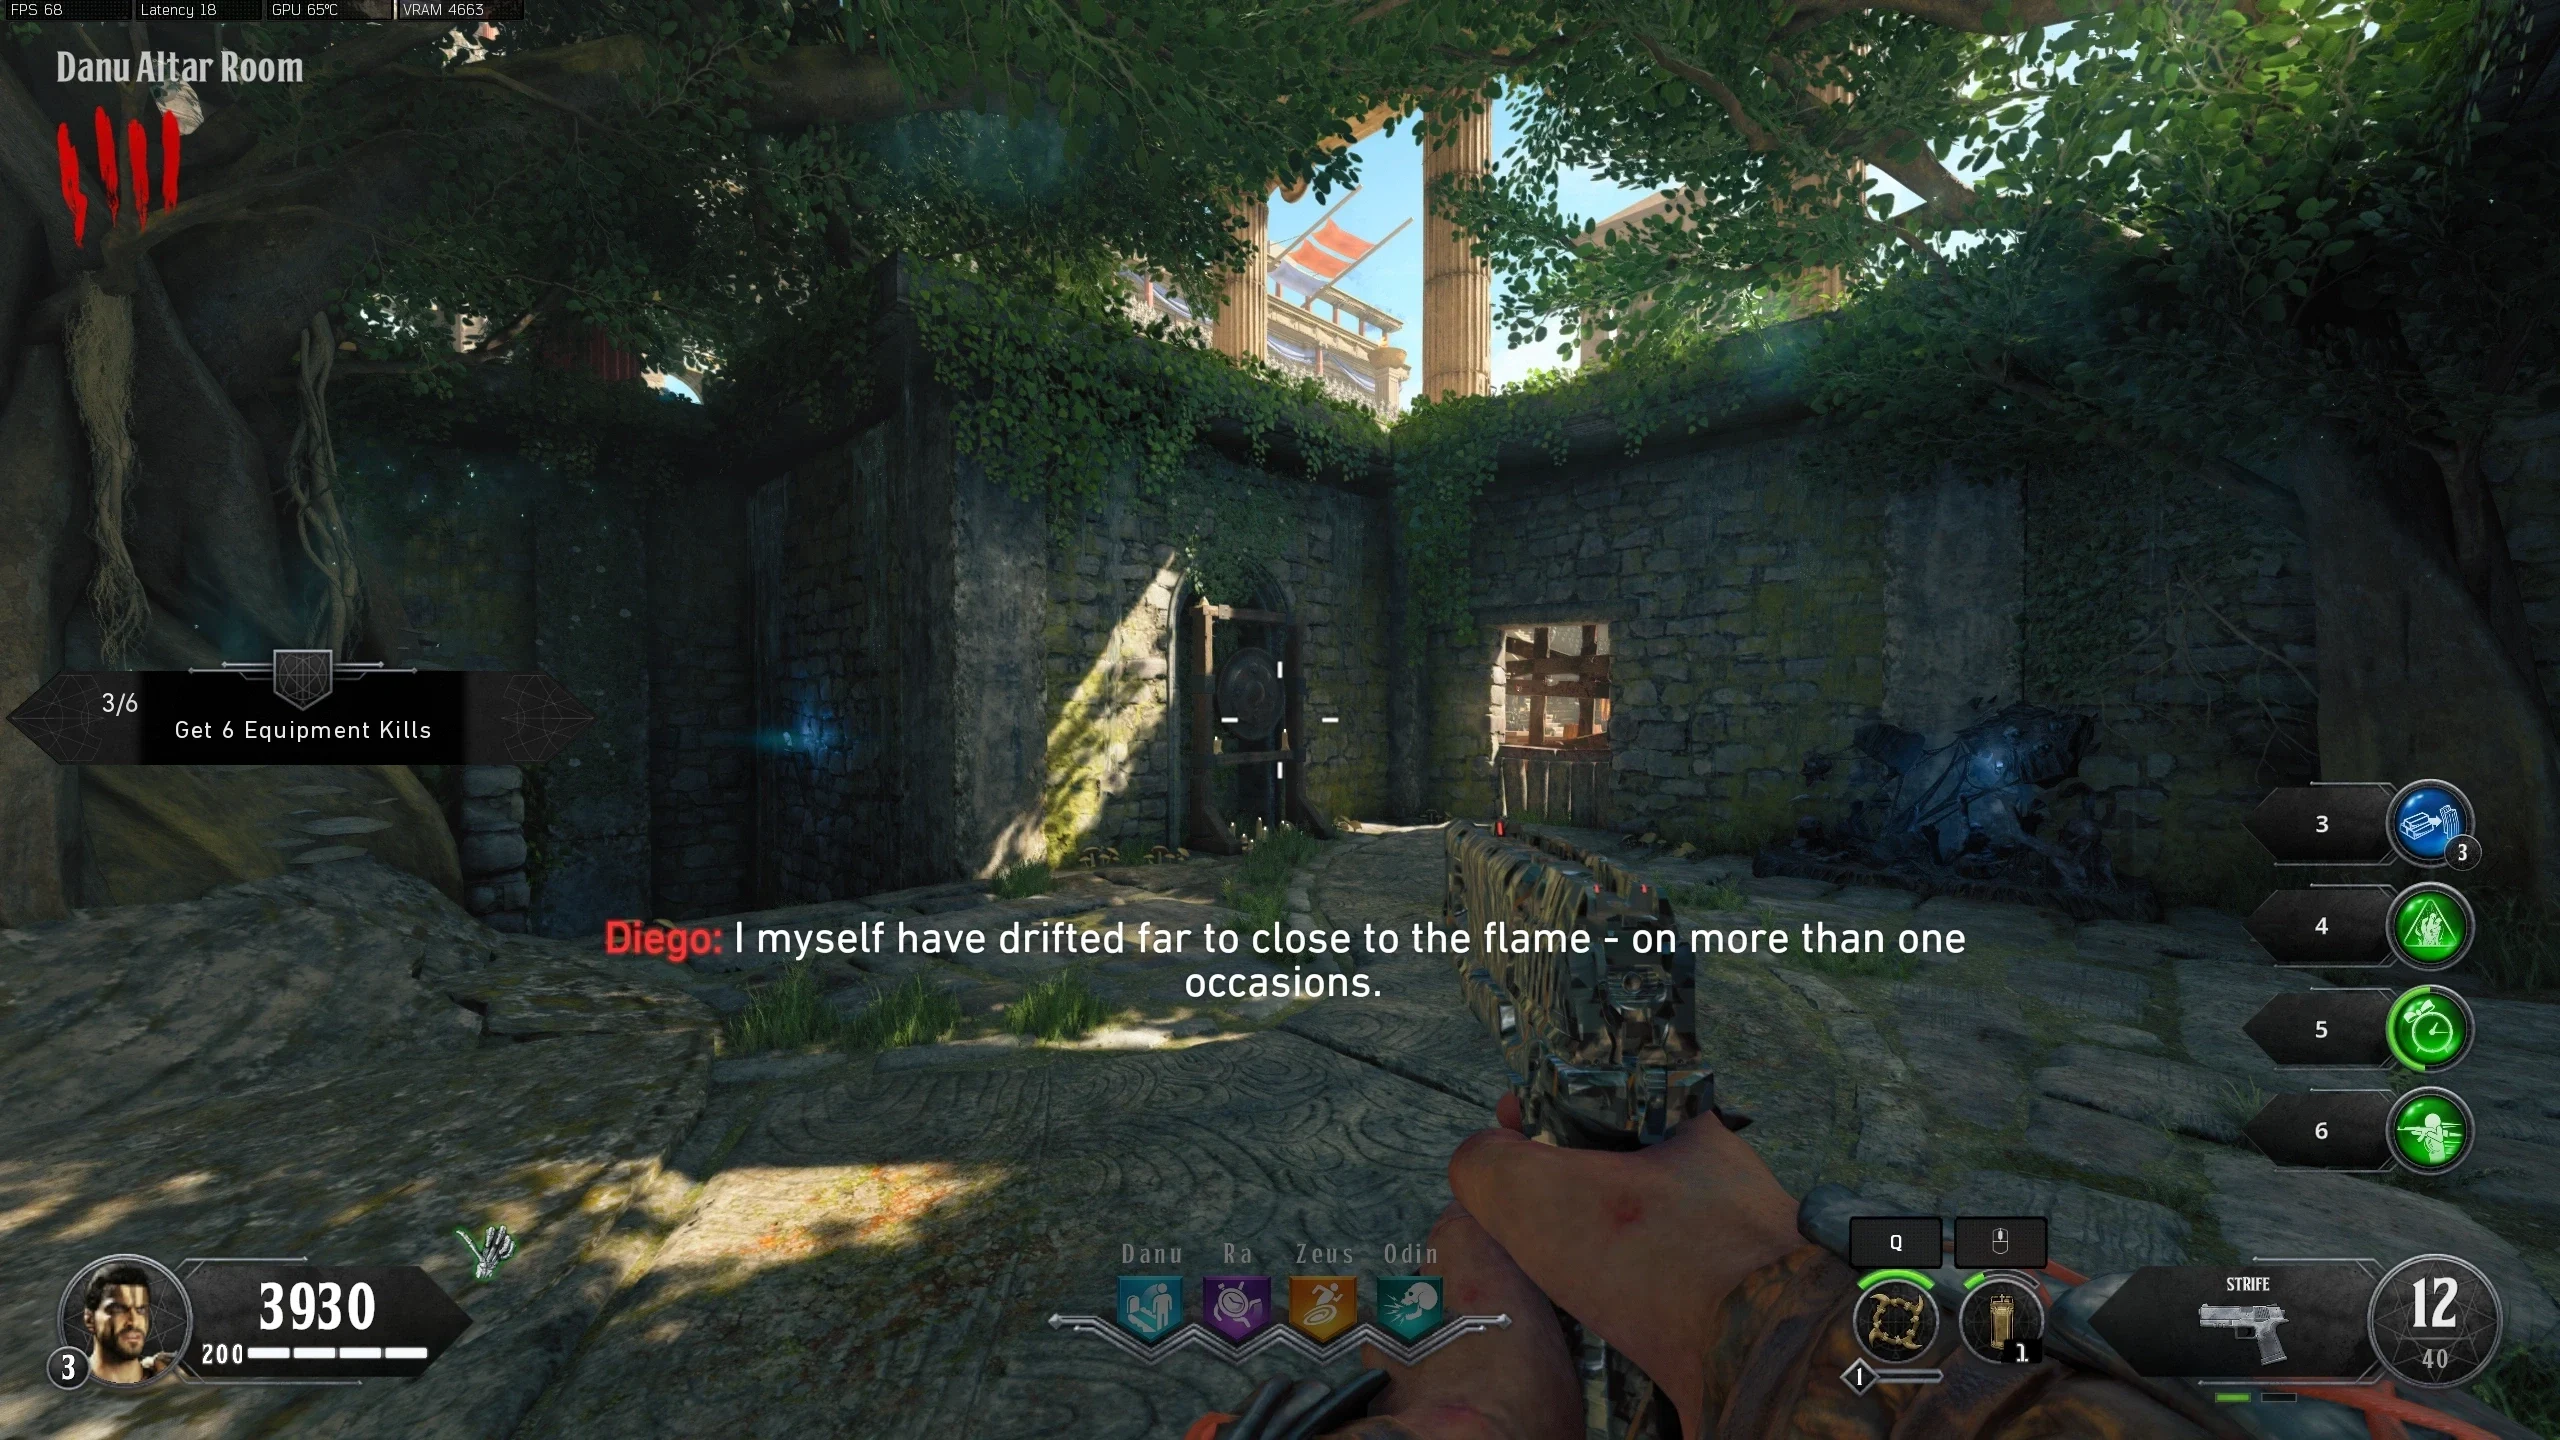
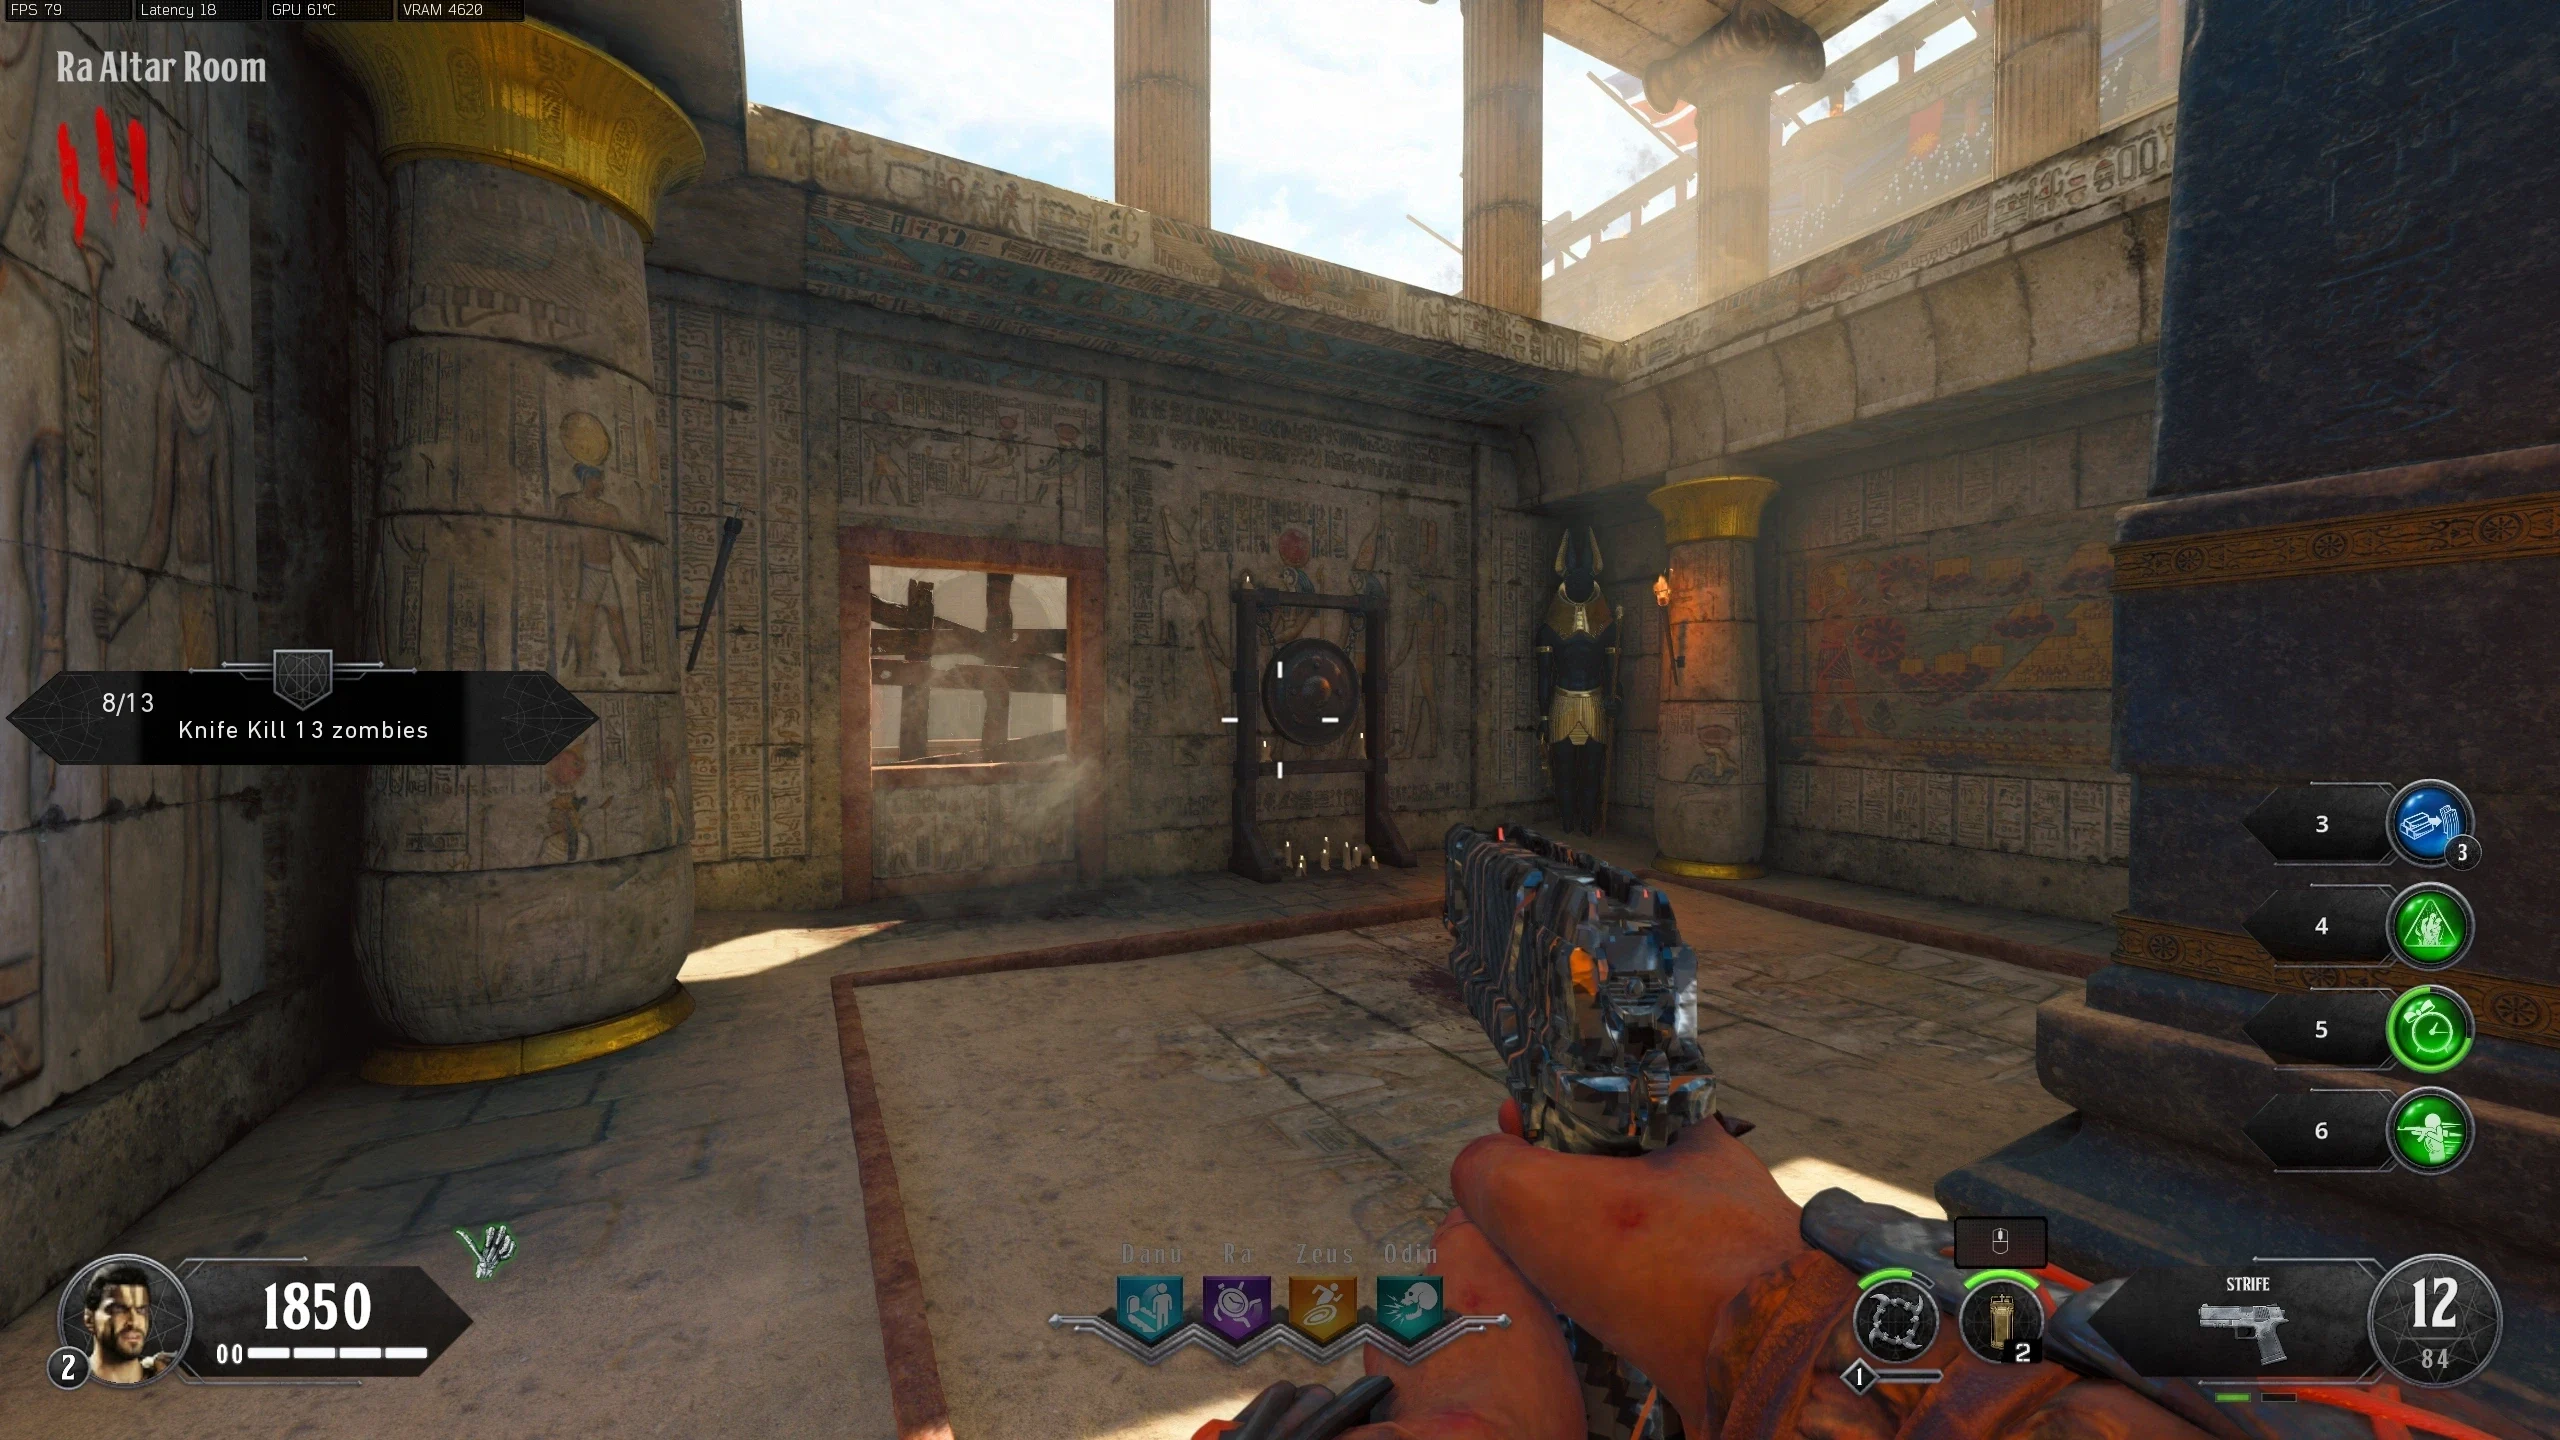
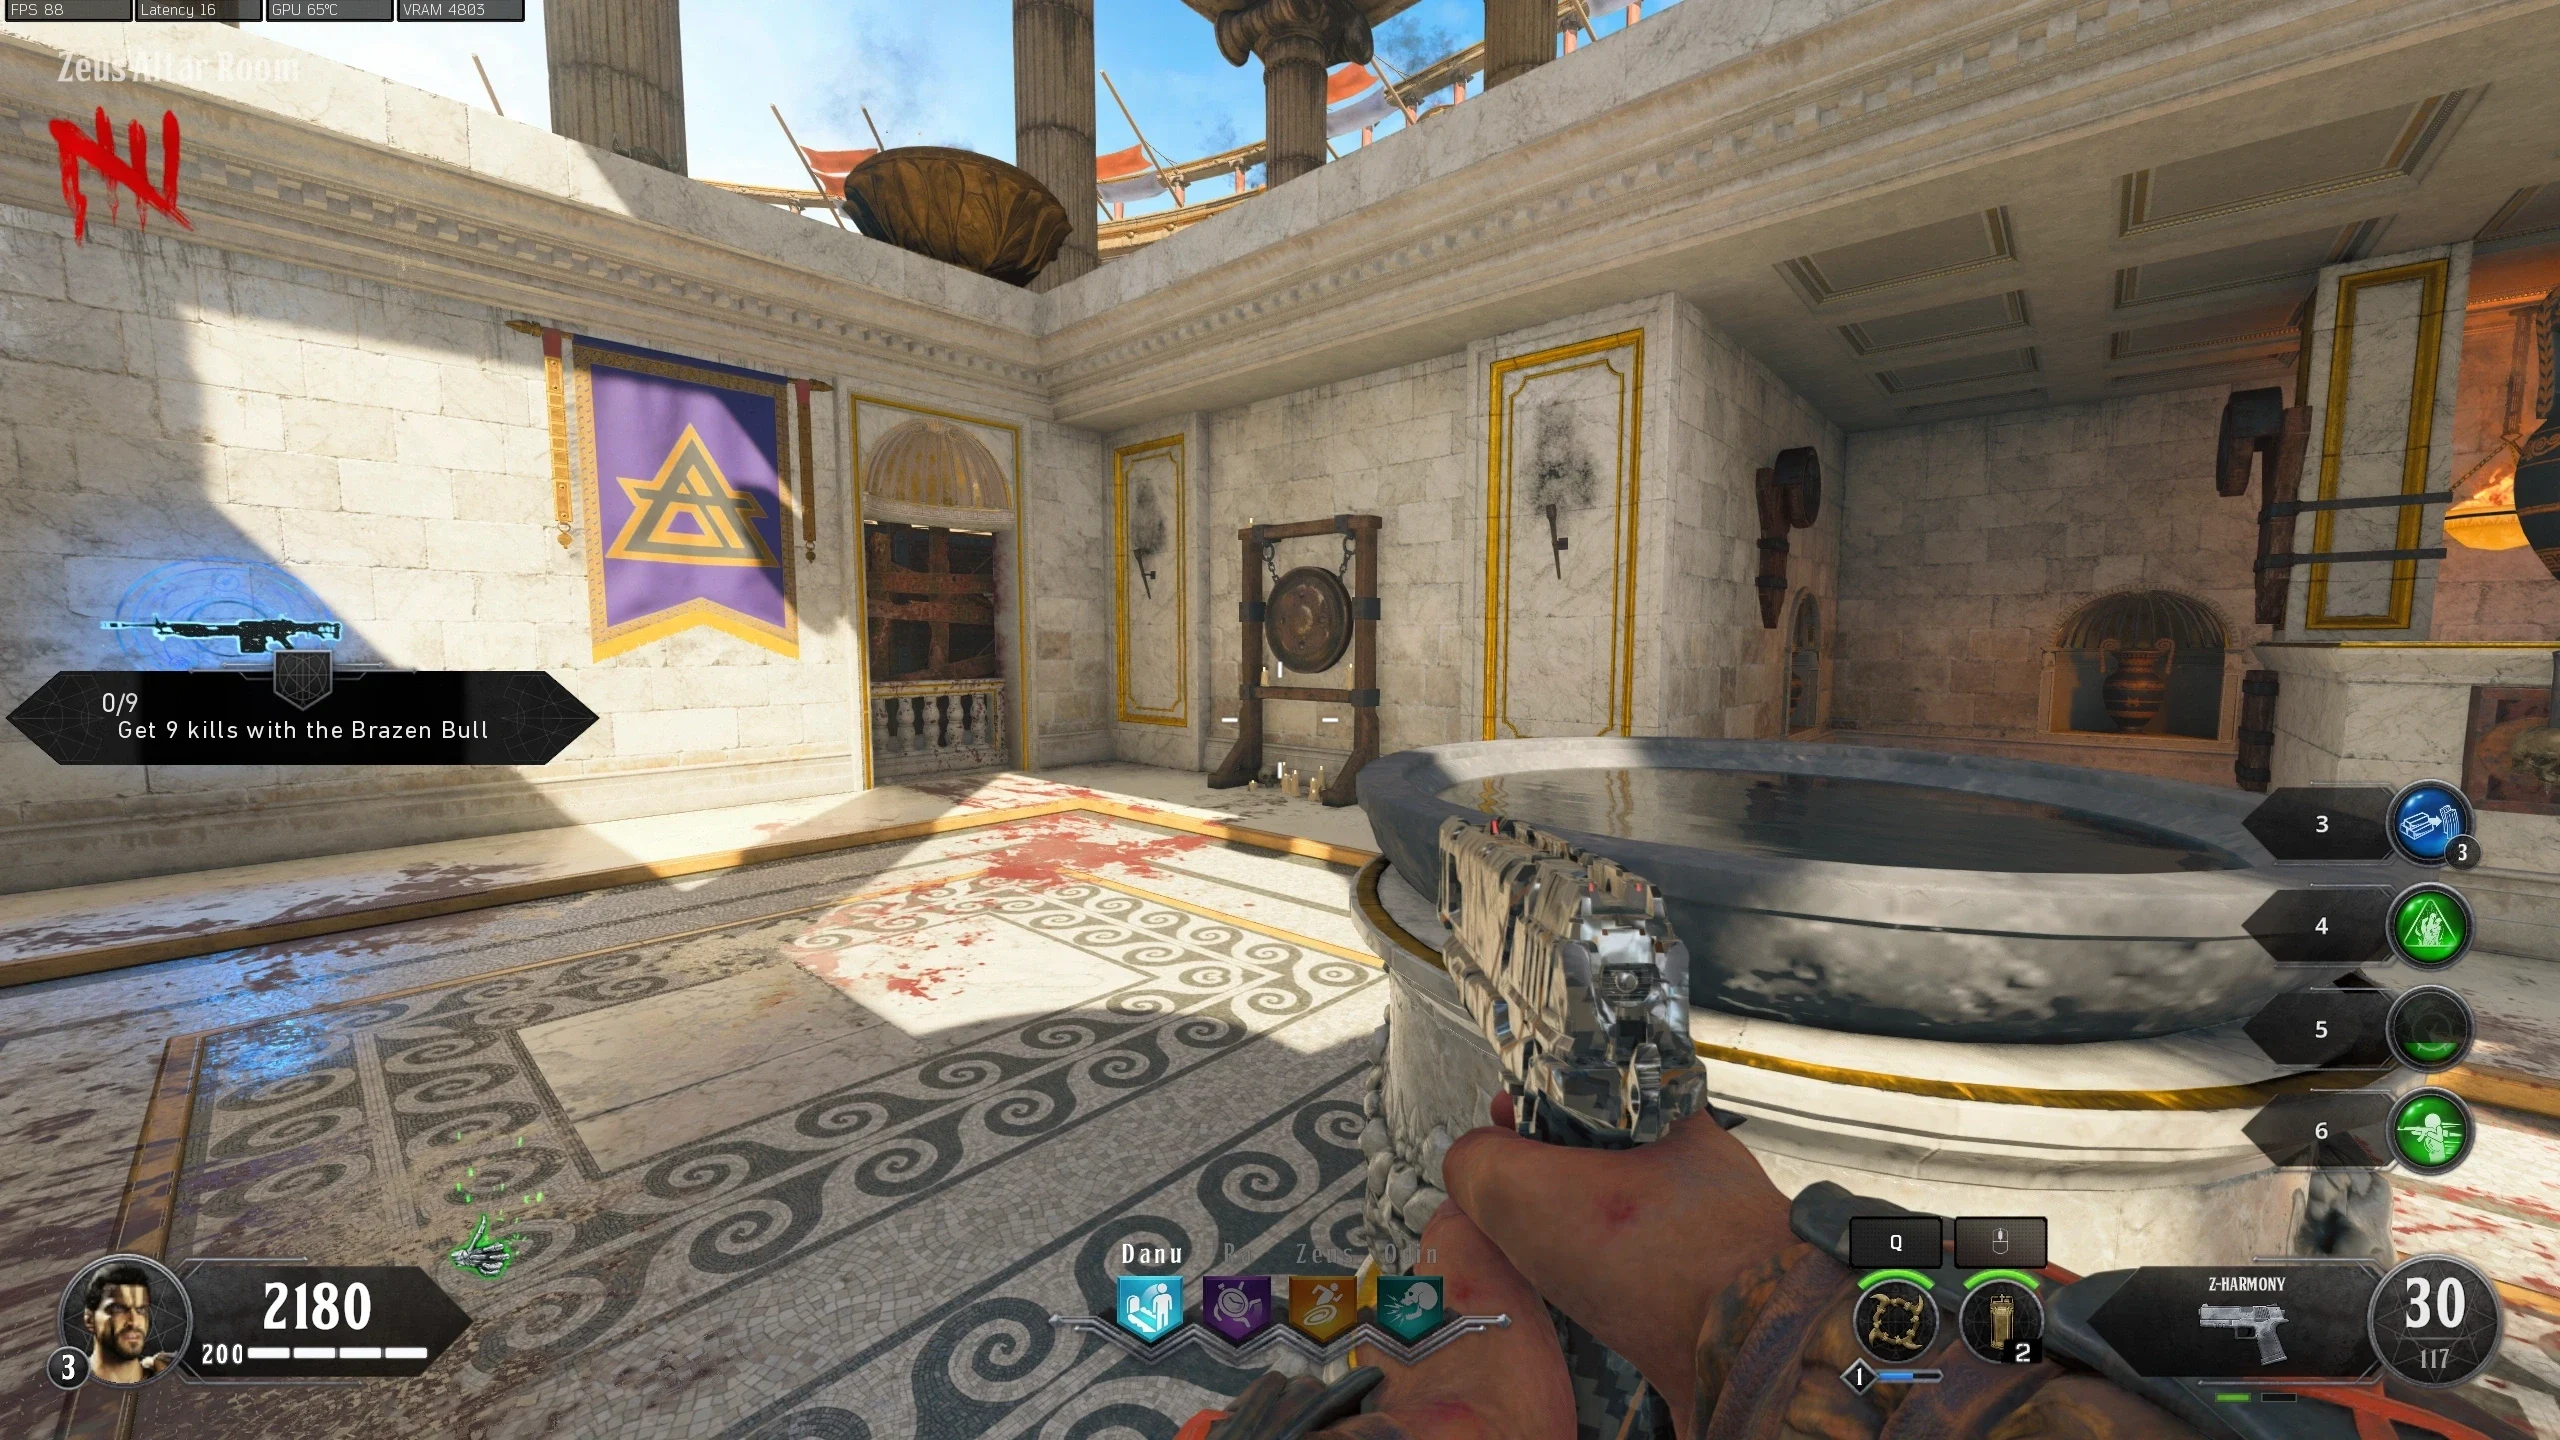
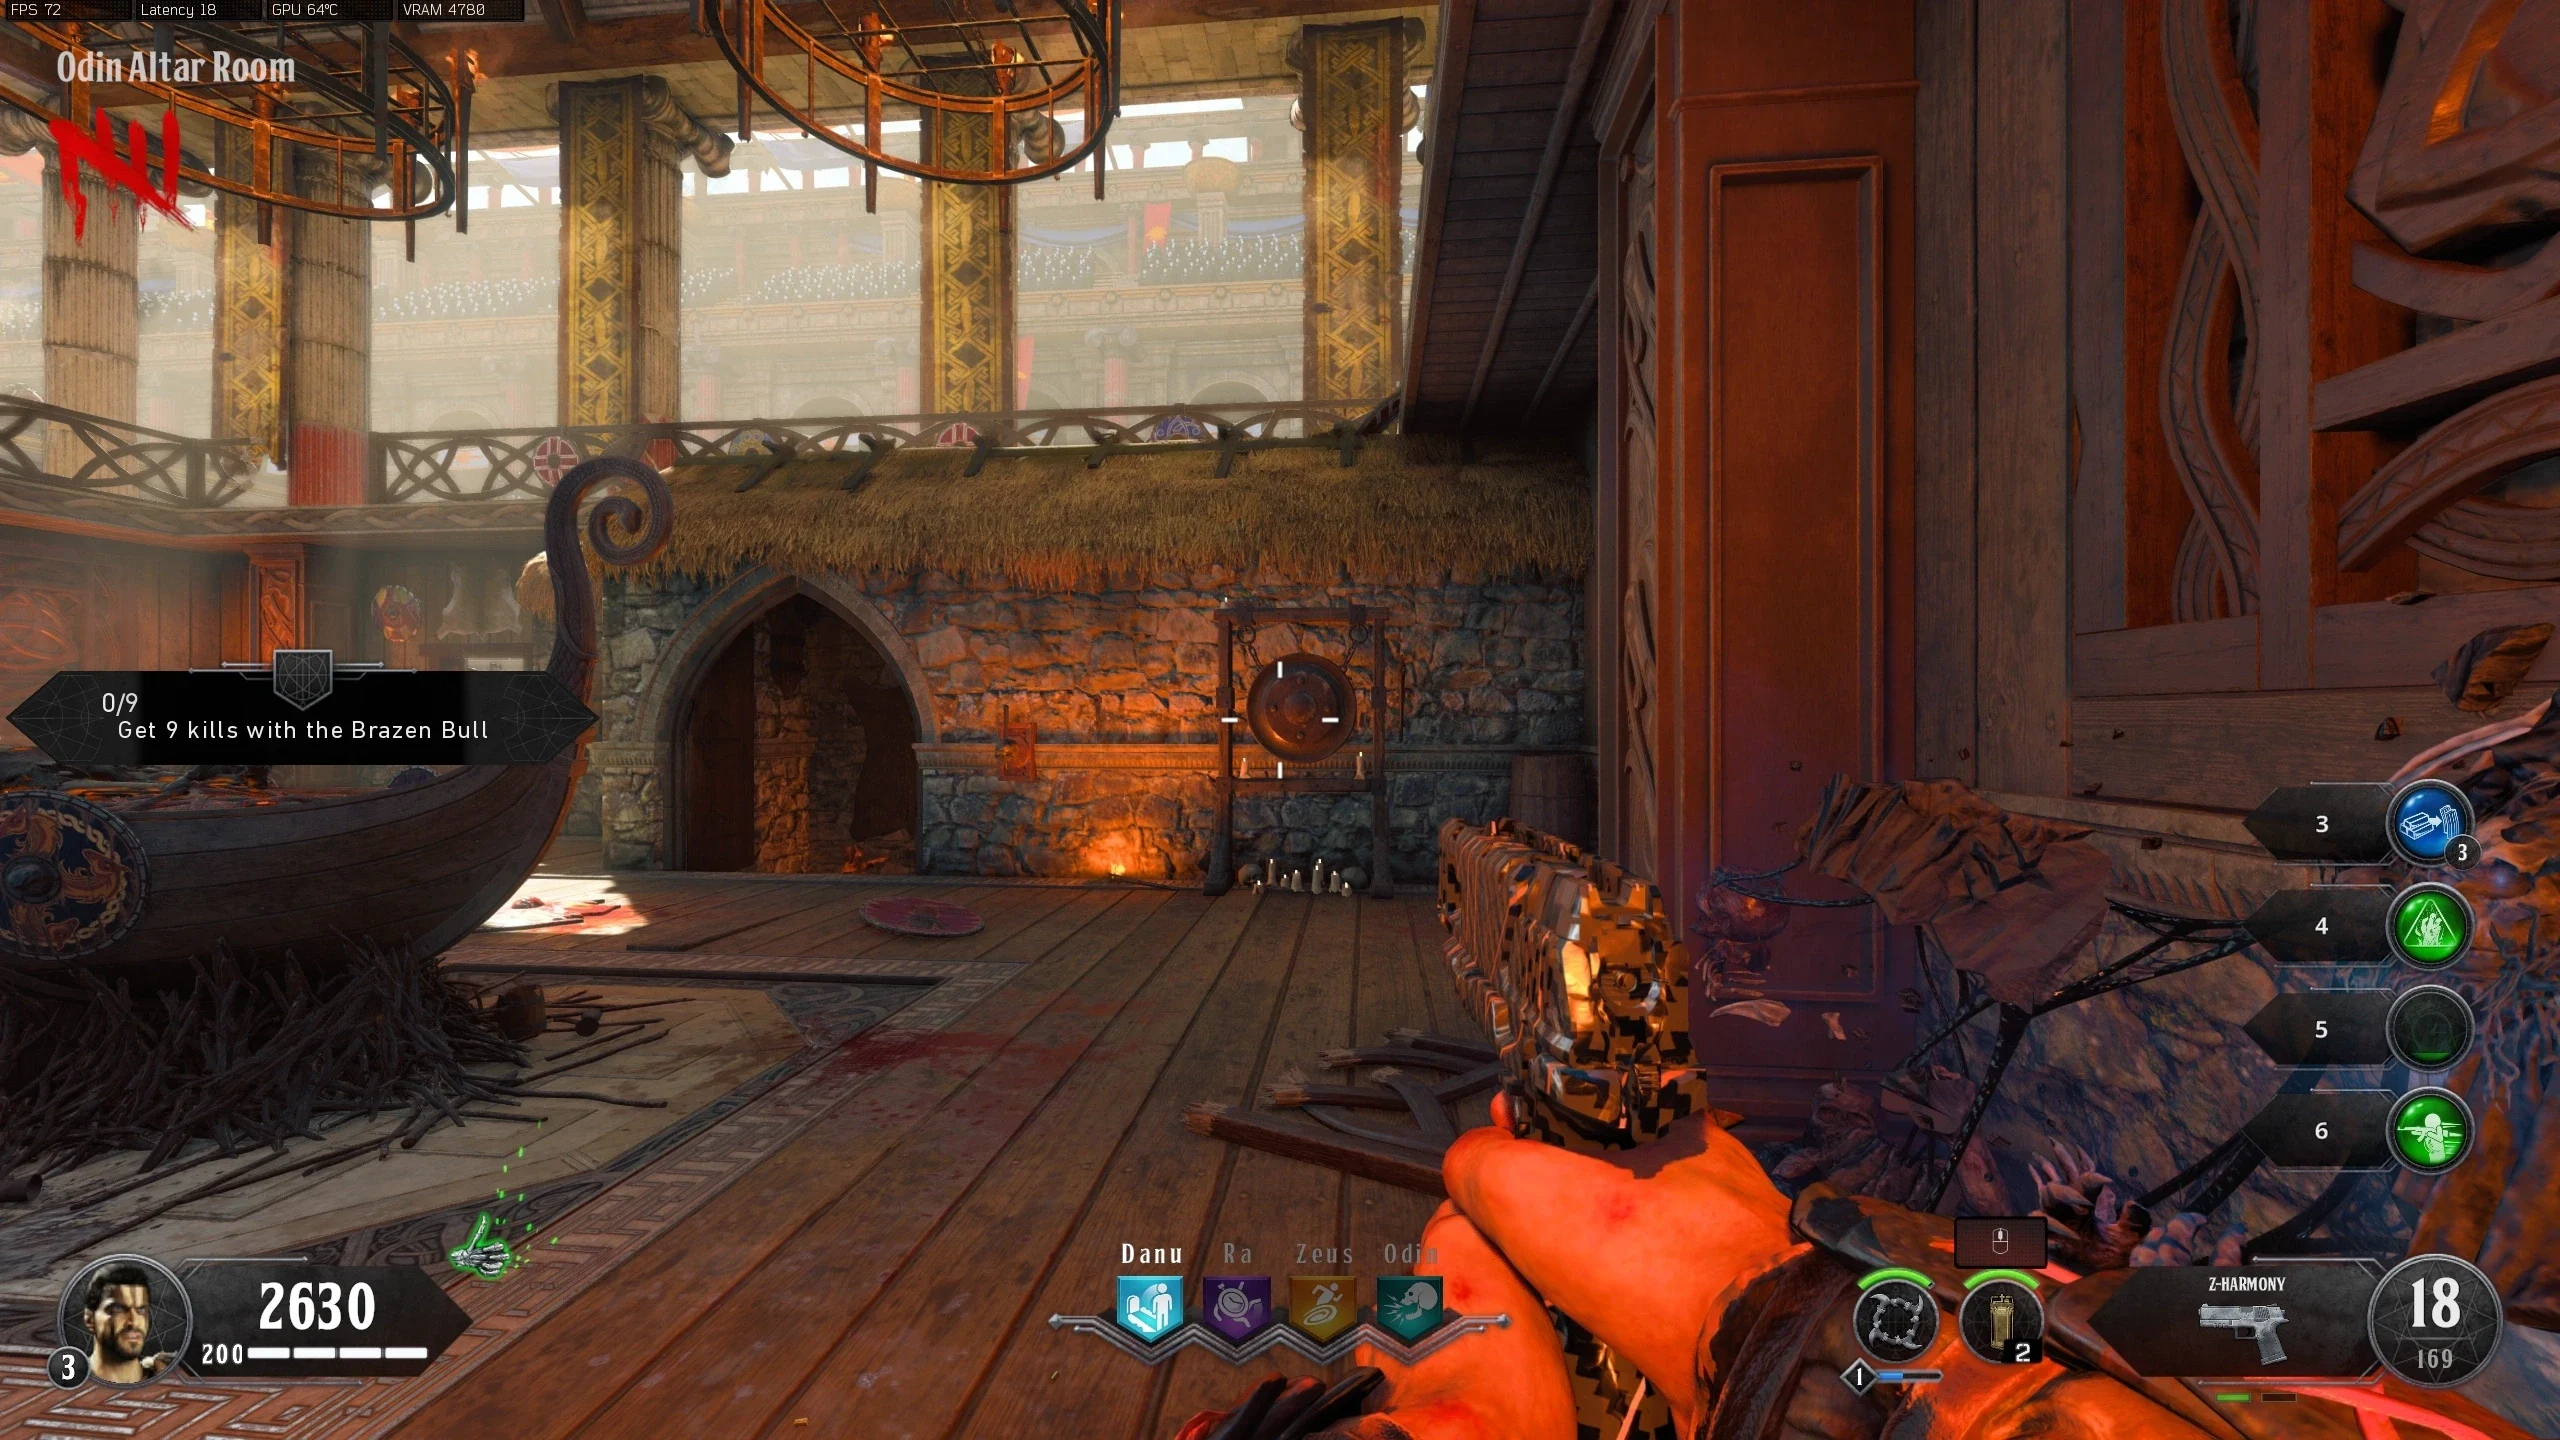
Challenge Banners
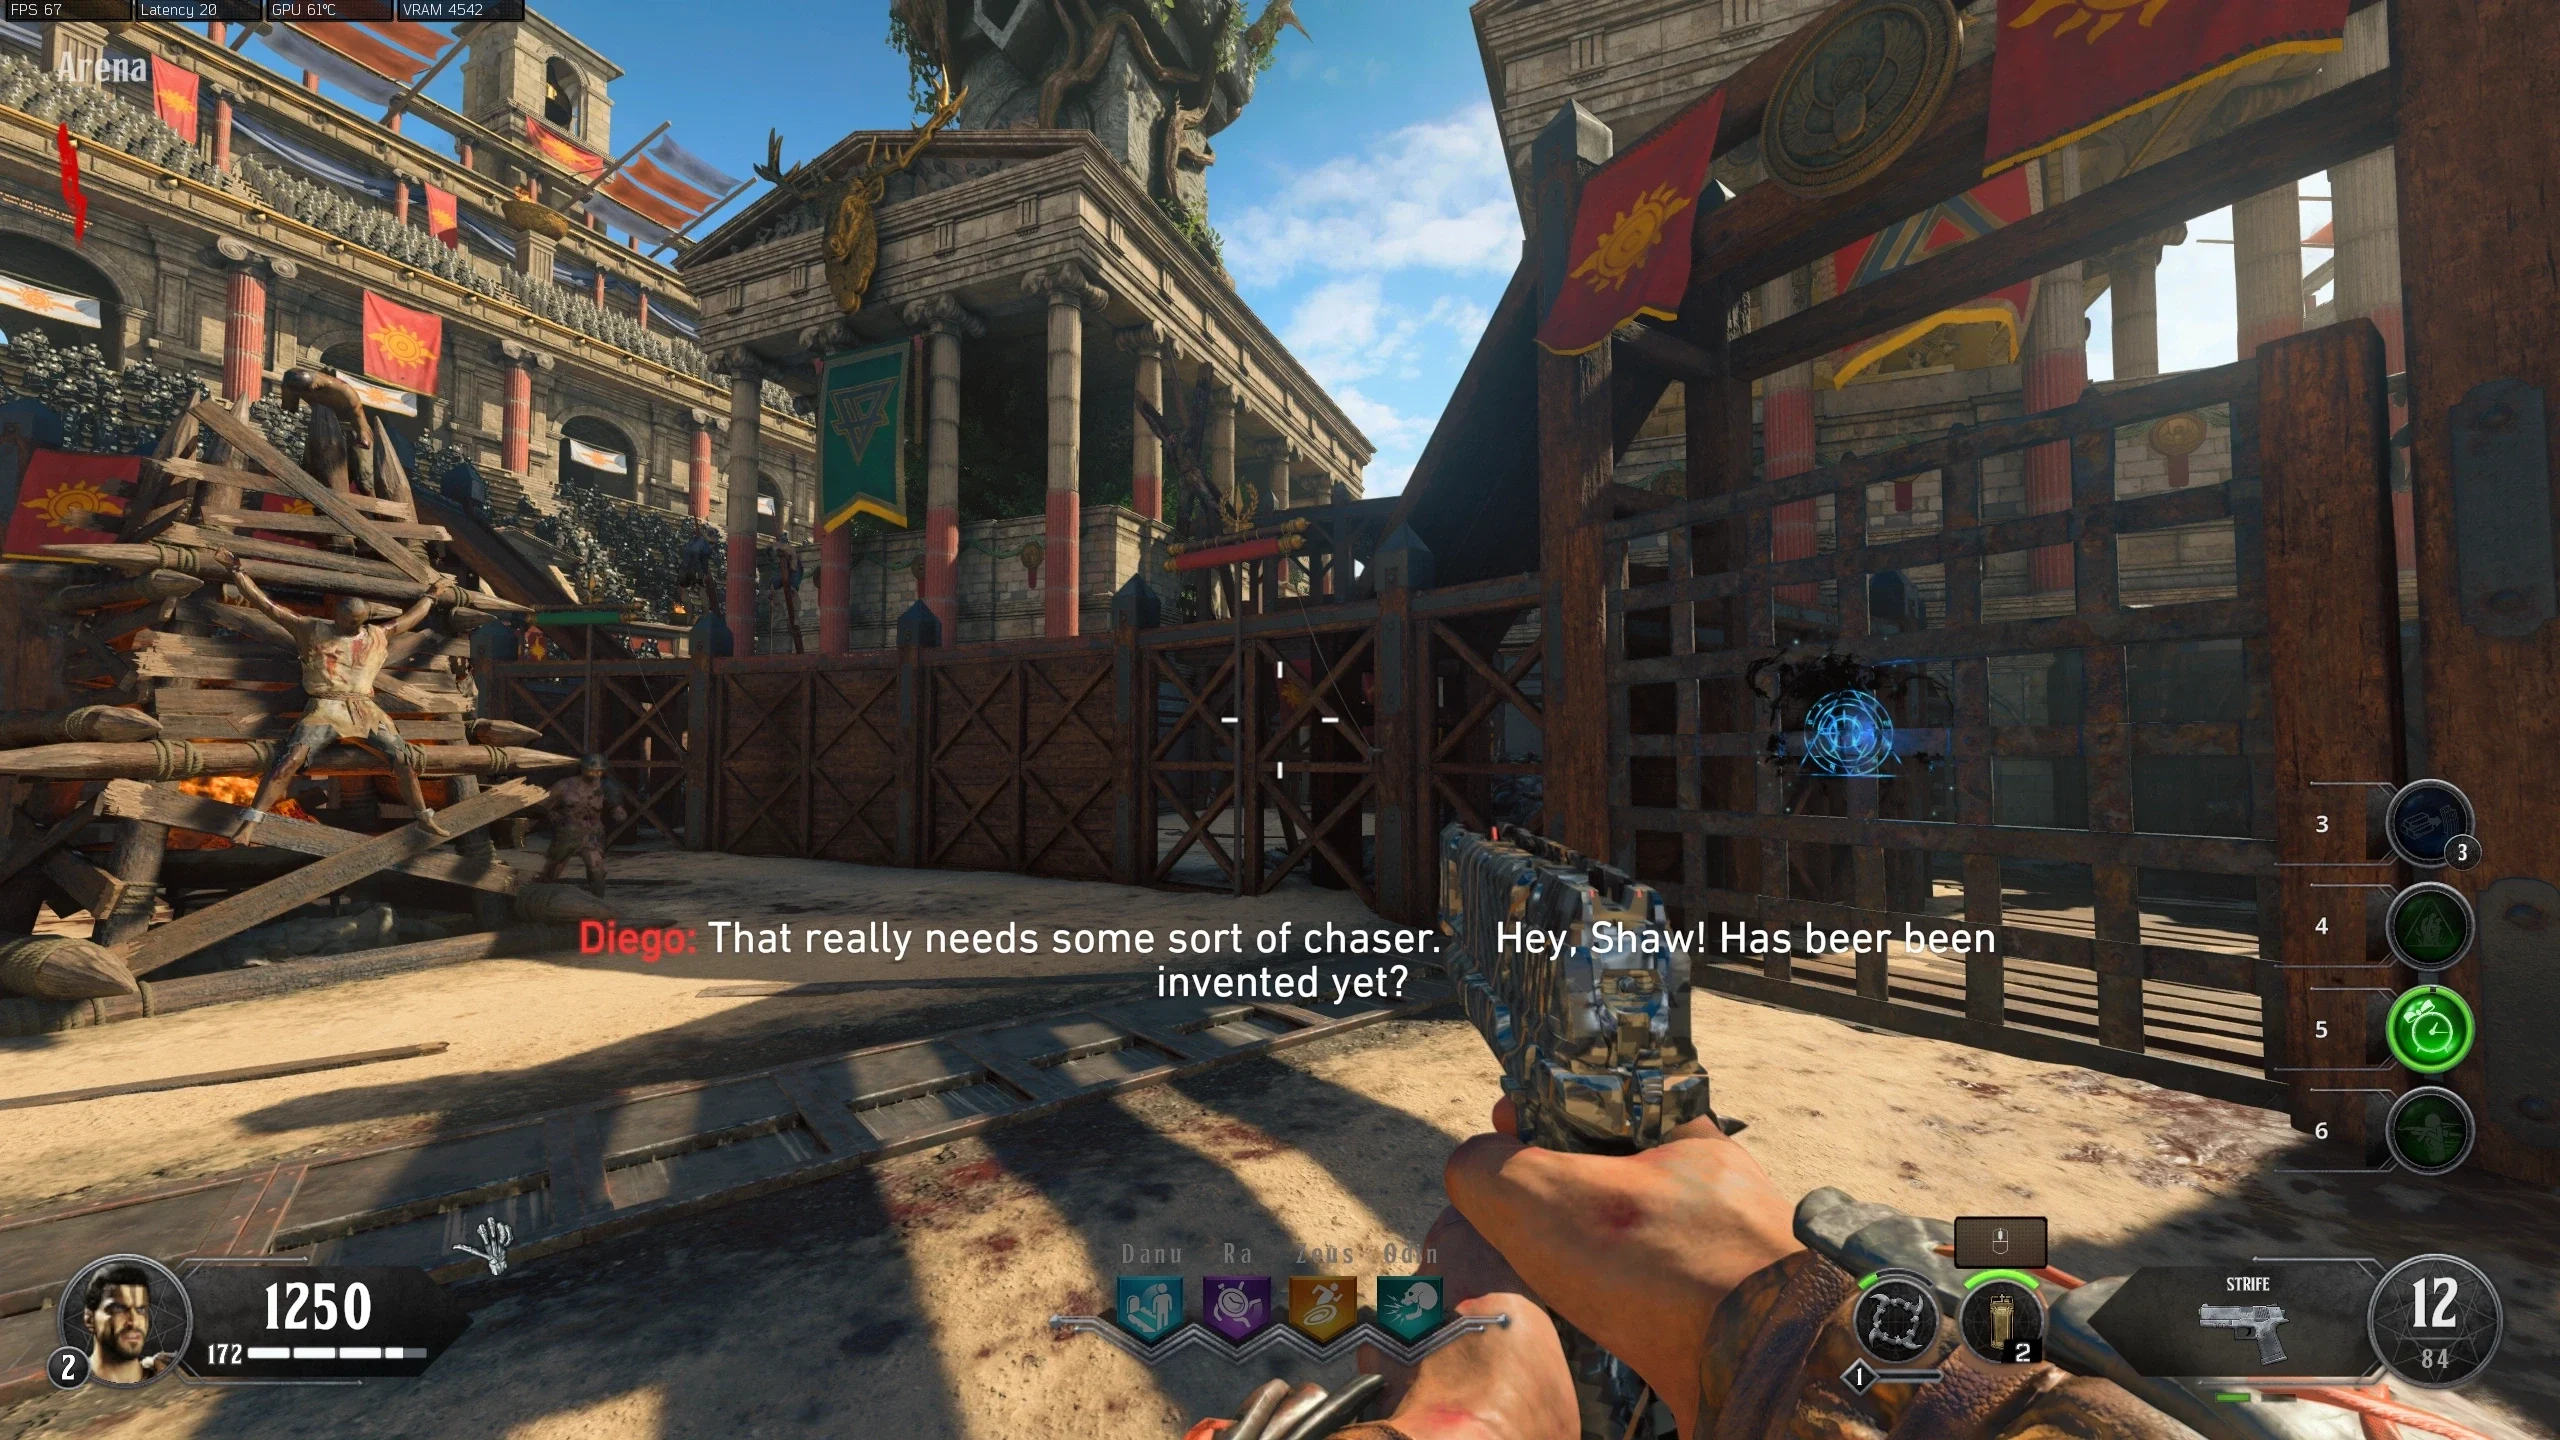
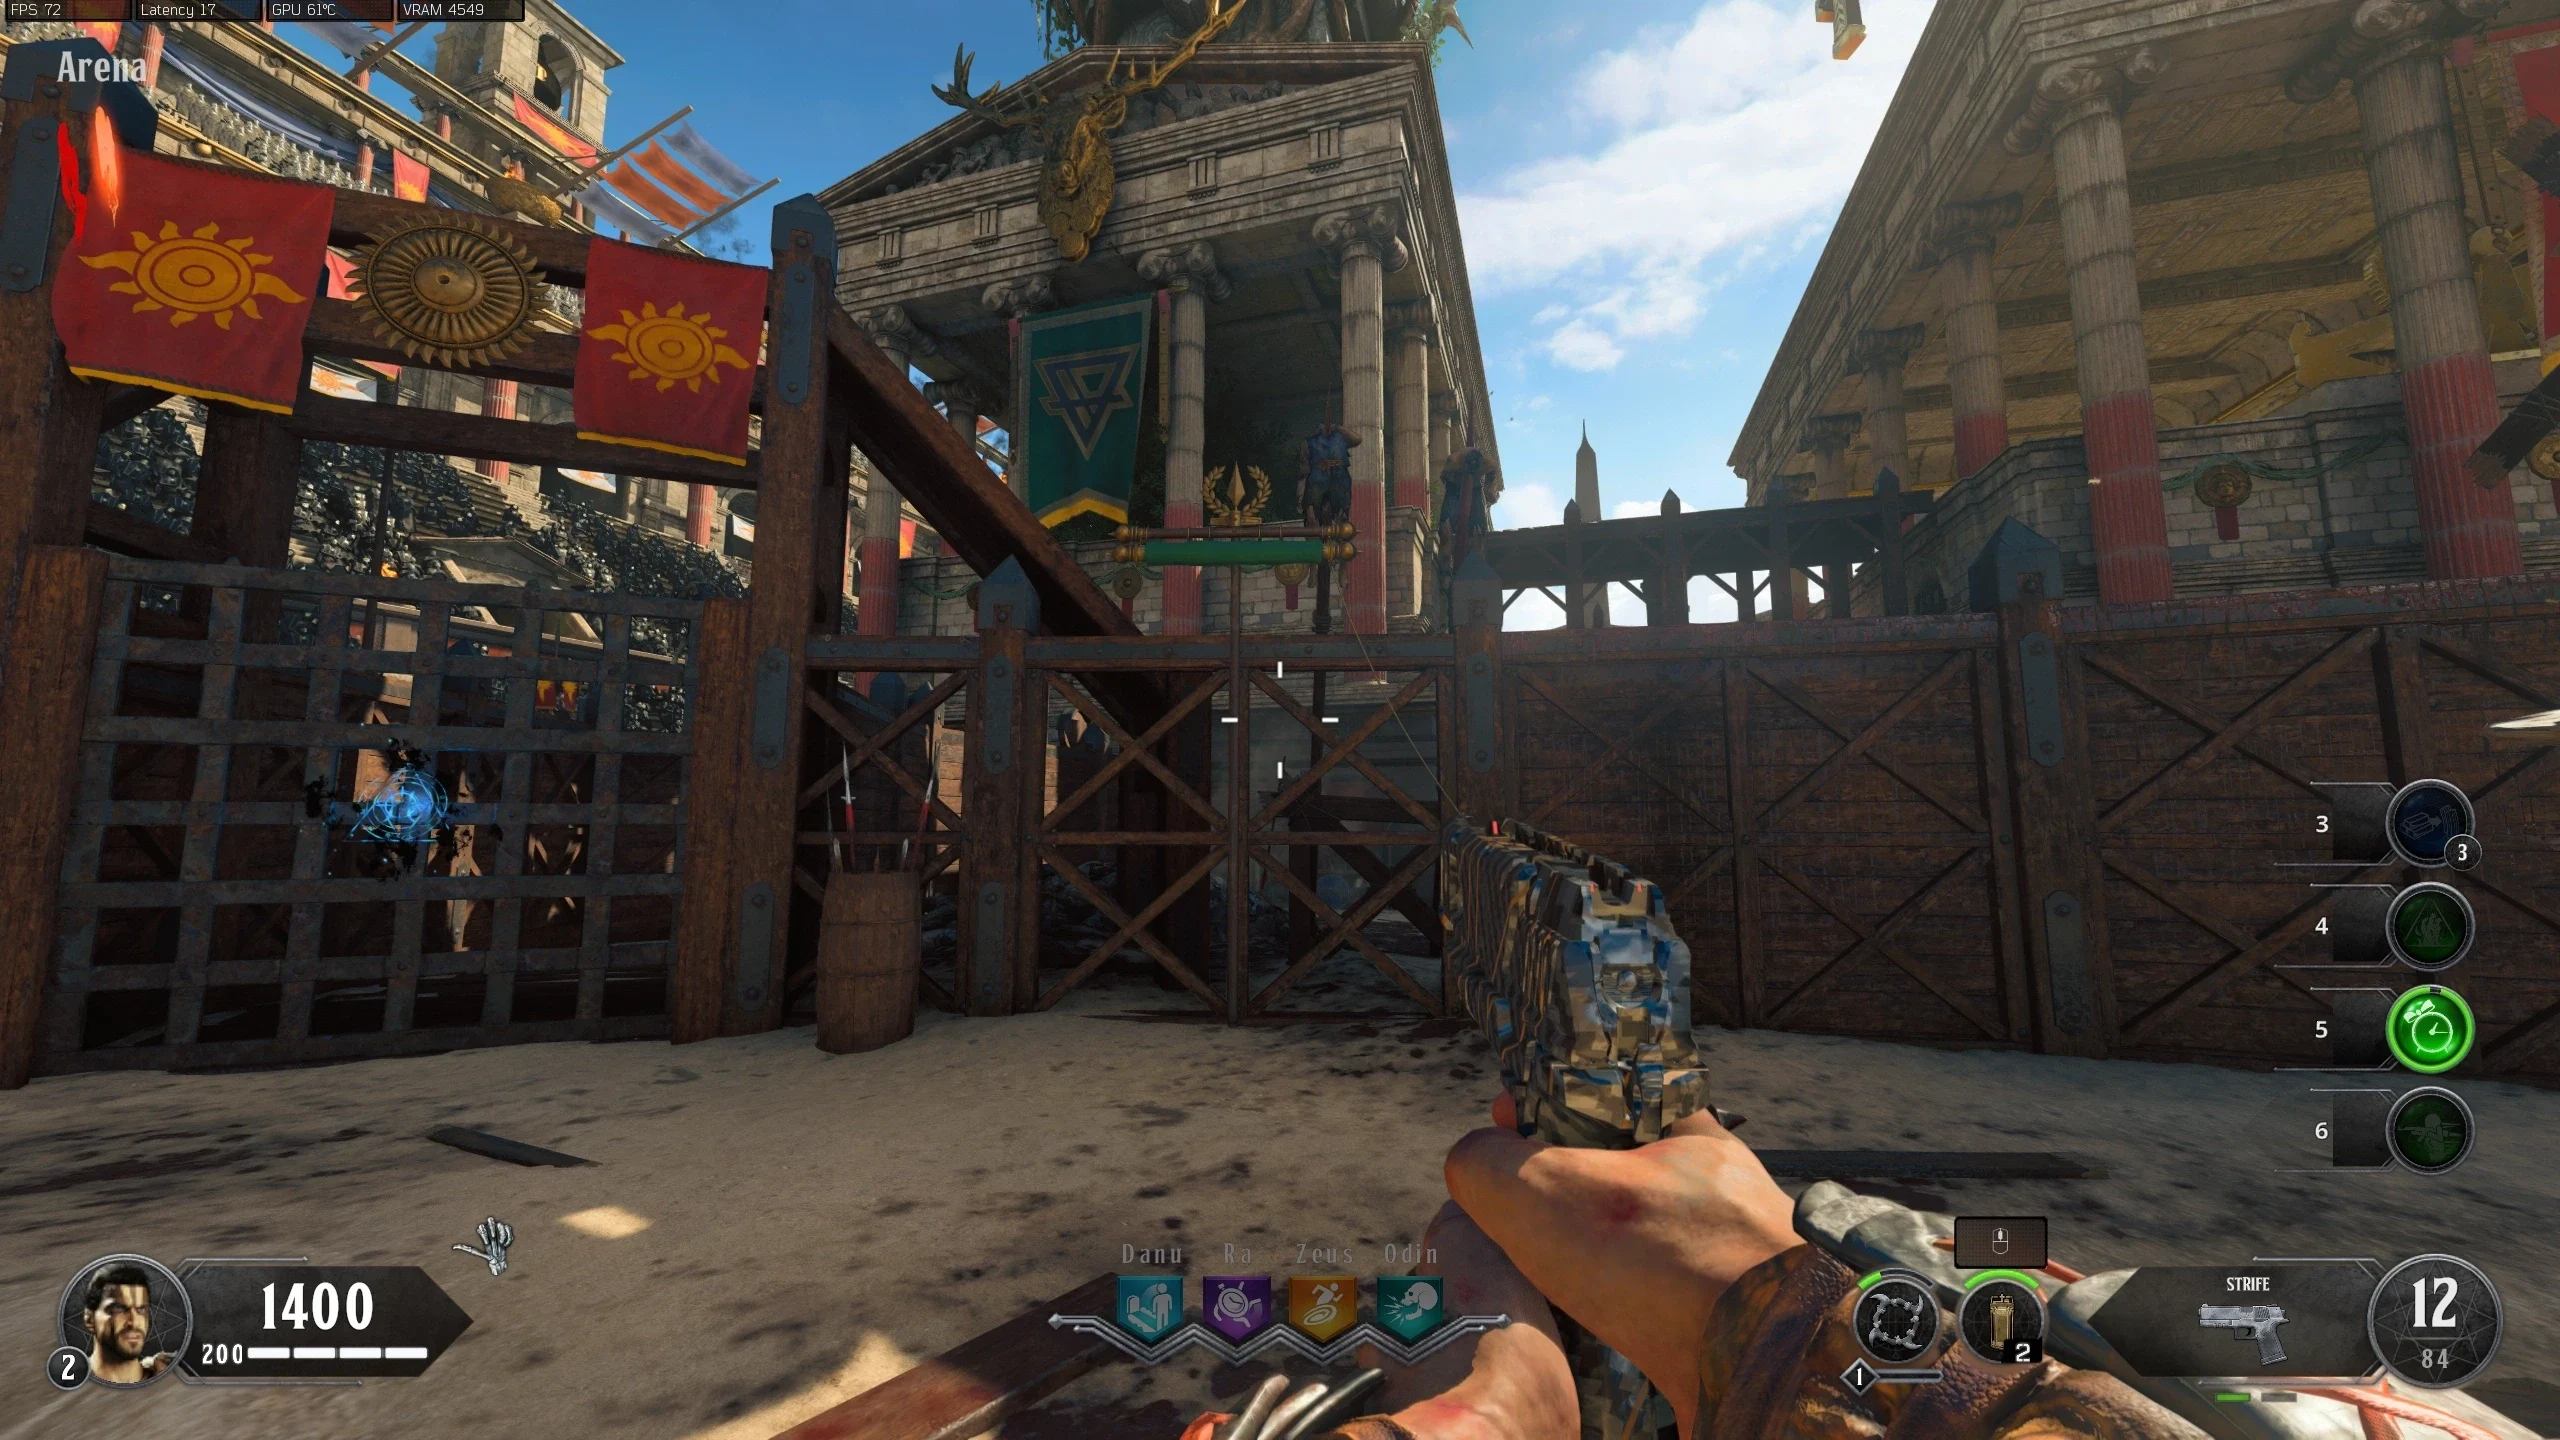
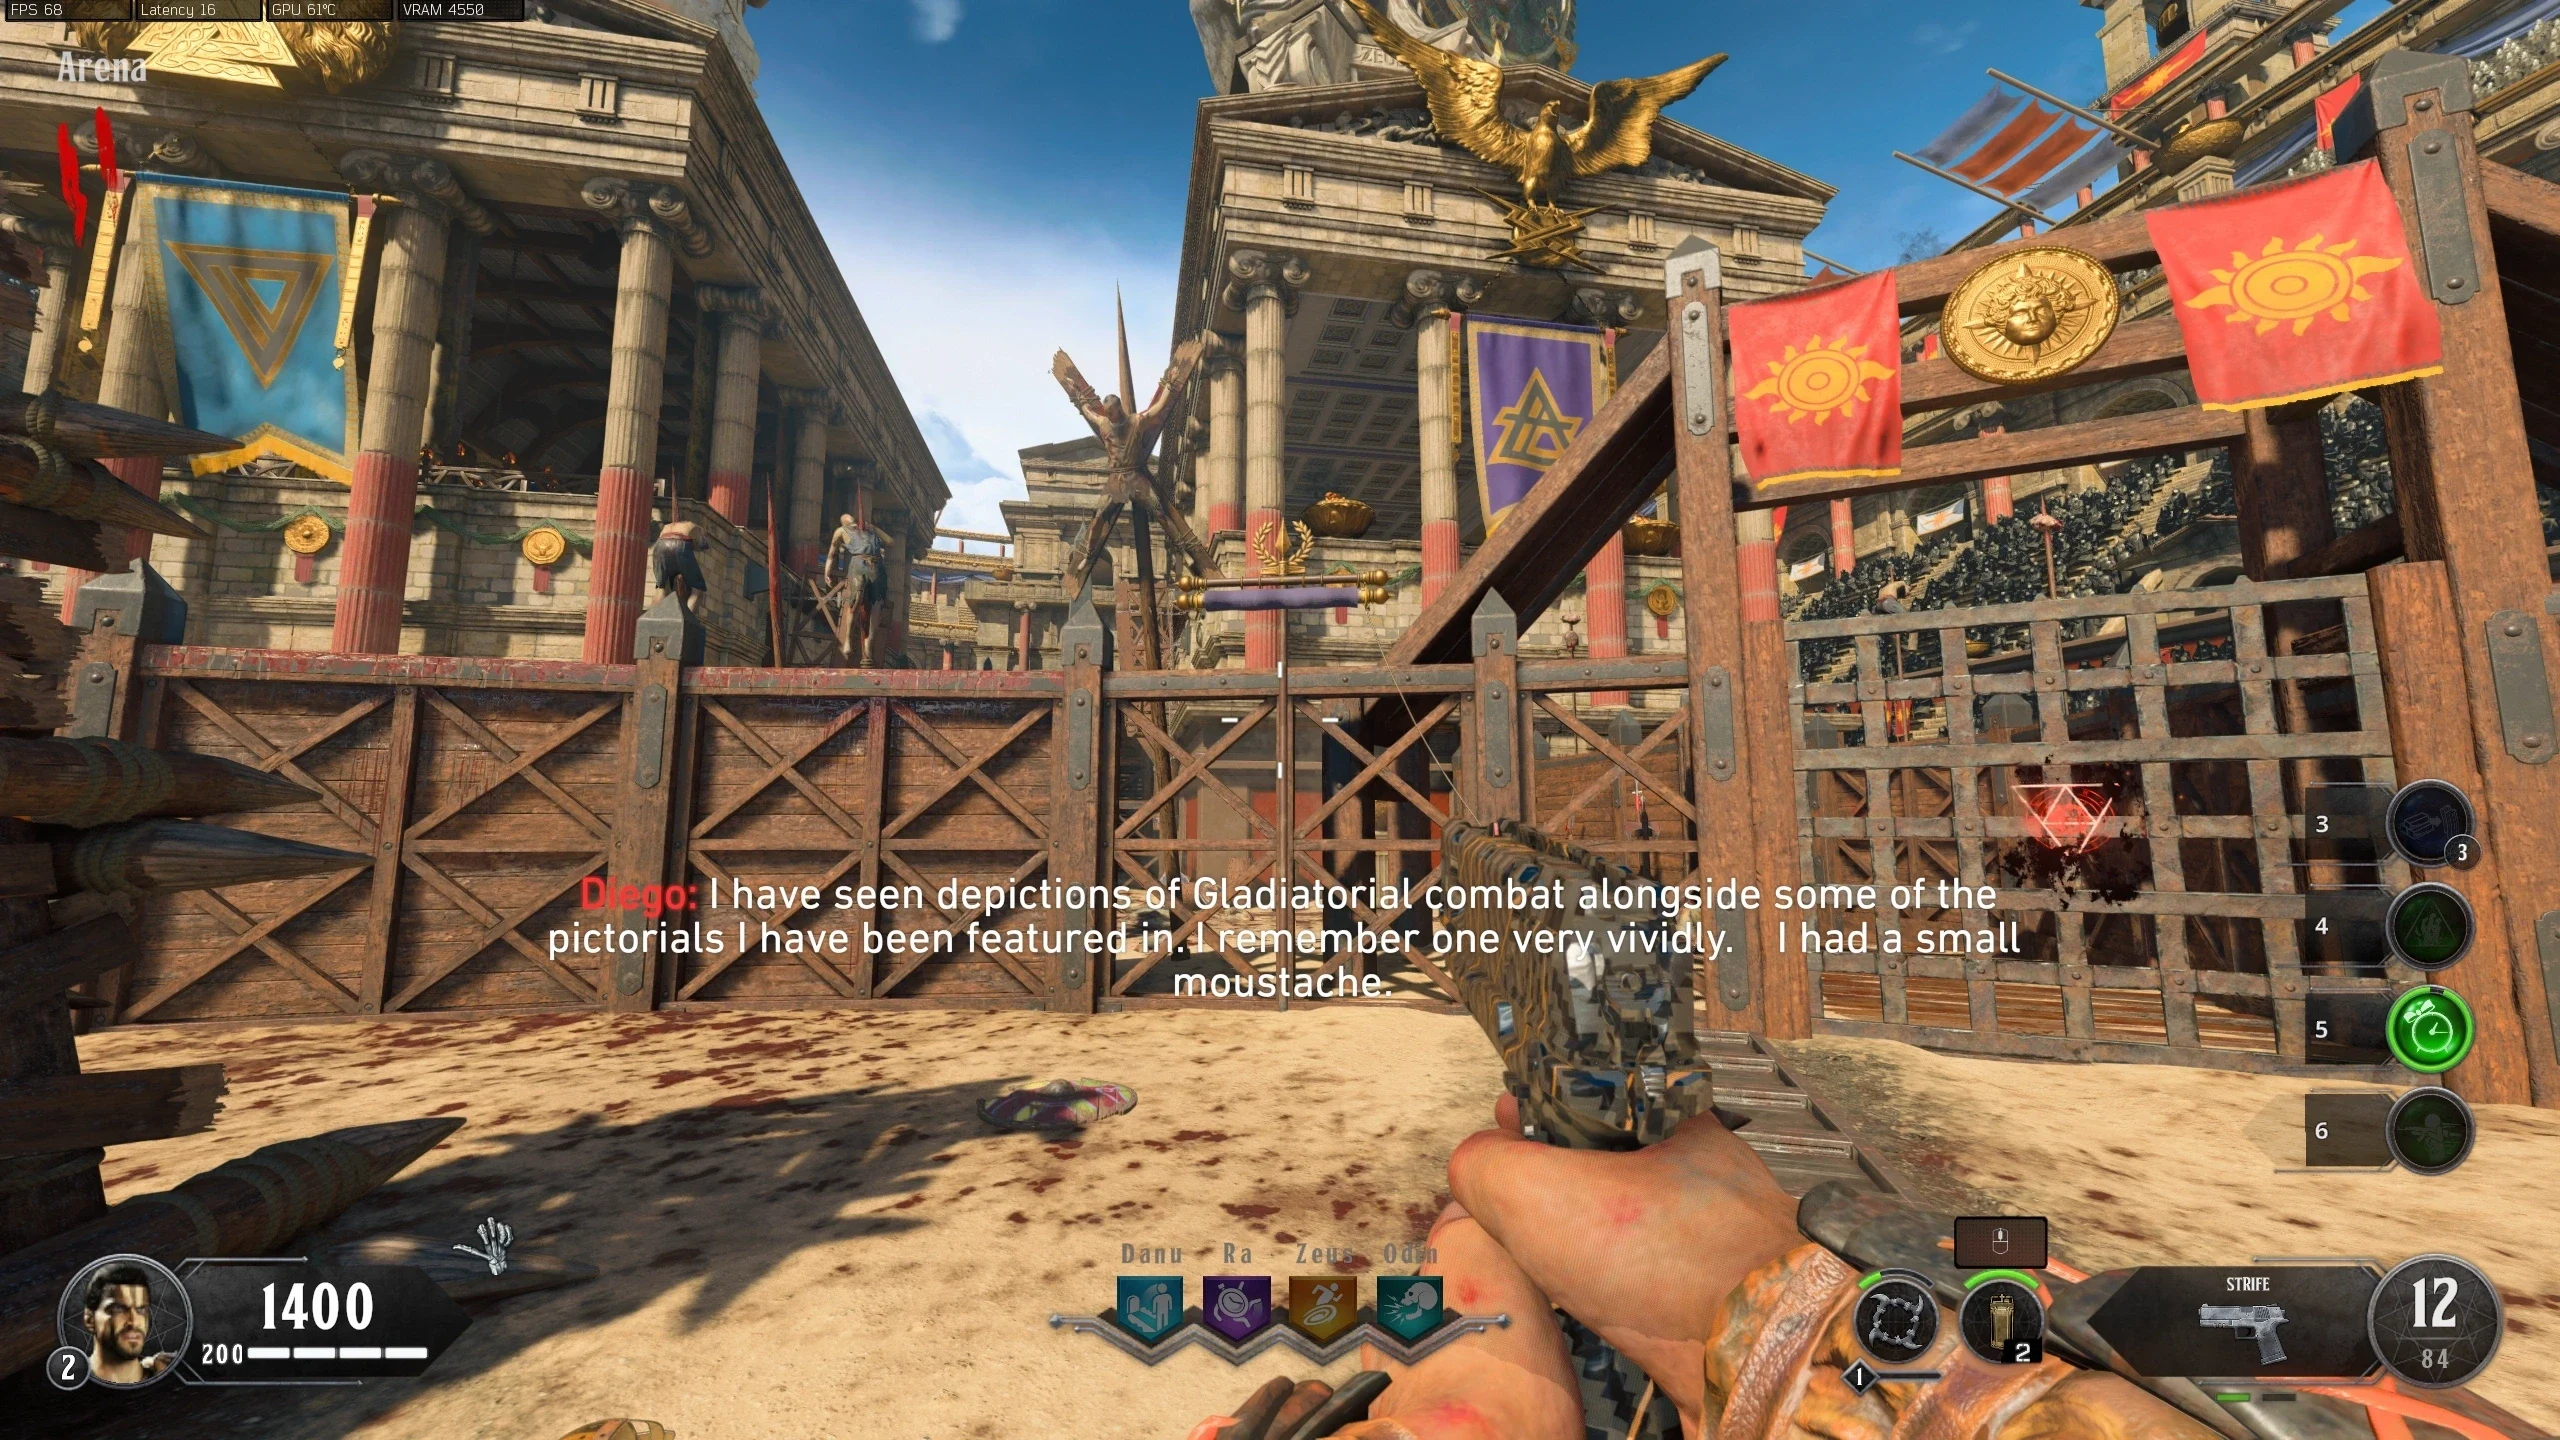
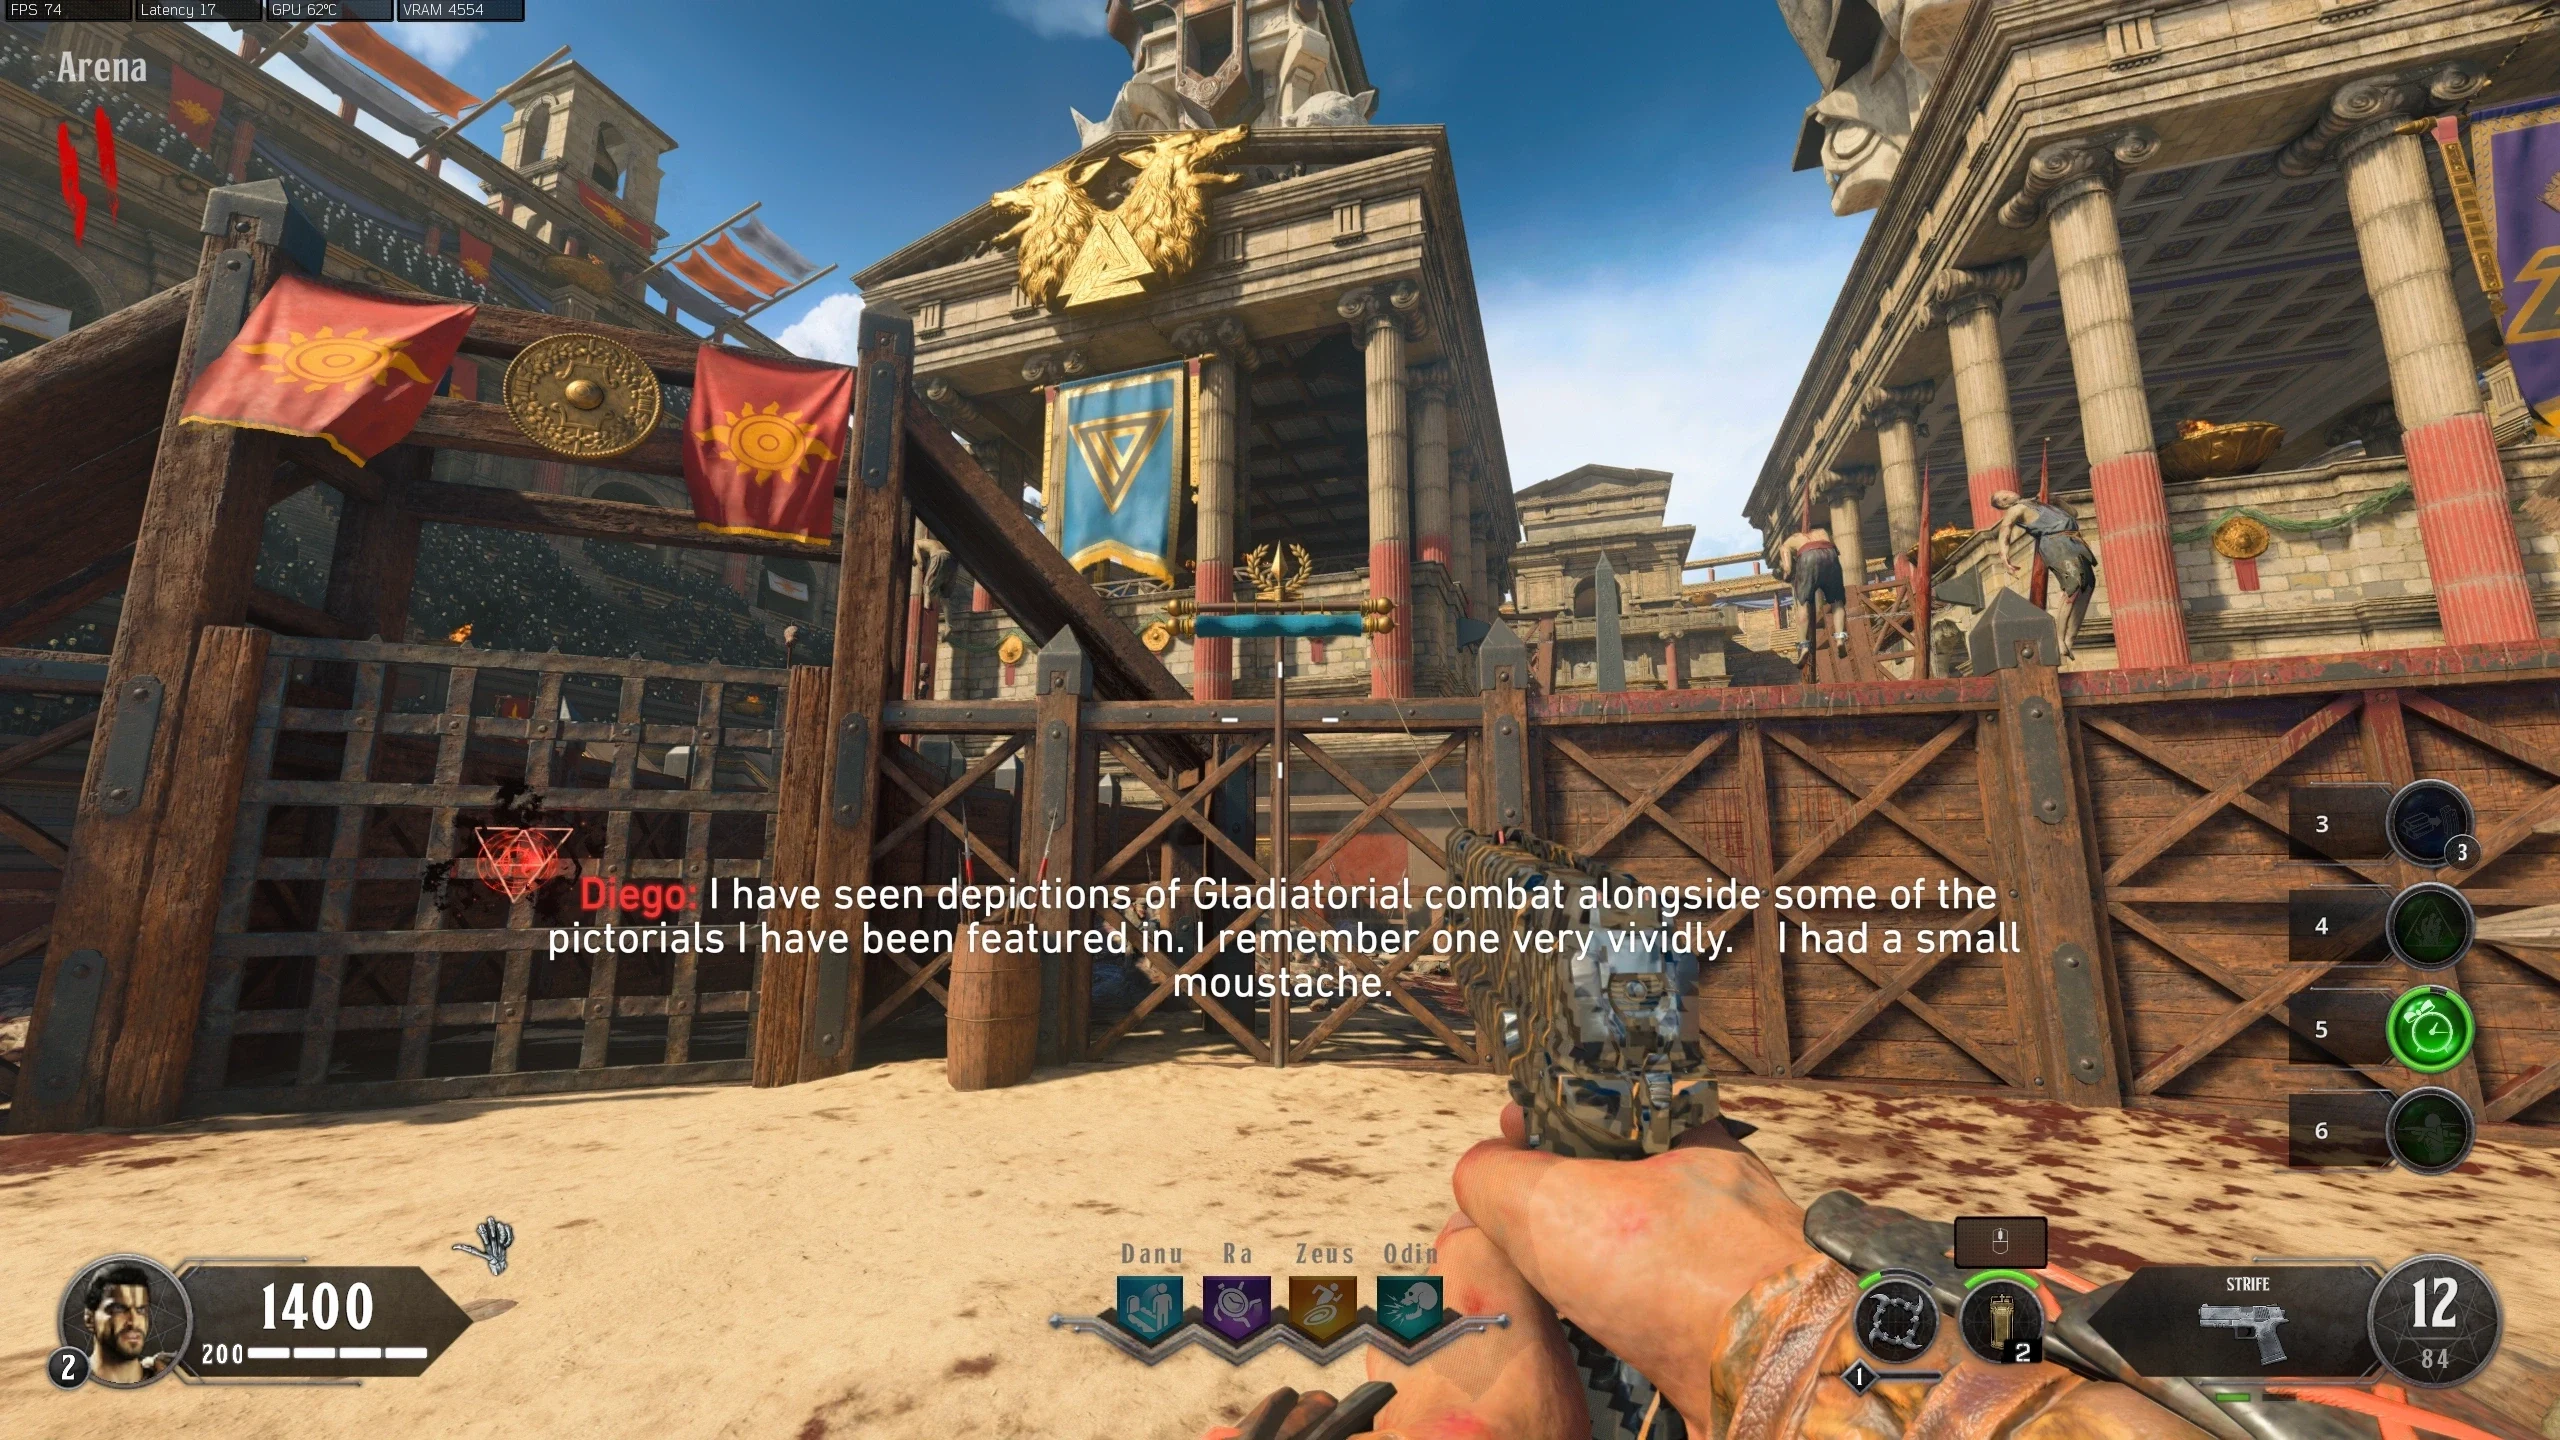
- Around the walls of the 'Arena,' there are four challenge banners that can be activated by cutting them down.
- After a challenge is completed, you can return to your flaming bowl on the 'Challenge Podium' and either accept or reject the reward.
- There are nine tiers of challenges, each tier has three options, and each tier has a specific reward:
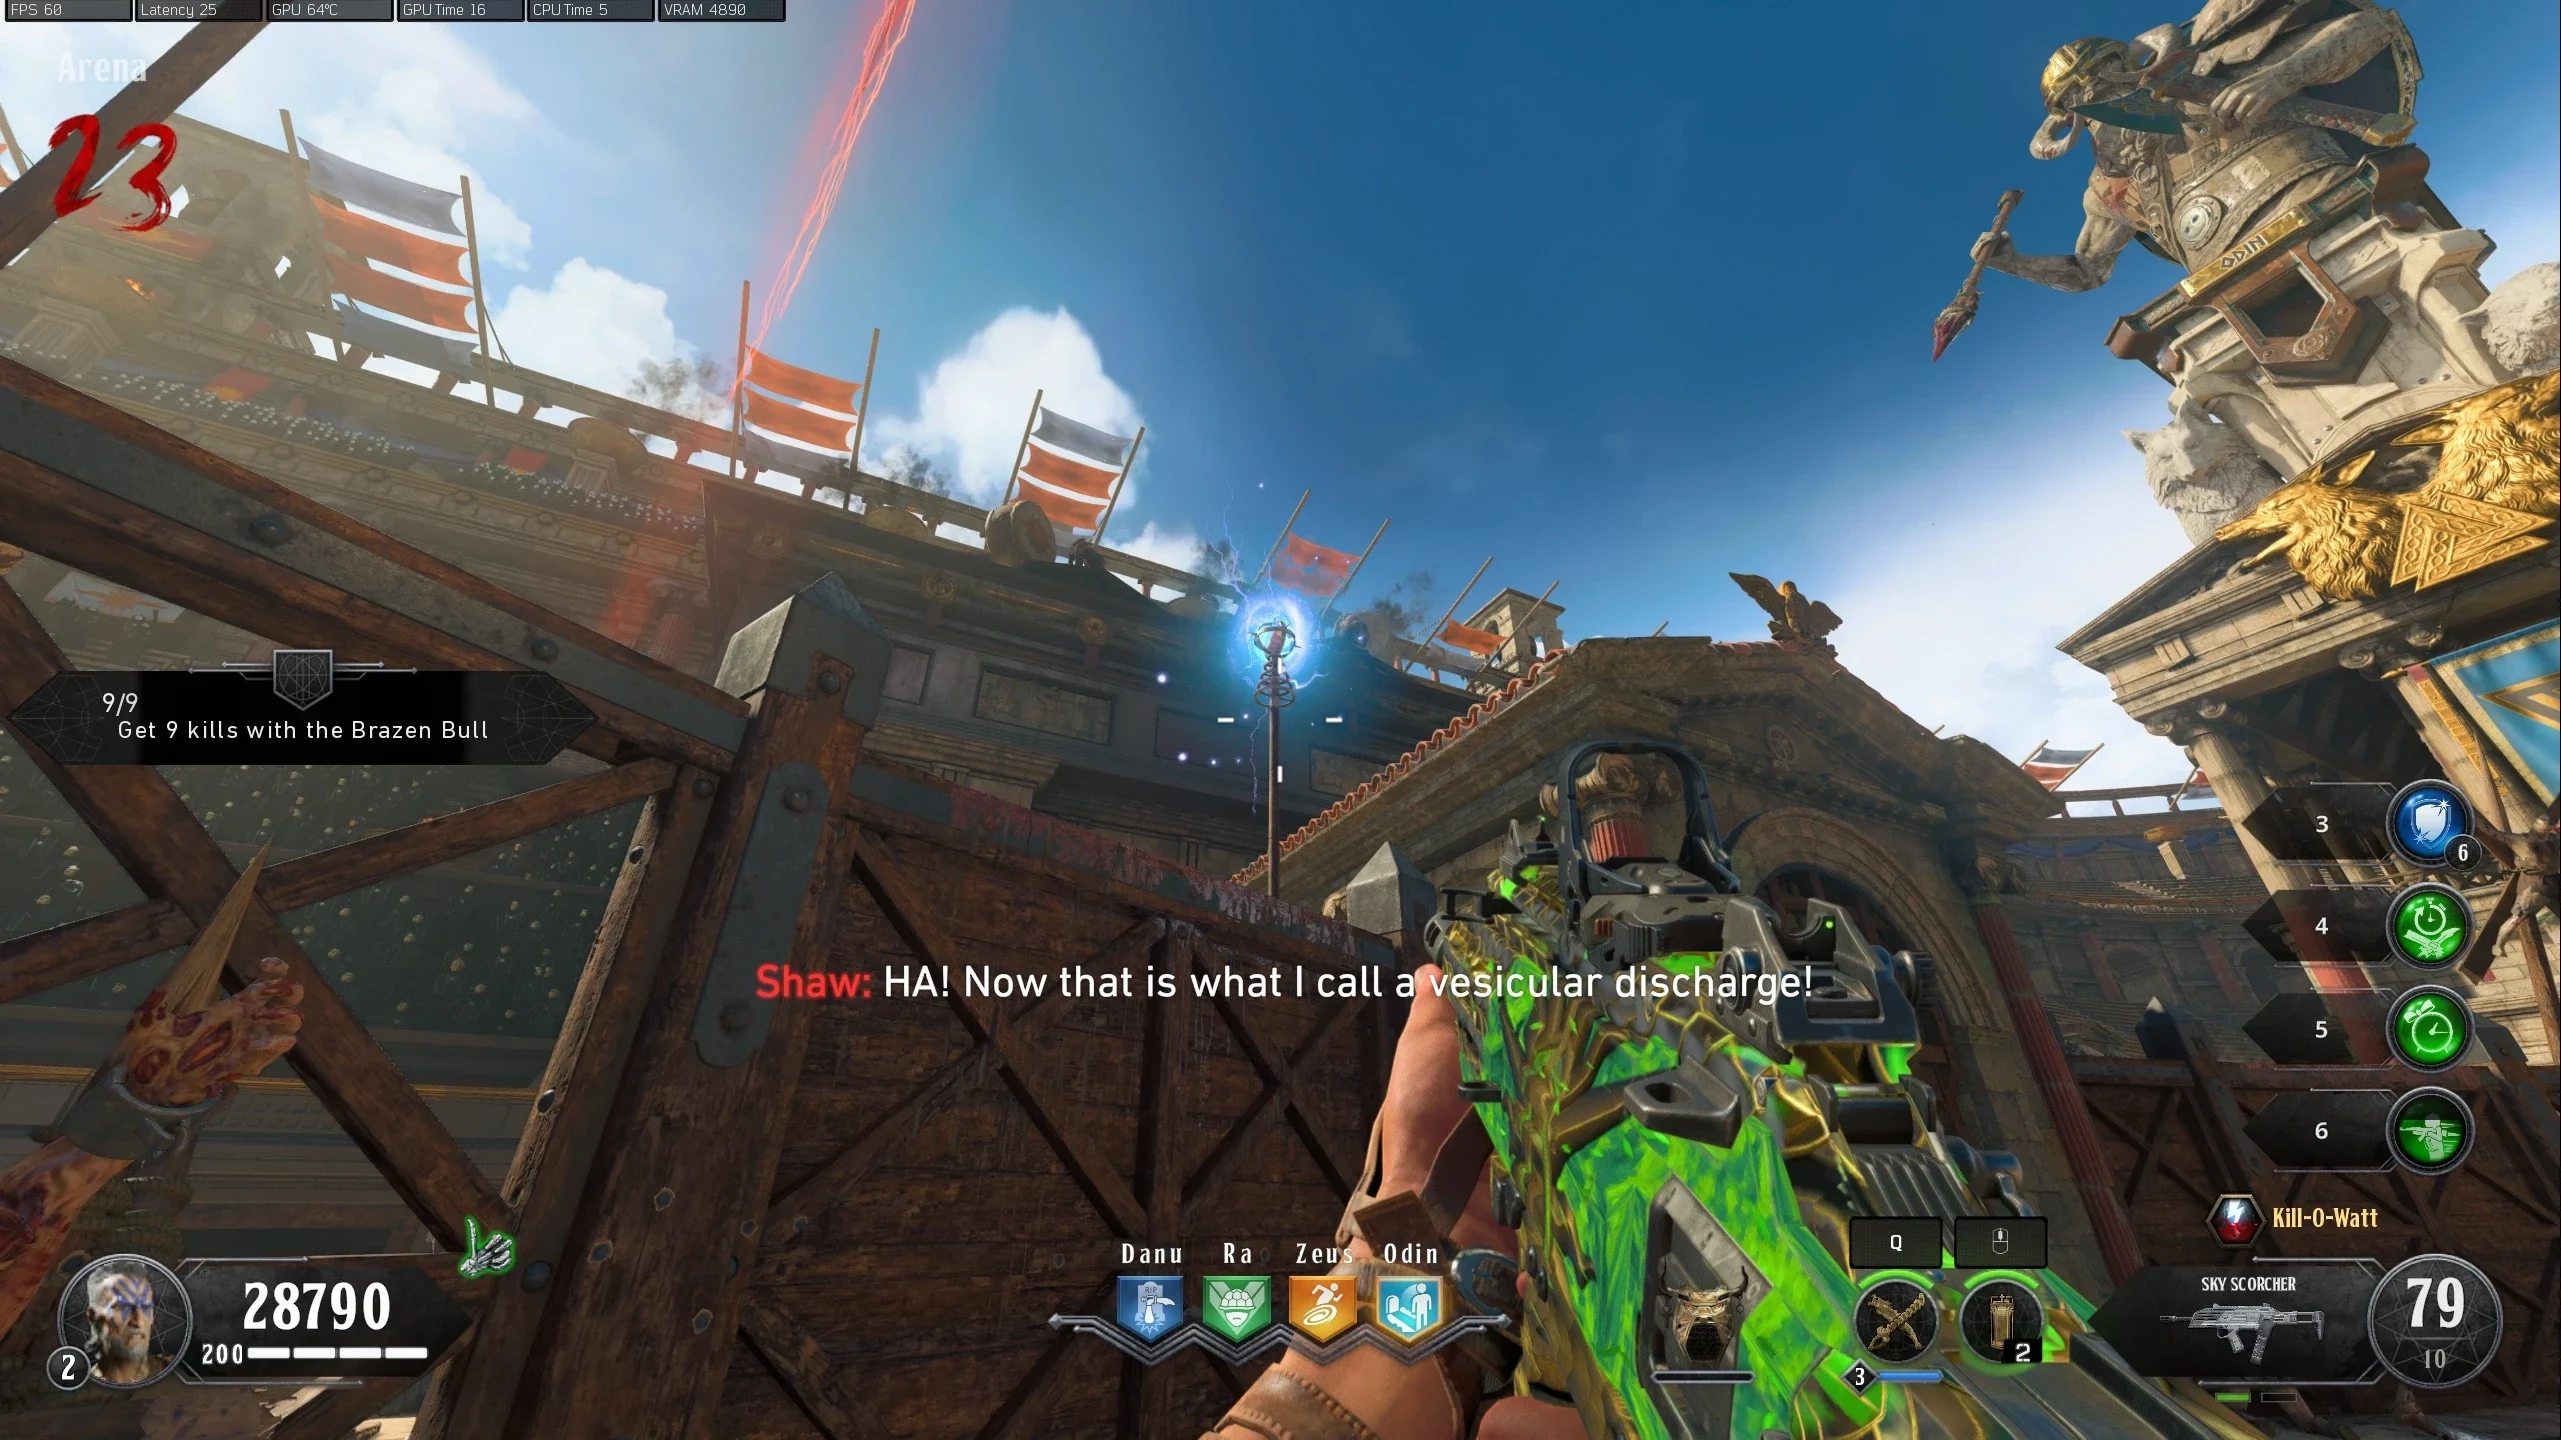
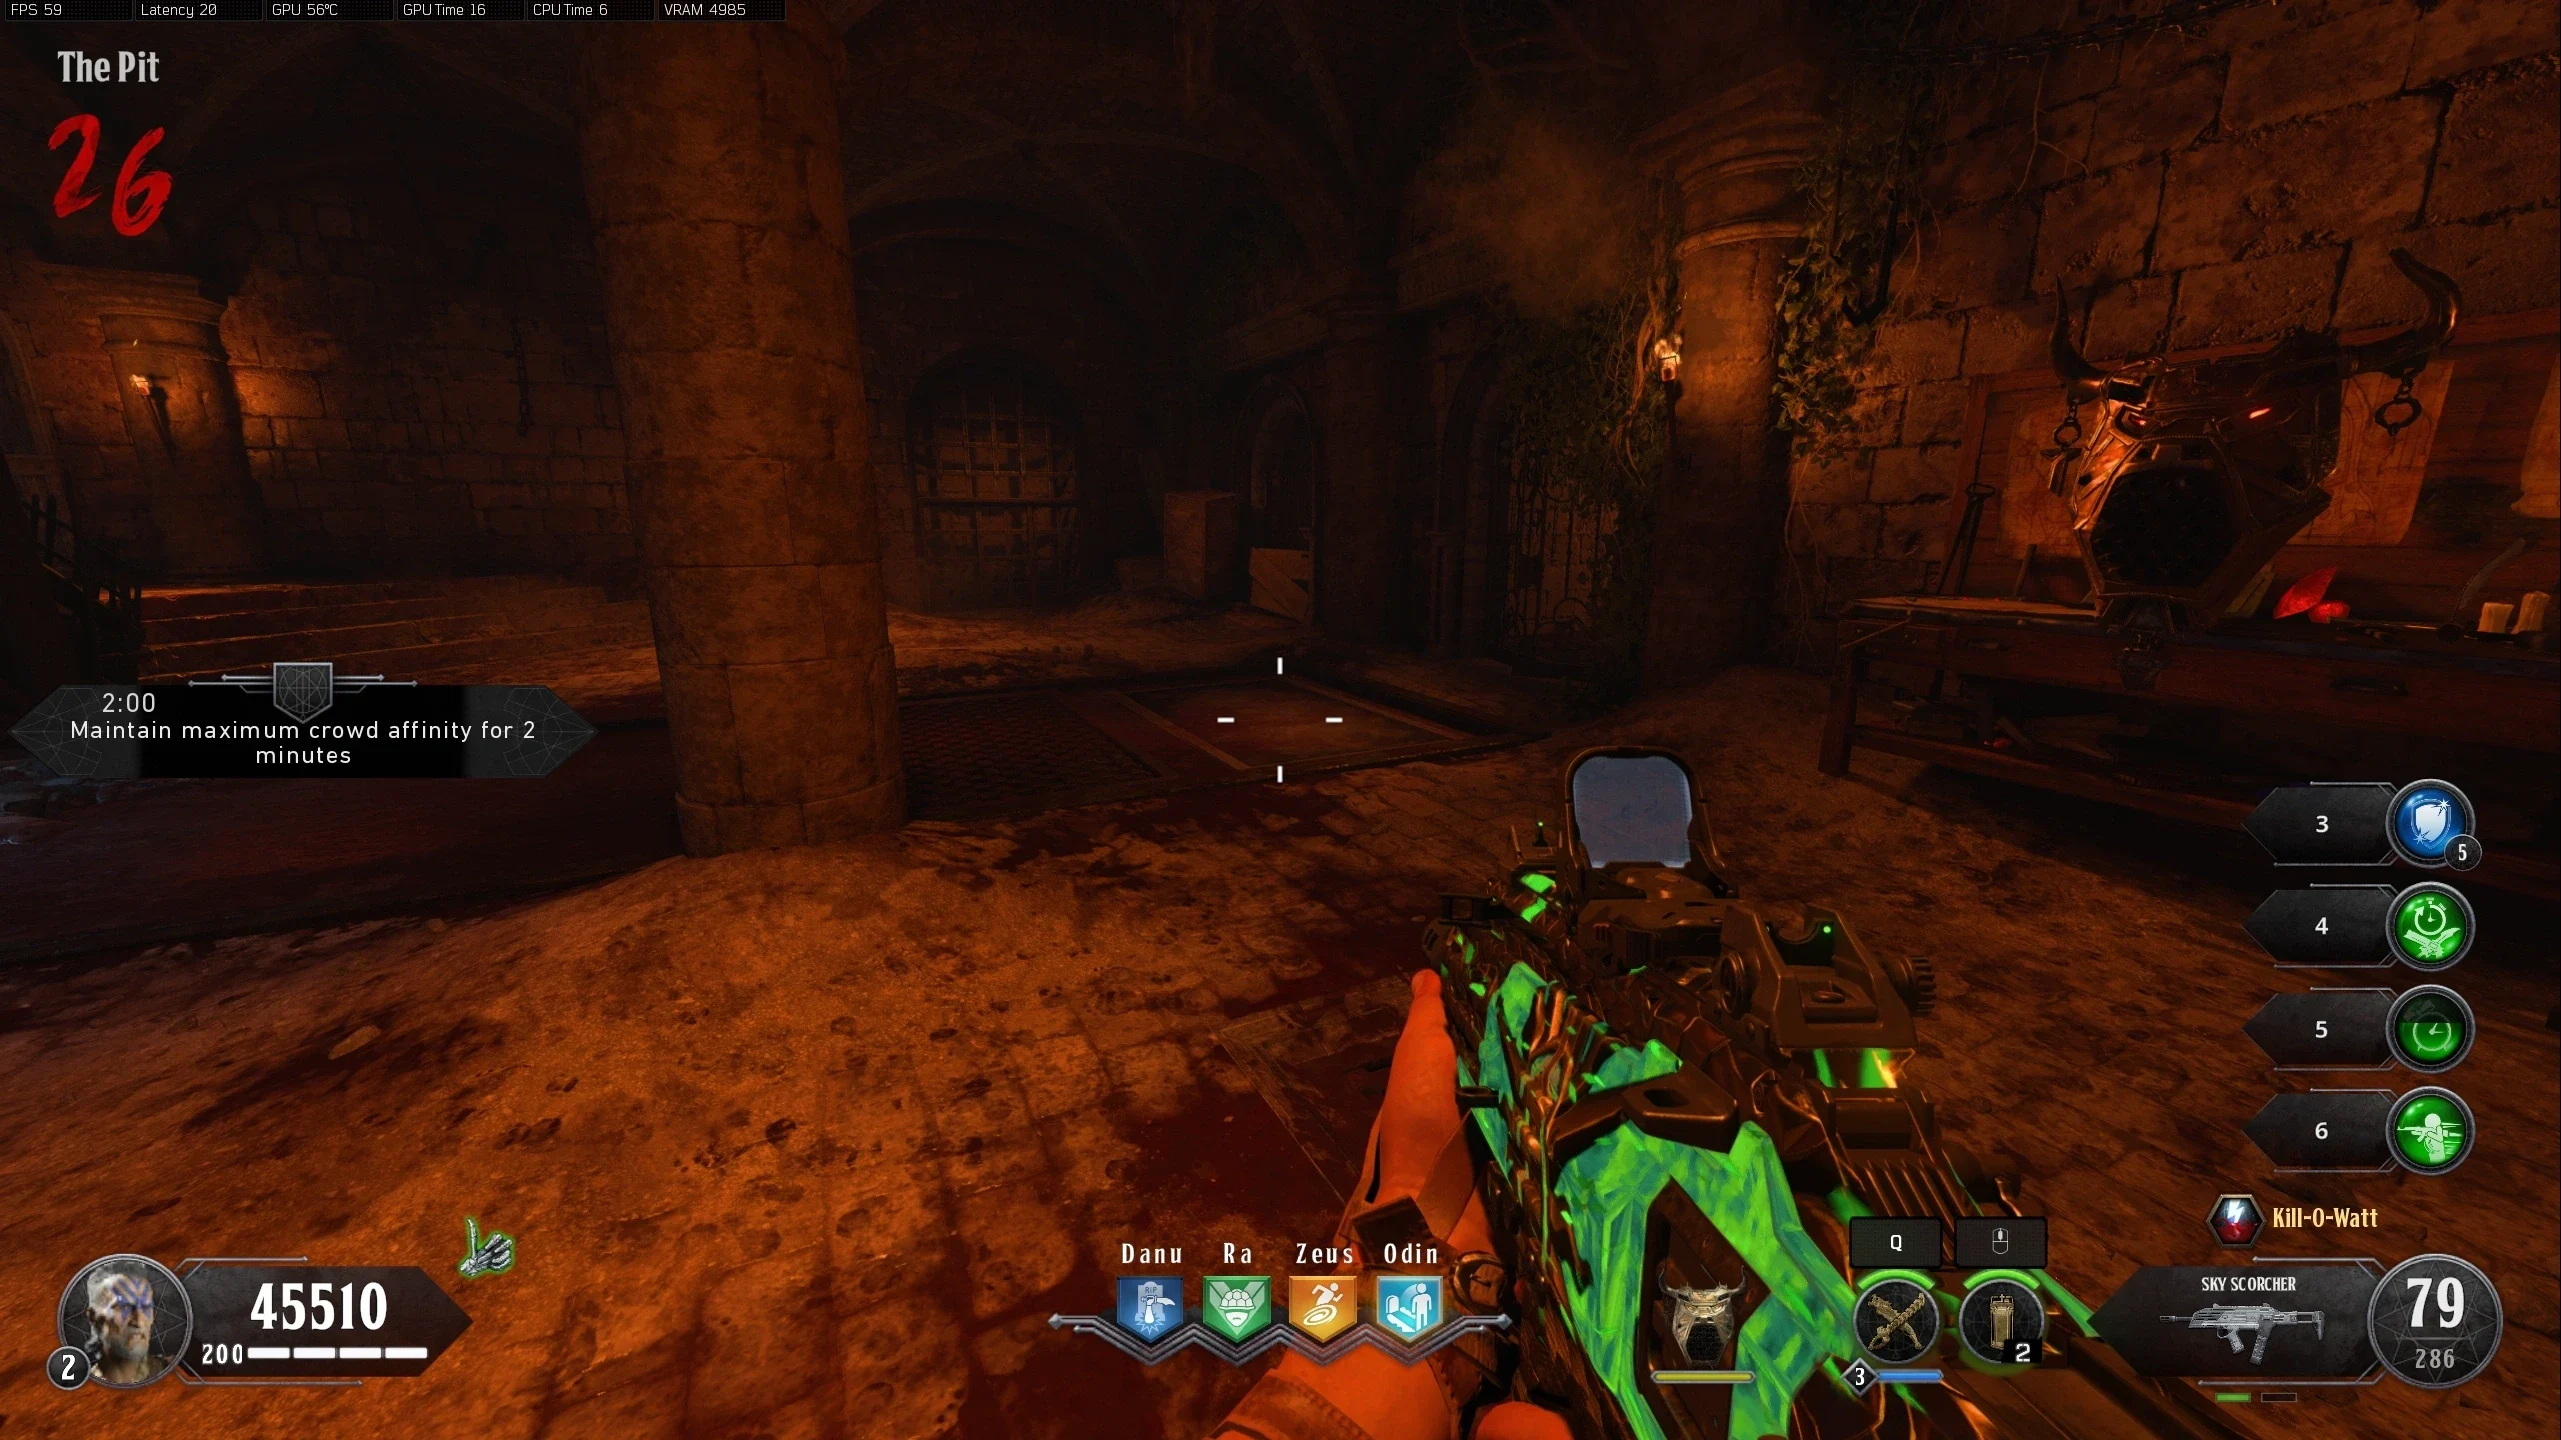
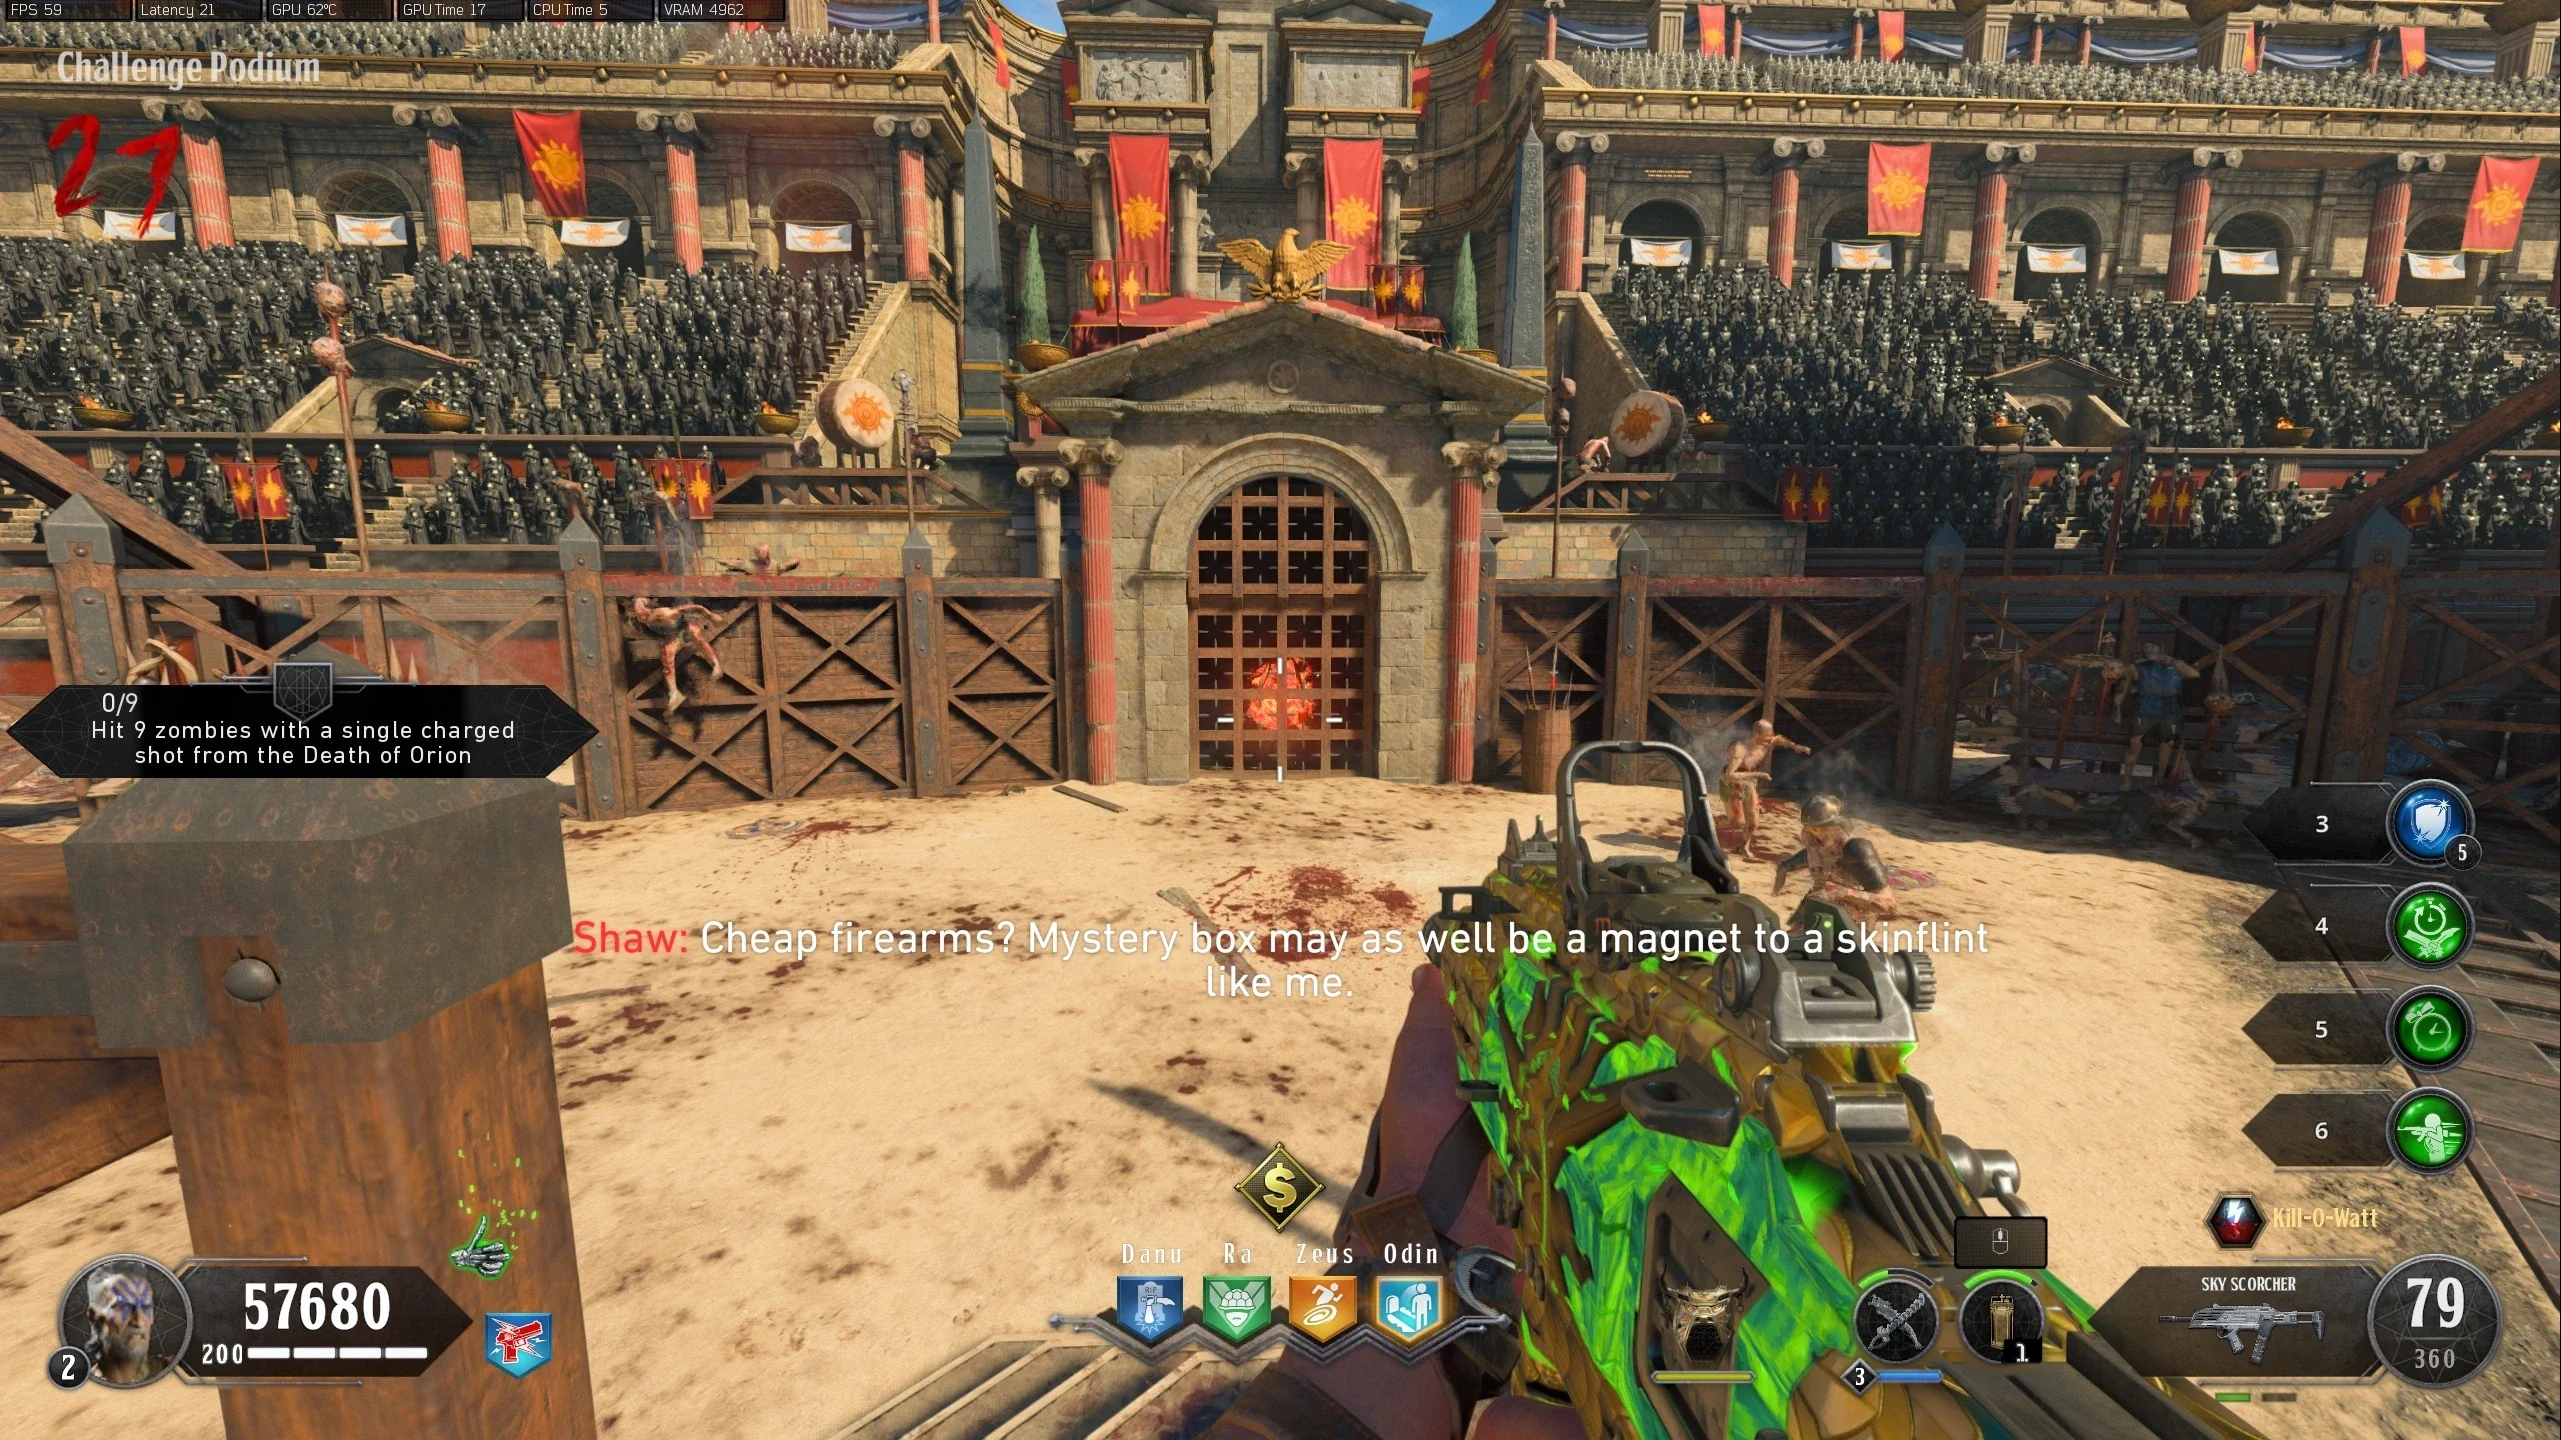
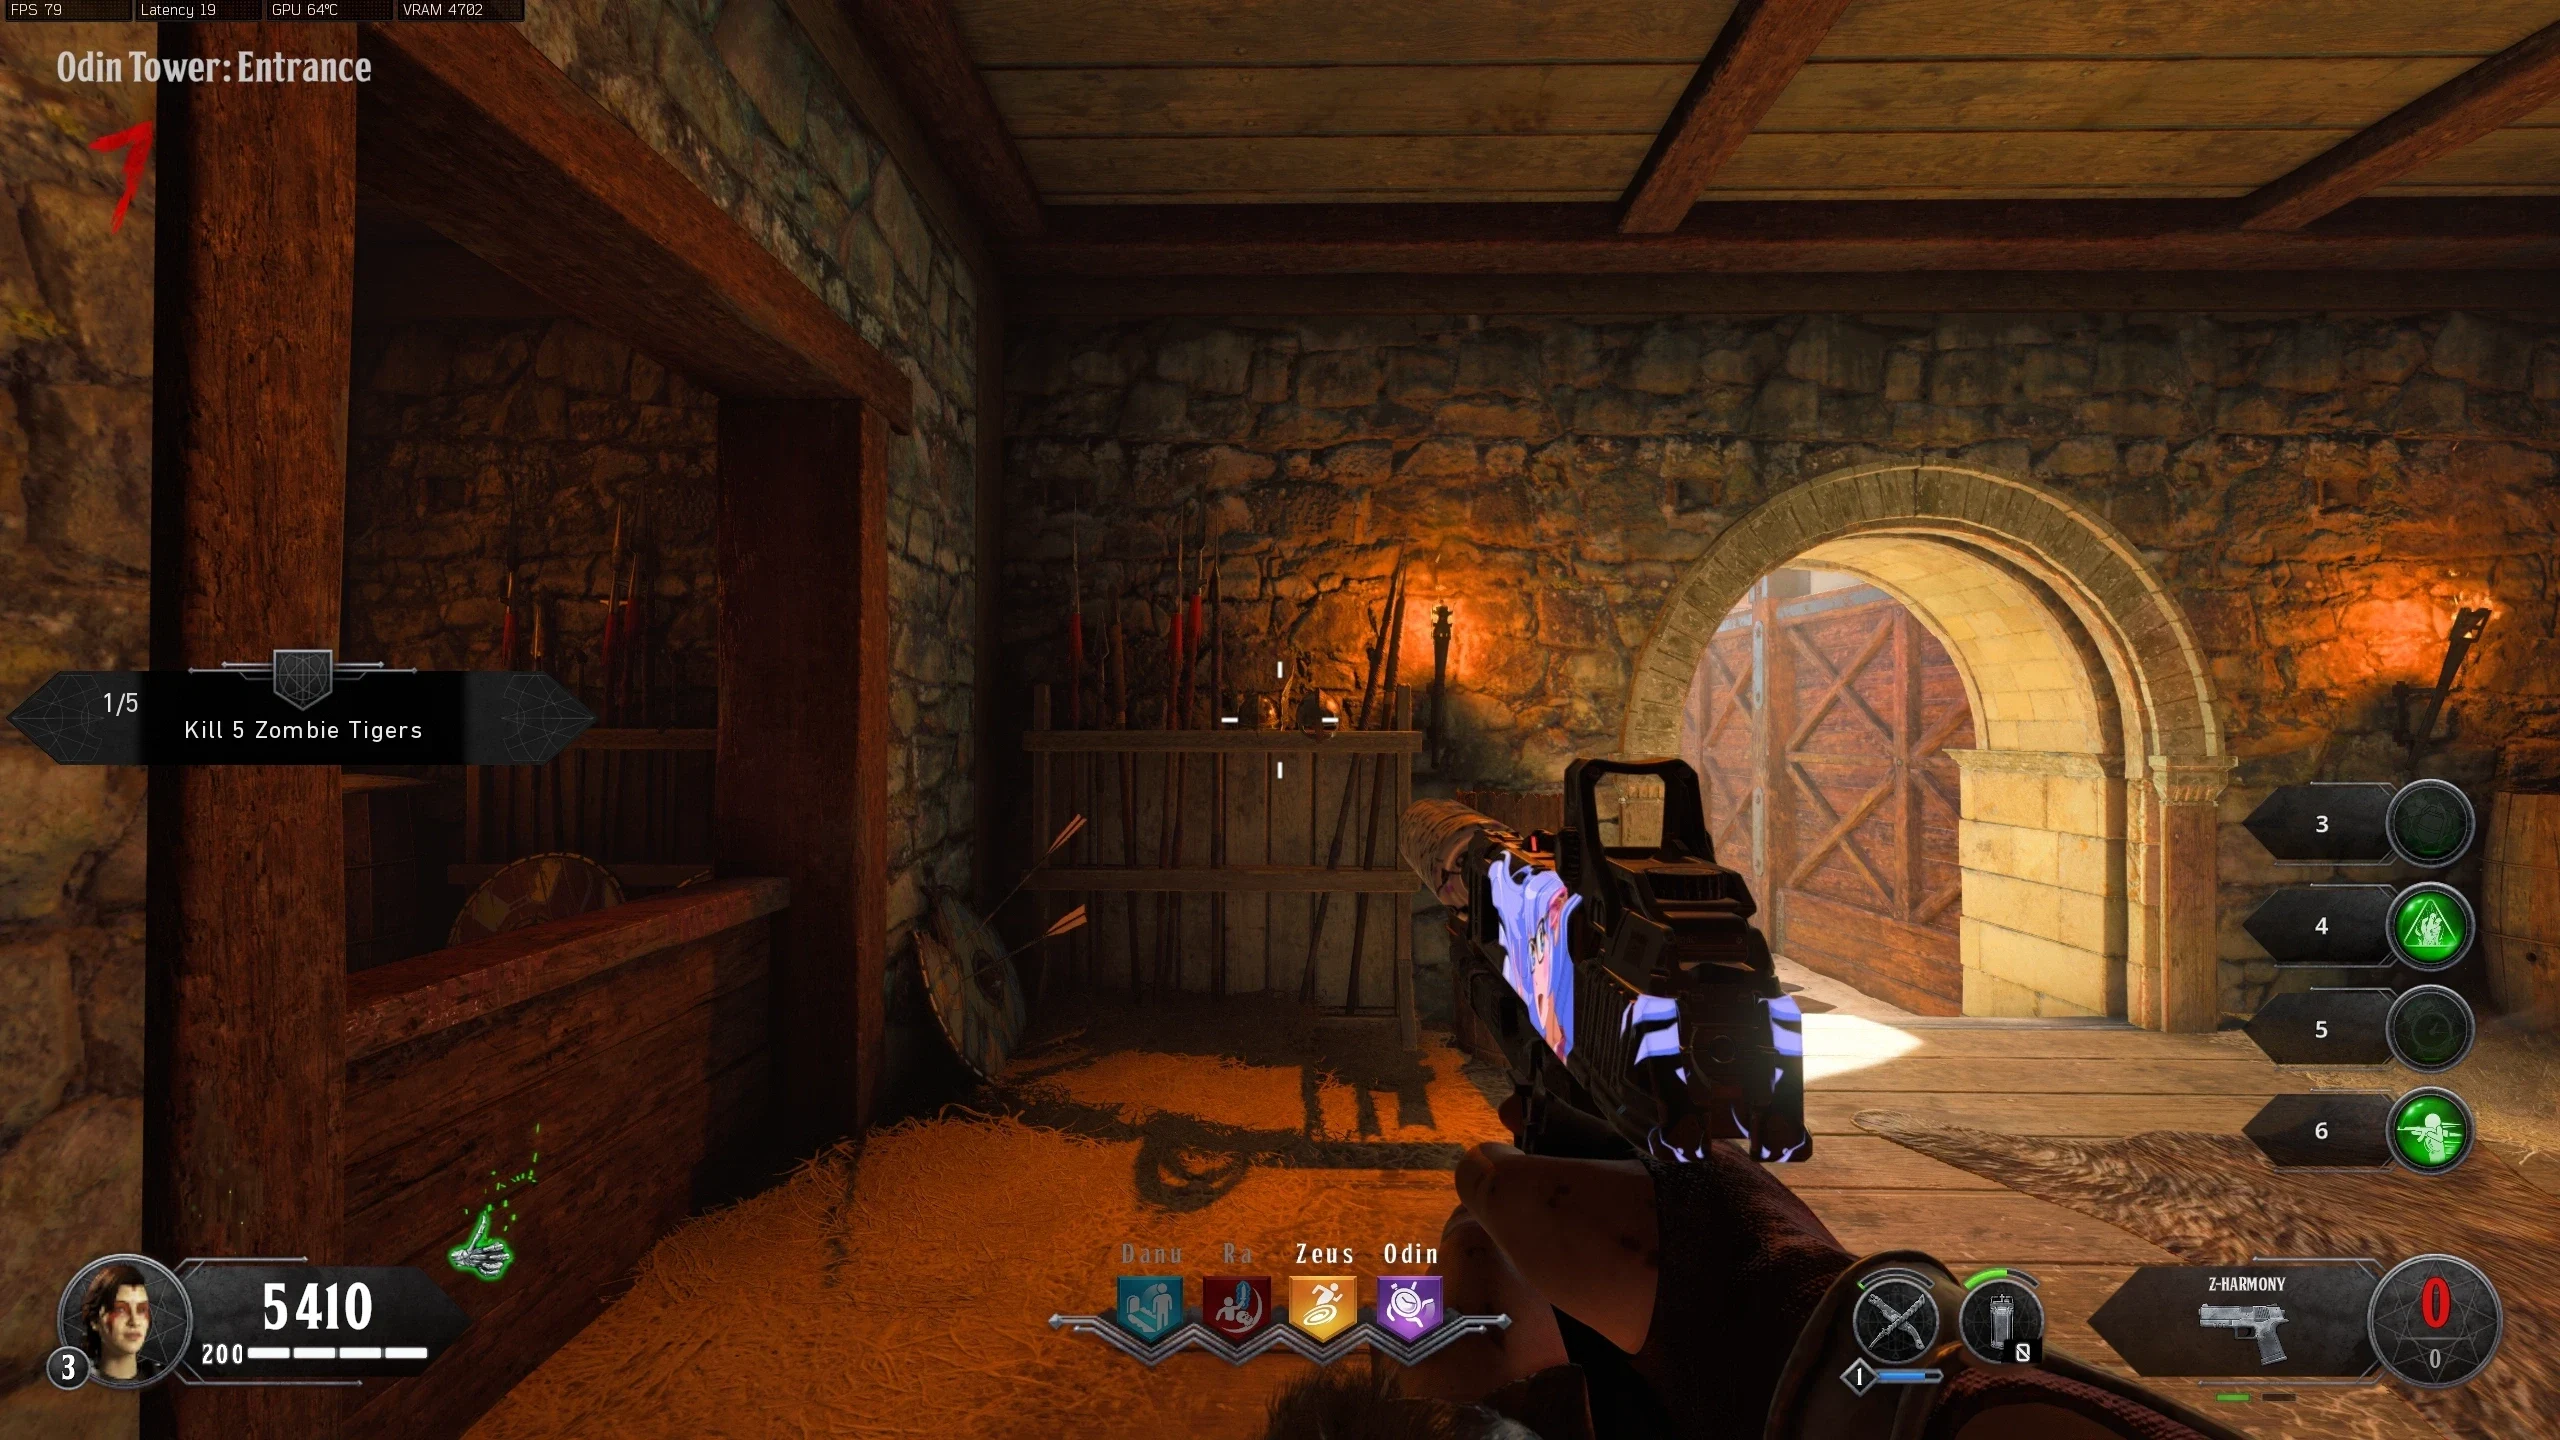
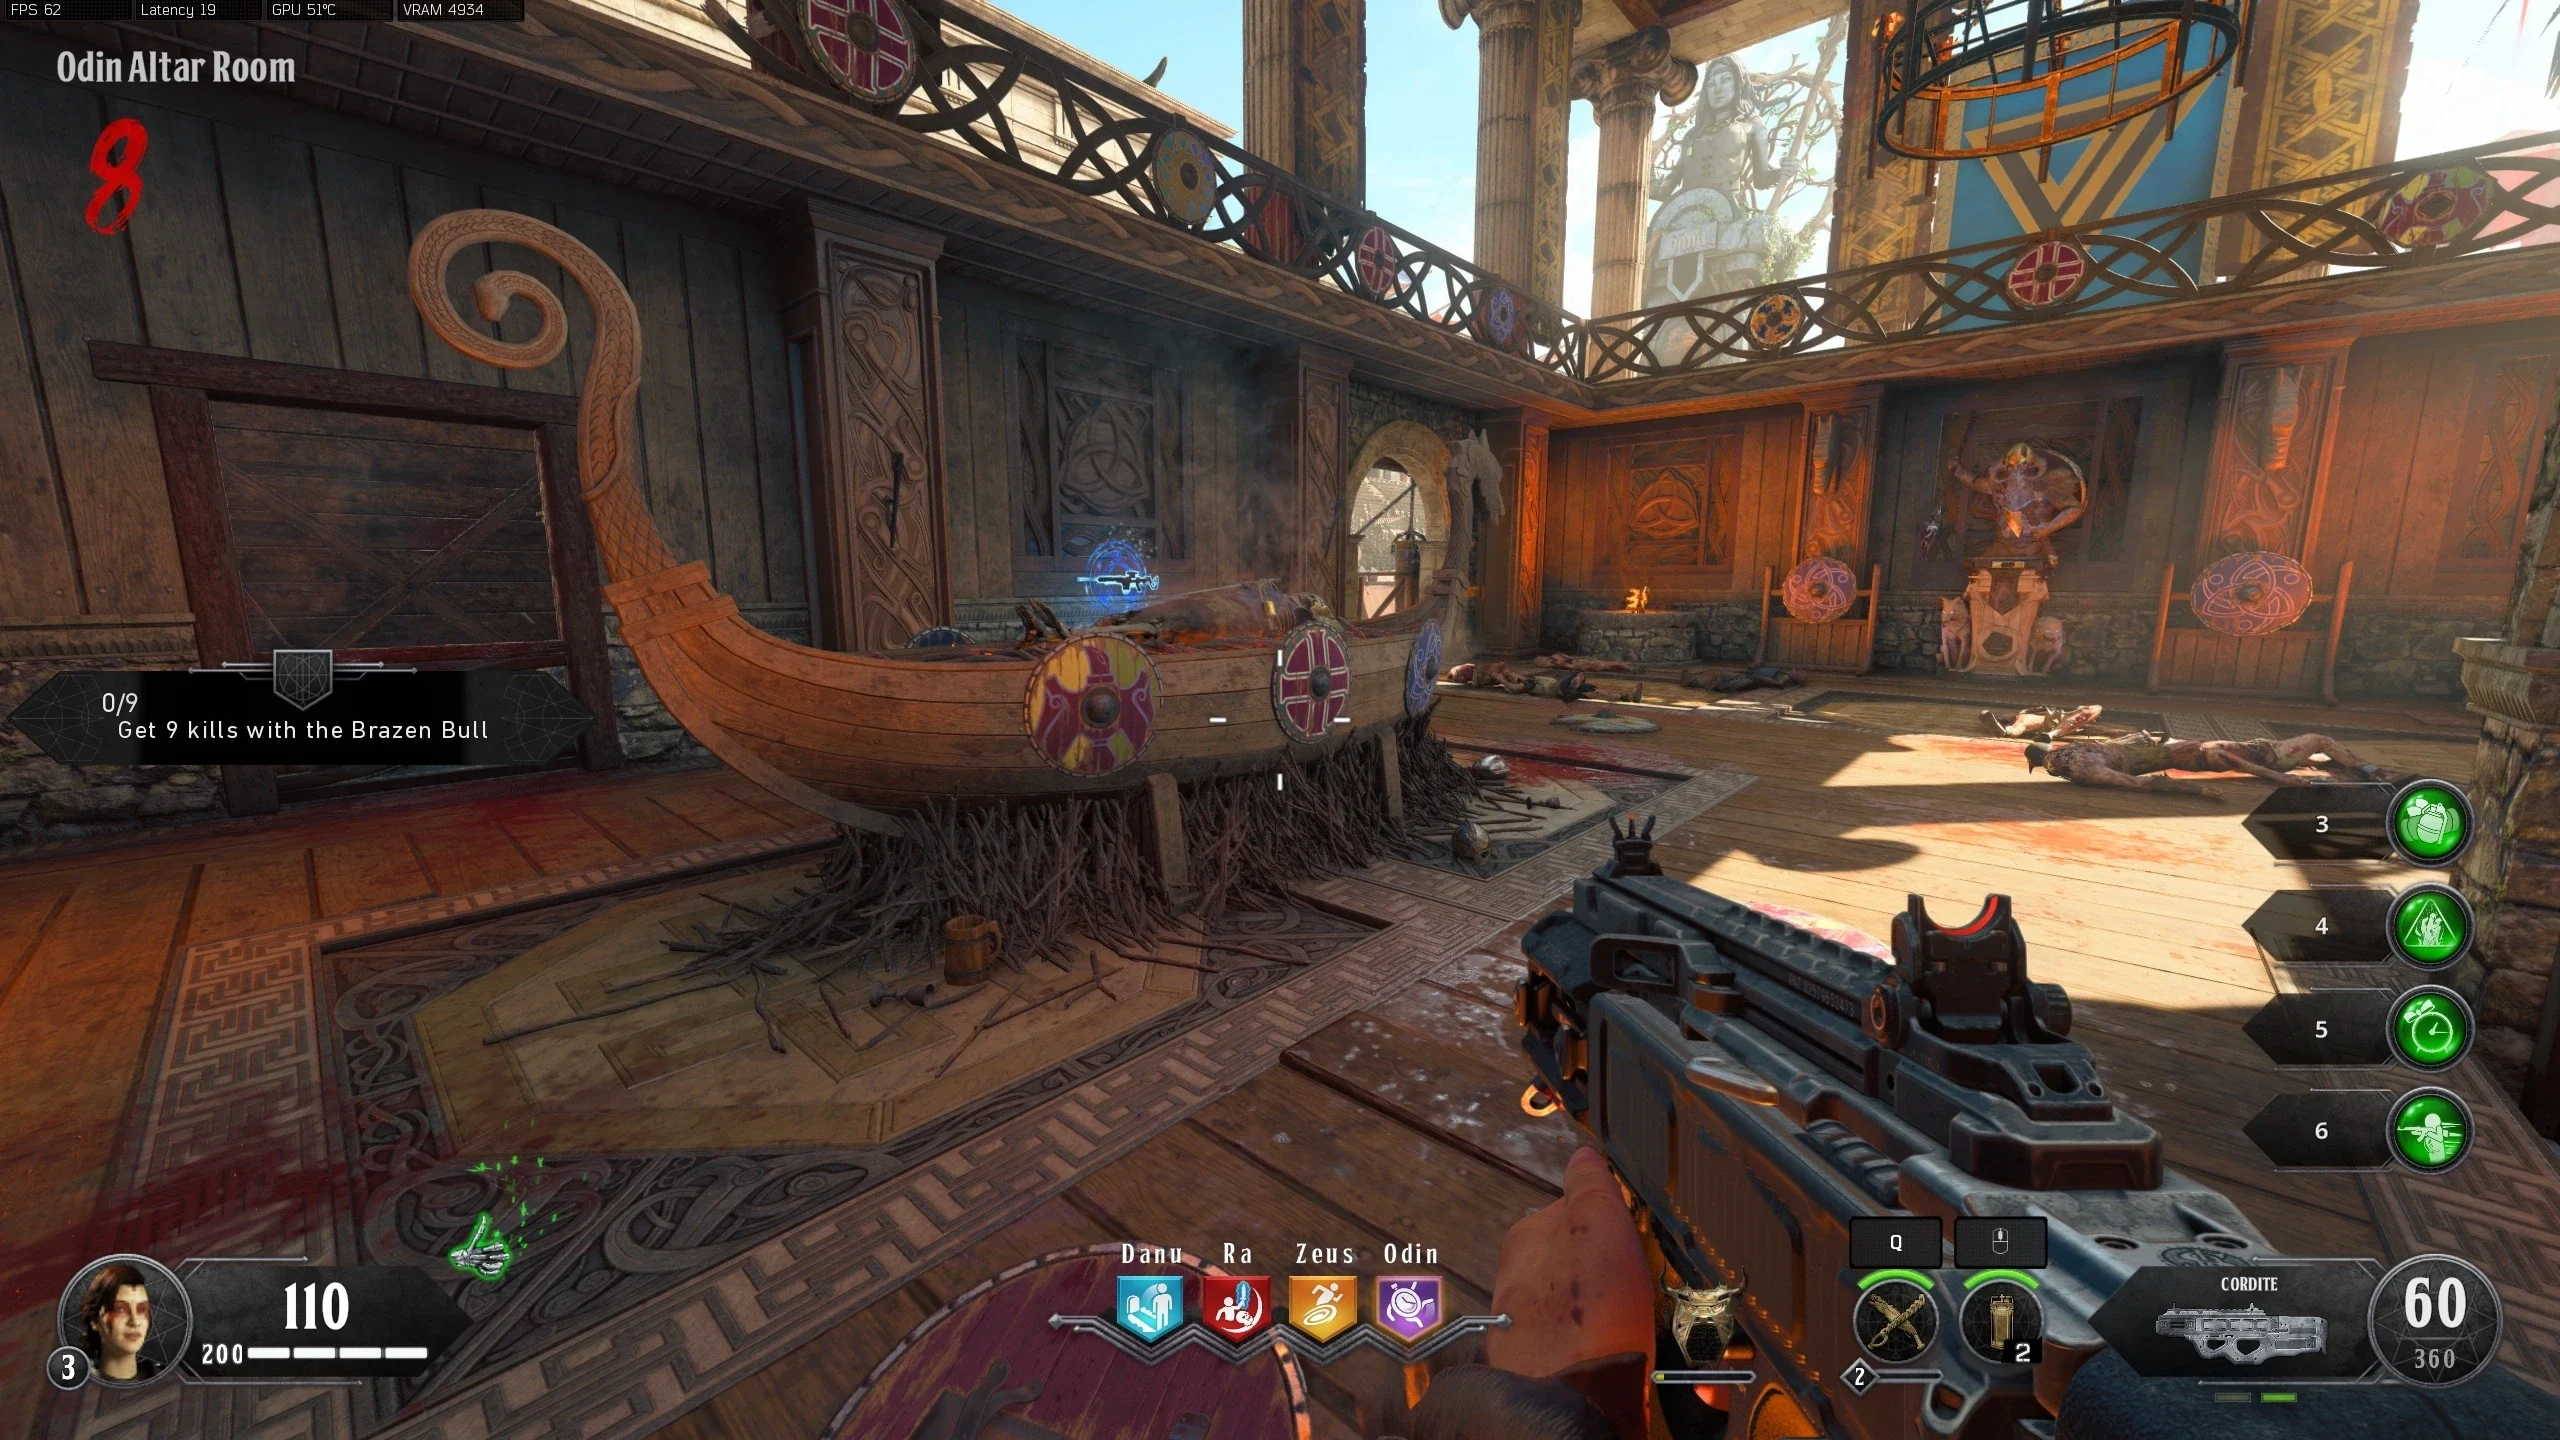
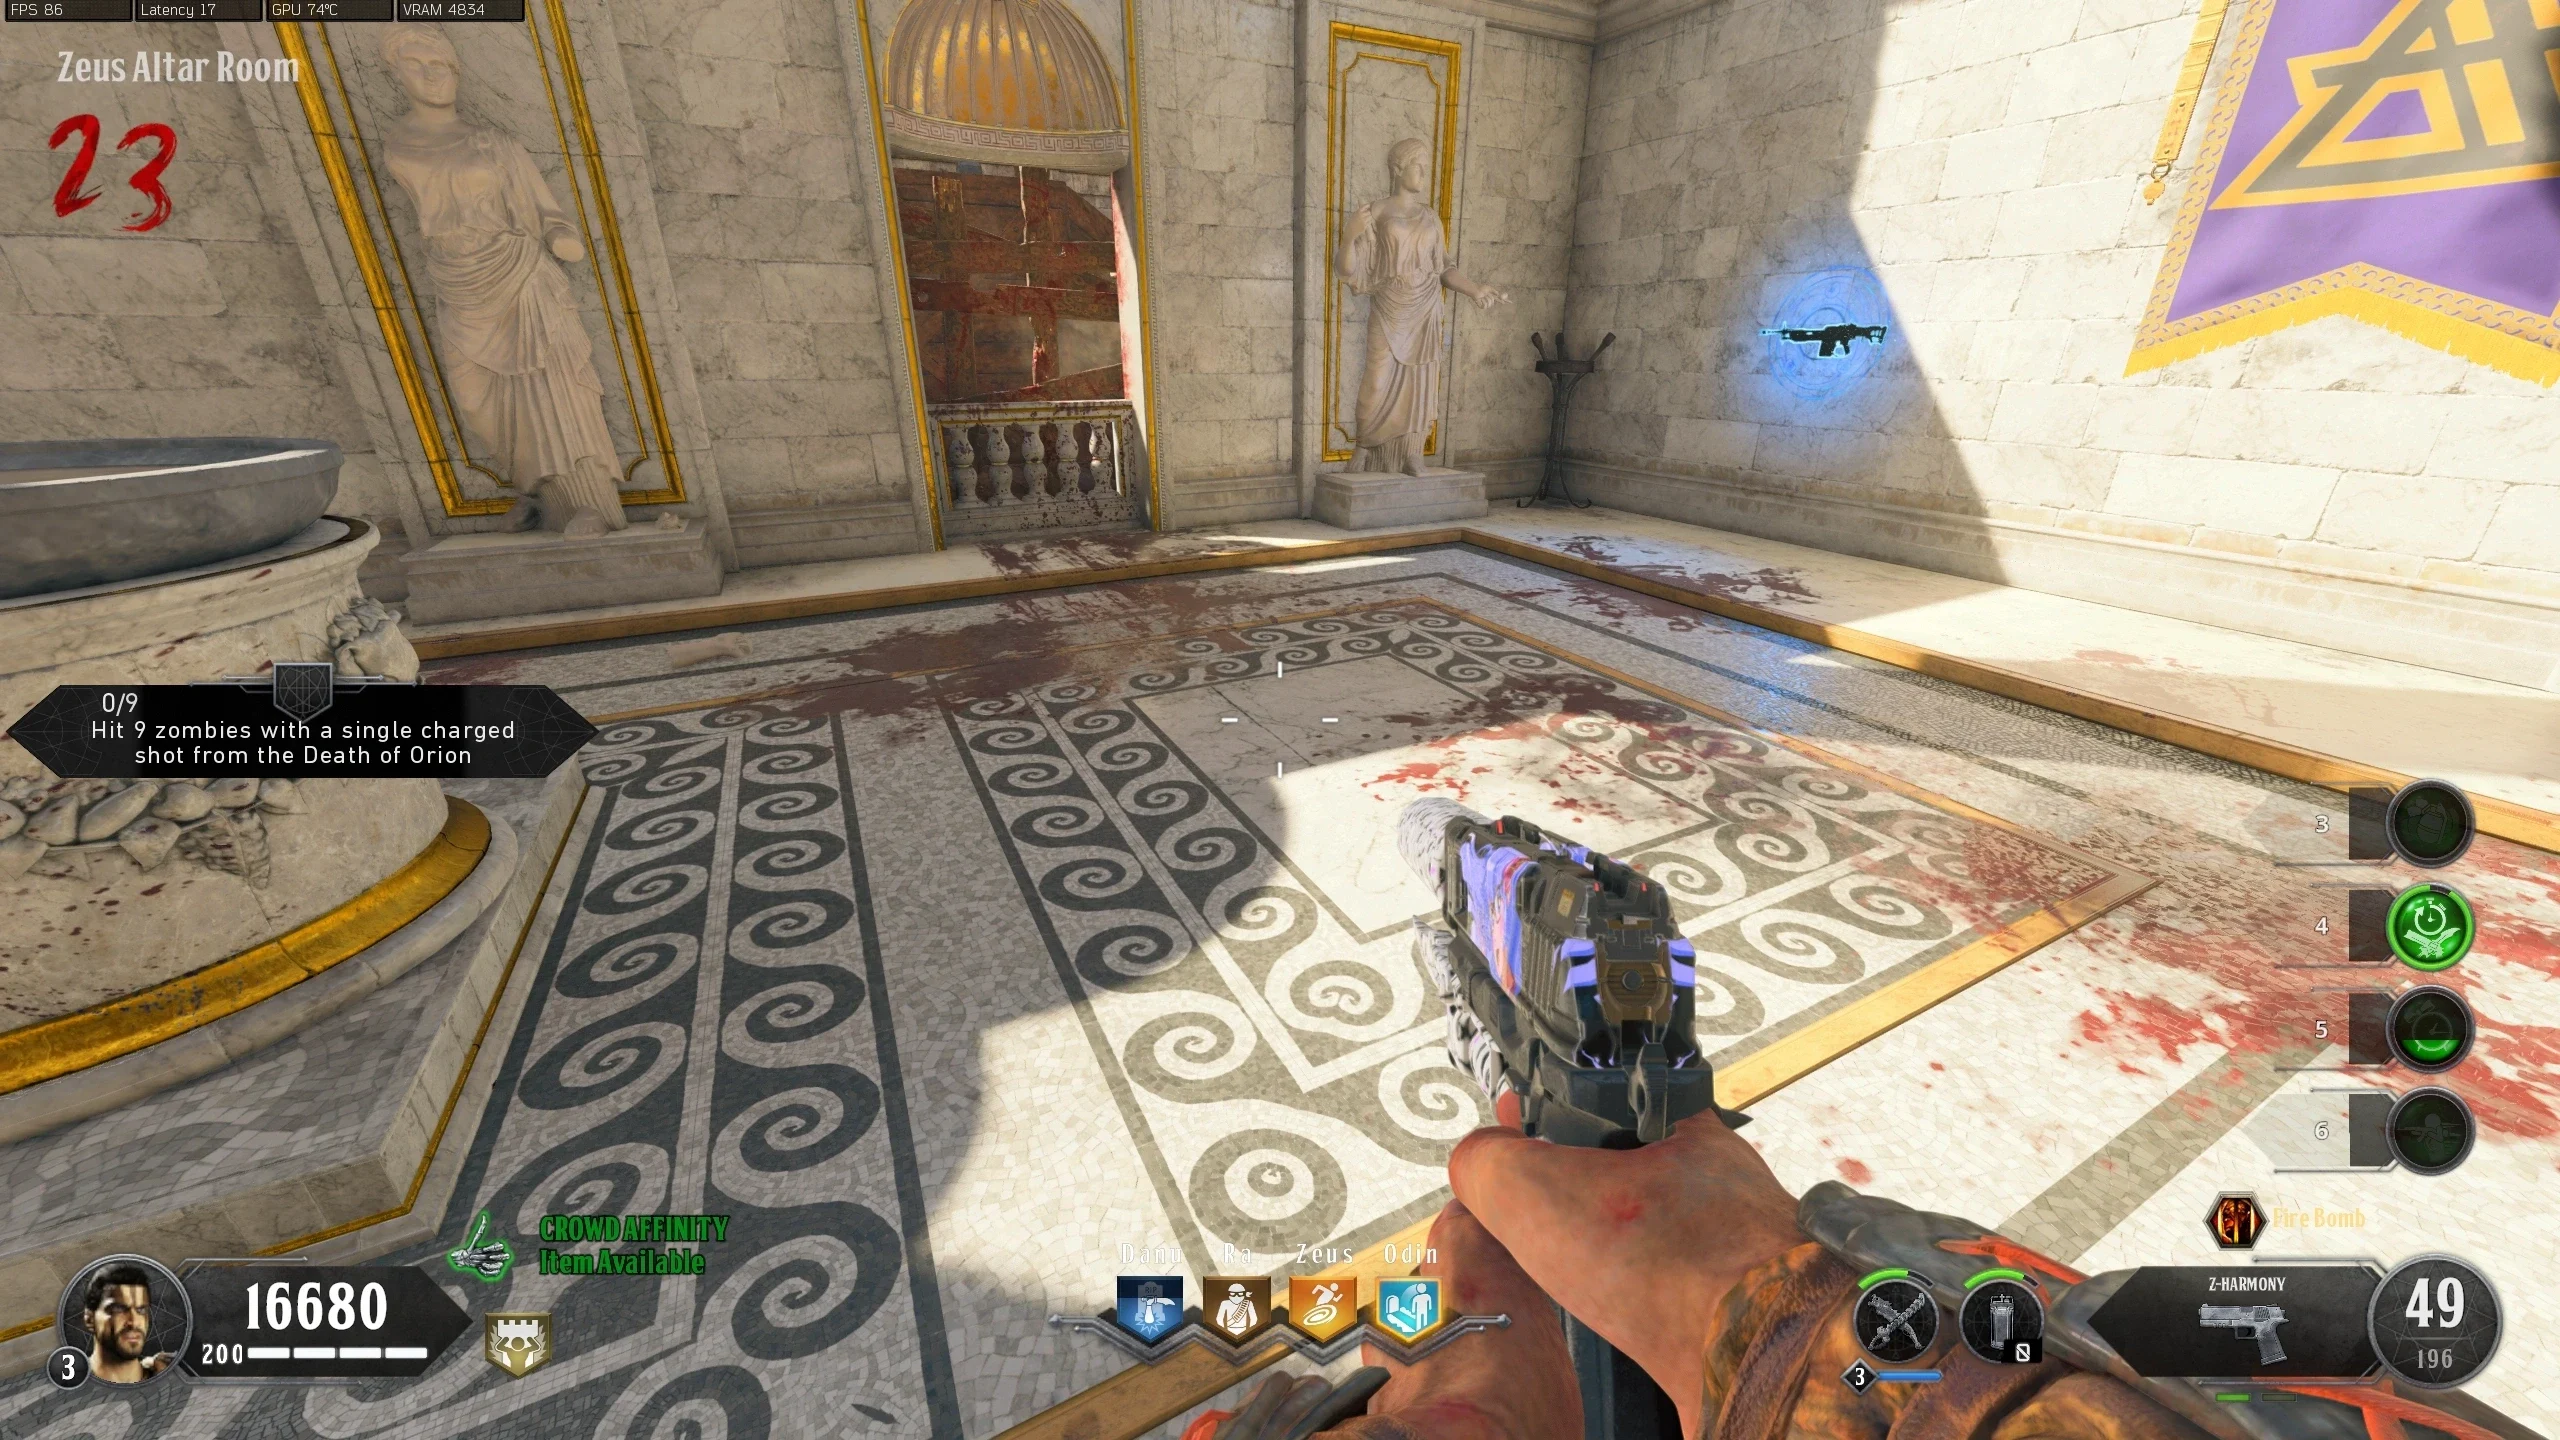
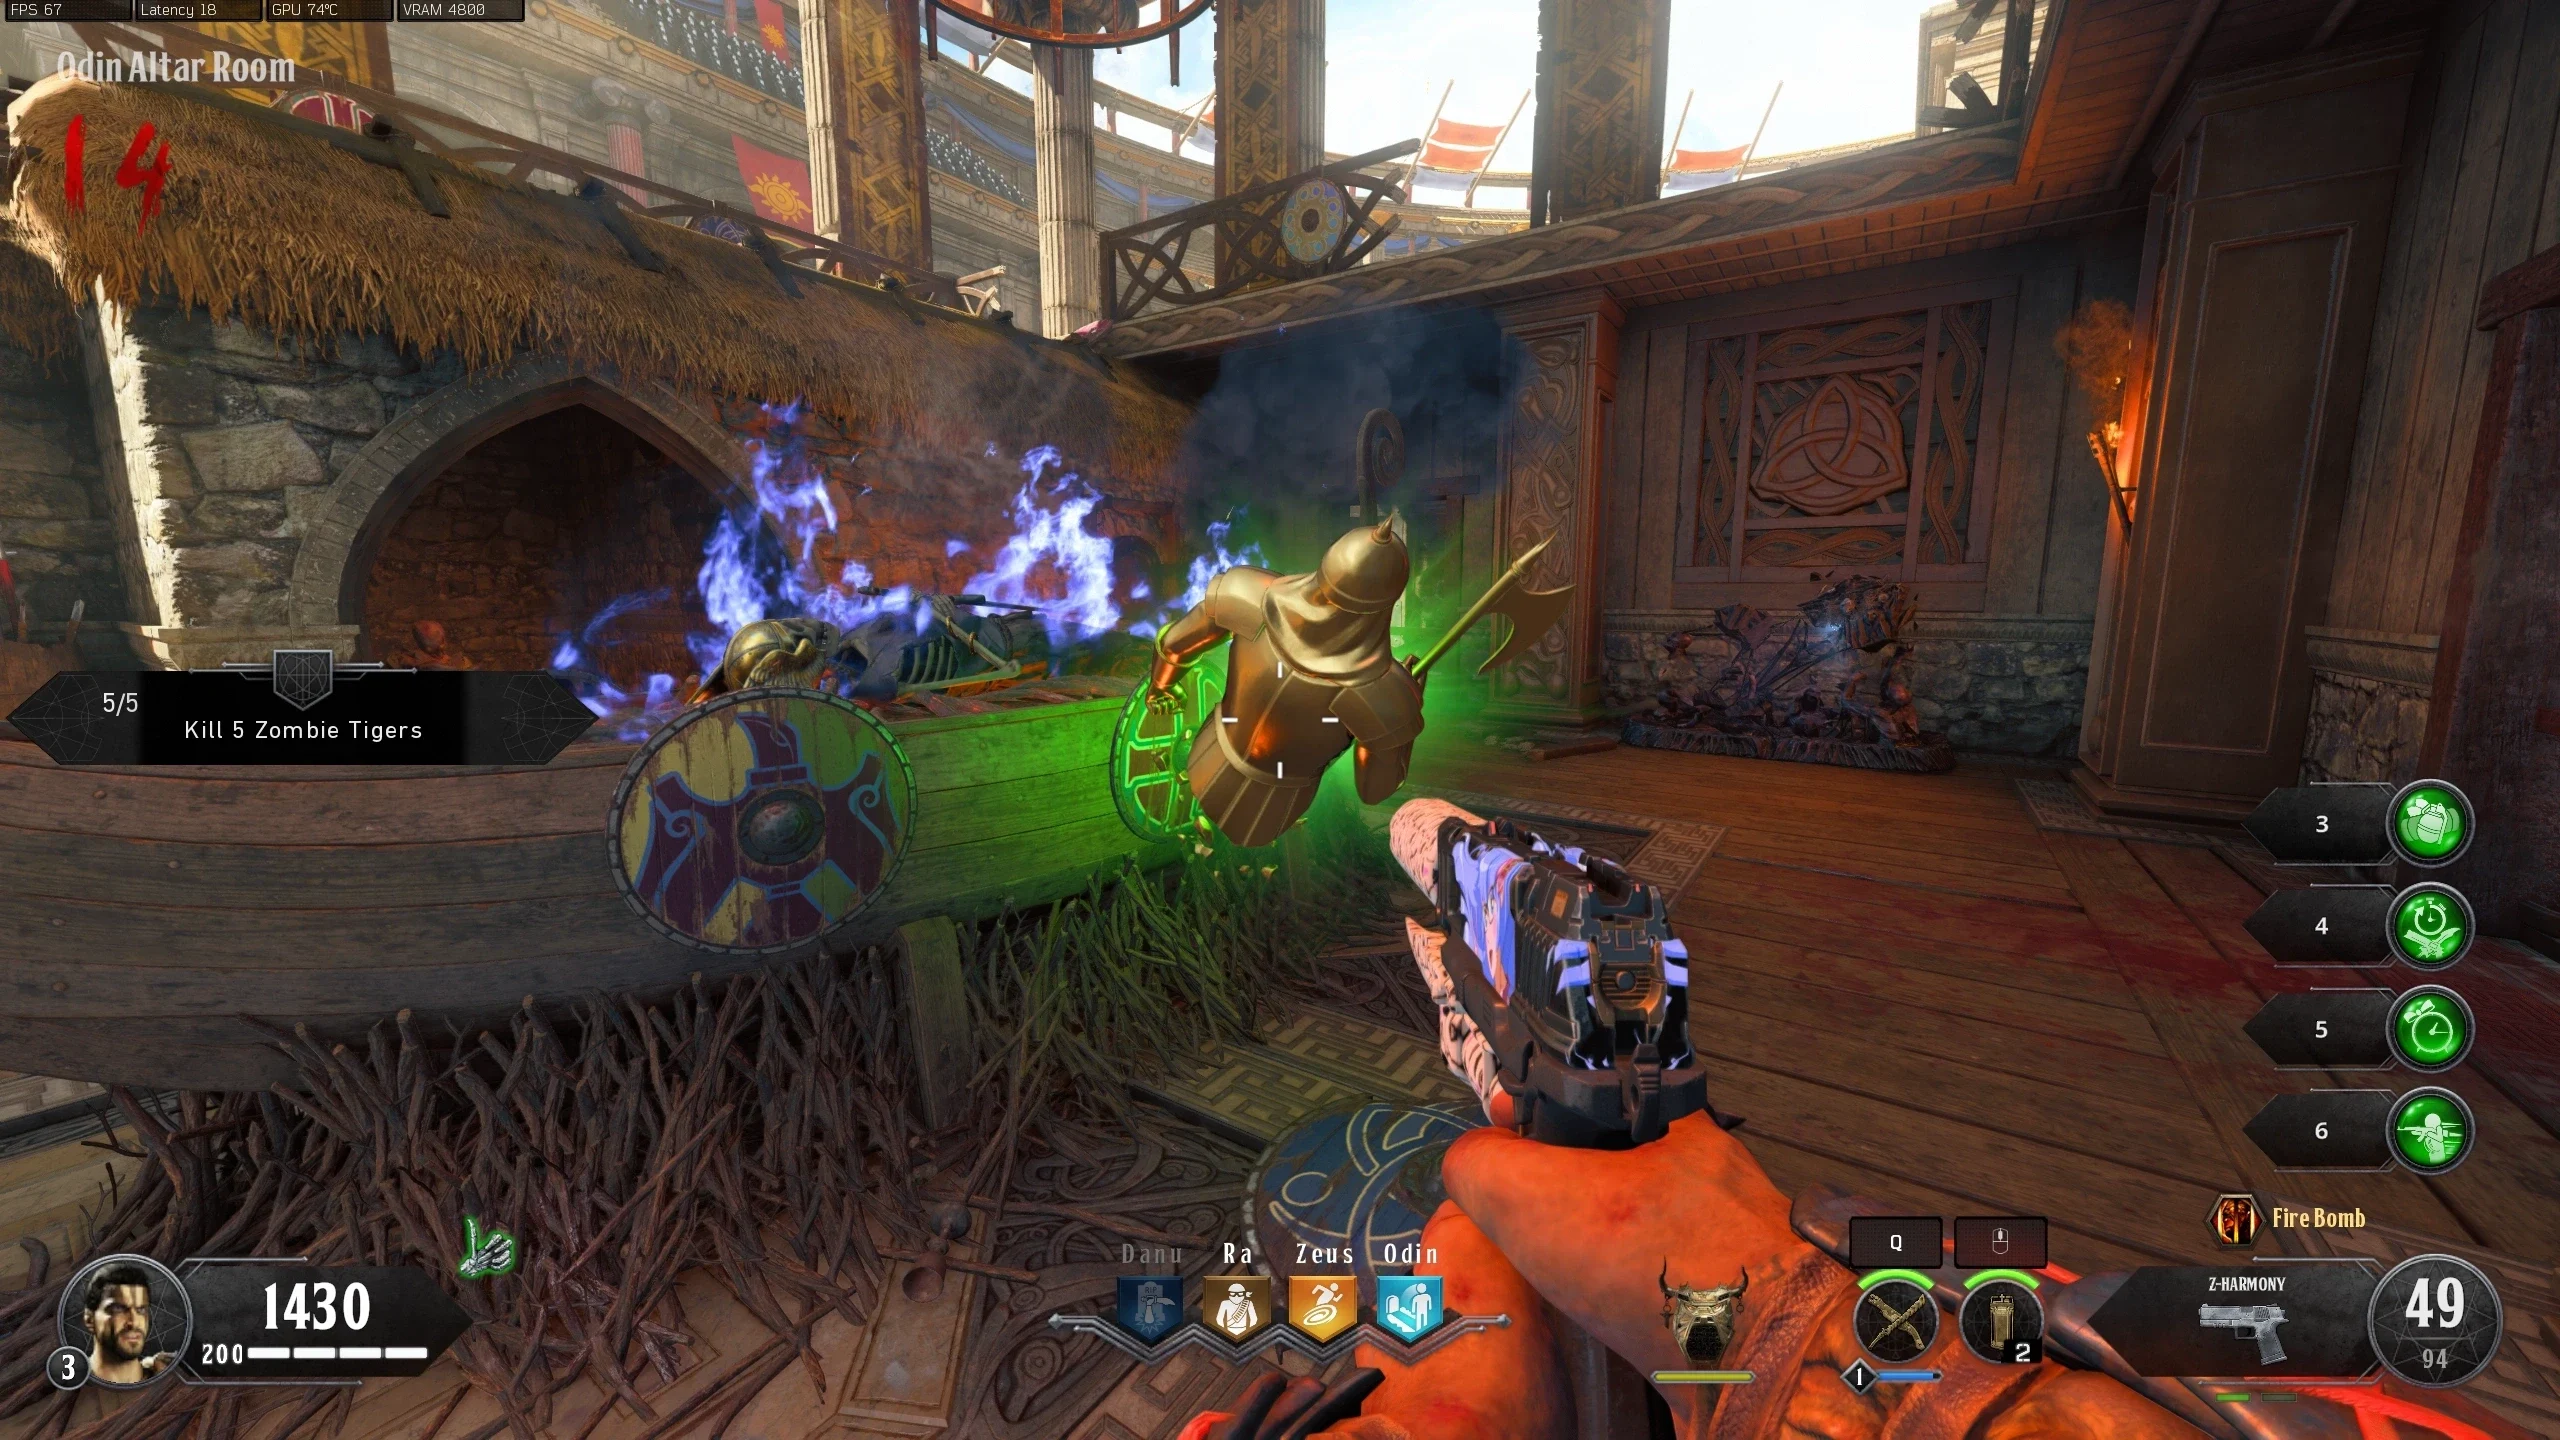
Tier Challenge Options Reward Tier 1 Get 5 Headshots in a row, melee 13 zombies, or get 6 equipment kills 1 Free Self Revive Tier 2 Get 5 Headshots in a row, melee 13 zombies, or get 6 equipment kills 500 Bonus Points Tier 3 Kill 10 zombies with your Special Weapon, or slide underneath a Spike Log trap without taking damage Free Pack-a-Punched Strife Tier 4 Kill 5 Zombie Tigers, survive a full round inside the Temple, stop 3 Catalyst transformations, get 9 kills with the Brazen Bull, or break off nine pieces of Gladiator Armour Max Ammo Power-Up Tier 5 Kill 5 Zombie Tigers, survive a full round inside the Temple, stop 3 Catalyst transformations, get 9 kills with the Brazen Bull, or break off nine pieces of Gladiator Armour Full Power Power-Up Tier 6 Kill 5 Zombie Tigers, survive a full round inside the Temple, stop 3 Catalyst transformations, get 9 kills with the Brazen Bull, or break off nine pieces of Gladiator Armour Free LMG Tier 7 Maintain maximum crowd affinity for 2 minutes, kill 9 Gladiators, strike the killing blow on a Blightfather, hit 9 zombies with a single charged shot from the Death of Orion, or kill a Blightfather while being grappled by its tongue Free 5th Perk Tier 8 Maintain maximum crowd affinity for 2 minutes, kill 9 Gladiators, strike the killing blow on a Blightfather, hit 9 zombies with a single charged shot from the Death of Orion, or kill a Blightfather while being grappled by its tongue Max Ammo Power-Up Tier 9 Maintain maximum crowd affinity for 2 minutes, kill 9 Gladiators, strike the killing blow on a Blightfather, hit 9 zombies with a single charged shot from the Death of Orion, or kill a Blightfather while being grappled by its tongue Pack-a-Punched Hades
Crowd Affinity
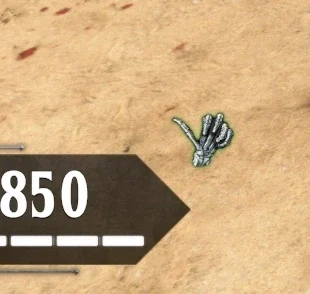
- Crowd Affinity represents what the Crowd thinks of you and the quality of rewards they give. This is shown through the Hand on the HUD.
- If the crowd thinks you're doing well, the Hand becomes a Thumbs-Up highlighted Green. If they think you're doing badly, it becomes a Thumbs-Down highlighted Red.
- There are five tiers of Crowd Affinity, from bad to good: Thumbs-Down, Between Neutral and Thumbs-Down, Neutral, Between Neutral and Thumbs-Up, and Thumbs-Up.
- The best way to raise Affinity is to: Stay in the 'Arena,' avoid the fire around the map, avoid going down, complete Podium Challenges, and use/get kills with traps.
- The best way to lower Affinity is to: Take damage from the fire, shoot/throw grenades (not Wraith Fires) into the crowd, go down.
Death of Orion
The Death of Orion can be Pack-a-Punched and does not require an Easter Egg to do so. The Death of Orion is available through the mystery box, completion of challenges, and via the following quest:
- Open Pack-a-Punch.
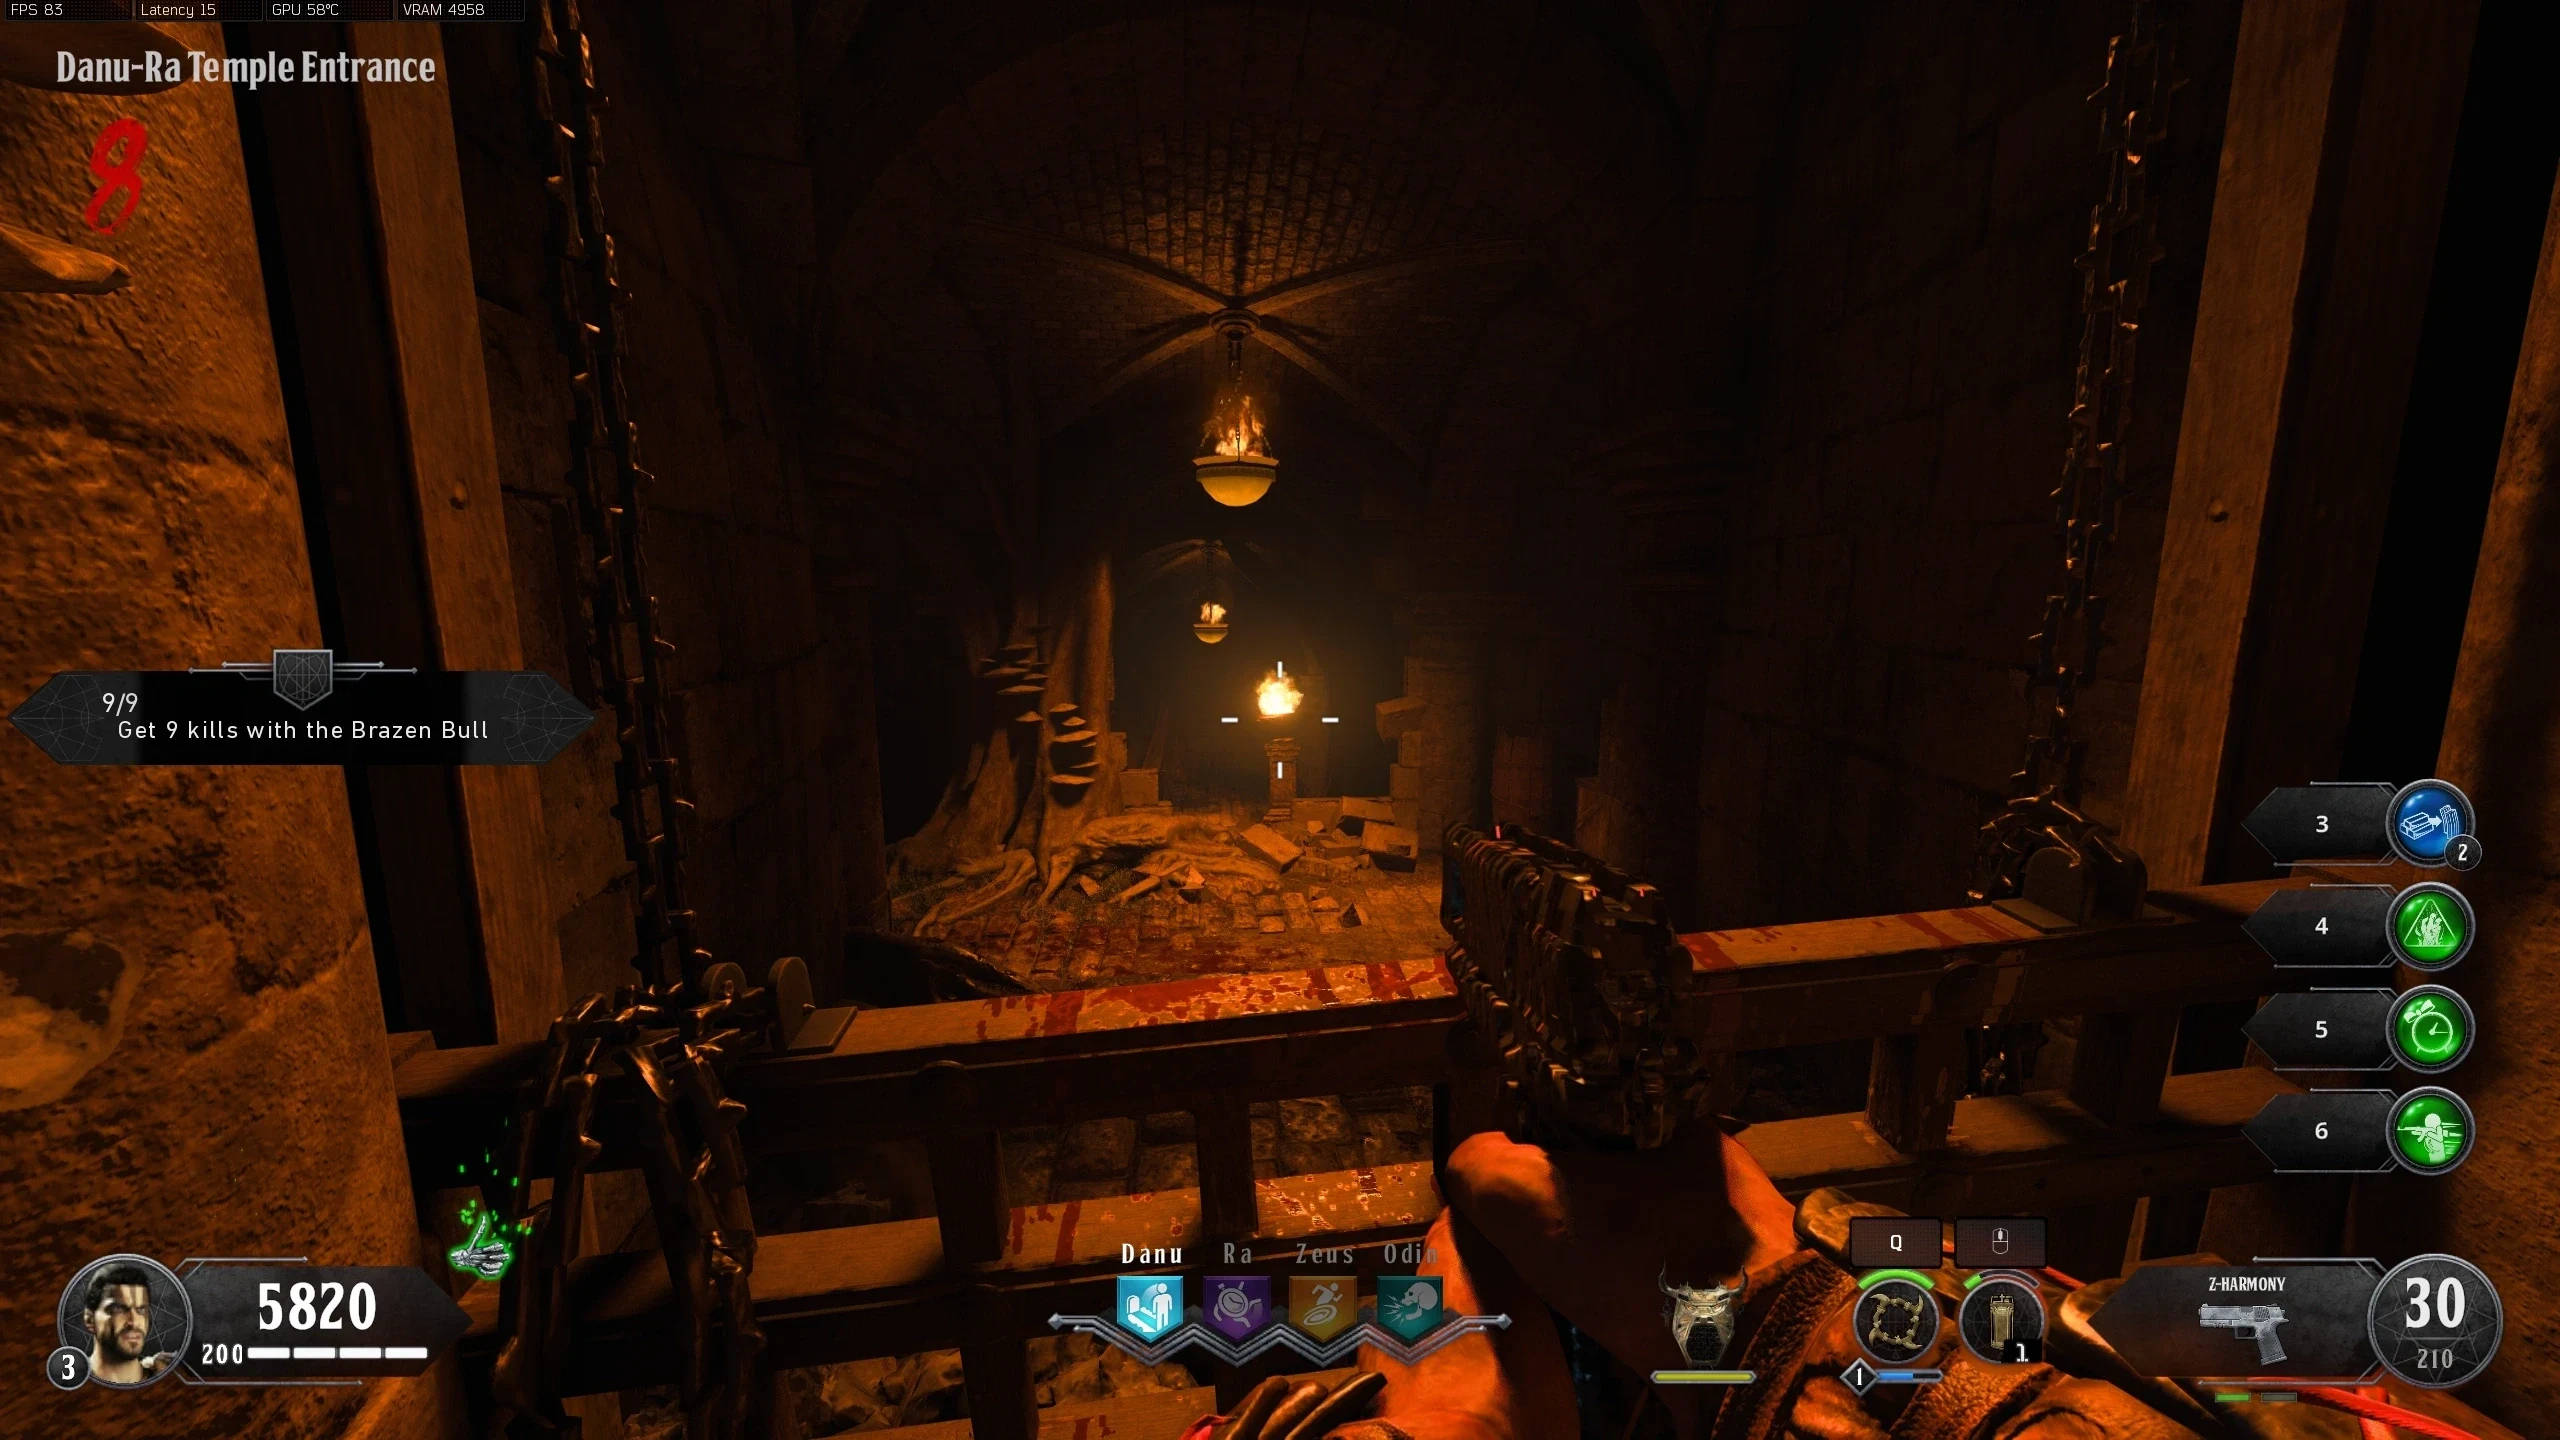
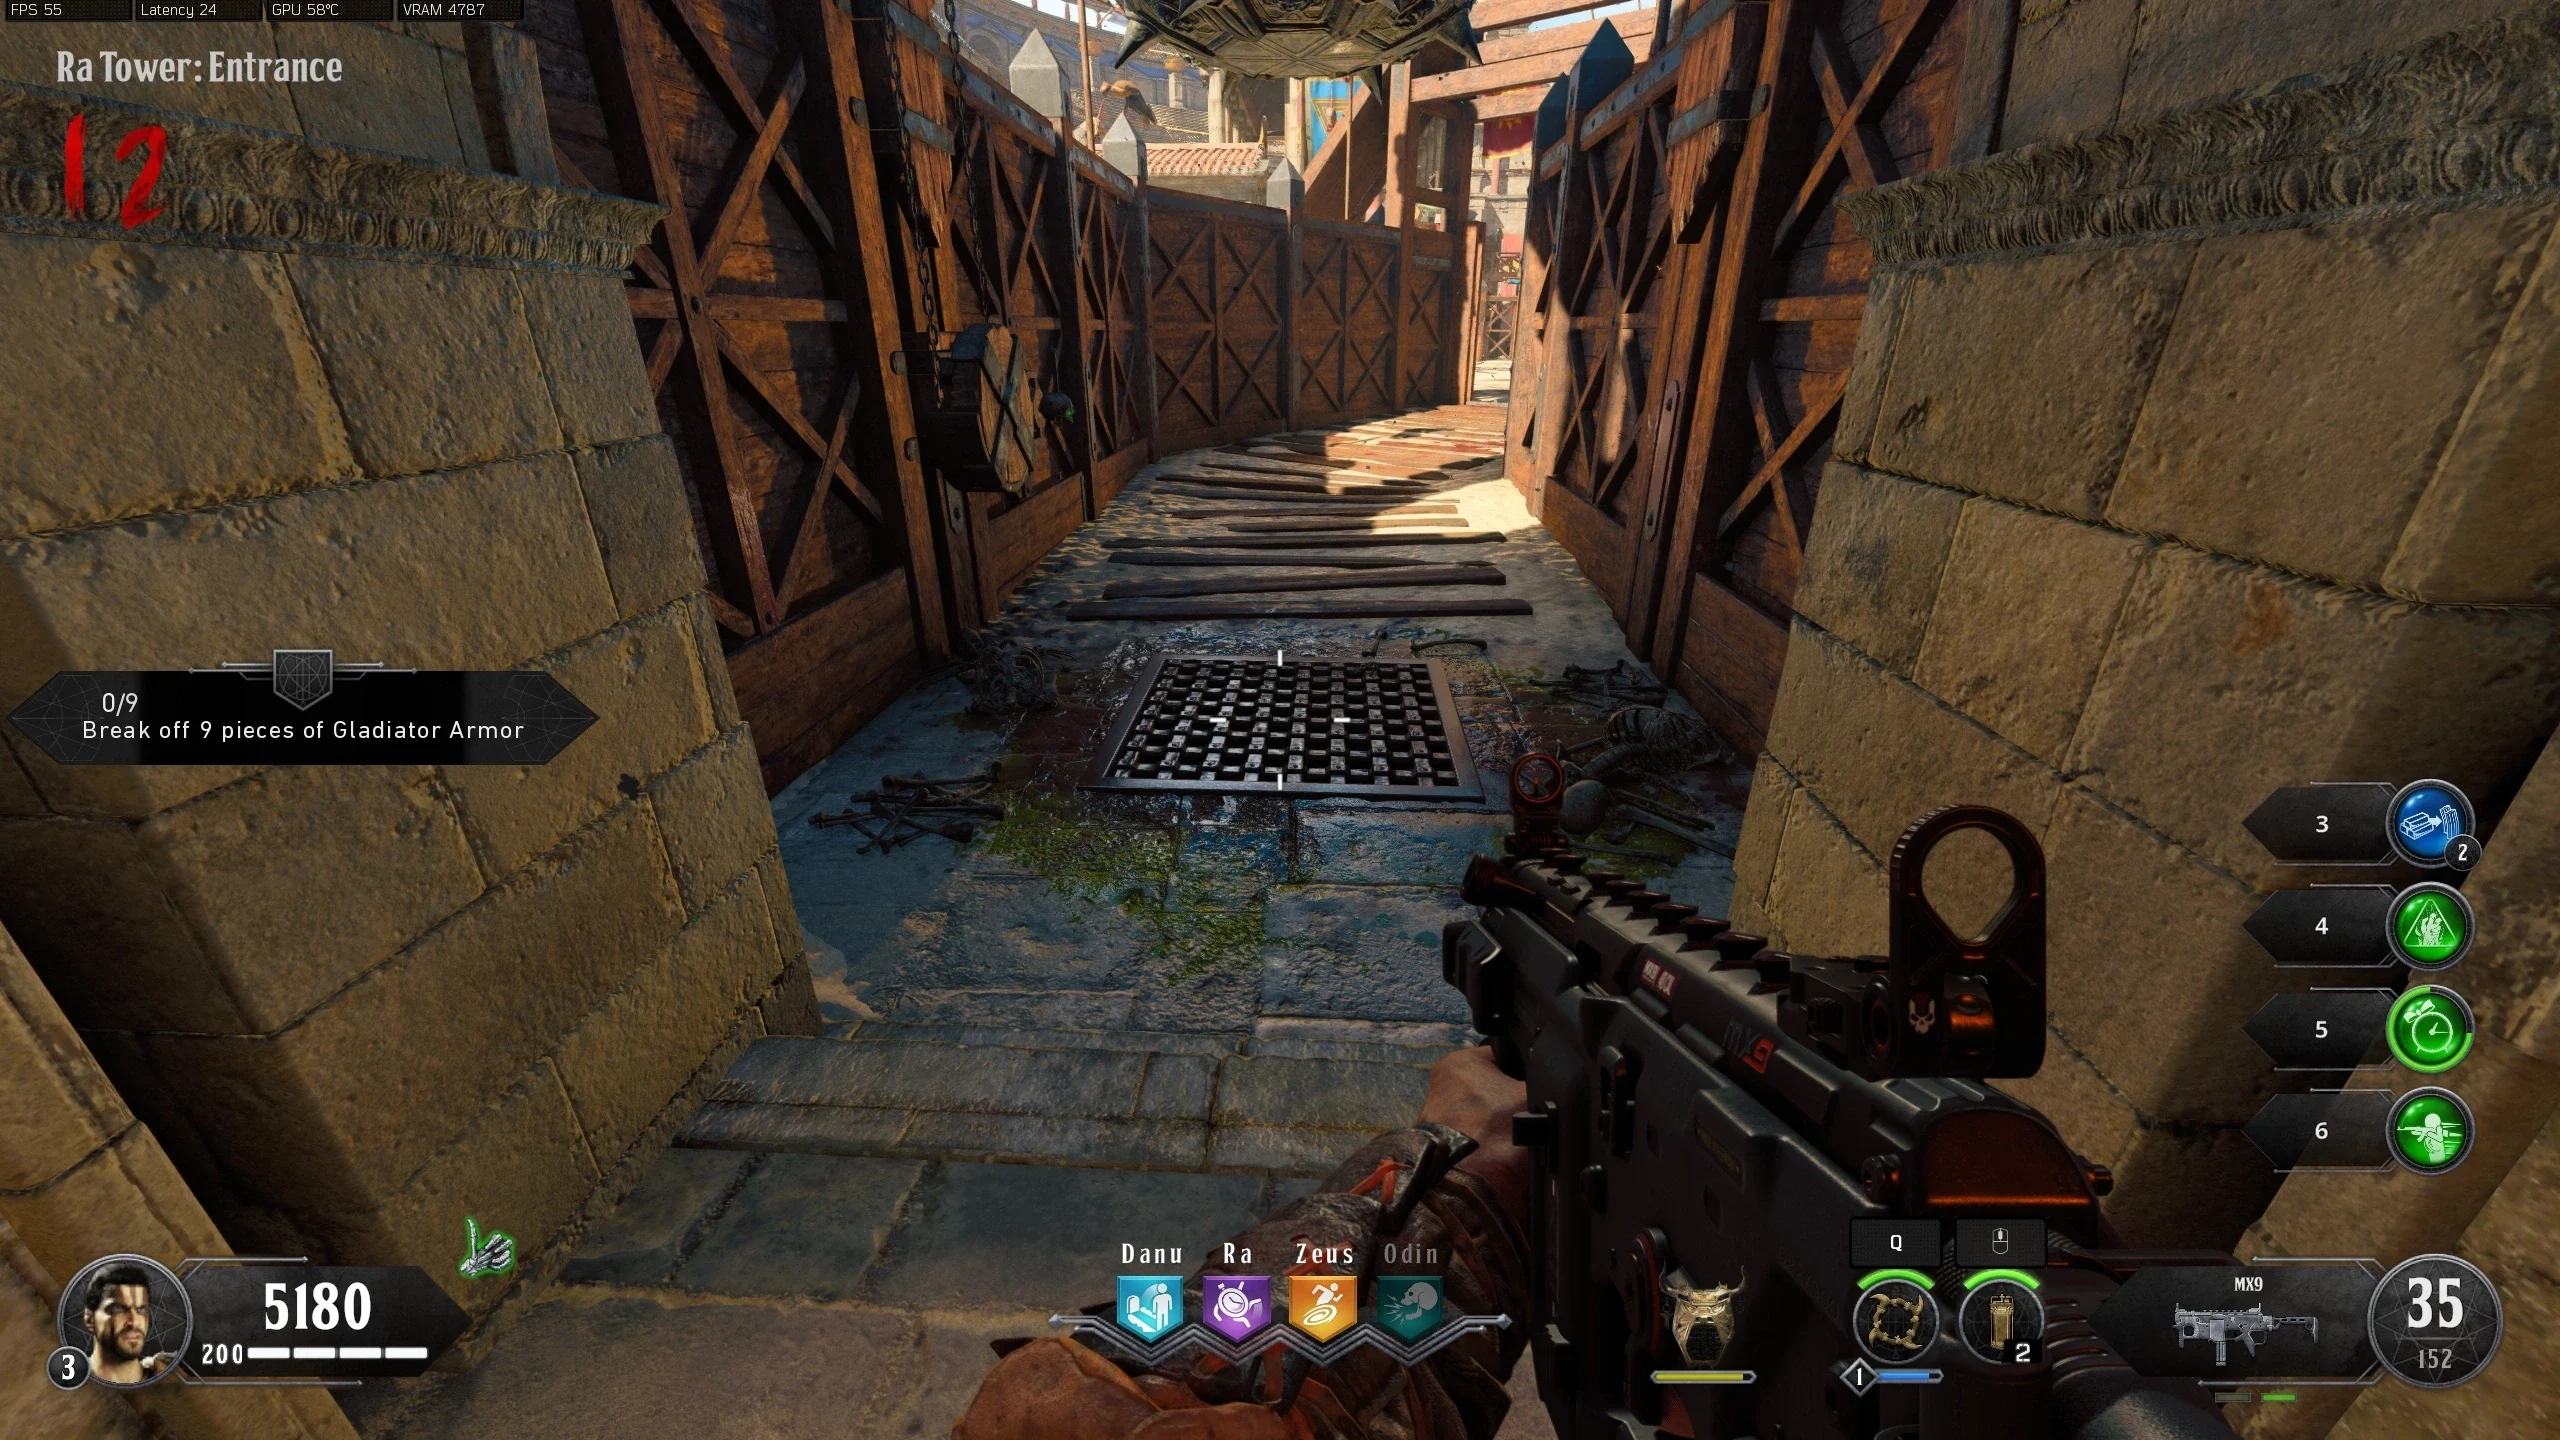
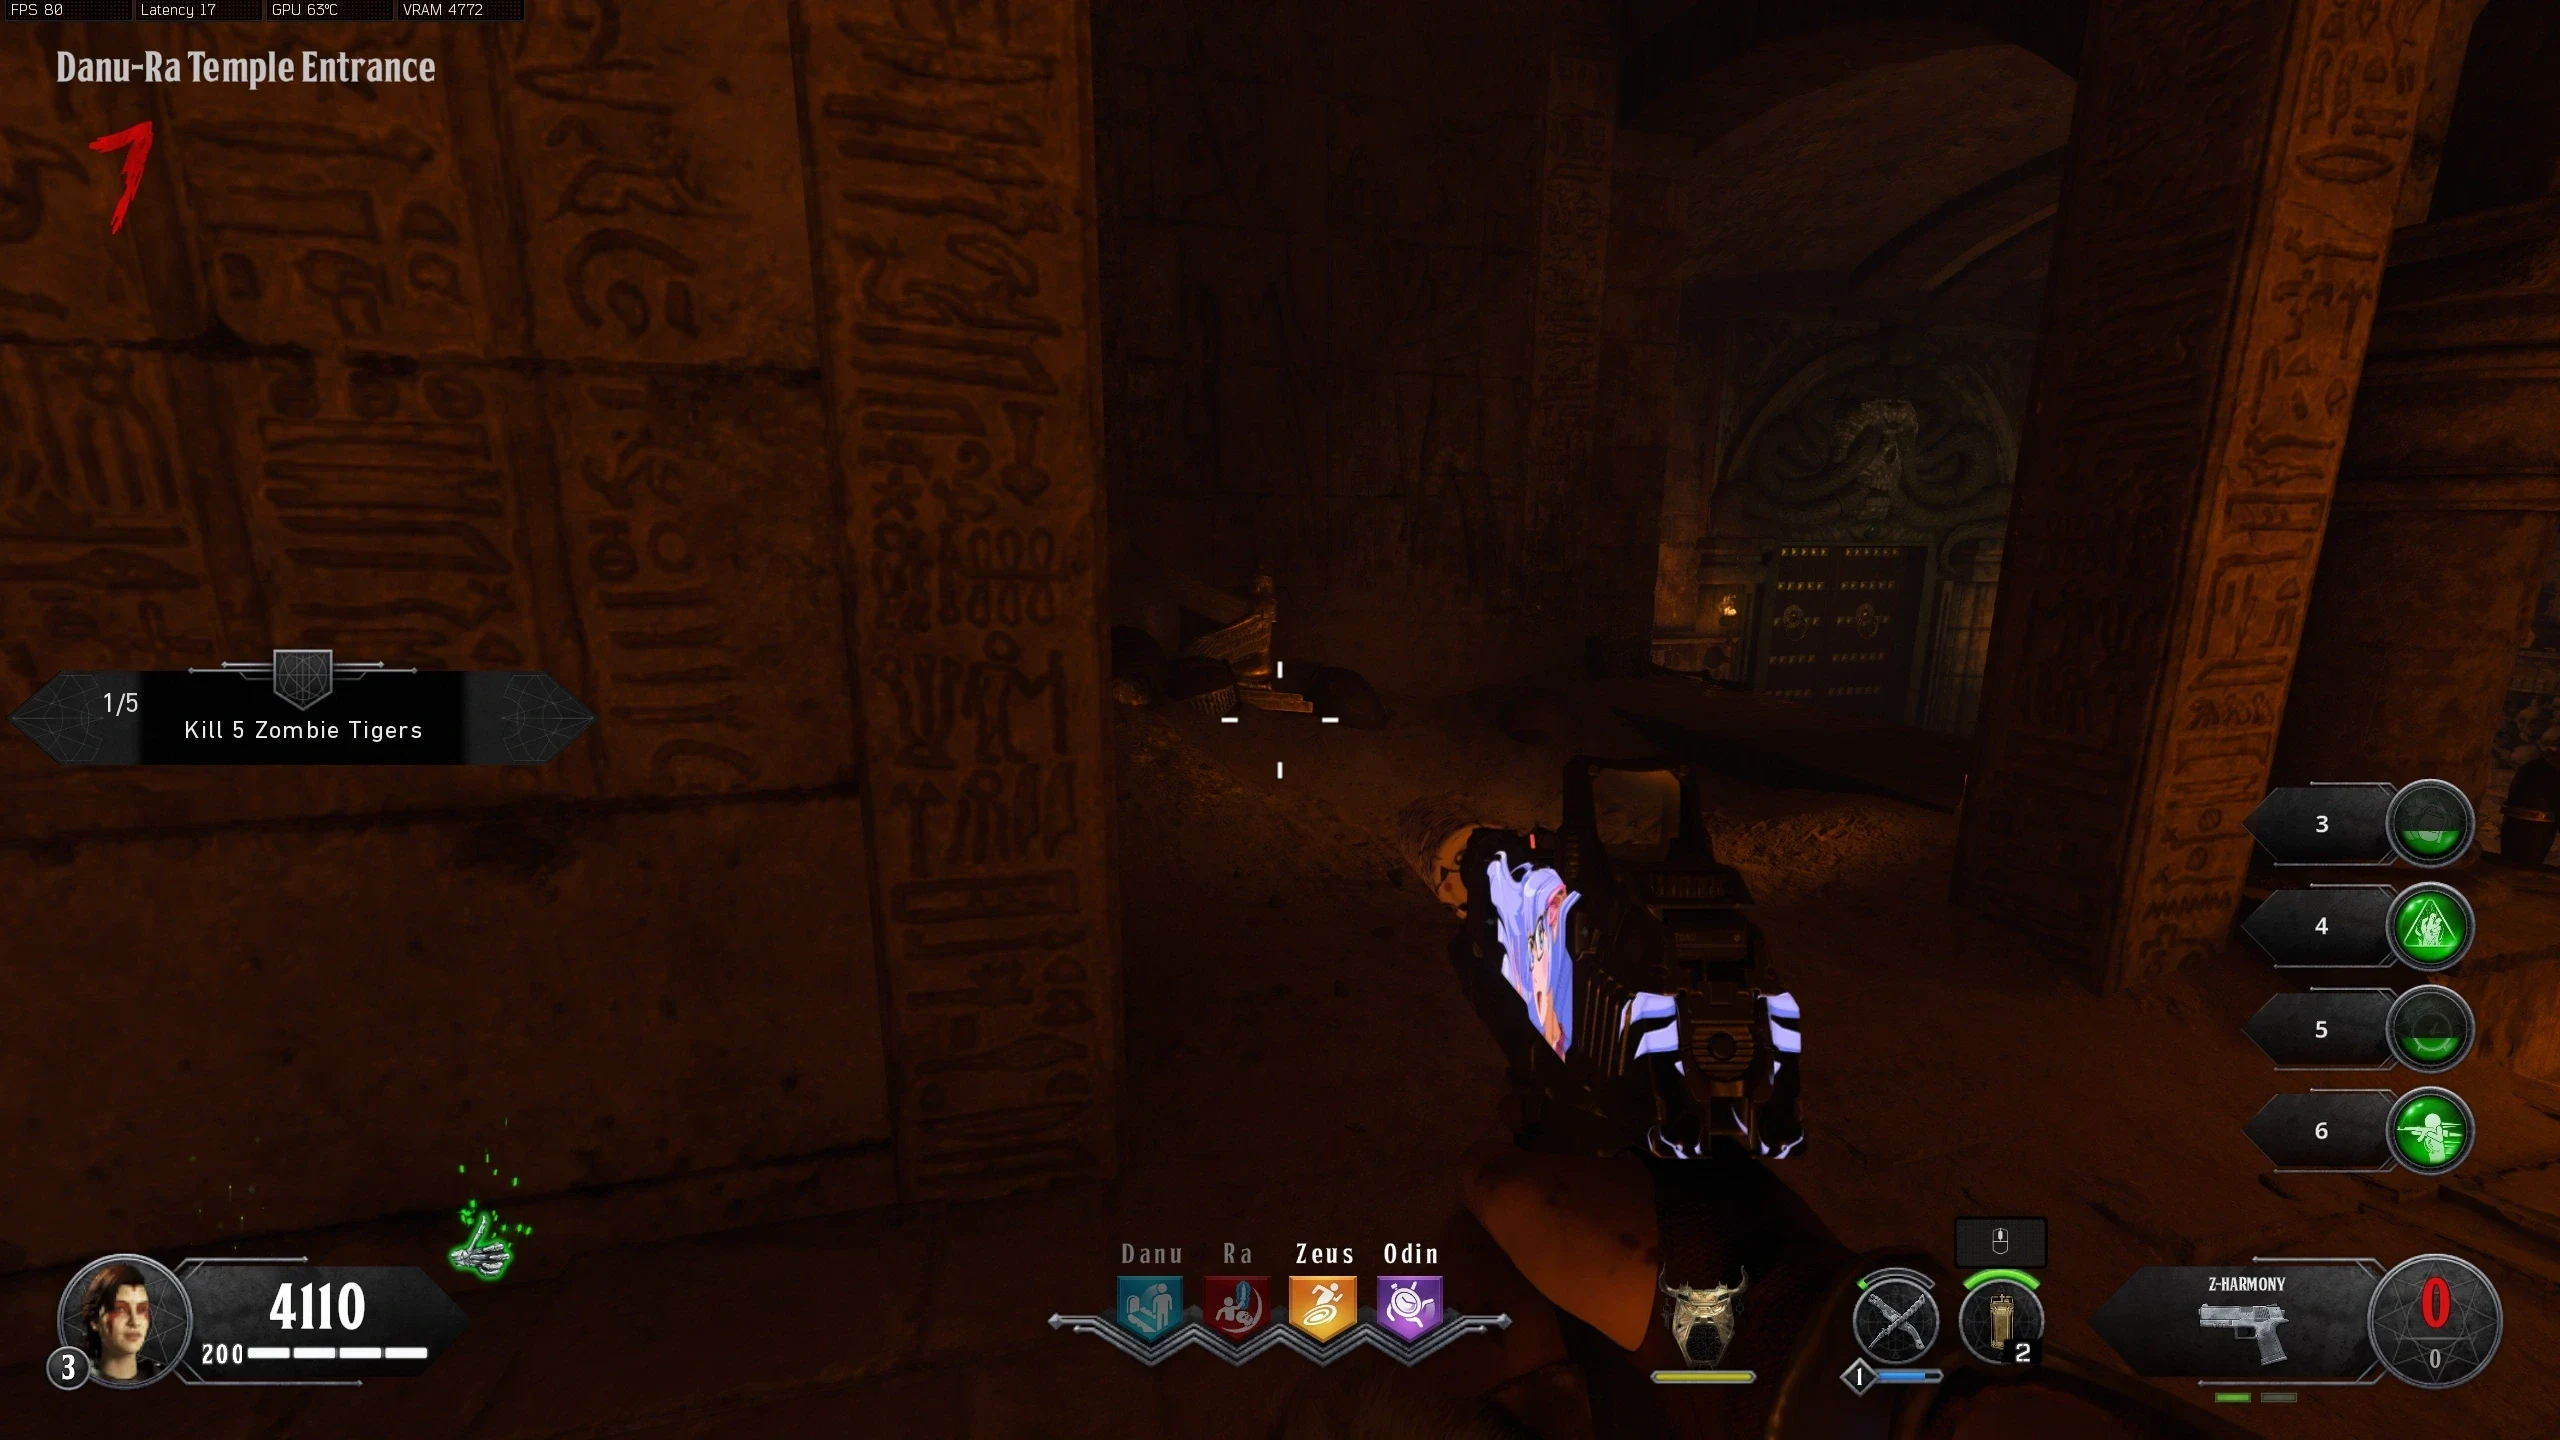
- At the 'Danu-Ra Temple Entrance', shoot the bowl of fire to knock it over.
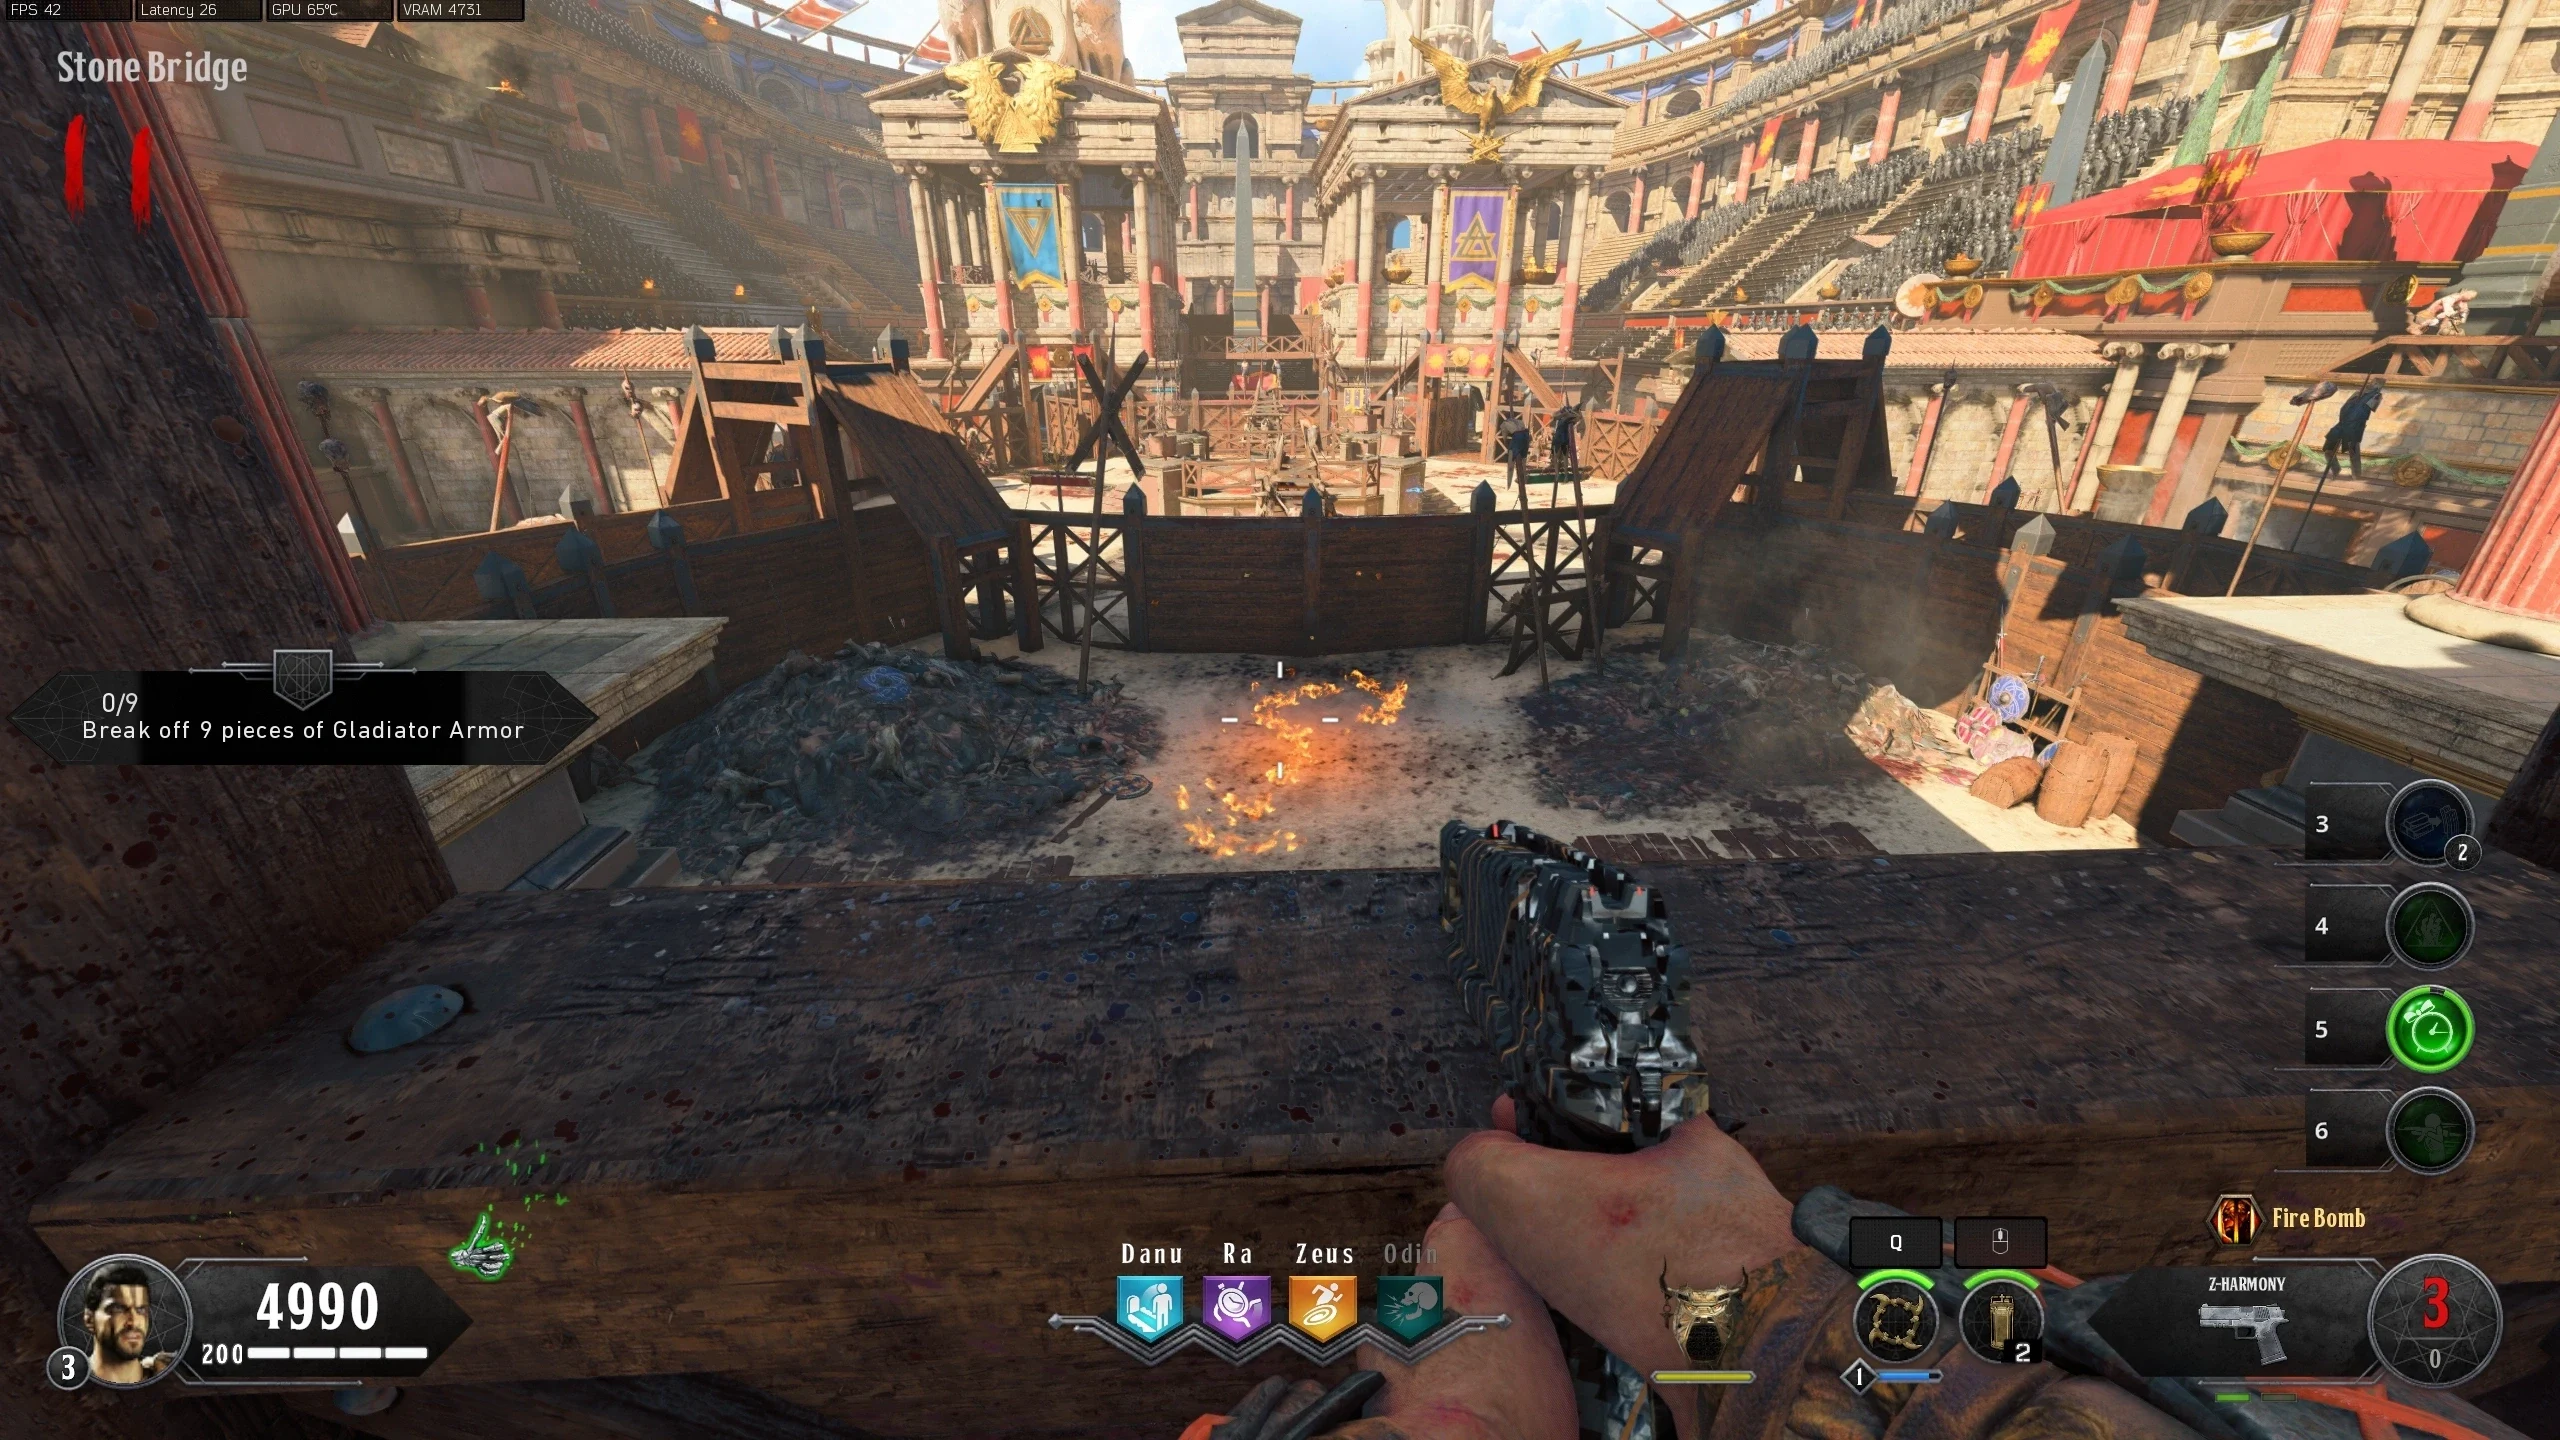
- Head to the bridge between the Danu and Ra Temples, and look down toward spawn to see an arrow pointing to one of the God Towers.
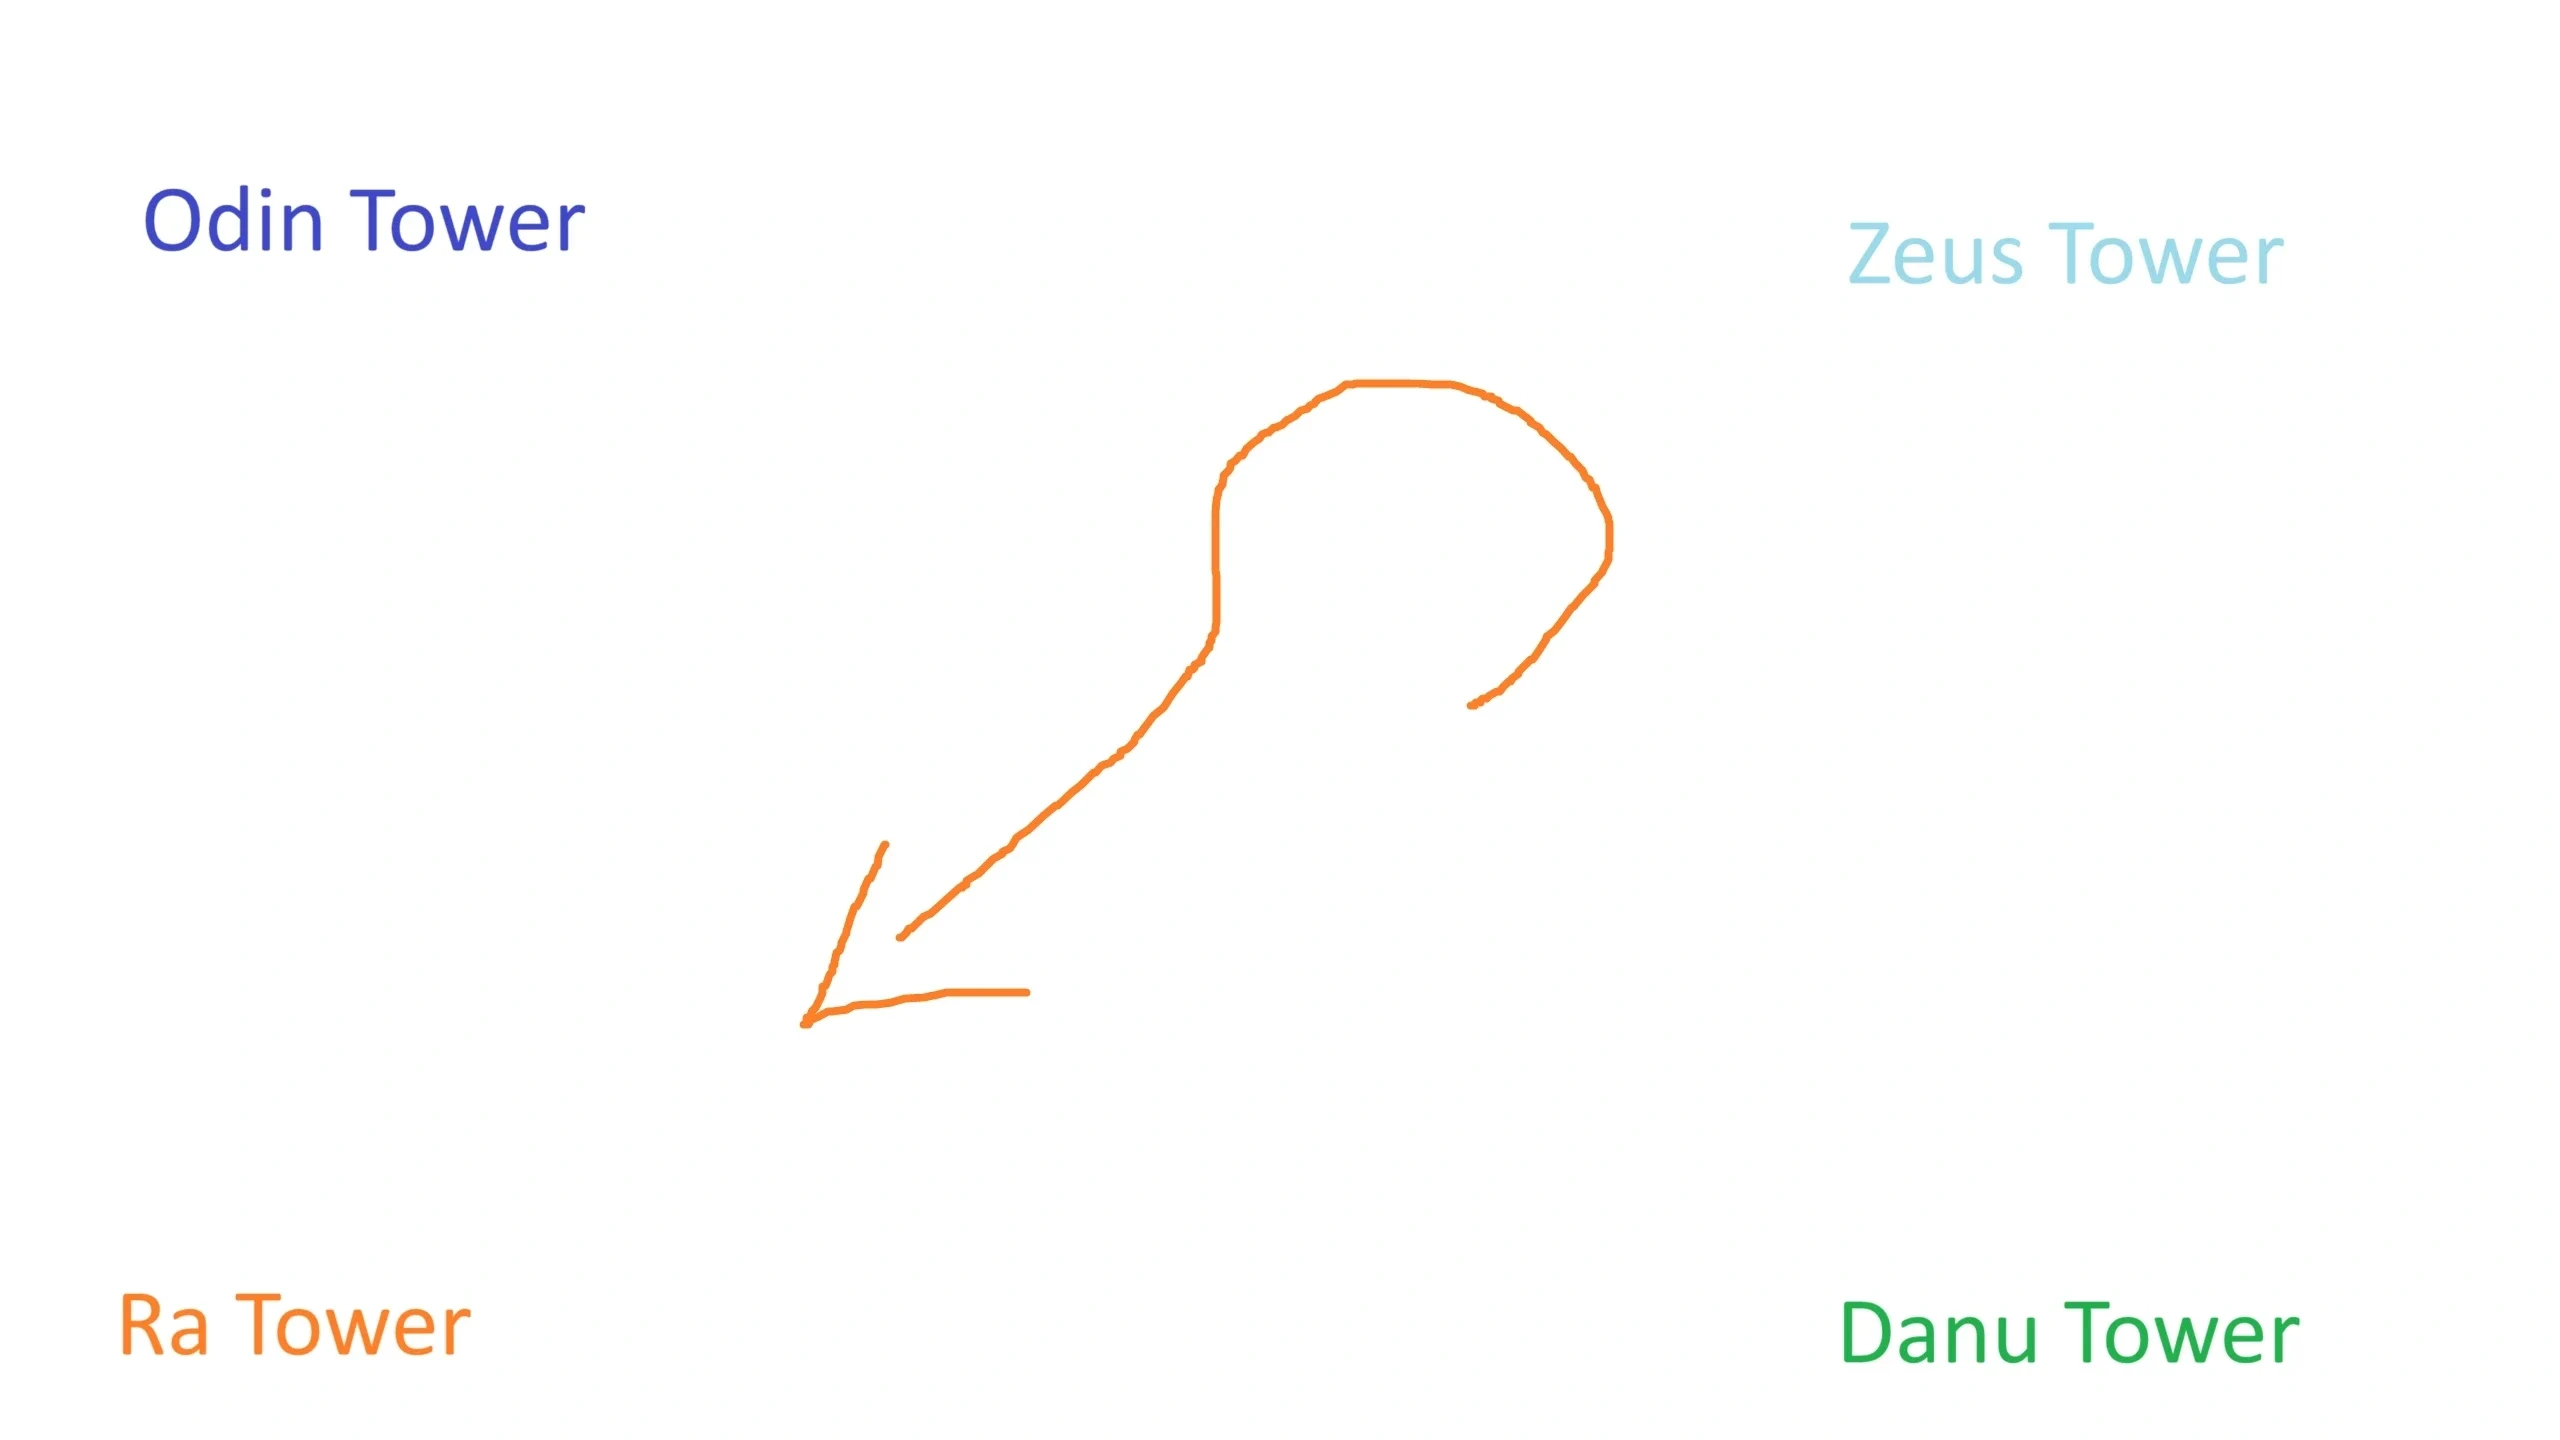
If you are confused by which direction the arrow is facing, here is an example pointing to the Ra Tower. - In the God Tower where the arrow was pointing is a Stone Statue Head you need to find and pick up.
- Build the Acid Trap.
- Place the Statue Head on the grate below the trap and activate the trap.
- Once the trap stops, pick up the Scorpion Key.
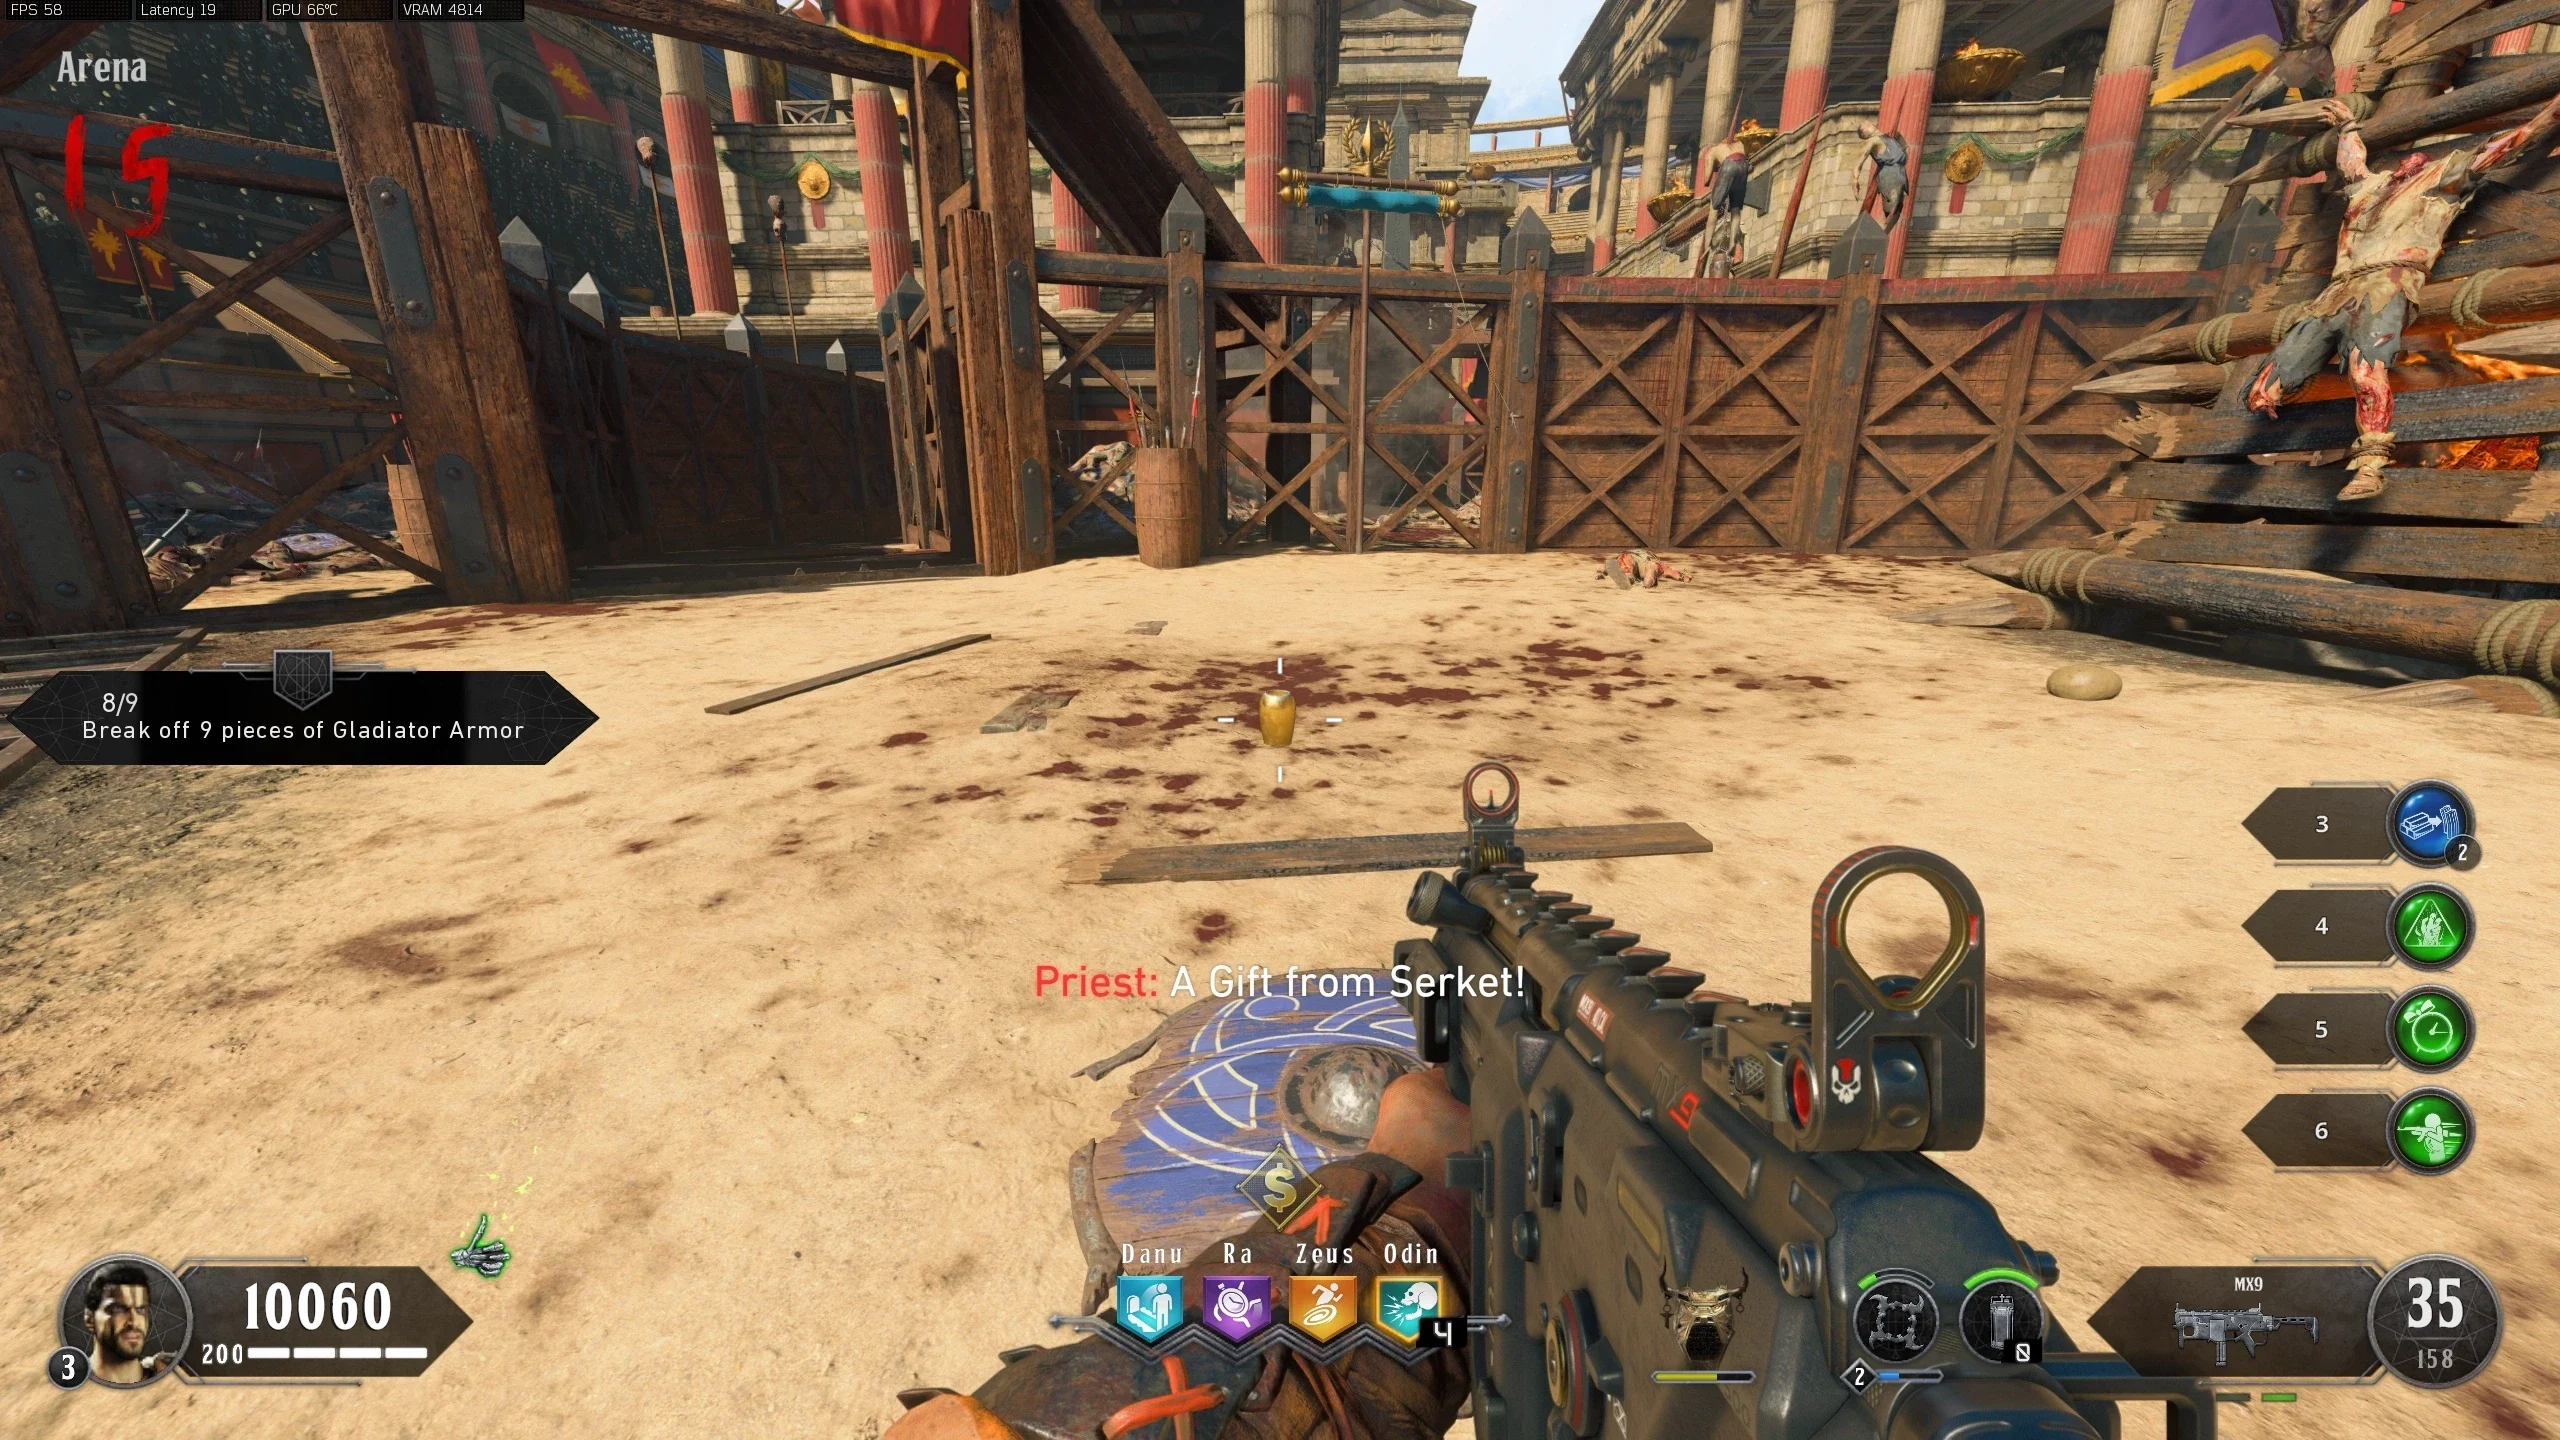
- Obtain and maintain maximum Crowd Affinity for the entirety of the next full round after picking the Scorpion Key. (Example: If you pick up the Scorpion Key on round 10, you must keep Maximum Affinity for all of round 11.)
- If done correctly, the announcer should say "A Gift from Serket" and a gift package containing a Jar will be thrown from the crowd. Pick up the jar.
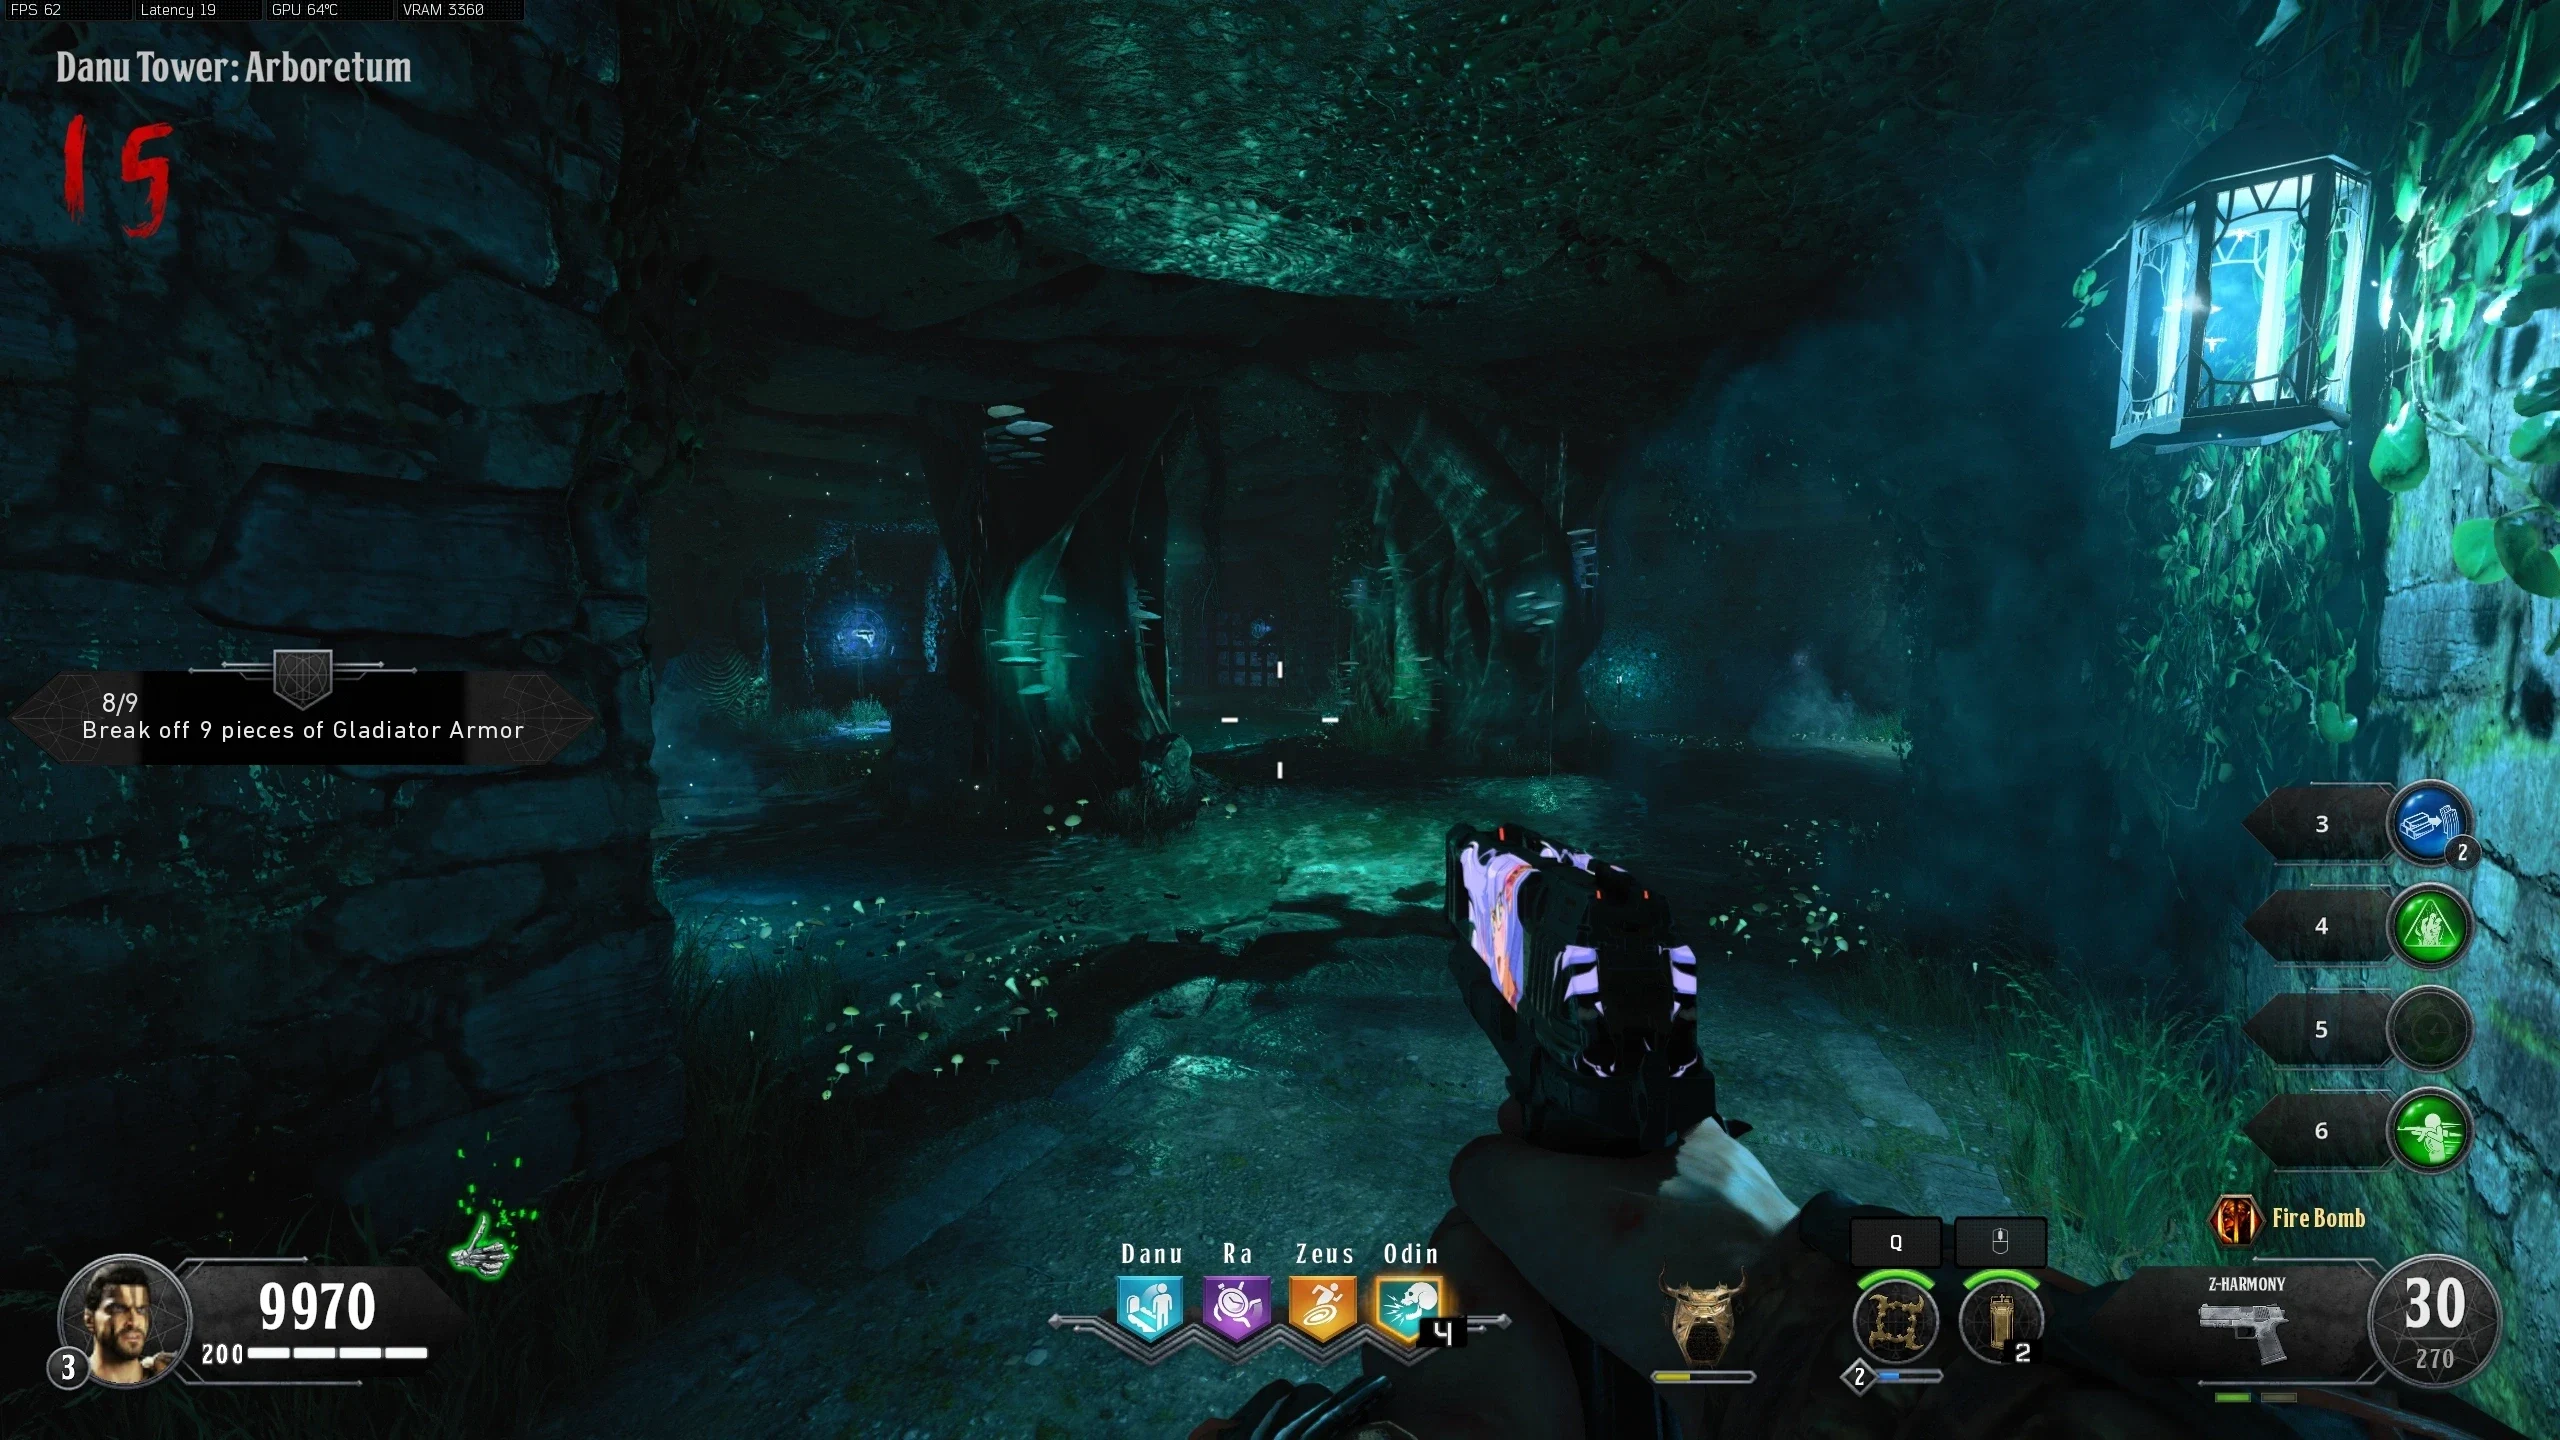
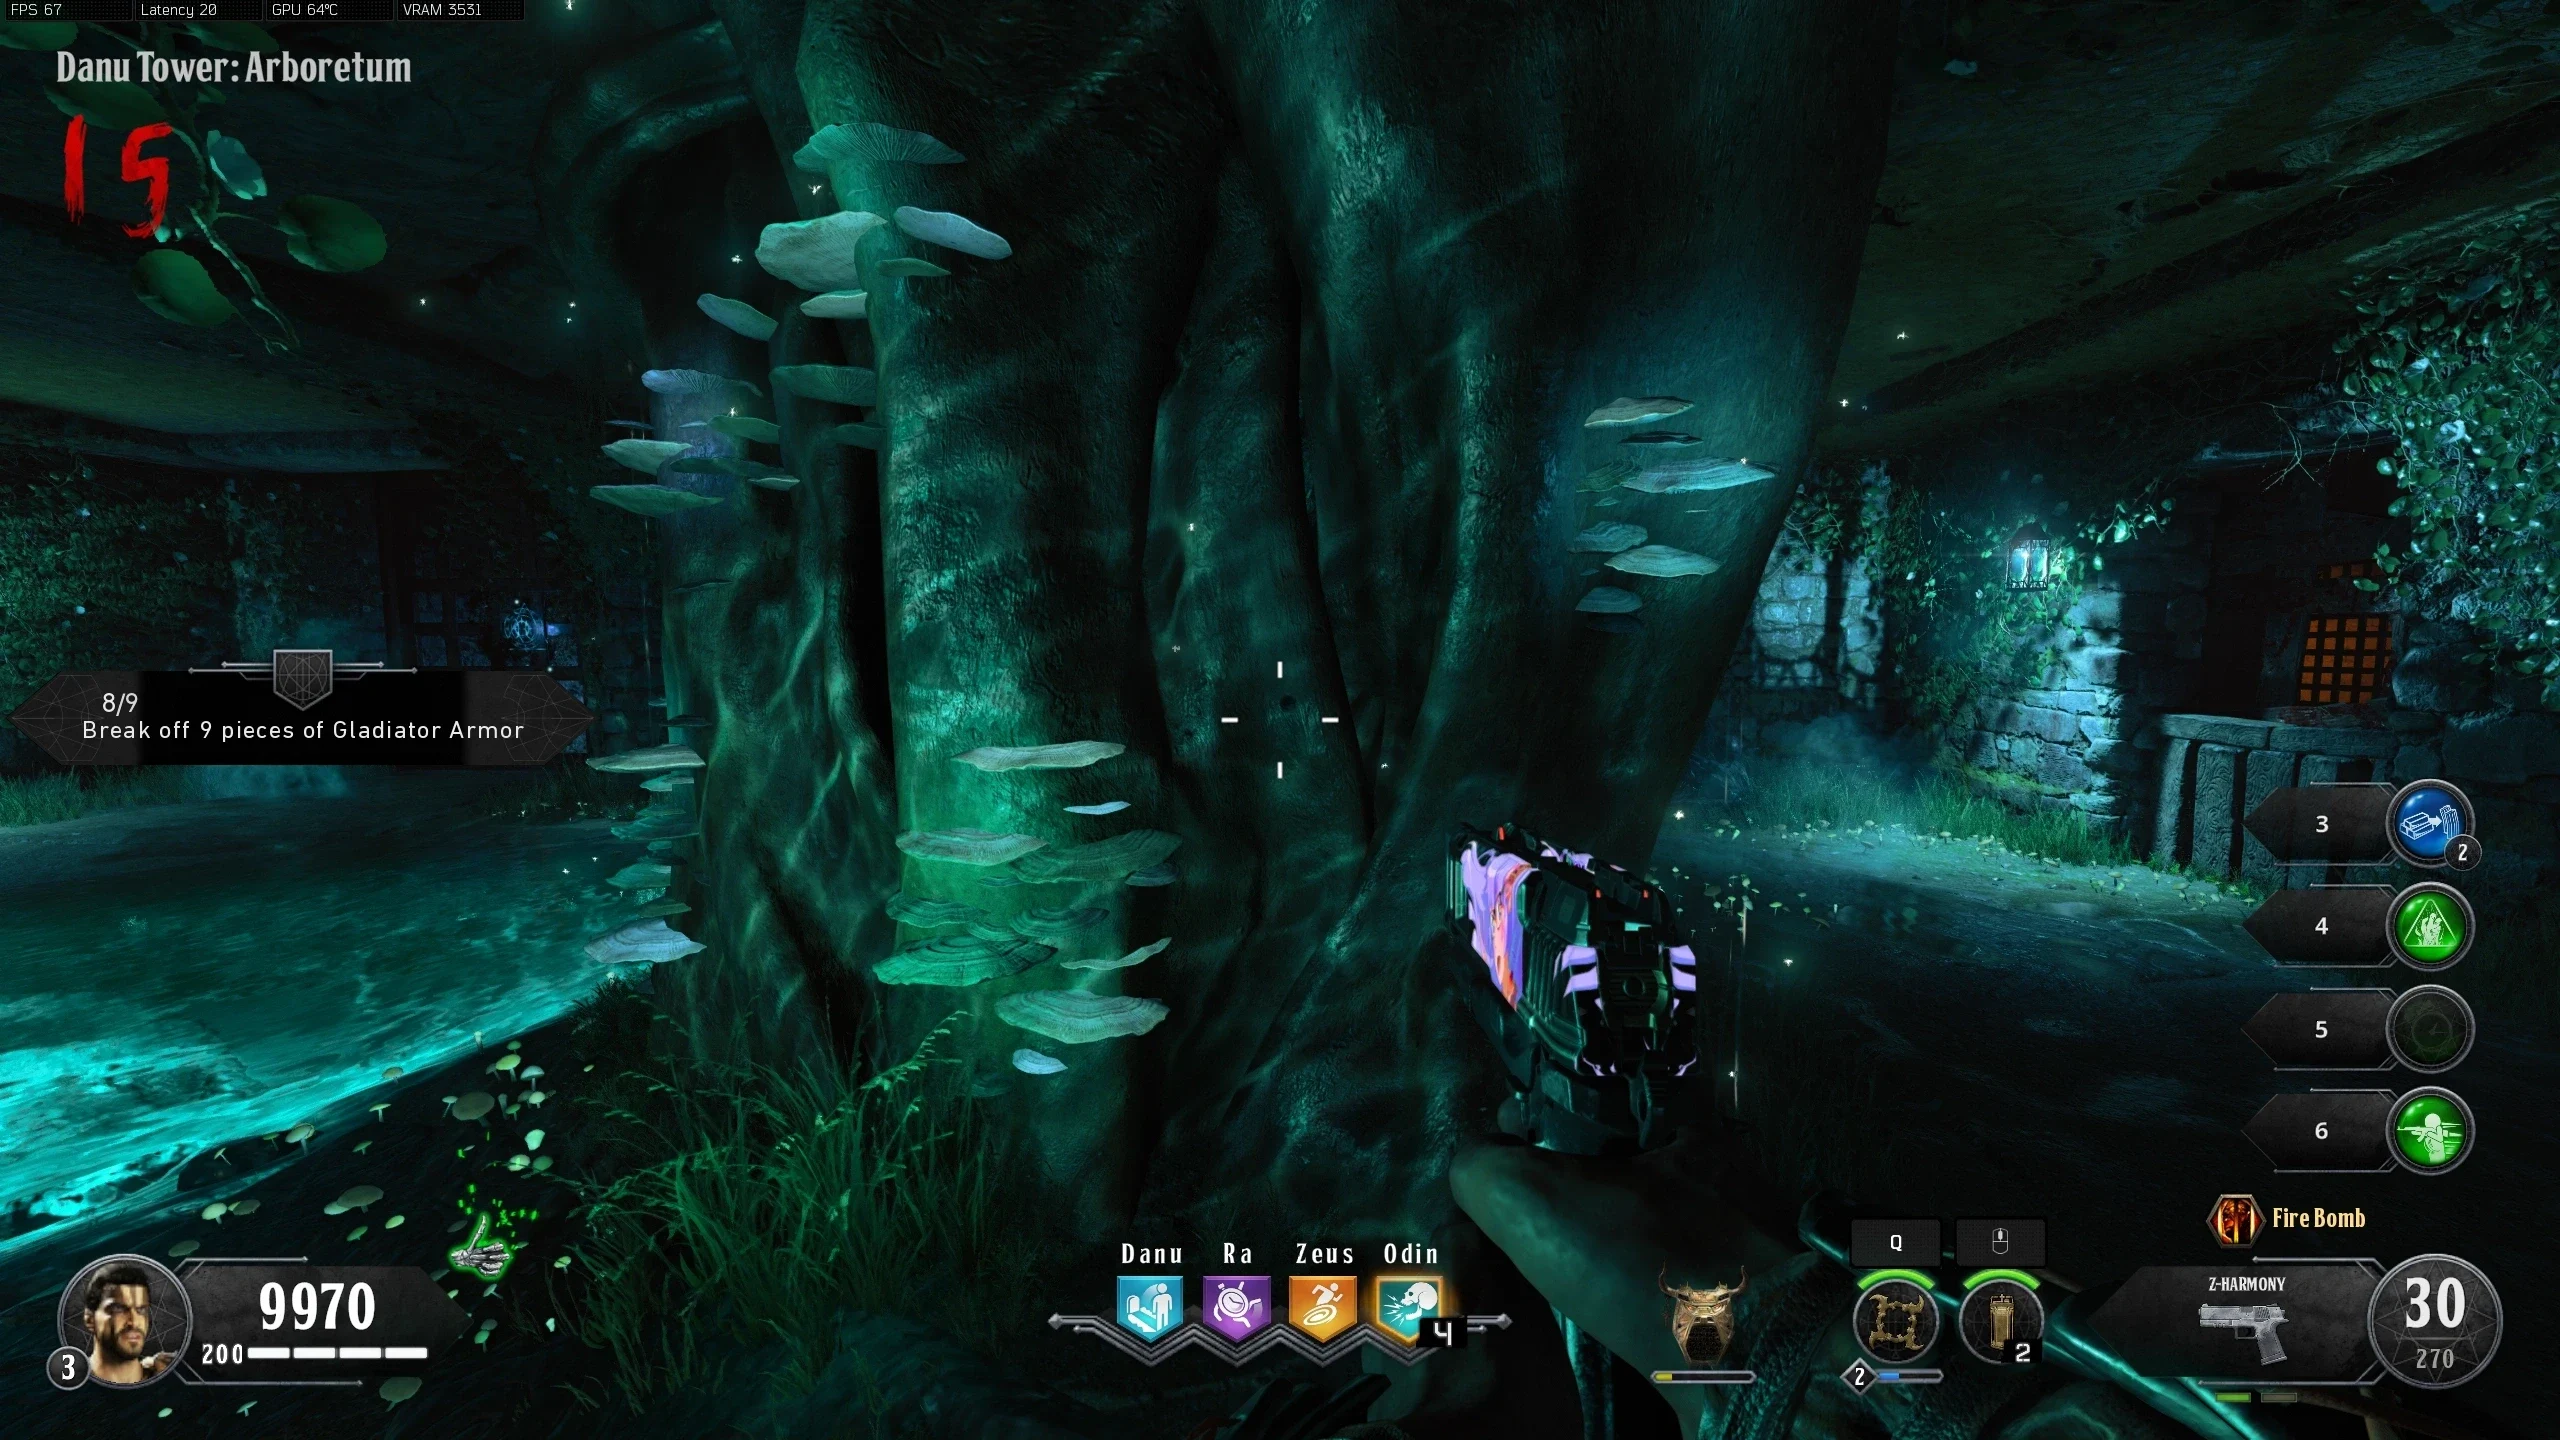
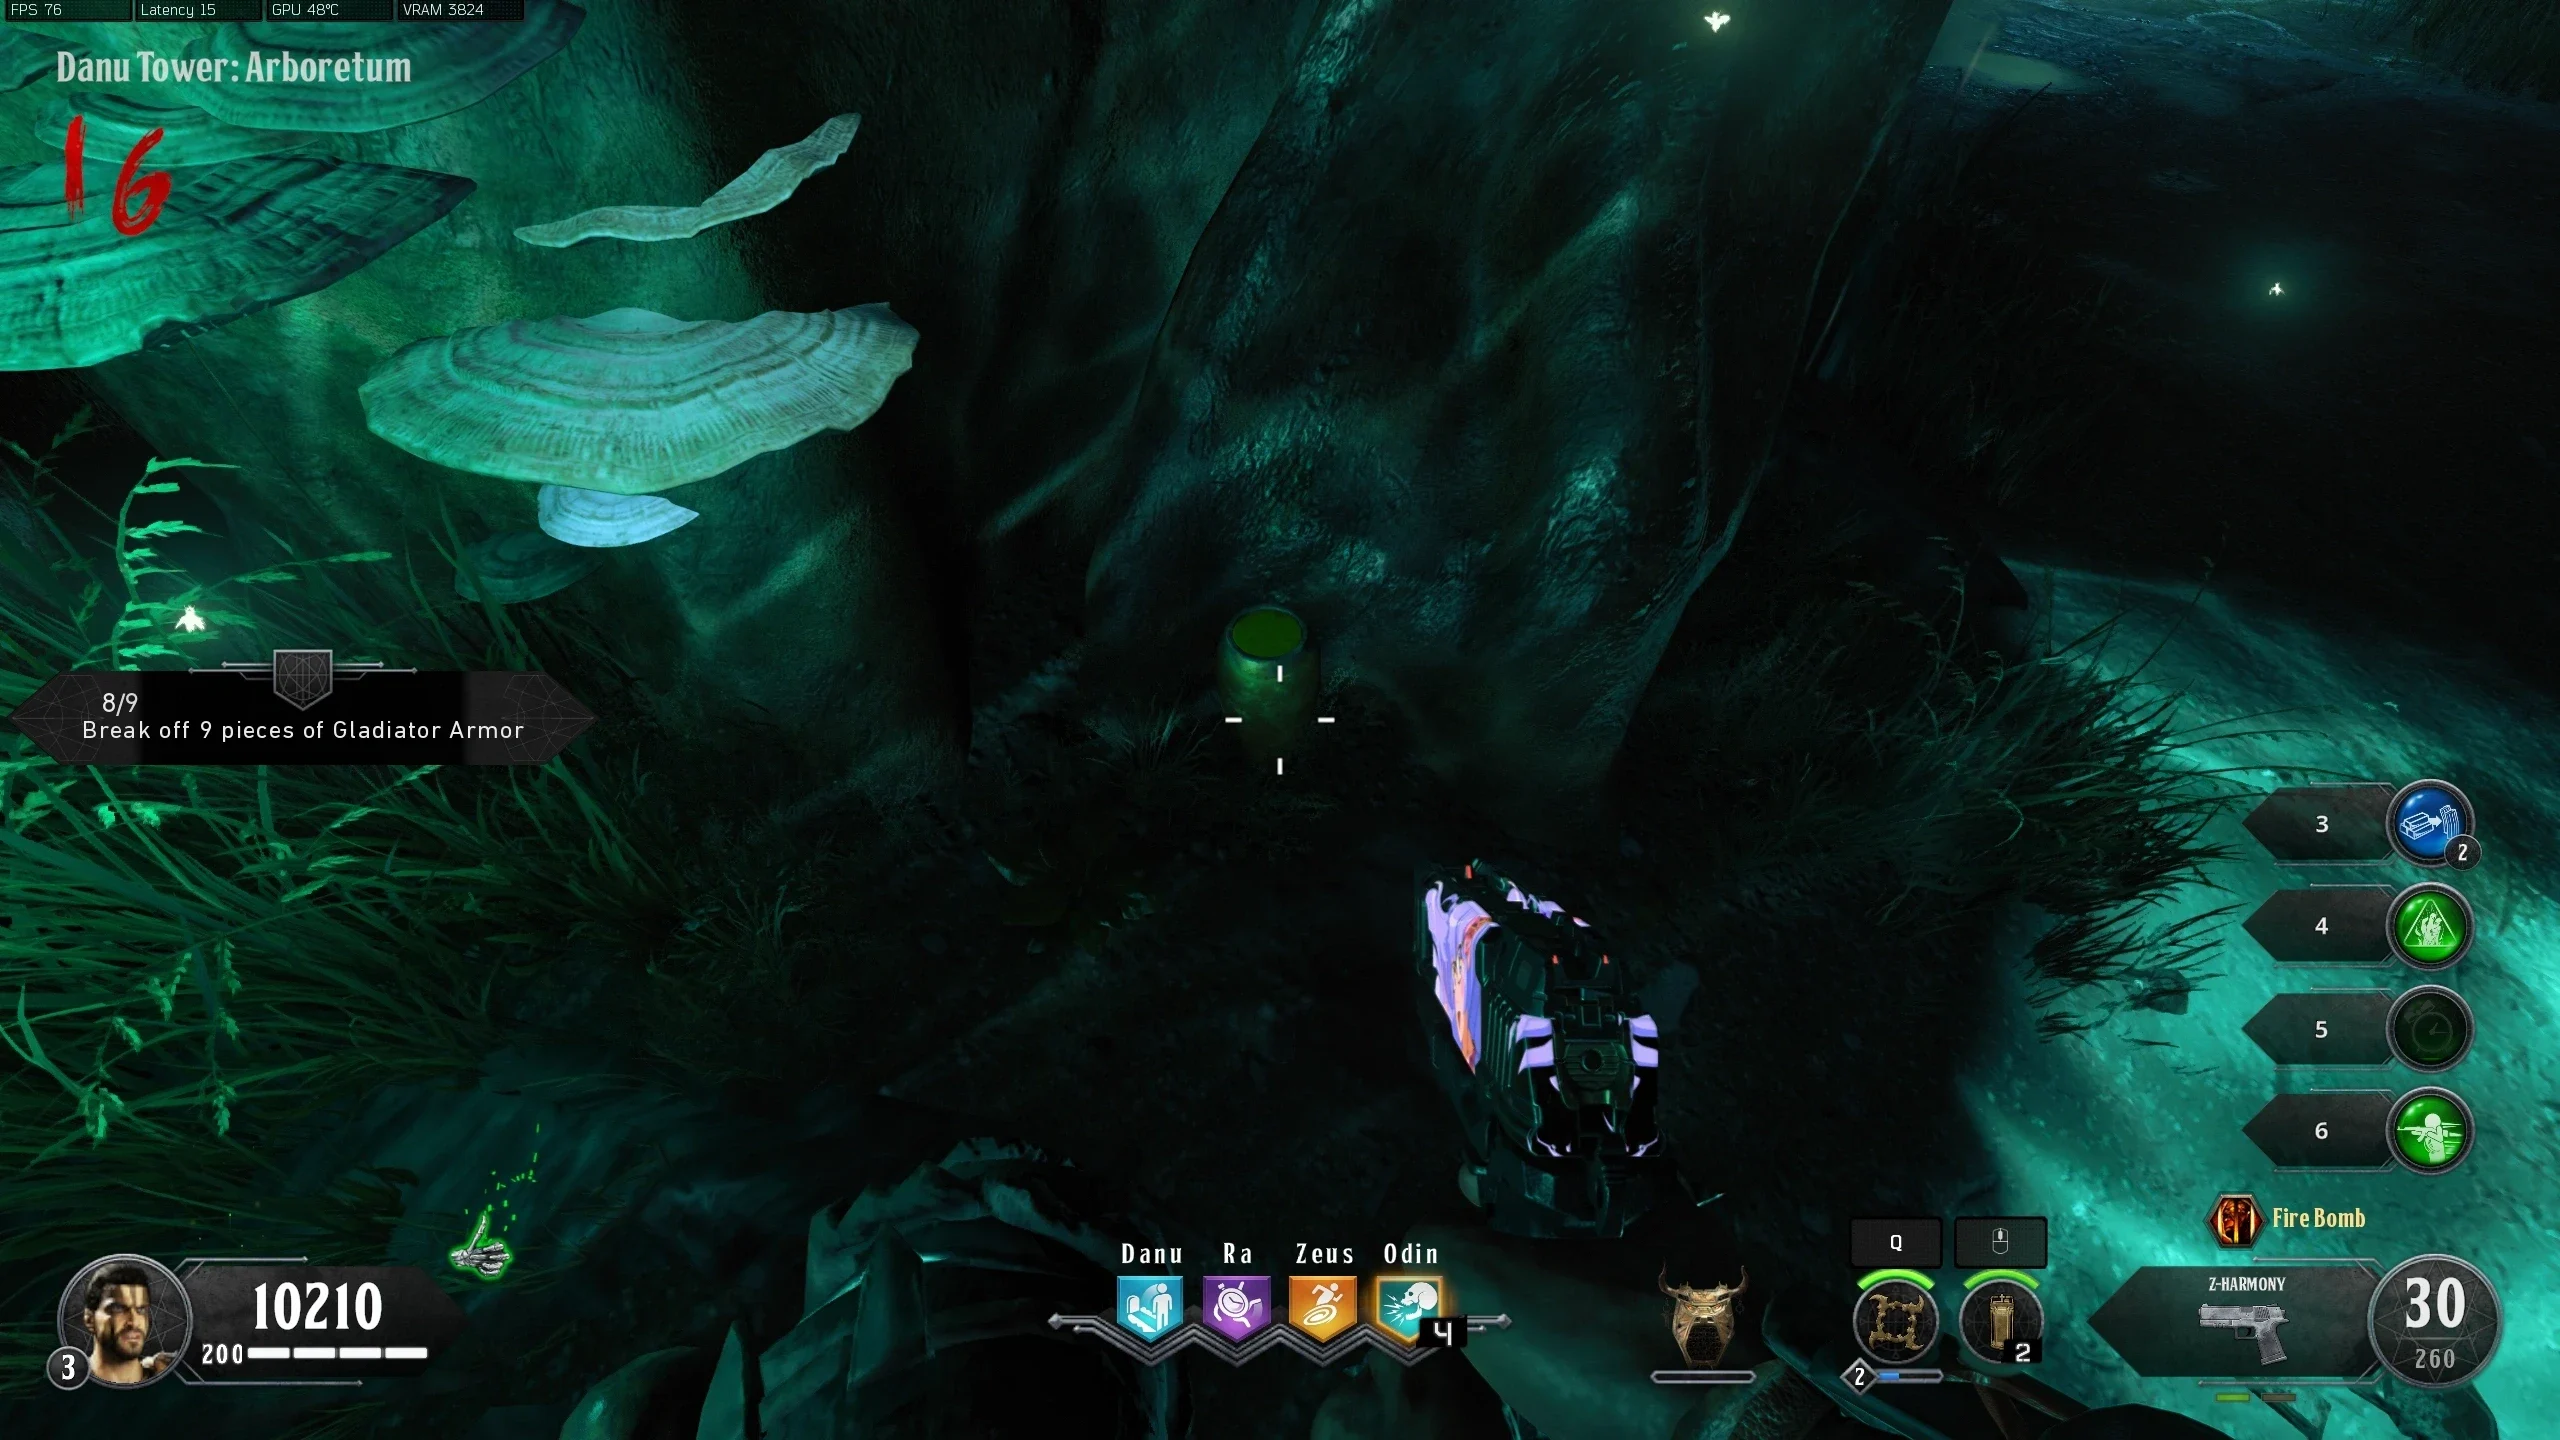
- In the 'Danu Tower: Arboretum', melee the hole on the tree to place the Scorpion Key in it. If you are having trouble placing the Key, keep trying as the melee hitbox is quite finicky and sometimes doesn't register the hit.
- Place the jar below the Key where the Poison is dripping.
- Return to the jar next round and pick up the filled jar.
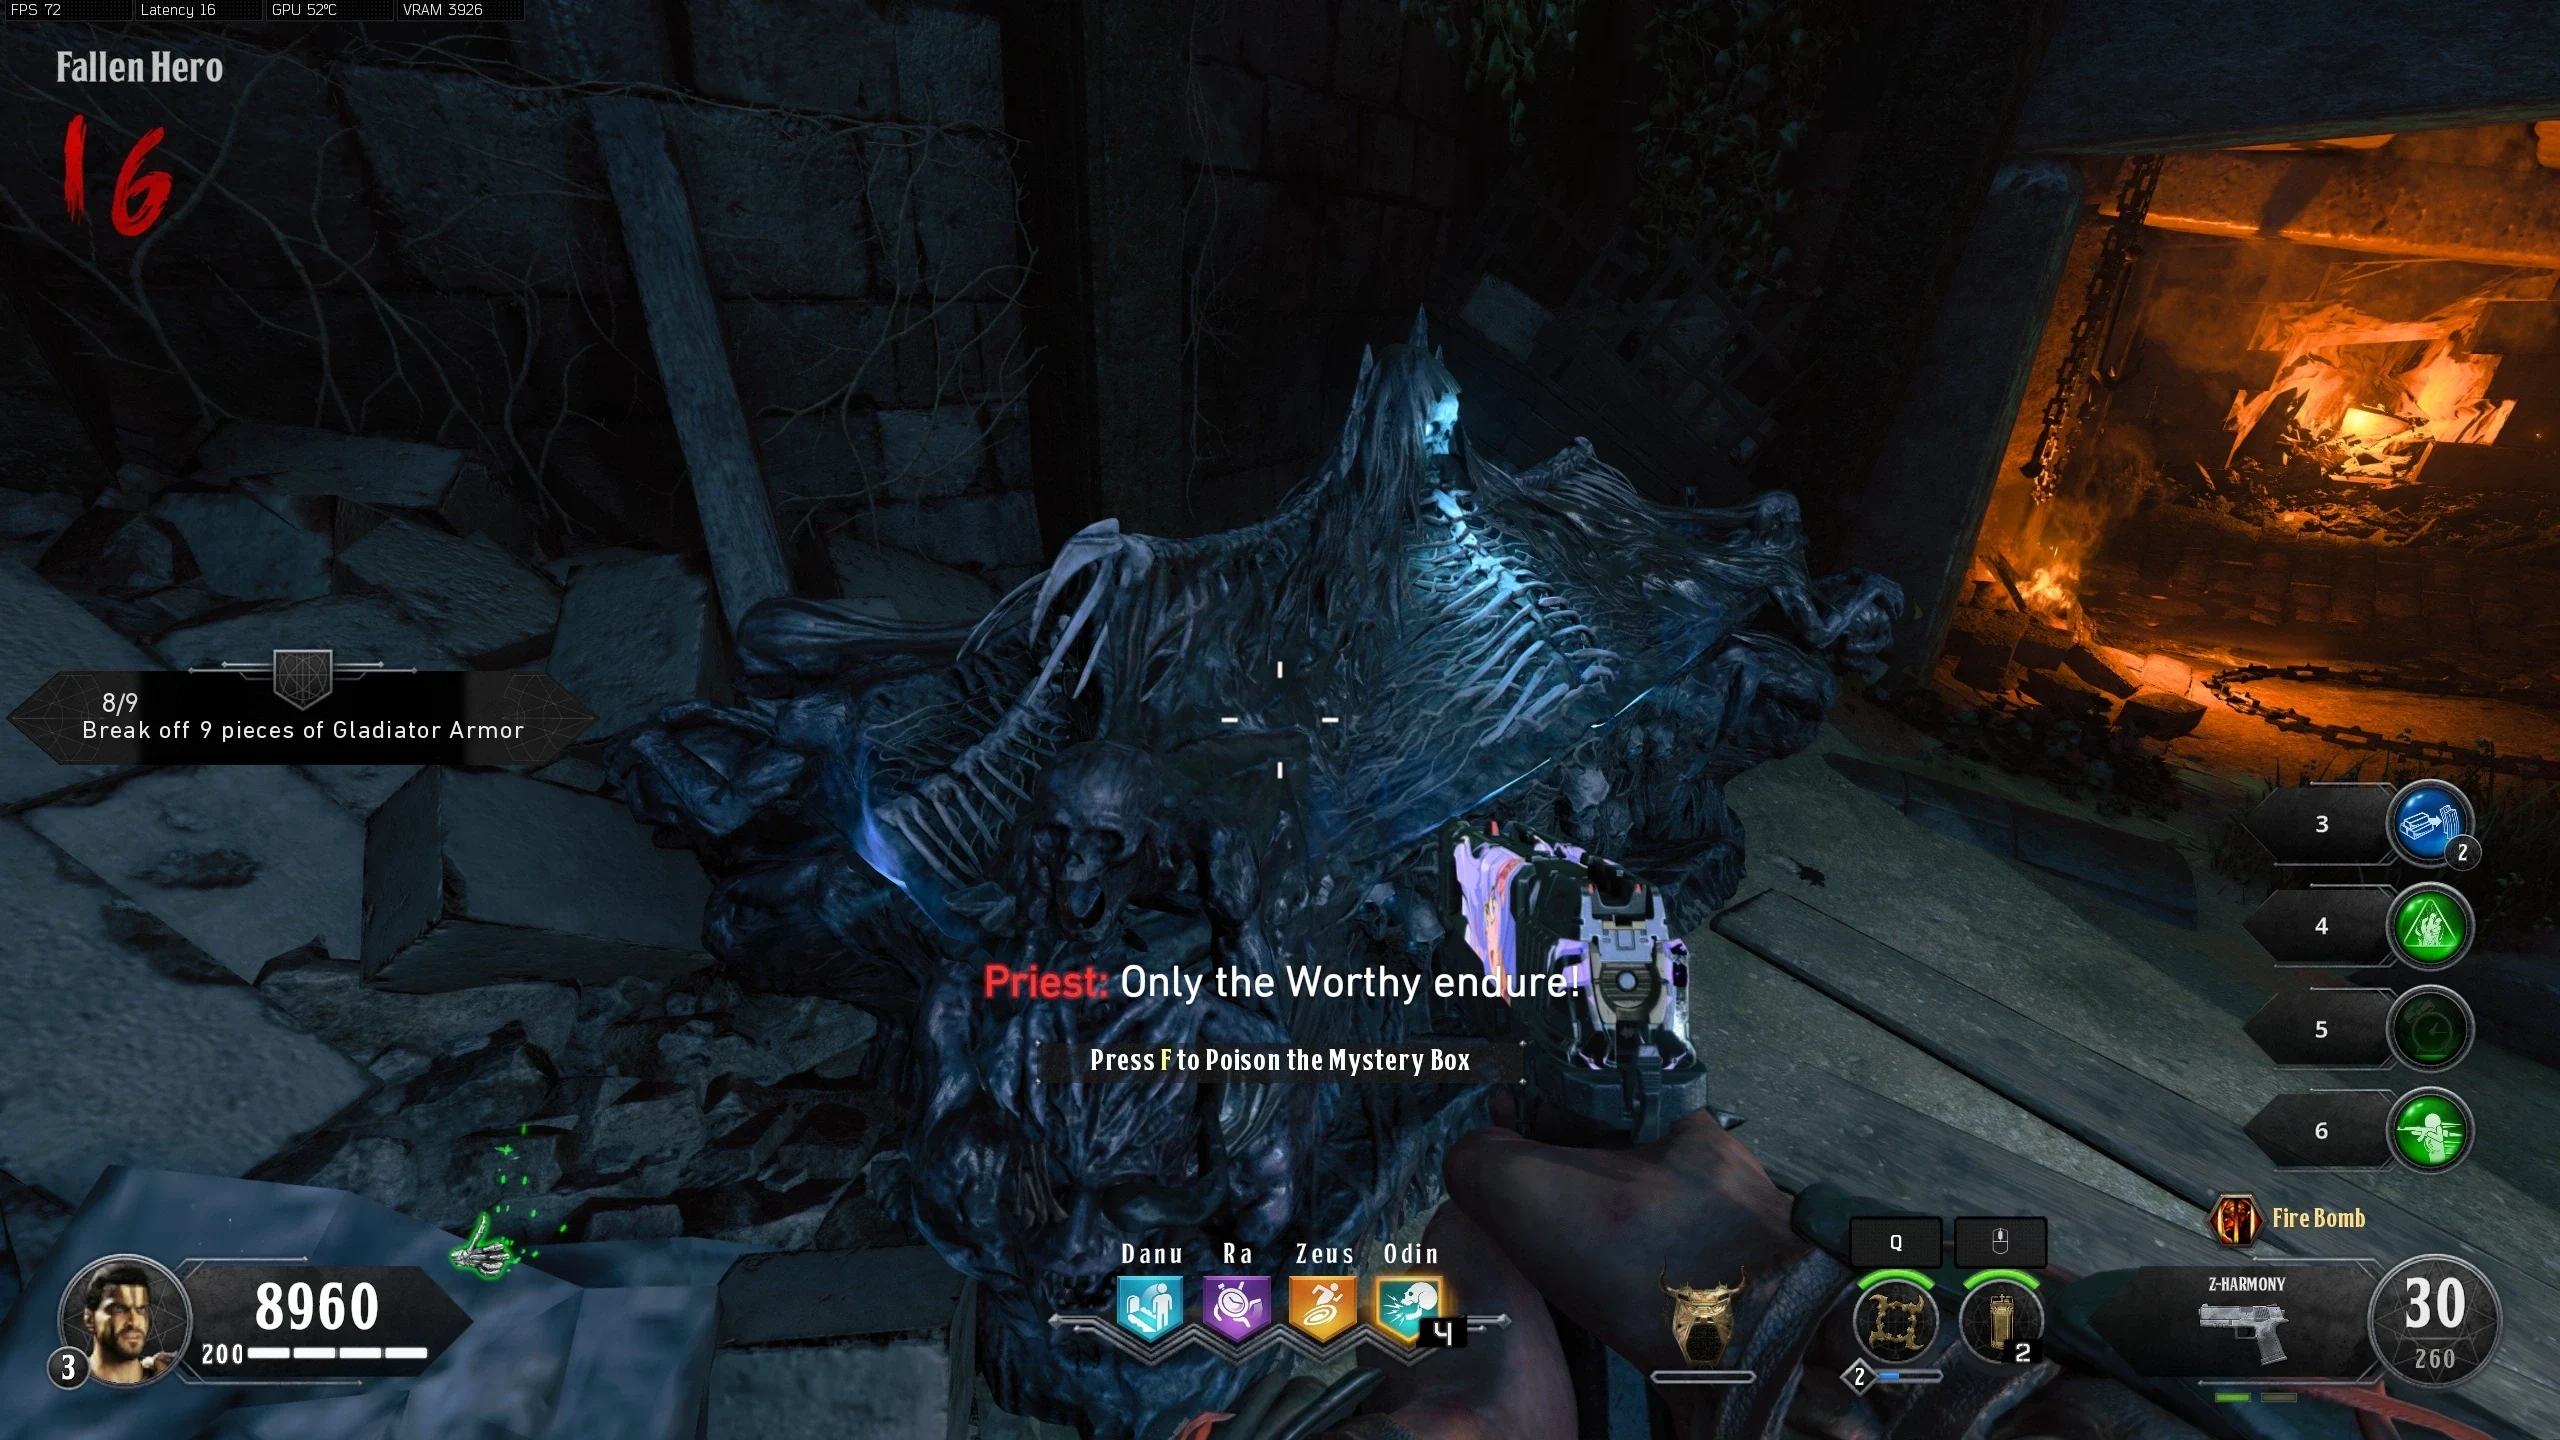
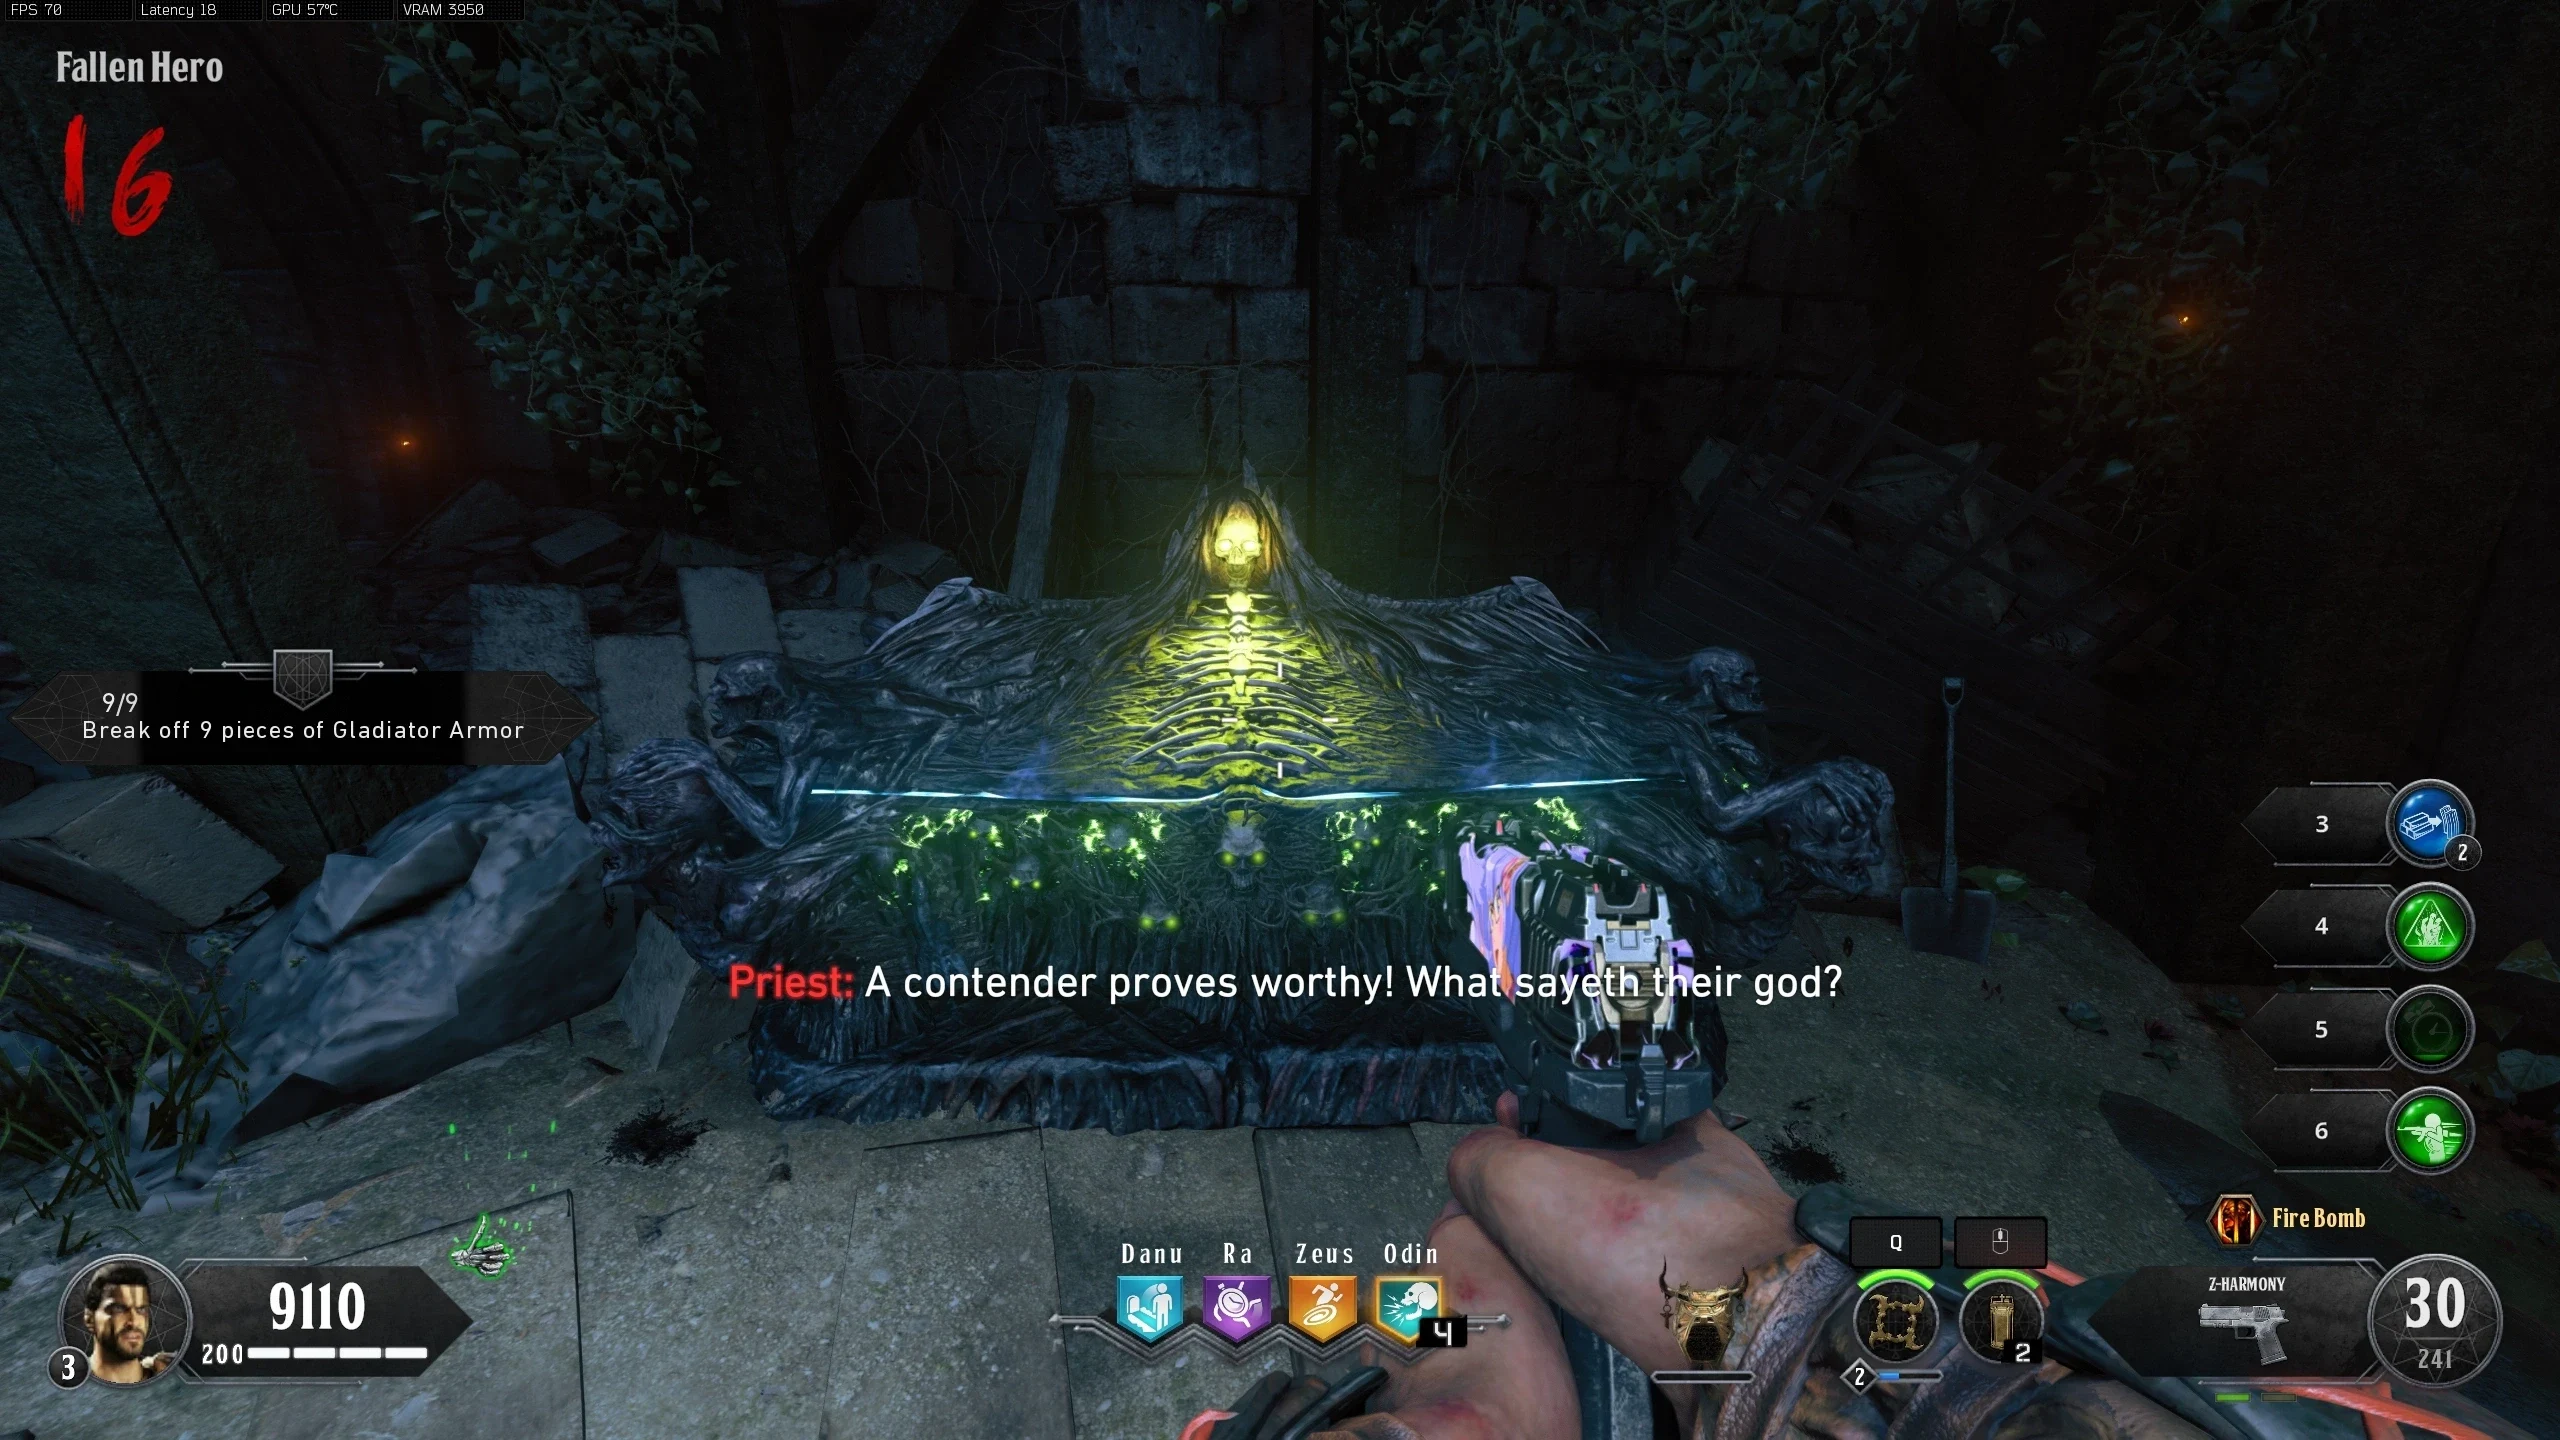
- Interact with the side of the mystery box to poison it. Once it's poisoned, it will glow green and the next weapon from the Mystery Box will always be the Death of Orion.
Brazen Bull Shield
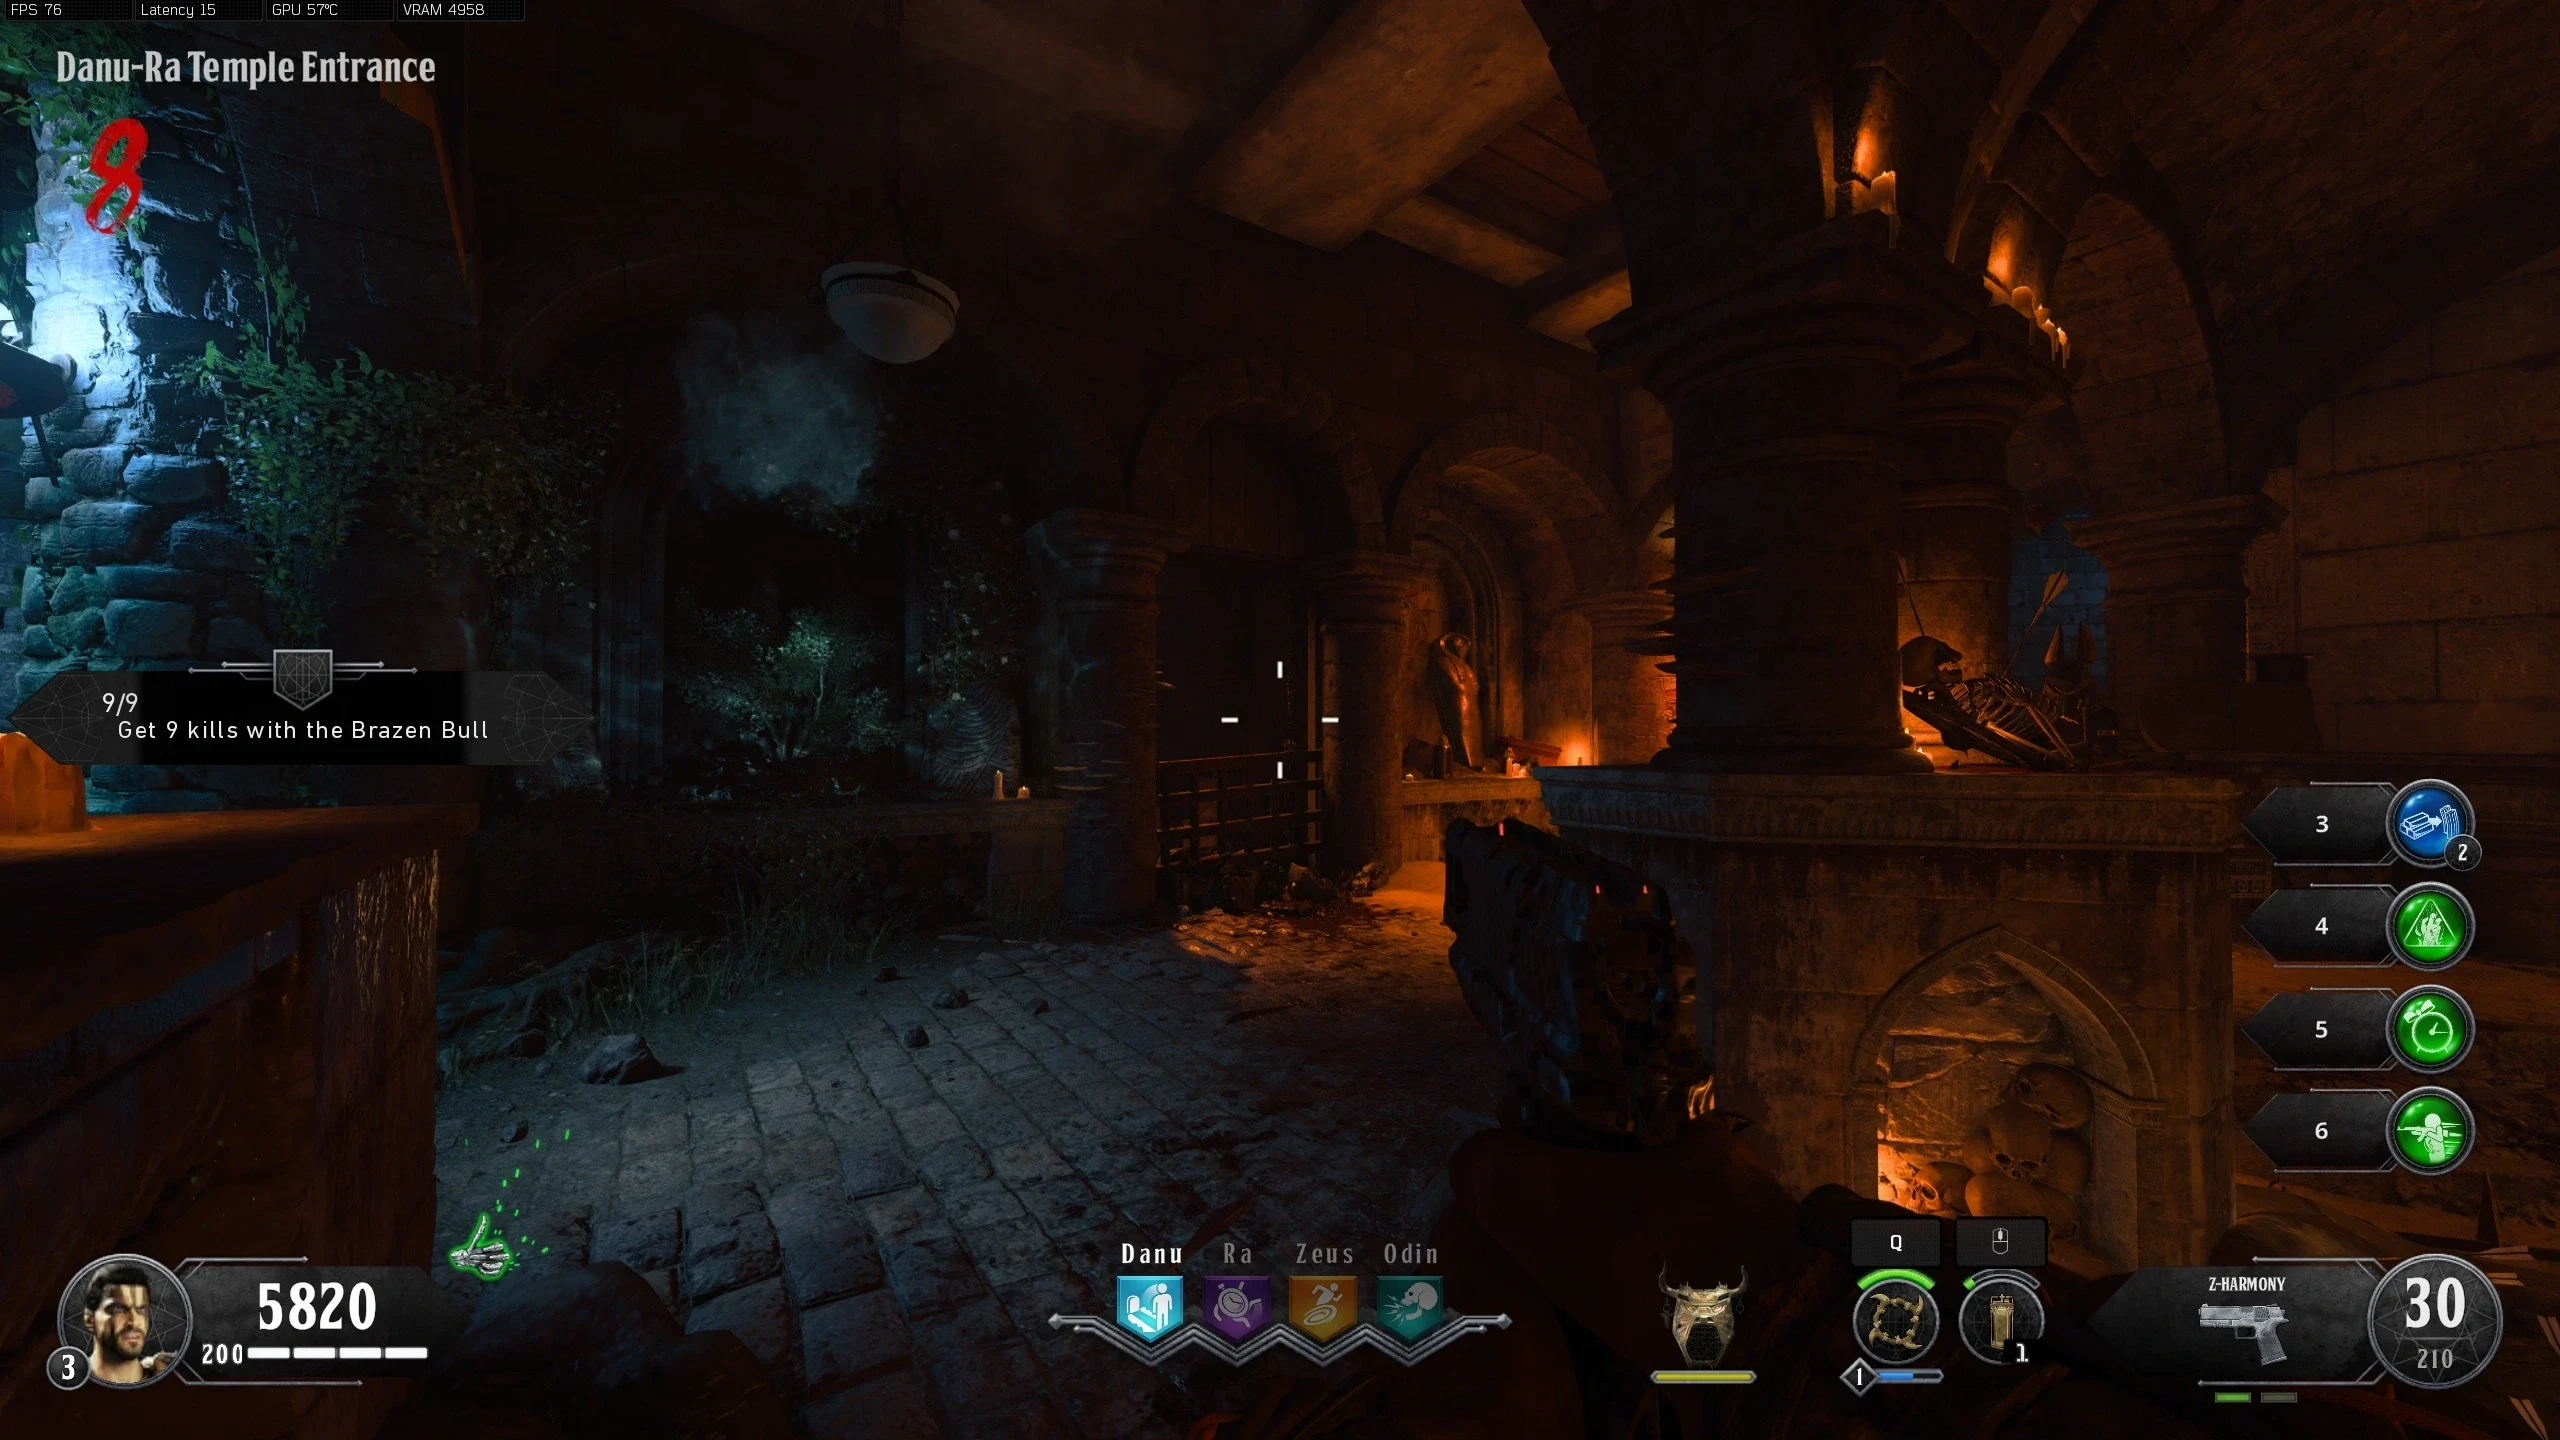
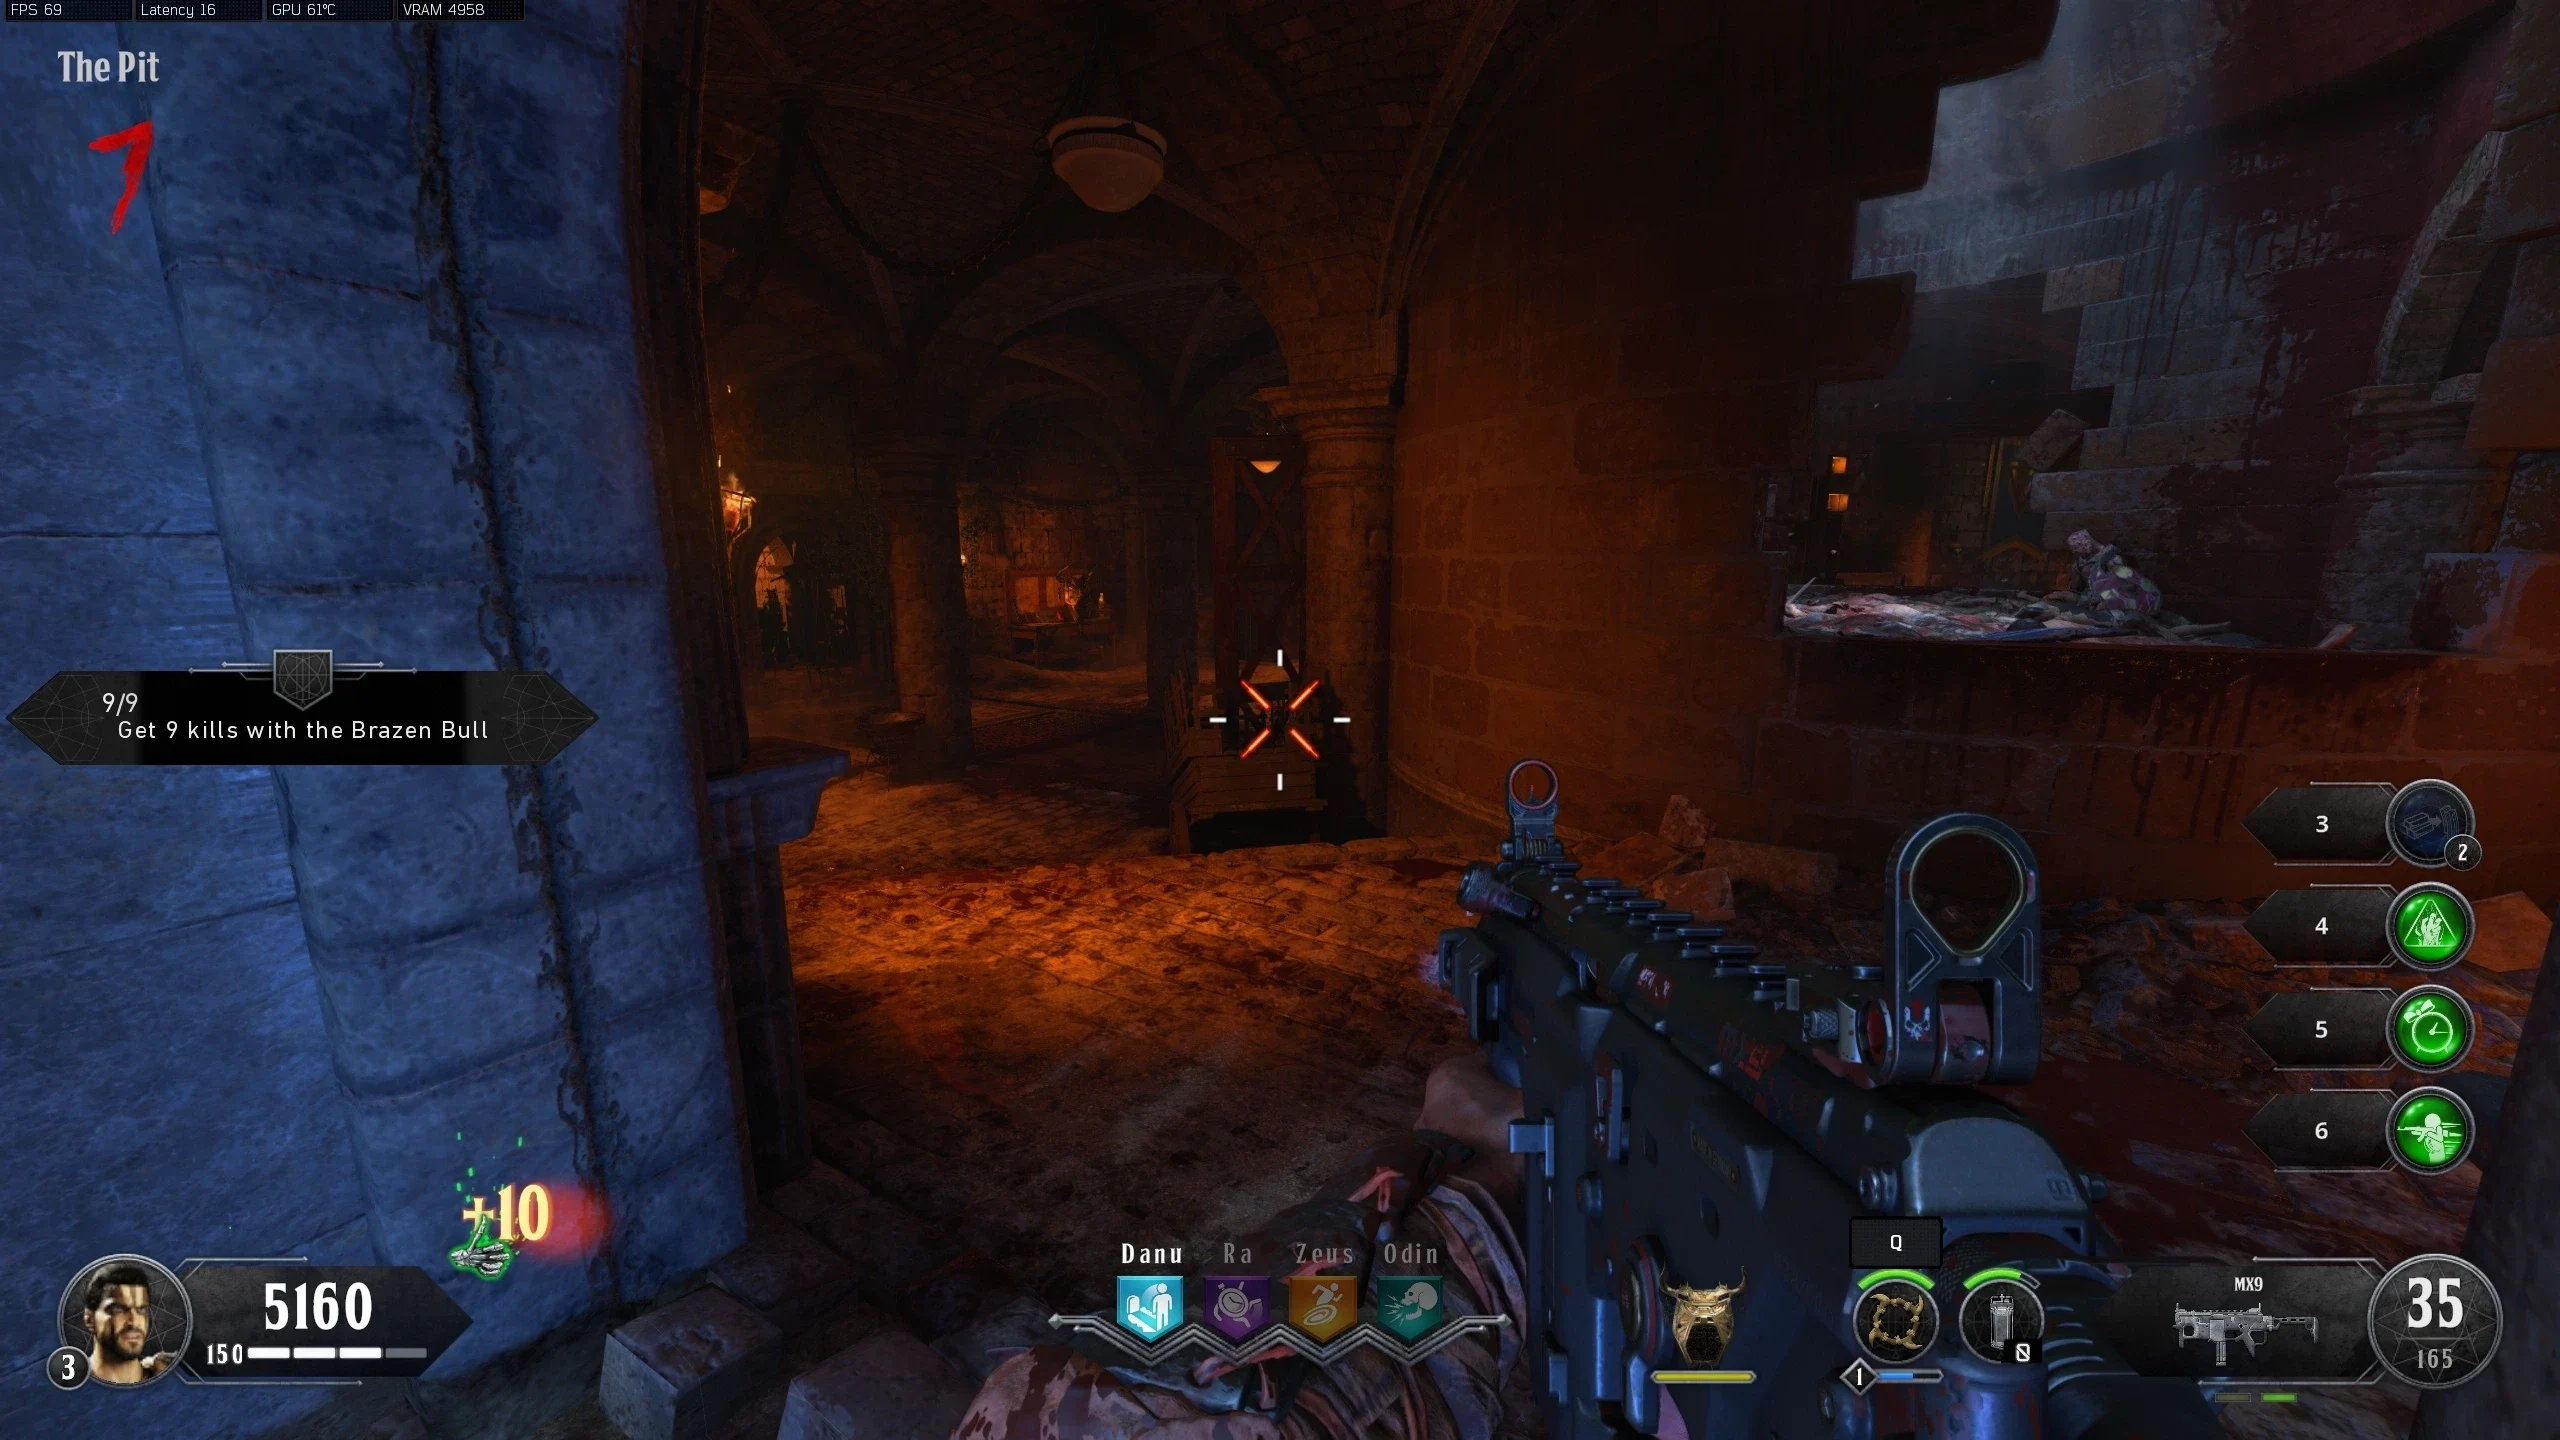
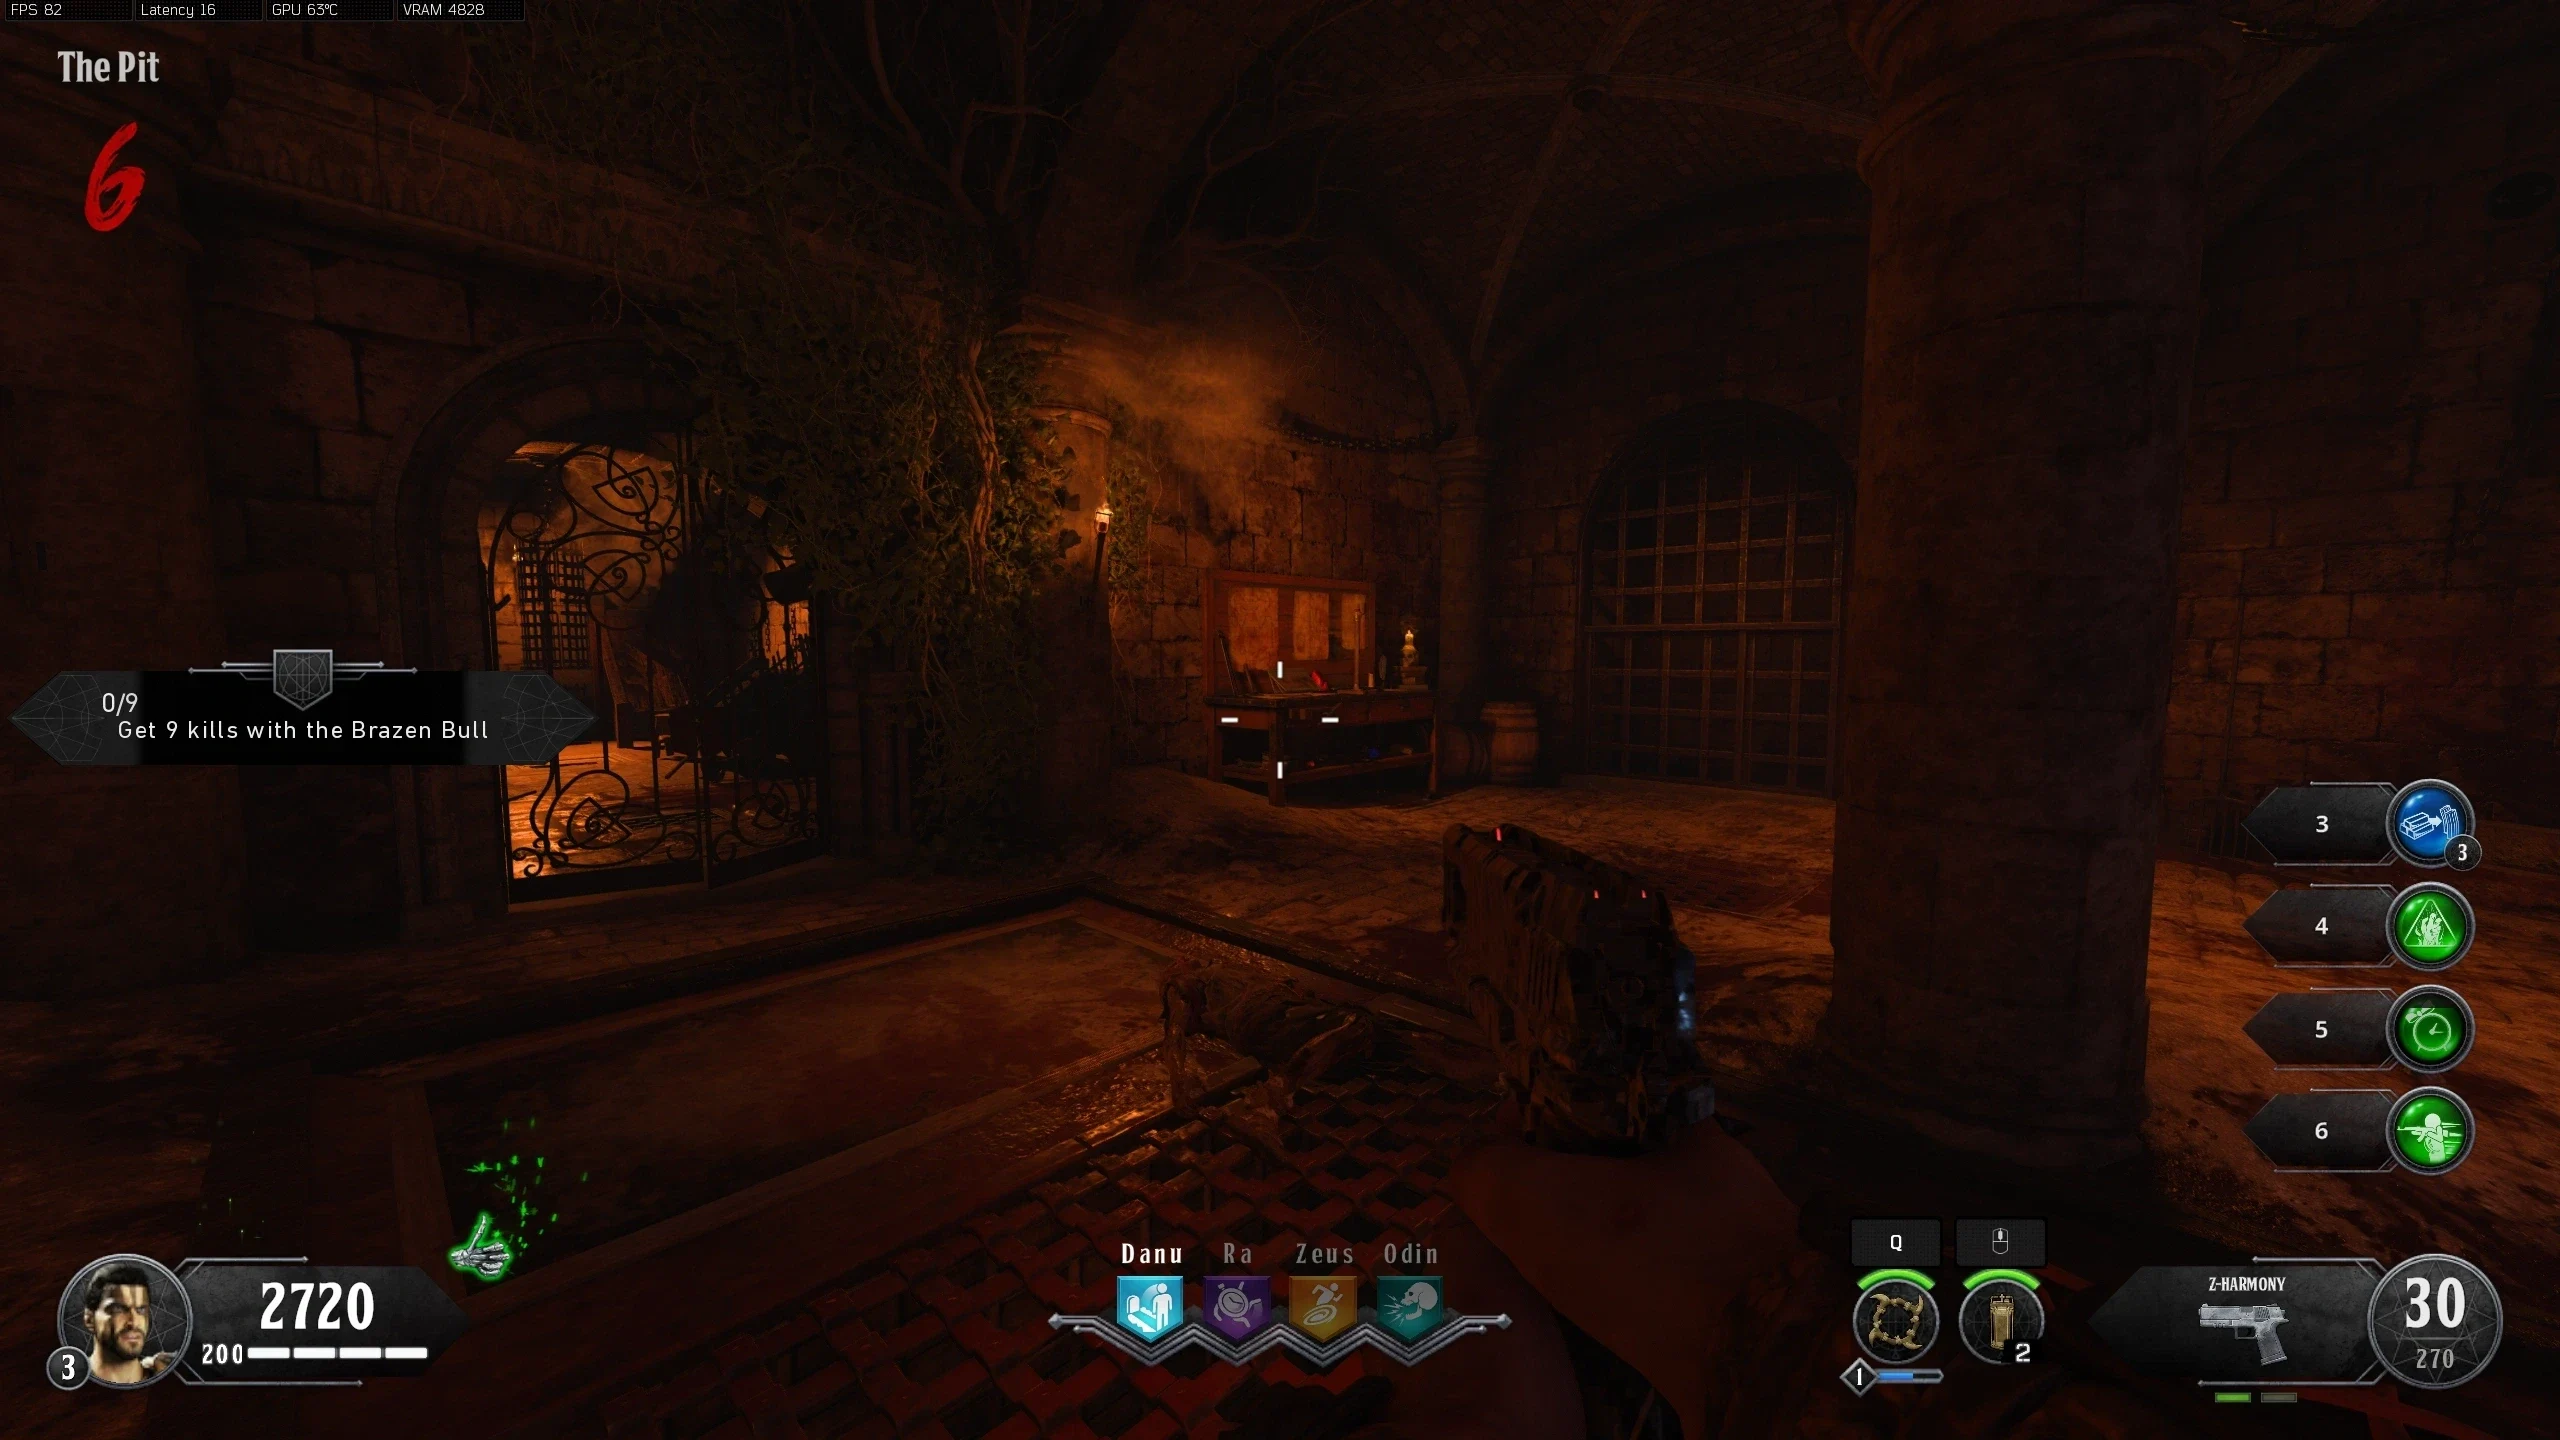
- The Brazen Bull requires three parts to be built:
Part Locations Horns Blade Barrels - Navigate to 'The Pit' and build the Brazen Bull at The Workbench in the back corner.
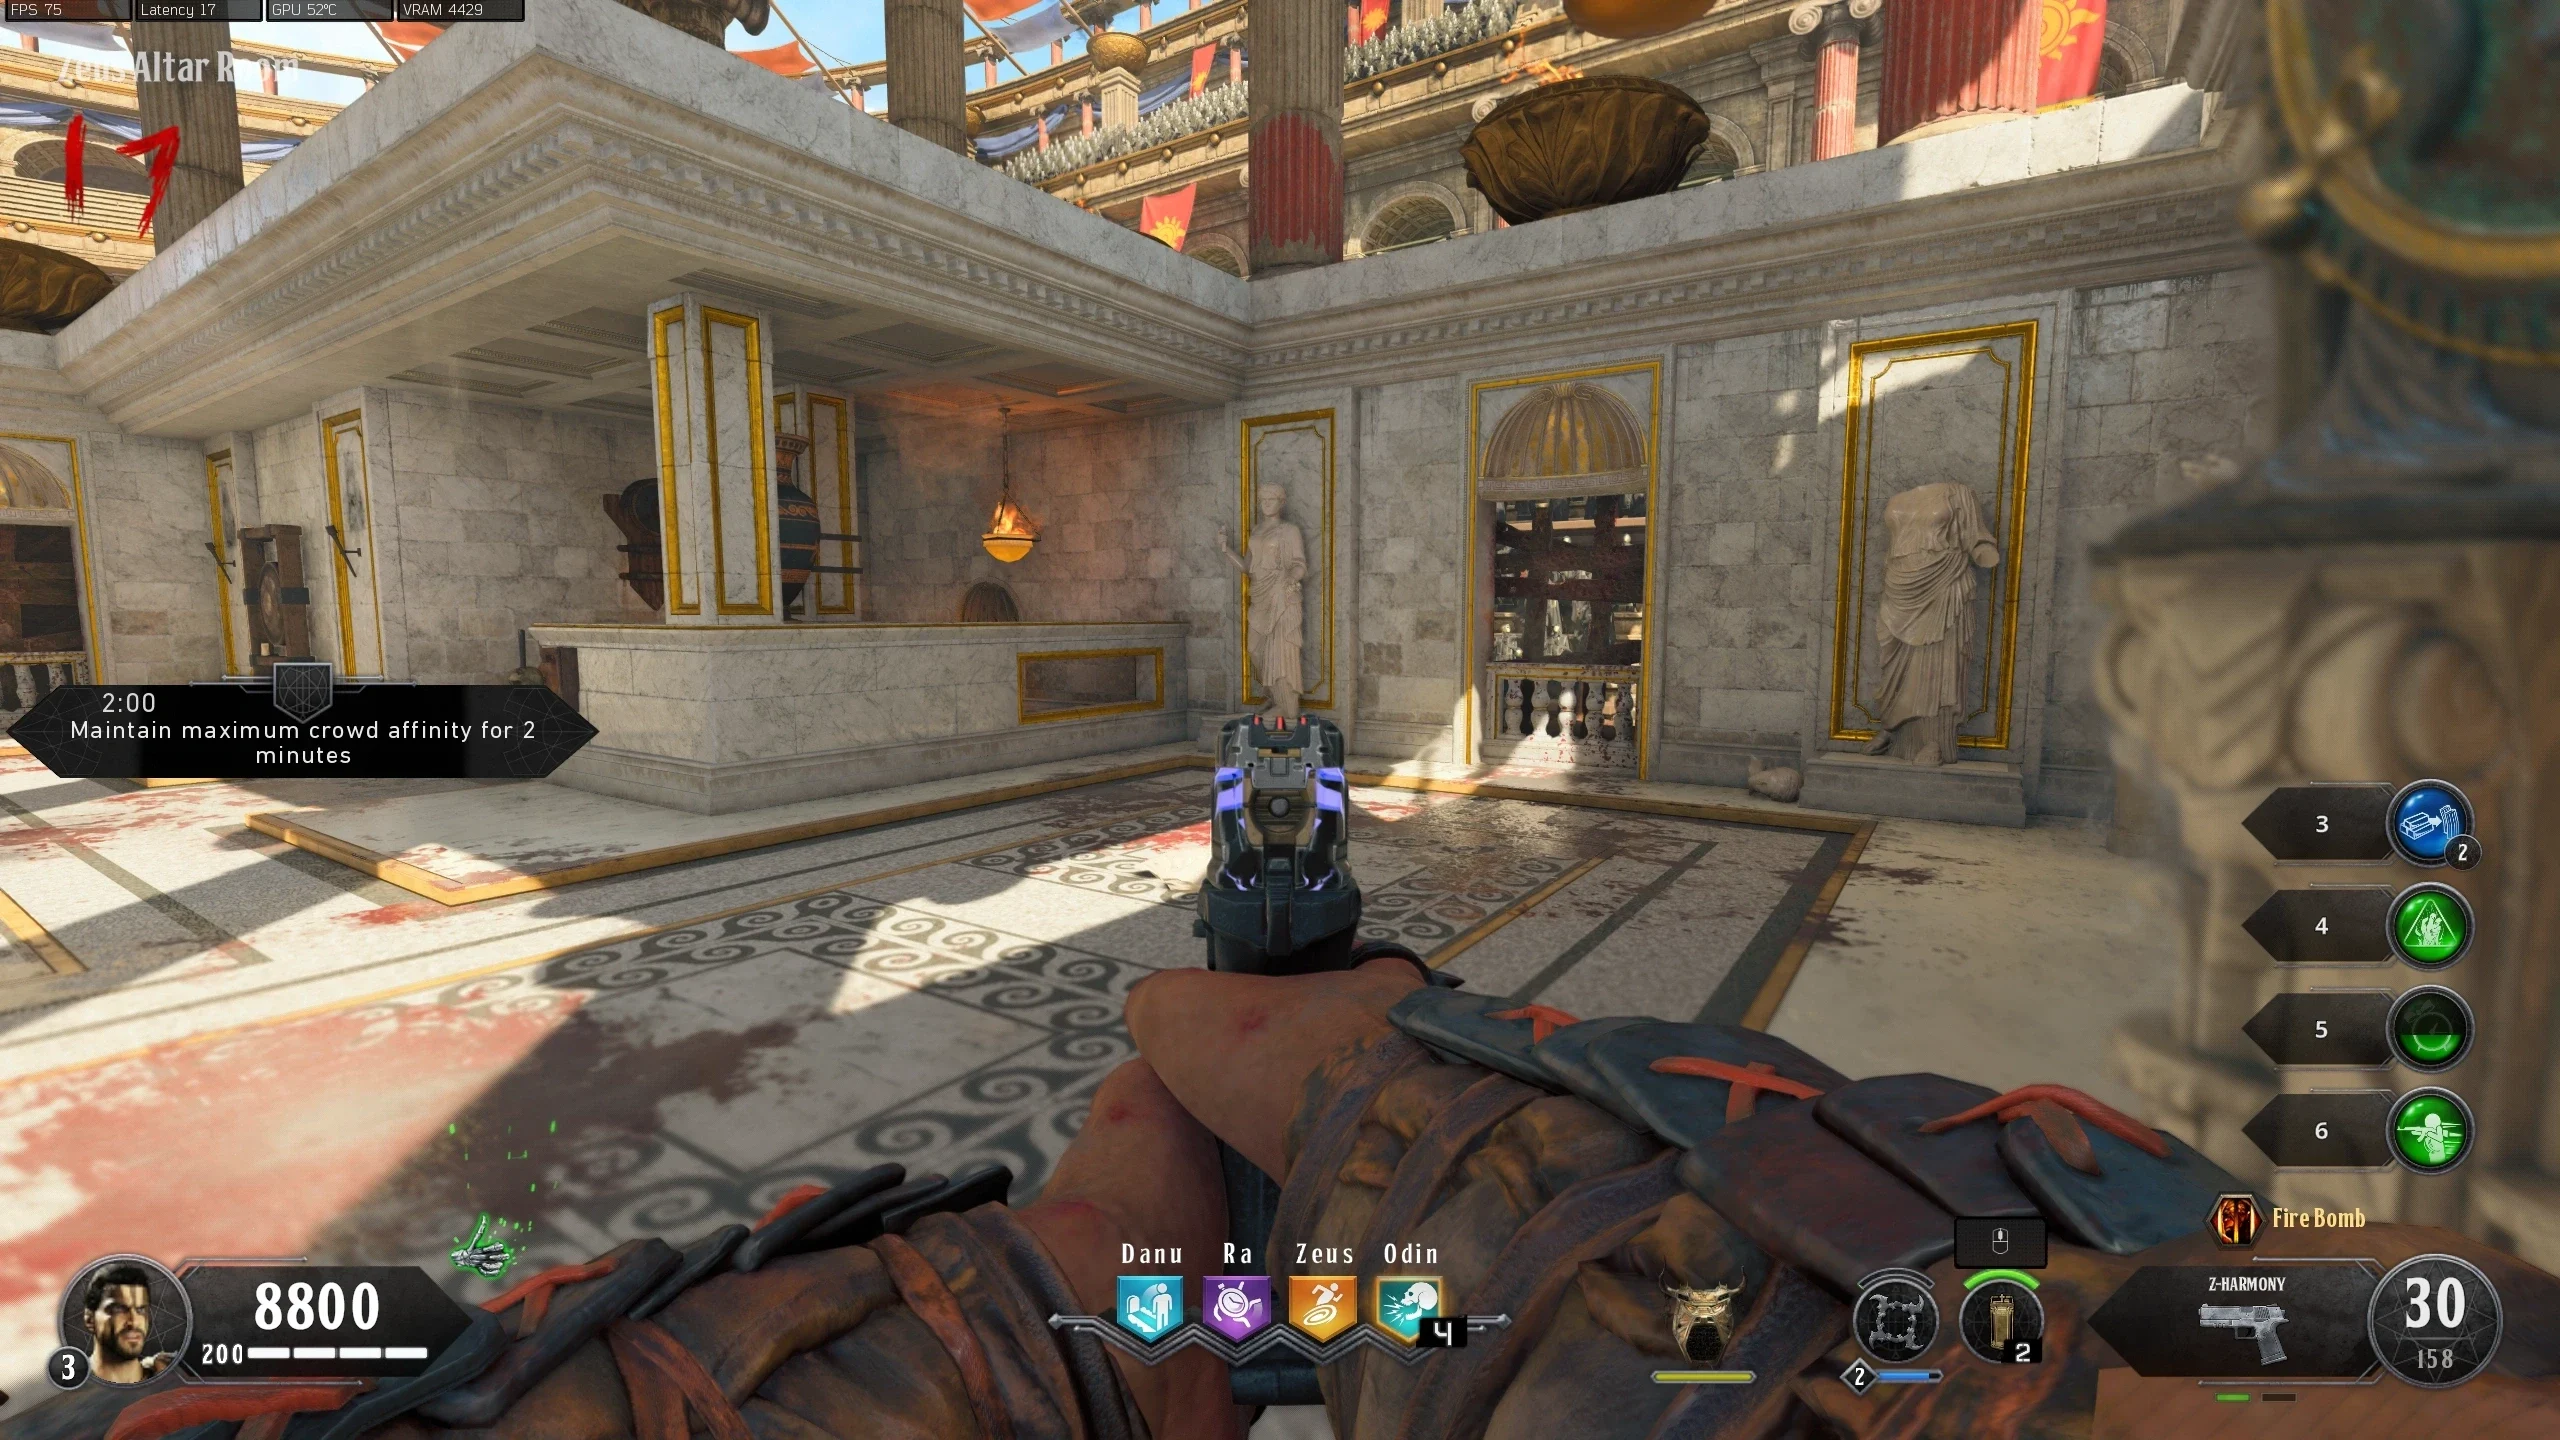
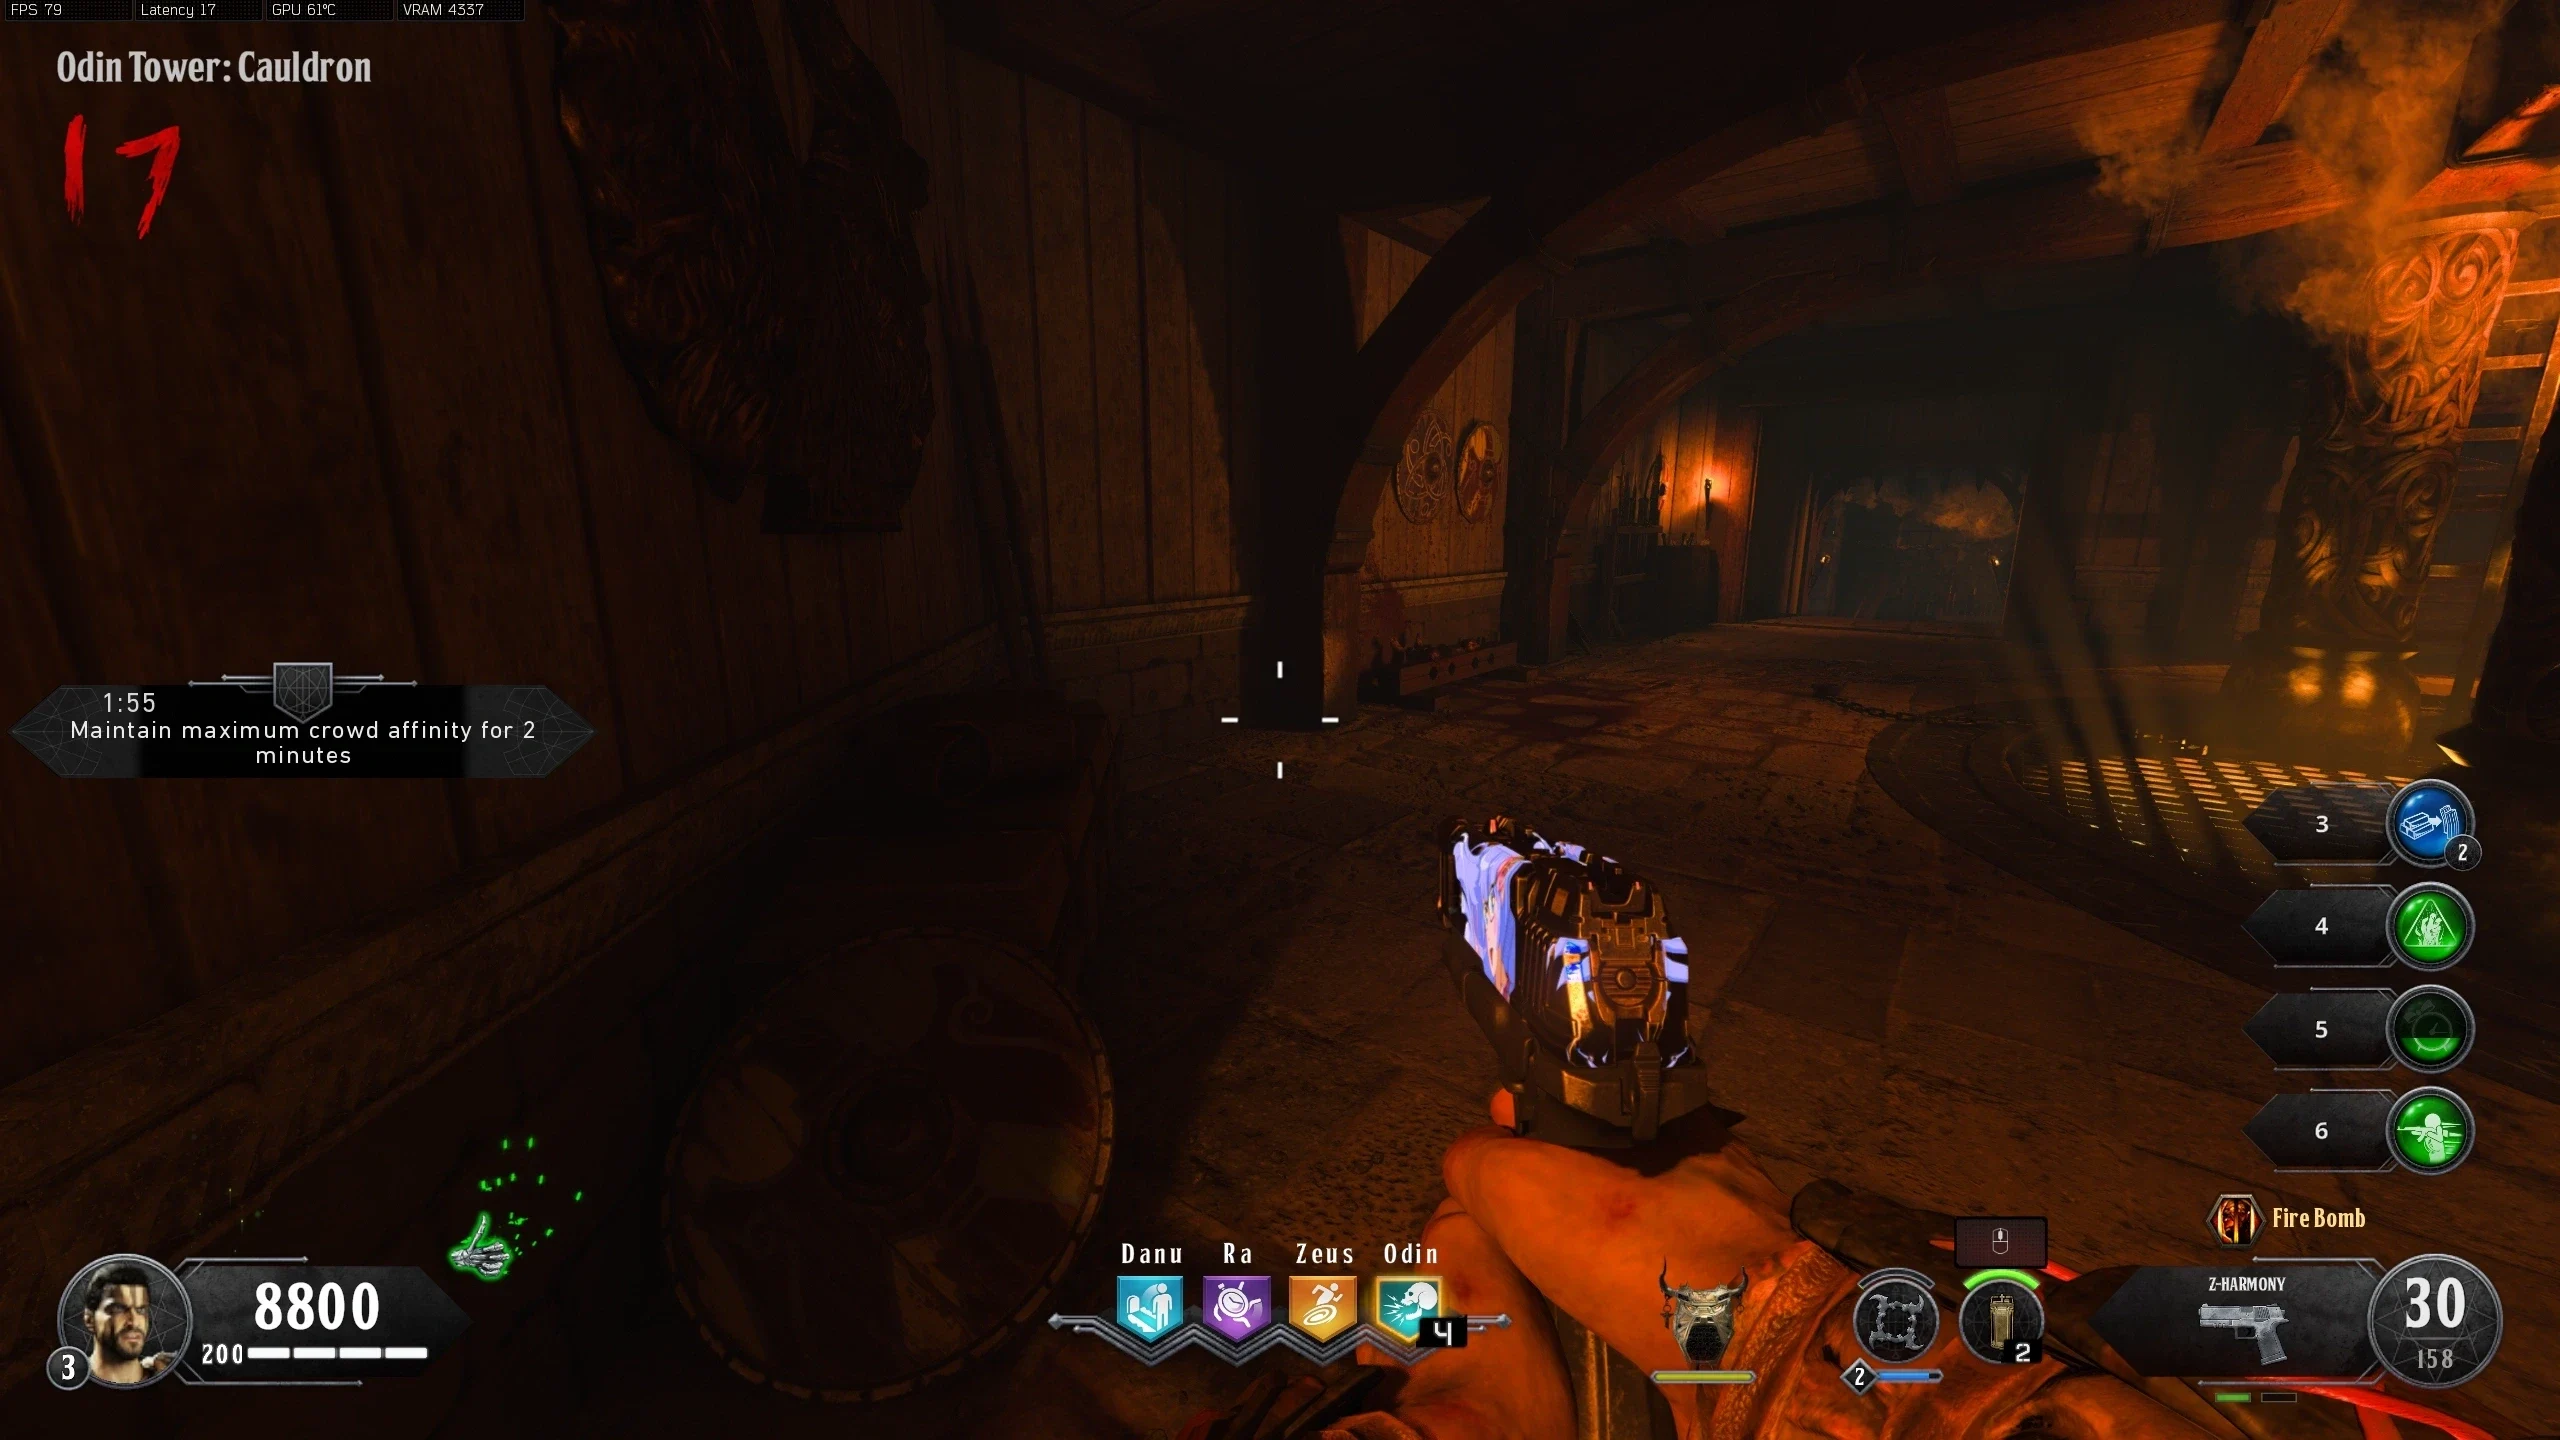
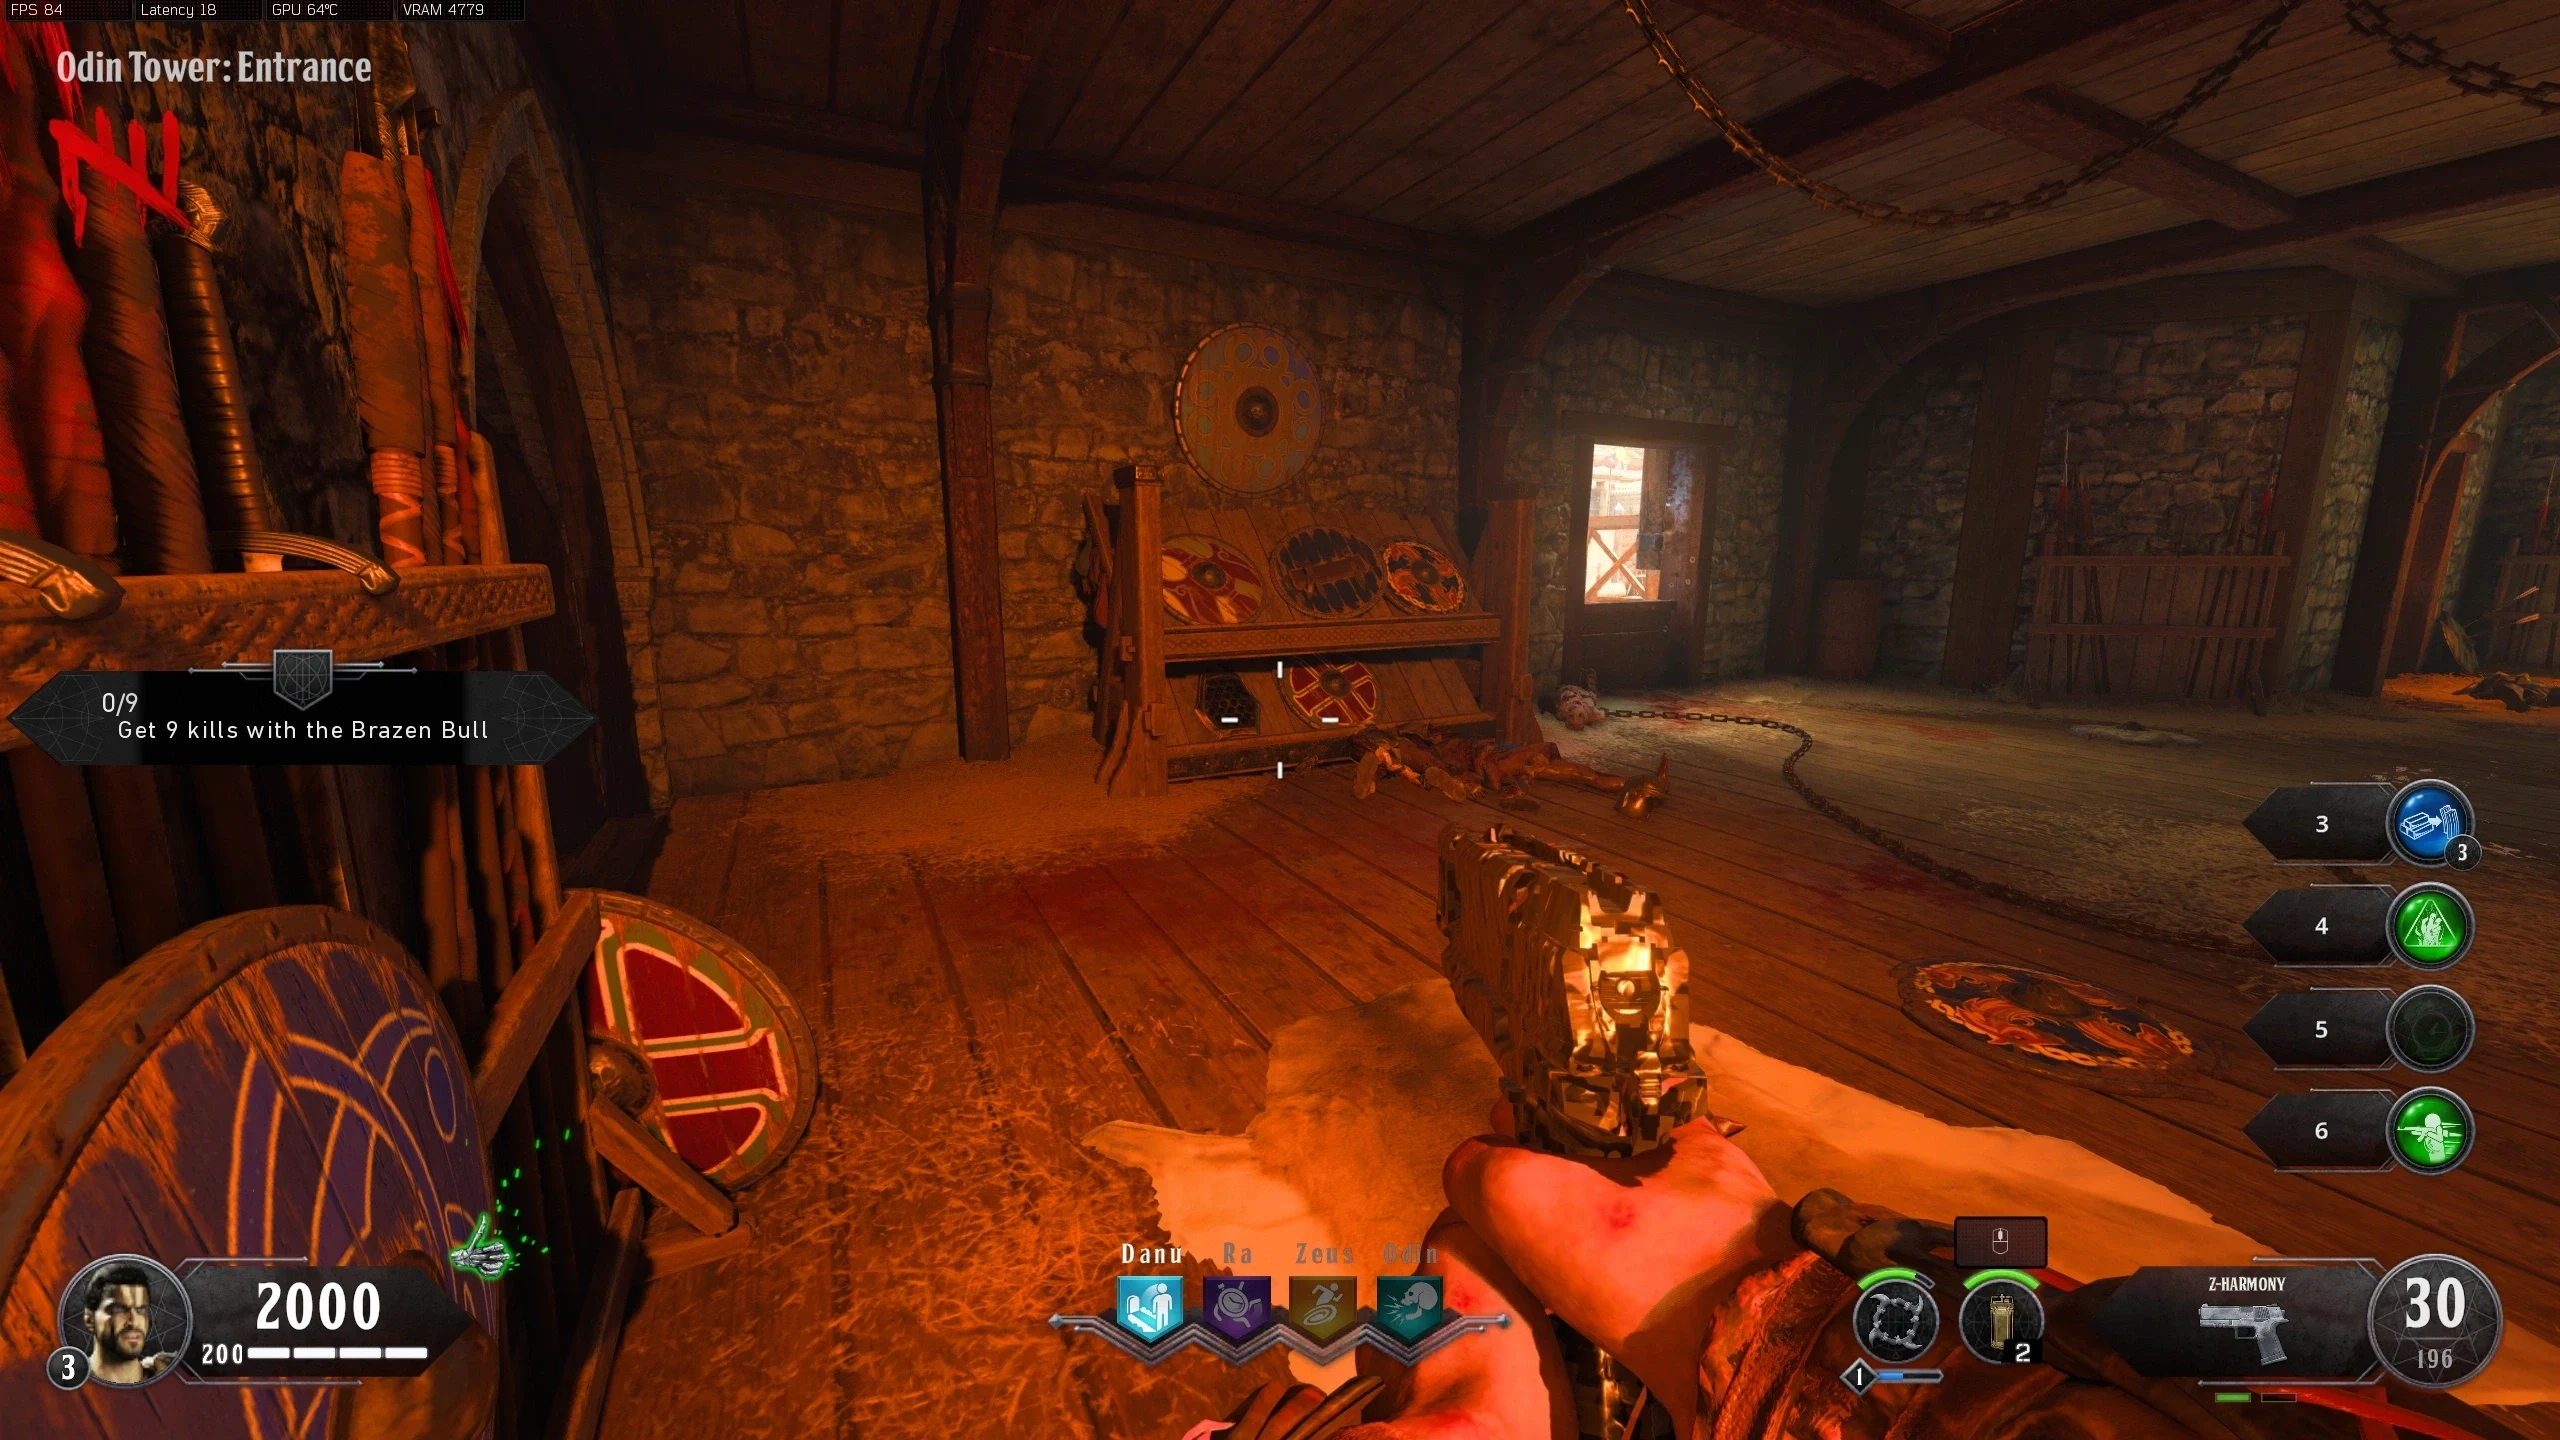
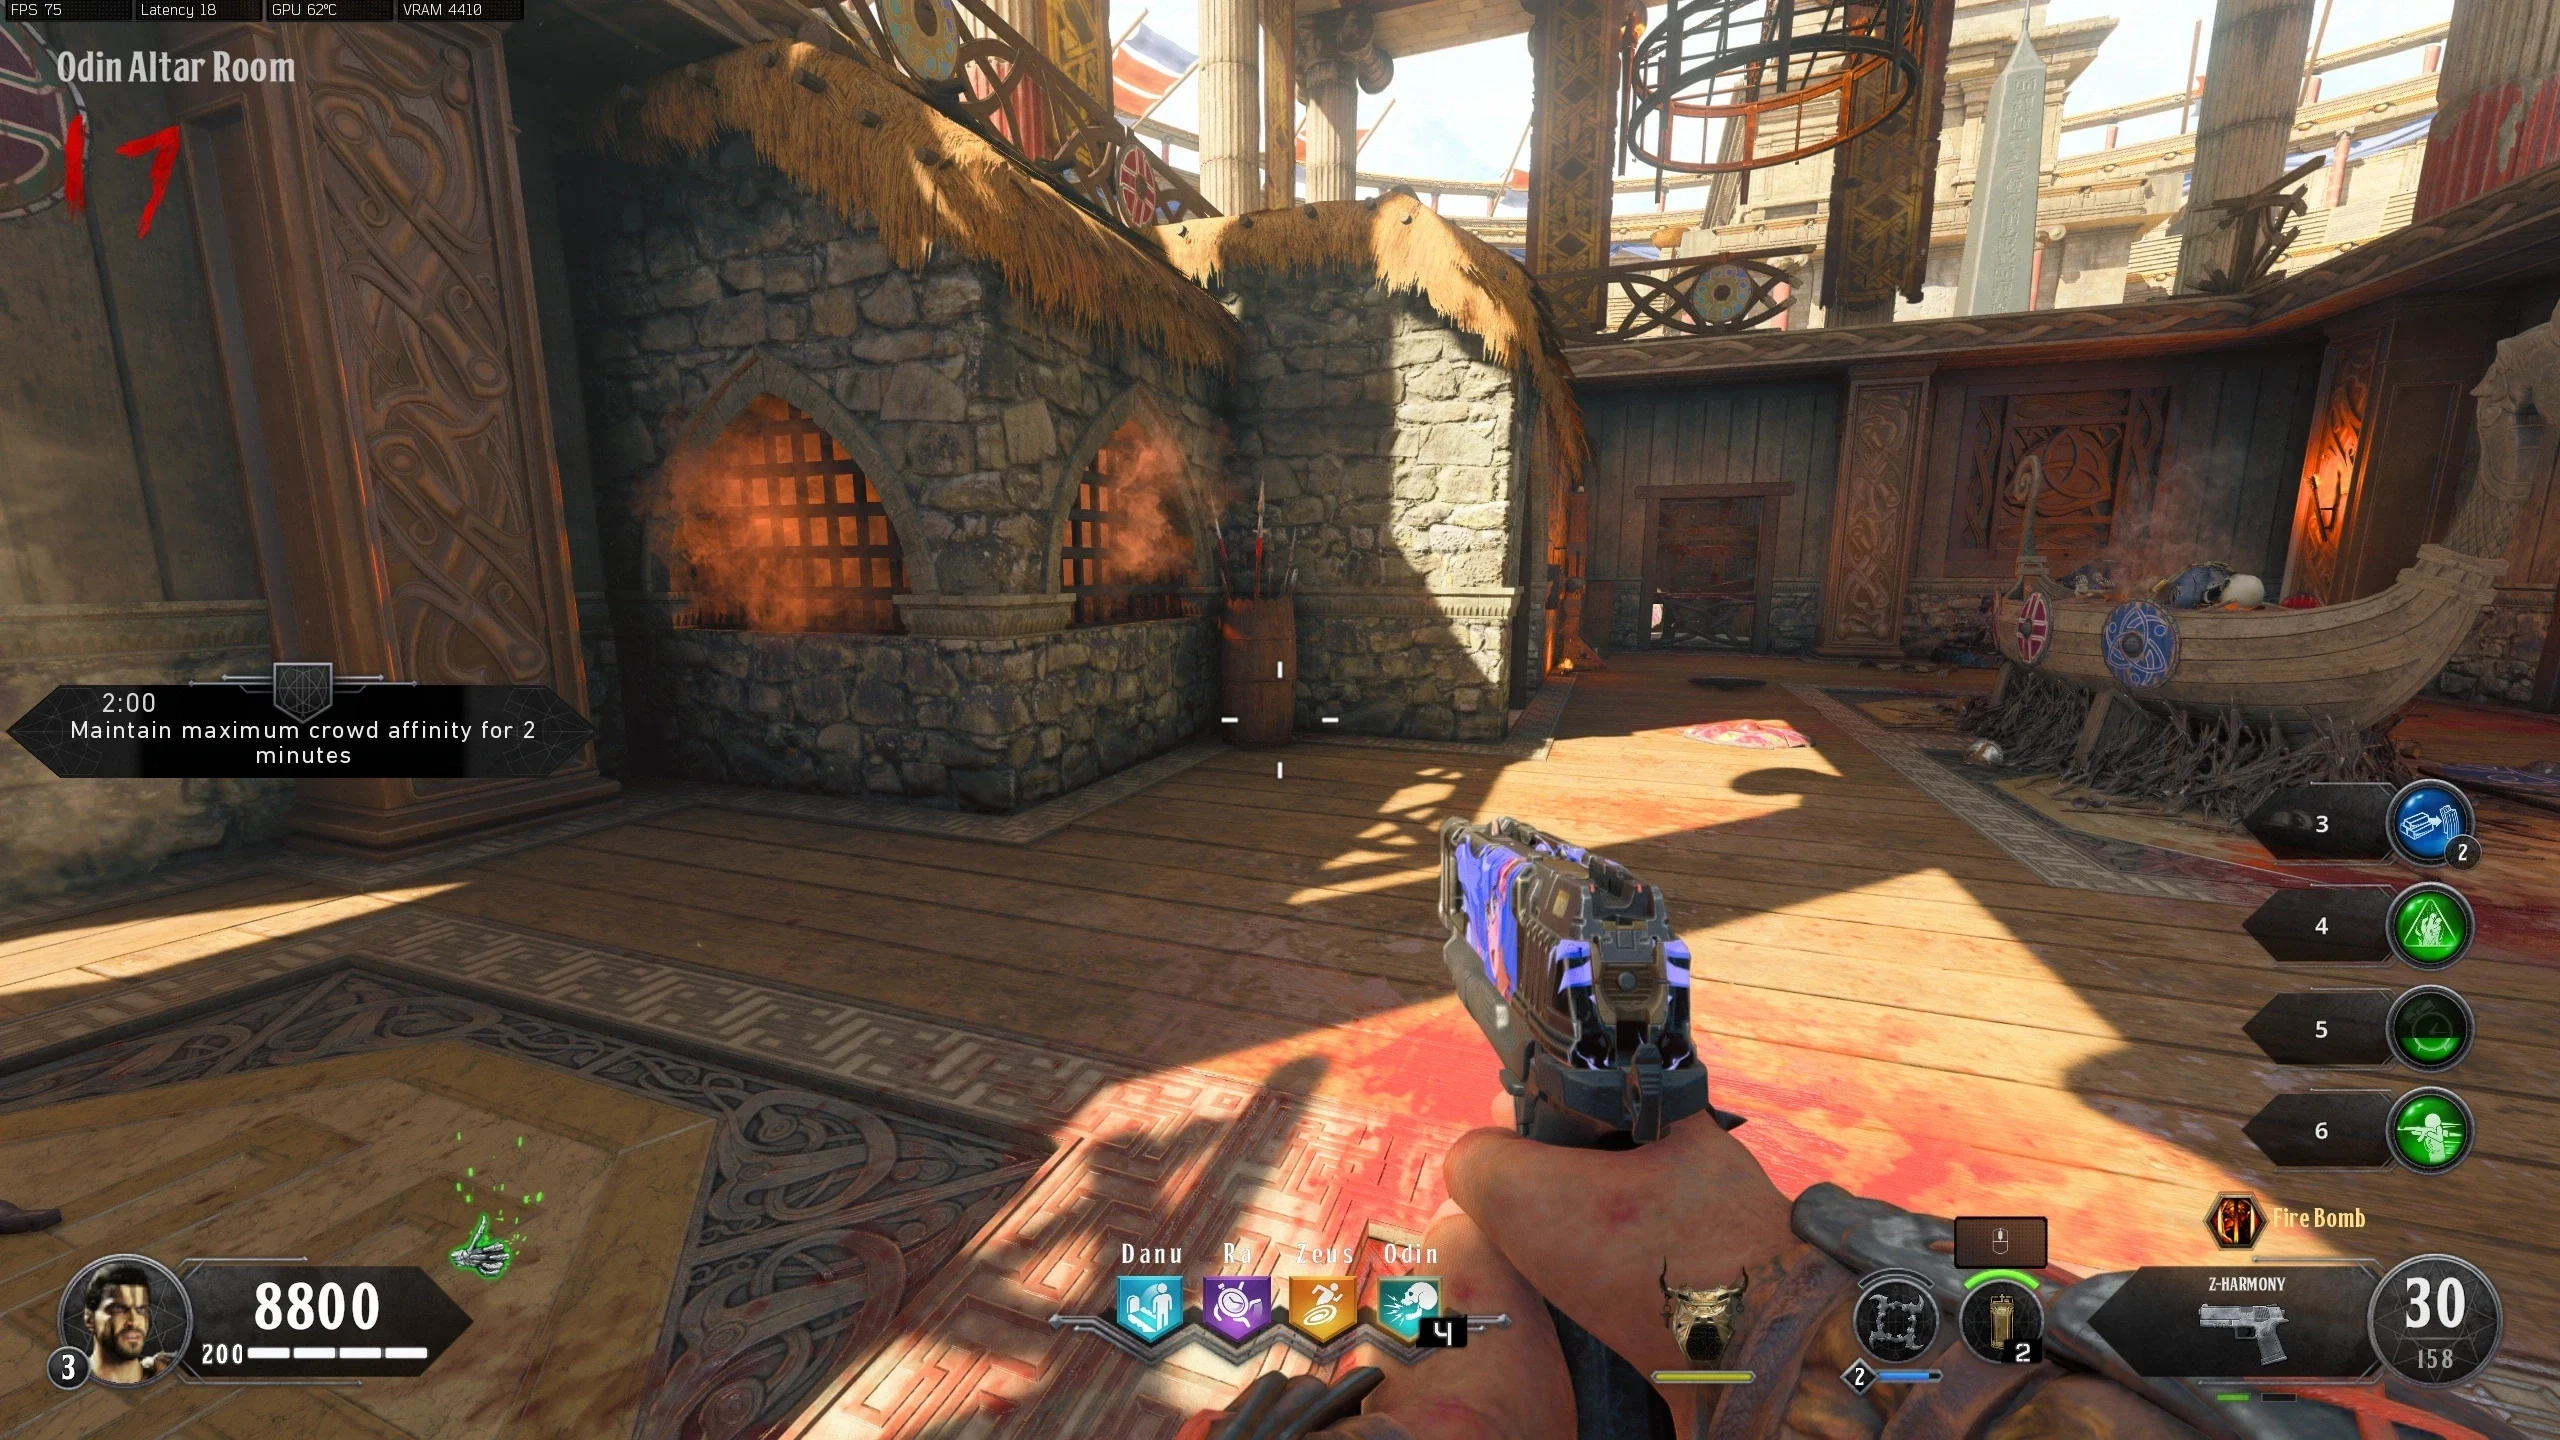
Iron Bull Shield Upgrade
Each player that wants the Iron Bull has to do the steps themselves, as the upgrade is per player
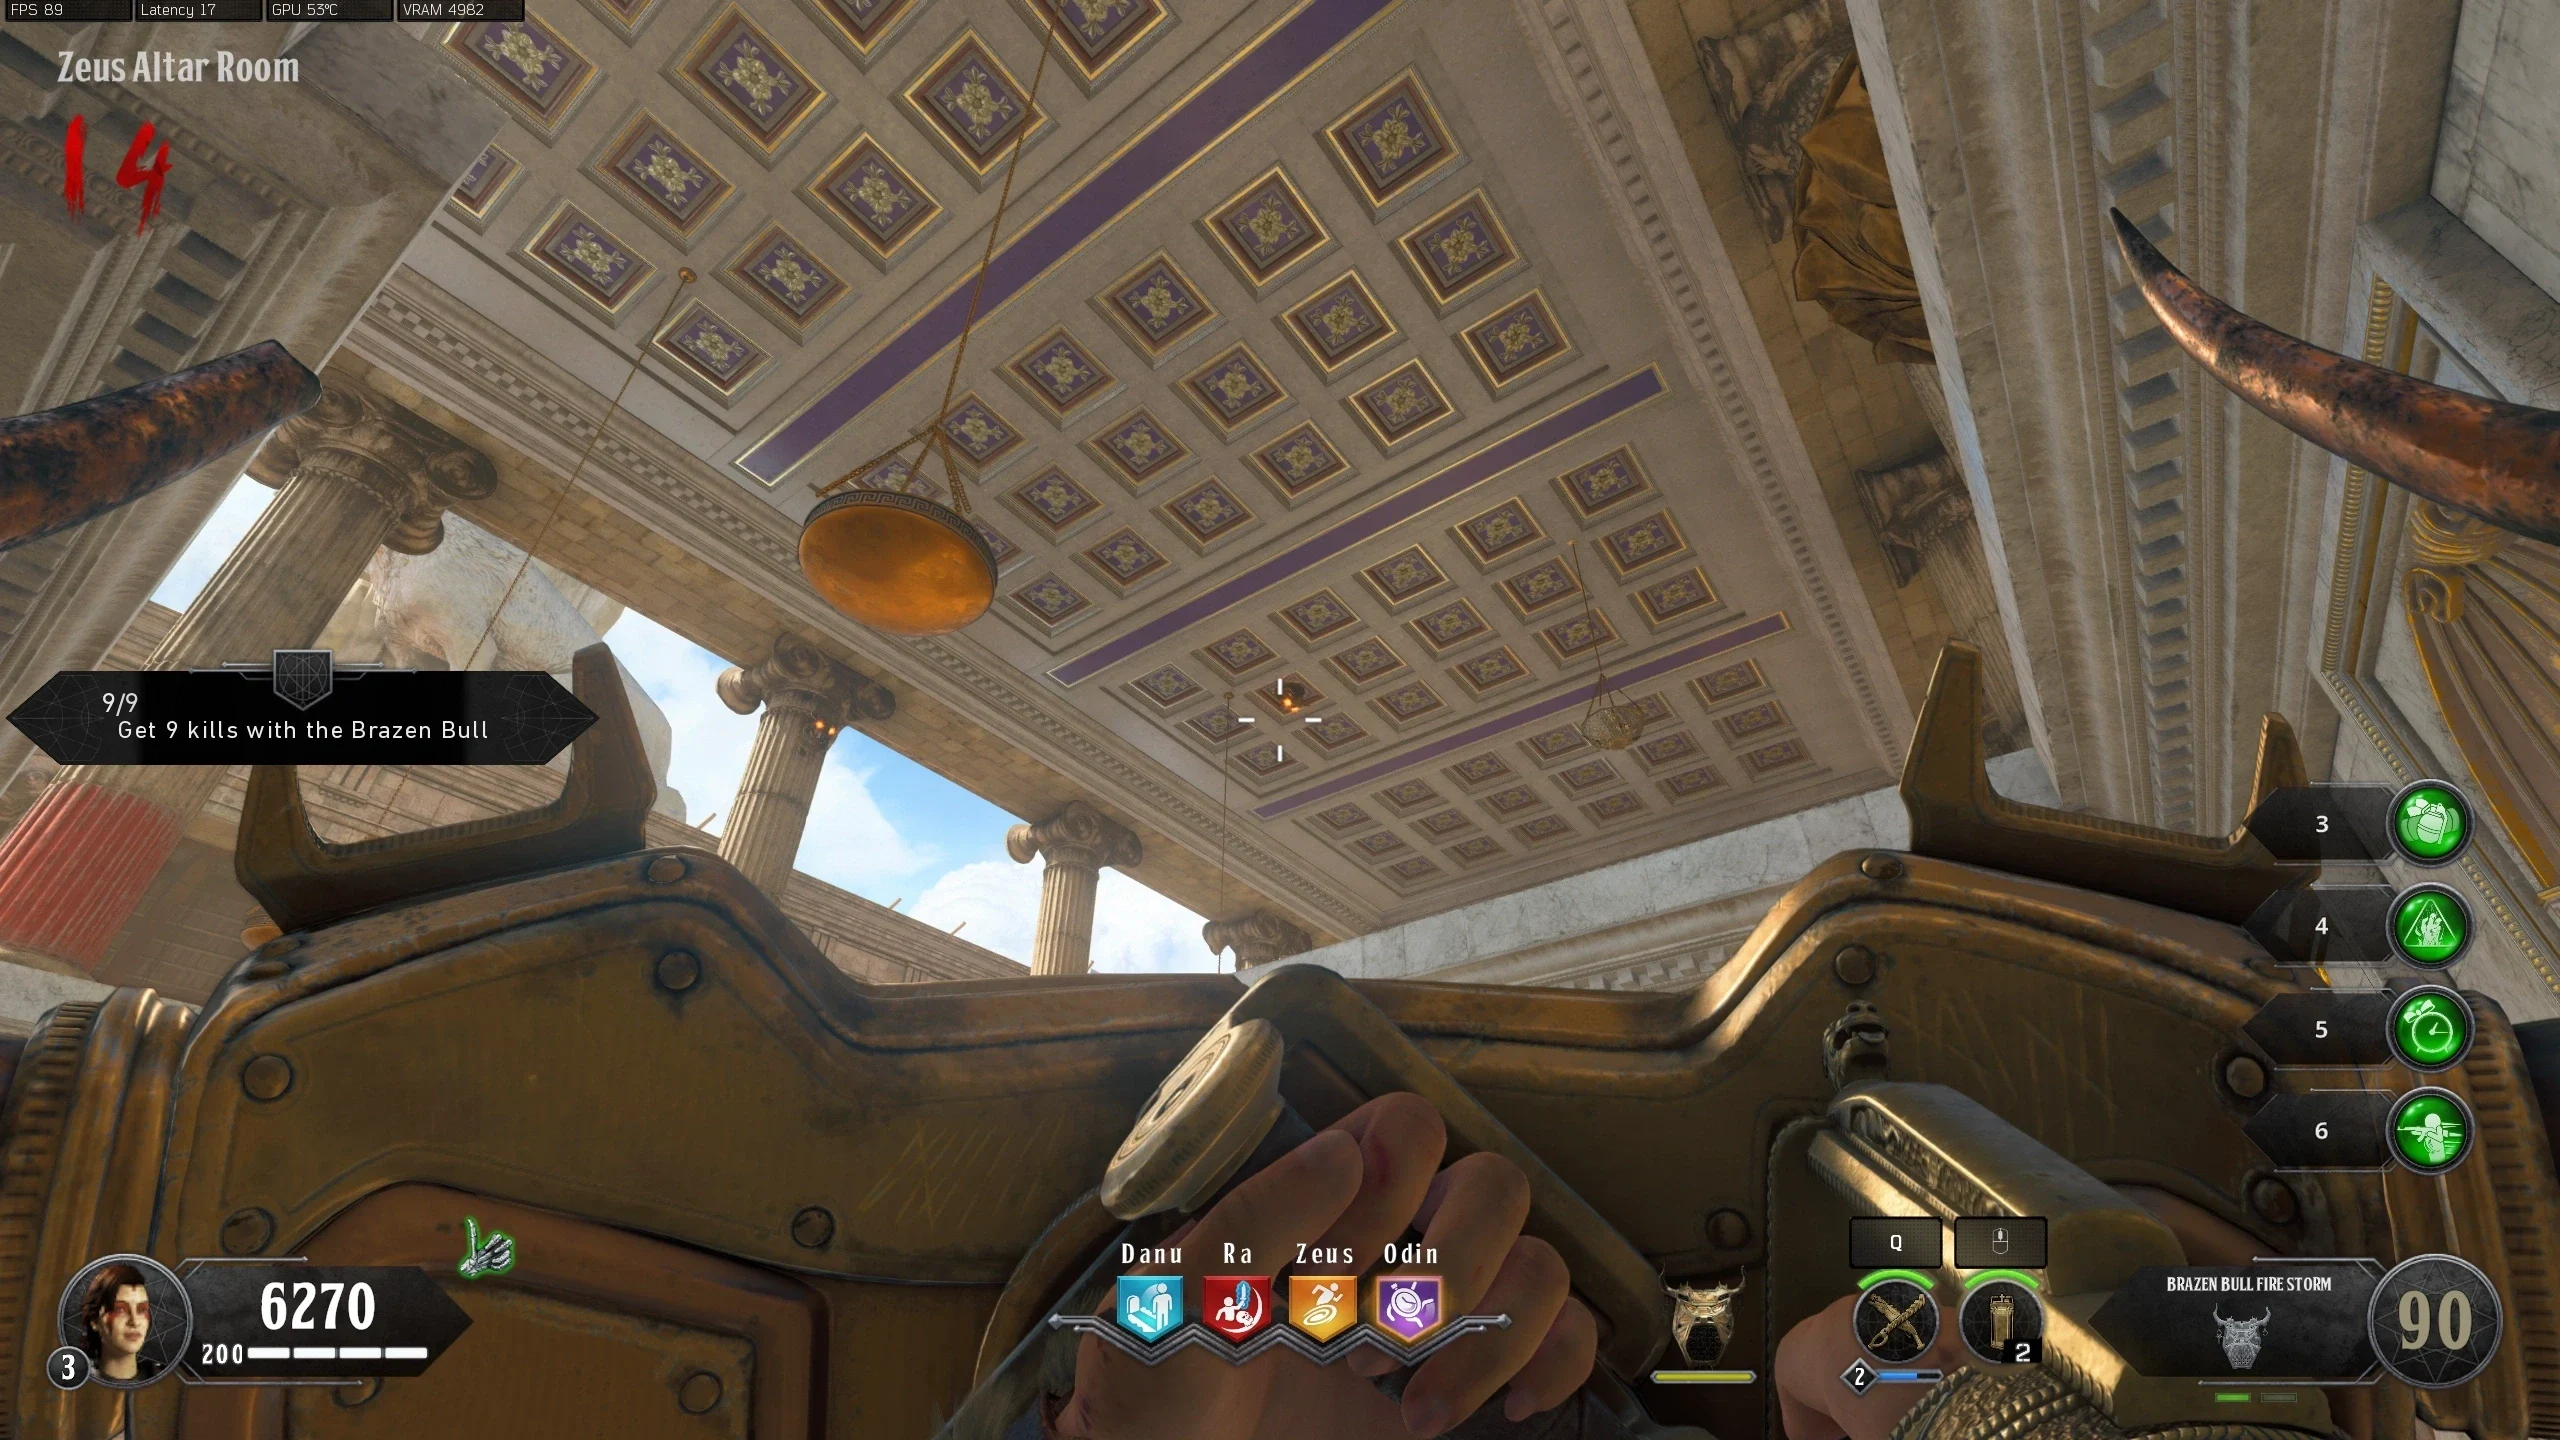
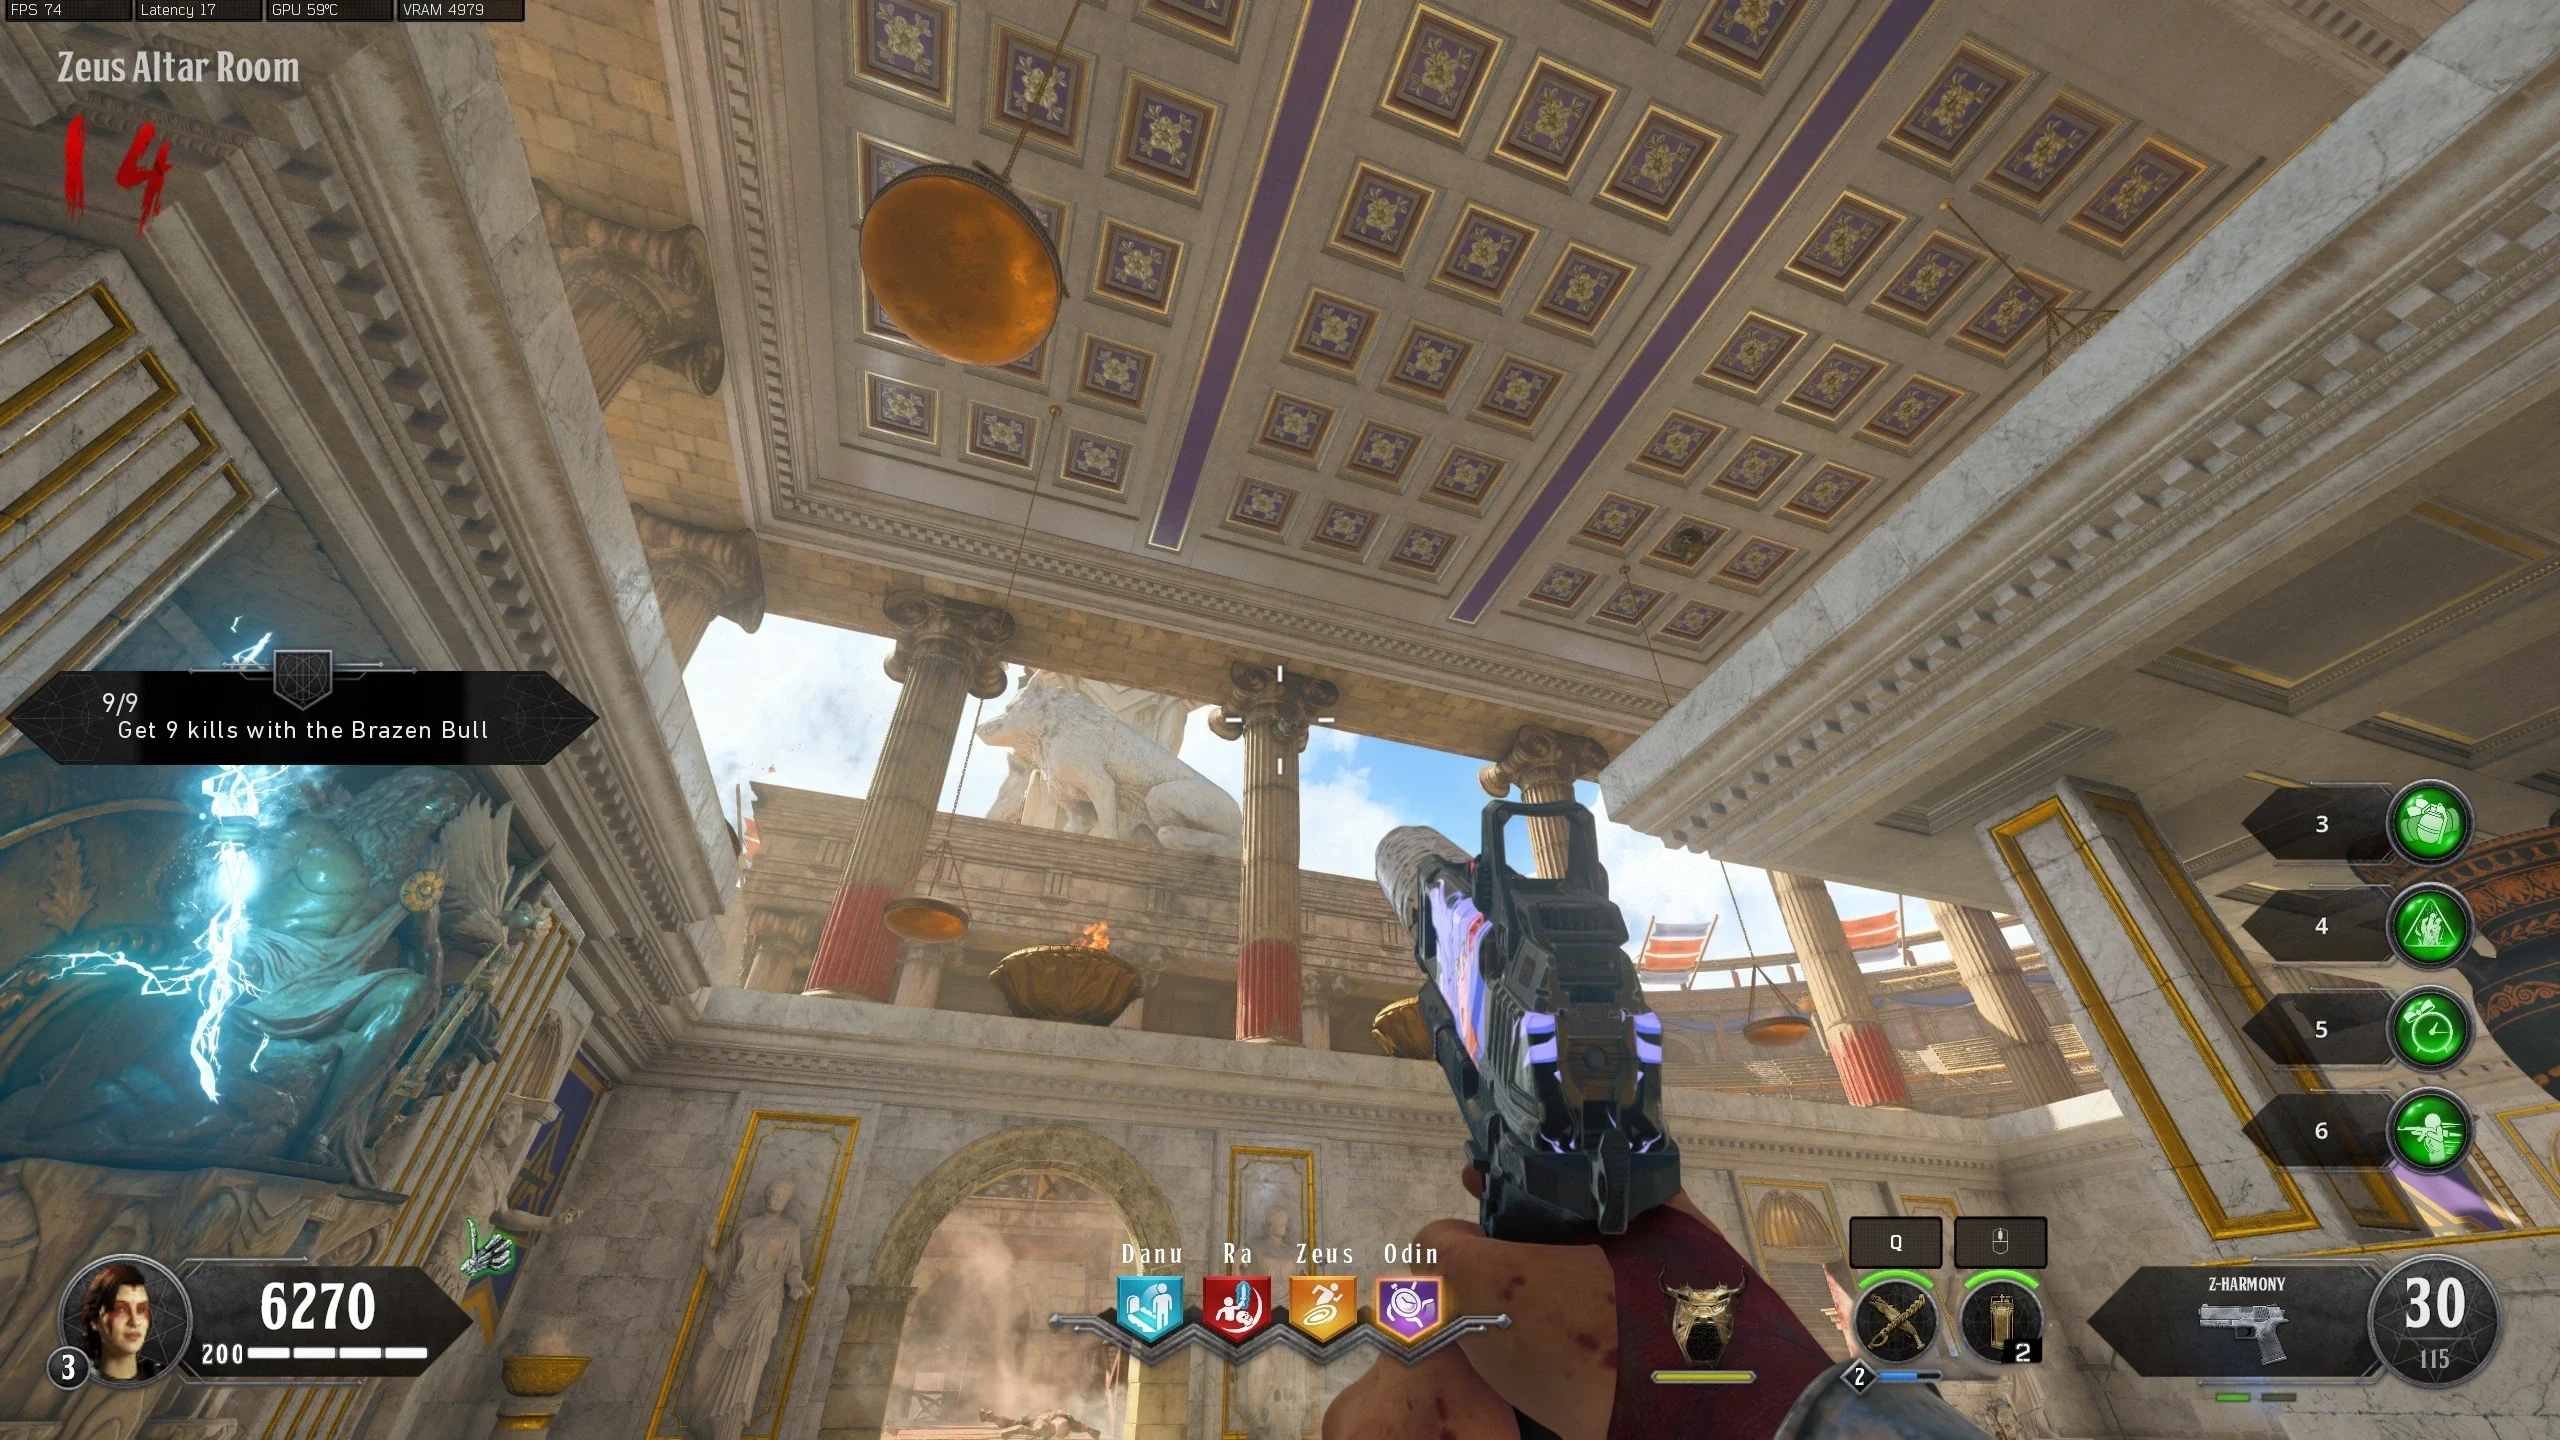
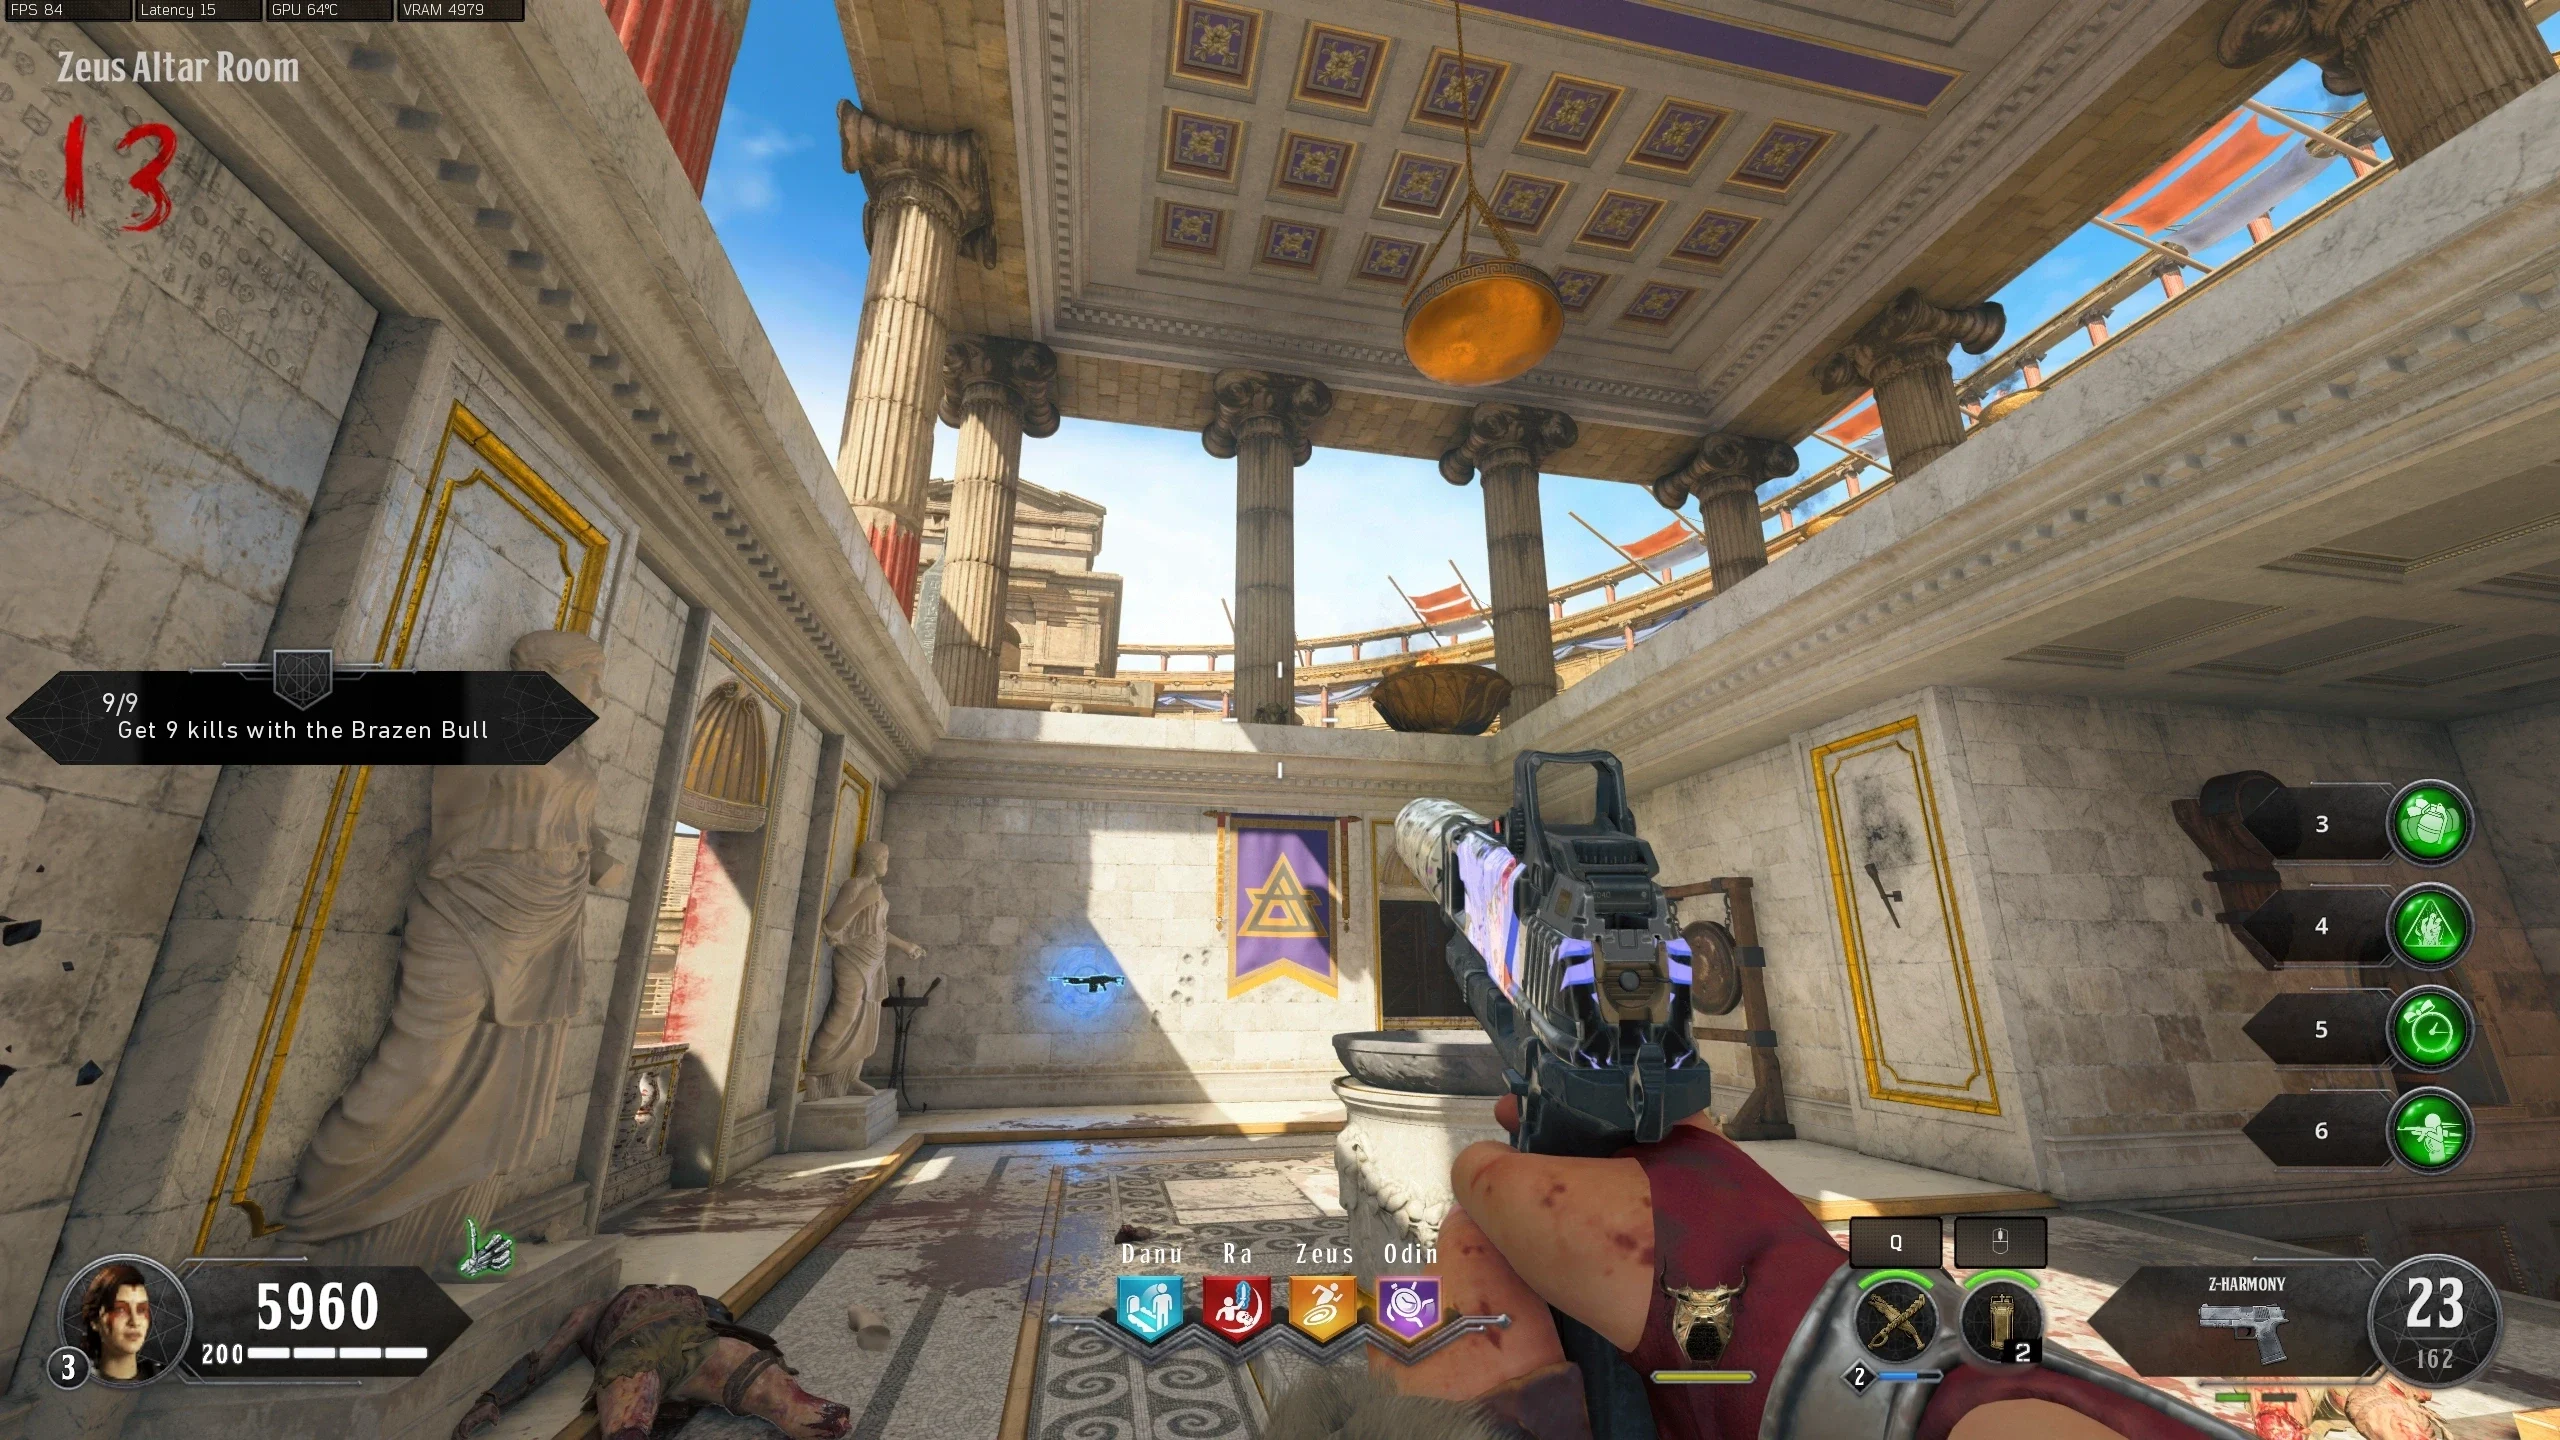
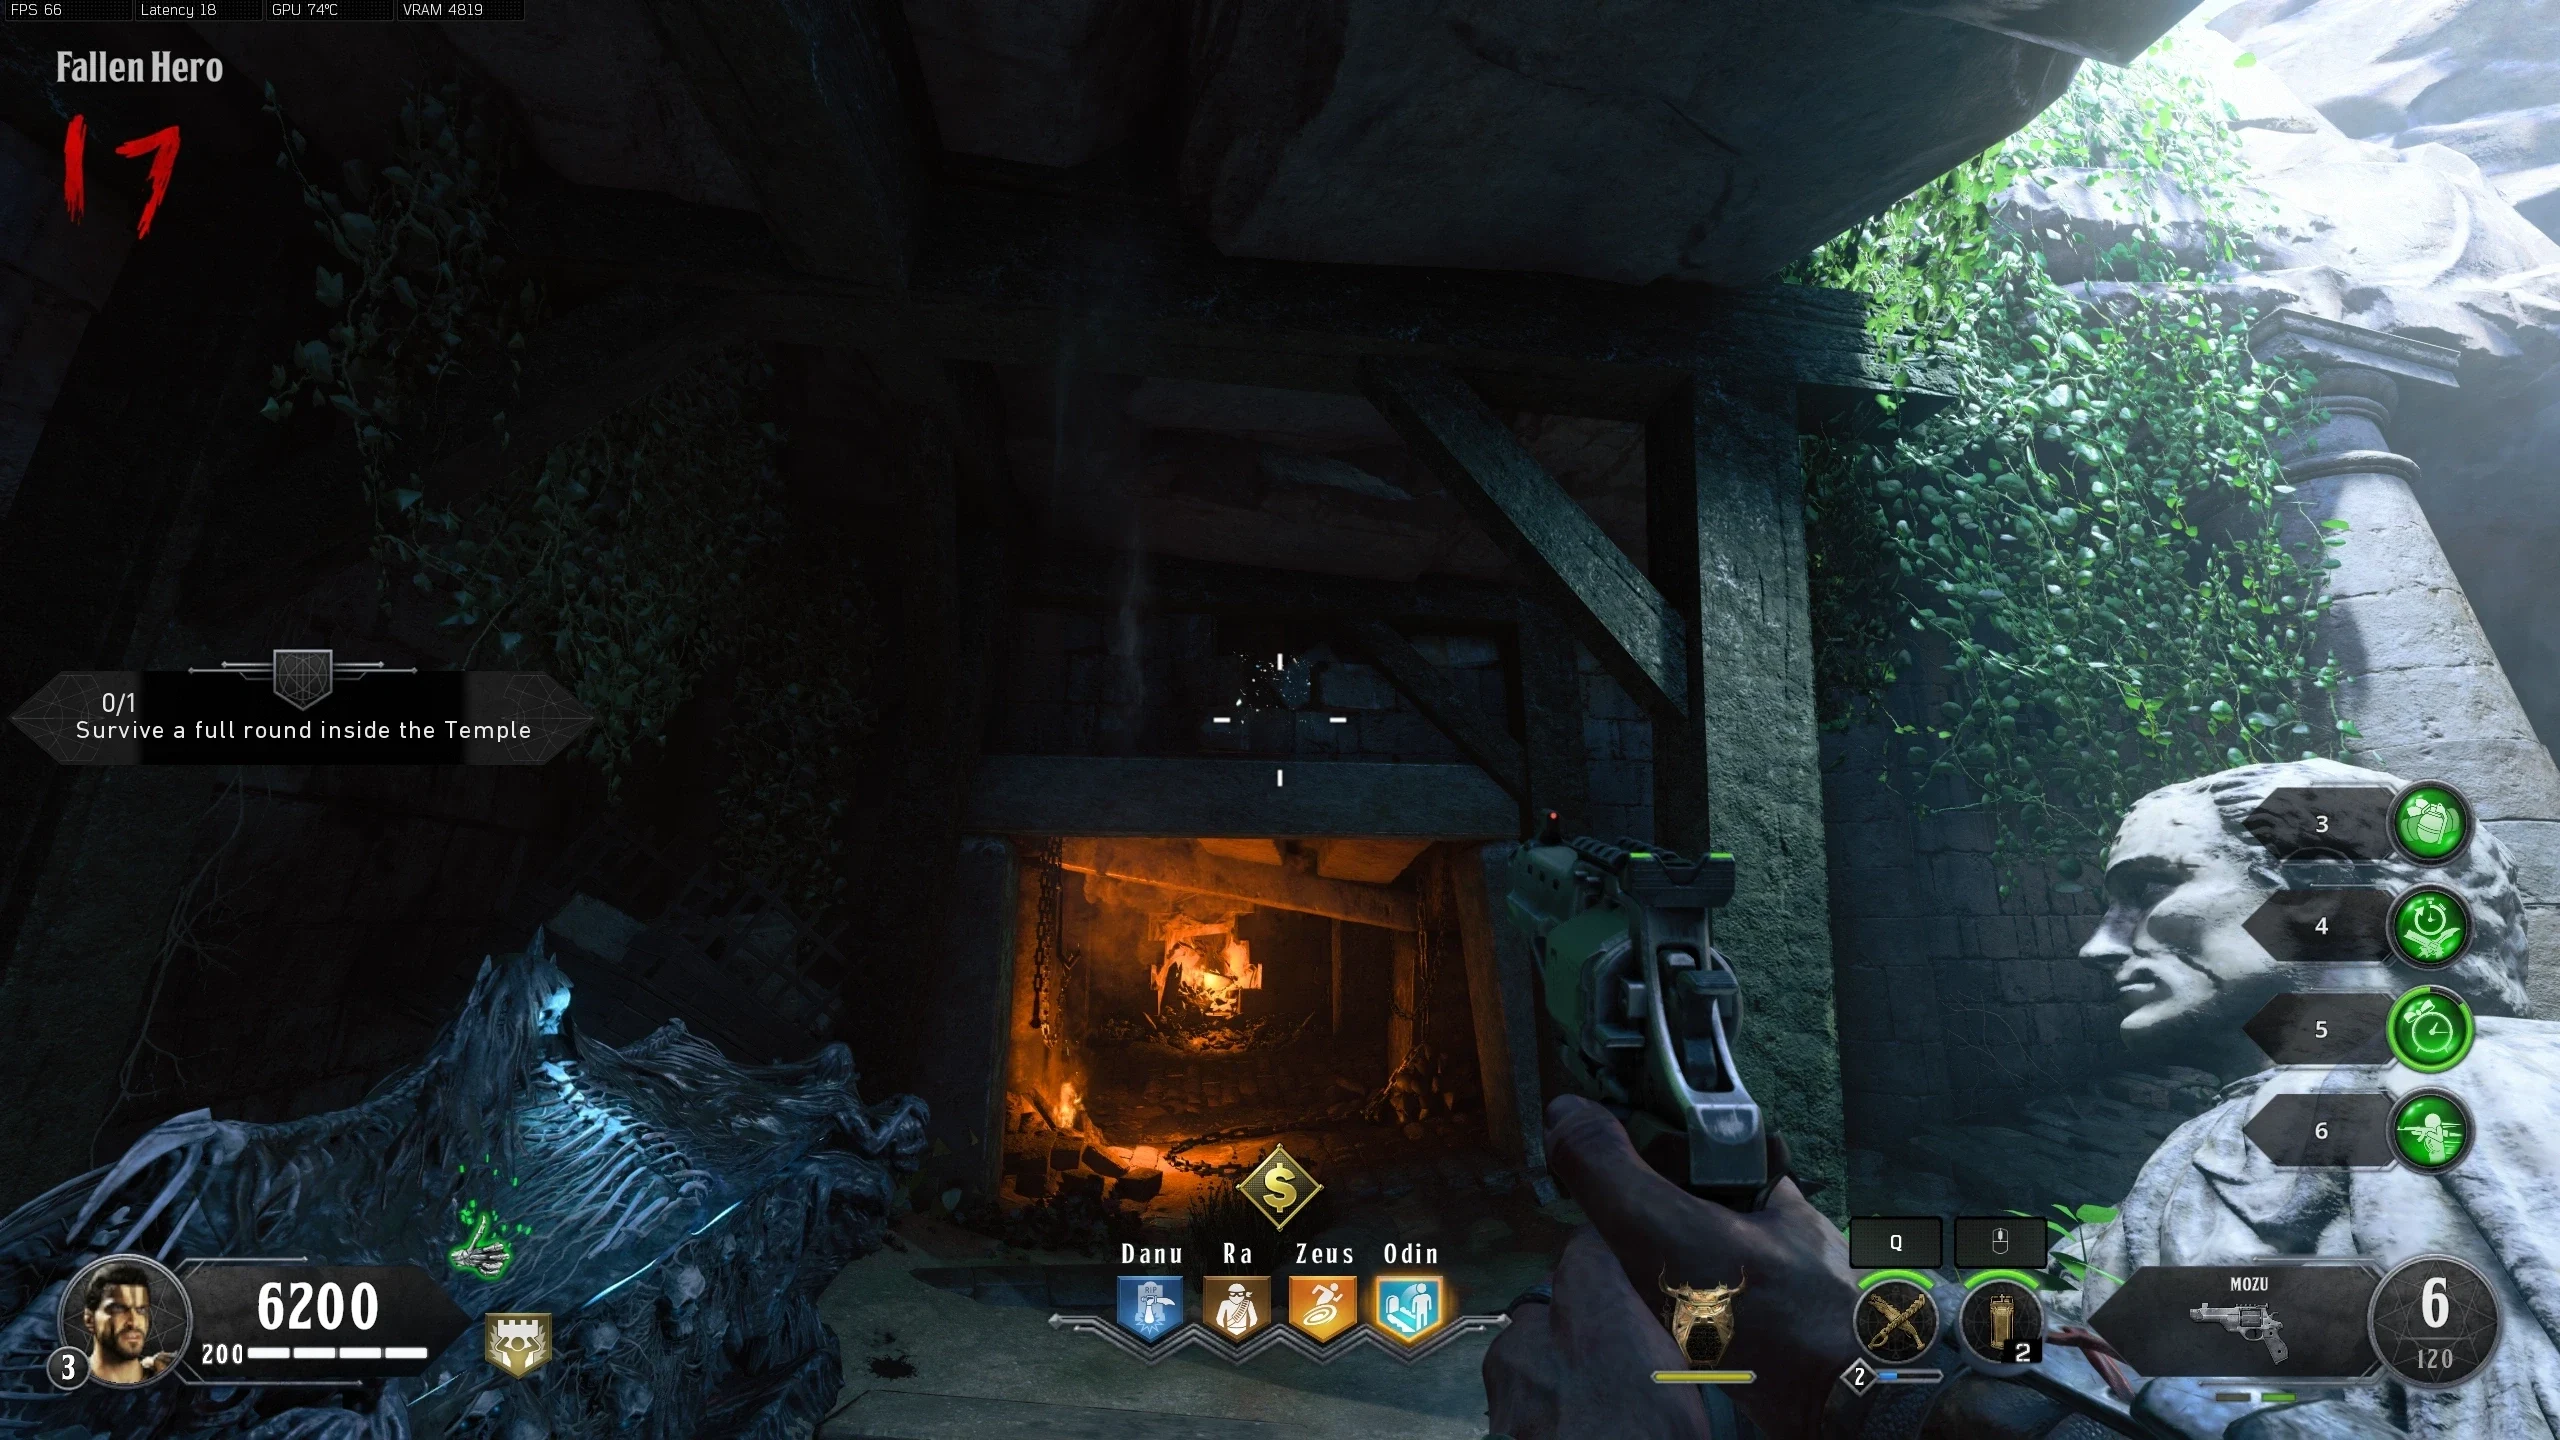
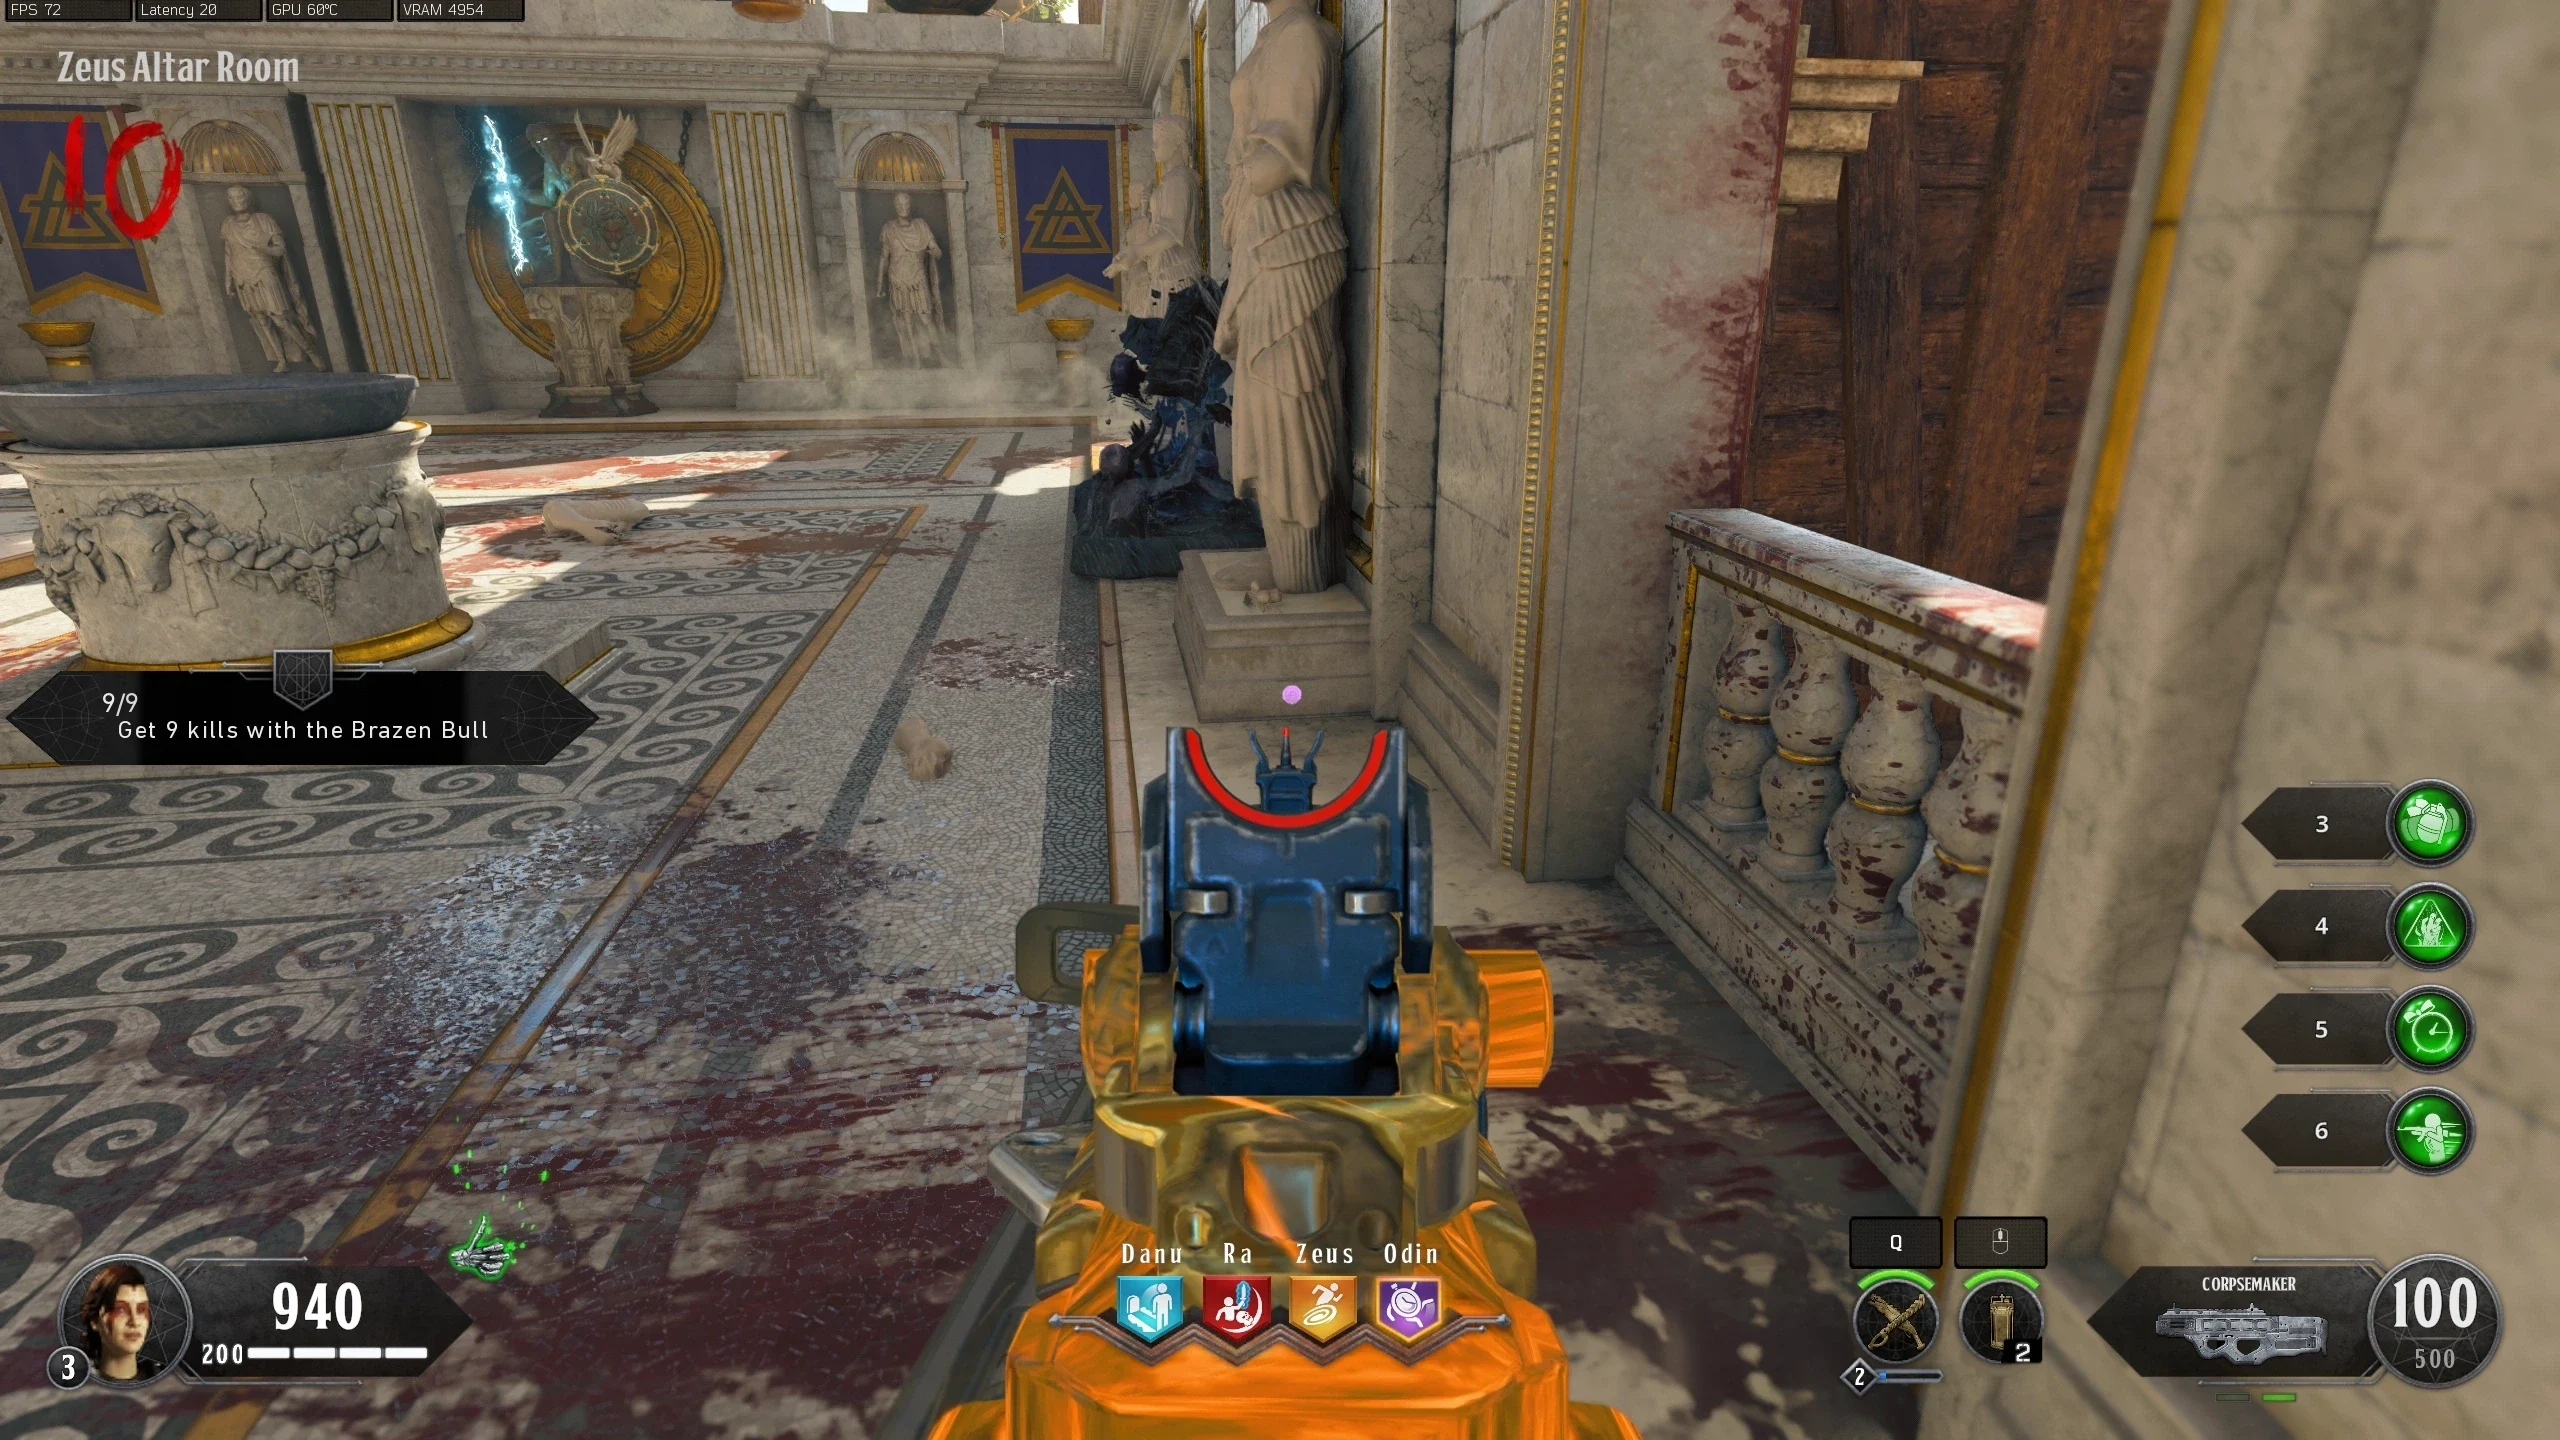
- Shoot three bull heads in the 'Zeus Altar Room' with the Brazen Bull's Gun:
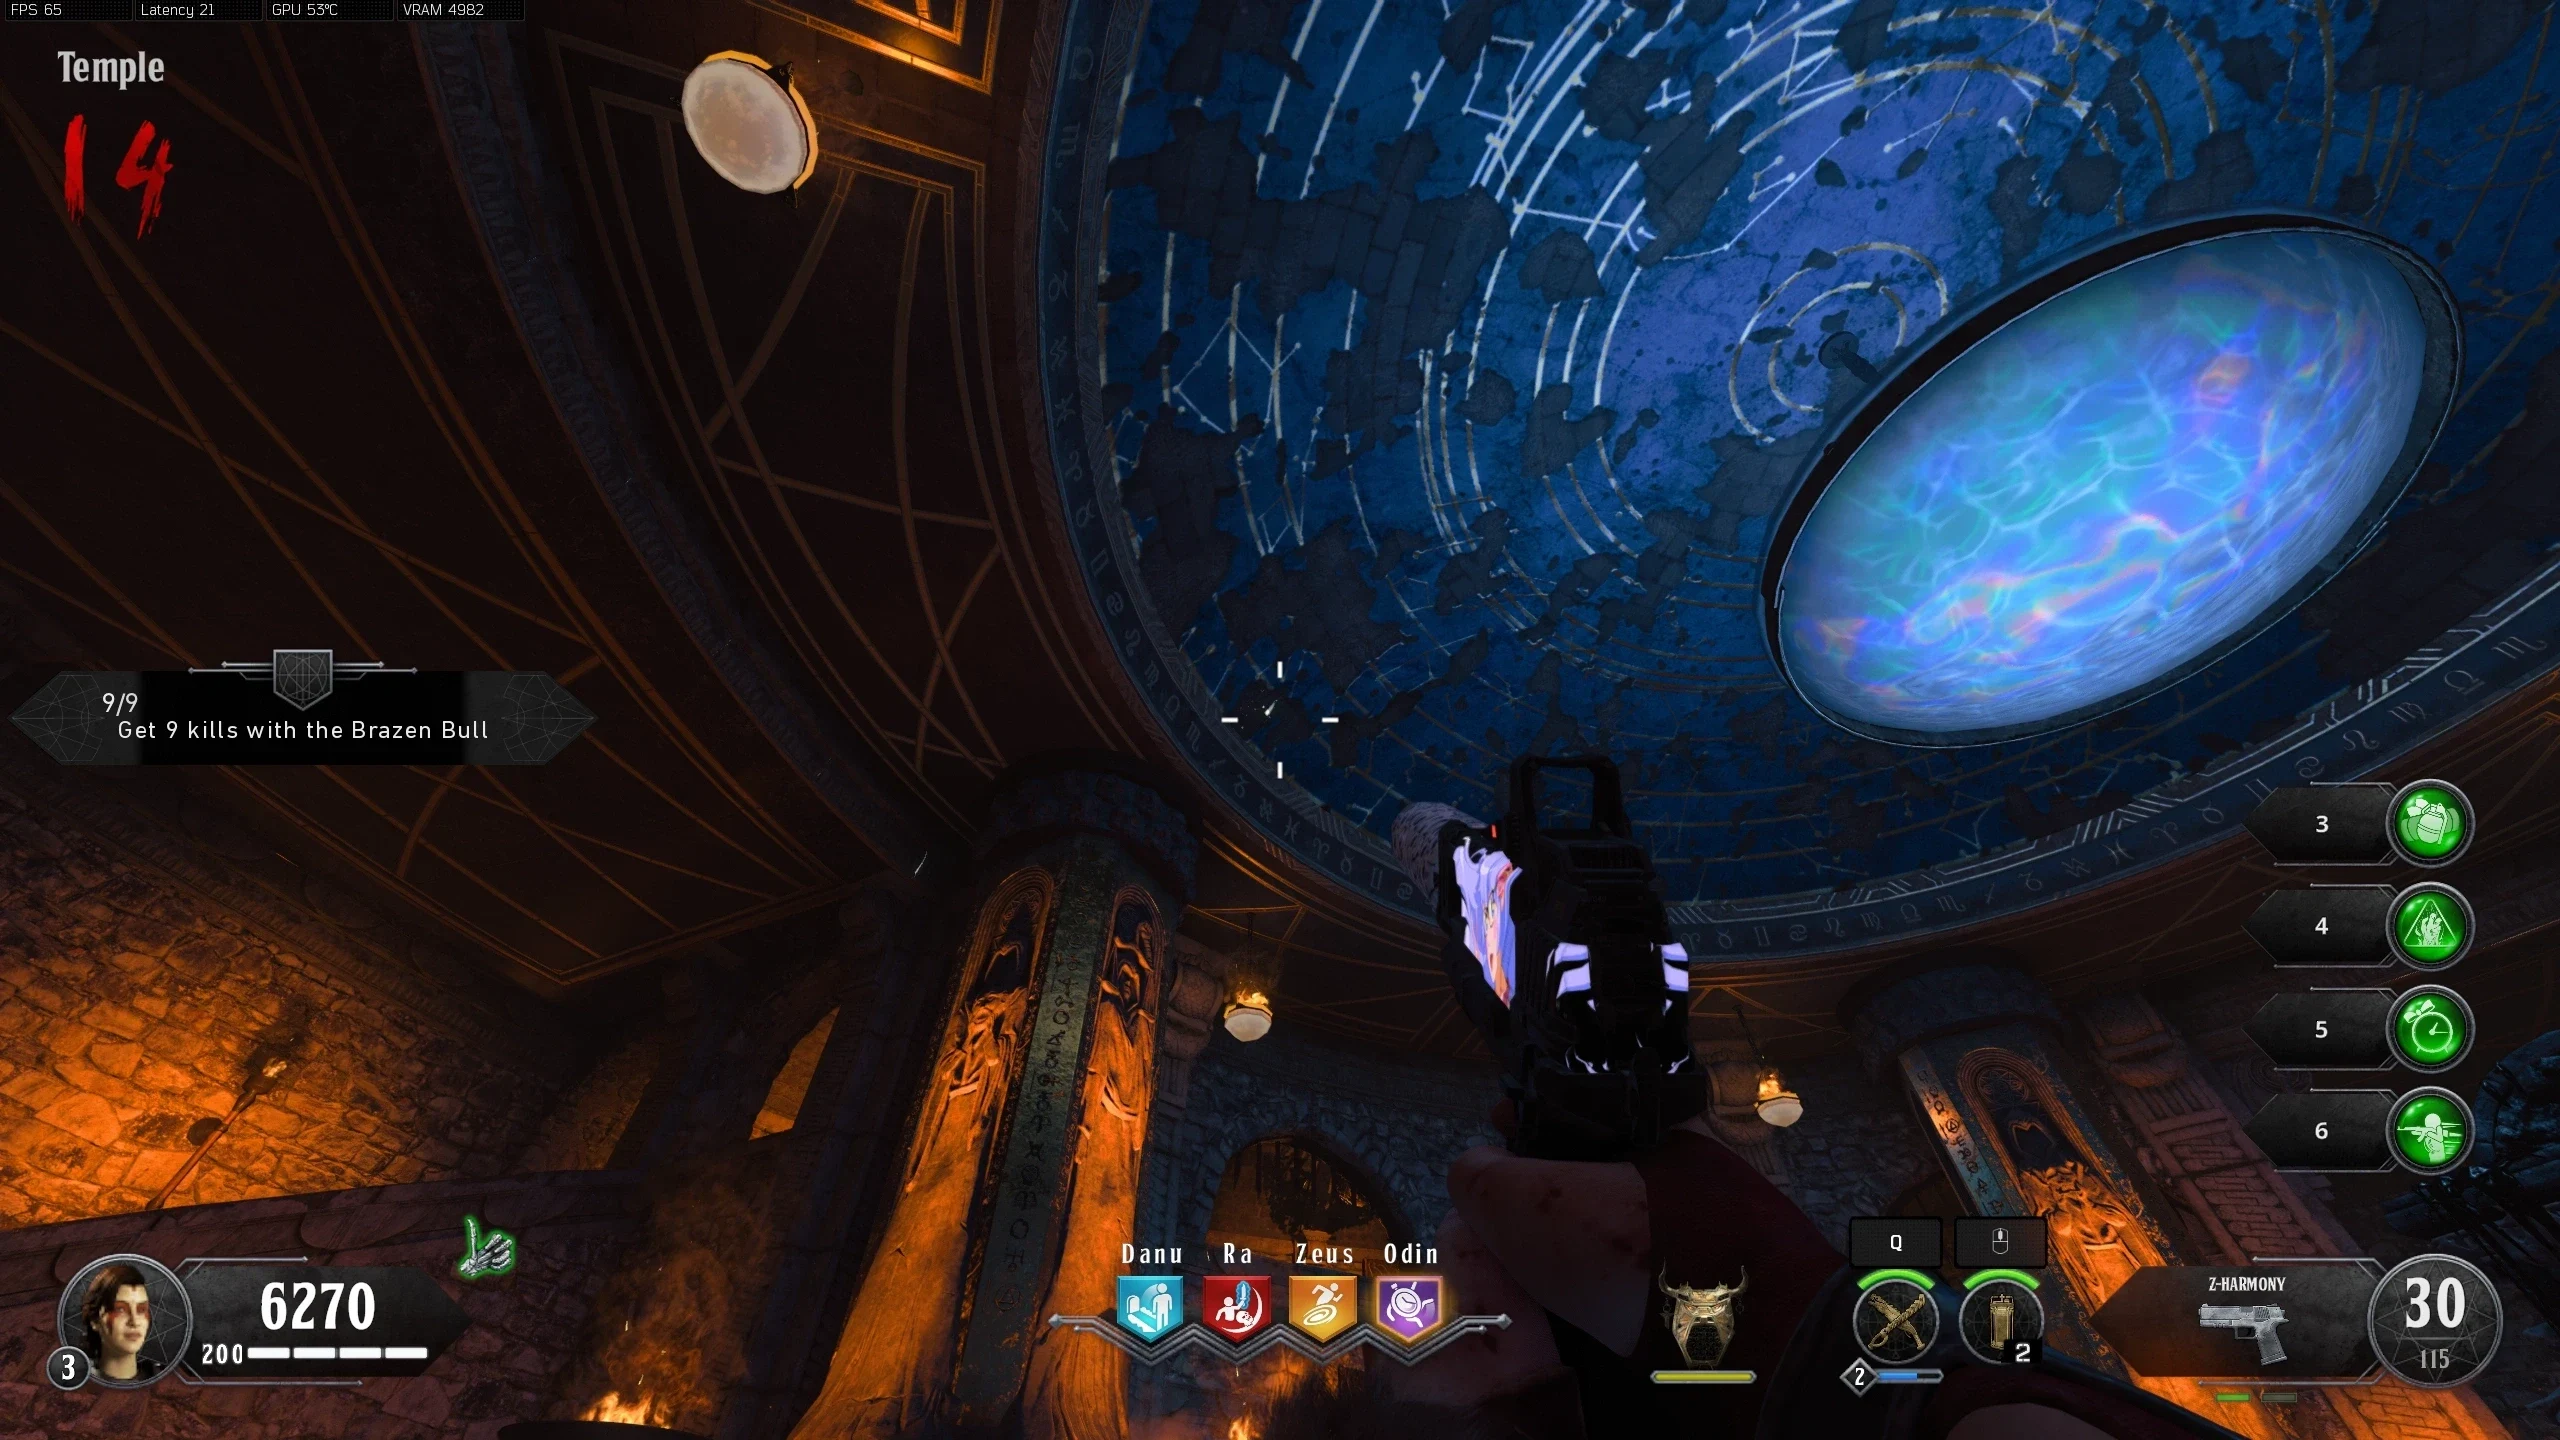
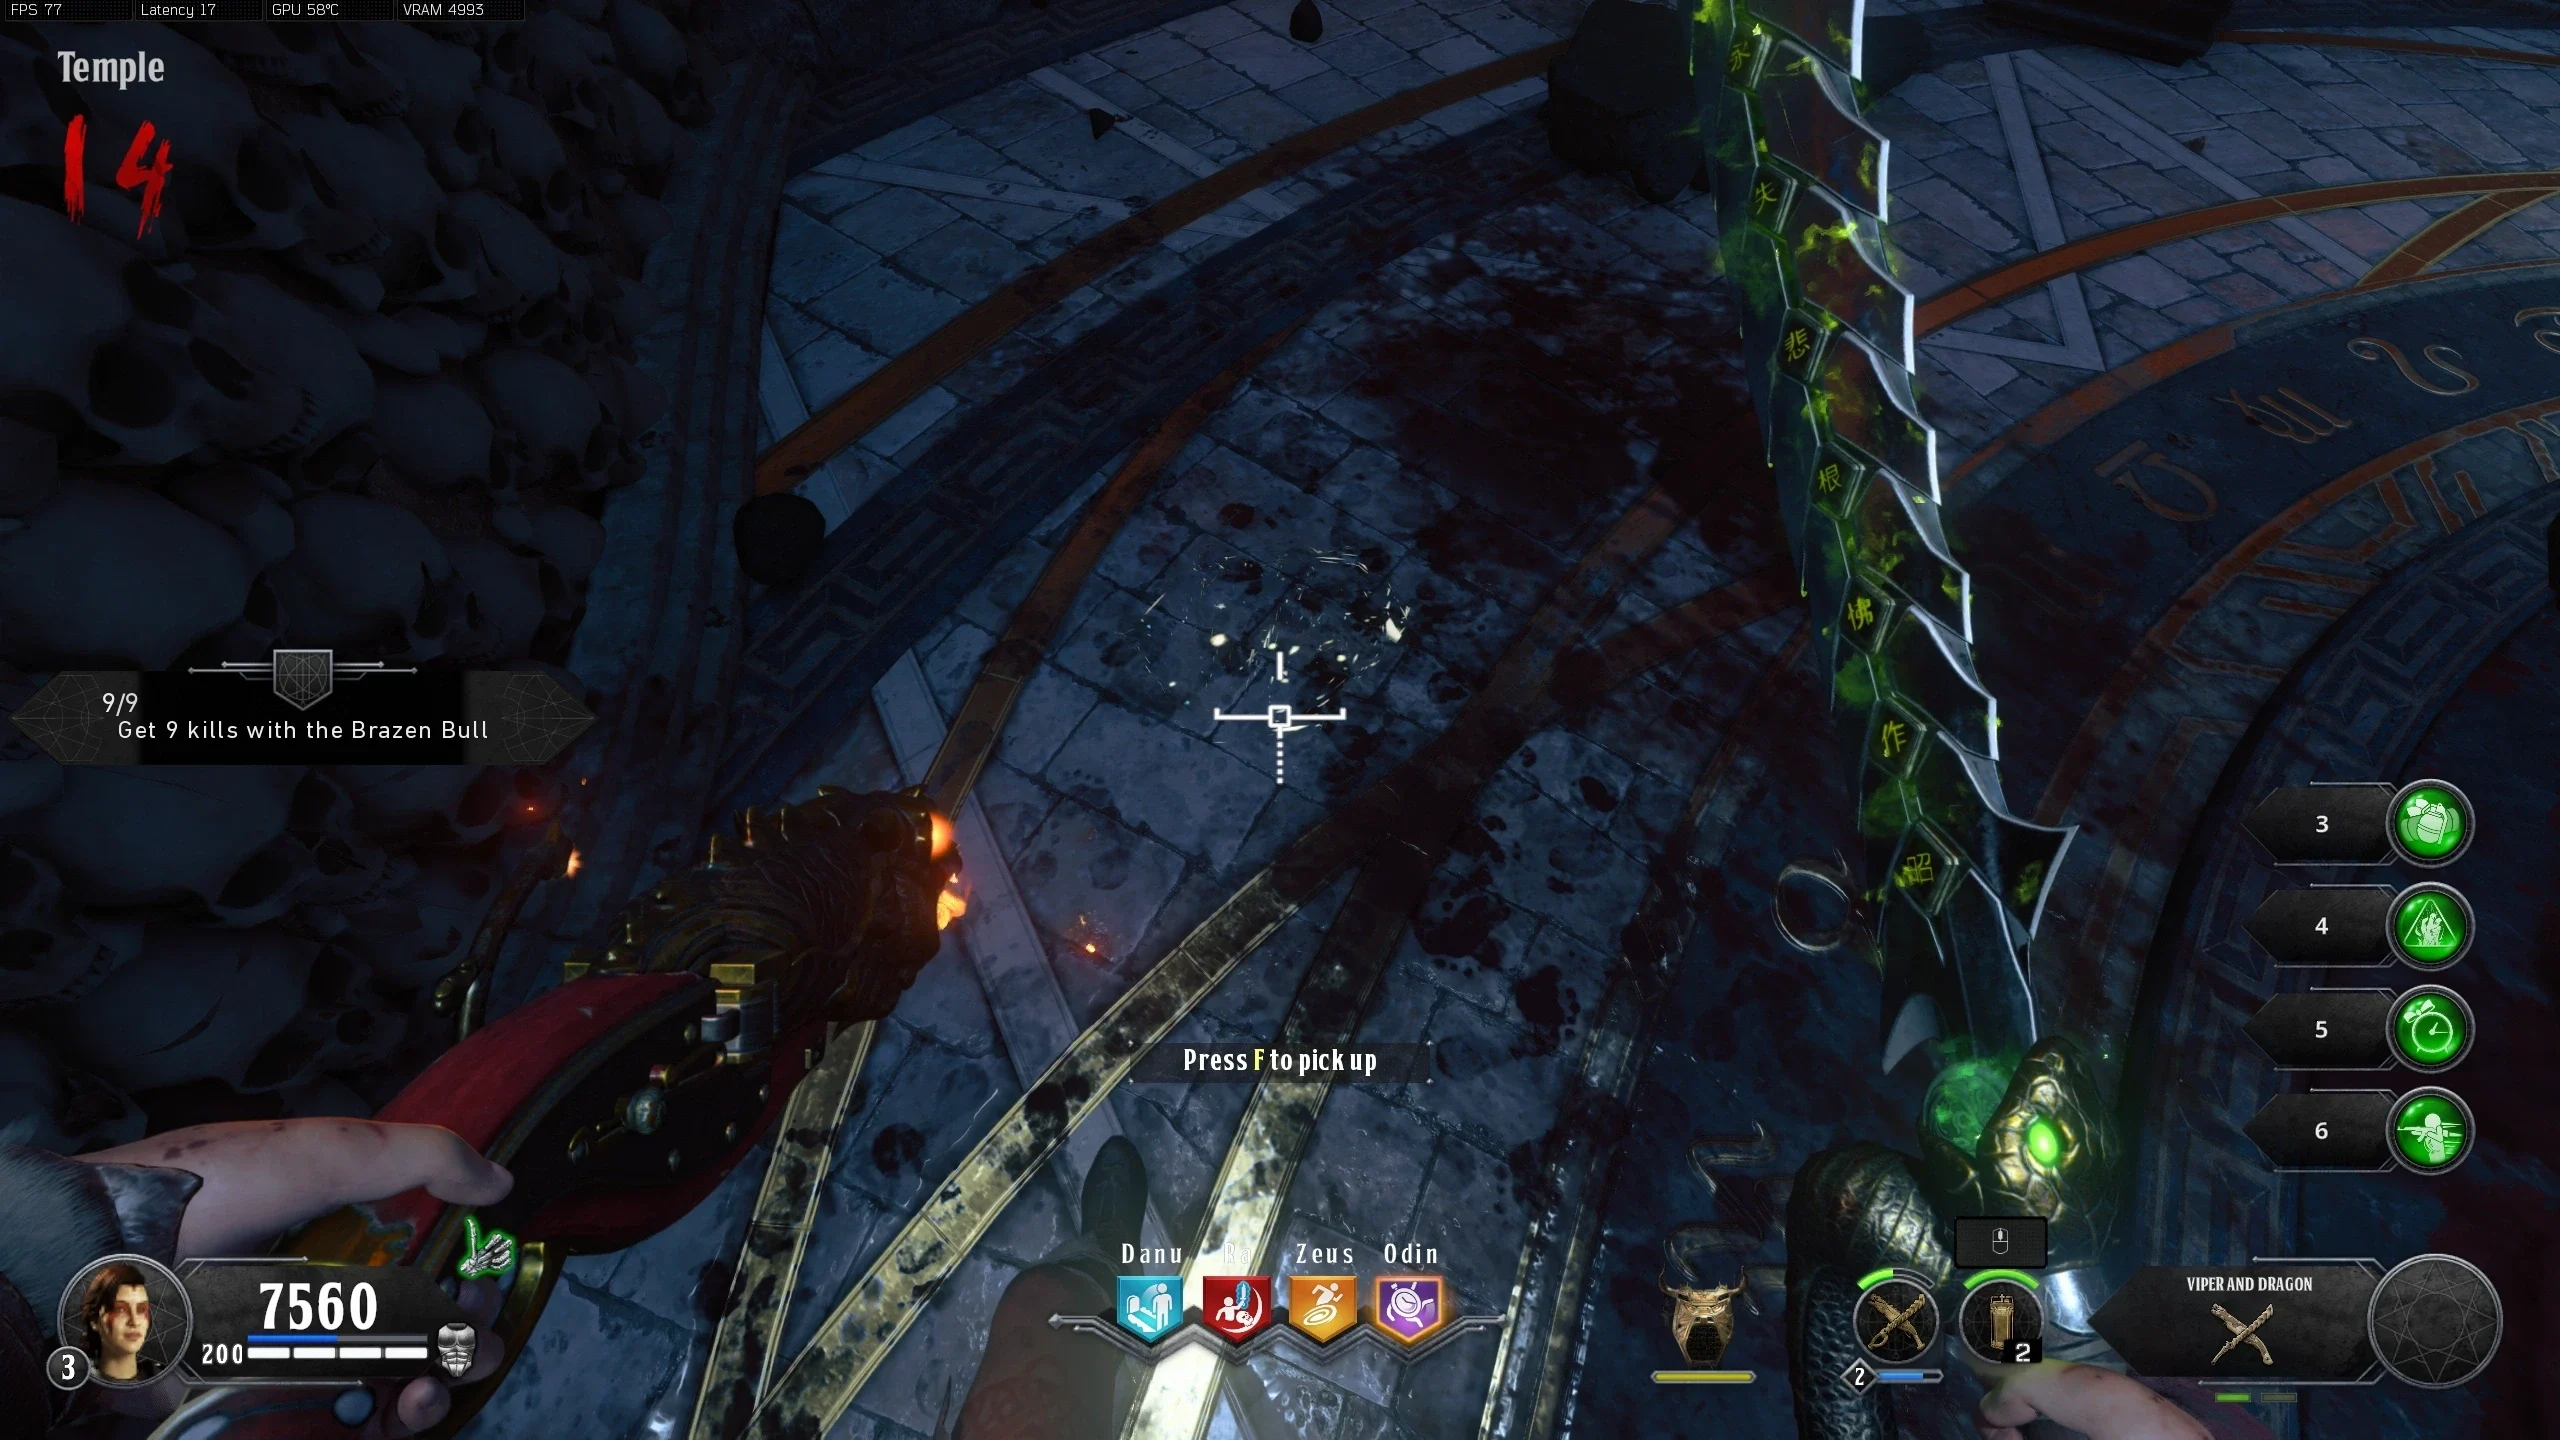
- Shoot down a Sparkling Part on the ceiling of the 'Temple.' When shot, it will drop to the floor near Pack-a-Punch and be available for pickup.
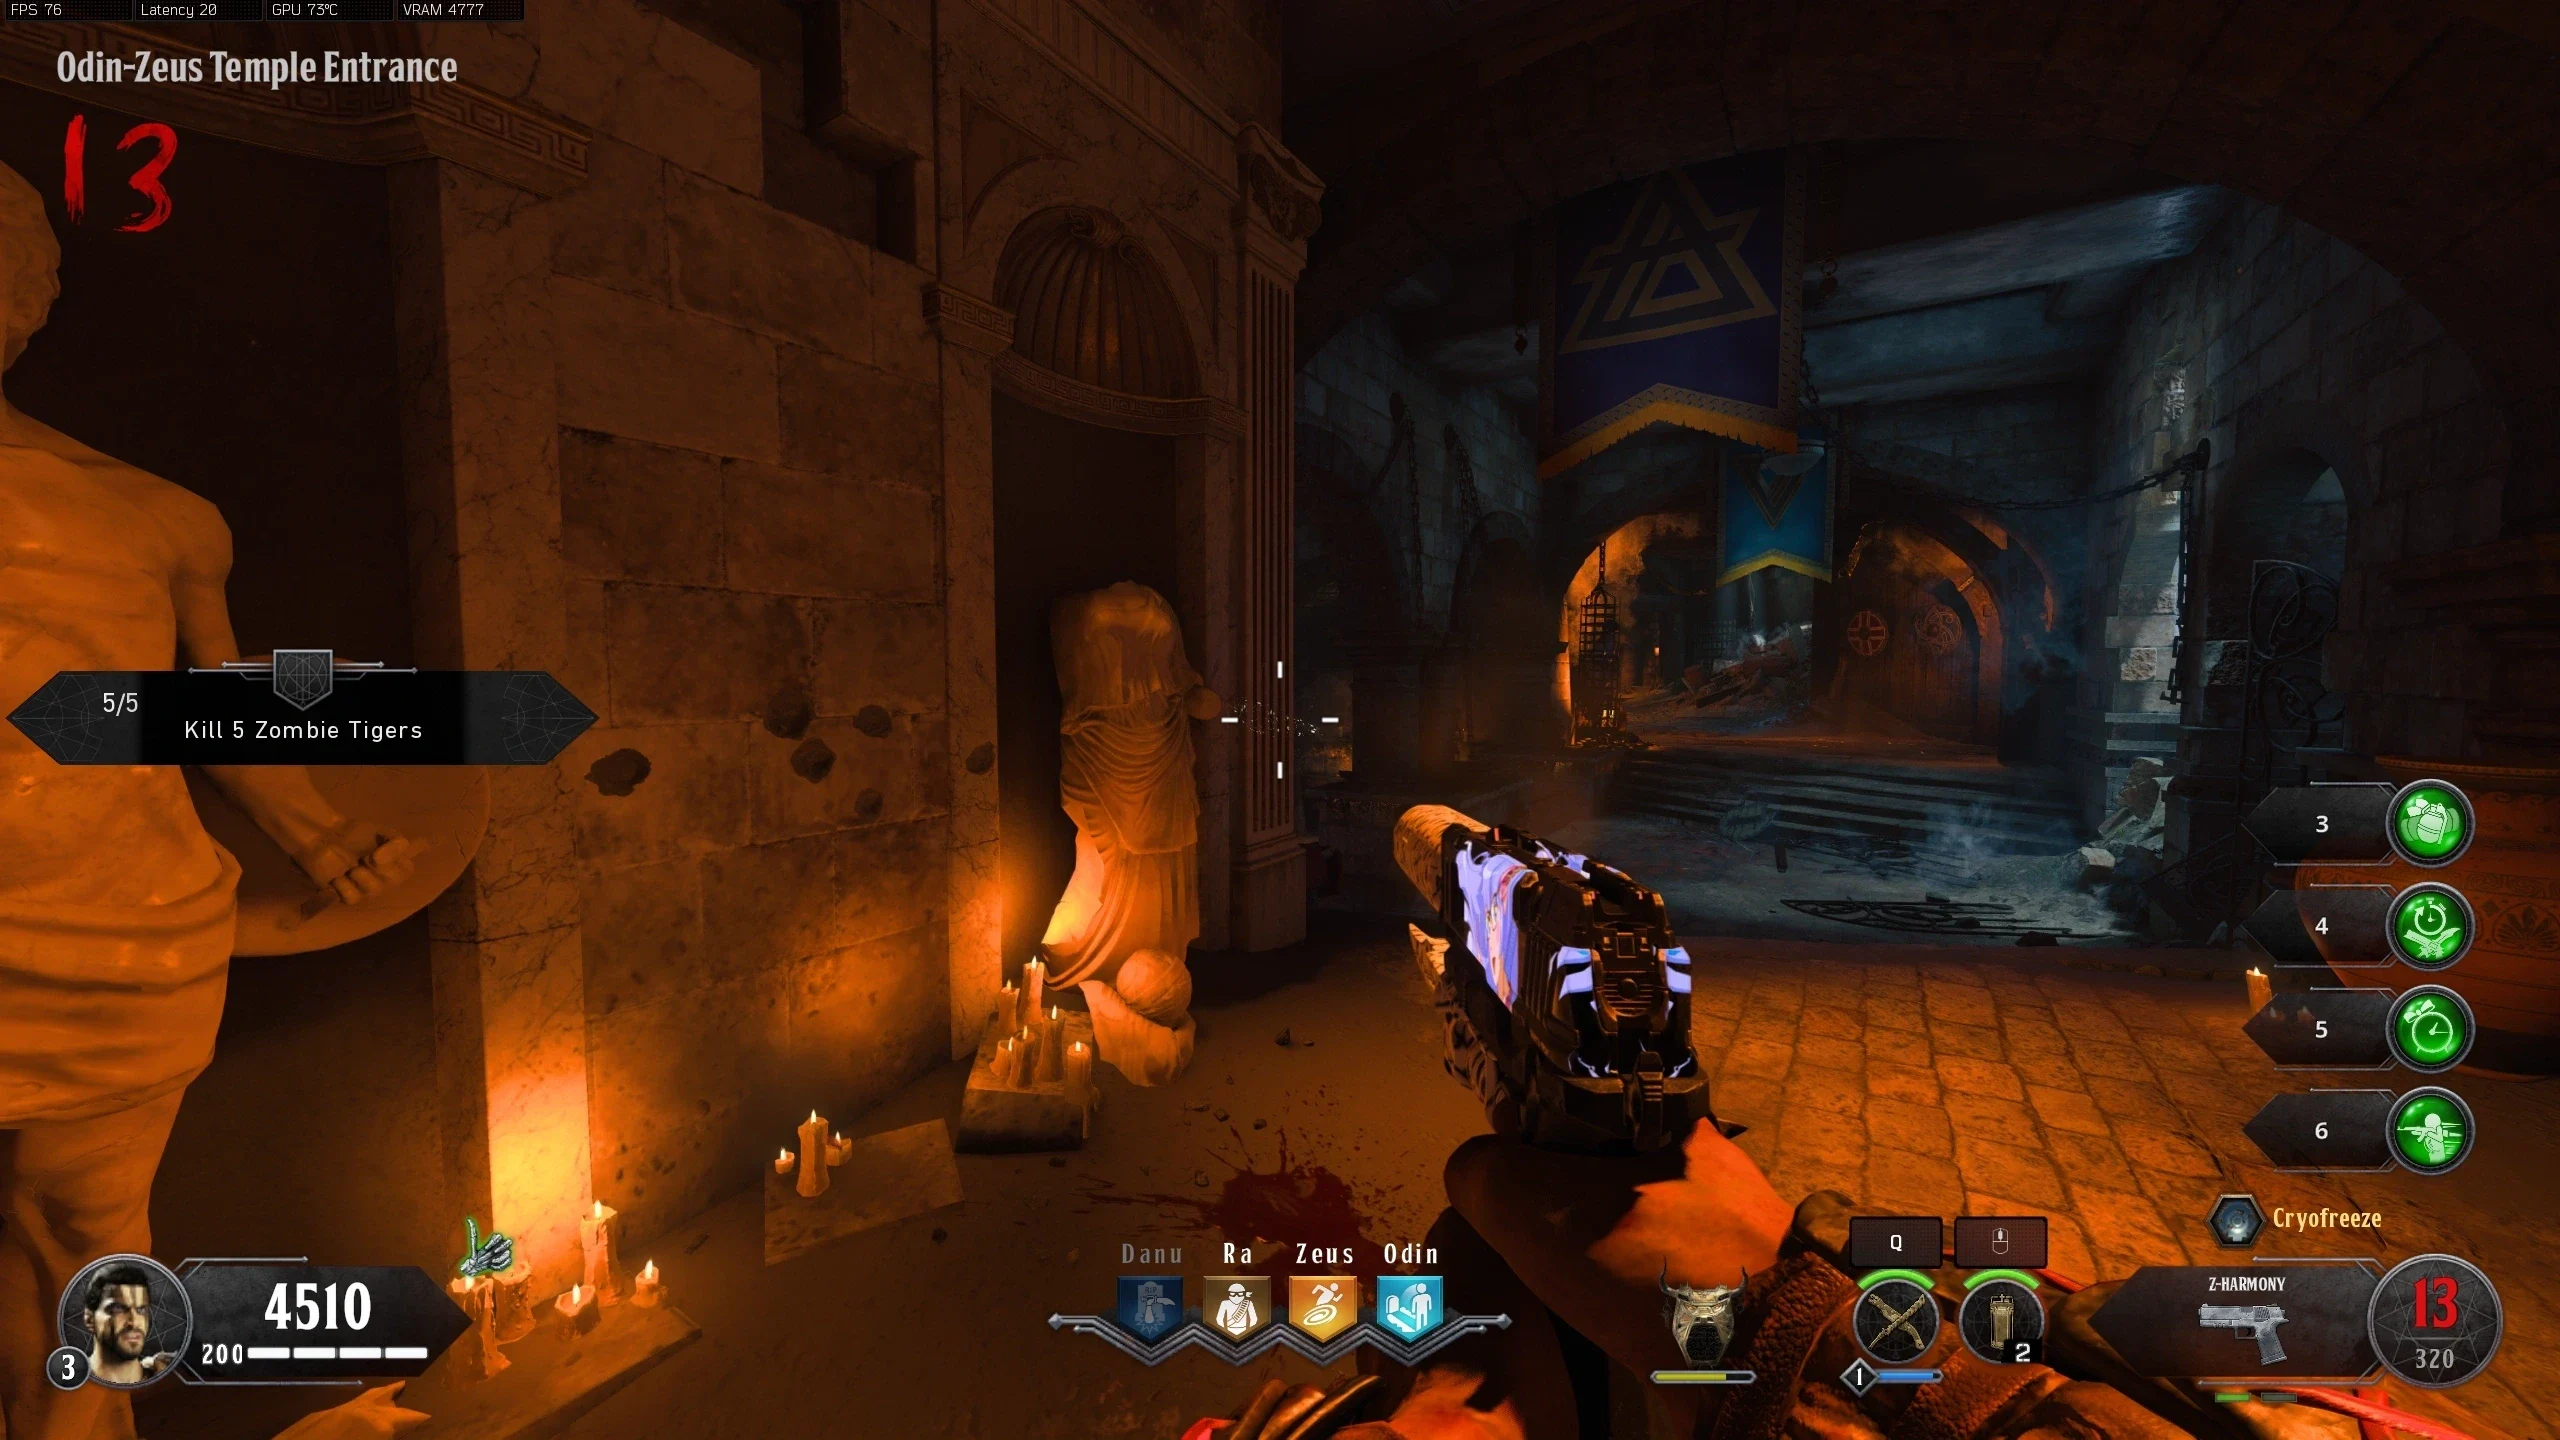
- You must ignite the blade of the Brazen Bull four times. To ignite the blade, get eight shield melee kills on any enemies, then kill a Catalyst, Gladiator or Brawler as your ninth, all without letting the shield break. If done correctly, after the fourth blade ignition, there should be another sparkling part in the hand of a broken statue in the 'Odin-Zeus Temple Entrance.'
- For each blade ignition, the special enemies killed can be any of the four Catalyst types (Acid, Electric, Fire, Water), a Brawler, and a Gladiator. Reusing the same Catalyst type, or Brawler/Gladiator will still ignite the blade, but it won't count toward the four ignitions.
- Example: If ignition 1 came from a Gladiator kill, none of the other ignitions can come from a Gladiator kill. They will still ignite the blade, but it won't count.
- Once you get the ninth kill (successful or not), the fire needs to be reset for you to start the next set. Let the Zombies break your shield, and pick up another one.
- The Glowing Gems on the blade represent sets of three kills, zero lit gems mean you have between 0-2 kills, one gem means you have between 3-5 kills, and two gems mean between 6-8 kills.
- Kills with Victorious Tortoise's explosion count toward kills on the next shield you pick up.
- For each blade ignition, the special enemies killed can be any of the four Catalyst types (Acid, Electric, Fire, Water), a Brawler, and a Gladiator. Reusing the same Catalyst type, or Brawler/Gladiator will still ignite the blade, but it won't count toward the four ignitions.
- While the blade is ignited, kill a Gladiator and a Brawler. To re-ignite the blade, get nine melee kills like before, except the ninth can now be any enemy. The blade goes out after nine more melee kills (gun kills don't count), if the shield breaks, or if you go down. If done correctly, there should be another sparkling part above the doorway leading to 'The Collapsed Tunnel' in 'Fallen Hero'.
- The two kills do not need to happen during the same ignition. Your progress doesn't reset when the fire goes out, so you can kill the Gladiator on one ignition and the Brawler on another one.
- Once all three Sparkling Parts have been obtained, the Iron Bull can be picked up from the Brazen Bull Workbench.
Acid Trap
- The Acid Trap requires three parts to be built:
- Cauldron: After three Podium Challenges are completed, the Cauldron will spawn in the center of the 'Challenge Podium'
- Chain: Temple - Left of Pack-a-Punch
- Cog: Temple - Right of Pack-a-Punch
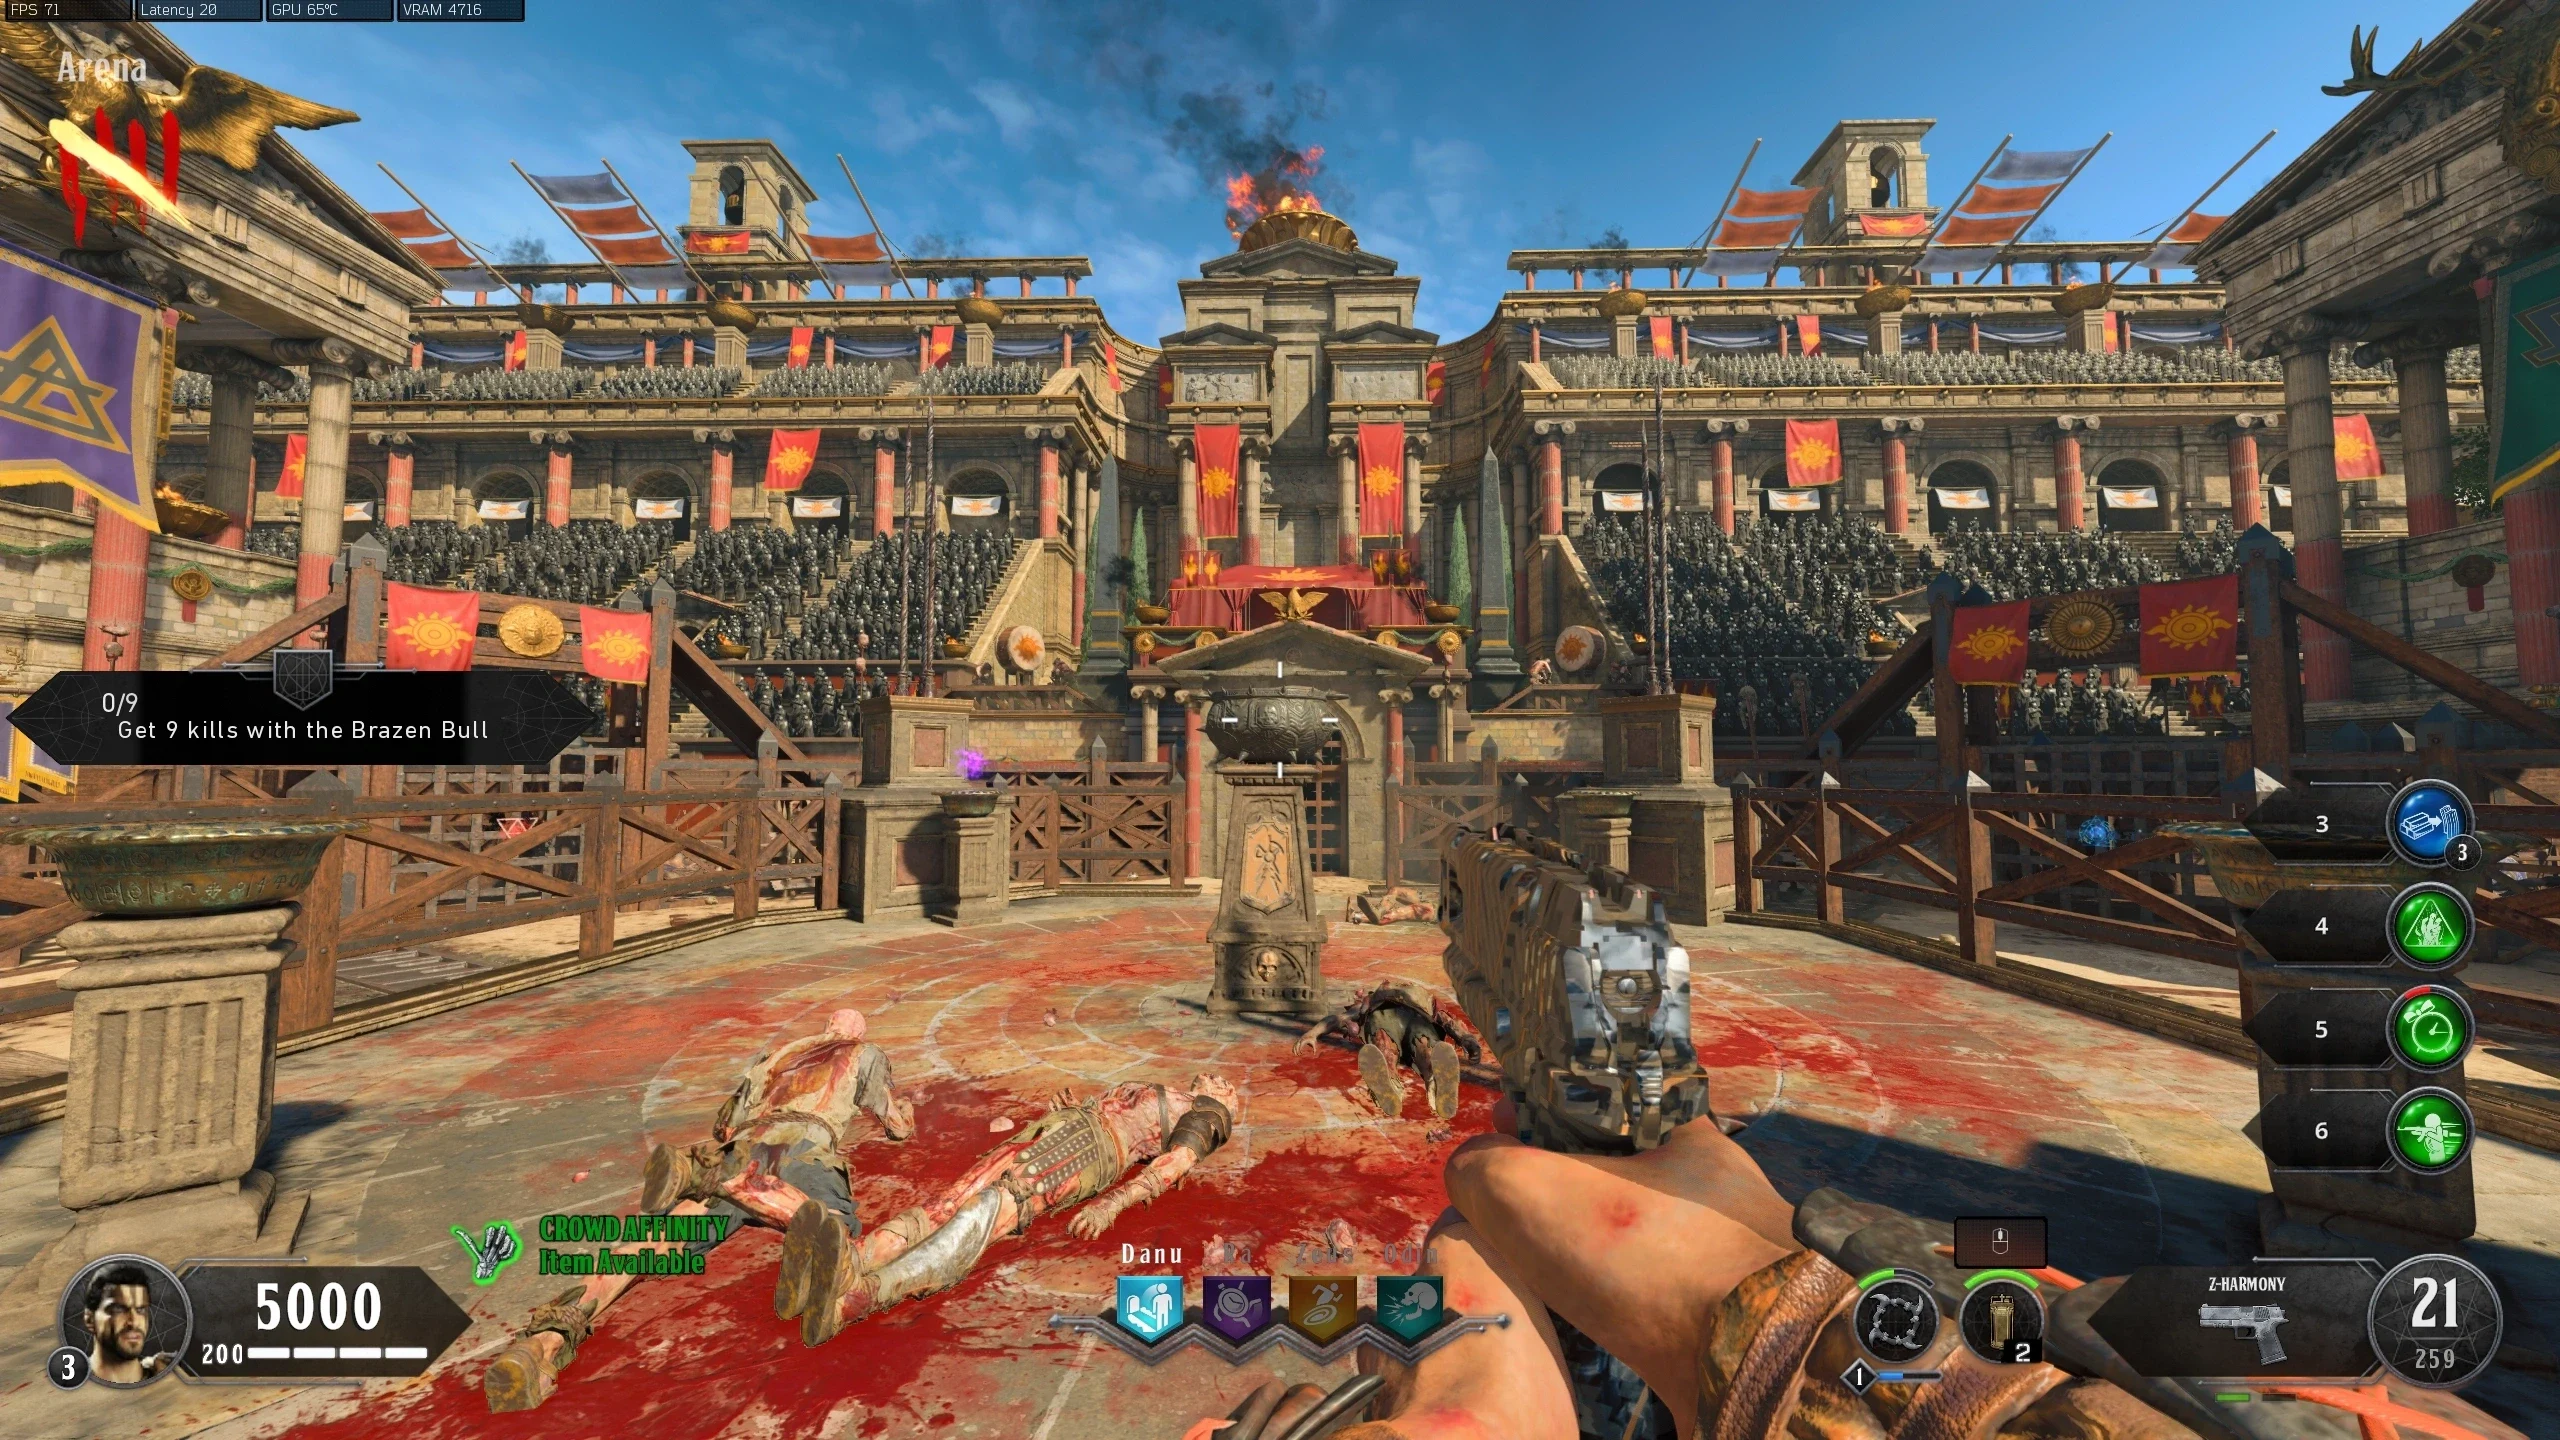
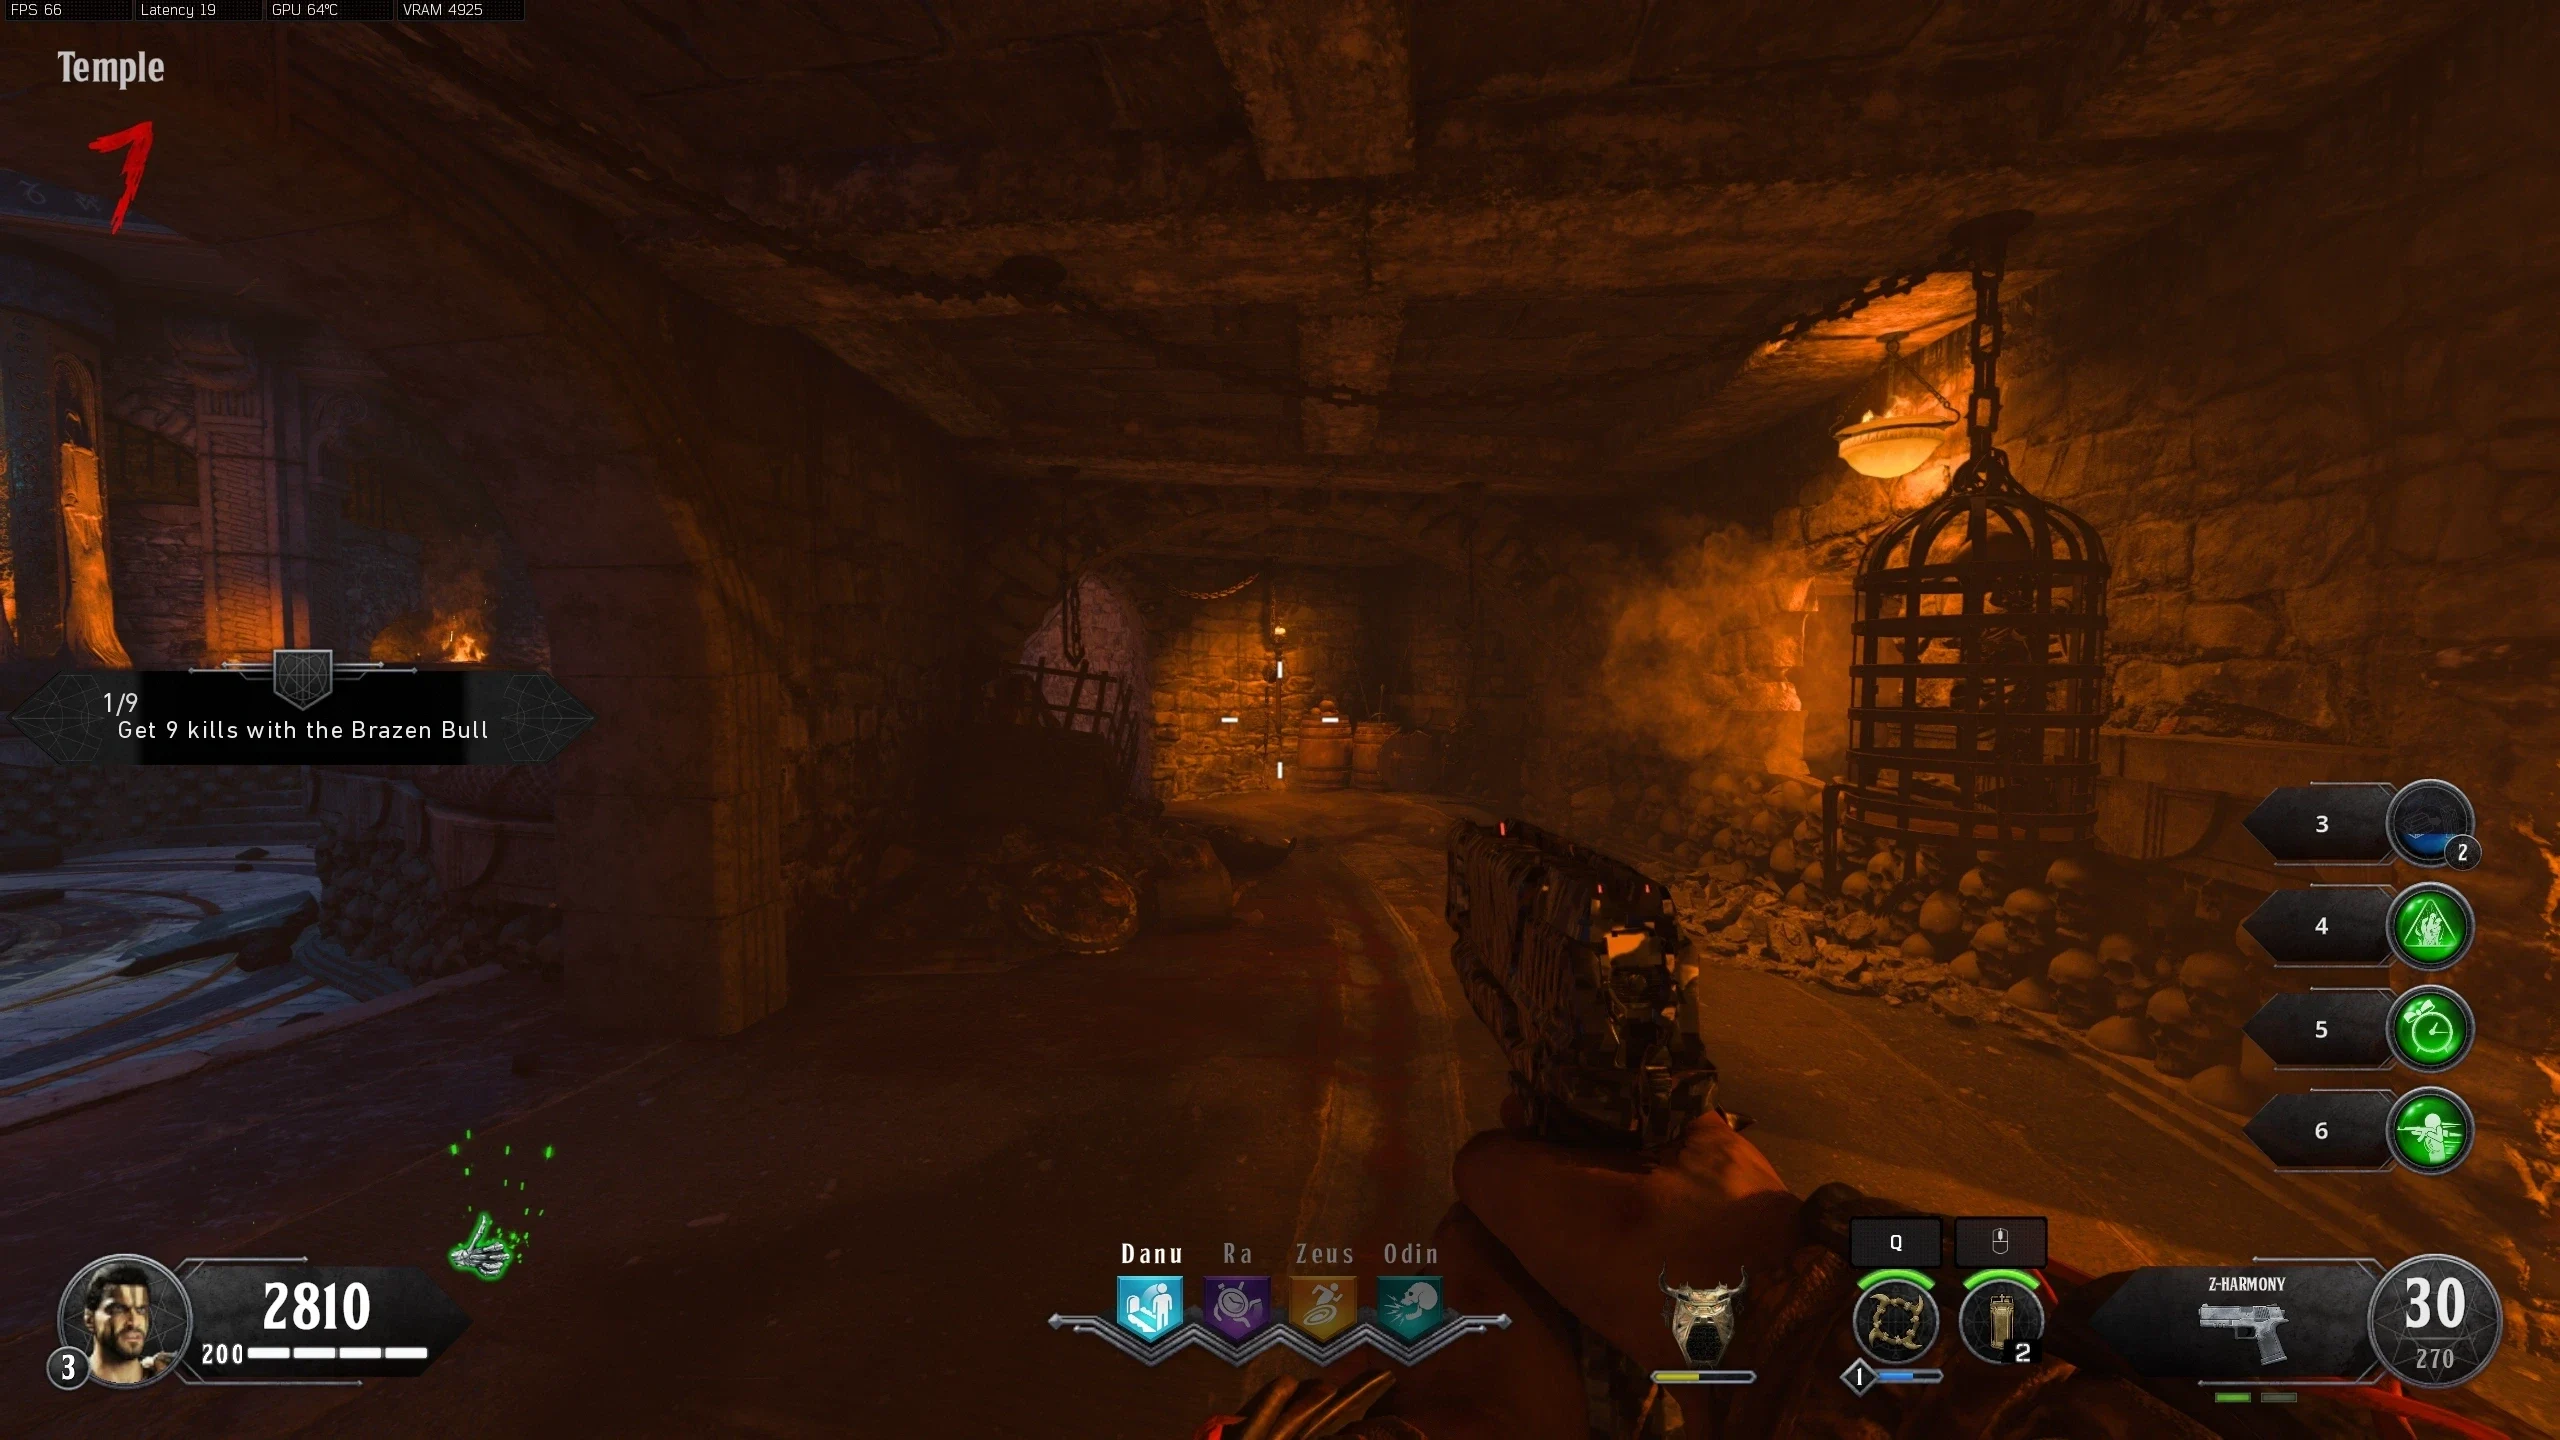
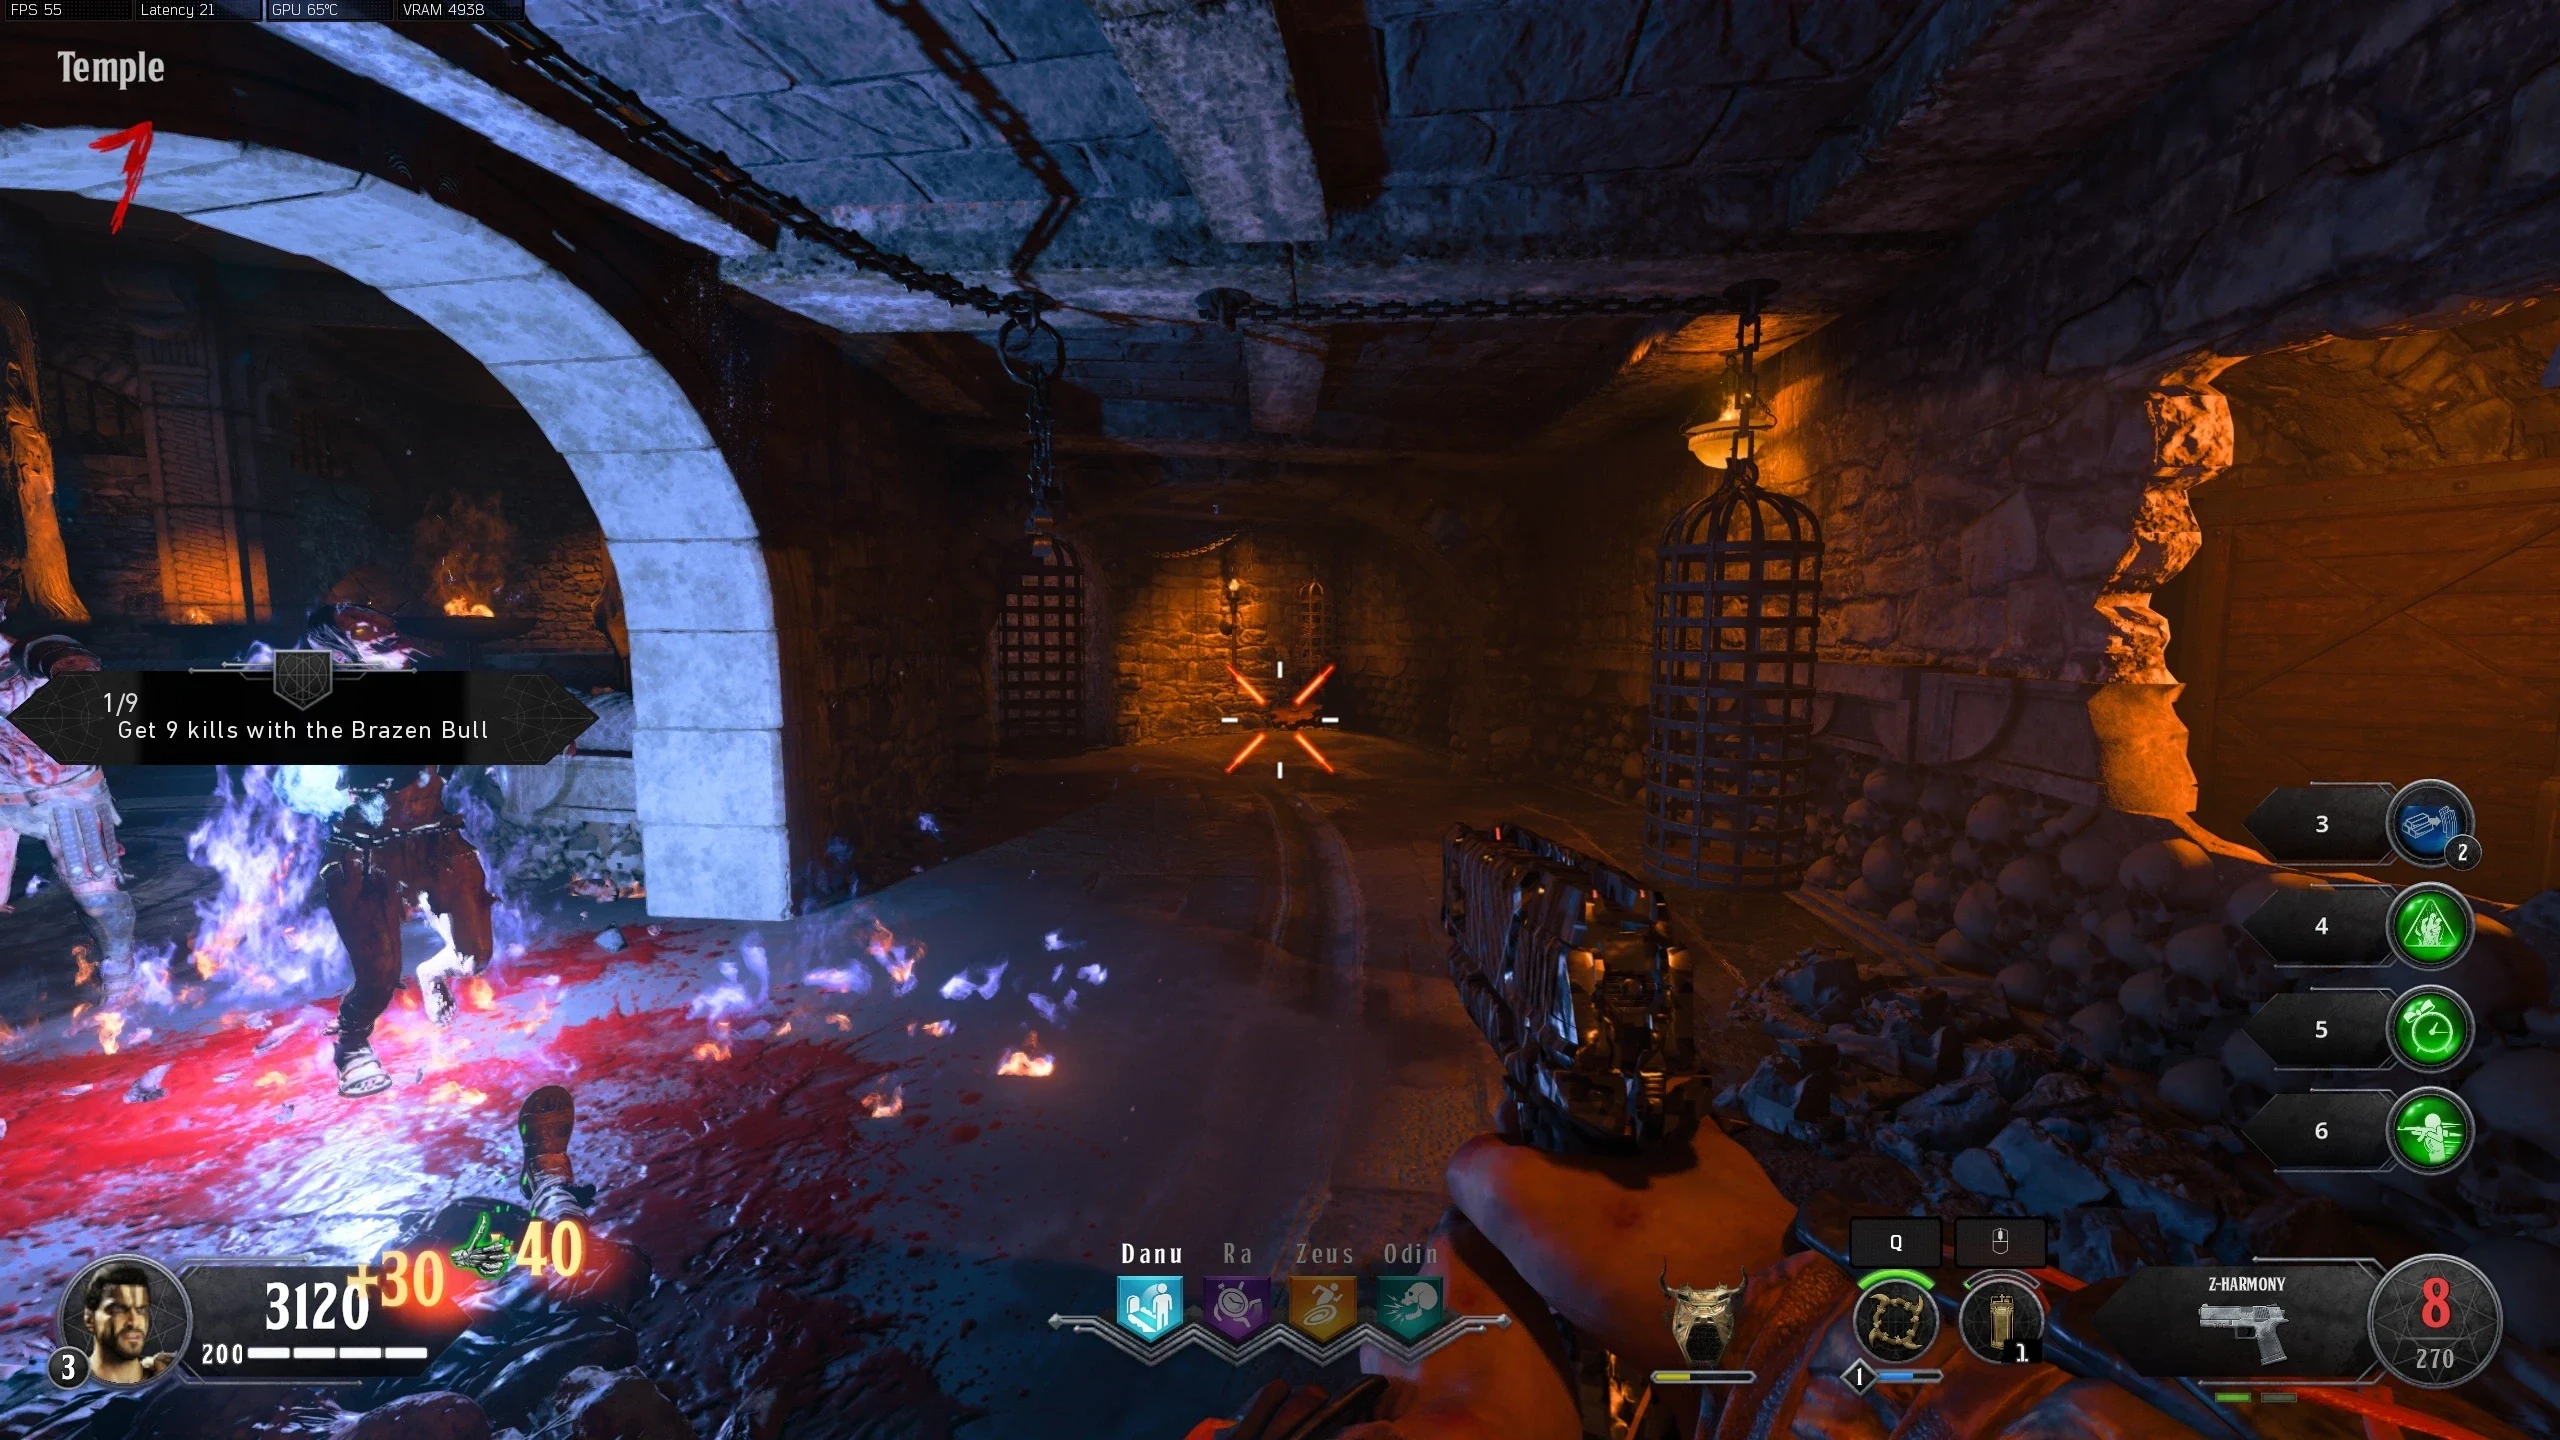
- The Acid Trap can be built at any of the following locations:
"Venerated Warrior" Main Quest
Stats (Solo): Difficulty - 7/10, Est. Completion Time - 1:15 Hr to 1:45 Hr
| Perks | Special Weapon | Elixir |
|---|---|---|
| Victorious Tortoise and Dying Wish | "Viper and Dragon" | "Shield Up" (For Boss Fight) |
Blood will Flow
- Open Pack-a-Punch.
Purge the Blight
- In the 'Temple,' along the walls, there is a Skull with a blue symbol on it. While looking at the Skull, activate your special weapon and interact with the skull to make it fall to the floor and become available for pickup. There are twelve possible locations:
- Below Odin Symbol
- Below Zeus Symbol
- Pillar behind Pack-a-Punch
- Wall to the left of Pack-a-Punch
- Up the staircase from the Zeus Symbol, left of the Zombie Spawn
- Up the staircase from the Zeus Symbol, Right of the Zombie Spawn
- Below Danu Symbol
- Below Ra Symbol
- Pillar in front of Pack-a-Punch
- Wall to the right of Pack-a-Punch
- Up the staircase from the Ra Symbol, close to the stairs
- Up the staircase from the Ra Symbol, close to the pit doorway
The next three steps (grinding the skull, charring the wood, and getting the poop) can be done simultaneously, as all three items are needed before you can continue.
- Obtain the Death of Orion.
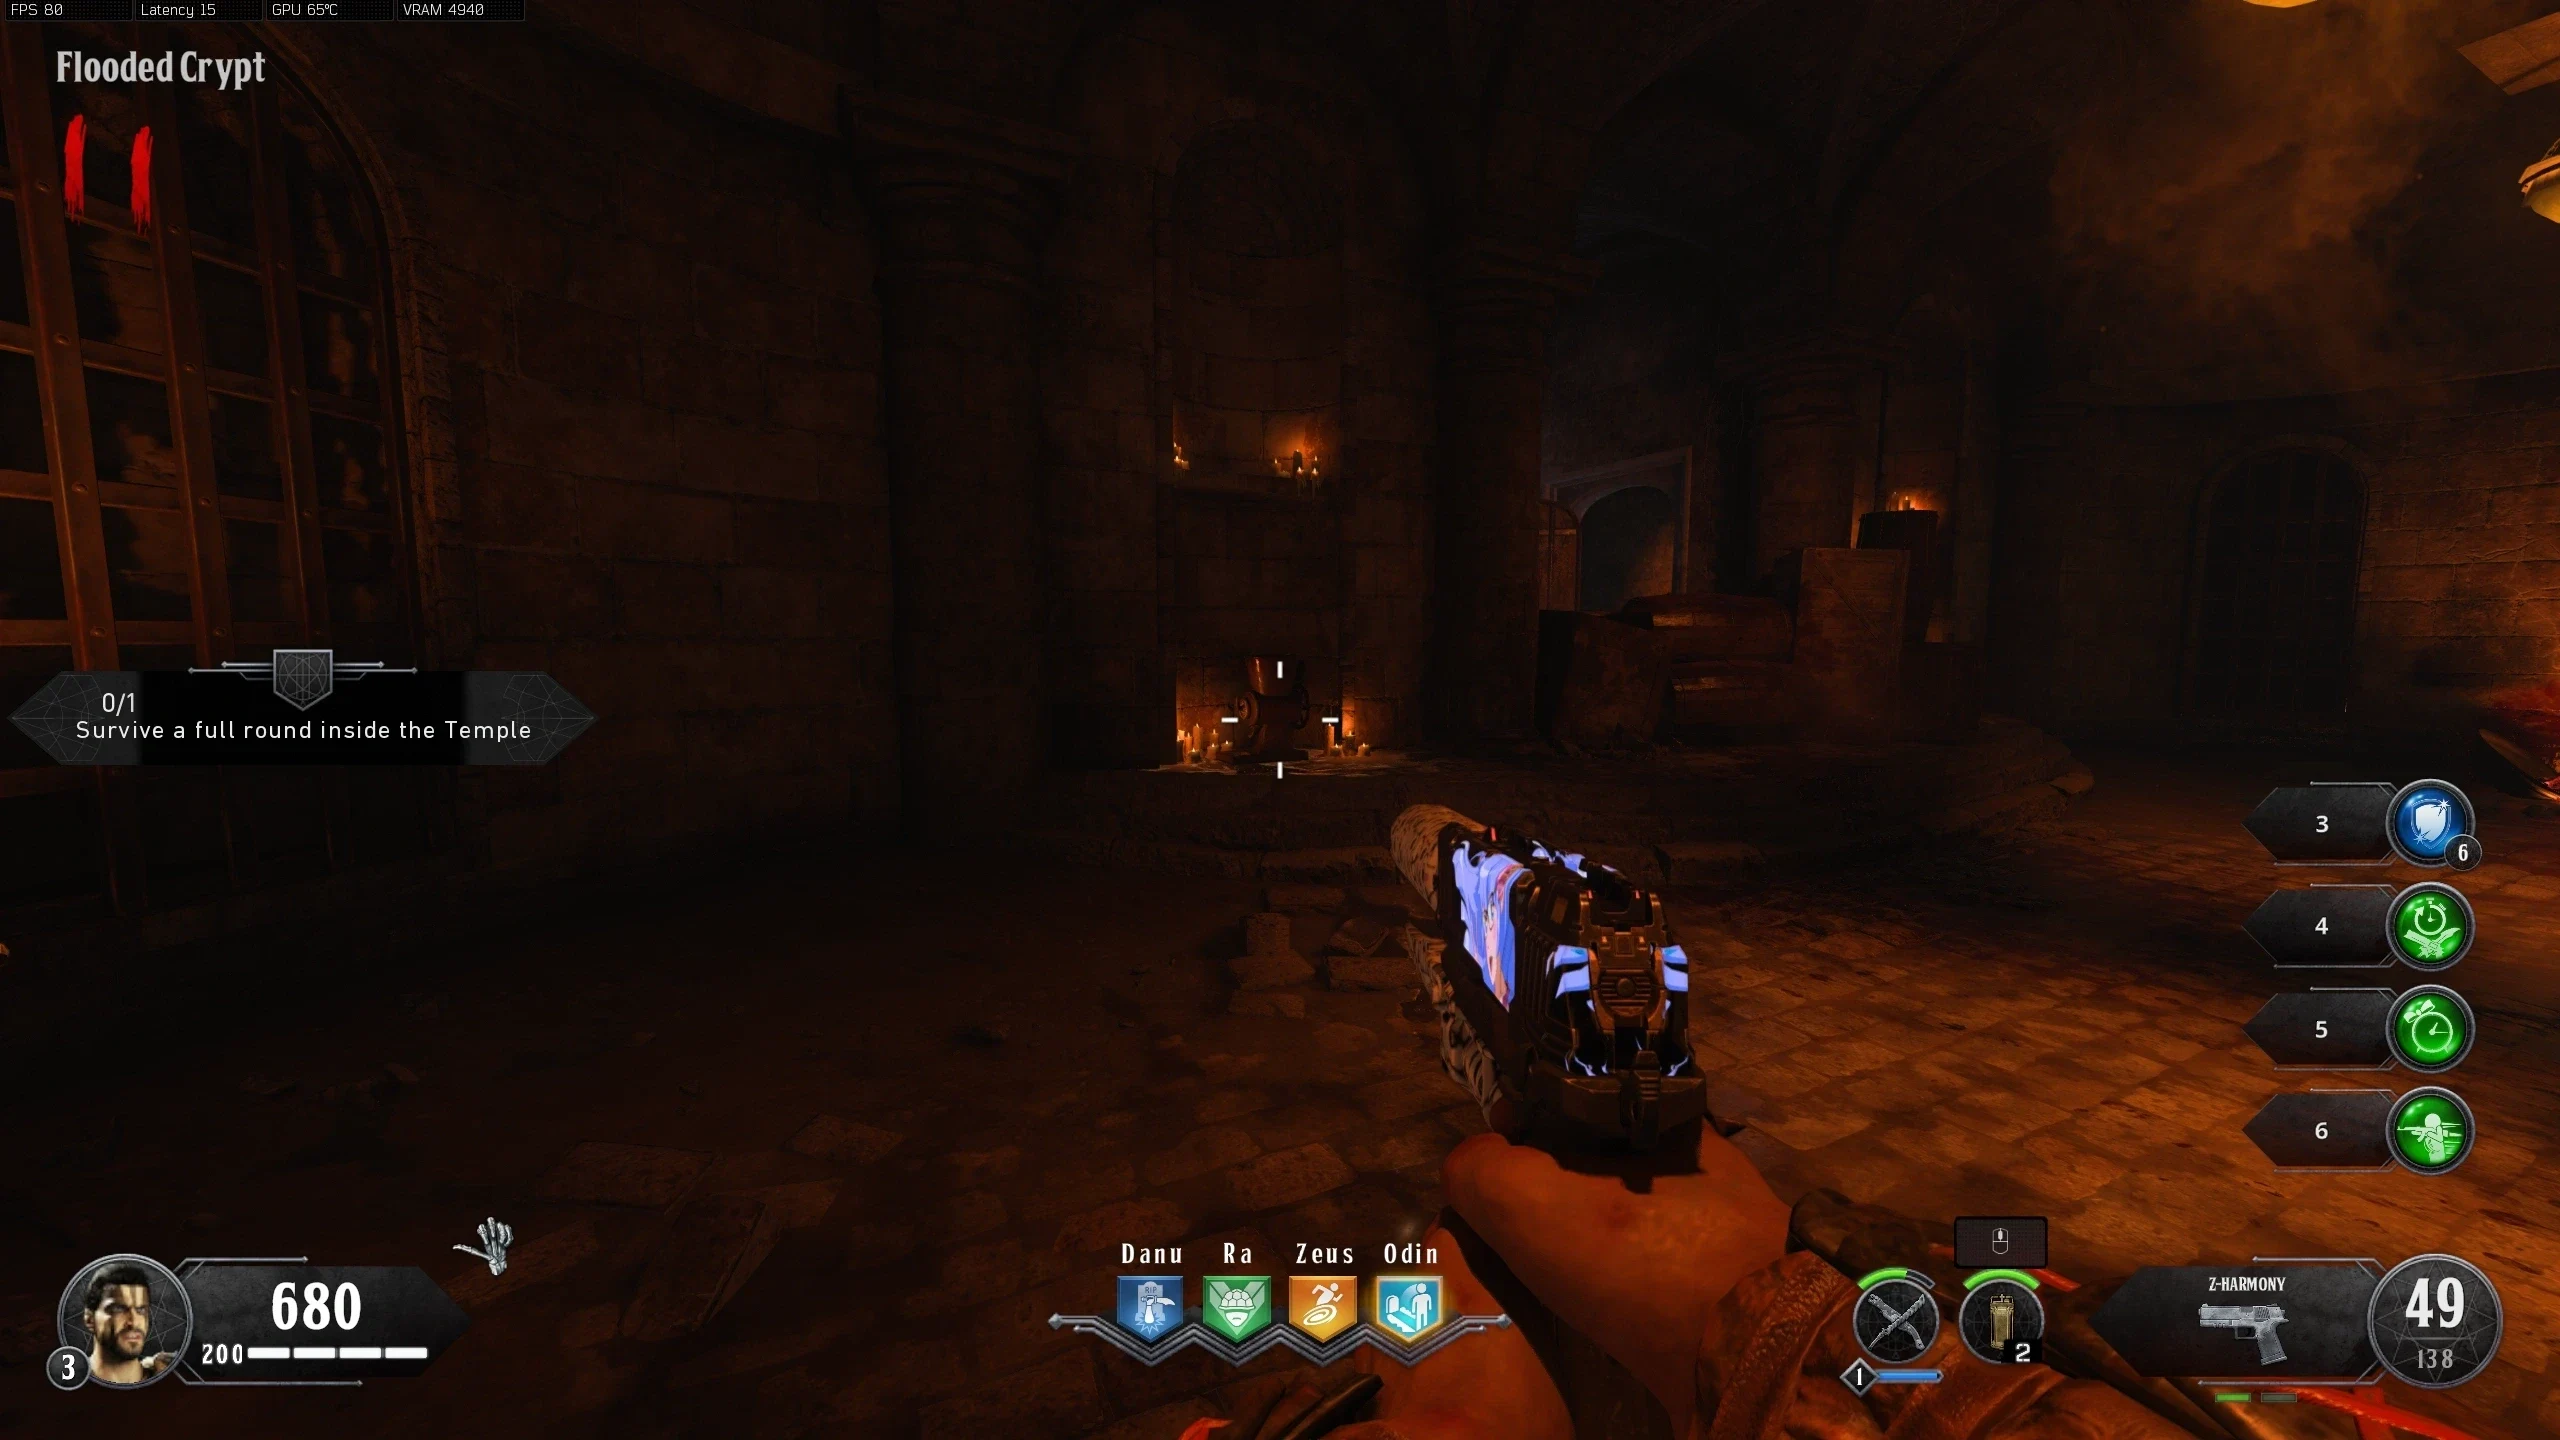
- Navigate to the 'Flooded Crypt' and place the Skull in the Grinder. There are three possible locations for the grinders, all of which are in the 'Flooded Crypt':
- Shoot the grinder with three fully charged shots from the Death of Orion (or two charged shots from the Serket's Kiss) to activate the grinder to grind up the Skull. Once the grinder is finished, the crushed bone will be available to pick up from the bottom of the grinder.
- Bait an Axe-Throwing Gladiator into throwing an axe at either one of the two Pyres in the 'Arena' to knock off one of the sharpened edges. If done correctly, the piece of wood will pop off onto the ground and become available for pickup.
- Go down to the 'Odin Tower: Cauldron' and place the wood in this Chain to let it cook. After two full rounds, the wood will be charred and available to pick up.
- Obtain Minimum Crowd Affinity (Full Red) to get the Crowd to throw poop via a Gift Package. Pick up the poop.
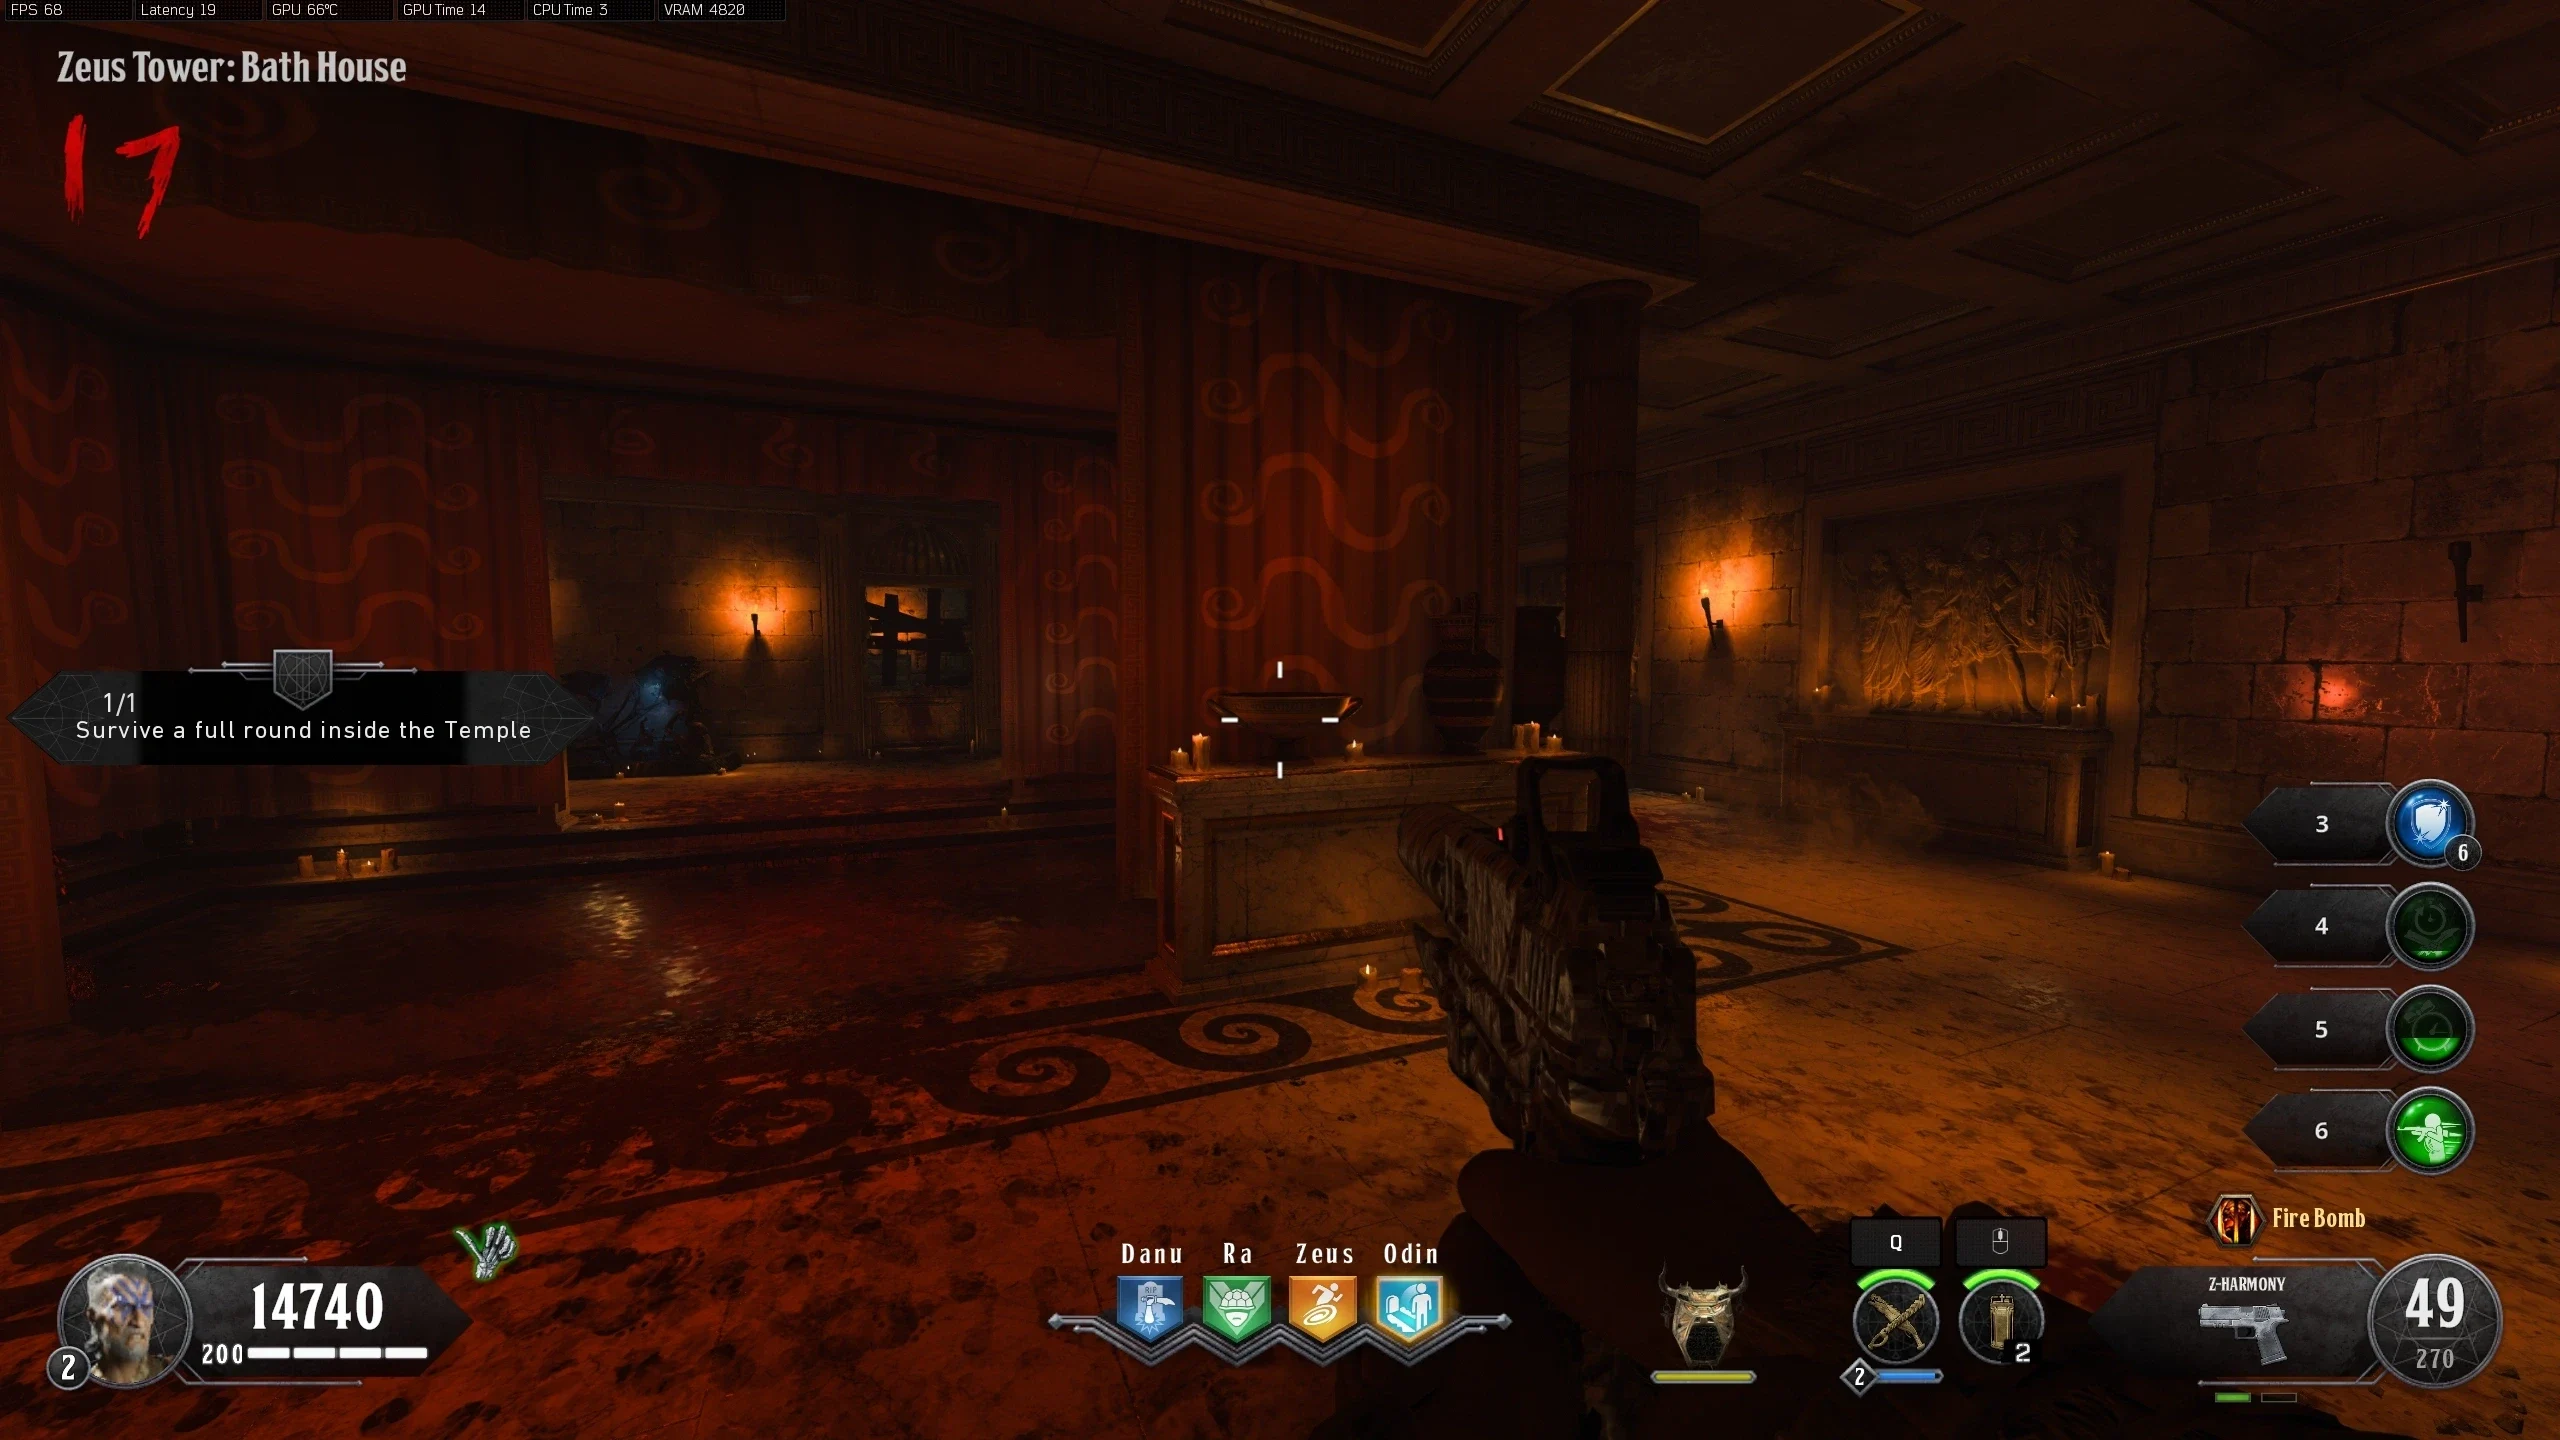
- Place the crushed bone, poop, and charred wood in the Bowl in the 'Zeus Tower: Bath House.'
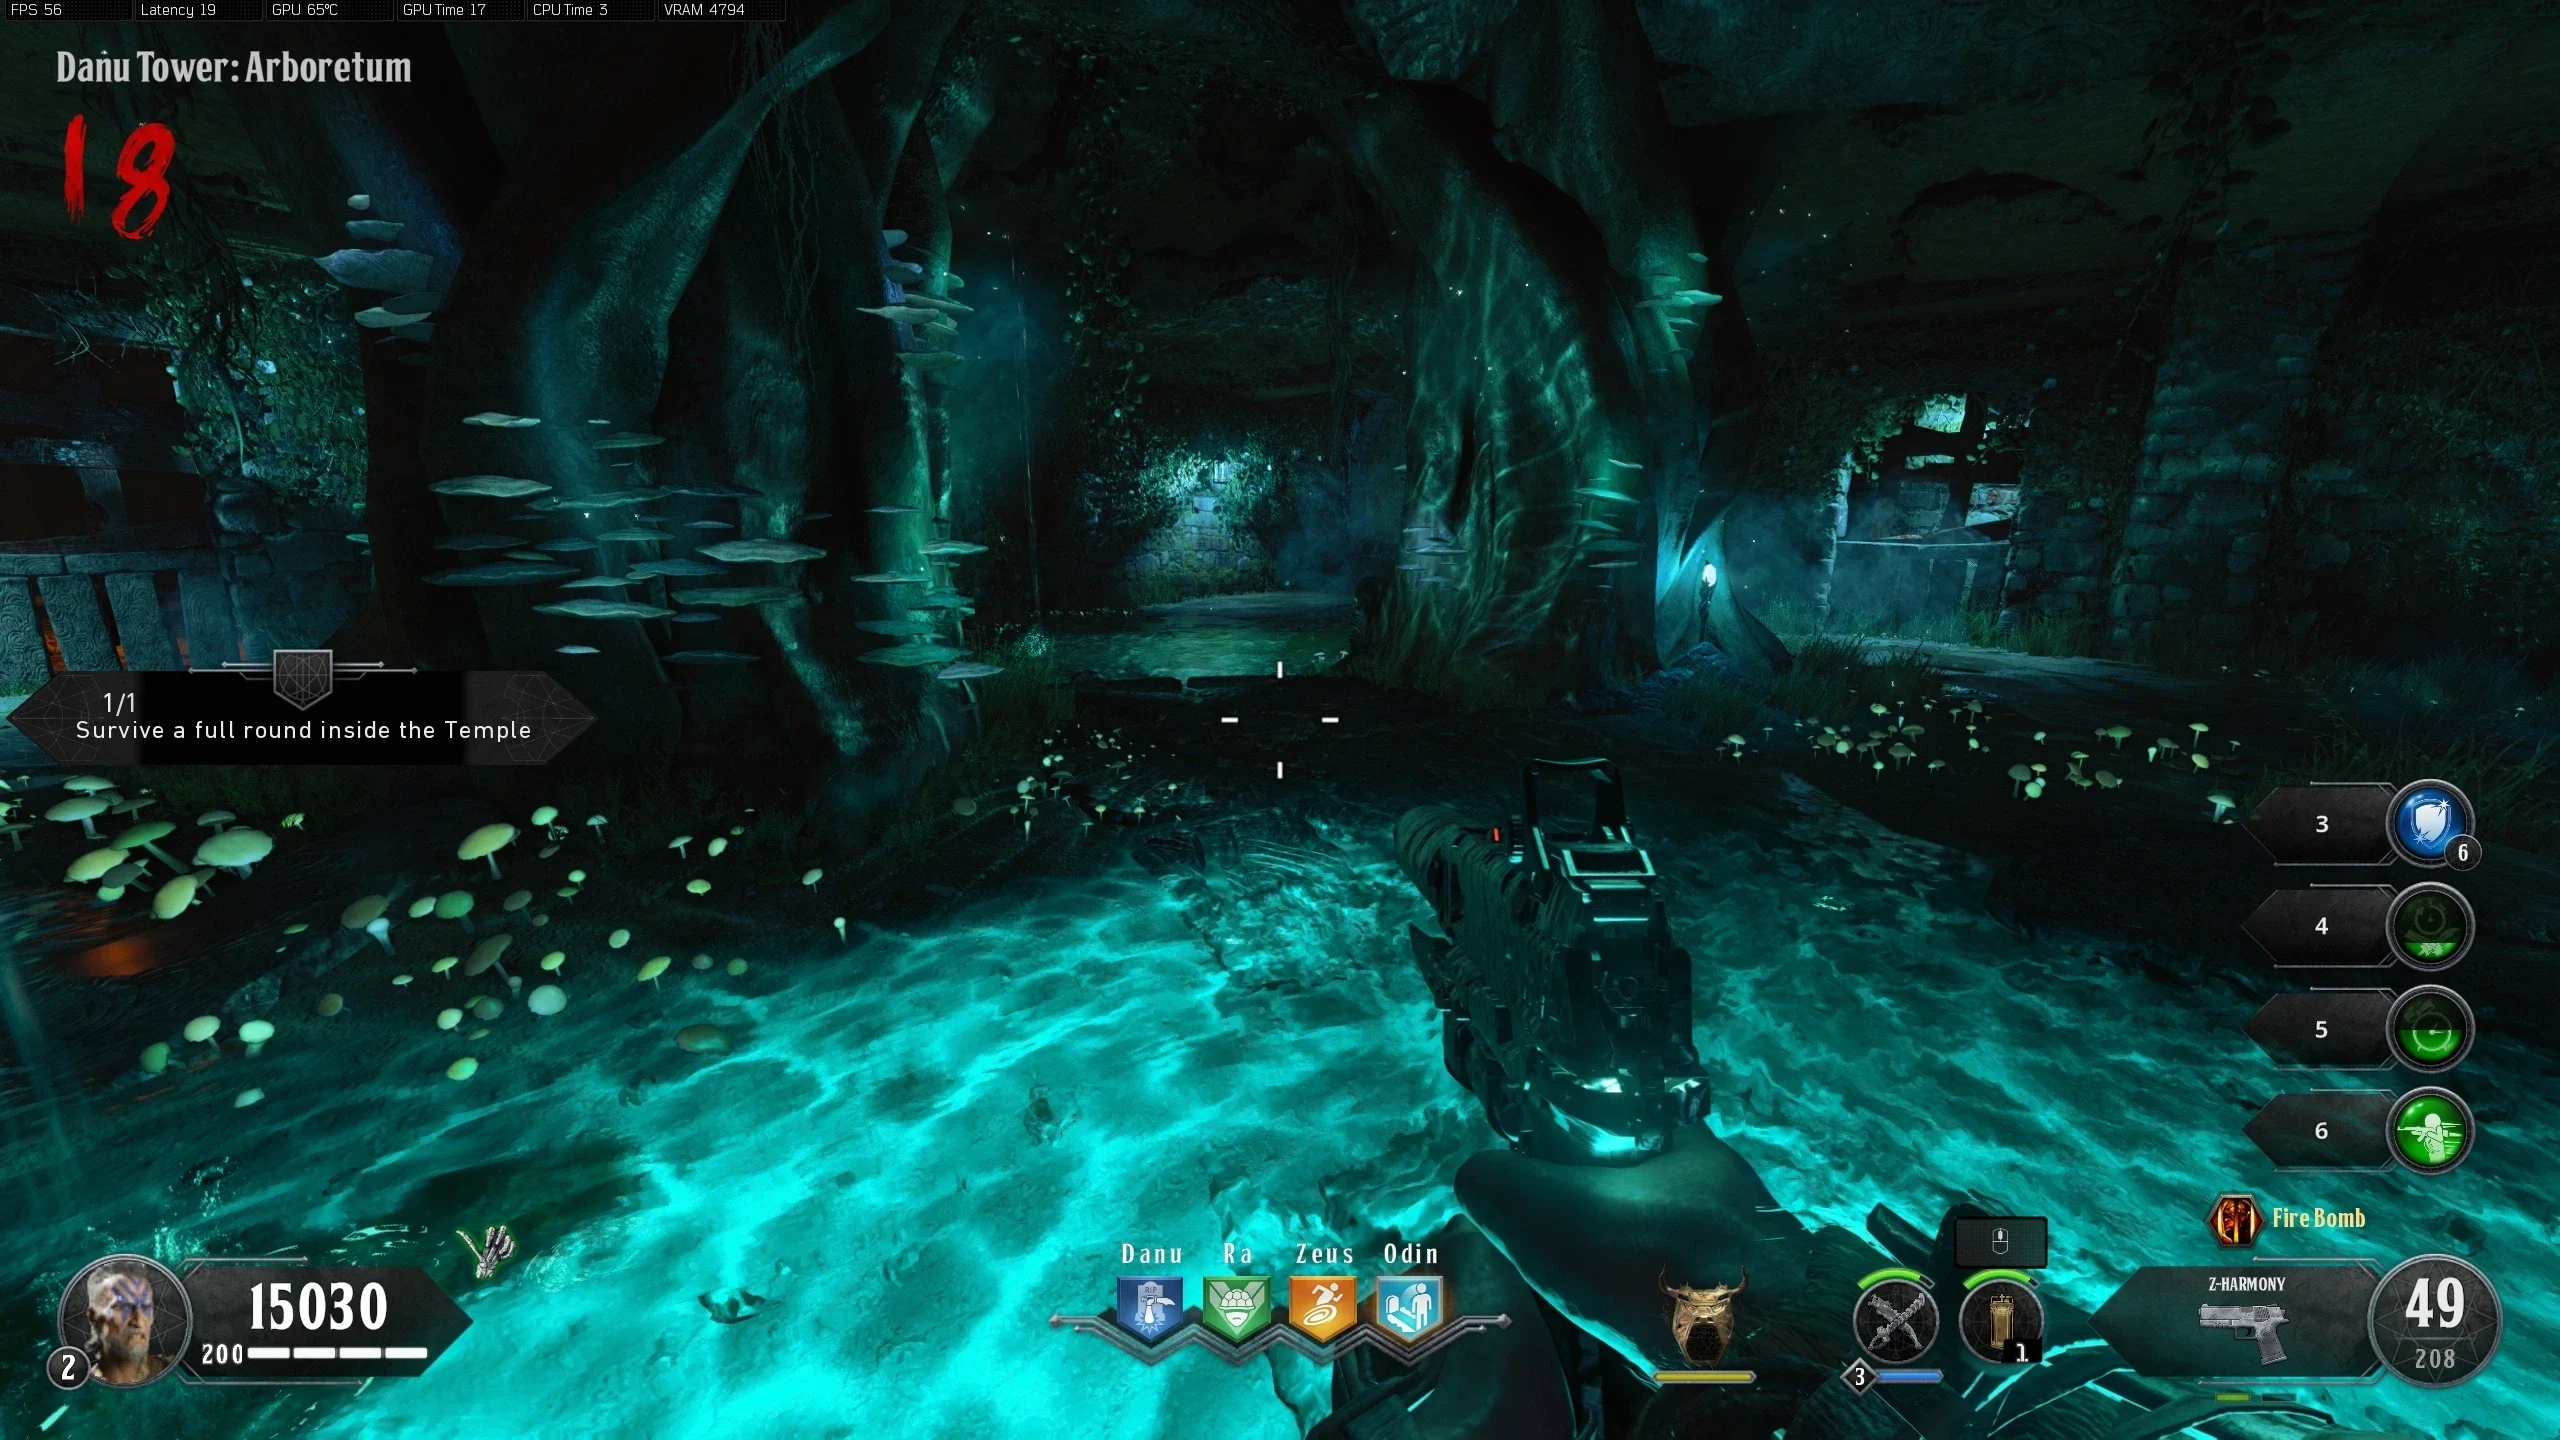
- After one full non-special round, retrieve the fertilizer from the Bowl and place it between two trees in the 'Danu Tower: Arboretum.'
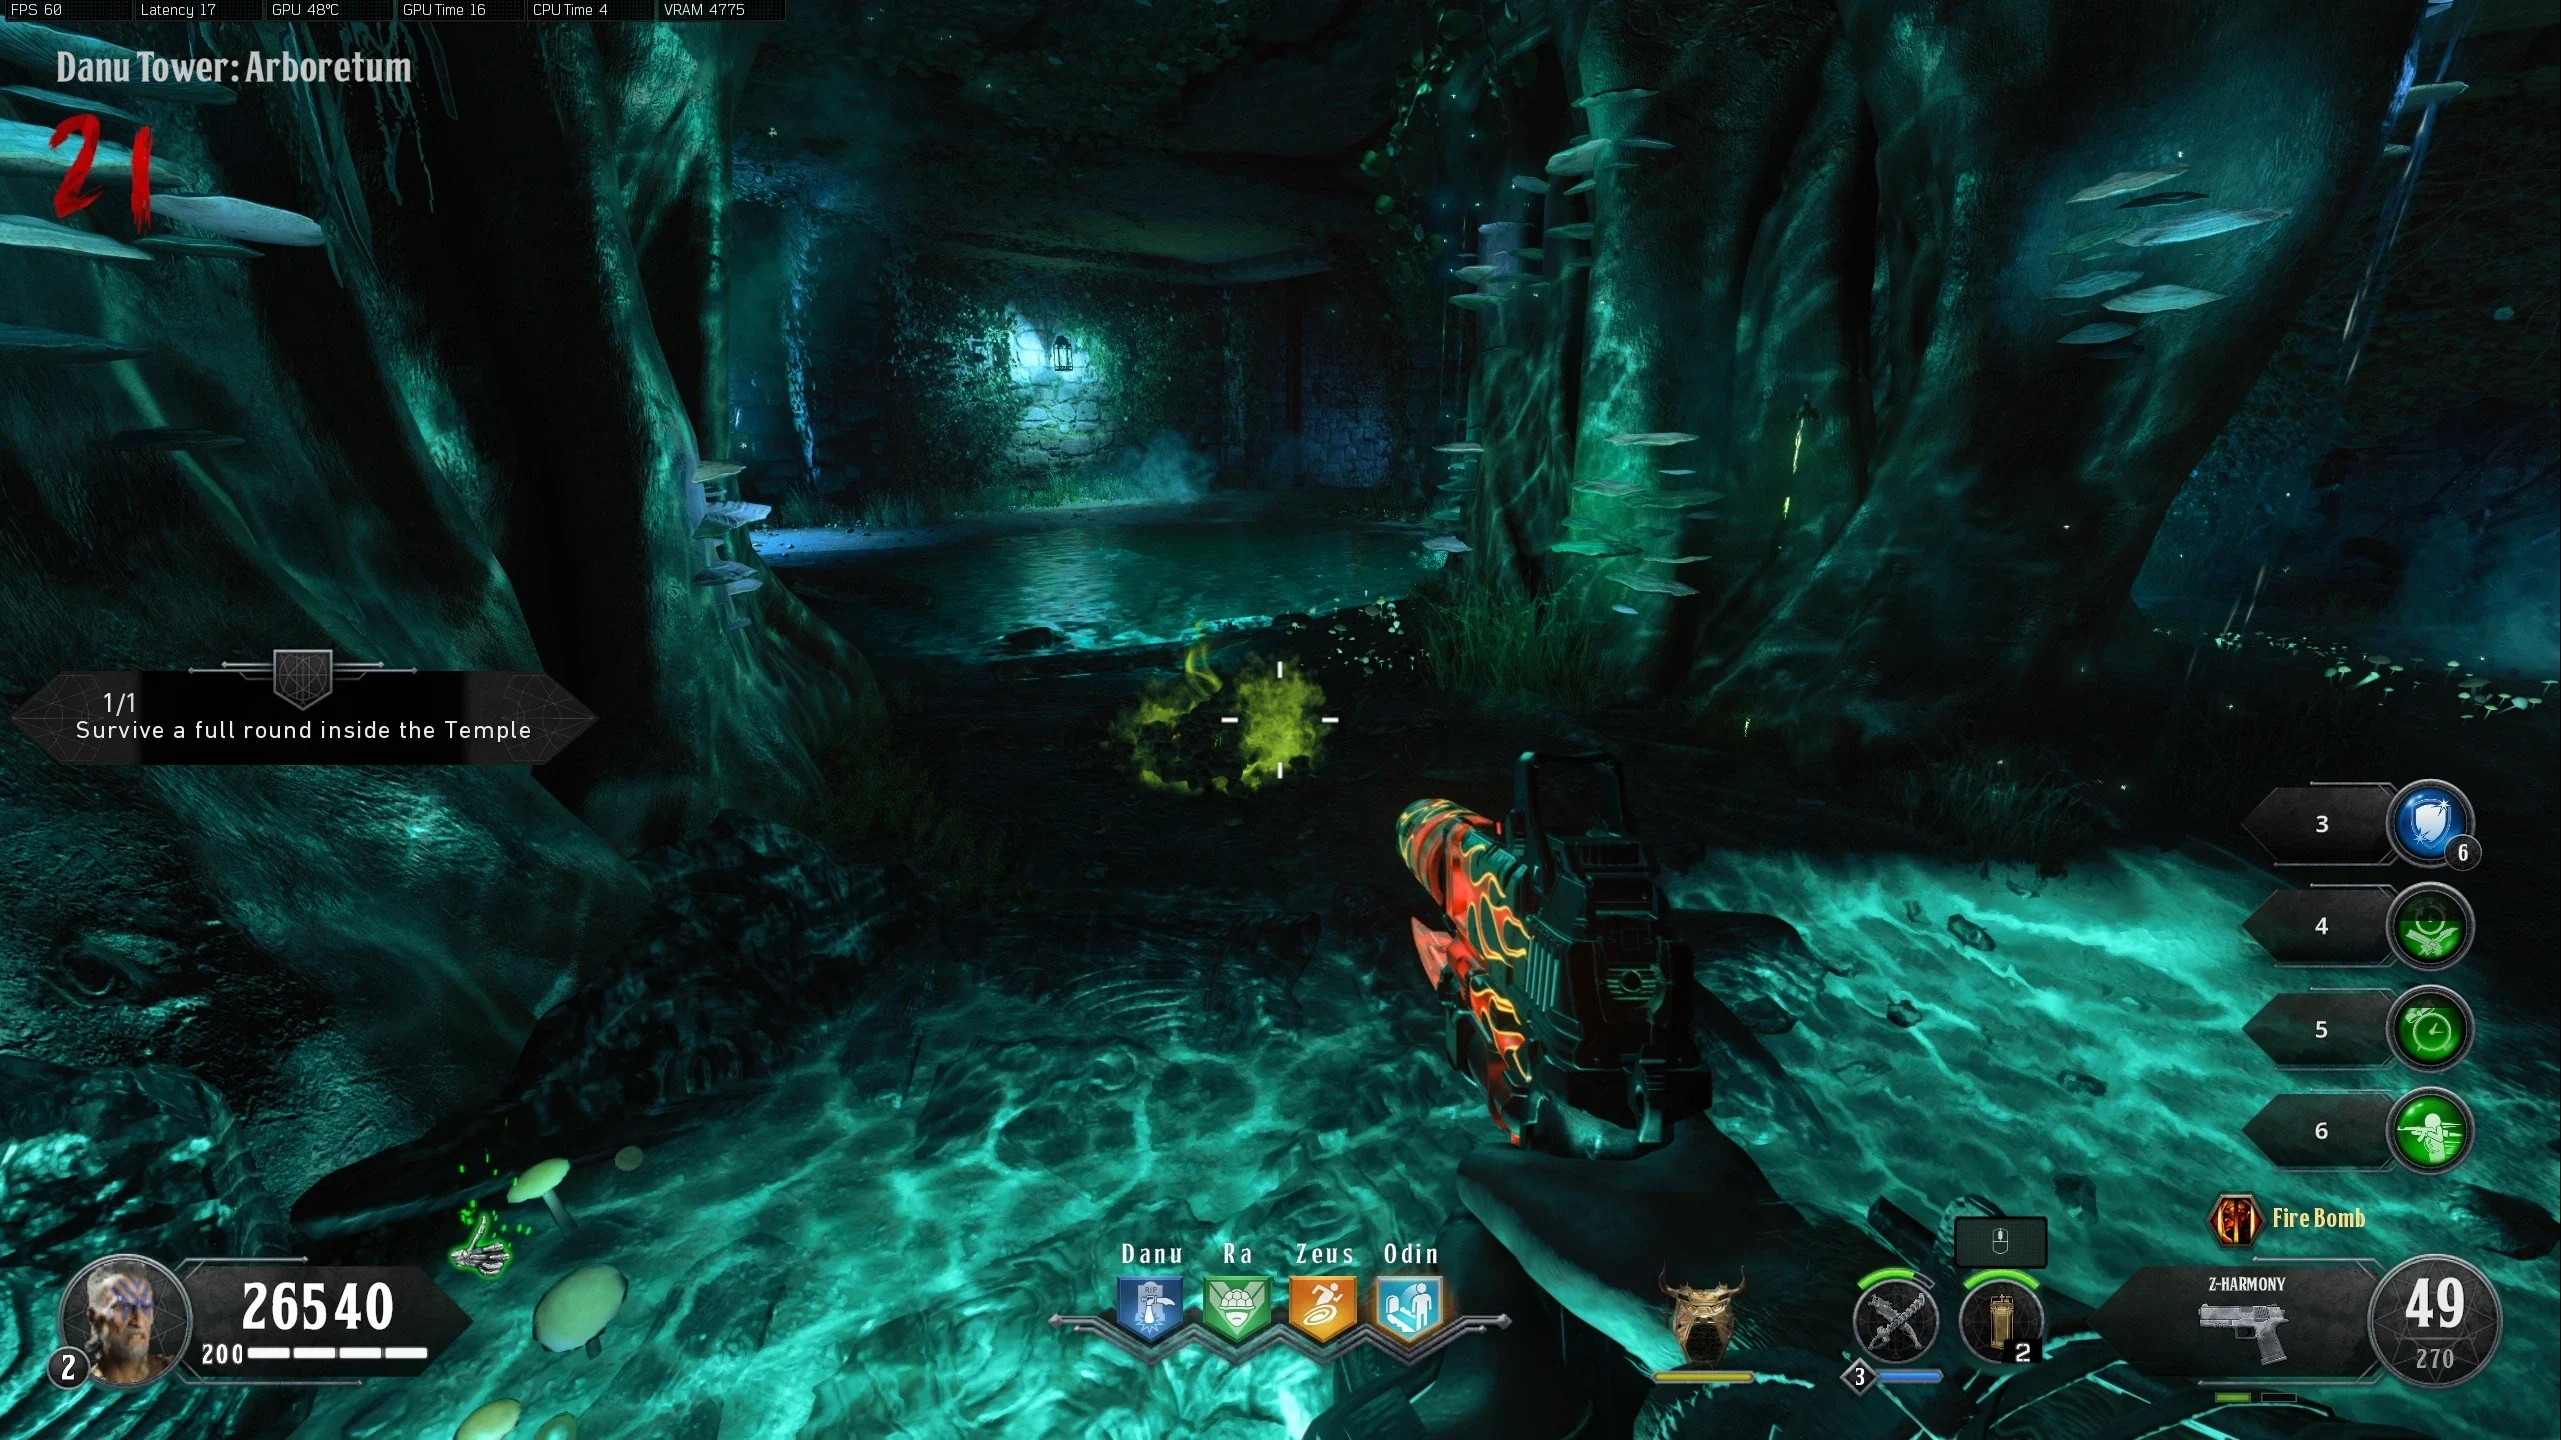
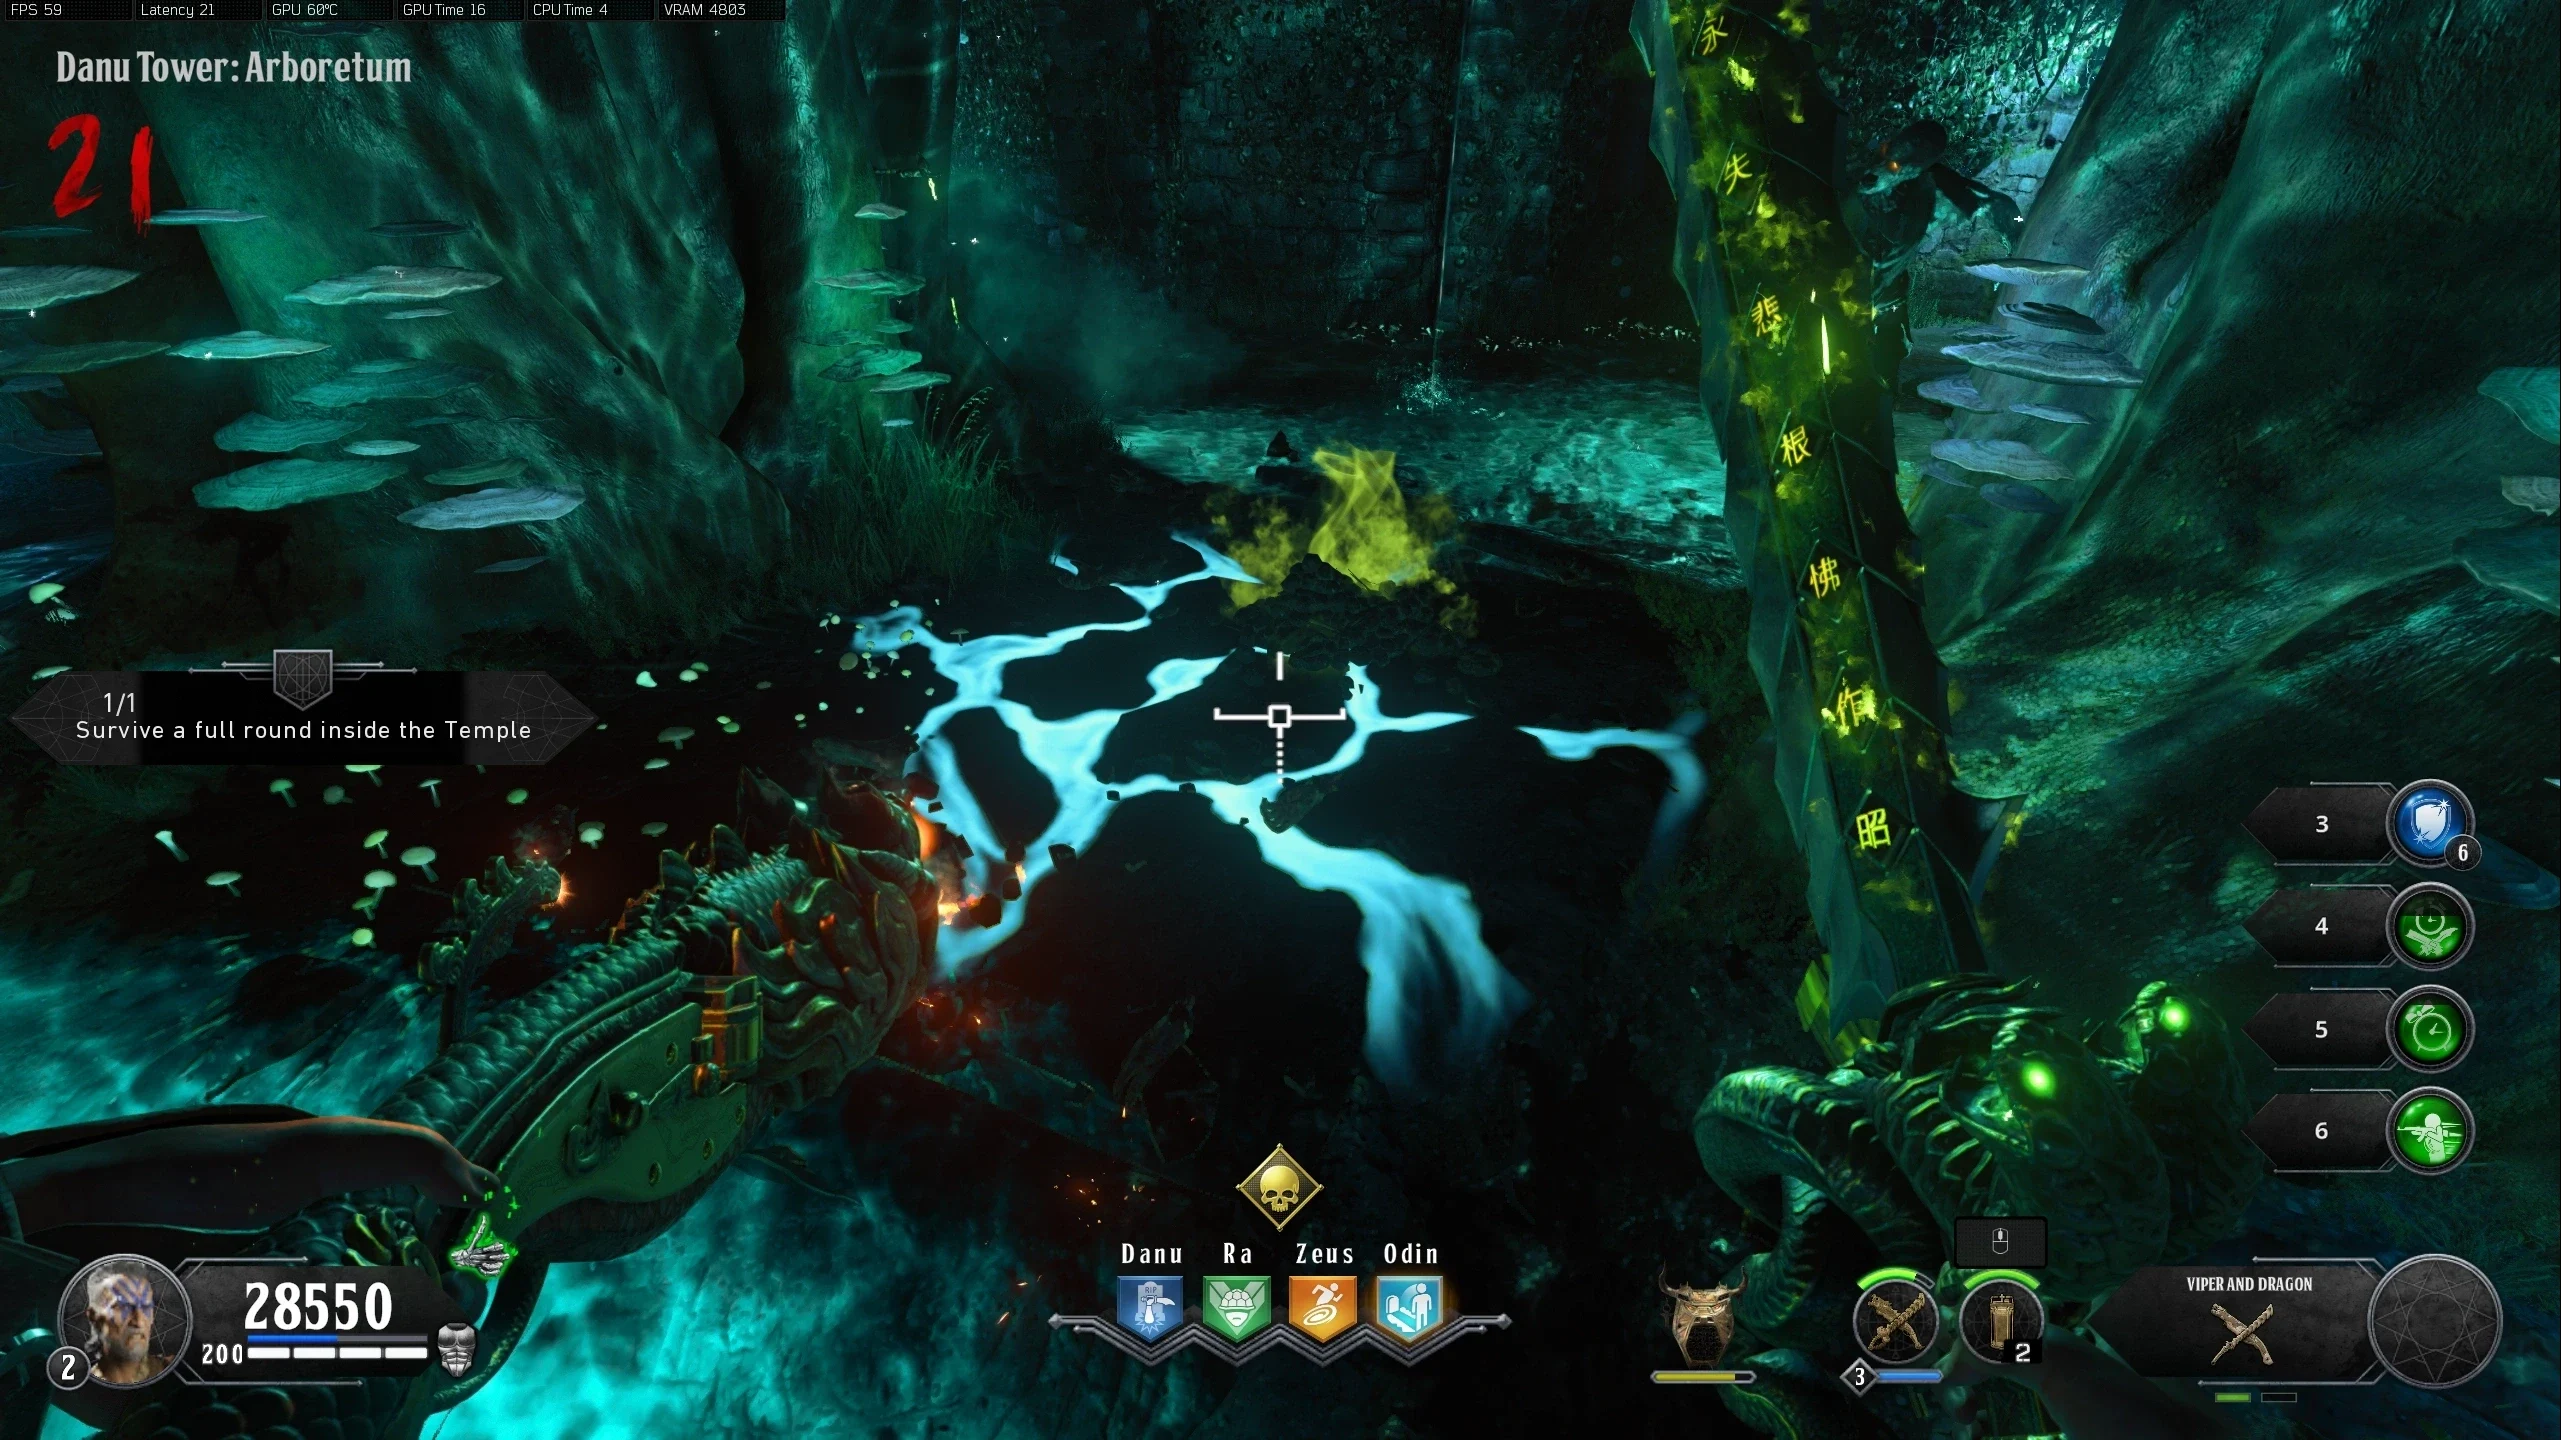
- After two full non-special rounds, the fertilizer will begin to smoke green. Kill a Zombie using the Fire Bomb alternate Ammo Type on top of the fertilizer to make blue cracks appear.
- All players must stand on the cracked floor for about 15 seconds to activate the teleportation to the corrupted version of the Danu Tower.
- The players must shoot the three red pods (one on each floor) until they are destroyed. The players can only move to the next area once the current area's pod has been destroyed. A max ammo will spawn after each pod has been destroyed.
- Once all three pods are destroyed, the players will be teleported back to the 'Danu Altar Room.'
Answer the Dawn
- Around the map, four bull symbols will spawn. Shoot all four of these symbols with the Brazen Bull's gun attack. When a symbol has been shot, an Axe-Throwing Gladiator will spawn which you must kill to charge the Ra Statue. The Bull Symbol Locations are:
Read the entirety of the following step before continuing as it's quite complicated to explain.
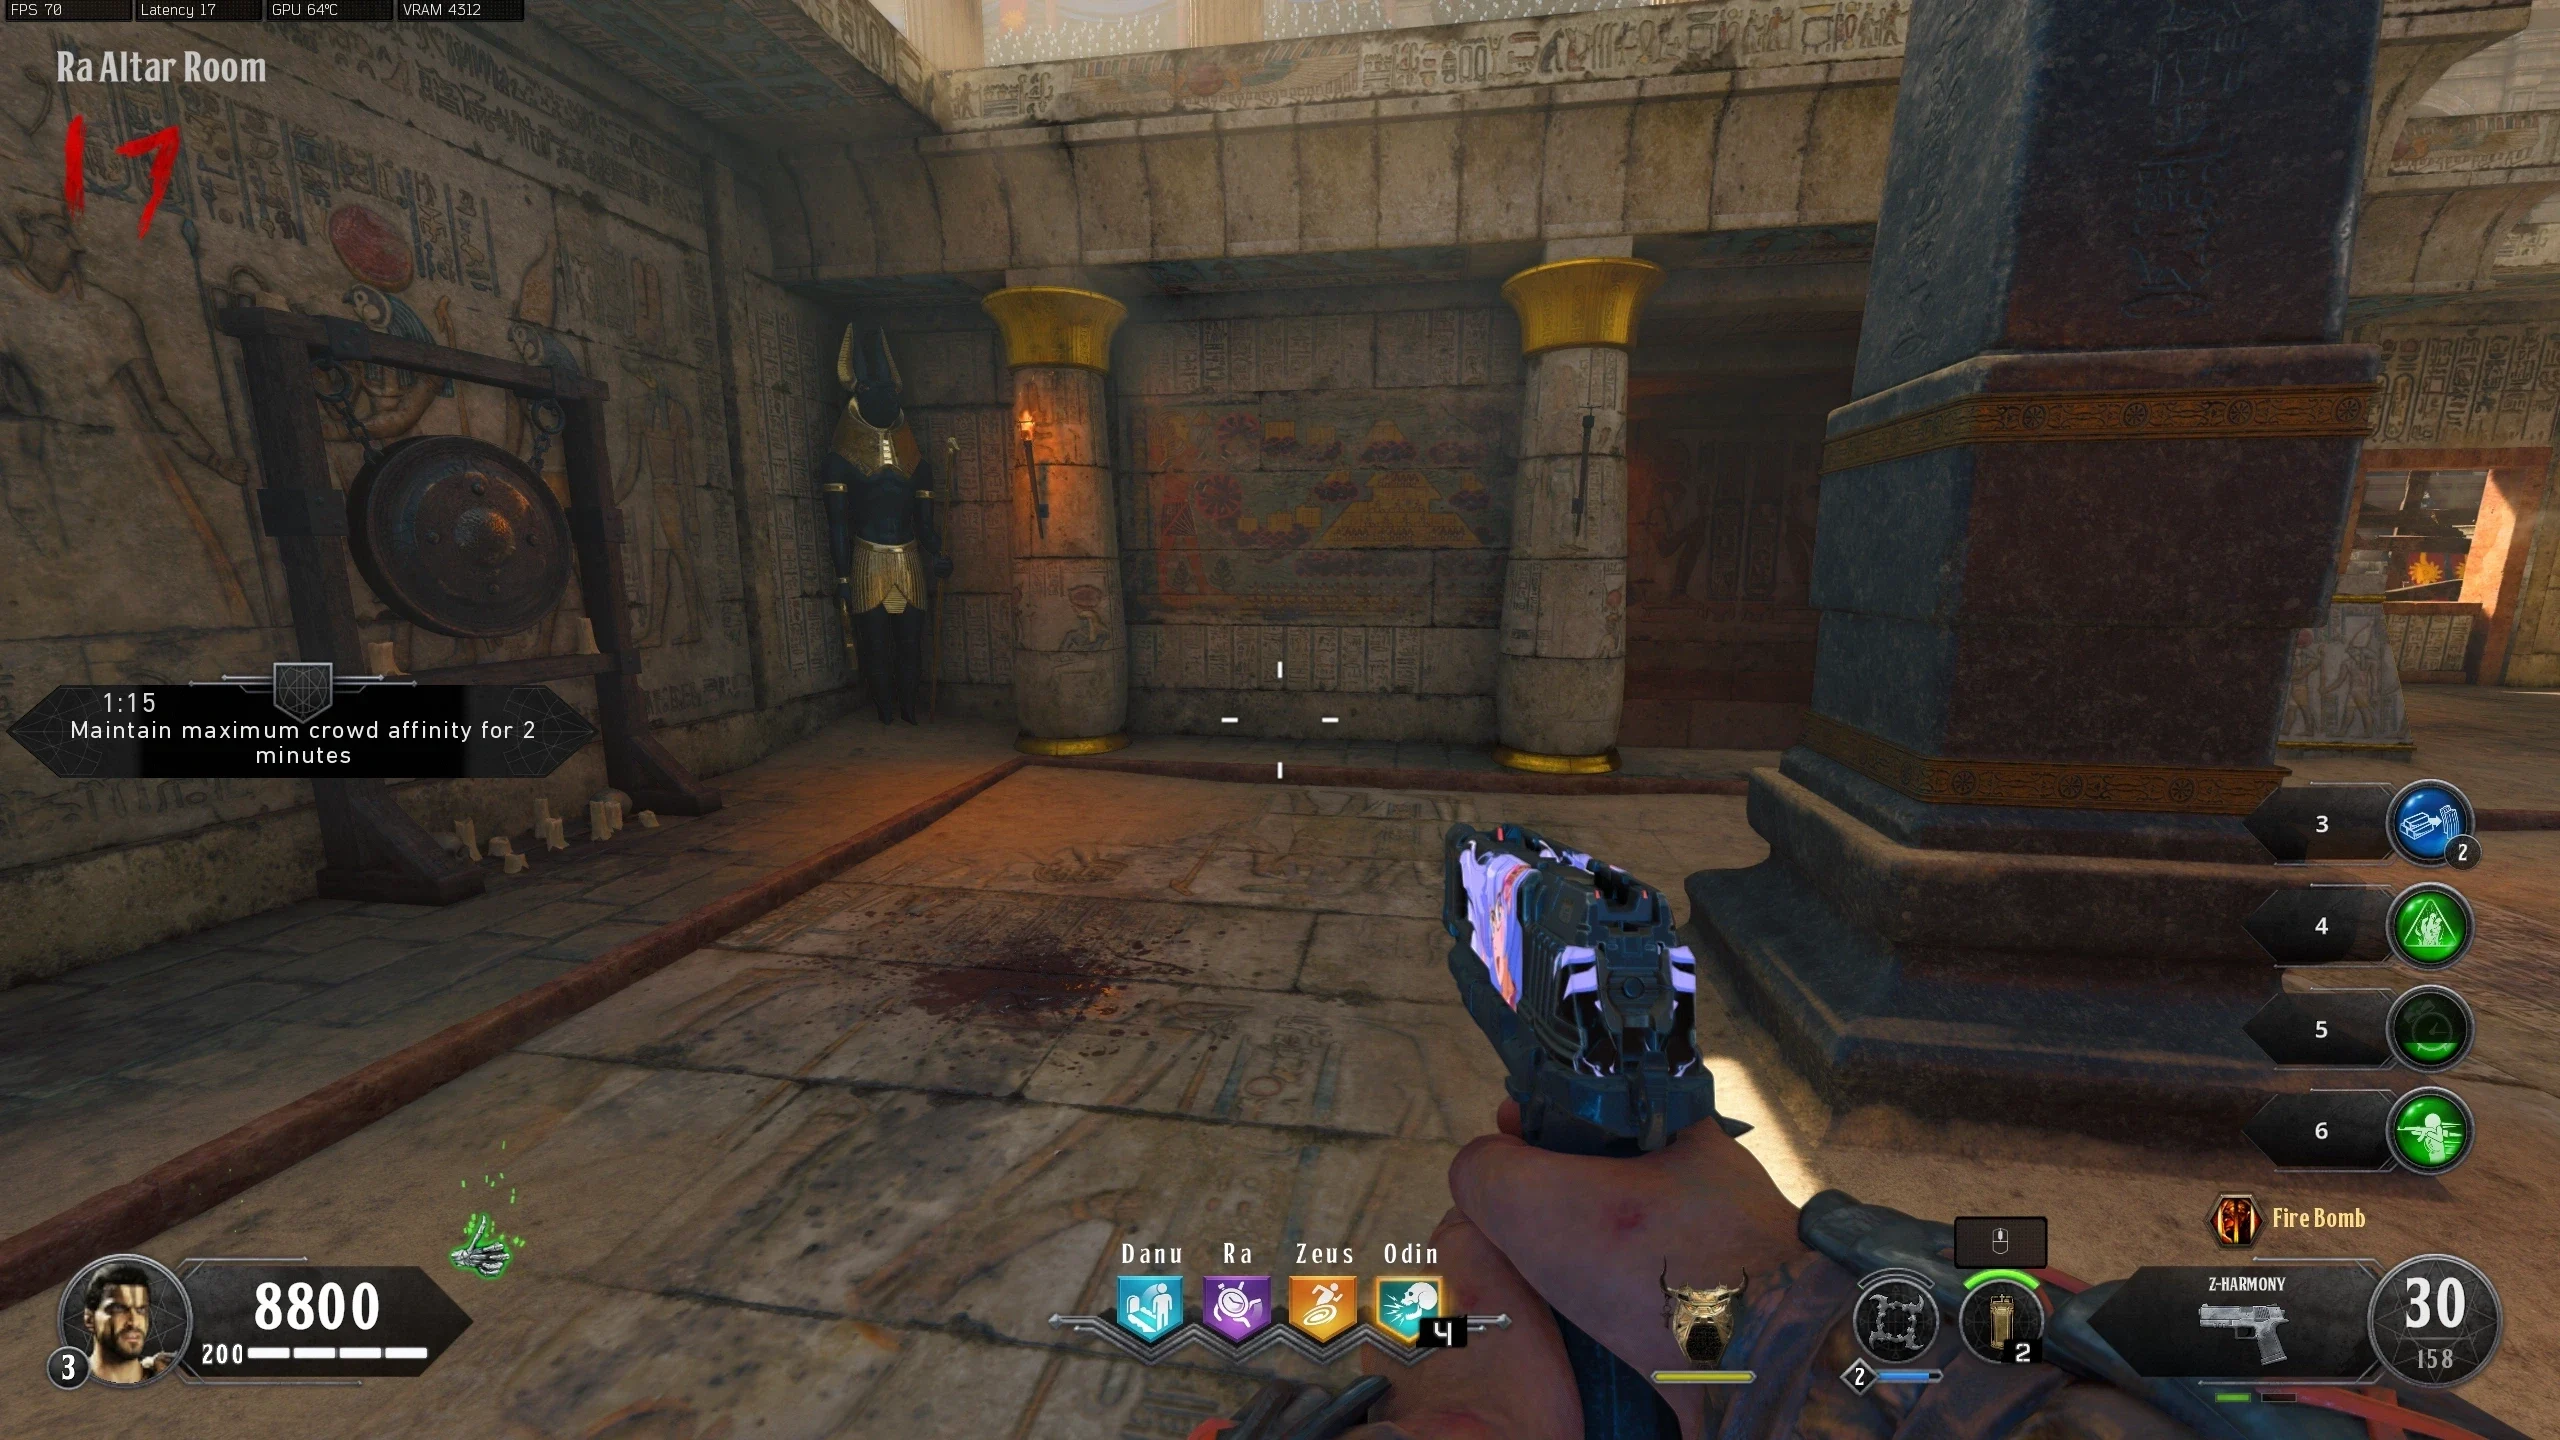
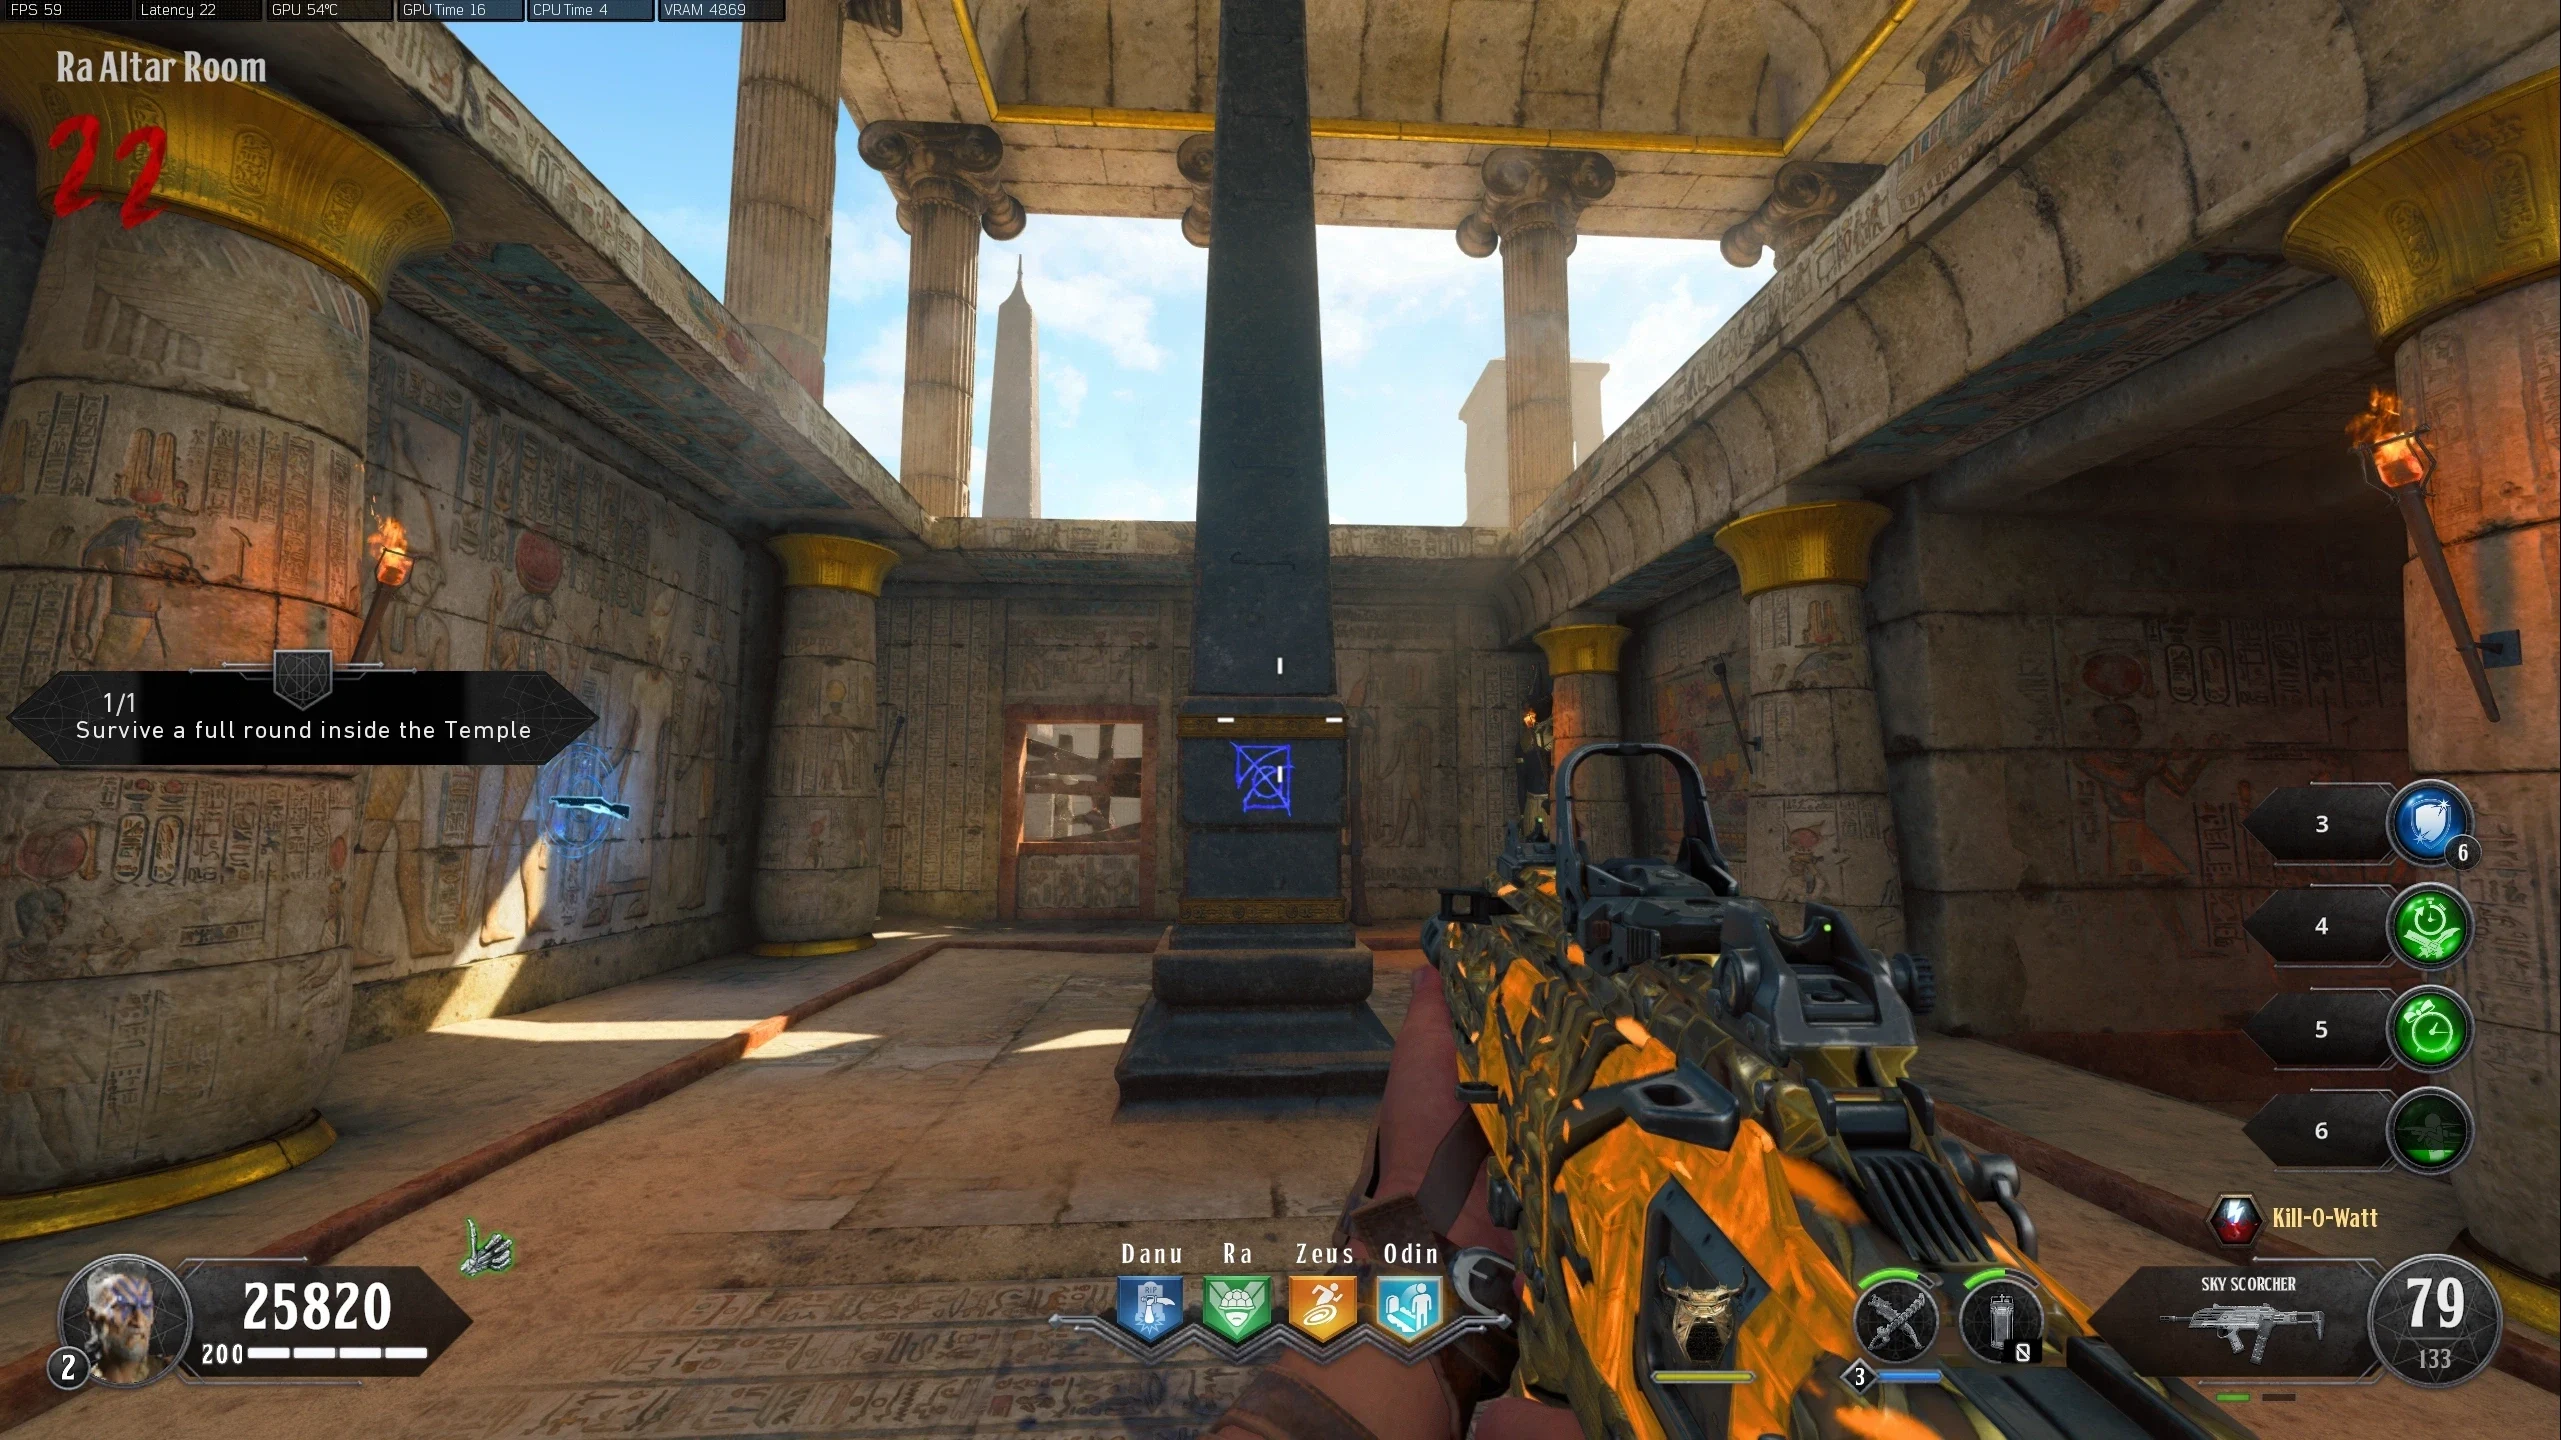
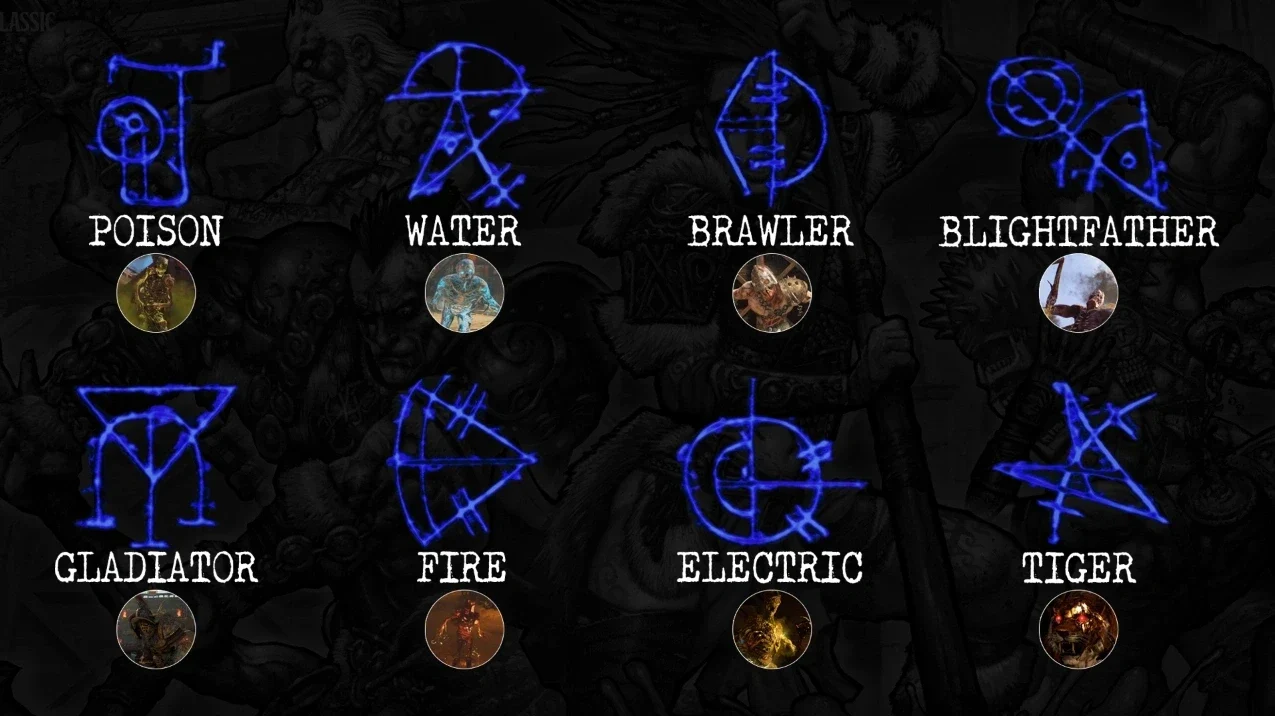
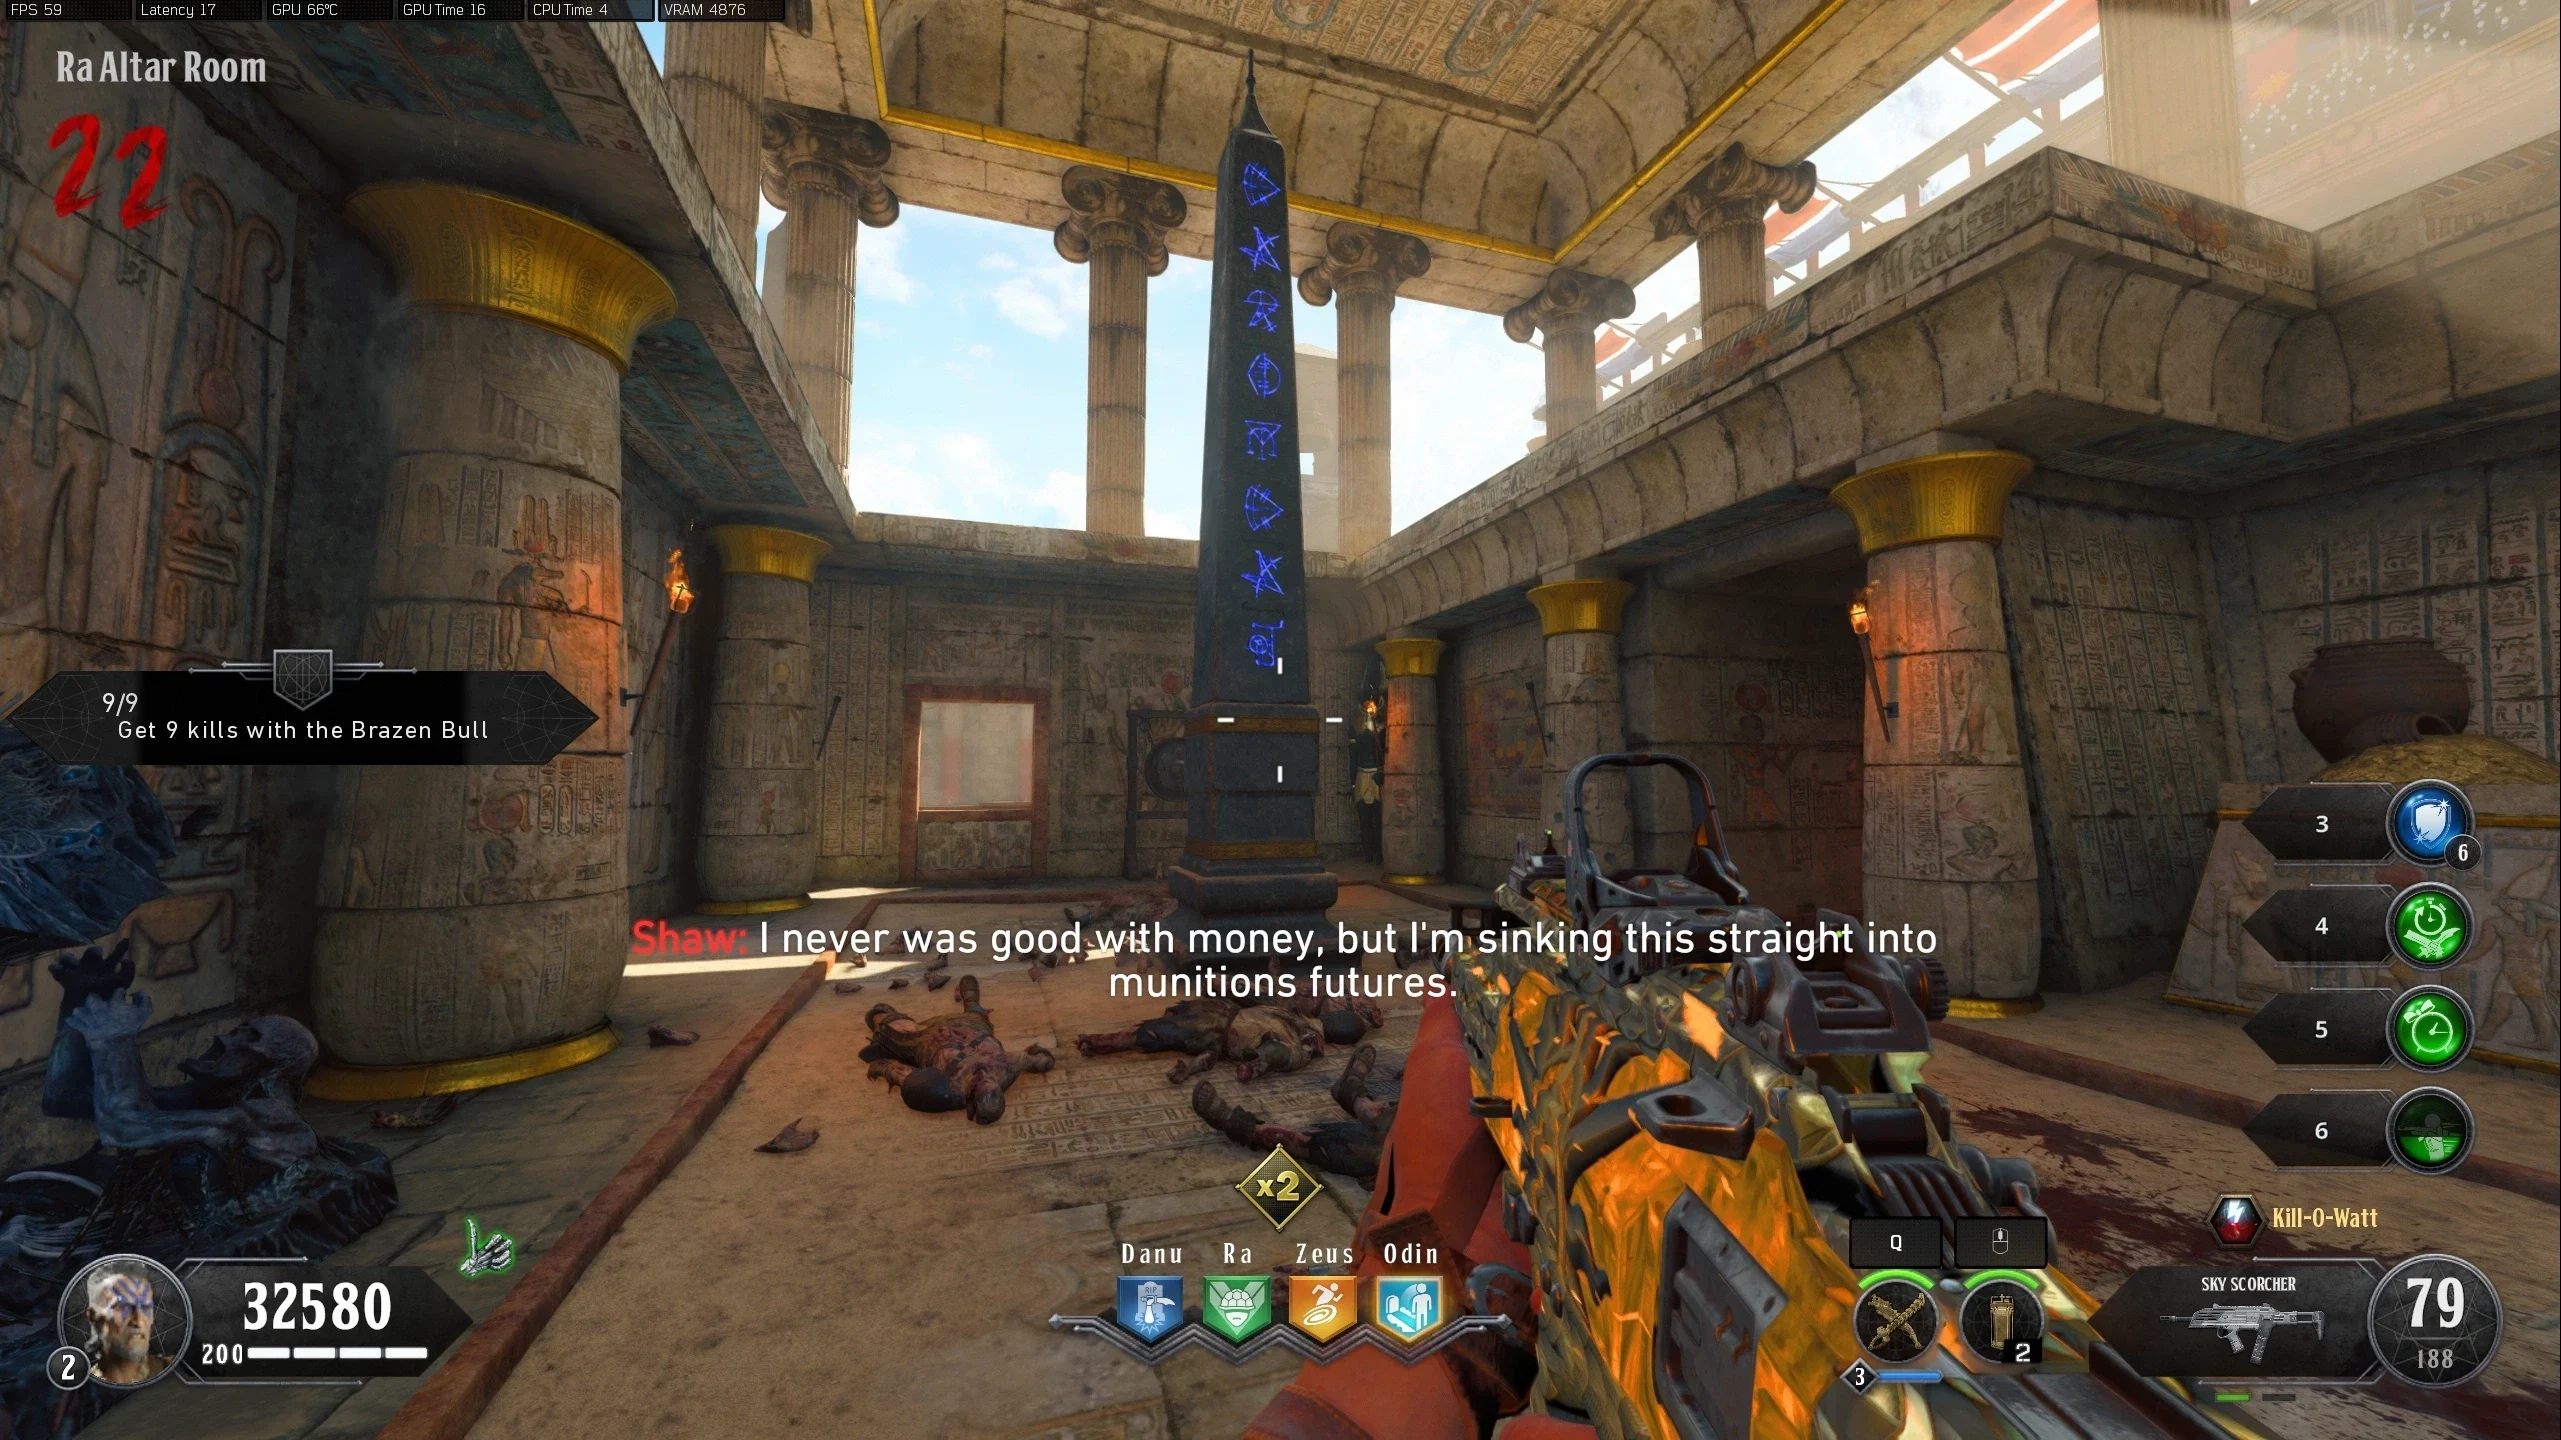
- Once all four Gladiators have been killed, navigate to the 'Ra Altar Room.' All players must interact with the symbol on the Obelisk to start a lockdown event in the 'Ra Altar Room.' Four symbols will appear one at a time in order on the Obelisk, each of which represents a special enemy. The players must kill the special enemies in the same order they appeared on the Obelisk. Killing an incorrect special enemy or one out of order will result in a fail. If done successfully, the screen will flash white and all enemies will be killed. This has to be repeated one more time.
- If both lockdowns were completed successfully, the Obelisk will have eight symbols on it.
Summon the Storm
- All players must interact with the Stone in the middle of the 'Challenge Podium.' All players will be teleported underground and be locked down there until the next step is completed.
- Shoot four poles around the underground to make them spin and rise until they don't go up or spin any more:
- In the 'Arena,' on the ground near each of the walls, there will be four electrical circles with poles near them. Using a weapon equipped with the Kill-O-Watt, kill enemies that are stunned with Kill-O-Watt while they are inside the circle (You can use the Kill-O-Watt weapon to kill the stunned zombies, you don't have to kill them with a different weapon). Note: Only killing the Zombies with a weapon equipped with Kill-O-Watt is not enough, the Zombies need to be stunned when killed. Also, the Gladiators and Brawlers count for half the required kills, so killing two gladiators will fill a circle.
- Once a circle has been charged, its corresponding pole will become electrified and an orb will spawn above the closest challenge bowl. Once all four orbs have spawned, all players must interact with an orb at the same time.
- A lockdown event will start in the 'Arena' where infinite Brawlers, Gladiators and Tigers will spawn. You must survive until the event ends, killing all the enemies is not required. During the event, your special weapons will also be infinite.
Channel the Flood
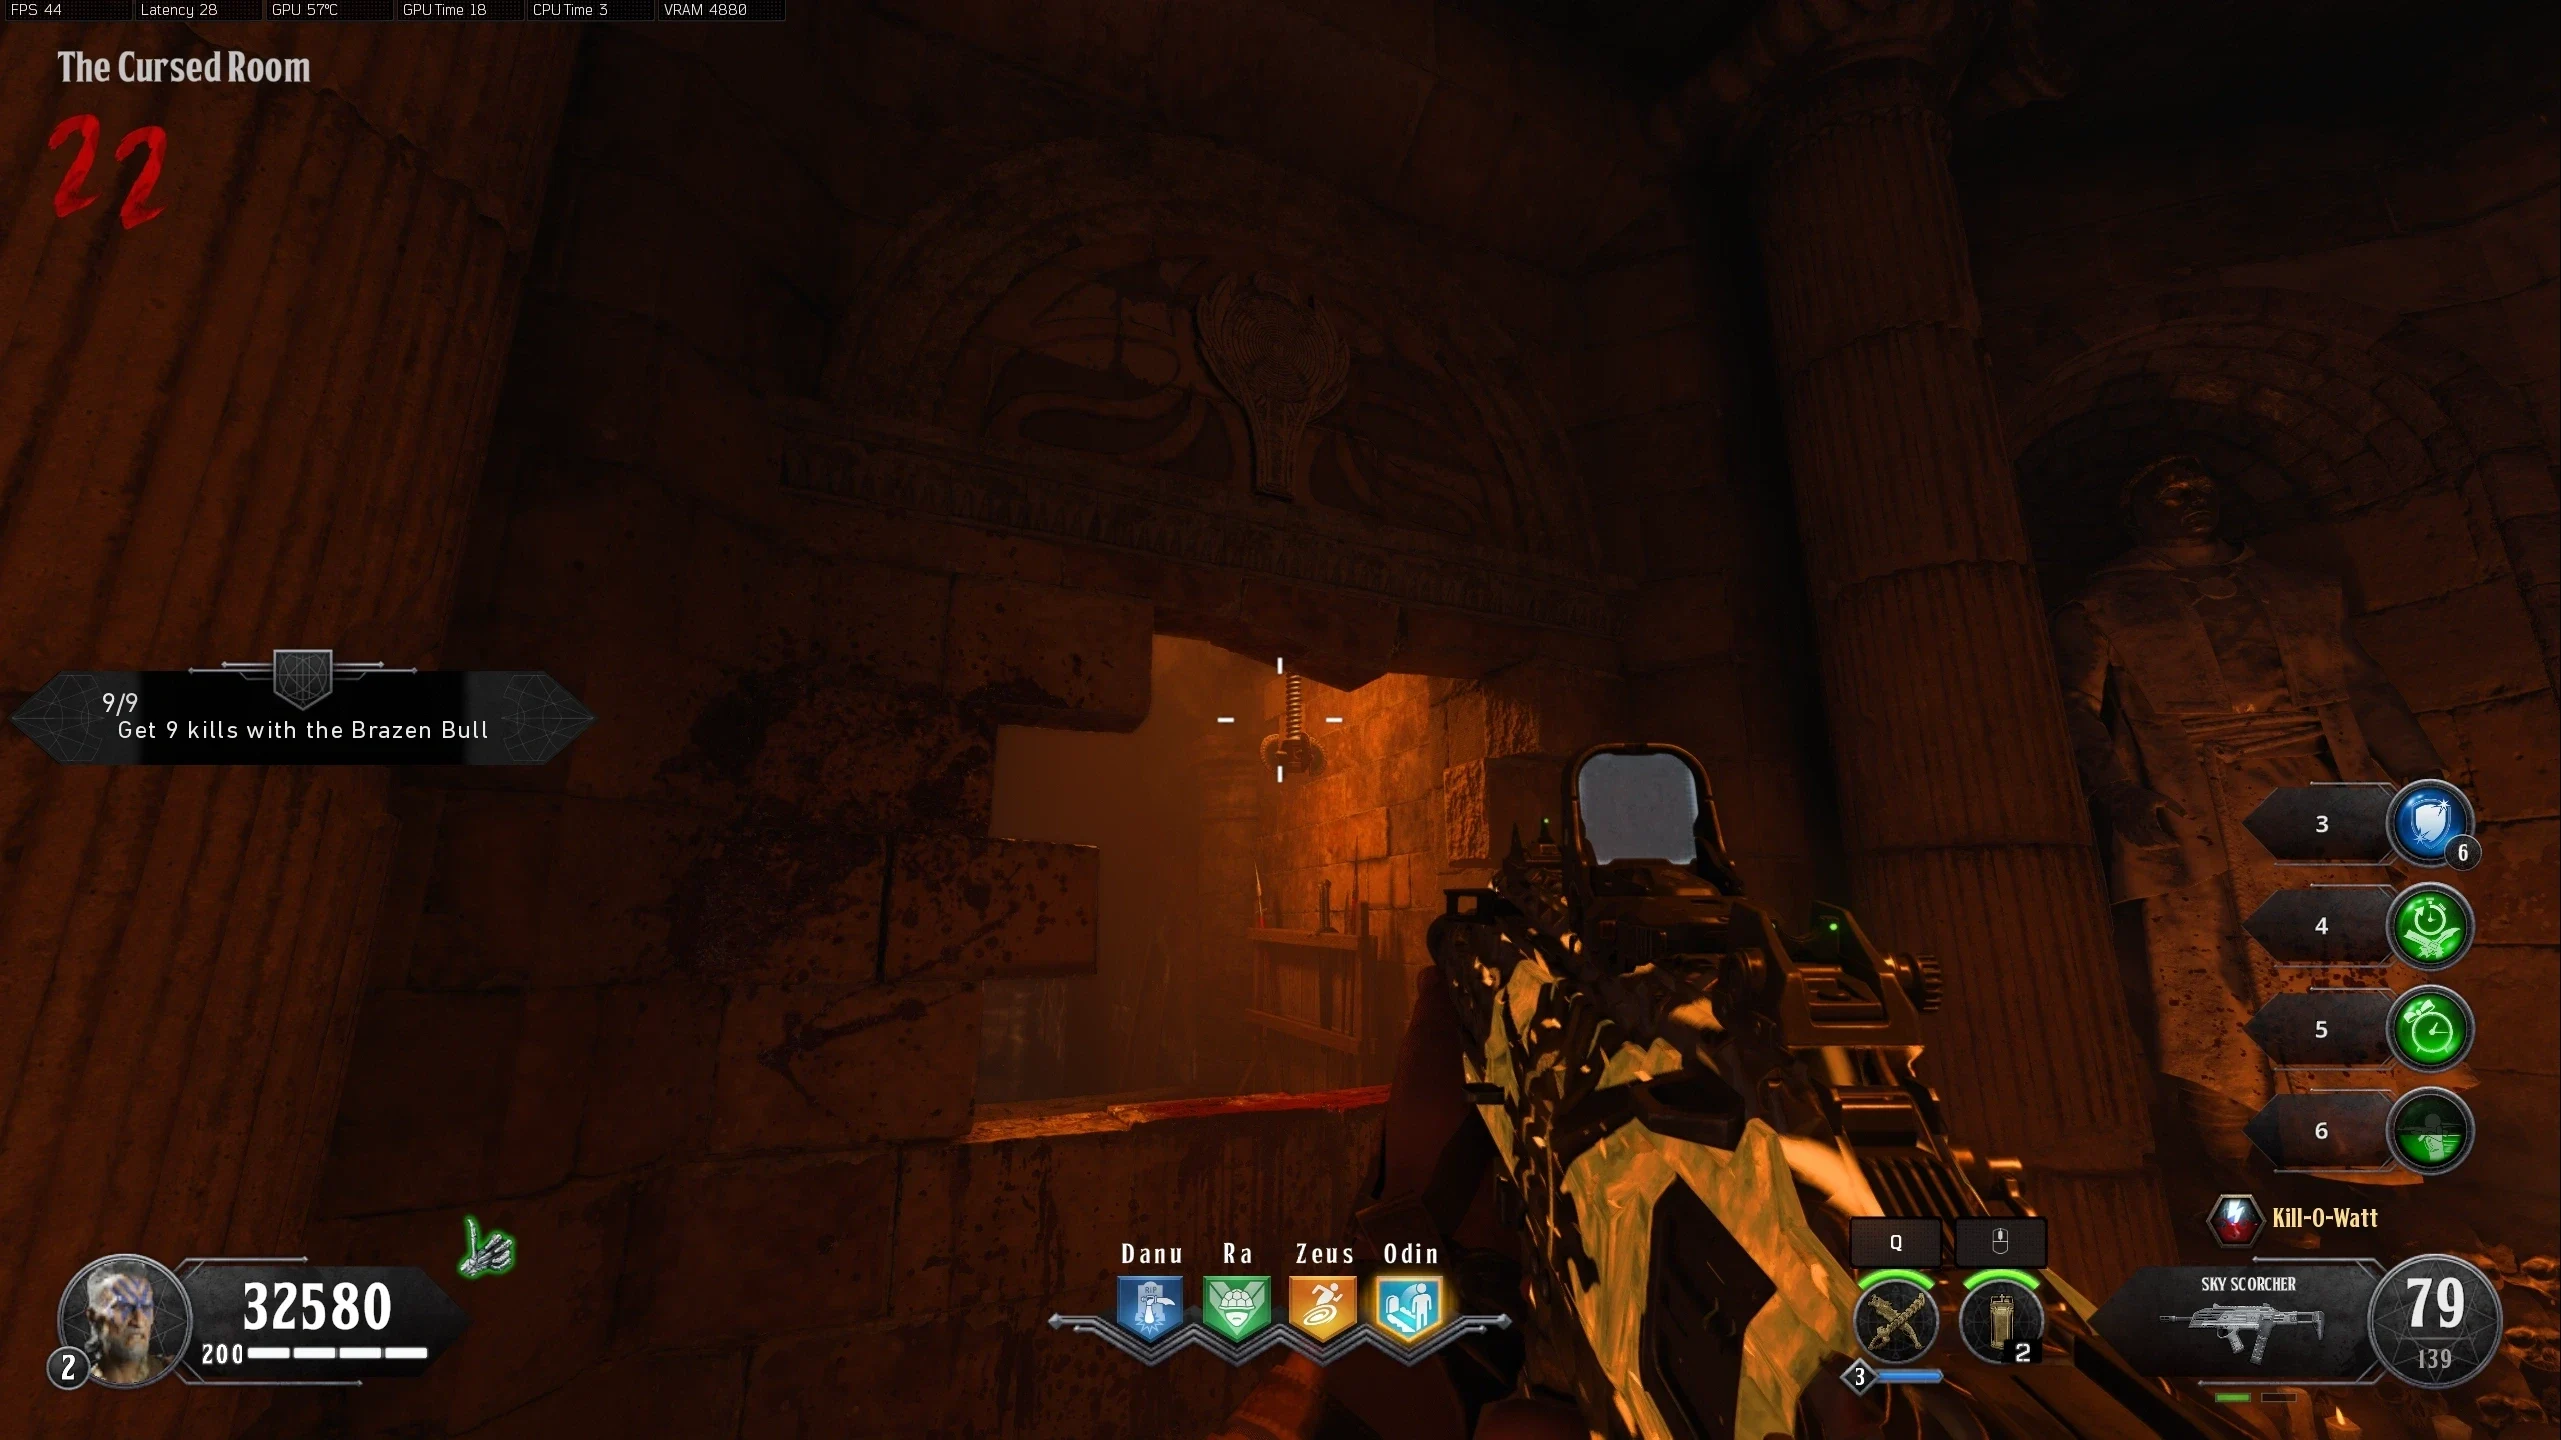
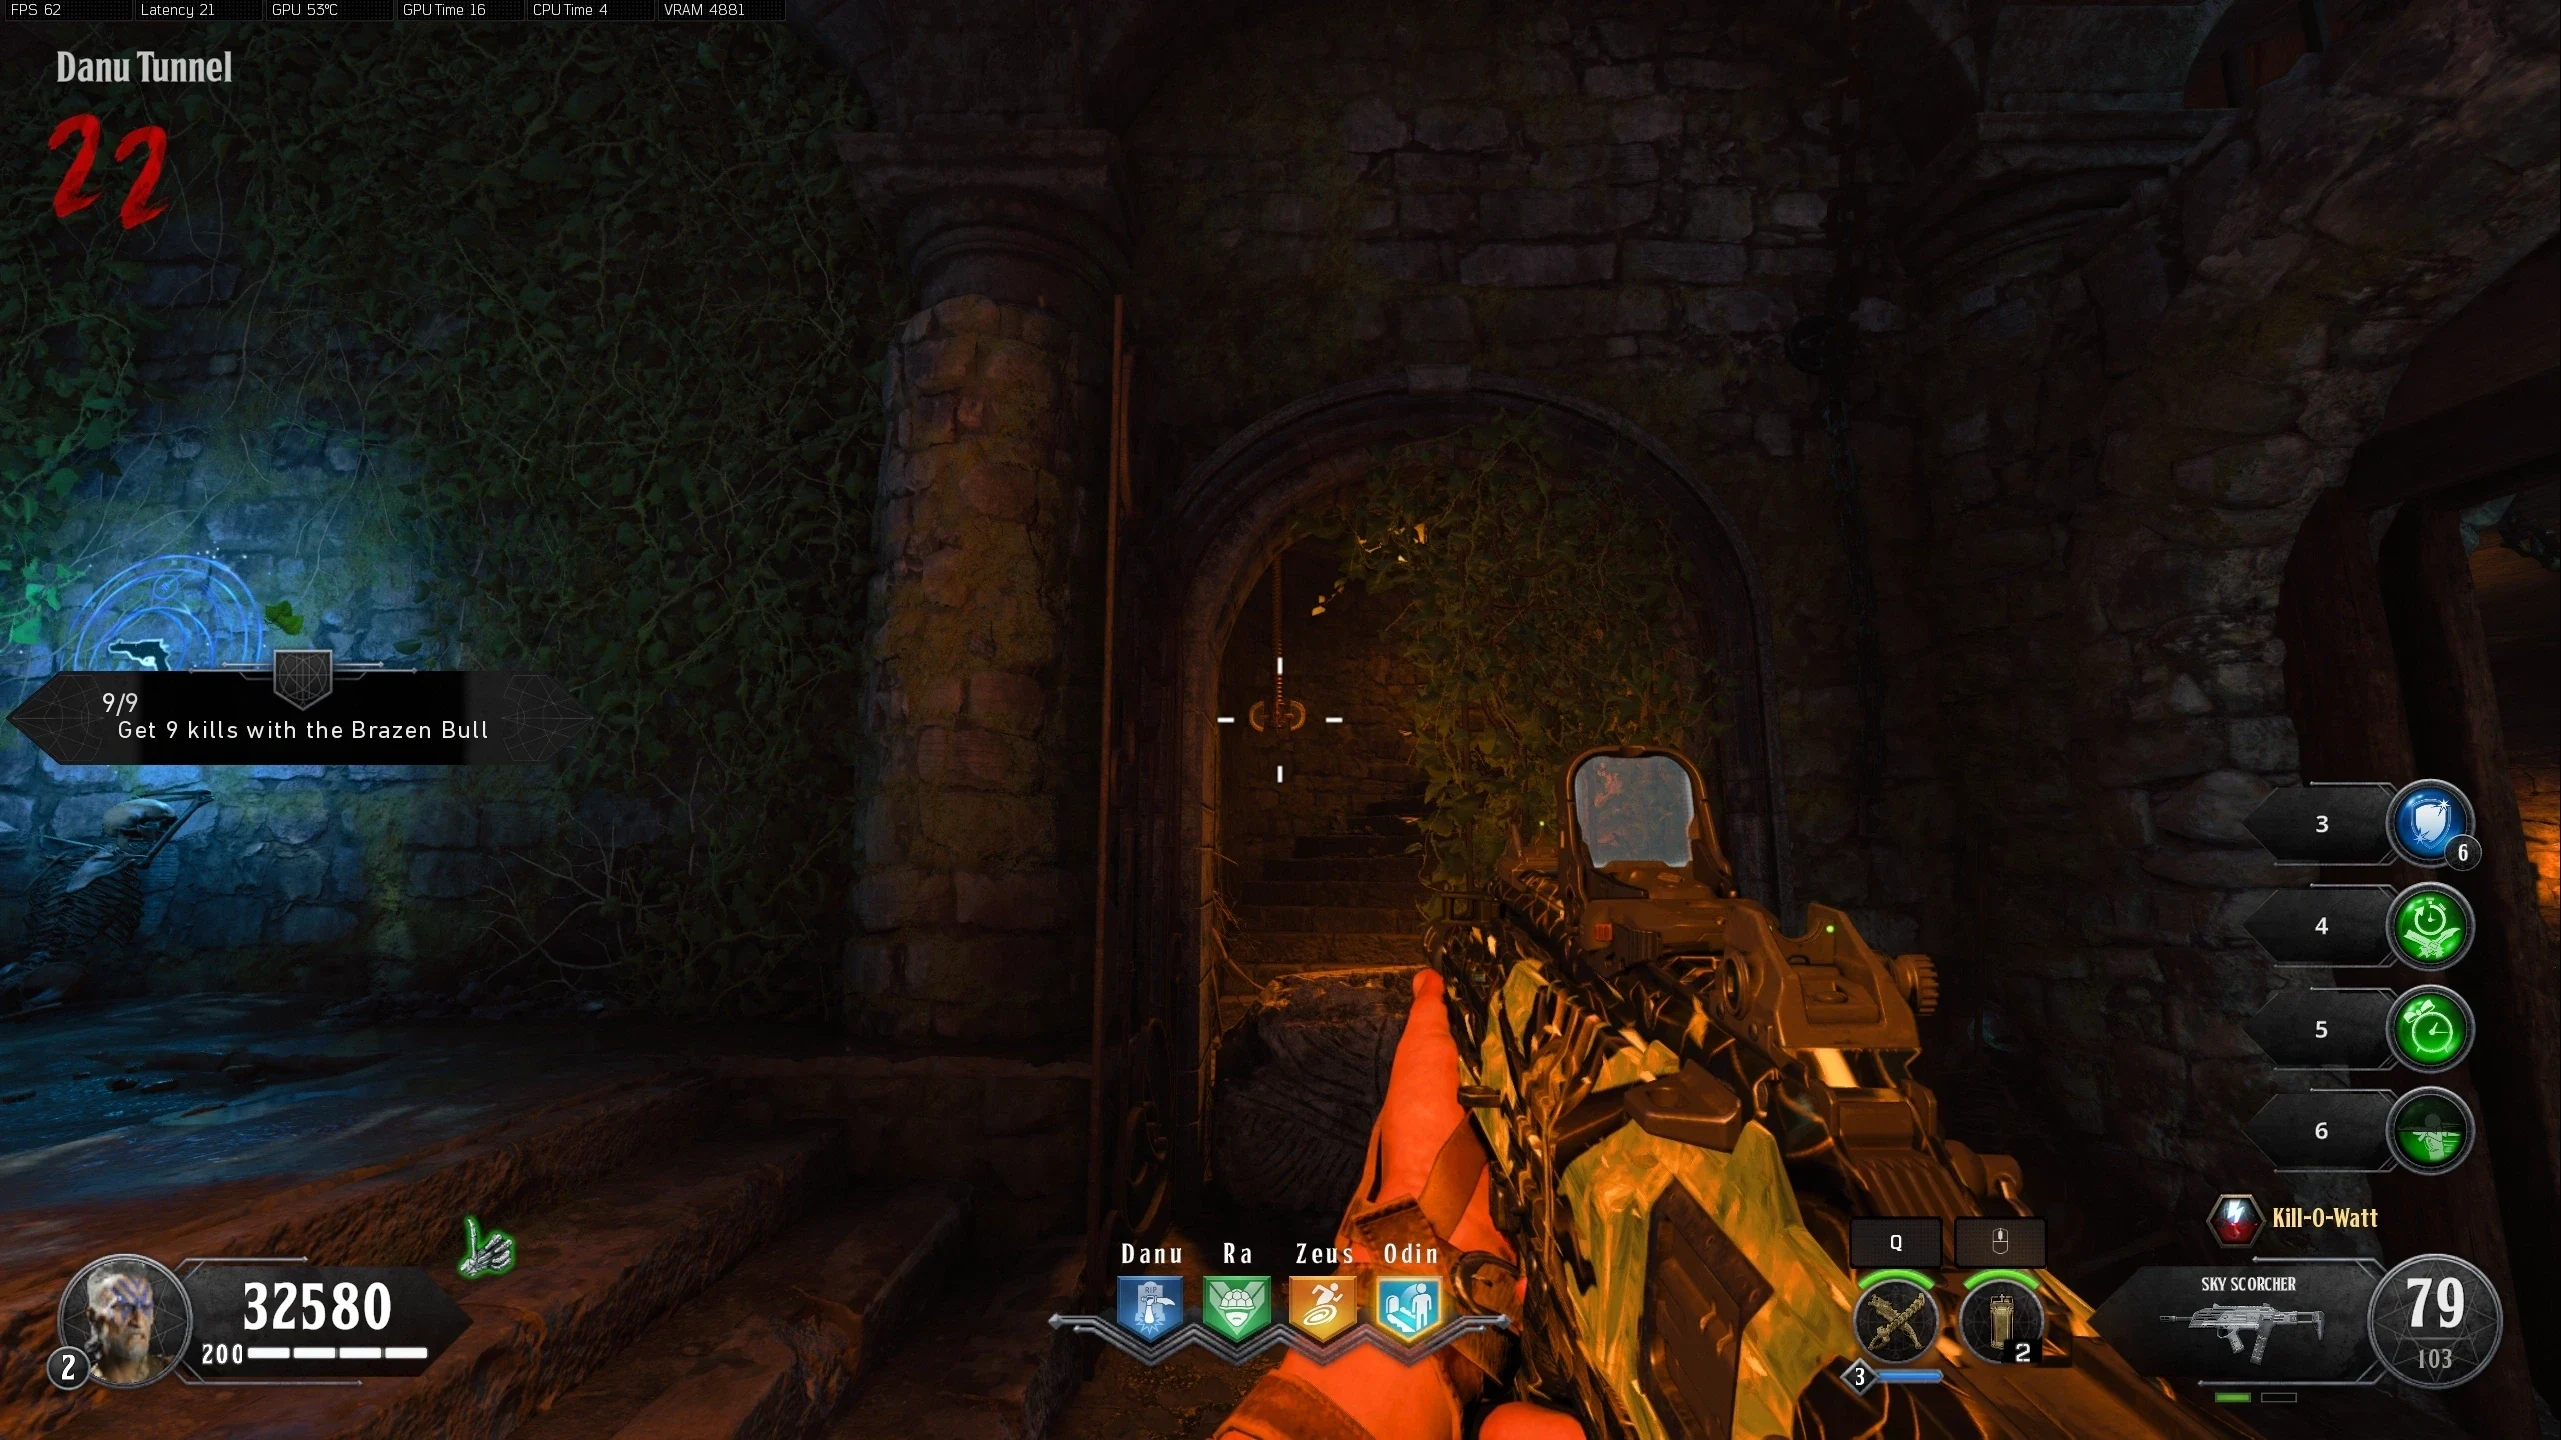
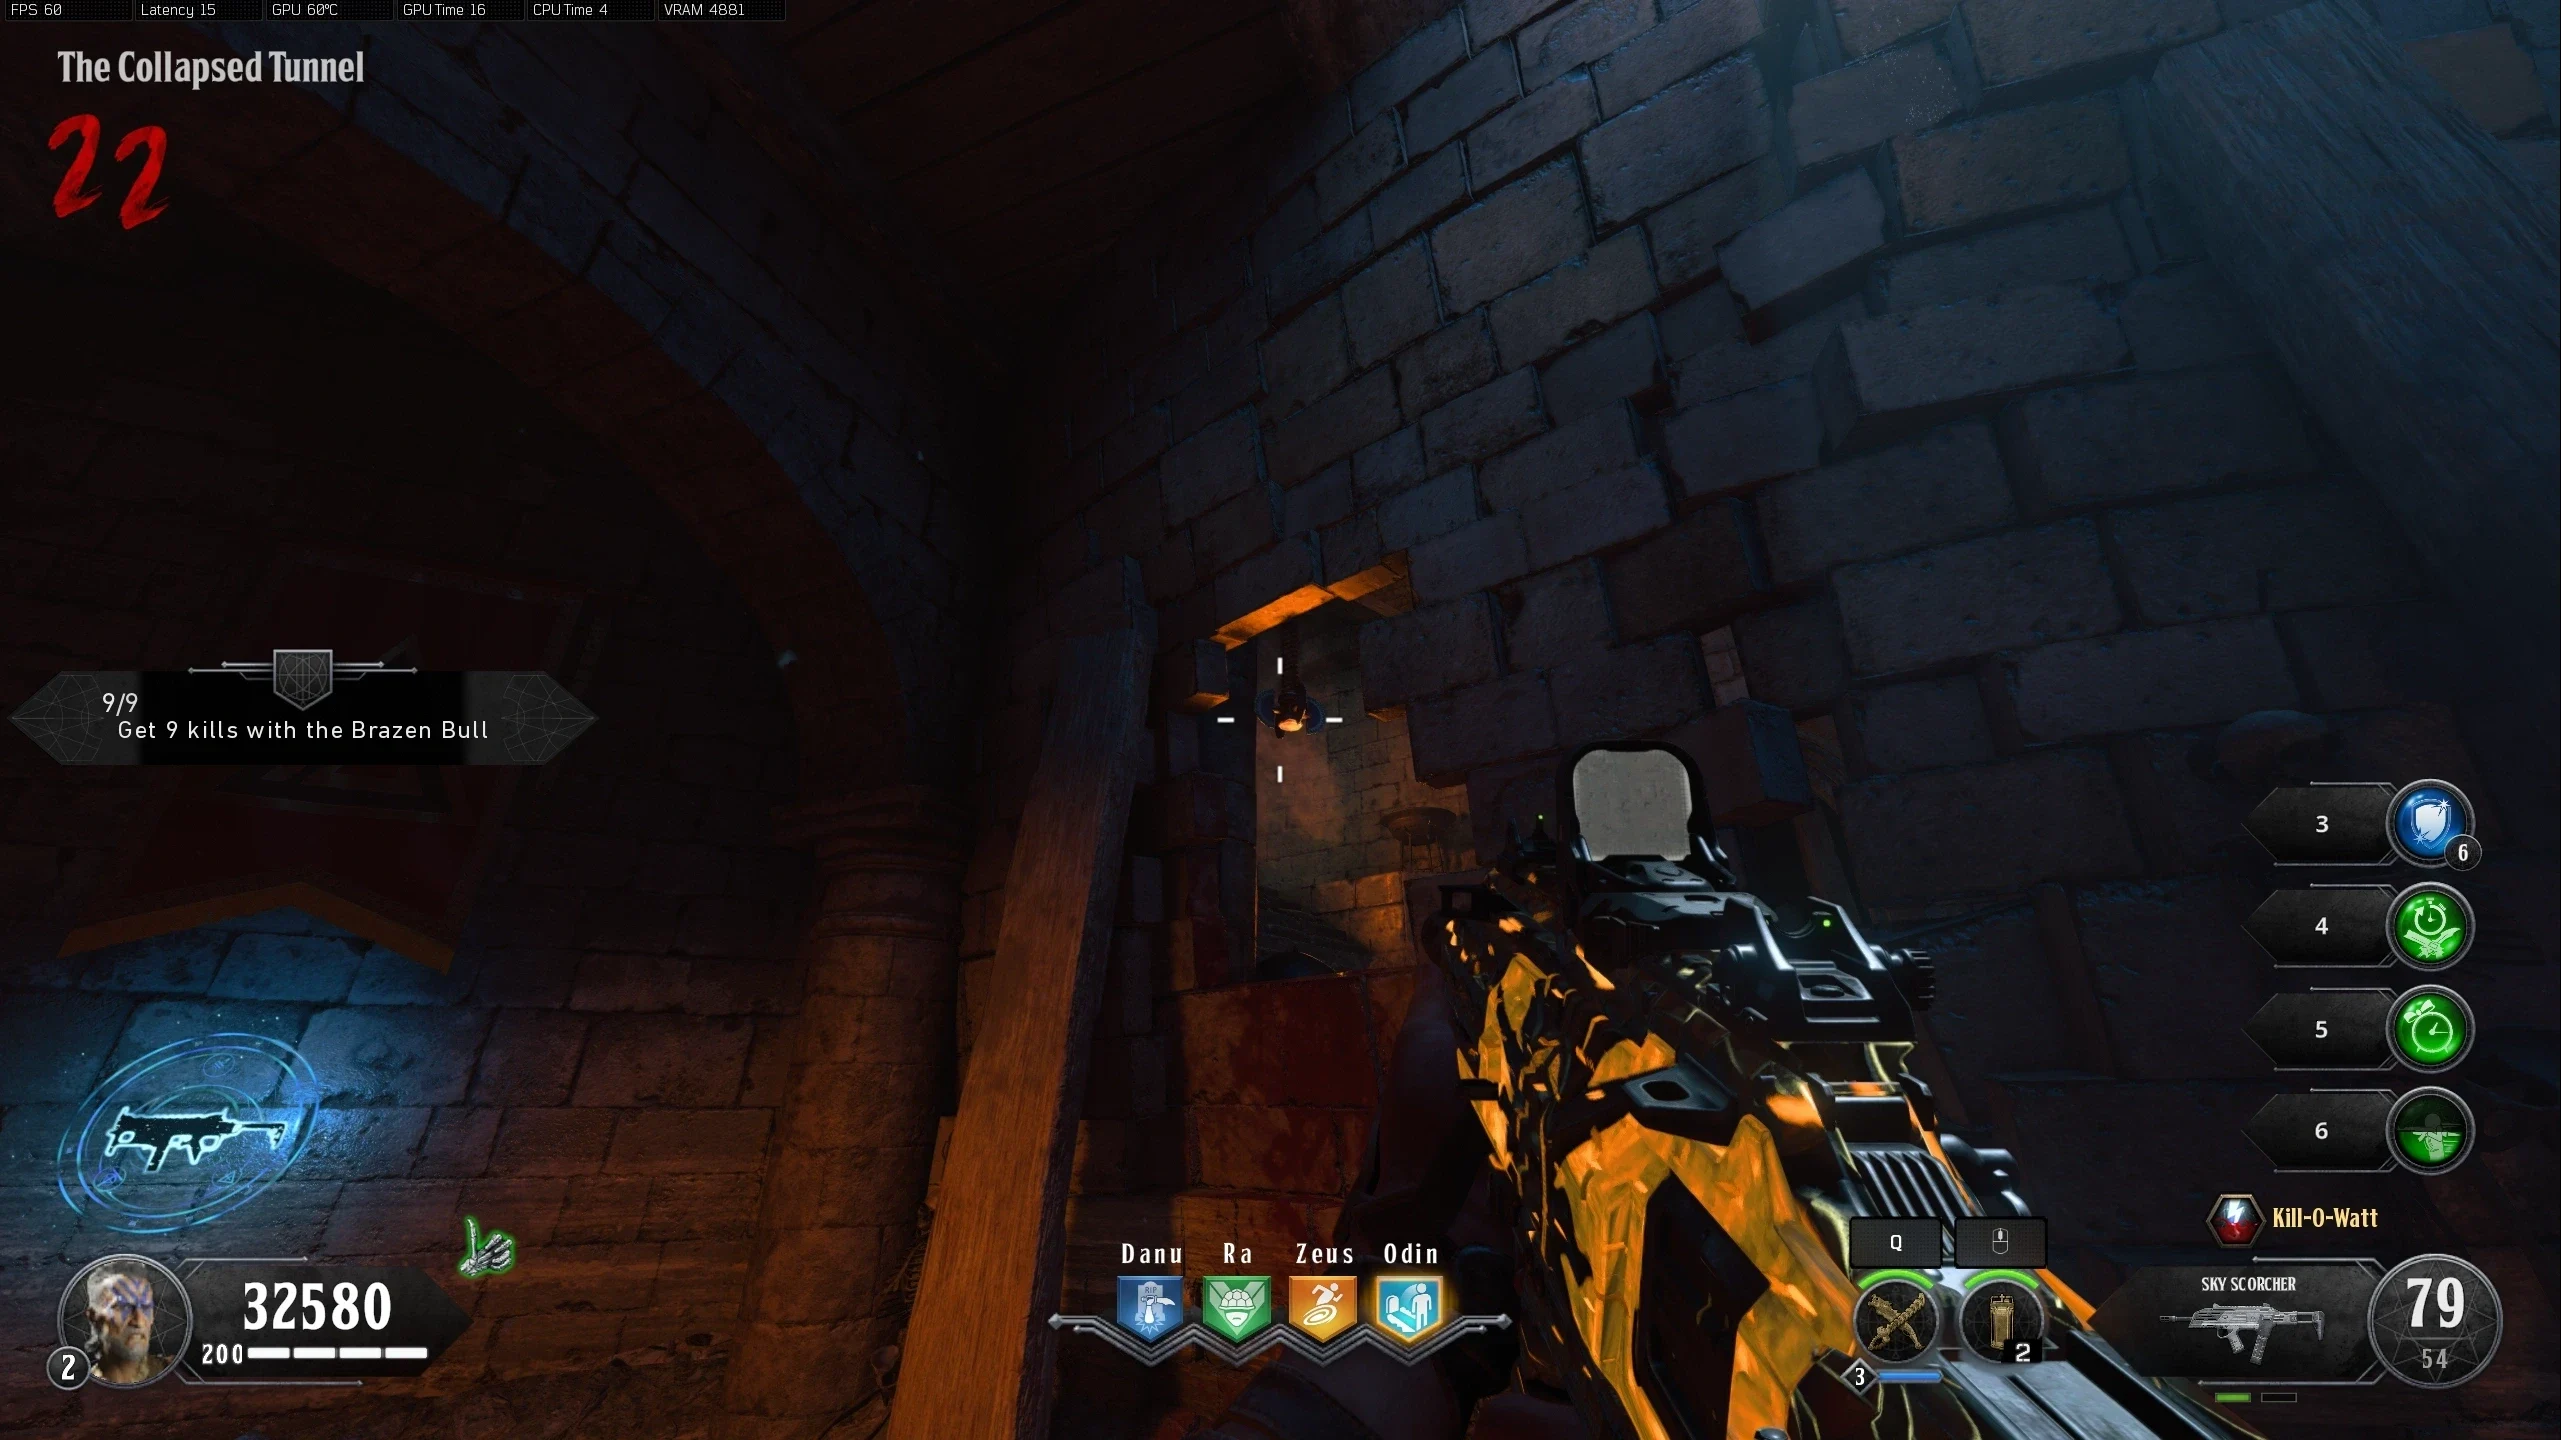
- Nine blue symbols will spawn in the underground part of the map. Using the Death of Orion, you need to shoot three symbols at the same time with one shot (this is often done by shooting through walls to hit other symbols). If done correctly, the symbols should stay lit up and a sound should play. The nine symbols are grouped into sets of three:
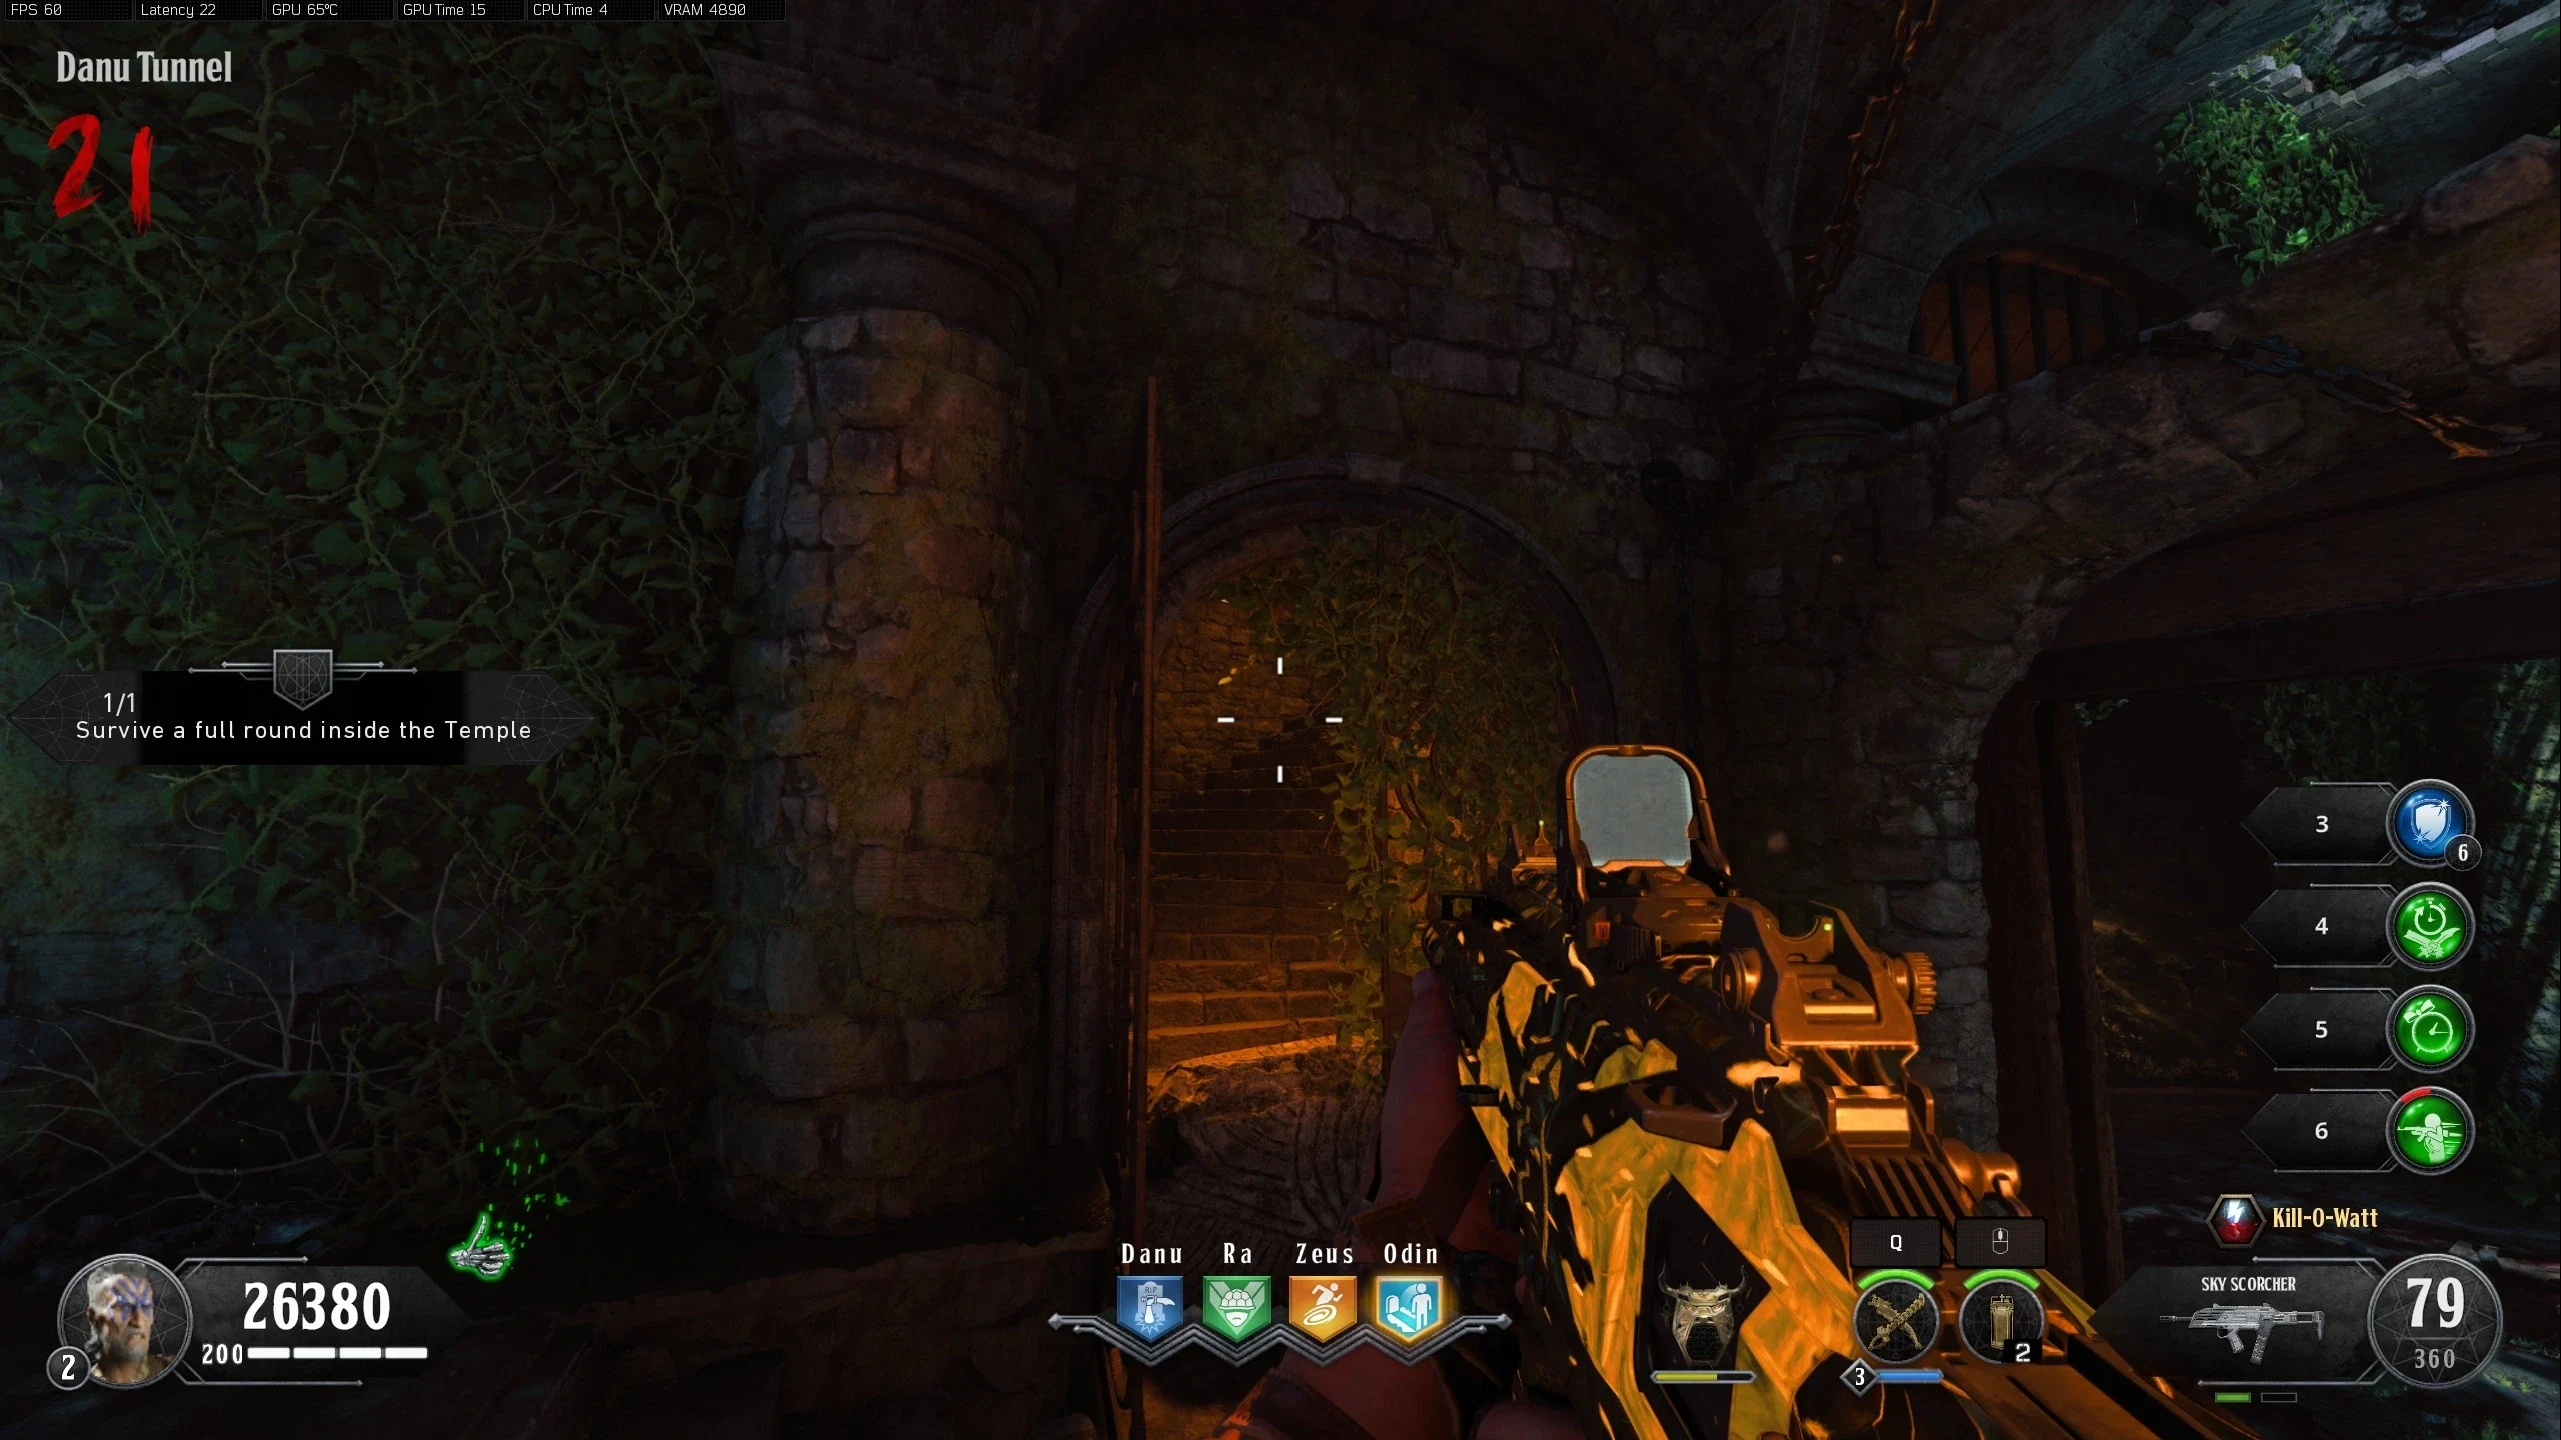
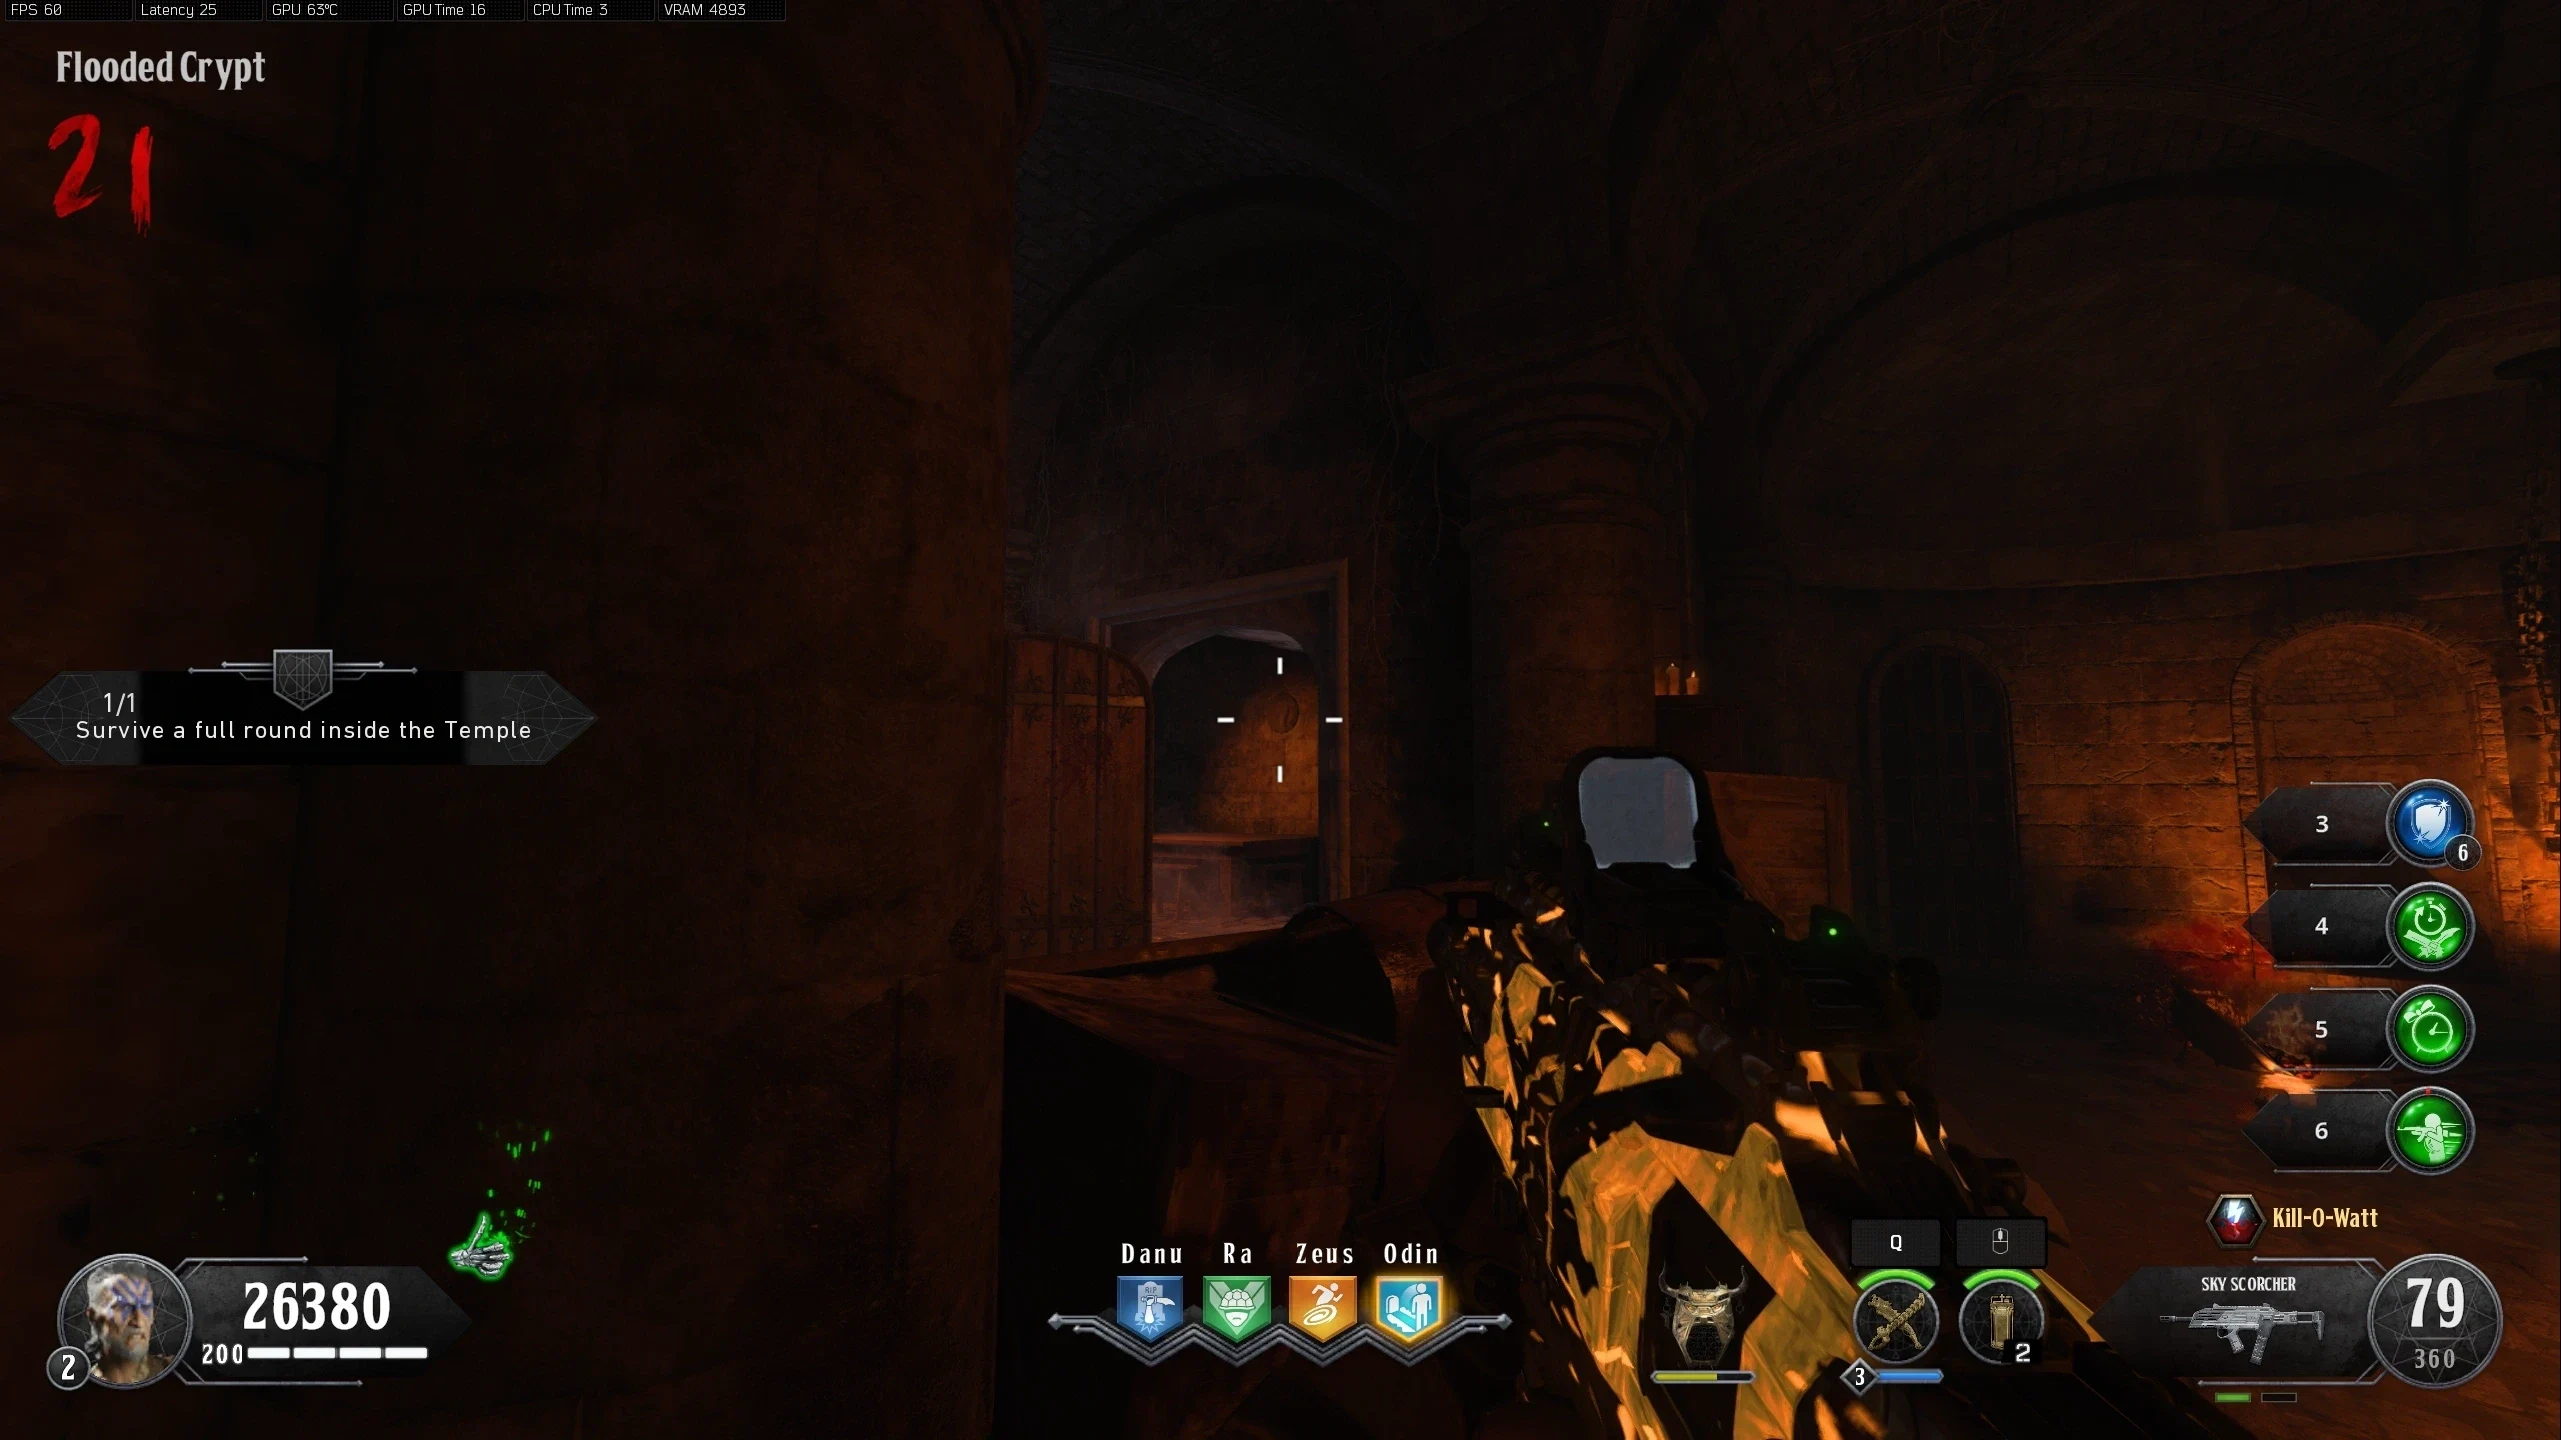
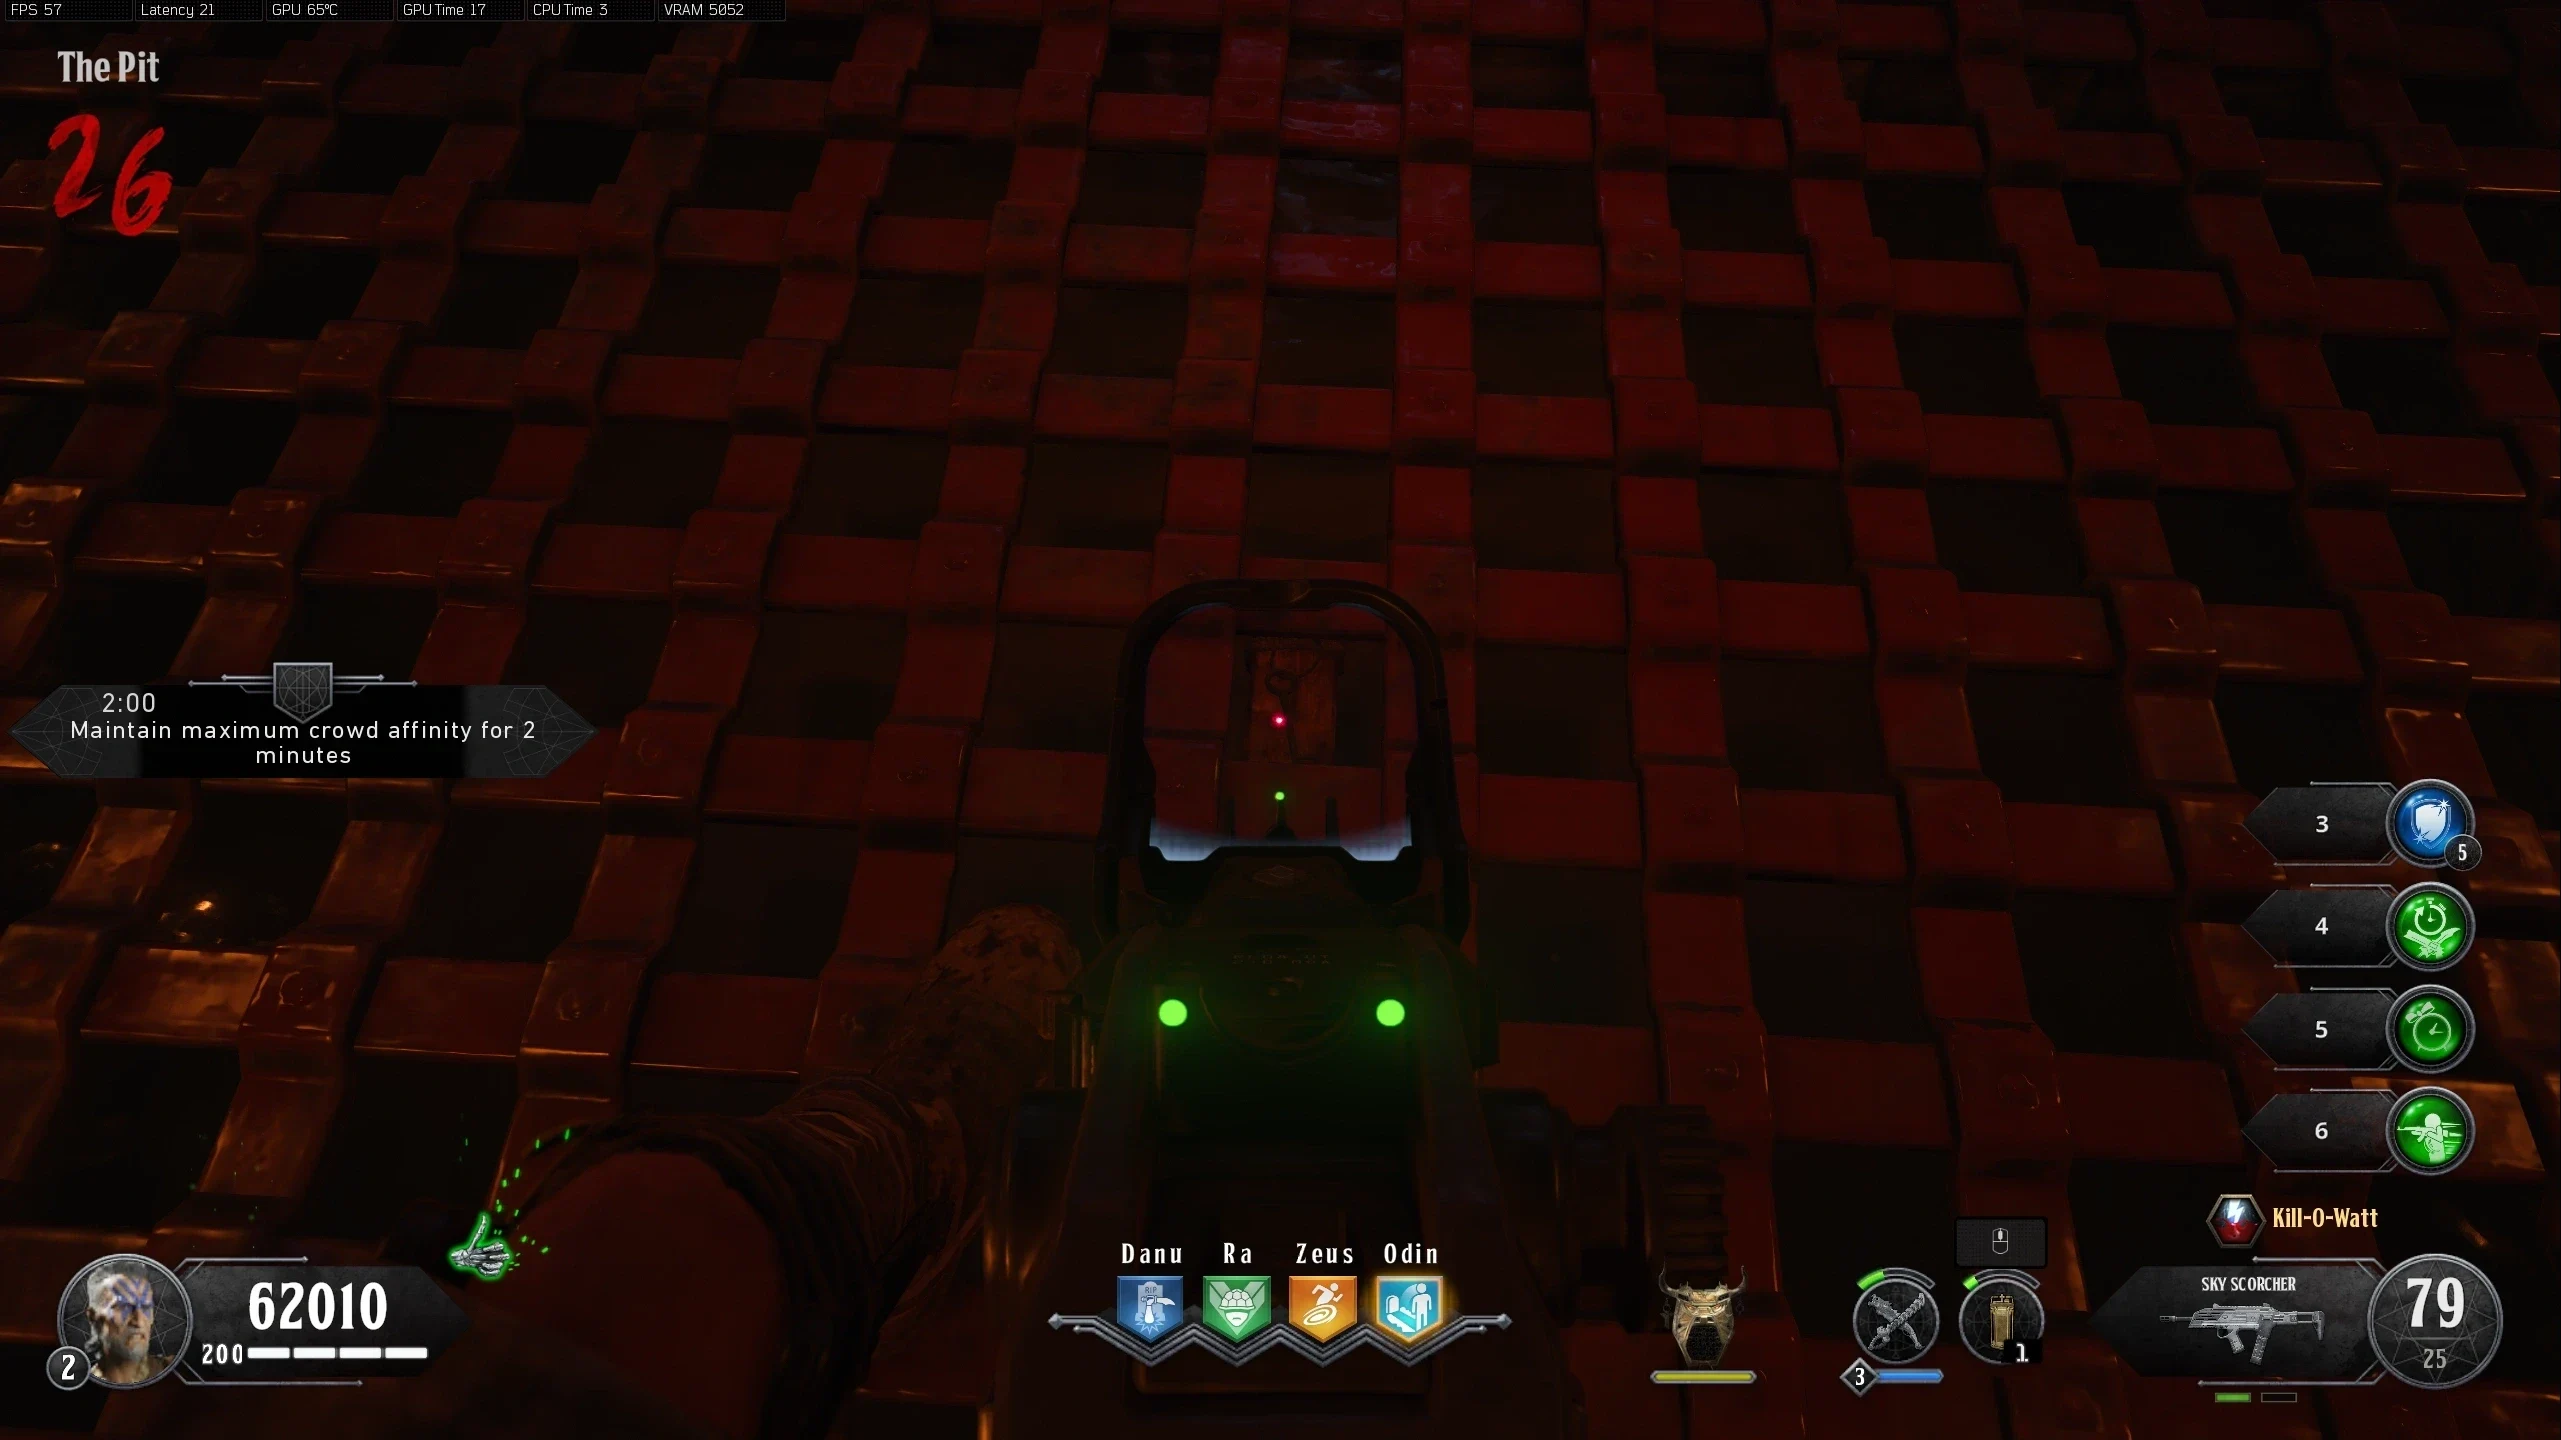
Symbol Set How to Line Up the Shot Danu Tunnel Aim here and shoot at the highest point in the jump. --- Video Example The Pit Shoot at the middle of the symbol. --- Video Example The Crypts Aim just below the bottom left curve. (Brightened and Zoomed in) --- Video Example - Navigate to 'The Pit' and have all players stand on this Metal Plate for about 20 seconds. After 20 Seconds, the screen will go white, and a lockdown event will start in 'The Pit.' The players must kill all the waves of enemies. Once all waves are complete, a Key will spawn beneath the grate on the floor for you to pick up.
Once the portal is interacted with, the Boss Fight will start.
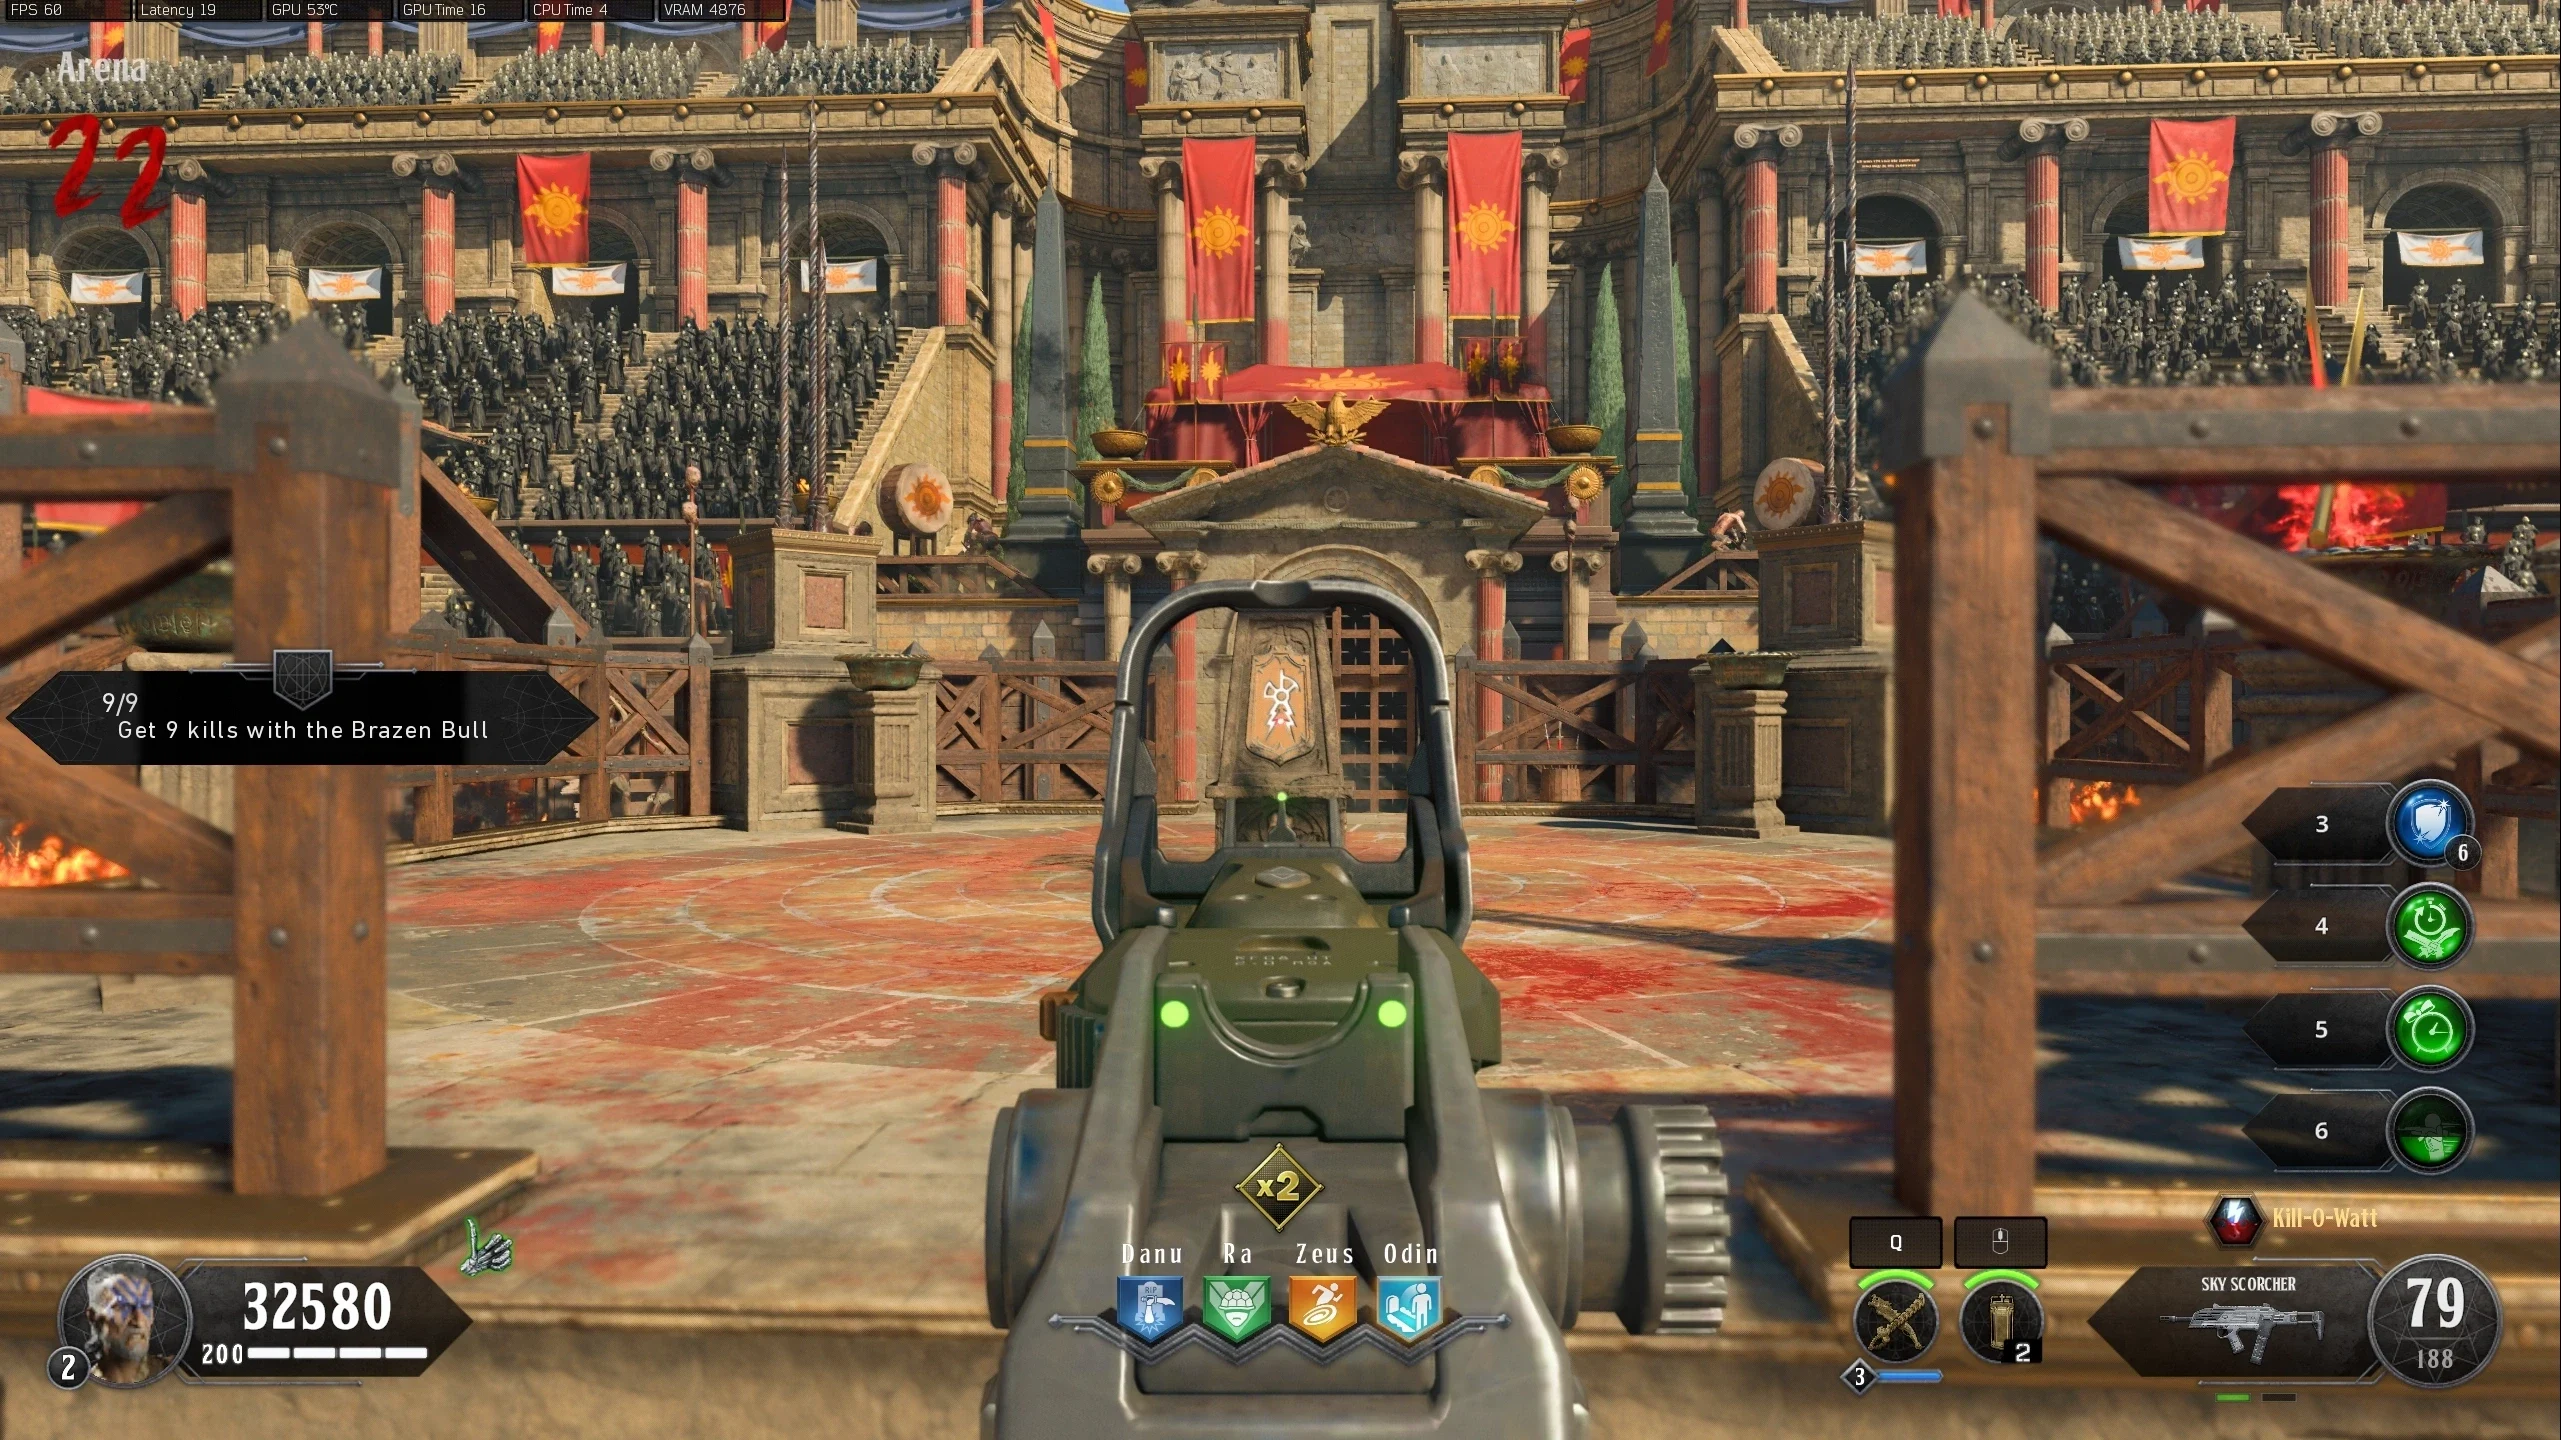
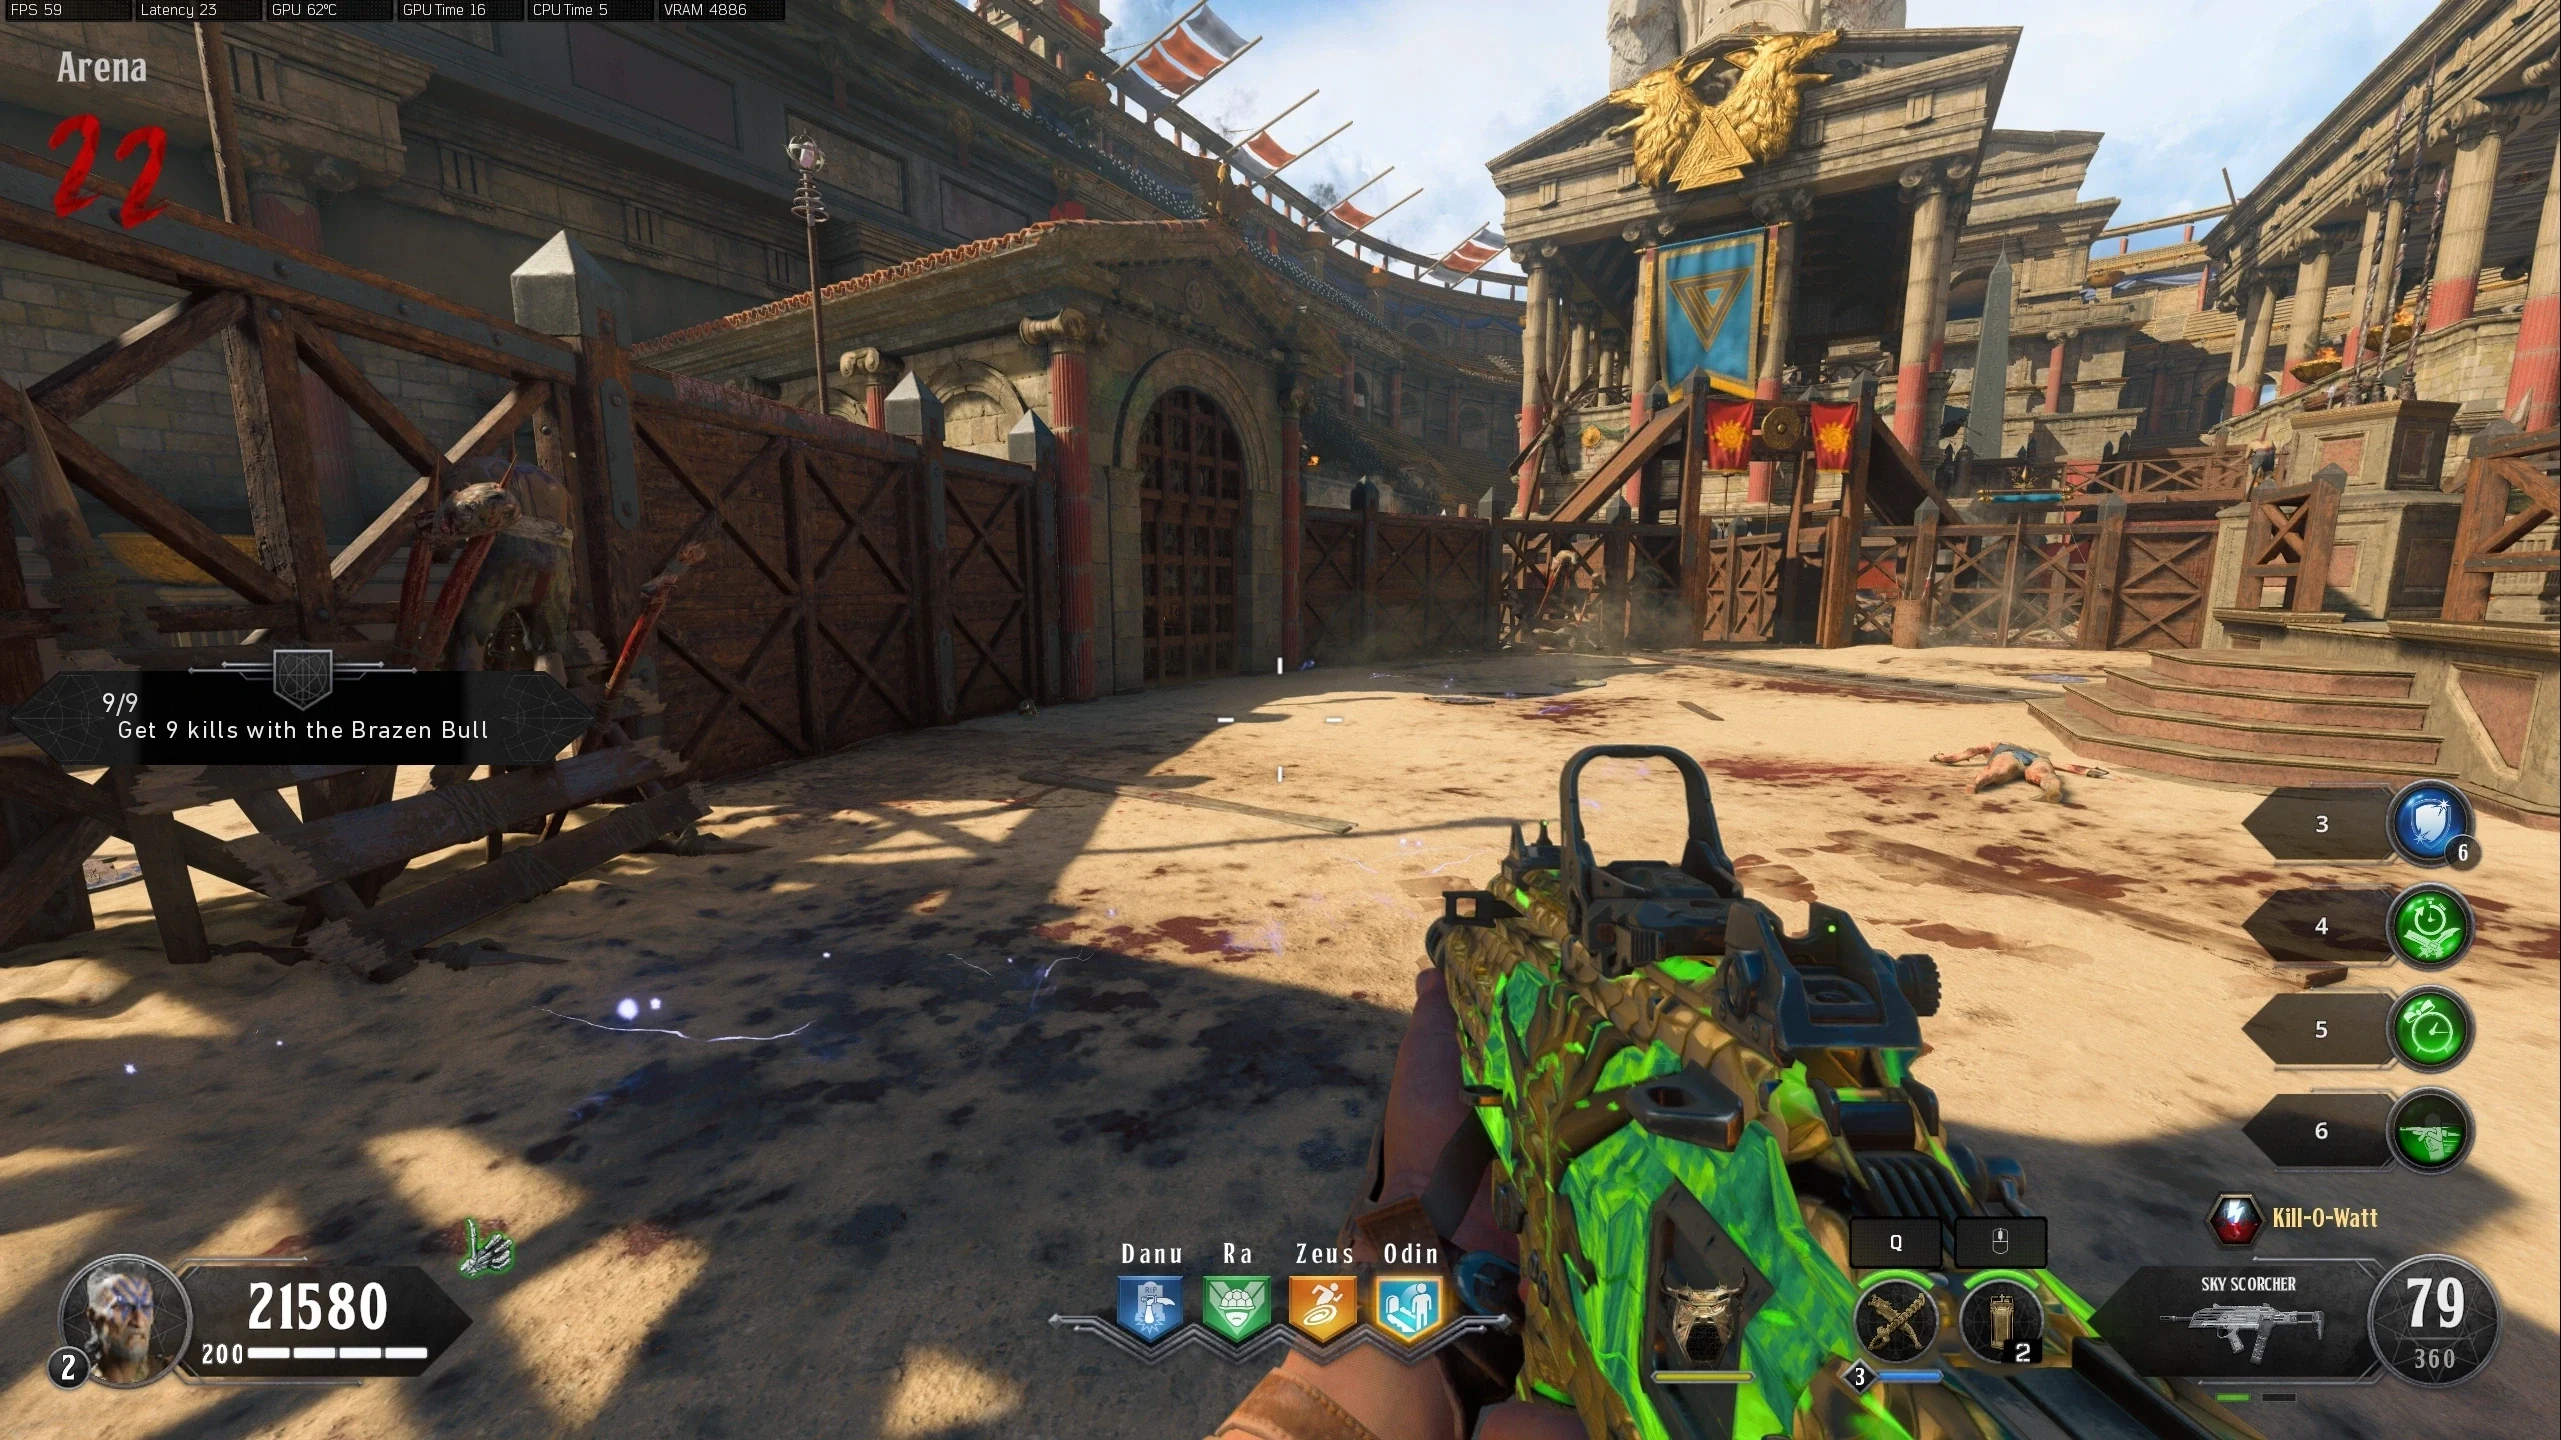
- In the 'Arena,' a portal will spawn on the other side of the gate opposite the gate you entered from at the beginning of the game.
Fury & Wrath Elephant Boss Fight
- Once the players enter the portal, they will be teleported to the Boss Fight Arena. The players must survive waves of Tigers and Gladiators.
- Max Ammo drops are common, they drop from killing any enemy and don't despawn from timing out.
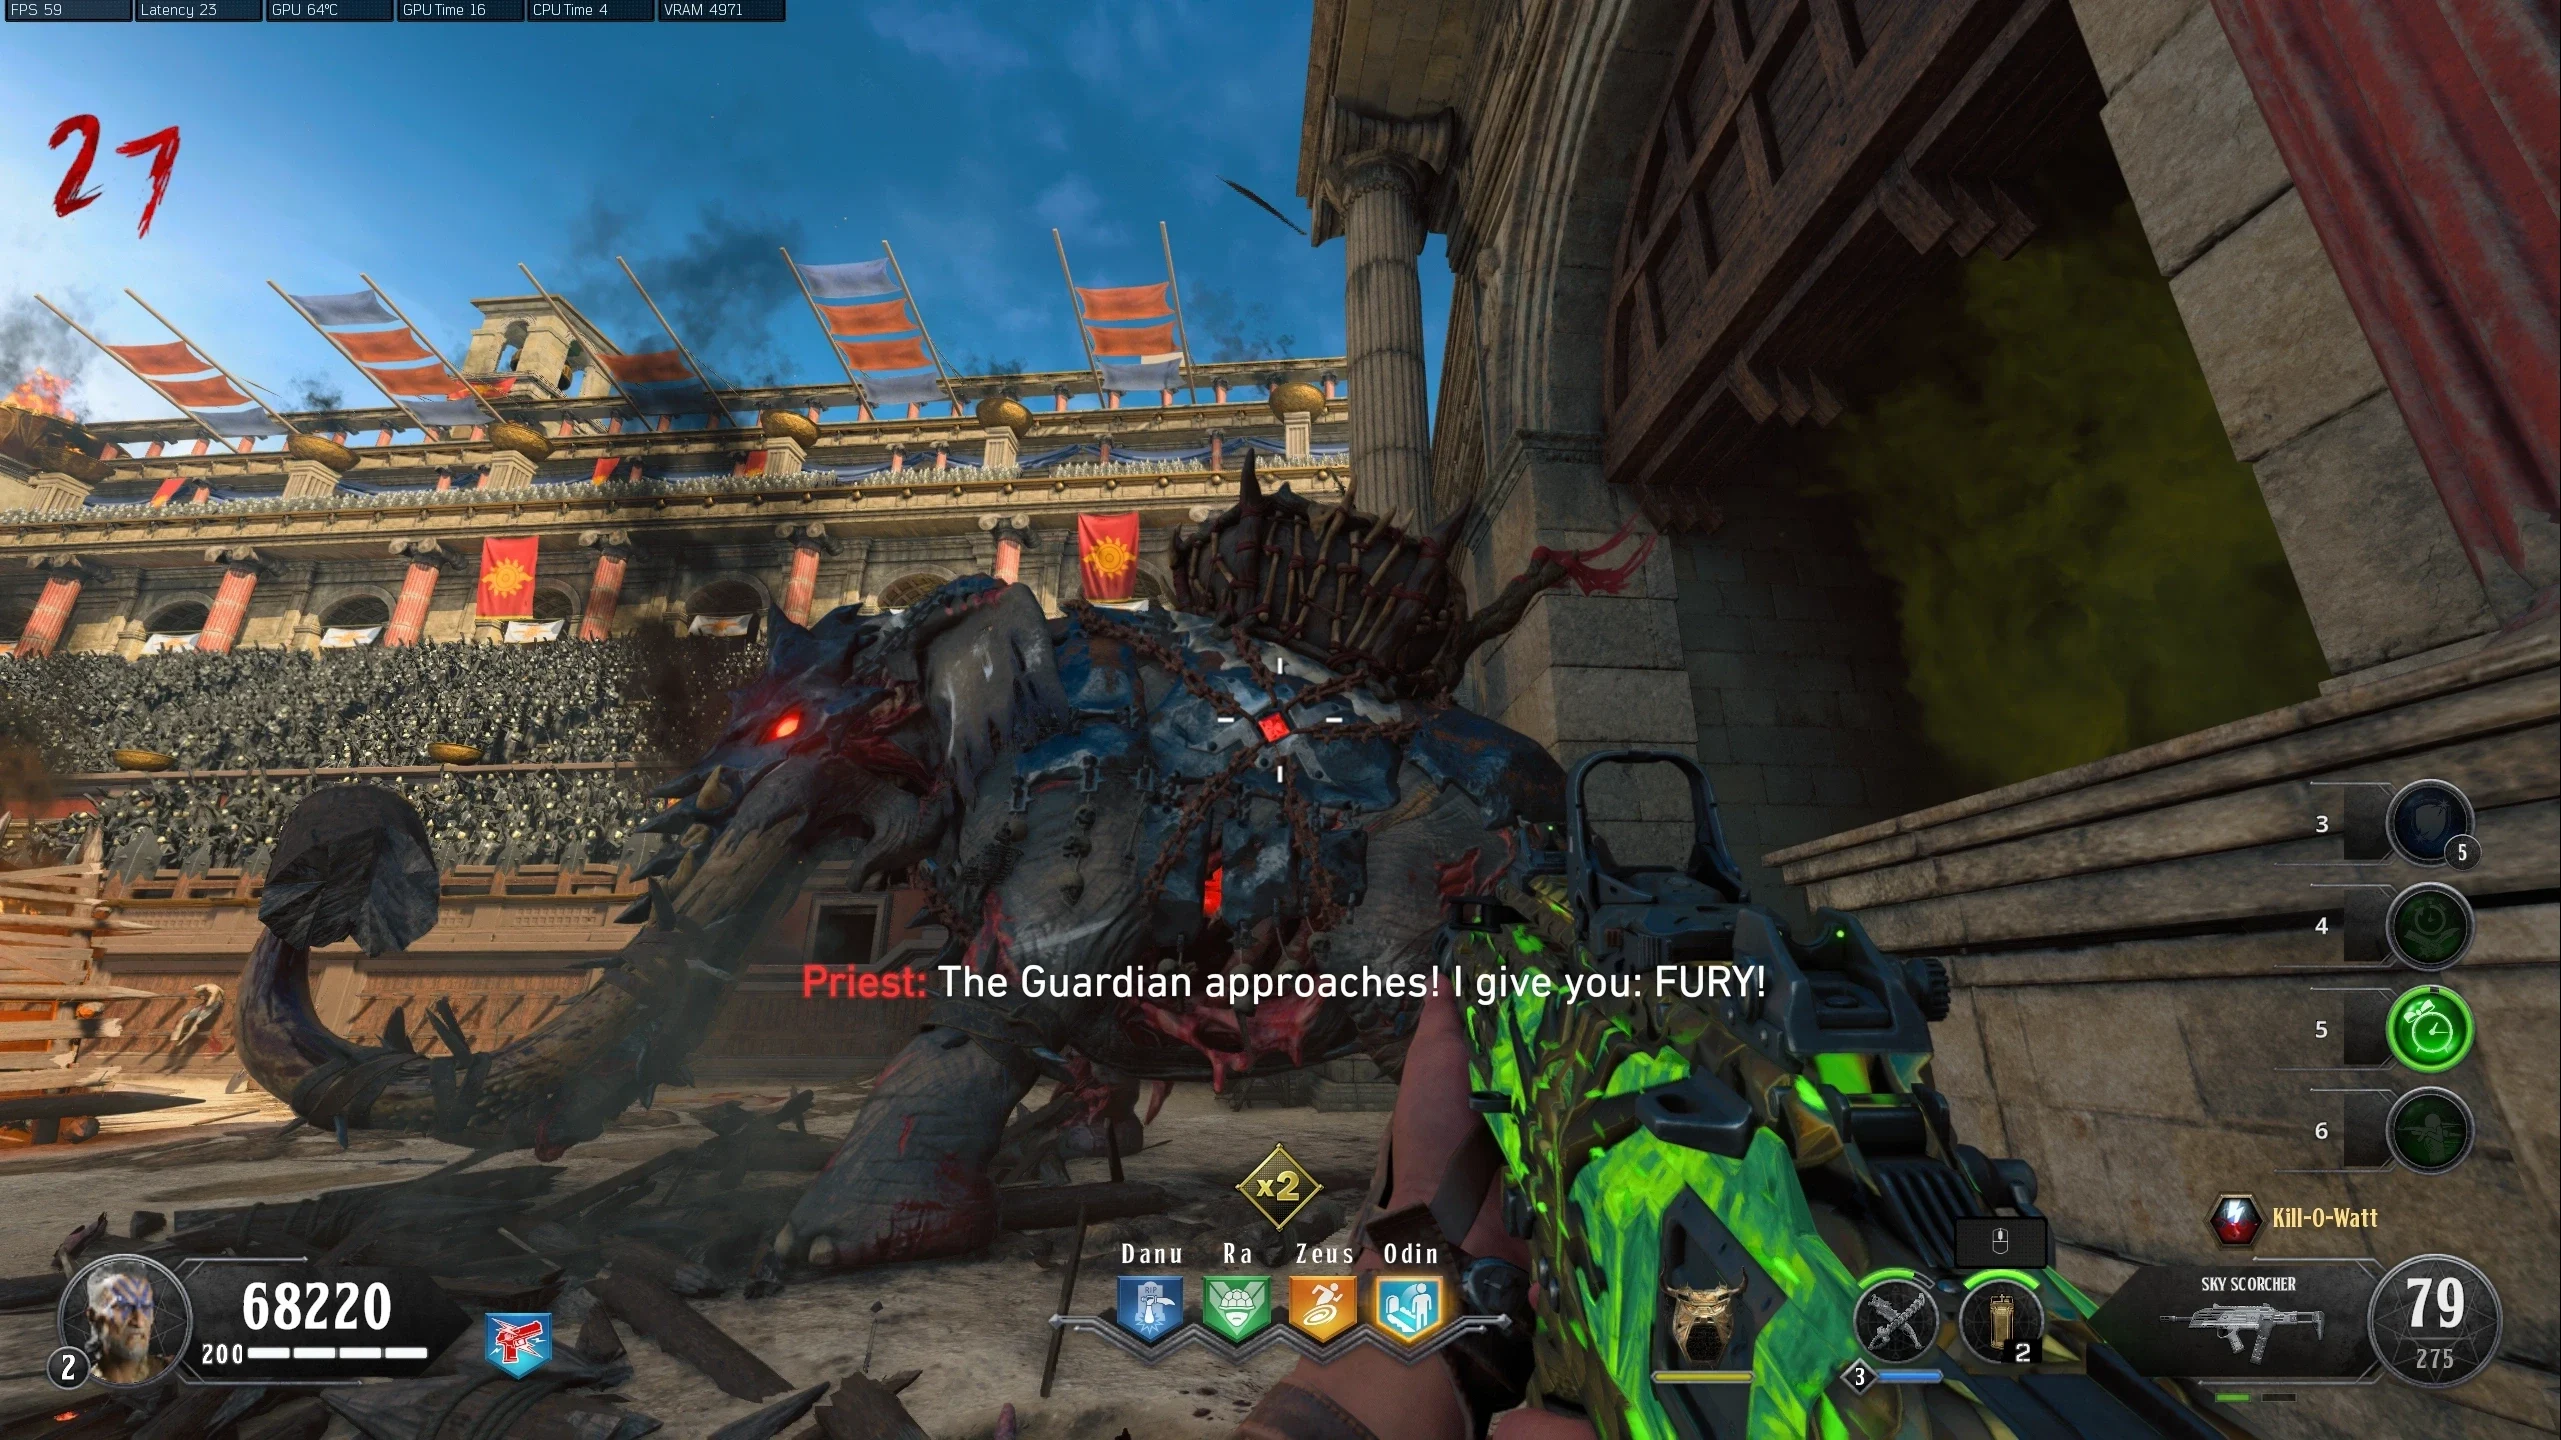
- Once all Tigers and Gladiators are defeated, the elephant Fury will come out of the left side gate. Fury has a few attacks, it will charge and stomp, swing its tusks, or just stomp if you get too close. The gladiators riding on Fury's back can throw spears at you.
- Shoot the red spots on the sides of the armour to break it.
- Once the armour is broken, shoot it in the forehead till it dies. Once the armour is broken, Fury also gains a new attack. It will stomp shooting out fire spikes that will follow a player and insta-down them. This can be avoided by making the spikes hit the shield or just sprinting away until they are gone.
- Once Fury dies, Wrath will spawn which is identical to Fury. Once Wrath dies, the boss fight will end and the final cutscene will start.








"Mad Hatter" Song
Link to song on streaming here.
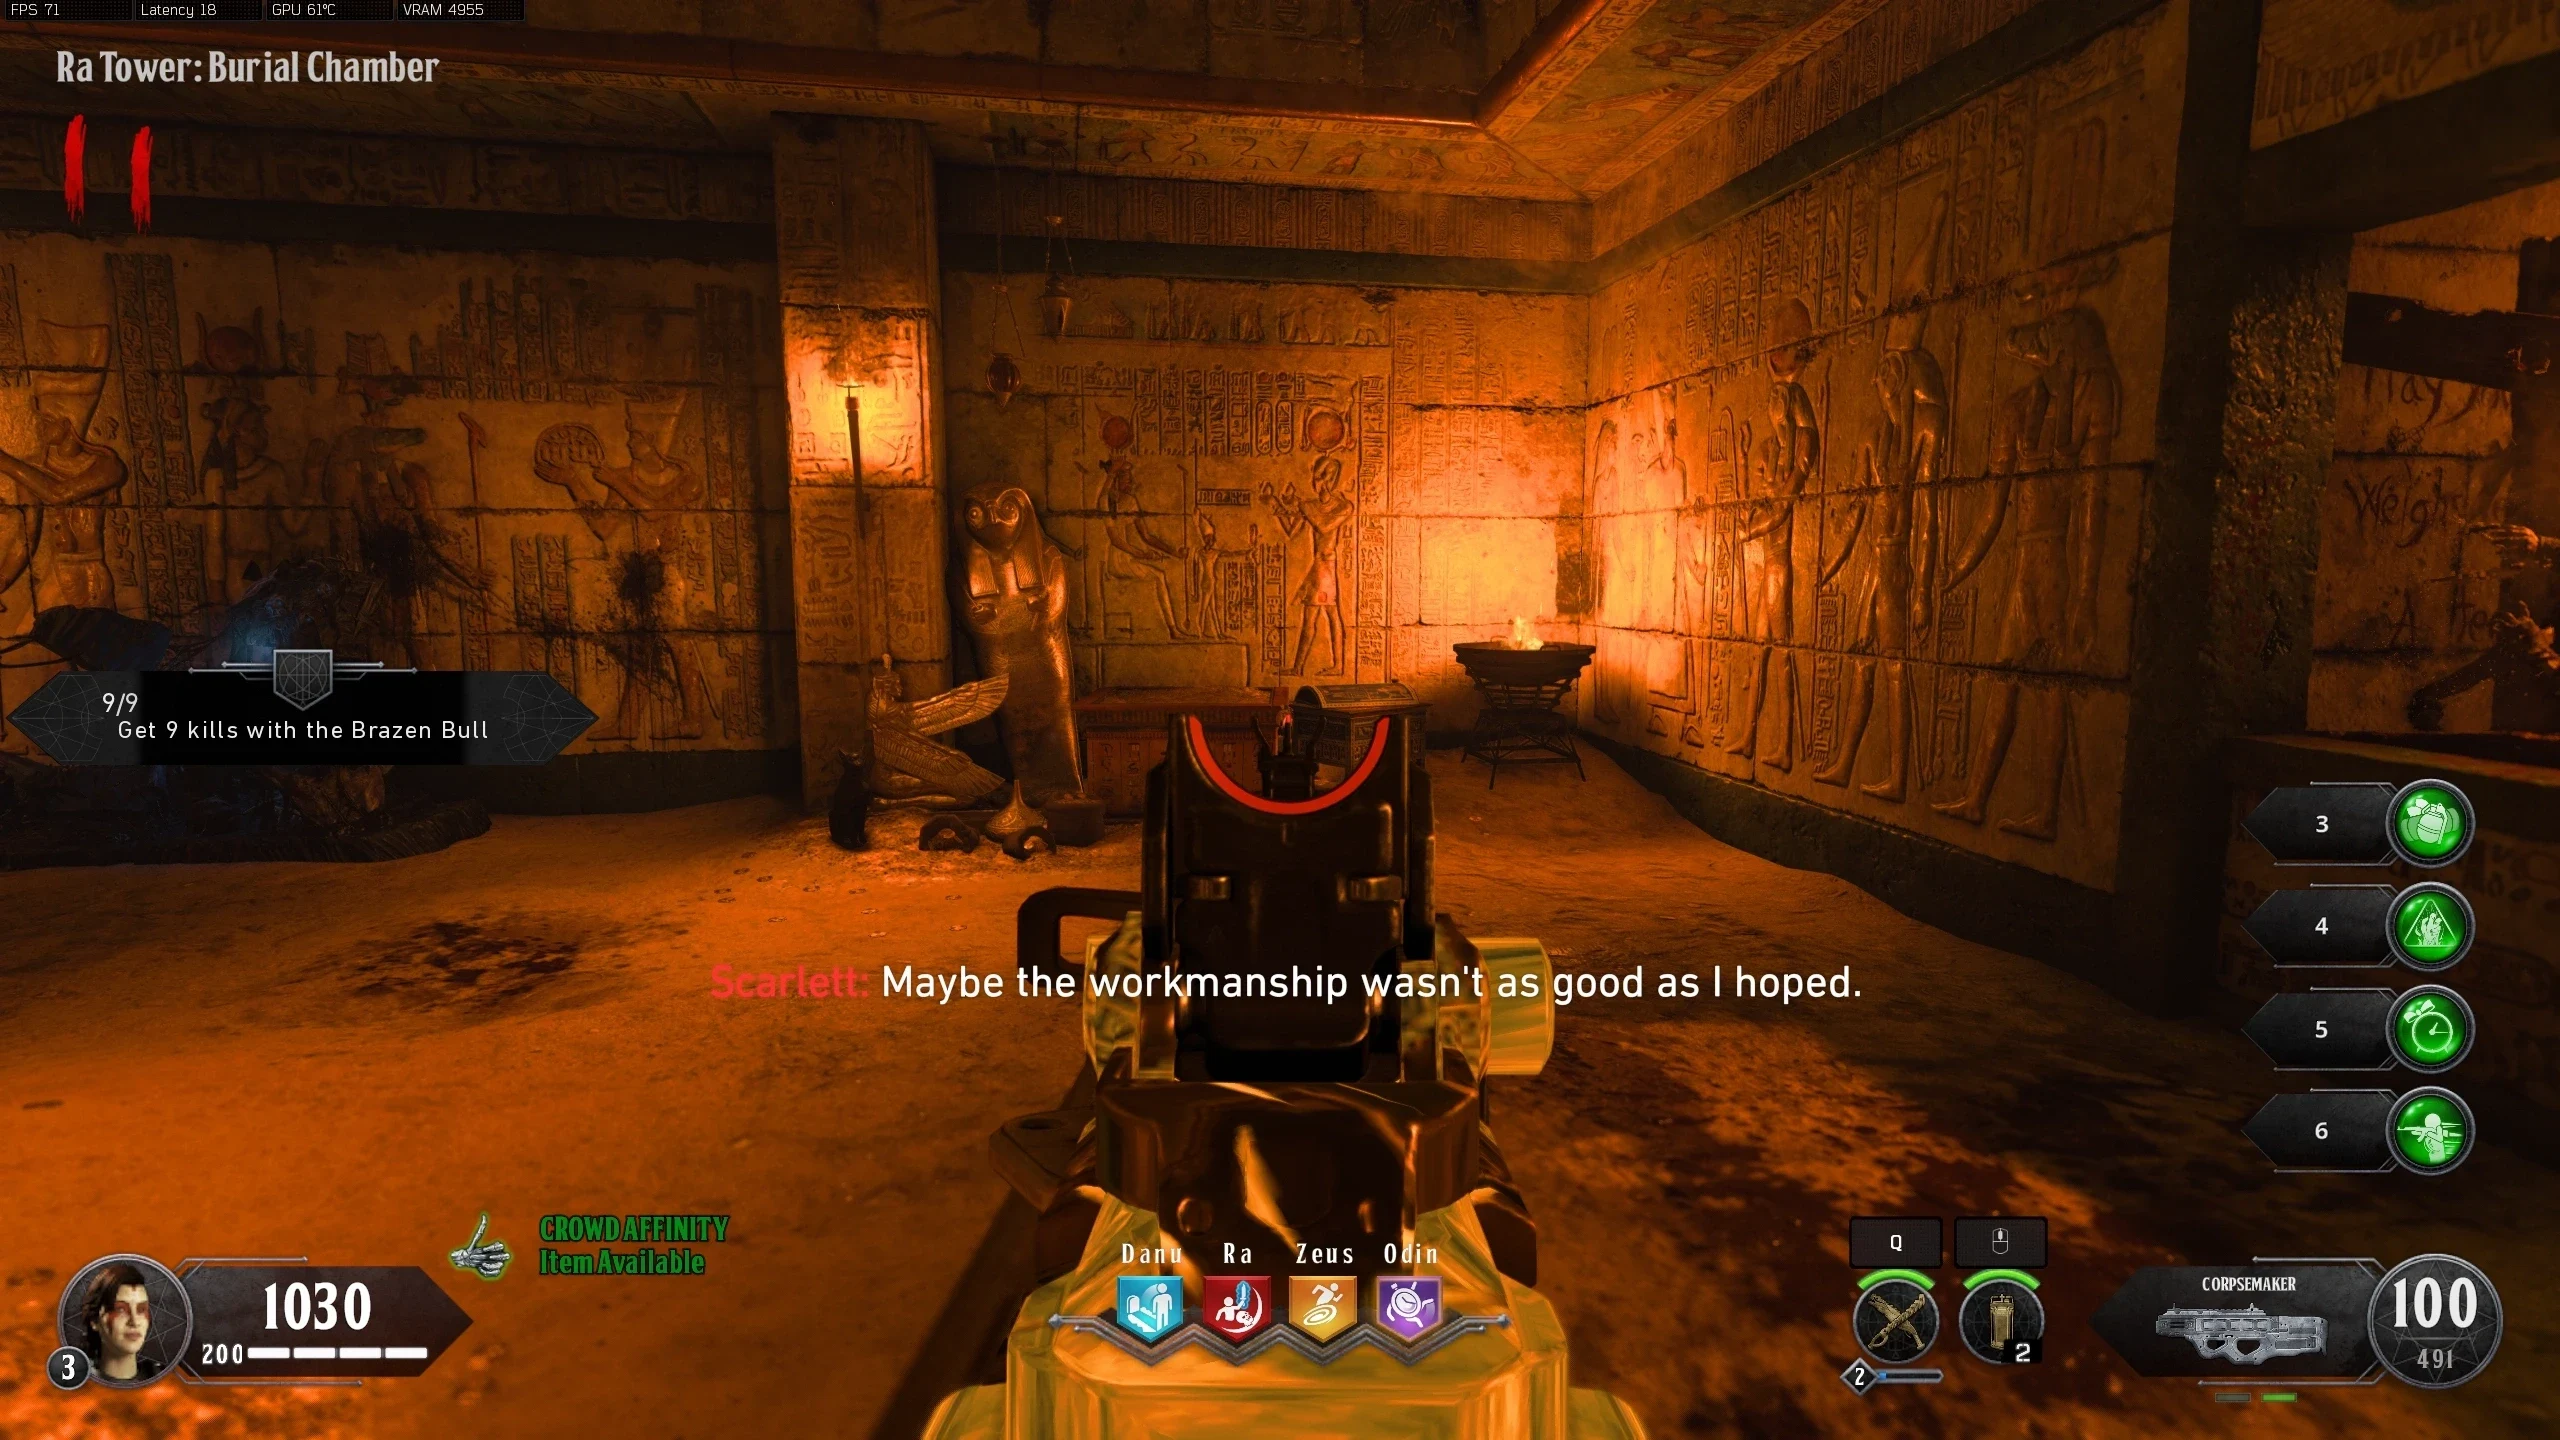
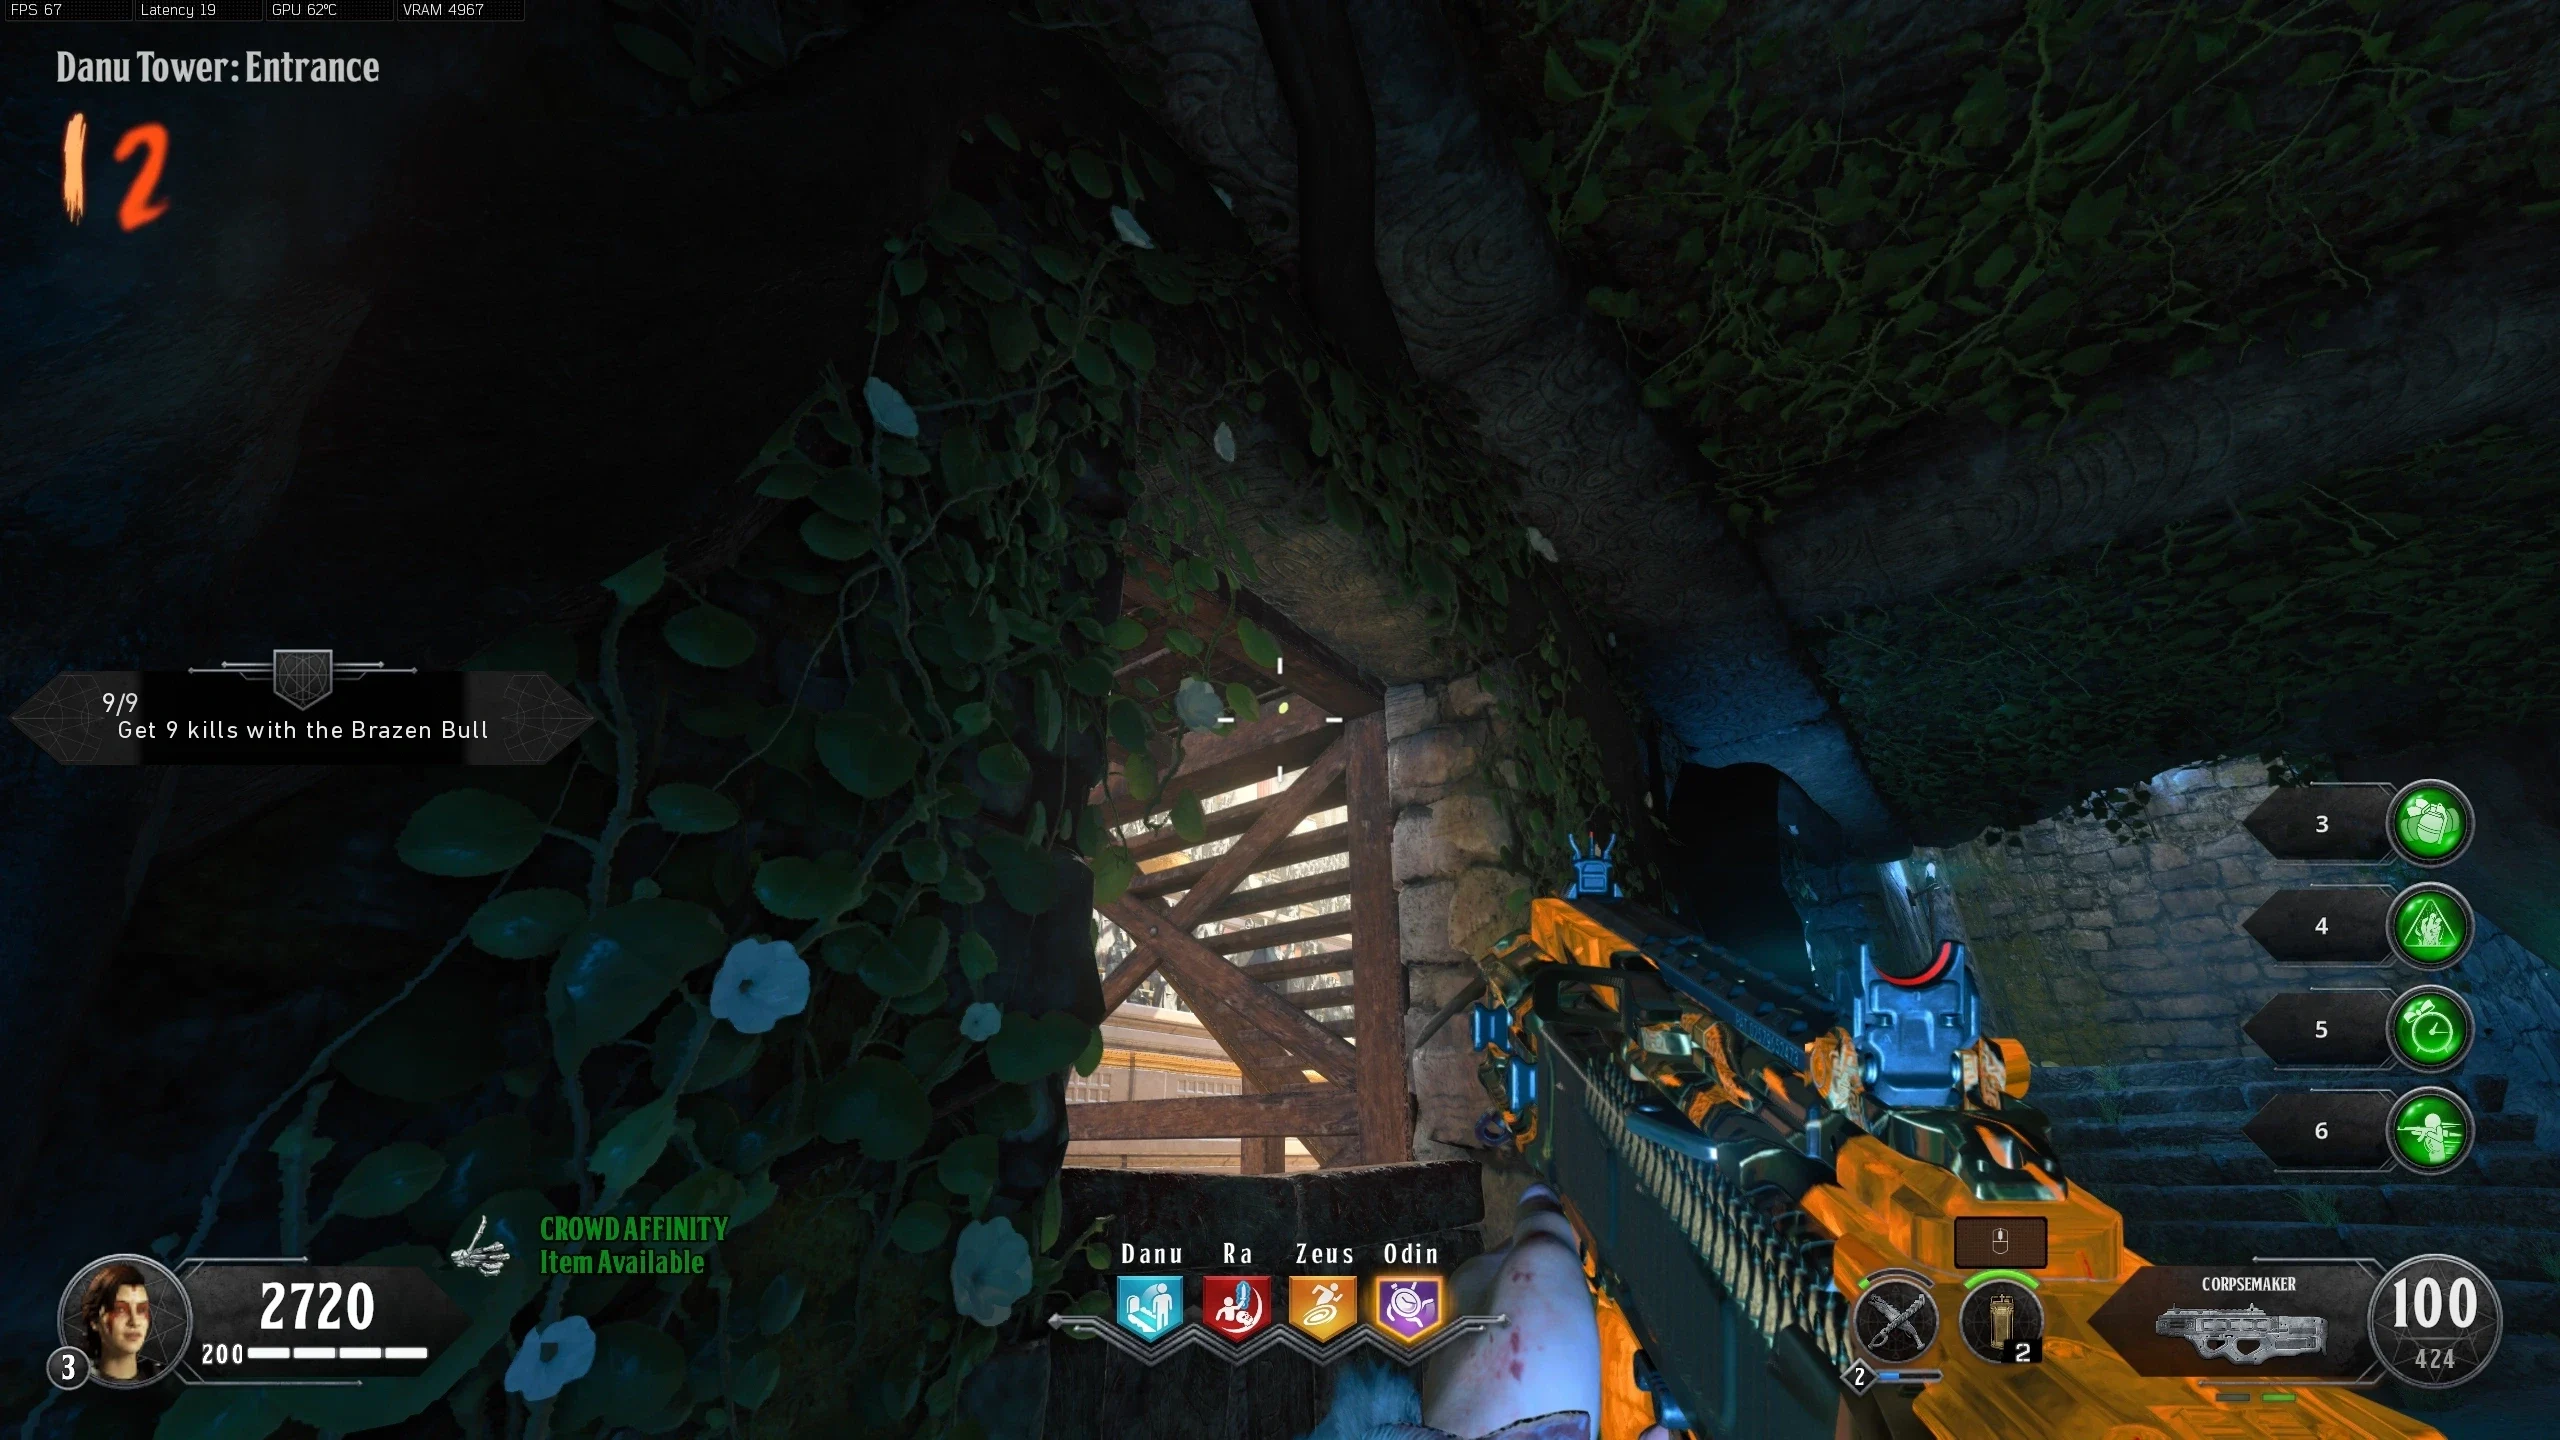
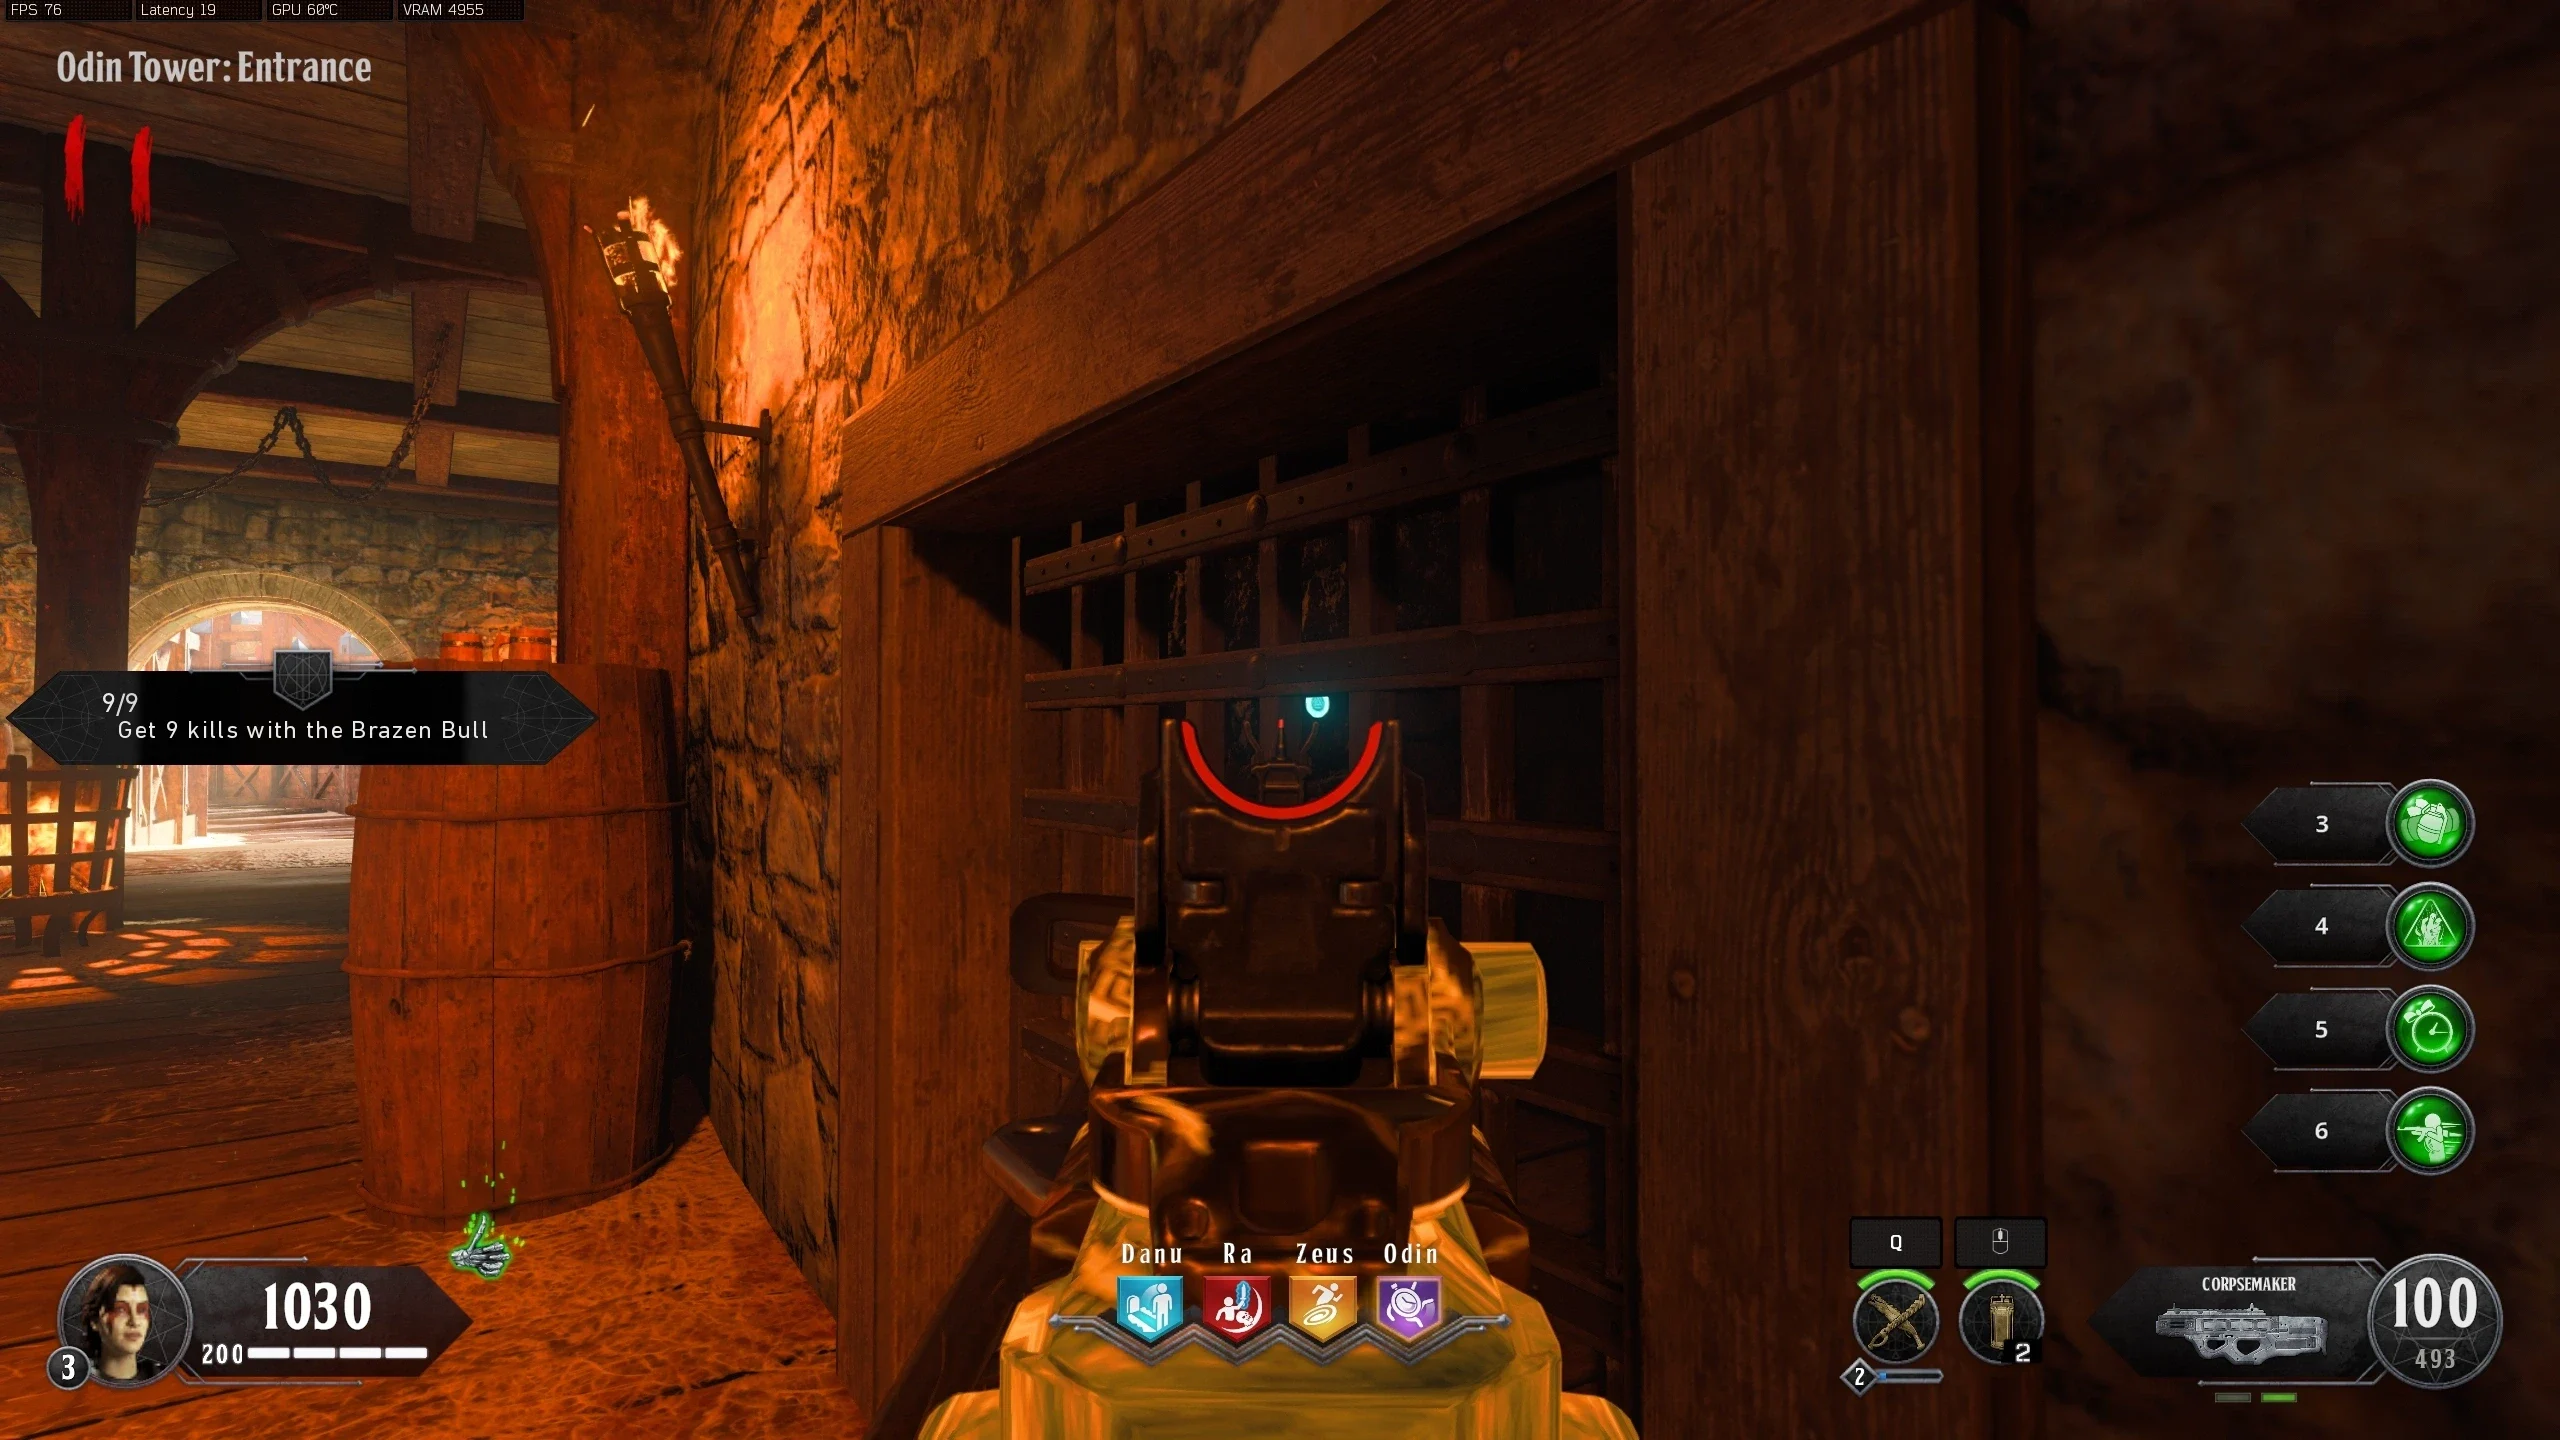
- Shoot four coins found in the following locations:
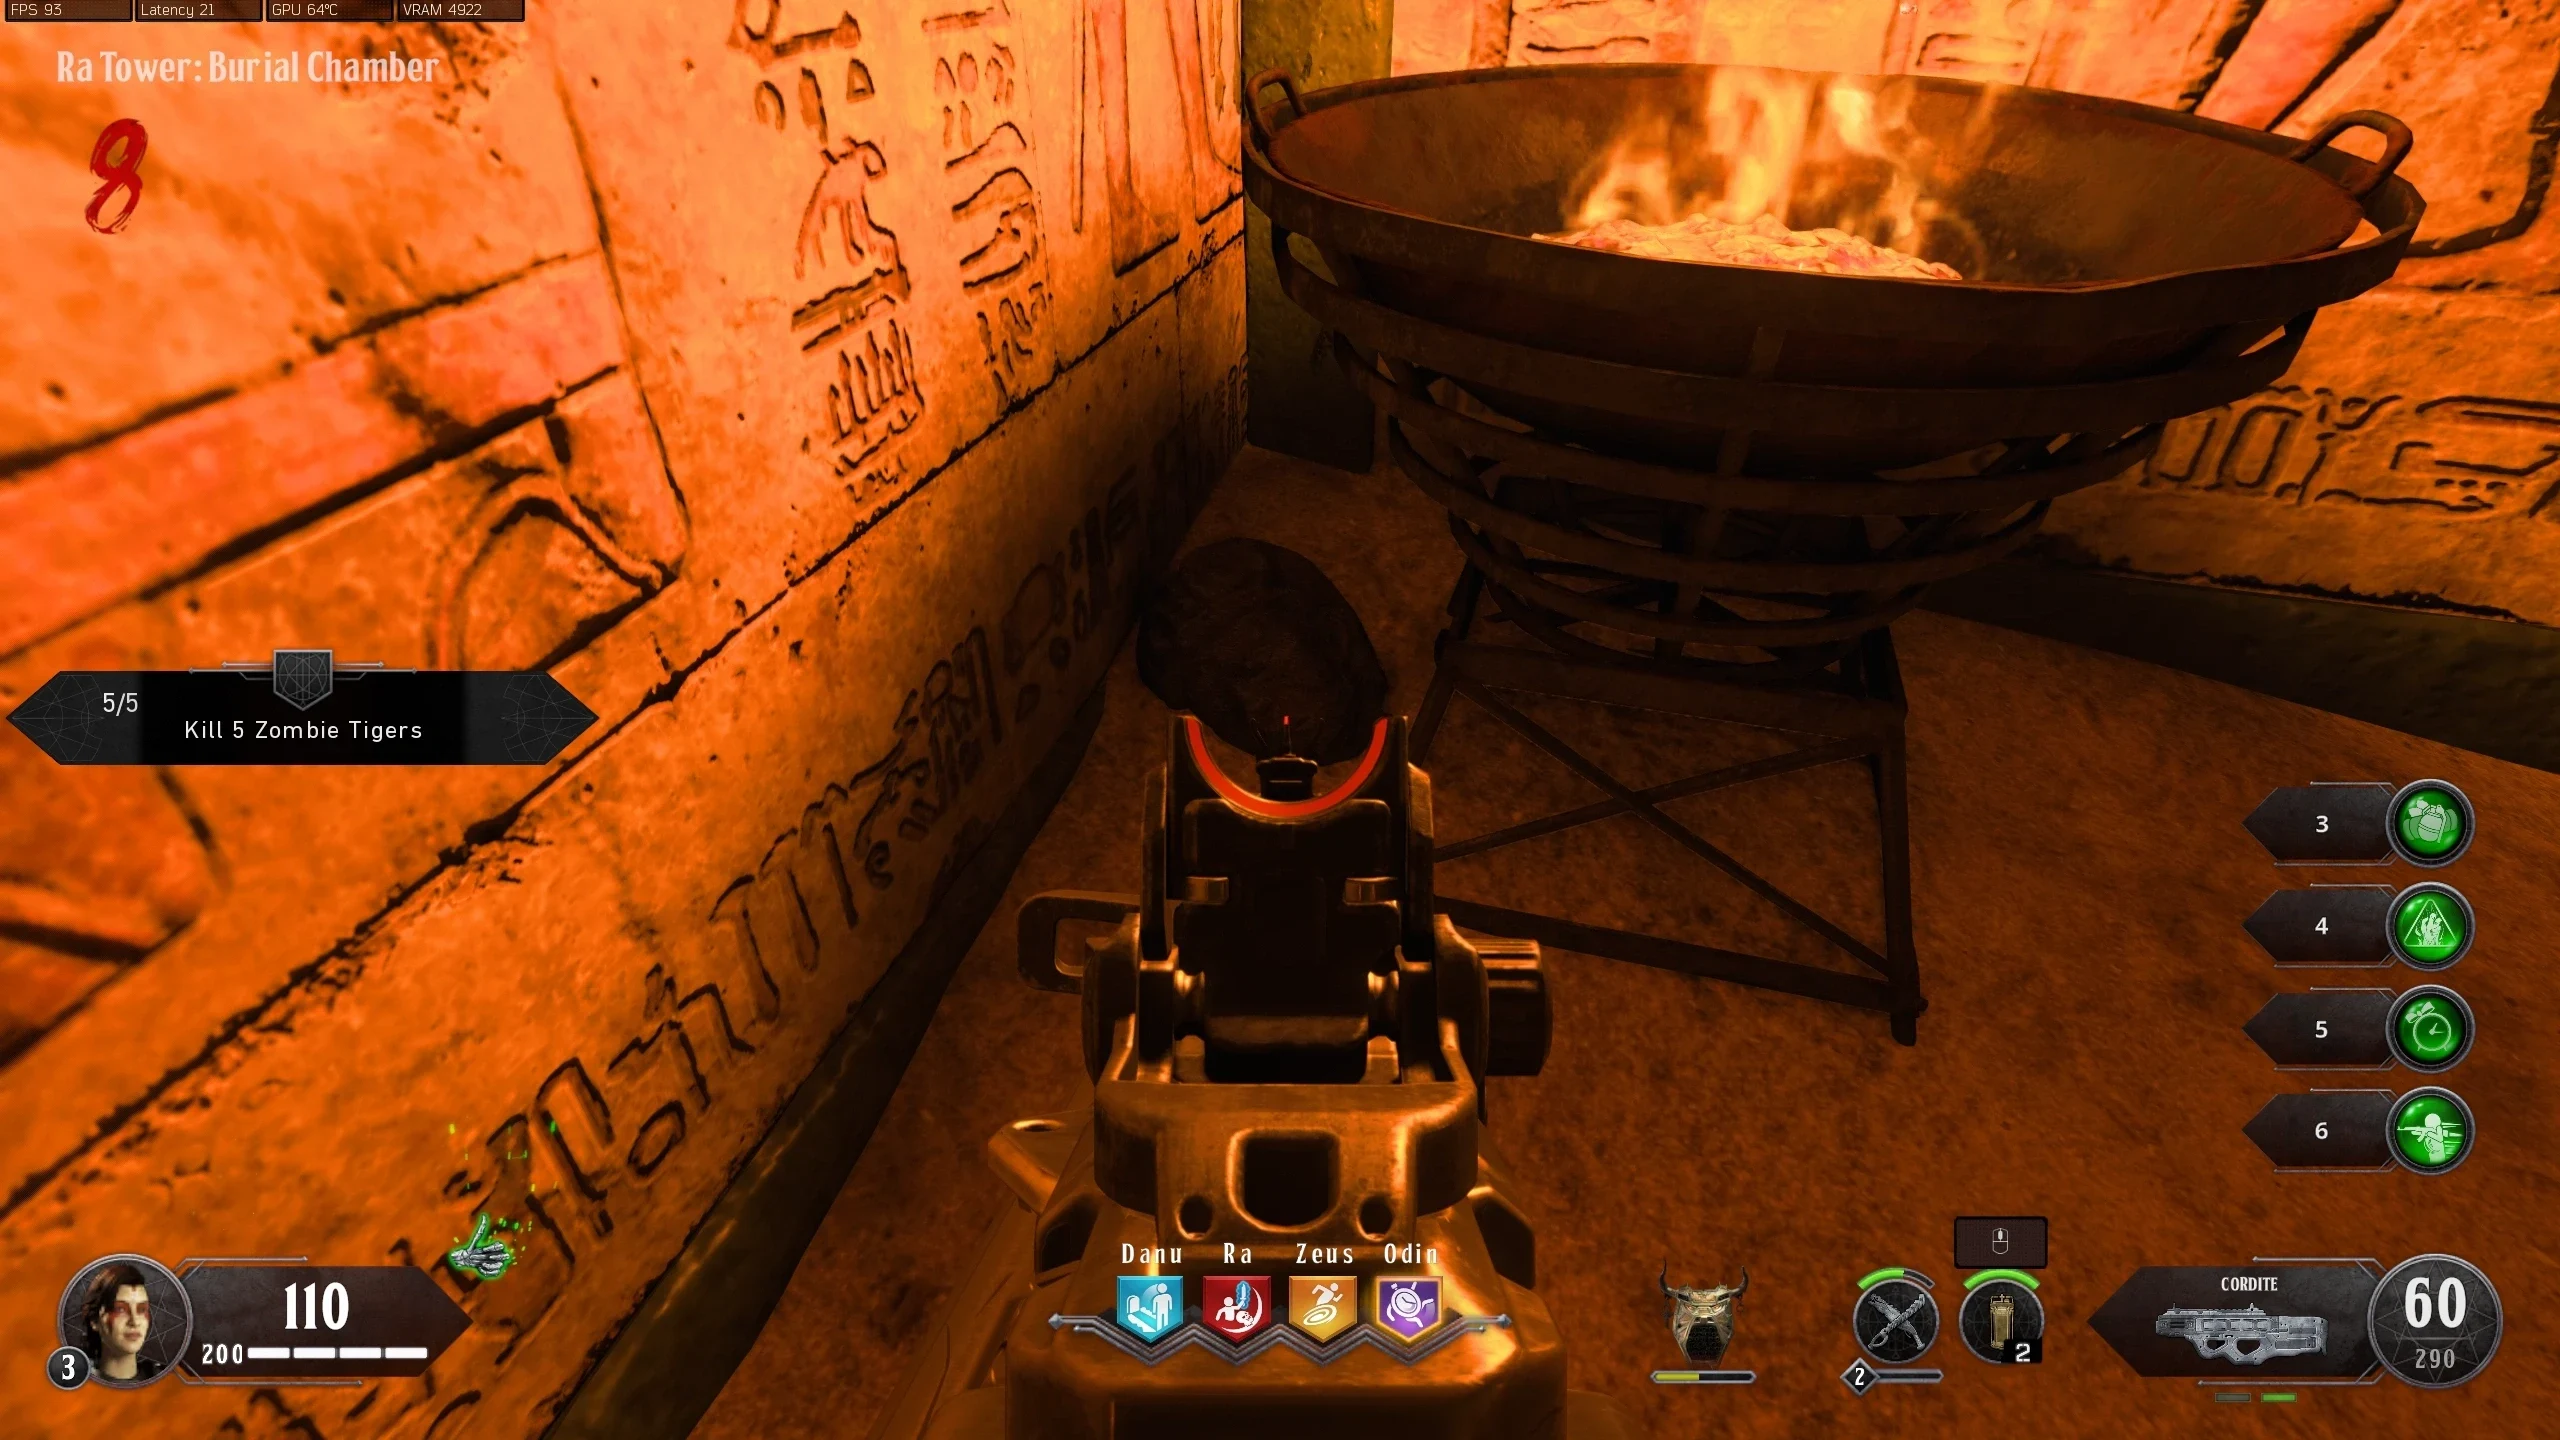
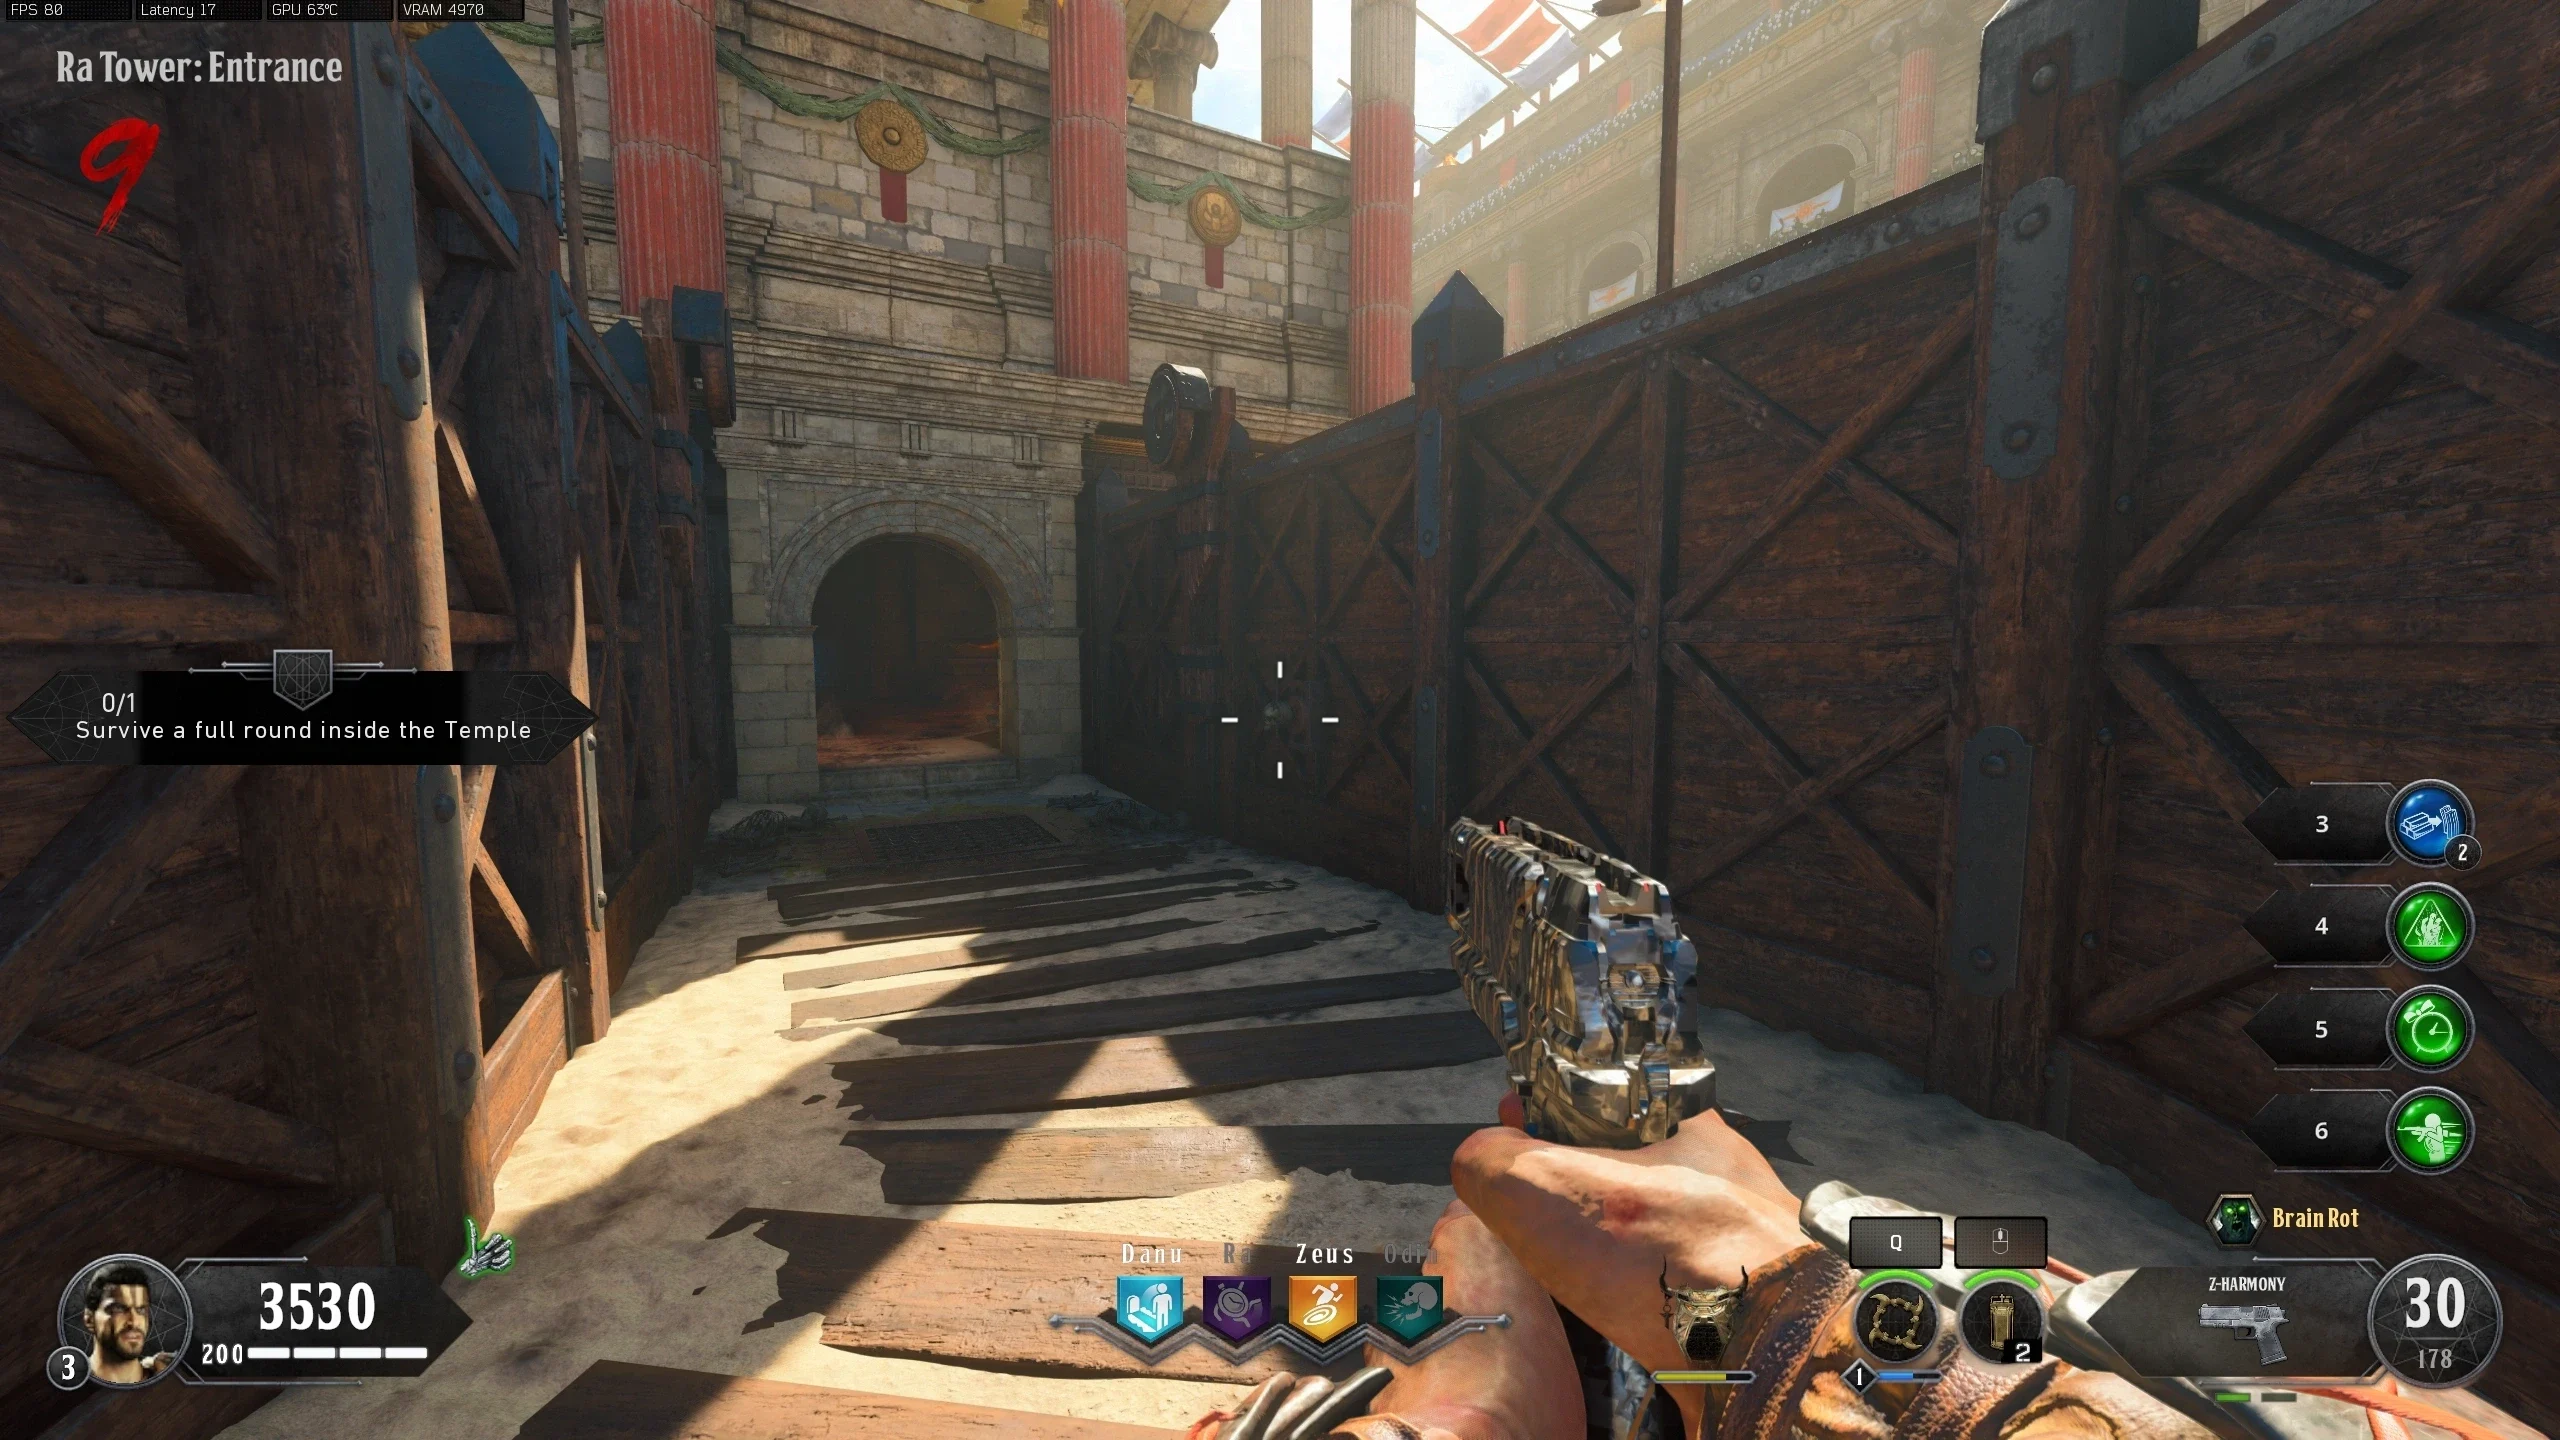
- Ra Tower: Burial Chamber - Behind the boxes, right of the Mystery Box location
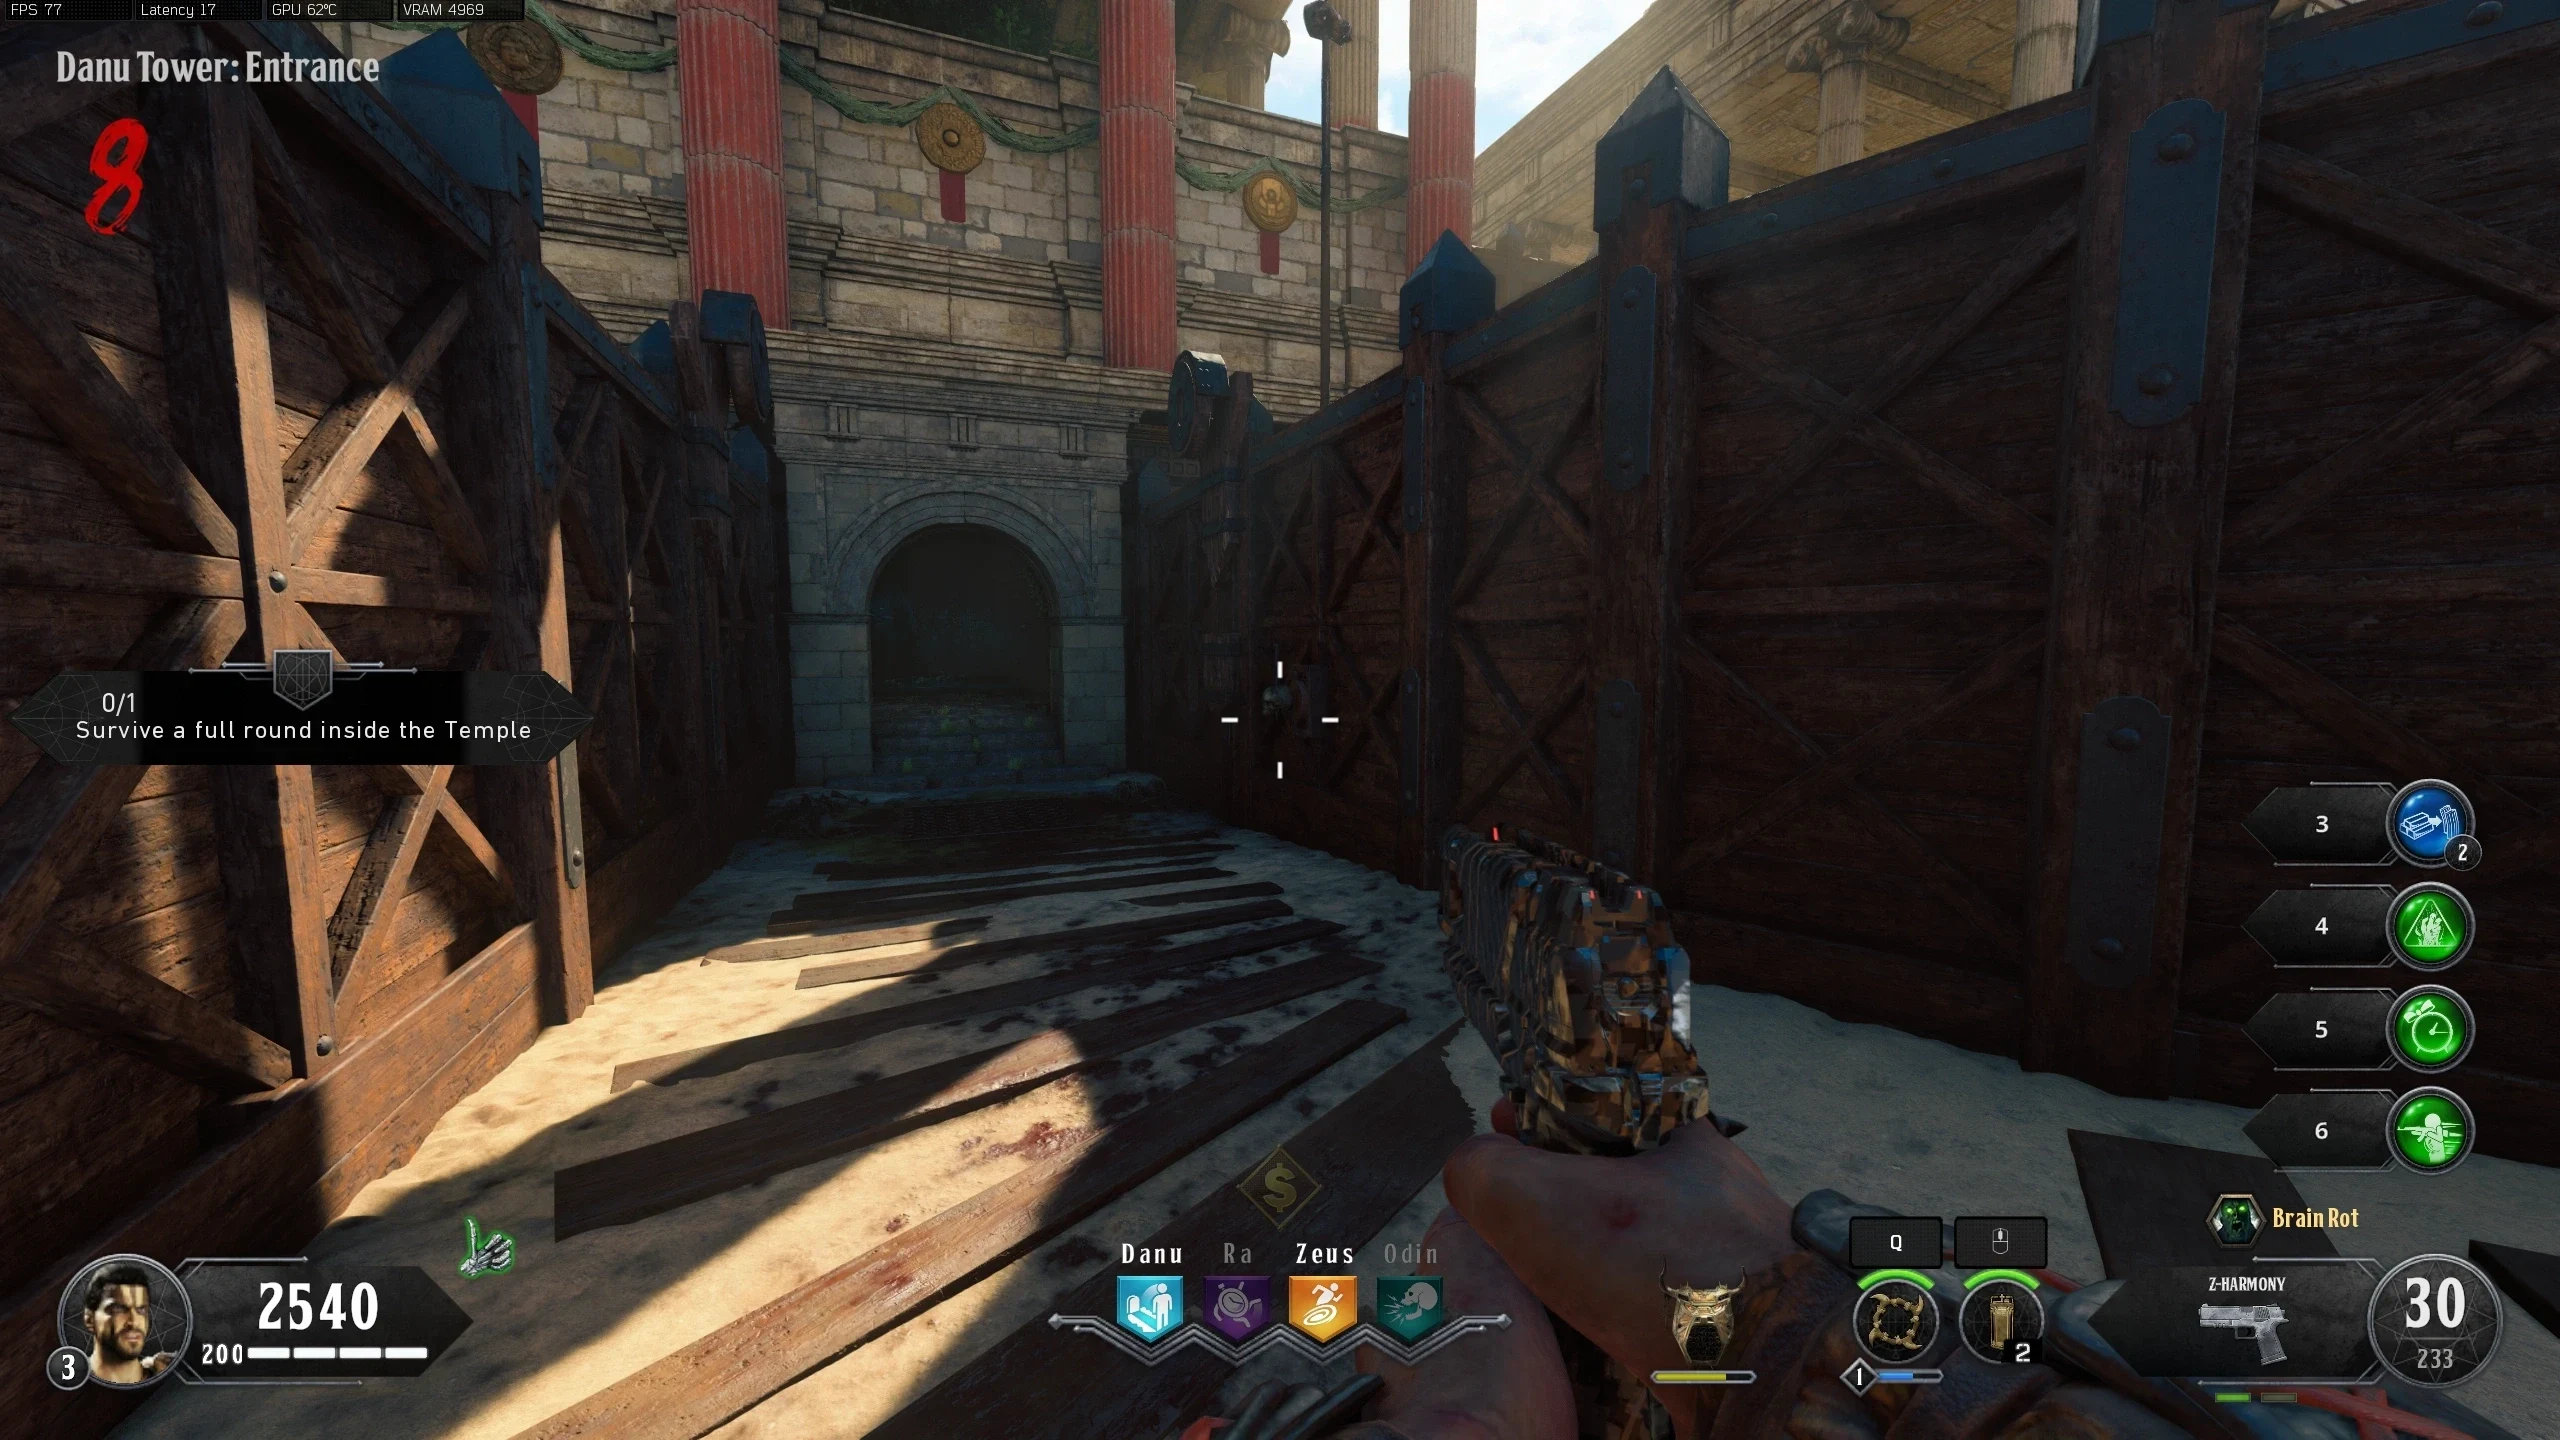
- Danu Tower: Entrance - On the wooden structue out the window at the base of the stairs leading up
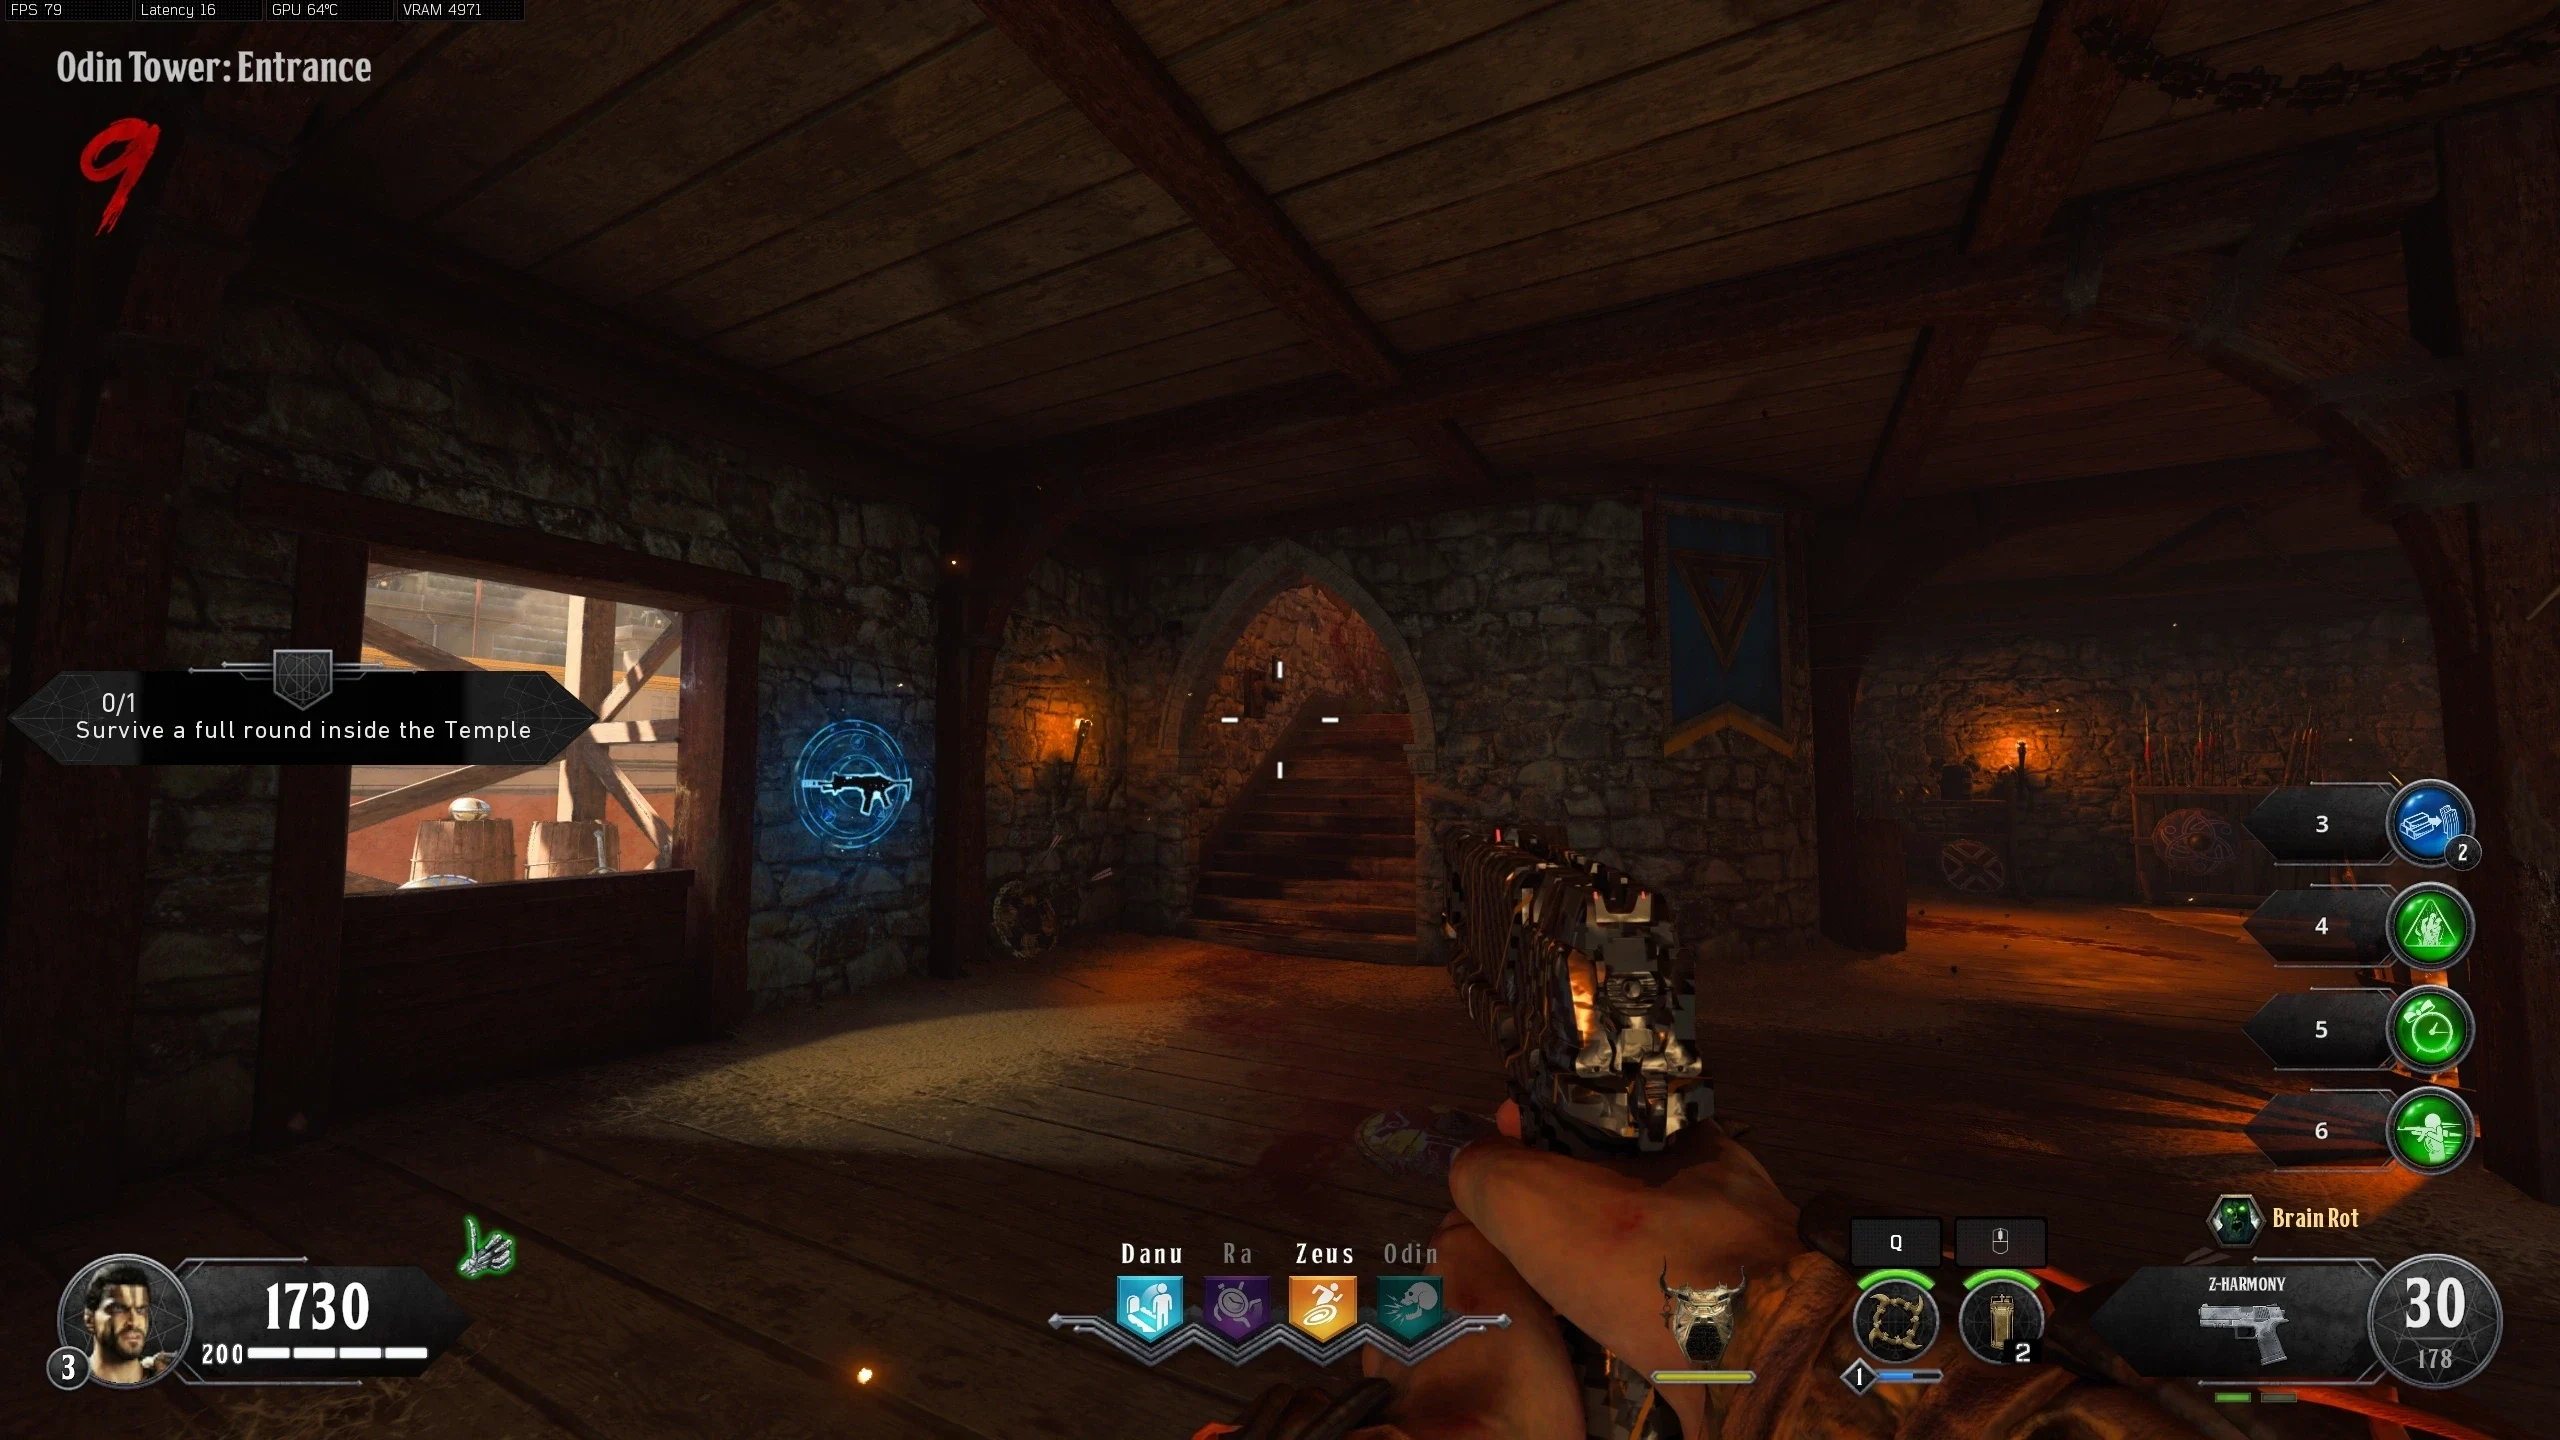
- Odin Tower: Entrance - Behind the metal grate around the corner from the stairs leading up
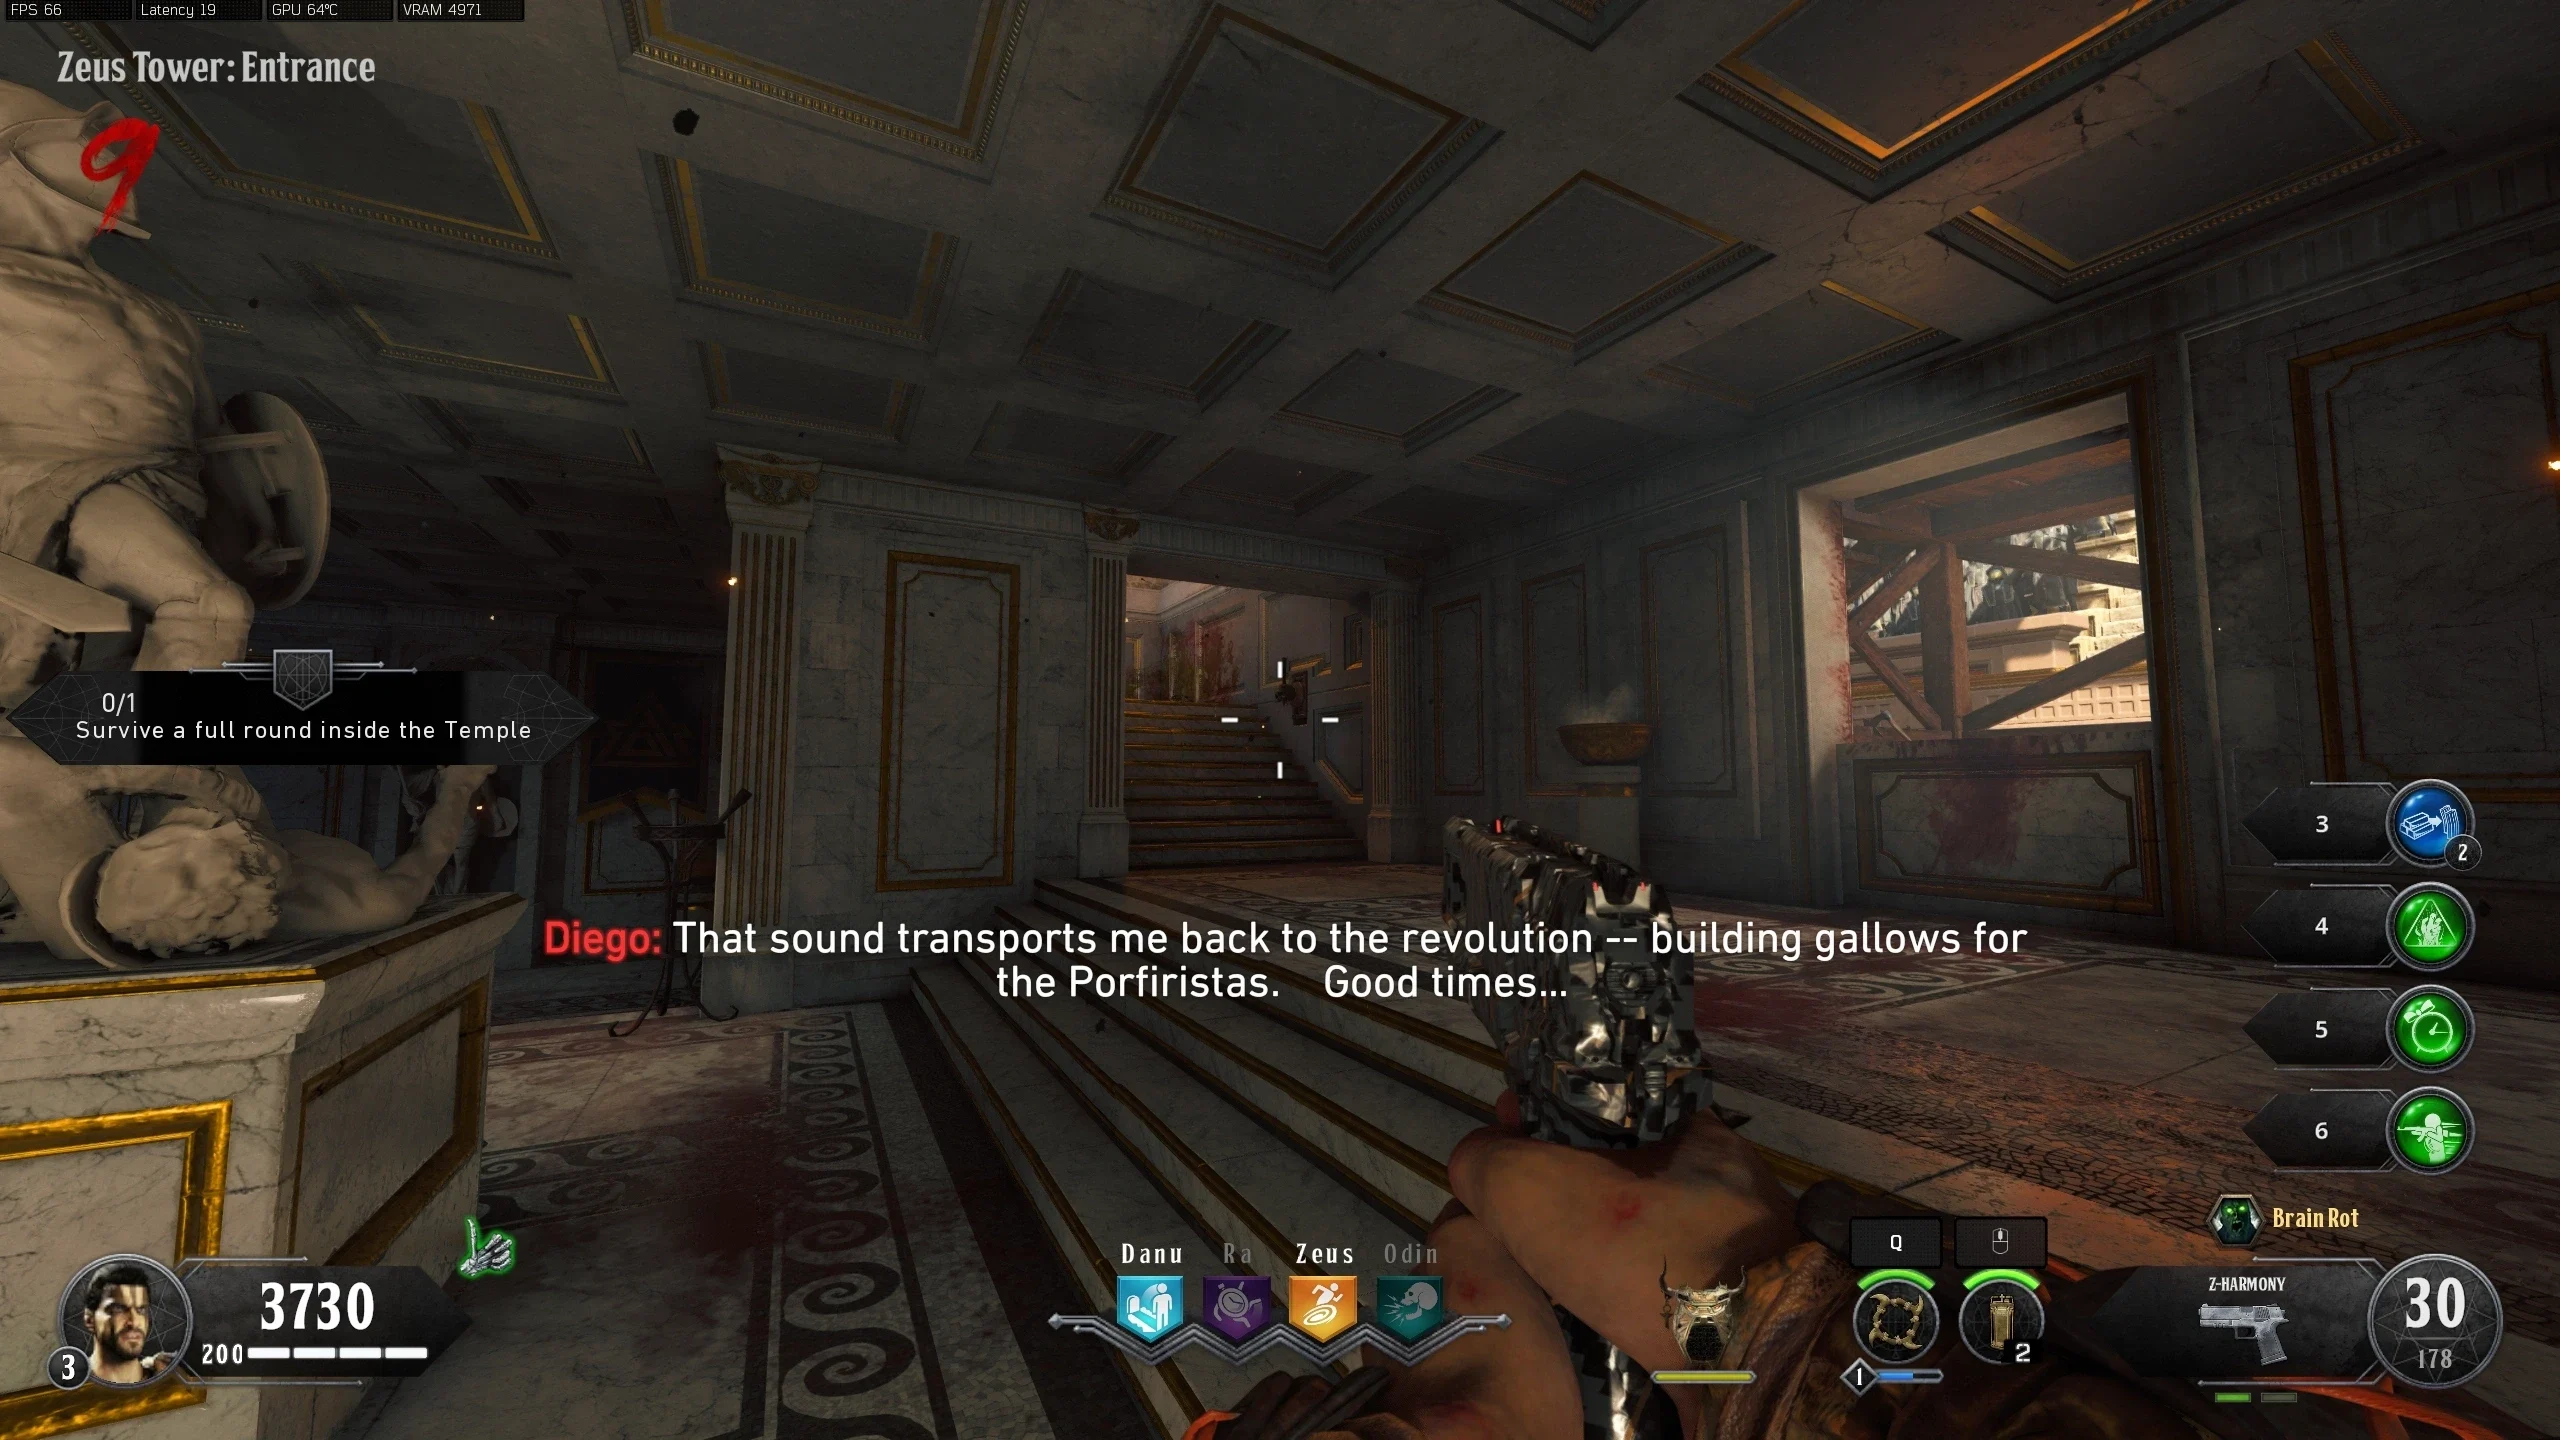
- Zeus Altar Room - On the base of a statue, right of the Mystery Box location
Odin Viking / Free Perk
Wraith Fire is required for this Easter Egg
- Pick up the following items:
- Place the items on the Viking Boat in the 'Odin Altar Room.' The Helmet goes on the Head, the Sword on the Torso and the Cup on the Mouth on the front of the Boat.
- Throw a Wraith Fire grenade from the Zeus Altar Room and arc it, so it lands on the Viking Boat in the 'Odin Altar Room.'
- Line up guide for the throw: Stand about here and aim about here --- Video Example (YouTube)
- After seven rounds, a Free Perk Power-up will spawn on the Viking Boat.
Fire and Trap Immunity
- Build the Acid Trap.
- Kill all types of Elemental Catalyst zombies and a Zombie Tiger with the Acid Trap.
- Slide under a Spike Log trap without taking any damage.
- Slide under the Acid Trap without taking any damage. Do this by buying the trap while sprinting and then quickly sliding before the acid starts pouring out.
- If done correctly, a completion sound will play.
- All traps (Acid and Log) will no longer insta-down you if you run through them. To activate Fire Immunity, take damage from a fire source once per round. For the rest of that round, that fire area does no damage. This must be done every round for each different fire area around the map.
"Veni, Vidi, Zombie!" Gauntlet Challenges
Be wary of "Round 14: Board to Death - Earn 1,000 points from boarding openings" as it is extremely difficult to do with only one Zombie left at the end of the round.
| Round # | Round Name | Description |
|---|---|---|
| Round 1 | What's the Point | Taking any damage drains all of your points |
| Round 2 | Speed Demons | Survive an onslaught of sprinters |
| Round 3 | Straight Shooter | Missed shots hurt |
| Round 4 | Ride shotgun | Use the MOG 12 shotgun only |
| Round 5 | Shielded | Possess the shield at the end of the round |
| Round 6 | Open Sesame | Open all doors |
| Round 7 | By the Horns | Shield attacks only |
| Round 8 | Creeper | Weapons and elixirs are only usable when crouched |
| Round 9 | IX lives | Sacrifice 9 gladiators on the 'Challenge Podium' |
| Round 10 | Temple of Gloom | Defend the 'Temple' |
| Round 11 | Shoot from the Hip | Hip fire only |
| Round 12 | Slowpoke | Sprinting is disabled |
| Round 13 | Pack it in | Pack-a-punch two different weapons during the round |
| Round 14 | Board to Death | Earn 1,000 points from boarding openings |
| Round 15 | When in Rome | Defend the Bathhouse |
| Round 16 | Perks of the job | Complete the round with 3 or more perks |
| Round 17 | Shotgun Wedding | Use the MOG 12 shotgun only |
| Round 18 | Heads Up | Kill zombies with headshots only |
| Round 19 | IX minutes of Hell | Survive for nine minutes |
| Round 20 | Coliseum Carnage | Defend the 'Arena' |
| Round 21 | You Made Your Point(s) | Damage to you causes points drain |
| Round 22 | Packing Heat | Possess two fully-packed weapons at the end of the round |
| Round 23 | Easy, Tiger | Survive the Tiger offensive |
| Round 24 | Feeling trapped | Kill zombies with traps |
| Round 25 | Into the Pit | Defend 'The Pit' |
| Round 26 | Weapon Roulette | Your guns randomly swap and all buys are disabled |
| Round 27 | Give it Your Best Shot(gun) | Use the MOG 12 shotgun only |
| Round 28 | Perk-o-Late | End the round with all 4 perks |
| Round 29 | The Whole IX Yards | Reach each of the destinations in time |
| Round 30 | …in the room | Defeat the elephant |
About This Map
IX (pronounced "nine") is a Black Ops 4 launch Zombies map set in an ancient Roman-style gladiator arena. This guide covers the 'Venerated Warrior' main quest (main Easter Egg), the Death of Orion wonder weapon quest, and all side quests. Also known as Nine.